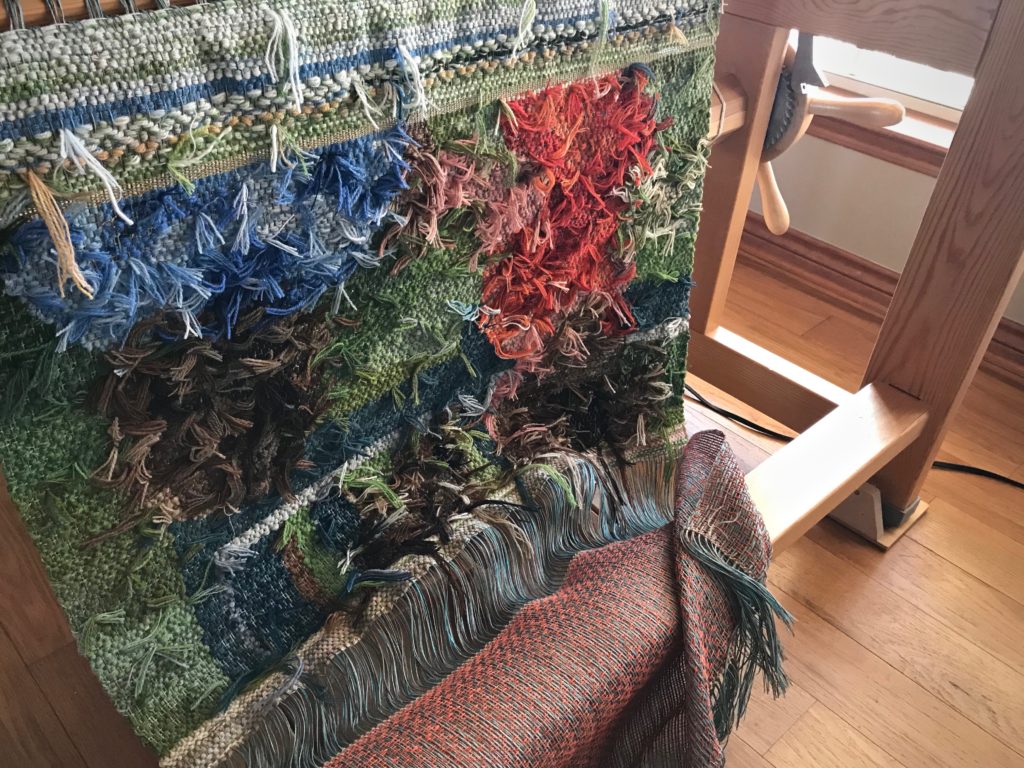
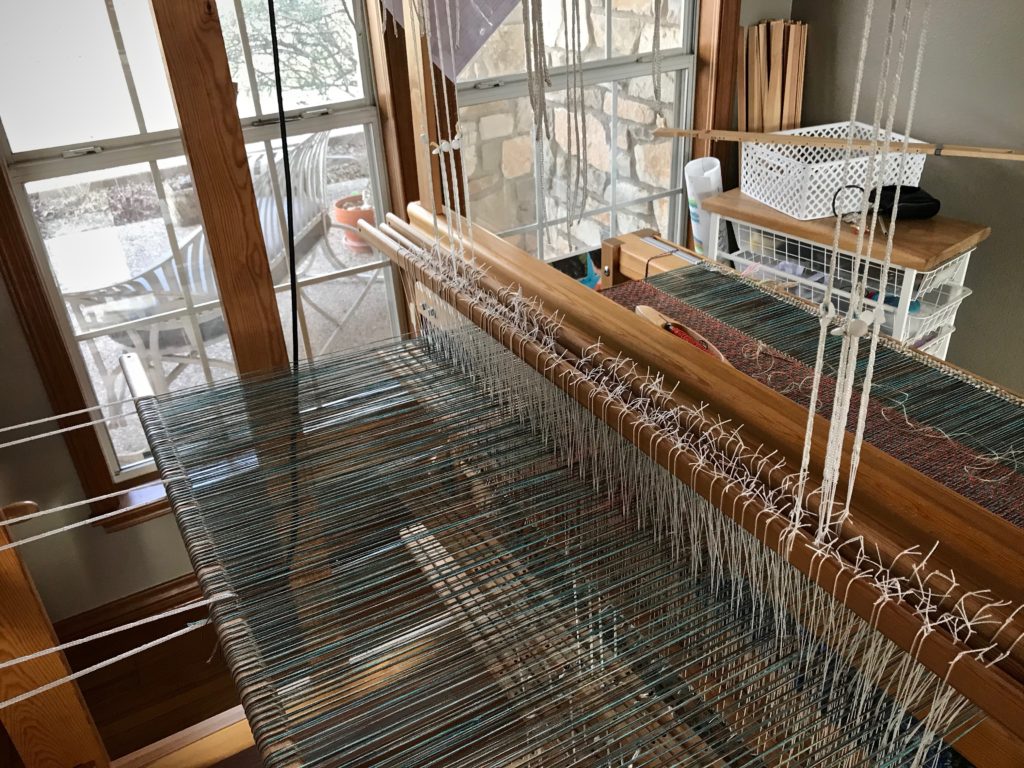
You will see the front of the Siblingstapestry. I promise. When I cut a tapestry from the loom the weaving is finished. But the tapestry is not complete until the finishing is finished. And I have substantial handwork yet to do before this tapestry is ready for display.
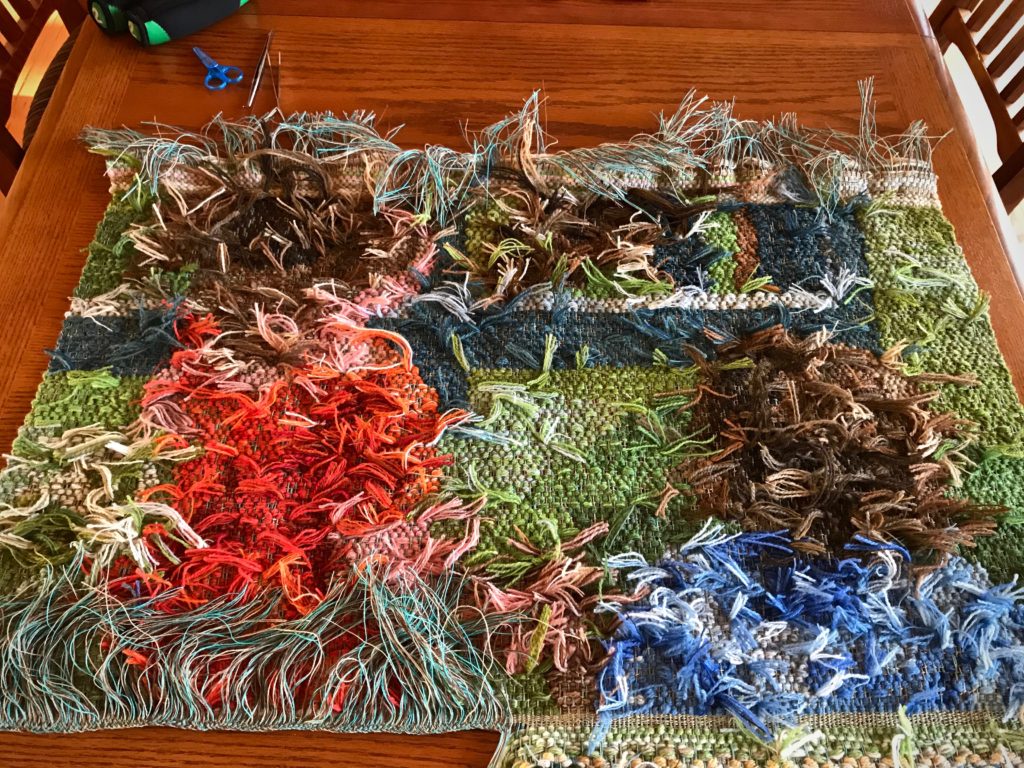
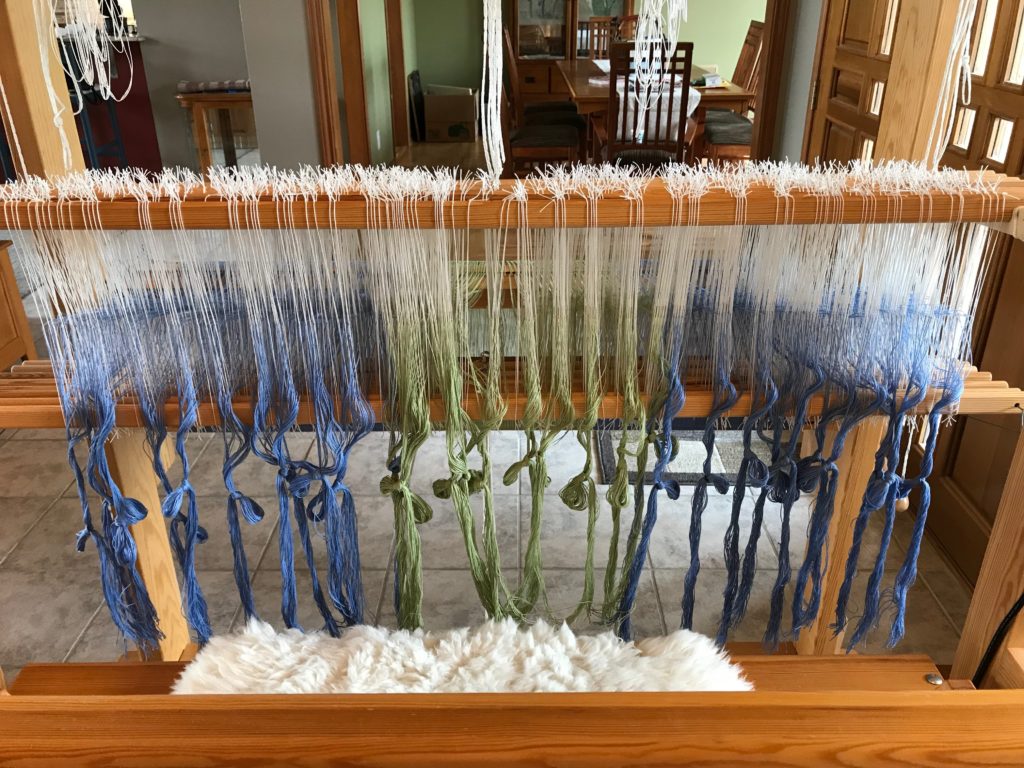
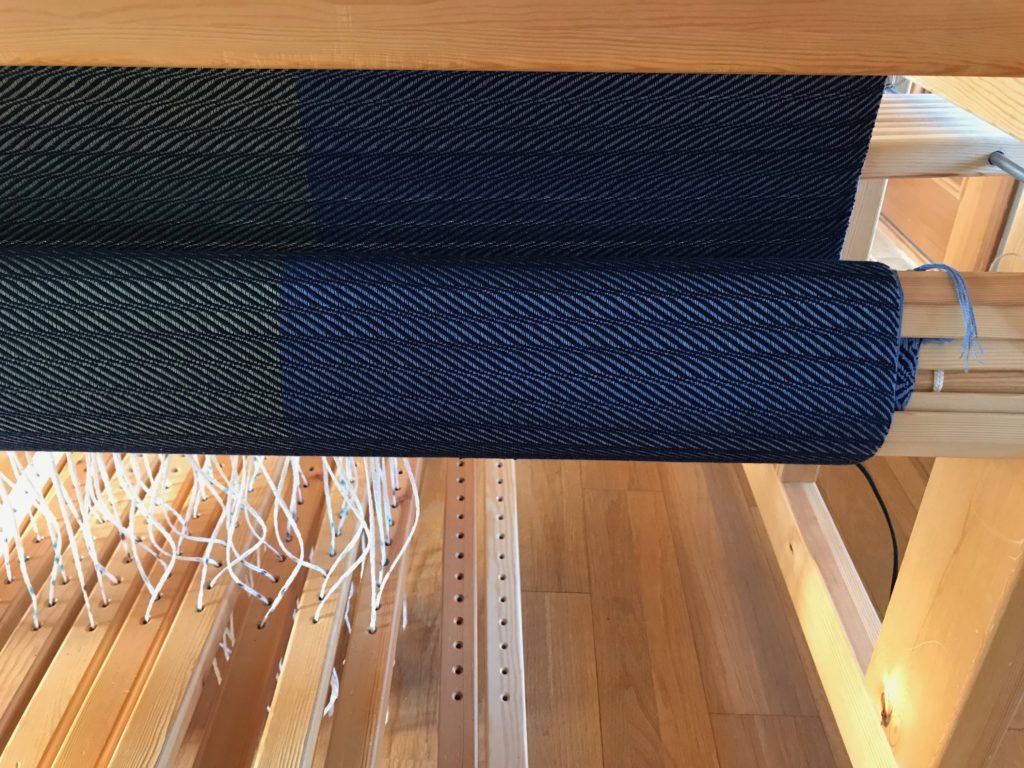
Cutting off the tapestry.View of the back of the tapestry. Non-distinct imagery.
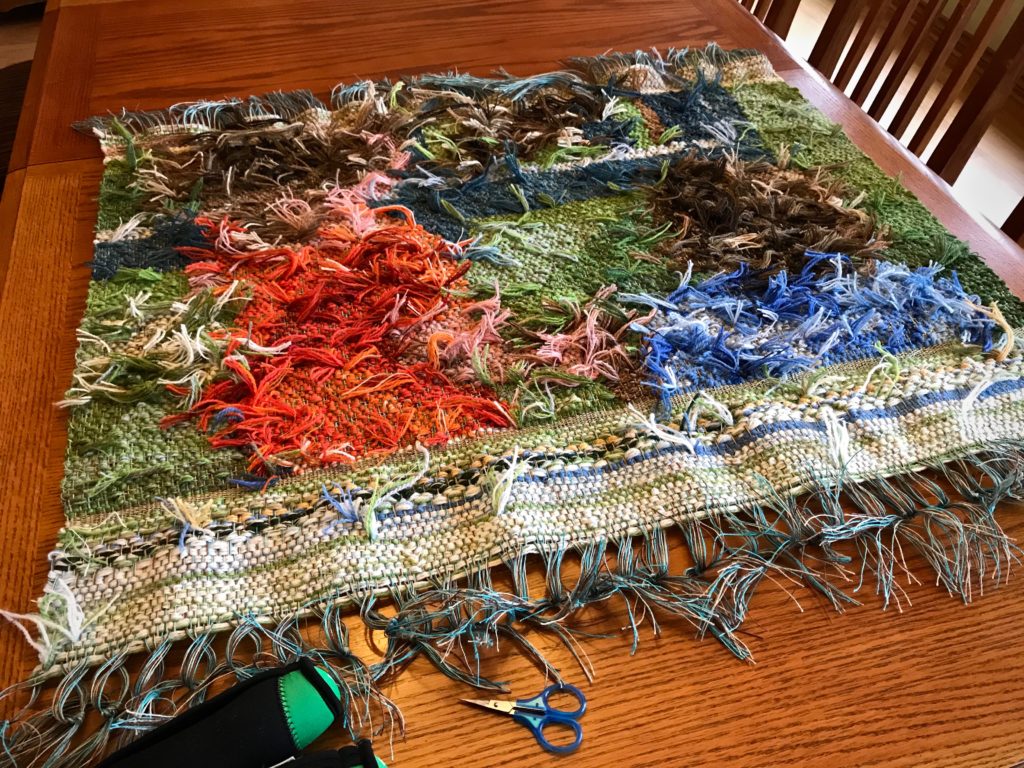
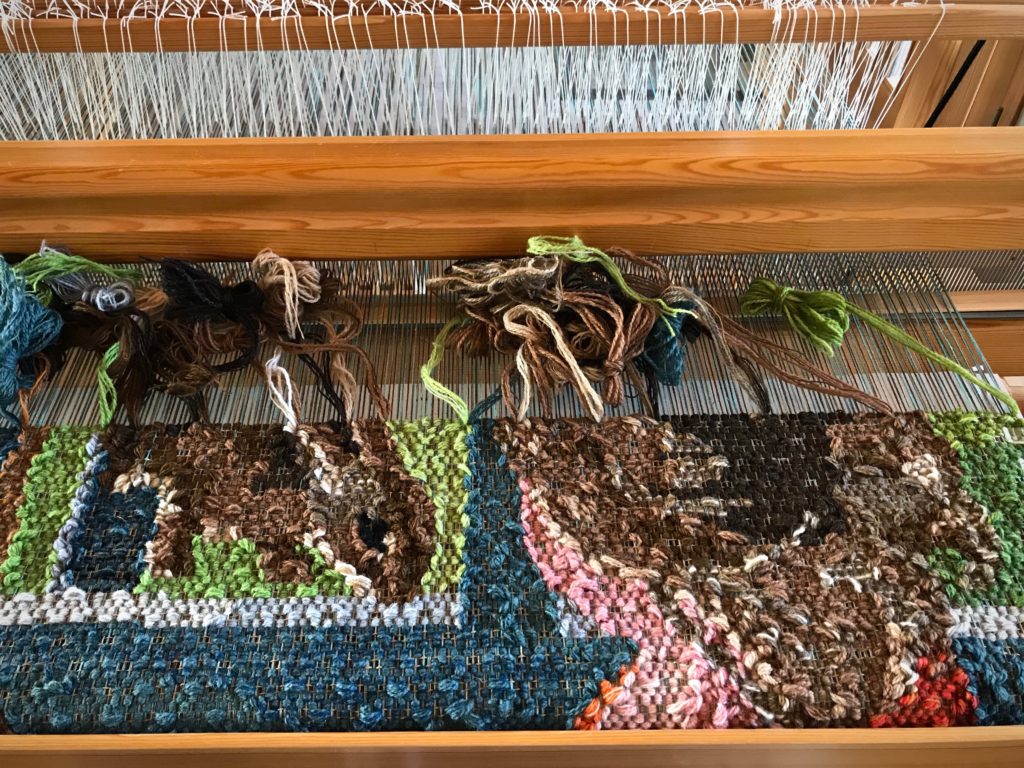
I am securing the ends in a woven edging. Then, I will trim weft tails, stitch things down around the perimeter, and put on a backing. Additional hand-stitching work will stabilize the whole piece. When you see the Siblings tapestry again, you will see it in full view on the wall right behind my loom.
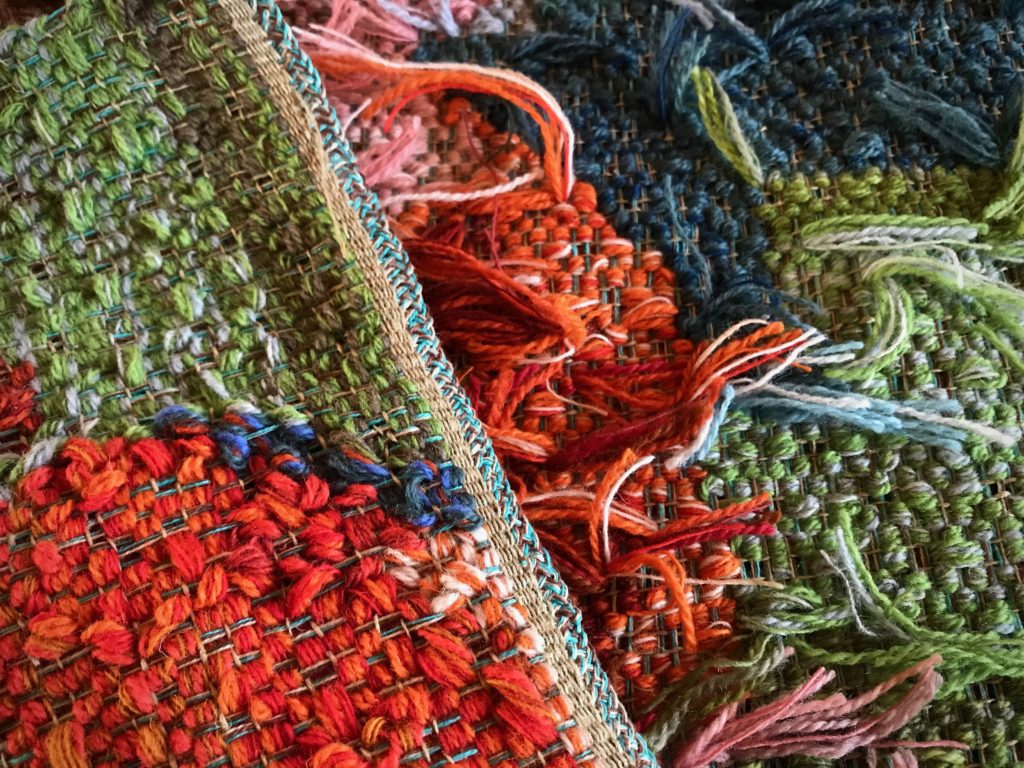
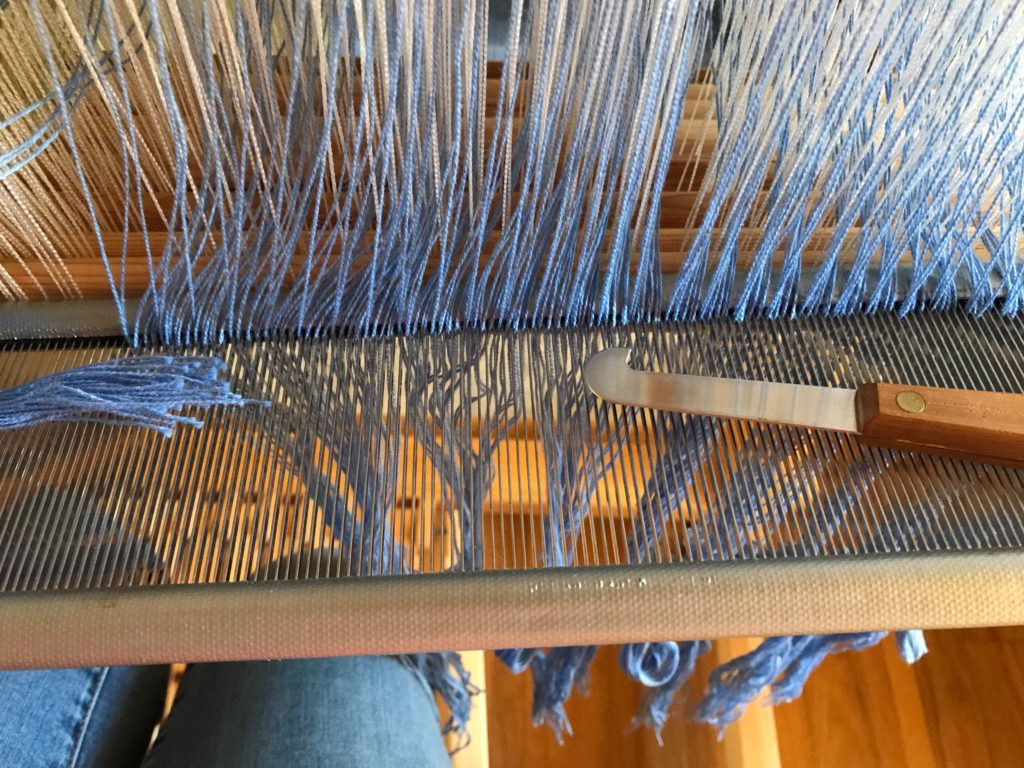
Warpends are woven together along the edge, and will end with a short braid.Edge will be folded under and stitched down before the backing is added.
Hope is built on promise. Do not forget God’s promise. Come to Me, all of you who are weary and burdened, and I will give you rest. And, Jesus expresses the promise to His followers, I will be with you always. We see the tapestry of life from the human side, the unfinished side. Hope, paired with patience, takes us through the uncertain future. We have assurance of the Lord’s grace, His meticulous handwork, bringing His work to completion. In the meantime, we give Him our burdens and He gives us rest. As promised.
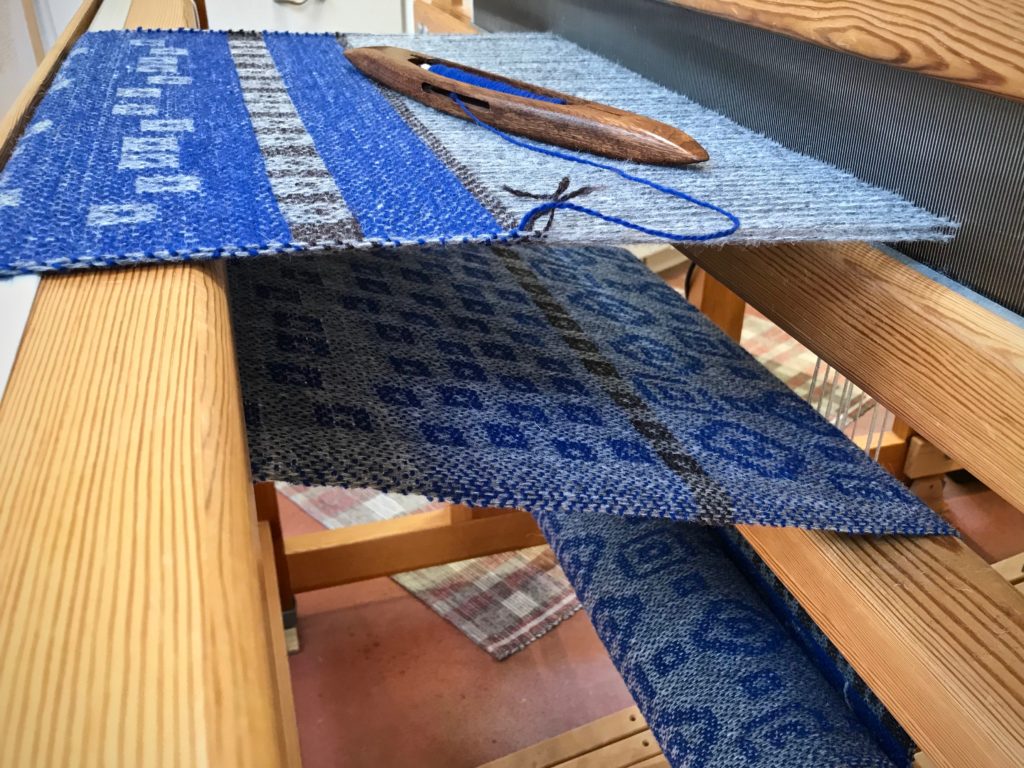
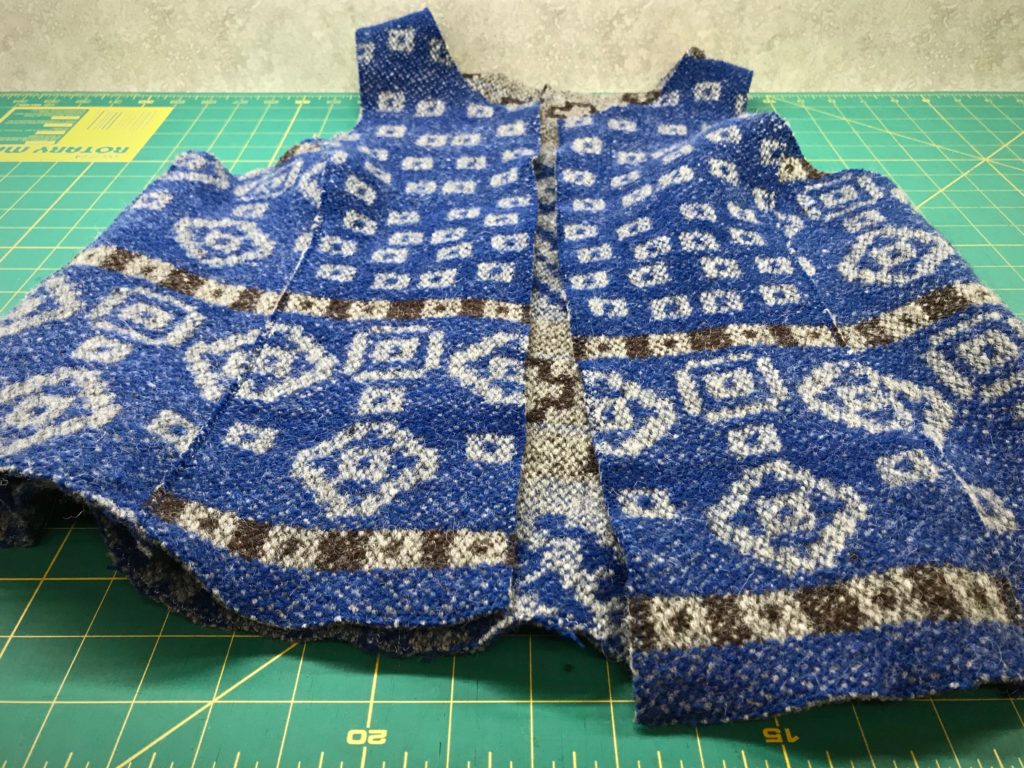
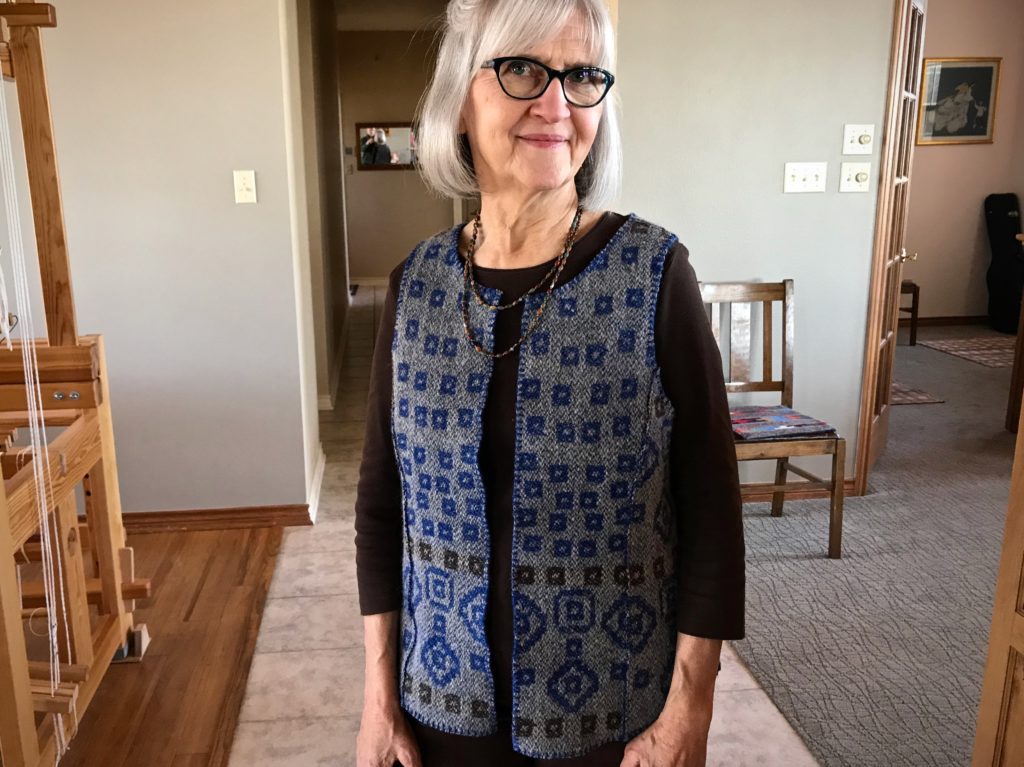
I warped the drawloom with gray 6/2 Tuna wool several months ago with the goal to make fabric for a reversible vest. The beautiful drawloom fabric turned into dreamy garment-worthy fabric after washing! (See Process Review: Drawloom Jewels)
And then I hit two huge hurdles.
Hurdle 1. Fit.
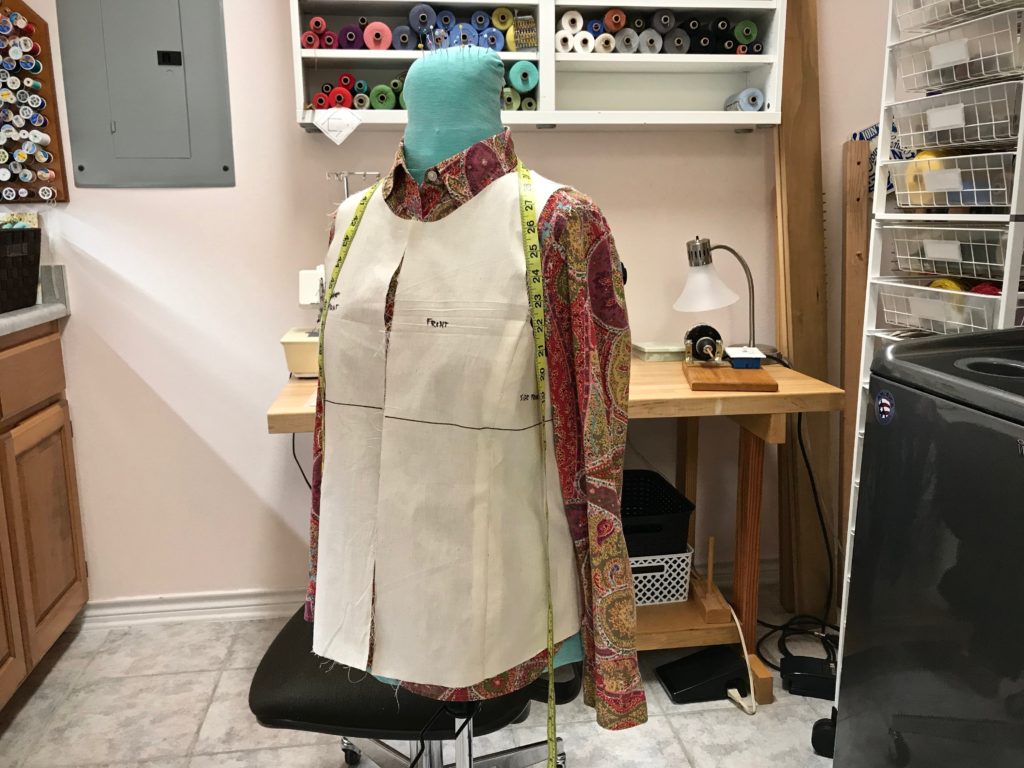
In order to cut into handwoven drawloom fabric, I need assurance that the end result will fit me. My sewing assistant helped me refine a commercial pattern.
Meet my sewing assistant, Miss Fit.
After umpteen muslins and two or three mock-ups, I finally got the fit I was after. Confidence to cut!
Hurdle 2. Garment Construction Uncertainties.
Do some detail studies, my dear friend Elisabeth said to me. Her advice got me over the insecurity hurdle. A detail study is making a small sample to test a hypothesis or answer a question. I made a list of everything I wanted to know about constructing a vest from this type of handwoven wool fabric. And then, using some of the extra fabric from the sampling at the beginning of the warp, I did a detail study for each point on the list. Twelve detail studies in all.
(If you are interested in seeing my complete list of 12 detail studies for this project, click HERE to send me an email and ask for my “Detail studies”.)
Here are a few examples of my findings:
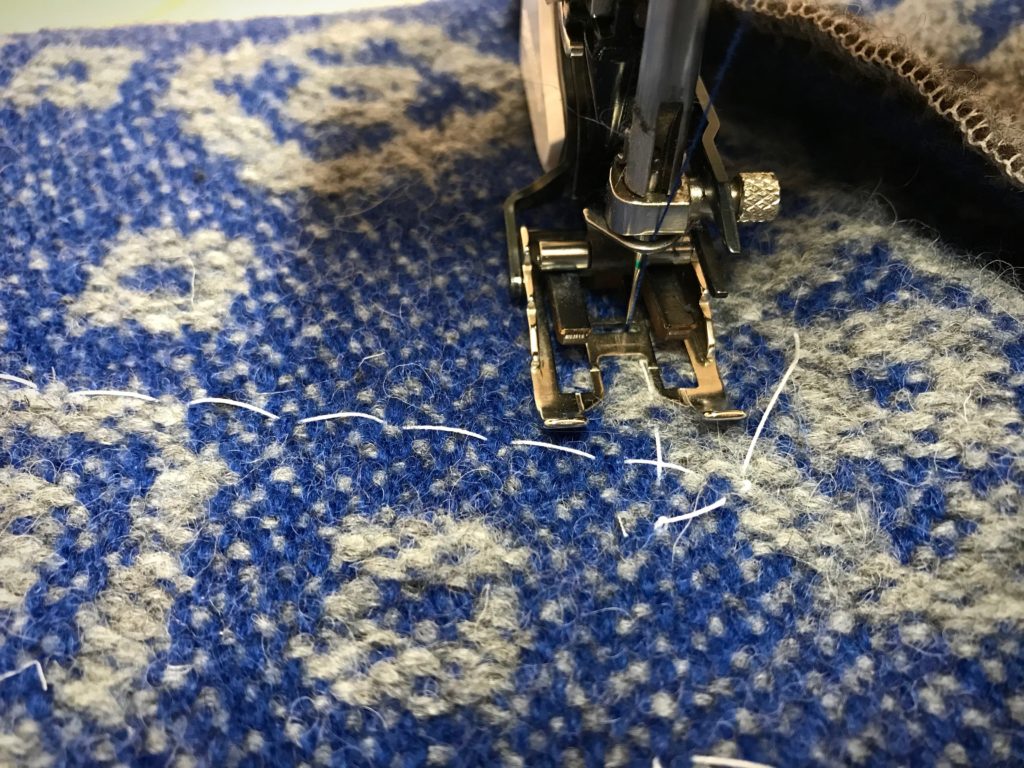
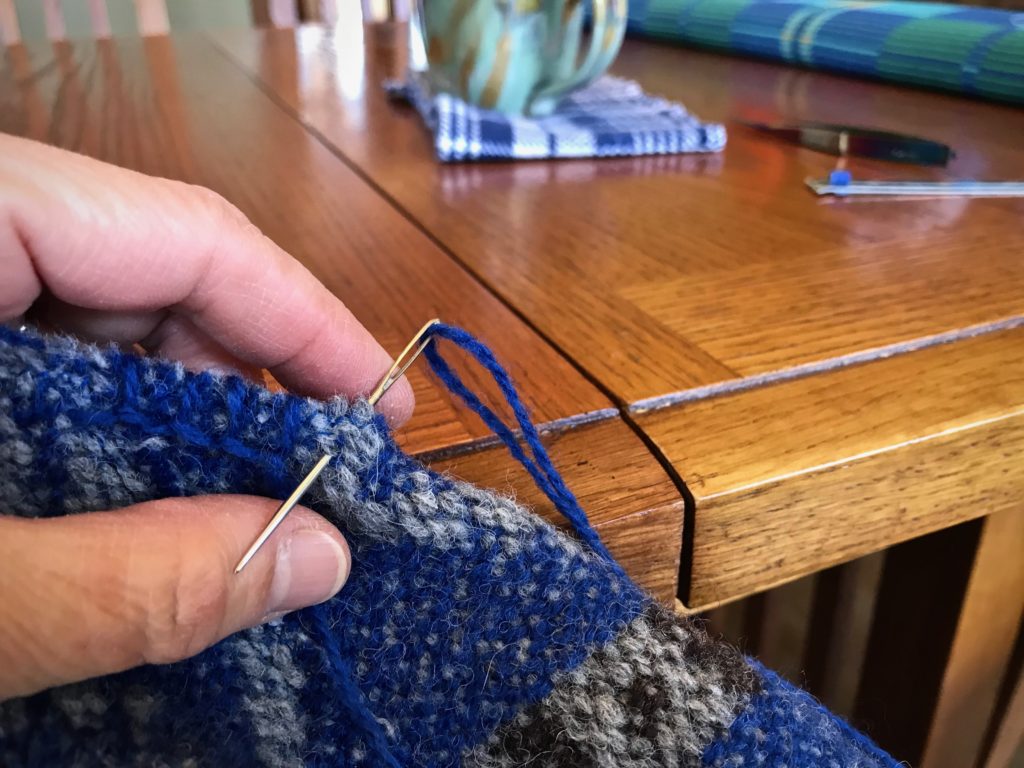
Zigzag before or after cutting? // Zigzag before cutting, stitch width 3, stitch length 2 1/2
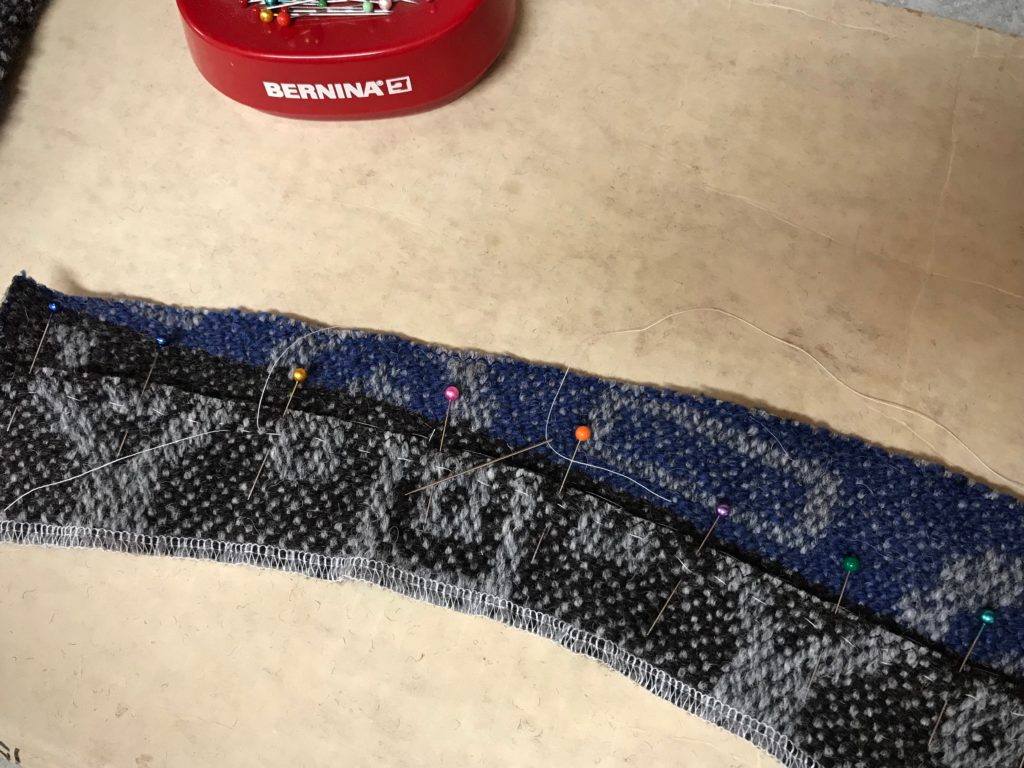
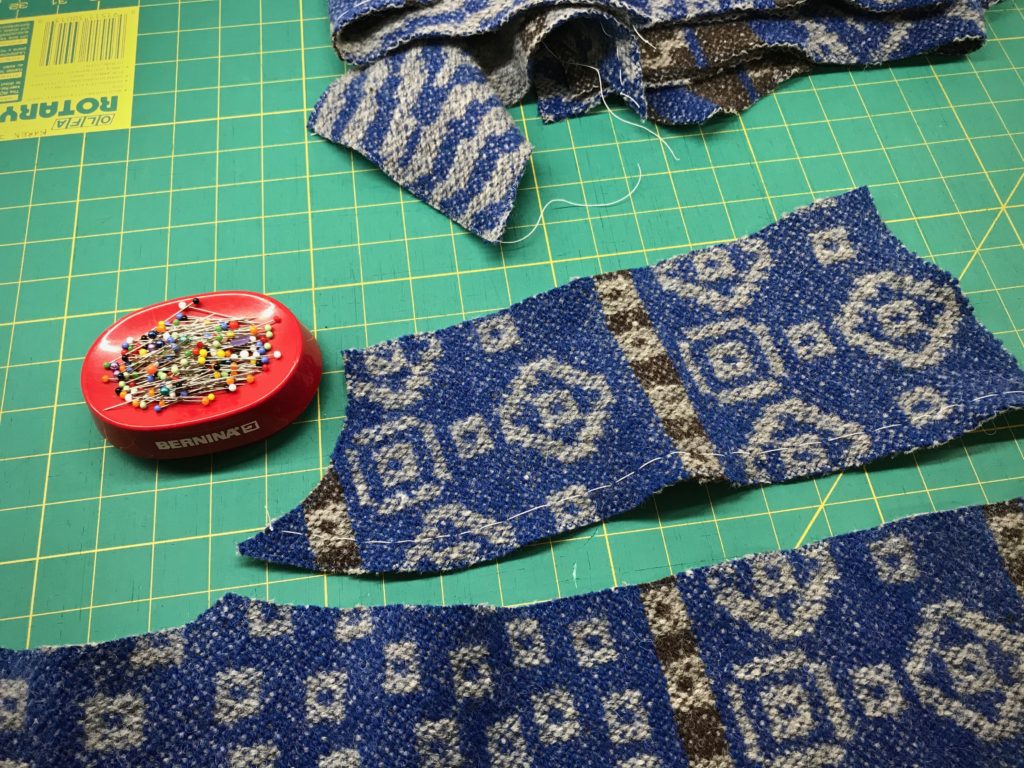
Lapped seams? 3/8”, 1/2”, 5/8”? // Yes, lapped seams, overlap 1/2”, stitch basted line to guide placement
Neck and armhole curves – staystitch with hand running stitches or machine stitching? 1 row or 2? // Hand running stitches, 2 rows
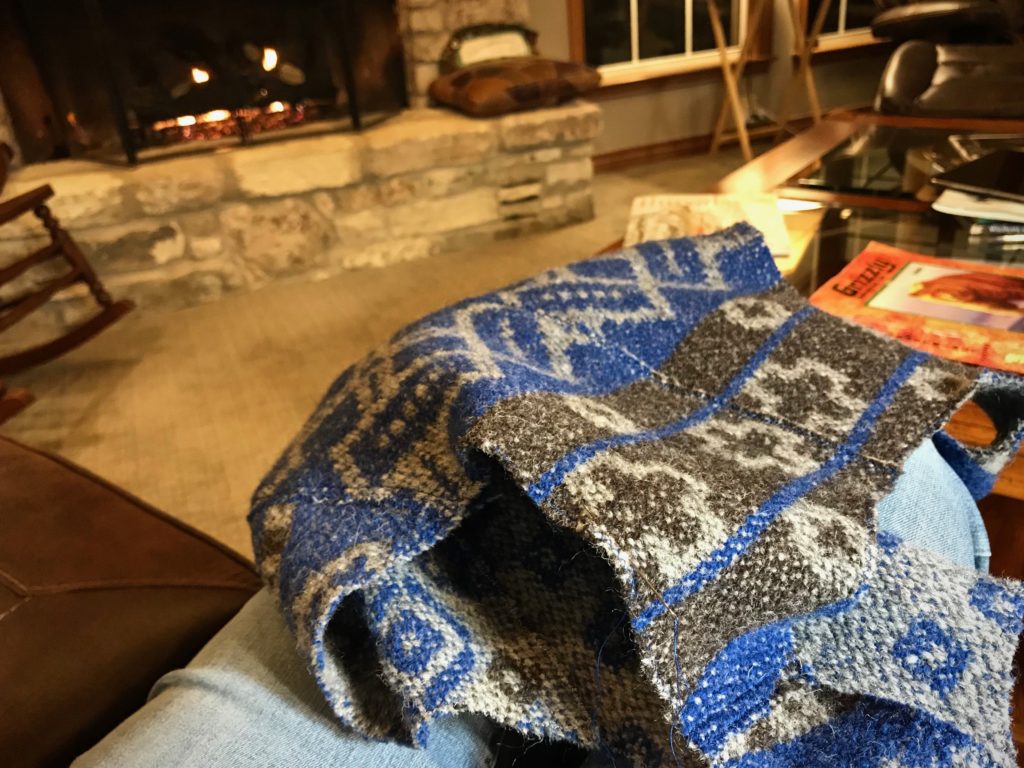
Detail study testing lapped seams.
From the results of the detail studies I was able to compile a step-by-step garment construction plan. Confidence to sew!
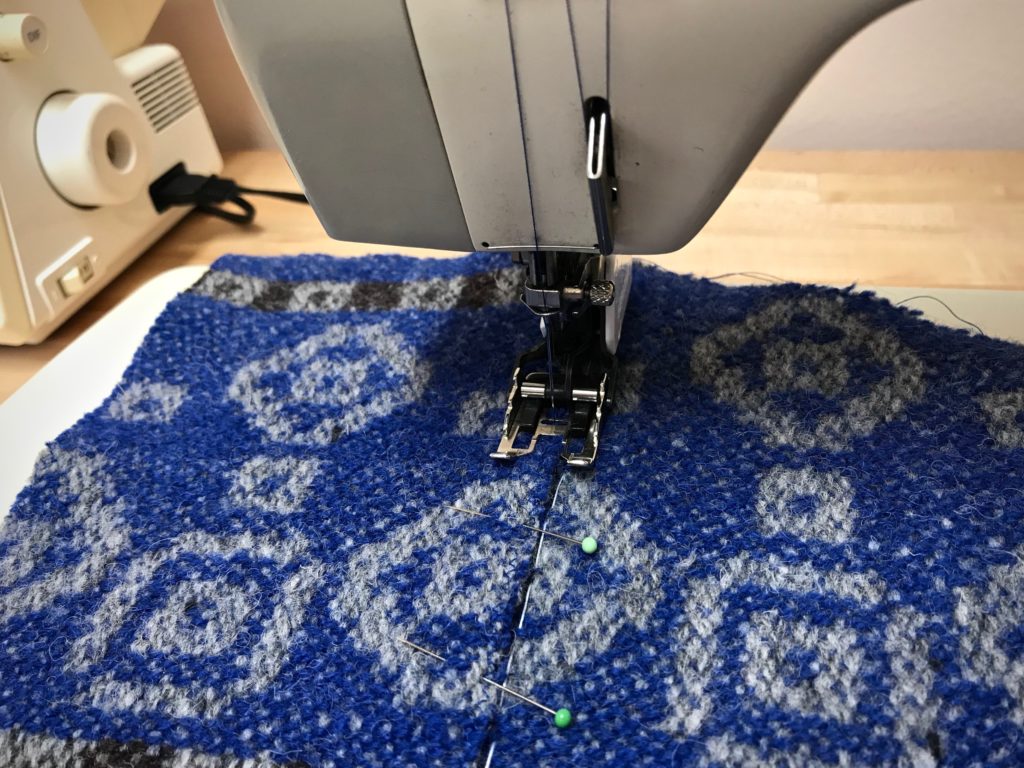
Follow my process pictures of the garment construction to see the results:
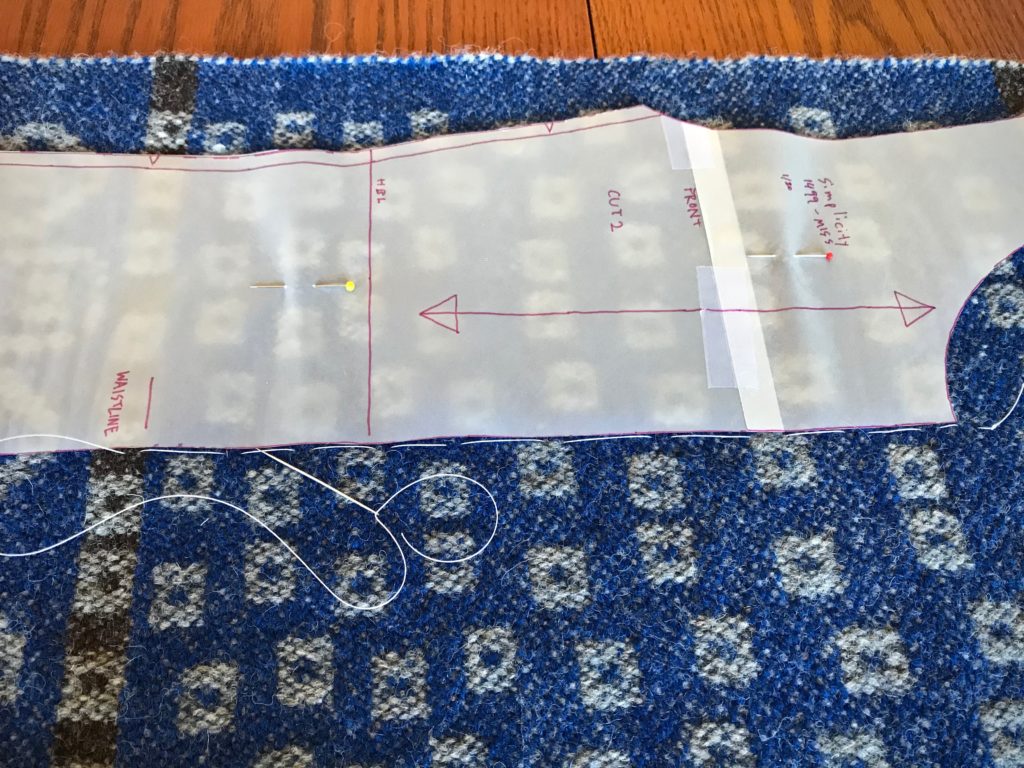
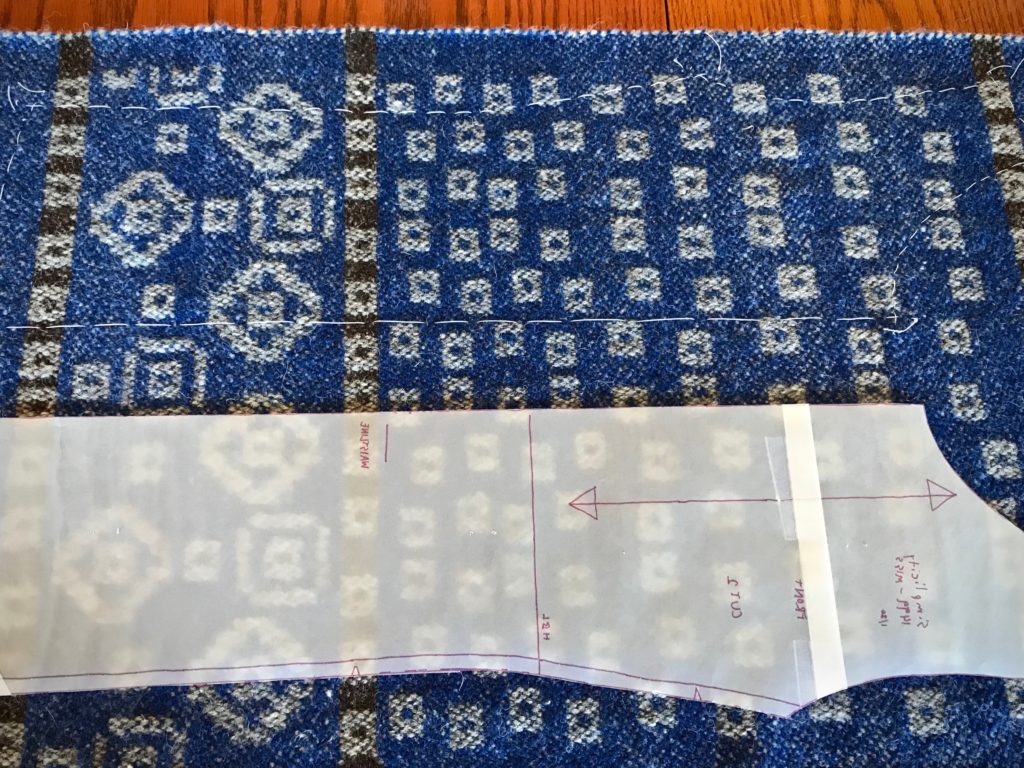
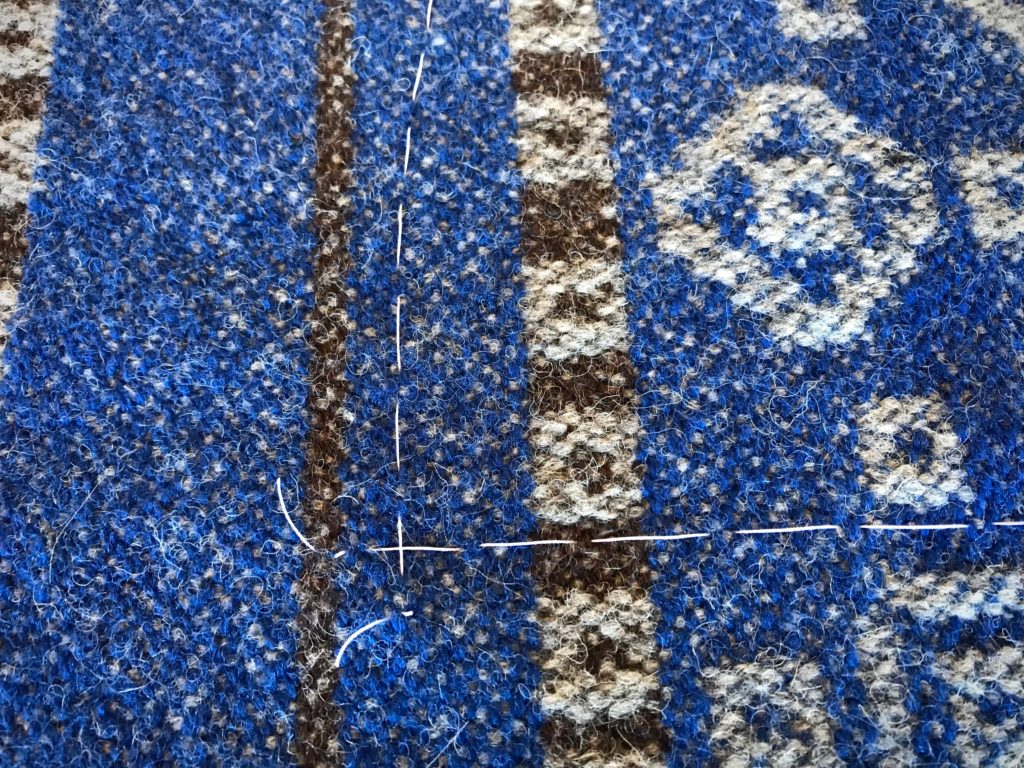
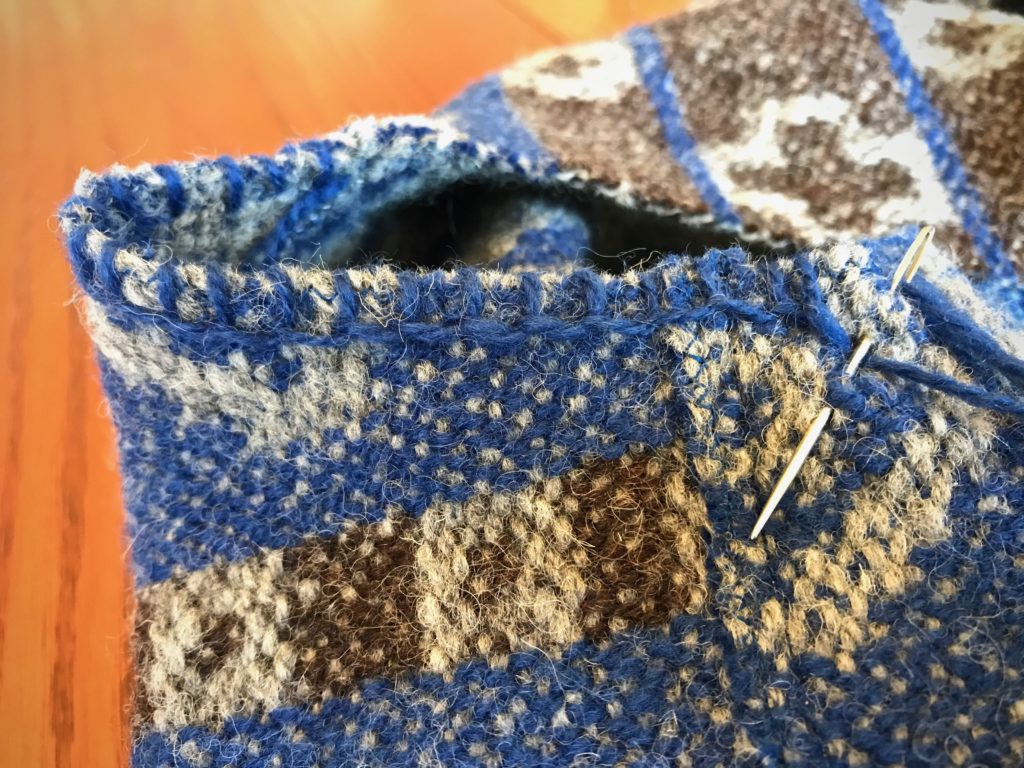
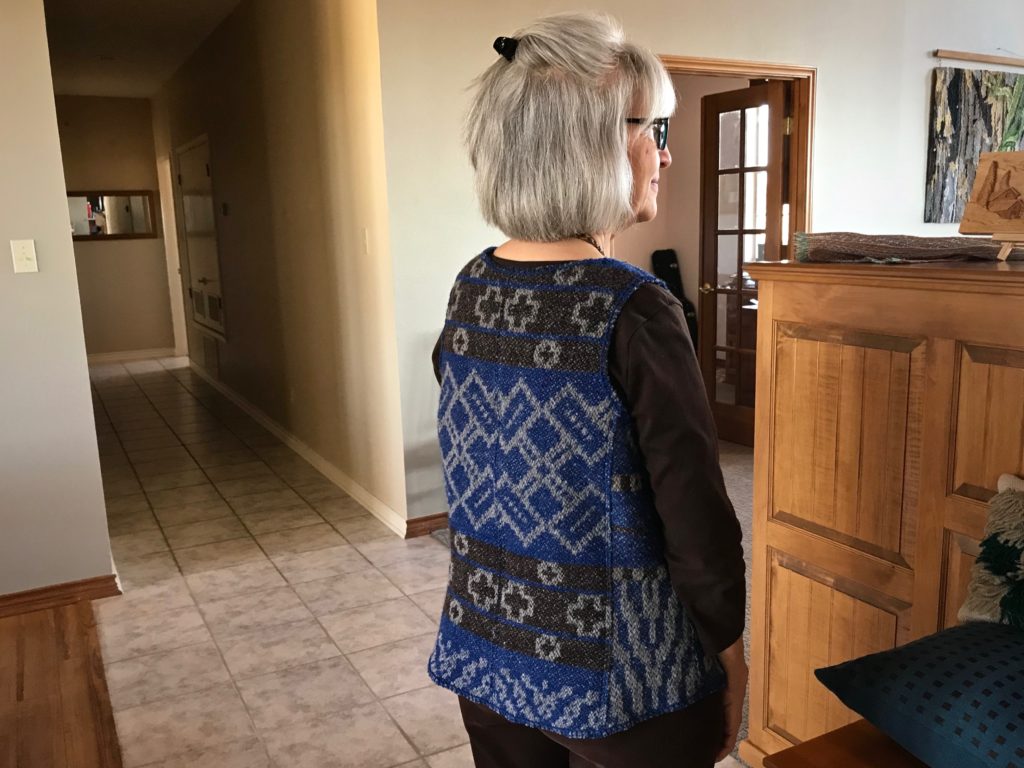
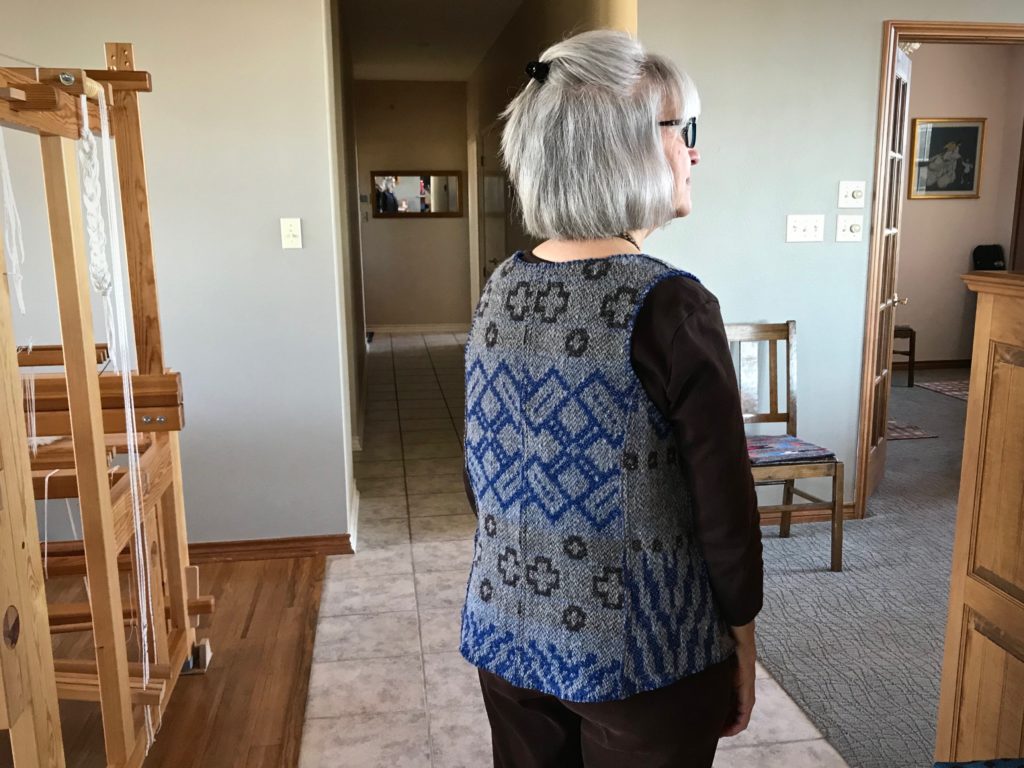
Cutting lines marked with basting stitches.Tracing paper is used for the pattern, which allows me to clearly see the placement of the pattern on the fabric.Making an X with the basting thread at the corners. This helps clarify exactly where to stitch and cut. (One of Elisabeth’s helpful tips.)Buttonhole twist thread is used for the basted lines. It makes an easy guide for the sewing machine needle to follow. The zigzag stitches are just inside the line.Basting stitch on the front side piece is a guide for positioning the lapped seam.Ready for hand work.Two rows of running stitches around the armholes and neck opening.Blanket stitch is used to embellish and strengthen the armholes, neck, front edges, and lower edge of the vest.Reverse side.
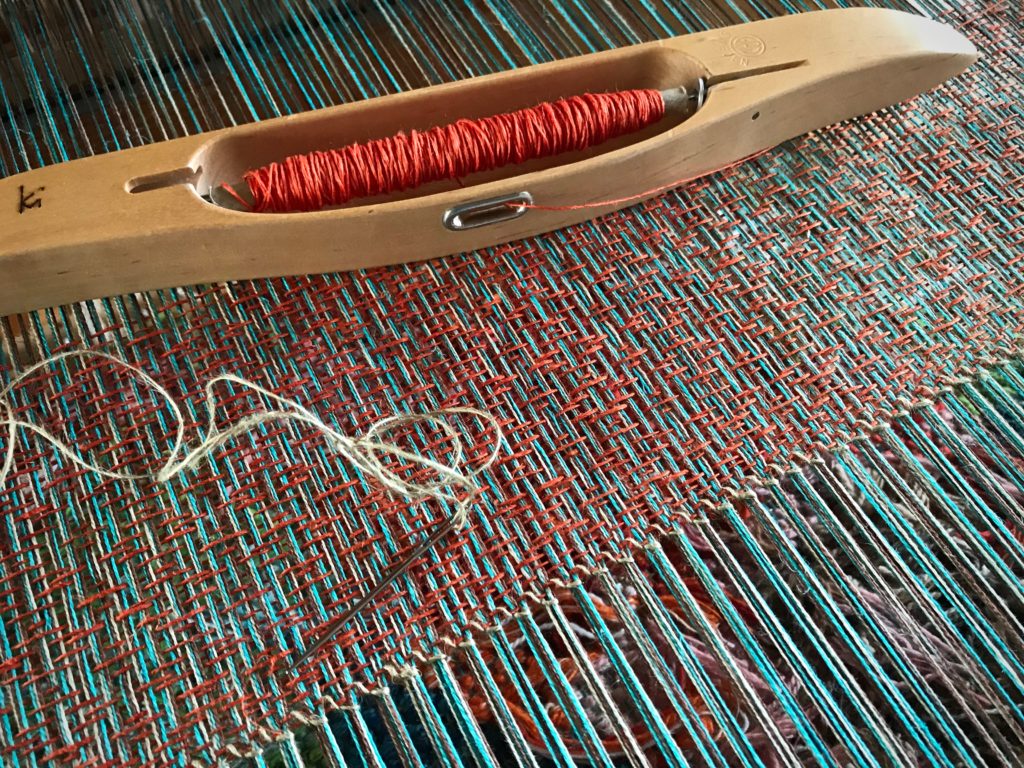
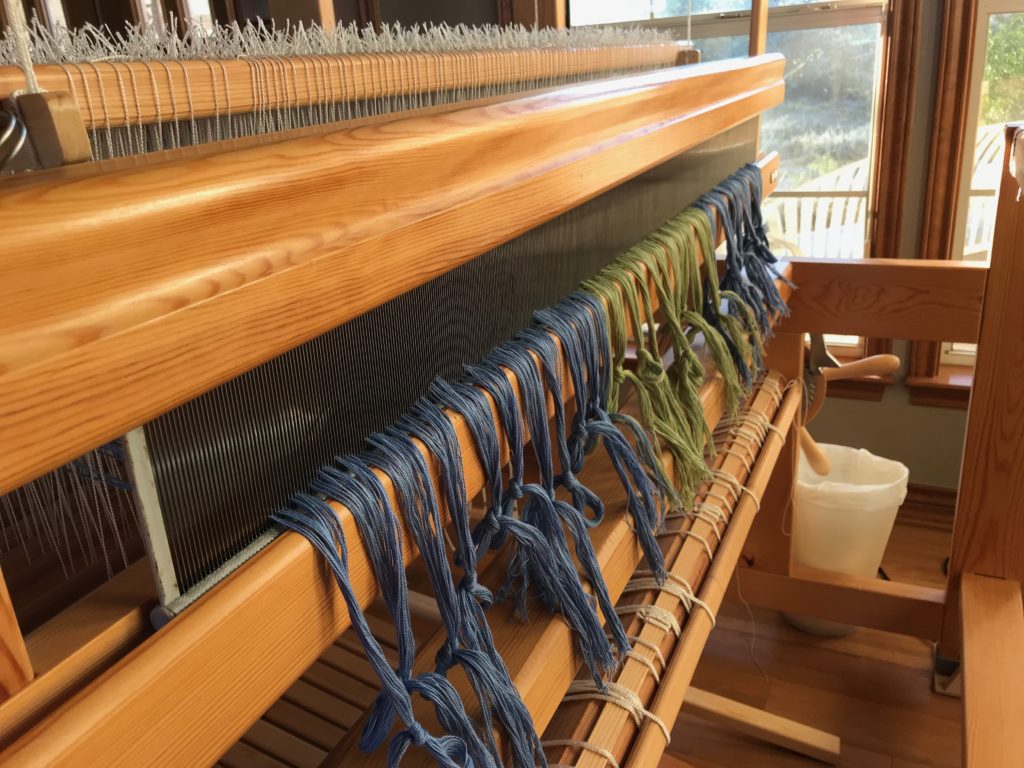
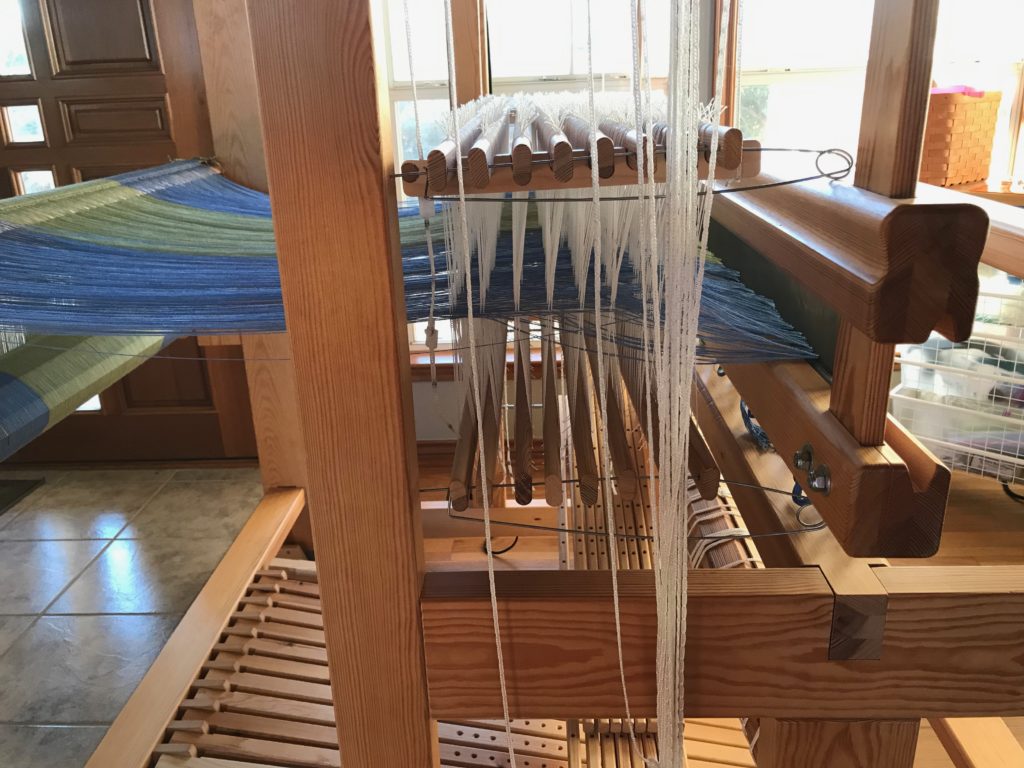
I desperately want to unroll this tapestry so we can see the whole thing. The tapestry and its linen header are finished. But it’s not quite time to cut it off. First, I am weaving the rest of this beautiful linen warp. Not another tapestry, just a lacey rosepath weave using a tomato orange 6/1 tow linen weft.
With one more row of wool weft this tapestry is completed. Ten picks of linen in a plain-weaveheader follow. After that, a few rows of wool weft (leftover butterflies) are woven to secure the weft.Hemstitching secures the weft for this lacey weave.
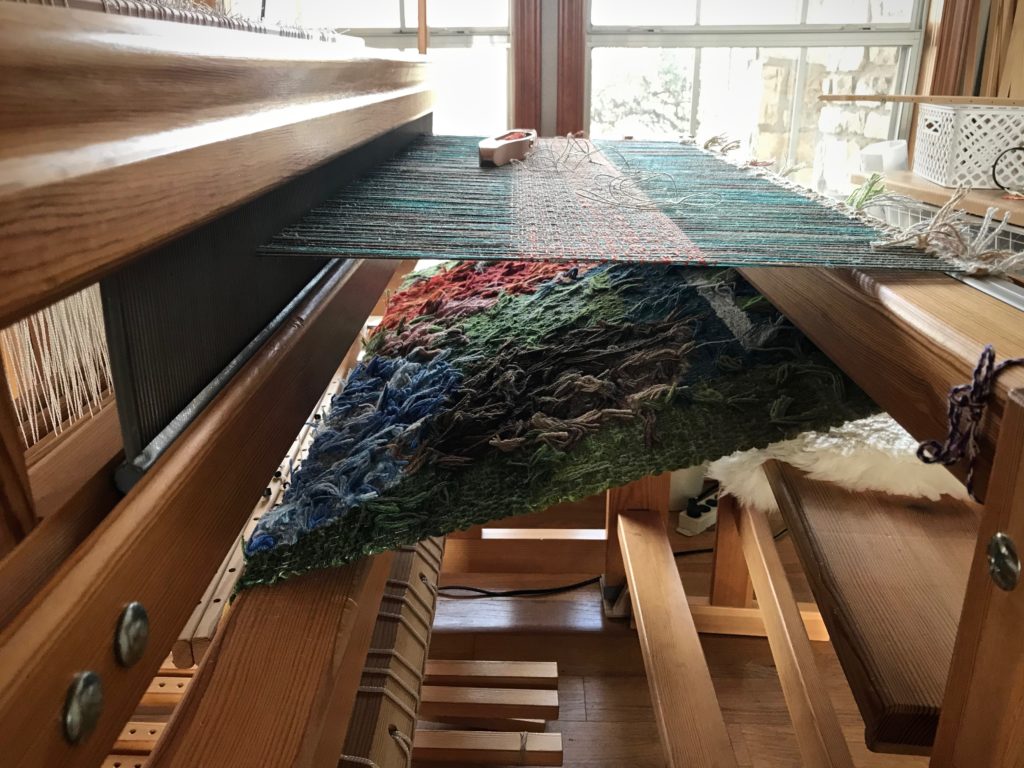
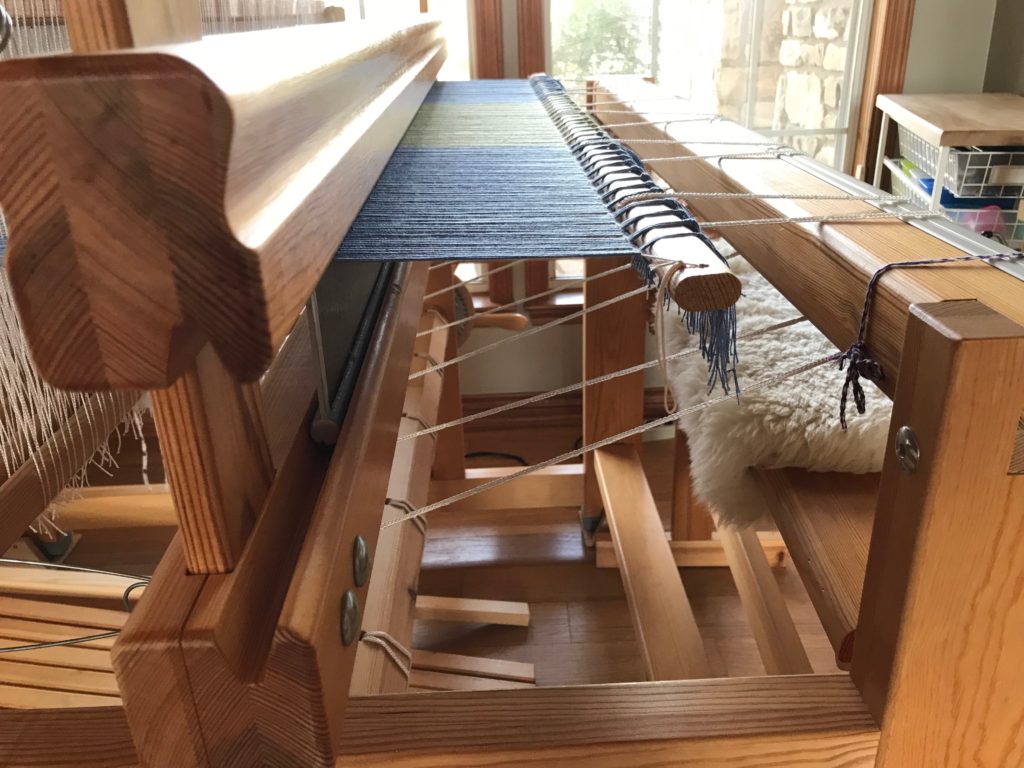
It won’t take much time to weave this off, especially compared to the slower process of weaving the tapestry. Hemstitching, which does take time, will help keep this loosely-woven piece from unraveling when the warp is finally cut off. Soon enough, we will enjoy the full view of the completed Siblings tapestry.
View of the messy underside of the tapestry.Only a short distance remains on this beautiful linen warp.
Time. We all have it. And yet none of us knows how much of it we have. How many days have we been given? We don’t know. Time is temporary. Imagine a place where time isn’t measured. That’s heaven. Our short time here is but a pilgrimage to another destination. Our trust in Jesus opens heaven’s doors. In the meantime, the Grand Weaver’s warp will be woven, and not wasted, to the very end.
May you complete your pilgrimage in the time you’ve been given.
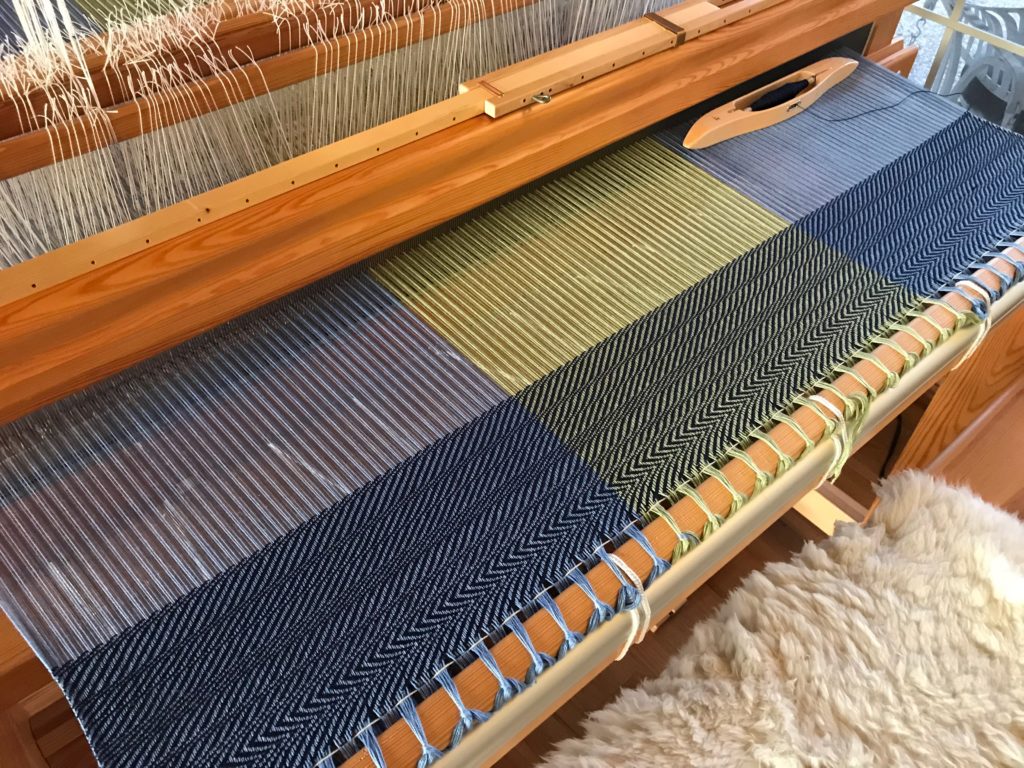
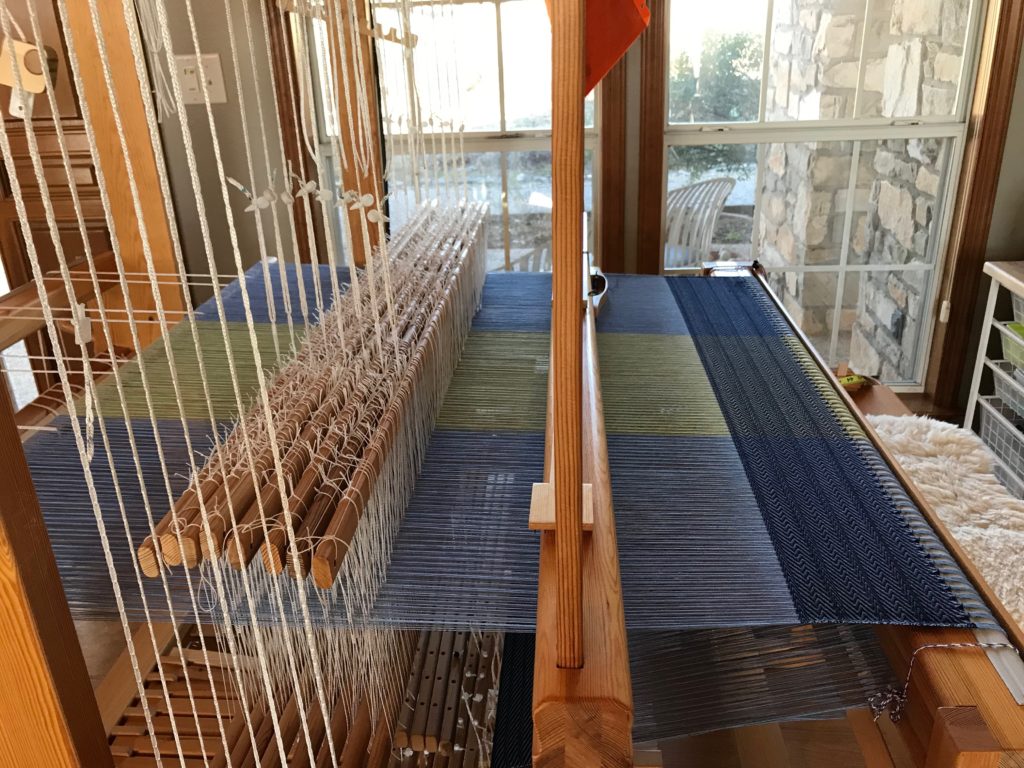
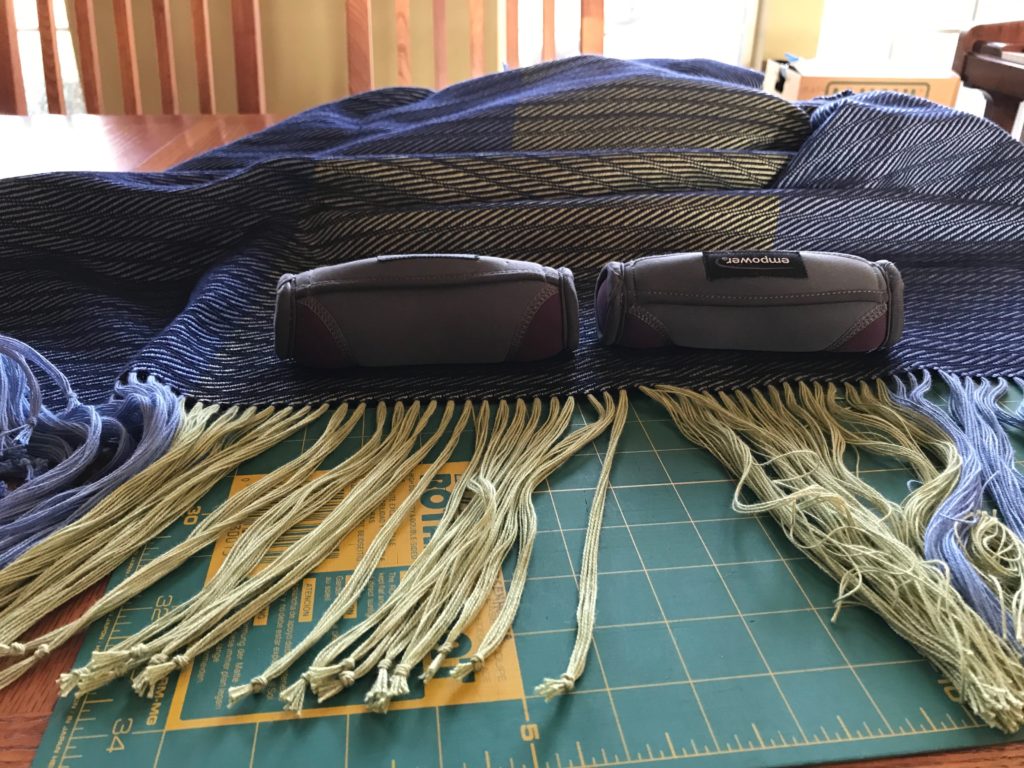
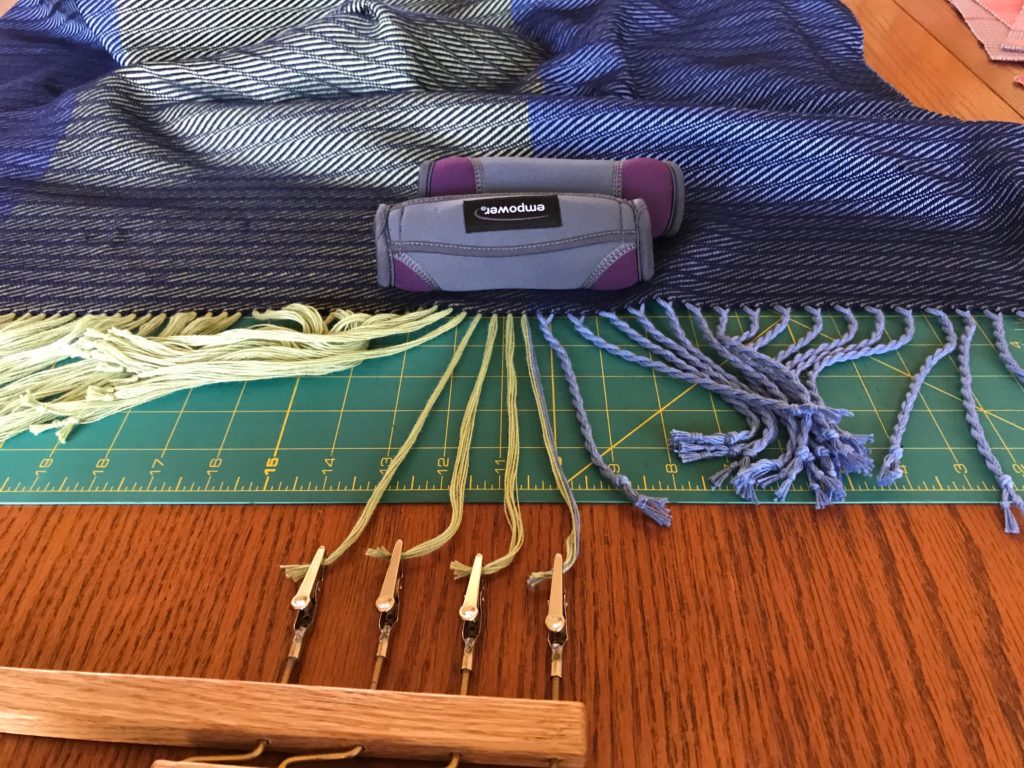
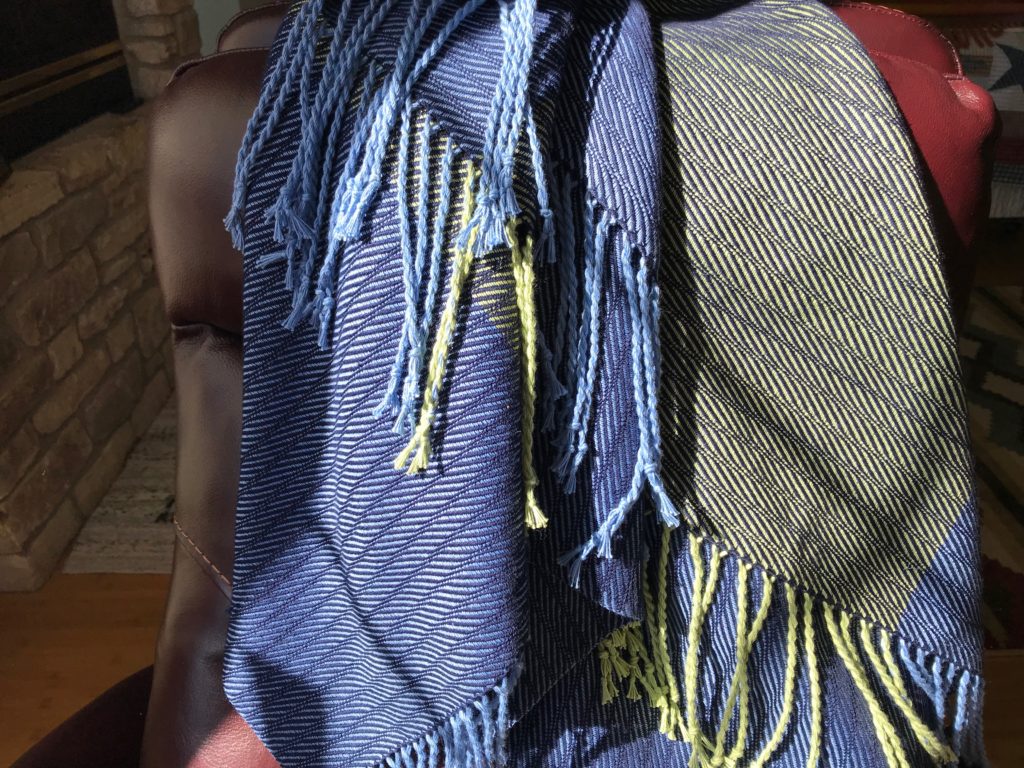
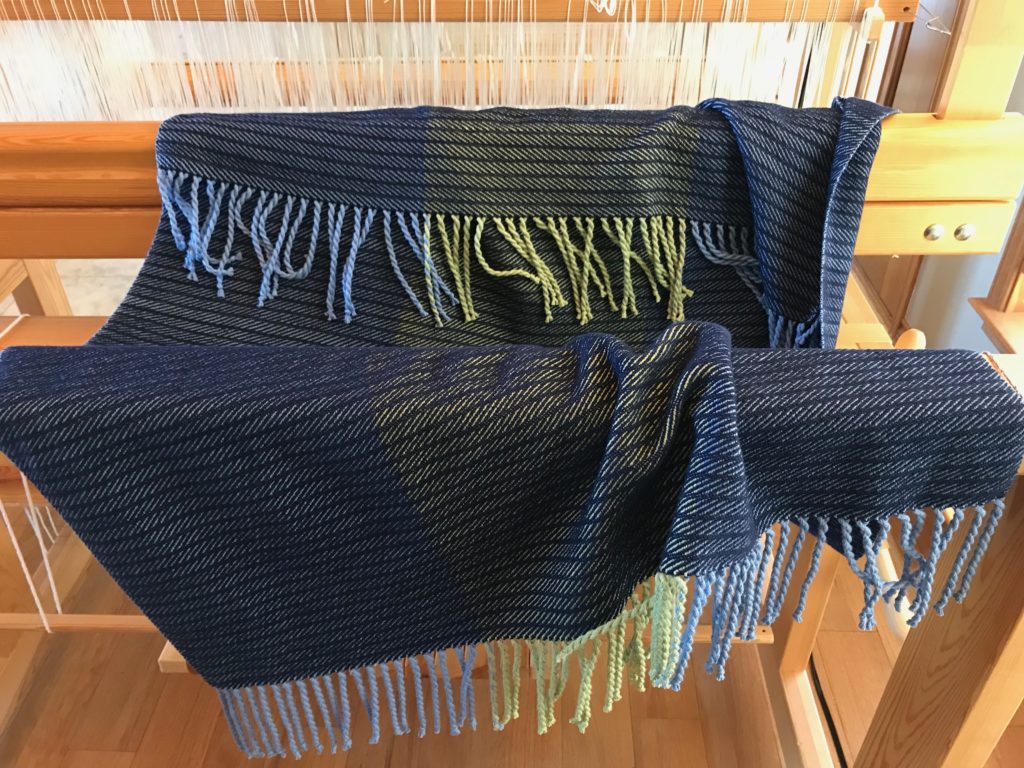
This throw has fringe. It seems appropriate for a homestyle cotton wrap. Fringe says comfortable, casual, and playful. I do not mind the time it takes to twist the threads to make this tactile edging. It’s a satifying close to a worthwhile project. After all, who can resist running their fingers through soft twisted fringes?
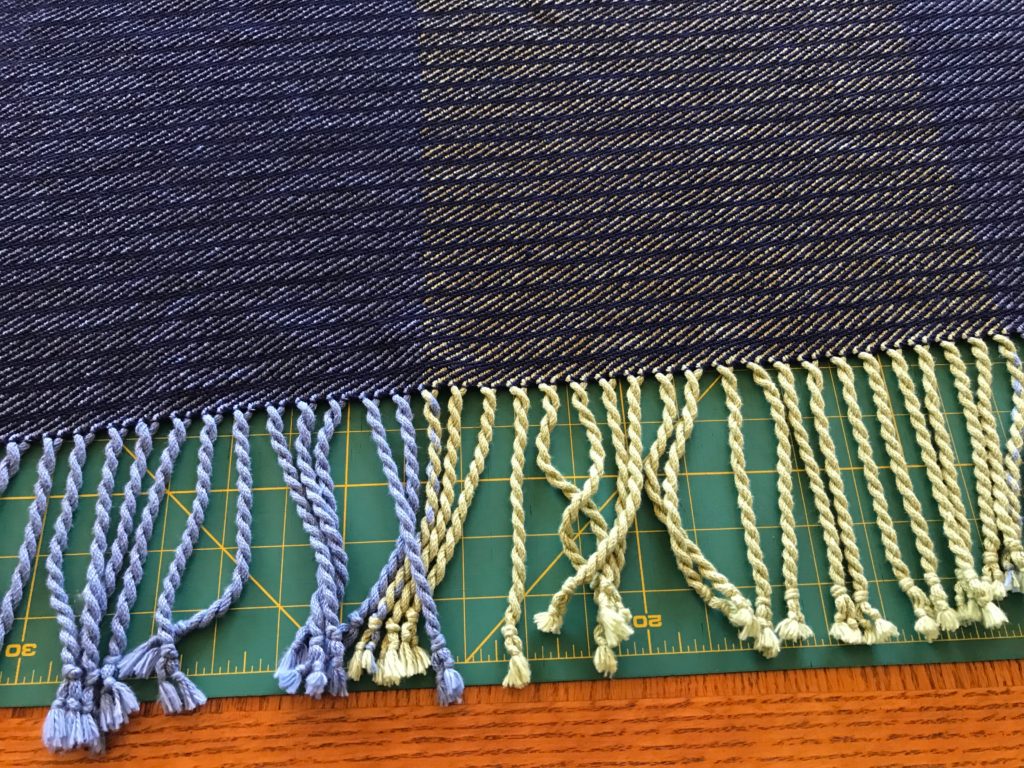
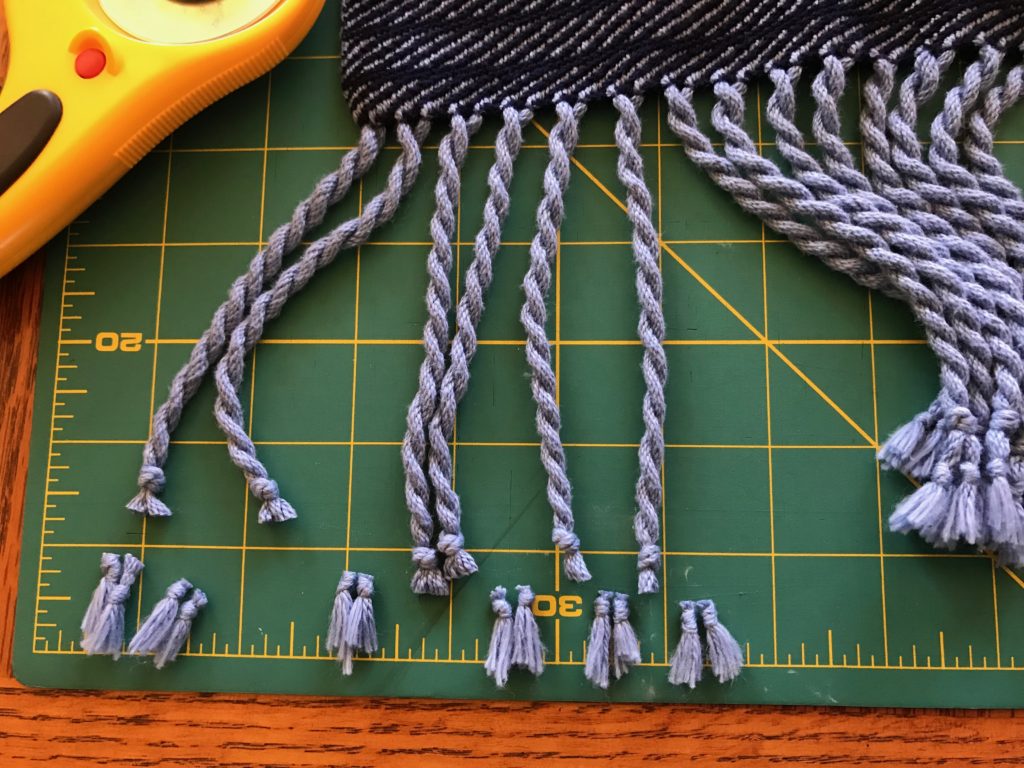
Knots on the ends of the fringes are trimmed off after washing and drying the throw.
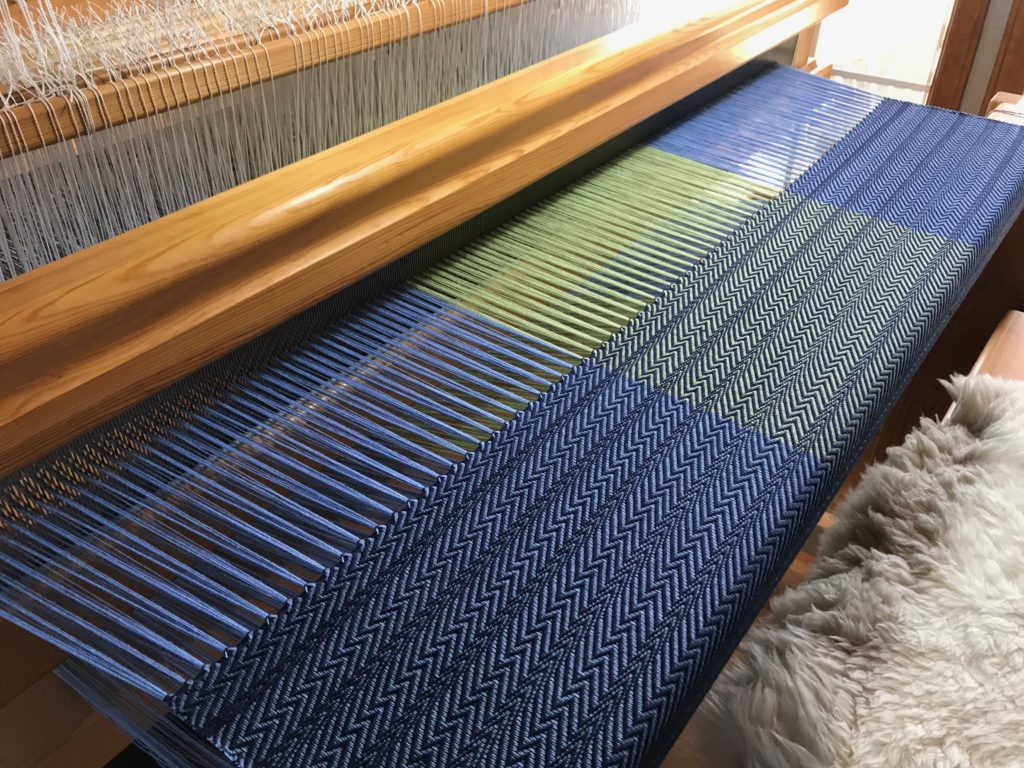
Reminisce with me through the start-to-finish process of making this eight-shaft undulating twill throw for my lovely daughter-in-law Lindsay.
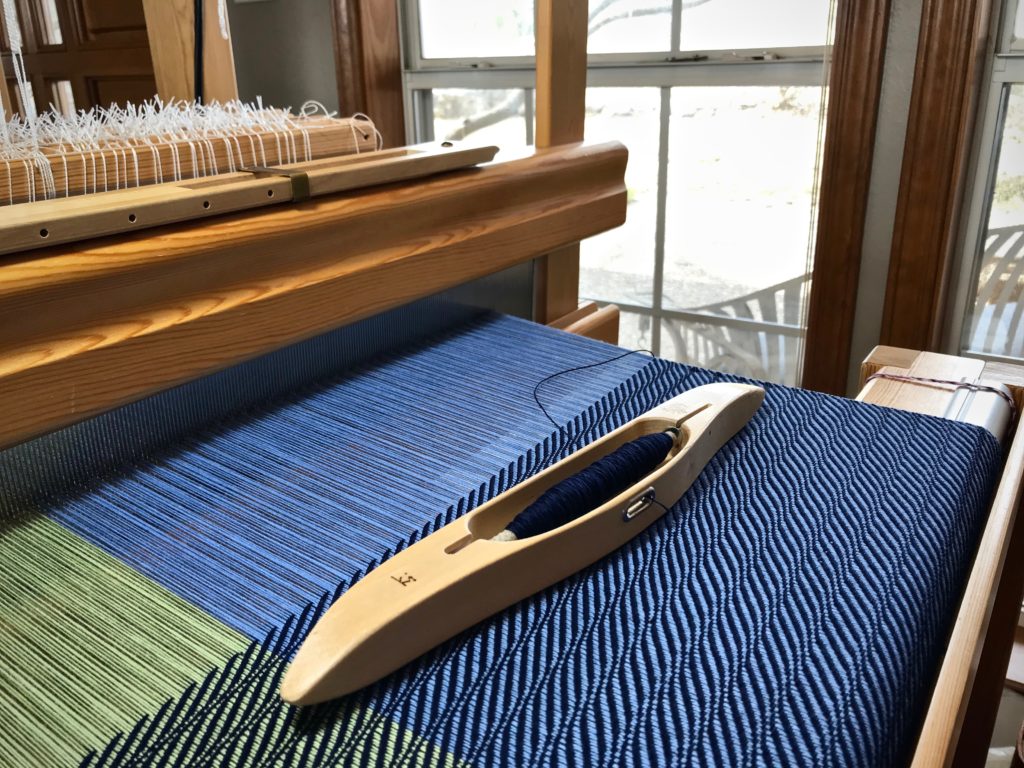
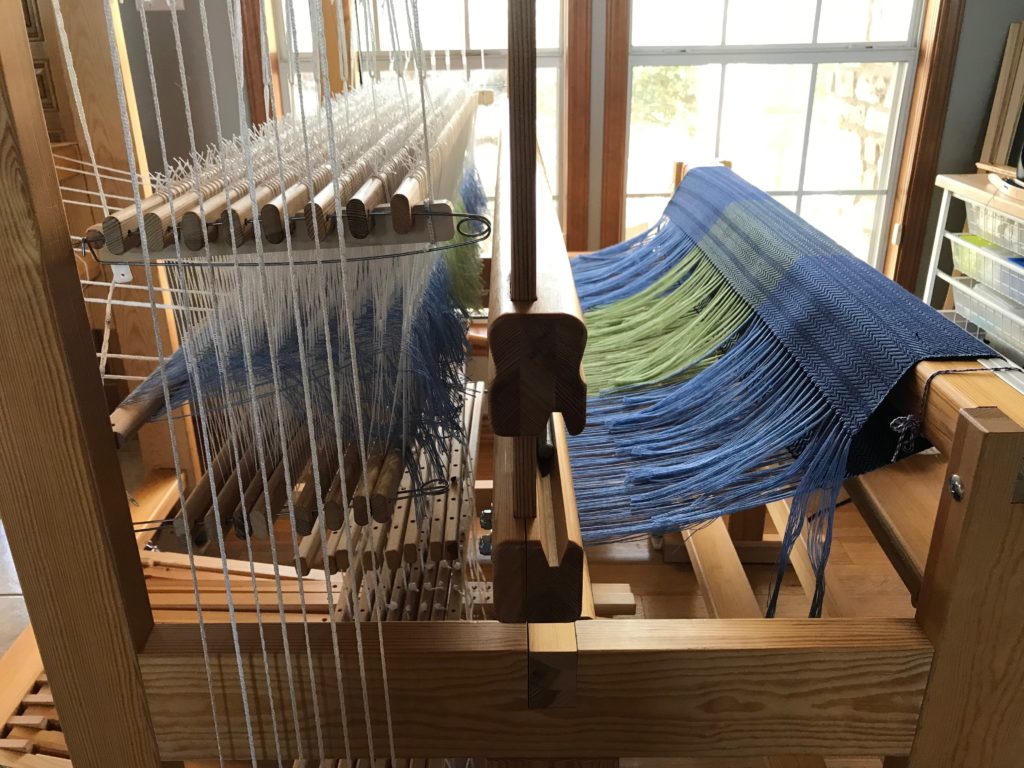
Hemstitching gives a secure and pretty edge for the fringe on this cotton throw. At the beginning of the throw, I measure out a length of the weft thread for the stitching. And now, at the end, I roll off enough thread from the shuttle’squill to use for the final hemstitching.
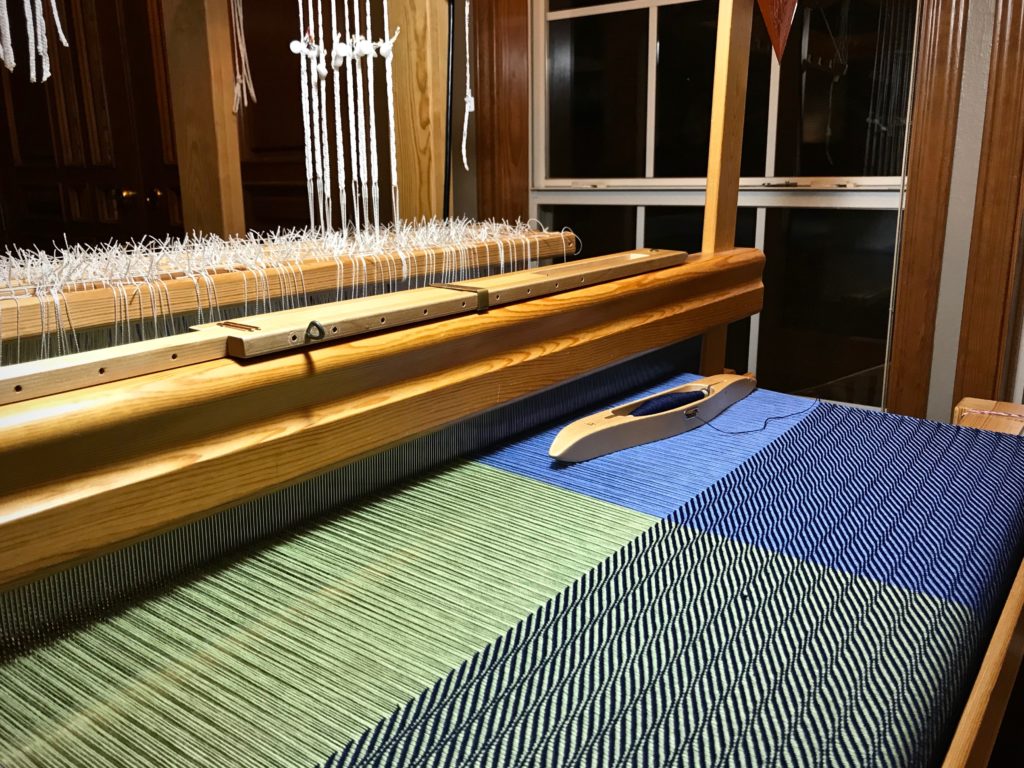
Wanting to finish, I weave the final few centimeters of the throw after dark.
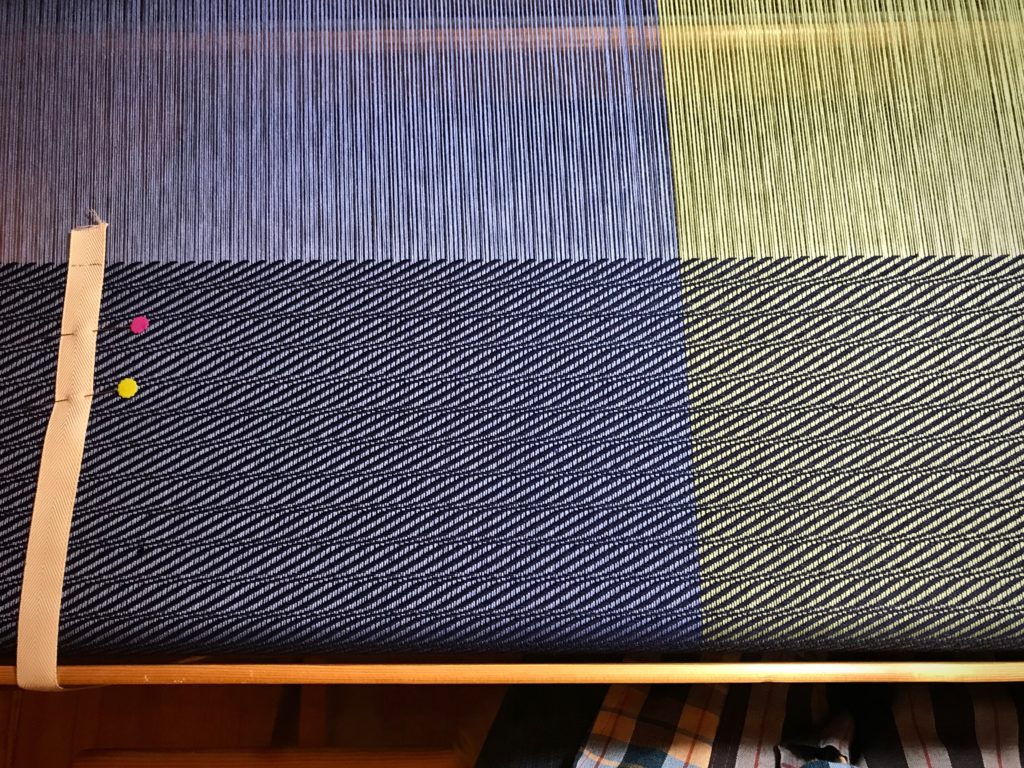
Mark on the measure tape shows I have woven to the end of the throw.
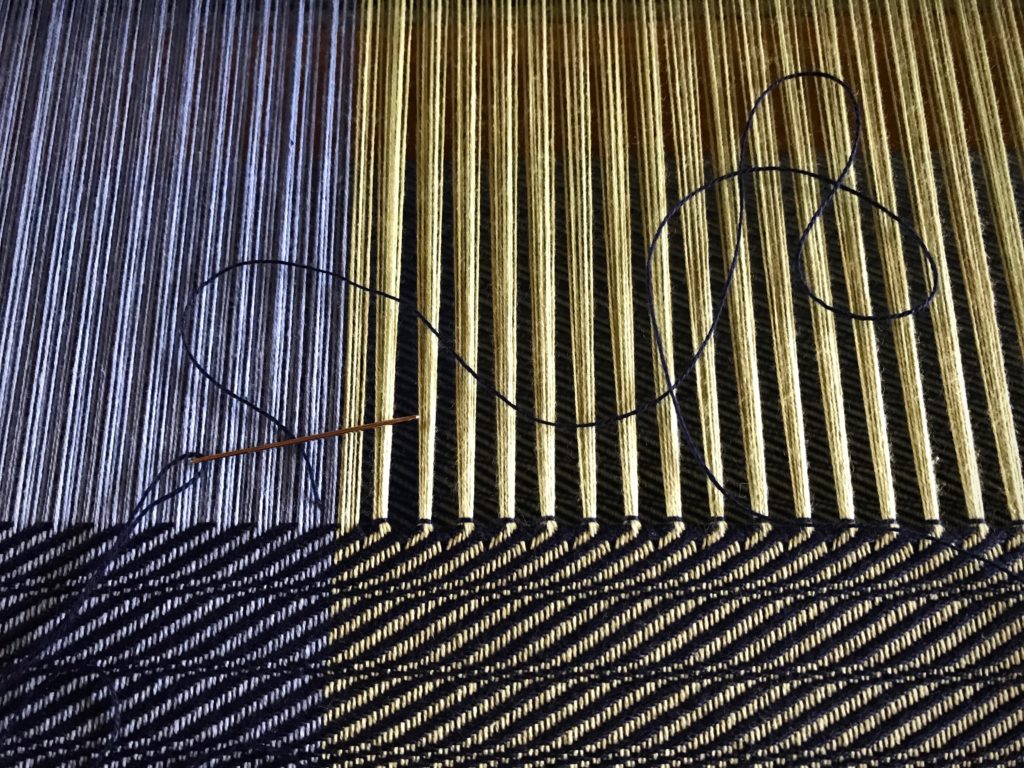
I’m always afraid of cutting the length of thread too short. So, I measure off four times the width of the warp, with a pinch extra just in case. That’s too long, and I know it. But I do it anyway. And then, I have a very long thread to pull through every stitch, with the tangles and knots that go with it.
Hemstitching is underway.Hemstitching thread is longer than needed. Three times the width of the warp should be plenty.
In trying to be perfect, I miss perfection by a long shot. If I measure out more than enough of my own goodness, surely I’ll have plenty to enter heaven, right? But the perfection of heaven requires perfection. It’s impossible for me to be good enough, smart enough, or successful enough to reach perfection. Heaven is for the imperfect. We, the imperfect, enter heaven’s perfection by trusting in the only perfect one, Jesus Christ. His goodness, measured out for us, is precisely enough.