Handwoven Blankets for Babies

Handwoven baby blankets are for cuddling babies. It is a pleasure to weave a baby blanket for a dear friend’s first grandchild. As long as I’m dressing the loom, it makes sense to weave more than one. So the second baby blanket is for cuddling my own grand-babies when they come to visit.

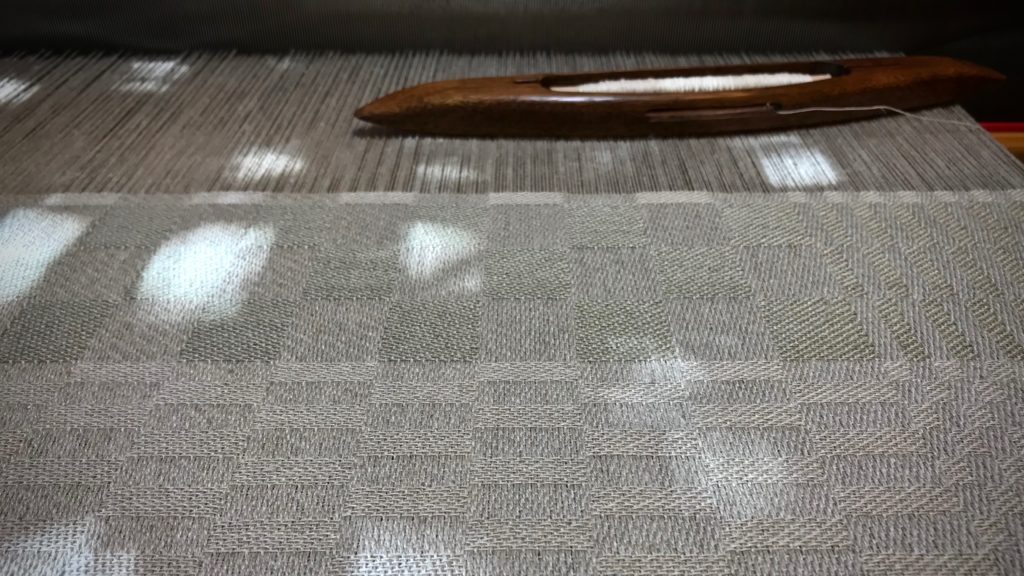
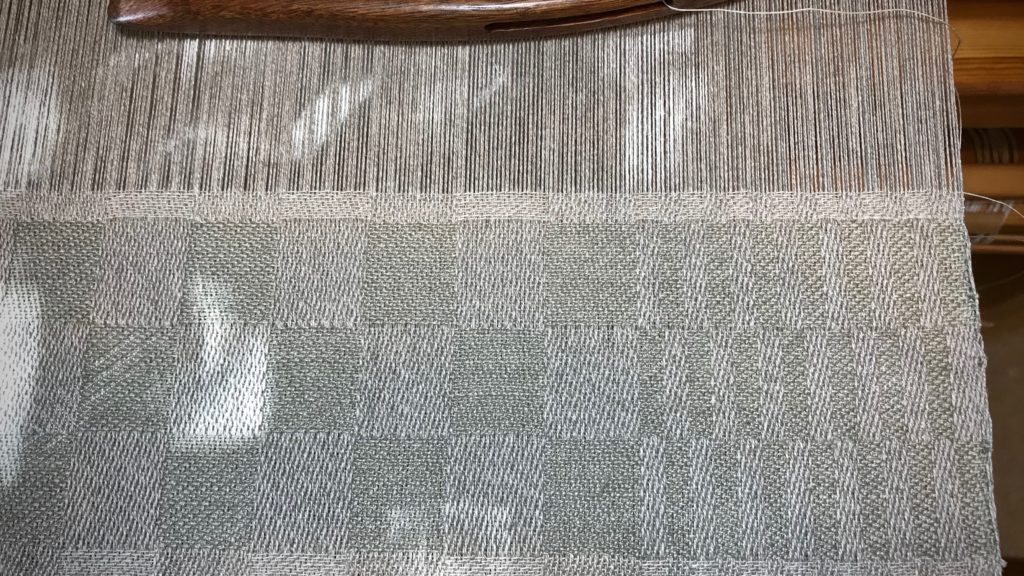
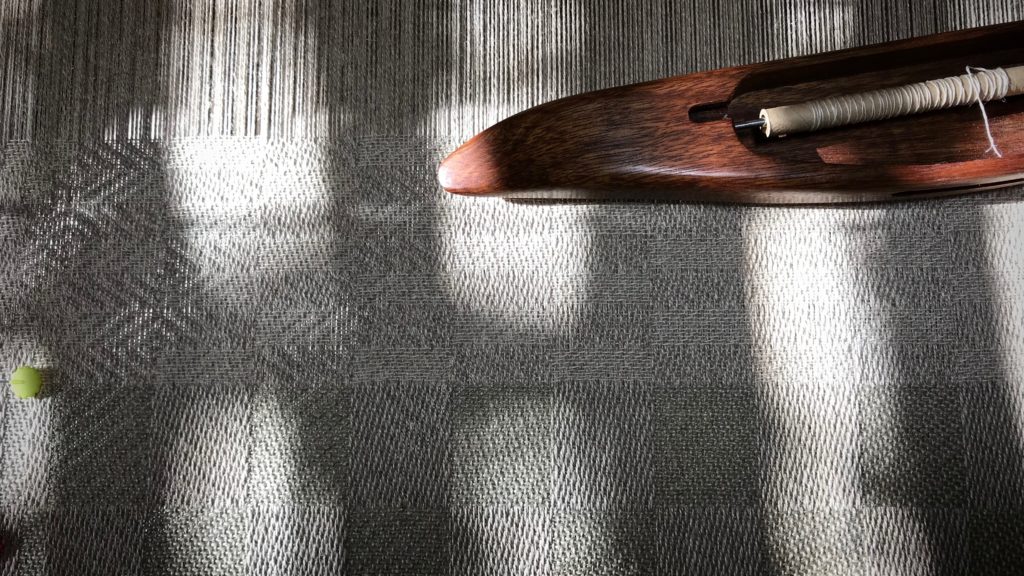
Double weave baby blankets. Cutting off!
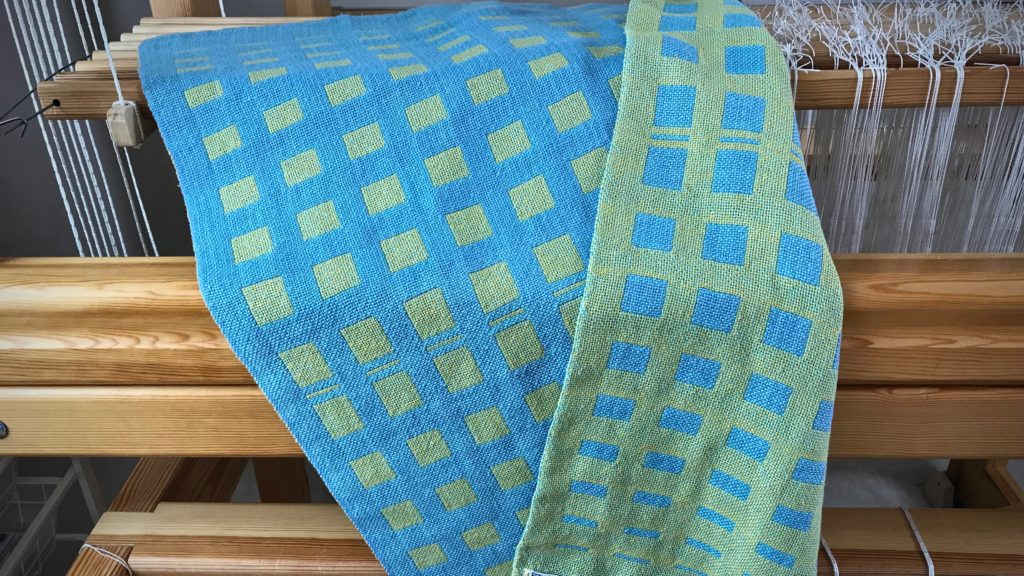
Double weave baby blankets unrolled from the cloth beam, ready to be cut off.
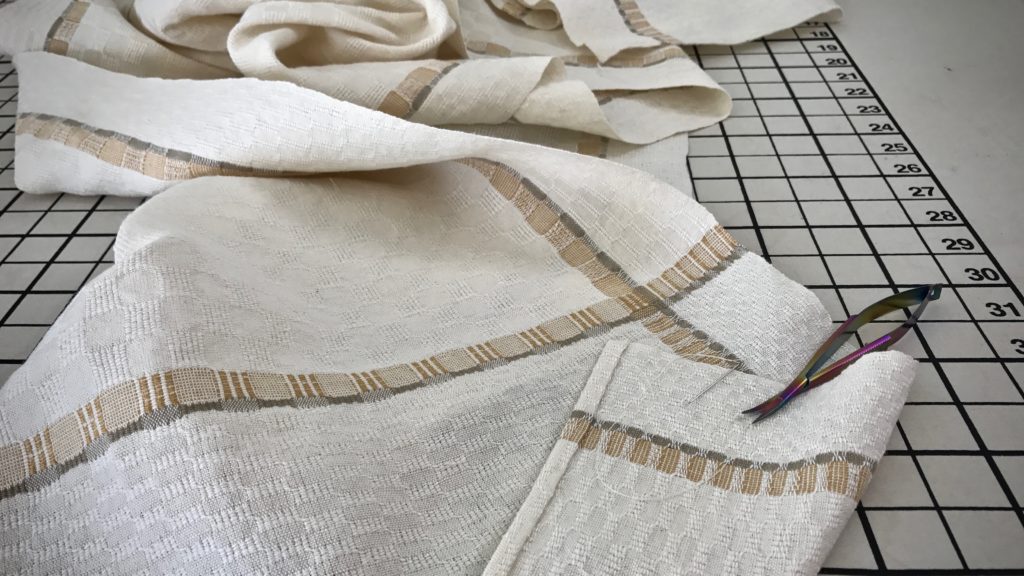
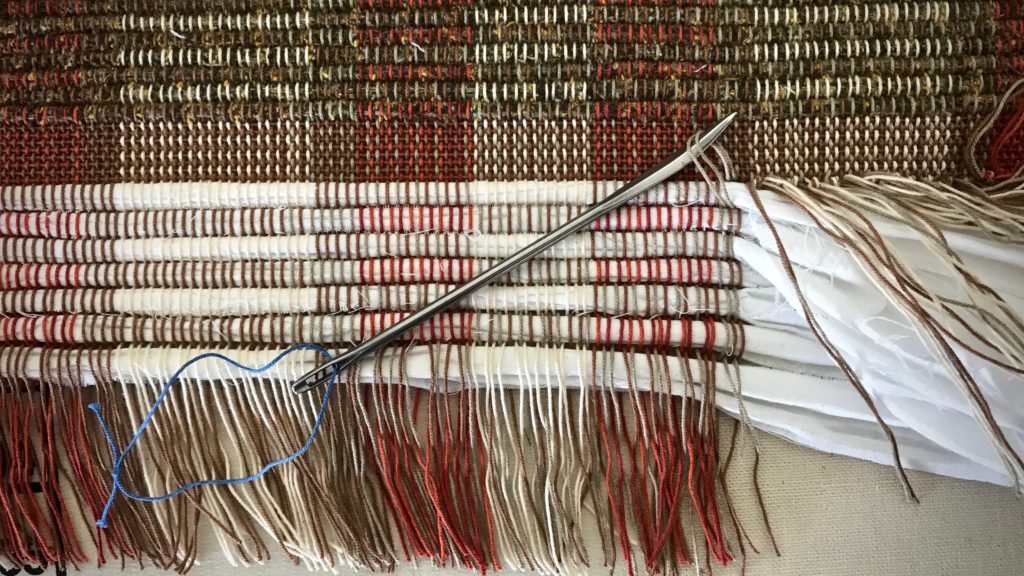
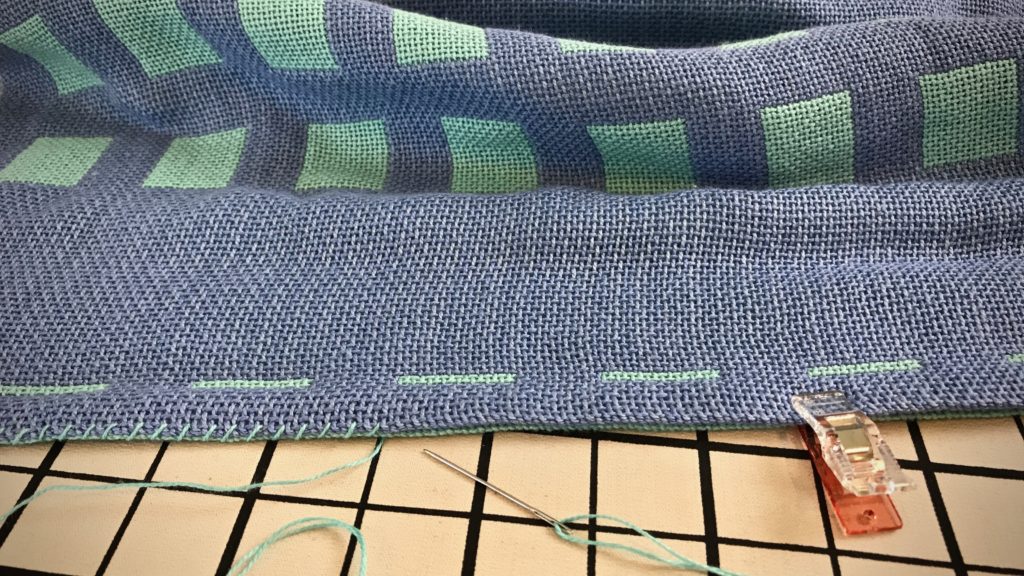
Hemming double weave baby blanket.
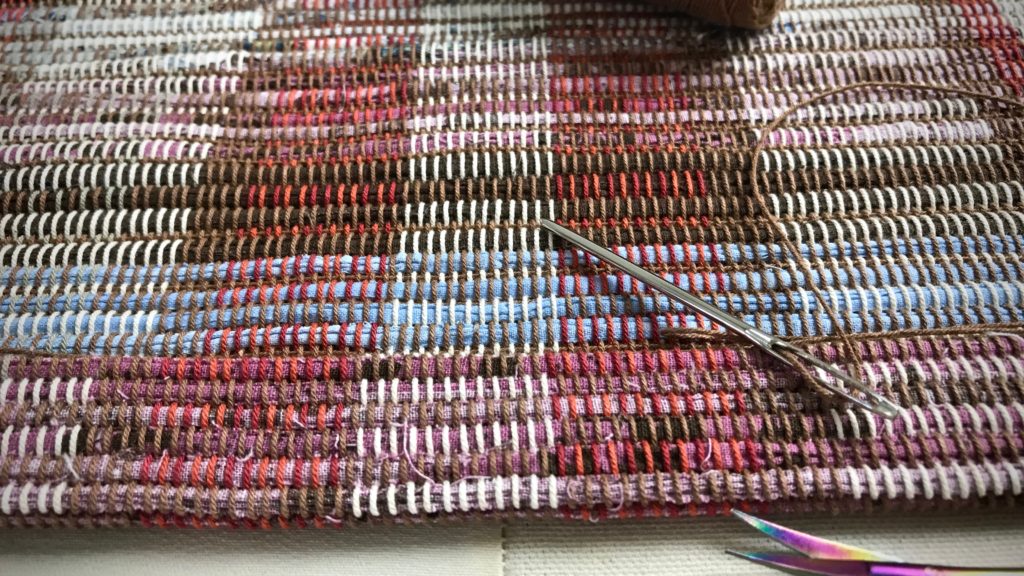
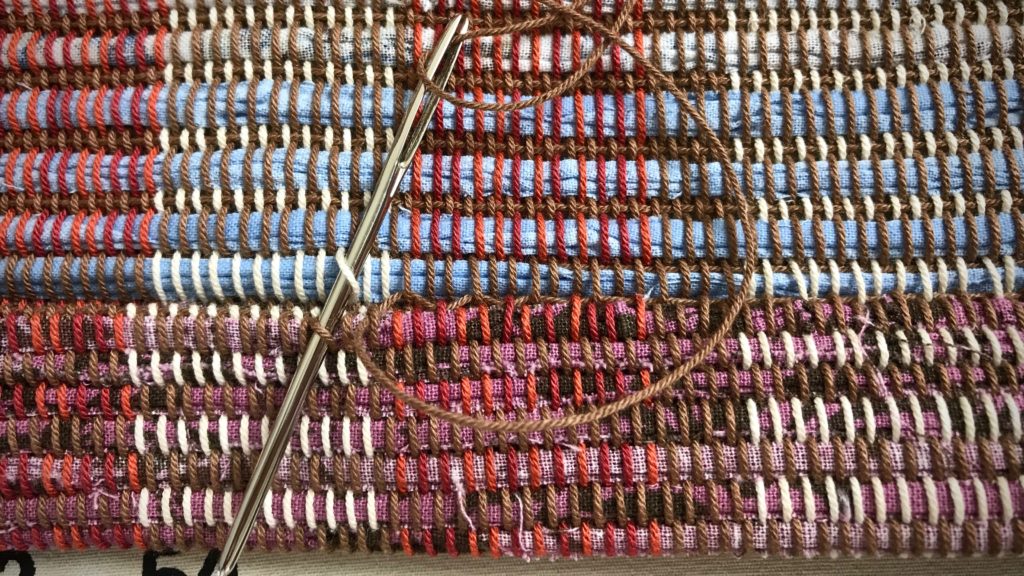
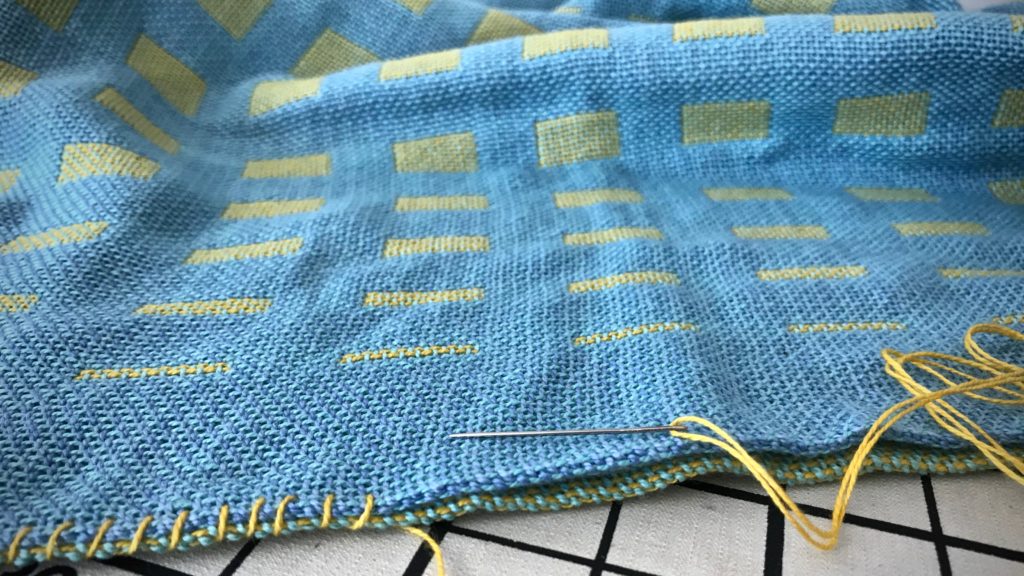
Double weave top and bottom layers are stitched together by hand at the hems. Contrasting thread is used for a decorative embroidered look.
Embroidered edge of handwoven baby blanket.
Whipstitch in contrasting thread.
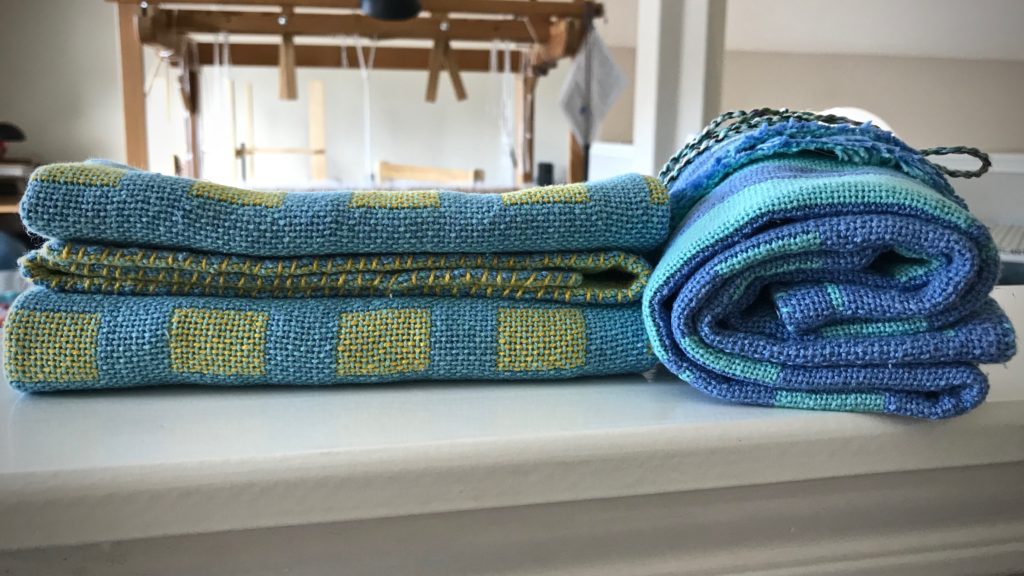
Handwoven baby blankets super soft for baby's skin.
Blankets are triple washed for softness. Ready to touch baby’s skin.
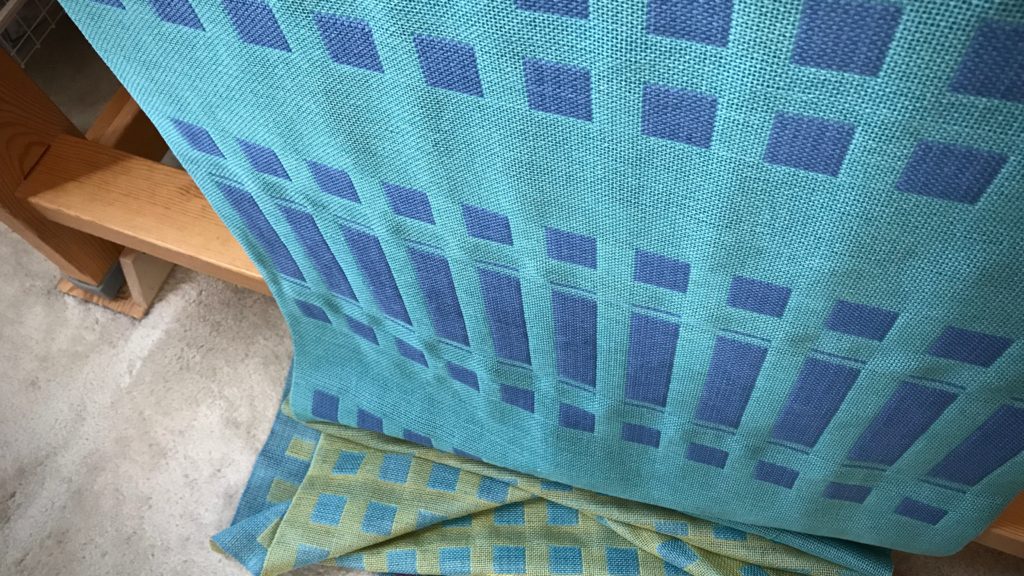
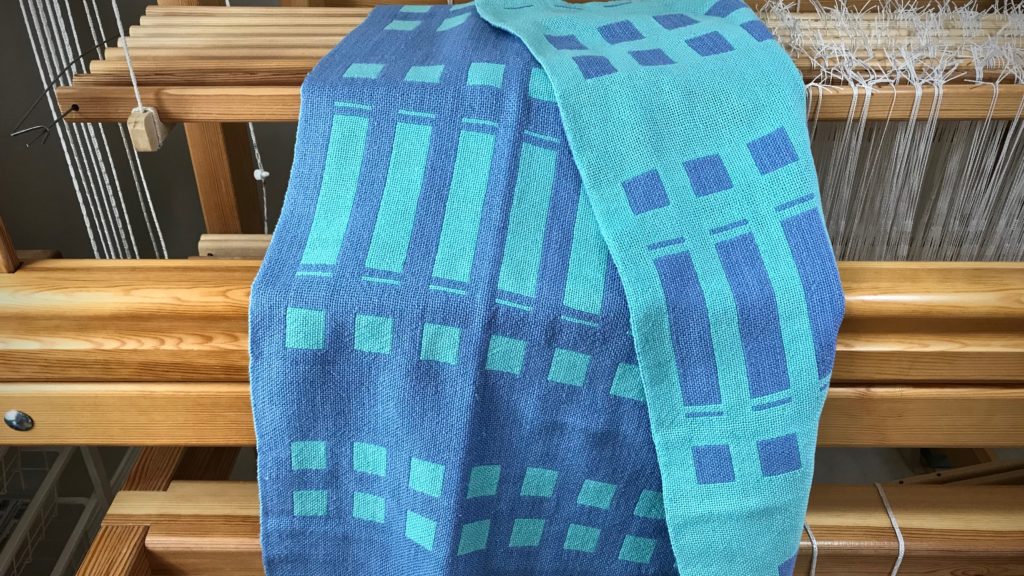
Double weave baby blanket.
Double weave has reverse pattern on the back.
Double weave baby blanket.
Same warp, different weft.
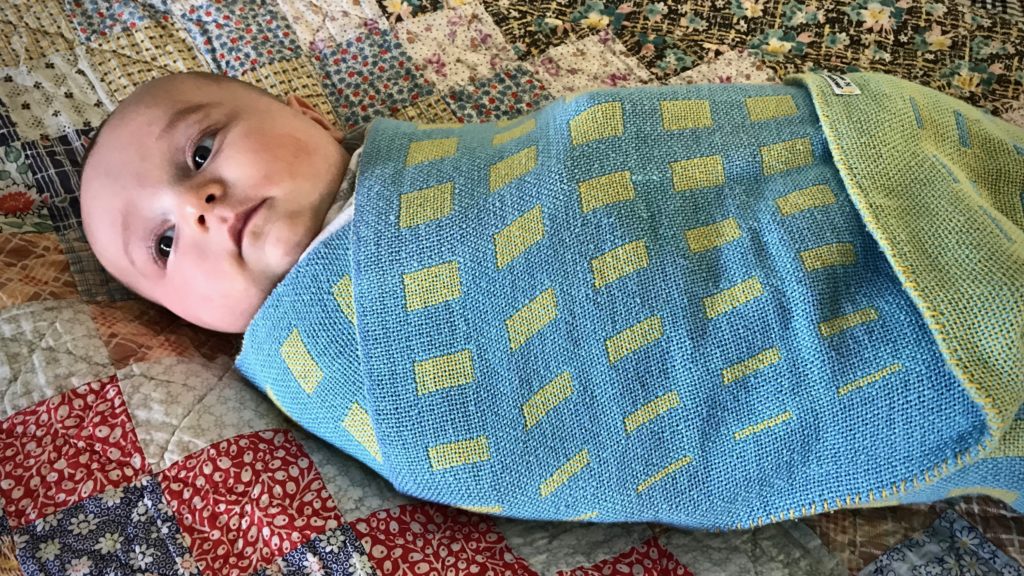
Handwoven baby blanket for newborn.
Meet Julian, my friend’s new grandson, wrapped in love.
Handwoven baby blanket. (Resting on his great-great-grandmother's quilt.)
Meet Benjamin, our newest grandson, wrapped in love. (Resting on his great-great-grandmother’s quilt.)

A resting baby is a picture of hope. Hope for the next feeding, hope in the mother’s tender love, hope in the father’s secure arms. No arrogance, no illusion of grandeur. Just quiet rest. Hope in the Lord looks like this. Hope for today, the future, and forever. My soul is at rest—in complete rest and trust. Like a resting baby in his mother’s arms. Like a baby wrapped in a blanket woven especially for him.

May you find rest.

Blessed,
Karen
Quiet Friday: My Young Apprentice

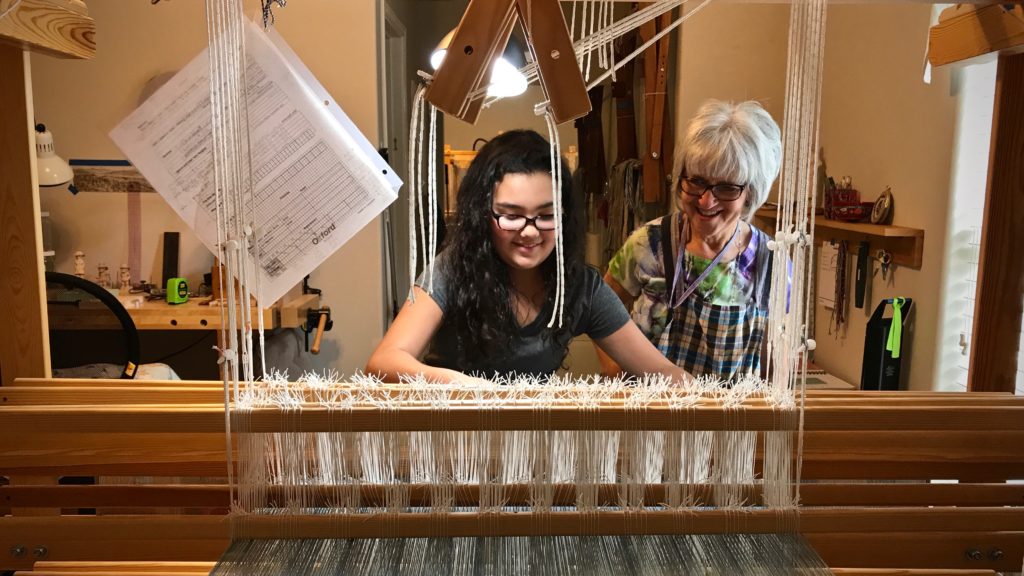
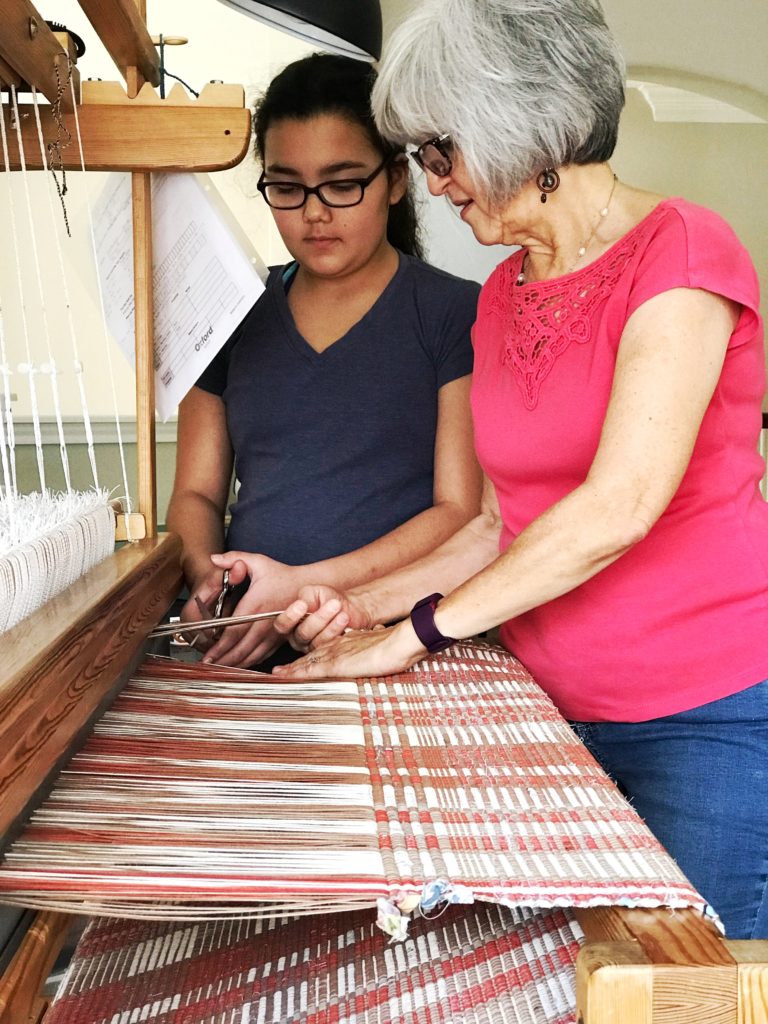
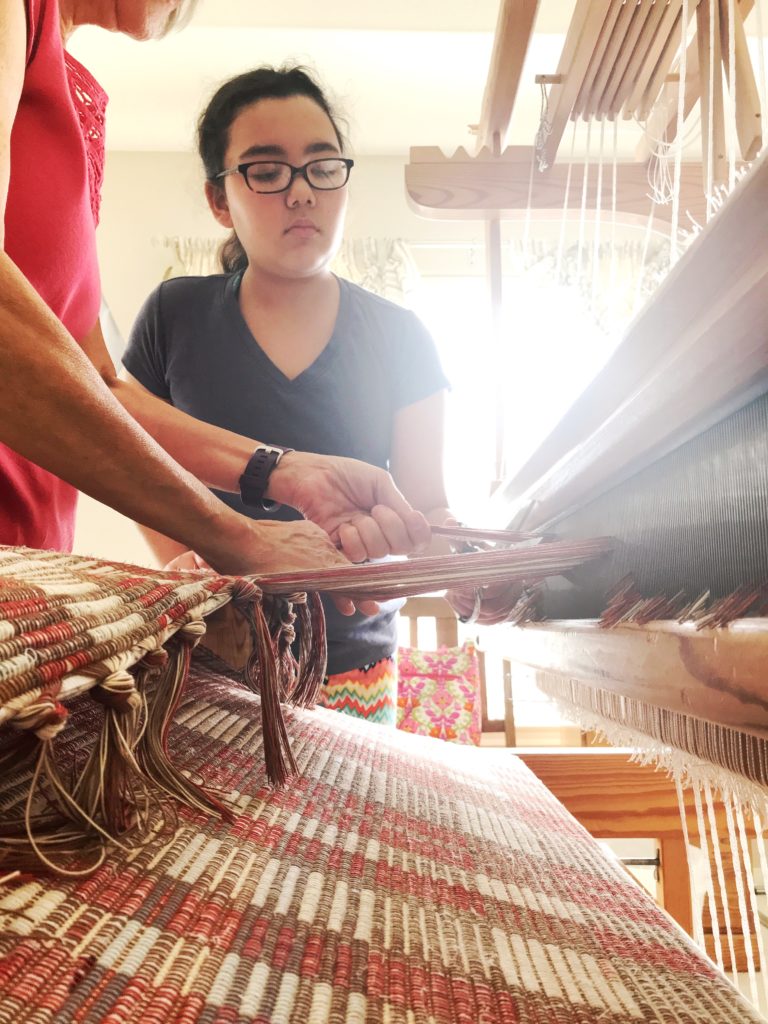
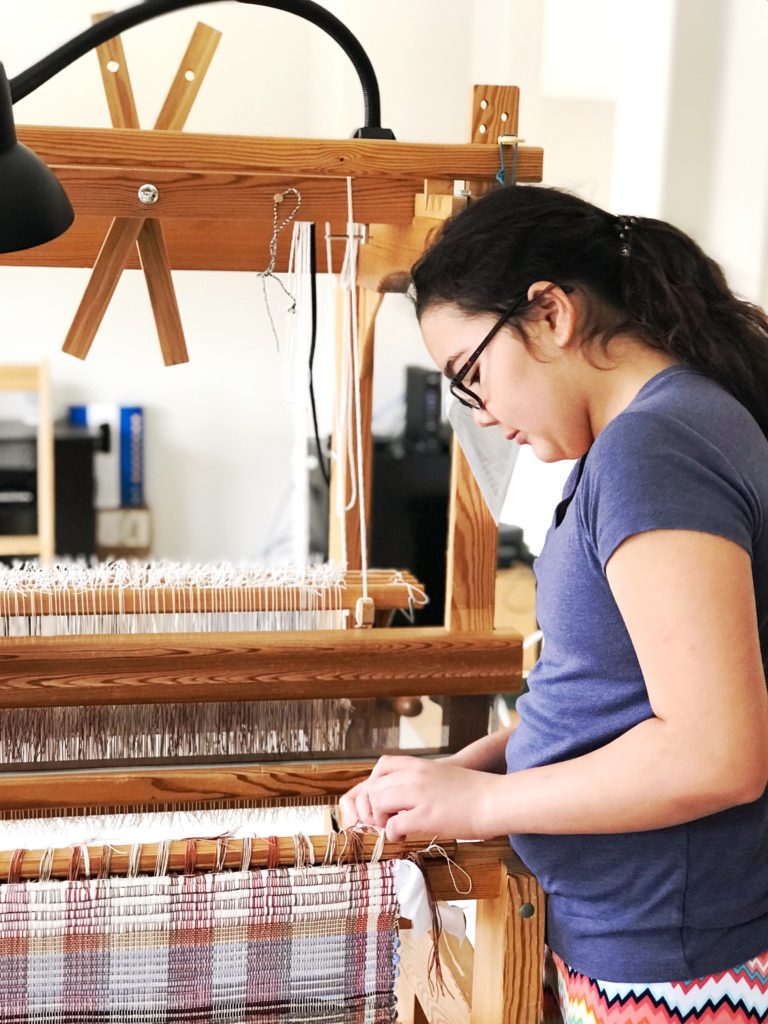
Any handweaver who finds willing and able help is indeed fortunate. If you find an apprentice you love to have at your side, that’s even better. I consider myself especially blessed to have such an apprentice—a young lady who frequents my weaving studio and shares my delight in the wonder of turning threads into cloth.

Young apprentice. First time at the loom.
First time at the big loom.
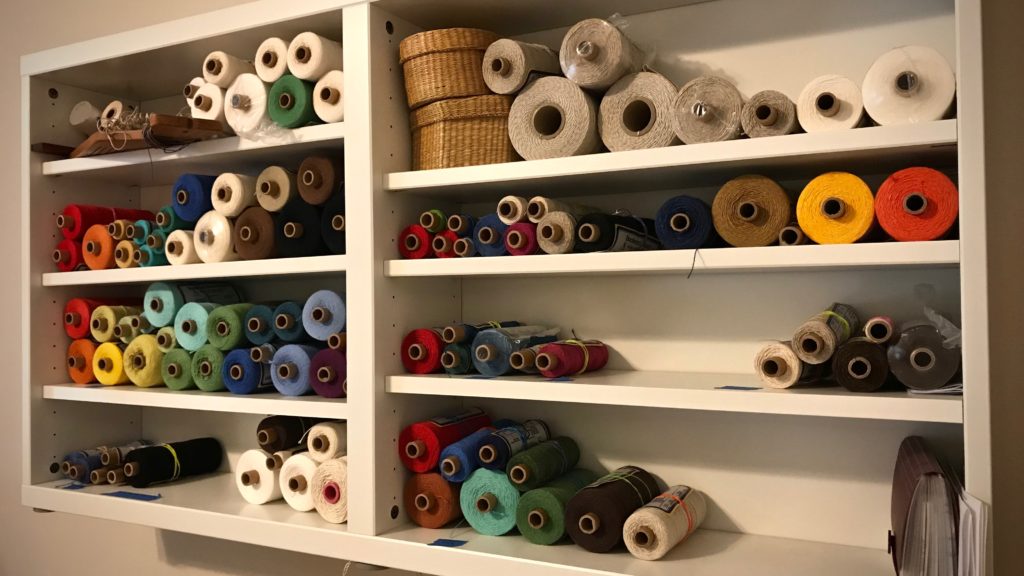
Cotton and linen tubes of thread sorted and arranged by color.
Cotton and linen tubes of thread are all sorted by type and arranged by color. Thanks to my young apprentice.

Juliana assisted on this spaced rep rag rug project from start to finish. She helped me beam the warp and thread the heddles. I wove four of the rugs, and she wove one complete rug herself. It is only fitting for her to help with the cutting off! And, oh, what a joy it is to see freshly woven rugs roll off the cloth beam!

Finishing the rugs is still ahead. When we have them hemmed, I will bring you an update with pictures of our completed treasures.

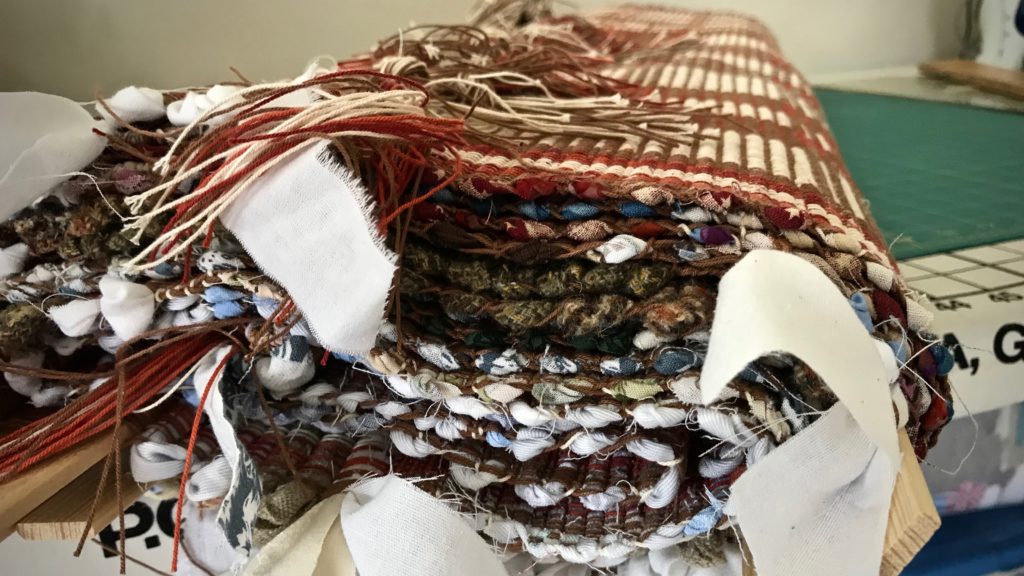
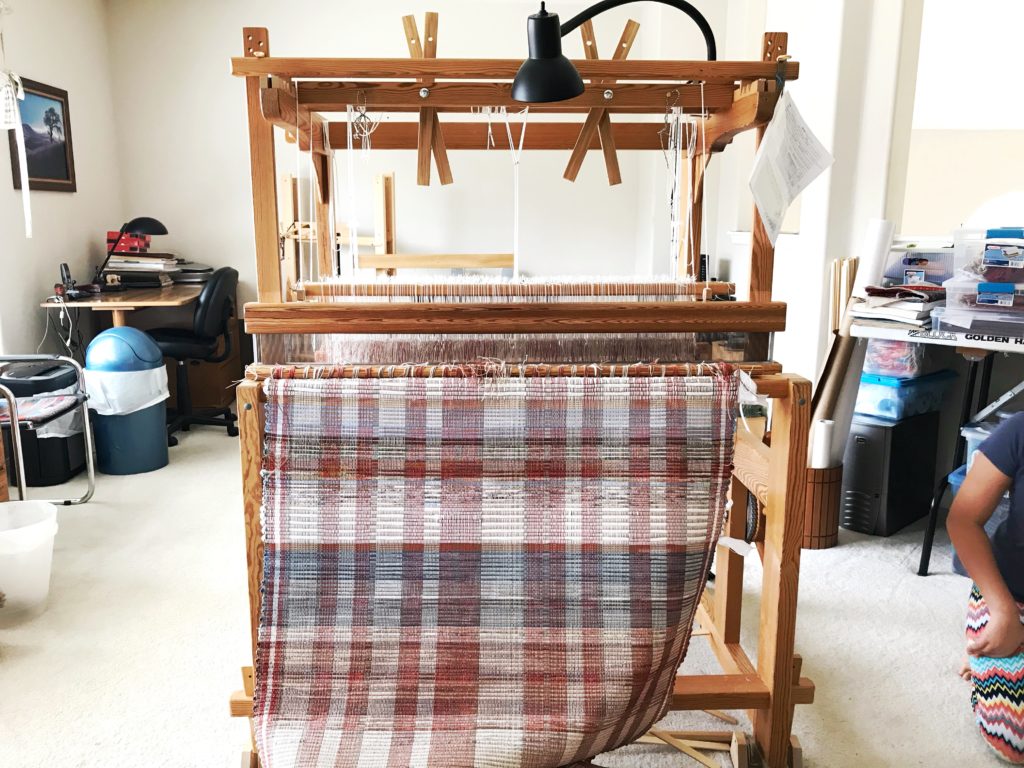
Five rag rugs rolled up, ready for finishing.
Five rag rugs rolled up. Next step is to tie warp ends and hand-stitch hems.

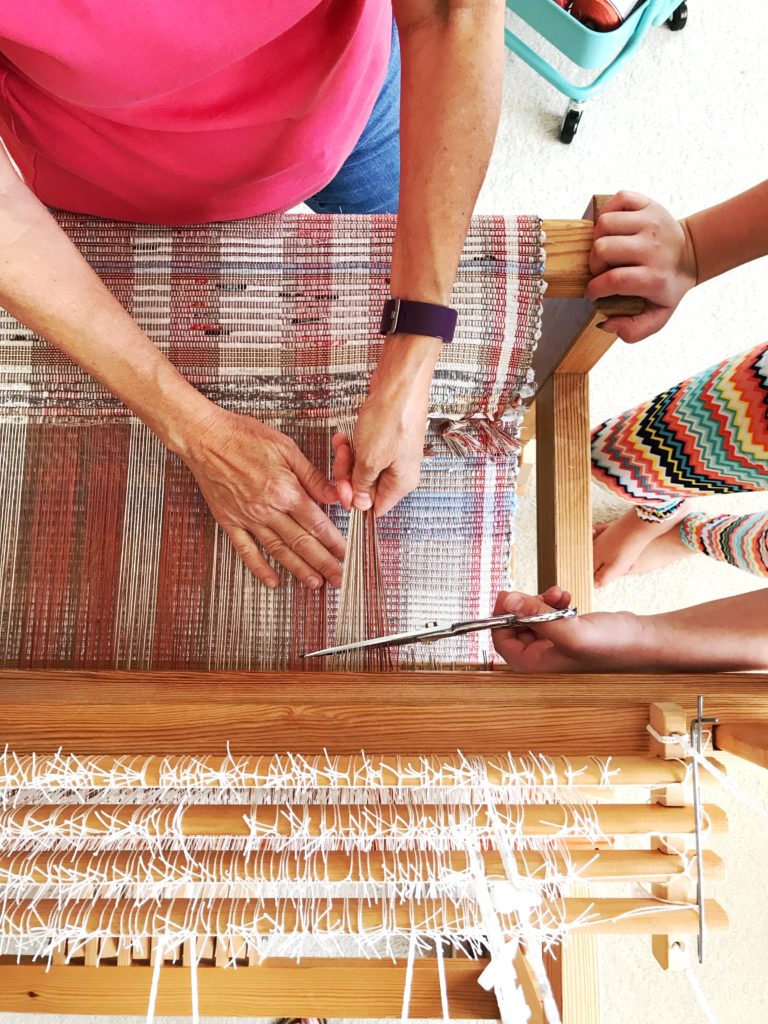
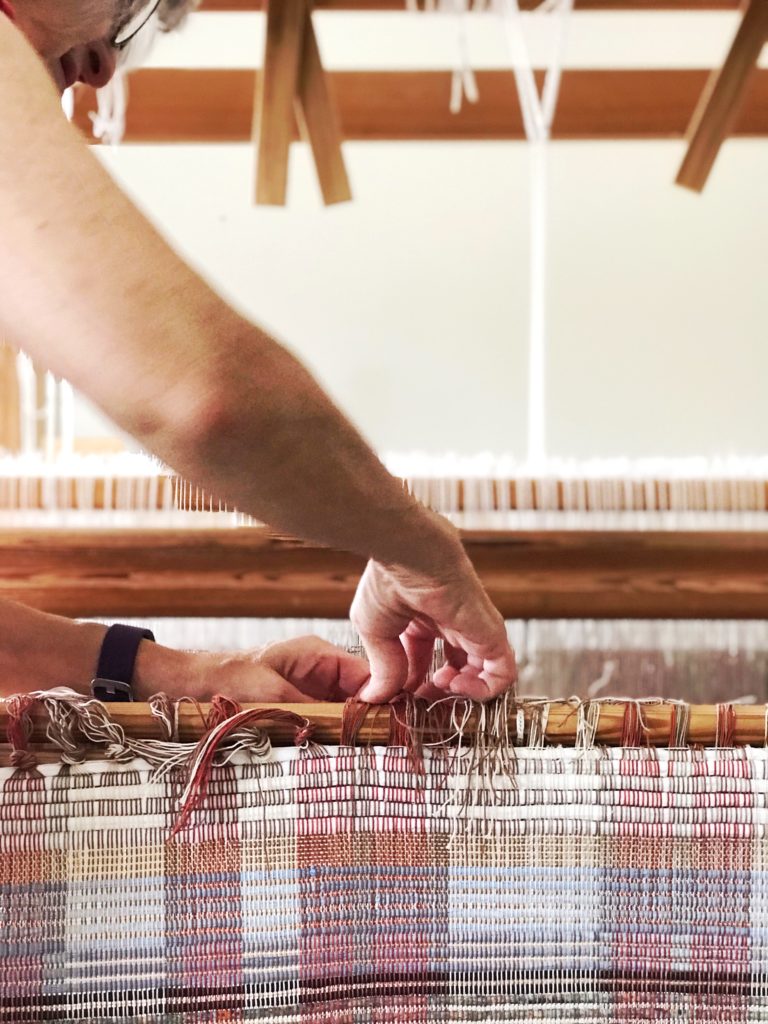
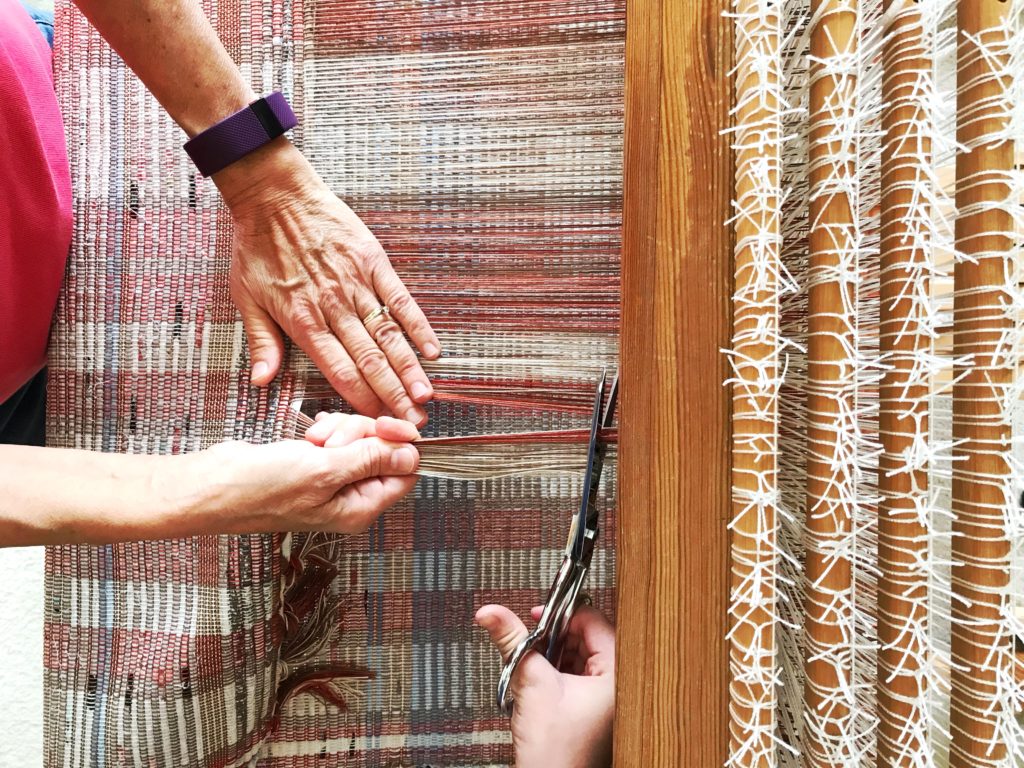
Enjoy the slideshow video below that shows our process. And enjoy our cutting off celebration as shown in the following detail shots. (Photo credit: Christie Lacy)

Cutting off!

Cutting off!

Cutting off!

Cutting off - A few ends at a time.

Rag rug cutting off!

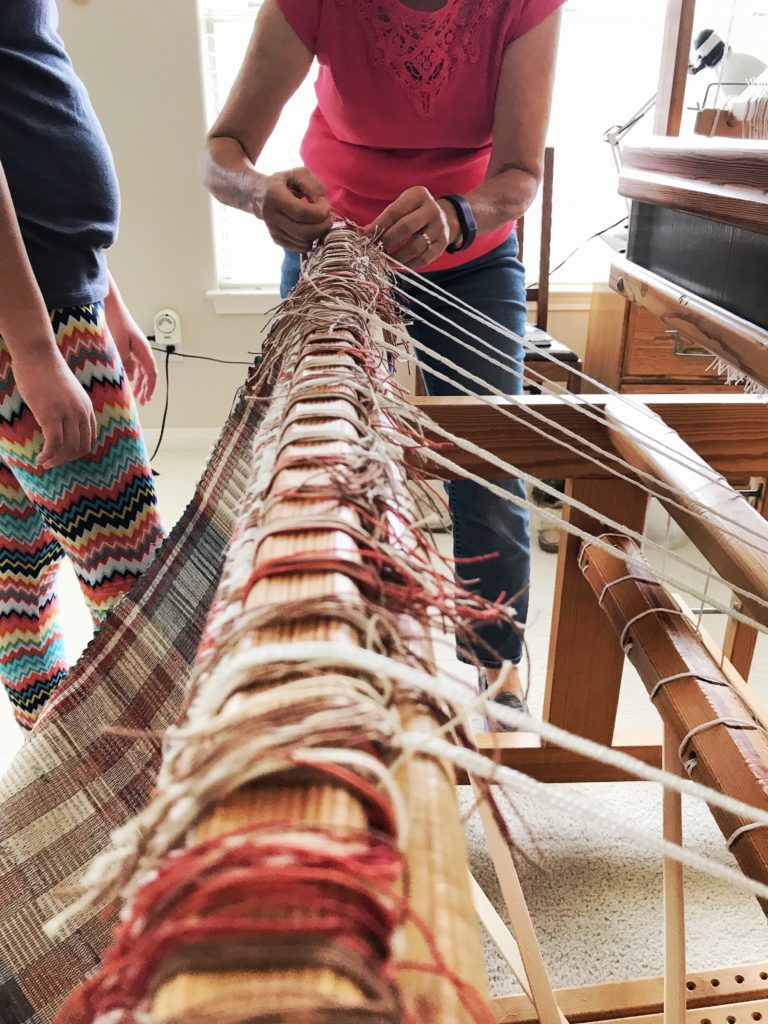
Untying the warp. Rag rugs just off the loom.

Releasing new rag rugs from the loom.

Taking new rag rugs off the loom.

May you keep your youthful delight.

Thankful,
Karen
End of Warp Drama

At the final inches of weavable warp, my regular boat shuttle will not fit through the shed. I wove the first half of this final rug thinking I had more than enough warp left to complete a symmetrical design.

Spaced rep rag rug. Last rug on the warp!
Final rug on this warp. I planned a symmetrical design that reverses at the center of the rug.
This warp is almost finished! Rag rugs.
As the back tie-on bar comes over the back beam I am concerned about whether I have enough warp to finish the second half of the rug.

Drama at the end. I still need to weave the ending warp thread header. Time to pull out my secret weapon—a low-profile shuttle. No worries or fretting. The slim shuttle deftly (with a little prodding) weaves the eight picks of the warp thread header that concludes this final rug. Whew.

Low-profile boat shuttle fits through at end of warp.
Low-profile shuttle saves the day. I’m so near the end of the warp that there is not enough room in the shed for my regular boat shuttle to fit through.
End of warp drama! But I made it! Whew.
Very end of the warp is seen right behind the shafts. After the eight picks of warp thread header, I wove as many picks of scrap weft as I could…by hand.

When we face adversity, and our usual coping methods are not working, we feel the pressure and anxiety. It’s time to activate our secret weapon—a gentle and quiet spirit. Gentleness and quietness are beautiful embellishments to the hidden person of the heart. This humble spirit enables you to glide through the tightest situations. Best of all, those last picks you carefully weave will keep the lovely rag rug you’ve been working on from unraveling.

May your heart glow with gratitude.

Happy Giving of Thanks!
Karen
Treadle Adjustments on a Countermarch Loom

The countermarch loom is known for having a clean shed, so that is my goal. Is that possible for ten shafts and ten treadles? The first treadle I step on reveals that treadle cord adjustments are definitely needed!

How to evaluate the shed and adjust on countermarch looms.
Before making any adjustments, a few of the sheds look impassable, like this one.

I learned the basics of making adjustments to treadle cords from Learning to Warp Your Loom, by Joanne Hall, and The Big Book of Weaving, by Laila Lundell. I also gained valuable experience from Vävstuga Basics, with Becky Ashenden.

Here’s how the process looks for me, with this ten-shaft, ten-treadle project as an example.

I keep the following note on my iPhone. It helps me remember how things work.
I fill in the blanks for each treadle, noting which shafts are too high or too low. Then, using my iPhone note for reference, I make the needed adjustments.

Note on iPhone for making countermarch treadle adjustments.

  • The first time through, I am primarily interested in the bottom of the shed. I make adjustments to clear the shed enough to be able to weave a little bit.
  • Weave an inch or two. It is surprising how the shed cleans up with a little bit of weaving.
Adjusting treadles on countermarch loom.
Bottom of the shed has threads on one or two shafts that need to be lowered. After making those adjustments, this treadle will have a clean shed for weaving.
  • After weaving that first inch or so, I go through a second, and a third time, if needed, to get a clean shed on each treadle. Adjustments for the top of the shed are only needed if there are threads that will interfere with the shuttle.
Clean shed of a countermarch loom. Tutorial.
No hindrance for the shuttle here. This is the kind of shed I hope to see on every treadle.

When I first see a messy shed, I think, “How will I ever get my shuttle through that?” But it turns out to be little adjustments here and there. It’s not too difficult if you understand the loom.

Five-shaft satin dräll in linen. How to adjust countermarch treadles.
After all treadle adjustments have been made, the shuttle glides freely through the shed. And pick by pick, linen threads become cloth.

Nothing is too difficult for the one who made heaven and earth. Our Creator knows how to help us. He hears our prayers for help, and little by little, we see what He is doing as the shed clears and the shuttle glides through, unhindered.

May little adjustments clear the way for you.

With you,
Karen
Tools Day: Countermarch Loom Pros and Con

When my long-held dream of weaving on a floor loom became a possibility, I started my journey with questions. What are the pros and cons of the different types of looms? After considerable research, a winner emerged—the Swedish countermarch loom!
Pros and Con of Countermarch Looms
(My experience is with Glimåkra. Other countermarch looms may differ.)

Pros

  • Weave anything. Rag rugs to lace-weight fabric.
  • Hanging beater. Swinging beater has momentum that enables a firm beat. No strain to shoulders, arms, or wrists. Asset for weaving rag rugs, and superb control for cloth with an open weave. Beater placement is adjustable, making it possible to weave longer before advancing the warp.
  • Rear-hinged treadles. Pressing treadles is effortless, no matter how many shafts. No strain on back, legs, knees, or ankles, even with robust weaving. Because treadles are close to each other, I press correct treadles with sock- or bare-footed ease…without having to watch my feet. Ample foot rest makes it easy to trade feet when using many treadles.
  • Clean shed. Stepping on a treadle raises and lowers shafts at the same time, so a great shed is not only possible, but usual.
Horizontal countermarch. Info about CM looms.
Glimåkra Ideal with horizontal countermarch. The cords from the countermarch jacks at the top of the loom go straight down through the warp to the lower lamms. The lower lamms connected to treadles cause shafts to lift when a treadle is depressed.
  • Even warp tension. Because shafts are both raised and lowered, tension is equal on raised and lowered warp ends. Even warp tension is good for all types of weaving. This even tension makes a tight warp possible. Perfect for linen, and for rugs.
Vertical Countermarch Loom - info about CM
Gimåkra Standard loom with vertical countermarch. Cords from the countermarch jacks go over the side of the loom to the lower lamms below. The upper lamms (not pictured) attached to treadles cause shafts to sink when a treadle is depressed.
Threading ease of countermarch looms.
Bench sits in the loom for threading heddles. I call this my little playhouse.
  • Texsolv heddles. Heddles can be easily added or removed from shafts (shafts are also easily added or removed). Quiet. Easy to thread.
  • Perfect fit. A petite person like me can weave on a large loom (my Standard is 47”/120cm) as comfortably as someone with longer arms and legs. Able to sit in upright posture for weaving.
  • Wooden. The loom is primarily wood. Bonus if you appreciate natural beauty of wood. Held together with wooden wedges and a few bolts. No screws or wing nuts.
  • Scandinavian clarity. Because of the Swedish loom, I adopt Swedish weaving practices and have an interest in traditional Scandinavian textiles. The loom fits the style. Streamlined design, precision, systematic and logical processes, and beauty with function.

Con

  • Treadle tie-ups. Shafts are connected to upper lamms and lower lamms. Treadle cords with a bead at one end are hung in the lamms. Lamms are then attached to treadles. Treadle tie-ups normally fall under the Pros category, because this is what enables the loom to have the clean shed it’s known for. But since I just finished tying up ten shafts to ten treadles (that’s 100 treadle cords), this is my least favorite part right now. 😉 (The weaving pleasure more than makes up for it, though.)
Countermarch treadle cords. Pros and cons.
One hundred treadle cords hang from upper and lower lamms. The only thing left is to attach all the cords to treadles. 😉
Treadle cords for 10 shafts! 5-shaft satin coming up!
Treadle cords are attached. Little anchor pins lock each cord into position under the treadle. After a few adjustments, the shed on each treadle is good. The loom is dressed! Five-shaft satin dräll coming up!

Conclusion:
When I weave on my Glimåkra Standard countermarch loom, I am soaring like an eagle. I’m sailing with the spinnaker up. I am a pipe organ maestro. I am dreaming while fully awake. This is everything I imagined weaving could be, only better.

Countermarch looms - pros and con.
Testing weft options. Gorgeous handcrafted damask shuttle, Chechen wood, made by Moberg Tools. Five-shaft satin dräll–a weaver’s dream.

For more in-depth information about countermarch looms, comparisons of looms, and other fantastic resources, see articles written by Joanne Hall, found at Glimåkra USA.

May you live your dream.

Very Happy Weaving,
Karen