Tips for Taming String Yarn Weft Tails

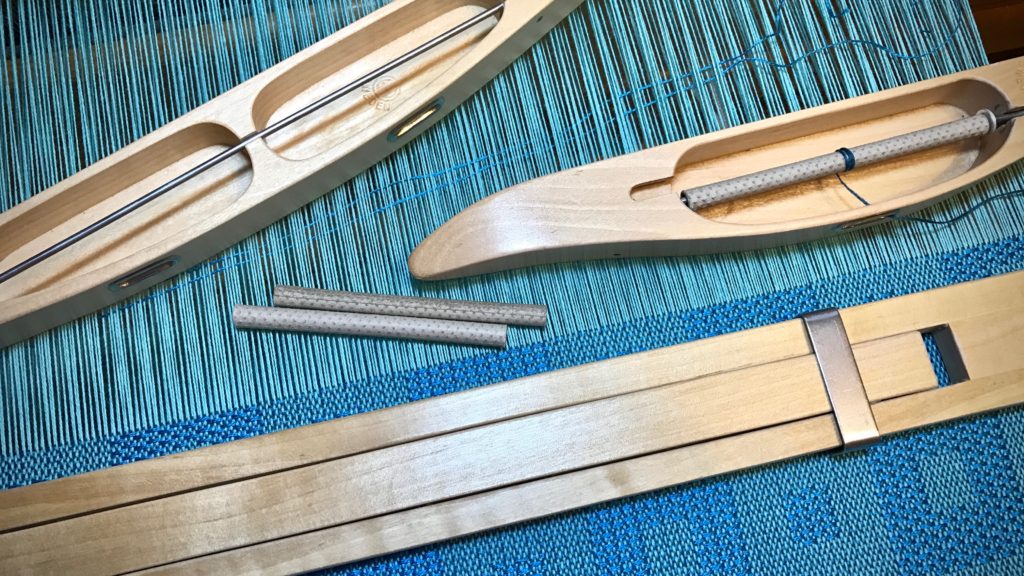
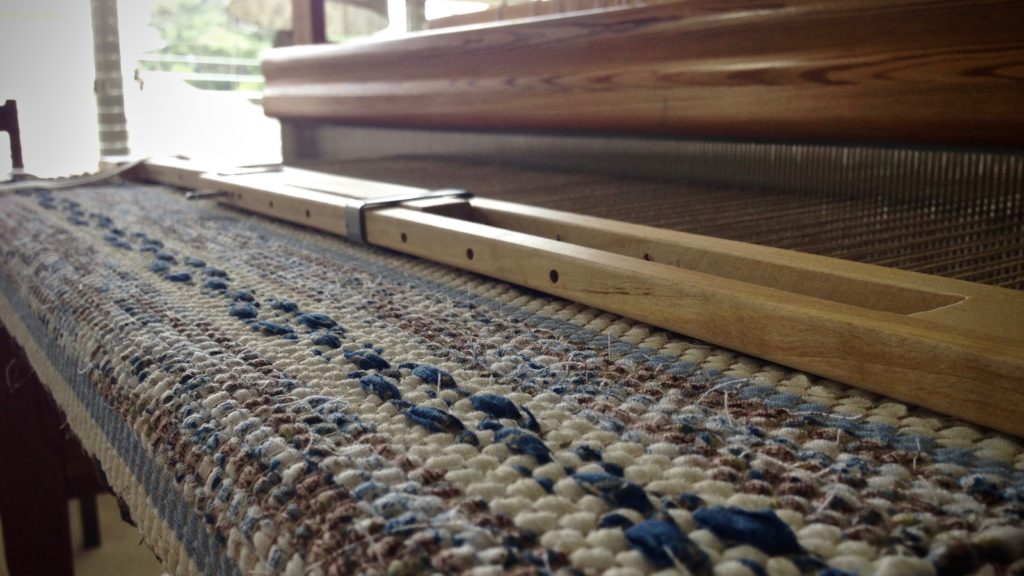
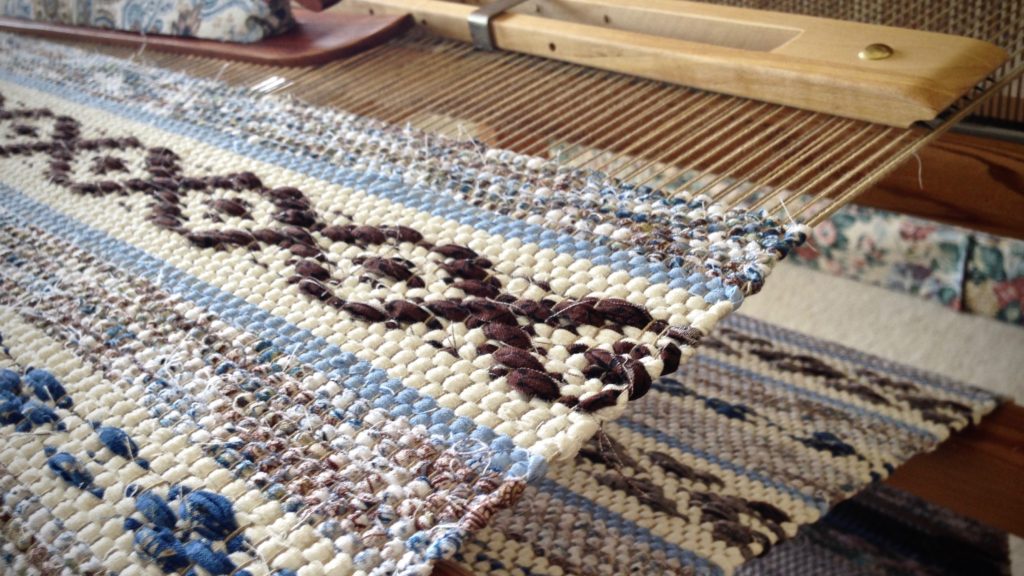
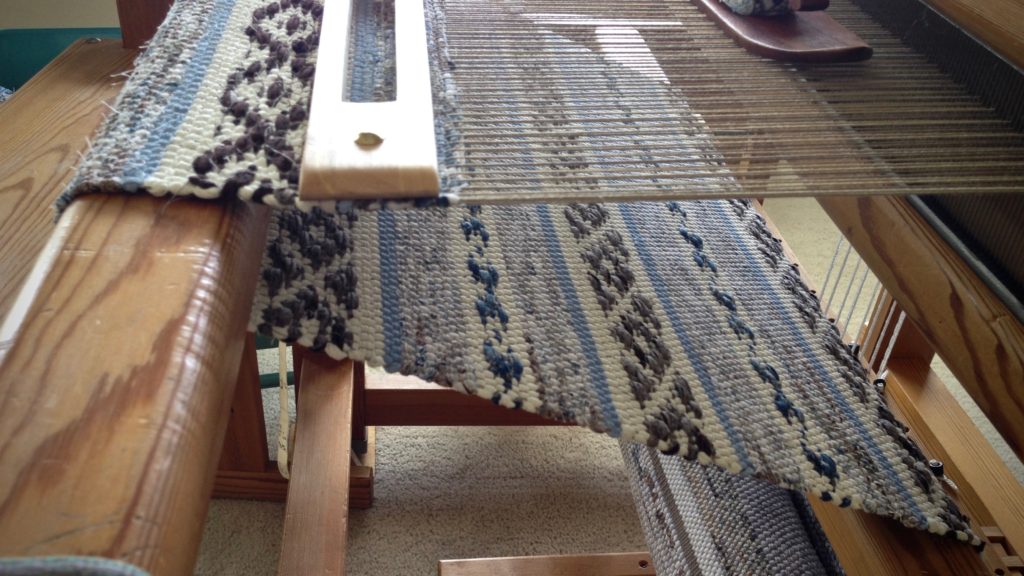
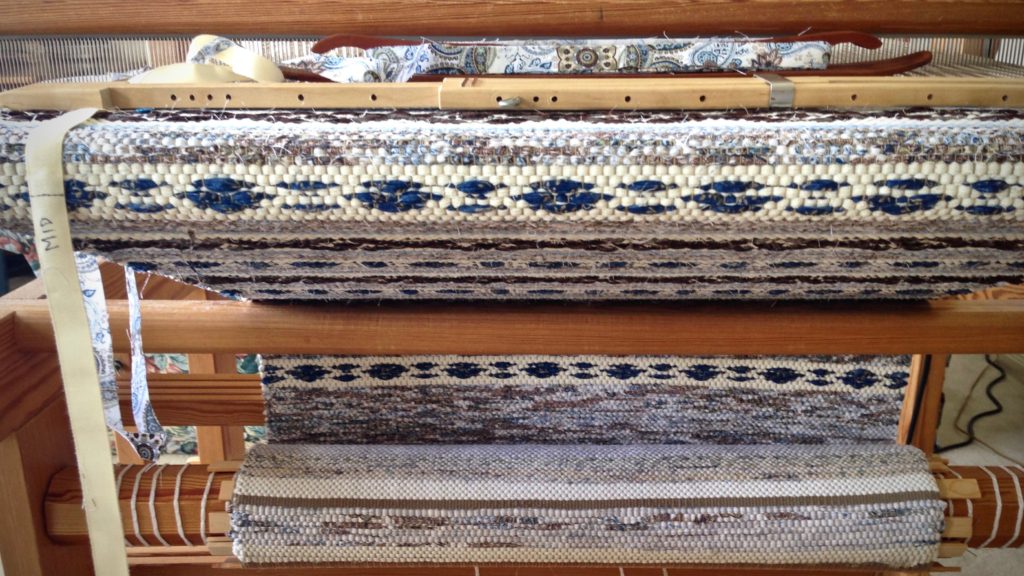
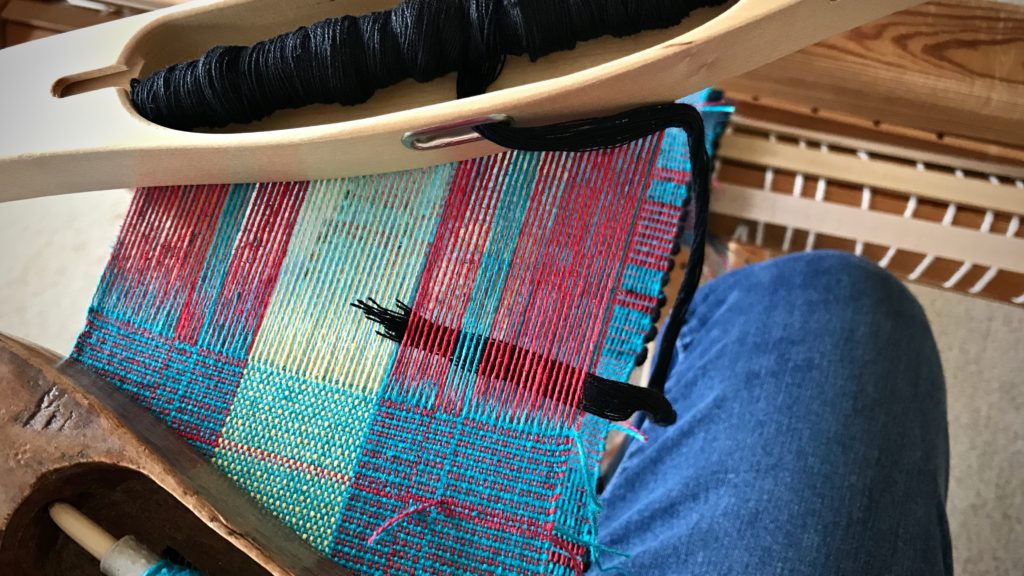
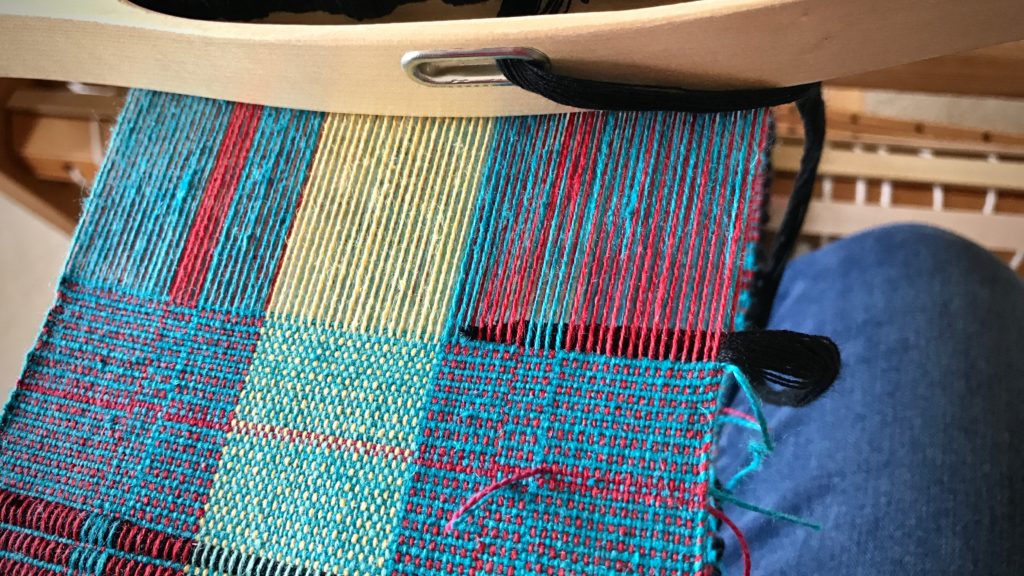
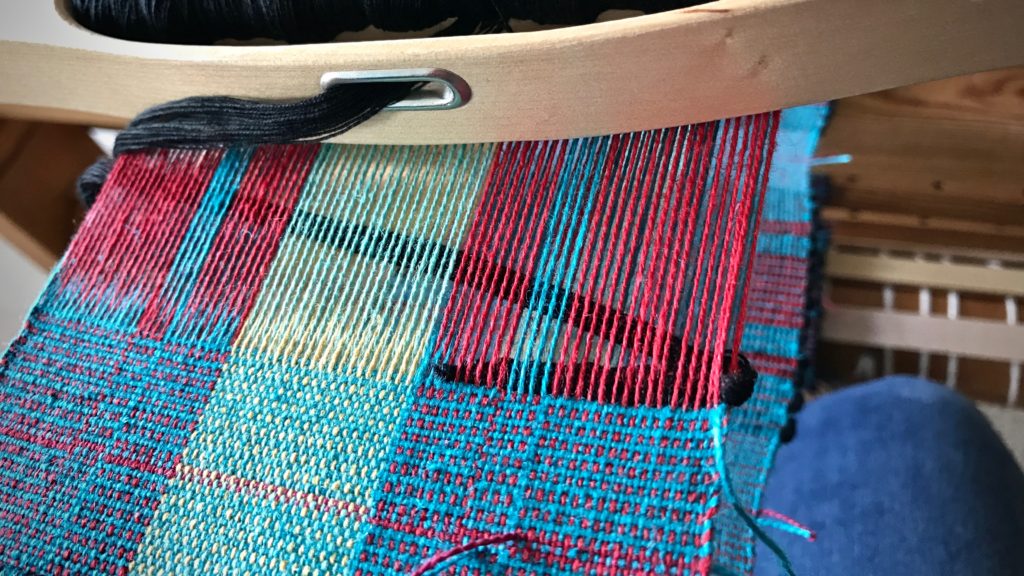
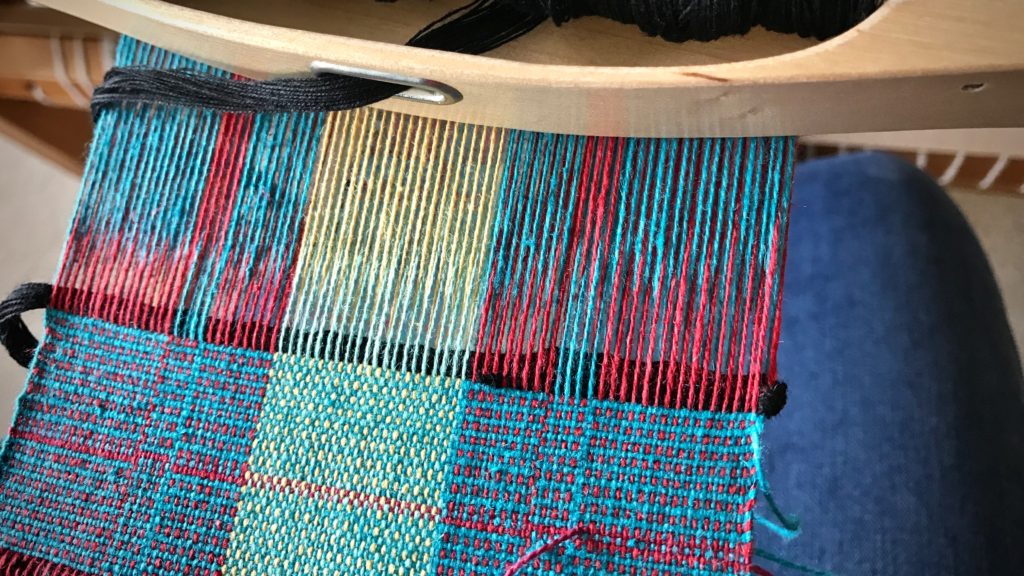
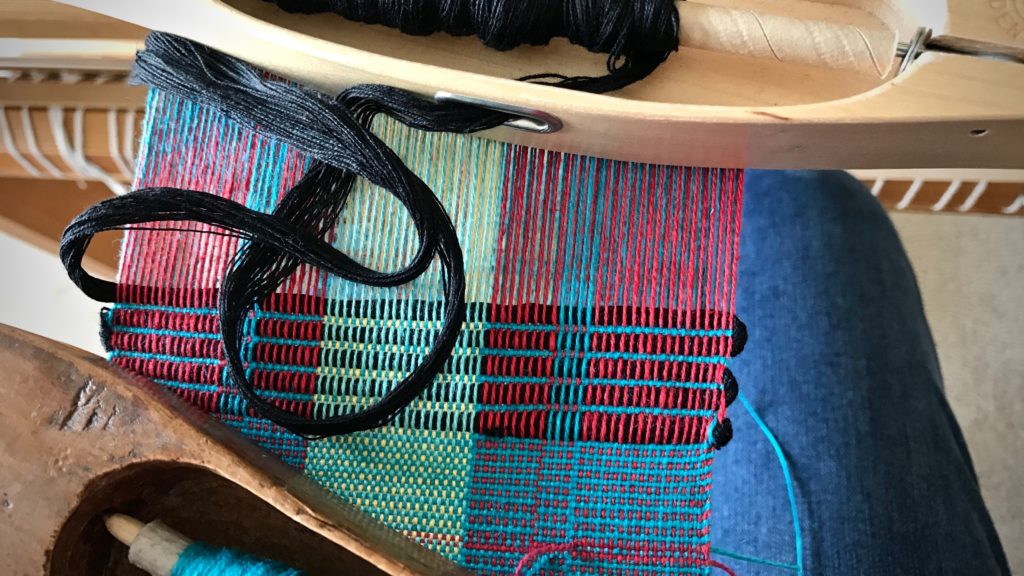
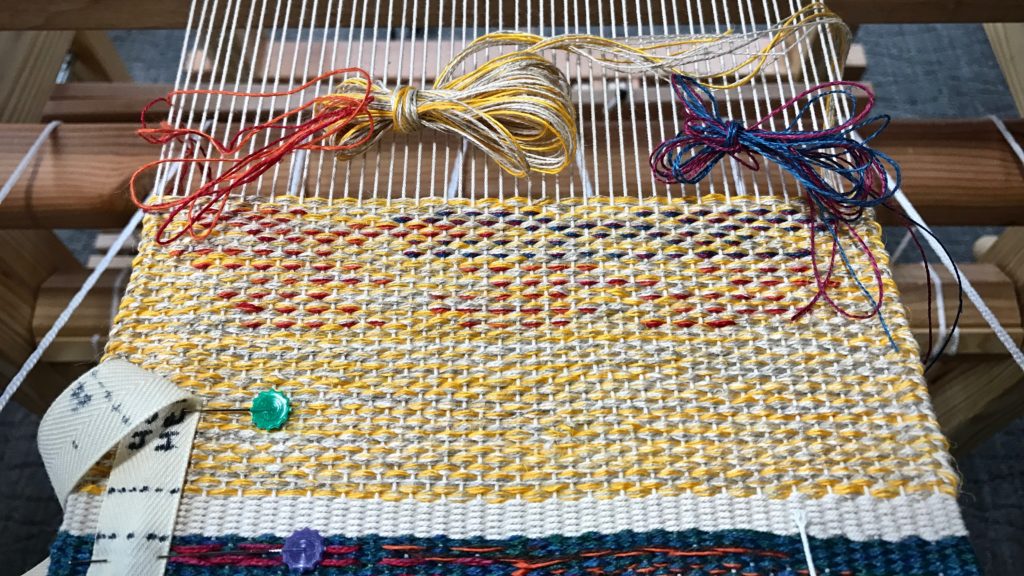
Those pesky string yarn weft tails! There is a lot of starting and stopping with these mug rugs. Normally, tucking a weft tail back into the shed adds a bit of extra thickness at the selvedge. So, what about this very thick weft? It has the potential to throw everything off balance. A few easy tips help minimize the distortion the thicker weft can cause.

Taming String Yarn Weft Tails

  • Begin the thick weft on alternating sides. This will prevent one selvedge from building up more than the other.
  • Taper the end of the string yarn, cutting it at a steep angle.
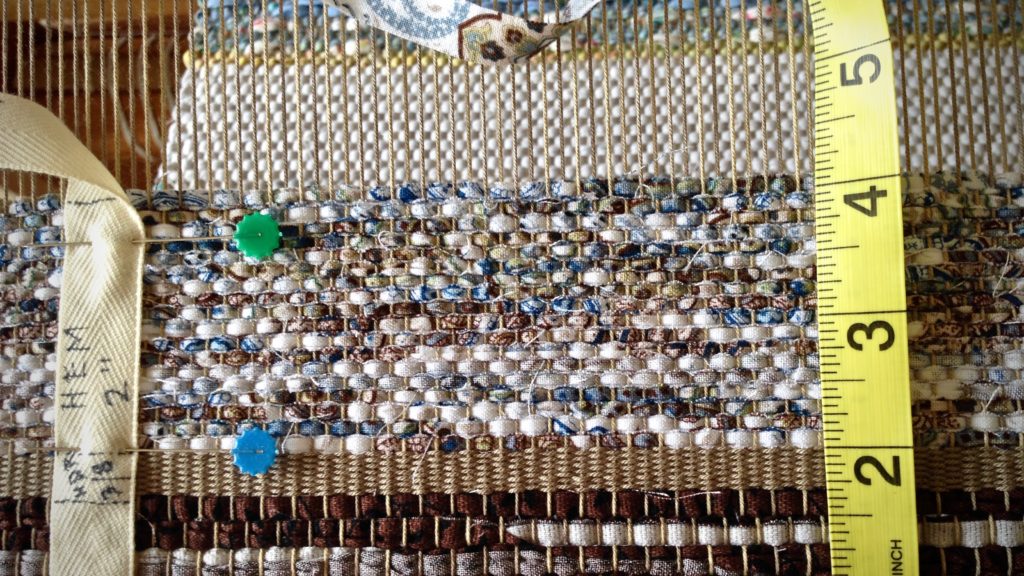
  • Starting about 1 3/4″ inside the selvedge, send the shuttle through the shed toward the selvedge, going over or under the outermost warp end. Pull through until almost all of the weft tail is caught.
What to do with string yarn weft tails.
Starting the shuttle from the inside, going outward, is an easy way to catch all the separate threads of the string yarn.

Taming string yarn weft tails.

  • In same shed, send the shuttle back through to the other side, aware of encircling the one warp end.

Tucking in string yarn weft tails. Tips.

  • Beat. (Beat on open shed. Beat again. Change sheds. Beat again.)

How to manage string yarn weft tails.

  • Continue weaving.

Rep weave mug rugs. String yarn weft tails - tips!

  • To end the thick weft, leave a 1 3/4″ tail, and taper the end of the string yarn, as before. Lay the tail back in the last shed, going around the outermost warp end. Beat.

Things happen that throw us off balance. From personal celebrations to unexpected losses. Don’t be afraid. Putting trust in the Lord minimizes the inner turmoil. The Lord is my light. He lights my way. What is there to be afraid of? Wholehearted trust in the Lord pushes fearfulness away.

May you walk in a lighted path.

Happy weaving,
Karen

Linen Butterflies

This project has been on my mind for a long time. But I purposely waited to begin until I could weave it on my new sweet little loom with a view. Four Decorative Sample Strips, it’s called in The Big Book of Weaving, by Laila Lundell. It includes four-shaft tapestry, as well as weft inlay techniques. Each of the four strips will be a sampling of 8-12 different patterns or techniques. The weft is all linen, in various colors and sizes. Several strands are bundled together and made into butterflies. I have the sections mapped out, but the actual designing is happening at the loom.

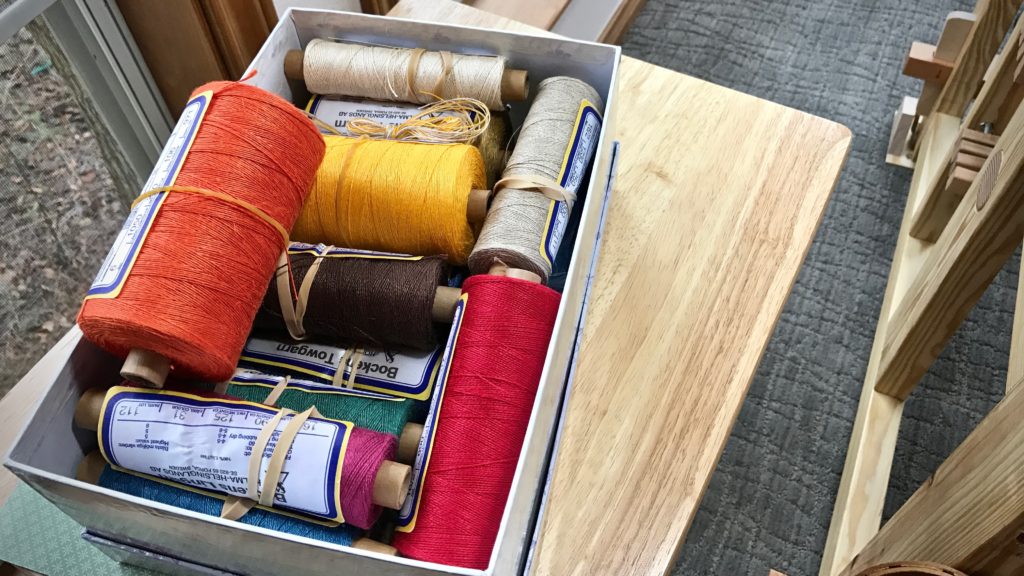
Box of colorful linen for a tapestry project!
Box of linen! A variety of 16/2 line linen, 6/1 tow linen, and 8/1 tow linen.
Weft inlay with linen butterflies.
First sample strip starts with some weft inlay.
Linen butterflies.
Linen butterflies.

The box of vibrant shades of linen that sits by the loom makes me think of the wonderful colors in creation. The Grand Weaver puts an assortment of strands together, making something as only He can. The world belongs to its Maker. We are His. Sometimes we forget that it is not that He is in our universe, it is that we are in His. I love the way He puts an assortment of us together to put a splash of color on His tapestry.

May you enjoy the colors around you.

Happy weaving,
Karen

Making Hanging Tabs for Towels

It’s this kind of detail that takes a handcrafted item up a notch. A hanging tab made from a handwoven band is more than an accent for a handwoven hand towel. The small hanging tab, mostly unnoticed, adds a statement: This towel has a purpose. It is meant to be placed where it will be used.

How to Make Hanging Tabs for Towels from a Handwoven Band:

  • Mark cutting lines on the woven band. My lines are 4 1/4″ apart.
  • Zigzag forward and back on both sides of the marked lines, leaving room for cutting apart.

Zigzag between hanging tabs.

Making hanging tabs for towels.

  • Cut the band apart at the marked lines, between the zigzag rows.

Hanging tabs, cut apart for towels.

  • Decide where and how to place the hanging tab.

Trying different versions of hanging tabs.

One style of hanging tab for handwoven towel.

Handwoven band for hanging tab on towels.

Loop for hanging tab on towel. Handwoven band.

  • Position the tab, and push the zigzagged ends to the fold inside the pressed and folded towel hem. Pin or clip in place.

Adding handwoven band to hand towel.

  • Stitch the towel hem, securely catching the ends of the hanging tab.

Adding hanging tab to handwoven towel.

Finished handwoven linen-cotton towel with hanging tab.

  • Use the towel. Enjoy!

Handwoven towels being used!

Your prayers matter. Pray a blessing on your children and grandchildren. Your prayers add a detail to their lives that sets them apart. The blessing we ask is that they know the Lord. That they will call on the Lord. That they will say they belong to the Lord. Ultimately, our prayer is for the Lord to place them where they live out the purpose for which he has designed them.

May your prayers reach the heart of God.

With purpose,
Karen

One Handweaver

This time, please permit me to share with you a short video that tells a little something about me as a handweaver. I suspect, if you are a weaver, you enjoy weaving for some of the same reasons I do. The process of turning threads into cloth never ceases to fascinate me! I weave on Glimåkra countermarch looms, with an emphasis on Swedish-style textiles. Even within that boundary, there are endless weaves to explore and techniques to try. I am deeply grateful for the opportunity to sit at a loom and weave these threads together. Thank you to Eddie Fernandez for his kind manner behind the camera and for his masterful videography.

And I can’t tell you enough what a joy it is to walk through this process with friends like you.

May you enjoy the part of the process you are in.

Happy Weaving,
Karen

Quiet Friday: Risky Way to Fix a Threading Error

We all have threading errors from time to time. This time I completely transposed the threading on shafts one and two. I saw the error when I started weaving; the pattern in the cloth was not as it should be. After a few days of contemplating, arguing with myself, and studying the error, I decided on an ingenious and risky fix (I hinted at it in My Best Weaving Stunt to Date!). Switch the two mis-threaded shafts. Yikes! One slip up could bring the whole warp down–figuratively and literally. I caught myself holding my breath several times through the process. Gently hopeful, but not 100% sure that my plan would work. Thankfully, it did work.

The threading went from this

Threading error and a risky fix. Switch 2 shafts!
Shafts 1 and 2 (counting from back to front) have been threaded incorrectly. Shaft 1 should be 2, and 2 should be 1.

to this

Risky way to fix a threading error. Video.
Shaft bars 1 and 2, upper and lower, have been switched. The operation was similar to transferring lease sticks in the back-to-front warping process.

Here’s a short video that shows the maneuvers I did to correct the error. No re-threading needed! The kuvikas square within a square wins!

May you be brave enough to take appropriate risks when needed.

Happy Problem Solving,
Karen