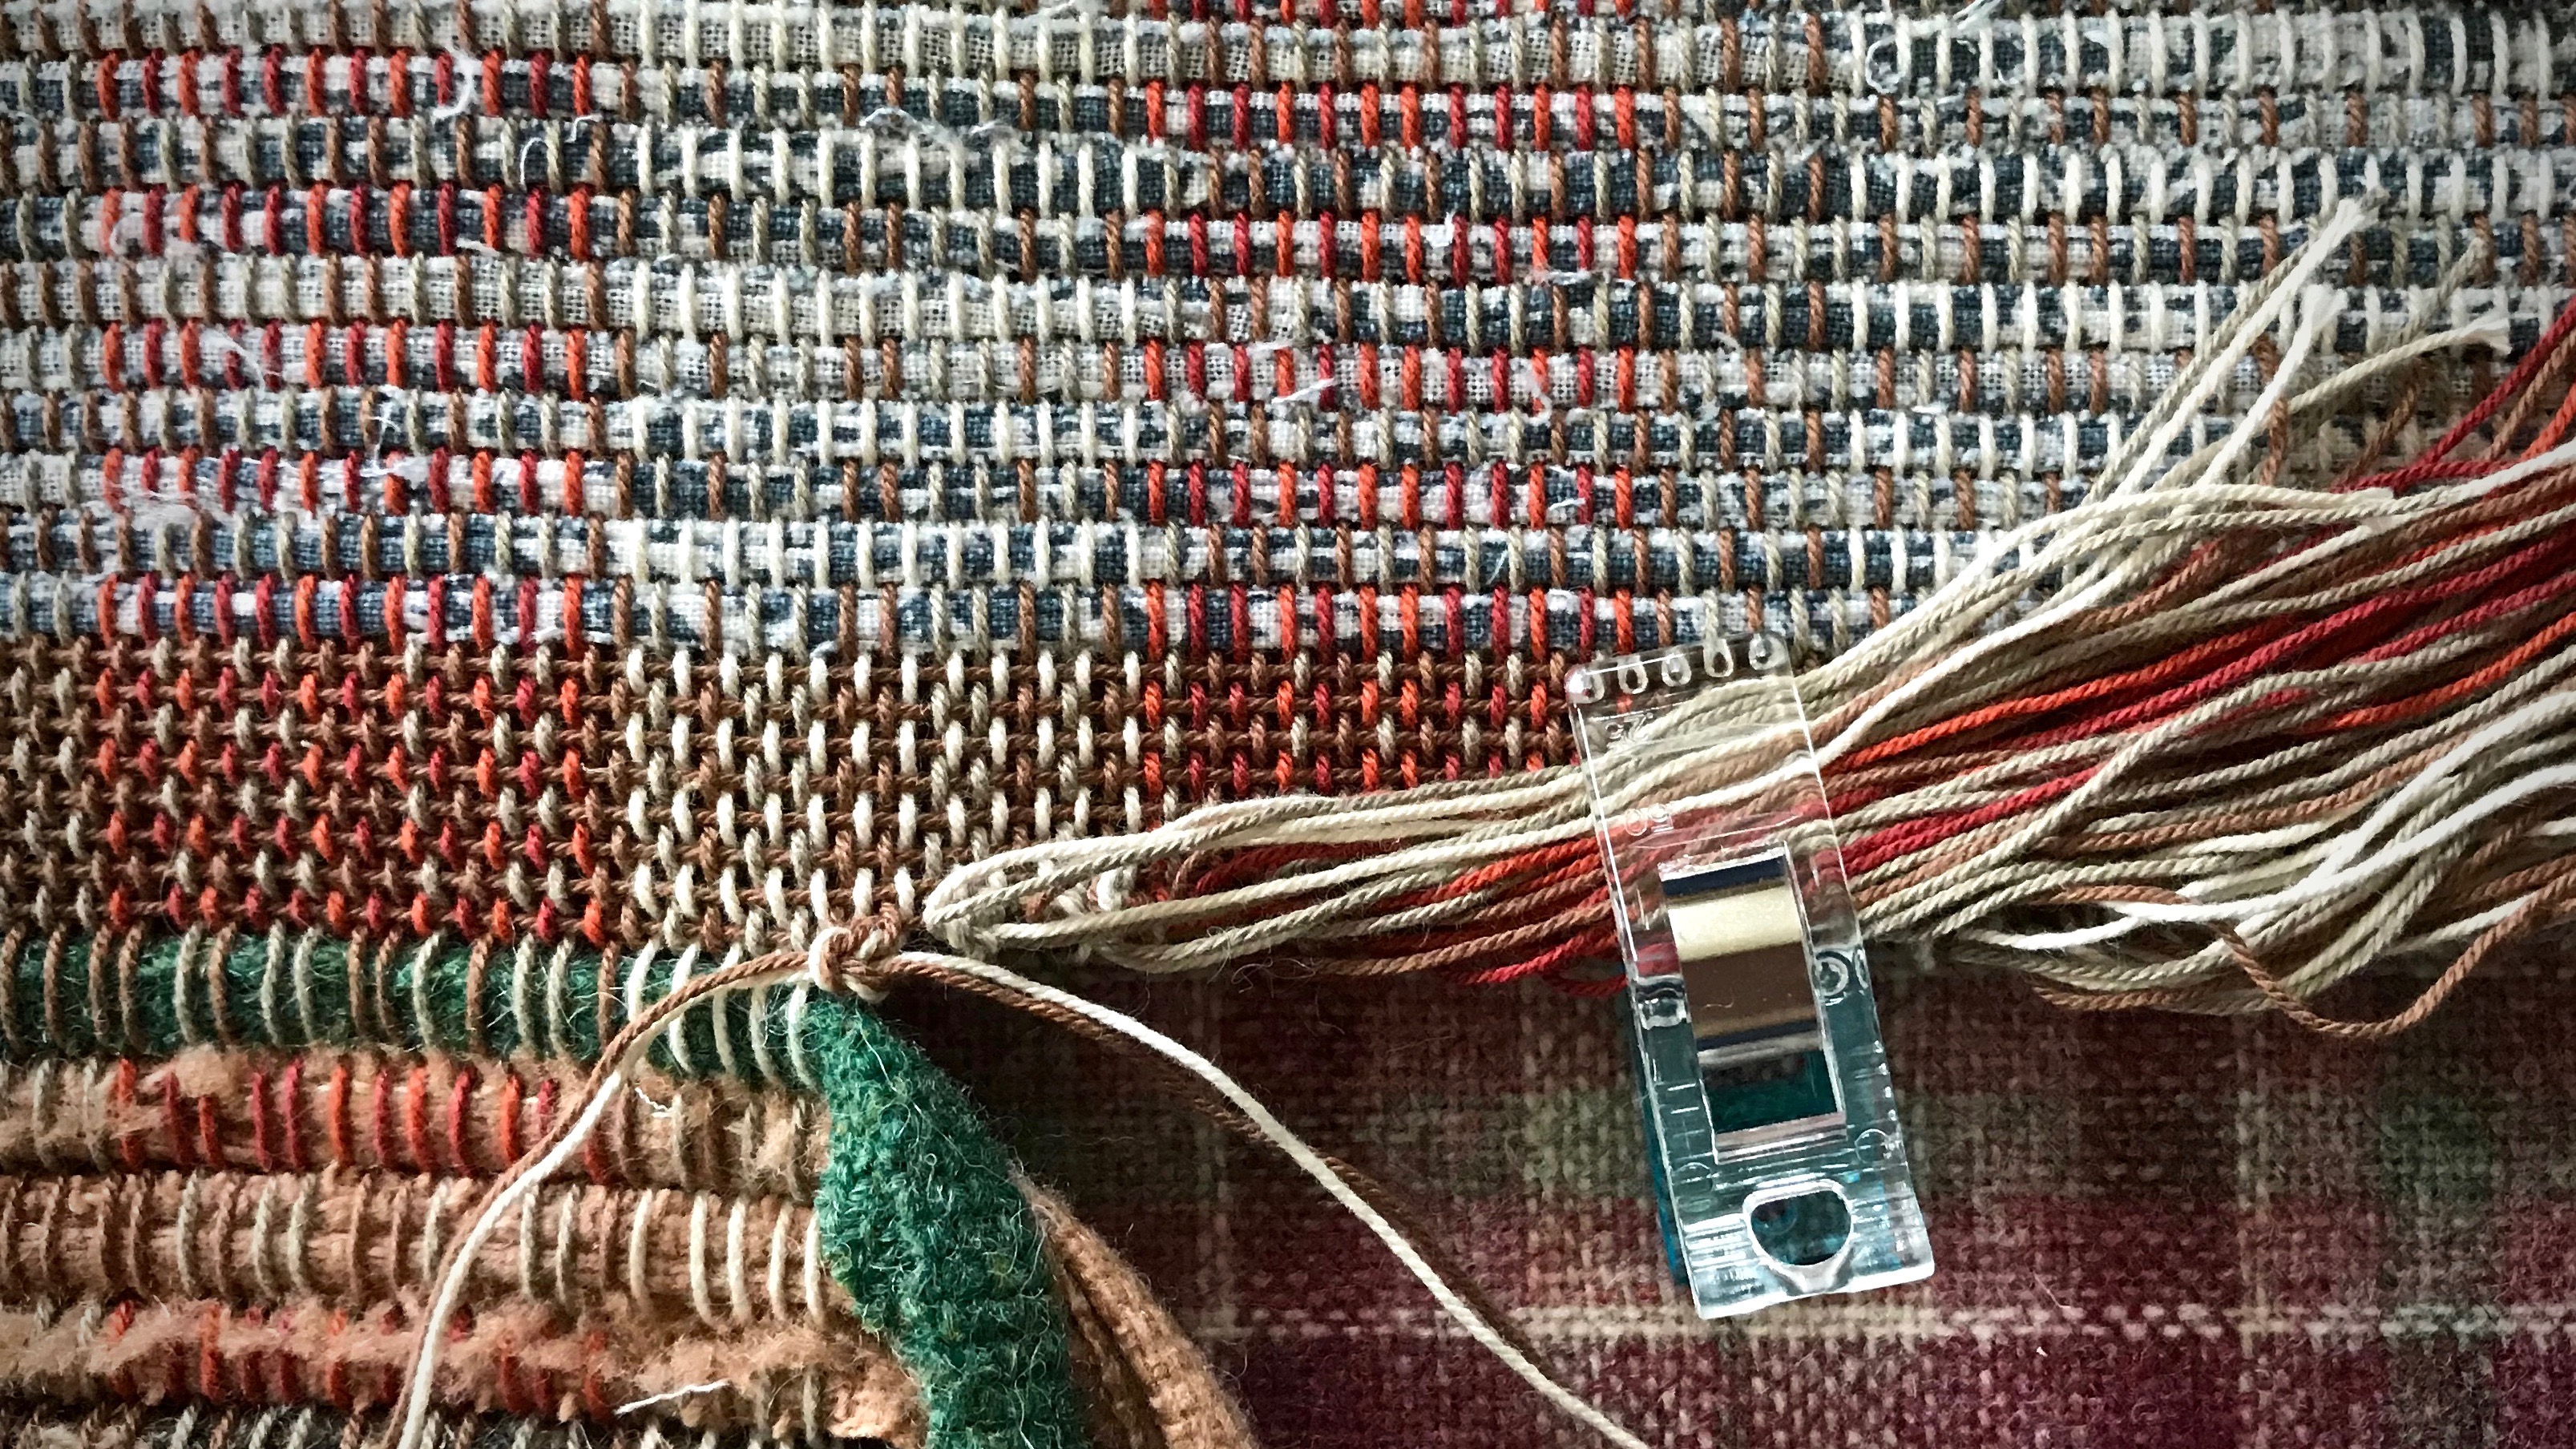
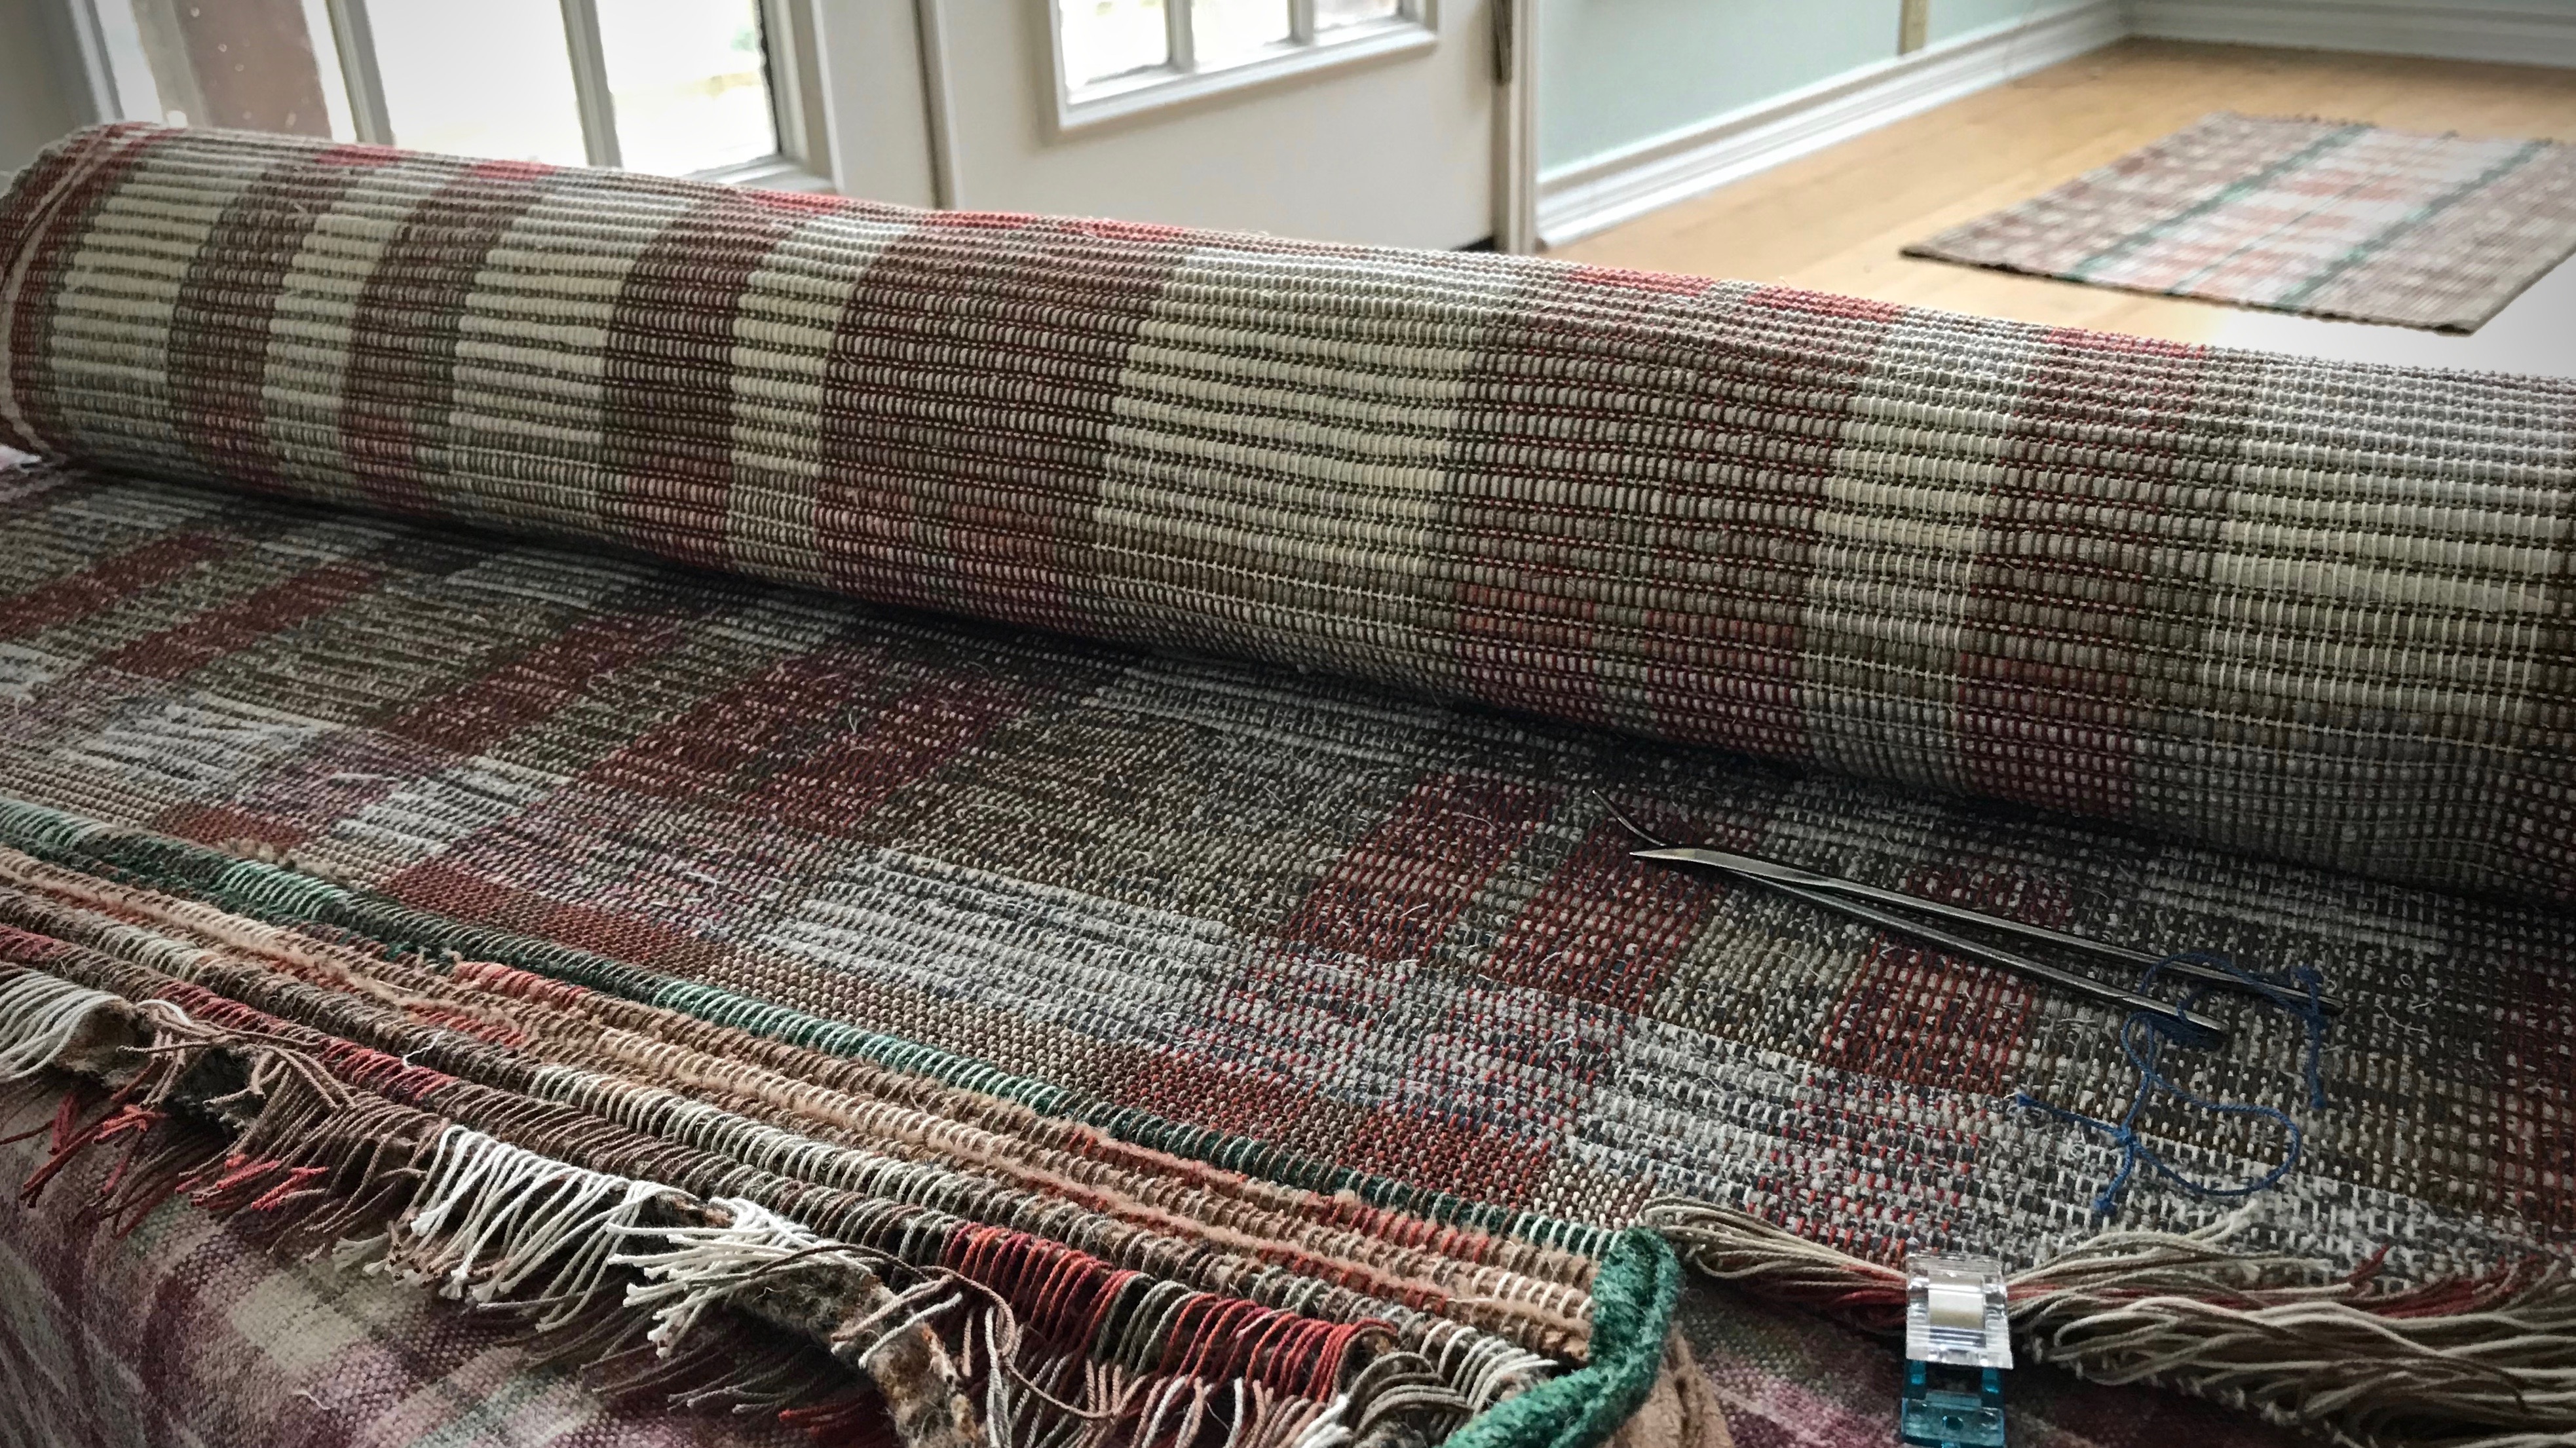
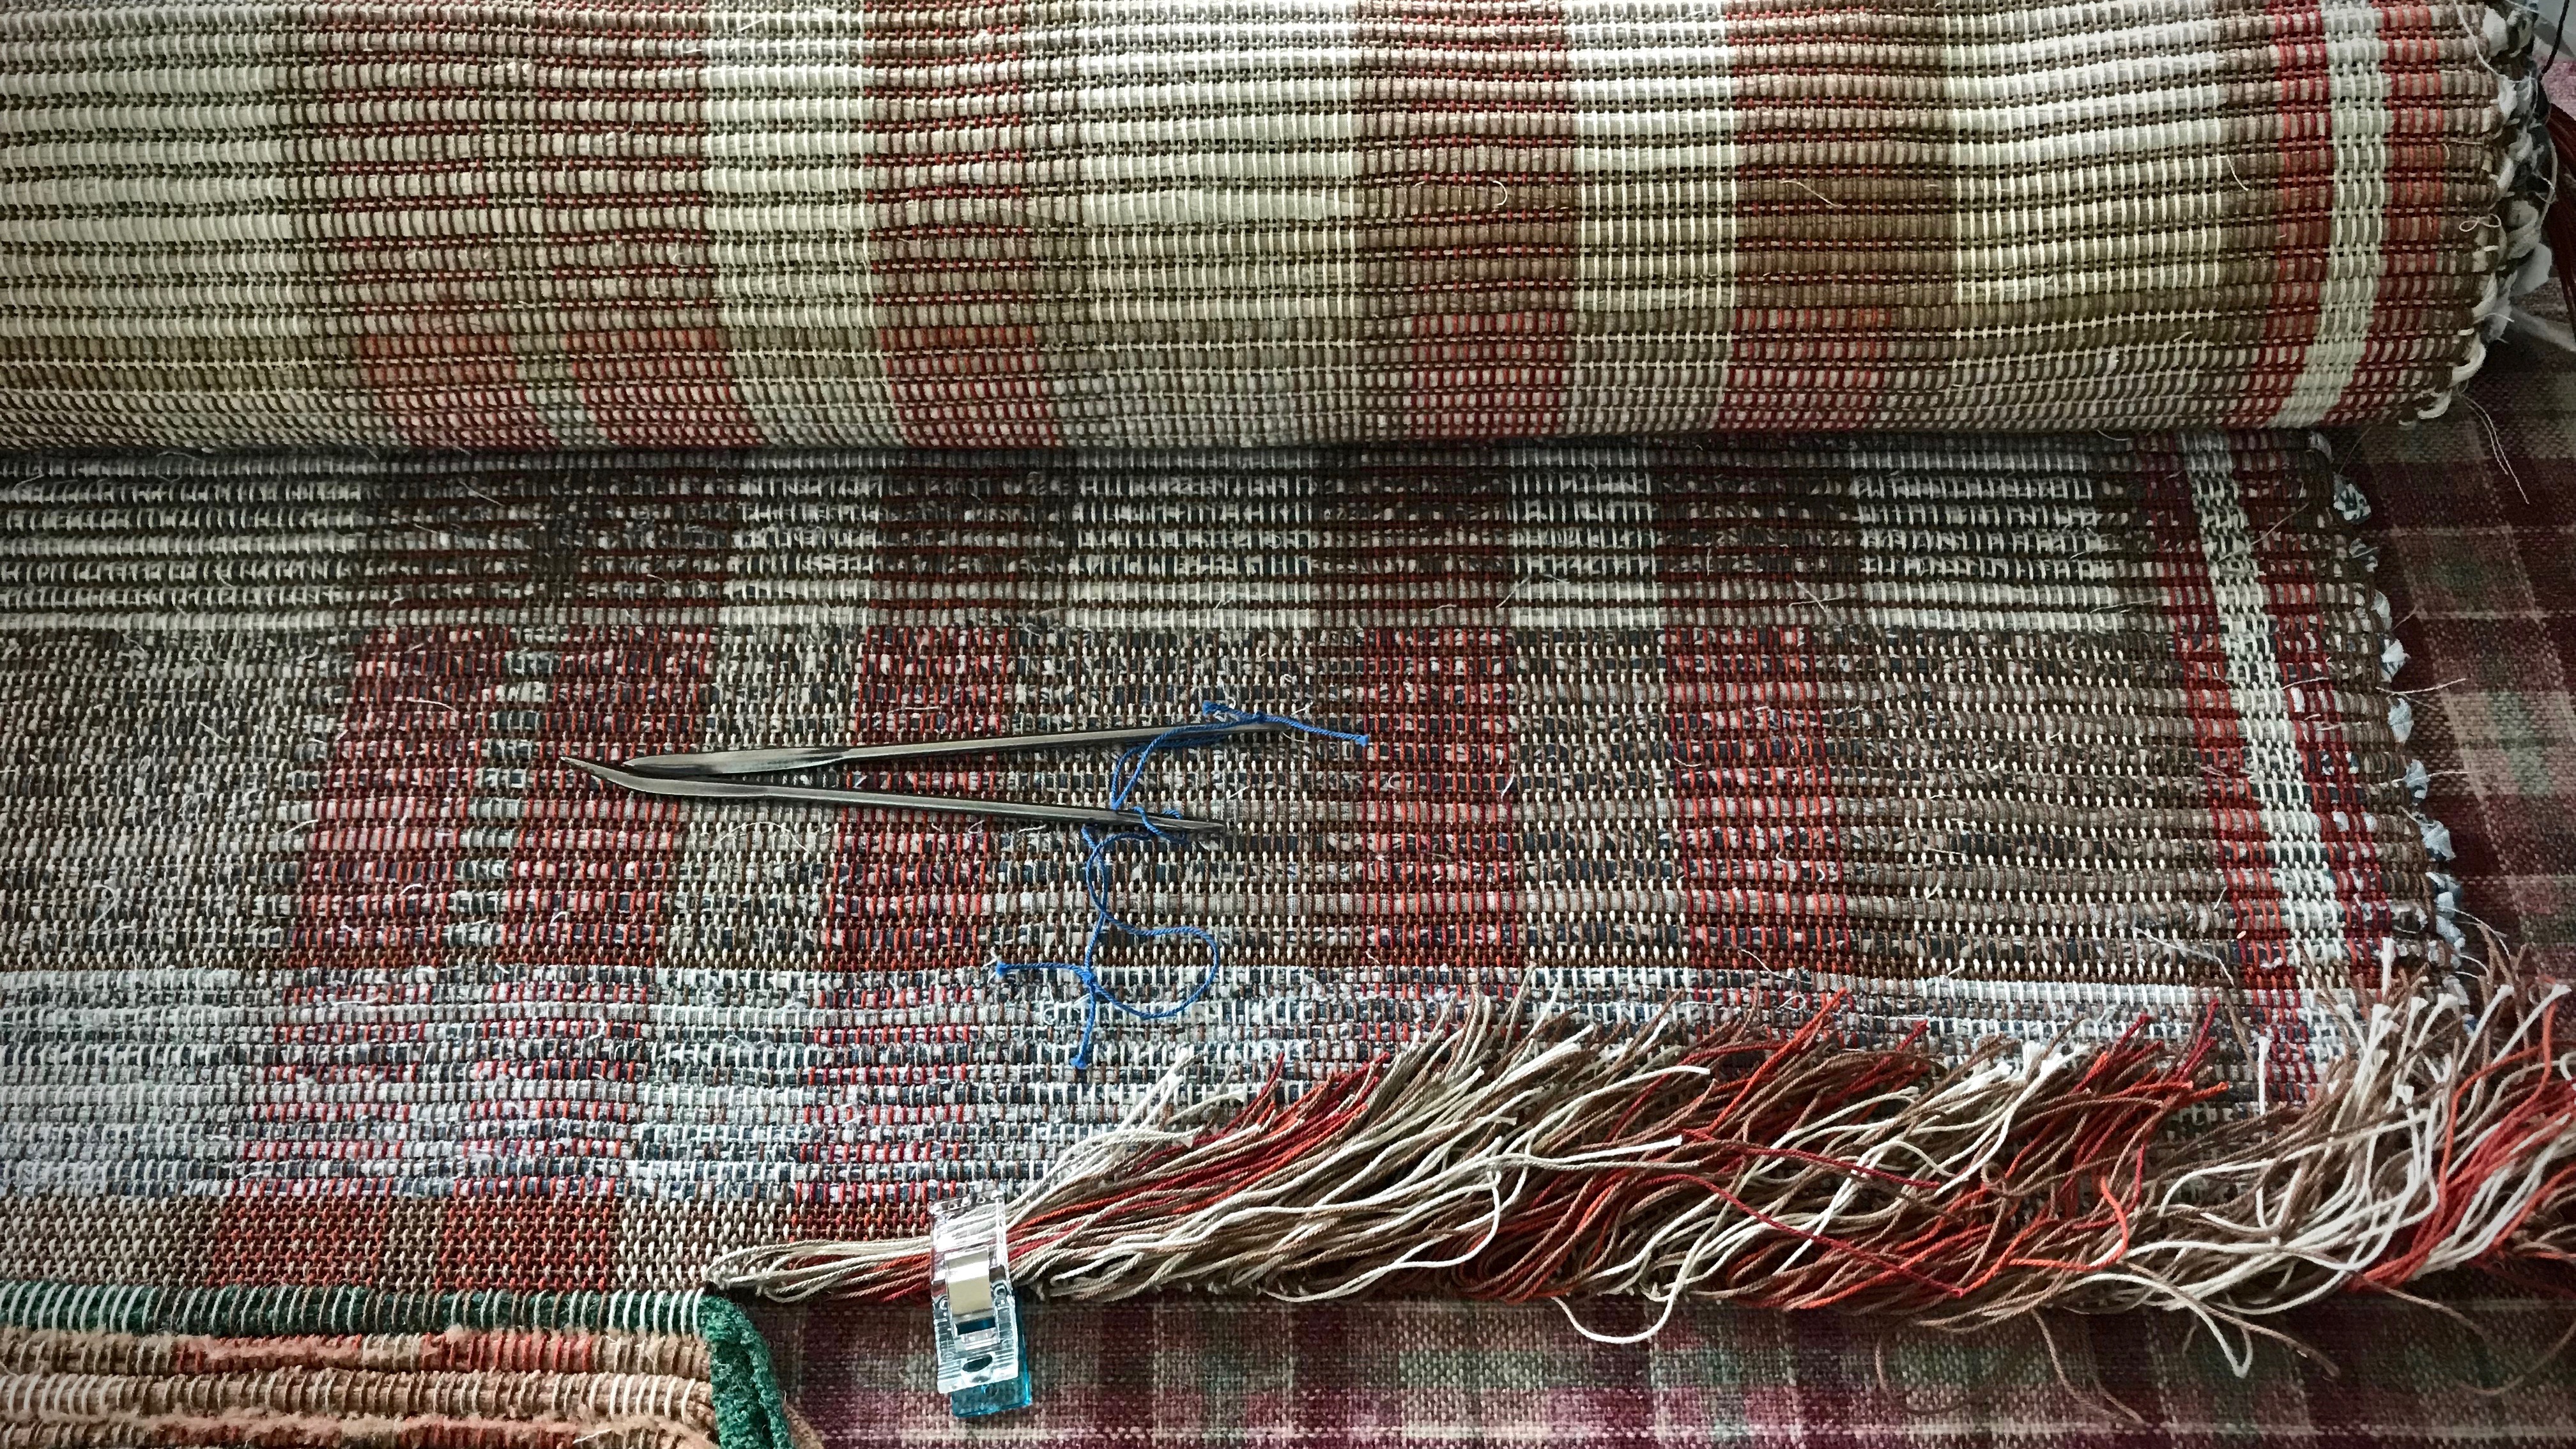
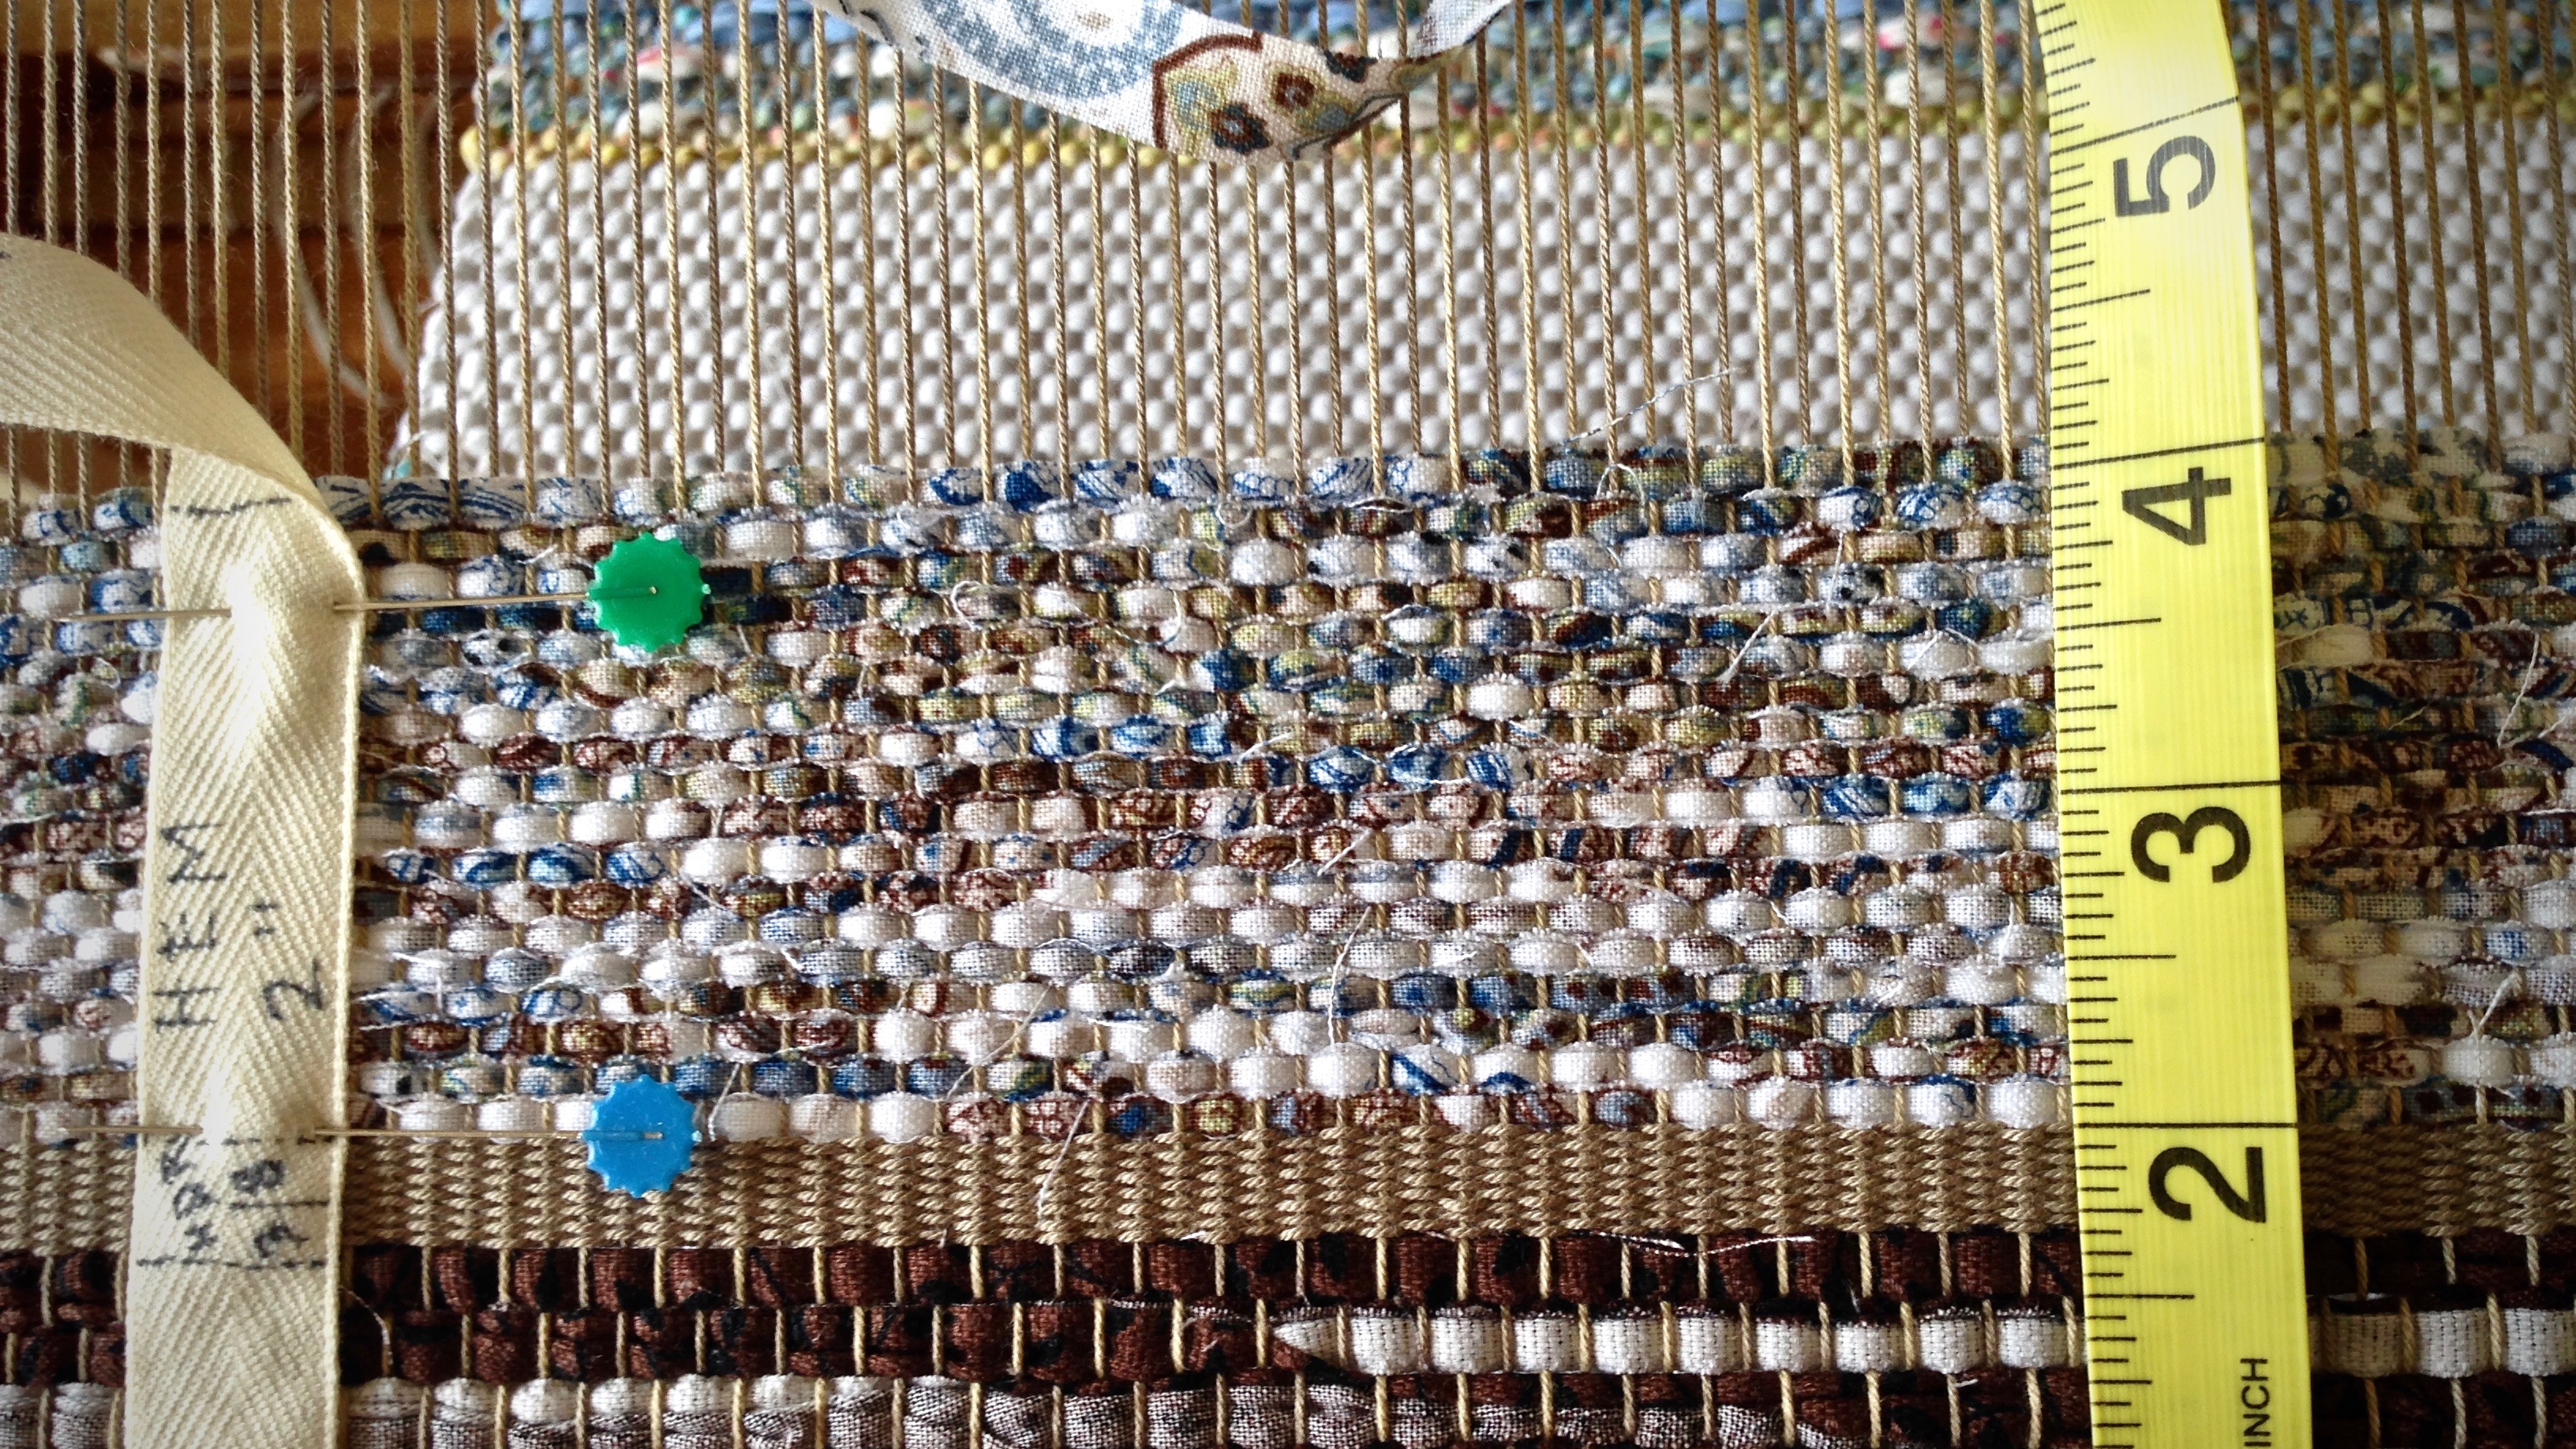
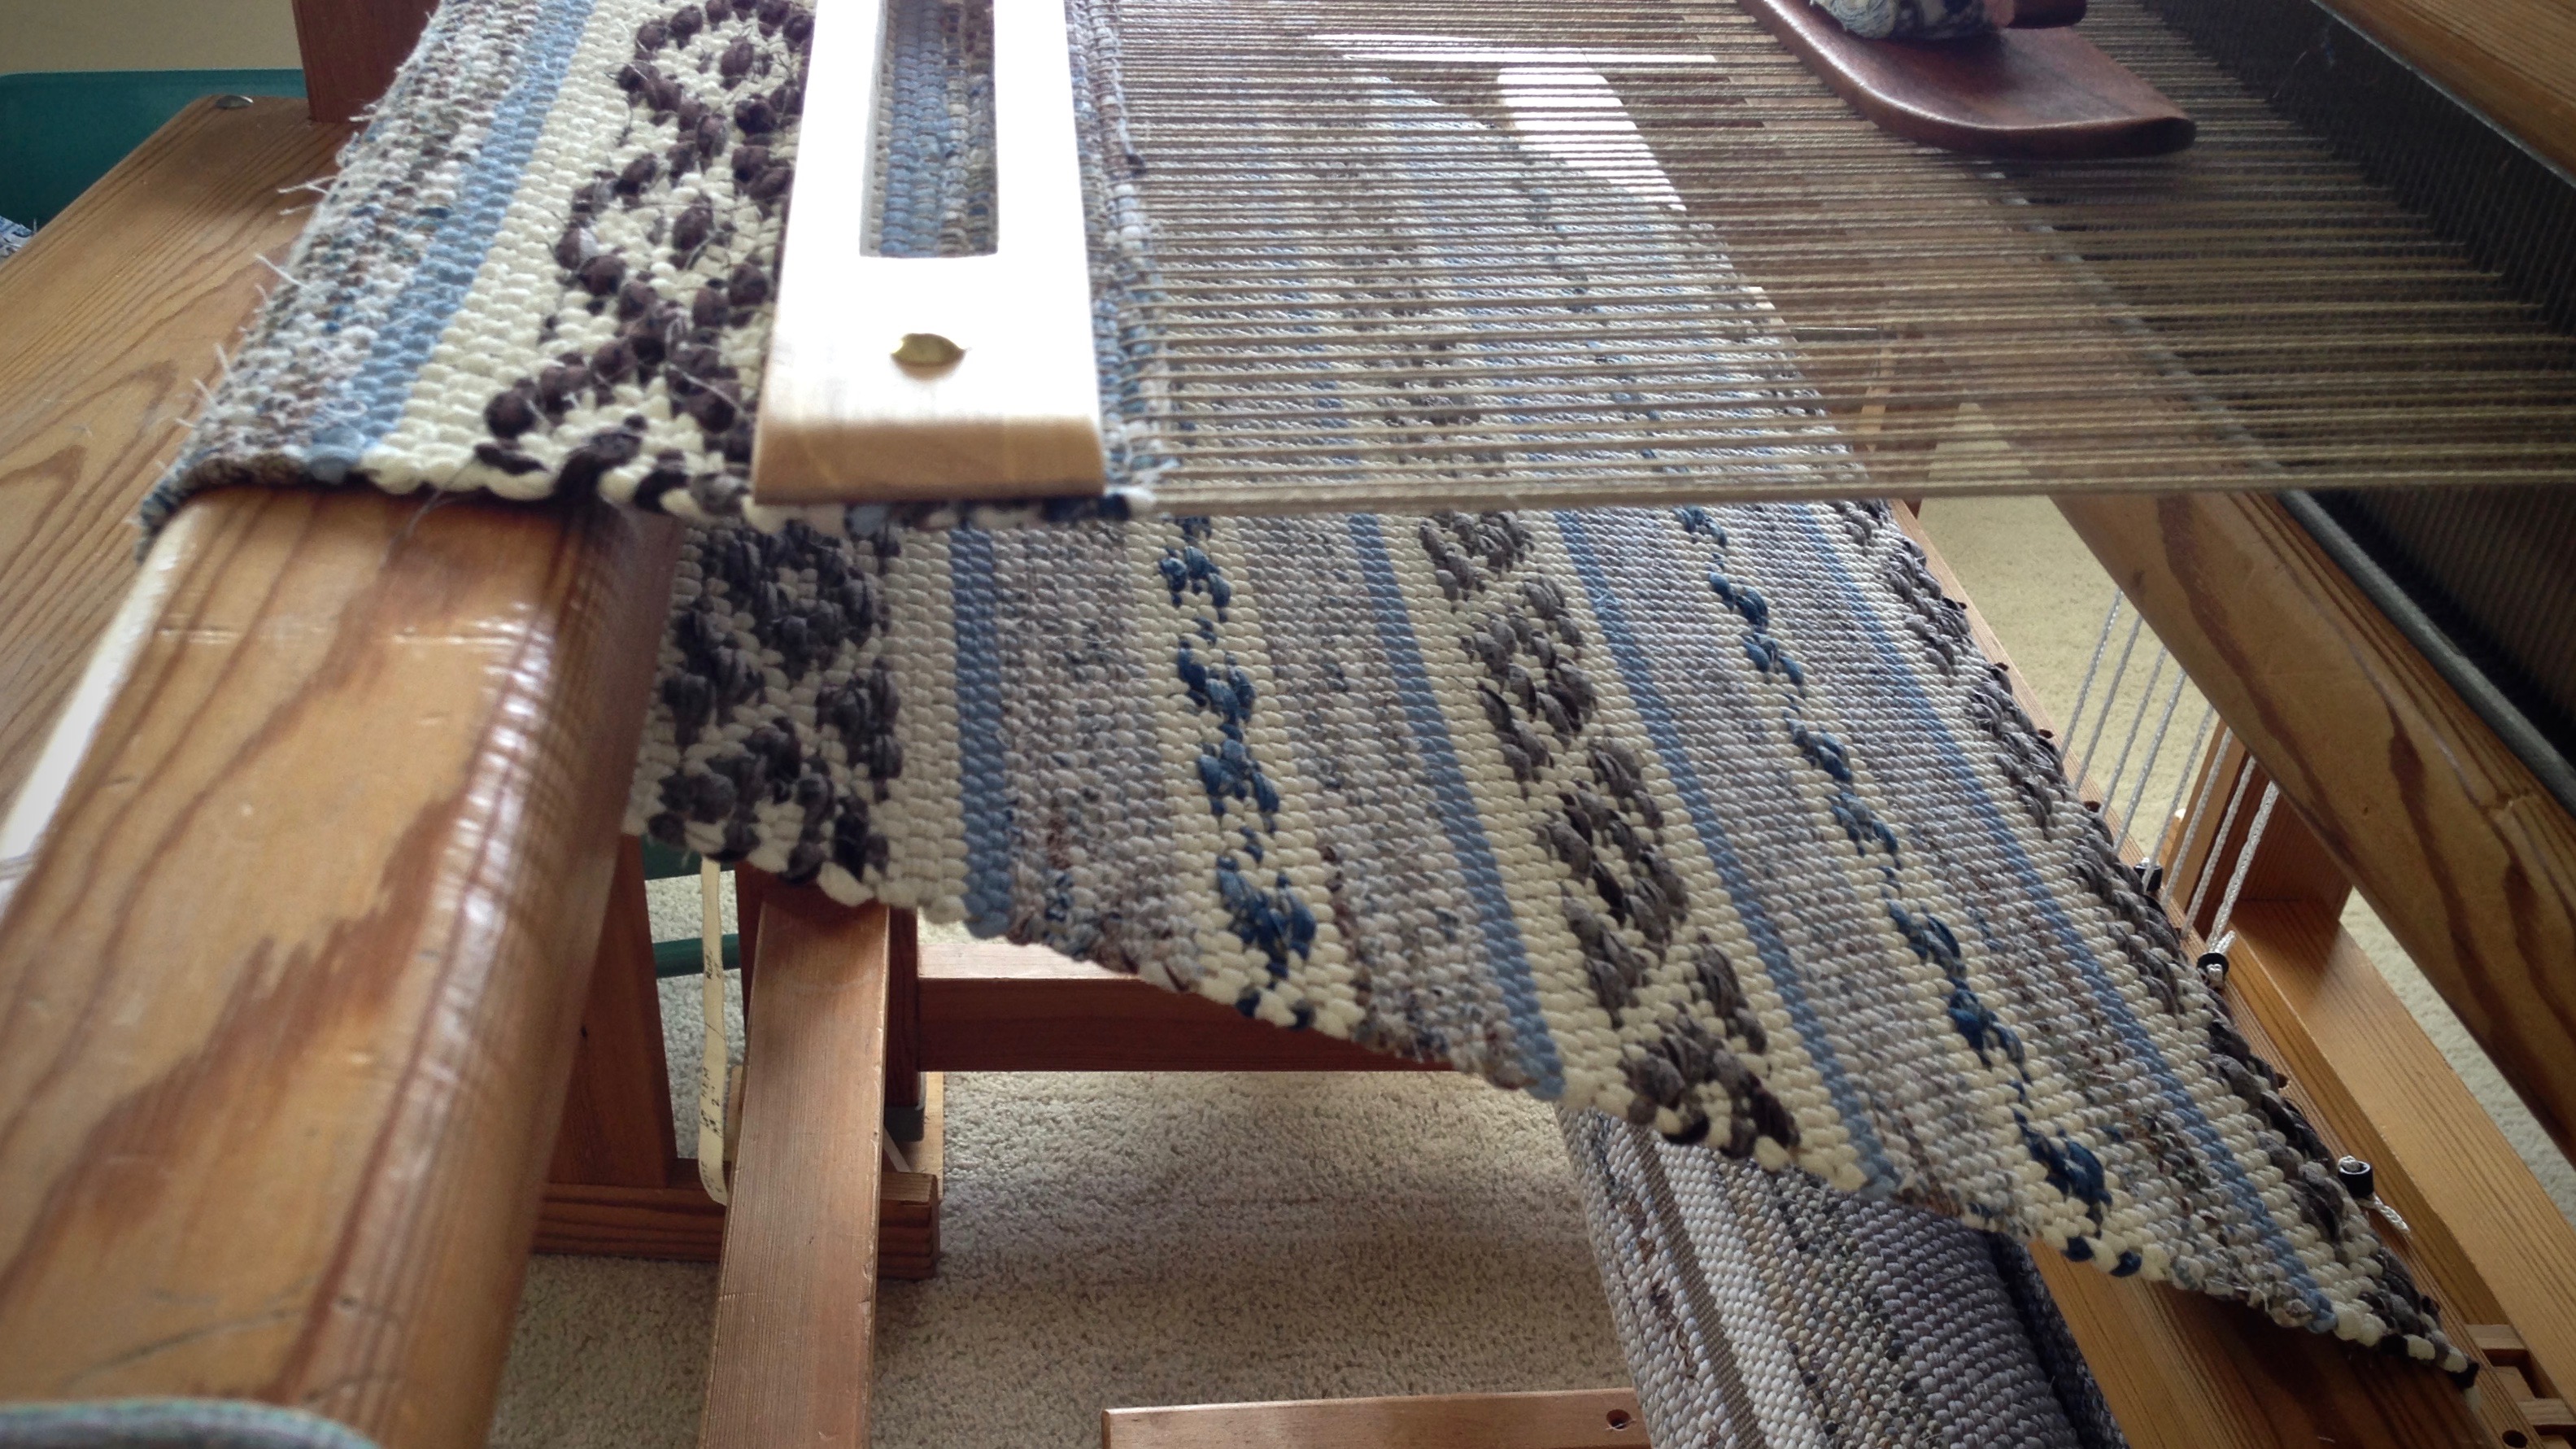
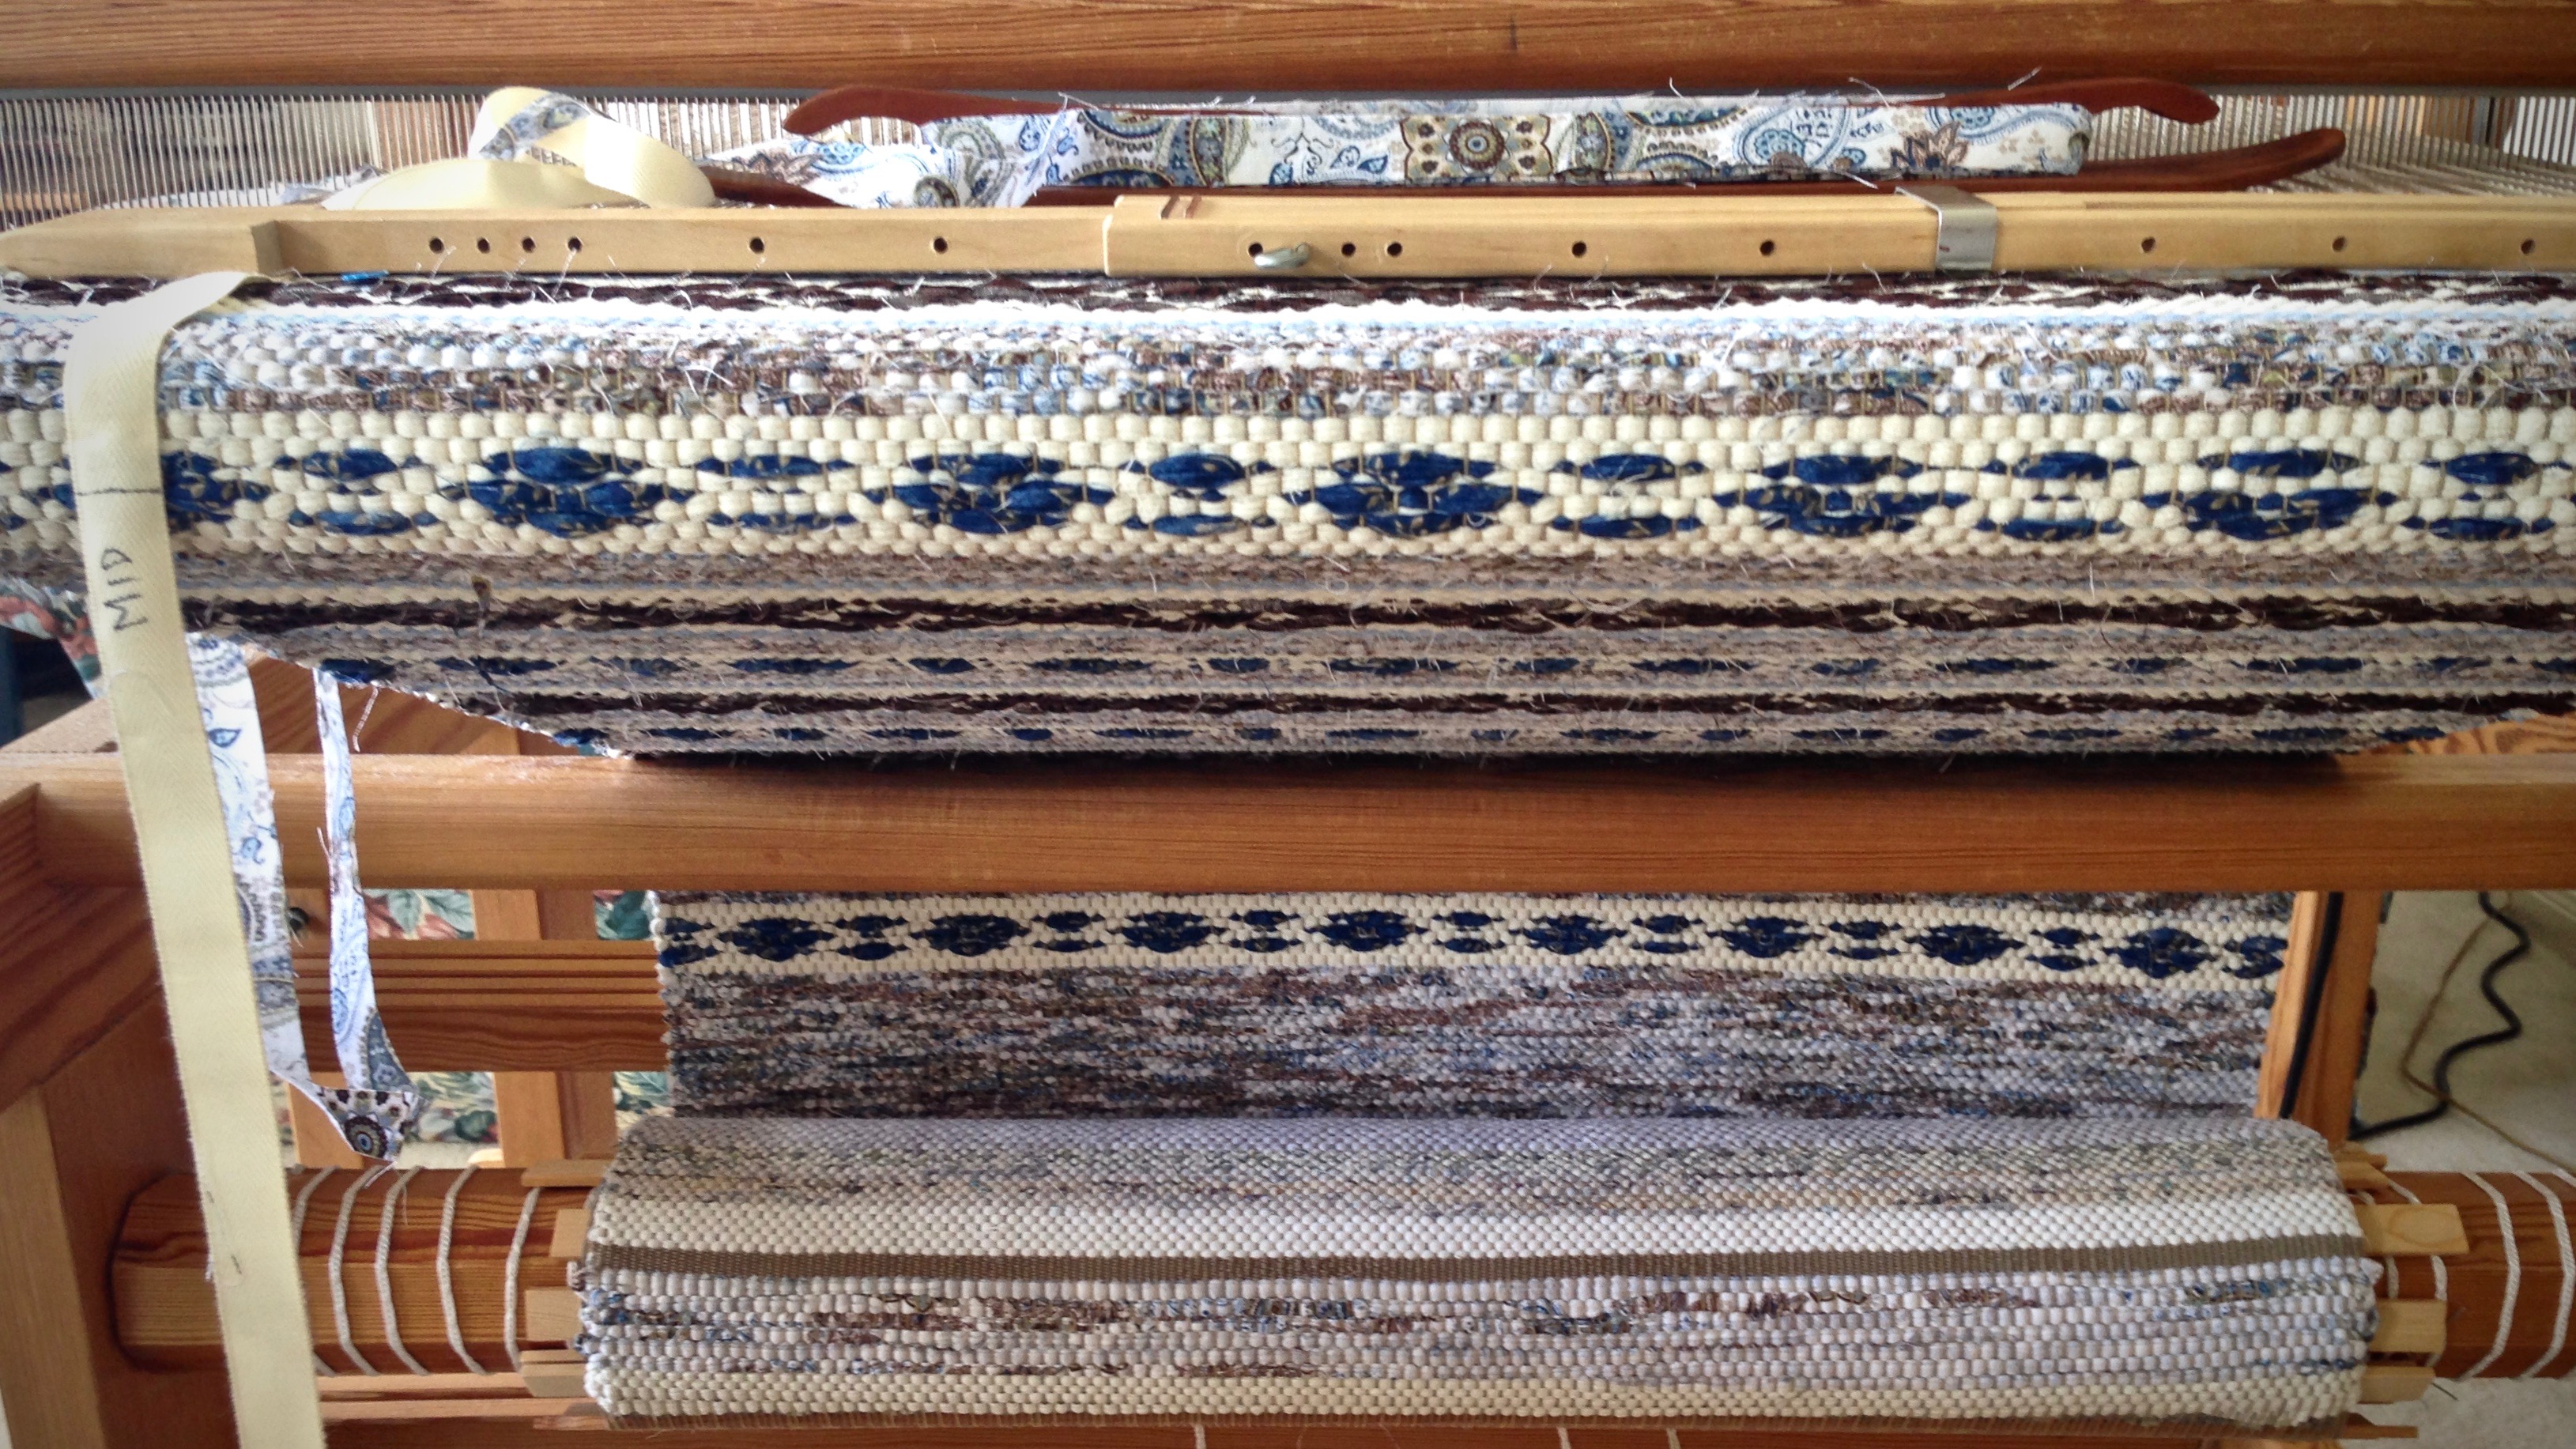
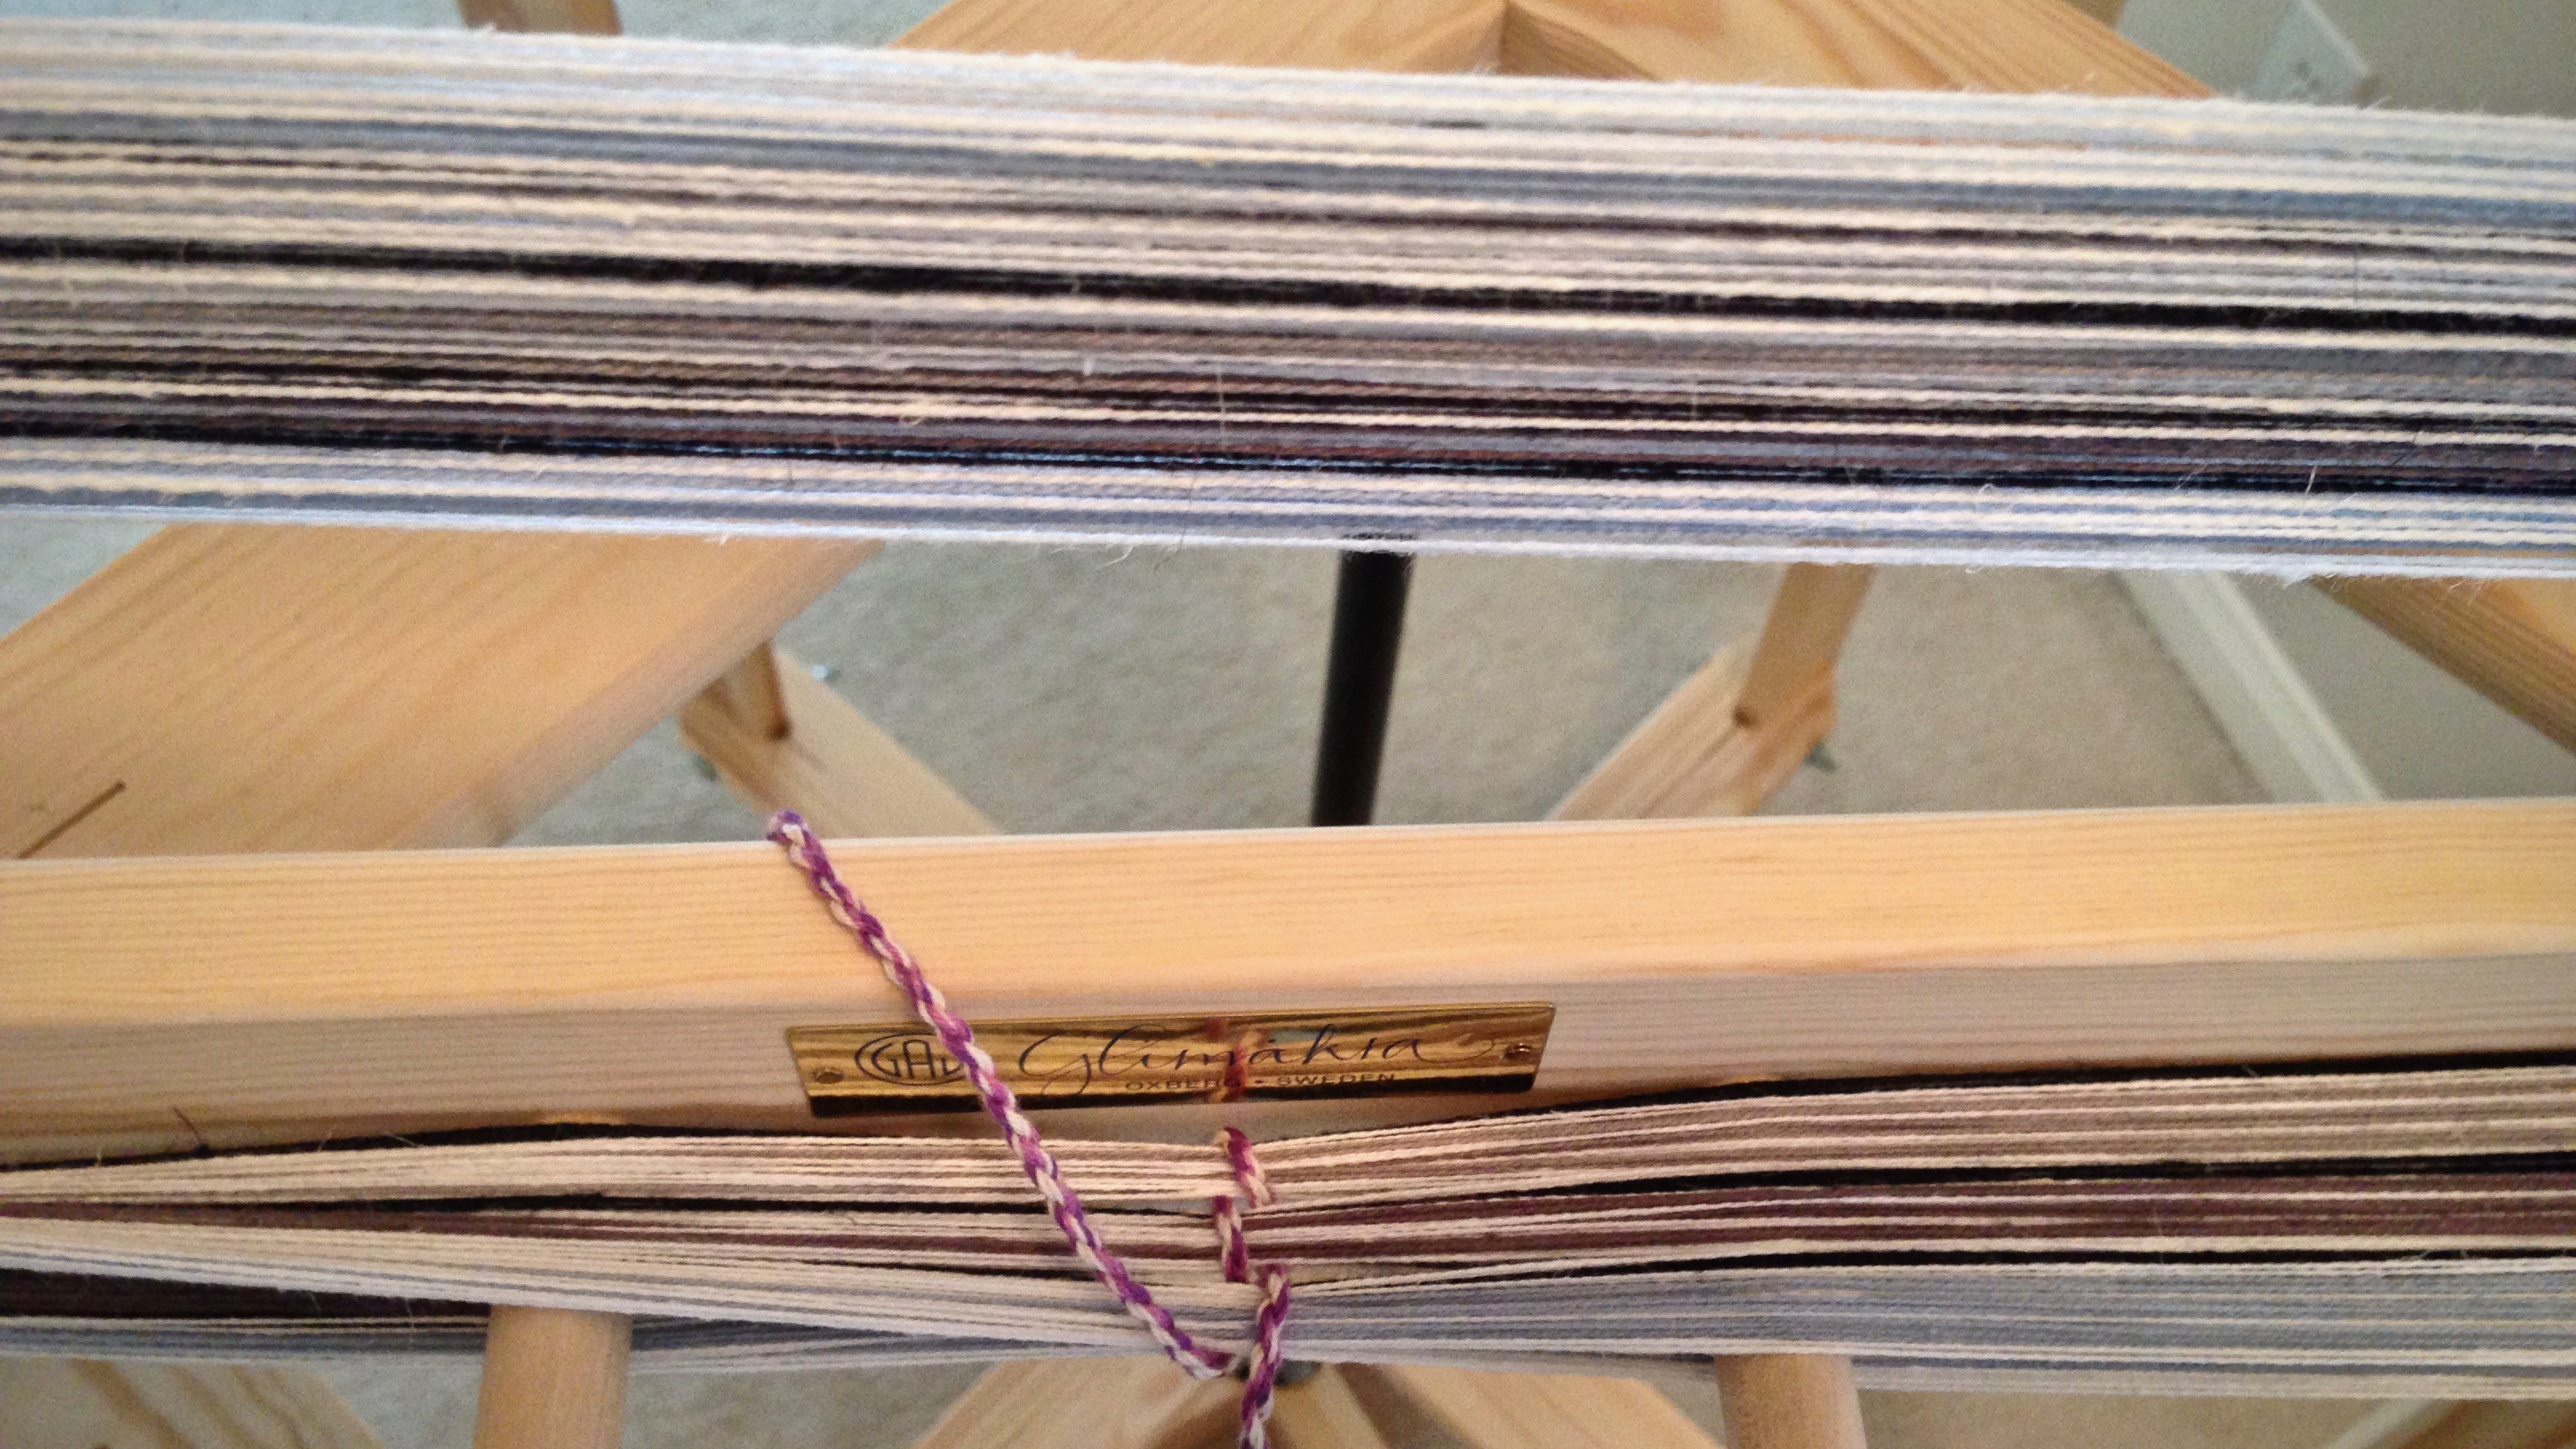
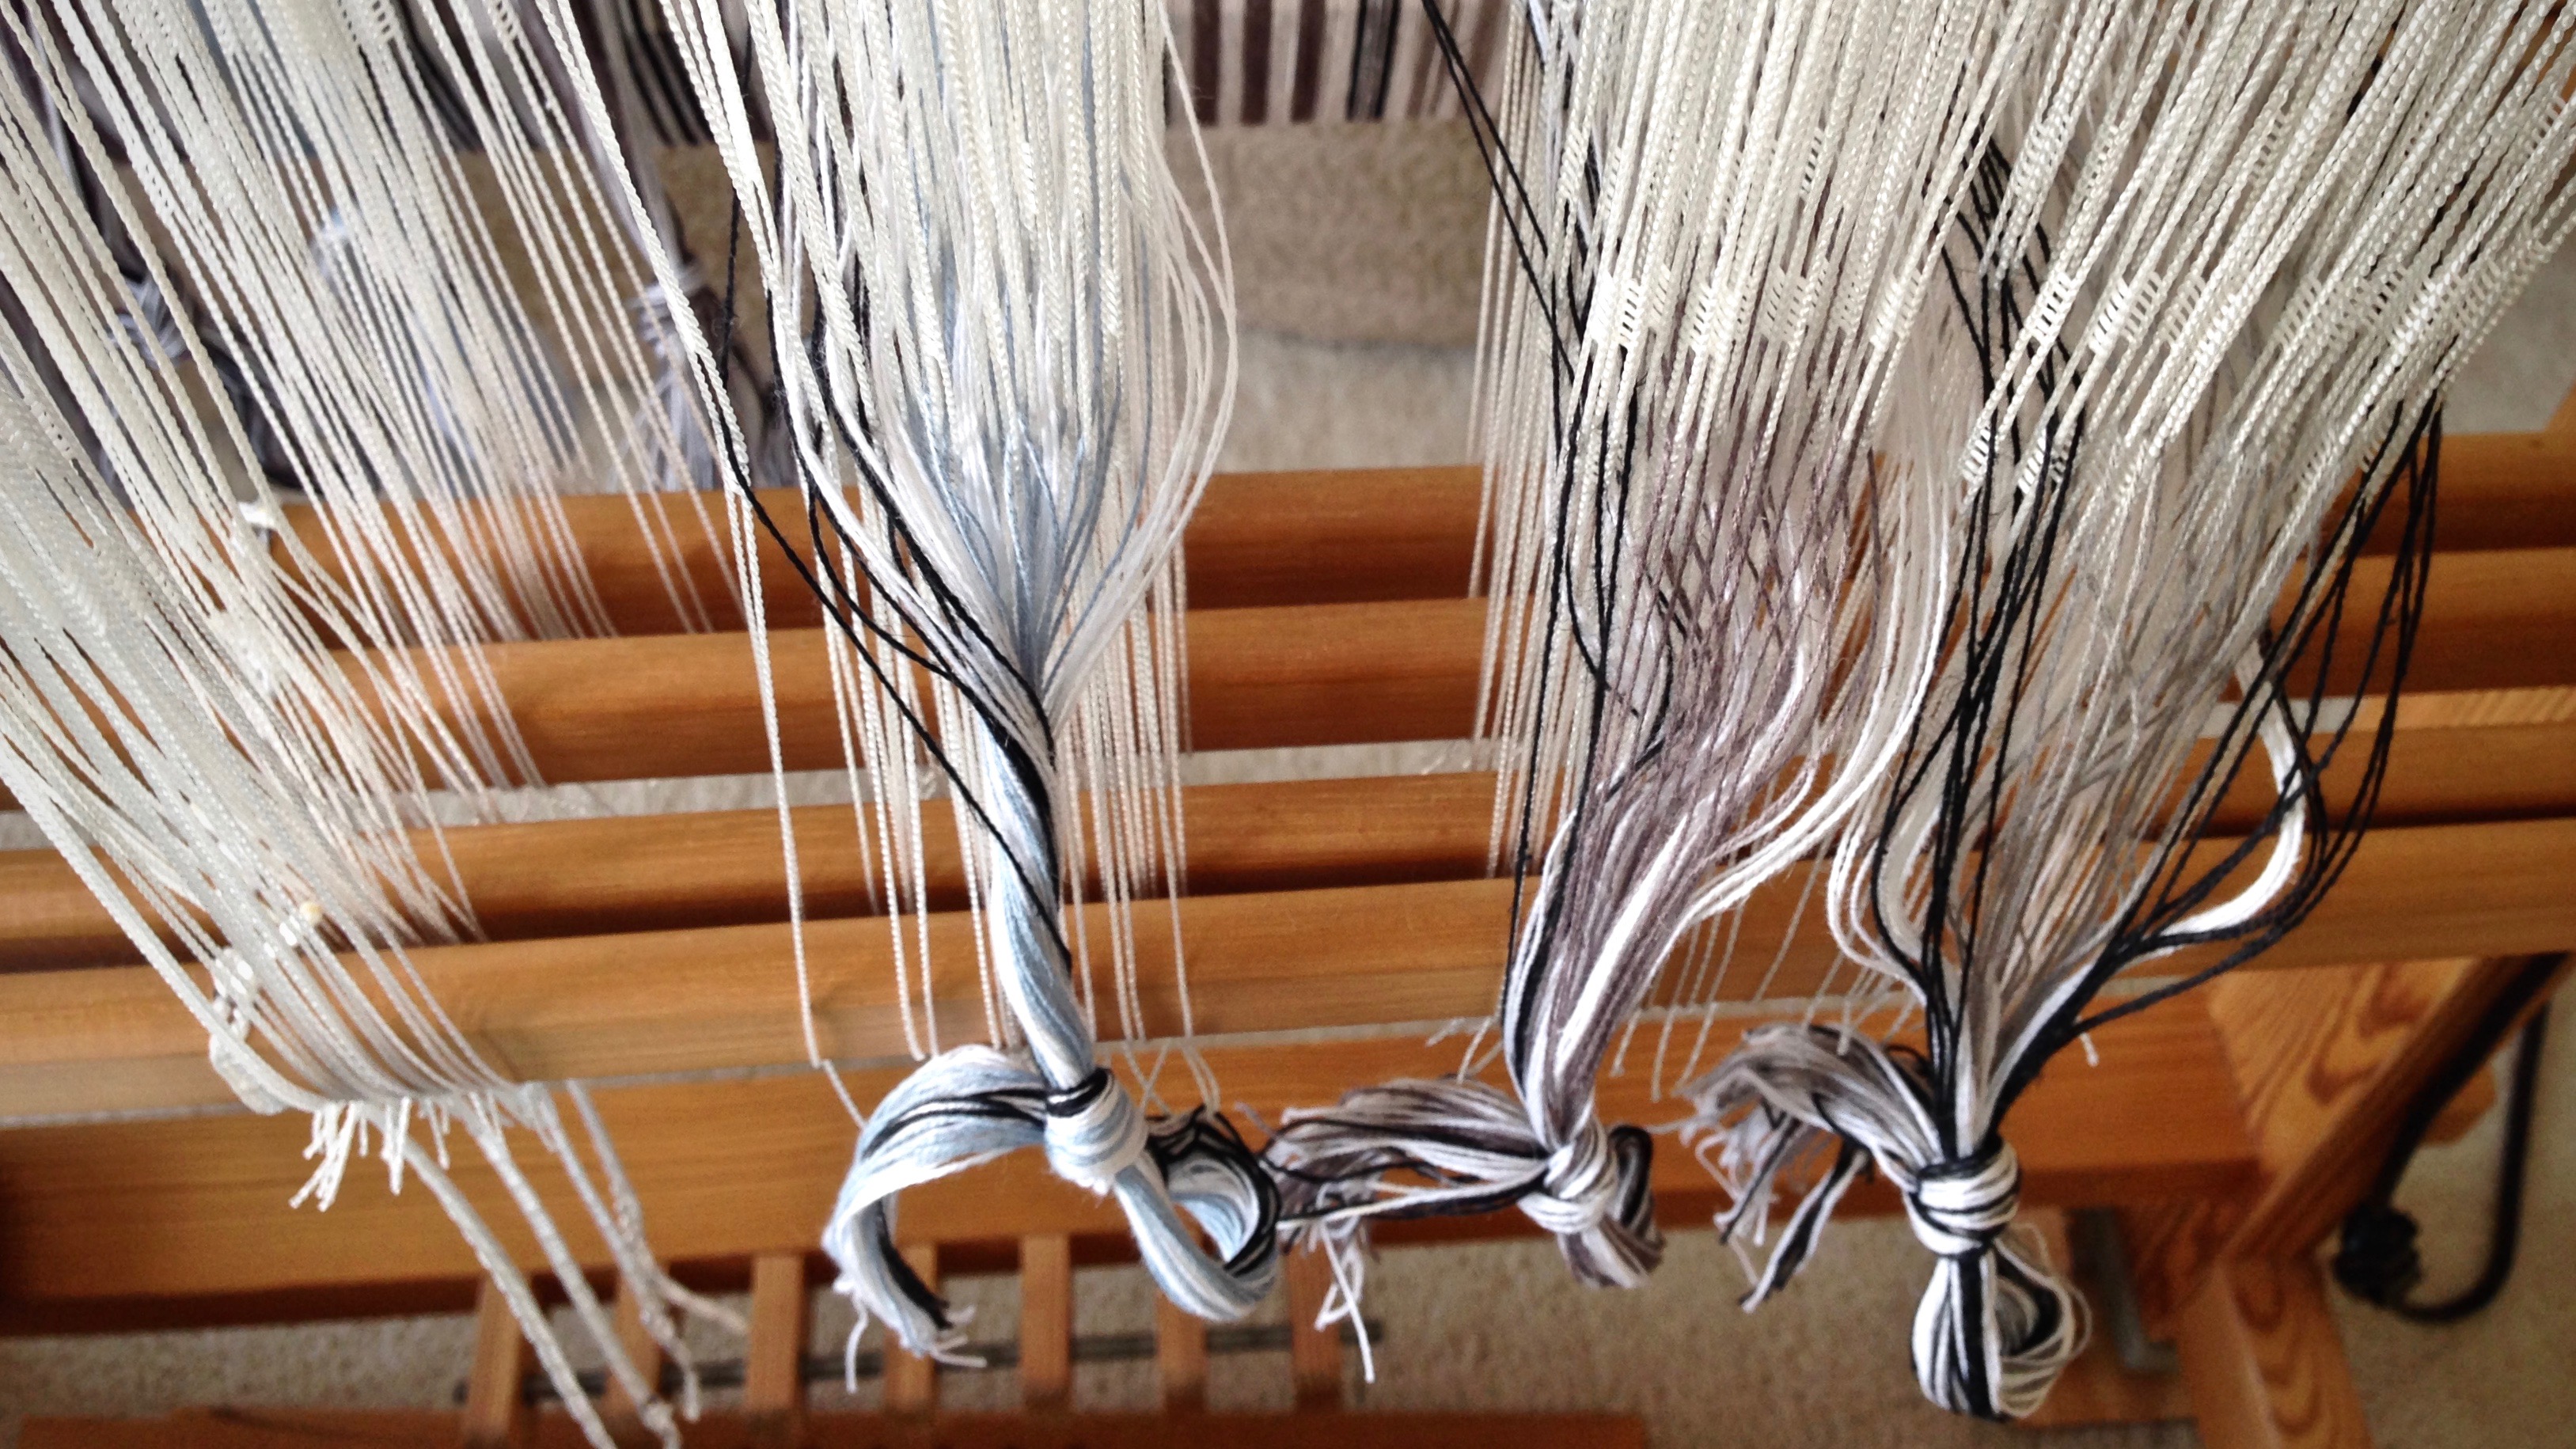
Would you like to tie 1,890 knots? These rag rugs have morewarpends than usual. Every four warp ends are tied into a square knot, and pulled tight. With 756 ends and five rugs, the knots add up! But it’s the best way I know to make the rug permanently secure. Hand-stitched hems will finalize the process. Three of the five spaced rep rugs are finished and hemmed. Two to go.
Four warpends are tied into a square knot. Plastic quilters clip keeps tied ends out of the way.Sacking needles are used for easing the warp ends out of the scrap weft, and for wrapping the thread around to tie tight knots, as shown in this short video: Quick Tip: Square Knots Without Blisters.Progress.
Christmas is about a heavenly promise. Jesus is the promise of God. Jesus—the word of God in person. The promise of God is as near as our own mouths and our own hearts—we say it and believe it. The promise is brought to us by grace, which means all the knots have been tied for us, and the hem is stitched. It is finished. And we enjoy the permanent security of the Savior’s redemptive love. This is no magic carpet, but a handwoven rug with rags that have been made beautiful.
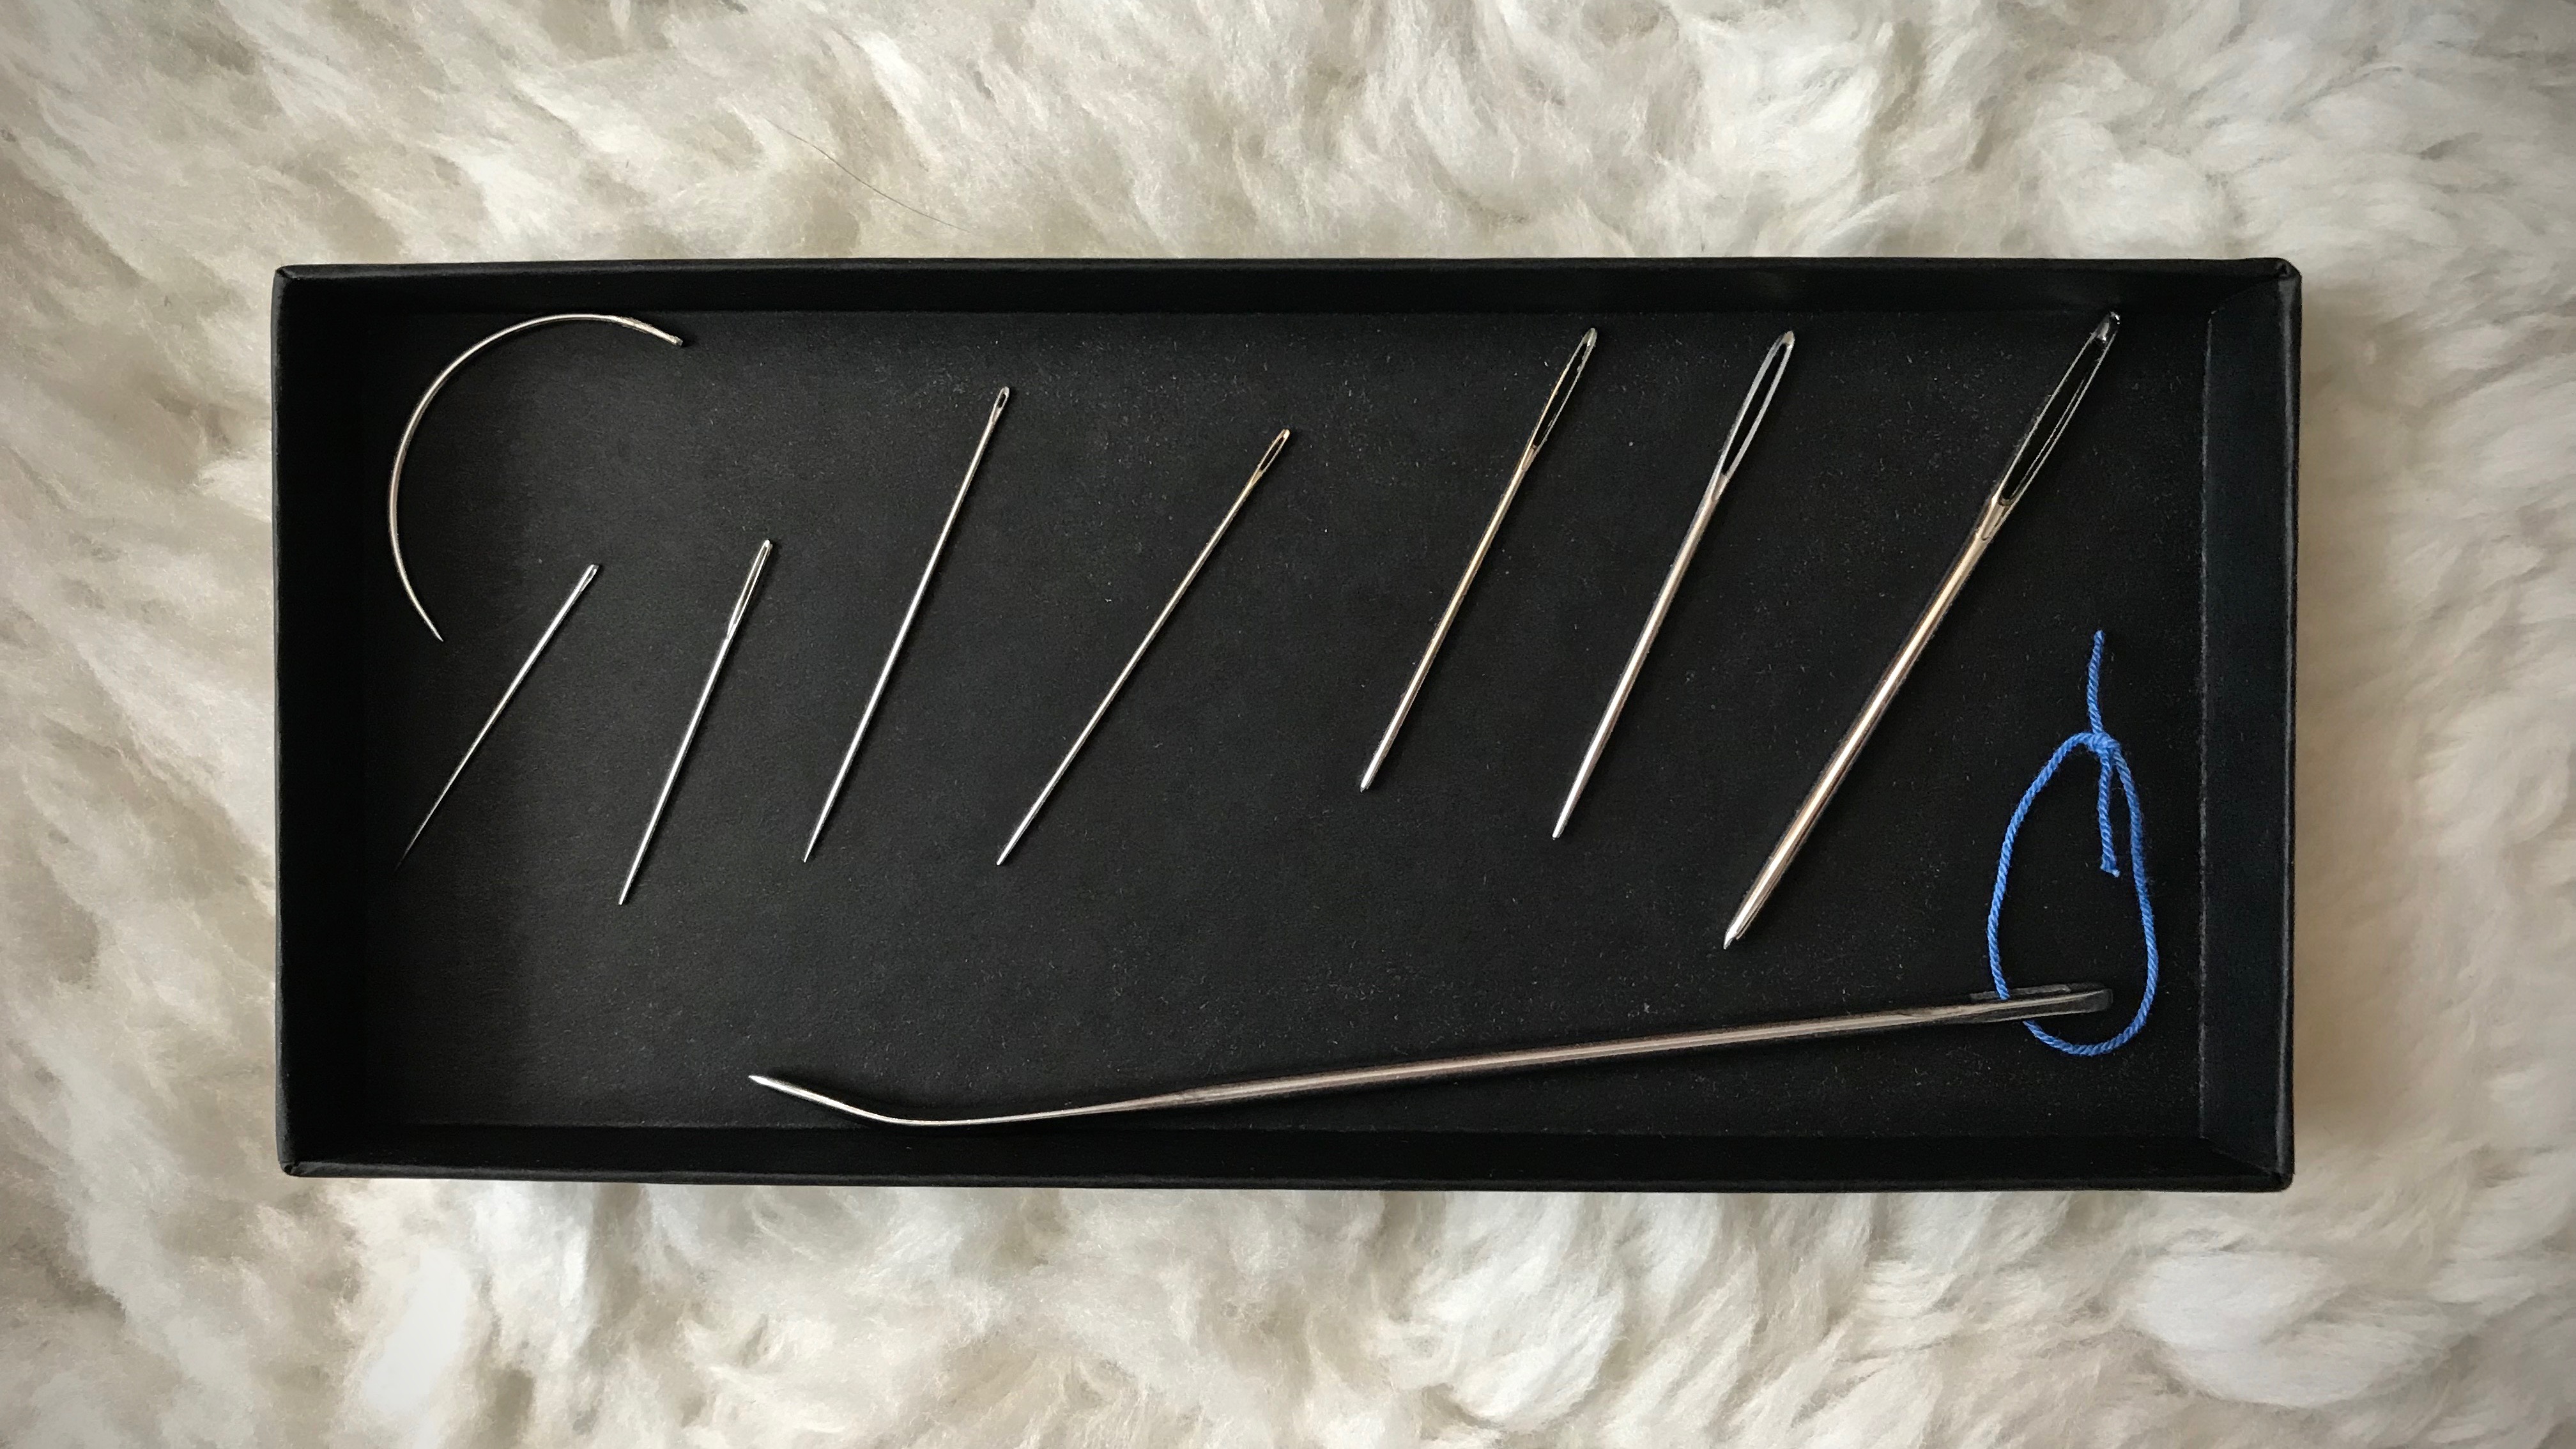
Even though there are dozens of needles in and around my weaving and sewing spaces, nine stand out from the rest. These go-to needles have earned special favor. As essential tools, these needles have specific holders and permanent homes.
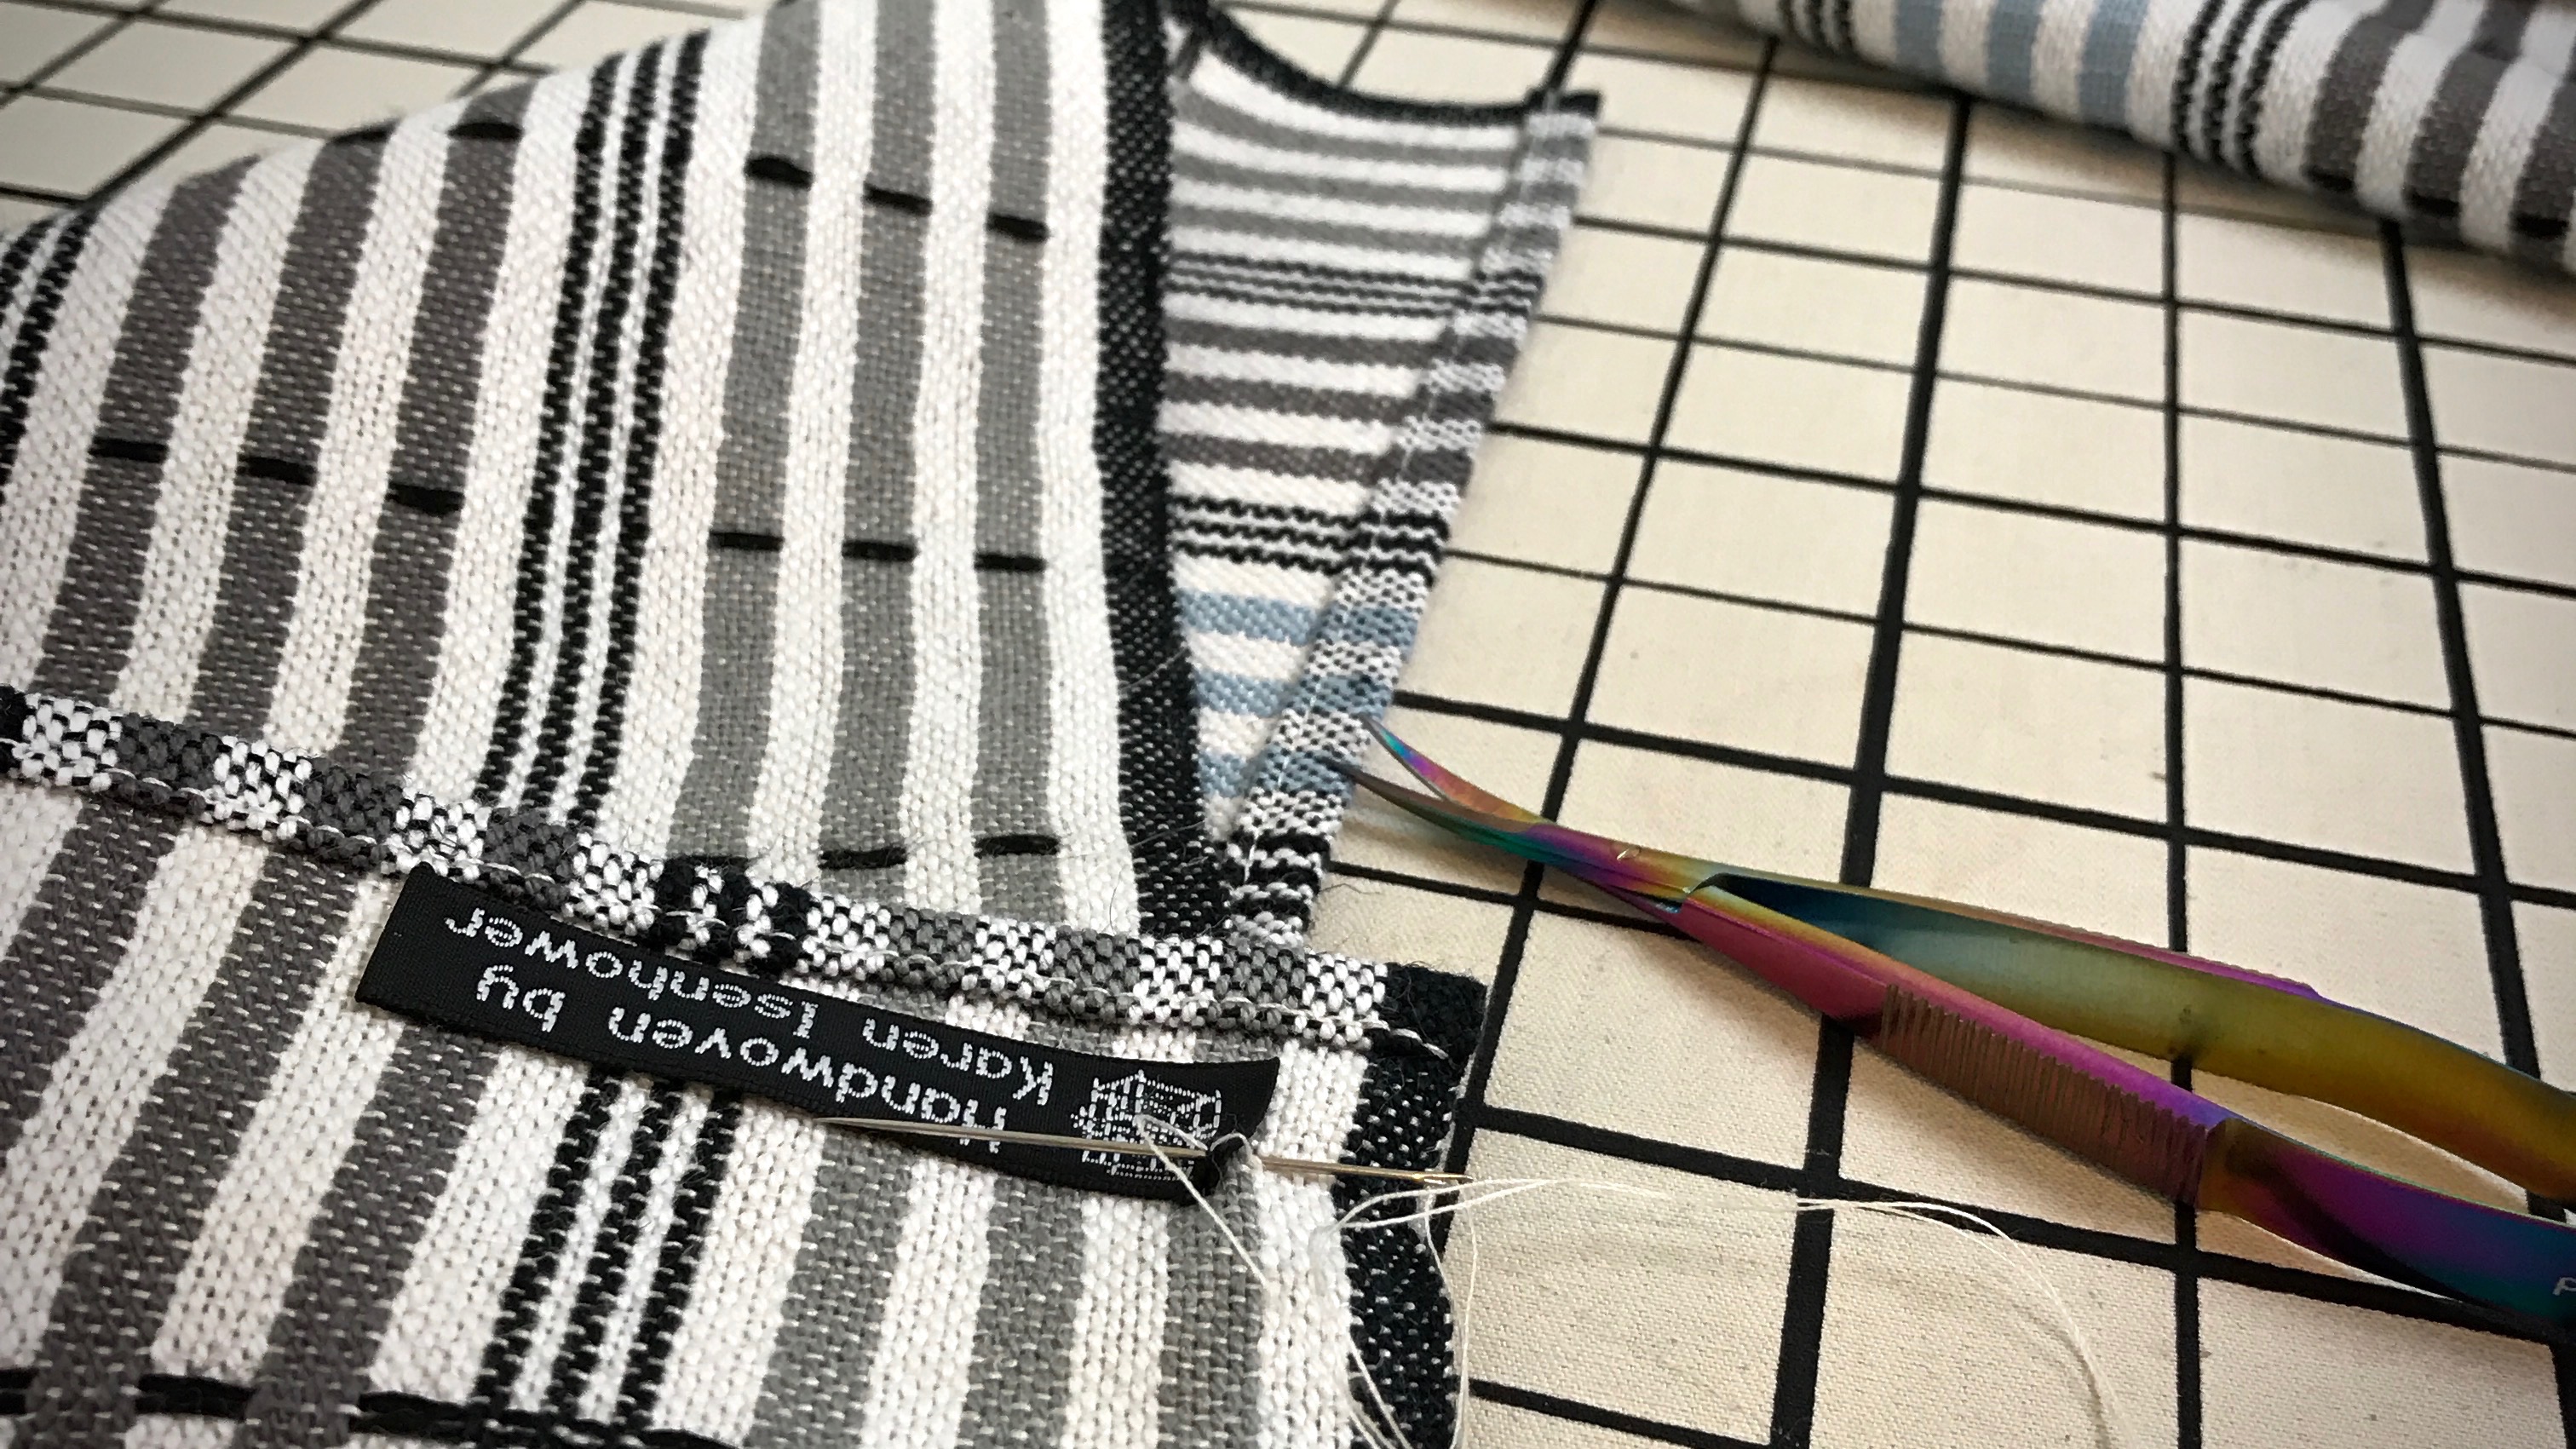
Sharp needles: hand-hemming, hand-sewing, stitching on labels, and stitching a tapestry to a linen mat for mounting (curved needle)
HOLDER: Pincushion I made in 1980
HOME: Sewing supply closet, “Needles and Pins” drawer
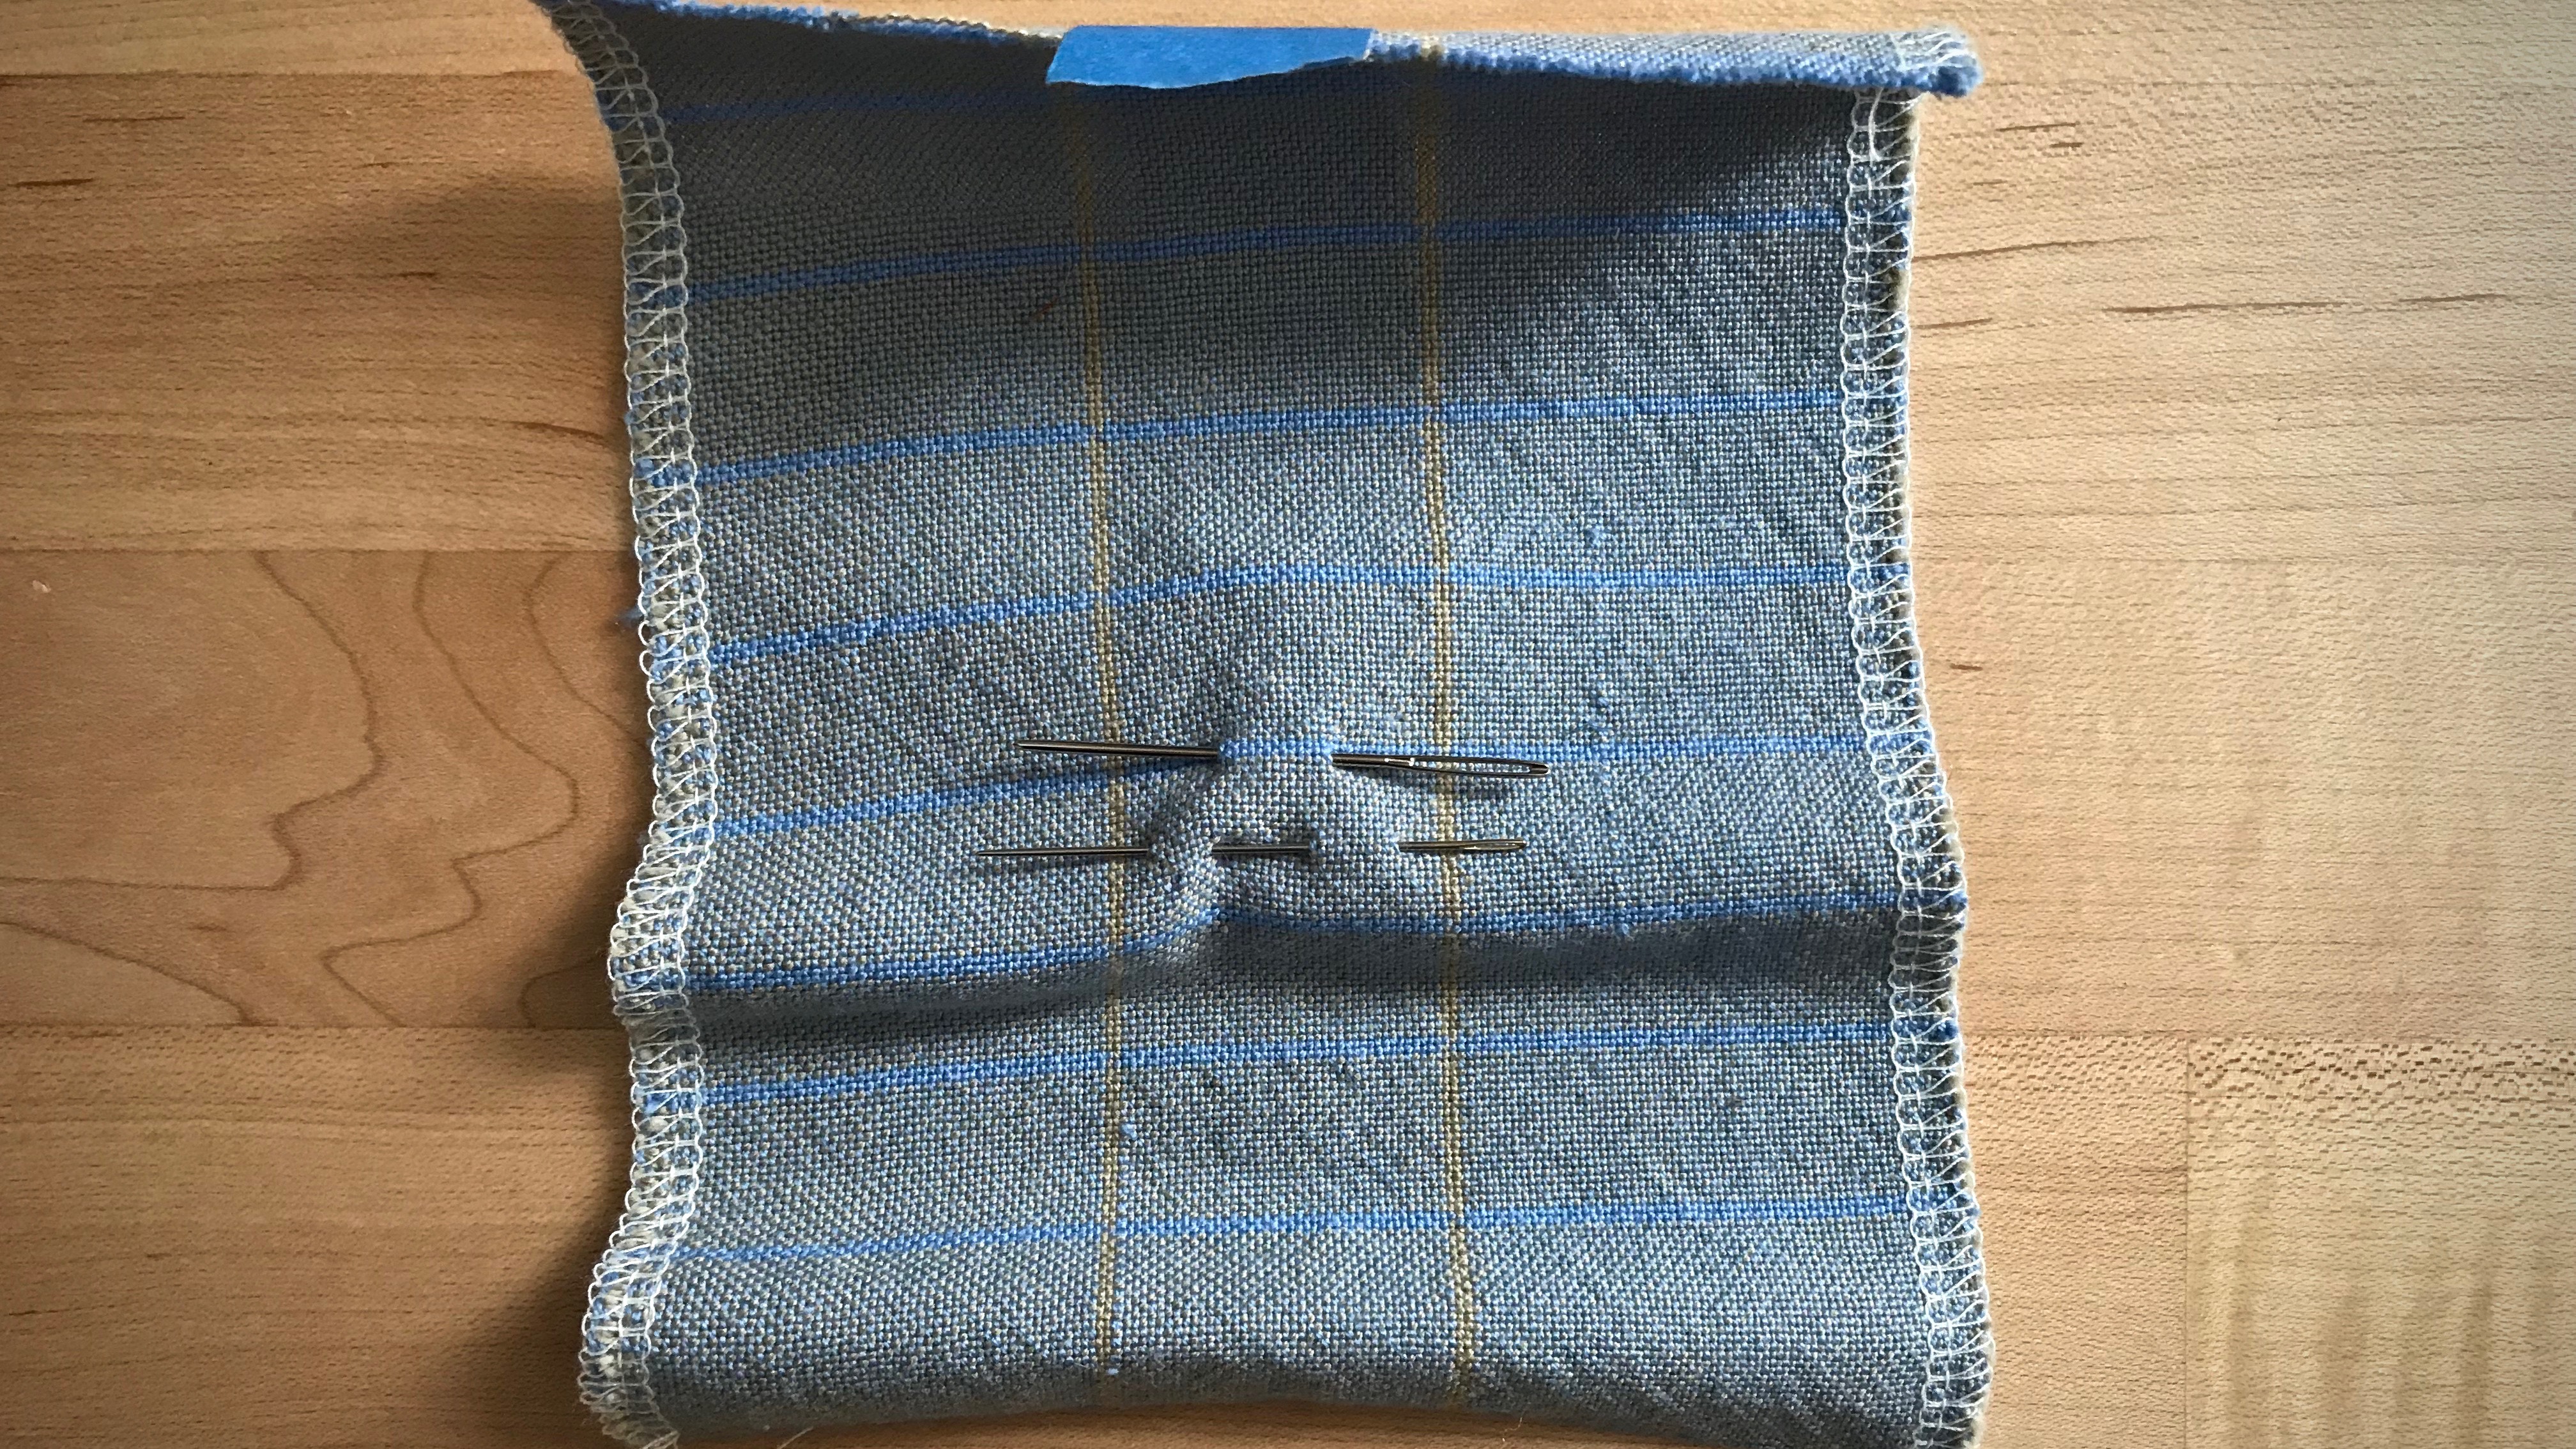
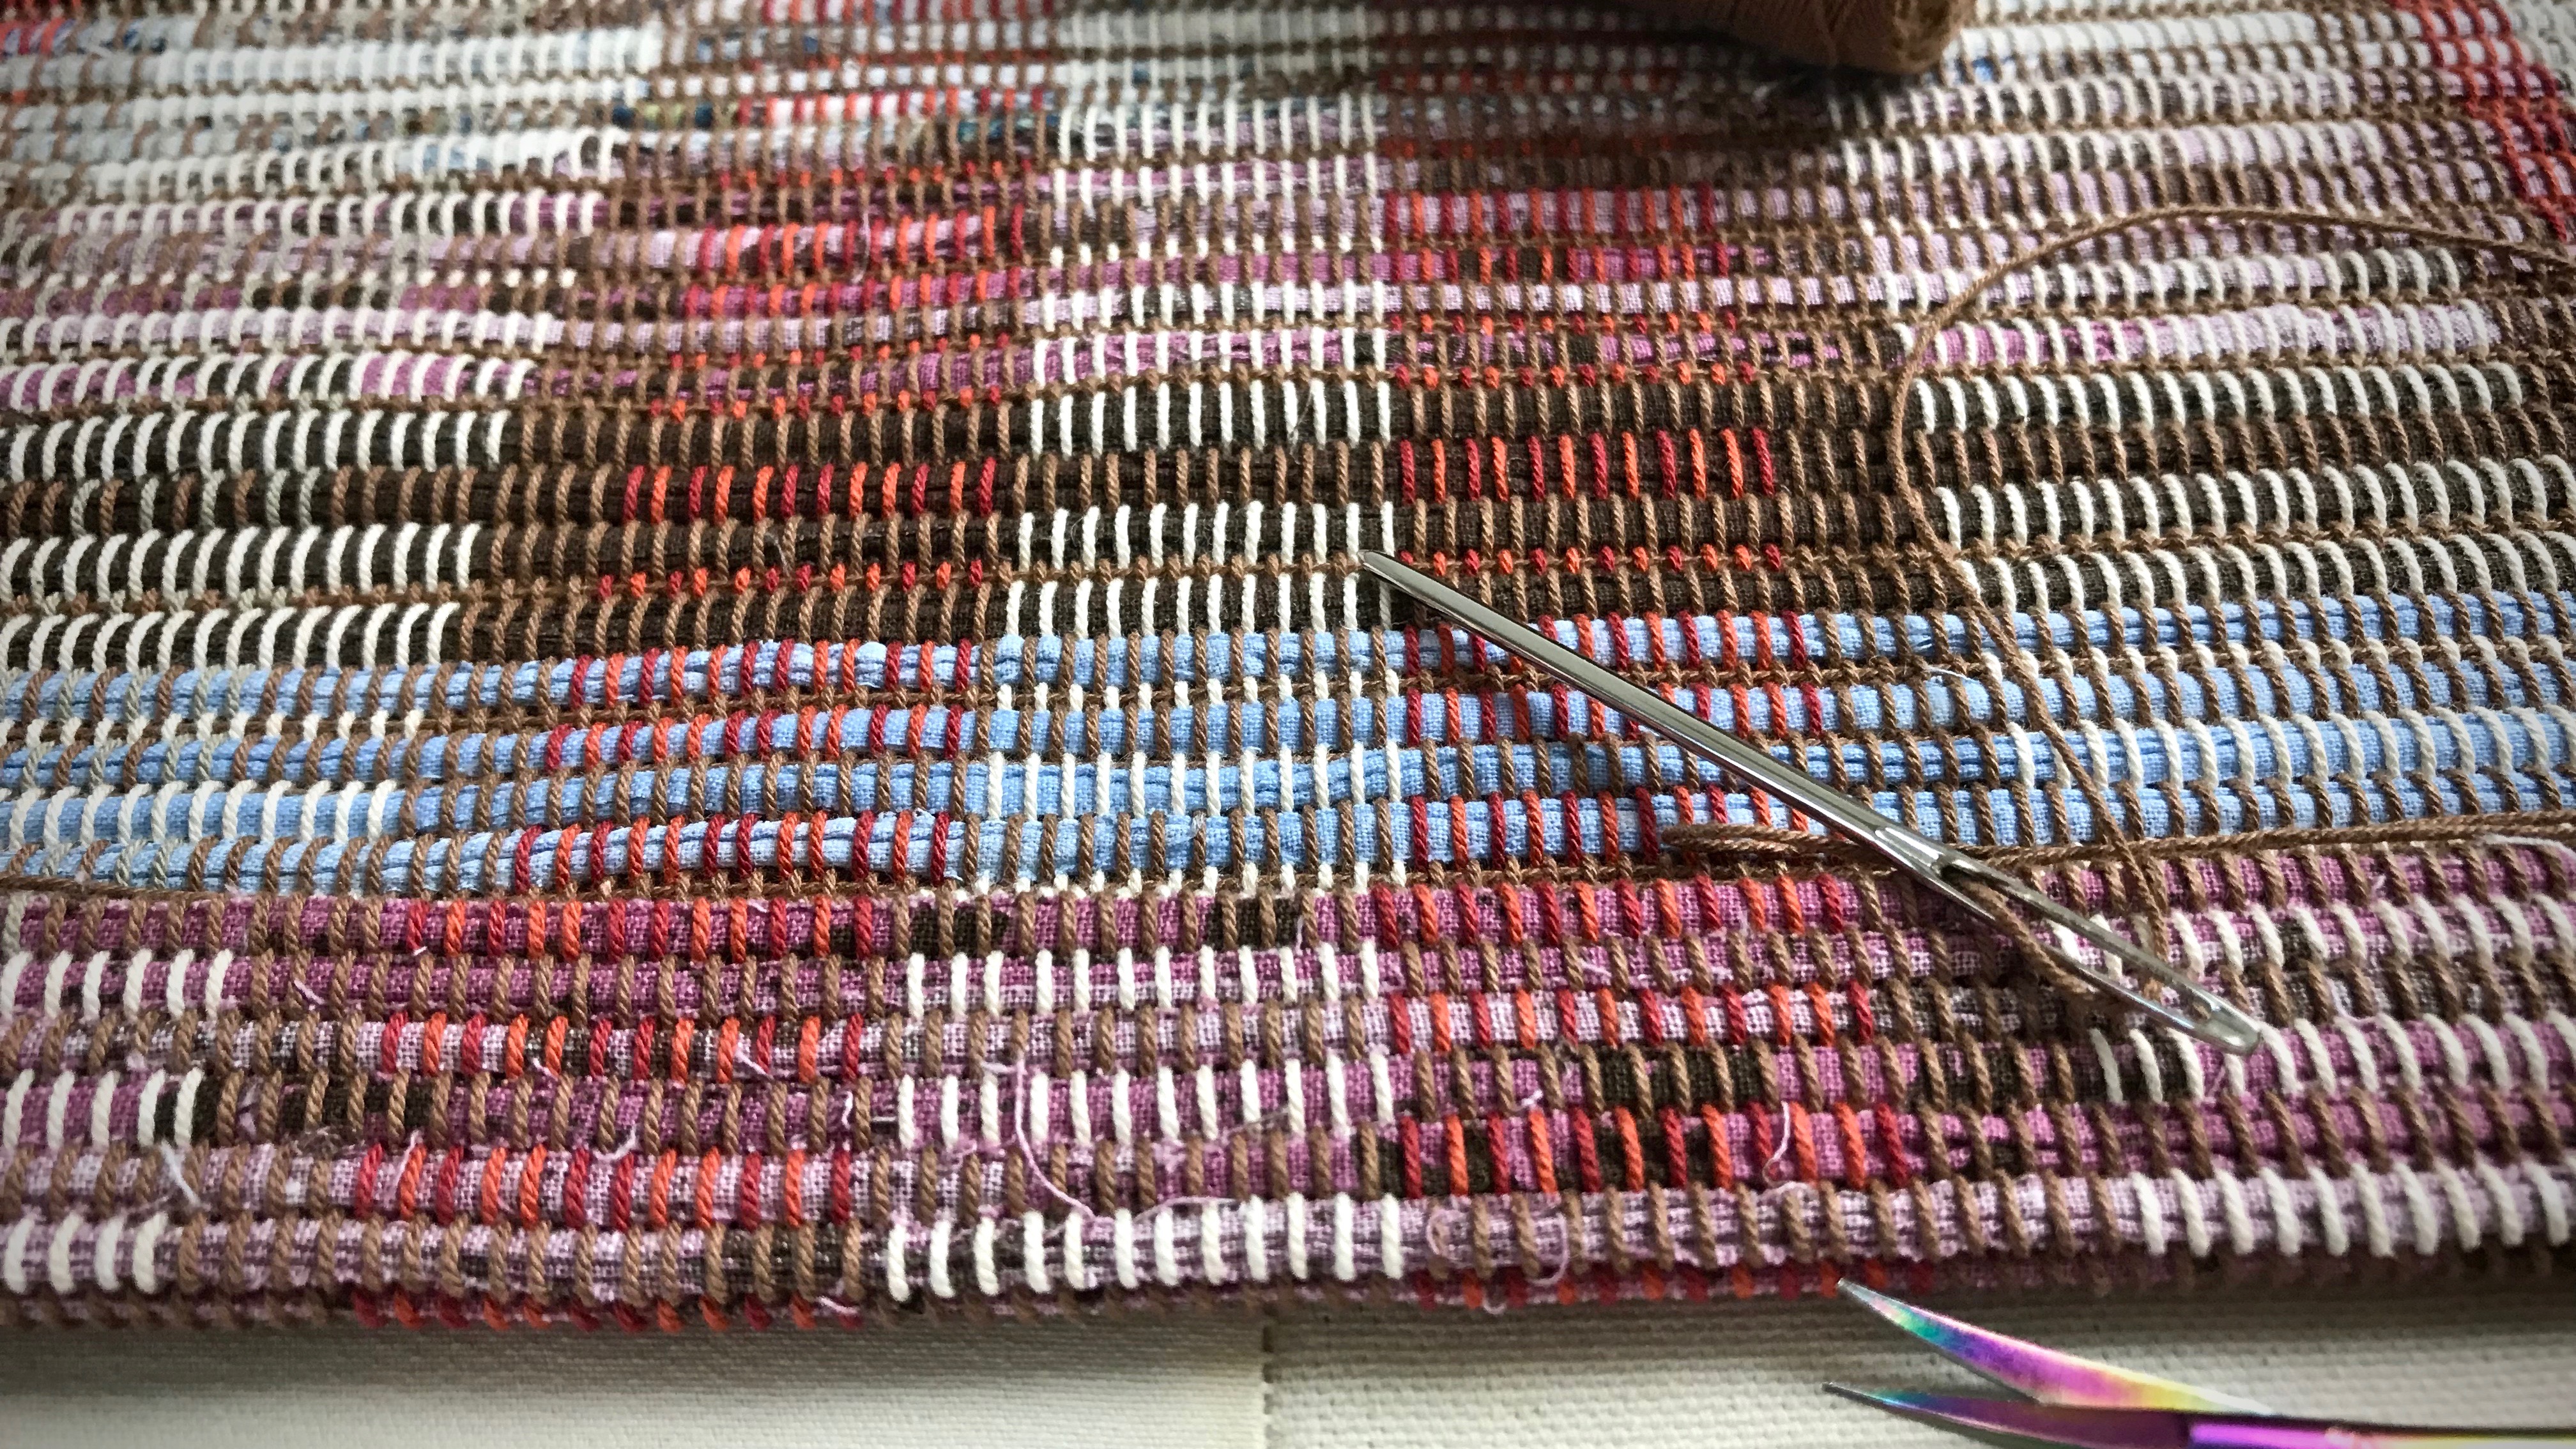
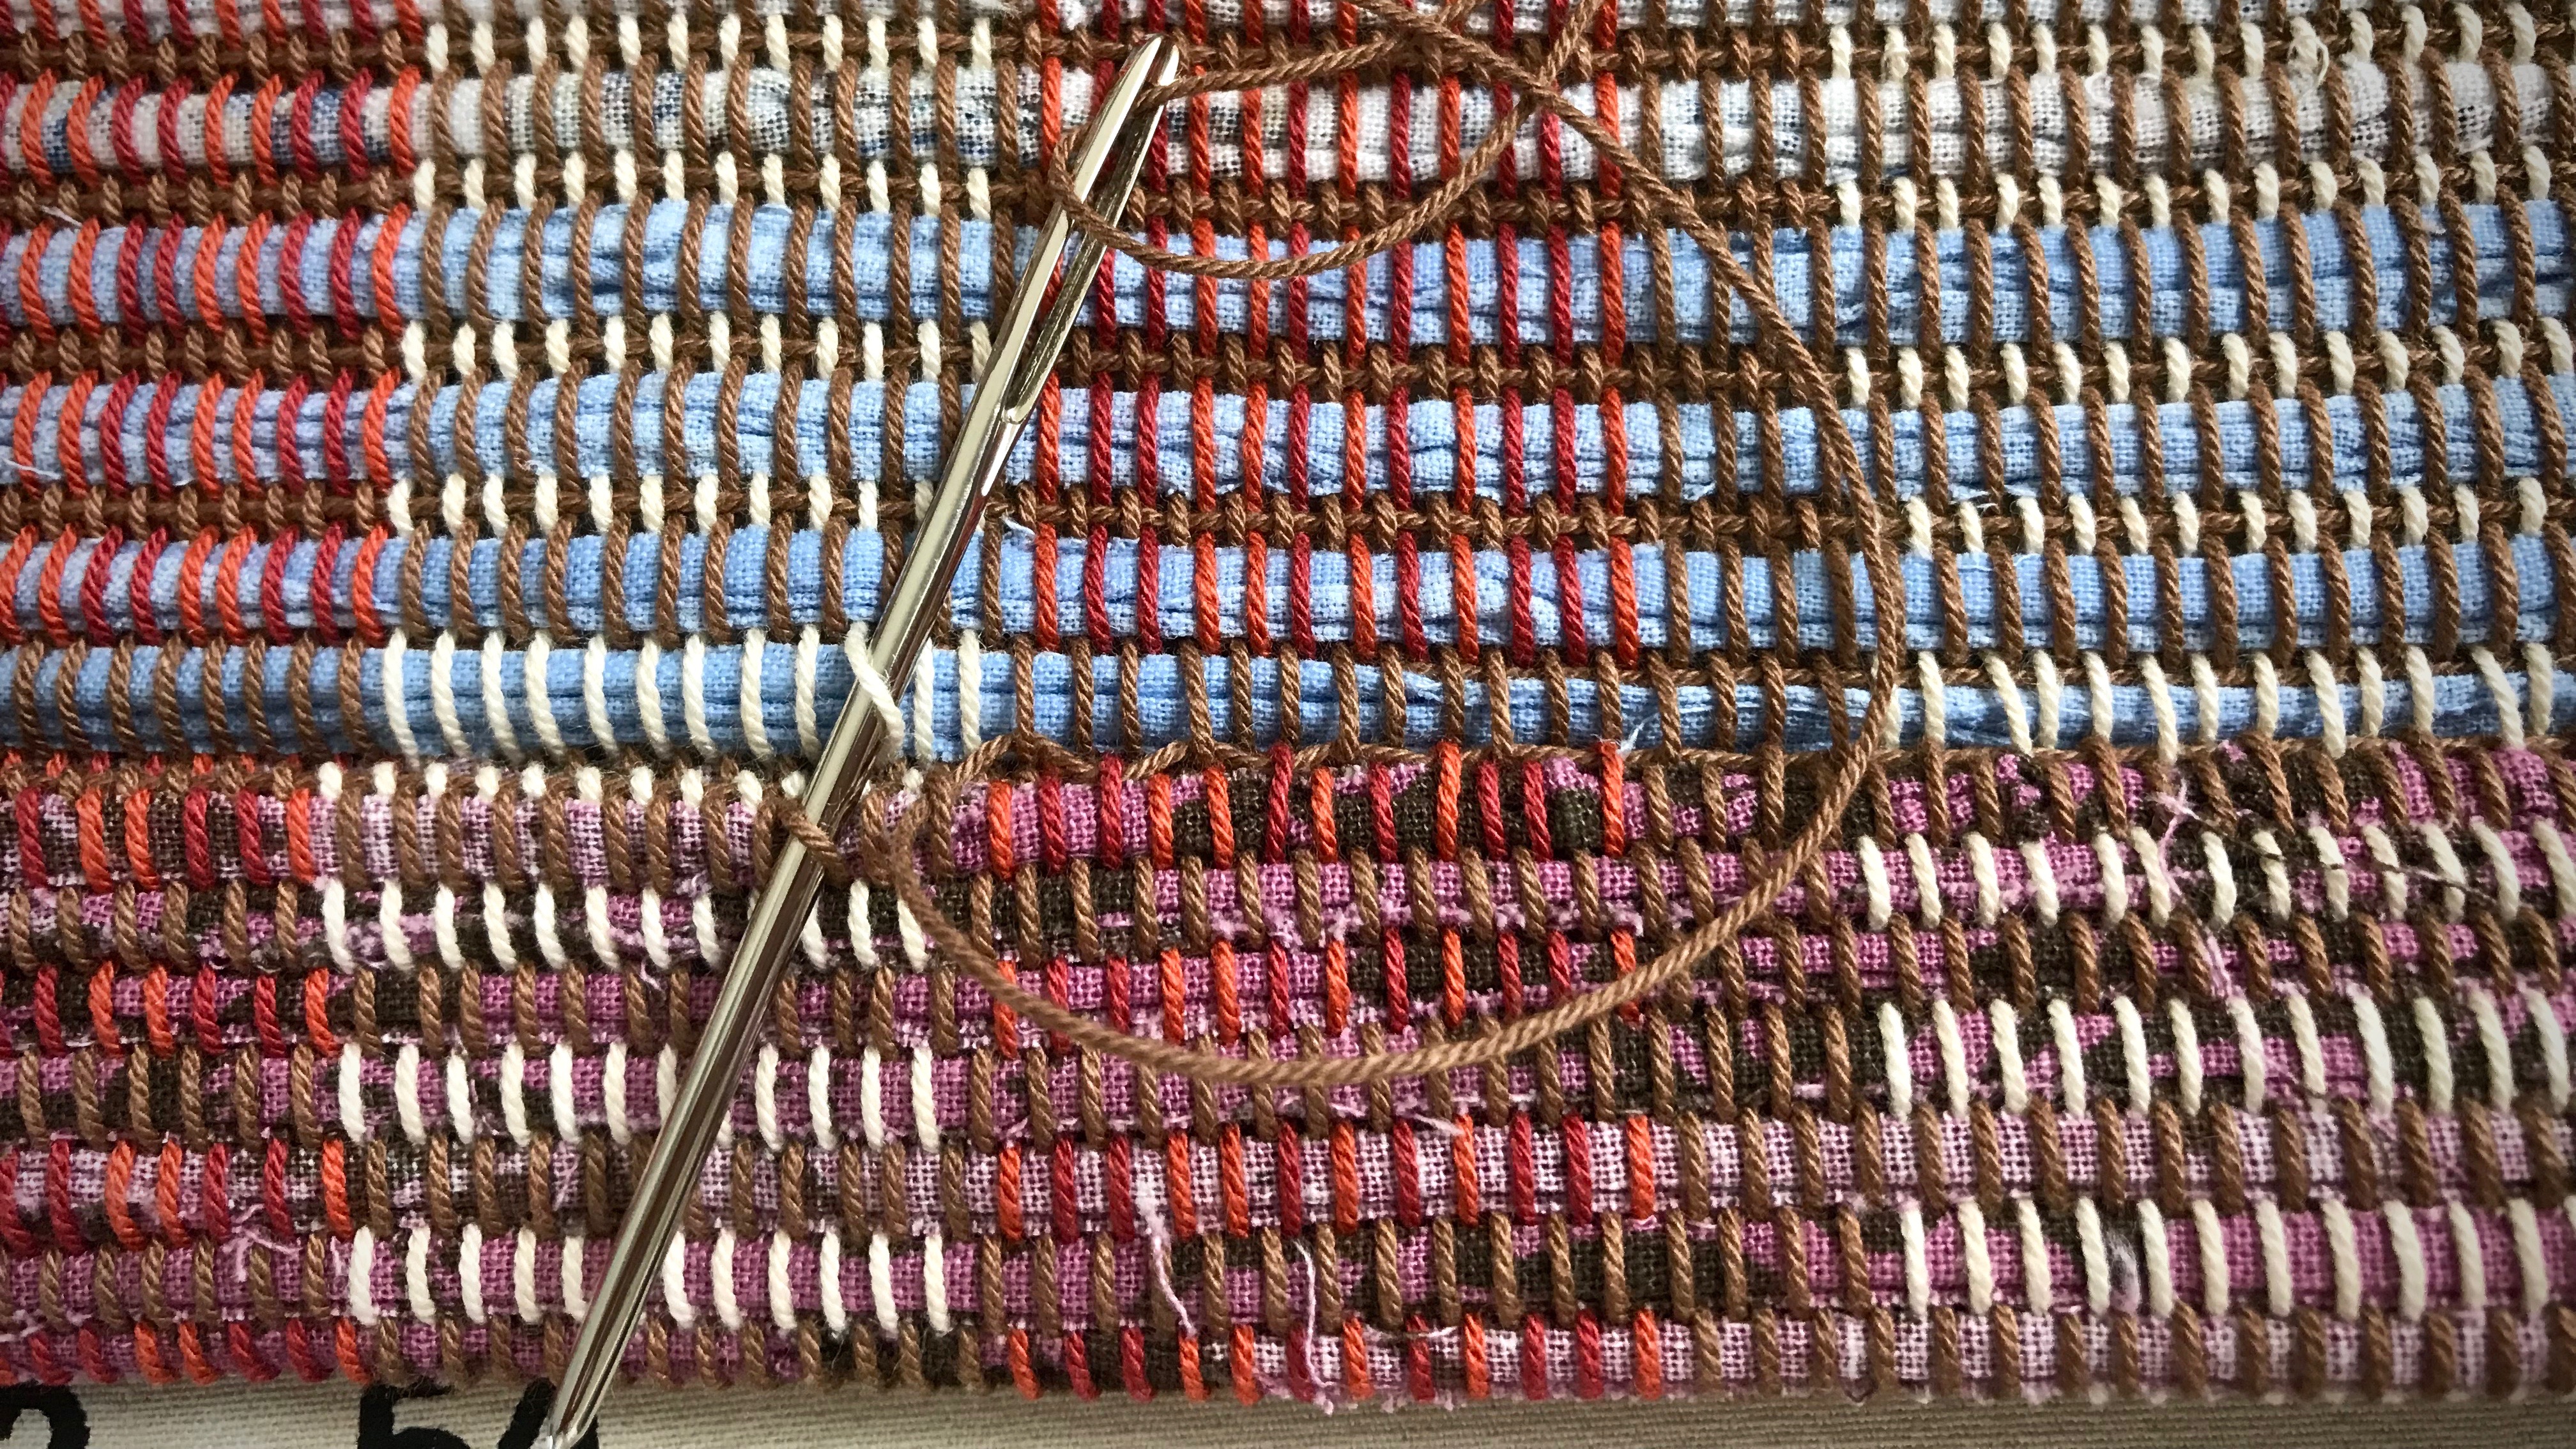
Blunt tapestry needles, small and medium: hemstitching, stitching a thread mark to the right side of the fabric, sewing in tapestry weft tails, finishing work—needle-weaving for corrections and repairs
HOLDER: Remnant of cotton handwoven plain weave fabric
HOME: Loom-side cart, top drawer
Steve sanded and rounded the tips of the needles to make them blunt. A needle with a rounded tip won’t pierce and split the threads.
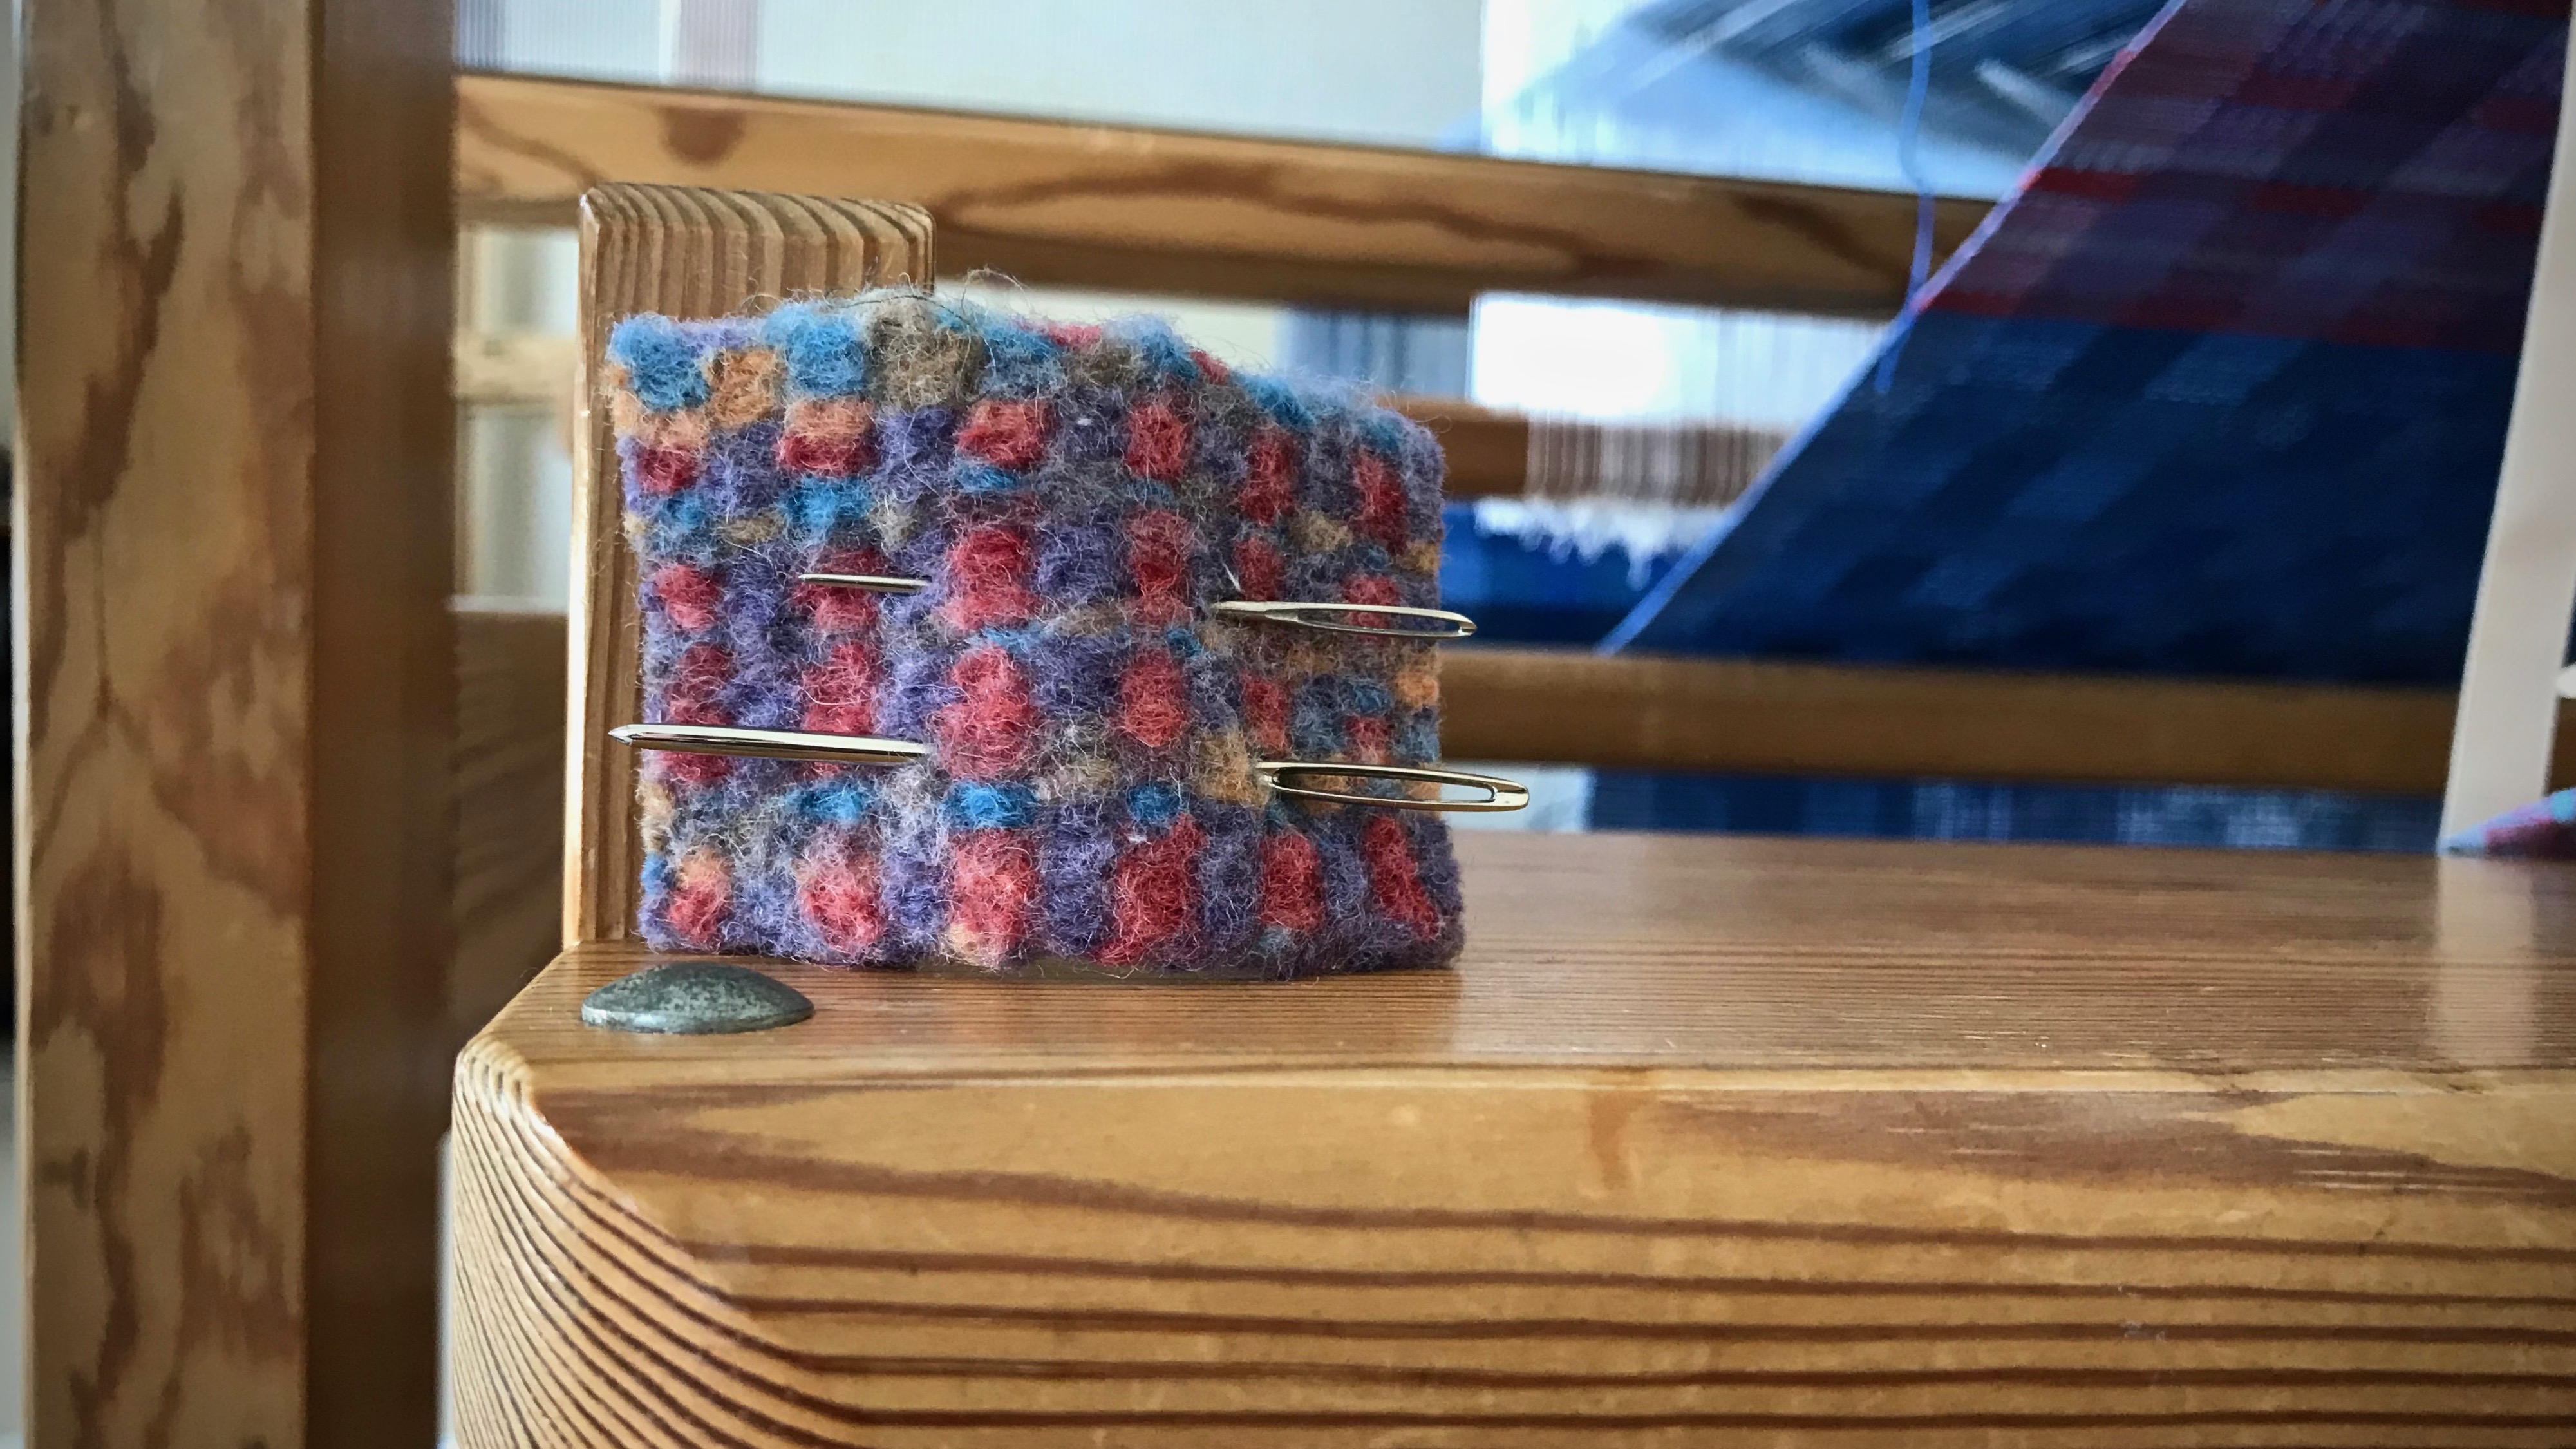
Blunt tapestry needles, large: hemstitching, hand-hemming rugs, weaving small tapestries
HOLDER: Felted inkle-woven tape
HOME: cutting/work table, Grandma’s old sewing tin
Sacking needles: pulling rag rug warpends out of scrap weft, threading warp ends back into a wool rug (I did this…once)
HOLDER: straw-woven pouch from a trip to The Philippines
HOME: weaving supply closet, top drawer on the left
May you find the needle you need when you need a needle.
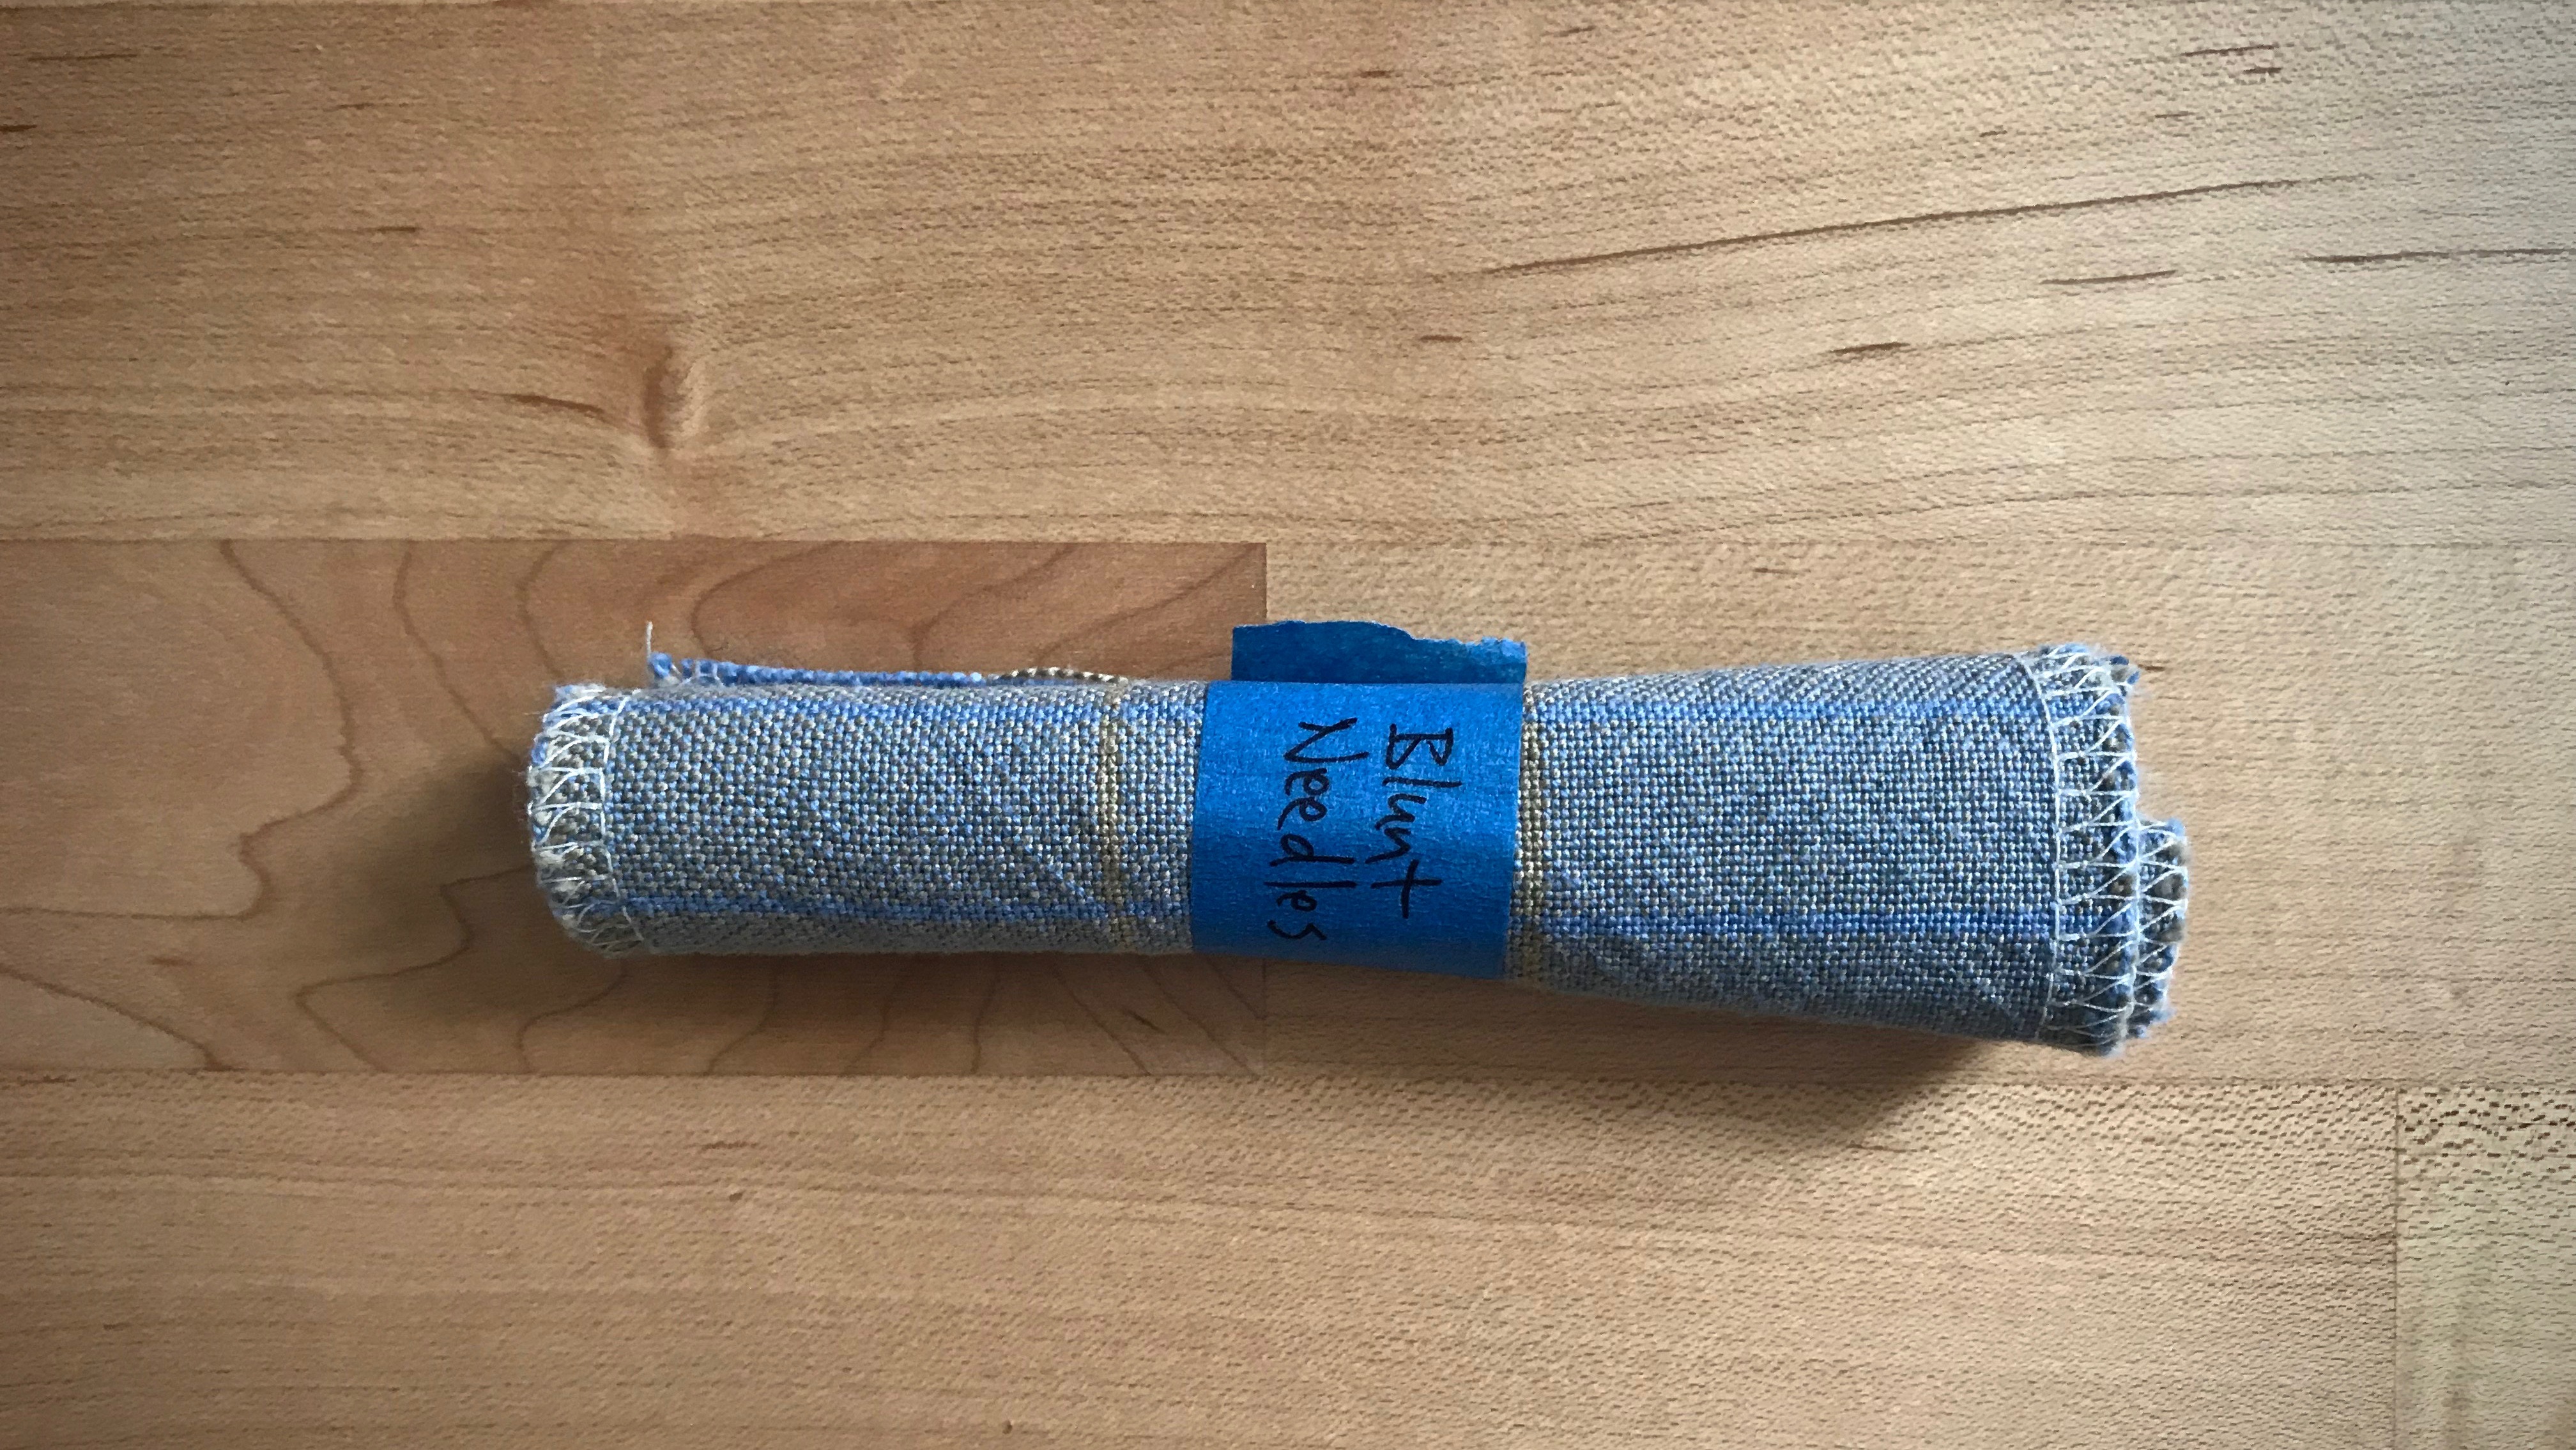
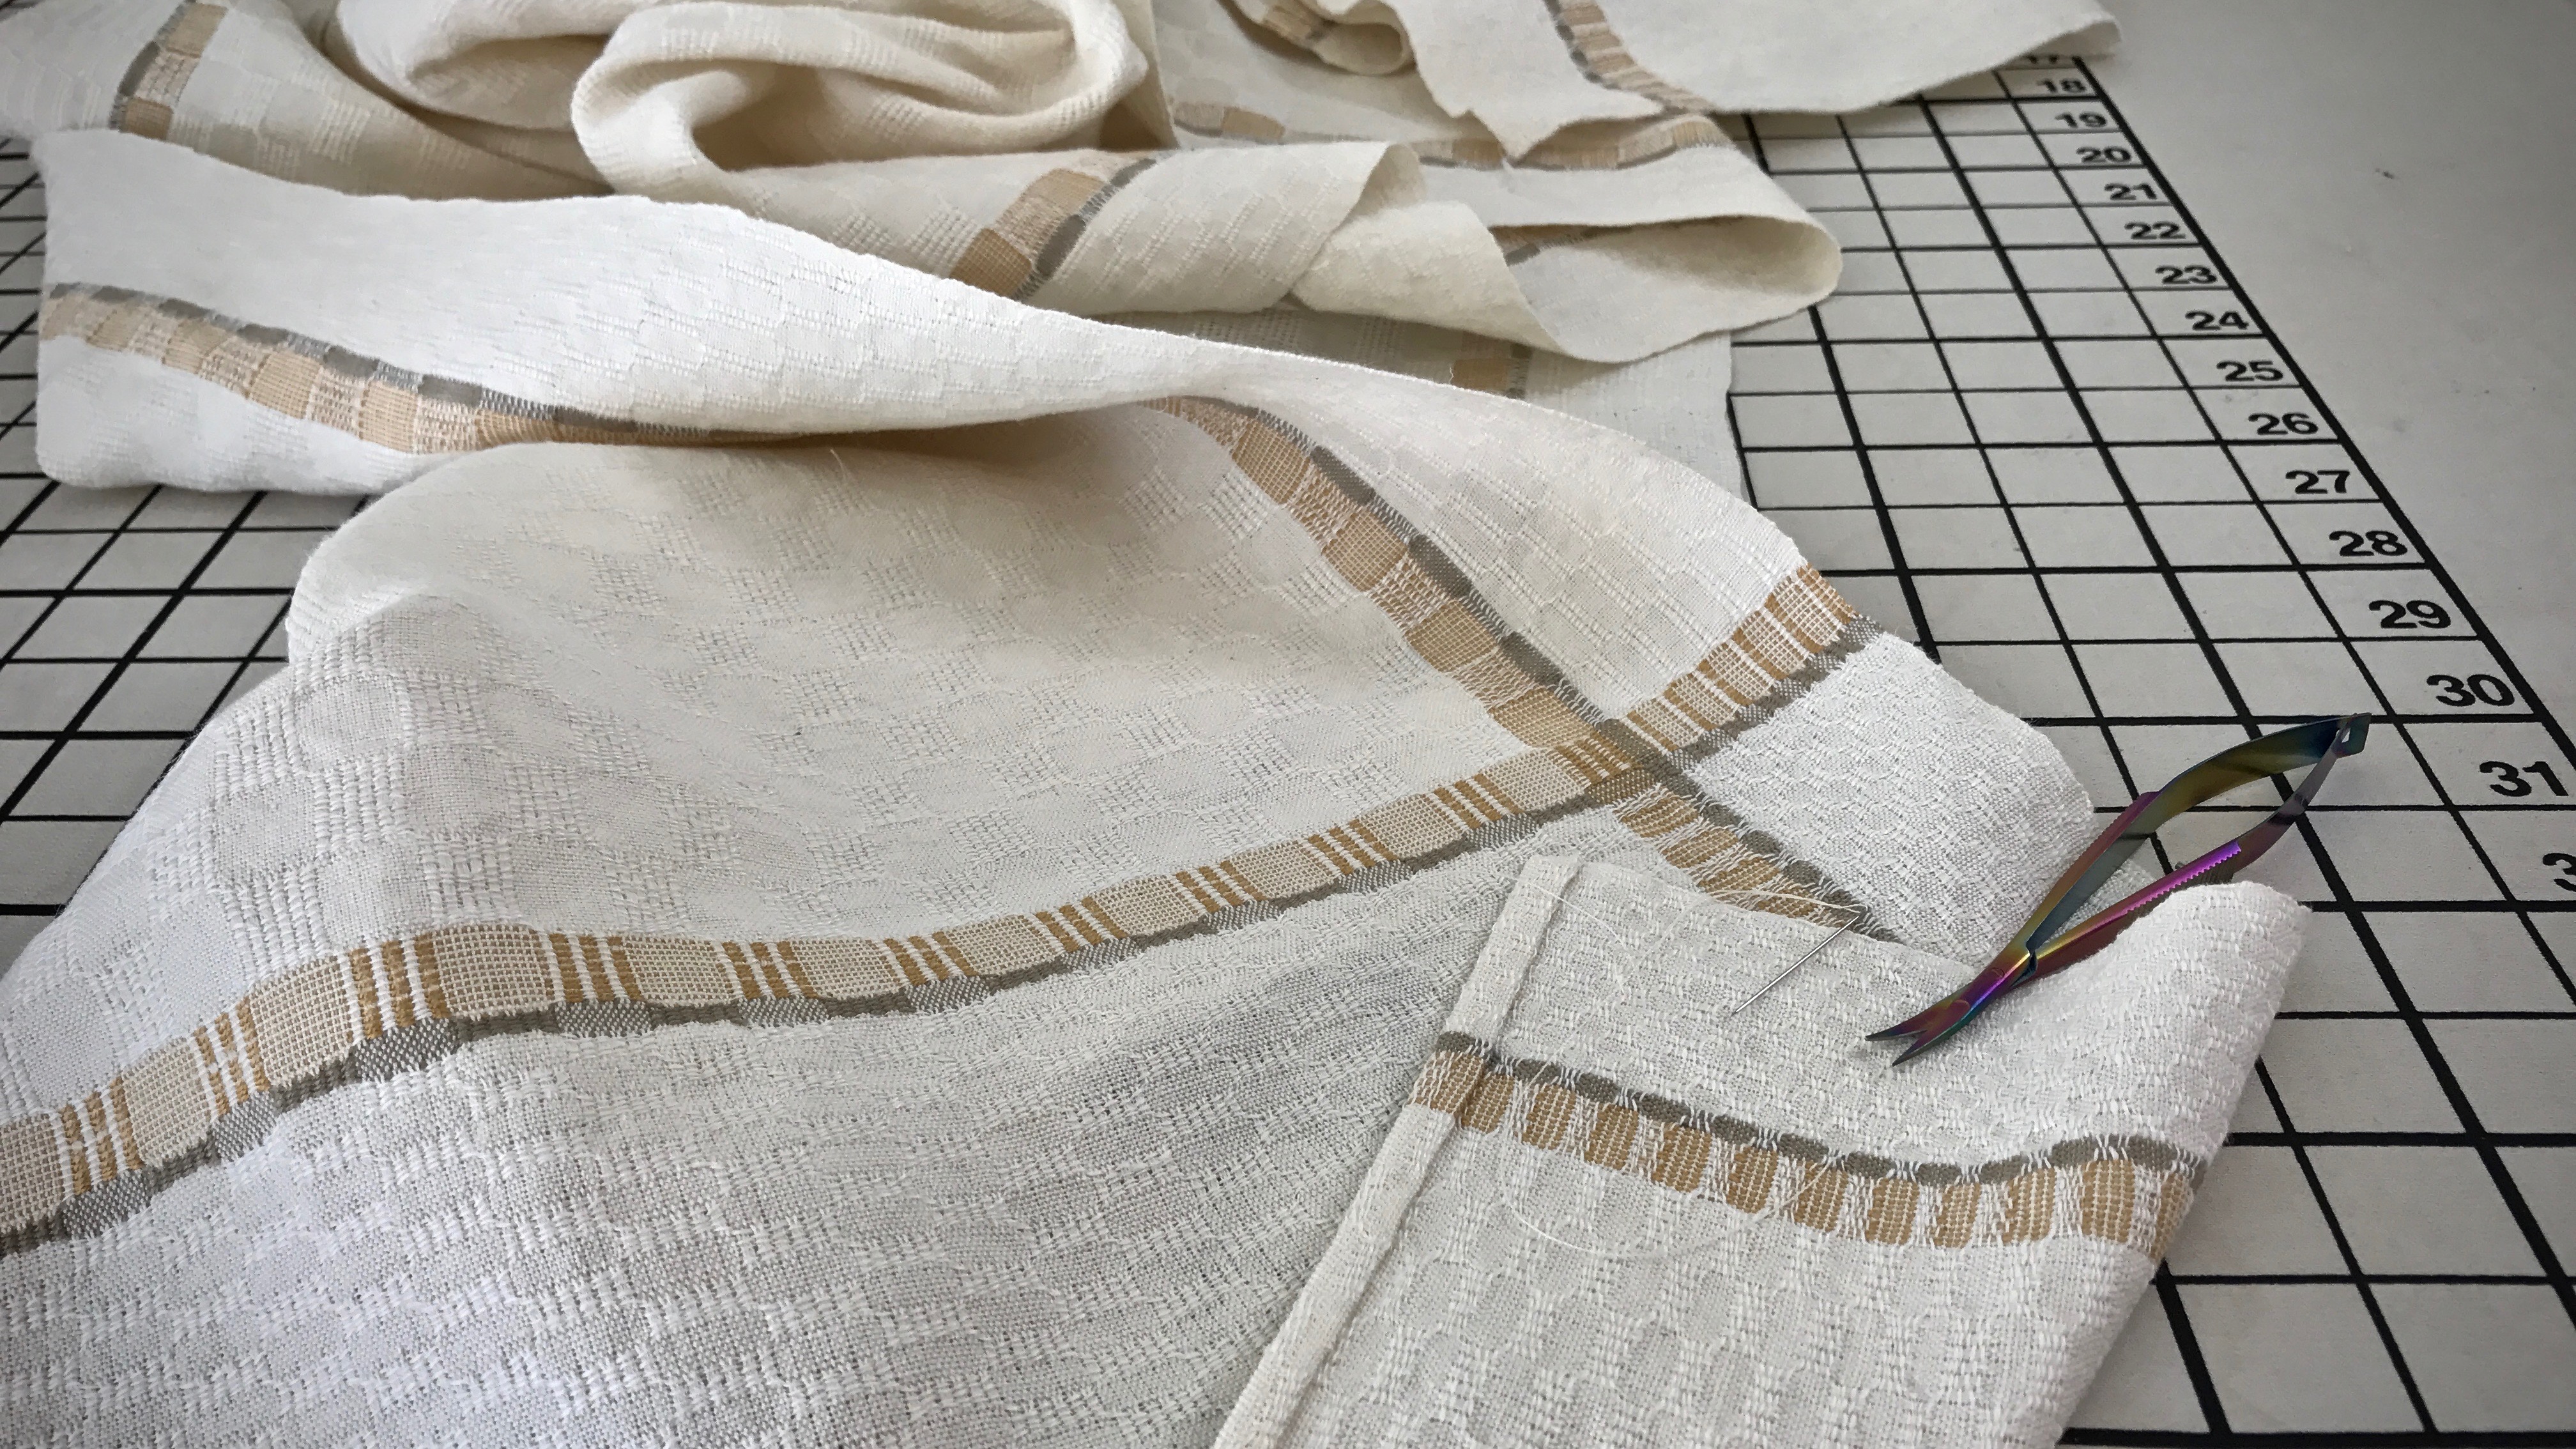
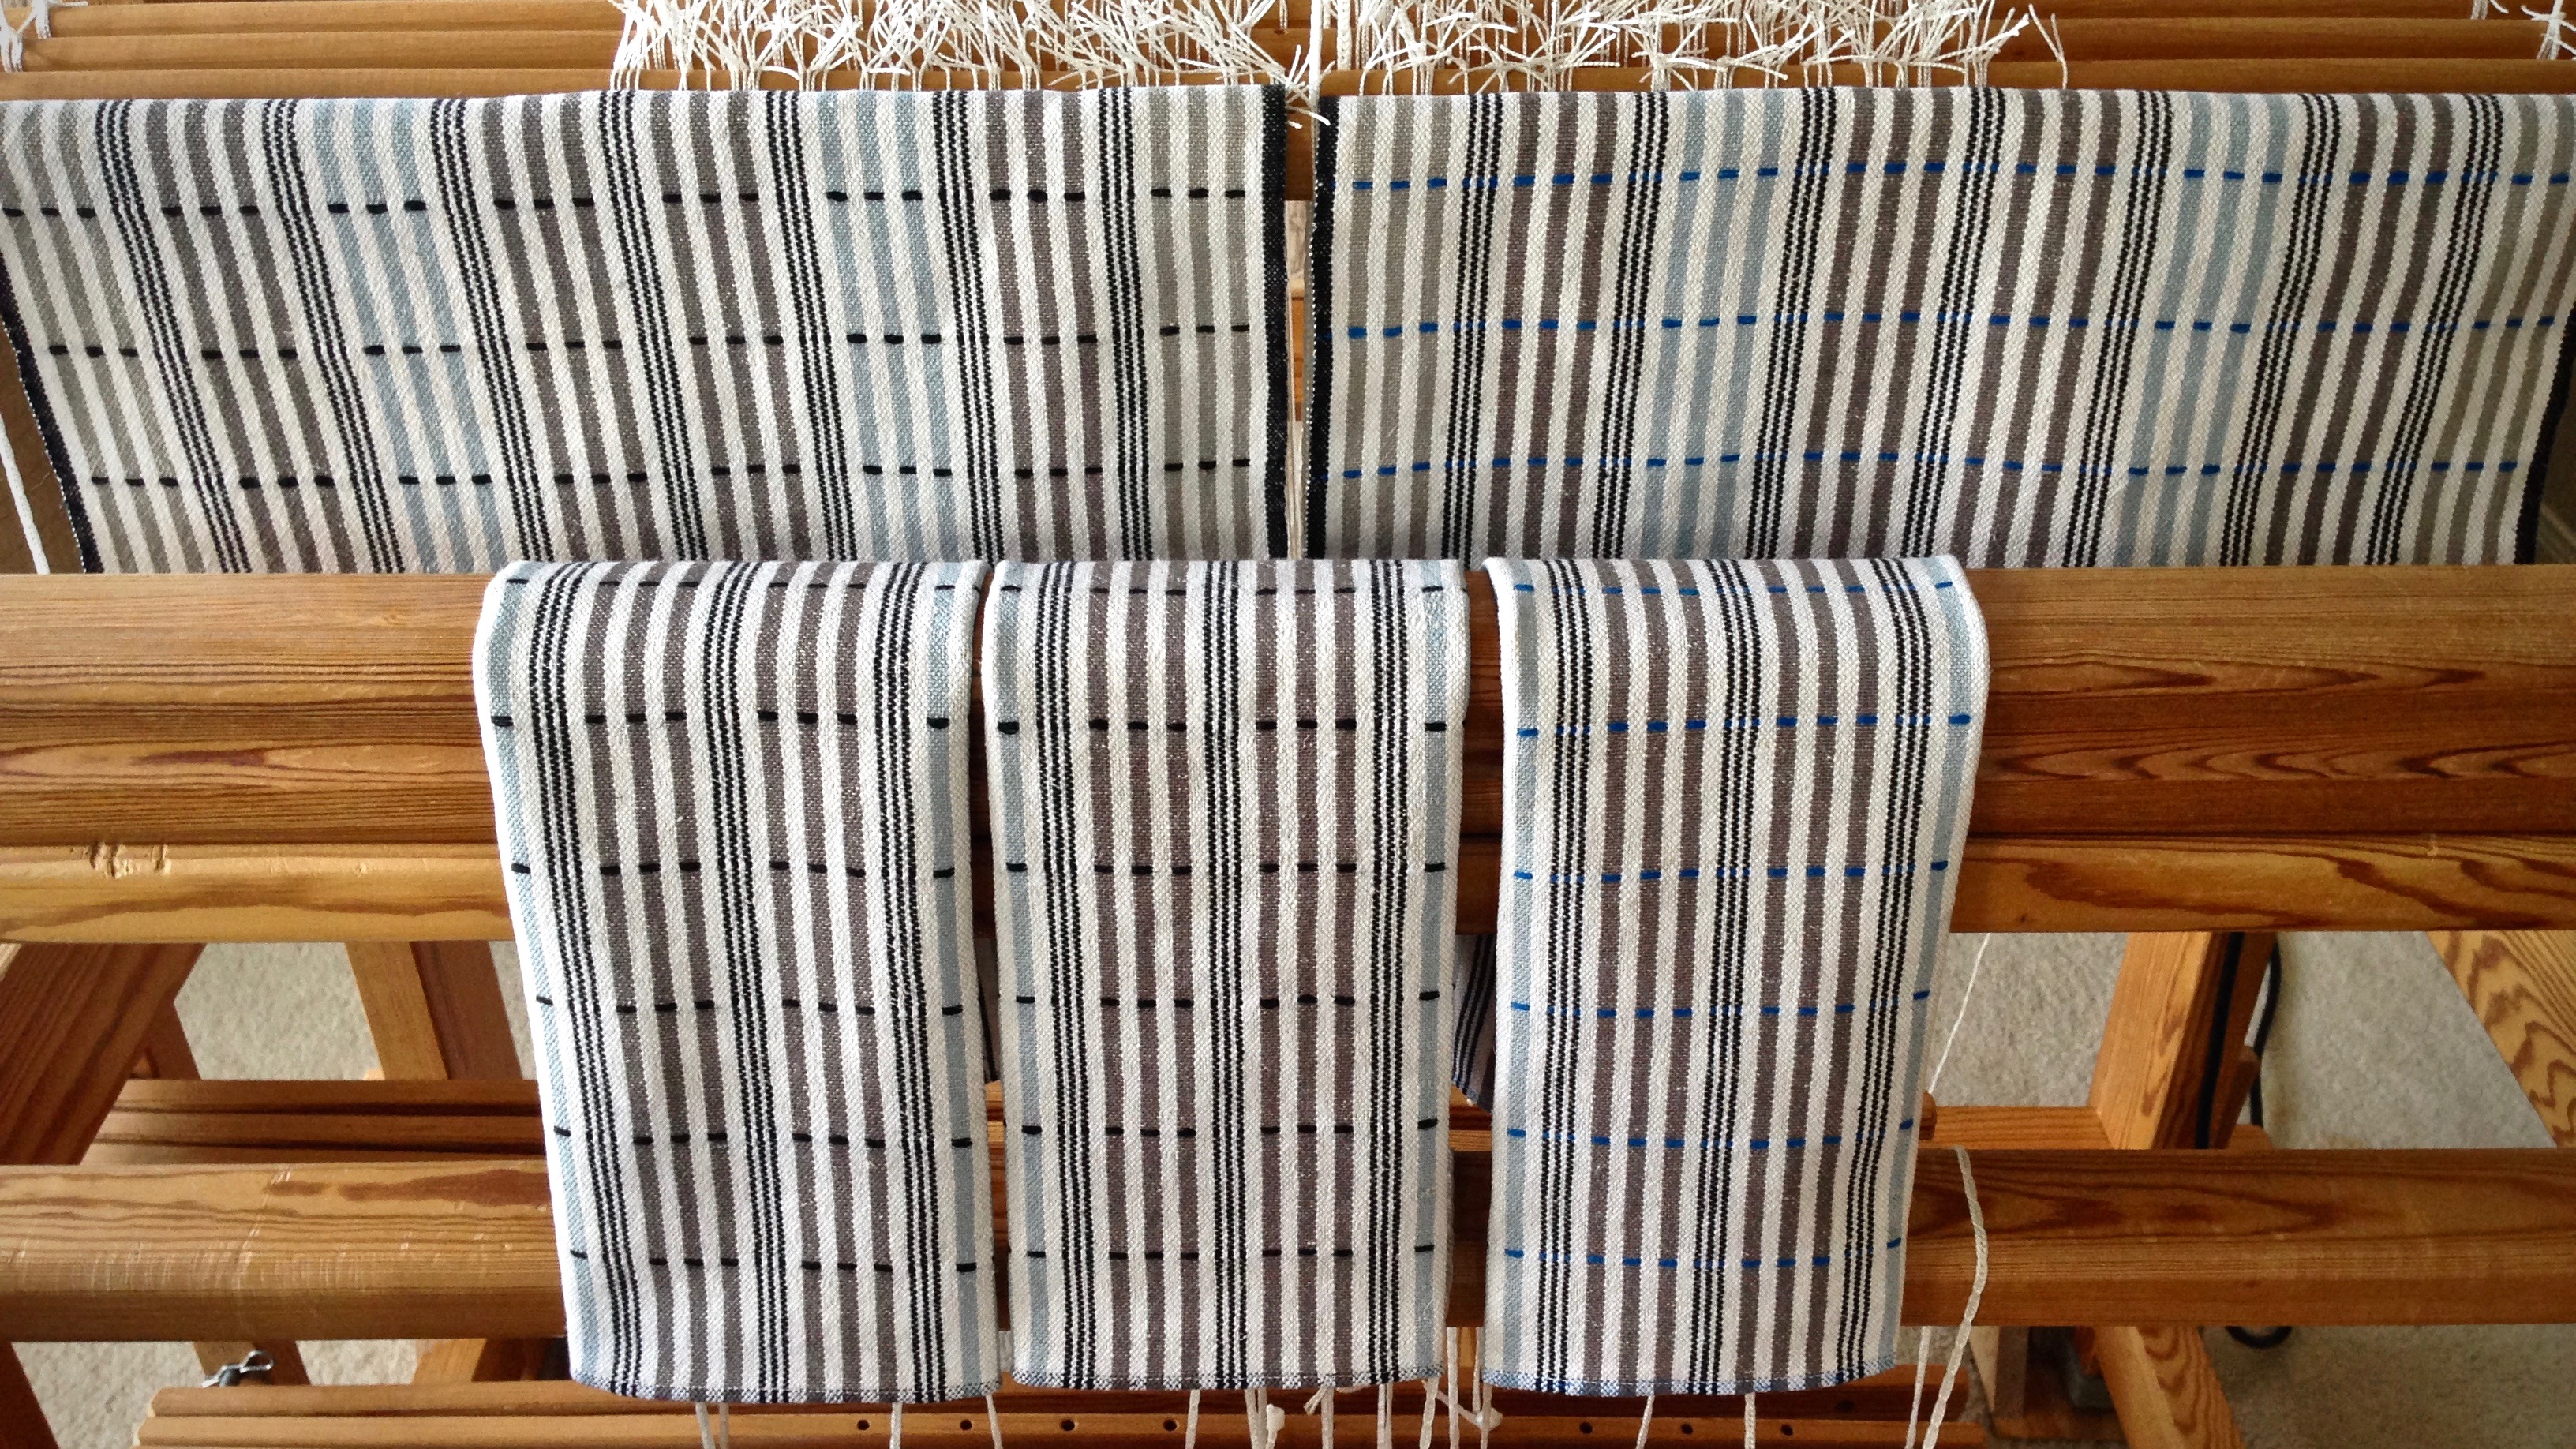
Hems shouldn’t be noticed. At least, not at first glance. I don’t want the stitching of the hem to detract from the overall handwoven quality. Decorative items, like this table runner, deserve a hand-stitched hem. But for functional pieces, like these tea towels, I stitch the hems on my trusty old Bernina sewing machine. This ensures the durability I want for something that will be thrown in the washer and dryer again and again.
Long M’s and O’s table runner is hemmed by hand using an invisible hem stitch.
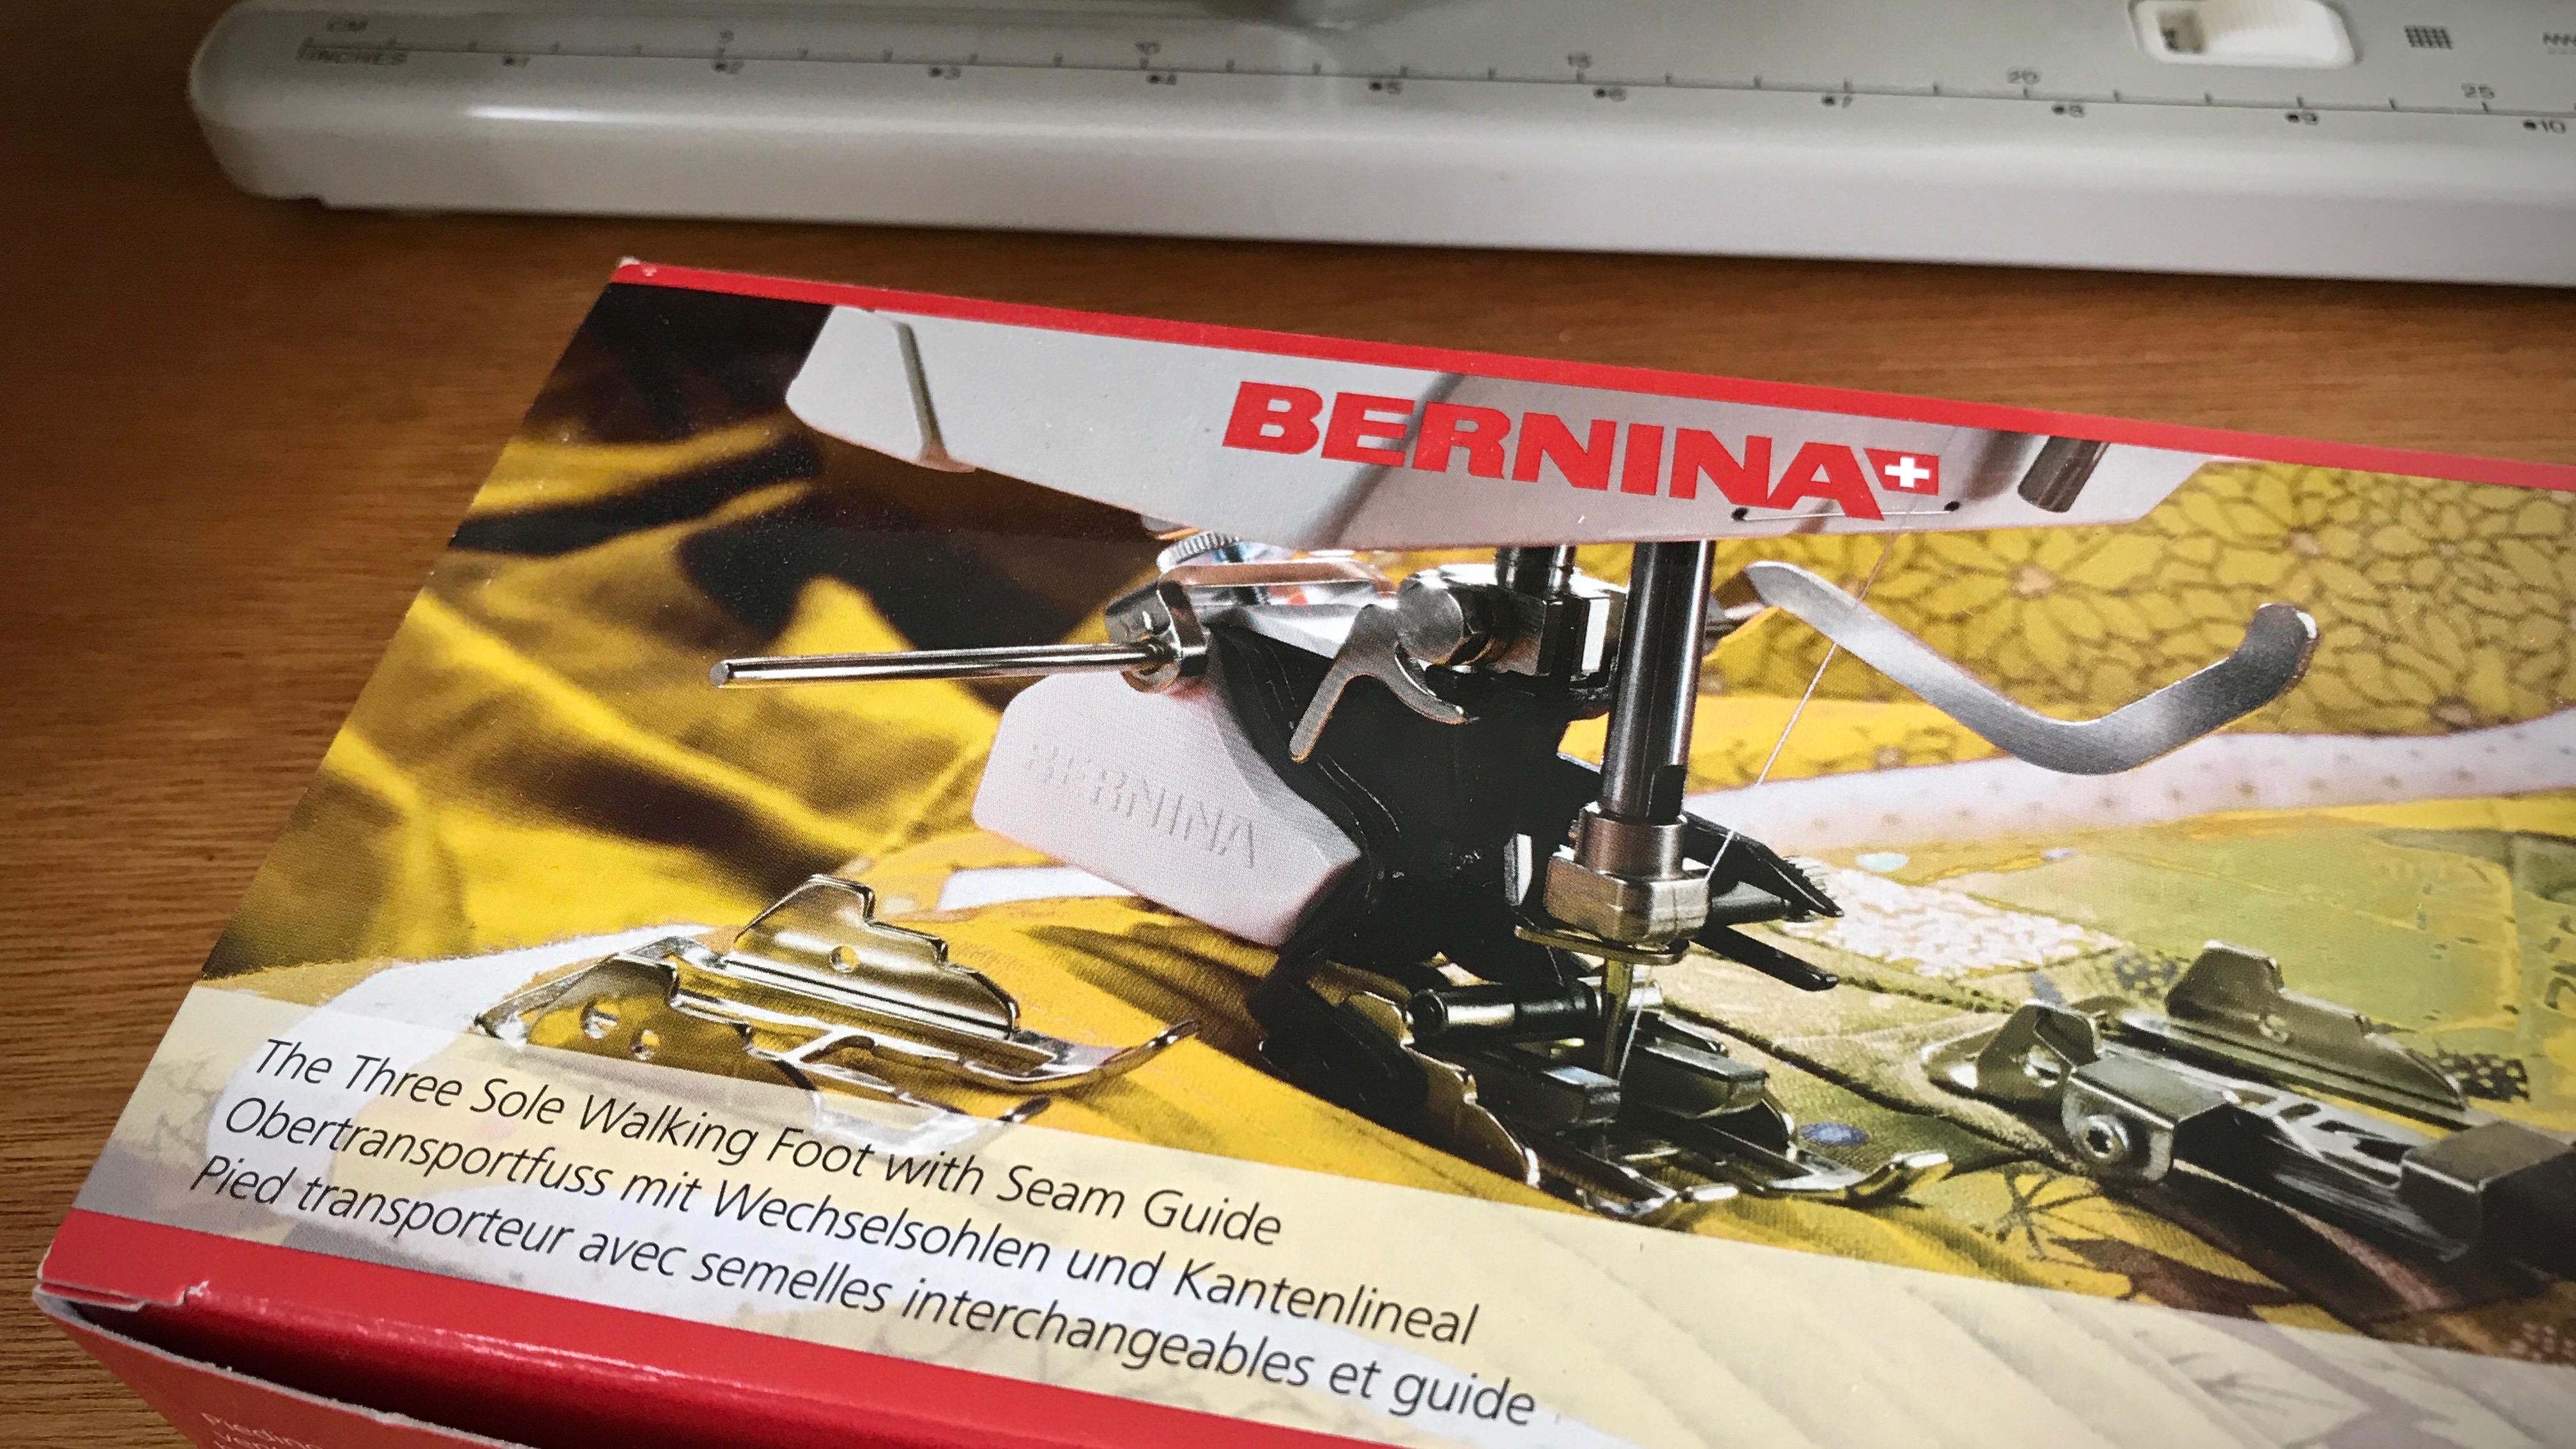
Last year I purchased a Bernina walking foot through my local Bernina repairman. It was one of the best sewing investments I have made. (Don’t be fooled by off-brand “Bernina compatible” products.) The advantage of a walking foot is that it evenly feeds layers of fabric, which is especially useful for sewing handwoven fabric. And for the towel hem, it means the top of the hem won’t become skewed and slanted as you sew, like it might with a regular sewing machine foot.
Bernina Three Sole Walking Foot with Seam Guide. The walking foot stays on my Bernina sewing machine almost all the time.
One of the three sole plates that comes with the Bernina walking foot is a sole for edge stitching. This works beautifully for stitching a narrow hem on lighter-weight fabric, like these airy cotton and linen towels.
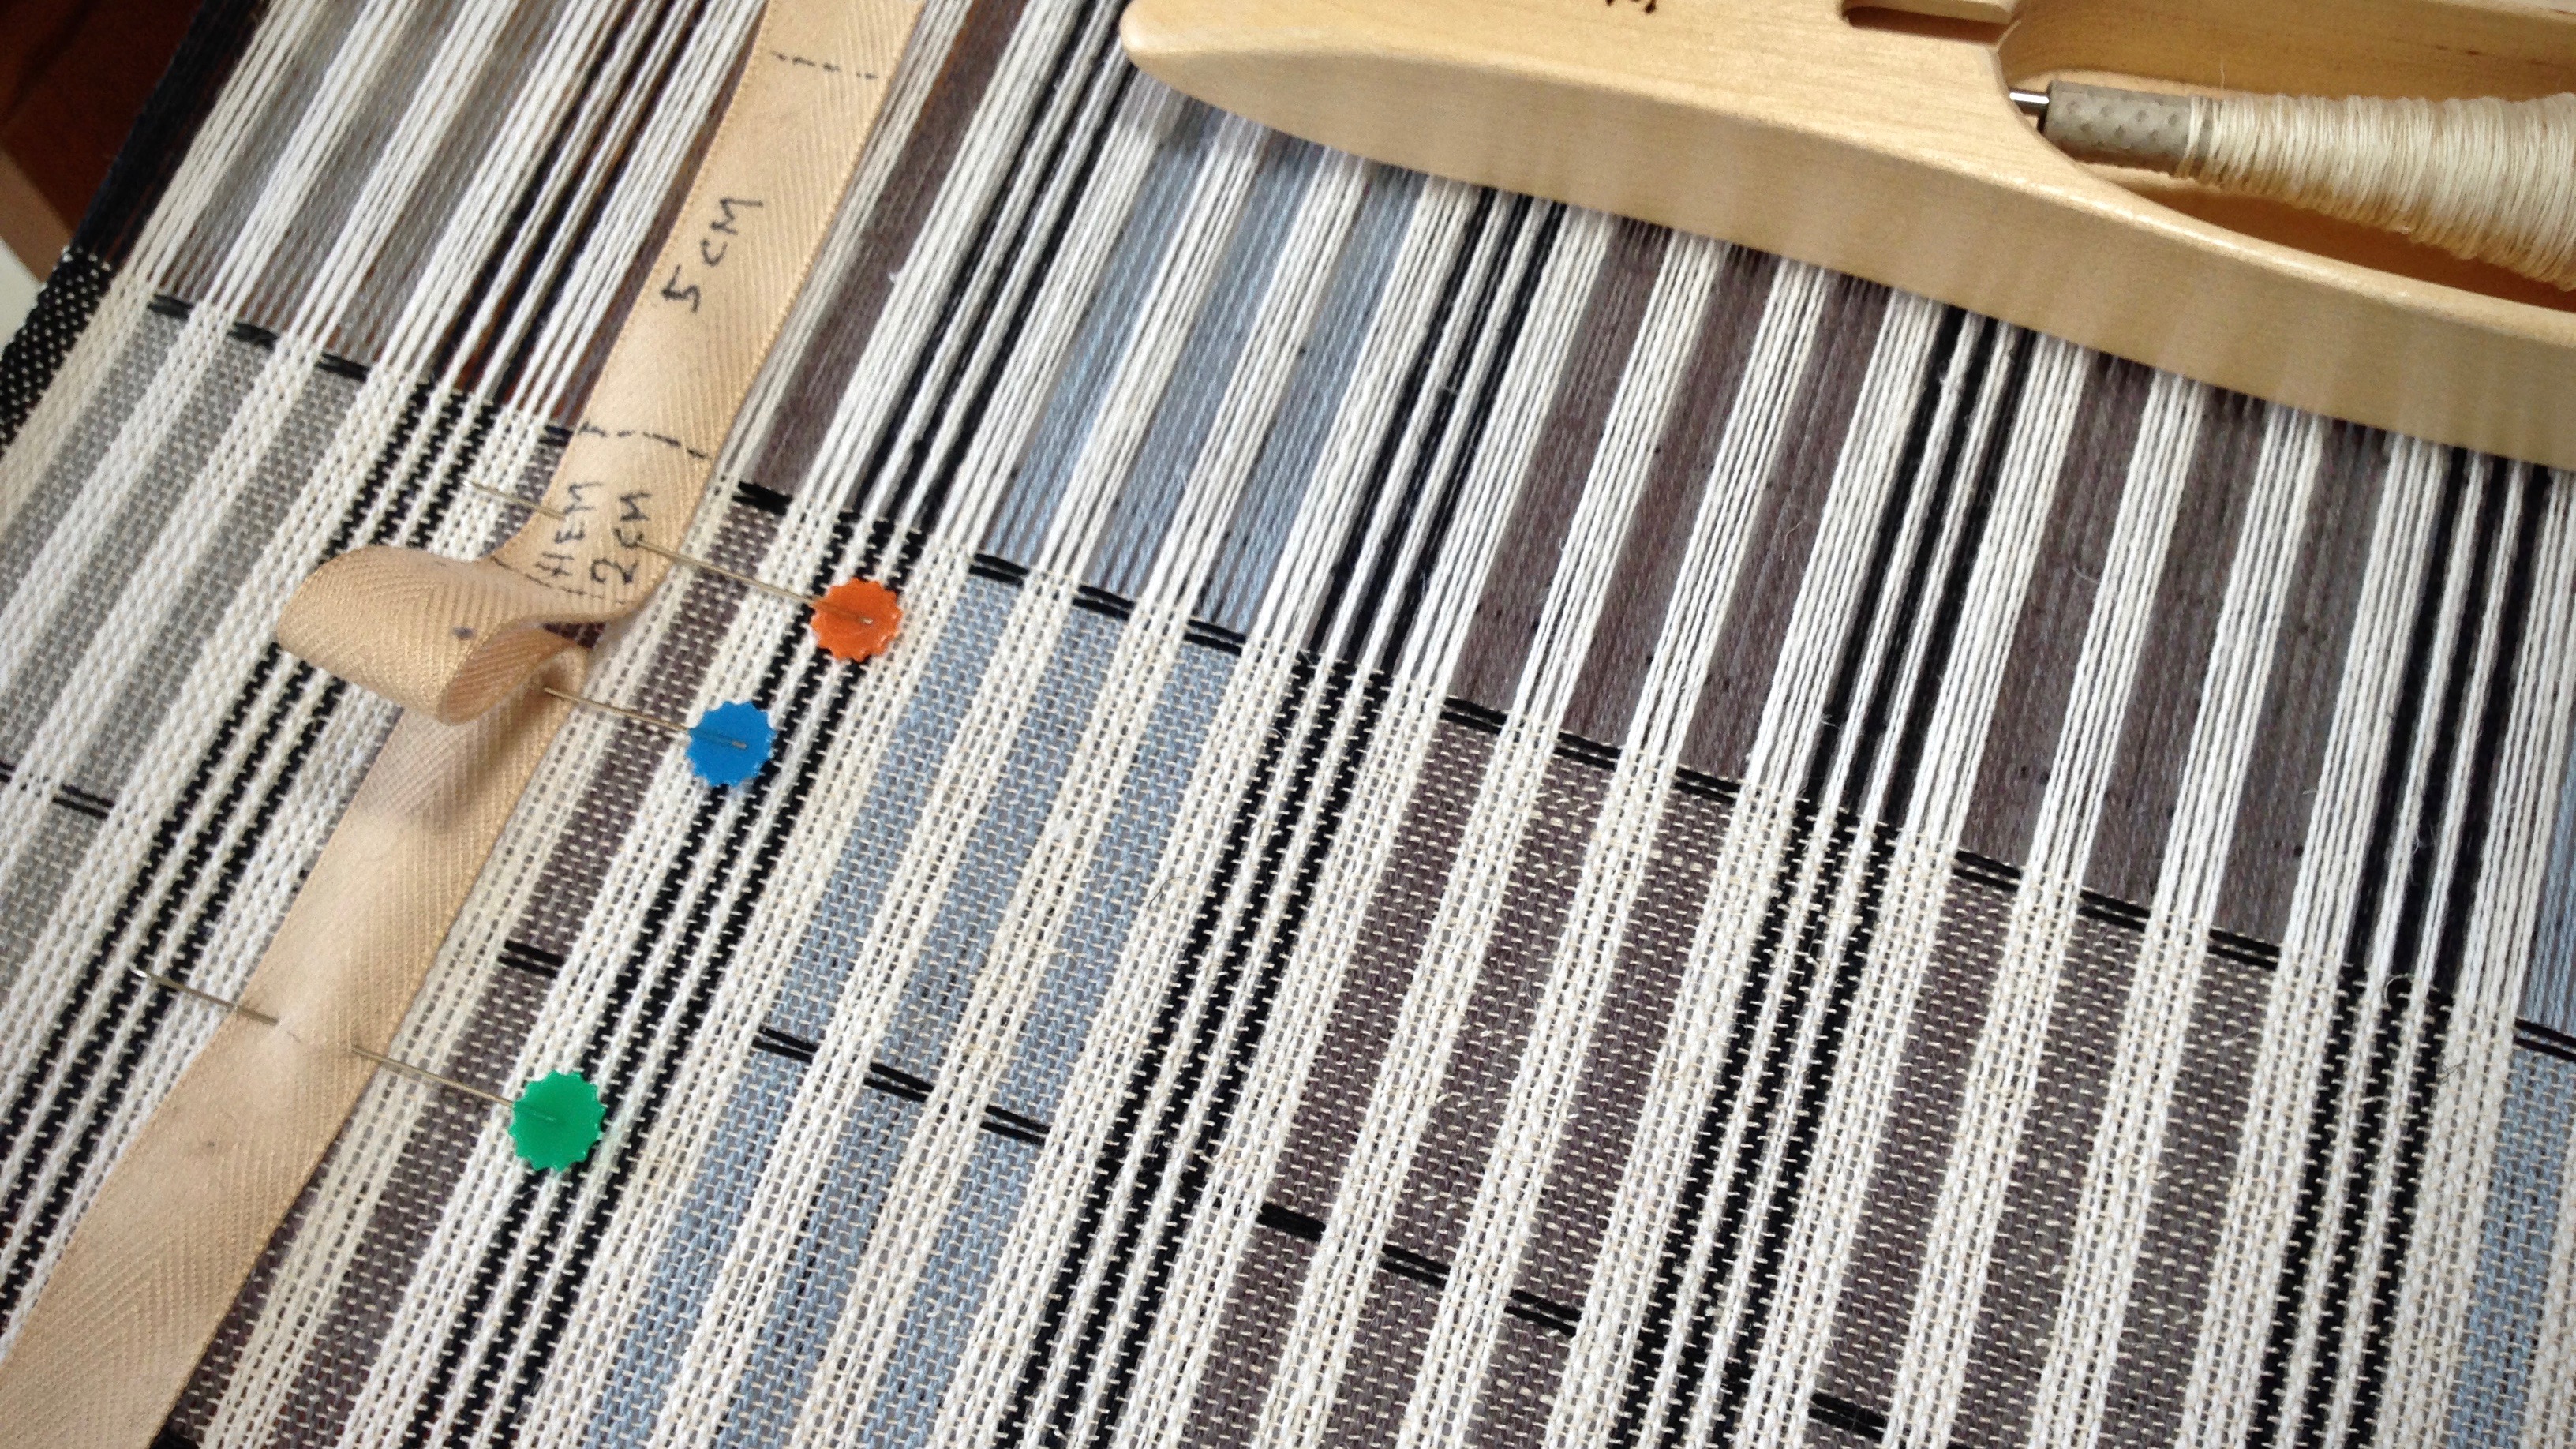
My process for a machine-stitched narrow hem
Turn and press the 1/4″ hem twice. Hold the folded edge in place with small fabric clips.
Small fabric clips hold the folded and pressed towel hem in place, in preparation for stitching the hem.
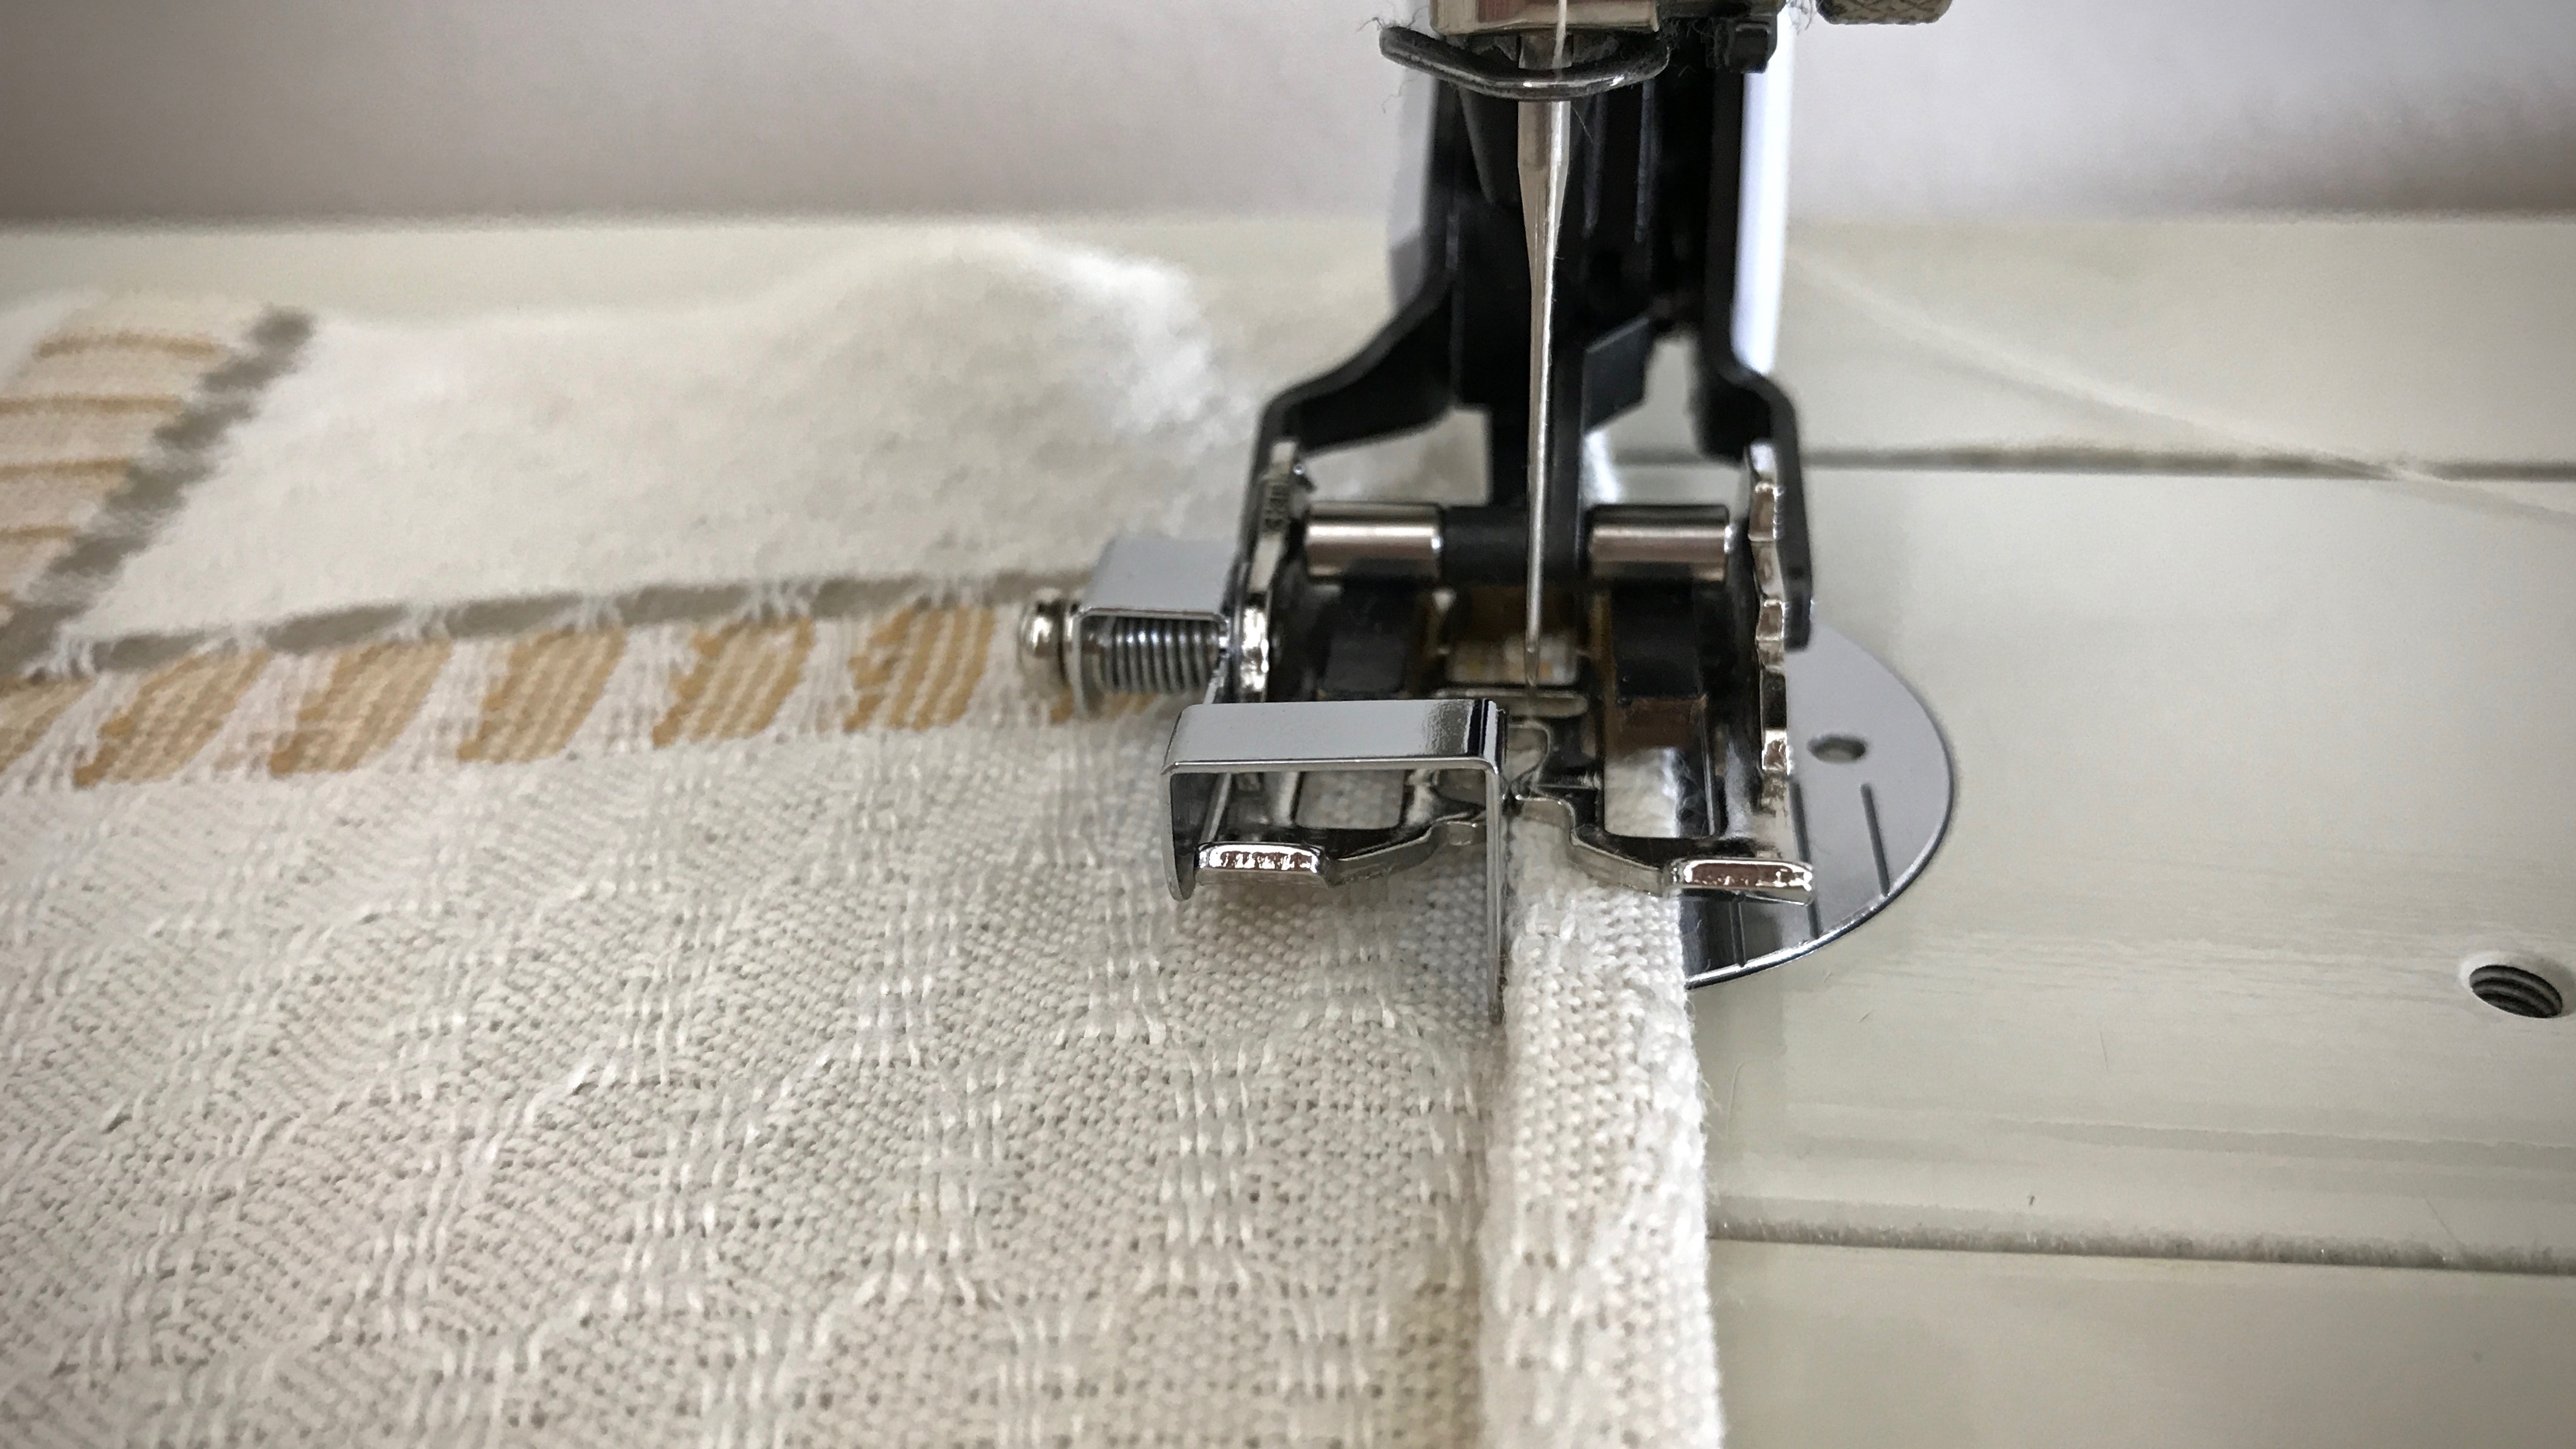
At the sewing machine, attach the edge-stitching sole plate to the walking foot. Align the fold of the hem with the edge-stitching guide.
Sole with stitch guide. The metal plate that extends below the foot is a steady guide that works for sewing a narrow hem, as well as for top-stitching, or “stitch-in-the-ditch” techniques.
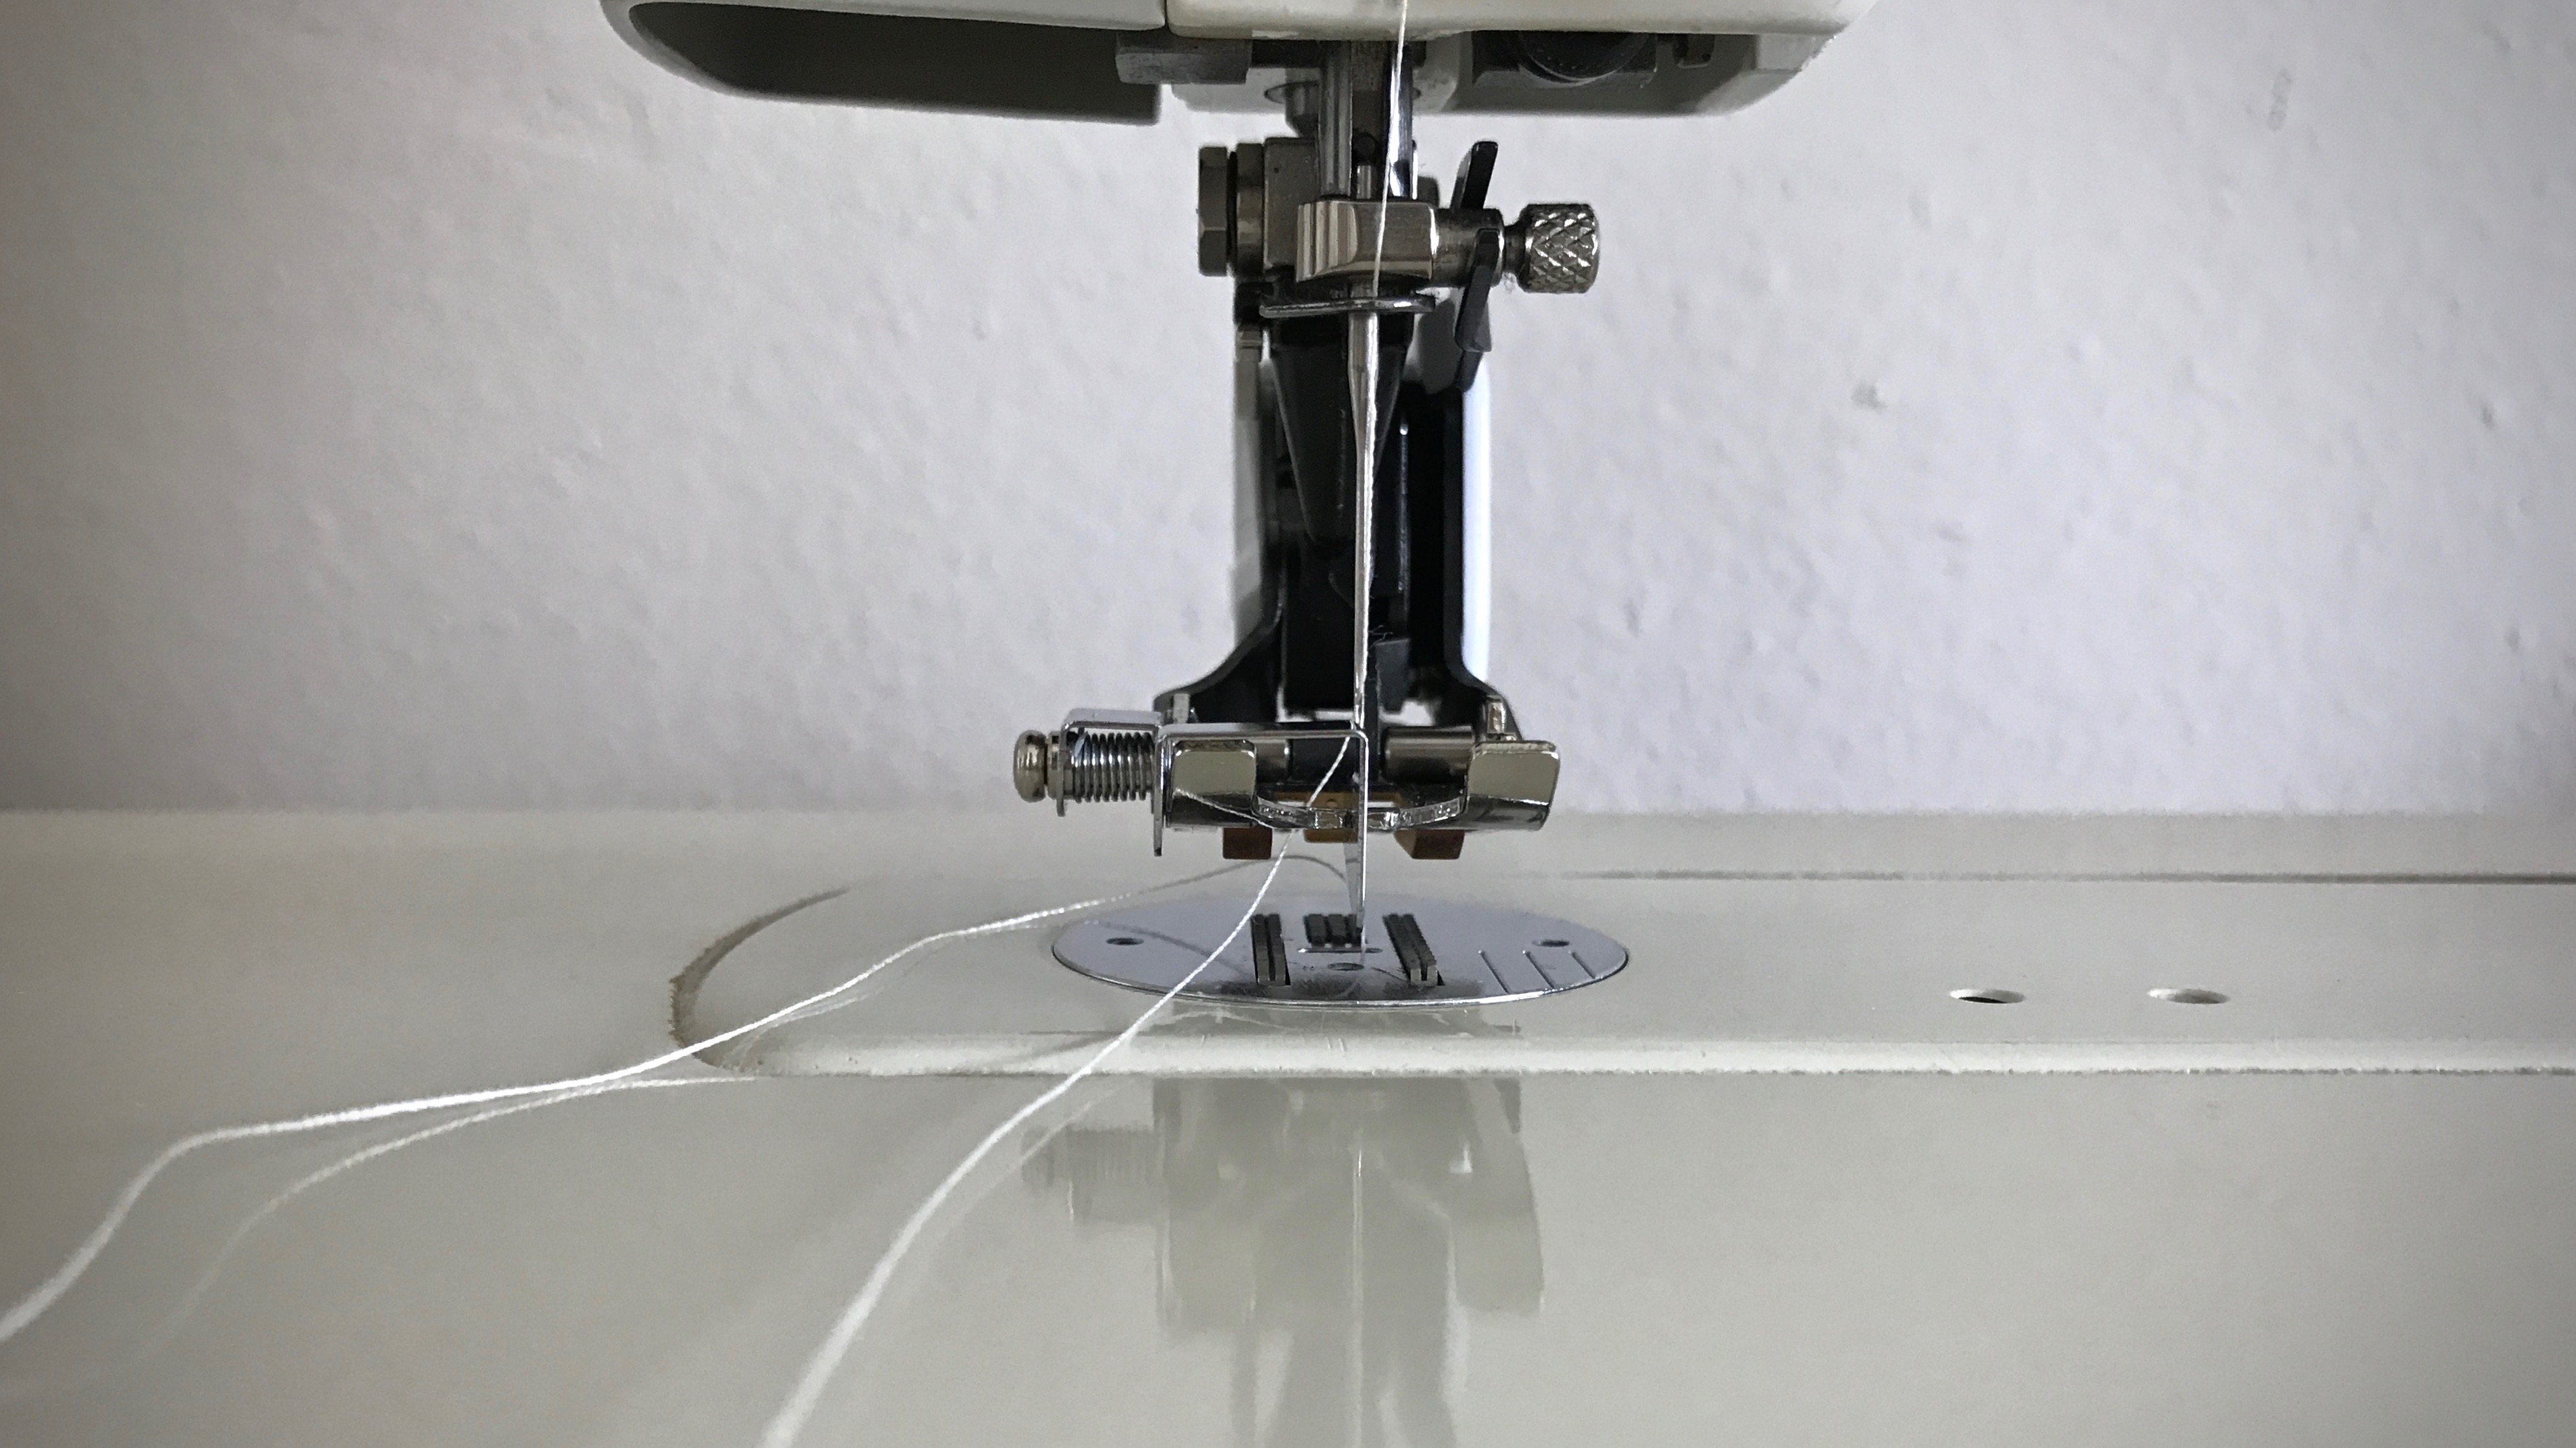
Adjust the sewing machine needle to the right, so that it catches the fabric just inside the edge of the fold.
Sewing the narrow hem. Needle is positioned so that it is to the right of the hem fold.
Slowly sew a narrow hem, keeping the folded edge next to the walking foot’s edge-stitching guide. Remove fabric clips before they come to the needle.
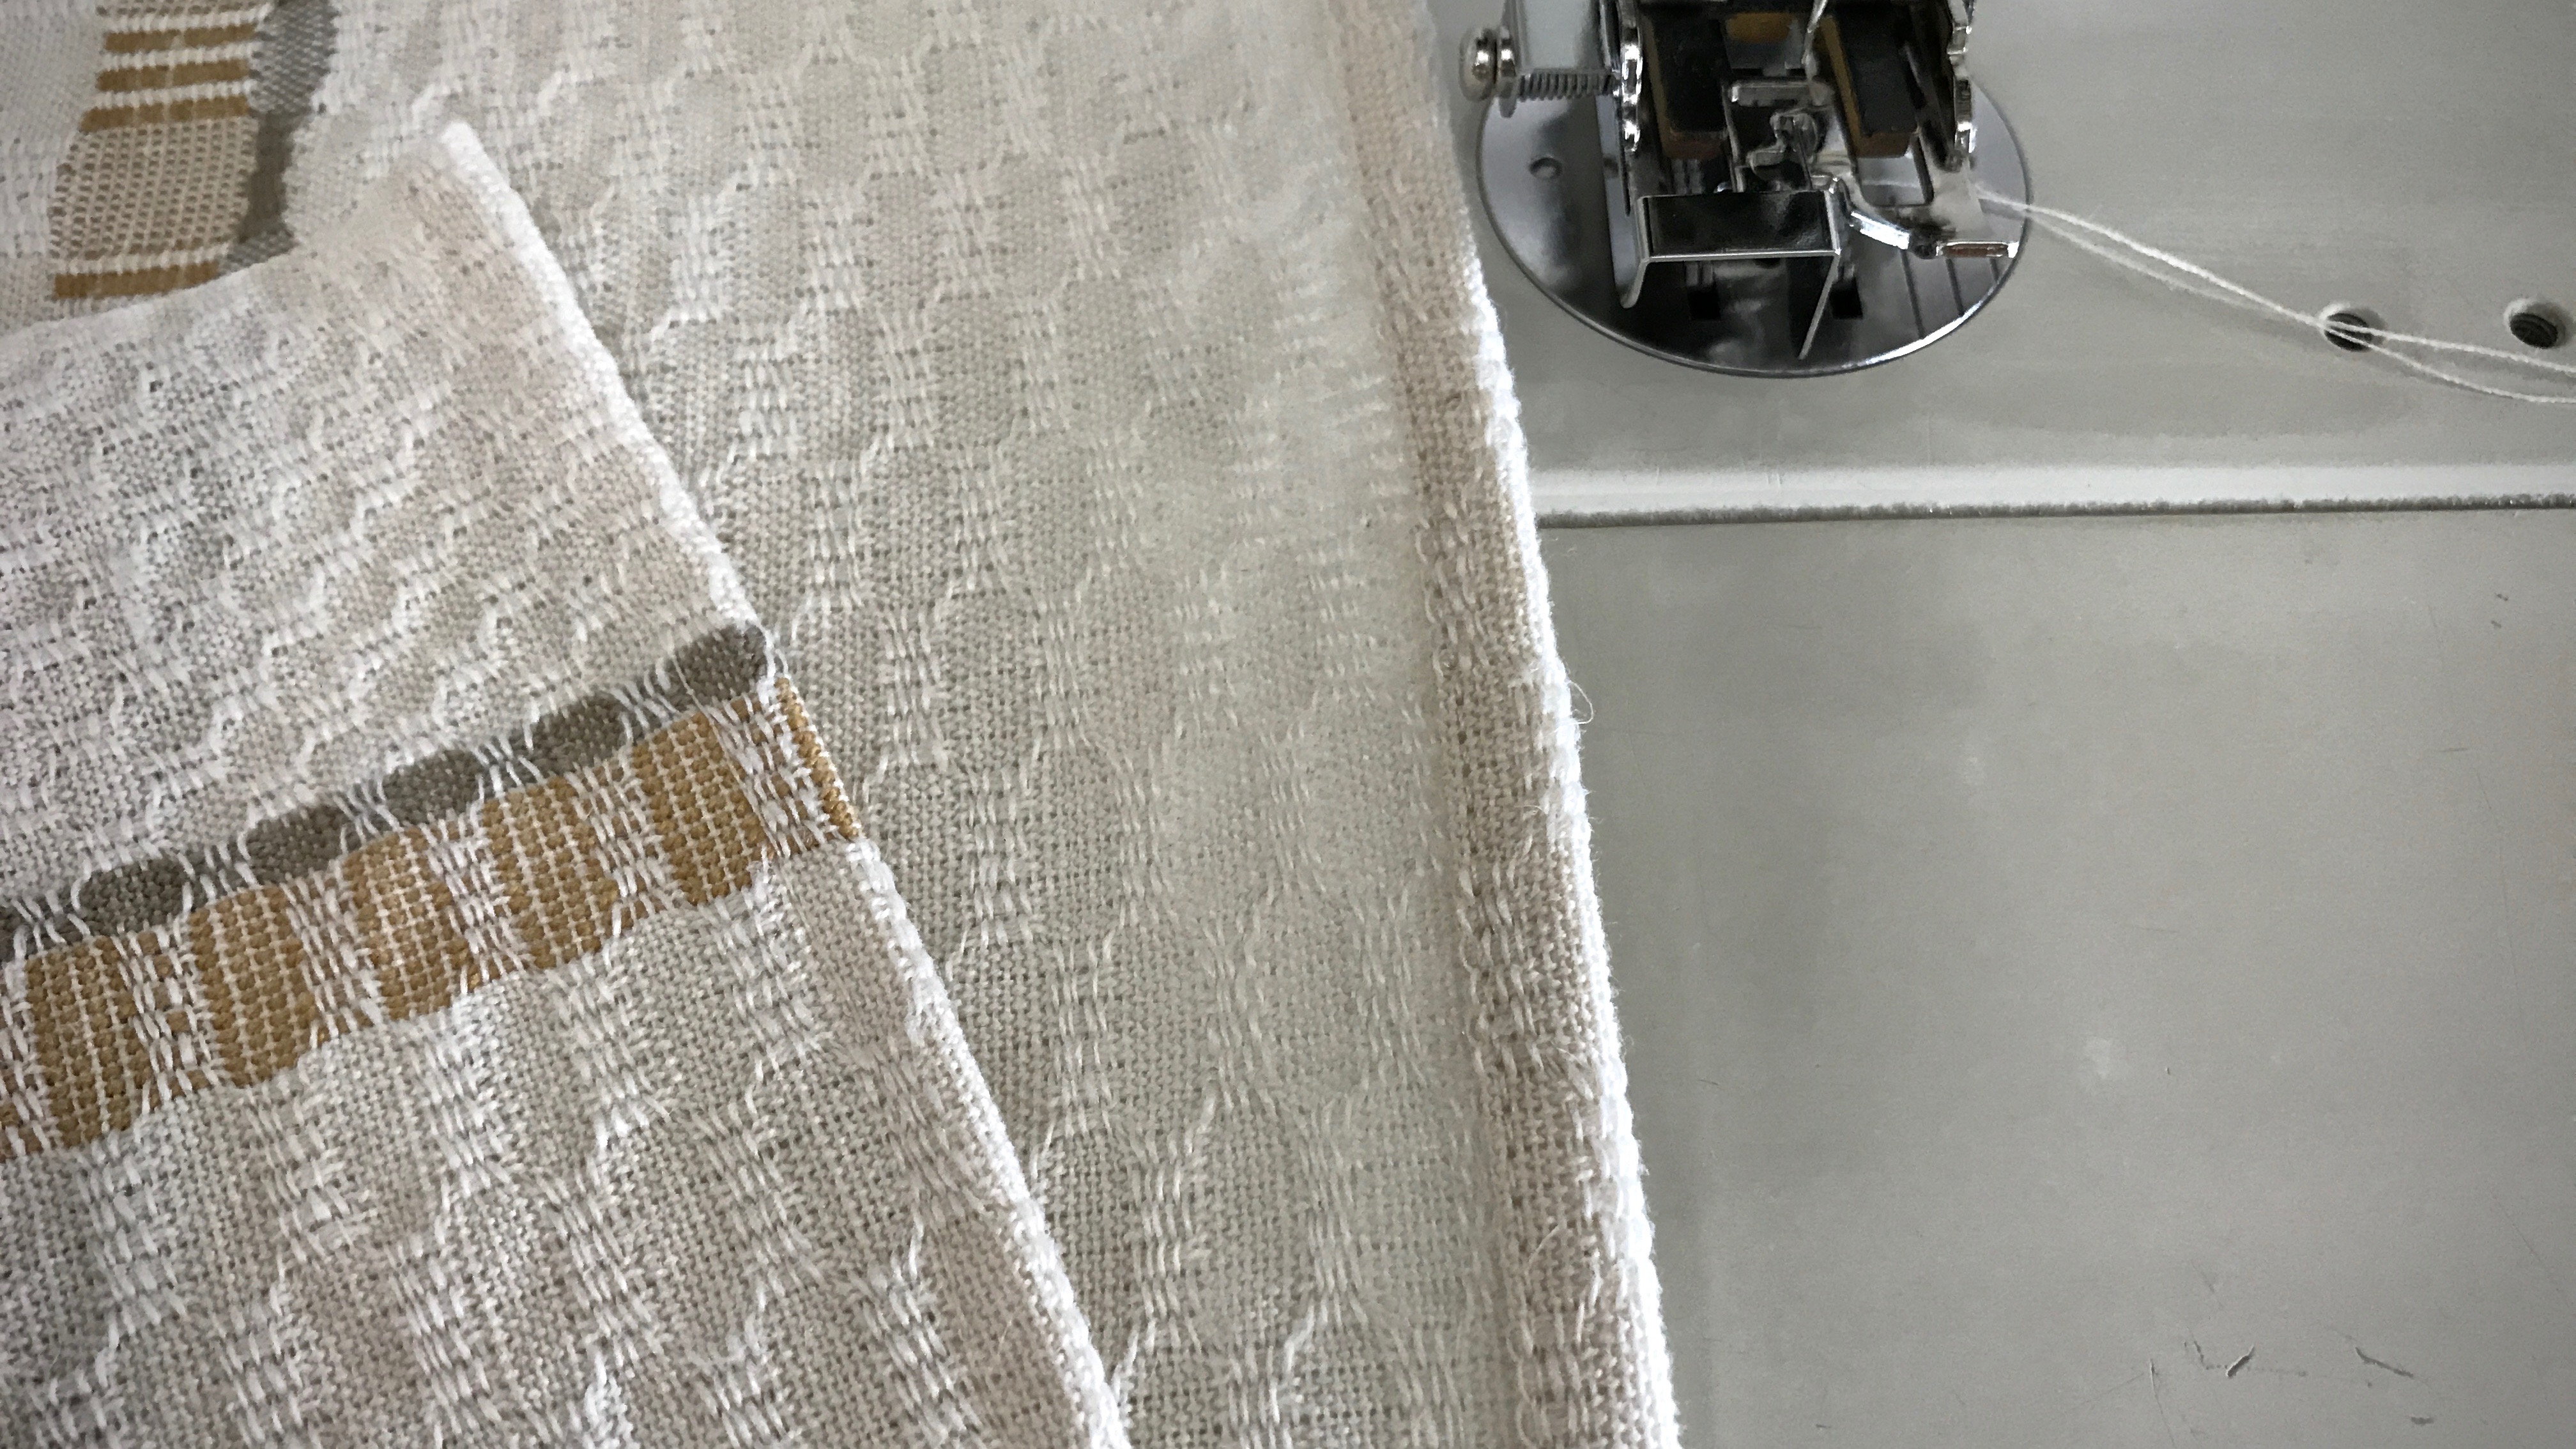
Front and back of the hem have consistent, straight stitching. The narrow hem (not yet pressed) will be barely visible.
May your hems be a suitable frame for your handiwork.
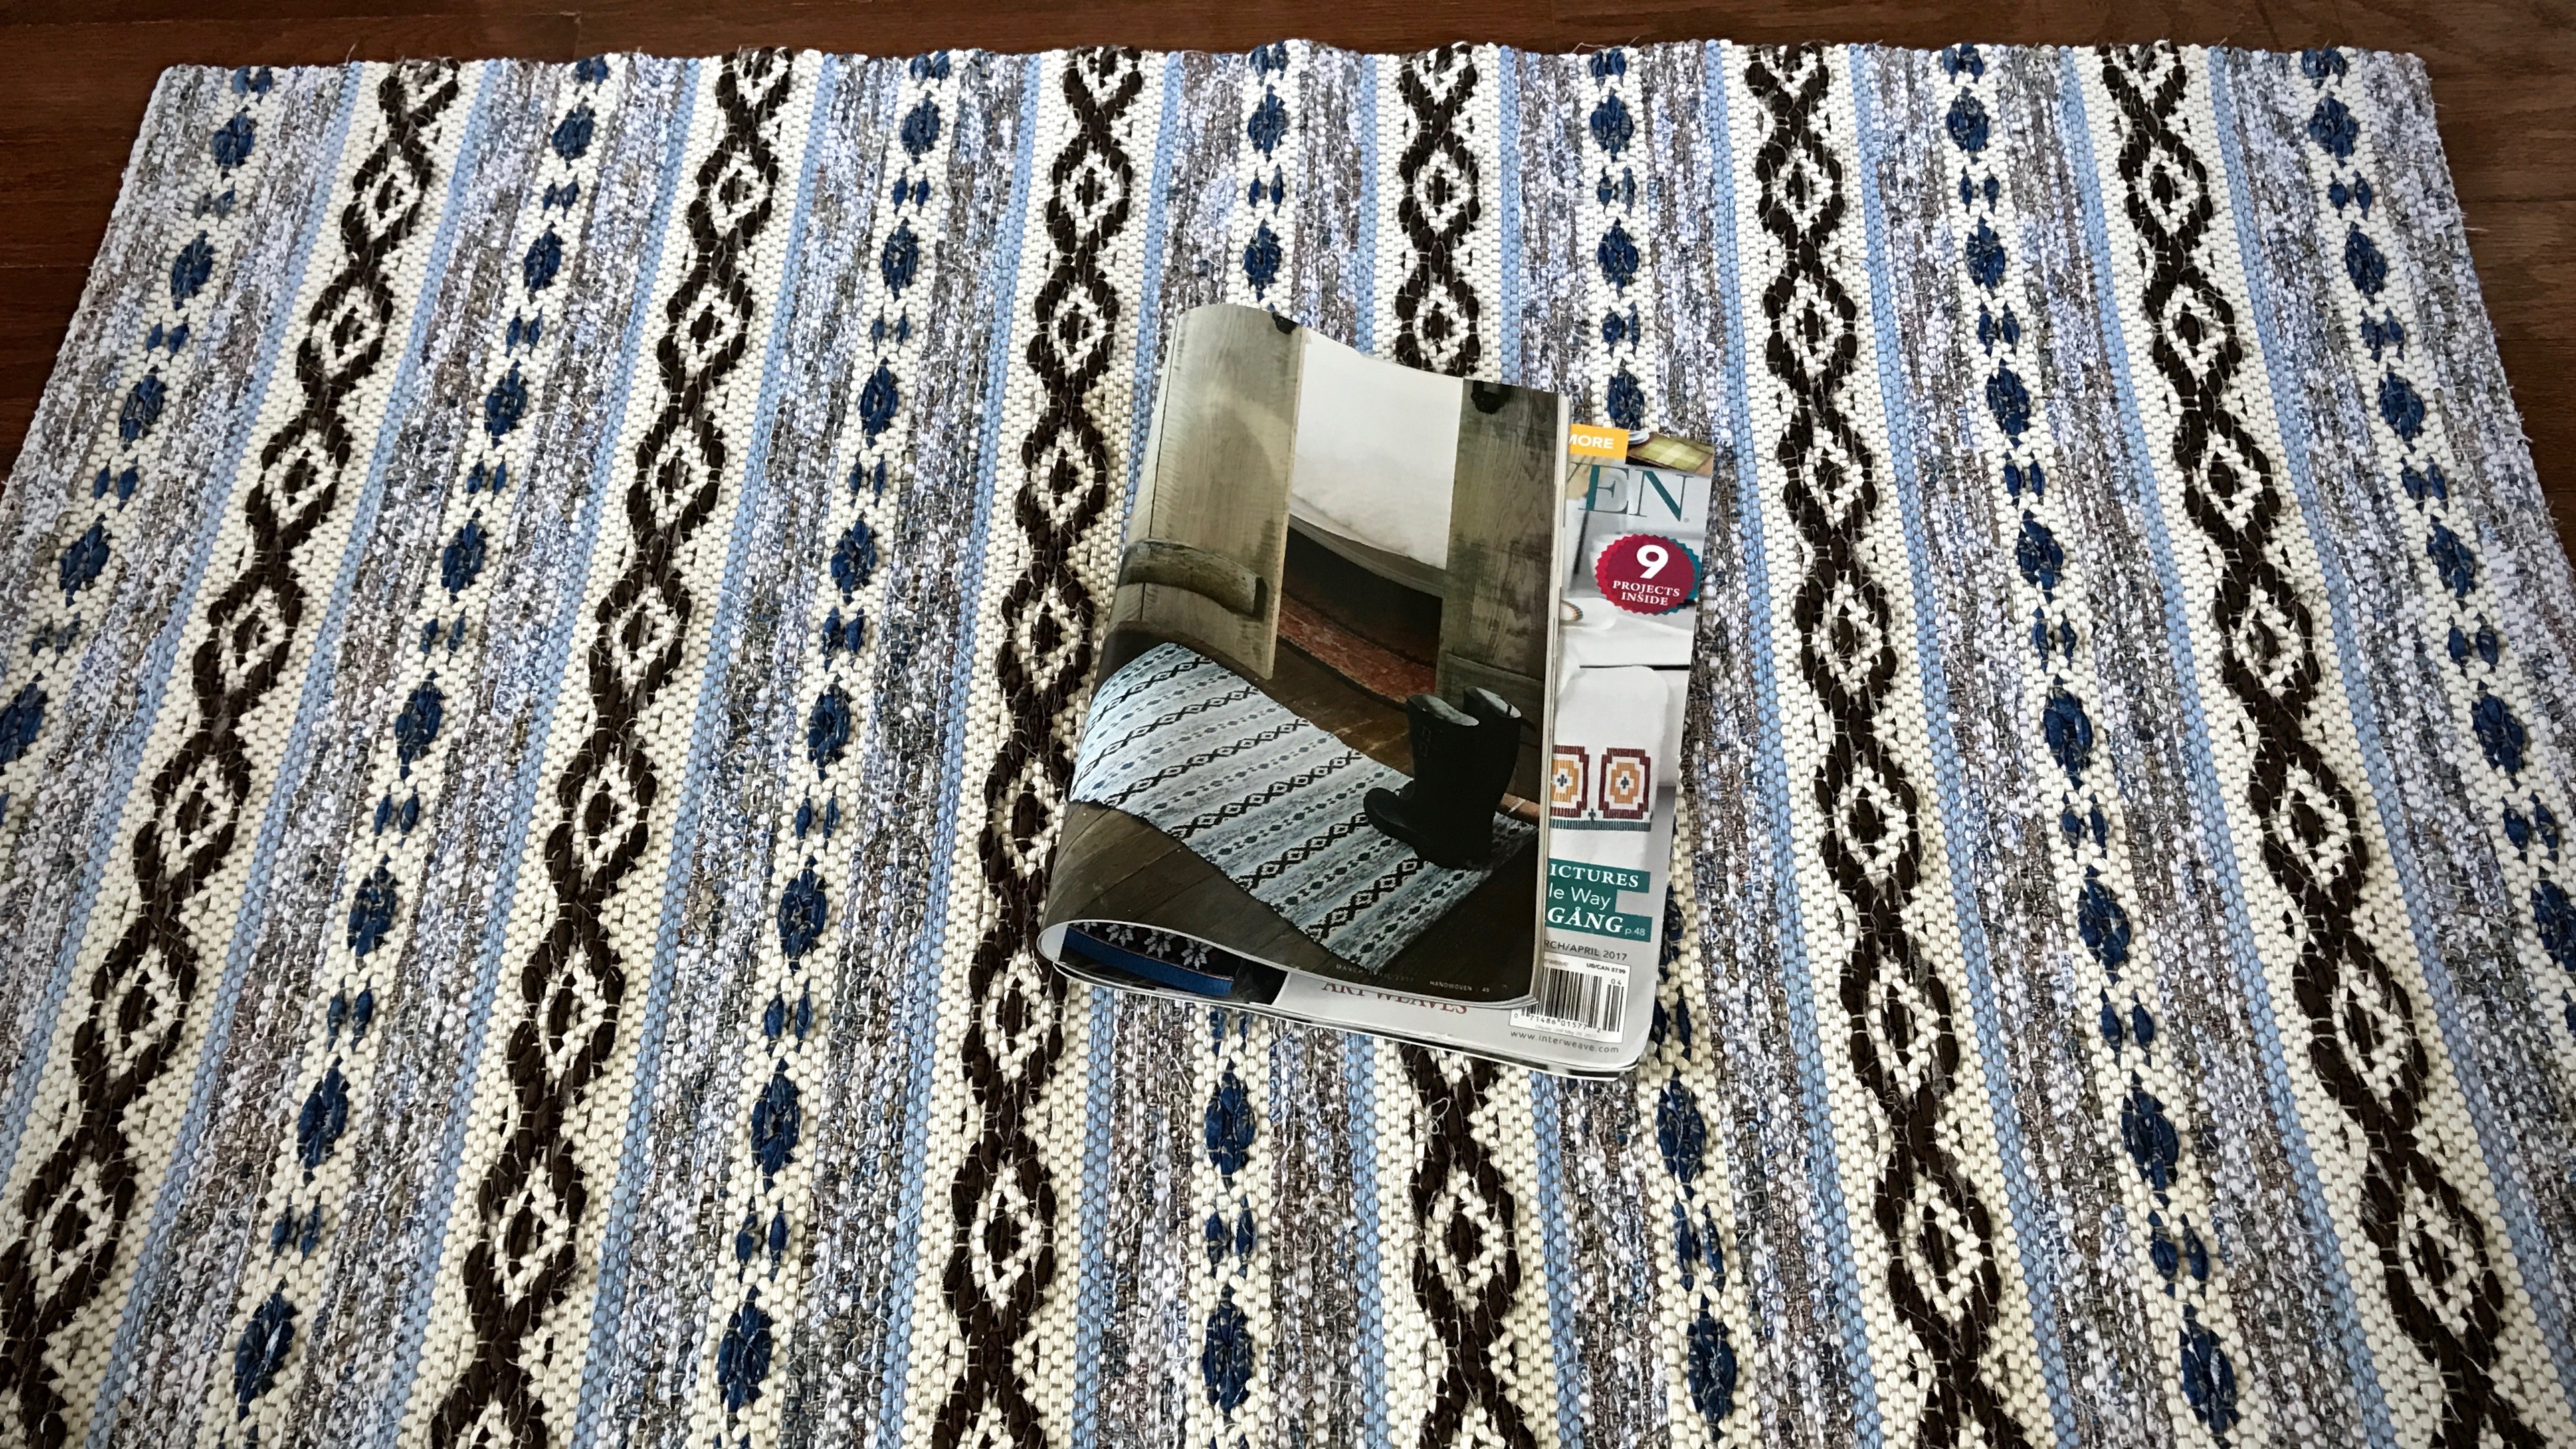
My introduction to rosepath rag rugs was on a room-size loom in Joanne Hall’s magical Montana studio. I was so happy at that moment that I actually cried. It’s no surprise, then, that I relish every opportunity to weave a rosepath rag rug. And even better, to share the joy with other handweavers who may not have tried it yet. Look what came in the mail this week! The March/April 2017 issue of Handwoven, with a project by yours truly–Swedish Rosepath Rag Rug!
Swedish Rosepath Rag Rug, as seen in March/April 2017 Handwoven.
Not everyone loves weaving rag rugs. That’s fine. But if you’re a weaver, there is probably something that draws your interest and brings delight. A certain weave structure, silky fibers, fine threads, complex patterns, bold colors. Something. And if you’re not a weaver, there is something else that triggers your pursued interest. Find that spark that ignites joy in you!
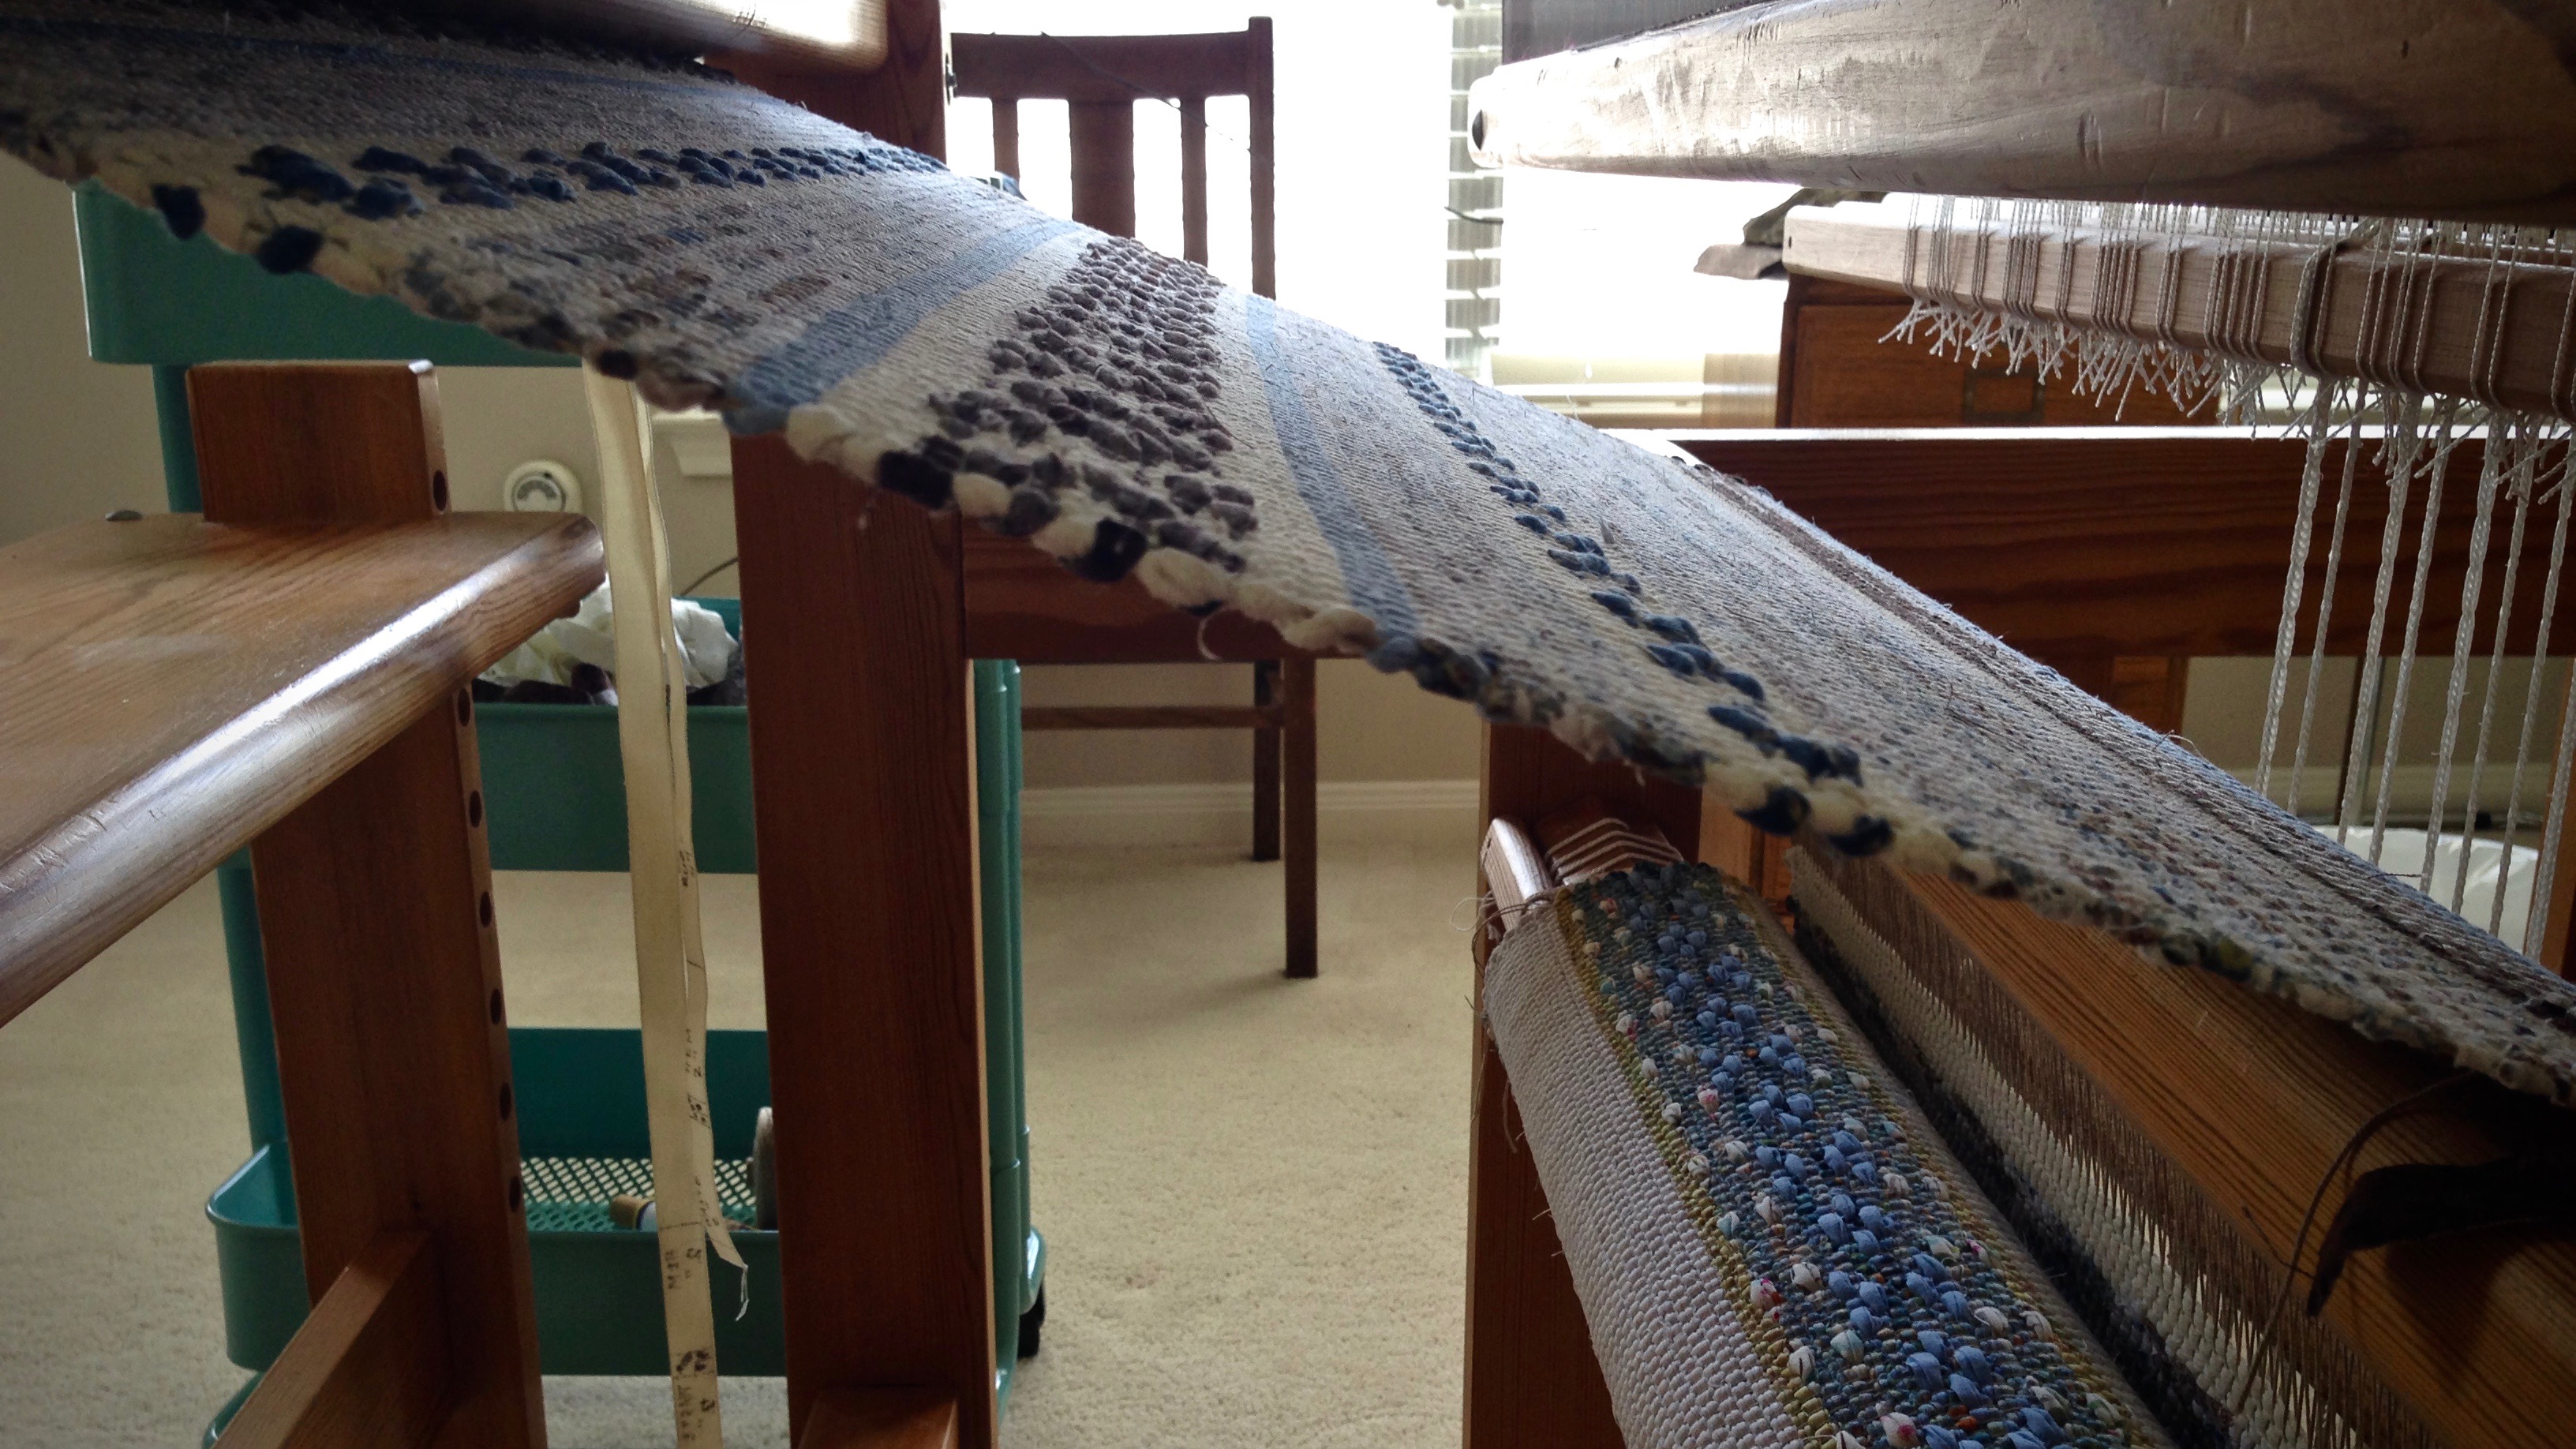
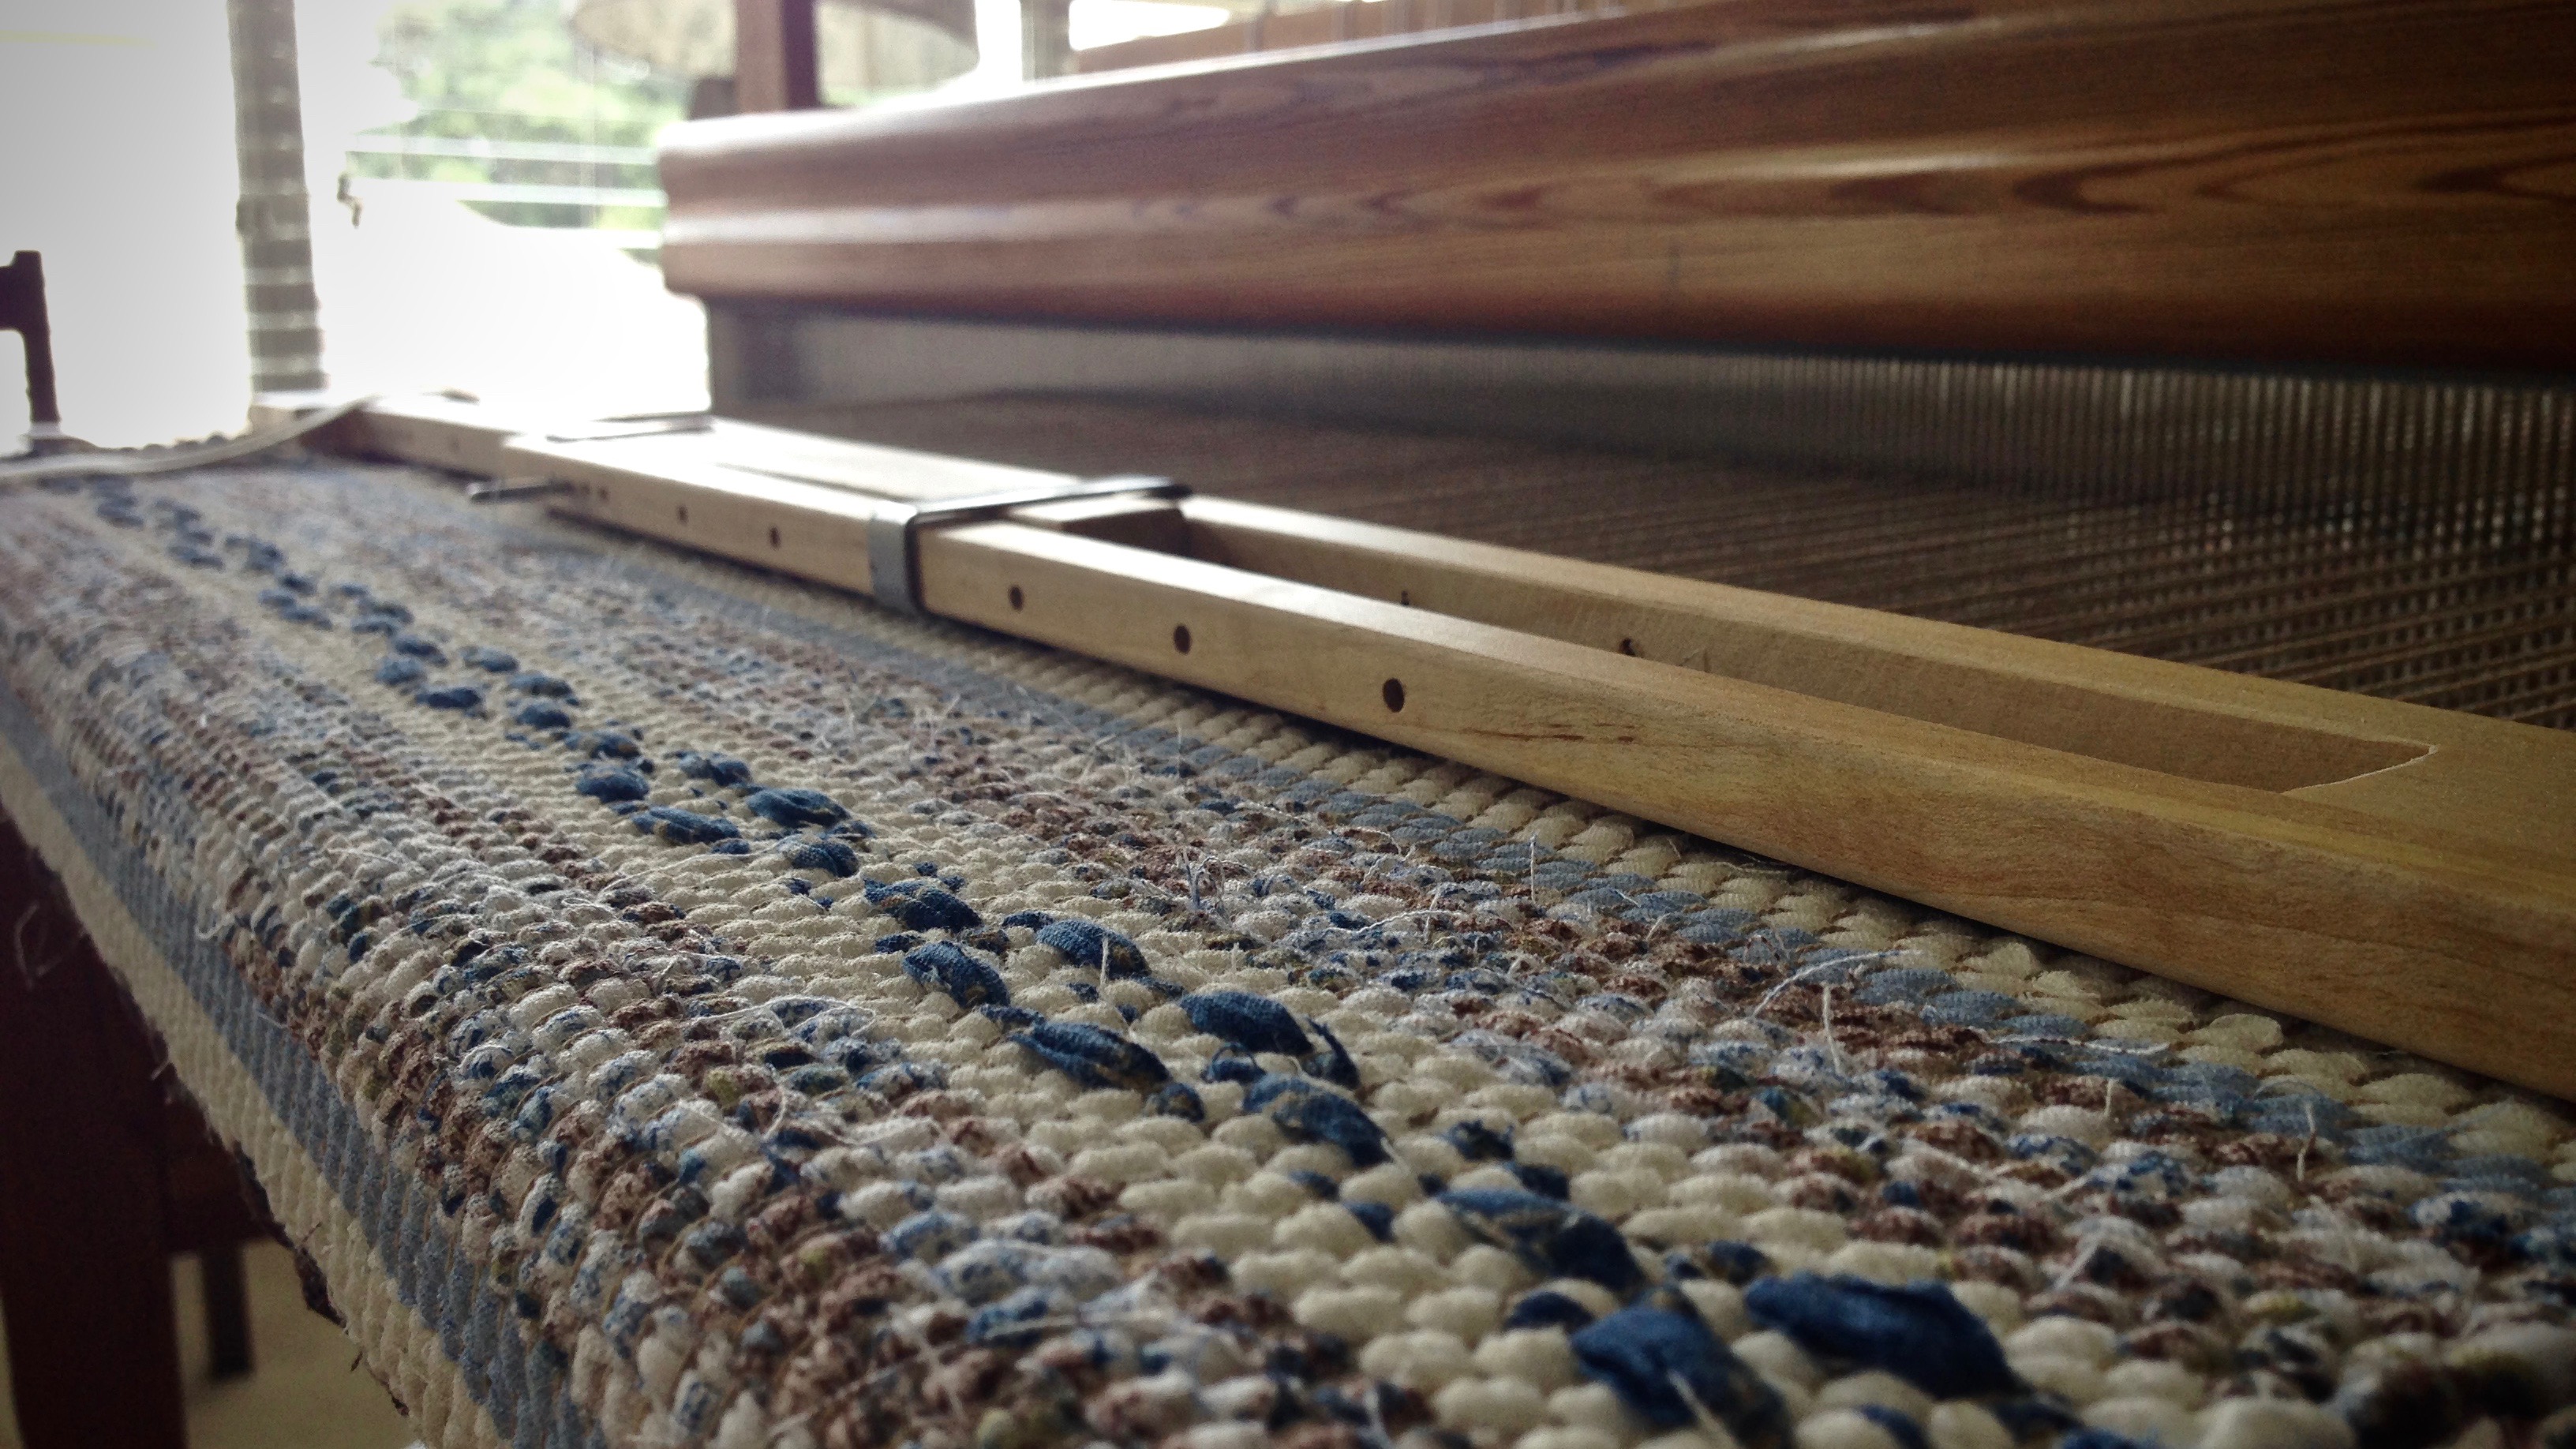
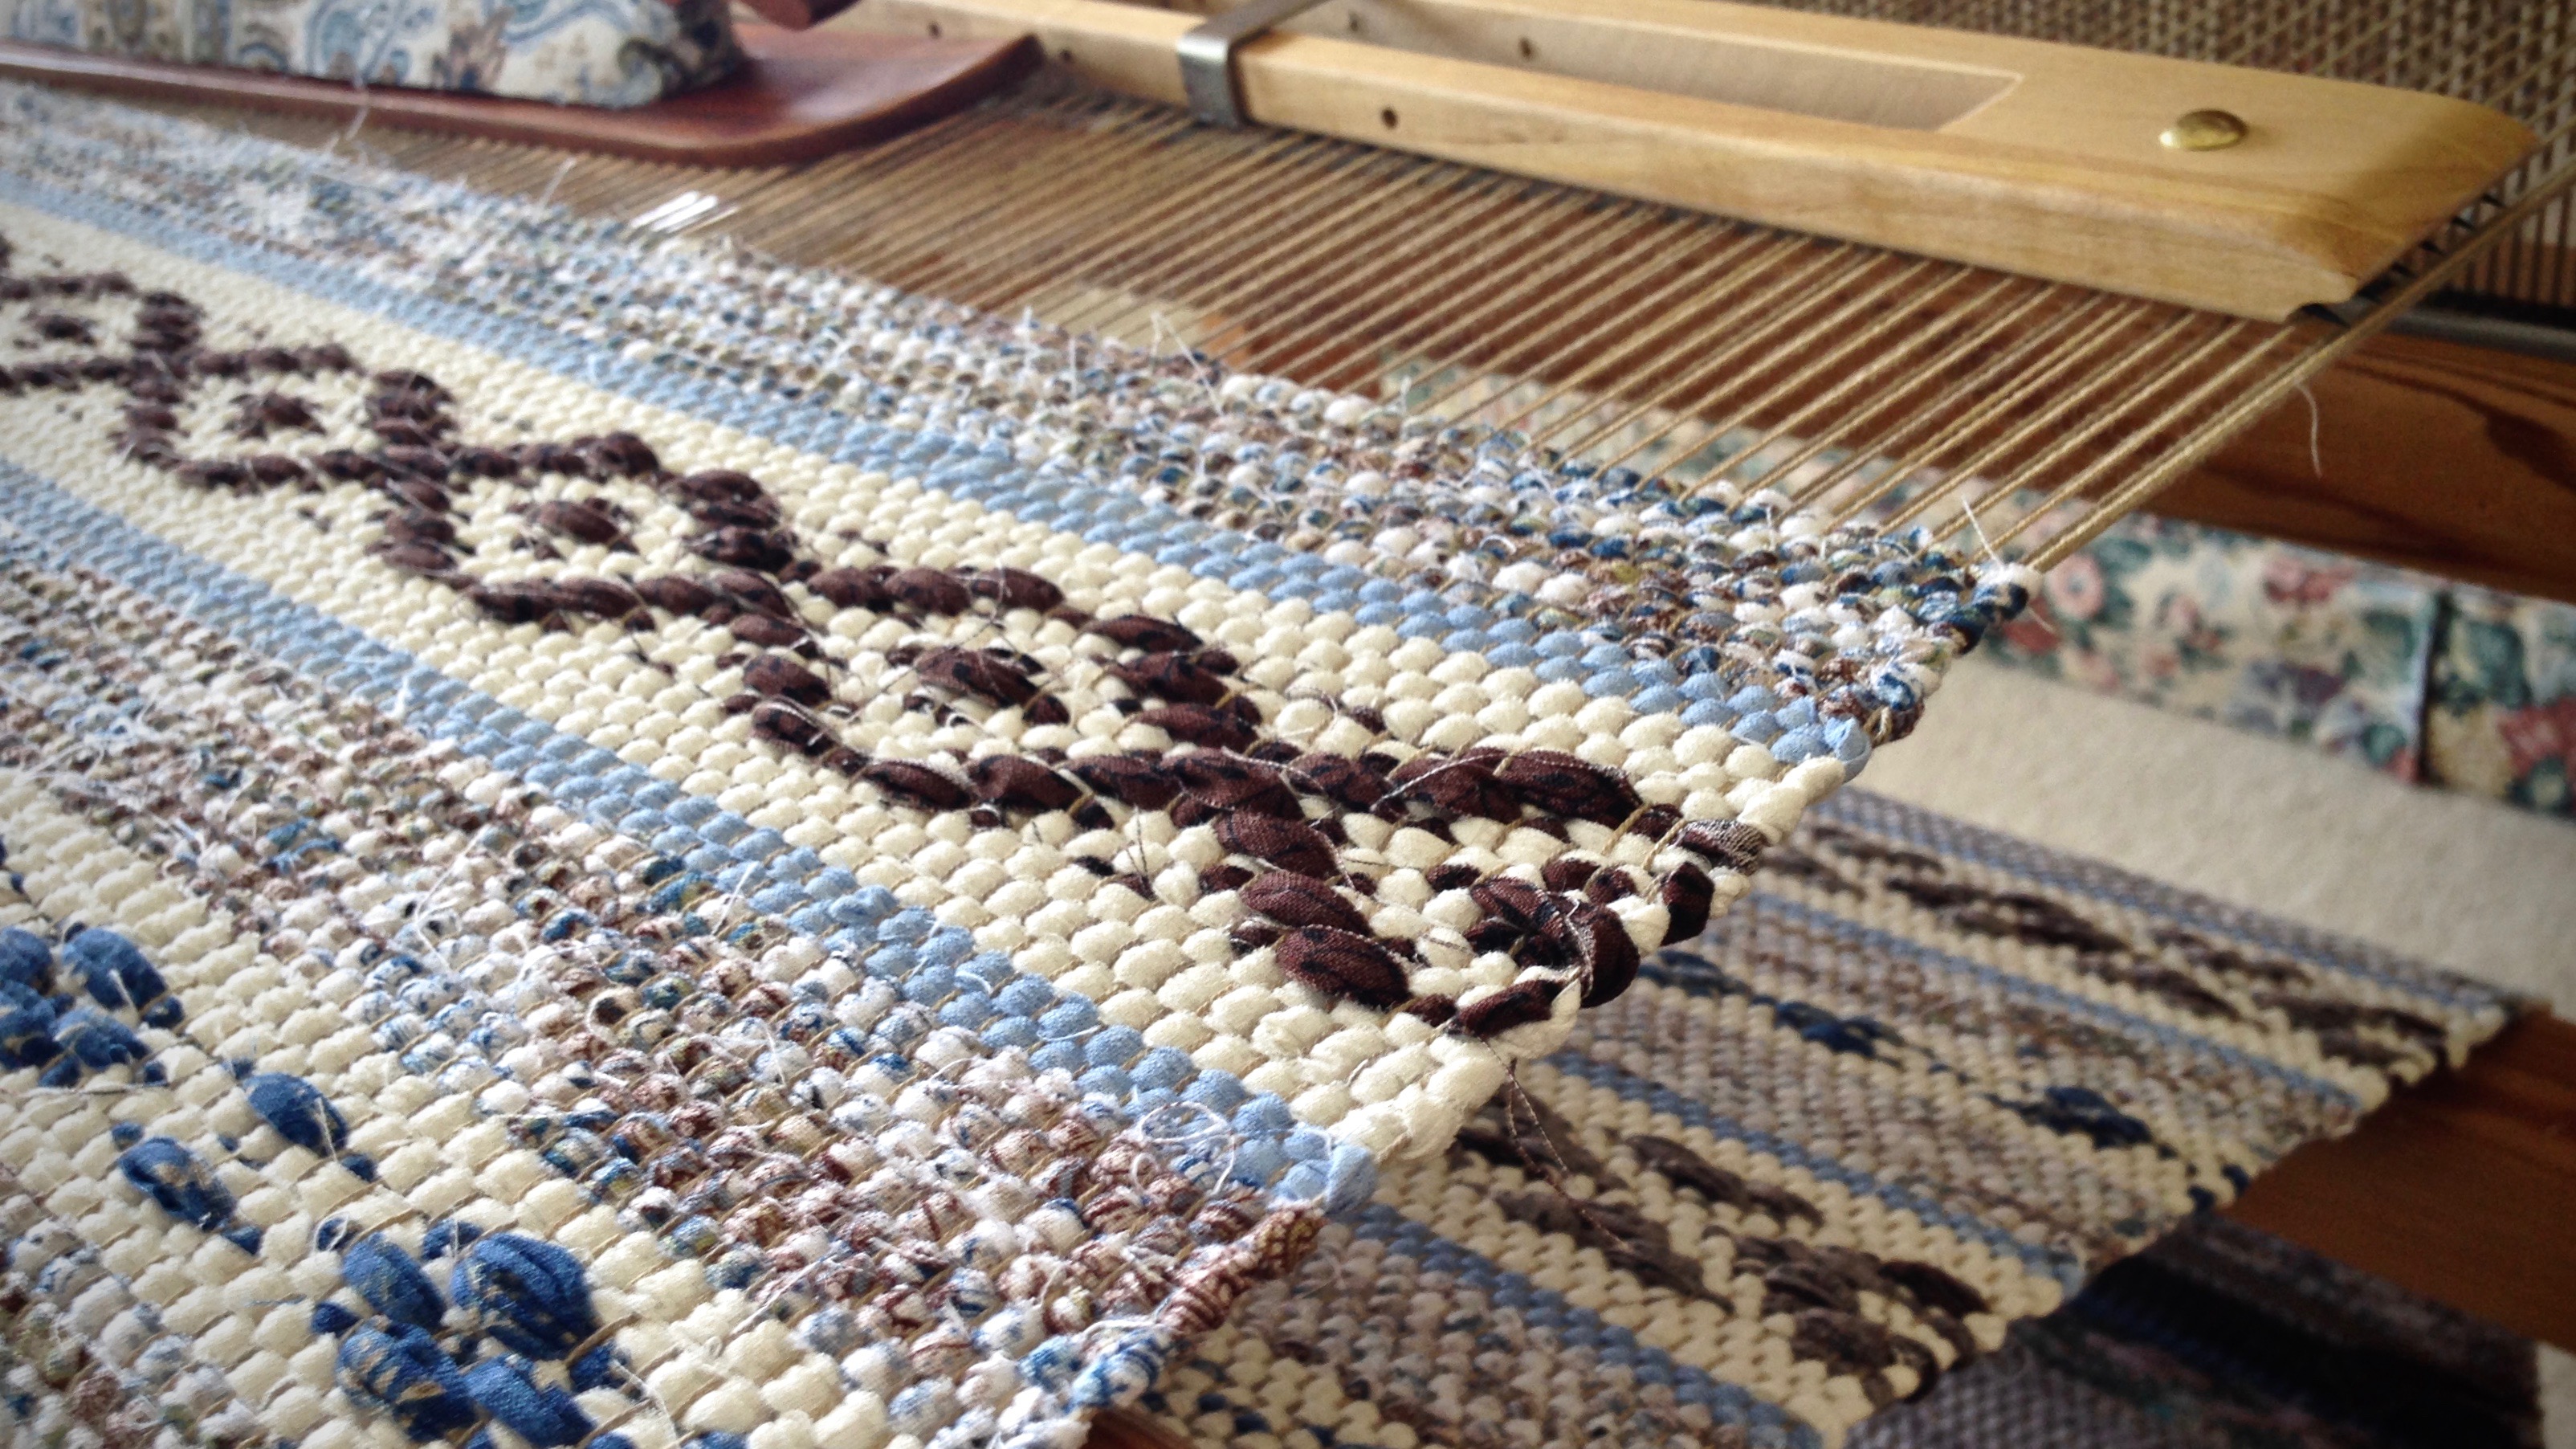
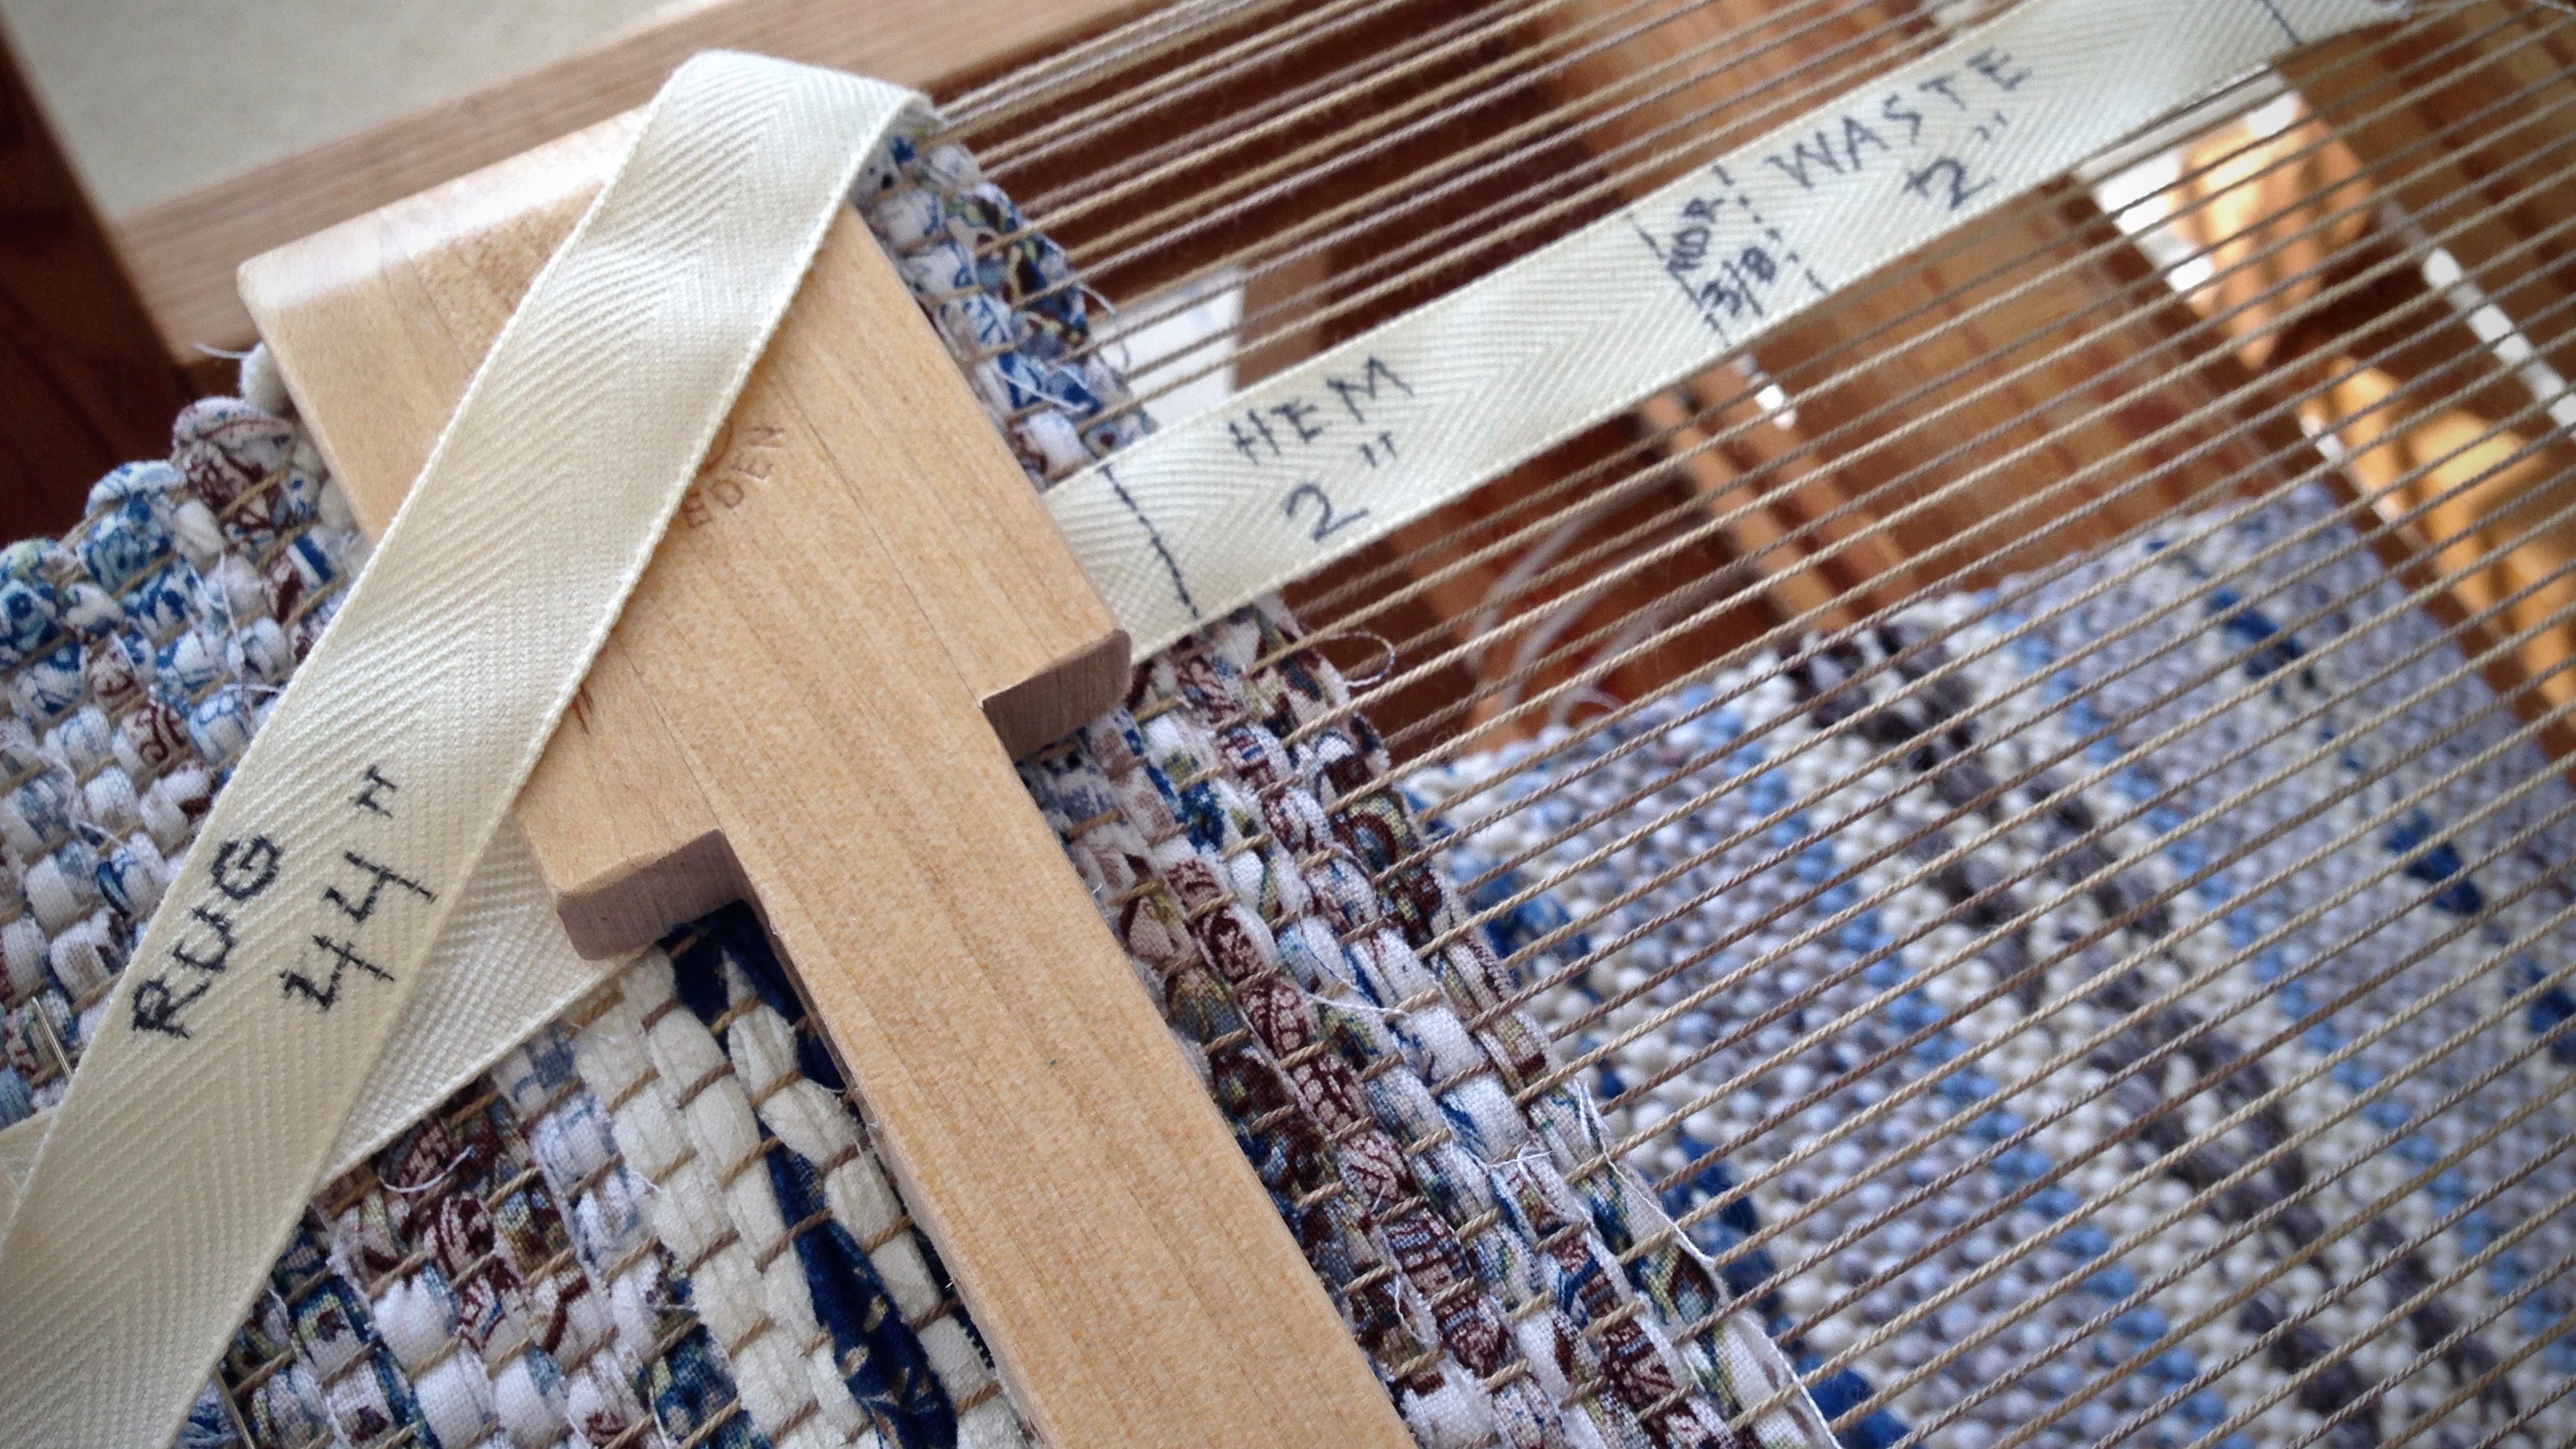
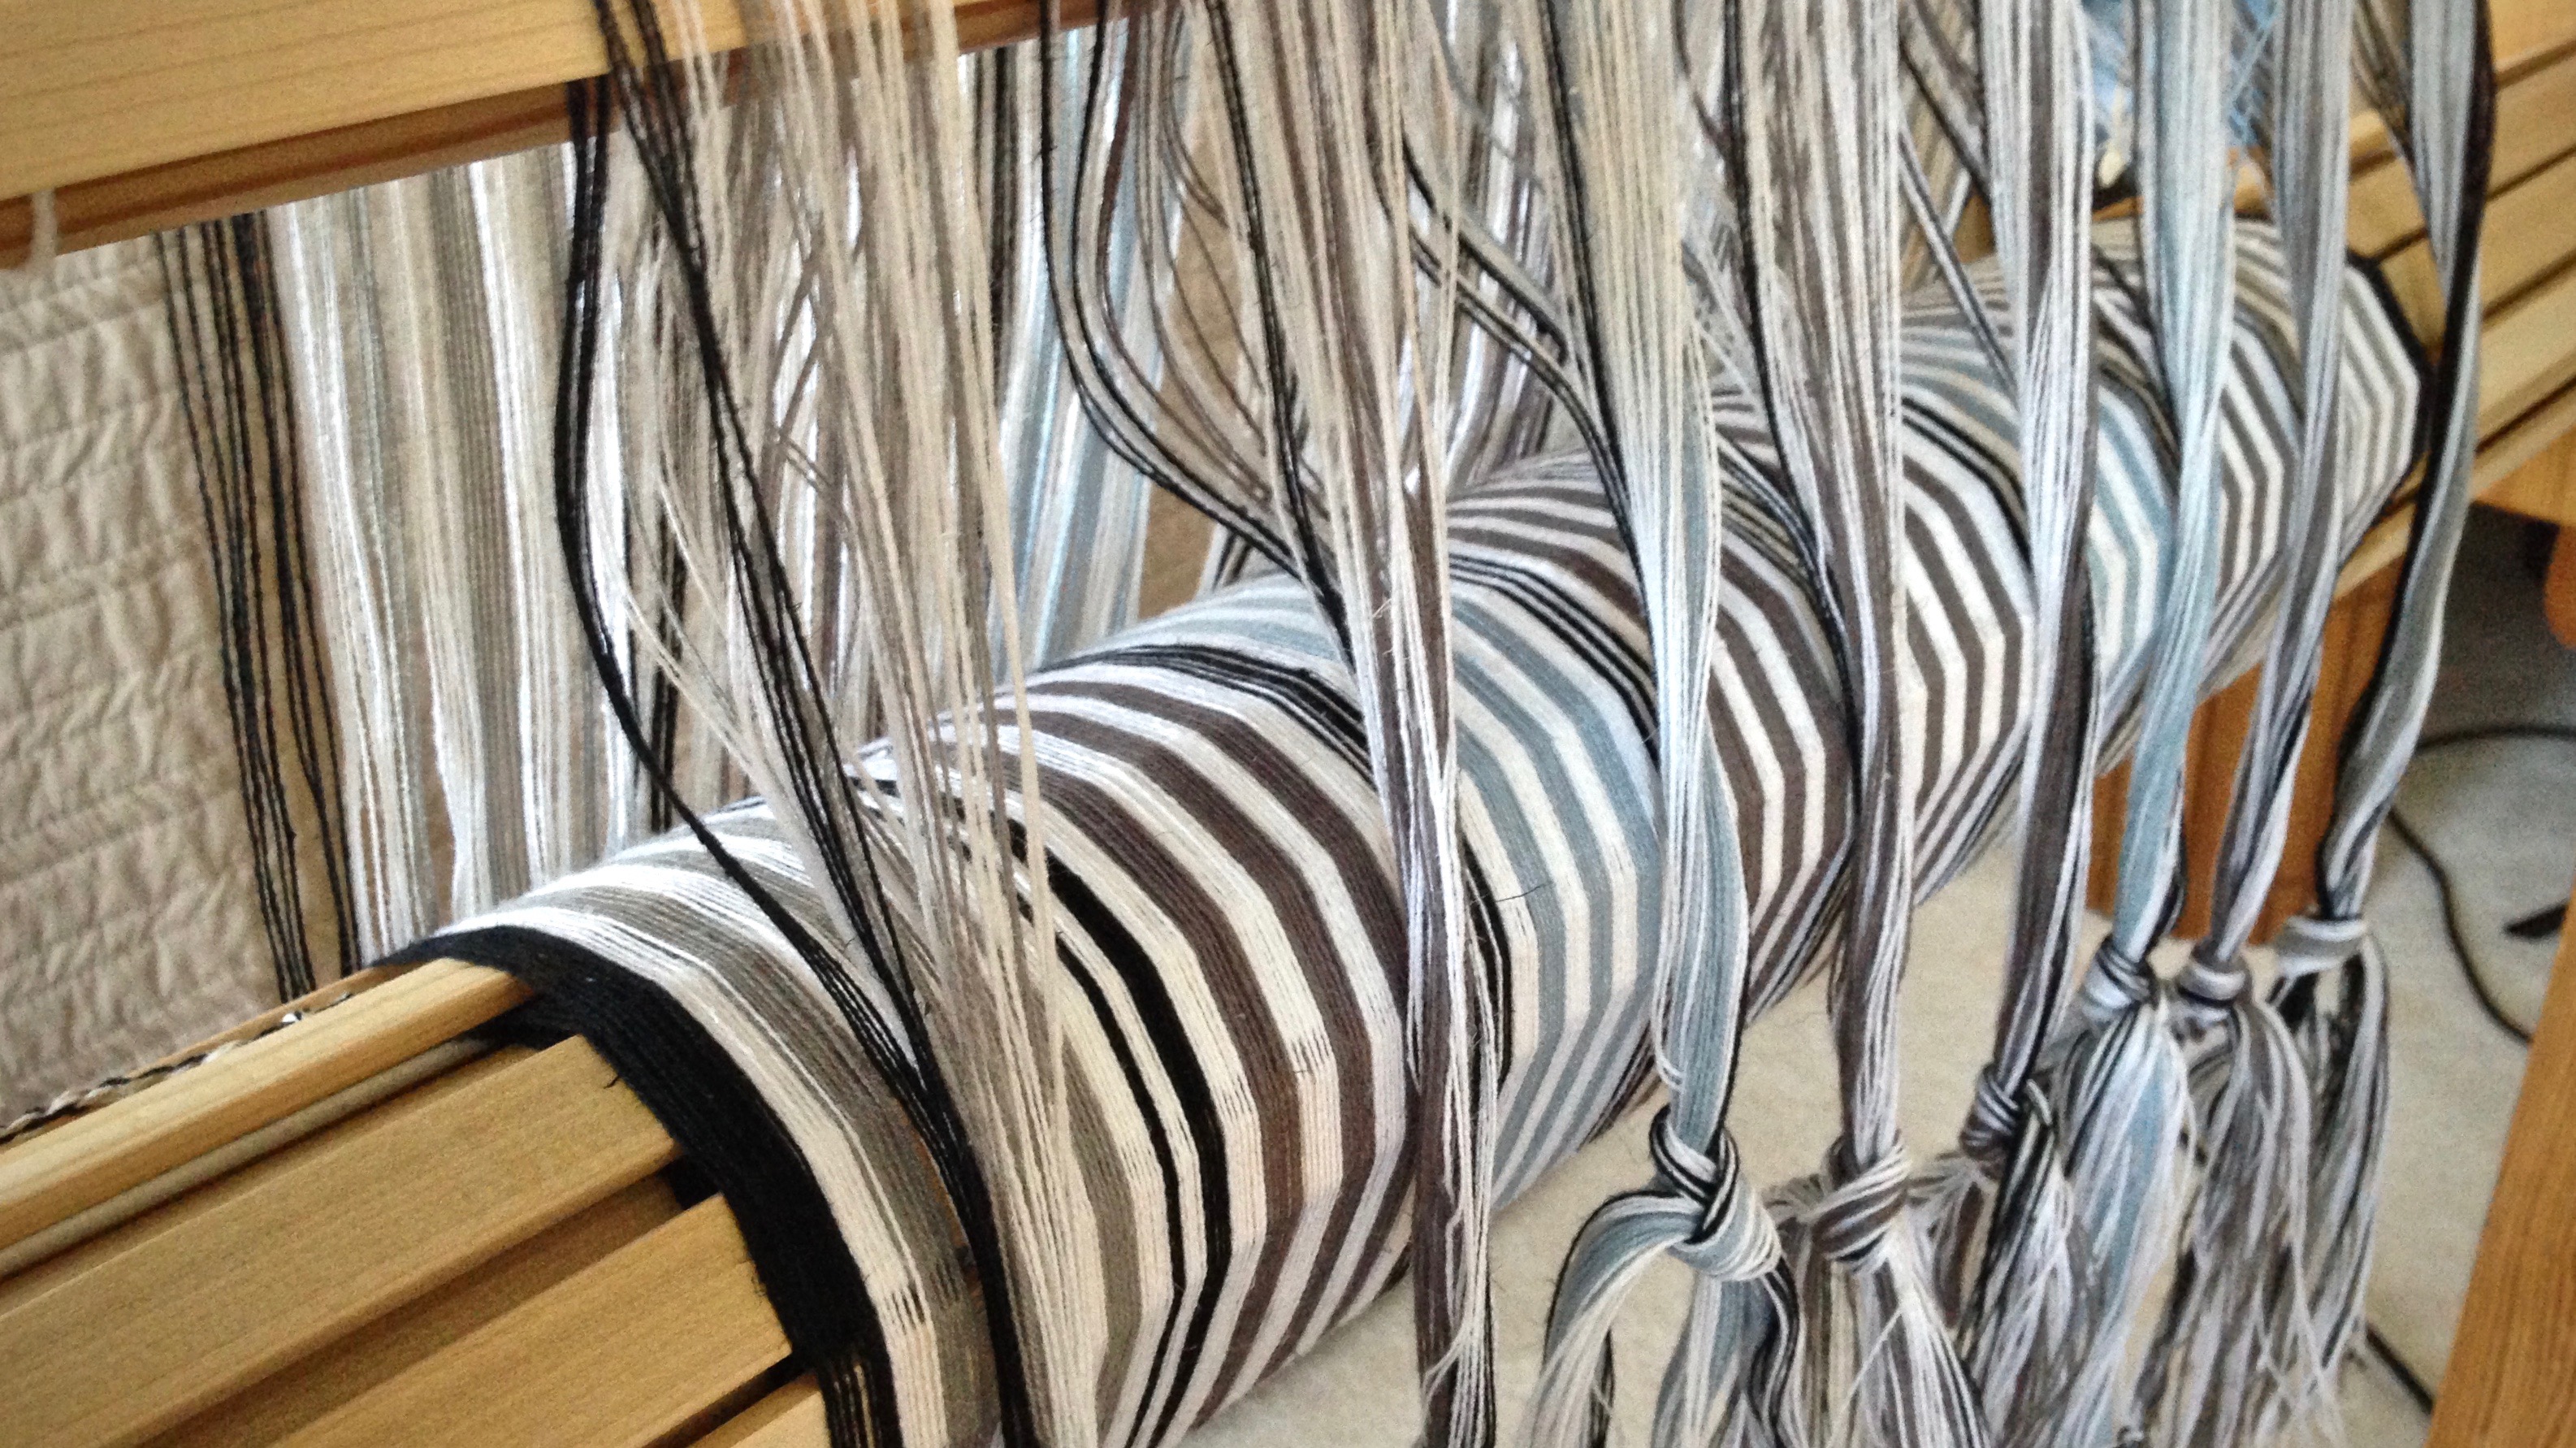
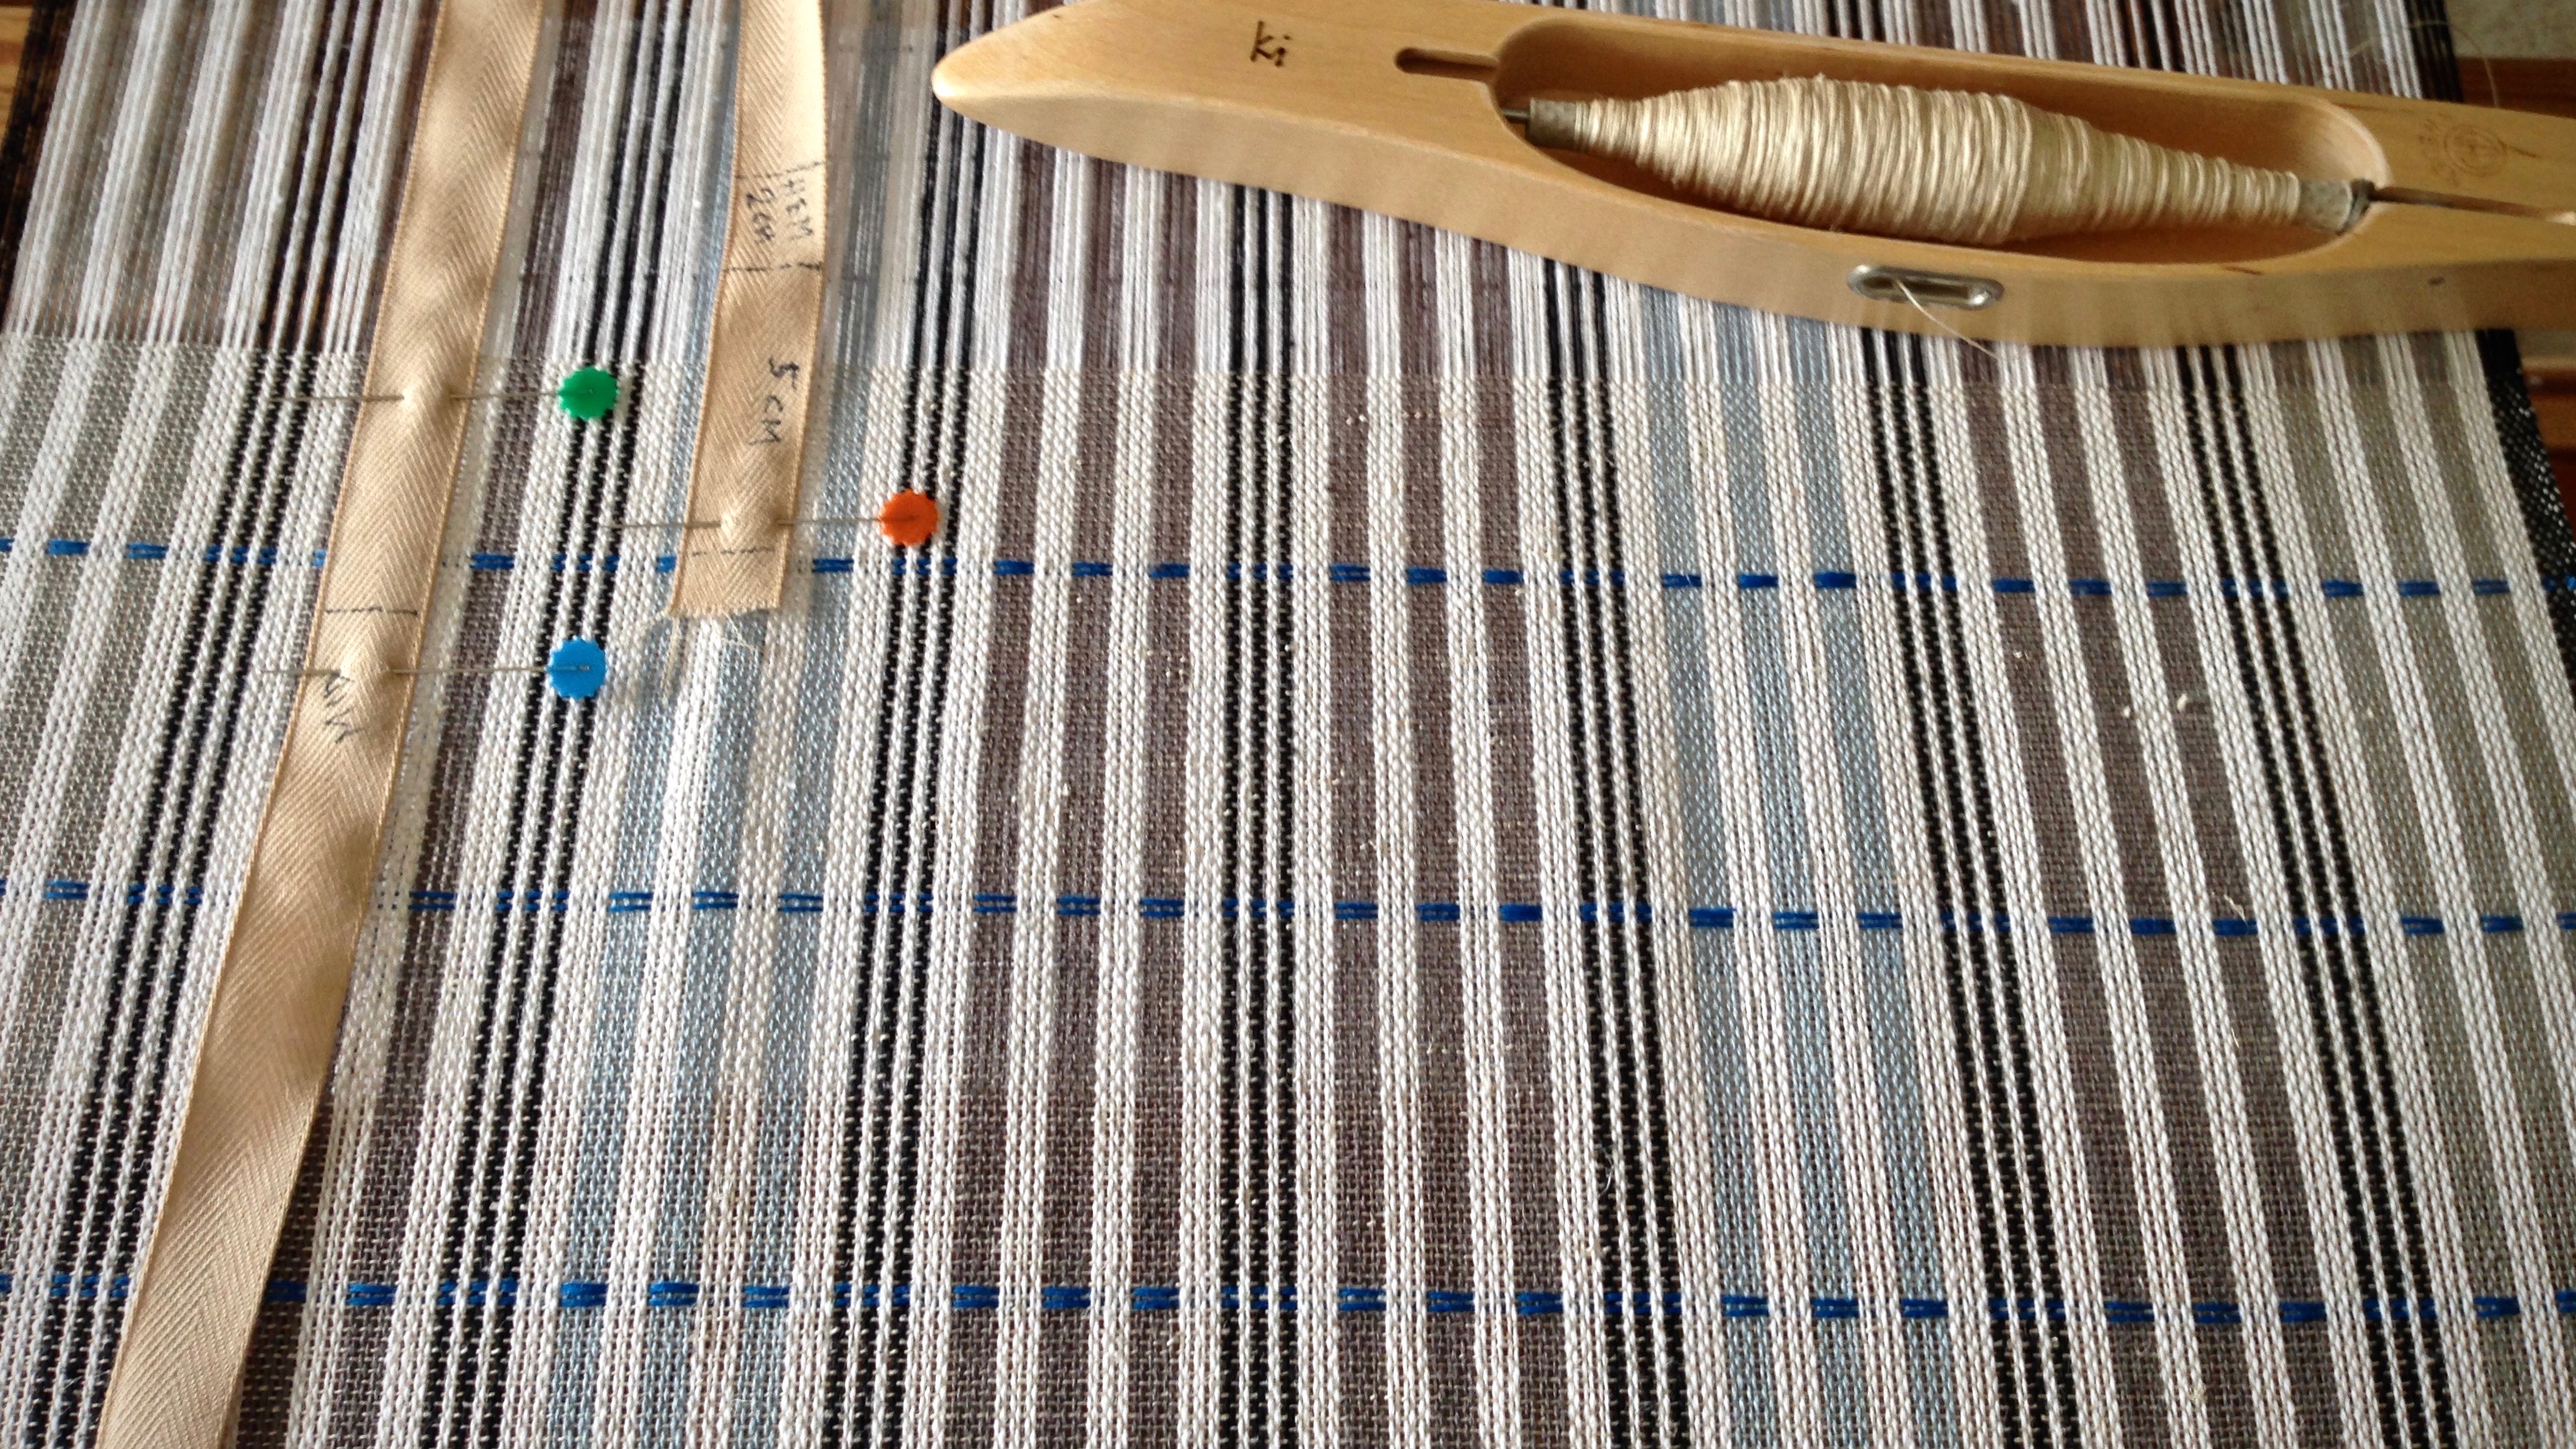
Besides using a pre-measured tape, taking a picture at the beginning of the rug, with the yellow tape measure in view, makes it easy to replicate the hem at the end of the rug.Temple is in place, keeping the rugs a consistent width. Metal rug temples are good, but I still prefer a regular wooden Glimåkra temple for weaving rag rugs.Many rosepath variations are possible. The rug on the cloth beam uses a similar design, with different colors.Making paths of roses. Rosepath.Progress!Reverse side of the rug has a subtly different pattern.Cloth beam fills up with rag rugs. Pleasant sight for a rag rug weaver!Ending the rug on the loom. Following the markings removes guesswork.
Keep a song in your heart. Sing. Sing for joy. Sing praise to the Grand Weaver who put the seed of searching in you. A seed that bursts open with joy when ignited with a spark, and flourishes into something distinguishable. Trust the Lord with all your heart. Your heart will find its melody.
Published in March/April 2017 Handwoven.
May your heart sing a joyful tune.
ATTENTION: The draft for the Swedish Rosepath Rag Rug from Handwoven is written for a sinking shed loom. Therefore, for a jack loom, you must tie up the “white” empty squares instead of the numbered squares for the pattern to show right side up as you weave.
If you are interested in weaving rag rugs, take a look at Rag Rug Tips, a new tab at the top of the page.
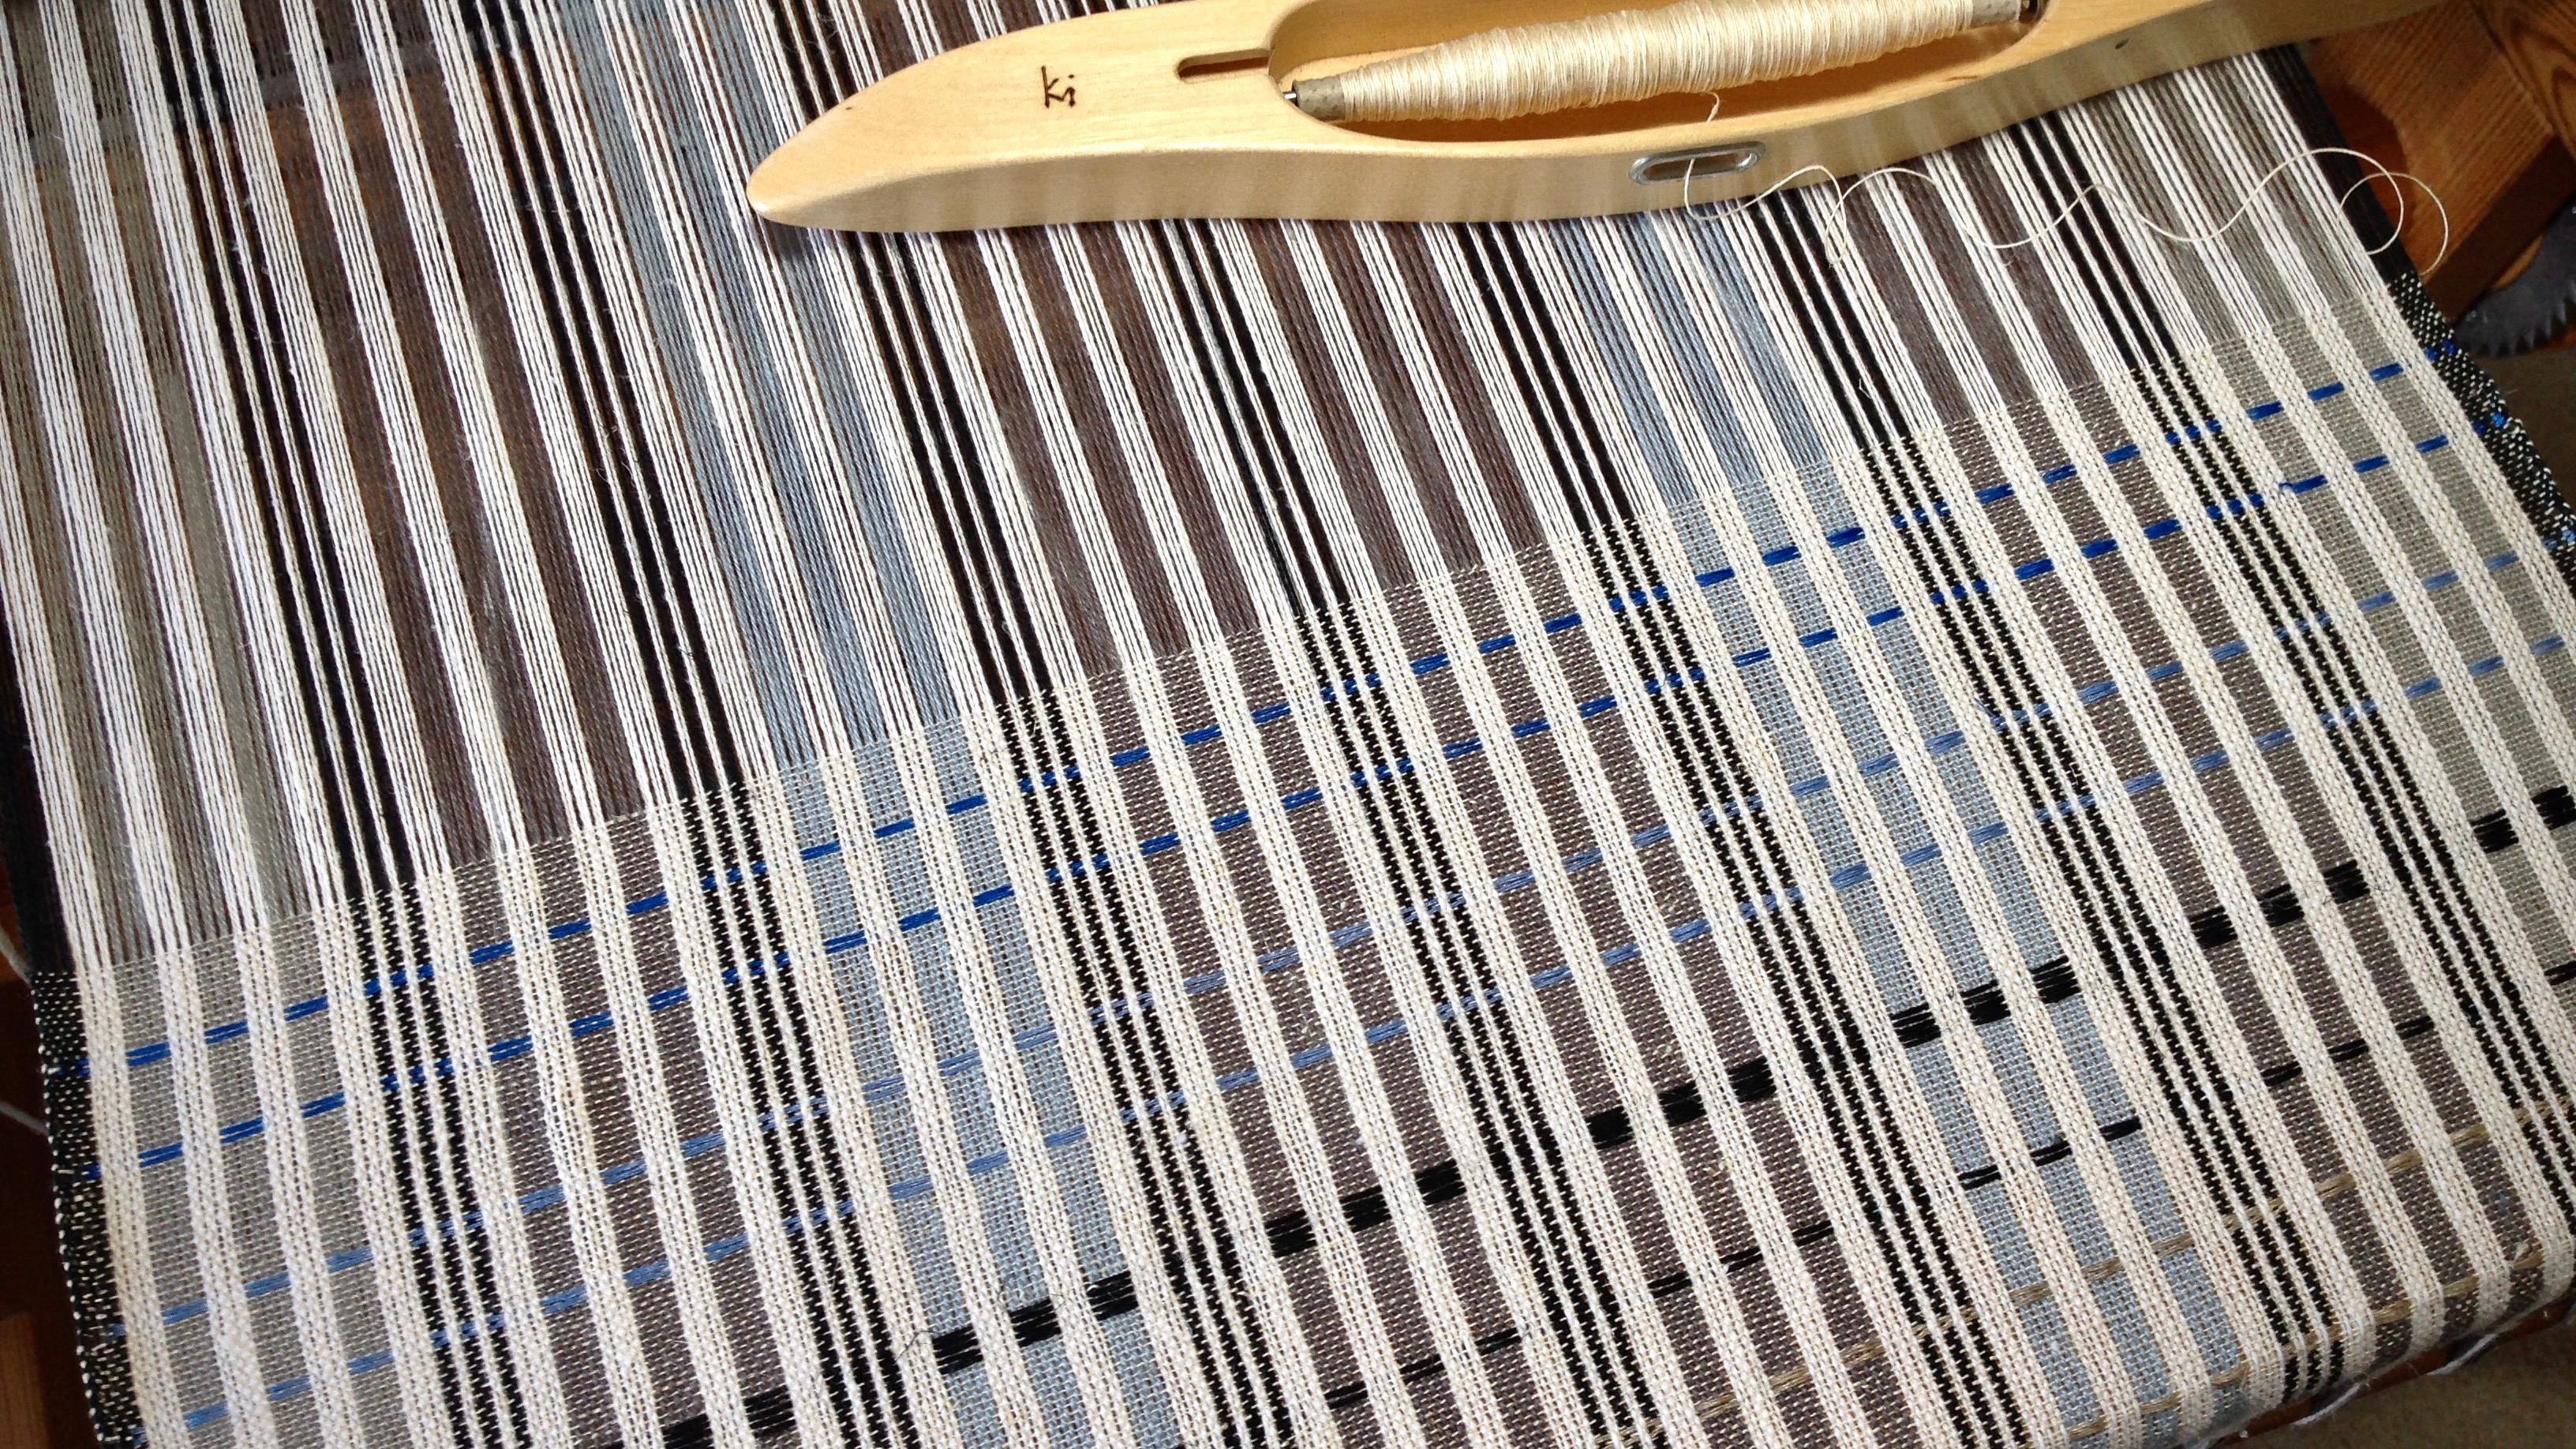
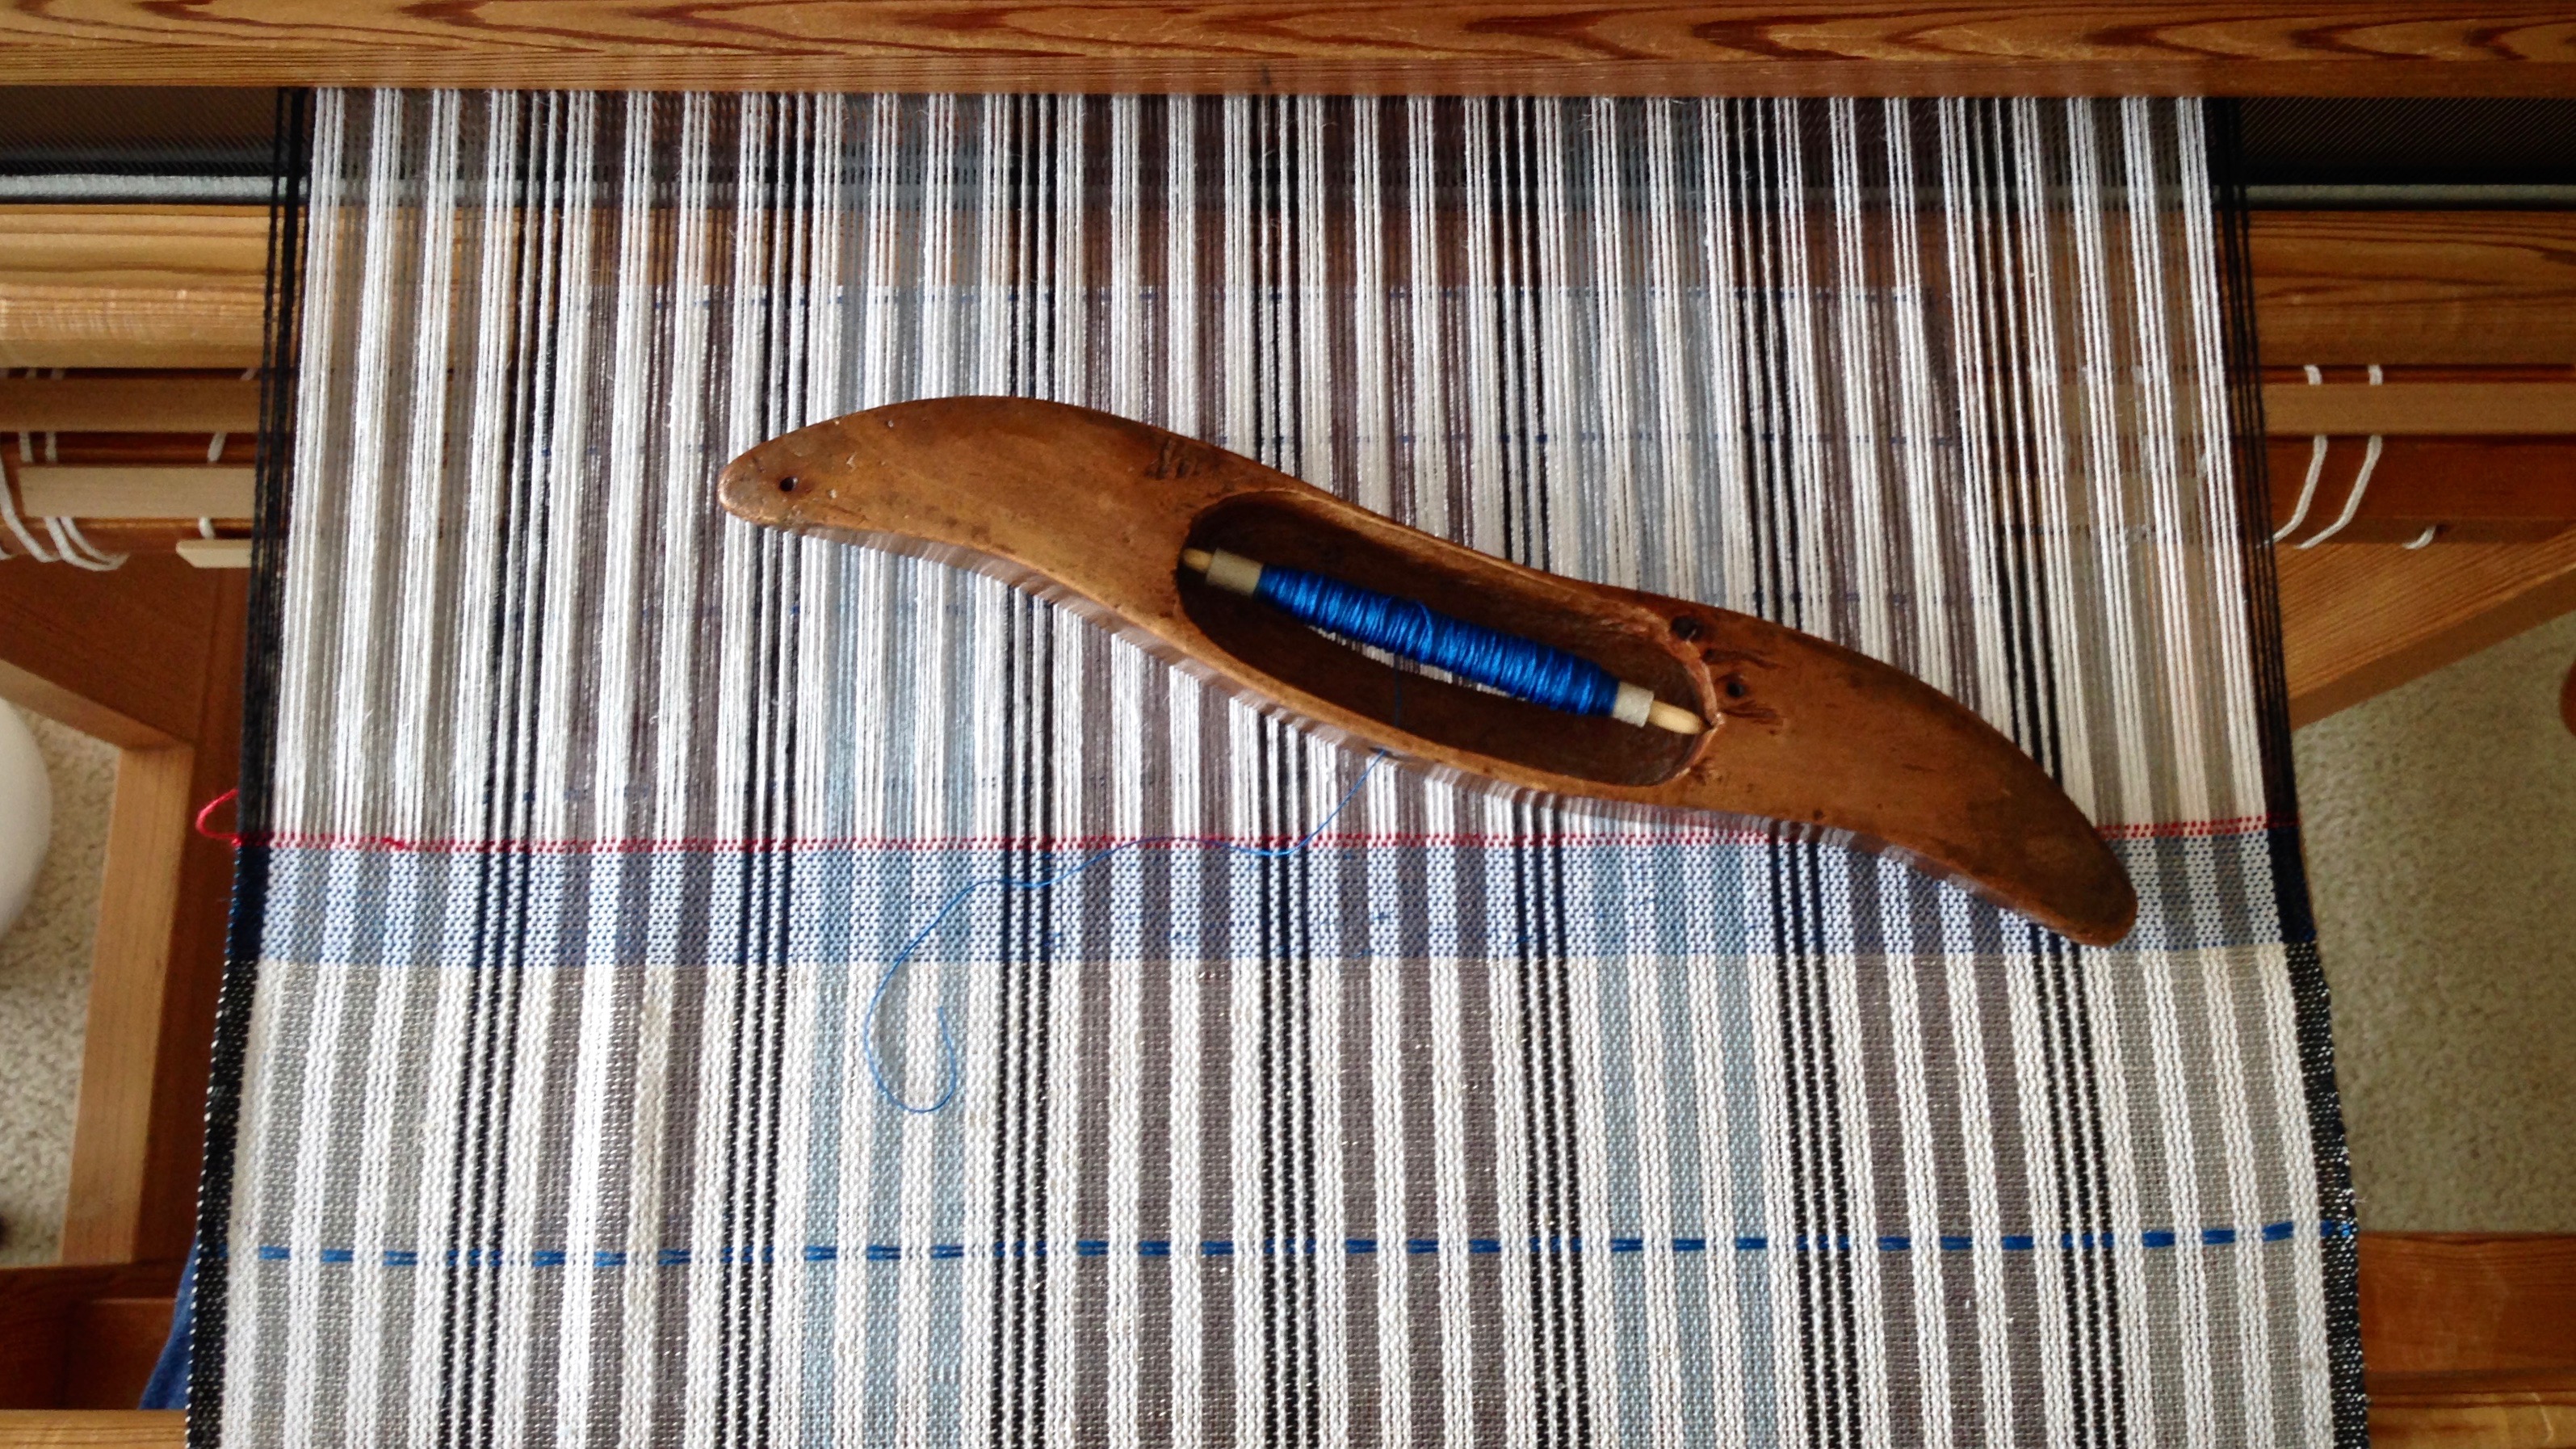
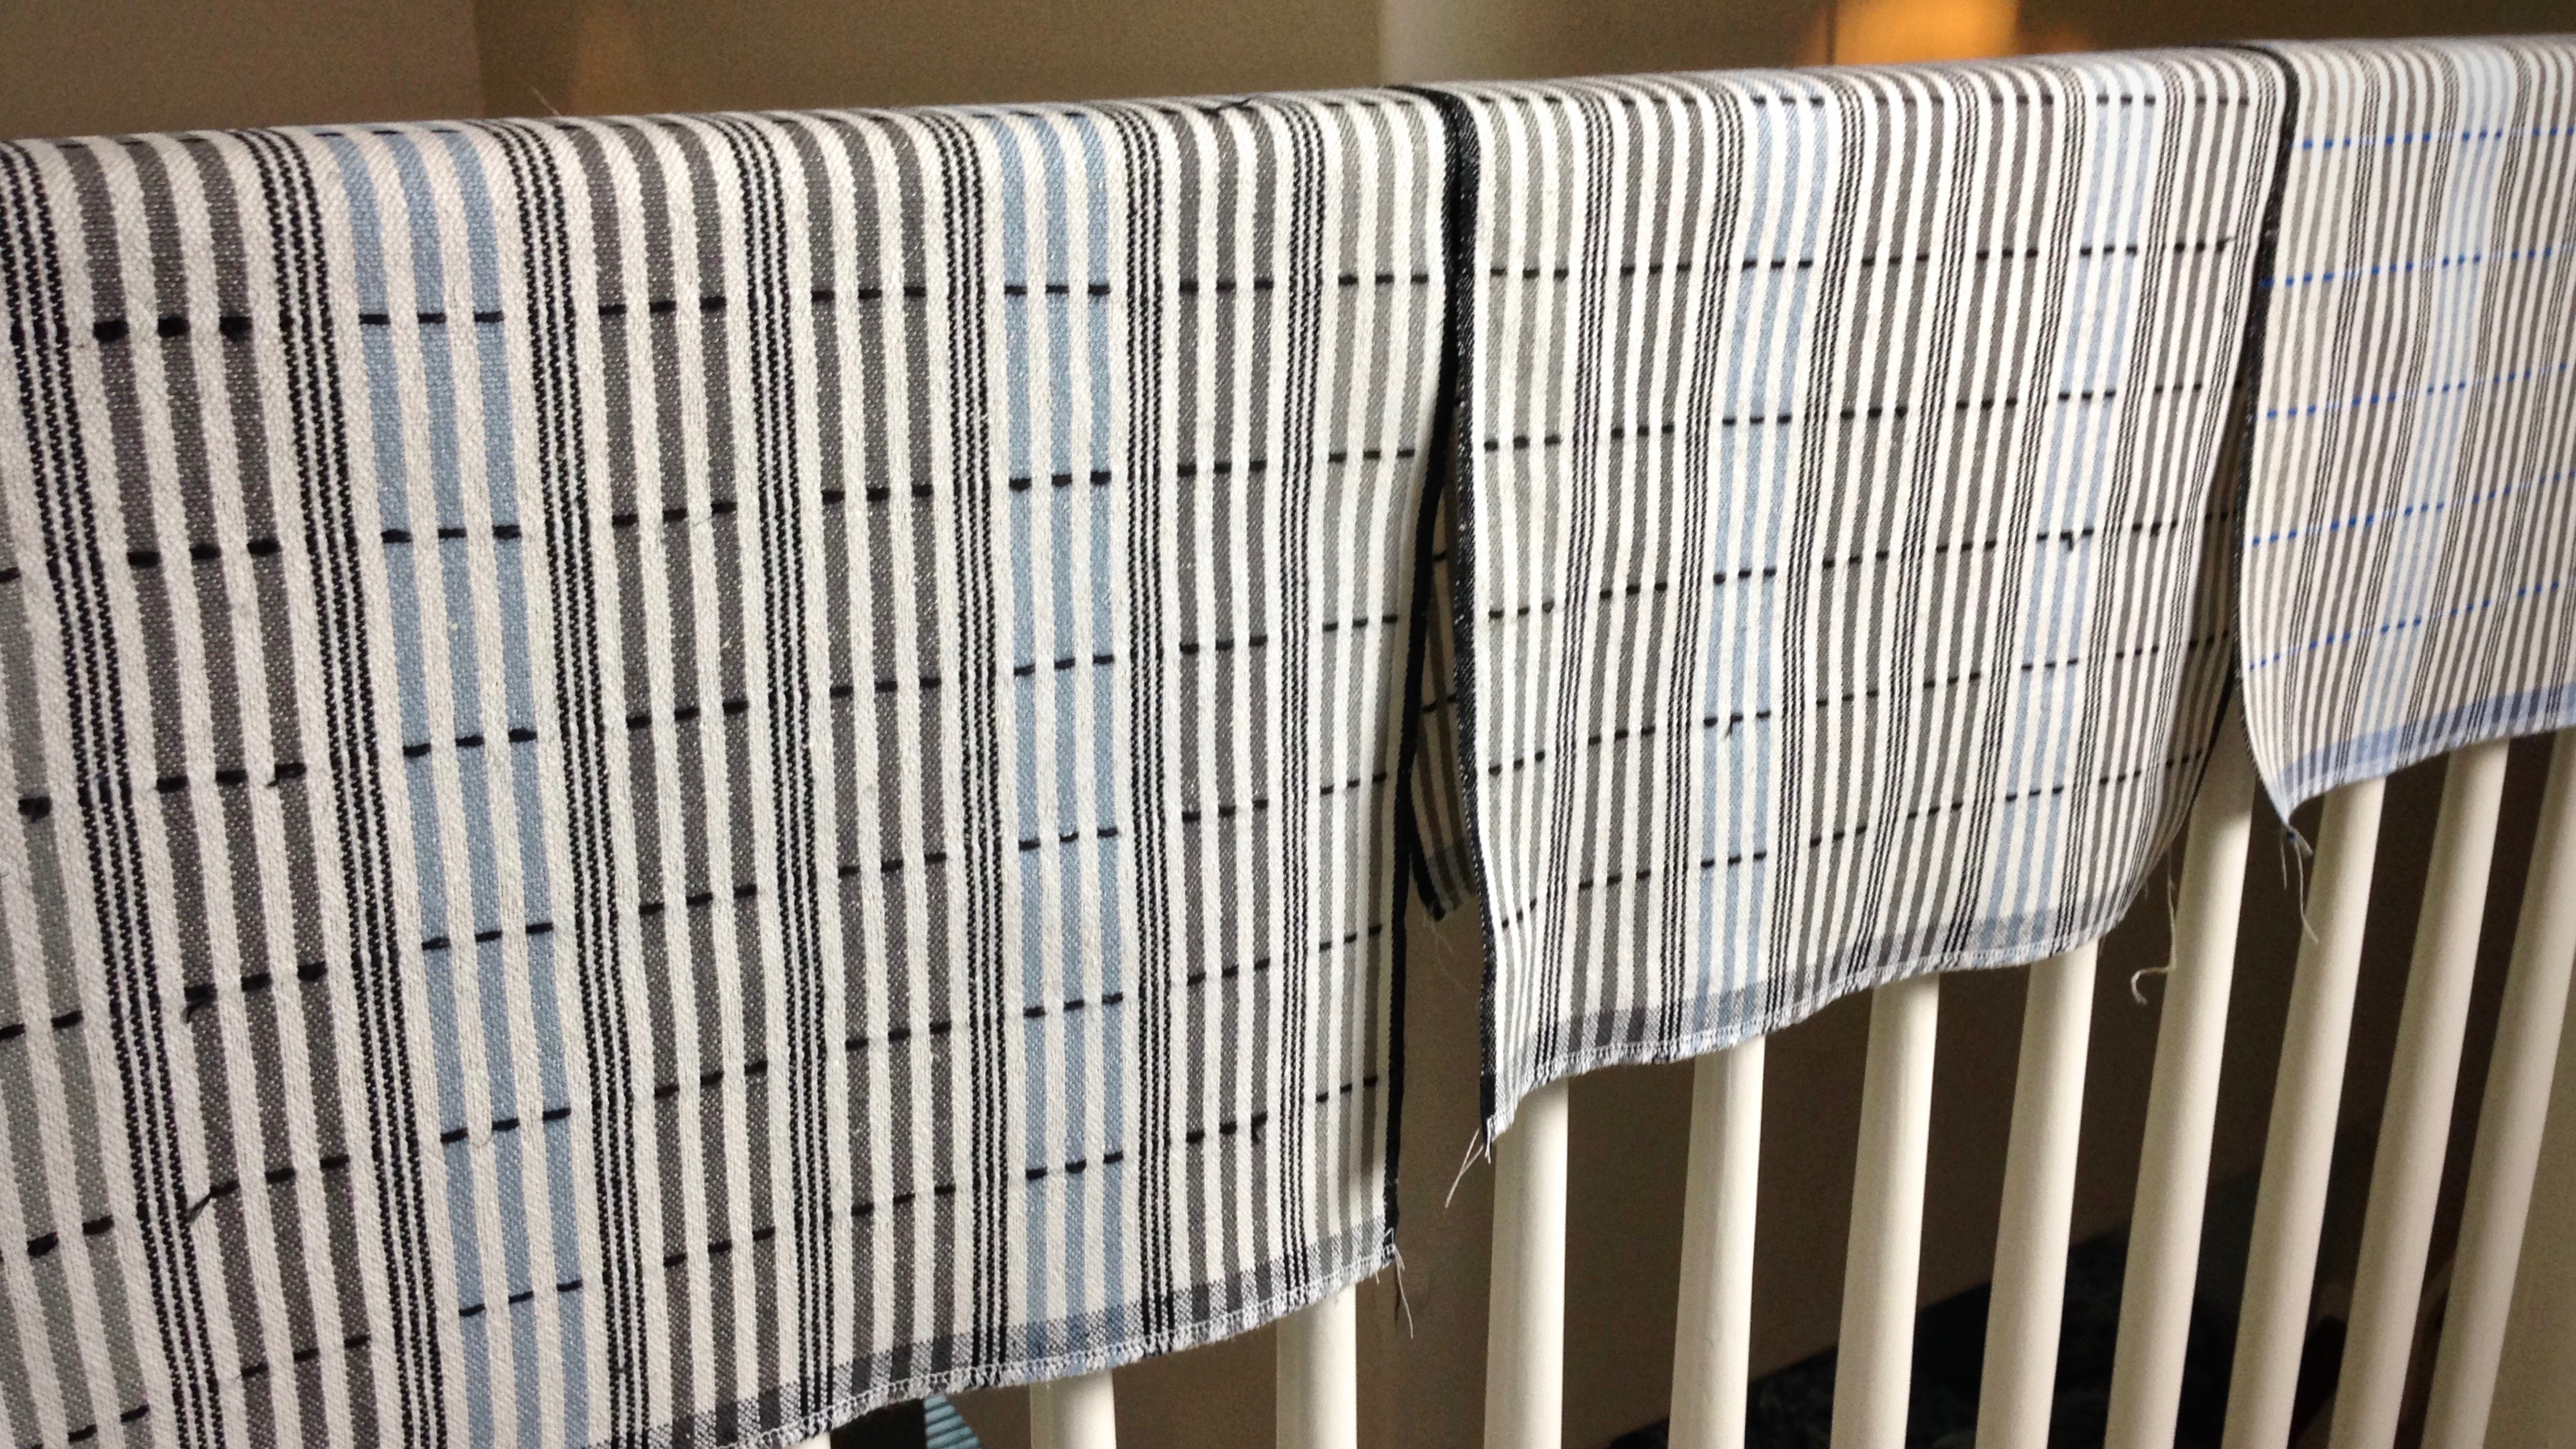
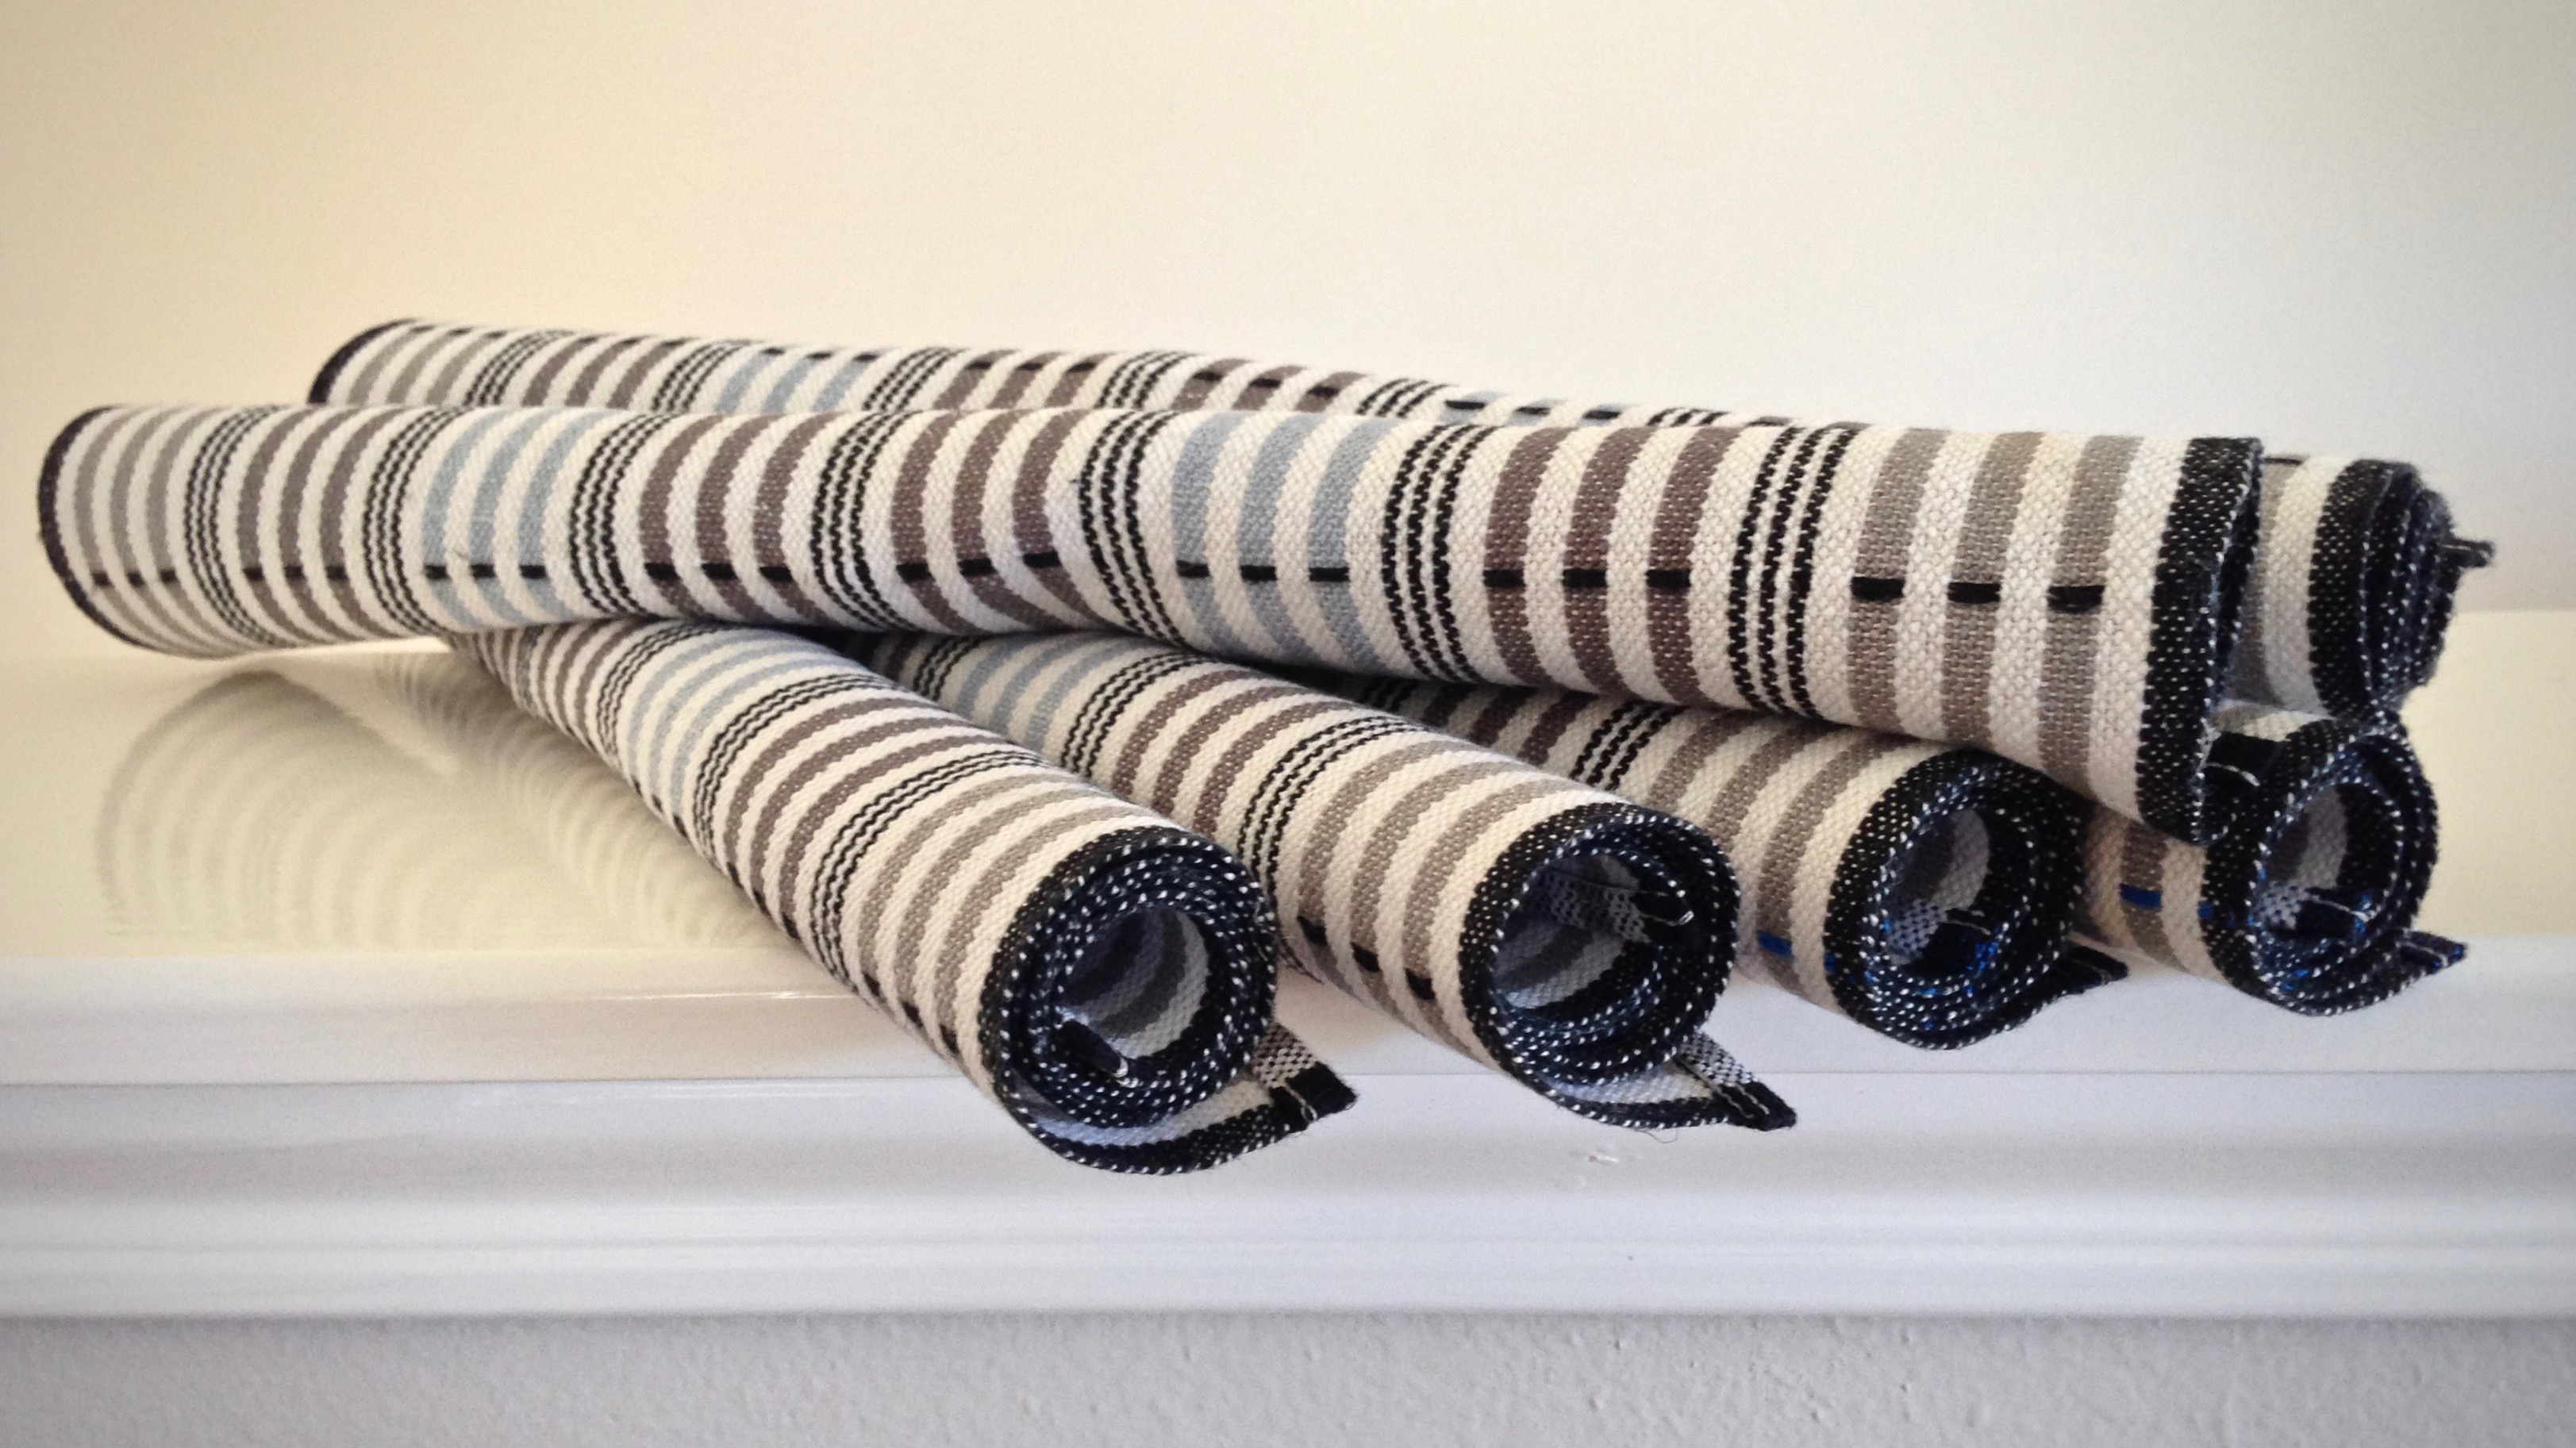
Start to finish, the plattväv towels have been a handweaver’s joy. Narrow stripes on the warp beam are strangely invigorating. Does it take extra effort to wind a warp with many stripes? Yes–cut off one color and tie on a new color, over and over. But when the loom is dressed and ready to go, the weaving is a breeze. Being cottolin, the warp is fully compliant; and with a little care, the linen weft becomes a weaver’s friend. Plattväv, the icing on the cake, gives me a simple pattern weft that dresses up these plain weave towels. (And, yes, I am in the process of developing a kit for these plattväv towels.)
The joy of weaving is a blessing, as is the joy of friendships across the miles. Thank you for walking this journey with me.
Thanksgiving prayer:Thank you, Lord, for everything.
May you overflow with blessings and reasons for giving thanks.