Tried and True: Cheater Bar

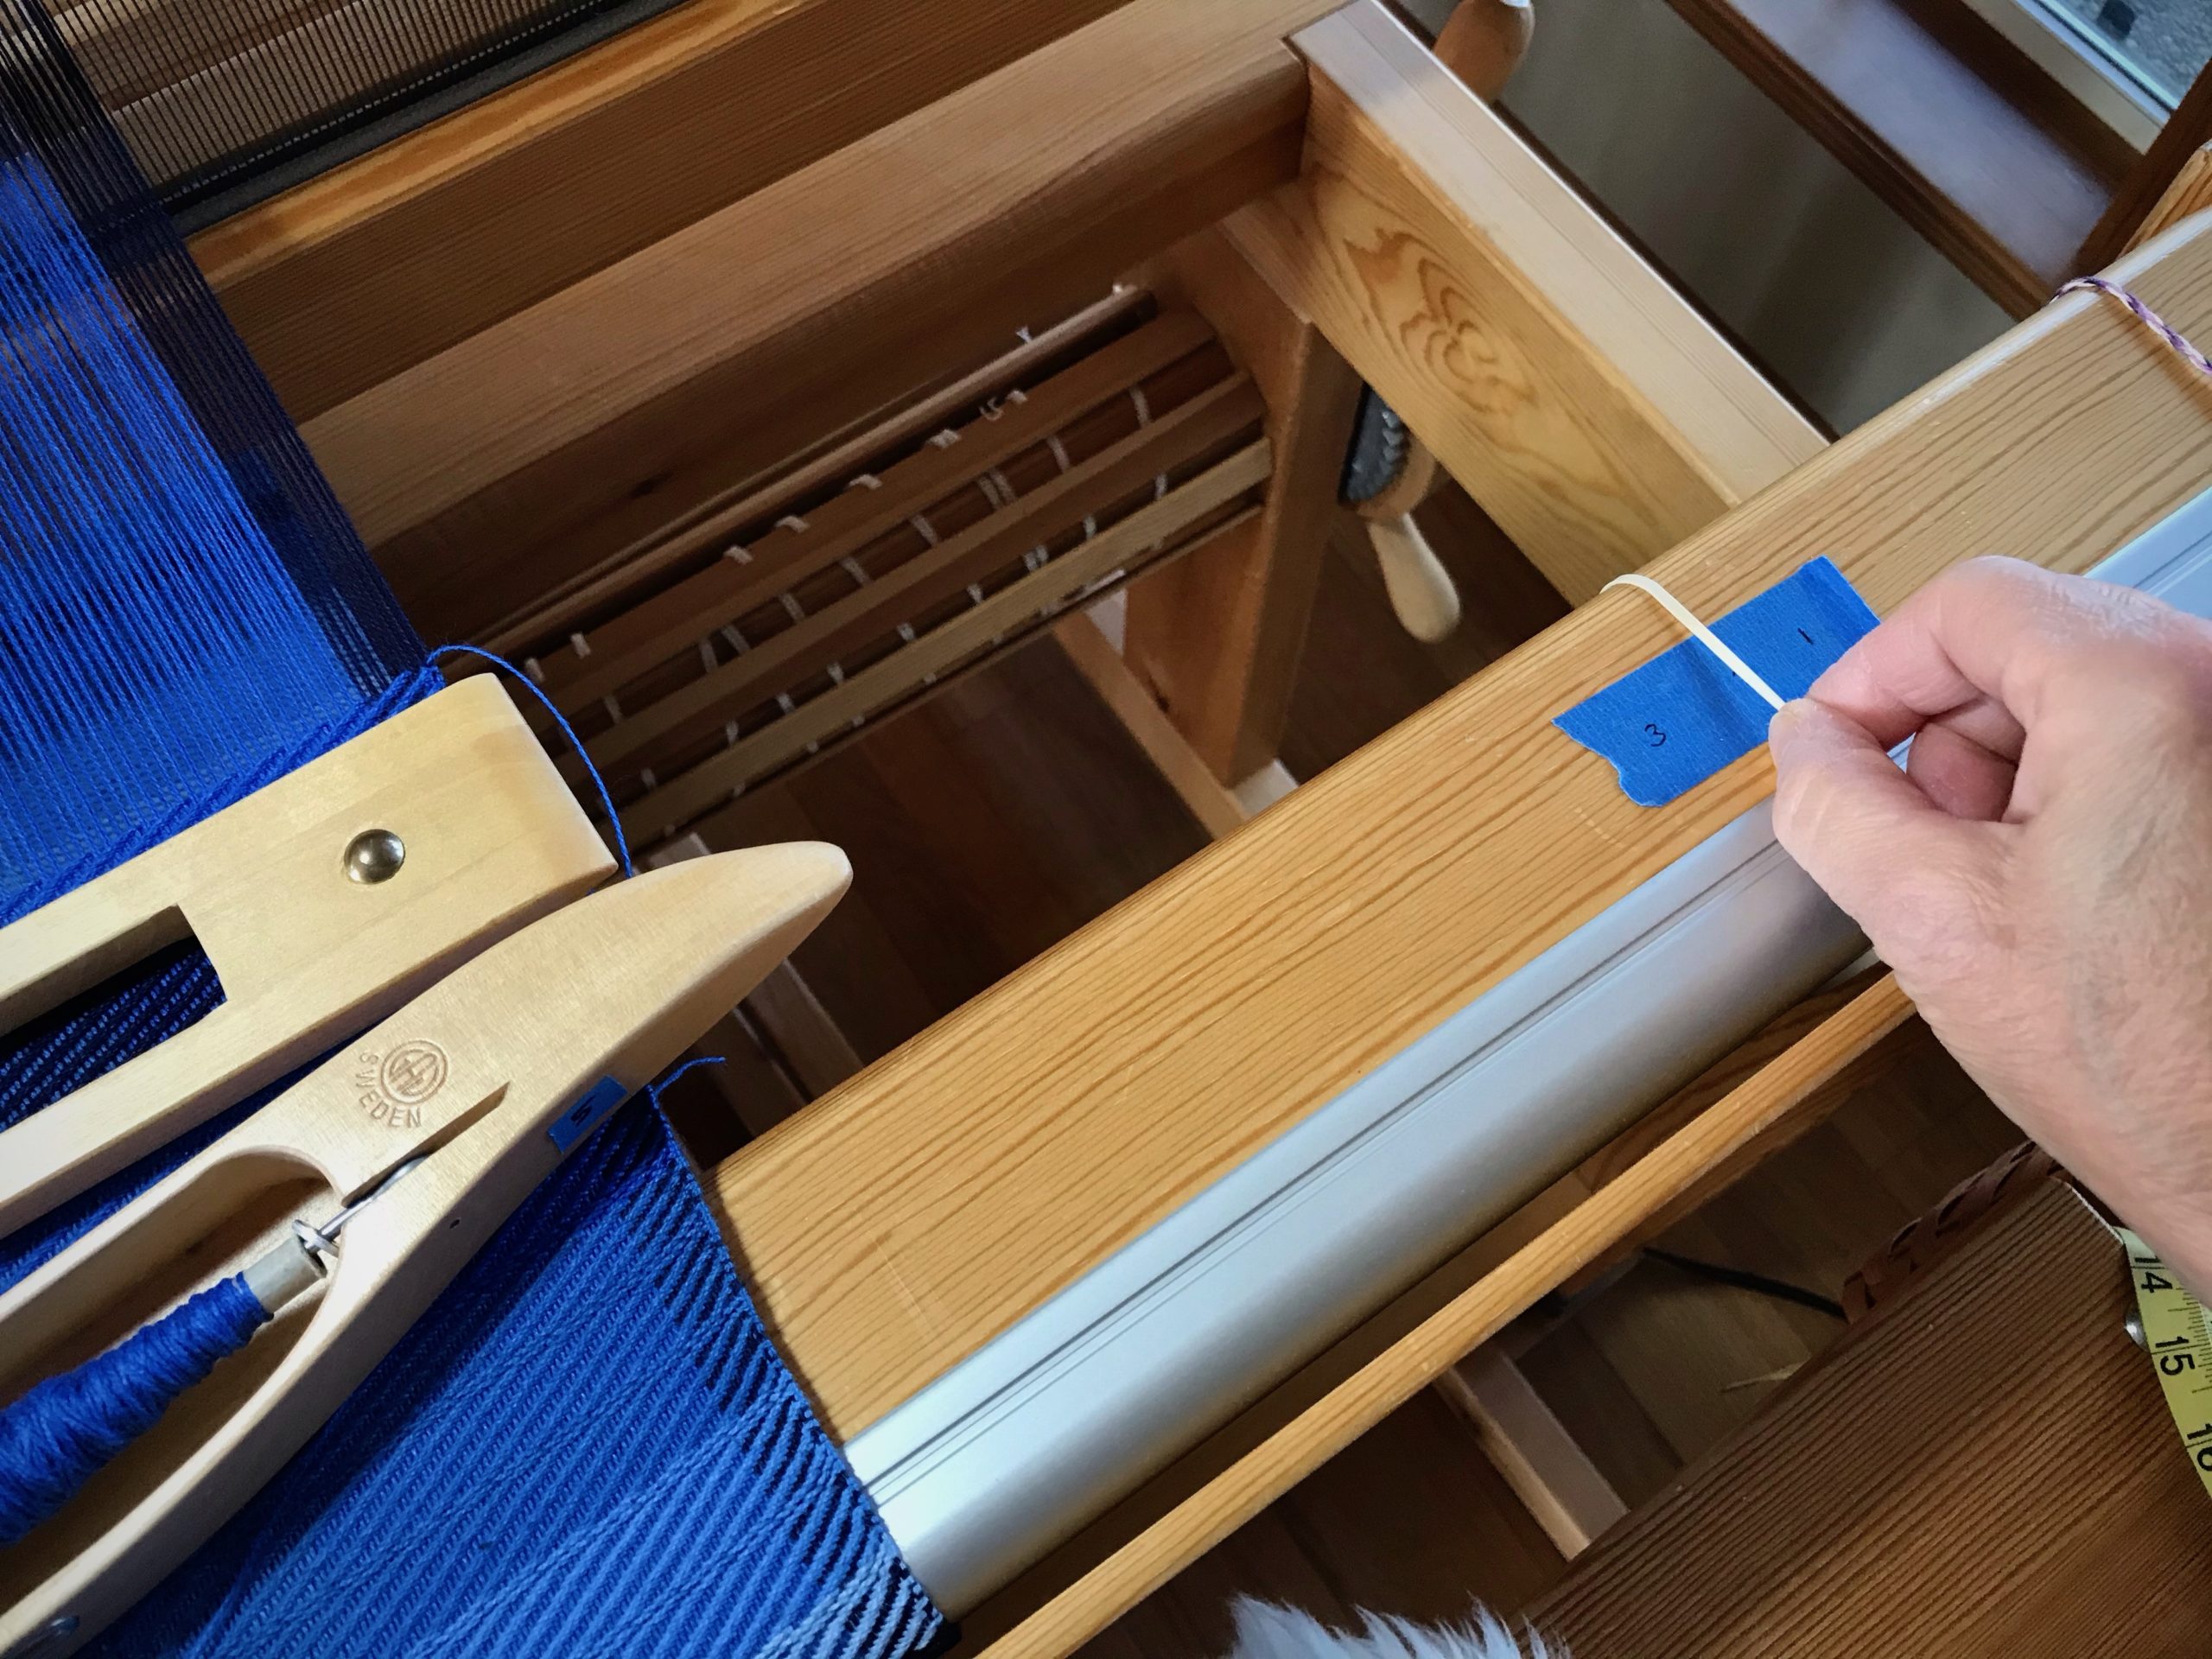
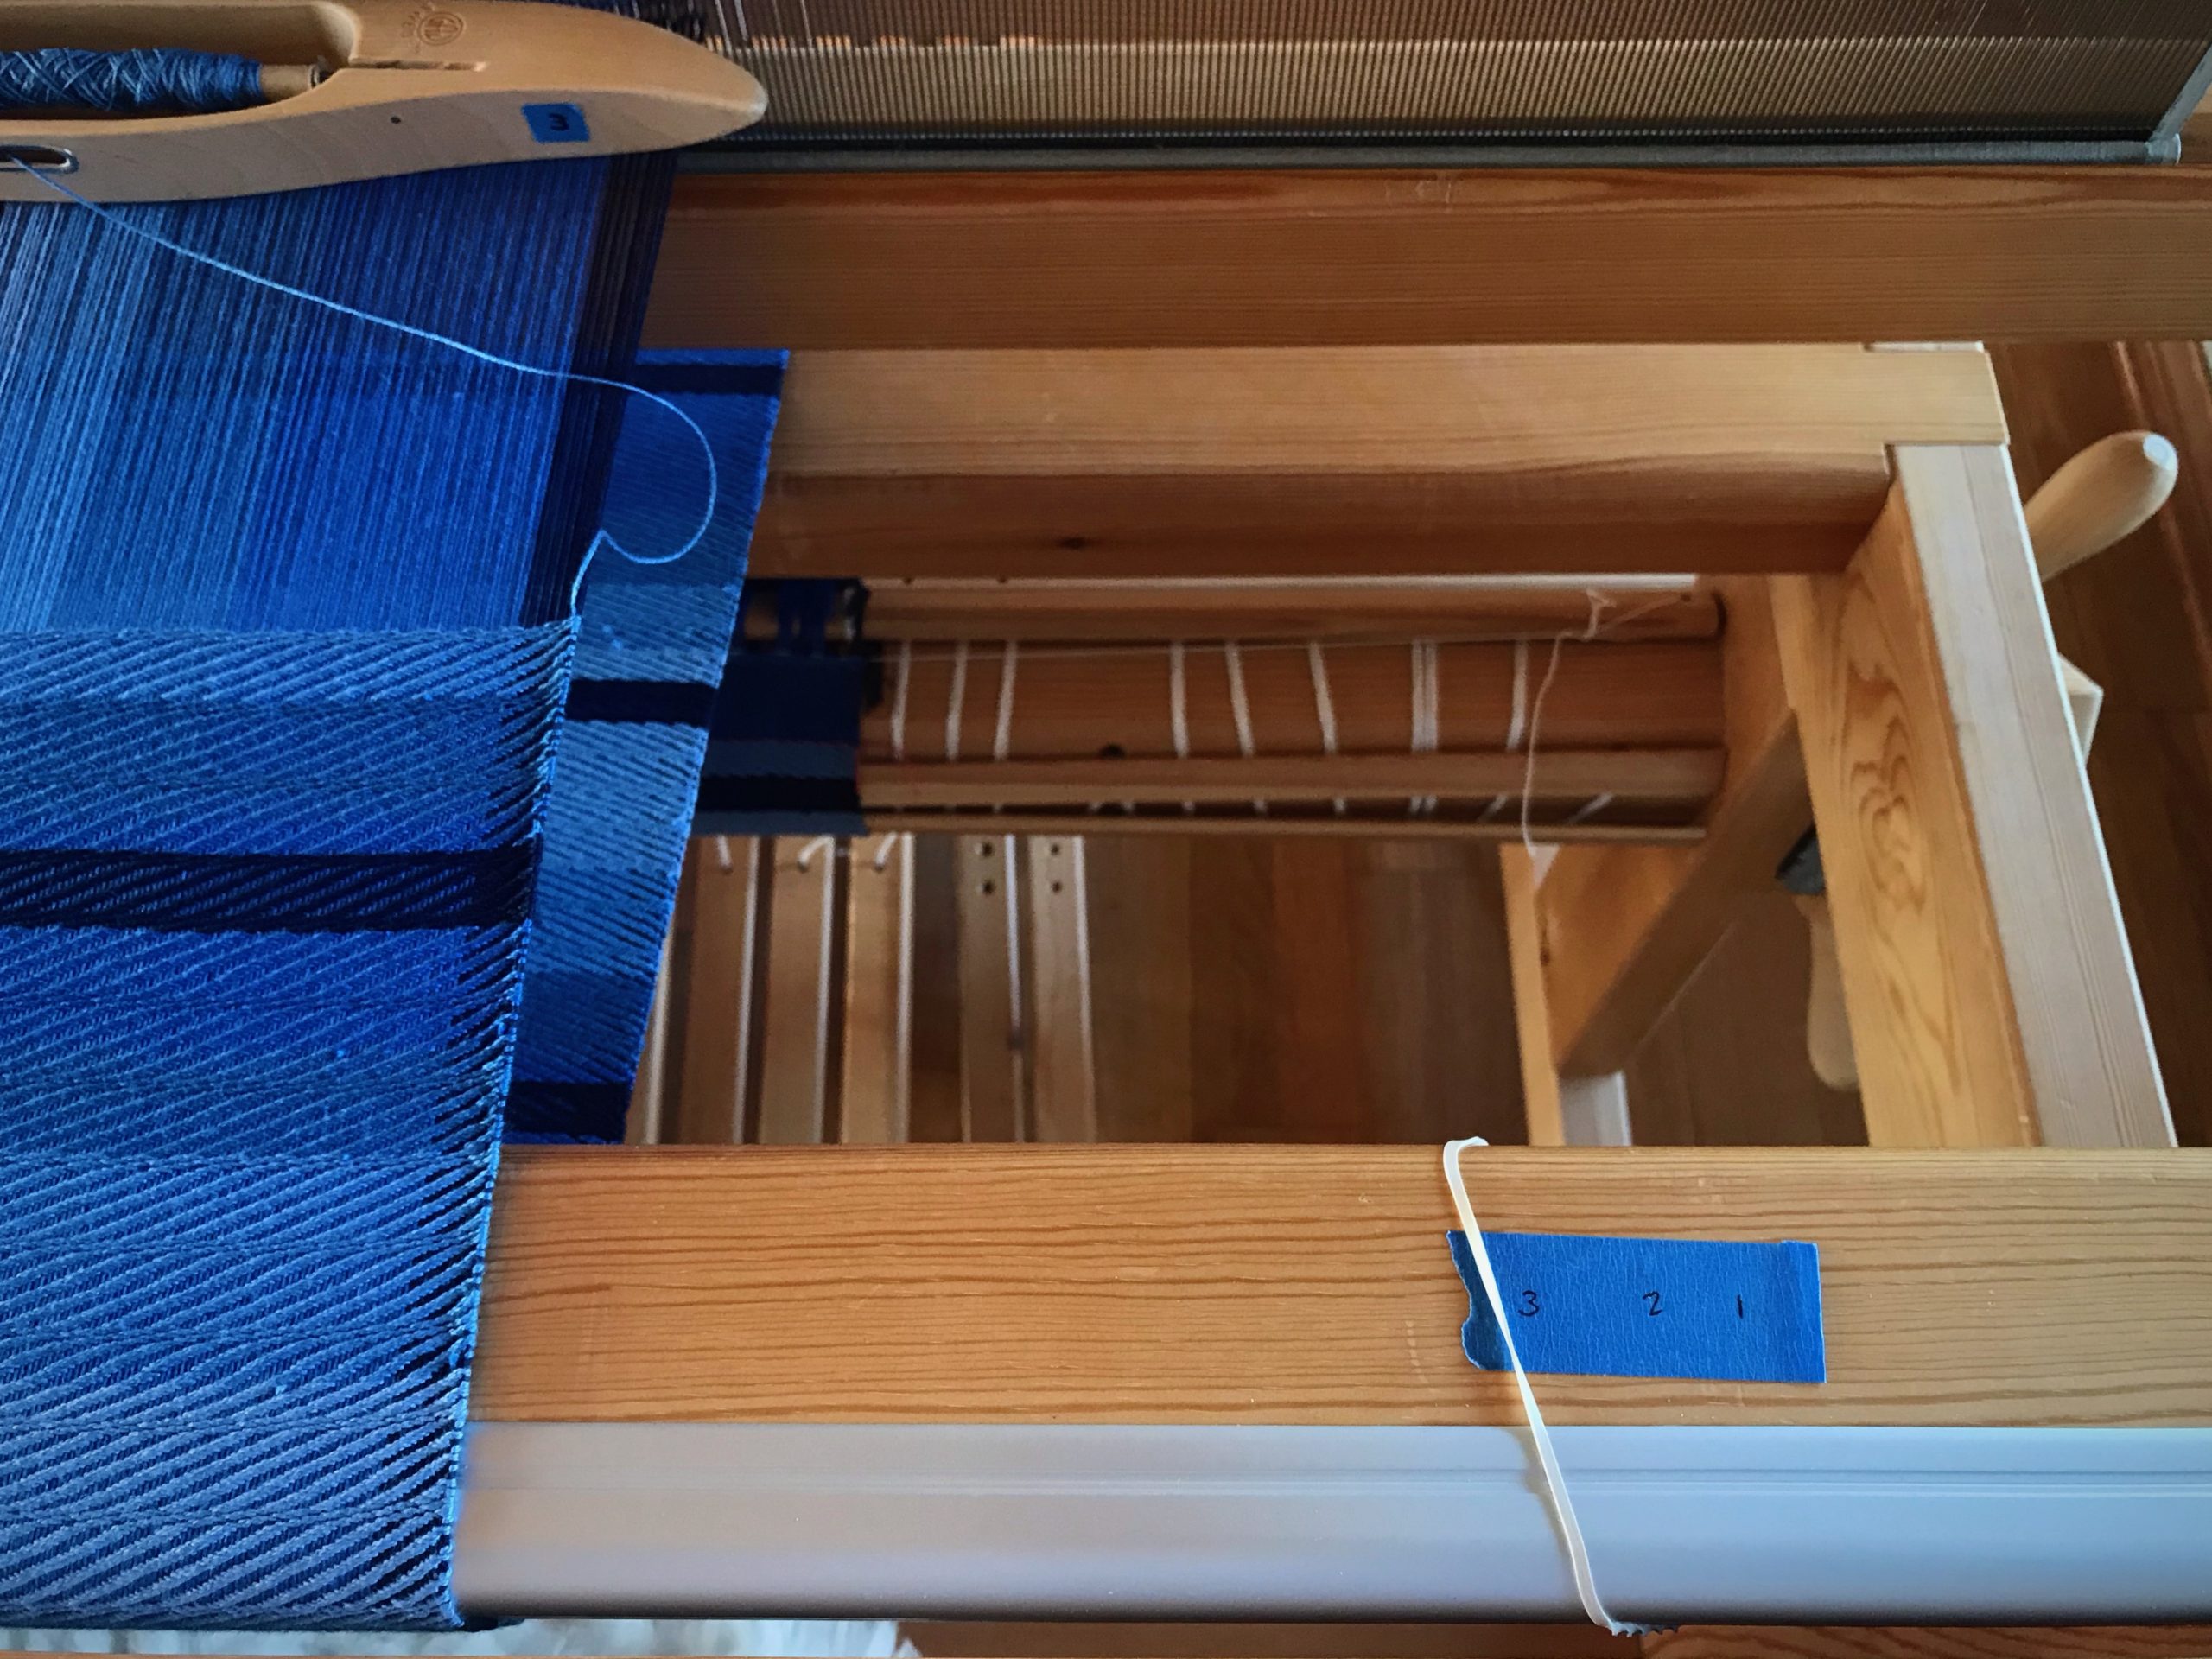
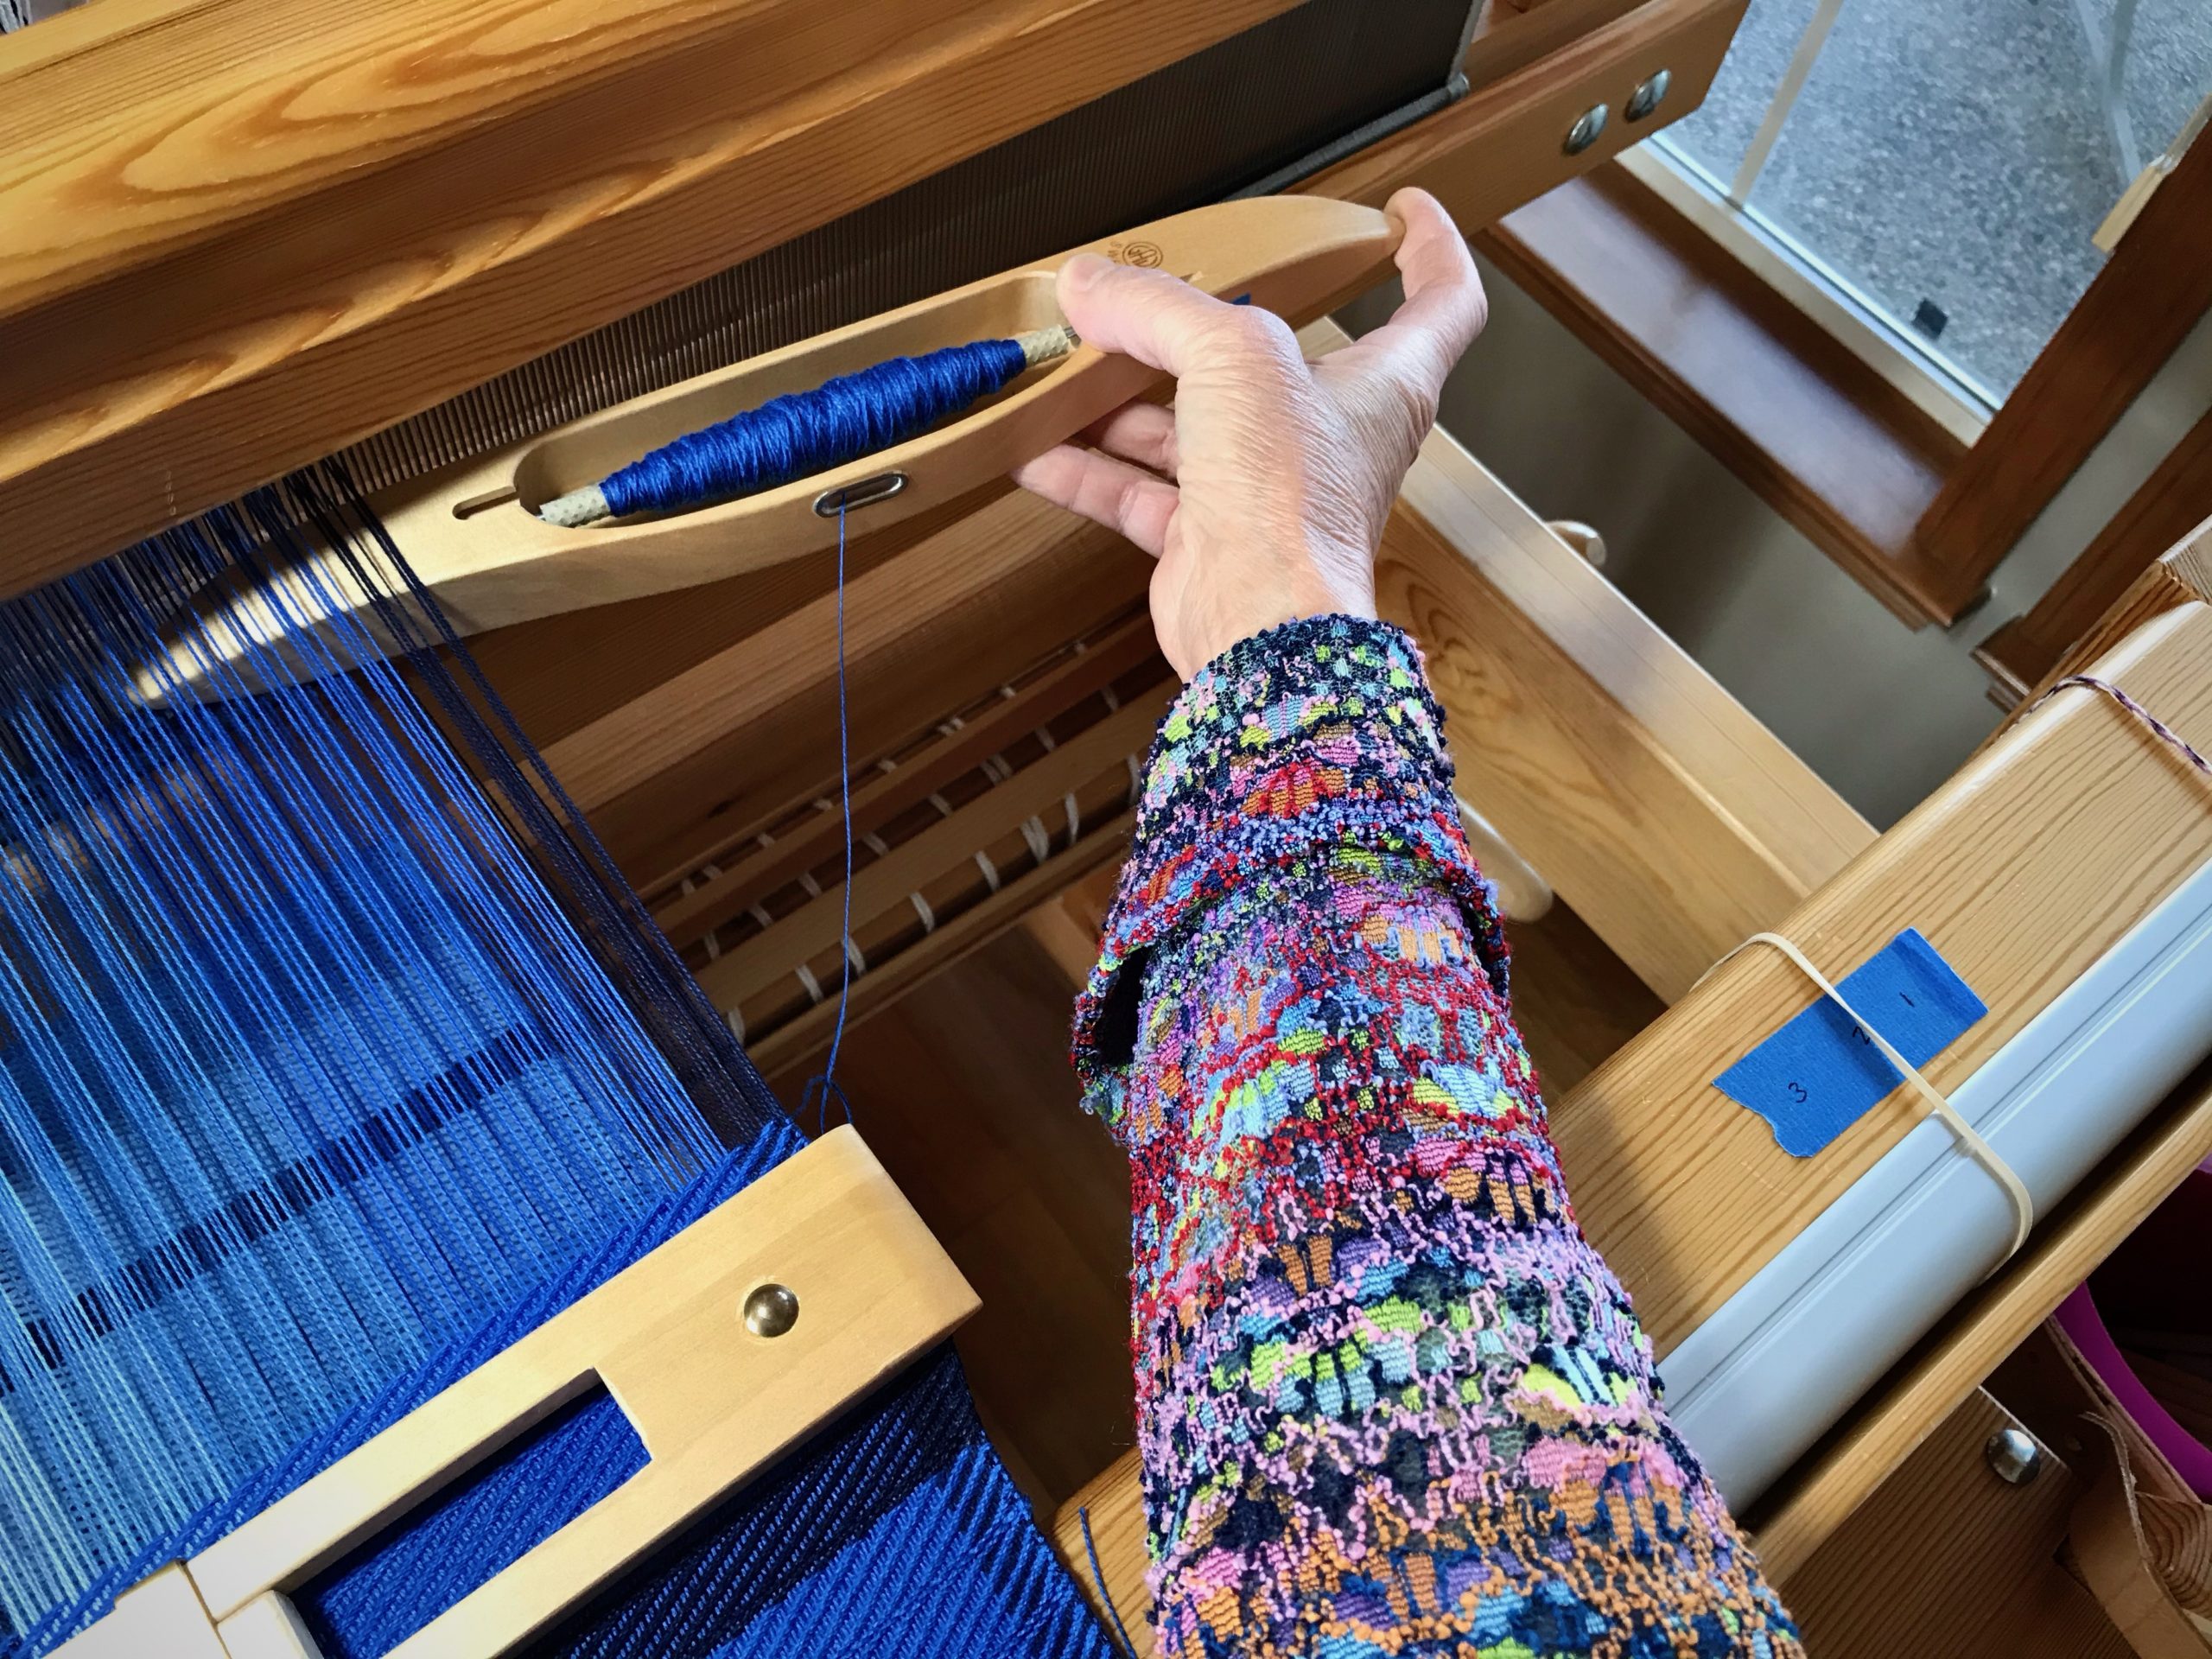
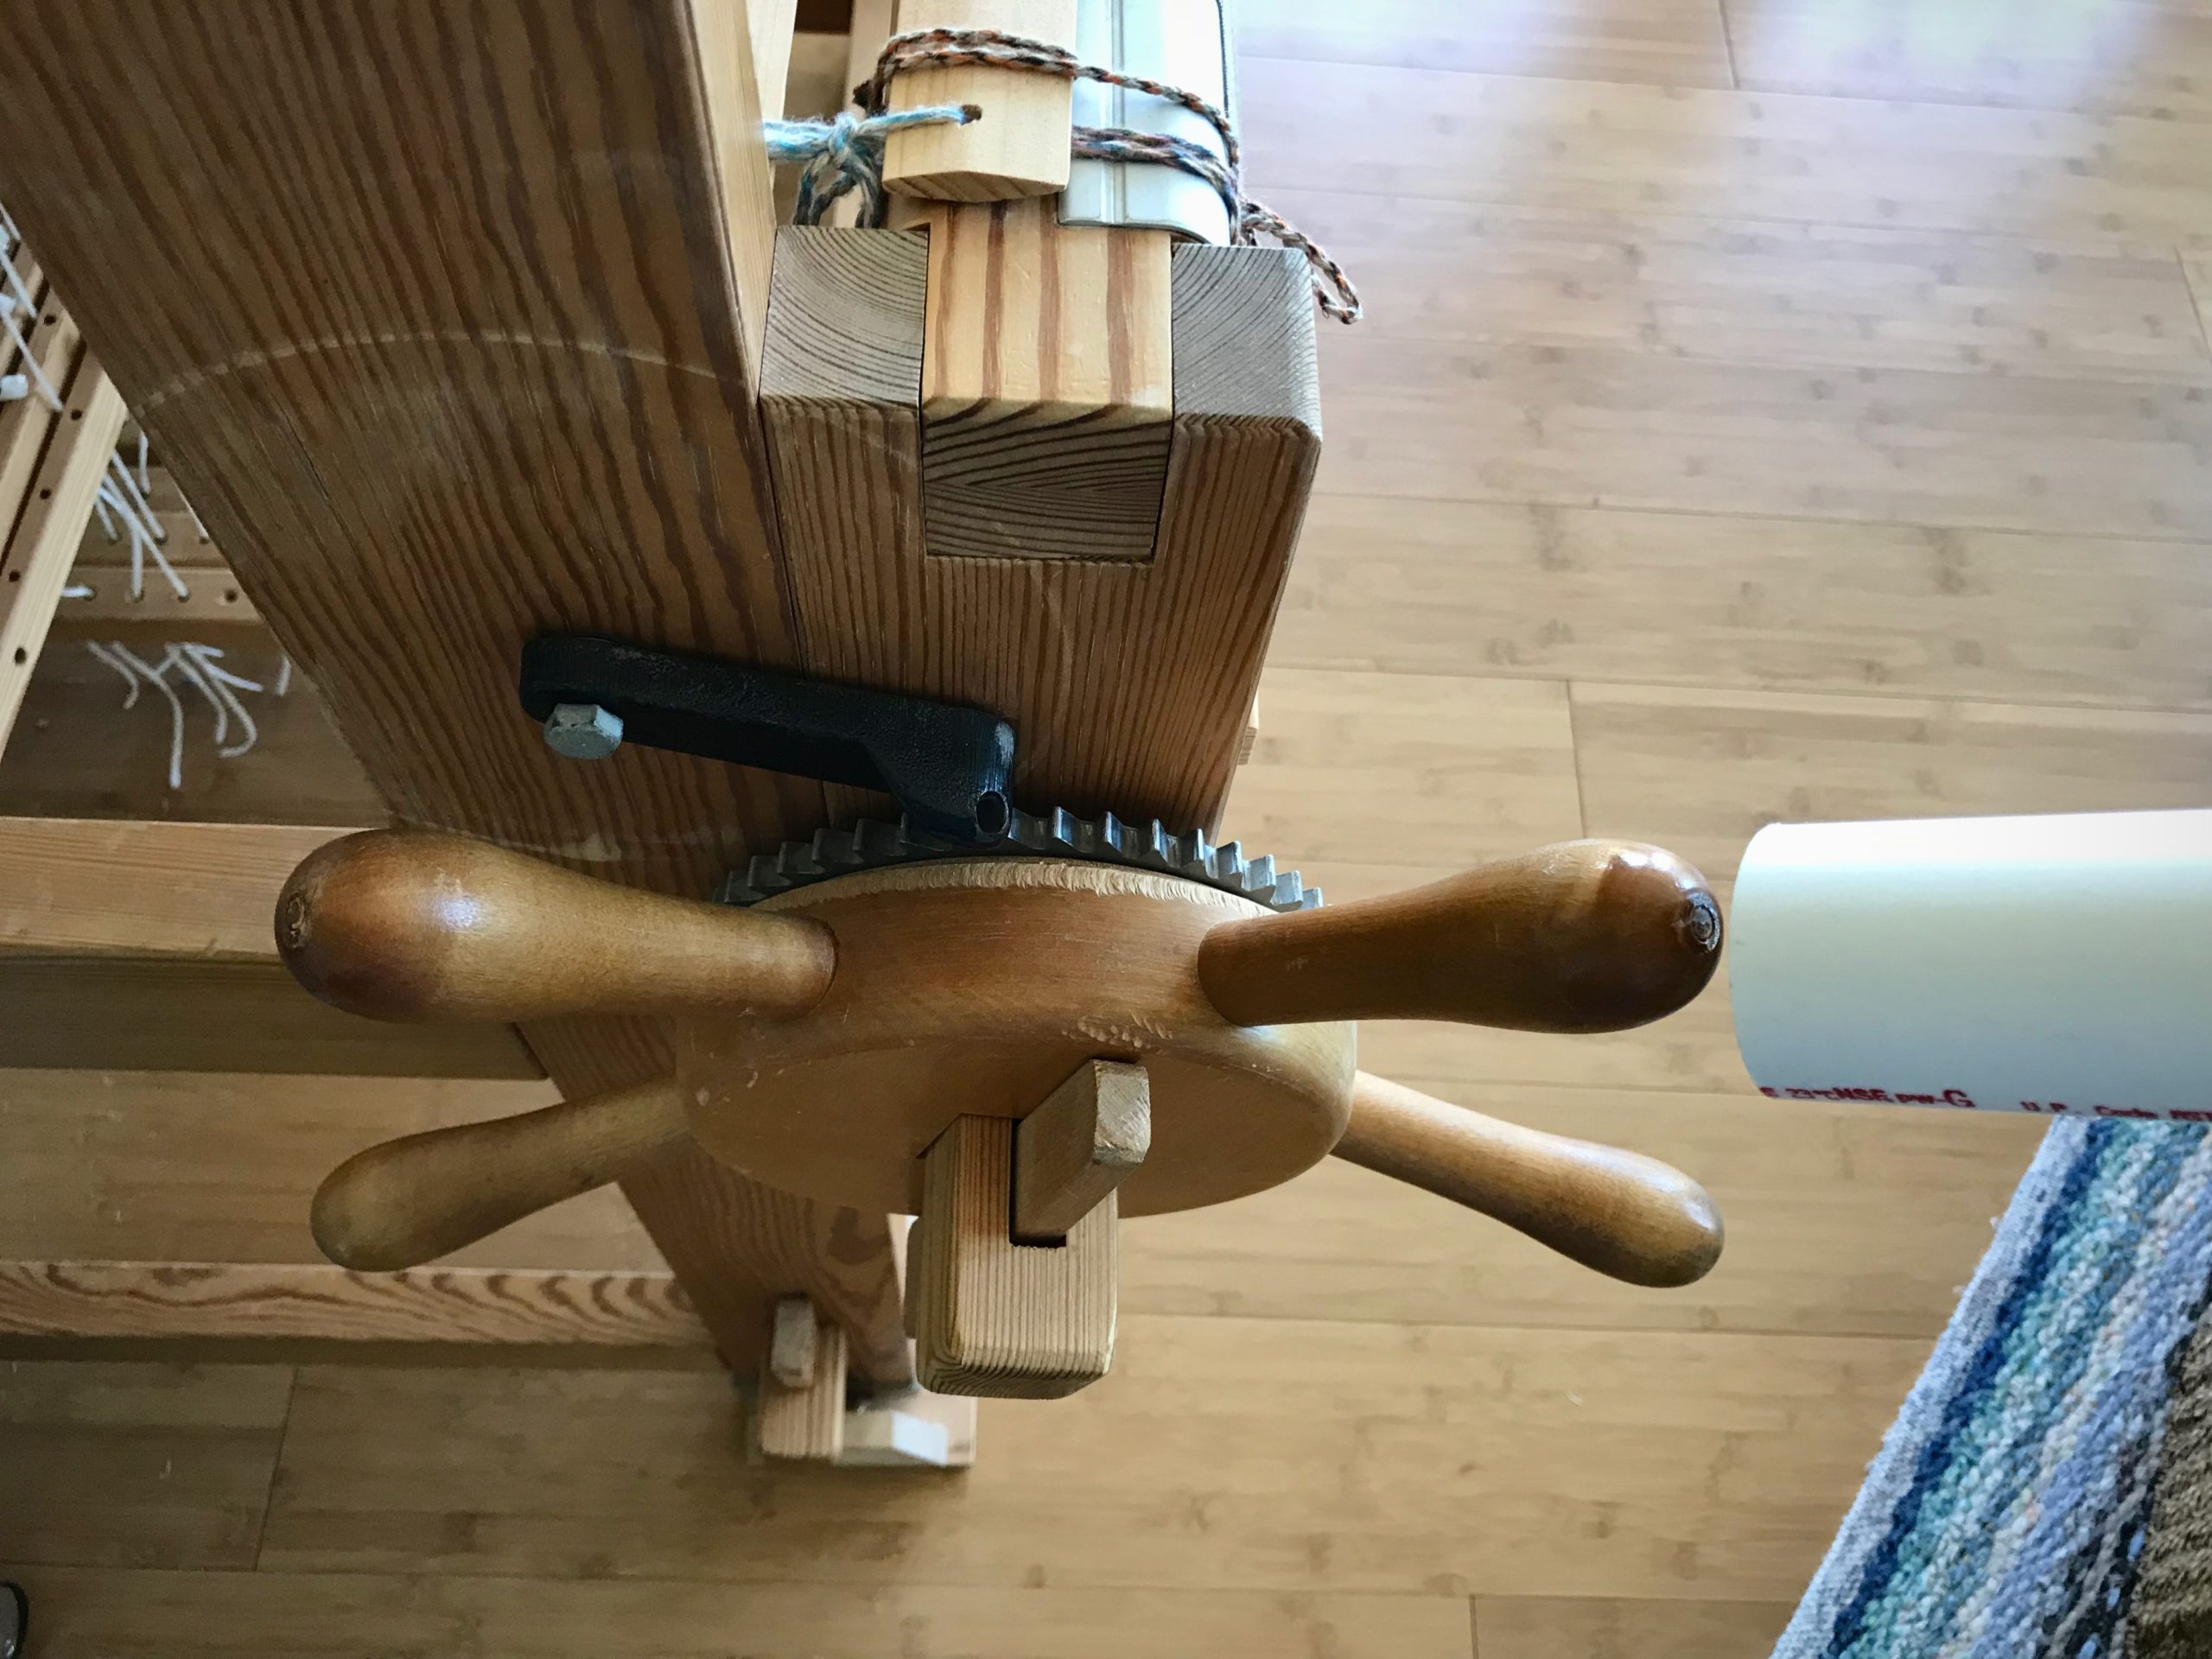
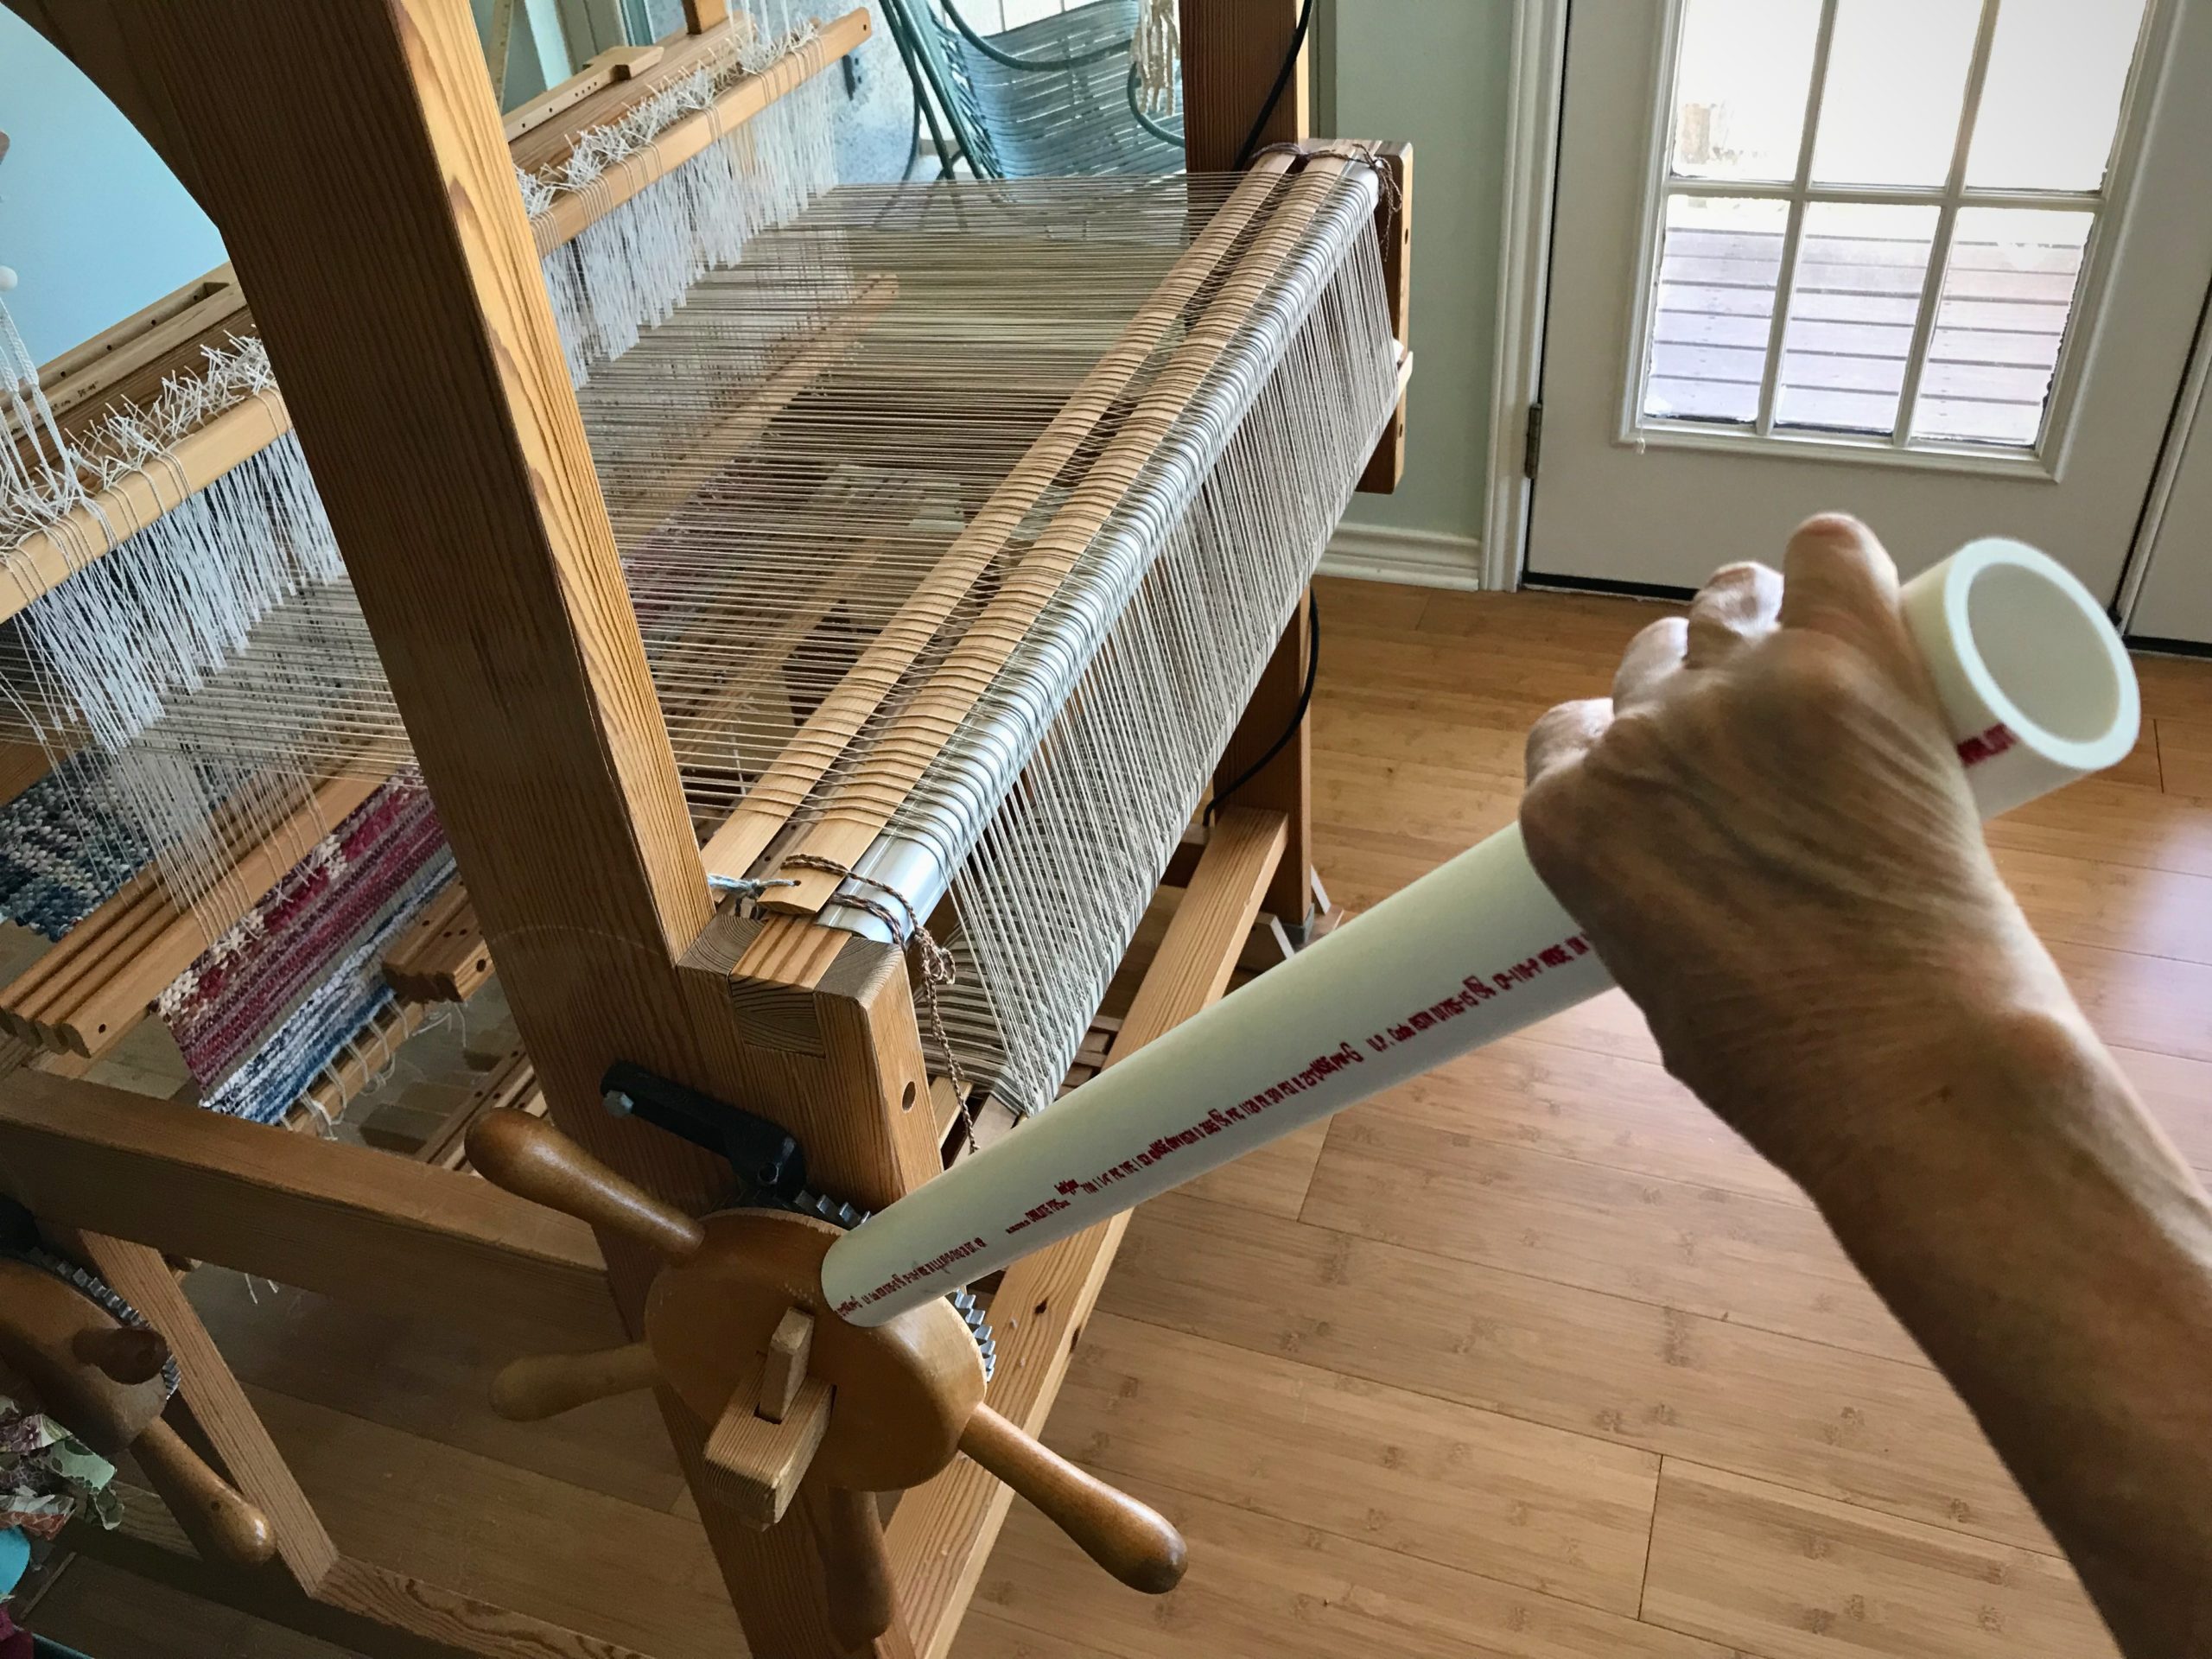
UPDATE: I no longer use the cheater bar, as it could put too much force on the loom parts. Instead, I loosen the front ratchet first, and then I am able to loosen the back ratchet.

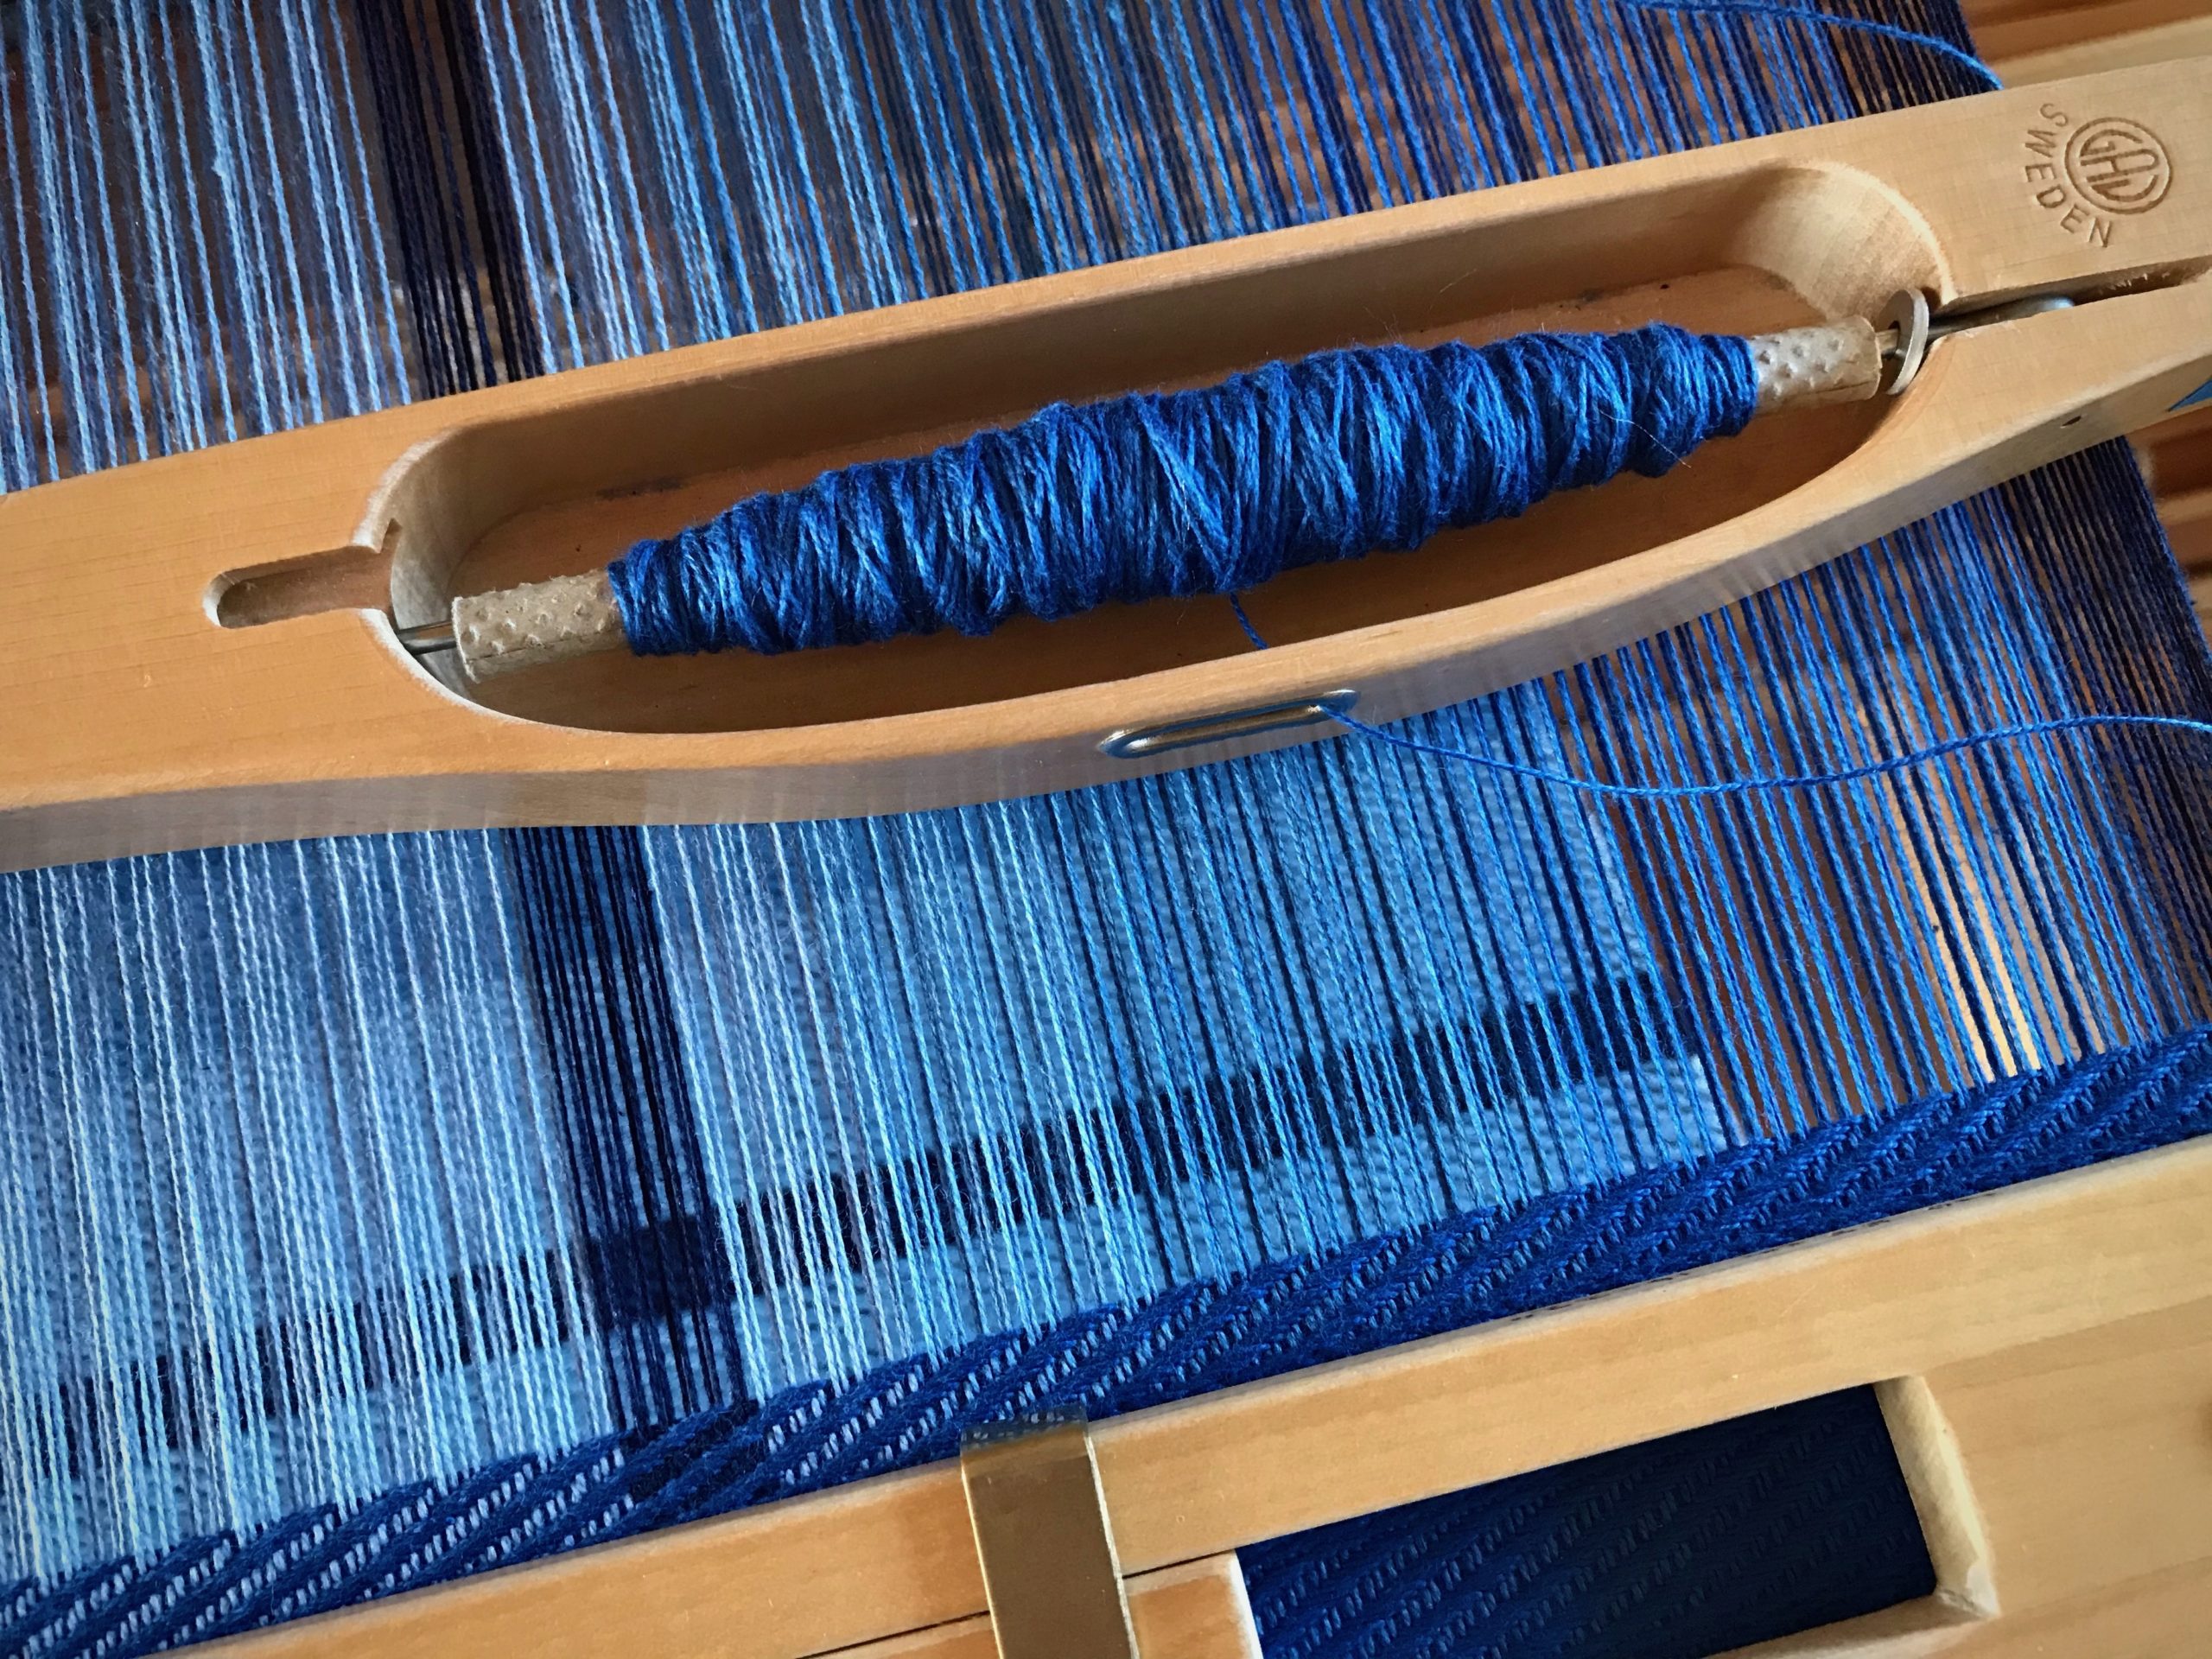
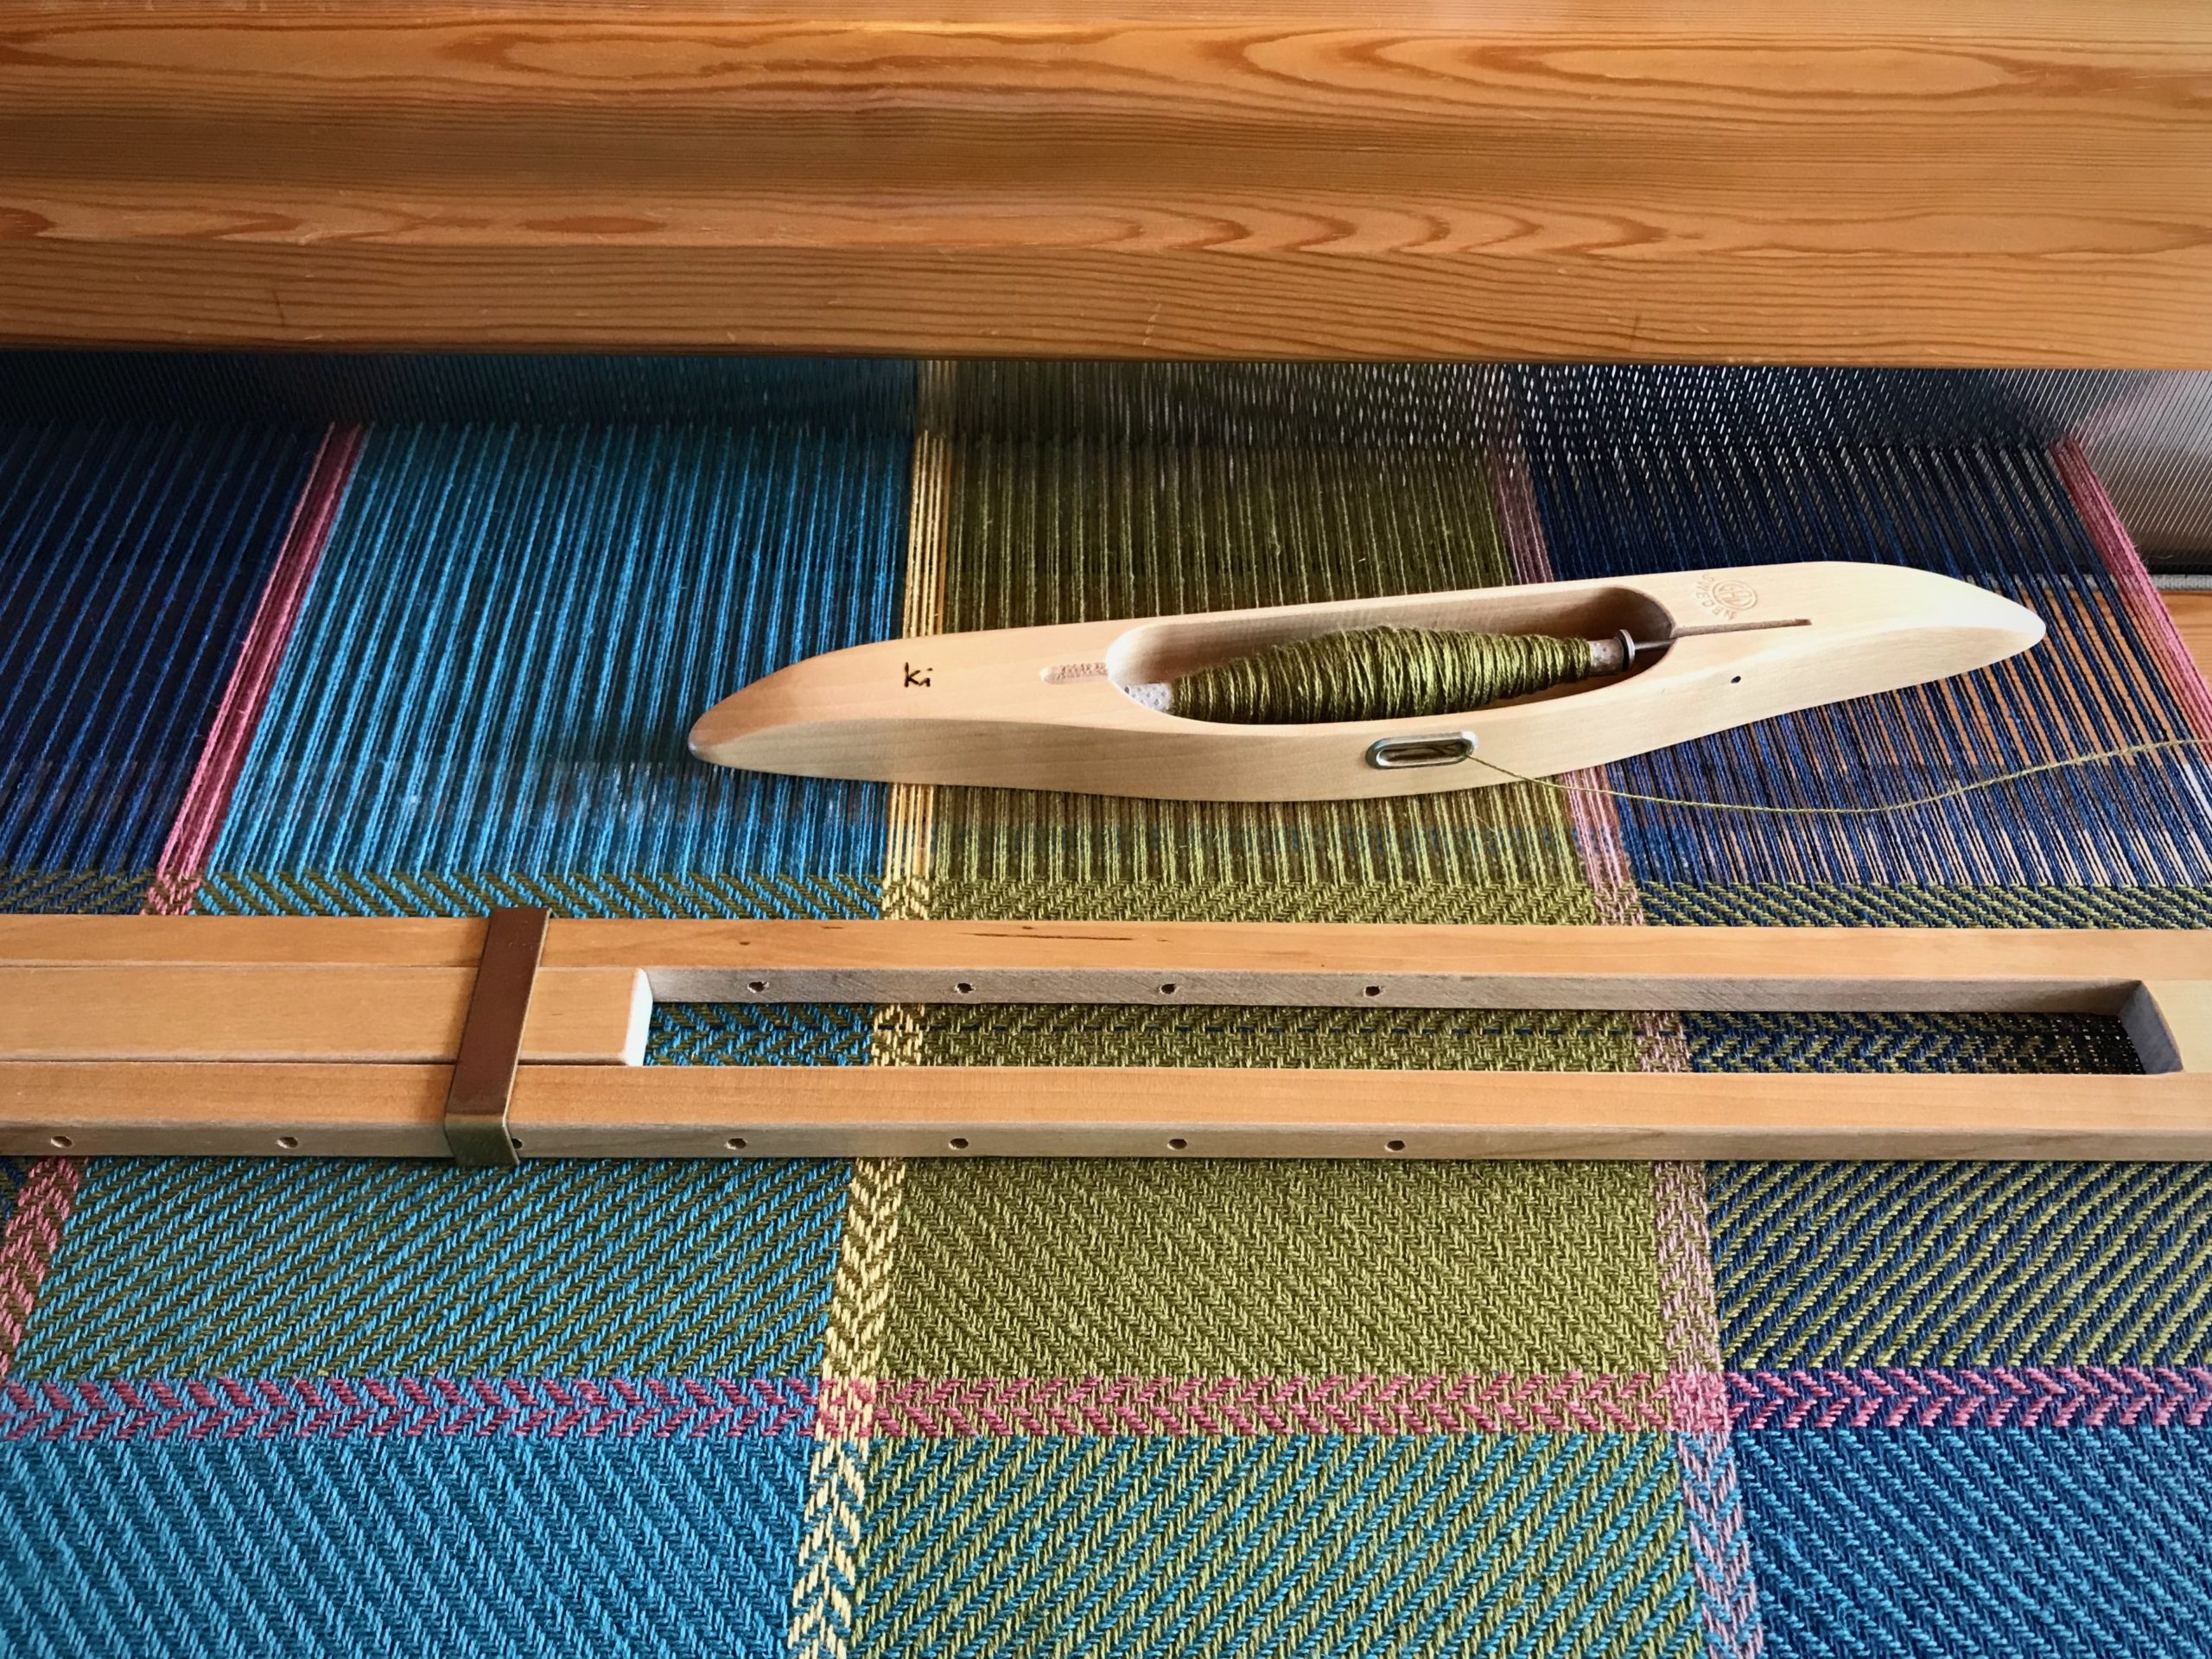
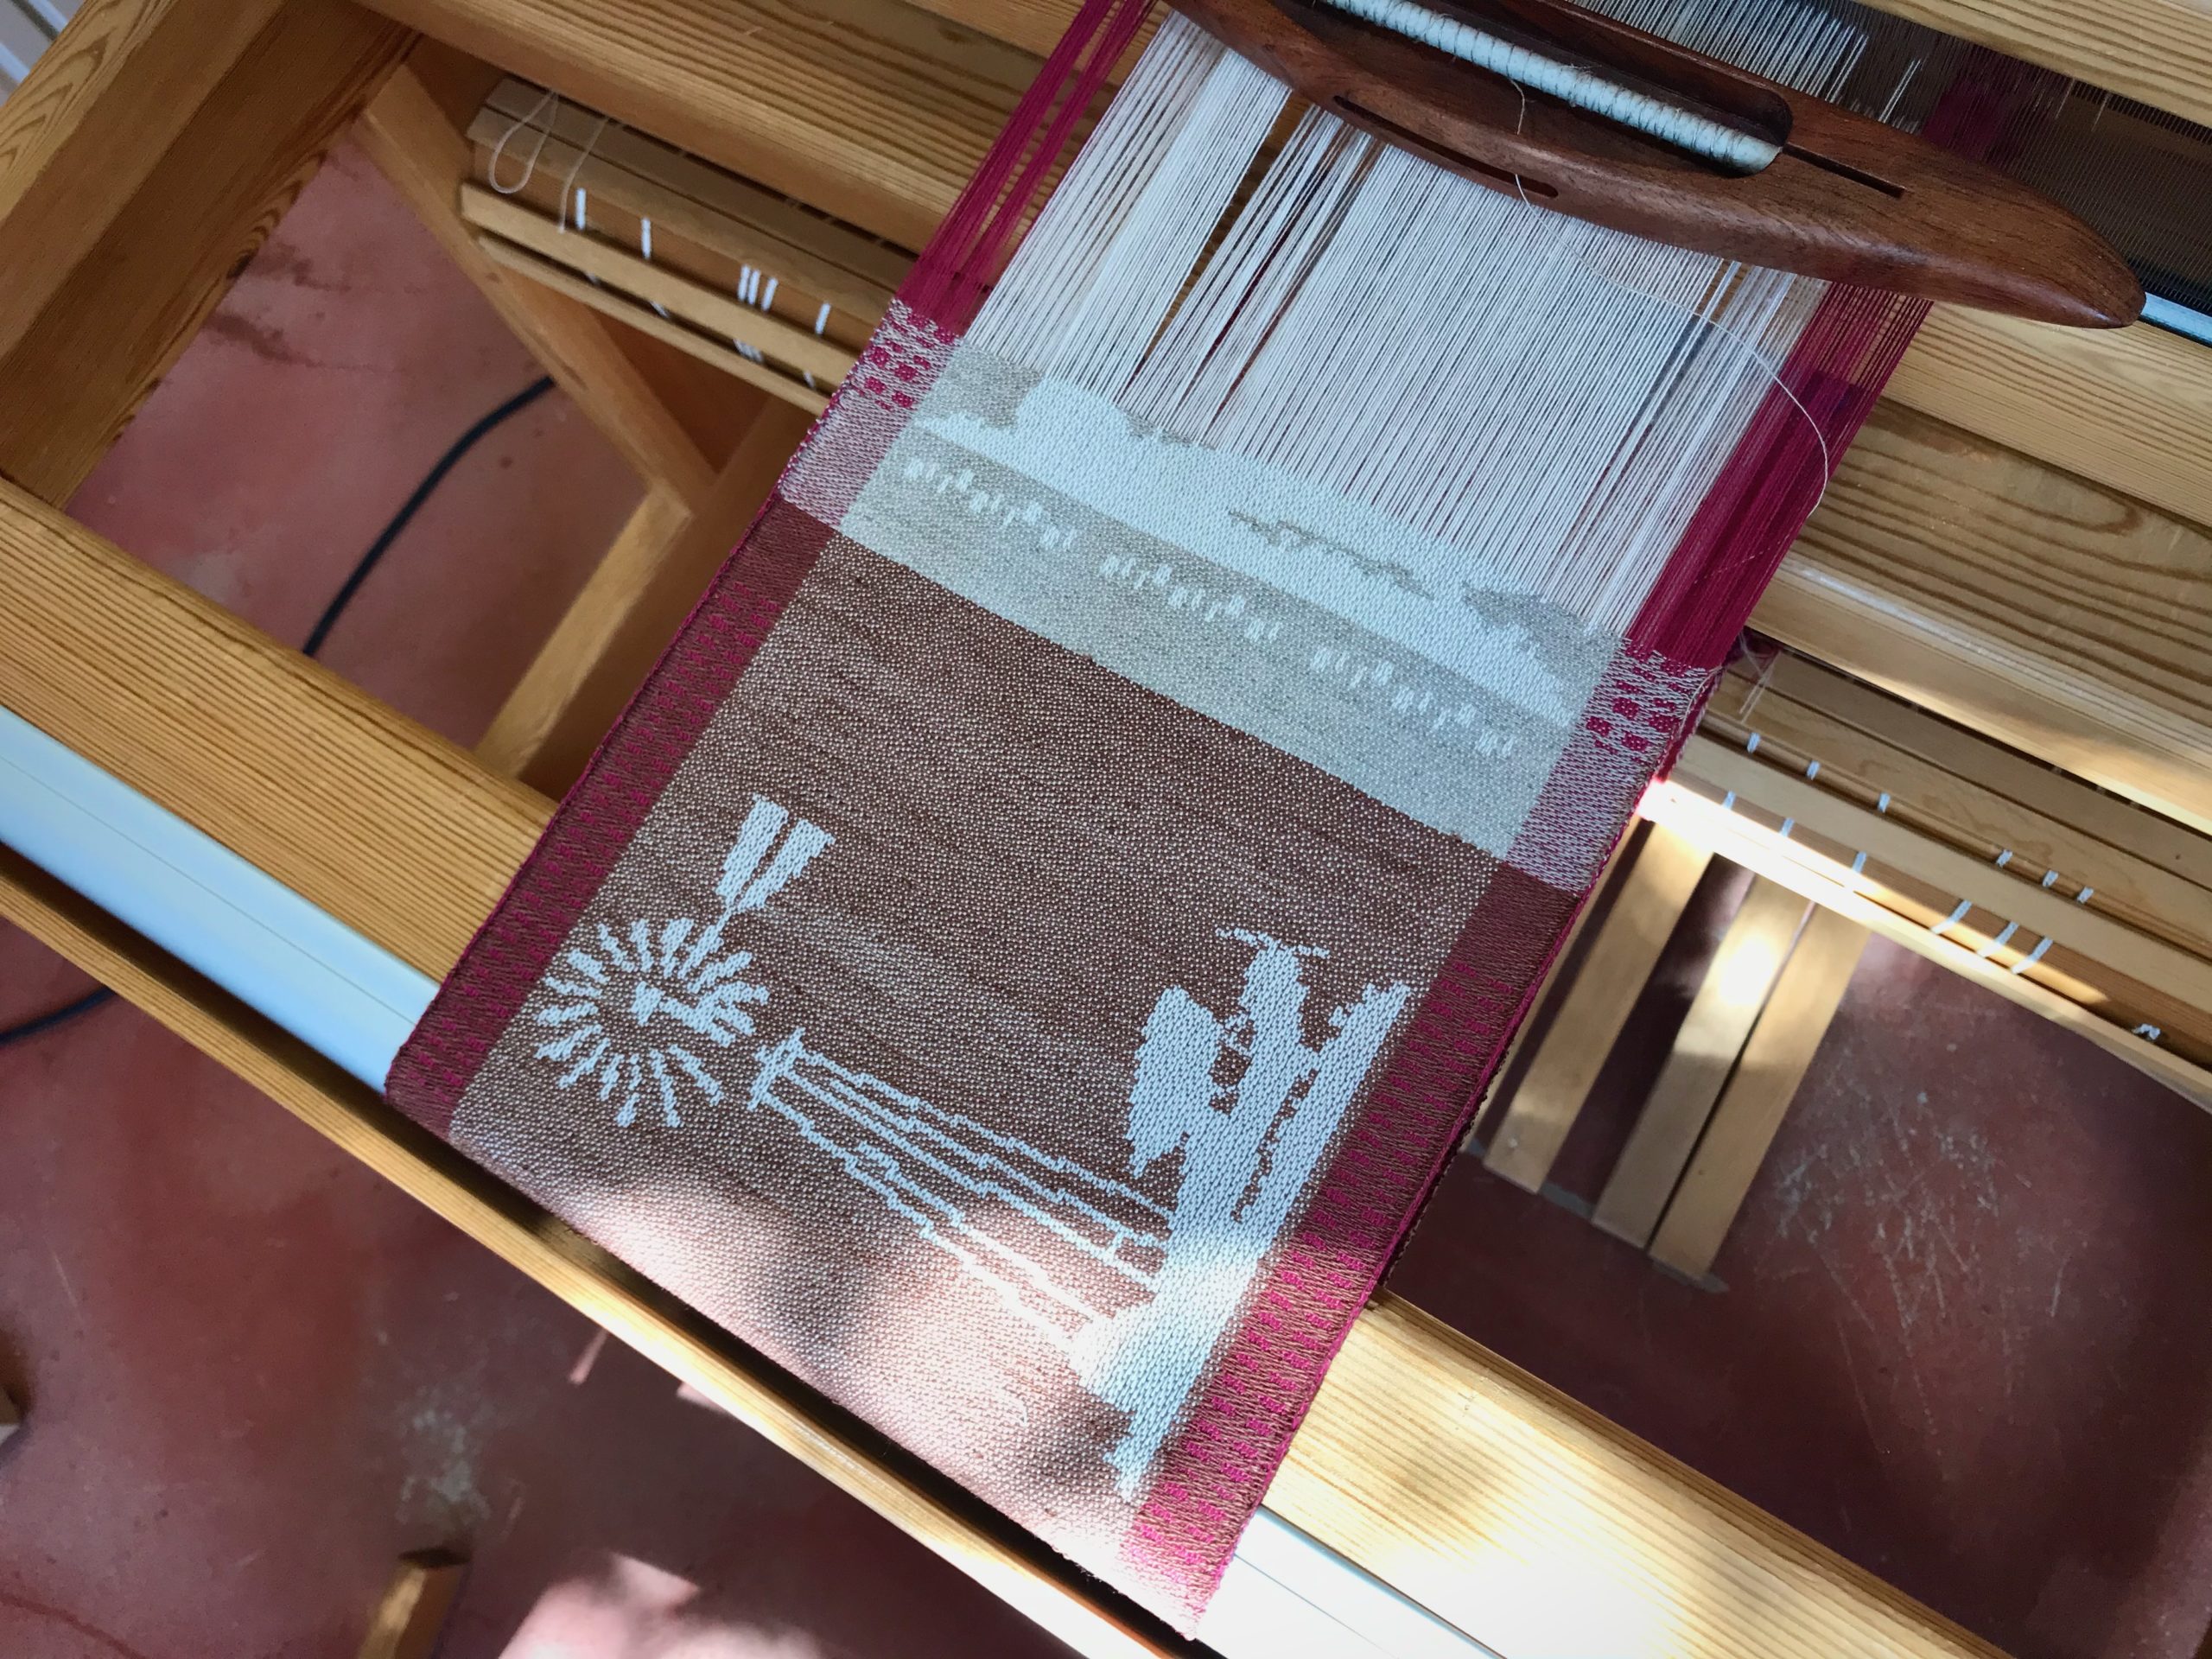
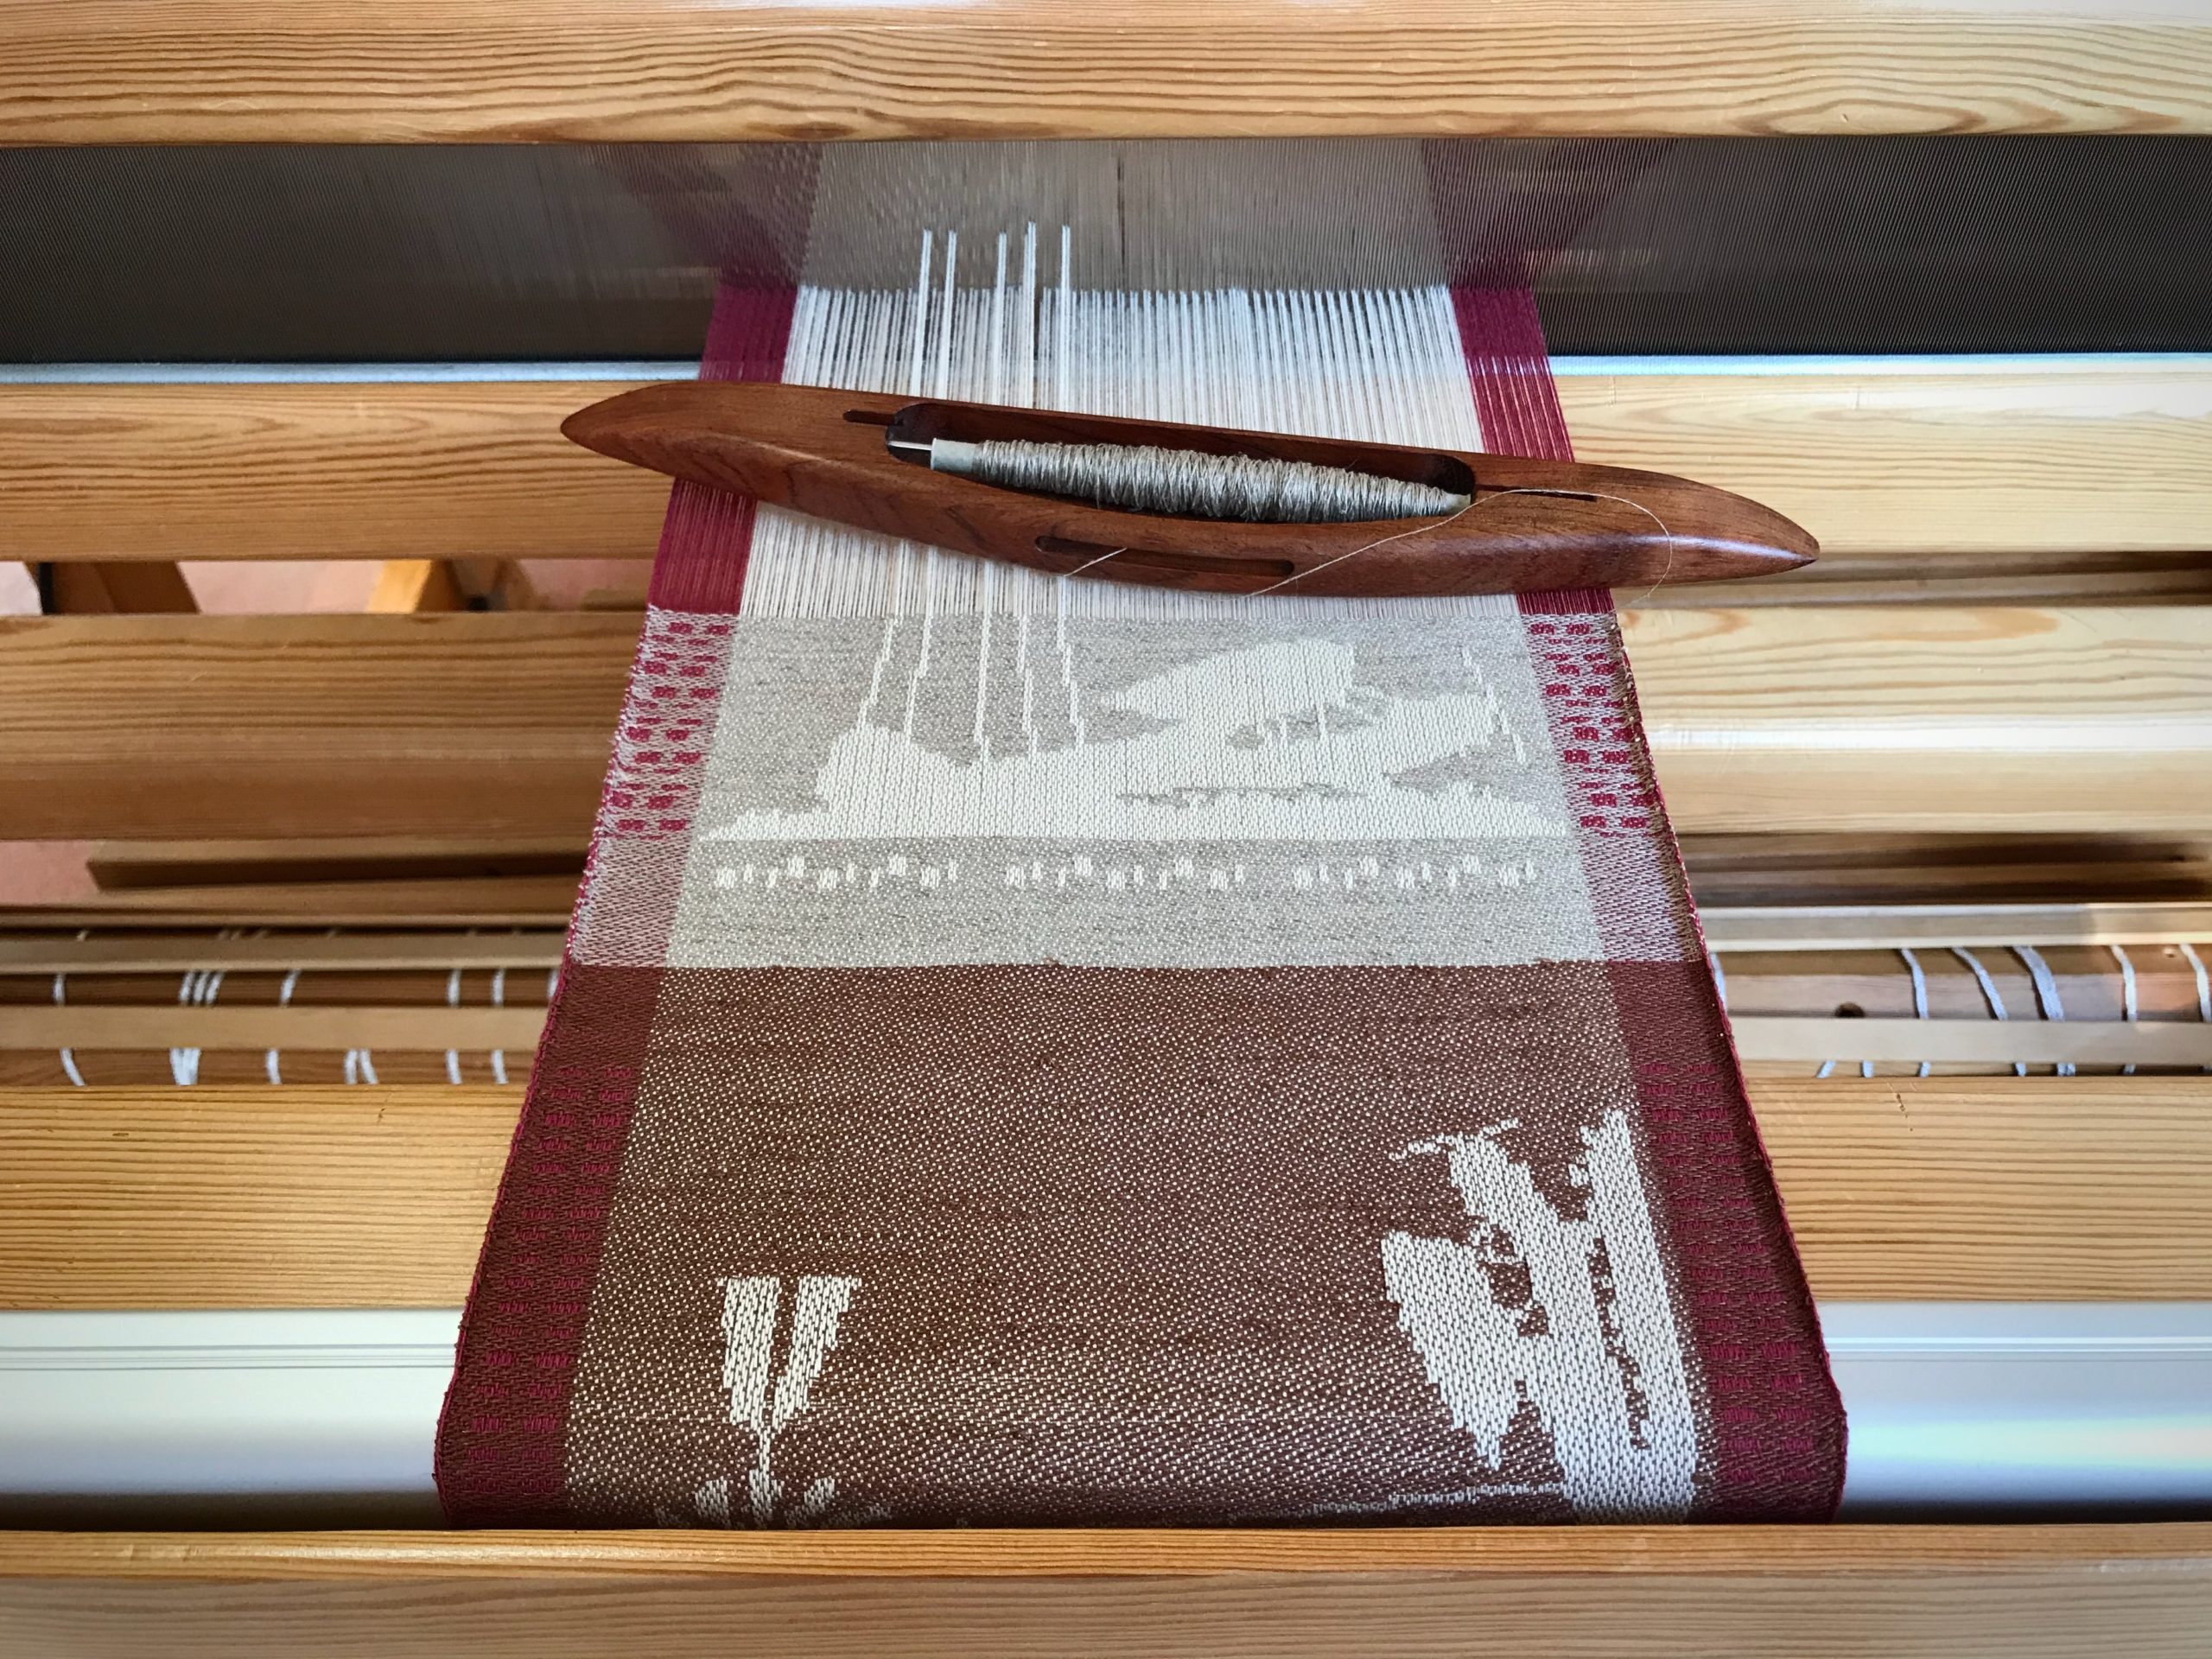
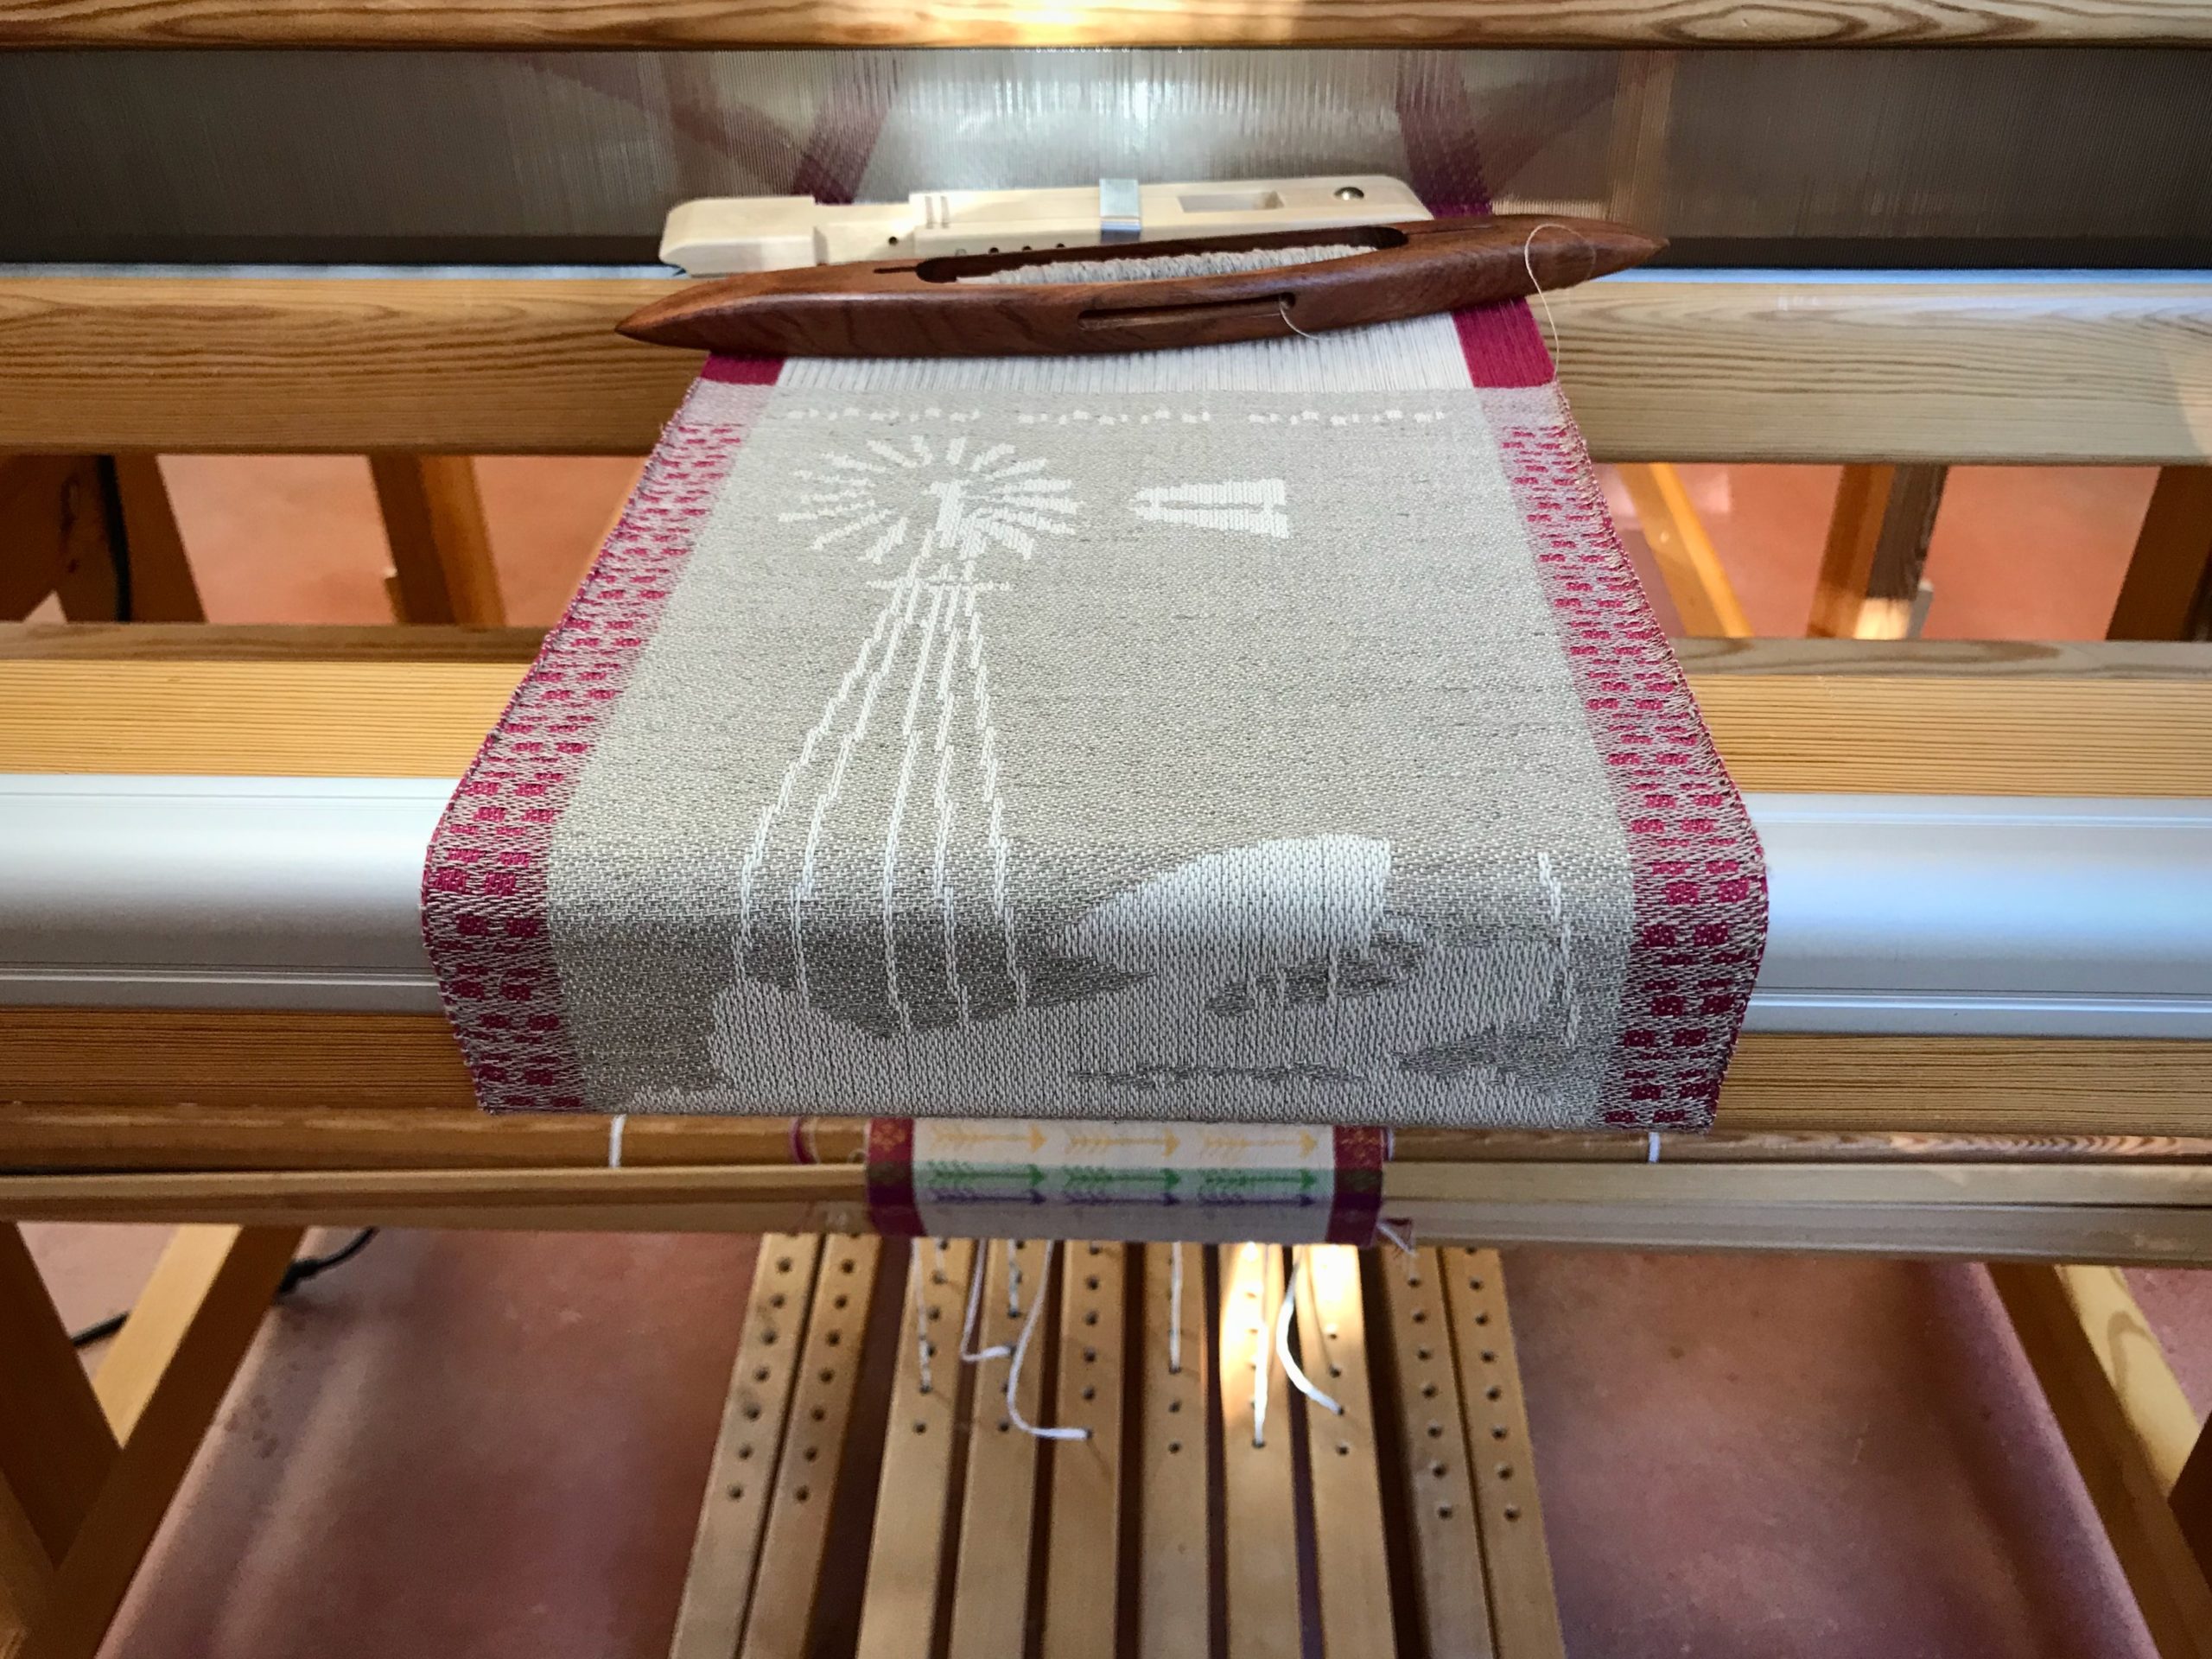
I have a tool that makes me stronger than I naturally am. Warp tension is extremely tight on my loom when I am weaving rugs. After advancing the warp, and locking the pawl on the cloth beam, I tighten the ratchet on the warp beam as much as I can. Then, I put all my weight into tightening the cloth beam. And then, with a bit of oomph, I lean into the handles on that cloth beam wheel to turn it one more notch on the ratchet. I pat myself on the back for exhibiting such strength. But wait, I have just created a problem. The next time I need to advance the warp, I’m not nearly strong enough to release those front and back pawls.

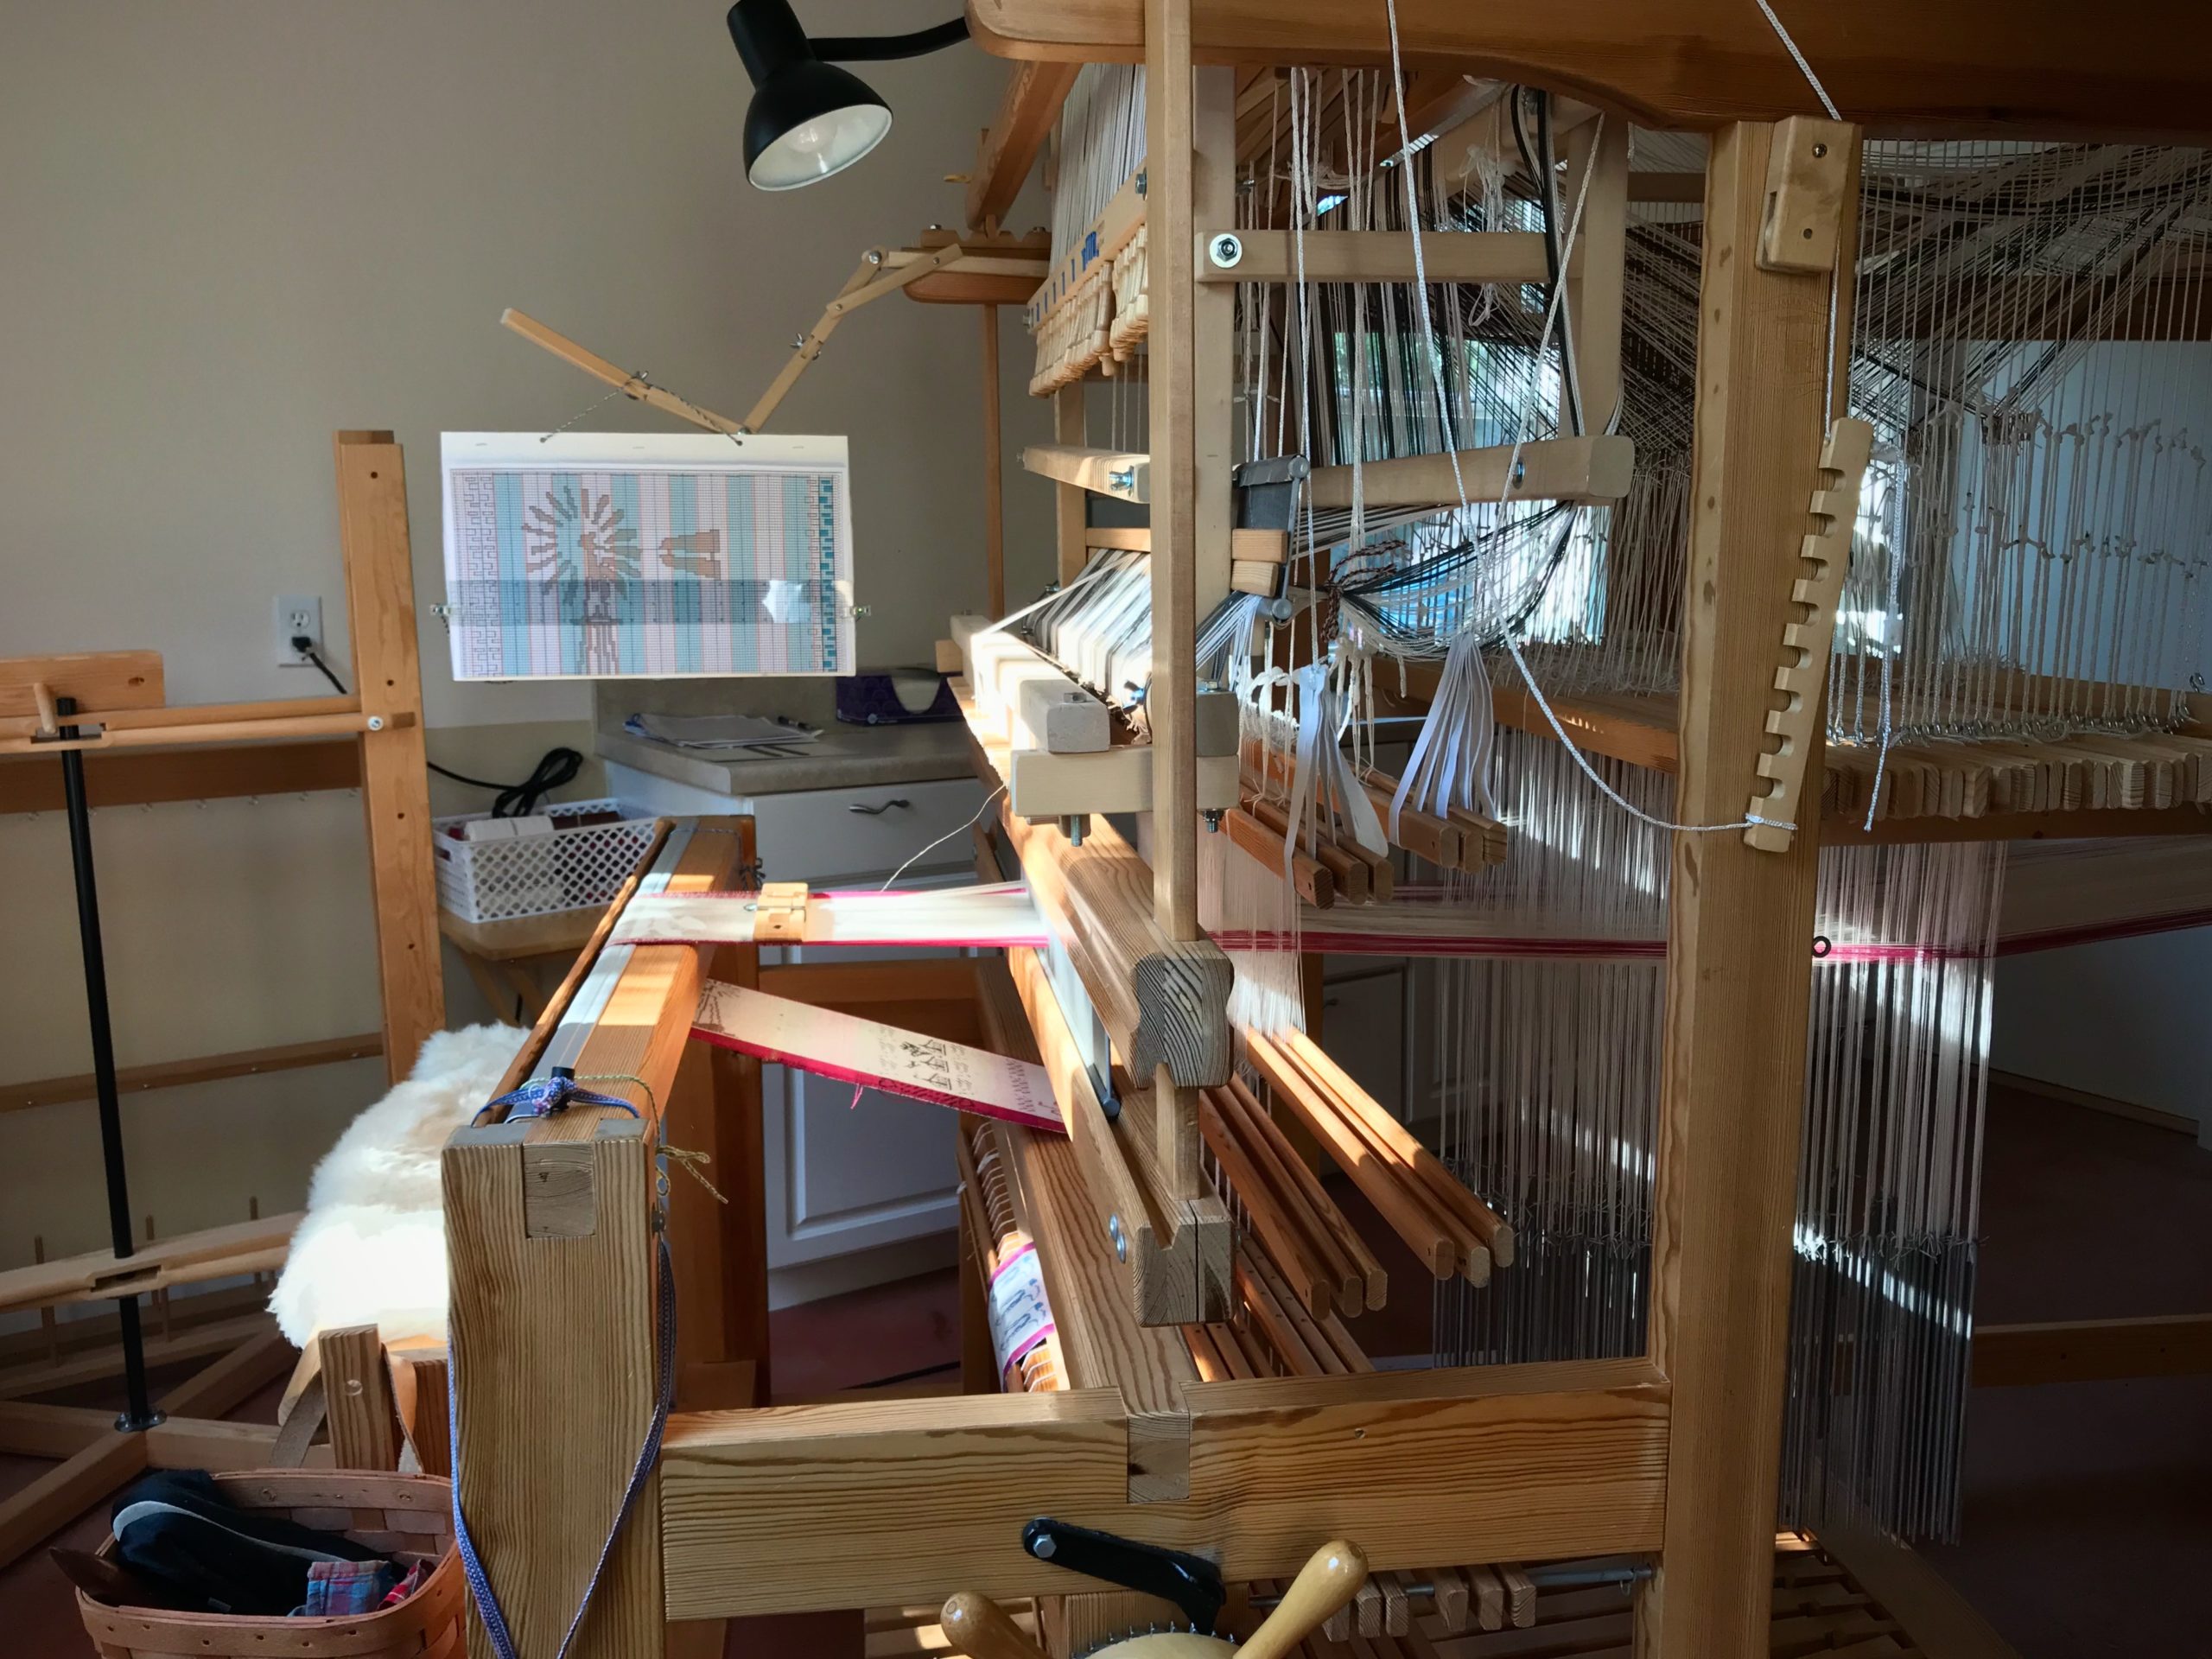
Meet my simplest tool: The Cheater Bar.

Cheater Bar is PVC pipe to use as a lever.
PVC pipe, 1 1/4″ x 24″

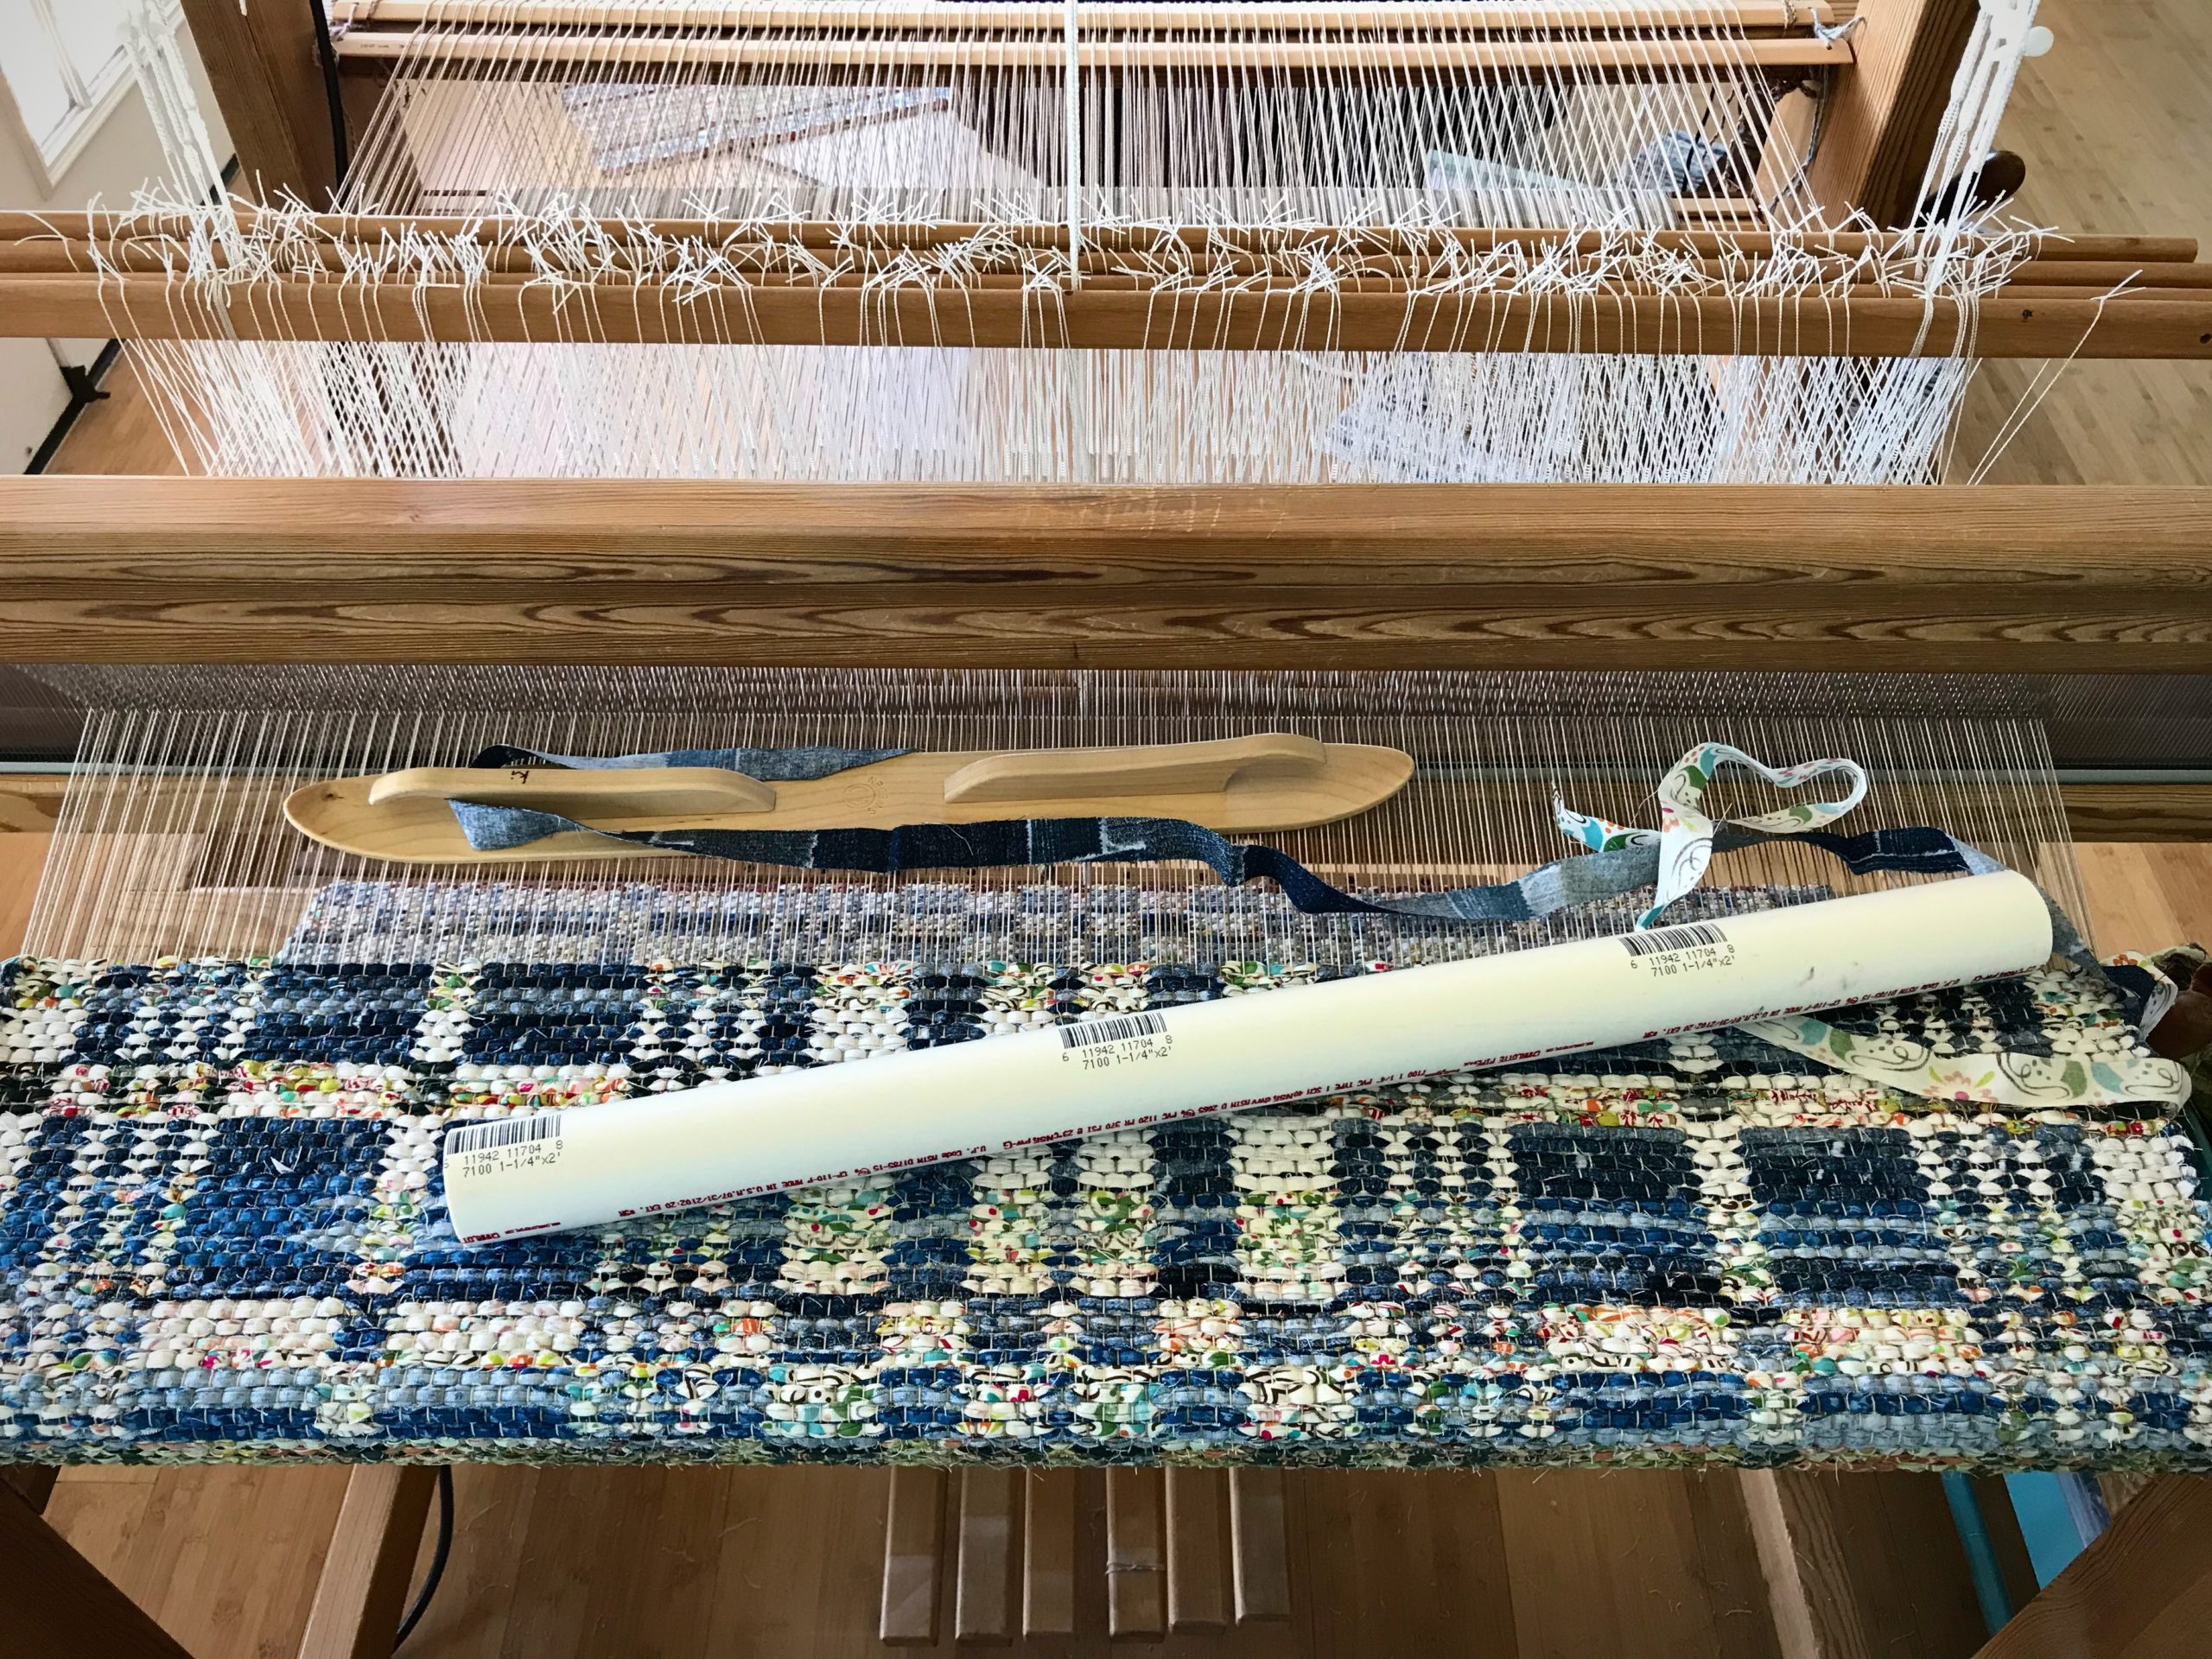
With this amazing helper, I can safely release even the most extremely tight warp tension. (But NEVER use the Cheater Bar to tighten the warp.)

Slip the end of the pipe over a handle on the ratchet wheel.
Force of the lever makes it easy to release the ratchet. CAUTION! Do not use the lever to tighten the warp beam or cloth beam. You could easily tighten it more than the loom is made to handle.

I never knew I could be this strong. Celebrate the moment! (A play on words. Steve tells me “moment” is a physics term that has to do with a force’s tendency to cause something to rotate about a specific point or axis.)

Good tools make hard things easier.

May you find strength you didn’t know you had.

Happy weaving,
Karen

Tried and True: How to Count to Three – and Other Weaving Tips

We weavers are resourceful. We enjoy finding solutions that make our time at the loom more efficient, while raising the quality of our weaving. We’ve done some of these little tricks so much we don’t think about them anymore. And then, some innovations are things we think up on the spot because necessity, as you know, is the mother of invention.

Keep Count

Necessity: Keep from losing my place with treadling repeats.
Solution: A strip of blue painter’s tape with “3 2 1” and a rubber band, placed on the breast beam. Move the rubber band on the tape (from right to left) to track repeats.

Weaving tips - low tech solutions.
I need help counting to 3 when it comes to treadling repeats. On the Glimåkra Standard loom, I am able to loosen the warp enough to lift the breast beam so I can put a rubber band on it. Without a removable breast beam, one could use a separate small piece of tape instead of a rubber band to keep track.
Keep track of repeats. Blog post with tips and tricks.
Low tech solution for keeping track.

Shuttle Catch

Necessity: Keep from fumbling the catch, having to reposition the shuttle in my hand to send it back across the warp.
Solution: Keep my eye on the shuttle. If I turn my head to watch the movement of the shuttle, my catching and throwing improves immediately. This makes my selvedges improve, too.

Weaving tips and tricks. Easy tip on how to catch the shuttle perfectly.
It is easy to throw and catch the shuttle without actually looking at your hands. I have to consciously remember to turn my head to follow the shuttle with my eyes.

Leave No Trace

Necessity: Keep from leaving slightly perceptible lines in the woven cloth that reveal every time I stop to move the temple and advance the warp.
Solution: When it is almost time to advance the warp, I move the temple and then weave one or more pattern sequence(s) before advancing the warp. This helps me leave no trace of starting and stopping.

Tips and tricks for the weaving loom.
Almost ready to advance the warp, I remove the temple and reposition the pins on my guide tape. Then, I put the temple back on, near the fell line.
Tips about when to advance the warp.
After moving the temple, I weave one or more complete treadling sequences before advancing the warp.
Three simple weaving tips for efficiency and quality!
After advancing the warp, I know exactly where I left off because of my tape-and-rubber-band counter. My eyes are on the shuttle to continue this segment of weaving.

Do you have a simple tip that improves your efficiency and/or quality at the loom? Please share in the comments.

May you notice what you’re doing.

Happy Weaving,
Karen

Tried and True: Simplify Subtle Color Changes

When I pick up a color of thread I don’t want to have to guess if it’s the right color. Four of the five blues in the weft sequence are close neighbors in value. The one color that is easy to identify is the navy blue, which provides a good contrast among the blues.

Five blues in 8/2 cotton. 8-shaft twill.
Weft color order follows the sequence of the warp color order. Five blues for this 8-shaft twill in 8/2 cotton.

The weft order matches the warp order, and is marked out on a ribbon. I am using a separate boat shuttle for each shade of blue. But how do I know which color is which, when the difference is subtle from one color to the next?

Simplify Subtle Color Changes

  • Give each color a number. Write the numbers next to the colors of the warp order on the Project Notes.
Project Notes for weaving with 5 blues.
Weft colors are the same as the warp colors. The Project Notes show all the details. “1, 2, 3, 4, 5” is added to the sheet to give each color a simple number.
  • Label the thread tubes with a small piece of blue painter’s tape. Each tube of thread is numbered to correspond with the numbers on the Project Notes.
Make removable labels with blue painter's tape.
Handy blue painter’s tape is used to make removable labels.
Five blues are labeled for simplicity.
Thread tubes are labeled with their identifying number.
  • Label each boat shuttle with its assigned color number, using a small piece of blue painter’s tape.
There are five blues for this 8-shaft twill.
Each boat shuttle holds its own color.
  • Place wound quills under the rubber band of their respective thread tubes.
Simplify subtle weft color changes.
When I wind an extra quill I place it with its thread tube so I don’t accidentally pick up the wrong color quill.

It is easy to keep track of these five numbers as I follow the weft sequence that is marked on my reference ribbon. Now, it’s shuttle #4’s turn…

Simplify subtle weft color changes.
Next in line…

May you find a way to simplify.

Happy Weaving,
Karen

Tried and True: Weft Color Changes and Video

I have an efficient way to handle weft color changes. It’s very simple. This is for those instances when I need to end one weft thread and start a new one. As a rule, I take care of weft tails as I go. I don’t want to come back to them later if I don’t have to. If I tuck in each weft tail at the beginning of the row, thickness from the extra wefts builds up at the selvedge, especially if I’m weaving horizontal stripes. The method I describe reduces the extra wefts, and eliminates having to tuck any tails in.

Weaving tutorial about weft color changes.
Color changes add to the movement and excitement of the design.
How to change weft colors - simple!
Vertical and horizontal narrow stripes in six-shaft broken twill.

How to Start a New Weft Color

  1. Weave the last pick of one color.
  2. Change to the shed needed for the next color. Take the shuttle with the first color into the shed for about about 3 cm (1 1/8”), and bring the shuttle up and out through the top of the warp.
  3. Lightly beat (tap) in the 3 cm (1 1/8”) of thread. Carefully snip off the thread close to the warp.
  4. Weave a pick of the next color, with the end of the new thread overlapping the 3 cm (1 1/8”) of the previous color thread. Position the new thread such that the end is outside the selvedge just a hair.
  5. Beat in the new weft and continue weaving until the next color change.
Tutorial about efficient way to change weft colors.
Ending the third of four bath towels.
Stripes in towels. How to!
Hand towels waiting to be paired up with the bath towels…hopefully, before Christmas!

Watch this short video to see me demonstrate this method of changing the weft colors.

May your choice of weft colors give a glimpse of your best qualities.

Simply Weaving,
Karen

Drawloom Windmill and Taildragger – Version 2

I’m curious. How much difference will it make to change the direction of the design? I wove the first Windmill and Taildragger from the side. (See Time Lapse: Windmill and Taildragger on the Drawloom.) This second one, I am weaving from bottom to top. For one thing, I know I can enlarge the image if I turn it upright, giving me more distinct details.

Windmill and Taildragger woven on the drawloom.
Windmill and Taildragger – Version 1, from the side. Beginning of Windmill and Taildragger – Version 2, upright.
Taildragger on the drawloom.
More detail is possible with the expanded size of the image. Center image and lower border use single-unit draw cords. Five pattern shafts are used for the side borders.
Temple in use on the drawloom.
Temple maintains the correct weaving width.
Glimakra Standard loom with Myrehed combination drawloom attachment.
Side view of drawloom with Myrehed combination attachment.

This second Windmill and Taildragger is indeed larger, with smoother detail lines. No surprise. What does surprise me is how much simpler this one is to weave! The single-unit pulls are more manageable now that the design is turned in a lengthwise direction. Enlargement, clarity, and ease—all from a single design adjustment.

Drawloom weaving.
Single-unit draw cords seen in the weaving of the windmill’s blades.
Windmill and Taildragger on the drawloom.
Windmill and Taildragger – Version 2
Drawloom weaving.
Version 1 and Version 2 – Windmill and Taildragger

Spoken wishes express our needs. Our wishes are sincere, but hold no power in themselves. What if we turn the direction of our wishes? When we turn those expressions upward to God they become prayer. Prayer is an expression of belief. Jesus invites us to tell him our needs through prayer. Prayer enlarges and clarifies our hopes. You may be surprised how simple it is to take your needs to the Lord in prayer.

May your prayers bring the help you need.

Peace to you,
Karen