Tried and True: Are Retaining Cords Worth the Trouble?

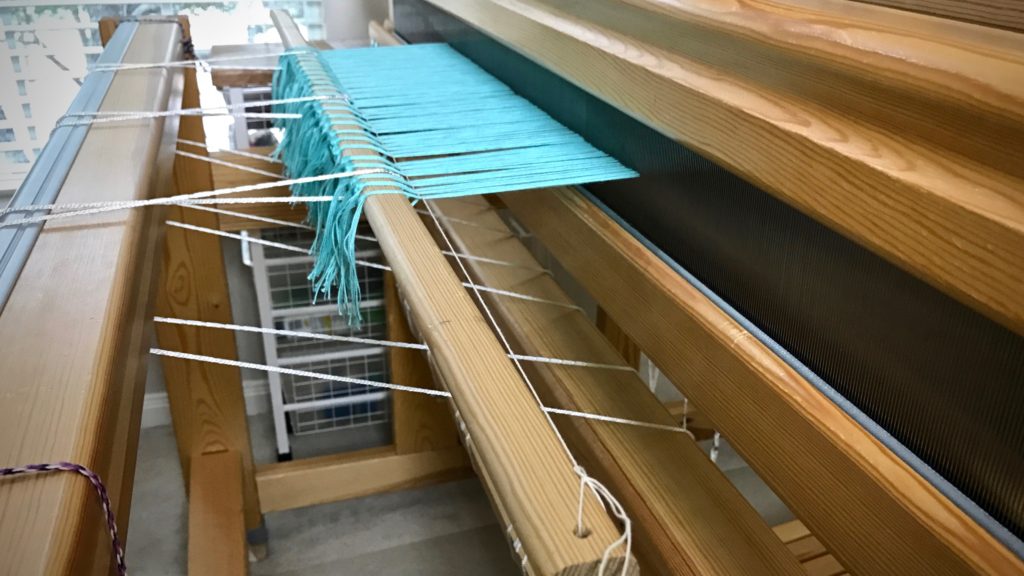
Some things are easier done than said. I said to myself that it’s too much trouble to tie retaining cords on the shafts. I am weaving almost full width on the Glimåkra Julia. I know that heddles can slip off the ends of shafts. Still, I tell myself I can keep an eye on it. It won’t be a problem, right? Wrong.
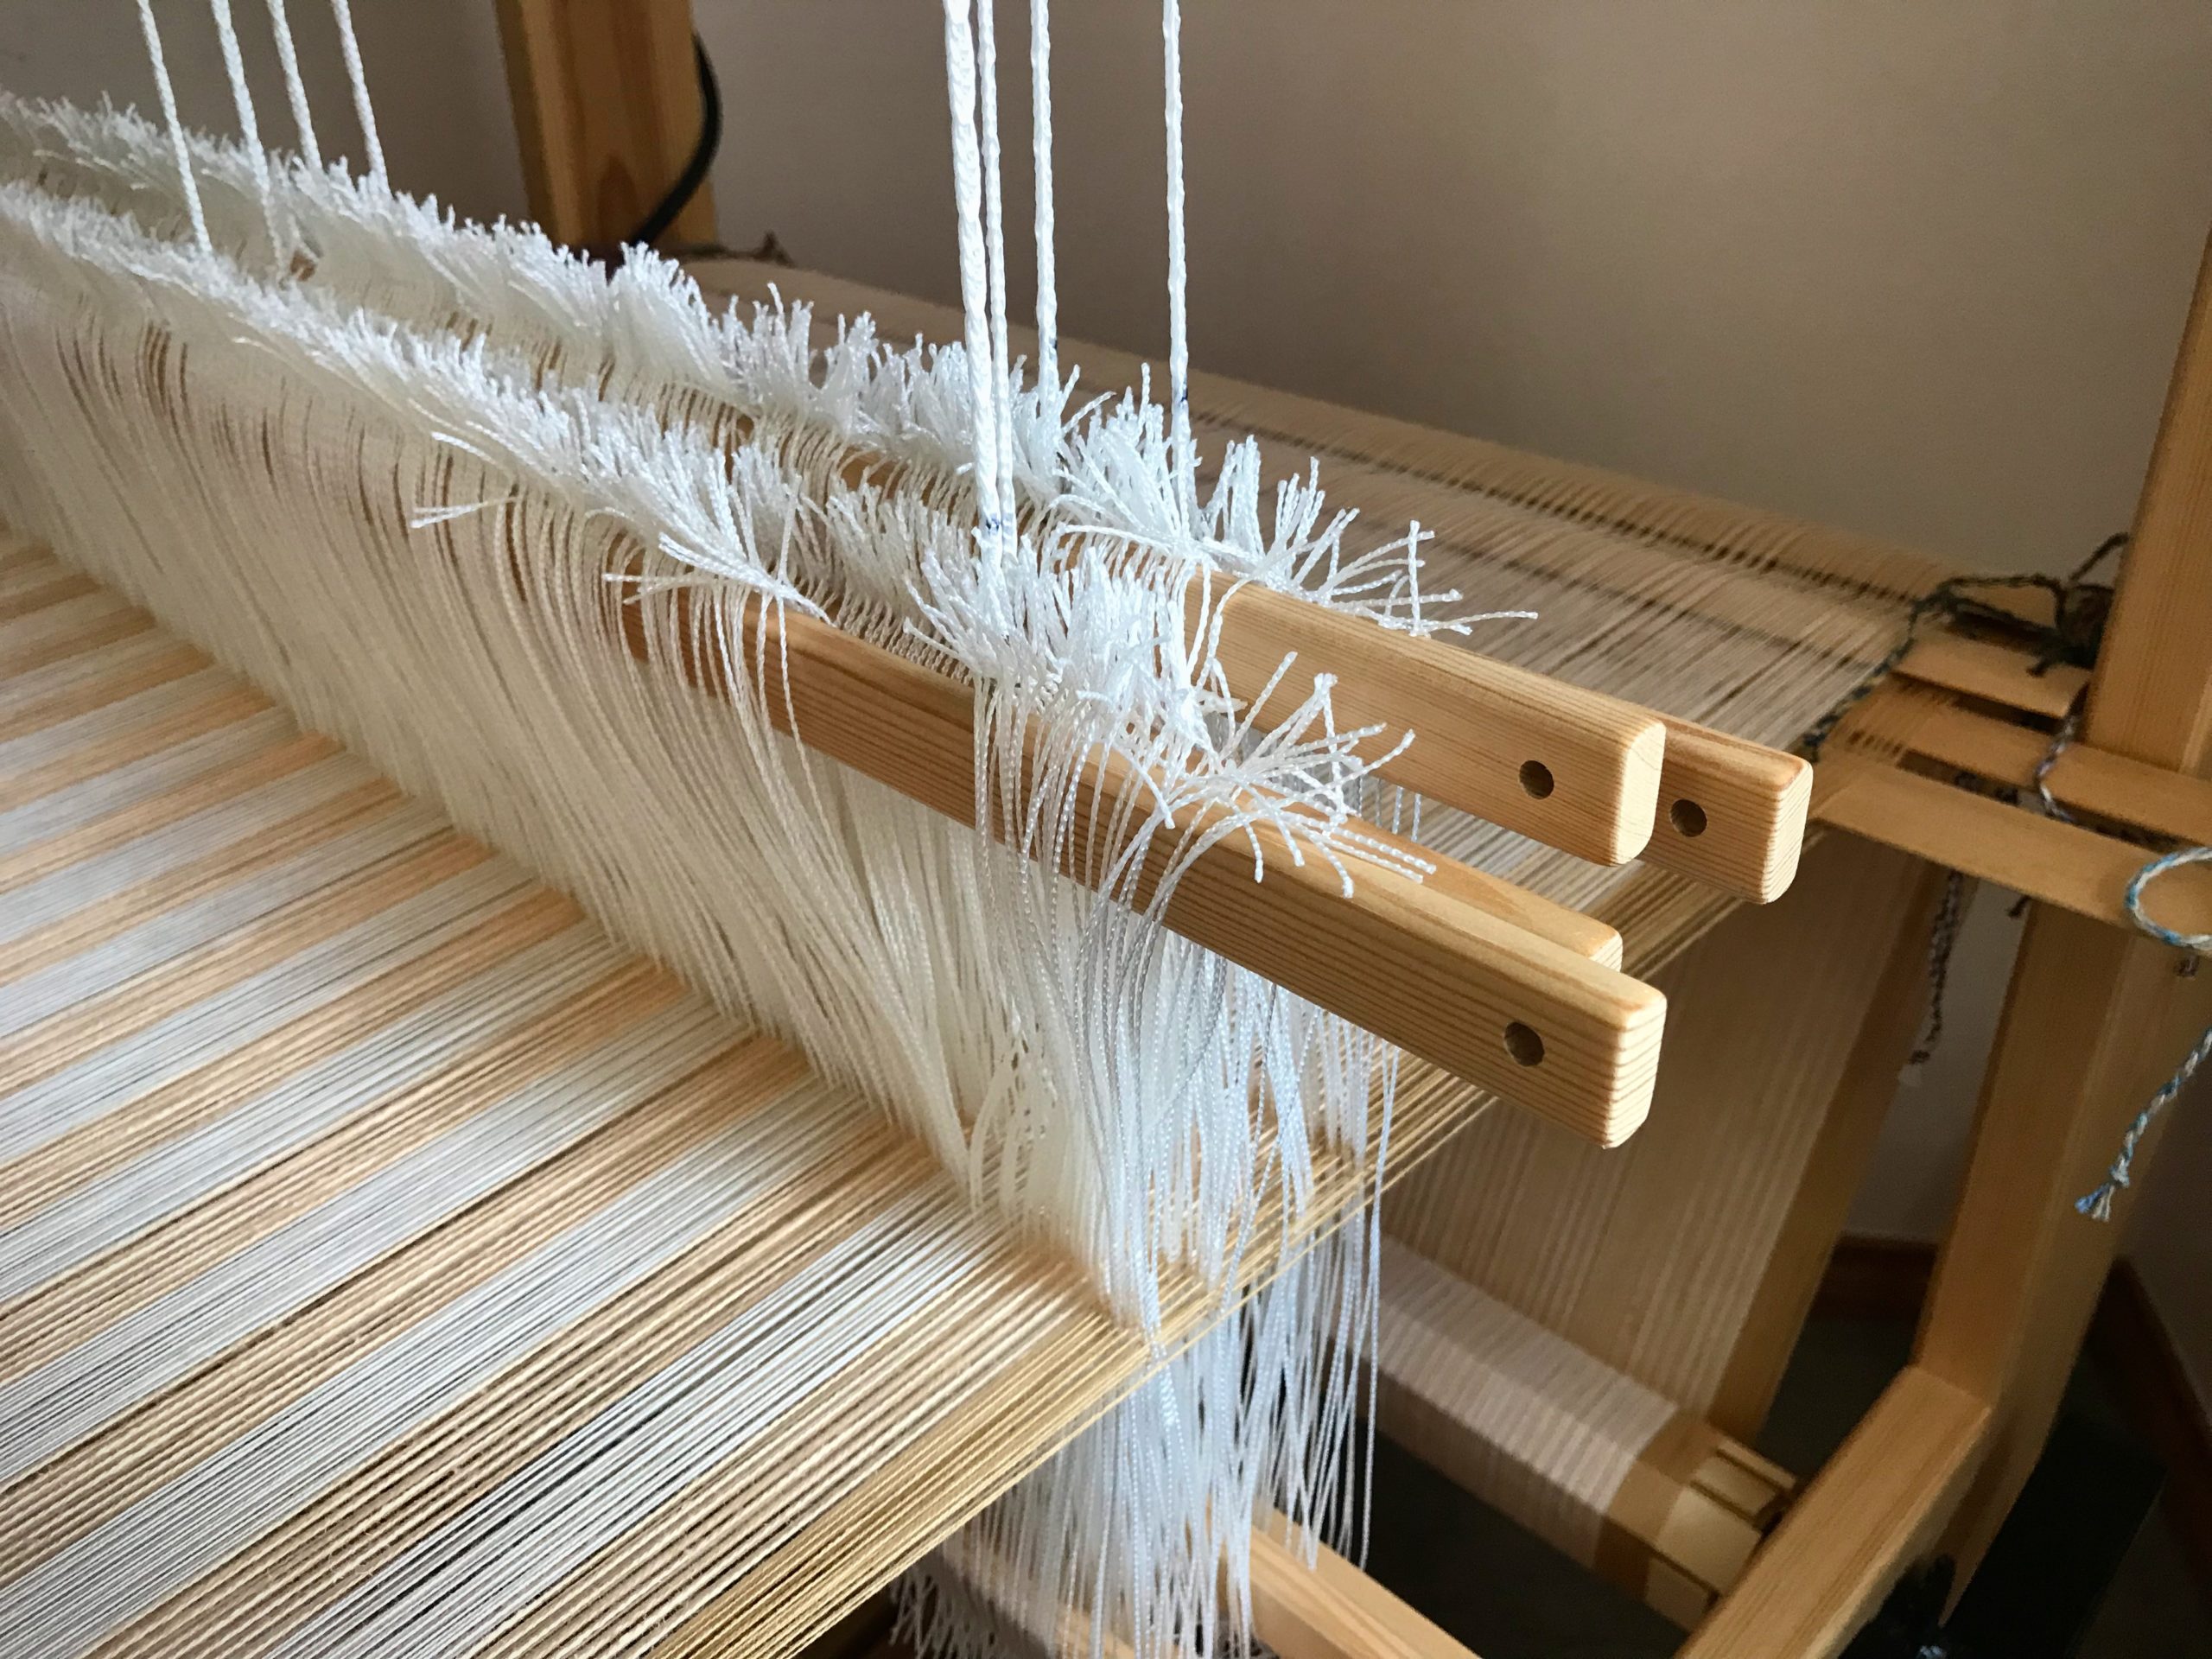
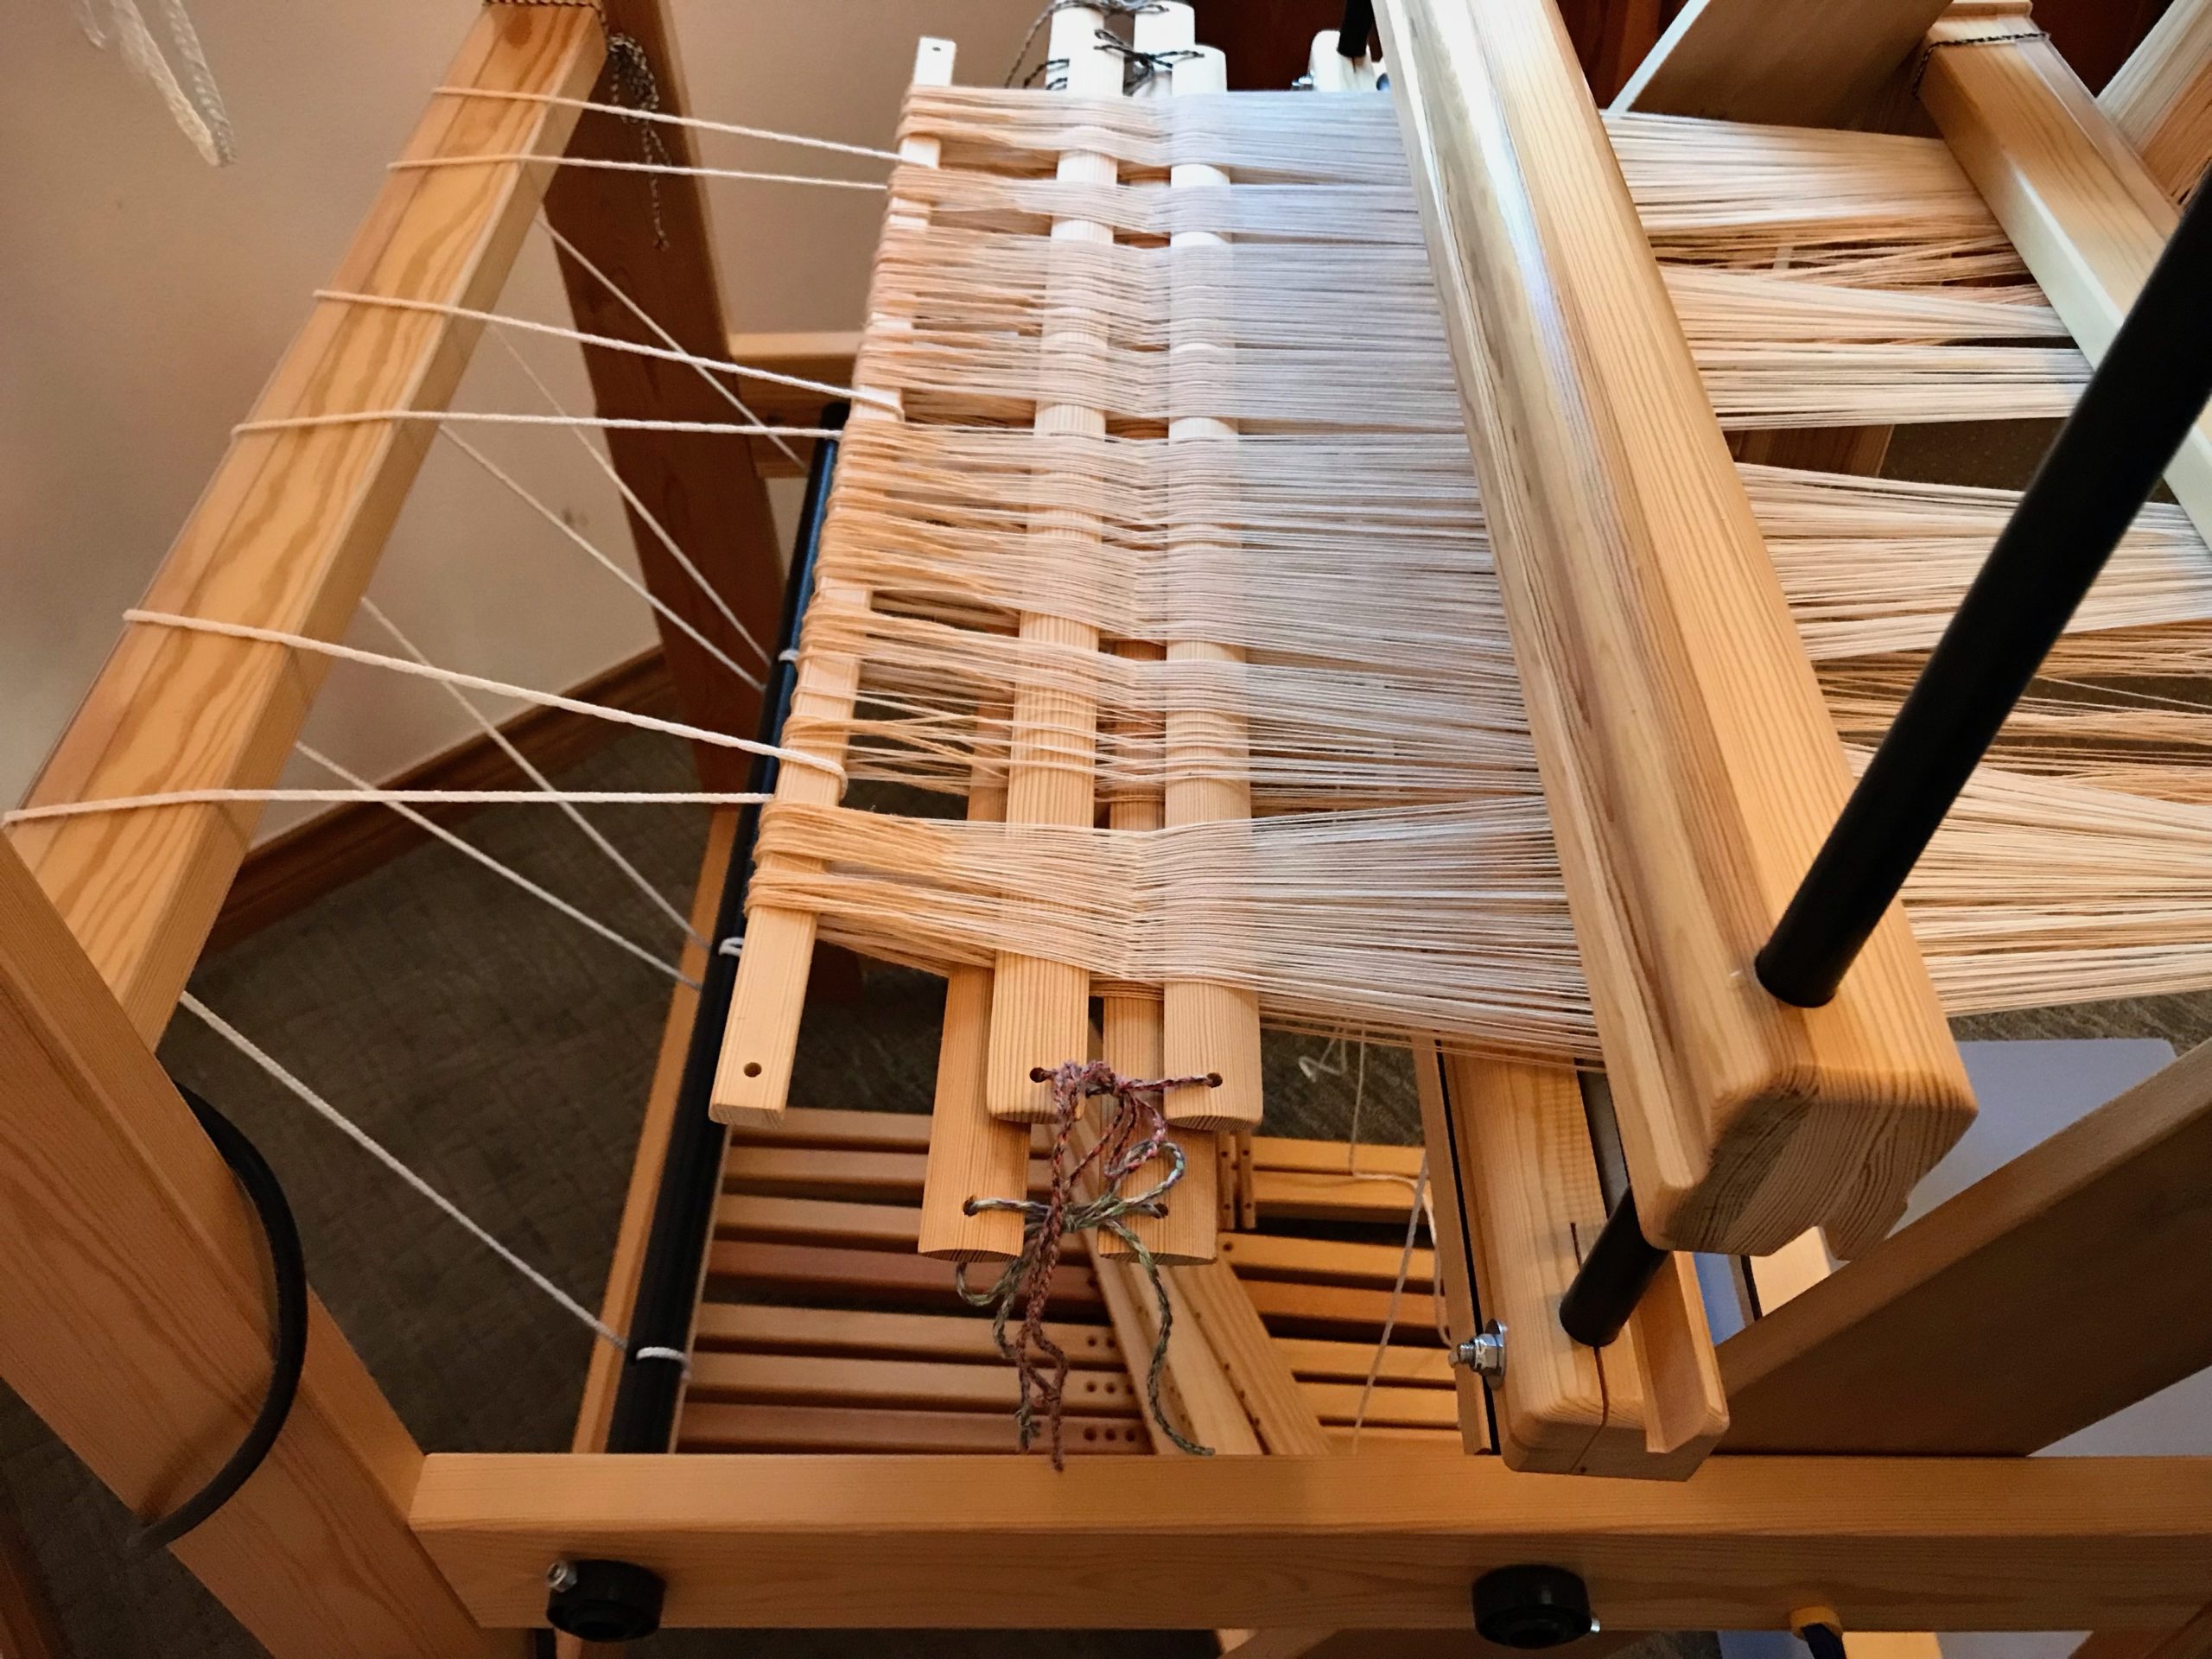
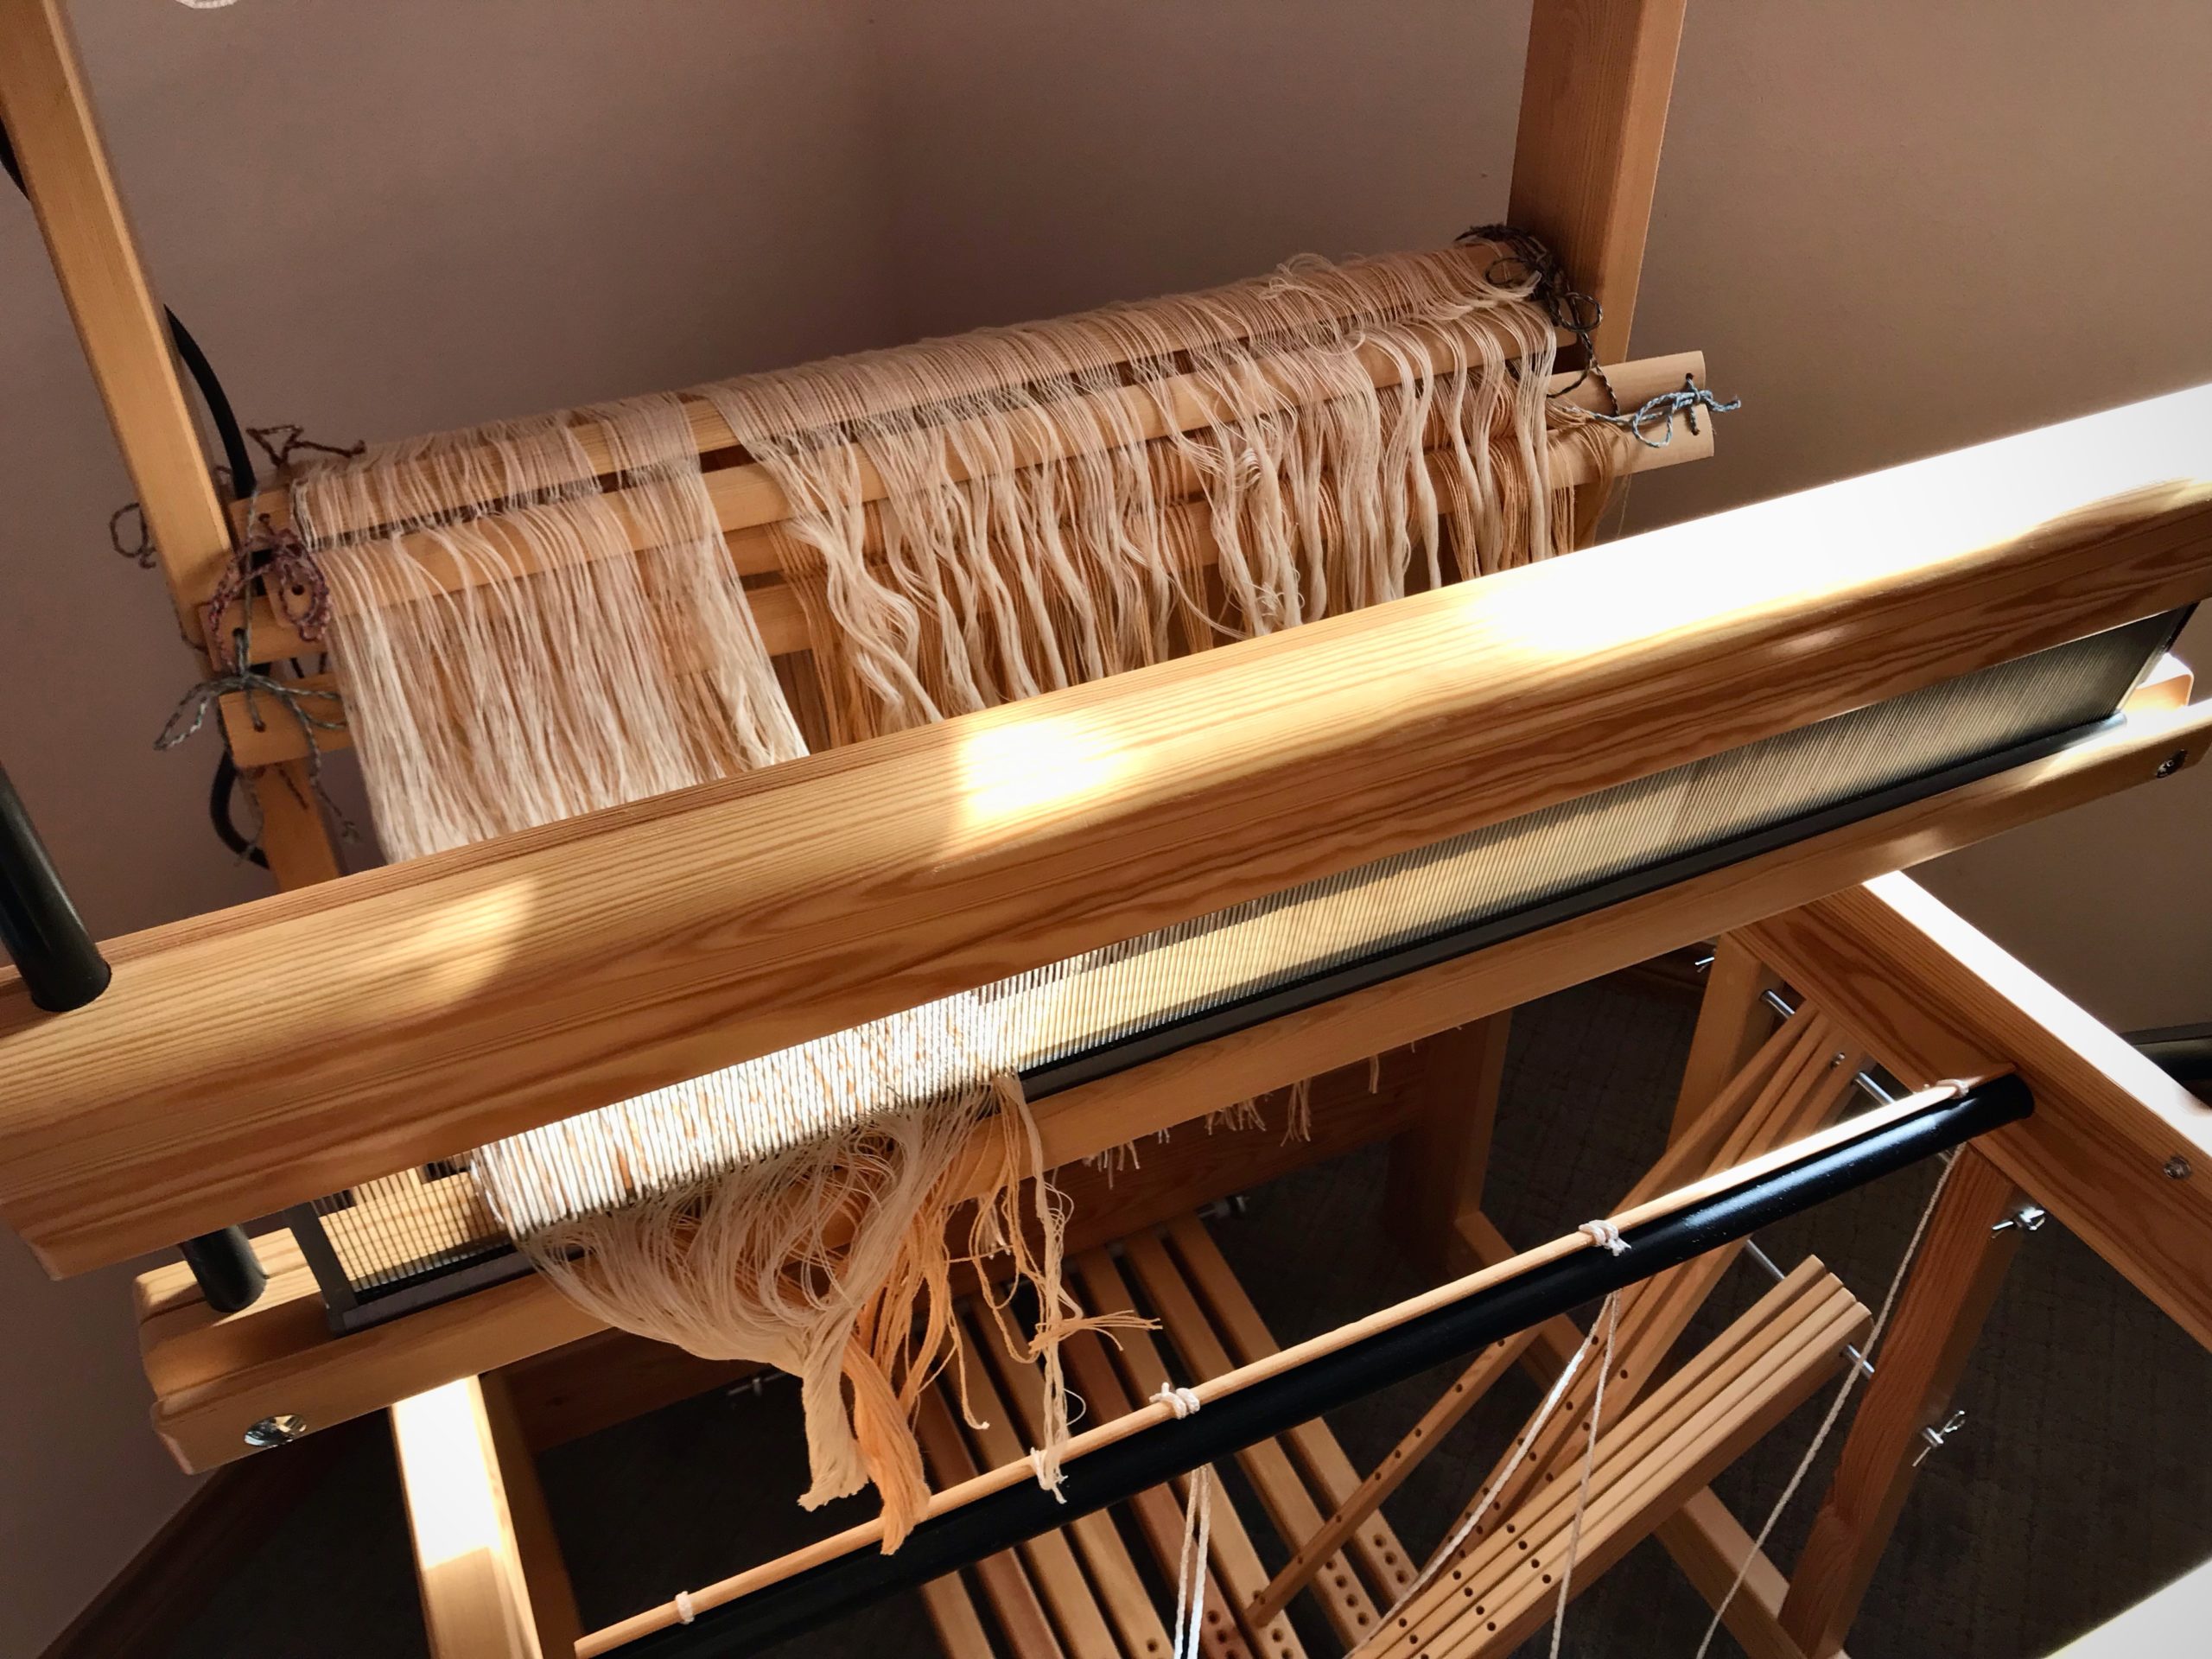
Juila’s wide warp. So far, so good. I’ll pay attention and everything will be just fine. Famous last words.
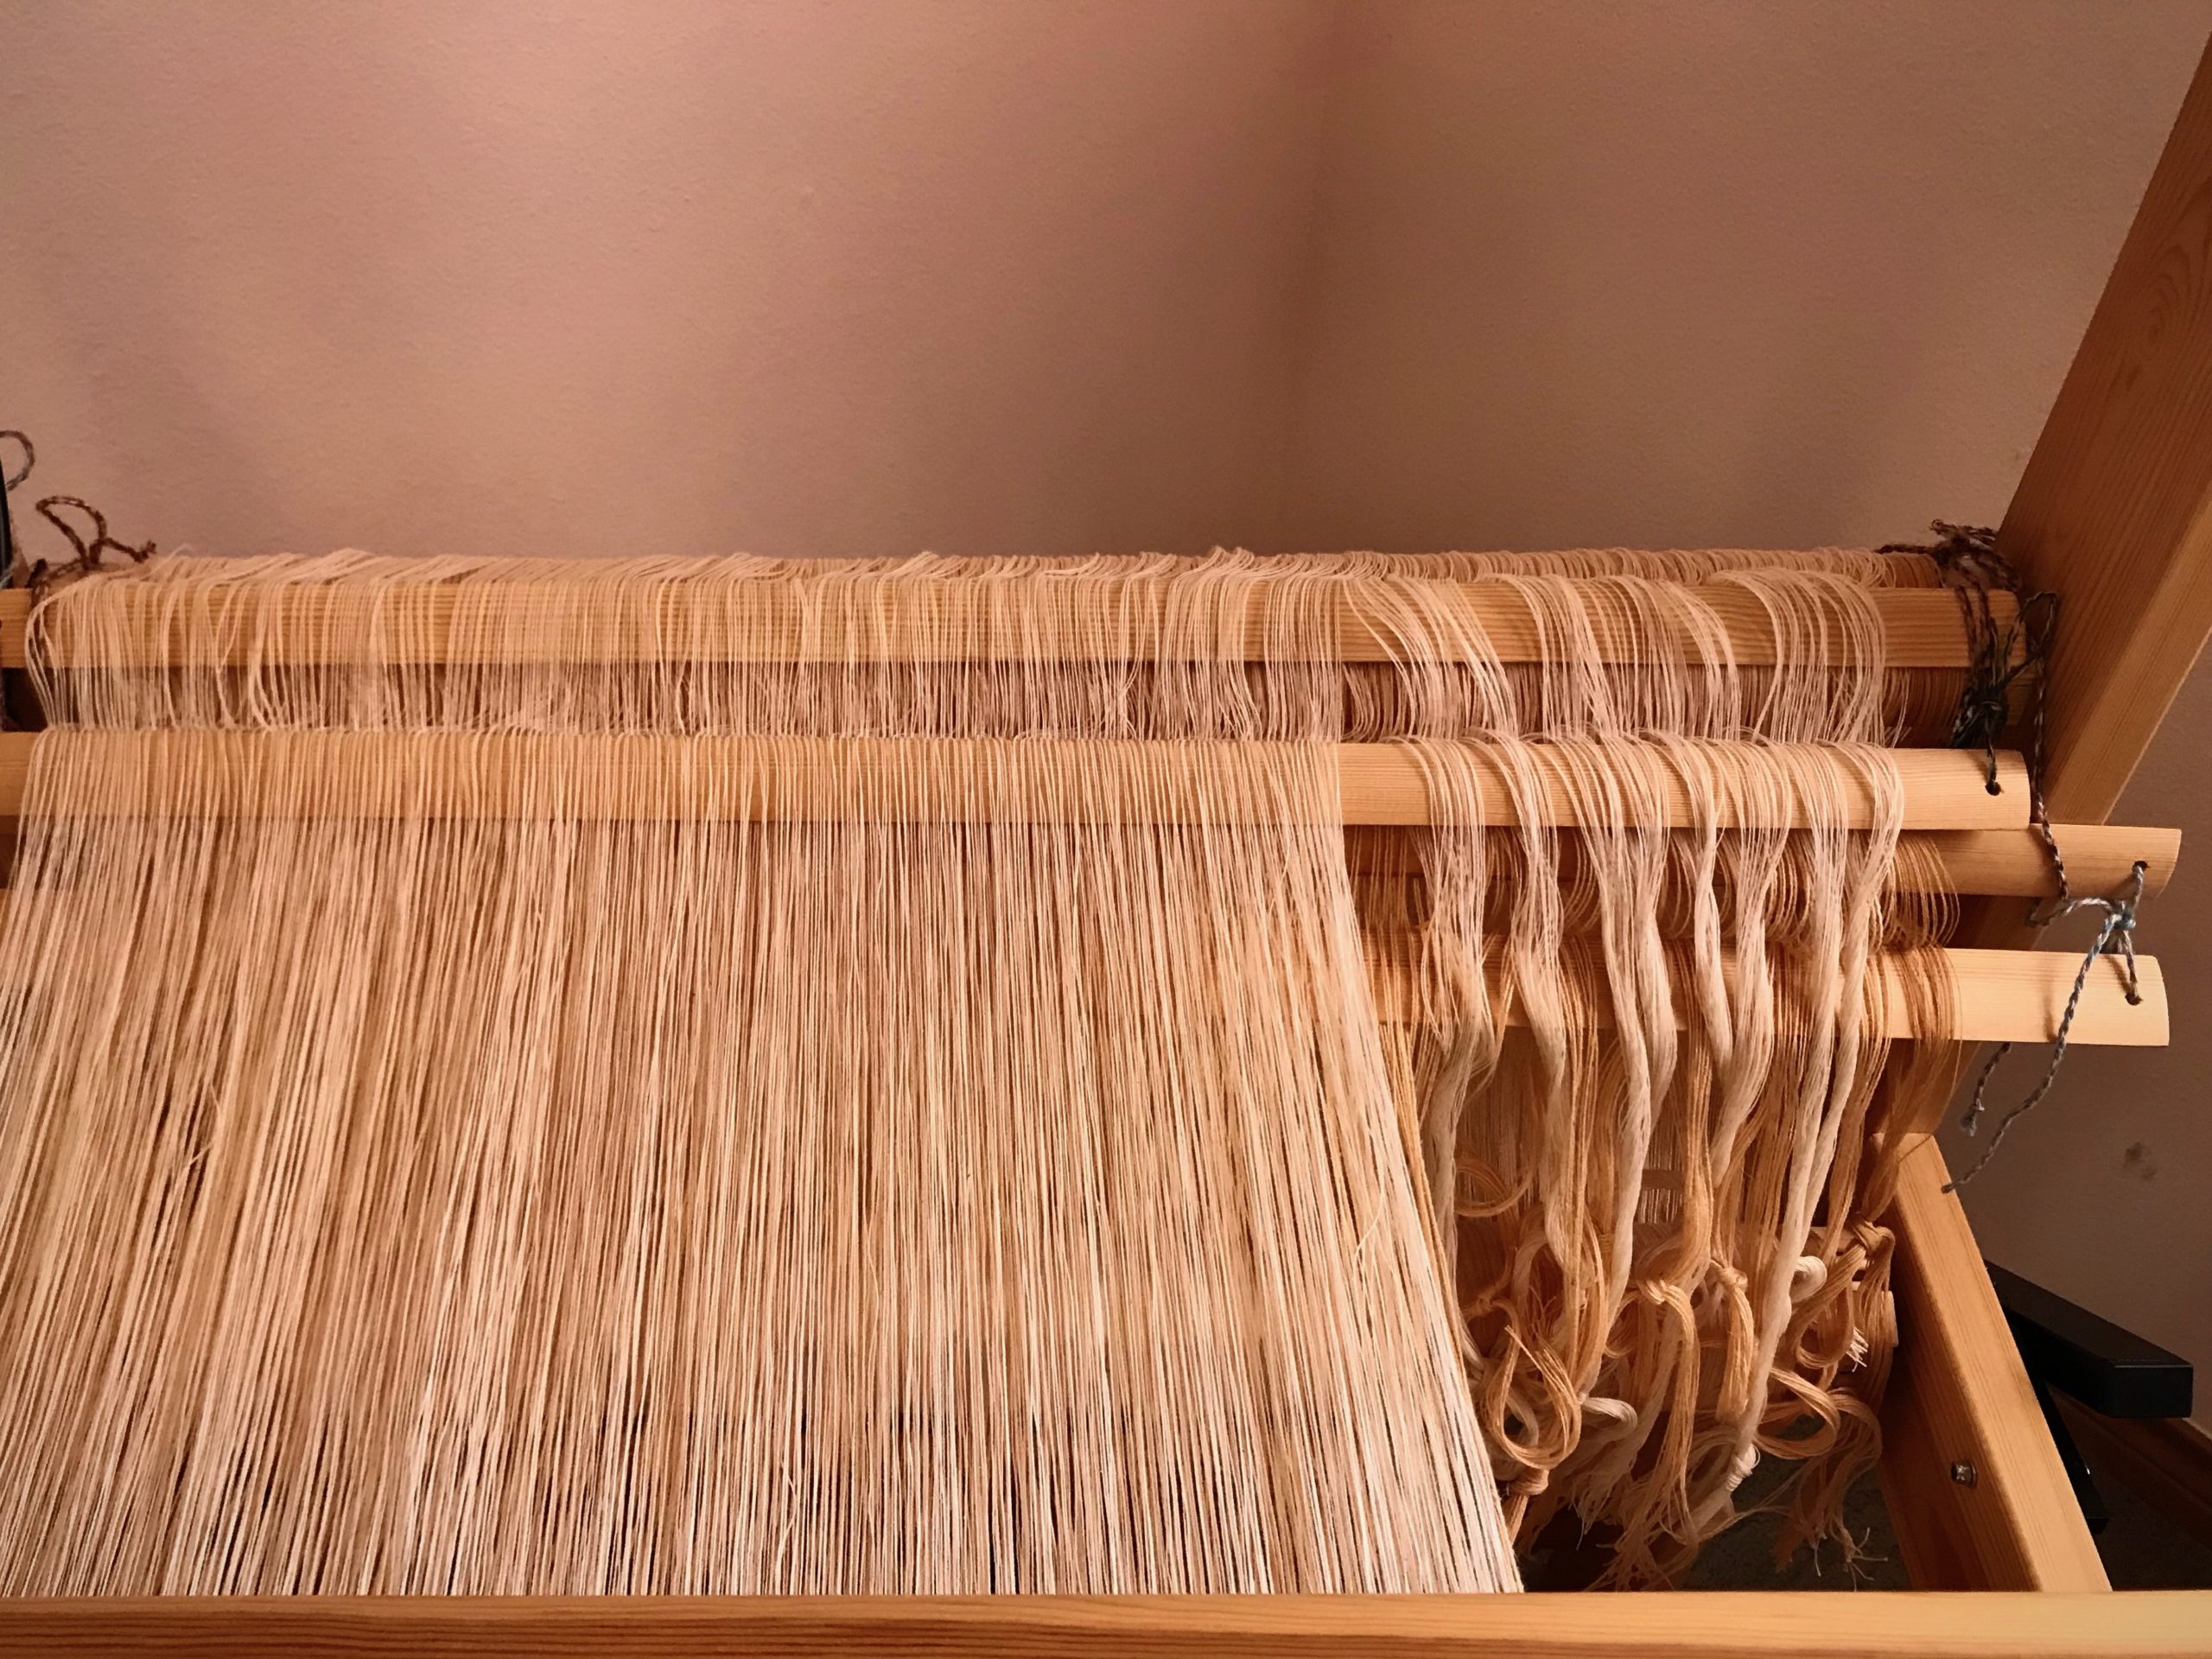
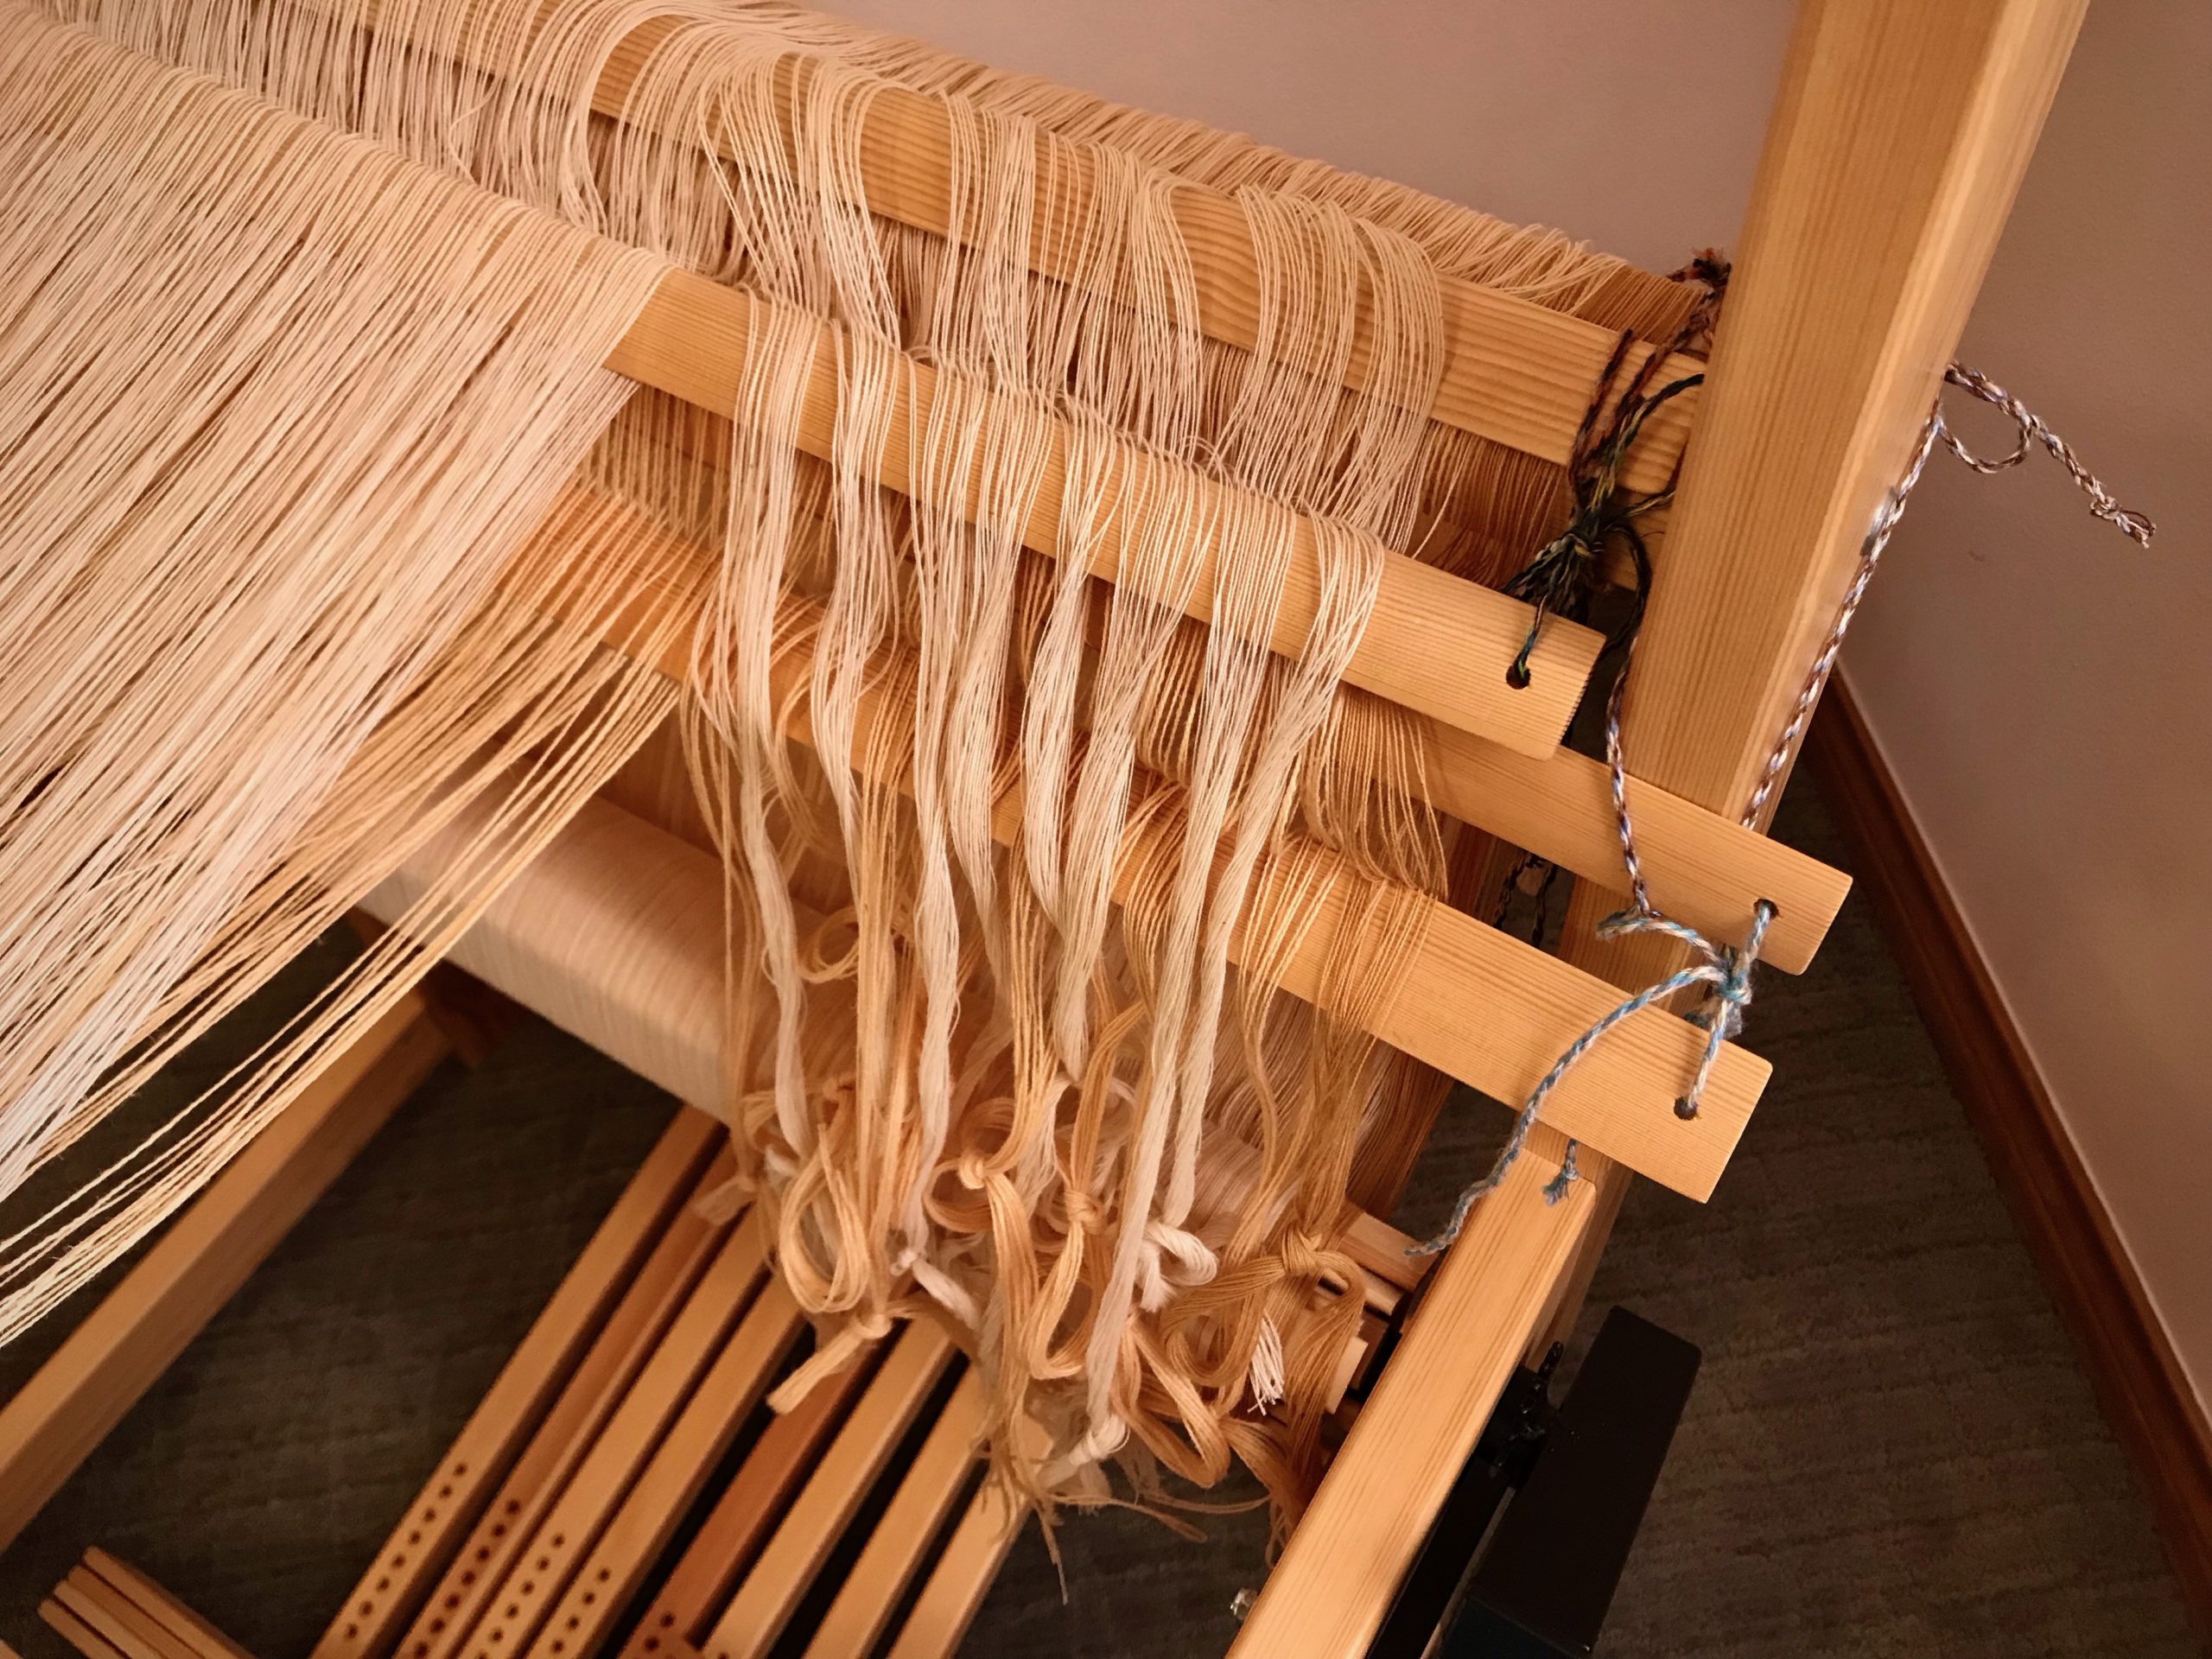
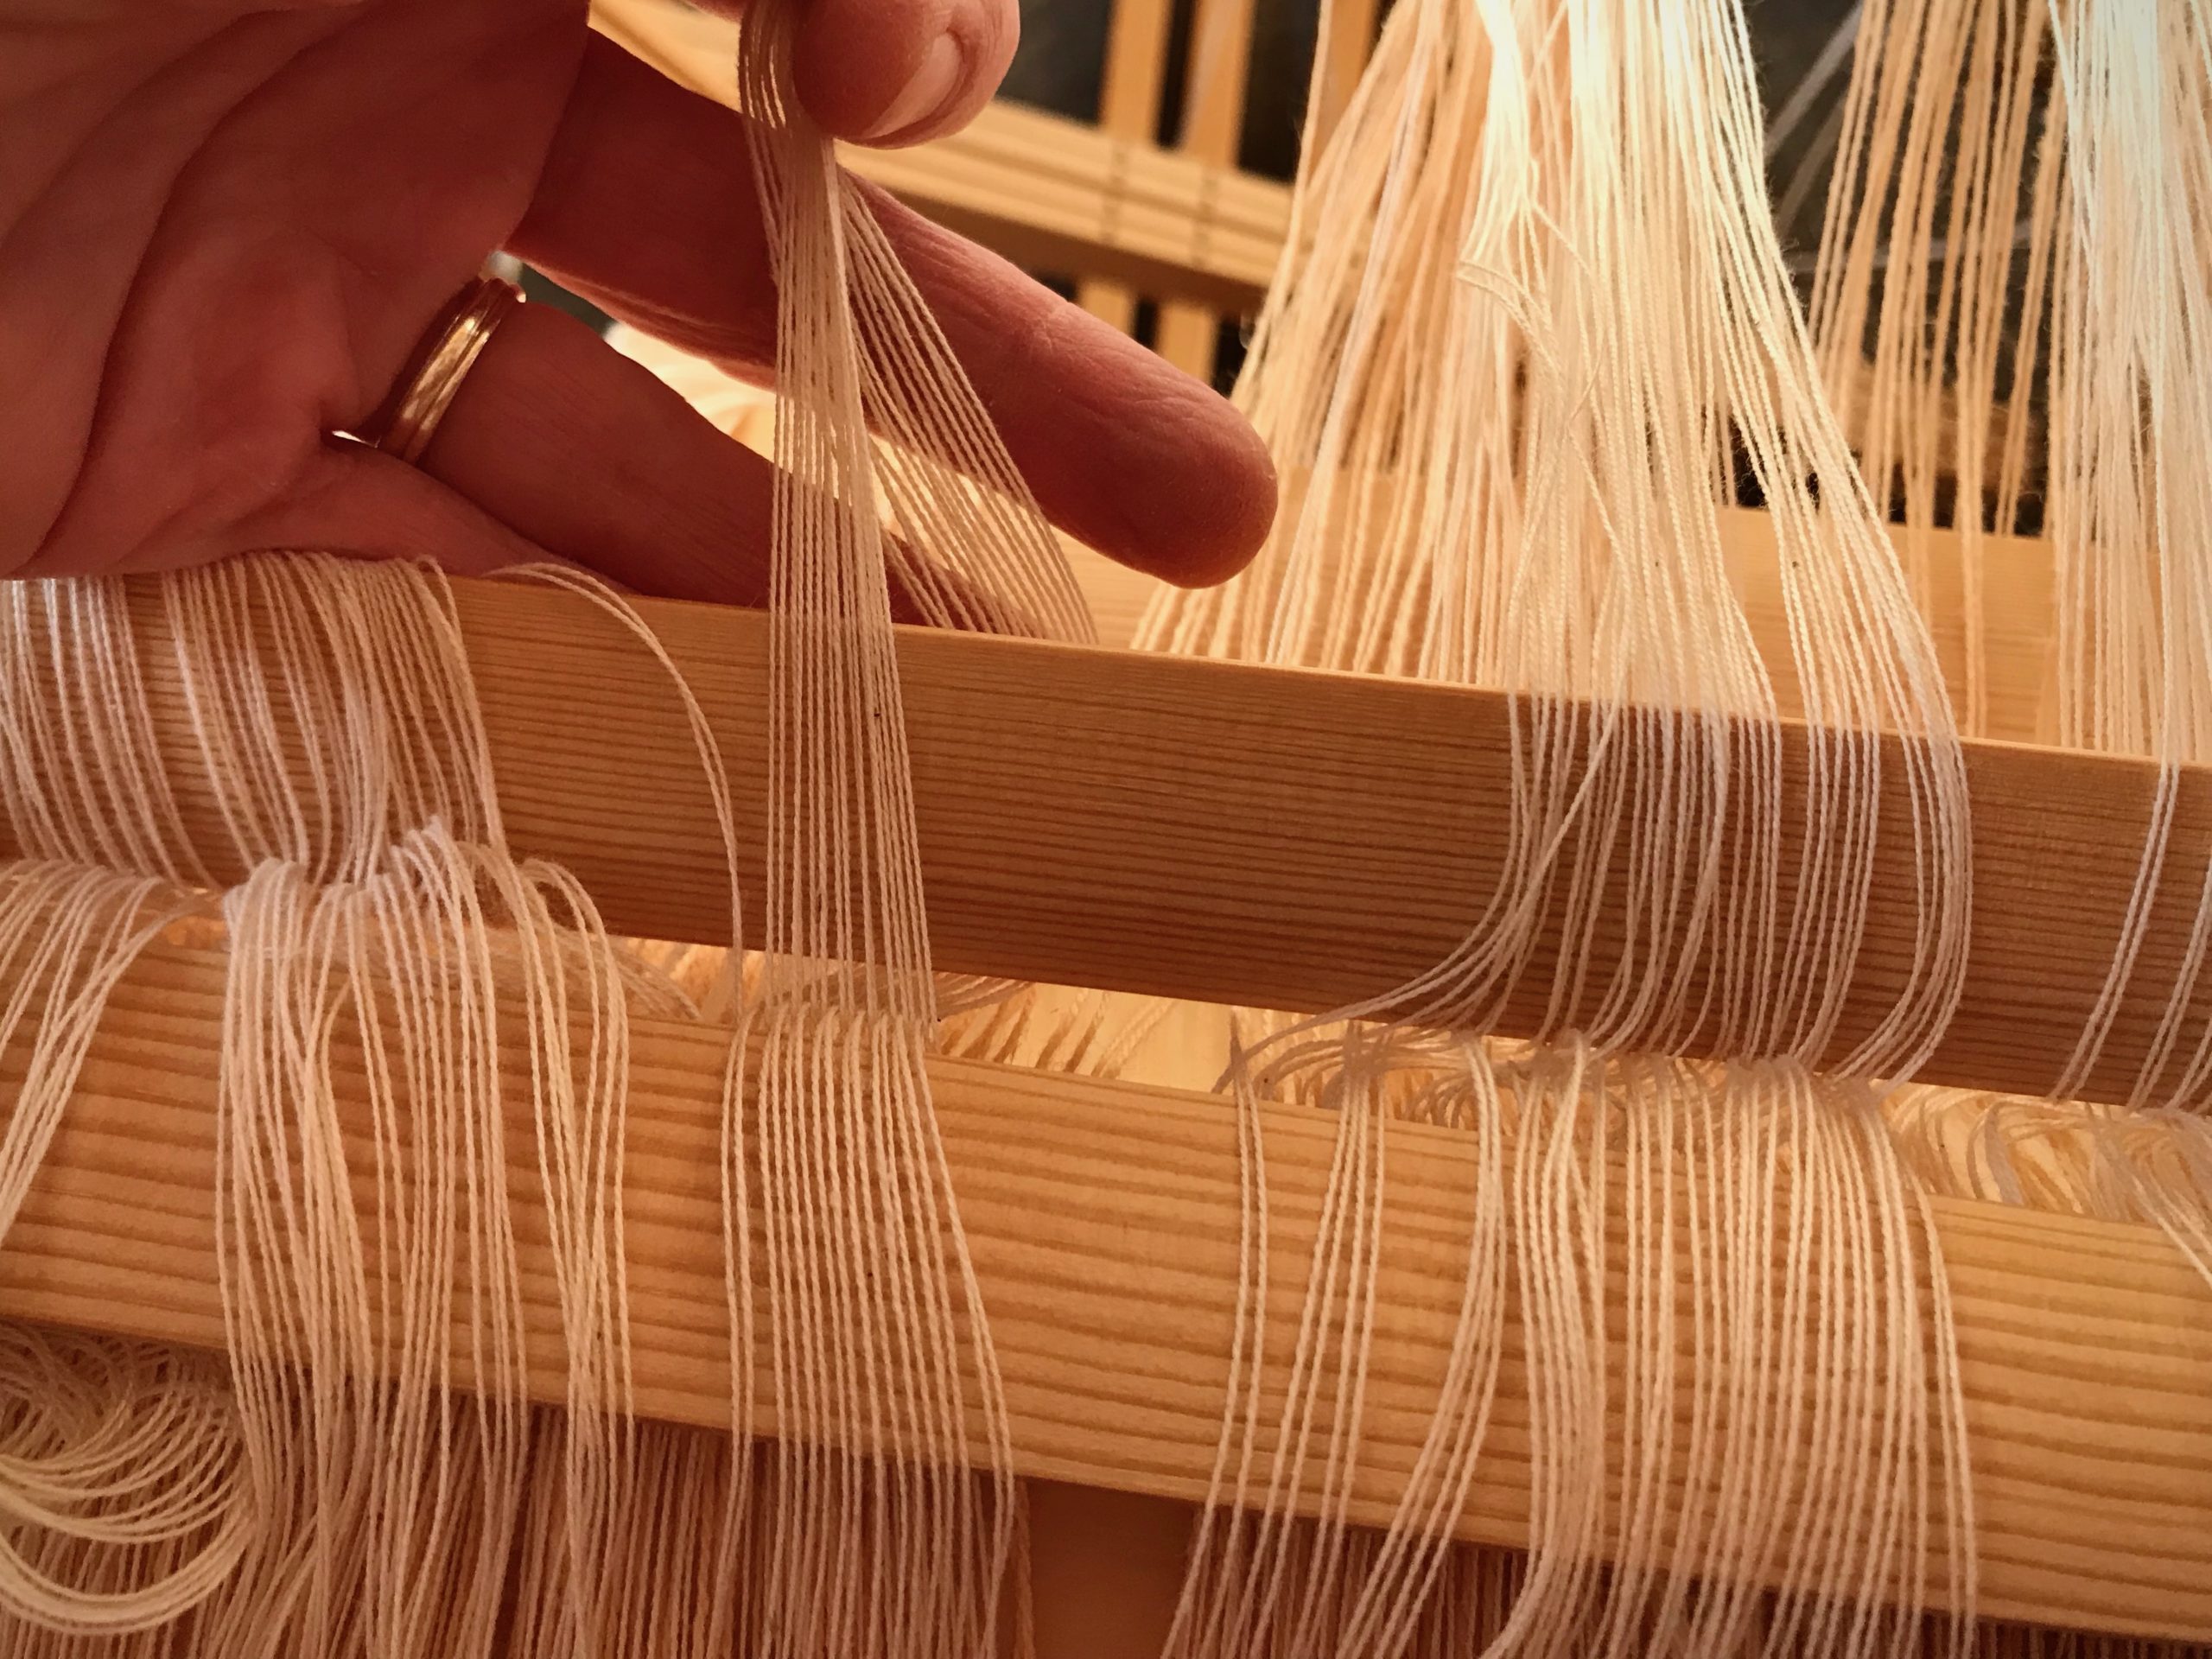
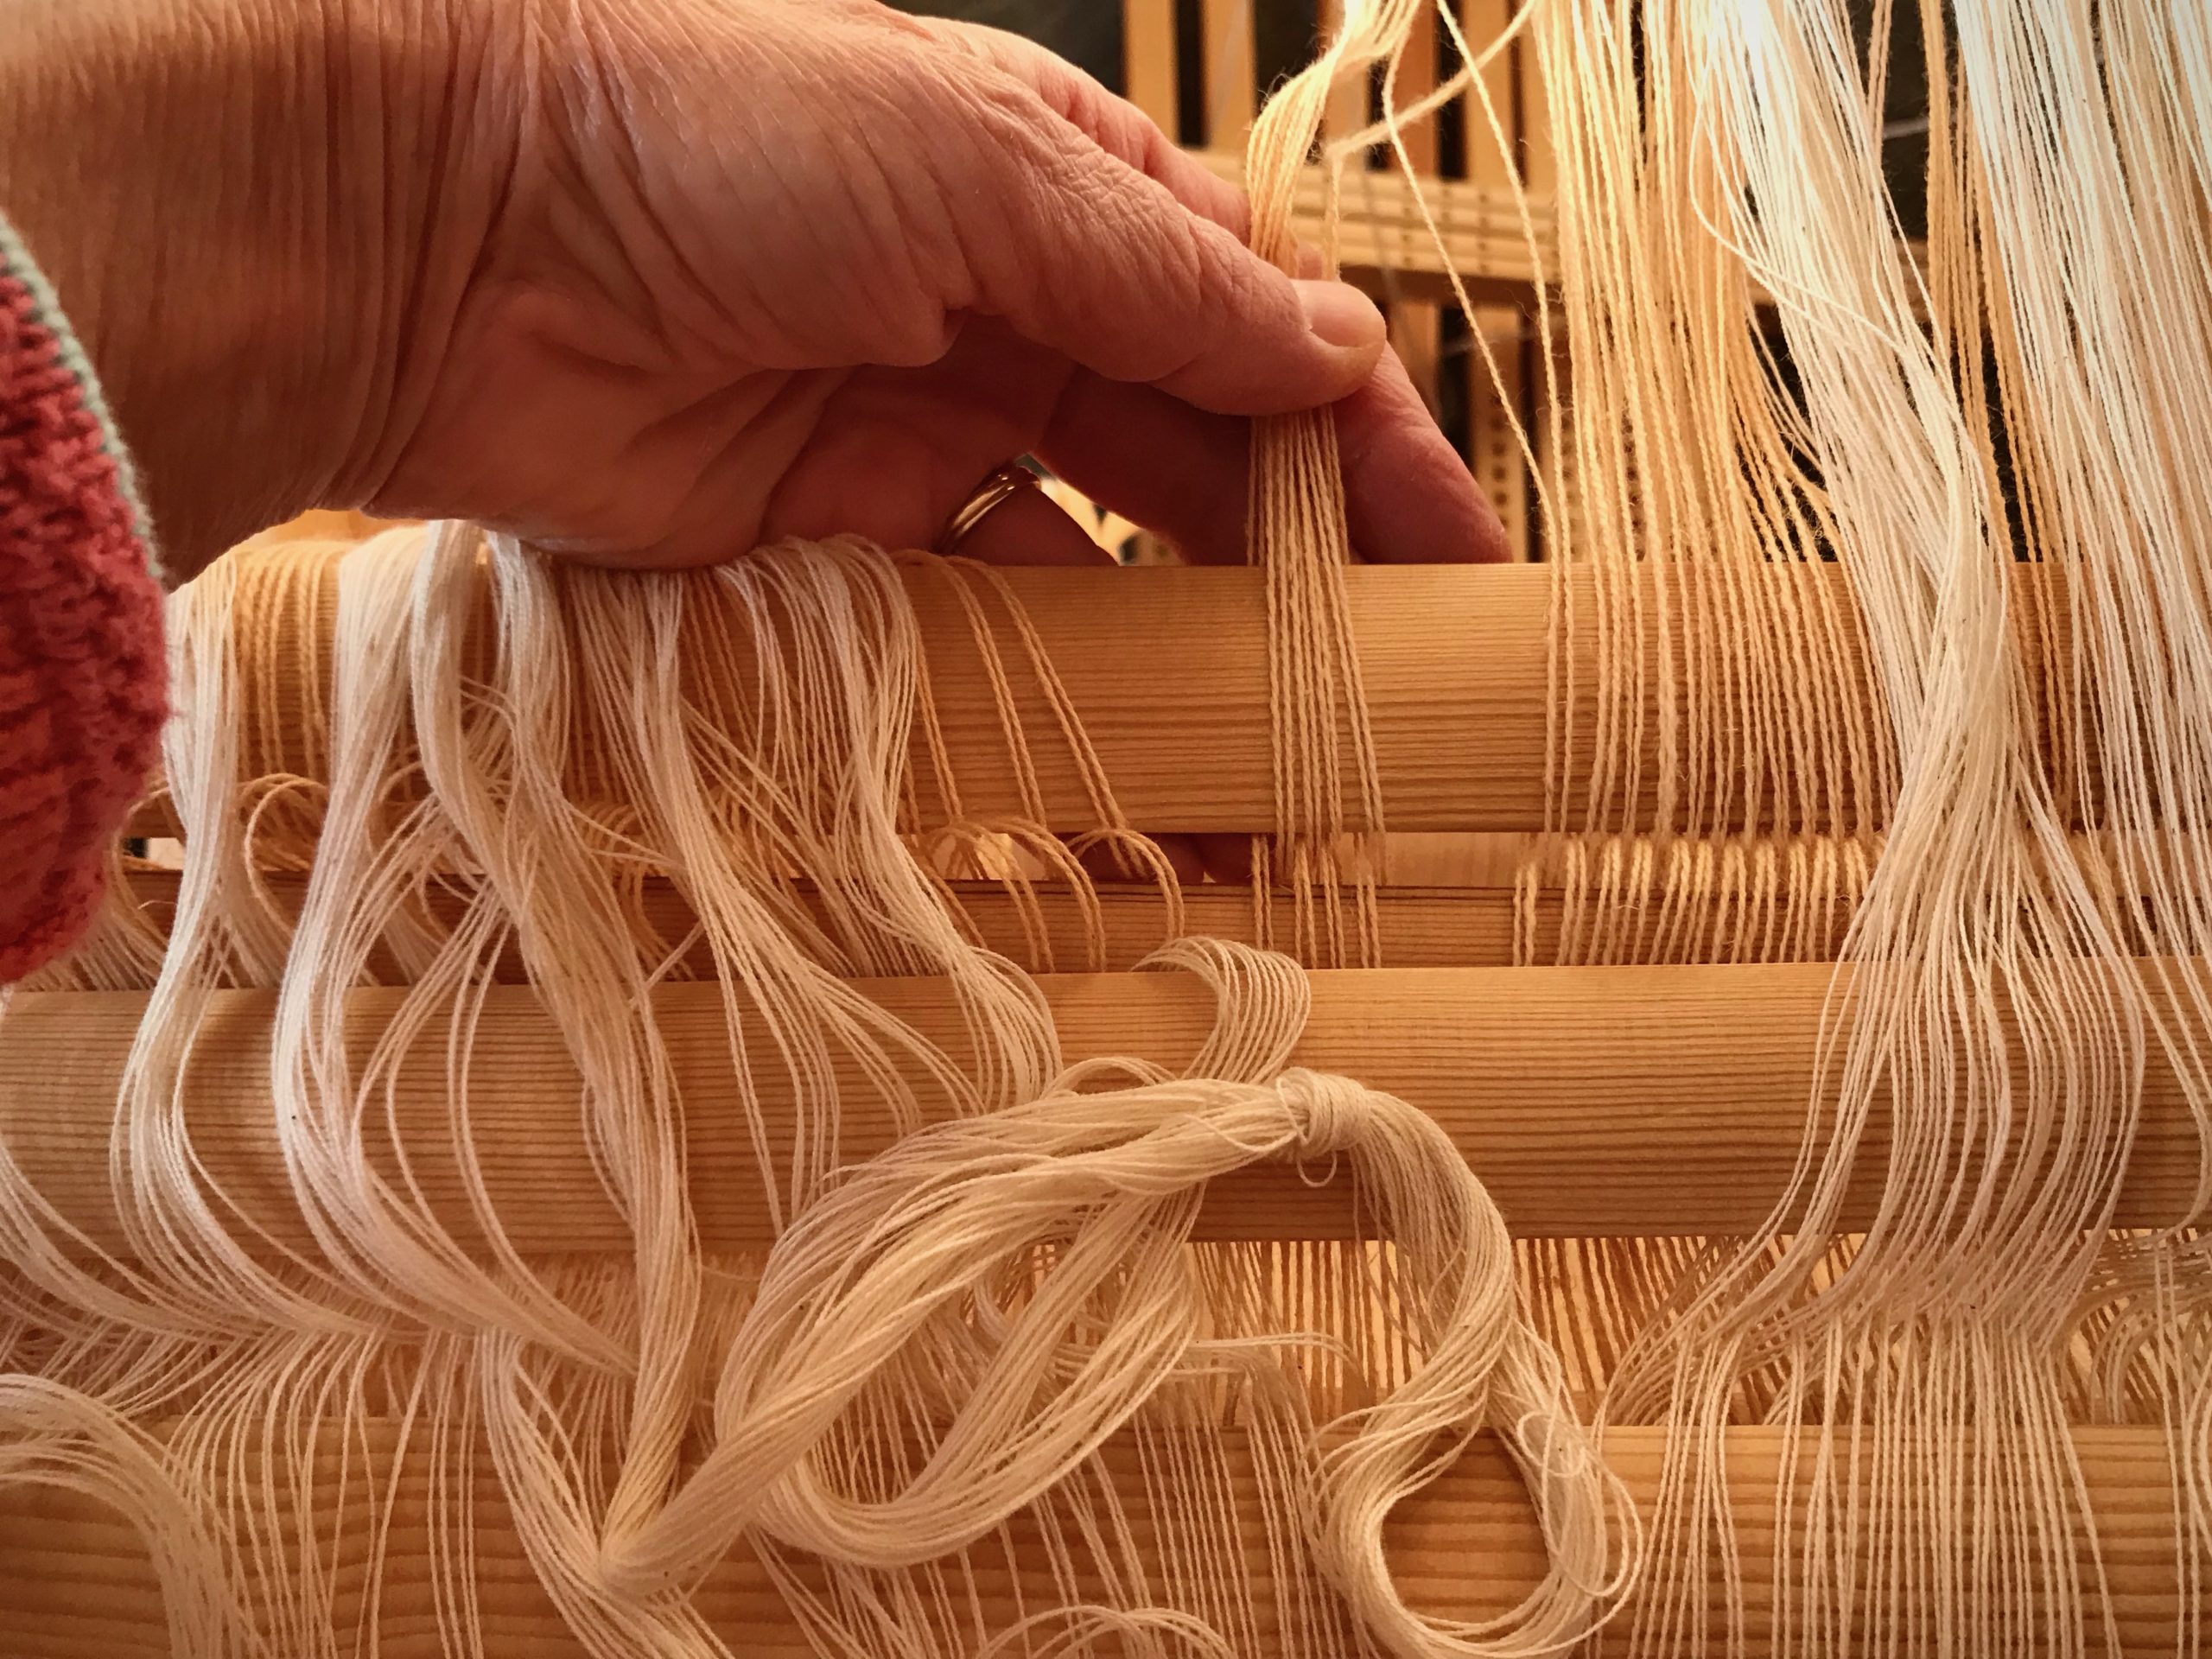
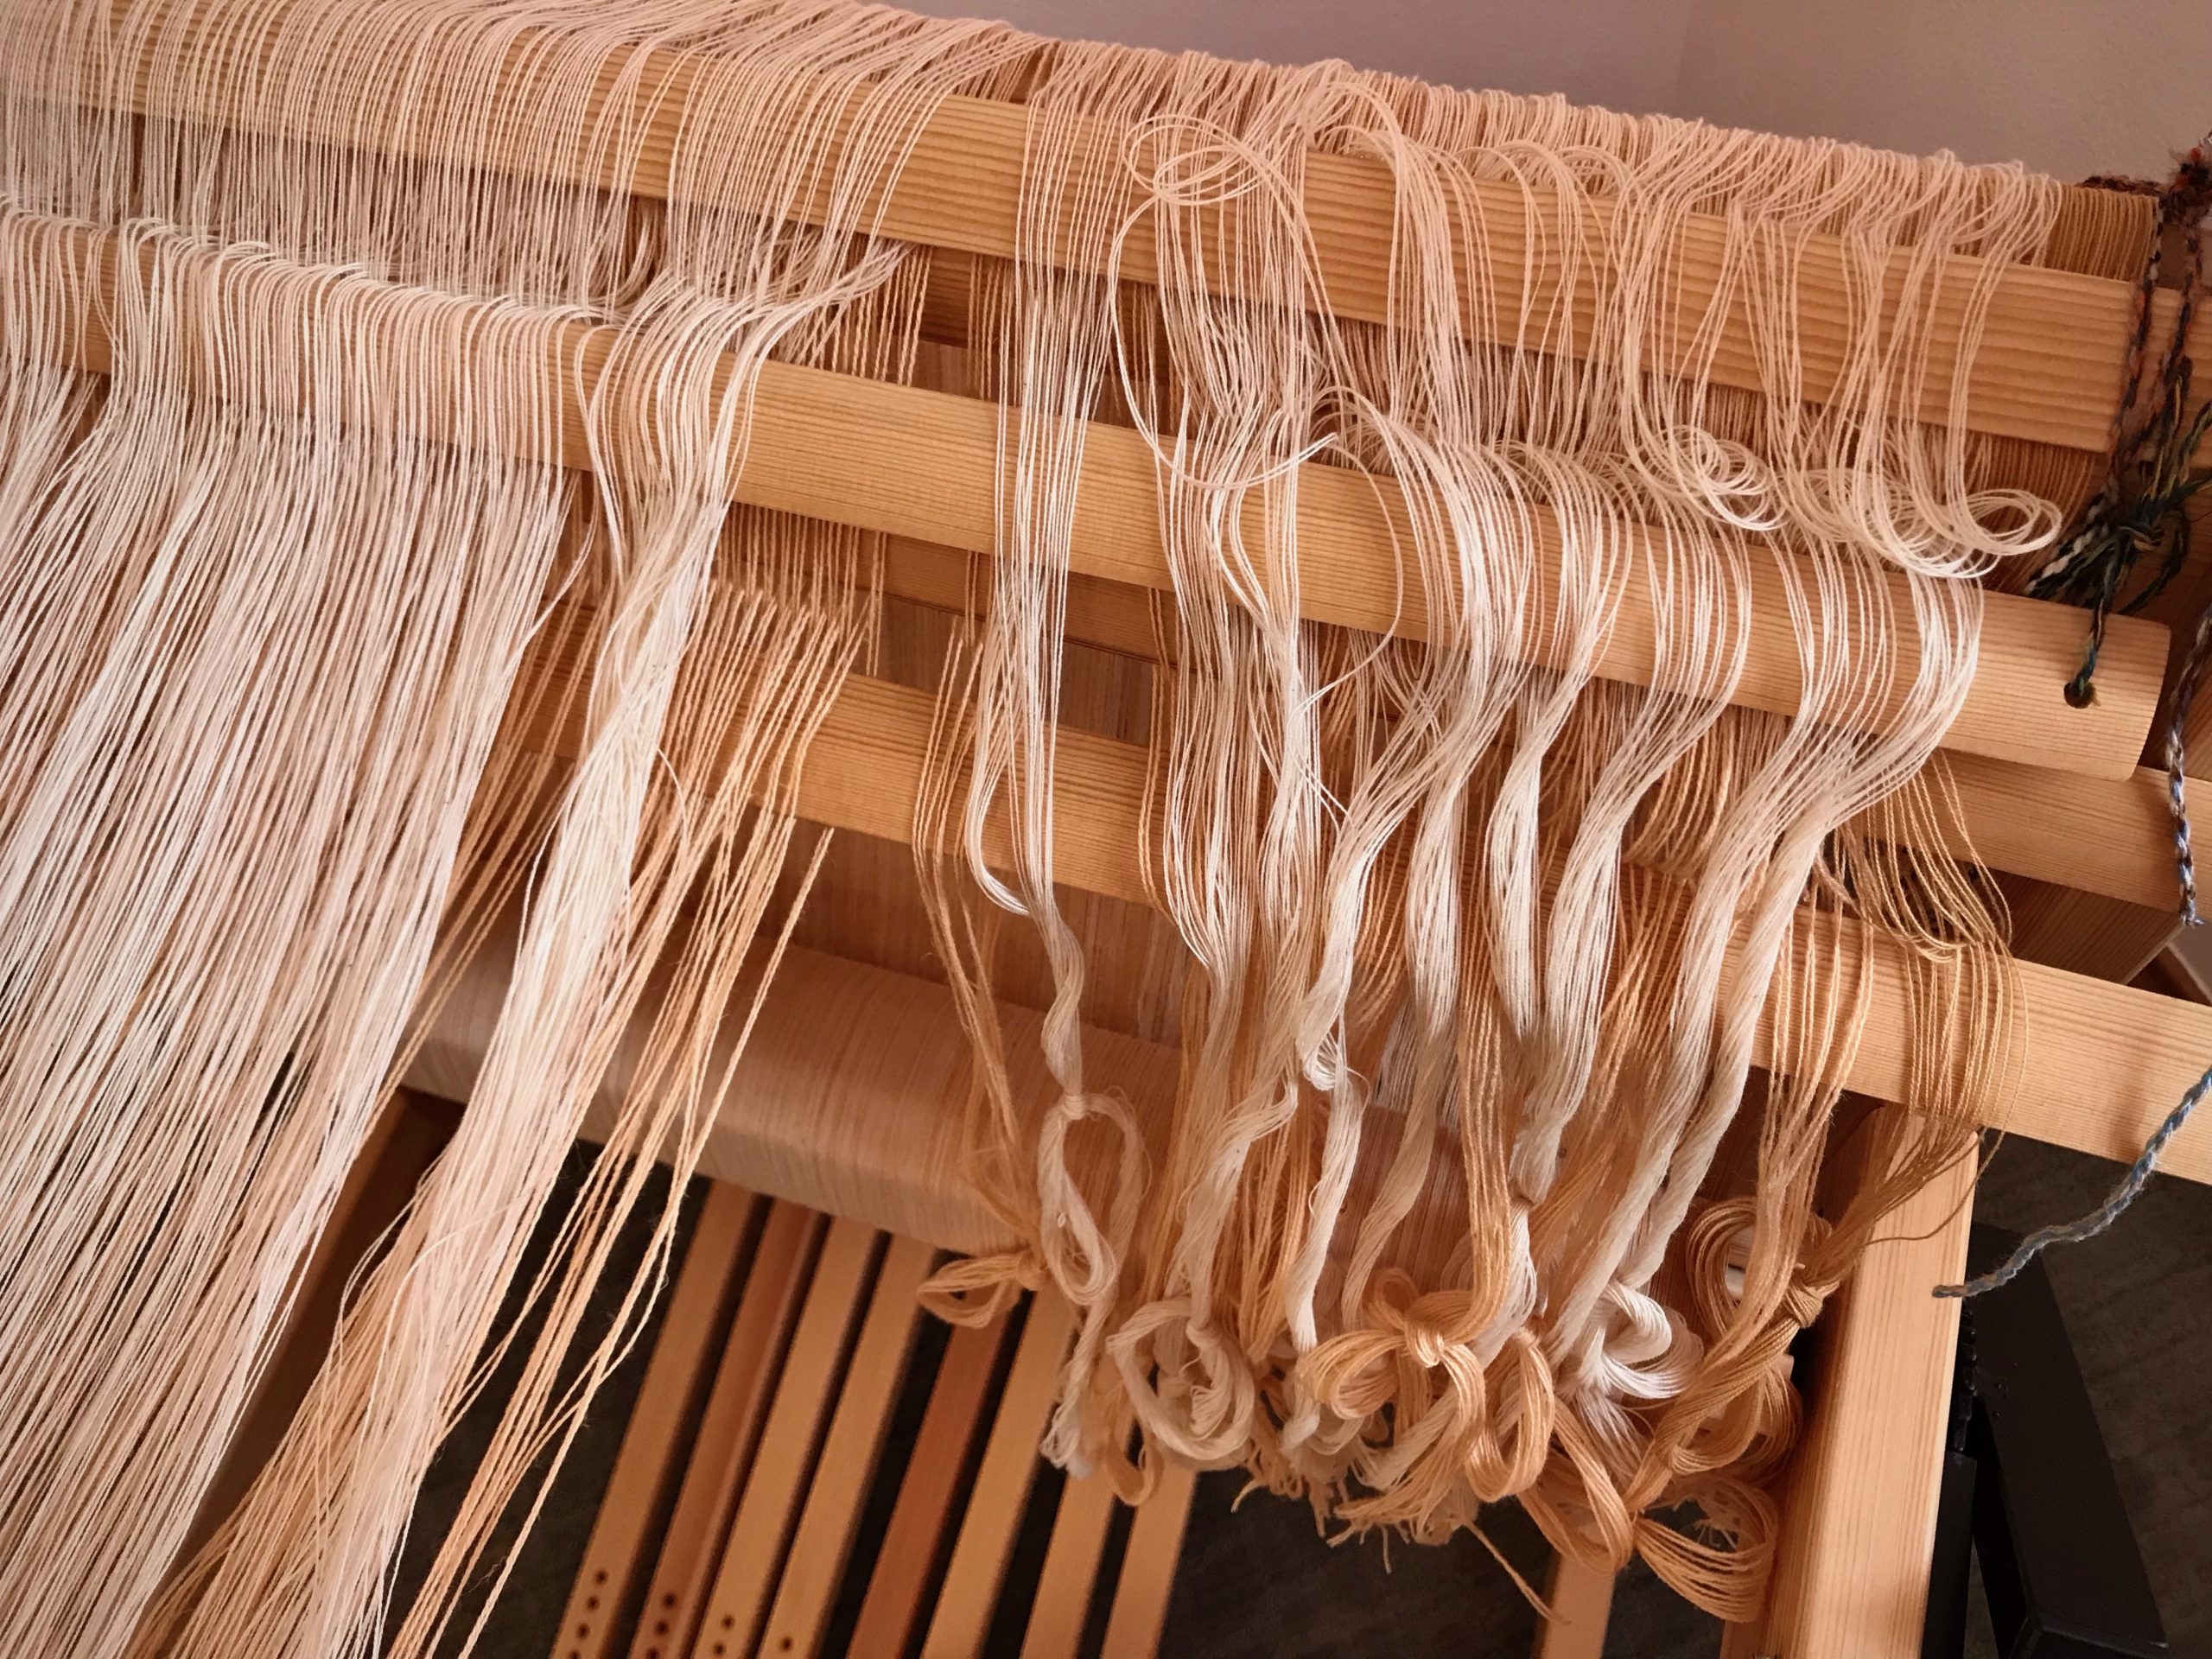
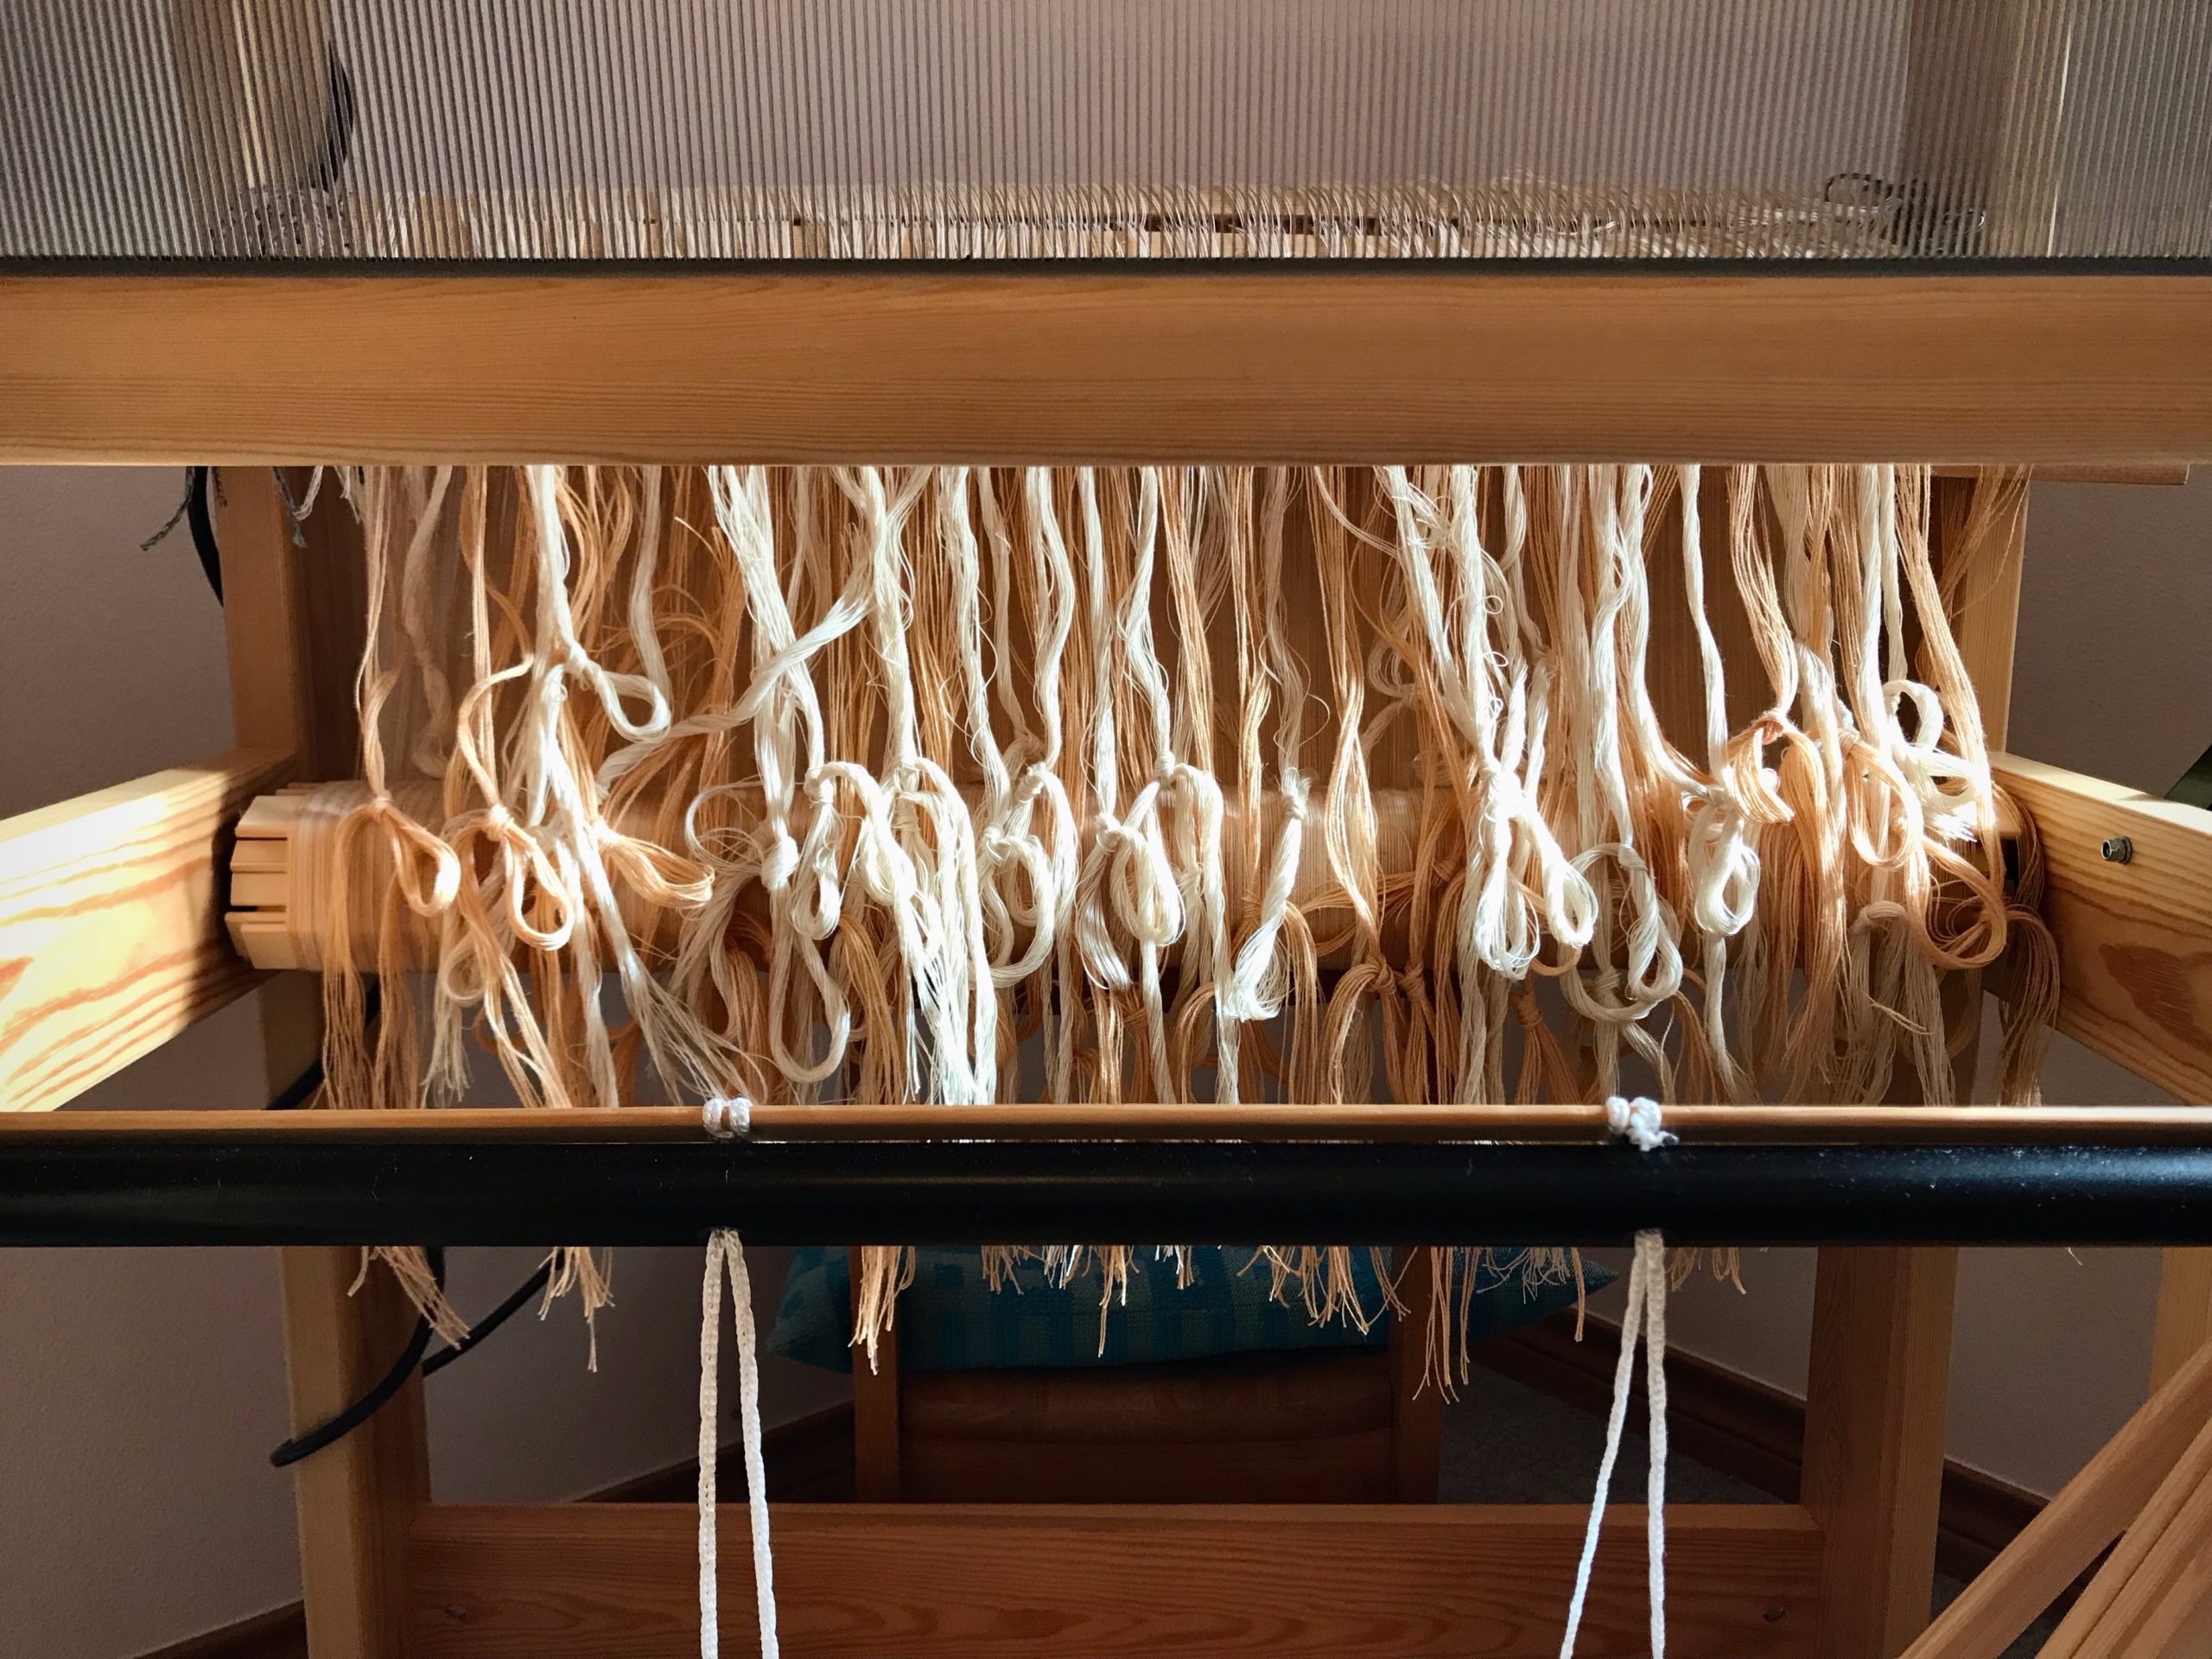
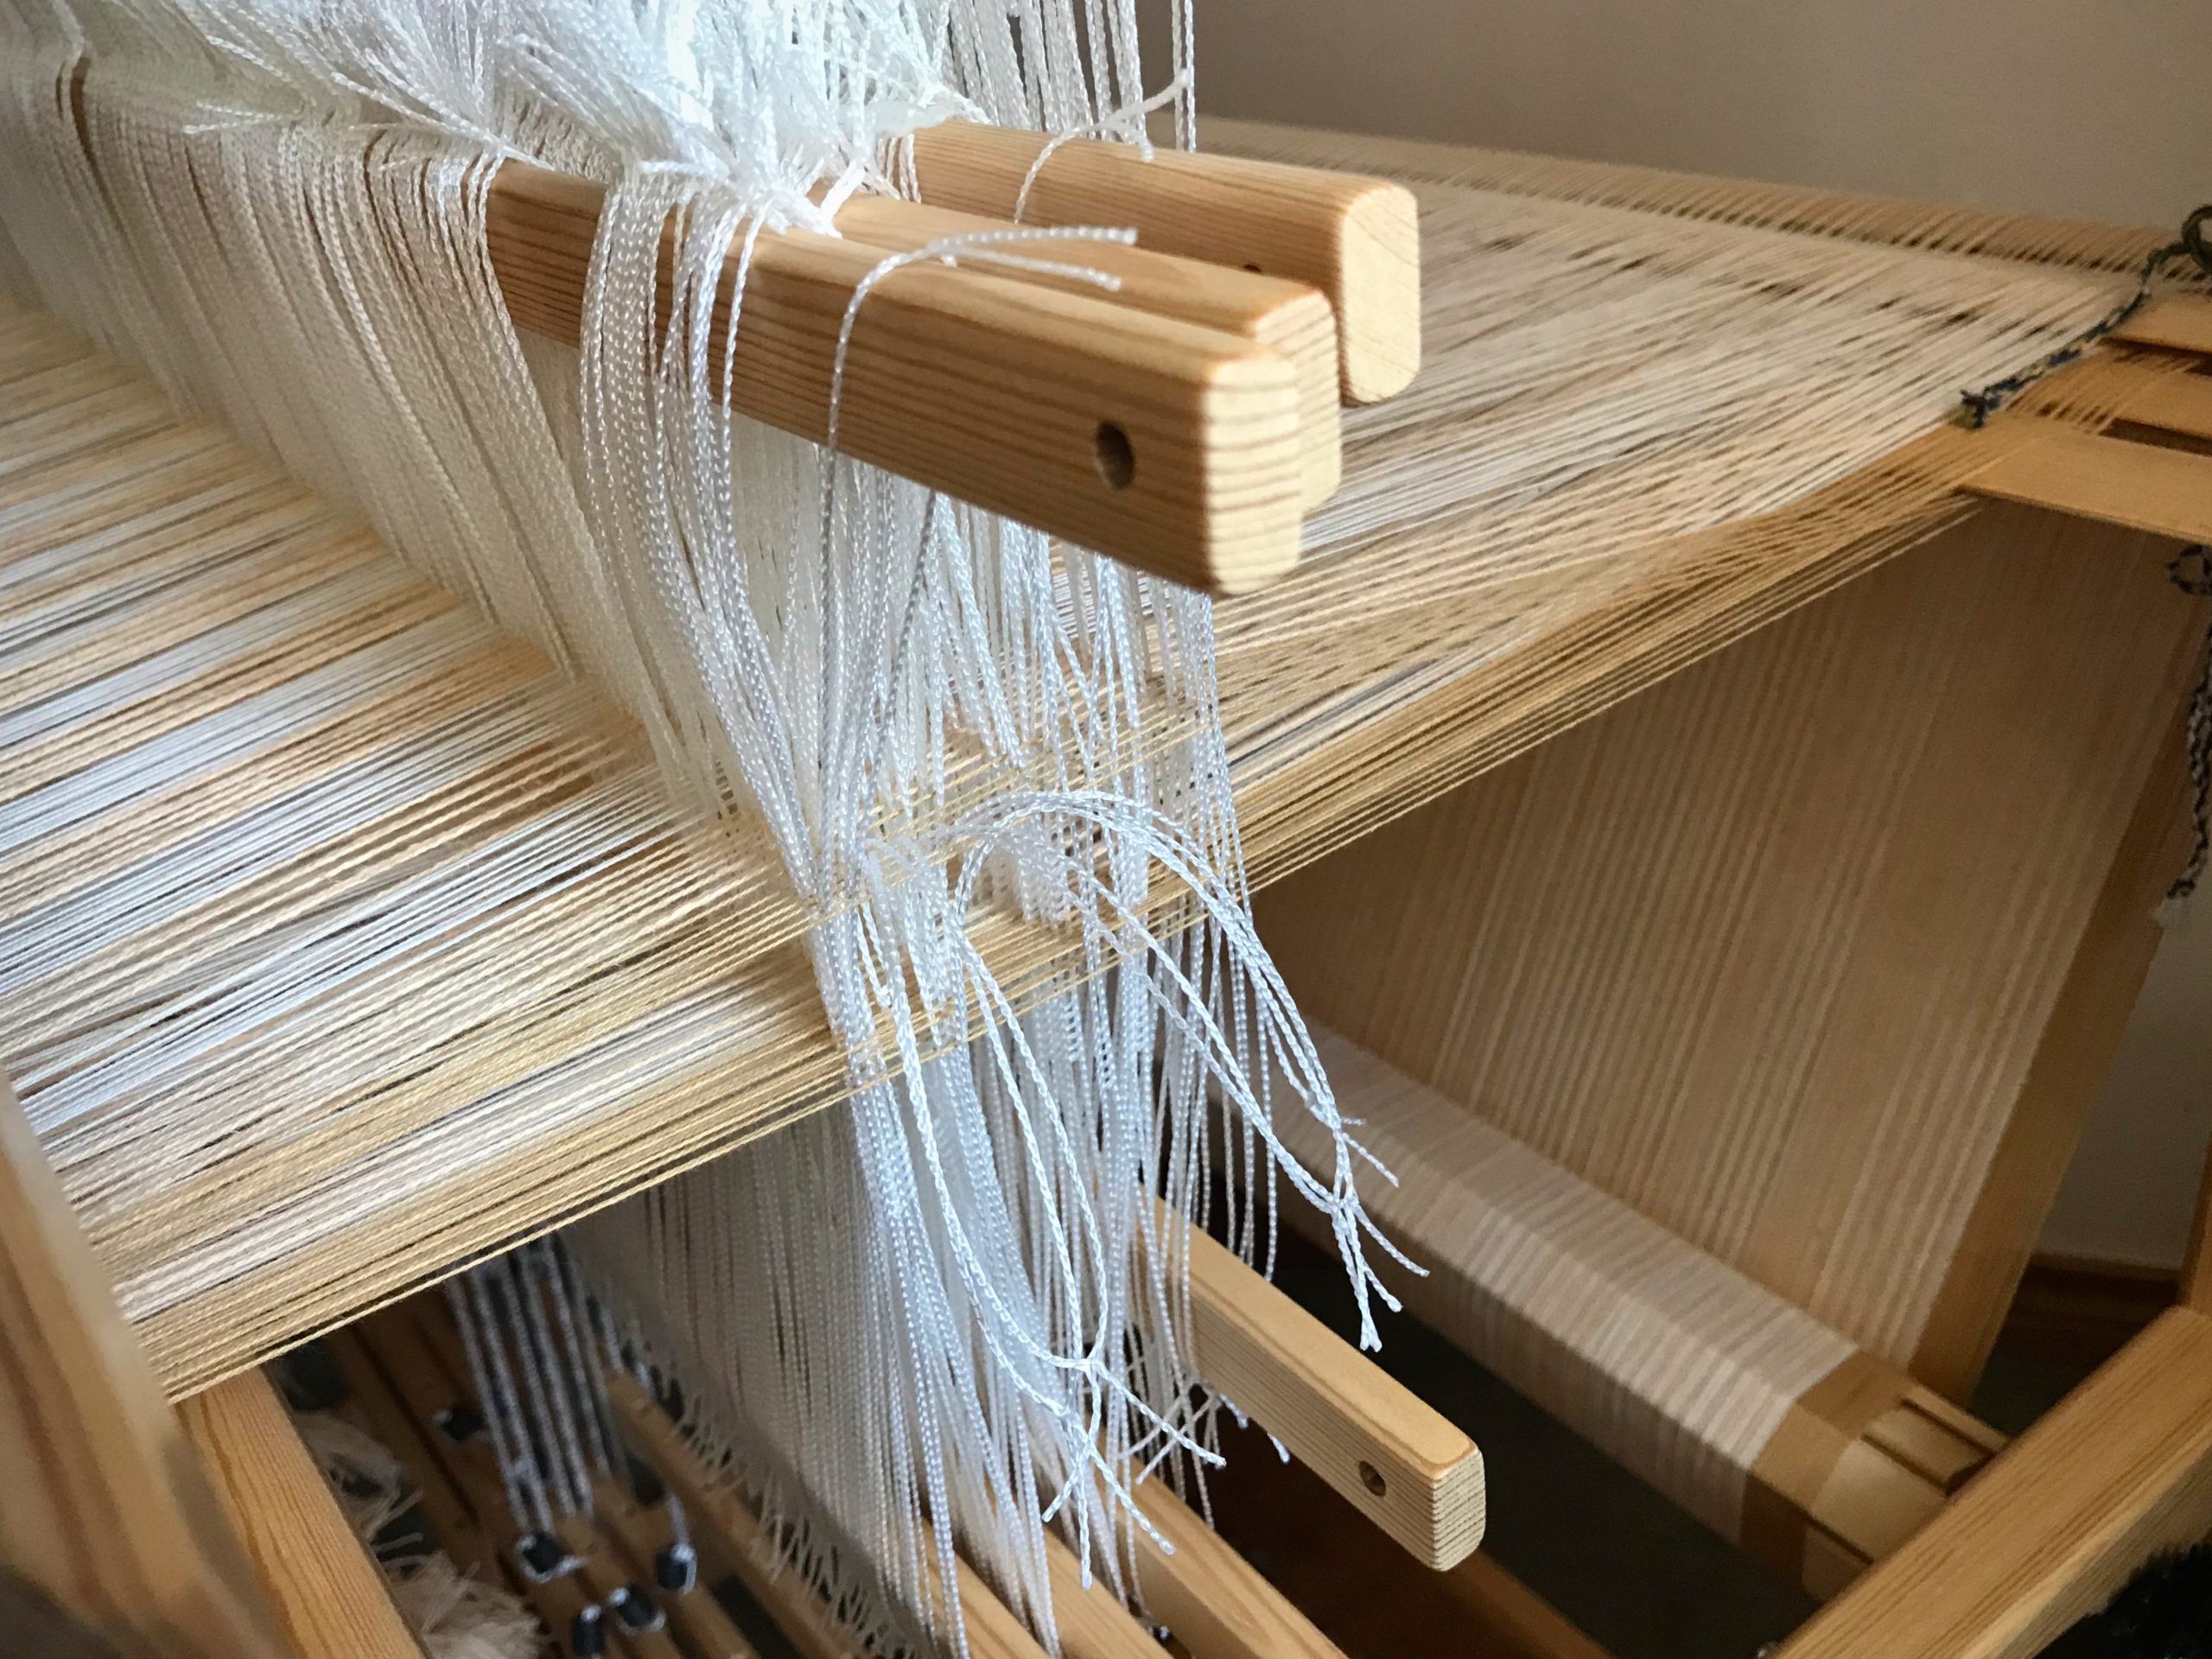
Oops. I took this picture after I had fixed most of the mess created by dangling heddles. When heddles slip off shafts they must be put back on thread by thread to maintain correct warp order. These were tangled enough that it took me a few tries to get it right.


Tie Retaining Cords on Shafts

Purpose: Keep Texsolv heddles secure on their shaft bars, especially when weaving a wide warp.

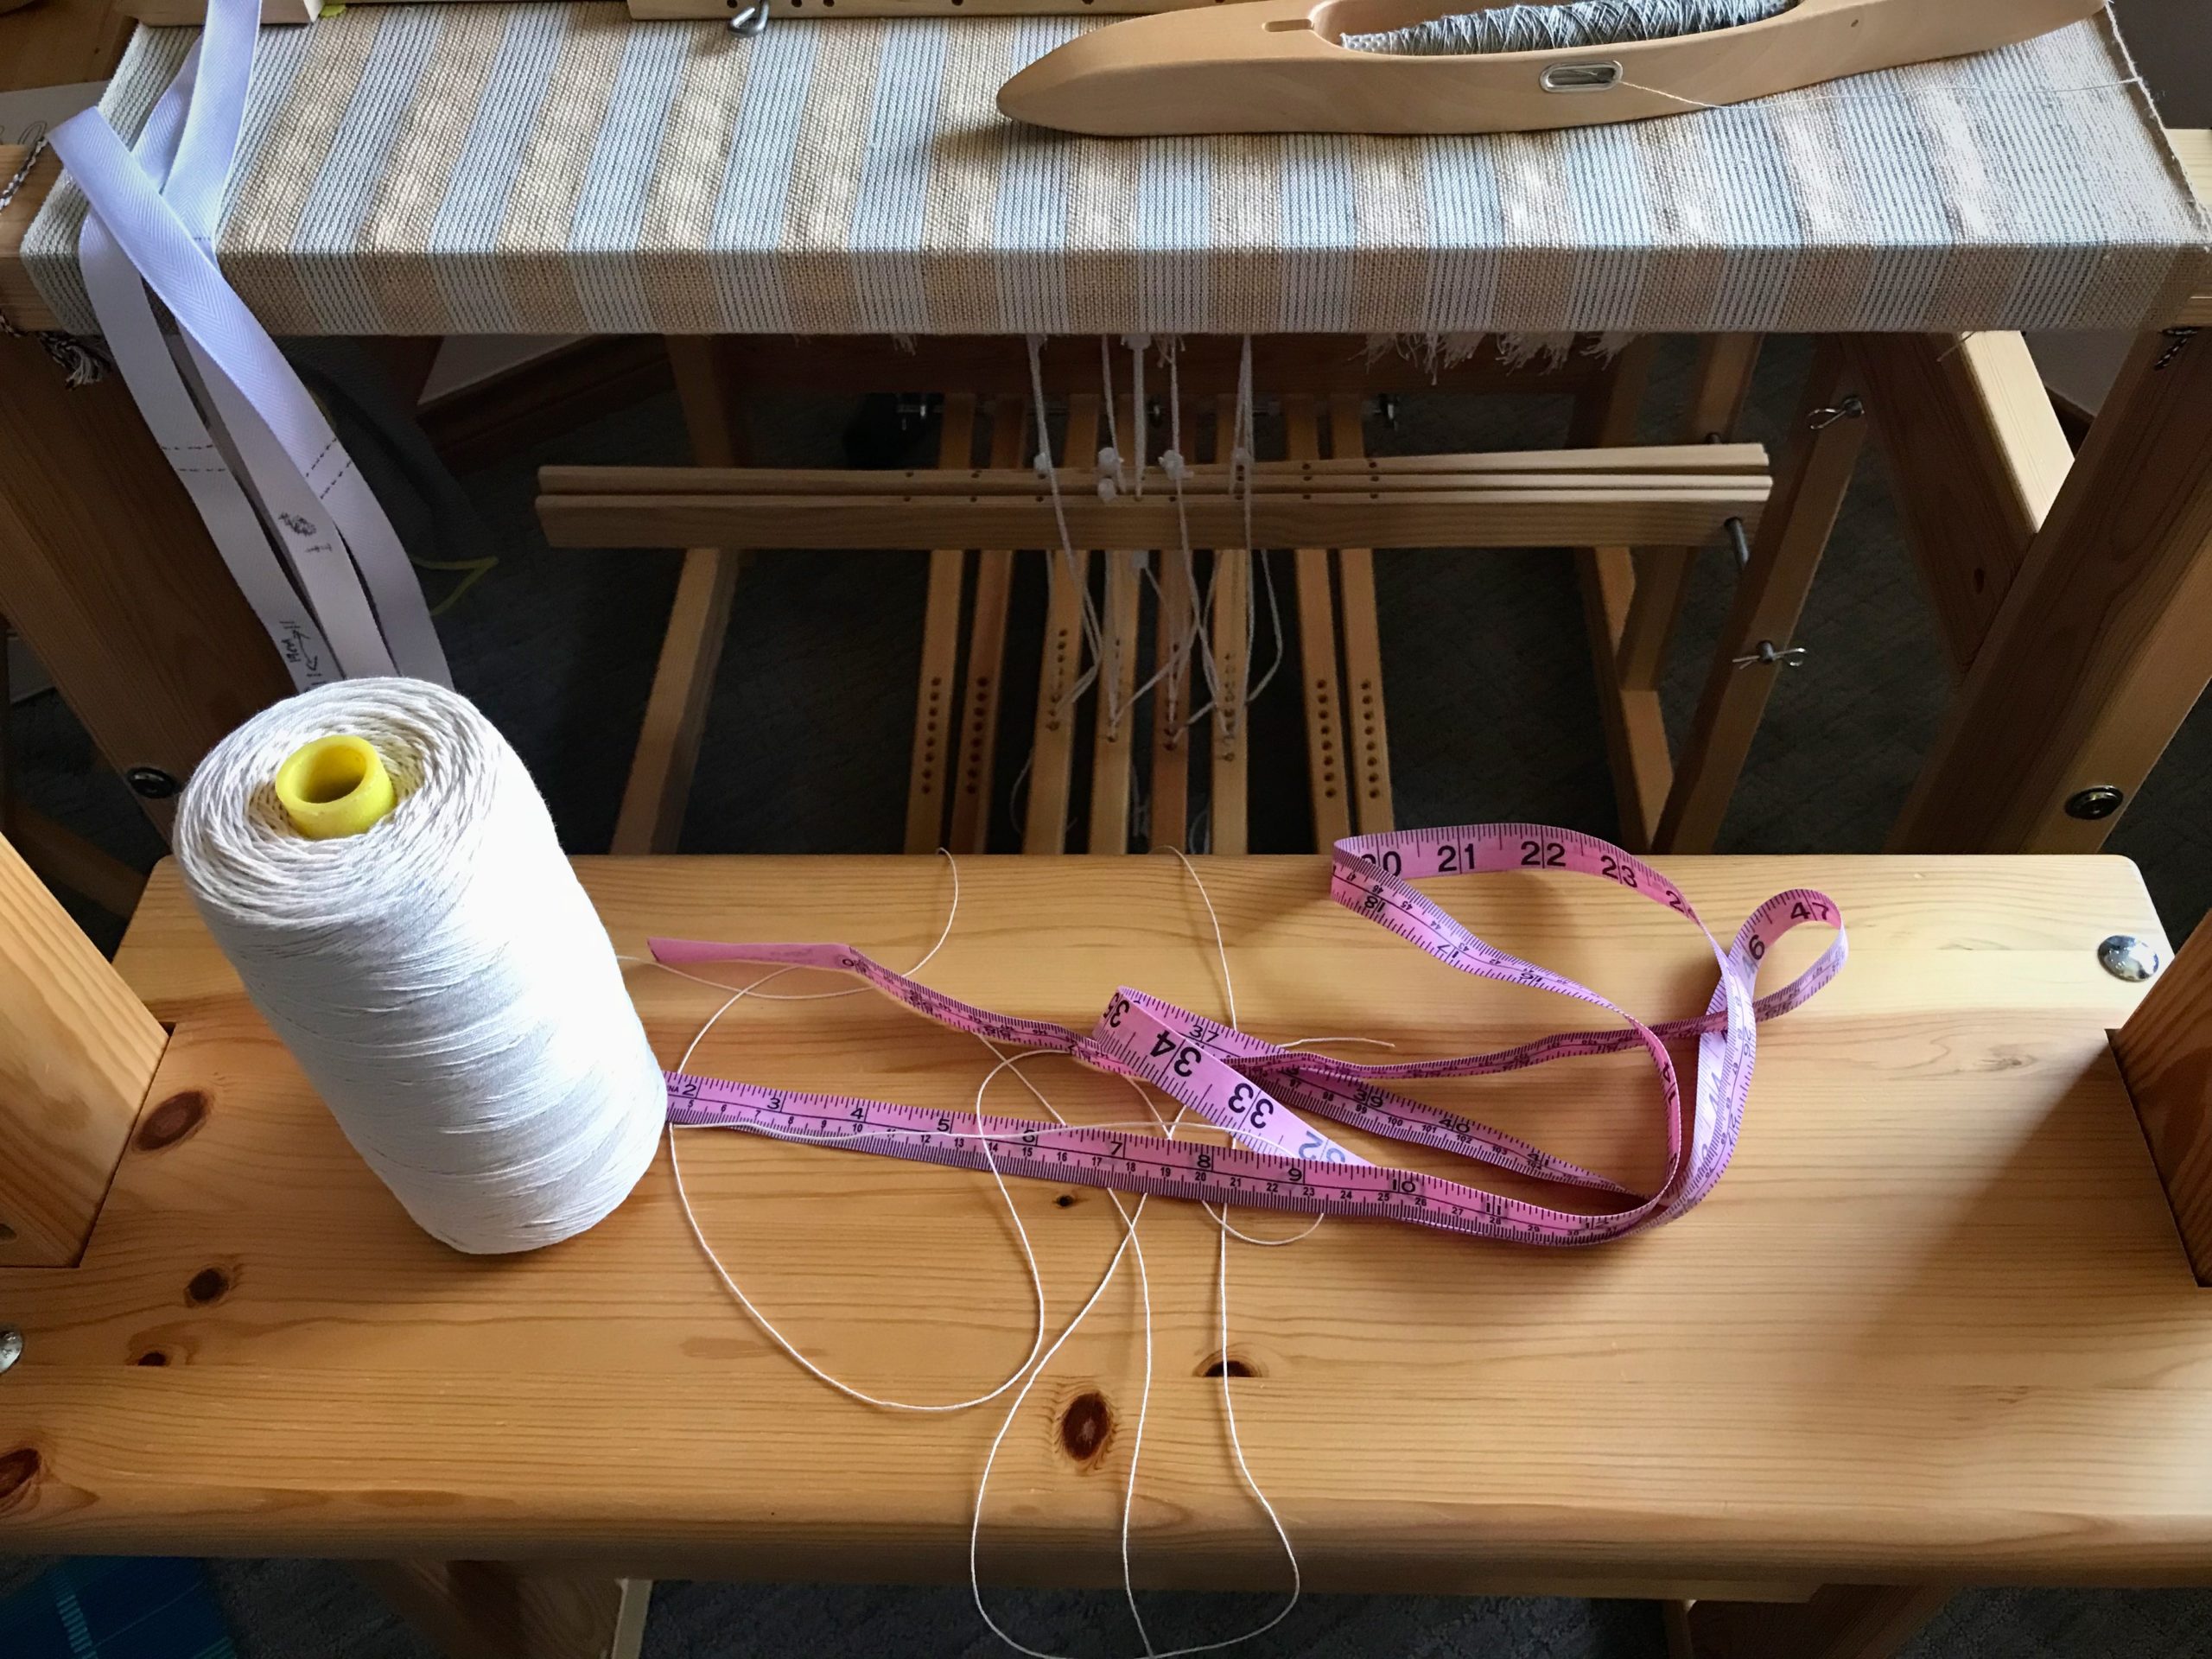
Supplies

  • Tape measure
  • 12/6 cotton seine twine
  • Scissors
12/6 cotton seine twine (rug warp) to the rescue!

1 Measure shaft bar from hole to hole. (Julia shaft bar is 70 cm)
2 Figure additional length (about 40 cm) for tying two knots. (70 + 40 = 110 cm)
3 Cut seine twine to measured length for each upper and lower shaft bar. (Heddles can slip off lower shaft bars, too.)
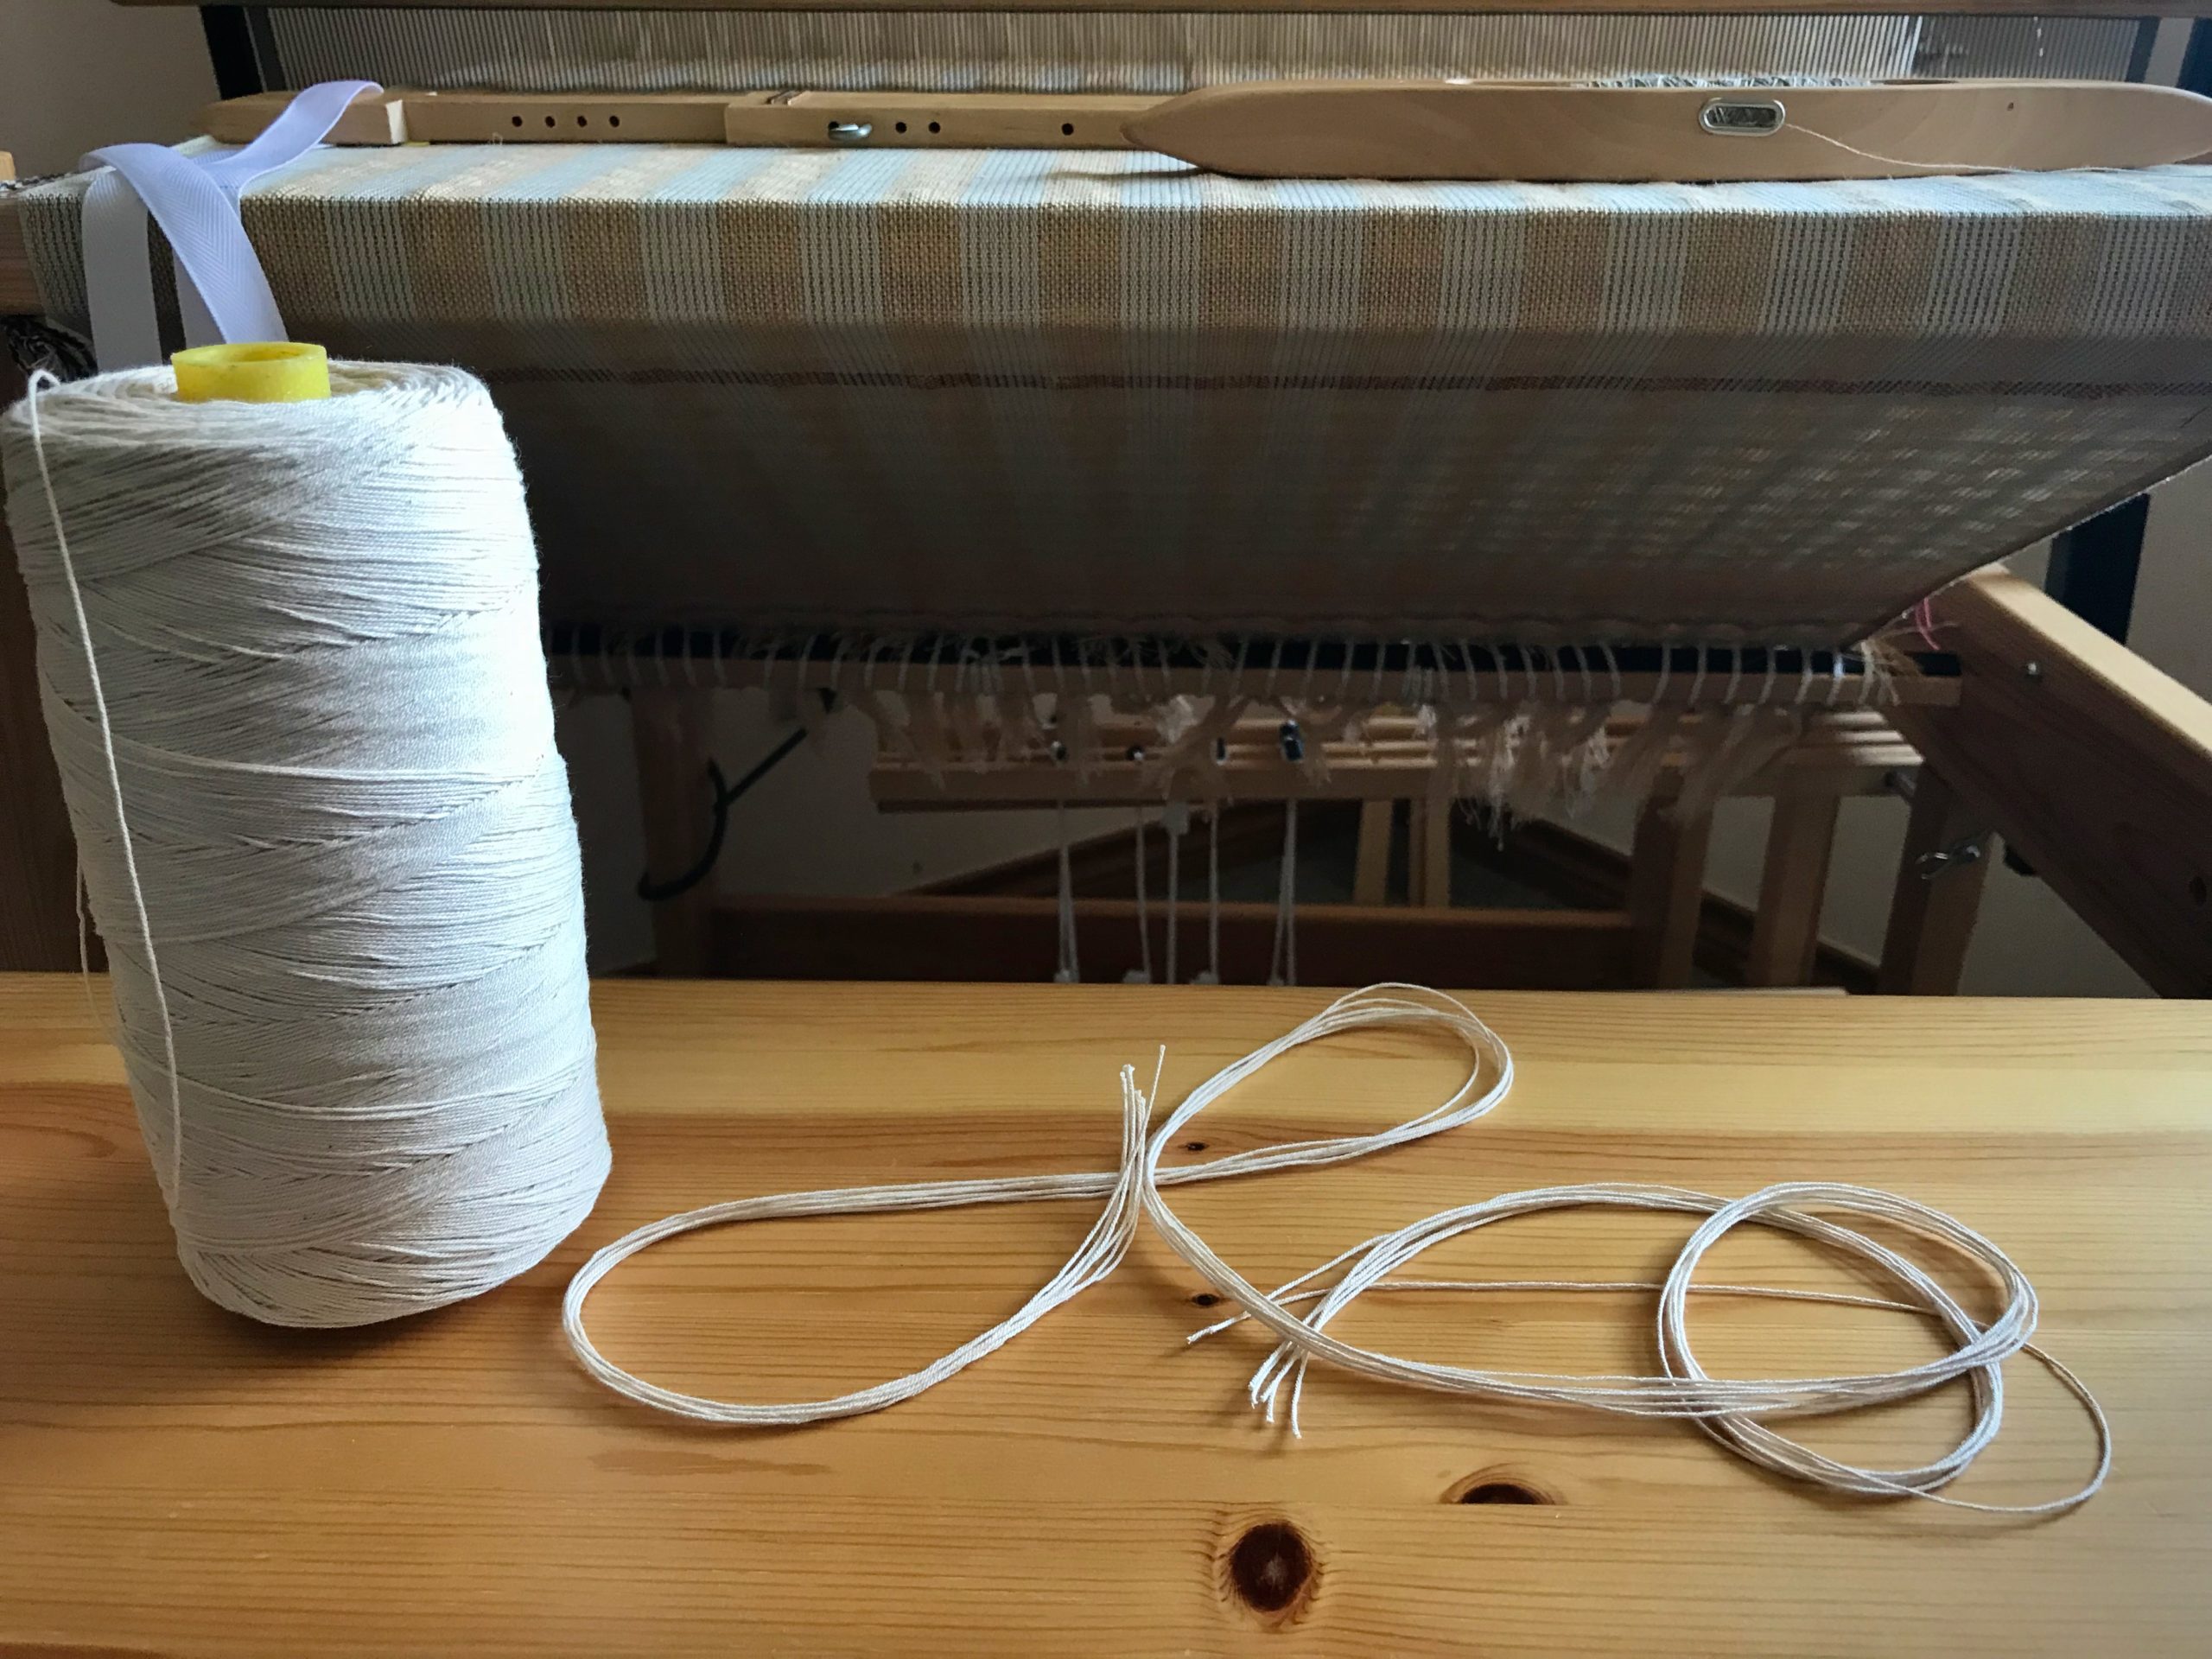
Retaining cords are cut.

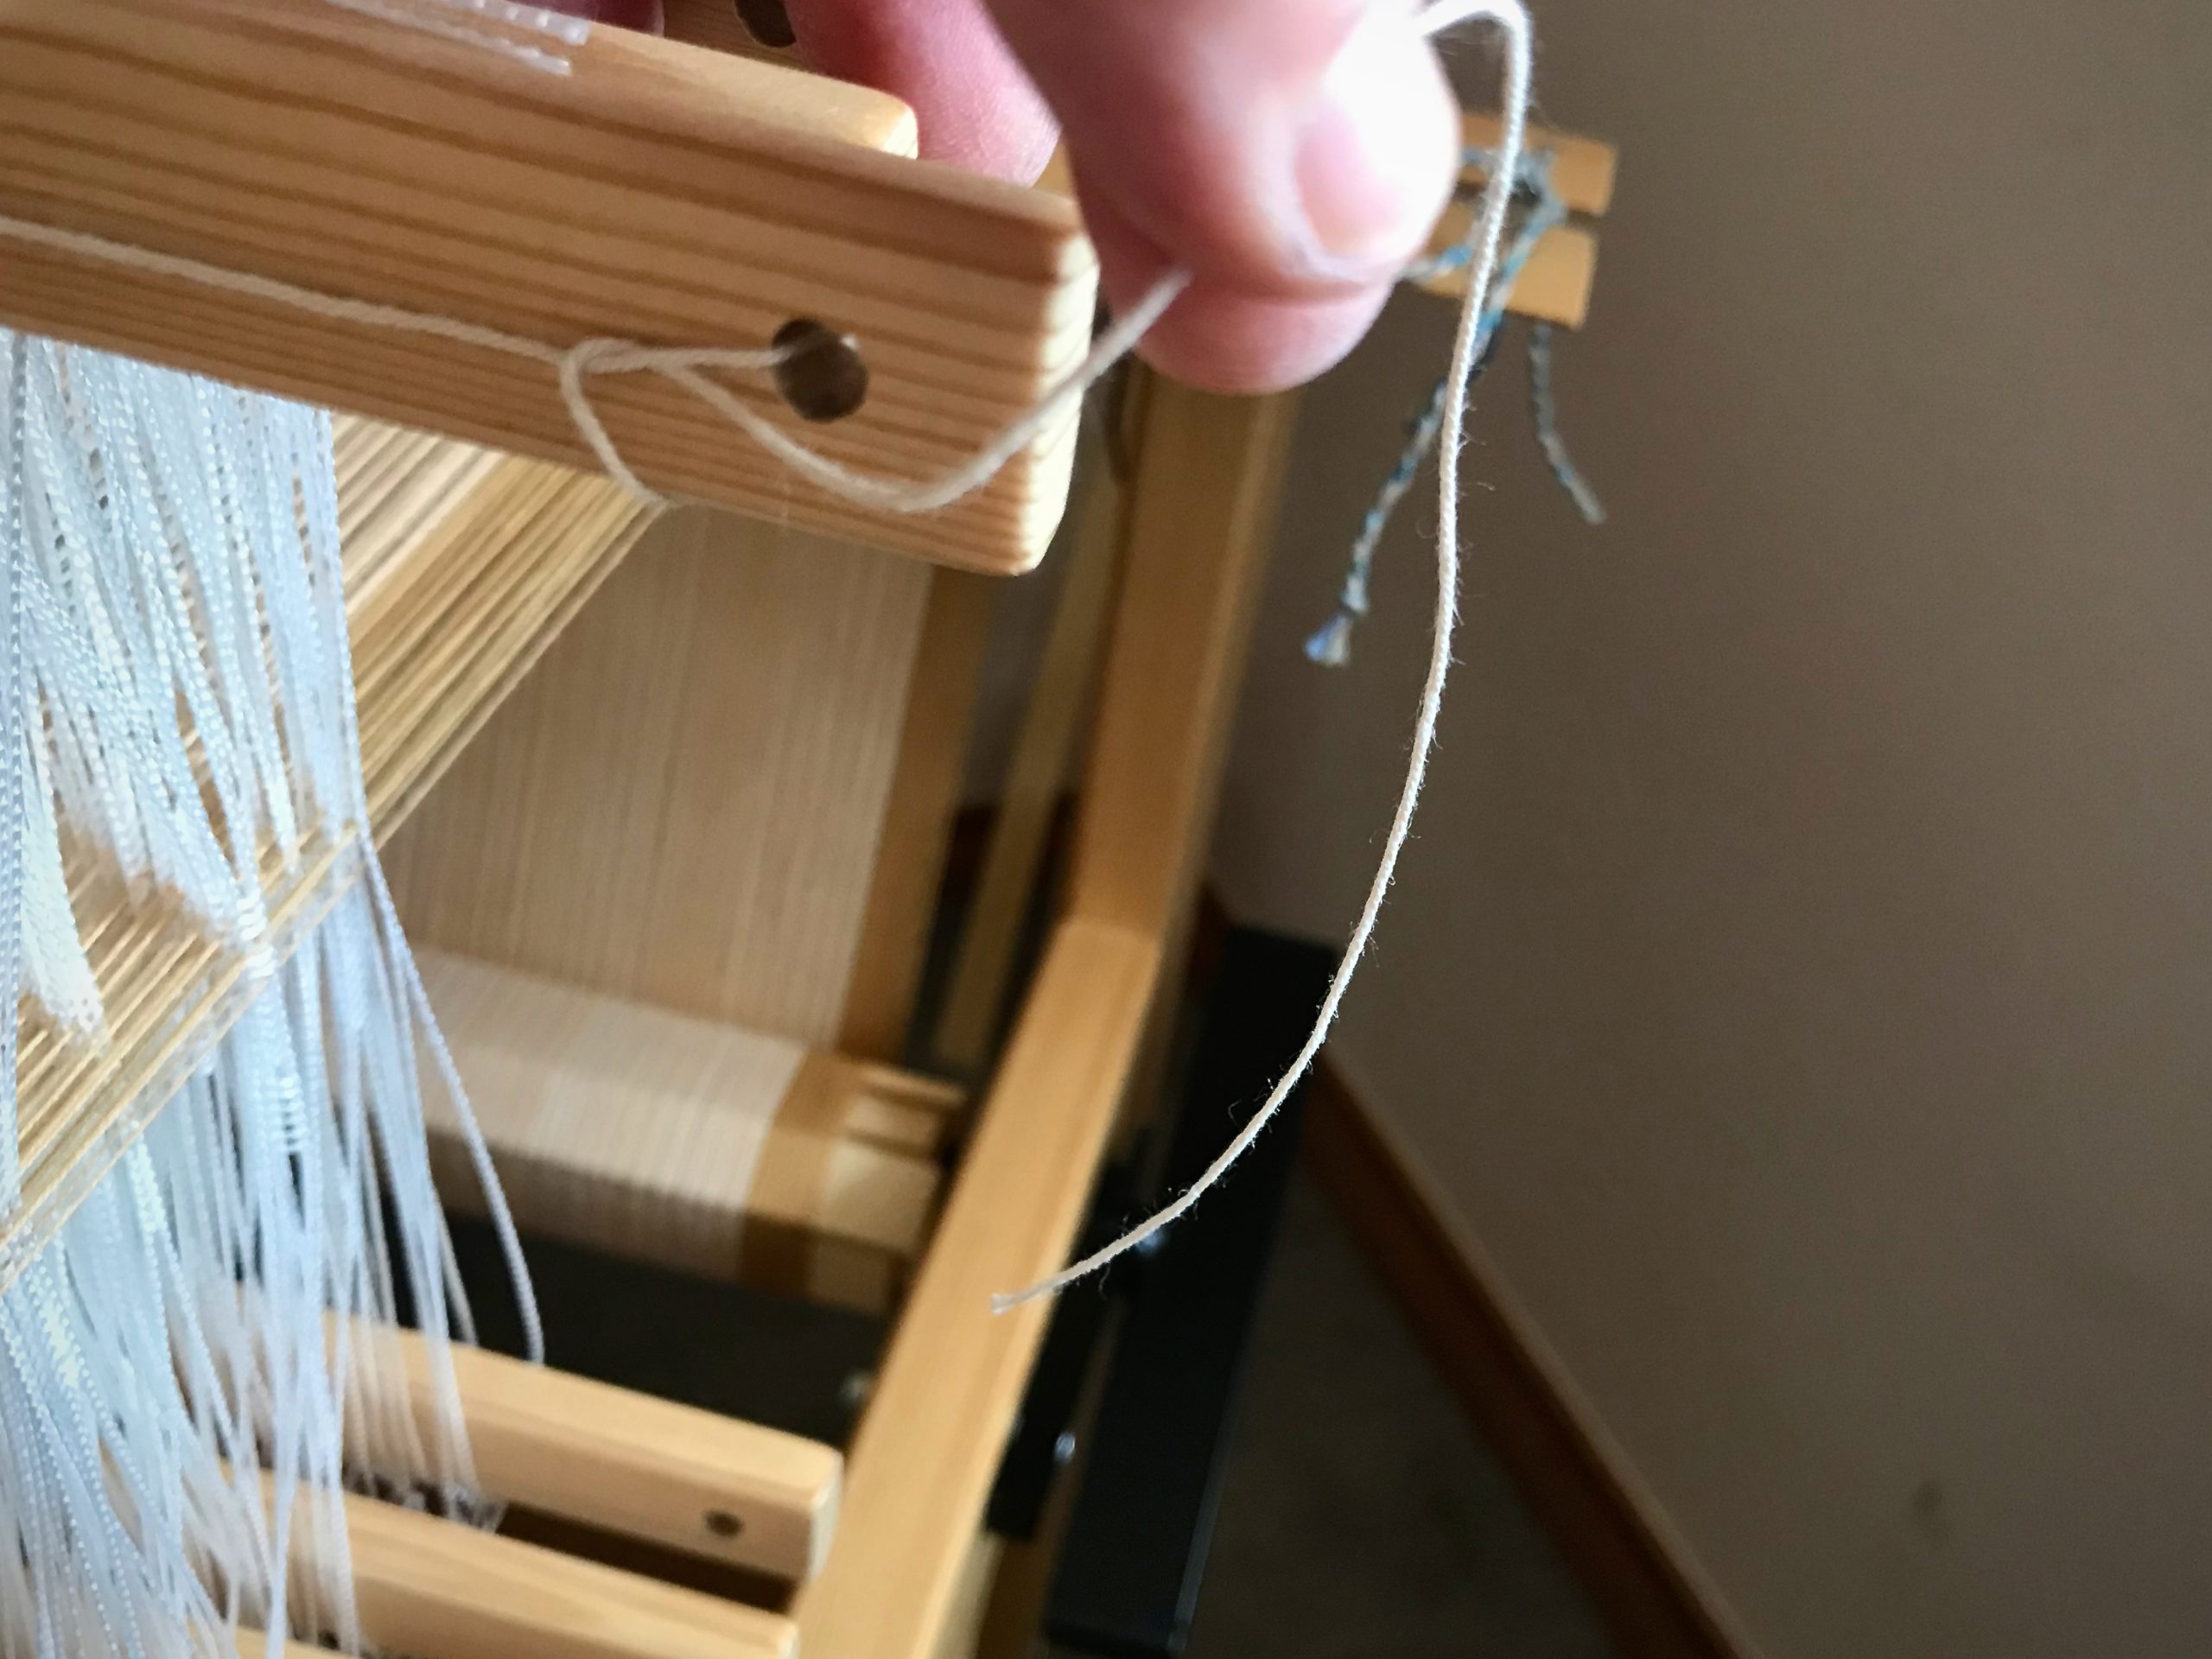
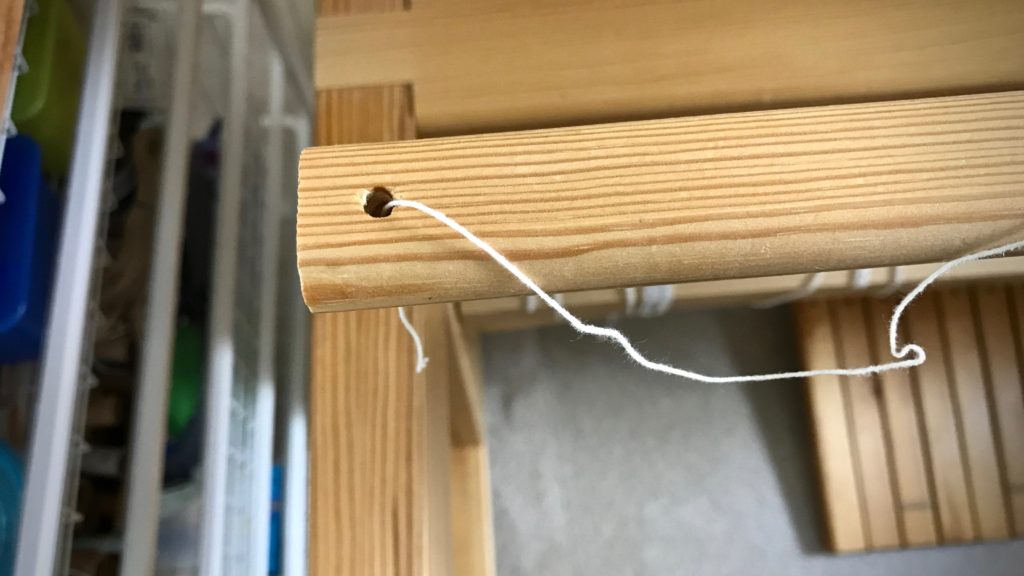
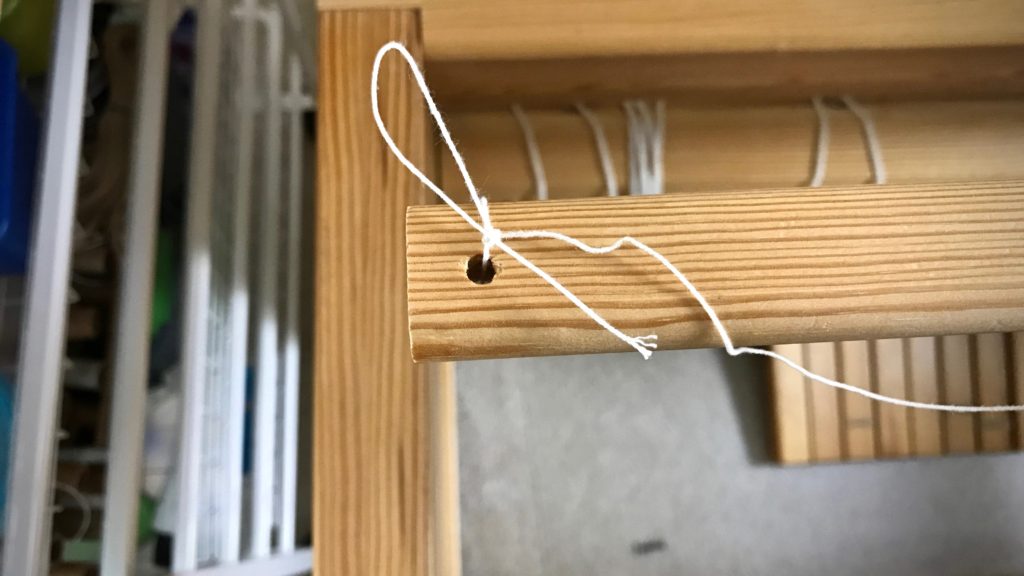
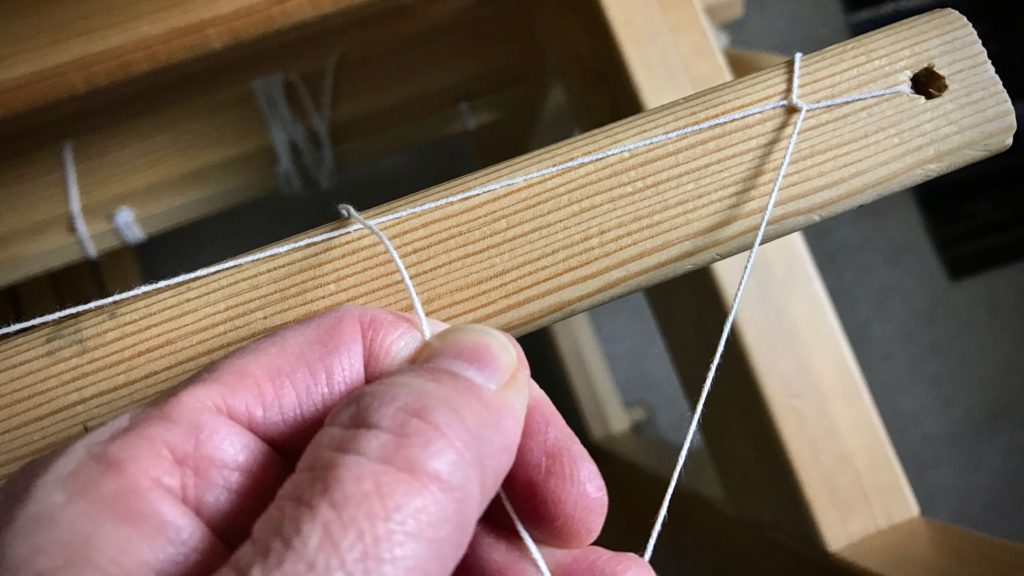
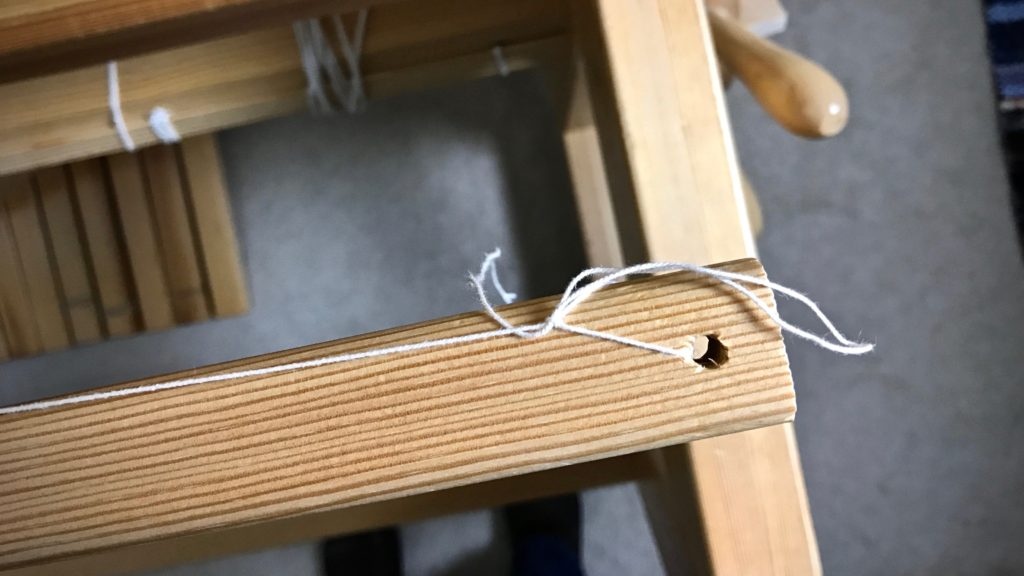
4 Insert one of the seine twine cords through the hole on one end of a shaft bar. Tie. (I use the half-bow slip knot as described in Learning to Warp Your Loom, by Joanne Hall, p.38.)
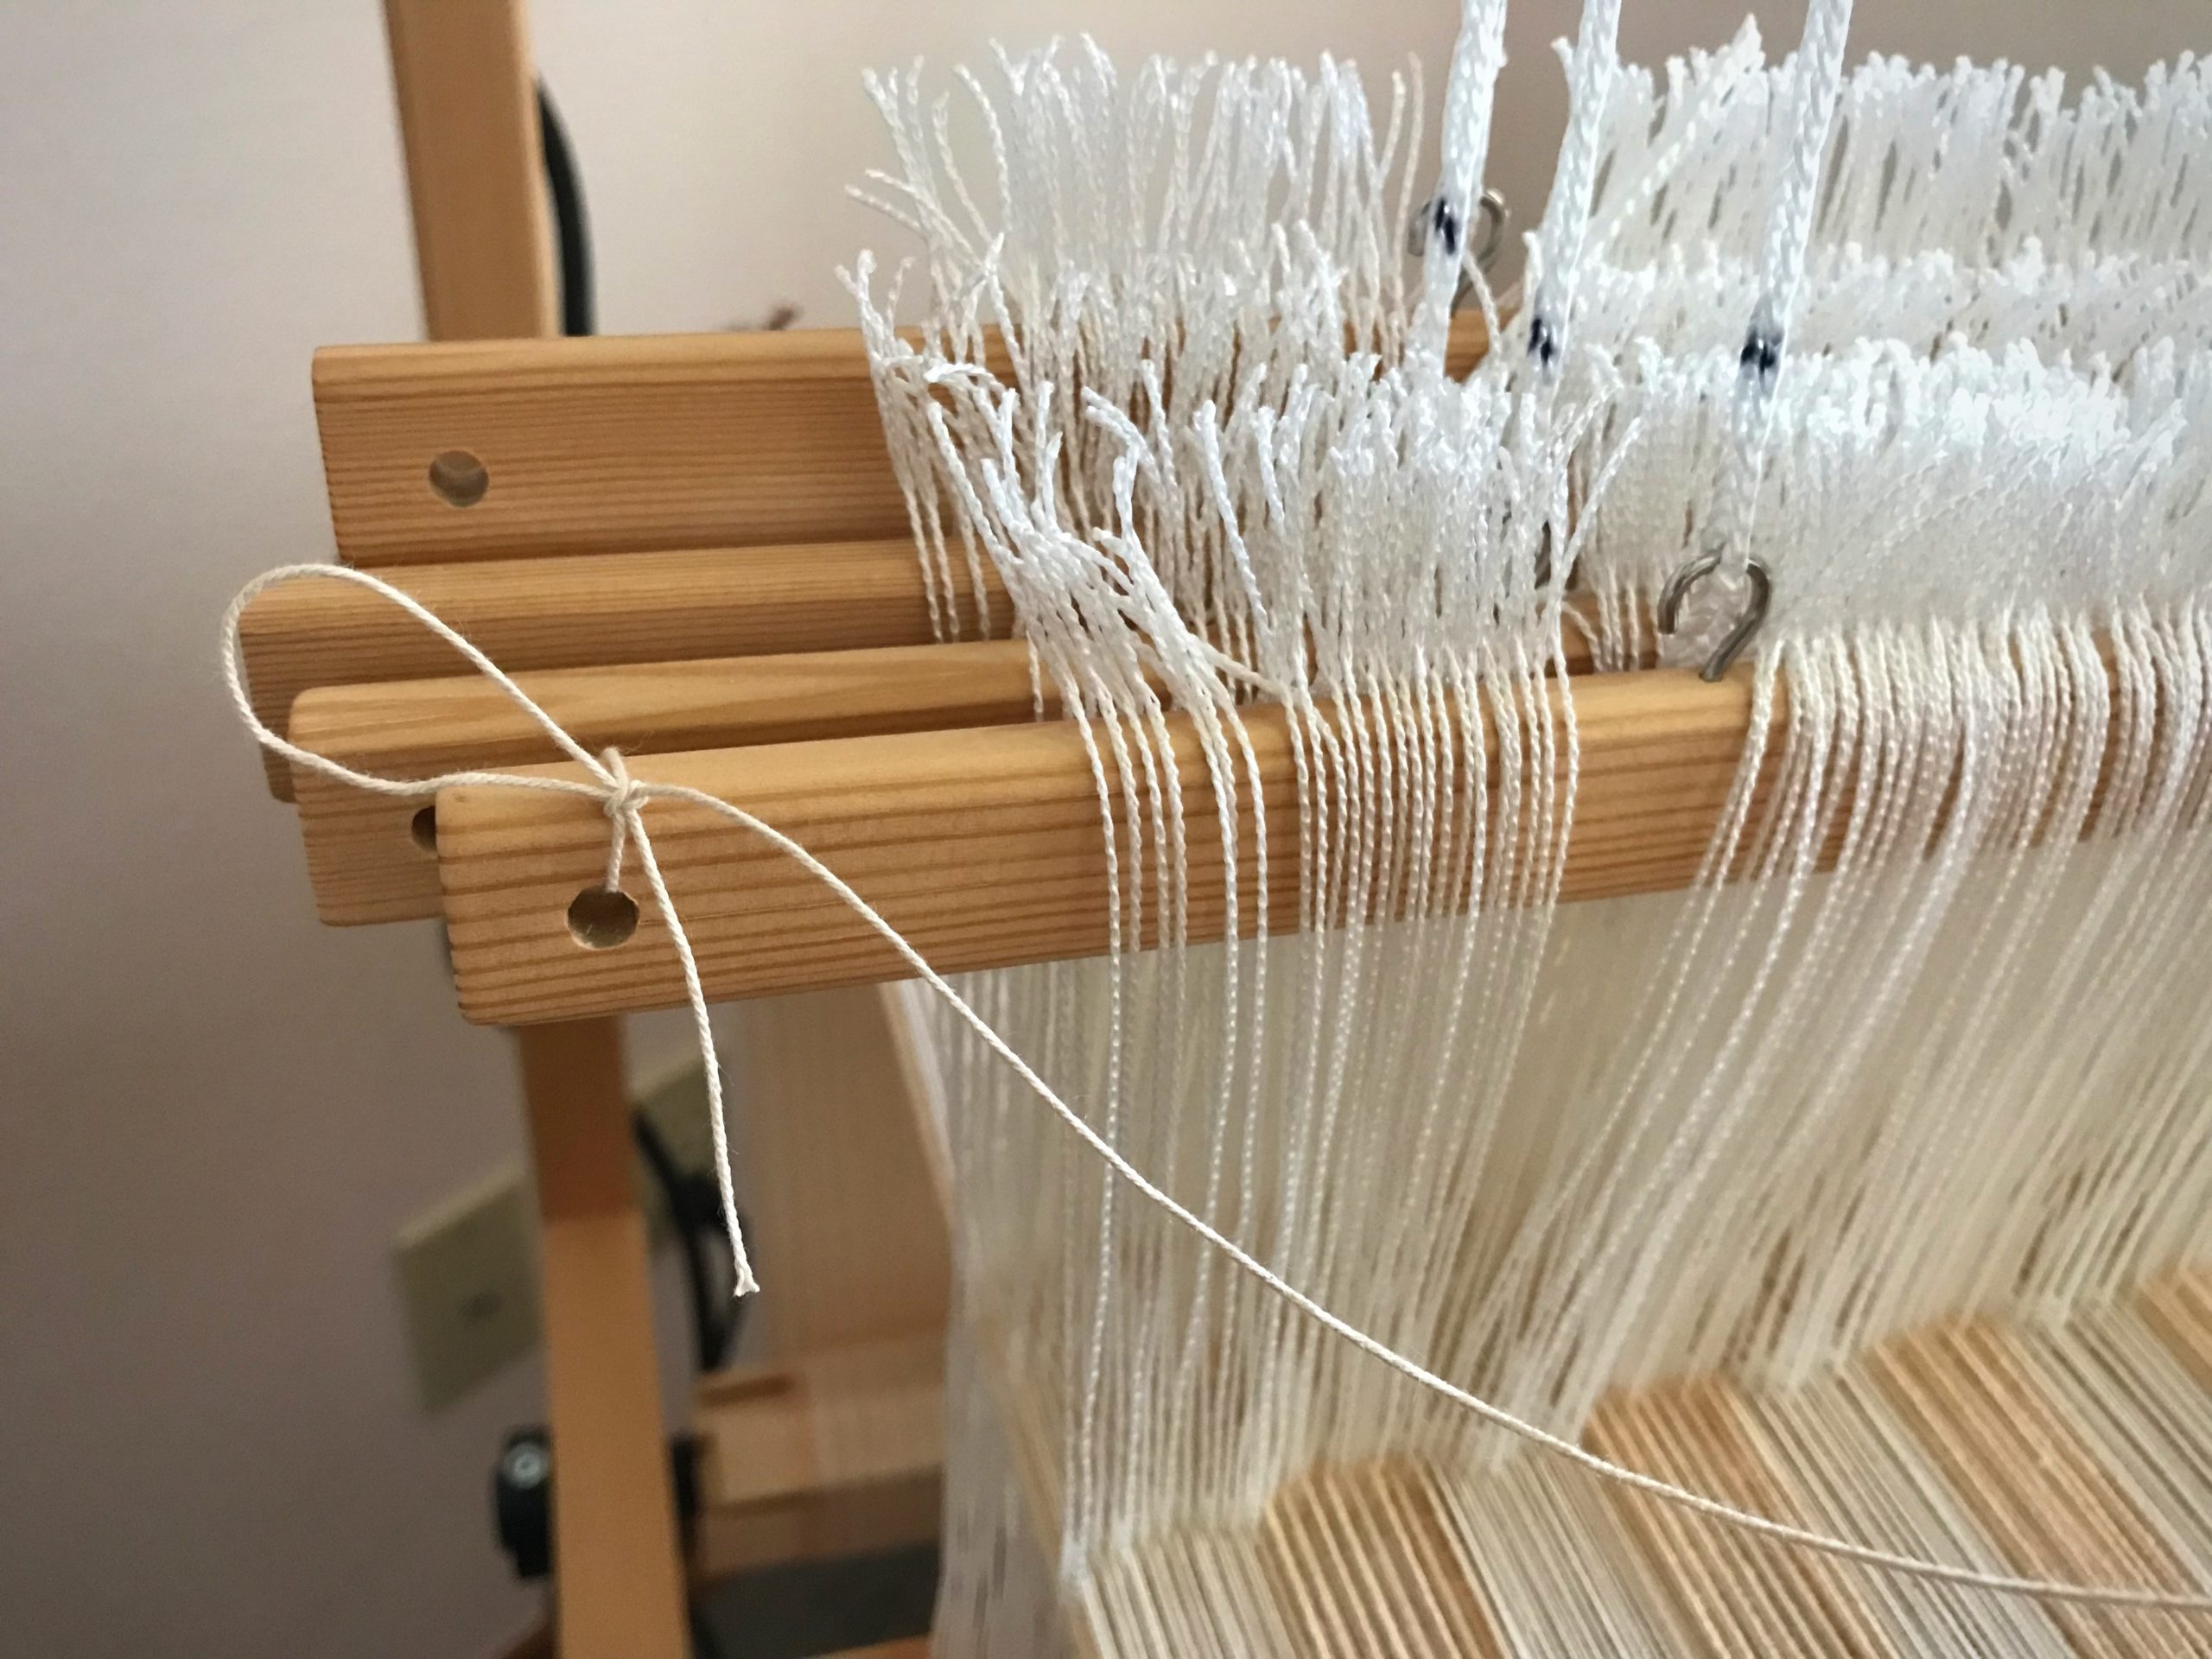
Tie retaining cord to one end of the shaft bar. Any knot will do, but I like this half-bow slip knot because I can untie it simply by pulling the end of the cord.

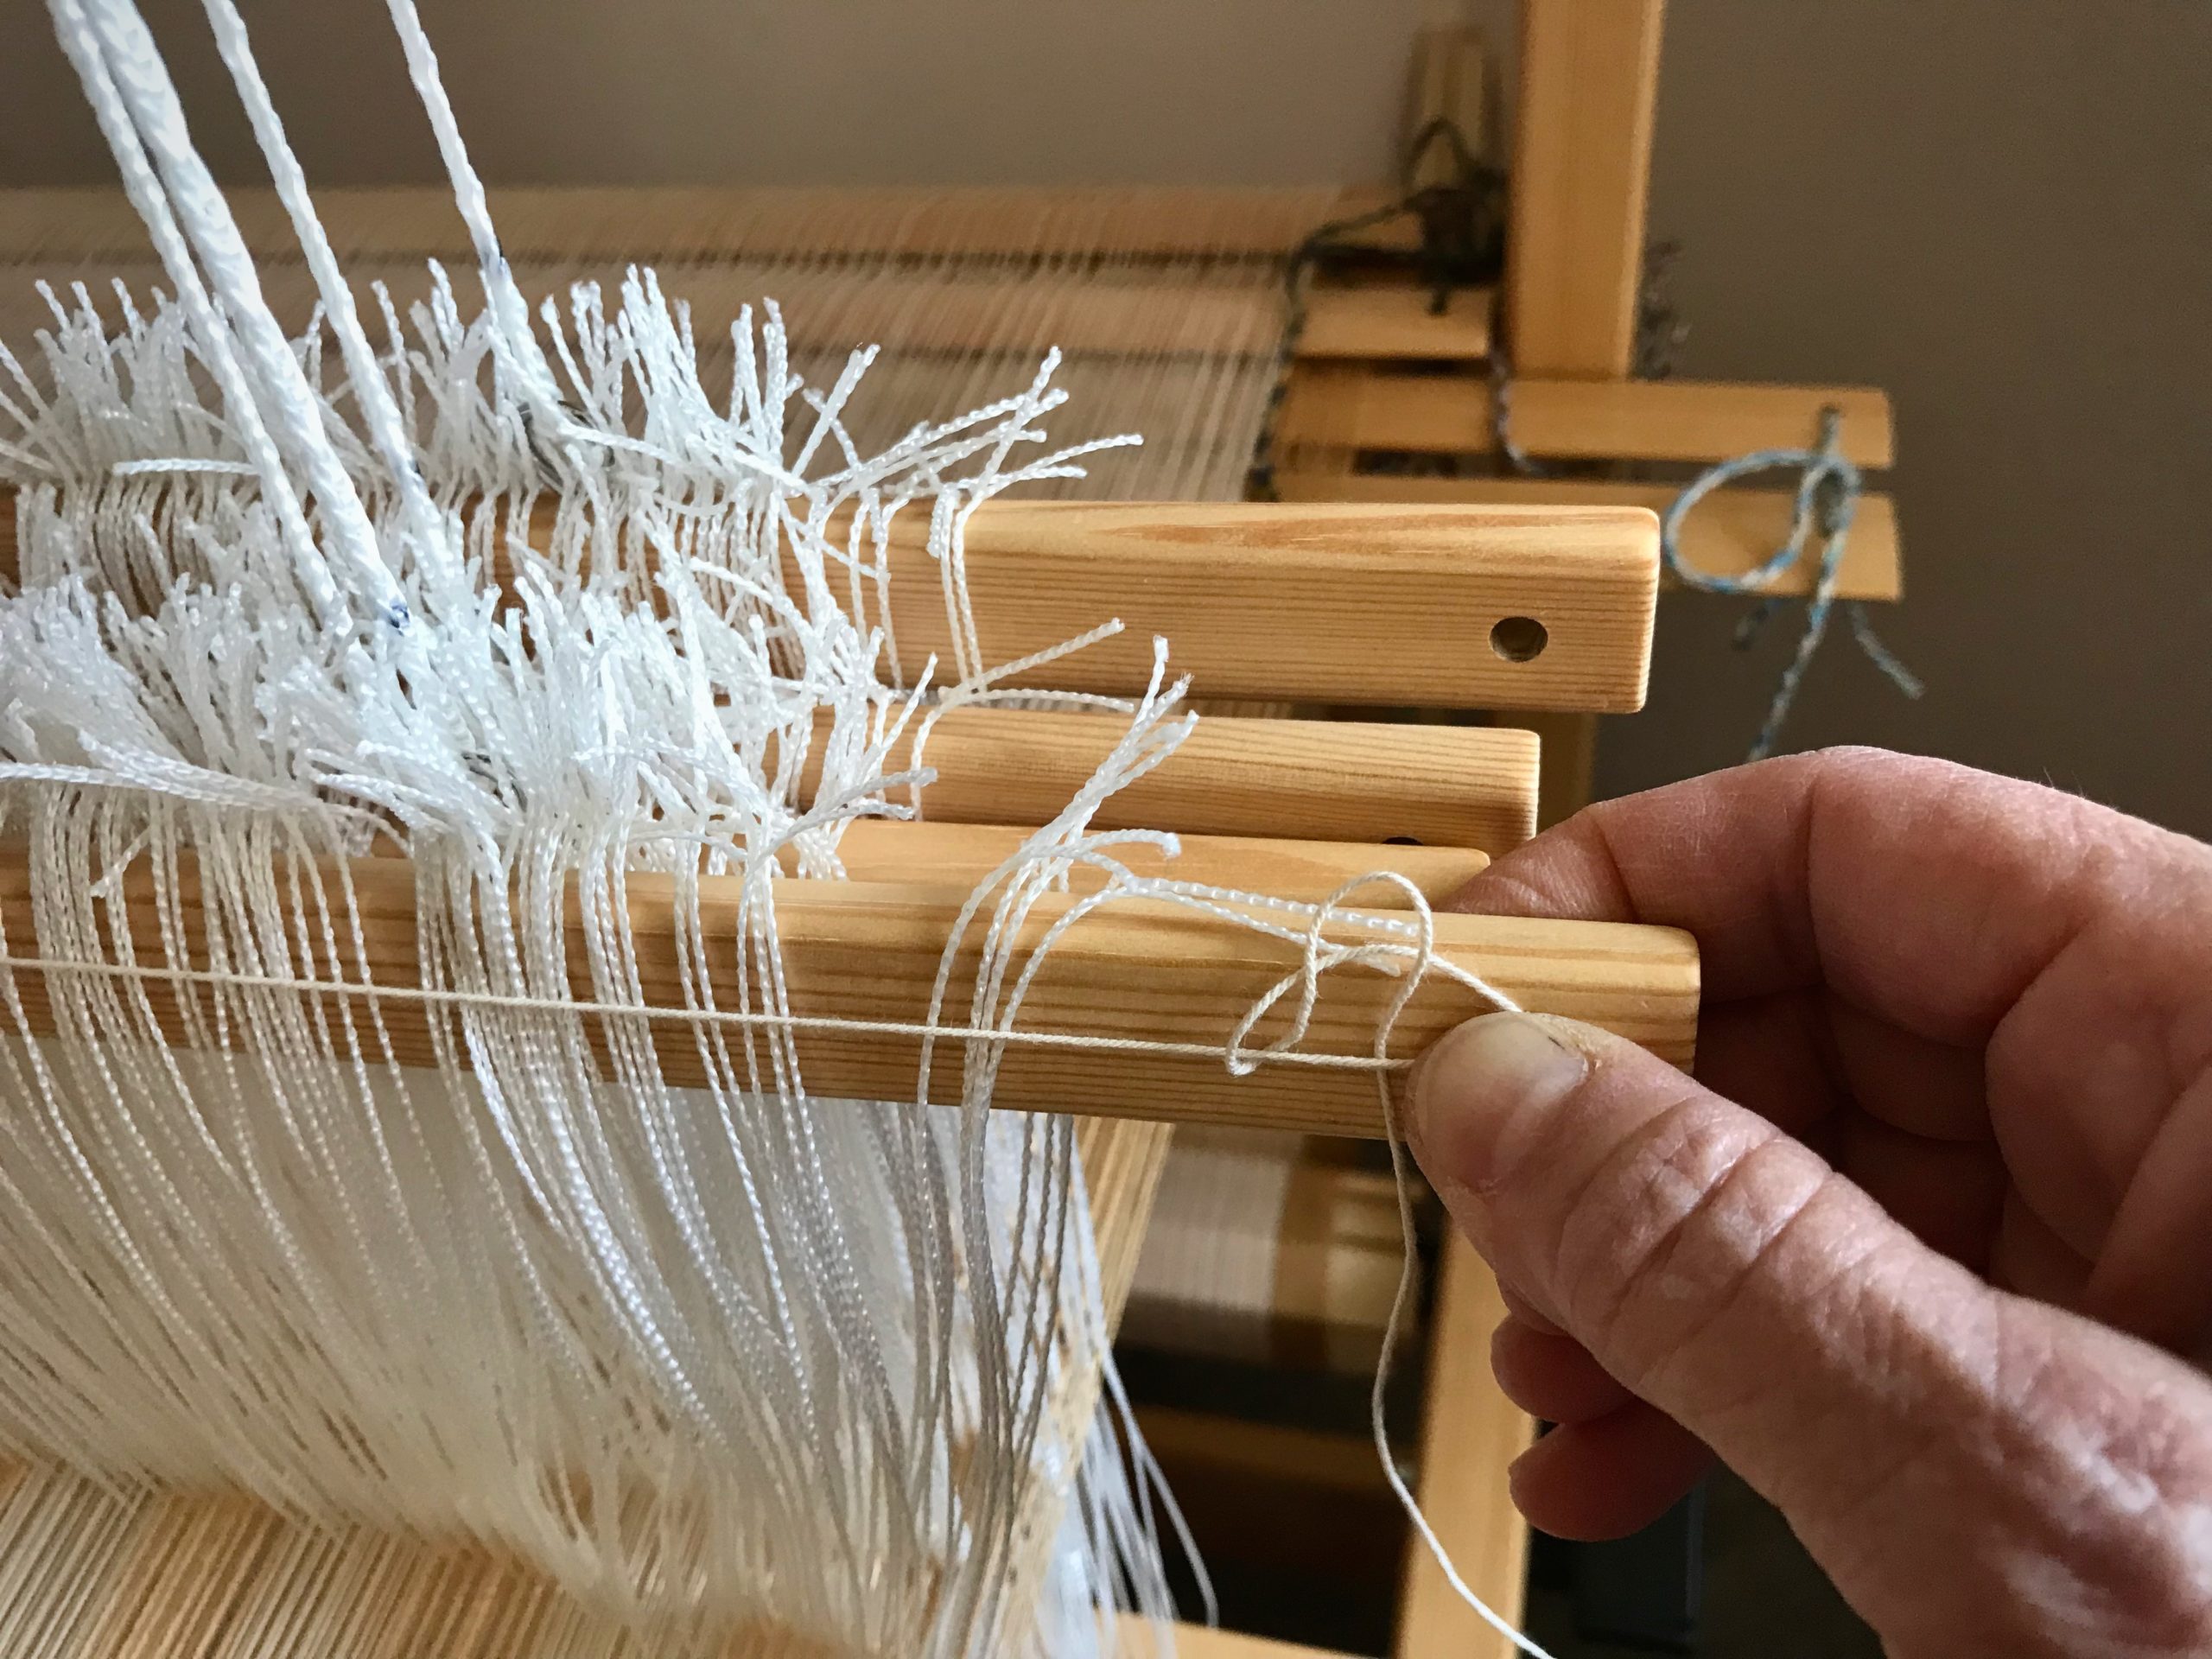
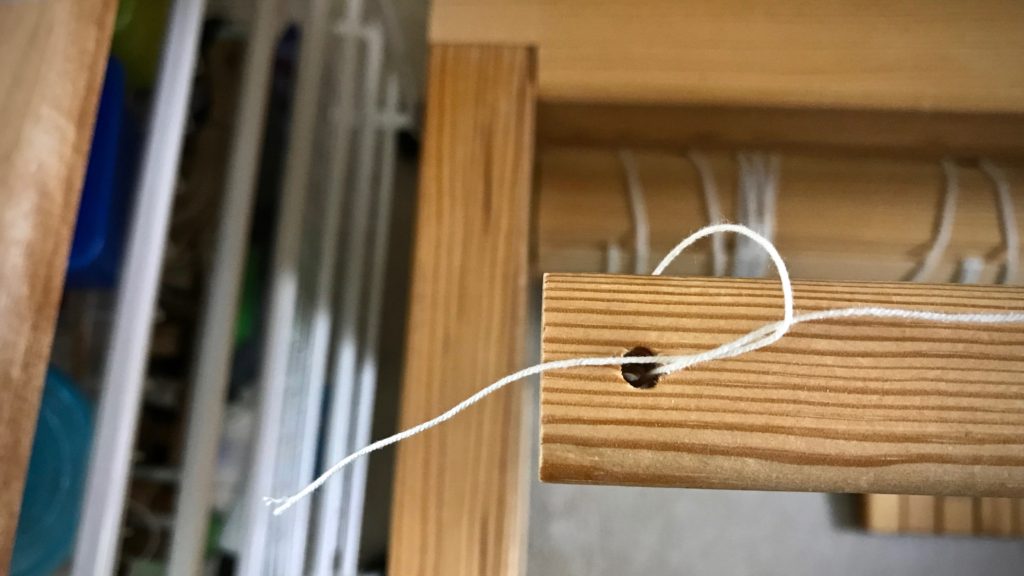
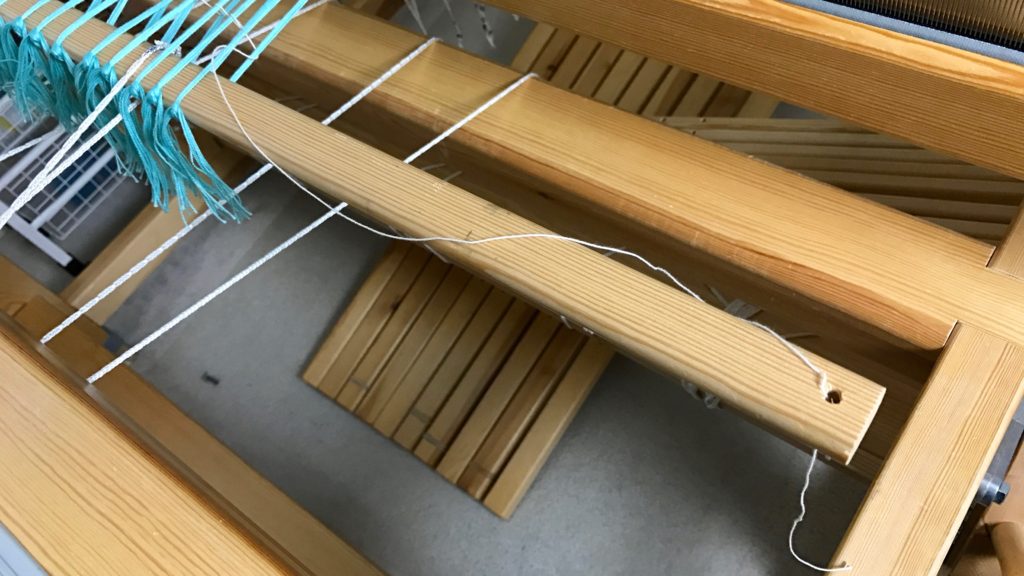
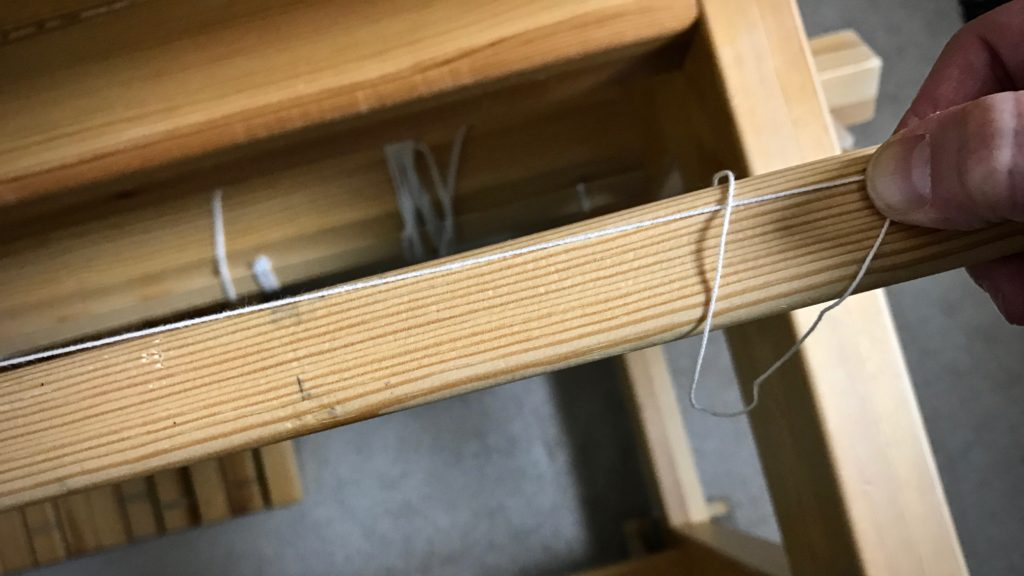
5 Insert the other end of the cord through the hole at other end of the shaft bar. Tie.
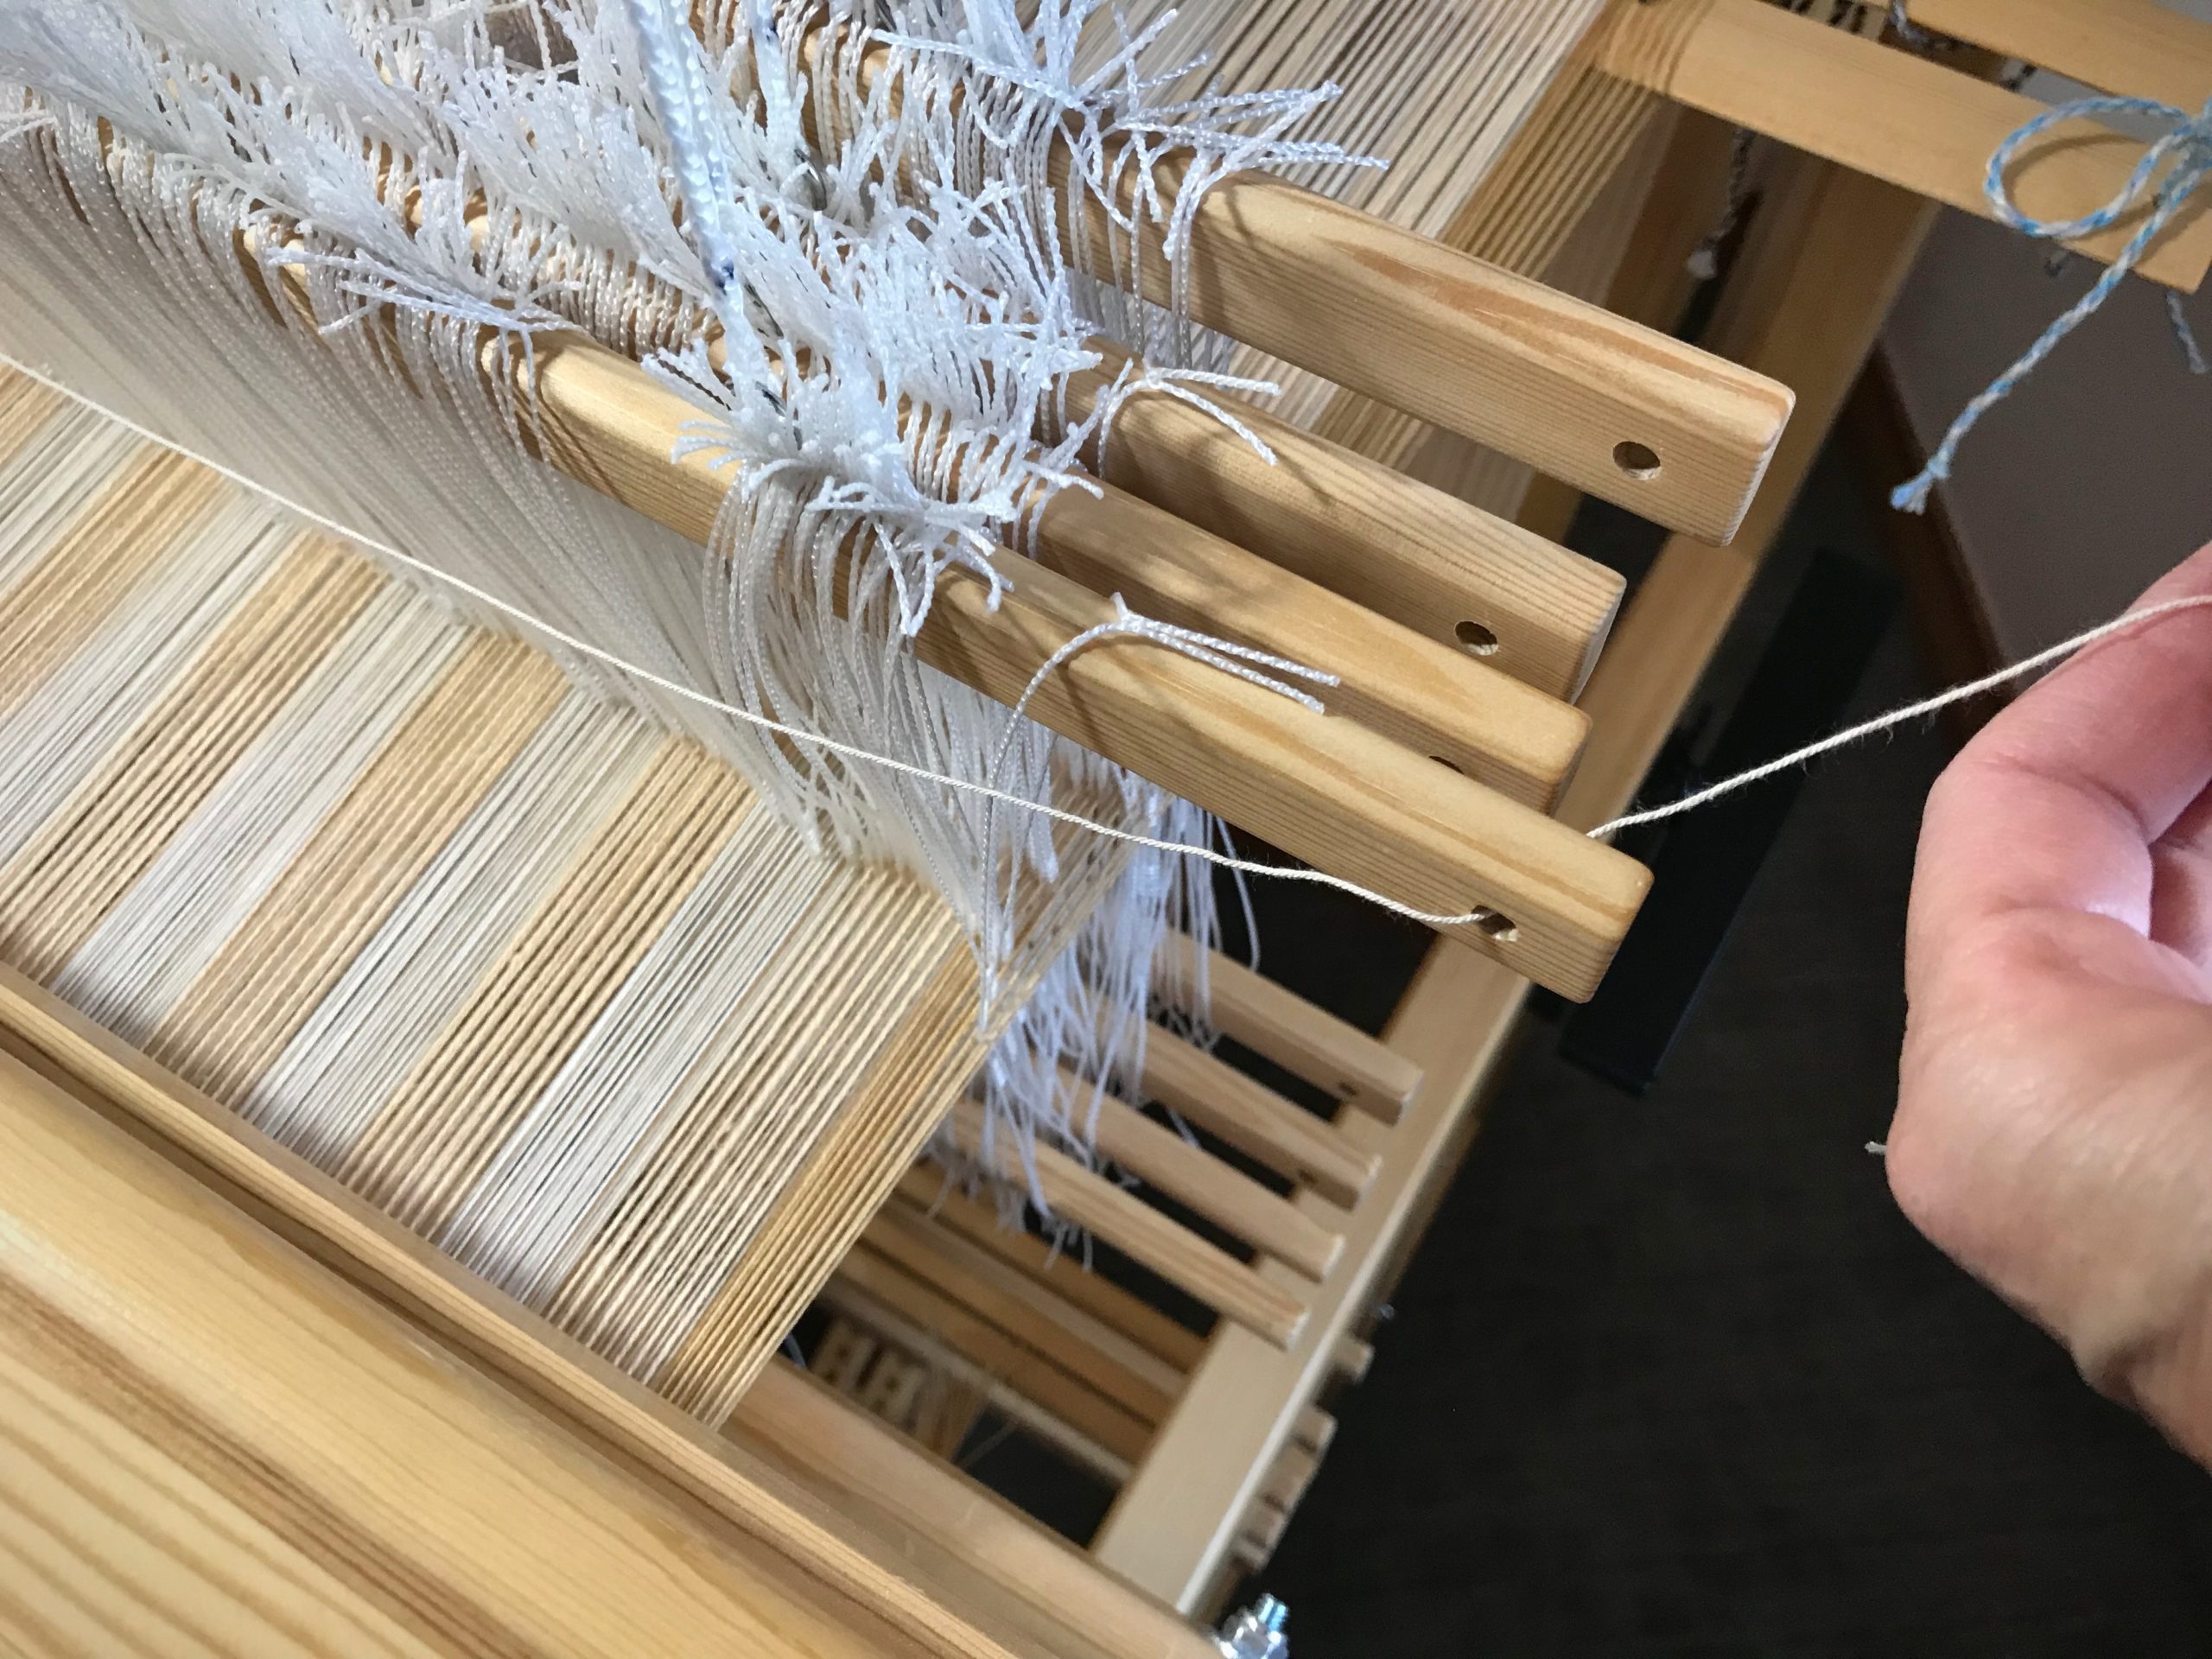
Thread the cord through the hole at the end of the bar.
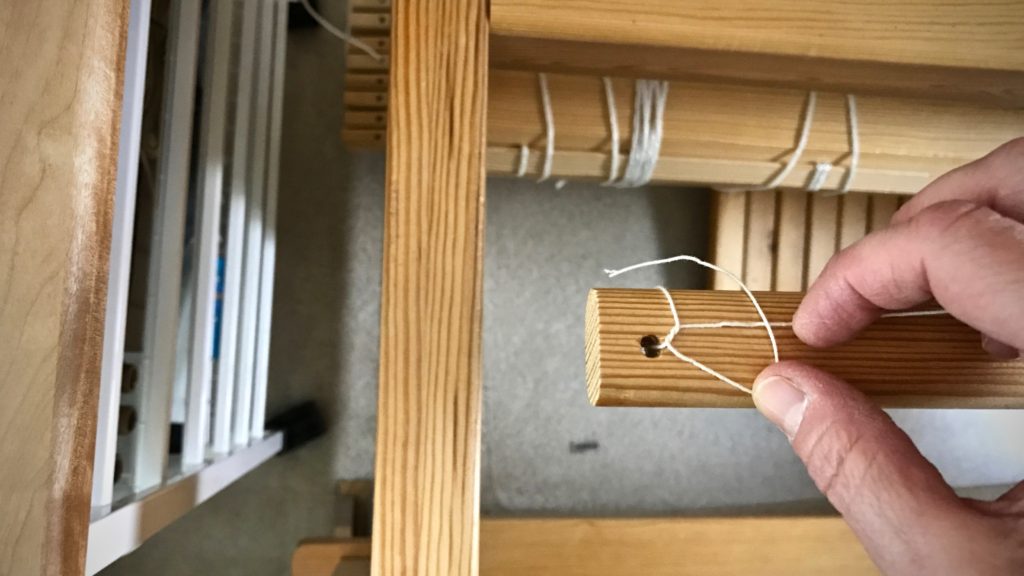
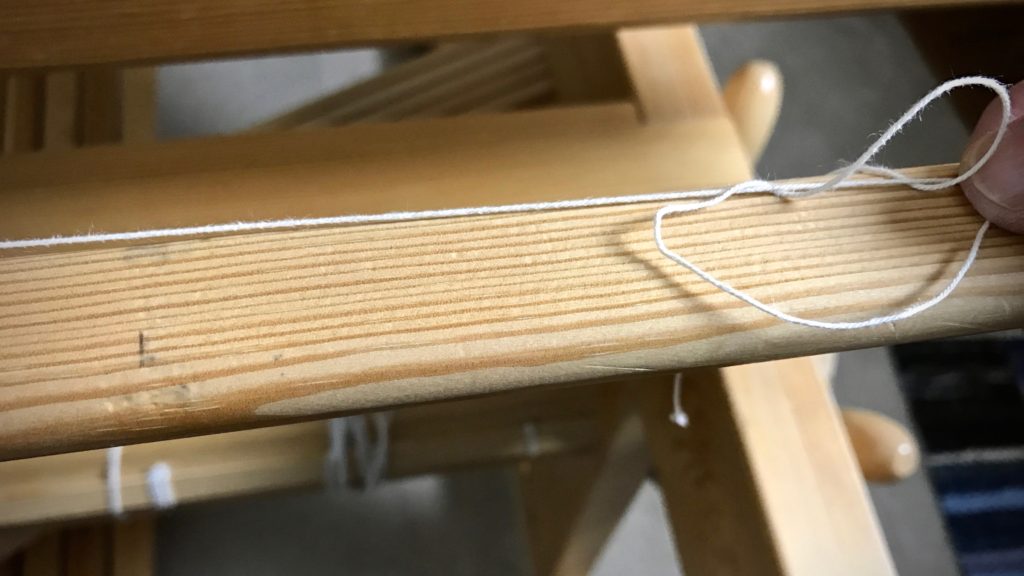
Tie a simple knot and tighten it.
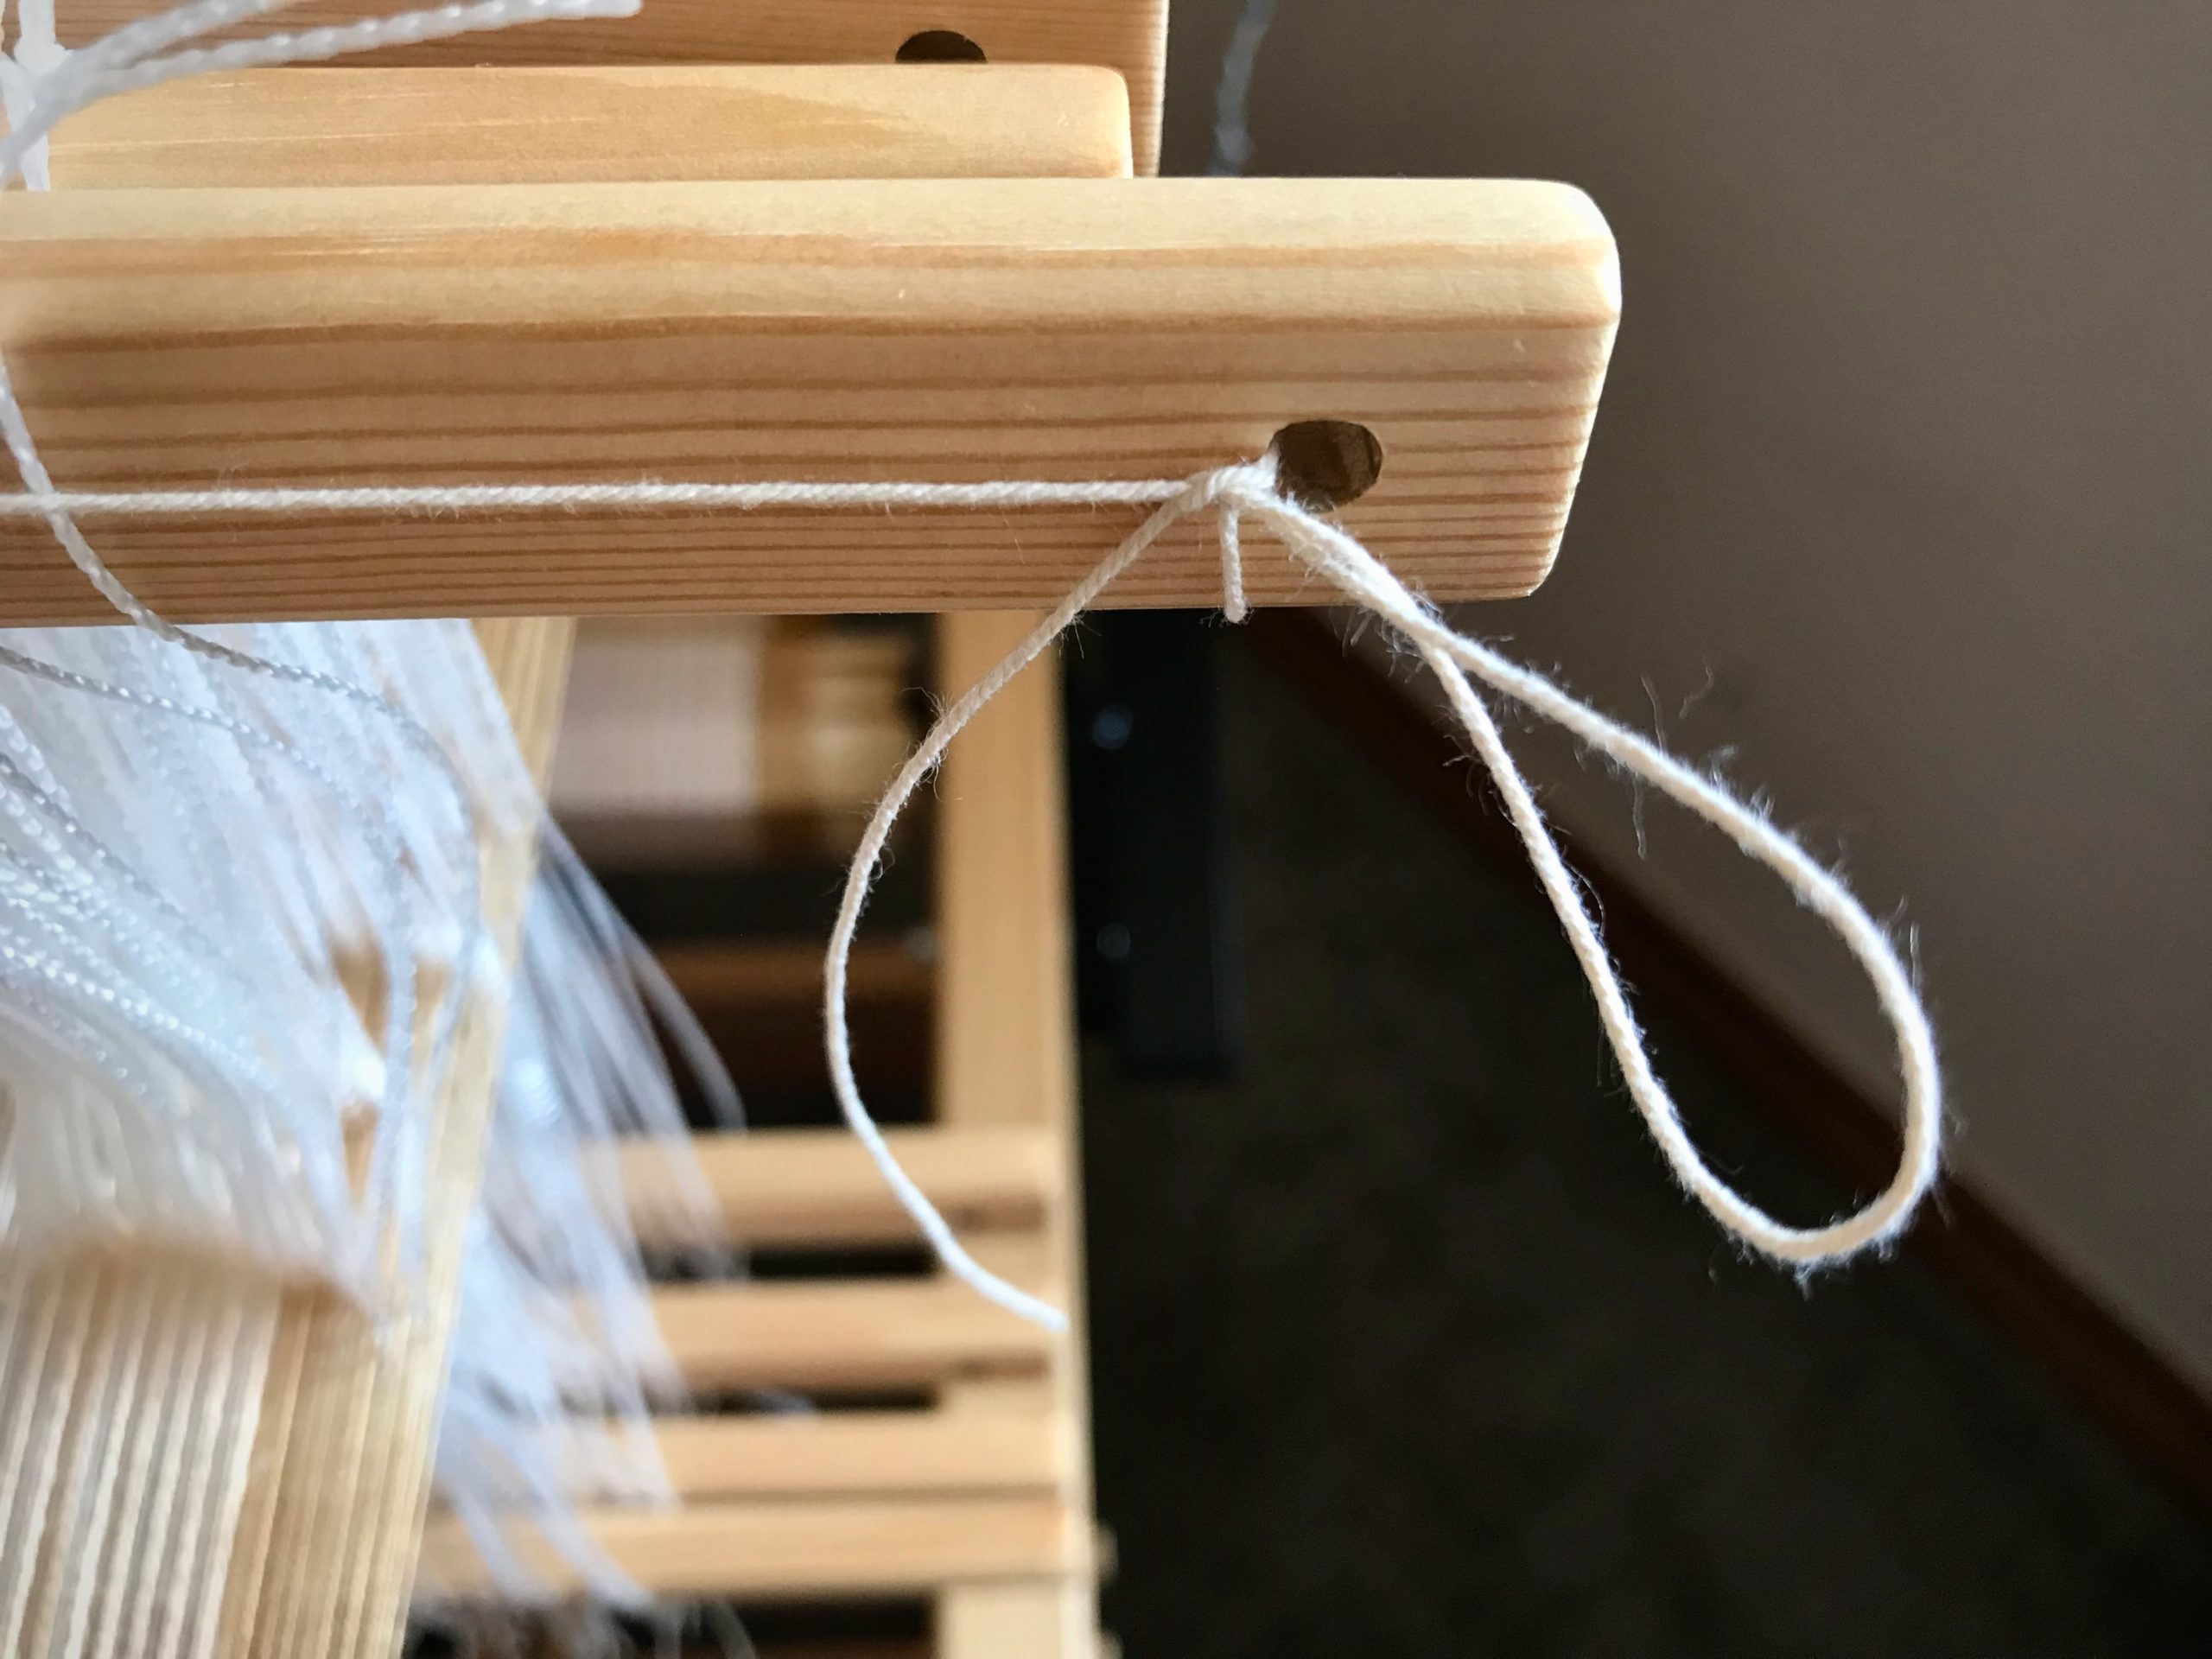
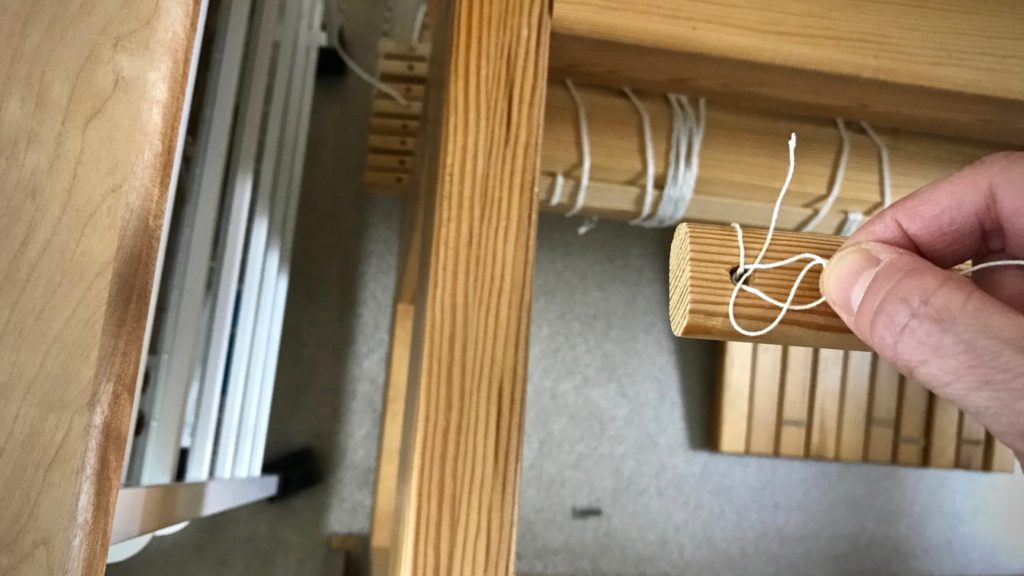
Tie another simple knot, leaving a fold in the end of the cord.
Pull the loop to tighten the knot.

6 Repeat steps 4 and 5 for each remaining upper and lower shaft bar.
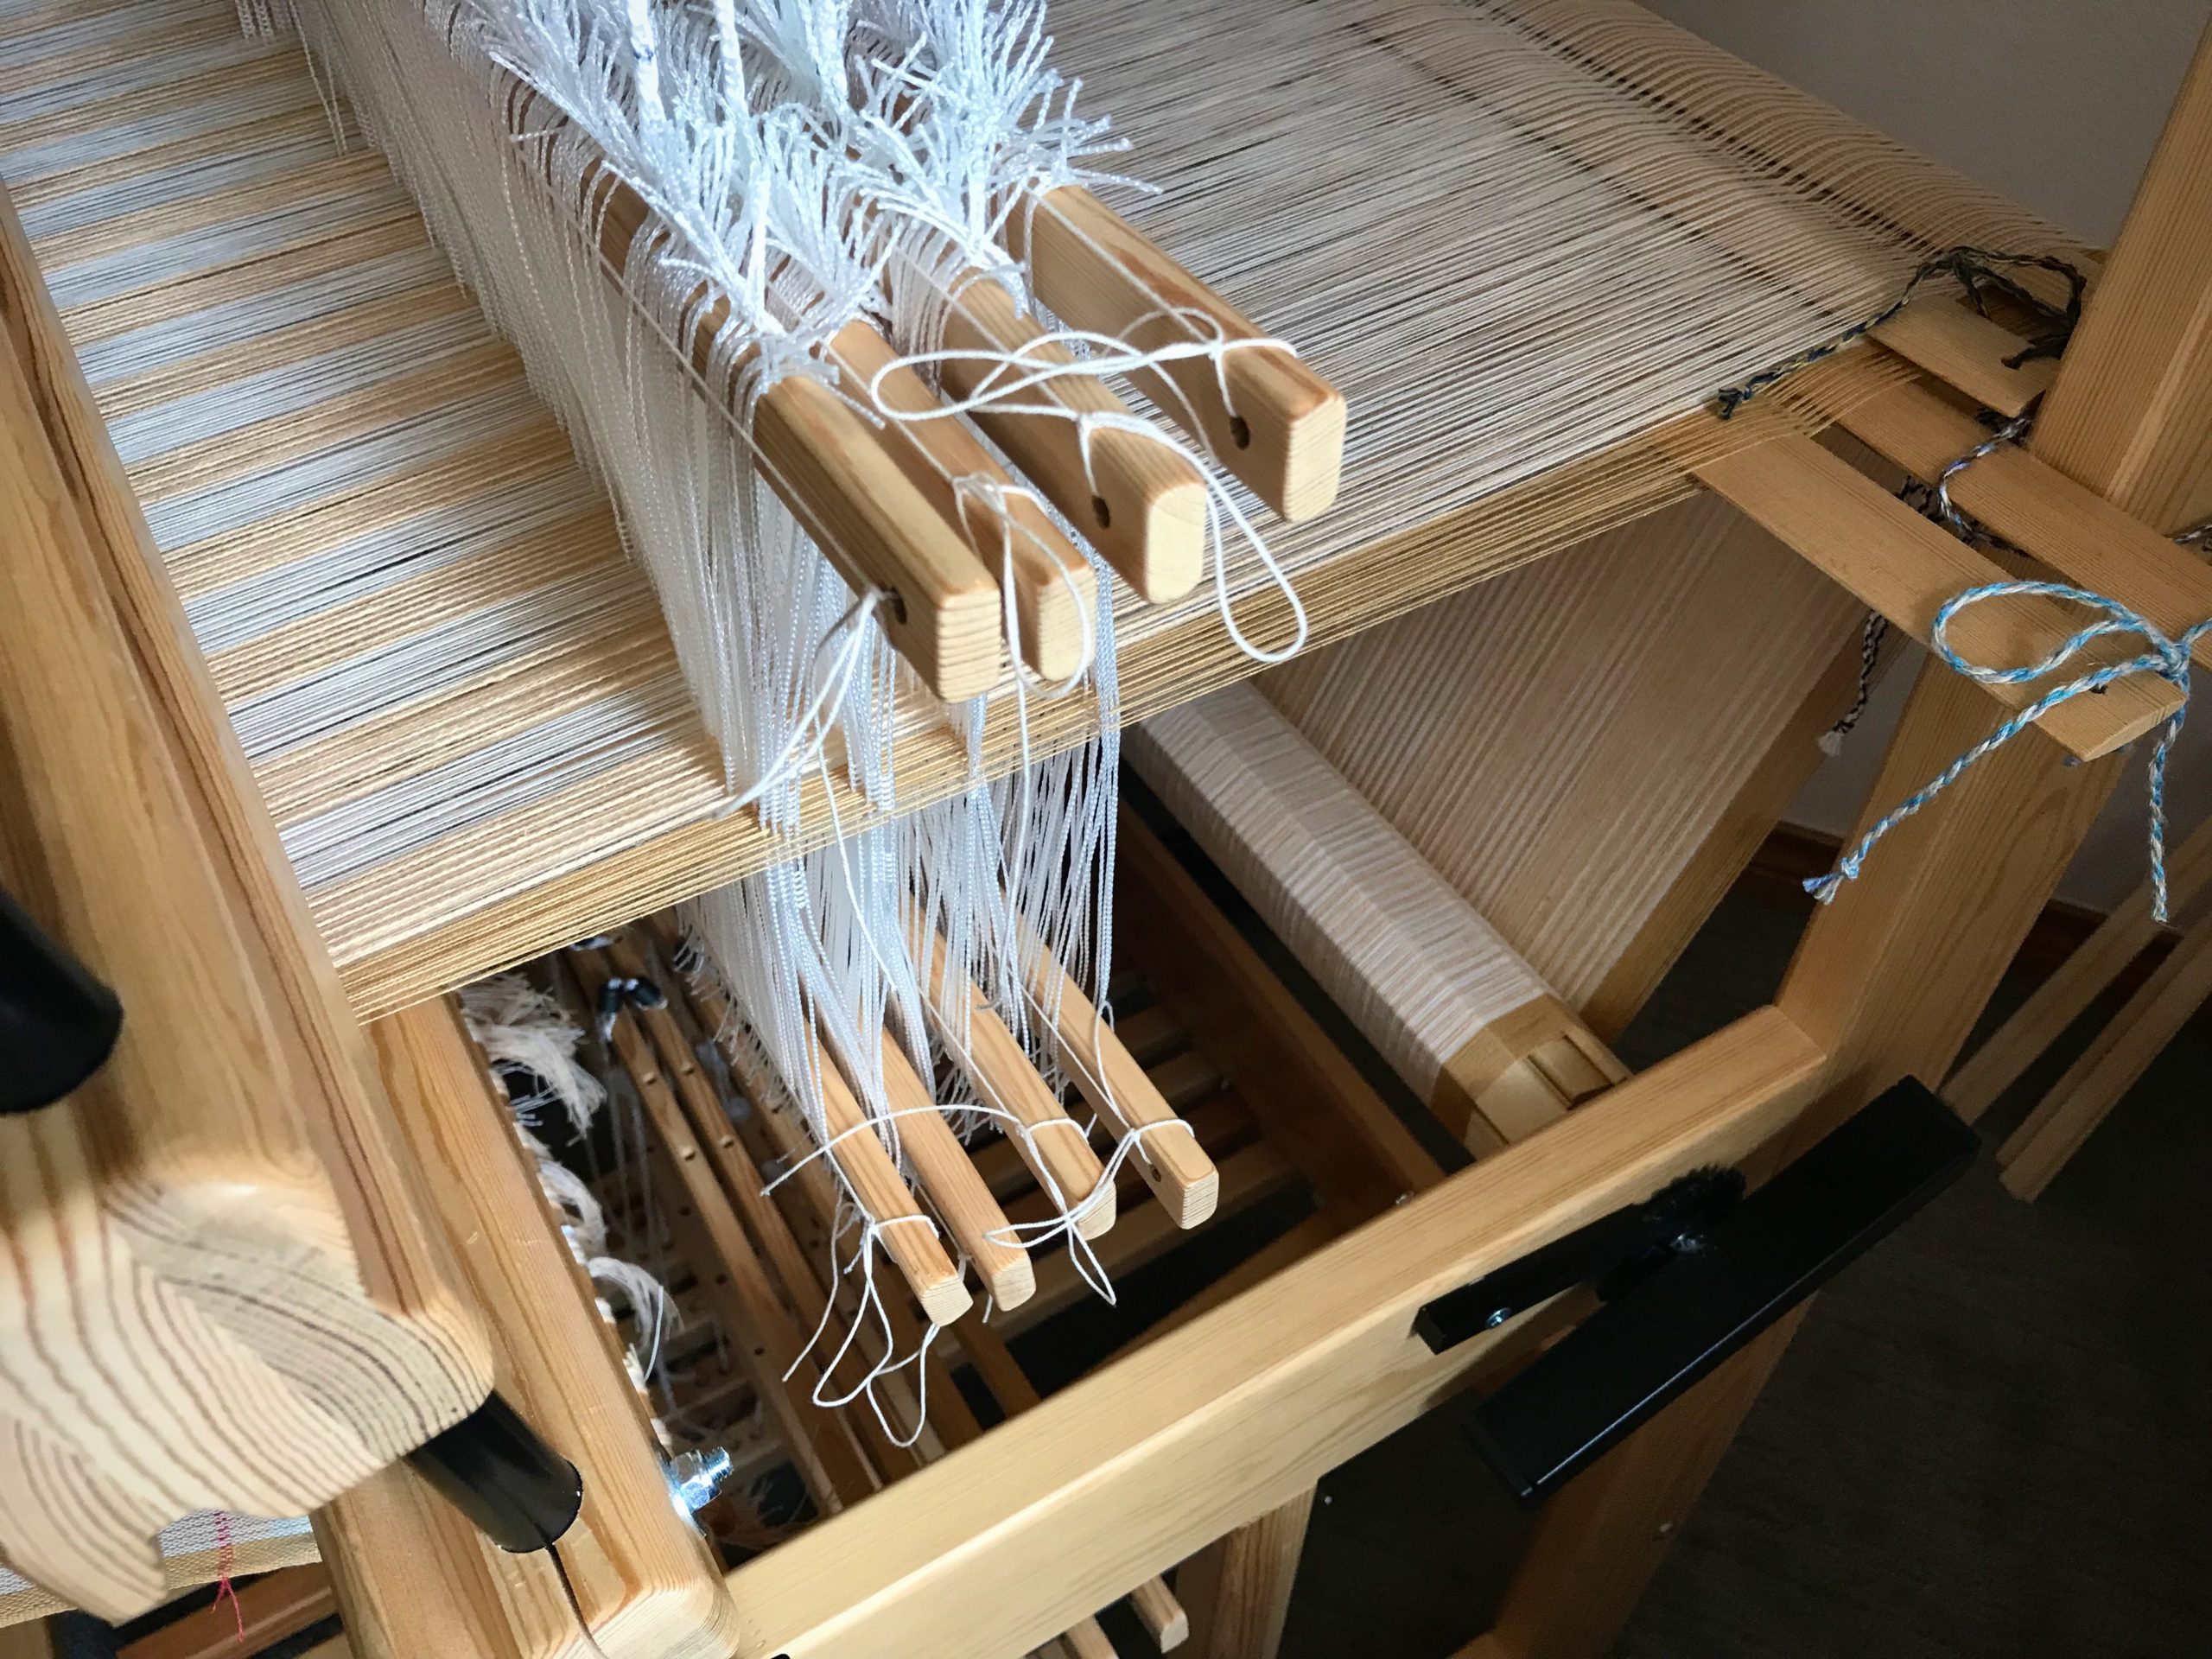
All tied up and ready to go! When this project is finished I will wind up these retaining cords on an empty tube and re-use them for the next wide warp on the Julia.

Continue weaving with one less thing to think about.

45 minutes: Time it took to reposition heddles that had slipped off a few shafts and were in a mess because I didn’t notice it immediately.
Less than 10 minutes: Time it took to cut string and tie retaining cords on 4 upper shaft bars and 4 lower shaft bars.

‘Nuff said.

May you take the time to do what needs to be done.

Ever Learning,
Karen

Process Review: Threading Preparation and Two Pairs of Lease Sticks

Dressing the loom with two sets of lease sticks keeps me on my toes. It means I am thinking carefully as I transfer lease sticks from in front of the reed to behind the reed. And, after beaming the warp(s), it means I am counting carefully as I put ends into threading groups of 48 threads each—32 ends of 20/2 cotton, and 16 ends of 22/2 cottolin.

Two set of lease sticks have been carefully moved from in front of the reed to behind the reed. After straightening all the warp ends, I will beam the warp.

I group ends together before threading. Then, when threading, if there is a discrepancy in the number of ends, it alerts me to find a threading error. Counting out these delicate unbleached cotton threads is challenge enough. Having the layer of cream cottolin threads underneath presents additional complexity. With all these ends, this part of the process is tedious. Still, it’s worth it if it lessens my chance of making threading errors with these 1,472 ends.

Preparation for threading. Ends are gathered into threading groups and tied together with a loose slip knot.
Each set of lease sticks is tied to the back beam separately, so they can hang at different heights. The lower set is tied around the side frame and over the back beam.
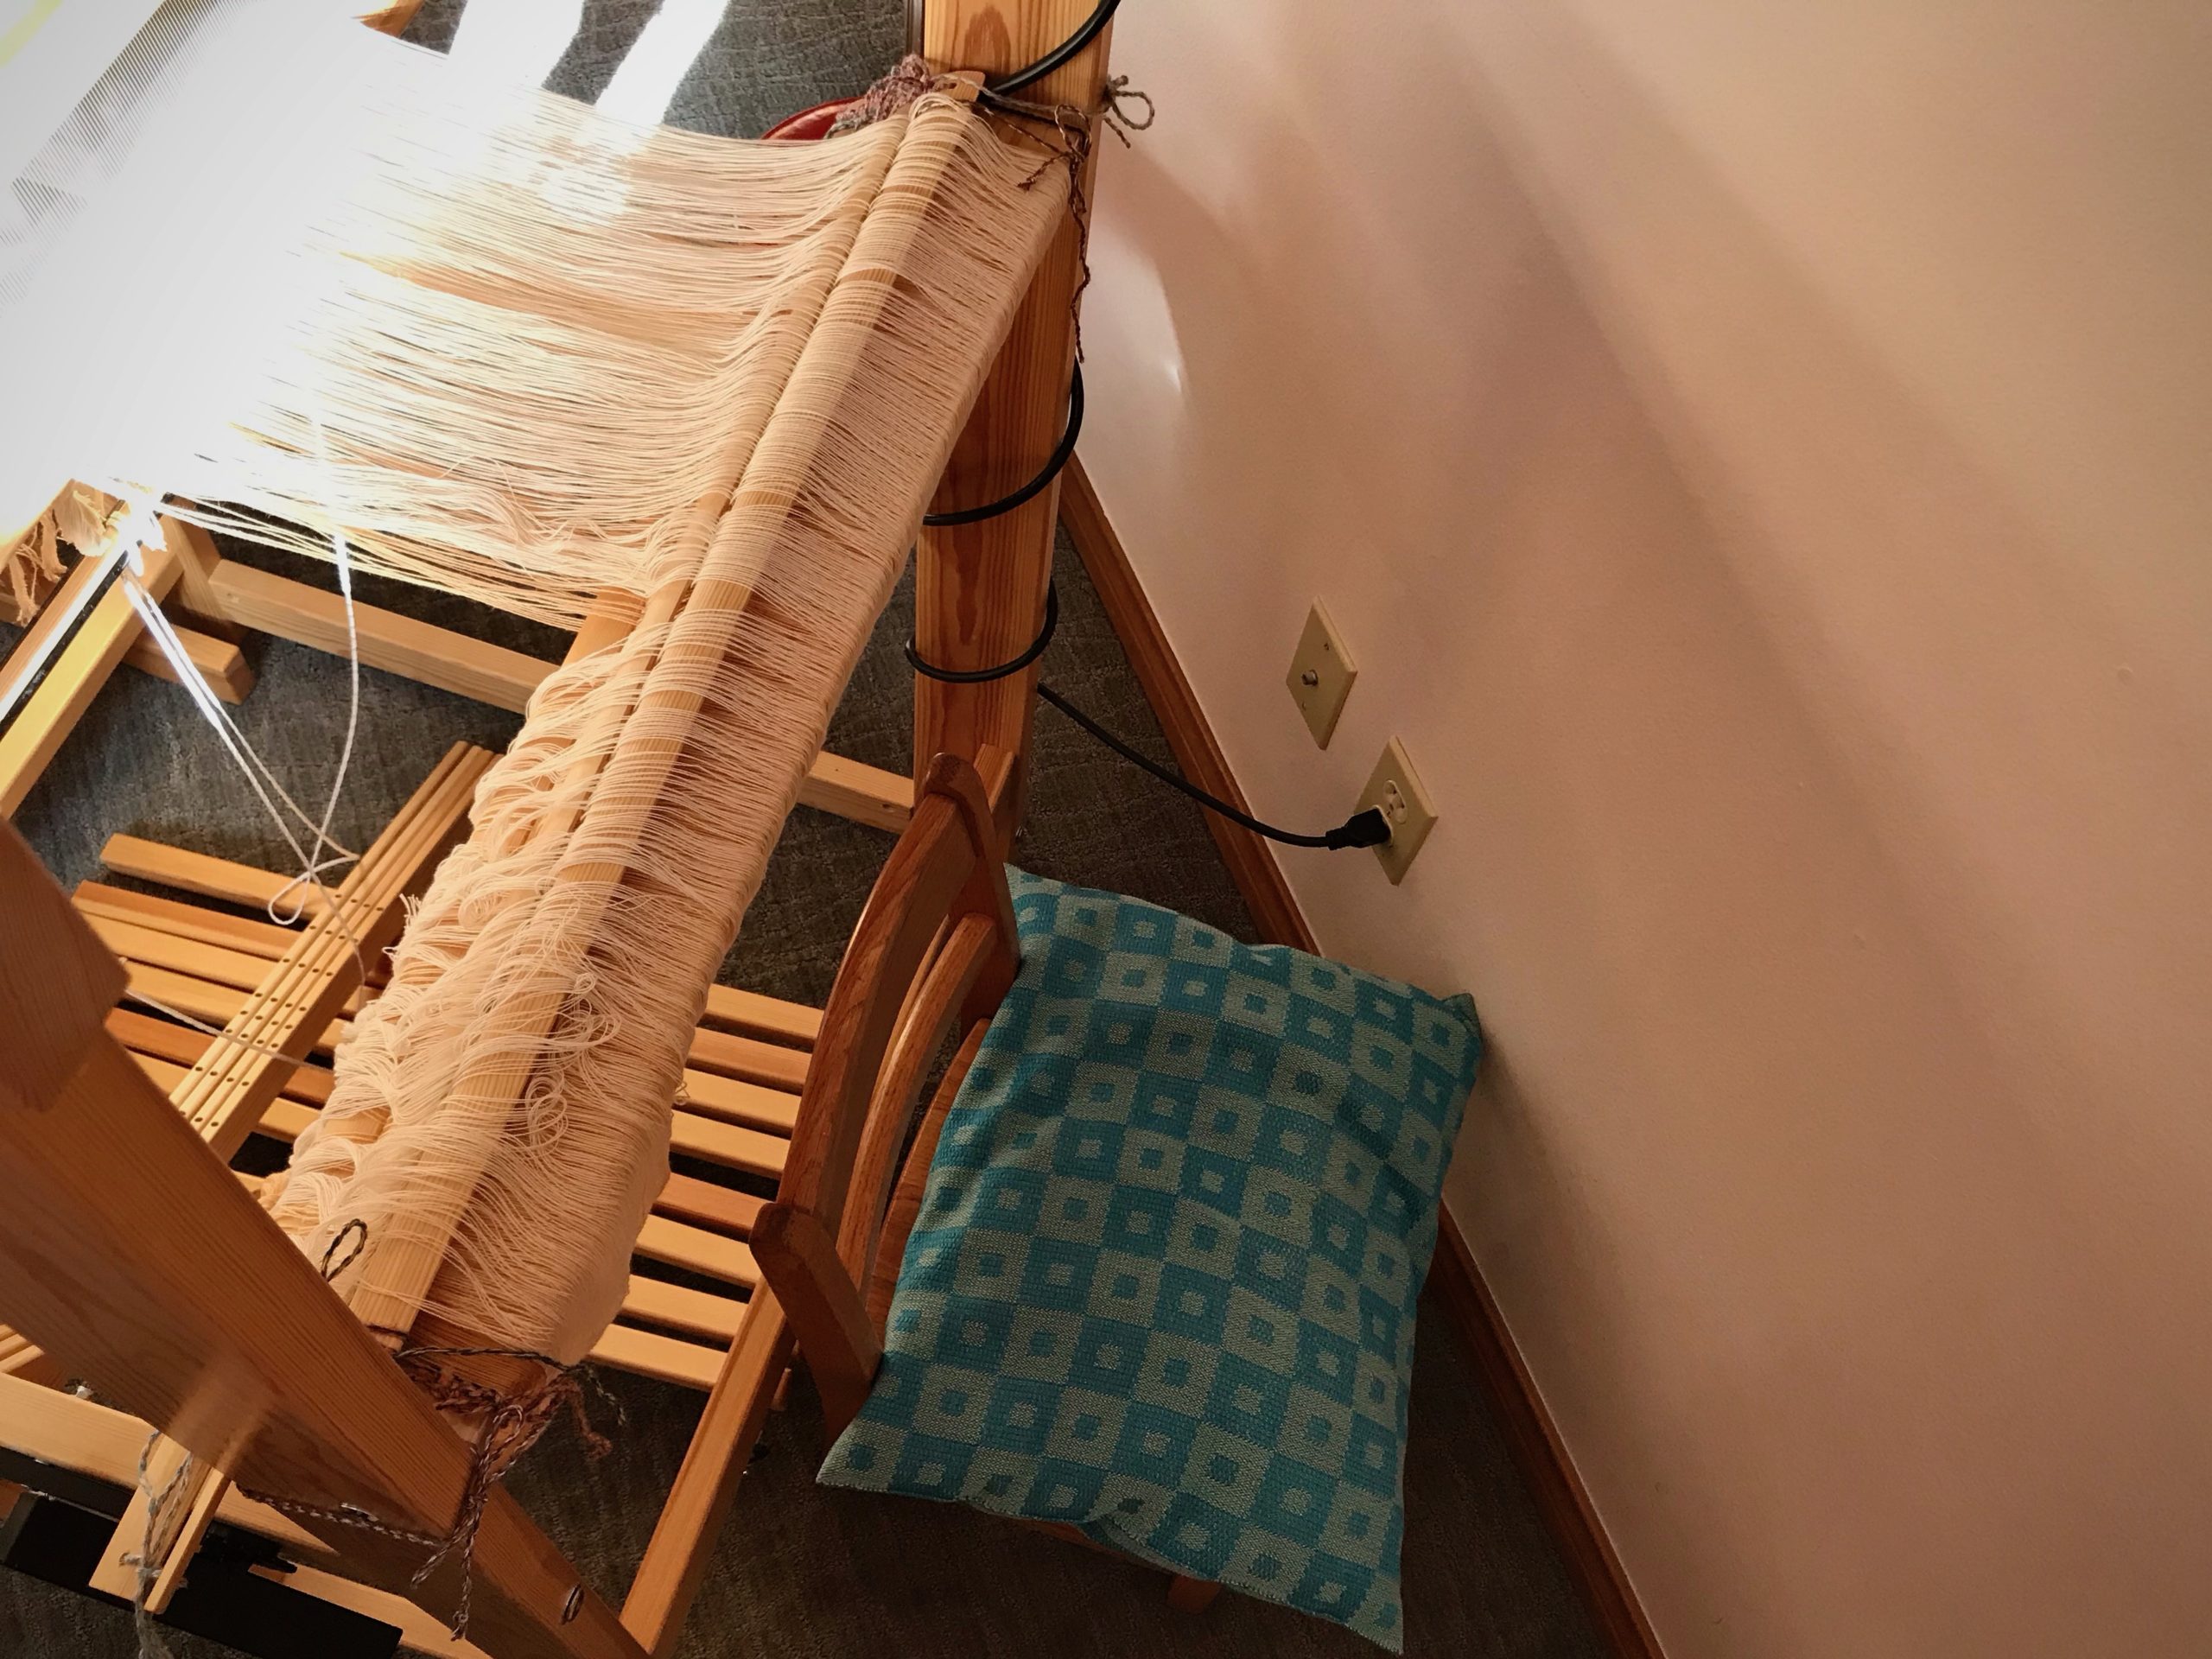
If I stand behind the loom, my back is in a leaning-forward position and not comfortable for long. I placed a child’s chair and cushion behind the loom. Kneeling behind the loom at this height gives me good visibility and access to the threads.
View from the back of the loom. Ends are counted at the center of a pair of lease sticks. These counted ends are tied together in a loose slip knot.
View from behind the loom. Loop of unbleached ends just counted lay on top to clear the view. Ends on lower pair of lease sticks are counted and tied separately. I tied the cotton threads and the cottolin threads separately to make it easier to find an error if I miscounted along the way (which, fortunately, didn’t happen).
Counted ends are dropped into hanging position before moving on to the next grouping. (After taking this picture, I re-tied the lease sticks closer together, making counting easier.)
Threads remain in the reed. I pull threads out of the reed when they are counted.
Pretty sight of counted ends. Ready for threading!

One step at a time.

May you enjoy the process you are in.

Happy Loom Dressing,
Karen

What a Web We Weave

Threading errors happen. But you can reduce their occurrence. After beaming a warp, I count the warp ends into threading groups before I start threading. Always. This is the first step in reducing threading errors.

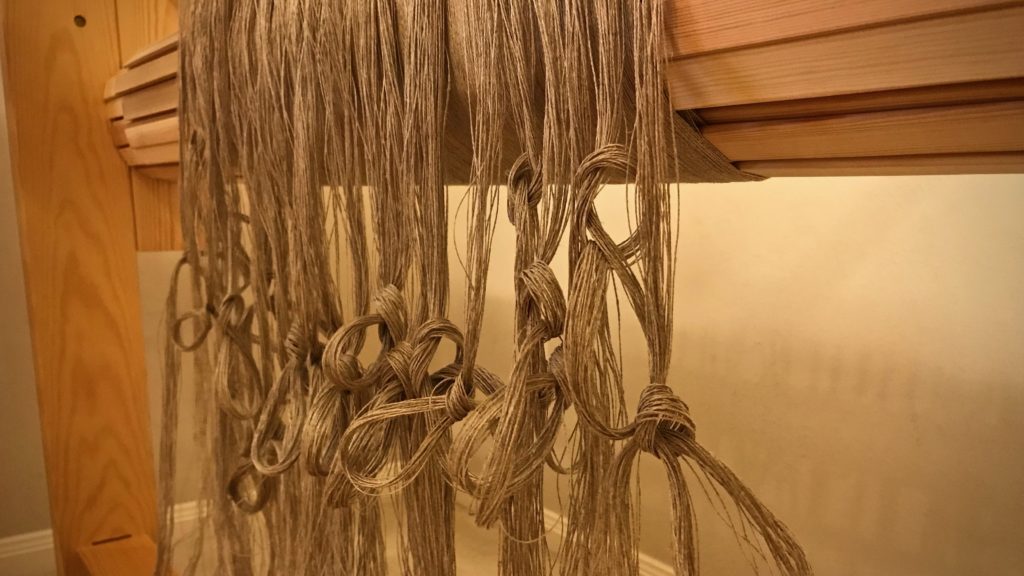
Beamed linen warp. Tied into threading groups.
Beamed linen warp. Ends are counted into threading groups, and tied in loose slip knots.

The second step in nearly eliminating threading errors is to check every threaded group right after it’s threaded, thread by thread. These intentional steps expose mistakes early in the process. I would rather find an error now than later.

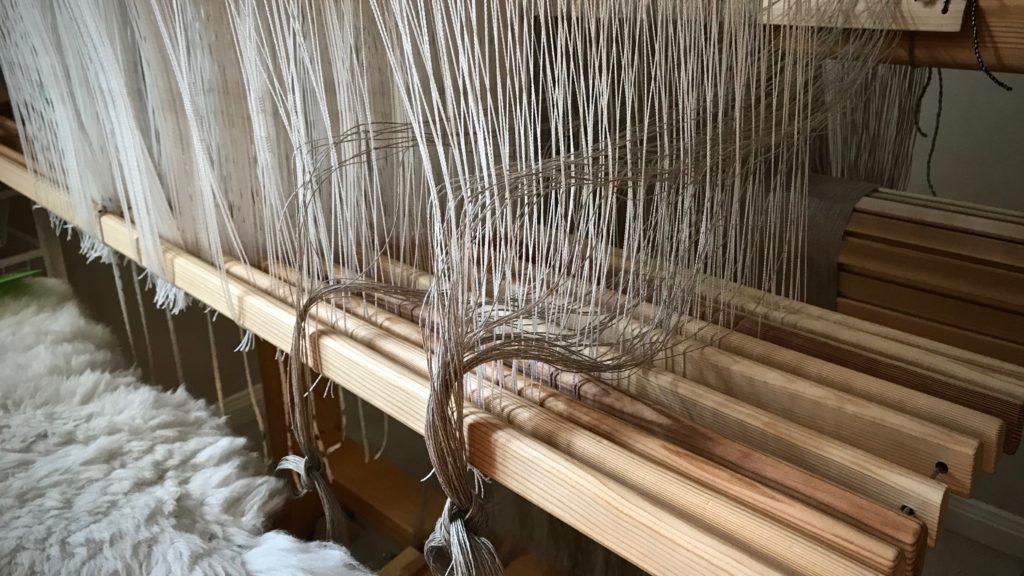
Threading ten shafts.
After a group of warp ends is threaded I check every thread to make sure it is on the correct shaft.

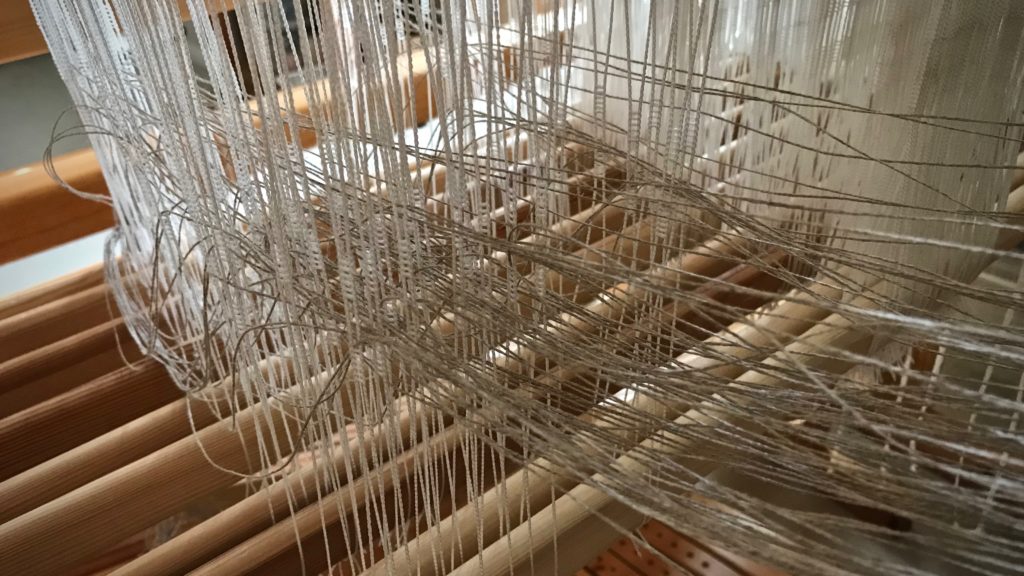
Threading ten shafts. How to avoid errors.
View from the back beam. Every thread is now in its proper place. Two ends had ended up on wrong shafts, so threads were taken back out and corrections made. Threading ten shafts can get confusing, so it is critical that I check my work.

Did the spider check for threading errors before weaving her intricate pattern? Did she know her invisible web could be seen on a dew-rich foggy morning?

Napping spider on her almost invisible web.

Spider's web in dew-rich foggy morning.
Early morning dew reveals the outlines of the spider’s web. Not wanting to be seen, the spider quickly climbs away to hide when I come close to her woven threads.

Our world tells us to make enemies, and hate haters. To grip what is mine, and demand my rights. It’s in my human nature to be that way. But love is different. Love your enemy, do good instead of hate, pray for those who mistreat you. Is that possible? Yes, if you know the love of God firsthand. Love makes you different. It changes you, making you want to take account of your attitudes, and check your motives. Count threading groups, and check the threading. There will be errors as you weave, but they are learning experiences, not fights. Remember, the invisible web we weave may not be as invisible as we think.

May you be different.

With love,
Karen

Tools Day: Leveling String

Thirty-five years ago, I took a beginner rigid heddle loom class. Our teacher taught us to use strips of toilet paper (or fat scrap yarn) as weft at the beginning of the weaving to space the warp. After several inches of weaving, the warp ends would fall into alignment. Unless fringe is planned, that beginning warp goes to waste, not to mention the unsightly aspect of the throwaway weft. Here comes the leveling string to the rescue! This piece of 12/6 cotton seine twine is just what we need to get off to a good start with every project we put on the loom. The leveling string levels out the warp ends, and delivers a nice, flat weaving surface. It is superb to be able to weave fabric right from the very beginning of the warp!

The use of a leveling string is also described in my three favorite books that detail how to warp a loom:

  • The Big Book of Weaving, by Laila Lundell
  • Learning to Warp Your Loom, by Joanne Hall
  • Dress Your Loom the Vävstuga Way: A Benchside Photo Guide, by Becky Ashenden

Tools:

  • Front tie-on bar with a hole at each end (Joanne Hall writes, “If there are no holes in your bar, replace the cord with a thin stick.” I have not tried this, but I trust anything Joanne says!)
  • 12/6 cotton seine twine, the length of front tie-on bar, plus about 20 inches (I like to have plenty of string to tie the knots on the ends)

Steps:

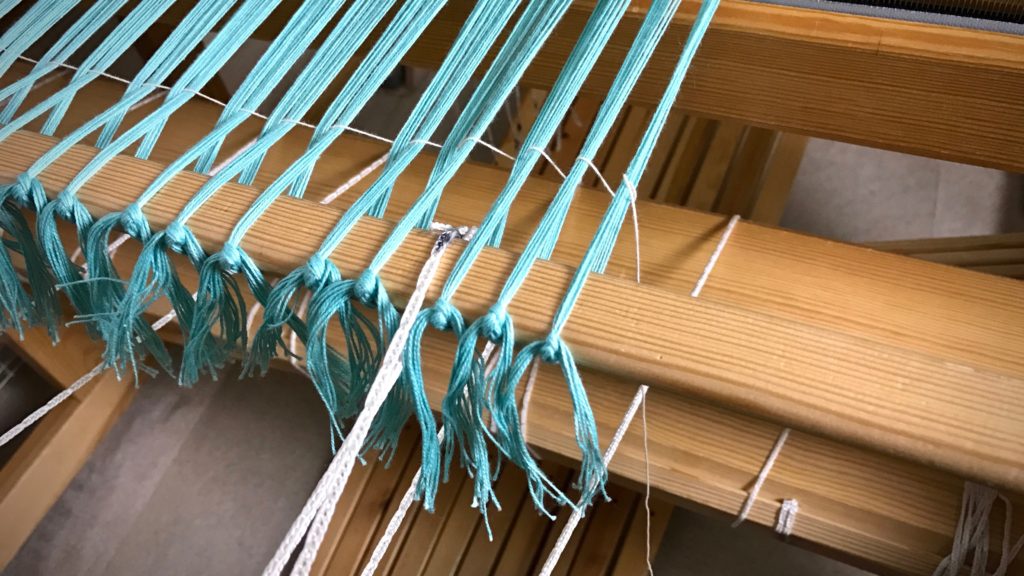
1. Tie on warp in small bundles, about 1″ each, with half of the bundle’s ends going over, and half going under, the front tie-on bar (as seen in Step 3 pictures). Tie the ends together with a bow knot or other tie-on knot. (TIP – If you do not tie the knots too tight, it is easier to get even tension across the warp, and it is easier to tighten the leveling string in Step 4.)

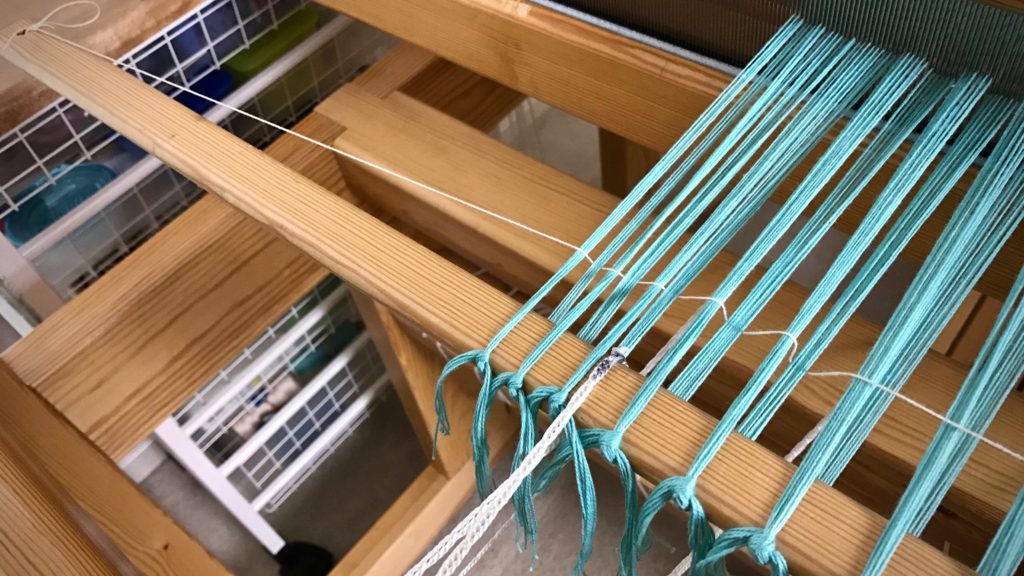
2. Tie one end of the leveling string to one end of the front tie-on bar, using a slip knot with half bow.

Tying the leveling string. Tutorial pics.

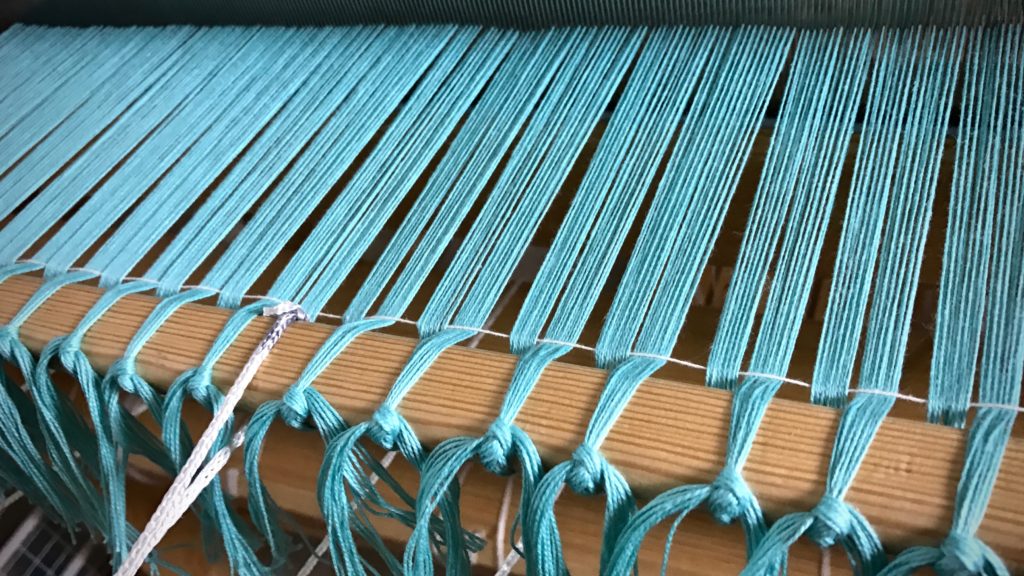
Tying the leveling string. Step-by-step.

Leveling string - tying it on.

Tying on the leveling string. How to.

How to tie the leveling string.

3. Thread the leveling string over and under the tie-on bundles, going over the raised ends and under the lowered ends.

Threading the leveling string through the warp. Tutorial pics.

Leveling string going through the warp.

Tying the second end of the leveling string.

4. Tighten the leveling string while tapping it in with the beater.

Tightening the leveling string.

5. Tie the end of the leveling string to the end of the front tie-on bar, using a slip knot with half bow, as before.

How to tie the second end of the leveling string.

How to tie the leveling string.

Finishing the knot for the leveling string.

Why I use a leveling string.

6. Weave to your heart’s content.

Why the leveling string is so helpful!

When you get to the end of the warp, and are ready for cutting off, simply tug the loose end of the string at one end of the bar to release the slip knot, and pull the leveling string out of the warp.

May you weave as soon as possible.

Happy Valentine’s Day,
Karen