Tried and True: Are Retaining Cords Worth the Trouble?

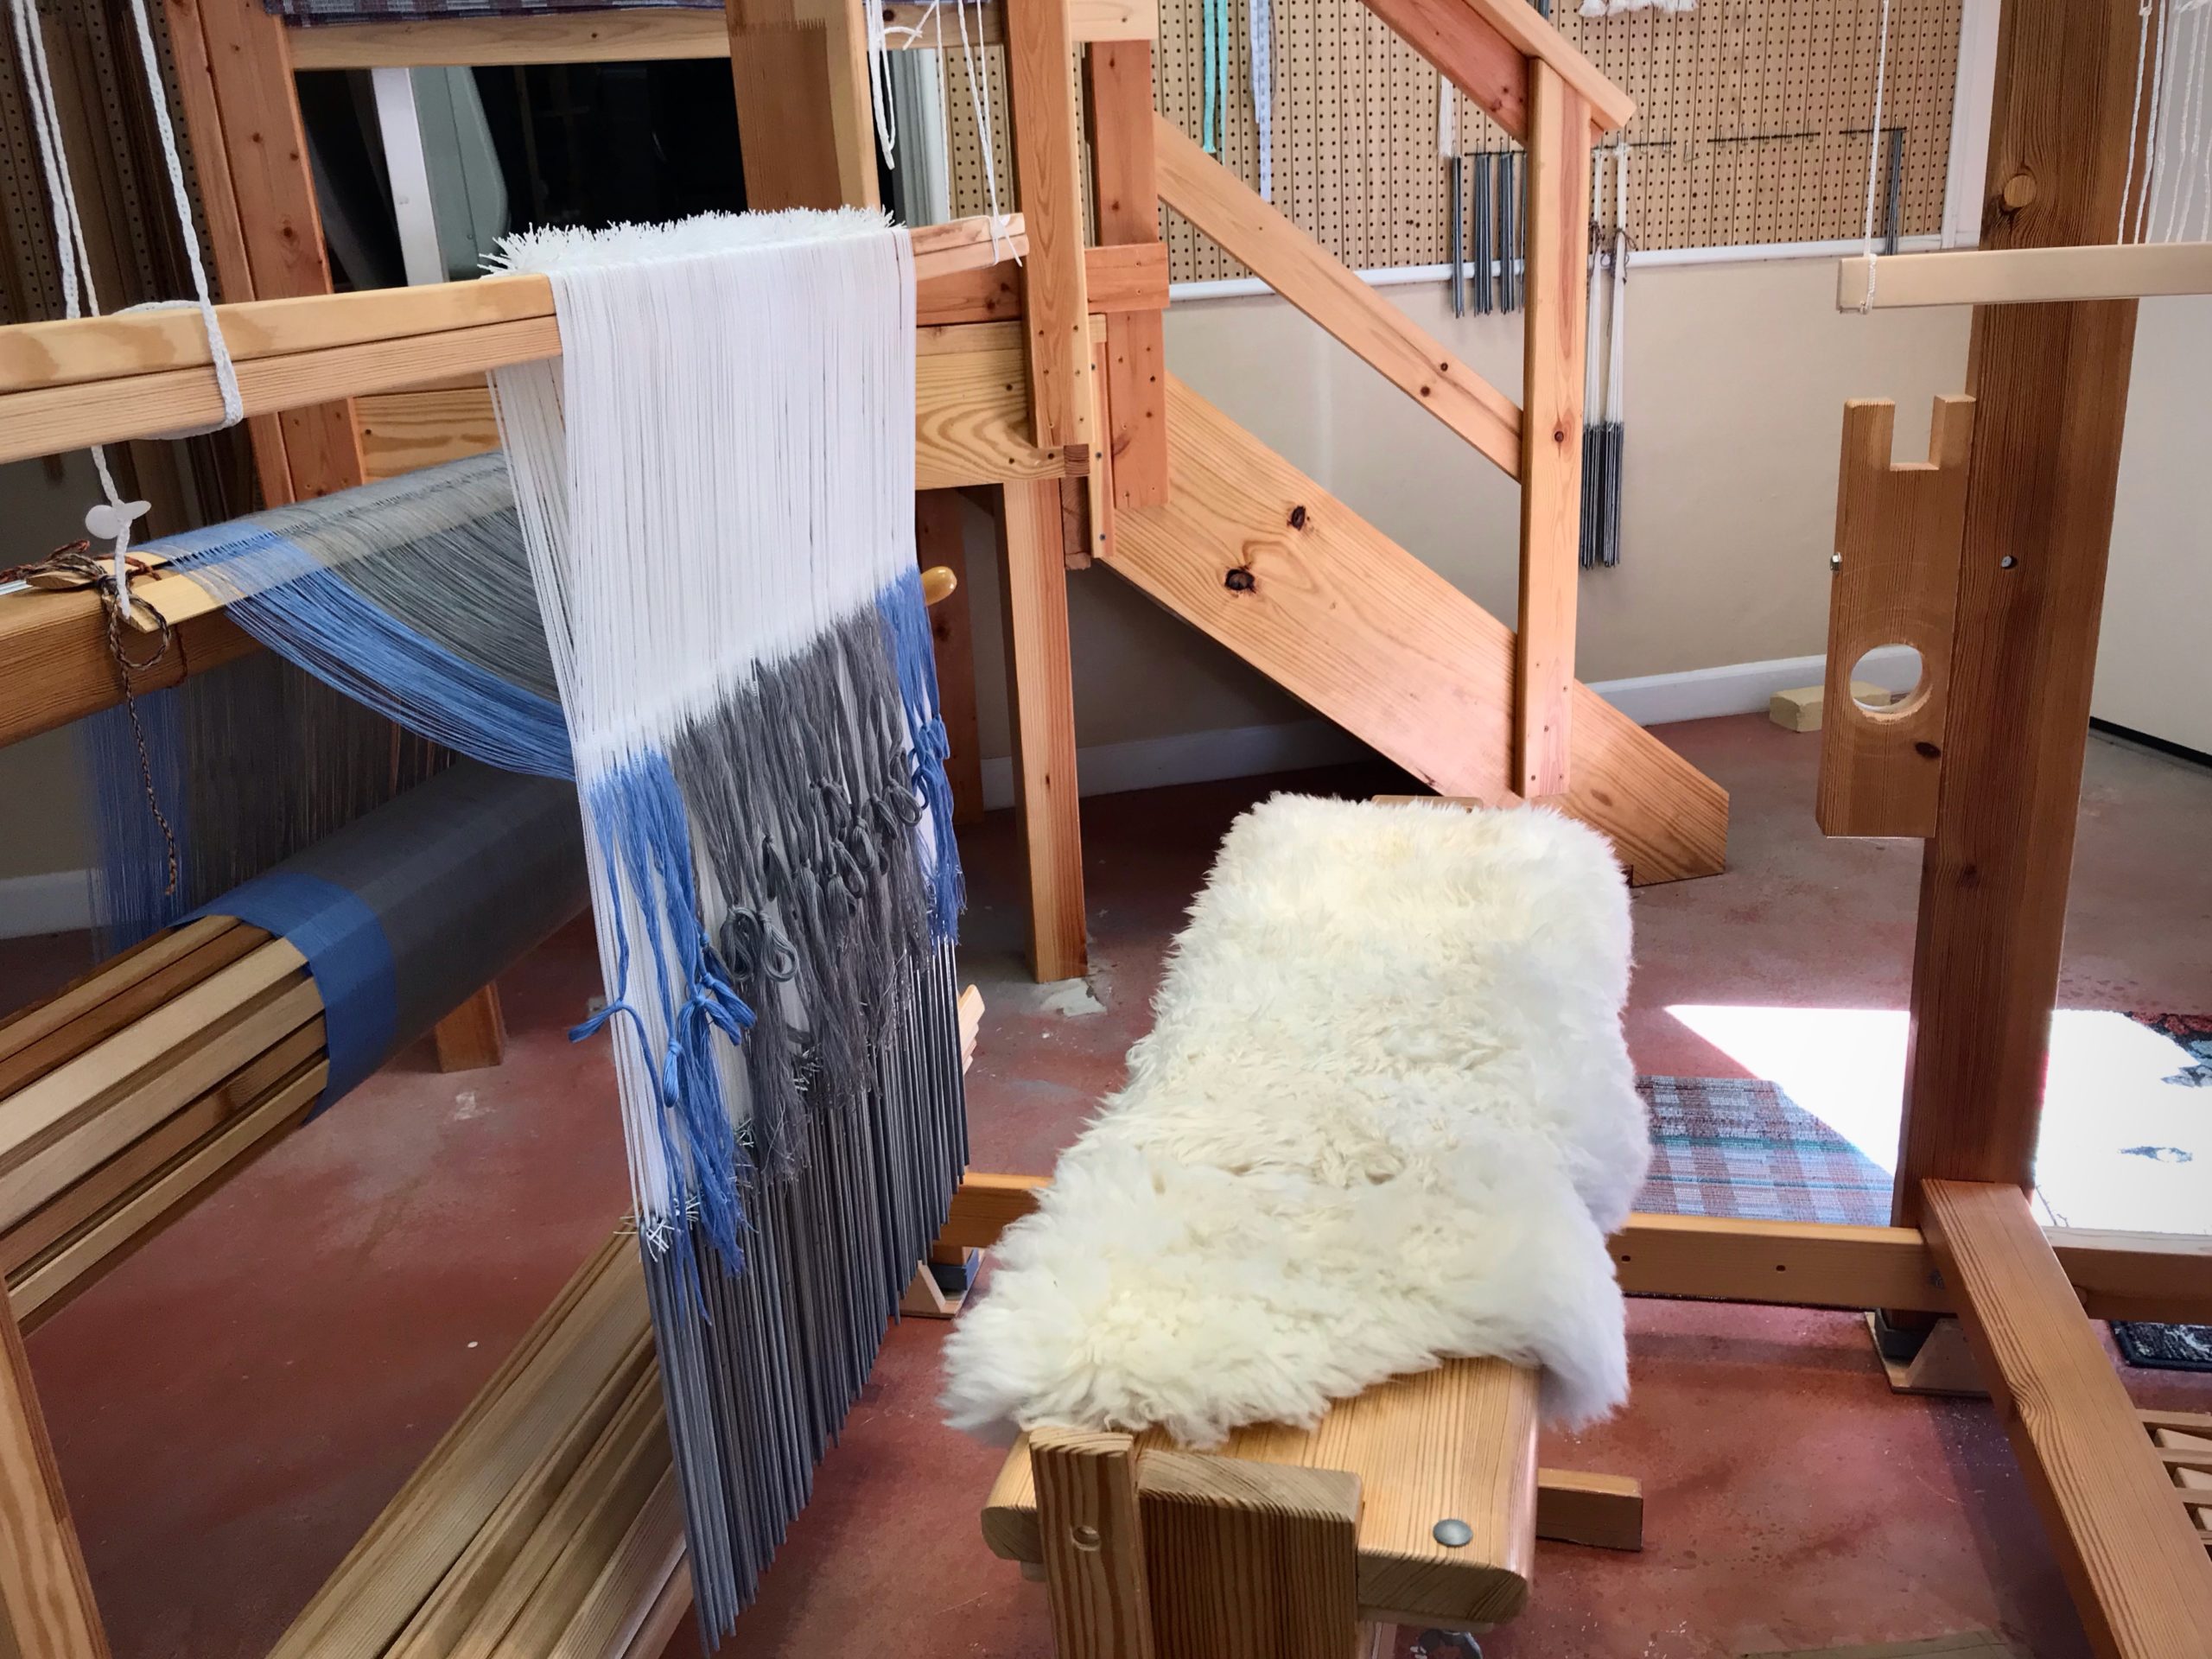
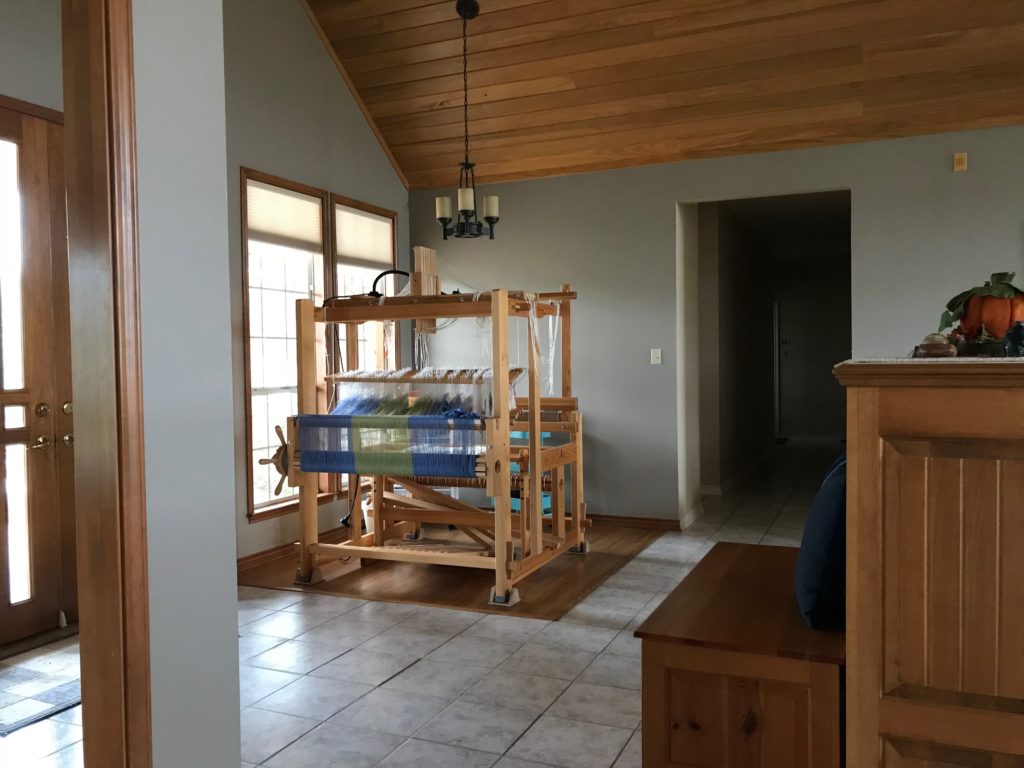
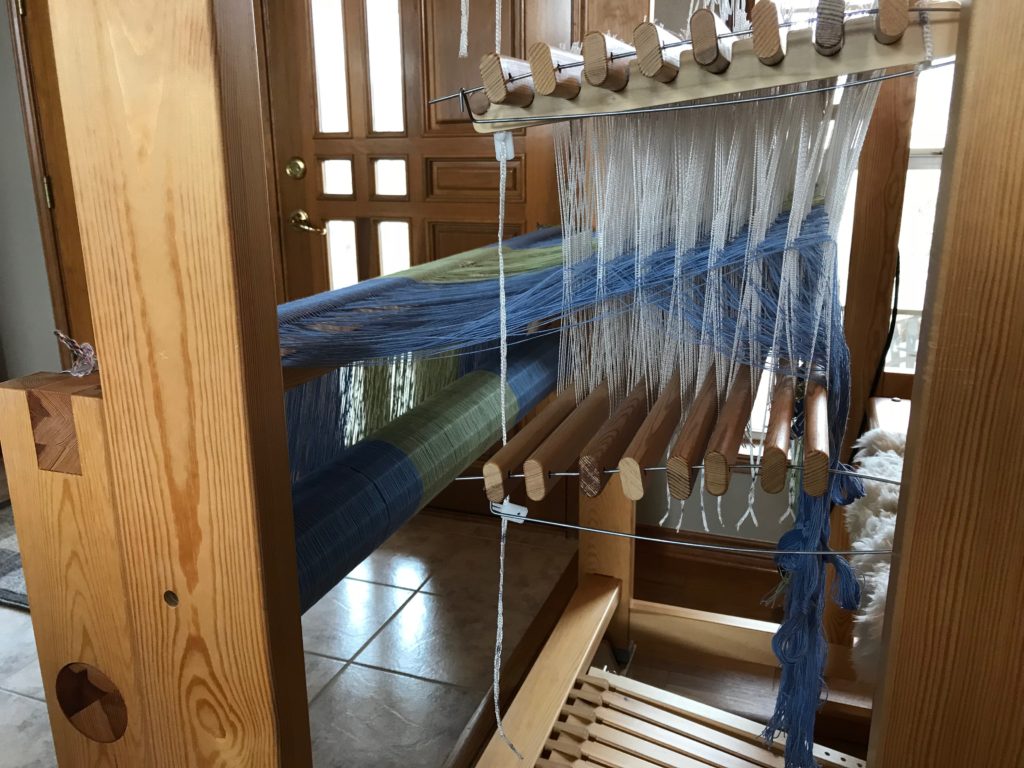
Some things are easier done than said. I said to myself that it’s too much trouble to tie retaining cords on the shafts. I am weaving almost full width on the Glimåkra Julia. I know that heddles can slip off the ends of shafts. Still, I tell myself I can keep an eye on it. It won’t be a problem, right? Wrong.
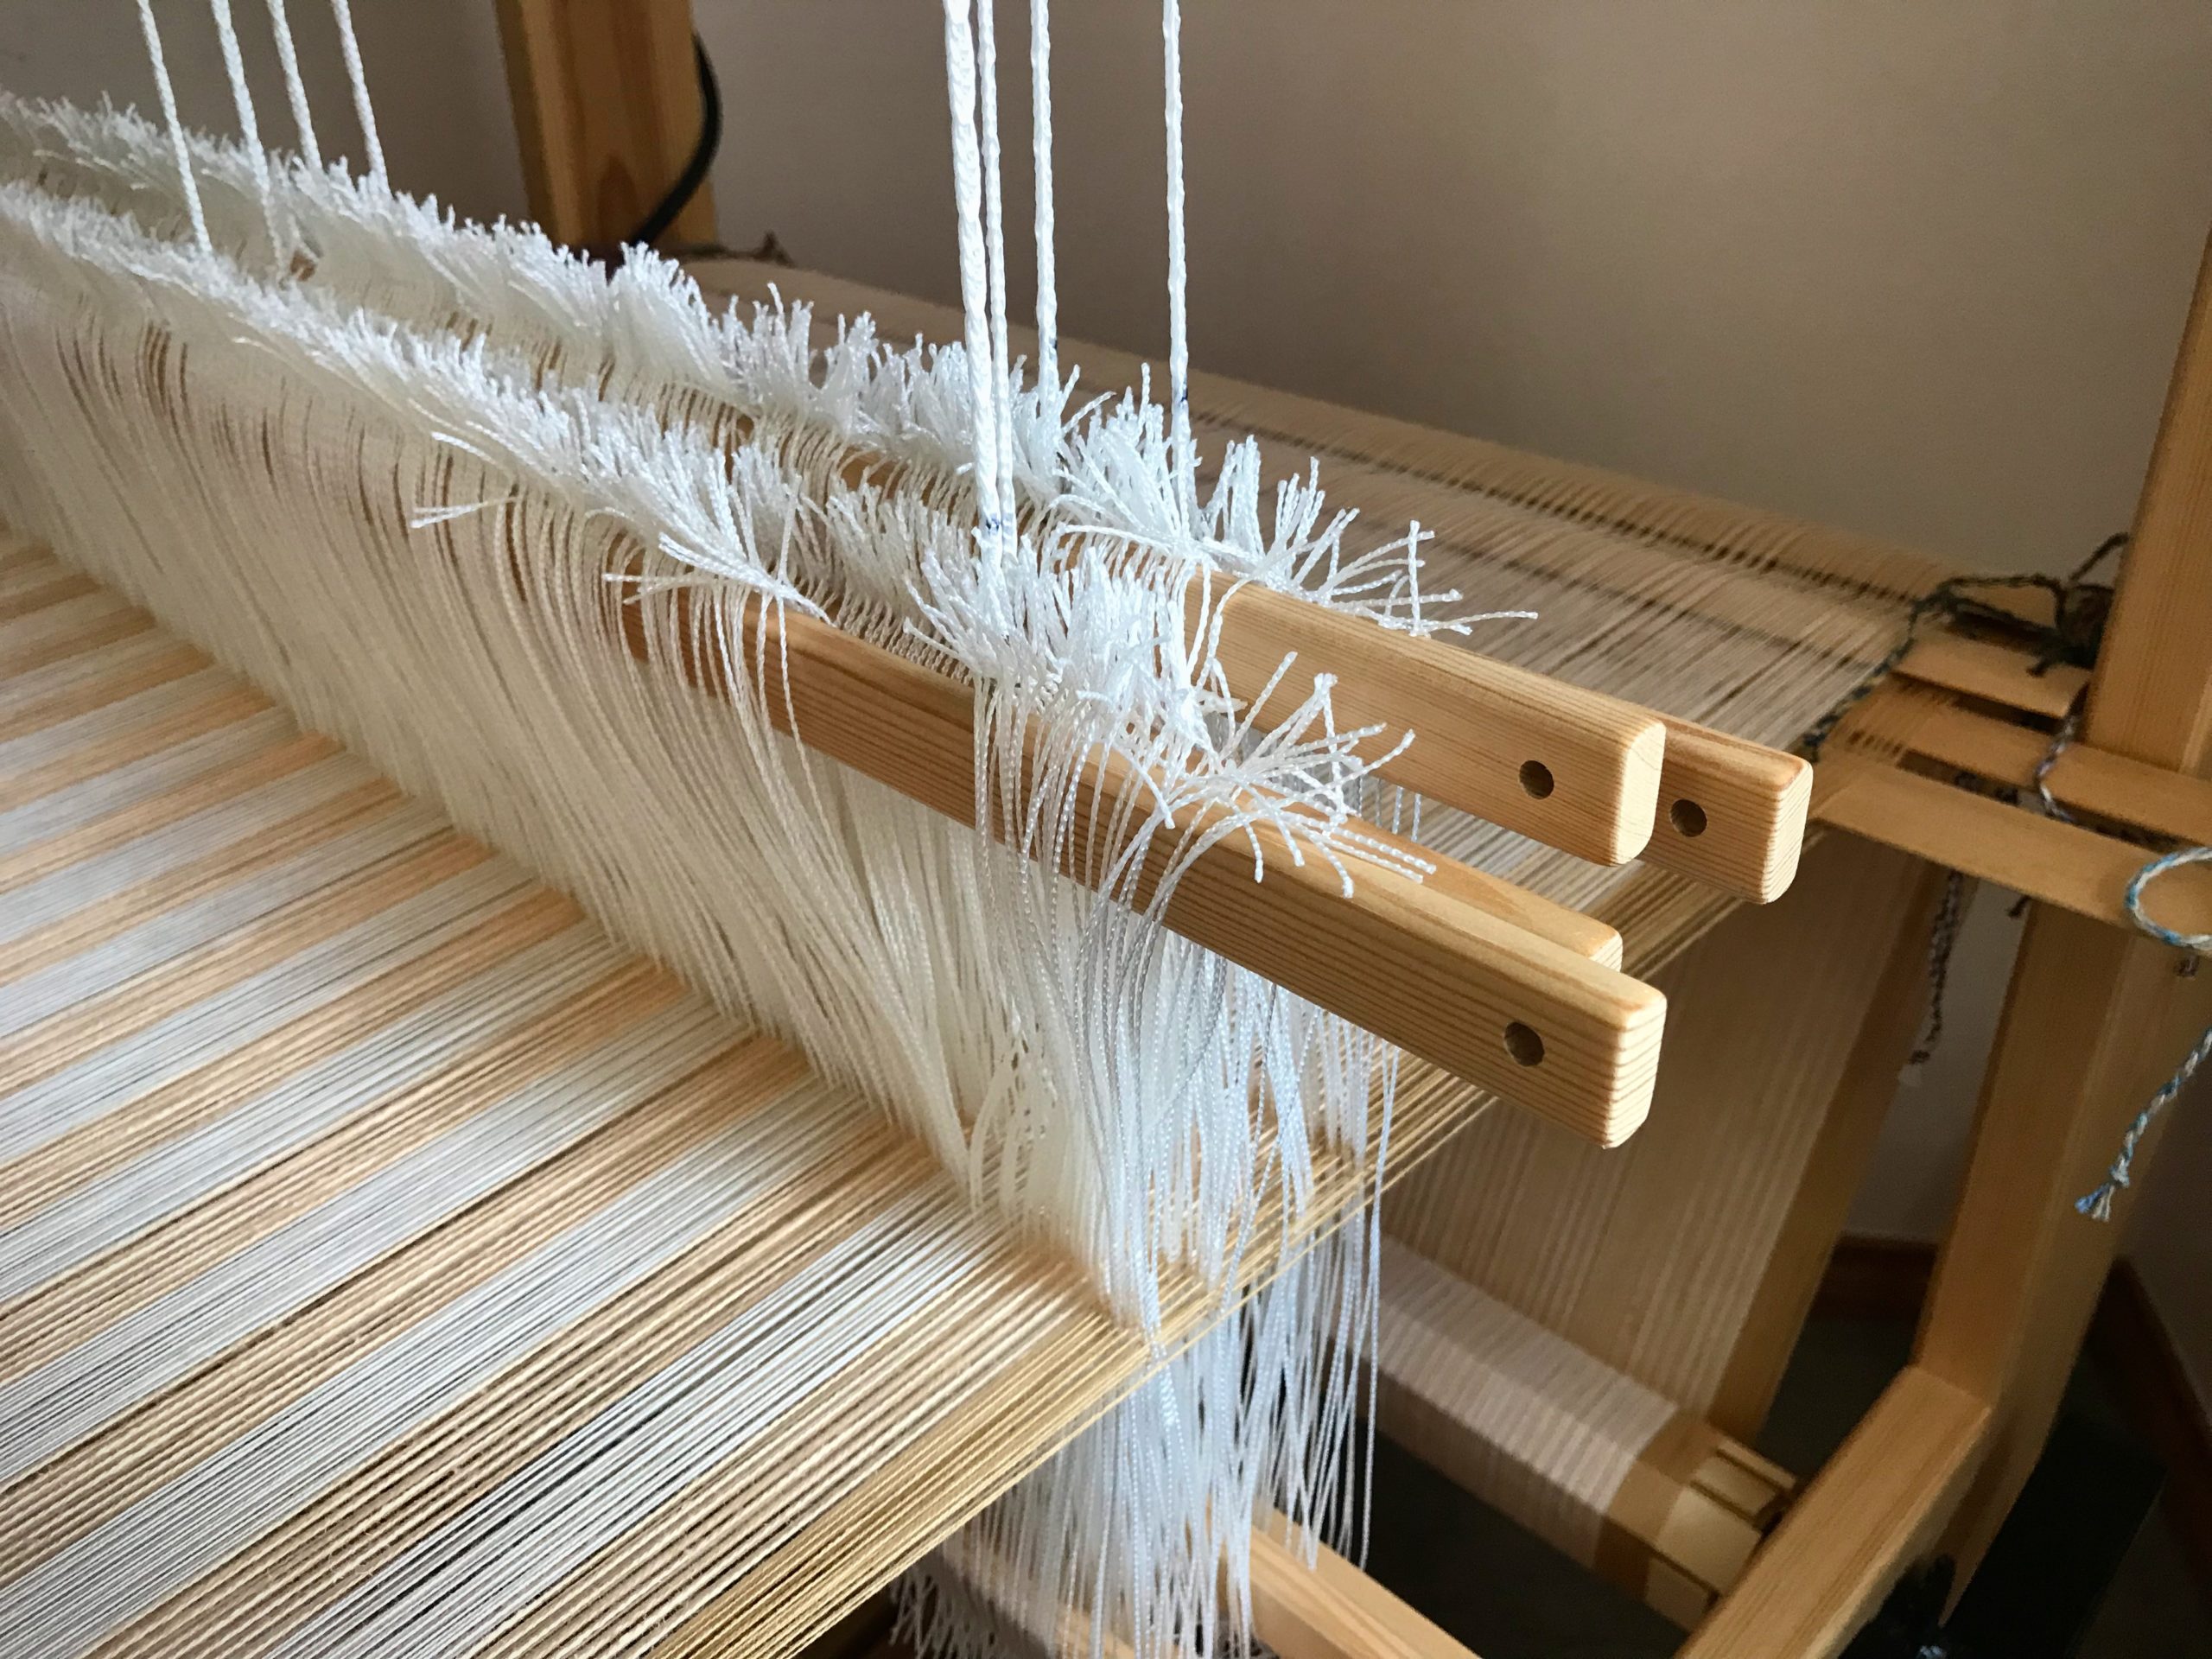
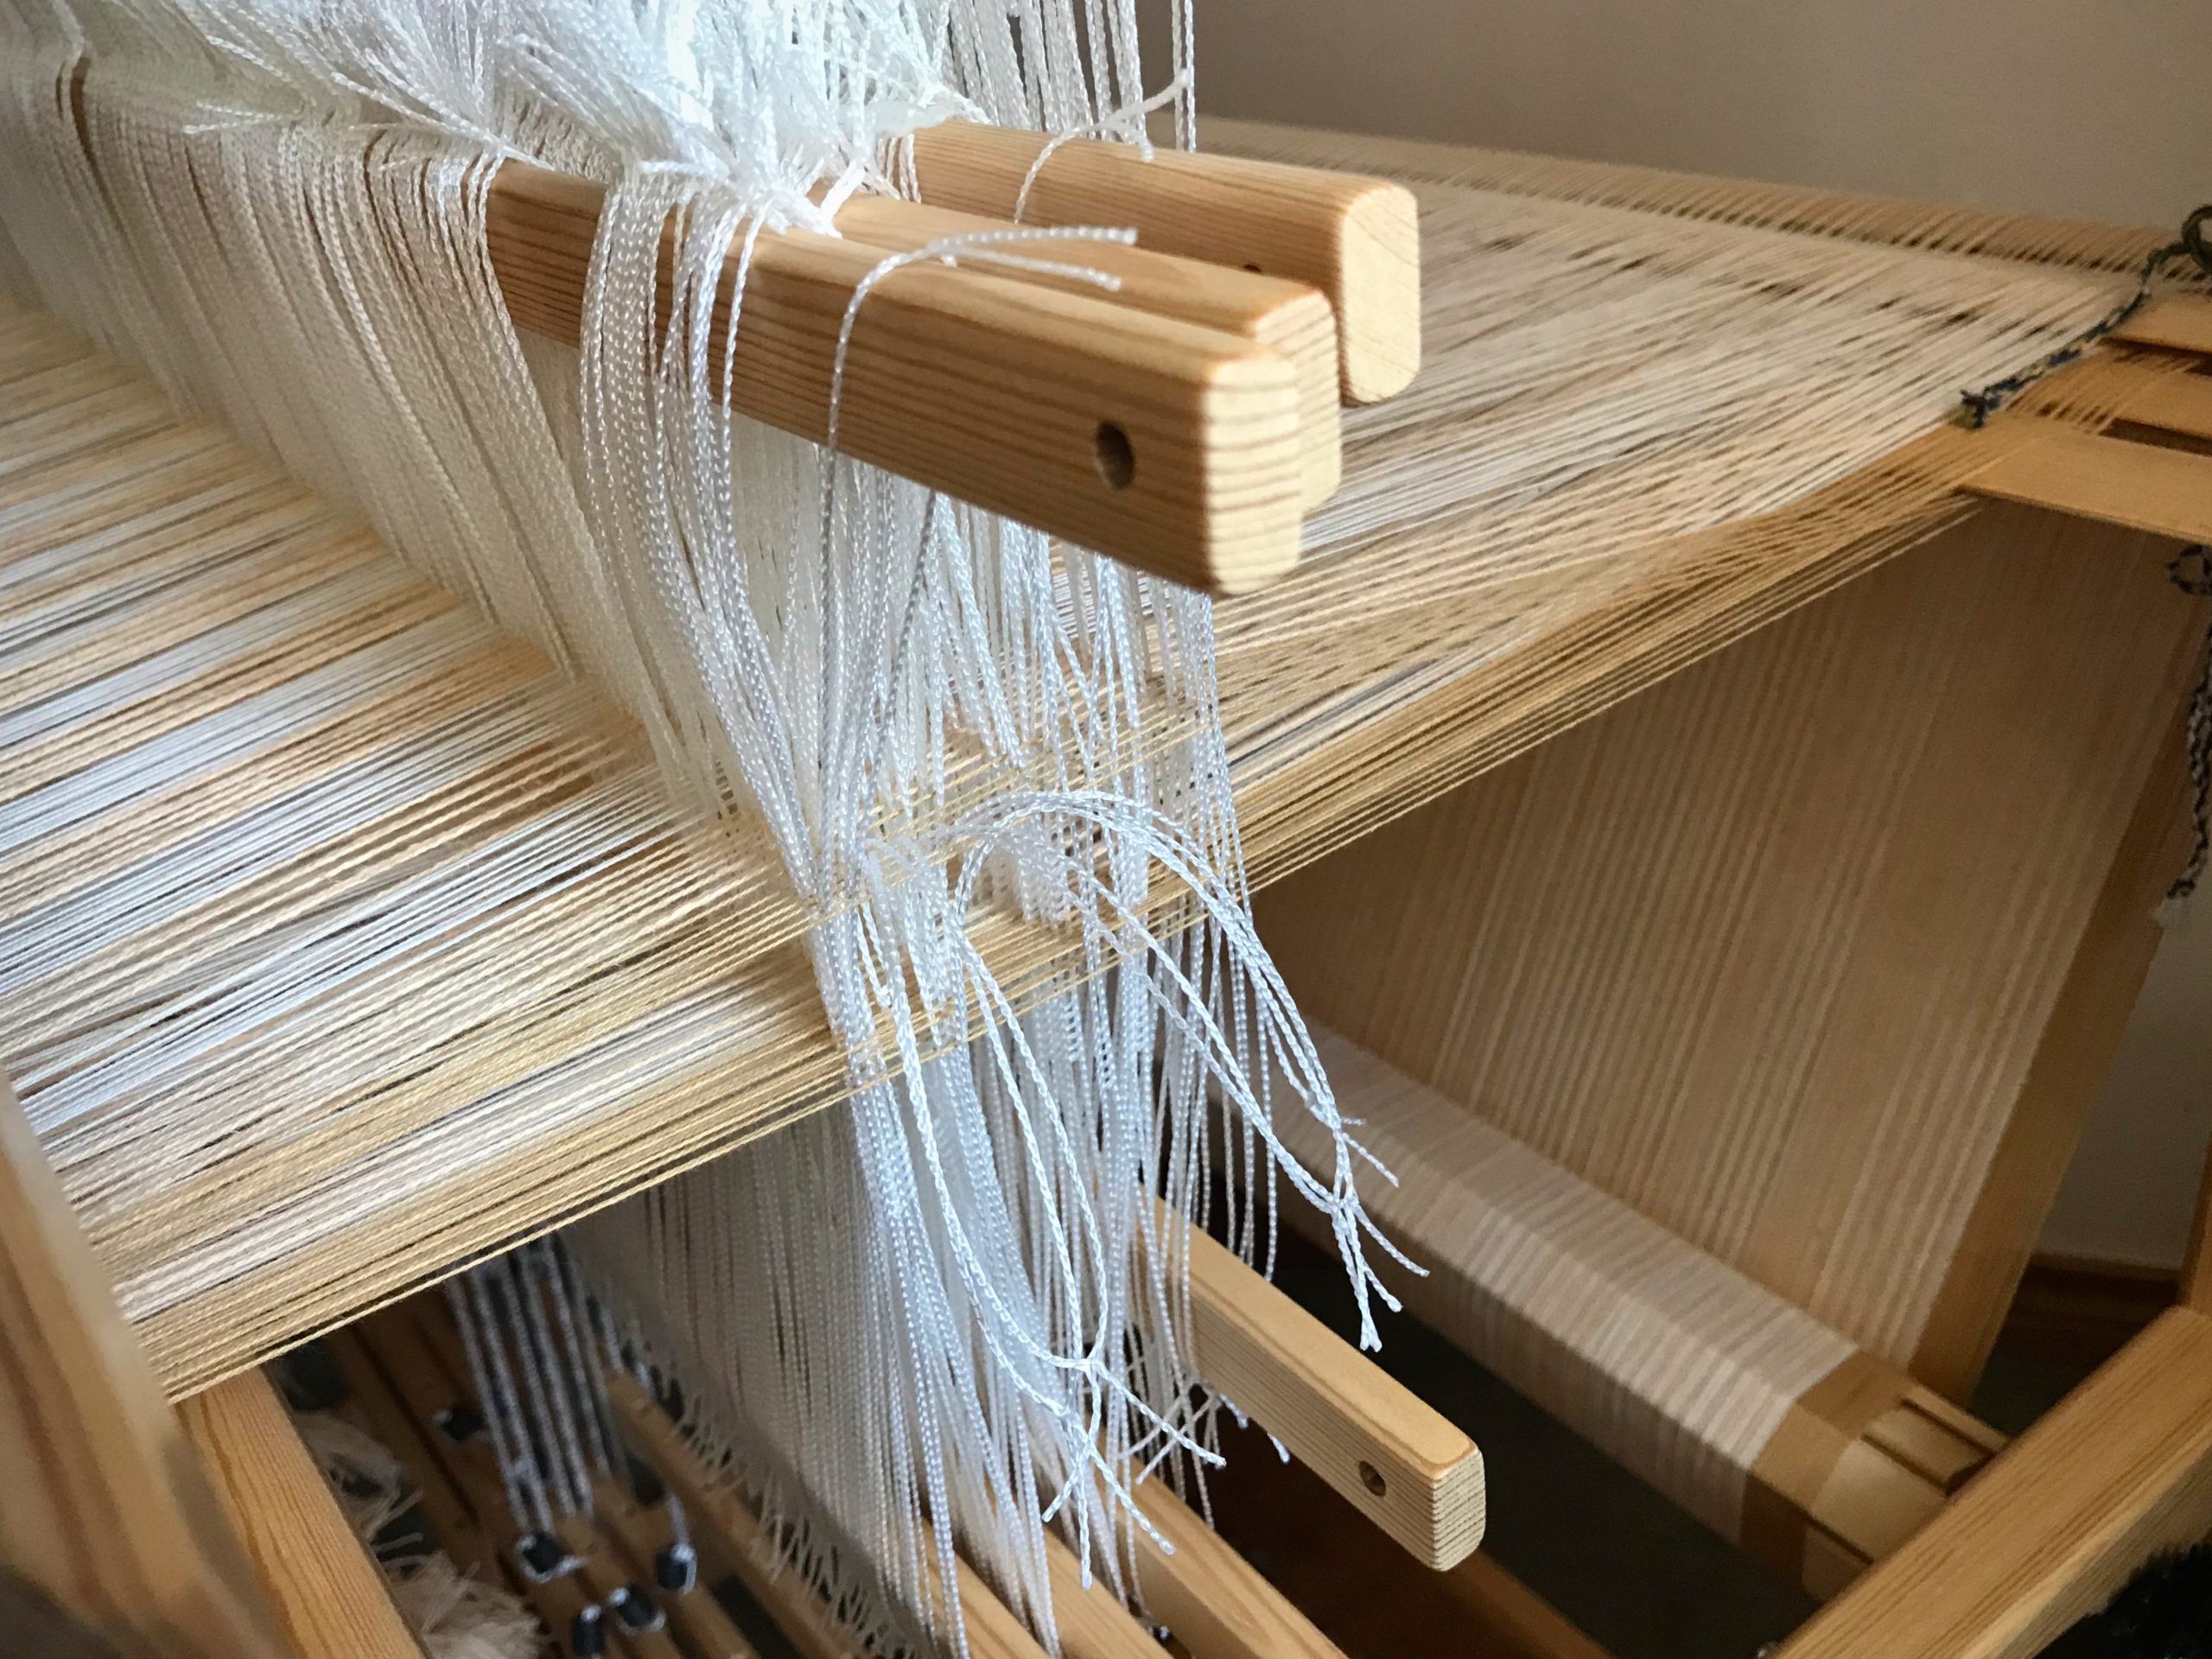
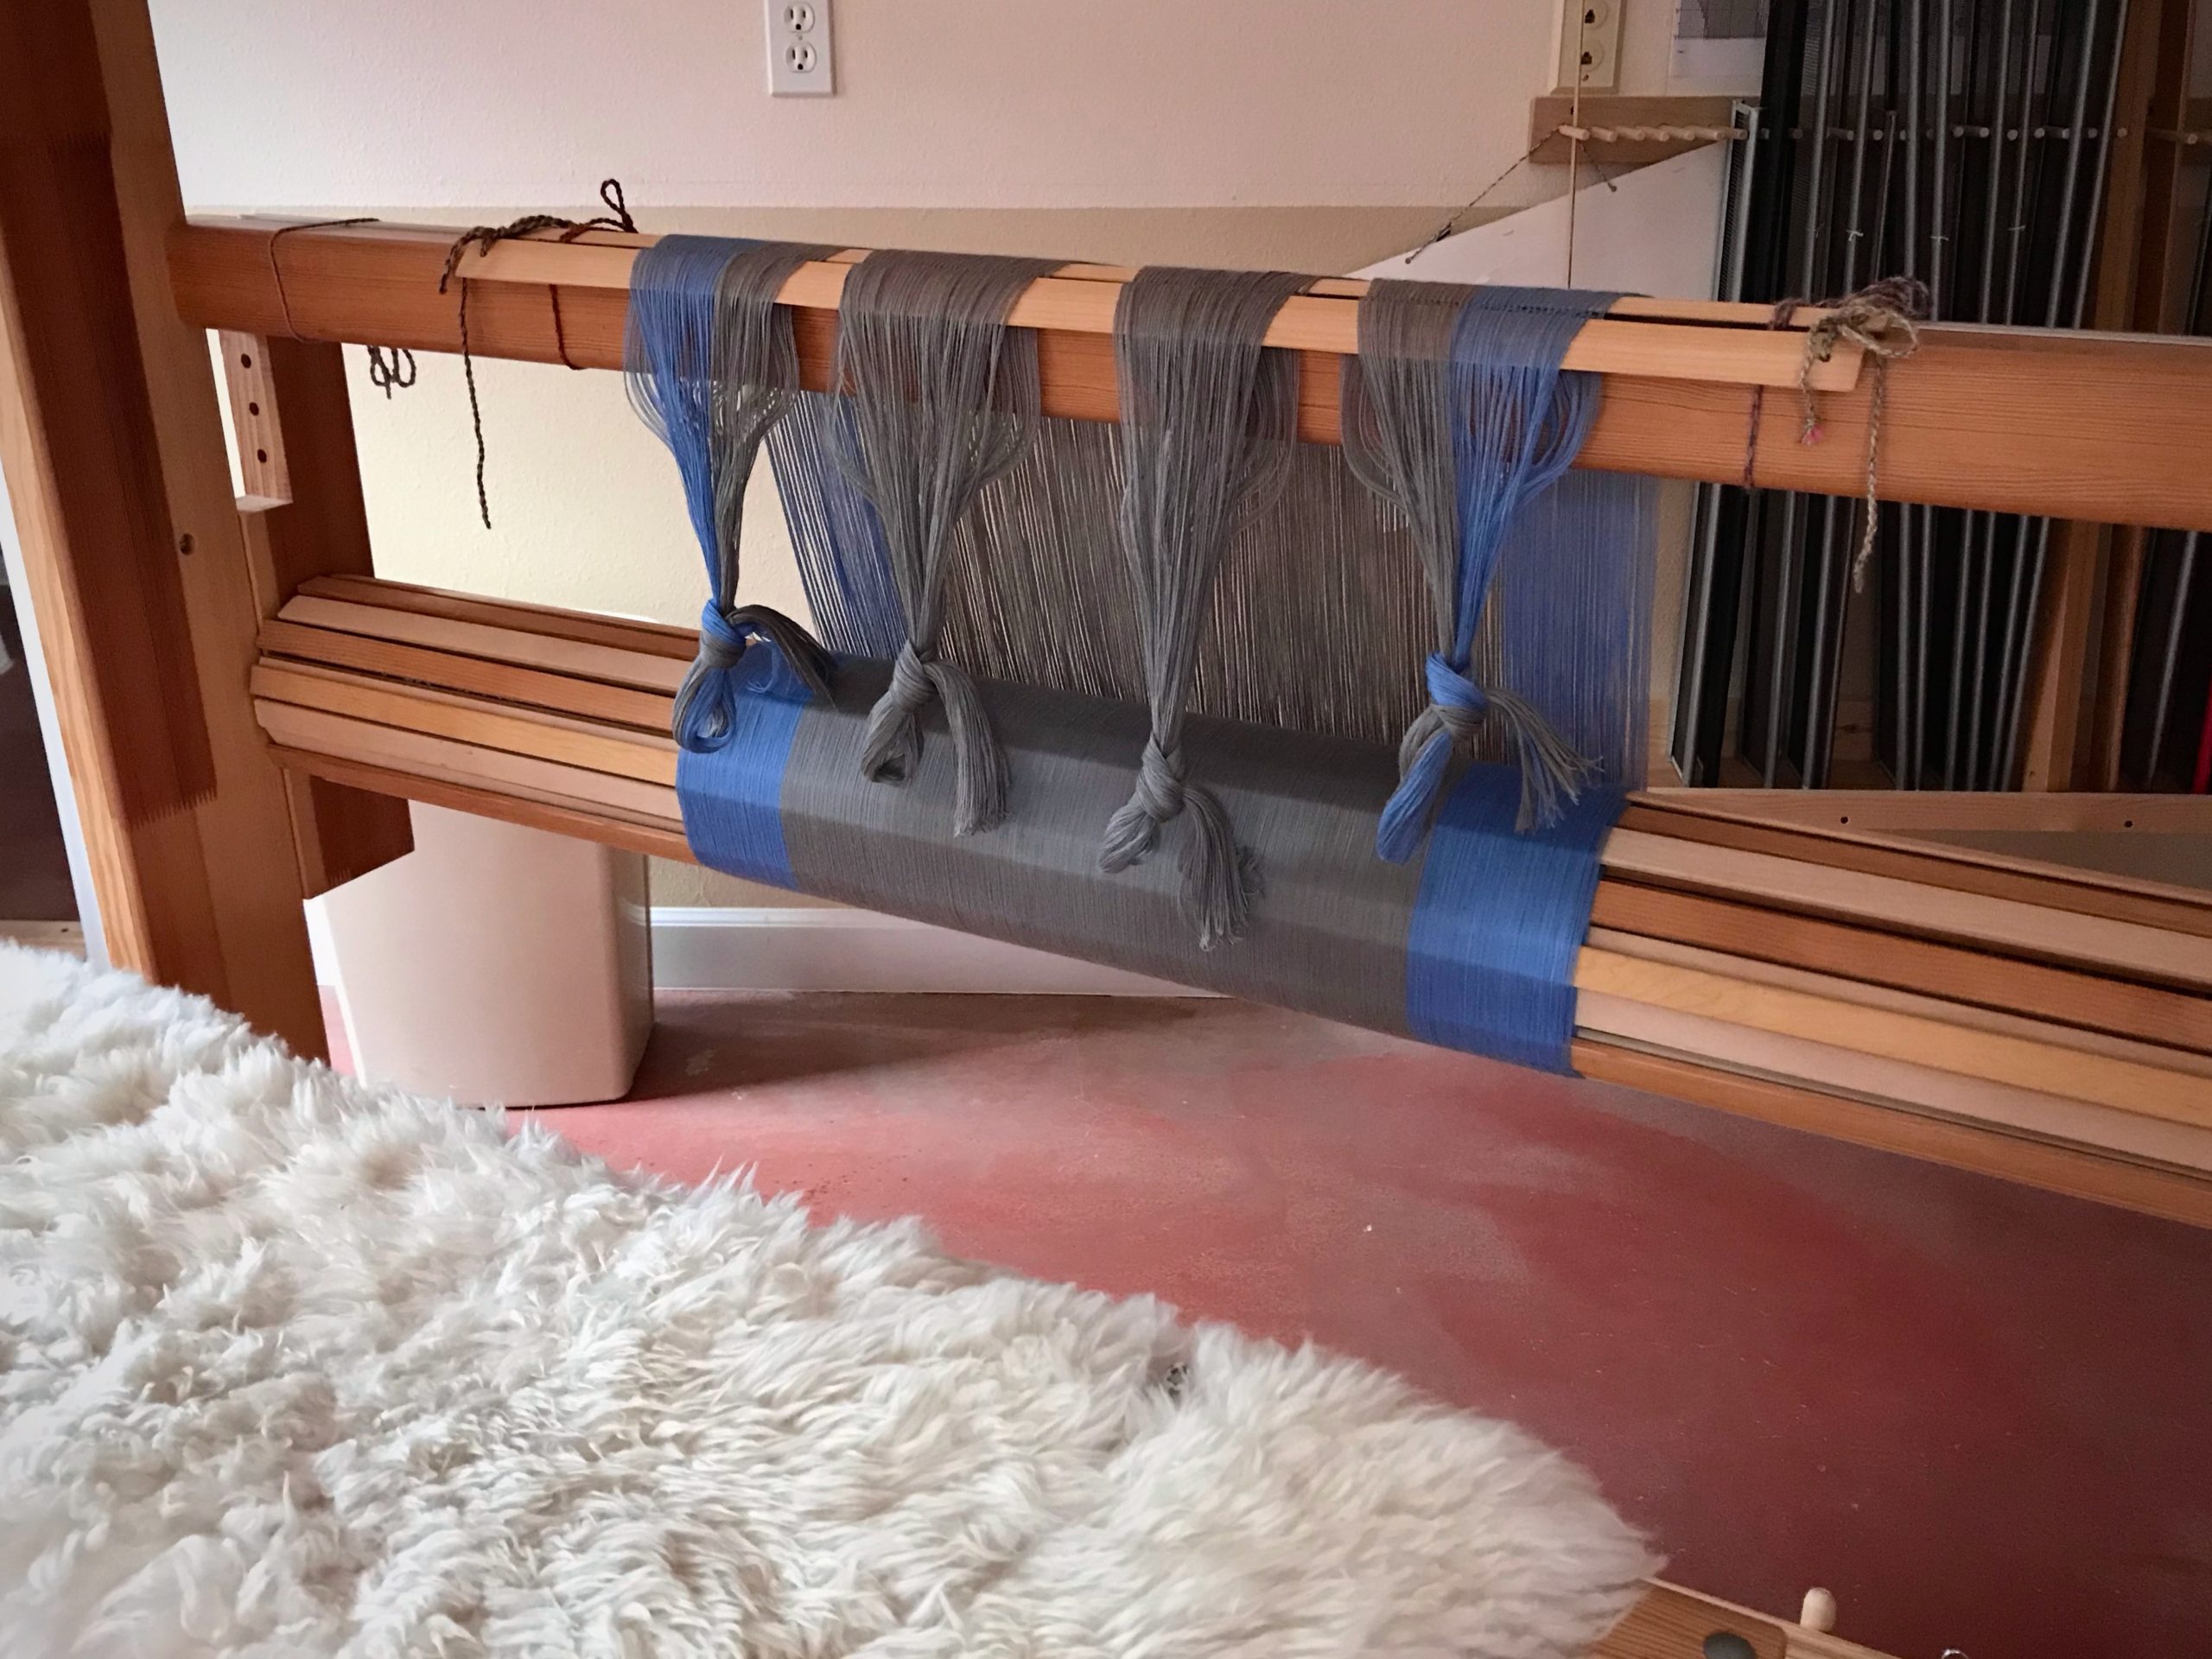
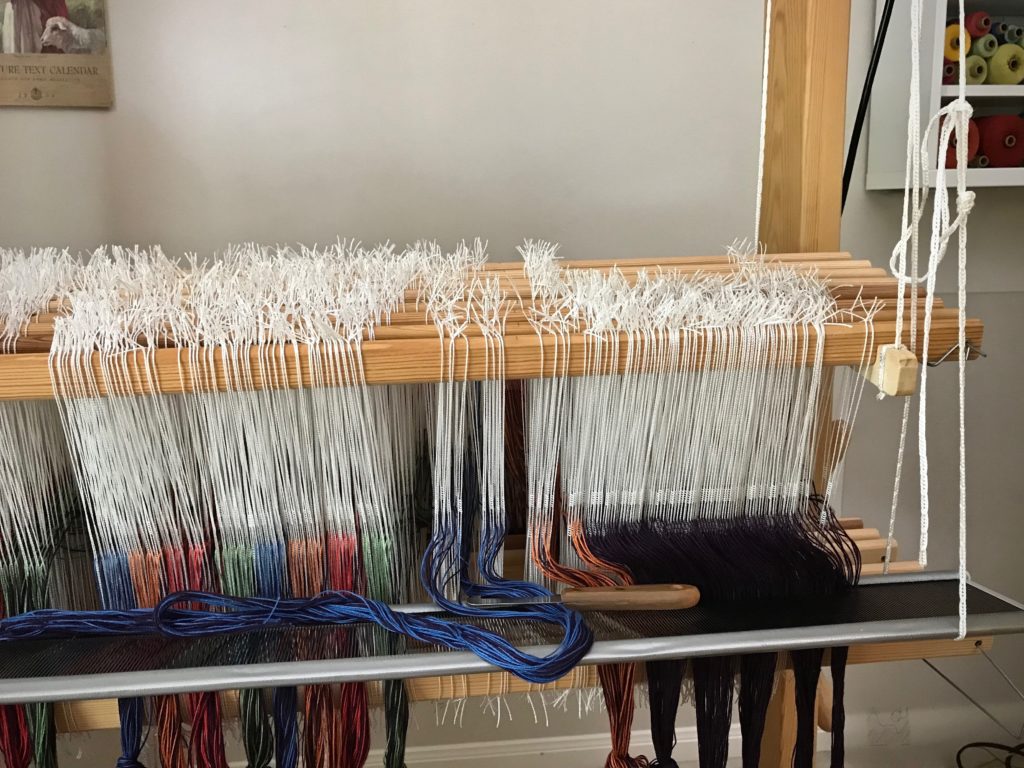
Juila’s wide warp. So far, so good. I’ll pay attention and everything will be just fine. Famous last words.
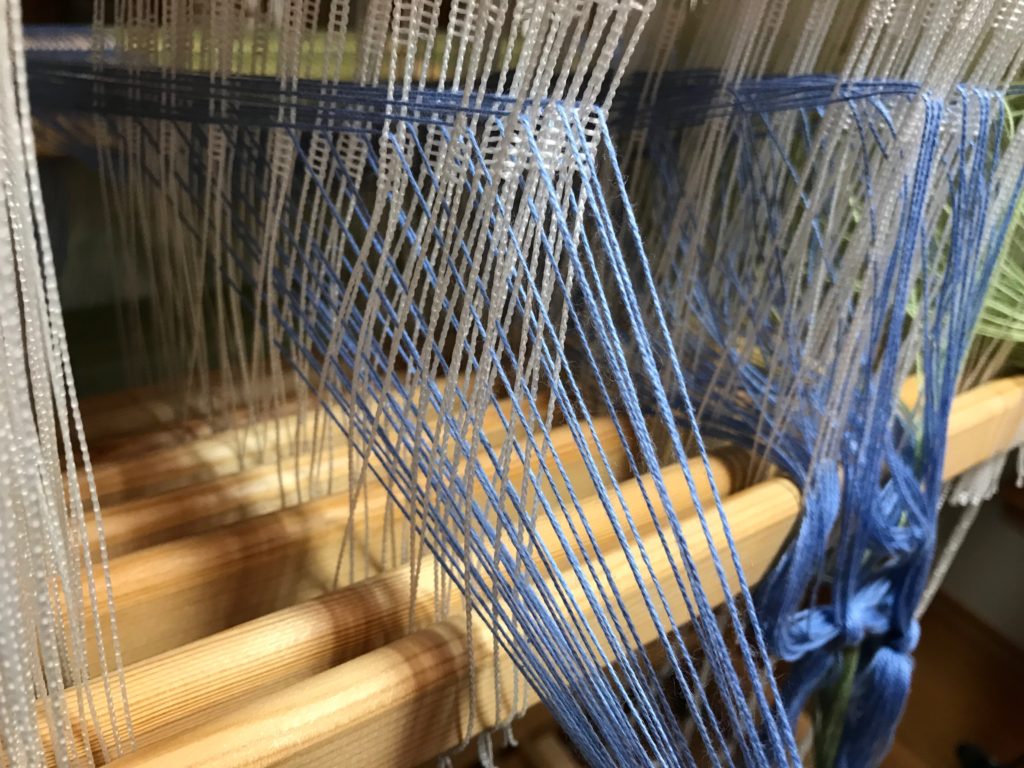
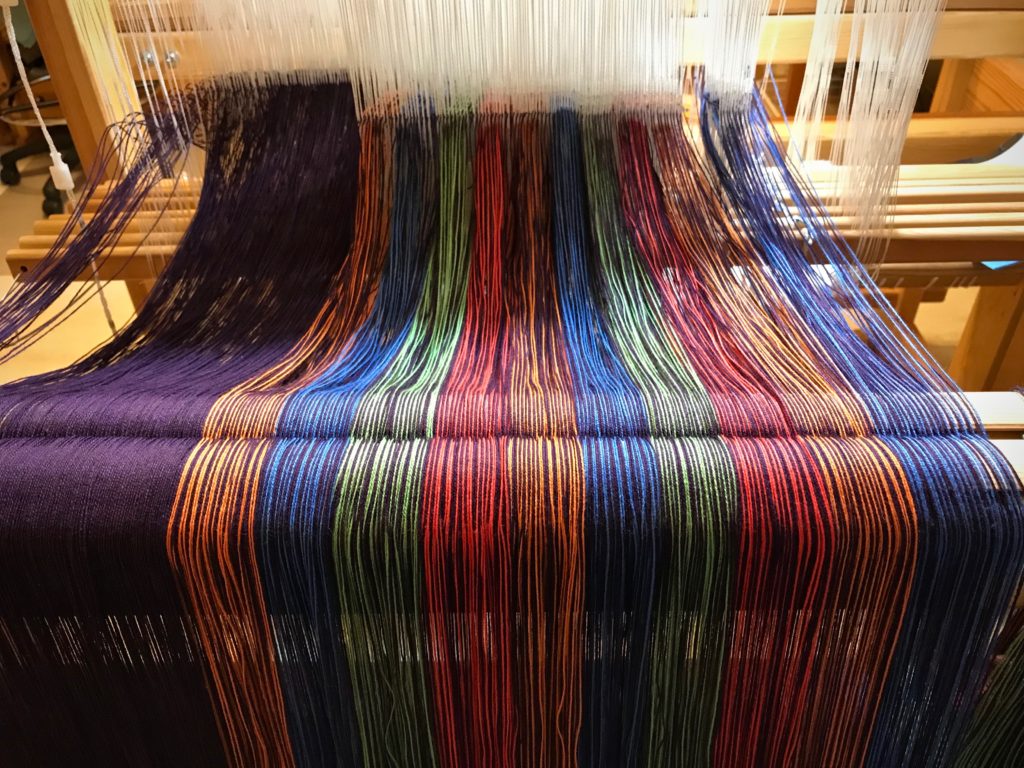
Oops. I took this picture after I had fixed most of the mess created by dangling heddles. When heddles slip off shafts they must be put back on thread by thread to maintain correct warp order. These were tangled enough that it took me a few tries to get it right.


Tie Retaining Cords on Shafts

Purpose: Keep Texsolv heddles secure on their shaft bars, especially when weaving a wide warp.

Supplies

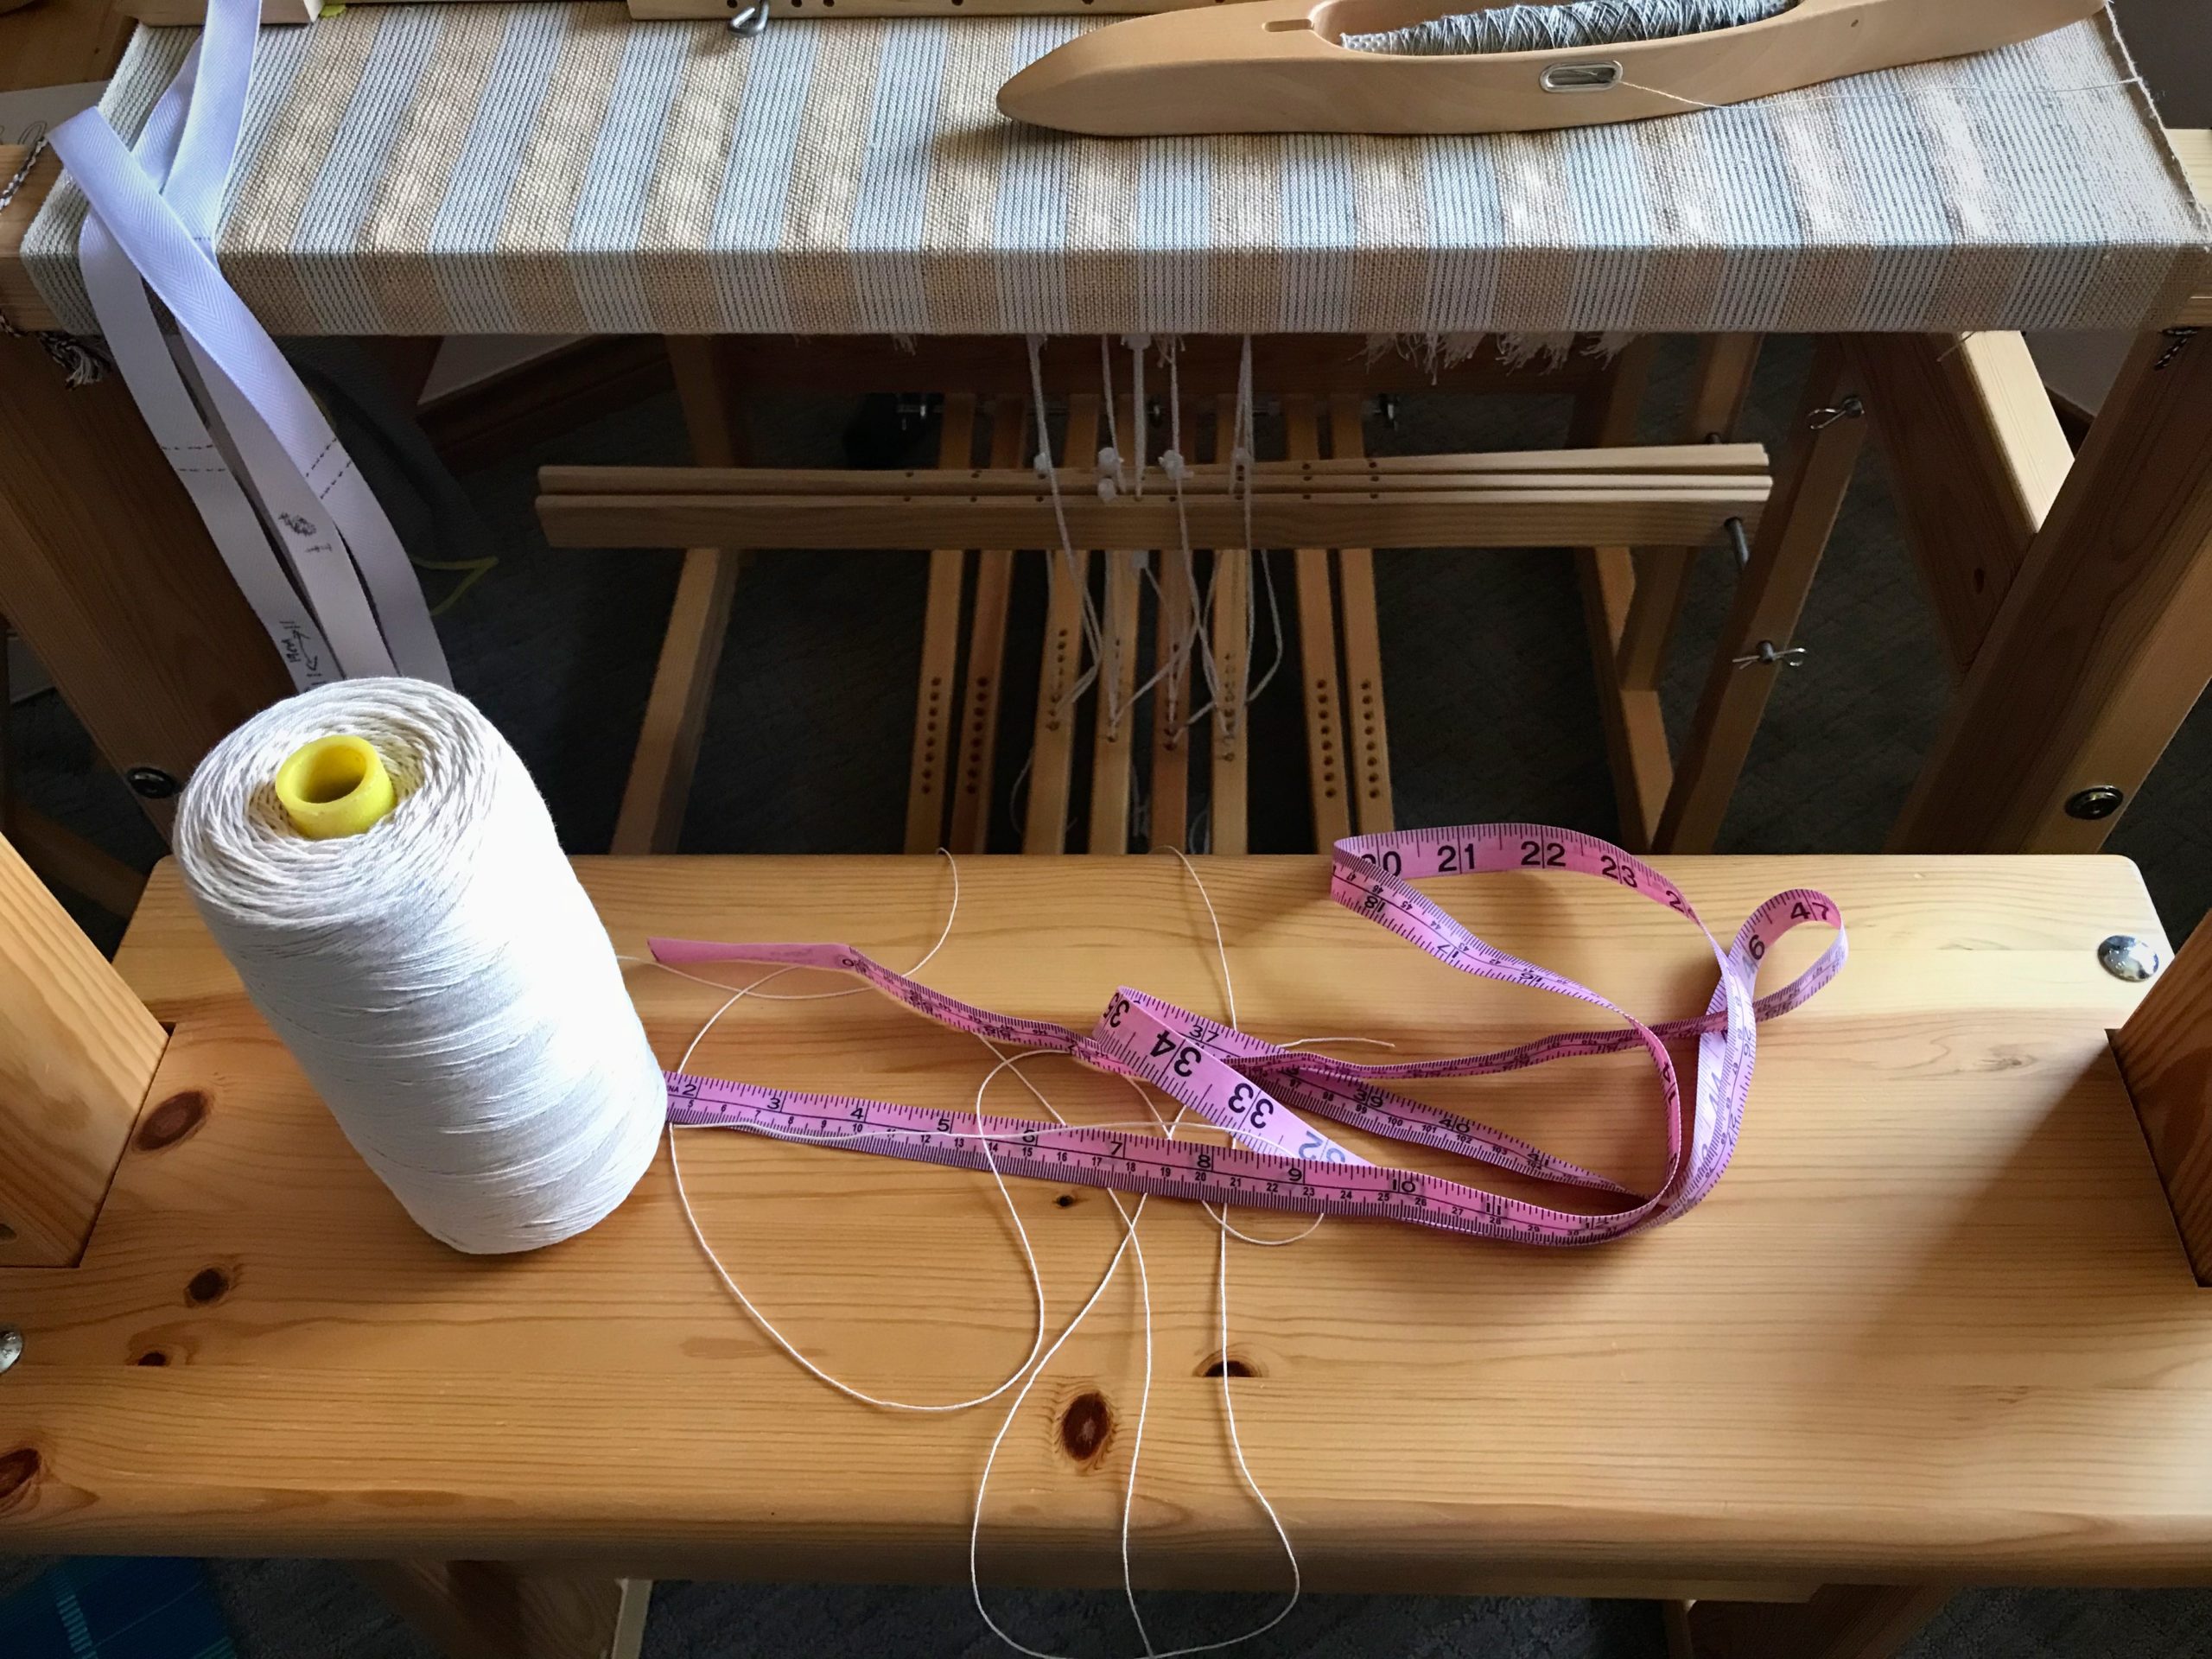
  • Tape measure
  • 12/6 cotton seine twine
  • Scissors
12/6 cotton seine twine (rug warp) to the rescue!

1 Measure shaft bar from hole to hole. (Julia shaft bar is 70 cm)
2 Figure additional length (about 40 cm) for tying two knots. (70 + 40 = 110 cm)
3 Cut seine twine to measured length for each upper and lower shaft bar. (Heddles can slip off lower shaft bars, too.)
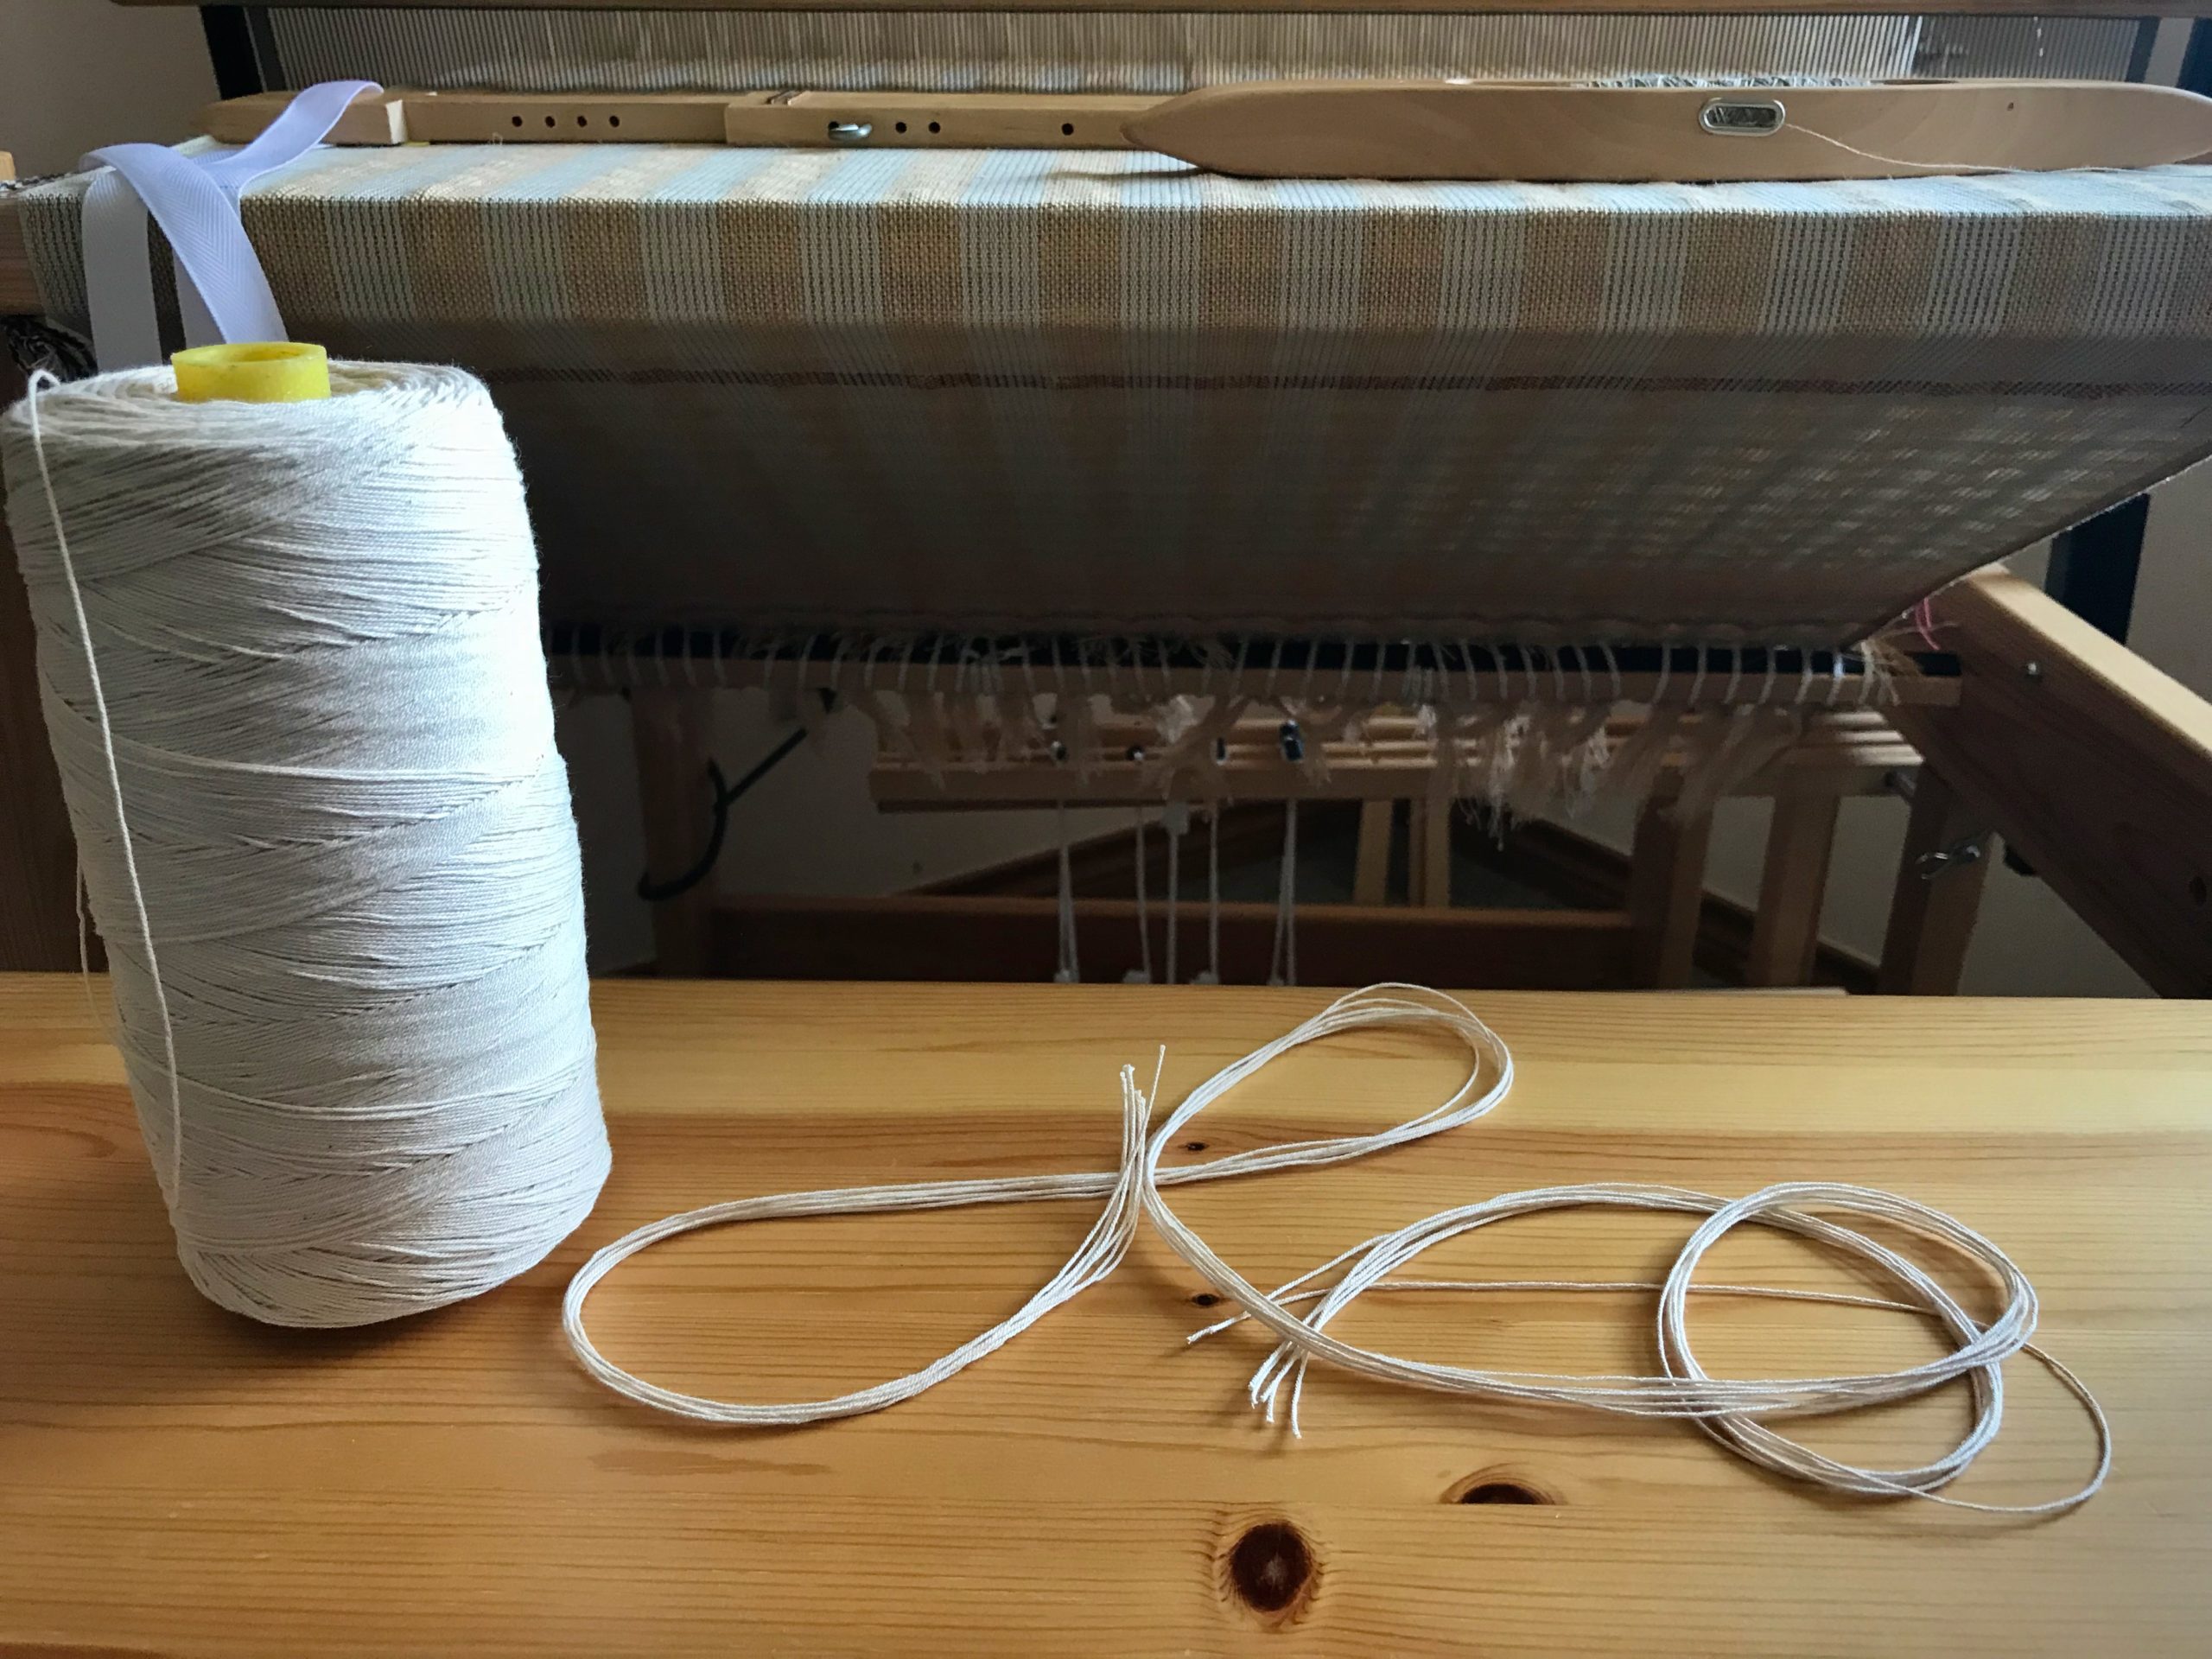
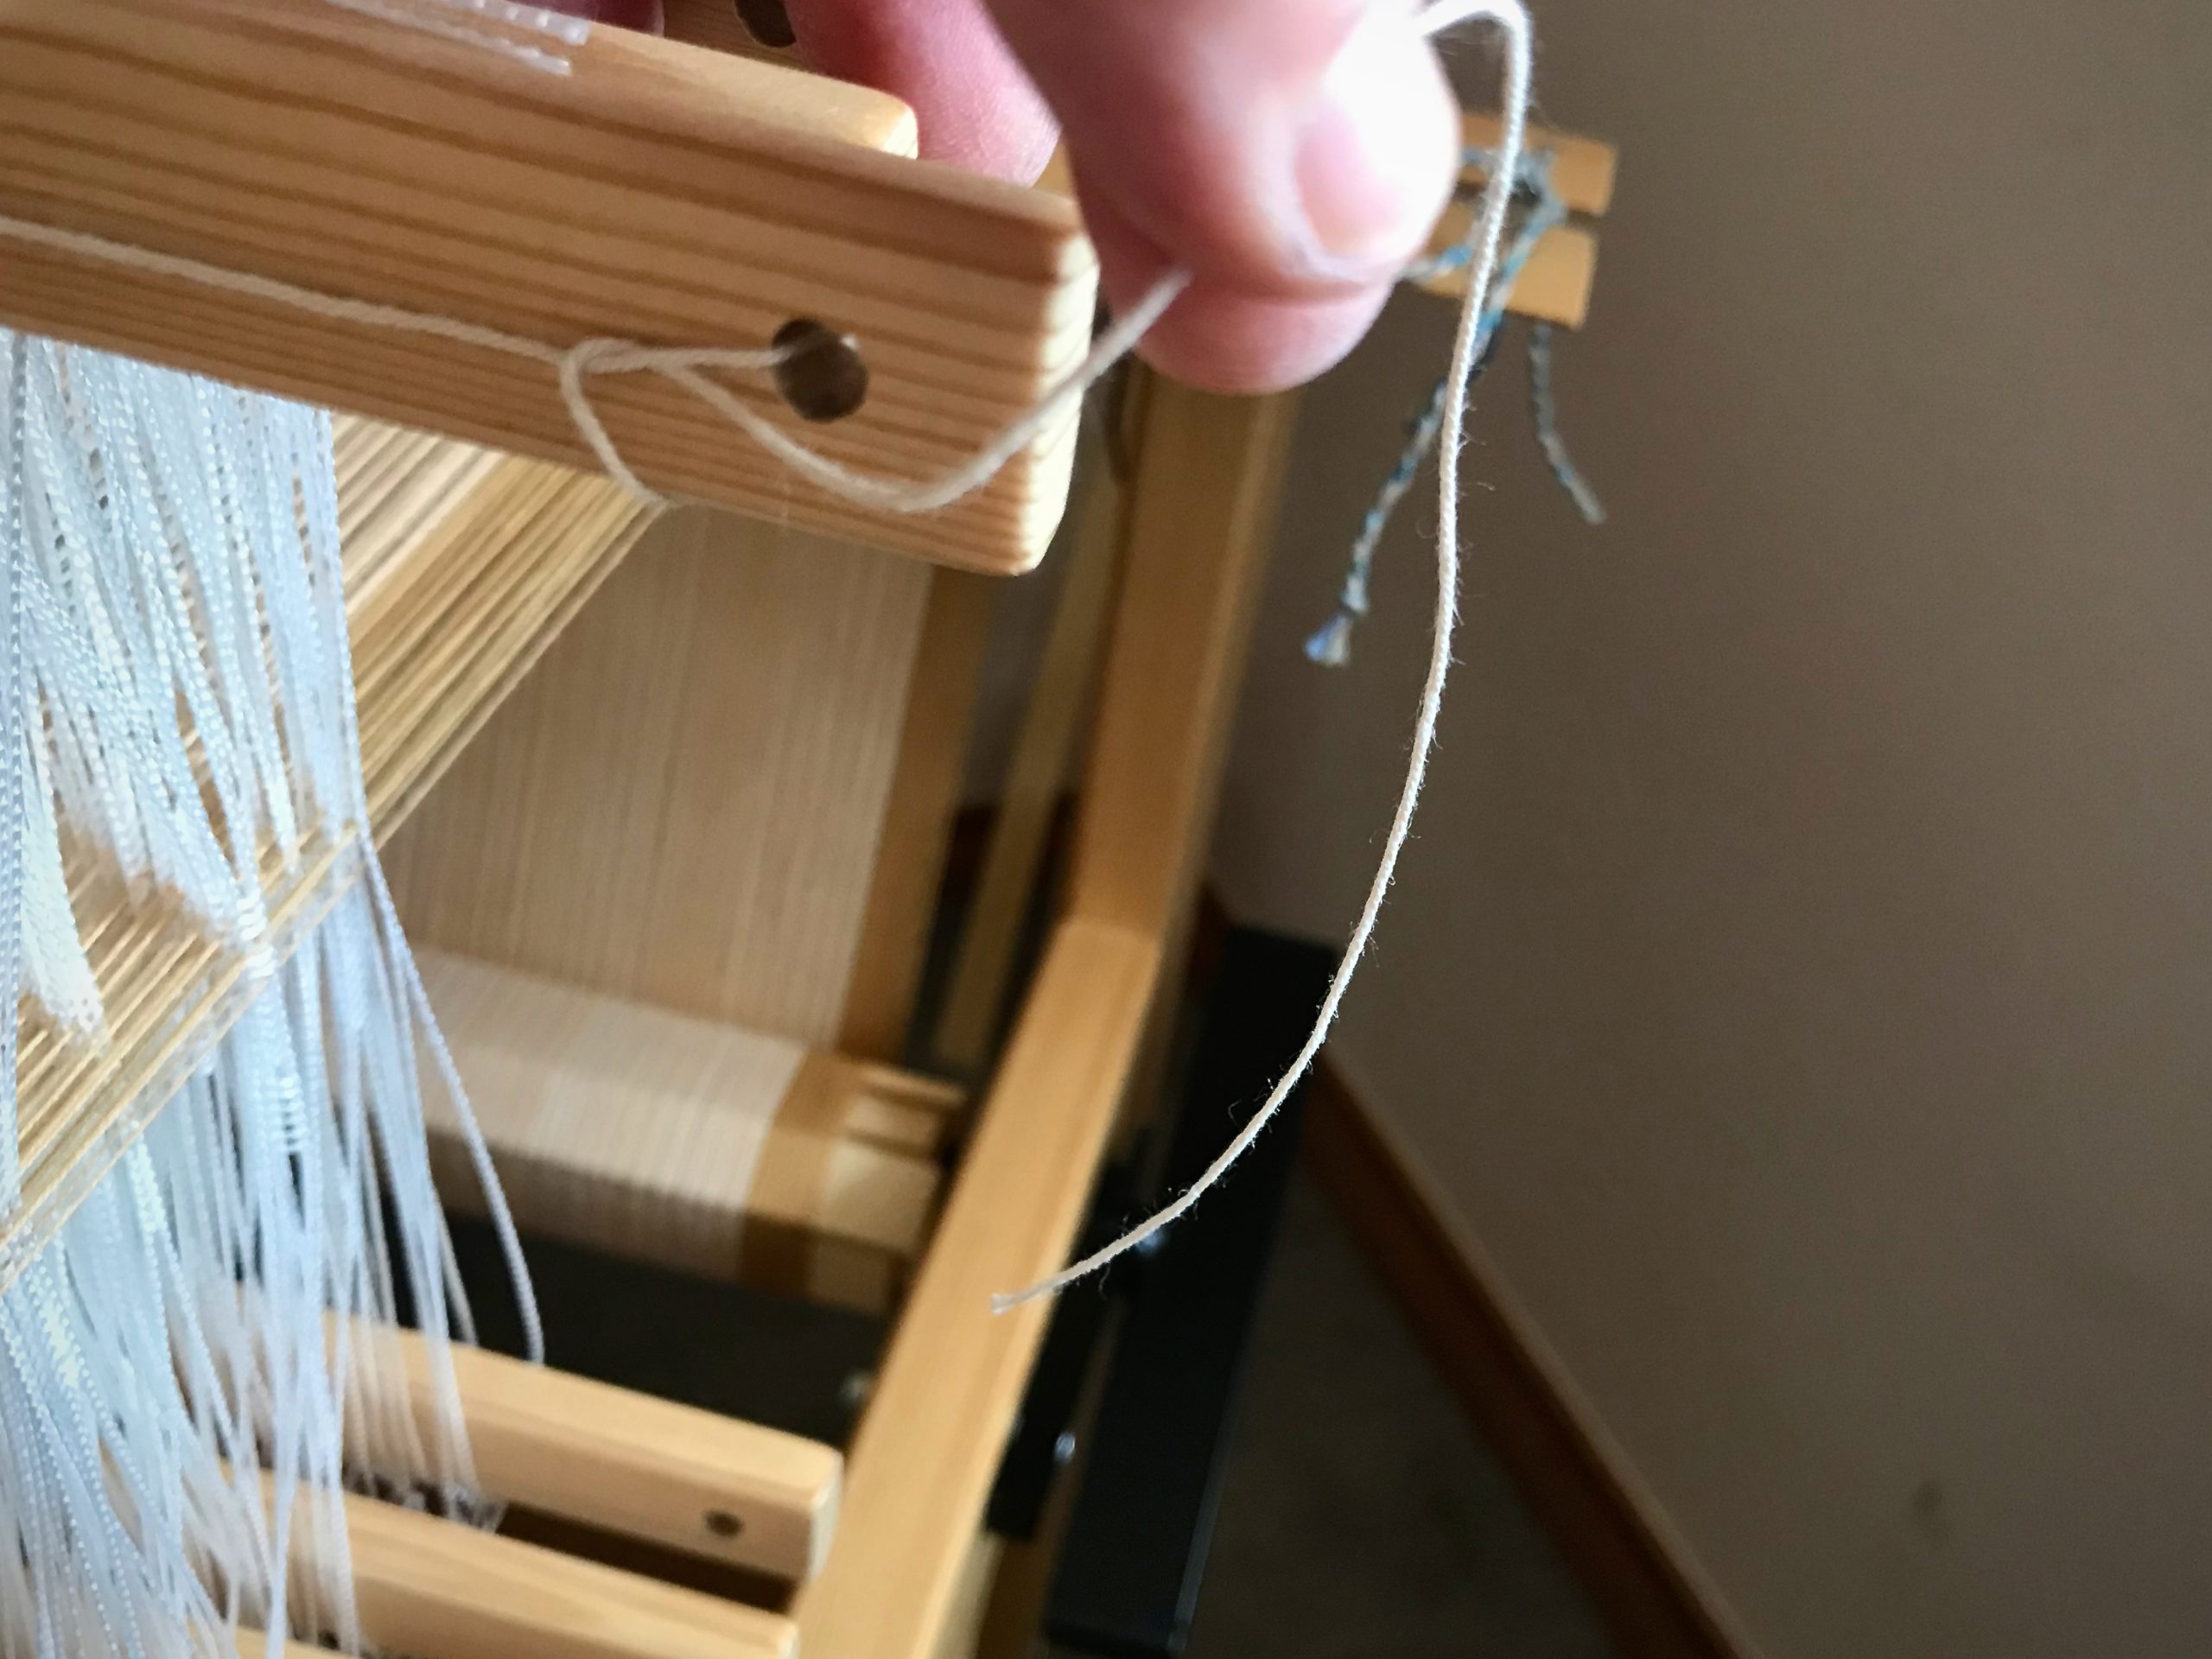
Retaining cords are cut.

4 Insert one of the seine twine cords through the hole on one end of a shaft bar. Tie. (I use the half-bow slip knot as described in Learning to Warp Your Loom, by Joanne Hall, p.38.)
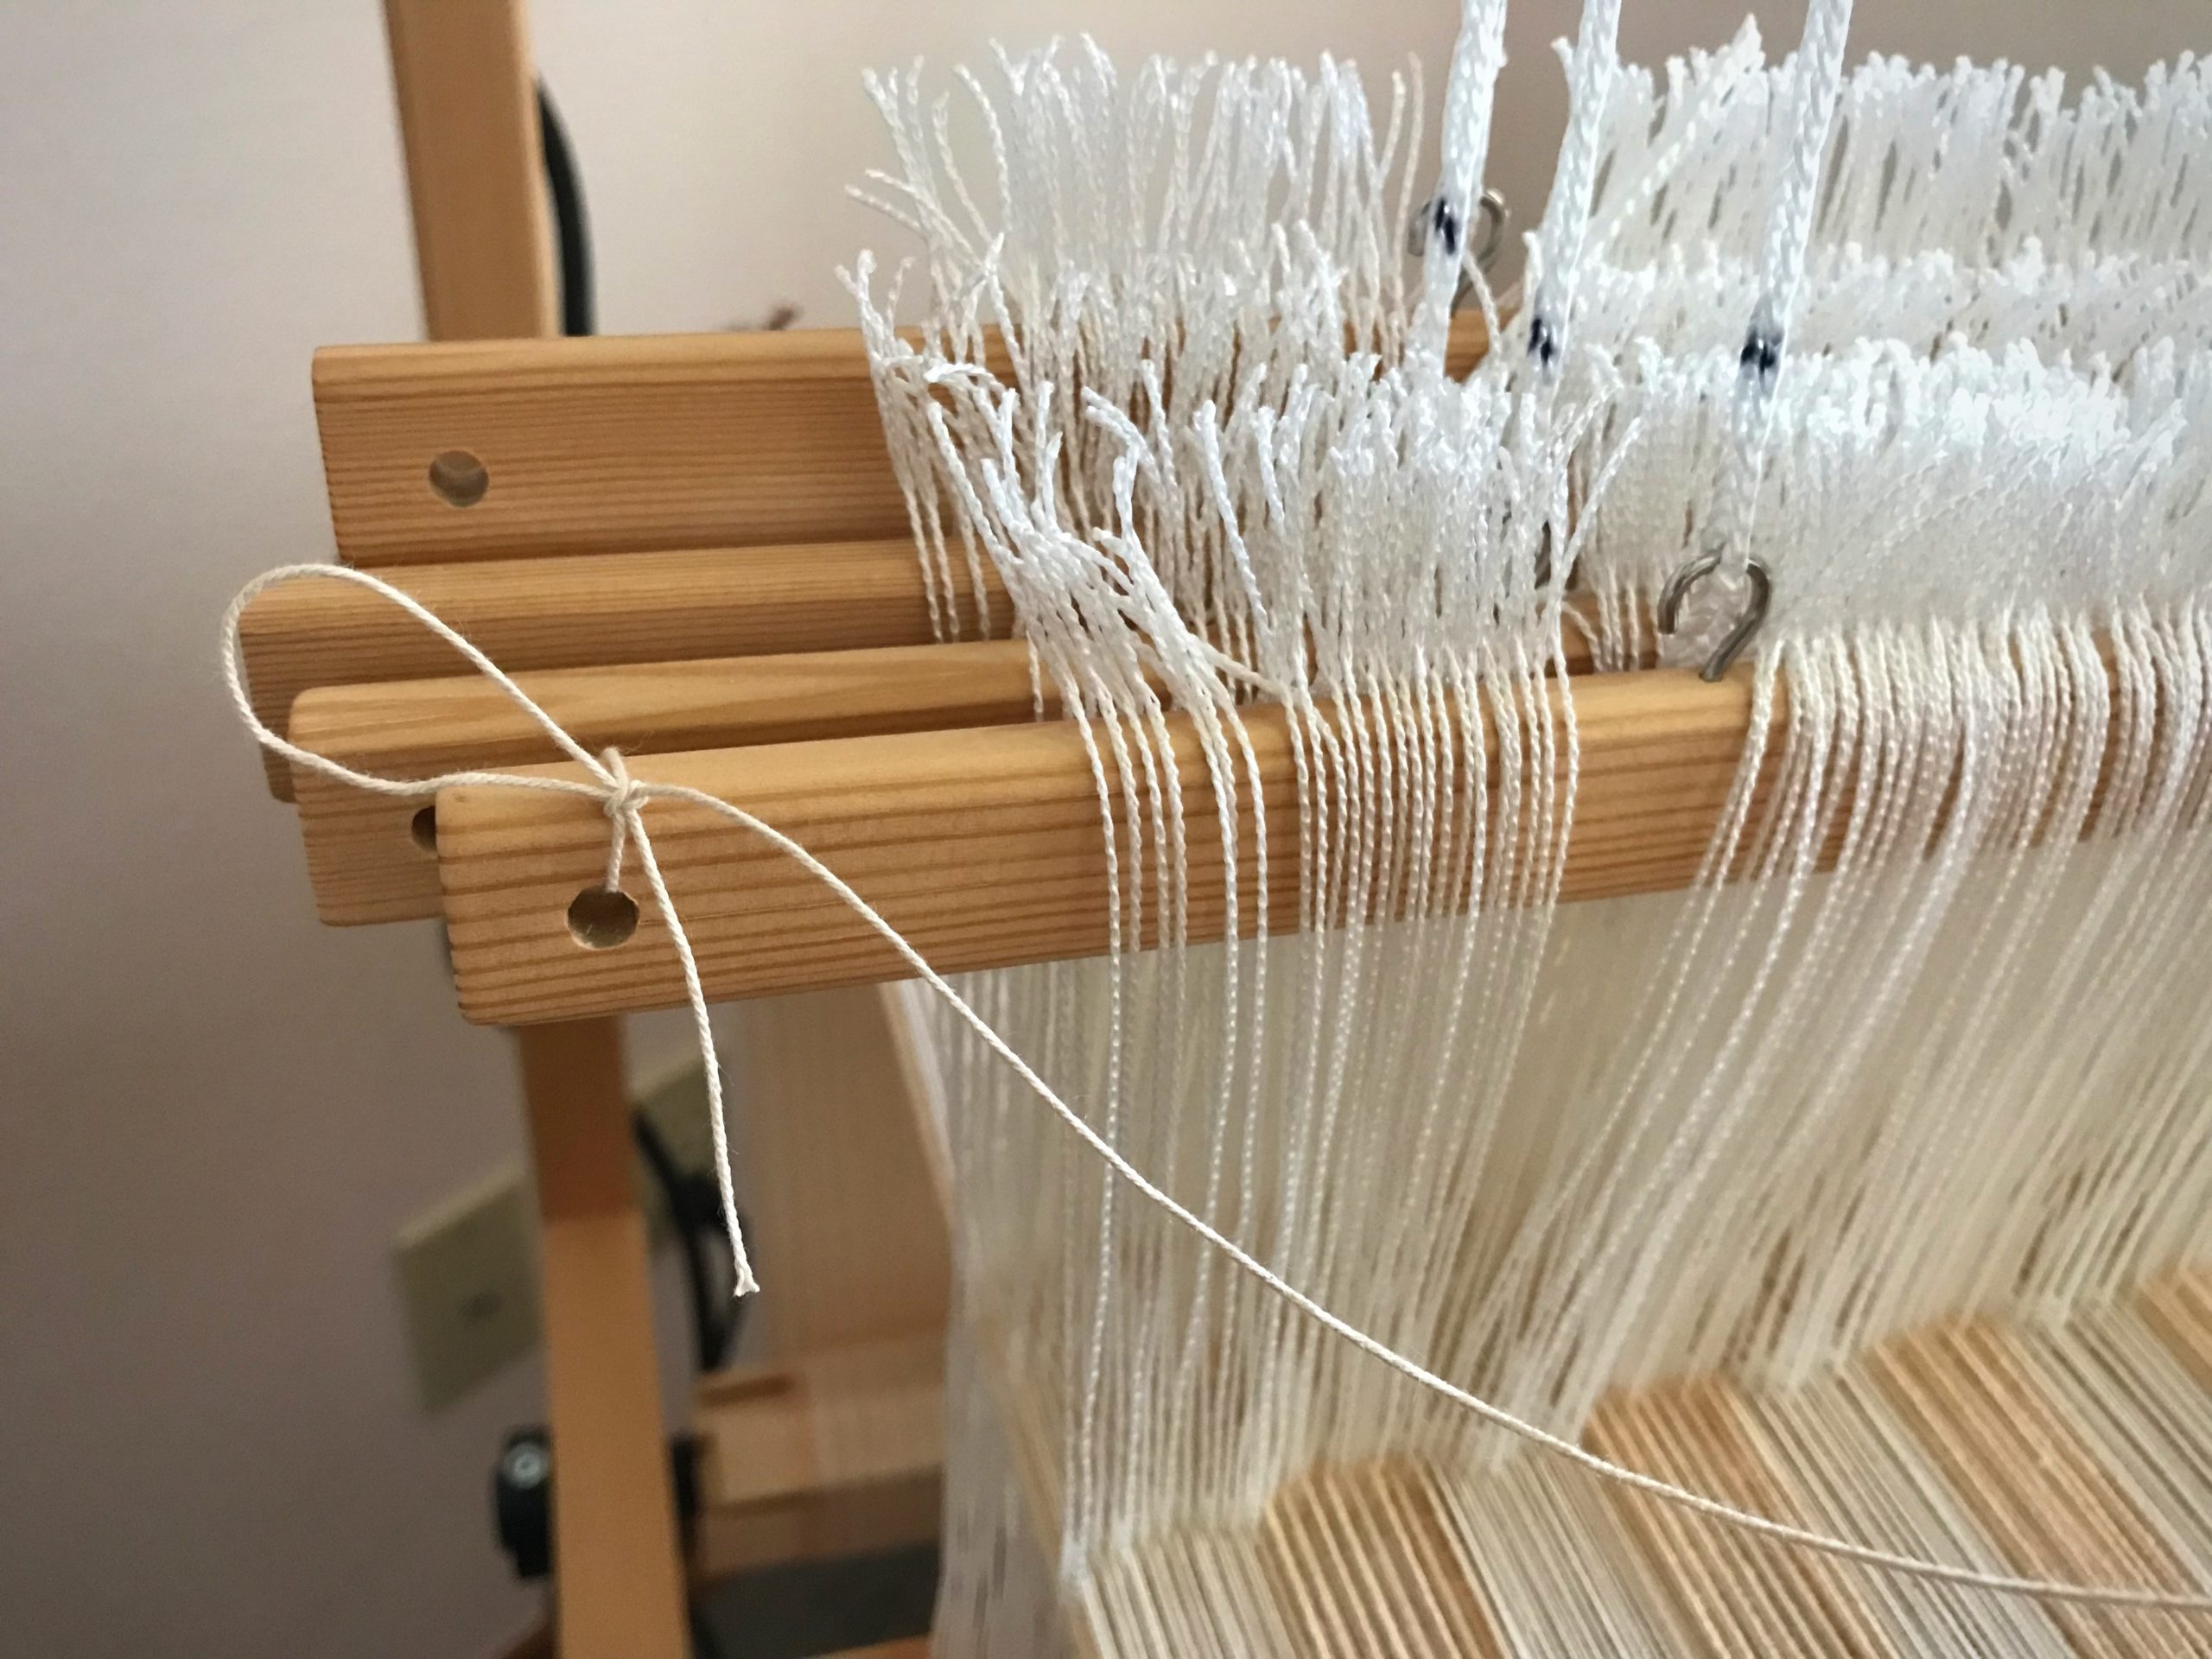
Tie retaining cord to one end of the shaft bar. Any knot will do, but I like this half-bow slip knot because I can untie it simply by pulling the end of the cord.

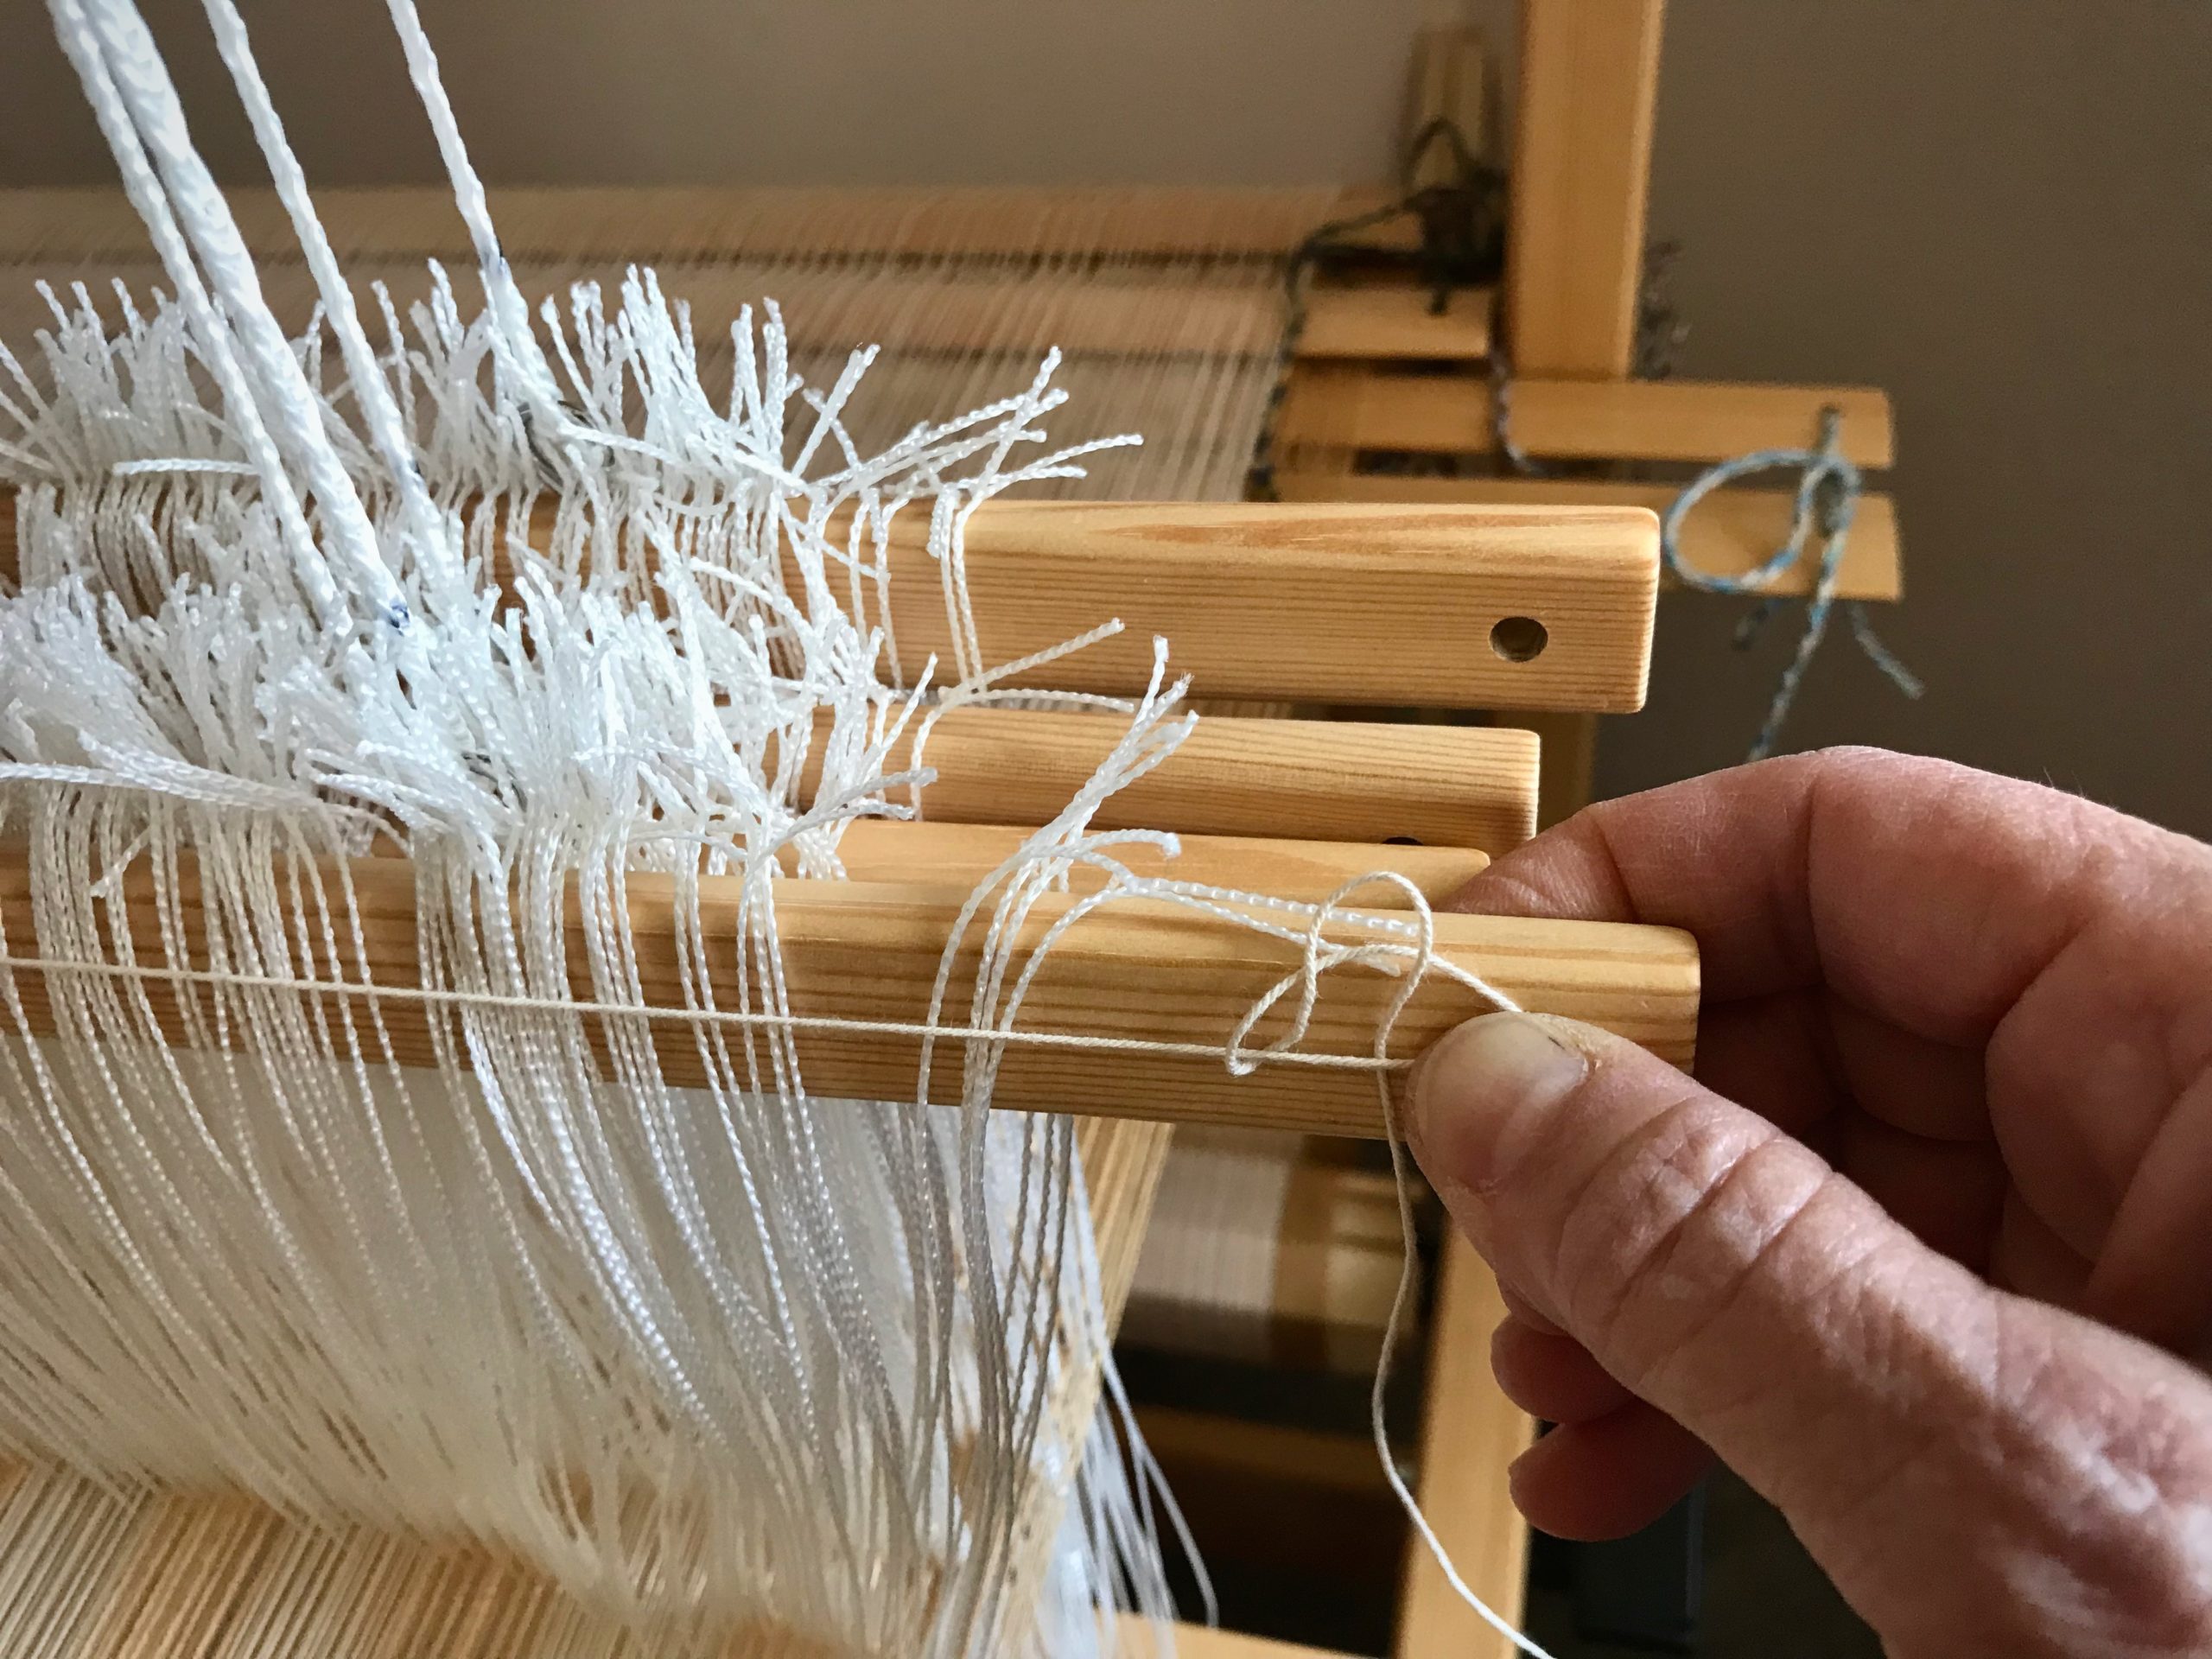
5 Insert the other end of the cord through the hole at other end of the shaft bar. Tie.
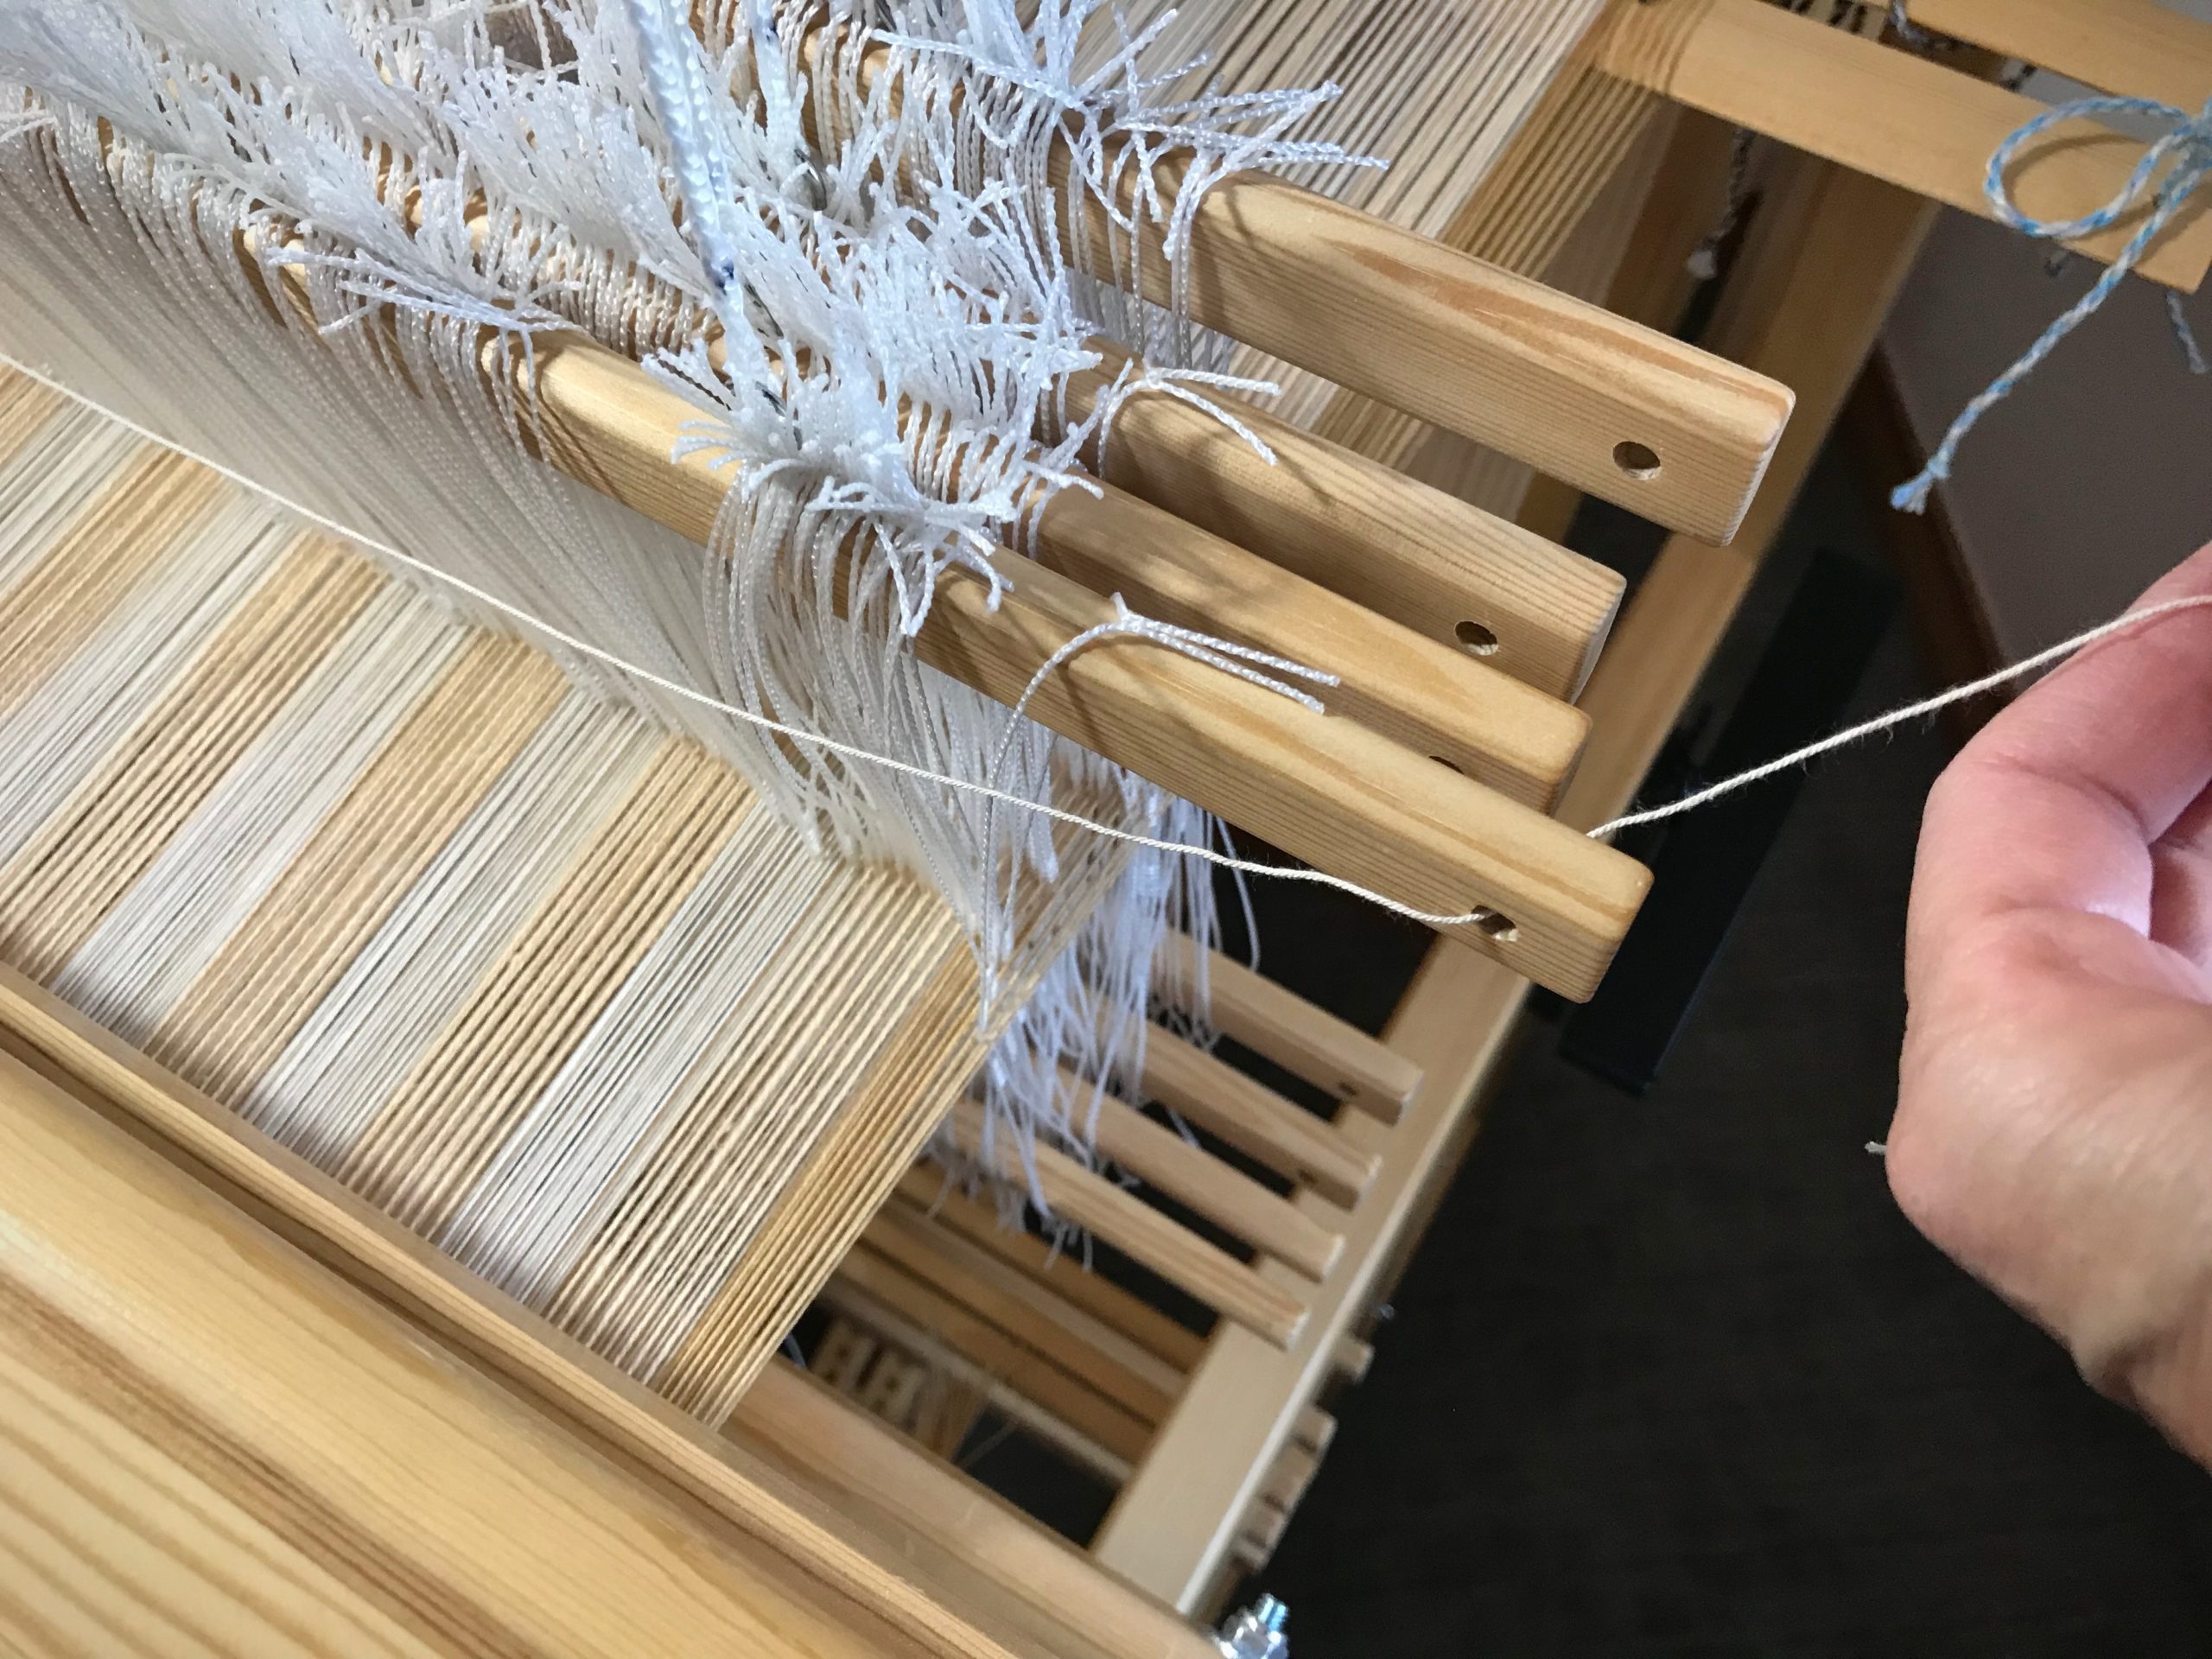
Thread the cord through the hole at the end of the bar.
Tie a simple knot and tighten it.
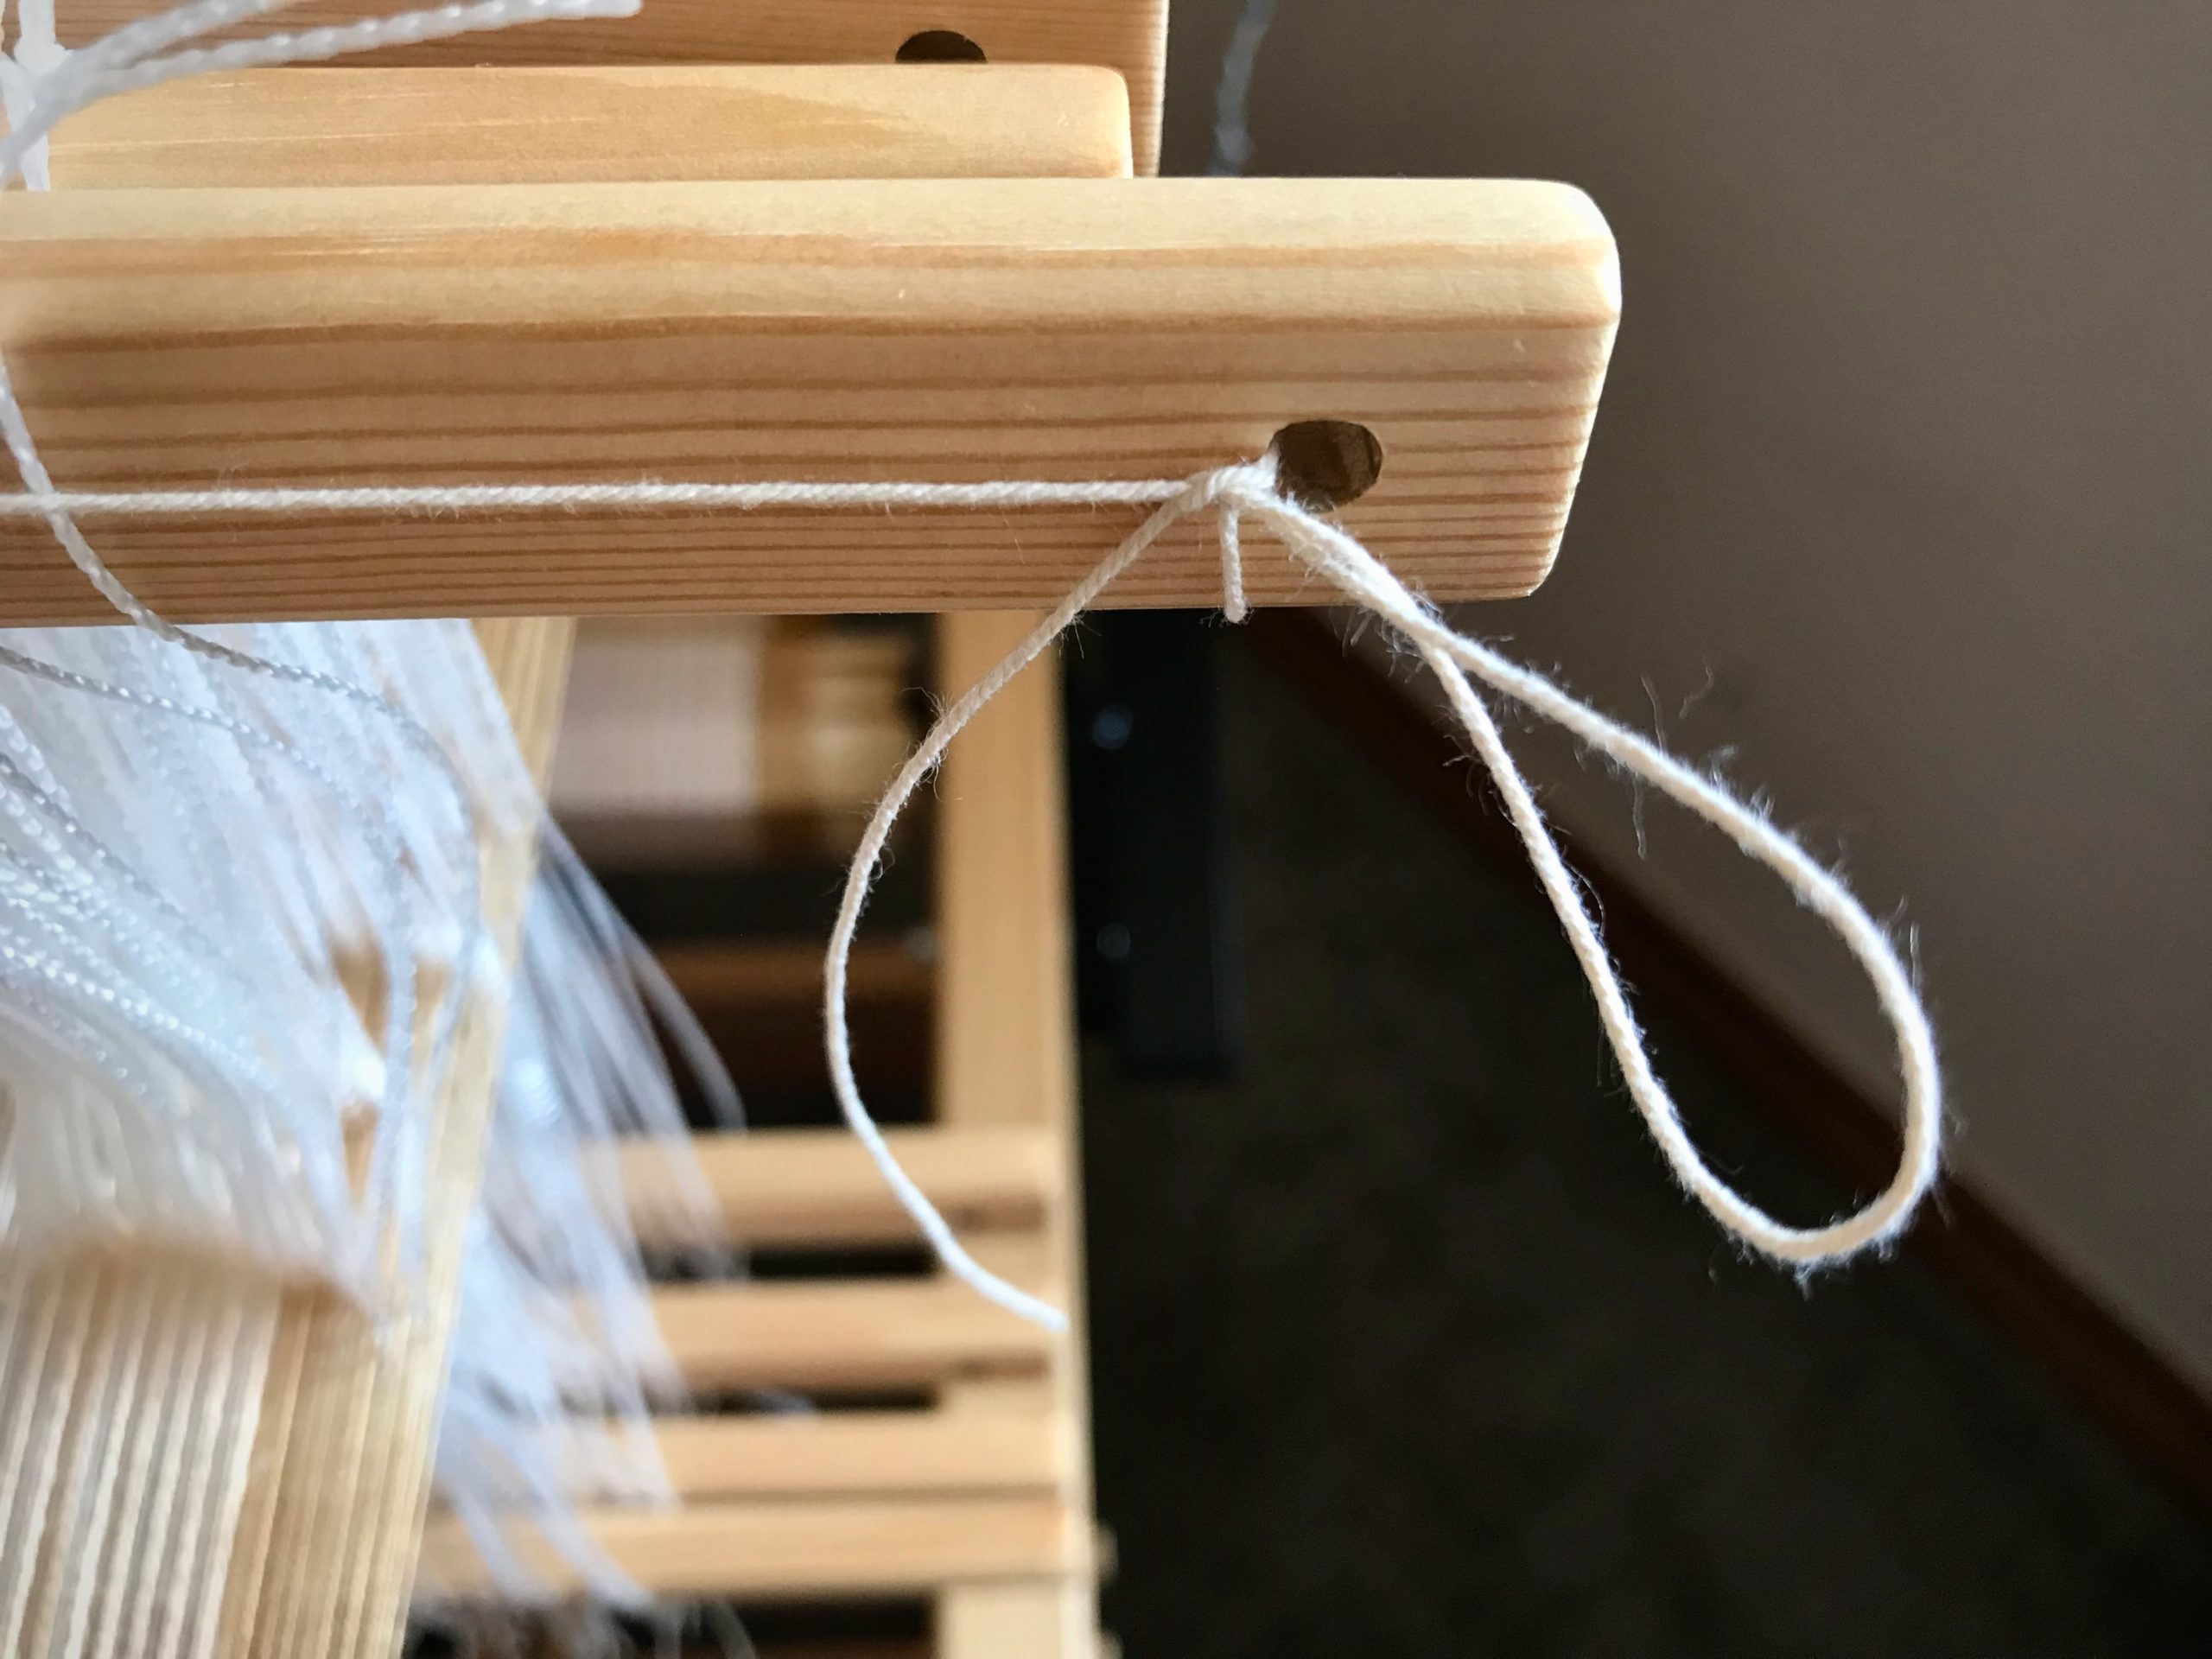
Tie another simple knot, leaving a fold in the end of the cord.
Pull the loop to tighten the knot.

6 Repeat steps 4 and 5 for each remaining upper and lower shaft bar.
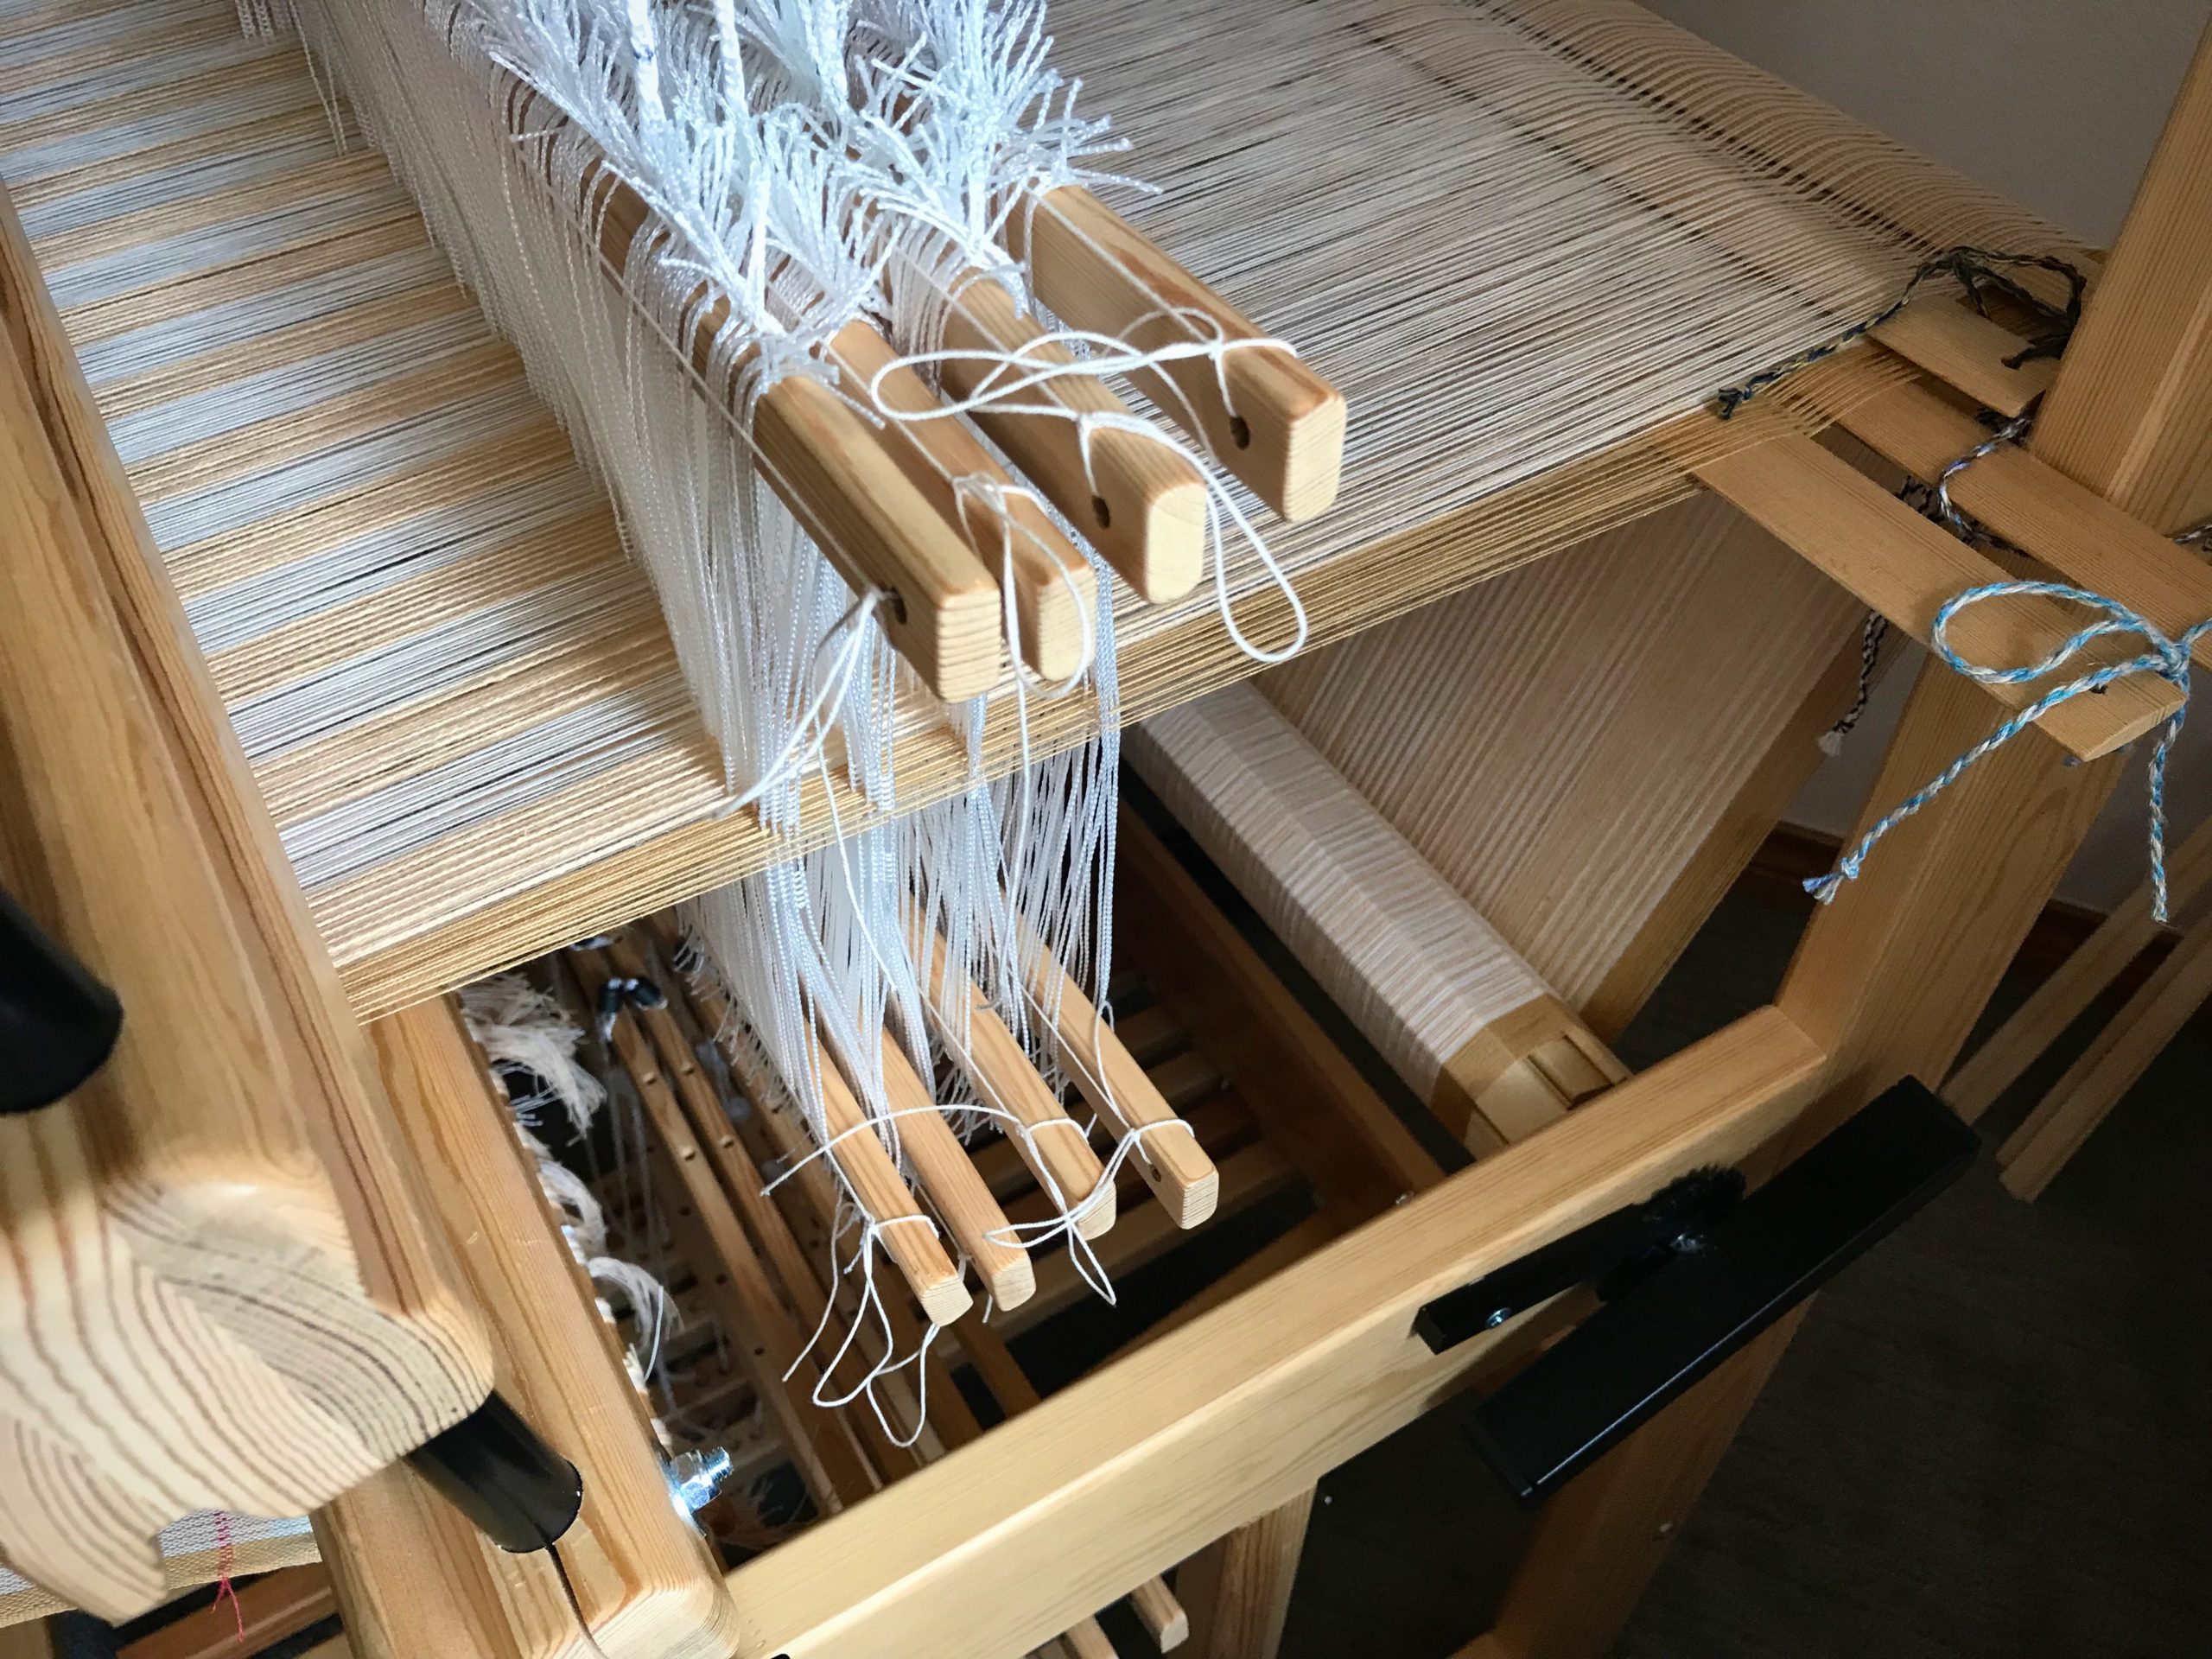
All tied up and ready to go! When this project is finished I will wind up these retaining cords on an empty tube and re-use them for the next wide warp on the Julia.

Continue weaving with one less thing to think about.

45 minutes: Time it took to reposition heddles that had slipped off a few shafts and were in a mess because I didn’t notice it immediately.
Less than 10 minutes: Time it took to cut string and tie retaining cords on 4 upper shaft bars and 4 lower shaft bars.

‘Nuff said.

May you take the time to do what needs to be done.

Ever Learning,
Karen

Process Review: Drawloom Preliminaries

I threaded 888 warp ends. I am getting ready to thread those 888 ends again. It’s part of the preliminary process for a new drawloom project. A drawloom has two sets of heddles. Thread the pattern heddles. Then, thread the ground heddles. I enjoy all the preliminaries because of what they bring about—a delightful new weaving adventure!

Preparing a new drawloom warp.
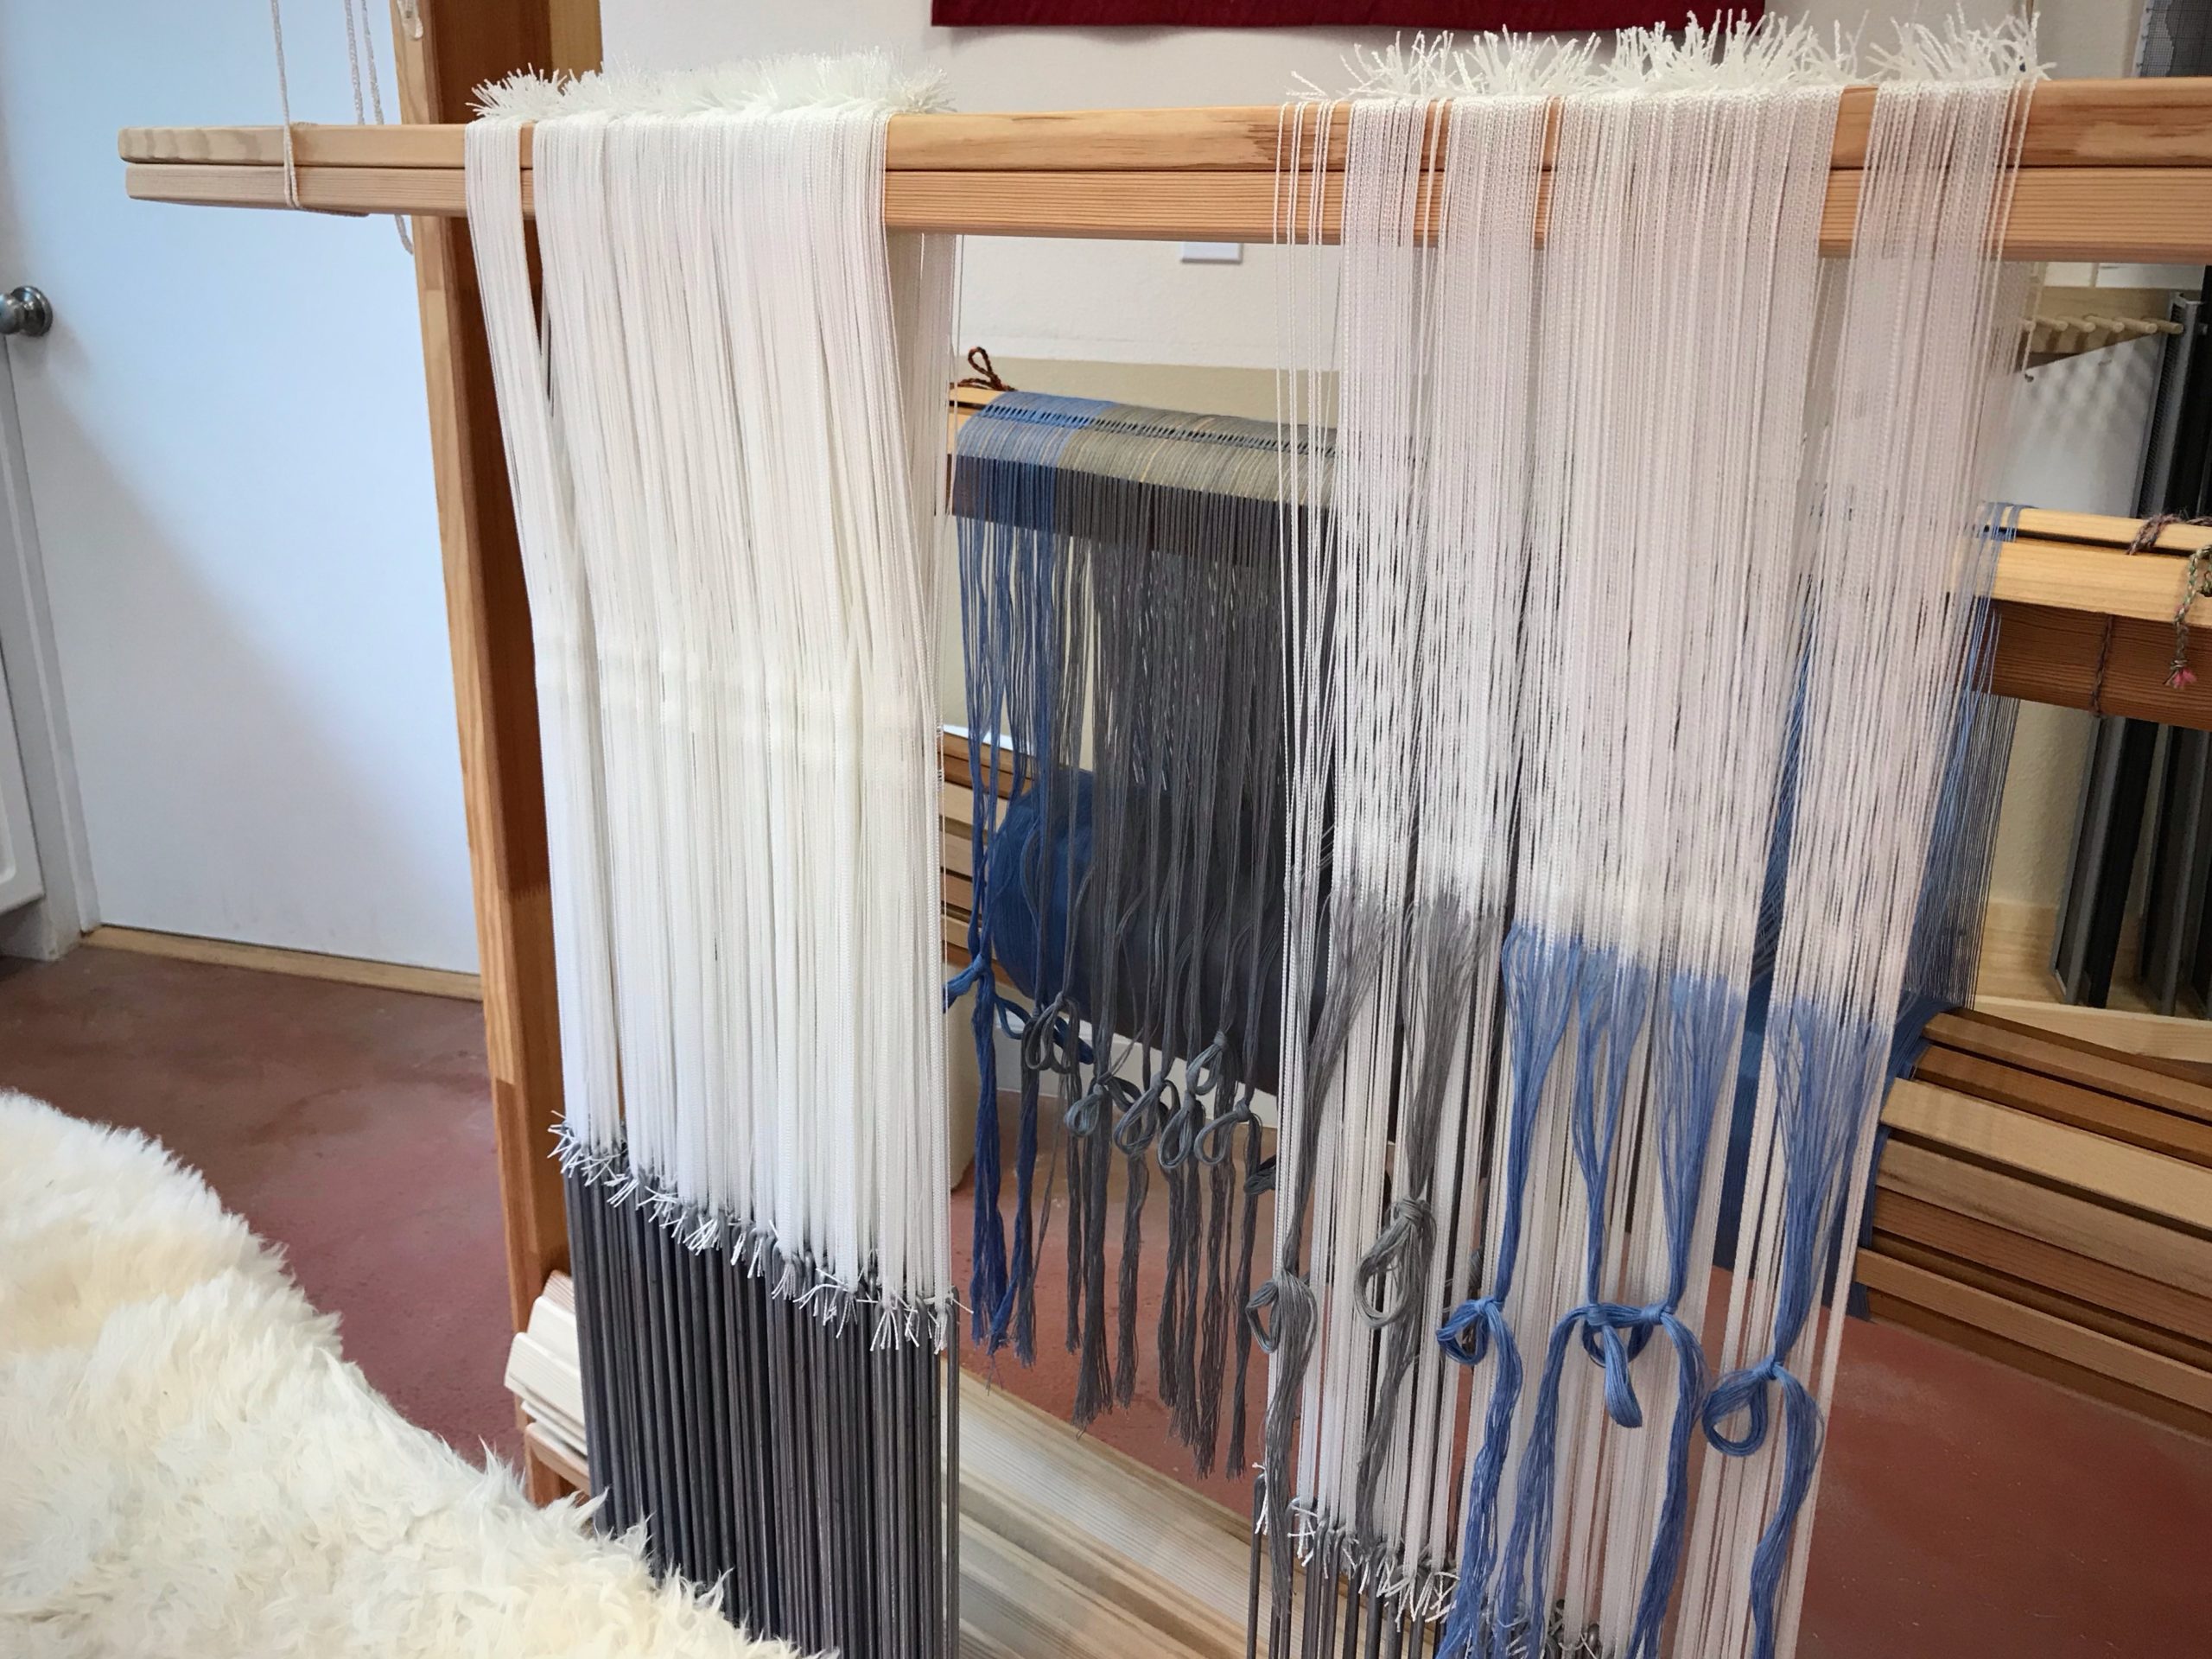
New drawloom warp of 16/2 cotton is on the warp beam.
Long heddles and lingos for the drawloom.
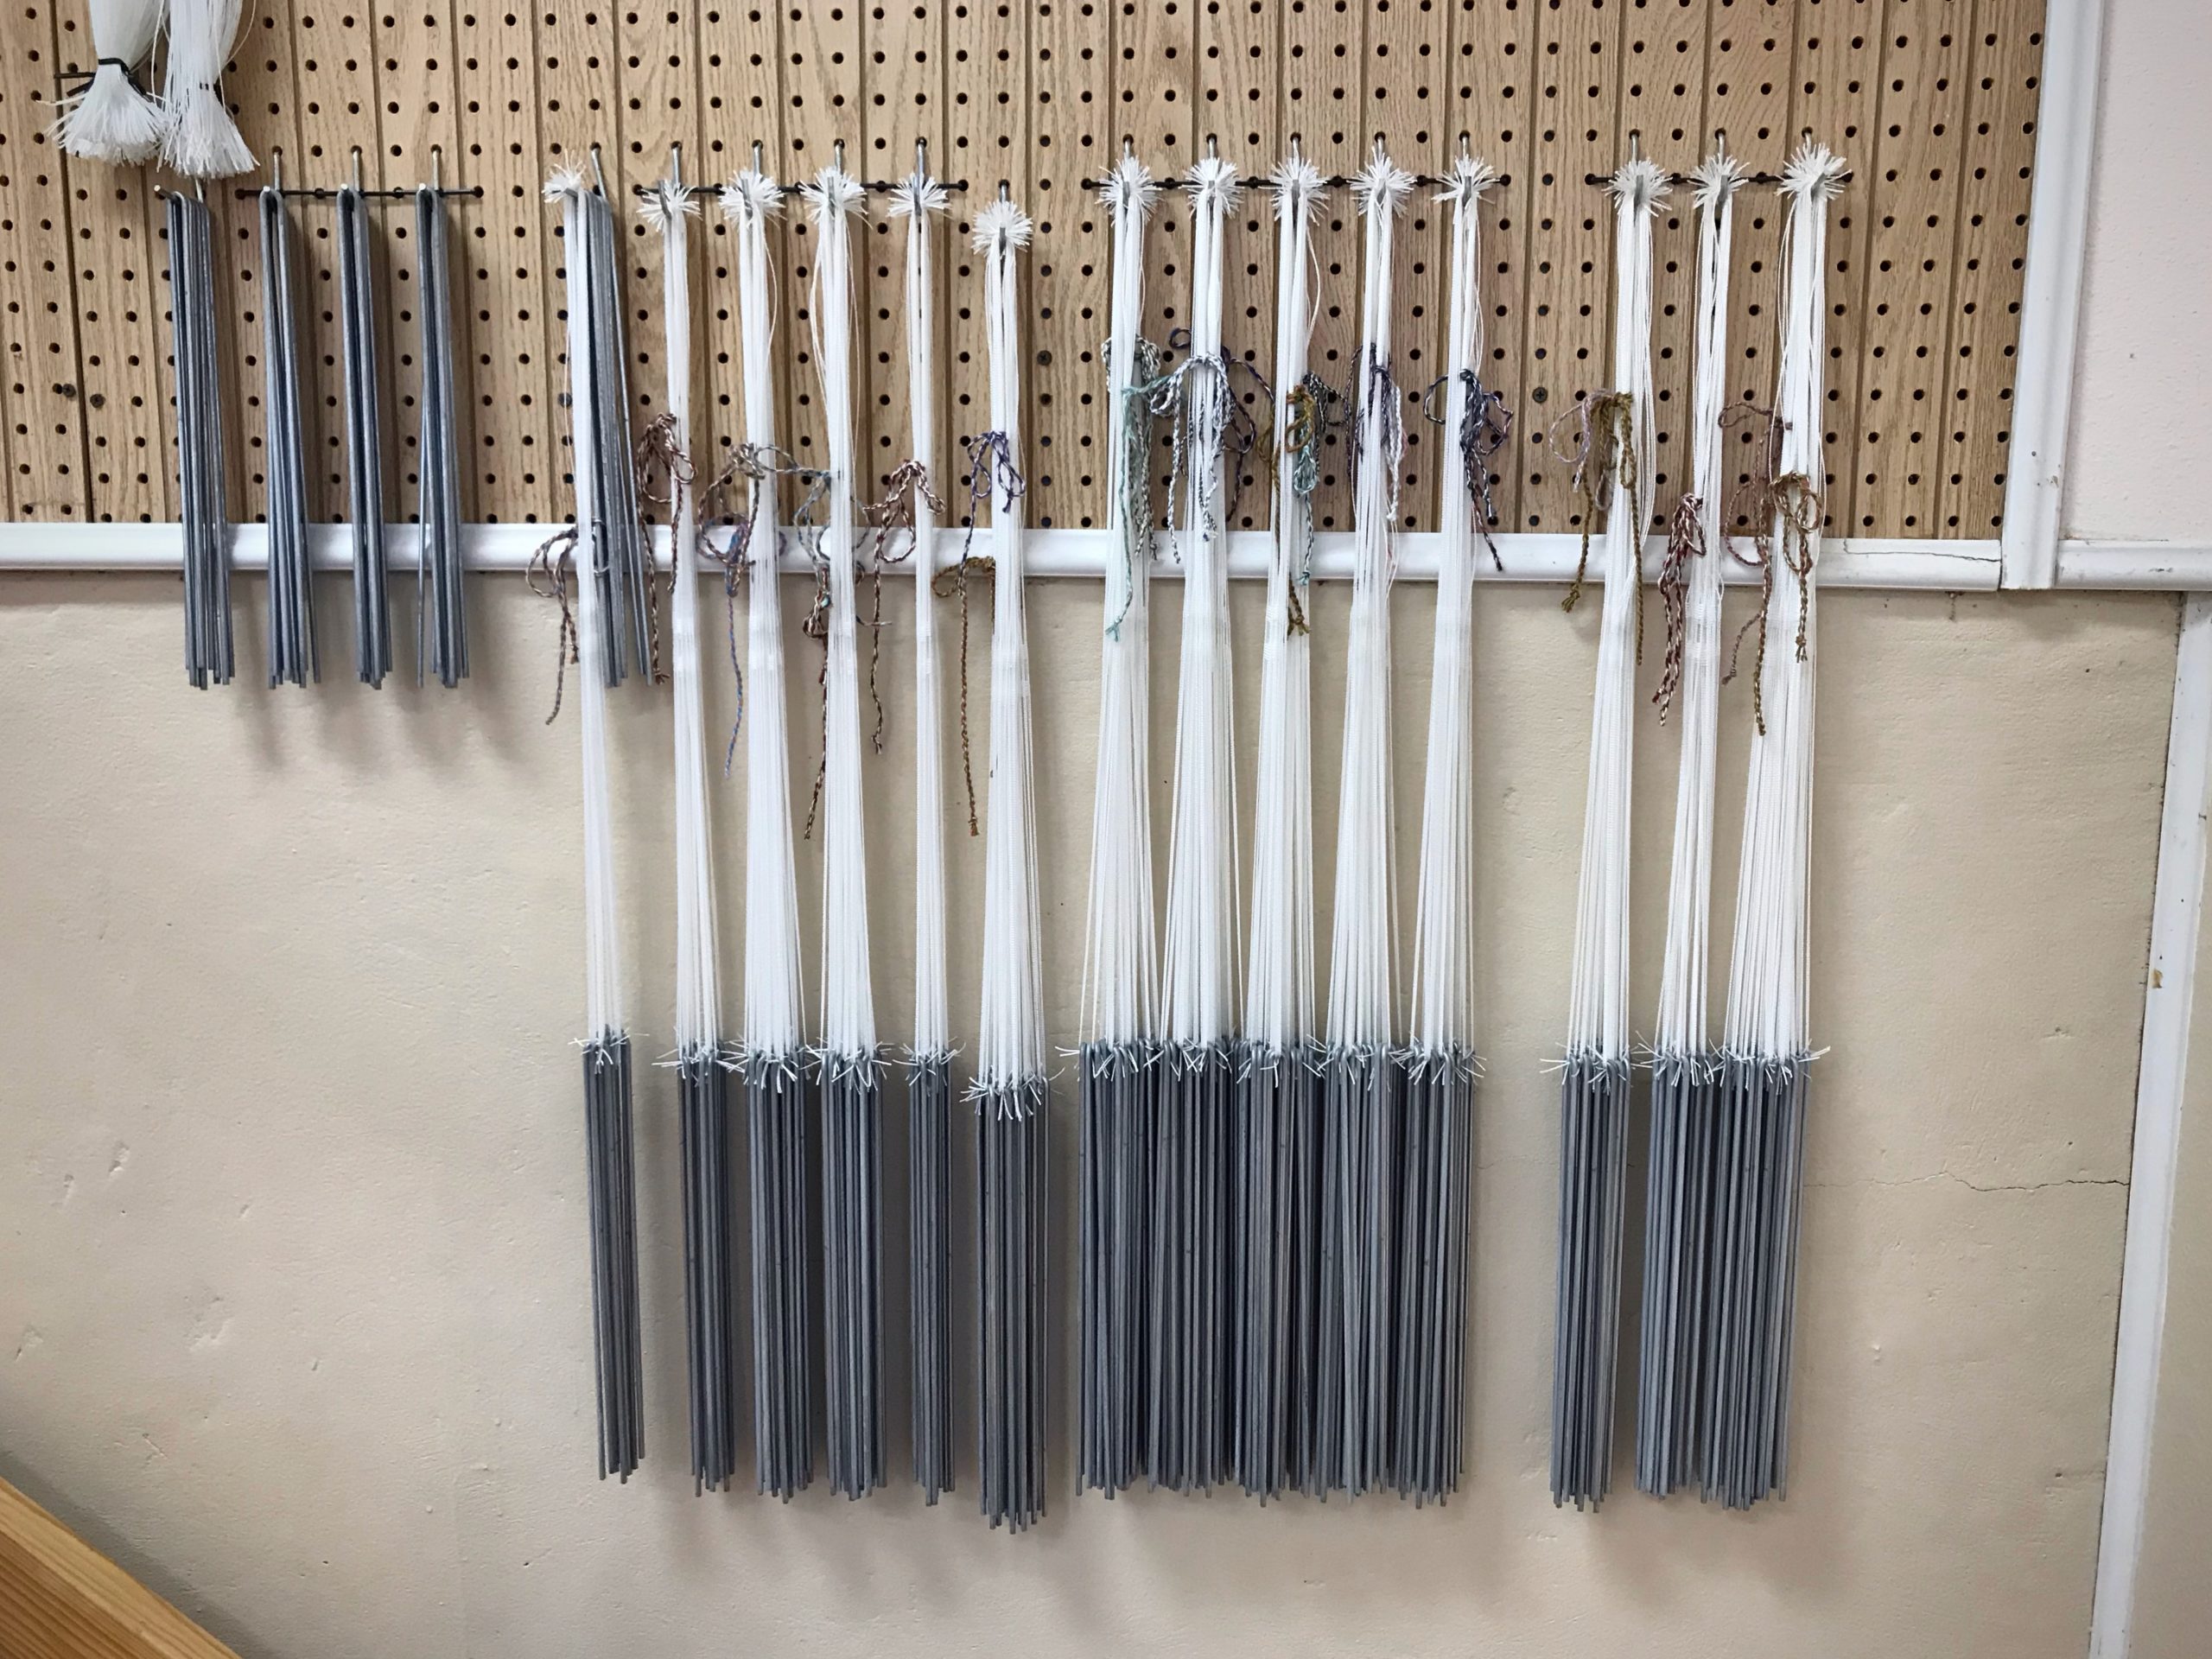
Long pattern heddles and lingos hang on a pegboard wall in the drawloom studio until needed.

Before I start threading, I count out all the lingos (weights) I need for the pattern heddles. Then, I hang a lingo on each unit of pattern heddles. In this case, there are 148 units, and six heddles in each unit. I move all those prepared units (heddles with lingos) to the back of the loom, get comfortable on my loom bench, and start threading. After a few sessions, I am finished threading the pattern heddles.

Drawloom threading heddles.
Pattern heddles hang at the back of the loom for threading.
Texas hill country Bluebonnets!
On the walking path to my drawloom studio each day I see the startling blooms of our Texas hill country Bluebonnets. Just imagine the unseen preliminaries for this beauty!
Drawloom pattern heddles and lingos.
Threading continues.
Pattern heddles are threaded for the drawloom.
All 888 pattern heddles are threaded! Ground heddles are next…

Next up, I will thread long-eye heddles on six ground shafts. A few more start-up operations after that, and then we will see this big ol’ boat raise its sails and leave the shore for another exhilarating adventure in weaving!

May you enjoy the preliminaries for every new start.

Happy weaving,
Karen

Tried and True: Threading Eight Shafts

Threading four shafts is straightforward because the heddles fit perfectly between four fingers and a thumb. Threading eight shafts is tricky because we don’t have that many fingers! Thankfully, threading eight shafts can be as straightforward as threading four shafts. I like to think of it as four shafts in the back, and four shafts in the front.

For a review of threading four shafts, watch the short video in this post: You Can Prevent Threading Errors.

Threading Eight Shafts – Straight Draw

  • Set a small group of heddles apart on each shaft to prepare for threading the next group of ends.
  • Pick up the next threading group of ends and bring it to the front, on the left side of the separated heddles.
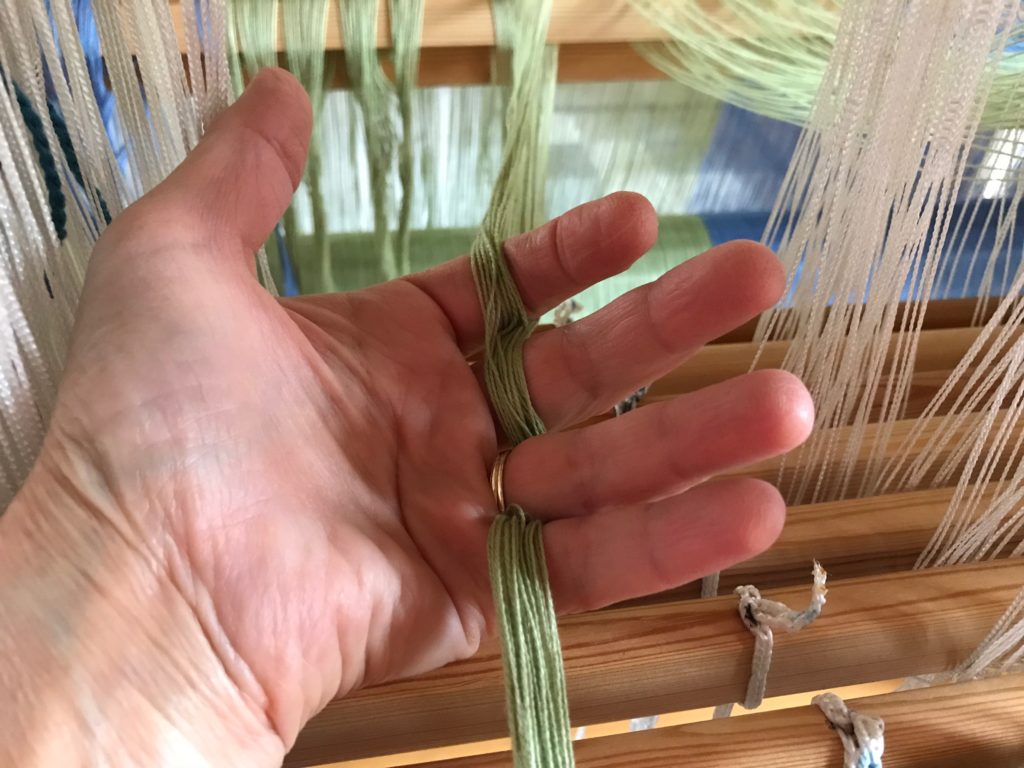
  • Lace the threading group of ends under, over, under, over the fingers of your left hand, palm up.

Threading eight shafts - the easy way.
Left hand becomes tensioning device for threading the heddles. I like to put my index finger in between the two parts of the cross, as separated by the lease sticks.

  • Wrap left hand index finger around the group of heddles on shaft one (the shaft nearest the back of the loom), the middle finger around heddles on shaft two, the ring finger around heddles on shaft three, the pinky around heddles on shaft four, and bring the thumb around to hold it all loosely together.

Threading eight shafts - the easy way.
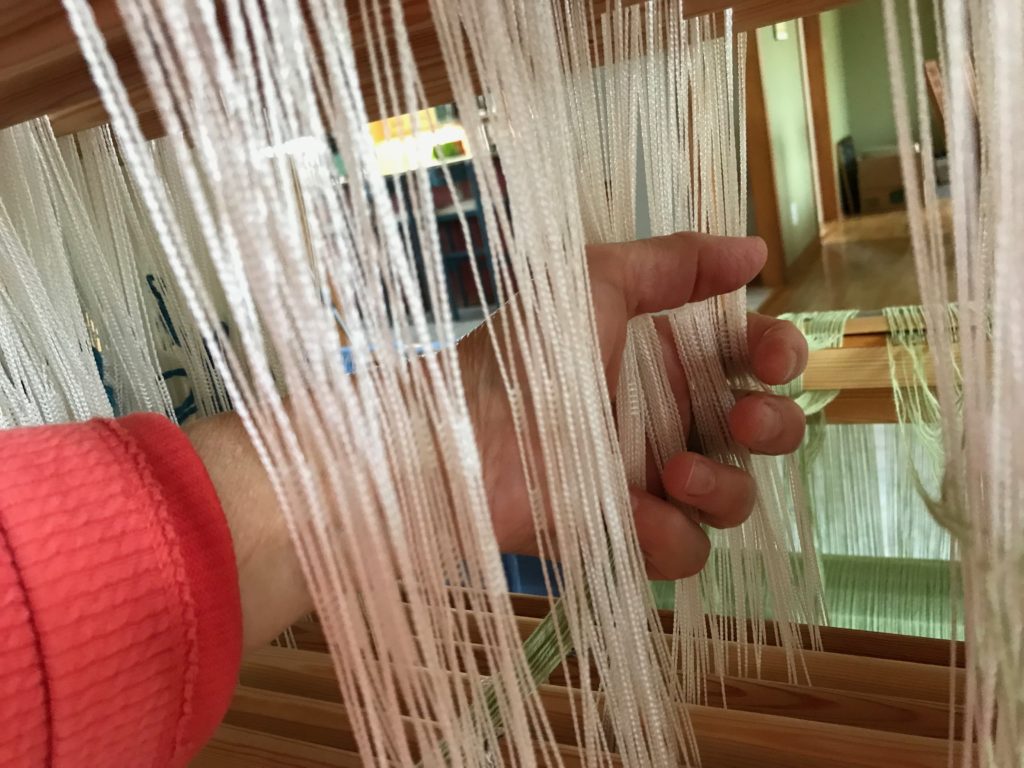
Each warp end is taken in order from between the lease sticks, and then threaded through the heddles in order.

  • Thread the first four heddles—1, 2, 3, 4.
  • With the right hand, hold the group of warp ends taut, and open the fingers of the left hand to release the heddles.
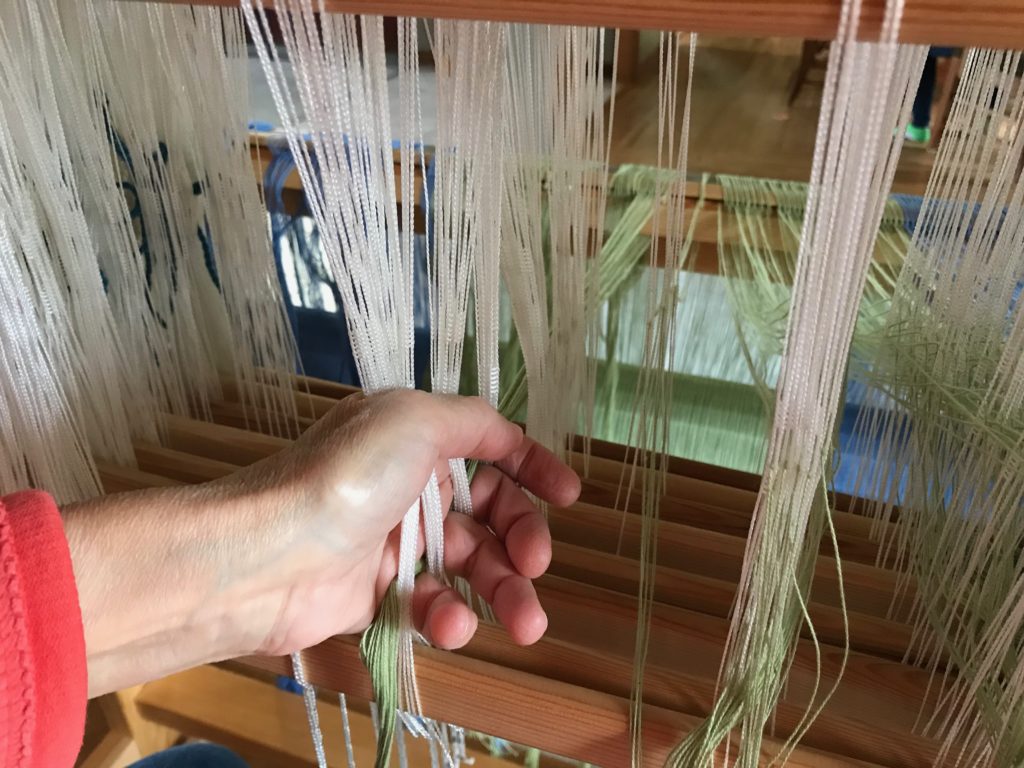
  • Keeping the group of warp ends loosely laced around the fingers, slide the left hand toward you to thread the next four heddles—5, 6, 7, 8. Position your fingers around the heddles on each shaft, as you did for the first four shafts.

Threading eight shafts - the easy way.
Left hand slides toward the front of the loom to thread the next four heddles. It helps to hold the warp ends taut with the right hand while the left hand is repositioned.

  • After threading the second set of heddles, follow the same procedure as before and slide the left hand back again to thread 1, 2, 3, 4.
  • Continue sliding the left hand forward and back, until the threading is completed for that group of ends.
  • Check the threading group for accuracy, and then tie the group of ends together in a loose slip knot.

Threading eight shafts.
Always check for accuracy before moving on to the next threading group.

Complete the threading across the warp. And then, step back and admire the beauty of a beamed and threaded loom.

Glimakra Standard. Threading the loom.
Shafts are raised high for good access and visibility for threading, and for checking for accuracy.

Threading is complete. 8-shafts undulating twill.
Threading is complete. Cotton throw. 8/2 cotton, undulating (wavy) twill on eight shafts.

May you find efficient methods for the work of your hands.

Happy weaving,
Karen

Thousands of Threads

Finally! Every warp end is in a heddle, where it needs to be for double-weave cloth to happen. I don’t mind the time it takes. The process of dressing the loom is fascinating. And I hope I will always see it that way. I’m thankful that I get to weave.

Threading complete! 2,064 ends for a double weave throw.
Threading complete! 2,064 ends in that many heddles, at about 3 ends per minute. But who’s counting?

And now, onward to sleying the reed!

Sleying the reed. 4 ends per dent.
Reed is sleyed at 4 ends per dent in a 50/10 metric reed (equivalent to a 12-dent reed, imperial), at about 12 ends per minute, which feels pretty fast at the moment.

Thanks. It’s something we give. Heartfelt thanks is a ready gift that costs us nothing to give. Gratitude leads us to see blessings in the ordinary, and opportunities in the routines of life. When we abound in giving thanks, letting it spring up from a satisfied soul, we bring life to our family and our community. An abundance of thanks to God lifts our eyes to a view from above. It’s there that we see all those threads, thousands of them, working together to become a glorious cloth for our good. That’s reason to give thanks.

Thankful for friends like you,
Karen

Heddle Shortage

I am well into threading when I realize I neglected to take into account how many heddles I need for this project! I don’t have 2,064 even if I grab all of the heddles from the other loom. This double weave throw project is at a dead end until more heddles appear. I hurriedly place an order for more heddles…

Threading heddles for double weave.
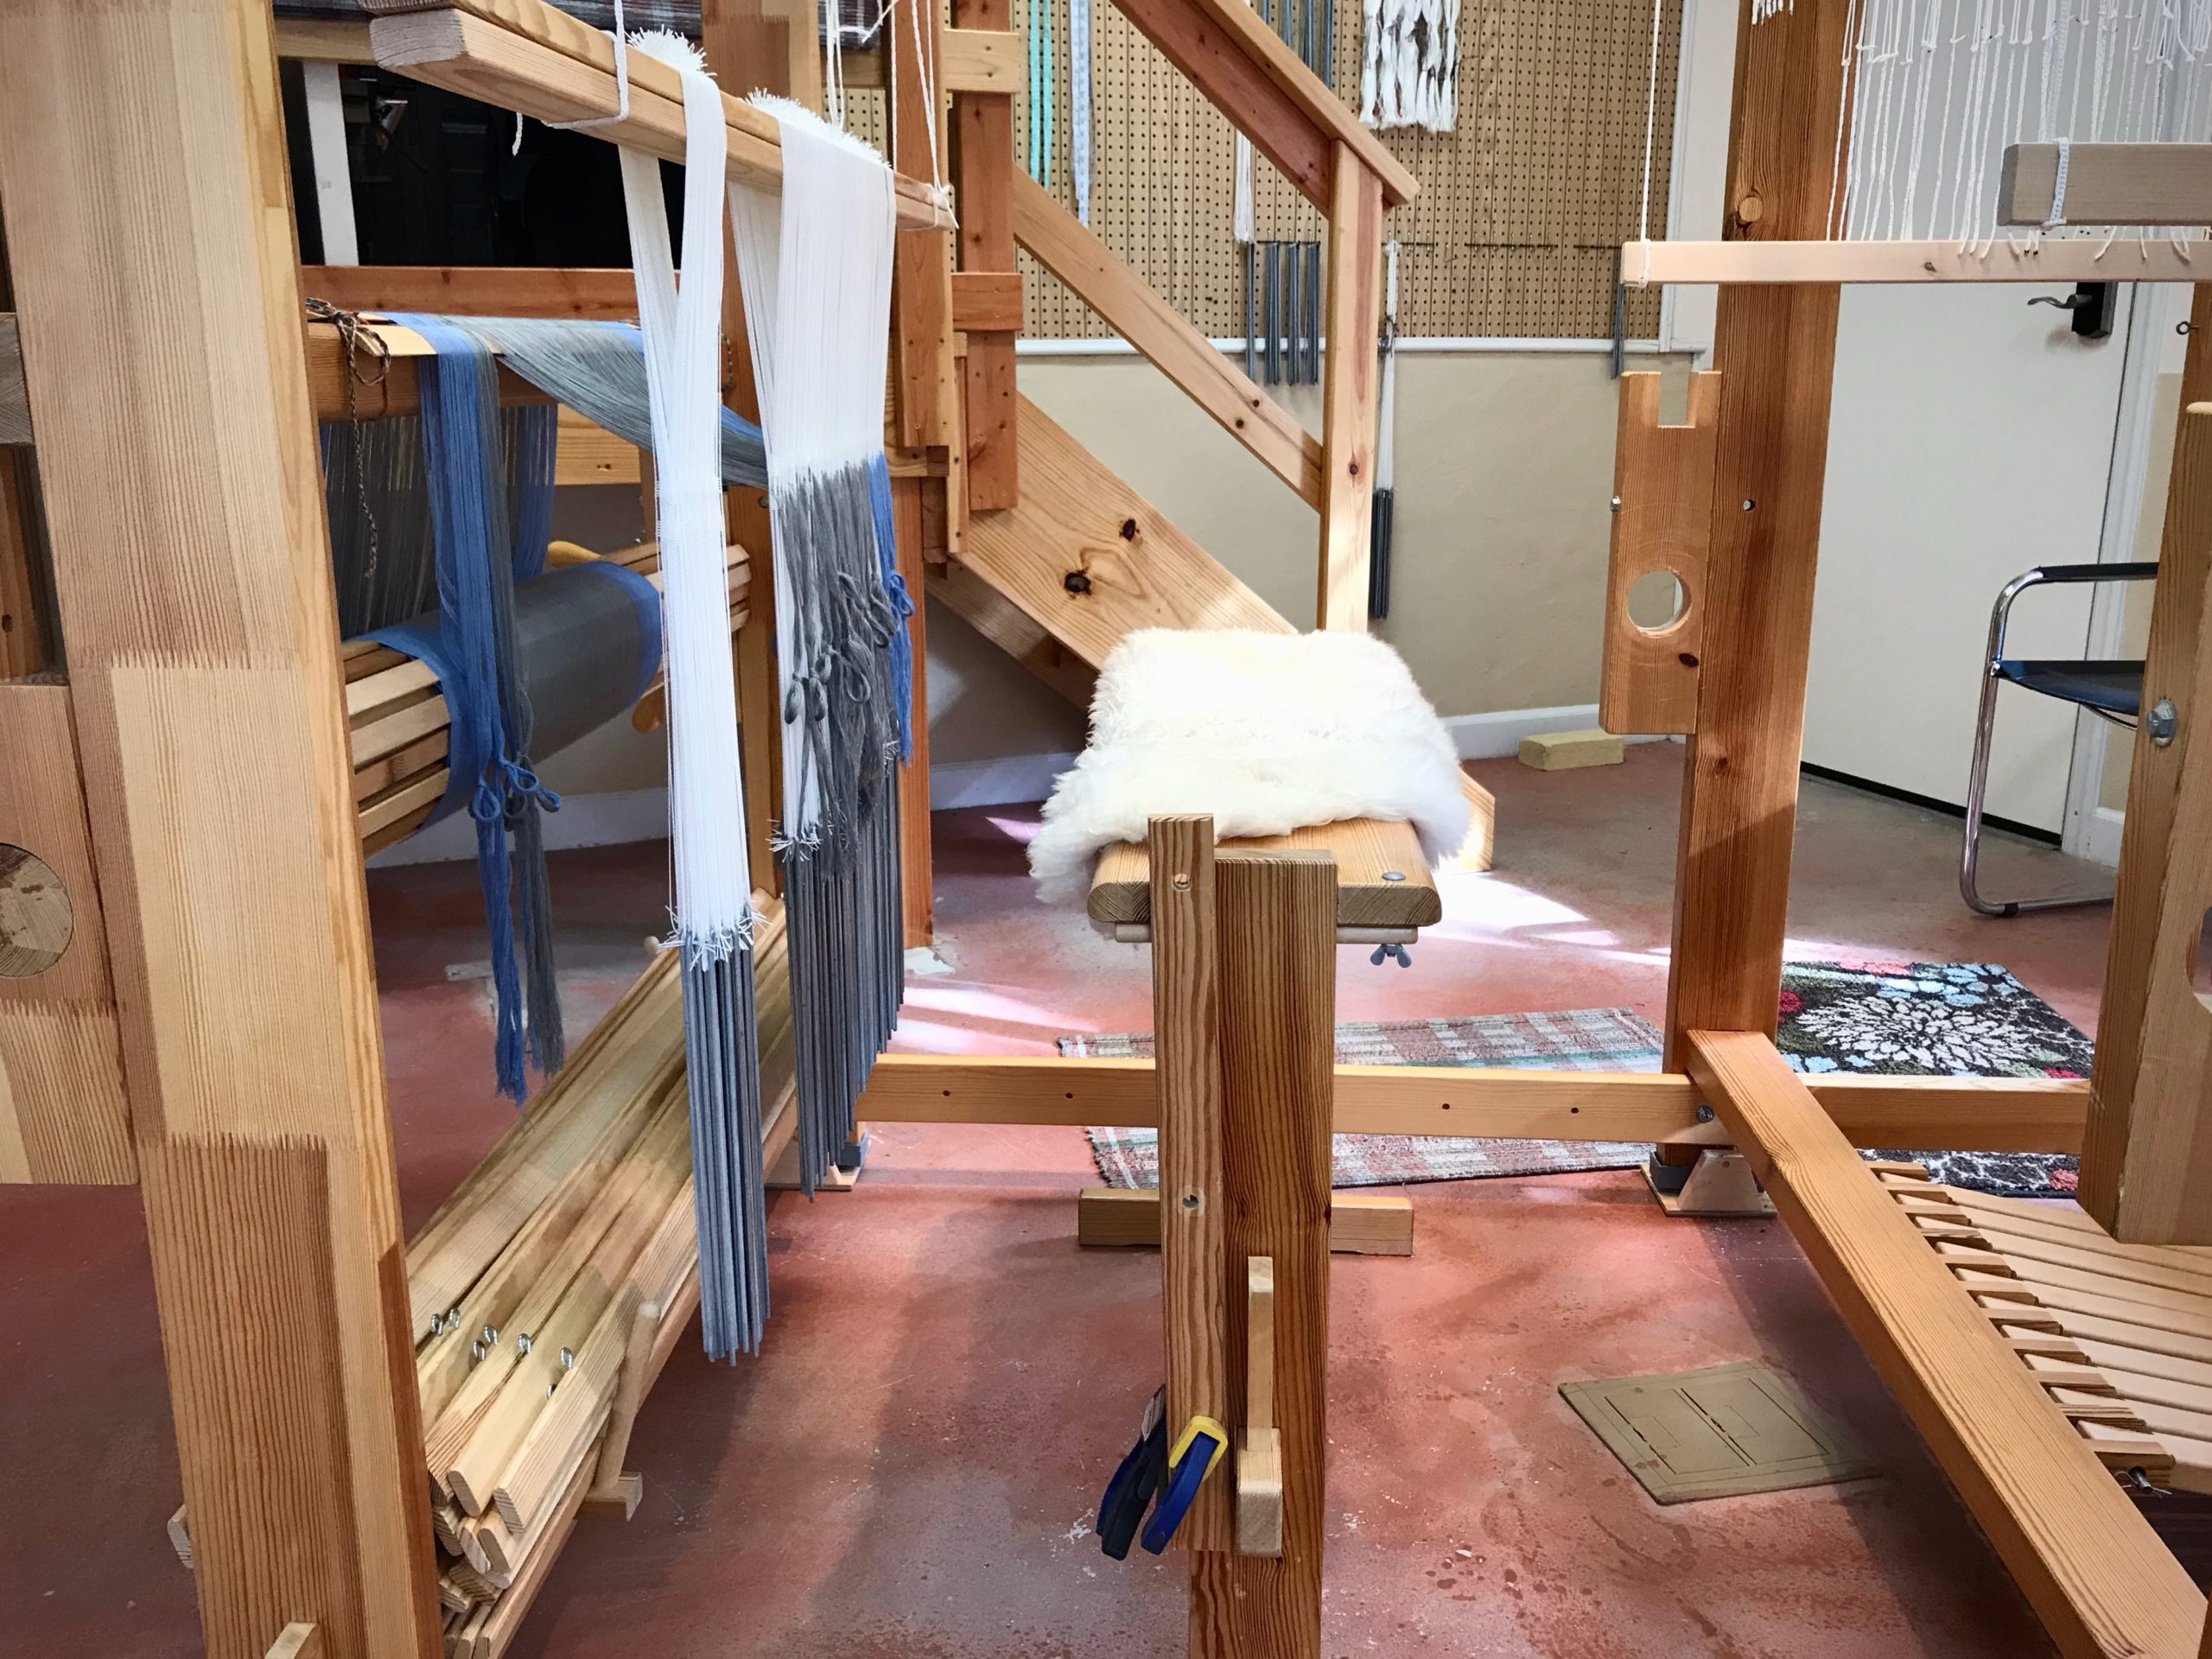
This Glimåkra Standard is one of three looms that share my supply of Texsolv heddles.

Thankfully, the new heddles arrive quickly and the project is alive again.

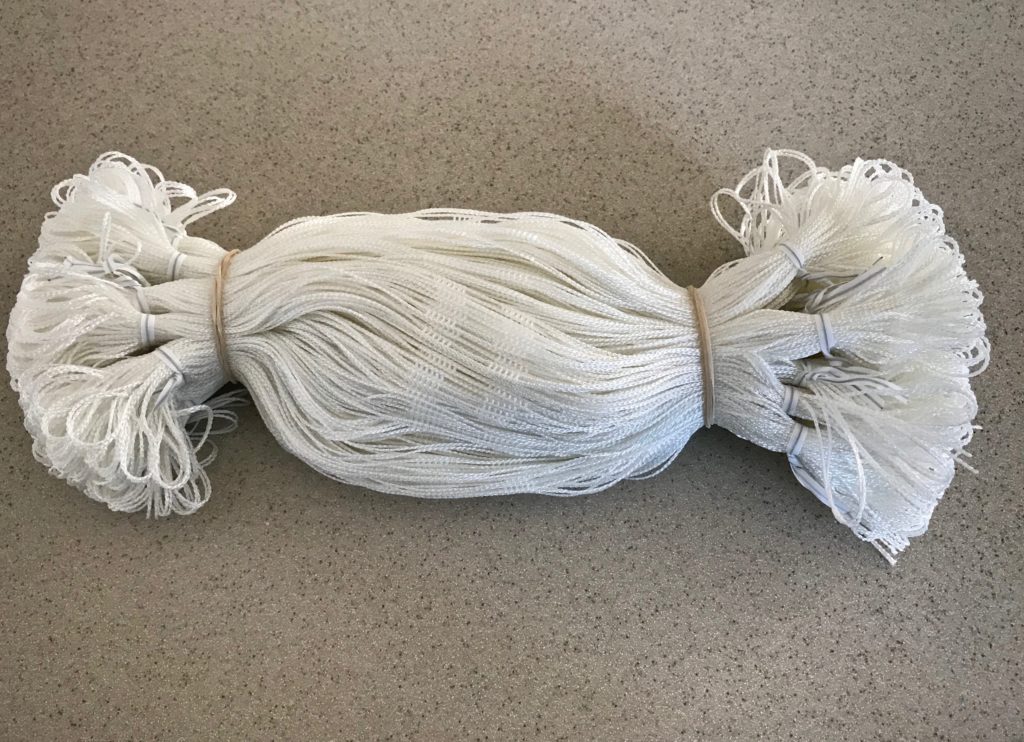
This is what 1,000 Texsolv heddles looks like!
This is what 1,000 Texsolv heddles looks like! I didn’t want to run out again any time soon.

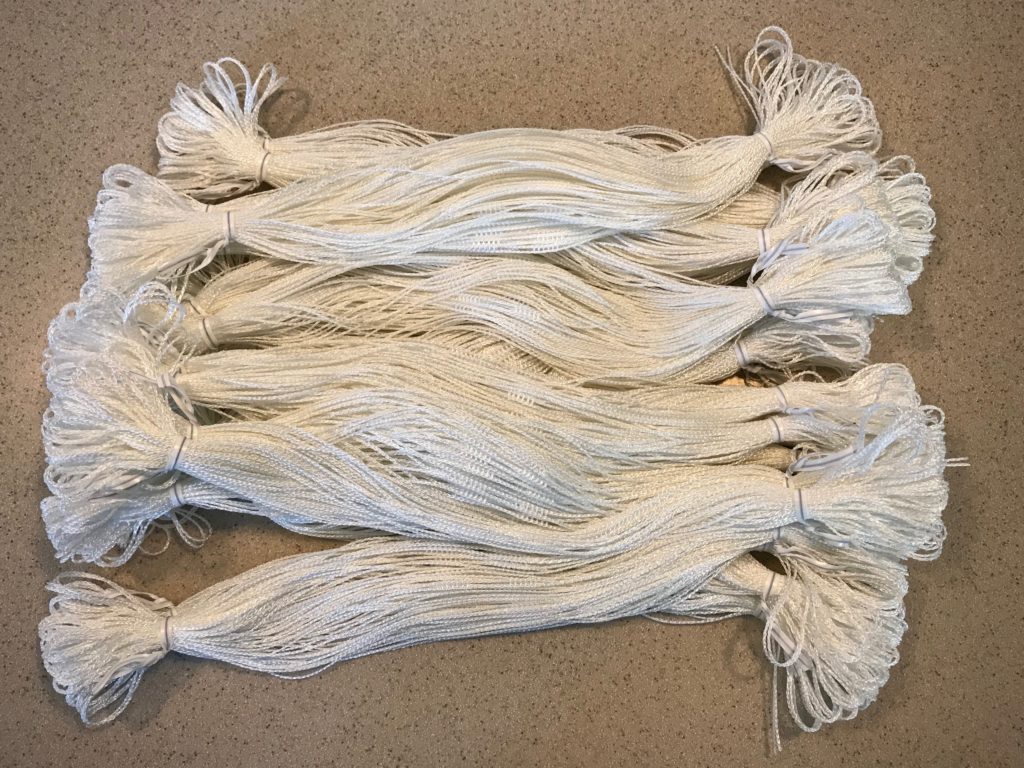
New Texsolv heddles - 1,000 of them!
Heddles come in bundles of 100, held together with twist ties. WARNING: DO NOT undo the twist ties before you put the heddles on the shaft bars. You’ll be sorry…

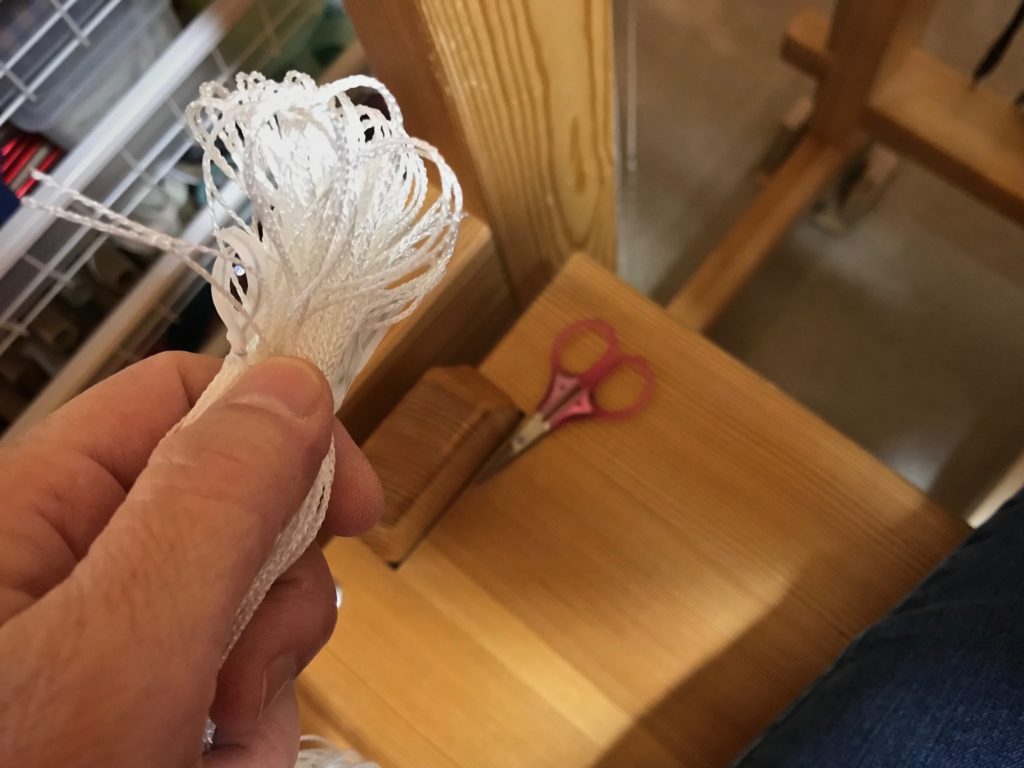
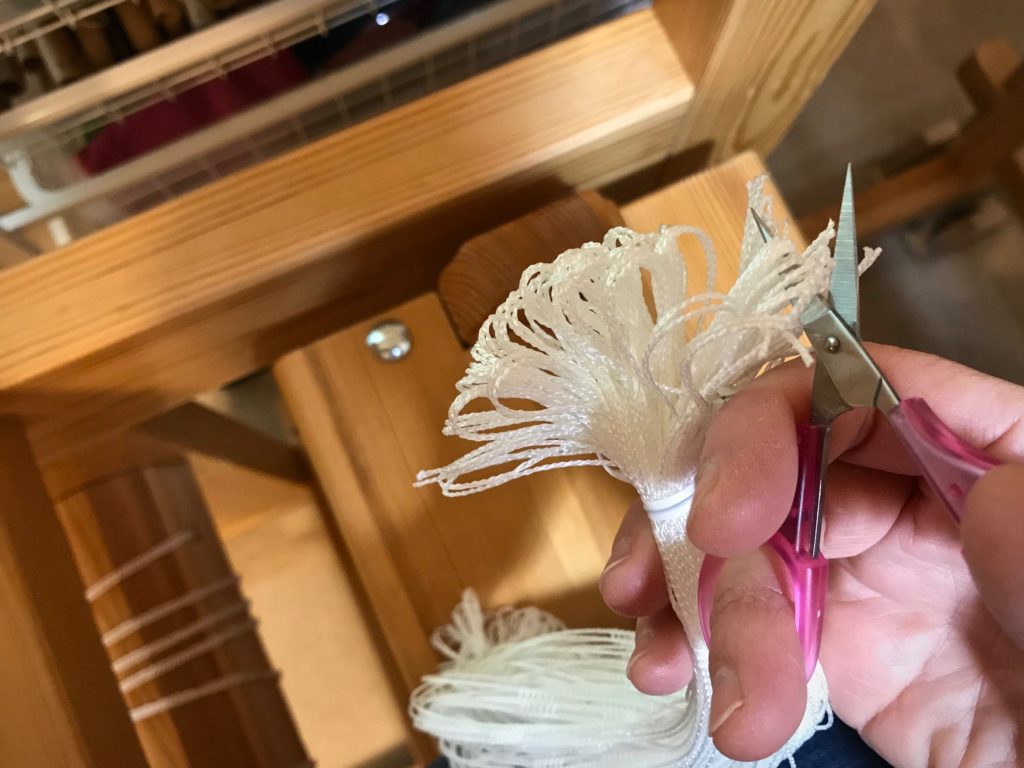
Clipping loops on new Texsolv heddles.
Before putting the heddles on the shaft bars, and while they are still tied into bundles, clip the loops at each end.

Clipping Texsolv heddle loops.
I clip the loops on both ends of the heddles. It is easy to move heddles wherever you want if the loops are cut, including repositioning individual heddles. (It is far easier to clip the loops while the heddles are still tied together.)

New heddles on the shaft bars.
There are 100 new heddles on each shaft. The heddles that are not used will be tied up and put away in my heddle box, ready for the next time I need more heddles.

Alive. This is the Easter season when we celebrate the resurrection of Jesus Christ. He died, and was made alive again! What makes it even more fantastic is what that means for us. We all have a goodness shortage. And without a source of true goodness, our lifetime self-improvement project is at a dead end. Yet, through faith in the powerful working of God, we are raised with Christ. We are made alive together with him. His true goodness becomes our living source.

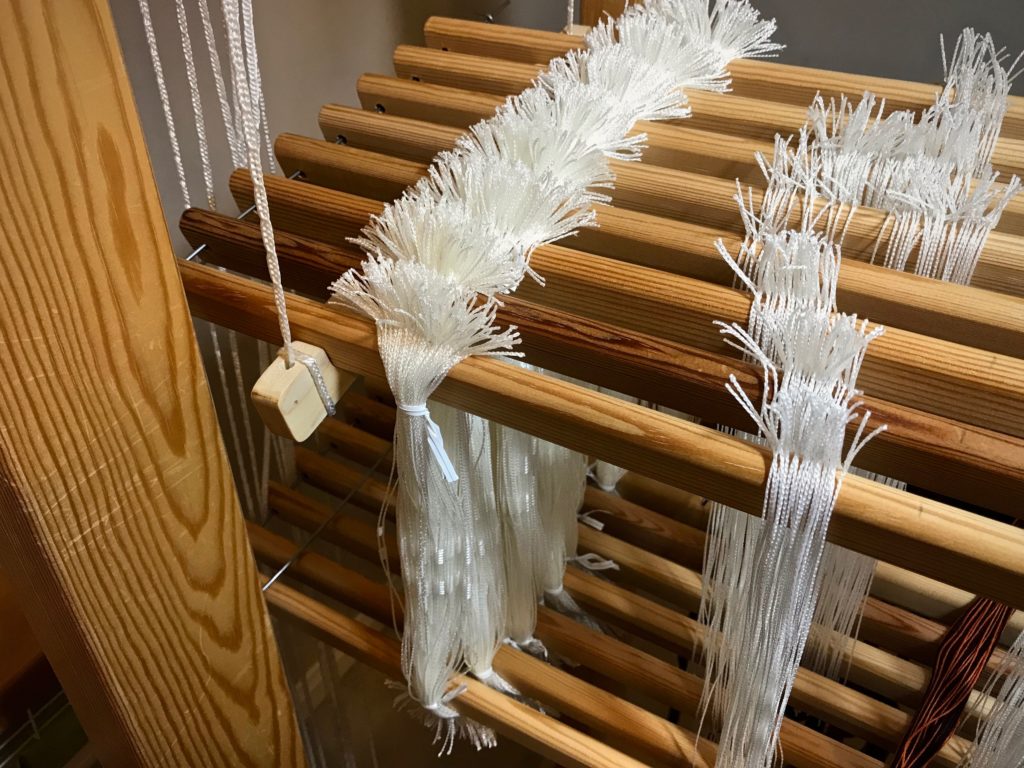
New bundles of Texsolv heddles stand ready to be used!
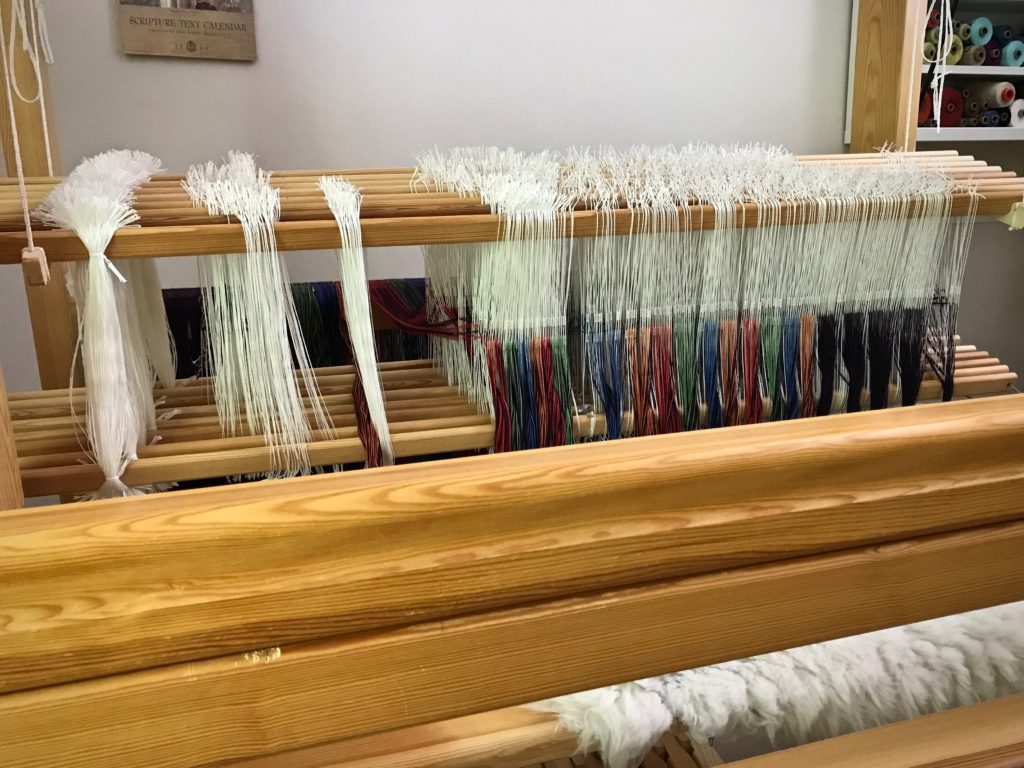
Threading progresses. New bundles of heddles stand ready to be used!

May you be supplied with more than enough.

Happy Easter,
Karen