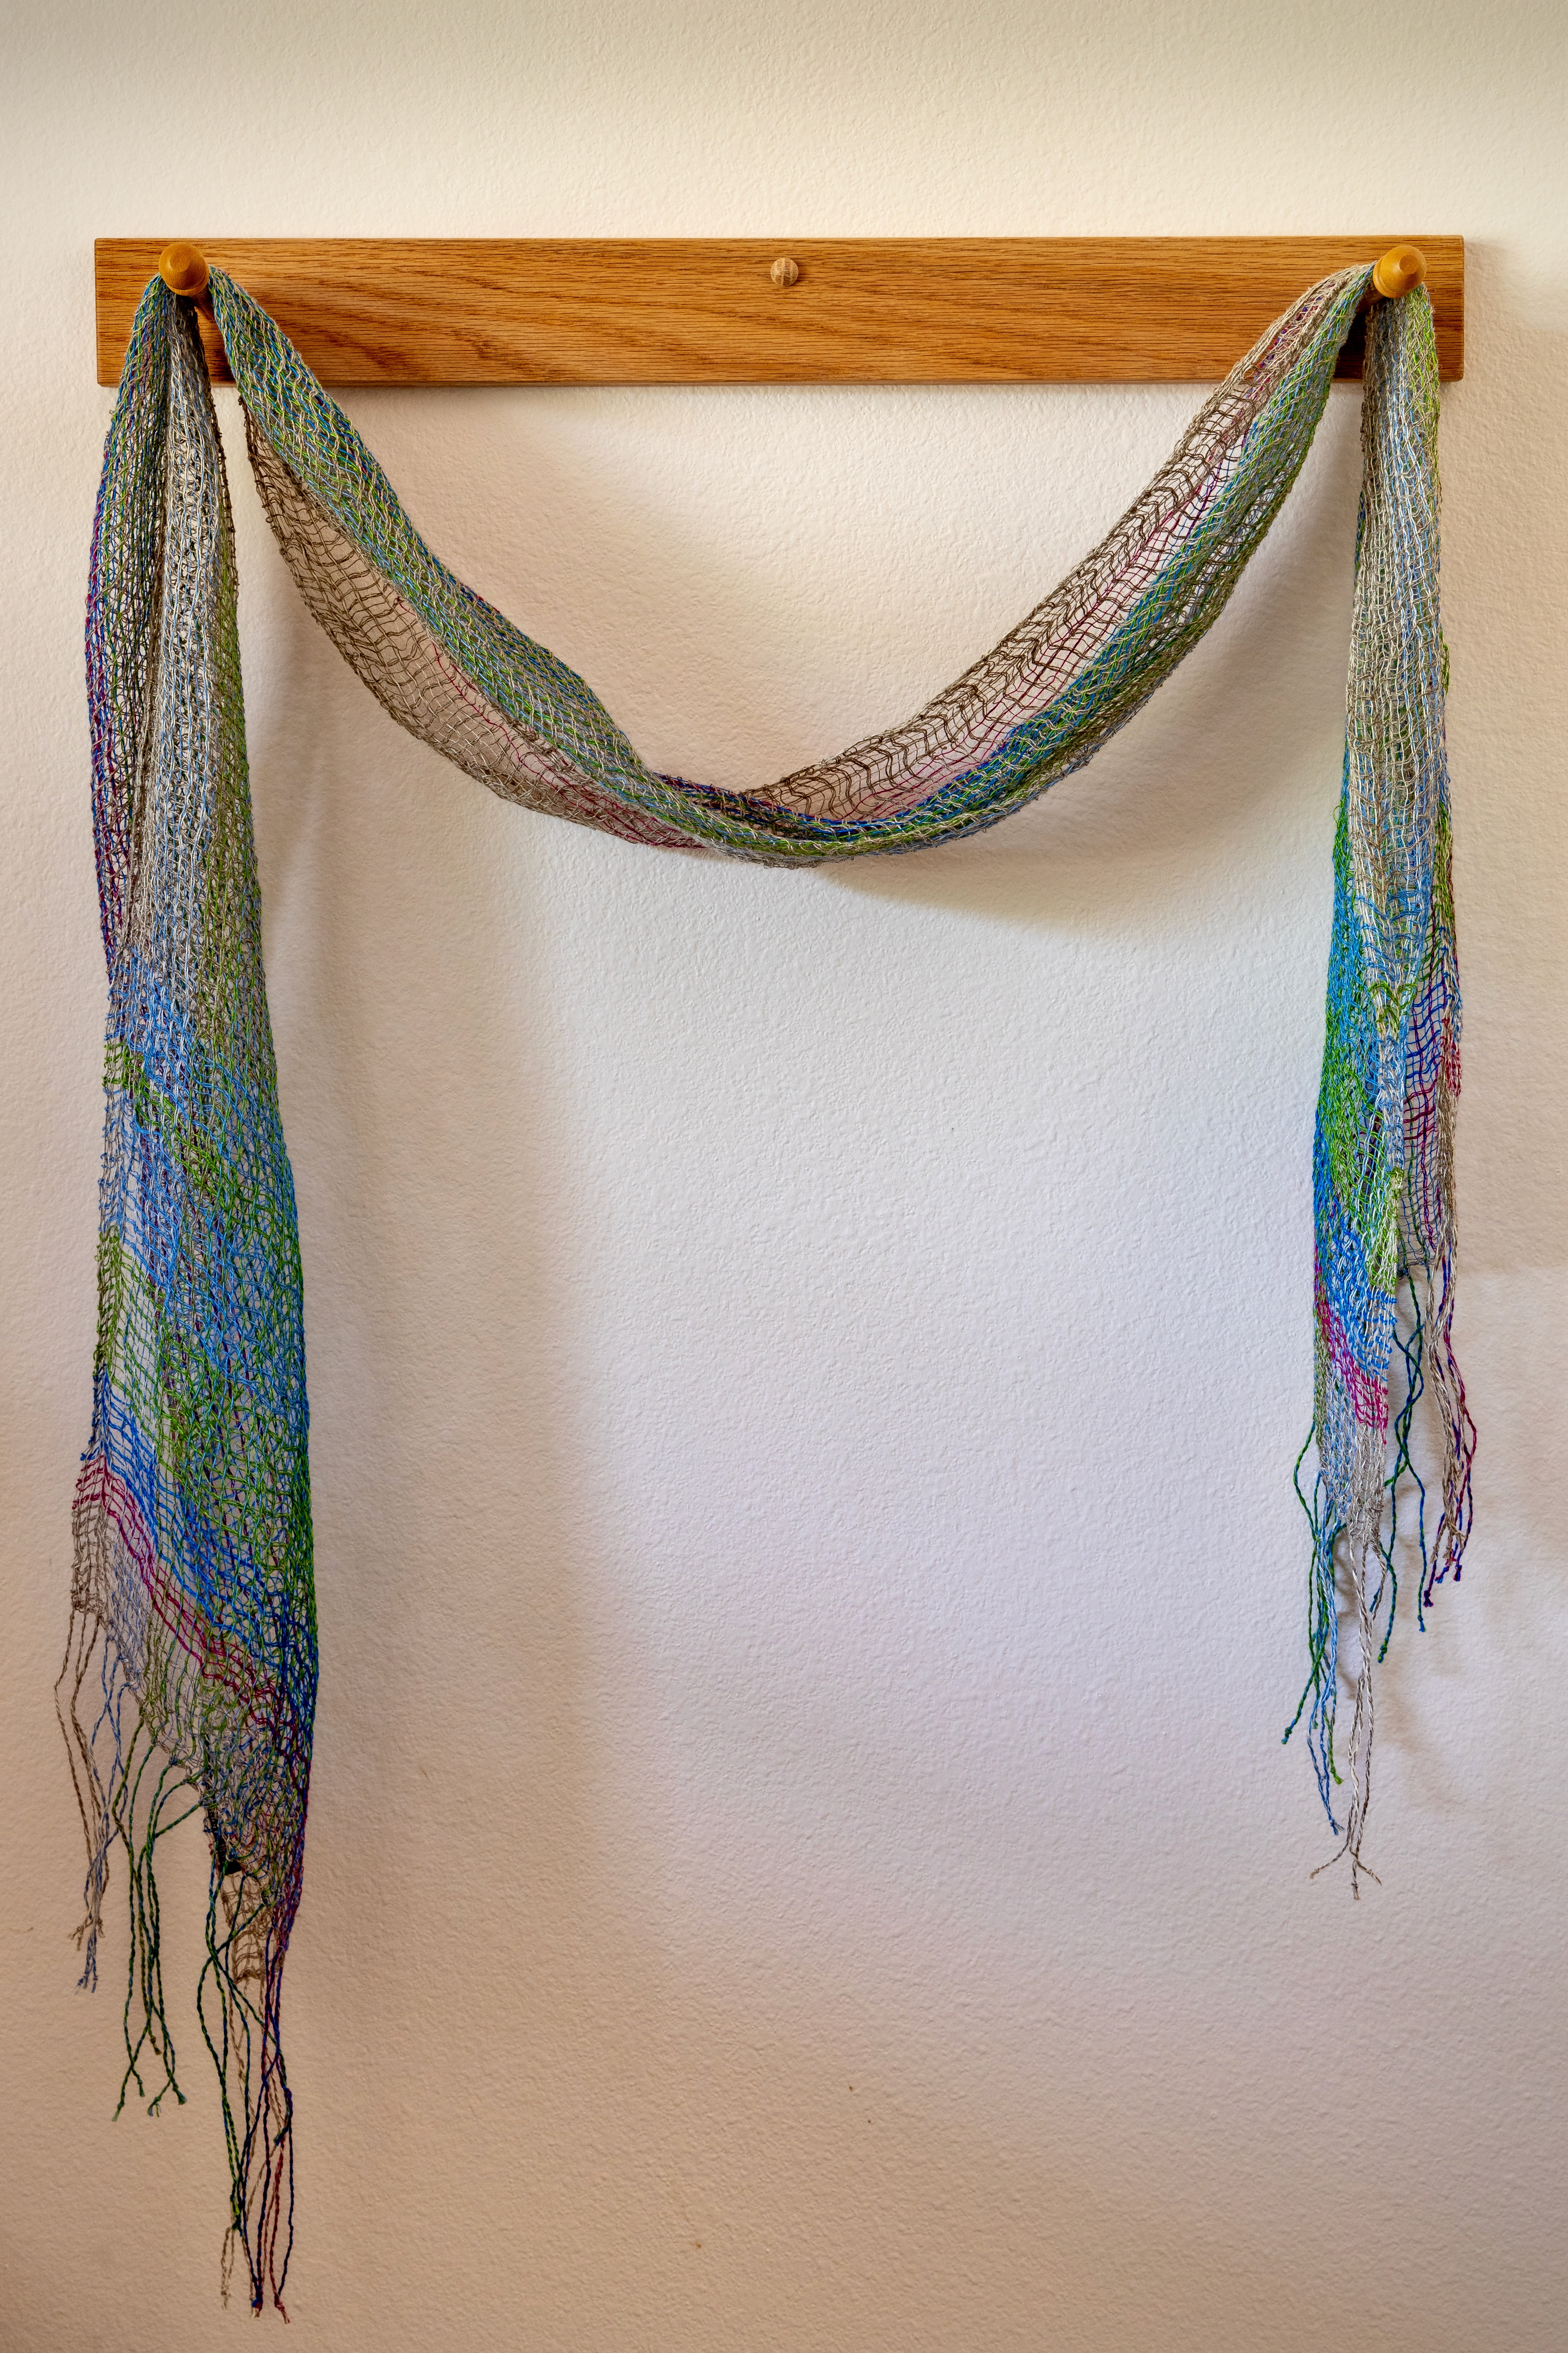
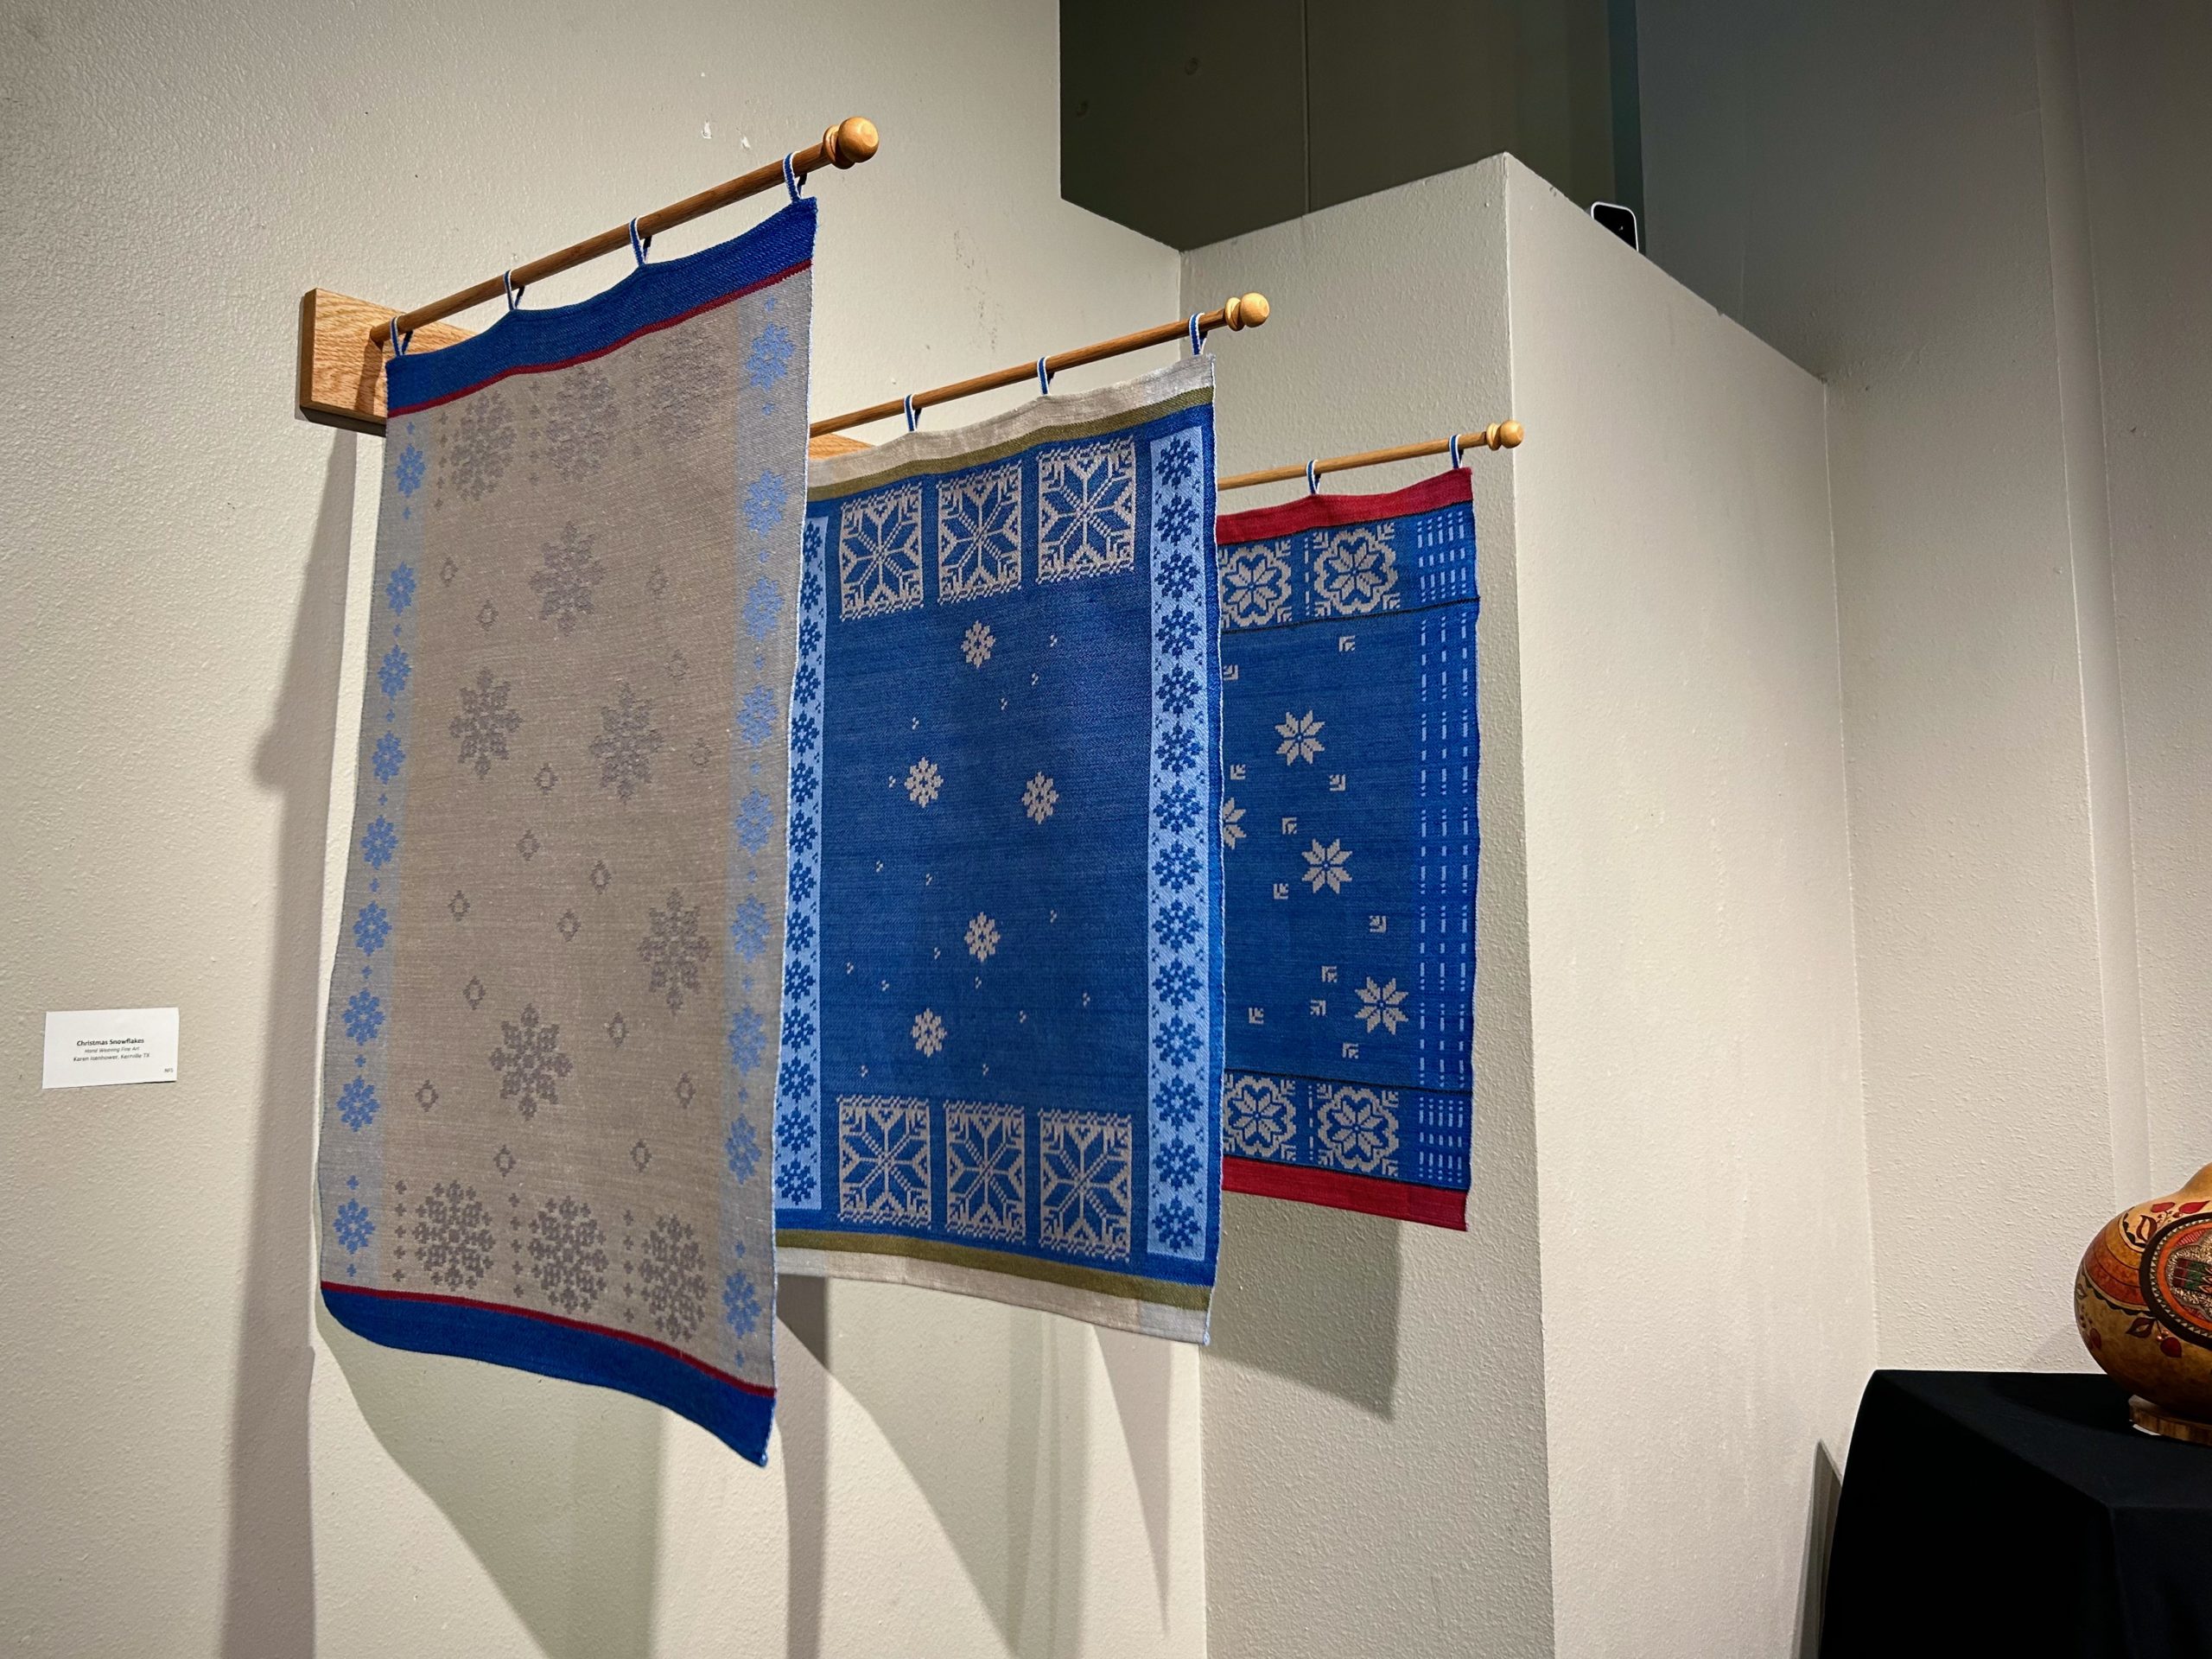
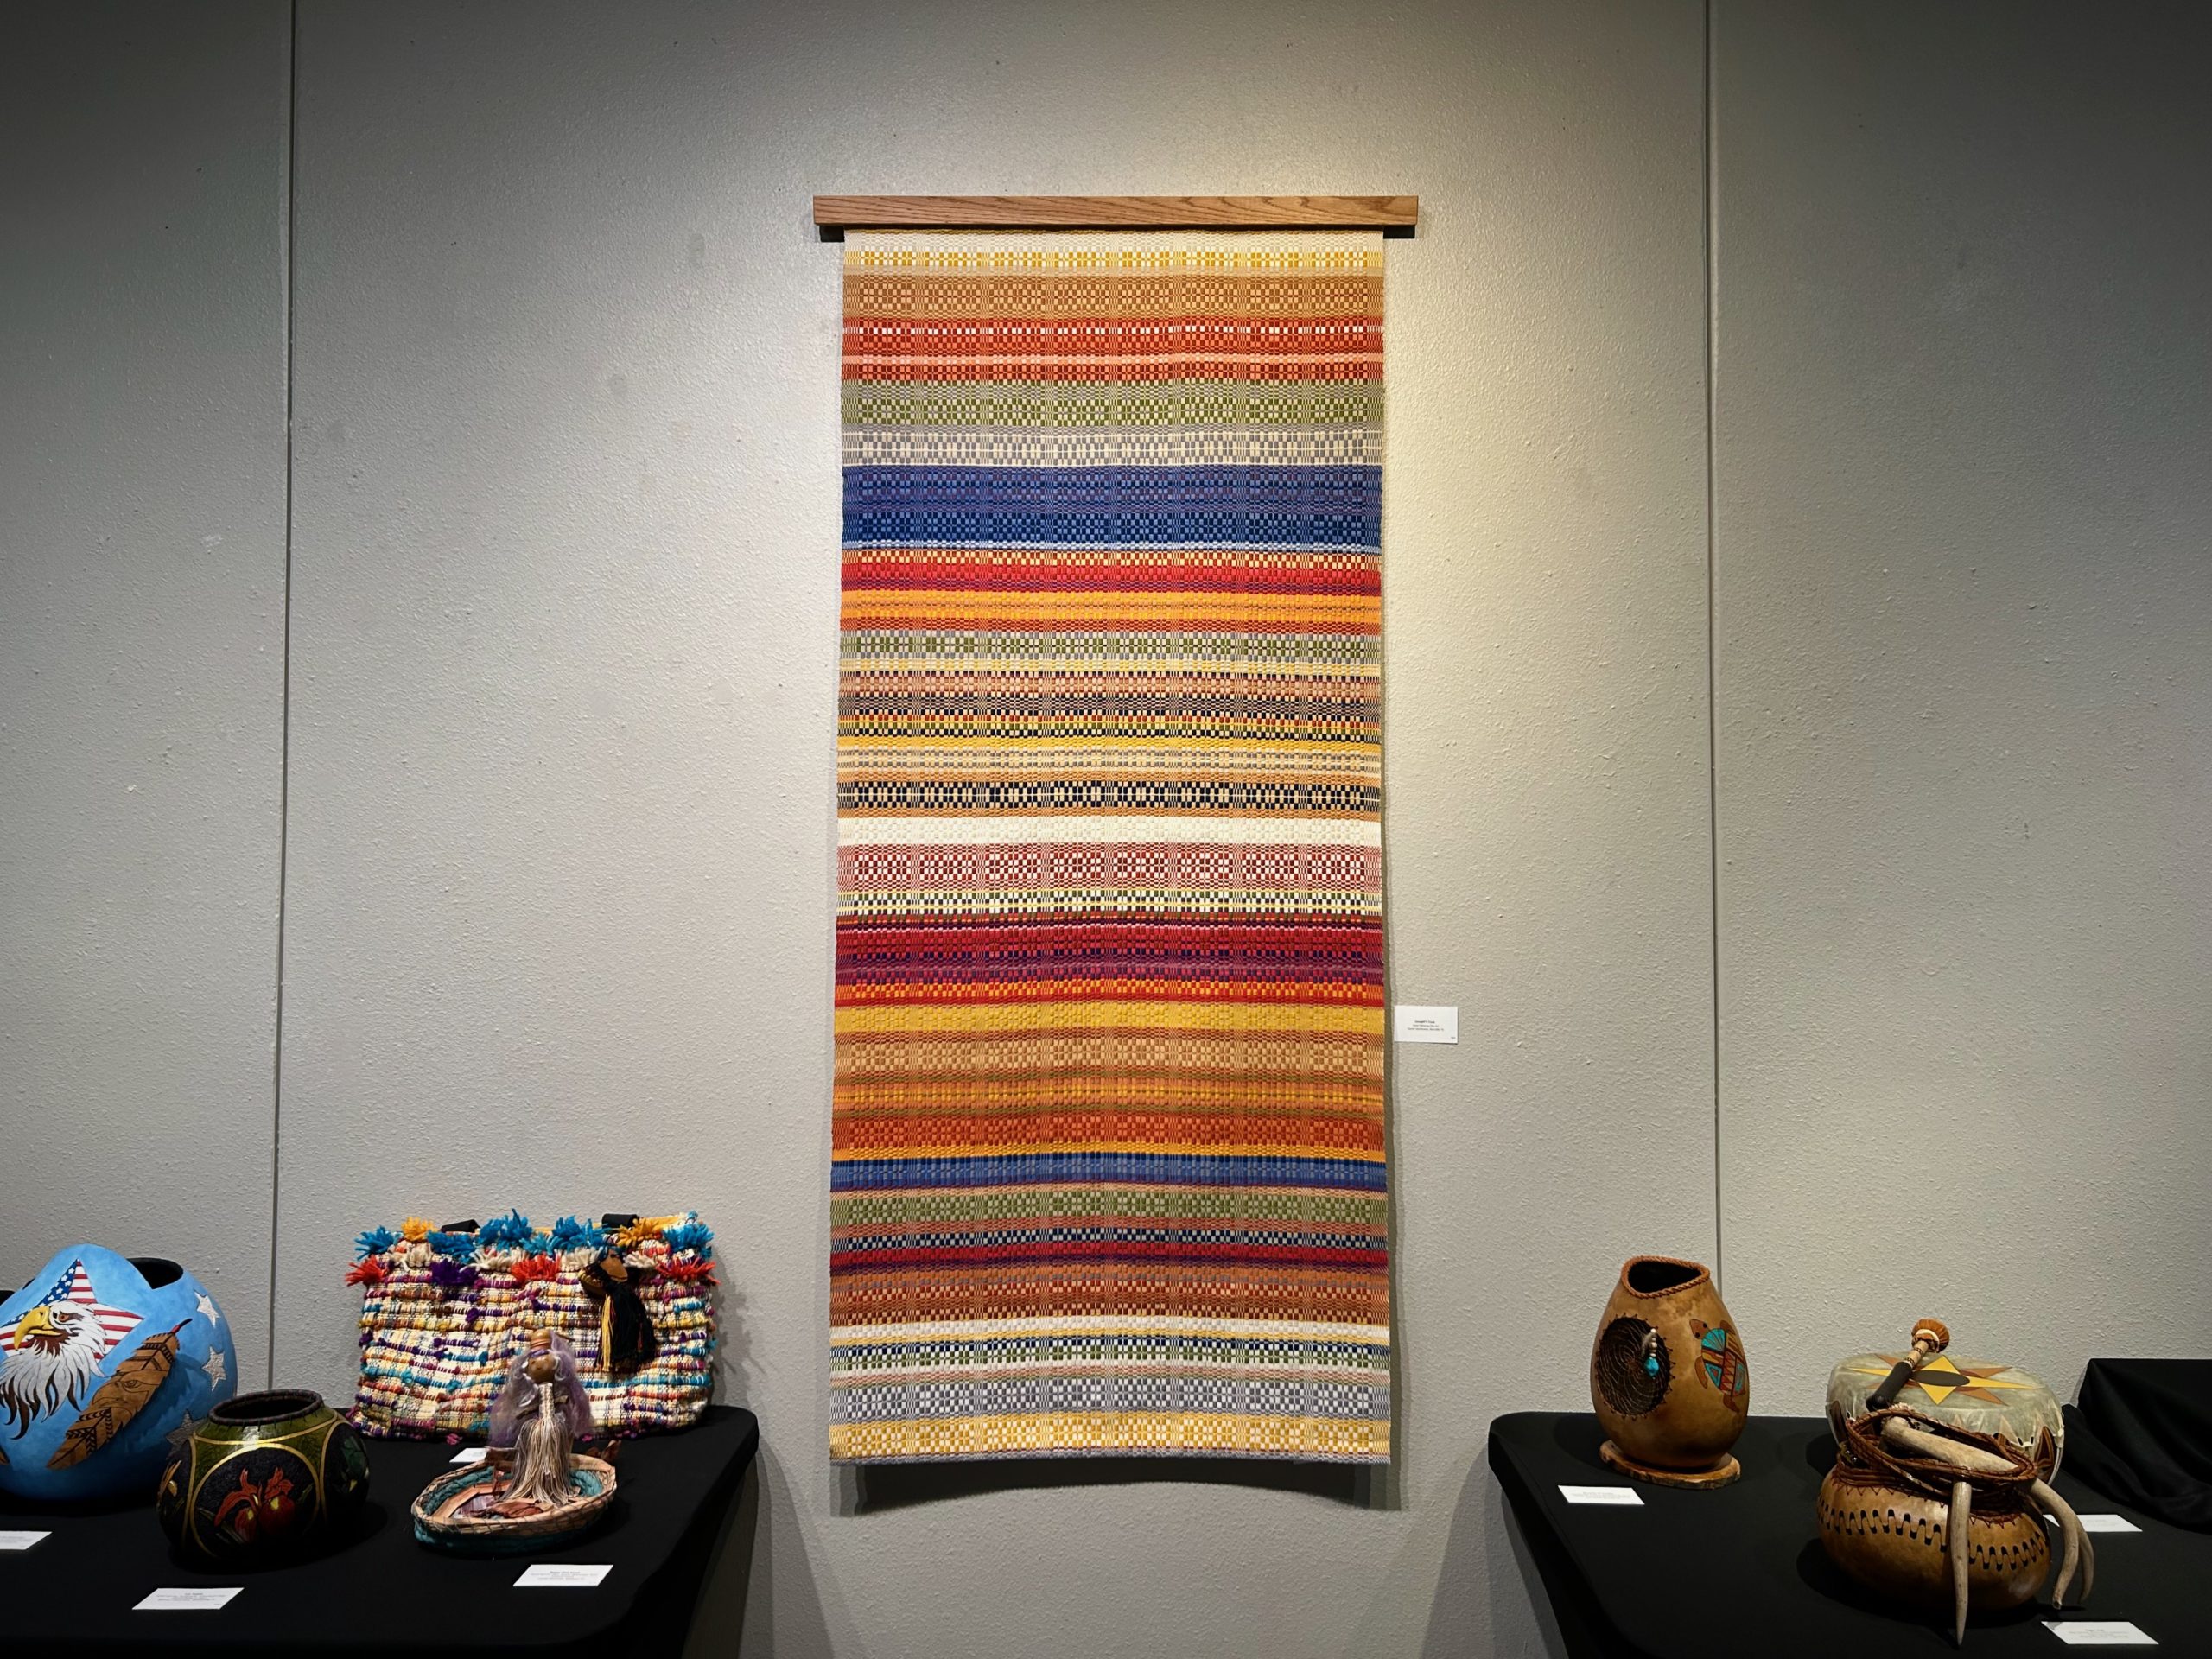
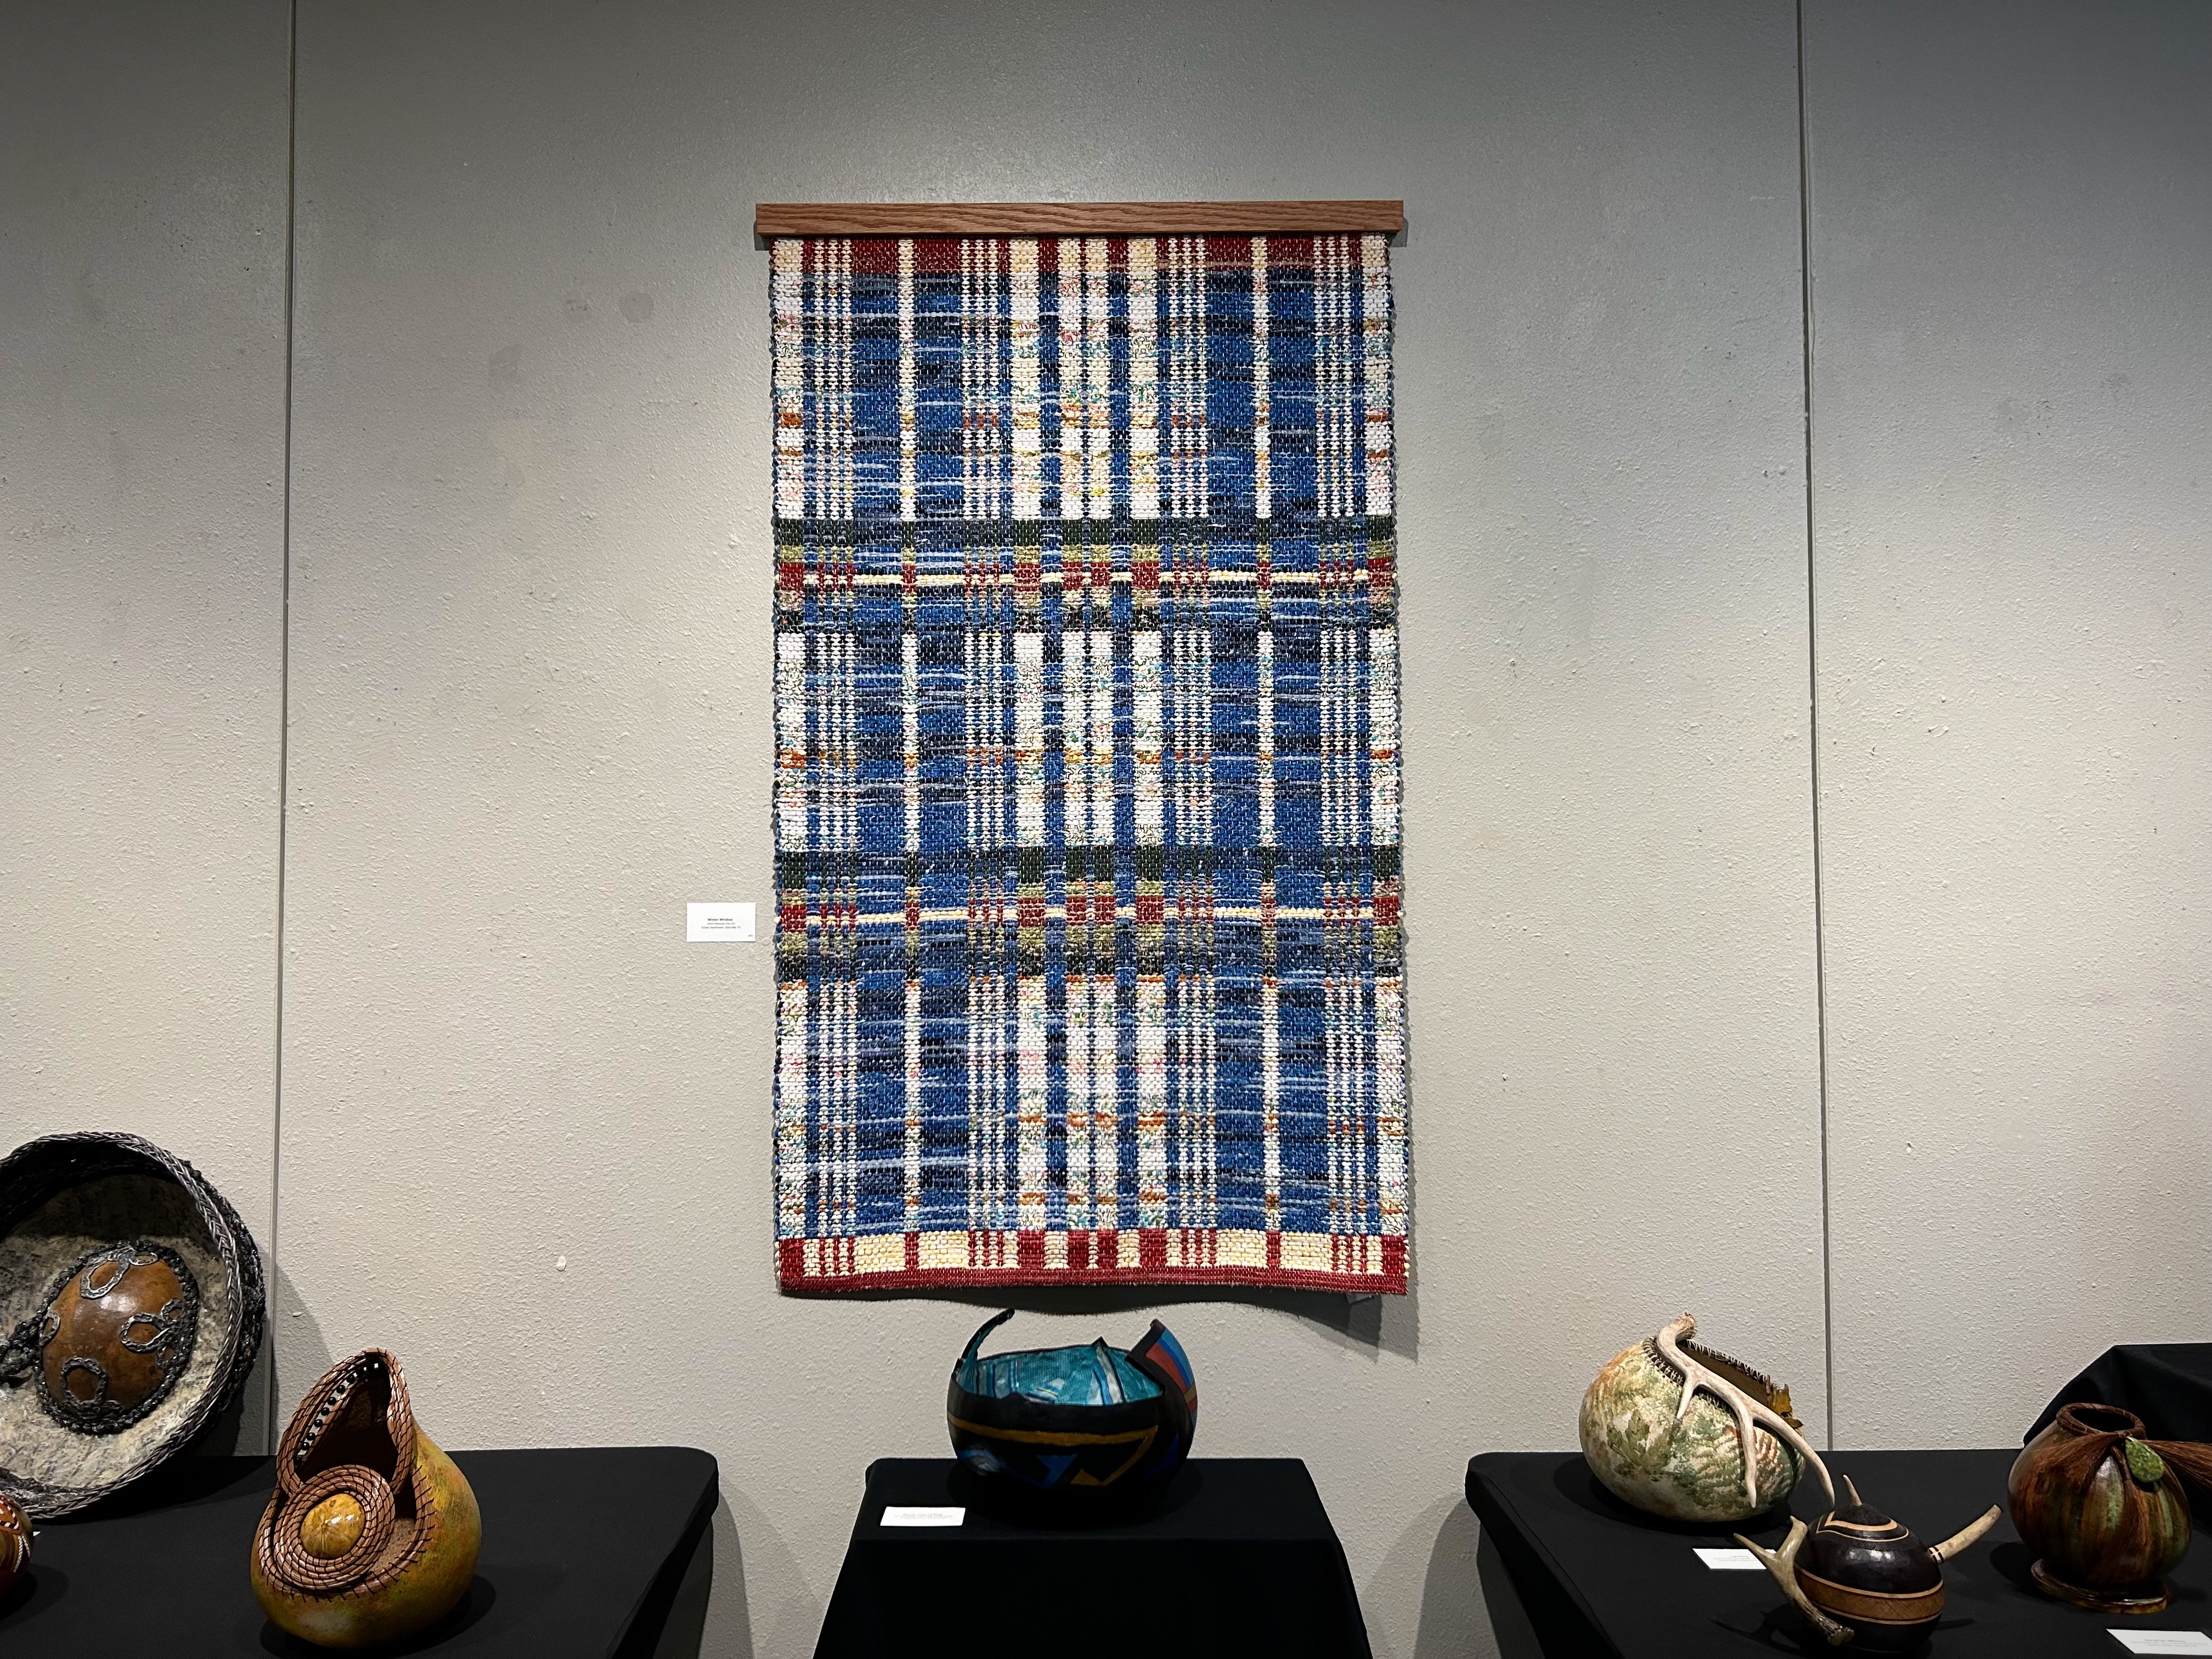
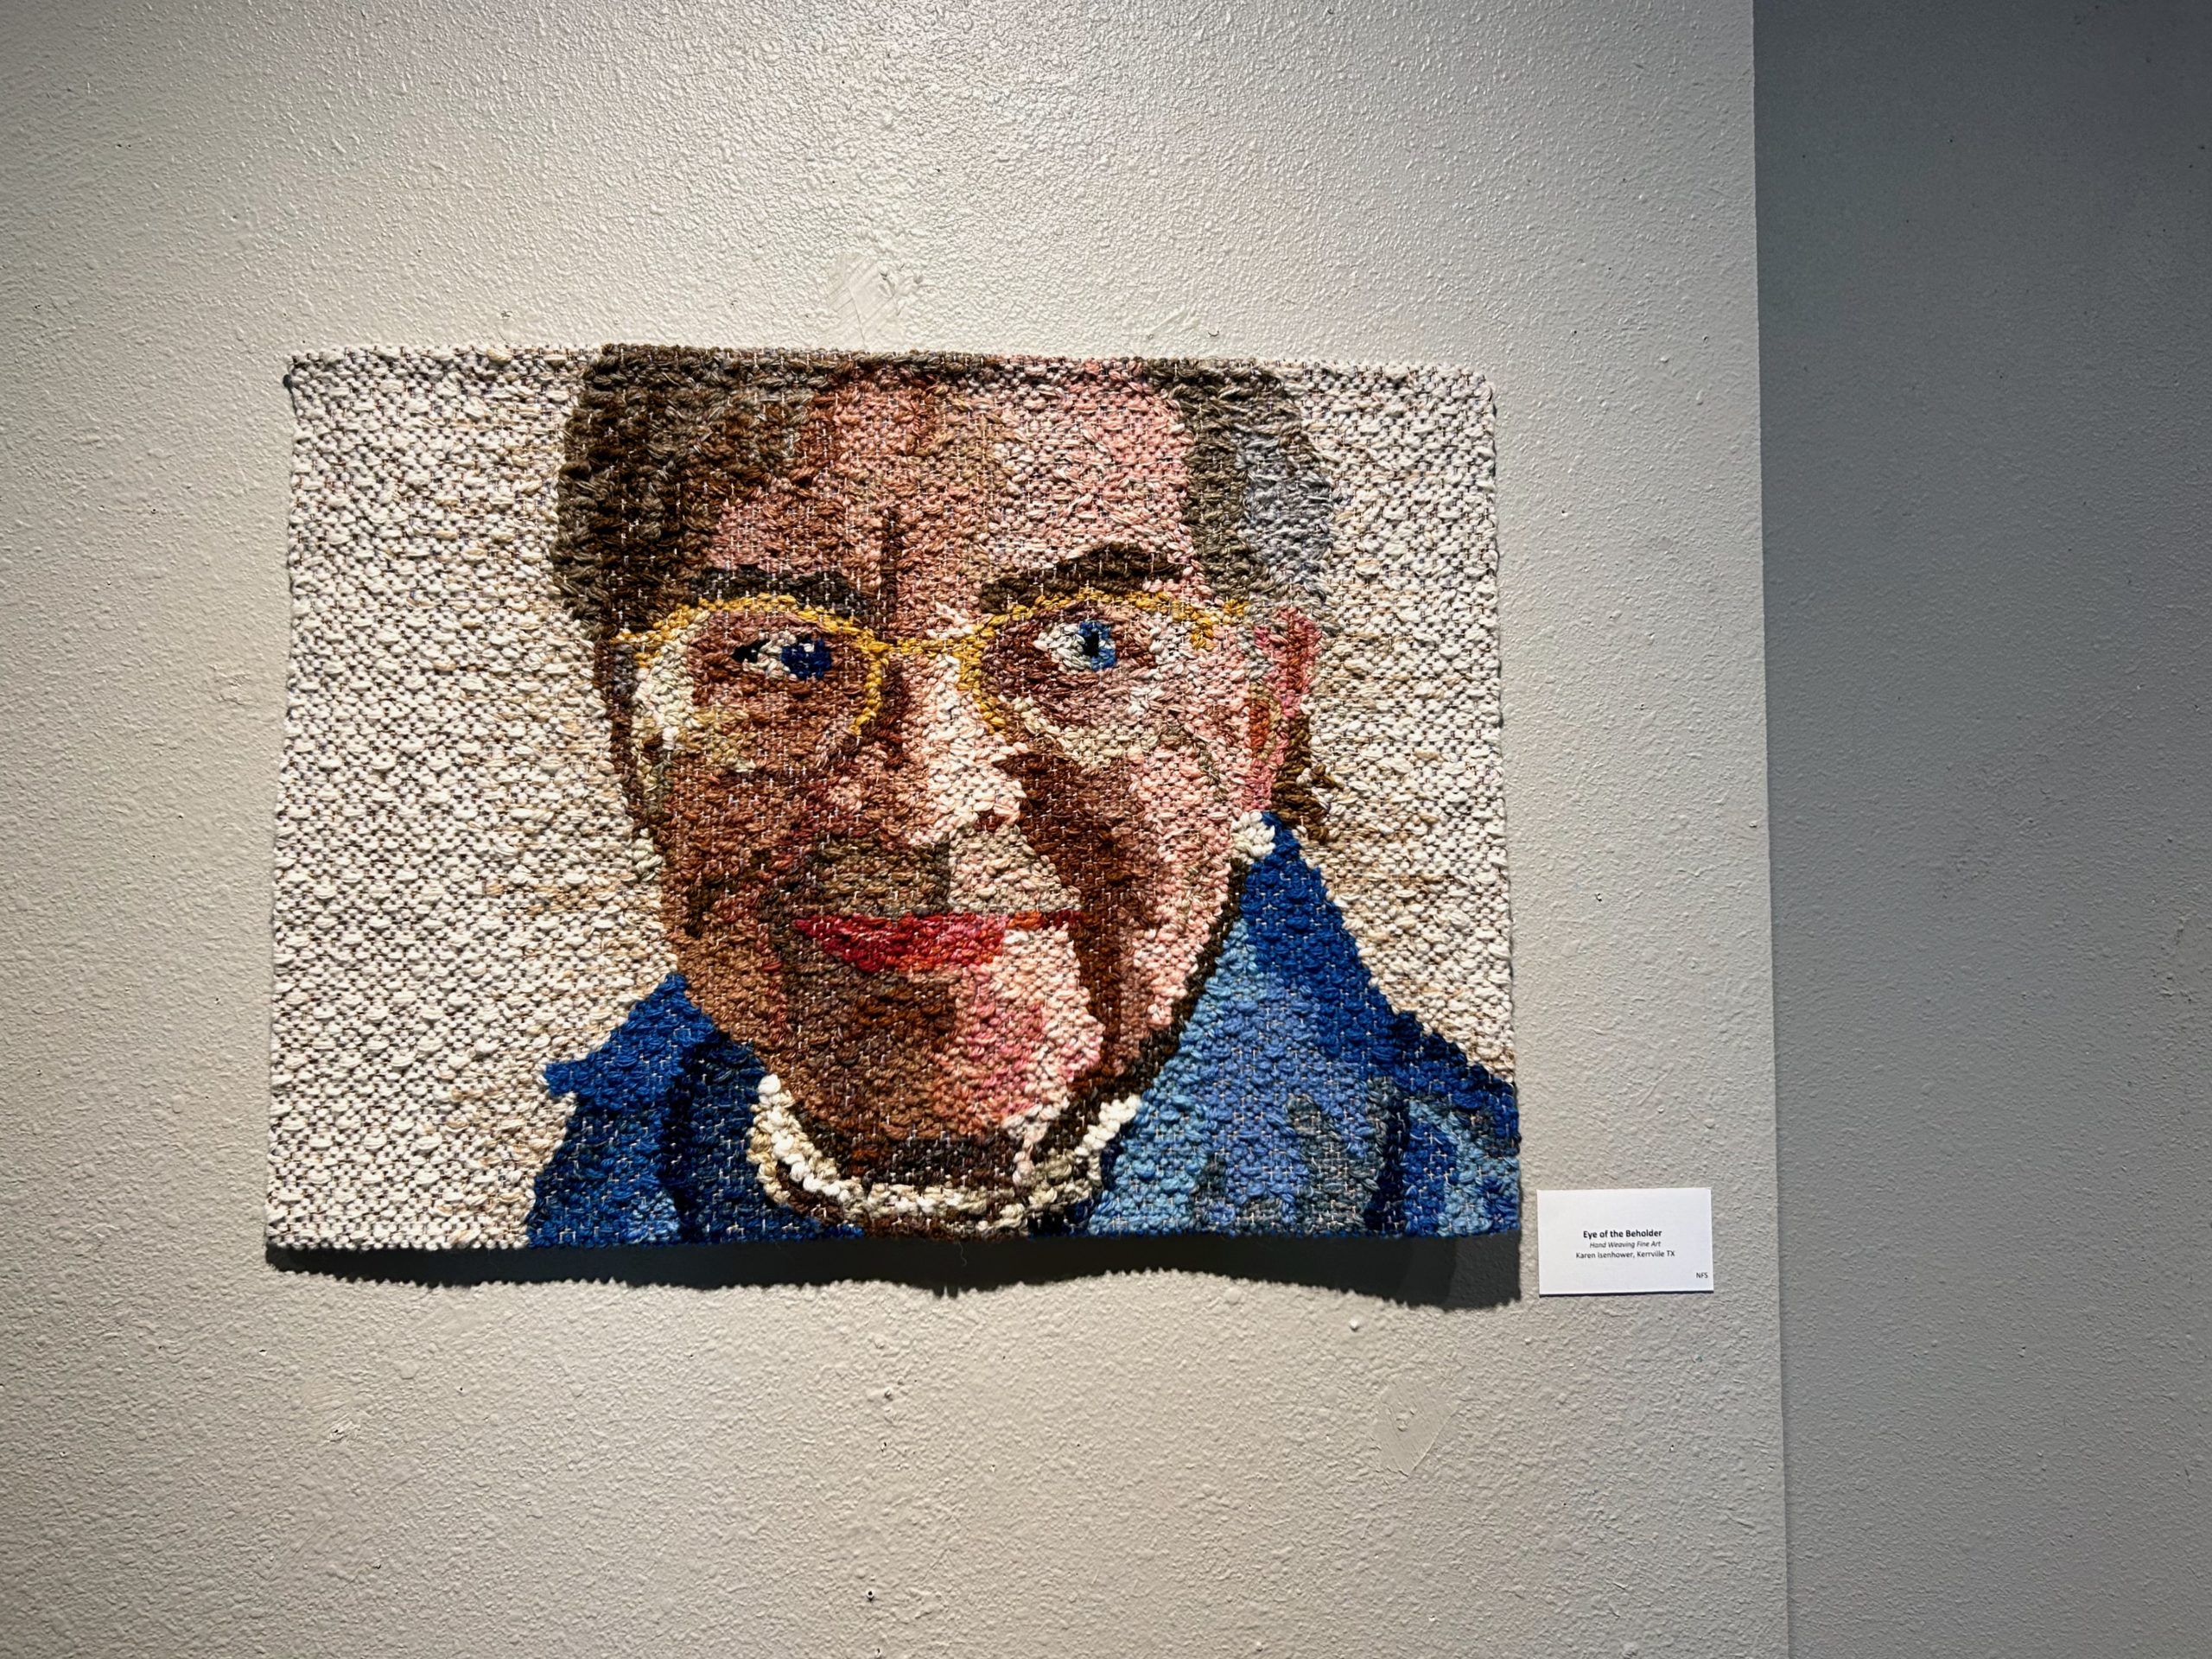
Five of my favorite handwoven works are on display in a local exhibit. The Southwest Gourd and Fiber Fine Art Show is the current exhibit (through July 1) at the Kerr Arts and Cultural Center in Kerrville, Texas. This is a competitive show featuring artists from across the US. Steve made beautiful wooden hanging and mounting devices for my pieces. Winter Window is a double-binding rag rug that is displayed as a wall hanging. I thoroughly enjoyed the design process for this rag rug, so I am happy that Winter Window received a Judge’s Special Award.
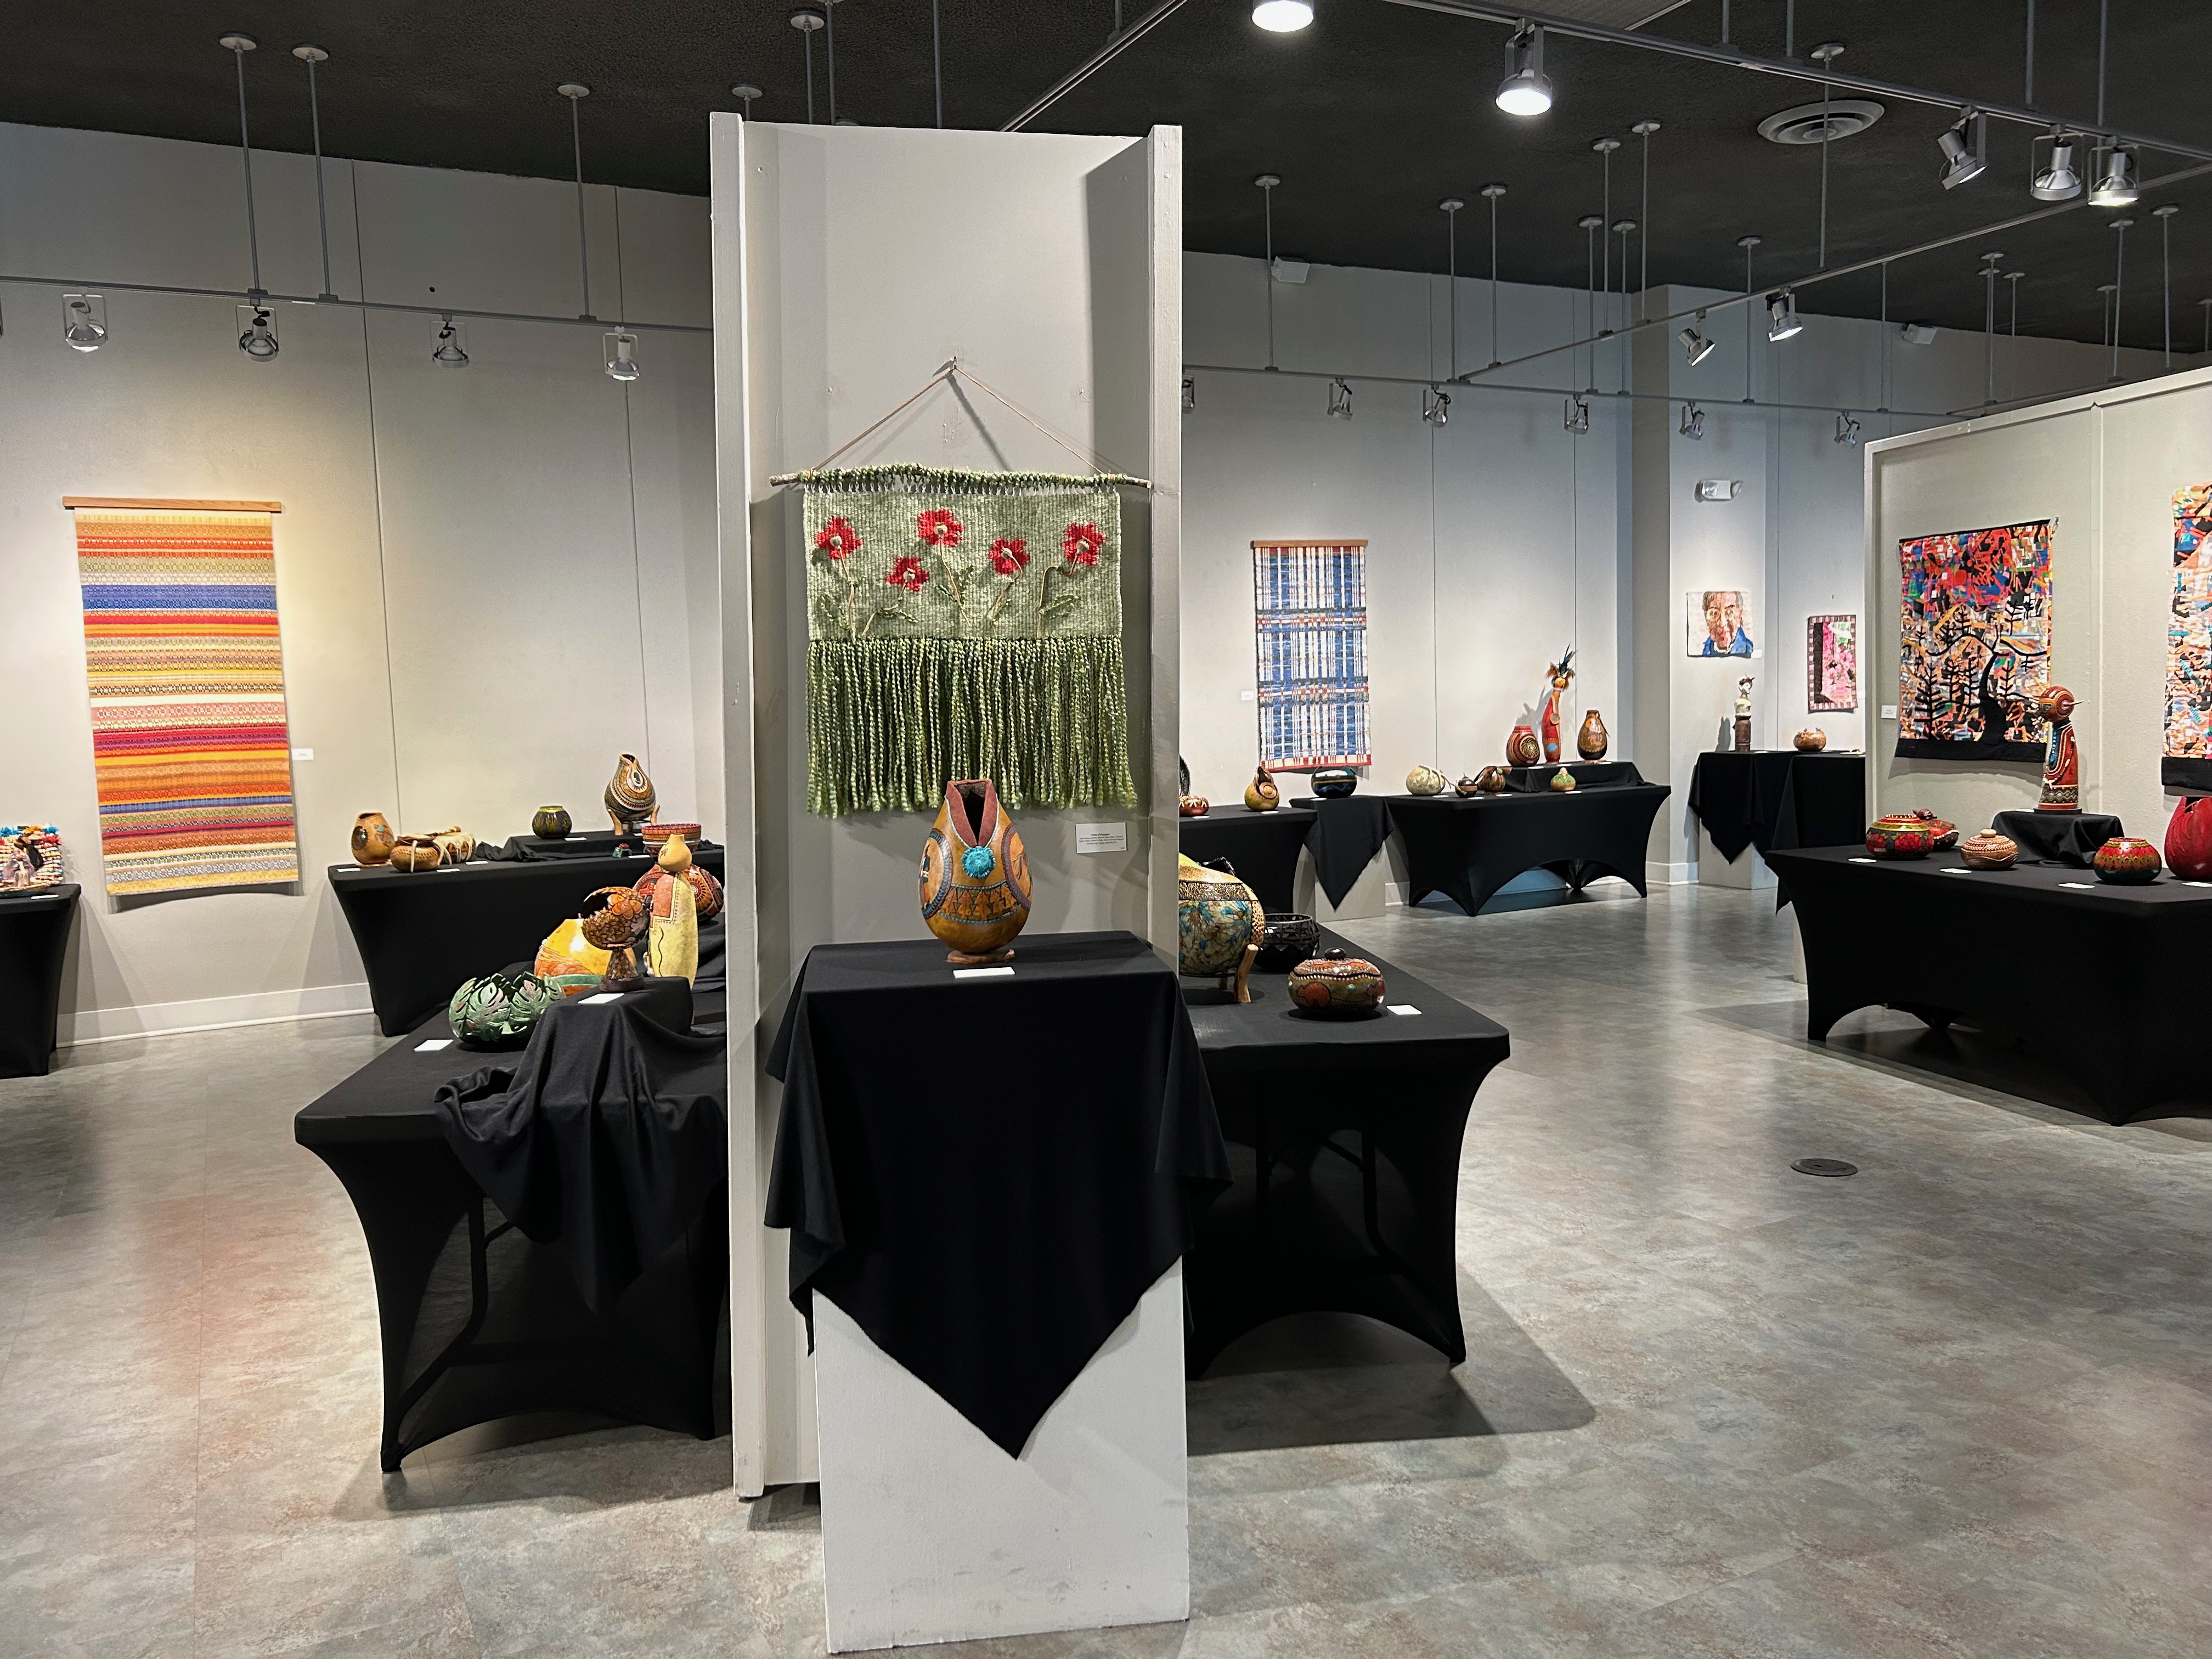
If you hang a rag rug on the wall it becomes fine art. And I’m ok with that.
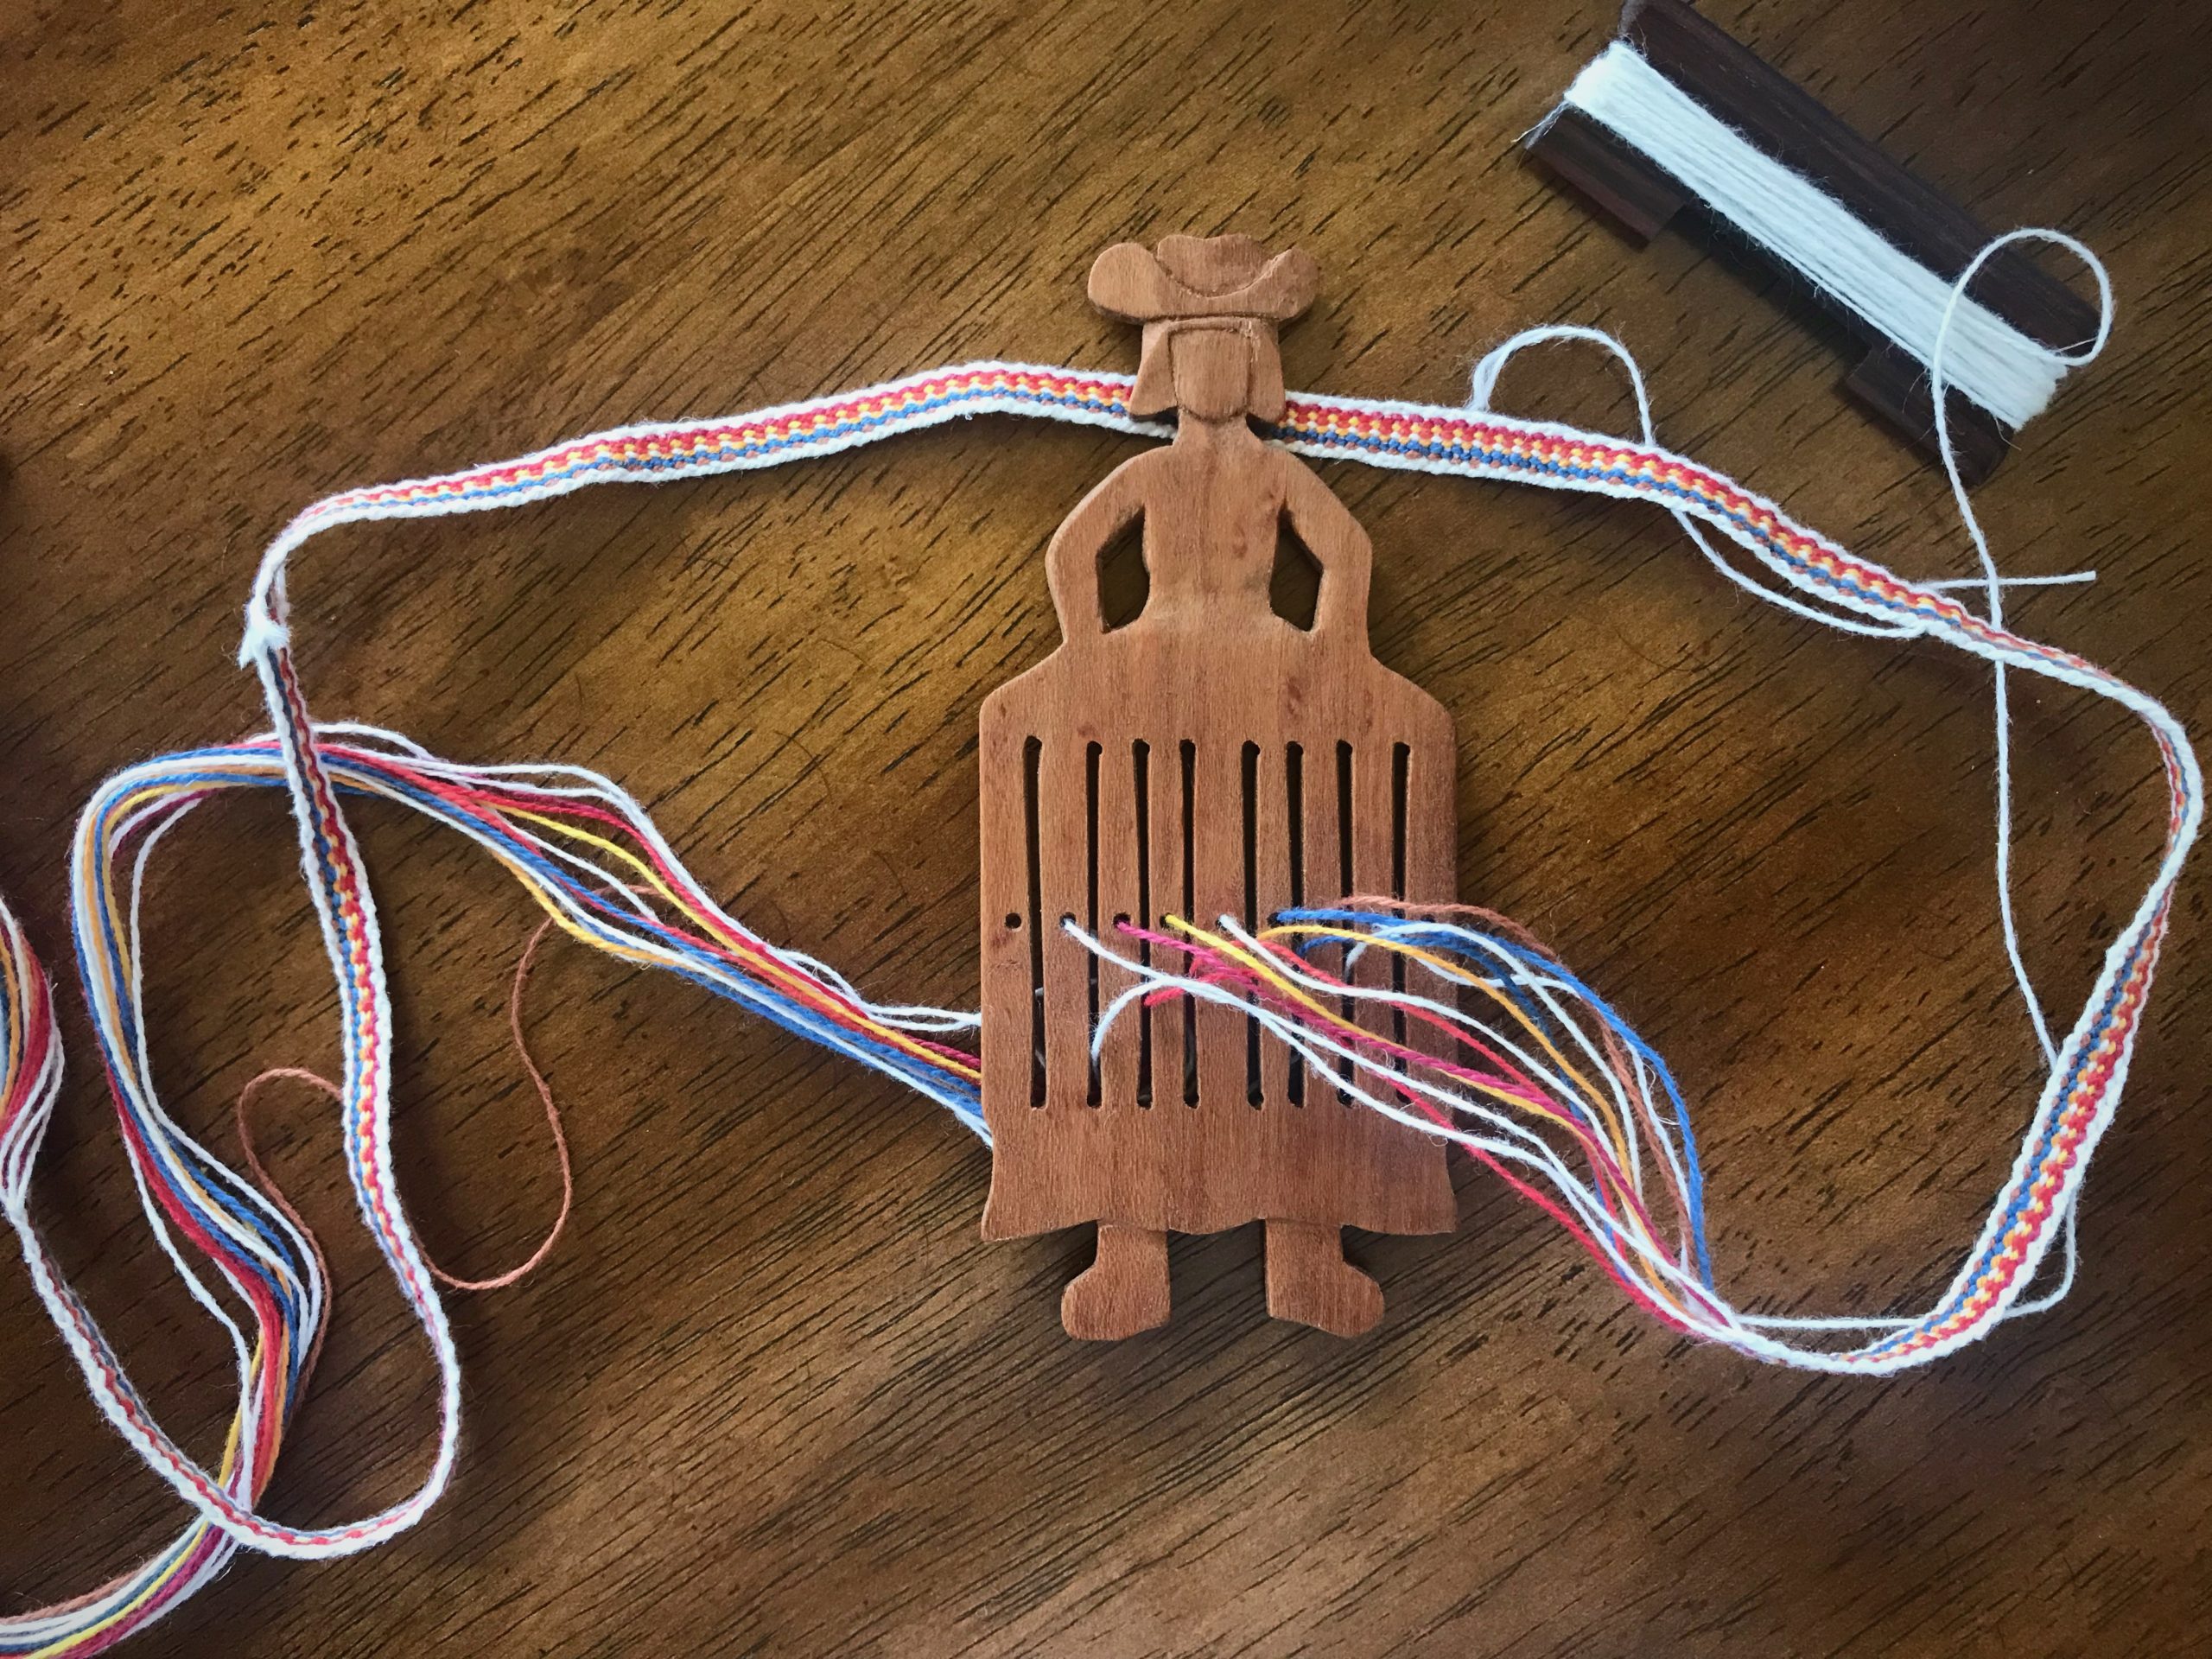
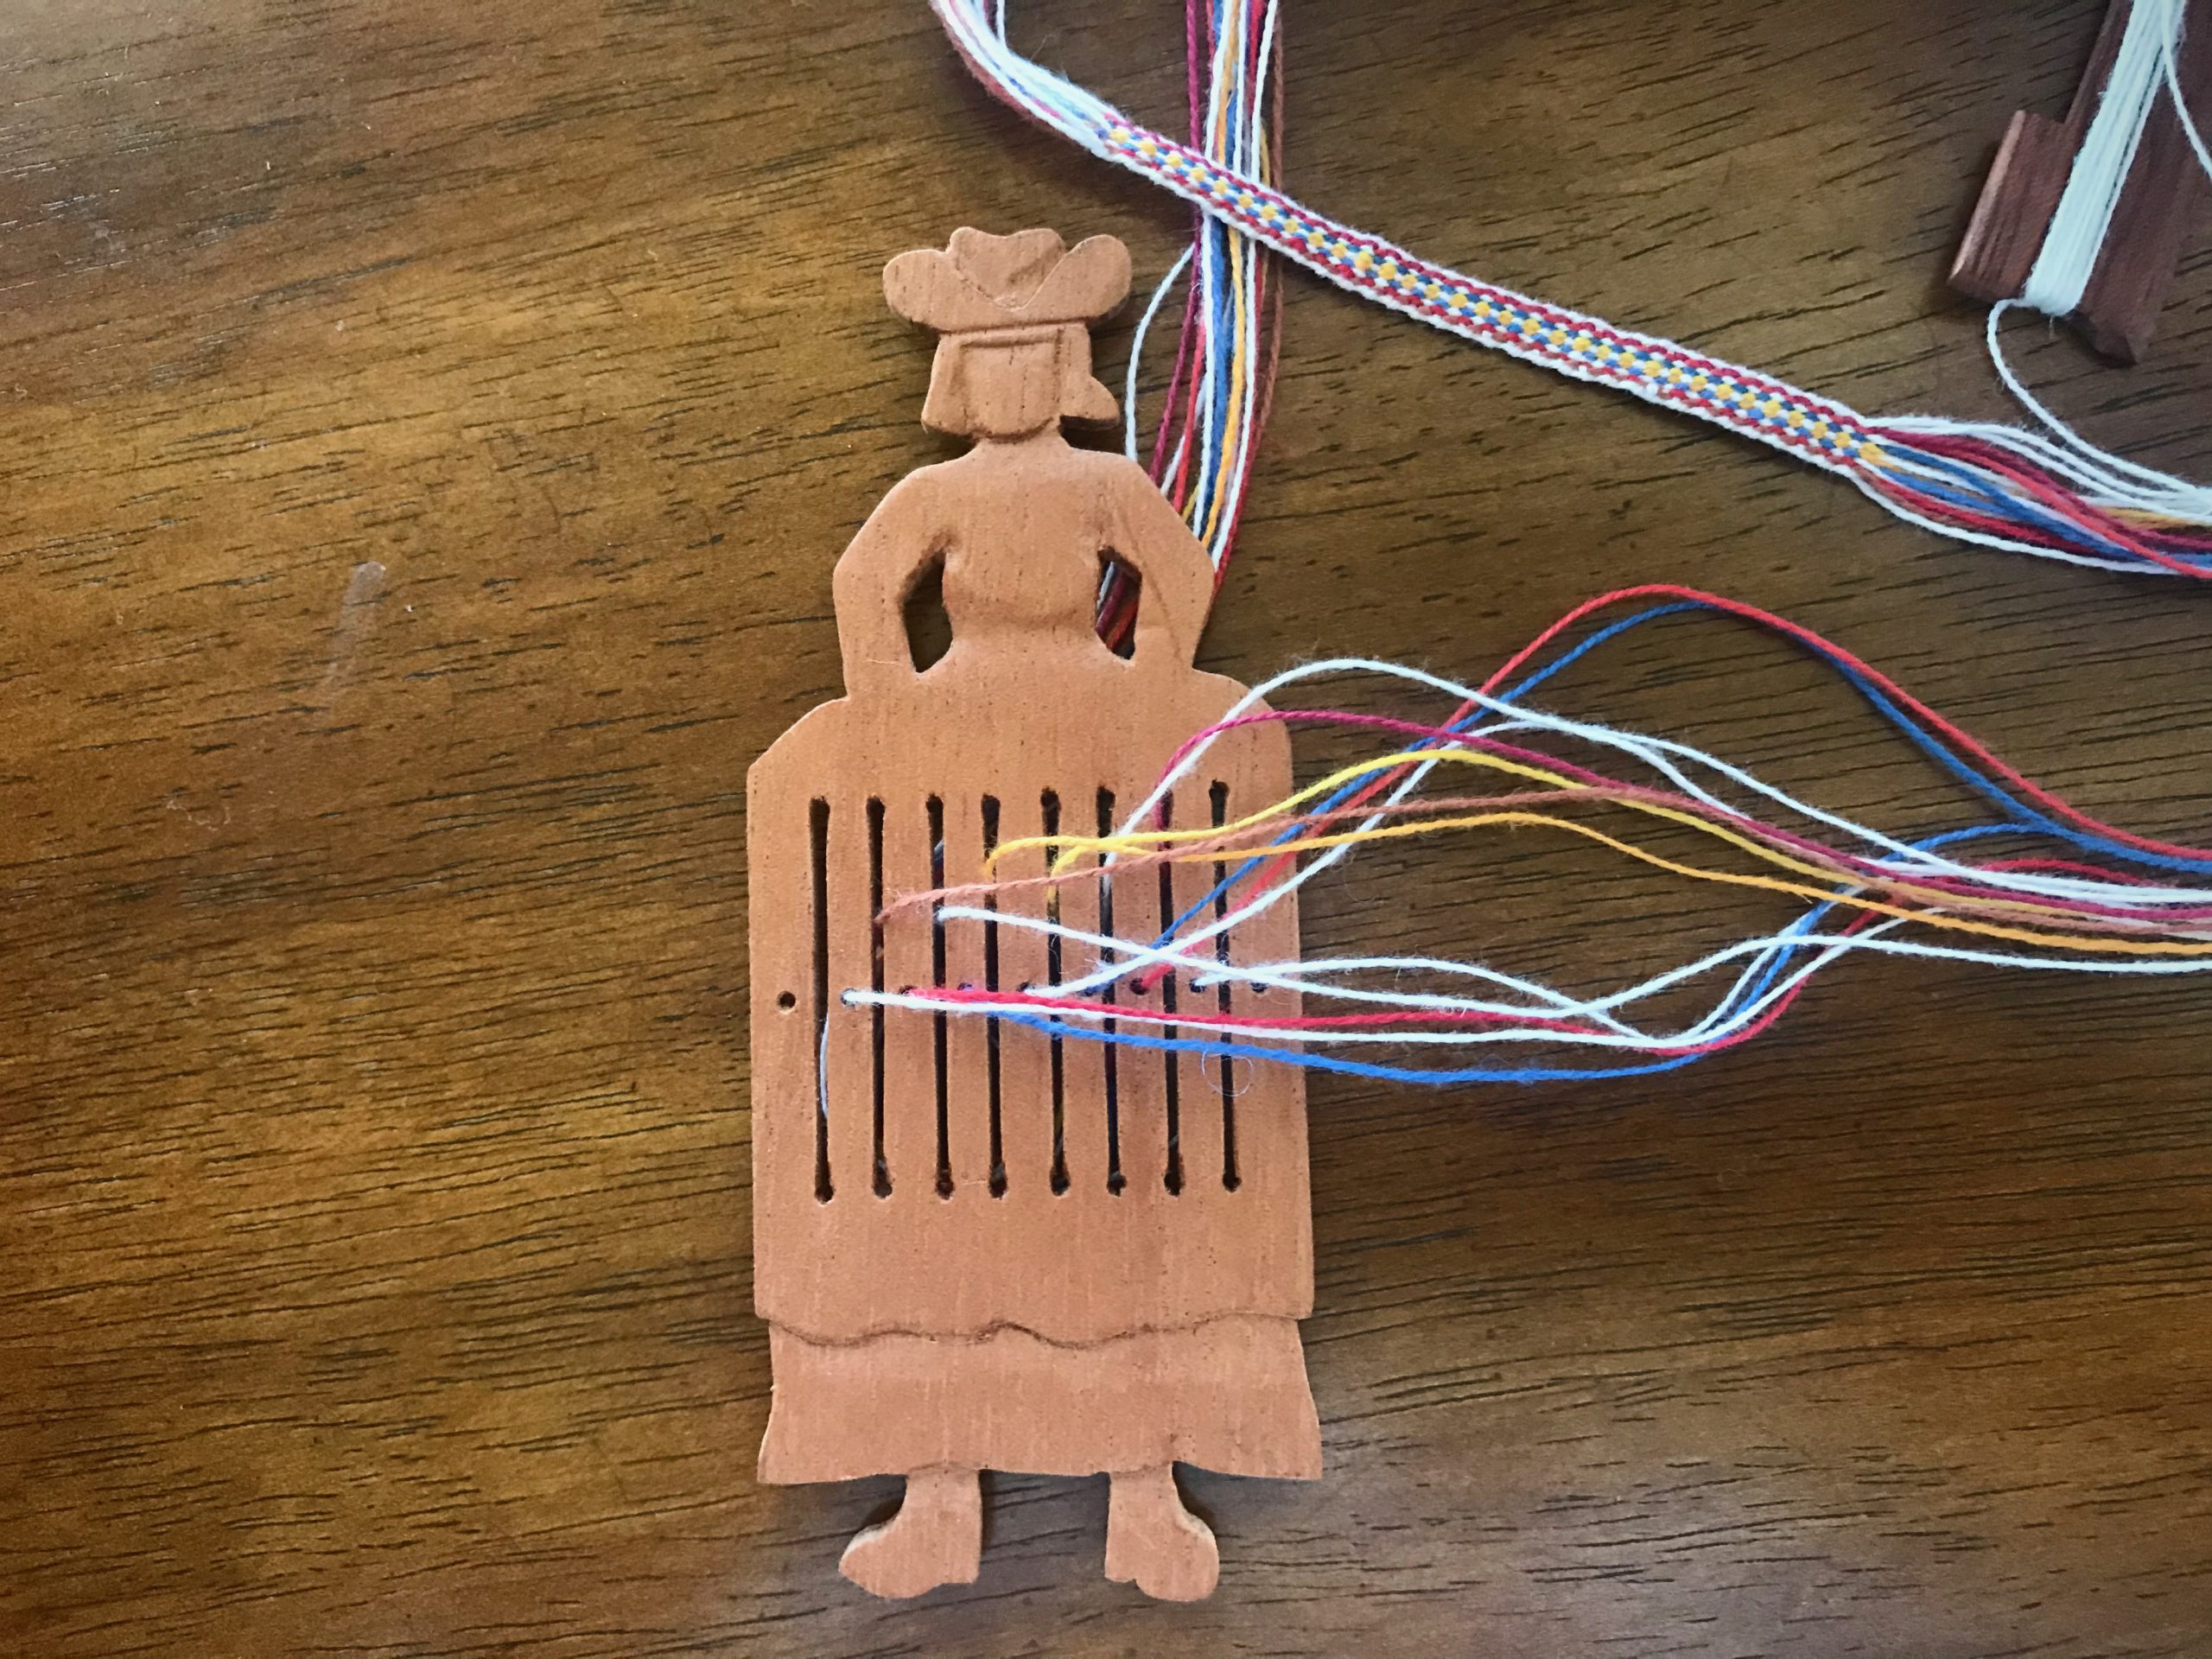
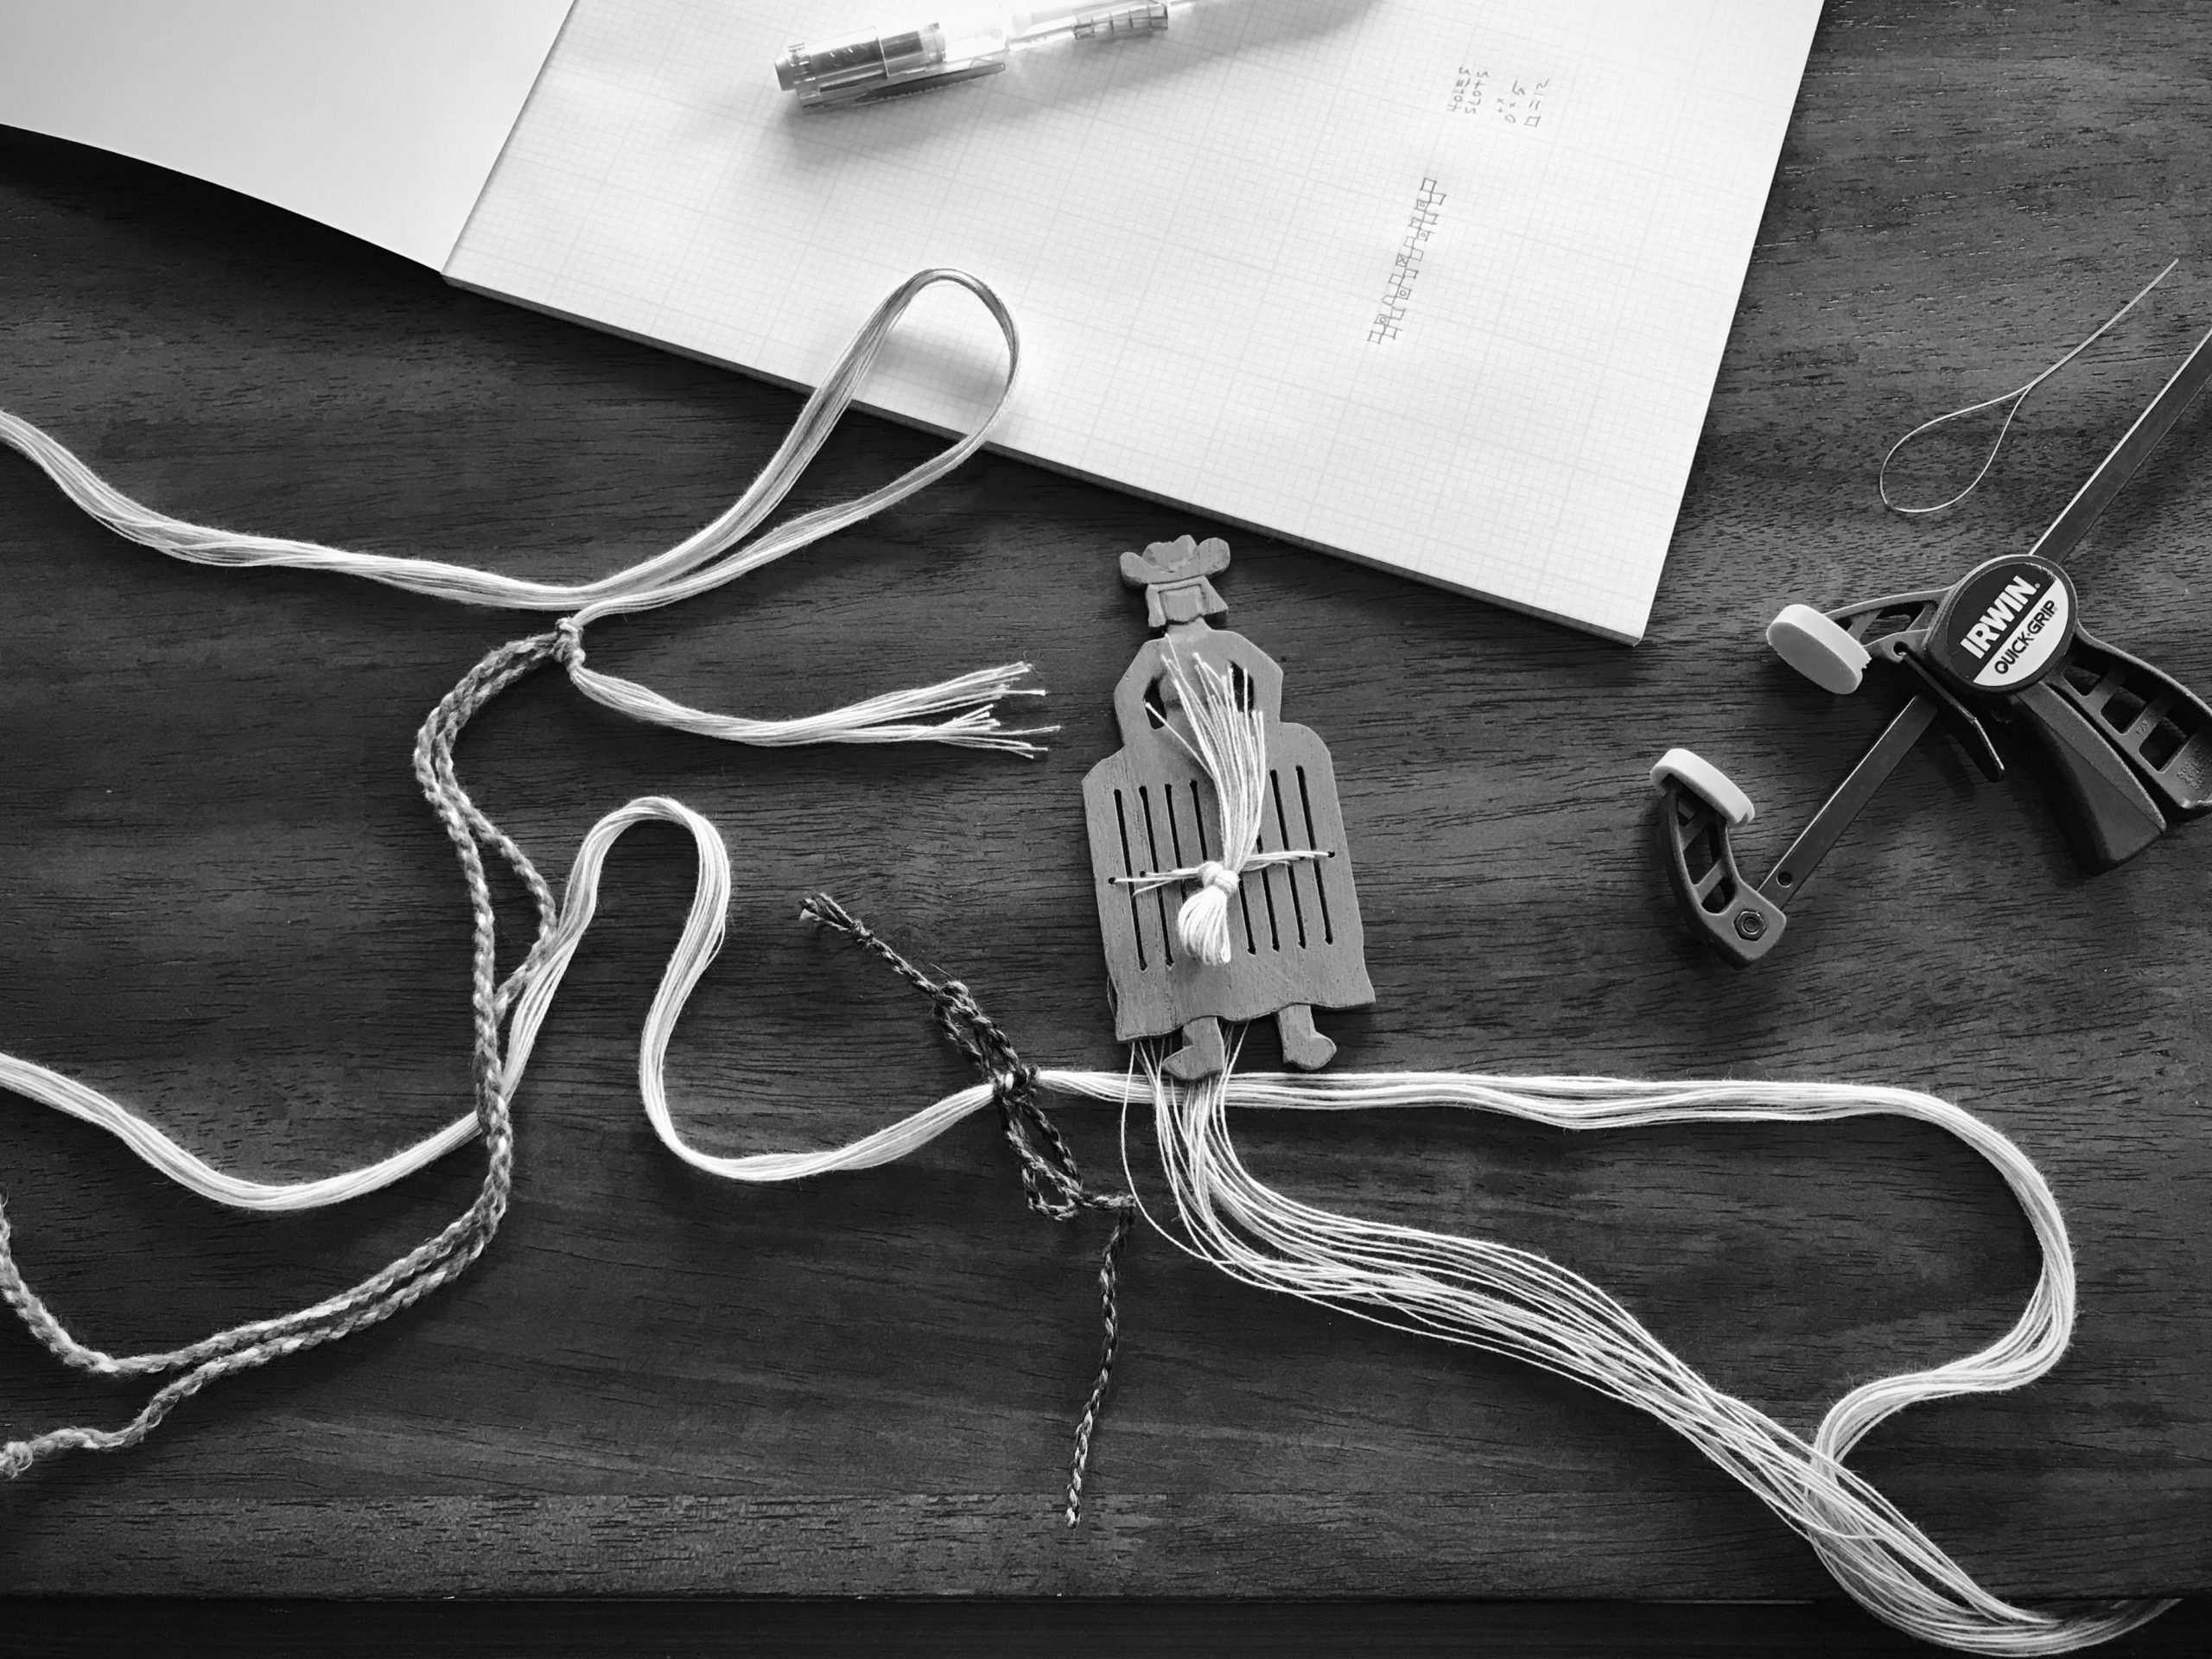
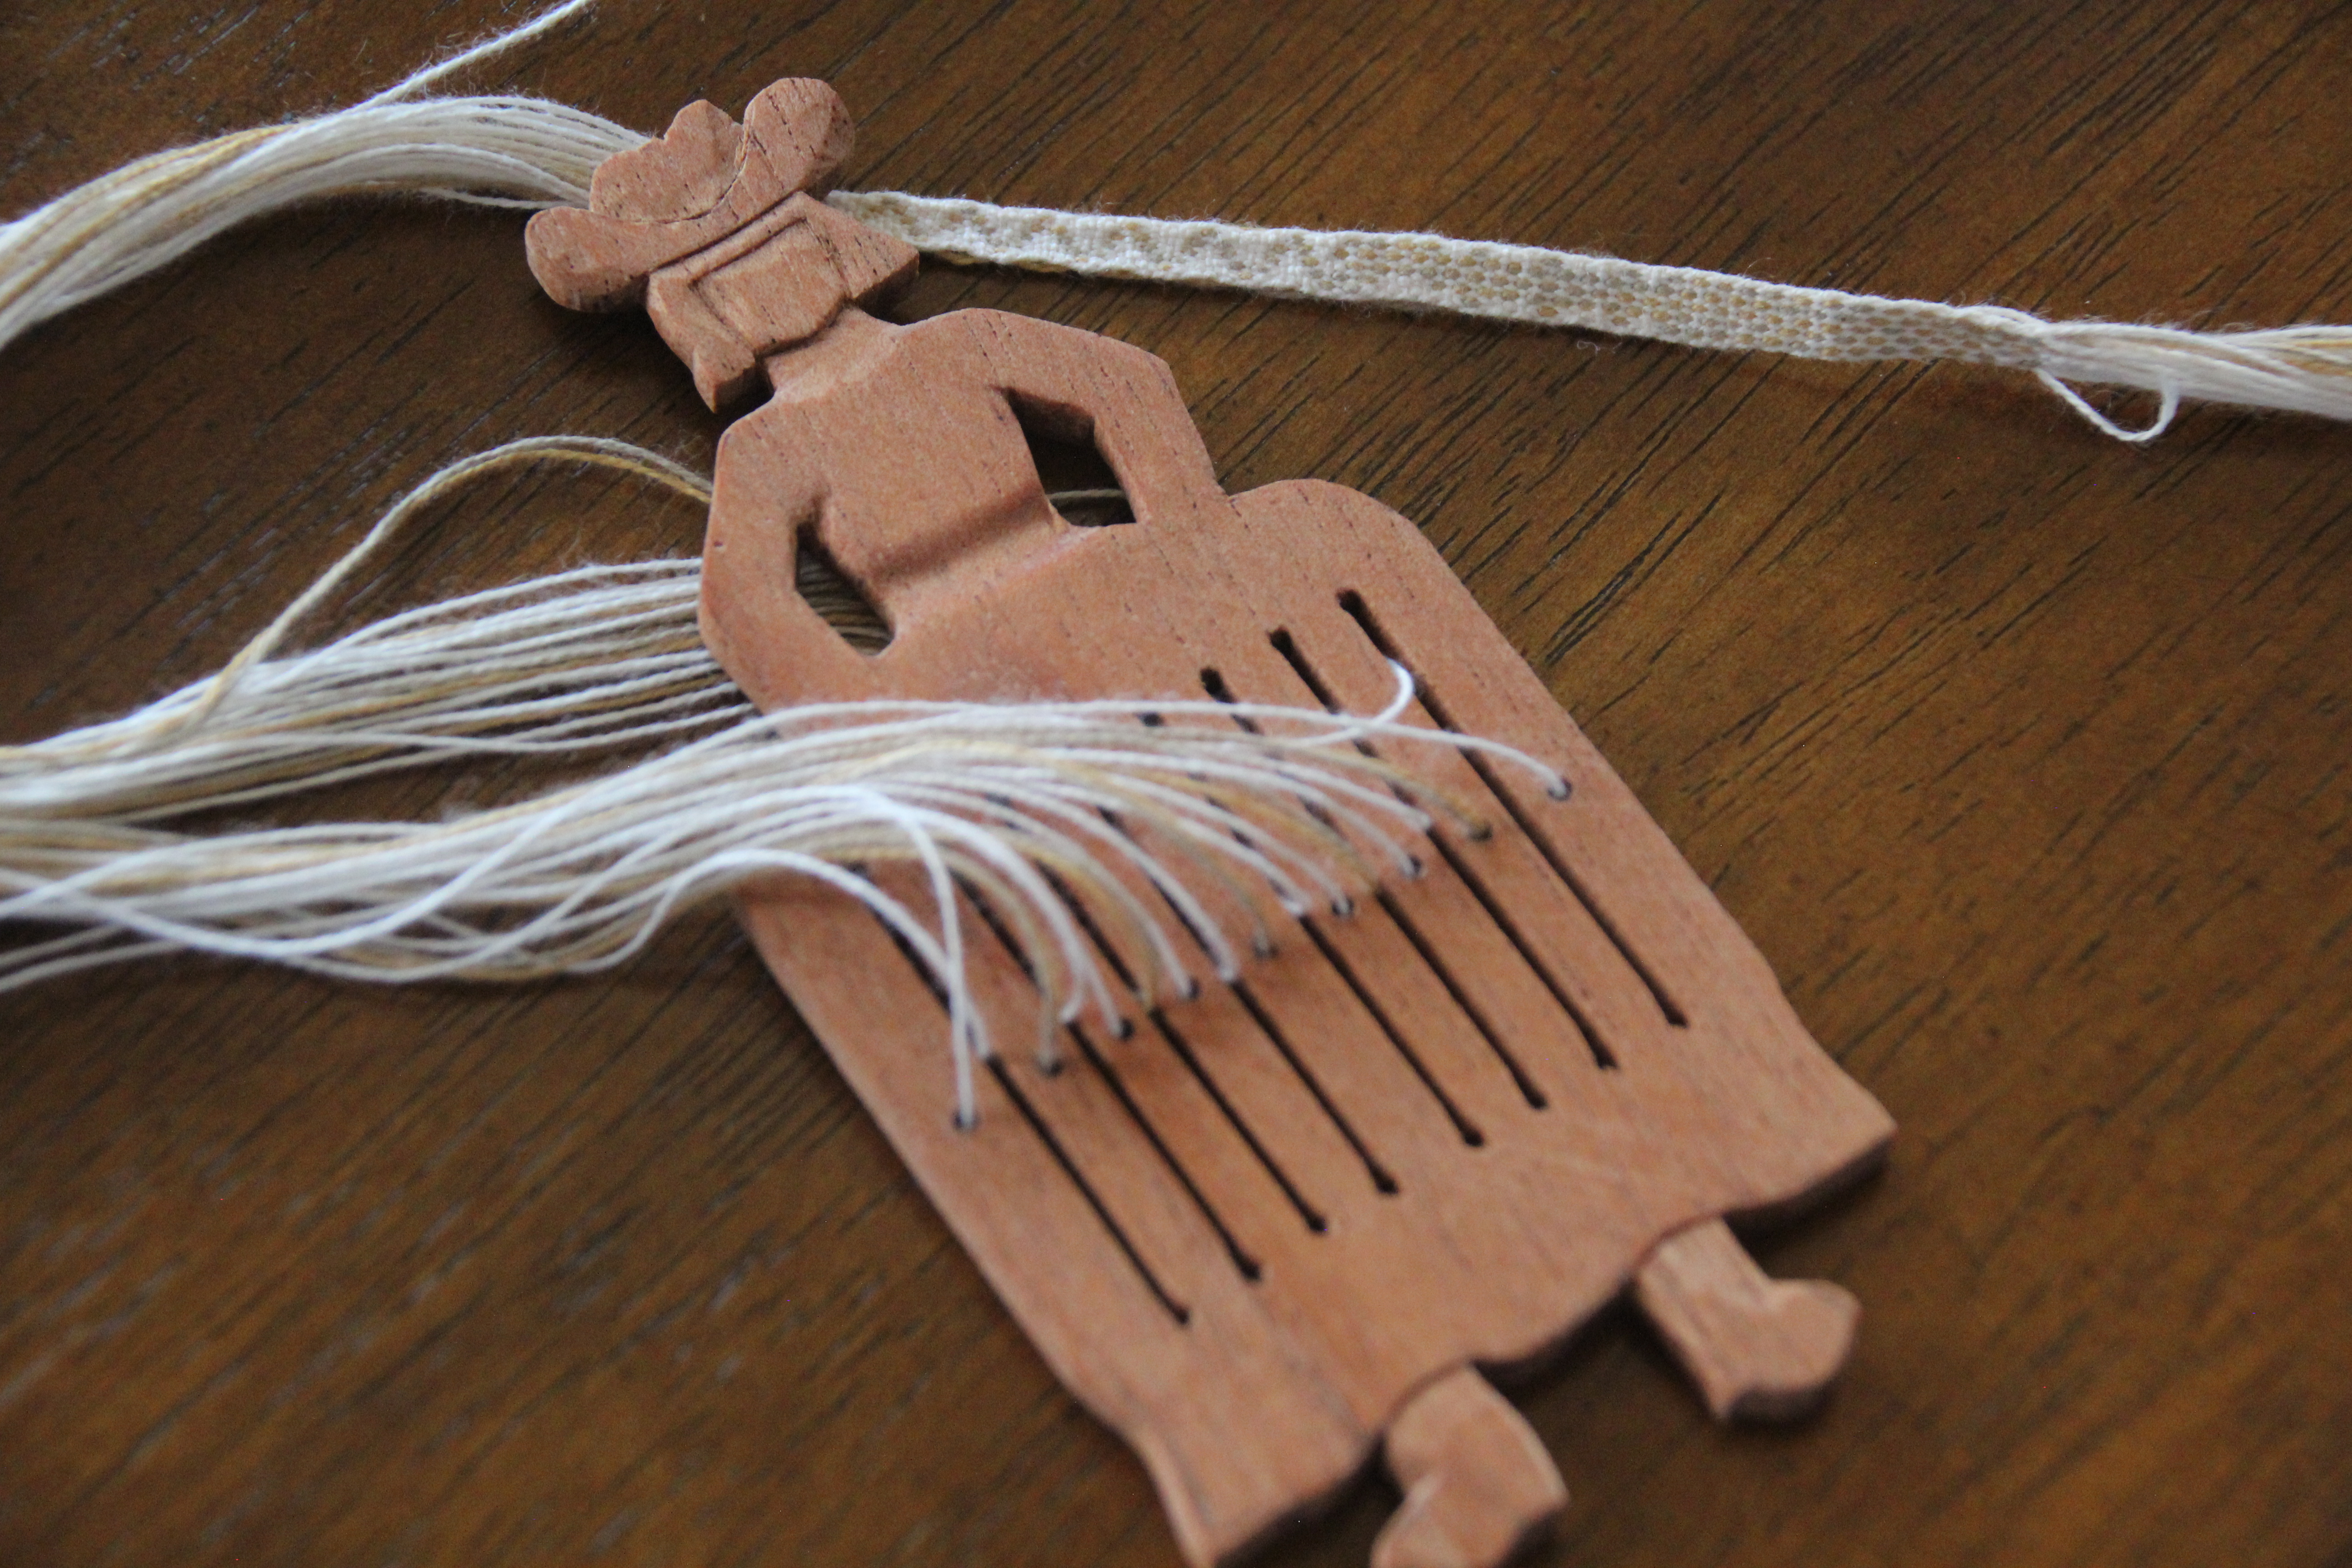
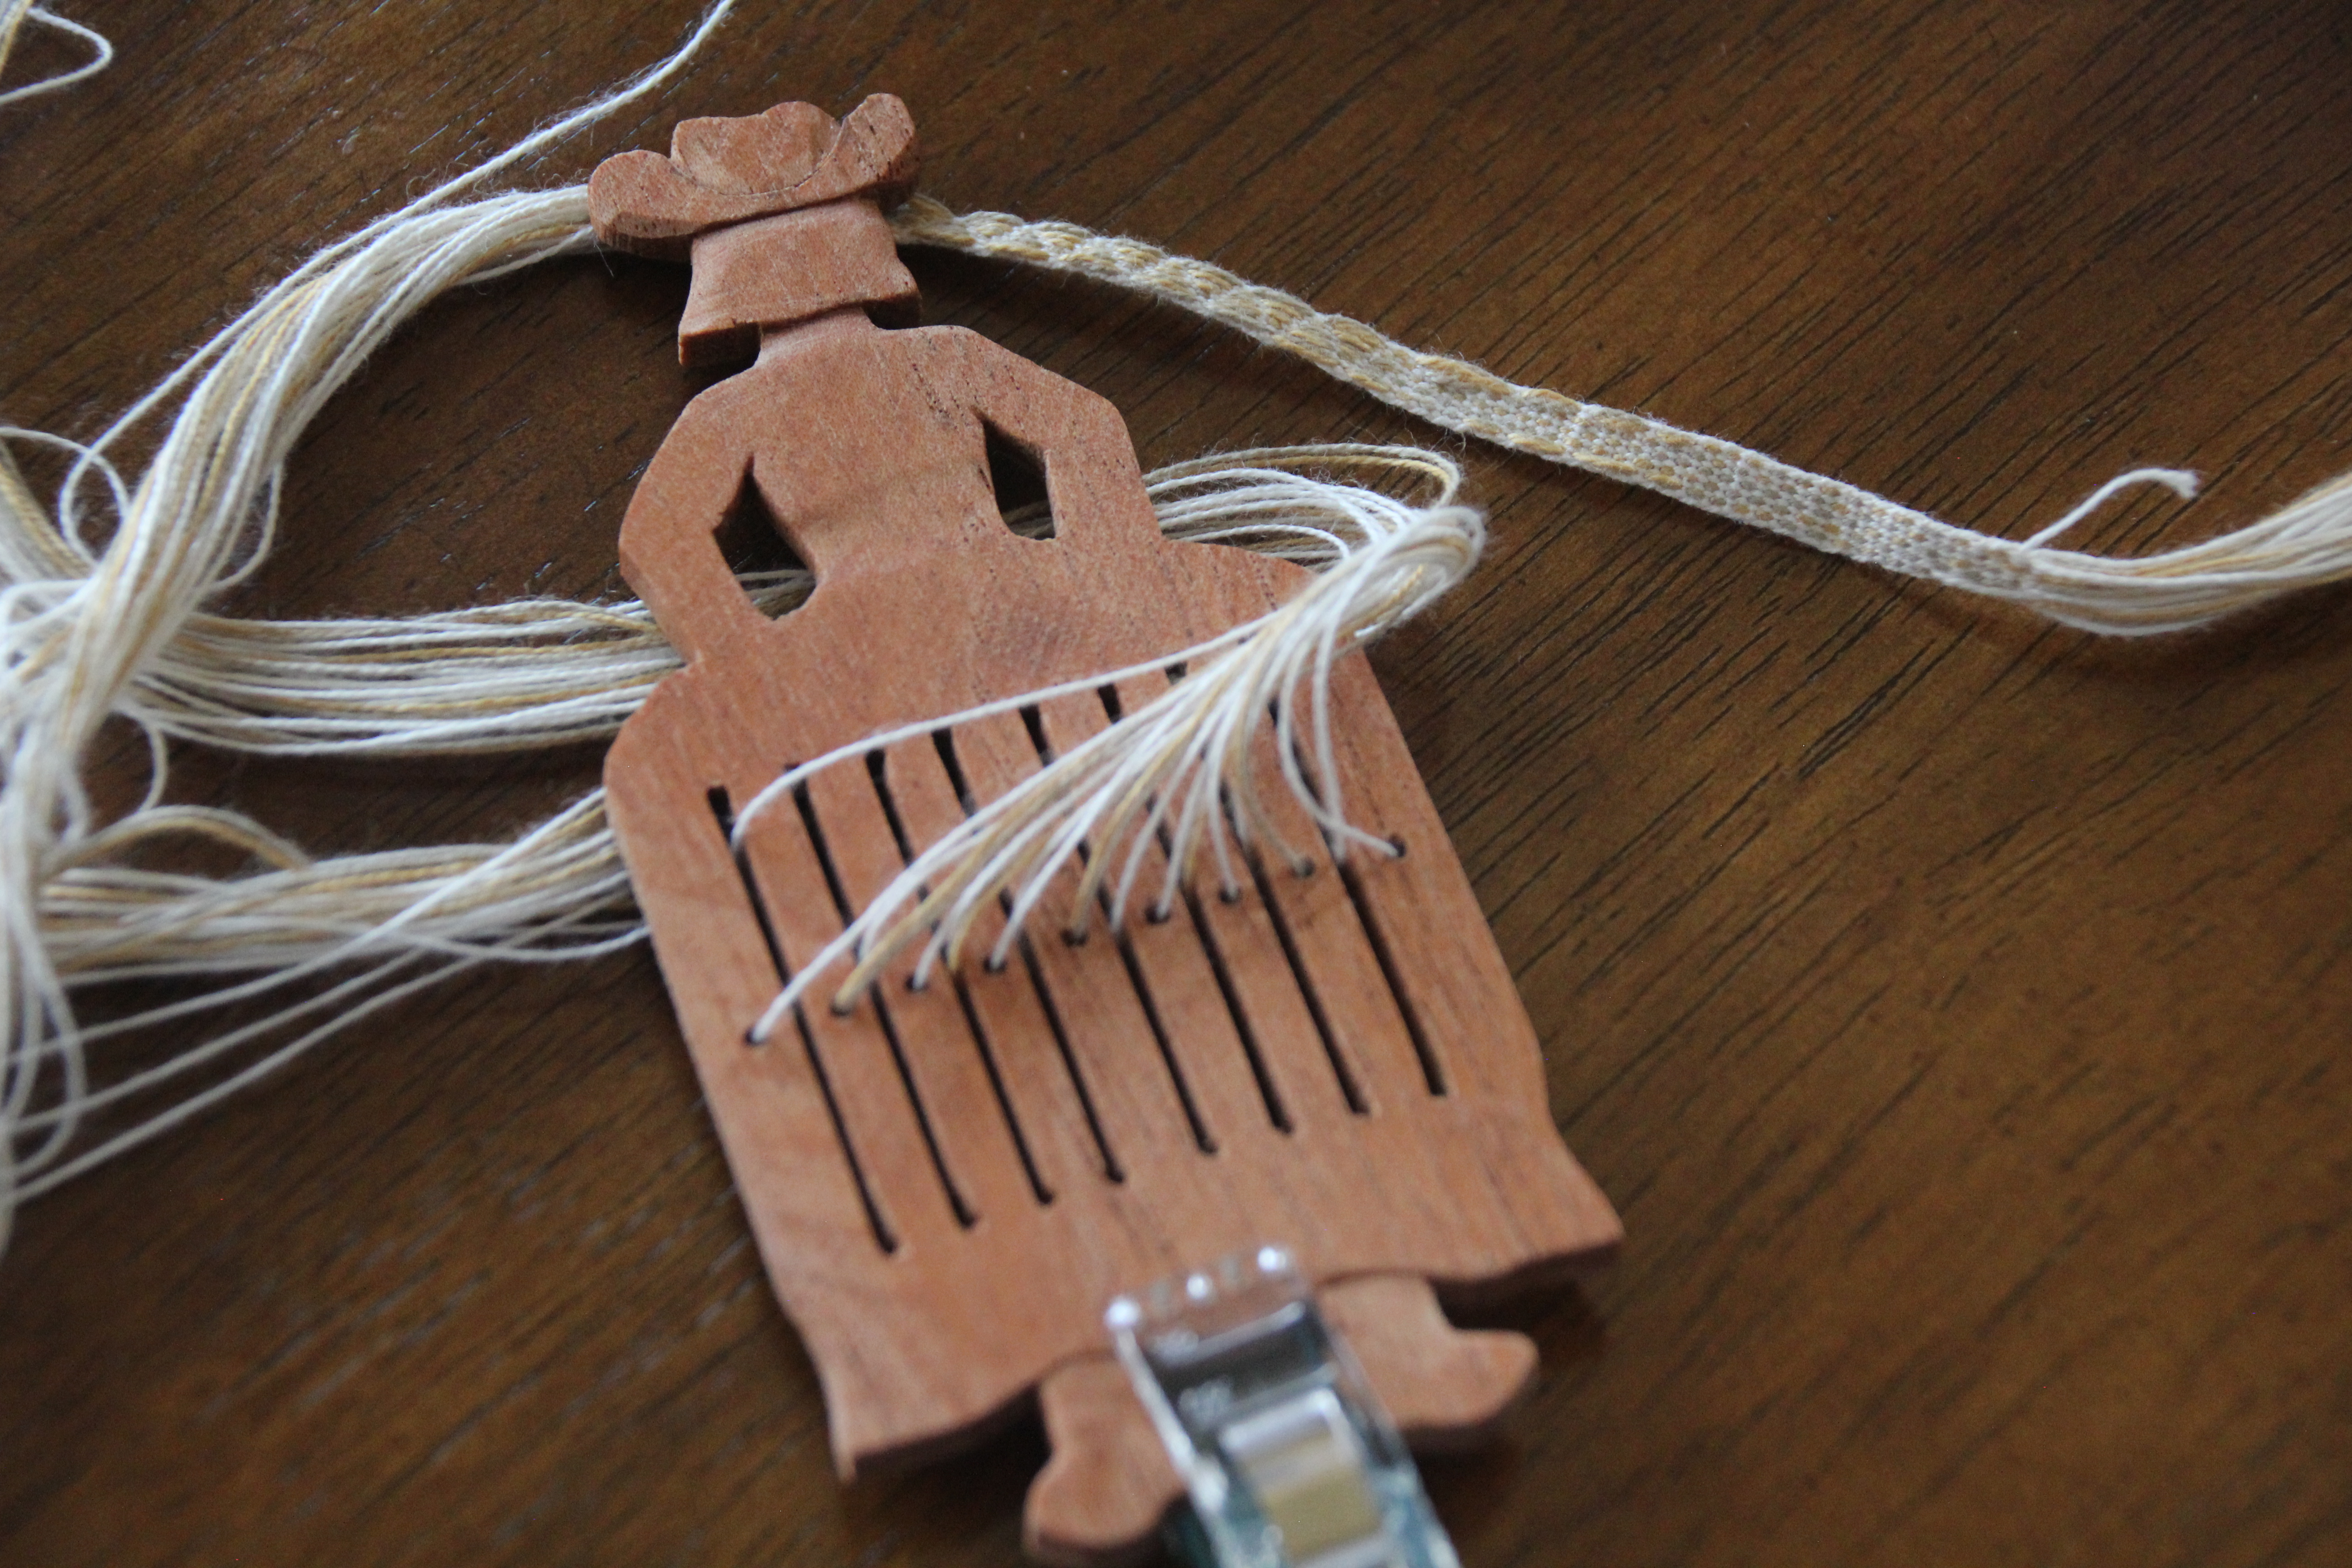
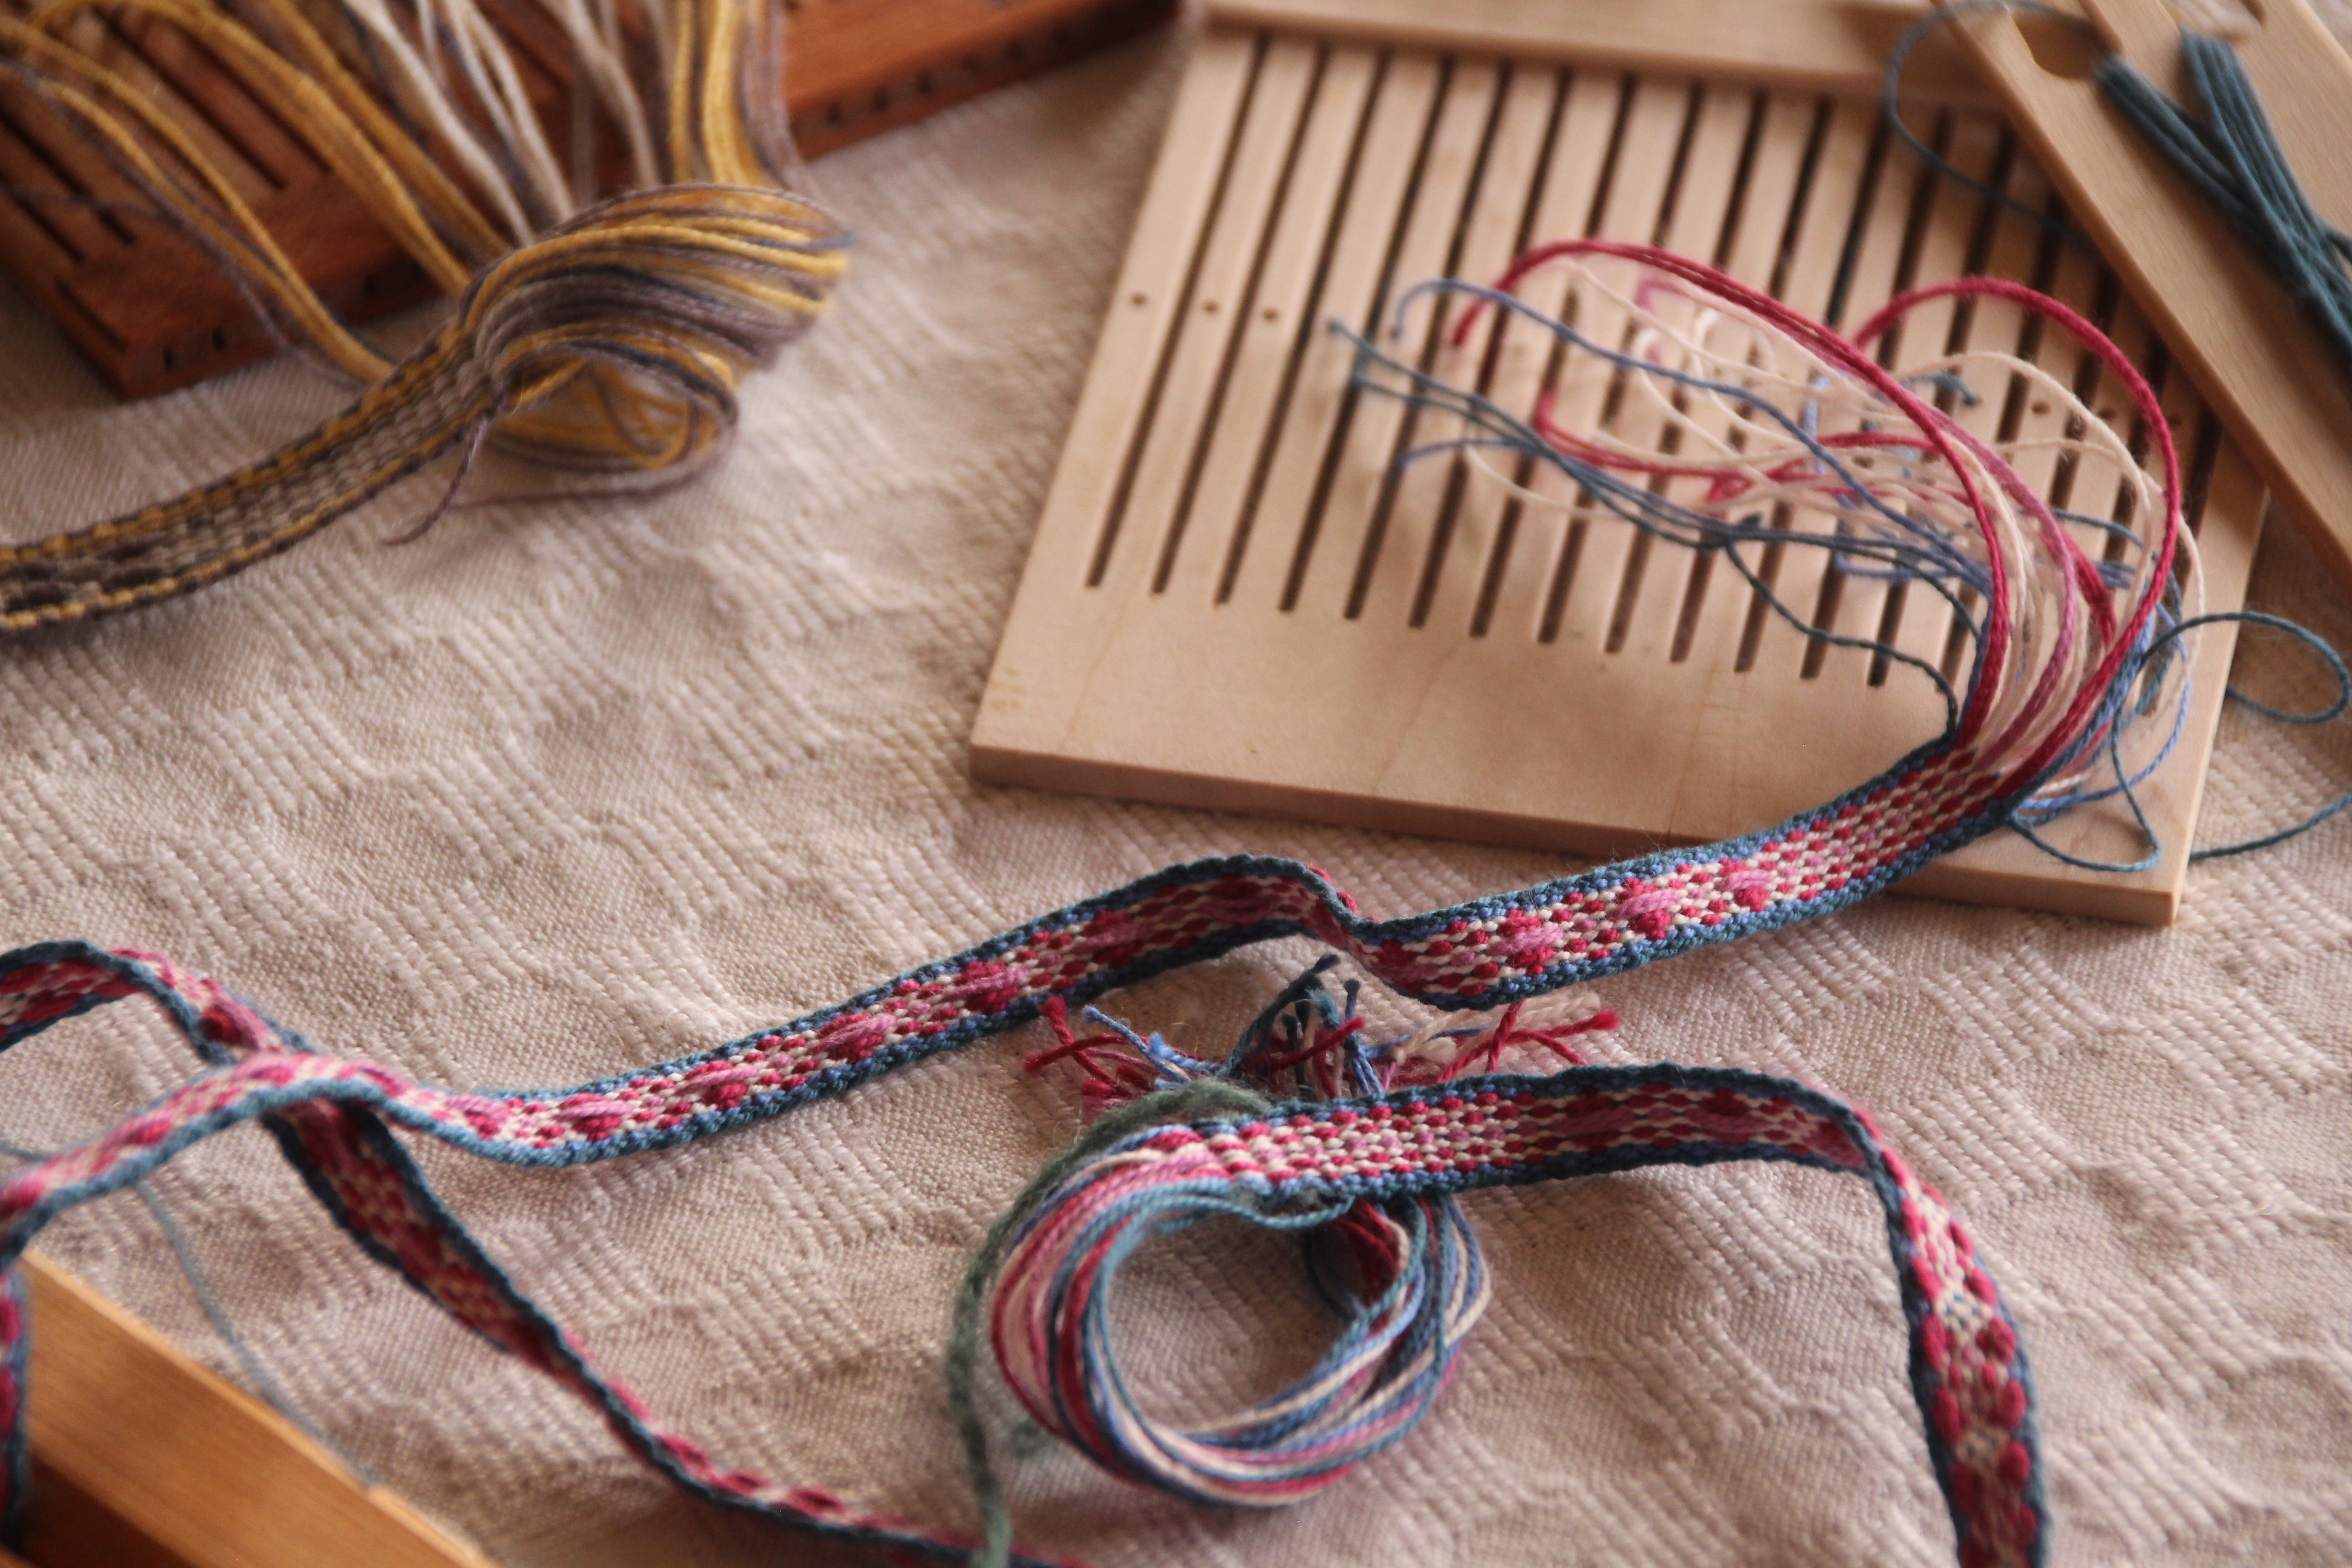
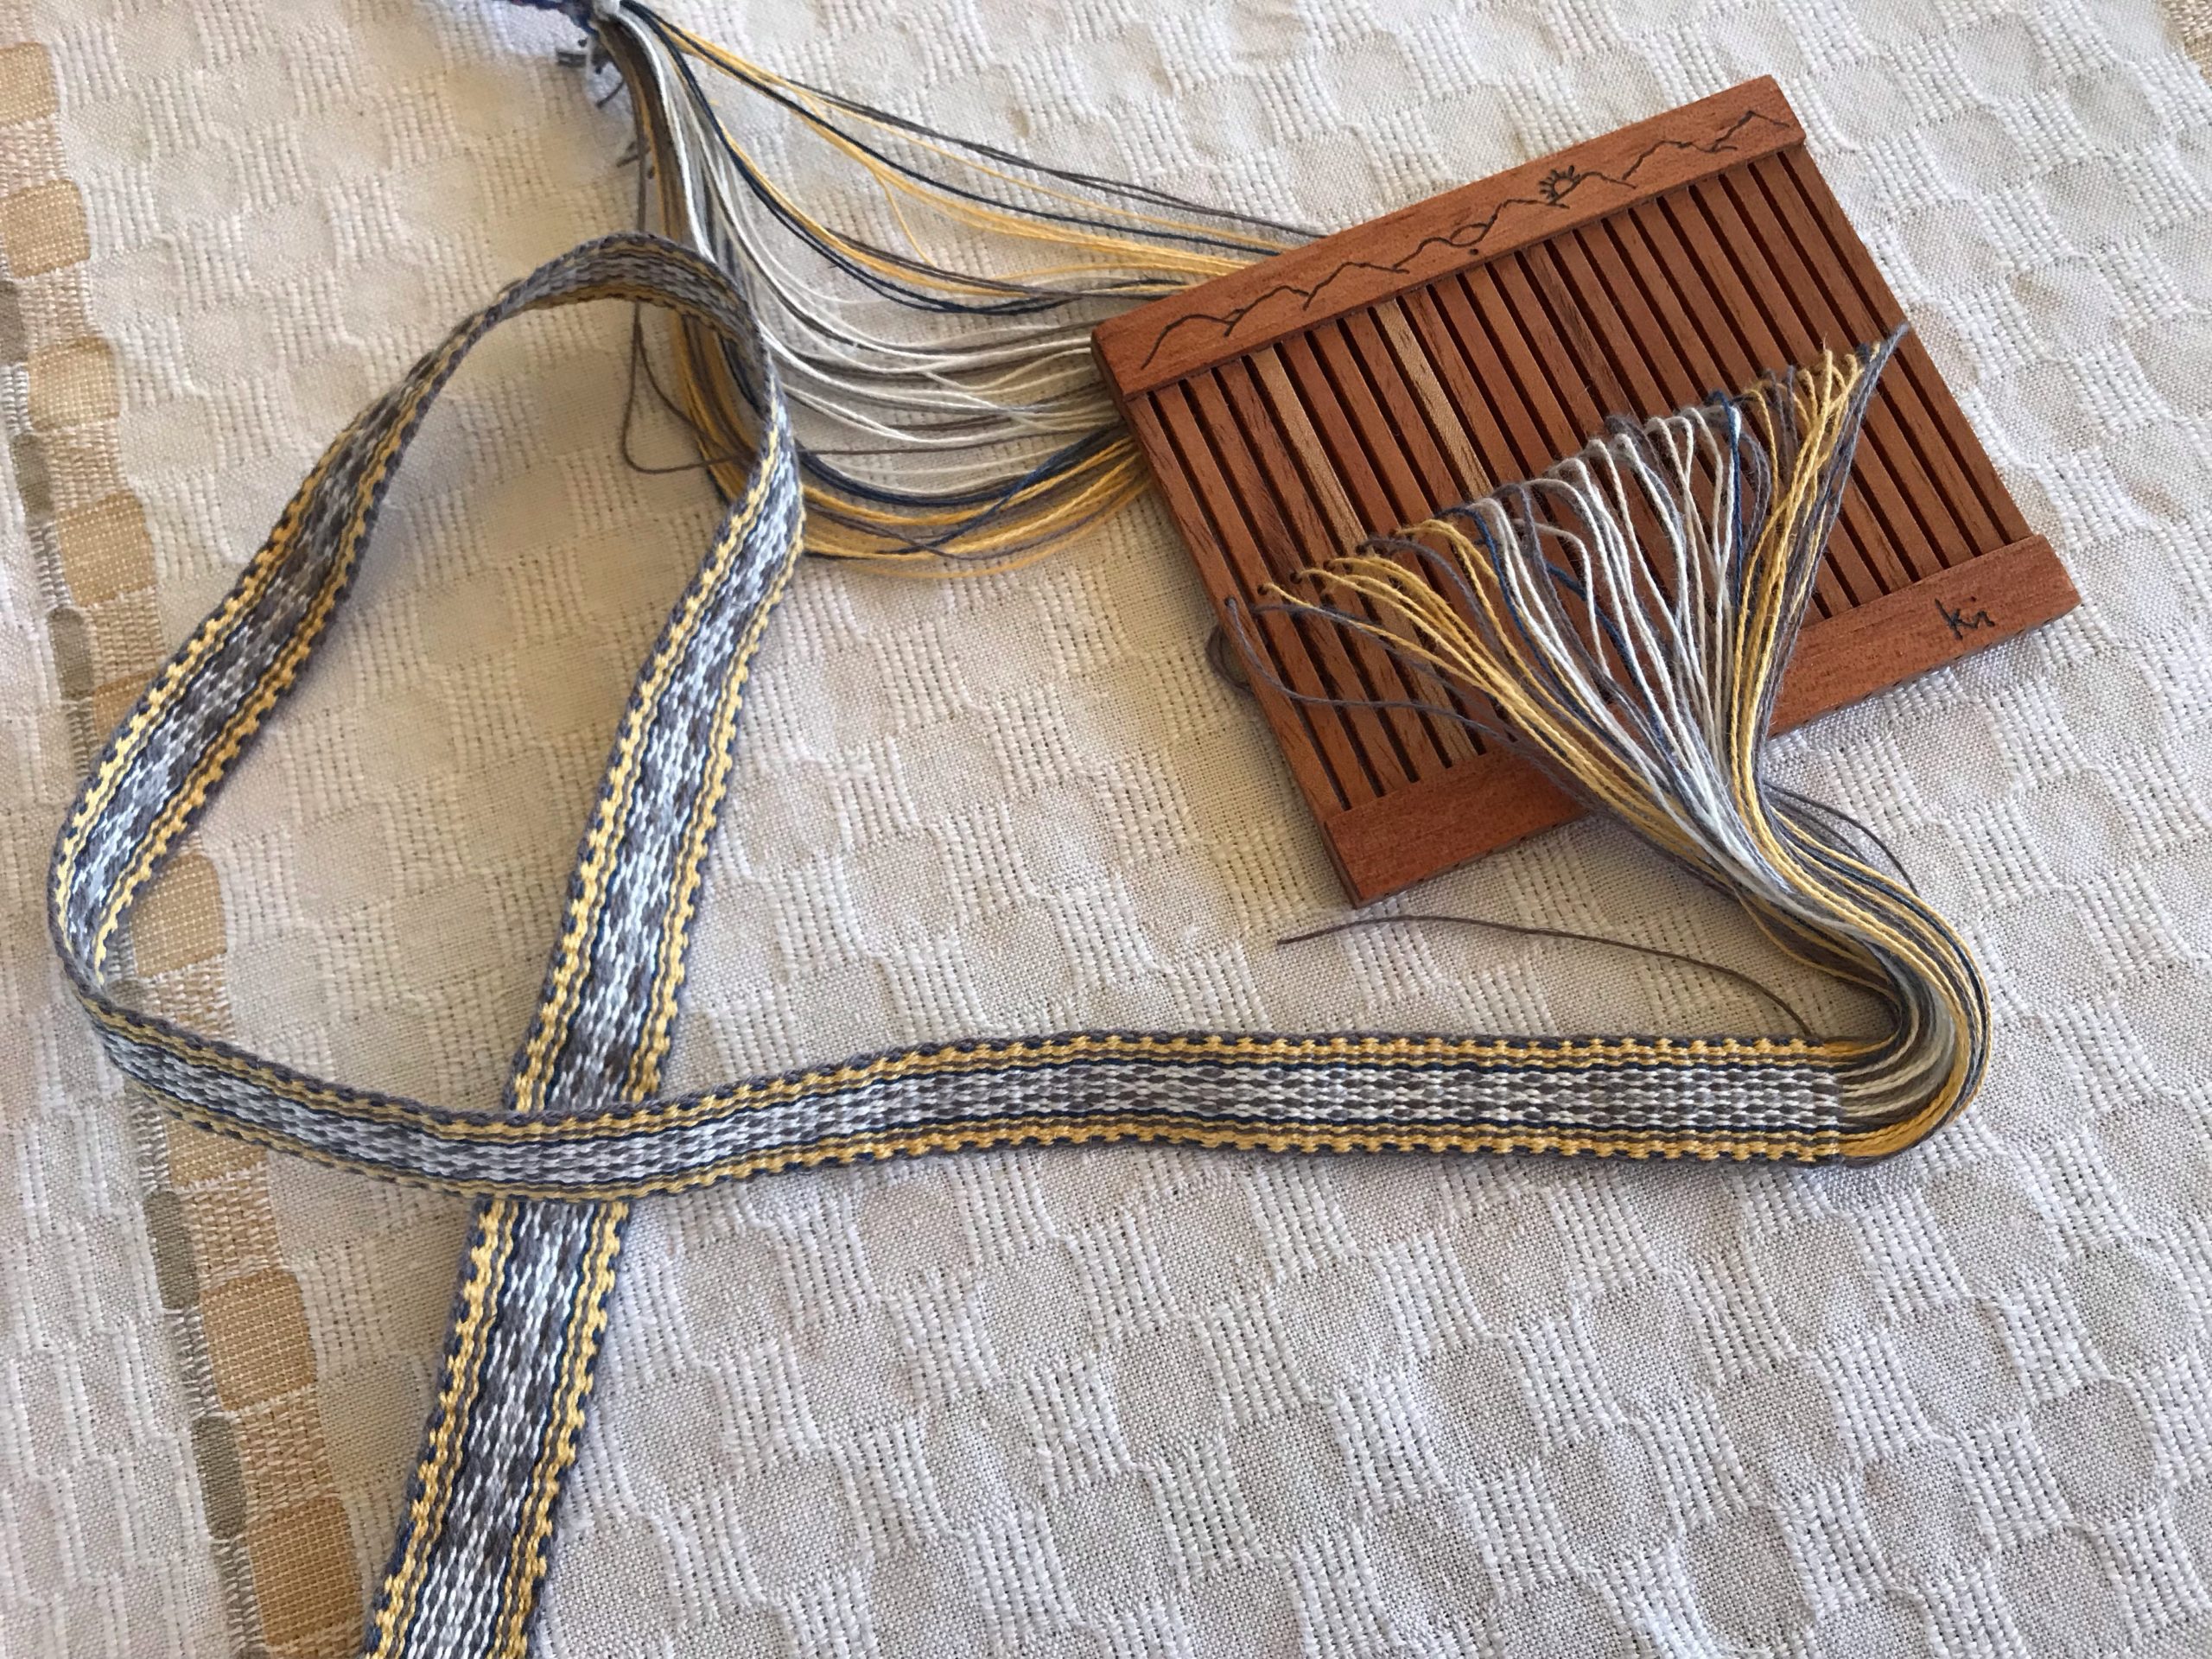
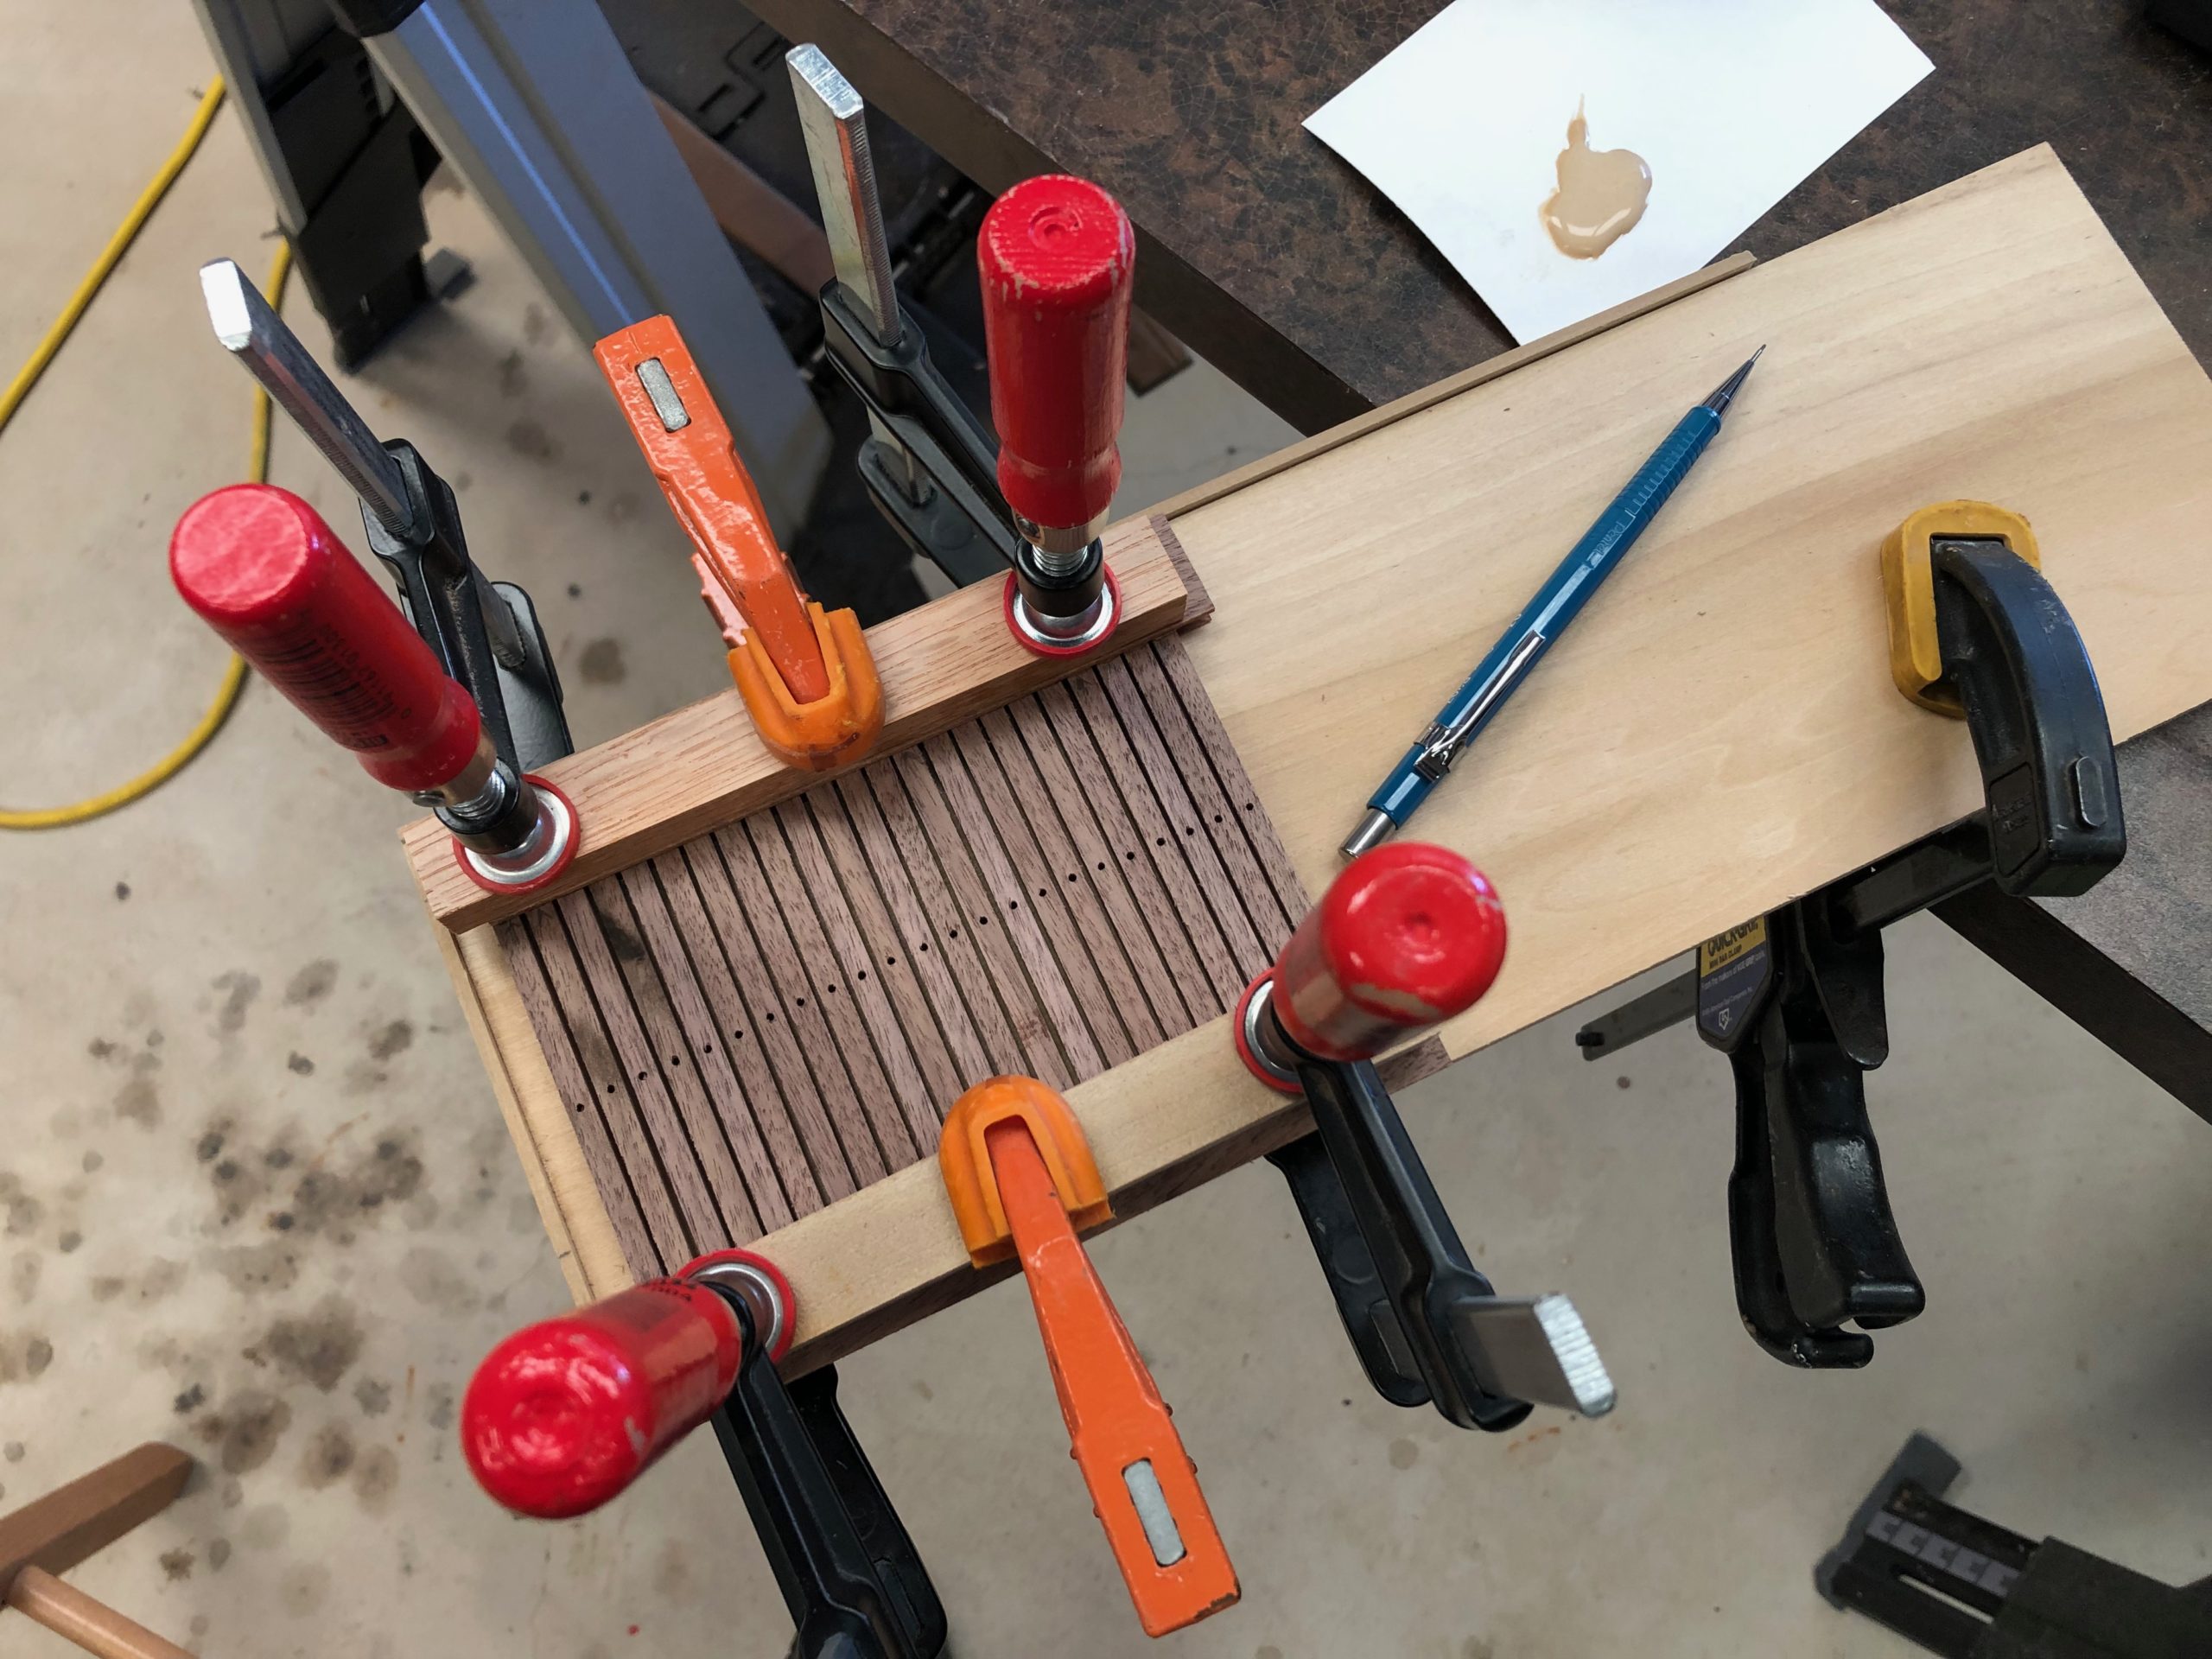
Remember the rigid heddles for band weaving that Steve made for me? (See Process Review: Heddles and Bands) Soft maple, Spanish cedar, and walnut. Steve says they are missing the “cuteness factor.” So, what does he do? He makes a cowgirl heddle out of cherry that is cute as can be!
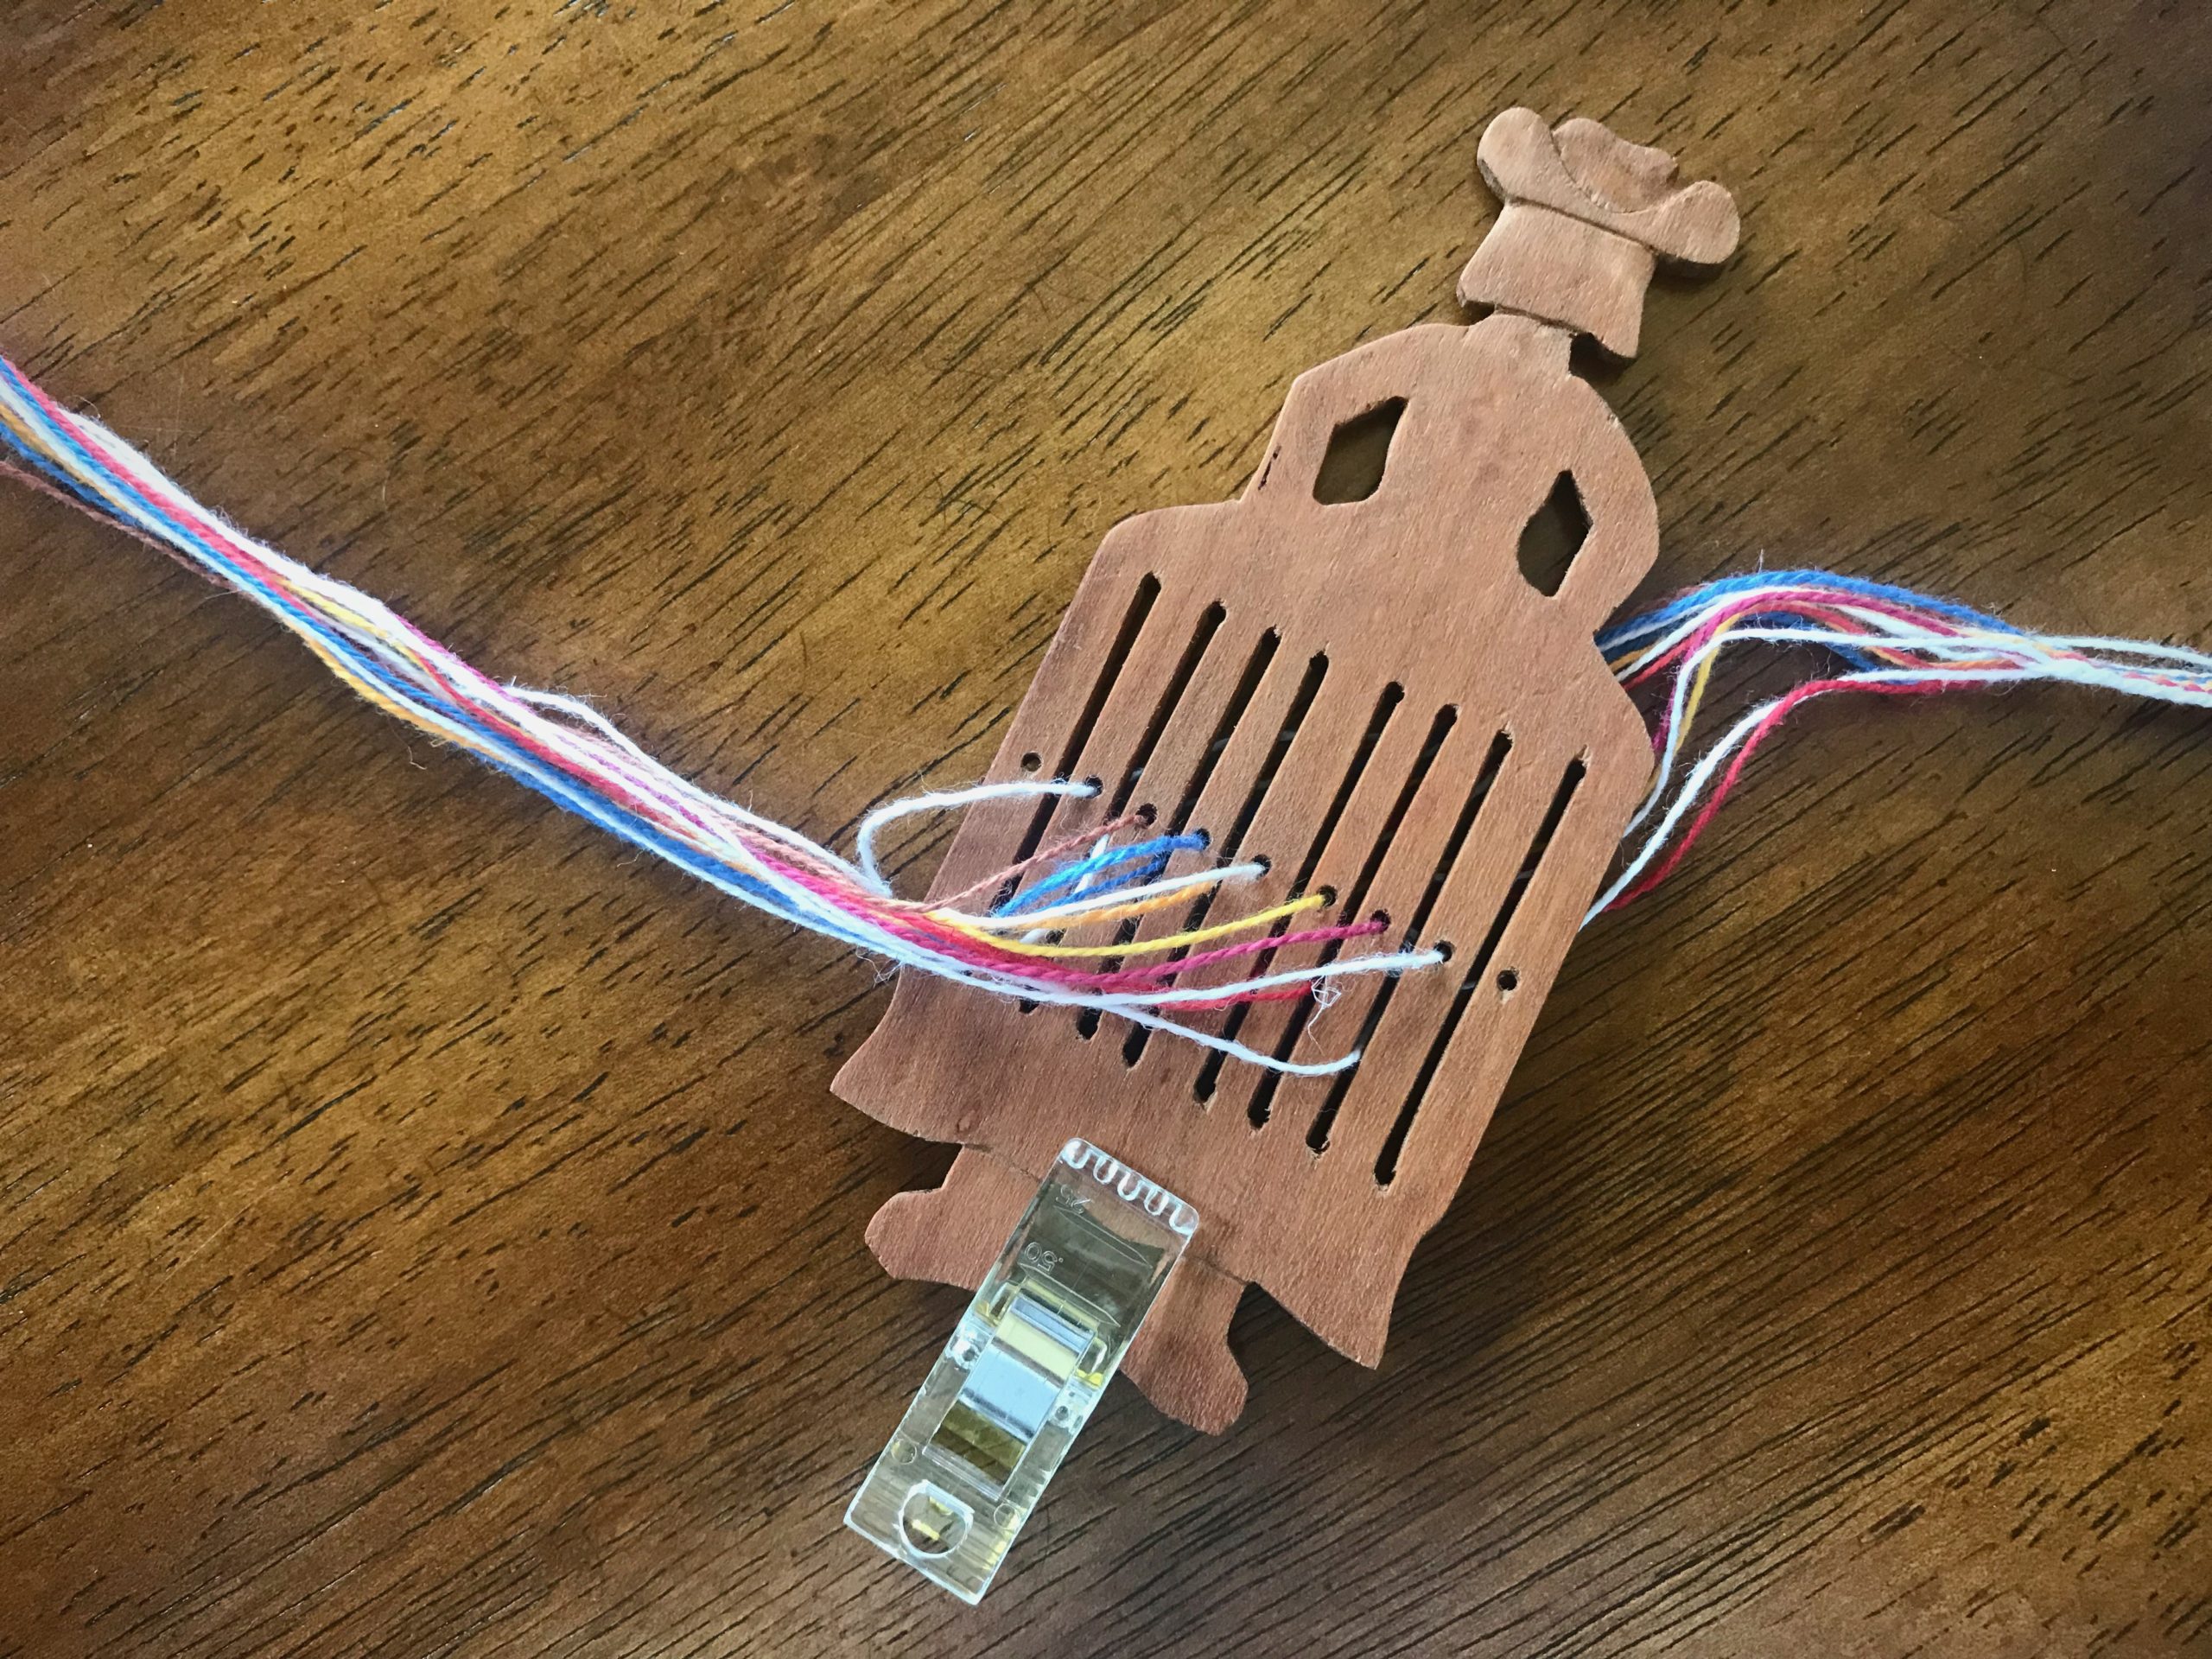
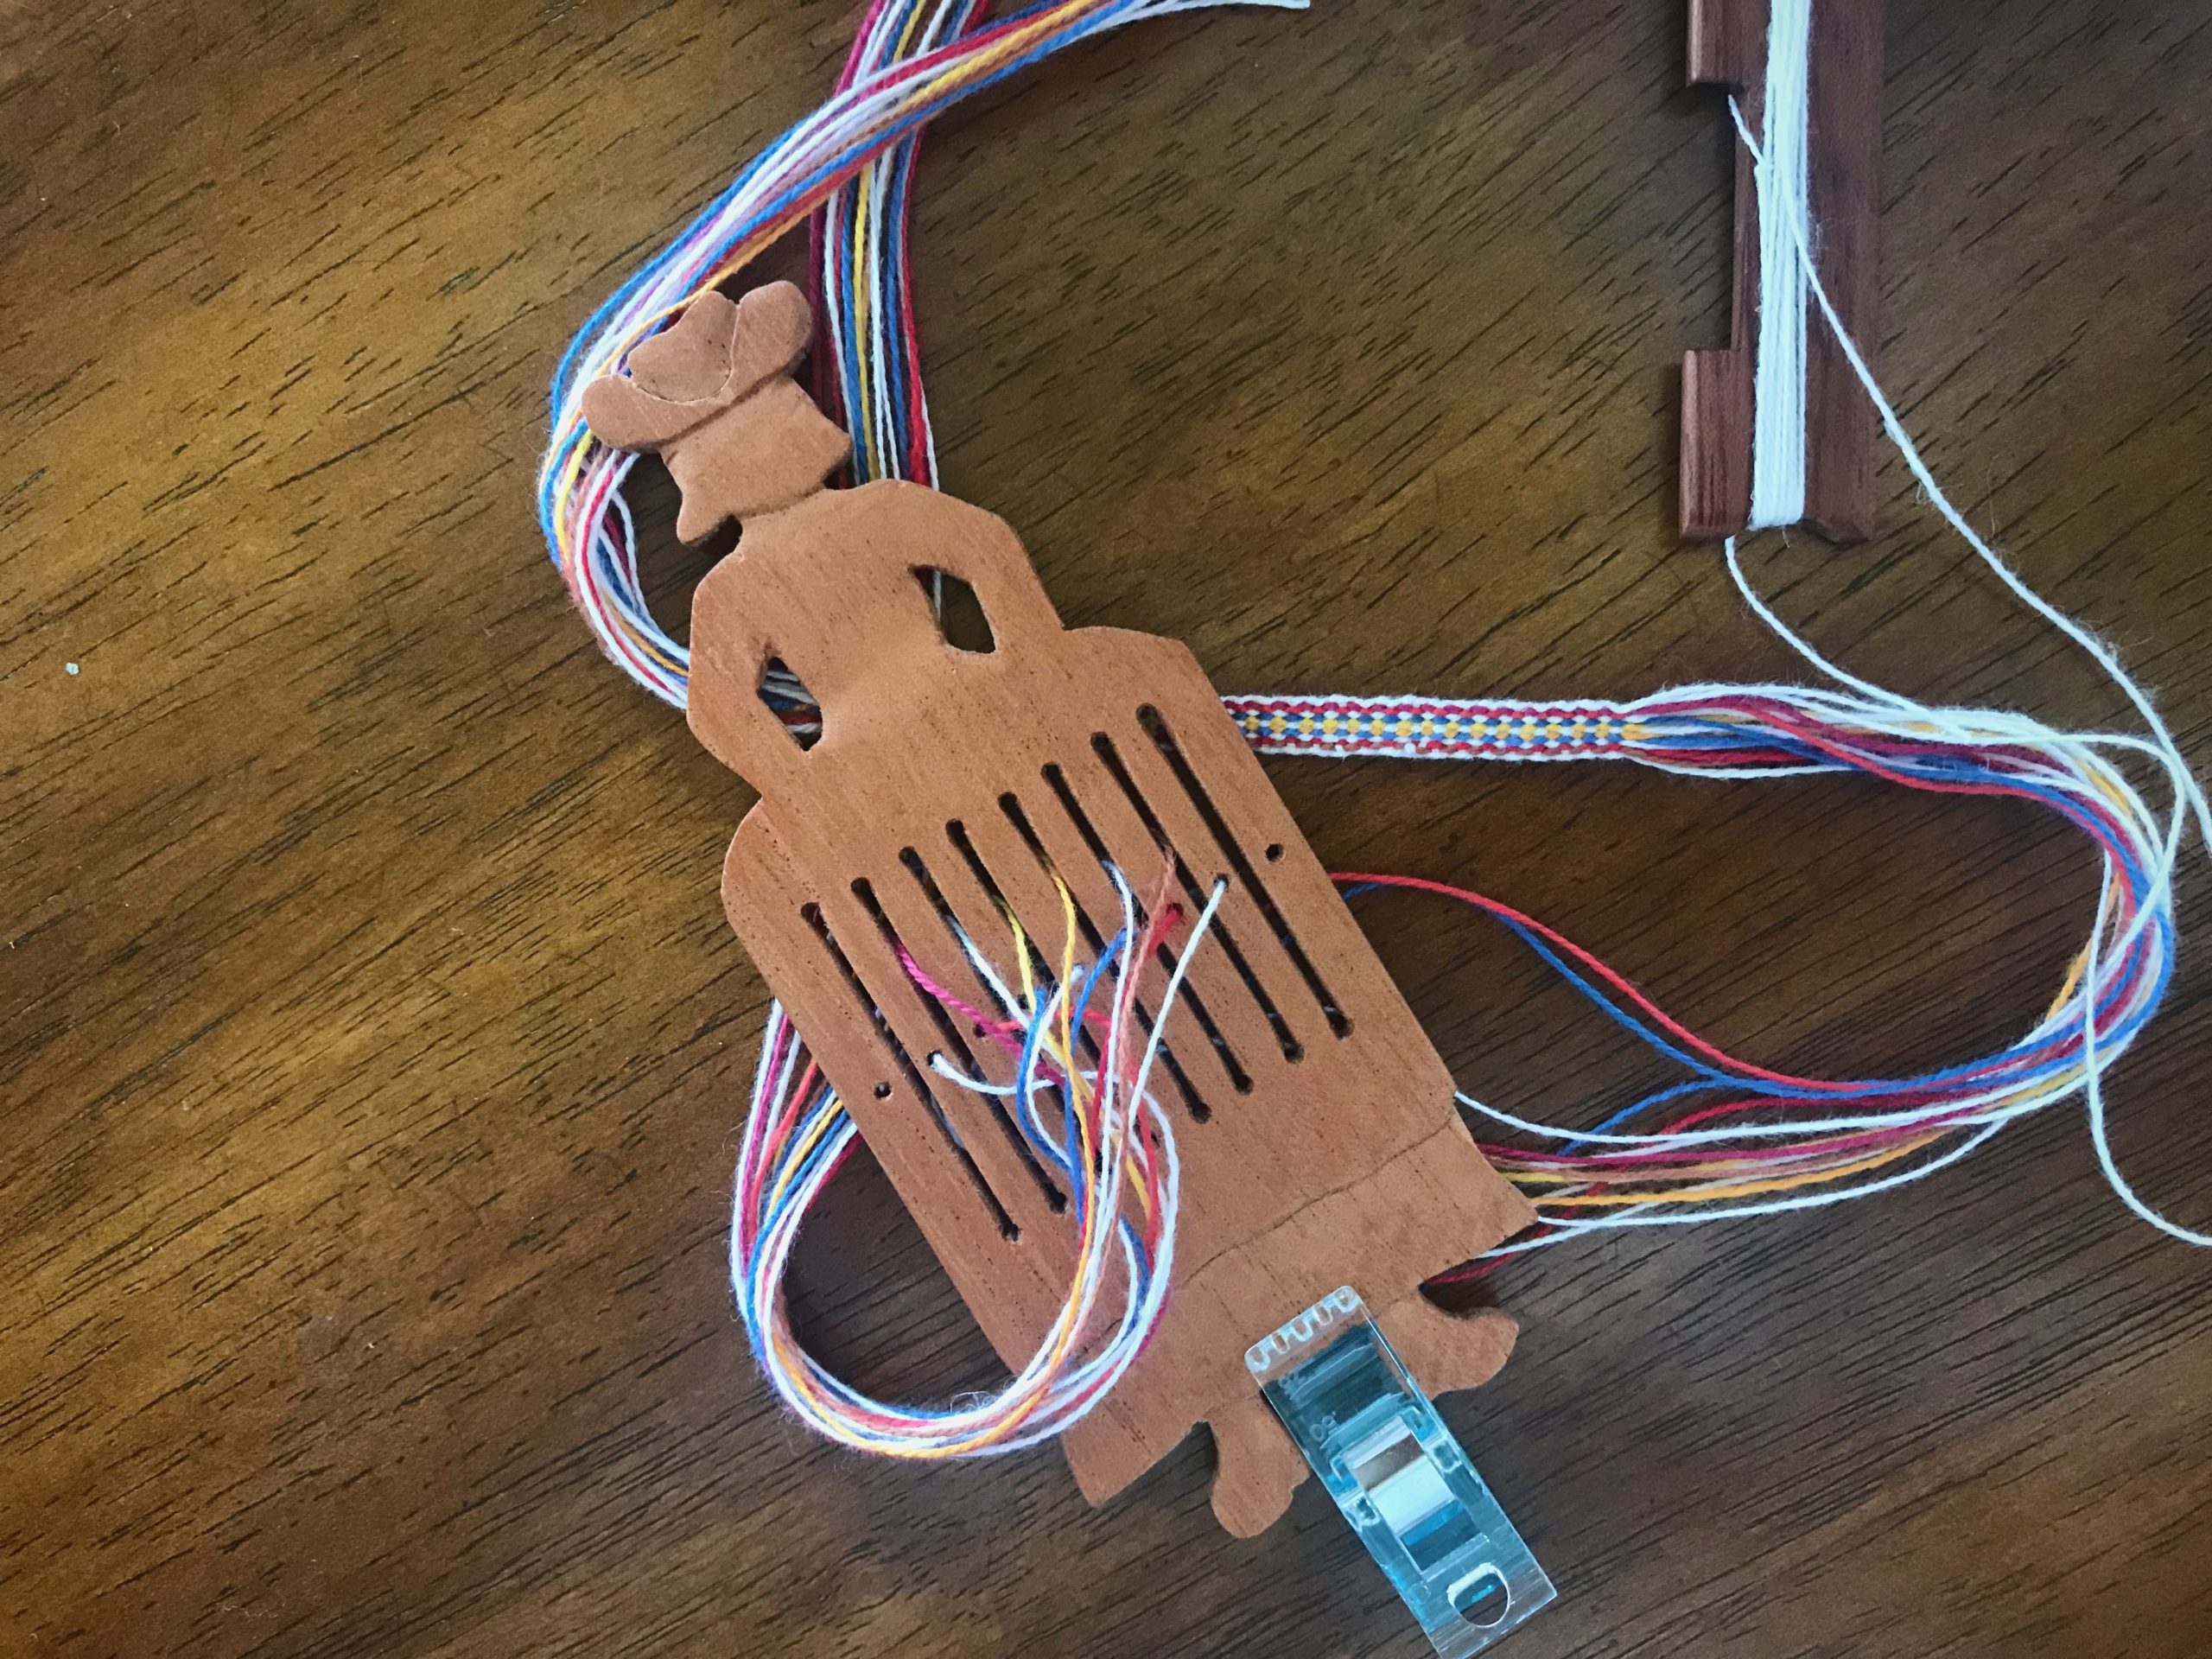
Well, Miss Cherry Cutie wants to flip over while weaving. A little quilter’s clip on the bottom adds just enough weight. Problem solved. Now Steve wants to make one that has more weight on the bottom half.
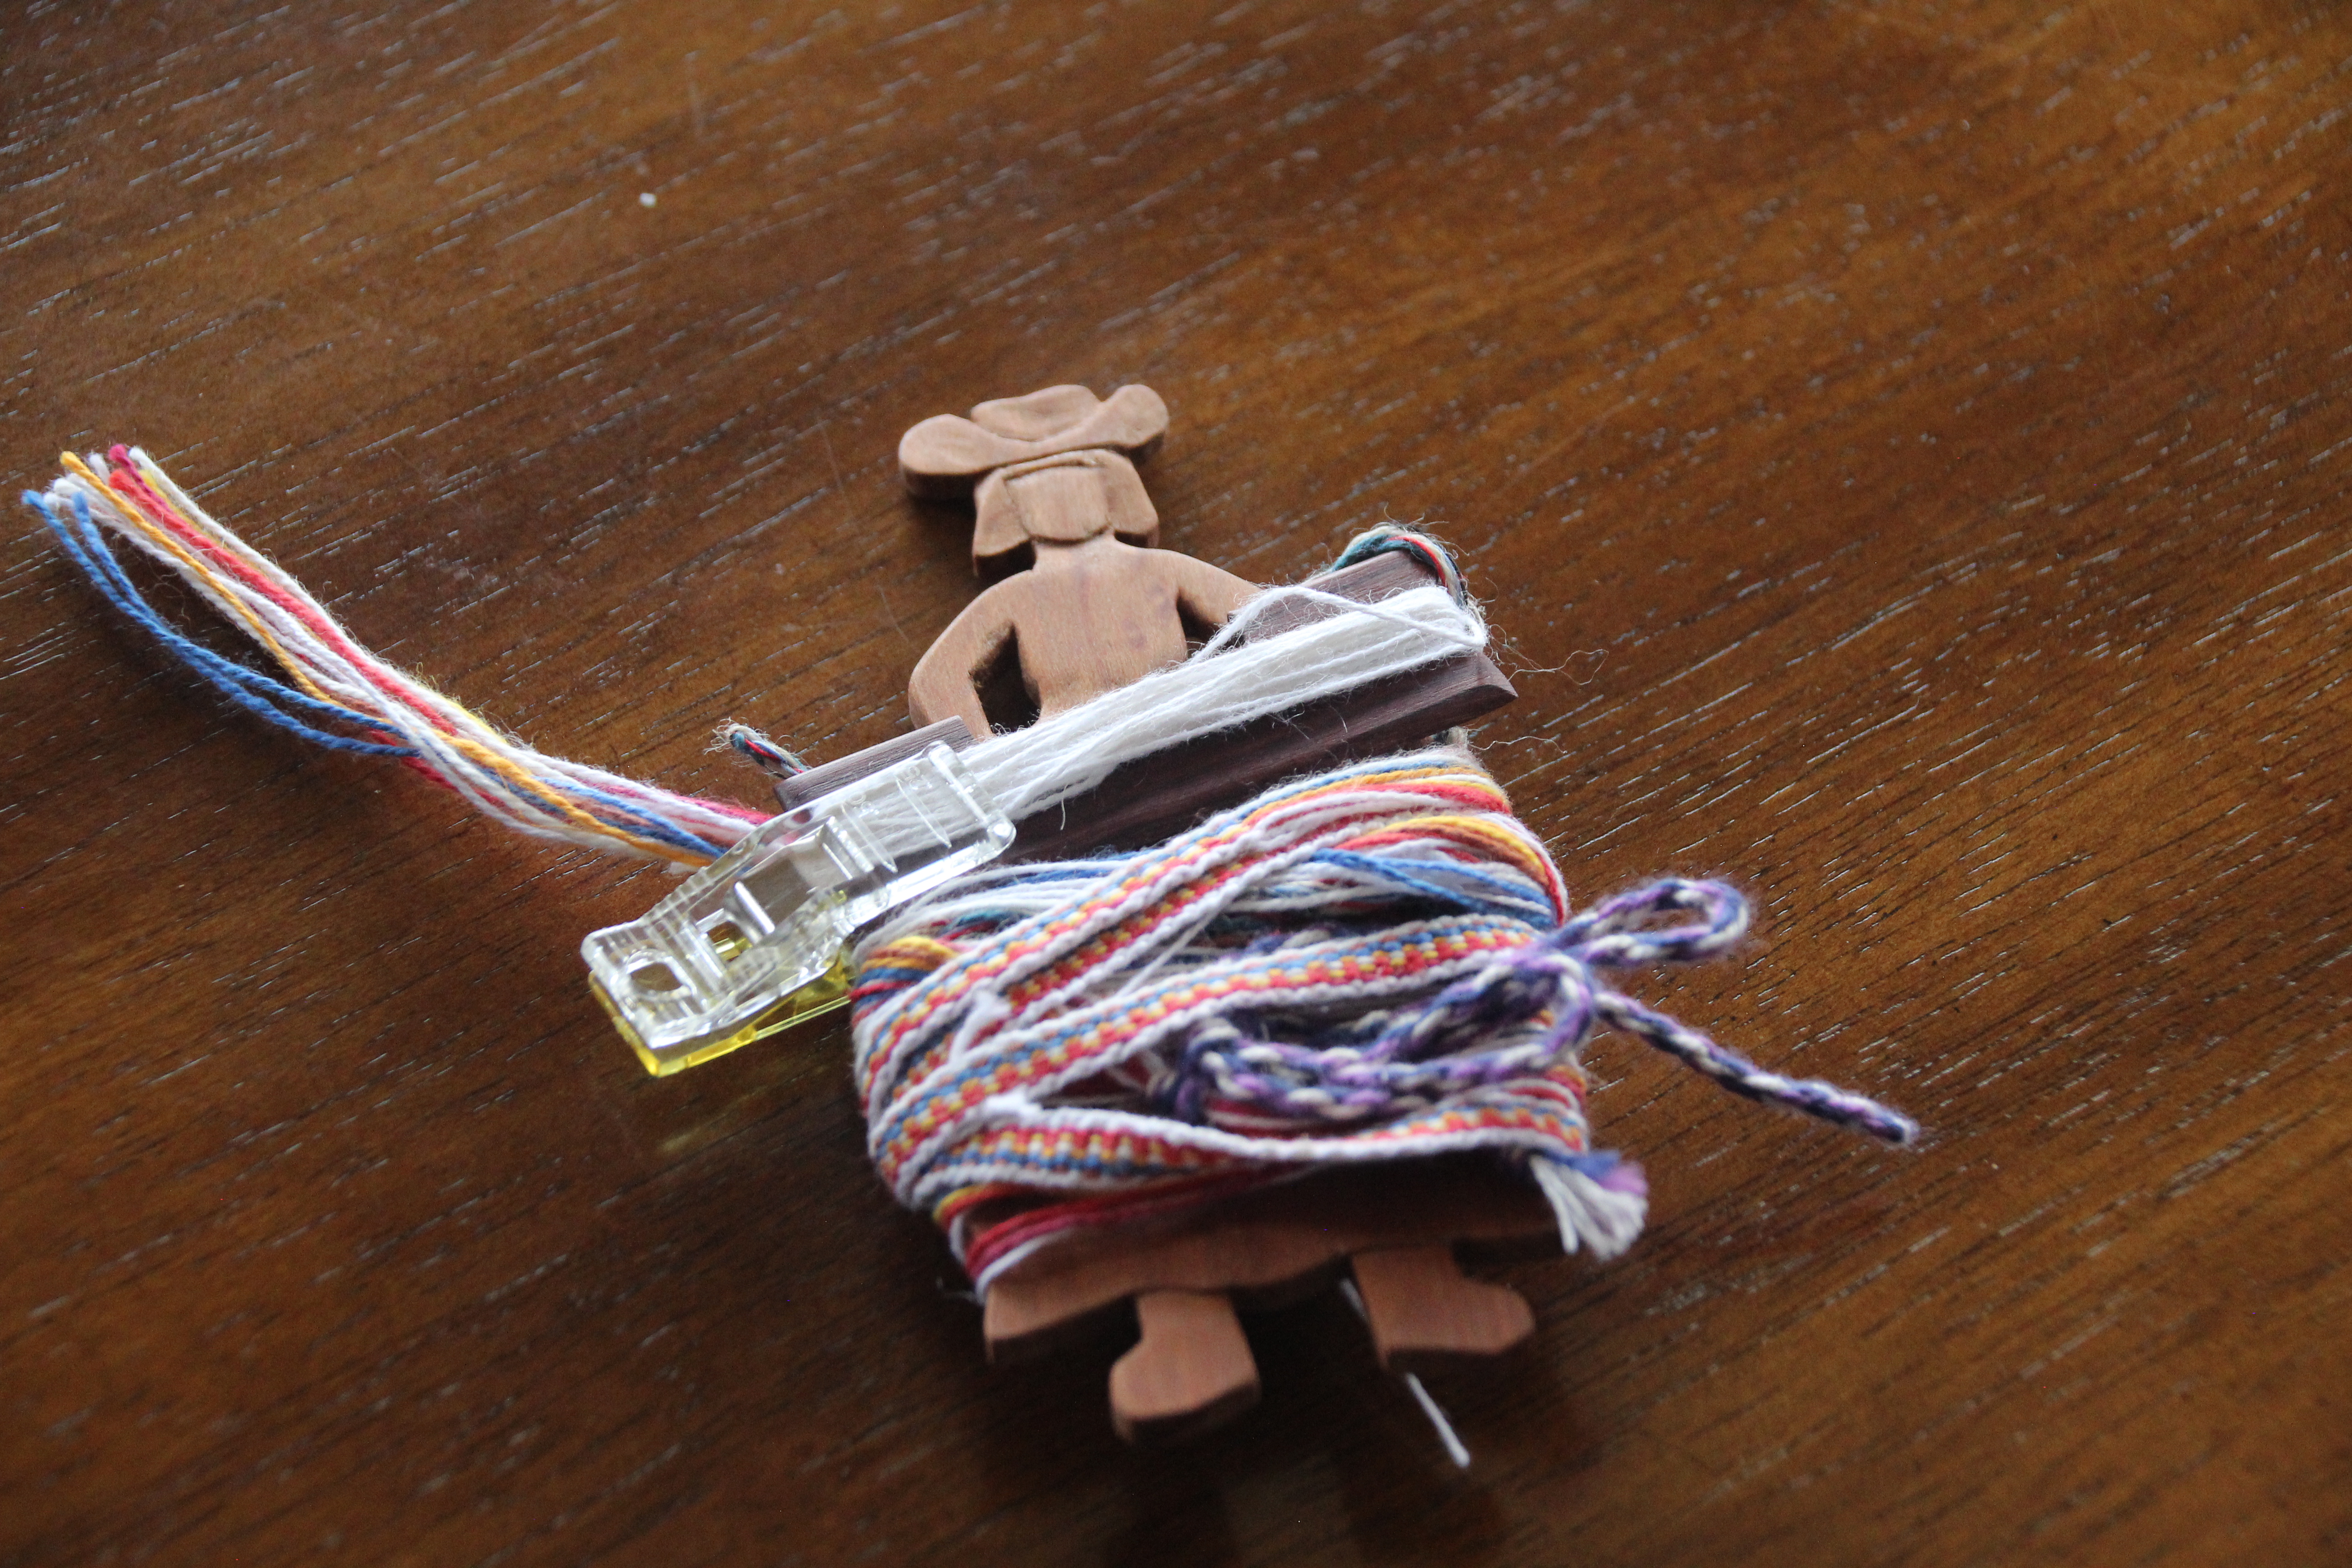
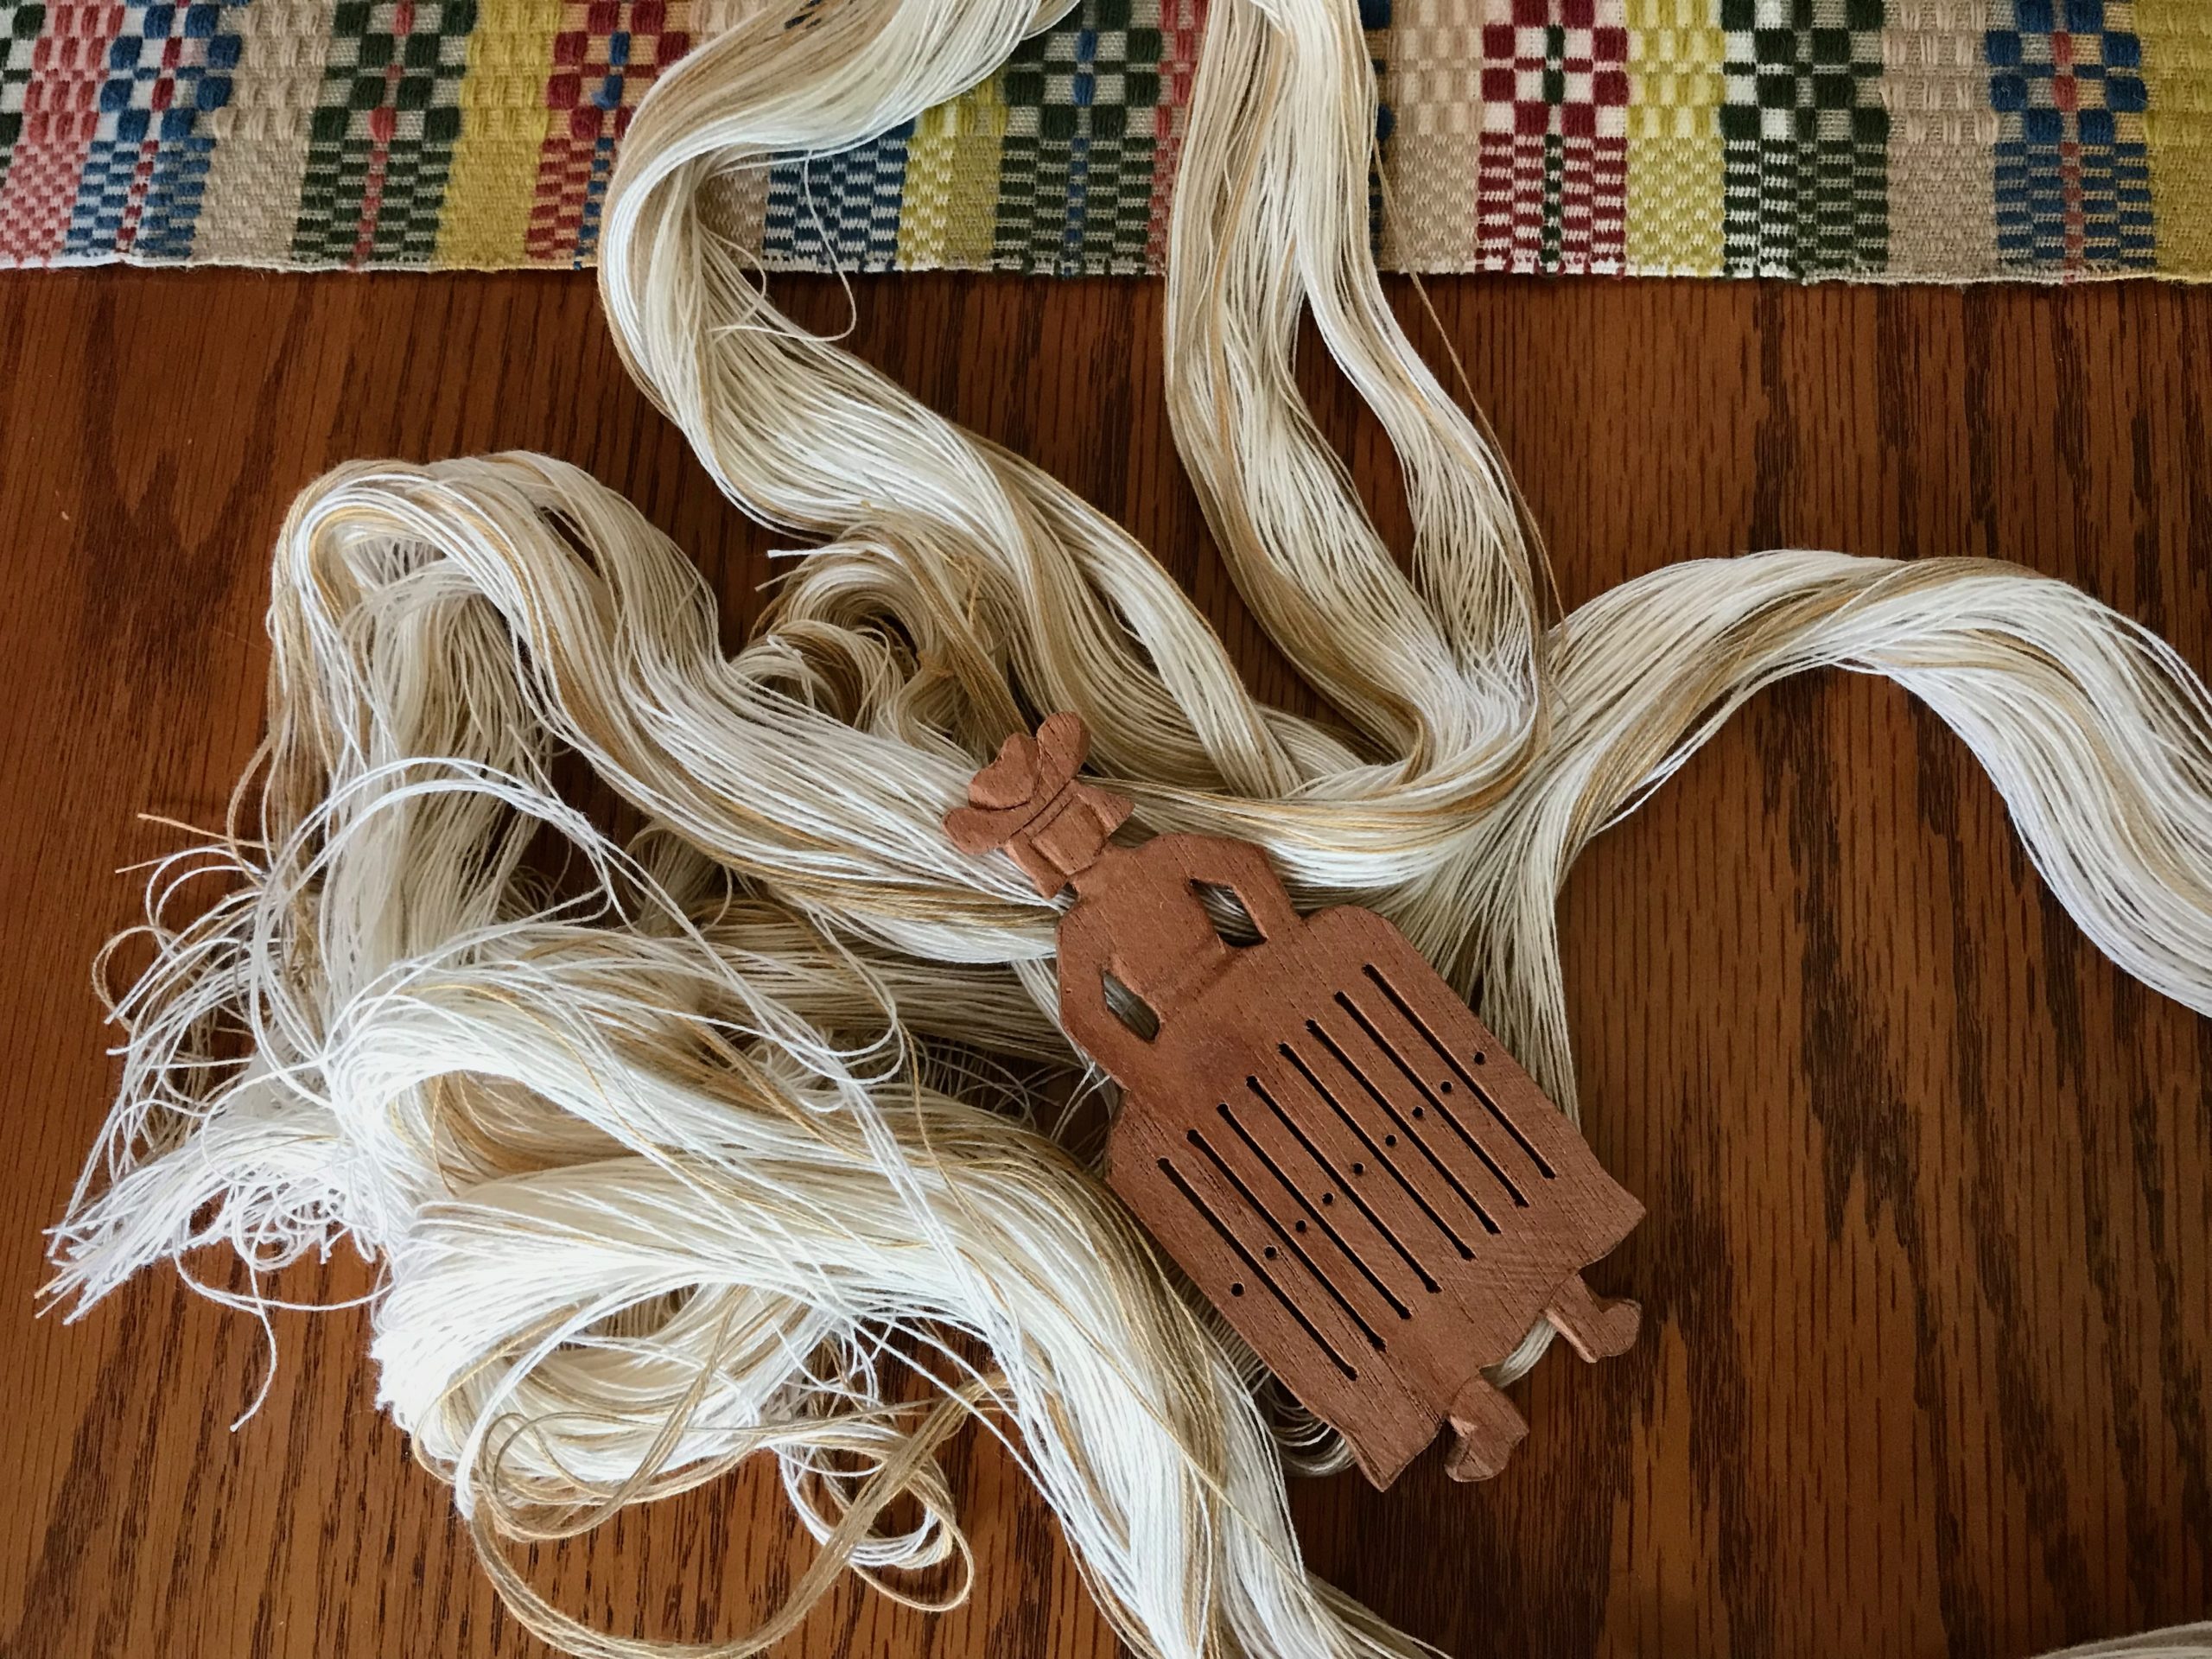
Here comes Miss Cutey II in Spanish cedar, with a longer skirt. She doesn’t tip all the way, but she does lean this way and that. The clip helps her, too. Conclusion? The shorter version, with the clip, is more compact and is our favorite design.
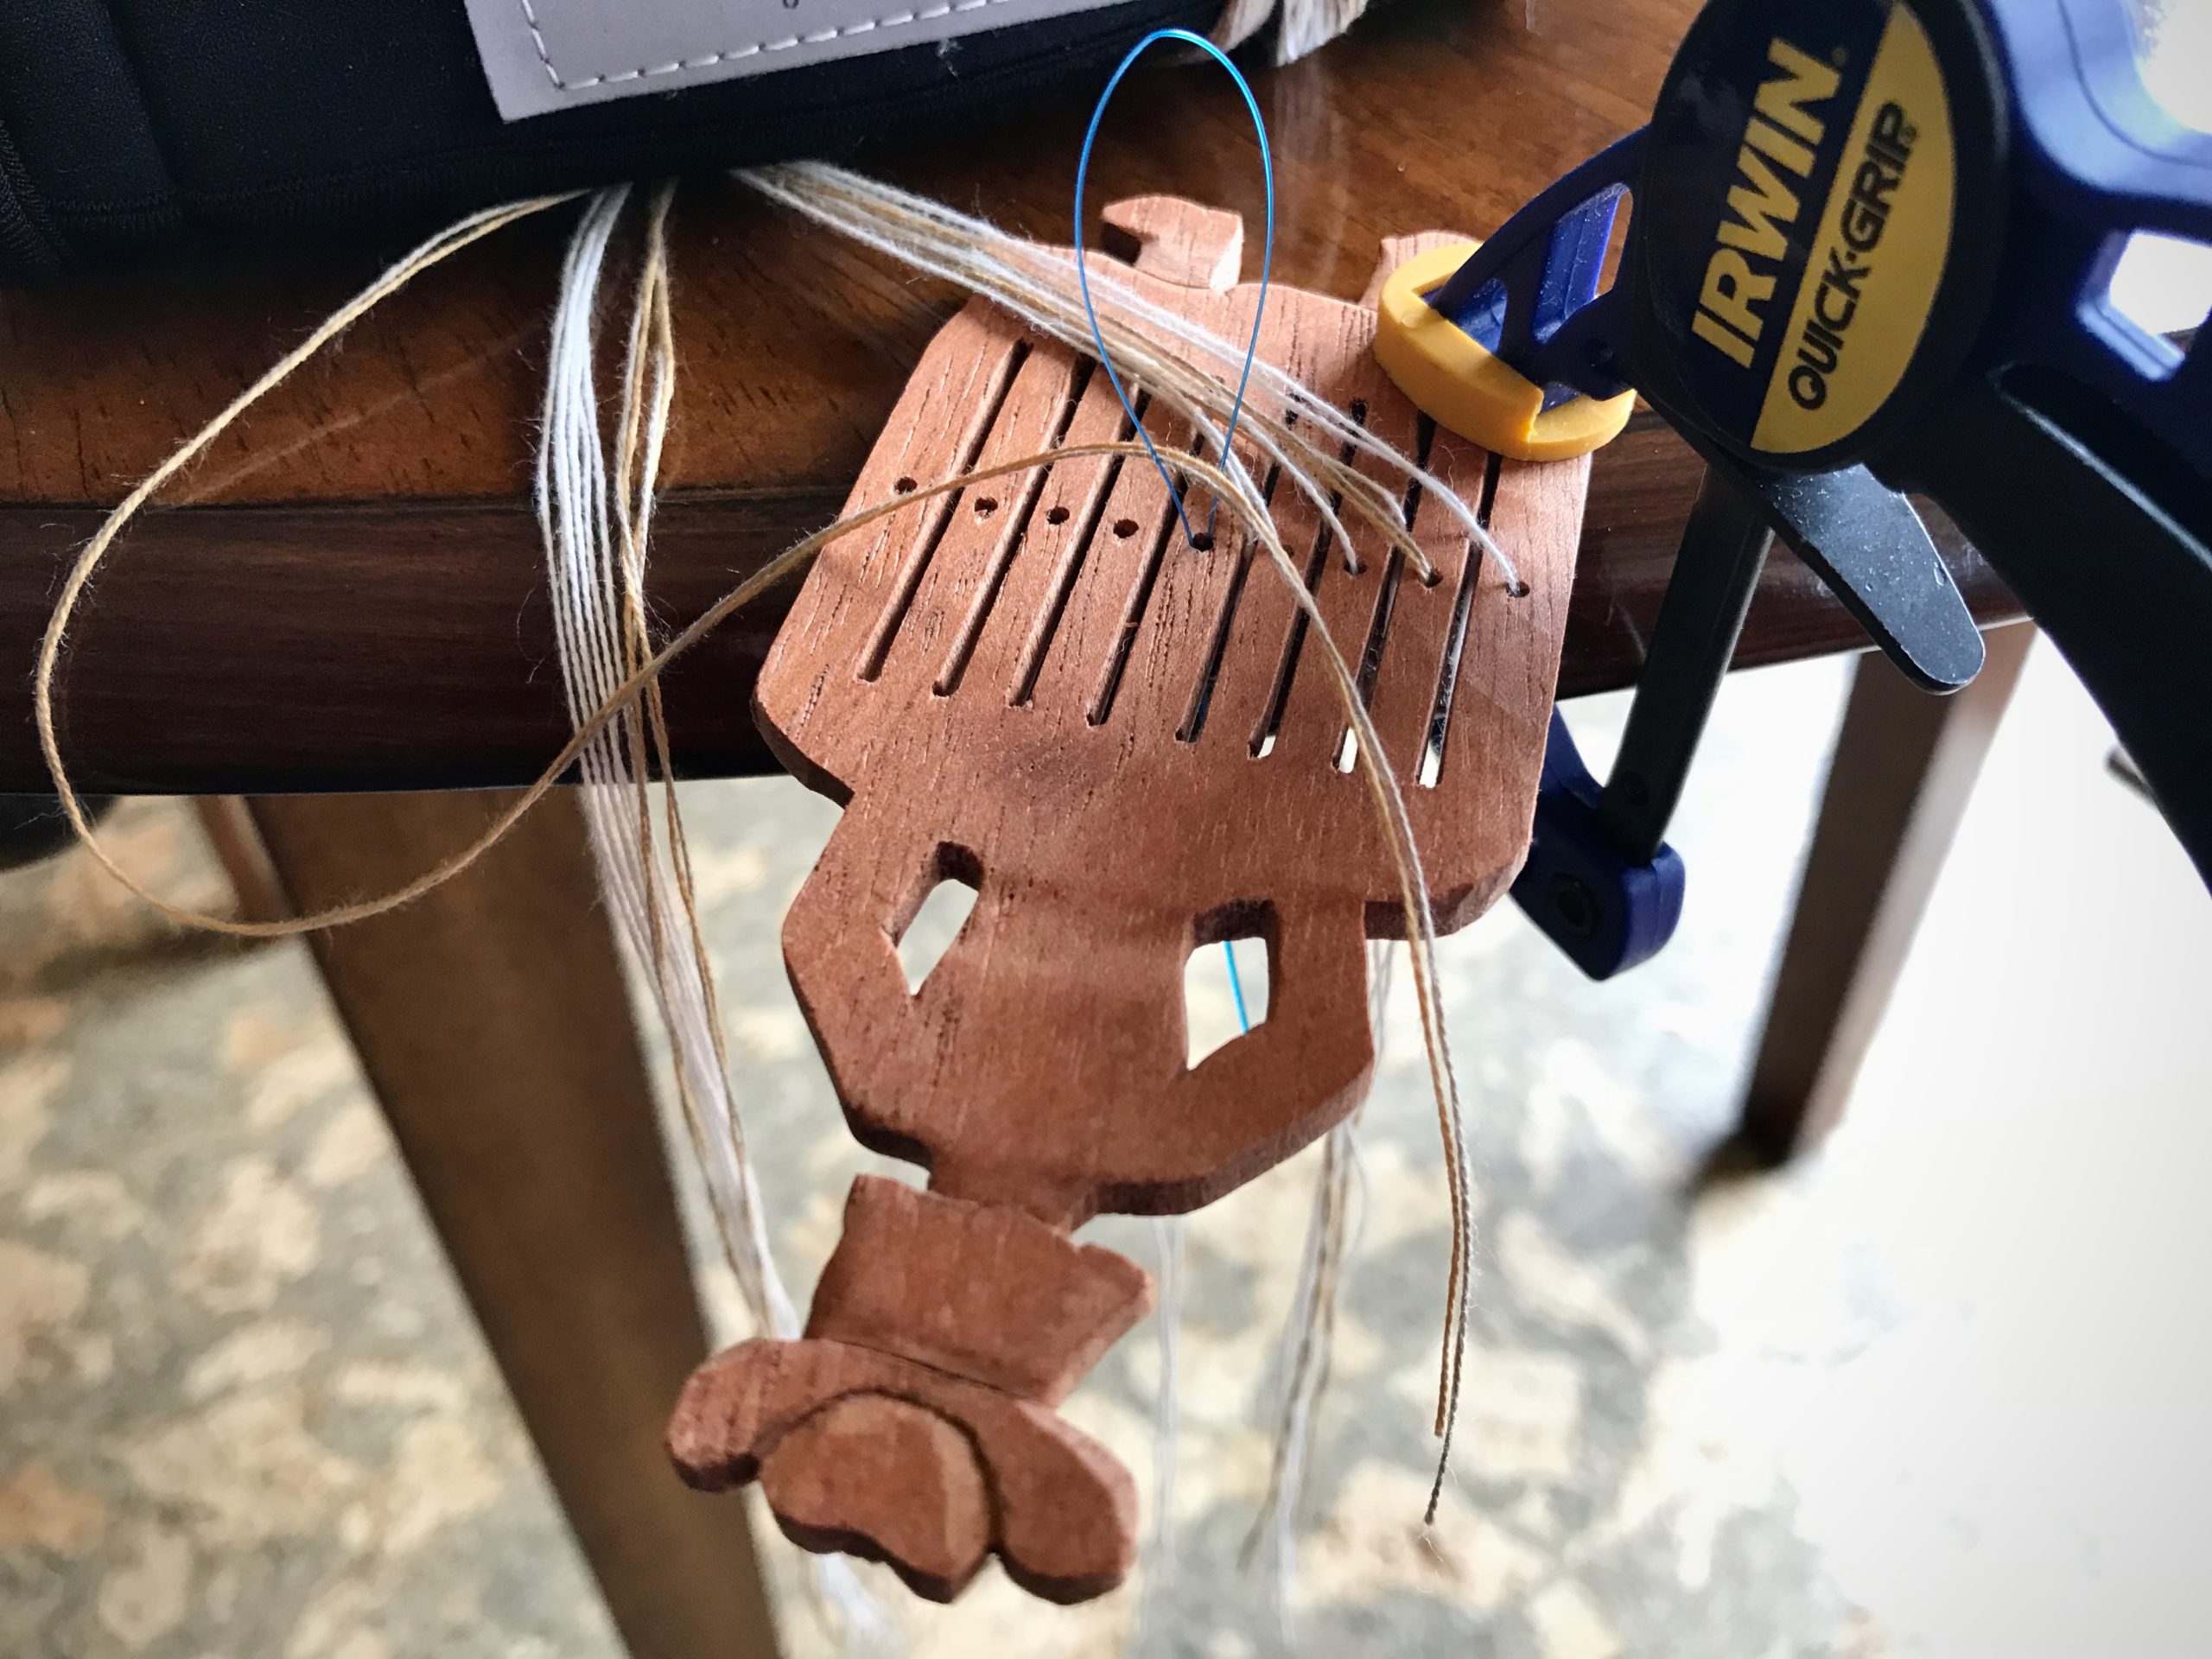
Look who shows up! Miss Cutie III in Spanish cedar. It’s time for a band weaving party, y’all!
Persistence comes from having an end in mind. Prayer is like that. We know our heavenly Father hears us when we pray. We know his outcome is good. Faith compels us to persist in prayer. As we do, the Lord guides our heart to align with his will. All the while, he works behind the scenes to bring his answer, which is better than anything.
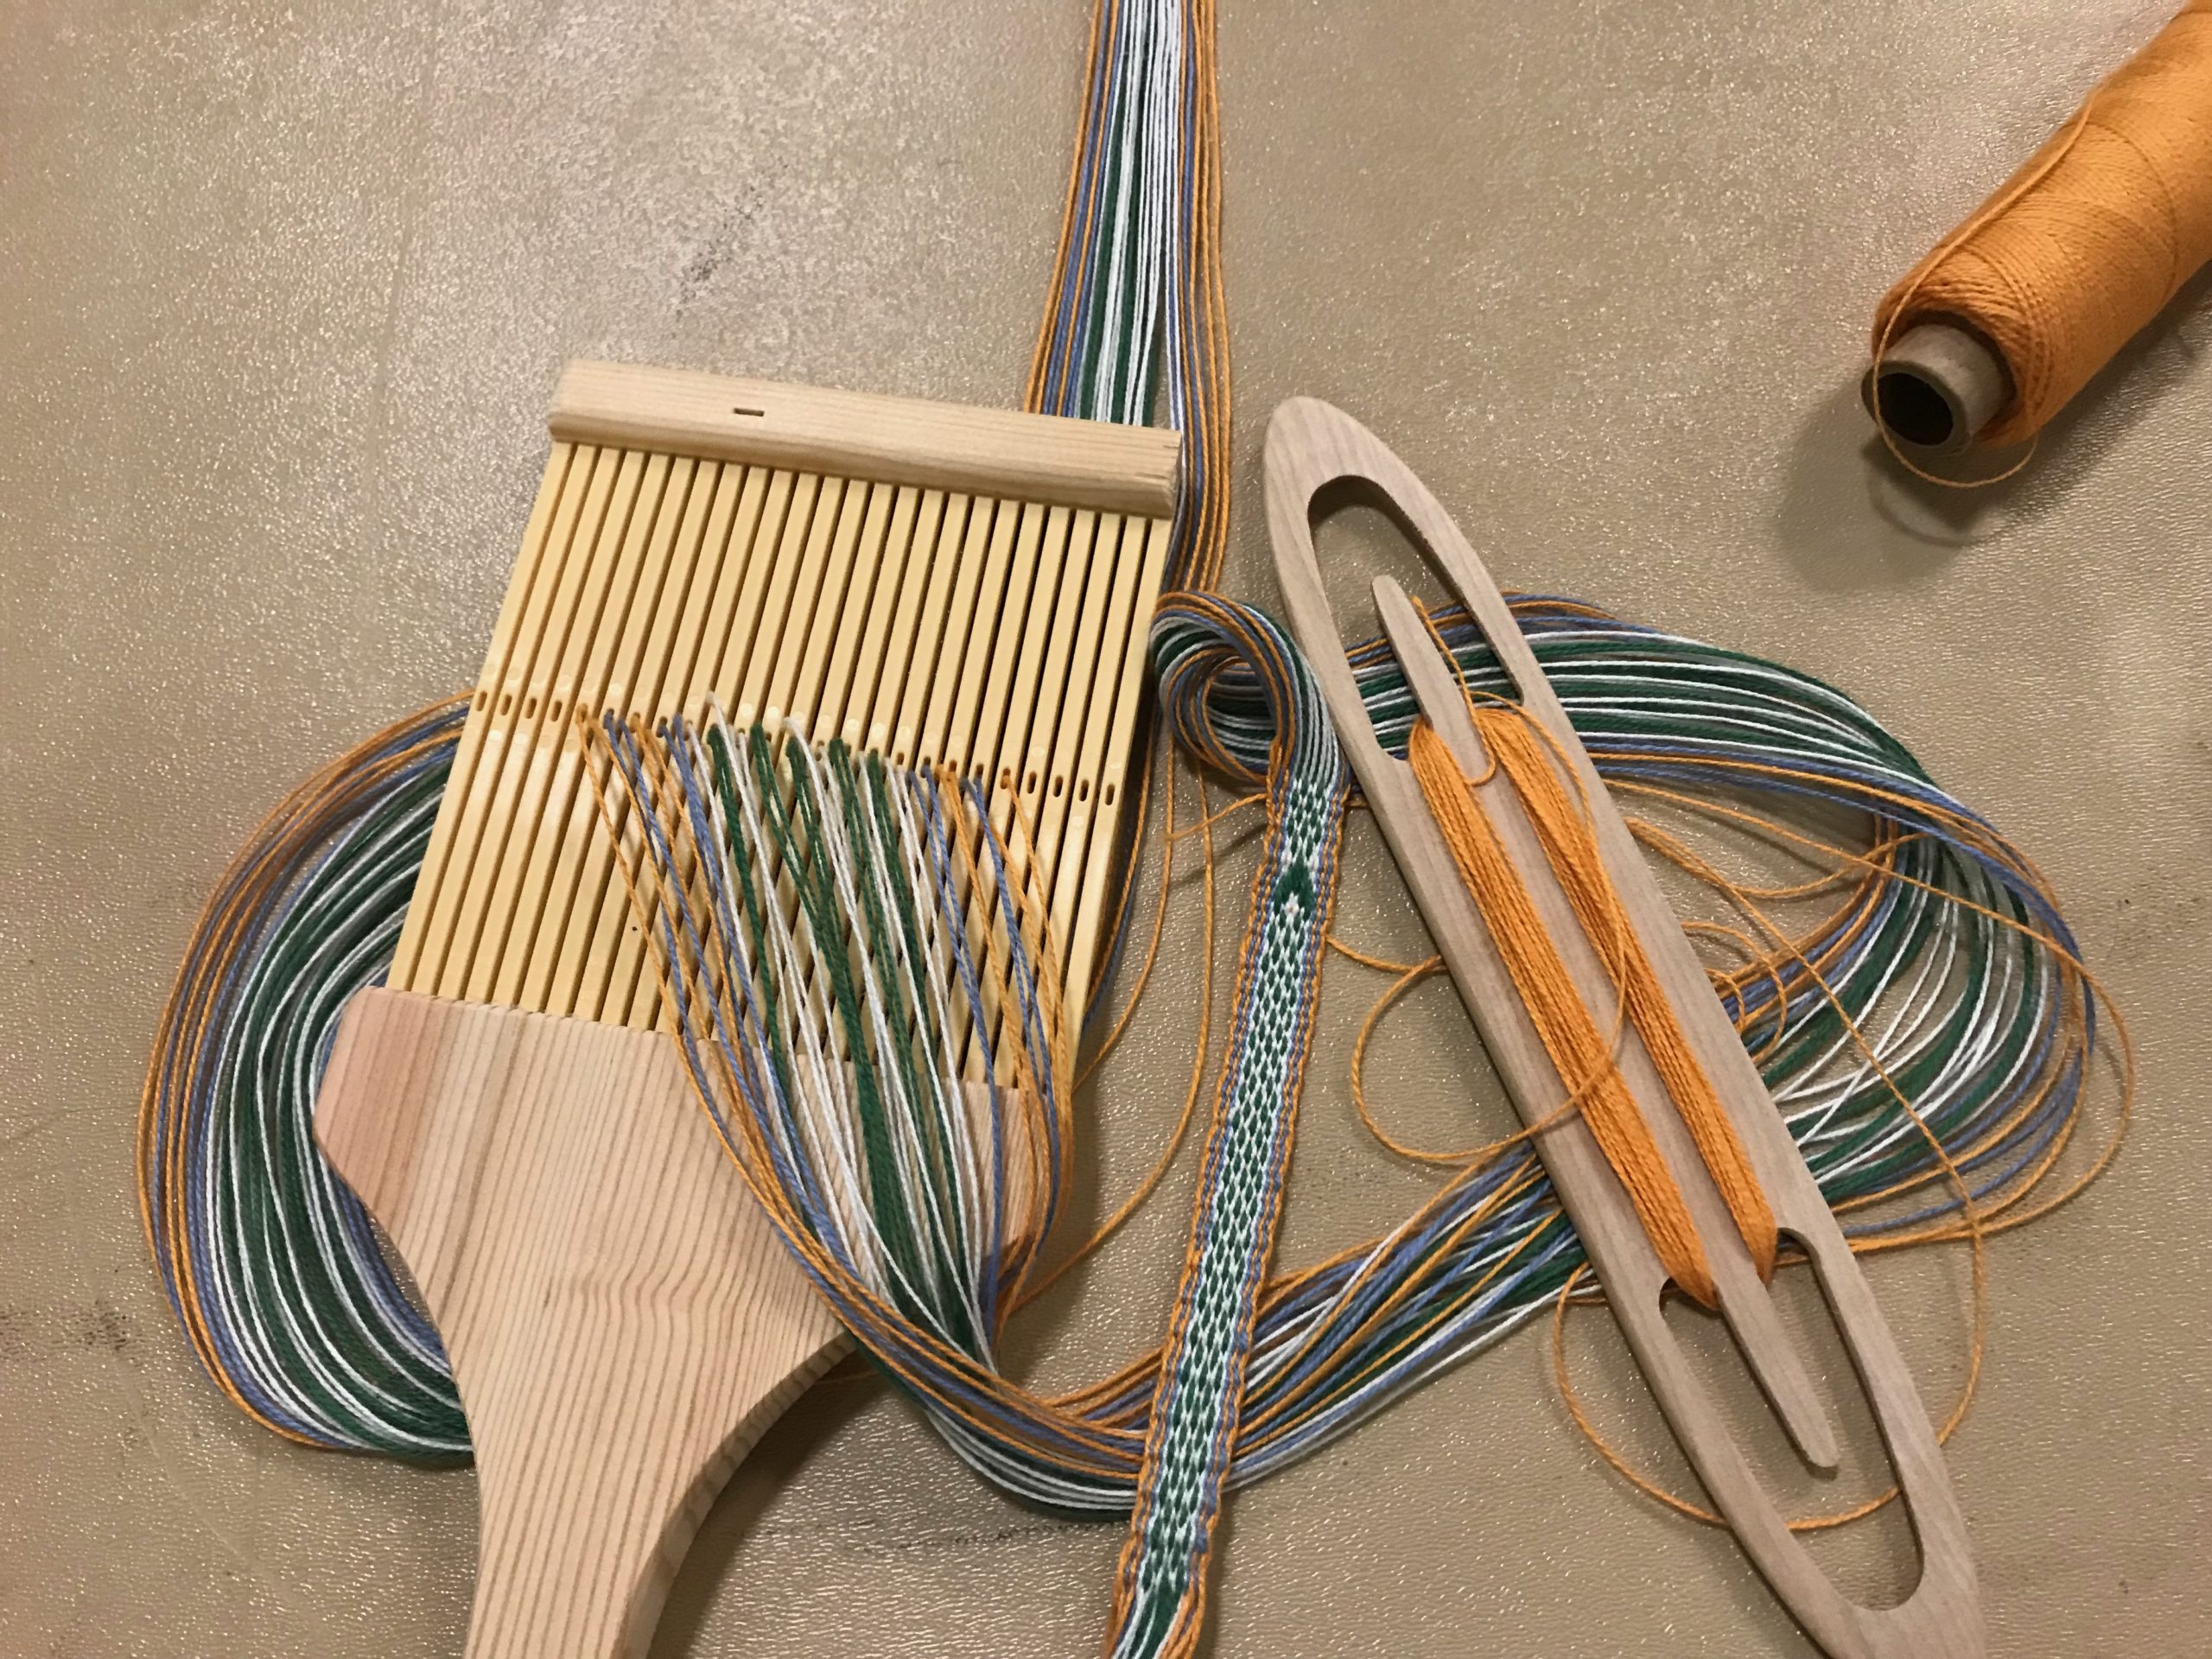
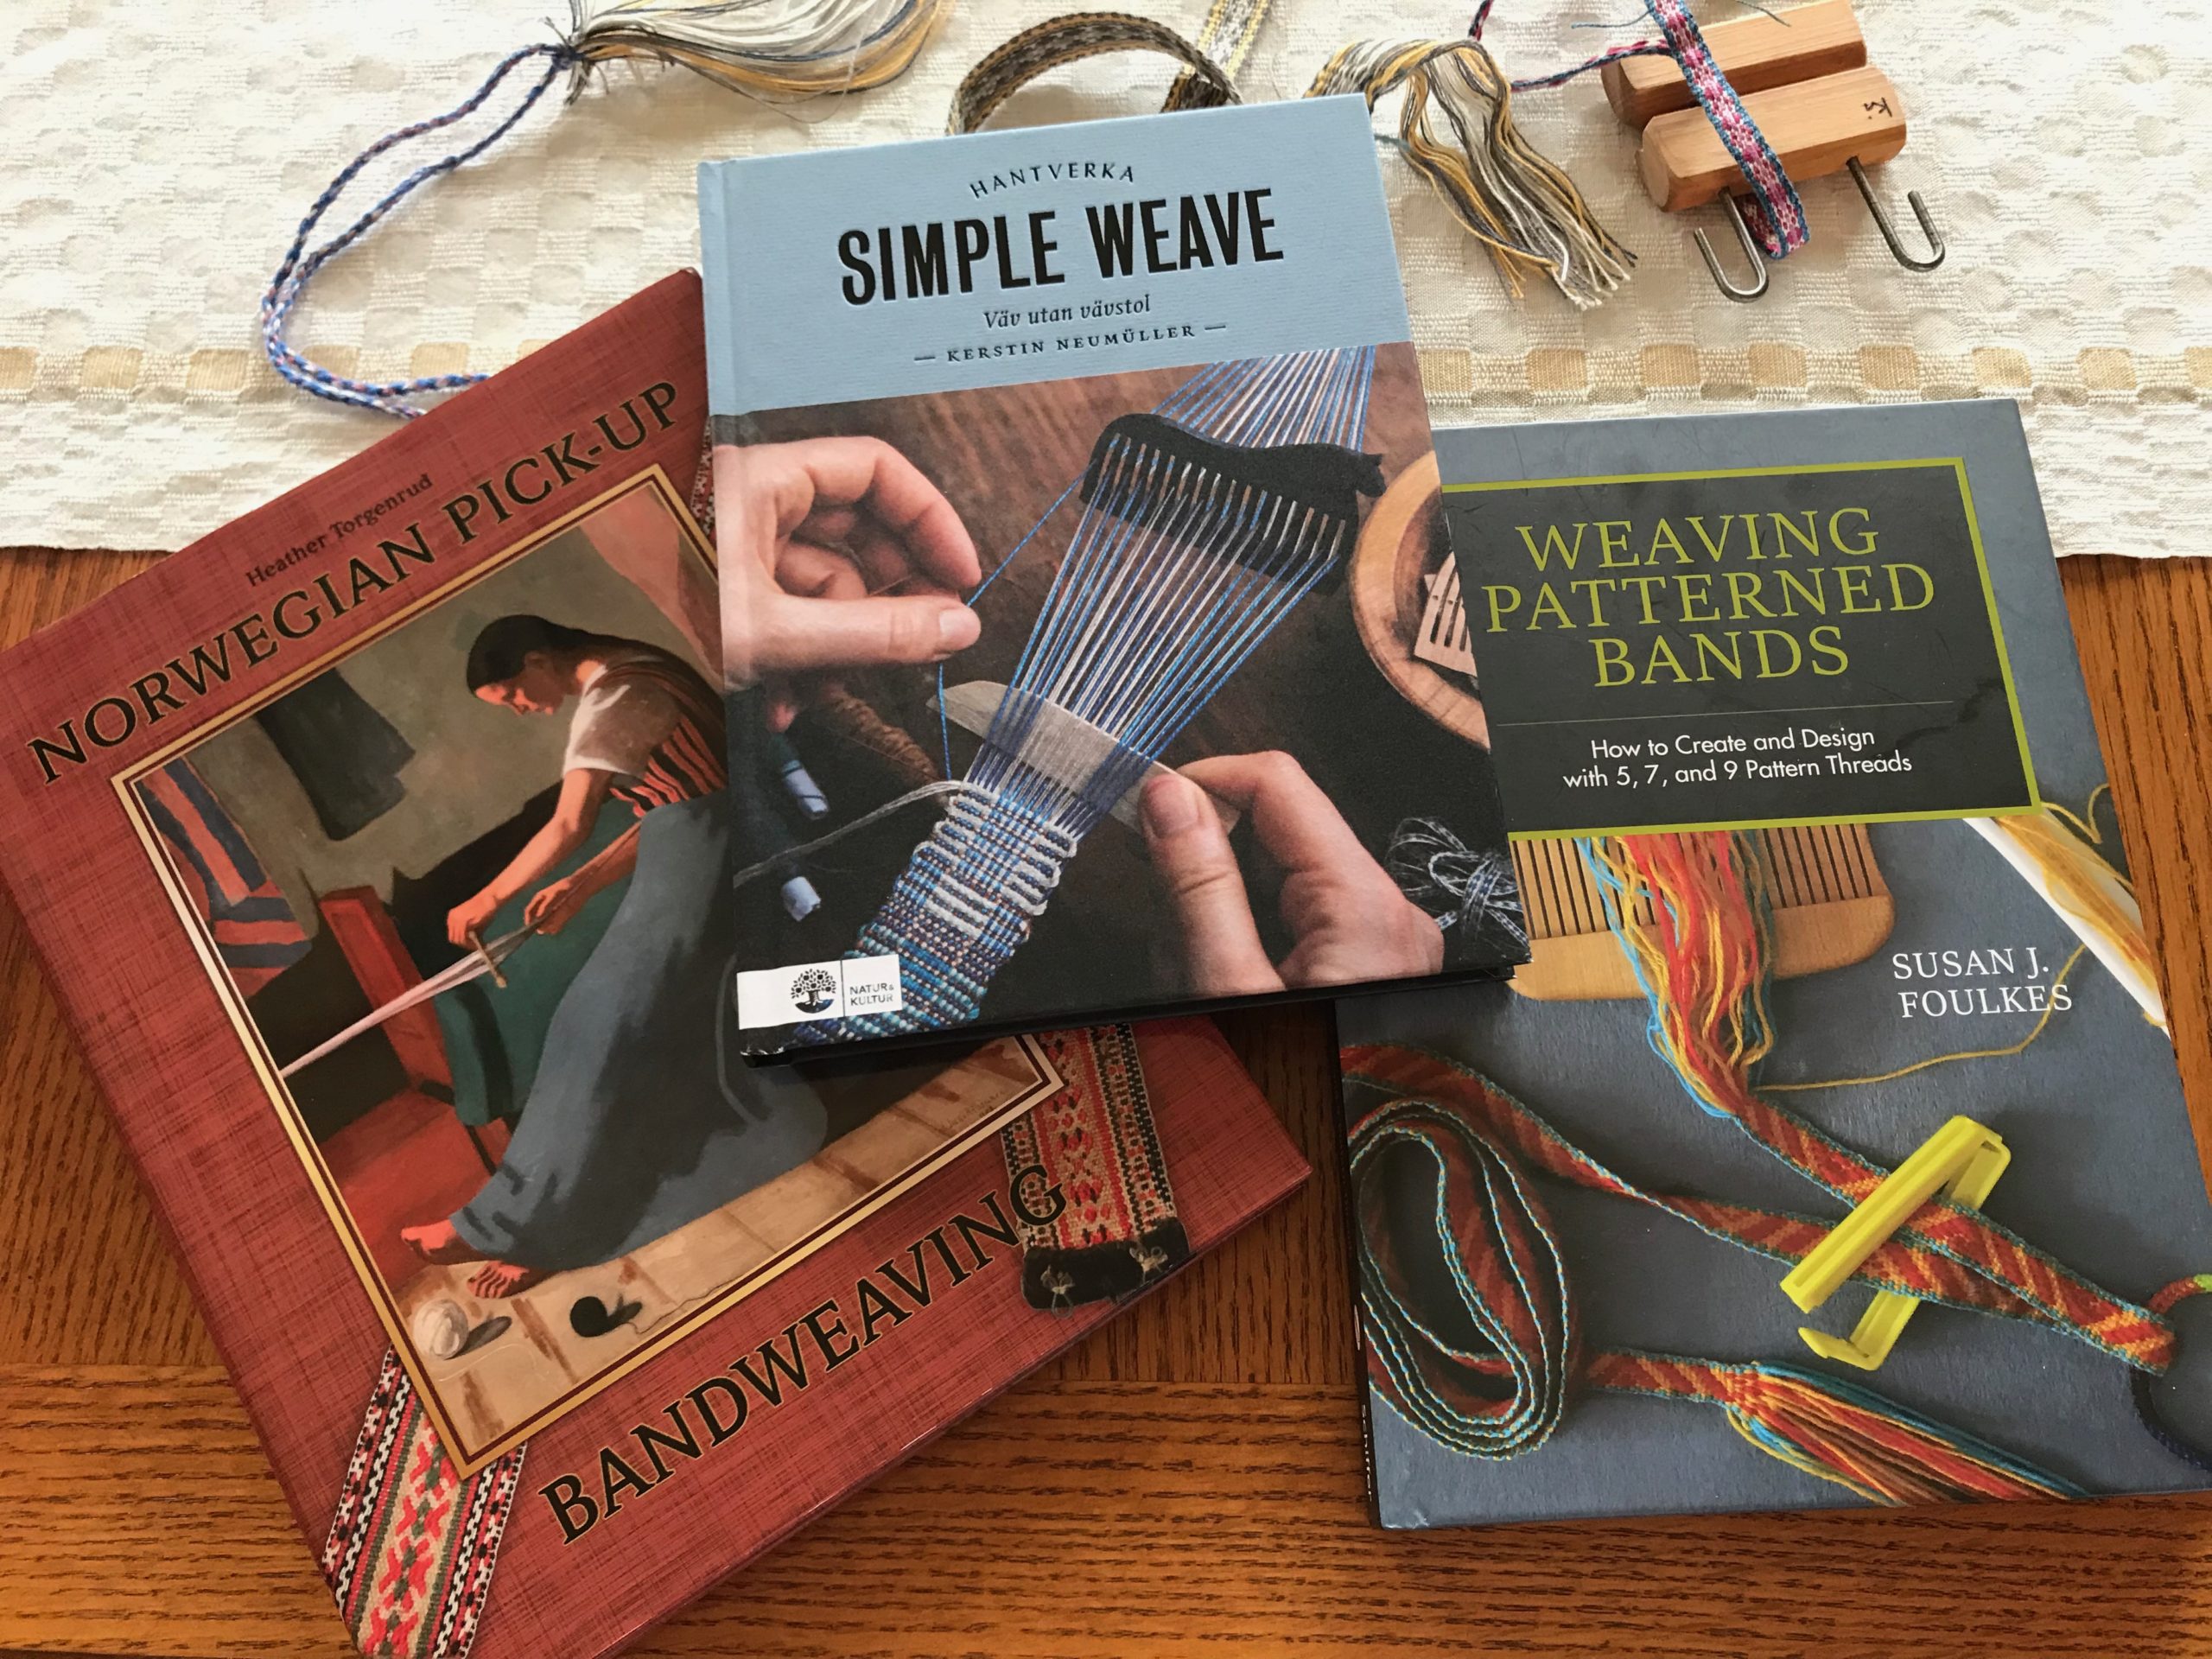
Band weaving is a simple activity that helps you notice the little things. You see how each thread falls into place. How the thread turns the selvedge corner just so. How the pattern threads stand proud in floats or hide in subtle patterns. I enjoy practicing my skills as a band weaver. And more so, now that Steve has turned his attention to making band heddles for me.
Pictures in the following slideshow video tell more of the story.
Edited: Steve has compiled photo documentation of how he made my Spanish Cedar and Walnut heddles. Click HERE to send me an email requesting a PDF copy of Making a Band Heddle.
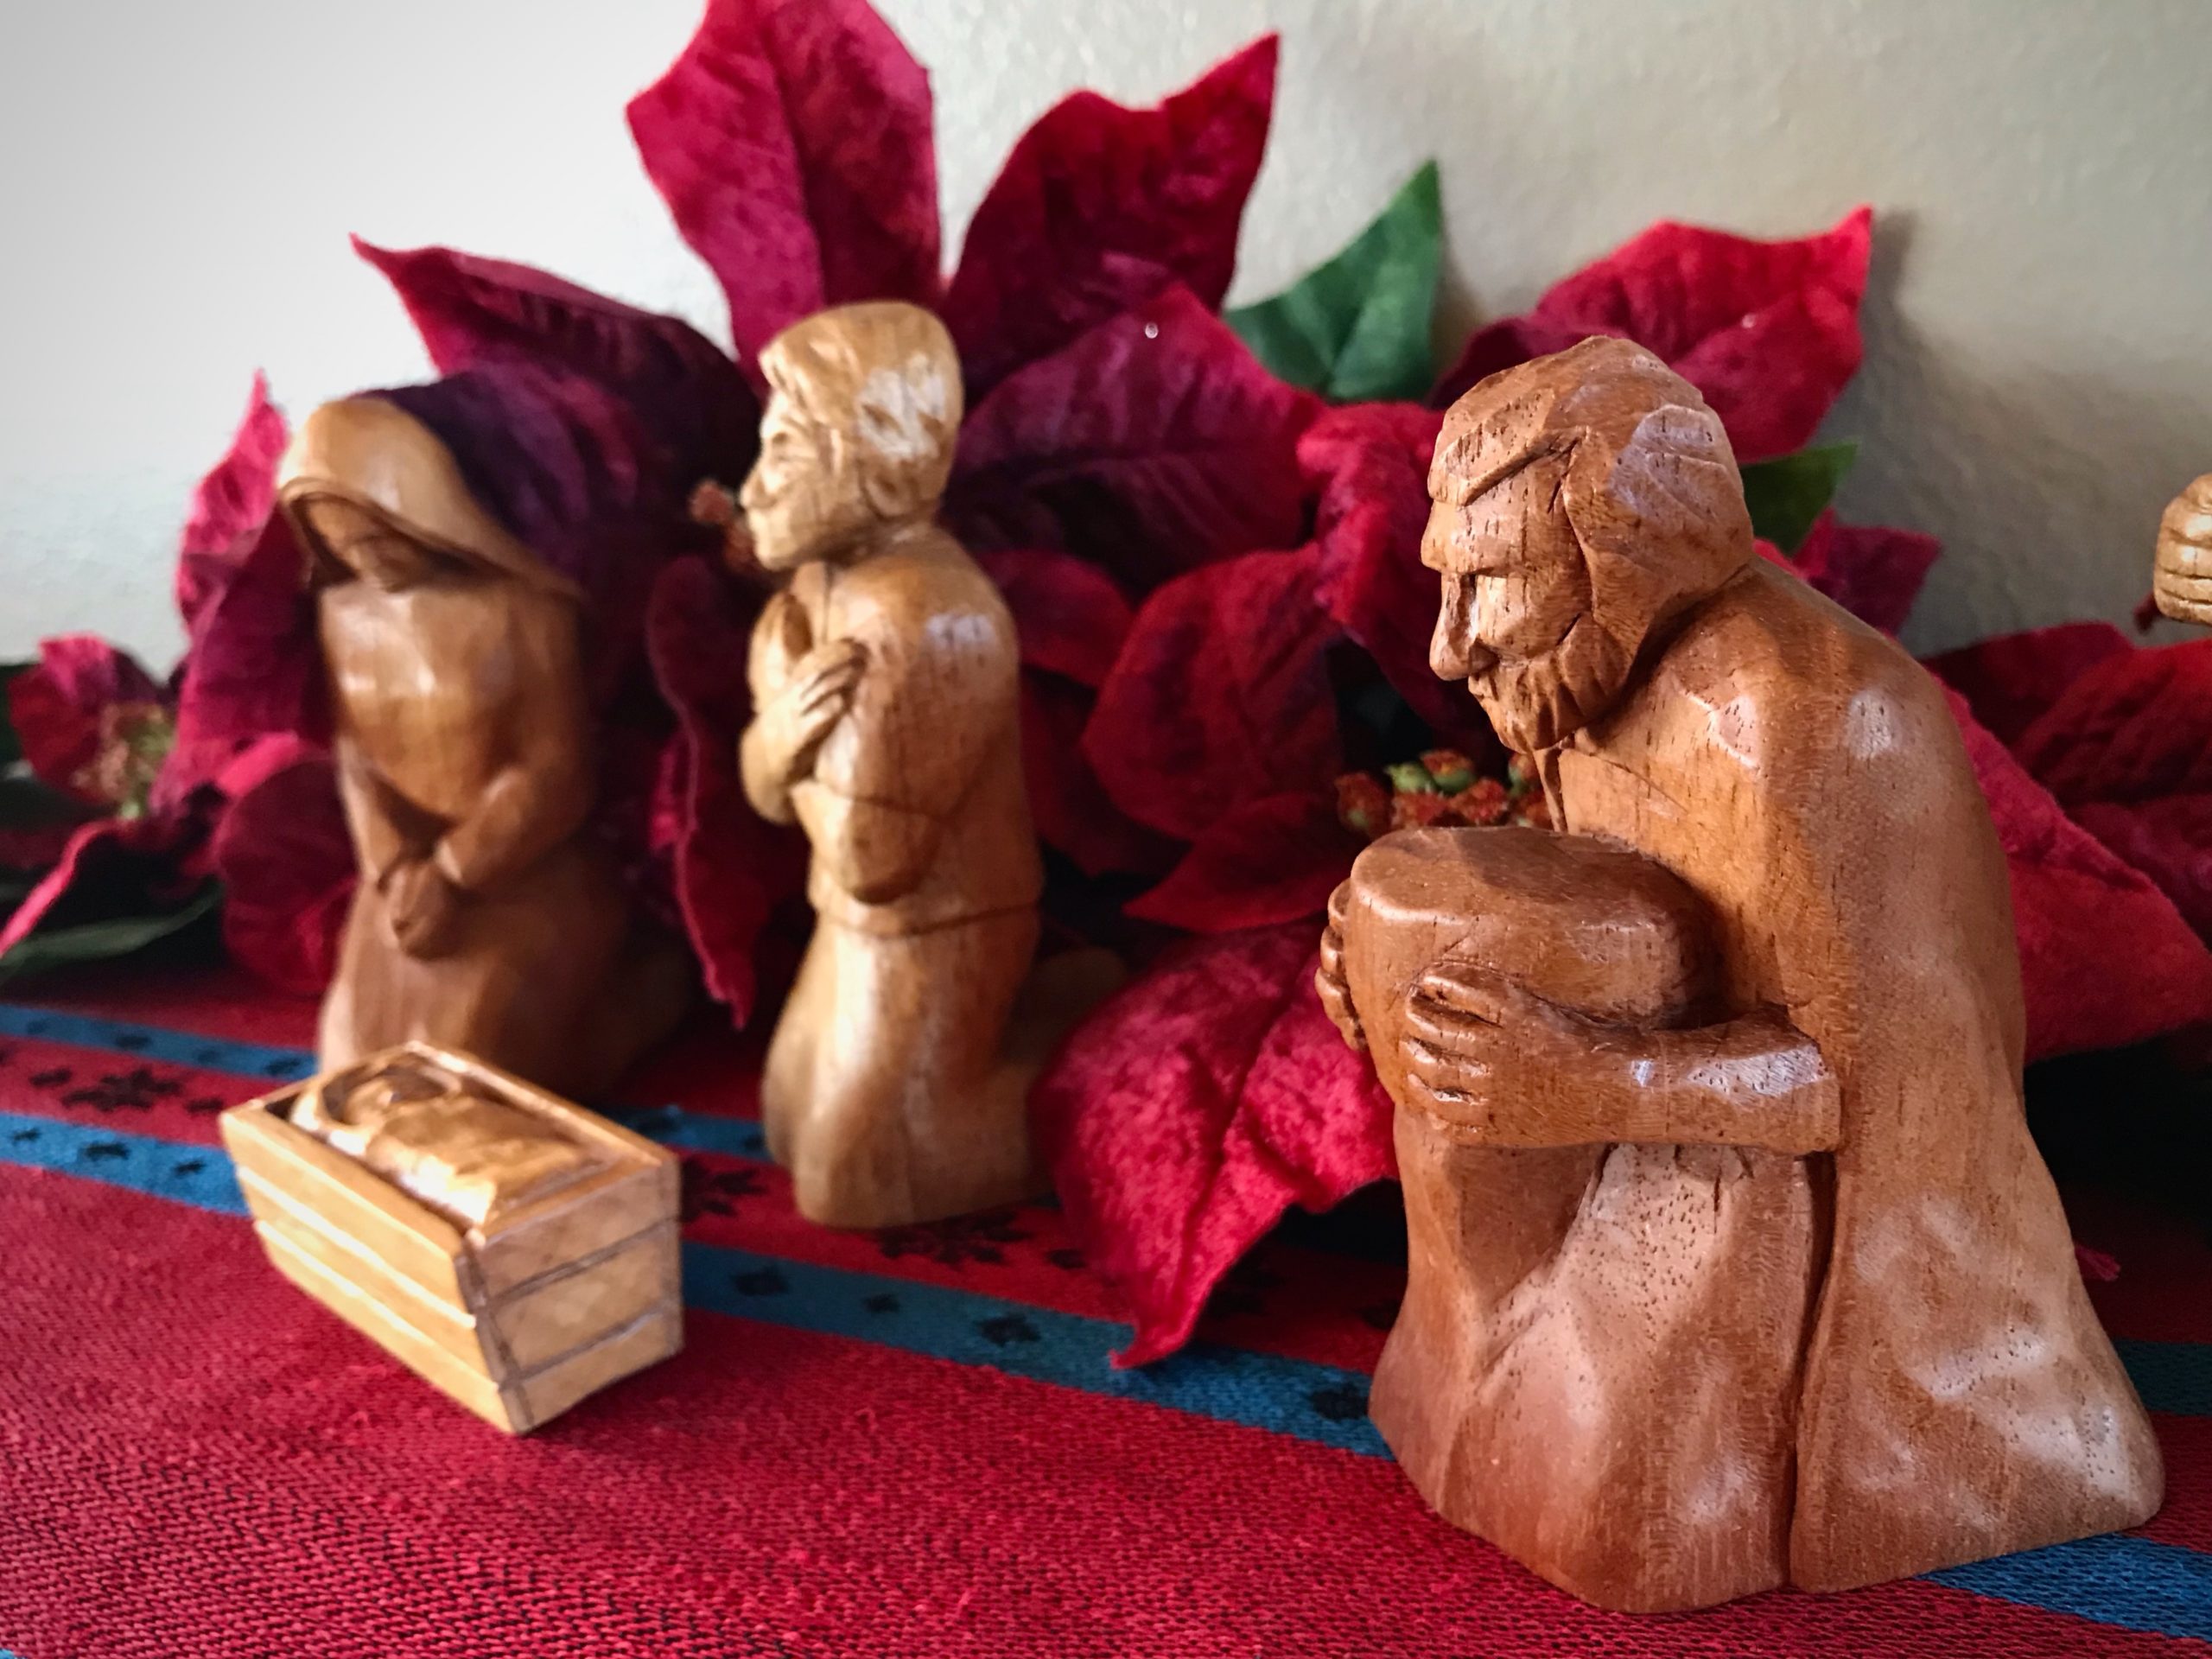
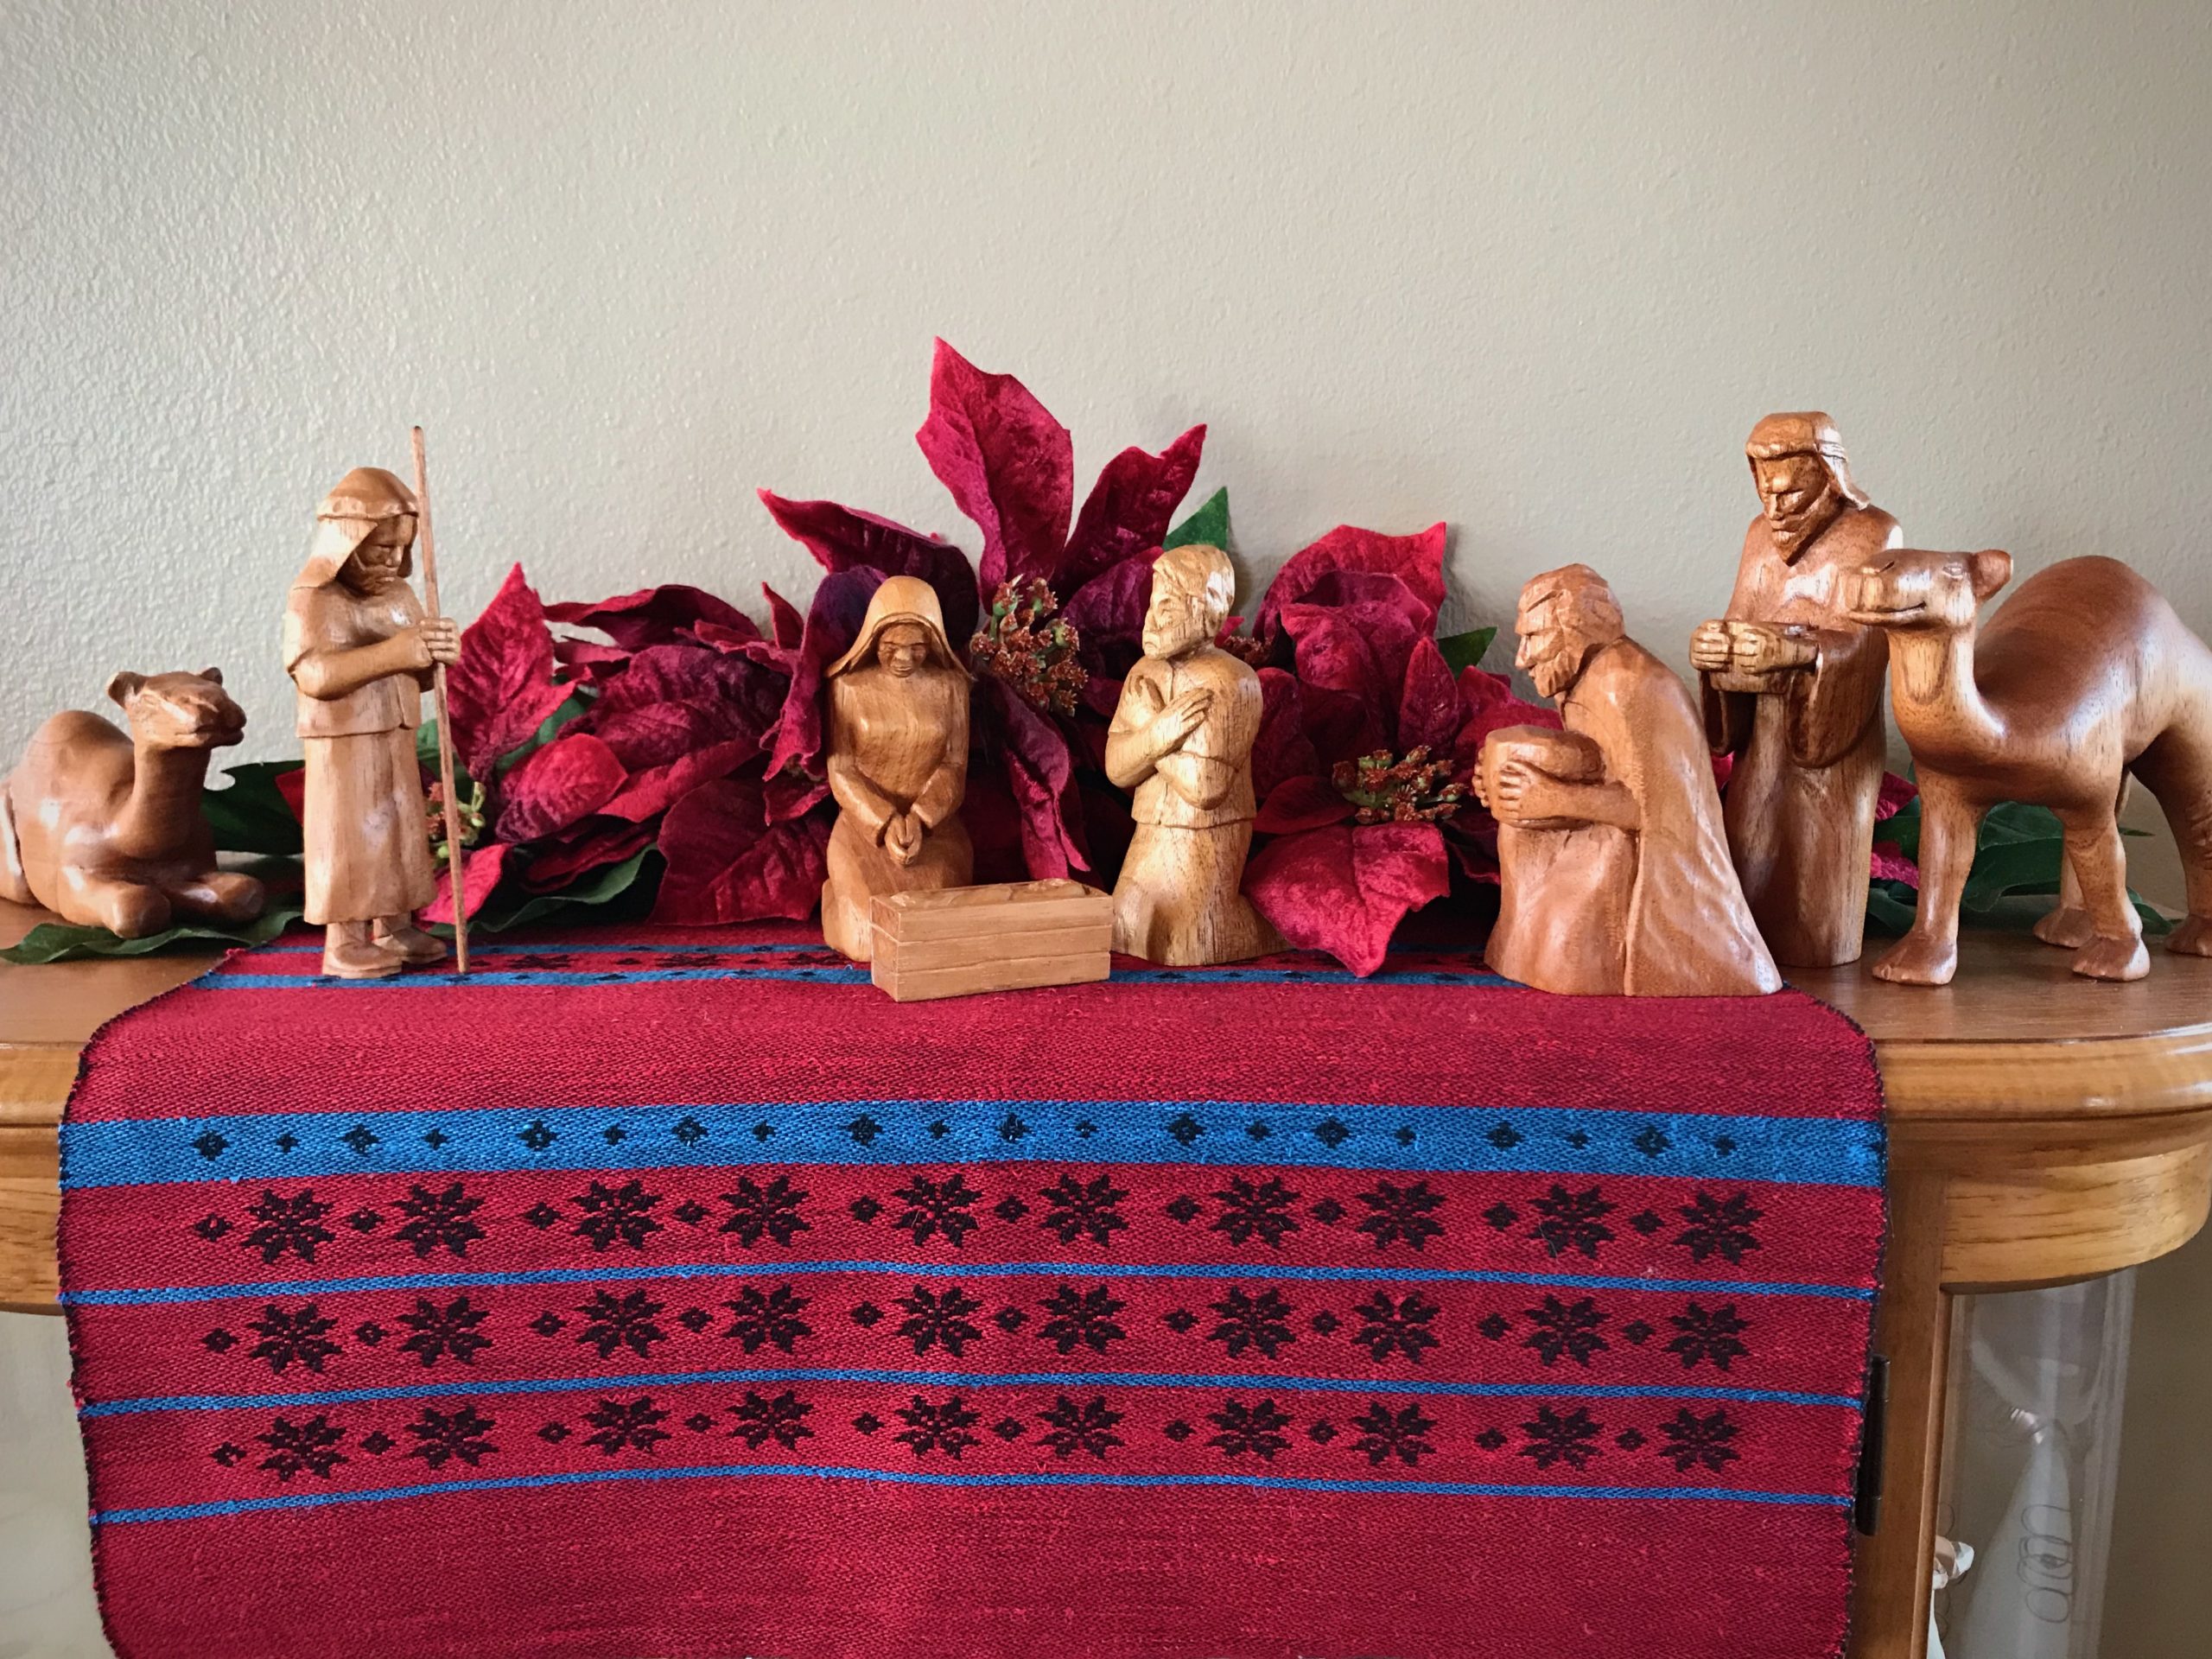
The kneeling wise man in Steve’s hand-carved Nativity reminds me of the heart posture that speaks louder than words. Bowing in humility, we bring our gifts to honor the King of kings. Little did we expect the King to come as an infant, to grow up among his subjects, to give his life for us.
How shall we end this year, and begin the next? With humble hearts, grateful for each new day—for each thread of grace woven in our lives by the Grand Weaver’s strong and gentle hands.
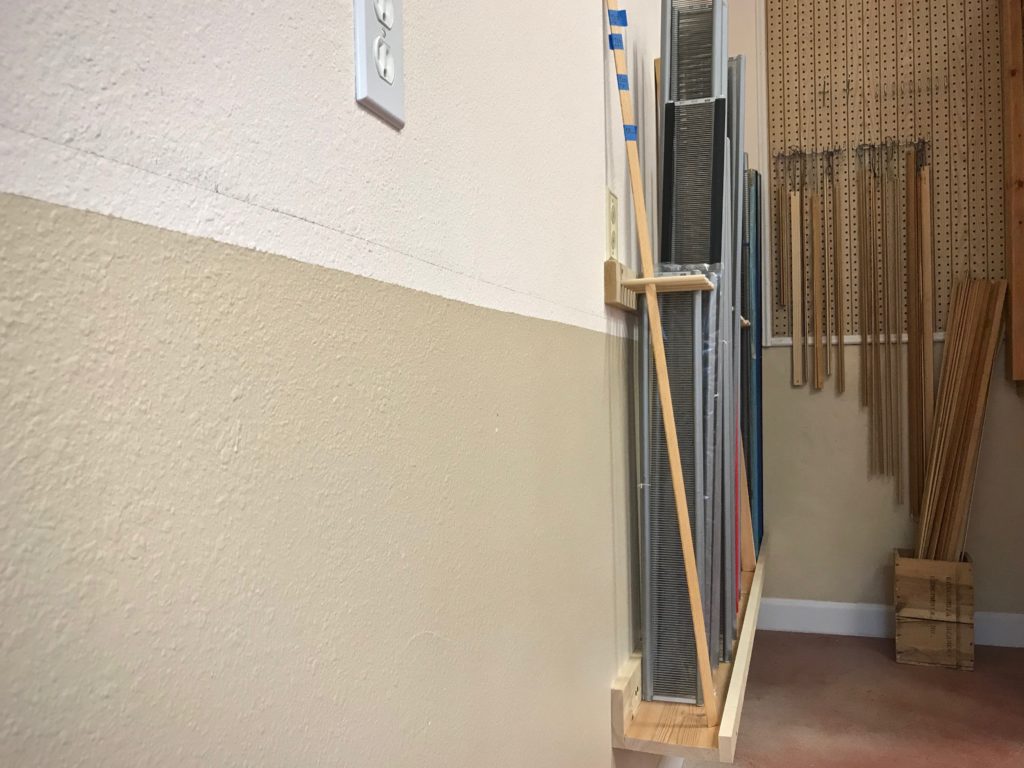
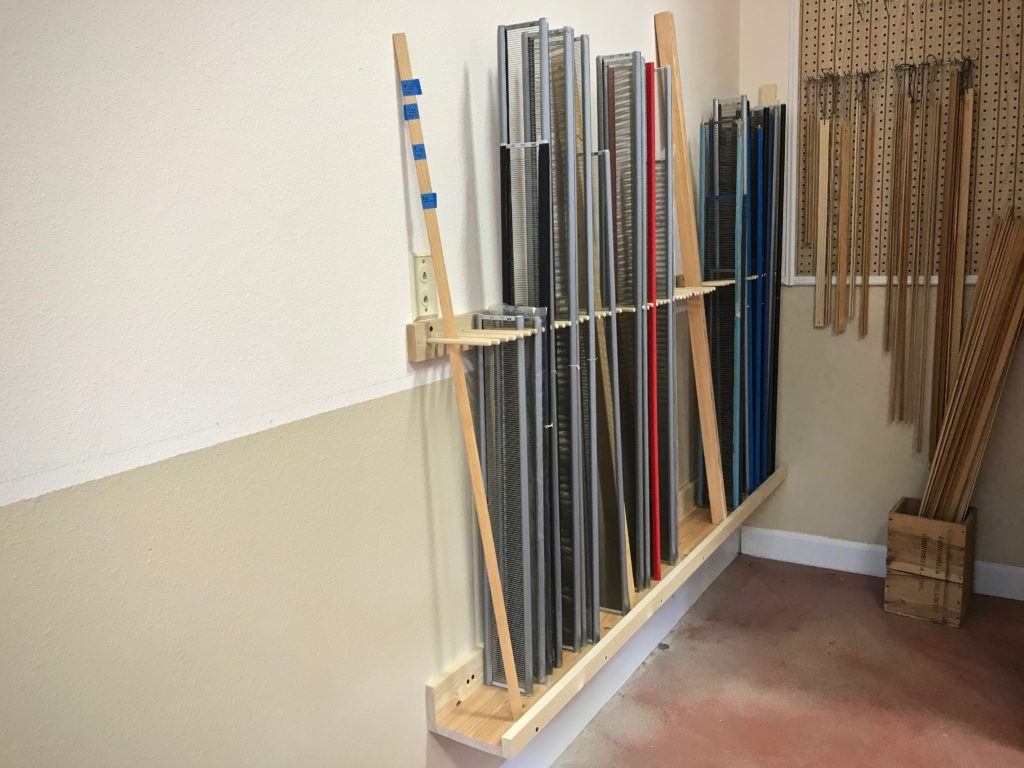
My weaving history includes very fine threads all the way to heavy-duty rug warps. As a result, I have acquired a wide selection of reeds over time. All five of my looms have beaters that will accommodate any length or height of reed. When I plan a project, one of the first things I consider is whether I have the size reed that is needed. To keep my reeds organized, I need two things. One, a simple method to manage the reeds I have, tracking the reeds as they go in and out of use. Two, a place to store all the reeds, arranged in order by dents per cm and dents per inch.
Reed Organization
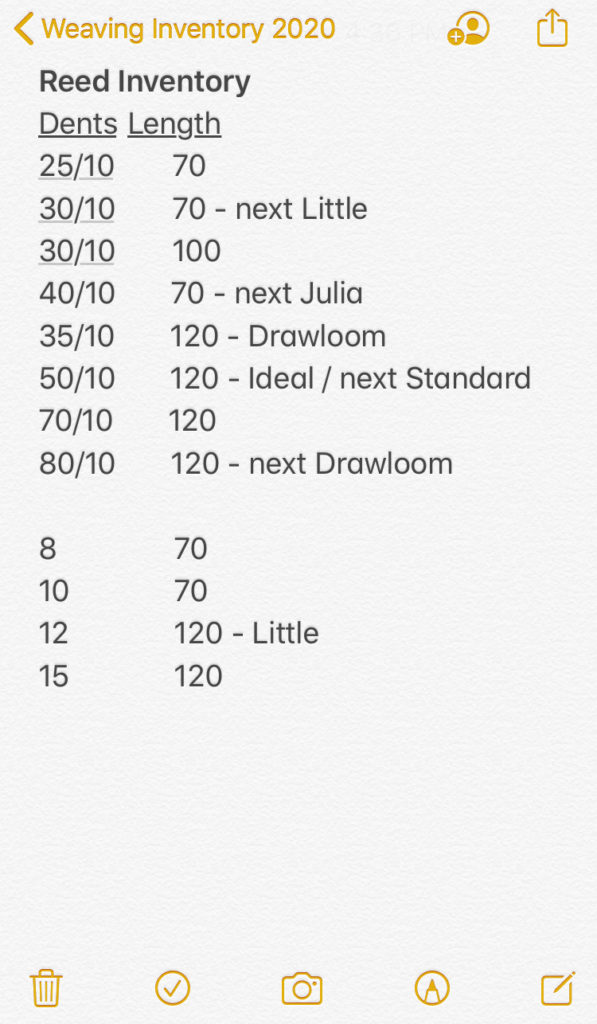
Reed Inventory
I keep a list in my Notes app on my phone with the sizes and lengths of reeds that I have. If a reed is in use, I note which loom. If a reed will be needed for a planned project, I also note that. As soon as I remove a reed from the beater at the end of a project, I put the reed away and update my Reed Inventory list.
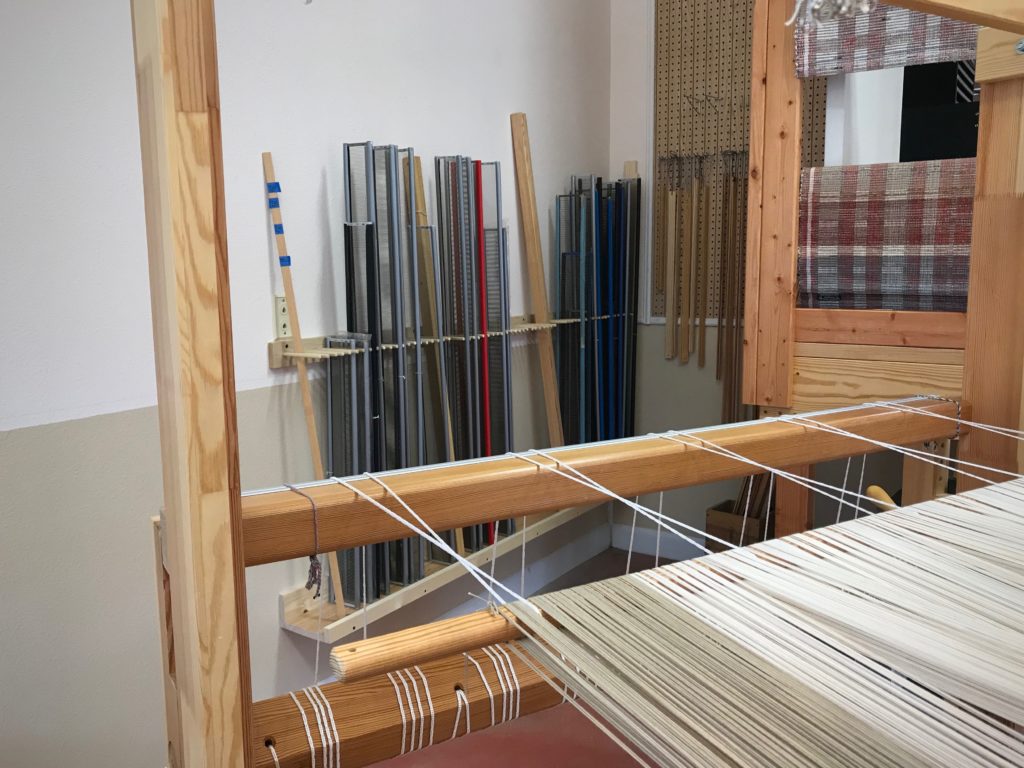
Reed Holder
Steve created a storage solution for my reeds. The holder goes along the back wall of my drawloom studio for about six feet. Here are the details, using nominal board sizes. The reeds sit on a 1” x 6” board at the base, which is supported against the wall by a 1” x 4” board. The base, with a 1” x 2” lip, sits about 12” off the ground. The reed dividers are 3/8” x 5 3/4” dowels that are sunk into a 1” x 3” board that is attached to the wall, which sets the dowels about 27” above the base.
If you would like a PDF copy of Steve’s diagram that shows all the dimensions, click HERE to send me an email request.
May you have a place for everything, and everything in it’s place.