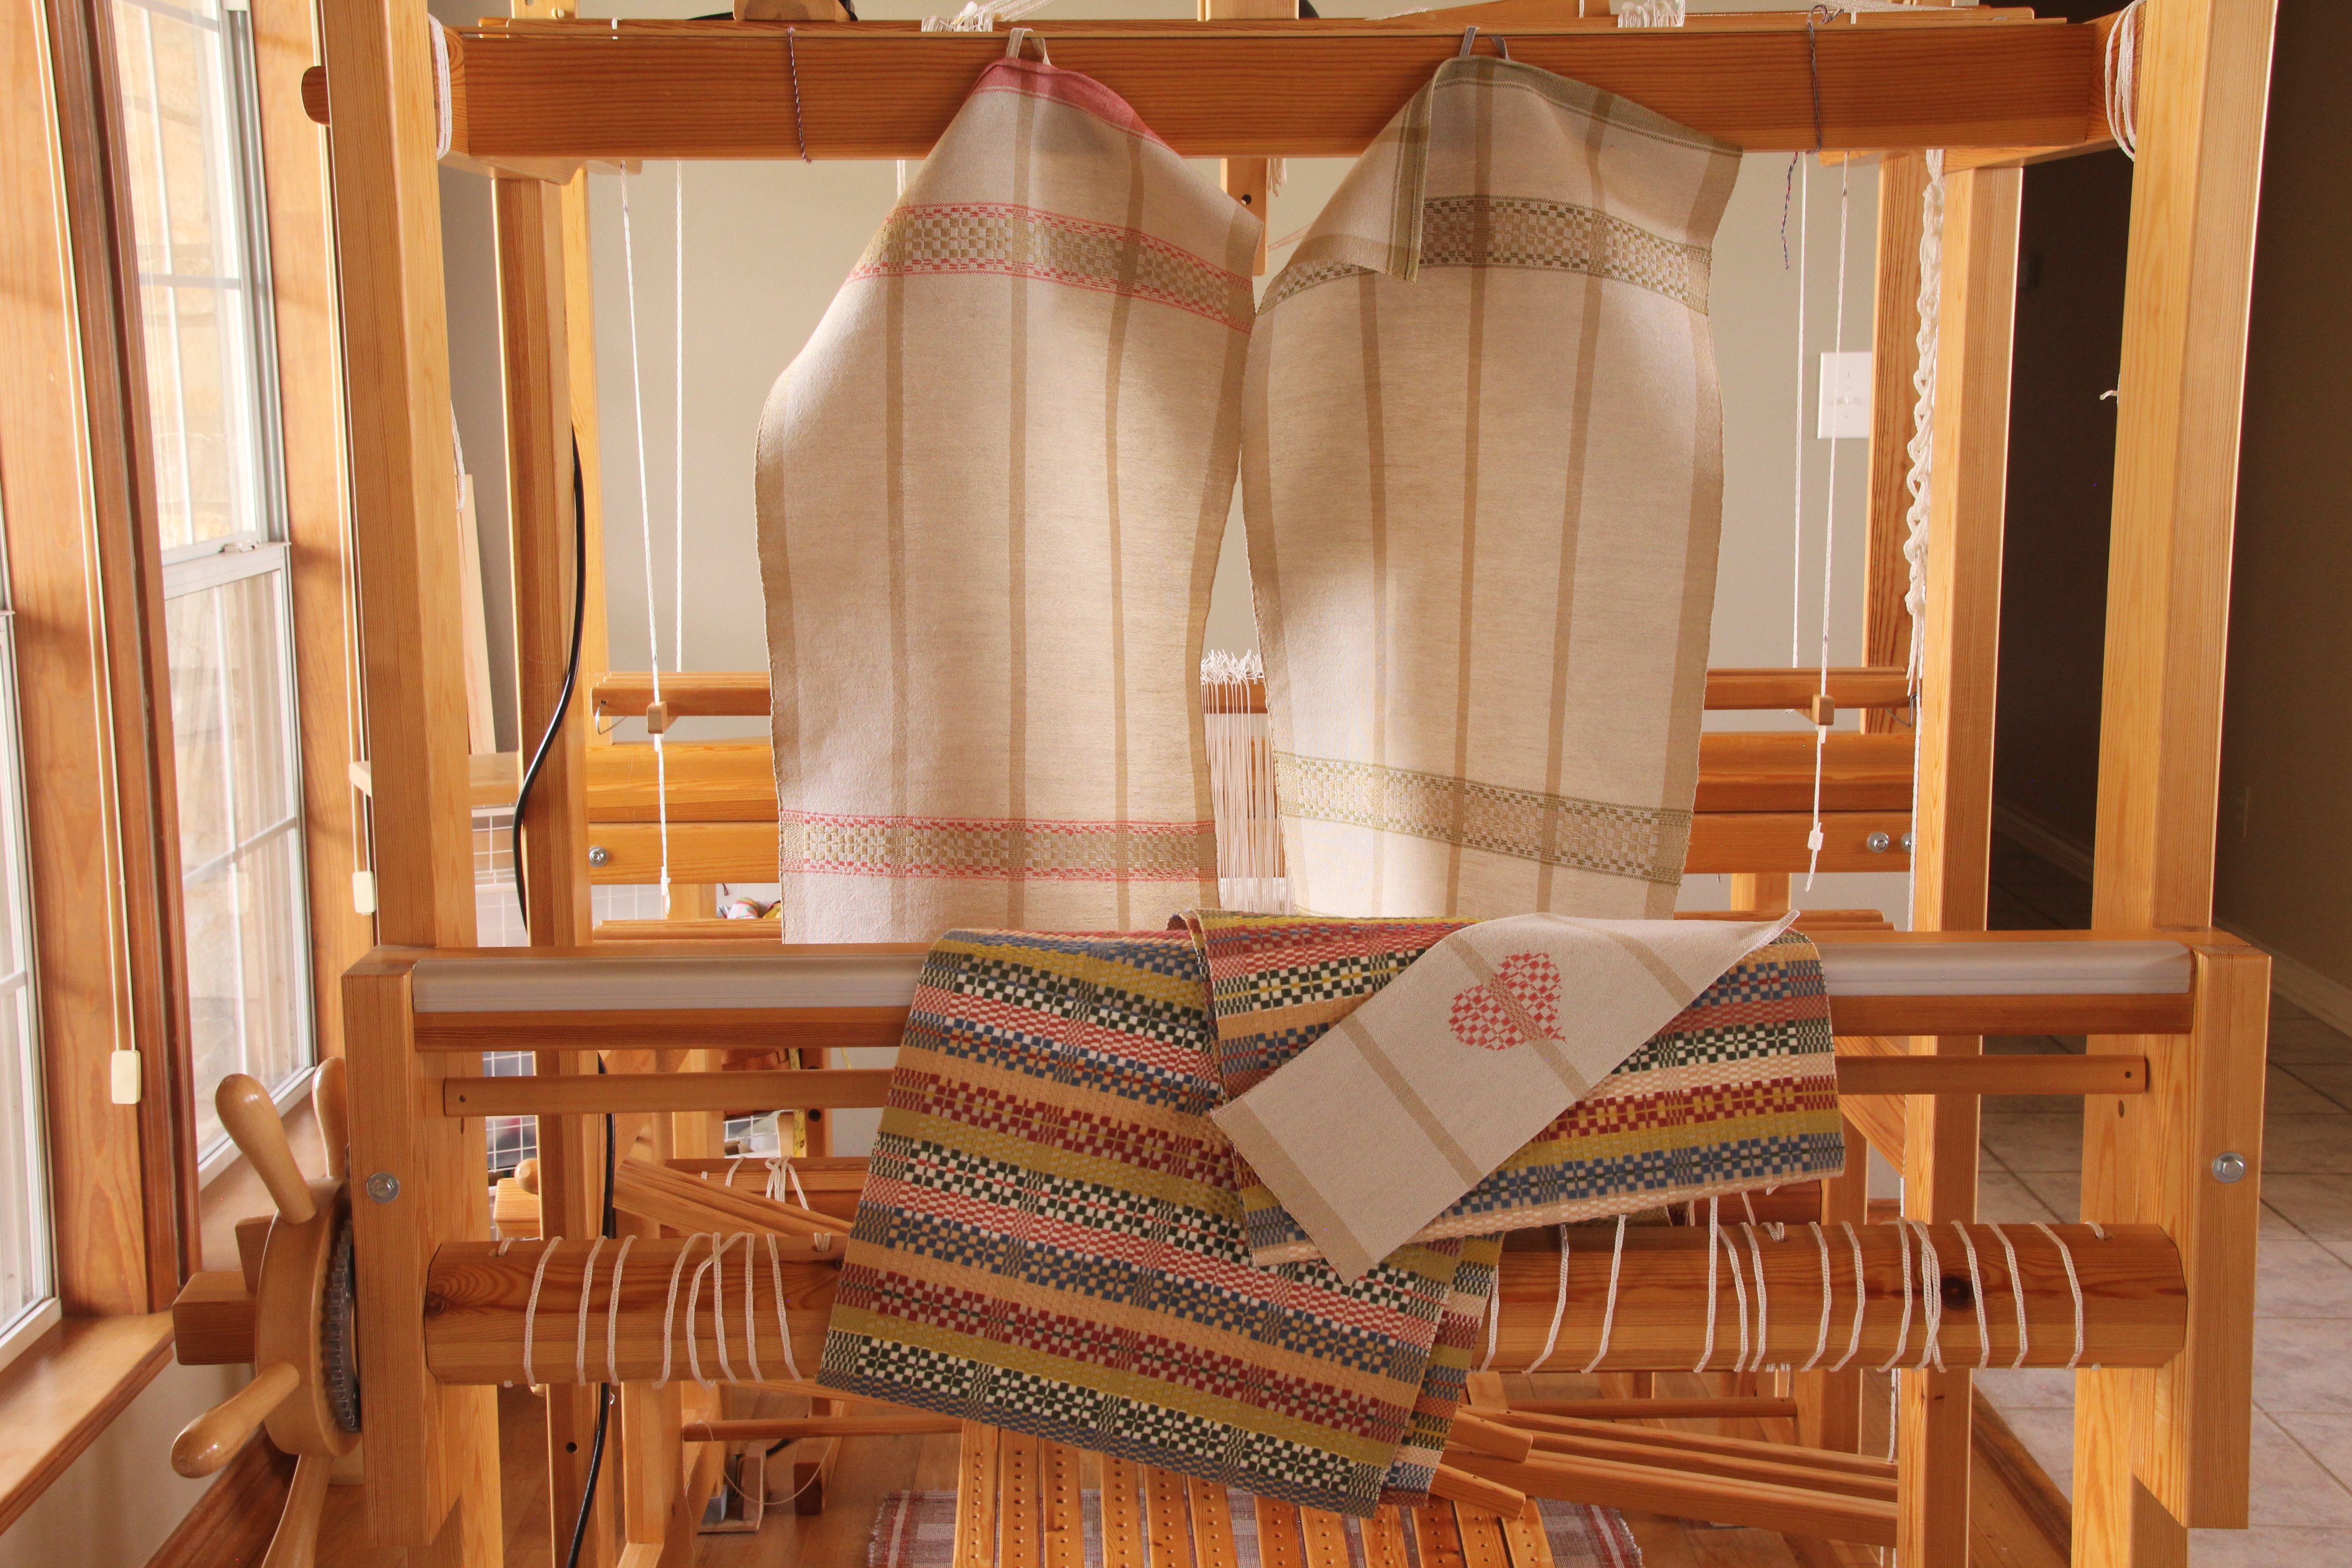
Talk about exciting! When something has been on the loom this long it is indeed exciting when the back tie-on bar comes over the back beam. I finish weaving the final “bonus” towel. And then, I use up all the quills to make a little piece of scrap fabric (because scrap fabric is always better than leftover quills). And then! Then, I start my cutting-off checklist.
After all this time, the moment we’ve been waiting for is here!
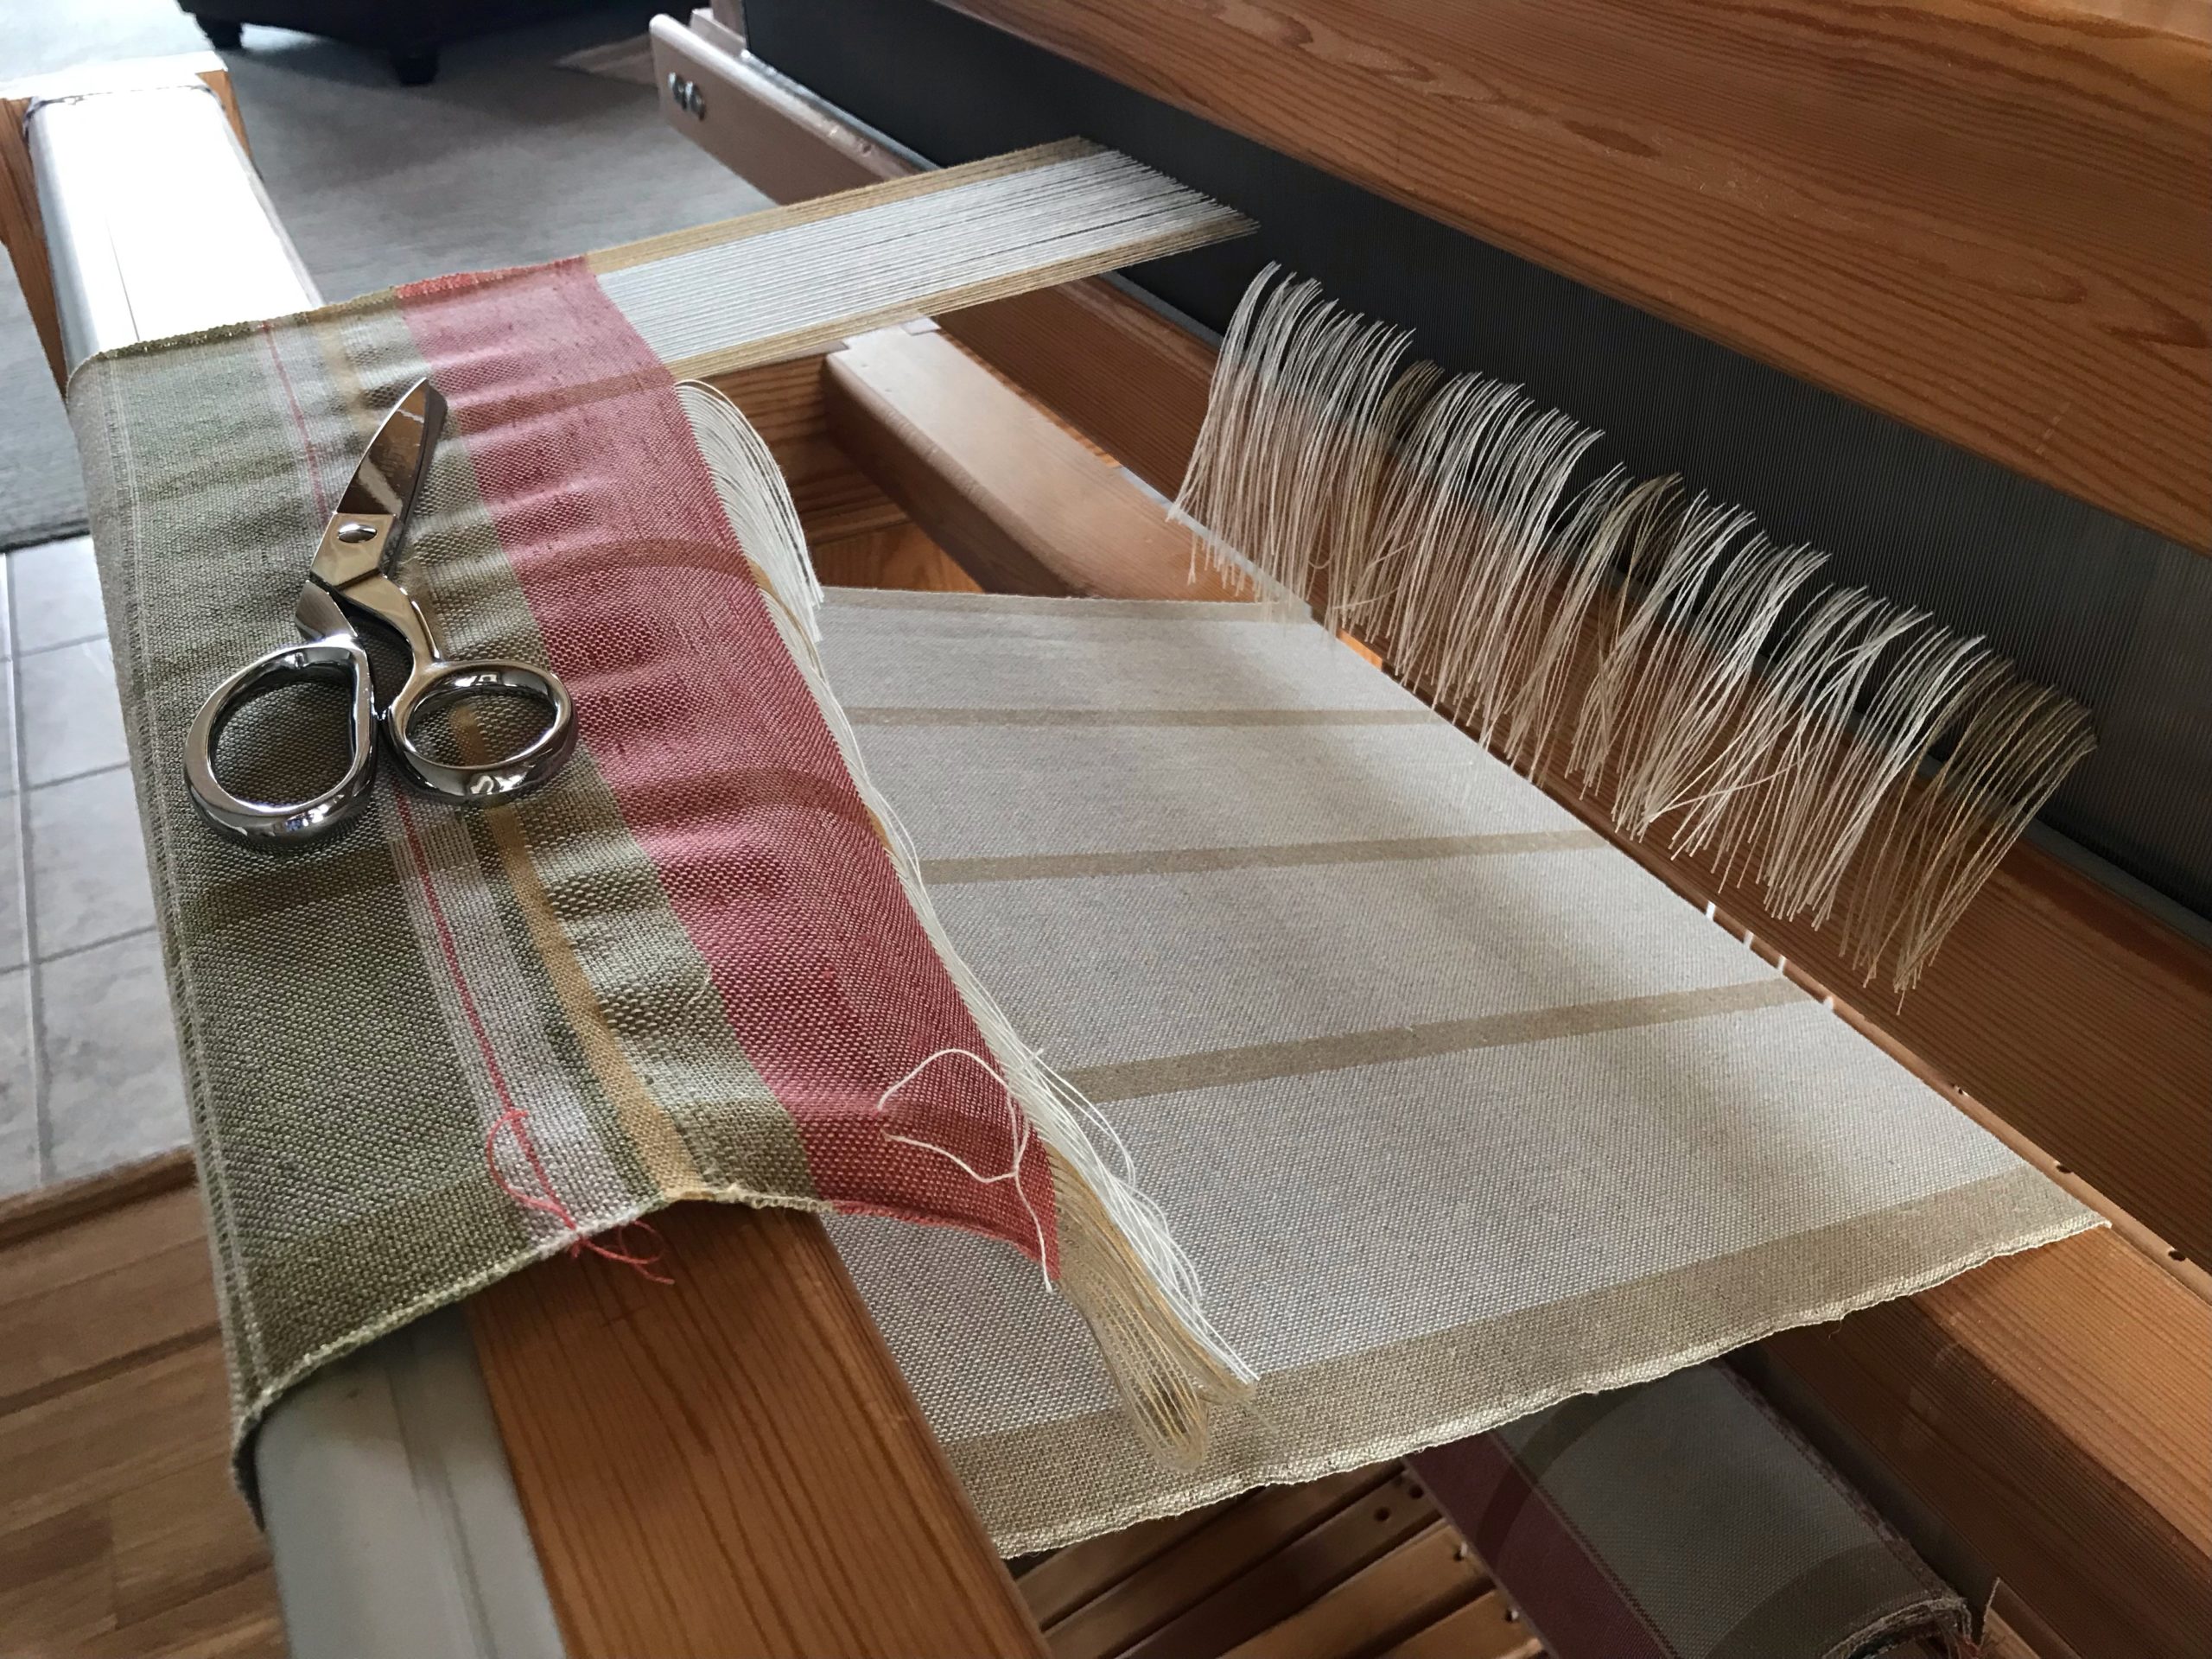
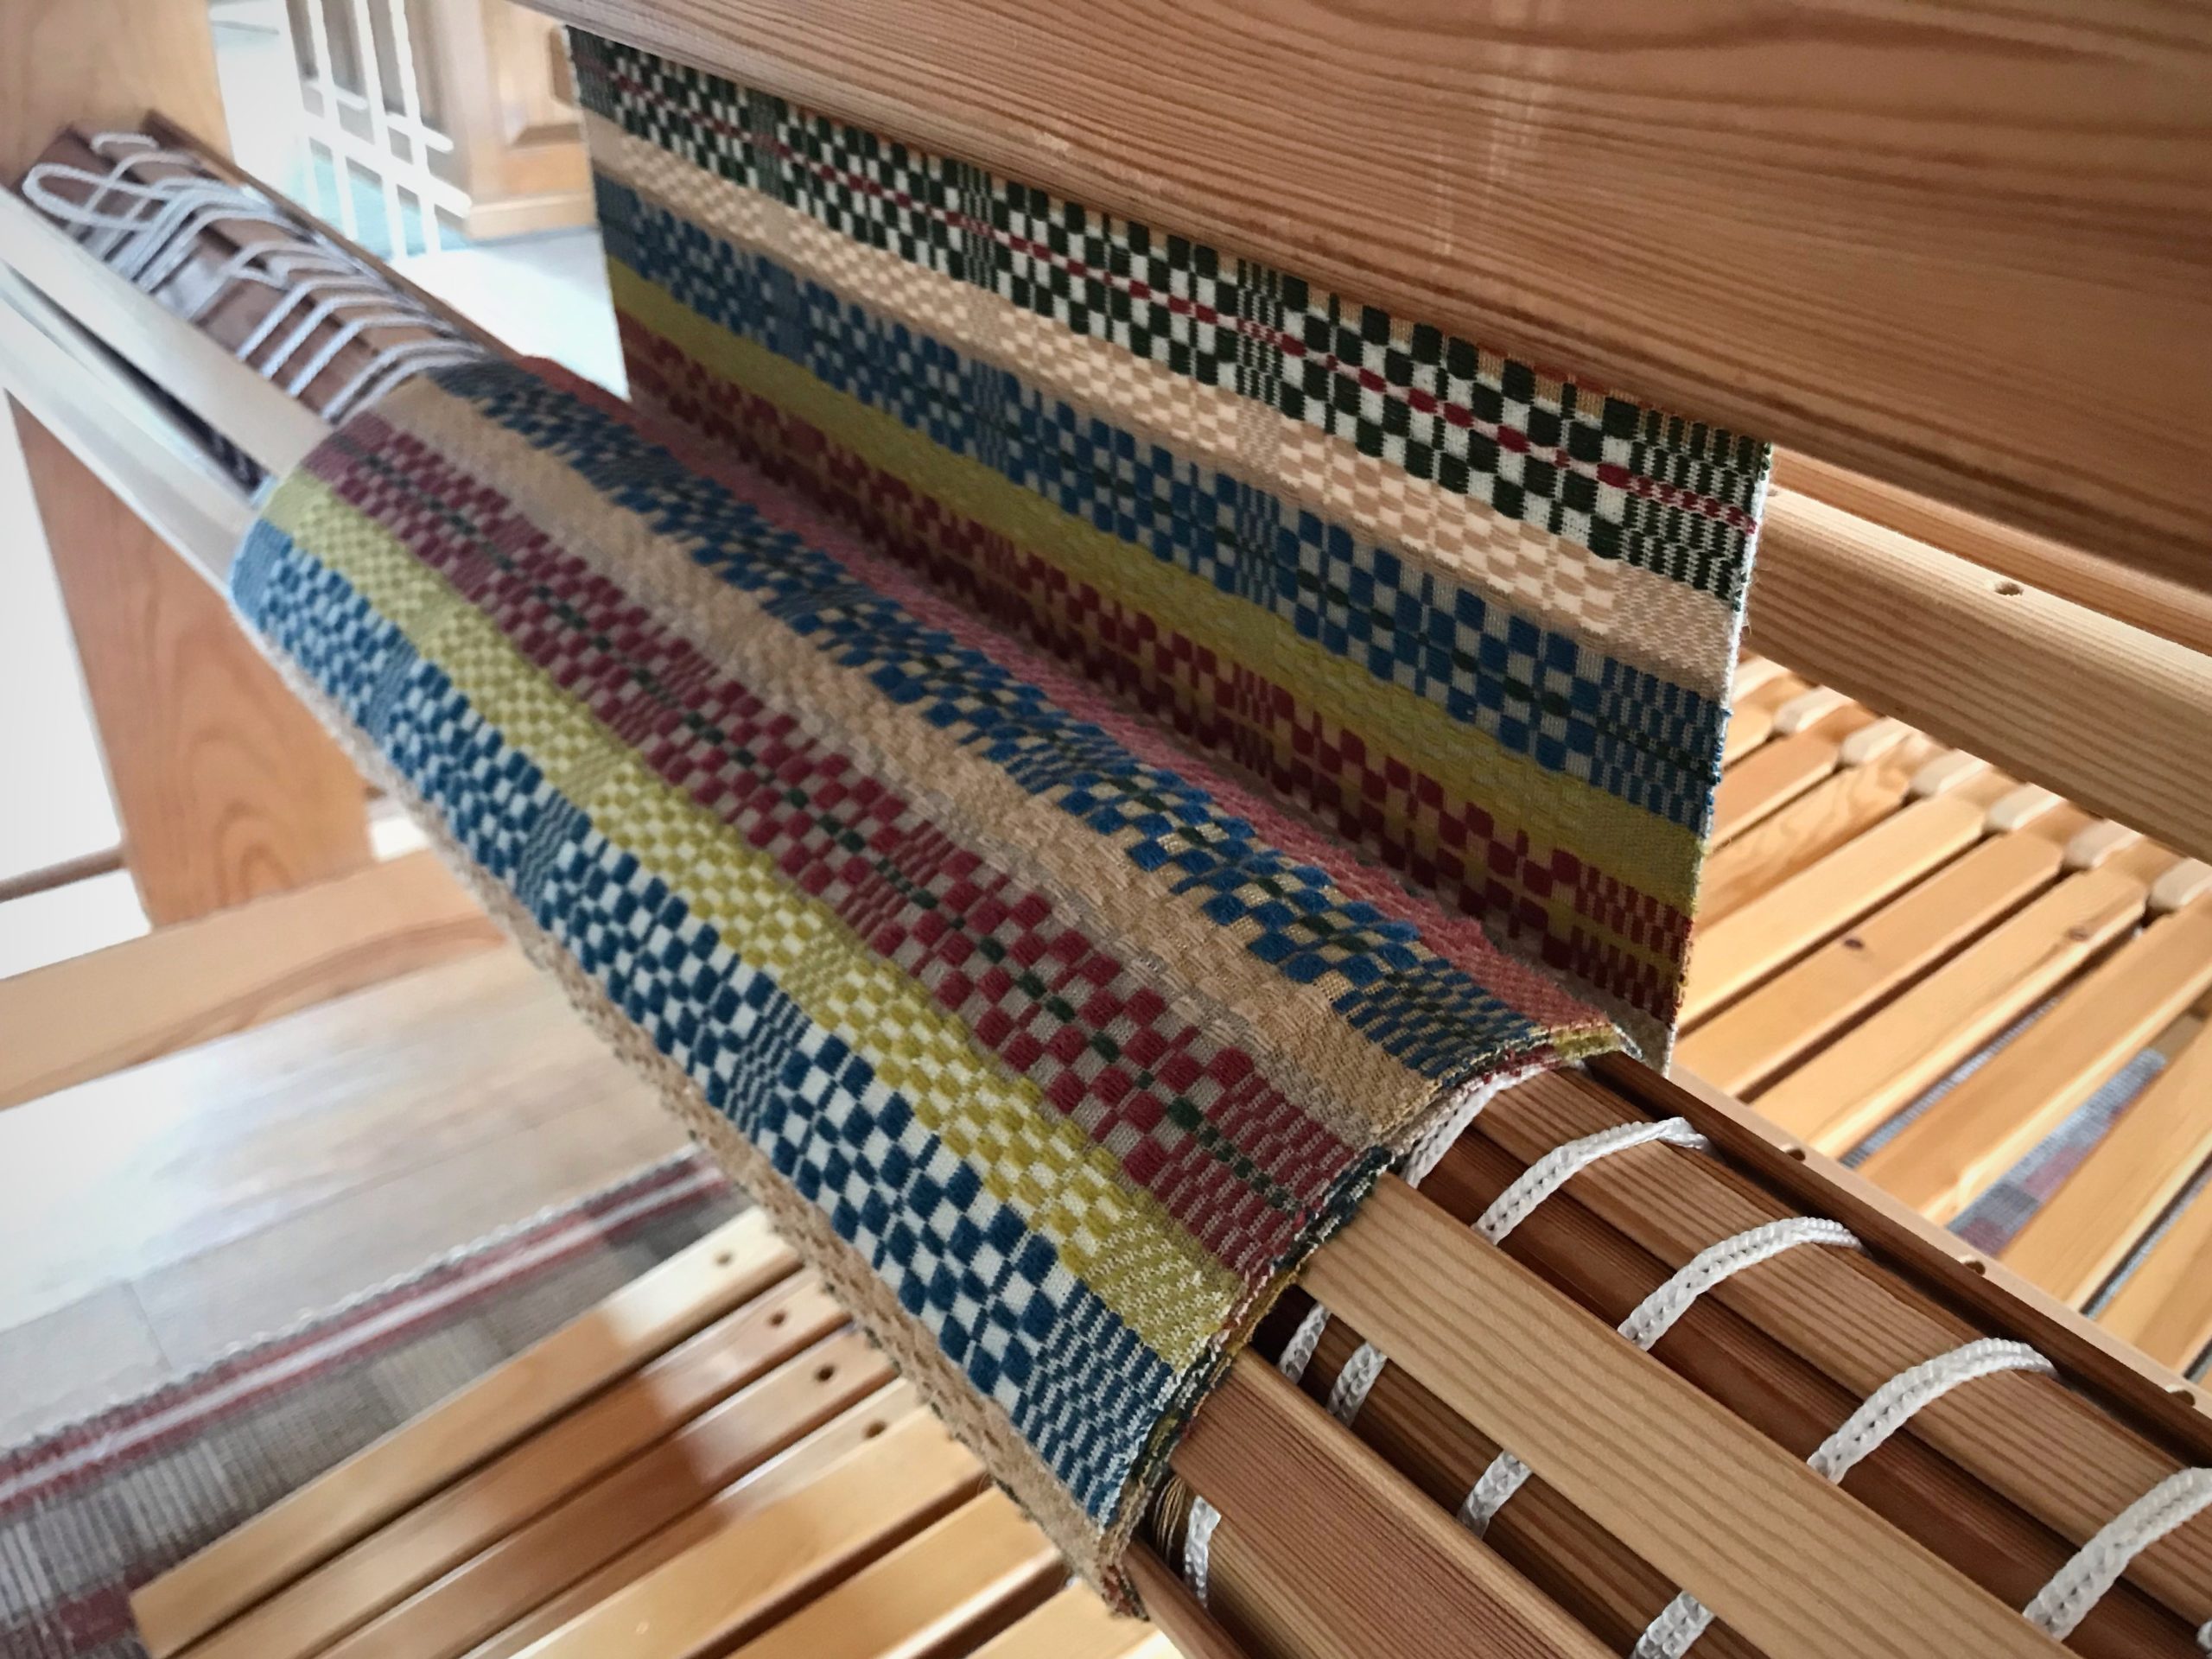
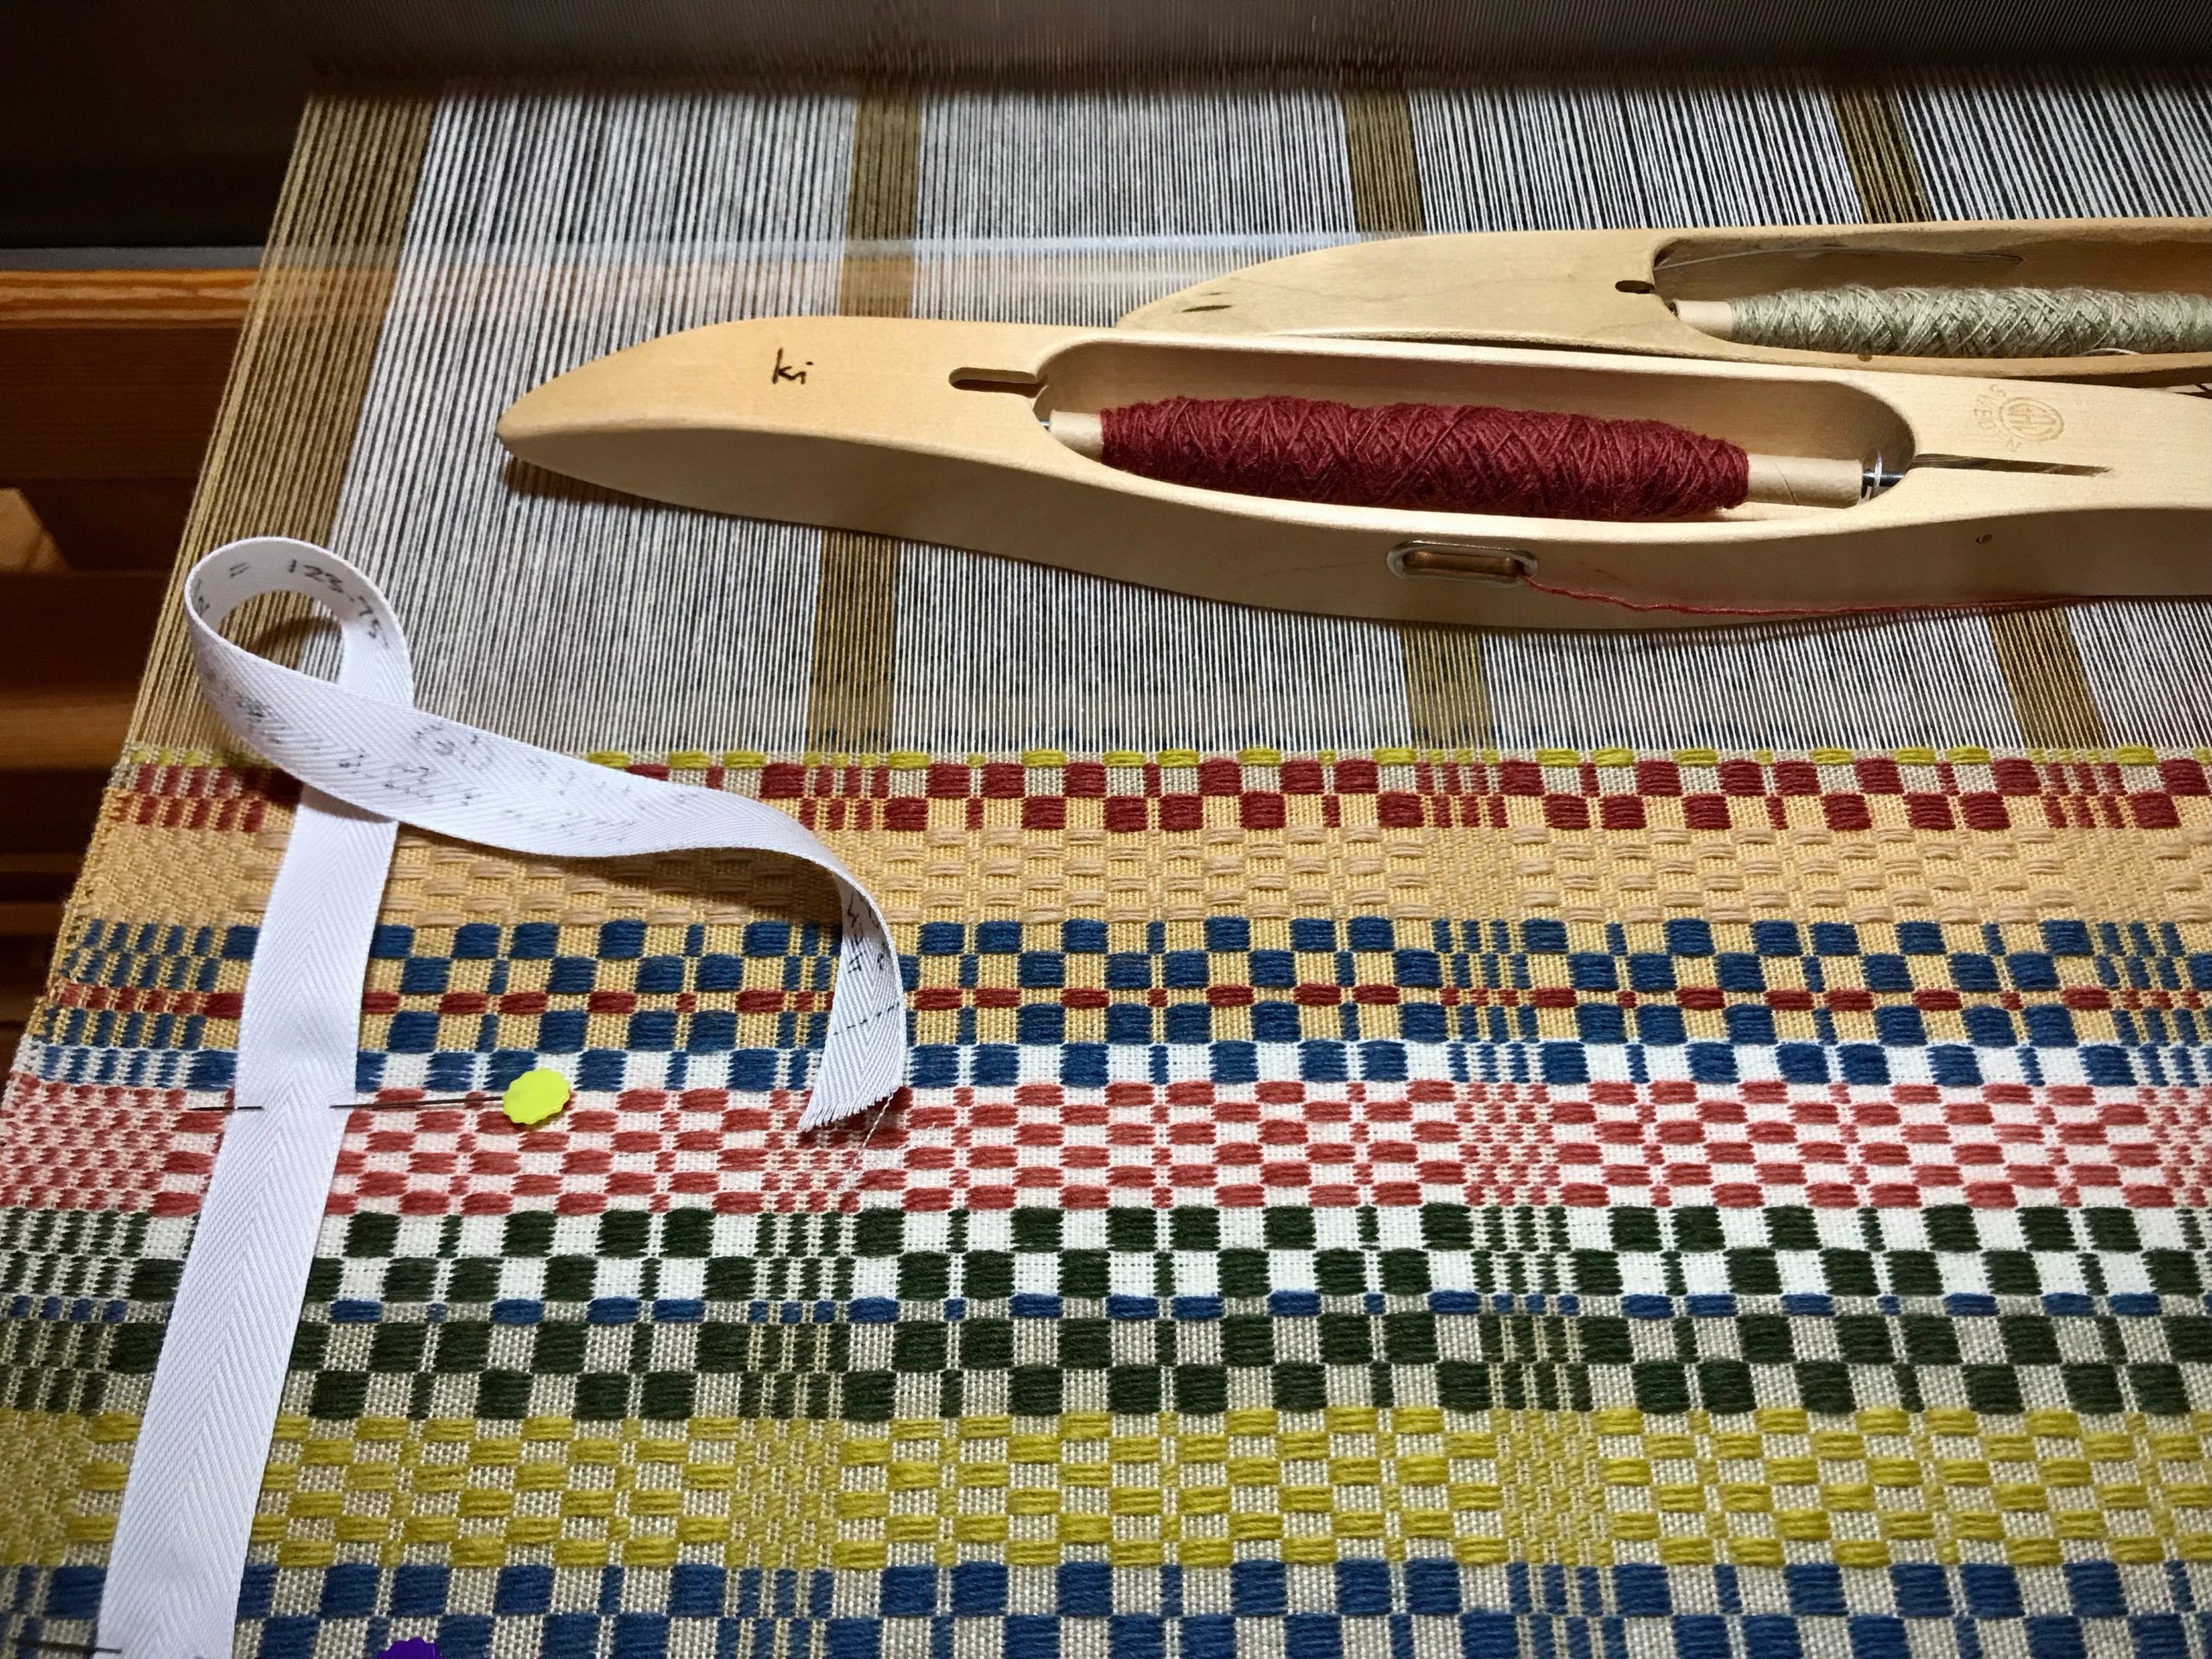
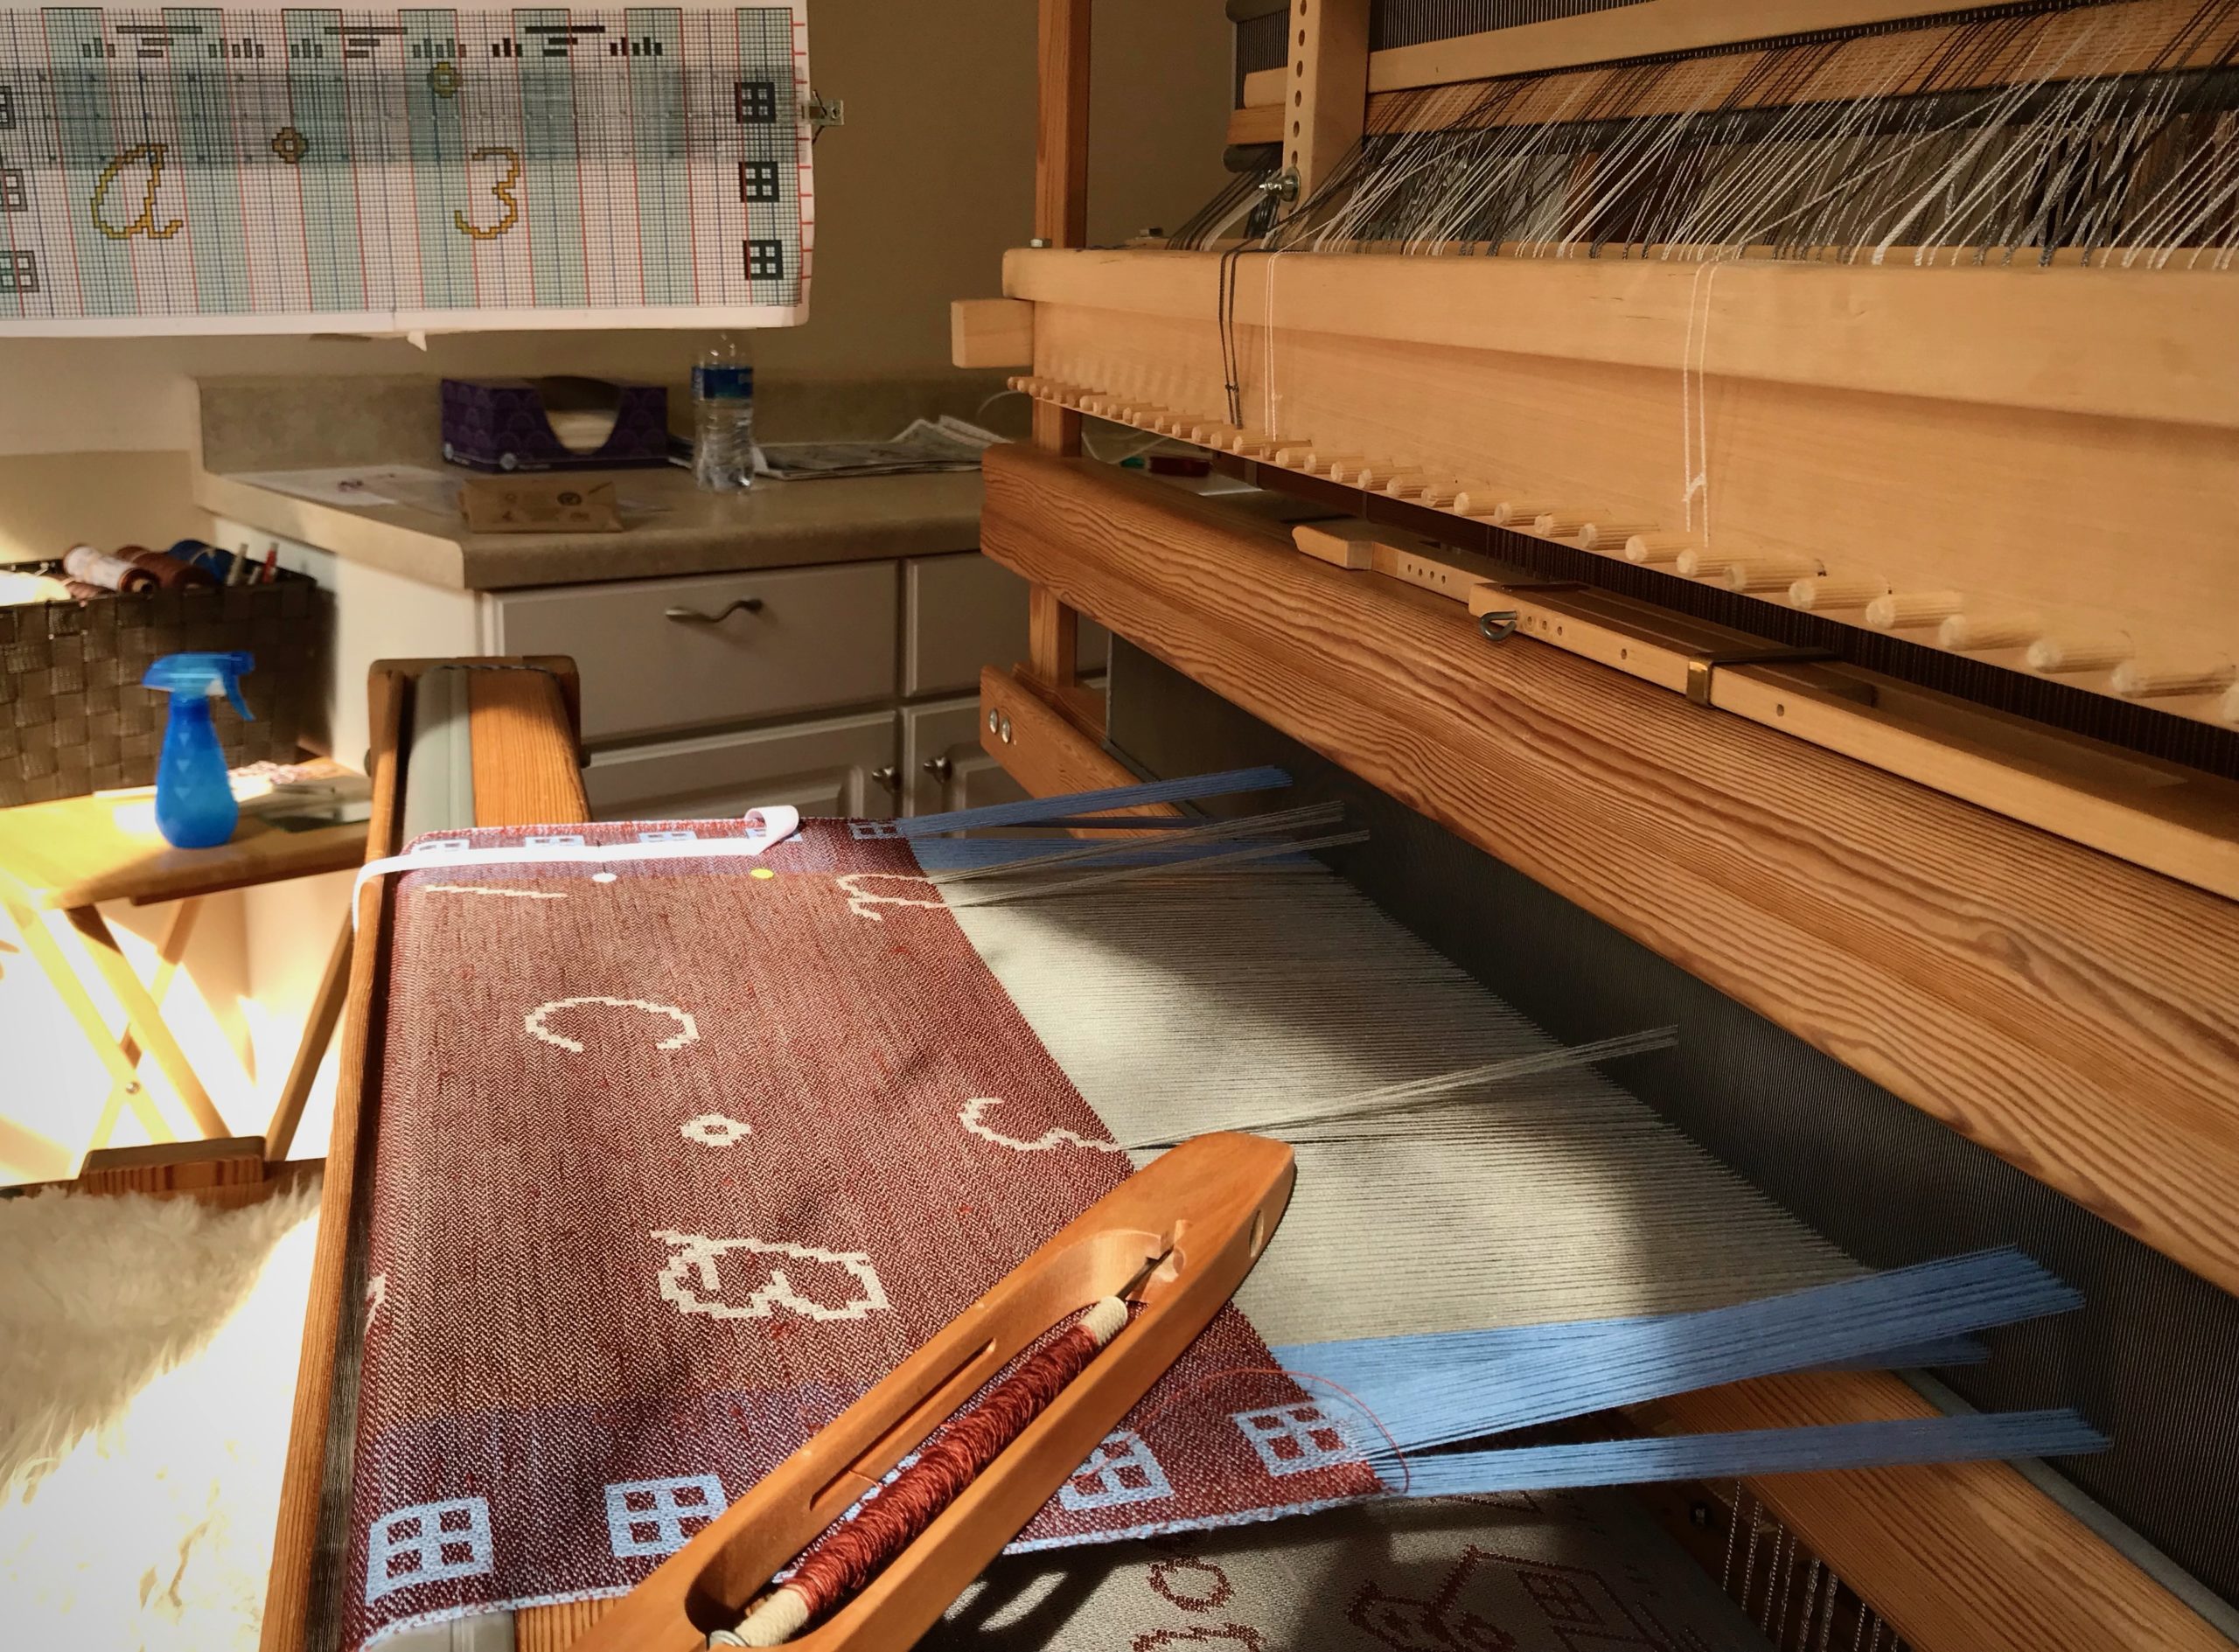
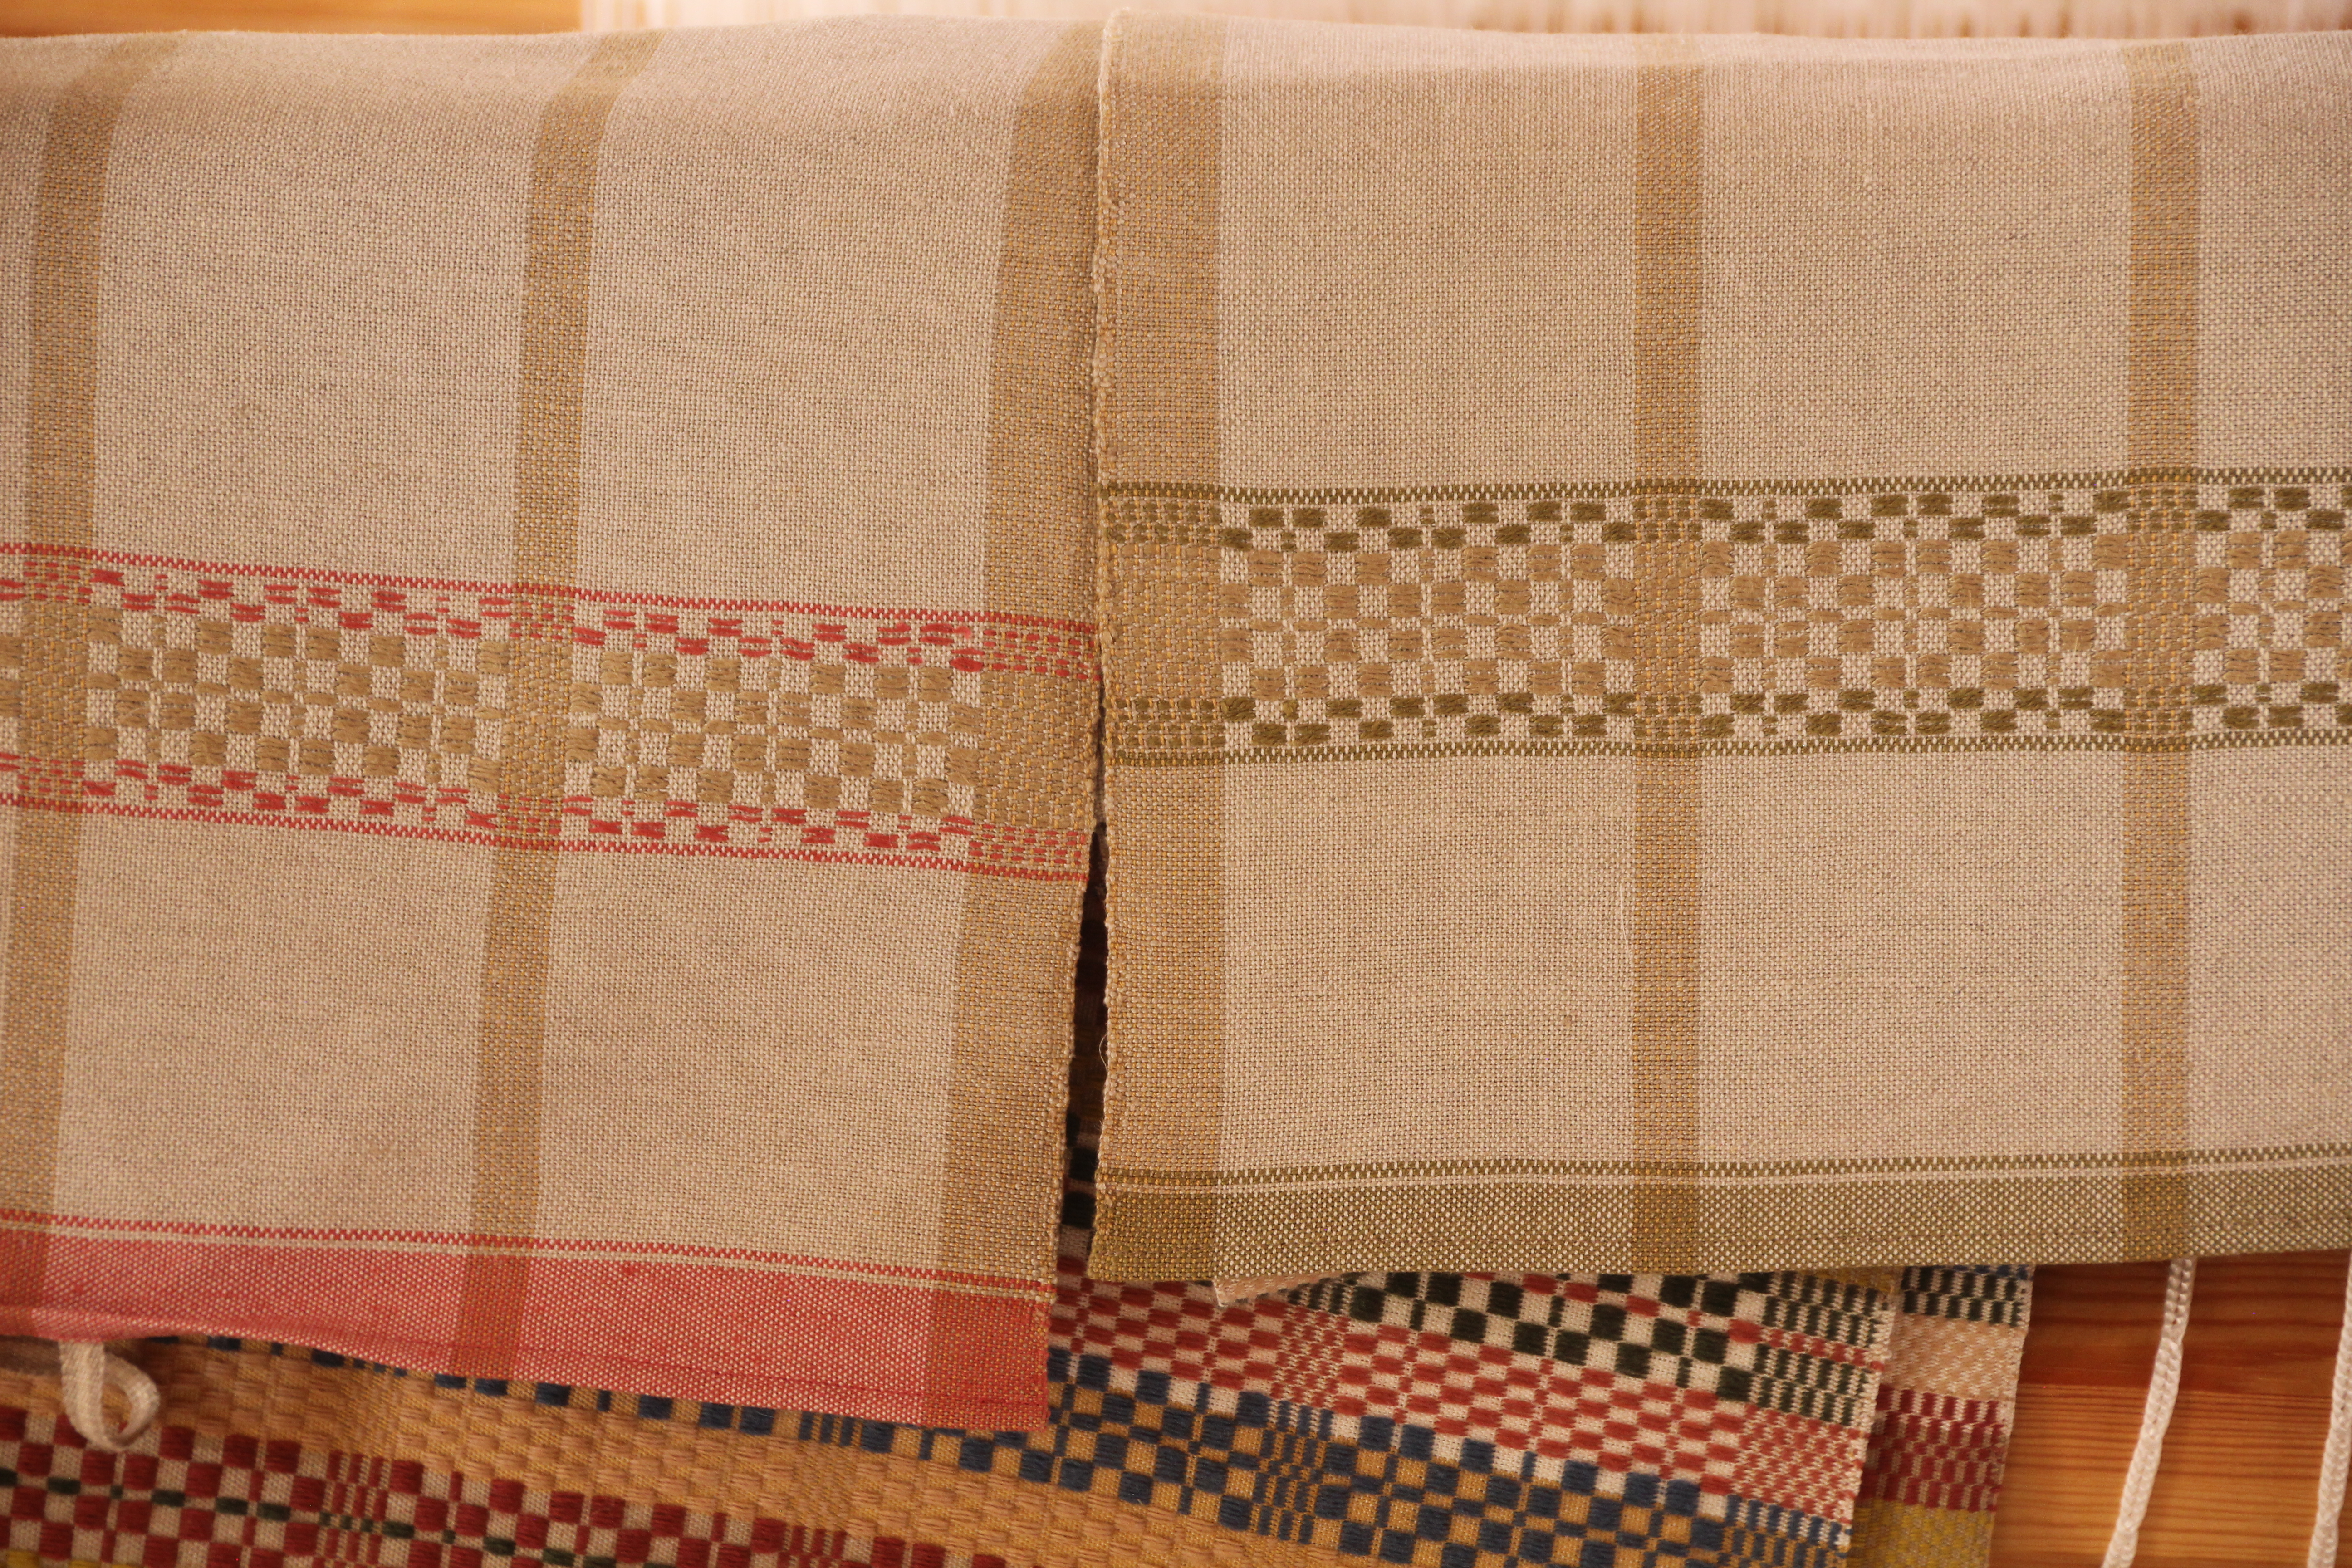
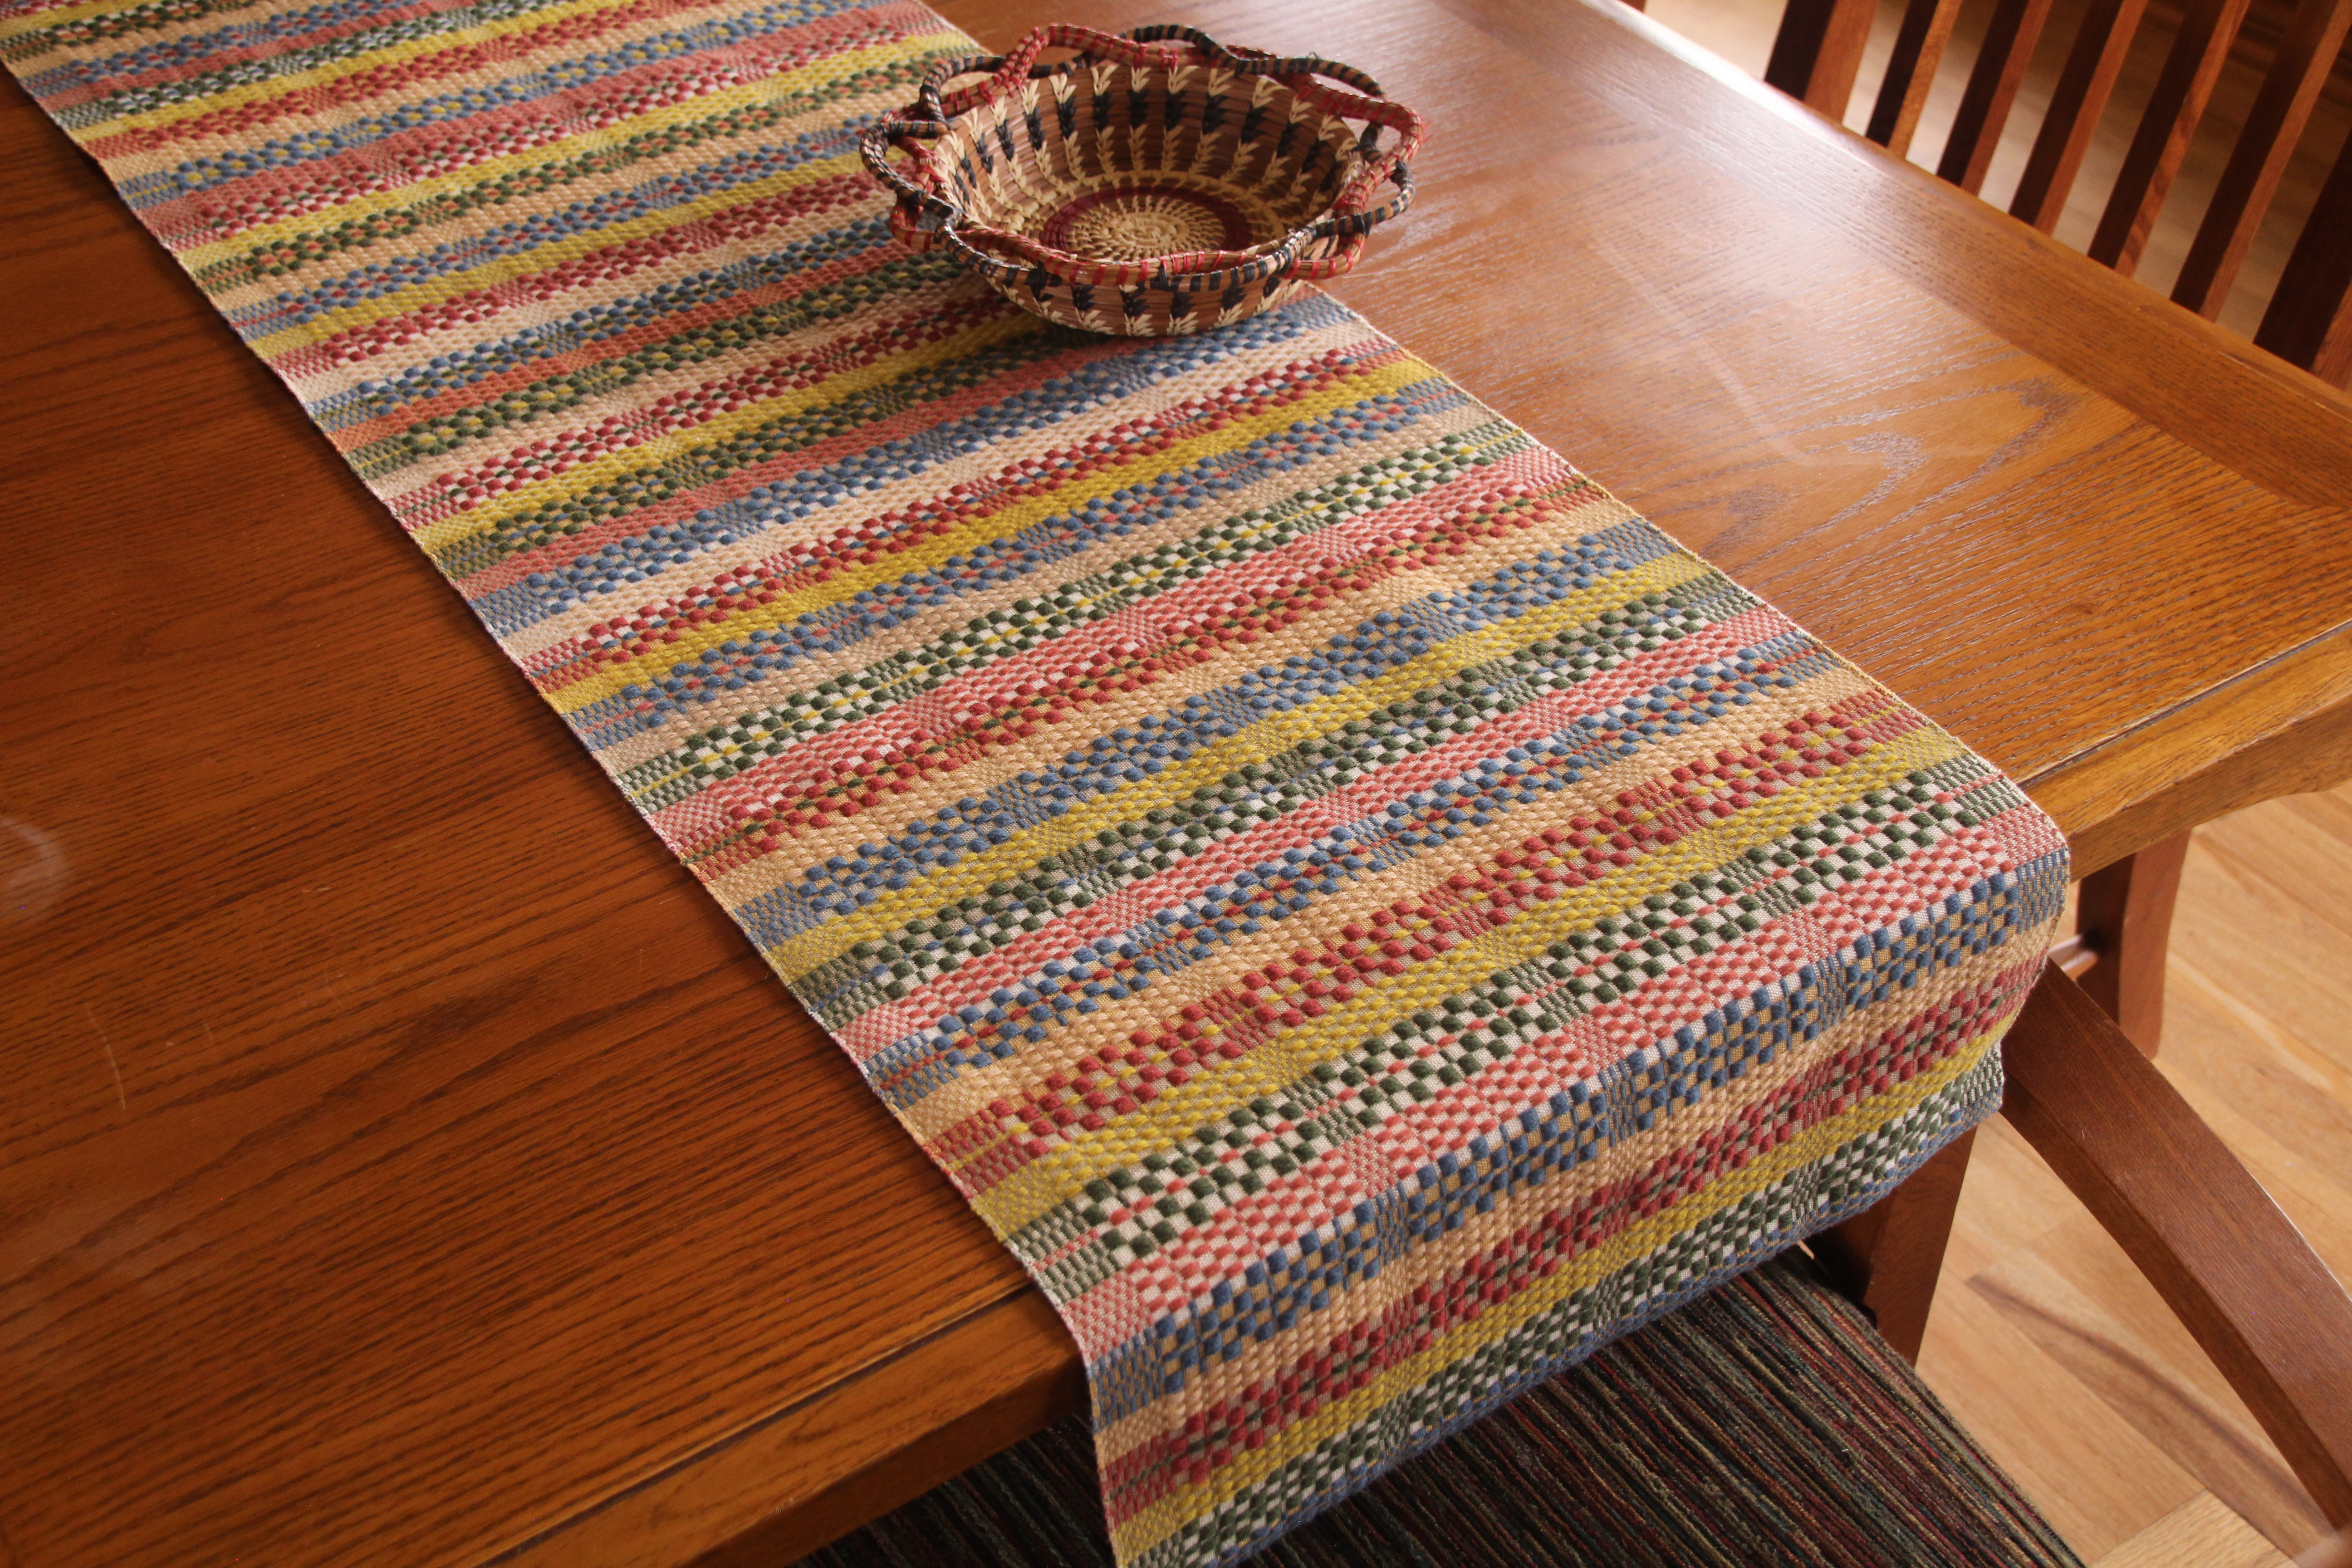
I cut off the warp. And as I unroll the cloth, I am mesmerized by the tactile intricacy that passes through my fingers–Fårö wool for the pattern weft, and 16/2 cotton for slow-as-molasses weft rep ground cloth. Finishing proves to be the easiest and quickest part of this project. I like the crisp pristine state of the monksbelt runner, so I am not going to wet finish this article. I examine for errors (none found!), wet finish the two towels, hem the table runner and towels, and press. The Priceless Monksbelt Runner now graces our dining room table.
The exceptional value of handwoven textiles makes your home a welcoming place. Time is one of our most valuable assets. That makes the textiles we create priceless!
Please enjoy this video review of weaving the Priceless Monksbelt Runner.
May the works of your hands bring exceptional value to your home.
Happy Weaving,
Karen