Quiet Friday: Handwoven Handbags

Is there such a thing as too many handbags, pocketbooks, tote bags, and purses? Of course not. Naturally, my favorite handbags are made from handwoven fabric. Linings made from remnants, handwoven bands used for shoulder straps, hidden zippers, and, of course pockets–these are the details that other people will seldom notice. Yet these are the details that make me smile every time I use one of these bags.

Handwoven handbags - with 1 minute video.
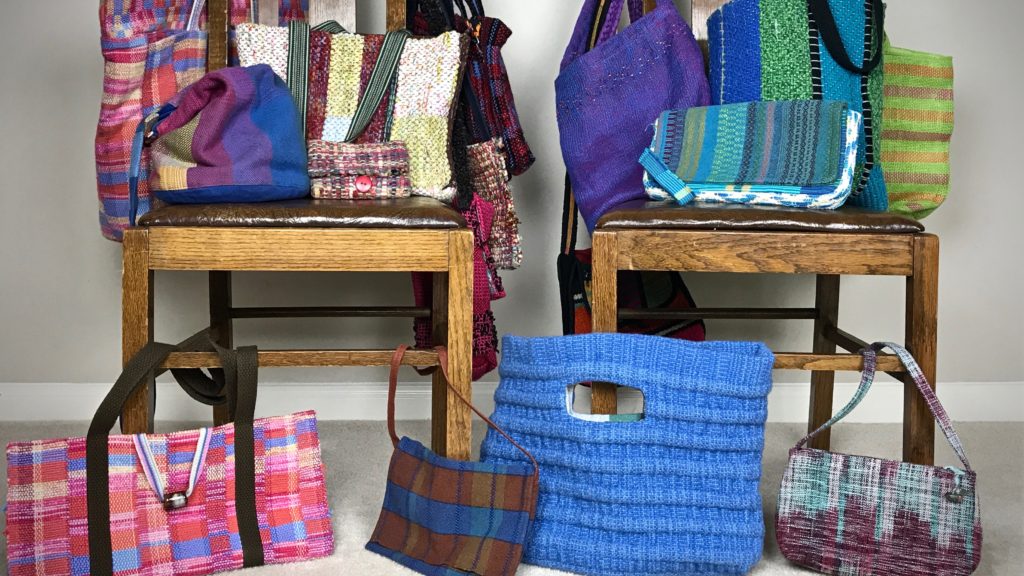
Nineteen handwoven handbags. Various sizes, fibers, styles, and purposes. And colors. Lots of colors!

…You know that box of handwoven bits and pieces? Those weavings from the end of the warp, and the “scraps” from various projects? Hmm… looks like I might need to make another handbag or two.

Here is my collection of handwoven handbags, divided into a few categories. Plus, a short video just for the fun of it!

Rigid Heddle Loom

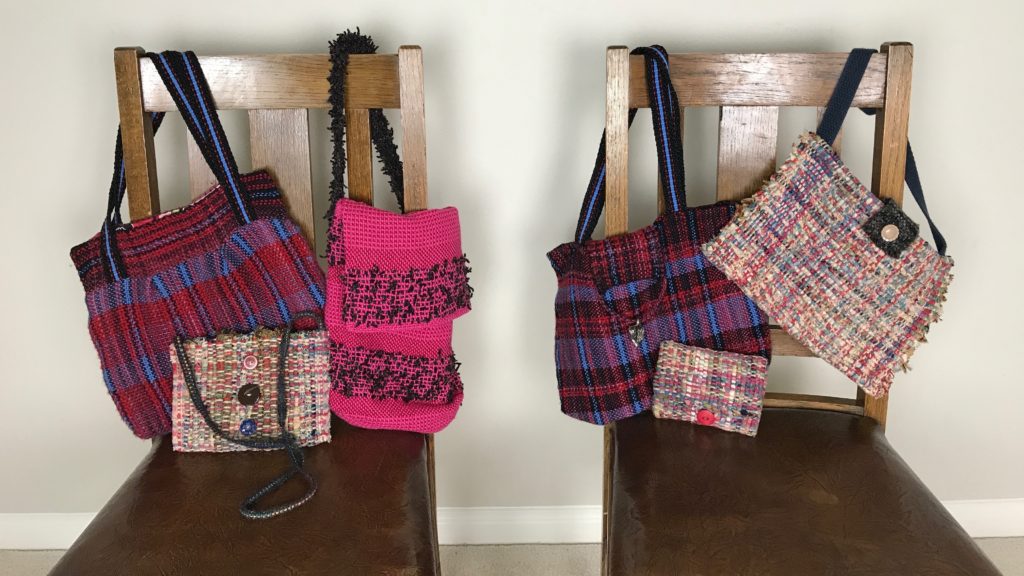
Handbags from fabric woven on a rigid heddle loom.
Wool, novelty chenille yarn, crochet cotton, and narrow fabric strips are used for weft in these bags. Buttons are from my grandma’s button jar. The small rag-weave pocketbook has a permanent home in my daily handbag. The fabric for these bags was woven on my Beka 32″ rigid heddle loom.
Handwoven fabric for handbags from the rigid heddle loom.
Linings are from remnants of other sewing projects. Bag handles were woven on my inkle loom.

Travel Finds

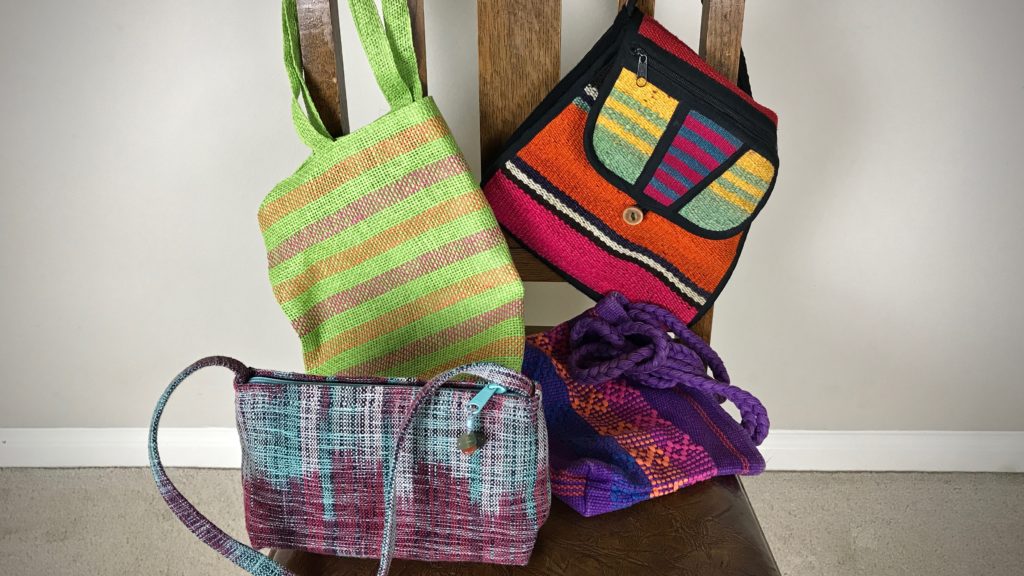
Handwoven handbags from international travels.
Trips to The Philippines yielded interesting woven goods by artisans there. The green stripe tote bag is woven from native plant material, and the teal and burgundy purse is a beautiful example of ikat weaving. The colorful weft-faced woven shoulder bag and the purple bag with lovely weft-float patterning came from travel to Chile.

Project Carriers

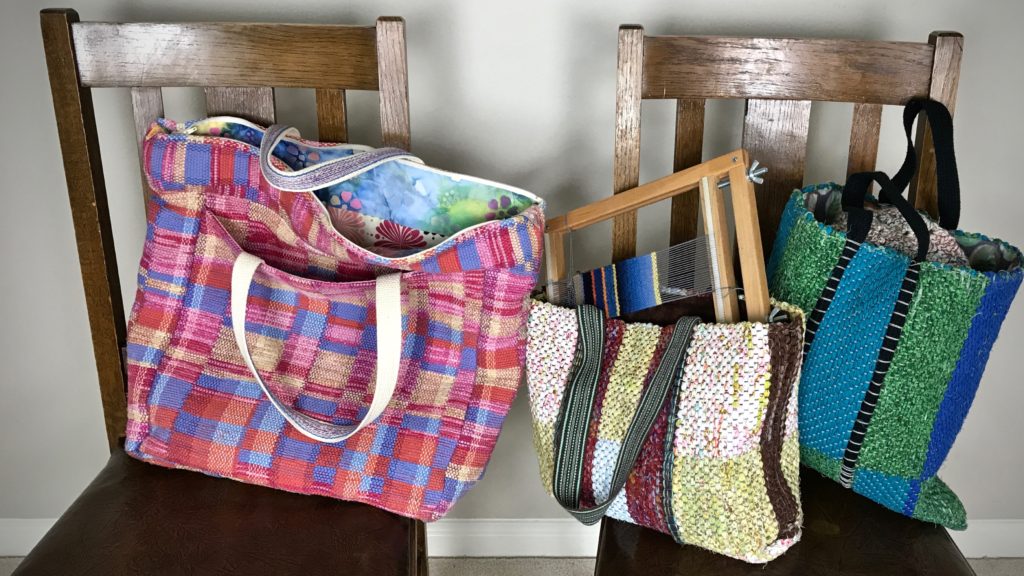
Handwoven project bags.
Large tote bag, woven with 1/4″ fabric strips for weft, carries my “show and tell” when I go to my weaving study group. It’s known as the “Mary Poppins Bag.” Rag-rug bag in the center has straps, woven on the band loom, that were woven into the bag. This bag carries my portable tapestry weaving. The rag rug bag on the right carries my one-and-only crochet project.

Special Use

Handwoven handbags.
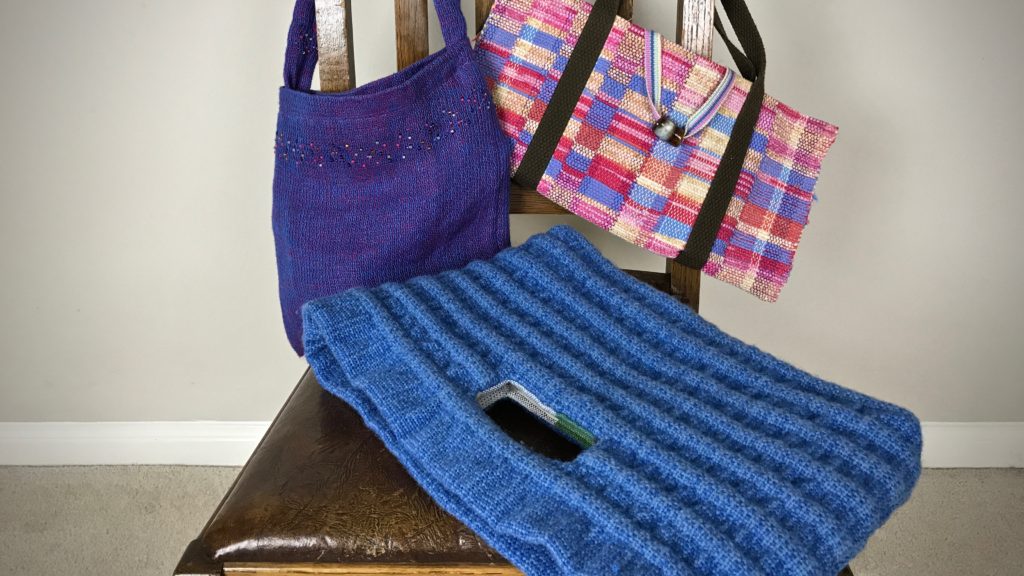
Linen bag has beads woven into the fabric. It is lined with satin. Rag-weave purse is simply a flat piece folded in half, with lining and pockets added to the inside. The blue bag is wool, woven in a weft-cord technique. The fabric was partially fulled to produce the ribbed texture.
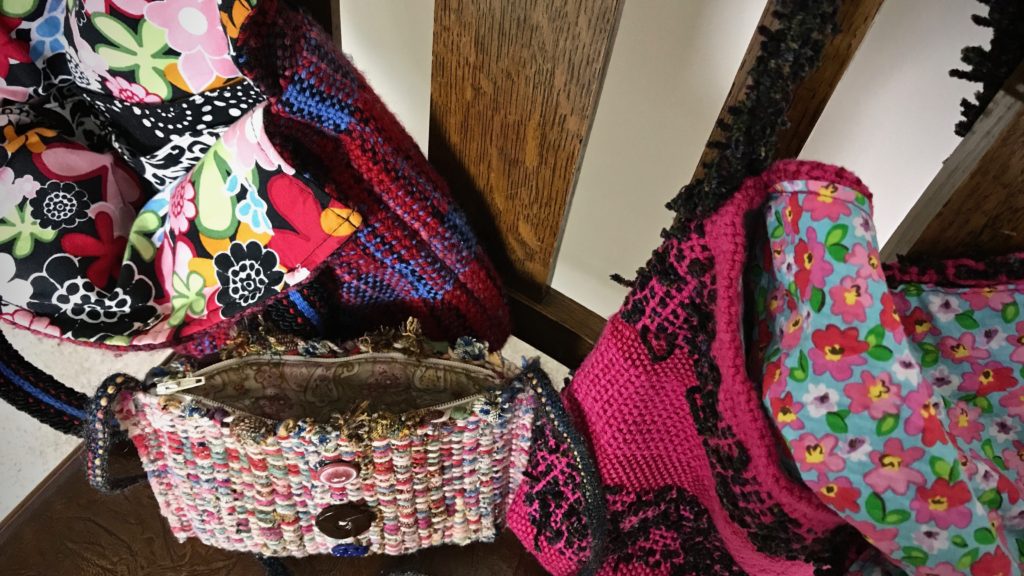
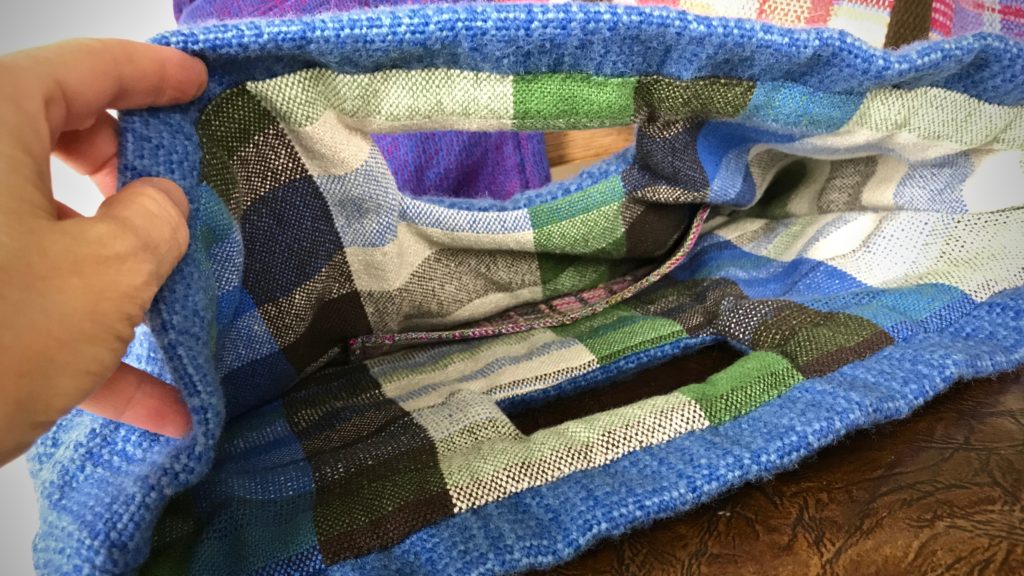
Handwoven lining in a handwoven purse.
Lining for this bag is made from extra fabric after weaving cotton/linen fabric for cushions, and the pocket is a remnant from a two-block twill tencel scarf.

Daily Use Favorites

Favorite handwoven handbags! Karen Isenhower
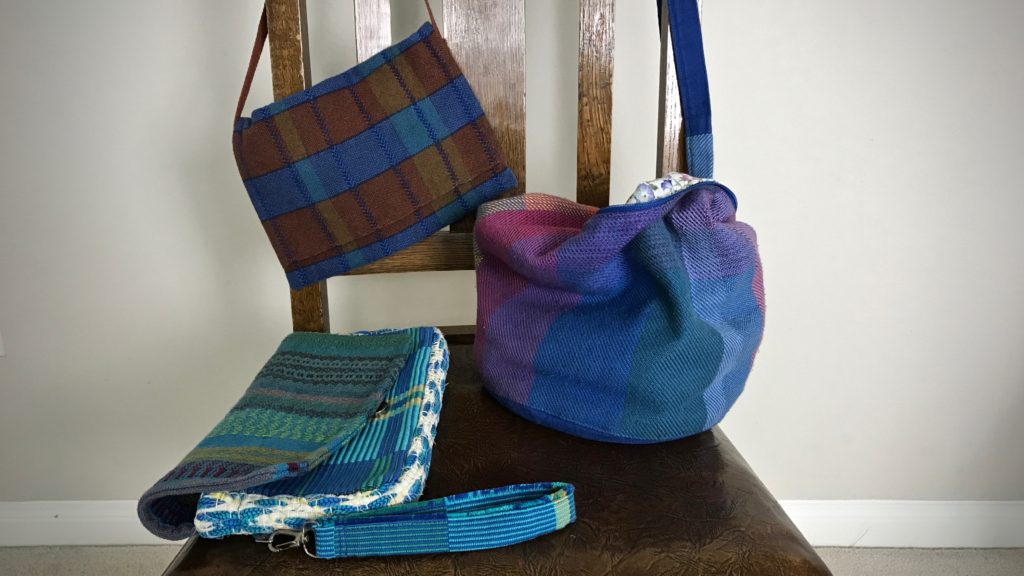
Representing some of my “firsts.” The brown and blue small shoulder bag is from one of my first cottolin towel projects. This is what I did when the last piece was too short to use for a towel. The green and turquoise clutch has remnants of my first ever handwoven towel, my first rosepath rag rug, and my first big rep weave project! The blue shoulder bag is the bag I use every day. It’s a remnant from the baby wrap I wove for my daughter’s first baby. It’s lined with a remnant from an Easter dress I made for her when she was a little girl.

May you carry your handiwork with you.

Happy weaving,
Karen

Tapestry and Inlay Sampler

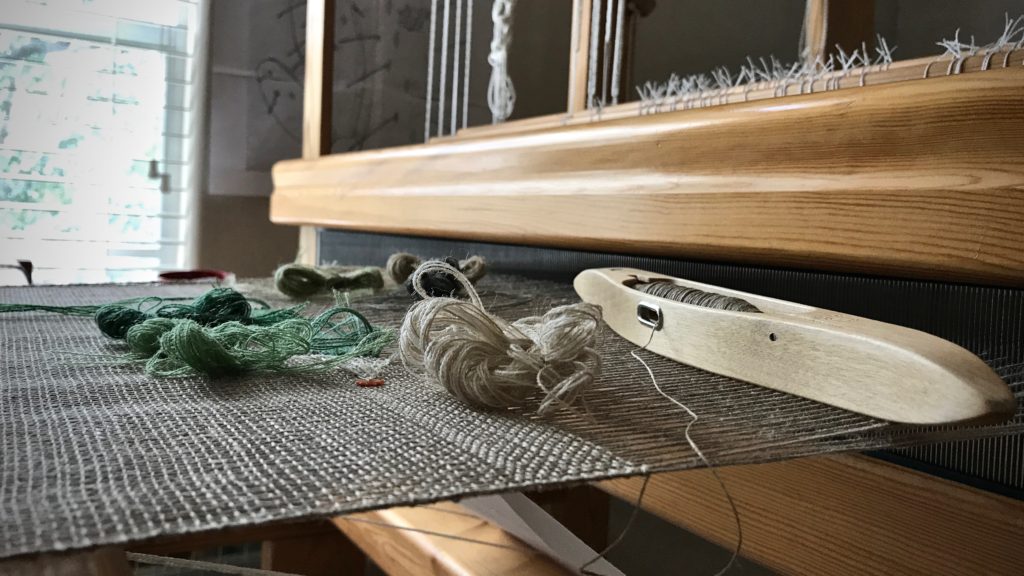
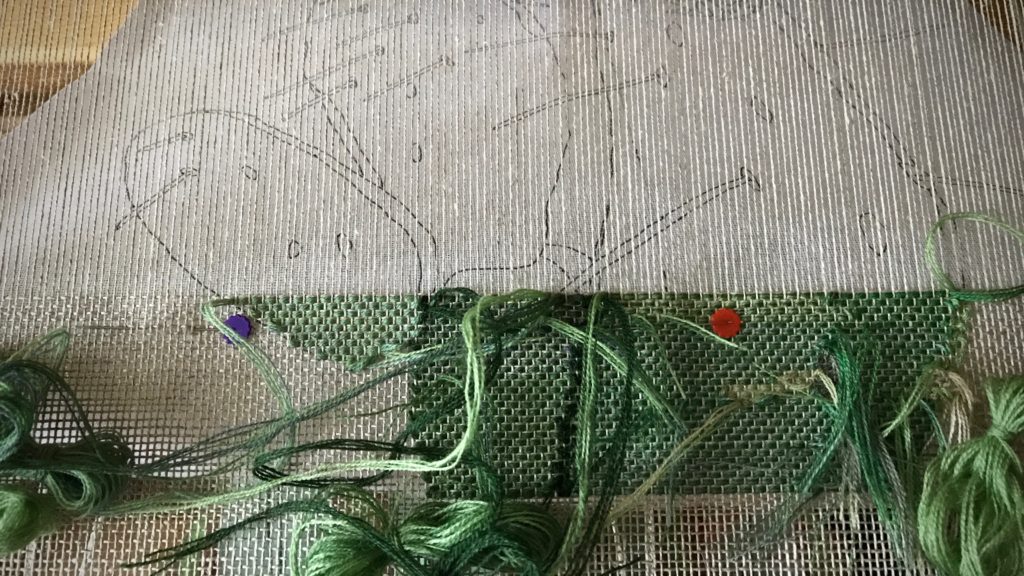
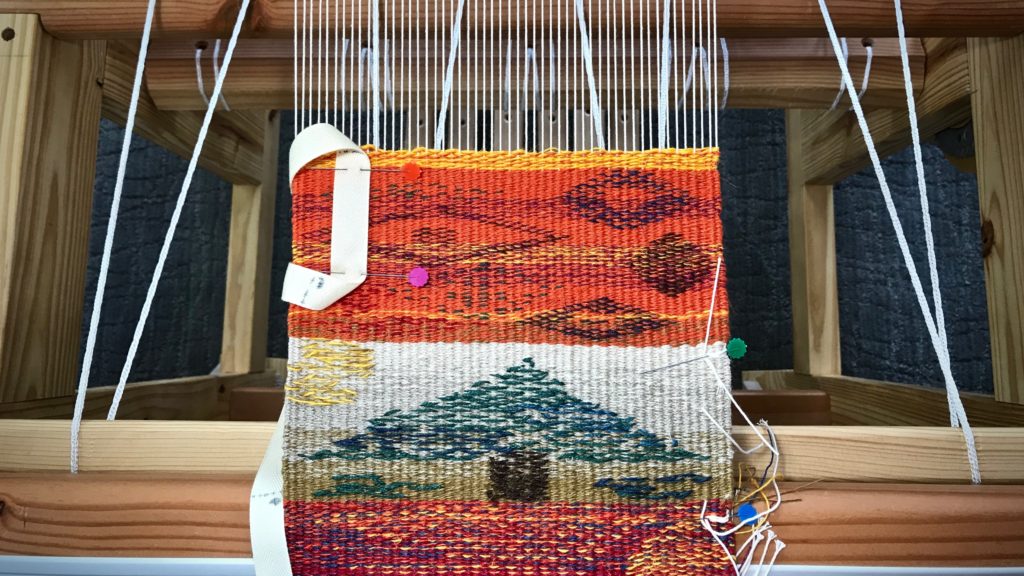
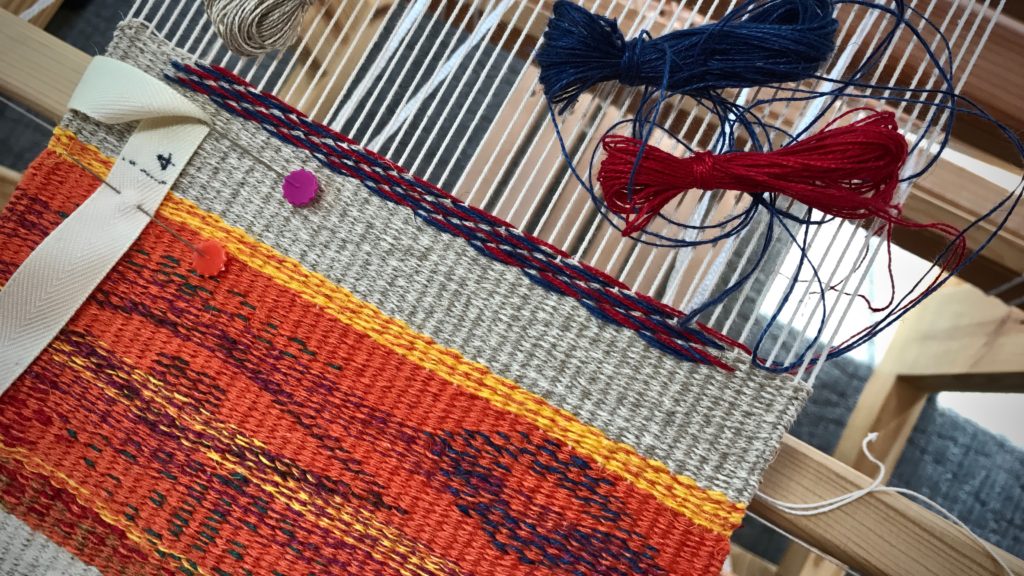
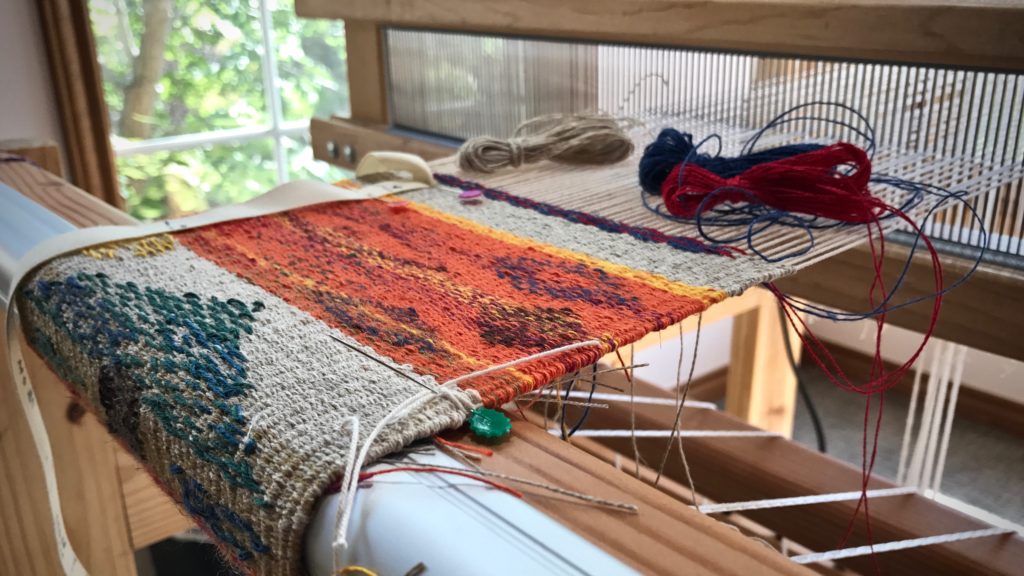
It is satisfying to see this ambitious project take shape on the loom! When finished, this sampler of tapestry and inlay techniques will be a handy reference as well as a colorful hanging for the wall. It’s a much-anticipated project from The Big Book of Weaving, by Laila Lundell!

Tapestry and inlay sampler with linen weft.
Practicing parallelogram shapes.
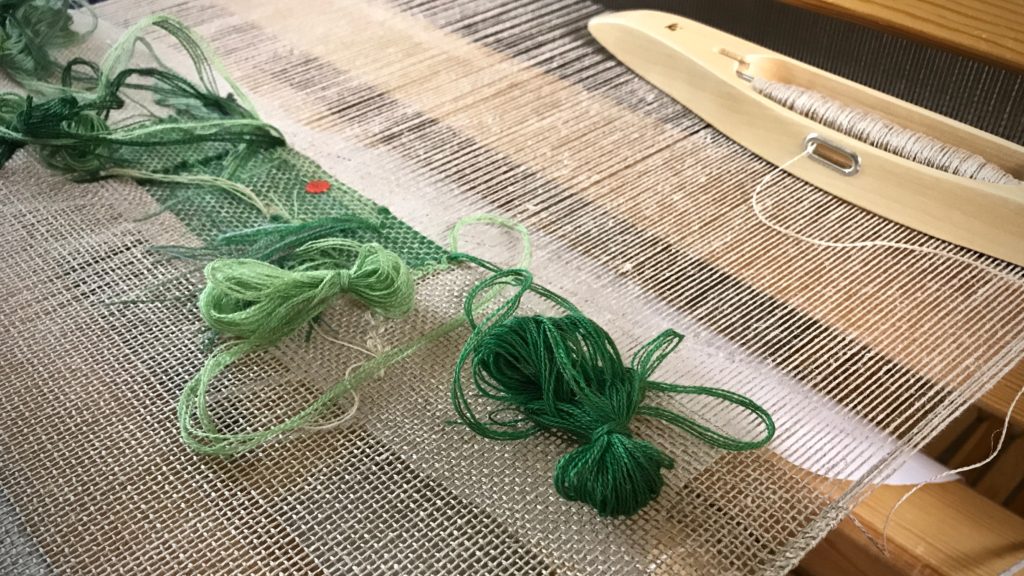
Linen butterflies are usedf for twill inlay.
Linen butterflies are used for the twill inlay. Turns are made below the warp.

I don’t always understand the instructions, in which case I struggle, doing the best I can. But the more I progress, the more I understand. I am finding out what works. The text, Swedish translated to English, about unfamiliar techniques is helpful, but I often wish I had the author looking over my shoulder to guide me.

Loom with a view. Linen tapestry/inlay sampler.
Loom with a view. Time flies, even with slow weaving, at this Texas hill country loom.
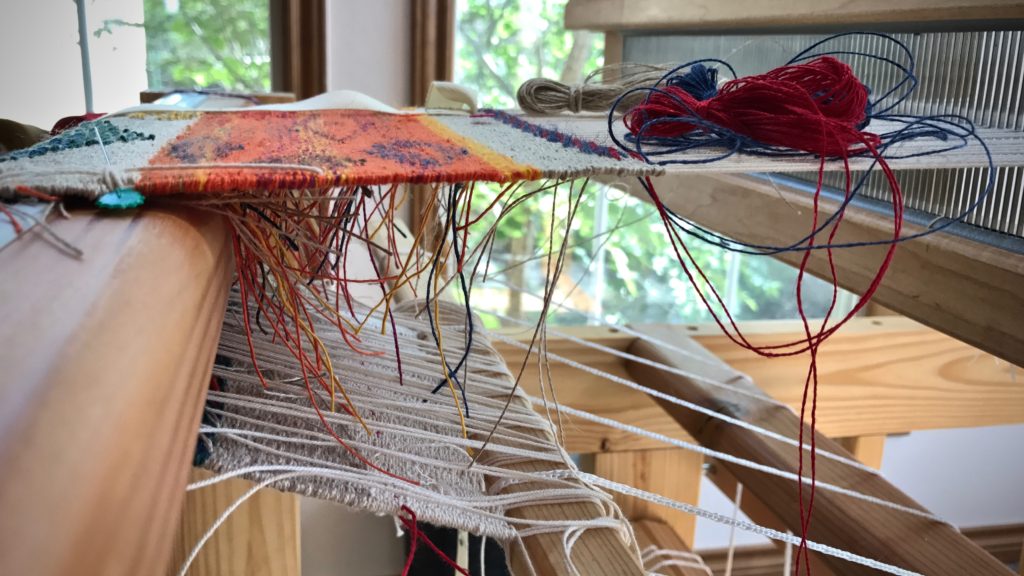
Threads on the underside. Tapestry / inlay sampler in linen.
Weaving from the front. Weft tails are taken to the back of the weaving.

Where do we get instructions for living? We may consider entering the kingdom of God for that. But Jesus also spoke of the kingdom of God entering us. Invite the King in. That’s when His ways become our ways. Instead of struggling through instructions, we find ourselves learning His will by doing what we know to do. Life is a sampler, with occasions to learn, to struggle, and to soar. Let’s weave our living sampler in the shadow of the Grand Weaver, Himself.

May your sampler show what you’ve learned.

Happy weaving,
Karen

Little Experiments on the Loom

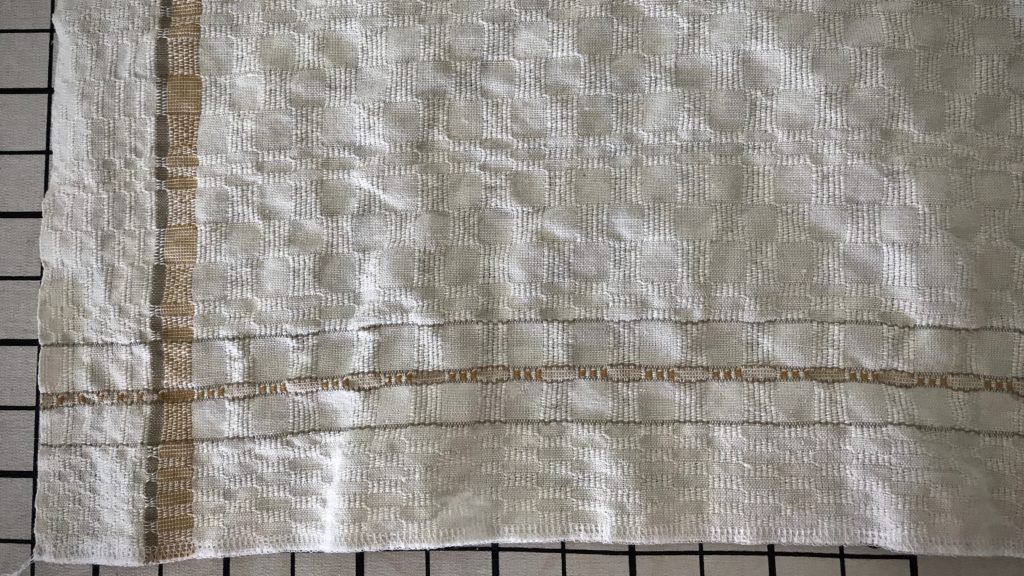
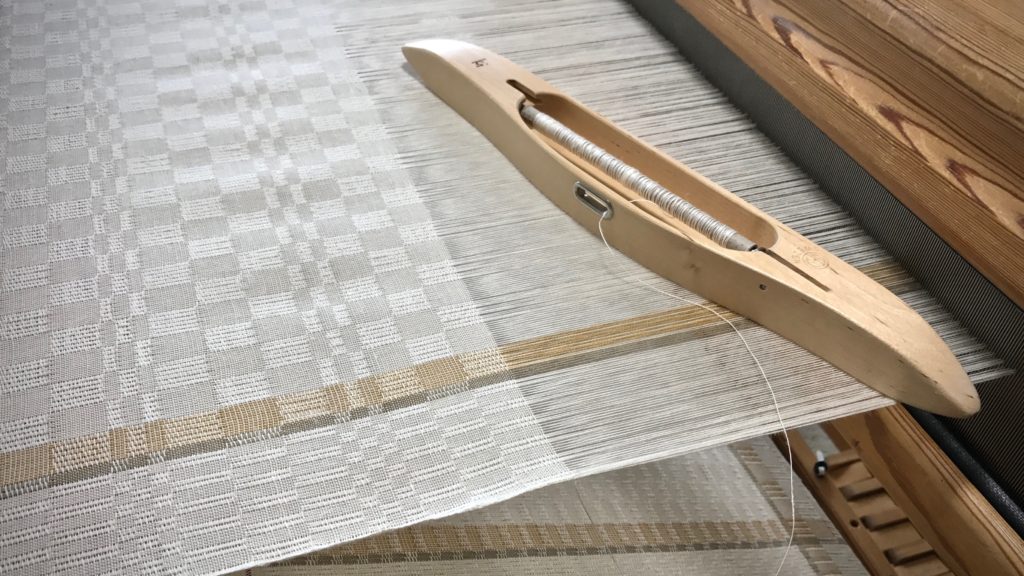
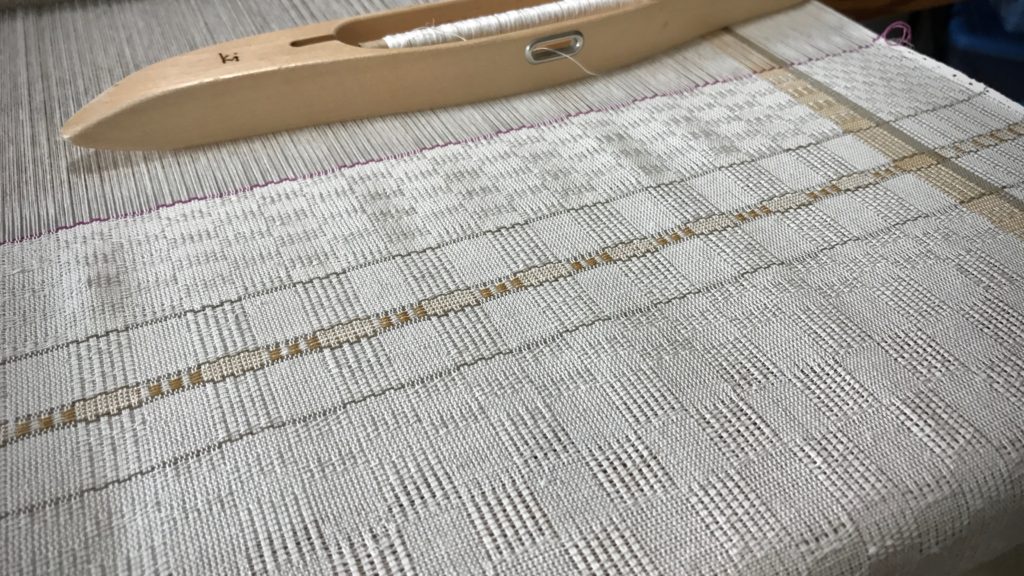
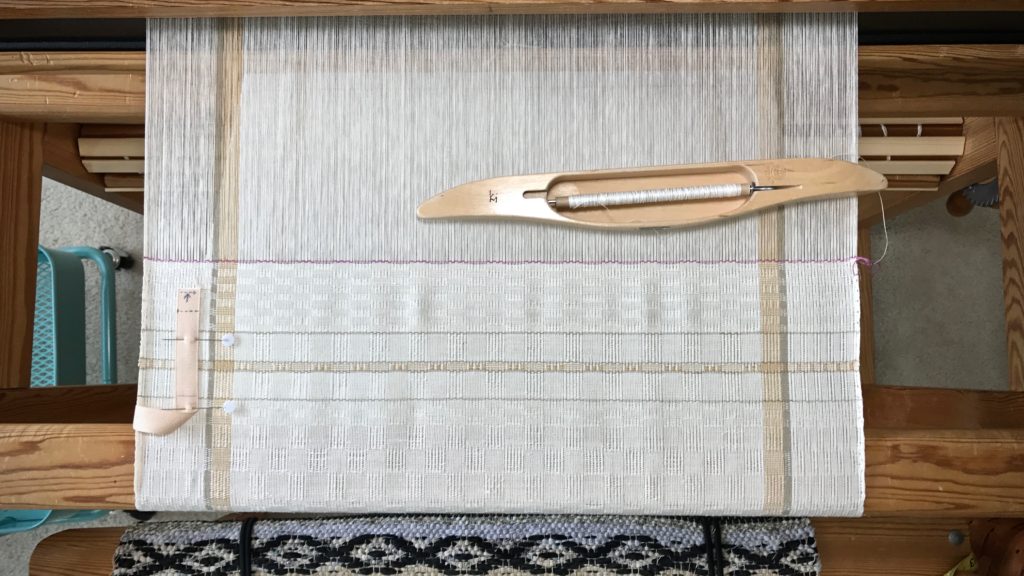
This is my attempt to add a fascinating detail. I alternated white and brass-colored ends in the warp stripe. In a similar fashion, I alternated colors in the weft stripe, too. It’s an experiment. The short columns that emerge in the weft stripe are a result of this thread arrangement. The outcome looks promising. Wet finishing will reveal the final effects of this low-risk exploration.

M's and O's on the loom. Experiment in progress.
M’s and O’s (Sålldräll) with a warp stripe and weft stripe that have alternating light and dark threads.

I like to do experiments on the loom. Little risks open up possibilities and ideas for future projects. Every learning experience is a step that leads to insight for future learning. And I have so much more to learn!

Weaving the border of the long table runner. M's and O's.
Weft stripe signals the beginning of the end border for this long table runner.
M's and O's on the loom.
Short vertical columns take shape in the brass-colored weft stripe.

Step-by-step learning has some common ground with finding a good path for life. Walking the right path is like walking in the early morning. The dim light of dawn gradually increases and the pathway becomes more and more clear as the sun rises to the full light of day. Our Creator gave us a lighted path. The learning experiences from our experiments and explorations in life help us discover the path of the Lord, where the light beckons us. Walk in the light. It’s where we can see the next good step.

Happy weaving,
Karen

Tools Day: Umbrella Swift

The umbrella swift earns the “Cool Tool” award! I have sixteen skeins of 20/2 Mora wool (as seen in Skeins of Colors). Before making them into little butterflies of color for a woven transparency, I am winding the skeins into balls. This means I get to use one of my favorite tools–the umbrella swift. My Glimåkra swift is simple to use and gives flawless results every time.

How to Use an Umbrella Swift

  • Attach the clamp of the umbrella swift to the side of the loom, or other secure structure, like a table. The swift functions vertically or horizontally. I prefer to position the swift horizontally so the yarn rolls off vertically. Also, I find it easier to hang the yarn on a horizontal swift than to place the yarn on a vertical swift, holding the yarn while expanding the umbrella.

How to use an umbrella swift. Tutorial.

  • Position the yarn ball winder so that it is in line with the umbrella swift, a short distance away. I clamp the yarn ball winder to my loom bench, and sit on a small stool behind the bench.

Yarn ball winder in use with umbrella swift.

  • Remove the yarn skein’s label and put it aside. Carefully unfold and untwist the skein of yarn and open it out to a big circle. Place both arms through the center of the circle of yarn and snap your arms outward. Repeat the snapping action one or two more times, with the yarn repositioned about a quarter turn each time. This helps straighten out the yarn for placing it on the swift.
  • Lower the “umbrella” of the swift by loosing the screw and pulling the bottom screw-piece toward the clamp. Place the opened and prepared skein of yarn around the swift.

Placing the skein on an umbrella swift. How to.

  • Push open the “umbrella.” Spread it open just far enough to hold the yarn taut. Tighten the screw to keep the swift in that position.

How to use an umbrella swift for weaving yarn.

  • Find the place(s) on the skein where the skein has been tied, and untie the knot(s). Identify the end of the yarn that is on the outer side of the skein and connect that end to the yarn ball winder. For consistency among multiple skeins of yarn, I have the umbrella swift turn in the same direction for each one, with the yarn unwinding from the top of the swift.

Putting skein of yarn on umbrella swift.

  • Turn the yarn ball winder until all the yarn has been unwound from the swift.

Set up for using umbrella swift. Tips.

Winding ball of yarn from umbrella swift.

Winding ball of yarn from umbrella swift.

  • Remove the yarn ball from the yarn ball winder and wrap the skein’s label on the new yarn ball.

New ball of yarn thanks to umbrella swift.

  • Collect the new balls of yarn and play with the colors in your imagination.

Mora wool. Getting ready for woven transparency!

May you take pleasure in your work of preparation.

All the best,
Karen

One Thing on My Weaving Bucket List

I have a weaving “bucket list.” Making a handwoven jacket is on that list. I took a step toward that dream with Michele Belson’s (of Lunatic Fringe Yarns) workshop on pattern drafting last week. This Contemporary Handweavers of Texas Conference workshop was exactly what I needed.

Michele Belson's workshop. Body block pattern drafting.
Taking precise body measurements is the first step in making a body block pattern draft. The measurements are then transferred to the pattern paper in a systematic way. My handwoven “Mary Poppins” bag on the floor holds all my supplies for the day.
Making body block pattern draft in Michele Belson's workshop.
Front and back bodice patterns in progress.
Making a muslin in Michele Belson's workshop.
Making a muslin by transferring pattern markings and adding seam allowances.

I can weave fabric for a jacket. And I have sewing skills to sew a jacket. But the fitting! That’s been the missing link for me. And who wants to cut into handwoven fabric when the fit is not a sure thing?

Making a muslin from a body block pattern draft in Michele Belson's workshop.
Muslin pieces are sewn together so the bodice can be fitted.
Fitting a muslin in Michele Belson's workshop.
Michele Belson checks the fit of the muslin. After some small adjustments, she pronounces it a perfect fit! Ease will be added, suitable to the garment being made, when the time comes to make a garment pattern.
Adjusting a commercial sewing pattern in Michele Belson's workshop.
Michele demonstrates how to use the finished body block pattern draft to adjust the fit of a commercial pattern.

Mindful attention to details. Processing information to apply it to the work in your hands. Learning a glossary of terms. Combining new skills with old ones. Listening, with an intent to understand. These are elements of wisdom. Think of the created world around us. Look at the detail, complexity, and beauty in it. Is it any surprise that our Creator is the source of wisdom? Wisdom is the key to skillful work. And, as always, it must be applied and practiced. I will certainly practice fitting and sewing. And then, when it’s time, I’ll weave jacket fabric, and let wisdom guide me in cutting it.

I’m curious, do you have a weaving bucket list, too?

May you cross something off your bucket list.

Happy sewing,
Karen