Quiet Friday: Plattväv Towels and Thanksgiving Prayer

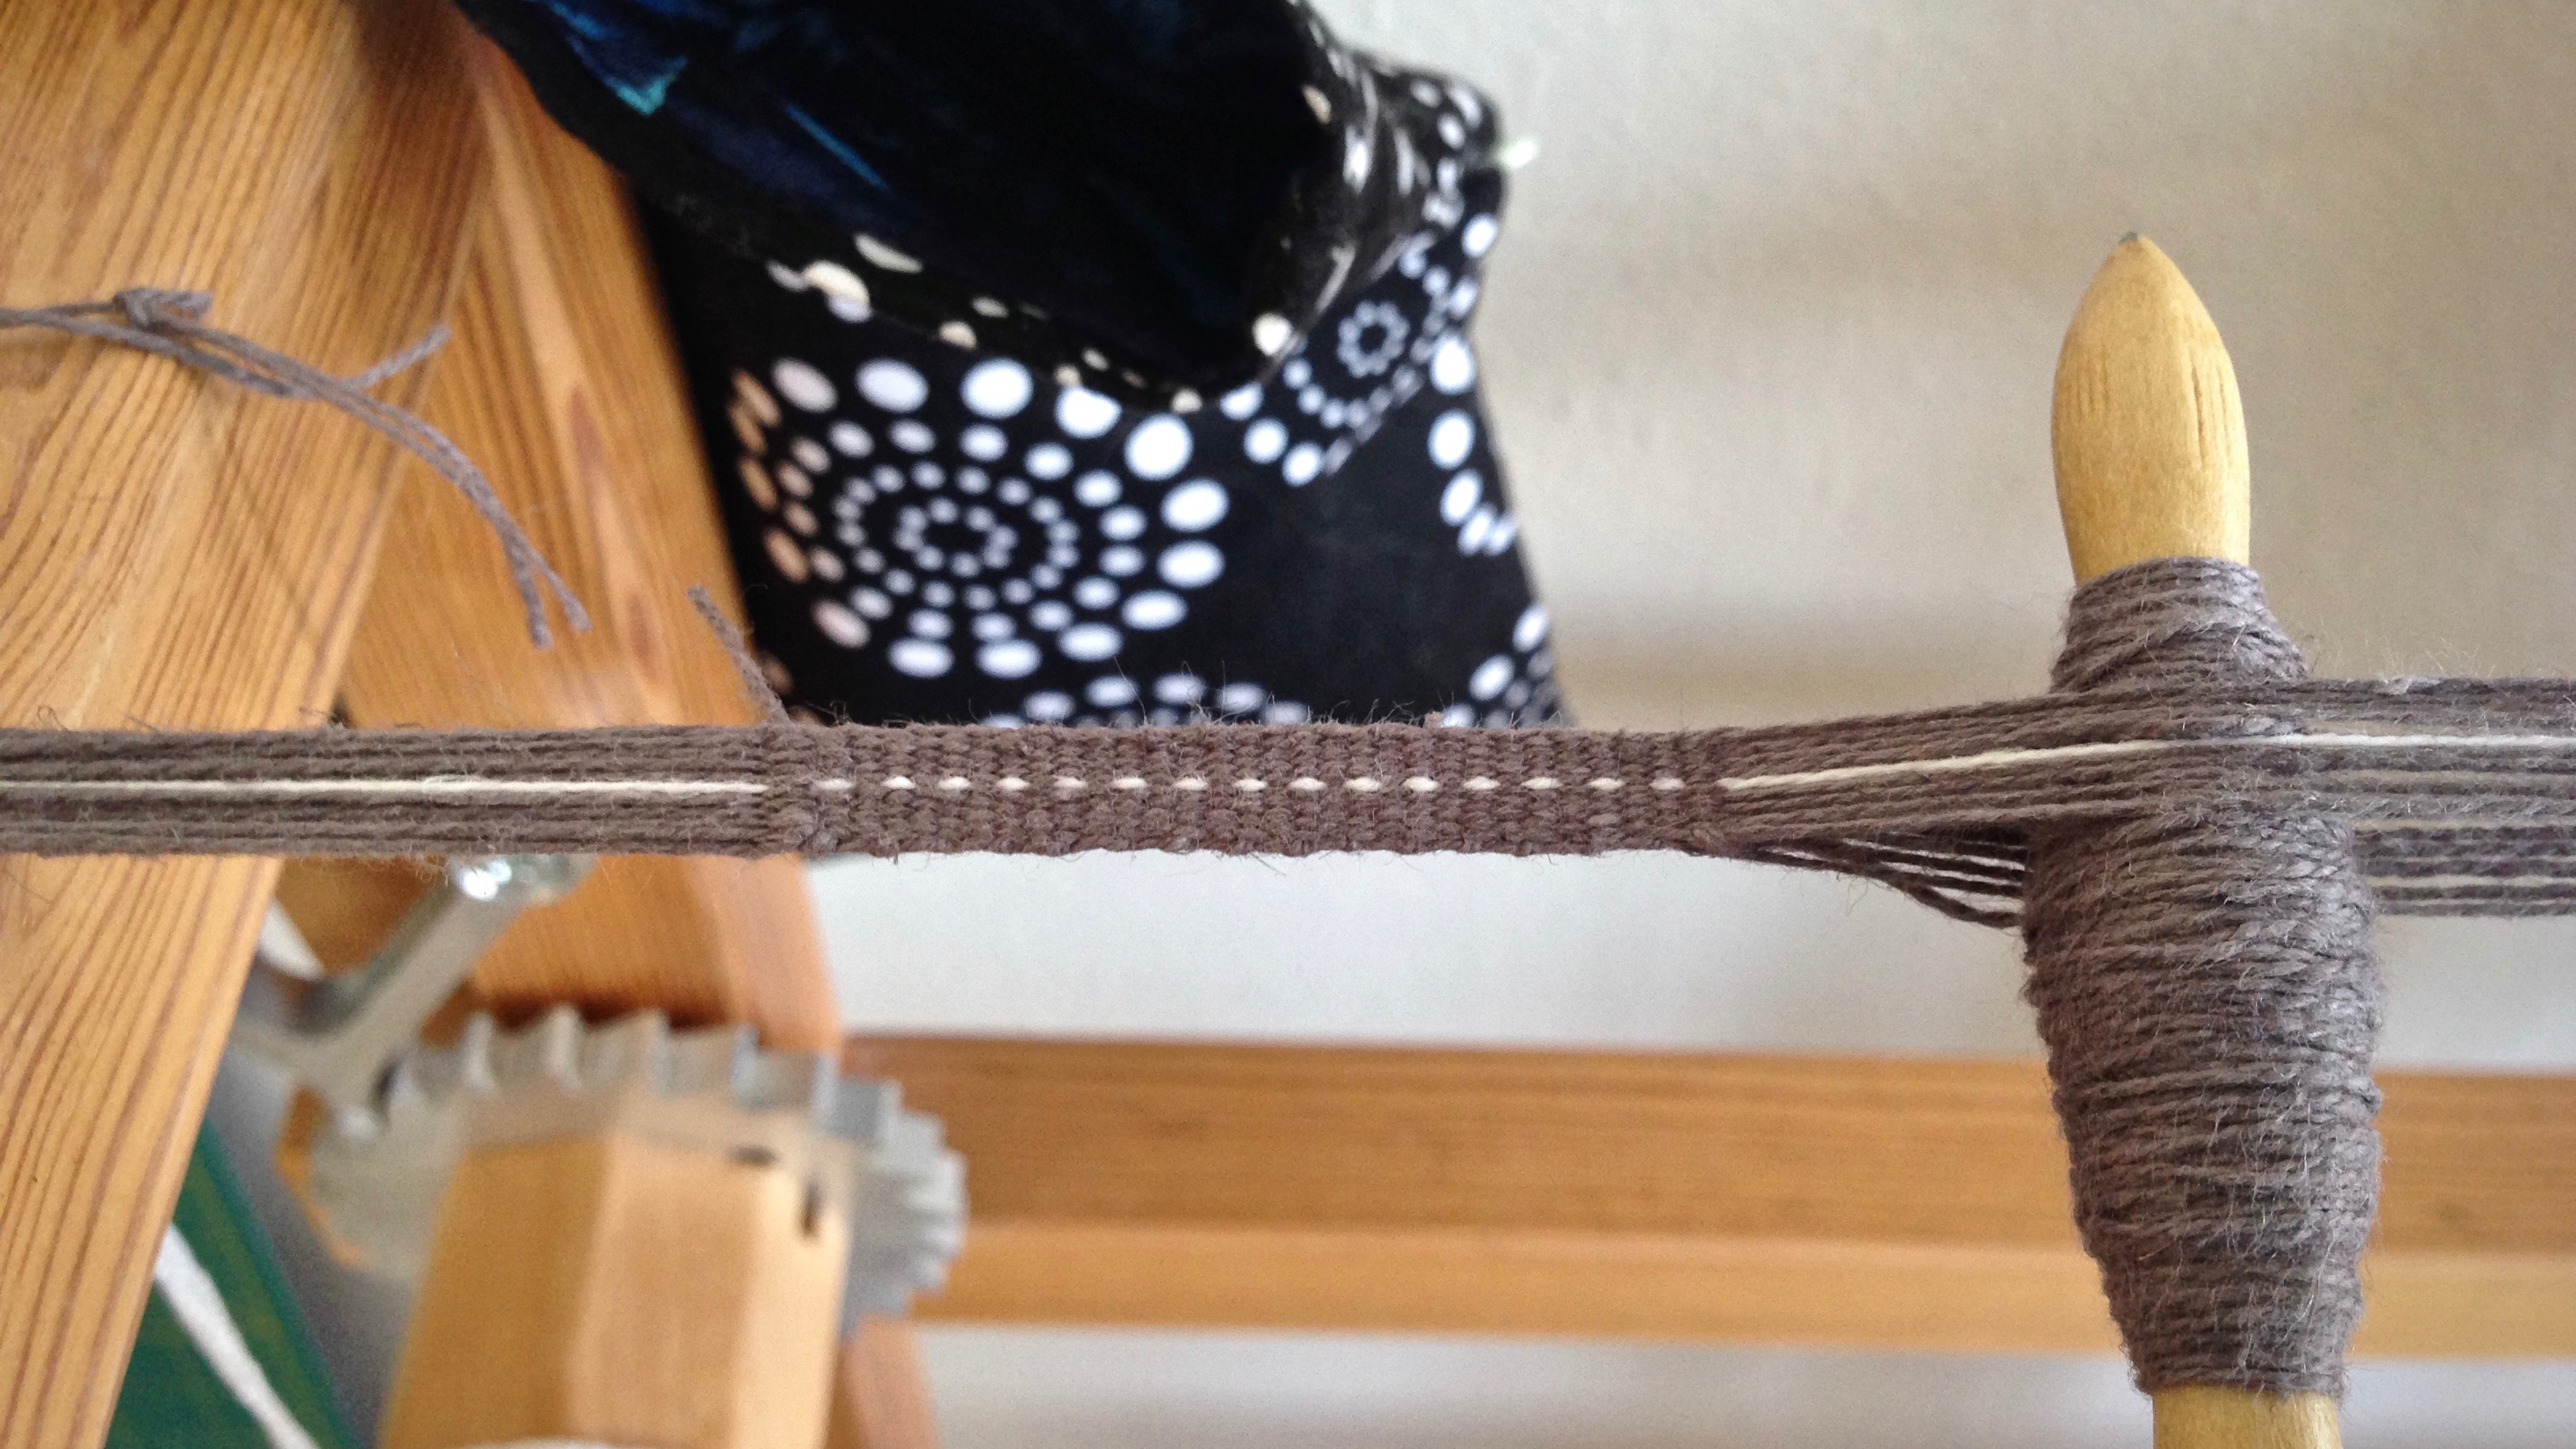
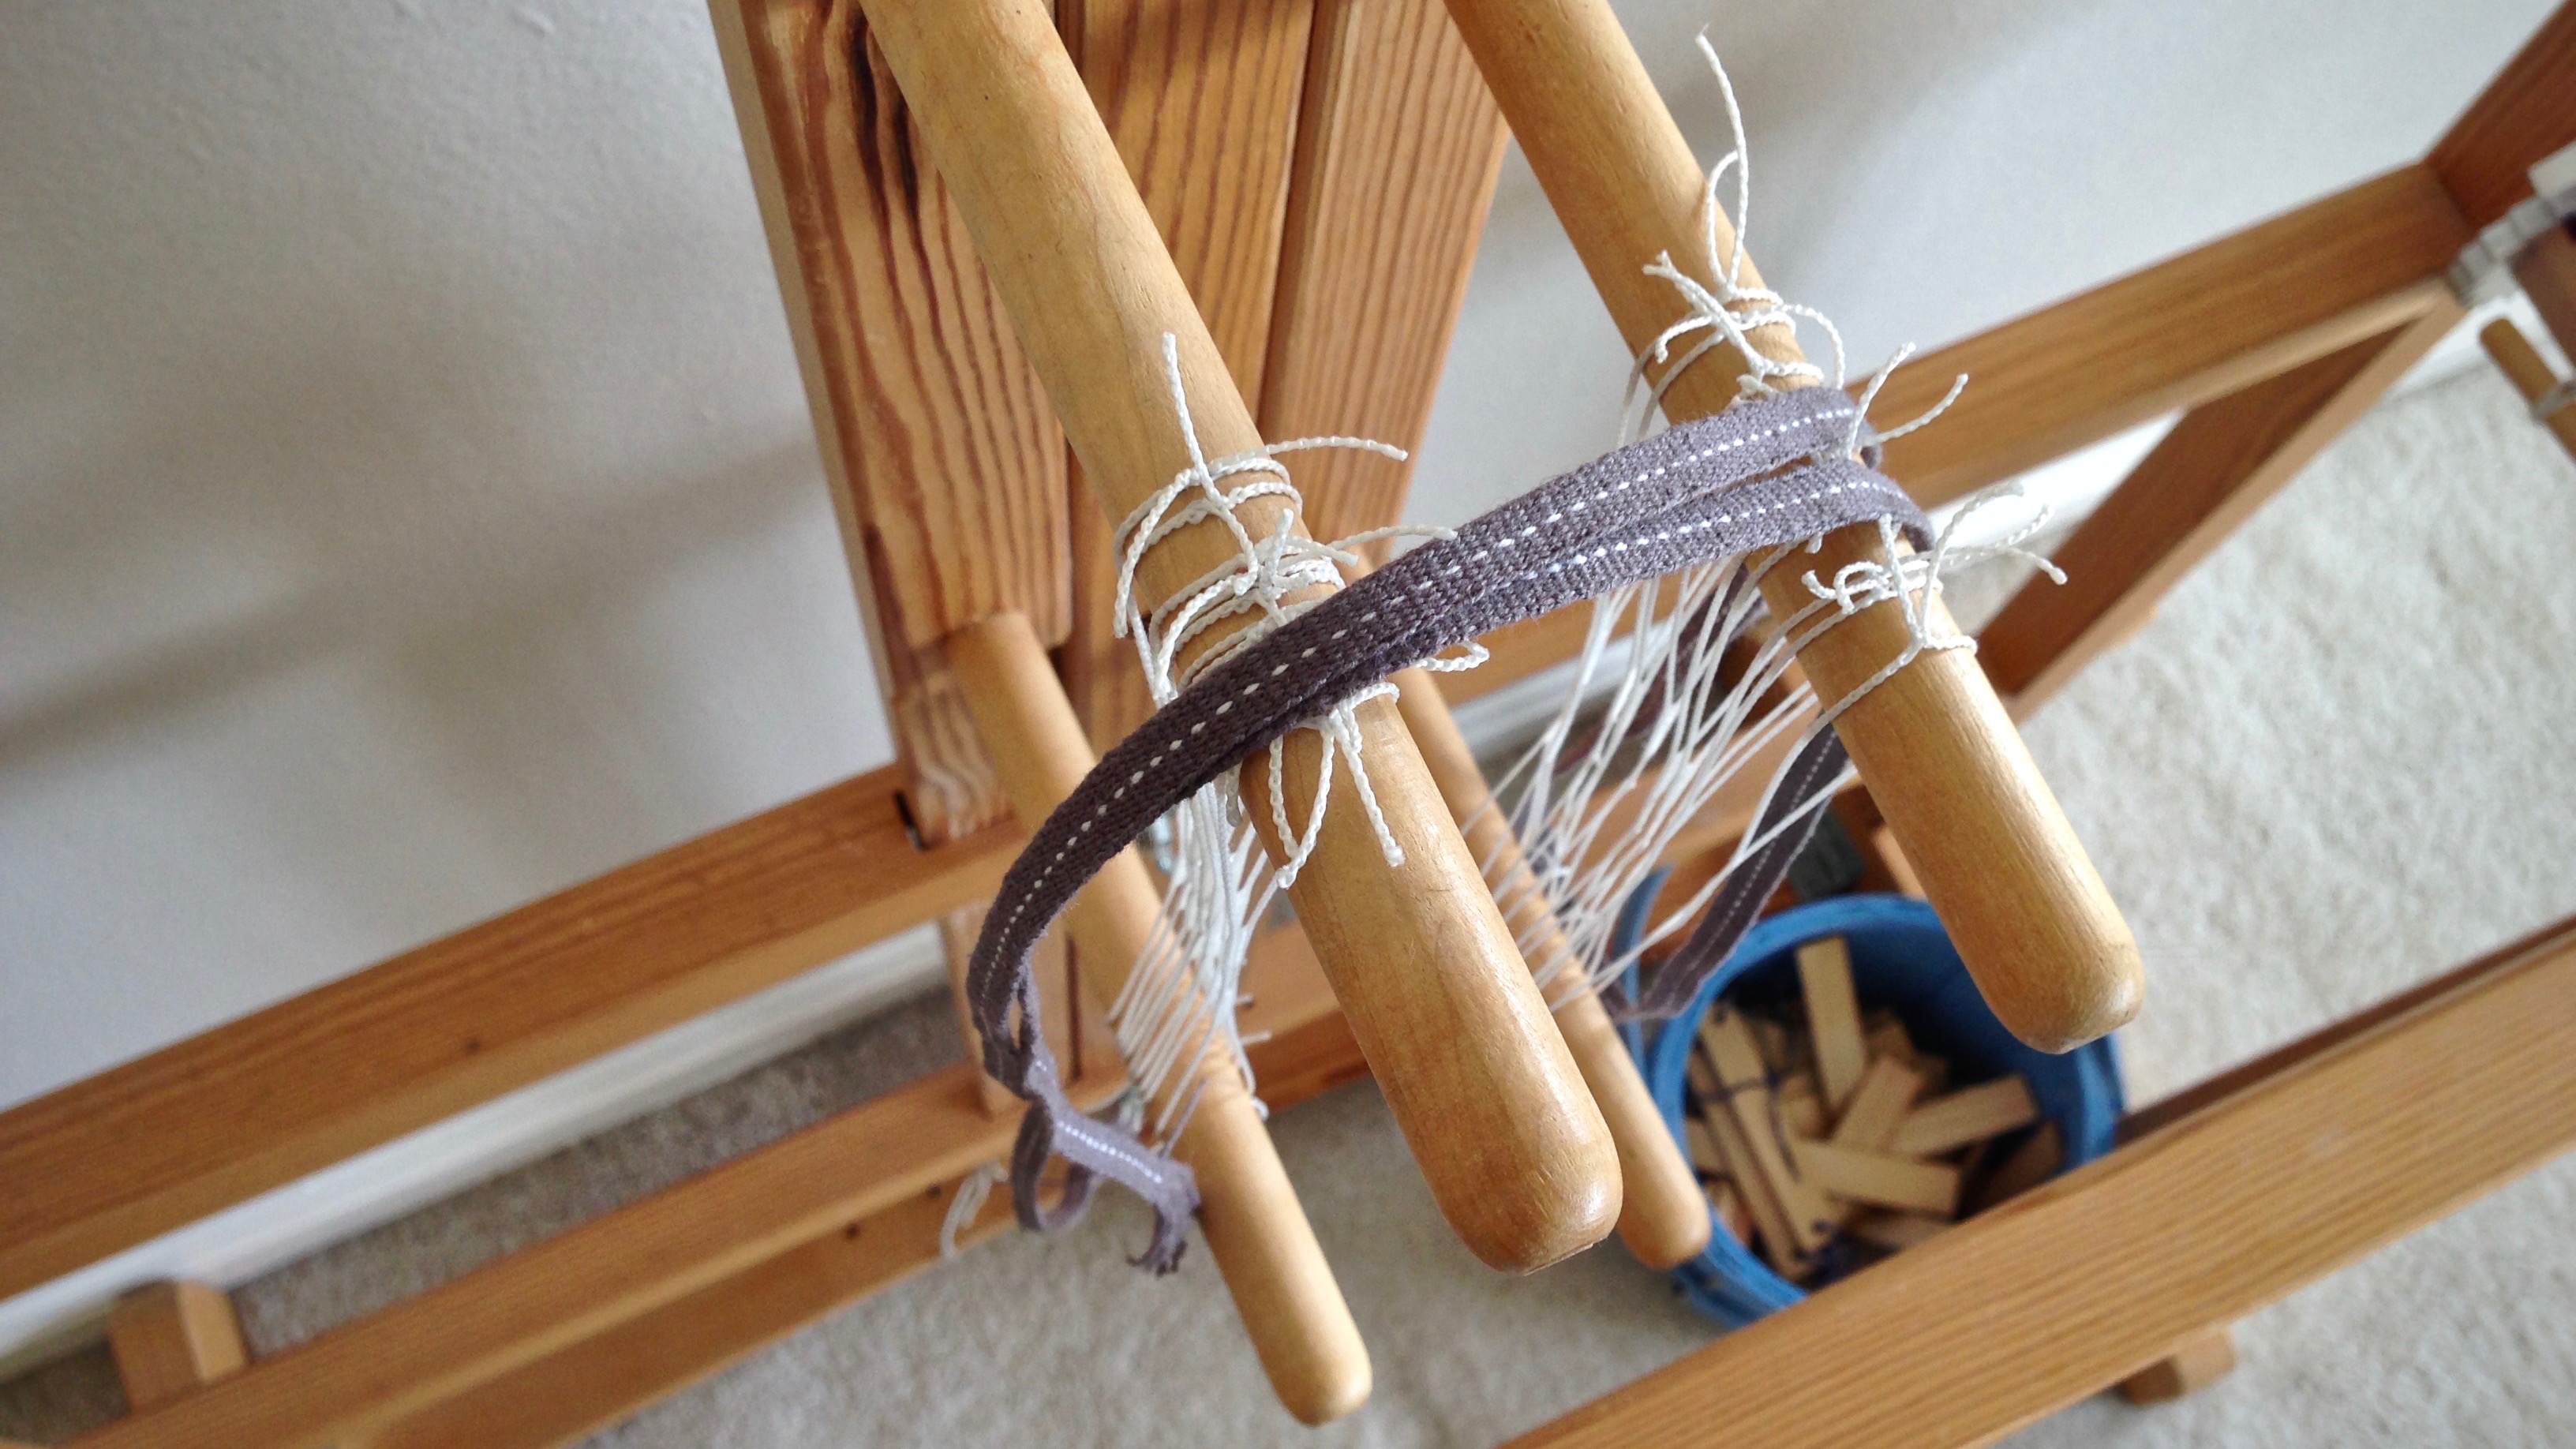
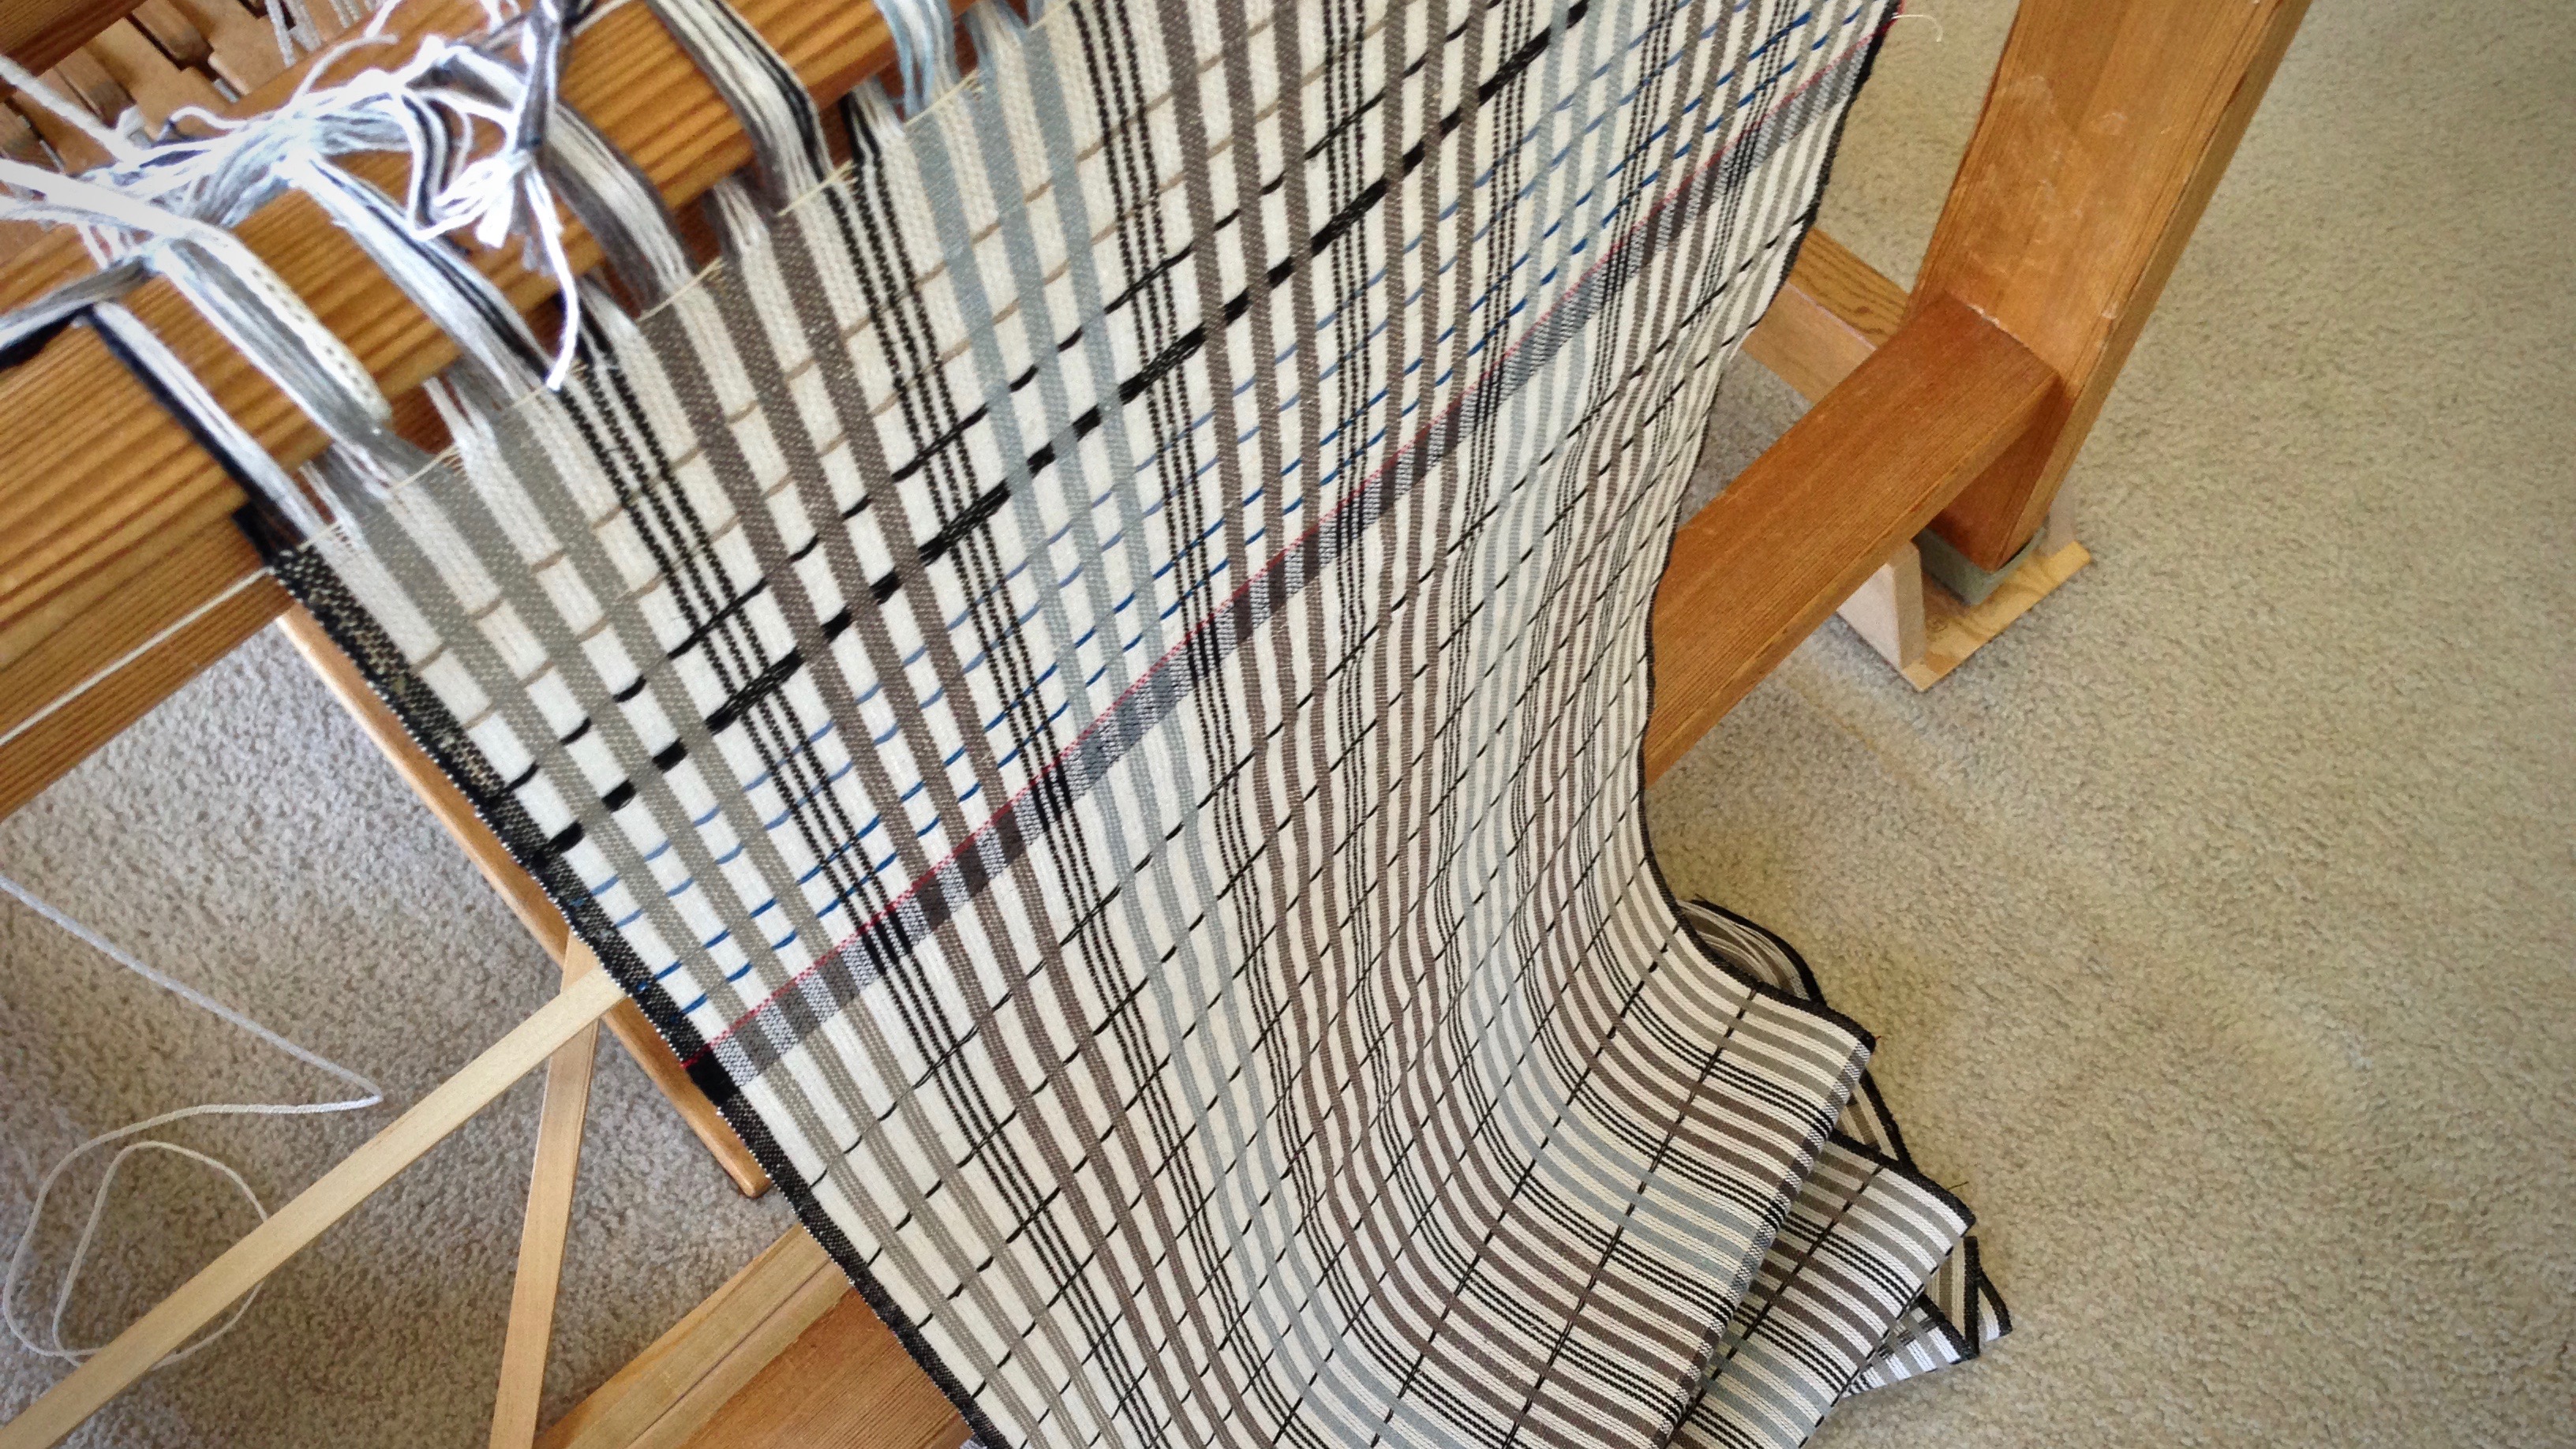
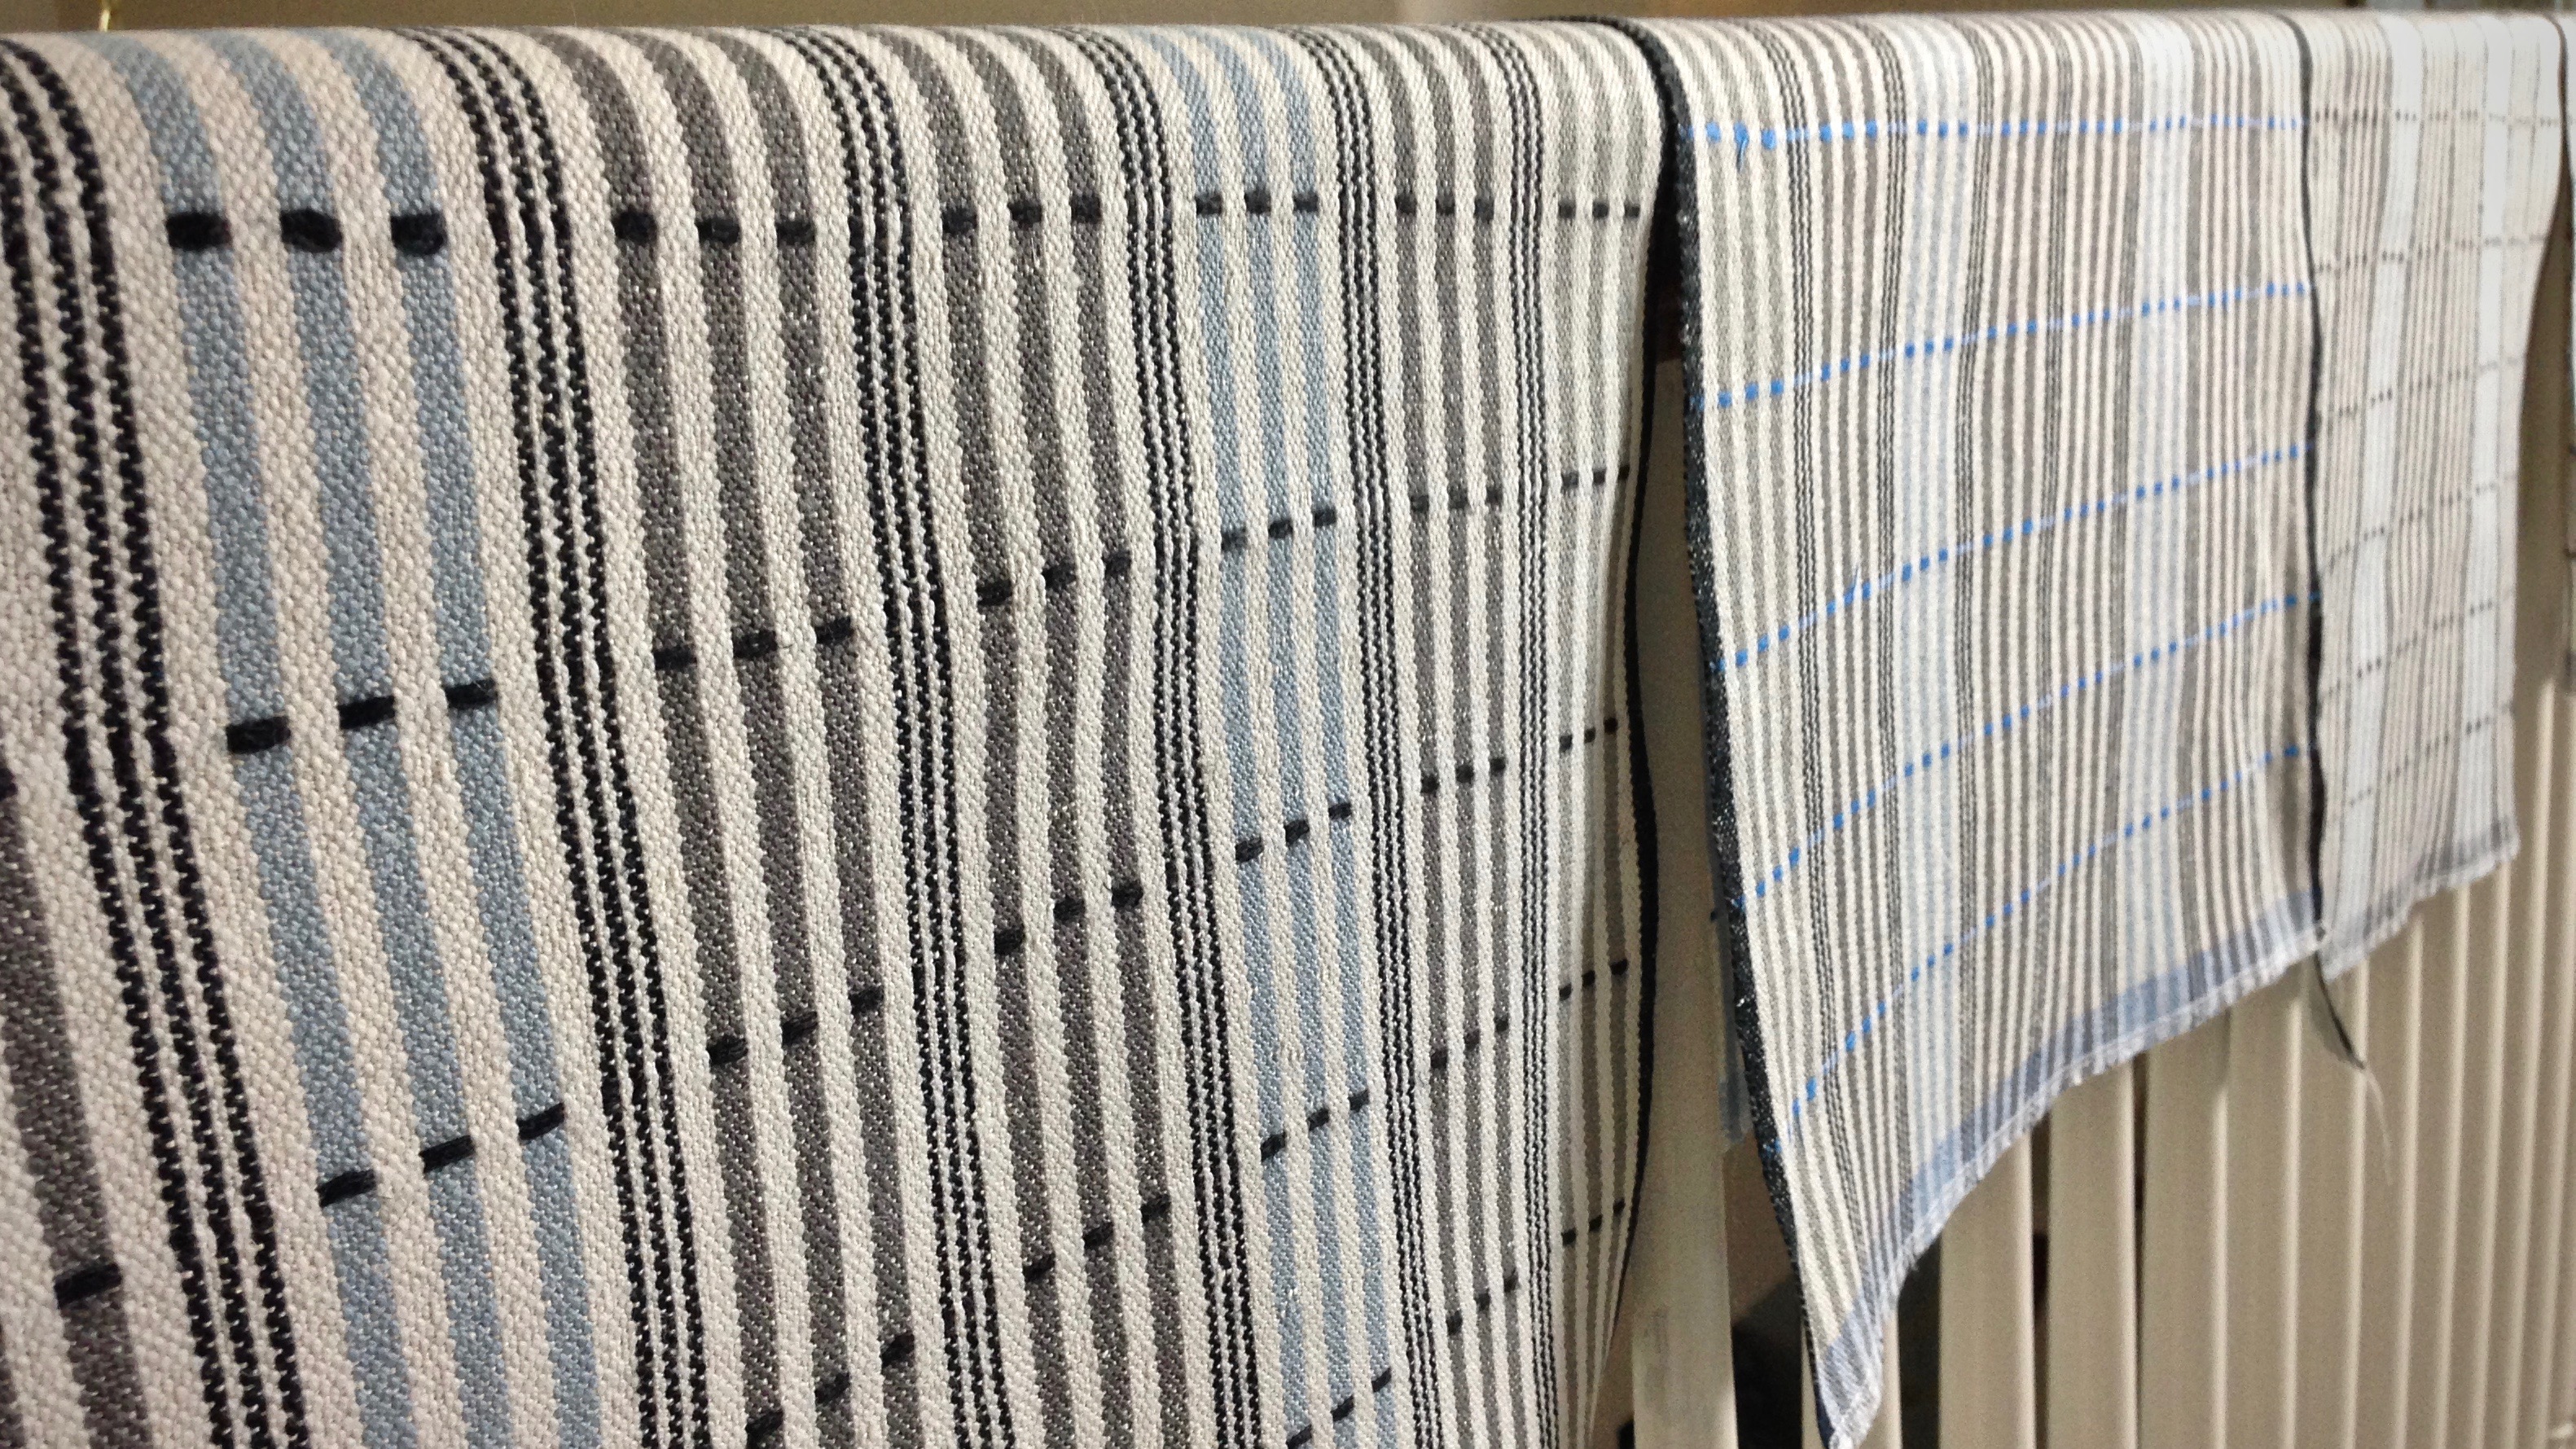
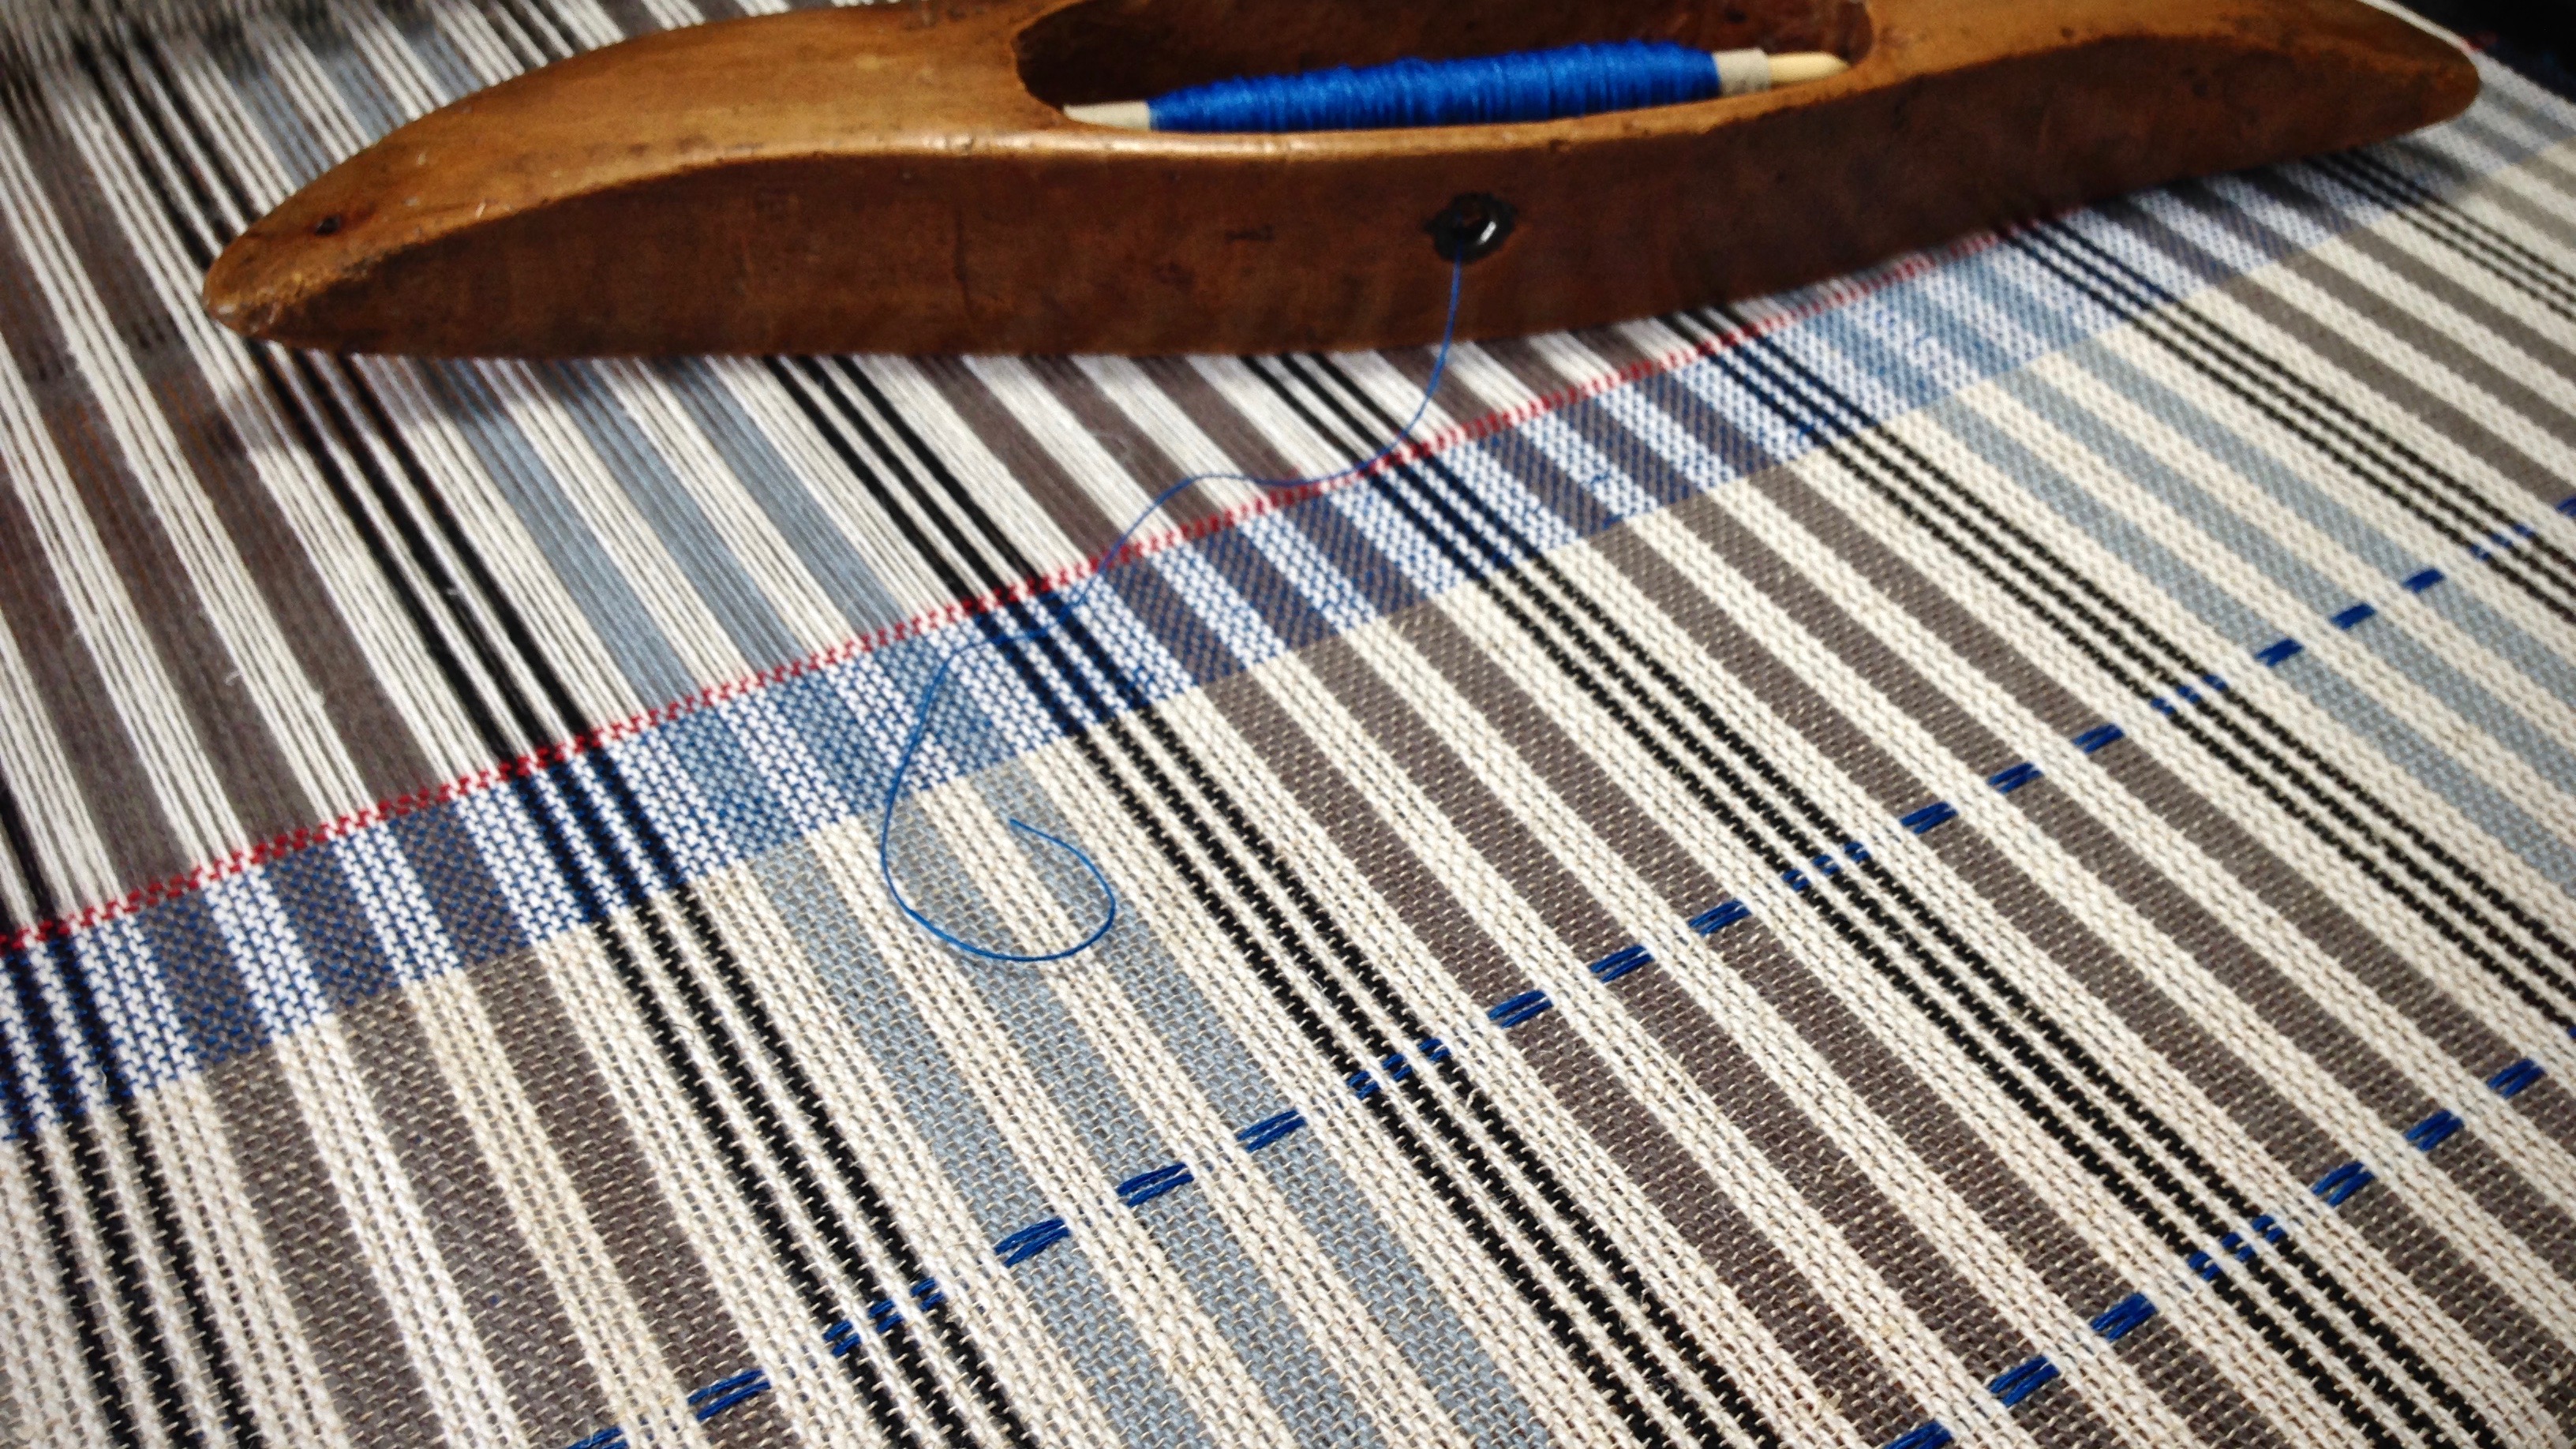
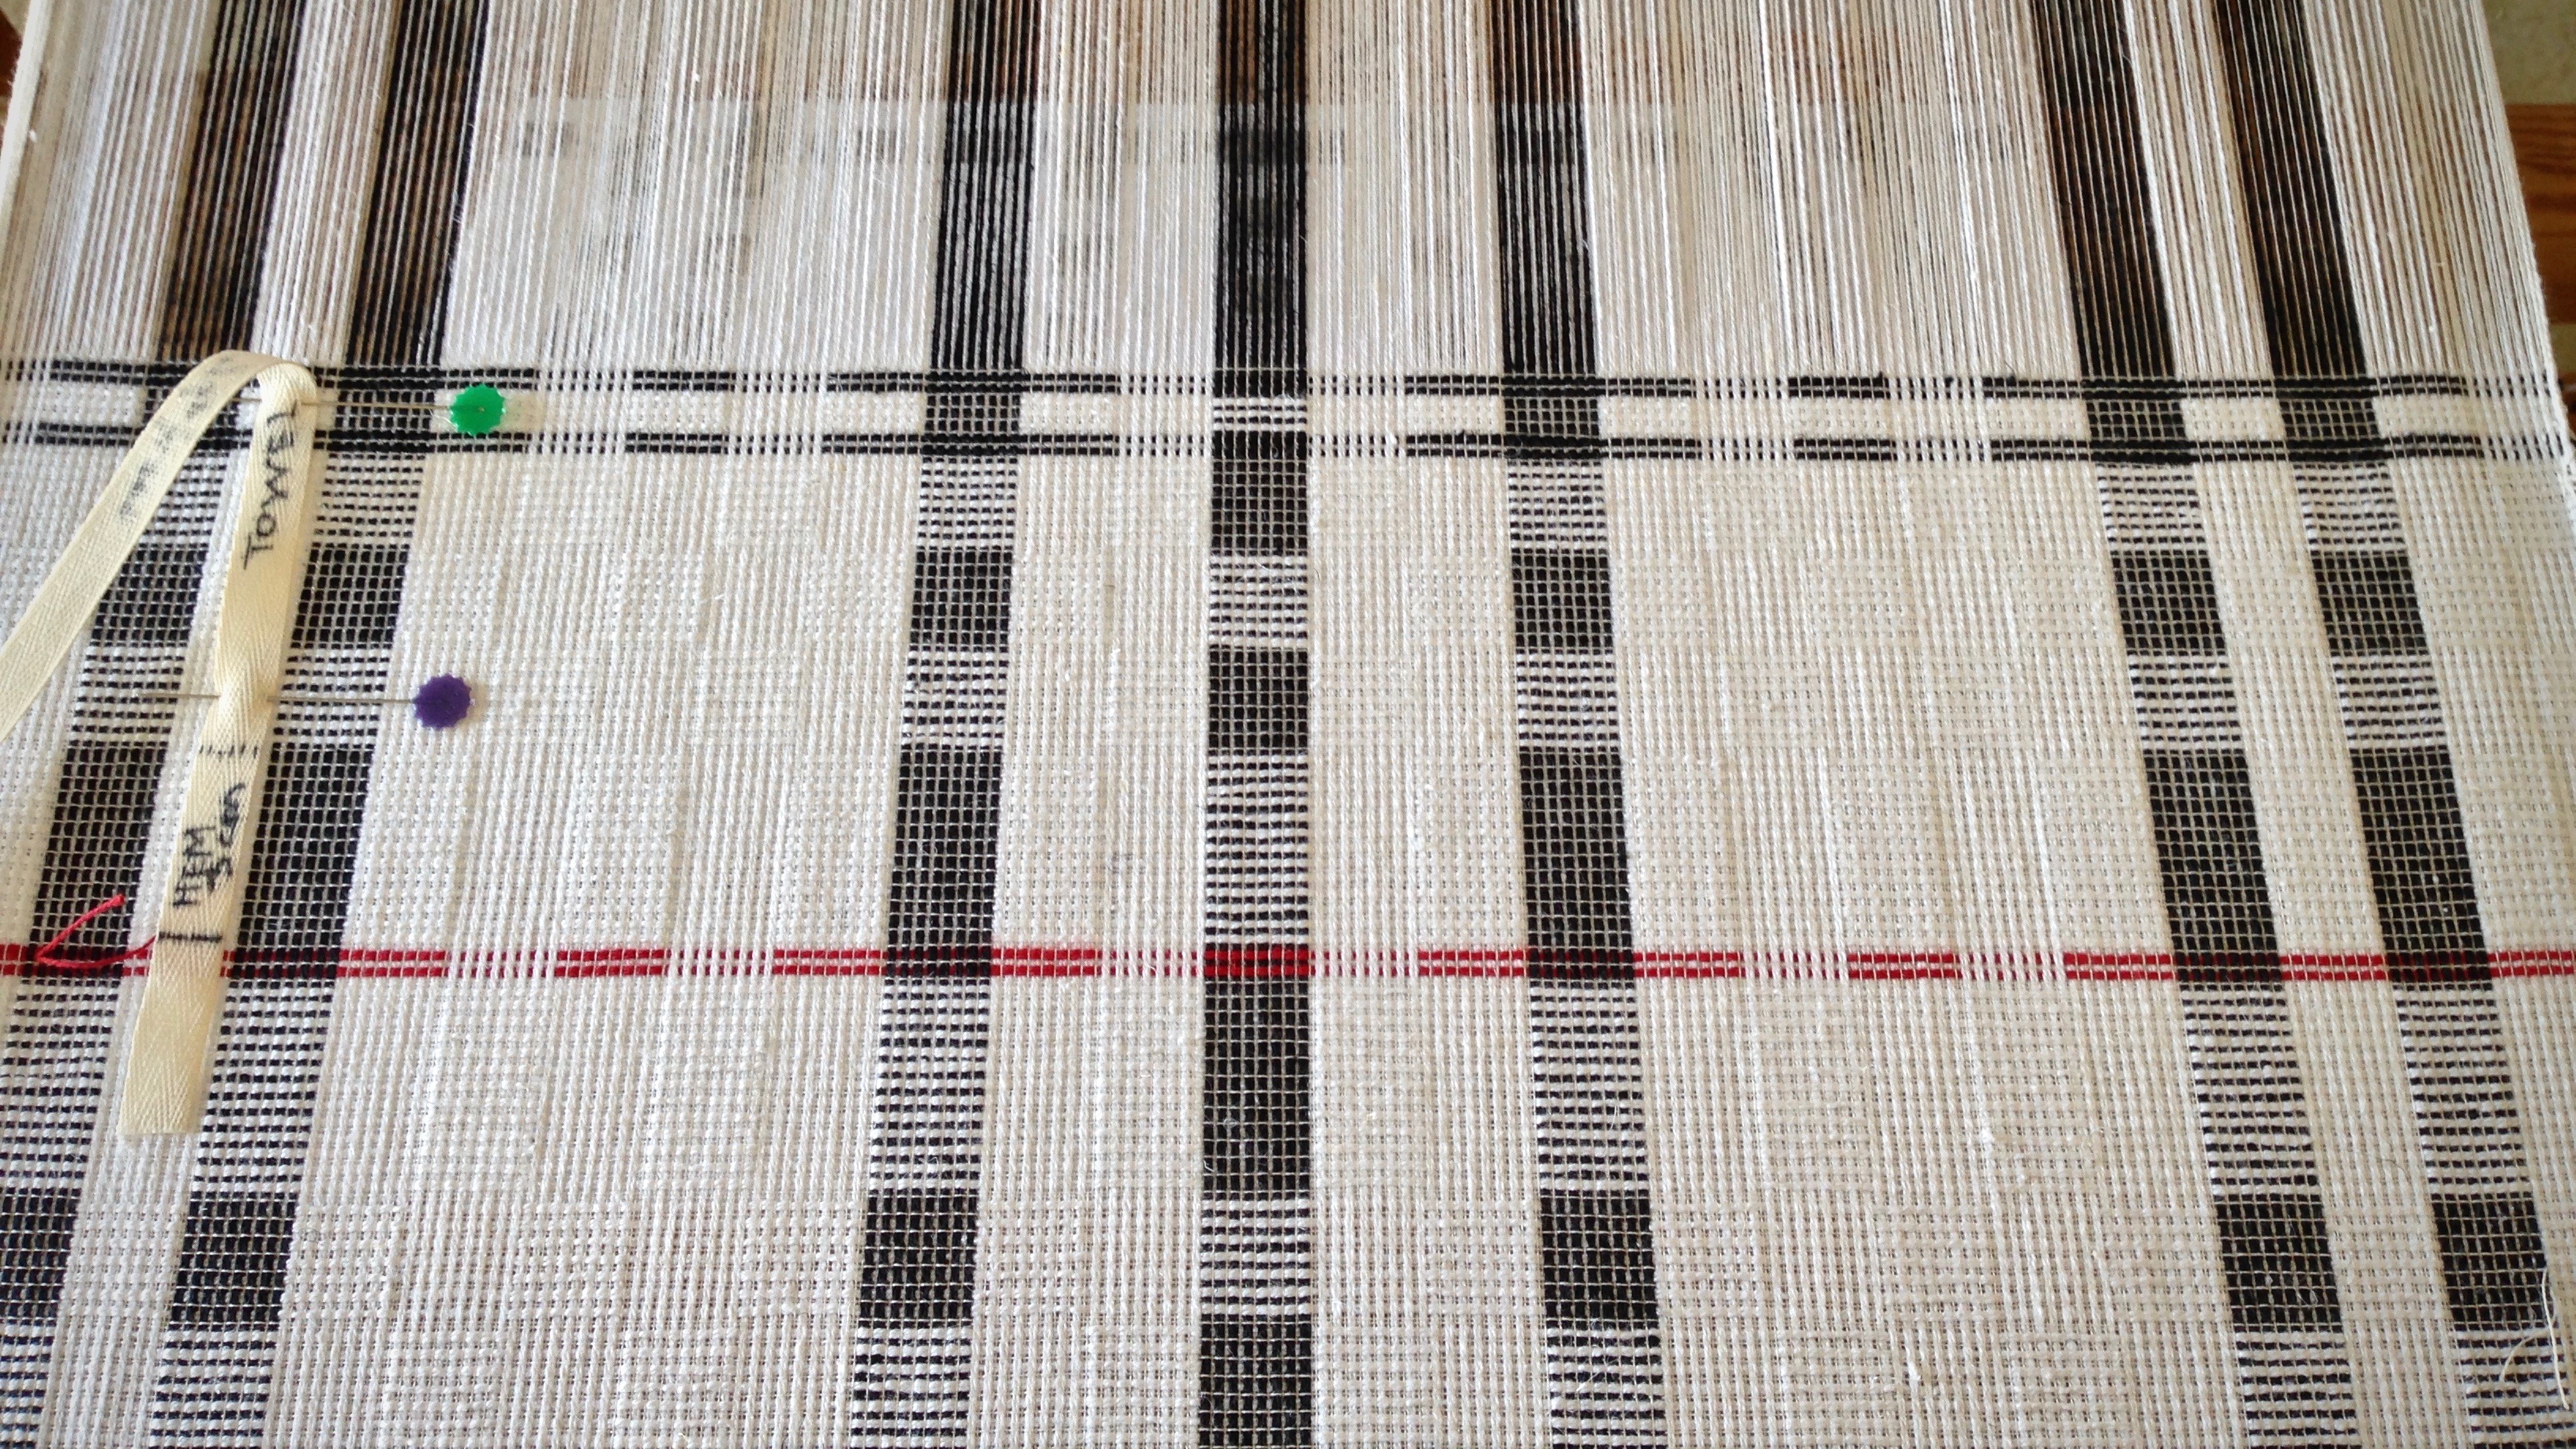
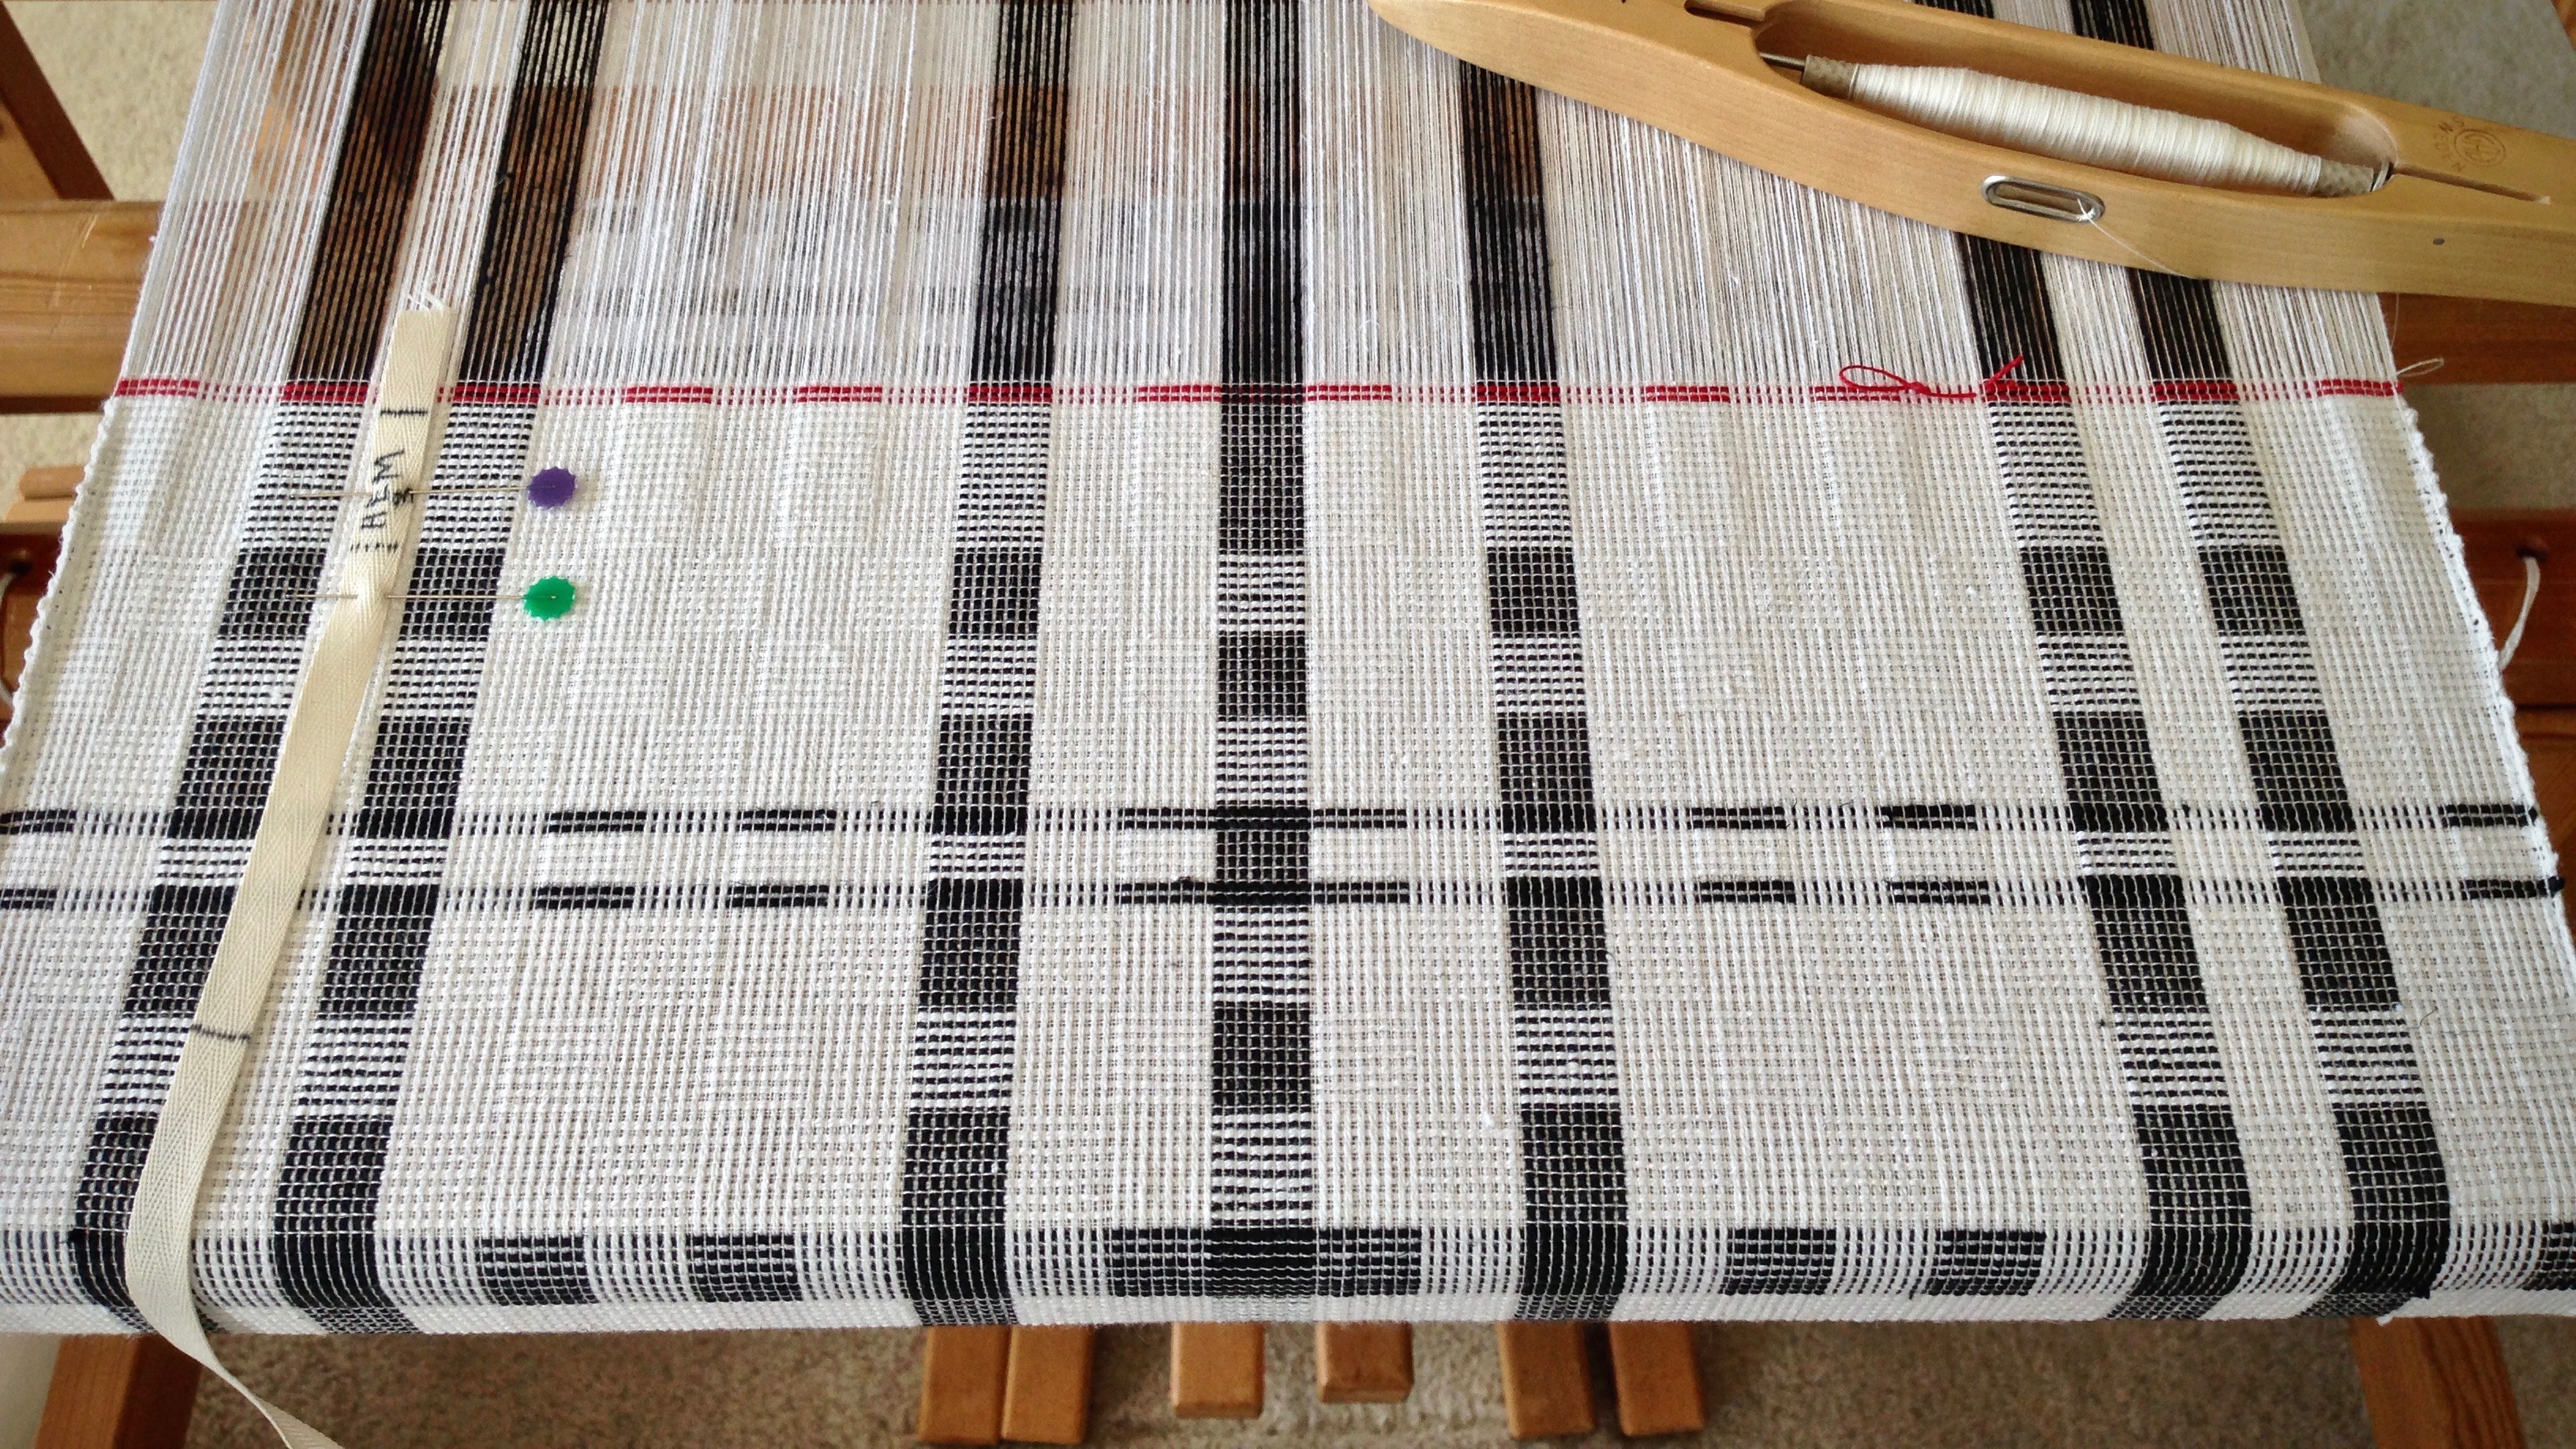
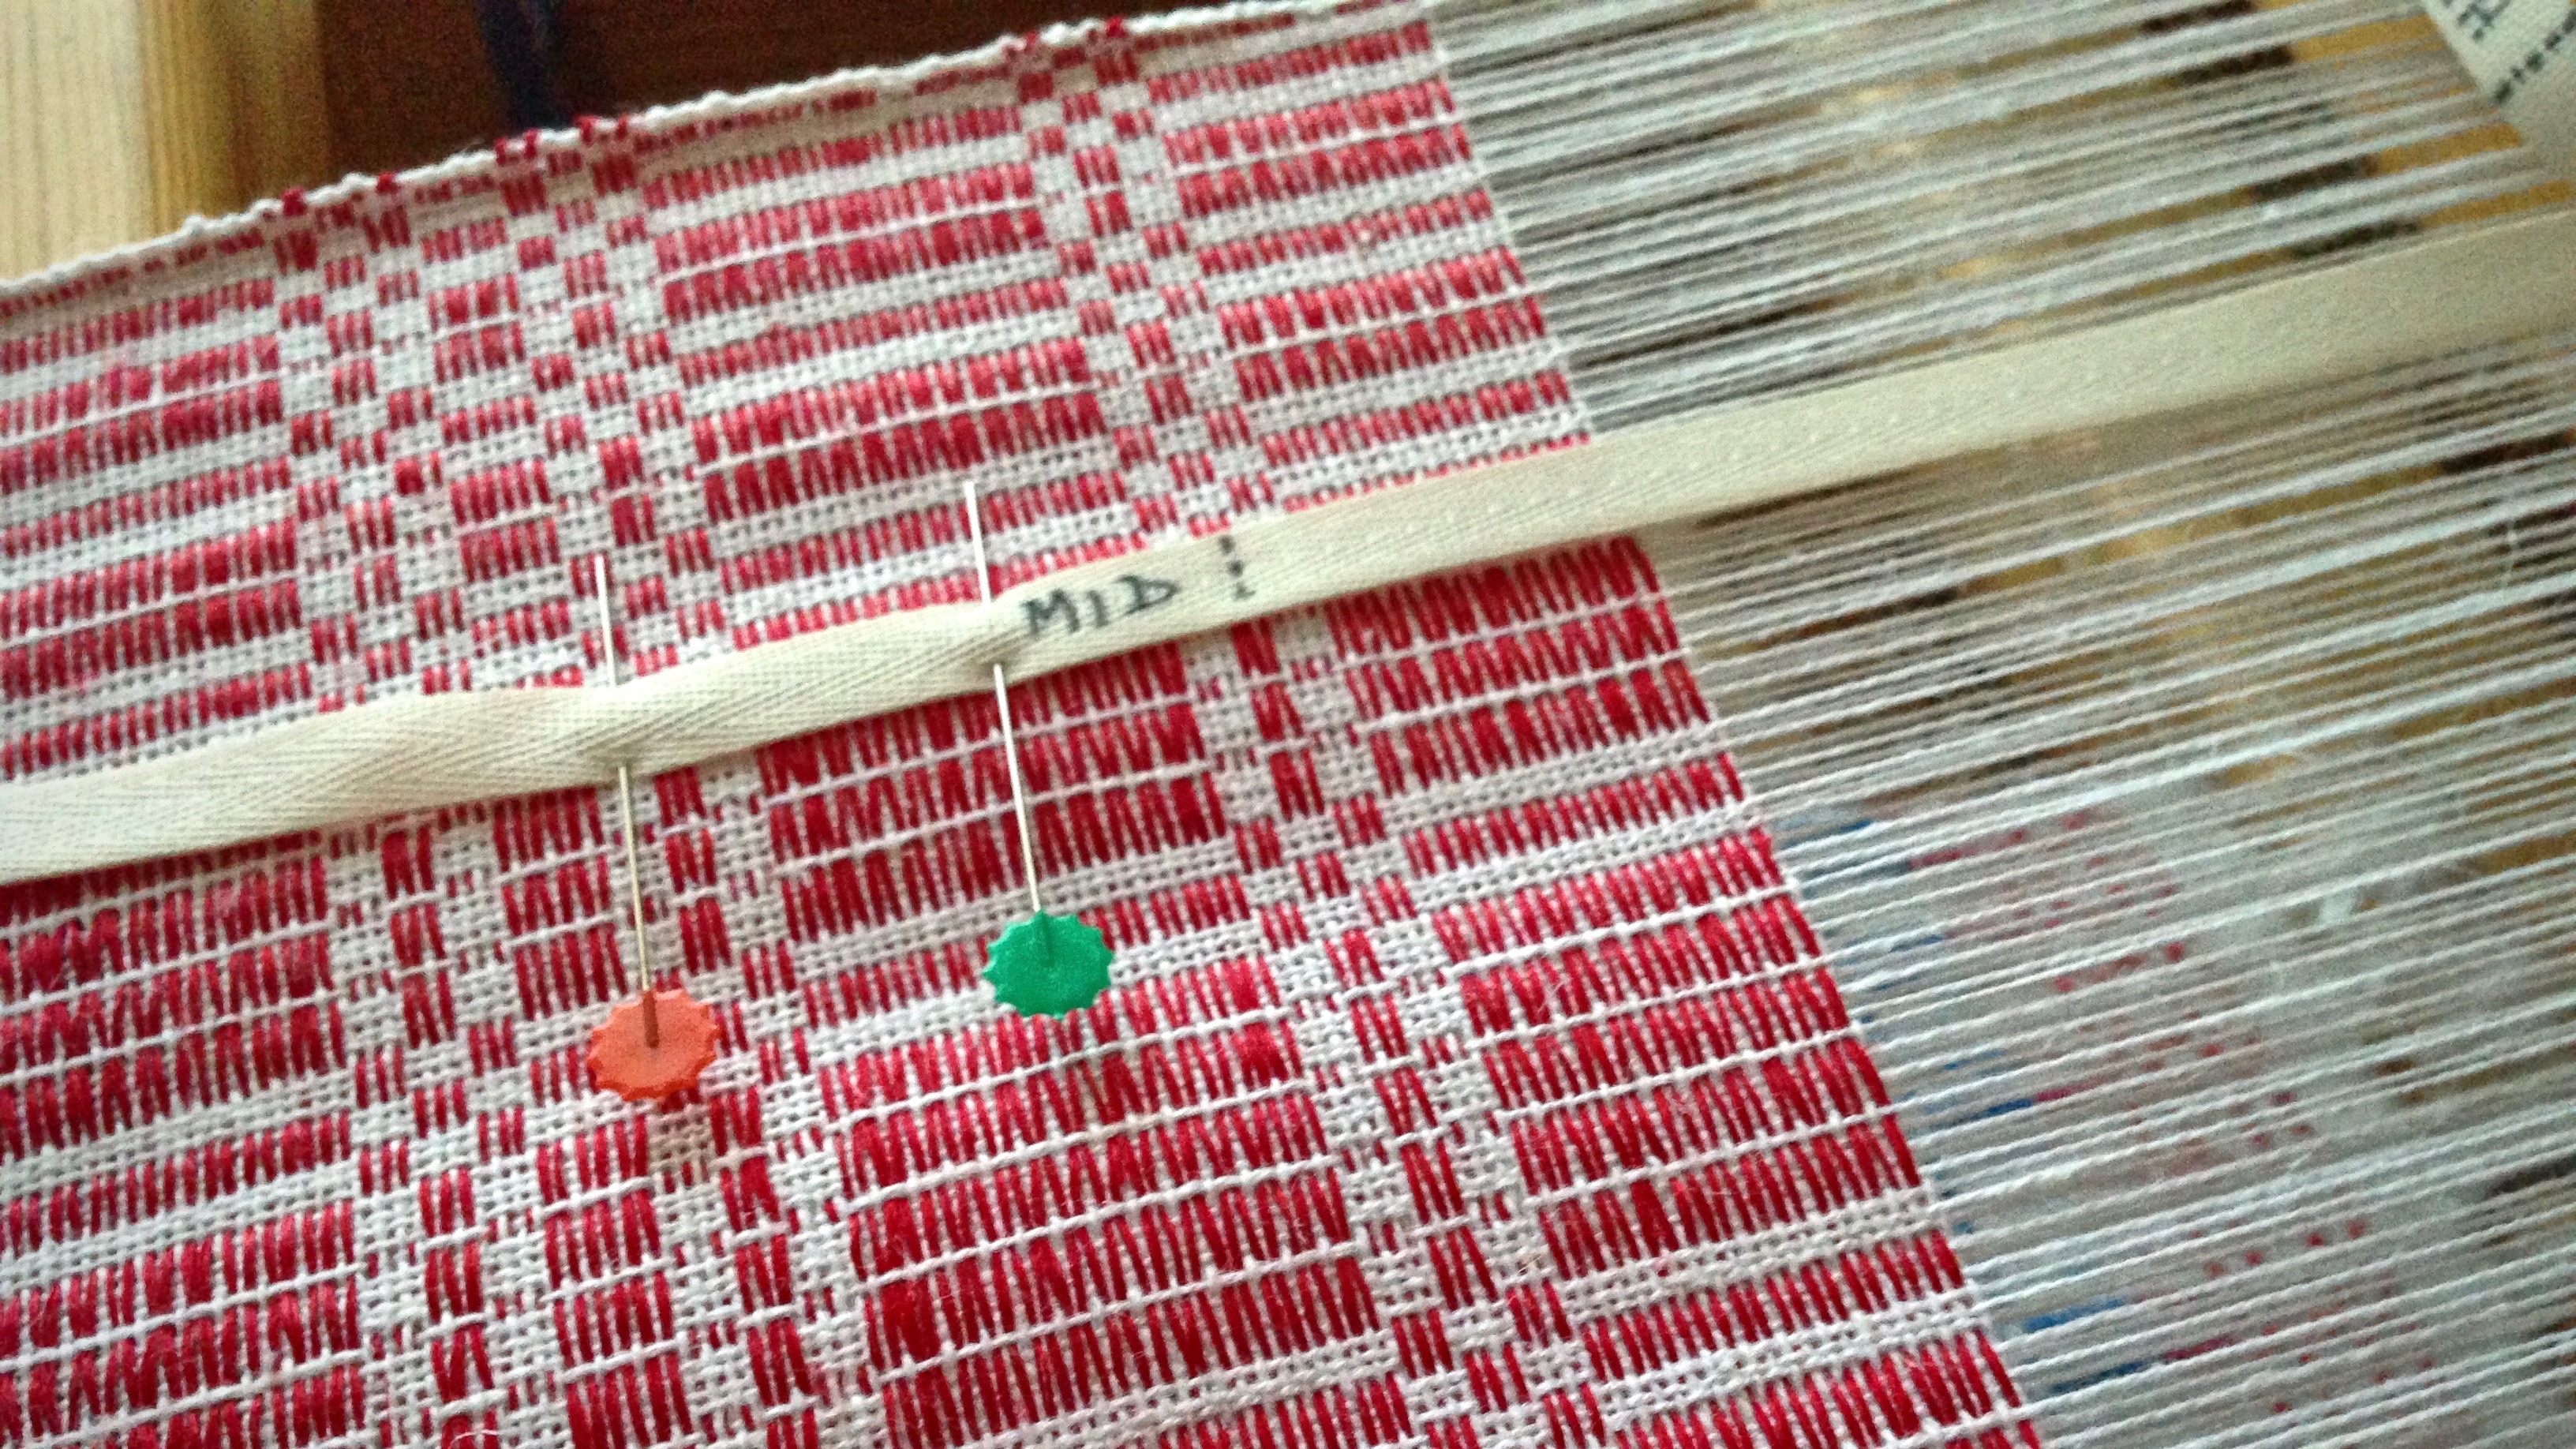
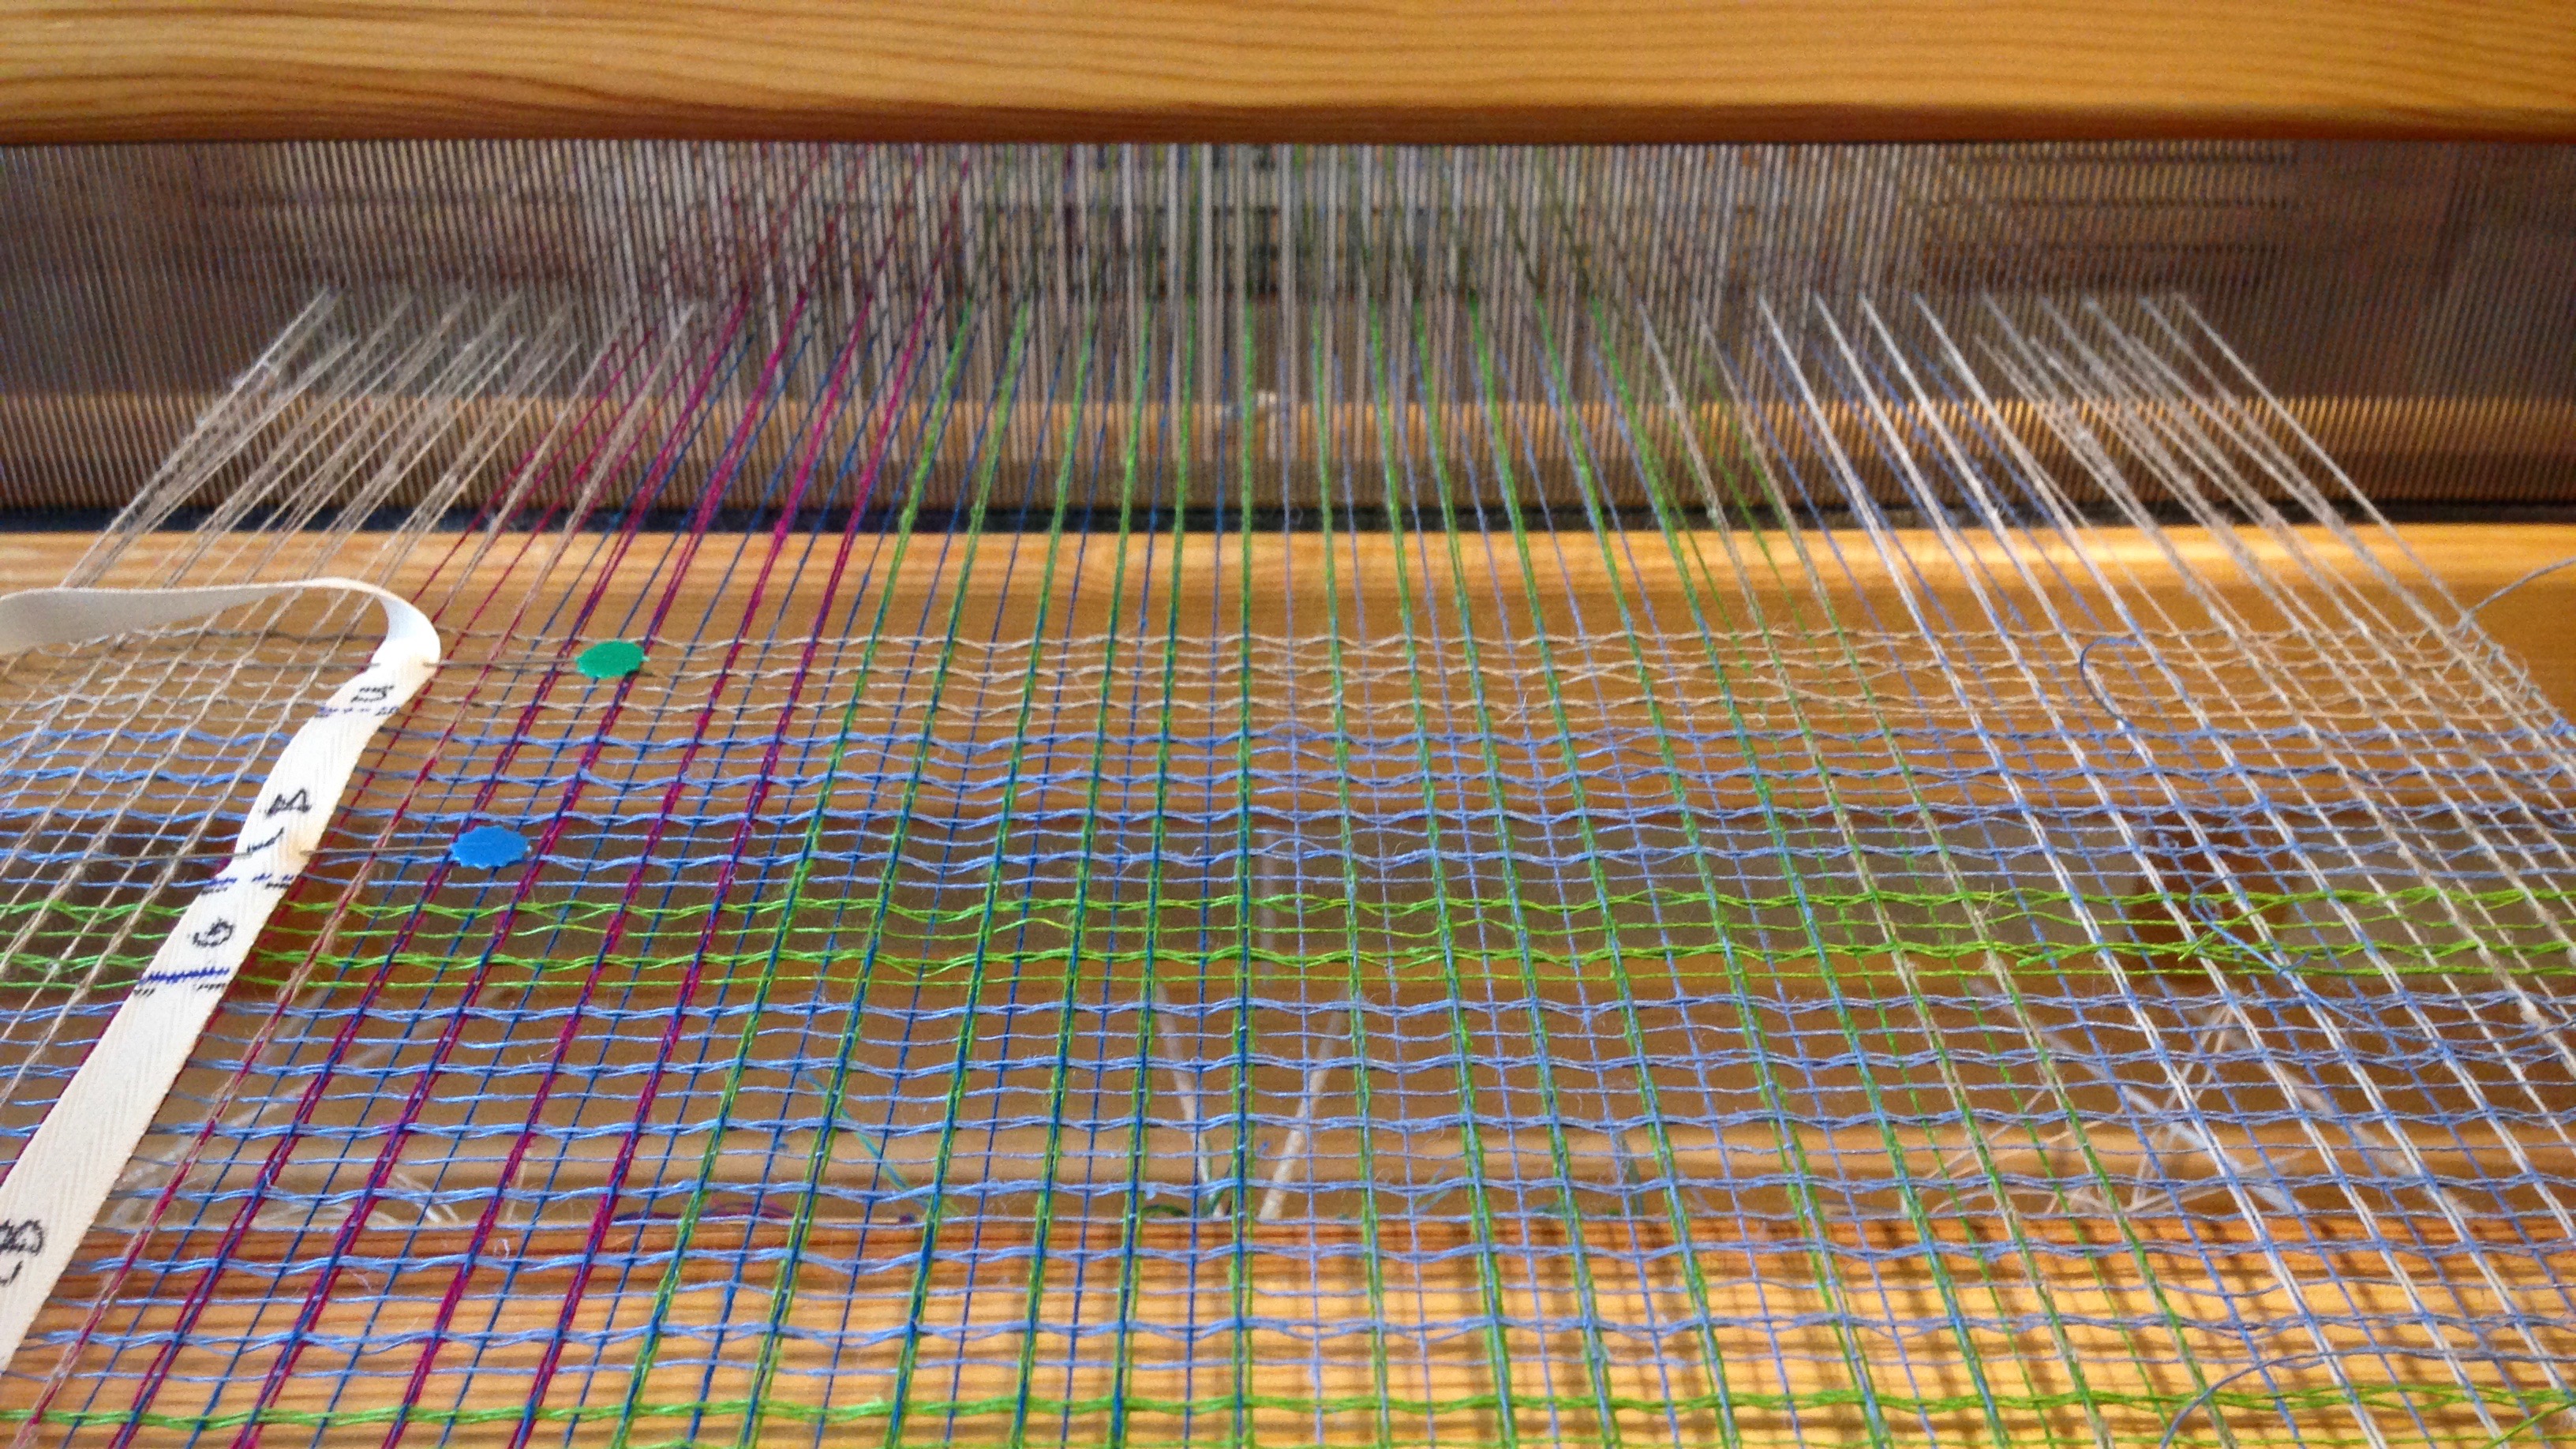
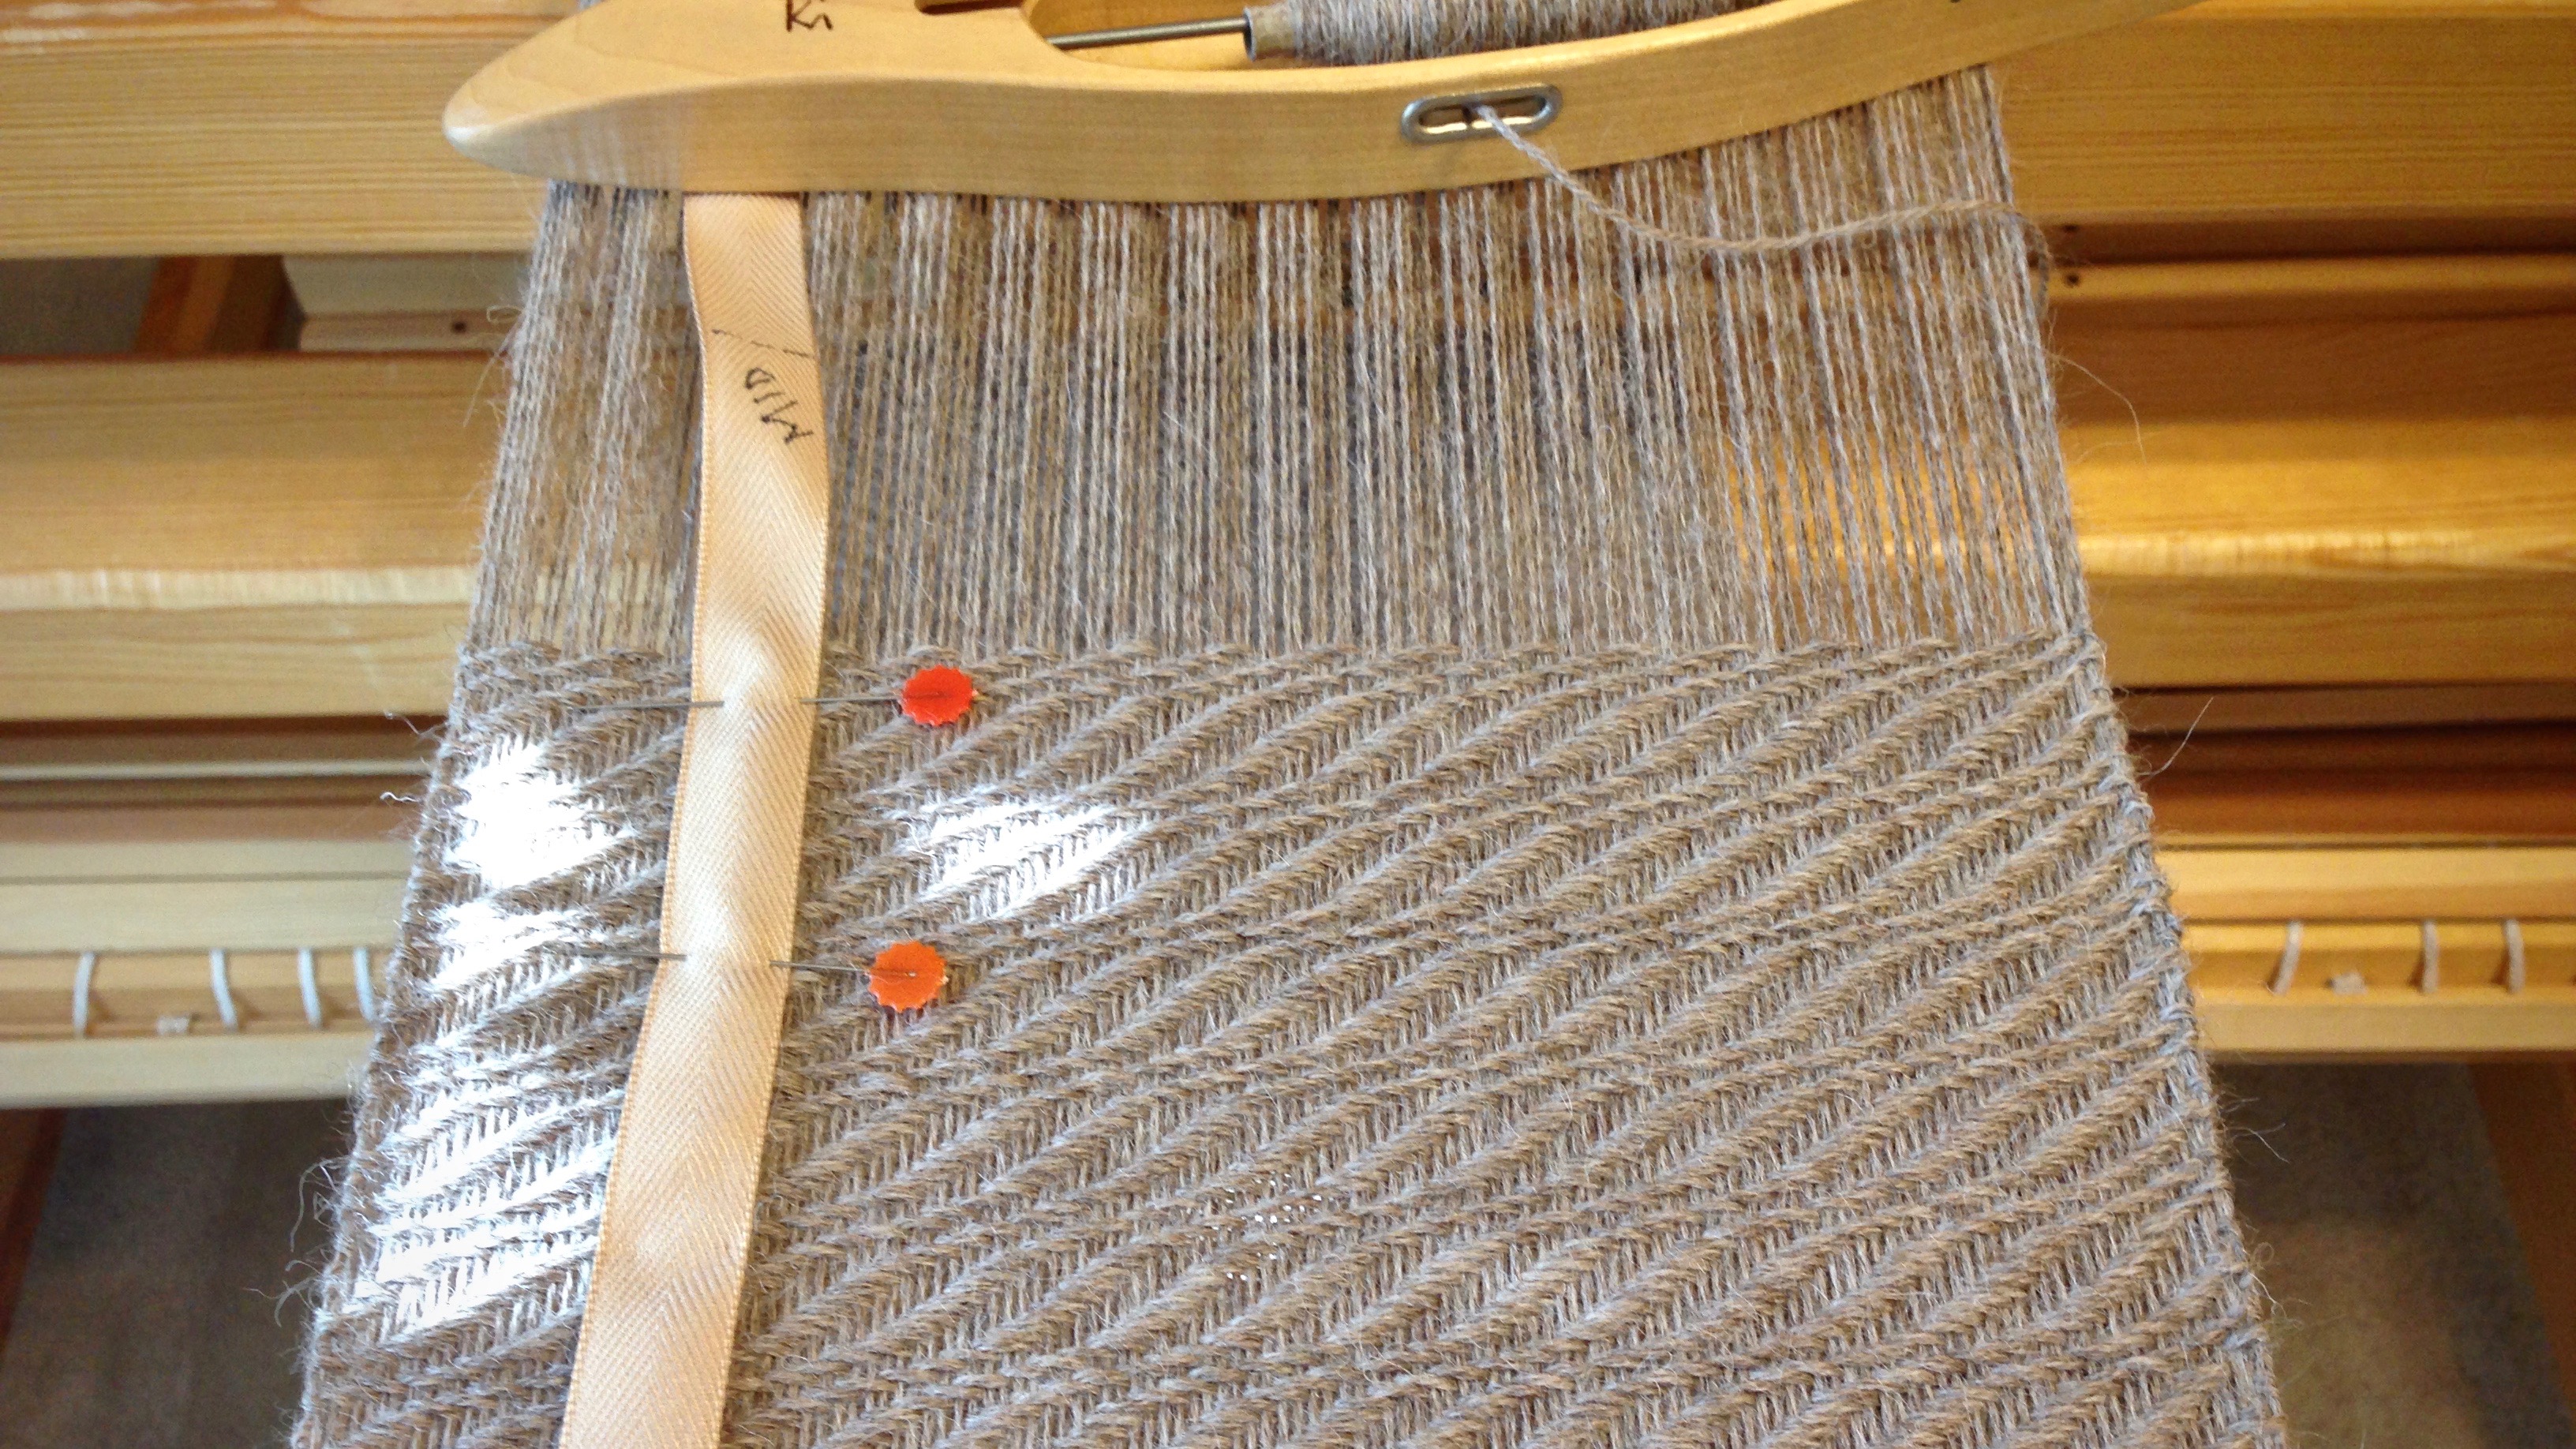
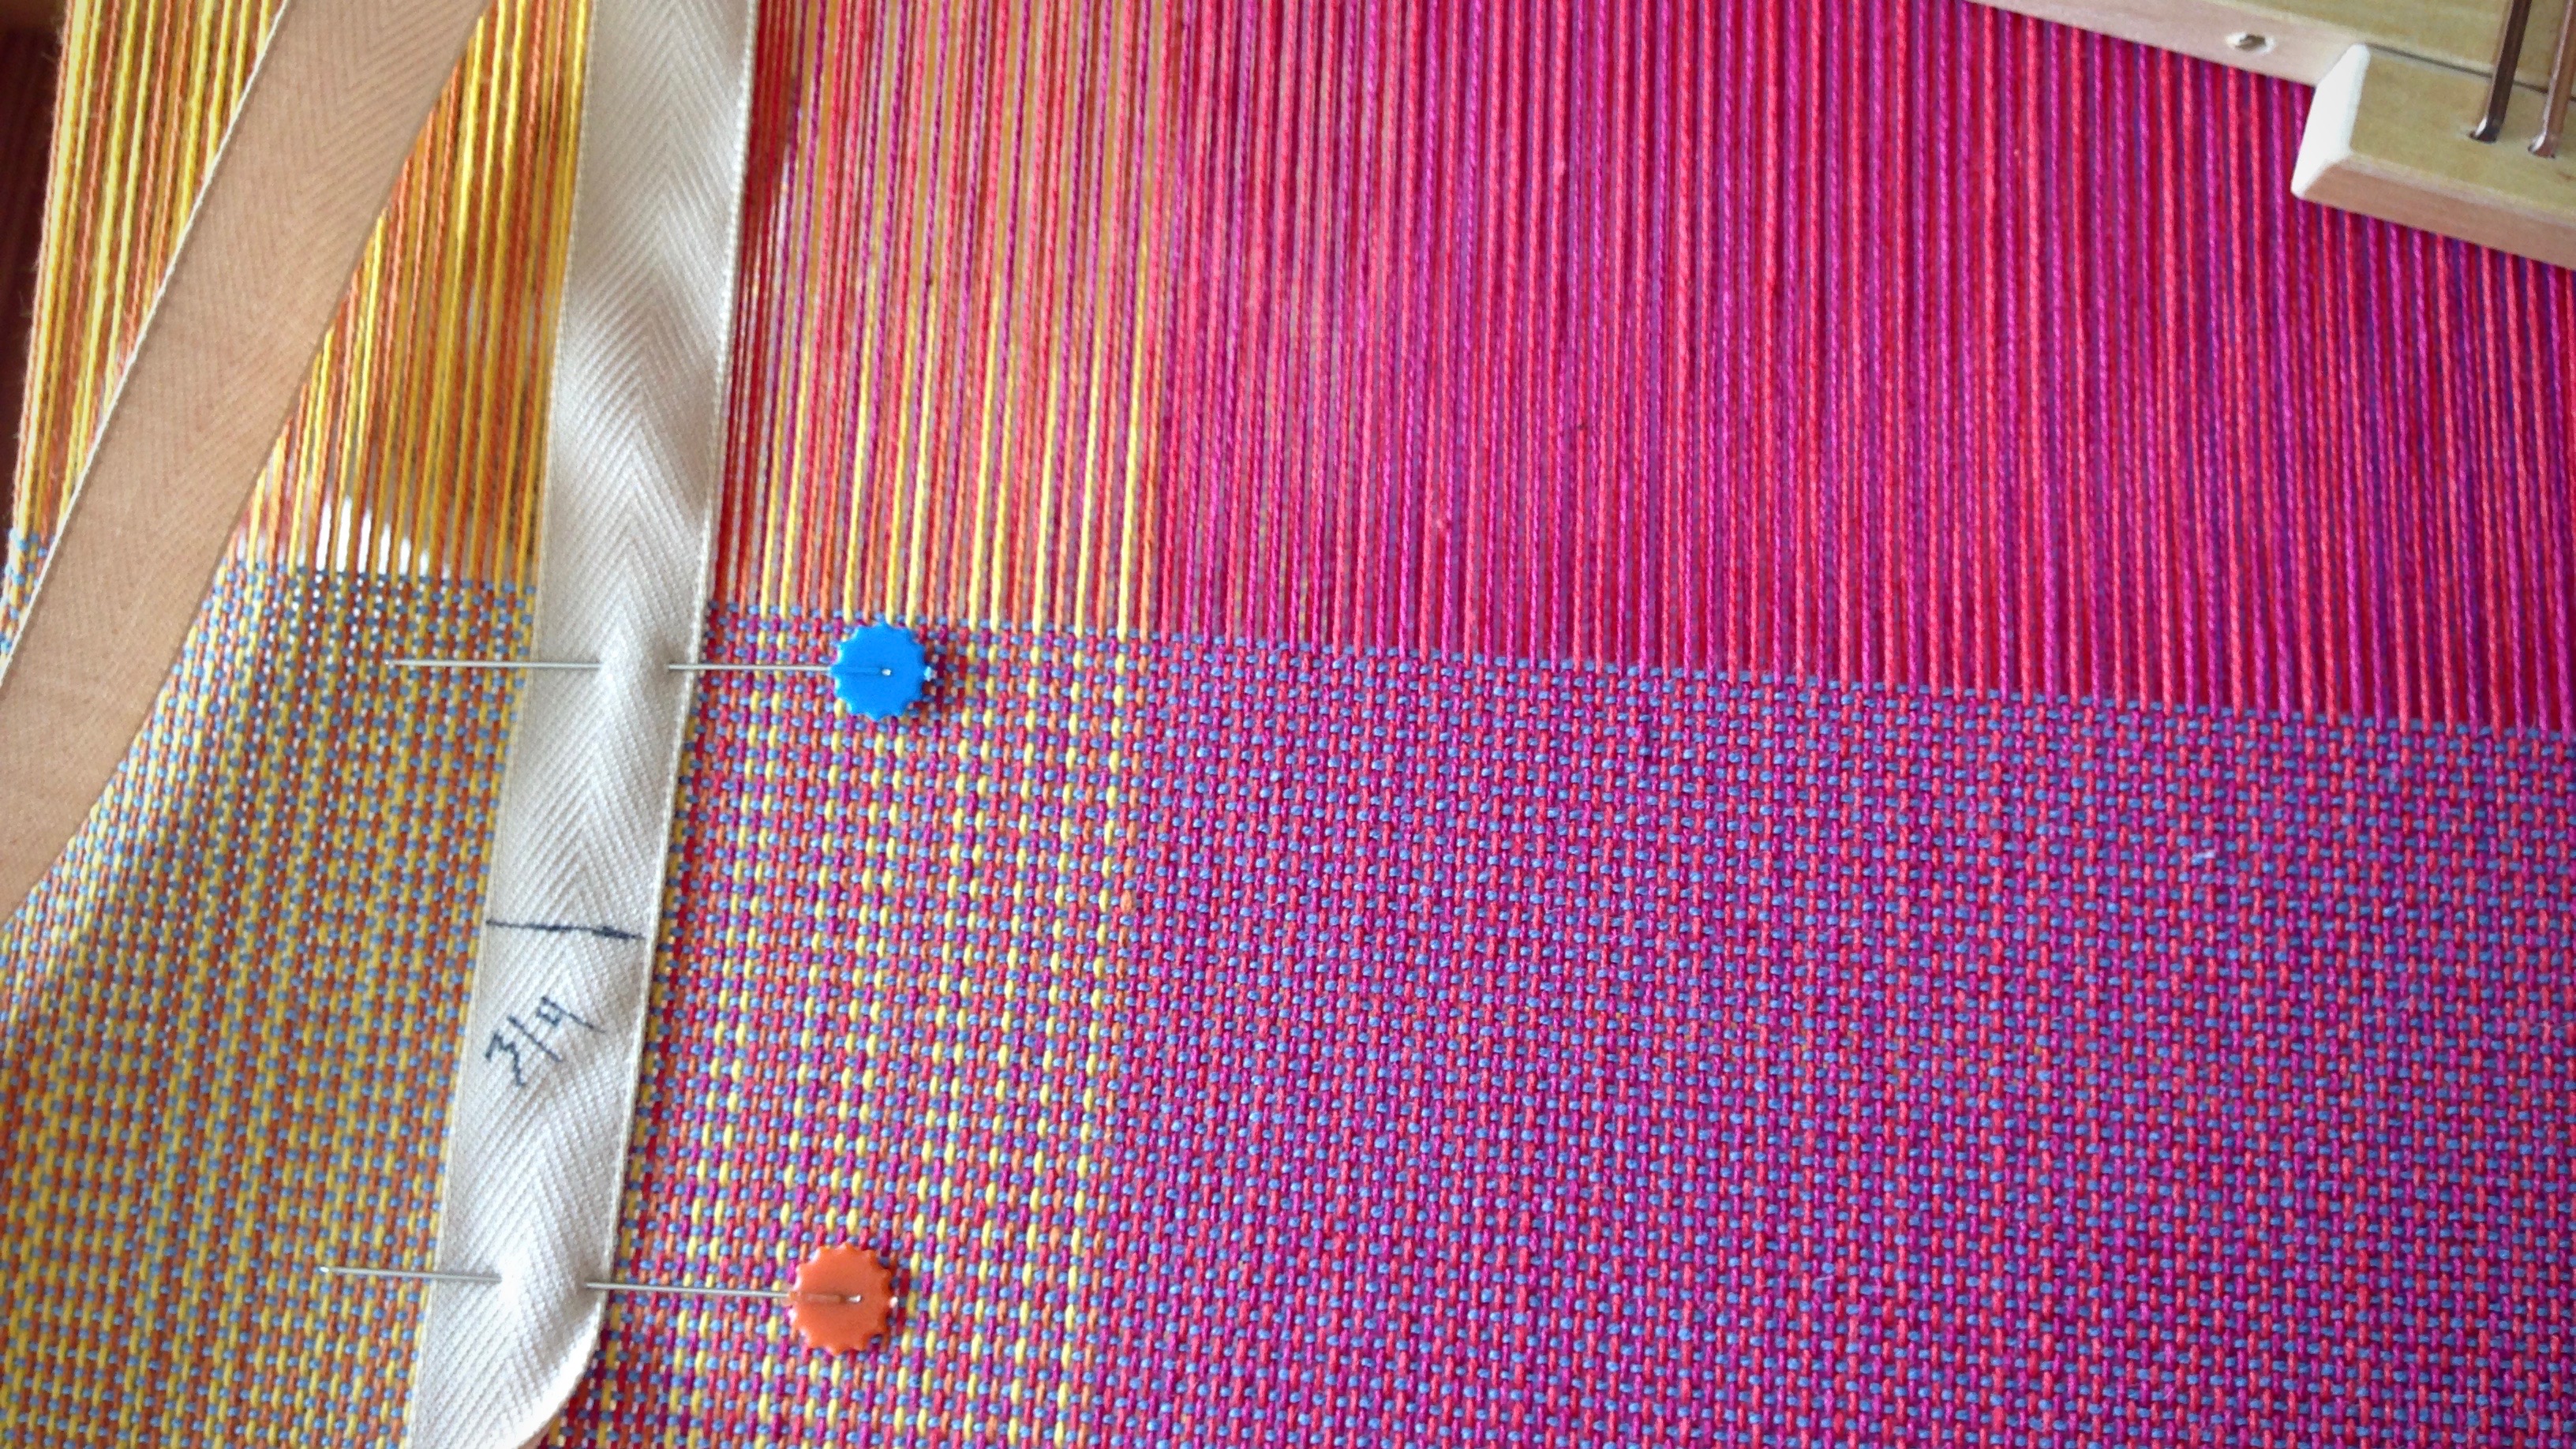
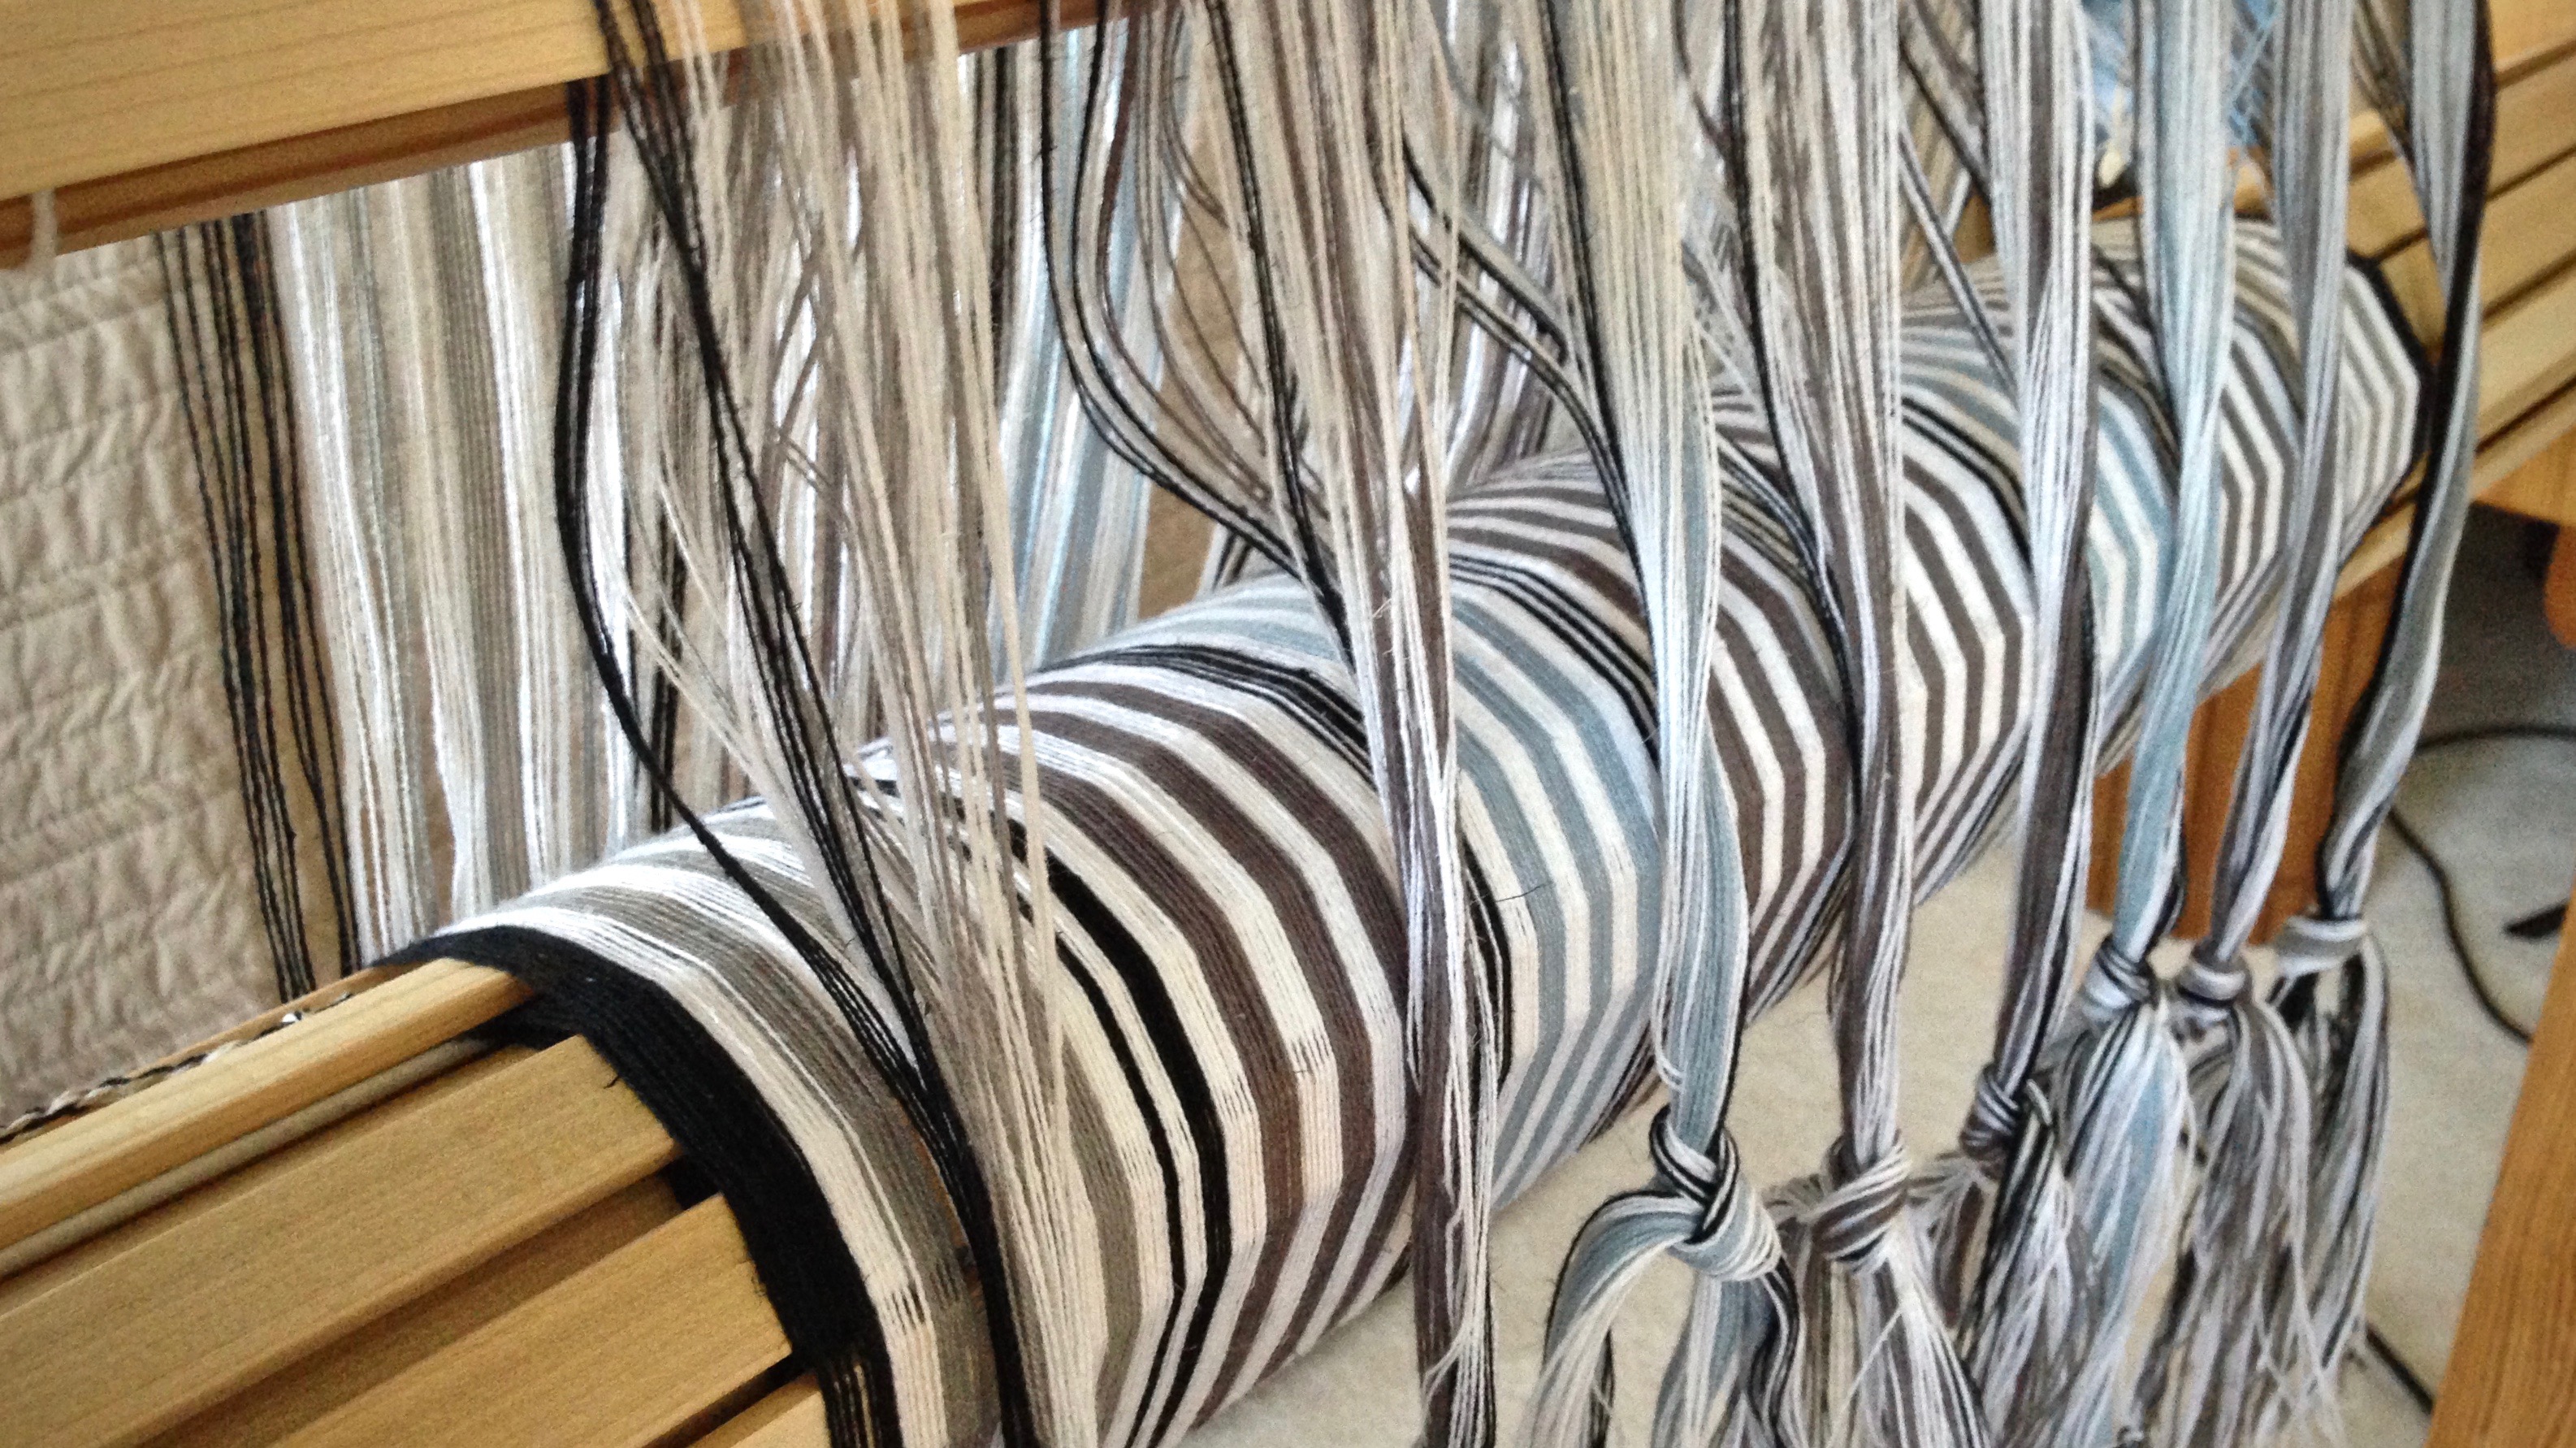
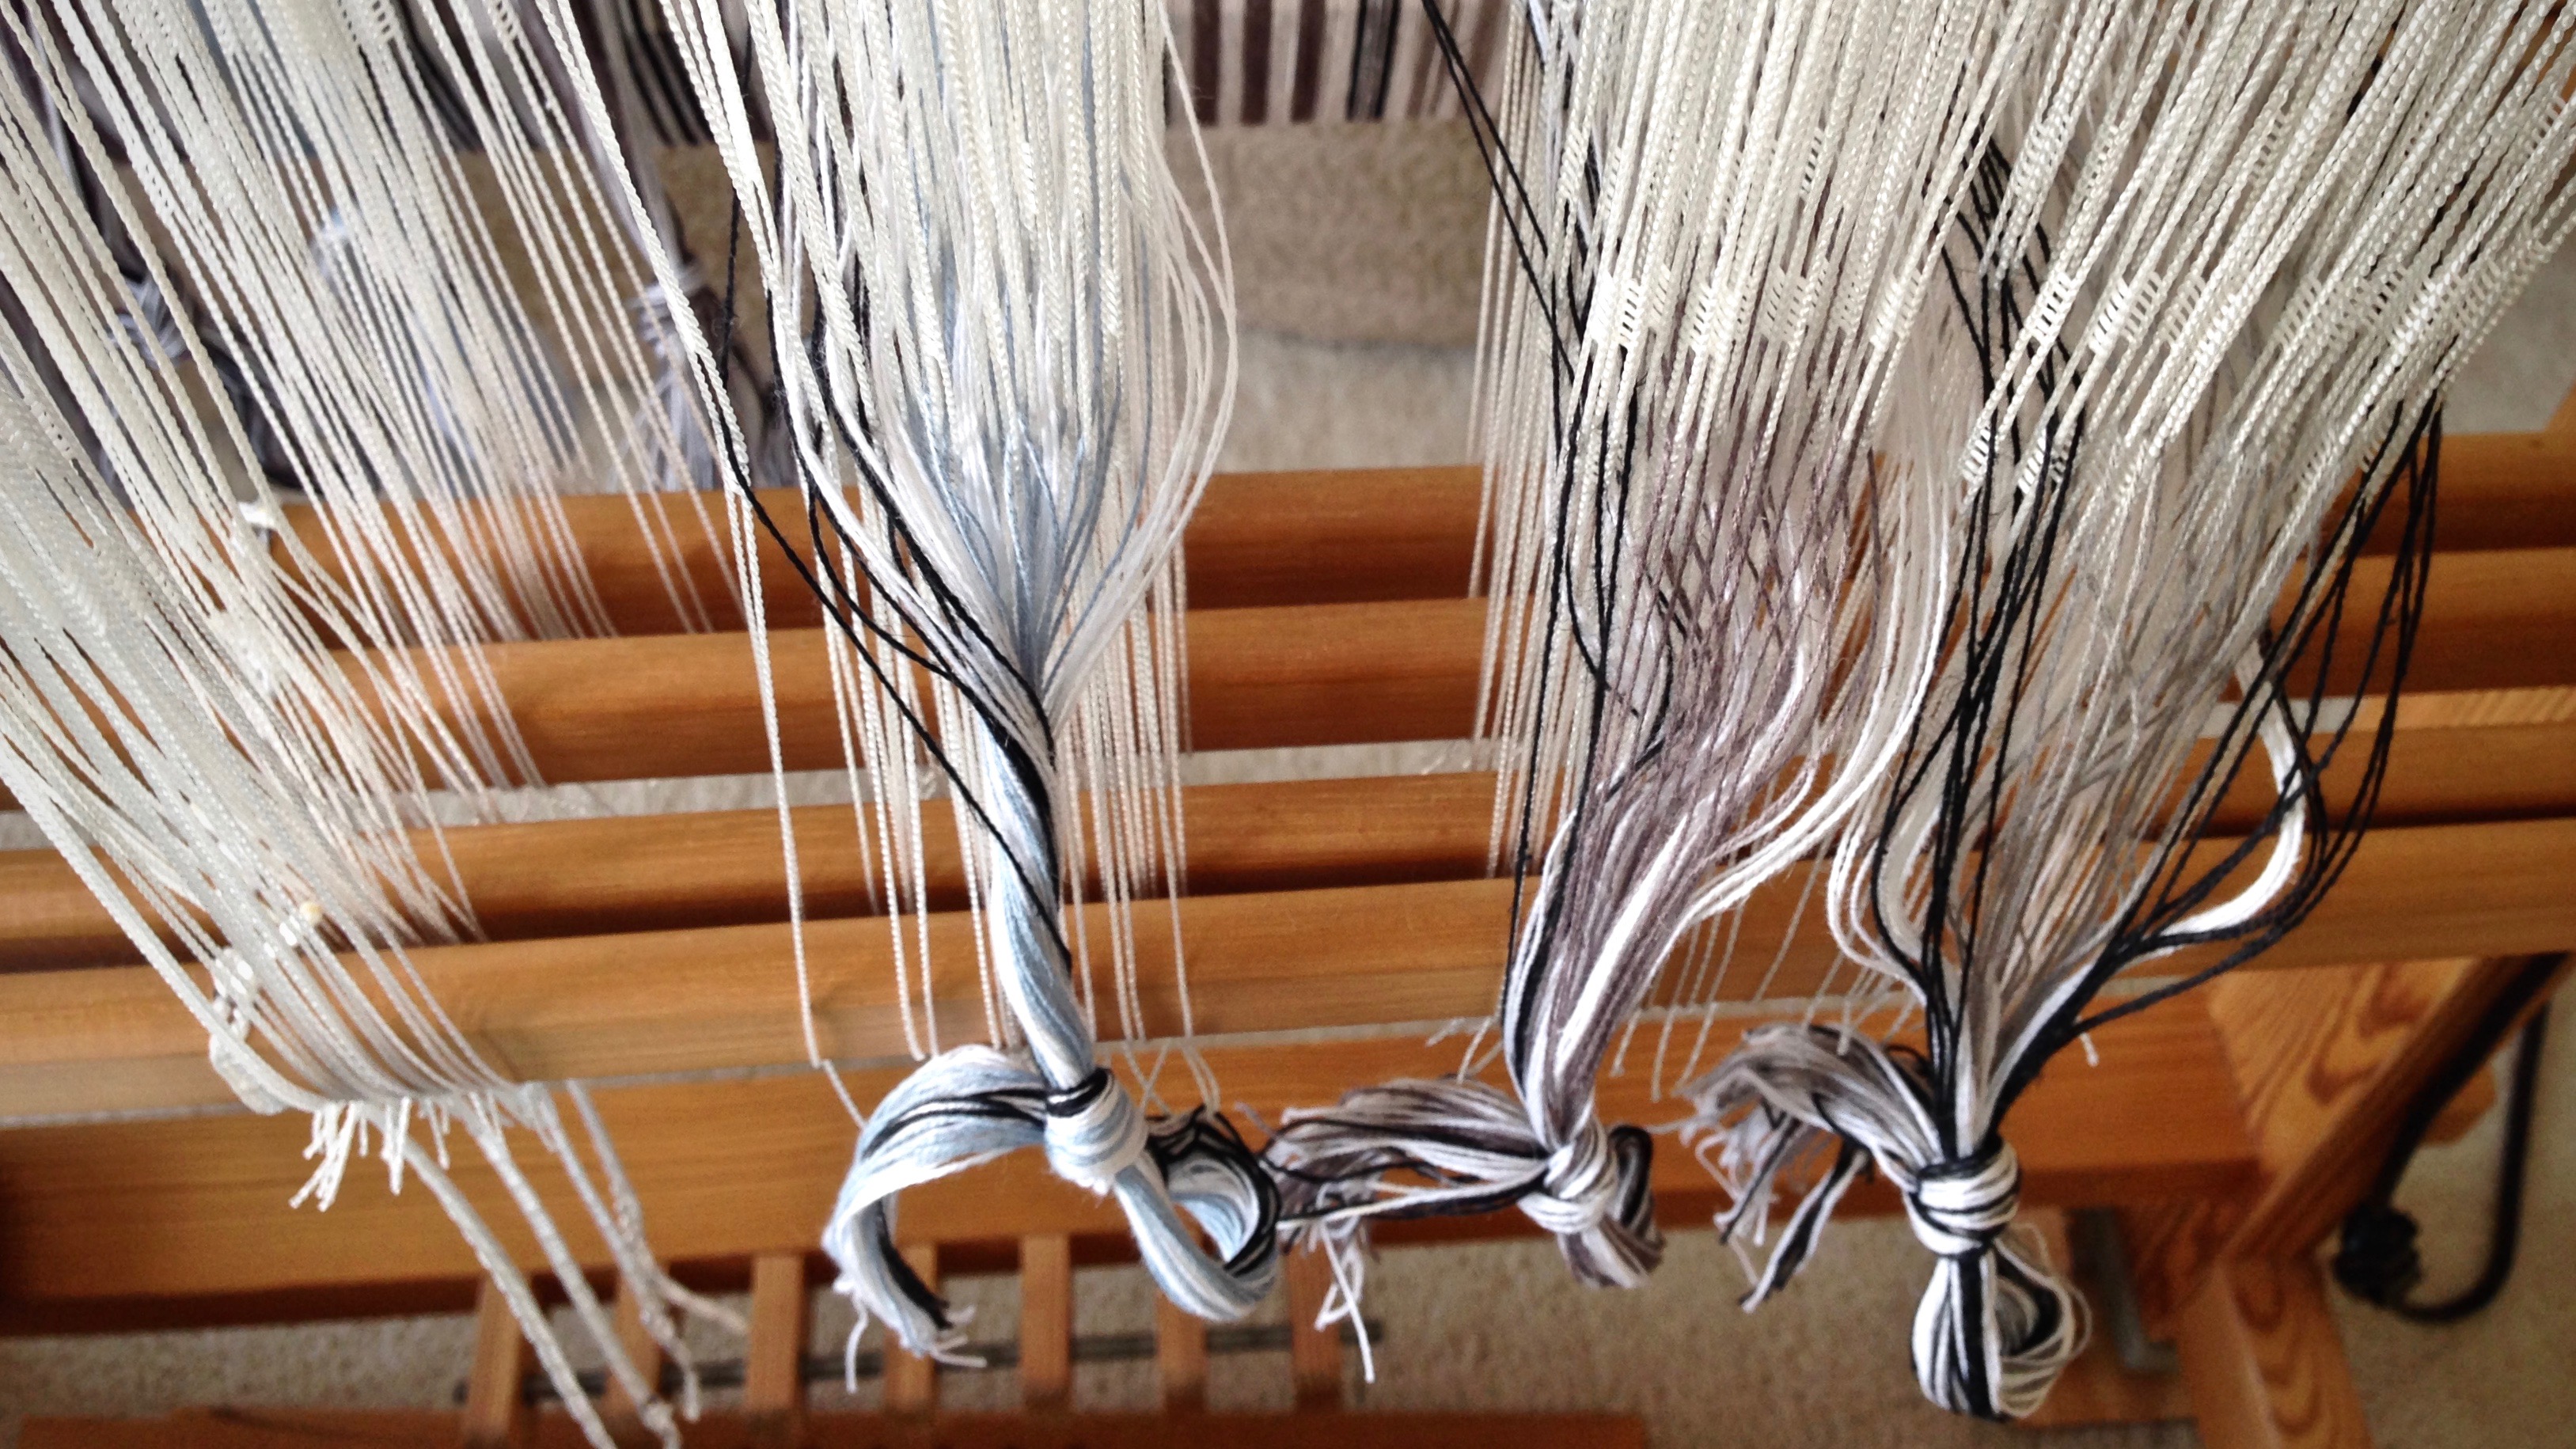
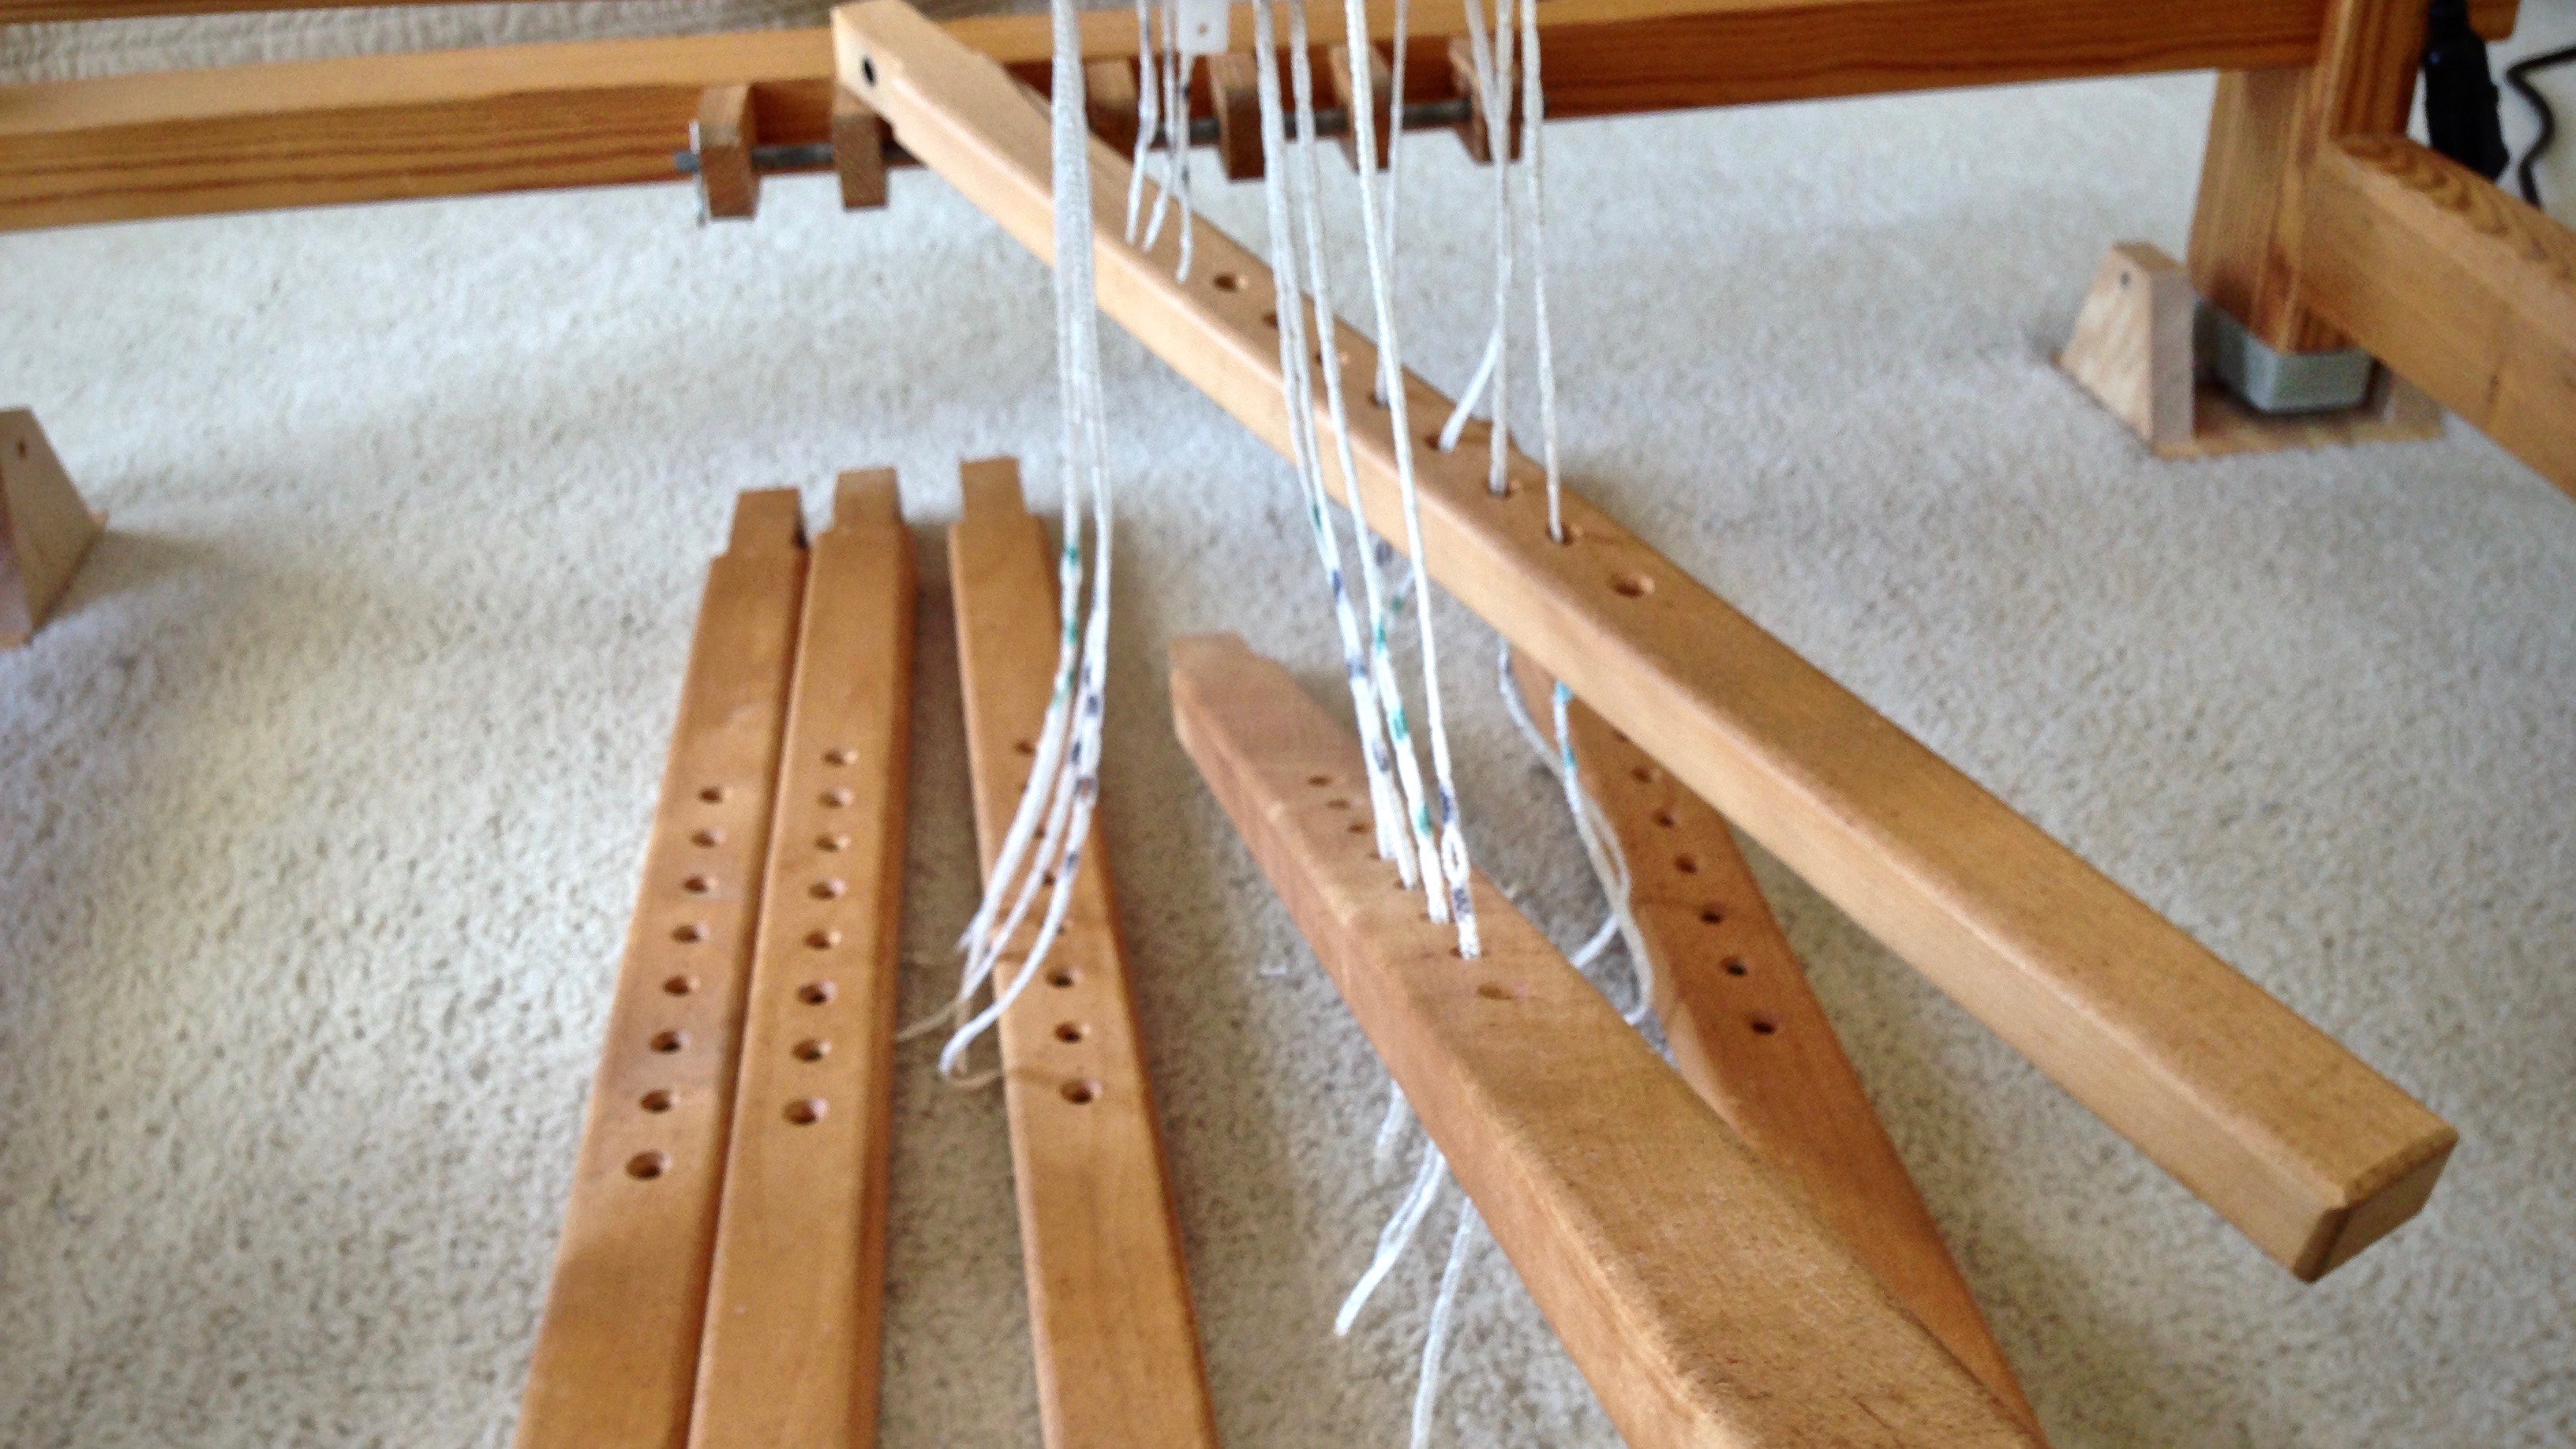
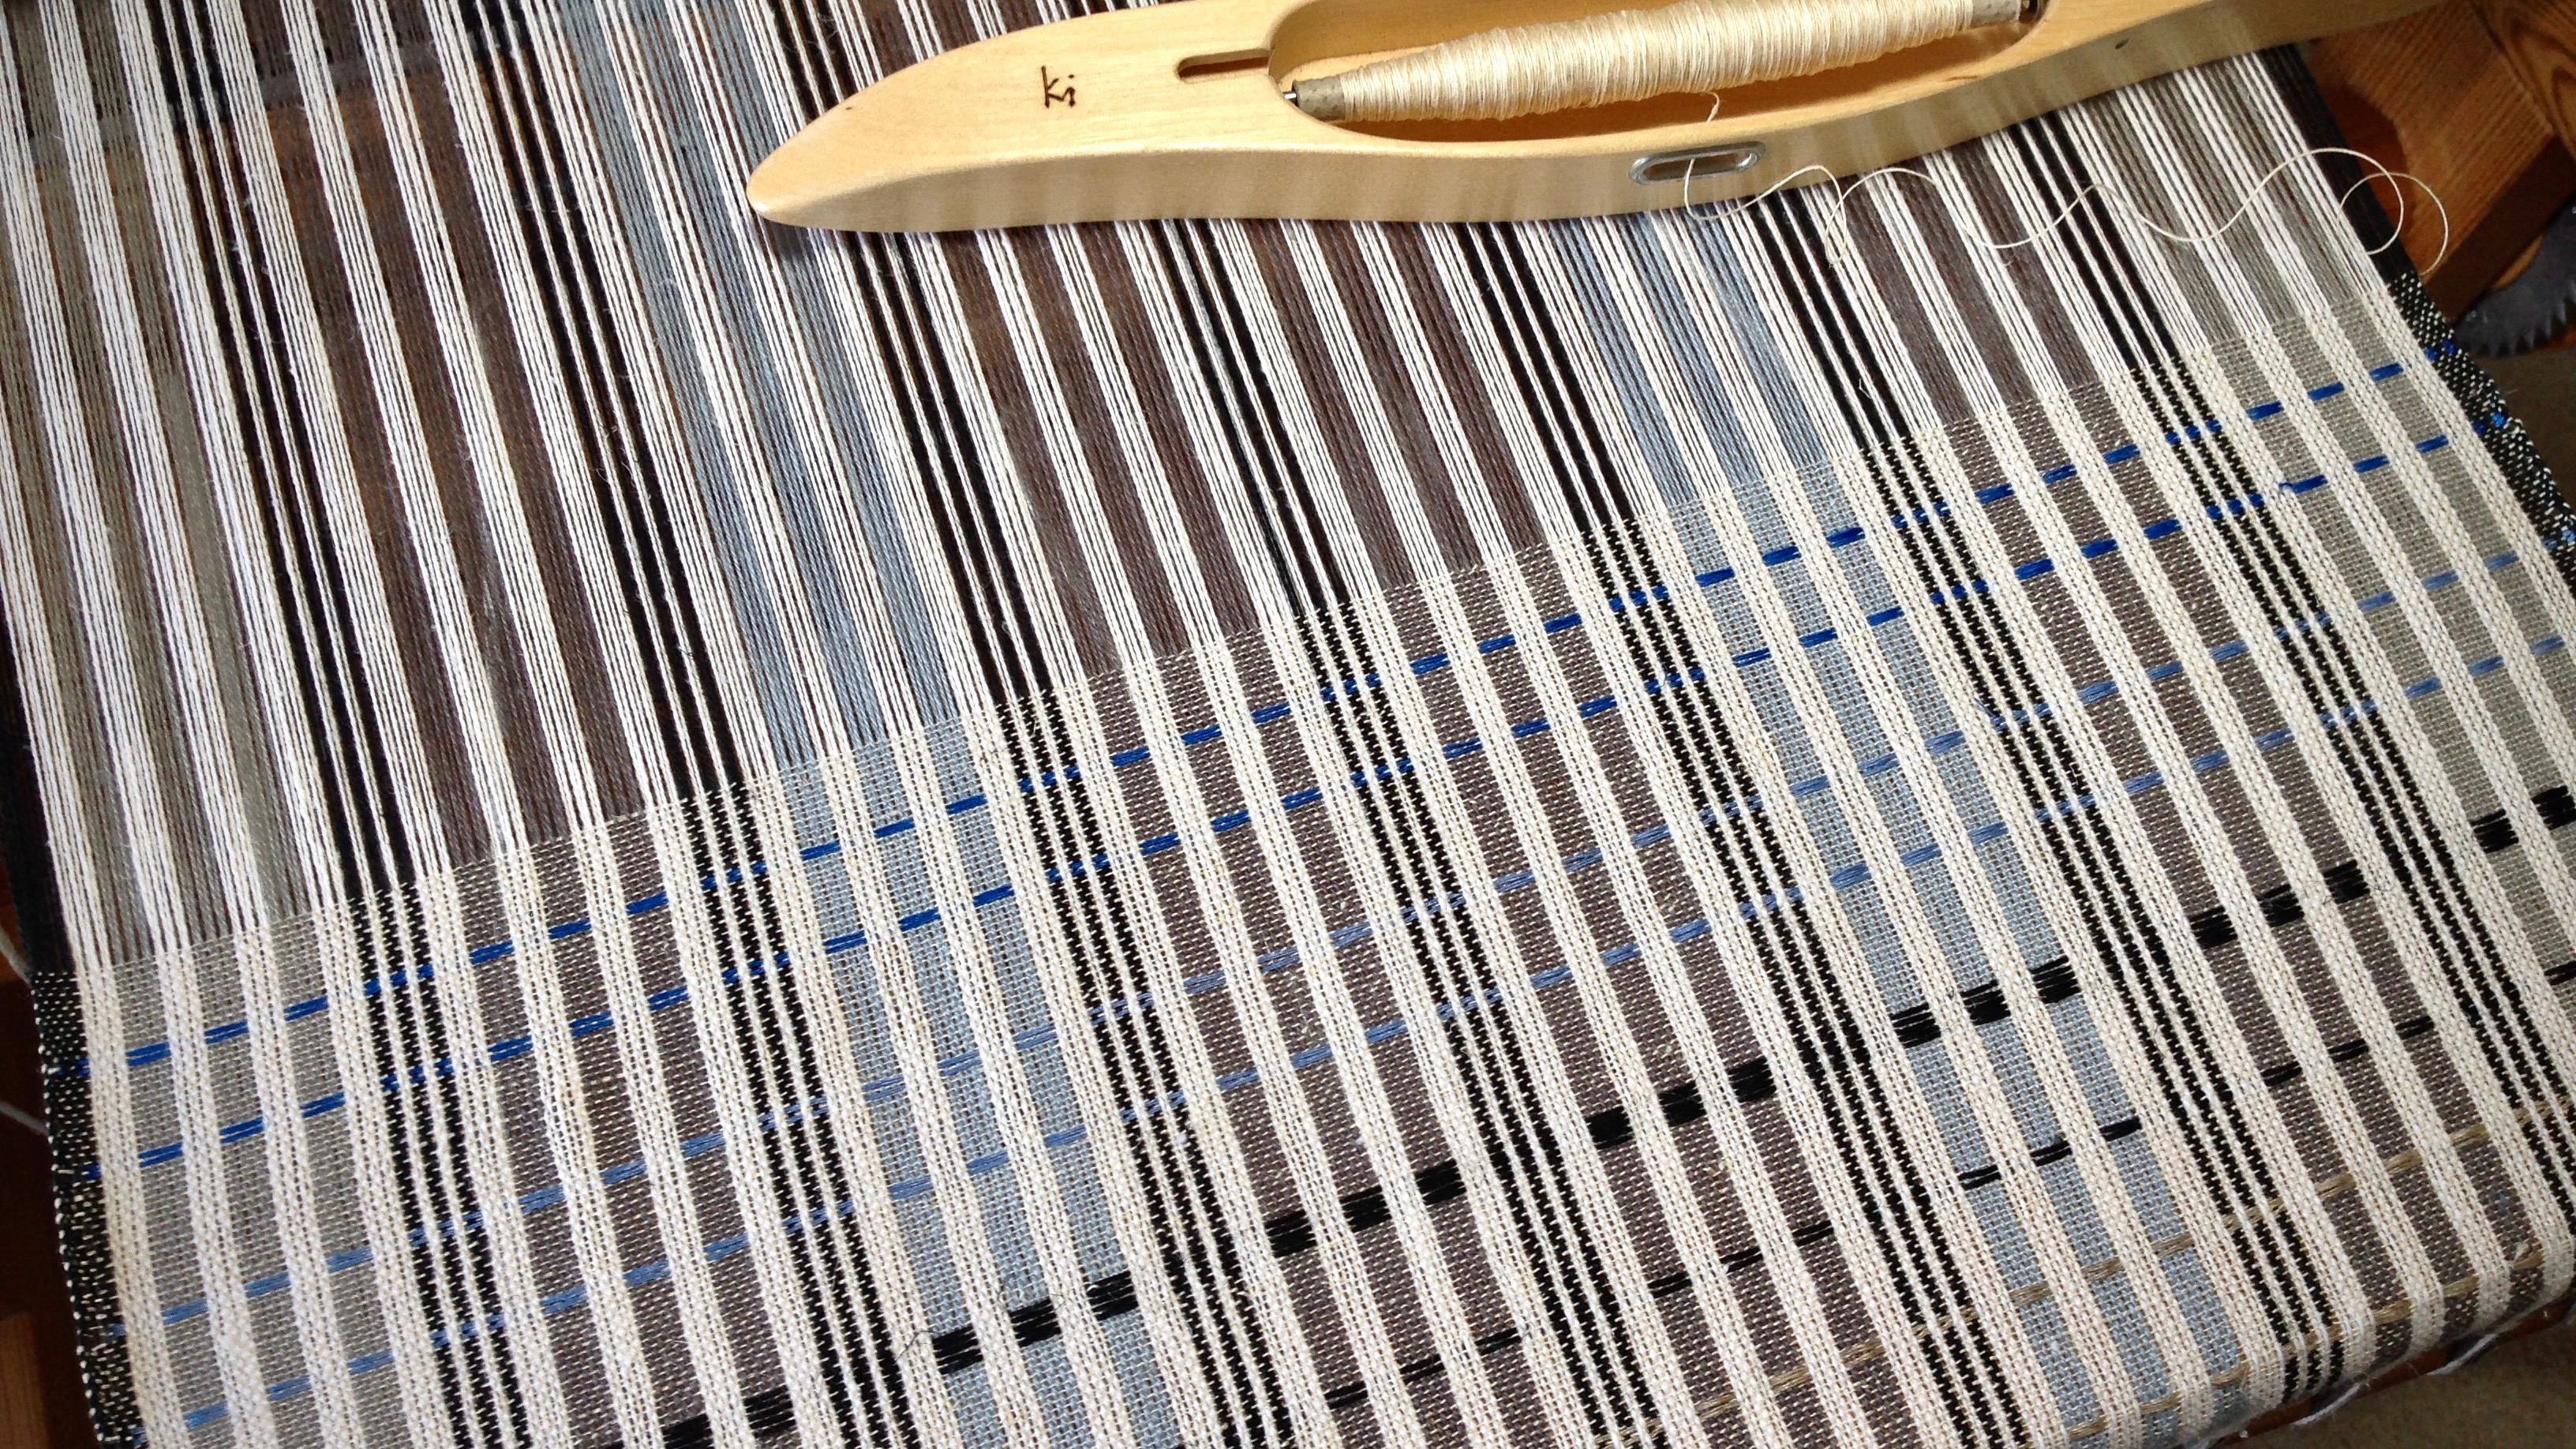
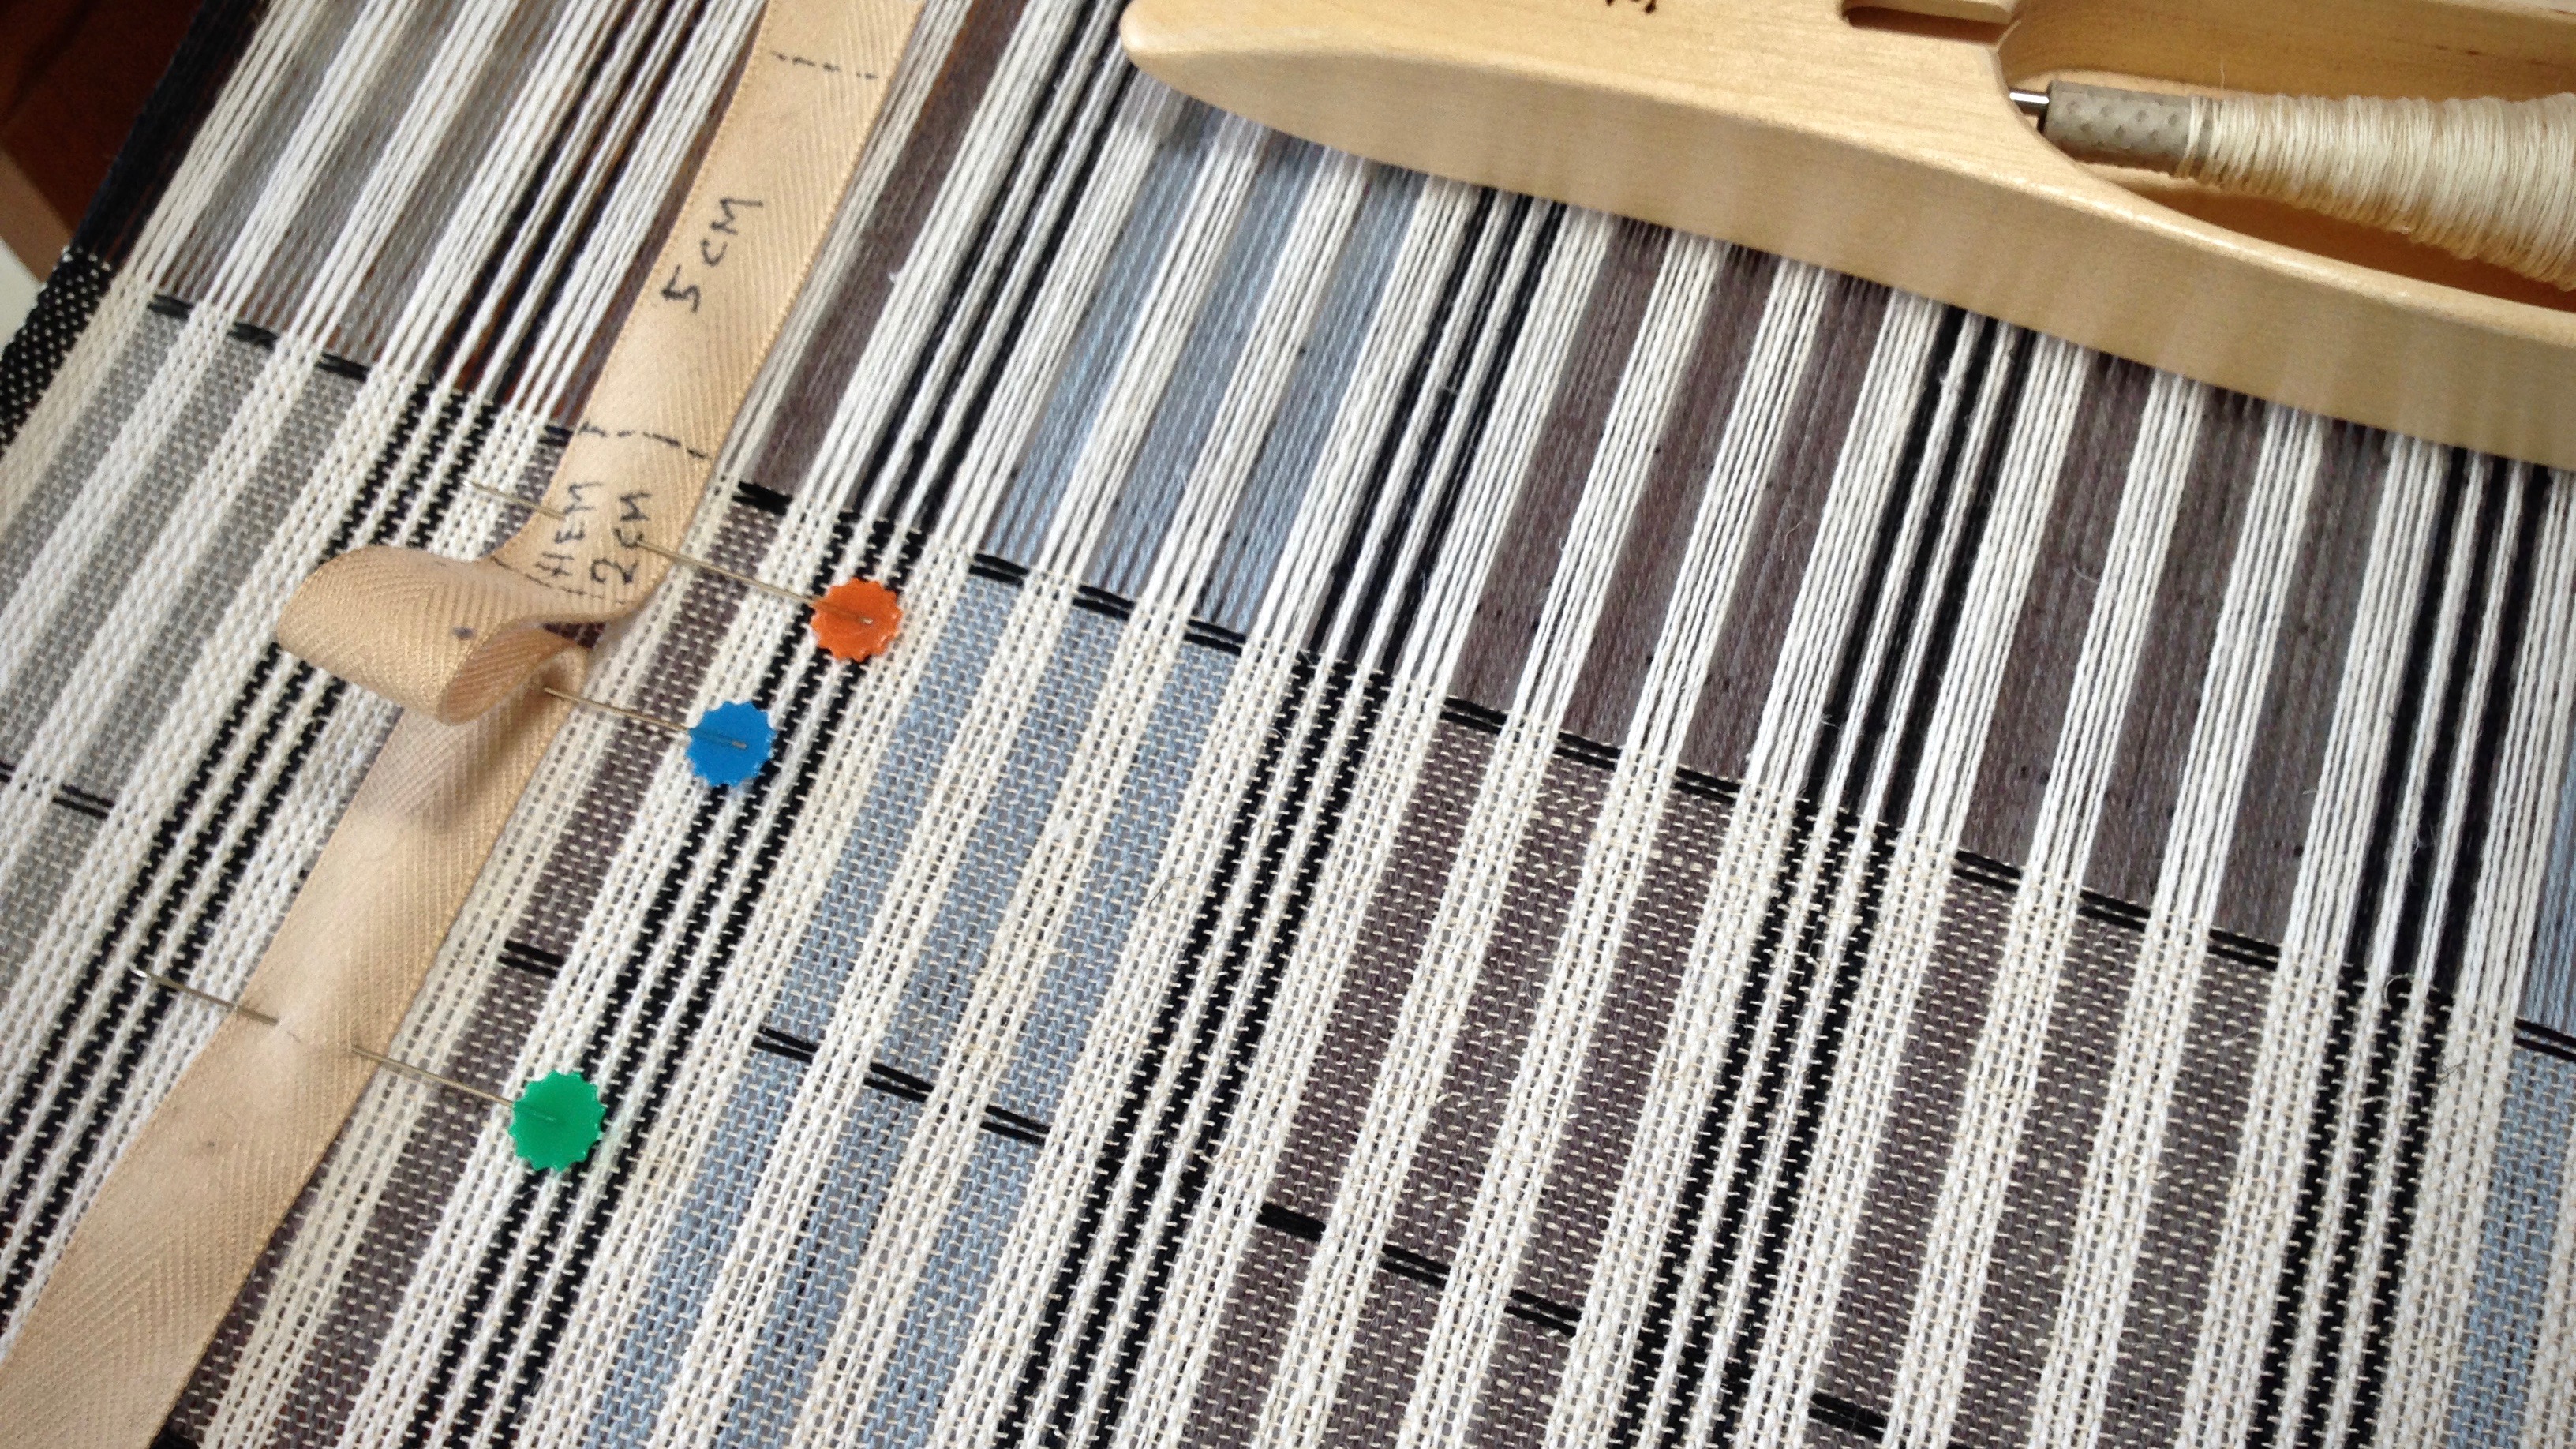
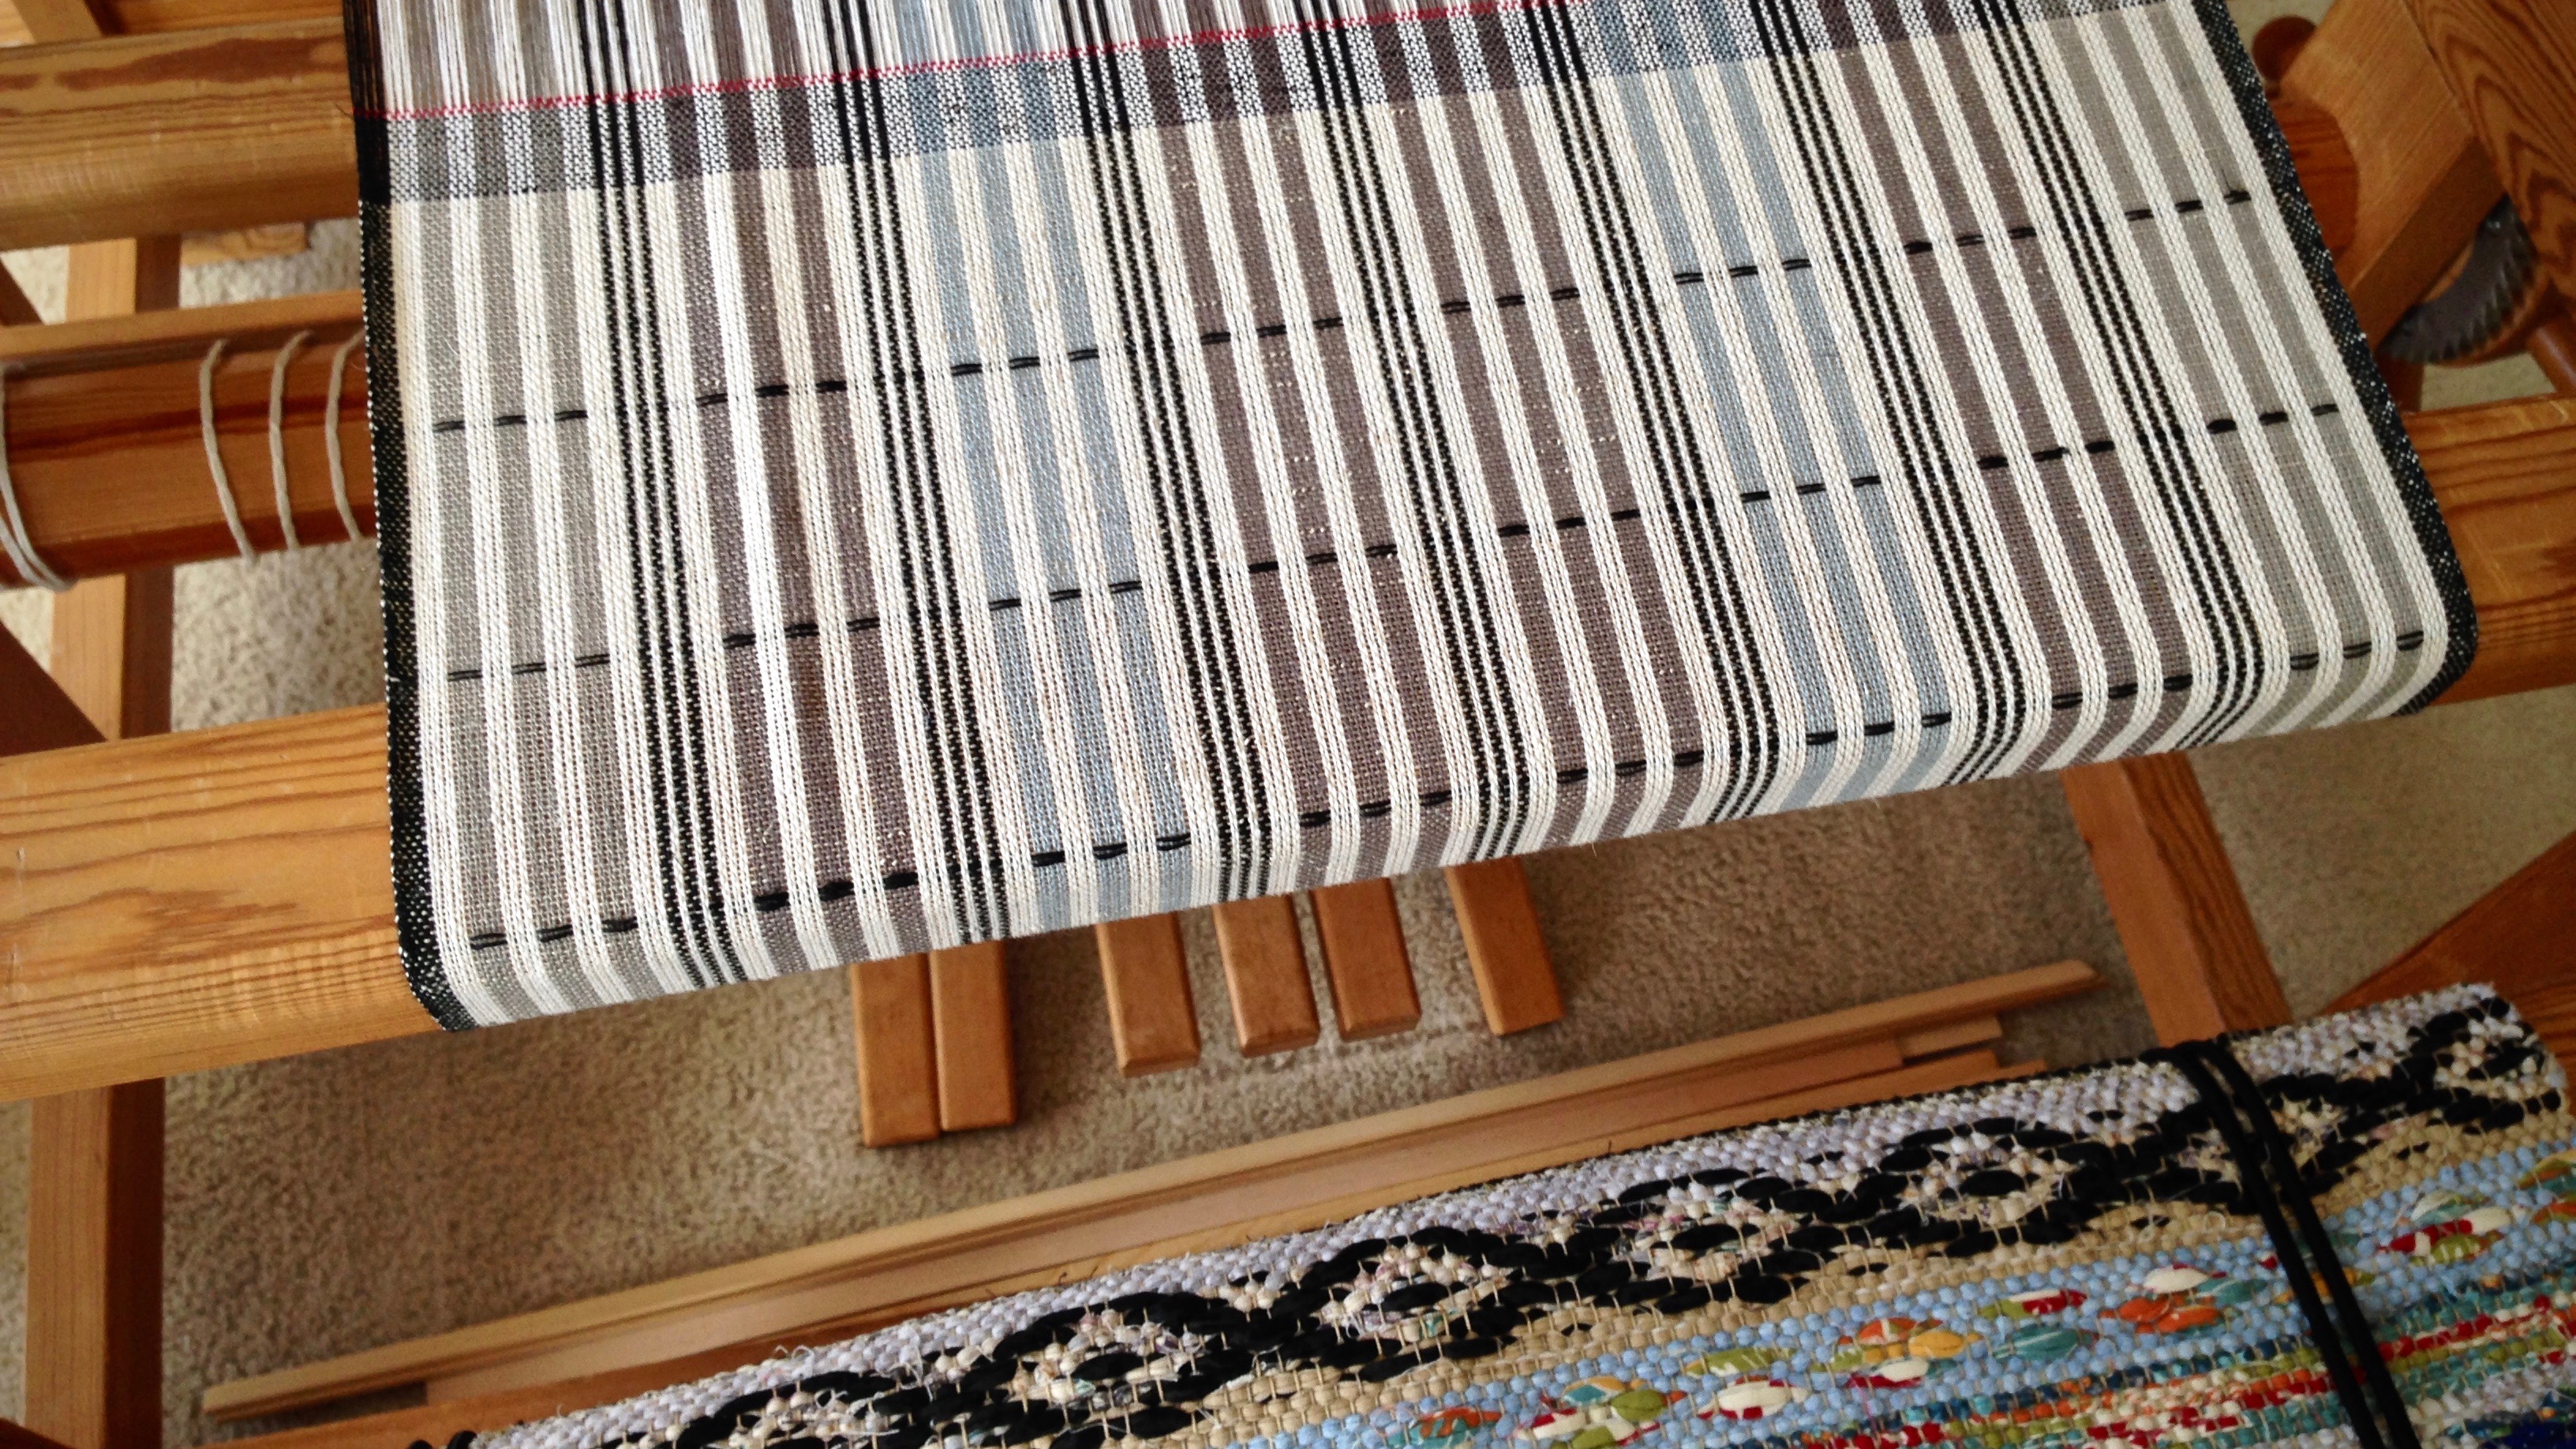
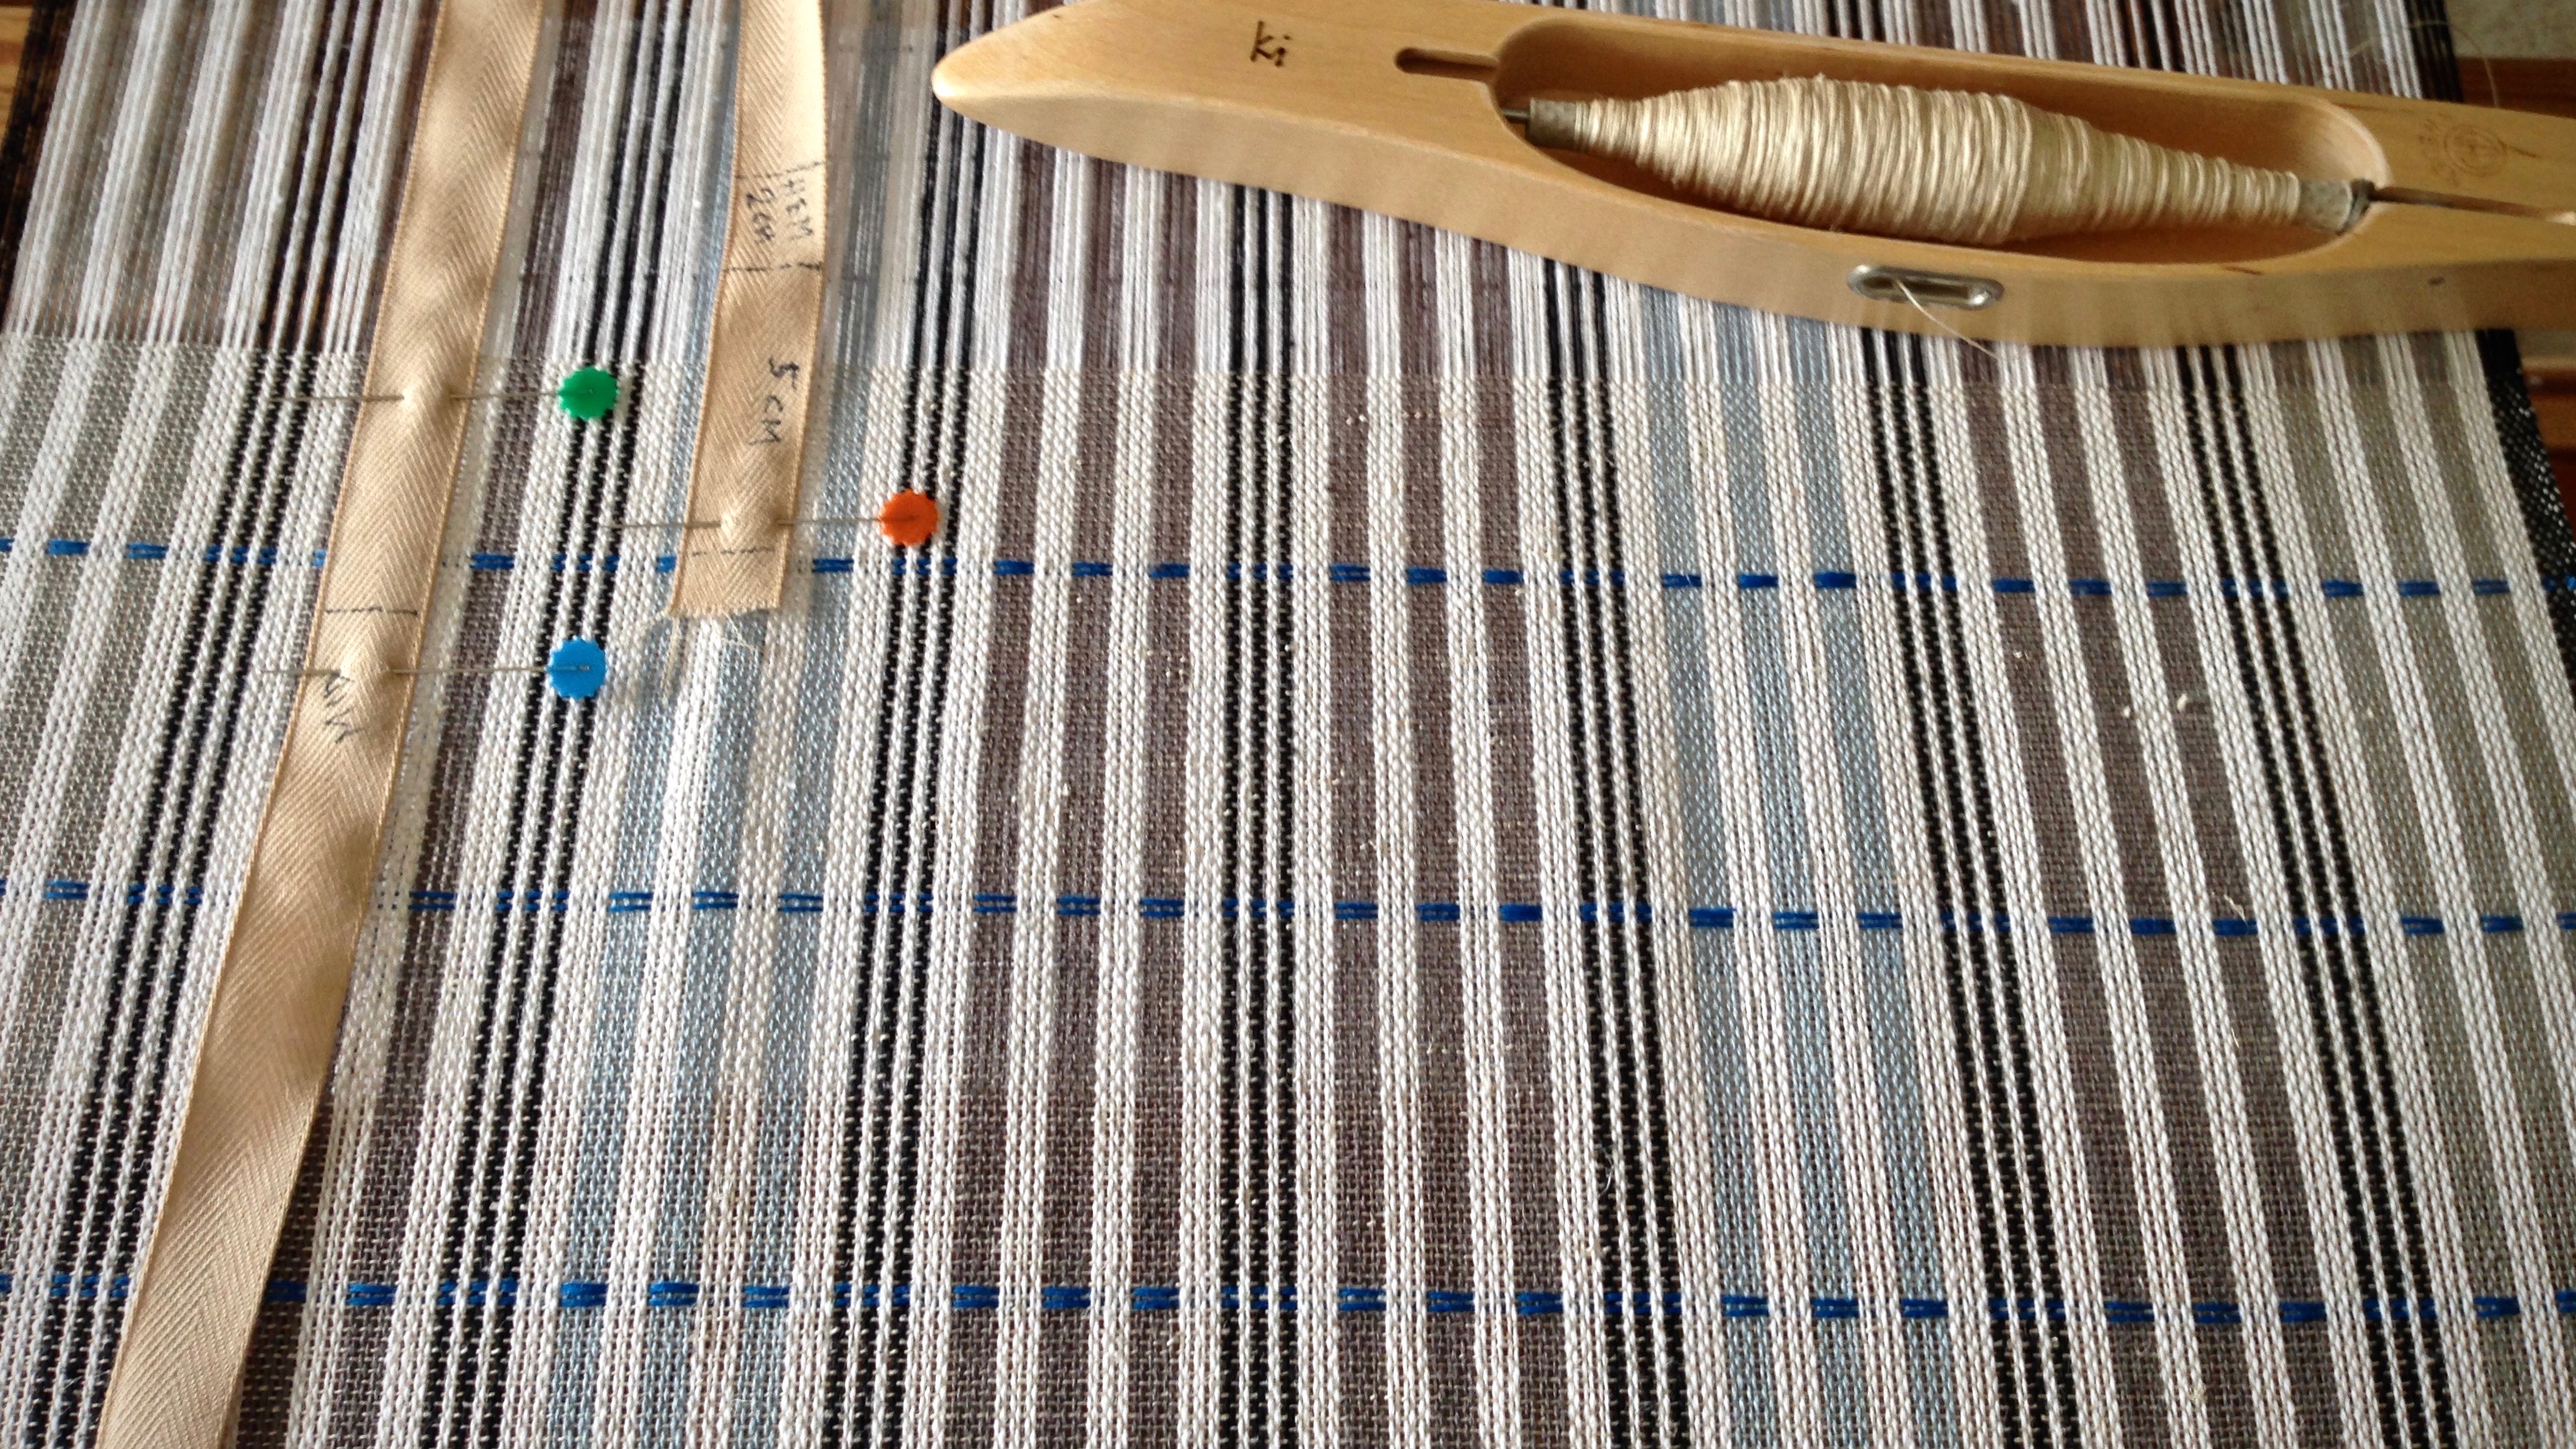
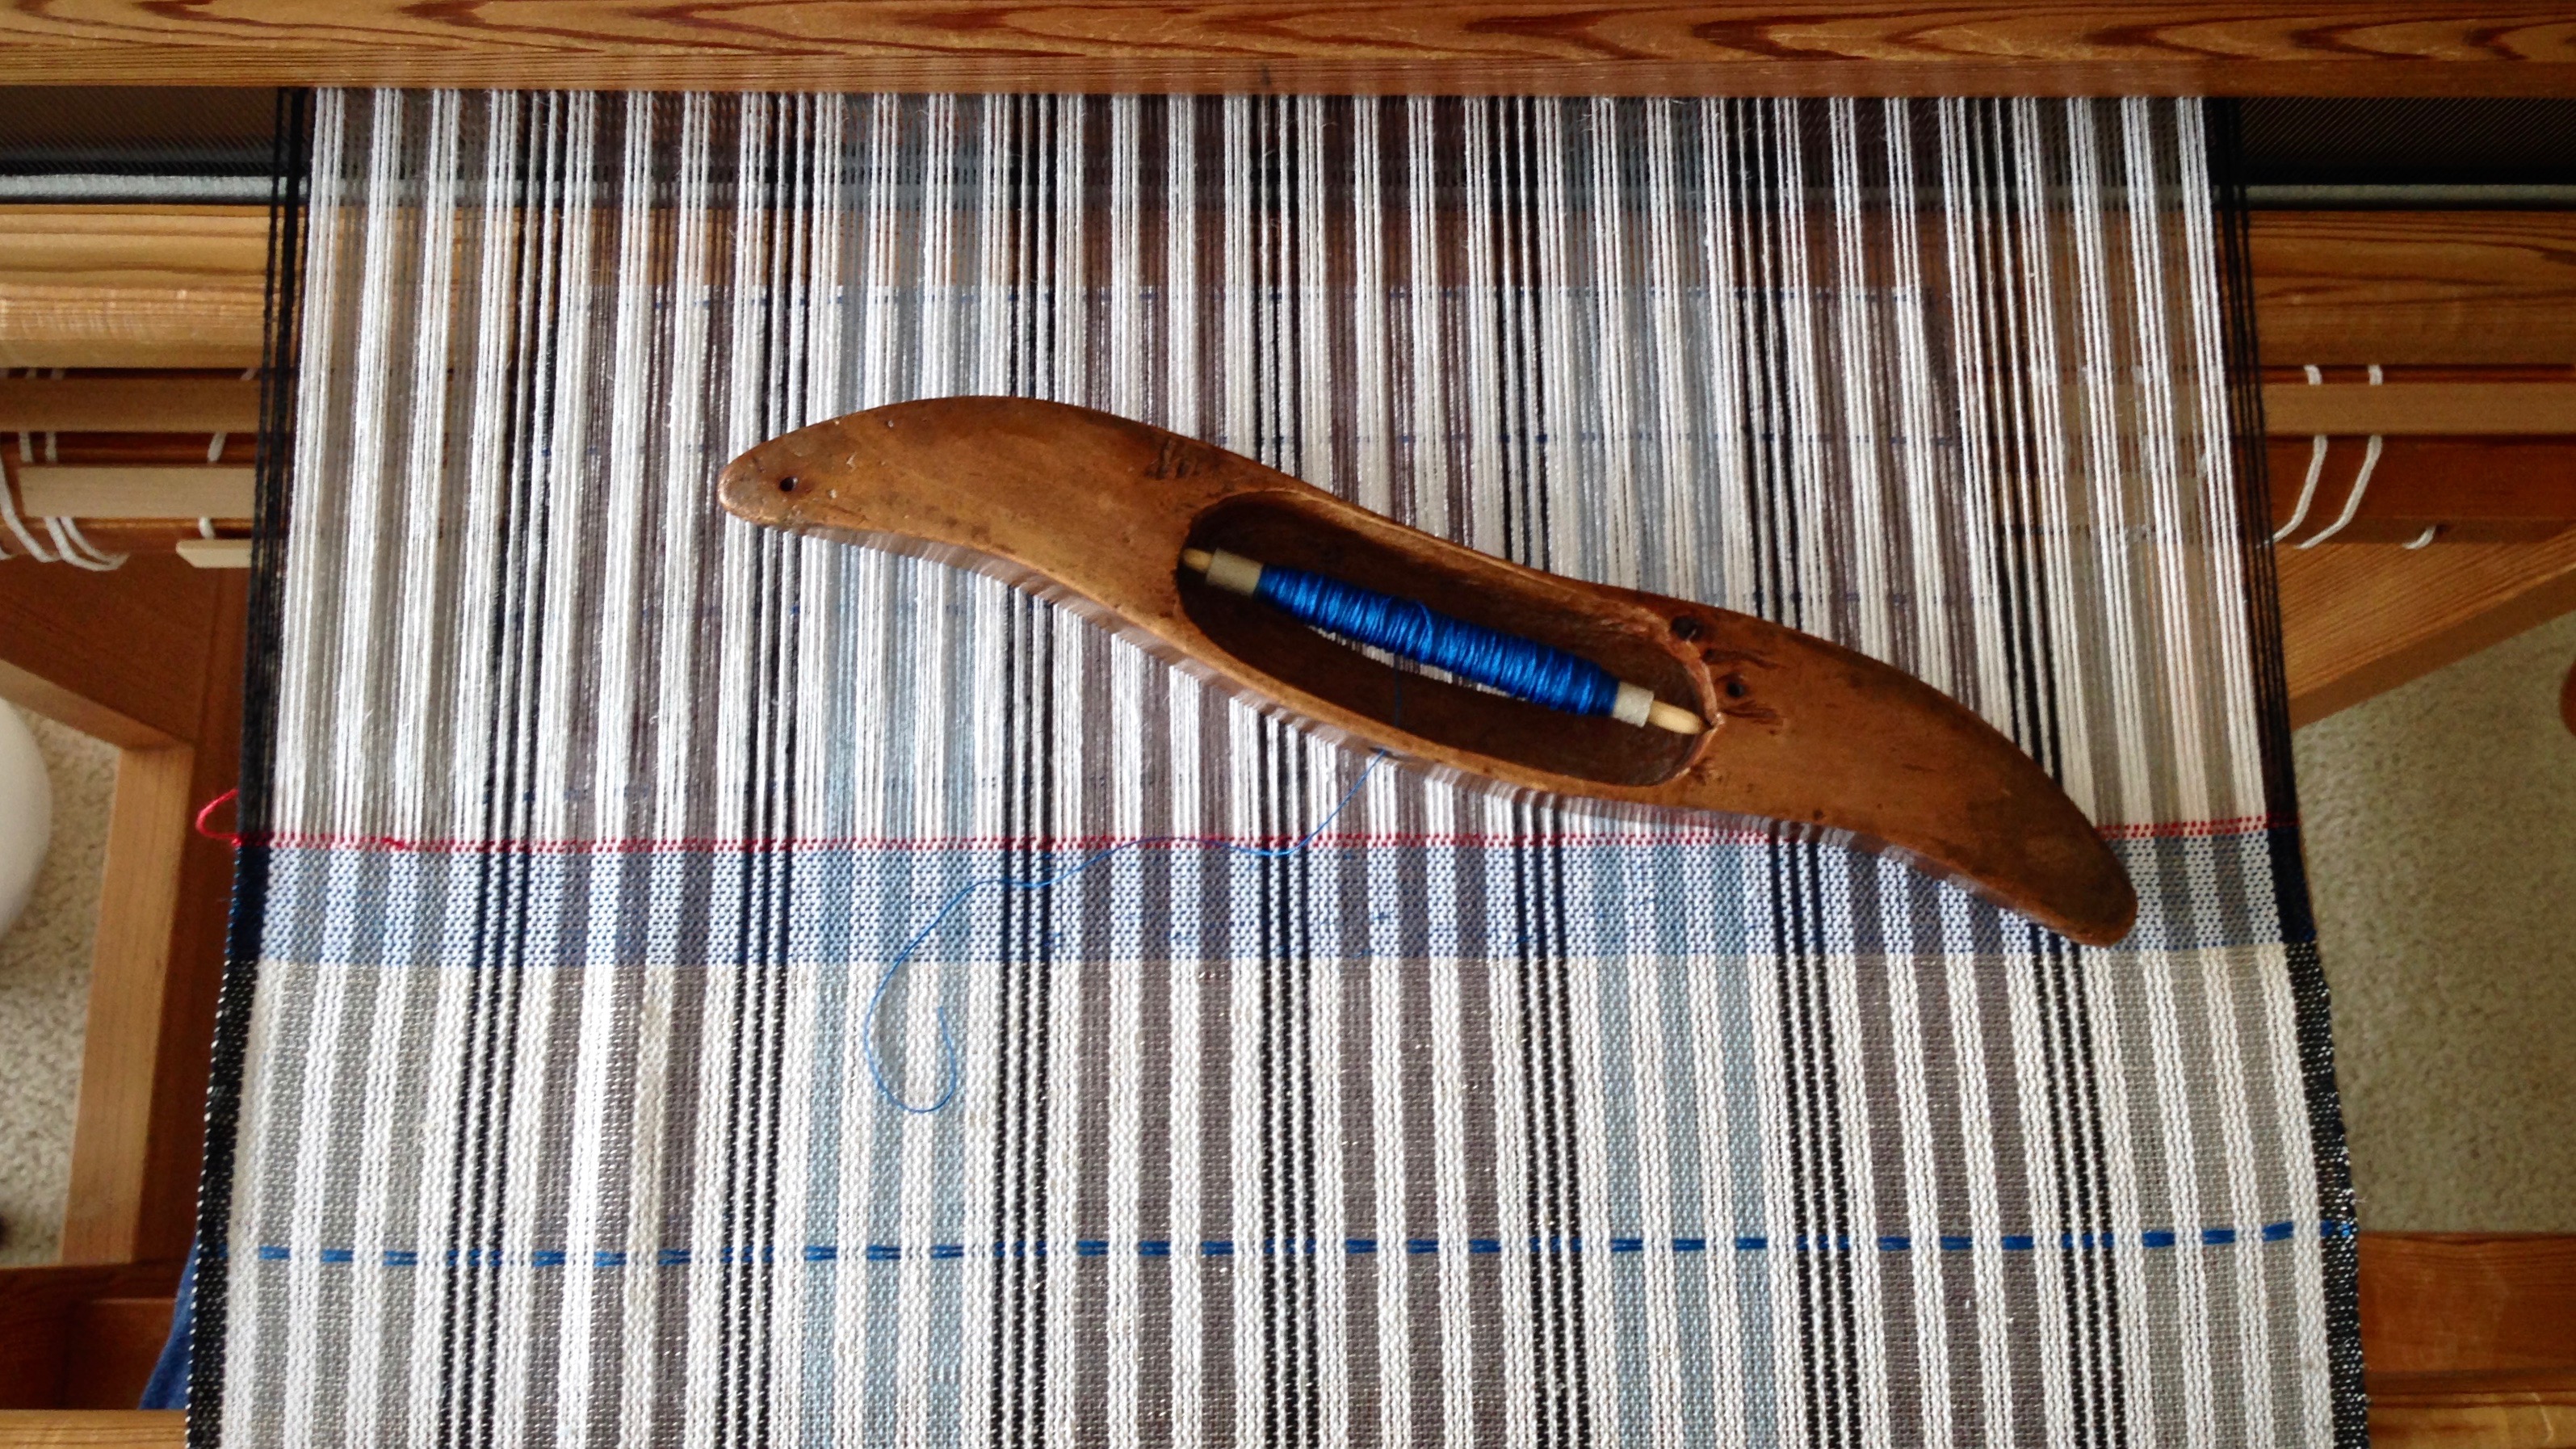
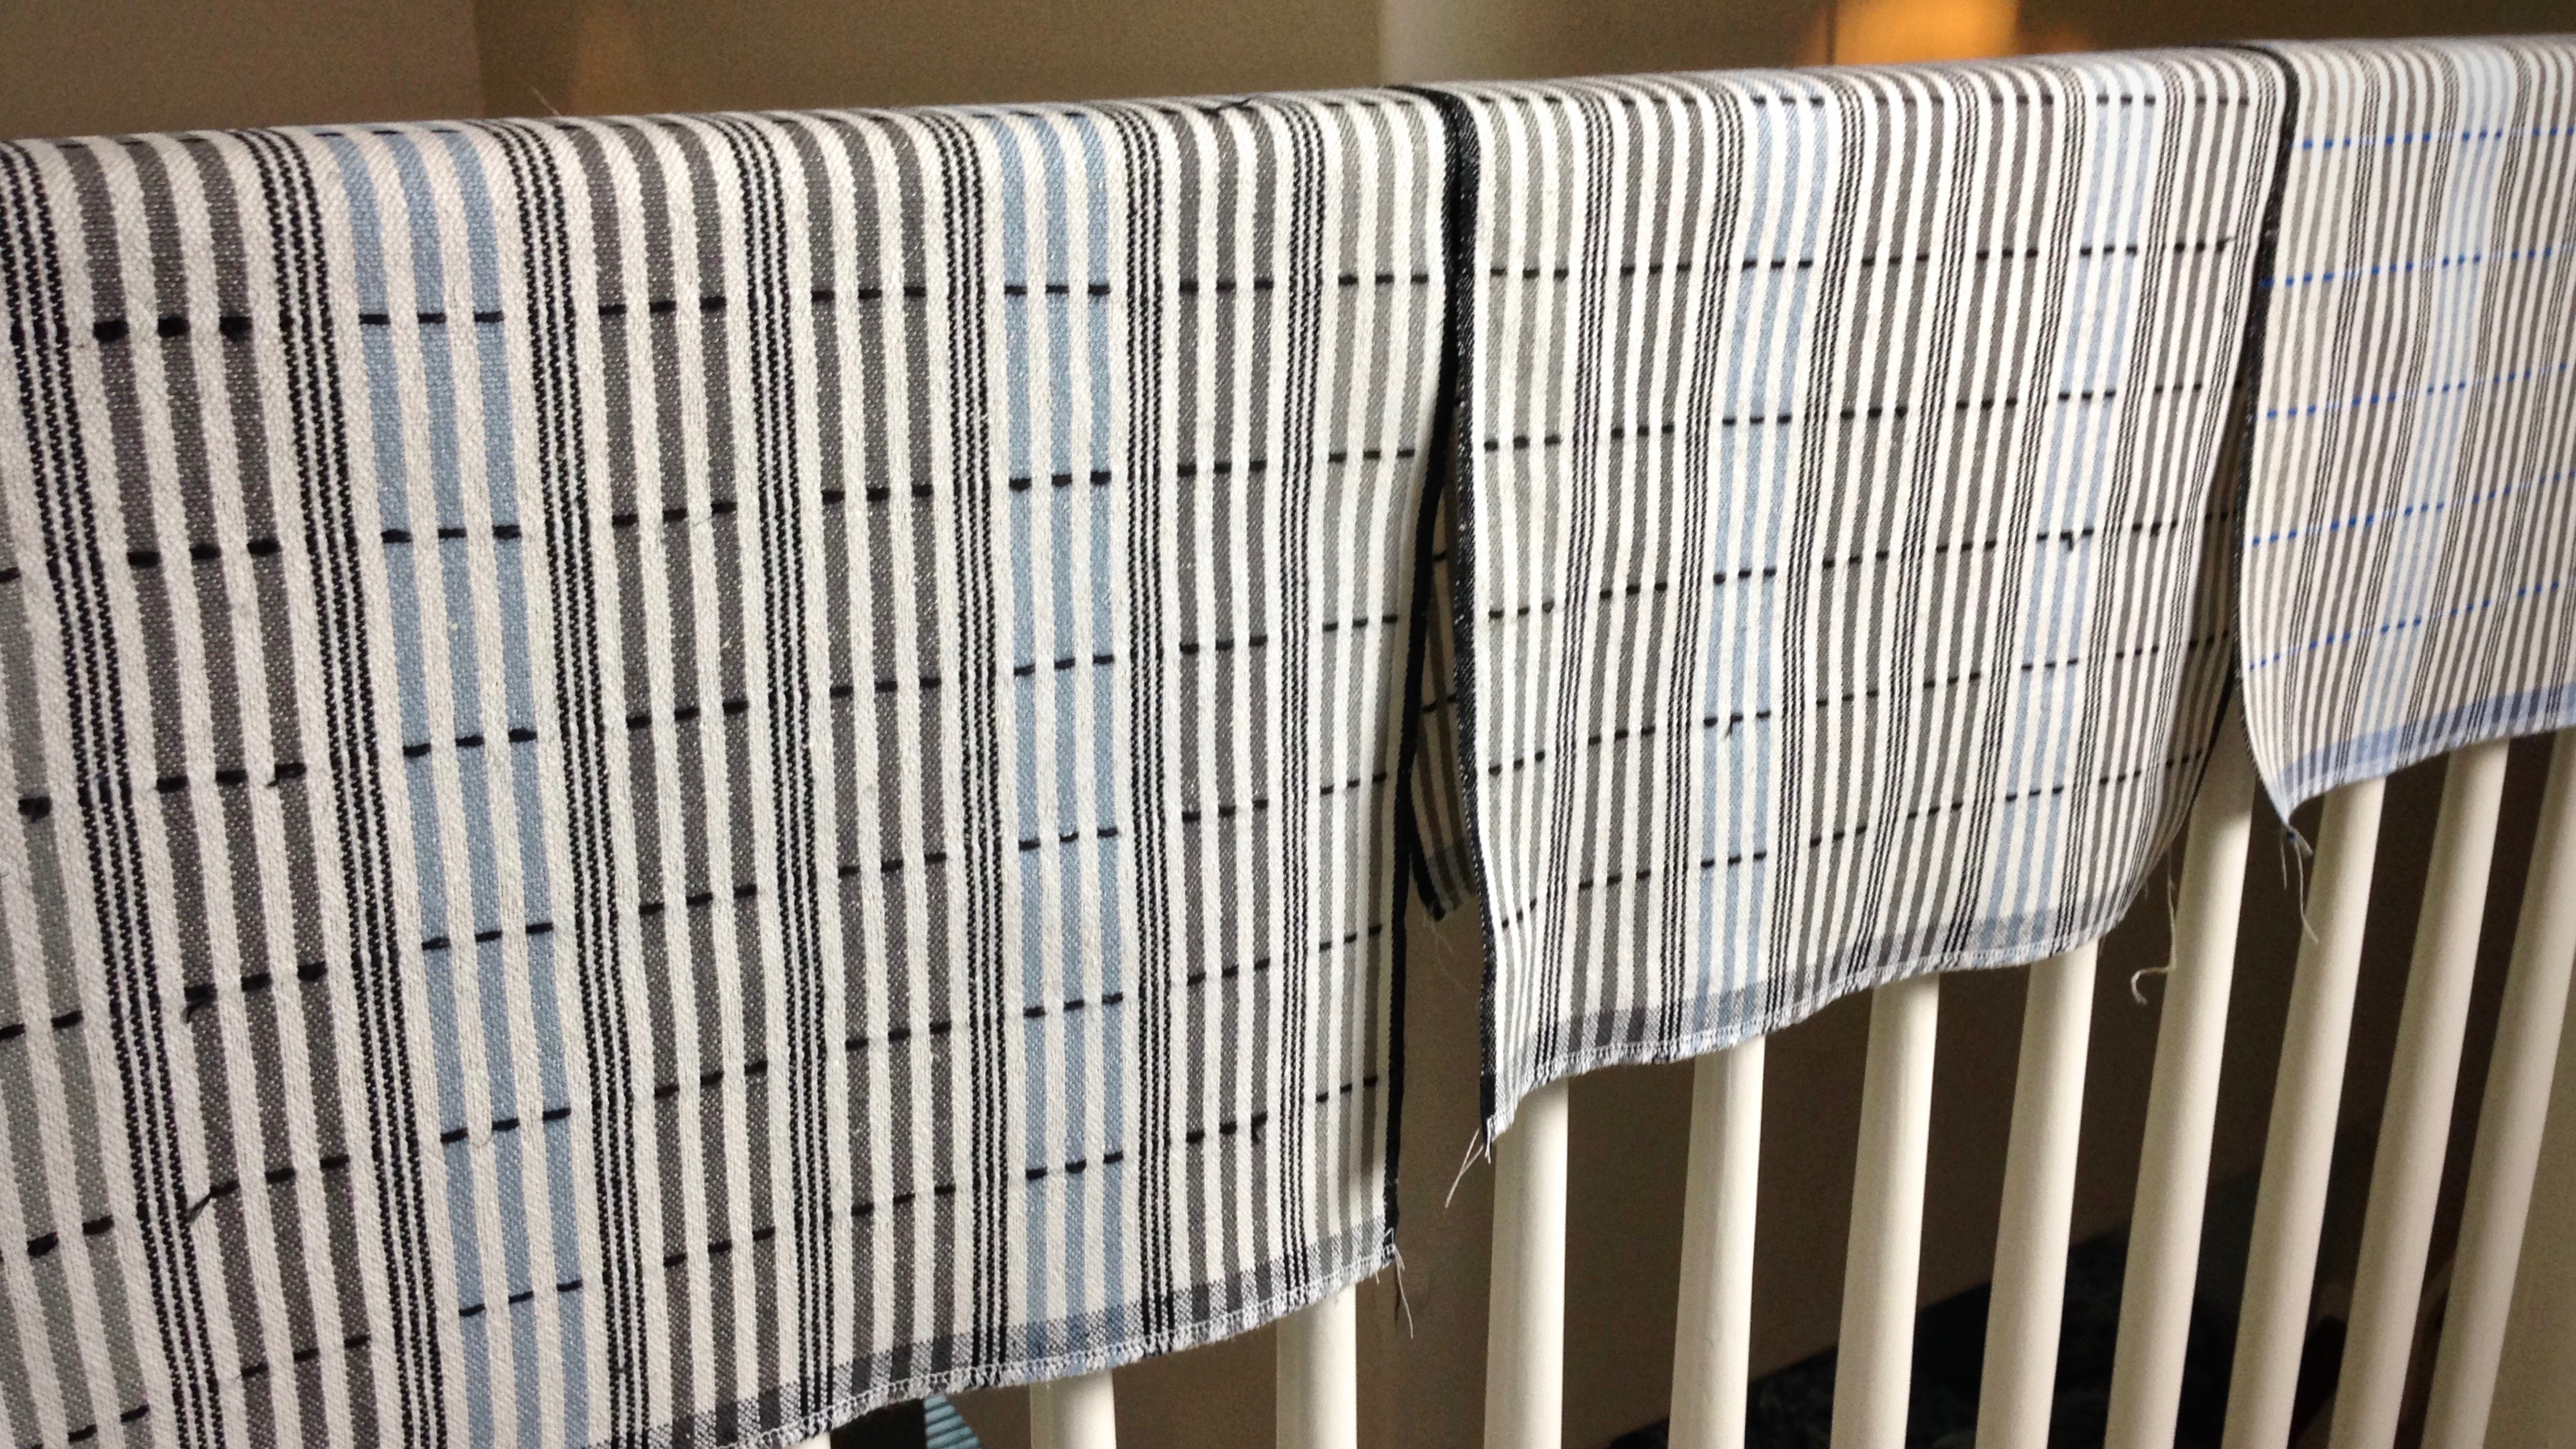
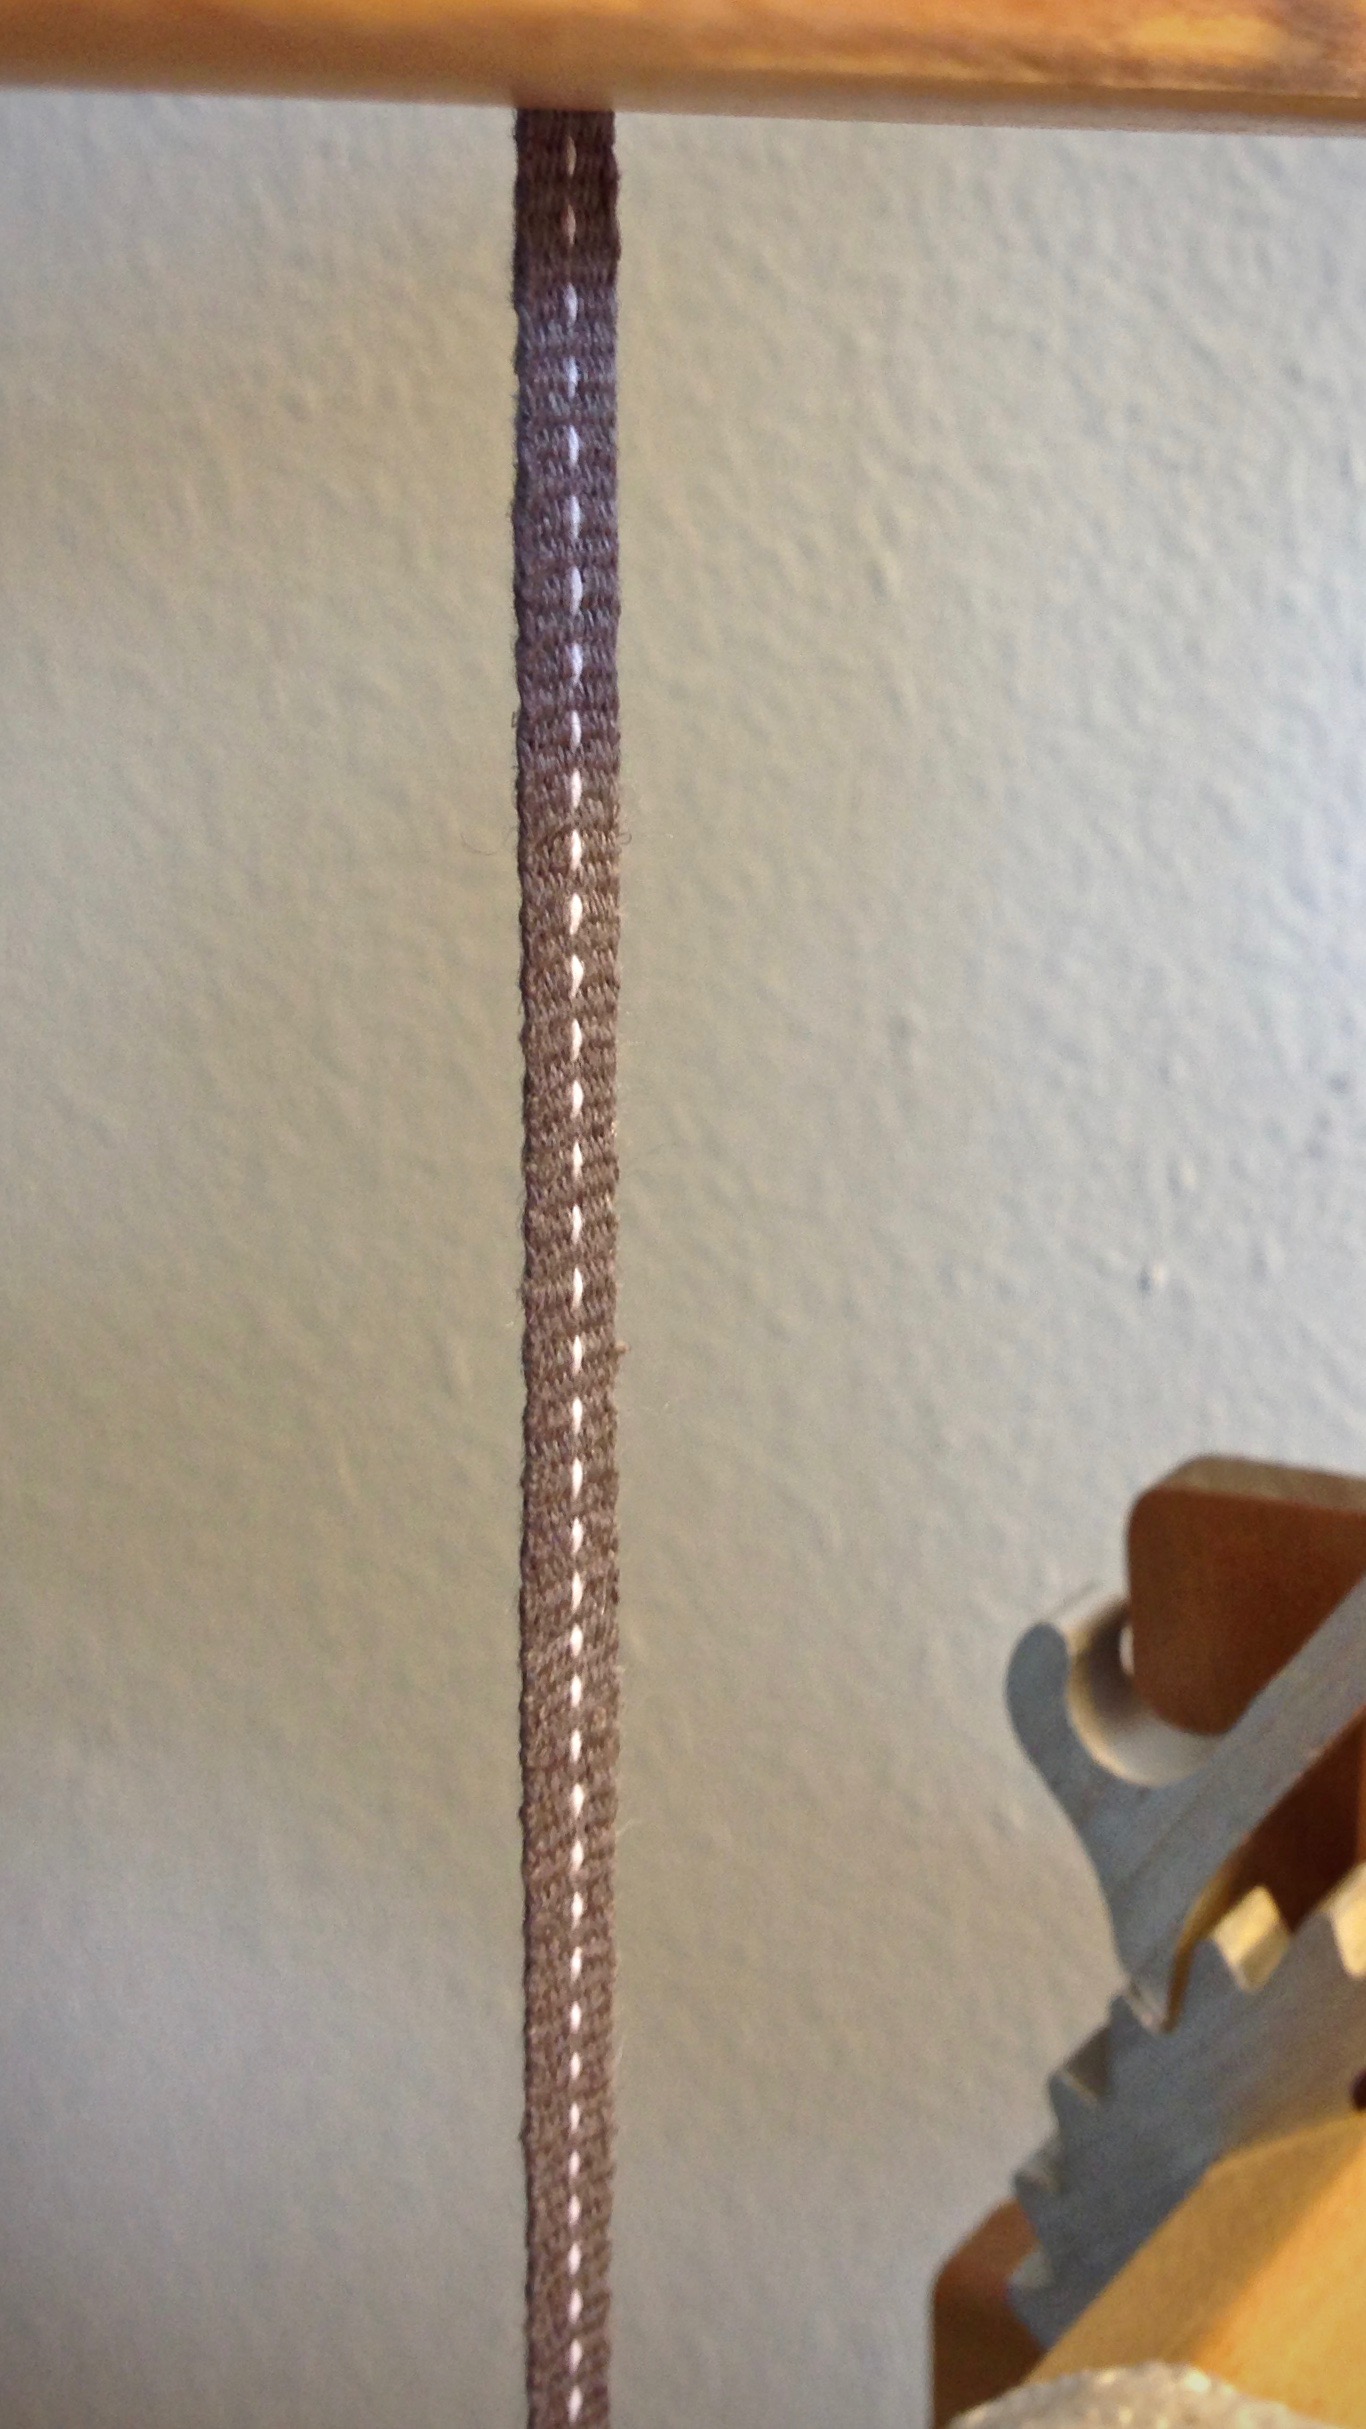
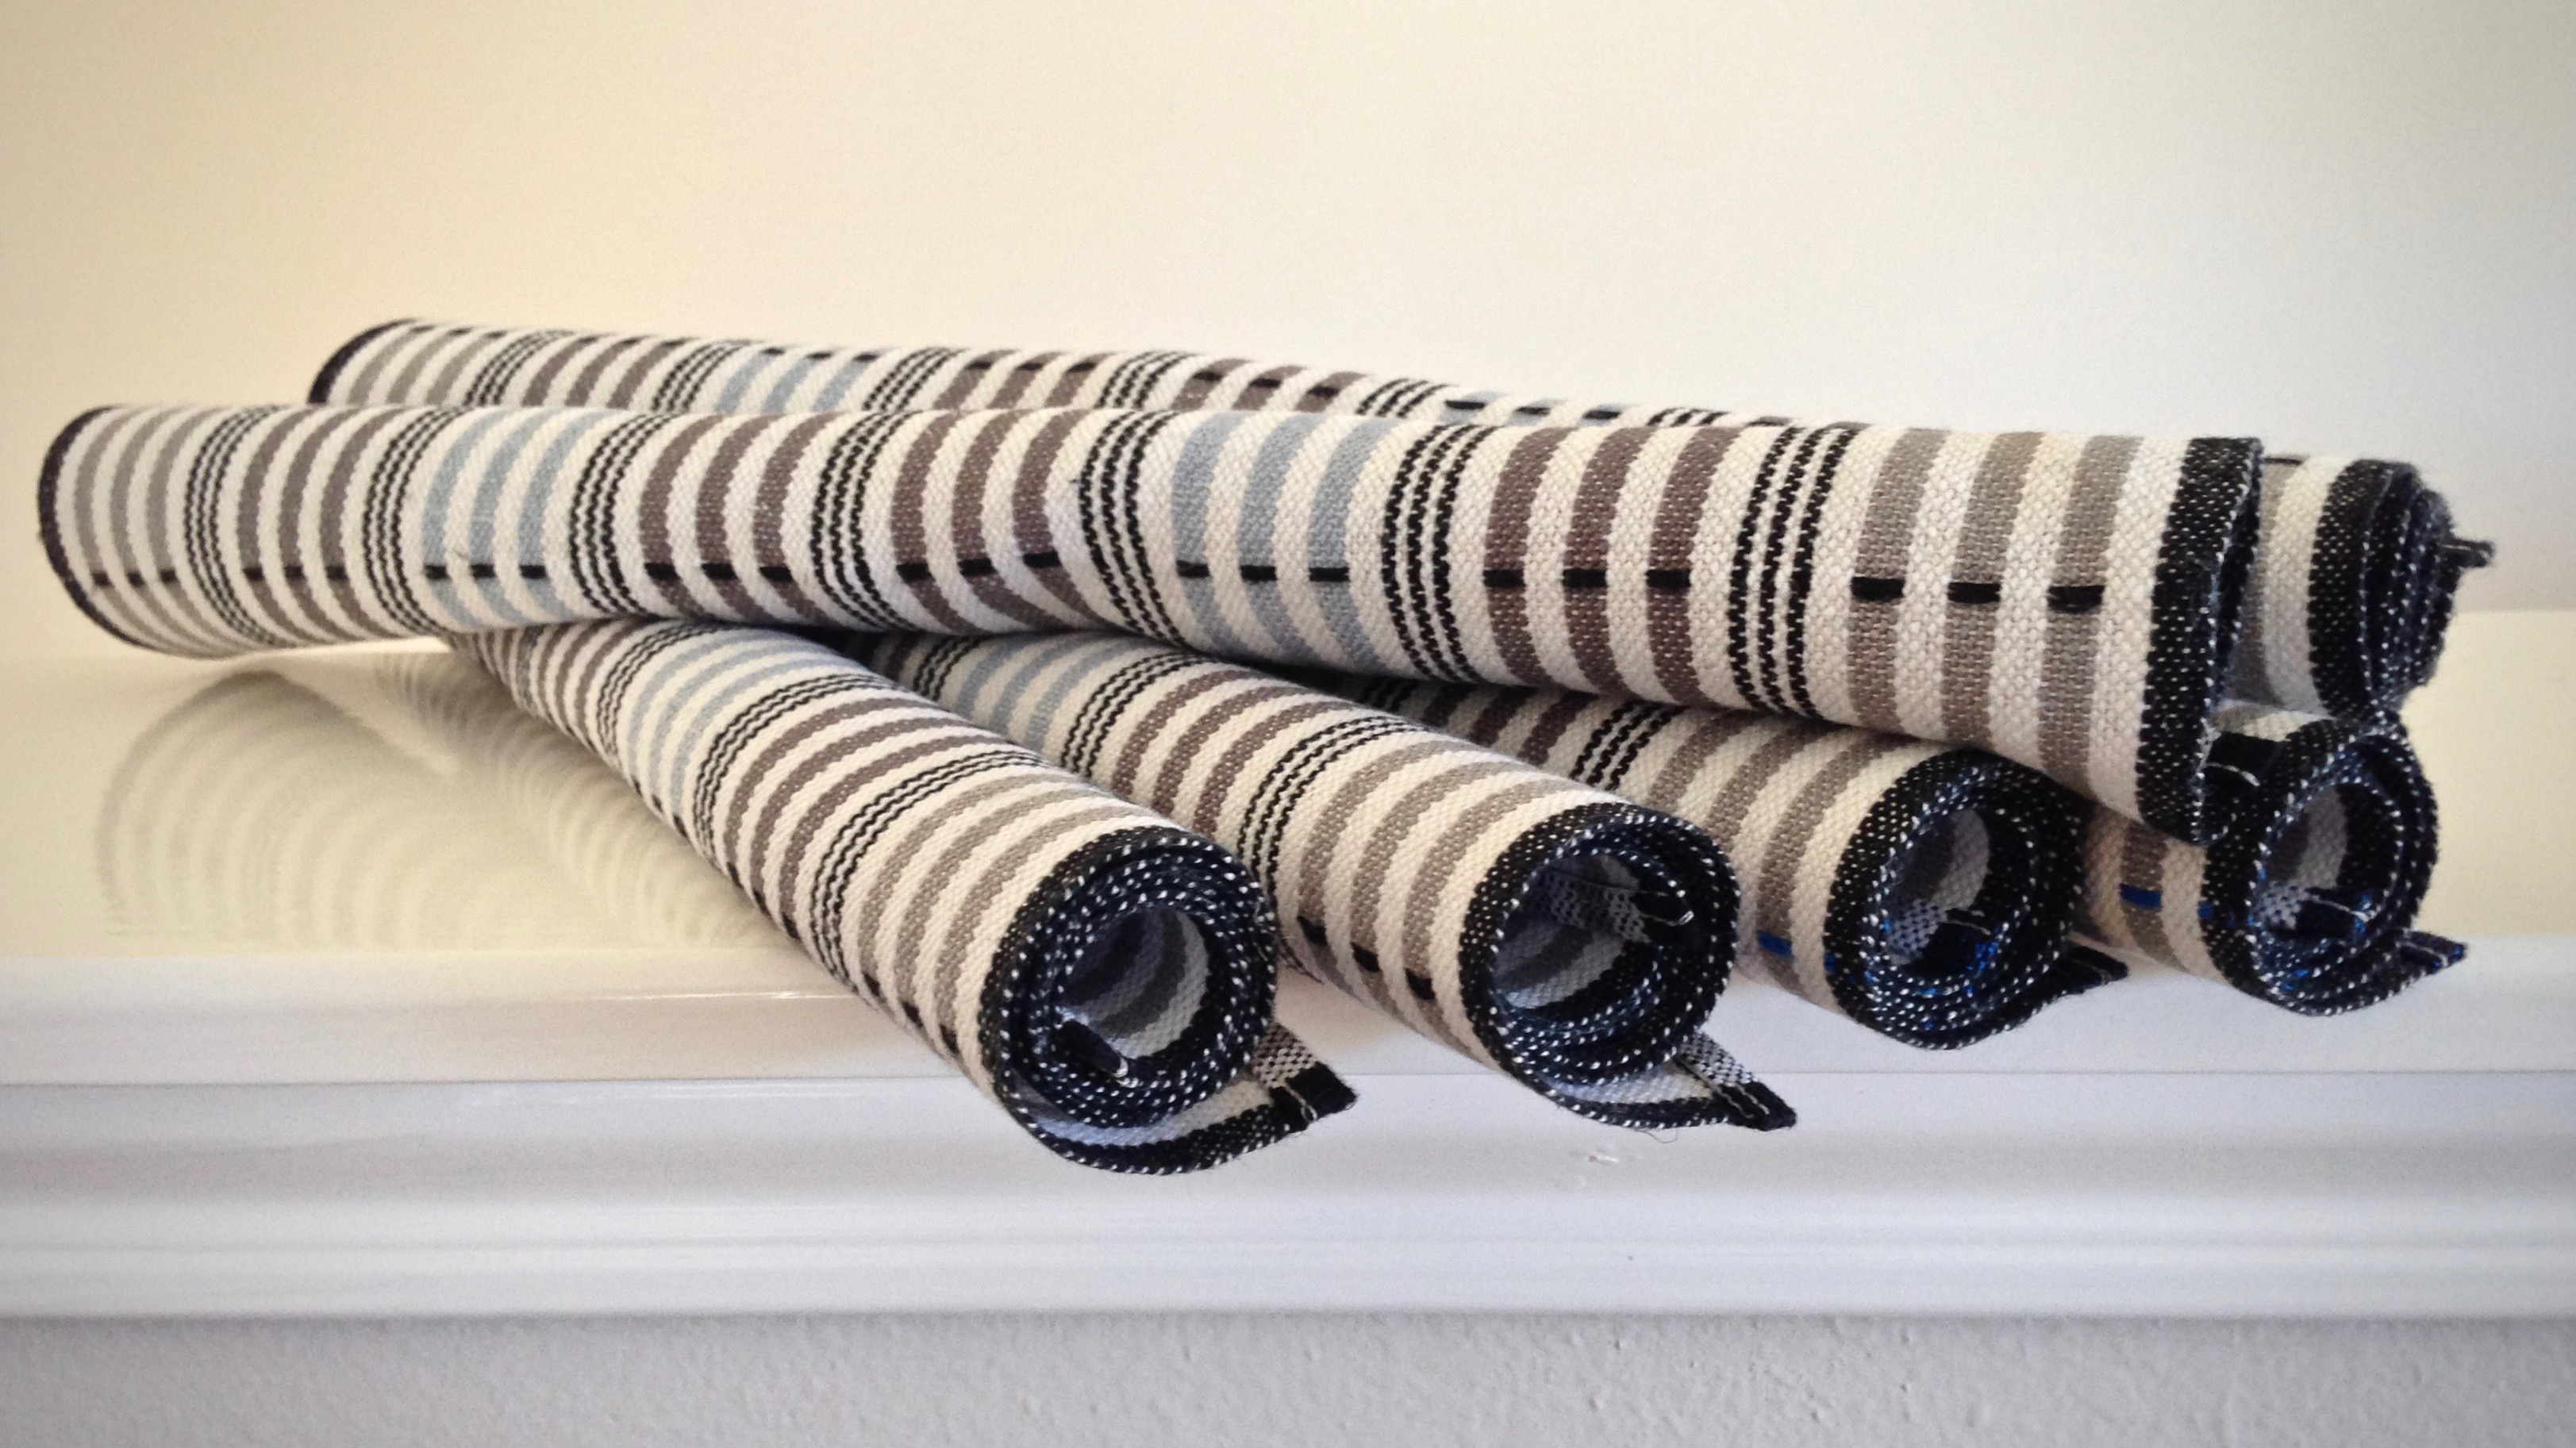
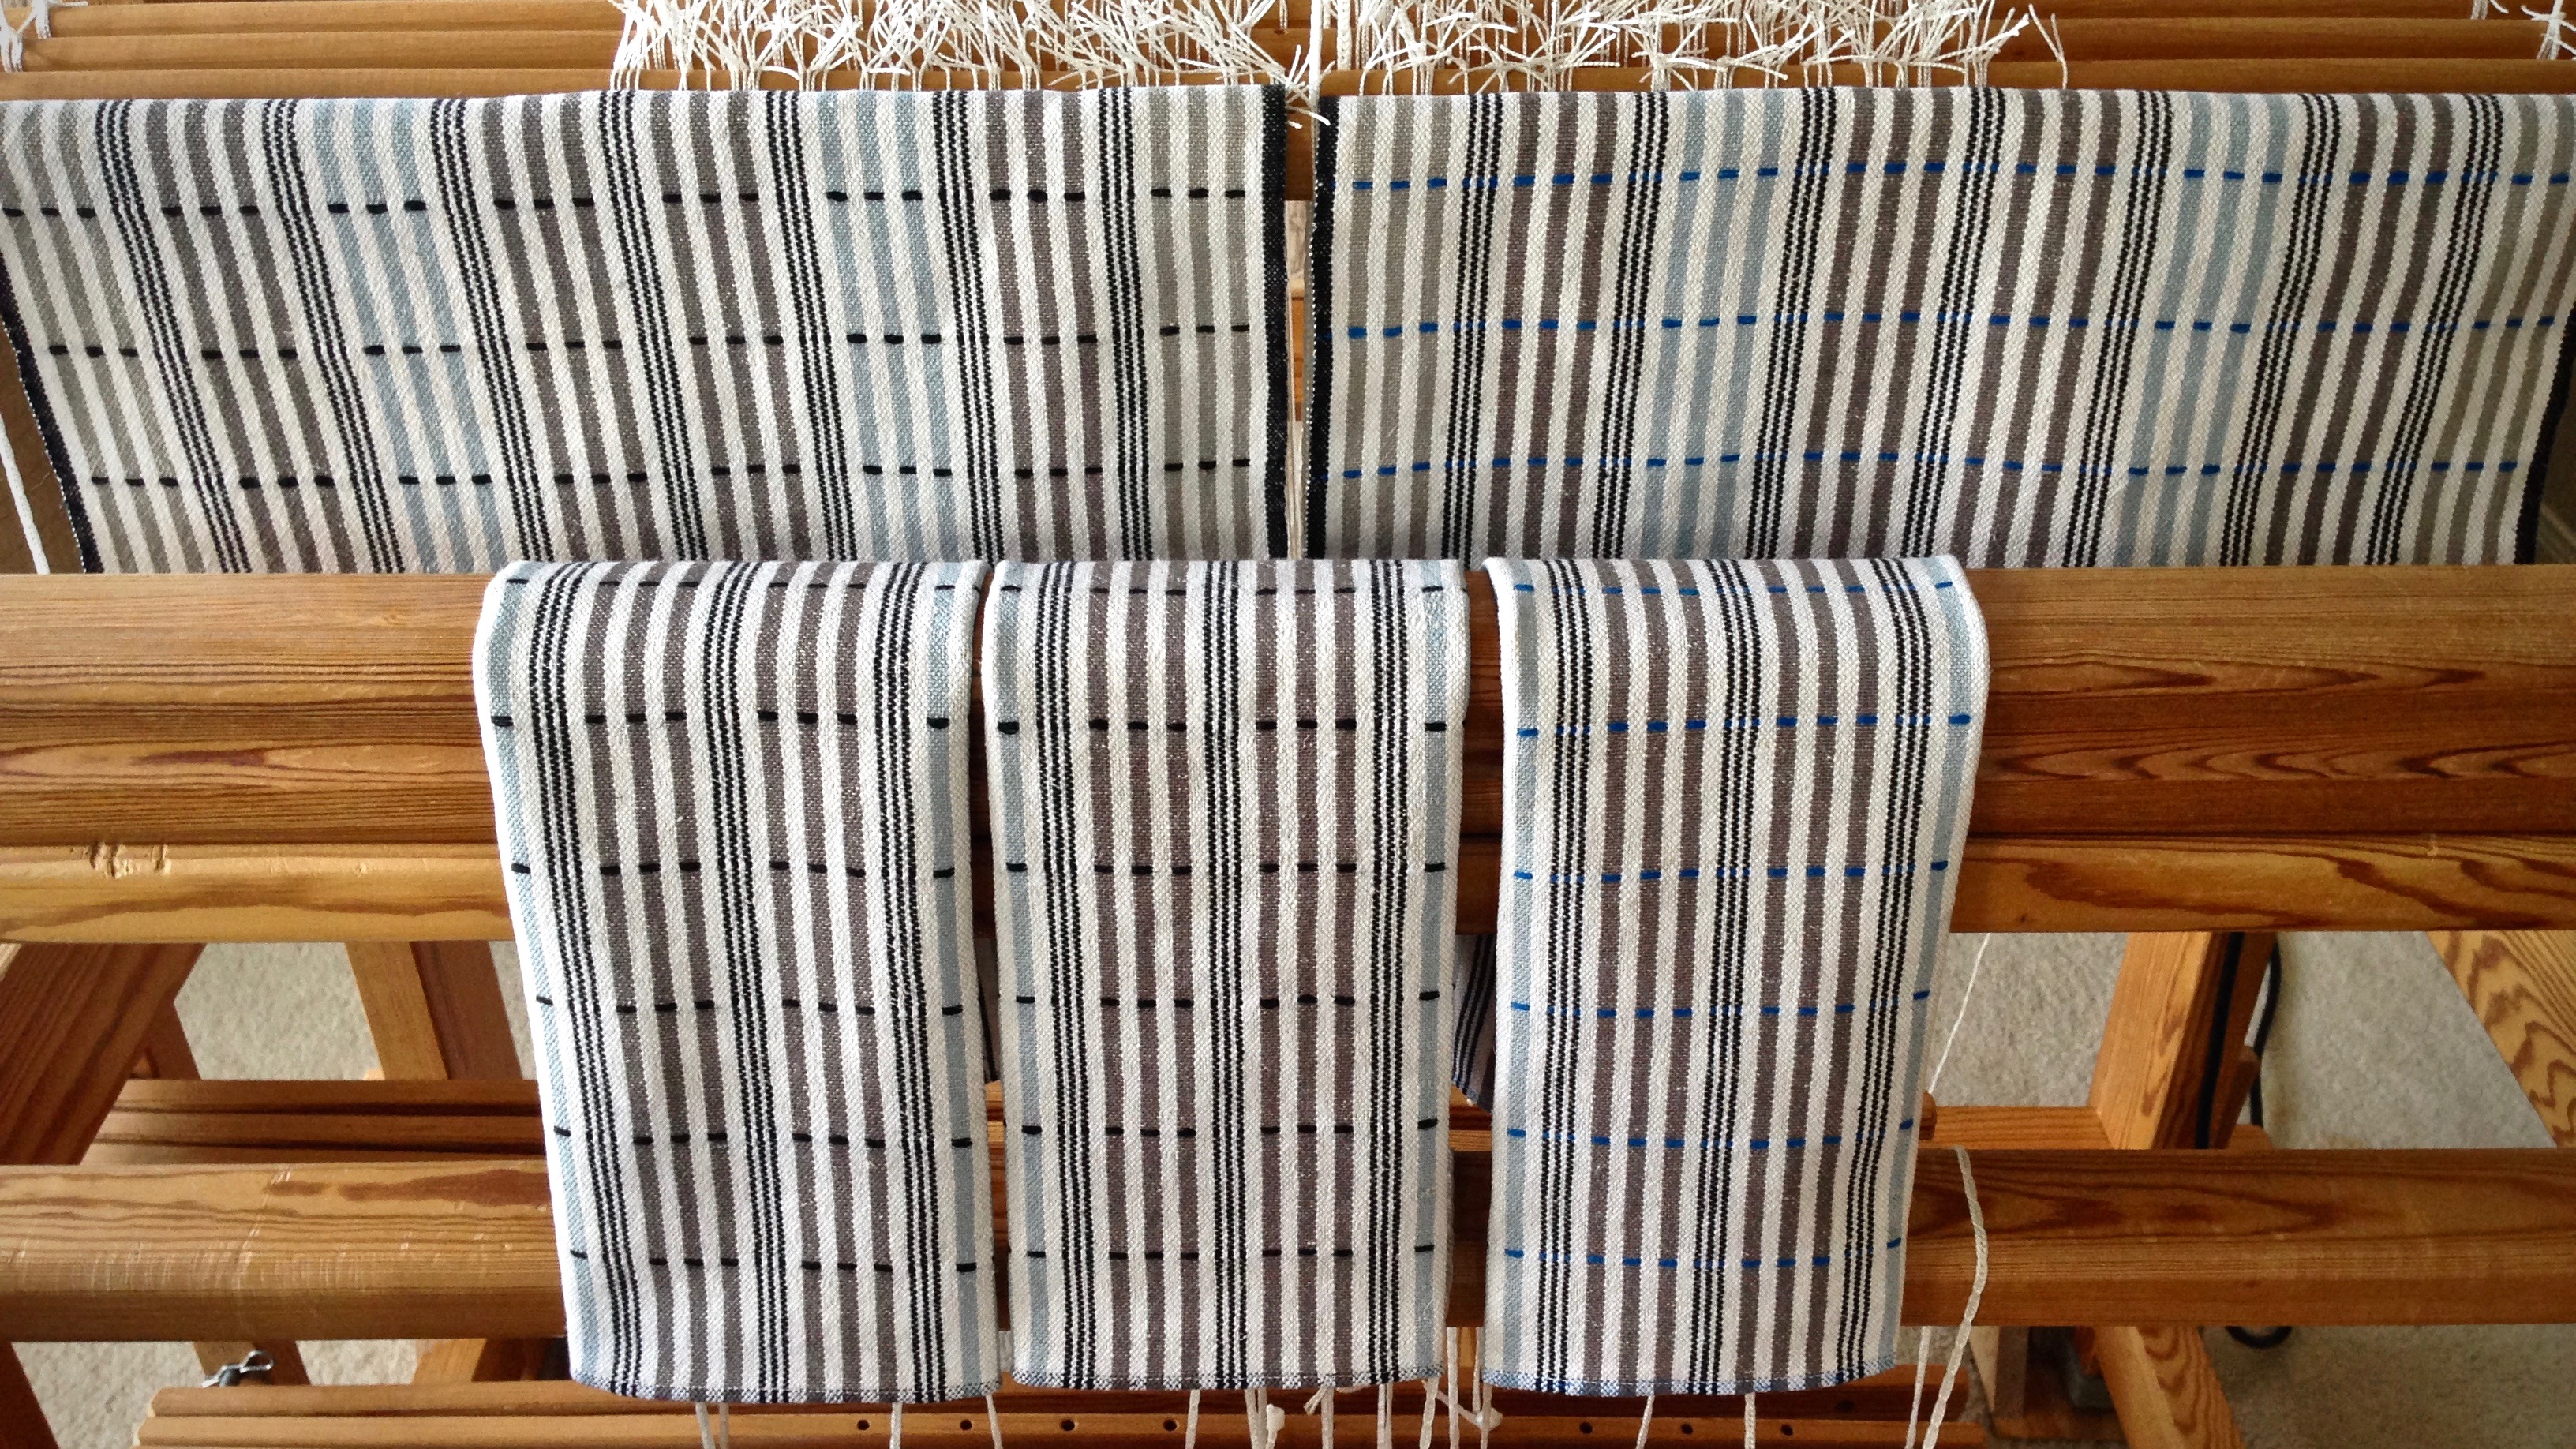
Start to finish, the plattväv towels have been a handweaver’s joy. Narrow stripes on the warp beam are strangely invigorating. Does it take extra effort to wind a warp with many stripes? Yes–cut off one color and tie on a new color, over and over. But when the loom is dressed and ready to go, the weaving is a breeze. Being cottolin, the warp is fully compliant; and with a little care, the linen weft becomes a weaver’s friend. Plattväv, the icing on the cake, gives me a simple pattern weft that dresses up these plain weave towels. (And, yes, I am in the process of developing a kit for these plattväv towels.)

Planning handwoven towels.

Cottolin warp with counting cord.

Striped warp for plattväv towels.

Threading the loom for plattväv towels.

Tying up treadles the easy way.

Weft auditions for plattväv towels.

Plattväv towels on the loom, with linen weft.

Plattväv towels on the loom. Karen Isenhower

Blue linen pattern weft.

Beautiful blue linen pattern weft.

Plattväv towels coming off the loom!

Off the loom and ready for trimming threads.

Band loom weaving.

Plattväv towels ready to roll!

Plattväv towels. Karen Isenhower

The joy of weaving is a blessing, as is the joy of friendships across the miles. Thank you for walking this journey with me.

Thanksgiving prayer: Thank you, Lord, for everything.

May you overflow with blessings and reasons for giving thanks.

Thankful for you,
Karen

Almost Forgot the Hanging Tabs…Again

I was ready to hem the plattväv towels. But then, I thought of one more thing–I need a woven band for the hanging tabs! Since the towels have black borders, I decided to weave a simple band in black cottolin, with a single white dotted line down the center. I measured the little warp, put it on the band loom, and quickly wove it up.

Black woven band with dotted white line. Glimakra band loom.
Single white thread produces dotted white line in the woven band.

I love the classy black band with the white dotted line. However, I don’t love it with these towels… Too wide, and too… black. It’s going into my band stash box. Someday, when I least expect it, I’ll find this band in the box; and it will be exactly what I need at the time. So, I started over at the band loom this morning, and wove a new band.

White dotted line on handwoven band. Glimåkra band loom.
Second chances are possible with a Glimåkra two-treadle band loom. It doesn’t take long to weave a second band if the first one doesn’t work out.
Woven band, ready to be cut into hanging tabs for towels.
Ready to be cut into hanging tabs for the plattväv towels.
Ready to hem towels, with hanging tabs included. Karen Isenhower
Hem, turned twice to the back of the towel, is pressed and ready to be stitched. The ends of a coordinating hanging tab will be stitched in the seam. The black woven band is stashed away for future use. The narrower gray band fits the style of the towels.

Joy is ignited by giving thanks. Gratitude changes your outlook. Instead of seeing the black band as a setback, it’s a gift for the future. The gray band is a reminder to be thankful for second chances. To whom will we give our thanks? To our looms? No. To each other? Yes. And to our Maker who gave himself for us? A resounding, joyful yes.

May you continuously be thankful.

Thankful for you,
Karen

Unrolling New Towels

The length of woven cloth unrolls and unrolls until you get all the way back to the front tie-on bar. The towels are 70% linen. Oh, how I wish you could touch this fabric! You would feel the crispness of a linen tea towel, with a little bit of cotton softness.

Cutting off! Plattväv linen towels.
Plattväv towels and one table square are unrolled from the loom. Last to come through are the warp end knots securely hugging the front tie-on bar.

It all comes back to the front tie-on bar. This is where the weaving begins. The warp ends must be secure at the beginning. No one wants the tie-on knots to slip as the woven fabric rounds the cloth beam. You want warp ends to be securely fastened, with no chance of losing their grip. Your cloth depends on it.

Plattväv towels waiting to be hemmed.
Plattväv towels, with 22/2 cottolin warp, and 16/1 linen weft. The towels have been washed, dried, and pressed. They are ready to be hemmed.

Think of yourself gripping onto hope. Think of the knots that hold tightly to the front tie-on bar. Hold tightly to hope, and don’t let go while the weaving progresses. Our hope is not some vague wish. Our hope is based on the redeeming work of Jesus Christ–God’s promise to be with us. God can be trusted to keep his promise. Don’t waver in your tight grip on this true hope. The fabric of your life depends on it.

May you be known for hope.

Hopeful,
Karen

Thankful for Plattväv

The brilliant blue linen, with its natural luster, is a lively option for the plattväv pattern floats. And blue linen weft for the hem makes a fitting border. These towels with blue accents have a different “character” than the towels with the black linen accents (as seen in Striped Warp Freedom). The accent color makes a big difference.

Plattväv towels with linen weft.
Golden bleached 16/1 linen for plain weave weft. Plattväv pattern weft is doubled royal blue 16/1 linen.

I planned stripes in the warp to simplify the weaving. The warp stripes enable me to weave patterned towels with a single weft color. Plattväv weft floats keep it interesting. As much as I like blue linen, I am uncertain about it here. I’m waiting to see the towels off the loom, washed and dried. In the meantime, the warp stripes make my heart sing. And I’m thankful to have options for the pattern weft.

Blue 16/1 linen is used to weave the hem. Karen Isenhower
Royal blue 16/1 linen is used to weave the hem. The antique Swedish shuttle seems appropriate for this Swedish weave.

We always have a reason to sing. ThanksGiving may be a holiday, but it’s also a way of life. It’s seeing the good, the benefits, the blessings, even in the midst of uncertainty. It’s knowing that carefully planned warp stripes are still there. My hope is in God. My soul is confident, firm, and steadfast in him. And thankful to the core.

May your heart find a song to sing.

With you,
Karen

Tools Day: Measured Weaving

How far will you travel? How will you know when you have arrived? Do you wish you could know when you are halfway there? Applied to weaving, I like to have the answers to these questions before I begin the “journey.” A pre-measured tape gives me consistency, especially important for multiple pieces in a set. The tape also acts as my “trip odometer.” I can see how far I’ve gone, and exactly how much is left to weave. It satisfies my insatiable need to know how close I am to the end. Are you like that, too?

How to Make and Use a Pre-Measured Tape

Supplies

  • Roll of 3/4″ or wider twill tape (or any cloth tape or ribbon that does not stretch, and that pins easily)
  • Tape measure with inches and/or centimeters
  • Fine tip permanent marker
  • Flat head pins
  1. Use the permanent marker to place markings on the twill tape, as measured with the tape measure. Mark the start line 1/2″ from the end of the twill tape, so that the tape can be pinned in front of the mark.
  2. After drawing a line for the starting point and ending point, draw a line at the midway point, labeled MID.
  3. Include dotted lines for hem measurements, if applicable. Write the hem measurement on the twill tape; i.,e., 3/4″ or 2 cm.
  4. Write the weaving length measurement on the twill tape. Include calculation for takeup, if desired; i.,e., 25″ + 3″.
  5. Write the project or item description on the twill tape, if desired, for ease of repeat use; i.e., handtowel.
  6. Add other lines or marks, as needed, for borders, placement of weft colors, or other design elements.
  7. 1/2″ after the final marking, cut pre-measured twill tape from the roll of tape.

With the warp under tension, pin the pre-measured twill tape near the right or left selvedge with two flat-head pins. Match the start line of the tape with the beginning of the weaving.
Before each advancement of the warp, move the pin closest to the breast beam to a point near the fell line. In this way, have the pins leapfrog each other, moving only one pin each time. Always keep the warp under tension when moving the pins.

Red cutting lines between black and white towels.
Beginning hem, after red cutting lines between towels.
Ending hem is followed by two red picks that will become the cutting line between towels.
When the "MID" point hits right where it should!
When the “MID” point hits right where it should! Mid point marking helps to confirm that the halvdräll pattern is centered and balanced in its length.
Pre-measured twill tape marks weft color placement on linen scarves.
Weft color placement is marked on the twill tape for these linen lace scarves.
Tricks with pre-measured tape for weaving.
Five centimeters, marked at the end of the twill tape, is a handy reference for spacing the weft pattern floats in these plattväv towels.
Alpaca scarf in an interesting 8-shaft twill.
I love seeing the “MID” point on a long piece, such as this 8-shaft twill alpaca scarf.
Pre-measured twill tape helps set the pace for the weaving project.
Breaking up the length into quarters helps to set a pace for the weaving project. This baby wrap was on a time crunch, so it was helpful to know when I was getting close to the end.

May you accurately measure your ways.

Truly yours,
Karen