Process Review: Heddles and Bands

Band weaving is a simple activity that helps you notice the little things. You see how each thread falls into place. How the thread turns the selvedge corner just so. How the pattern threads stand proud in floats or hide in subtle patterns. I enjoy practicing my skills as a band weaver. And more so, now that Steve has turned his attention to making band heddles for me.

Workshop at Contemporary Handweavers of Texas Conference 2019 got me started with weaving patterned bands on a rigid heddle.
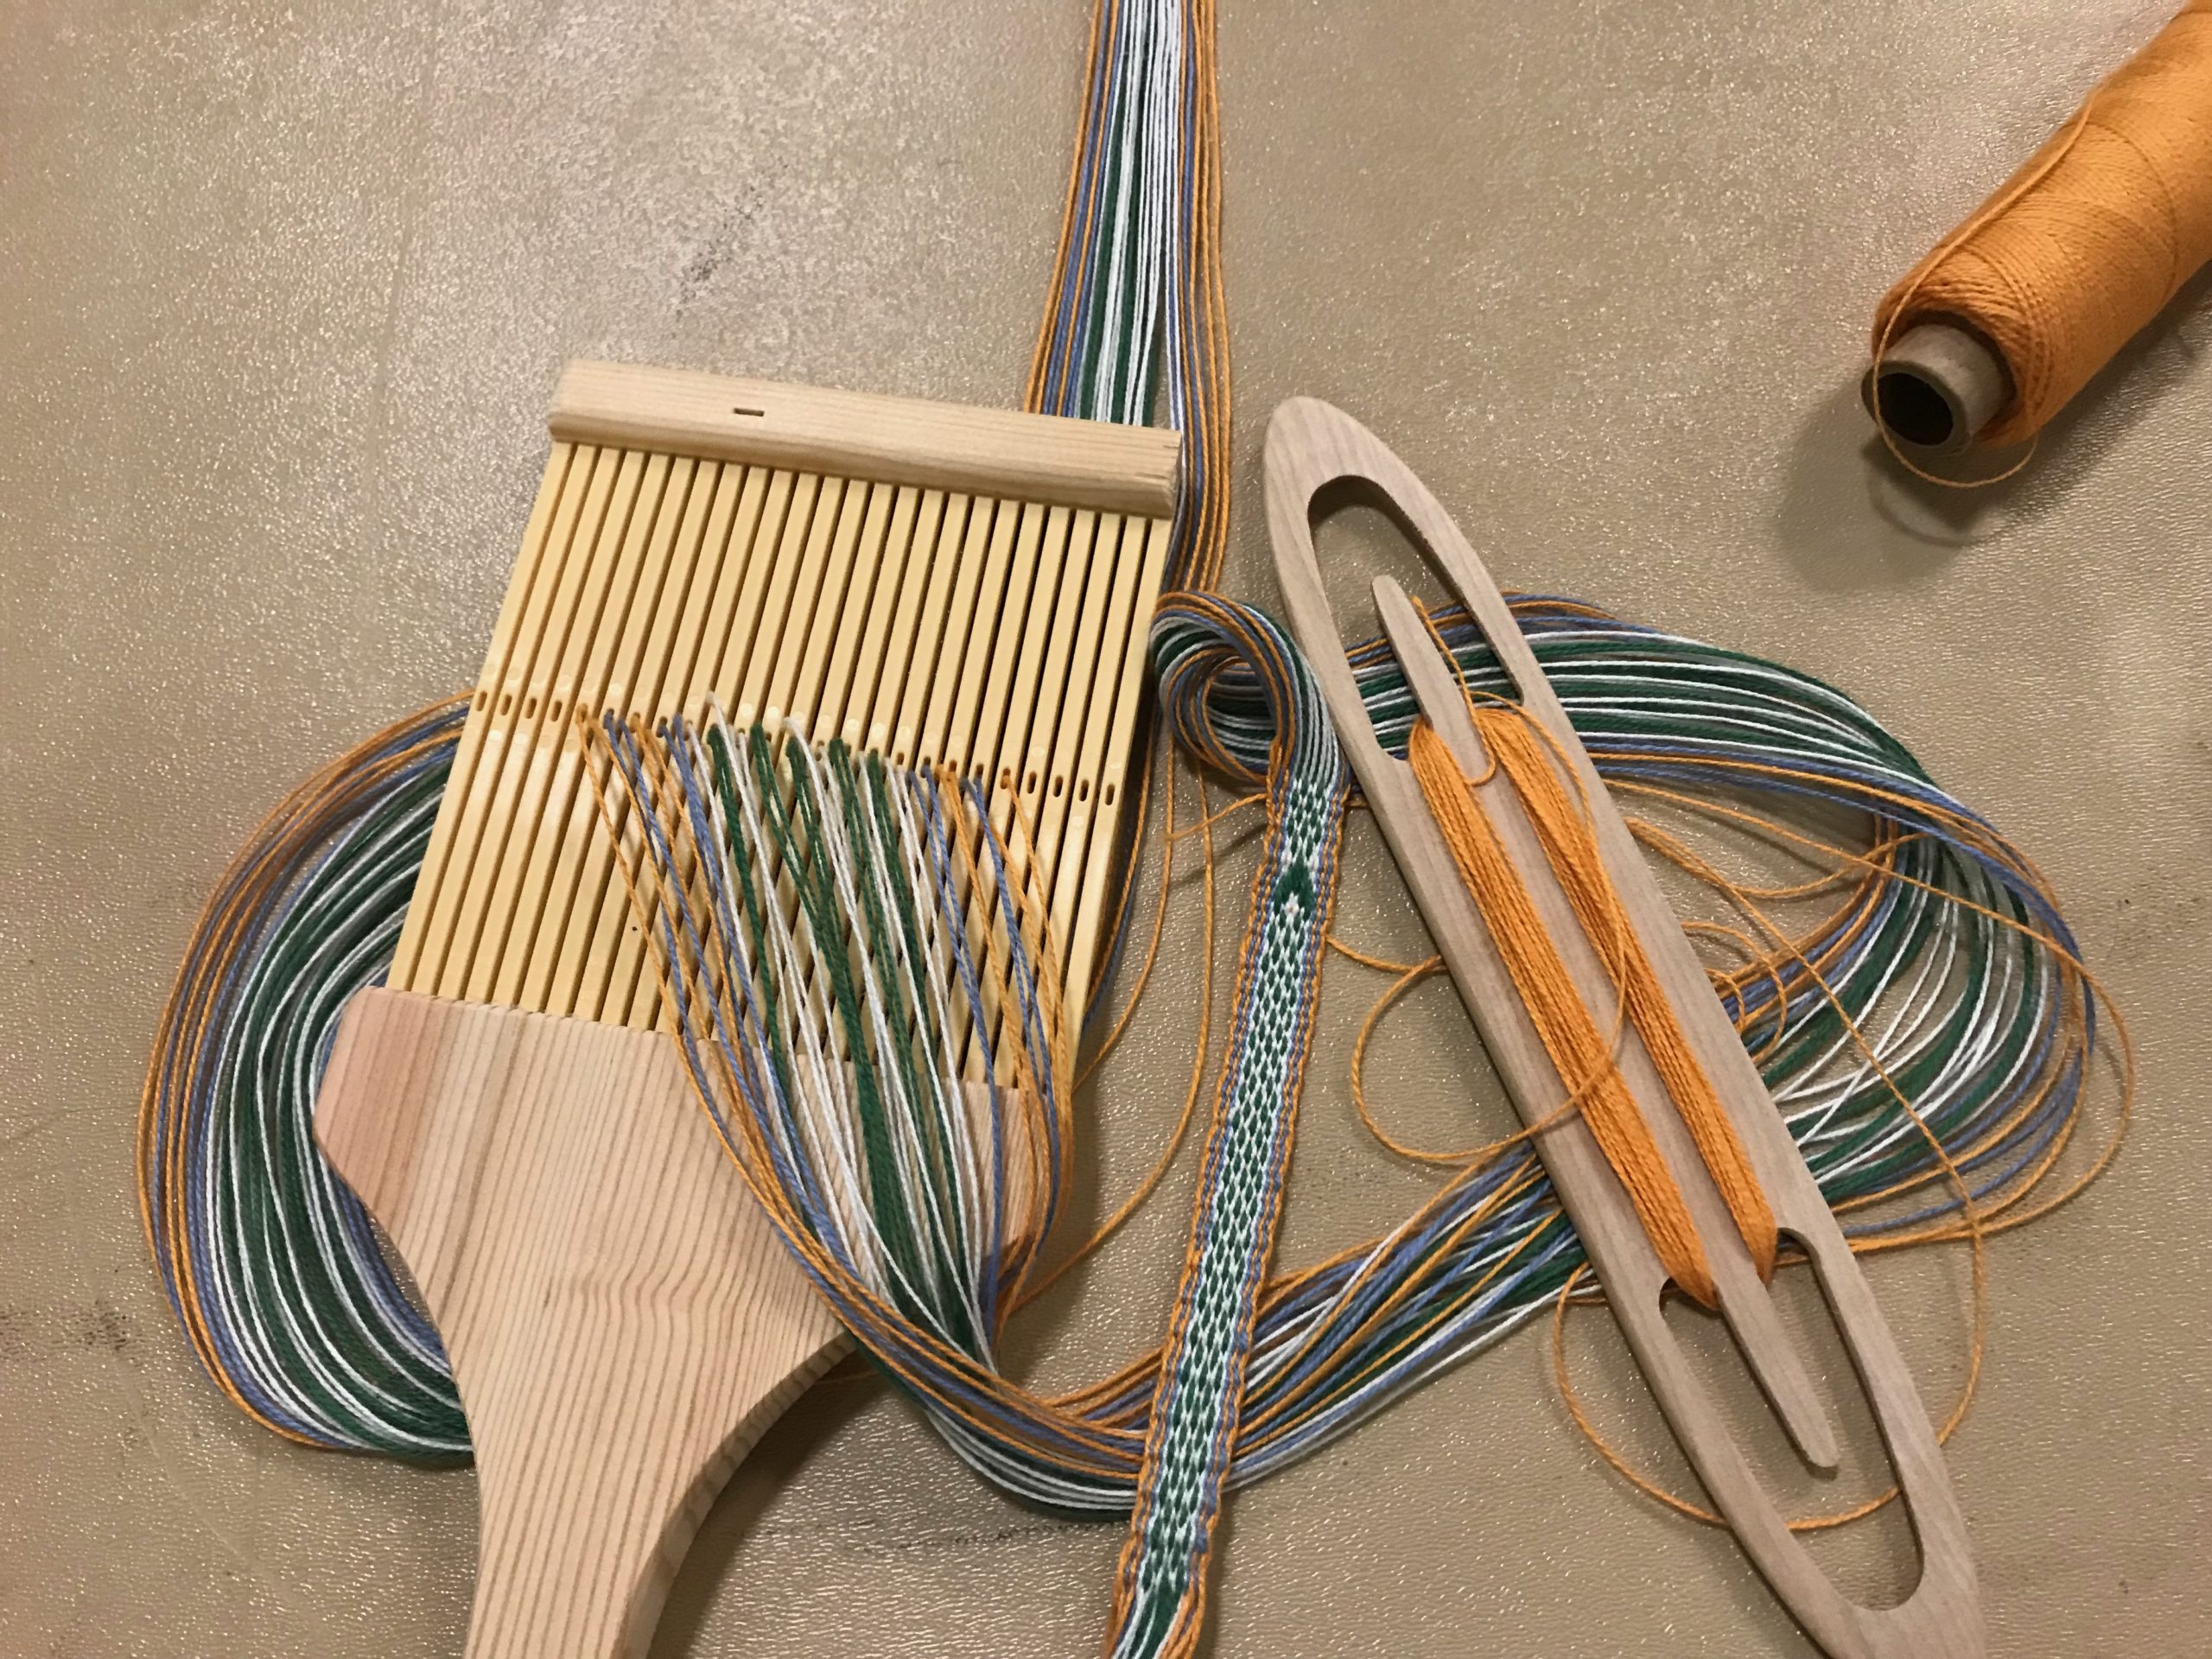
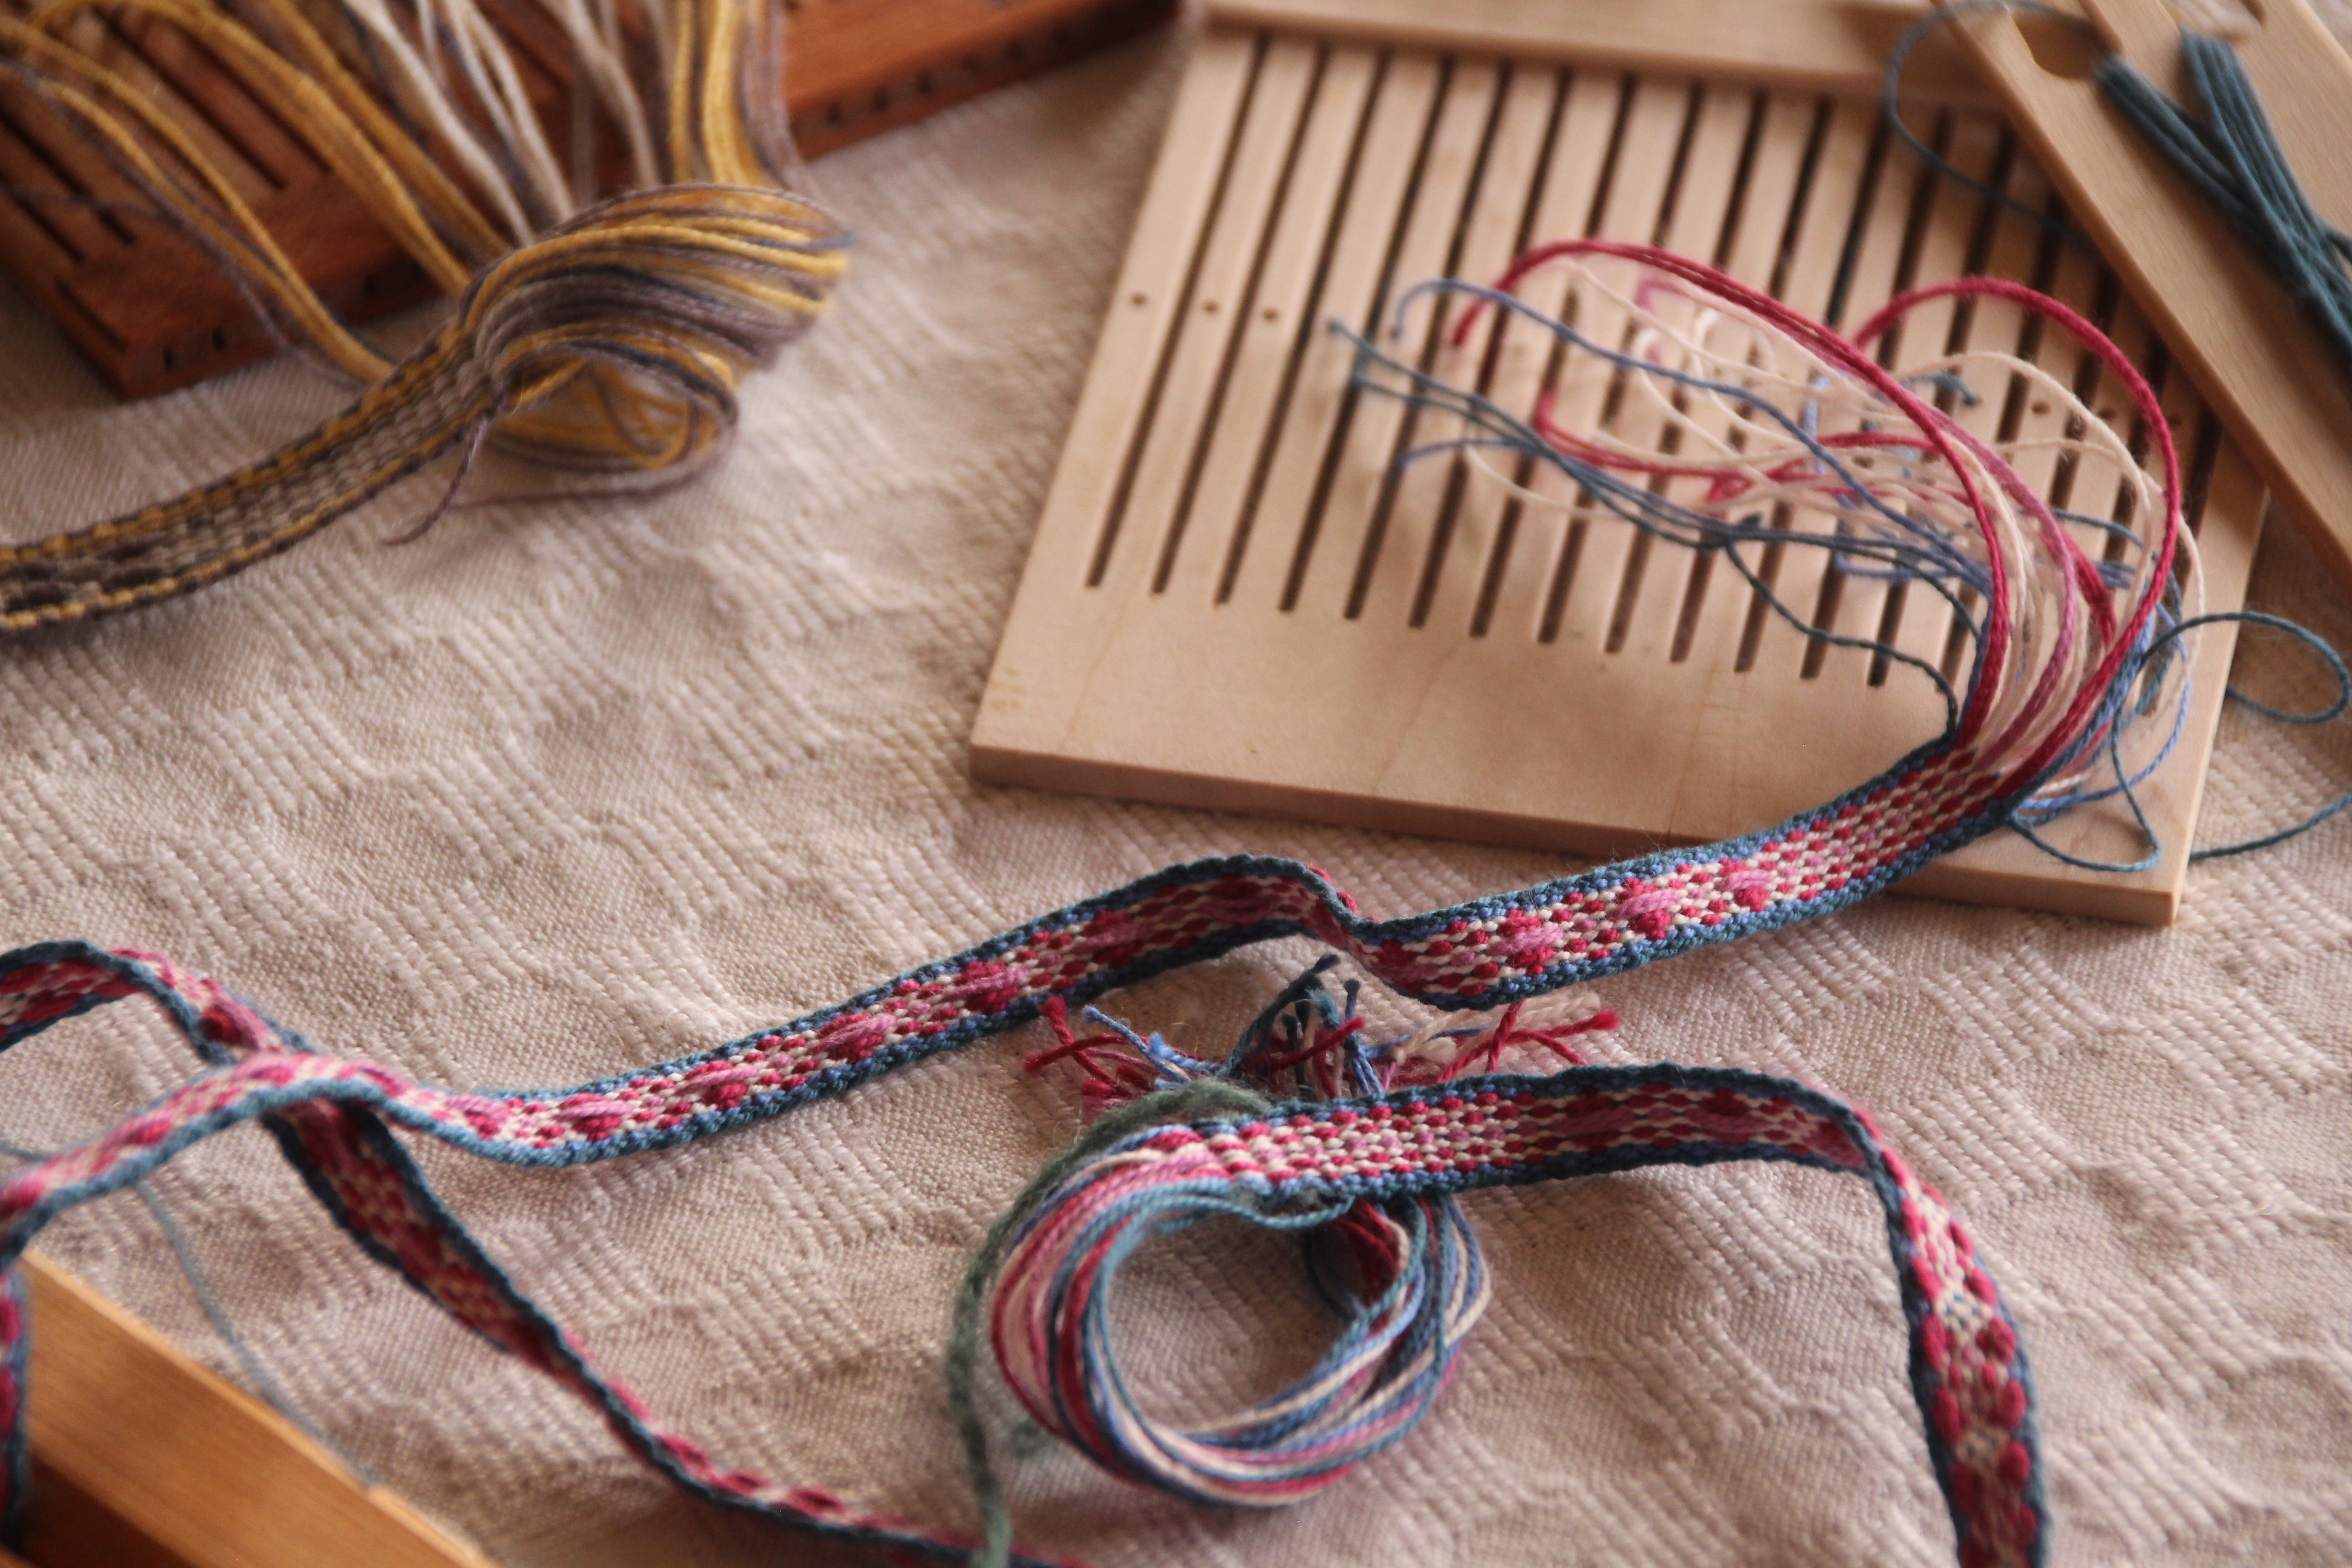
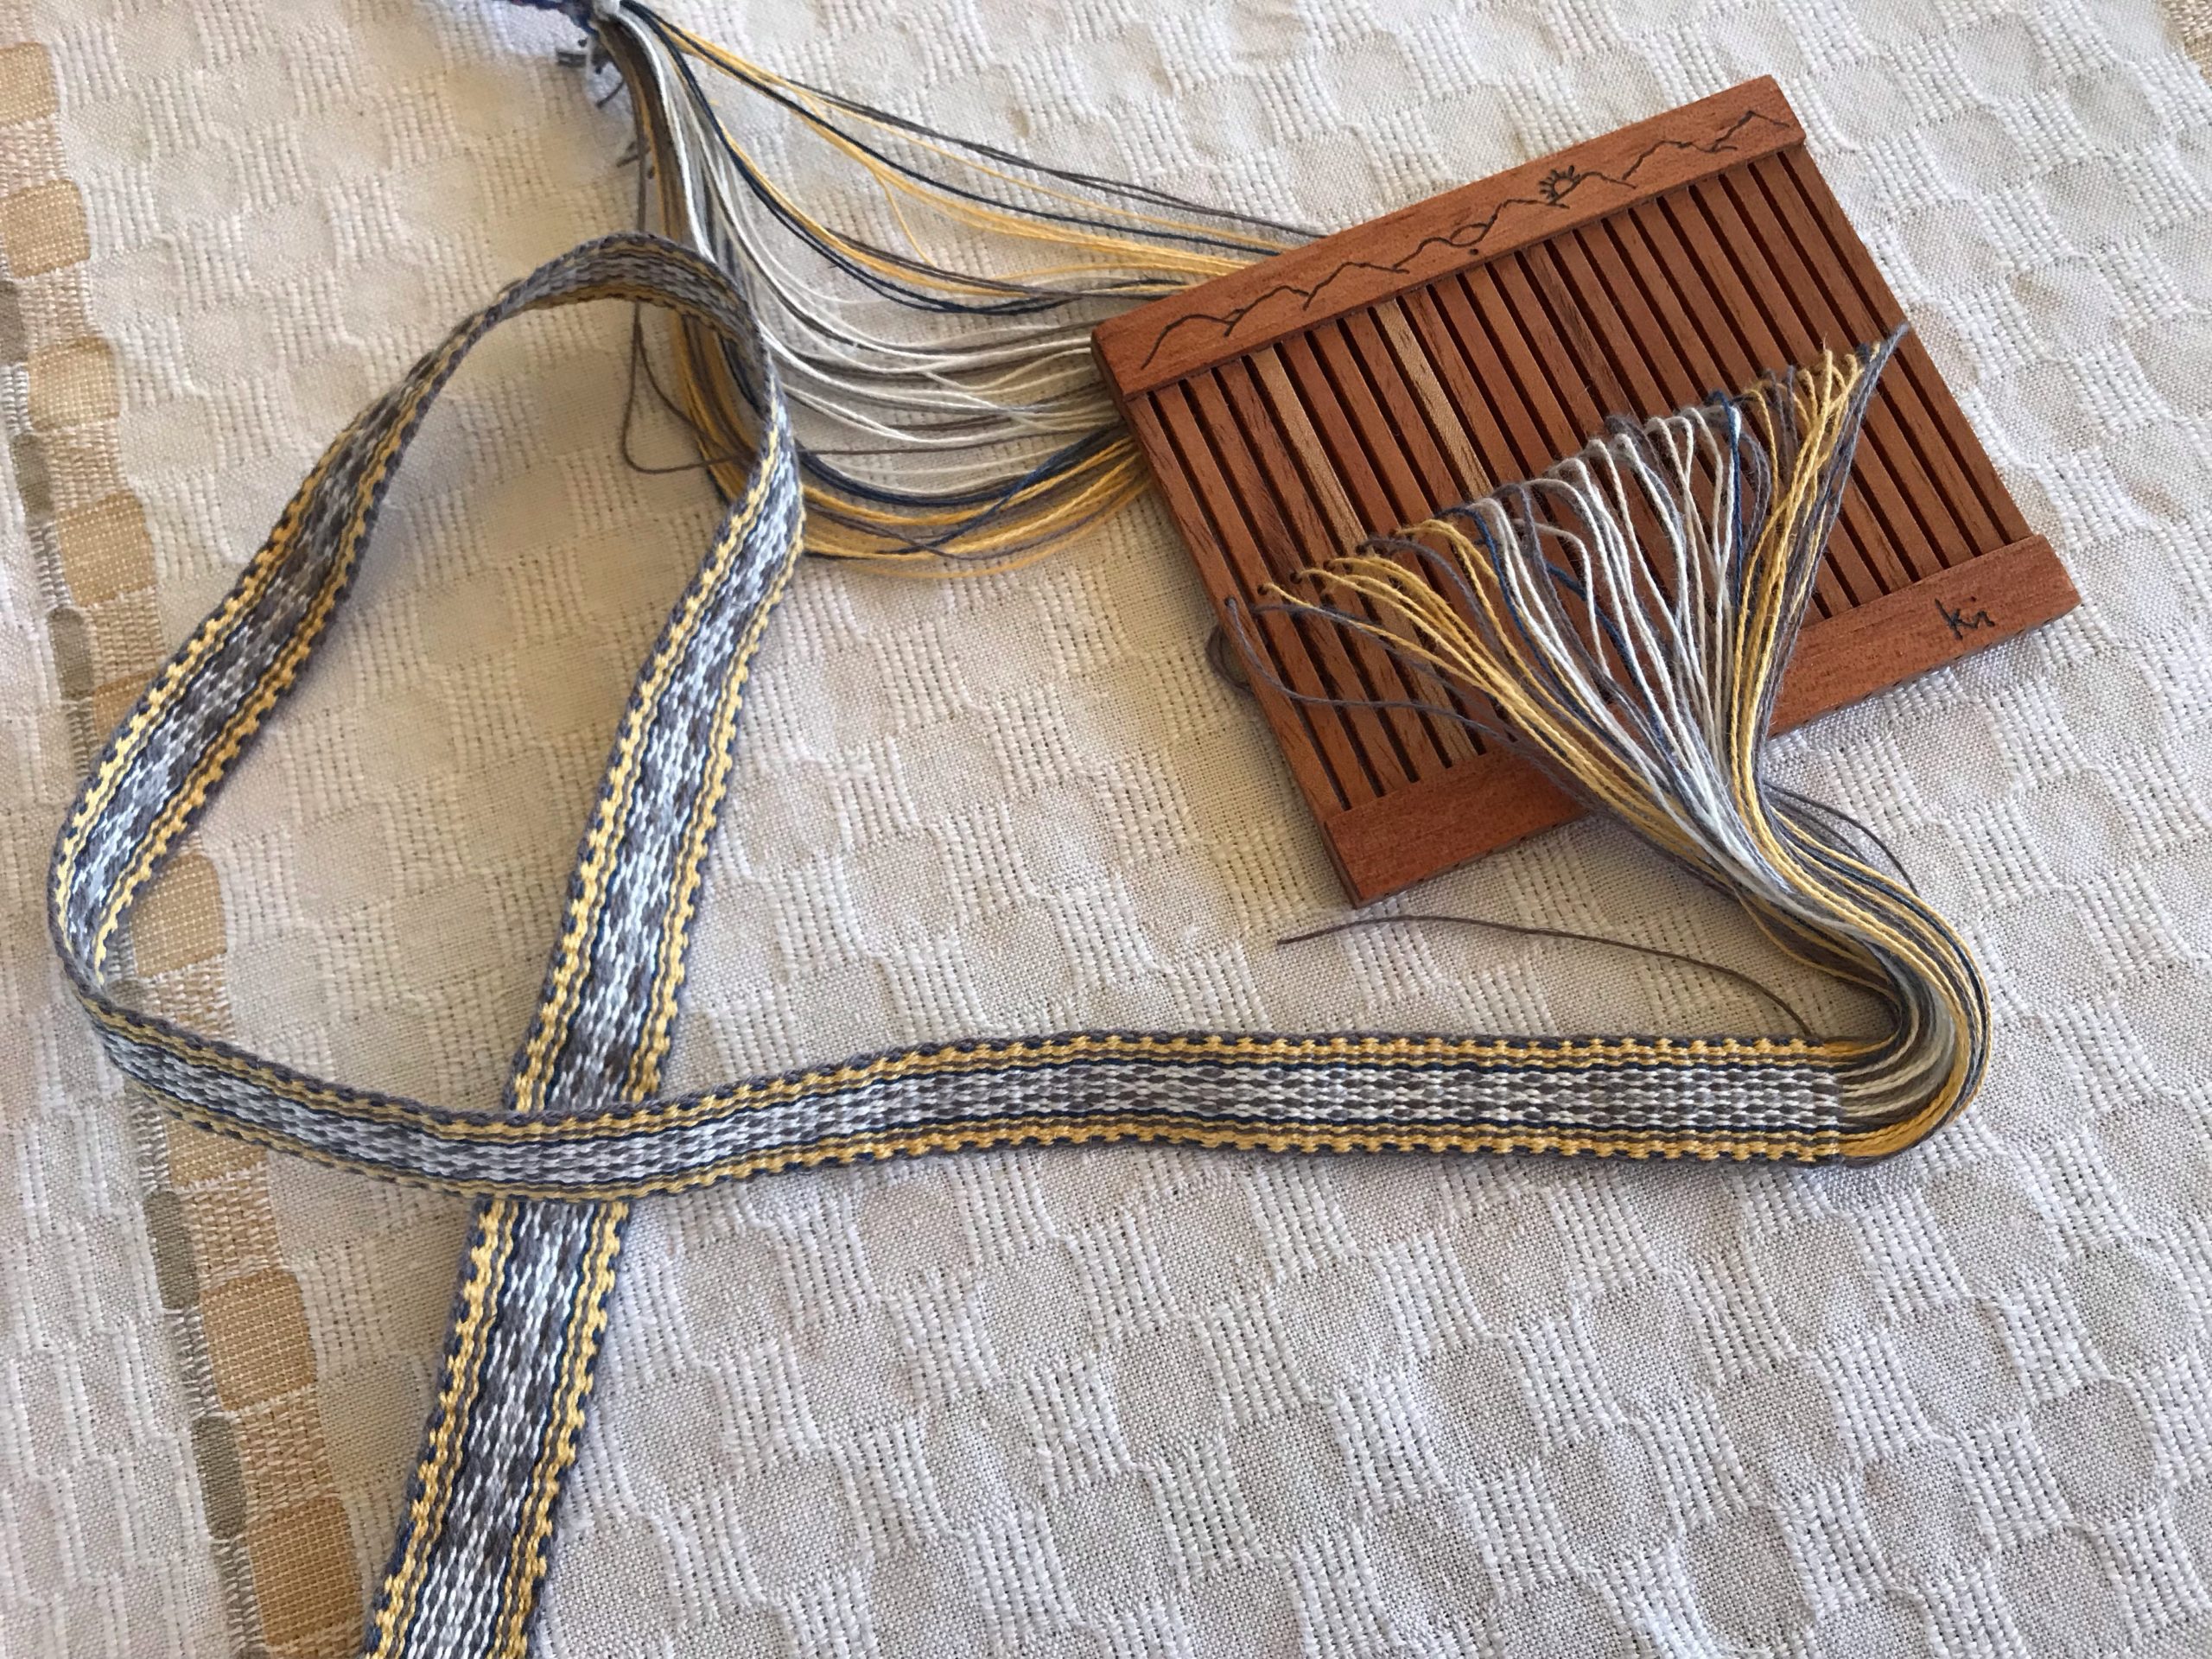
First heddle by Steve is made from Soft Maple. Band has 21 ends (with 5 pattern threads, doubled). 8/2 cotton and 22/2 cottolin.
Heddle made from Spanish Cedar. Wood-burned top represents the Texas Hill Country hills that we enjoy. Band has 45 ends (with 5 pattern threads, doubled), using the heddle’s full width. 8/2 cotton and 22/2 cottolin.
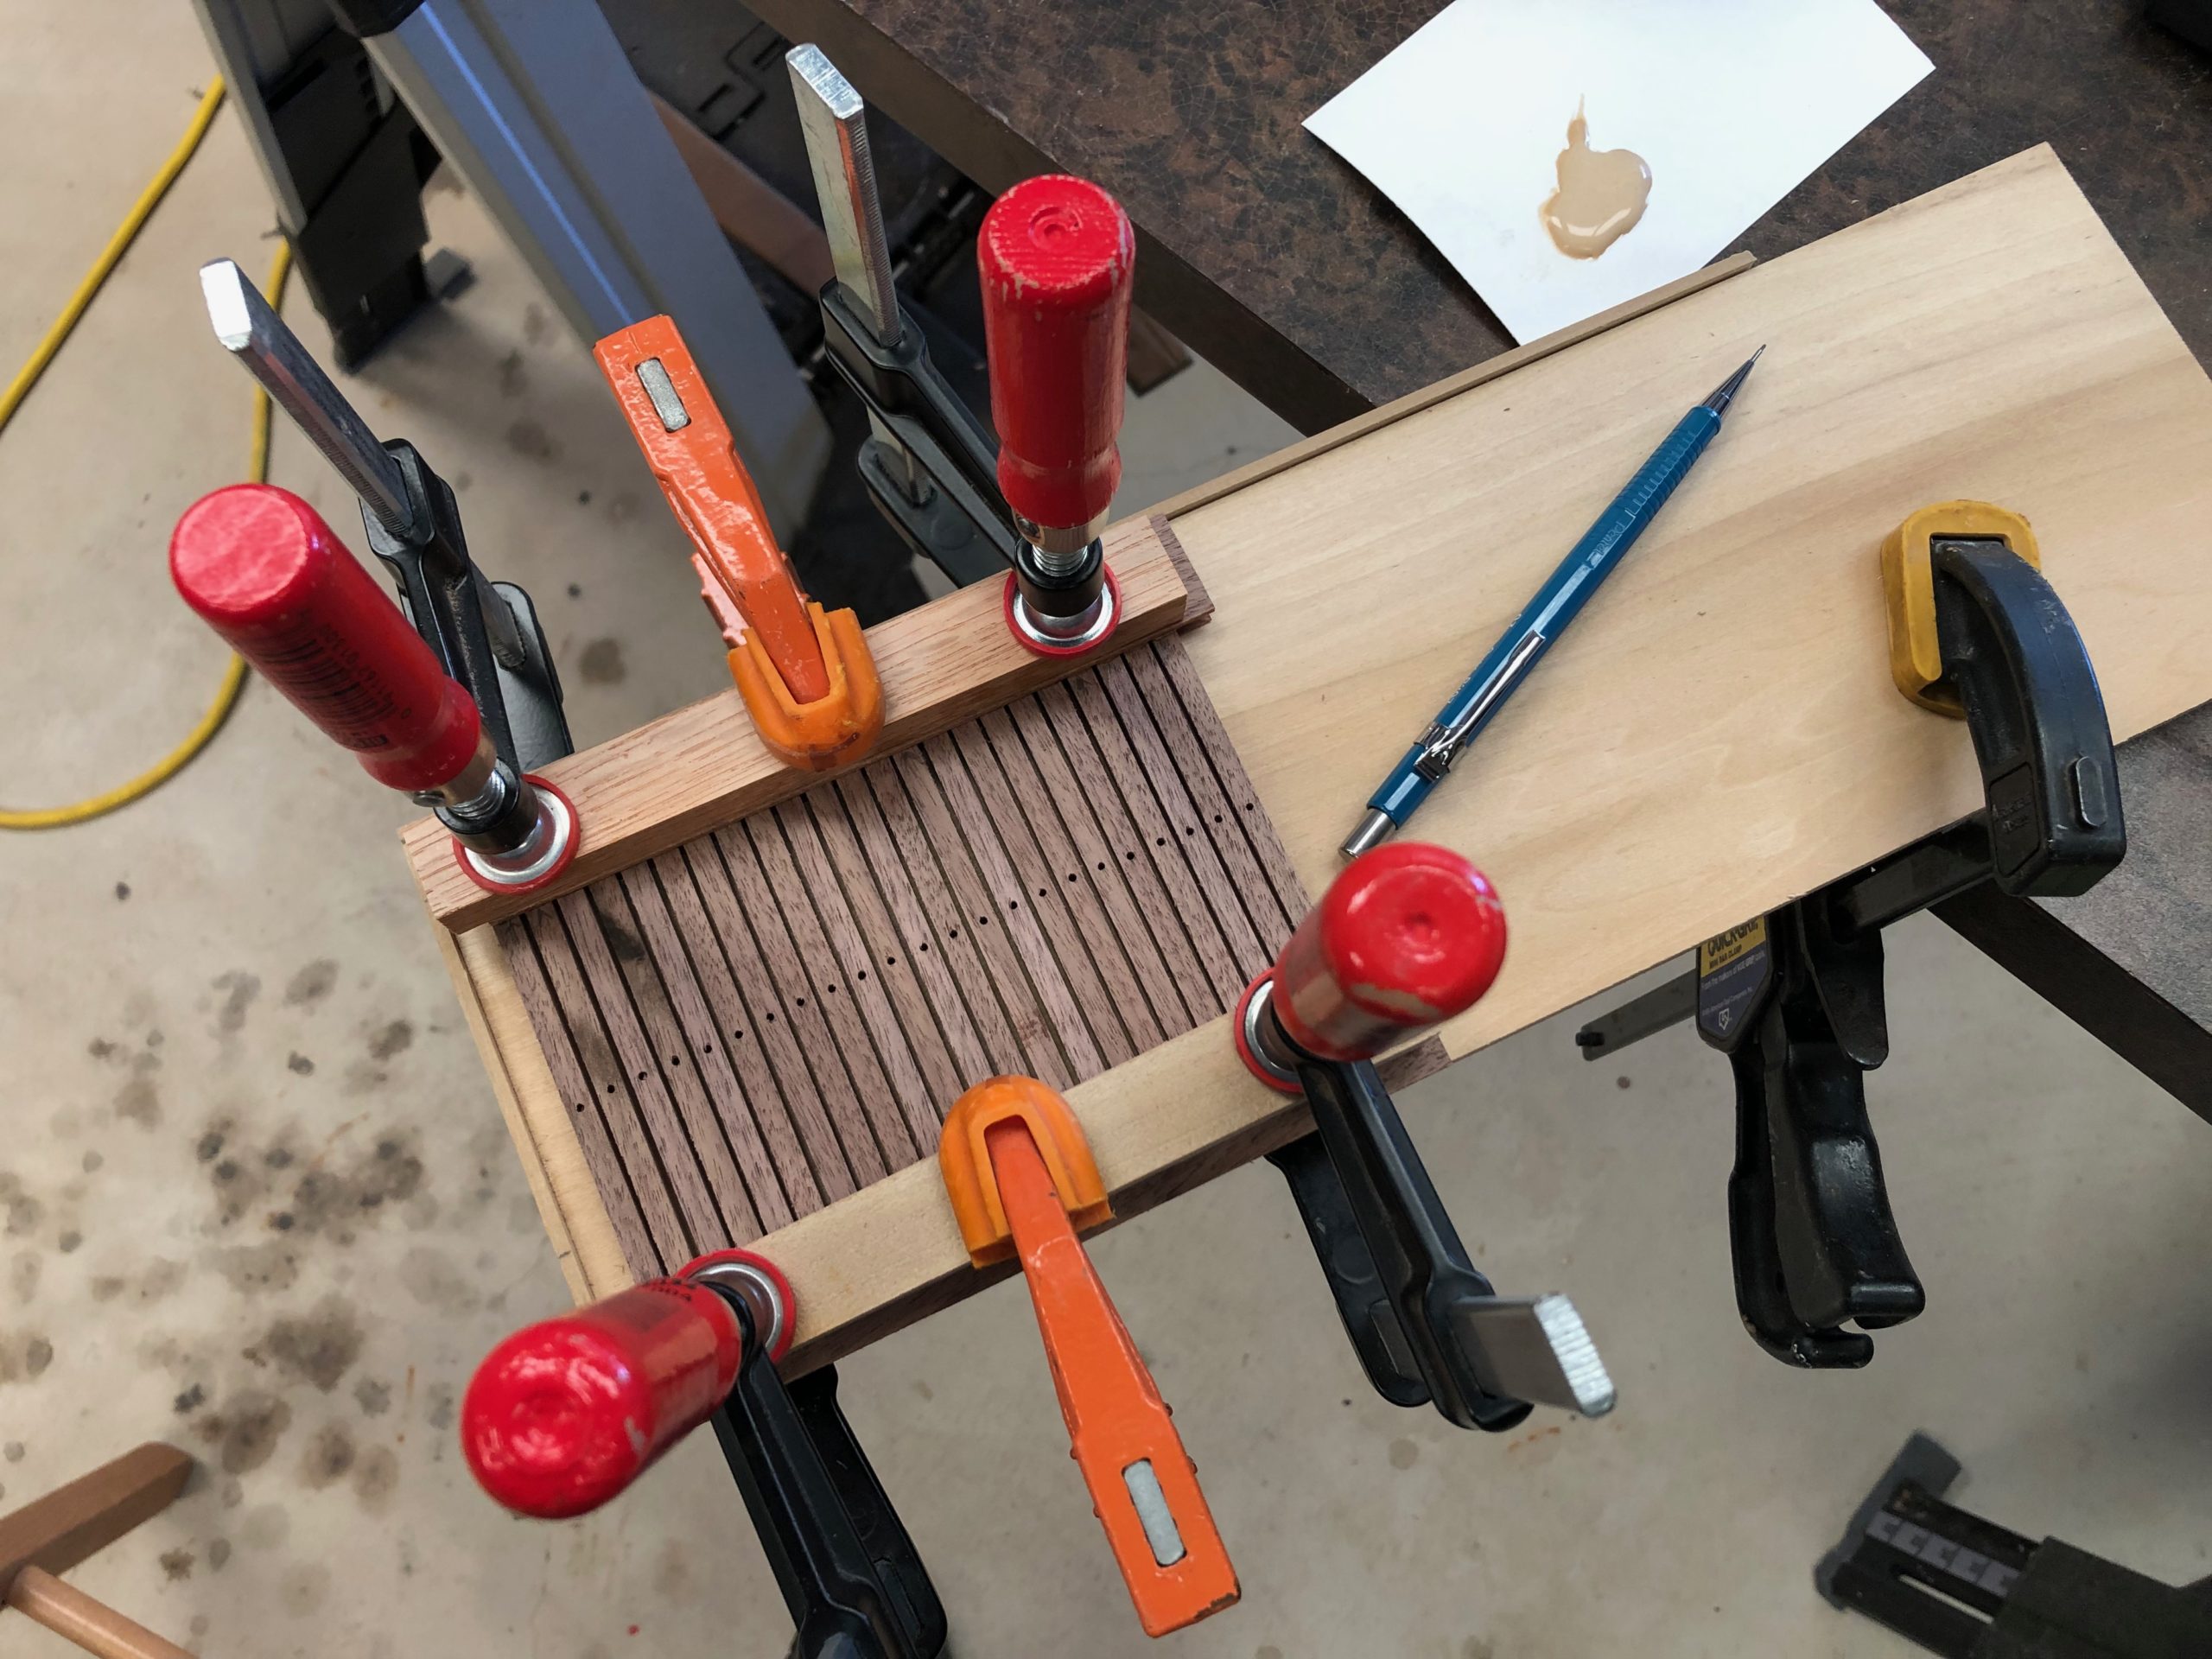
Walnut band heddle in the making.
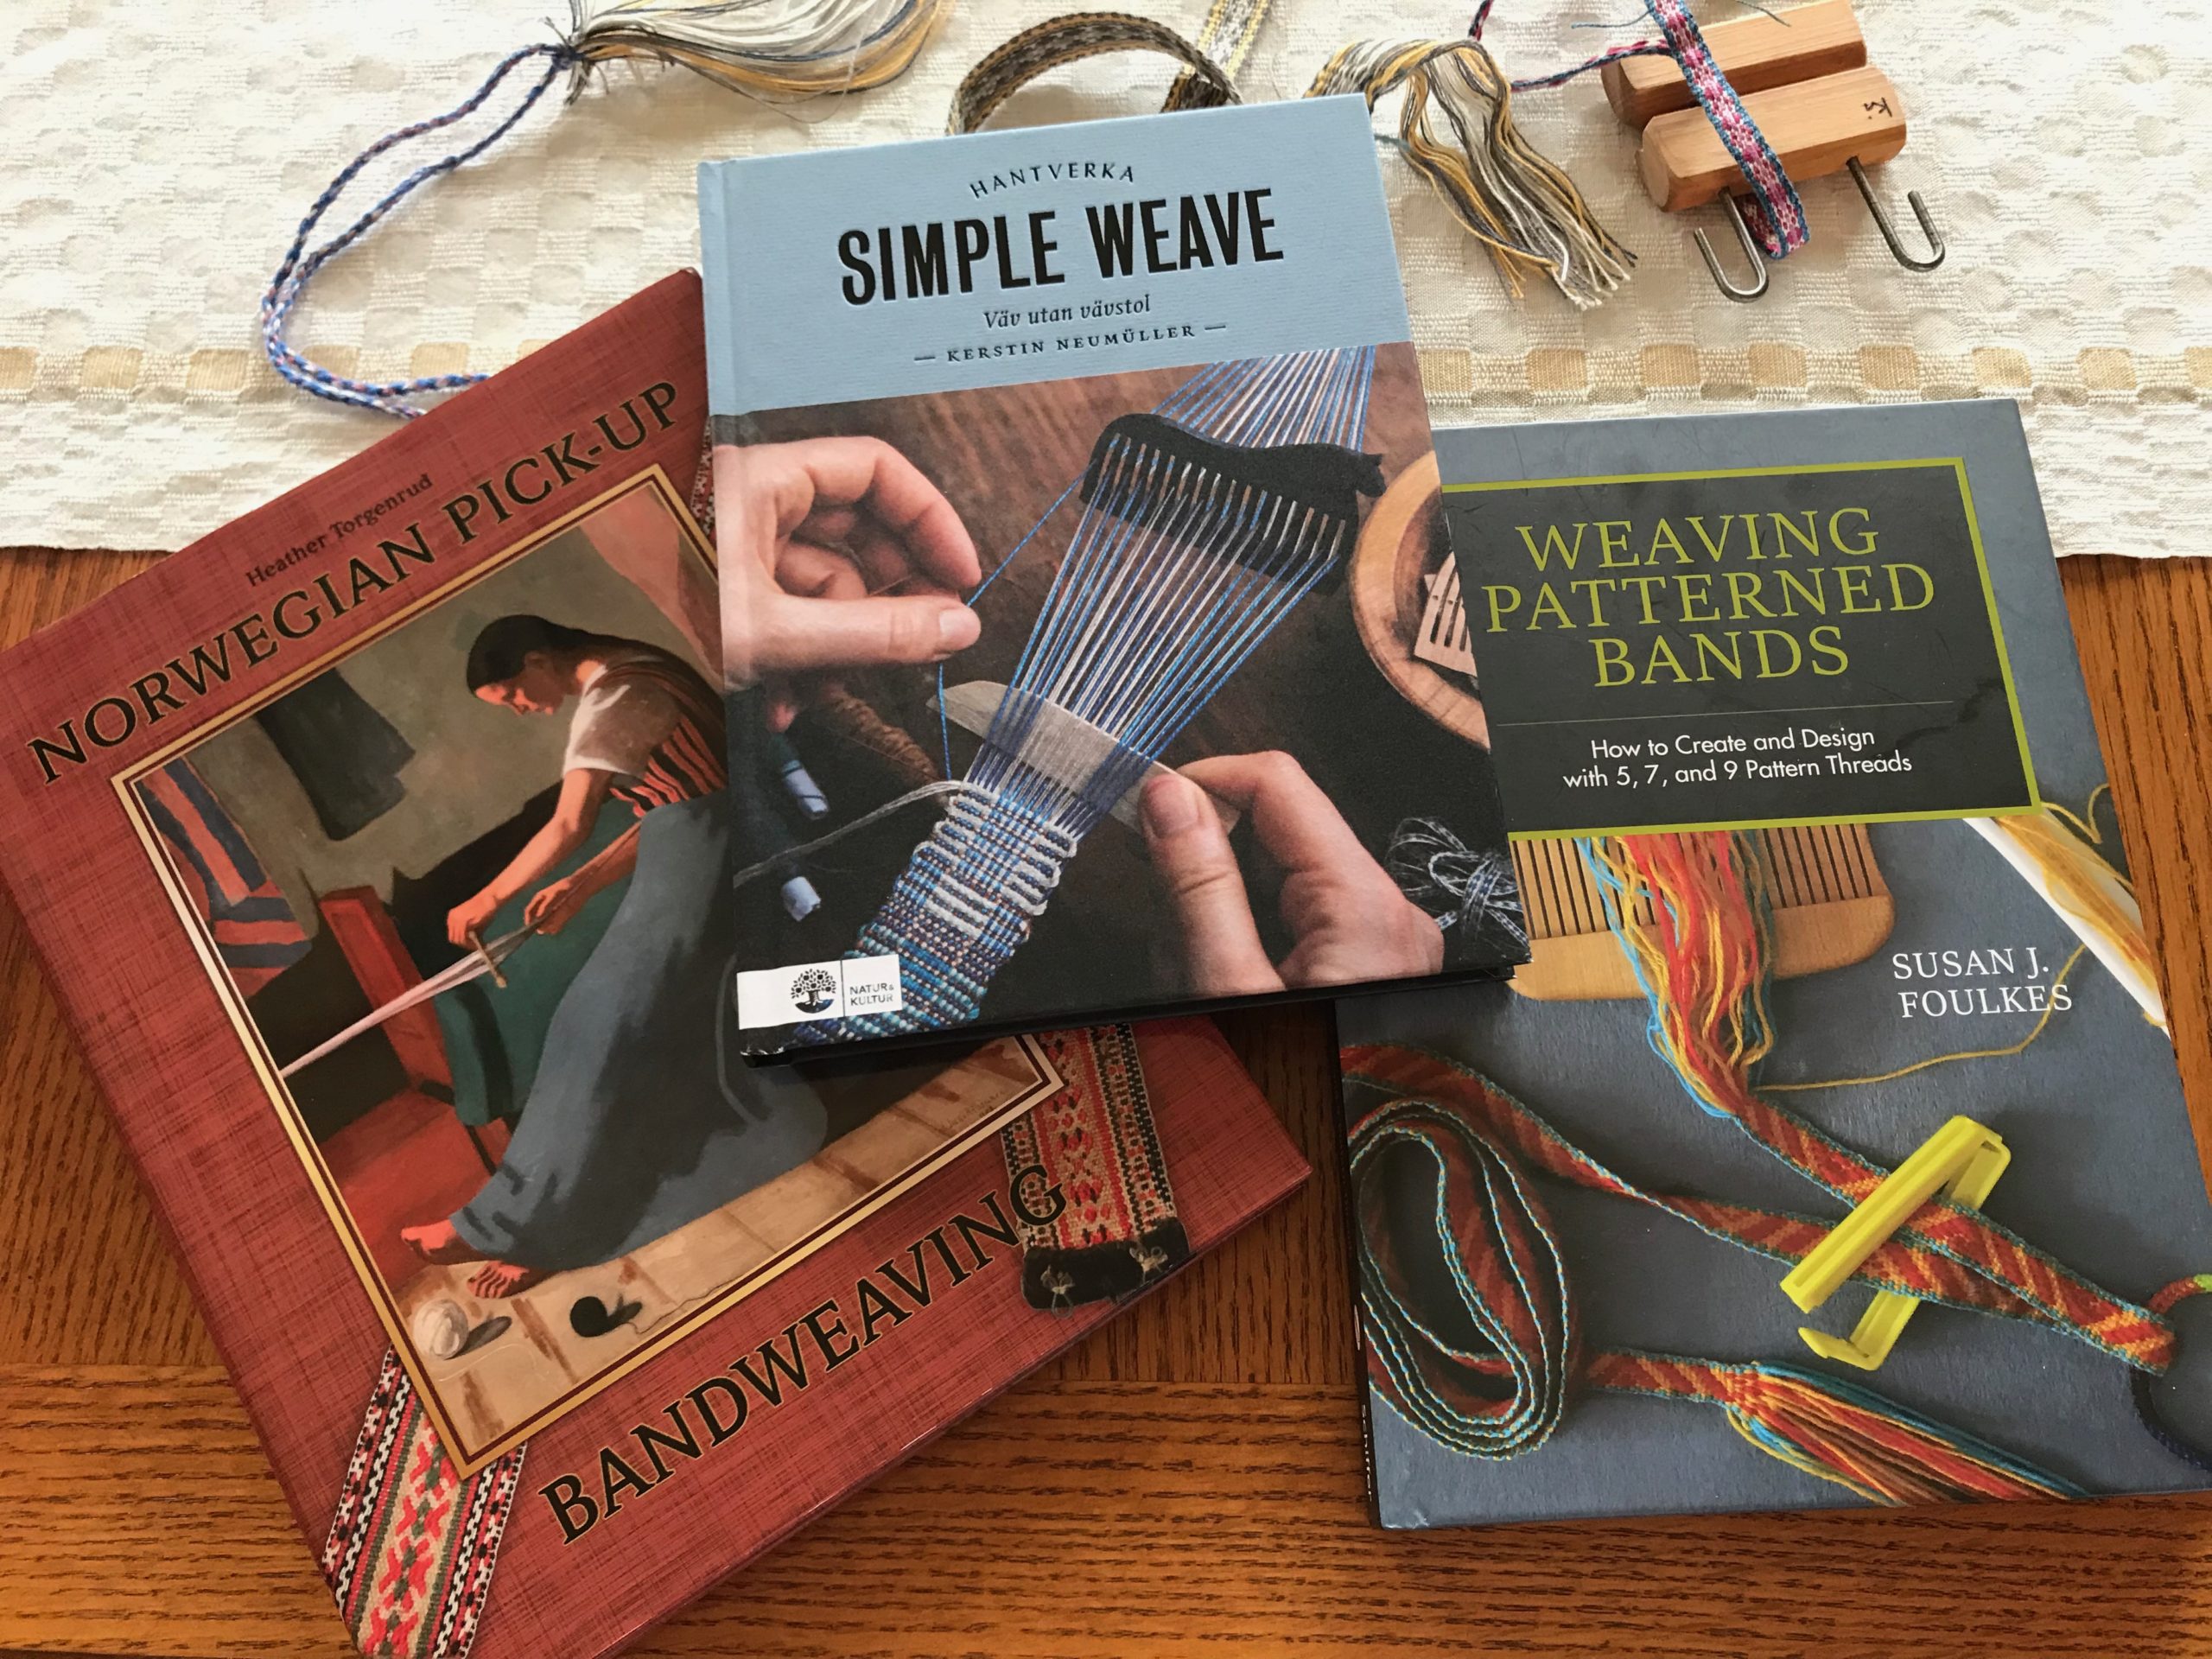
Torgenrud, H. (2015). Norwegian pick-up bandweaving. Schiffer Publishing; Foulkes, S. (2018). Weaving Patterned Bands. How to Create and Design with 5, 7, and 9 Pattern Threads. Schiffer Publishing; Neumüller, K. (2021). Simple Weave. (Language: Swedish). Natur & Kultur, Stockholm.

Pictures in the following slideshow video tell more of the story.

Edited: Steve has compiled photo documentation of how he made my Spanish Cedar and Walnut heddles. Click HERE to send me an email requesting a PDF copy of Making a Band Heddle.

May you take time to notice the little things.

Love,
Karen

Long Conversation with the Loom

Day after day, pick after pick, this fabric lengthens and becomes ever more significant. As daylight dims, I stay at the loom a while longer. The rhythmic series of weaving motions is soothing. A handweaver finds calm in the complexity and delight in the detail. Challenges that arise are seen as problems to be solved.

Weaving for a short while in the evening helps wind down the day.

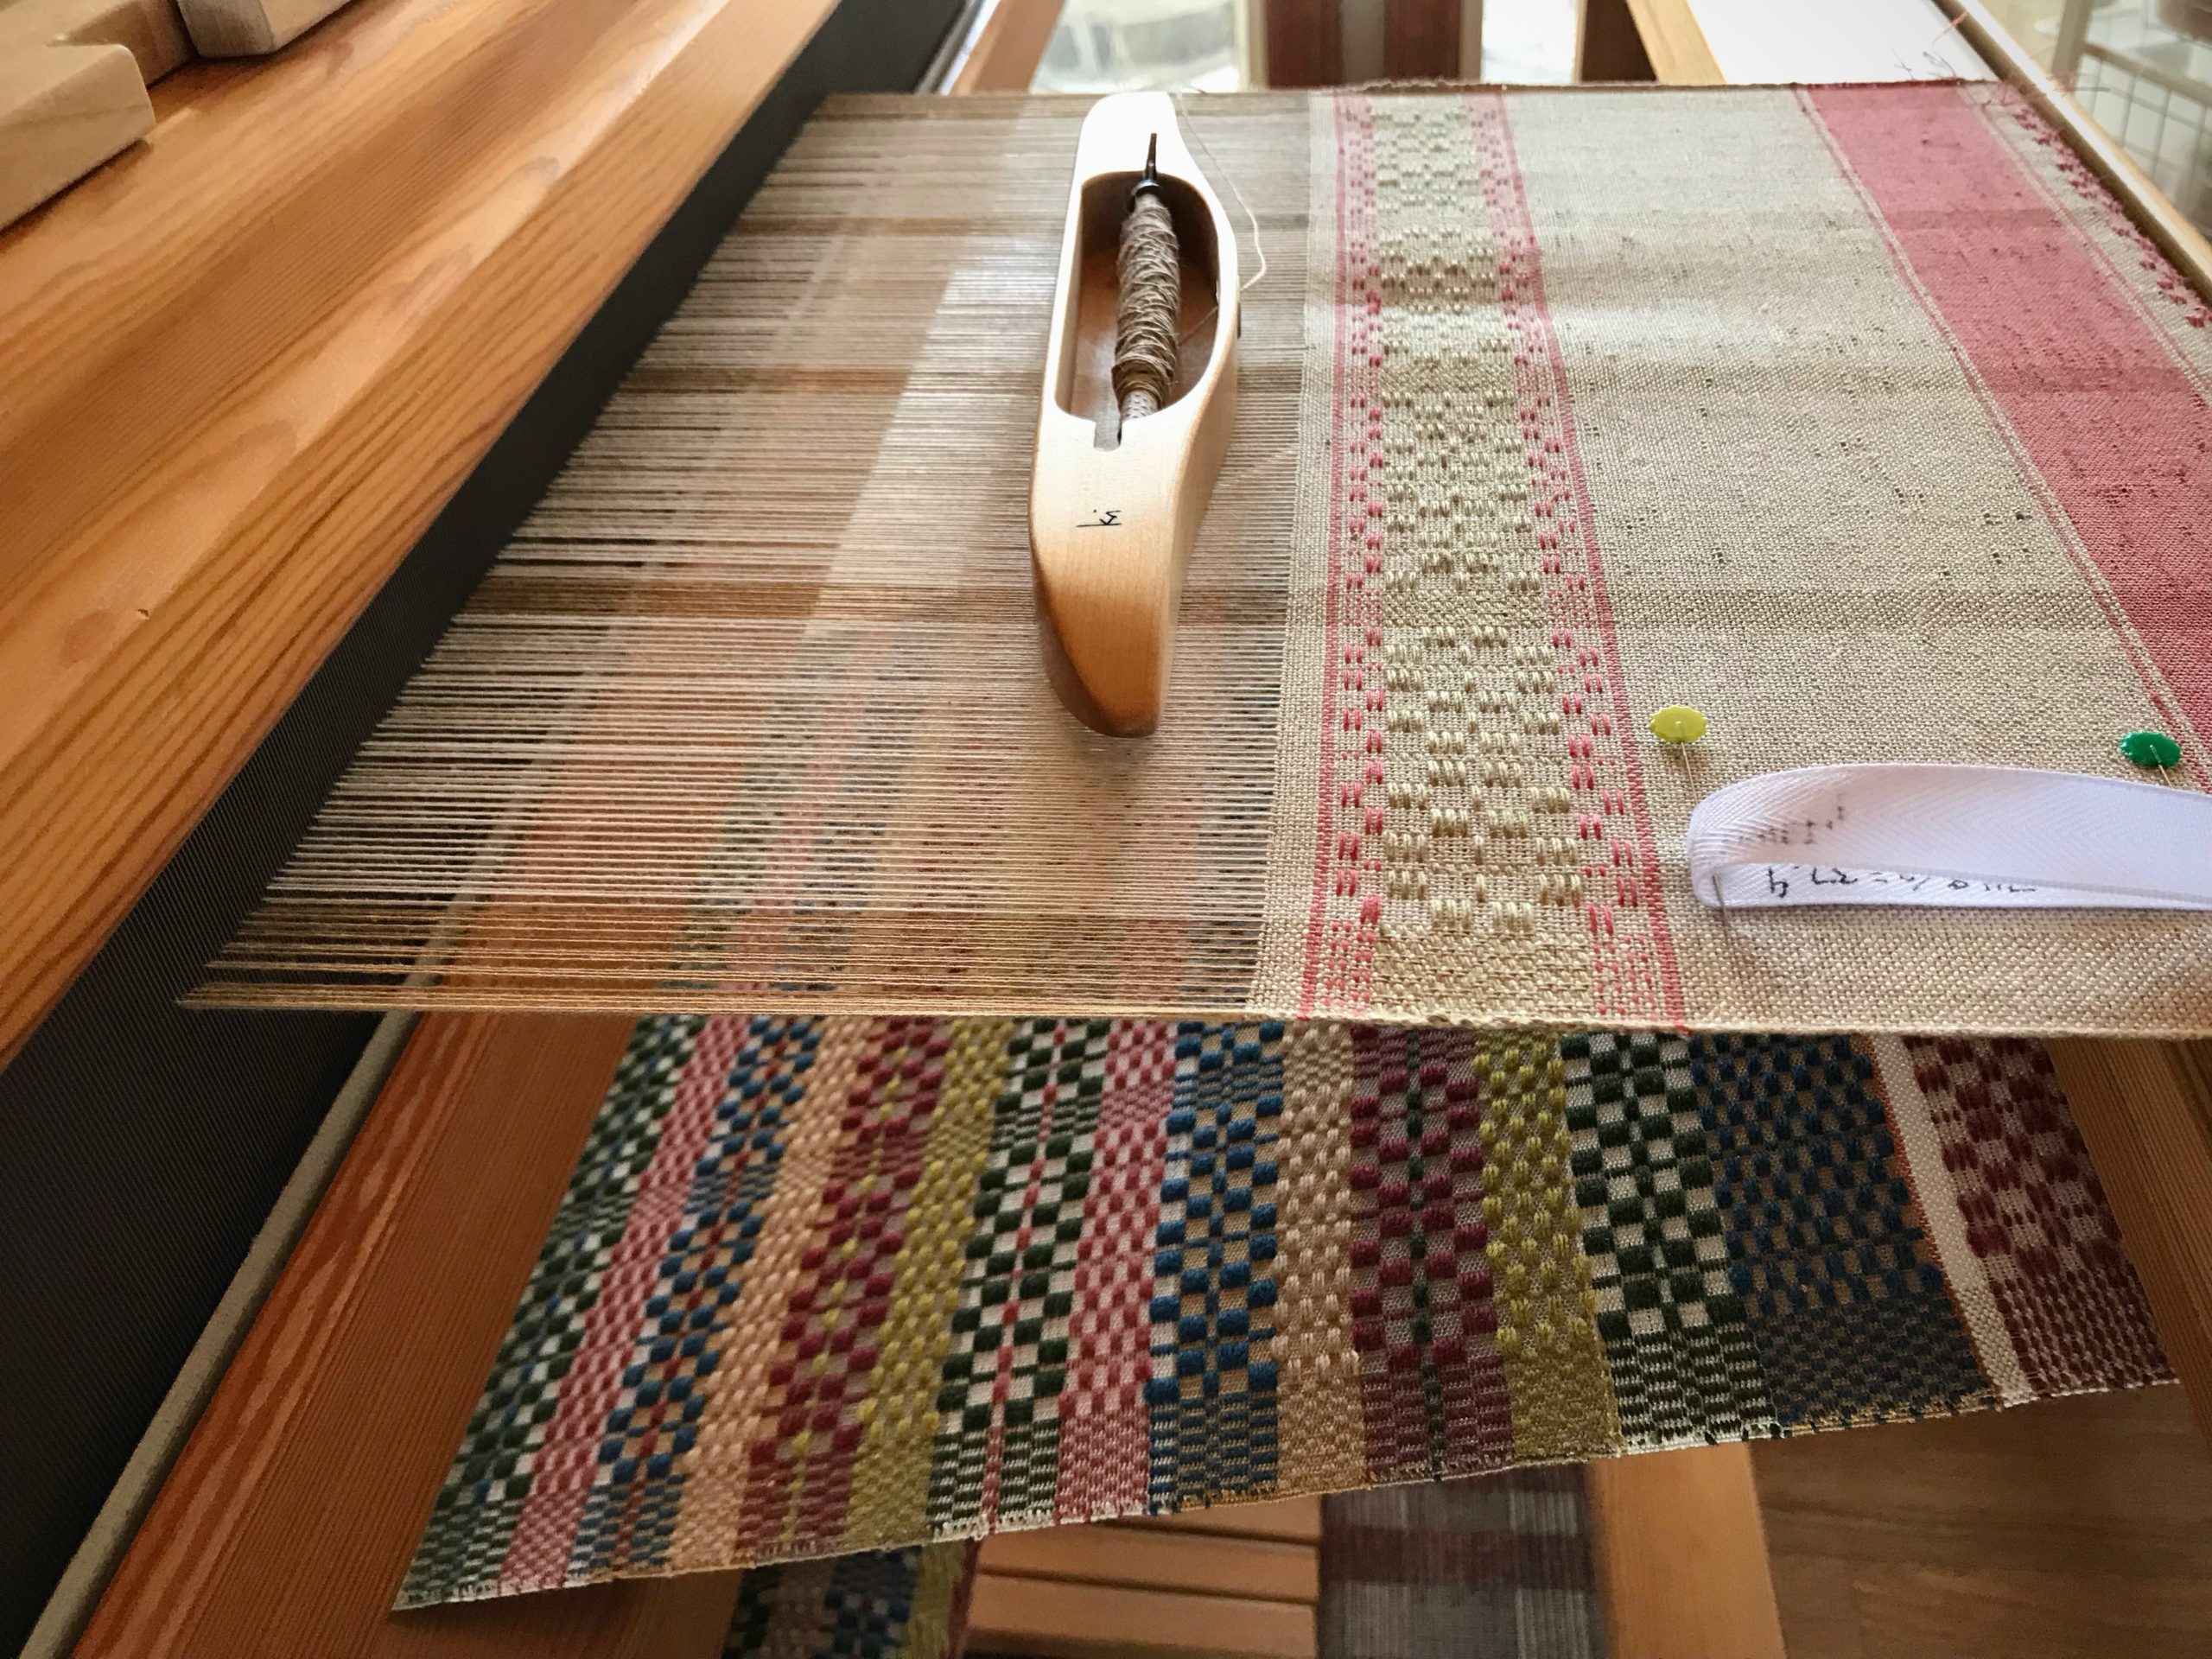
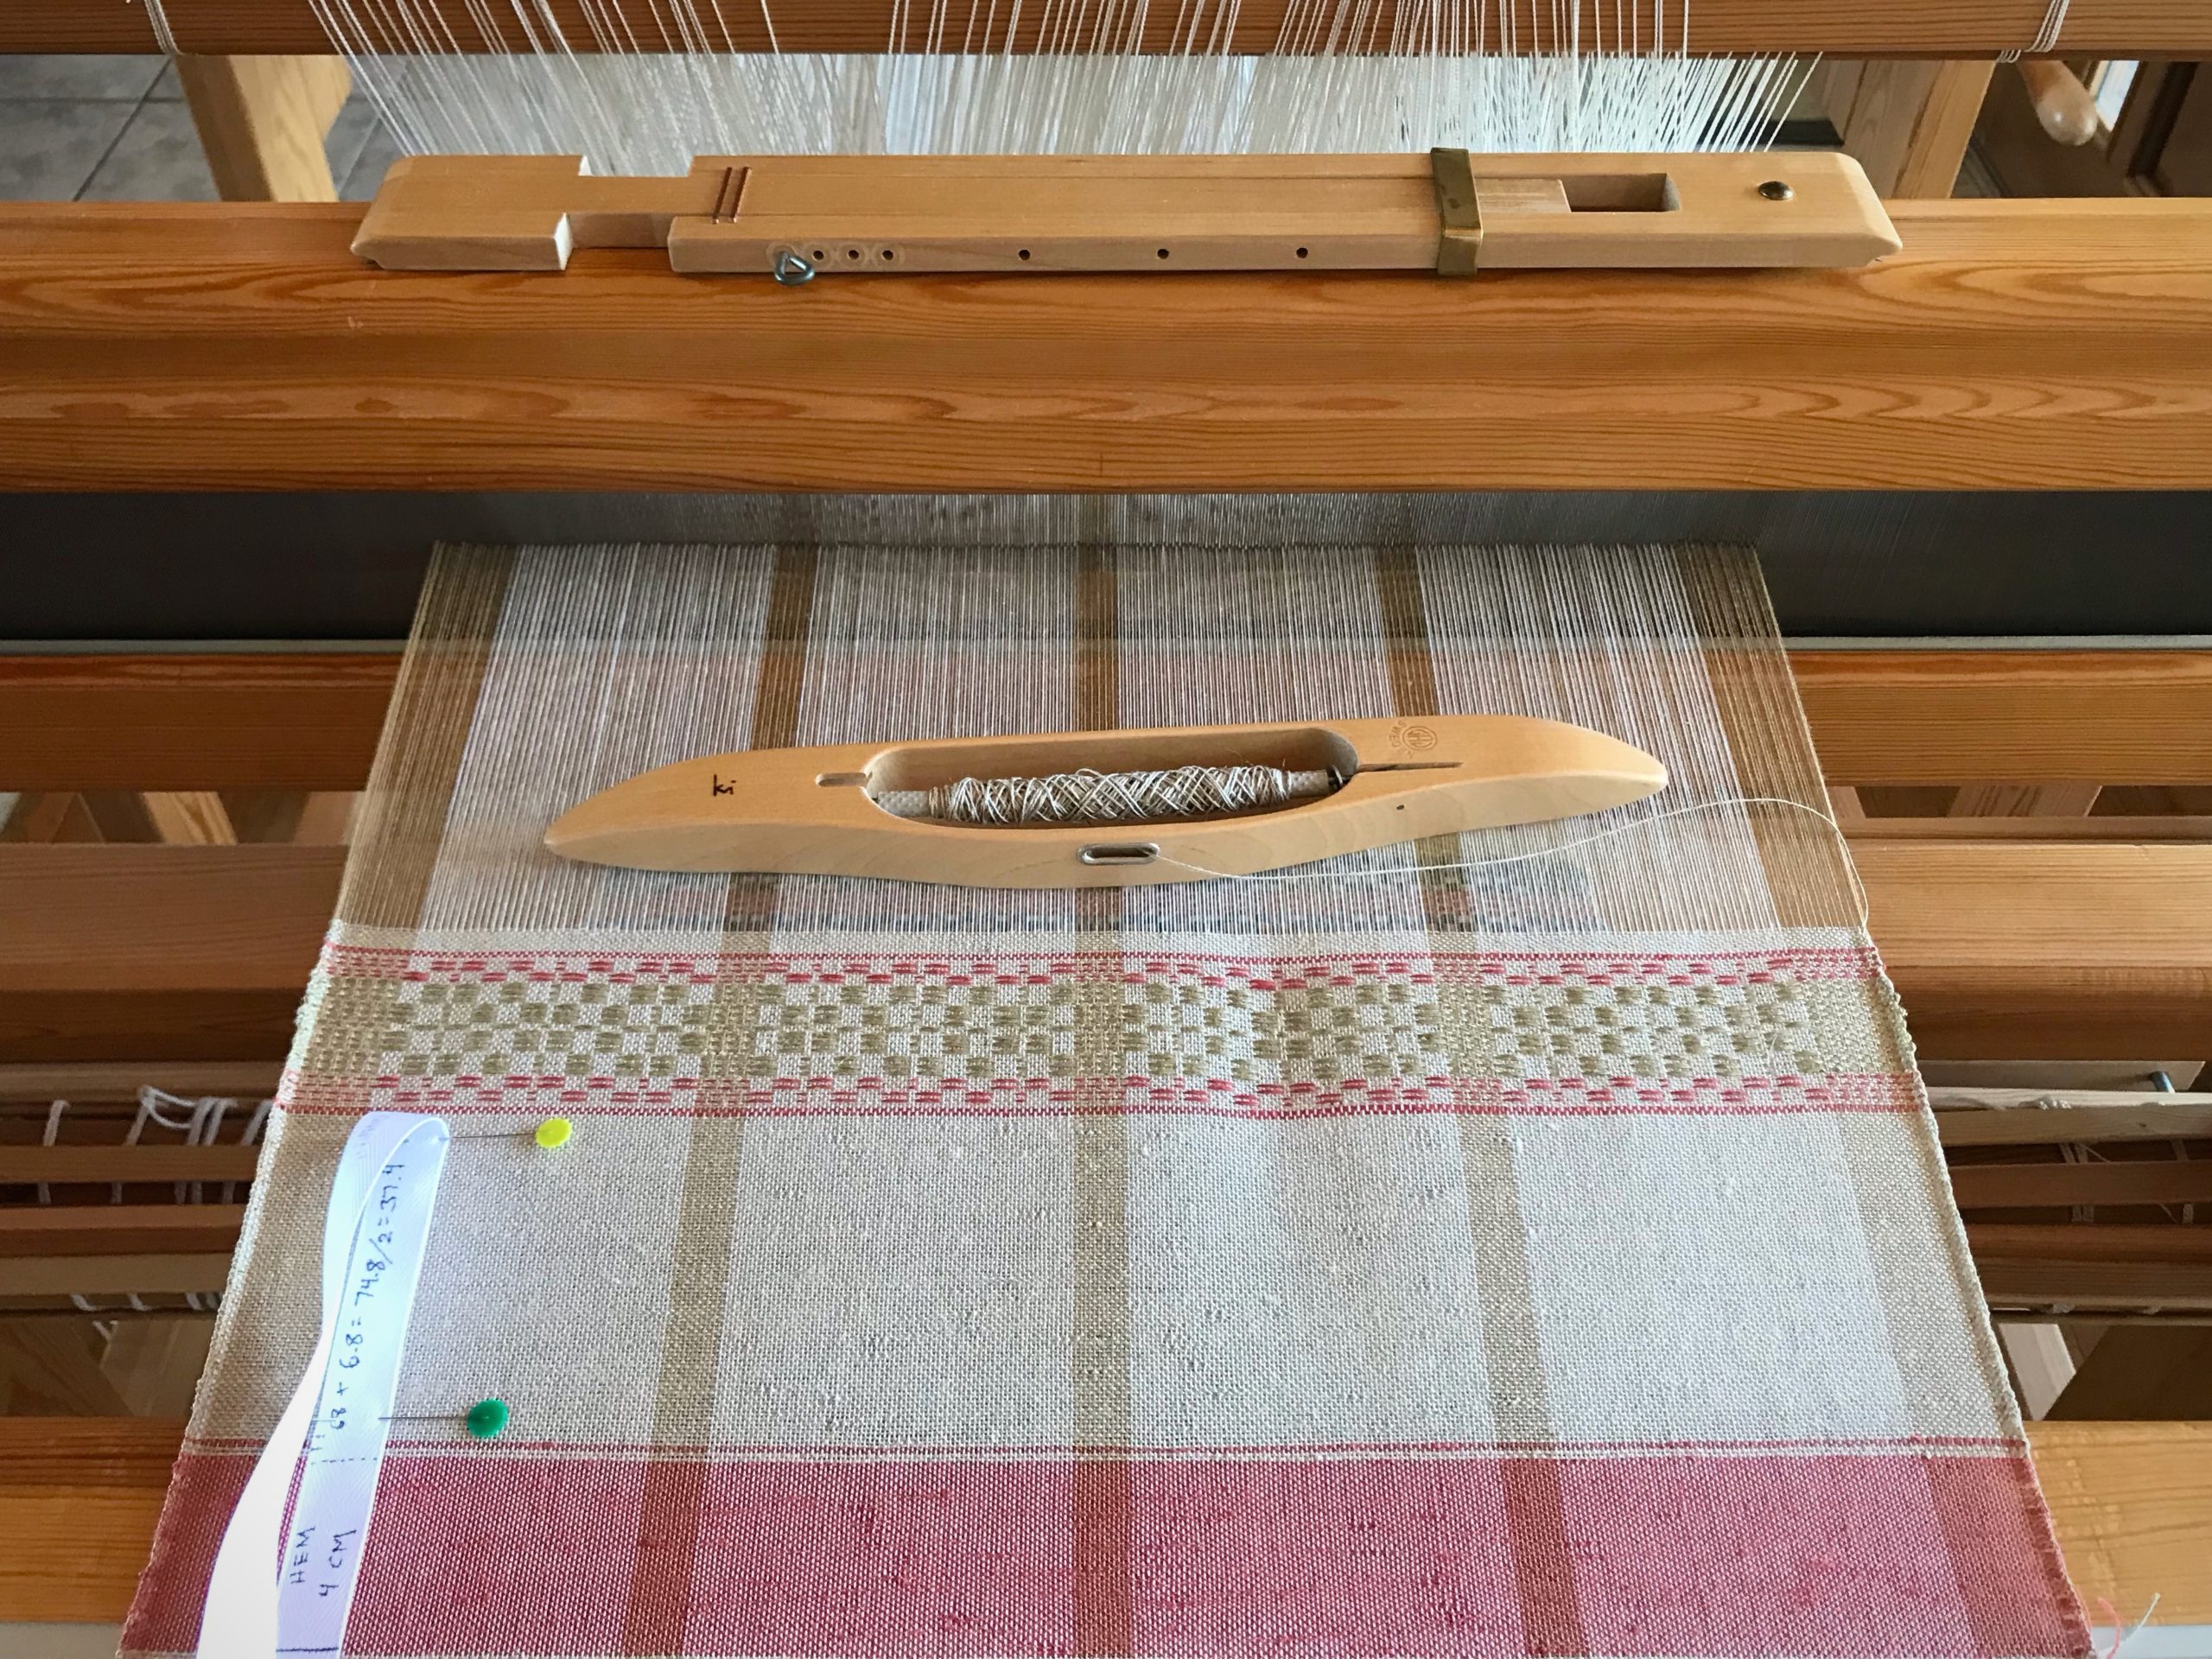
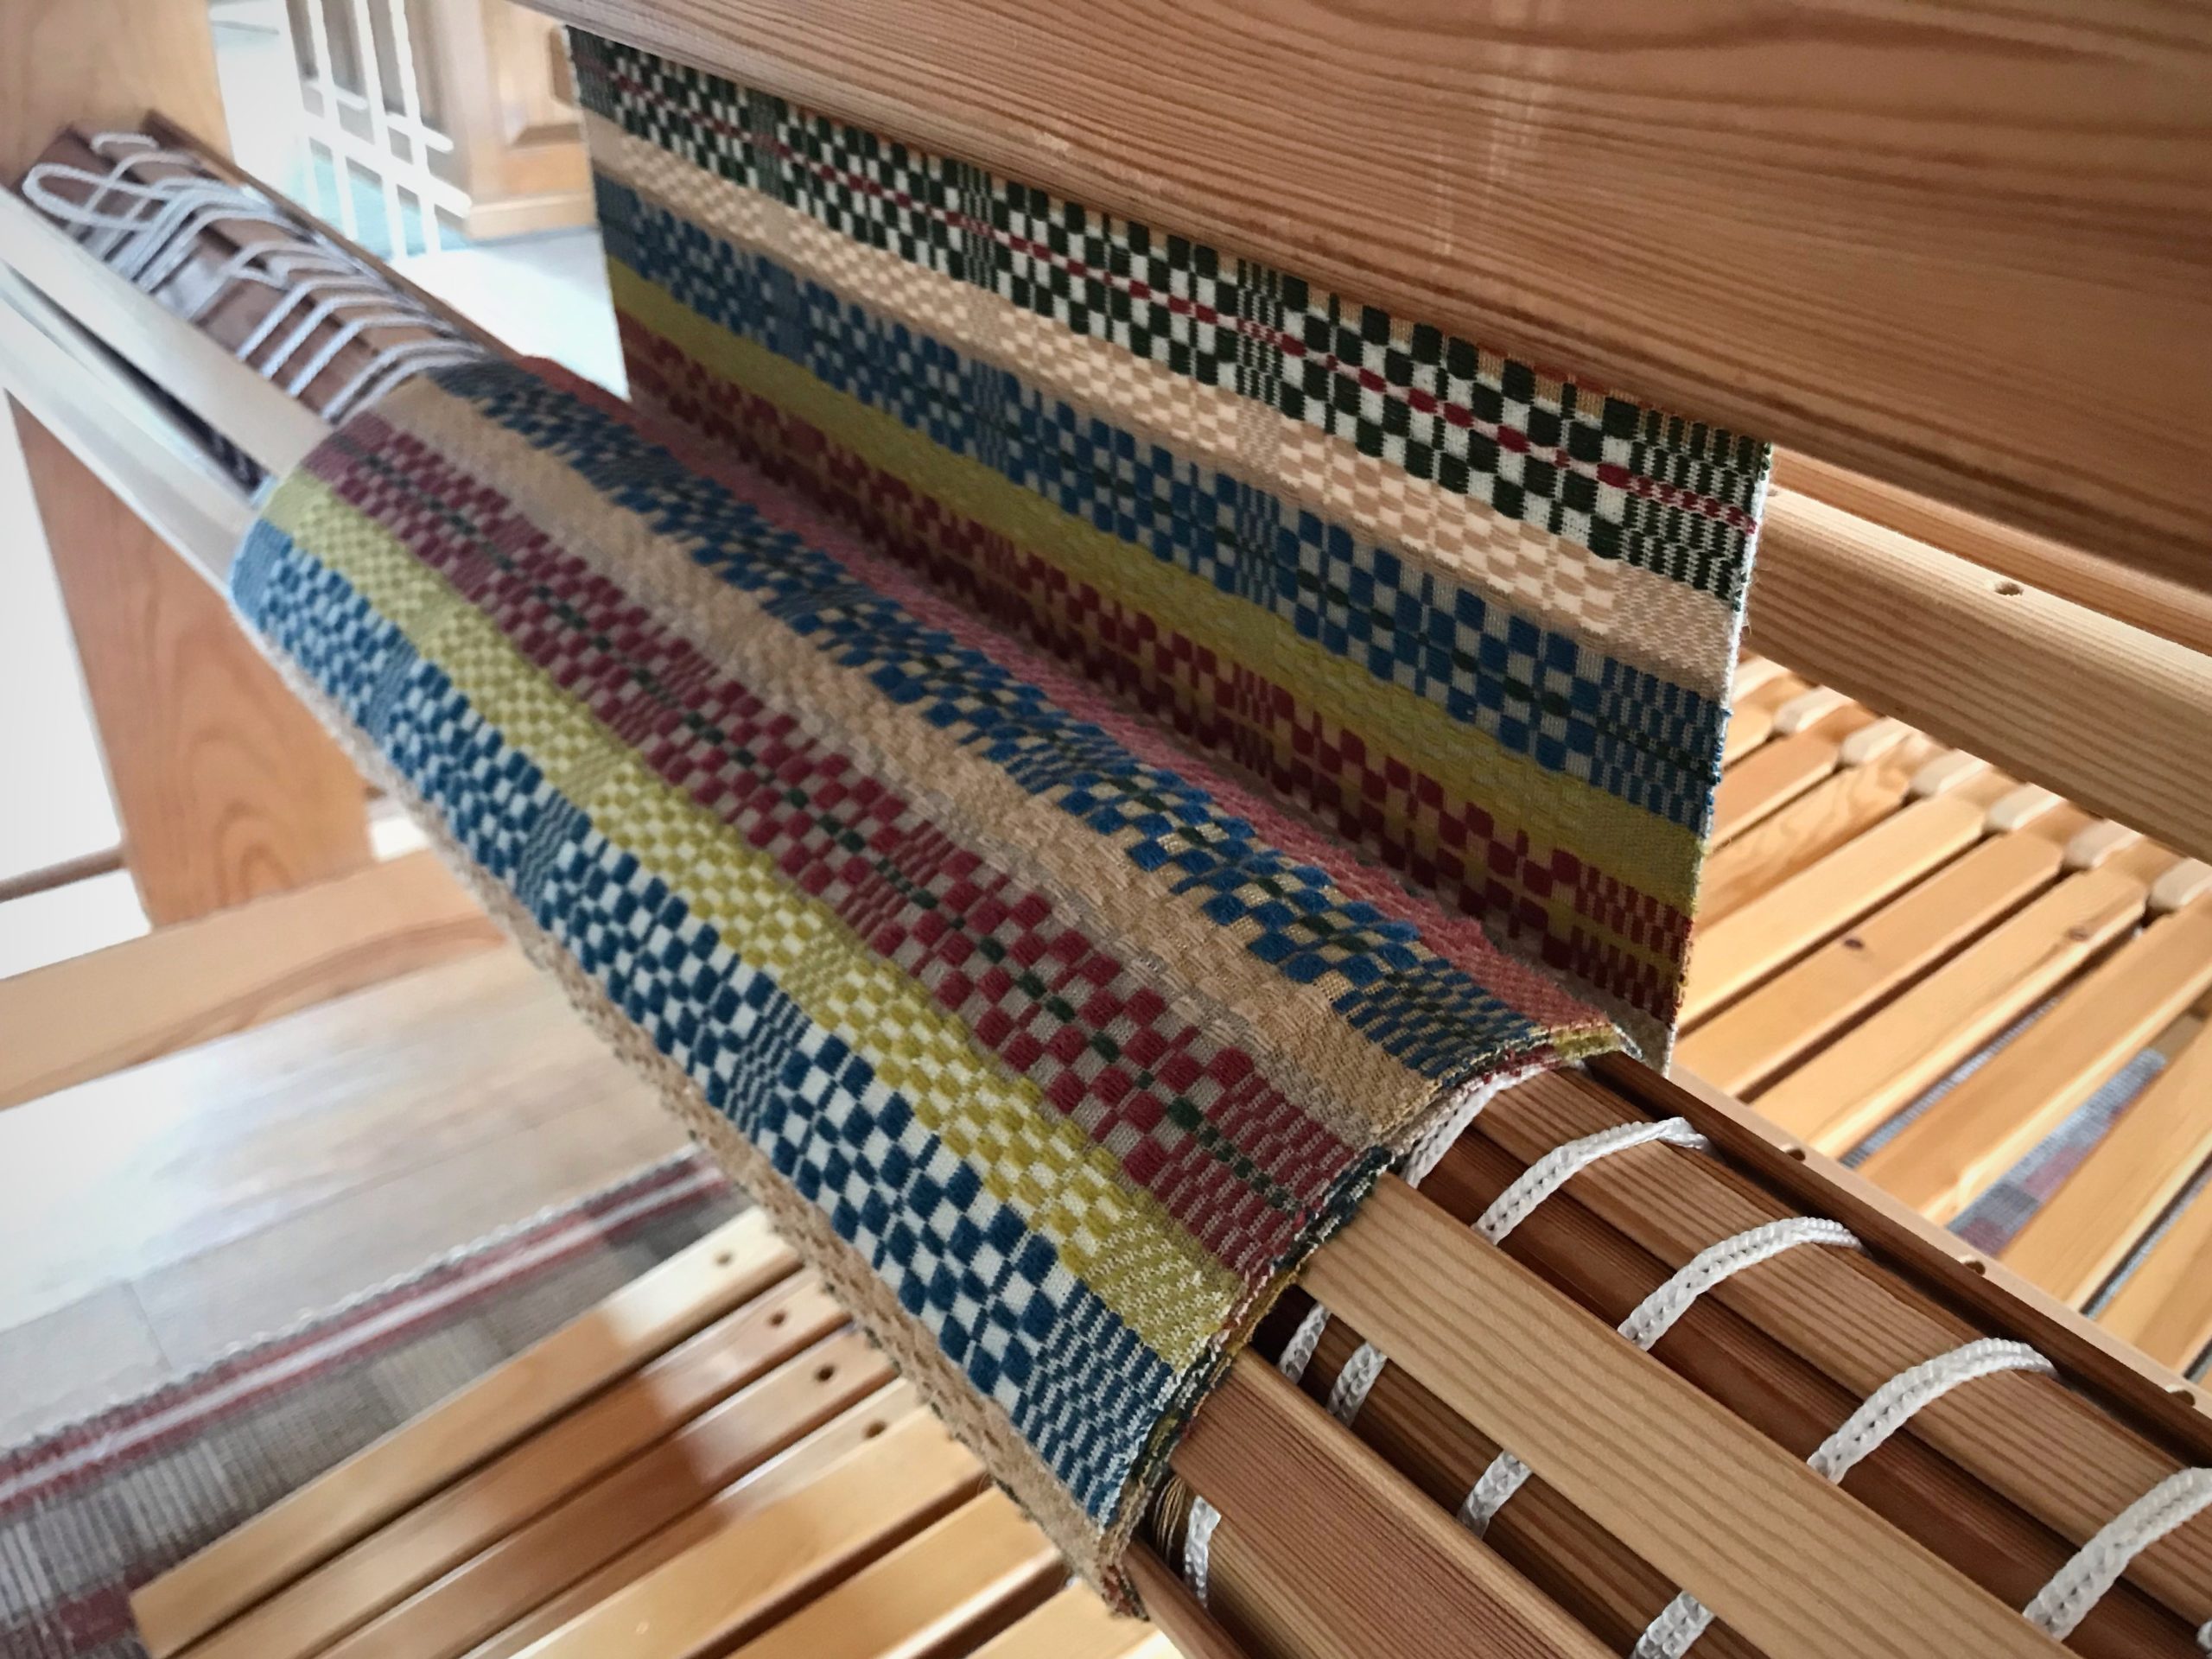
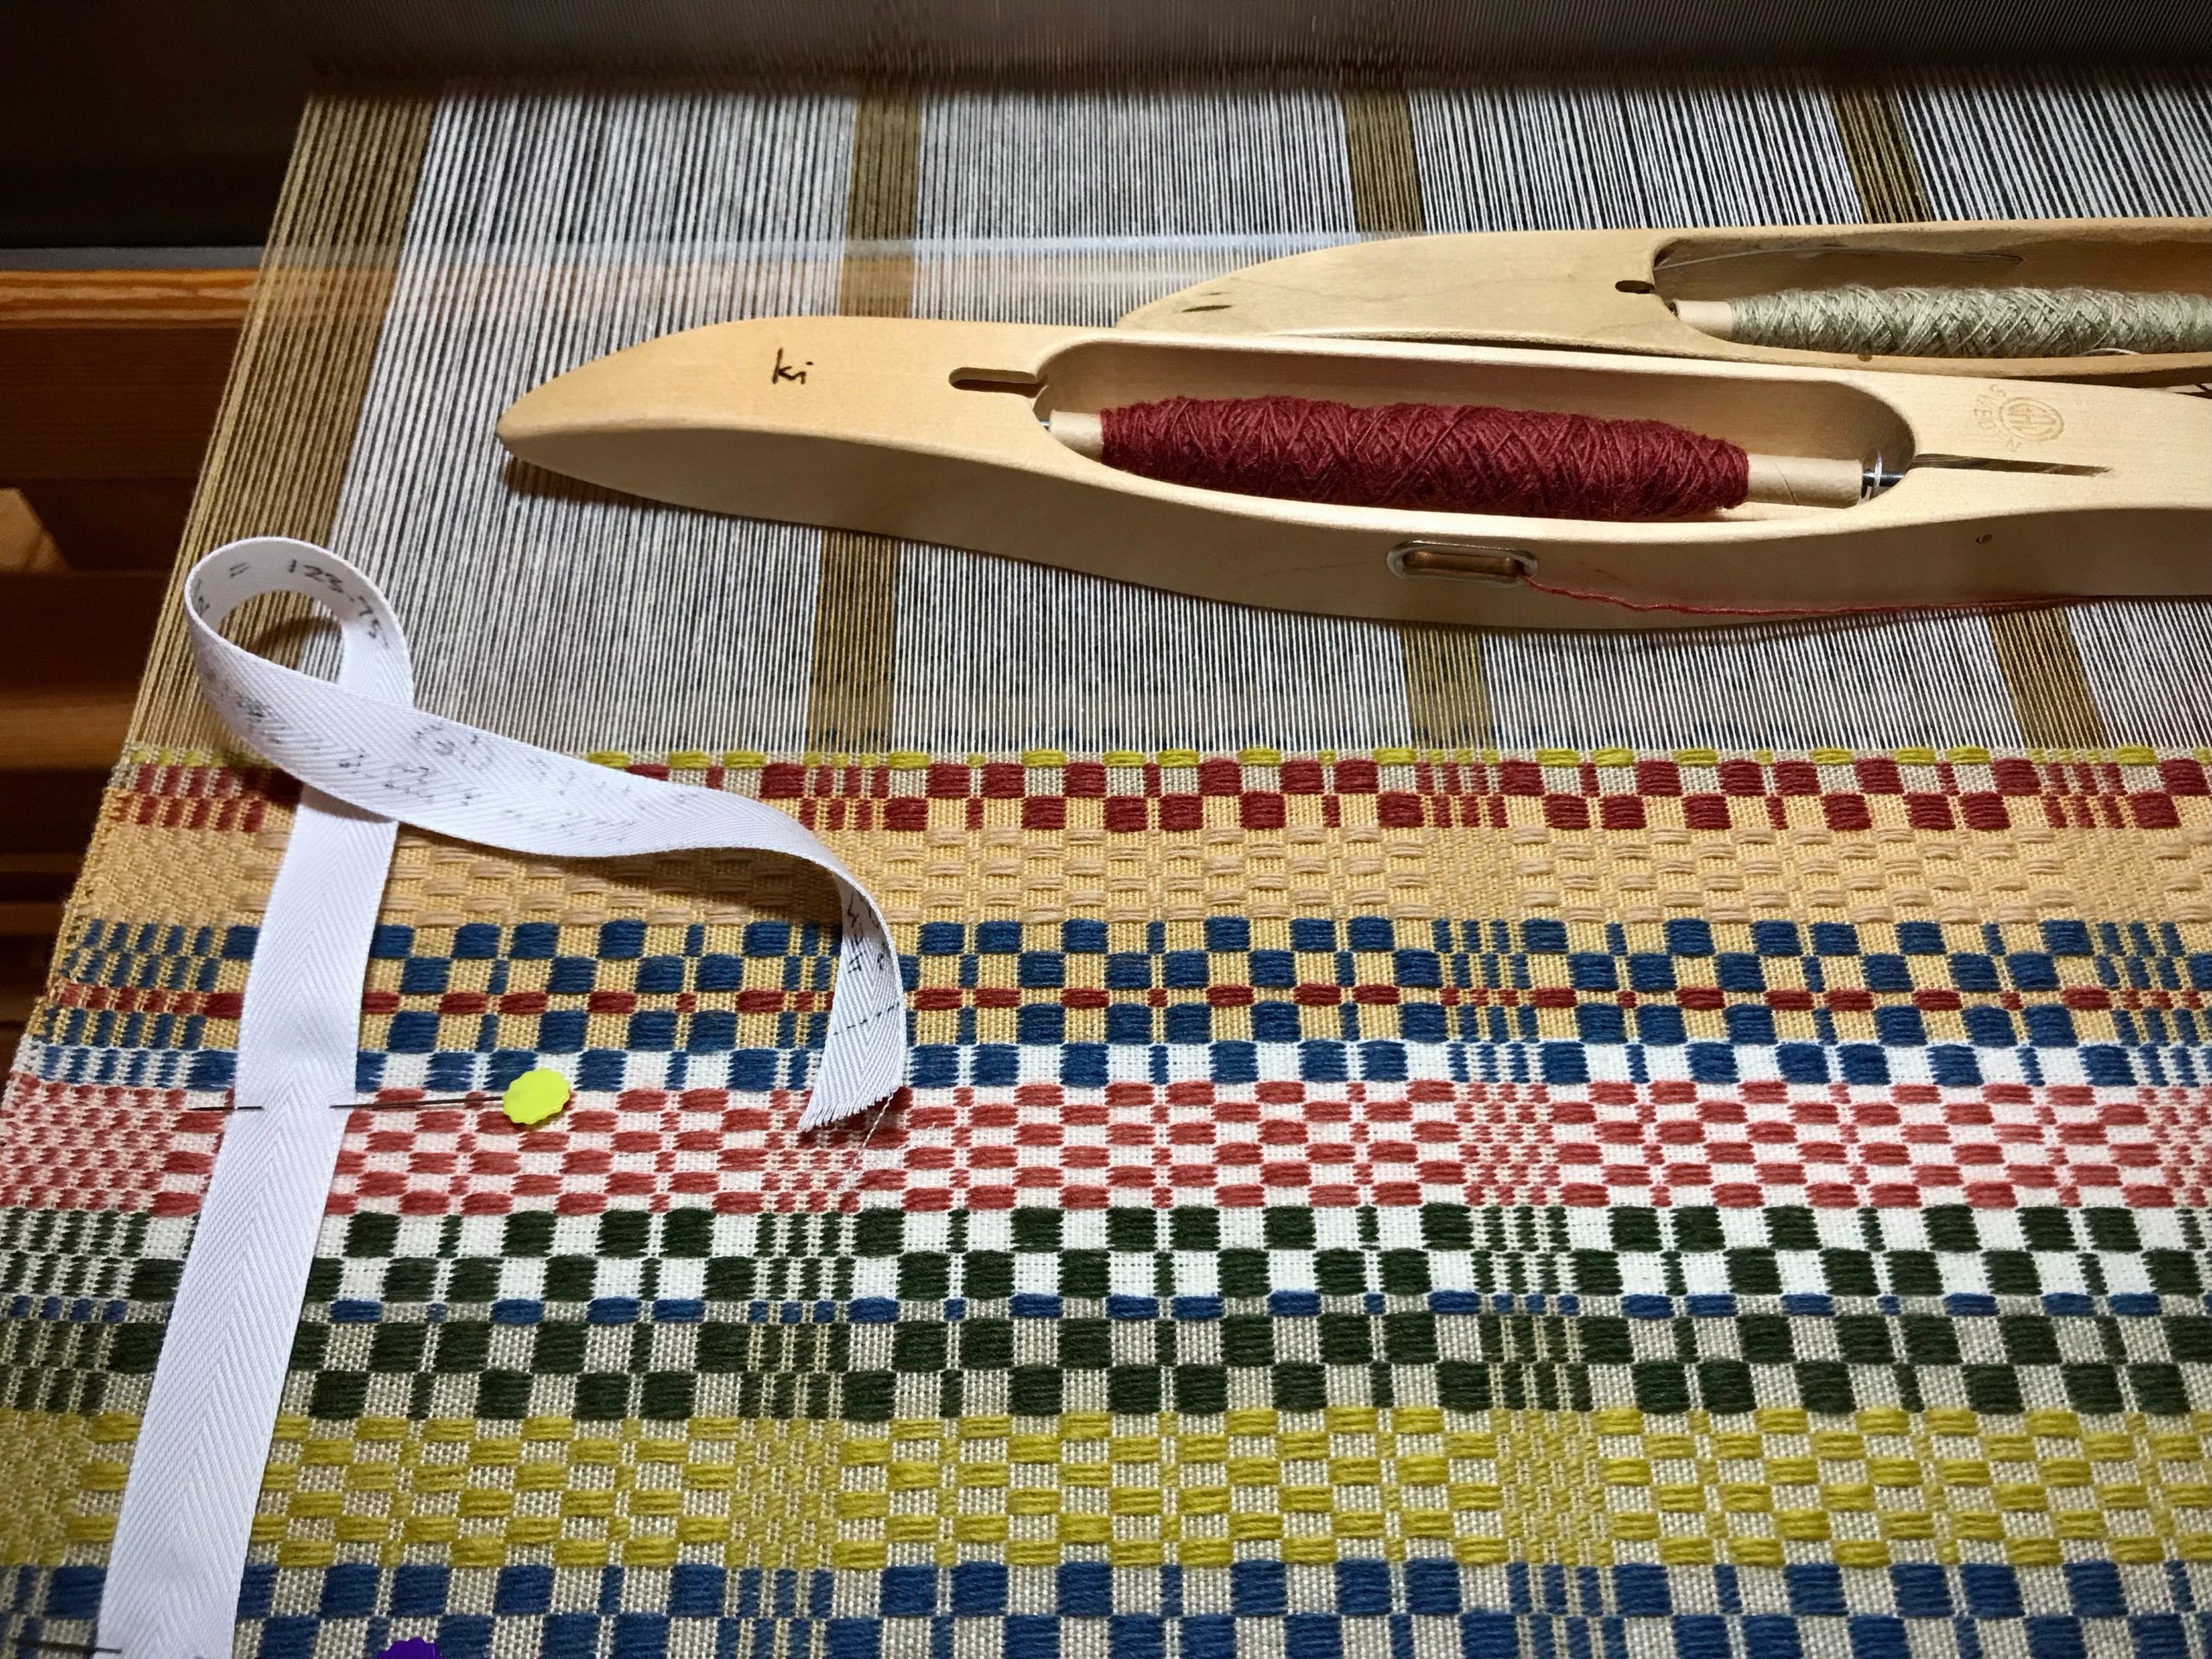
This monksbelt table runner has been a good long conversation between the loom and me. In fifteen more centimeters (six inches) I will put the closing exclamation point at the end of this lengthy runner. The warp that remains will be my playground for some creative experimentation.

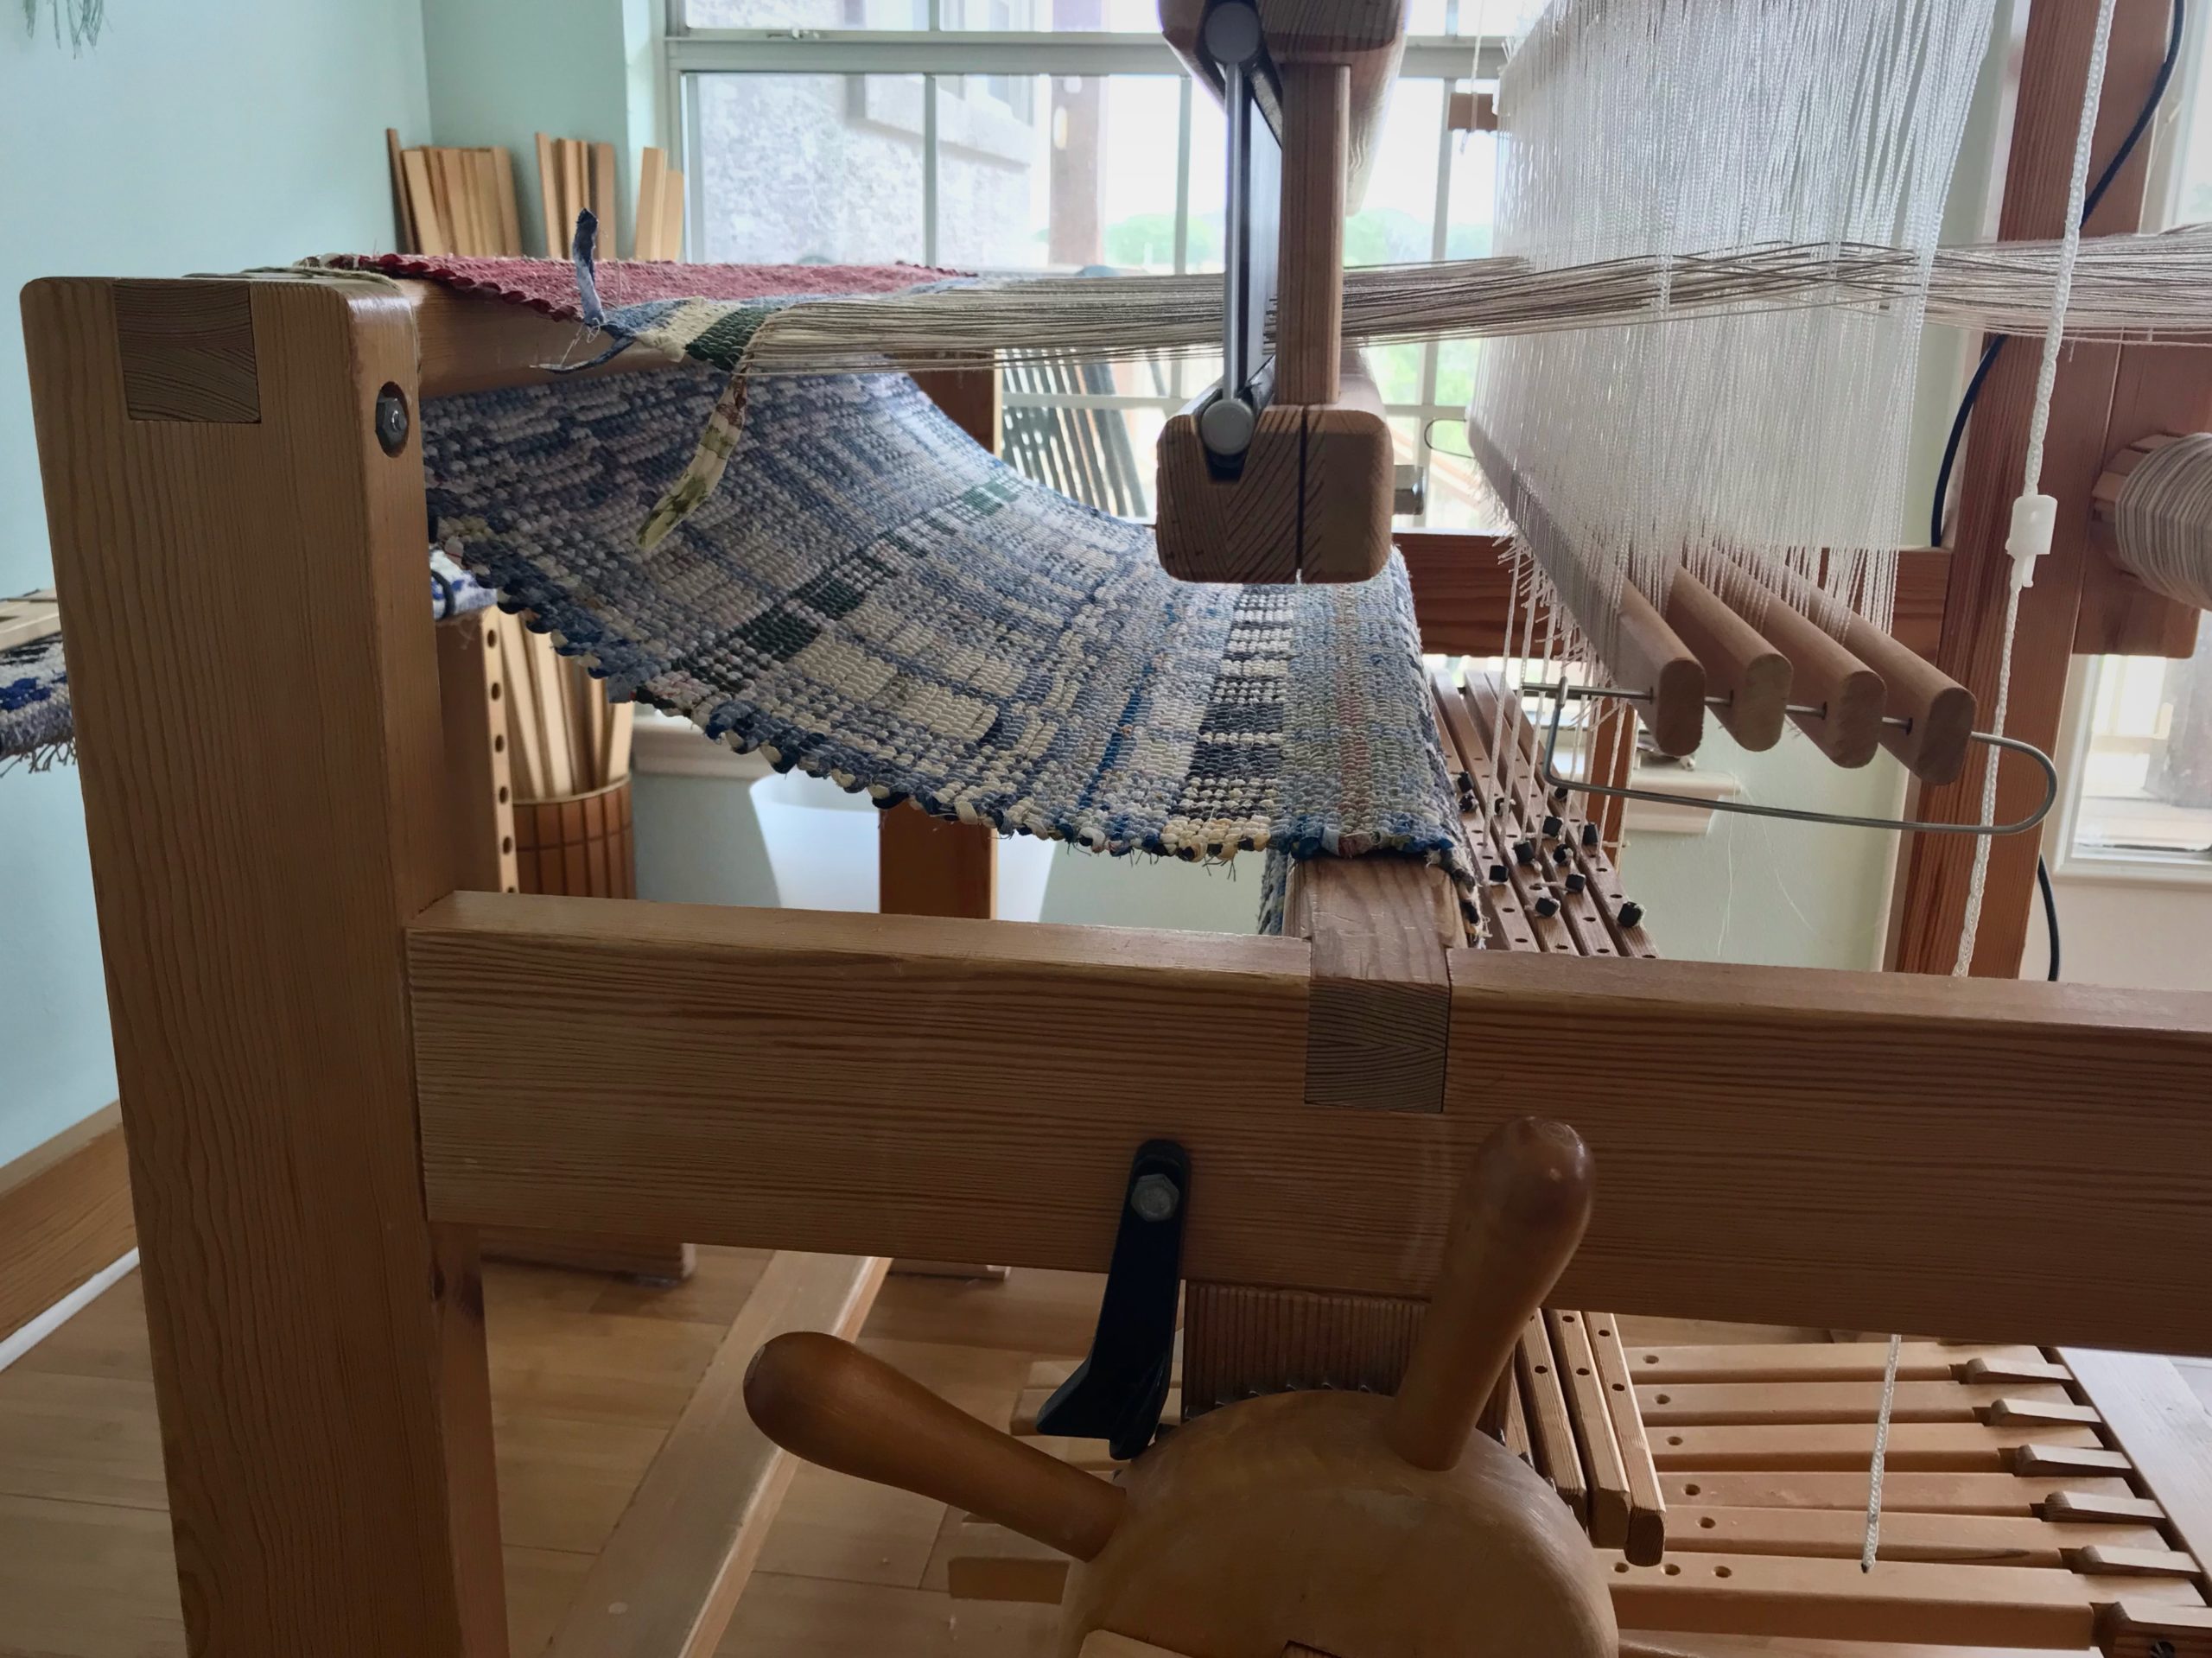
Long monksbelt table runner wraps around the cloth beam.
Monksbelt pattern with weft rep ground weave. 16/2 cotton warp. 6/1 Fårö wool pattern weft in six colors. 16/2 ground weft in three colors.

When our patience is stretched thin, when we forget why we do what we do, when hard times go on longer than we ever anticipated, we need hope. We need more than what we can gain by ourselves alone. Relationship with our heavenly Father brings hope into the fabric of our days. He beckons us to walk with him through Jesus Christ. He wants to sustain us through the long stretches of this day-by-day life. The time will come when we look back with wonder, seeing the colorful threads that have become fabric for a beautiful purpose.

May you never lose hope.

With you,
Karen

Tried and True: When the Shed is Missing

You followed all the instructions for dressing the loom, and have finished the countermarch tie-up. Now, at the moment of triumph you step on the treadles, one by one. Alas! Some or all of the treadles give you nothing you can call a shed. Now what? Maybe you relate to Laura who wrote me recently, “I can’t seem to get the treadles to make a shed.”

The solution is simple. Follow the advice in this sentence on page 37 of Learning to Warp your Loom, by Joanne Hall, “If your sheds are not good, check your loom tie-up from the top down.”

If sheds are missing, there is a good chance you have a crossed cord.

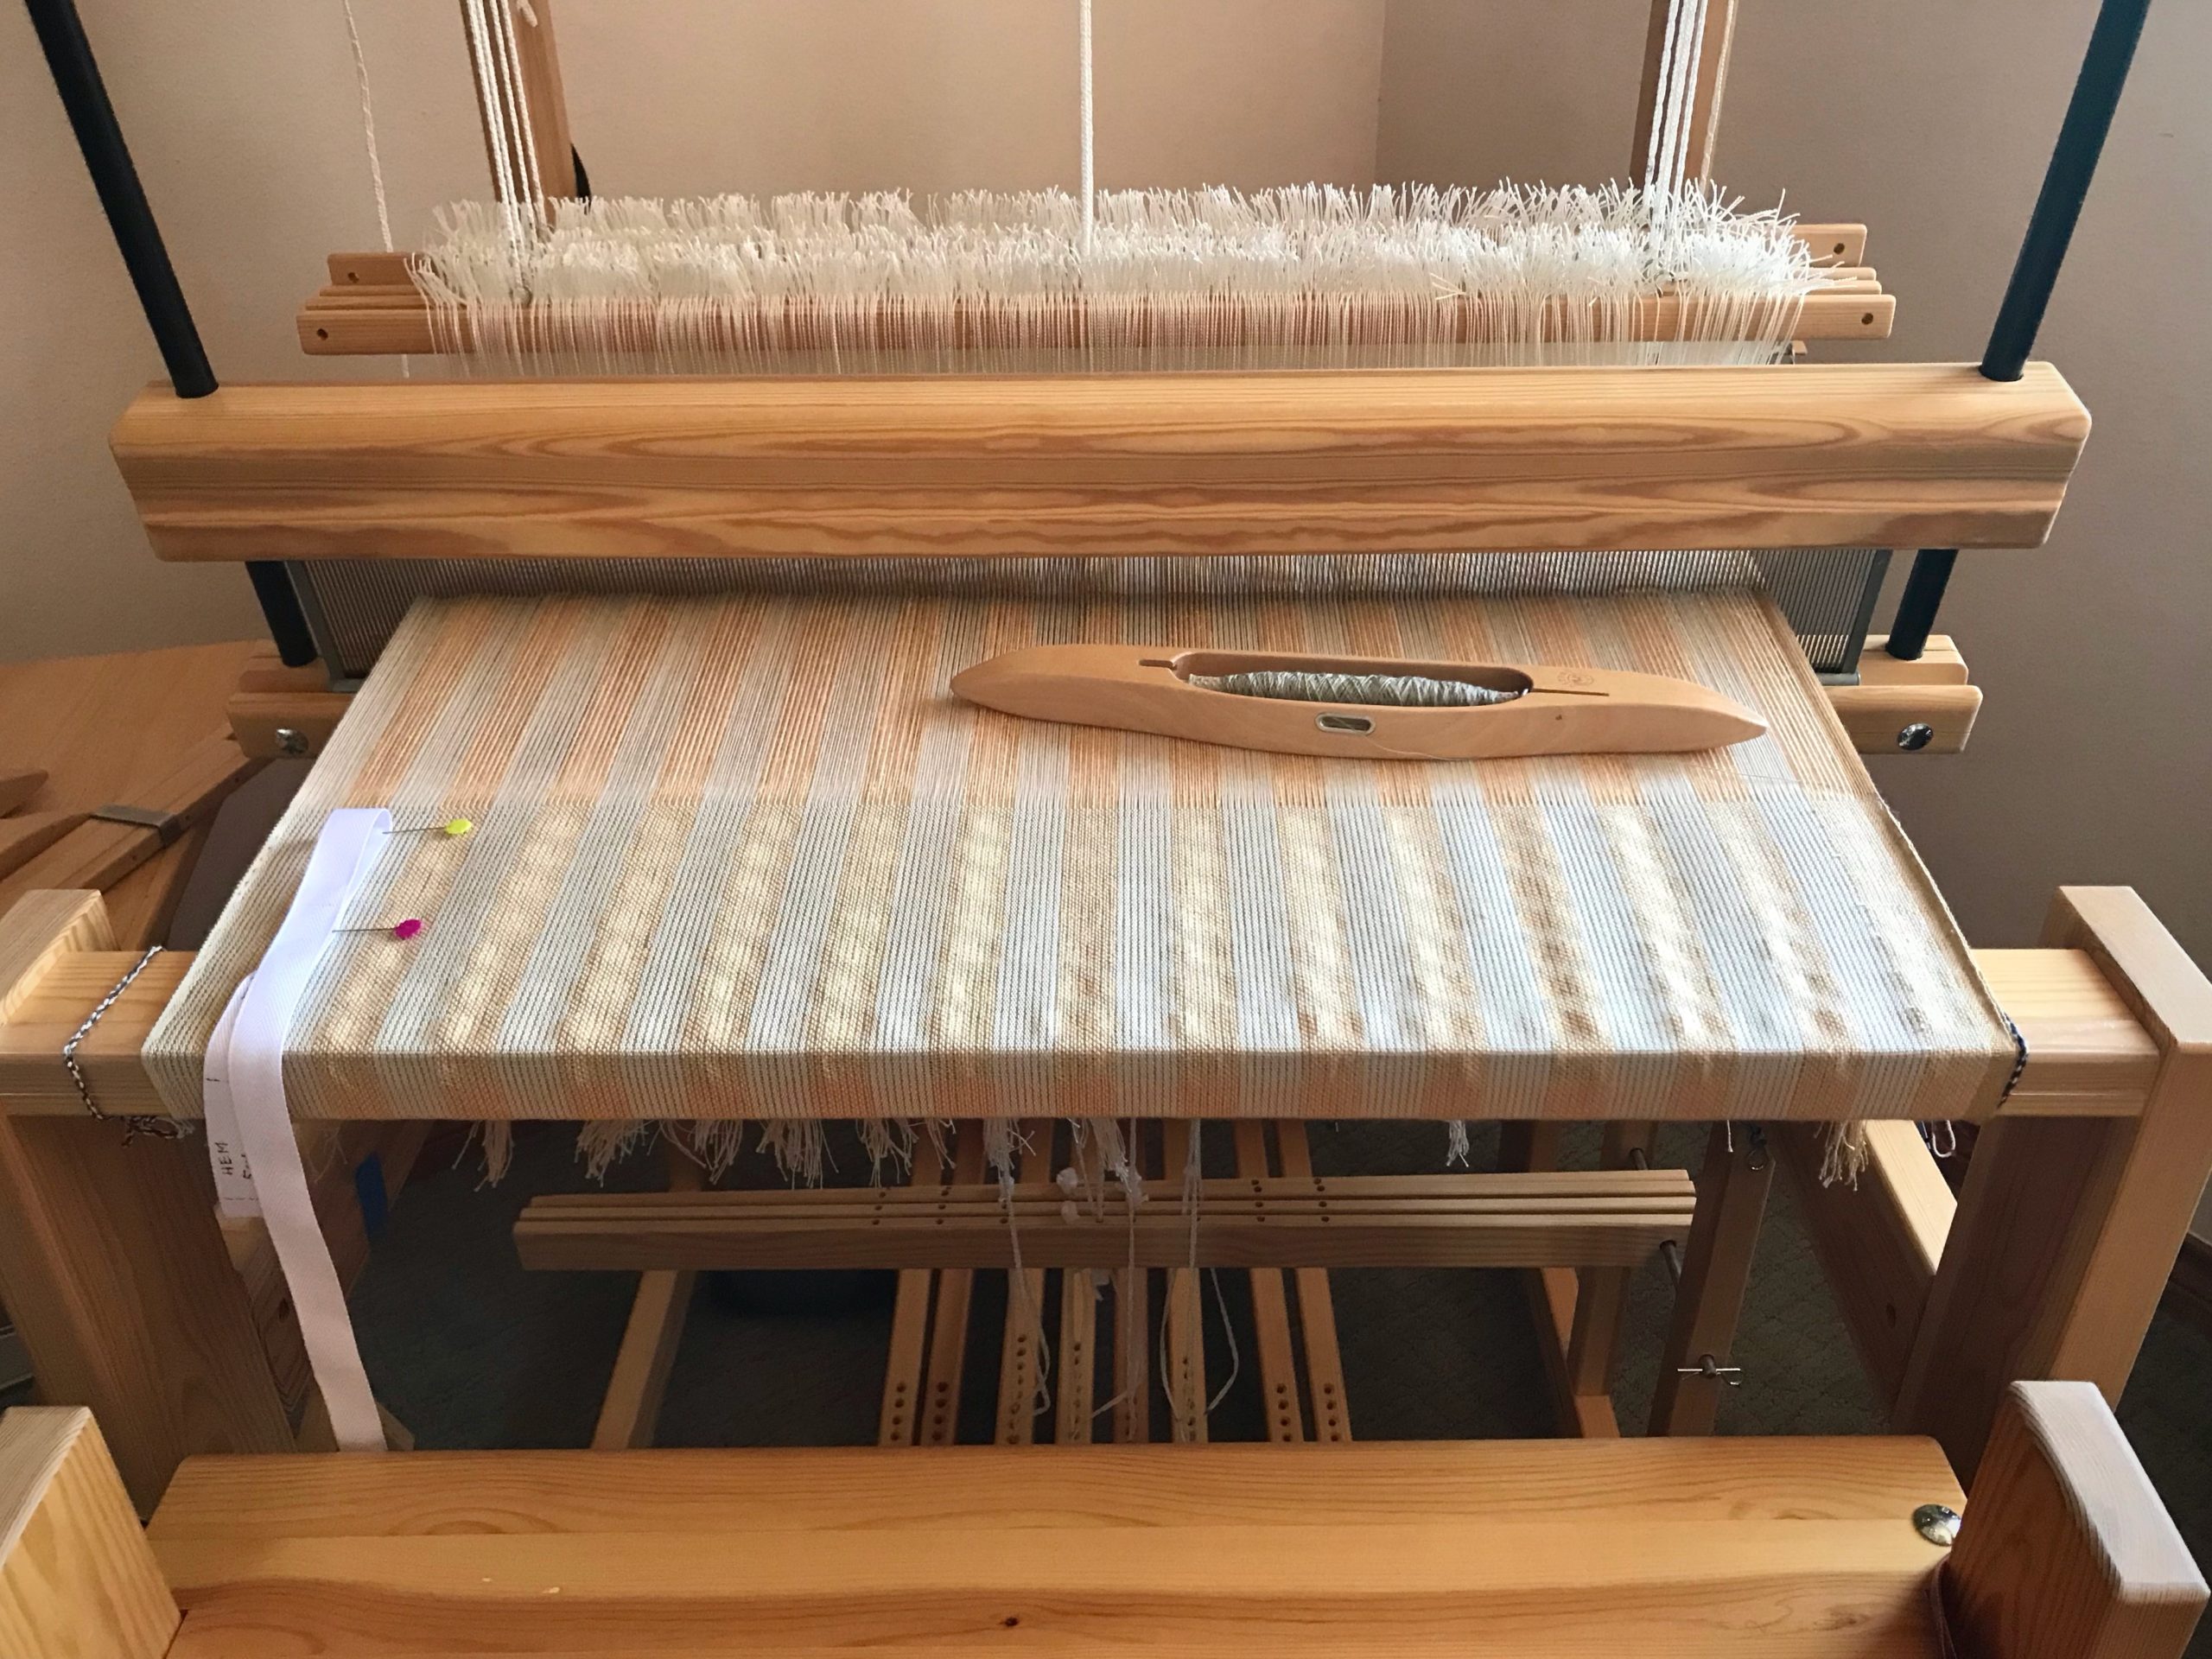
Warp is threaded, sleyed, and tied on. After arranging and connecting a few Texsolv cords, I will tie up the treadles.

Find Misaligned Cords

1 Follow each Texsolv cord, starting from the countermarch at top of the loom.

All the shafts are good to go, right? Not quite. Better see what’s happening at the top of those Texsolv cords.

2 Make sure that each cord is connected in the right order at the right place.

Is the first countermarch jack connected to the first shaft, the second jack to the second shaft, and so on?

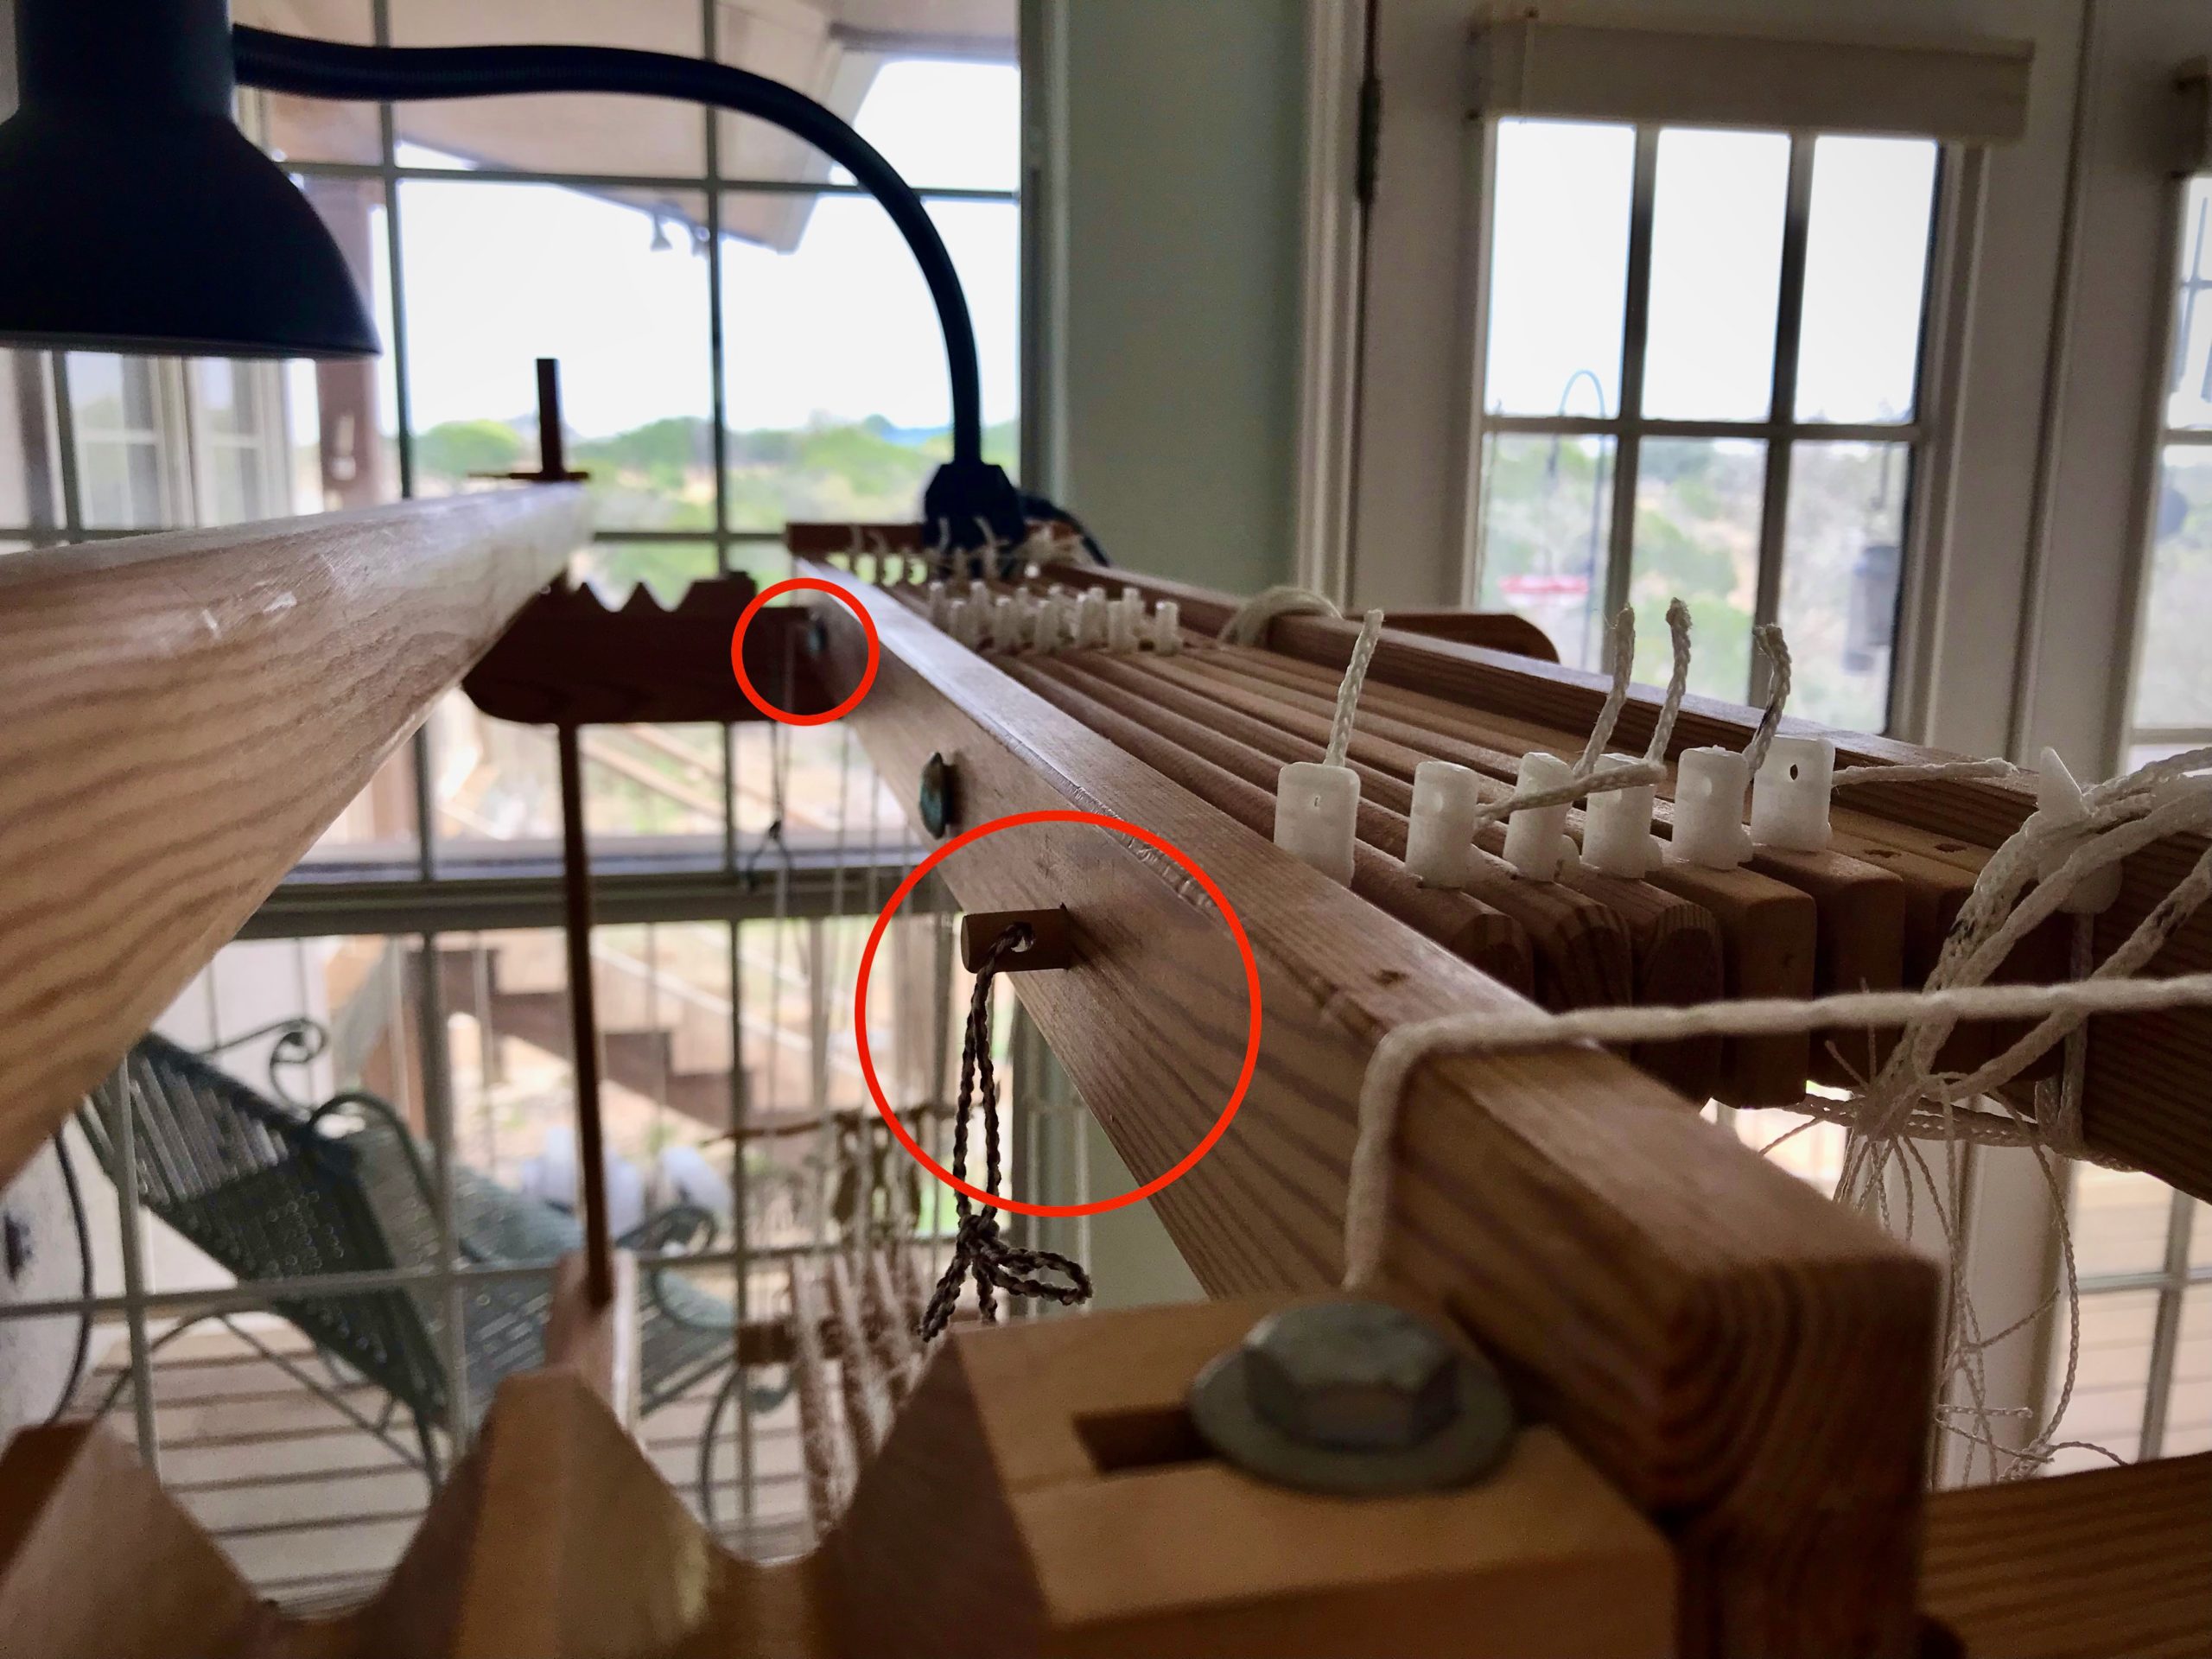
Misaligned cords as seen from the top of the loom.

Are the cords that go to the lower lamms strictly in order?

– With horizontal countermarch, does each cord fall behind the shafts in order?

Cords from the horizontal countermarch go through the center of the warp, to be attached to lower lamms below.
Make sure each cord goes behind its corresponding shaft bars to the lamms below. When attaching the cords to the lamms, make sure the cords are attached in the correct order. If loom is already tied up, follow each cord to check that it is attached to its corresponding lamm.

– With vertical countermarch, is each cord on its pulley, and connected to lamms in the right order?

Vertical countermarch has cords that go over pulleys on the side down to the lower lamms. I have to be extra careful to keep from attaching a cord to the wrong lamm.

3 Correct any misaligned cord.

Now, step on each treadle, one by one. Decent sheds that just need a little refining? Triumph!

Helpful Habit

When attaching a cord while dressing the loom, start your hand at the top of the cord and slide it down to the point of connection. This helps you take hold of the correct cord.

Ready to connect the shaft cords on the Glimåkra Julia, made easy by the small hooks on the shaft bars. Instead of expecting the cords to hang straight down in order, I reach my hand up to the top of the cord.
Touching where the cord meets the wood, I know I have the correct cord for the shaft closest to the front of the loom. I do the same for the next cord.
My hand slides down the cord and I connect the cord to the correct shaft. Now, all that’s left is tying up the treadles. Then, we weave!

May none of your cords be crossed.

Happy Weaving,
Karen

Coverlet Rag Rug

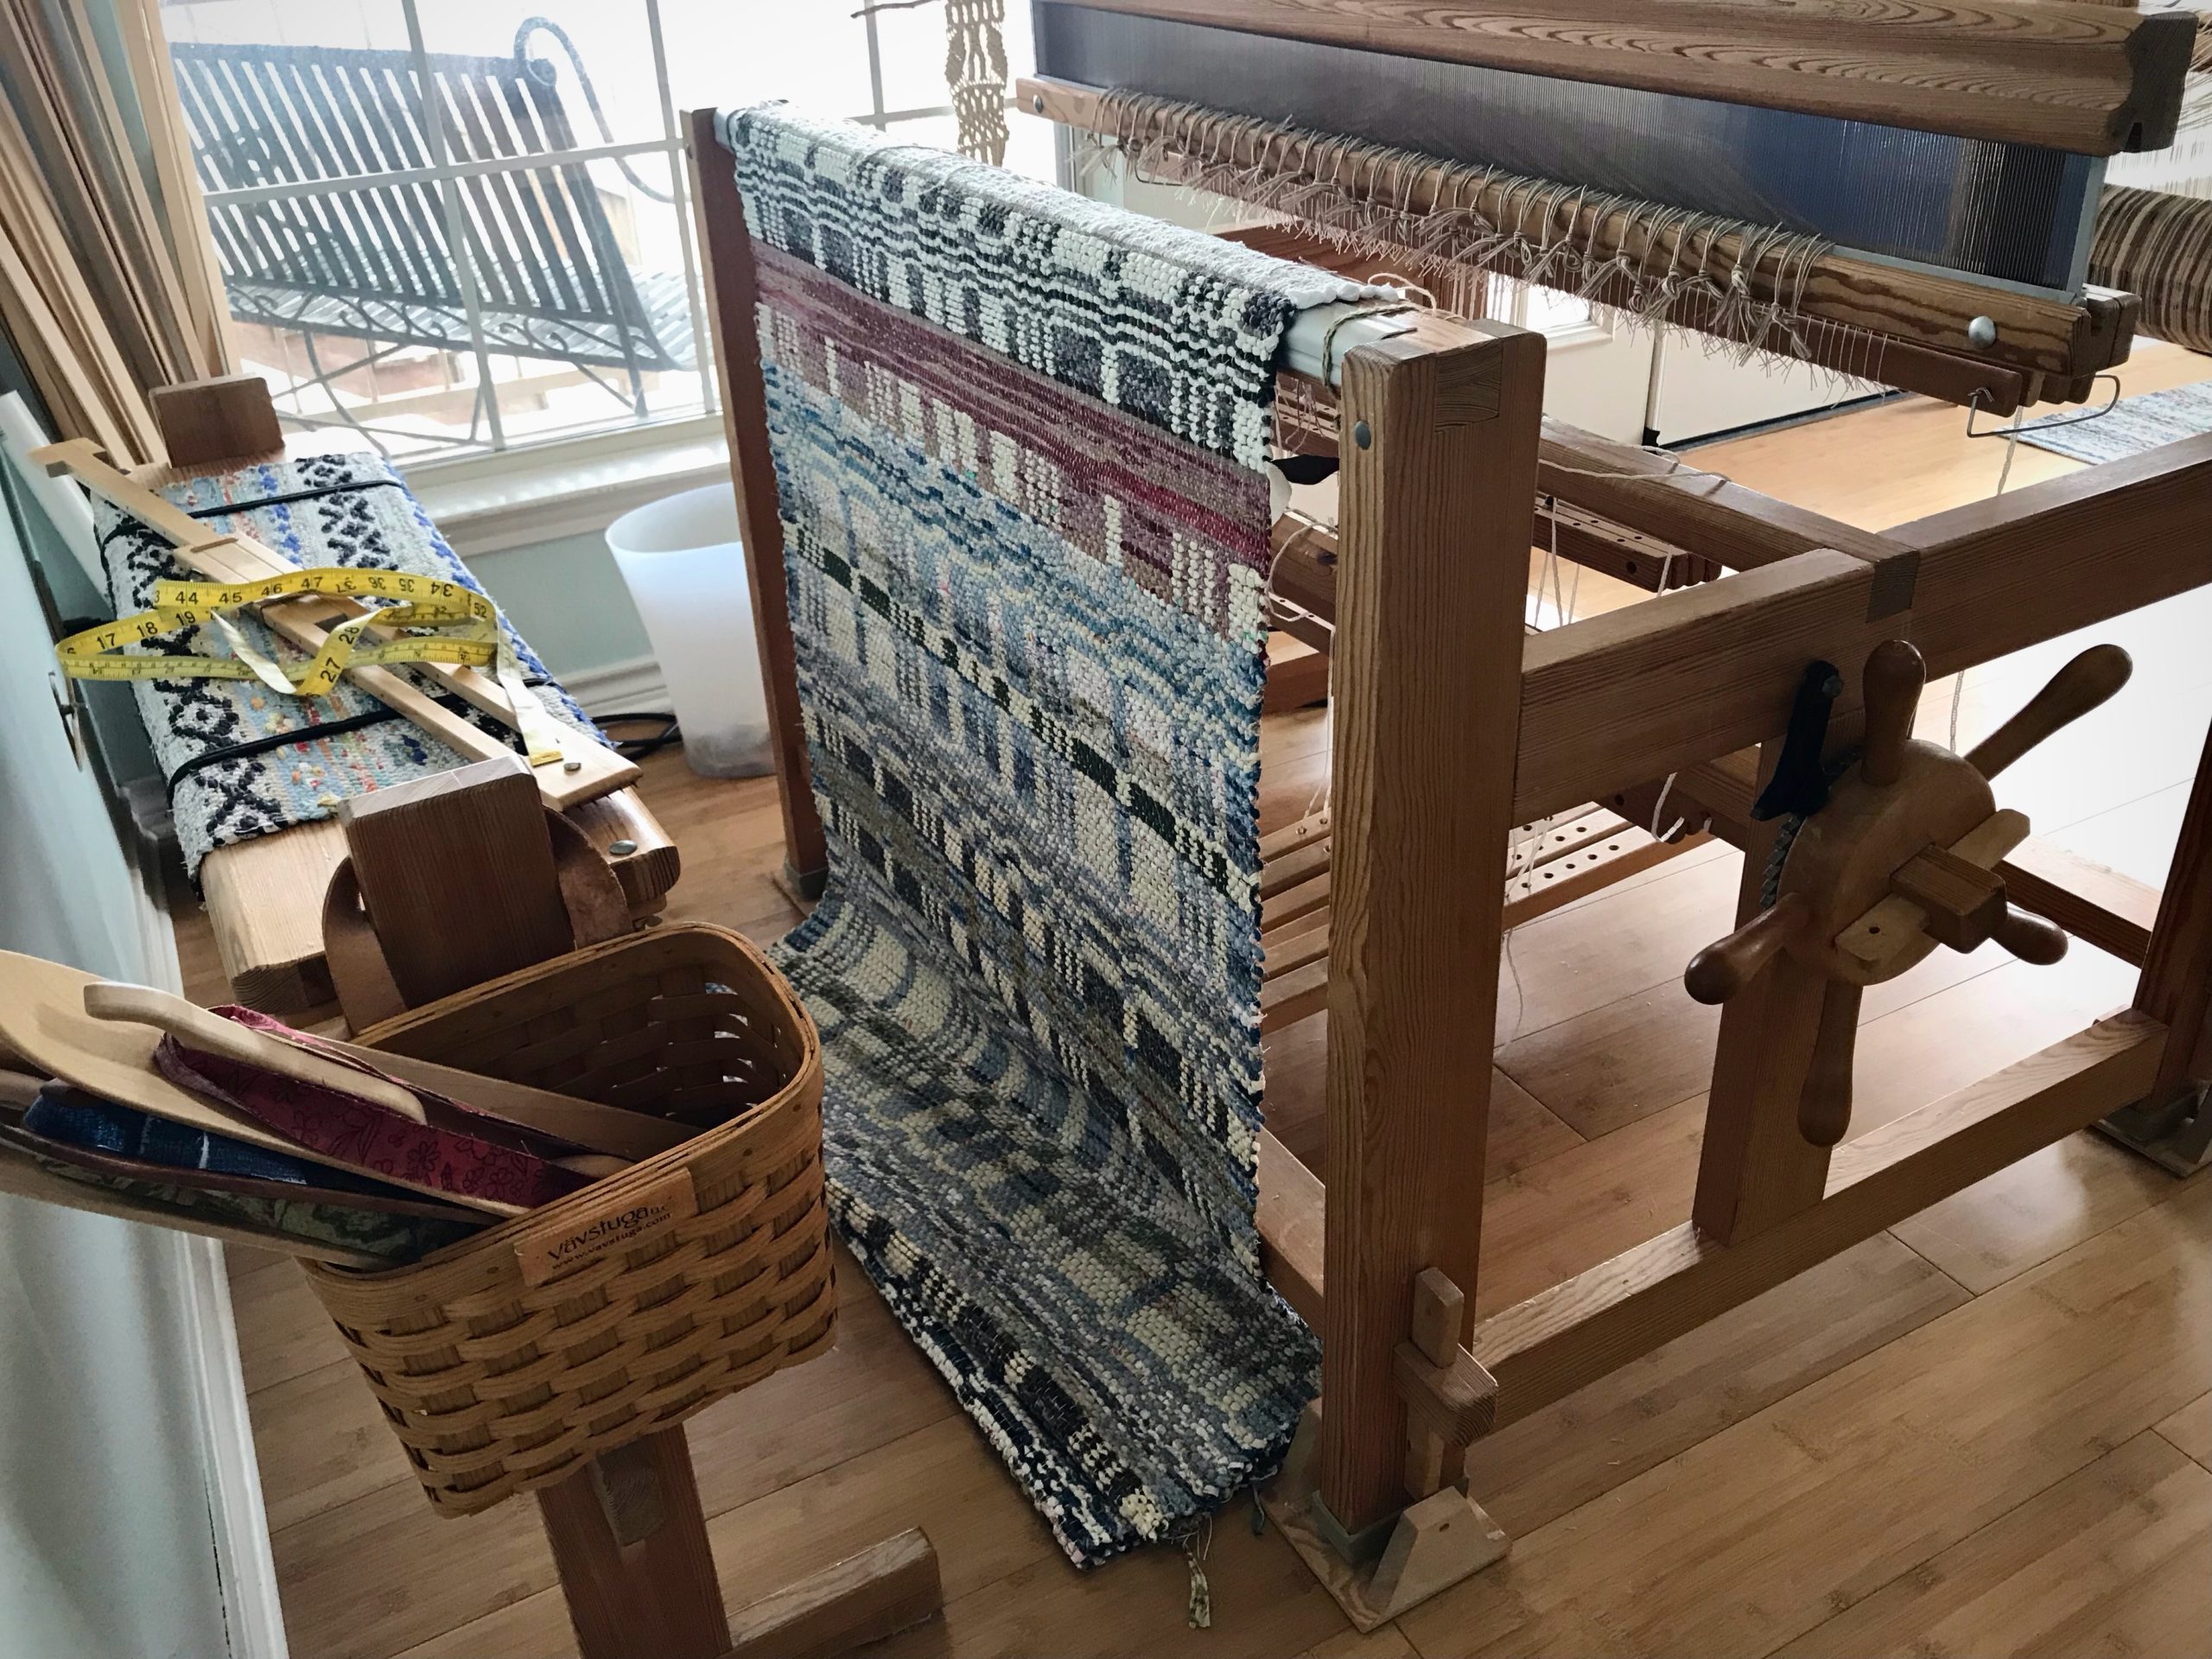
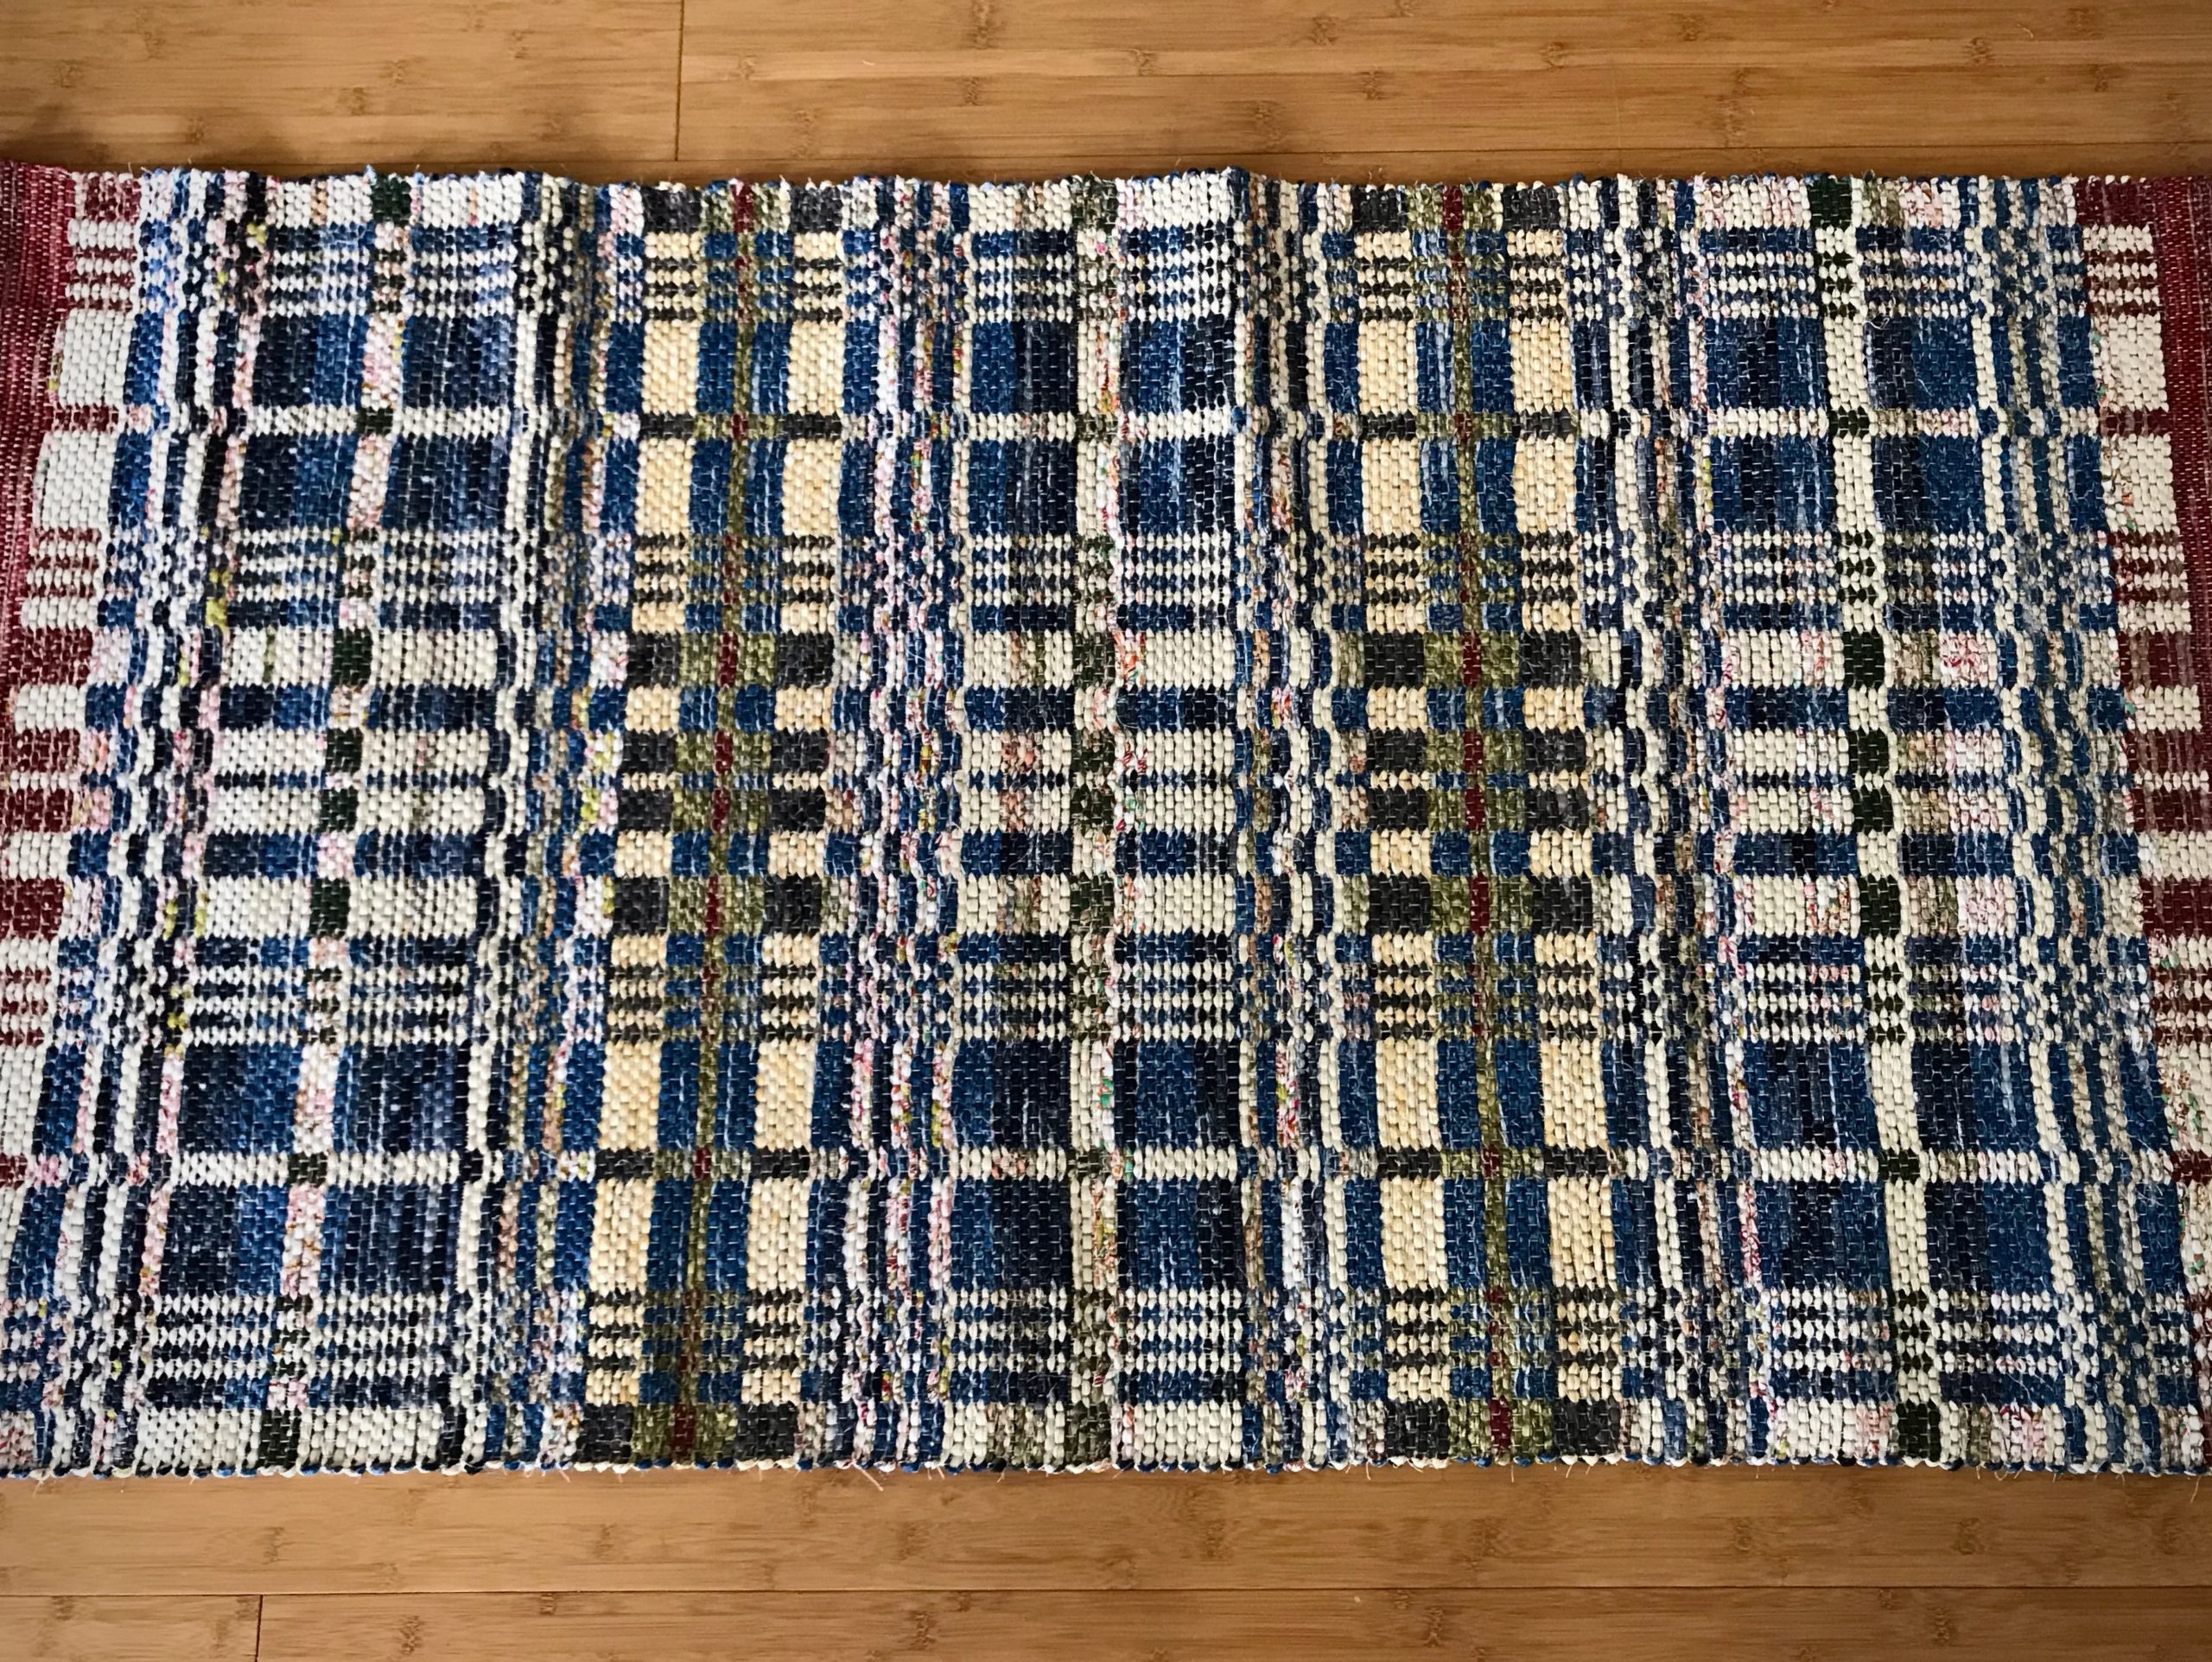
This rag rug could be a coverlet if woven in different materials. The distinctive block design from a Landes Block Drawdowns collection gives me an exciting approach for weaving a double-binding rag rug.

Coverlet Rag Rug on the Glimåkra Ideal loom. Cotton fabric strips are sorted in the Ikea cart by the loom.
Double Binding uses two shuttles. The two wefts exchange places on the face and back of the cloth.

Double binding is a double-layer fabric in a simple two-block structure. In each block, one of two wefts appears on the face, and the other appears on the back. I switch weft blocks by reversing the order of the two wefts. It’s that simple. For example, one pick of dark weft is followed by a pick of light weft. This sequence is repeated for a few rows. To change to the next block, with the opposite arrangement of dark and light, start with one pick of light weft and follow that with a pick of dark weft, repeating for the remainder of that block.

Temple, removed and placed on the beater for pictures, is a necessary tool for weaving rag rugs.
Variation in the light wefts and in the dark wefts adds interest.
Changing blocks and changing colors.
View from further away shows more of the coverlet design. Only when cut from the loom will we see the whole thing!

A small change repositions everything. Simply reversing the weft order puts a different face on the cloth. What direction am I taking my life? Reverse course to make way for a new life pattern. When we are left alone in the dark, God comes and offers a better way. Give up my way, reverse course, and go his way. Everything changes in such an encounter. Darkness to light.

May you see when to reverse course.

Happy Weaving
Karen

Process Review: Butterfly Wing

Butterfly wing is flittering away. This butterfly study is complete. I still have warp on the loom, so cutting off has to wait. There are one or two more pictorial tapestry studies yet to come. Stay tuned! In the meantime, enjoy the visual review in the slideshow video at the end of this post.

Weaving a tapestry.
Windowed corner is a good place to weave a butterfly wing.
Making wool butterflies for tapestry.
Making butterflies of yarn for the butterfly wing pictorial tapestry. My yarn gets spread out in the process, always grouped by color value.

This study reinforces several important concepts for me.

Tapestry study.
Rolled the warp back a bit to be able to view the complete Butterfly Wing tapestry study.
  • Warp sett determines the amount of detail the cartoon can include.
  • Edges in the design are defined by using high contrast in color values.
  • Solid tapestry techniques, such as meet and separate, provide a good foundation for confident weaving.

Above all, take your time and enjoy the process, grateful for the opportunity.

May your studies be fruitful.

Yours,
Karen