No Hurry at the Little Loom

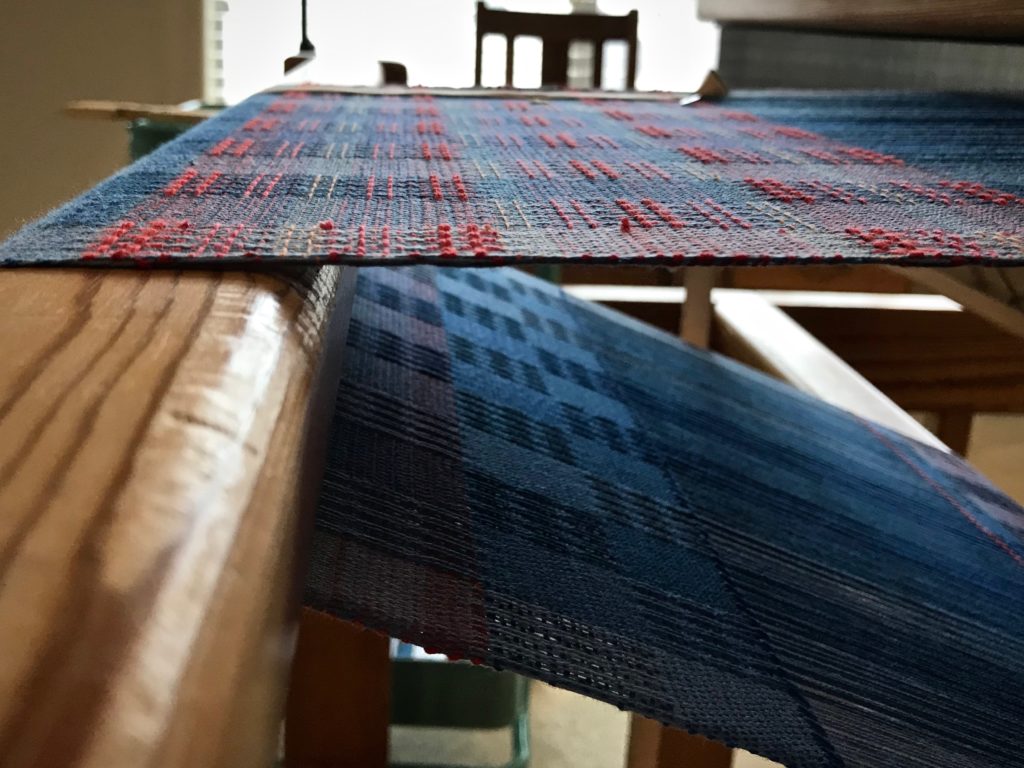
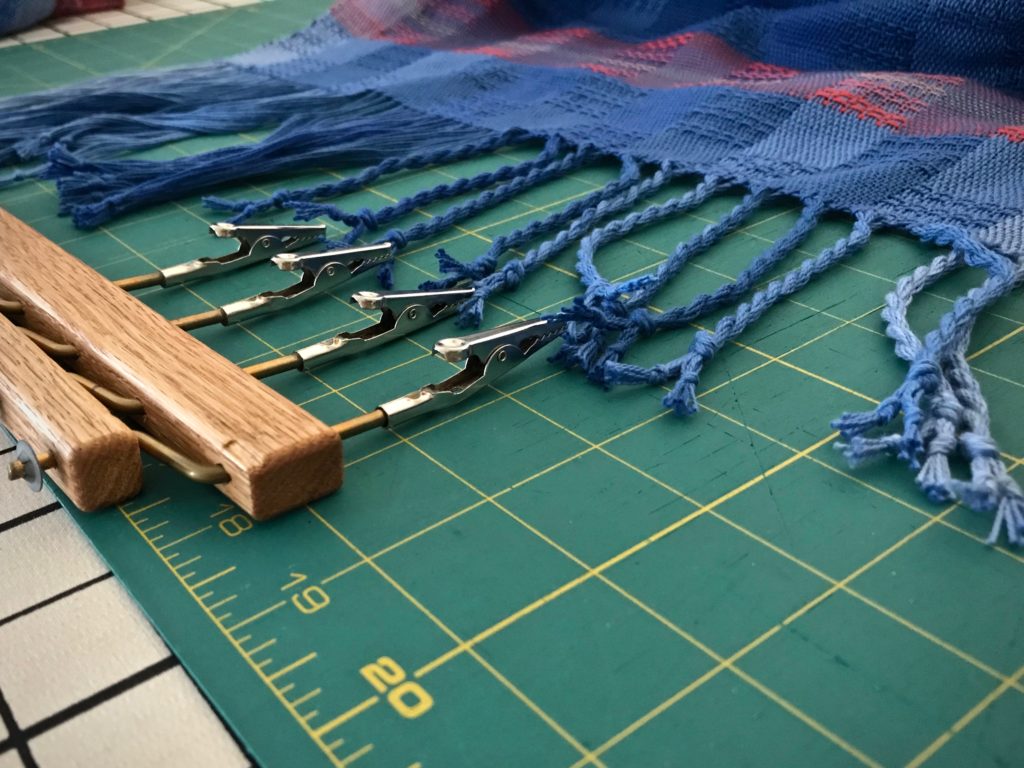
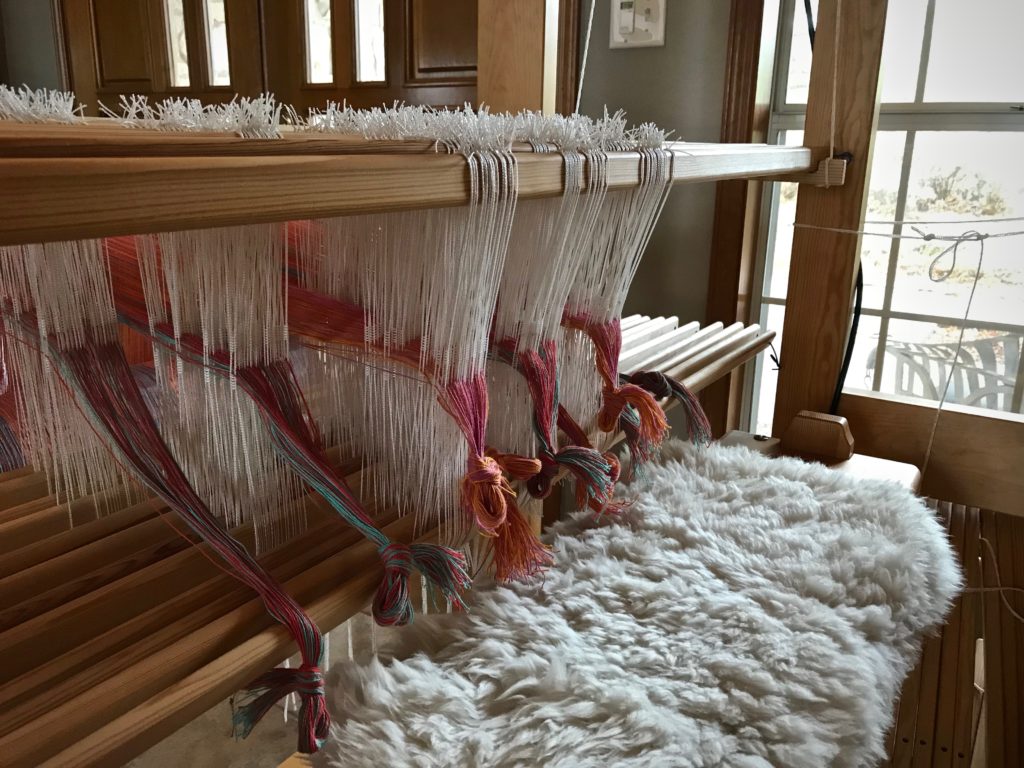
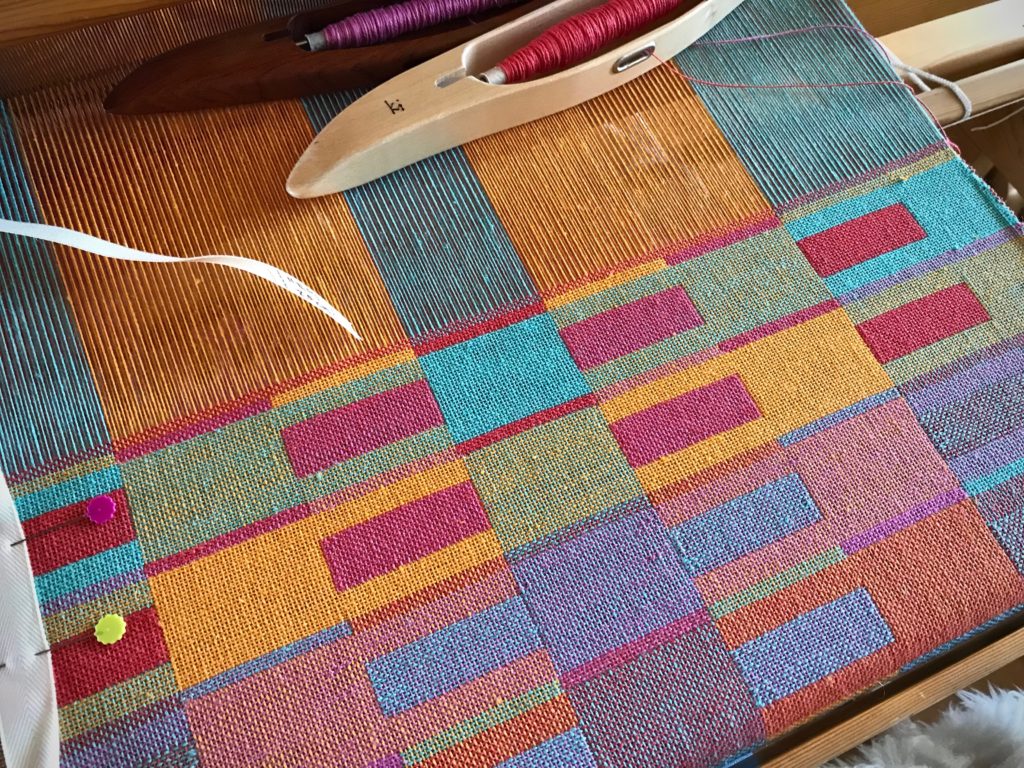
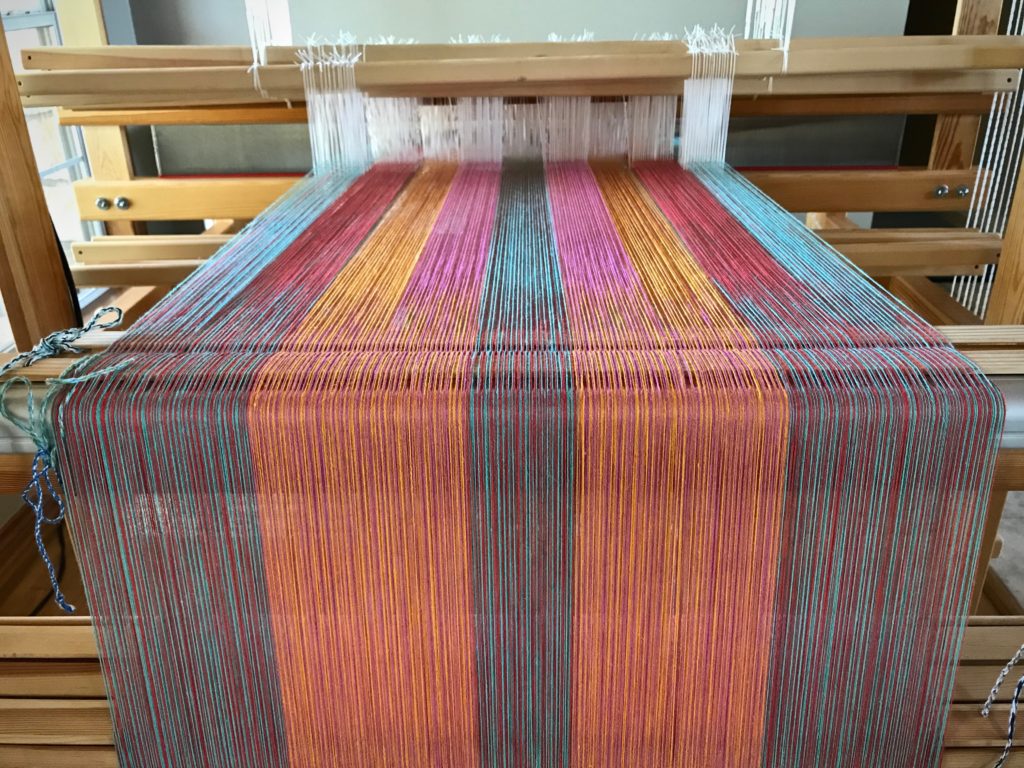
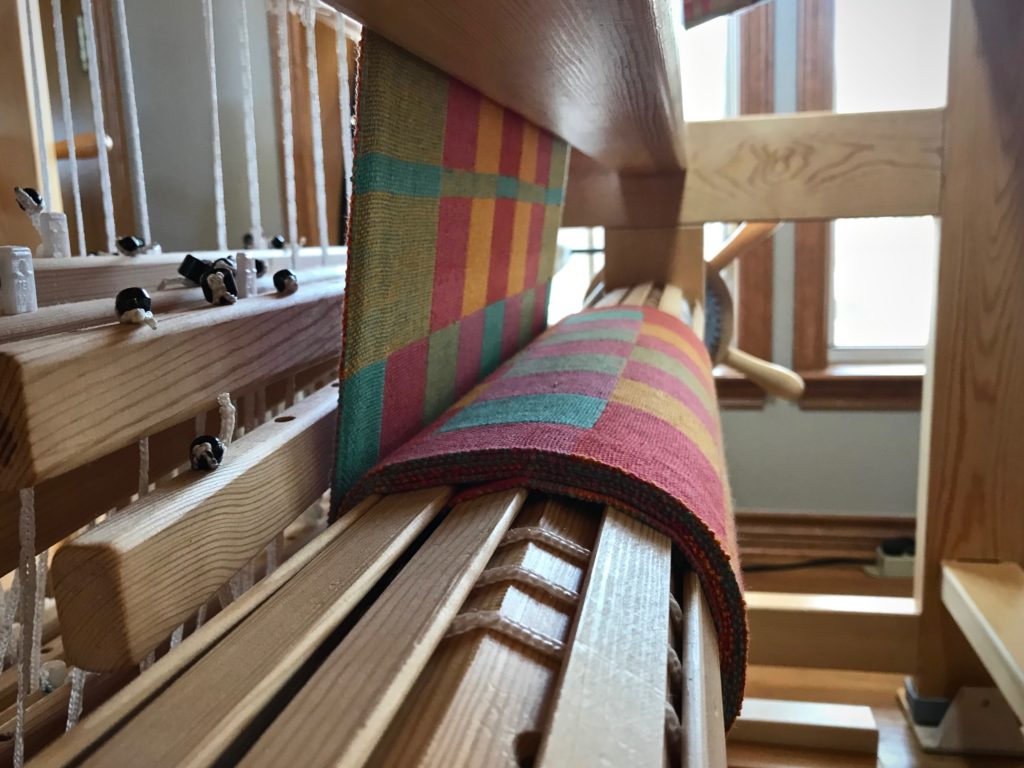
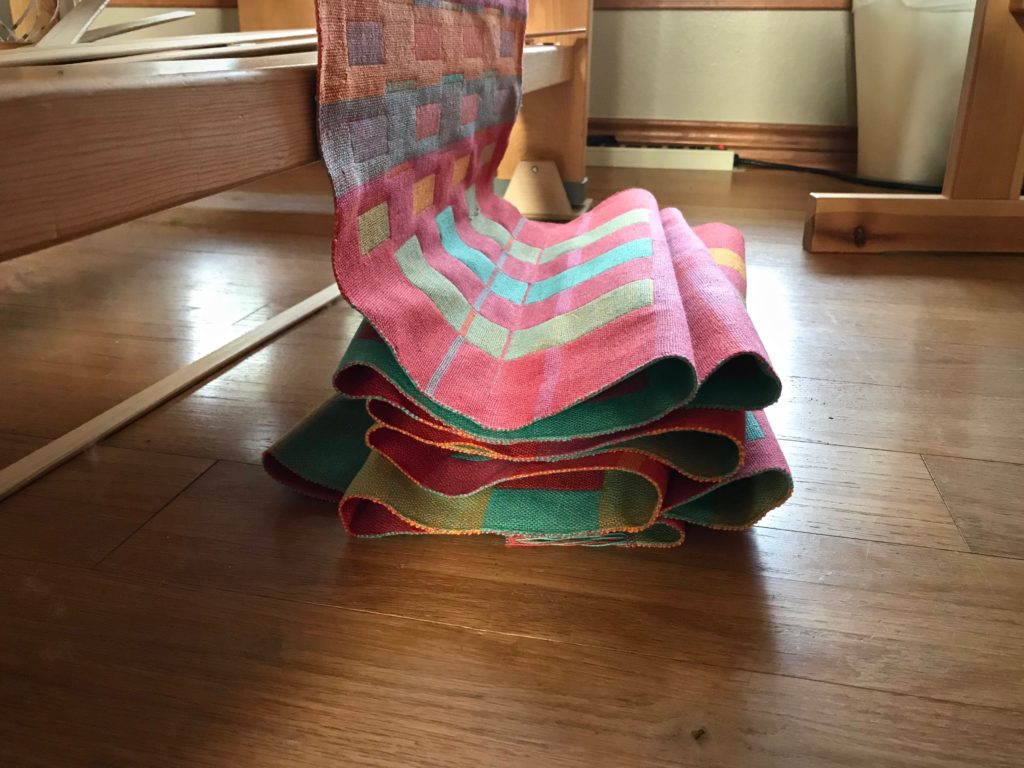
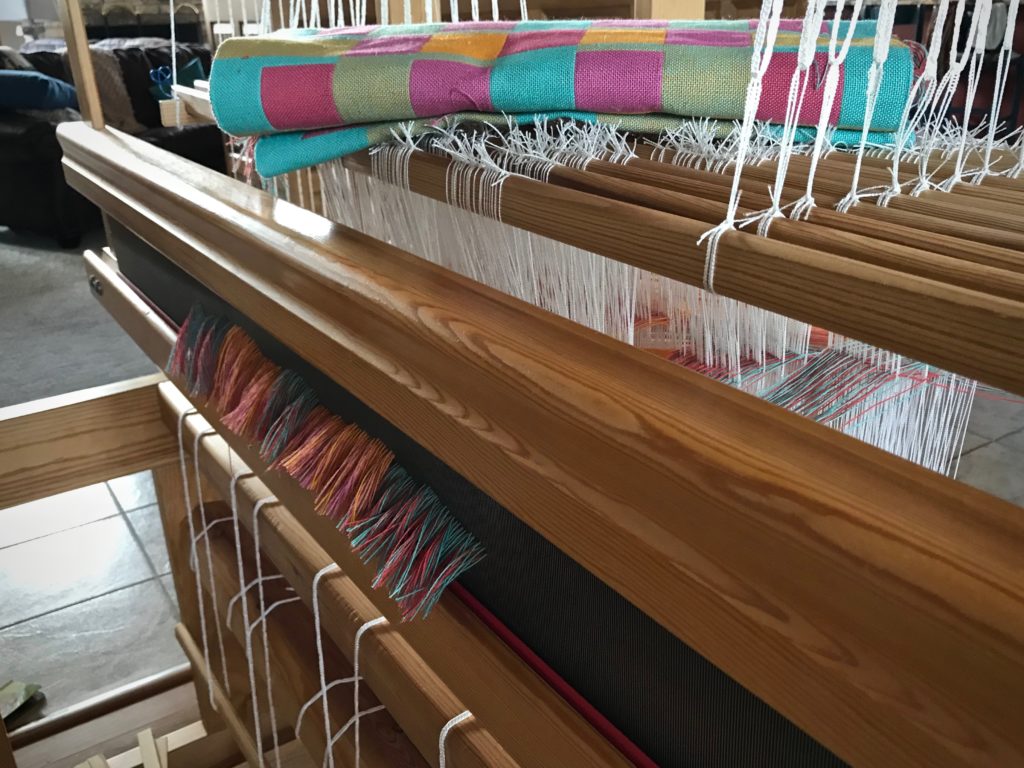
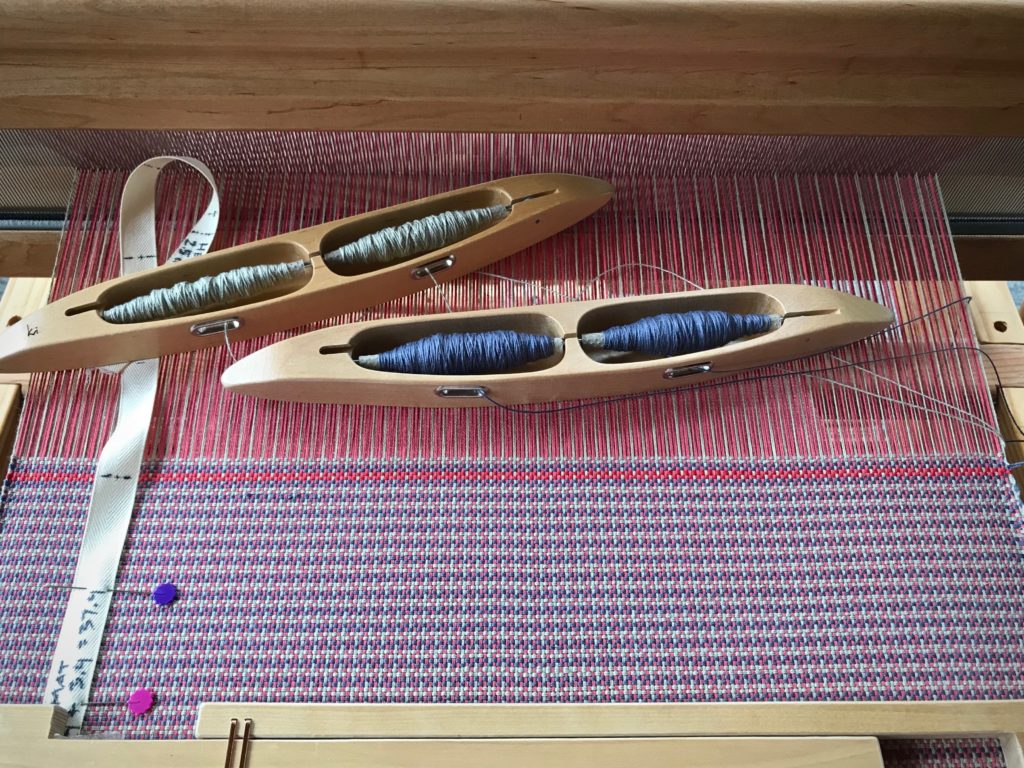
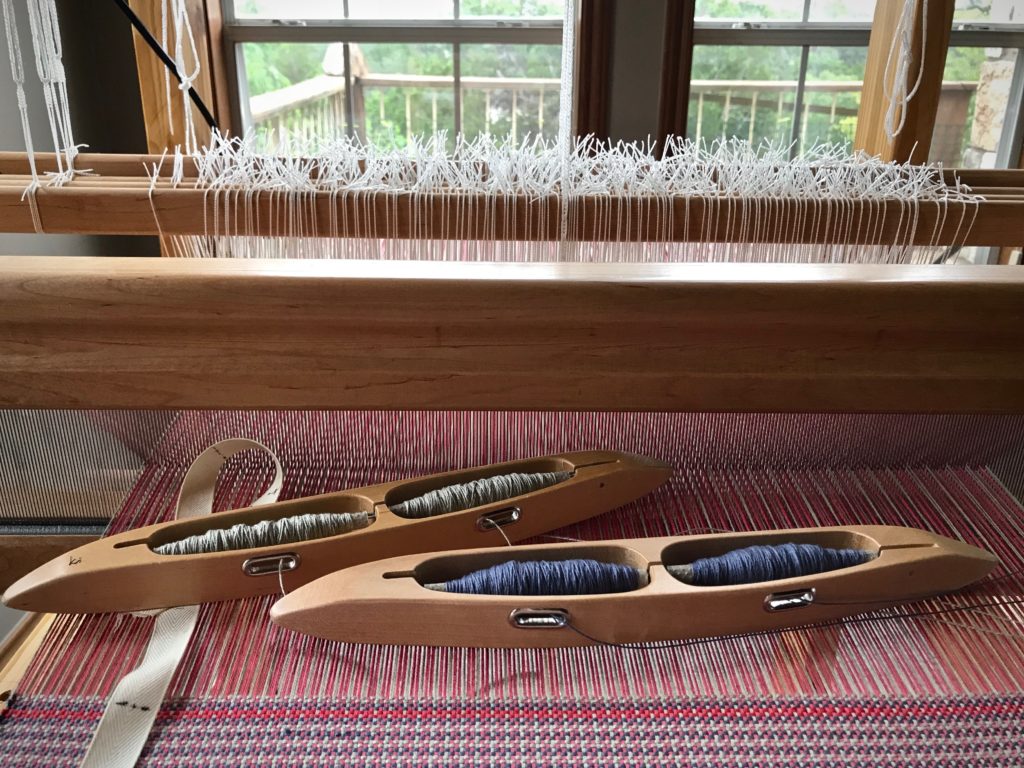
I hope you haven’t forgotten about this sweet little loom at our Texas hill country home. It is refreshing to be able to start right back up and weave another placemat. This is a breeze, even with two double-bobbin shuttles. Color and weave brings plenty of design play. Over the weekend I was able to squeeze in enough weaving time to finish one more placemat.

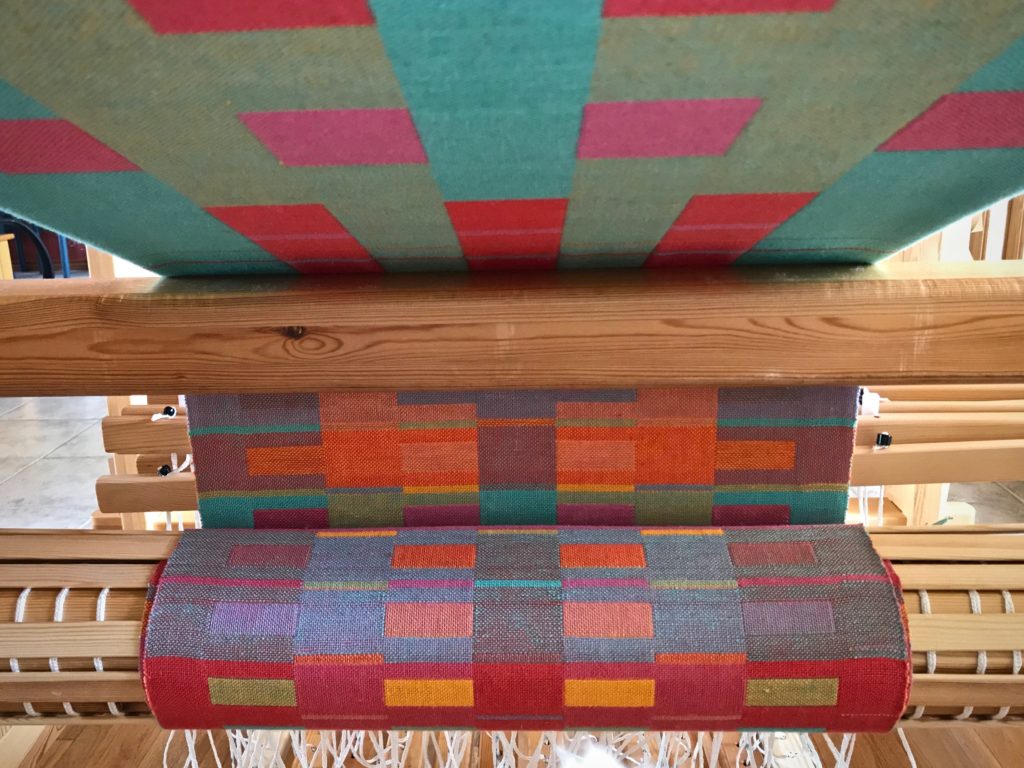
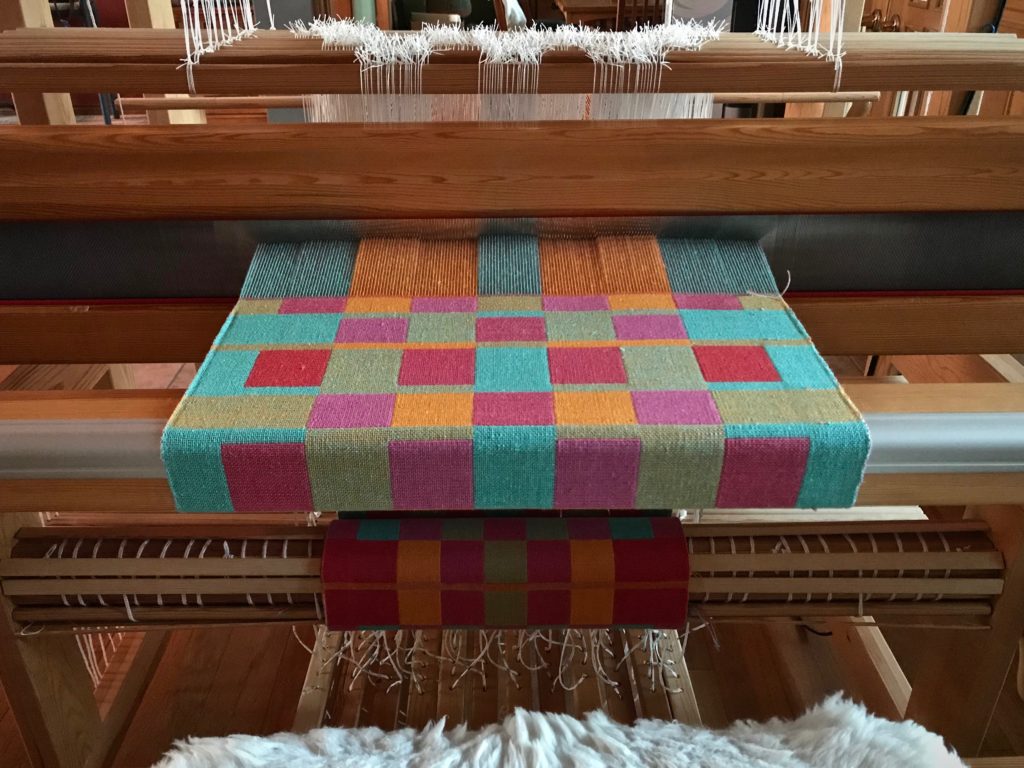
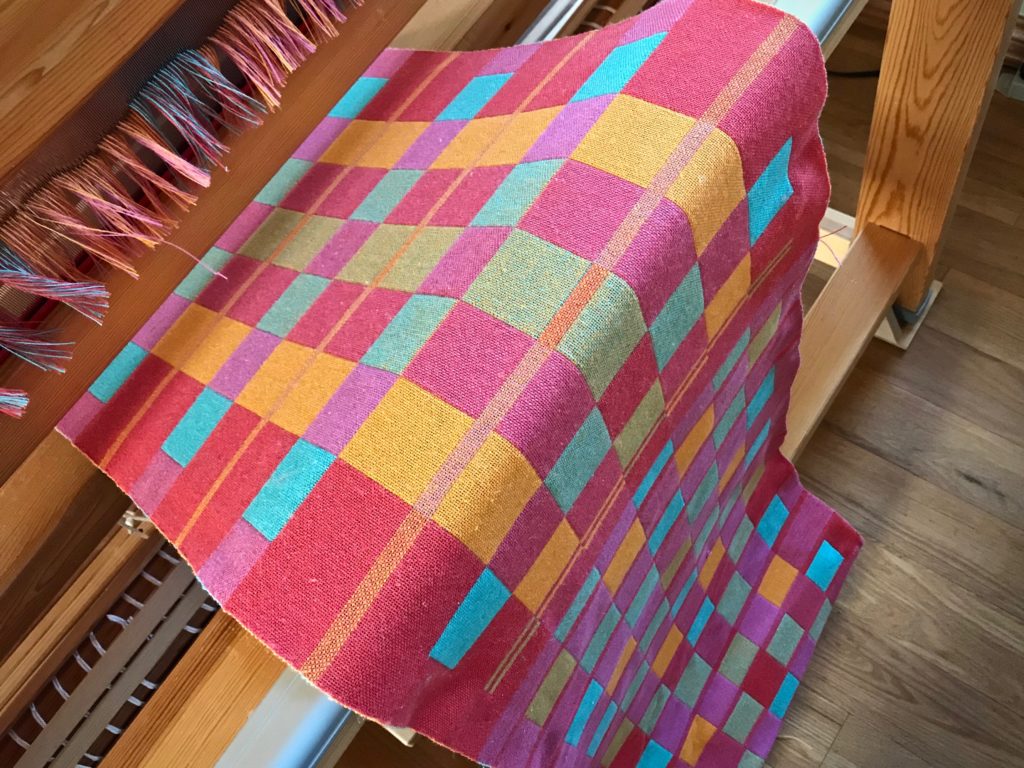
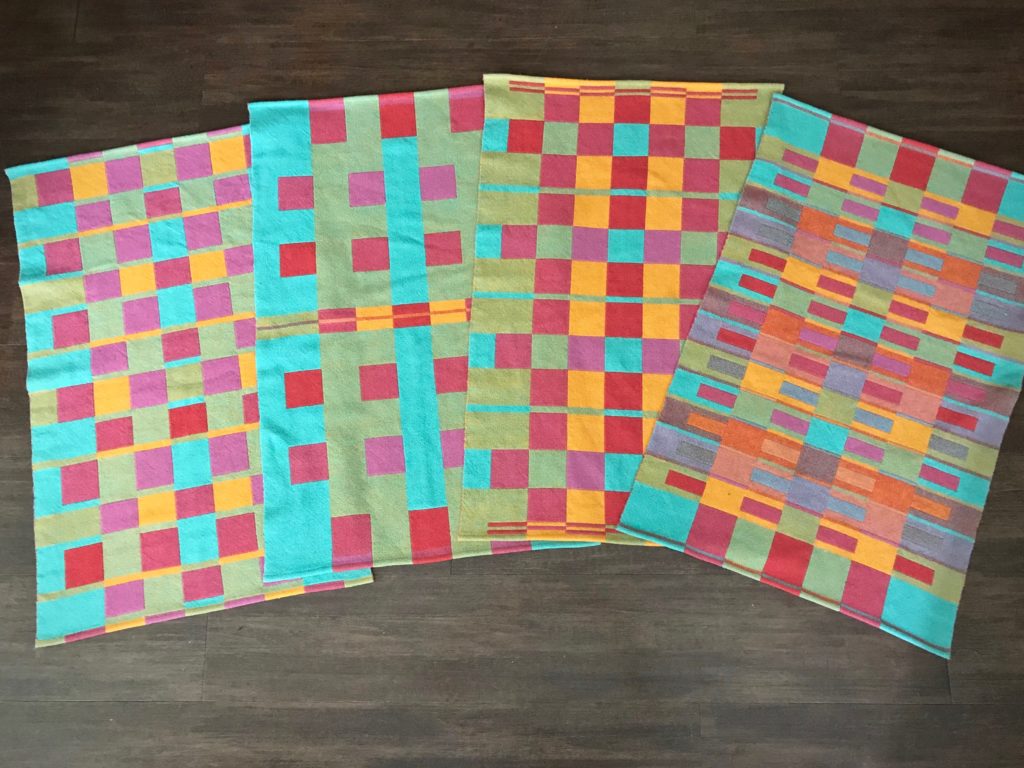
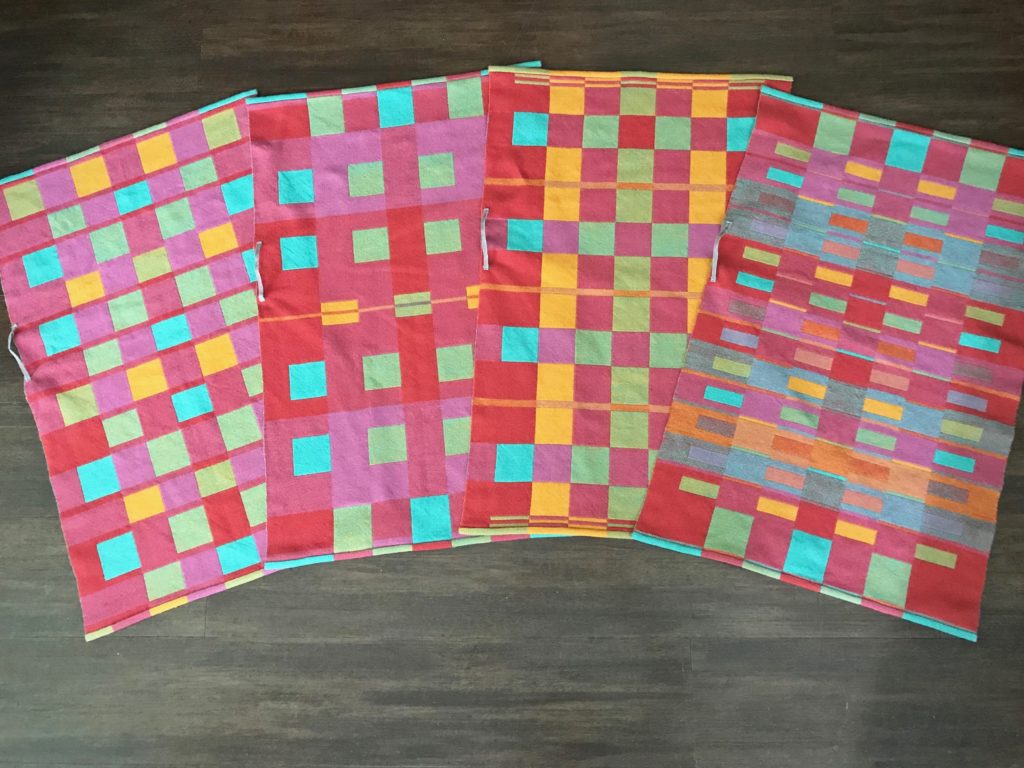
Color and weave cotton placemats.
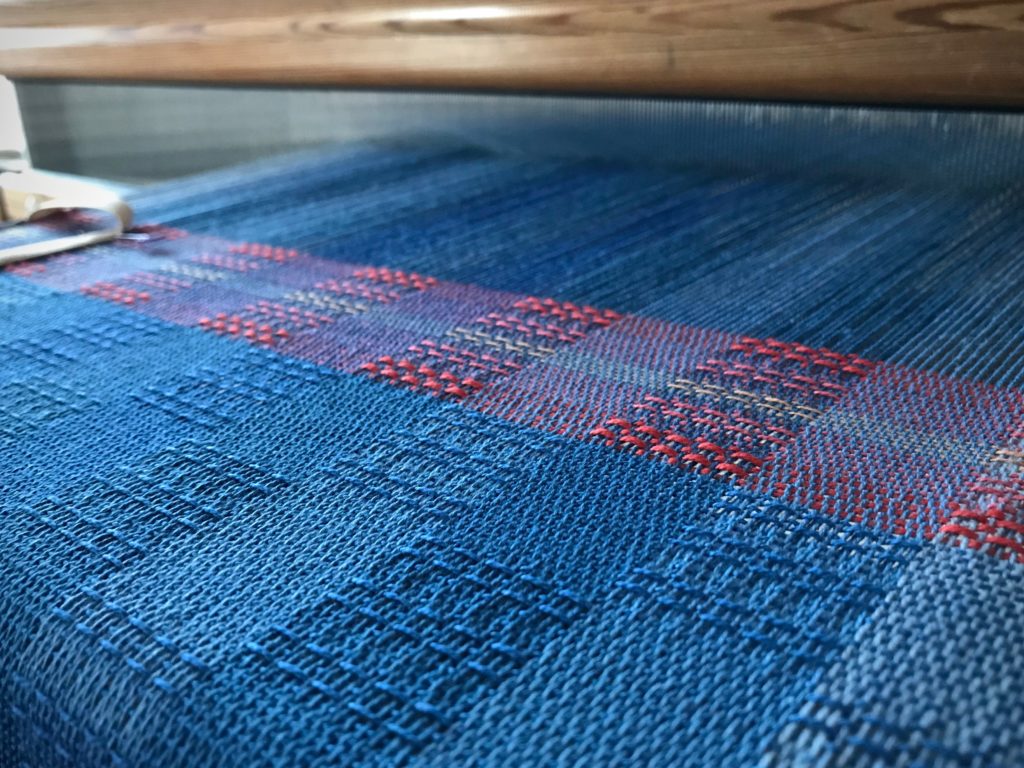
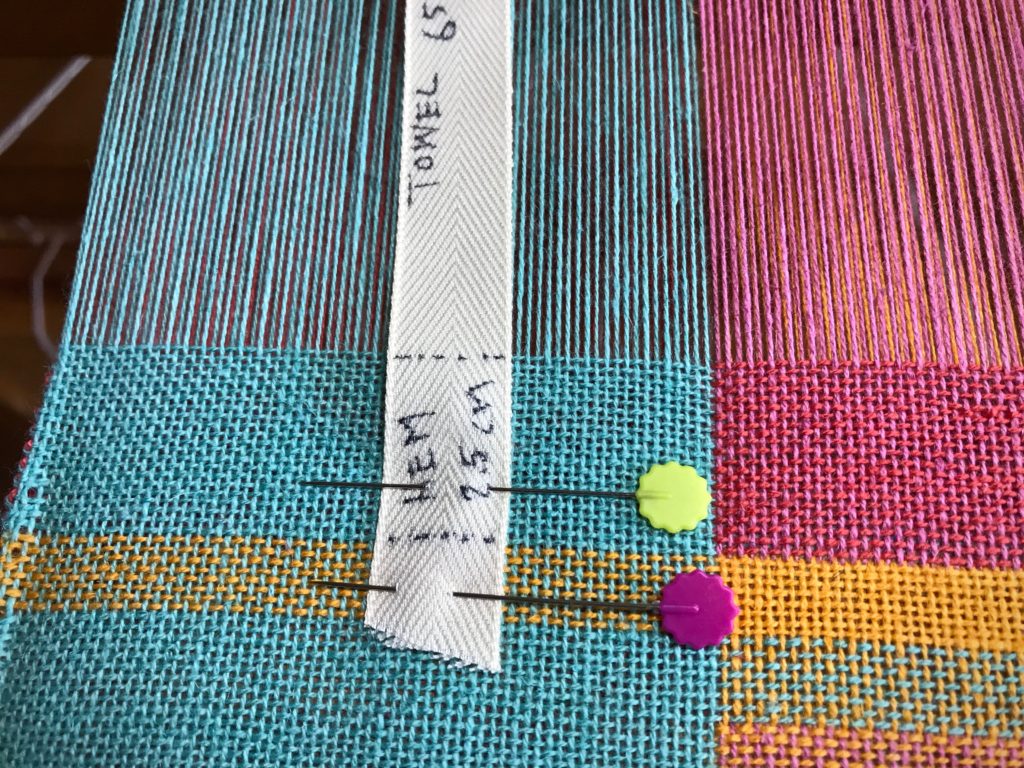
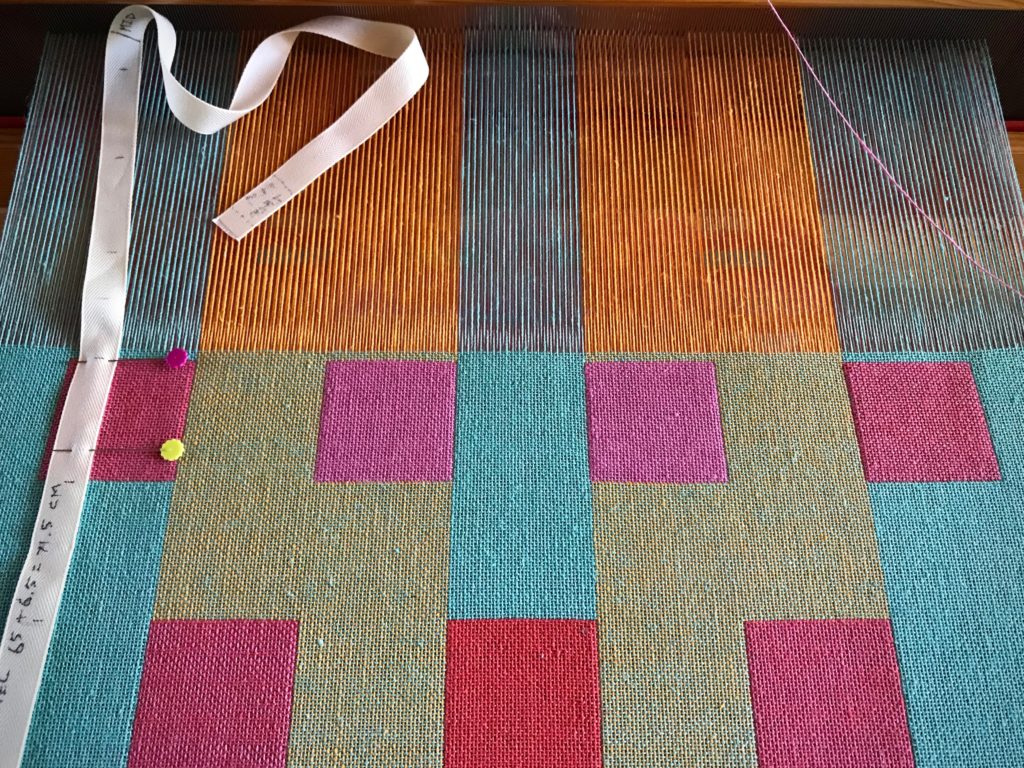
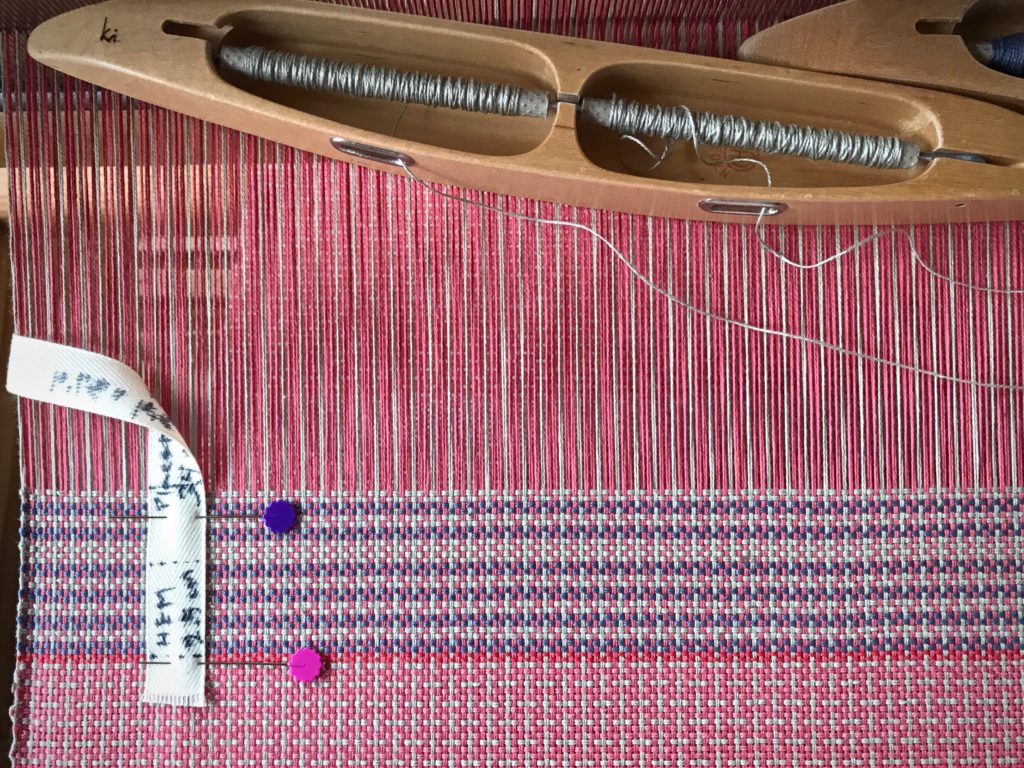
New placemat begins. Two red picks will become the cutting line that separates placemats.
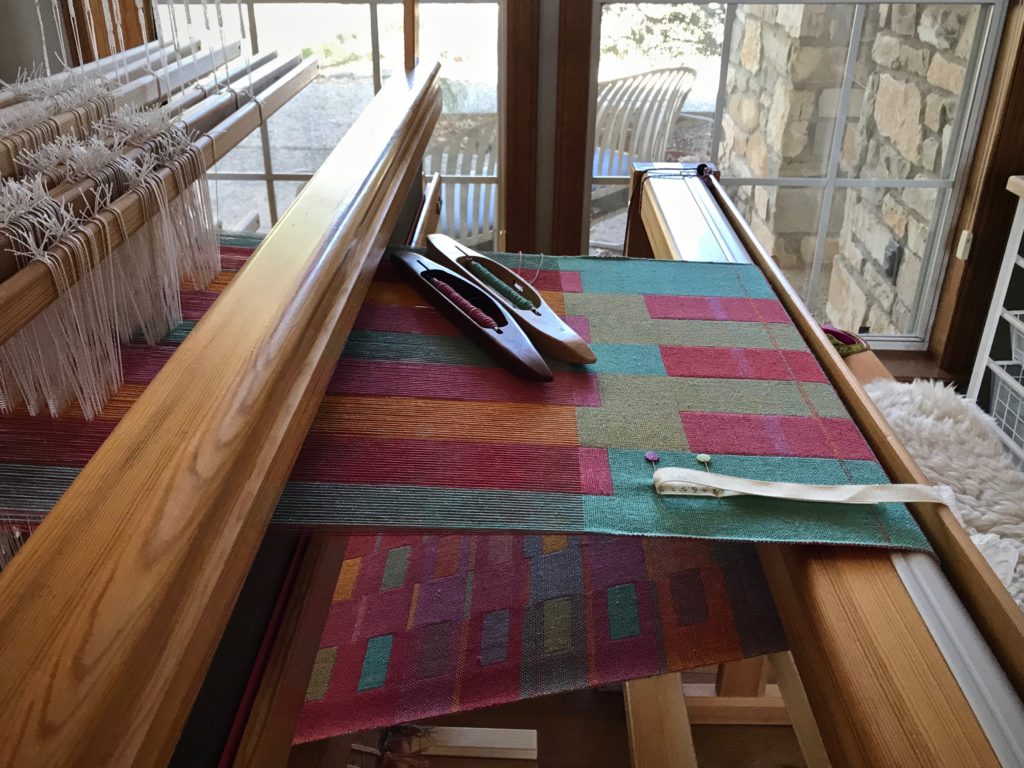
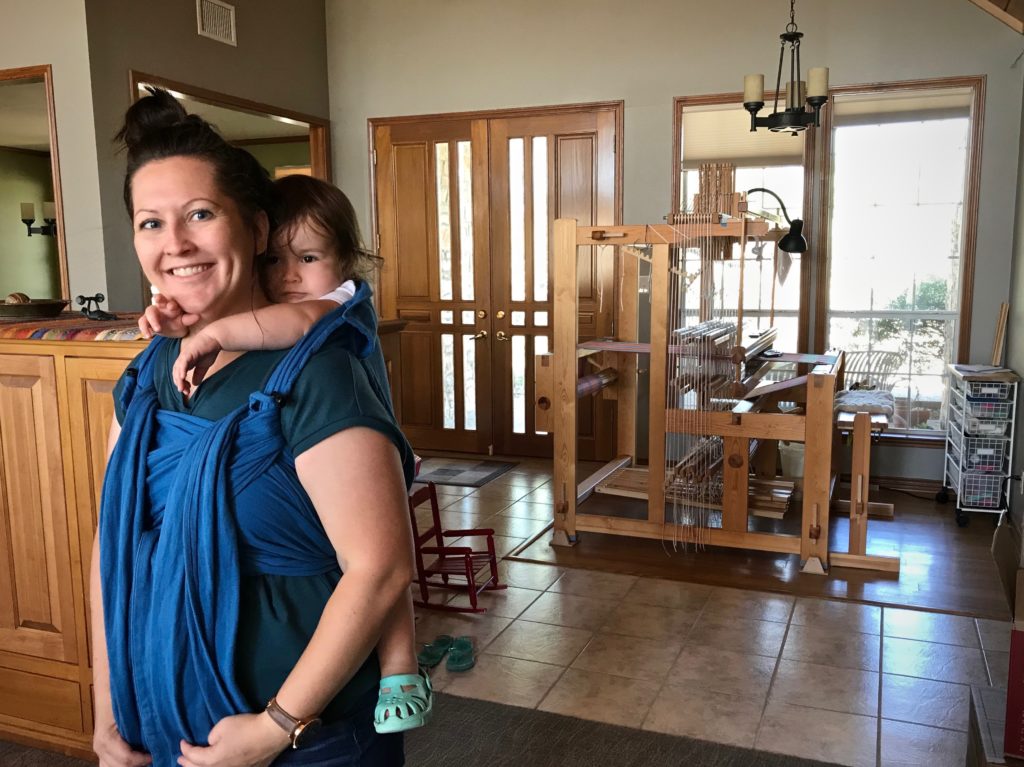
Peaceful setting for unhurried weaving.

There is no hurry or urgency with this project. Other events, transitions, and necessities have taken precedence the last few months. It’s nice to have a ready loom that doesn’t hold a deadline. Simple two-treadle plain weave during a transitional season is a welcome respite.

Color and weave cotton placemats on the loom.
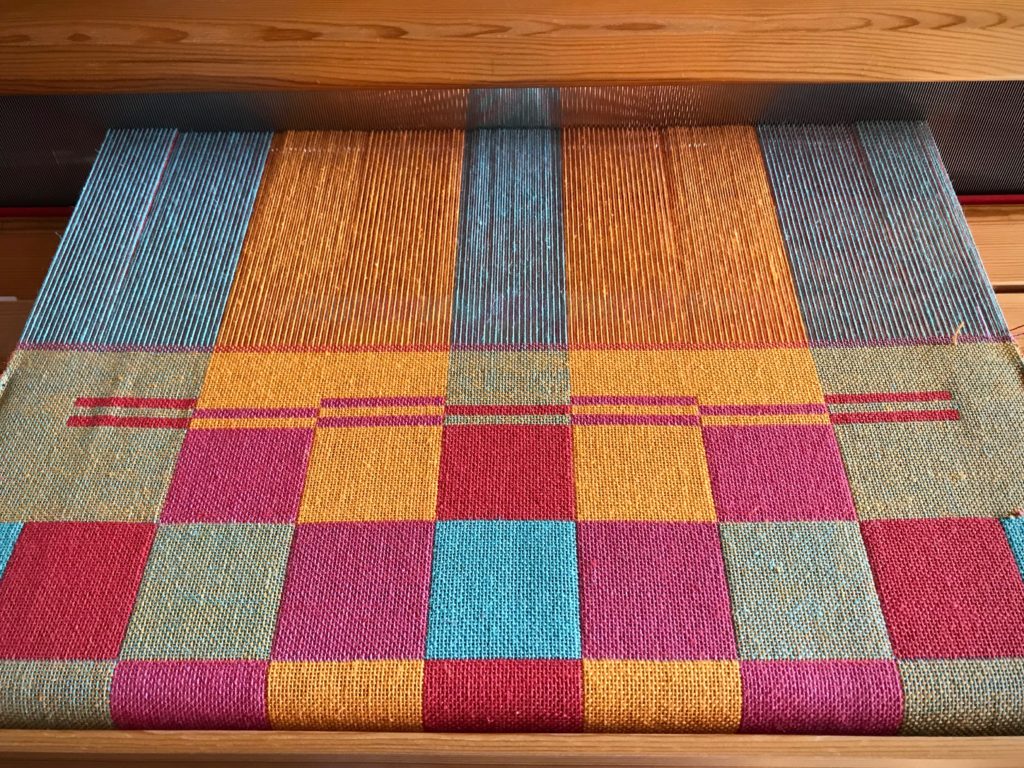
Two doubled-weft picks of dark coral make a line of contrast in the color-and-weave cotton placemat.

Faith is trust. It’s the simple framework we long for when life gets complicated. Trusting the Lord is like knowing what to expect when you throw the shuttles, yet still being pleasantly surprised as you see the fabric form in front of you. His grace removes the hurry and the worry. We find his grace through faith. And isn’t that exactly the respite we need?

May you have a break from hurry and worry.

Happy weaving,
Karen
Weave Beyond Your Momentum

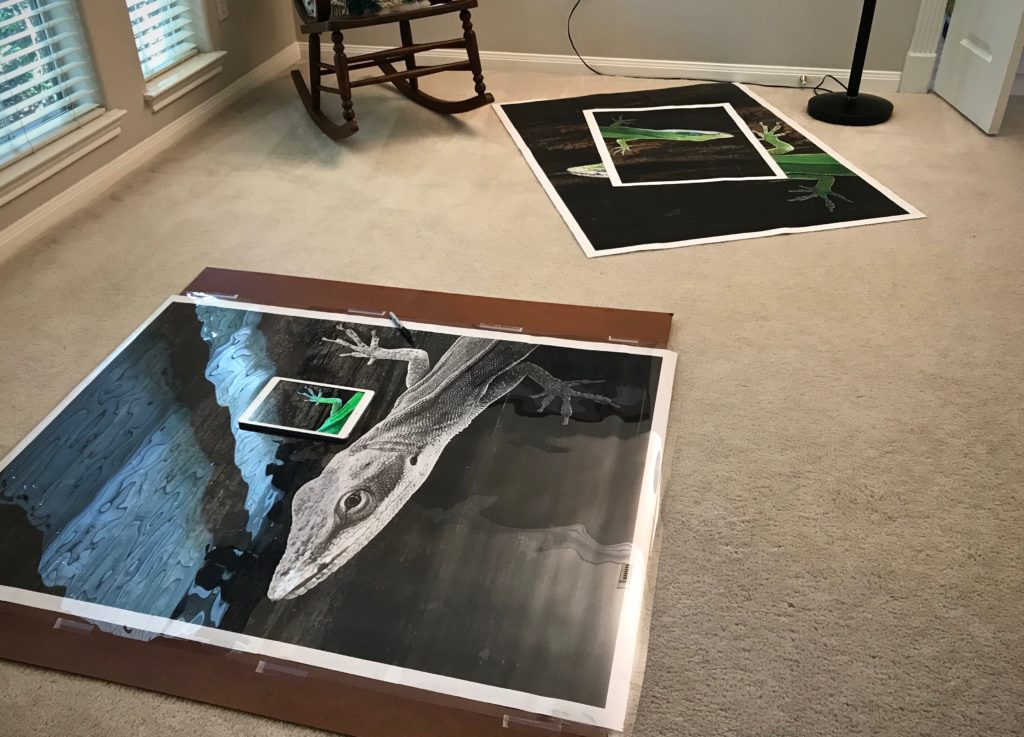
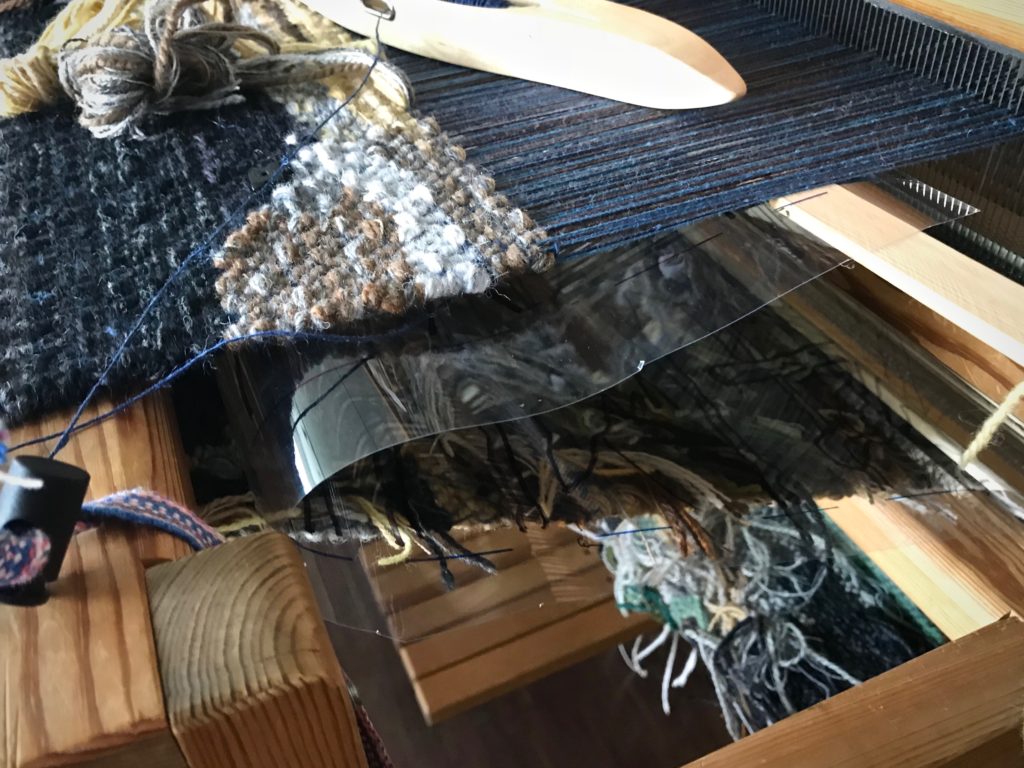
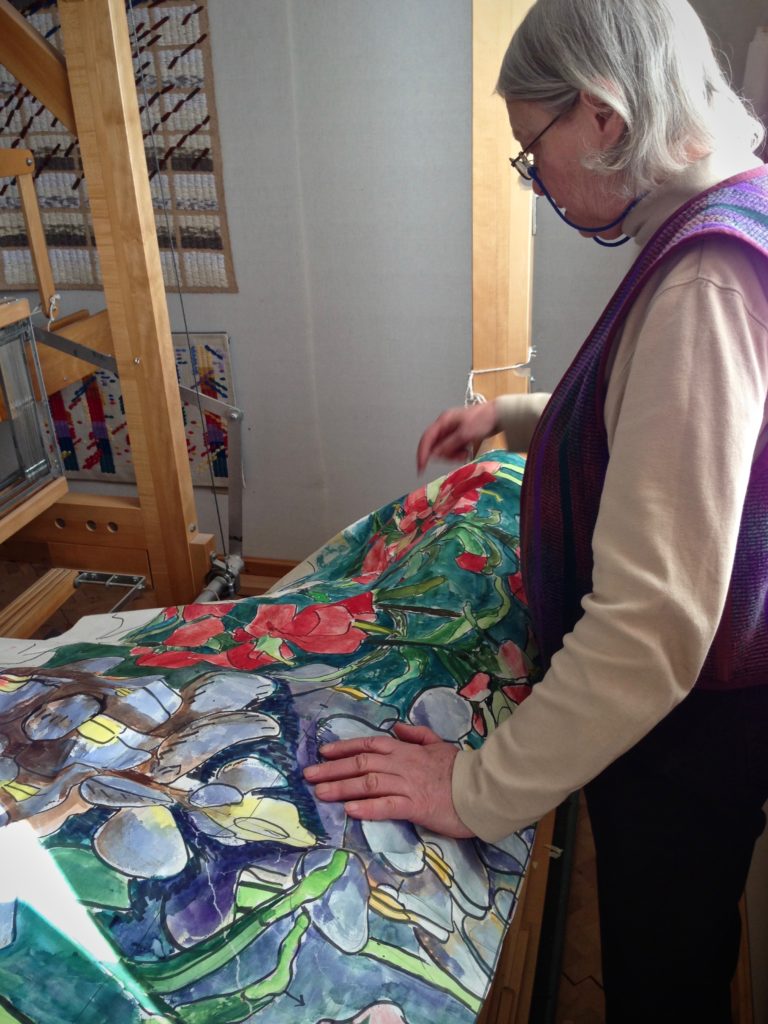
Do you remember that I said the background is less interesting to weave? I take that back! Blending these colors and forming the shapes is no less interesting than weaving the lizard. The green anole is the featured subject, filled with detail and many minute color changes. Weaving that lizard was a skill stretcher! But as I continue, I am weaving details of a different kind. The background is a log, not easily recognizable. It’s like looking at wood grain patterns through a magnifying glass. I’m hopeful everything in the final image will fit together when we see it from a distance.

Four-shaft tapestry. Shading and texture.
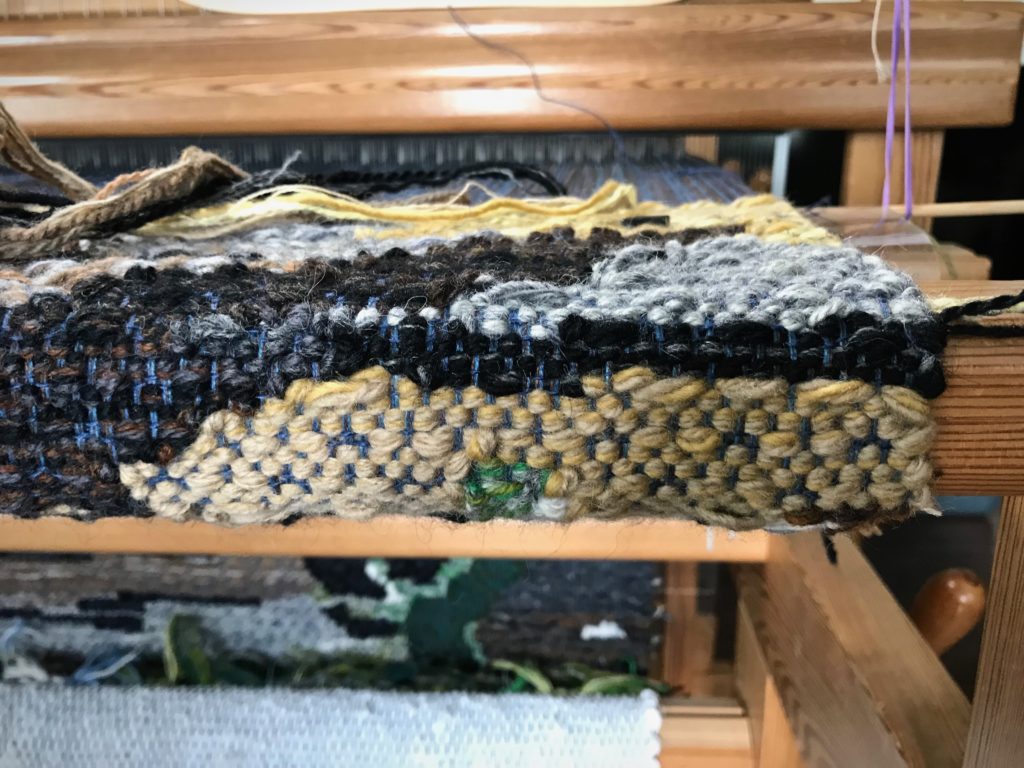
Color, shading, and texture work together to make the surface appear uneven. Some areas look as if they are raised, and others, especially the dark places, look like they are indented.
Detail of lizard tapestry.
After about three more warp advancements, the lizard and his green toes will be nowhere to be seen.
Four-shaft tapestry. Glimakra Ideal.
Little by little…
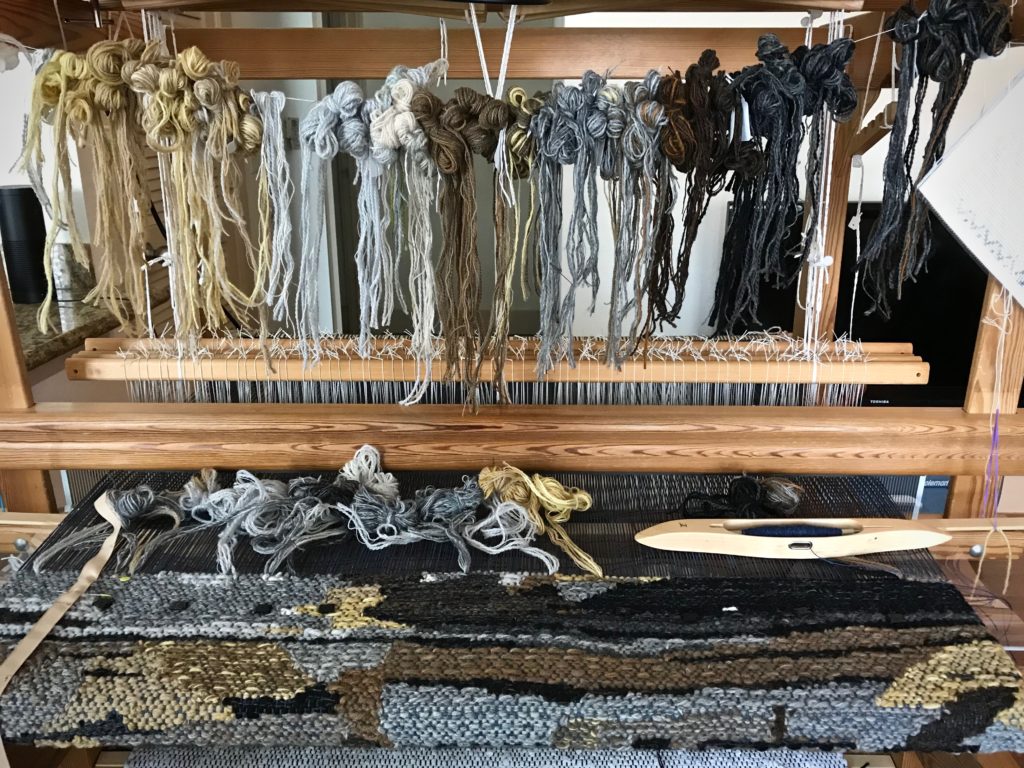
View of the tapestry in the direction it will hang.
Standing on a chair, I get a view of the tapestry in the direction it will hang. This is only one slice of the tapestry image, but it helps me imagine what the finished piece will be like.

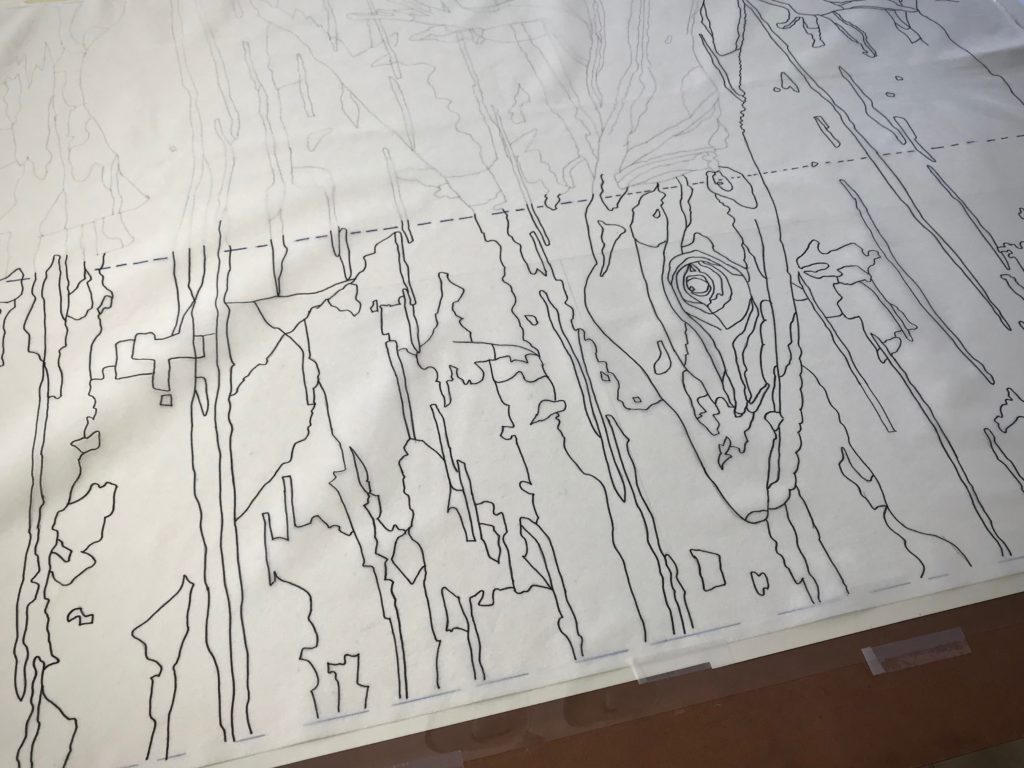
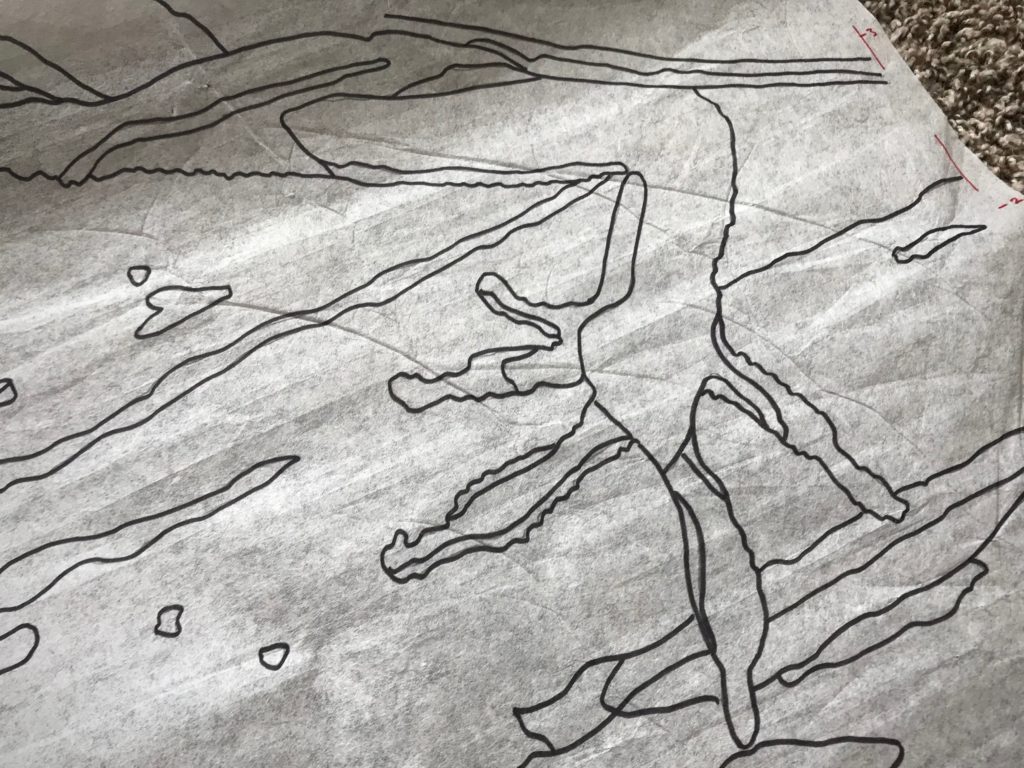
Continue. I don’t want to lose momentum just because I finally made it through the hardest part. Keep going, being faithful to what you know to do. Faithful to what you know is true. Don’t be fooled by compelling, convincing, and subtle messages that divert from the truth. Continue walking by faith, trusting the outline, the cartoon, that the Grand Weaver prepared for us. It will all fit together when we see it from heaven’s eternity. That’s real hope.

May you keep your momentum.

In faith,
Karen
Tapestry at Full Snail Speed

I am determined to have this off the loom before it’s time to move again. I know exactly how many “weaving days” I have left in this apartment. Steve’s retirement is just around the corner. His last day at work will be our last day here. And I know exactly how many centimeters I have left to weave on this piece. We already moved the loom once in the middle of this tapestry. Once is enough! I intend to make significant weaving progress every single day.

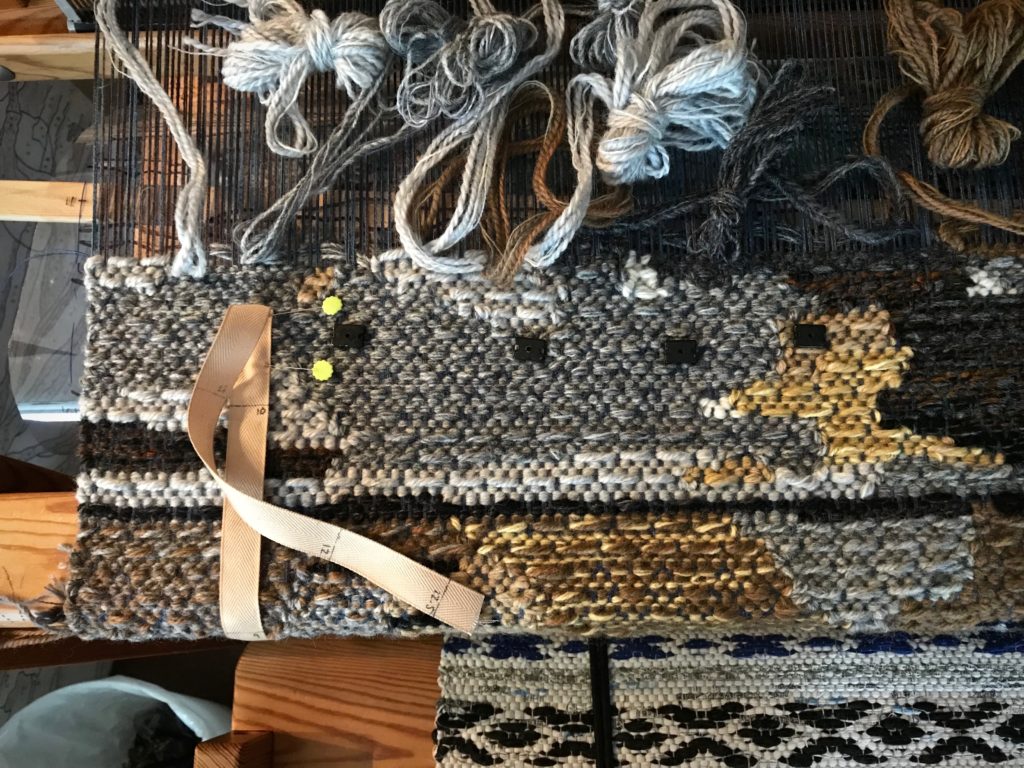
Measure tape shows progress on the tapestry weaving.
My measure tape shows that I have woven 80 centimeters. I will cross the finish line when I reach 125 centimeters.

Now that the image of the lizard is finished all the way to his toes, no more pretty green, blue, or red butterflies. I am removing anything that clutters my focus. Full (snail) speed ahead!

Weaving a lizard in four-shaft tapestry.
Lizard’s foot tries to grip the breast beam. There is no longer a need for butterflies in the lizard’s colors. Only the background log remains.
Weaving four-shaft tapestry on a Glimakra Ideal loom.
All the green, blue, and red butterflies have been removed. A simple color palette remains–white, yellow, tan, gray, brown, and black.

Faith is that kind of determination. Faith is more than thinking you believe something or someone. It’s pouring yourself into pure-hearted focus to trust fully in God. Faith is being so convinced that Jesus is the answer that you will stop at nothing to reach him. Where there’s that kind of will, there’s a way.

May you reach your most-pressing goal.

Your speedy snail,
Karen
Last of the Lizard Toes

Every time I advance the warp, more of the lizard disappears. After I finish the tips of these toes, the rest of the weaving will be background—the log on which the green anole is perched. The lizard is more interesting to weave than the log. But without the background, the lizard itself would be incomplete. It’s all part of the journey. Every bit of the picture is needed to tell the full story.

Lizard tapestry. Only the tips of the toes are left.
More than half of the tapestry is complete. Most of the lizard image is under the breast beam out of view.
Lizard tapestry. Four-shaft tapestry on a Glimakra Ideal.
More of the lizard disappears every time I advance the warp.
Four-shaft tapestry Lizard. Glimakra Ideal.
Only the tips of the lizard’s toes remain. After this, it is all background.
Tapestry detail. Texture and shading.
Log detail. I am enjoying the many opportunities for color blending and shading in the background portion of the picture.

Journey. We are on a journey. We see the scenery changing as we move from one point to another in our seasons of life. There’s the main focus, plus the background. All of which tells our story. Knowing that we never see the whole tapestry while it’s on the loom, let’s ask God to watch over our journey. As a request, not a demand. And then, express gratitude with joy as we see that we’ve indeed been granted safe passage.

May your journey be joyful.

Happy weaving,
Karen
Tools Day: Band Loom Warping Board

It is almost effortless to make a short warp for the band loom. All you need is a peg at the beginning and a peg at the end. You can use a spoke of the warp beam wheel, for instance, at one end, and the leg of an upside-down stool at the other. I normally use my warping reel, though, for even a simple warp, because the reel is so handy. However, I don’t have my warping reel here at the apartment, so I am turning my band loom into a handy warping board for this band loom project.
Using the Glimakra band loom as a warping board.
Using the Glimåkra band loom to measure a narrow cottolin warp.
How to Use the Band Loom as a Warping Board

Tools and supplies:

  • Glimåkra band loom
  • Thread for weaving a narrow band
  • Basket and/or spool holder(s)
  • Scissors
How to use the band loom as a warping board.
Starting at one peg and ending at another. The band loom becomes a simple tool for winding a short warp.

For a warp of approximately two meters:

  • Put the warp thread on the floor below—quills in a basket, and/or thread tubes on spool holders.
  • Using two or more ends, tie the ends together with an overhand knot. (I used three ends together for this warp.)
  • Bring the warp ends up around the warp beam and over the back beam.
  • Loop the knot on the starting peg.
  • Draw the ends from the starting peg to the ending peg, around the band loom, following this path:
  1. Starting peg–upper heddle peg nearest back beam
  2. Lower heddle peg nearest back beam
  3. Back beam
  4. Warp beam
  5. Cloth beam
  6. Front beam
  7. Lower heddle peg nearest front beam
  8. Ending peg–upper heddle peg nearest front beam
  • Follow the winding path in reverse order back to the starting peg.
  • Continue winding until you have reached the desired number of ends.
  • Cut the ends and tie off at the starting peg or the ending peg.
  • Tie one or two choke ties, if needed. (I didn’t need them for this short warp.)
  • Carefully remove the warp and dress the band loom as usual. (For a tutorial on dressing the band loom, click here: Quiet Friday: Band Loom Warping and Weaving.)
  • Weave to your heart’s content.
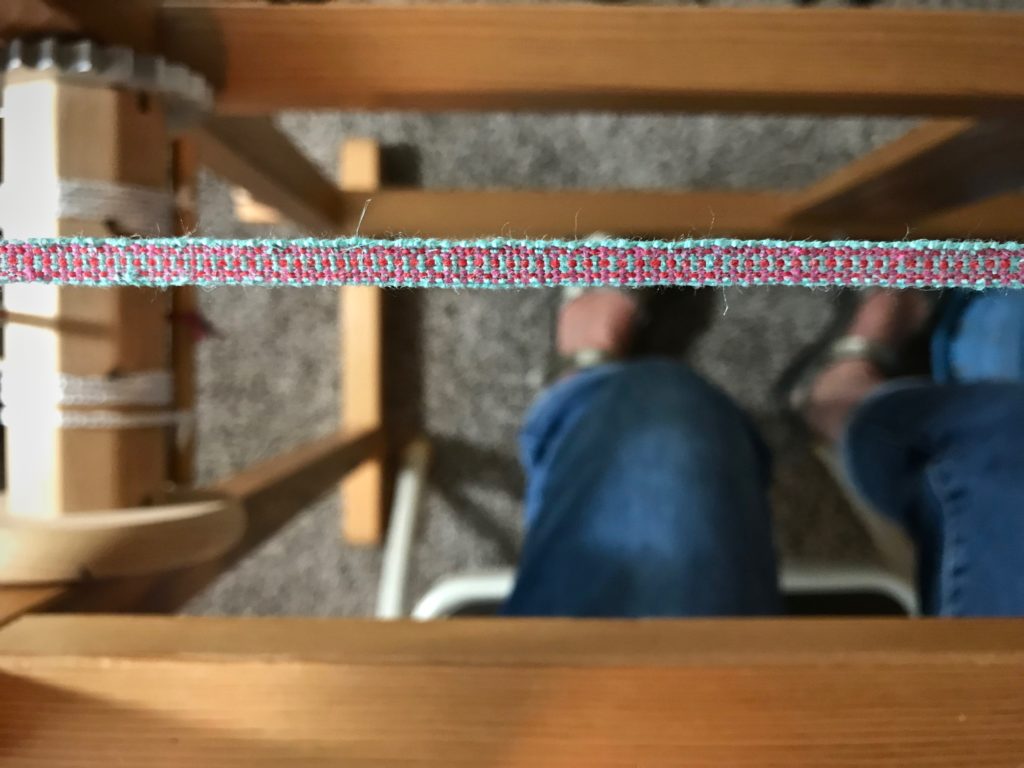
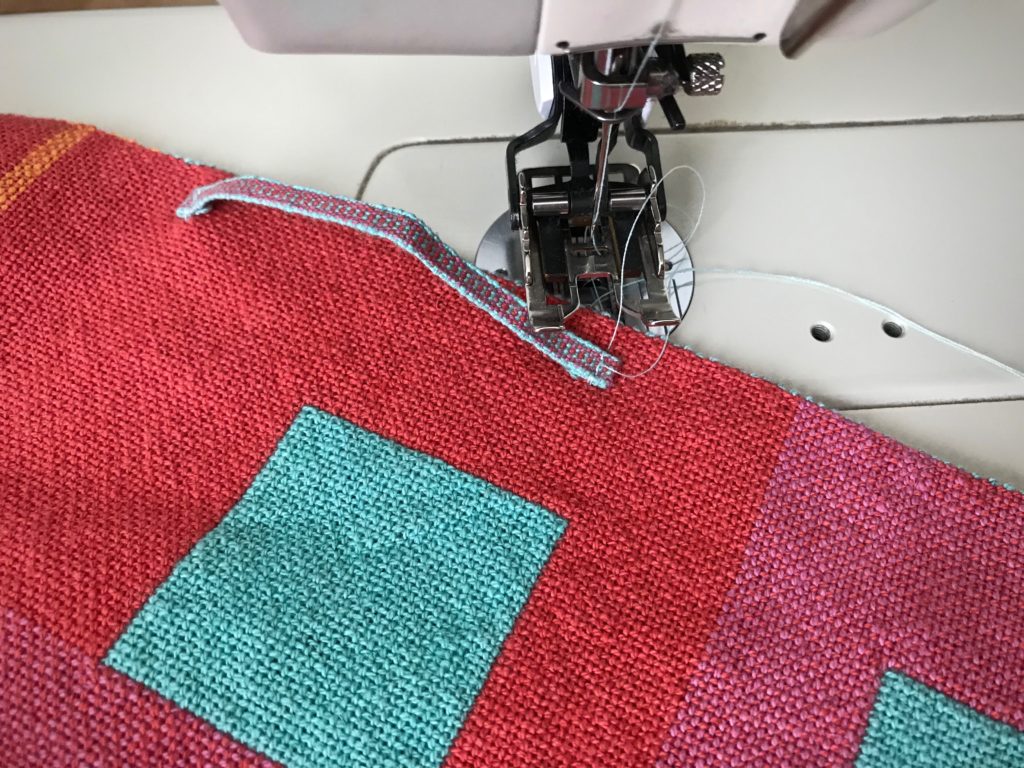
Weaving hanging tabs for towels on my Glimakra band loom.
One meter of woven band is cut off. The remaining band warp is tied back on. Weaving can resume at any time.
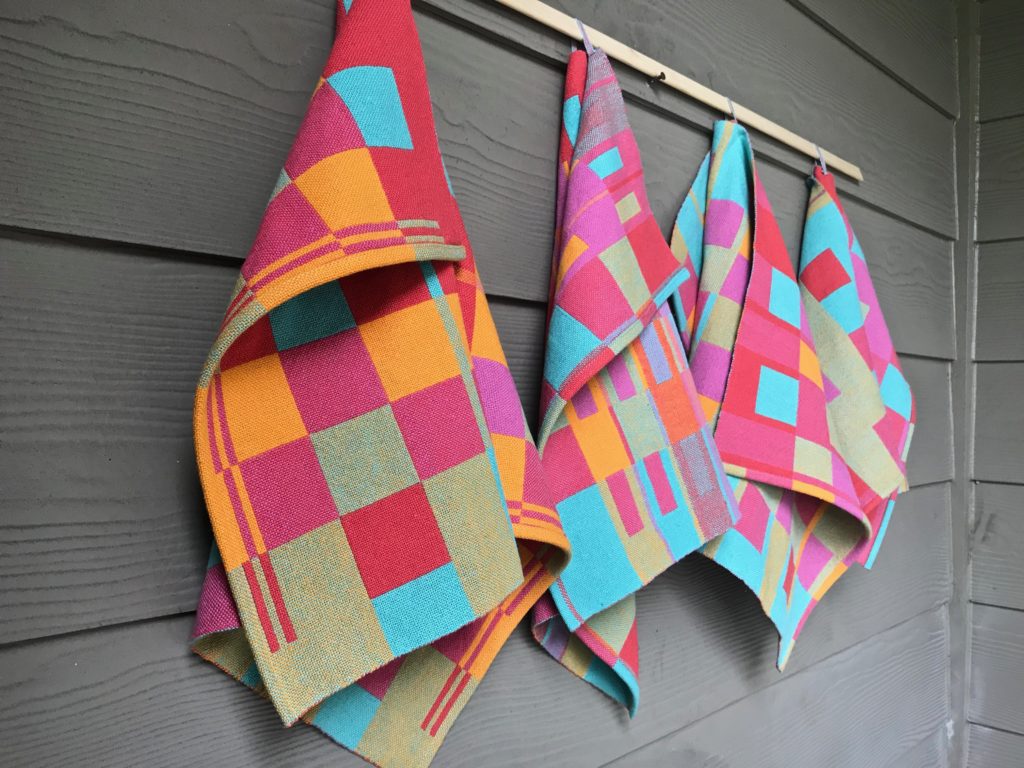
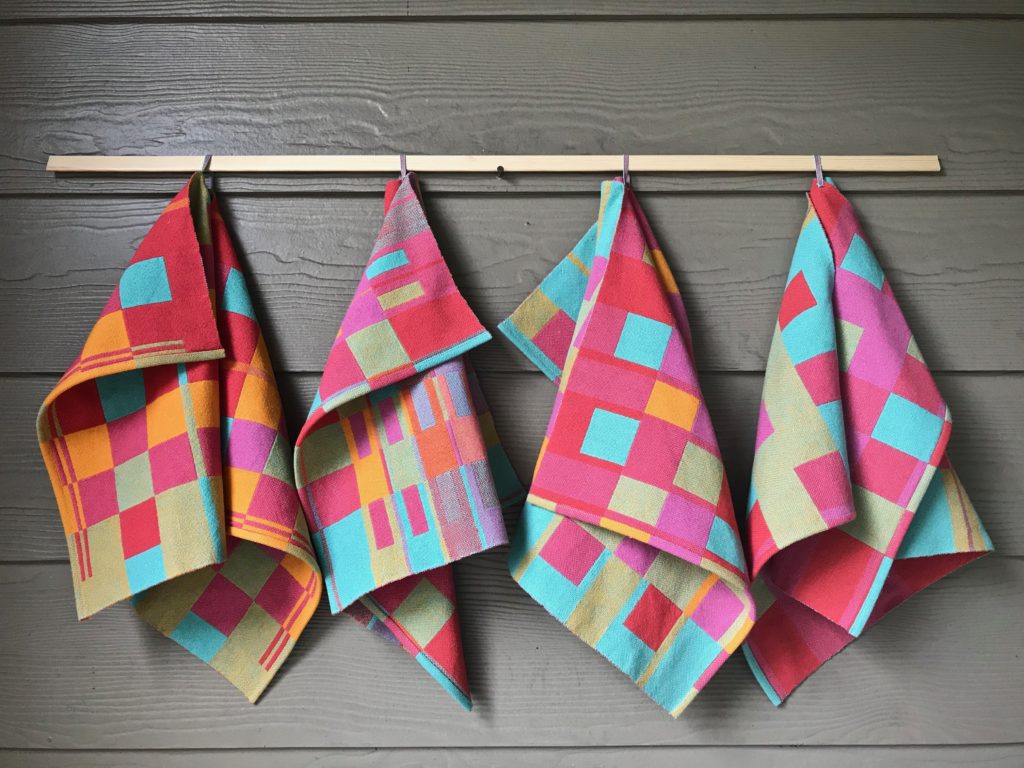
Preparing to sew handwoven ribbons onto handwoven towels for hanging.
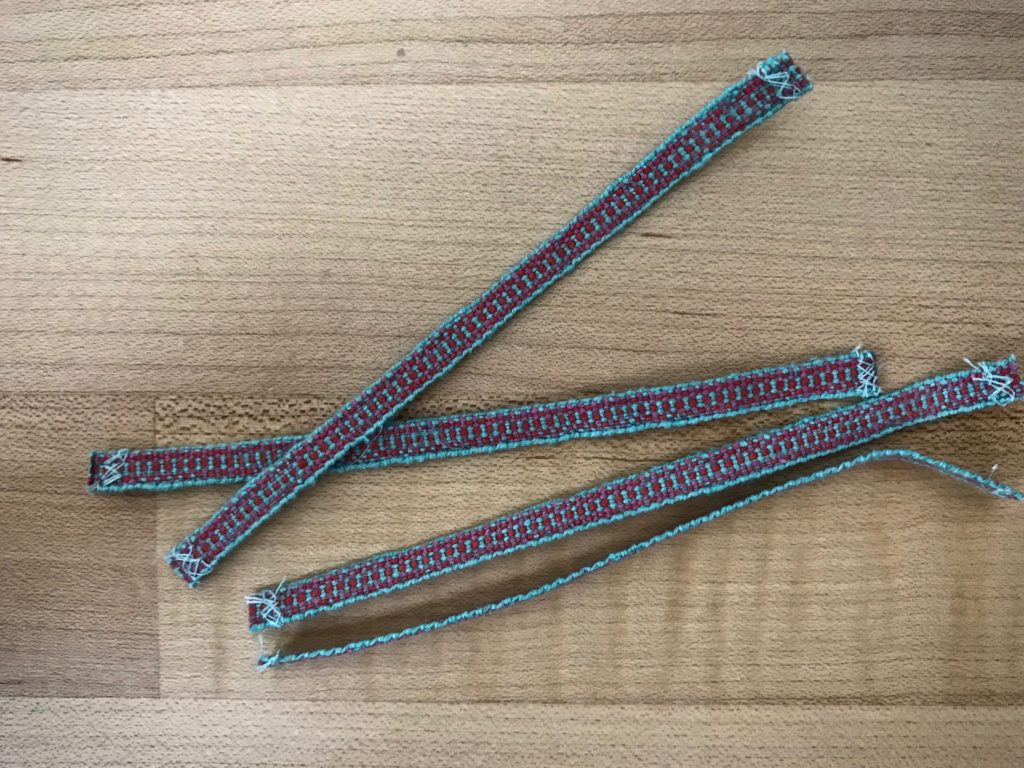
Ends secured, and cut in 10.5 cm lengths, the tabs are ready to be sewn onto the double weave towels.

May you find tools you didn’t know you had.

Happy band weaving,
Karen