Process Review: Jämtlandsdräll with Julia

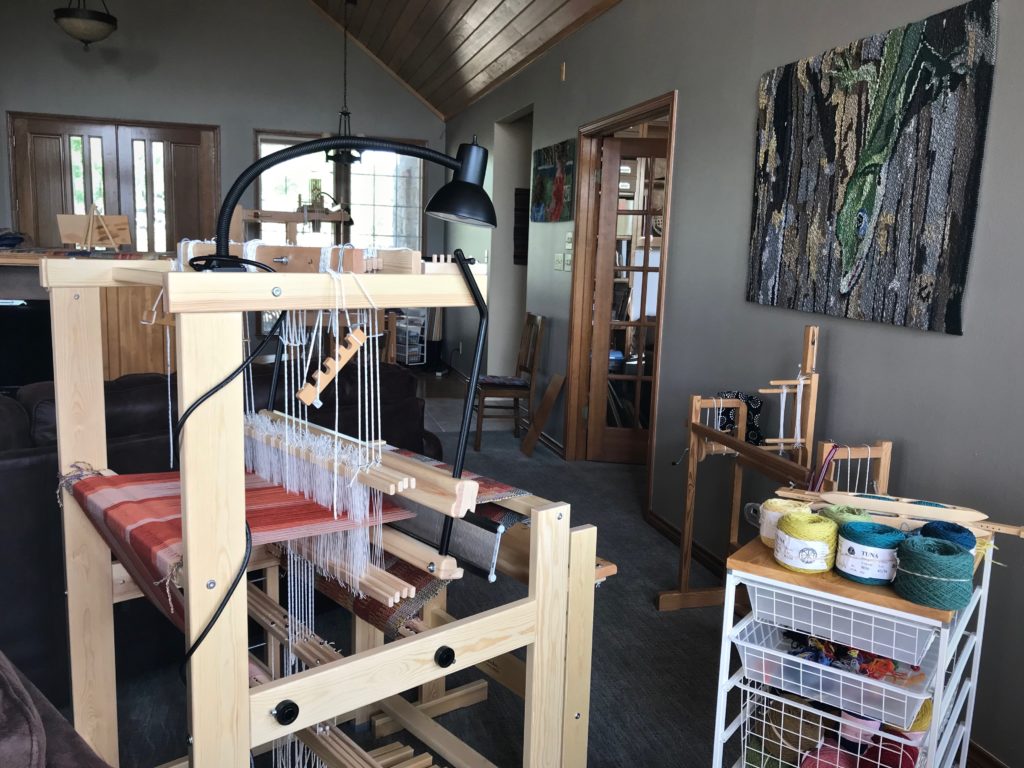
My intention is to weave fabric for a couple of cushy throw pillows. But after just one pattern repeat, I realize that this cloth on my brand new Glimåkra Julia is something I would like to wear! No pillows this time. Instead, here is my new autumn/winter shoulder wrap, embellished with frisky swinging fringes. Miss Julia has proven her worth on four-shaft Jämtlandsdräll (crackle) in 6/2 Tuna wool. Her next adventure will be something that explores all eight shafts. (See My New Glimåkra Julia Loom.)
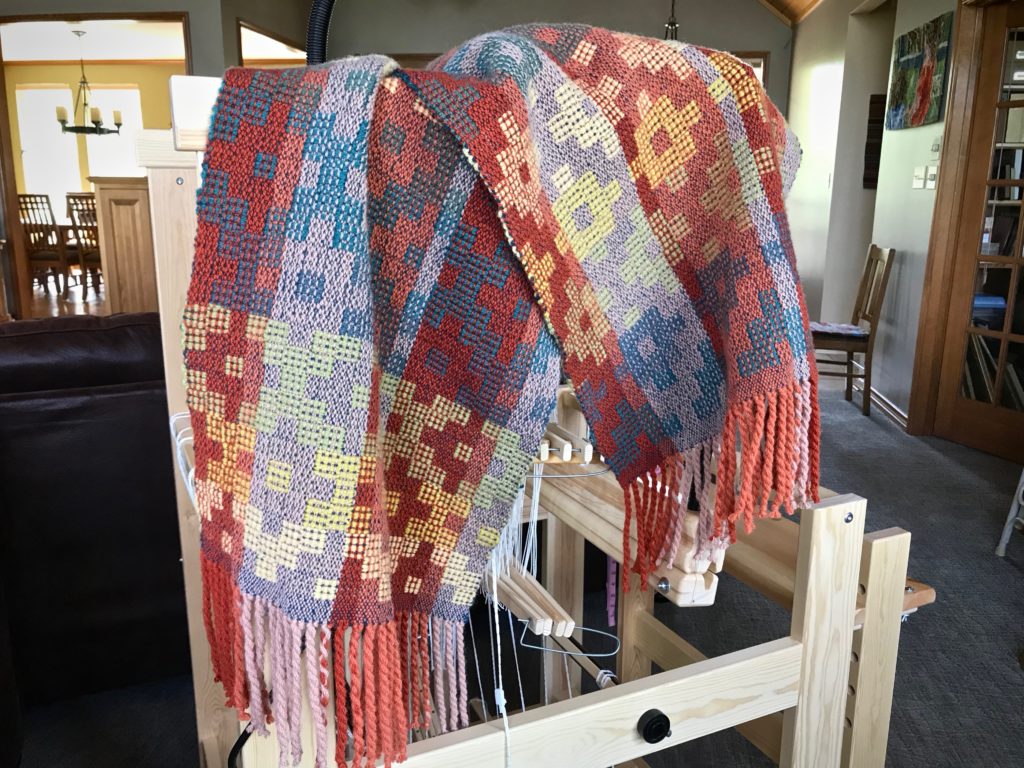
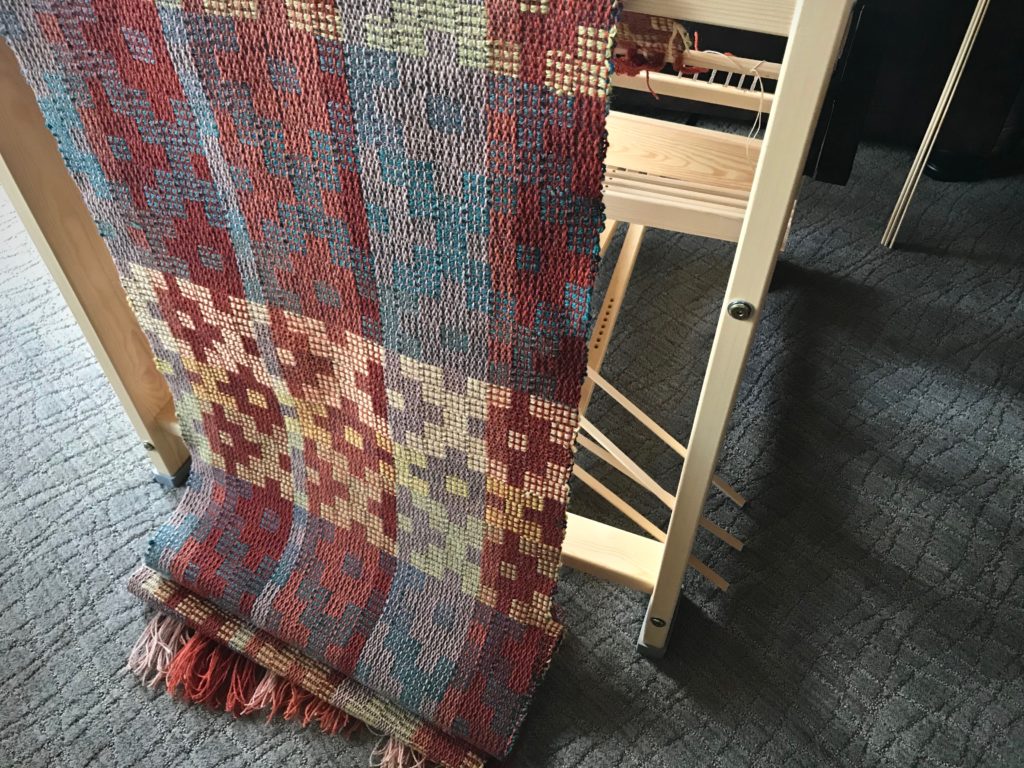
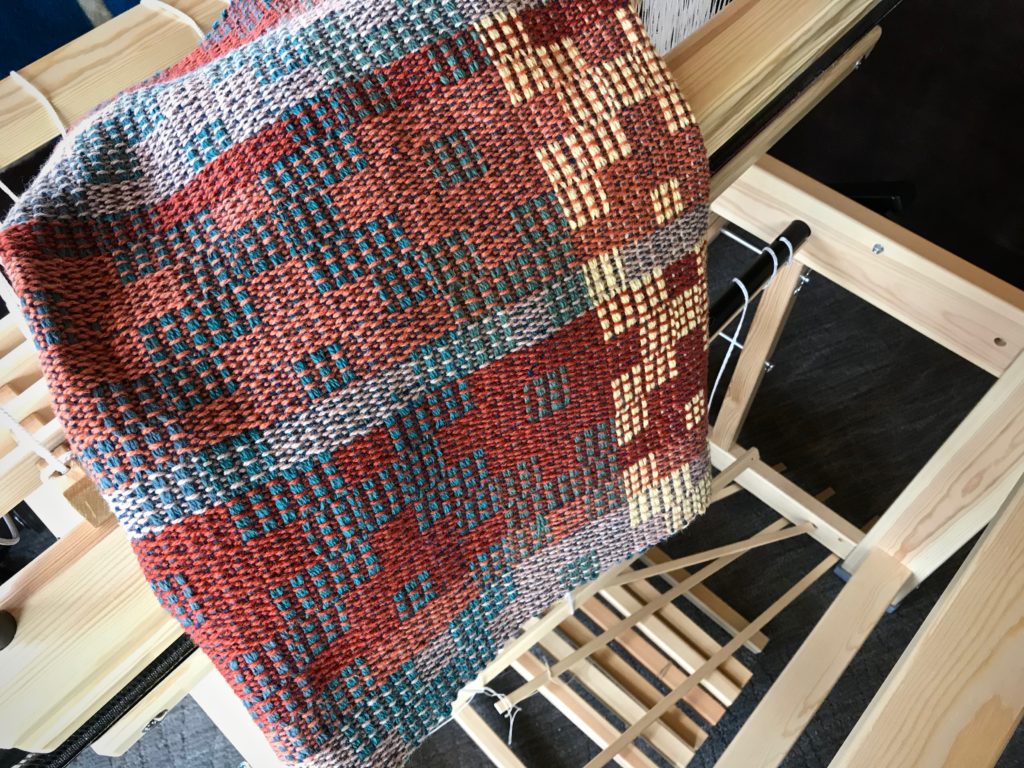
Jämtlandsdräll Wool Wrap - woven on Glimåkra Julia.
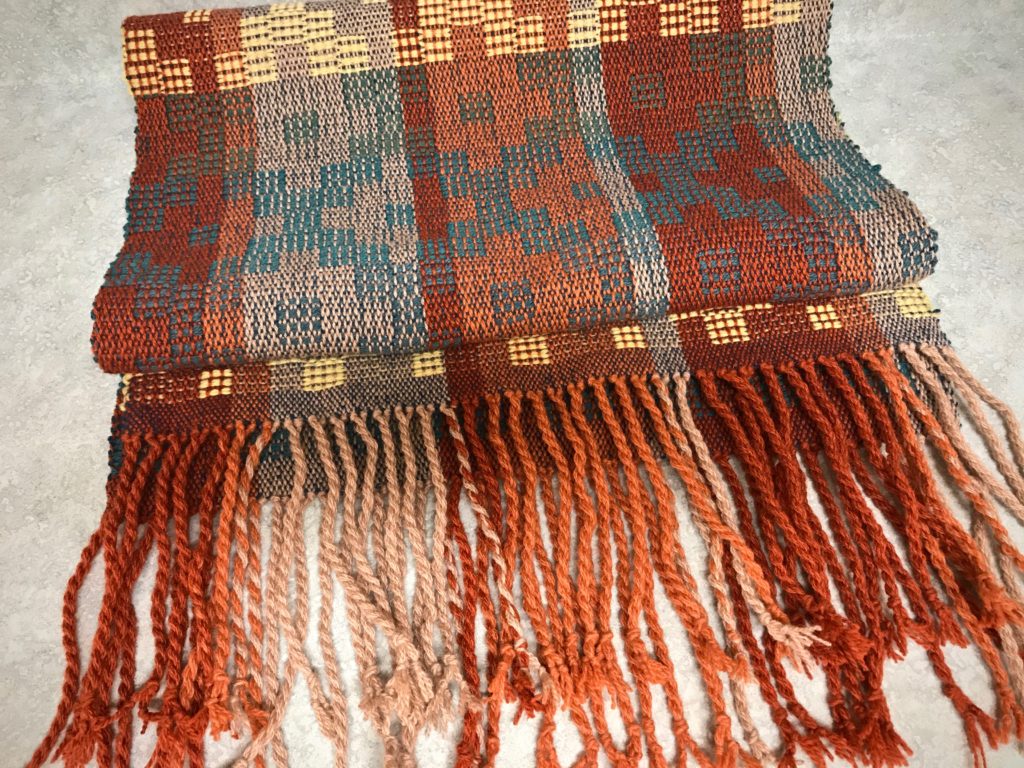
Finished wrap. Ready for cool weather!

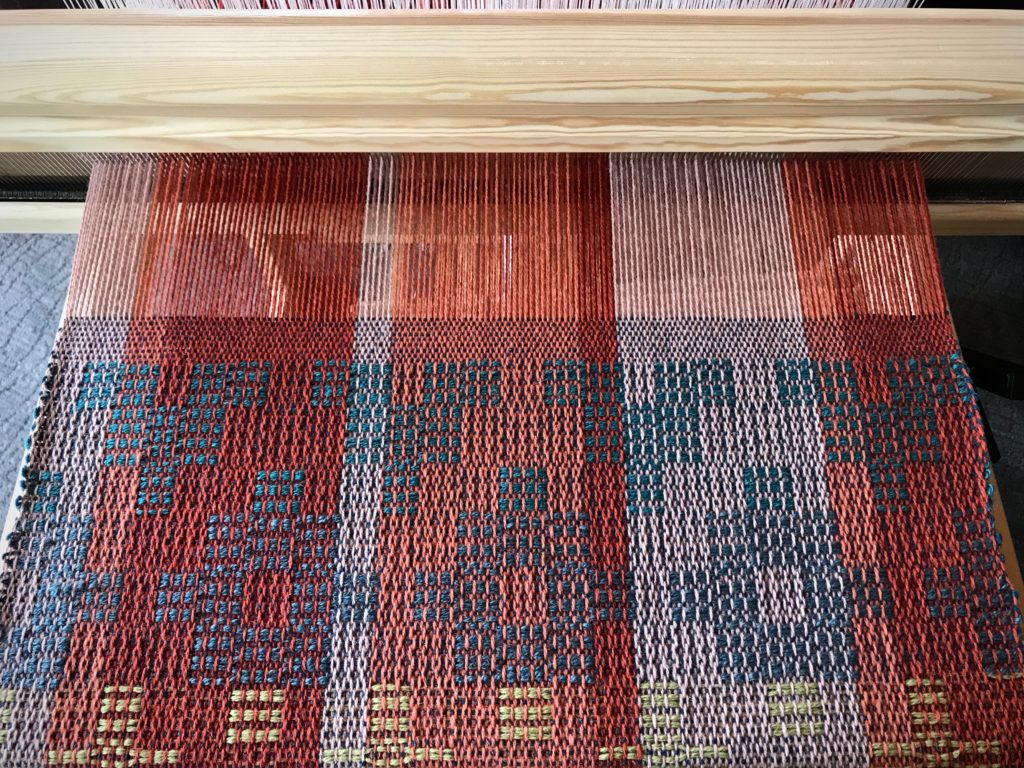
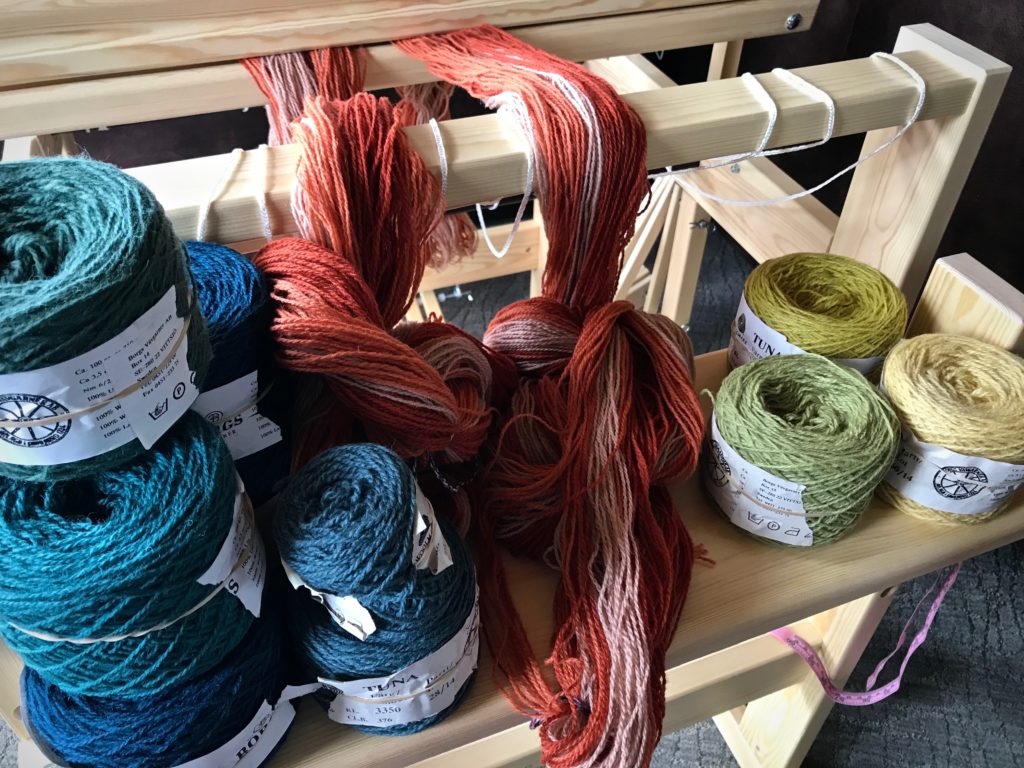
This project starts with the draft for the Jämtlandsdräll Blanket on p.59 of Simple Weaves, by Birgitta Bengtsson Björk and Tina Ignell. Tuna yarn samples, along with Fiberworks Silver for Mac, help me jazz up the color. I settle on three colors for the warp, with burnt orange as the anchor. Six different colors are used for the pattern weft, plus dark teal for the tabby.
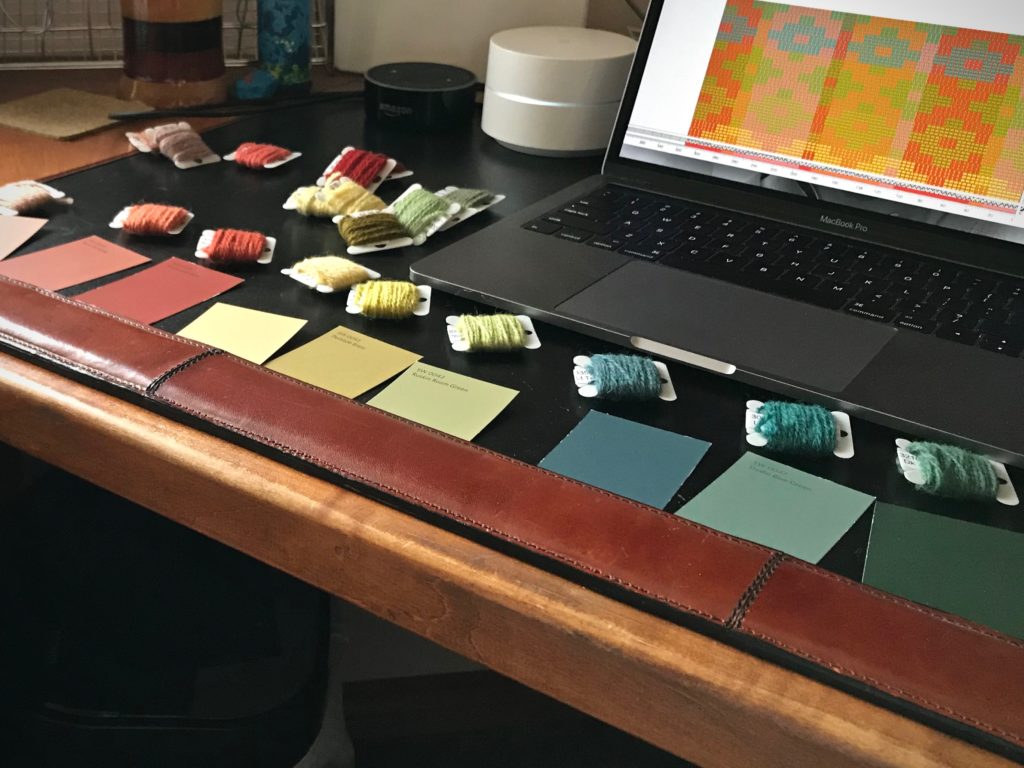
Planning my next weaving project on Fiberworks.
Paint chips, Tuna yarn samples, and Fiberworks Silver for Mac aid my planning process.
Colors! Let's see how they work together on the loom.
Colors! Let’s see how they work together on the loom.
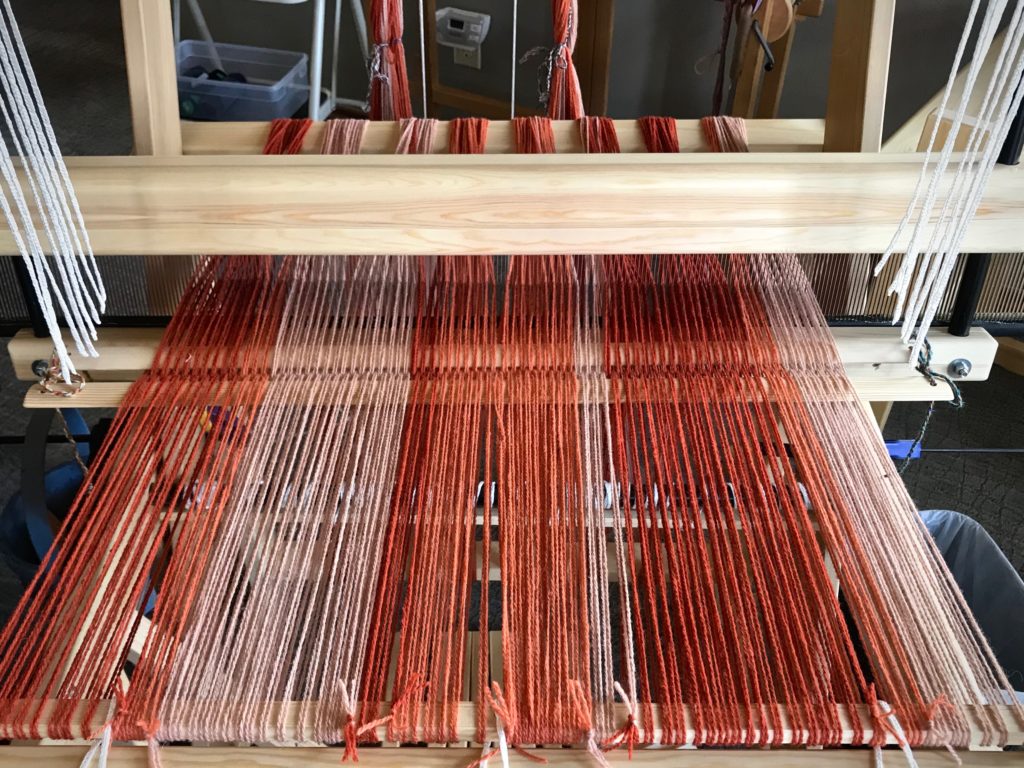
Beaming the warp on my new Julia.
Beaming the warp.
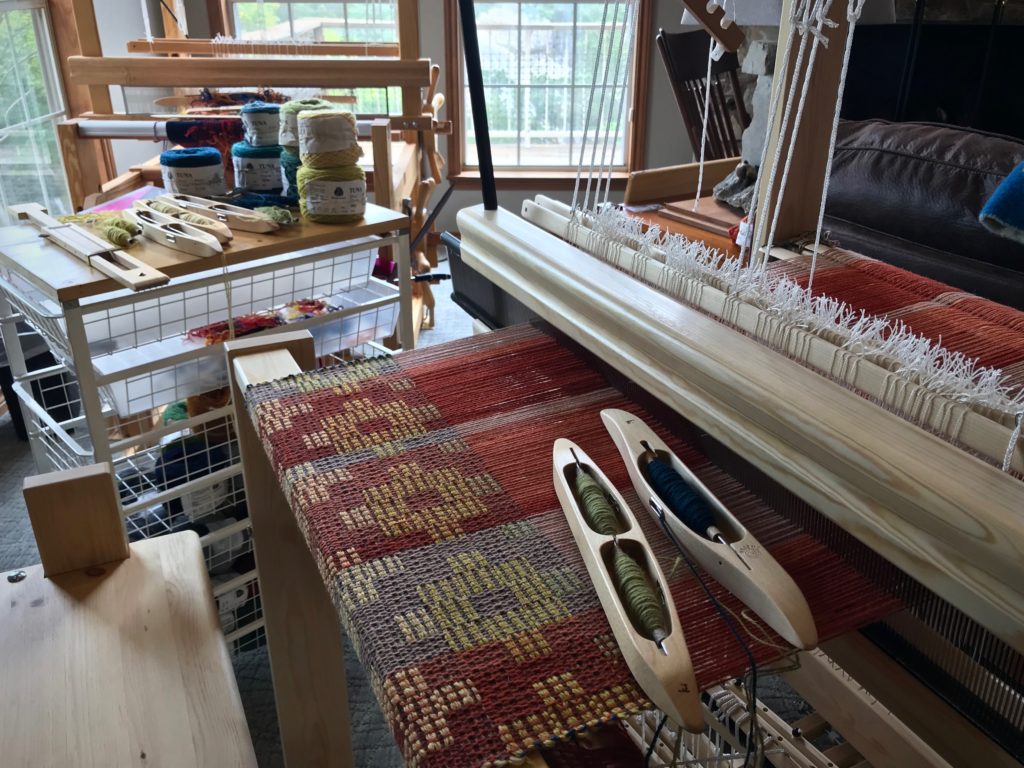
Weaving Jamtlandsdrall (Crackle) on my new Julia.
Daylight, plus colorful yarn. As summer is warming up outside, Julia is dressed warmly inside.
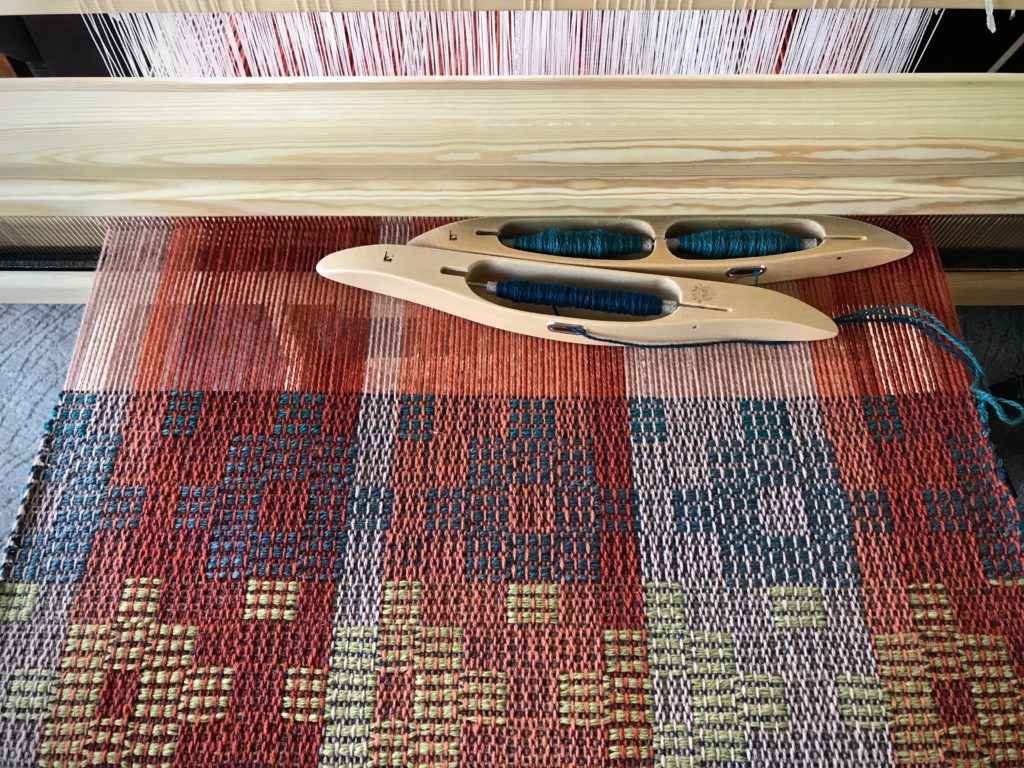
Weaving Jamtlandsdrall (crackle) on my new Julia.
There is something about weaving with a double-bobbin shuttle that I especially enjoy.
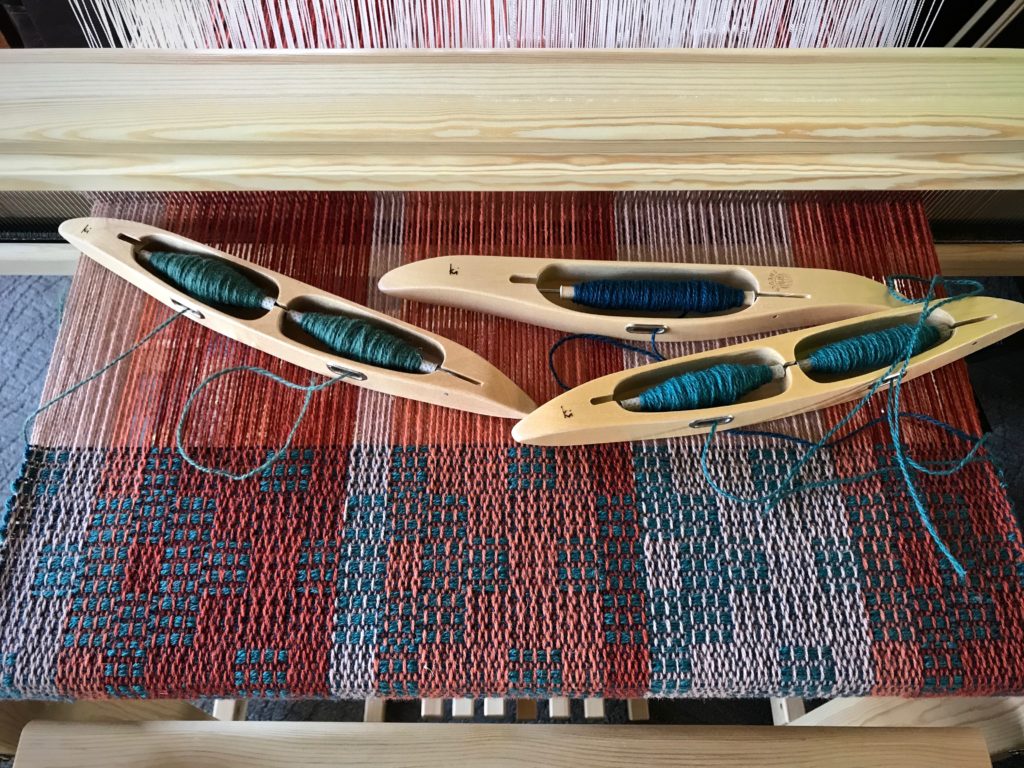
Color gradation in the pattern.
Some color gradation in the pattern.
My new Glimakra Julia!
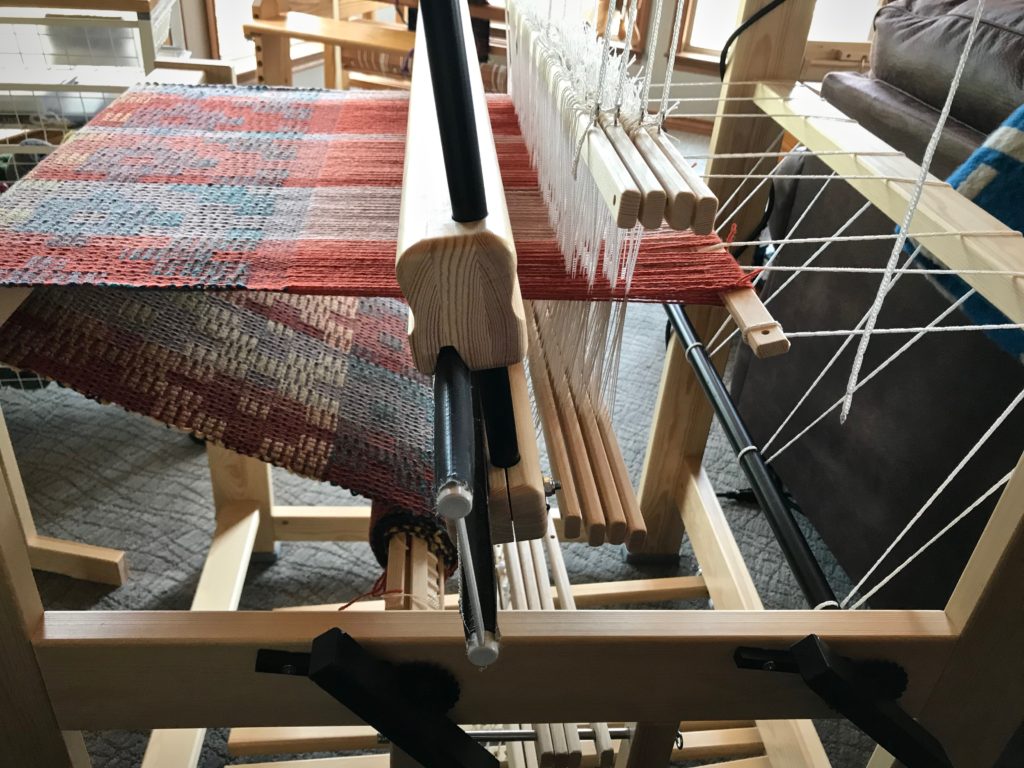
Miss Julia, filling up her cloth beam.
Crackle (Jamtlandsdrall) in Tuna Wool.
Ending with a few picks of plain weave.
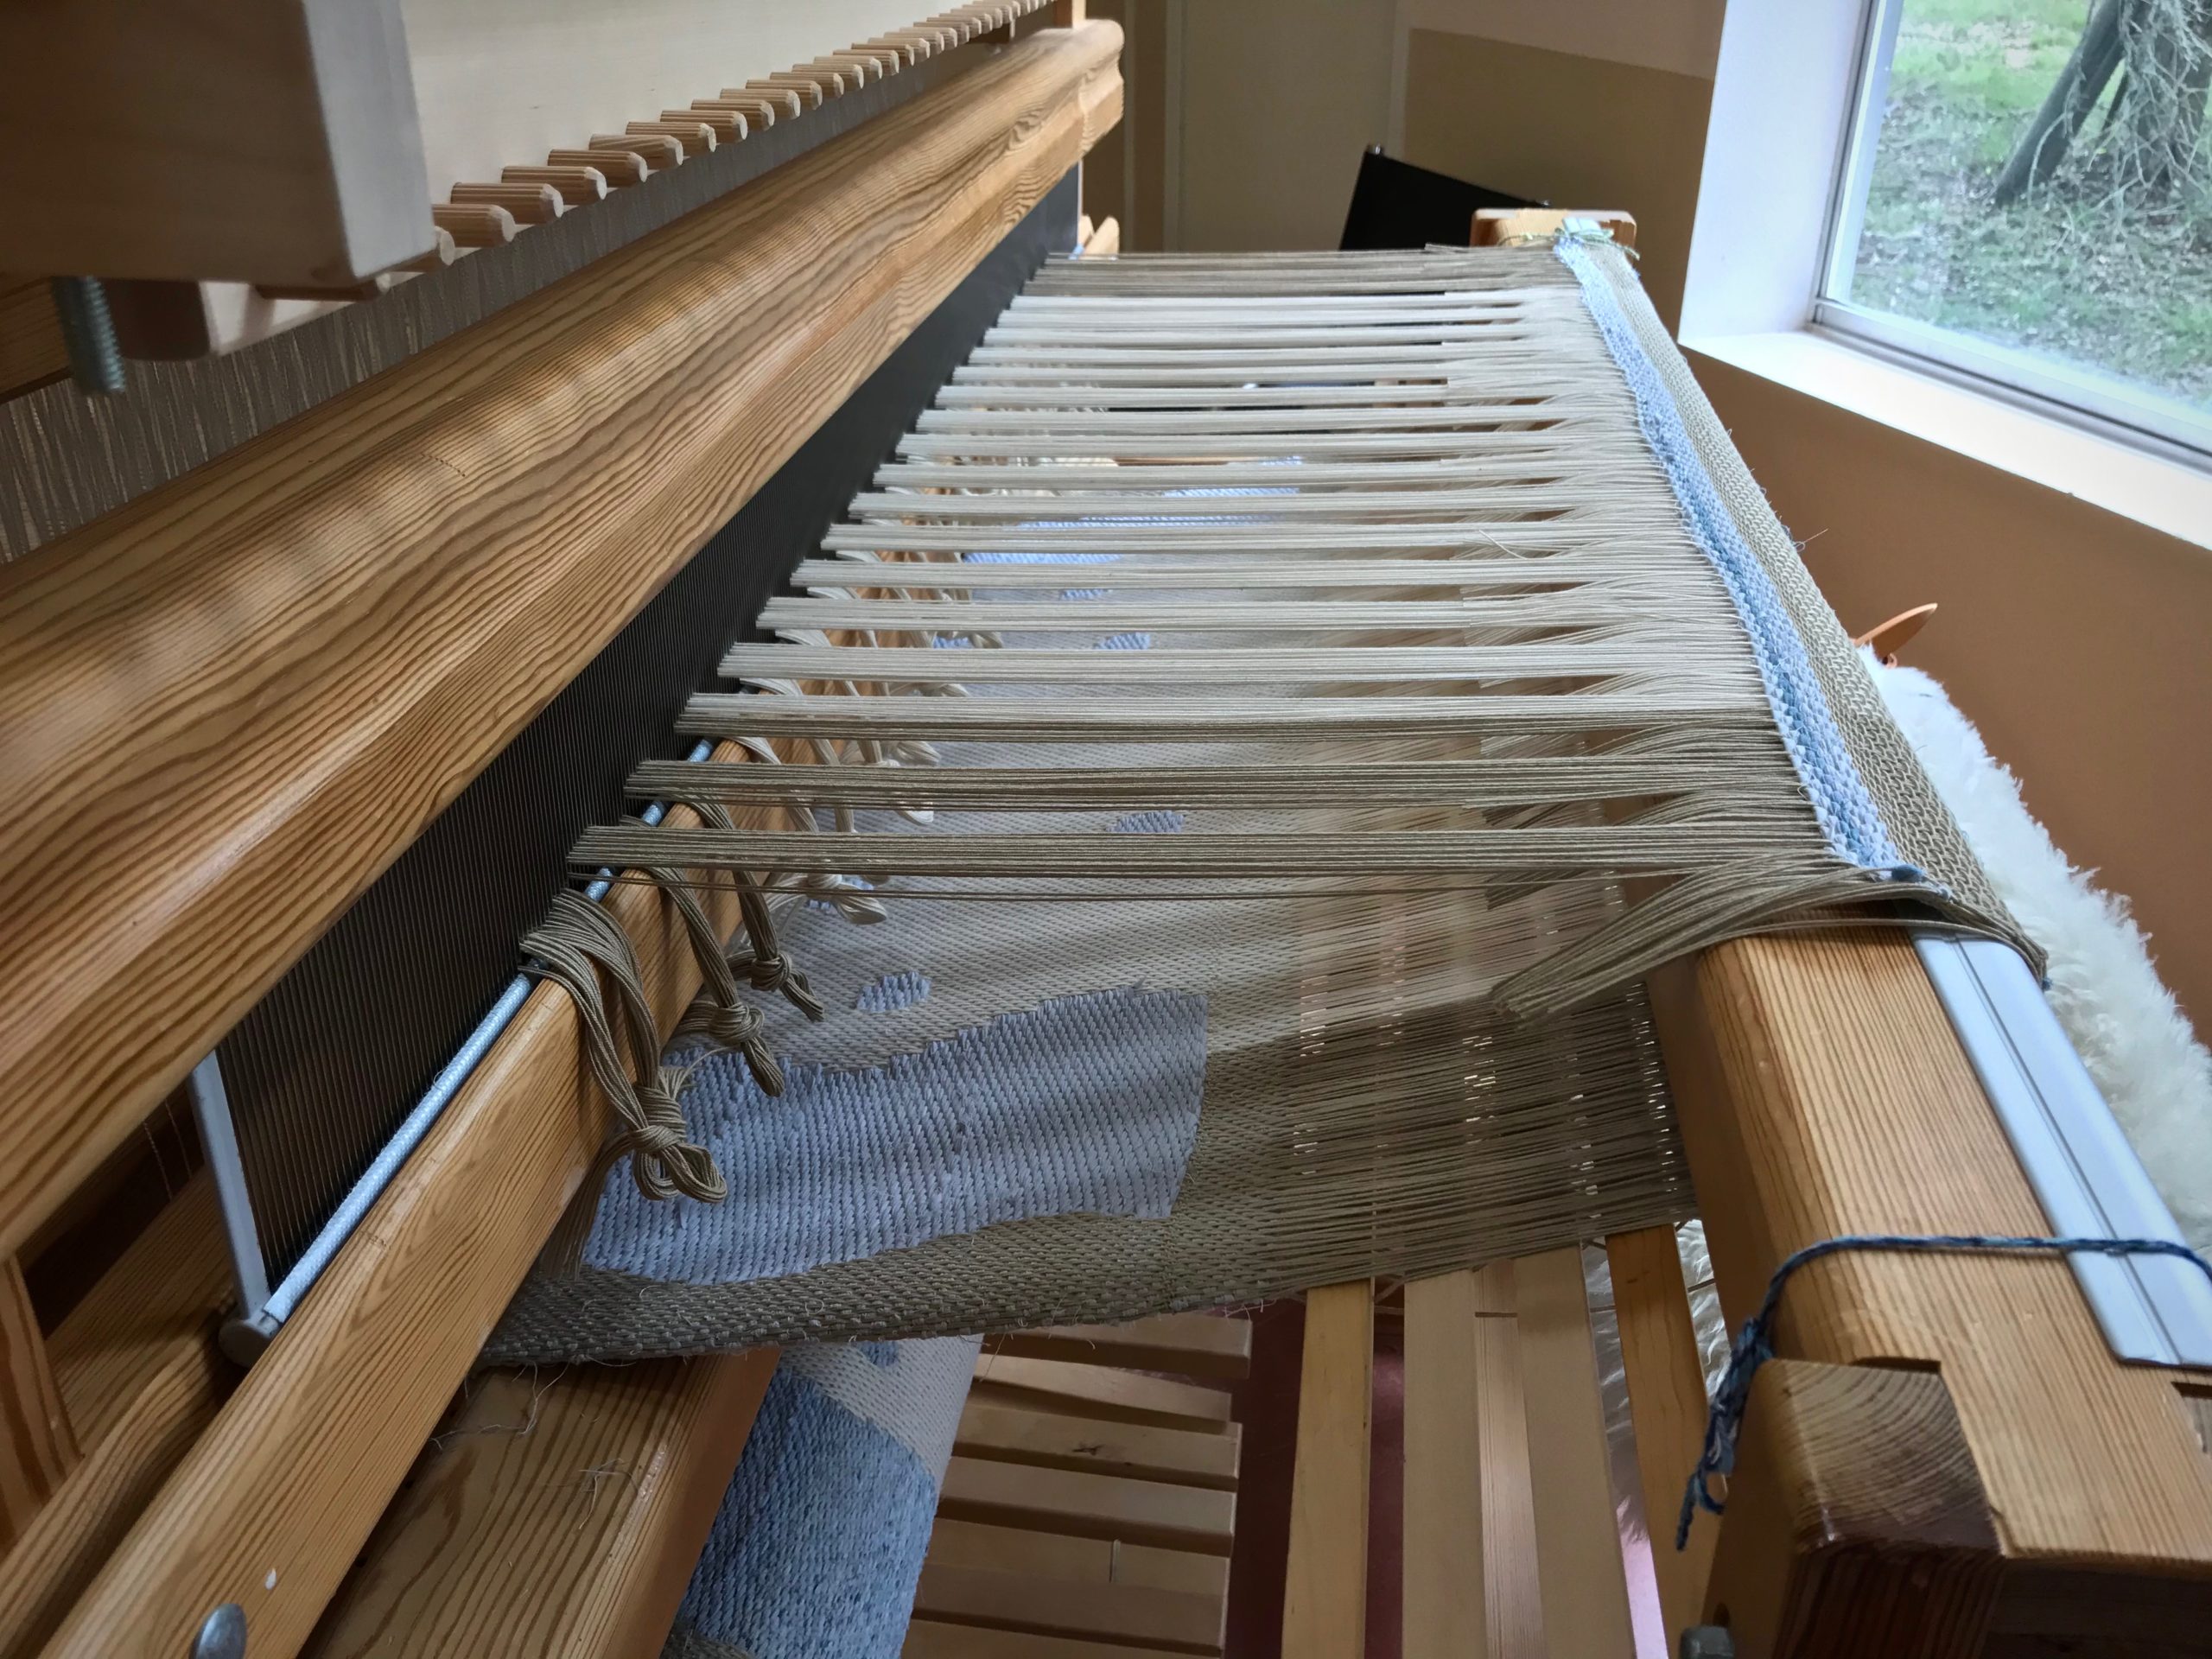
End of warp on my new Glimakra Julia.
Thrums at the end of the warp will serve as fringe.
Cutting off Jamtlandsdrall (crackle)!
Cutting off, giving a view of the back side of the cloth. Front and back have reverse images.
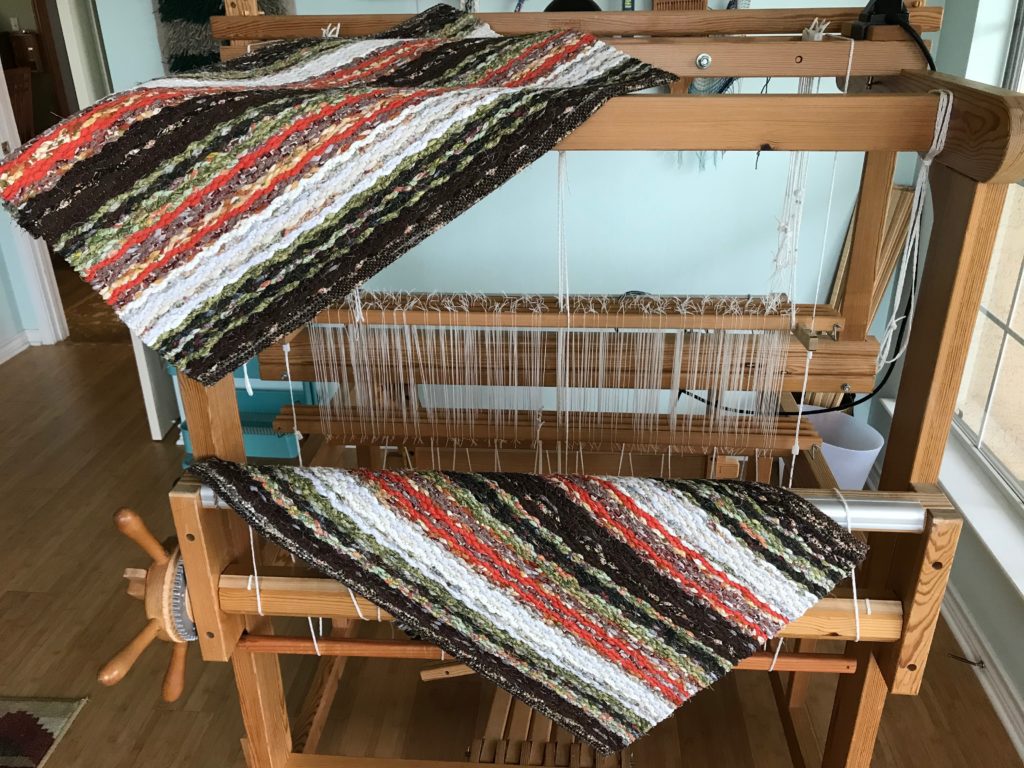
Jämtlandsdräll, just off the loom.
Twisting fringe on Jamtlandsdrall wrap.
Much to my pleasant surprise, after removing (unweaving) my short sample weaving at the beginning, and untying the front tie-on knots, I had the EXACT same length of fringe–to the centimeter–on both ends of the woven wrap.
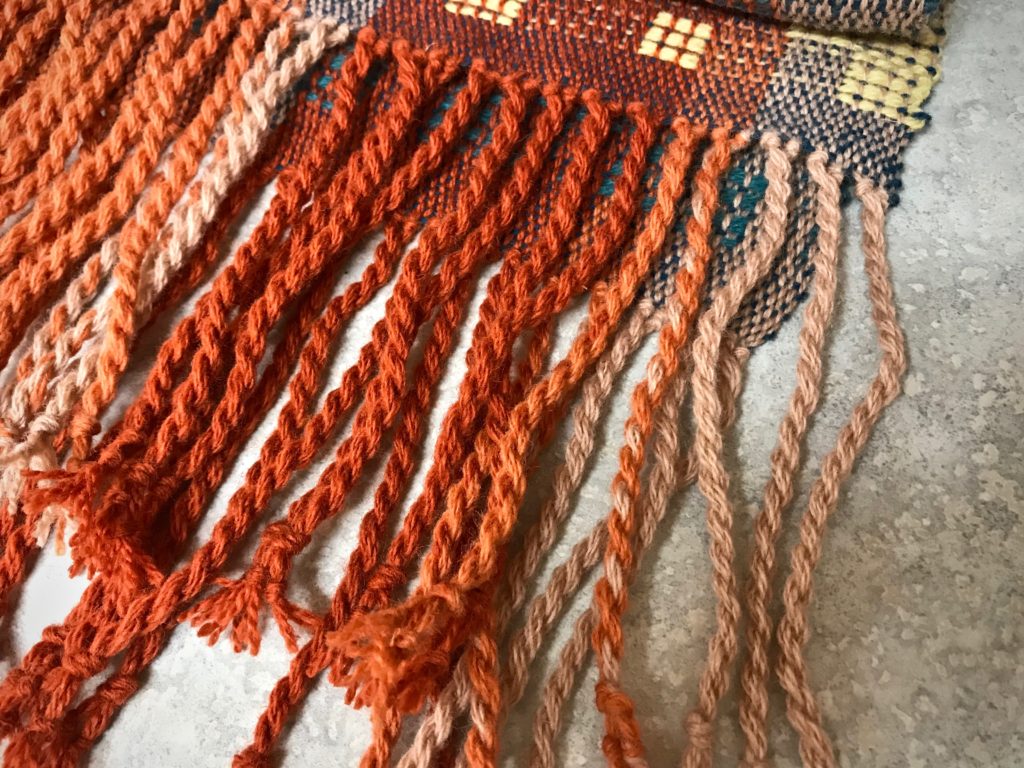
Chunky, frolicky fringe.
Overhand knots secure the weft. Two groups of four warp strands each form each chunky fringe. Now, this wrap is ready for wet-finishing.

This is one of those times when the weaving is so satisfying that I truly don’t want the warp to come to an end. (…except that I’m excited to start on Julia’s second adventure!)
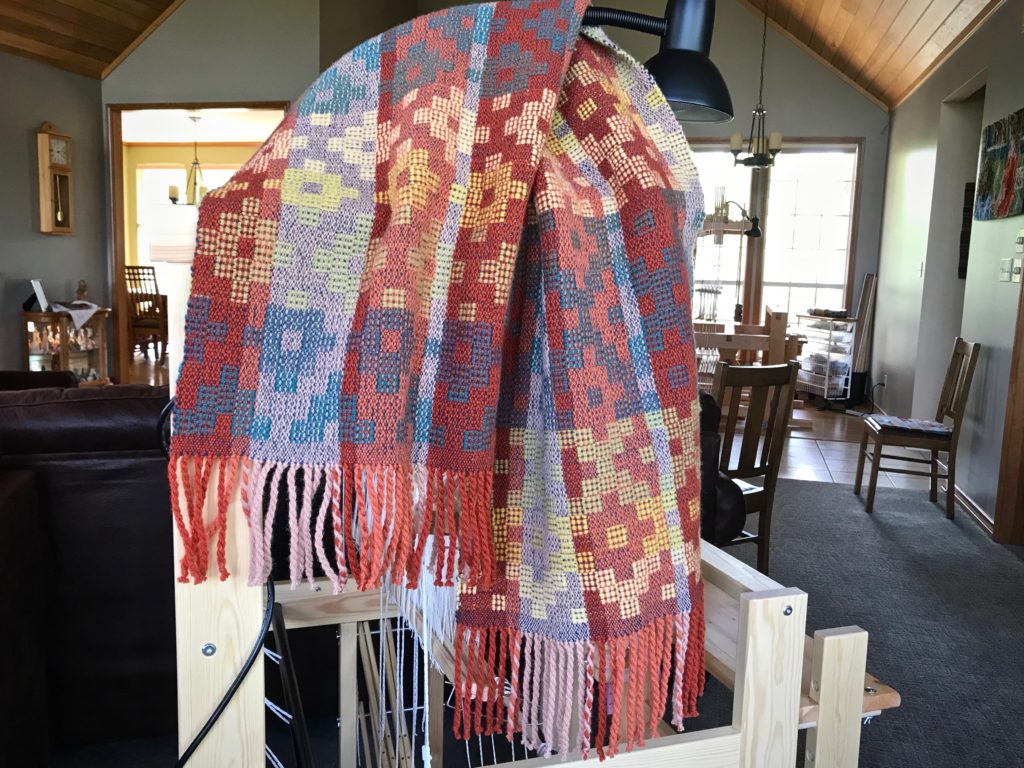
Jämtlandsdräll Autumn/Winter Wrap

May your adventures never cease.

Happy Weaving,
Karen

Stony Creek Drawloom Rag Rug

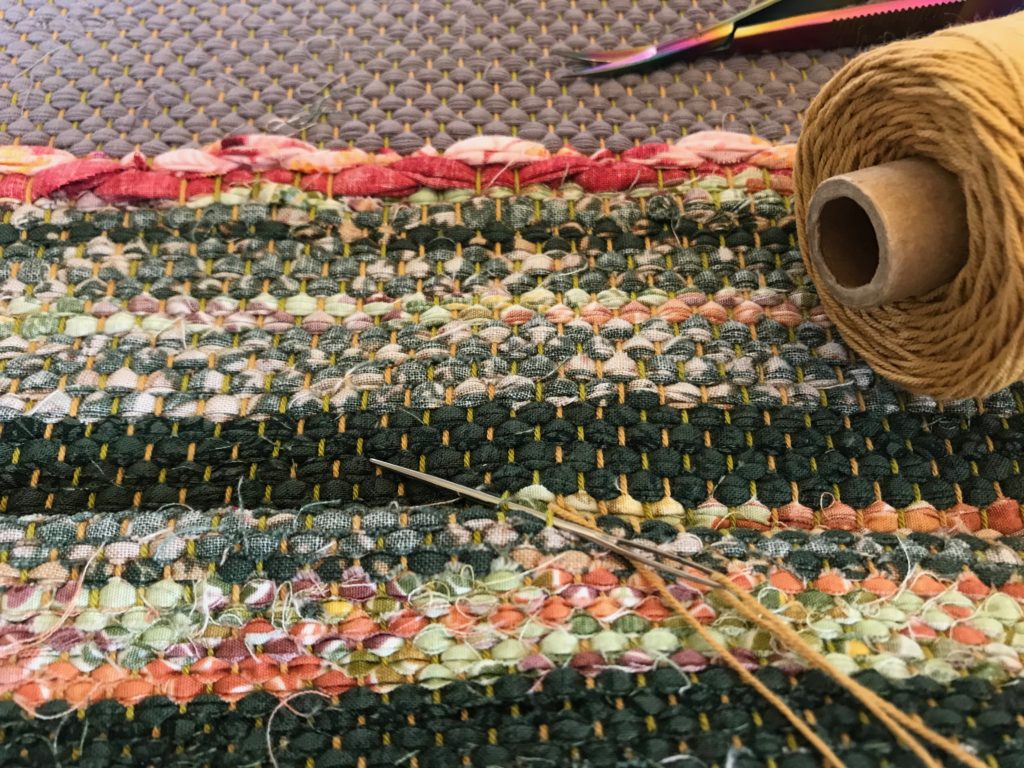
I have woven umpteen rag rugs. But never one like this! Eight-shaft satin on the single-unit drawloom brings its own challenges, from managing draw cords to getting a decent shed. Add rag weaving to the mix and we have a whole new experience!

Cutting off drawloom rag rug.
Cutting off in 1-inch sections to make it easy to tie back on for the second rug on the warp.

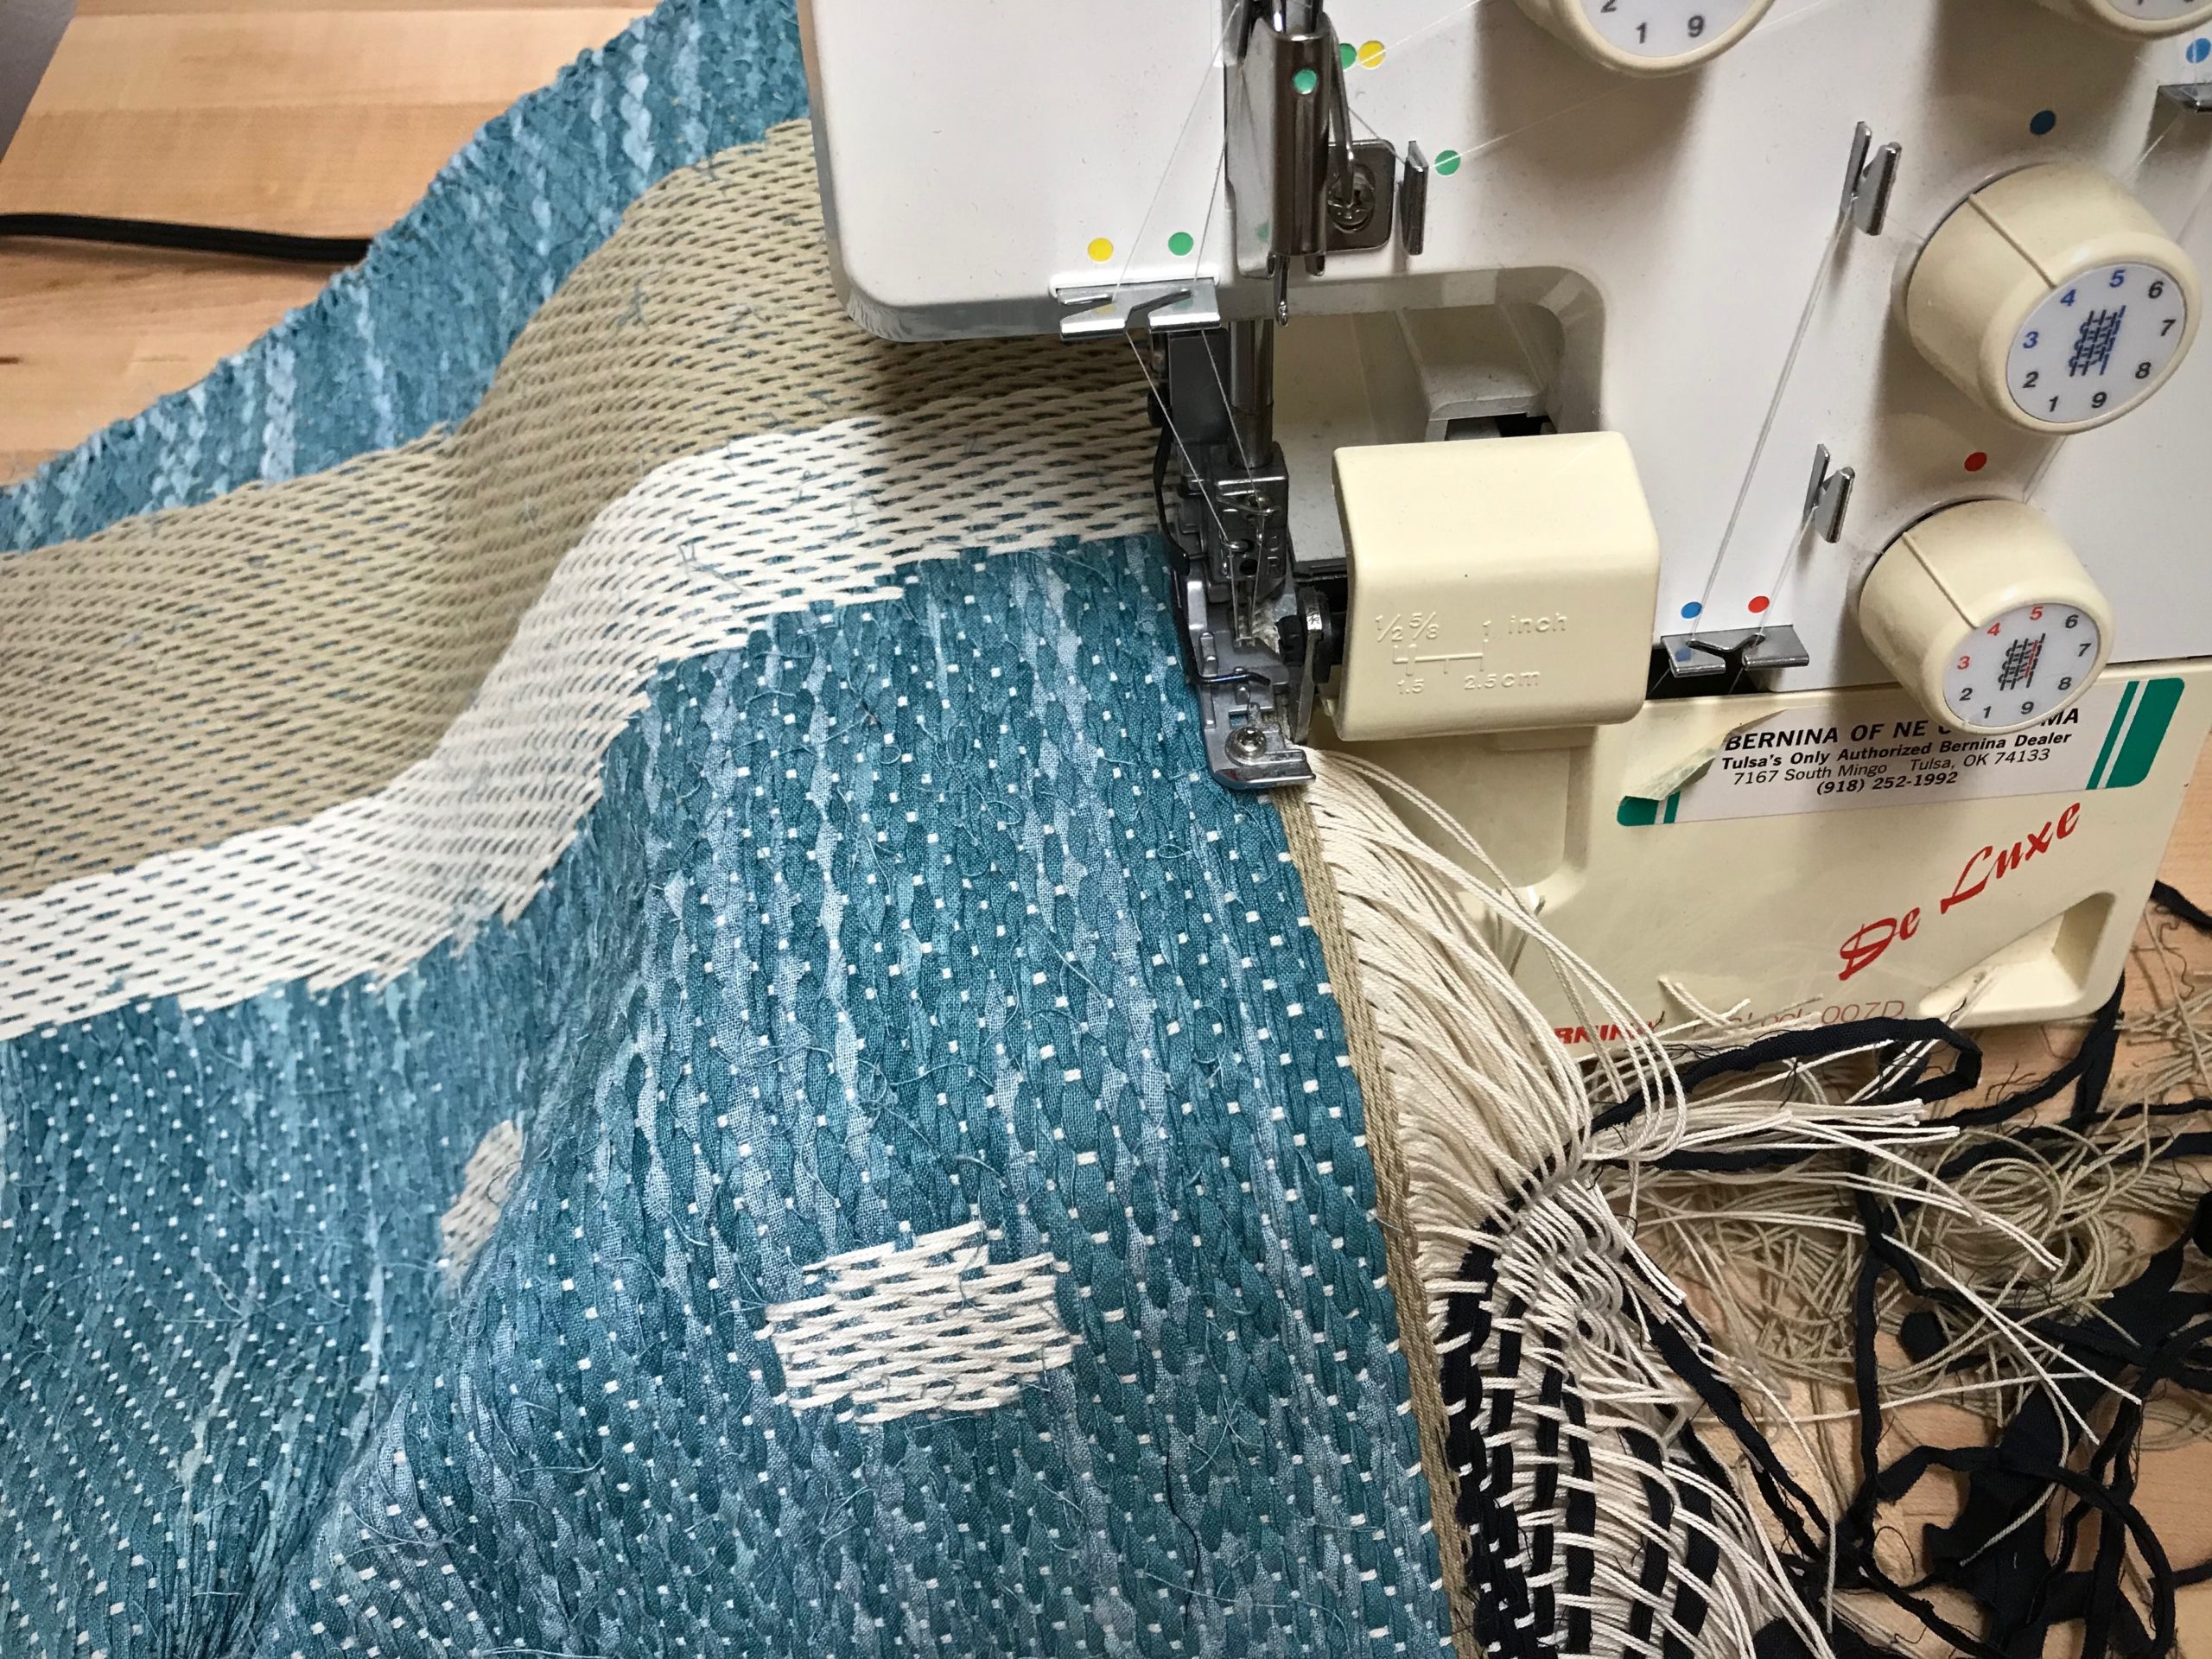
Finishing has its own set of new challenges. My go-to method of tying knots to secure warp ends is unwieldy in this instance because the threads are extremely dense. By quietly doing some detail studies on a sample, I find a way to finish this unusual rug: Secure the ends with the serger. Then, sew two rows of straight stitches on the sewing machine for added security. Sew a narrow bound hem using some of the fabric that was used as weft in the rug. Steam press to finish.

Drawloom rag rug finishing details.
Serger cuts off the ends as it overlocks the edge. I pull out the scrap header little by little just ahead of the serger needles and blade.
Finishing drawloom rag rug - steps.
Two rows of straight stitching.
Bound hem on a drawloom rag rug.
Lightweight woven fusible interfacing backs the fabric used for the narrow bound hem.
My Grandma's thimble.
My Grandma’s thimble helps me hand stitch the back side of the bound hems.
Drawloom rag rug finished!
Finished and pressed.
Stony Creek Rag Rug woven on single-unit drawloom! (Design by Kerstin Åsling-Sundberg)
Dream come true! Stony Creek Rag Rug (Design by Kerstin Åsling-Sundberg)

I have another rag rug to weave on this warp. It will still be a challenge. With what I’ve learned, though, I’m anticipating a satisfying weaving and finishing experience.

We know what to do in normal circumstances. It’s in unusual times that we fall into dismay. Private time with Jesus turns confidential fears to confident faith. He treats our challenges like personal detail studies, showing us the way forward. His grace enables us to conquer the next challenge with confident faith.

May your confidence grow.

With faith,
Karen

Handwoven Scarves Embellished with Flair

You could say I finished these scarves too late. Winter in Texas has come and gone. But I prefer to think of it as considerably early. When cool weather comes back around in a few months, I’ll be ready. I began with the draft for the lovely Stardust scarf, designed by Mona Nielsen, published in Happy Weaving, from VävMagasinet, p.74. I simply substituted the yarn and colors in the book with what I had on hand.

New warp on warping reel for winter scarves.
Warp is mostly 6/2 Tuna wool, with some 7.5/2 Brage wool included.
Stripes on the back beam. What a lovely sight!
Made with yarn on hand. This means that additional stripes have been added to the plan.
Weaving by the fire in the middle of winter.
Weaving by the fire in the middle of winter. Mora 20/2, a fine wool, is used for weft.
Two new wool scarves coming off the loom!
Two scarves coming off the loom.
Fringe twisting.
Fringes are cut and twisted.

The scarves are delightful, but the icing on the cake is the addition of fluffy, furry pompoms, an embellishment with youthful flair. And that is exactly what I will put on at the first sign of autumn chill.

Making pompoms to embellish the handwoven scarf.
Some of the thrums are used in making pompoms.
With the Pom and Tassel Maker by Red Heart I can make seven pompoms at a time.
With the Pom and Tassel Maker by Red Heart I can make seven pompoms at a time. I wrapped the yarn around 100 times, making full and thick pompoms.
Each furry ball is shaped and trimmed.
Each furry ball is shaped and trimmed. I used 8/2 cotton for the 12″ tie around the center of the pompoms.
Adding pompom embellishments to the scarf.
Each pompom is stitched to 3 – 4 twisted fringes. Seven pompoms at each end of the scarf.
Handwoven scarves with pompoms!
Now, the scarves are ready for wet finishing. Notice how you can see the separate strands of yarn in the pompoms before they are washed.
Handwoven scarves with pompoms, hanging to dry.
Scarves have been washed by hand in warm water in a large sink, with Eucalan delicate wash. I purposely gave them as much agitation as I could by hand. They are hanging to dry. Notice how the pompoms have slightly felted, making them even more soft and furry.
Winter scarf amid spring bluebonnets in Texas hill country.

Some things are certain. The sun will rise tomorrow. The seasons will follow their schedule. The faithfulness of the Lord our God will never end.

May you dress in youthful flair.

Warmly,
Karen

Tied Up in Knots

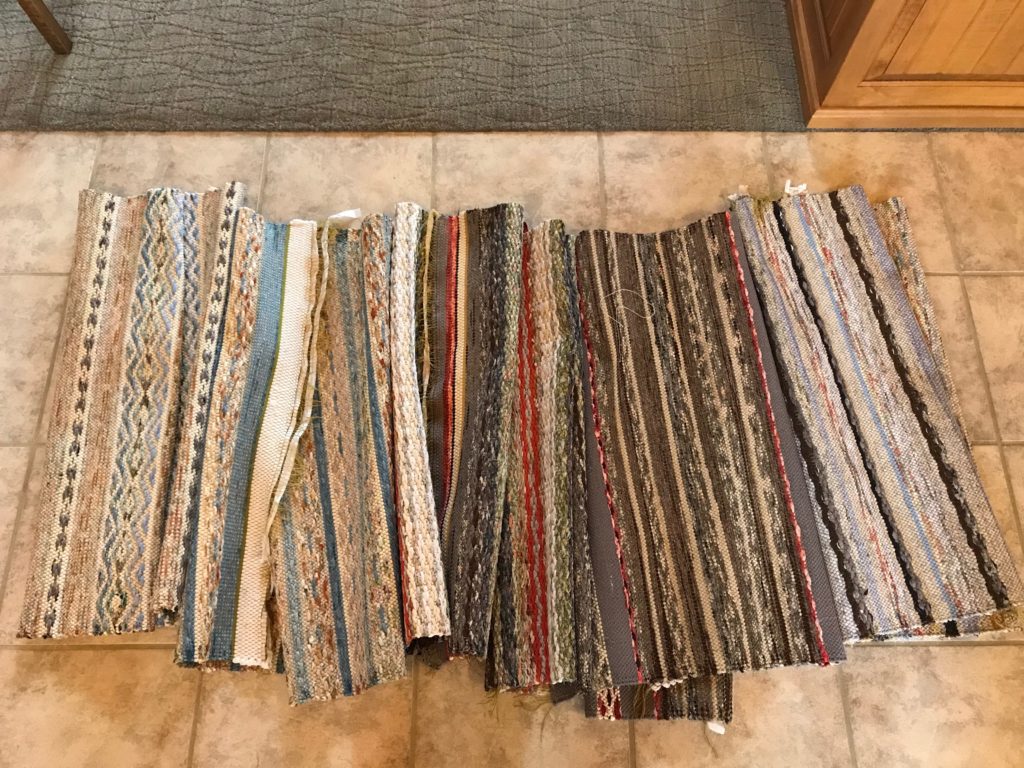
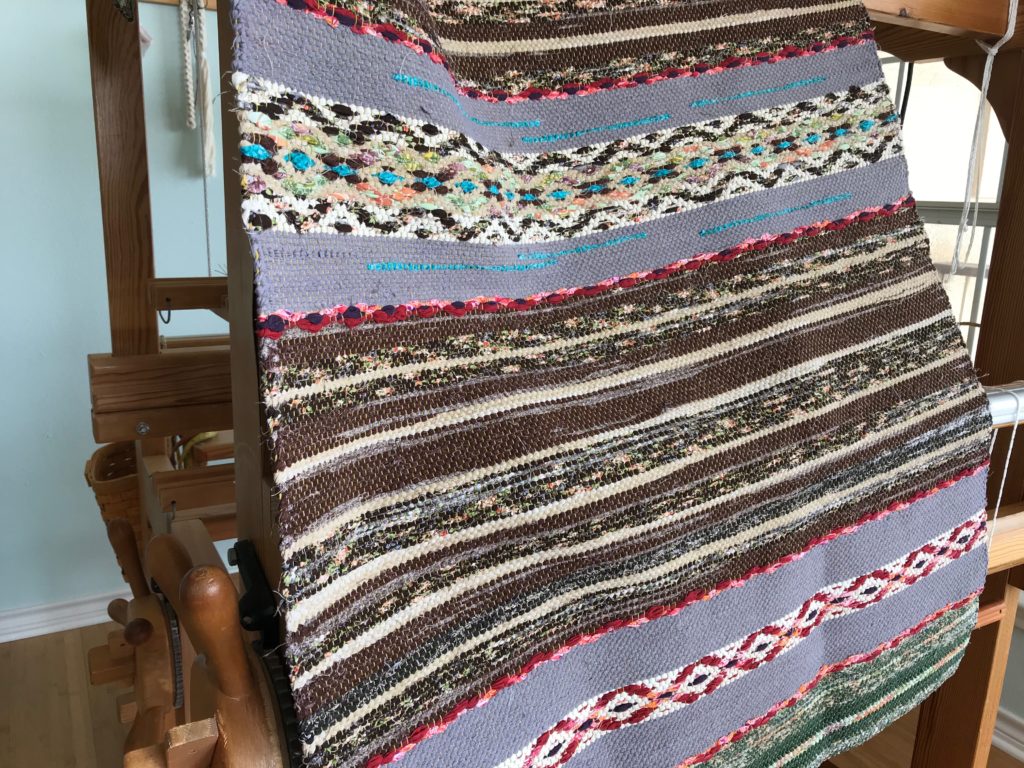
Every time you cut off a warp there is more to do before the woven material is ready for its end purpose. Do you enjoy tying knots? And, hemming rugs by hand? I don’t mind completing these final steps. It’s part of the whole weaving process. Three of the six rosepath rag rugs are now finished. Truly finished.

Six new rosepath rag rugs, ready for finishing!
Six rosepath rag rugs. Rugs are cut apart and warping-slat dividers have been removed.

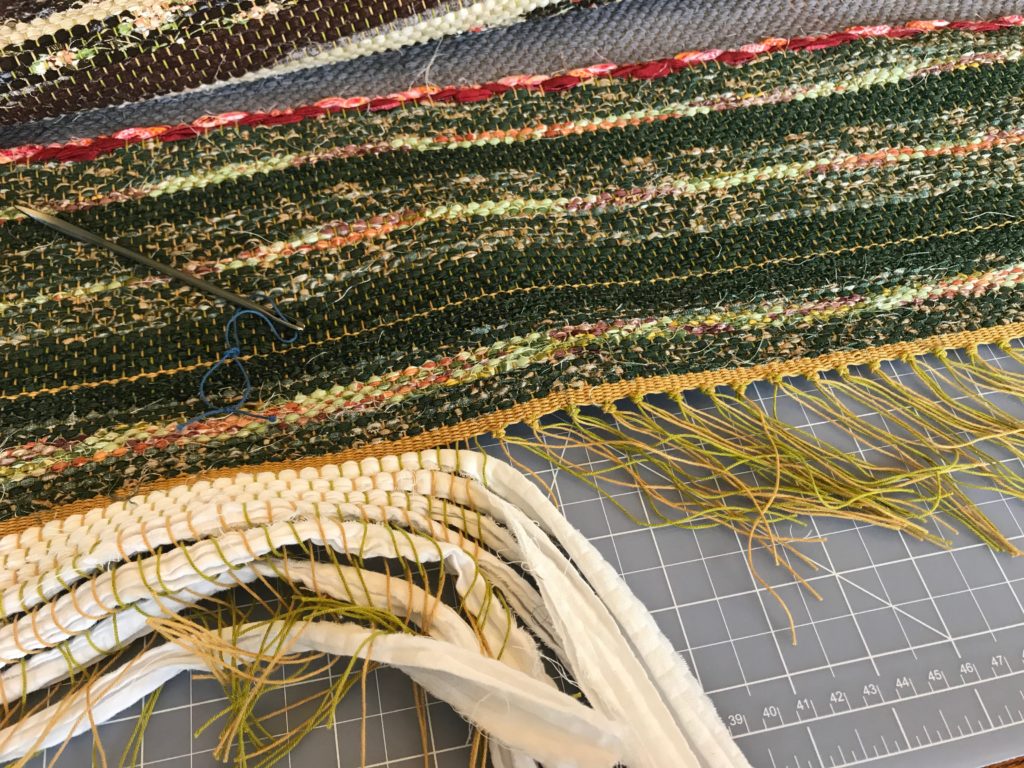
Tying the warp ends in overhand knots permanently secures the weft. These knots won’t work loose. I turn the hem, concealing the knots; and stitch the hem down. After I sew on my label, the work is complete.

Tying knots to finish a rag rug.
Warp ends are tied into overhand knots, four ends at a time.
Rag rug finishing.
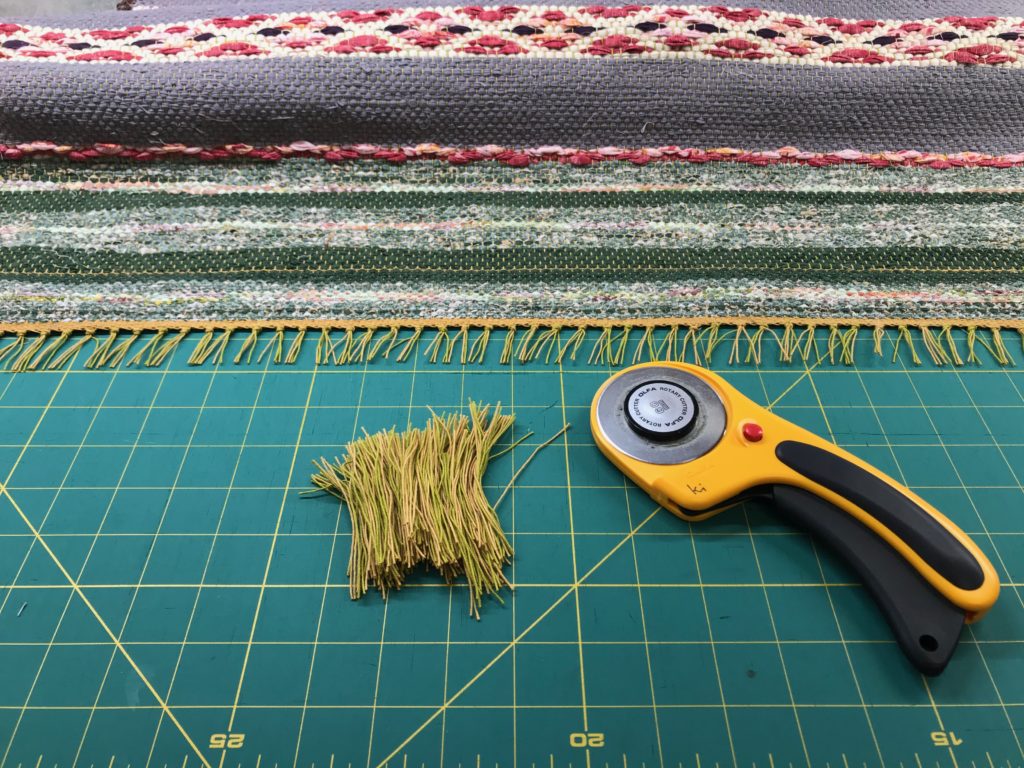
Ends are trimmed to 1 inch.
Hand hemming a rosepath rag rug.
Hem is folded under and pressed. The needle catches a warp end from the fold and a warp end from the body of the rug. Rug warp is used as thread for hemming.

Jesus famously said, “It is finished,” when he was on the cross. His completed good work replaces our work of trying to be good enough, trying to fix everything, trying to control our lives. Our knots won’t hold. We can trust that his finished work will never be undone. God loves you. Trusting him is loving him back.

Rosepath rag rug, fresh off the loom.
One completed rug, named “Treasures,” for my neighbor’s home.
Handwoven rag rugs, named "Blessed Assurance." Made for a friend.
Pair of completed rugs, named “Blessed Assurance,” for another neighbor’s home.

May love securely hold you.

Trusting,
Karen

Siblings Tapestry and Process Video

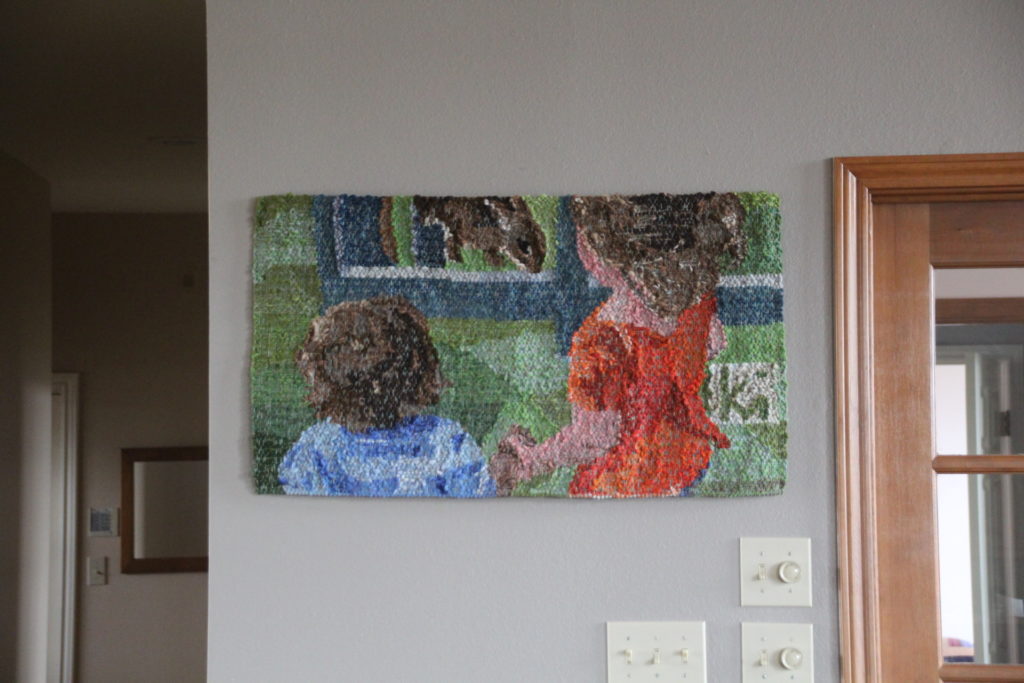
Drum roll please… And now, I present to you: Siblings

Siblings Tapestry by Karen Isenhower

The Siblings tapestry is a woven expression of personal meaning. The tapestry tells a story of a singular incident, almost hidden in the excitement of the occasion. Lucia grasps Ari’s wrist as they approach Sugar Pie, the bunny. In that moment I see something worth keeping—precious sibling love.

Please enjoy this short video of the process of weaving and finishing the Siblings tapestry.

May you know the security of true love.

Happy Weaving,
Karen