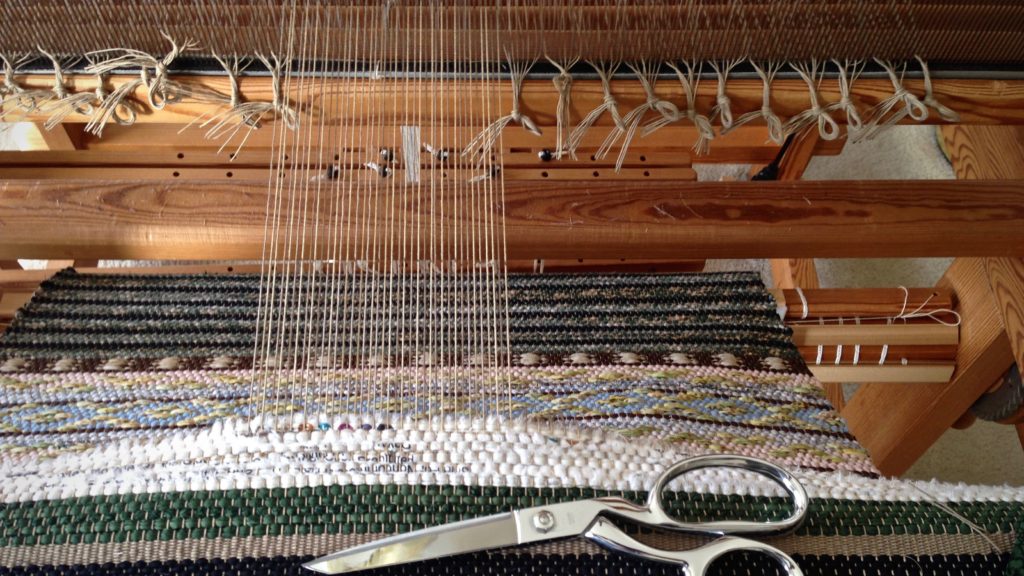
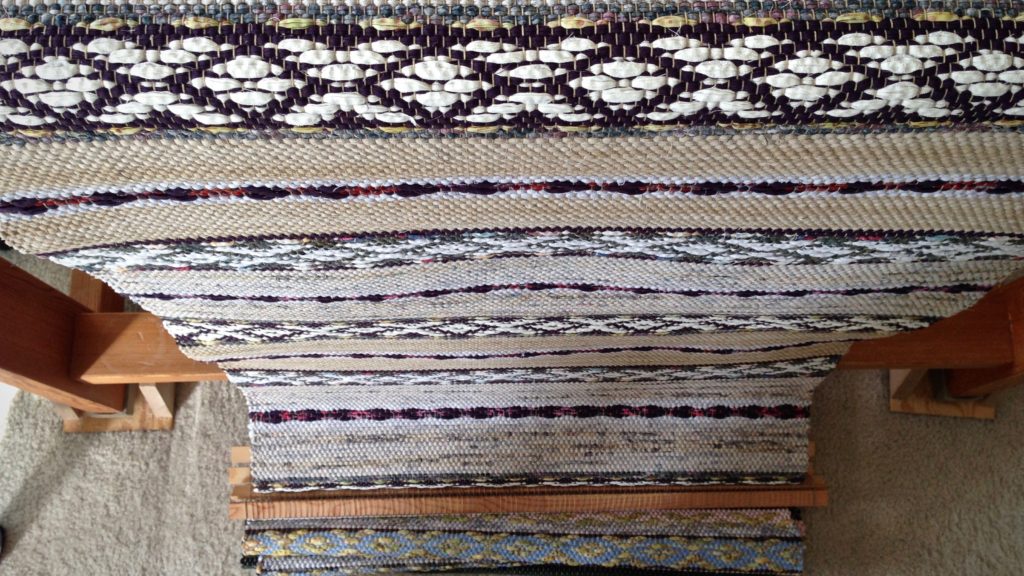
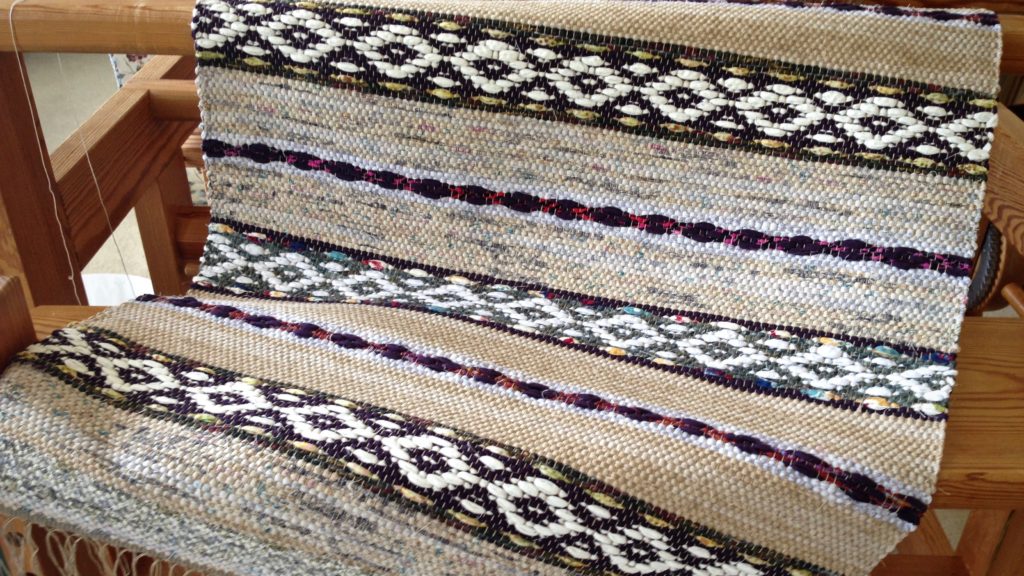
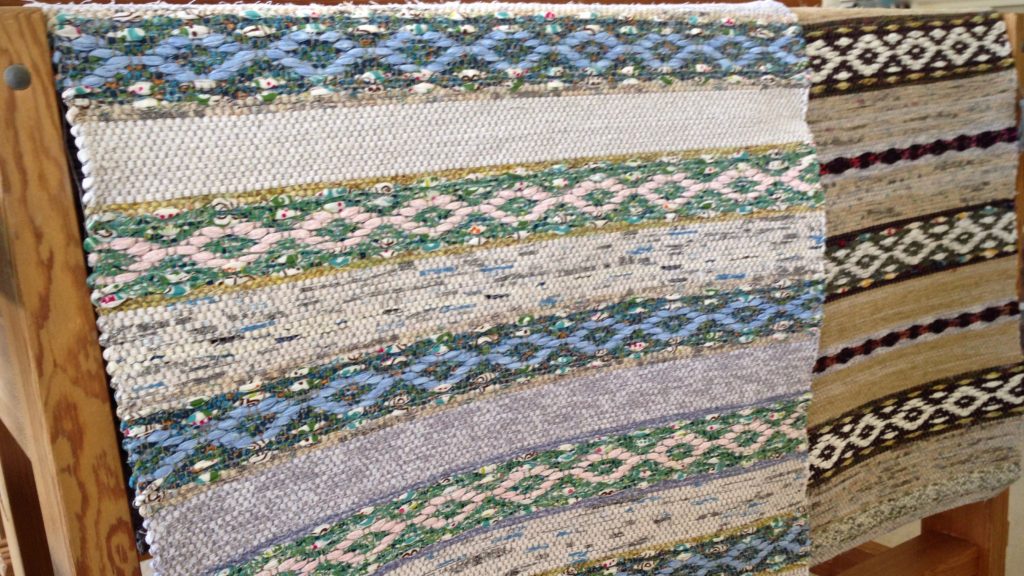
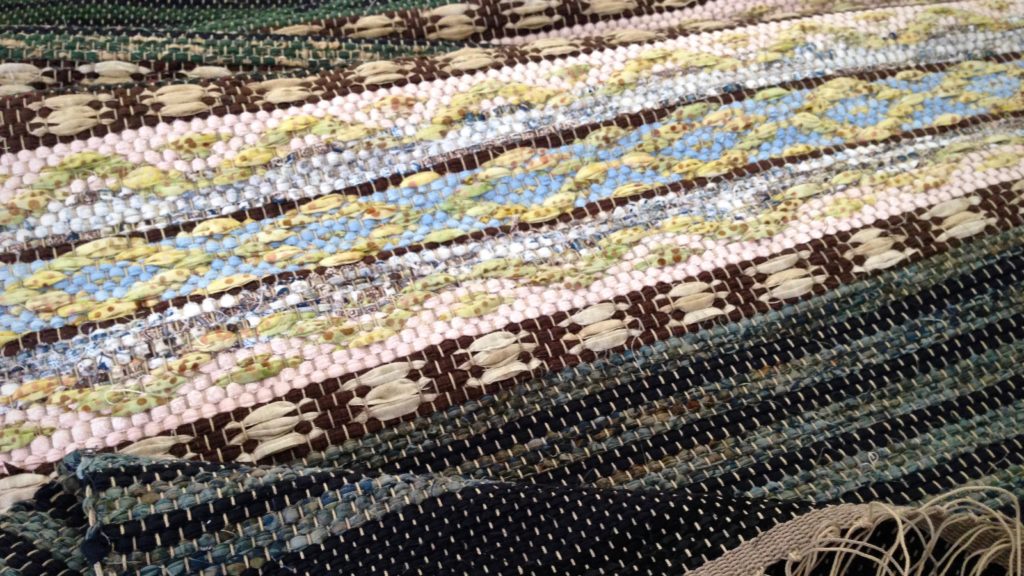
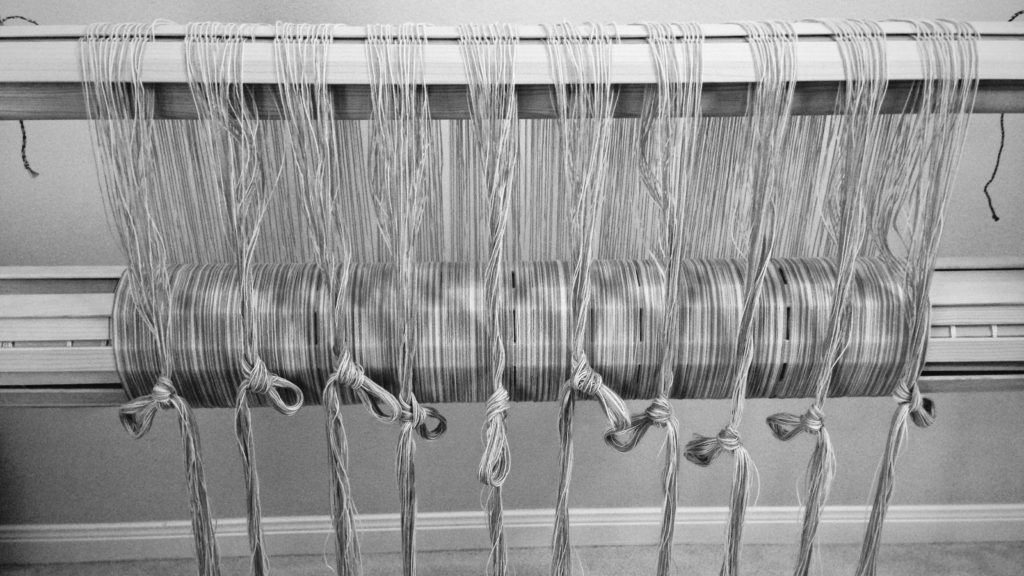
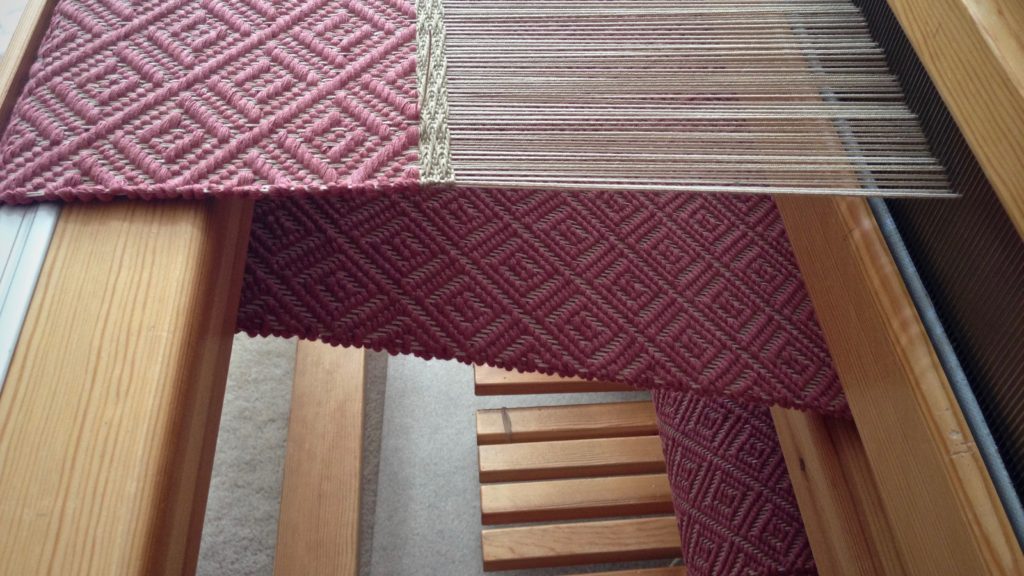
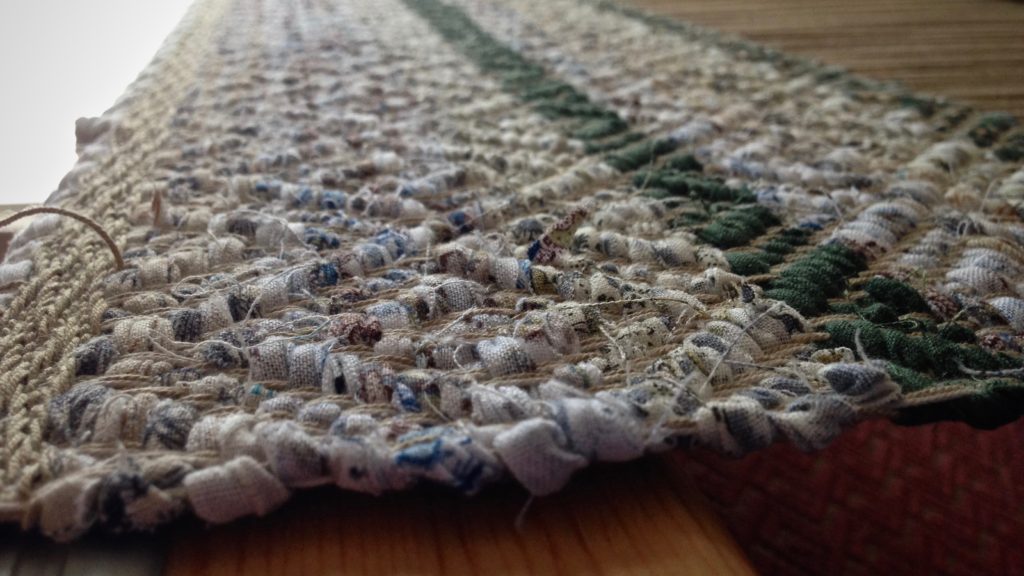
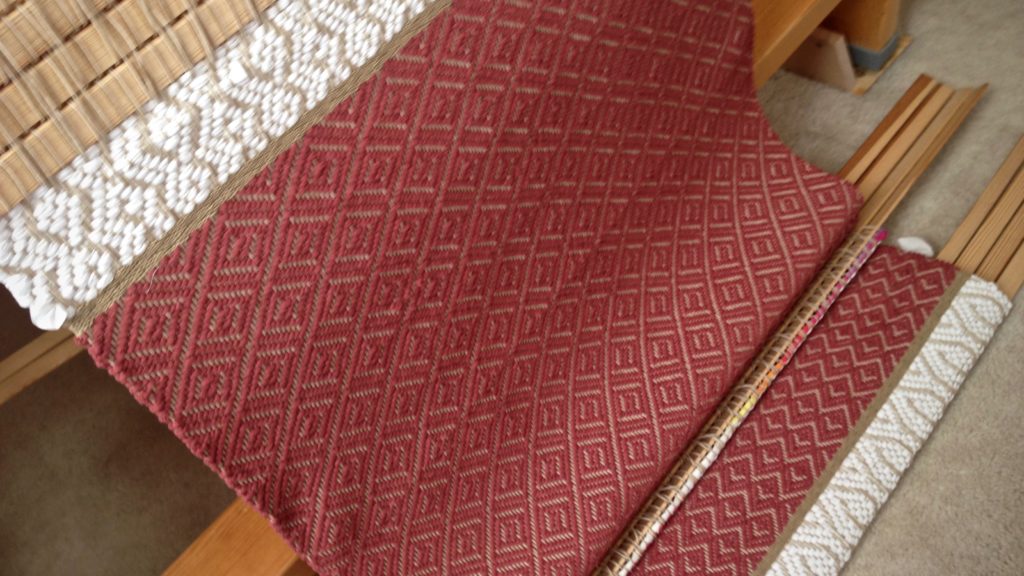
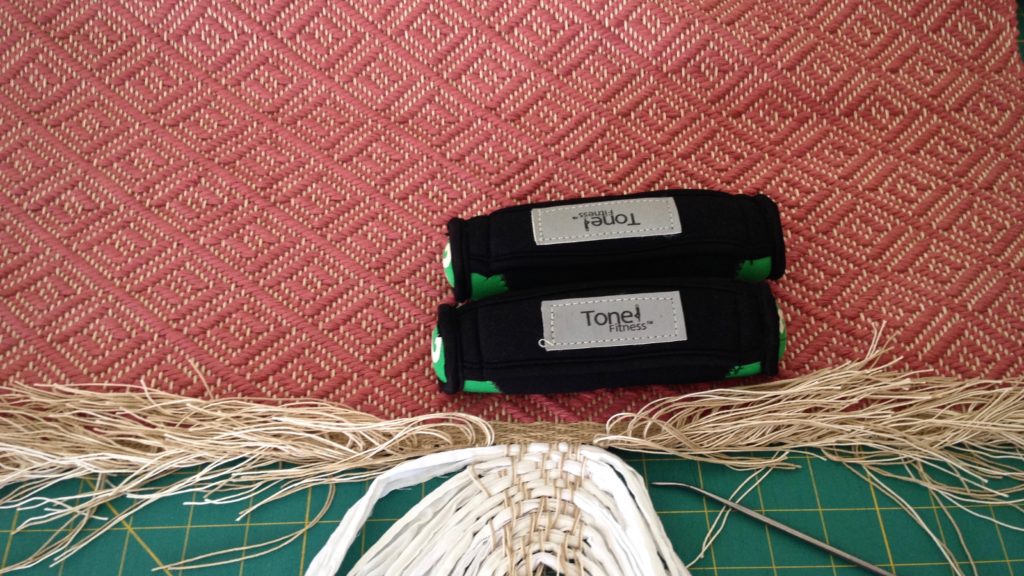
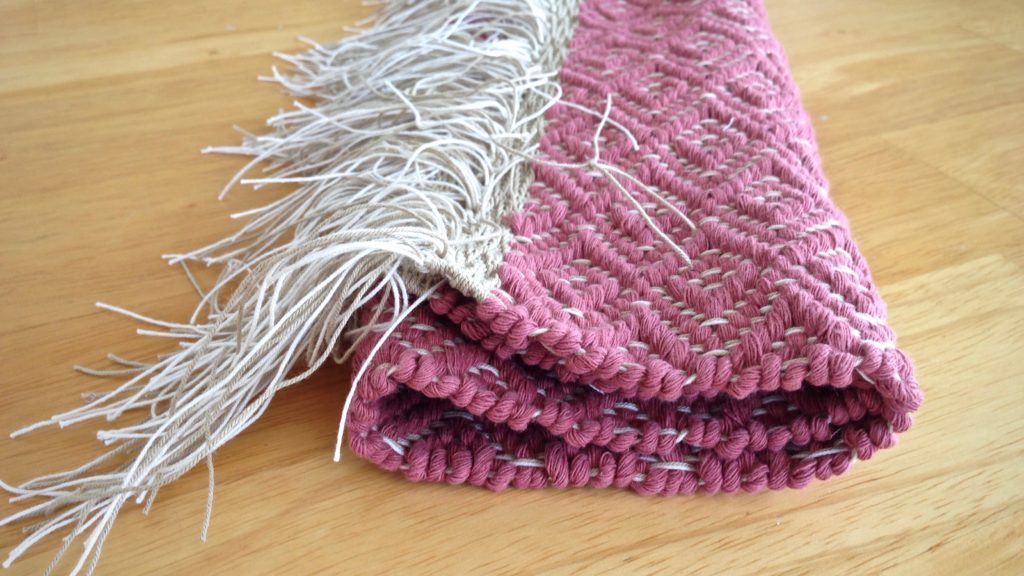
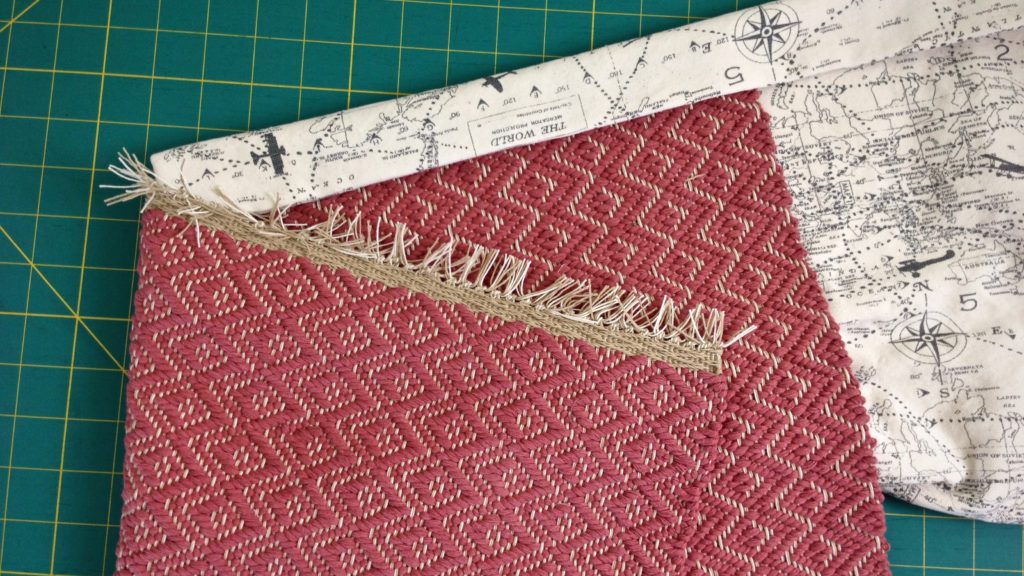
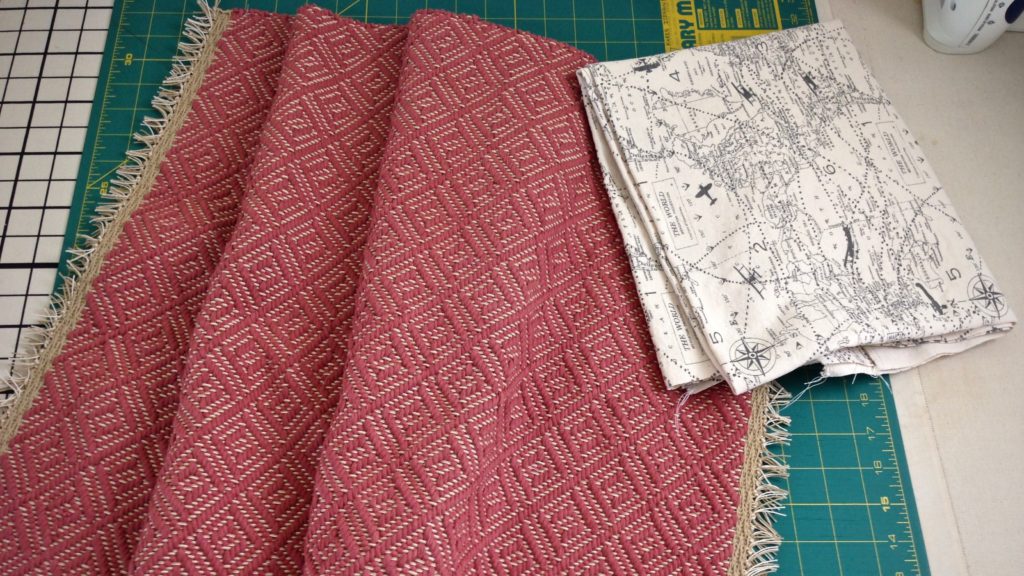
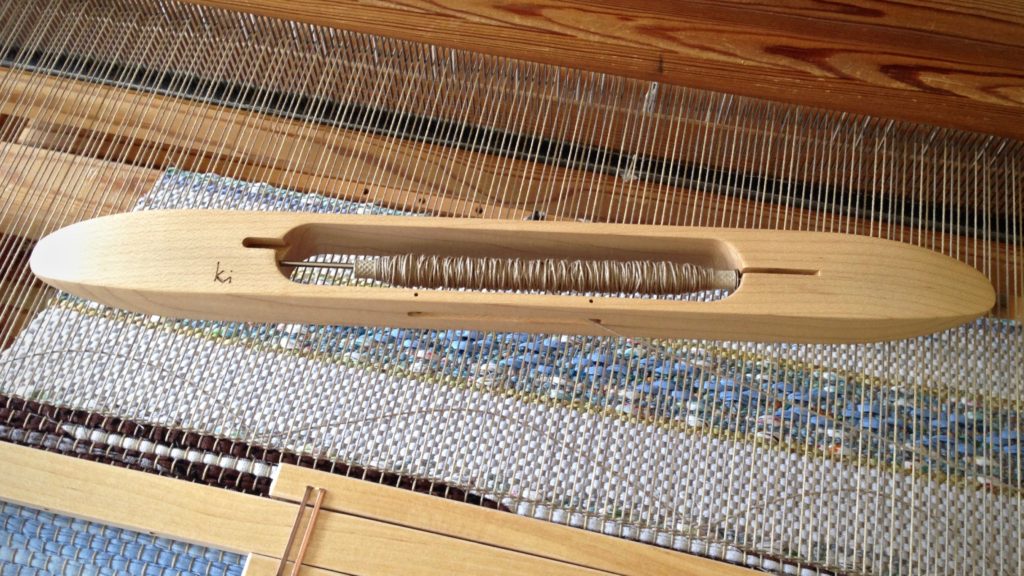
There are three completed rosepath rag rugs on the loom, with warp remaining for at least one more rug. Since I don’t know how soon I will be able to weave the remainder, cutting off the completed rugs makes sense. After hemming, I will have three new rugs for Etsy. (Don’t miss the new Quick Tip video at the end of this post!)
I look forward to full weaving days again, with both looms dressed, and shuttles zooming. That rag rug warp still on the loom will be a reward worth waiting for.
Last week, when I awoke from surgery, the relentless pain I had been experiencing in my left leg and lower back was gone. Completely gone! It made me think of heaven. Ancient writings tell us that the lame will leap like a deer, and that sorrow and sighing will flee away. There’s no place for pain in heaven. All the people there have been healed and restored. That’s a reward worth waiting for. And I won’t be surprised if there are at least a few in heaven who are weaving away to their heart’s content.
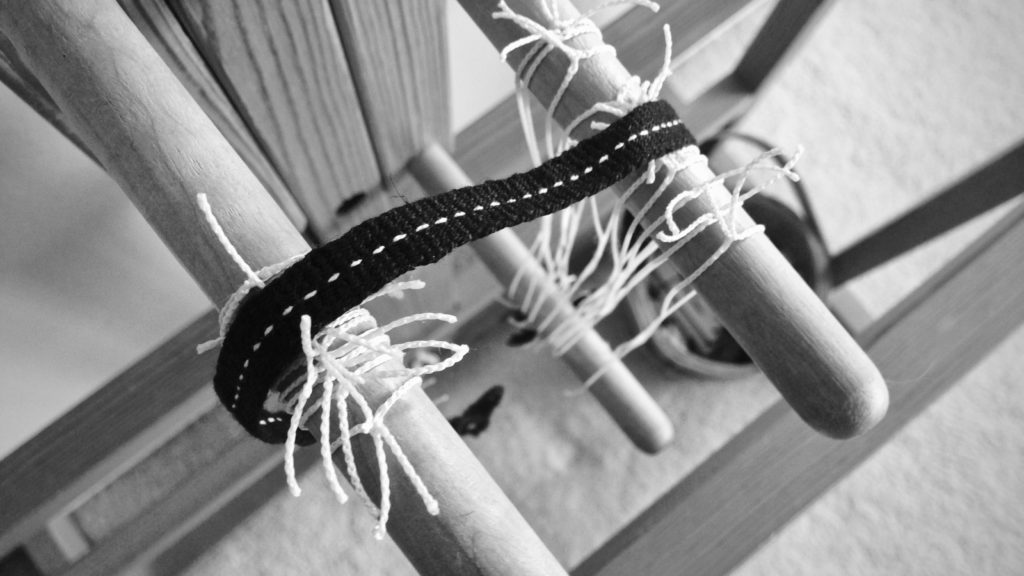
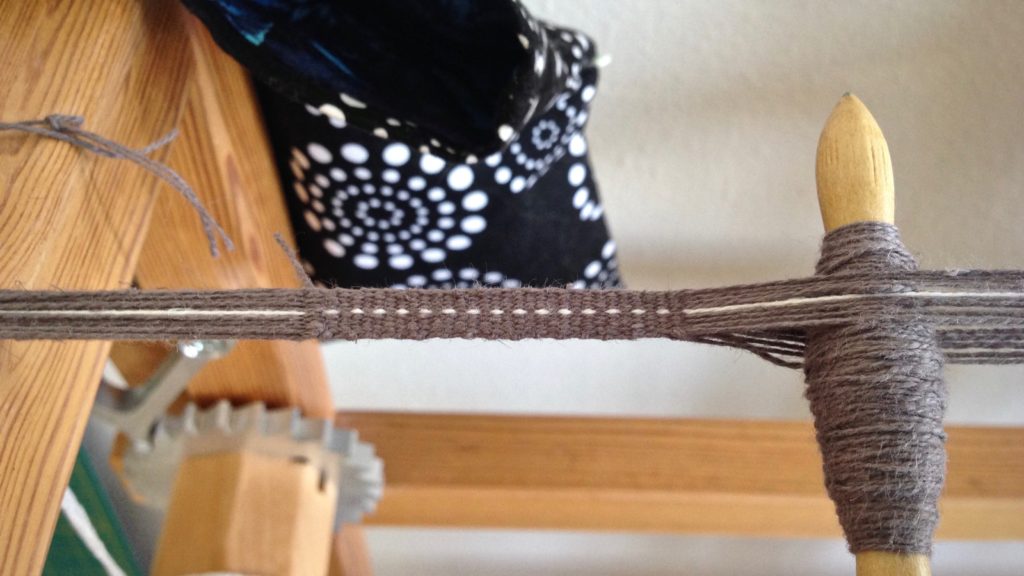
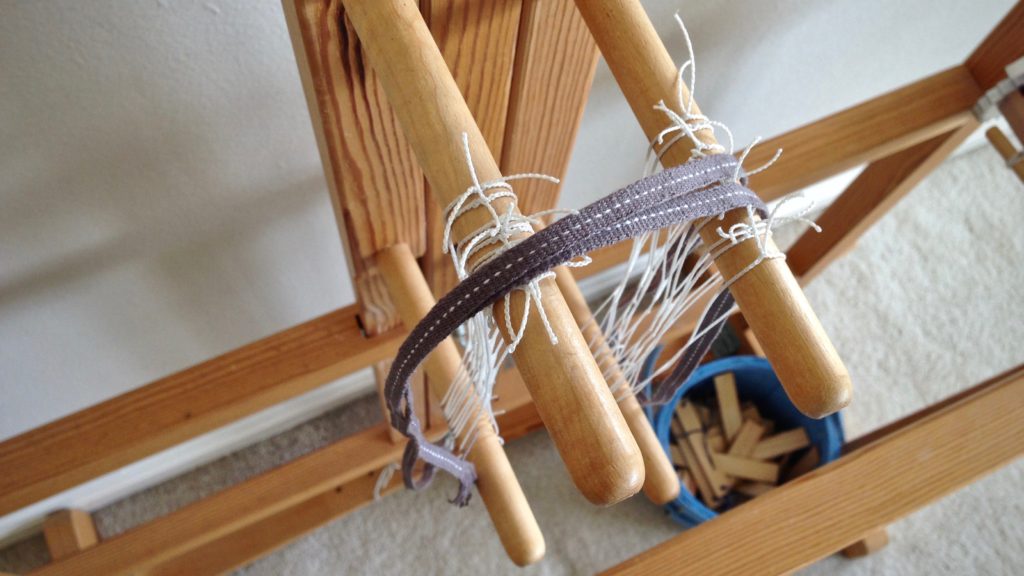
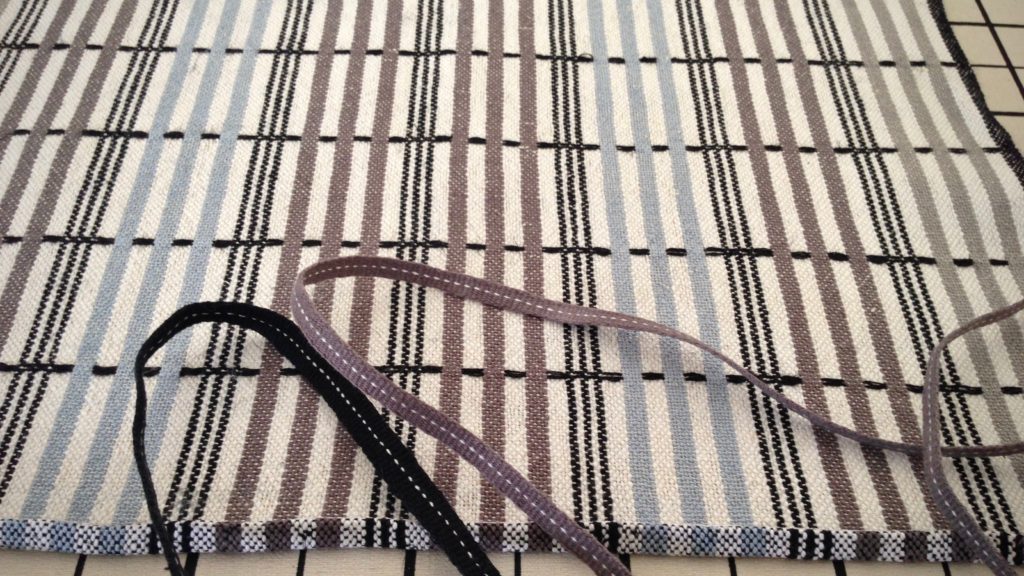
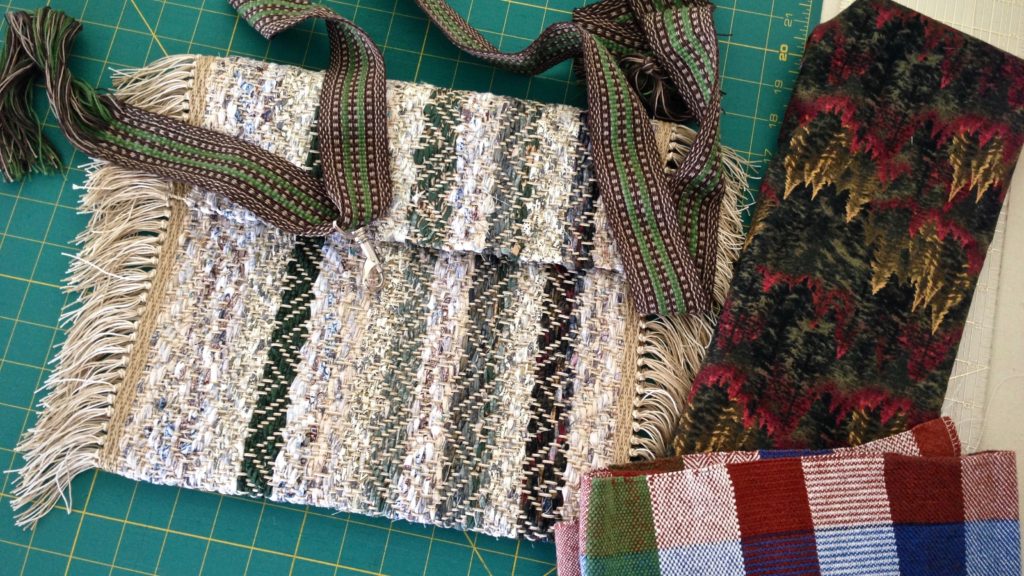
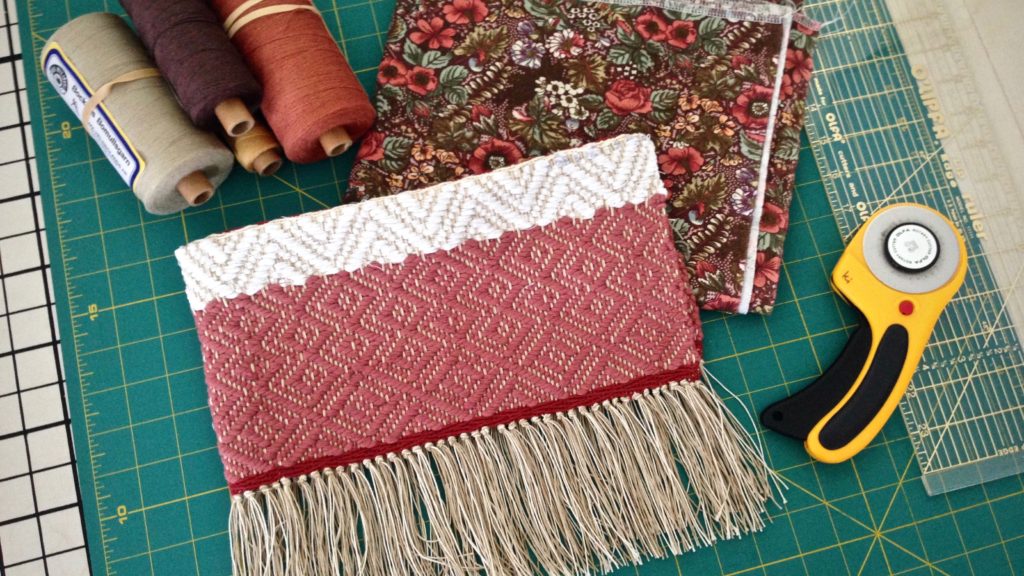
The sample piece, a long rug and a short rug with string yarn, and a short rag rug. I look on these results with fondness. A challenge and a joy to weave! The two string yarn rugs will have bound hems when I get a chance to do that. I have world map fabric for the hems. The sample piece and the rag rug piece are destined to become cute bags. I have all the supplies–band loom-woven strap, and yarn to make a band loom-woven strap, lining material, and a handwoven remnant to use as inside pockets. Now, all I need is time. And we all have as much as we need of that.
It is not enough to be pretty; a good rag rug must also be sturdy. Four crucial steps give a rag rug the solid foundation it needs to get off to a great start, and to be ready for the strong beat required to make a rug that lasts.
How to Begin a Rag Rug
1 Space
leave enough warp to tie and finish ends after the rug is cut from the loom
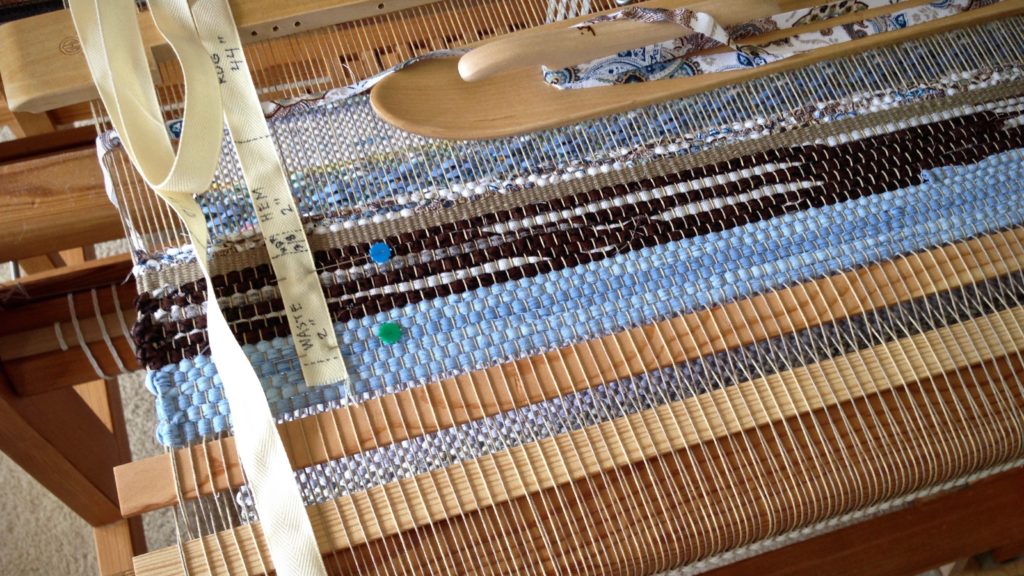
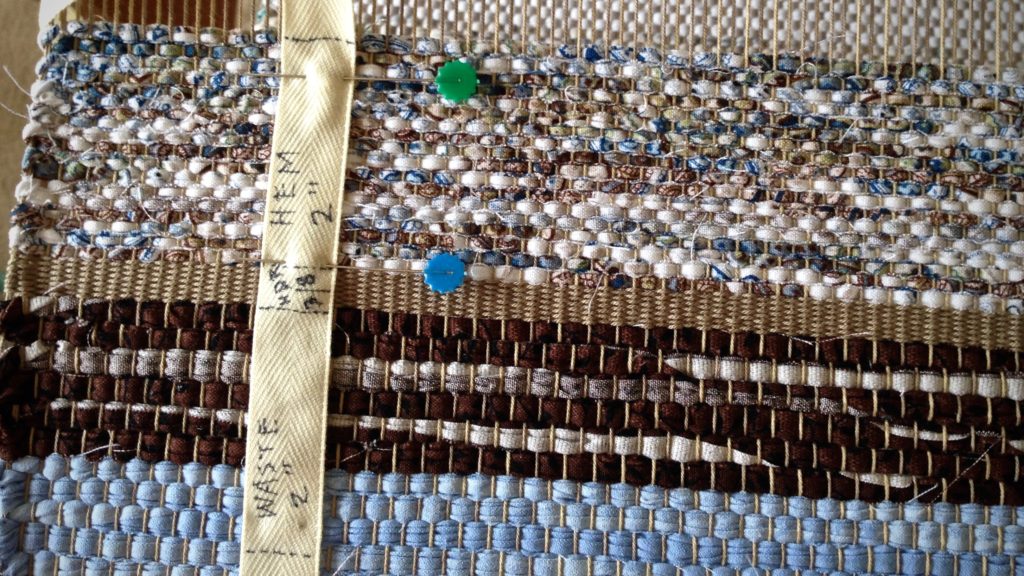
Assuming there is a sample at the beginning of the warp, leave space after the sample. Leave about 4″ (10 cm) of empty warp. Then, using two warping slats, place one slat in each plain weaveshed. The slats act as a spacer, and as a firm backstop for beating in the waste rags. (Leave about 8″ / 20 cm of space between each rug, from header to header.)
Use warp yarn to weave a 3/8″ (1 cm) weft-faced header. Arrange the weft in small arcs across the width of the shed. Treadle the next shed and beat in the weft.
4 Hem
thinner rag weave, to be turned under and stitched
Cut fabric into narrow strips, 1/4″ (.5 cm) wide. Weave hem to desired length, with enough to fold under itself for finishing.
–Repeat the four steps in reverse order at the end of the rug.–
It takes courage to live by faith. Courage is the backbone against which life circumstances can push. Faith is knowing God has a higher purpose for the circumstances we find ourselves in. A rag rug with this firm starting point will not only look good, but be ready for a purpose. And so will we.
I had planned on a dark brown hem, but when I wove my sample, the brown print by itself didn’t “say” anything. I considered a blue hem. The blue batik is beautiful, but by itself is too “loud.” By alternating the bright blue and the dark brown I get the results I want for the plain weave hem of this double binding rag rug.
The blue batik fabric plays a major part in this rug. When I start the double binding, you will see the blue in all its splendor. The hem is a border, though. The hem is an introduction and closing to the body of the rug, like a greeting and farewell of a conversation. The quiet brown enhances the bright blue by giving it the subtlety it needs for the hem.
Wisdom is strong and beautiful like this bright blue batik. And quietness, like the dark brown print, compliments the wisdom. Silence is wisdom’s friend. Restraint in speaking gives you the advantage of knowing someone else’s view. Staying cool-headed helps you to understand another person’s position. It’s in the quietness that wisdom has the most to say.
Hemming a rag rug may be easier than you think. I have used my classic Bernina sewing machine to hem rag rugs; but now, I hem many of them by hand. It’s easier and faster than I once thought. I plan the rug’s hem into the weaving, using half-width fabric strips for the hem area, and end it off with 1 cm of a warp thread heading. After cutting off the rug, I secure and trim the warp ends. There’s only one thing left to do. Hem the rug! (Start with Tools Day: Rag Rug Finishing Videoif you haven’t seen it yet.)
Tools and supplies
Steam iron
Long straight pins
Rug warp to match the rug (mine is Bockens 12/6 cotton seine twine)