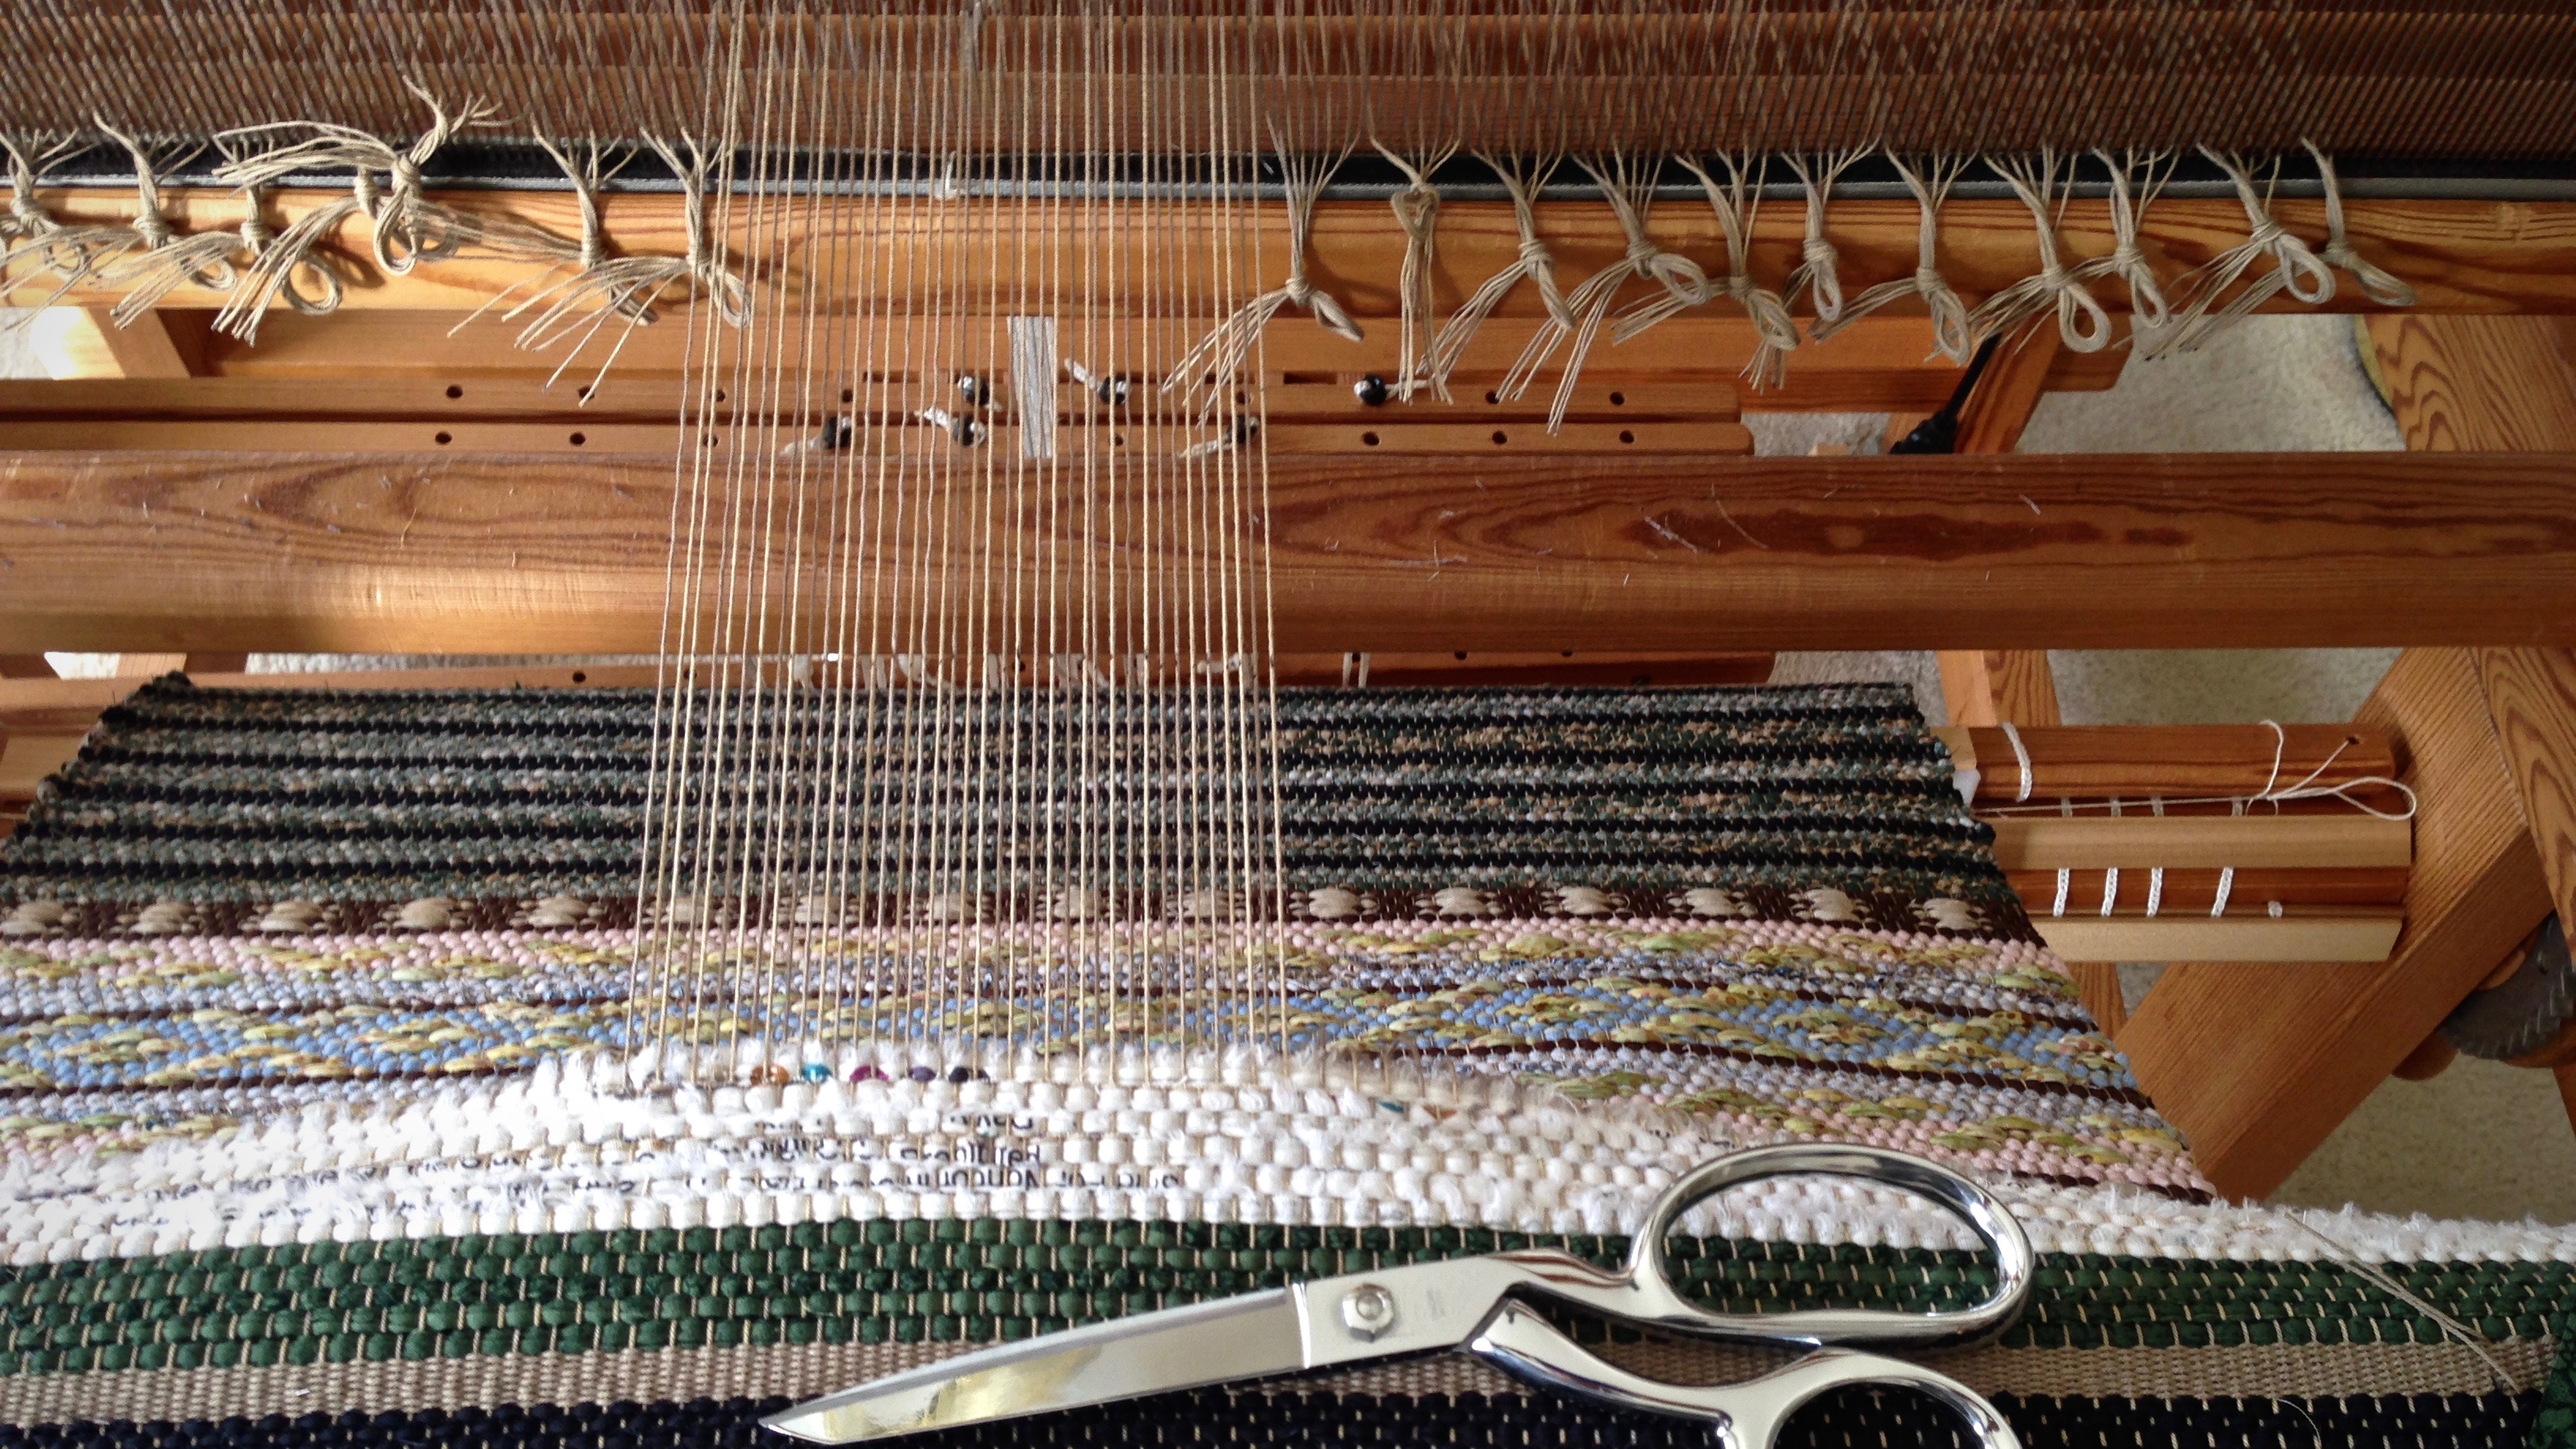
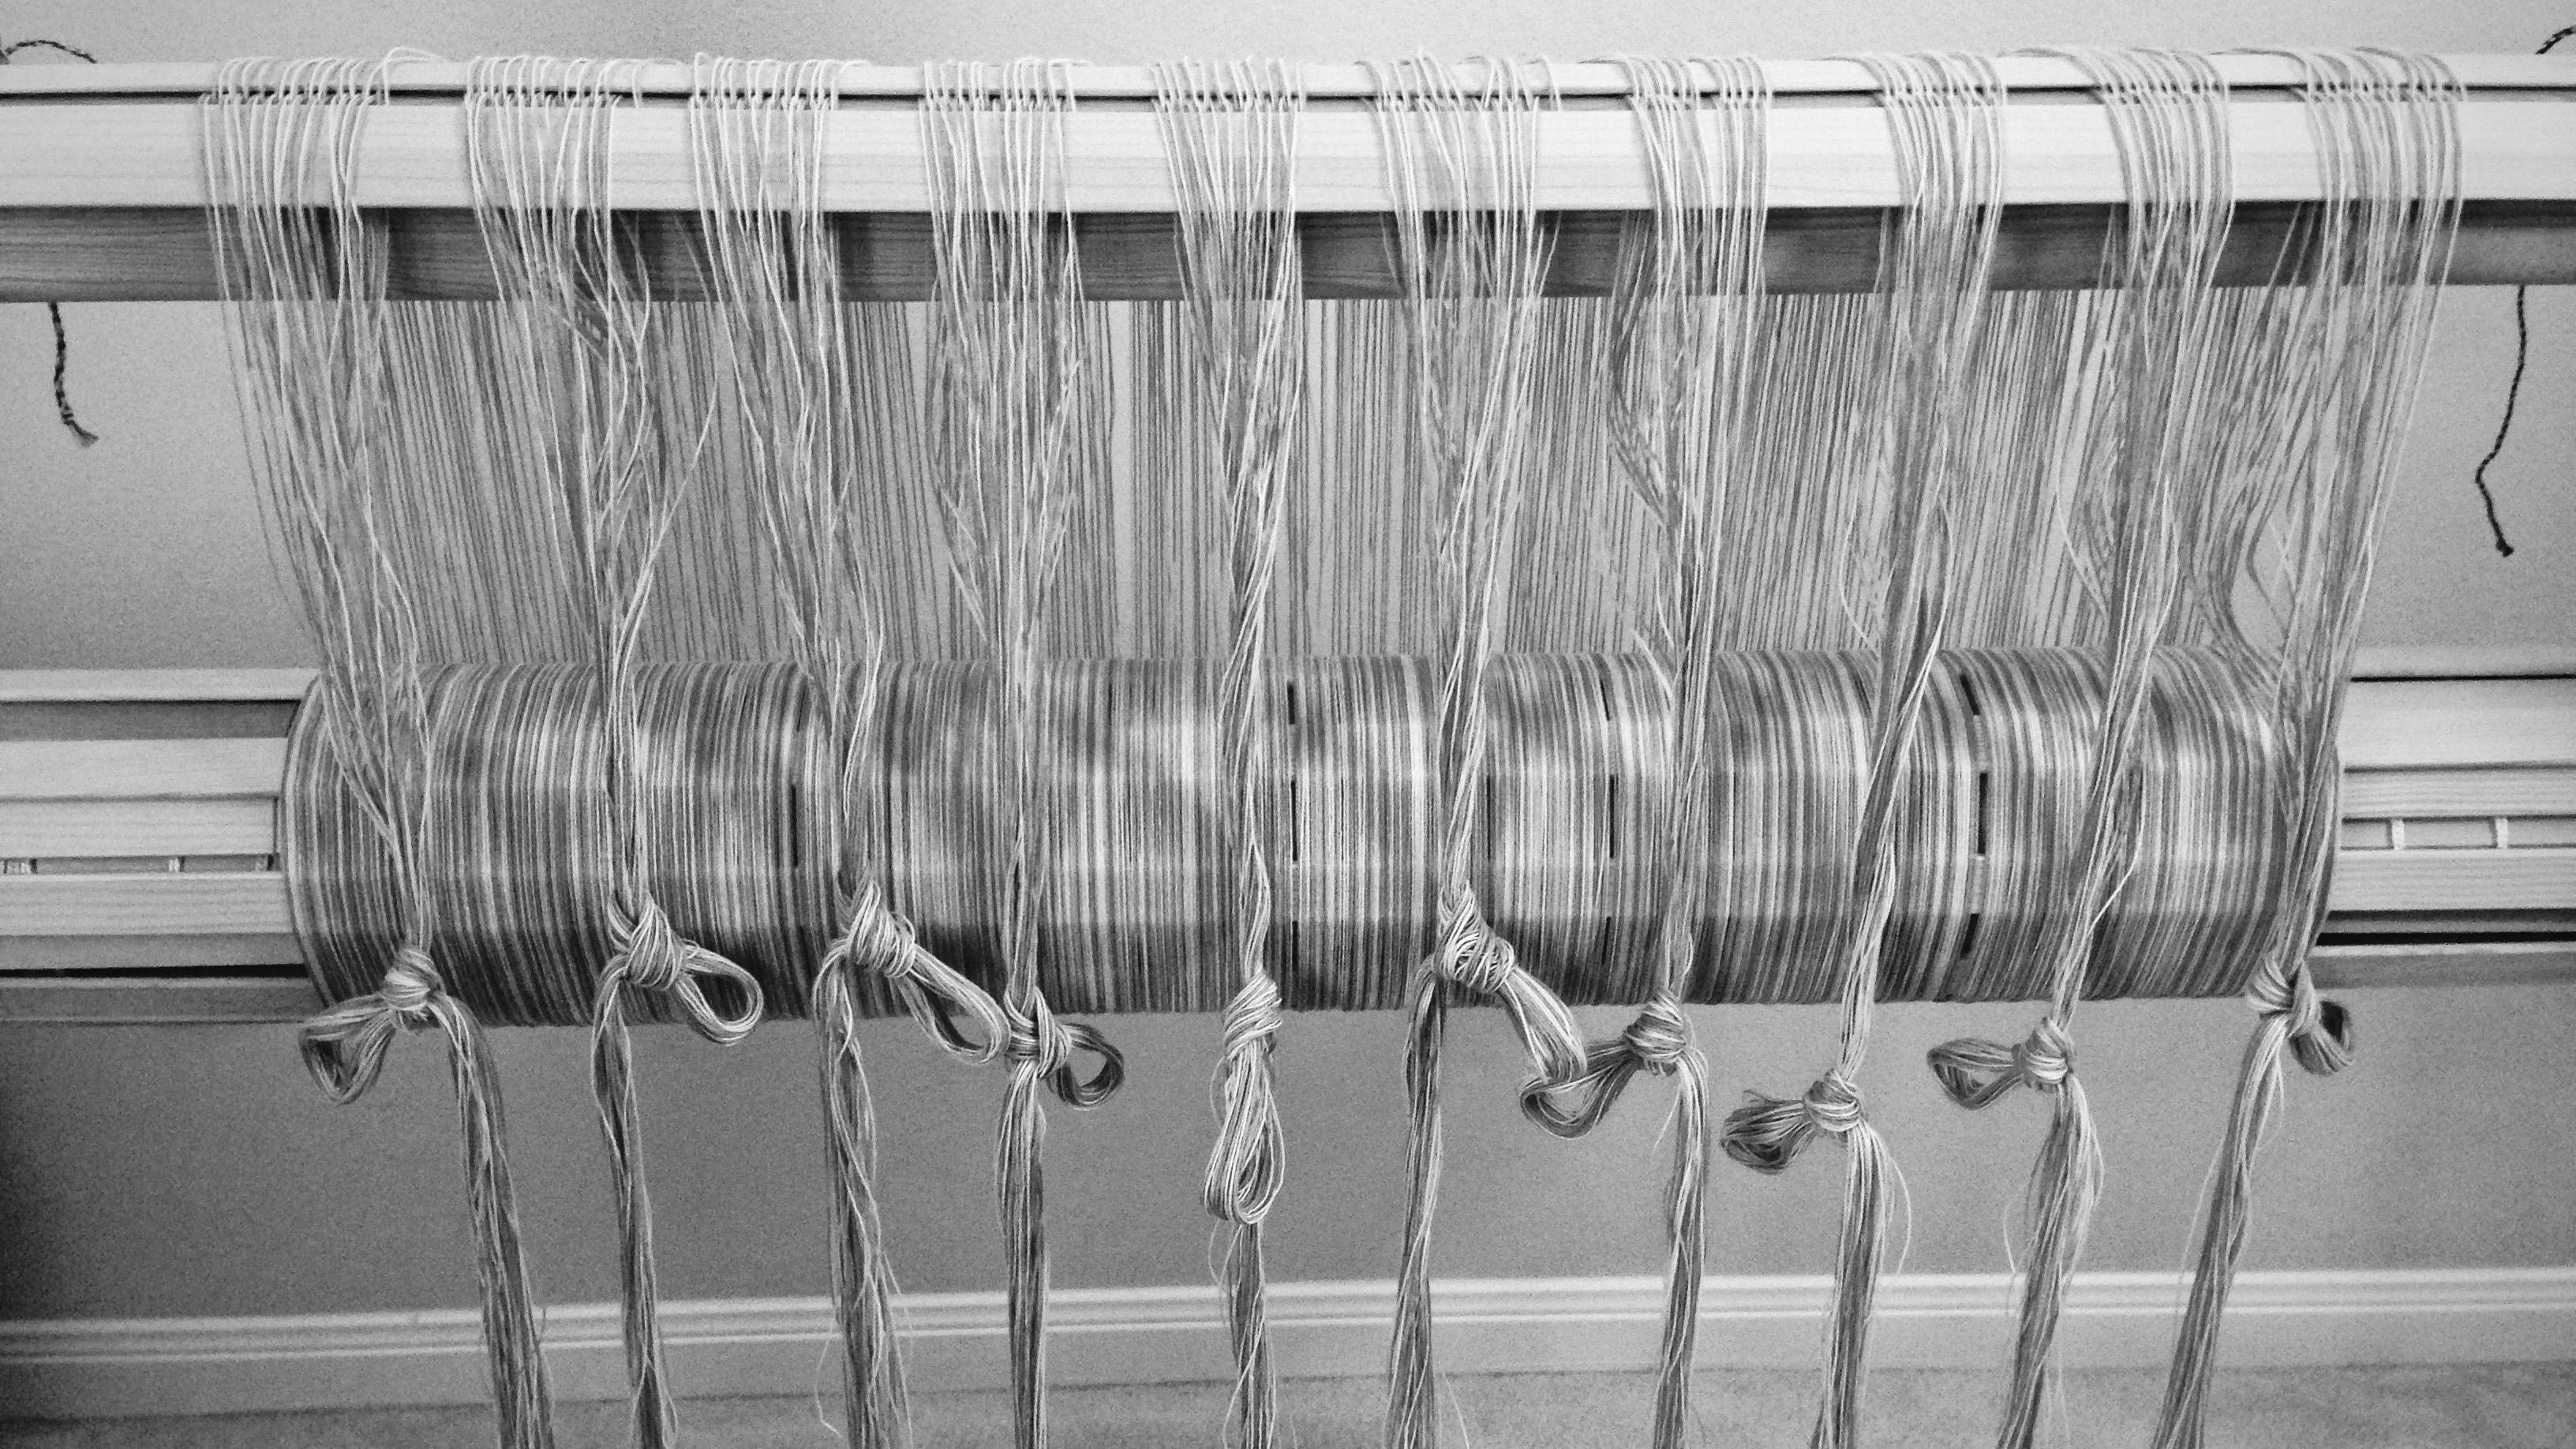
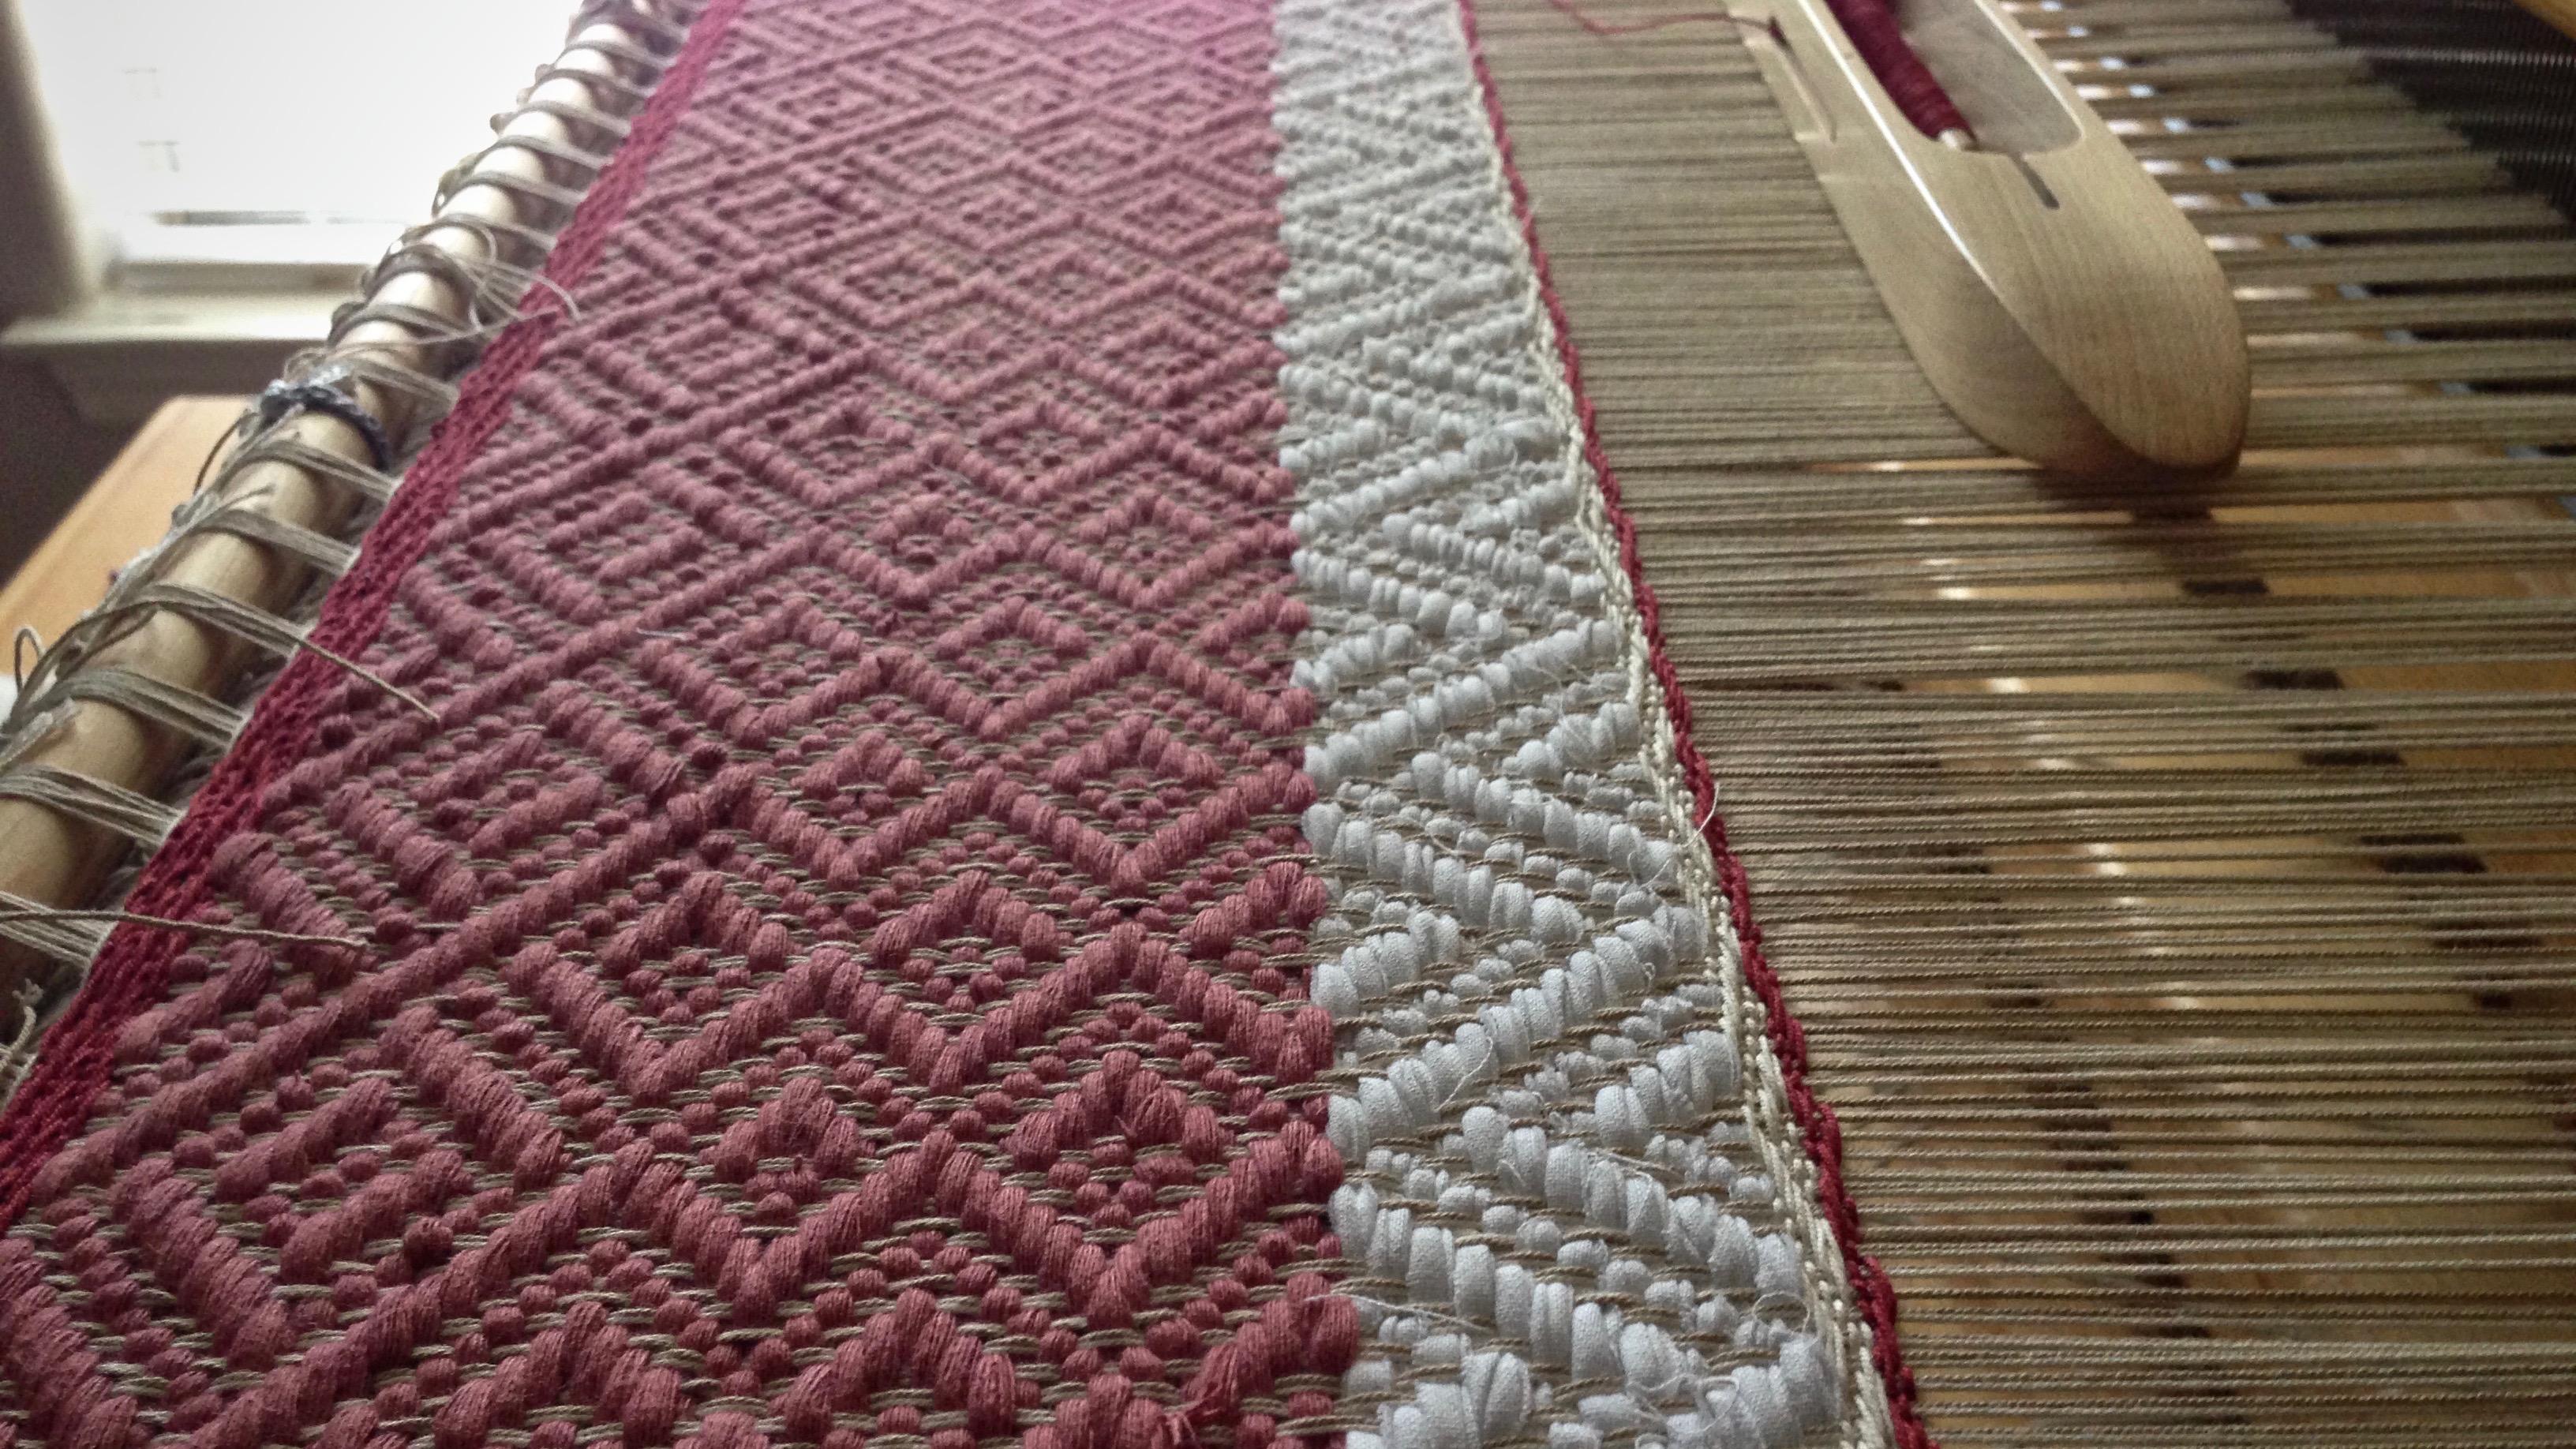
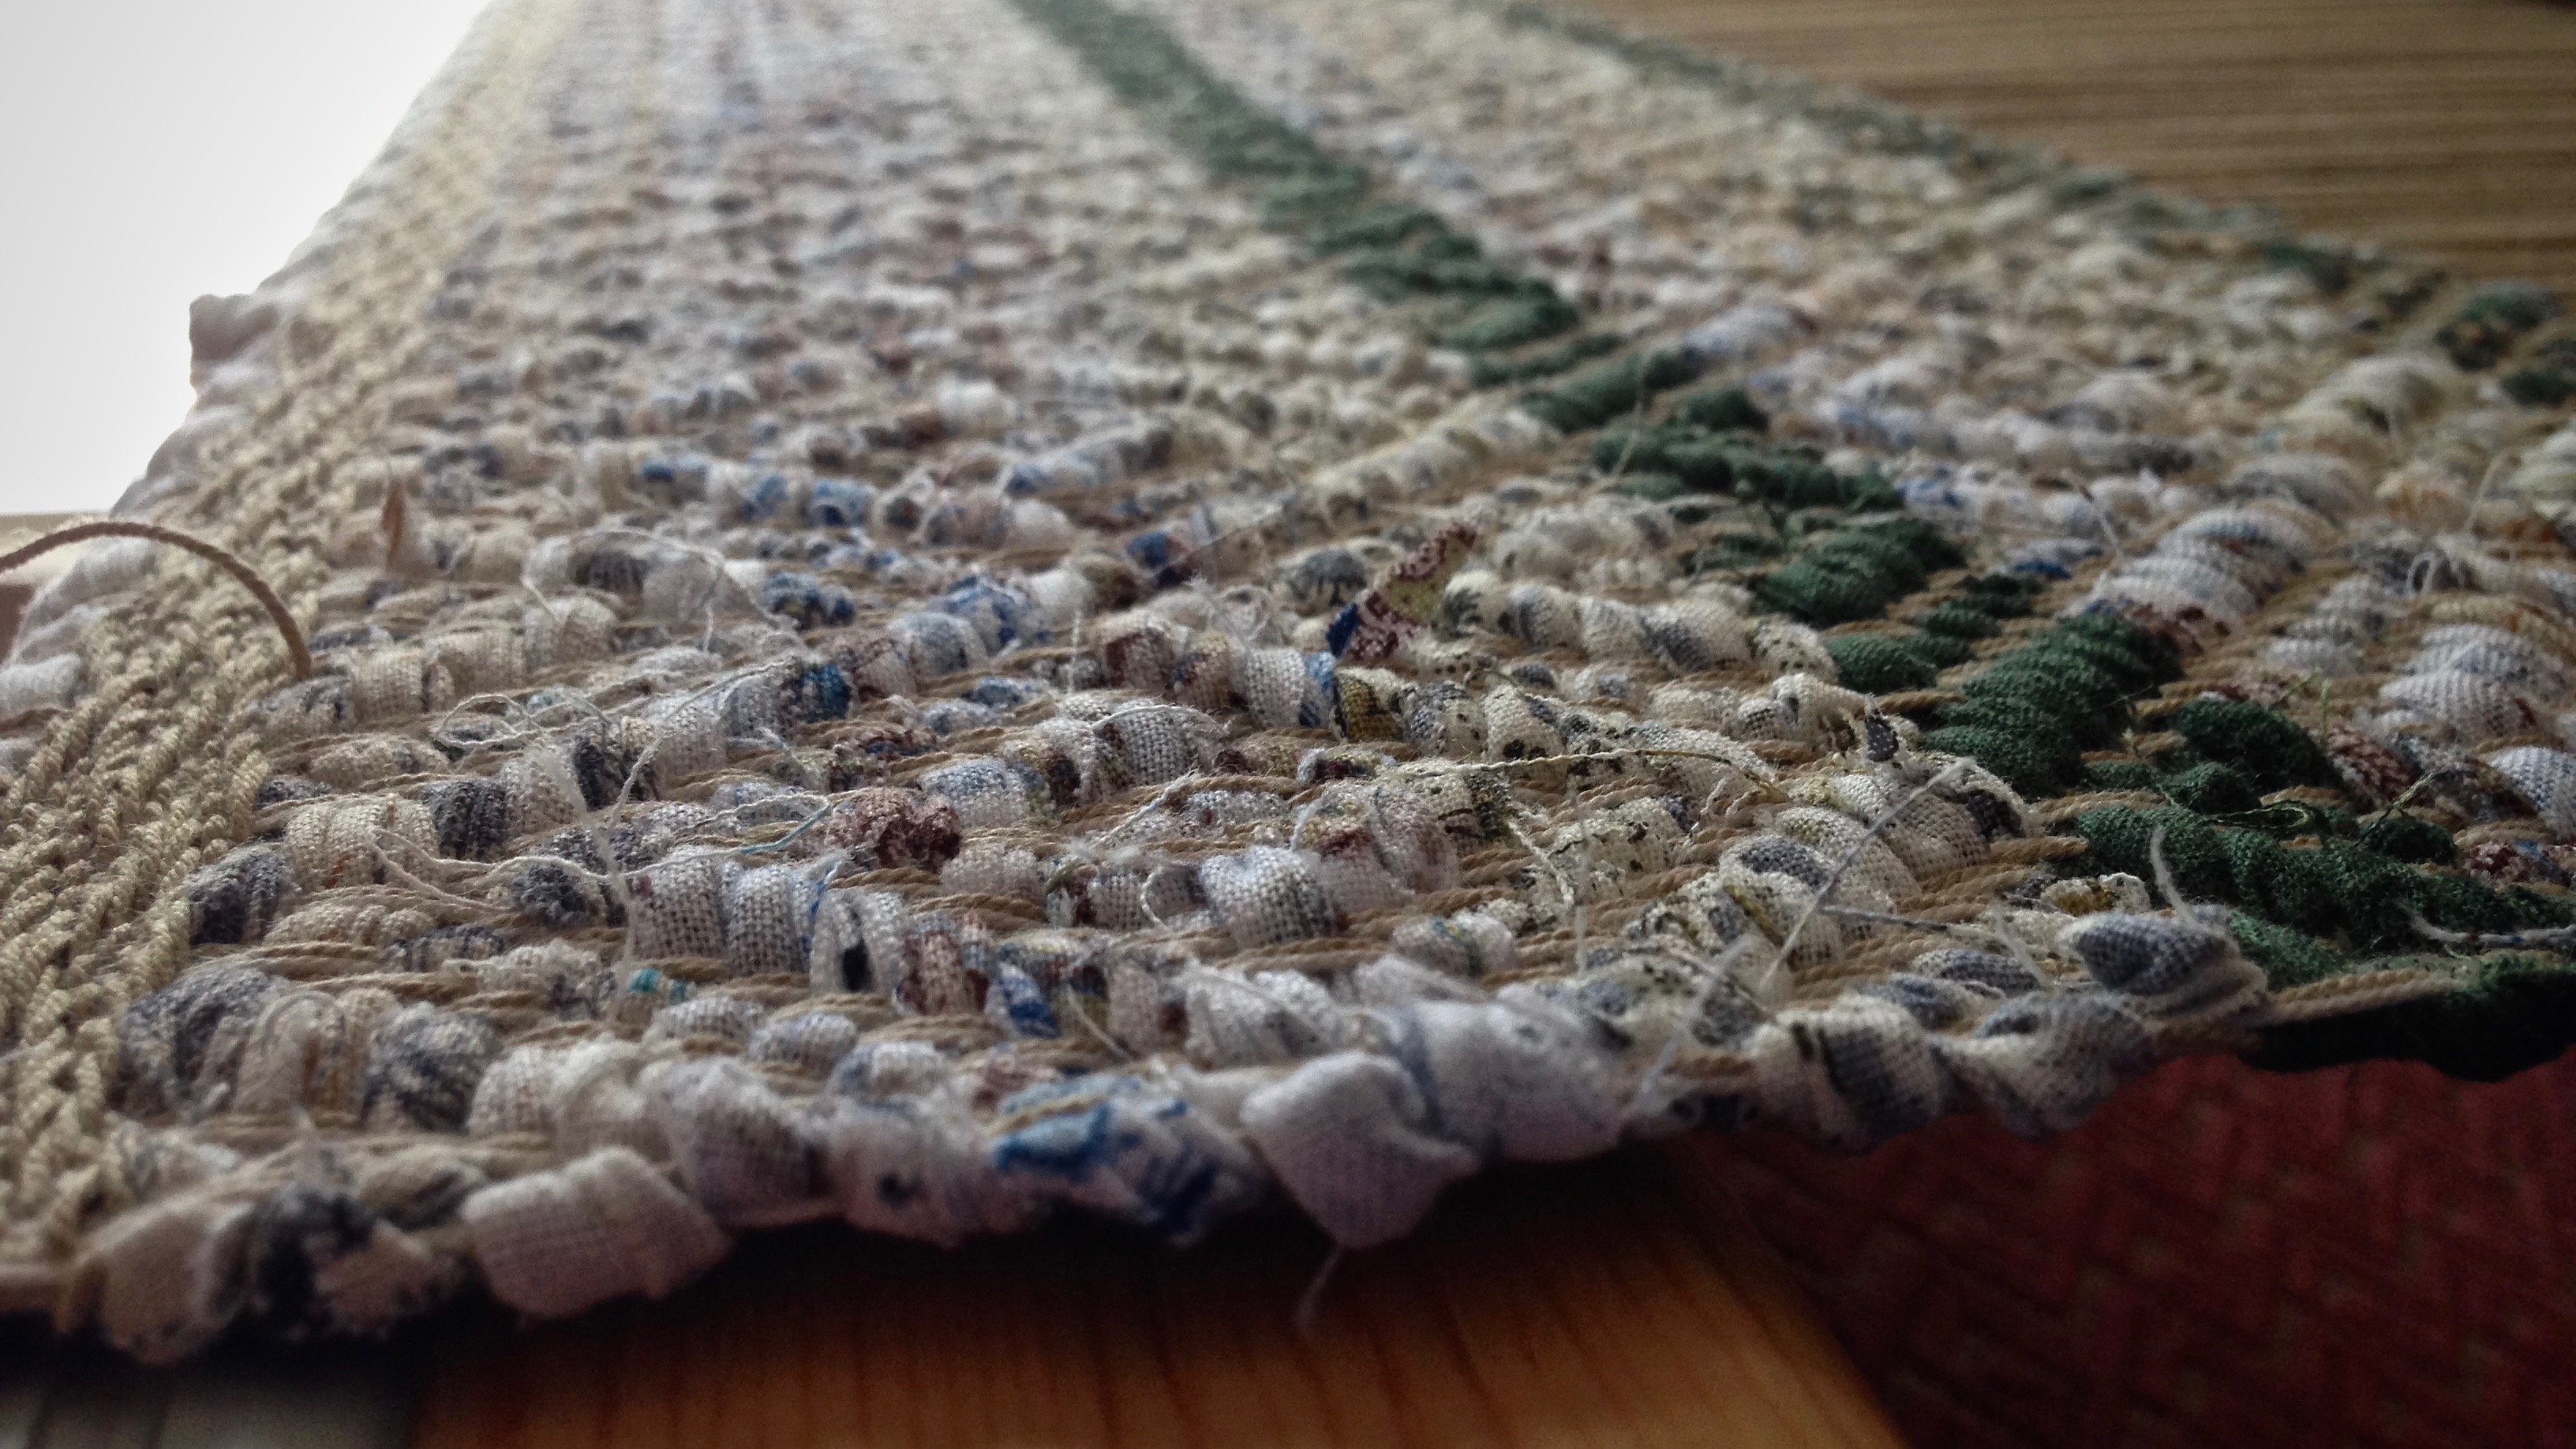
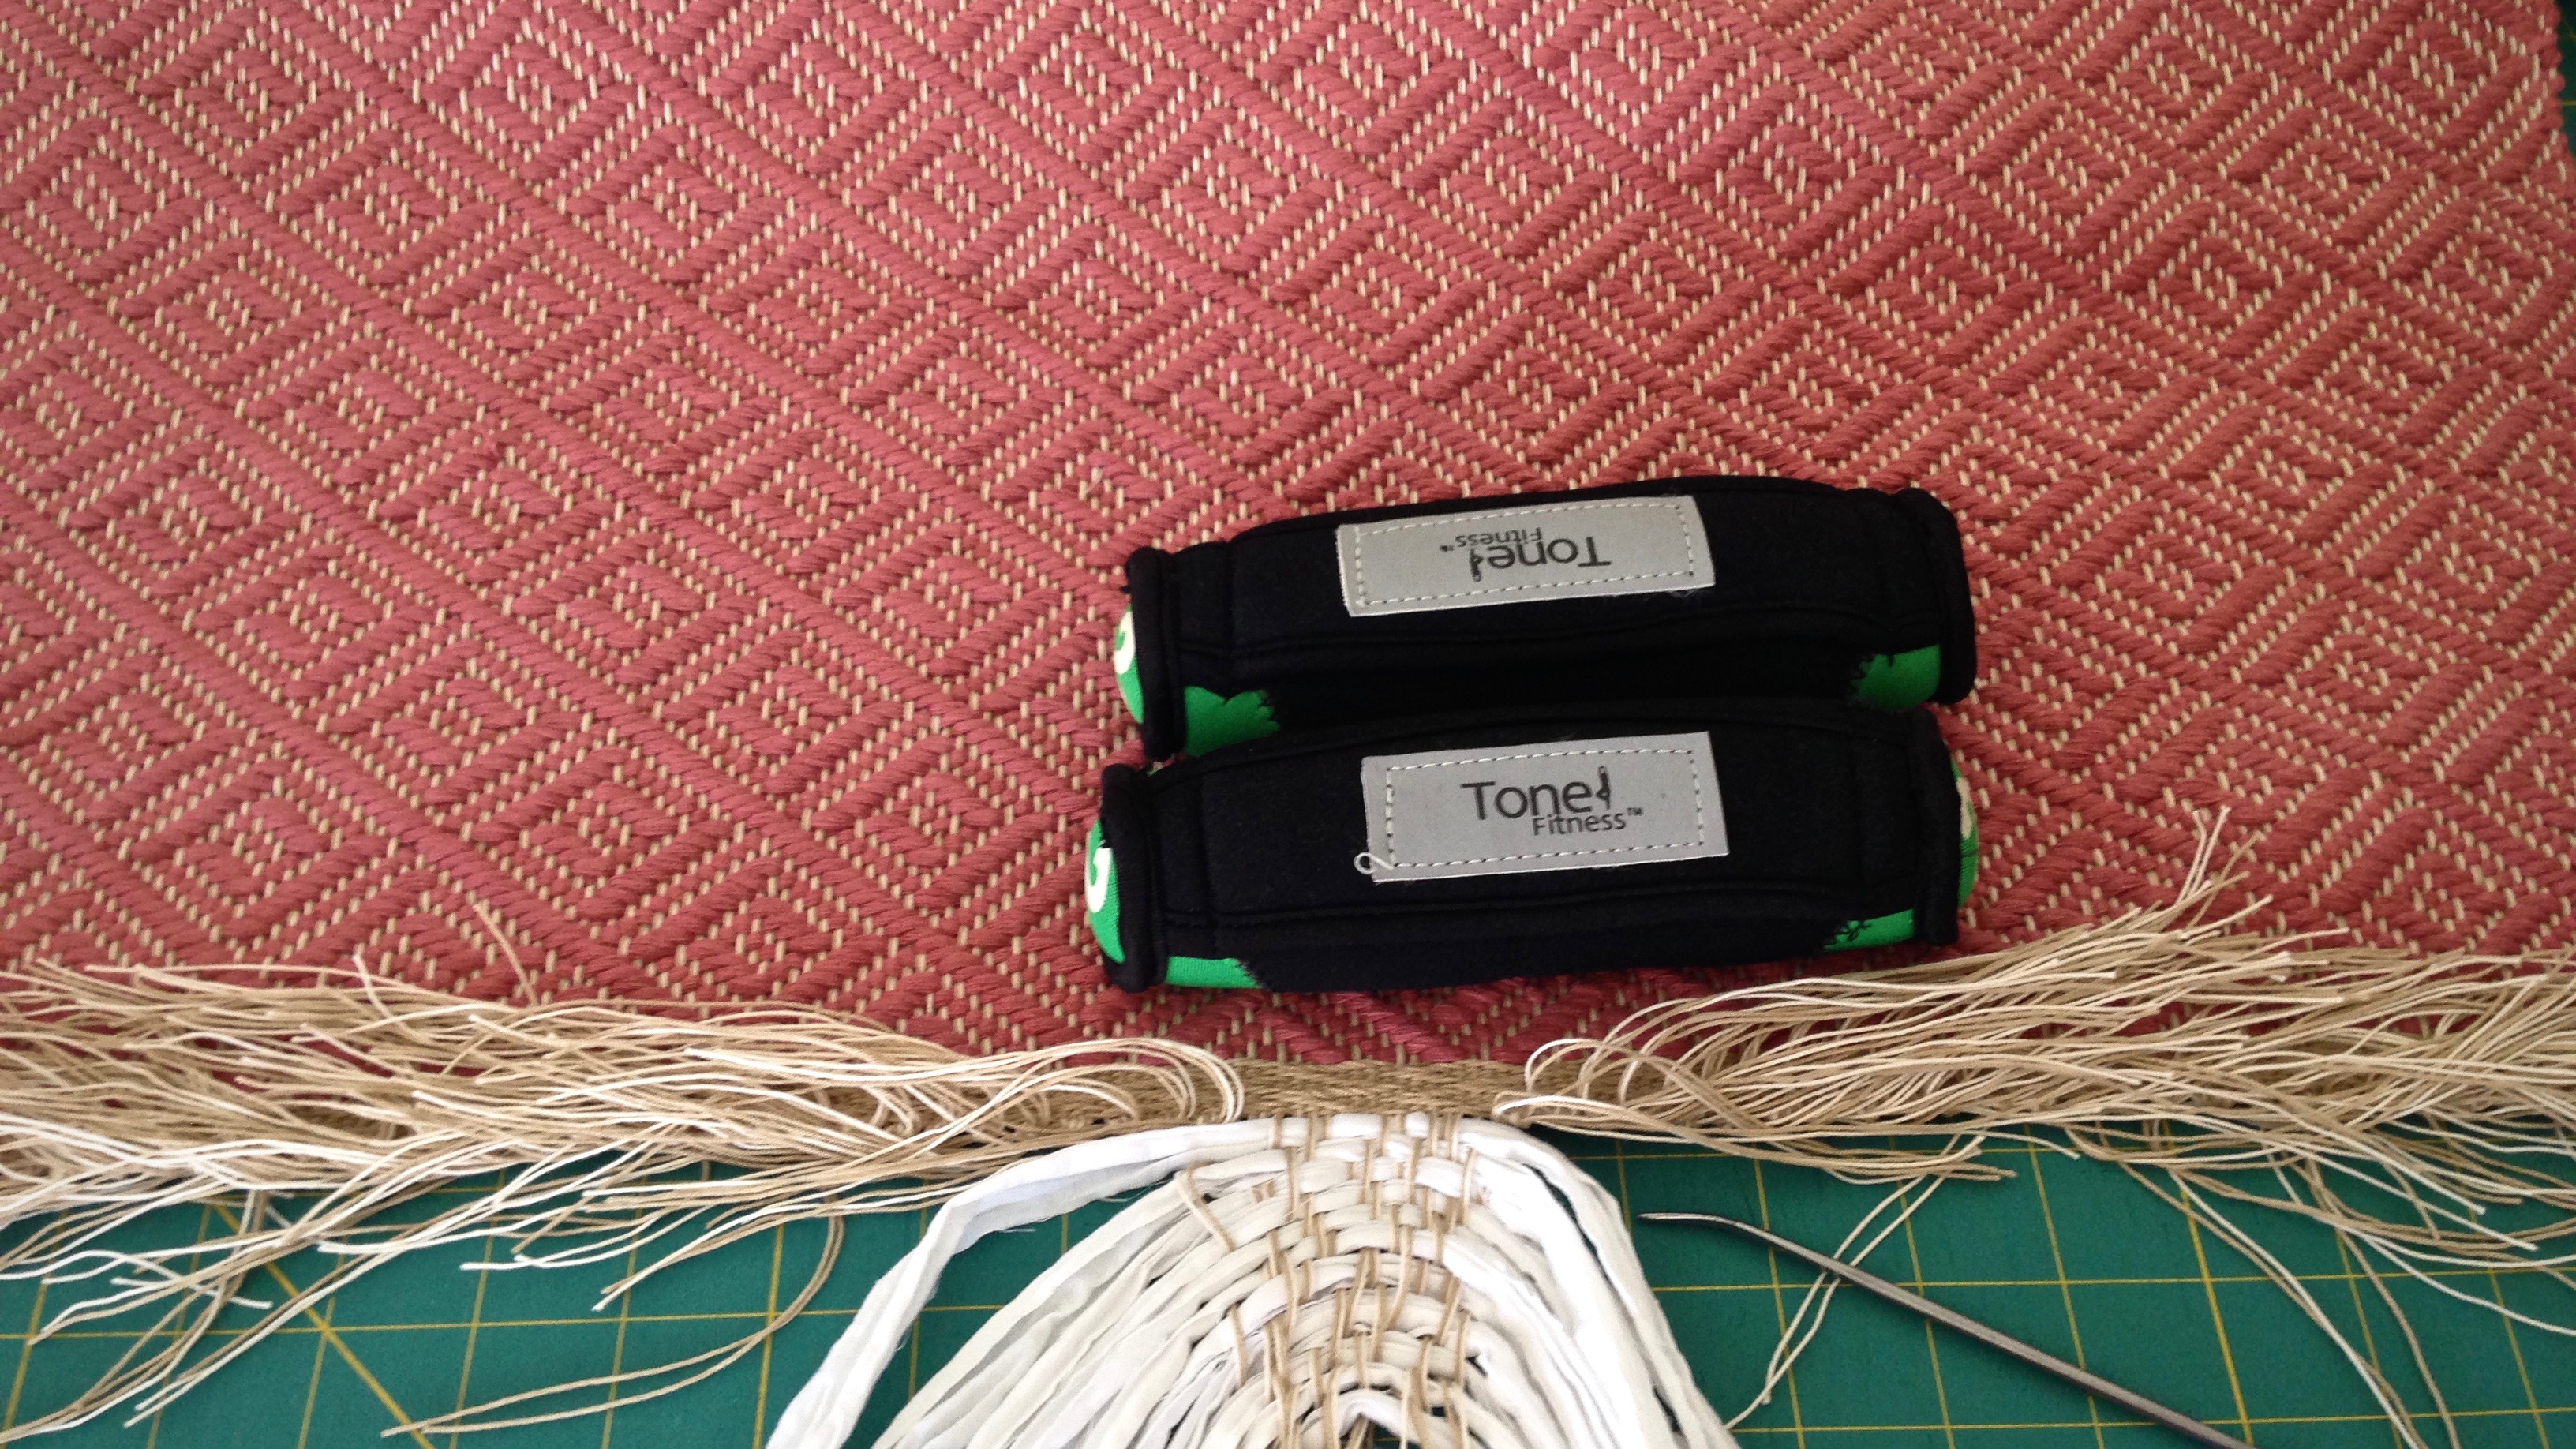
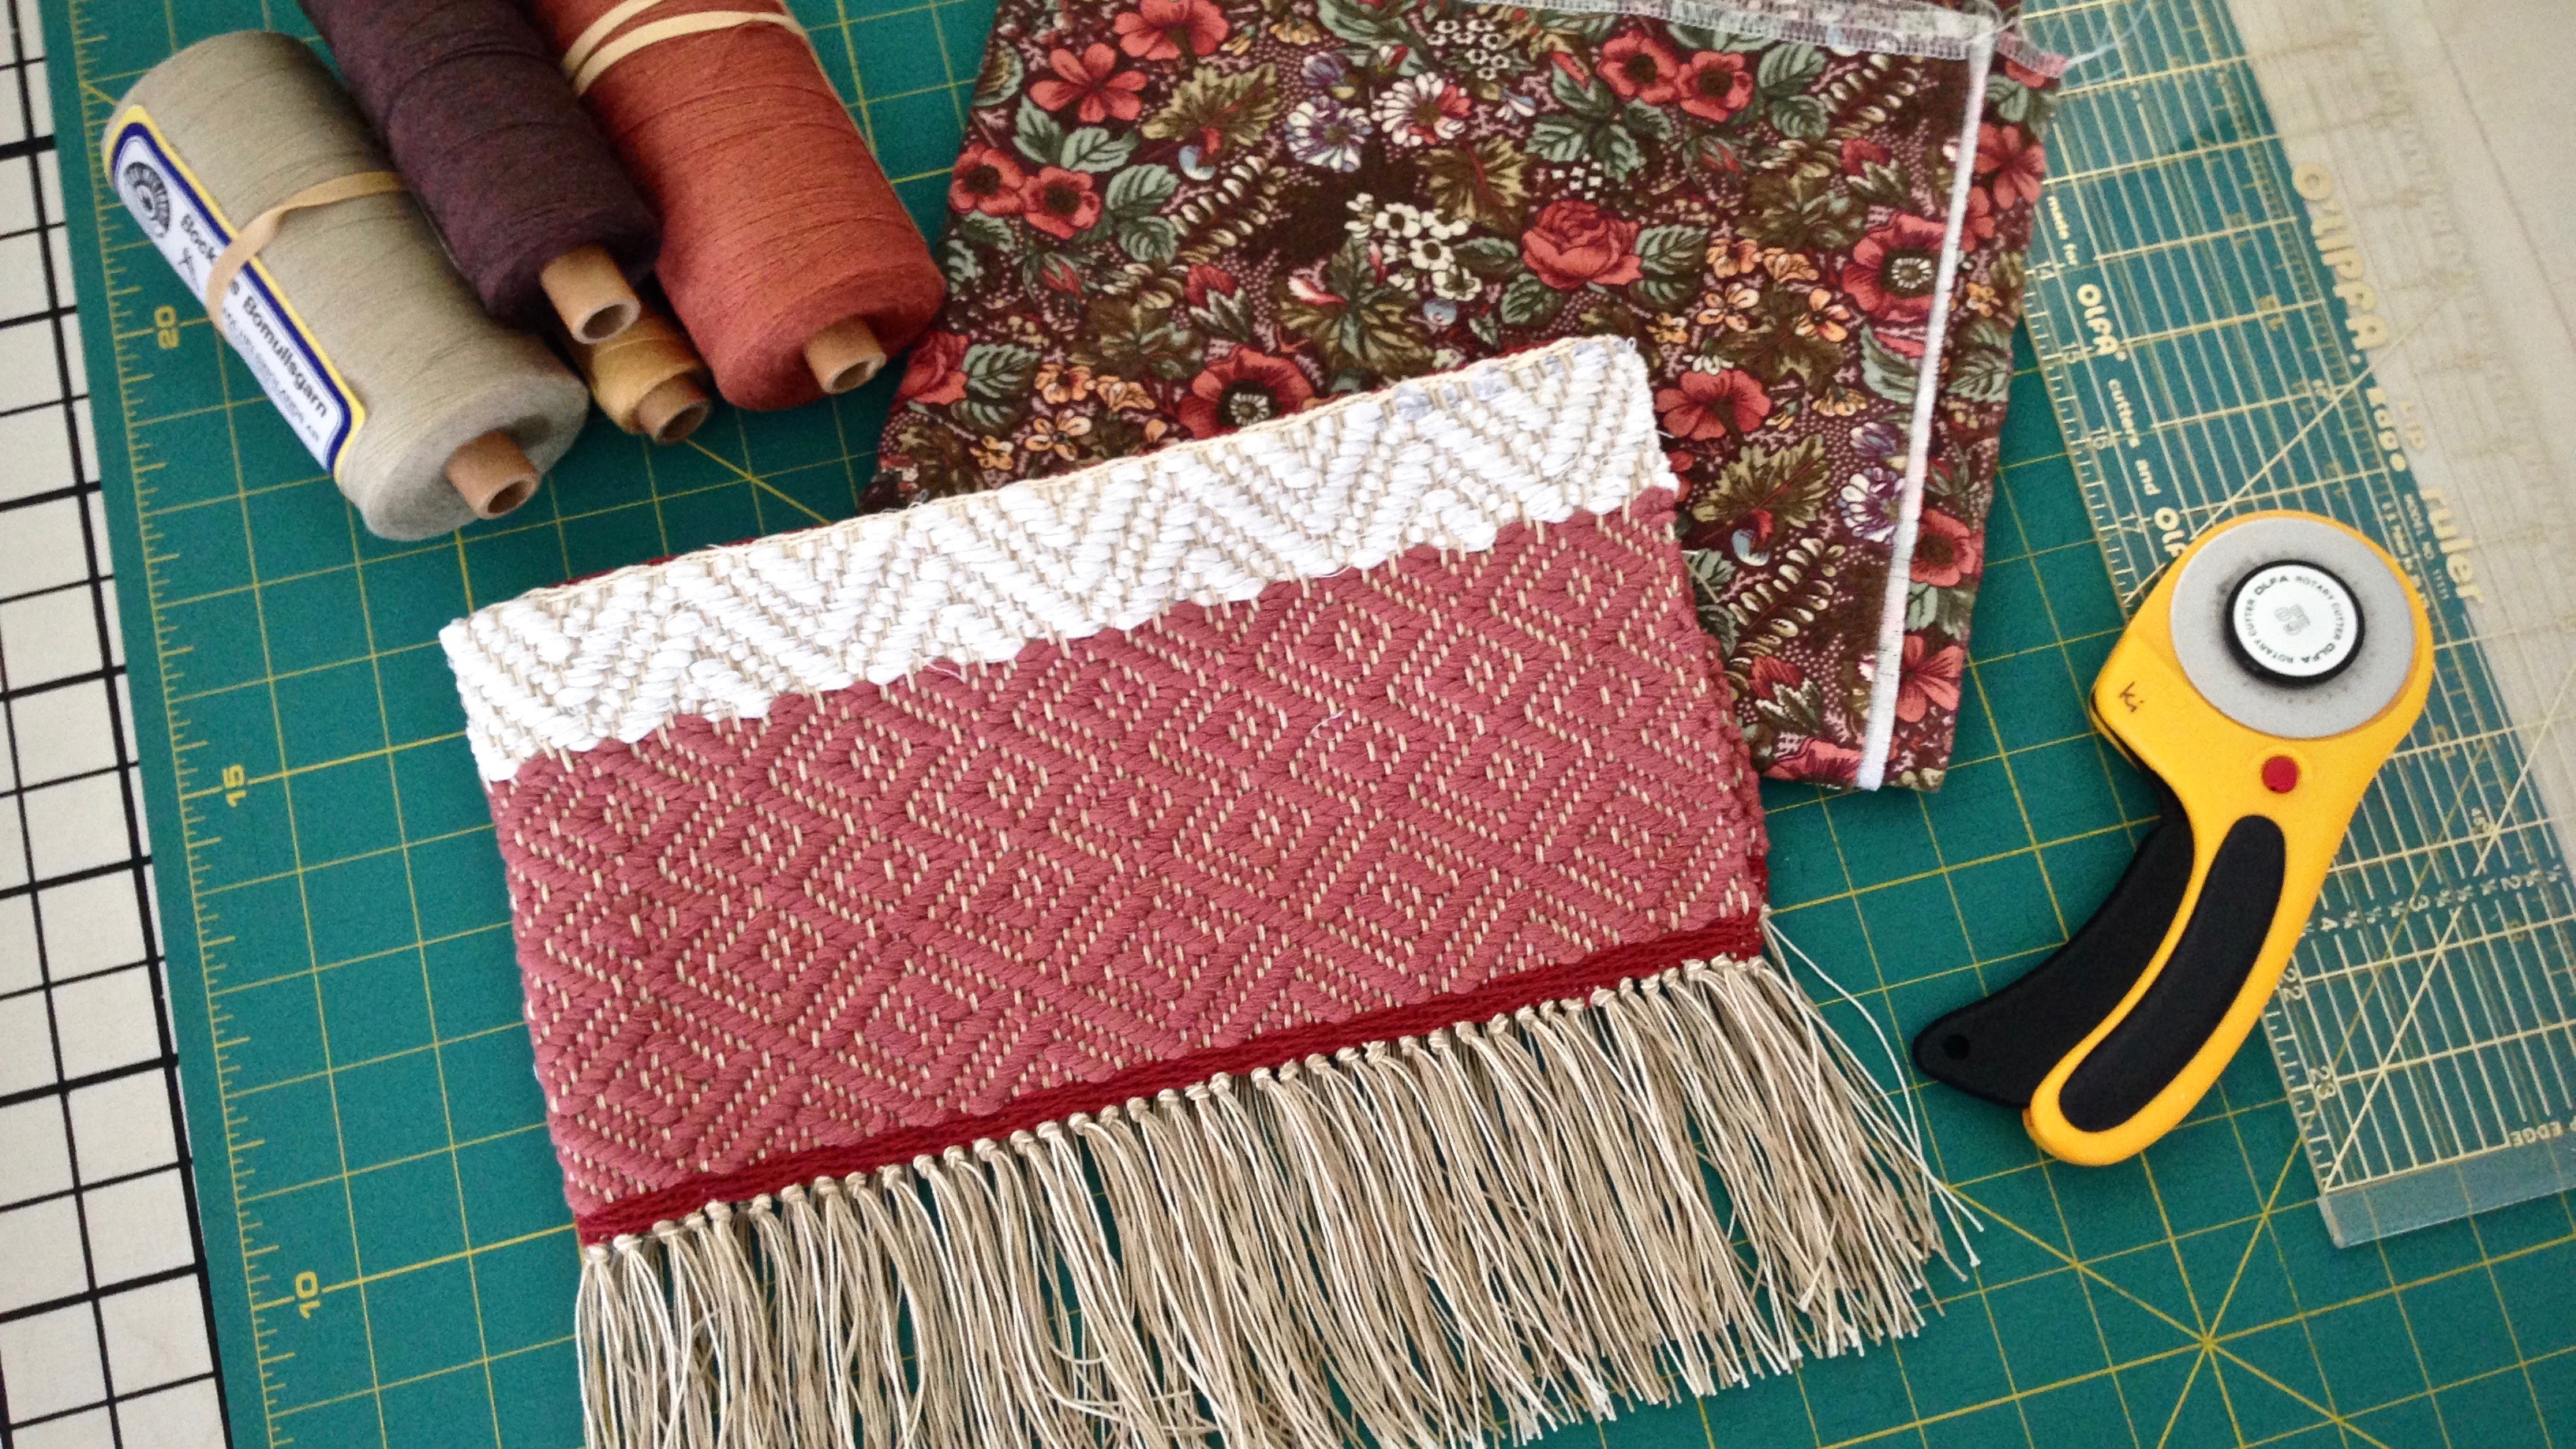
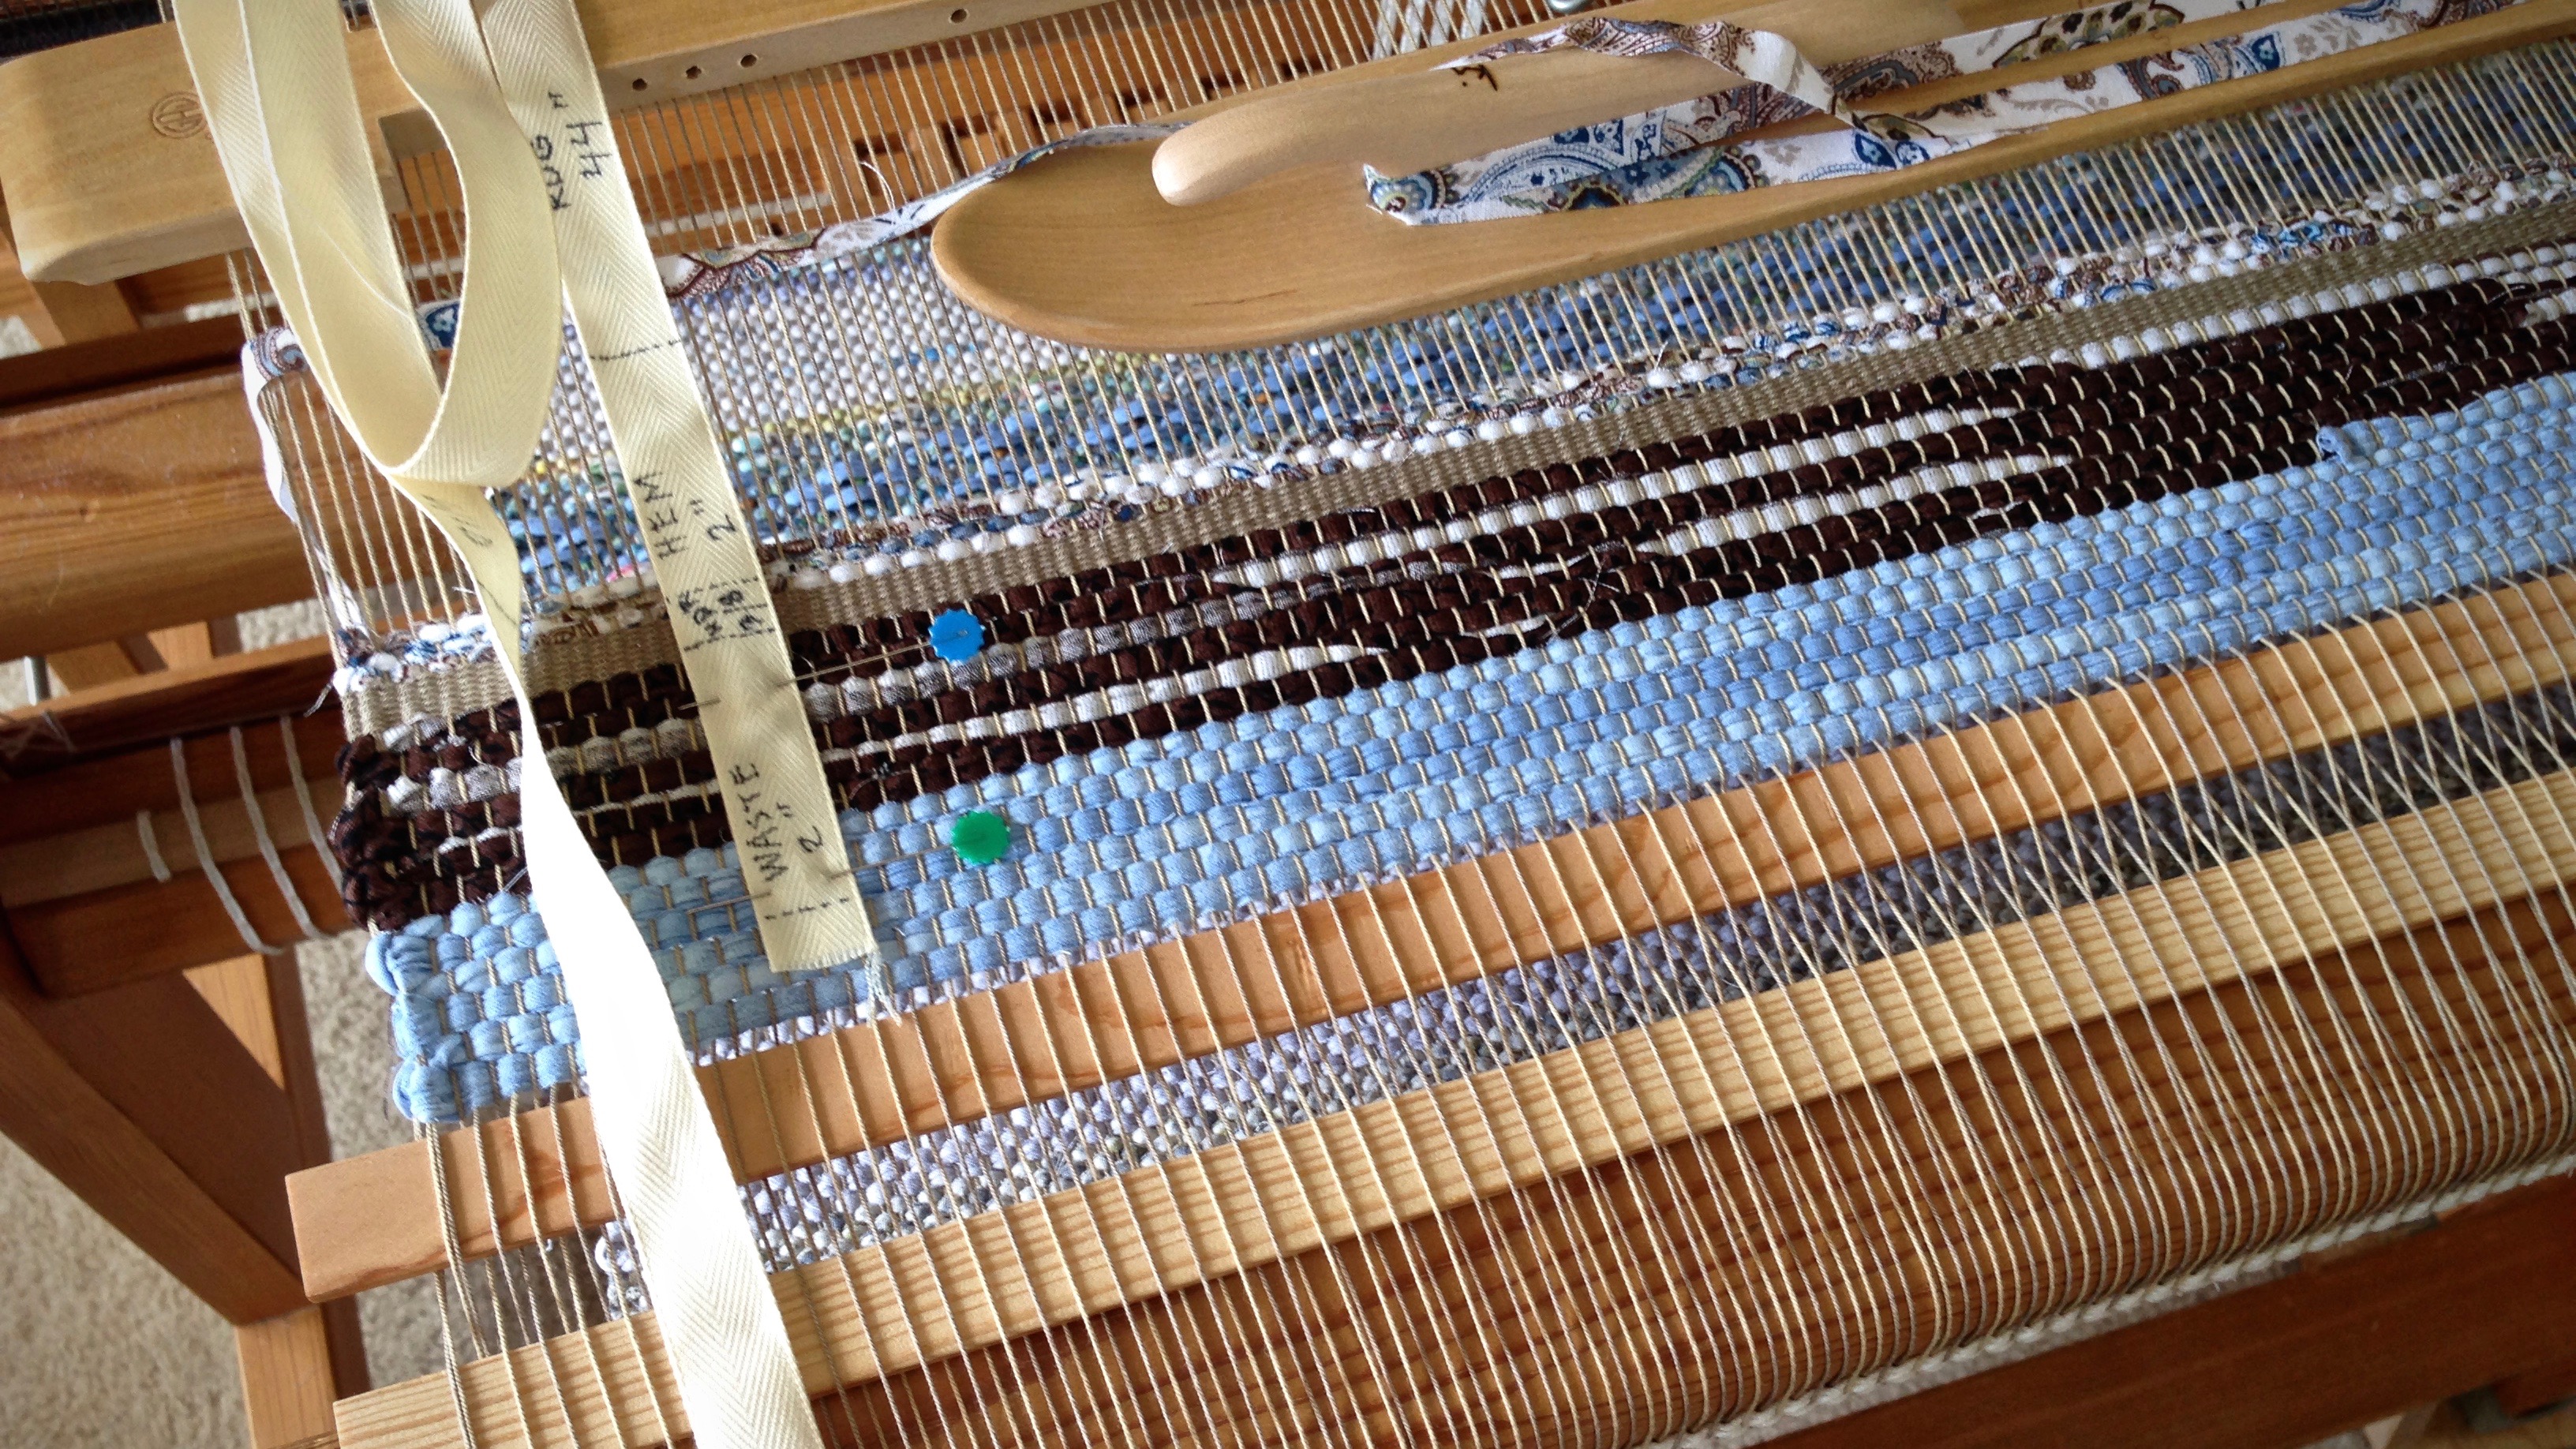
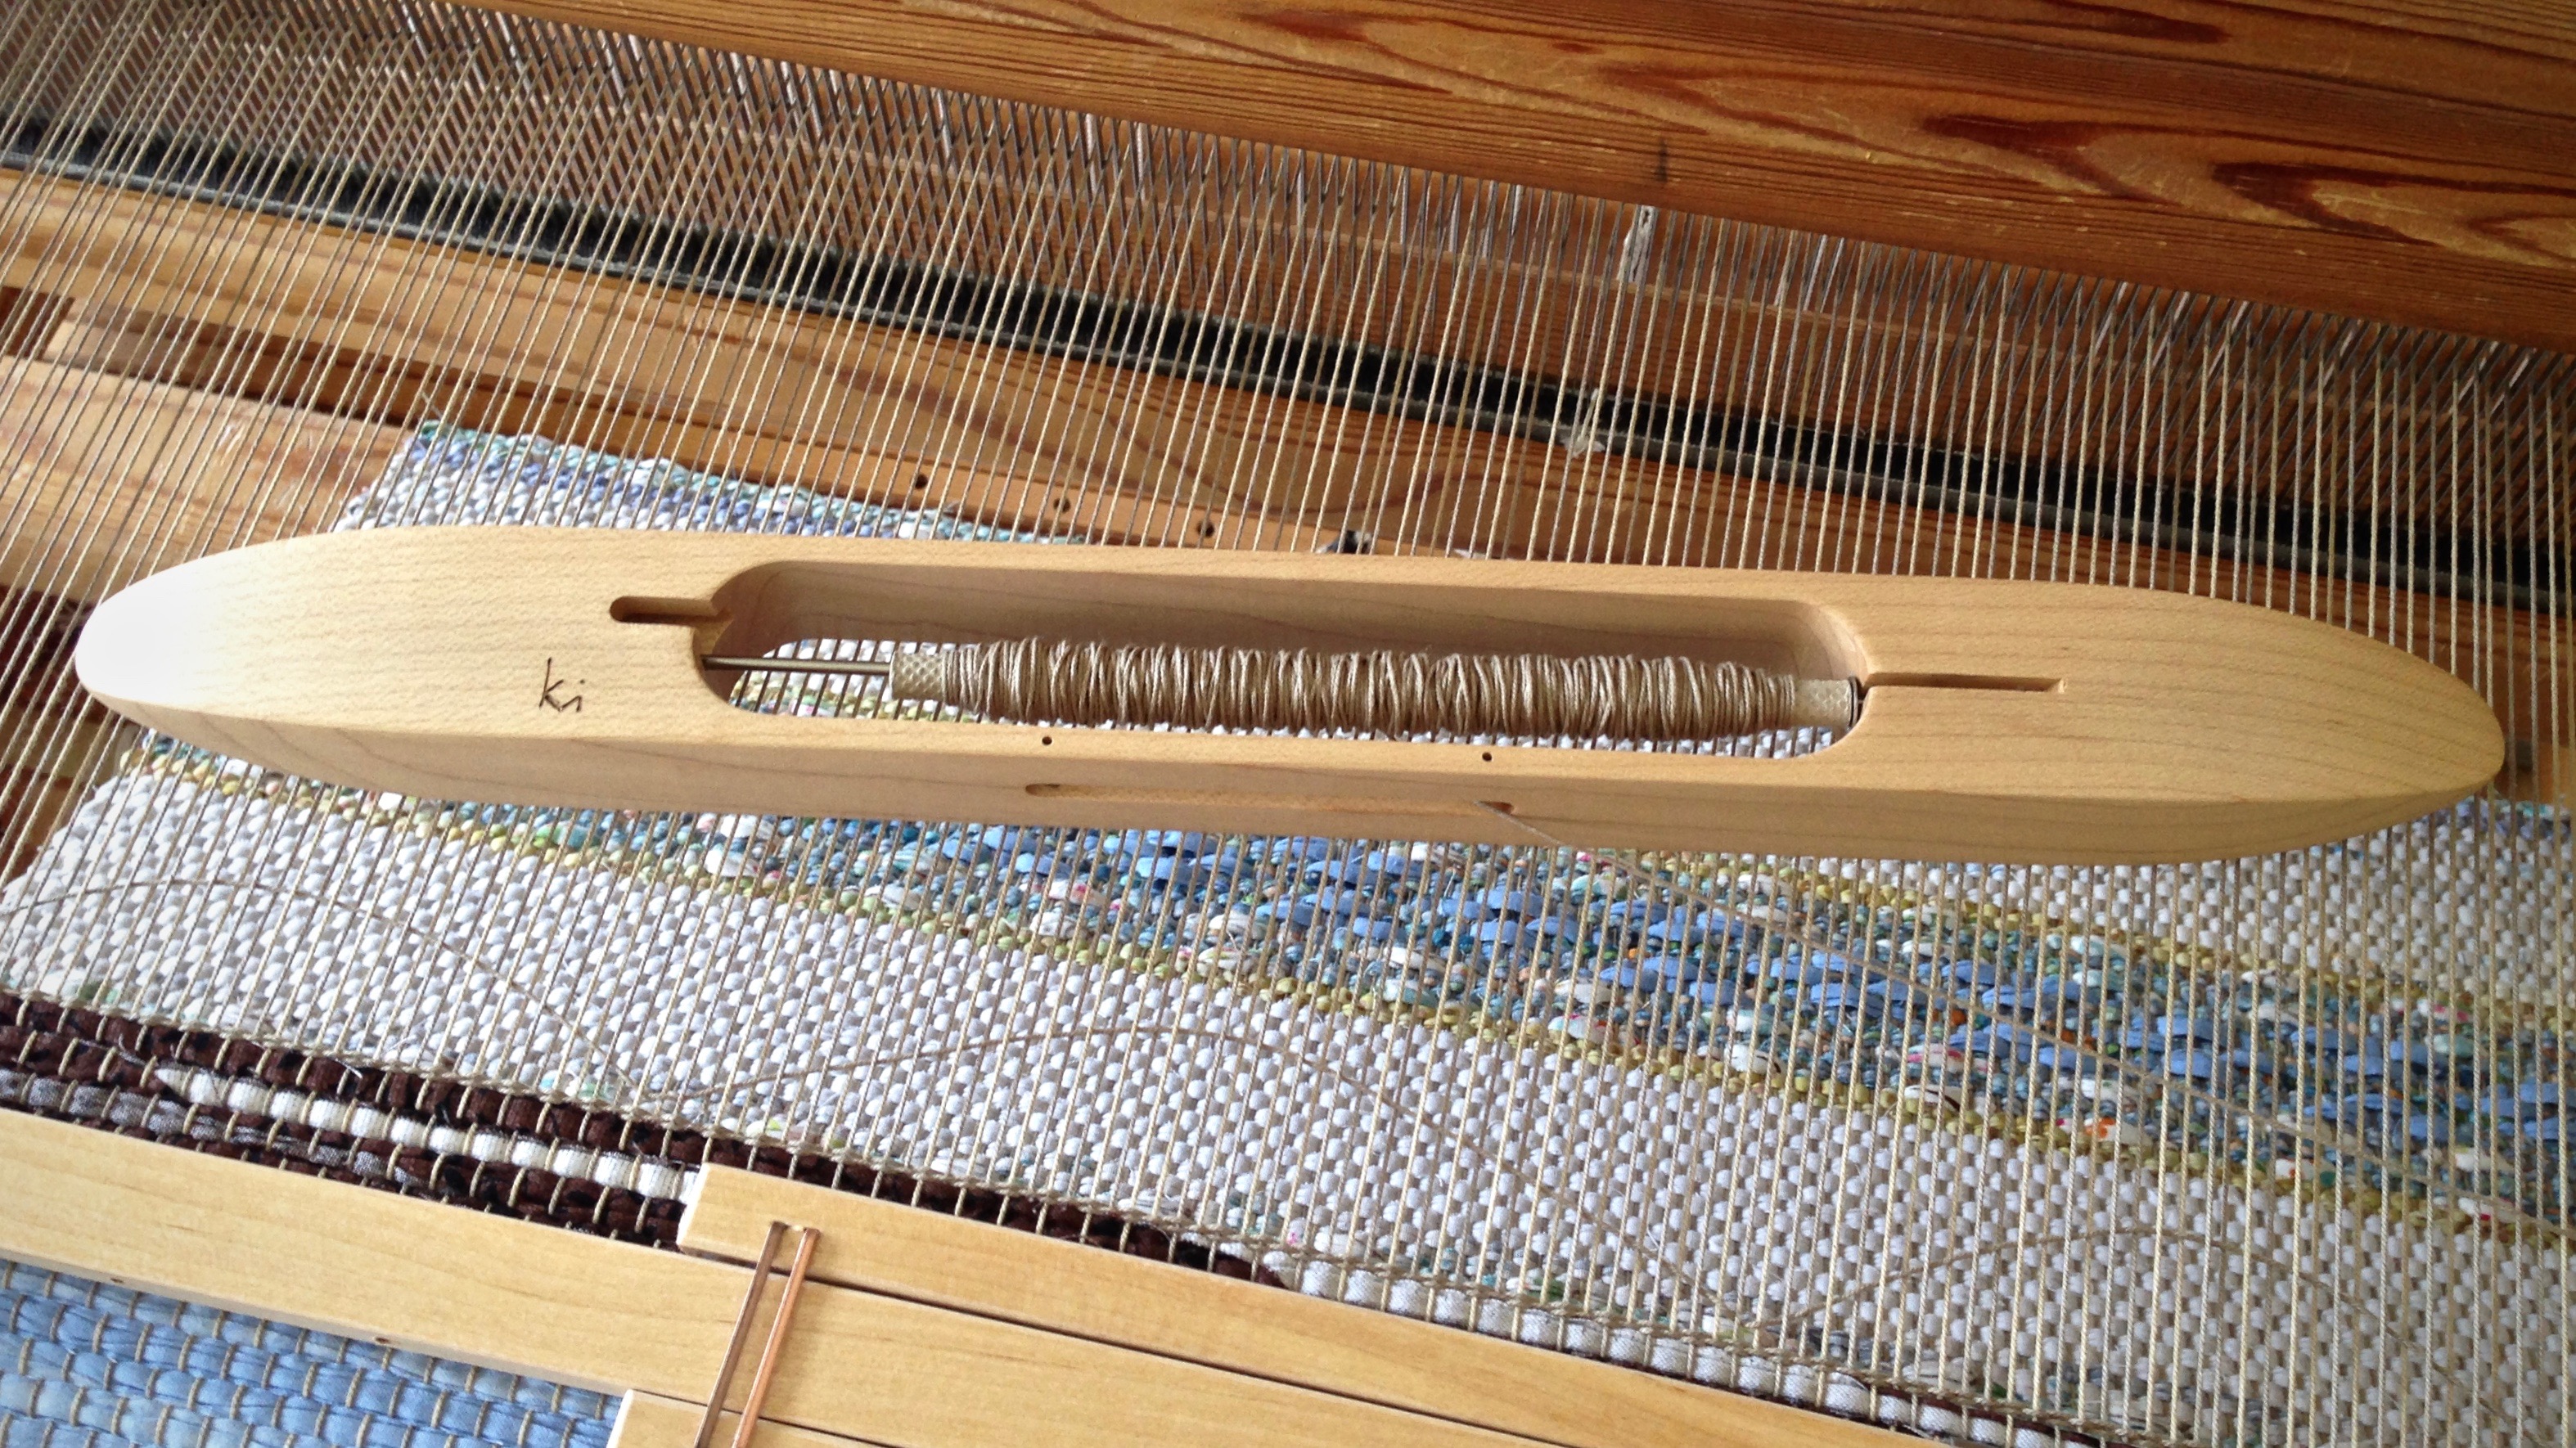
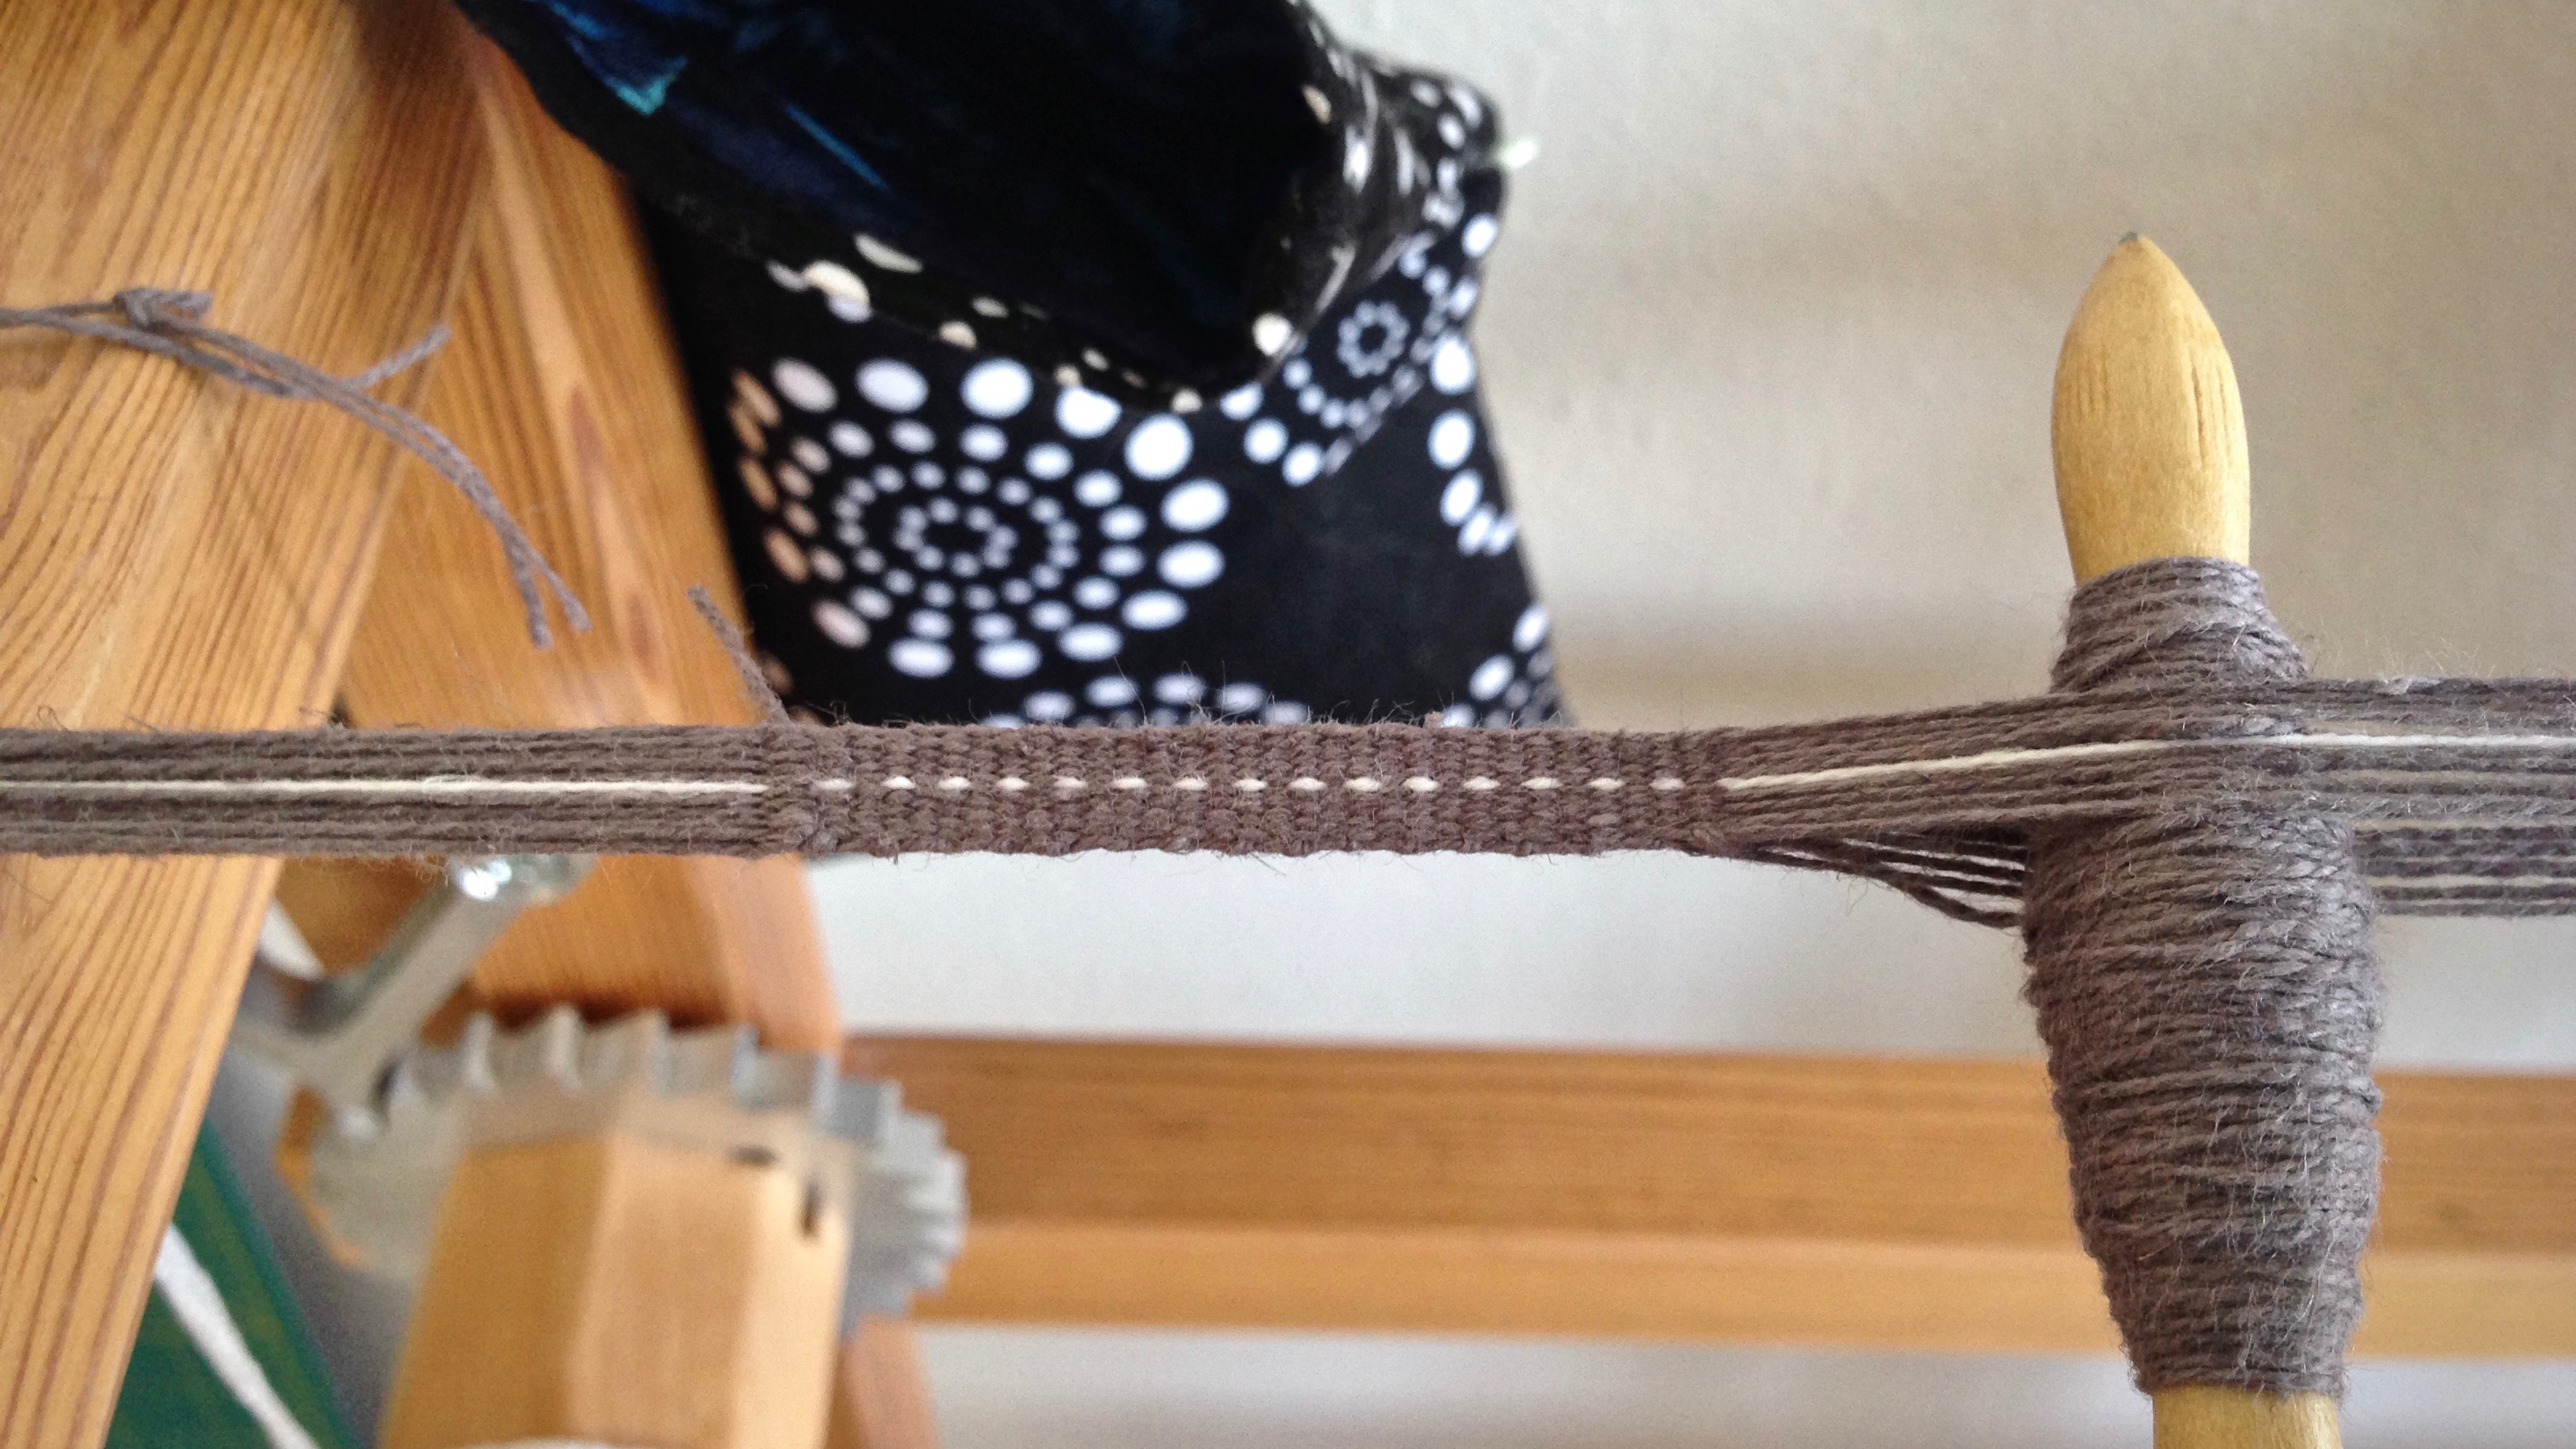
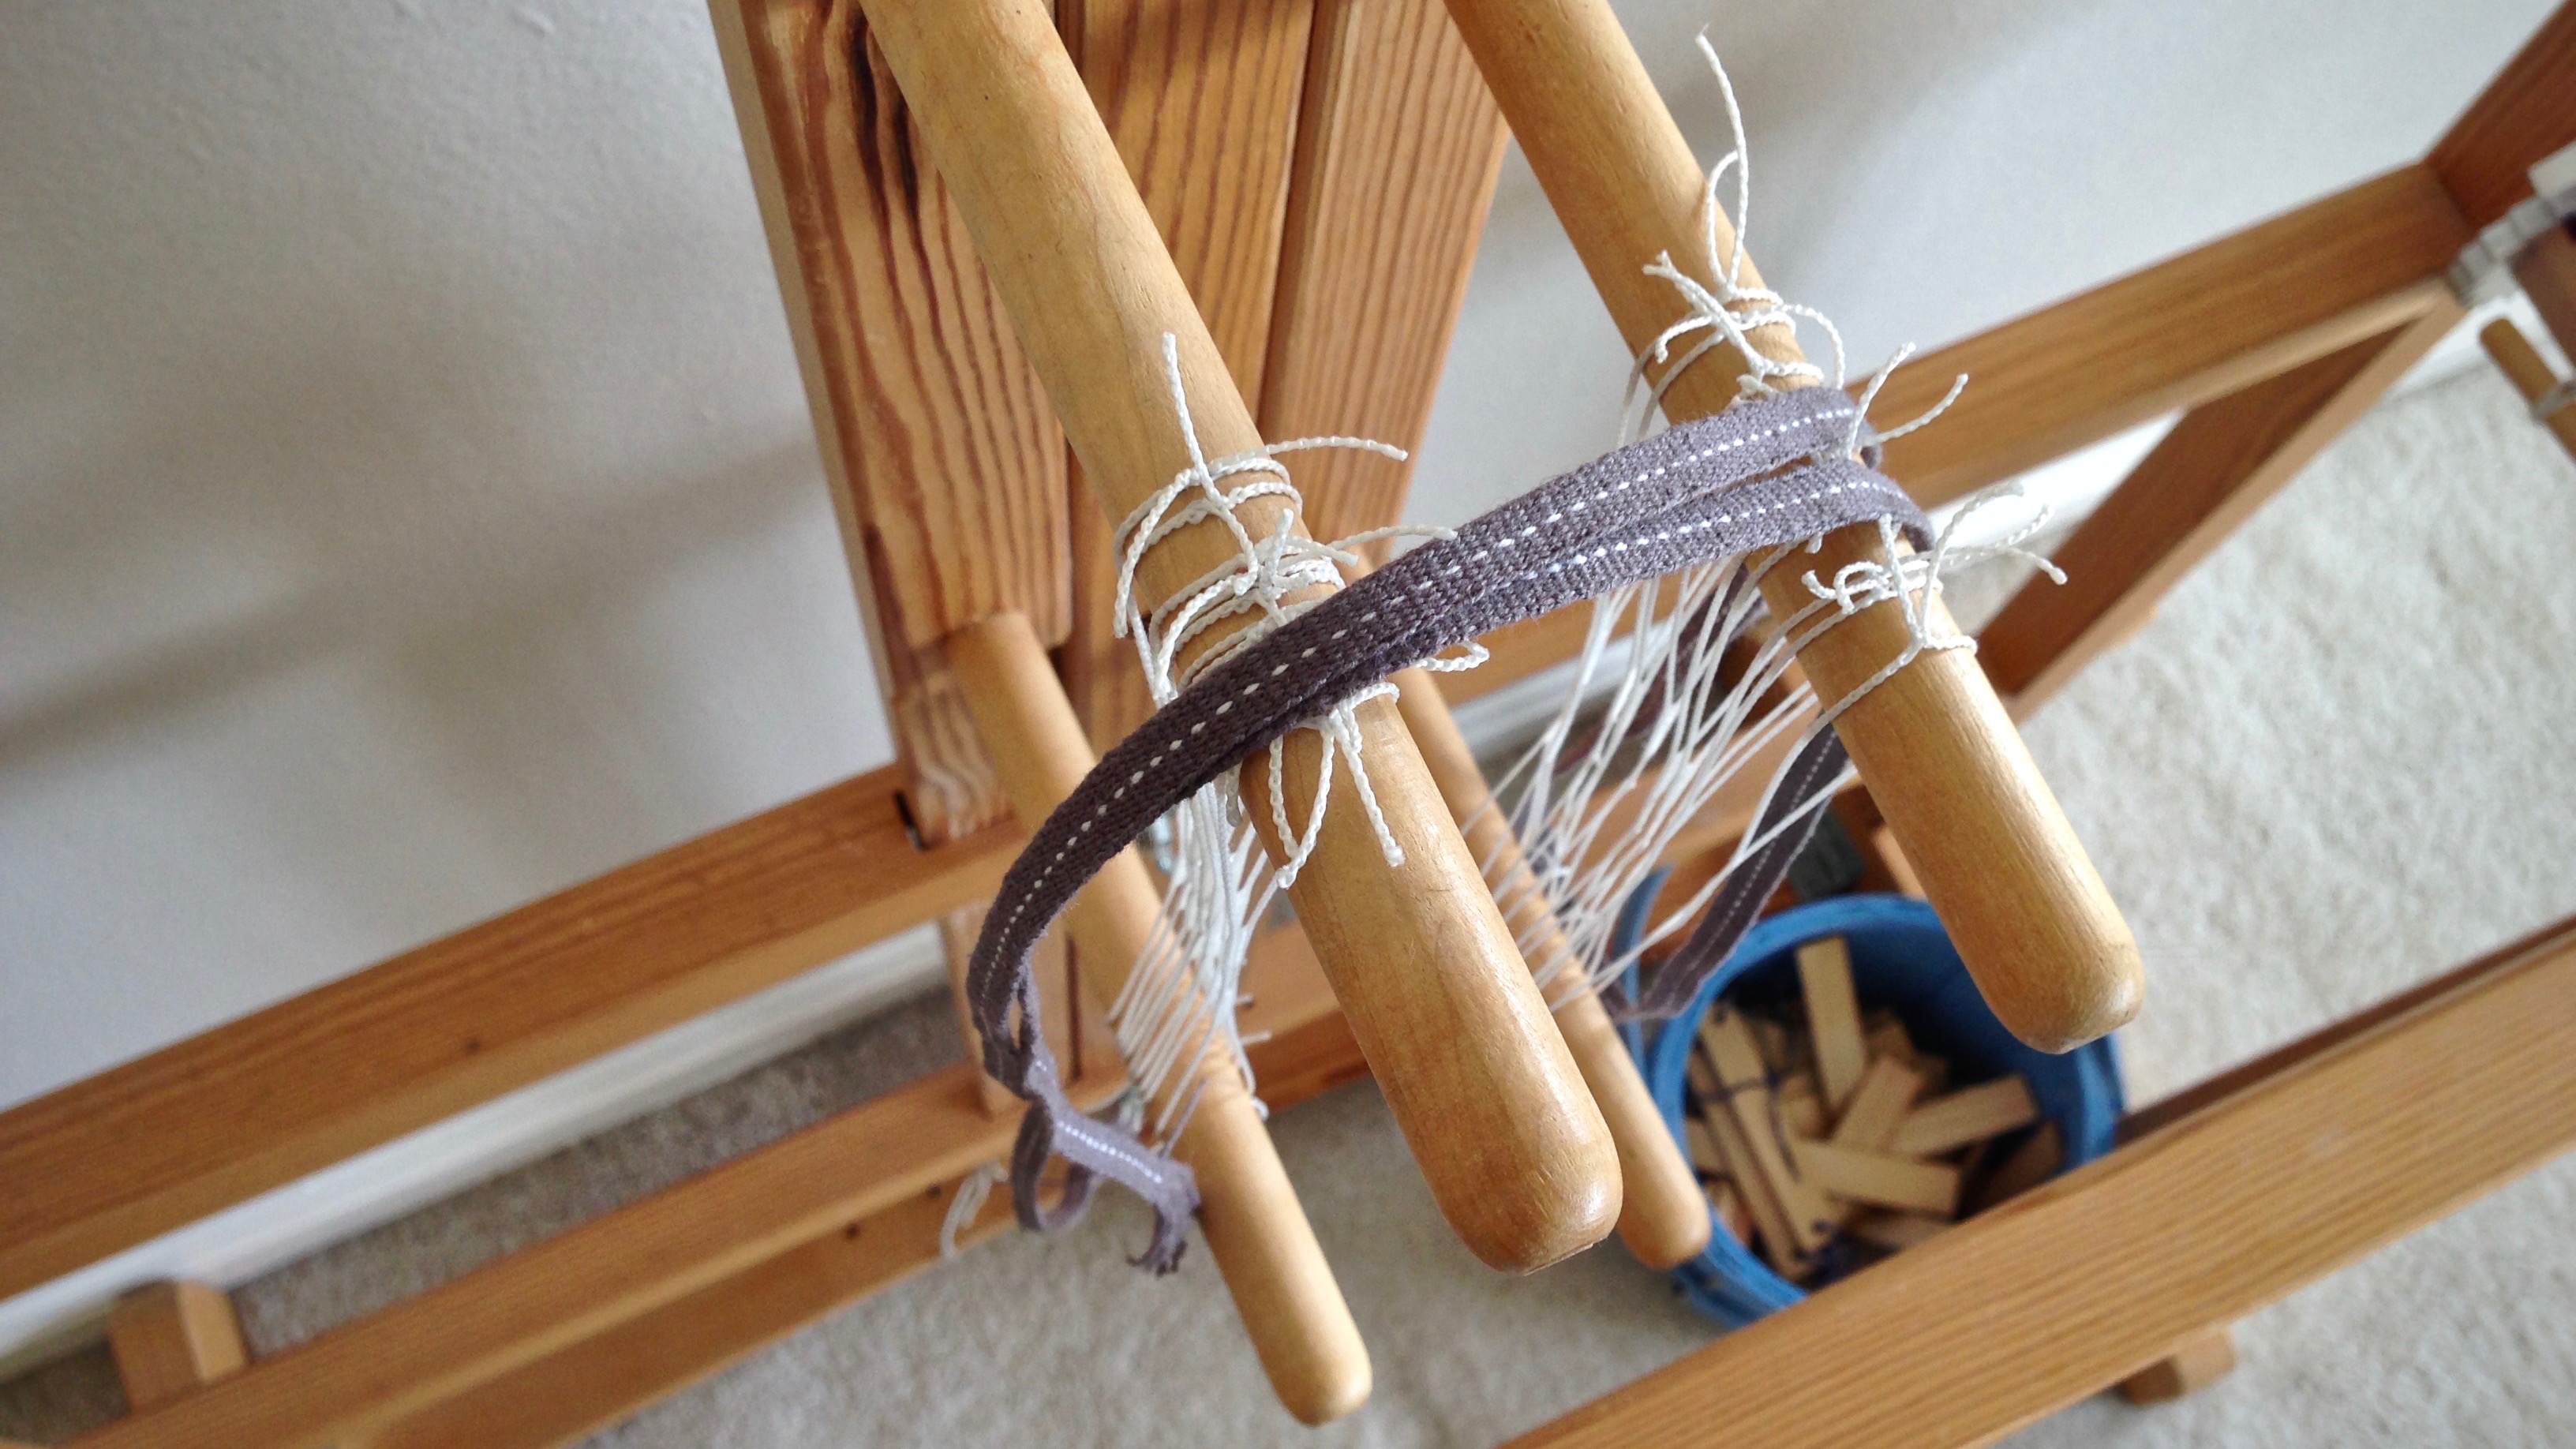
I was ready to hem the plattväv towels. But then, I thought of one more thing–I need a woven band for the hanging tabs! Since the towels have black borders, I decided to weave a simple band in black cottolin, with a single white dotted line down the center. I measured the little warp, put it on the band loom, and quickly wove it up.

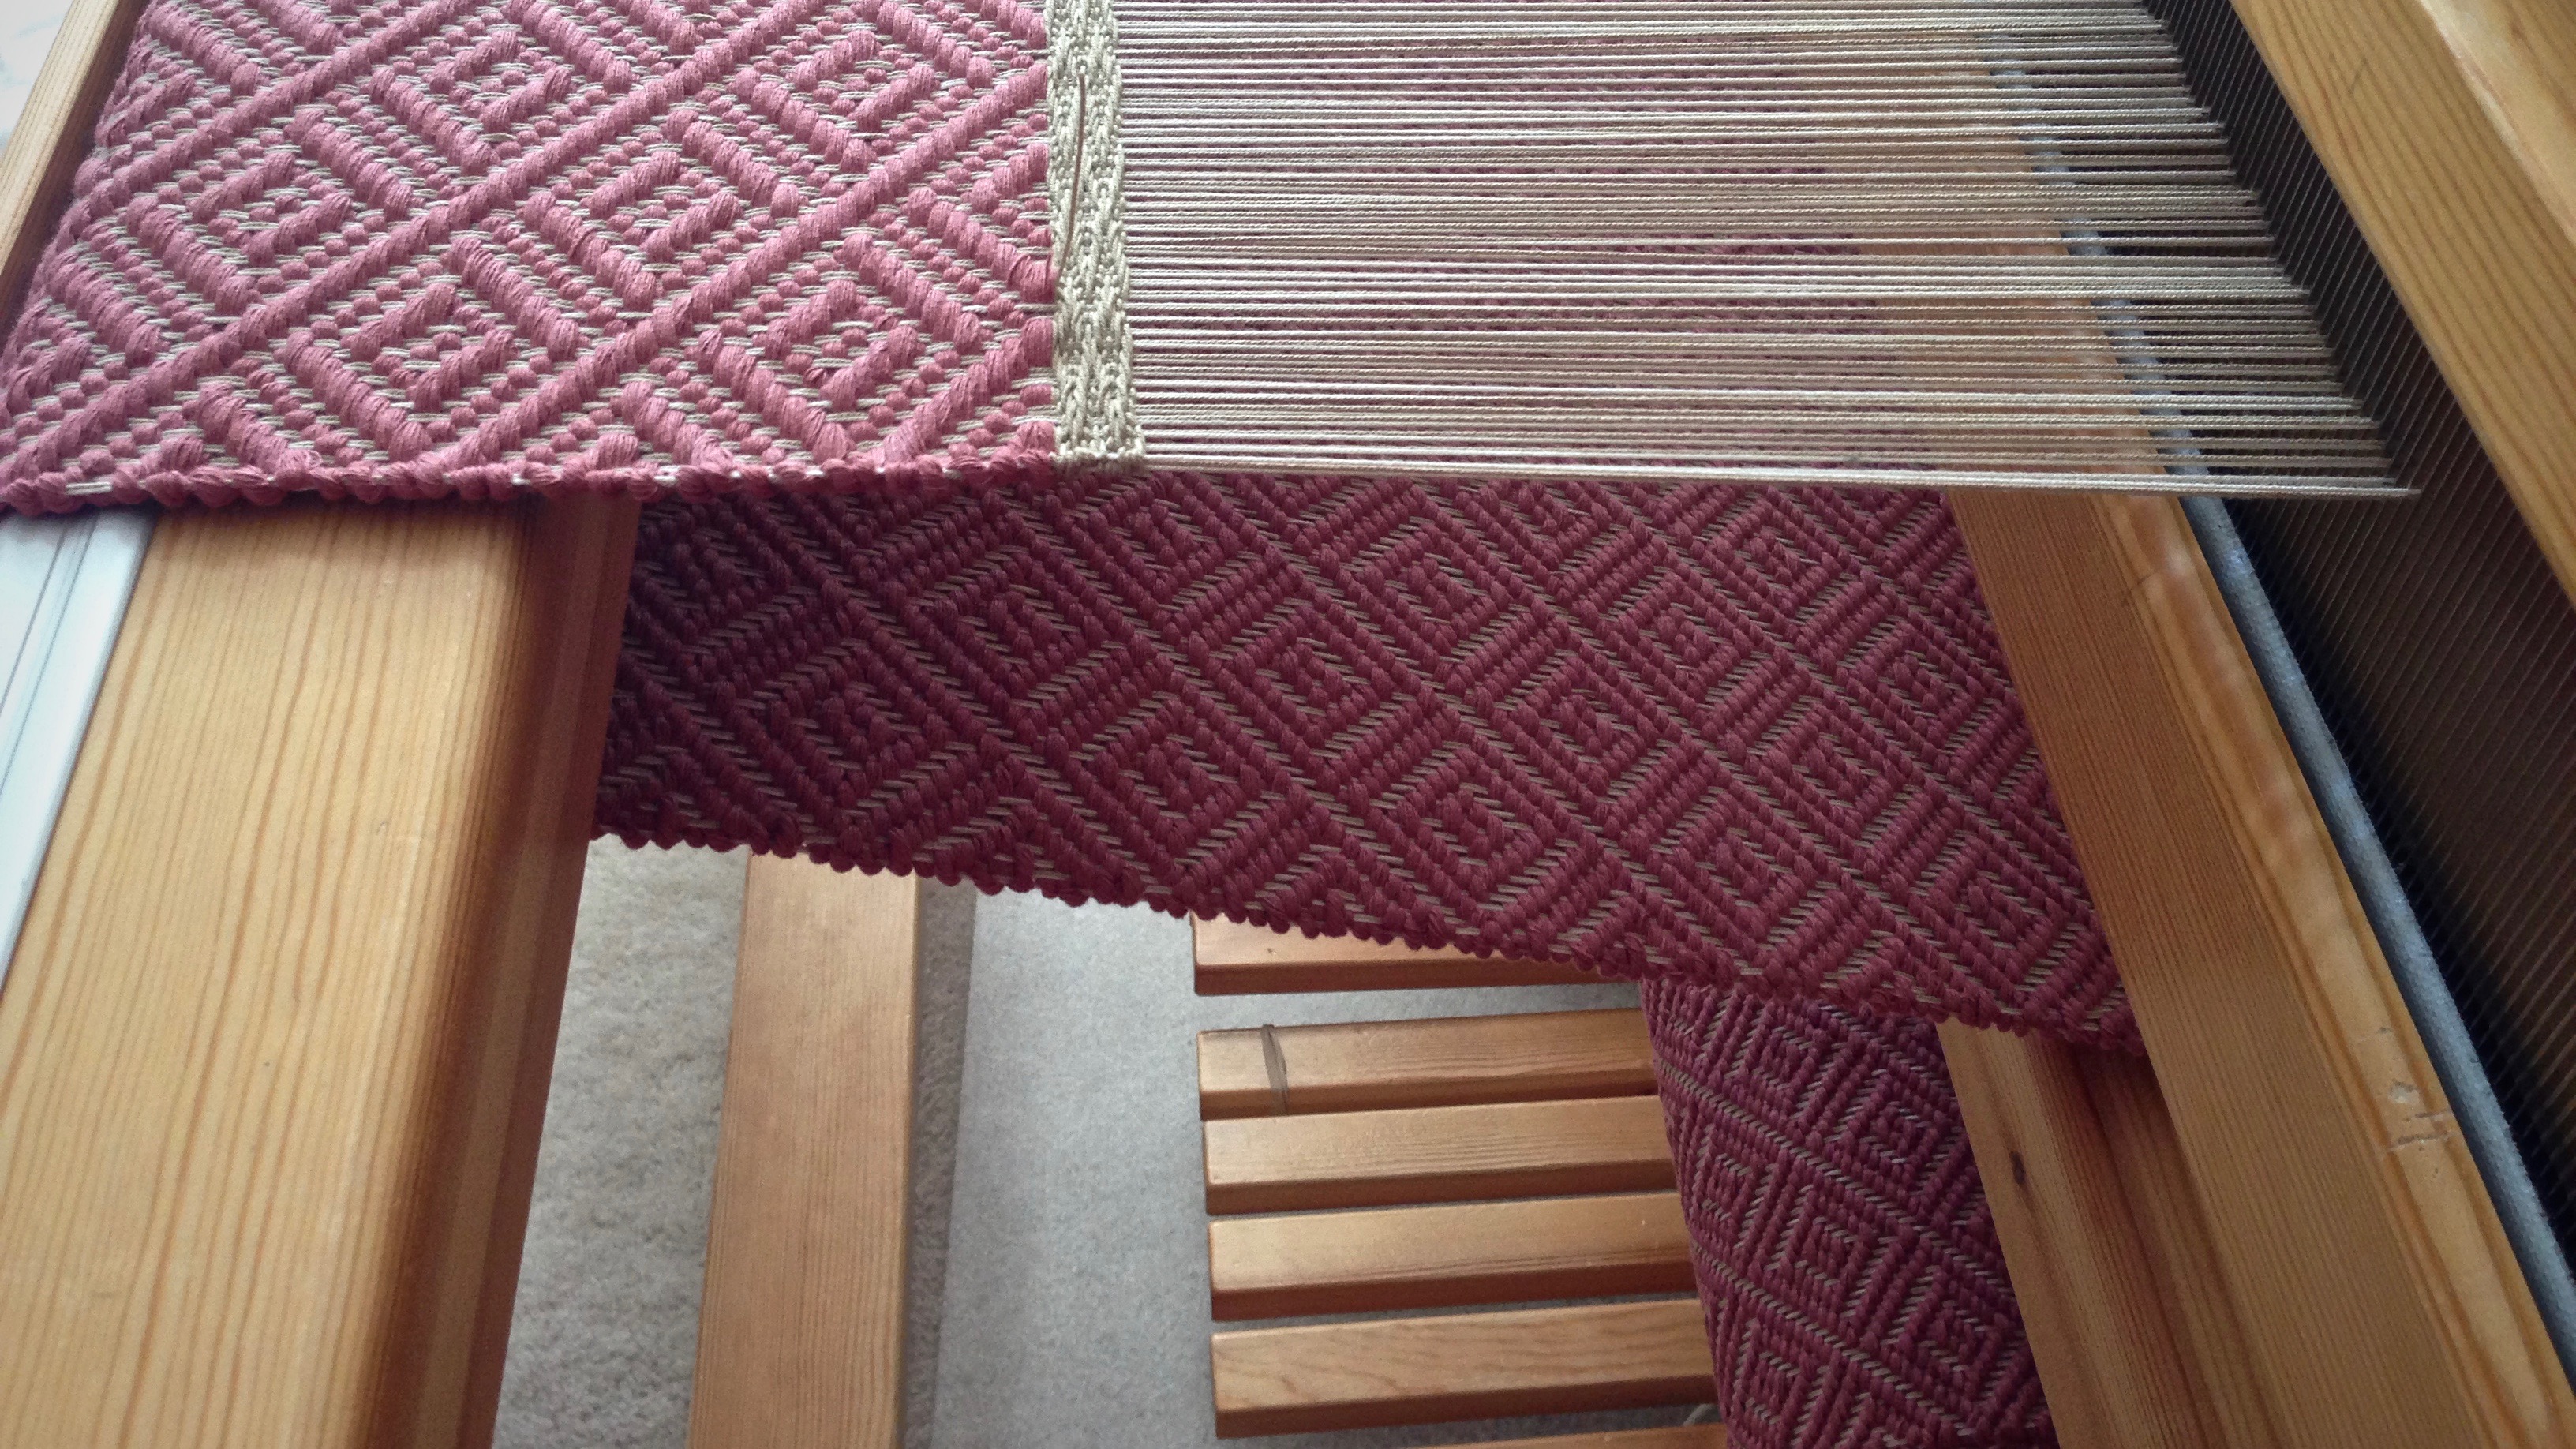
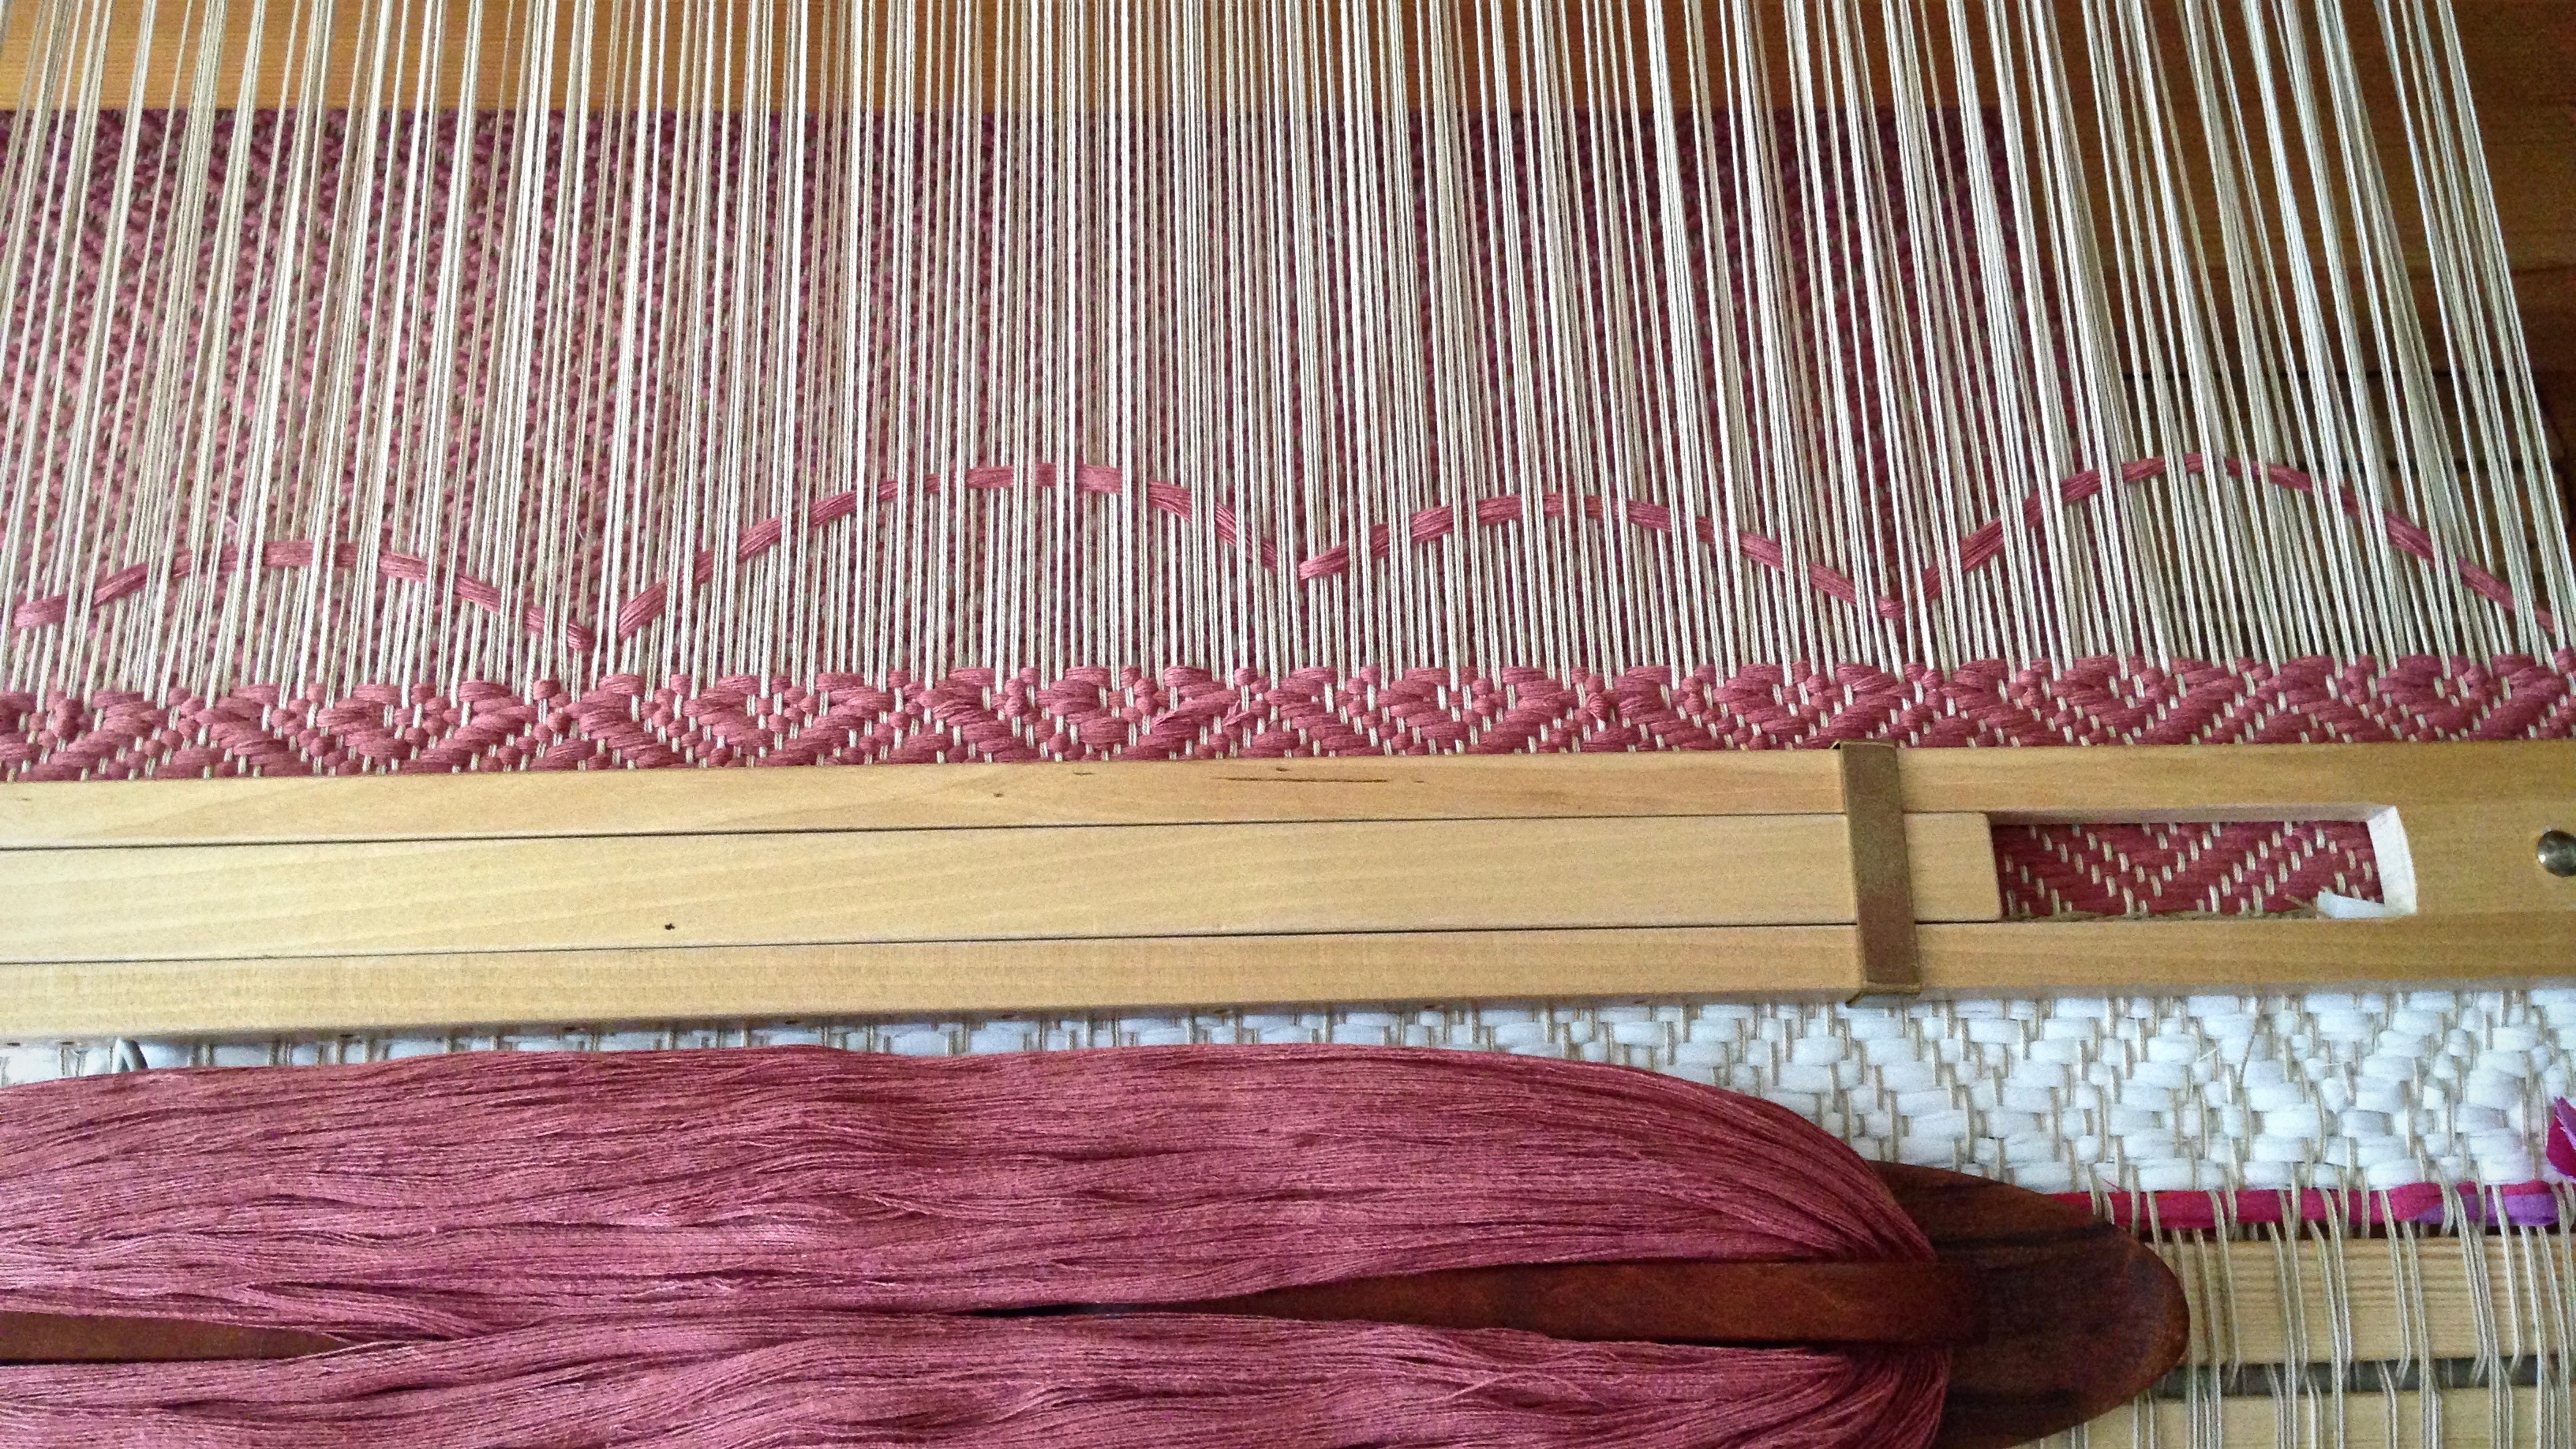
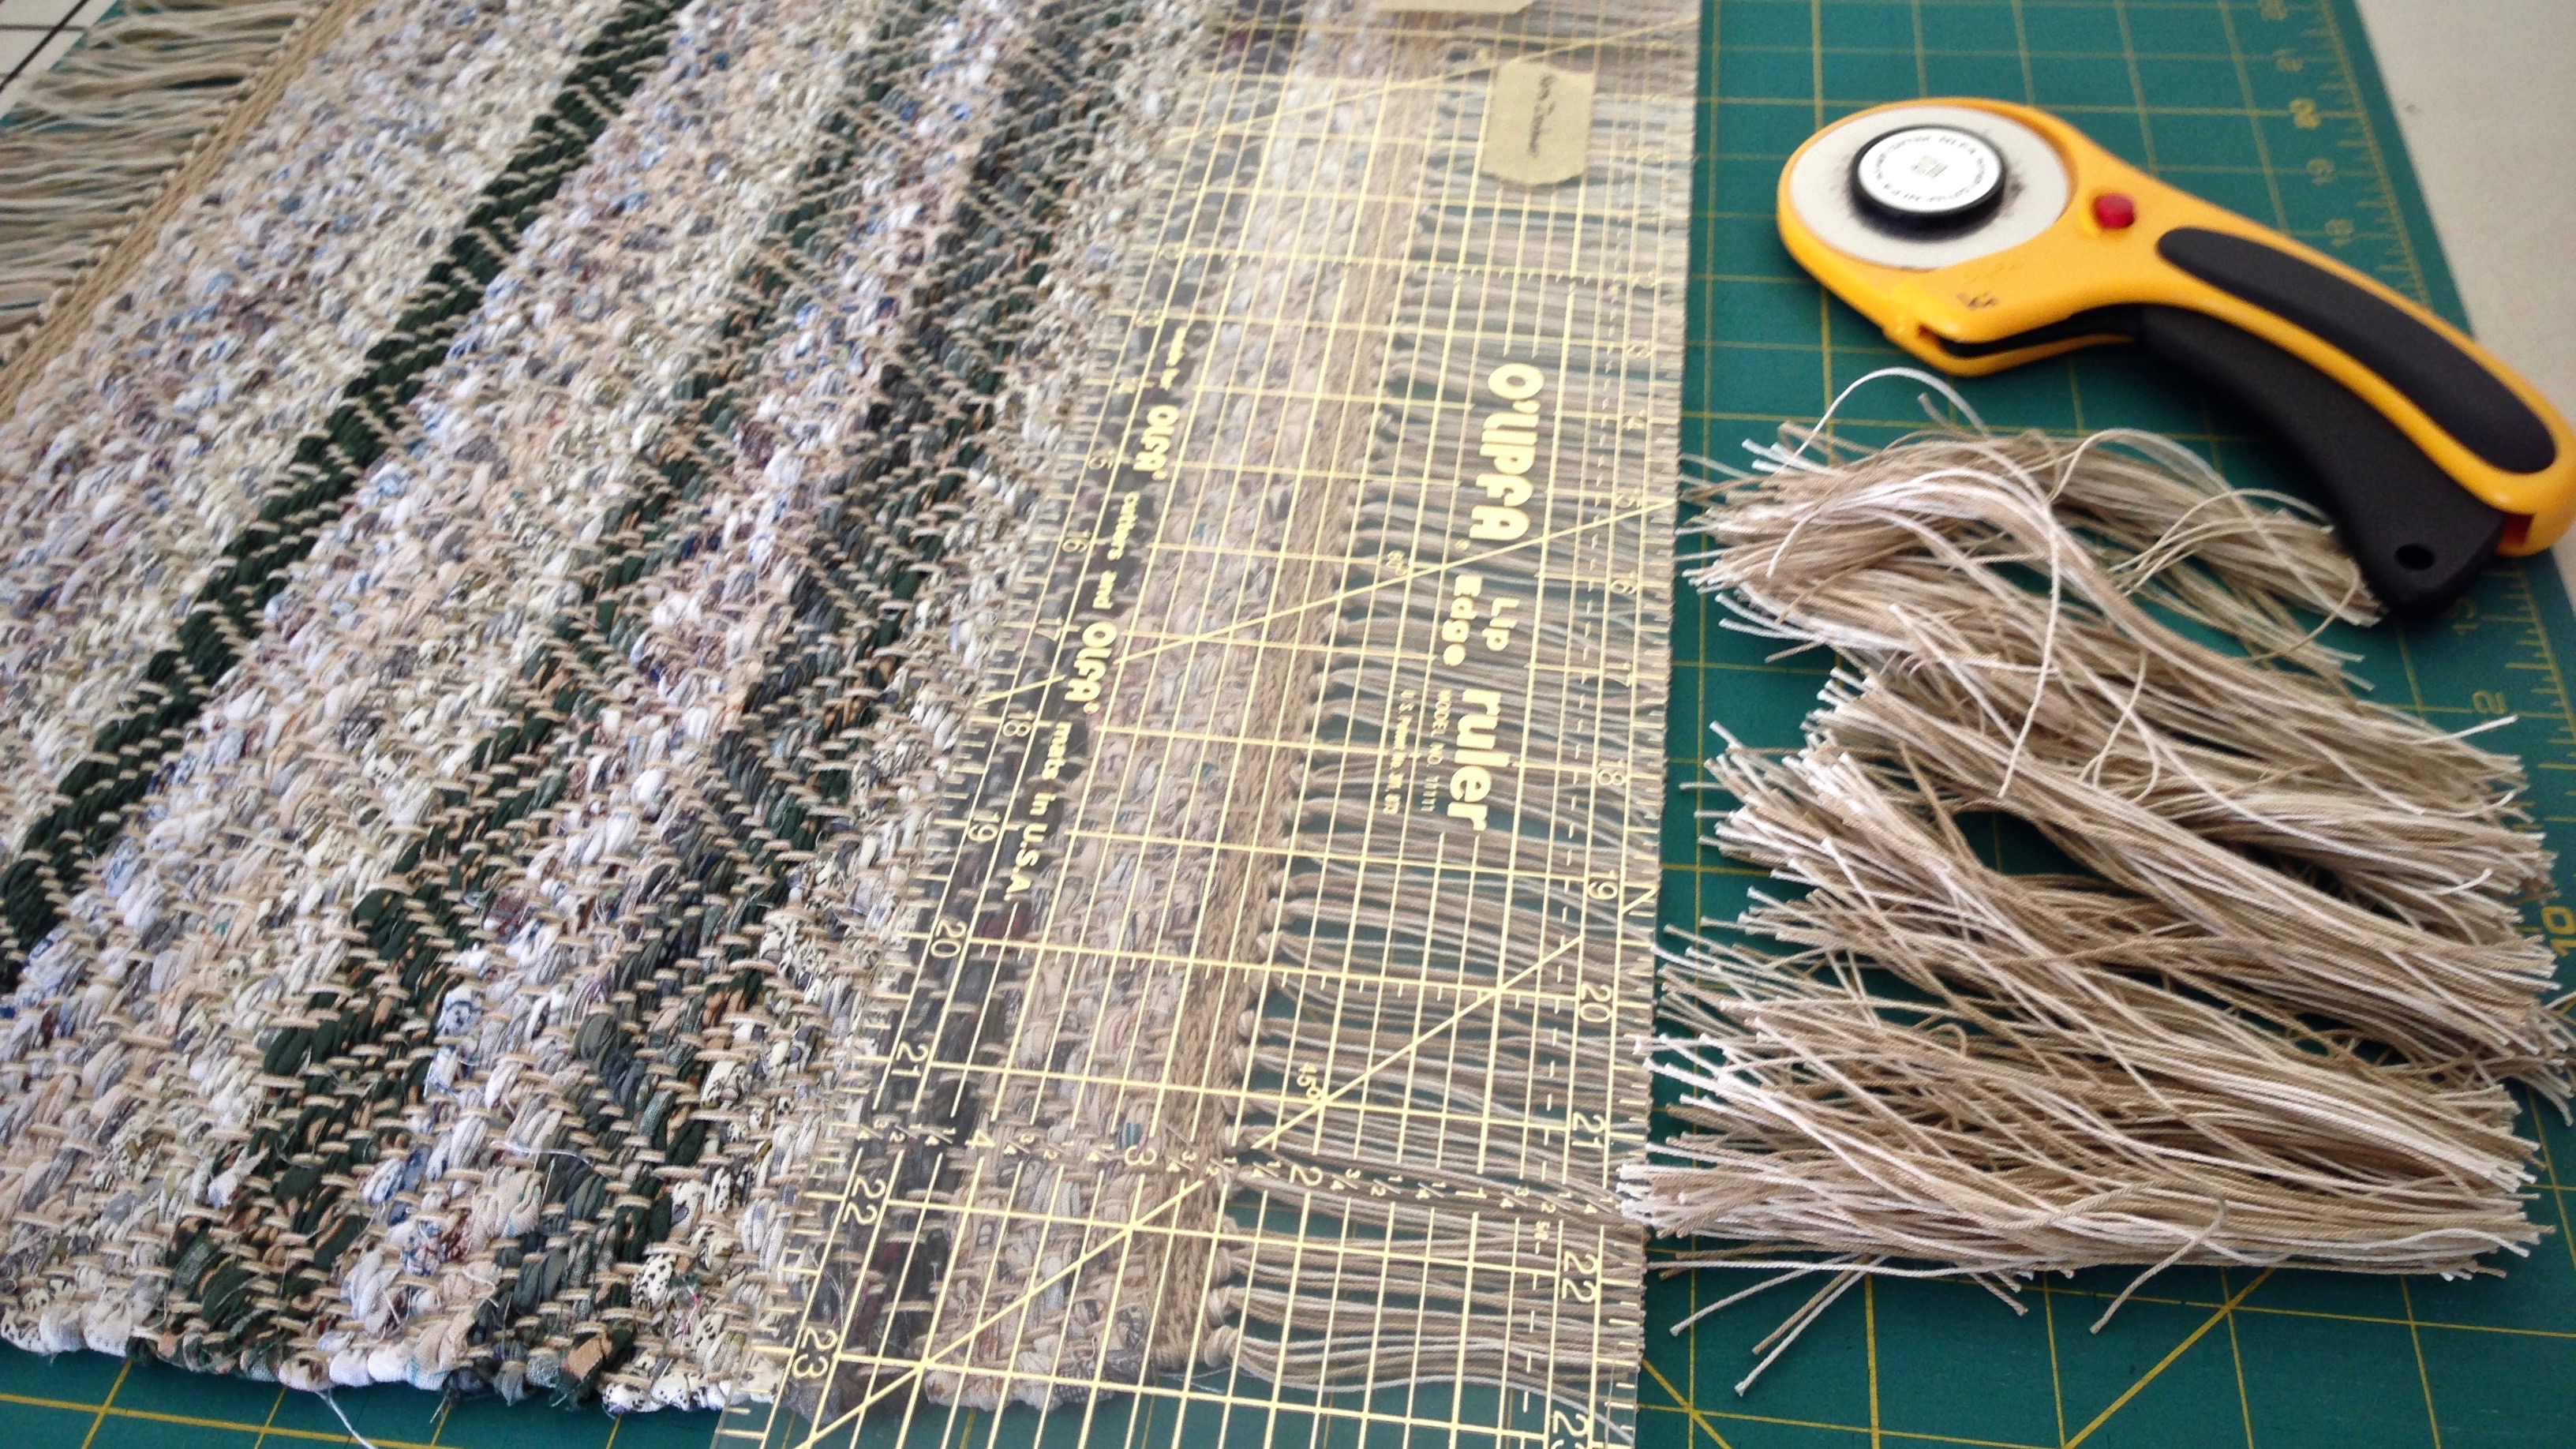
I love the classy black band with the white dotted line. However, I don’t love it with these towels… Too wide, and too… black. It’s going into my band stash box. Someday, when I least expect it, I’ll find this band in the box; and it will be exactly what I need at the time. So, I started over at the band loom this morning, and wove a new band.

Joy is ignited by giving thanks. Gratitude changes your outlook. Instead of seeing the black band as a setback, it’s a gift for the future. The gray band is a reminder to be thankful for second chances. To whom will we give our thanks? To our looms? No. To each other? Yes. And to our Maker who gave himself for us? A resounding, joyful yes.
May you continuously be thankful.
Thankful for you,
Karen