How Many Square Knots?

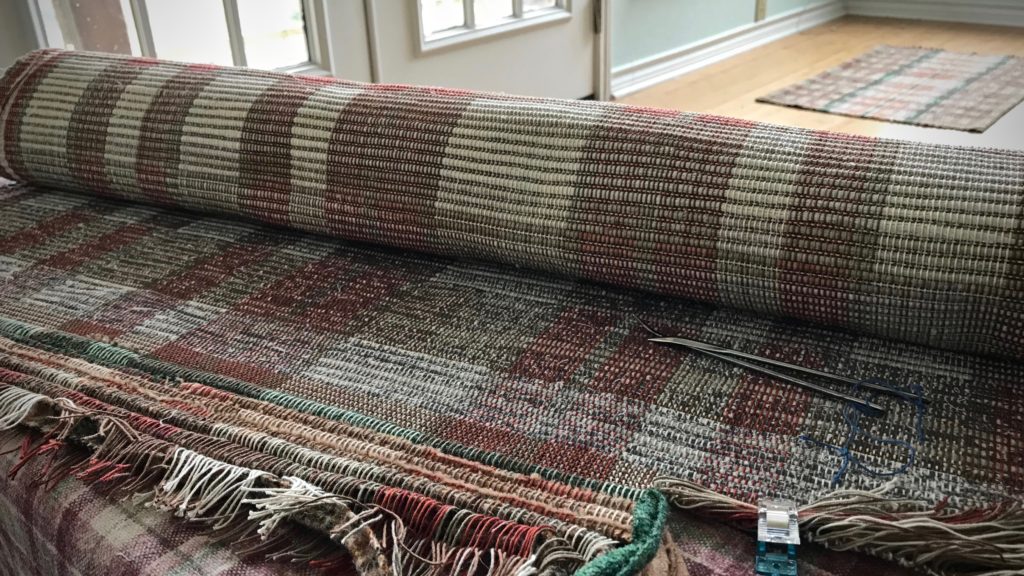
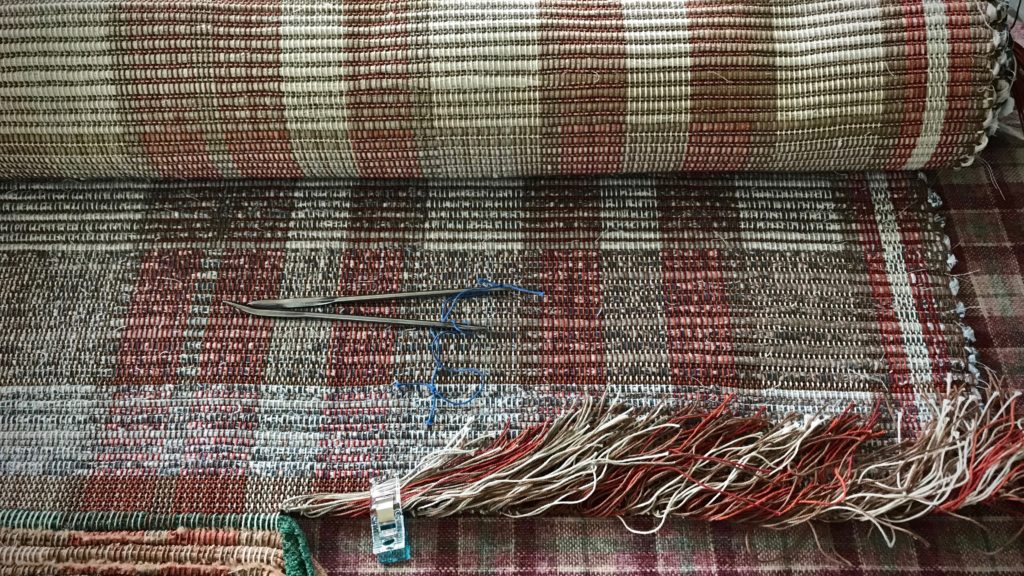
Would you like to tie 1,890 knots? These rag rugs have more warp ends than usual. Every four warp ends are tied into a square knot, and pulled tight. With 756 ends and five rugs, the knots add up! But it’s the best way I know to make the rug permanently secure. Hand-stitched hems will finalize the process. Three of the five spaced rep rugs are finished and hemmed. Two to go.

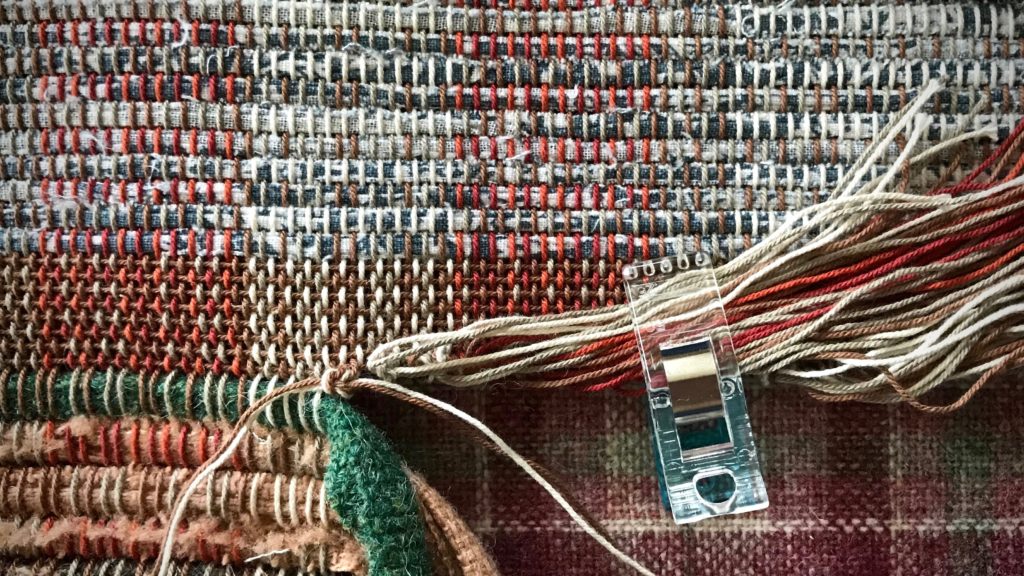
Rag rug finishing. Tying square knots.
Four warp ends are tied into a square knot. Plastic quilters clip keeps tied ends out of the way.
Tying knots on rag rug warp ends.
Sacking needles are used for easing the warp ends out of the scrap weft, and for wrapping the thread around to tie tight knots, as shown in this short video: Quick Tip: Square Knots Without Blisters.
Finishing work for rag rugs.
Progress.

Christmas is about a heavenly promise. Jesus is the promise of God. Jesus—the word of God in person. The promise of God is as near as our own mouths and our own hearts—we say it and believe it. The promise is brought to us by grace, which means all the knots have been tied for us, and the hem is stitched. It is finished. And we enjoy the permanent security of the Savior’s redemptive love. This is no magic carpet, but a handwoven rug with rags that have been made beautiful.

May you enjoy a promise fulfilled.

Have a grace-filled Christmas,
Karen

Small Tapestry Revived

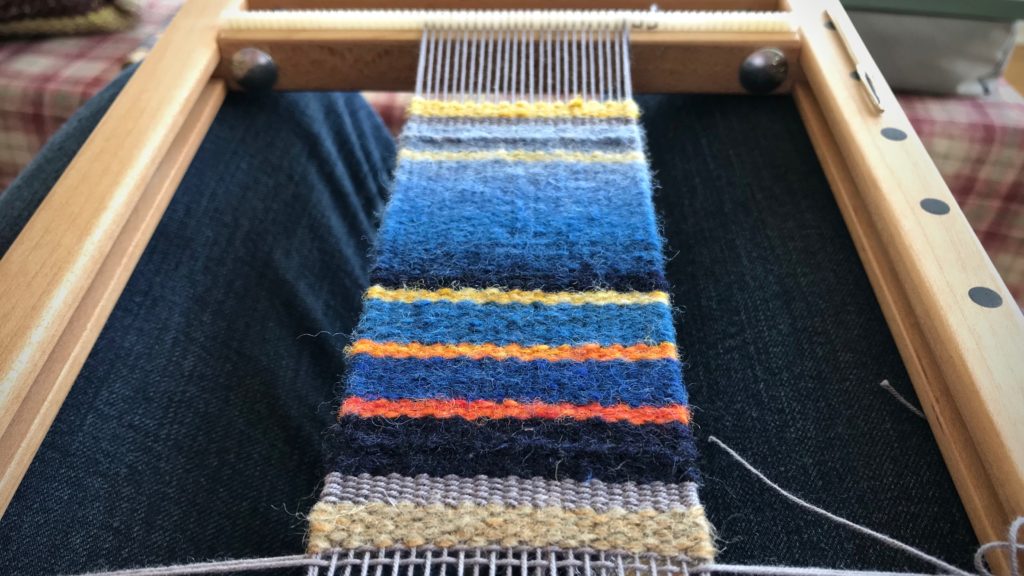
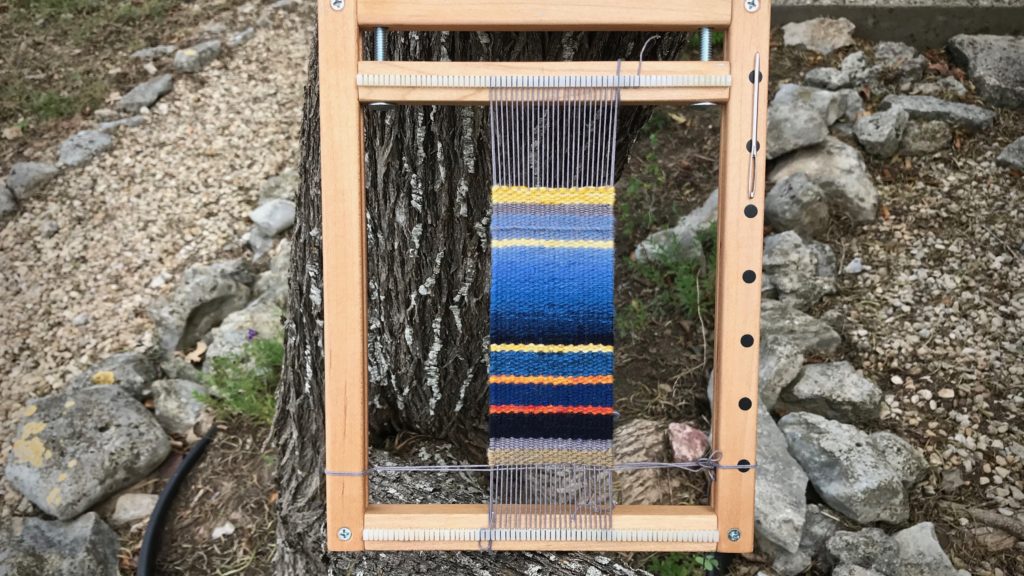
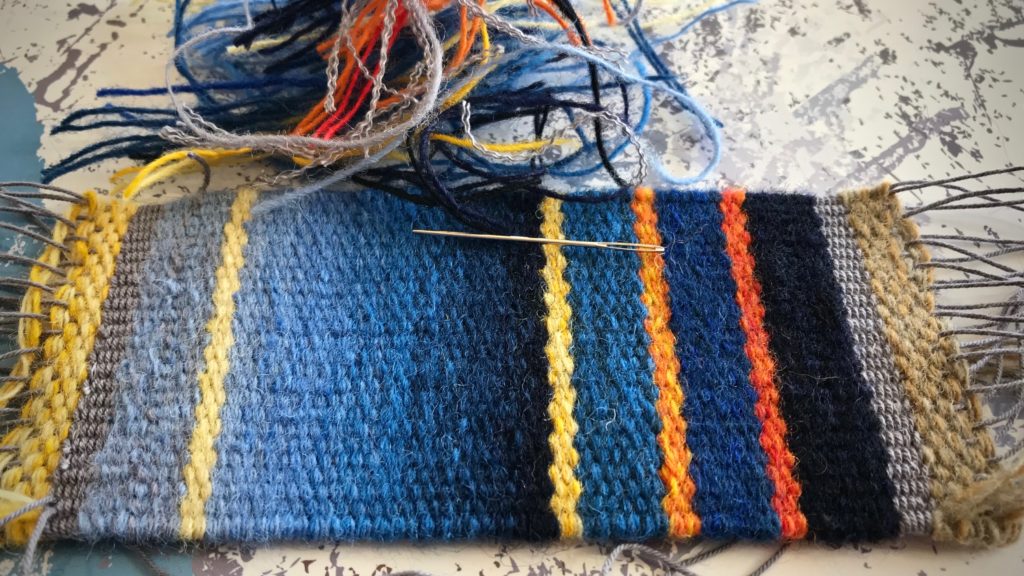
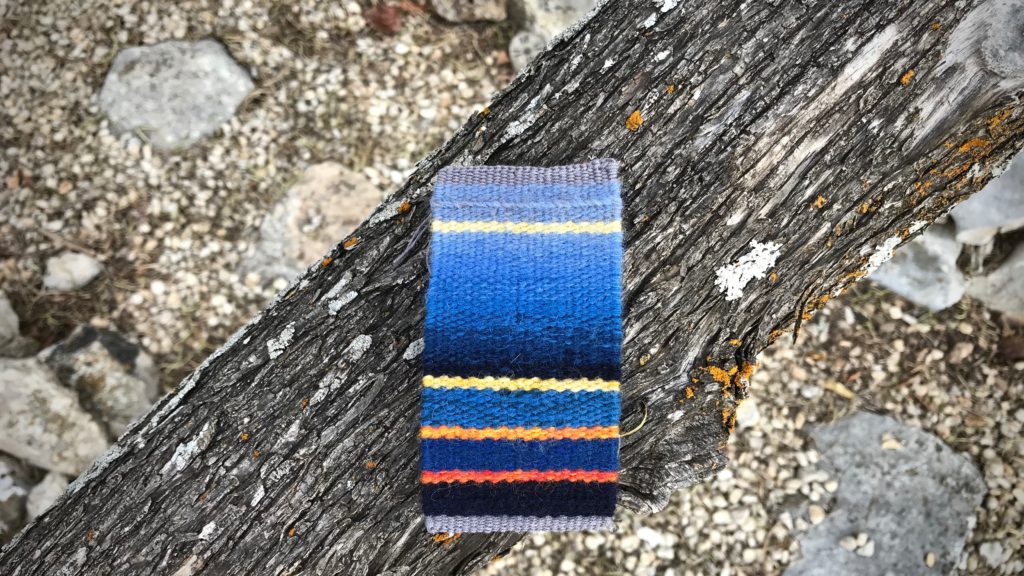
This little tapestry has been almost finished for a very long time. I stopped short of completion months ago. I’ve missed my small tapestry weaving, so I’m back at it. Only a few steps remain with this one. Soon this little color gradation sweetheart will be on the wall, to be enjoyed.

Small tapestry with color gradation.
Last few picks of this small tapestry are woven in one sitting. Warp thread header and waste yarn are added.
Small tapestry with color gradation.
Small tapestry frame makes an interesting artwork frame. But this tapestry must be removed so another tapestry can begin.

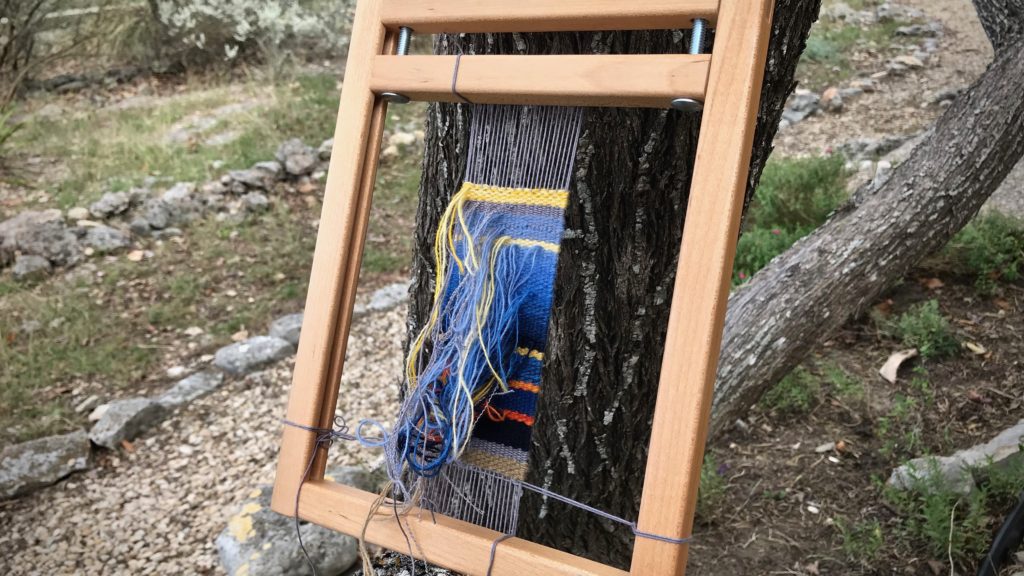
The finishing steps are not difficult. (Rebecca Mezoff gives excellent instructions in Weaving Tapestry on Little Looms.) After the piece is removed from the loom, it is steamed. Then, weft tails are sewn in and/or trimmed on the back. Half Damascus knots secure the warp ends. The hems will be folded under and stitched down. Then, this little masterpiece will be ready for mounting and display.

Weft tails that will be sewn in and/or trimmed.
Tapestry was woven from the front, so all the weft tails are on the back.
Sewing in and trimming weft tails.
Weft tails have been sewn in and/or trimmed on the back of the weaving.
Finishing ends on a small tapestry.
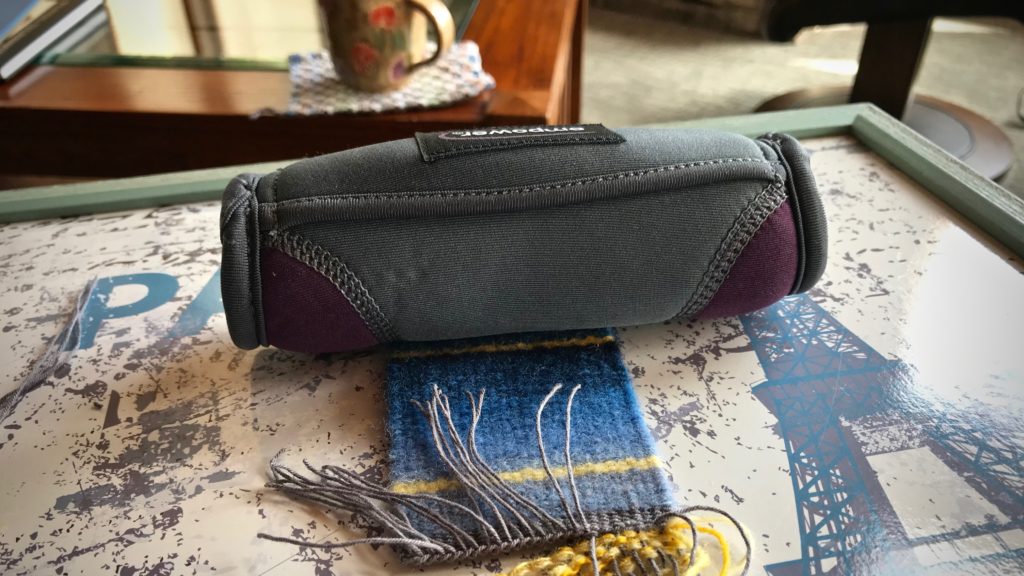
Warp ends are secured with half damascus knots. Two-pound walking weight helps hold the little tapestry in place.

Here is an ancient description of an interesting woman, as told by another woman.

Strength and dignity are her clothing,
And she smiles at the future.
She opens her mouth in wisdom,
And the teaching of kindness is on her tongue.
—from Solomon’s book of Proverbs

Small tapestry is ready to be hemmed.
Small tapestry with color gradation is ready to be hemmed. Ends will be folded under at the soumak lines, and stitched into place.

This is the type of woman I admire. Wear the best clothes that money can’t buy—strength and dignity. She has optimism. No anger. She speaks with wisdom and kindness. These are finishing touches I ask my Maker to work in me. To be a woman ready for what she was made for.

May you be finished.

Kindest regards,
Karen

Tools Day: Leveling String

Thirty-five years ago, I took a beginner rigid heddle loom class. Our teacher taught us to use strips of toilet paper (or fat scrap yarn) as weft at the beginning of the weaving to space the warp. After several inches of weaving, the warp ends would fall into alignment. Unless fringe is planned, that beginning warp goes to waste, not to mention the unsightly aspect of the throwaway weft. Here comes the leveling string to the rescue! This piece of 12/6 cotton seine twine is just what we need to get off to a good start with every project we put on the loom. The leveling string levels out the warp ends, and delivers a nice, flat weaving surface. It is superb to be able to weave fabric right from the very beginning of the warp!

The use of a leveling string is also described in my three favorite books that detail how to warp a loom:

  • The Big Book of Weaving, by Laila Lundell
  • Learning to Warp Your Loom, by Joanne Hall
  • Dress Your Loom the Vävstuga Way: A Benchside Photo Guide, by Becky Ashenden

Tools:

  • Front tie-on bar with a hole at each end (Joanne Hall writes, “If there are no holes in your bar, replace the cord with a thin stick.” I have not tried this, but I trust anything Joanne says!)
  • 12/6 cotton seine twine, the length of front tie-on bar, plus about 20 inches (I like to have plenty of string to tie the knots on the ends)

Steps:

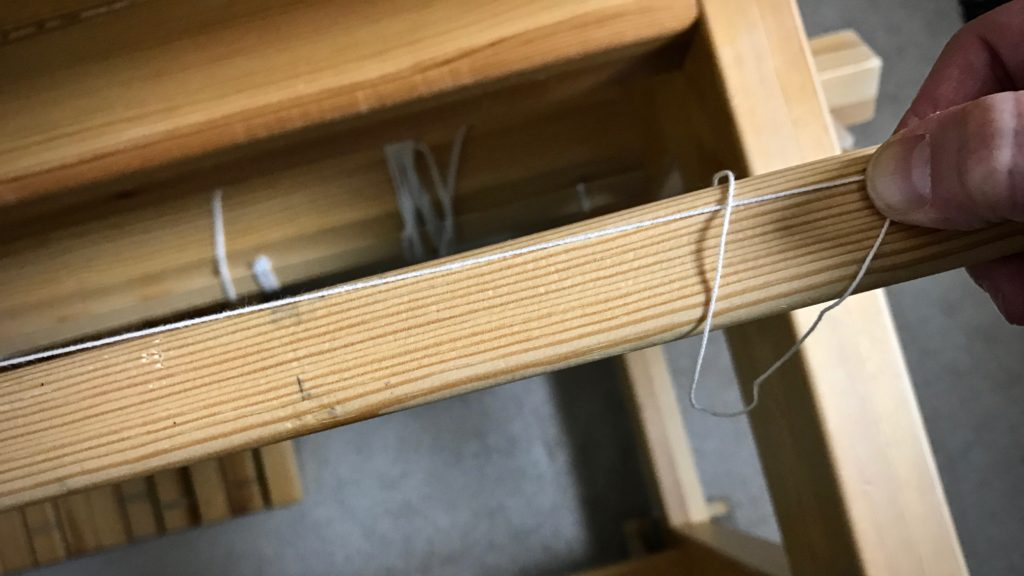
1. Tie on warp in small bundles, about 1″ each, with half of the bundle’s ends going over, and half going under, the front tie-on bar (as seen in Step 3 pictures). Tie the ends together with a bow knot or other tie-on knot. (TIP – If you do not tie the knots too tight, it is easier to get even tension across the warp, and it is easier to tighten the leveling string in Step 4.)

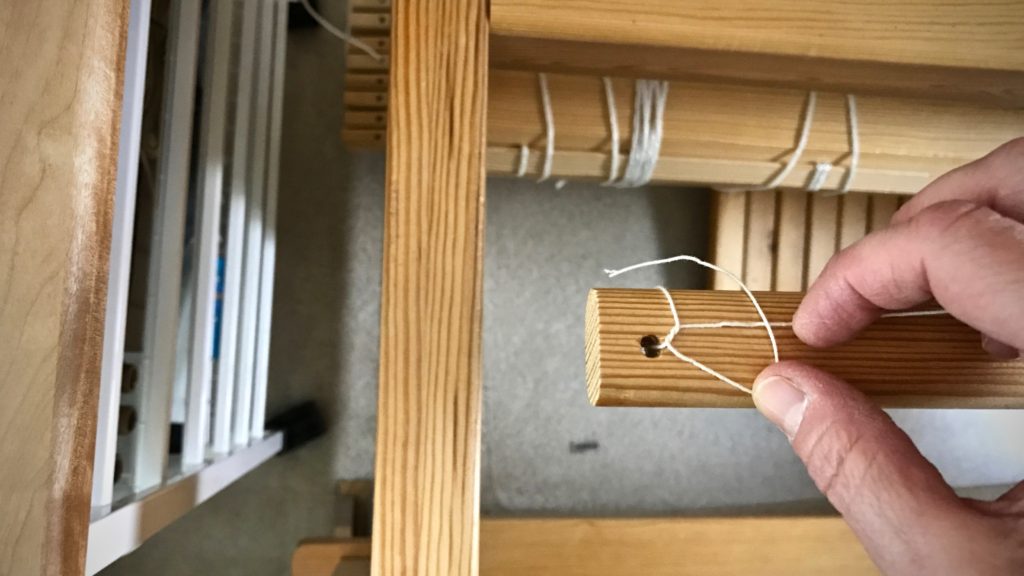
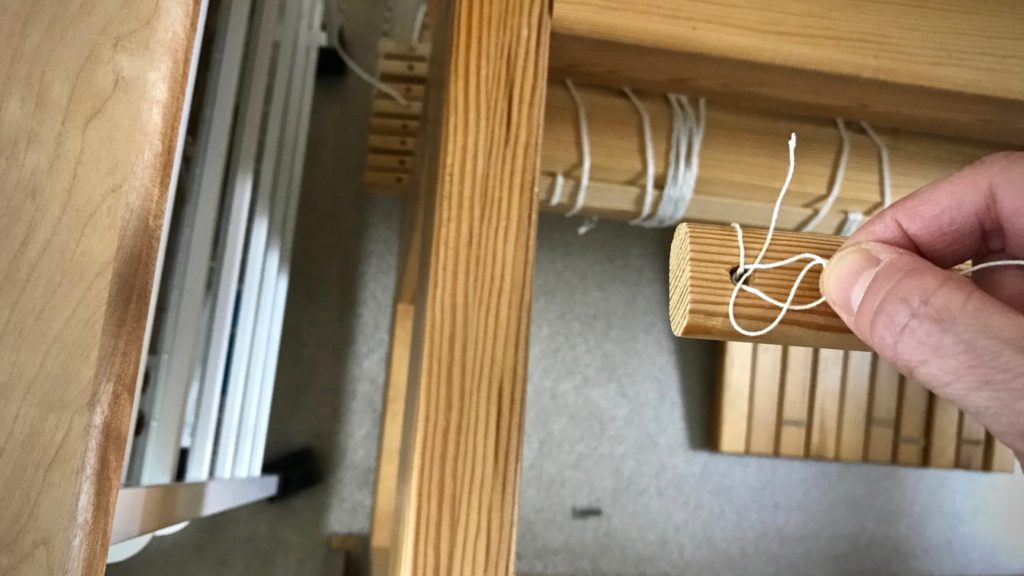
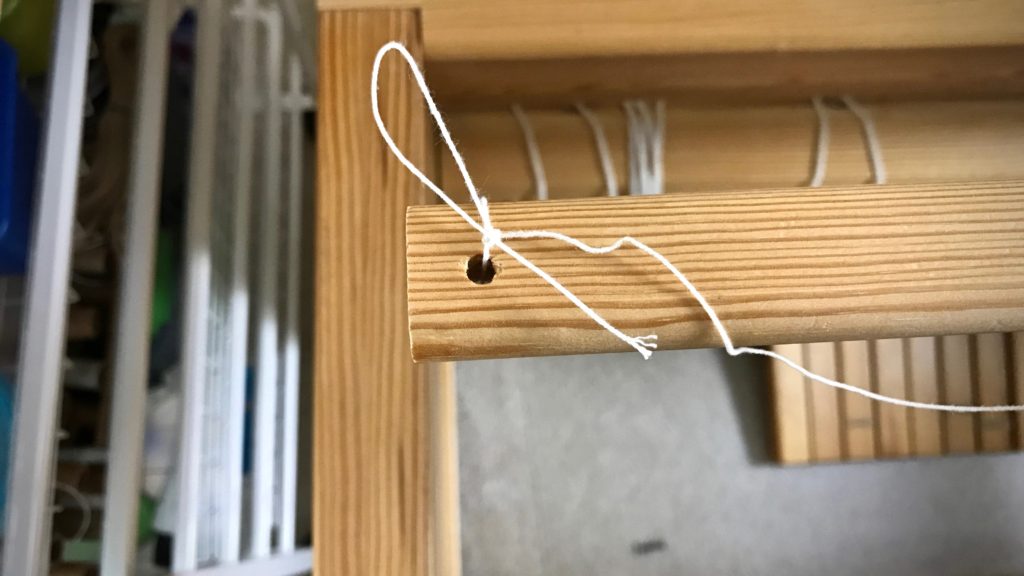
2. Tie one end of the leveling string to one end of the front tie-on bar, using a slip knot with half bow.
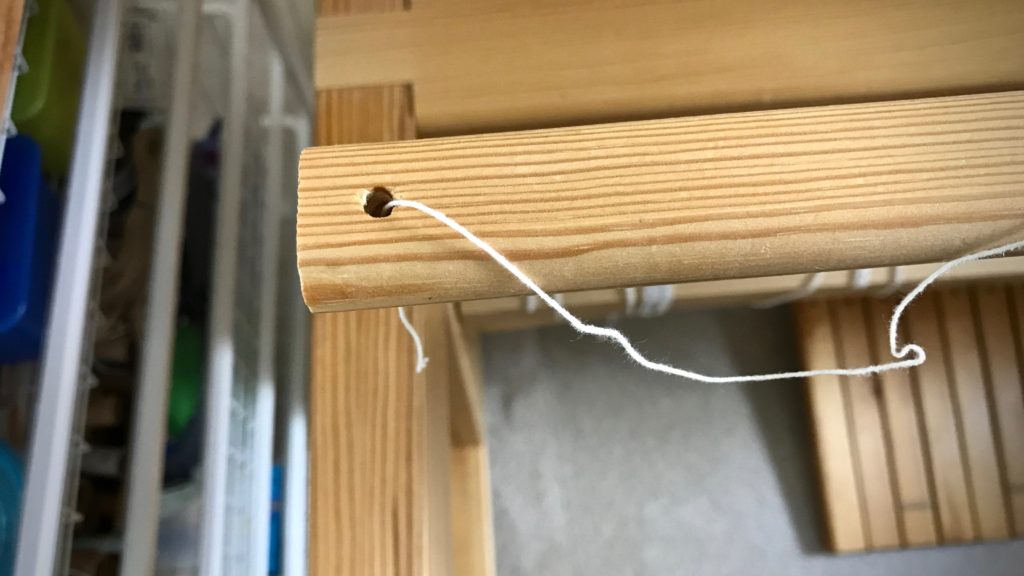
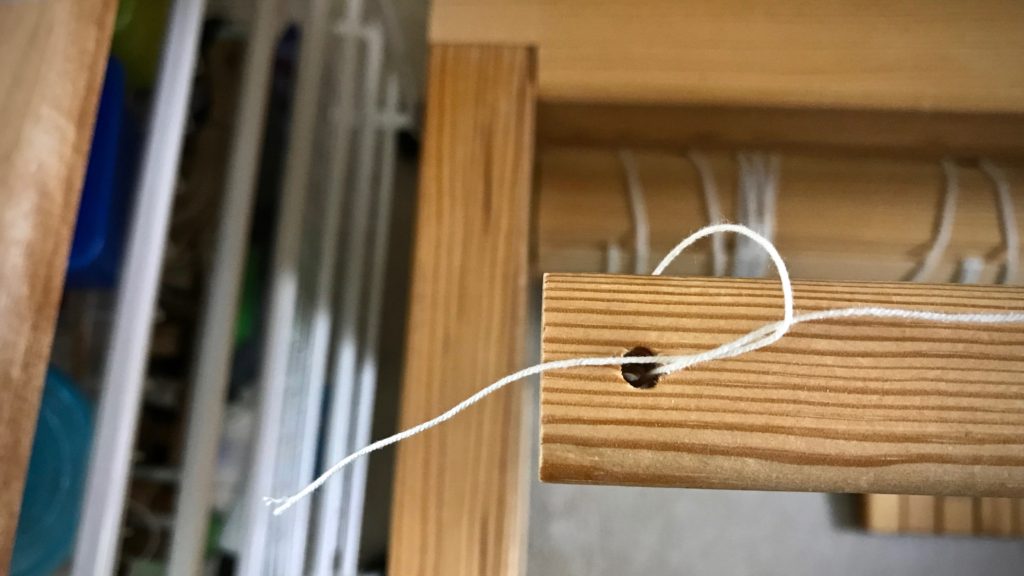
Tying the leveling string. Tutorial pics.

Tying the leveling string. Step-by-step.

Leveling string - tying it on.

Tying on the leveling string. How to.

How to tie the leveling string.

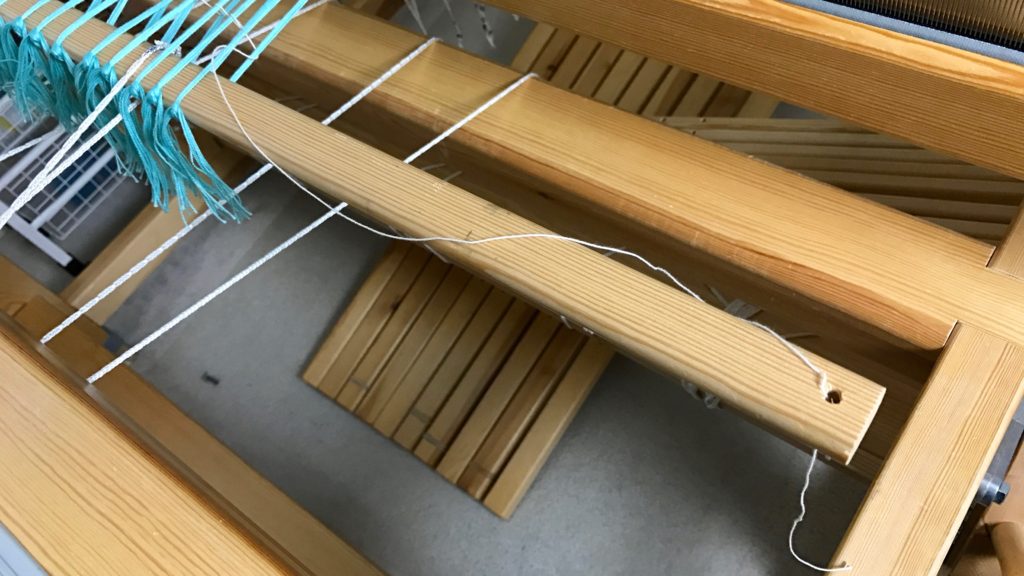
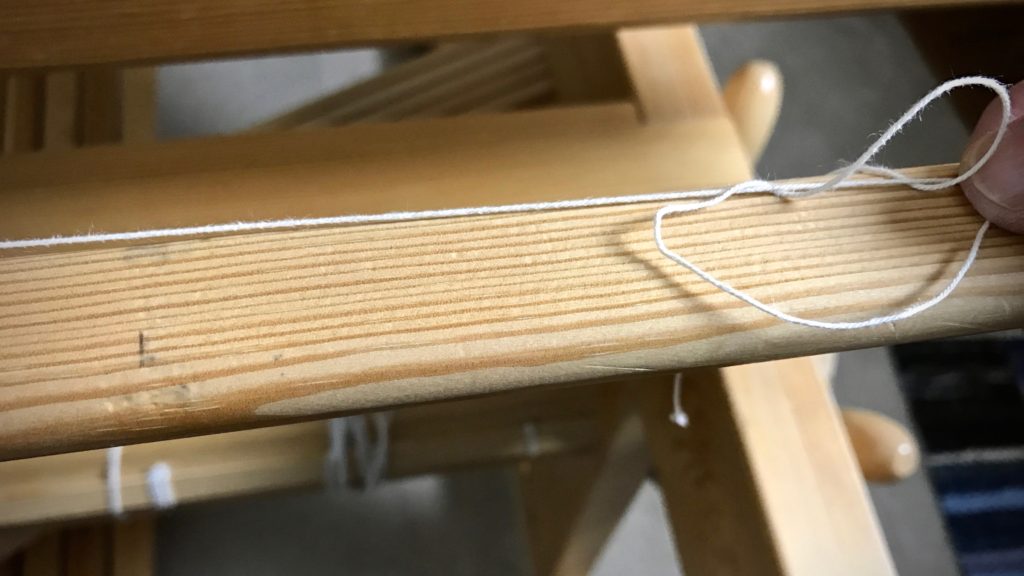
3. Thread the leveling string over and under the tie-on bundles, going over the raised ends and under the lowered ends.
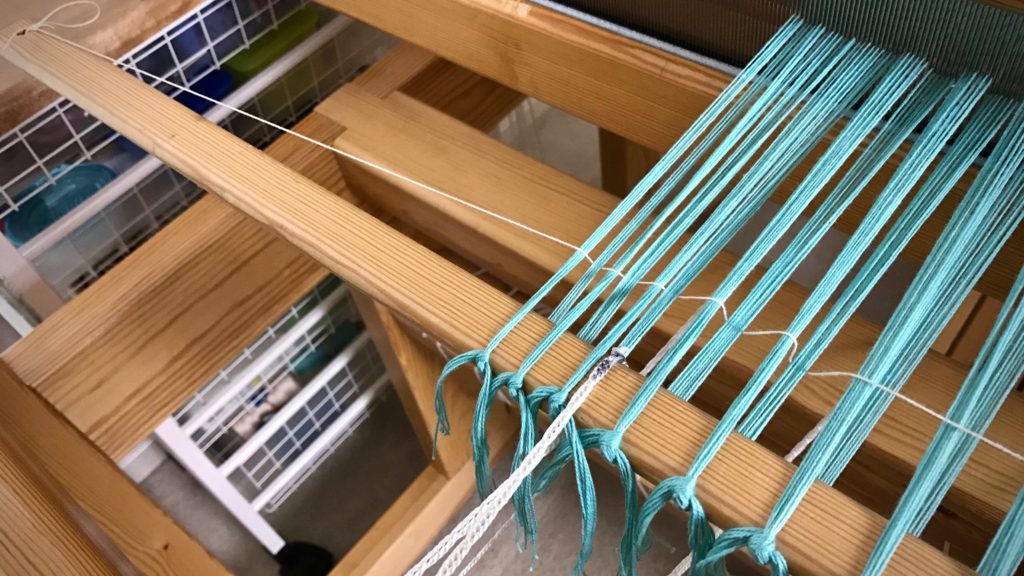
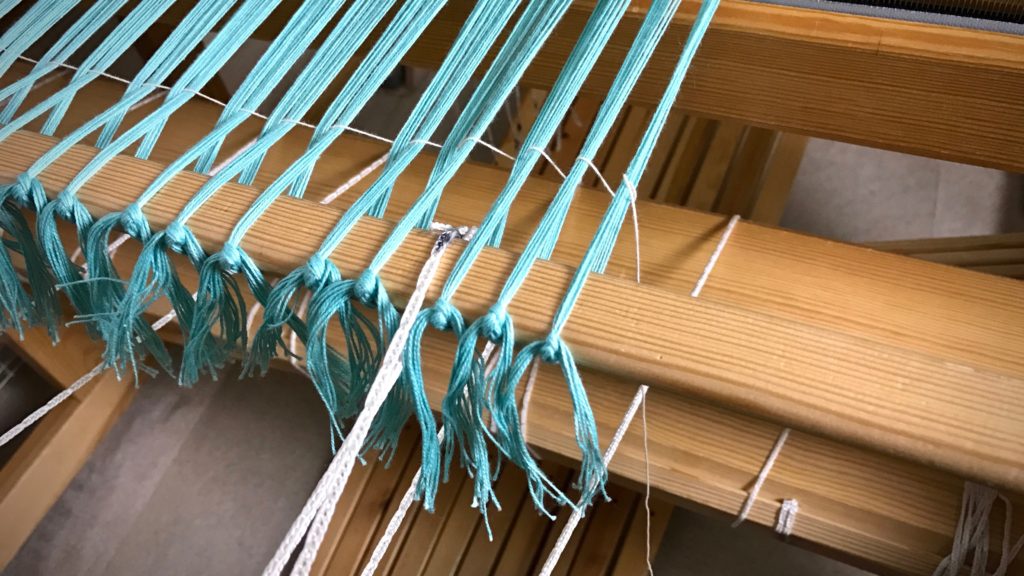
Threading the leveling string through the warp. Tutorial pics.

Leveling string going through the warp.

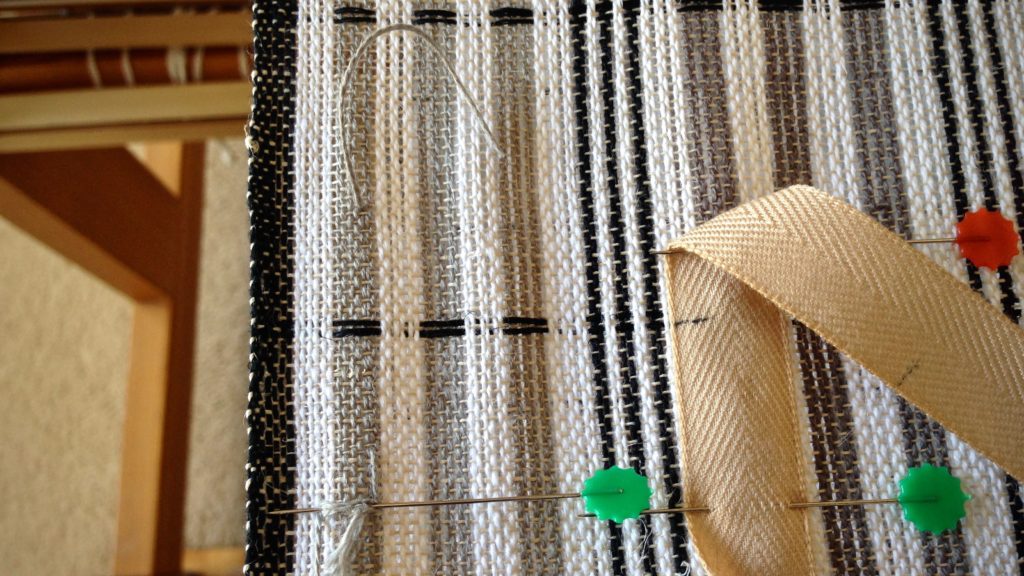
Tying the second end of the leveling string.

4. Tighten the leveling string while tapping it in with the beater.
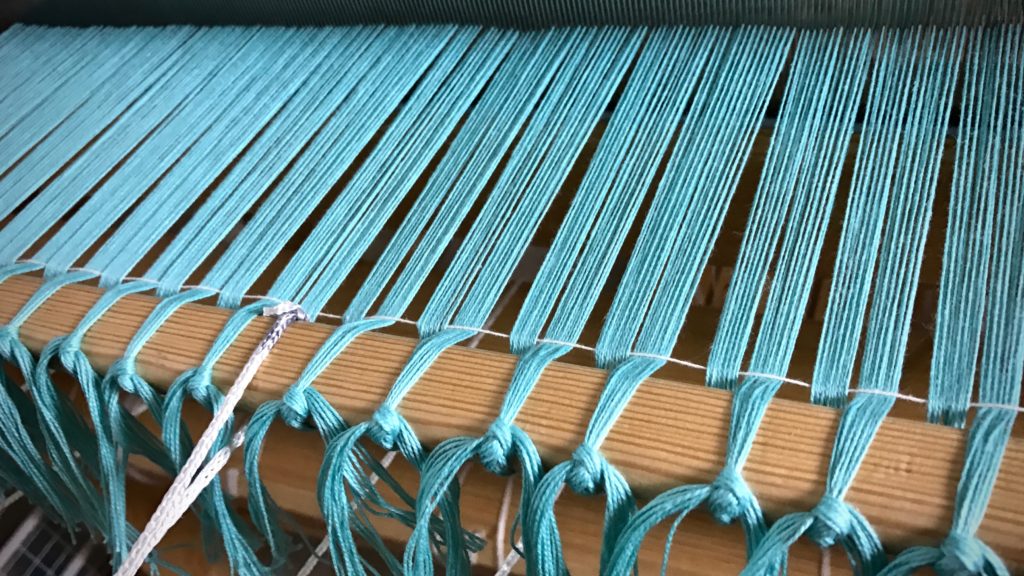
Tightening the leveling string.

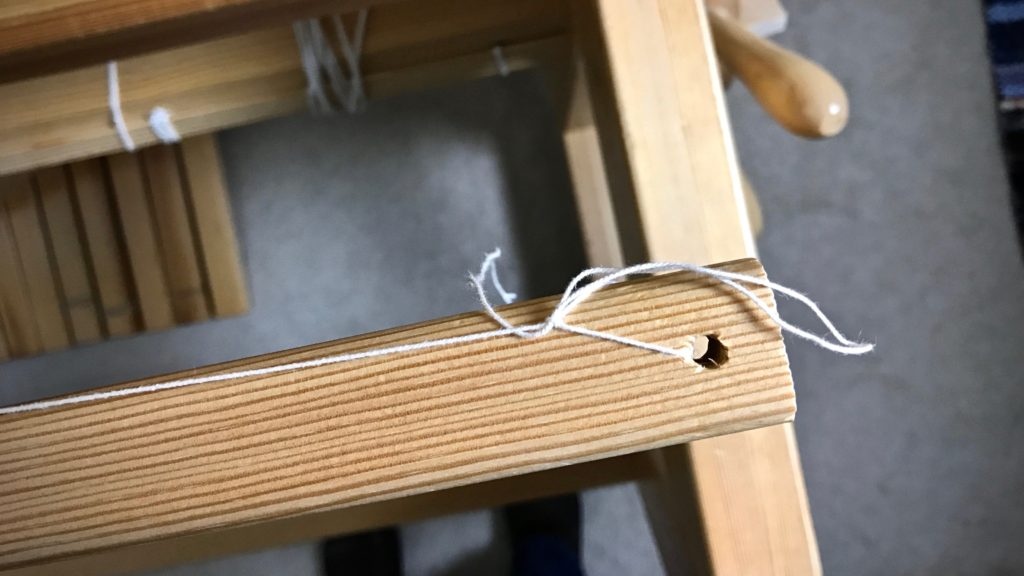
5. Tie the end of the leveling string to the end of the front tie-on bar, using a slip knot with half bow, as before.
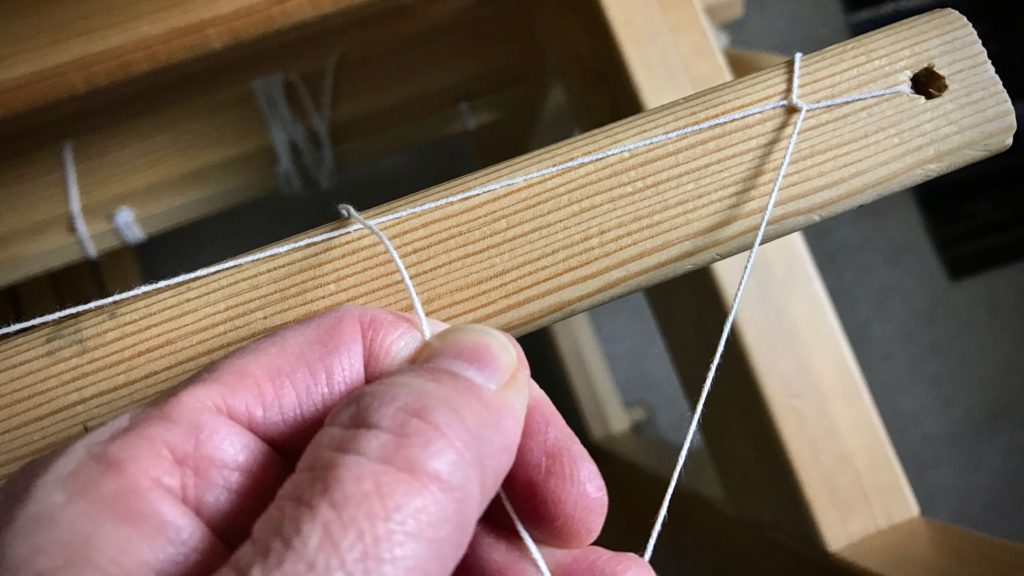
How to tie the second end of the leveling string.

How to tie the leveling string.

Finishing the knot for the leveling string.

Why I use a leveling string.

6. Weave to your heart’s content.
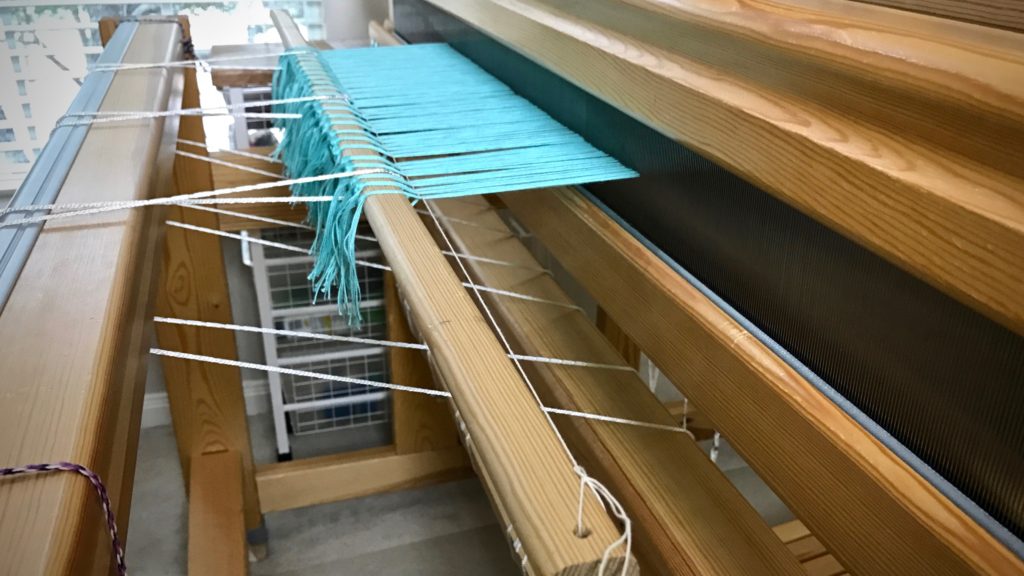
Why the leveling string is so helpful!

When you get to the end of the warp, and are ready for cutting off, simply tug the loose end of the string at one end of the bar to release the slip knot, and pull the leveling string out of the warp.

May you weave as soon as possible.

Happy Valentine’s Day,
Karen
How to Splice the Warp – Video

Knots show up in the warp. It’s a normal part of weaving. Weaving over the knot is almost never a good idea. You have to deal with the little obstacle. This is why it is handy to know how to splice the warp. Thankfully, it’s not hard to do. There are a few standard variations on how to perform this operation. I use a method that I first came across here, by Kirsten Froberg, that makes sense to me. And, hooray, there are no tails to weave in later!

I made a new video to demonstrate how I do it. You can watch it below…

How to splice the warp.
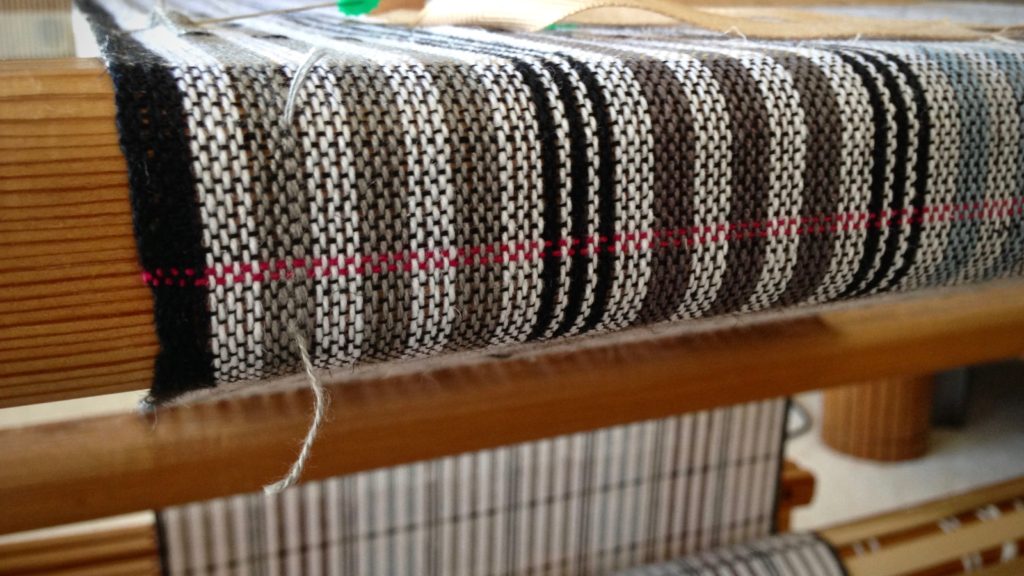
Spliced area of the warp happens to land in the hems of two adjoining towels. Pink weft picks serve as a cutting line between the towels.
How to deal with a knot in the warp. Tutorial video.
Ending the splice. There are no tails to weave in later with this method.

How to Remove a Knot in the Warp

  • Insert a replacement warp end. Attach with a pin.
  • Weave an inch with original and replacement warp ends in place.
  • Cut original warp end. Hang it over the back beam.
  • Weave until original warp end is long enough to reinsert.
  • Insert original warp end. Attach with a pin.
  • Weave an inch with replacement and original warp ends in place.
  • Cut and remove replacement warp end.
  • Trim cut warp ends after wet finishing.

May the knots that get in your way be easy to remove.

Happy Weaving,
Karen

Small Tapestry Looms

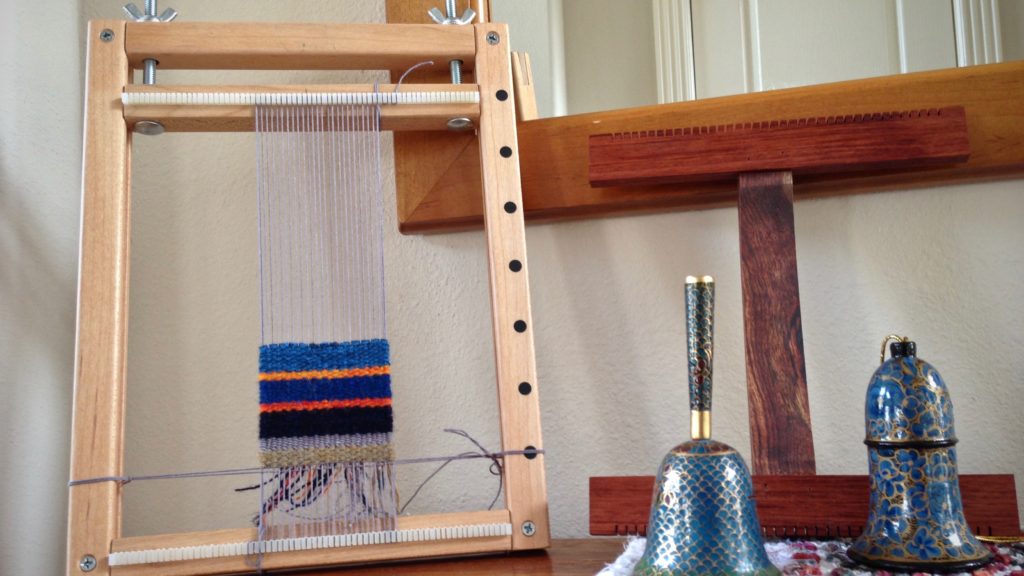
The Hokett loom is proof that we don’t need everything we want. Simplicity often comes with fewer features, but it is still enough. I finished weaving one small tapestry sample on the simple Hokett loom, and I am pleased with the results. Now, I’m back to my little hand-built loom for the second sample. I’m spoiled by it’s tensioning device and the inlaid magnets that hold my needle.

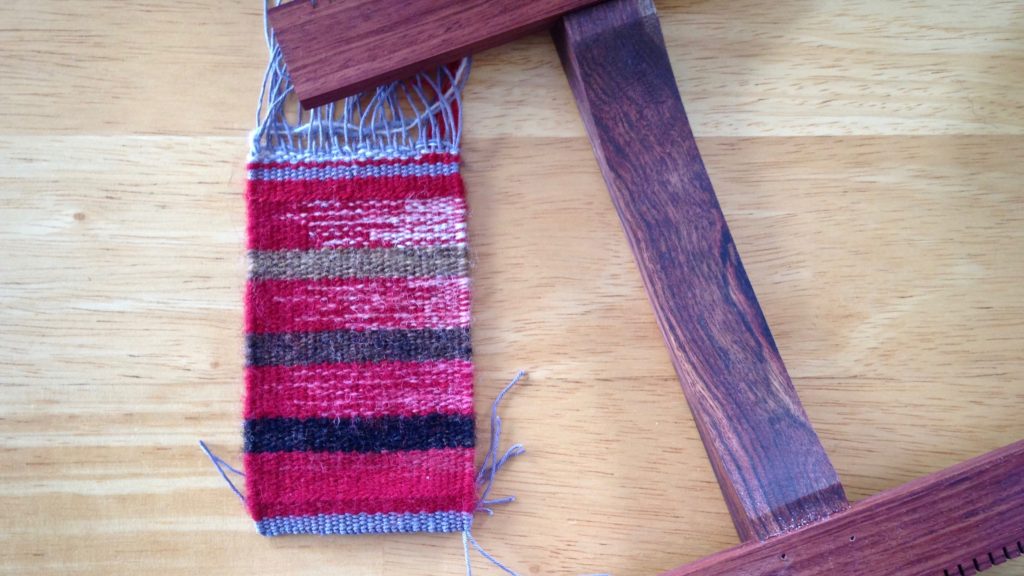
Finishing small tapestry. Woven on Hokett loom.
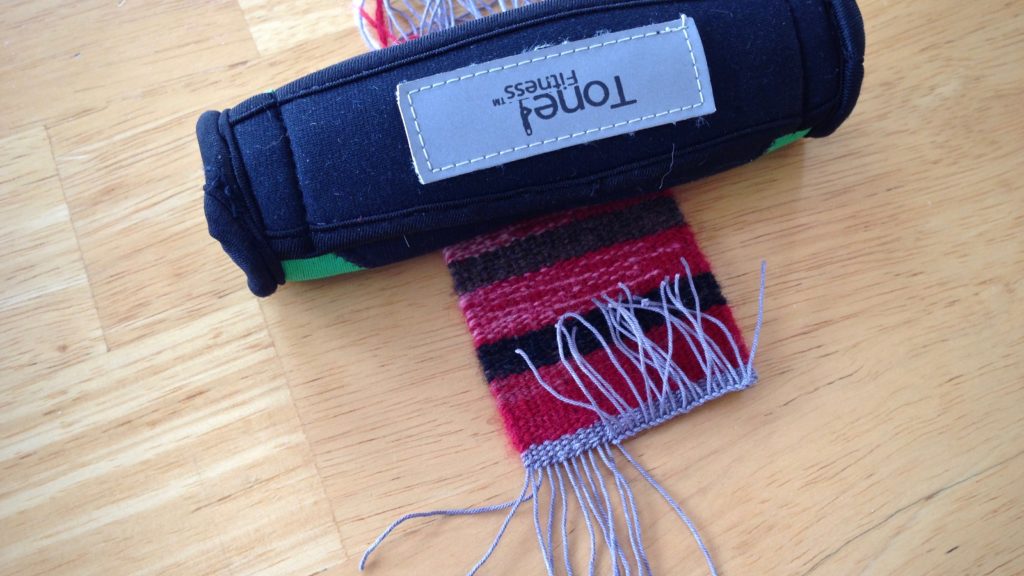
Half-damascus knots, as demonstrated by Rebecca Mezoff, are used for finishing the edge of the small tapestry.
Hokett loom and small woven piece. Finishing in progress.
Finishing in progress. This small piece was woven with short hems that will be folded under.

The Weaving Tapestry on Little Looms online class (self-paced) by Rebecca Mezoff is going well. It’s great to view demonstrations that show details regarding yarn direction, headers, finishing, hems, and mounting, and more, from an expert tapestry weaver. My tapestry toolbox of skills is expanding! I’m thankful to have options of different looms to weave what I am learning.

Comparing two small looms--hand-built and Hokett.
The Hokett loom is smaller and more portable, even though the hand-built loom and Hokett loom have nearly the same weaving space.

What we need is more important than what we want. We don’t always see the difference between need and want. Lord, give us what we need today. May we long for nothing more than what you have promised to give. And may we show appropriate gratitude when given more than enough.

May you have what you need for today.

Softly,
Karen