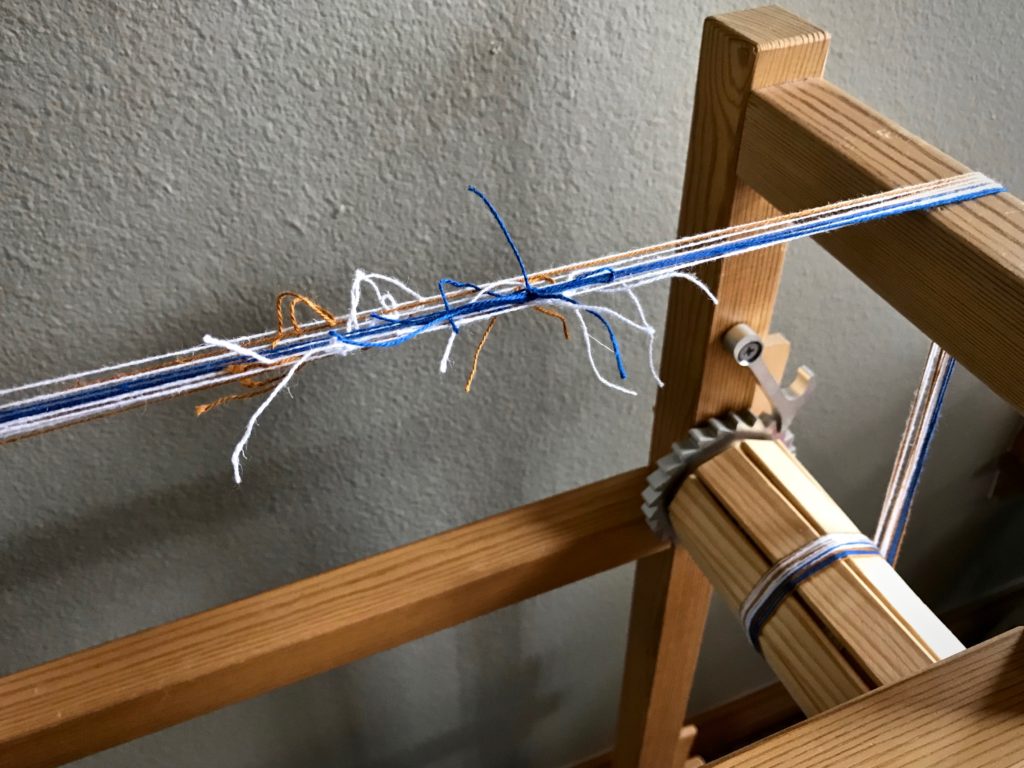
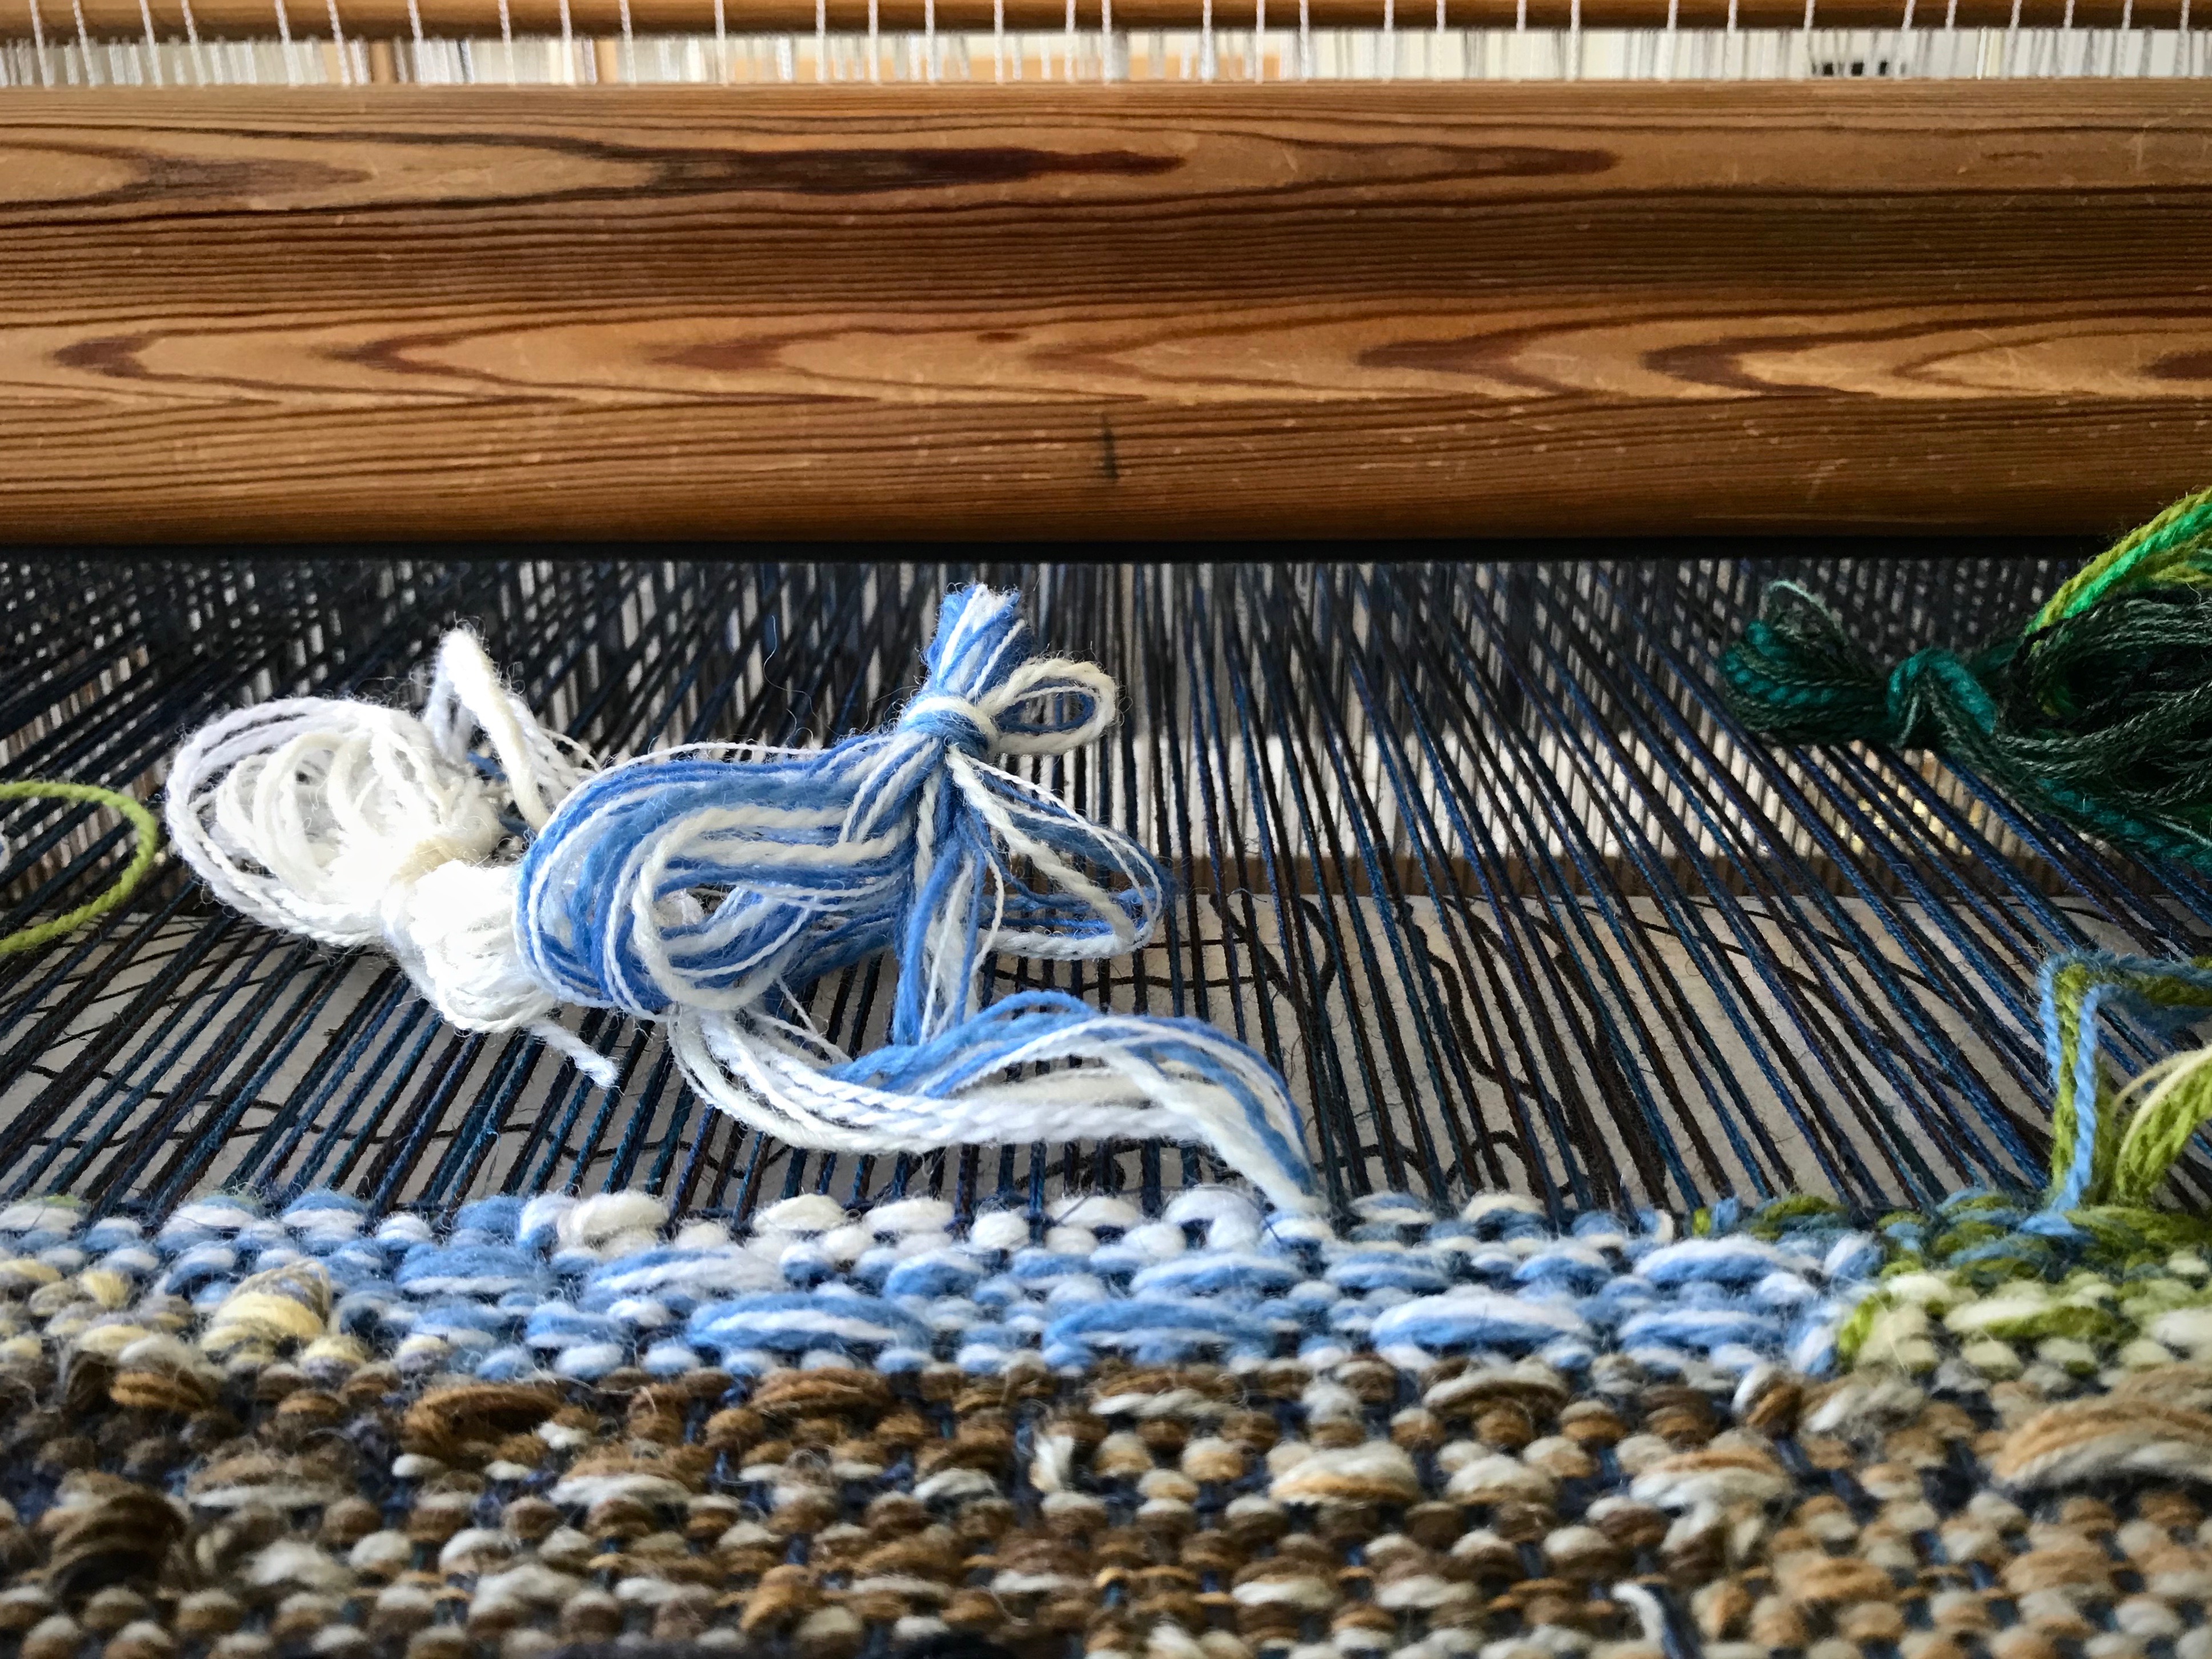
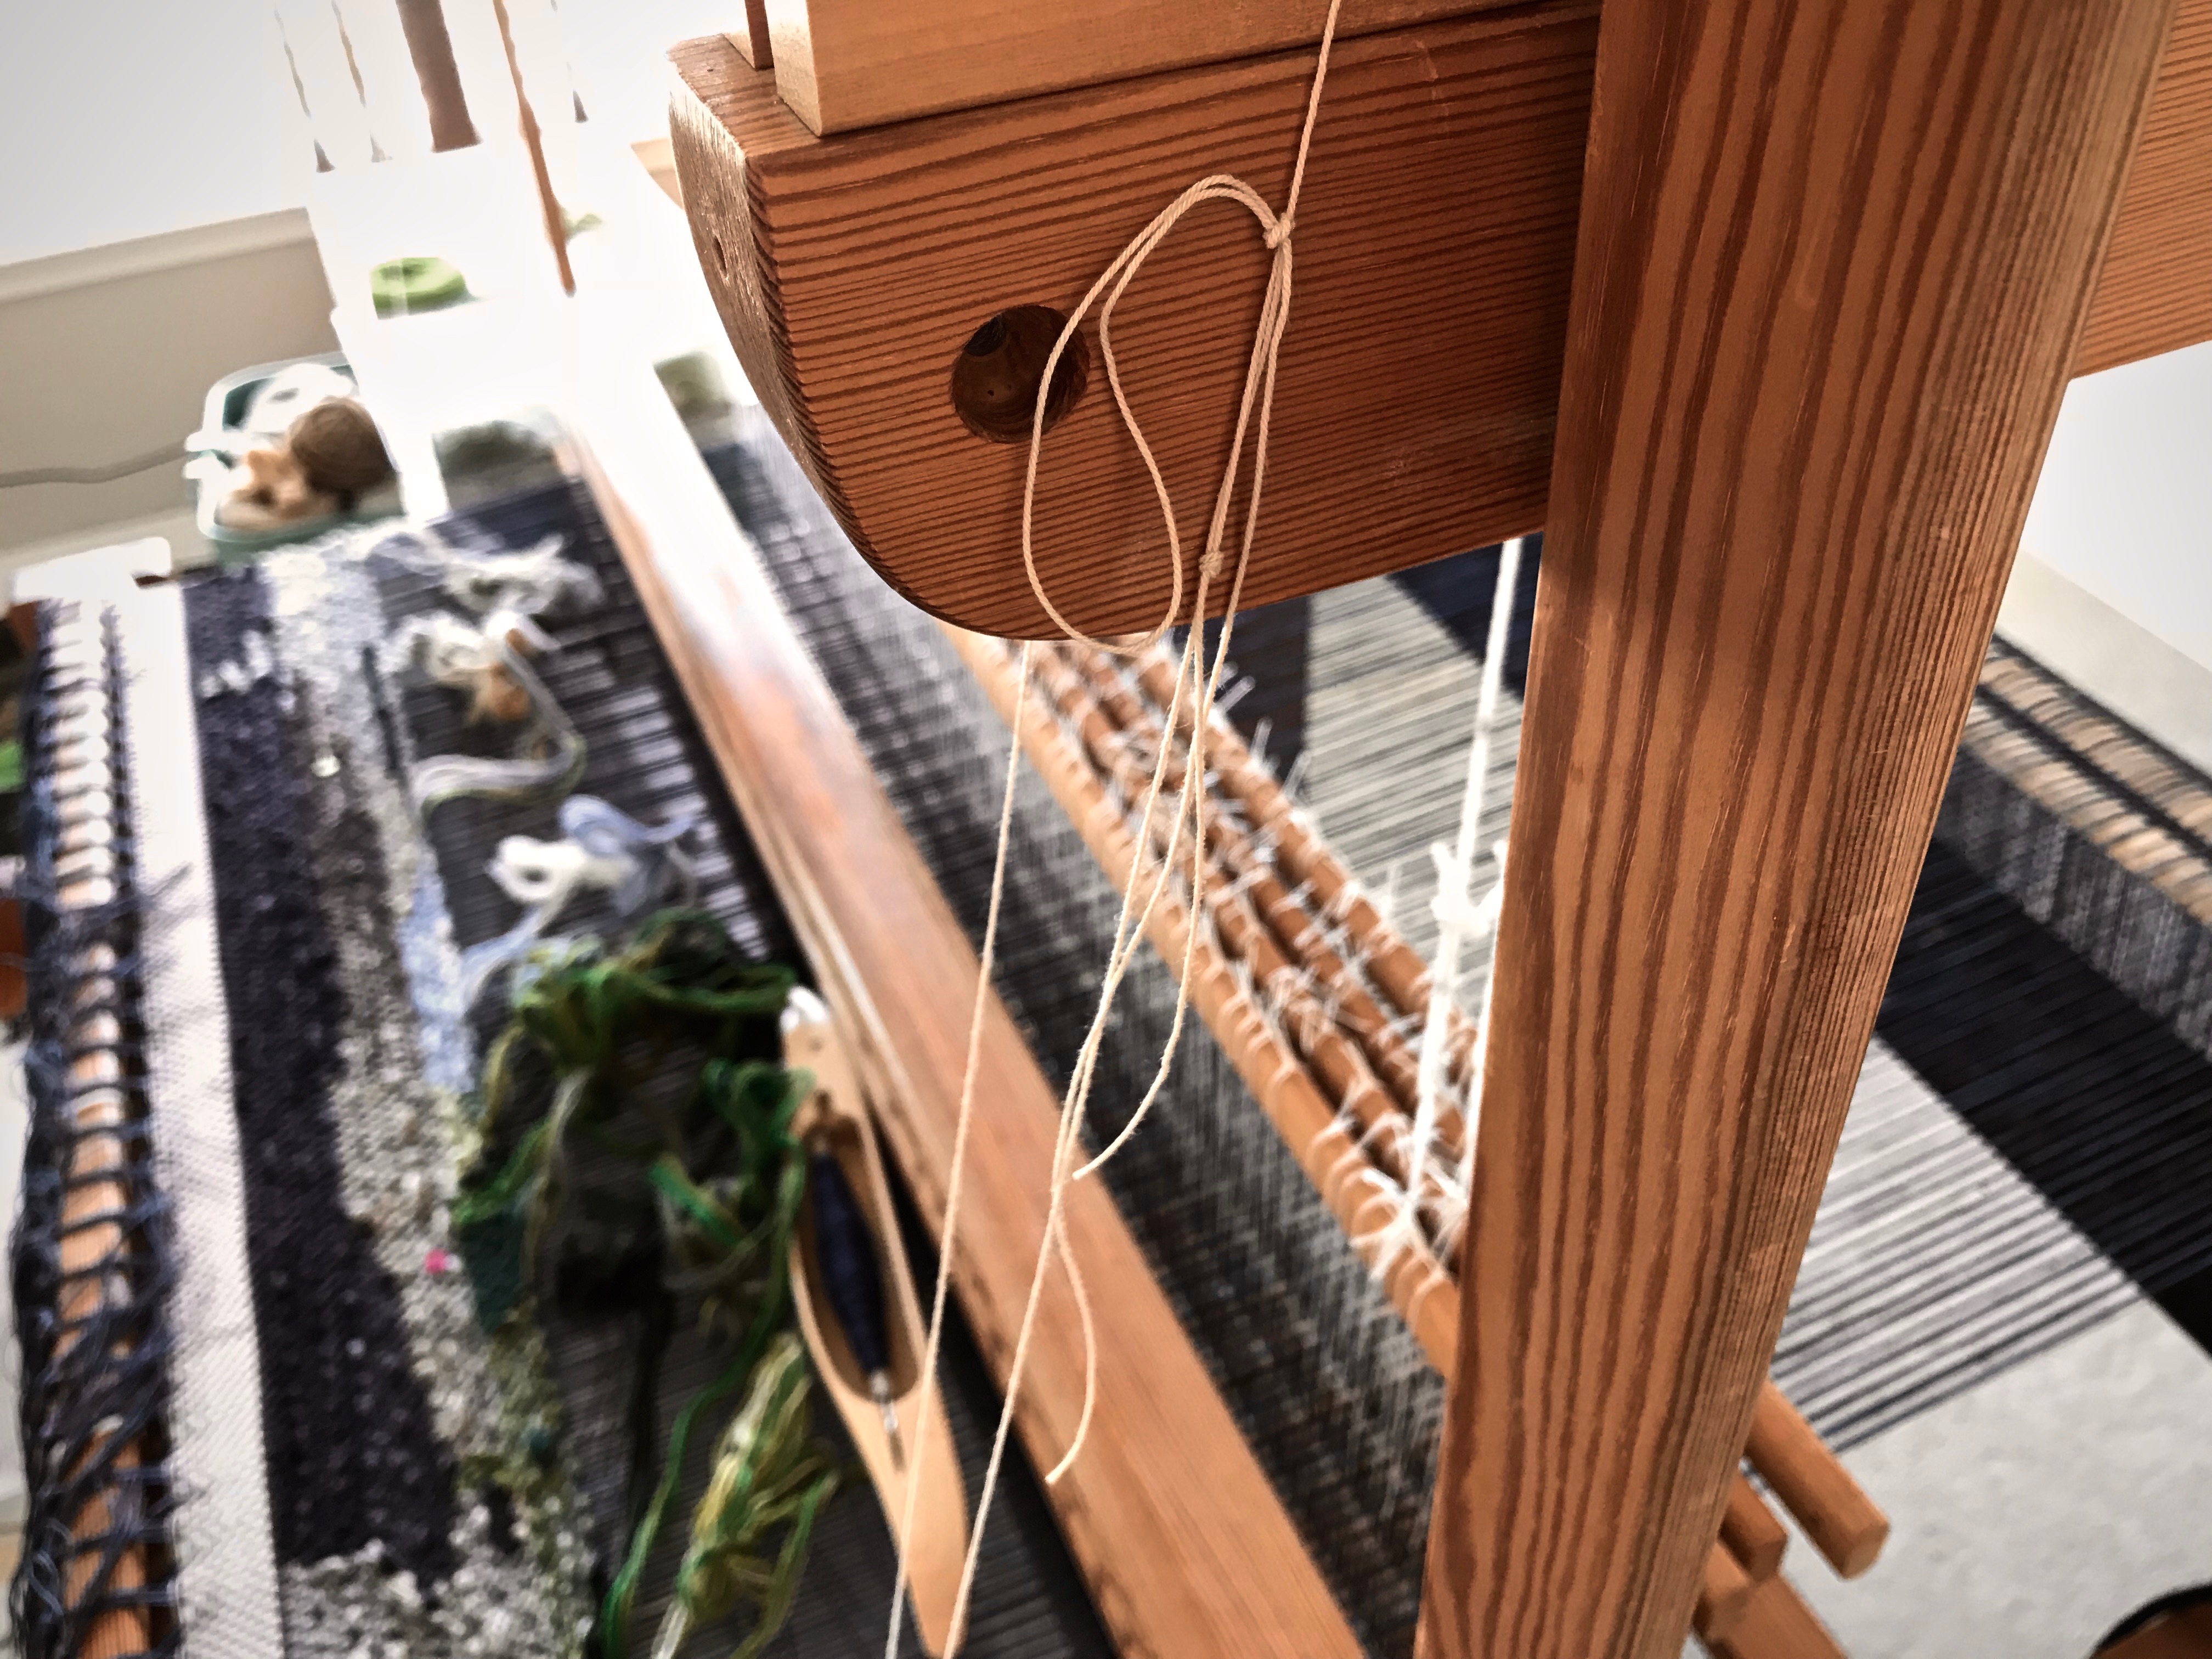
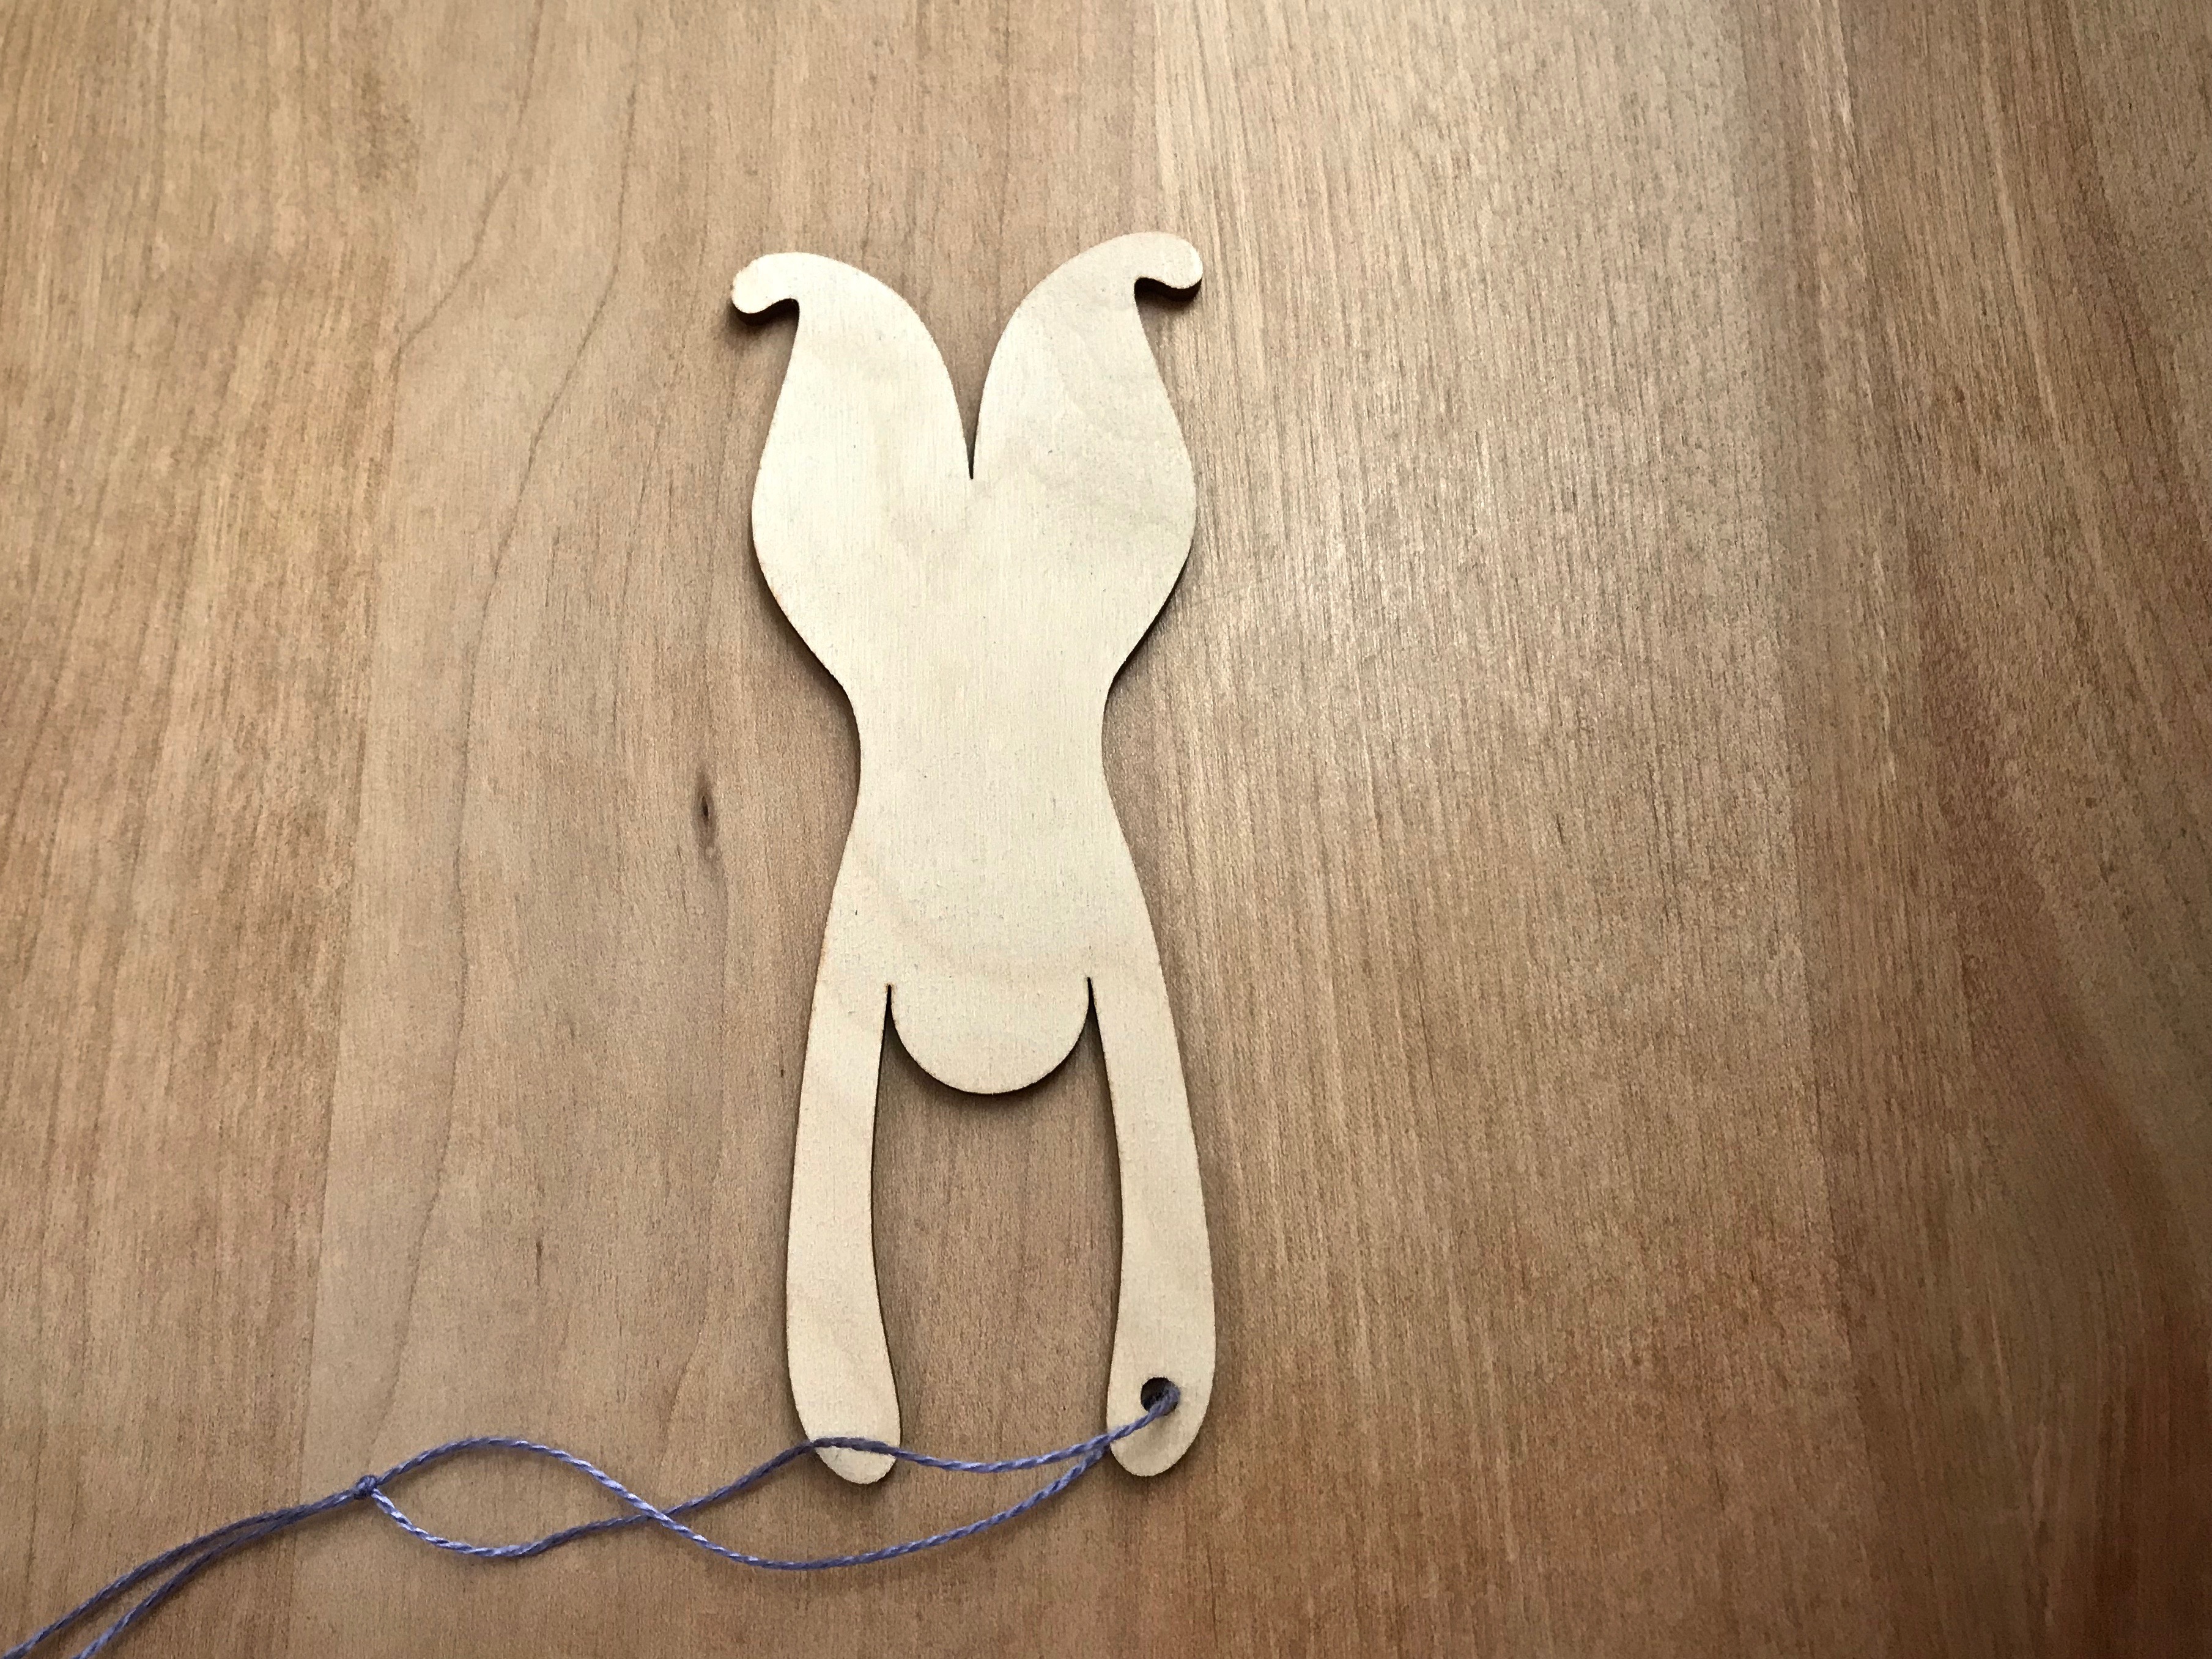
Handwoven towels need handwoven hanging tabs. I finished the Vavstuga cottolin towel warp, so now it’s time to put my band loom to use. Why not use the warp thrums to make the woven band? The length of the thrums is too short for the band loom, so I am knotting two ends together for each strand.
Thrumsends are tied together to make a warp long enough for the Glimåkra band loom. Cottolin band warp is from the towel warp. Unbleached cottolin is used for the weft.
Everything is starting out just fine, but my inexperience with the “weaver’s knot” proves problematic. One by one, the knots are working themselves loose. I re-tie each failed knot into a confident square knot. Finally, after three weaver’s knot failures, I decided to advance the warp far enough to get past the knots altogether. Smooth sailing after that, and I still ended up with plenty of woven band for the six woven towels.
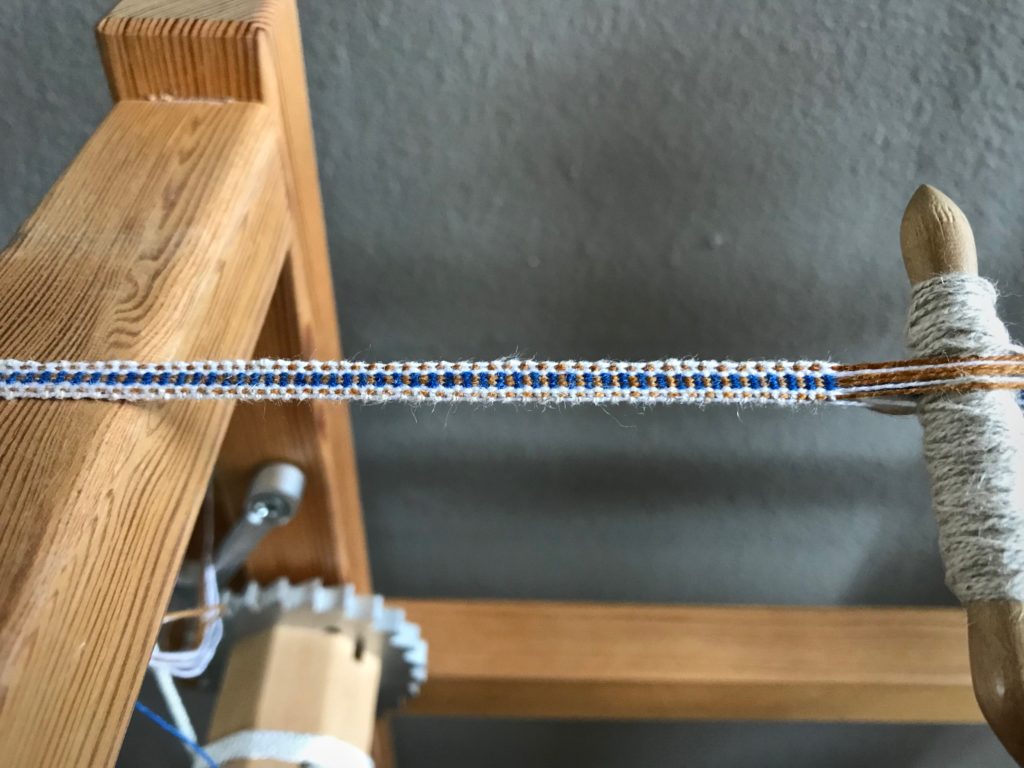
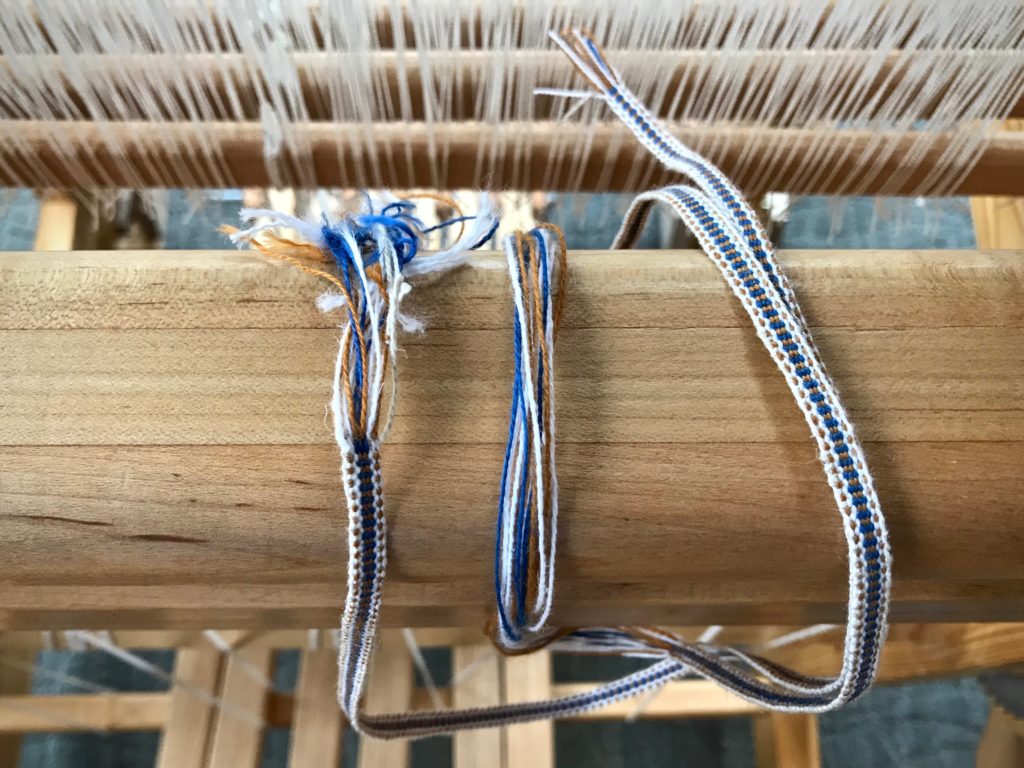
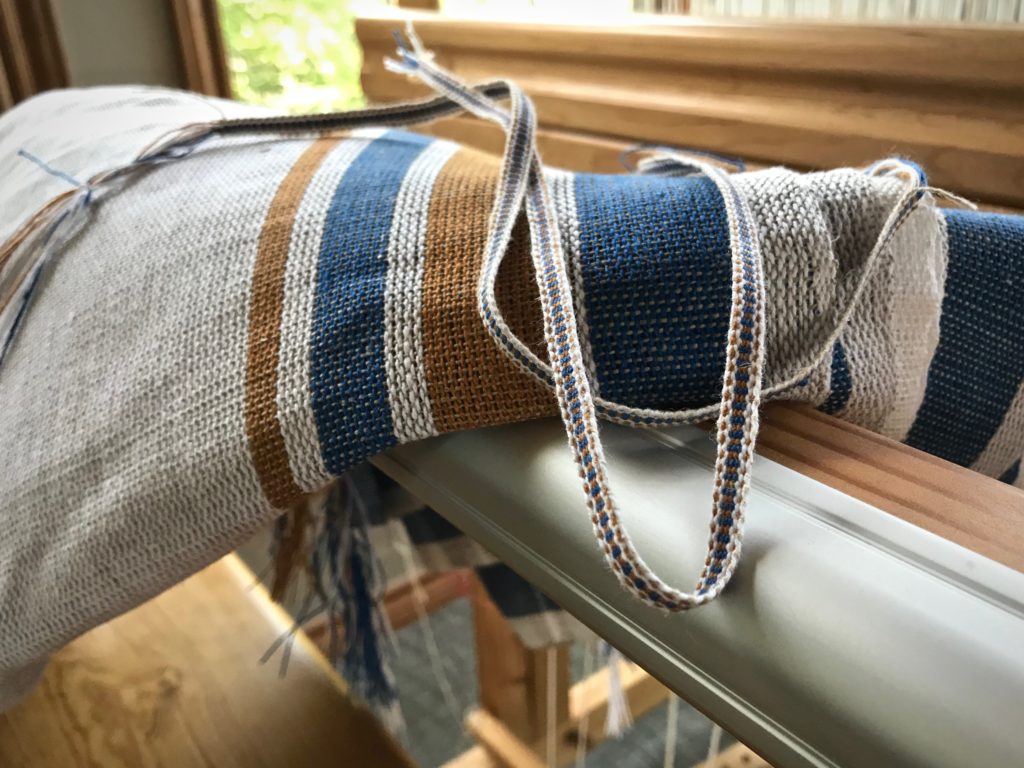
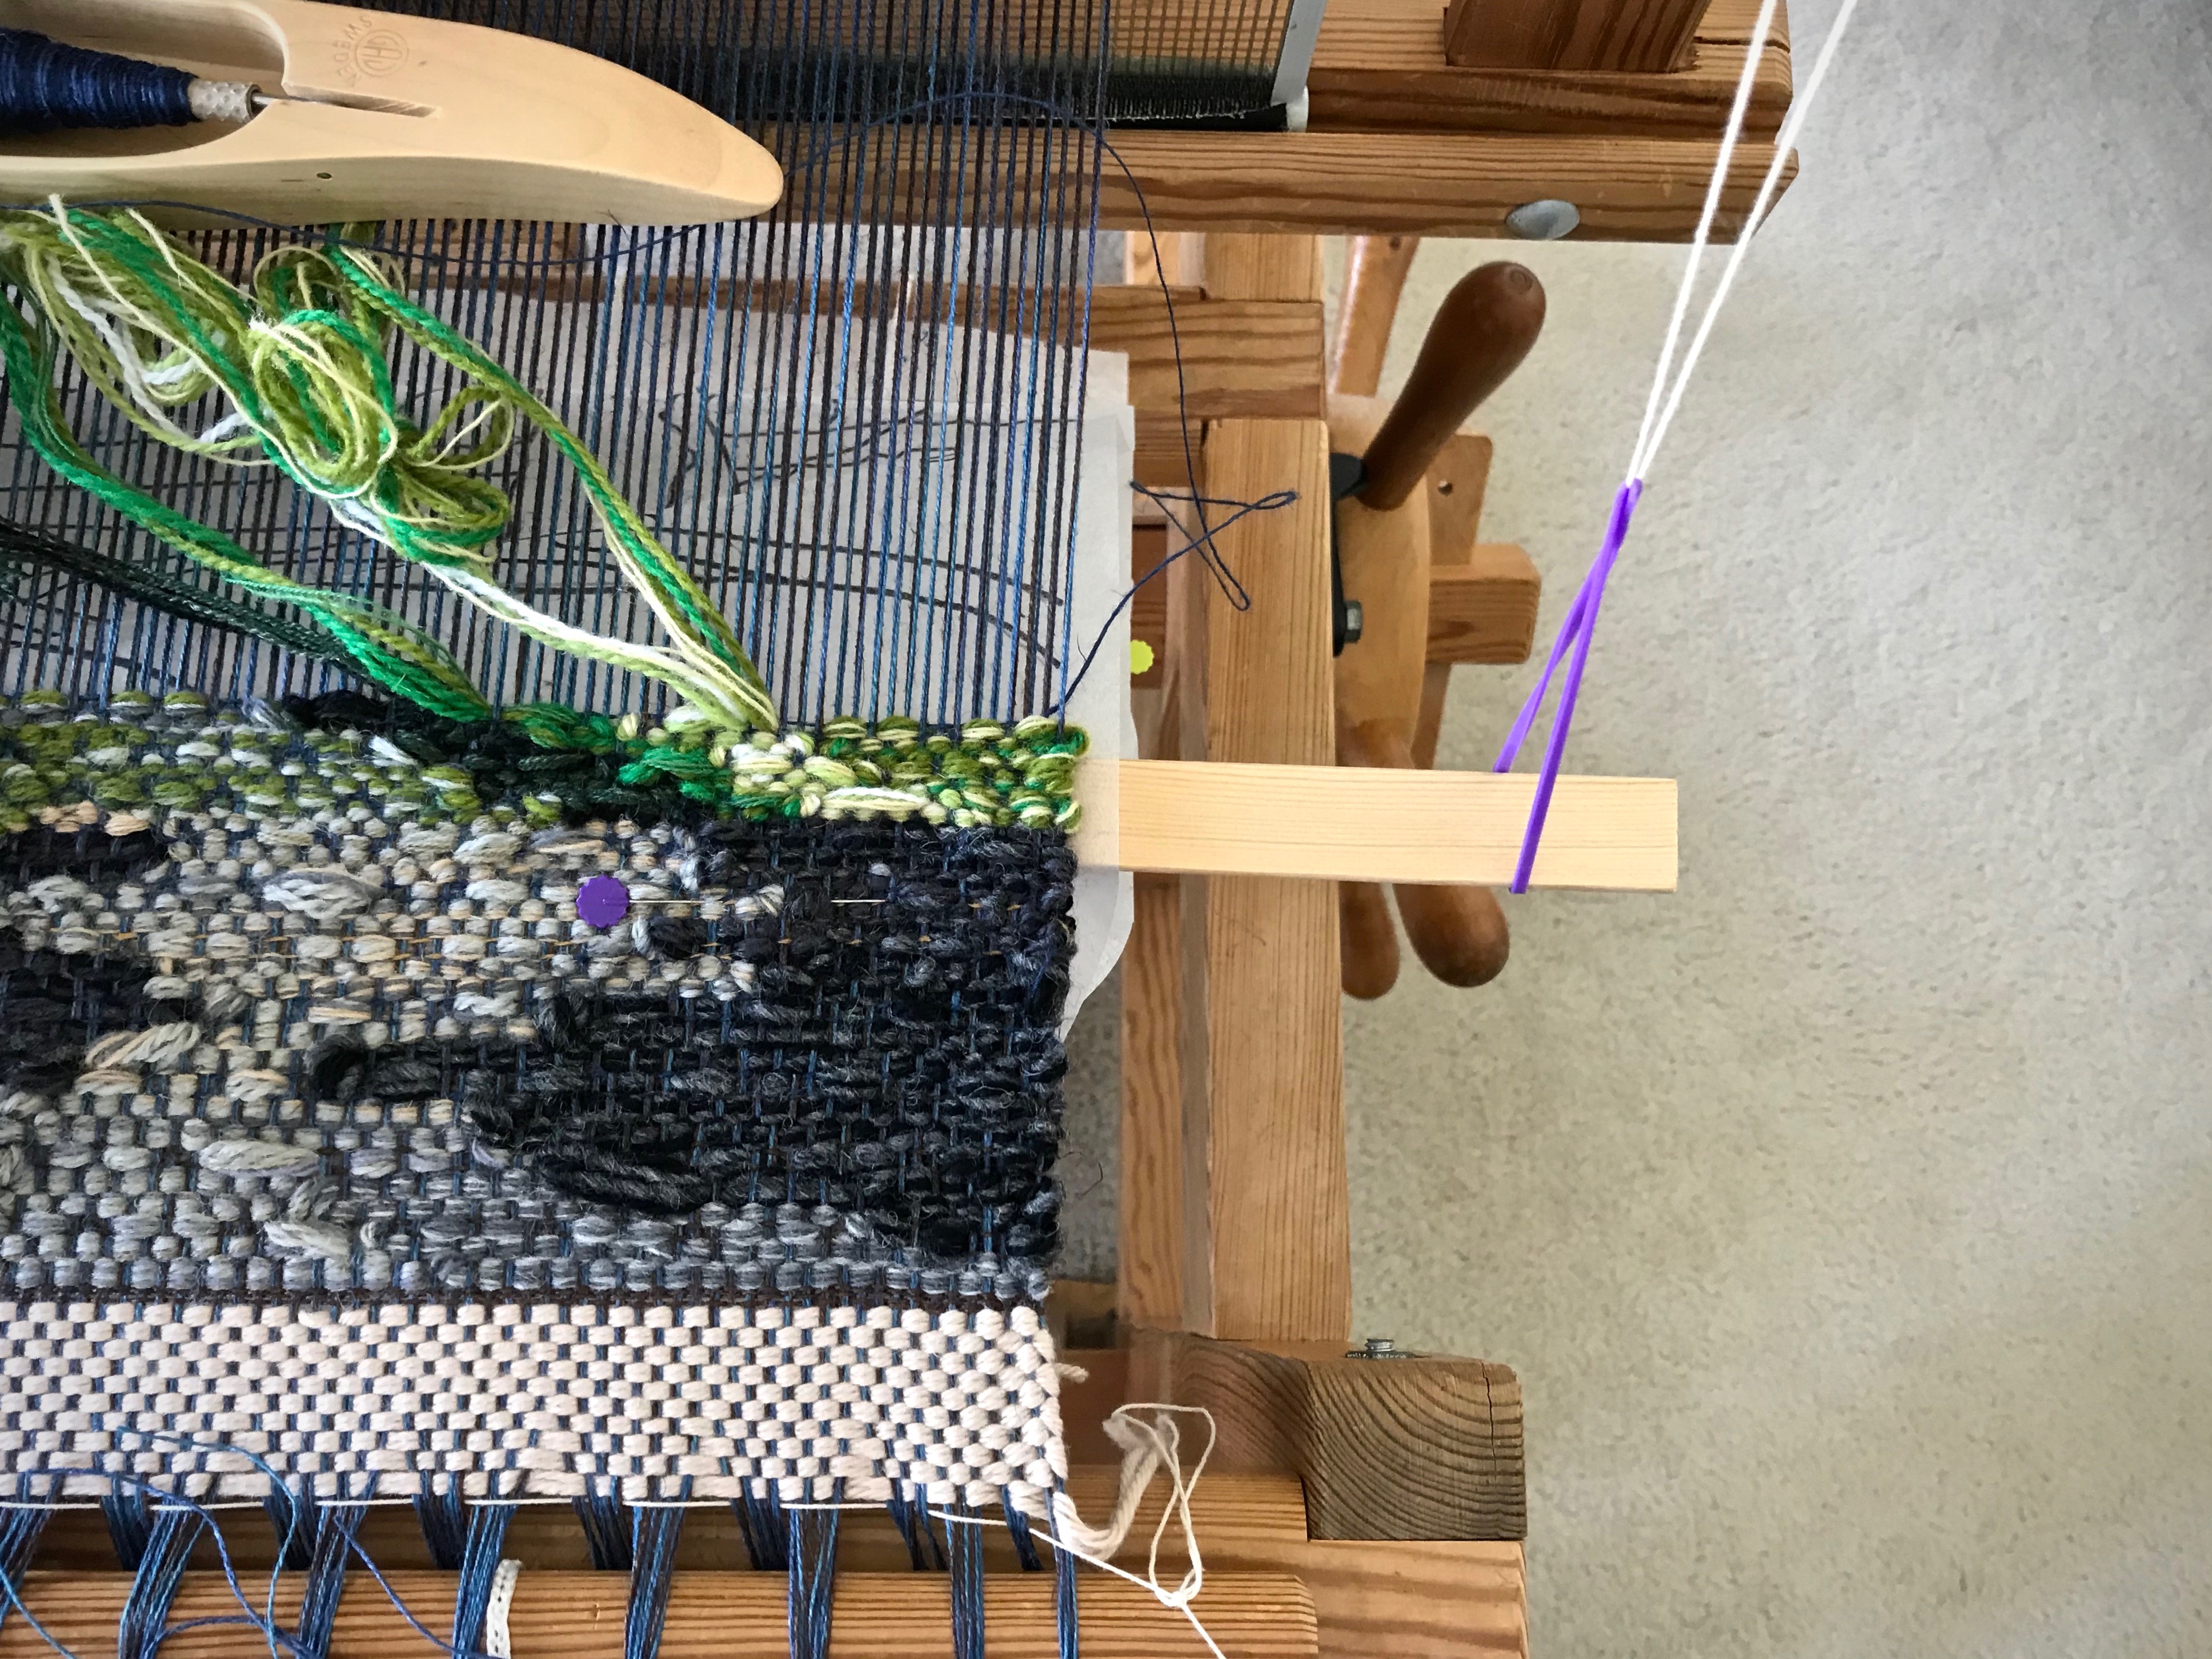
Weaving about 30 cm before the knots, and about 40 cm after the knots. Each hanging tab is about 10 cm, so I have plenty of woven band for the six towels.Unwashed towel fabric. Using warp thread from the towels is a great way to make coordinating hanging tabs, as well as a satisfying use for some of the thrums.
I like finding another good use for the thrums. So, I will do this again. But next time, I’ll do a refresher on knot tying before I begin.
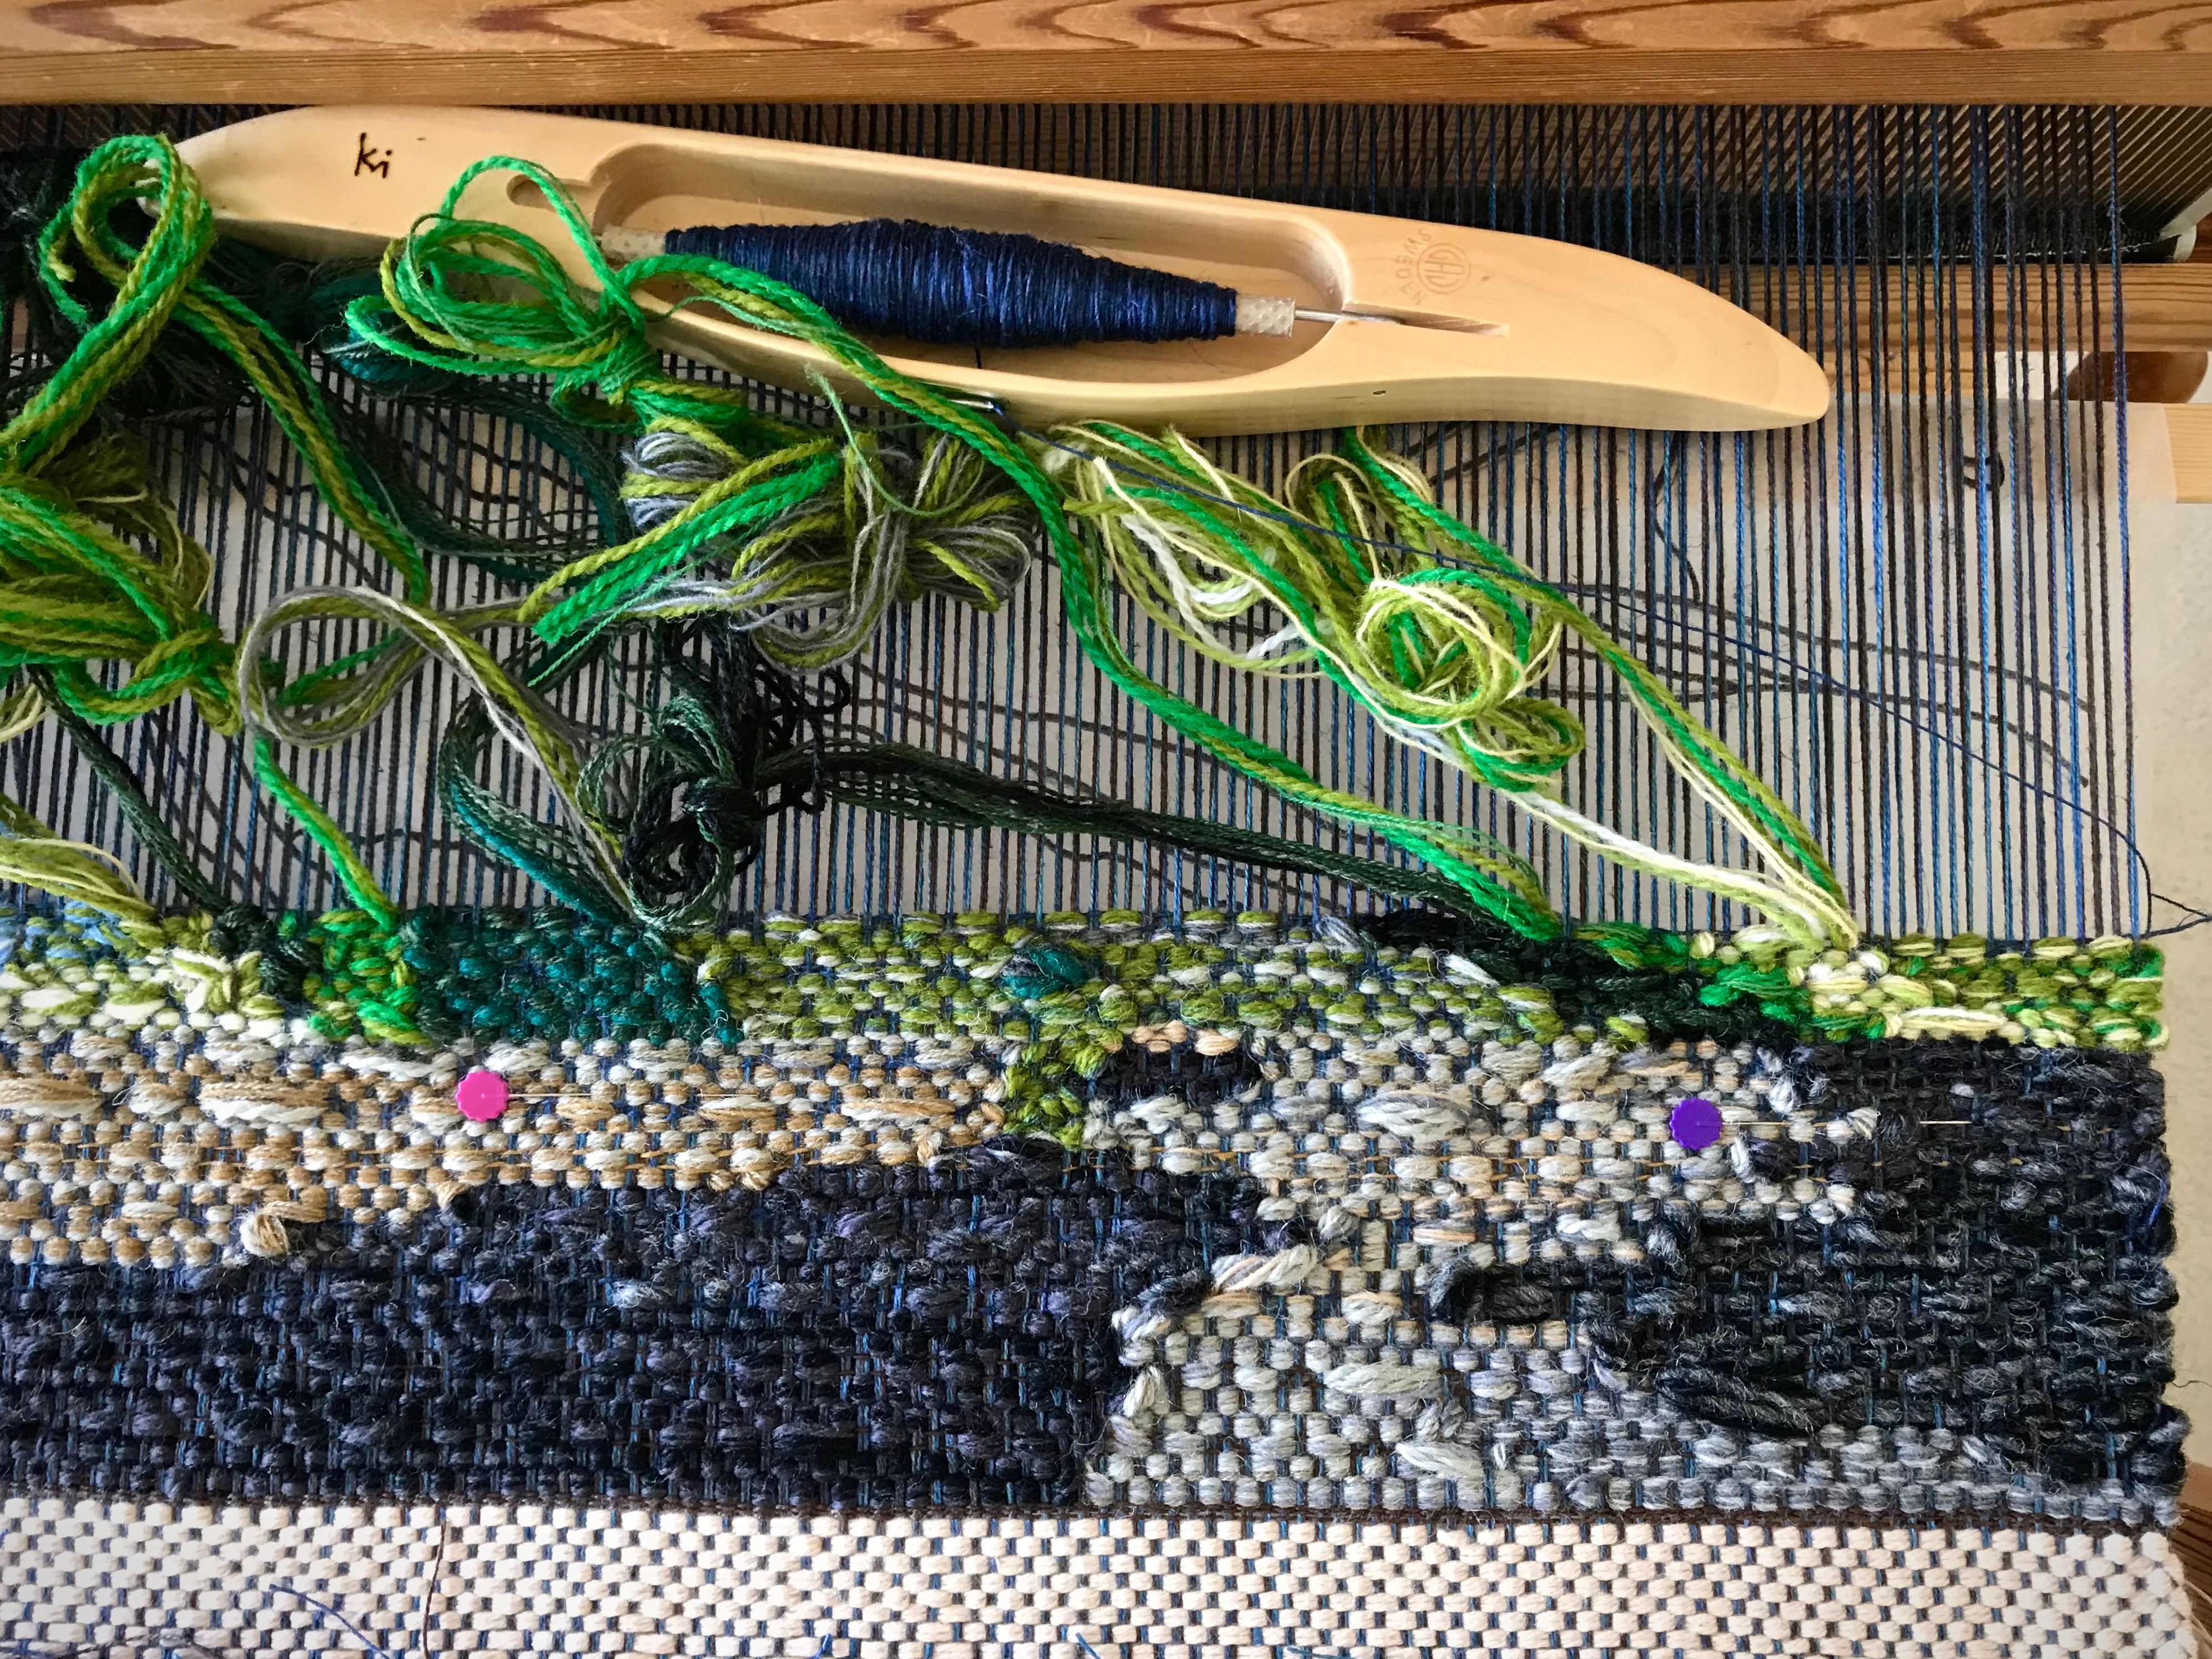
Alignment, security, and visibility are the main things I think about in regard to attaching and supporting the cartoon. In order to weave a tapestry this size, or any size for that matter, you need a good way to manage the cartoon. My cartoon is drawn onto a thin Pellon product (Pellon 830 Easy Pattern, 45″ wide) that is meant for pattern making. This material is easy to pin, doesn’t tear, and only barely wrinkles.
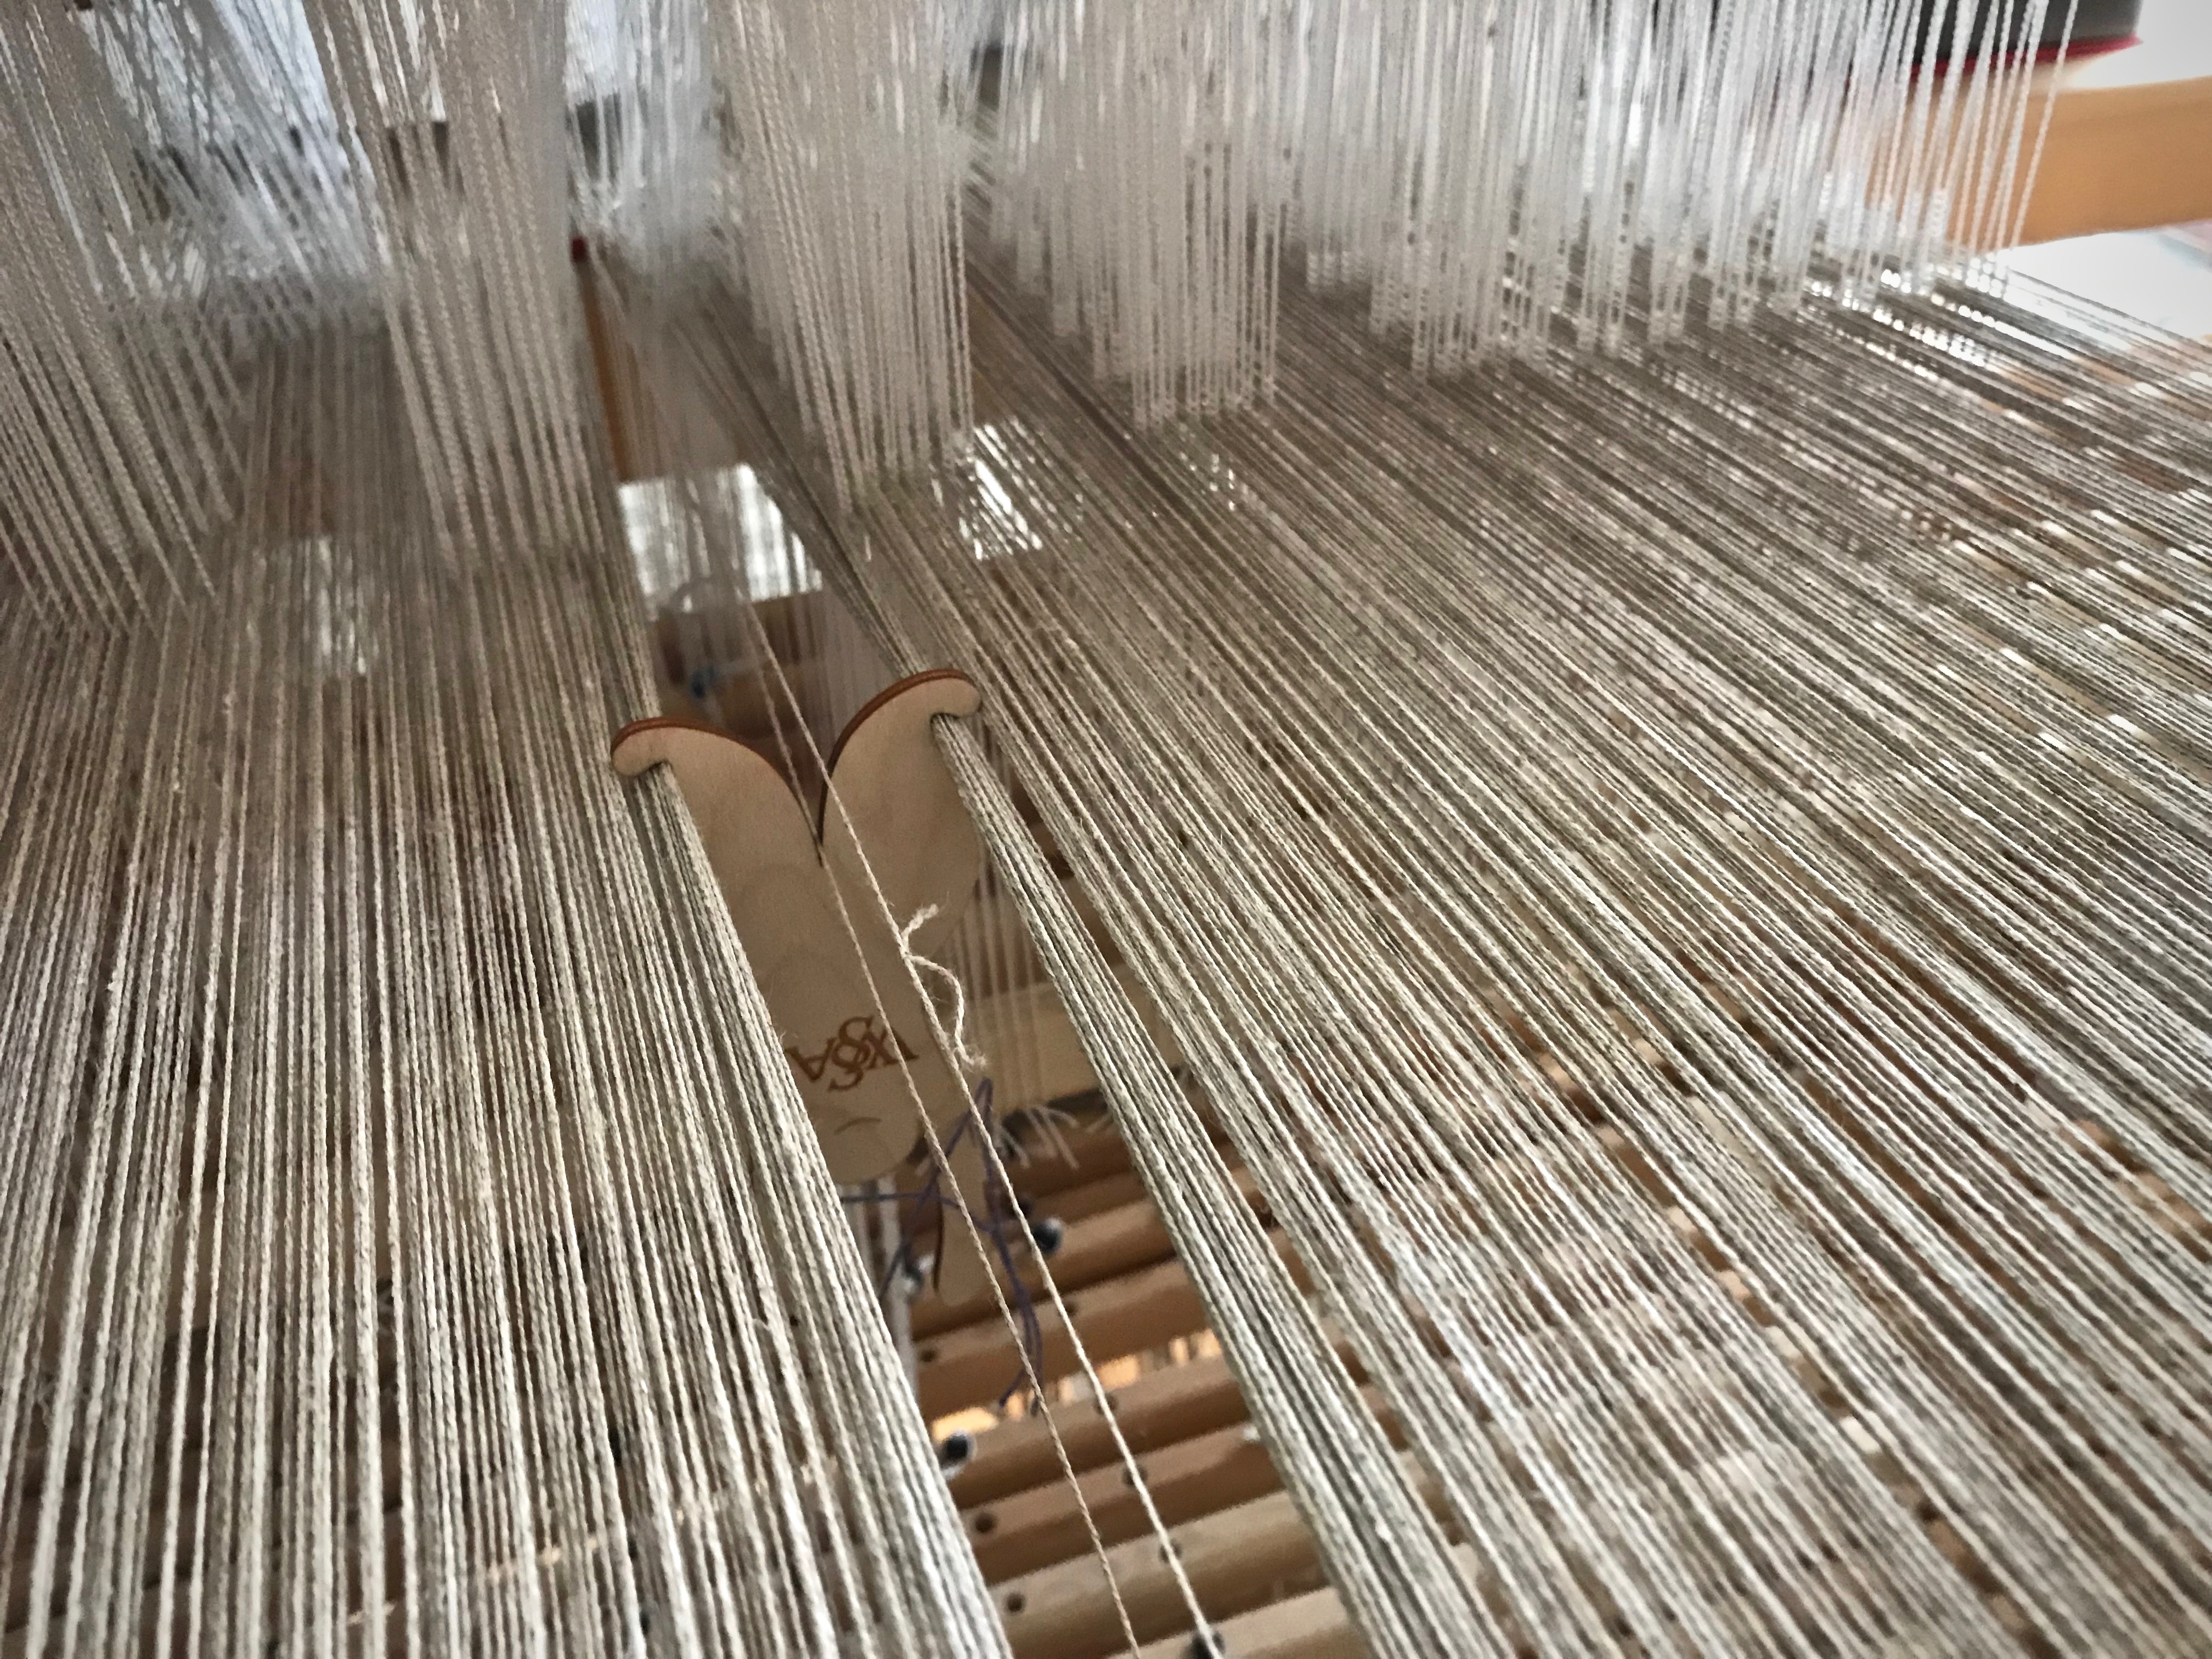
Alignment Align center of cartoon to center of warp.
A blue dashed line from top to bottom of the cartoon marks the center. I also have a pencil mark on the exact center of my beater. When the blue line on the cartoon is perfectly aligned with the center warp end, as seen from the mark on the beater, I know my cartoon is in the correct position.
Pencil mark on the beater is above the center warpend.
Security
Pin the cartoon in two places on each side of the woven tapestry.
This warp is too wide for me to reach all the way to pin the cartoon in the center. So, on both sides of the weaving I place one flathead pin near the selvedge, and another one as far as I can comfortably reach toward the center. I move the pins forward each time I am ready to advance the warp.
Two flat-head pins hold the cartoon under the tapestry weaving on the right-hand side.
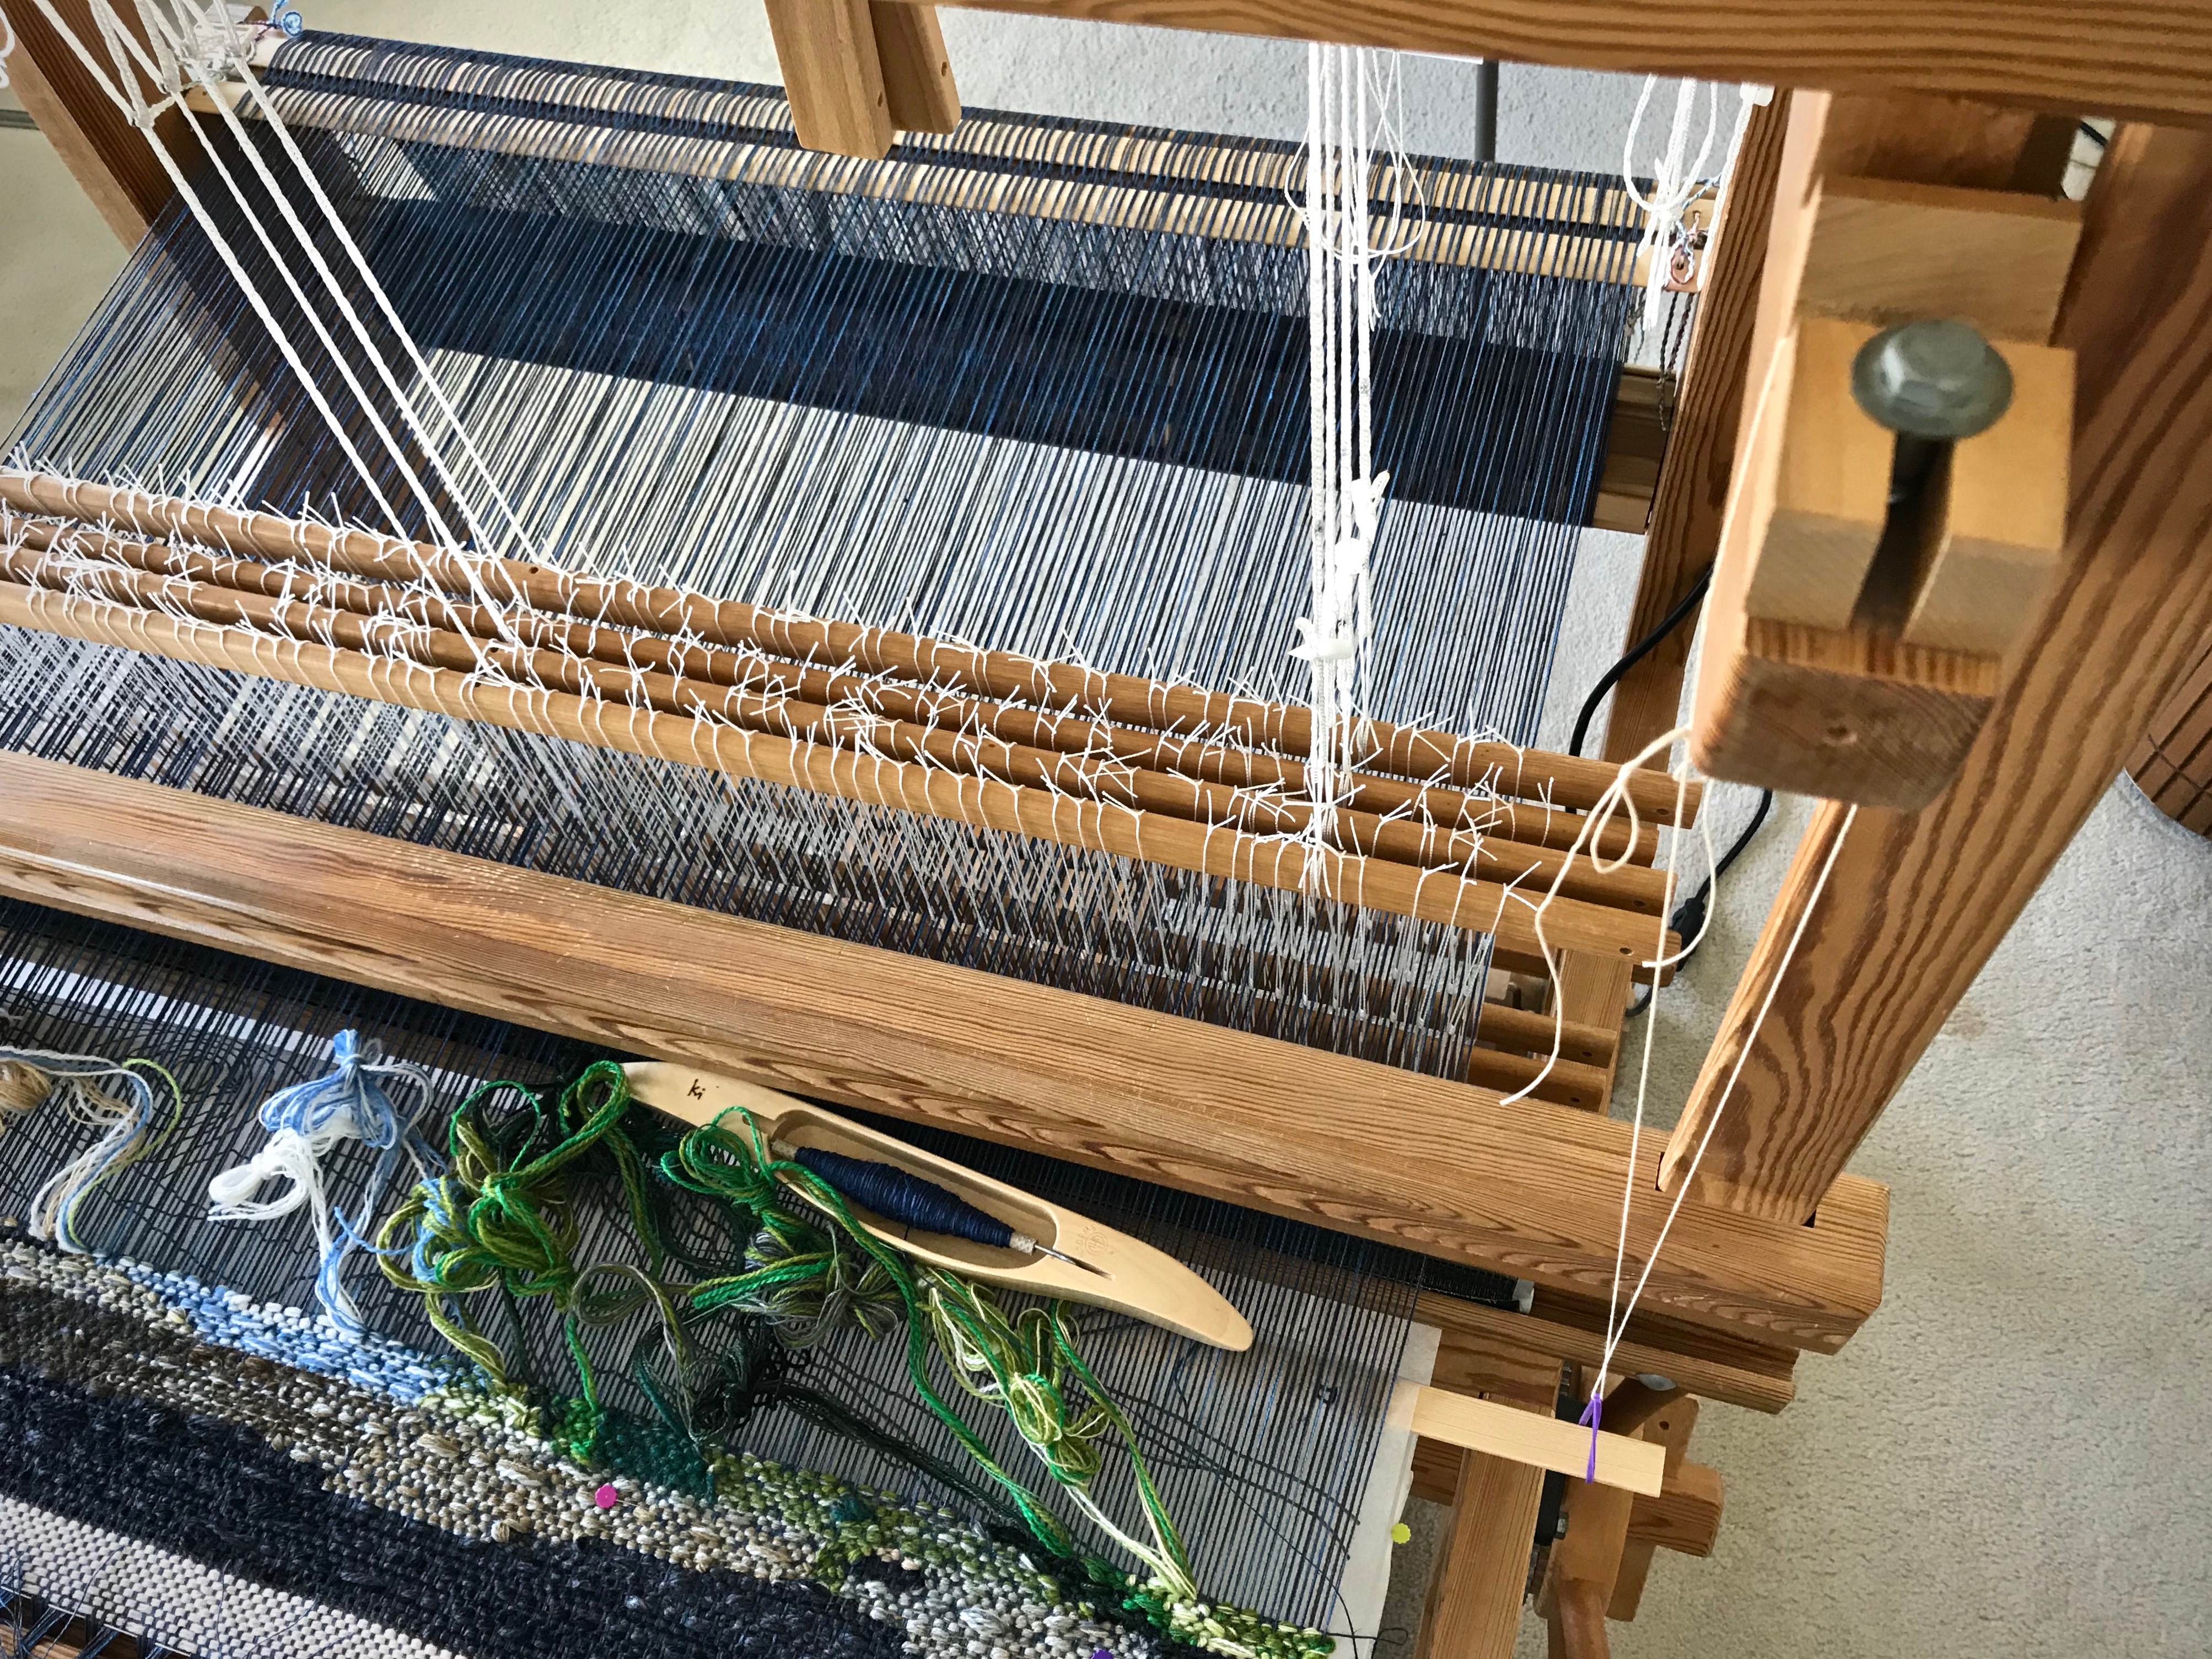
Hang a support slat under the cartoon.
I learned this from The Big Book of Weaving, by Laila Lundell, p. 239, 2008 edition. I used this method previously for a rag rug that had a cartoon for a large inlay pattern. It also works well for holding the cartoon for a woven transparency.
Seine twine loop with rubber band hangs from beater cradle. Slat holds cartoon up against the warp.
Supplies: 12/6 cotton seine twine, 2 rubber bands, long warping slat
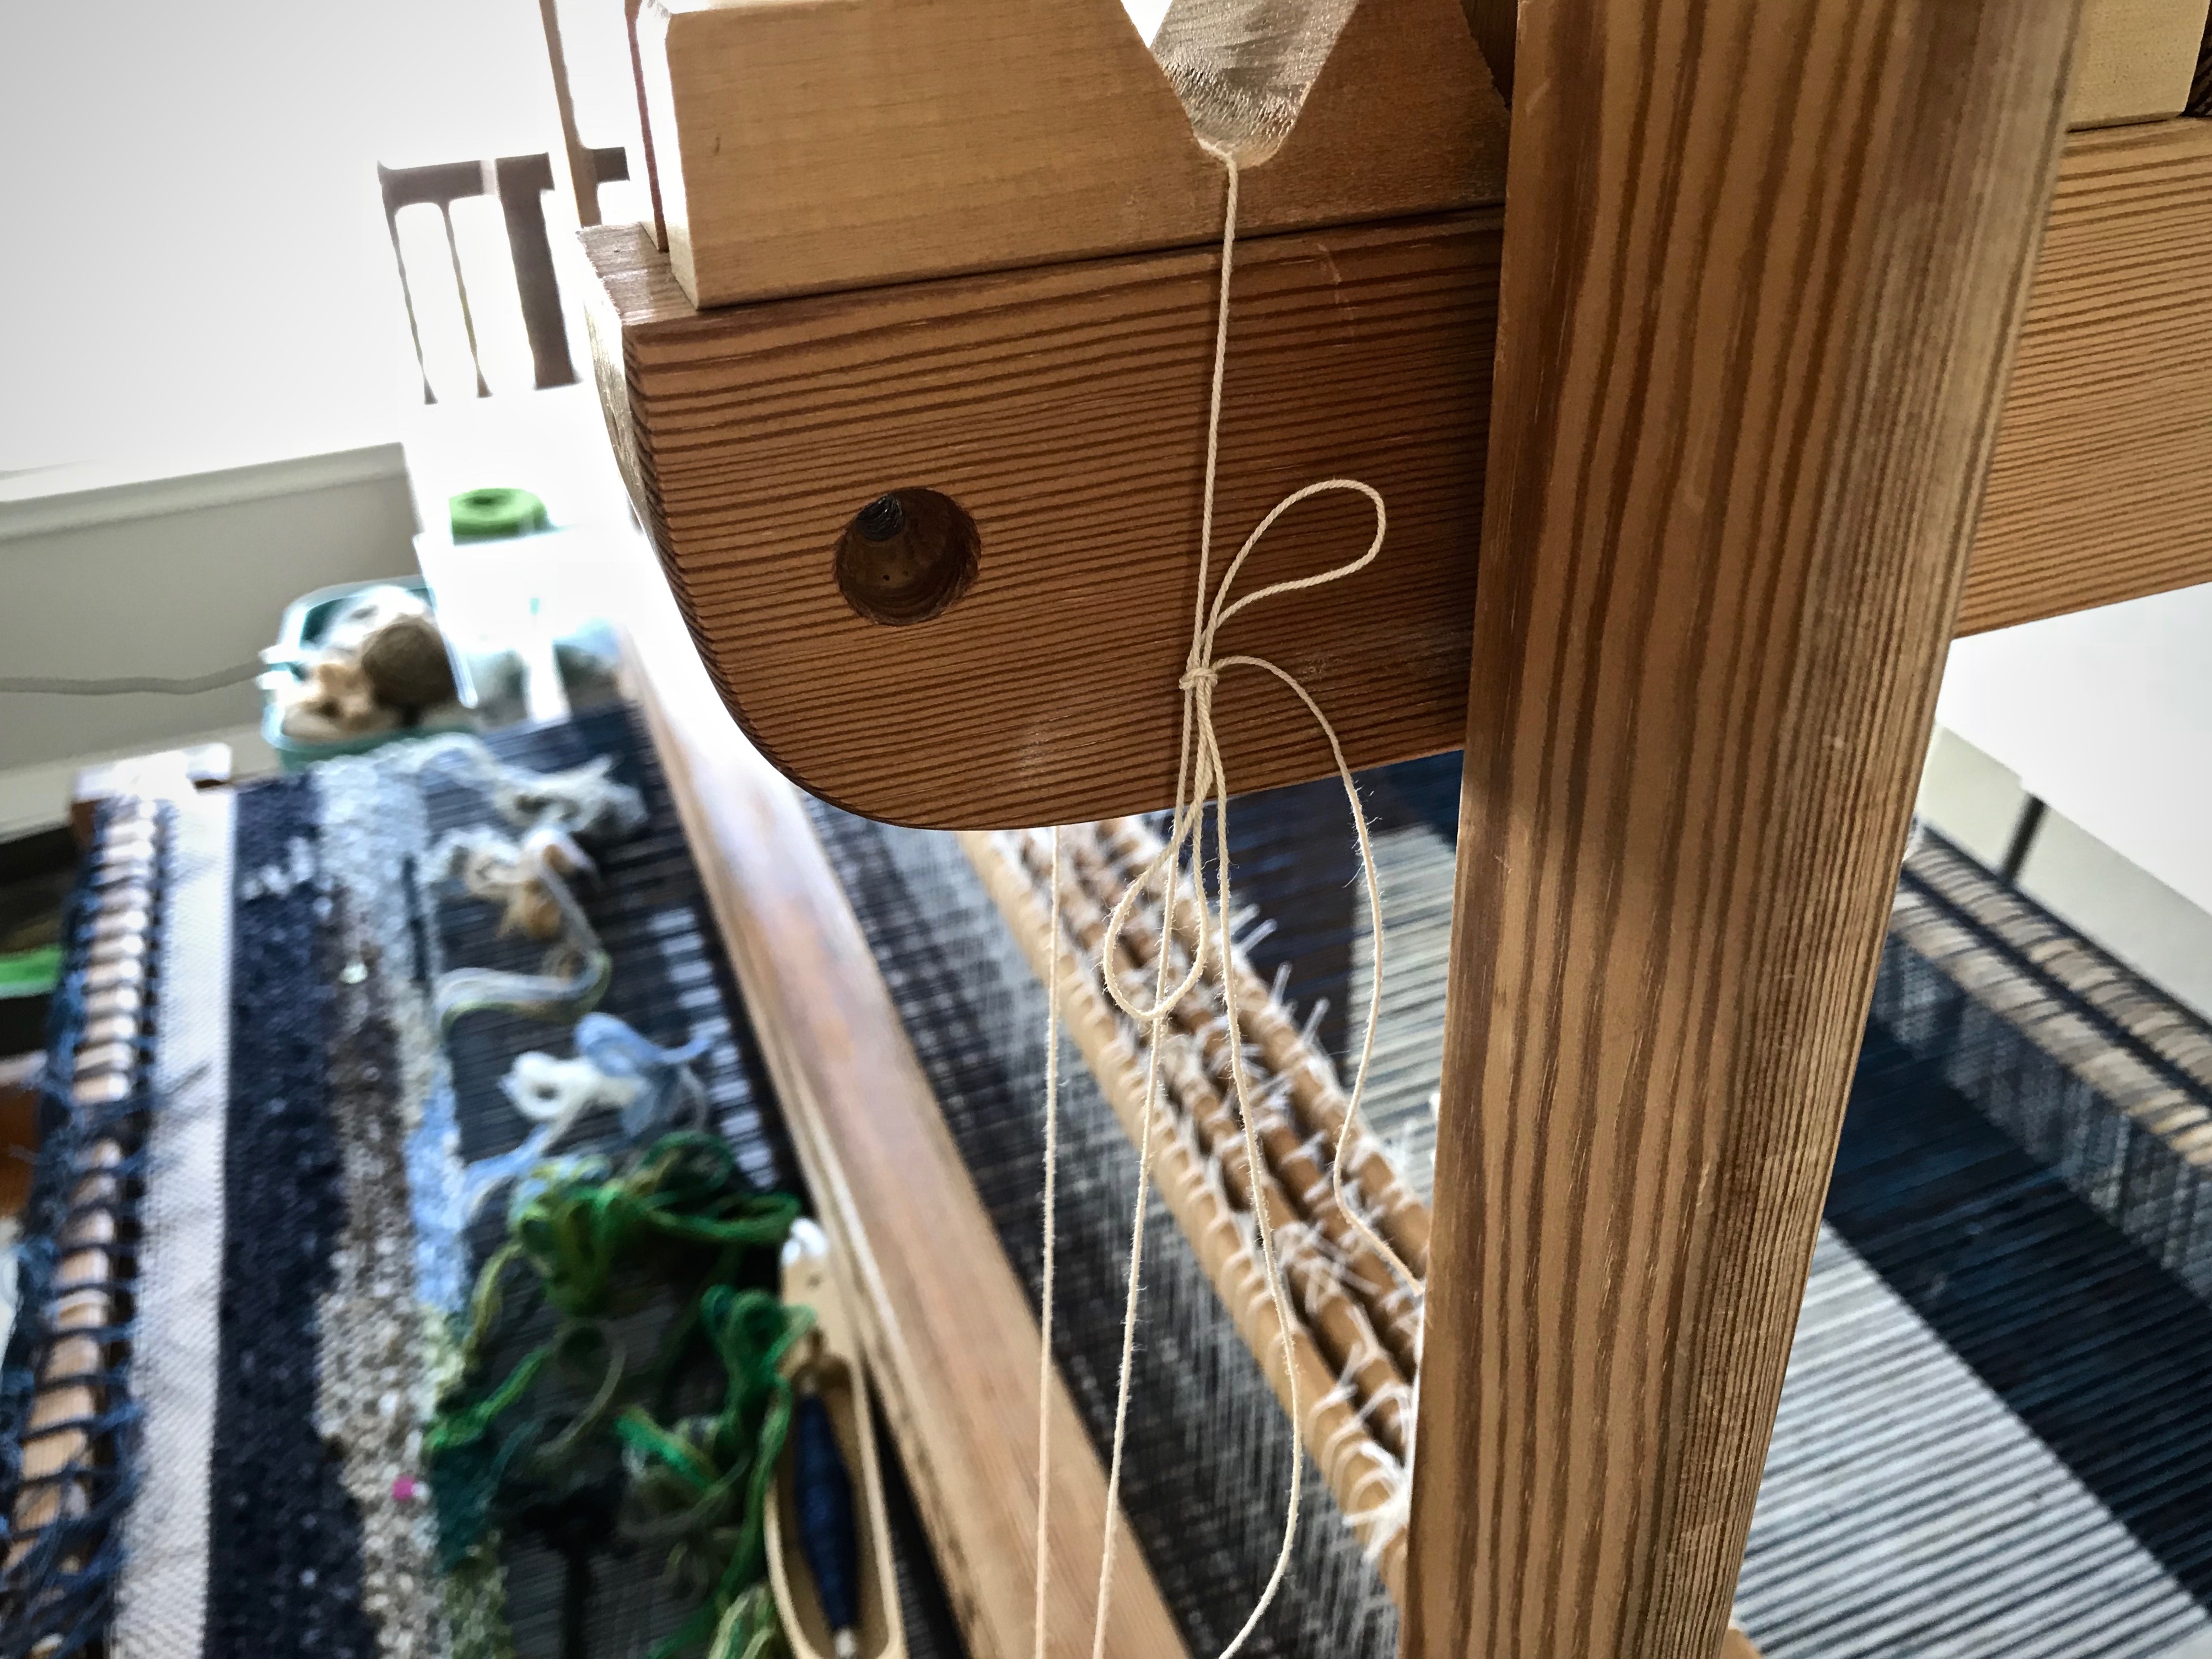
1 Make a loop with the seine twine to hang from the beater cradle to just below the warp, with a rubber band on the loop.
2 Tie the ends of the loop with a bow knot or a weaver’s tie-up knot (this useful knot is described in How to Warp Your Loom, by Joanne Hall, p. 39).
Top of loop tied in a bow knot.
Weaver’s tie-up knot is perfect for this application, since it is quick and easy to undo and re-tie if repositioning is needed.
3 Make another loop the same way, with rubber band, and hang it on the other beater cradle.
4 Place the warping slat in the hanging rubber bands, underneath the cartoon.
5 Adjust the length of the loops so that the slat lightly presses up on the cartoon and the warp.
Rubber band gives flexibility to the seine twine loop that is holding up the cartoon.
Pin the rolled-up cartoon underneath.
I roll up the Pellon cartoon under the warp and pin it once on each side. As the warp and cartoon advance I can reposition the pin as needed.
Under the warp, the cartoon is loosely rolled up and pinned.
Move the slat toward the breast beam, out of the way, to beat in the weft.
Because of the rubber bands, the slat support has flexibility and does not impede the movement of the beater.
With the slat under or near the fell line, it presses the cartoon up to the warp. By doing this, I can easily see what comes next as the tapestry weaving develops row by row.
Placing the slat under the fell of the weaving raises the cartoon to visibility where it is needed most.
I wait for my ordered yarn to arrive. Meanwhile, I dream of this tapestry becoming a reality as cartoon meets wool.
May you have the alignment, security, and visibility you need.
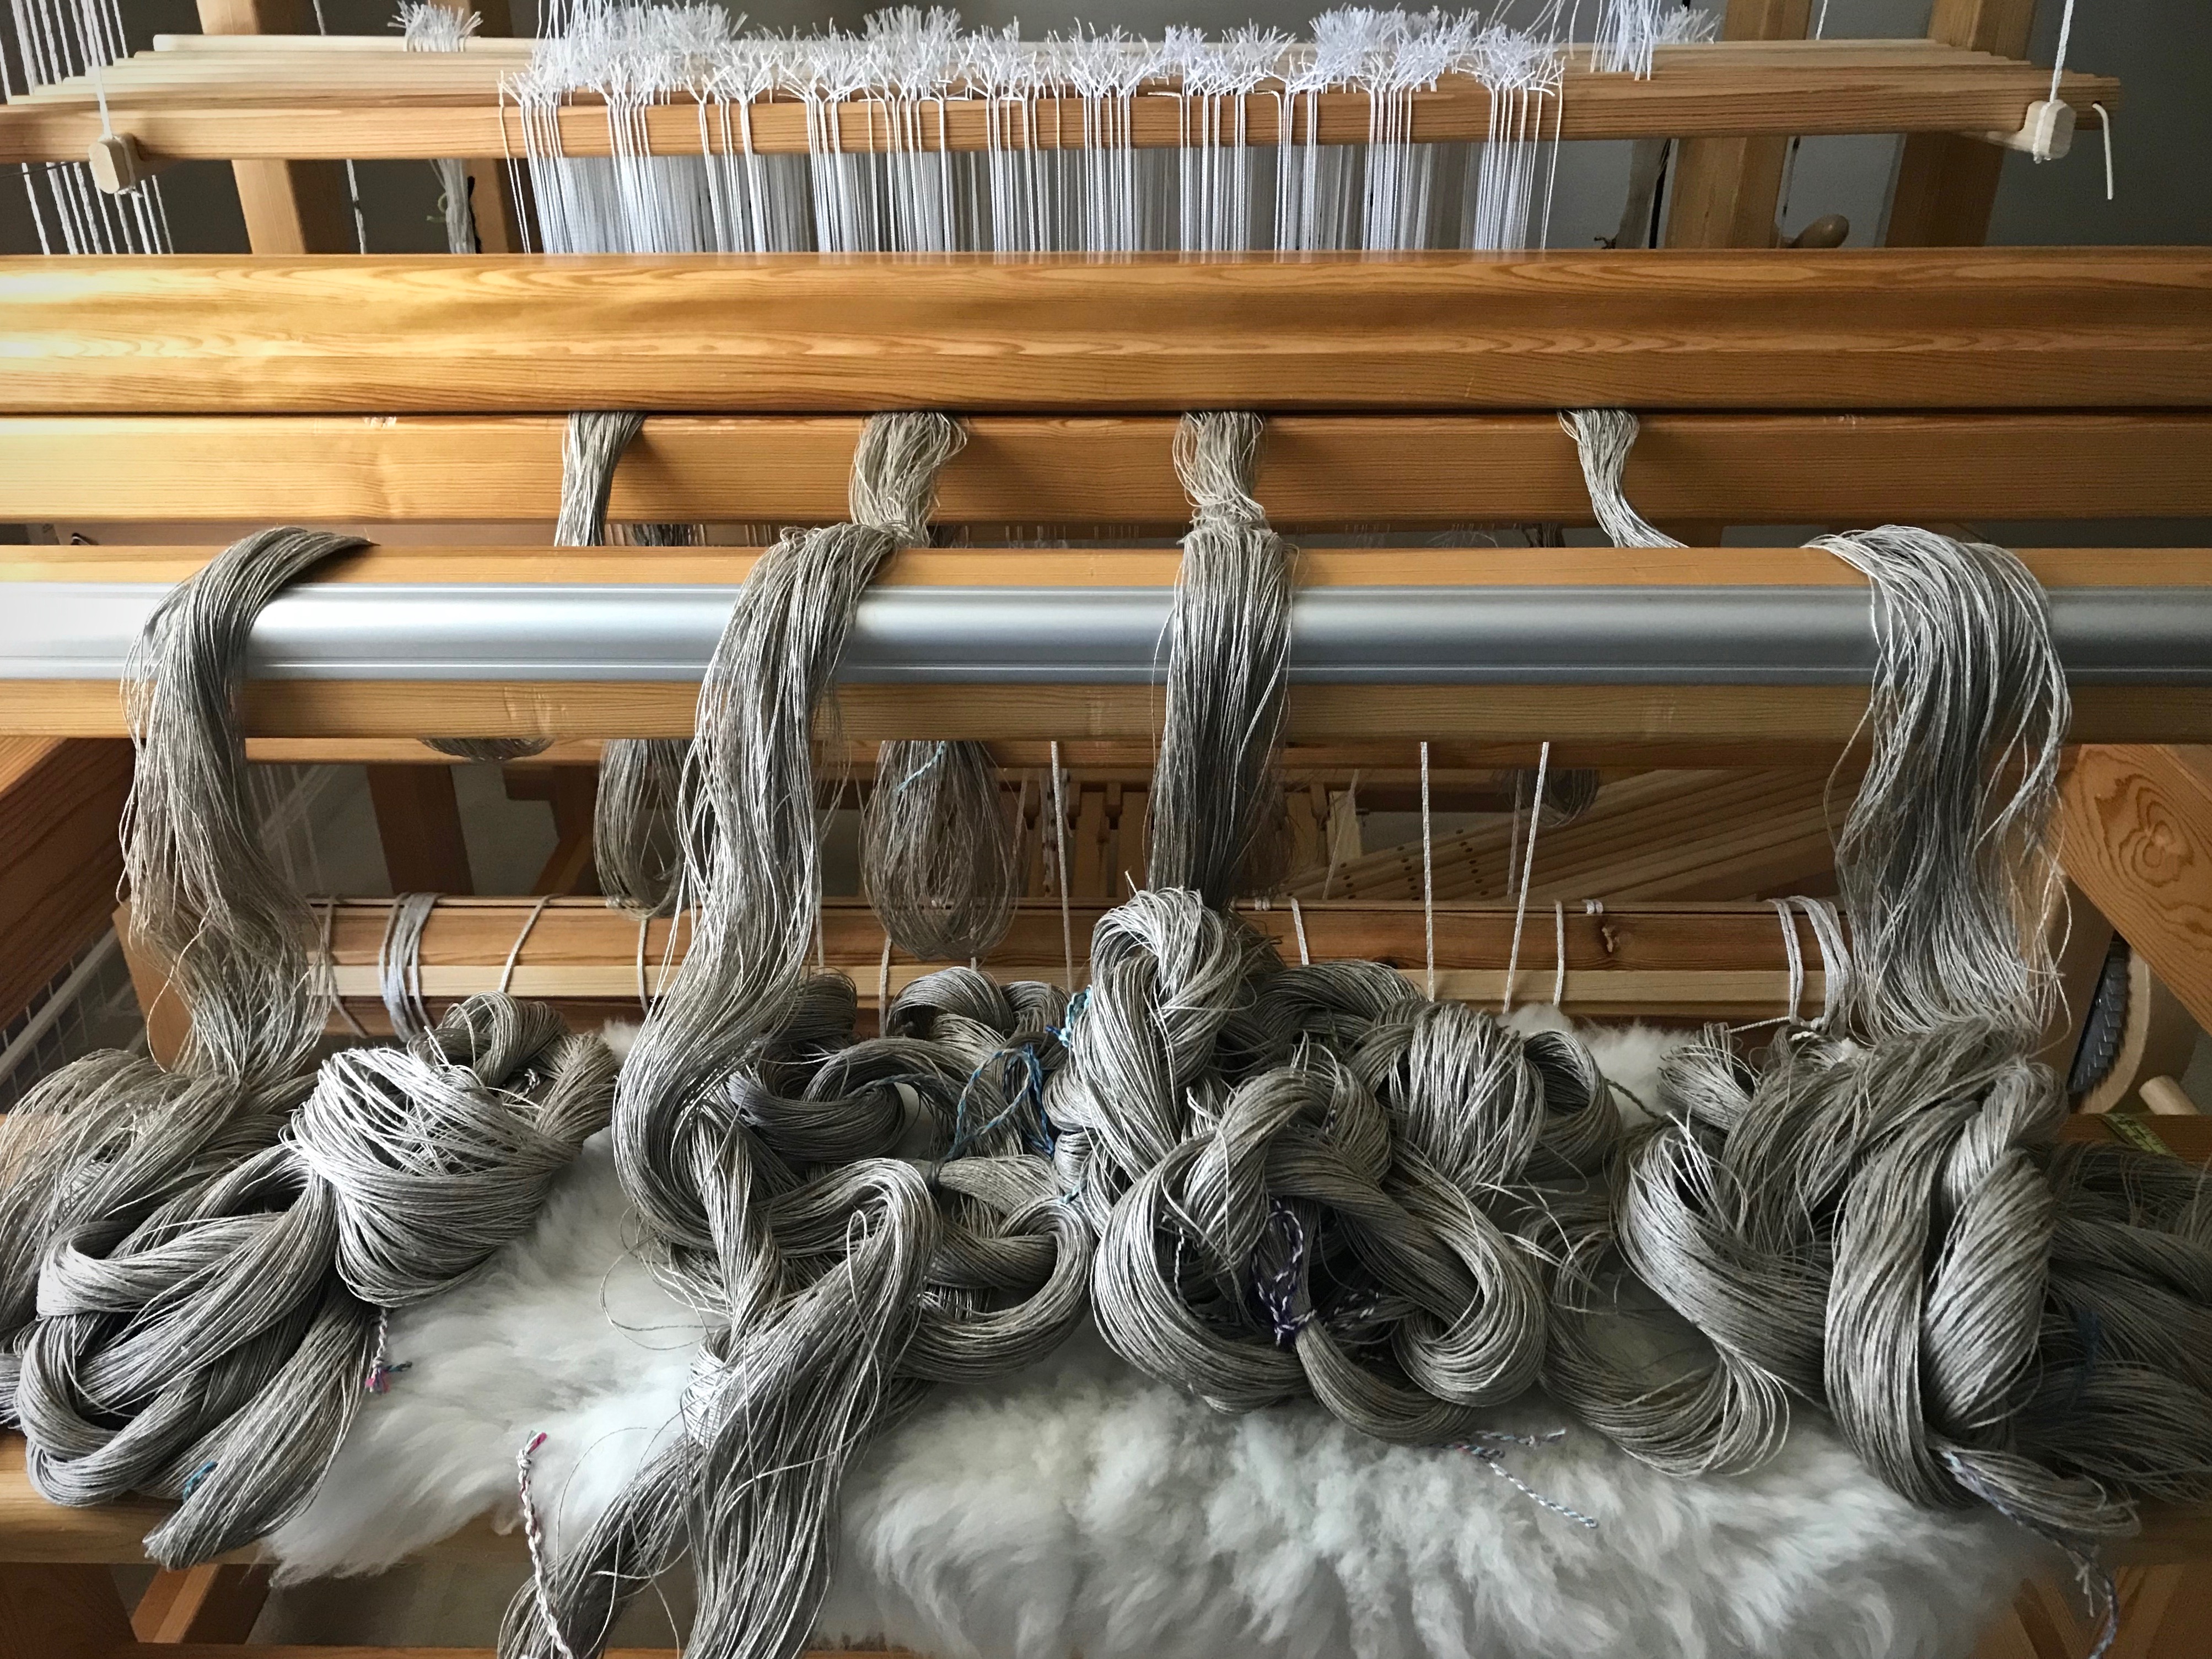
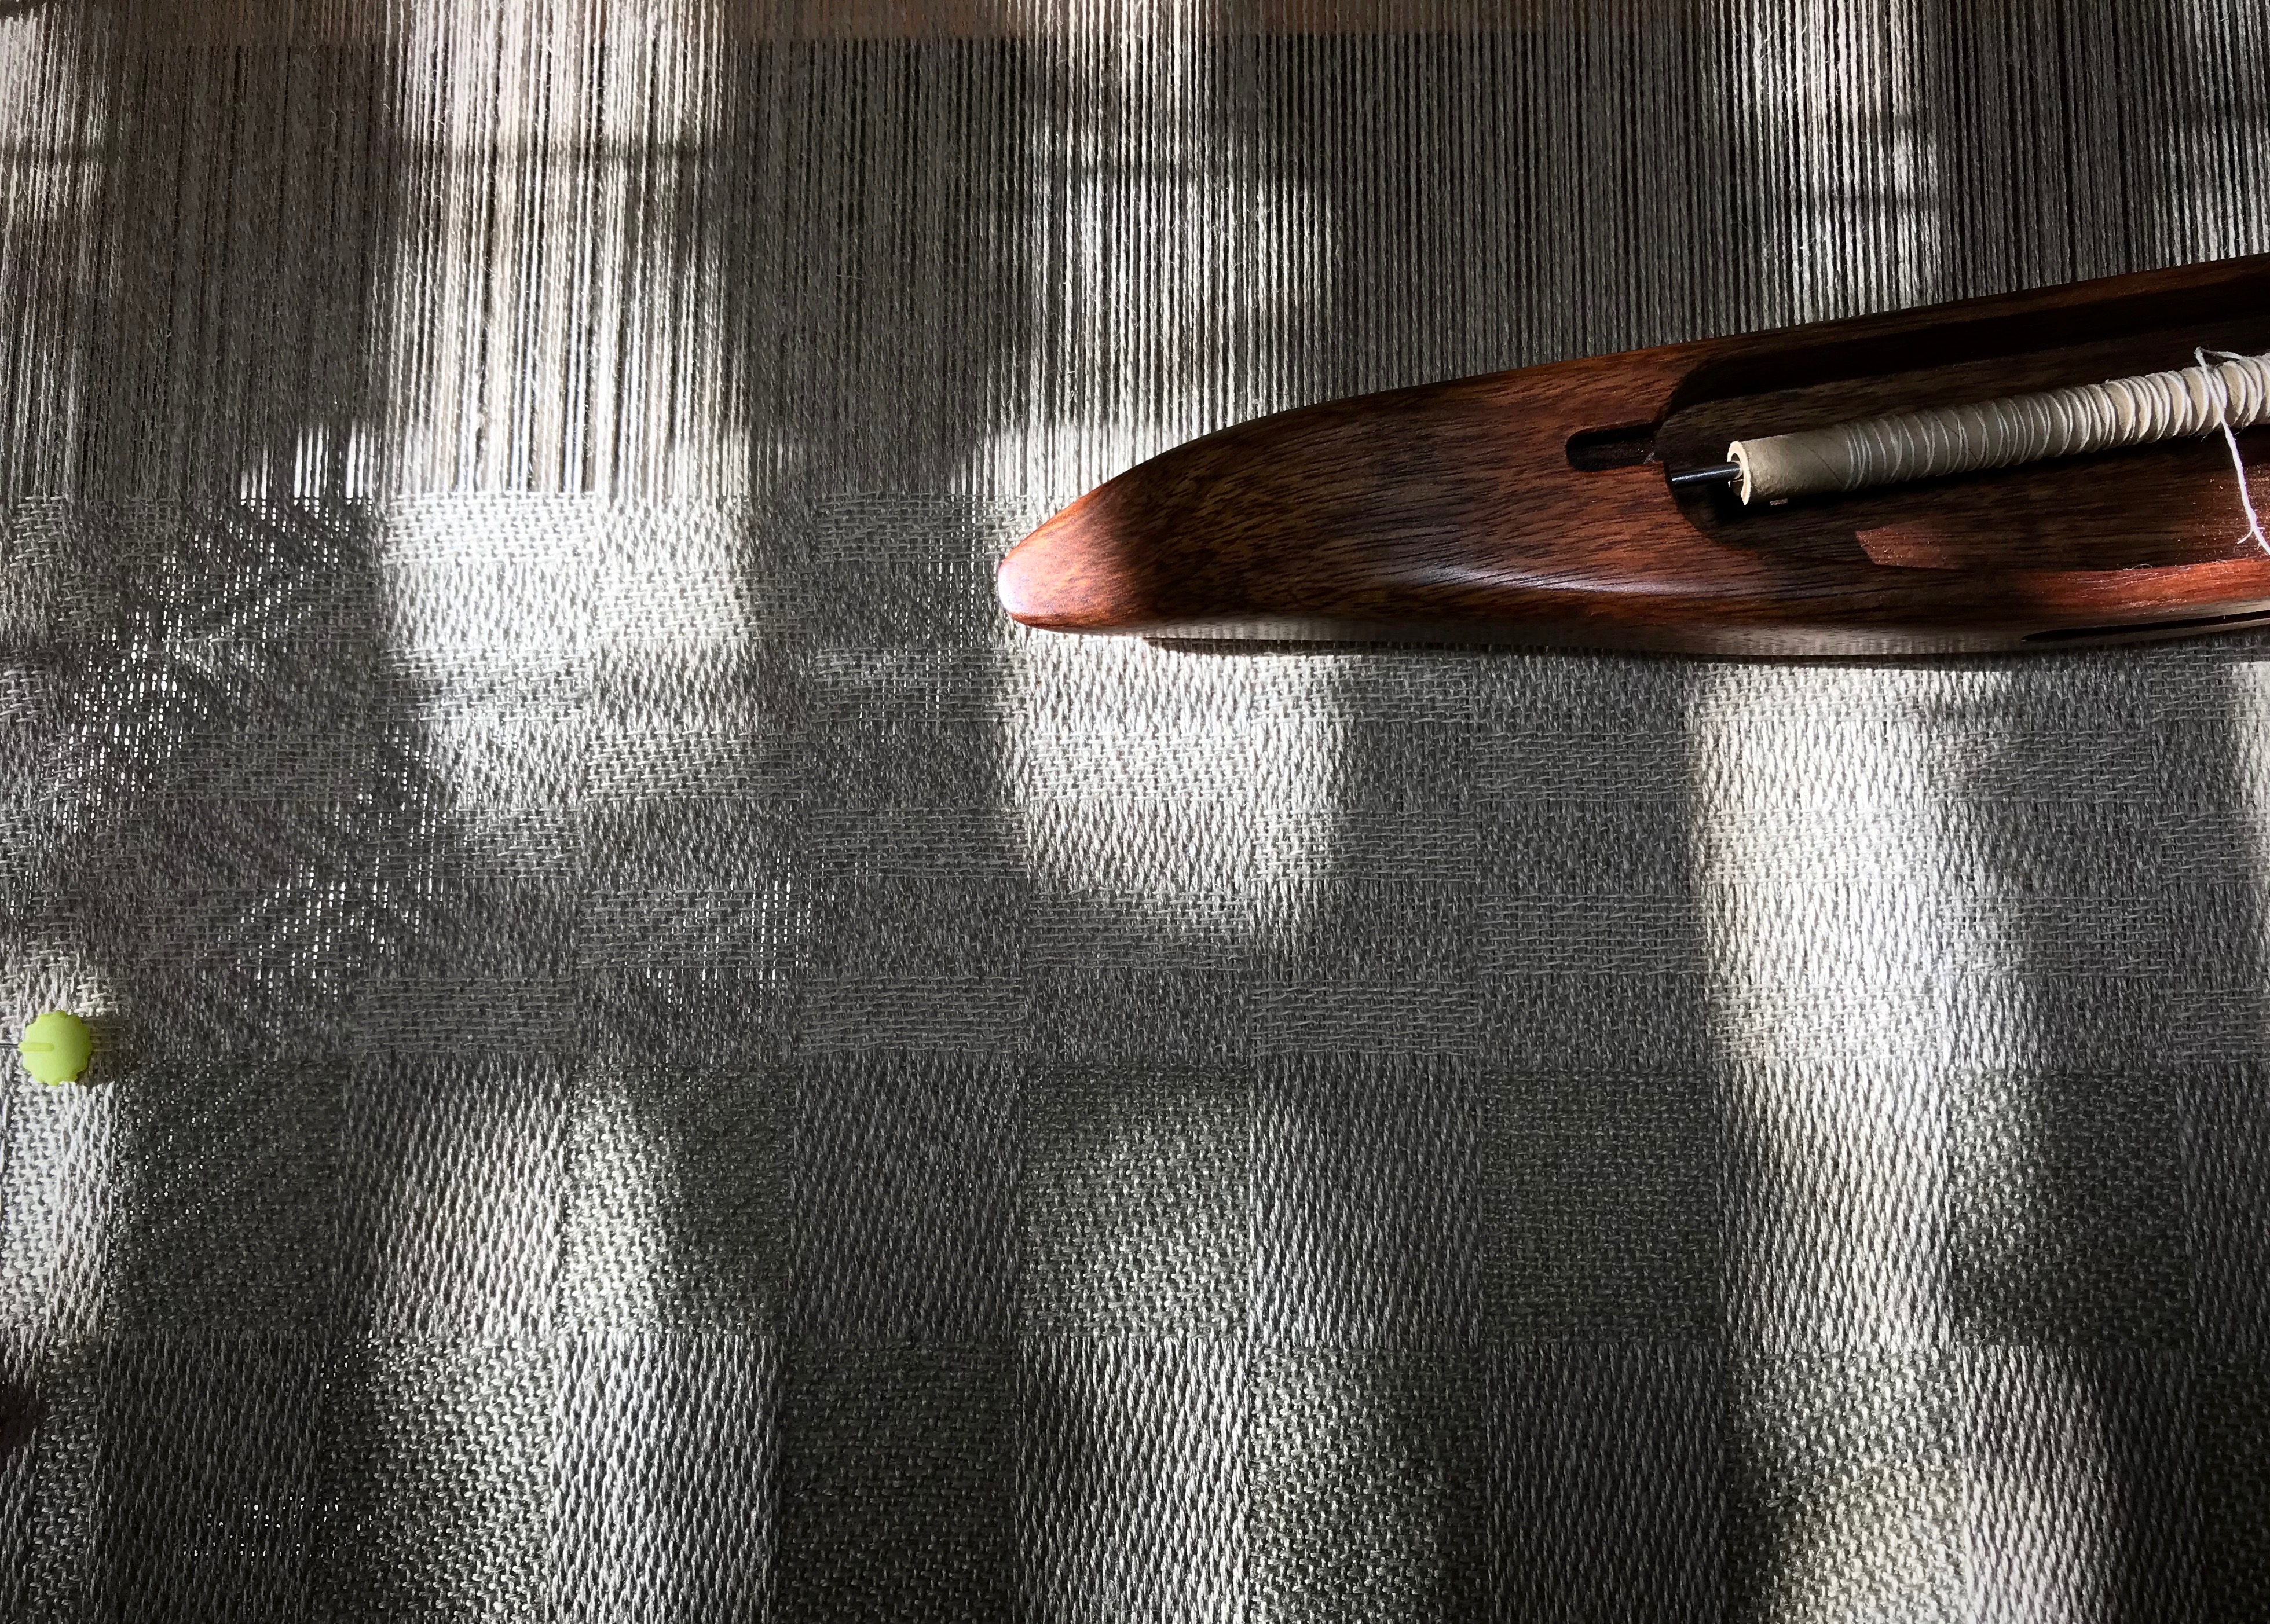
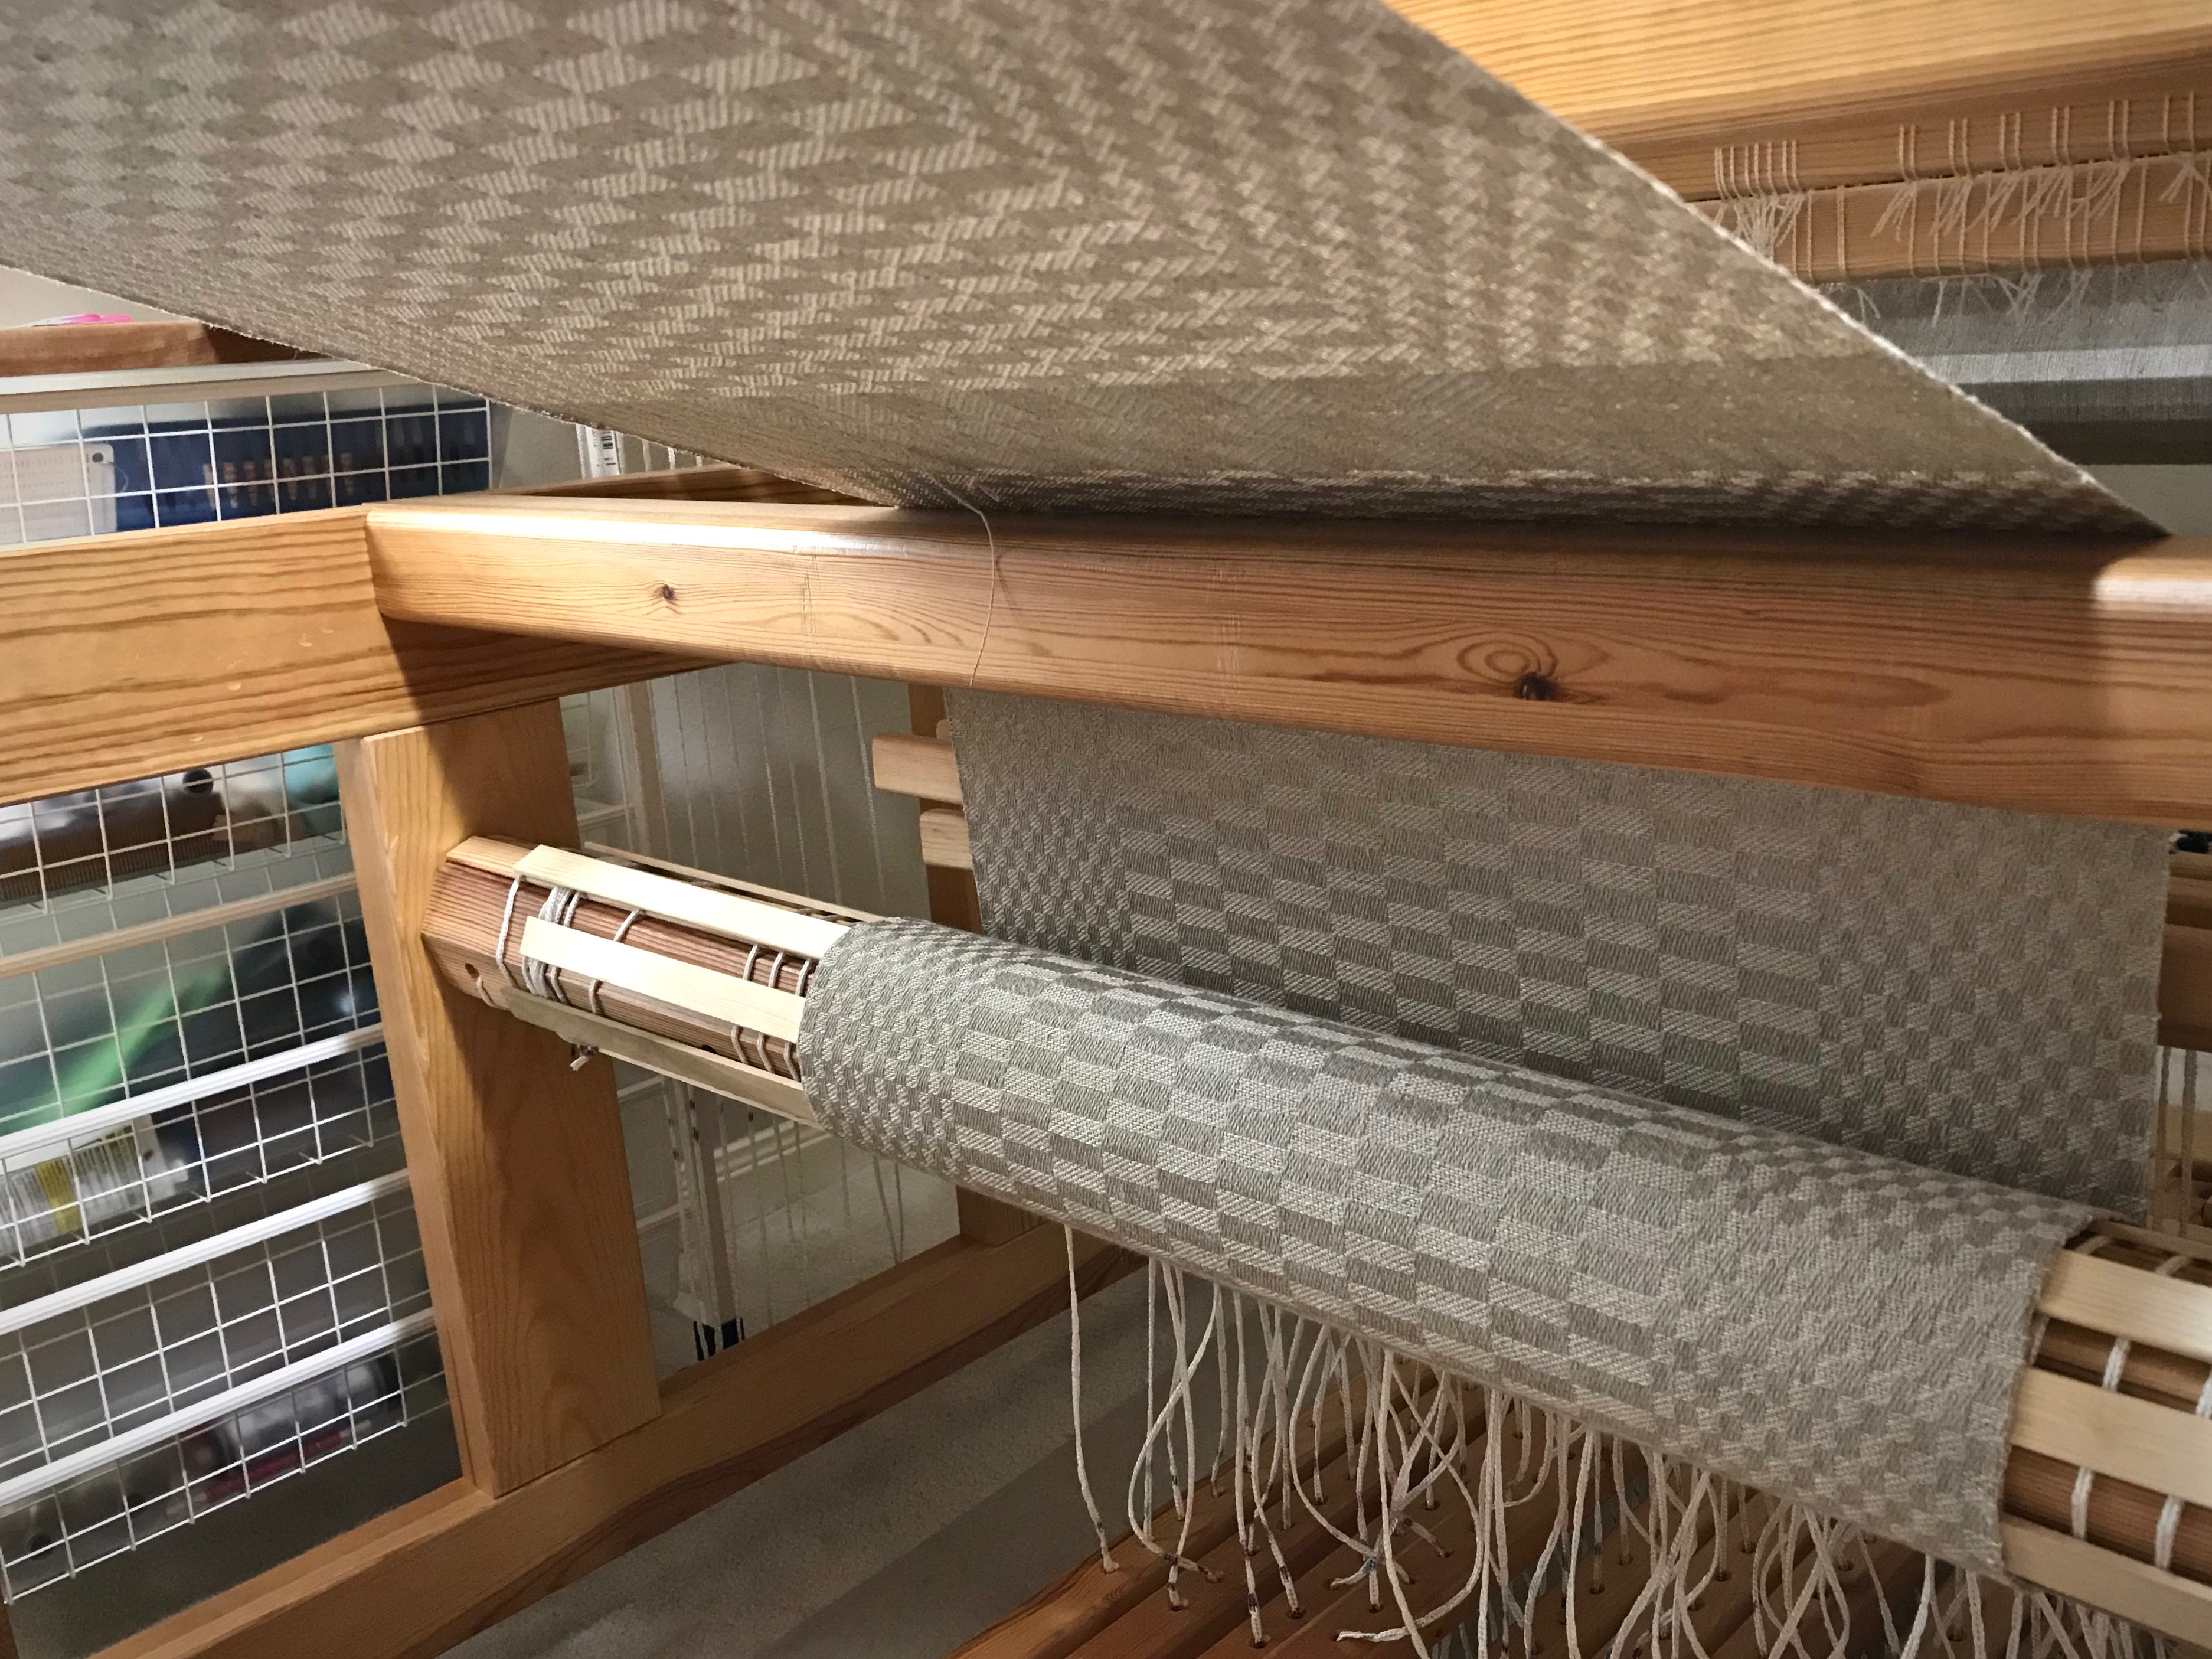
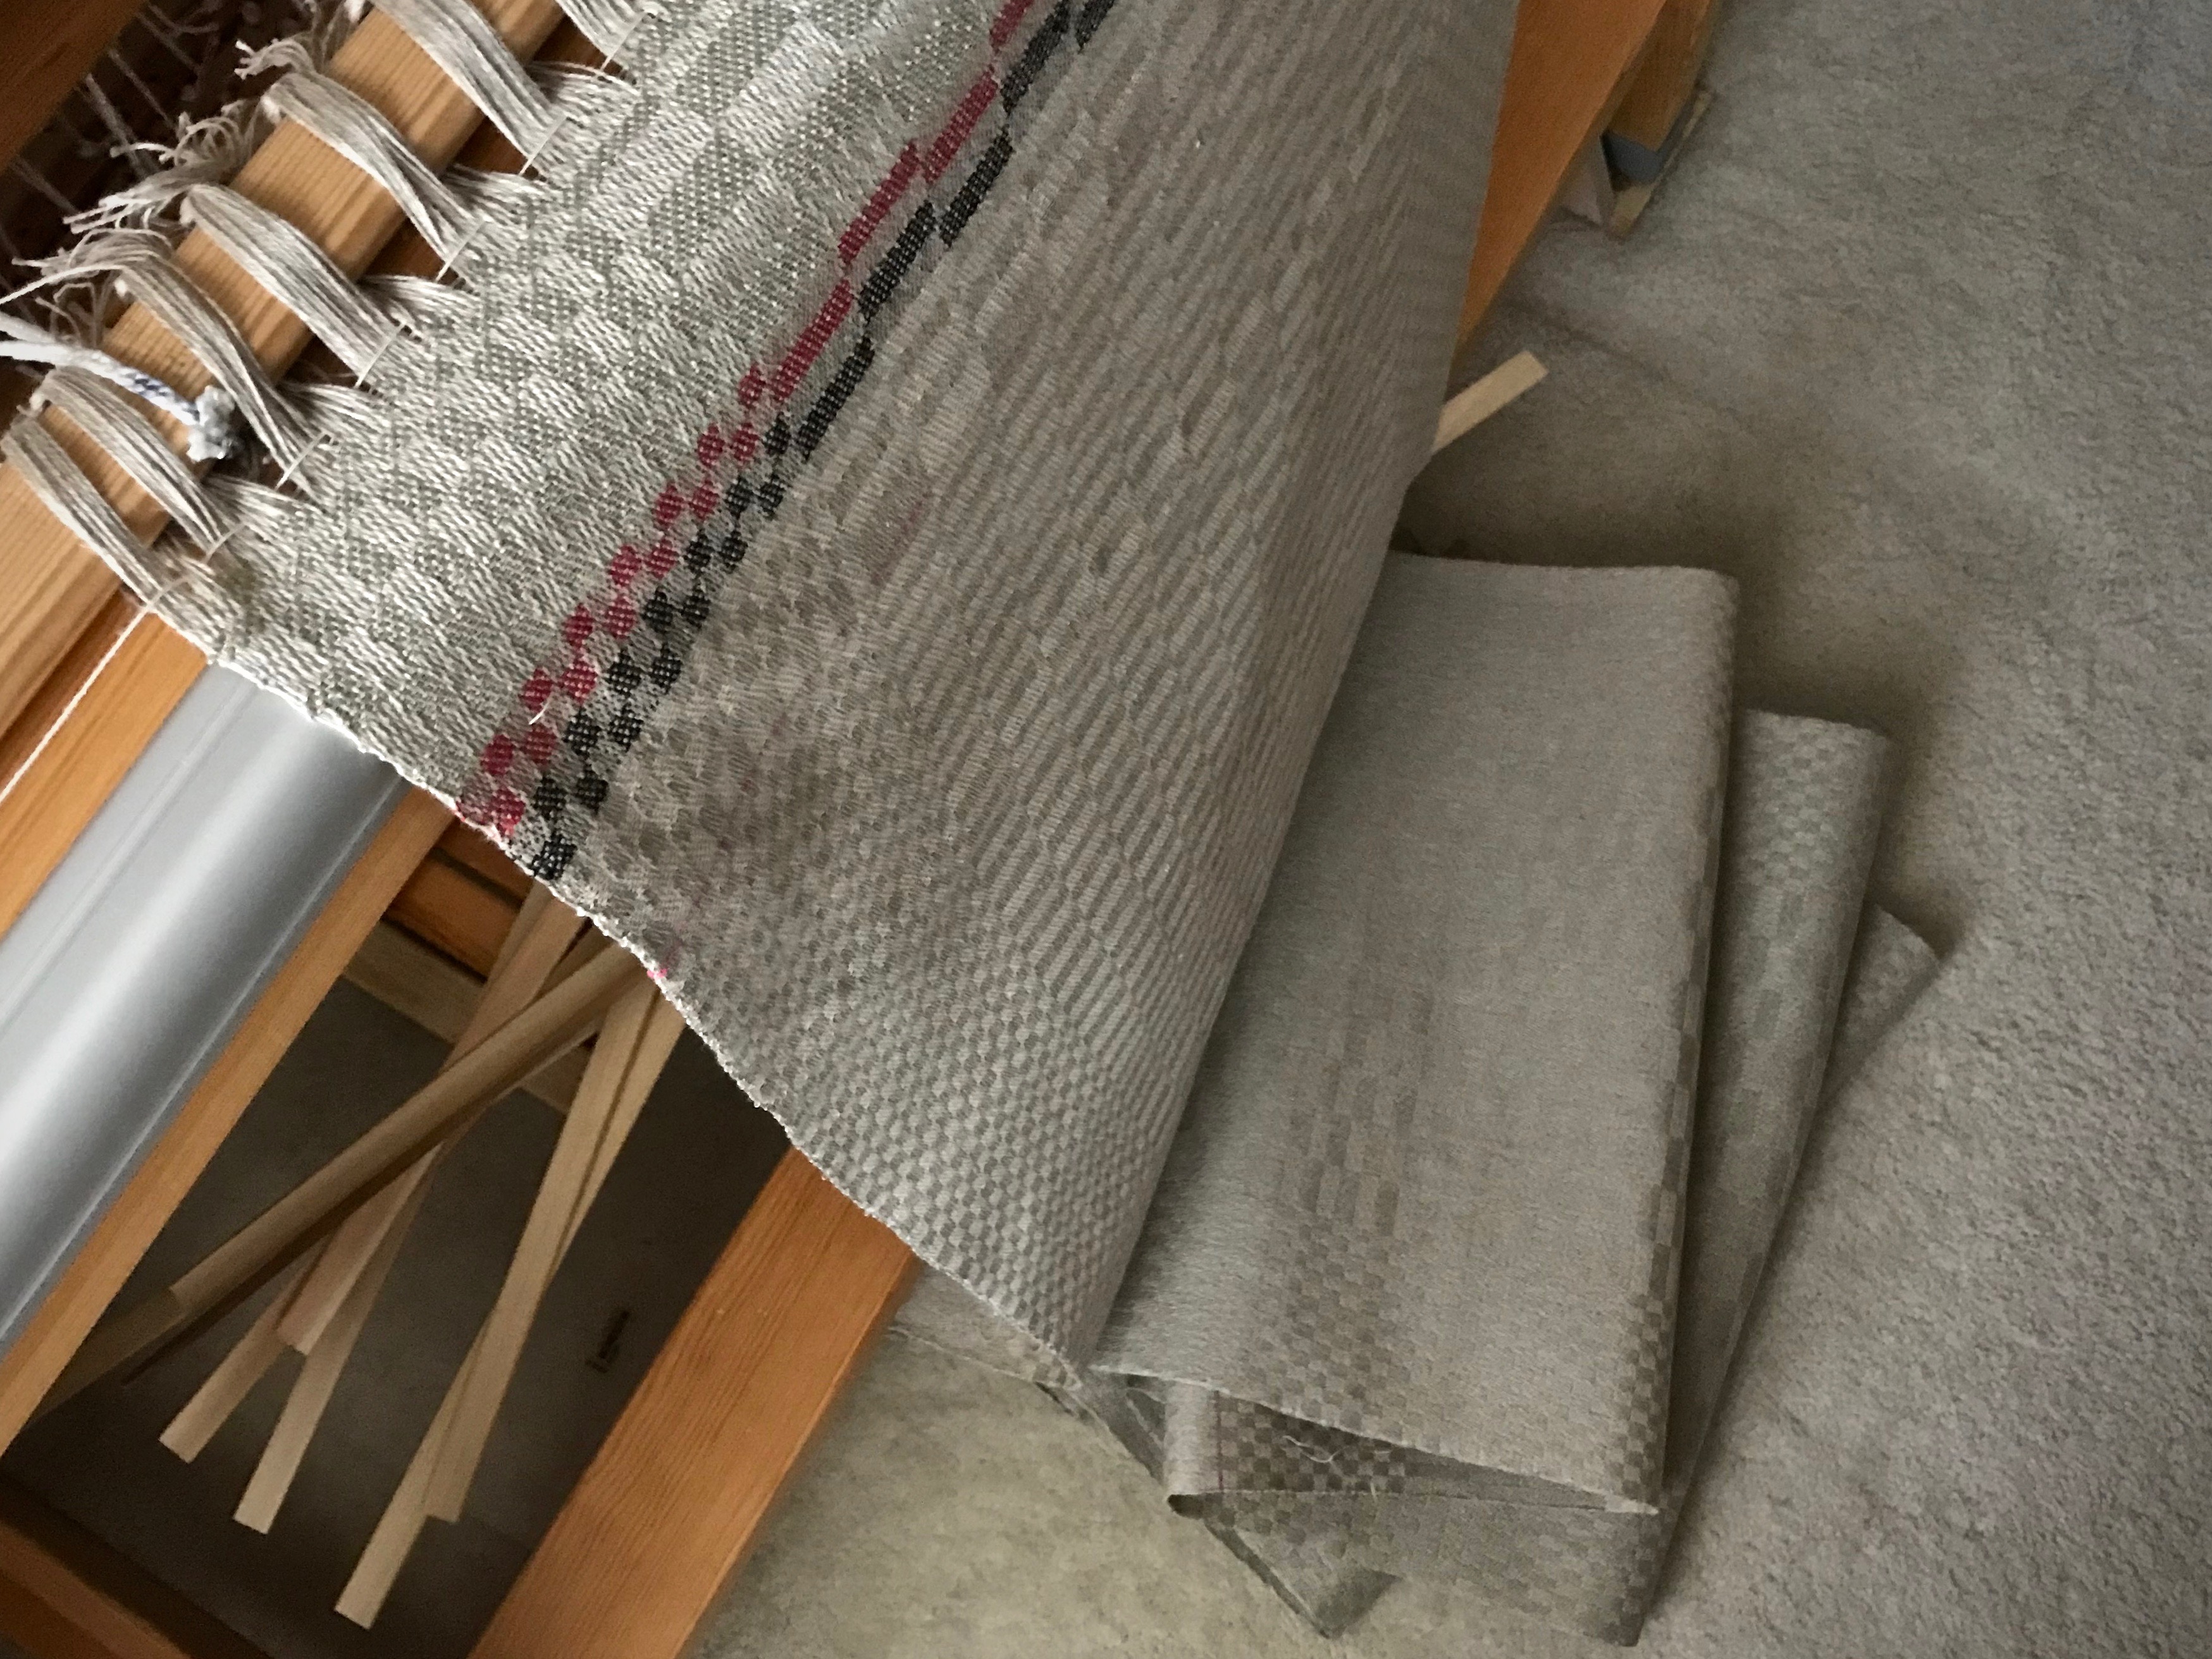
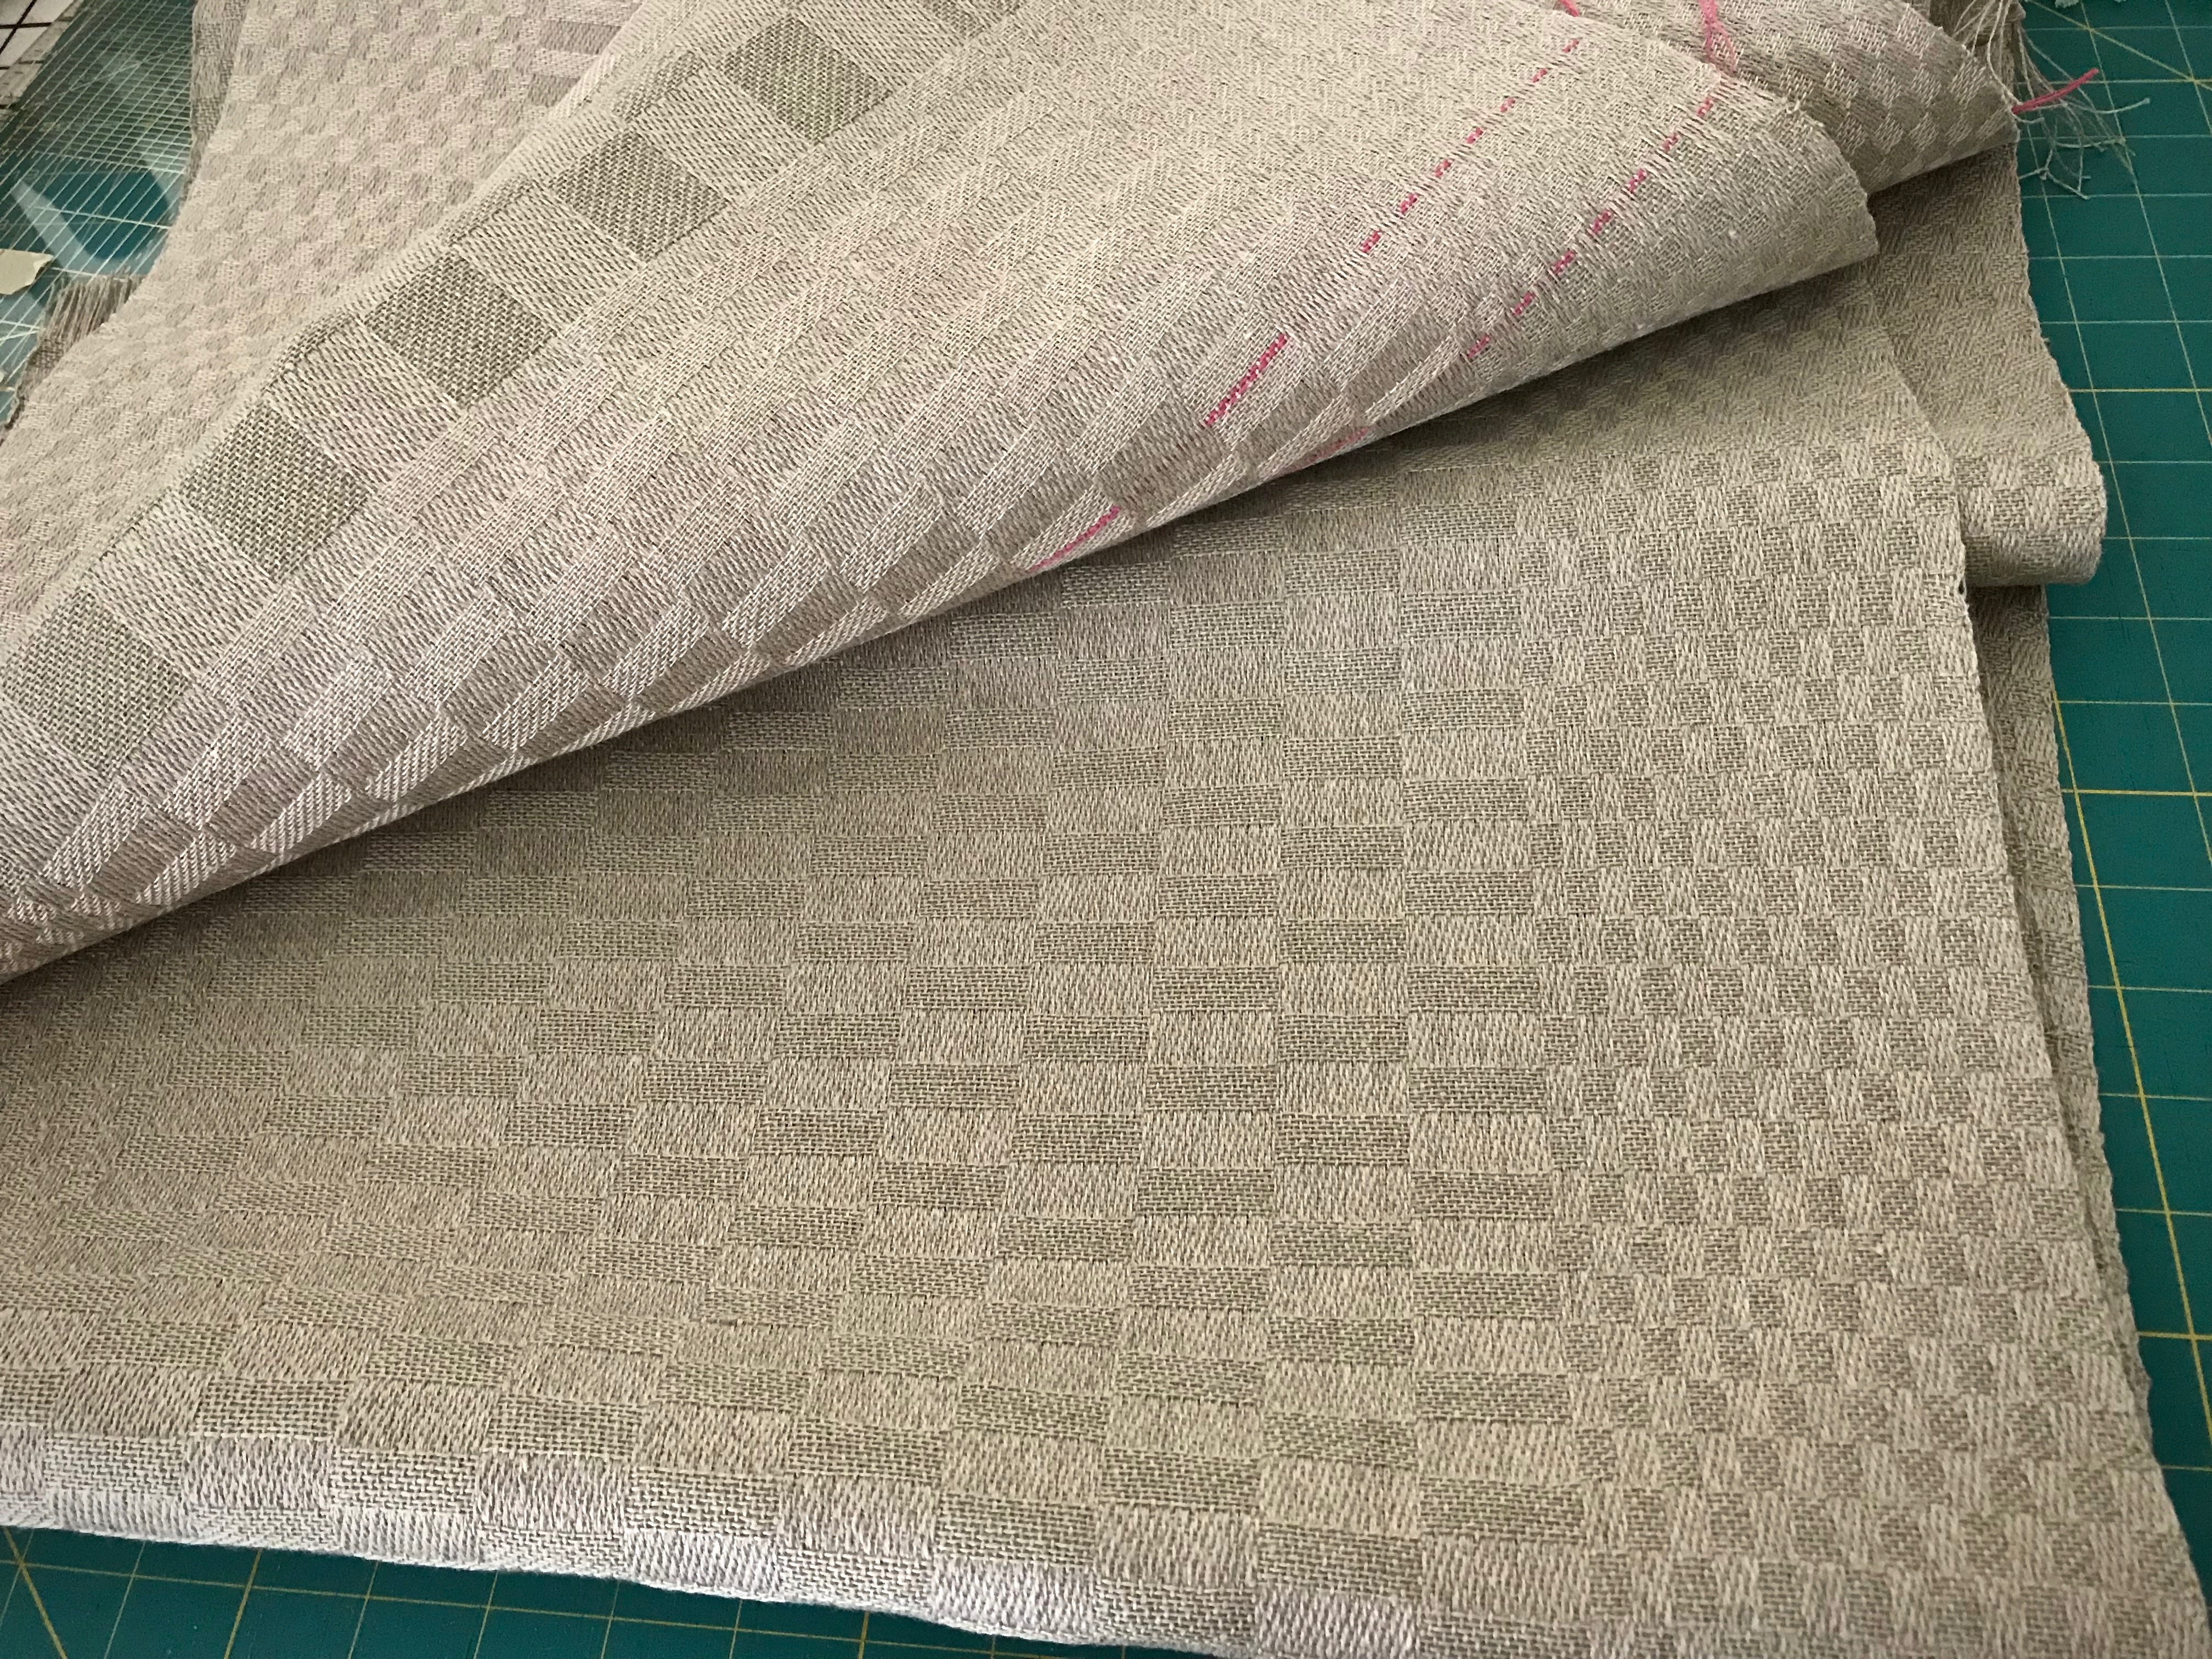
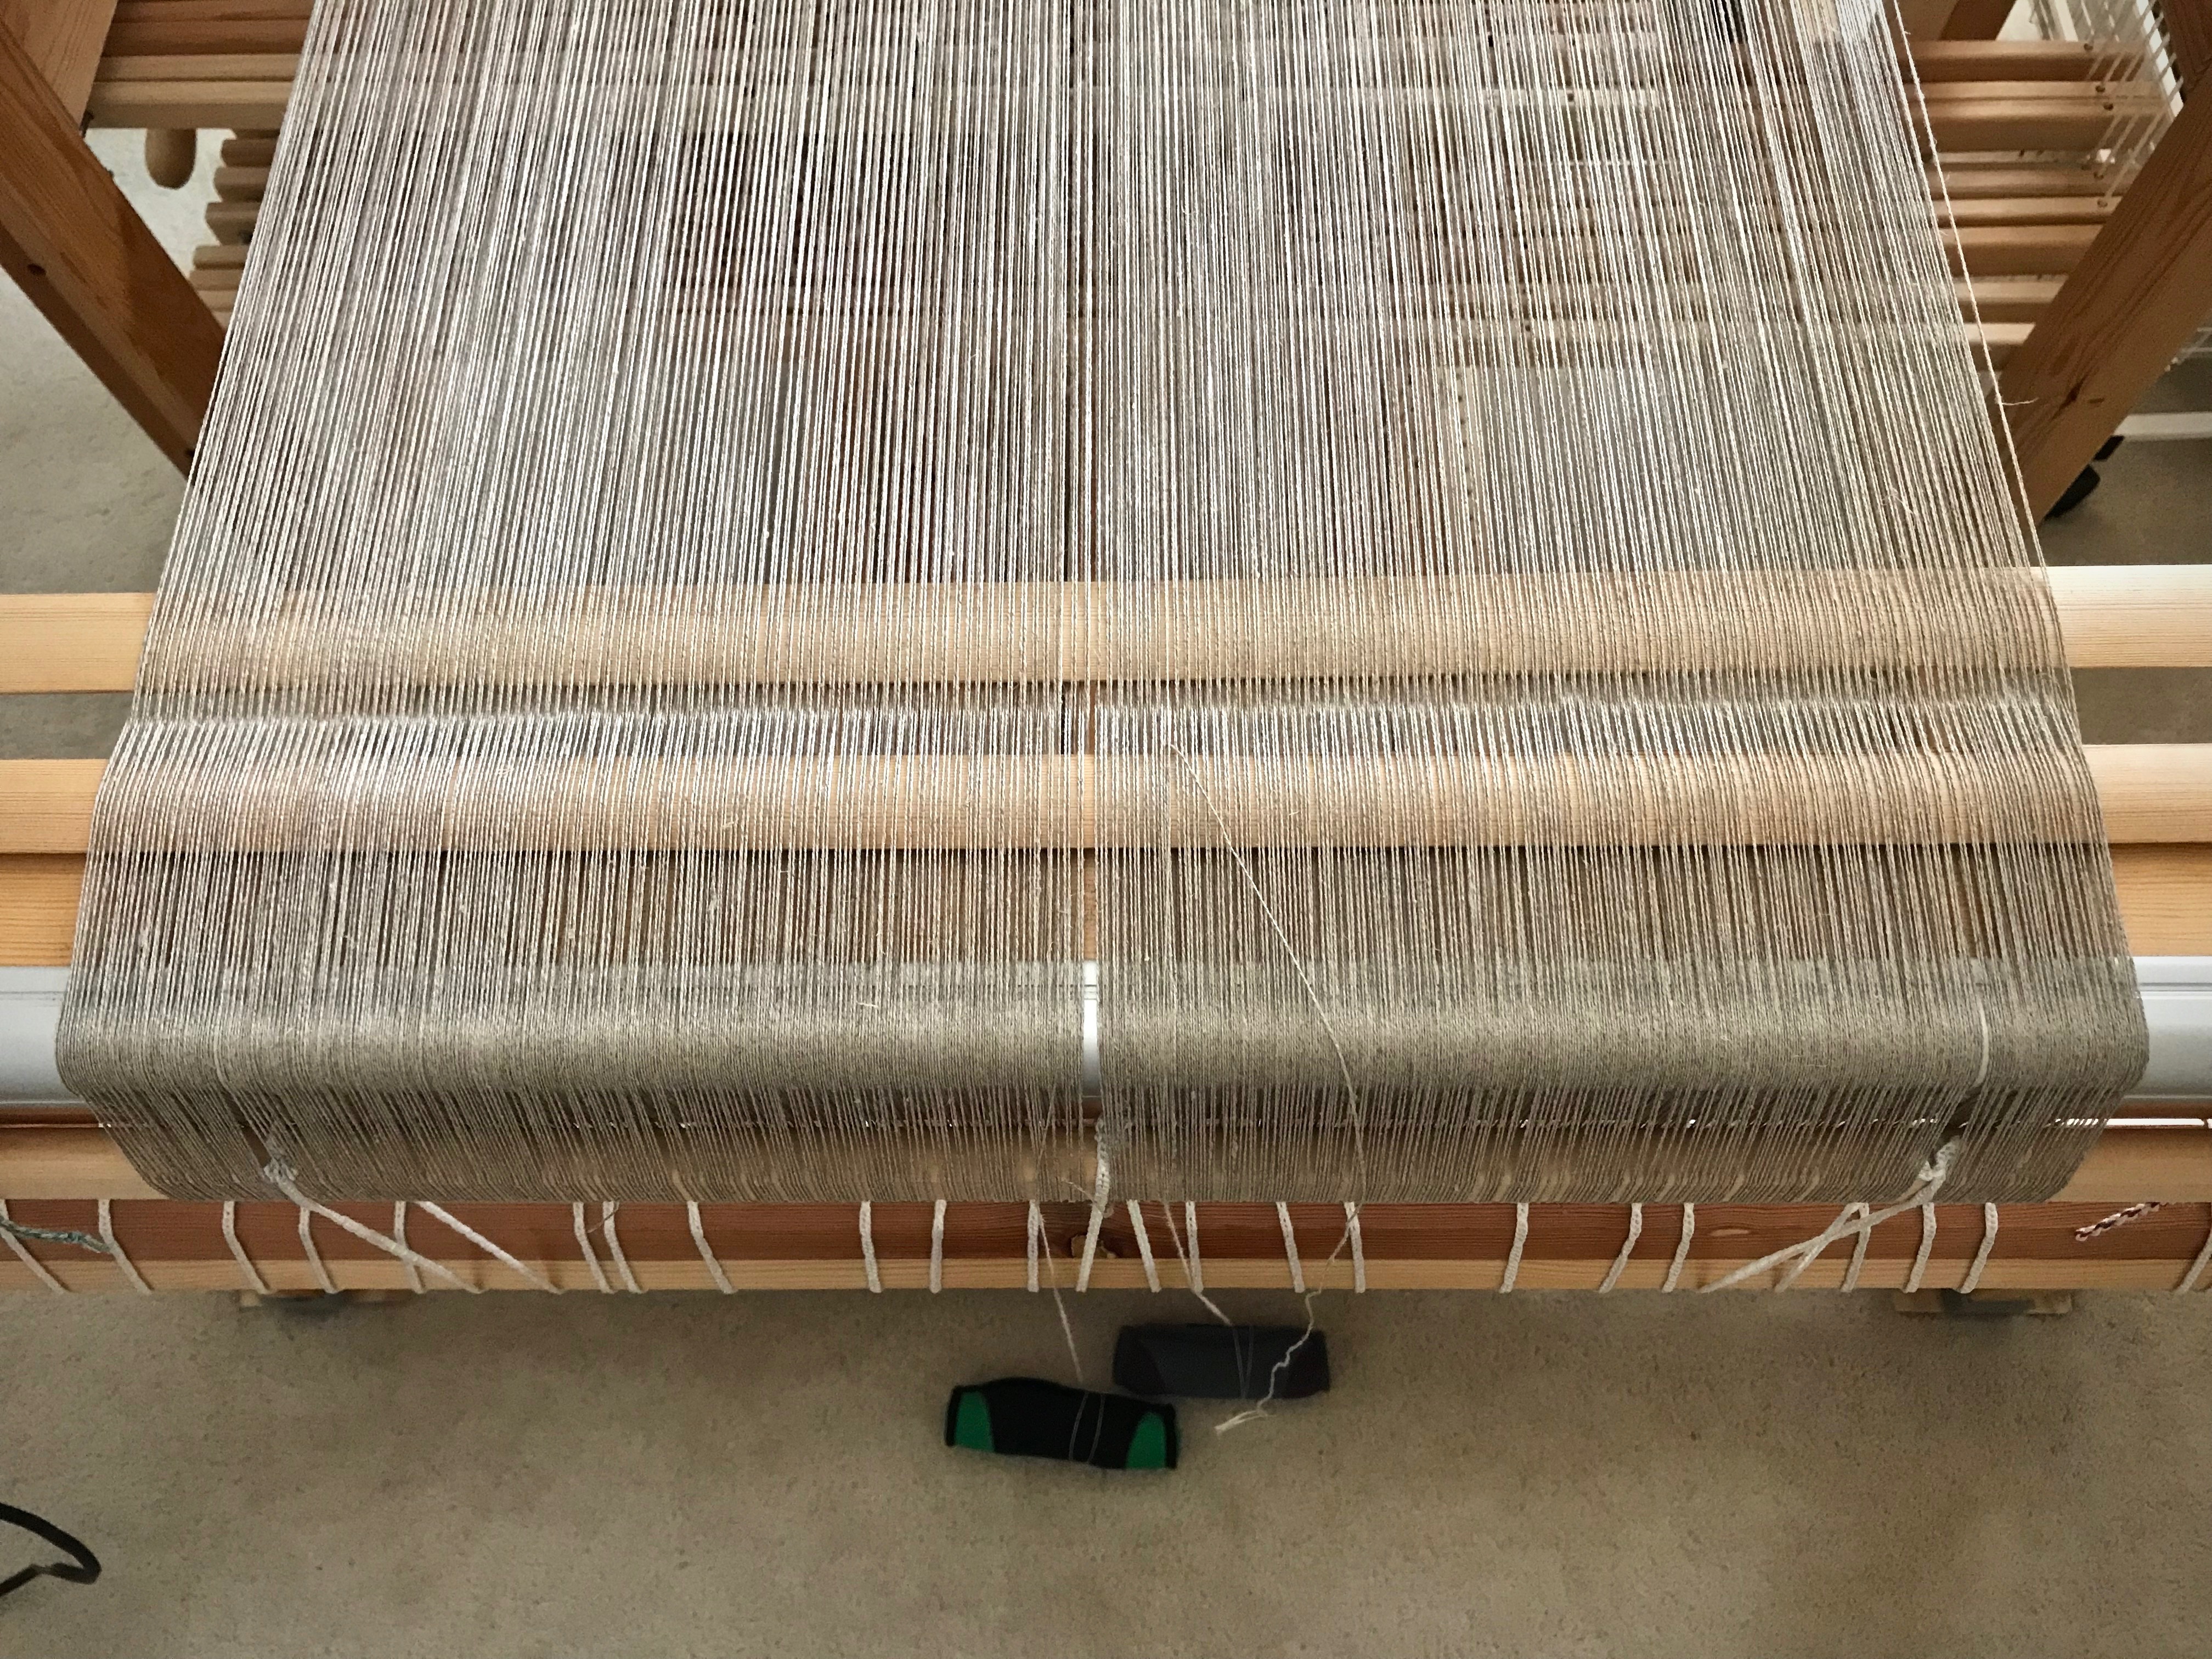
This is one of those weaving projects that puts you on top of the world. Everything about it. Linen, ten shafts, five-shaft satin weave, ten treadles, gorgeous Moberg damask shuttle, single-shuttle rhythm, full-body weaving, magical fabric. I did have more than my share of knots in the warp, and a few skipped threads and selvedge loops. But you will see no evidence of those glitches now. All you will see is the natural beauty of linen, with its characteristic unevenness. And the reflective satin dräll weave, with its light-catching trickery.
The warp is Bockens unbleached 16/2 line linen. Two of the towels use 16/1 golden bleached linen for the weft. At my husband’s request, the remaining three towels have 16/2 linen weft, in ecru. The thicker weft helps make these into robust absorbent handtowels. A table square finishes off the set.
Enjoy the process with me as I reminisce over the start-to-finish pleasure of weaving these towels.
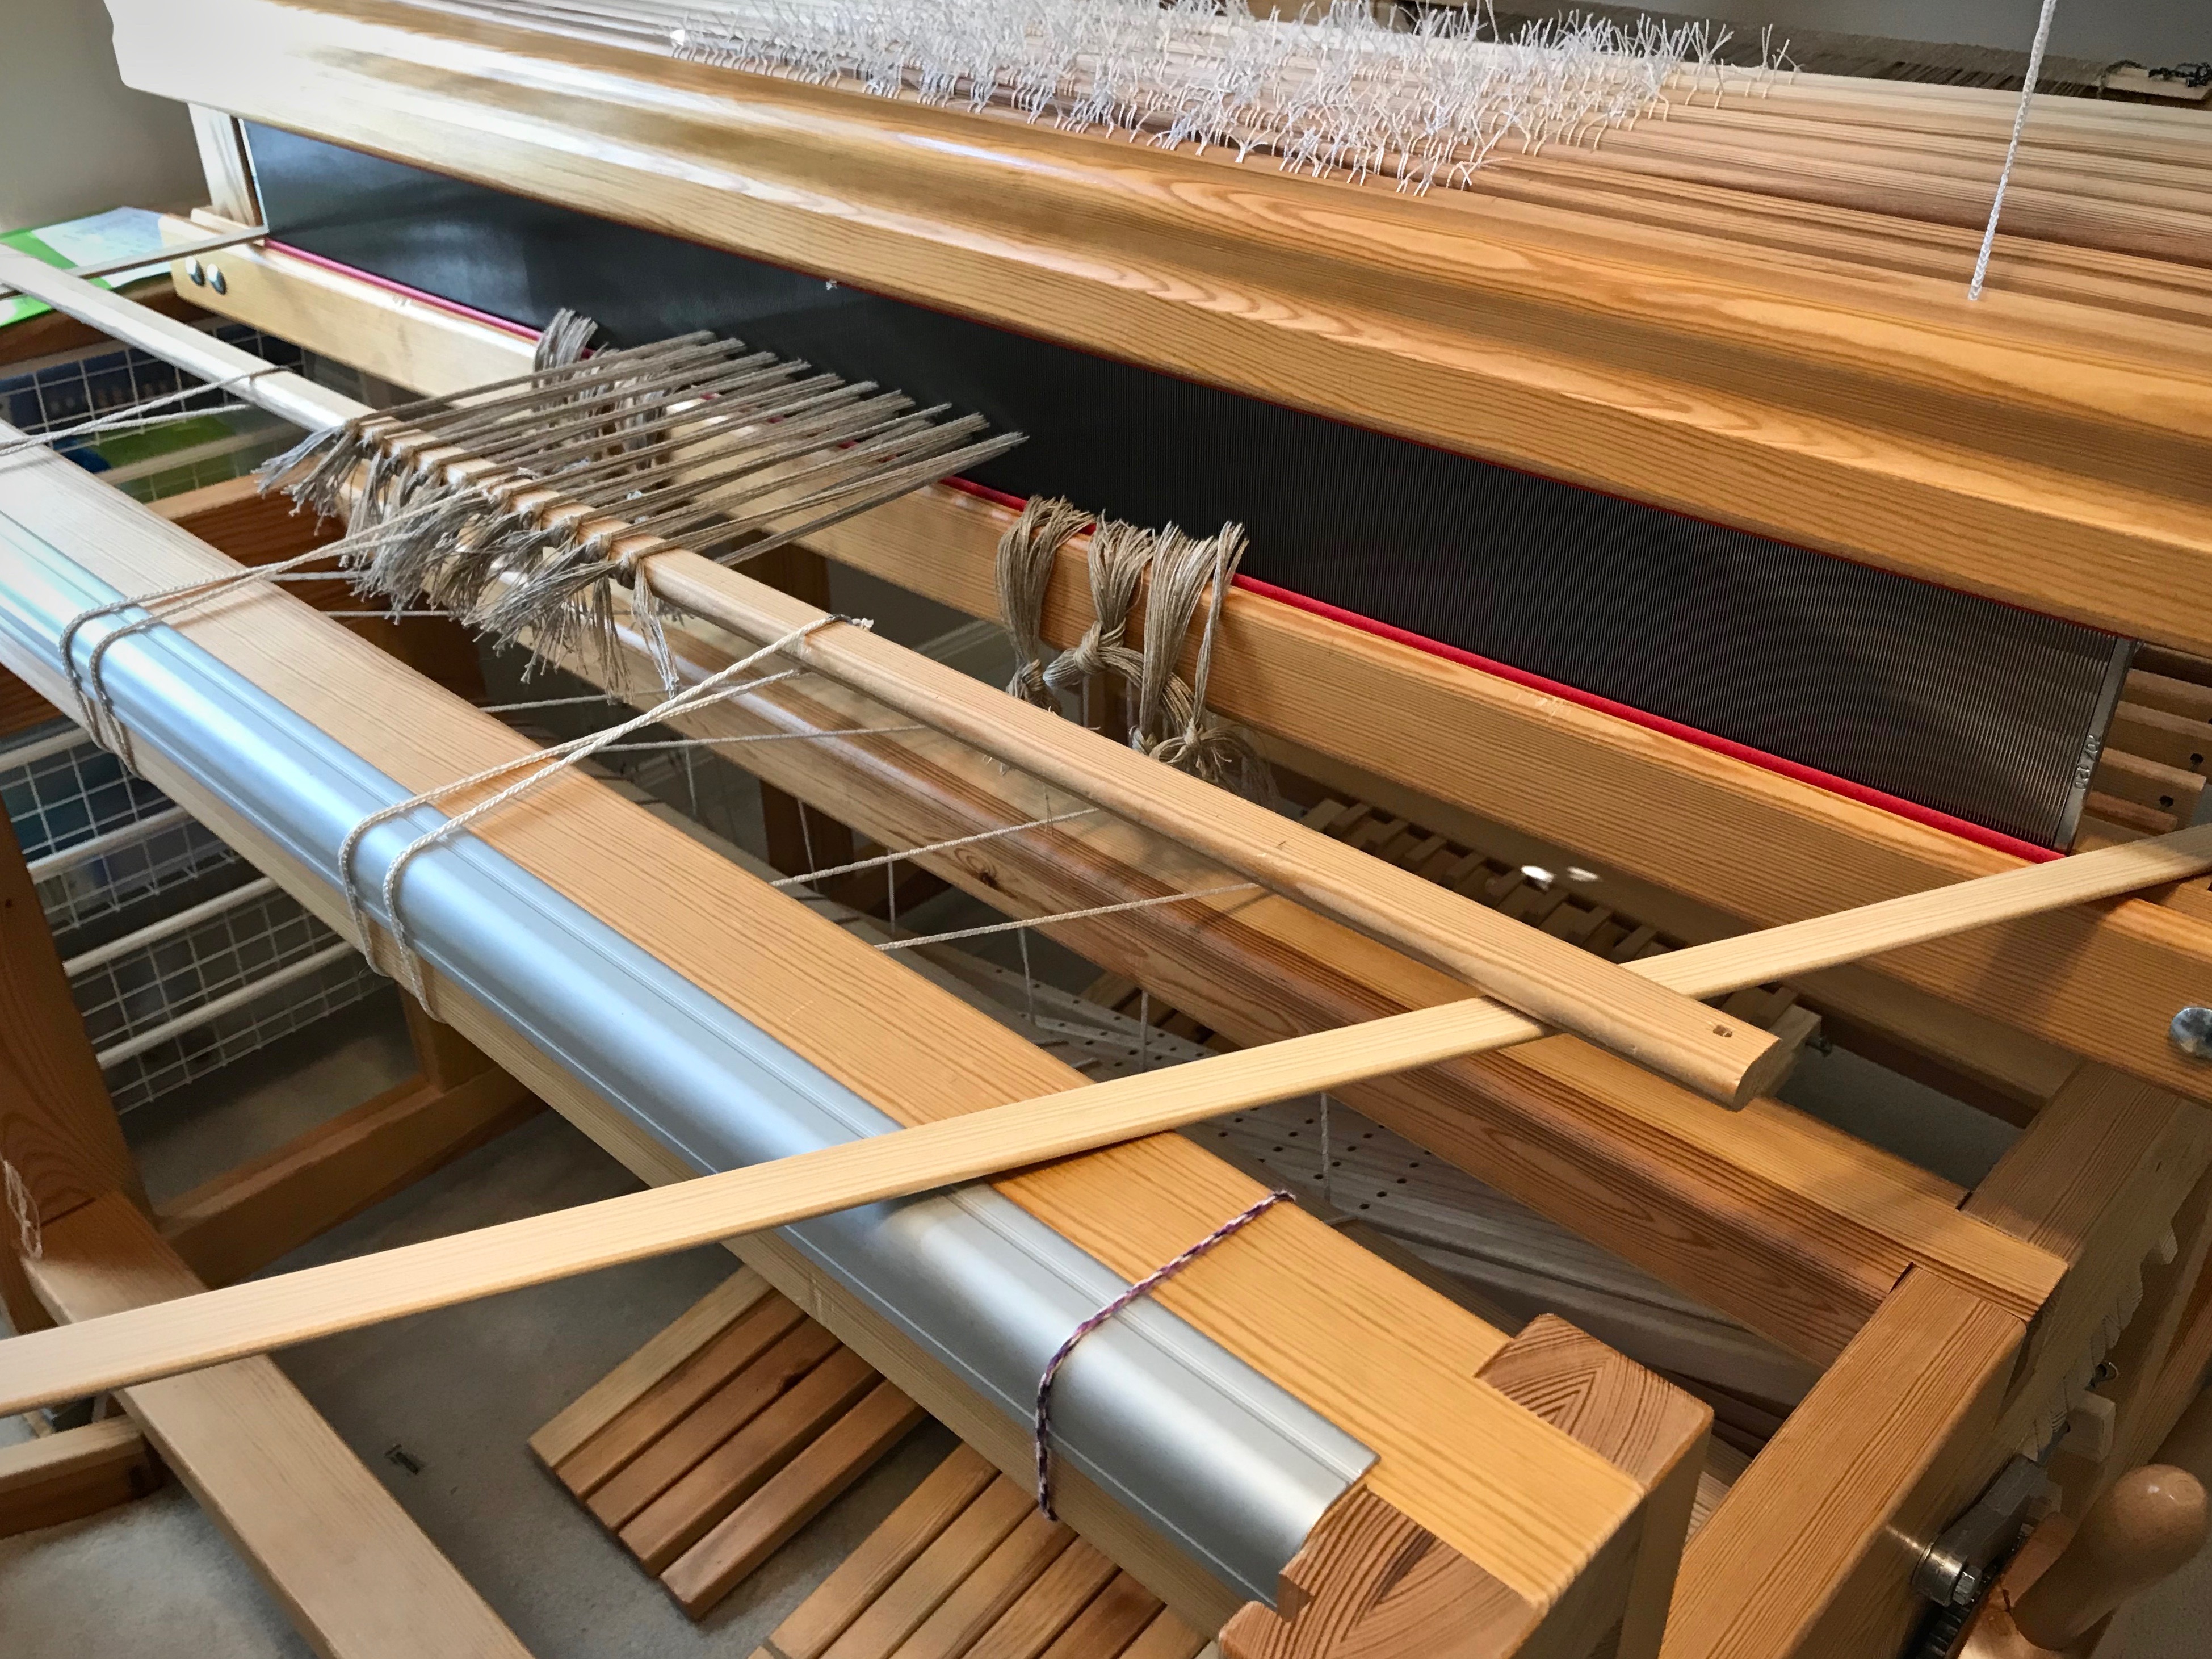
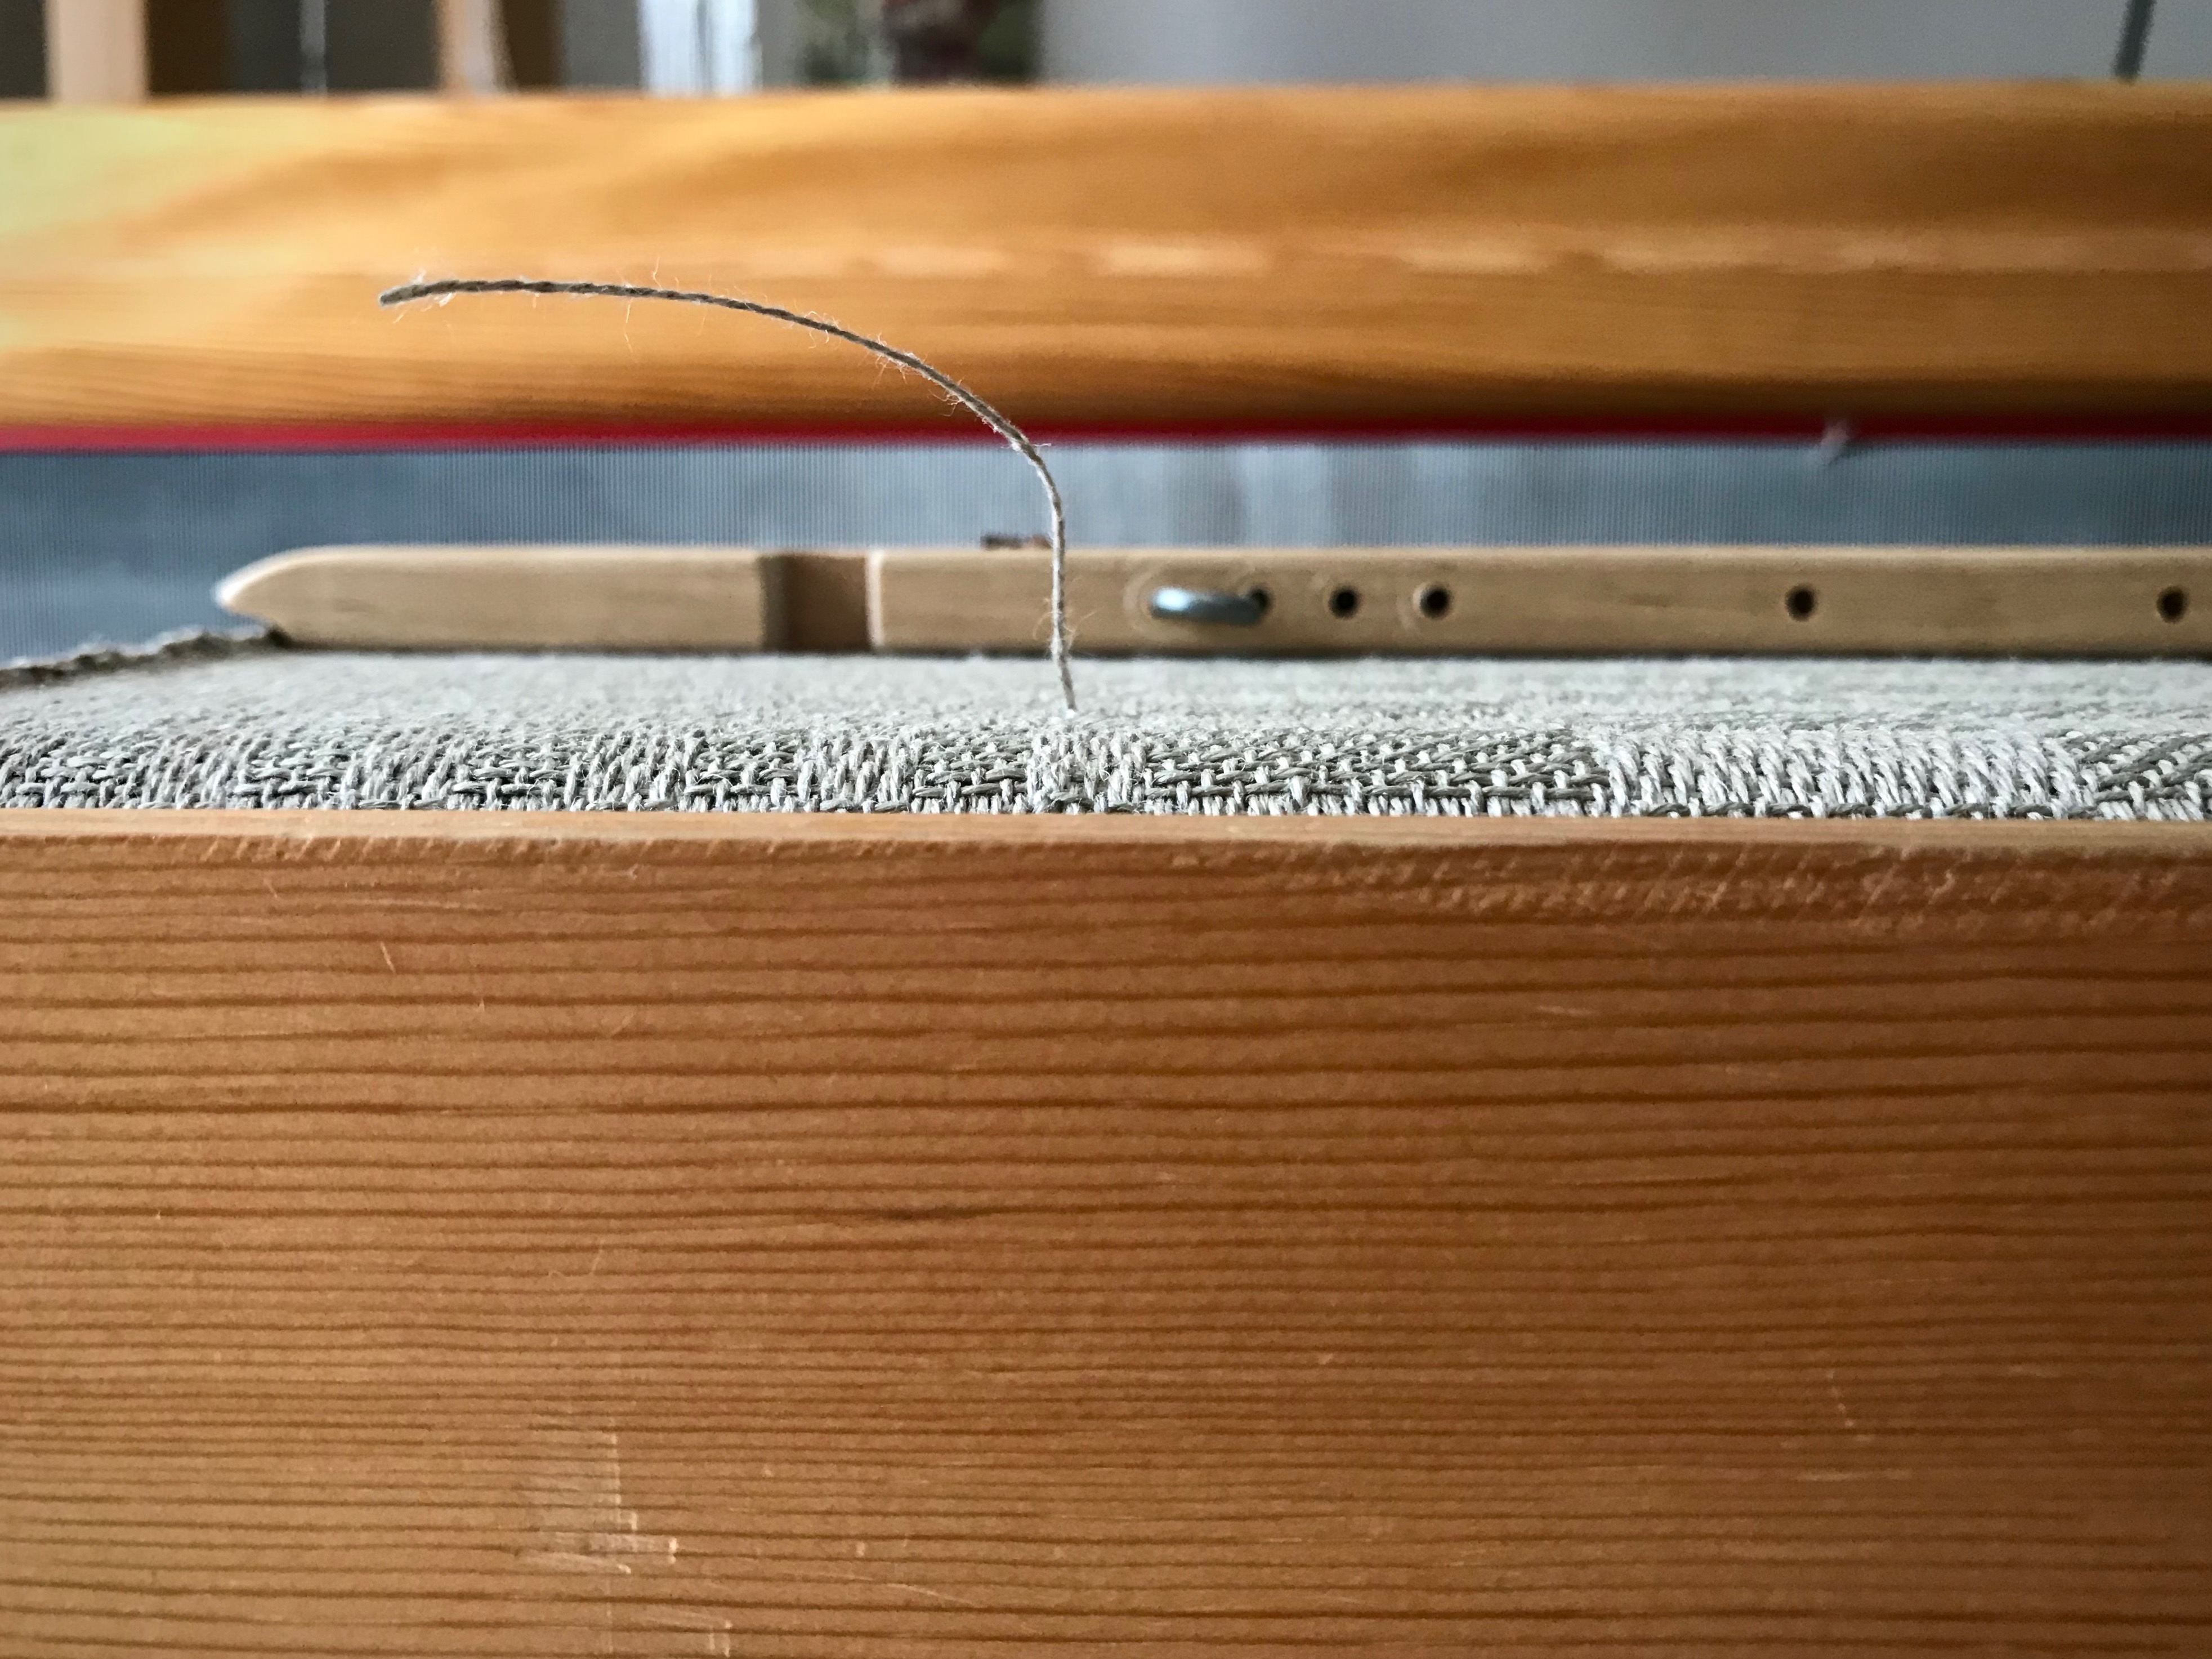
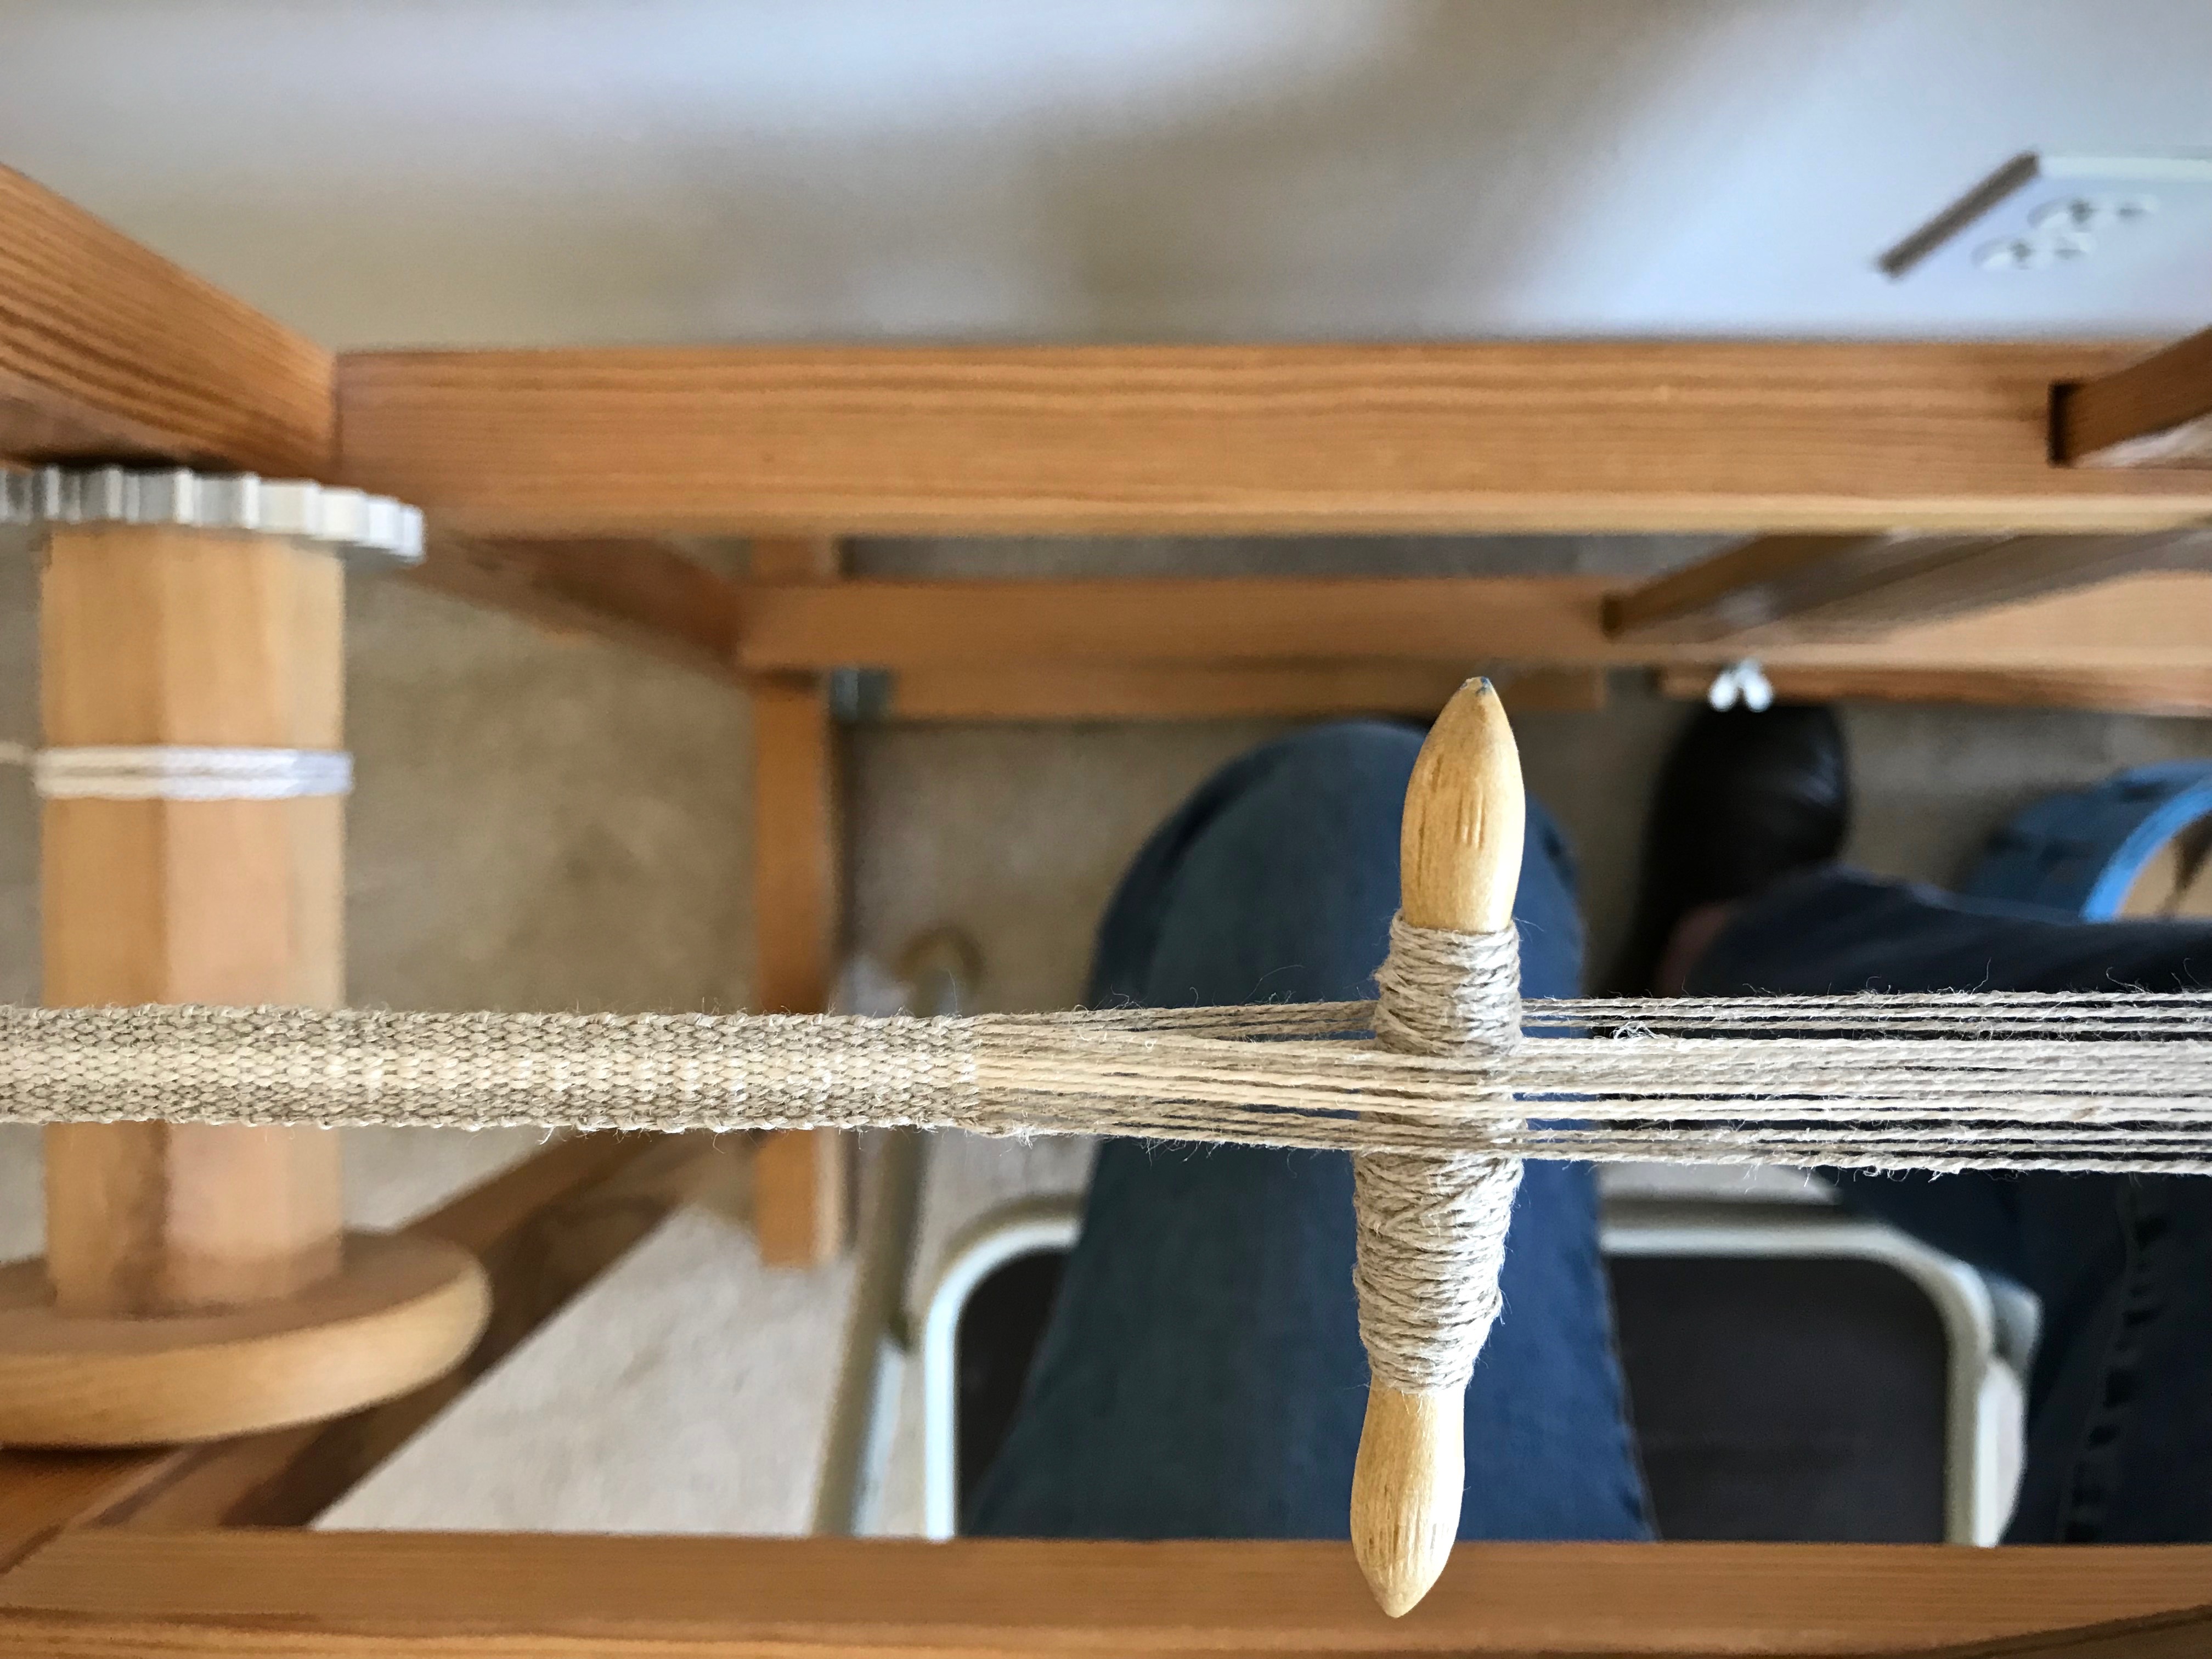
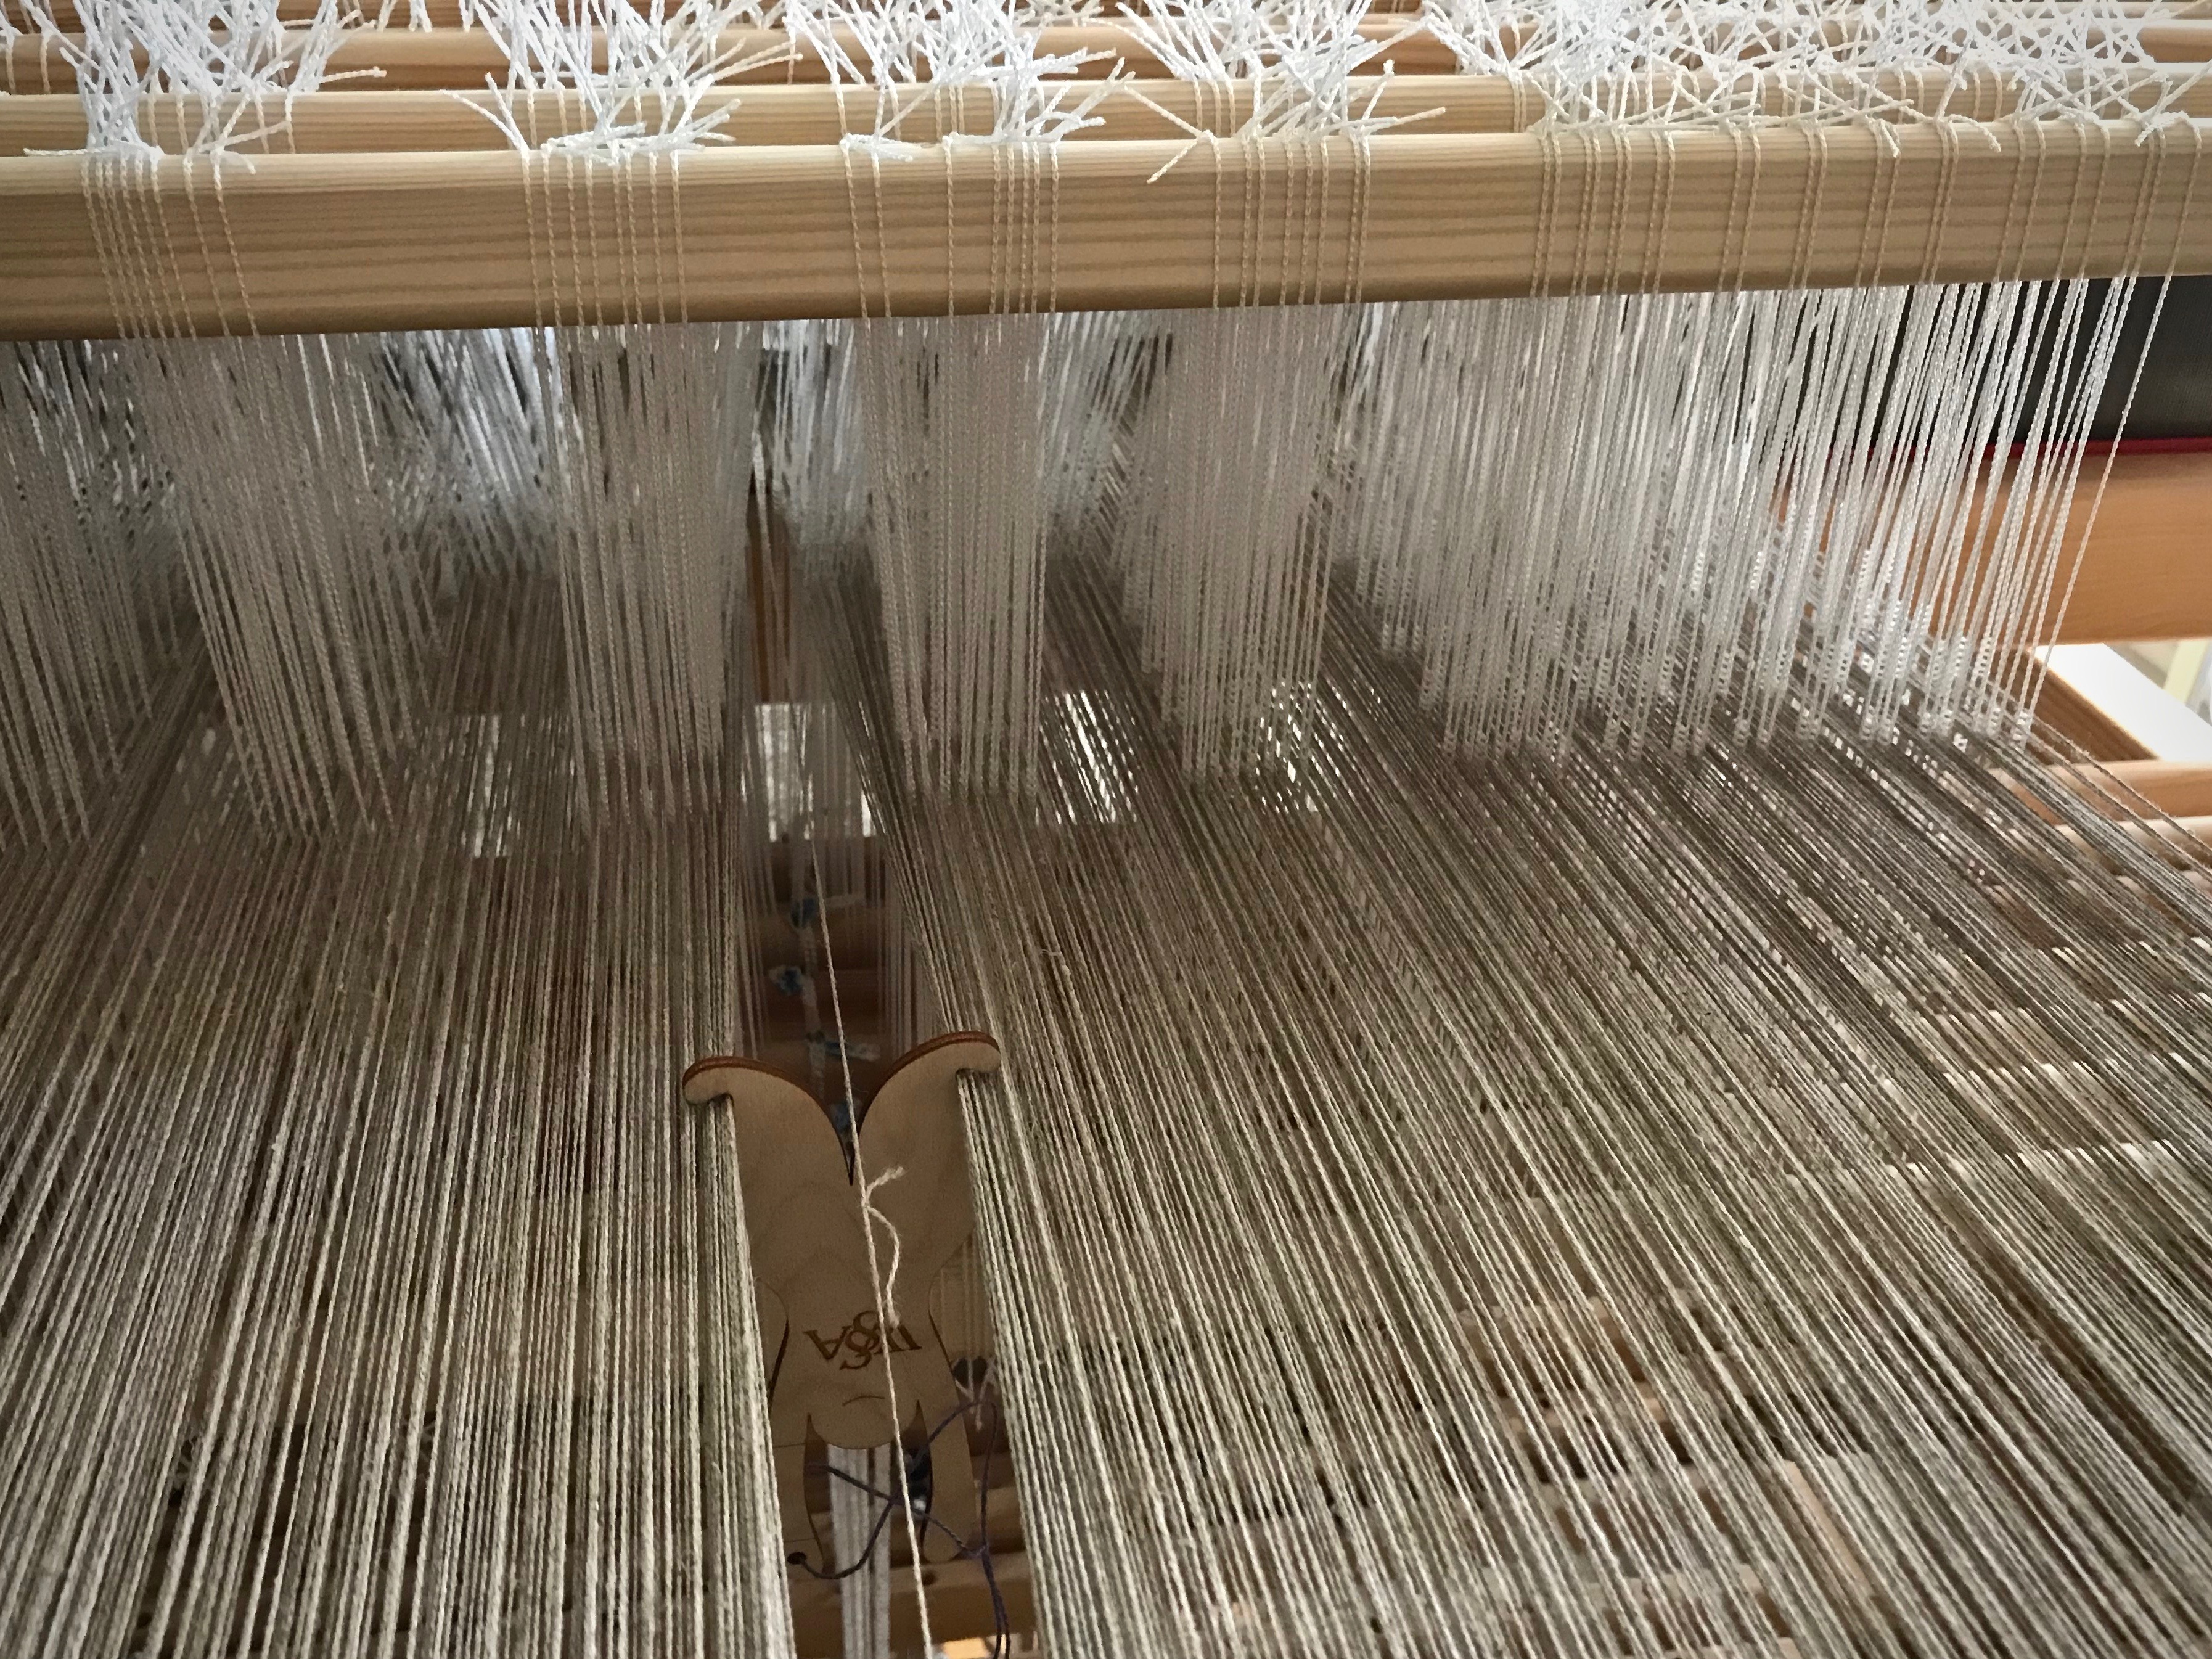
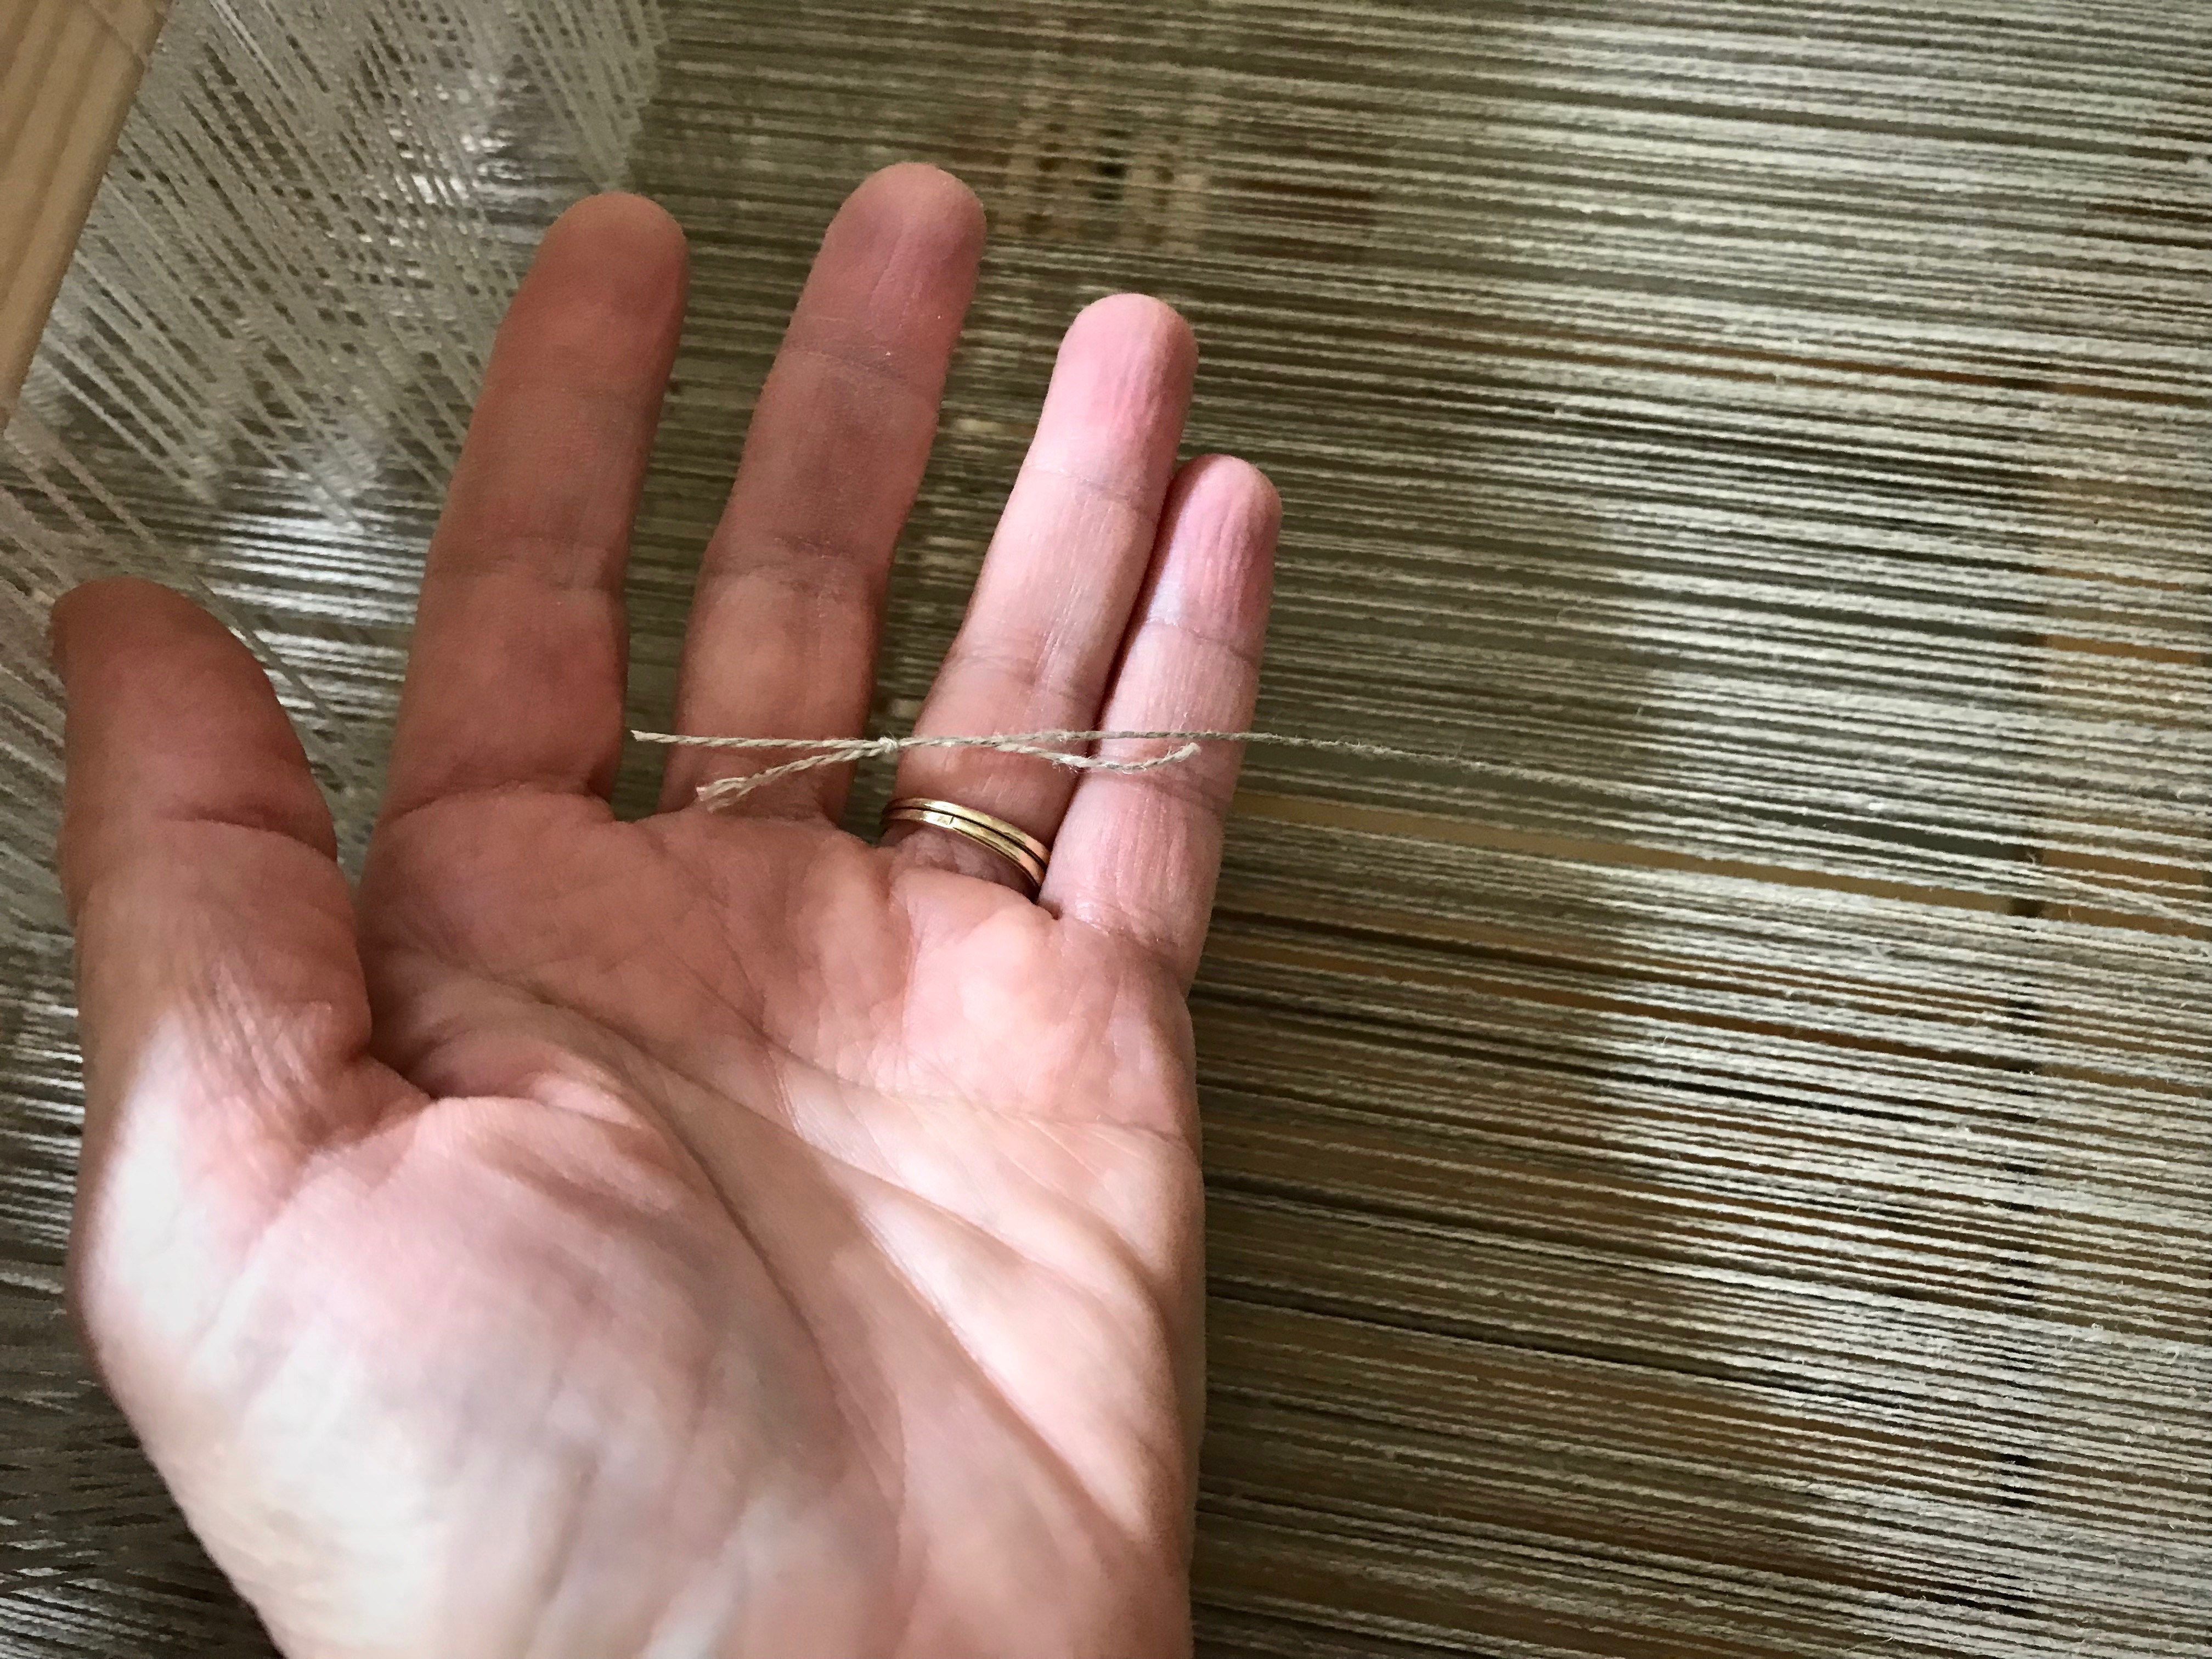
You are not going to believe how many knots I came across in this 16/2 linen warp! Too many. As I wound the warp I made the decision to leave most of the knots, and deal with them on the loom. (I did remove knots that were close to the beginning or ending peg on the warping reel.) I lost count, but I’m sure I have spliced the warp on this five-and-a-half-meter project at least a dozen times. (To see more details about how I splice the warp, visit this blog post and video: How To Splice the Warp – Video.)
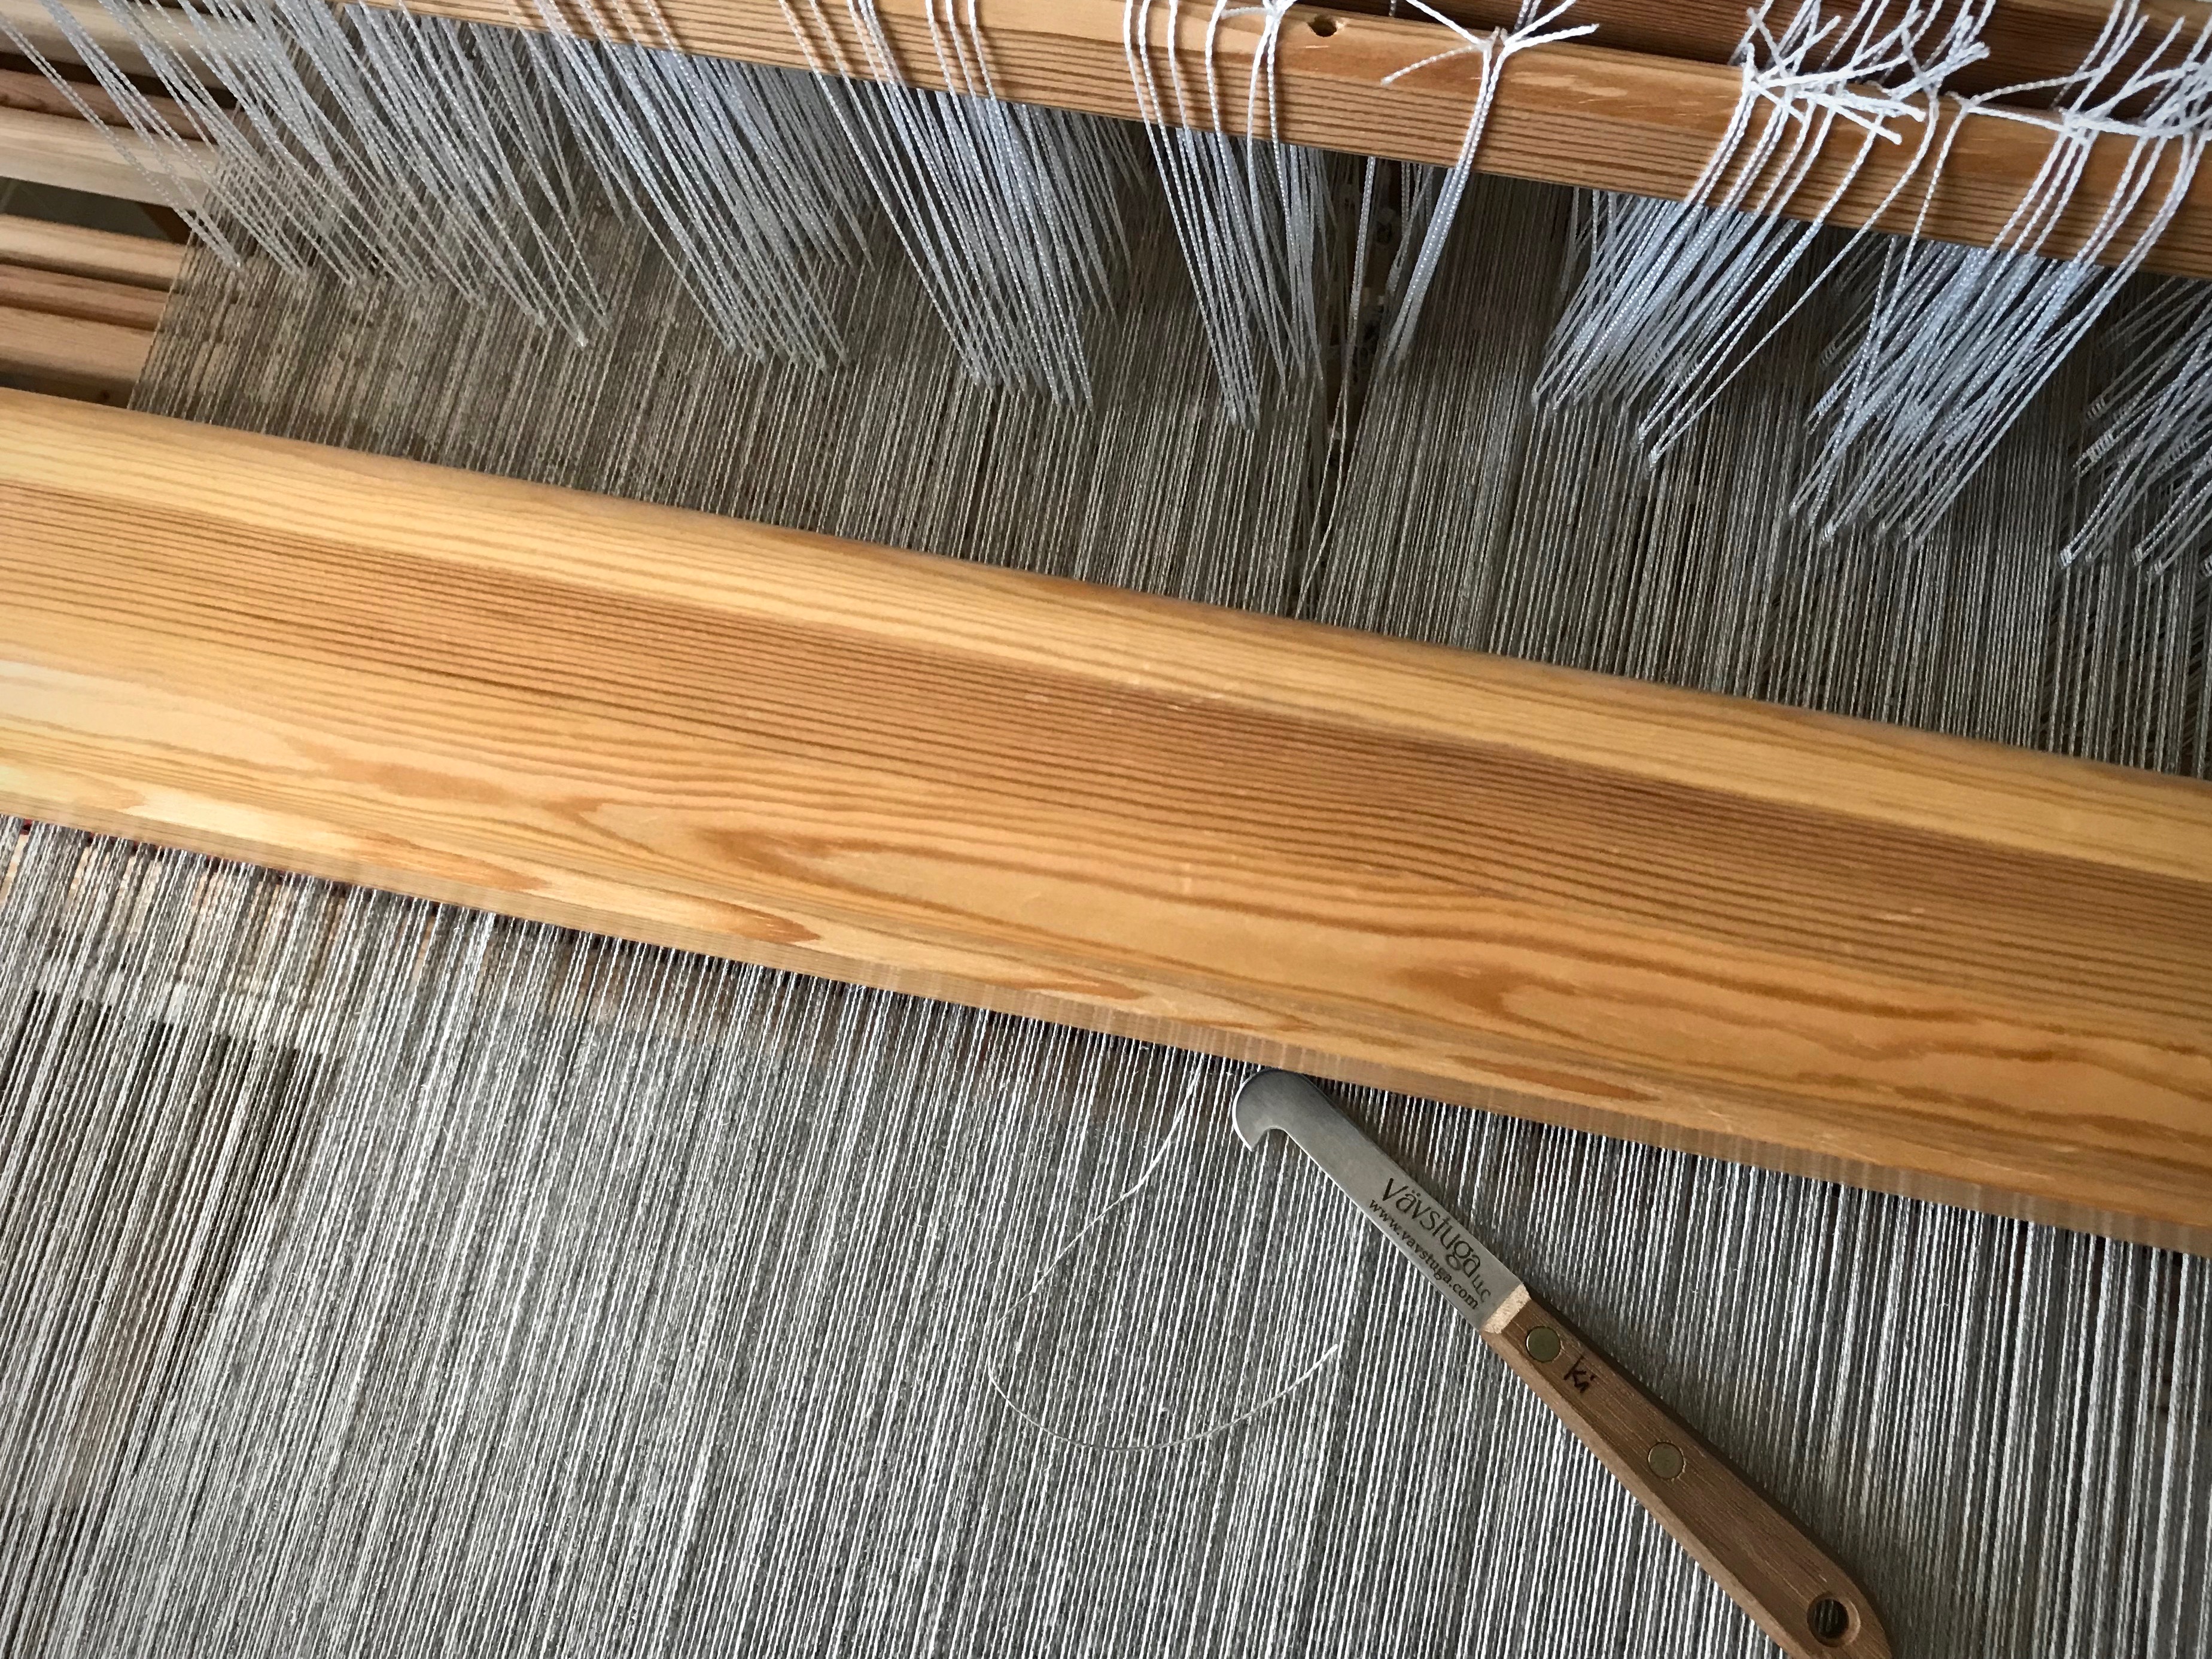
I do not weave over warp knots. A knot introduces a spot of vulnerability to the fabric. Knots can fray, loosen, or come undone over time, even if the knot is originally imperceptible.
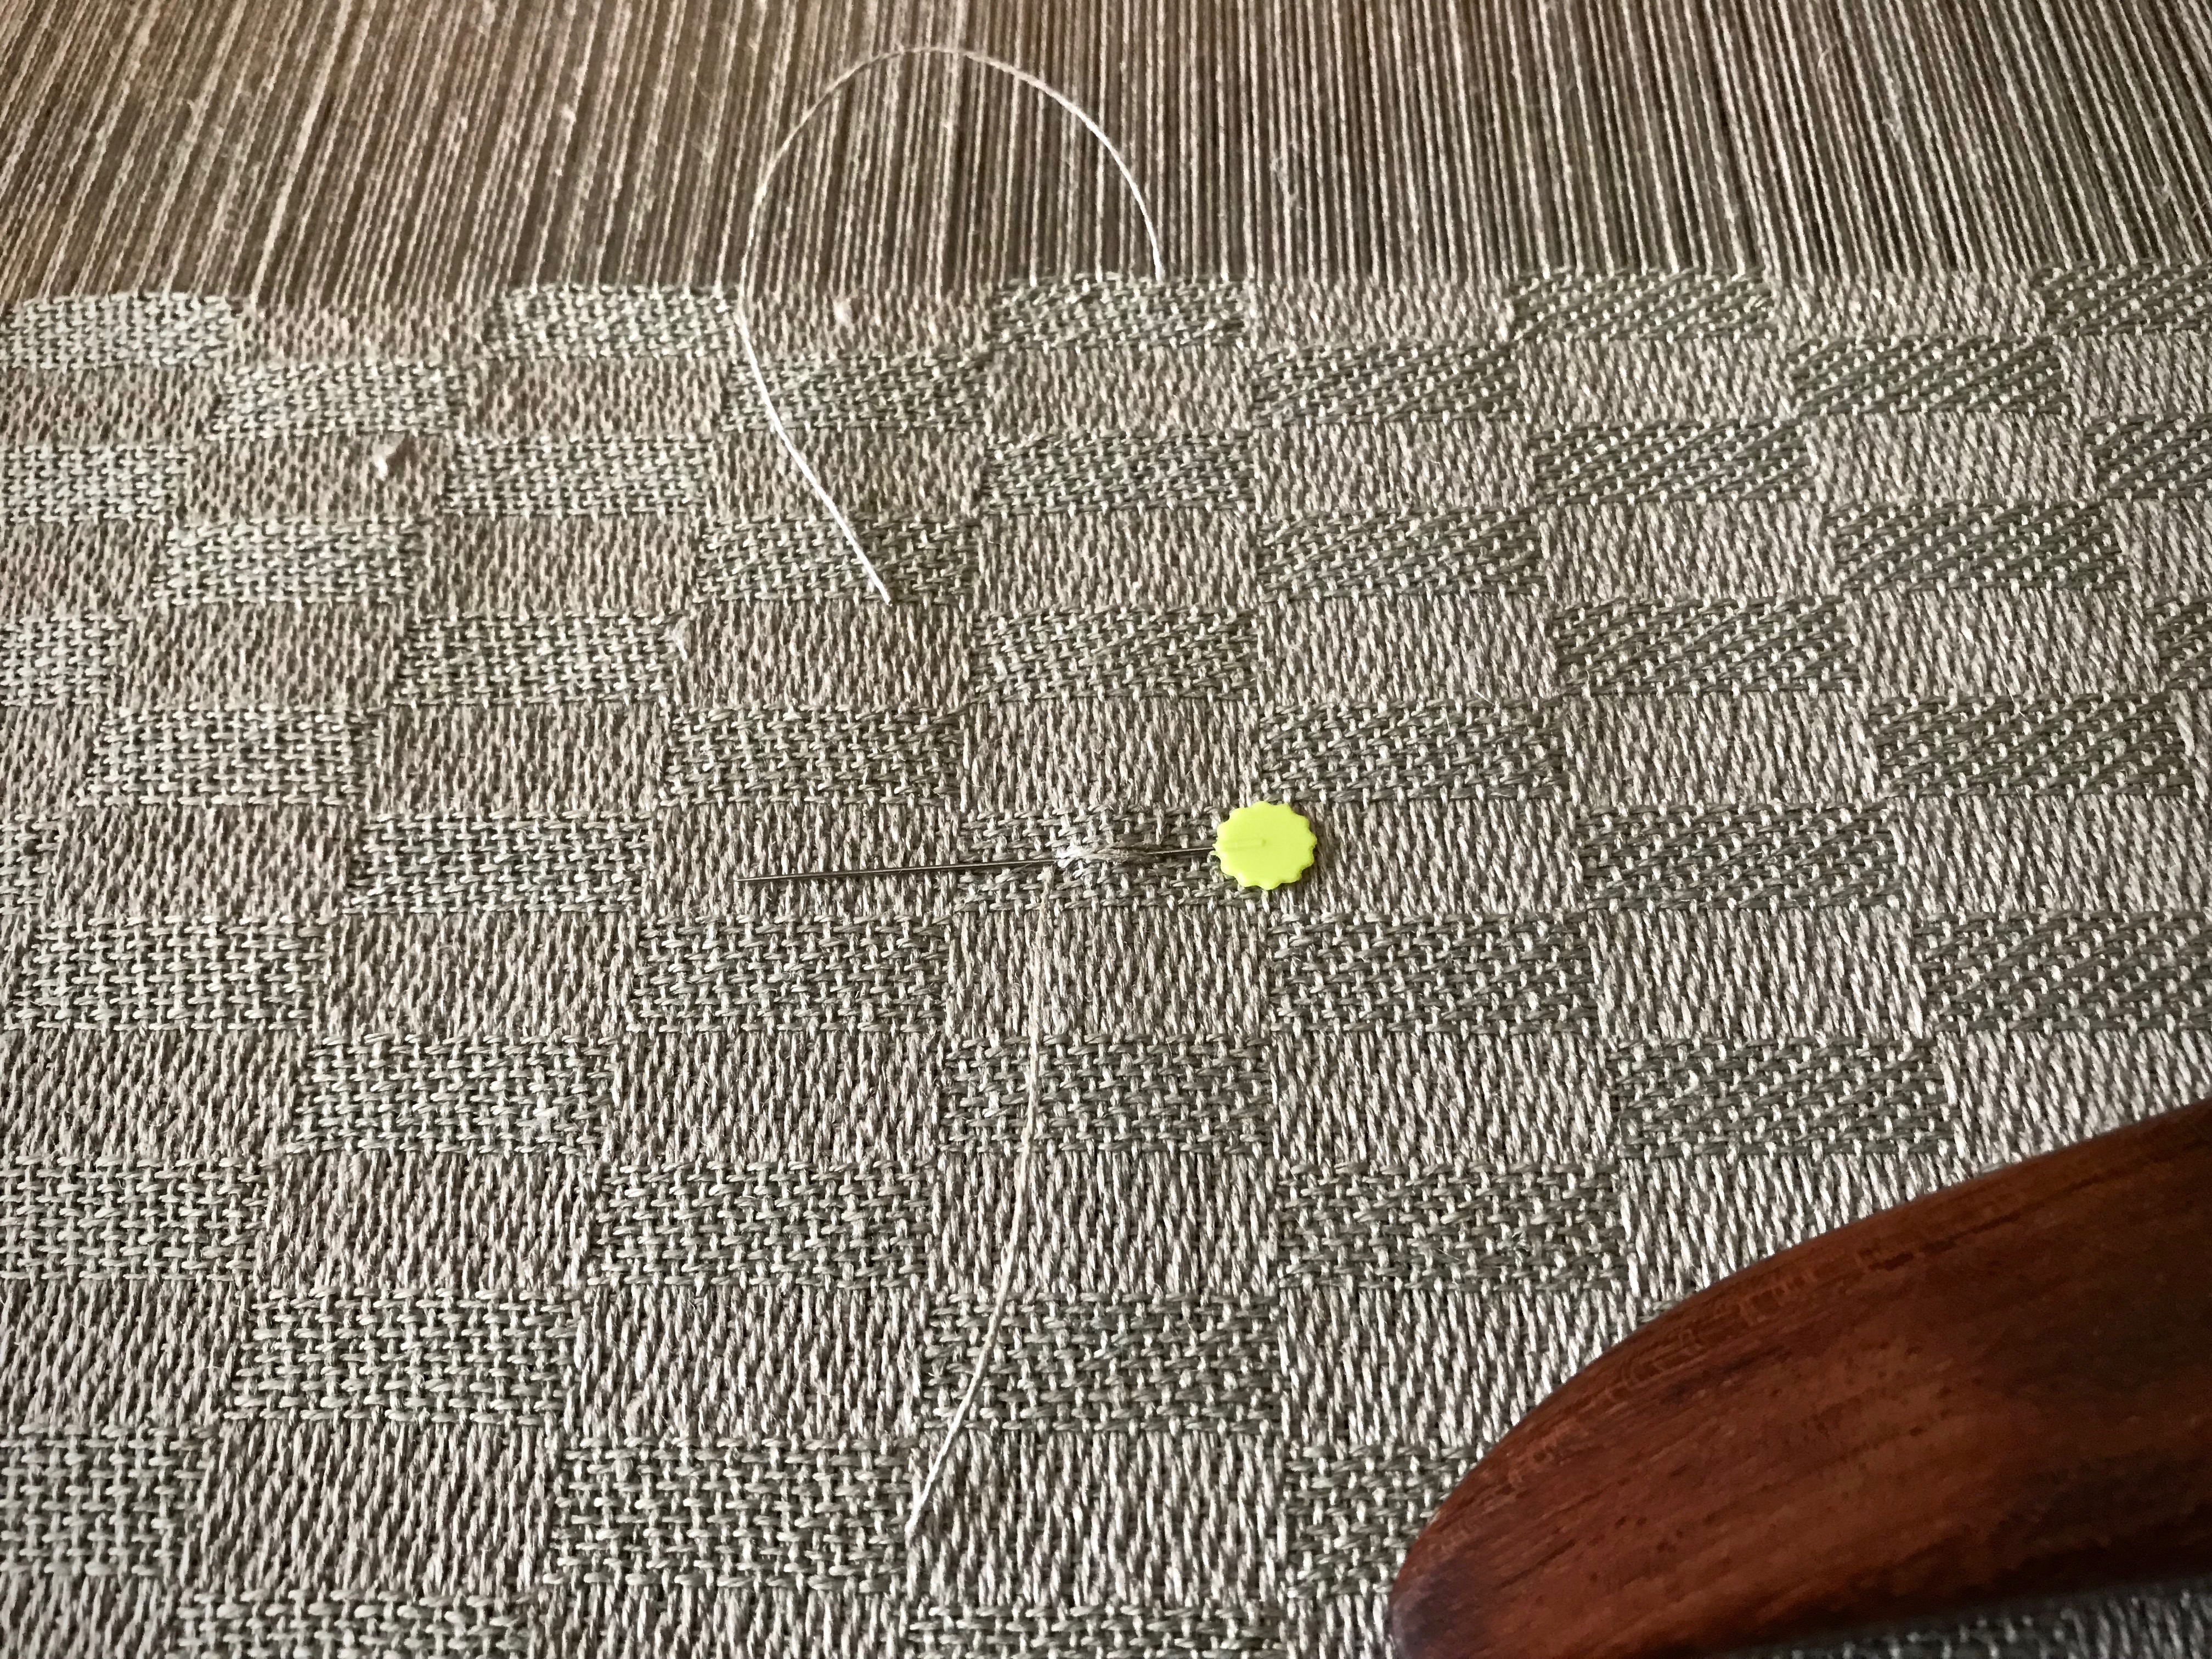
In a couple instances, a knot distorted the tension of the warp end because of catching on a heddle or passing through the reed. For that reason, I now try to eliminate knots in the warp before they reach the heddles.
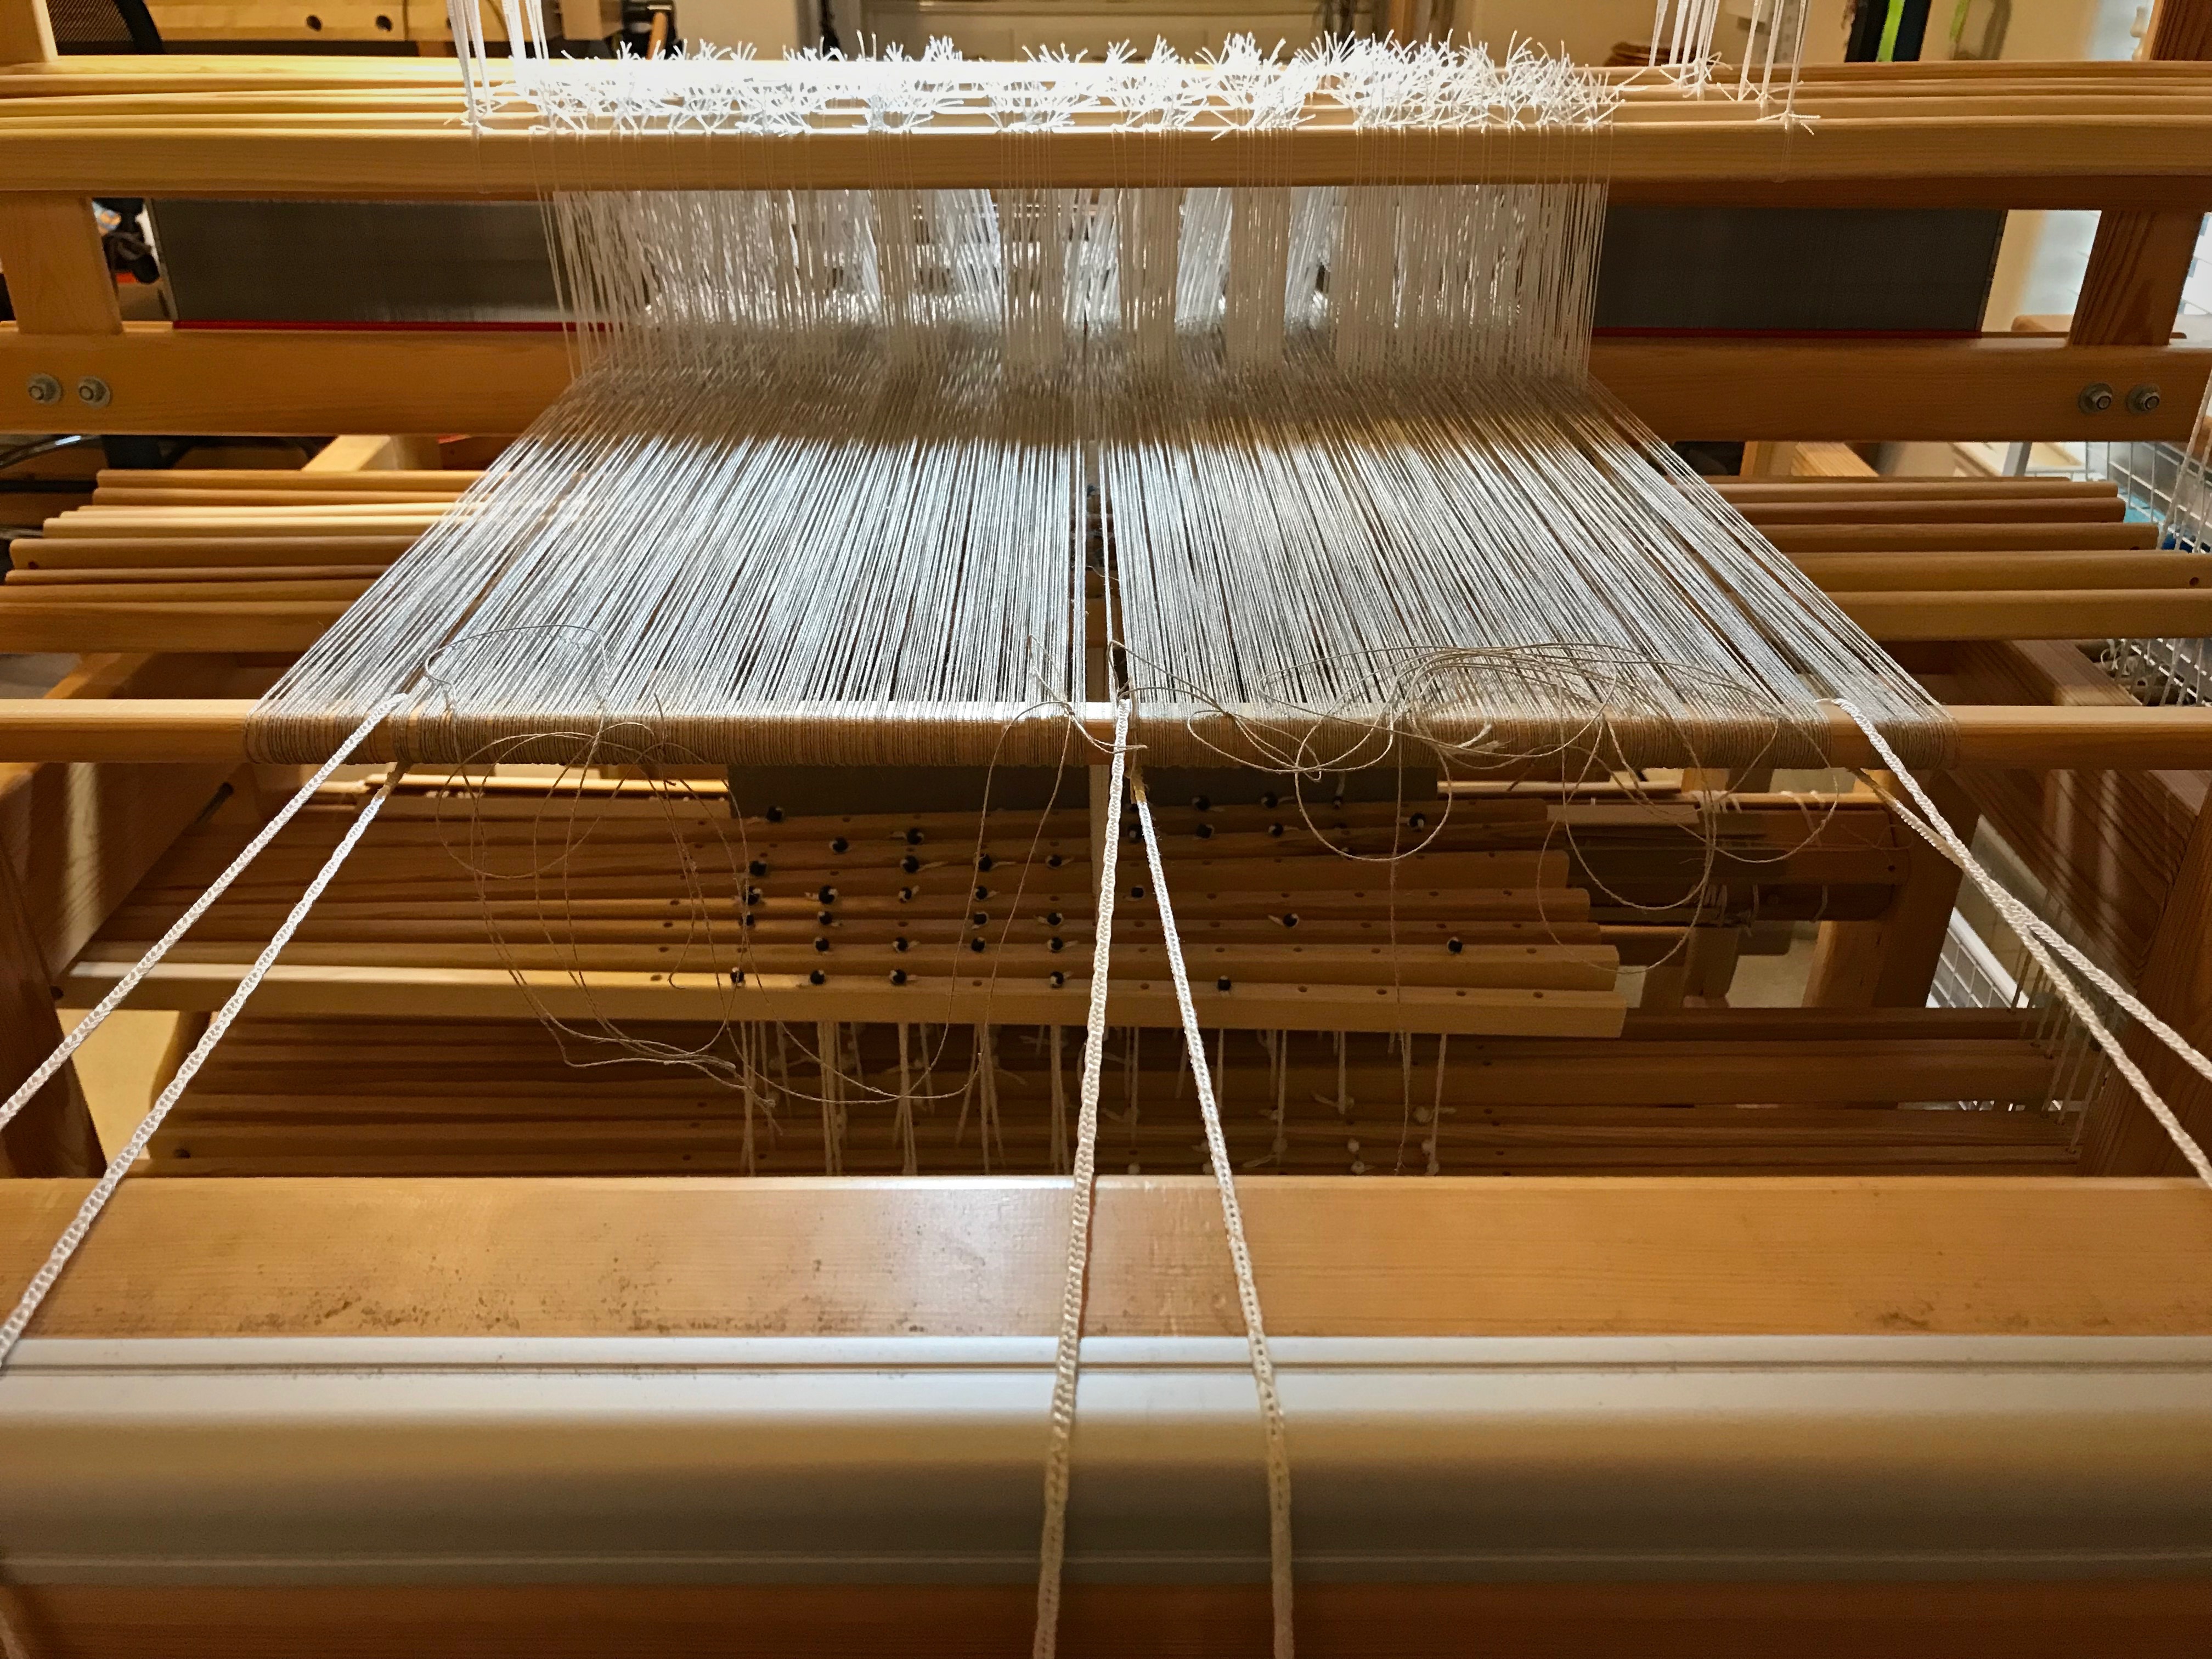
Tool: Warp Separator
Identify the warp end that has a knot, and insert the warp separator between warp ends to isolate the thread.
With a length of repair warp thread, follow the path of the original thread to splice in the new warp end, feeding it through the heddle of the original warp end.
Bring the repair warp thread through the reed in the same dent as the warp end that has a knot.
Attach the repair warp thread near the fell by wrapping it around a flat straight pin.
Remove the warp separator from between the warp ends.
Place a weight on the floor below the back beam. Wrap the repair thread around the weight two or three times to hold the thread at tension that matches the rest of the warp. Loosen the wrapped-around thread before advancing the warp, and then re-tighten before resuming weaving.
Weave one to two inches with both the original warp end and the repair warp thread in place.
Then, cut the original warp end with the knot (behind the heddles) and let it hang over the back beam.
The original and replacement warp ends overlap in the weaving for about one to two inches.
Remove the straight pin when it reaches the breast beam.
Re-attach the original warp end when it is long enough to secure in front of the fell line with a flat straight pin.
And then, cut and remove the replacement warp thread.
This warp separator was a gift from The Weavers and Spinners Society of Austin, included in the goodie bag from last summer’s Contemporary Handweavers of Texas Conference. It would not be hard to make a warp separator like this from wood or sturdy cardboard. I have not been able to locate a supplier online.
If you know where to find a warp separator tool, please put a link in the comments.
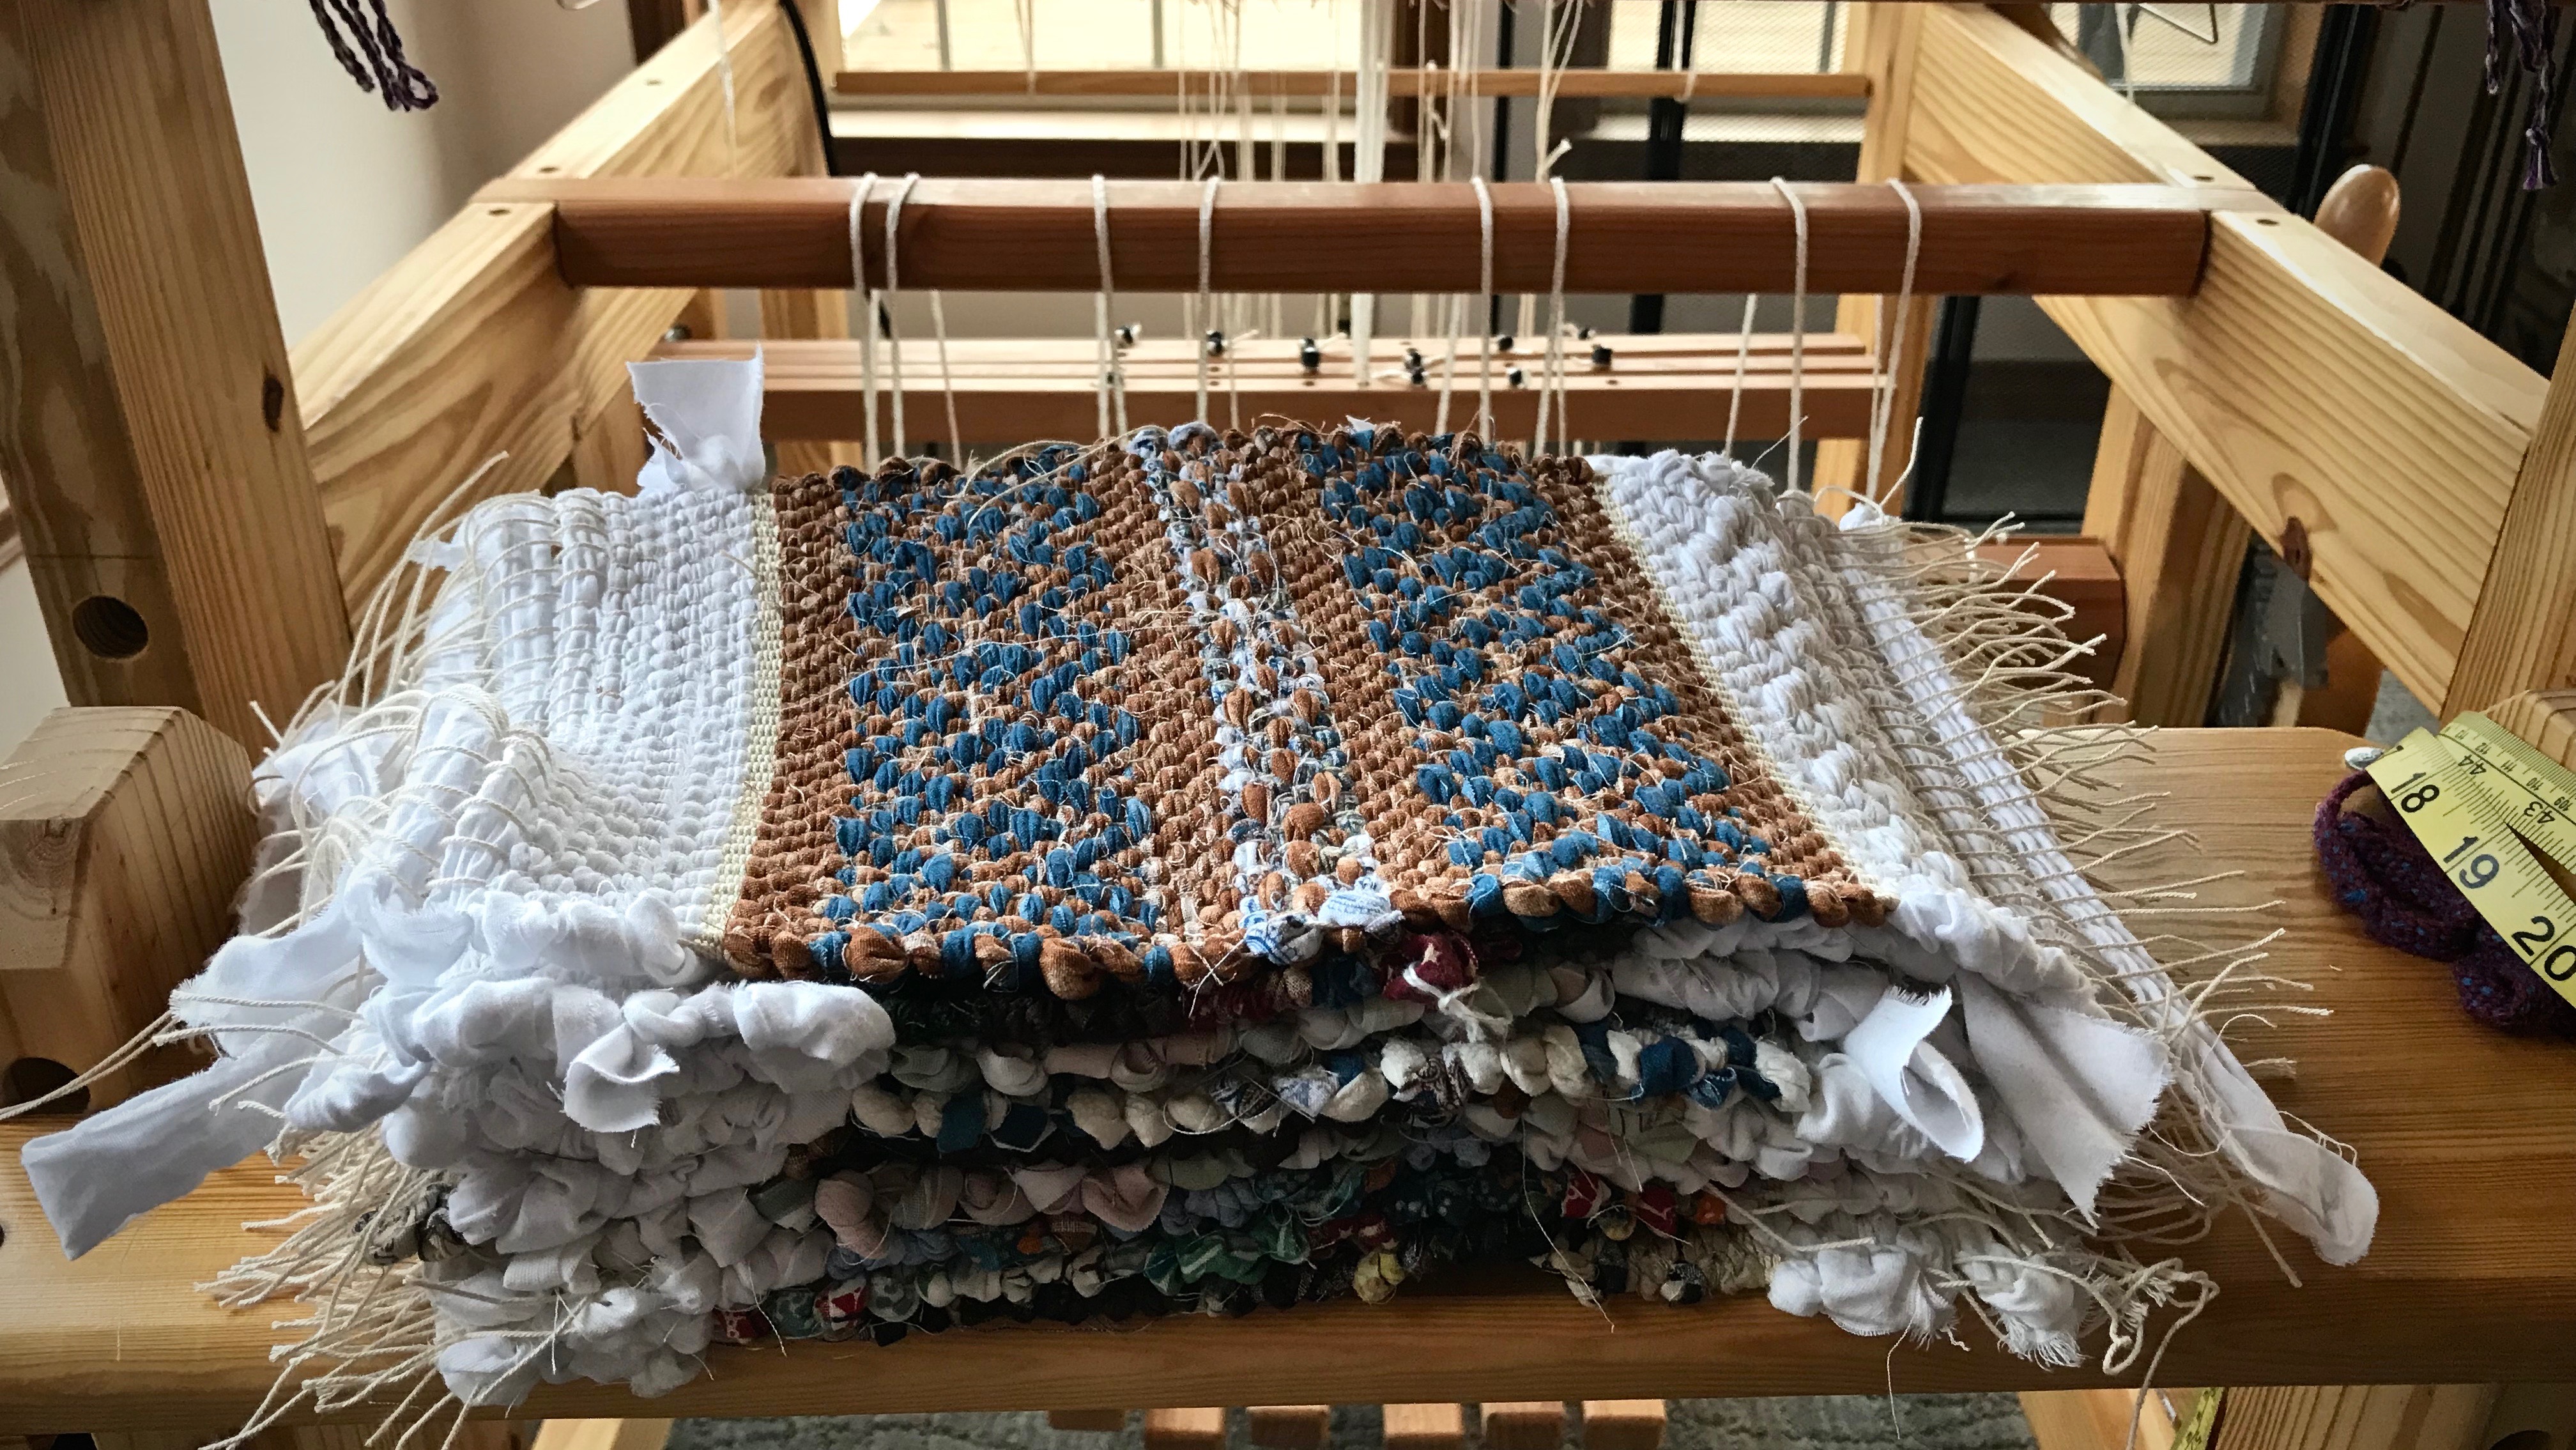
What a delight to share the weaving experience with a friend! Two of these hot pads were woven by friends with no prior weaving experience. Miniature rag rugs make great hot pads, and provide a perfect learning experience for a guest weaver.
Tenth hot pad, woven on 12/9 cotton warp. Fabric strips, previously cut for rag rugs, are used for the weft.
Ends are tied in overhand knots and trimmed. Ready to be used!
I hope you are finding opportunities to share your joys with friends. The Christmas season reminds us that we have someone greater who shared His joy with us. He stays by our side, waiting for any call for help, but allows us to make the mistakes that teach us life lessons. As with weaving, every error can be forgiven. There is a remedy for any hopeless situation. Take courage, God is a rescuer. He sent Jesus on a mission to rescue us. And absolutely nothing can stop the mission of God. I am amazed at what he can do with the threads of a willing soul. Joy to the world, the Lord has come. Let earth receive her King.