Tools Day: Click Test

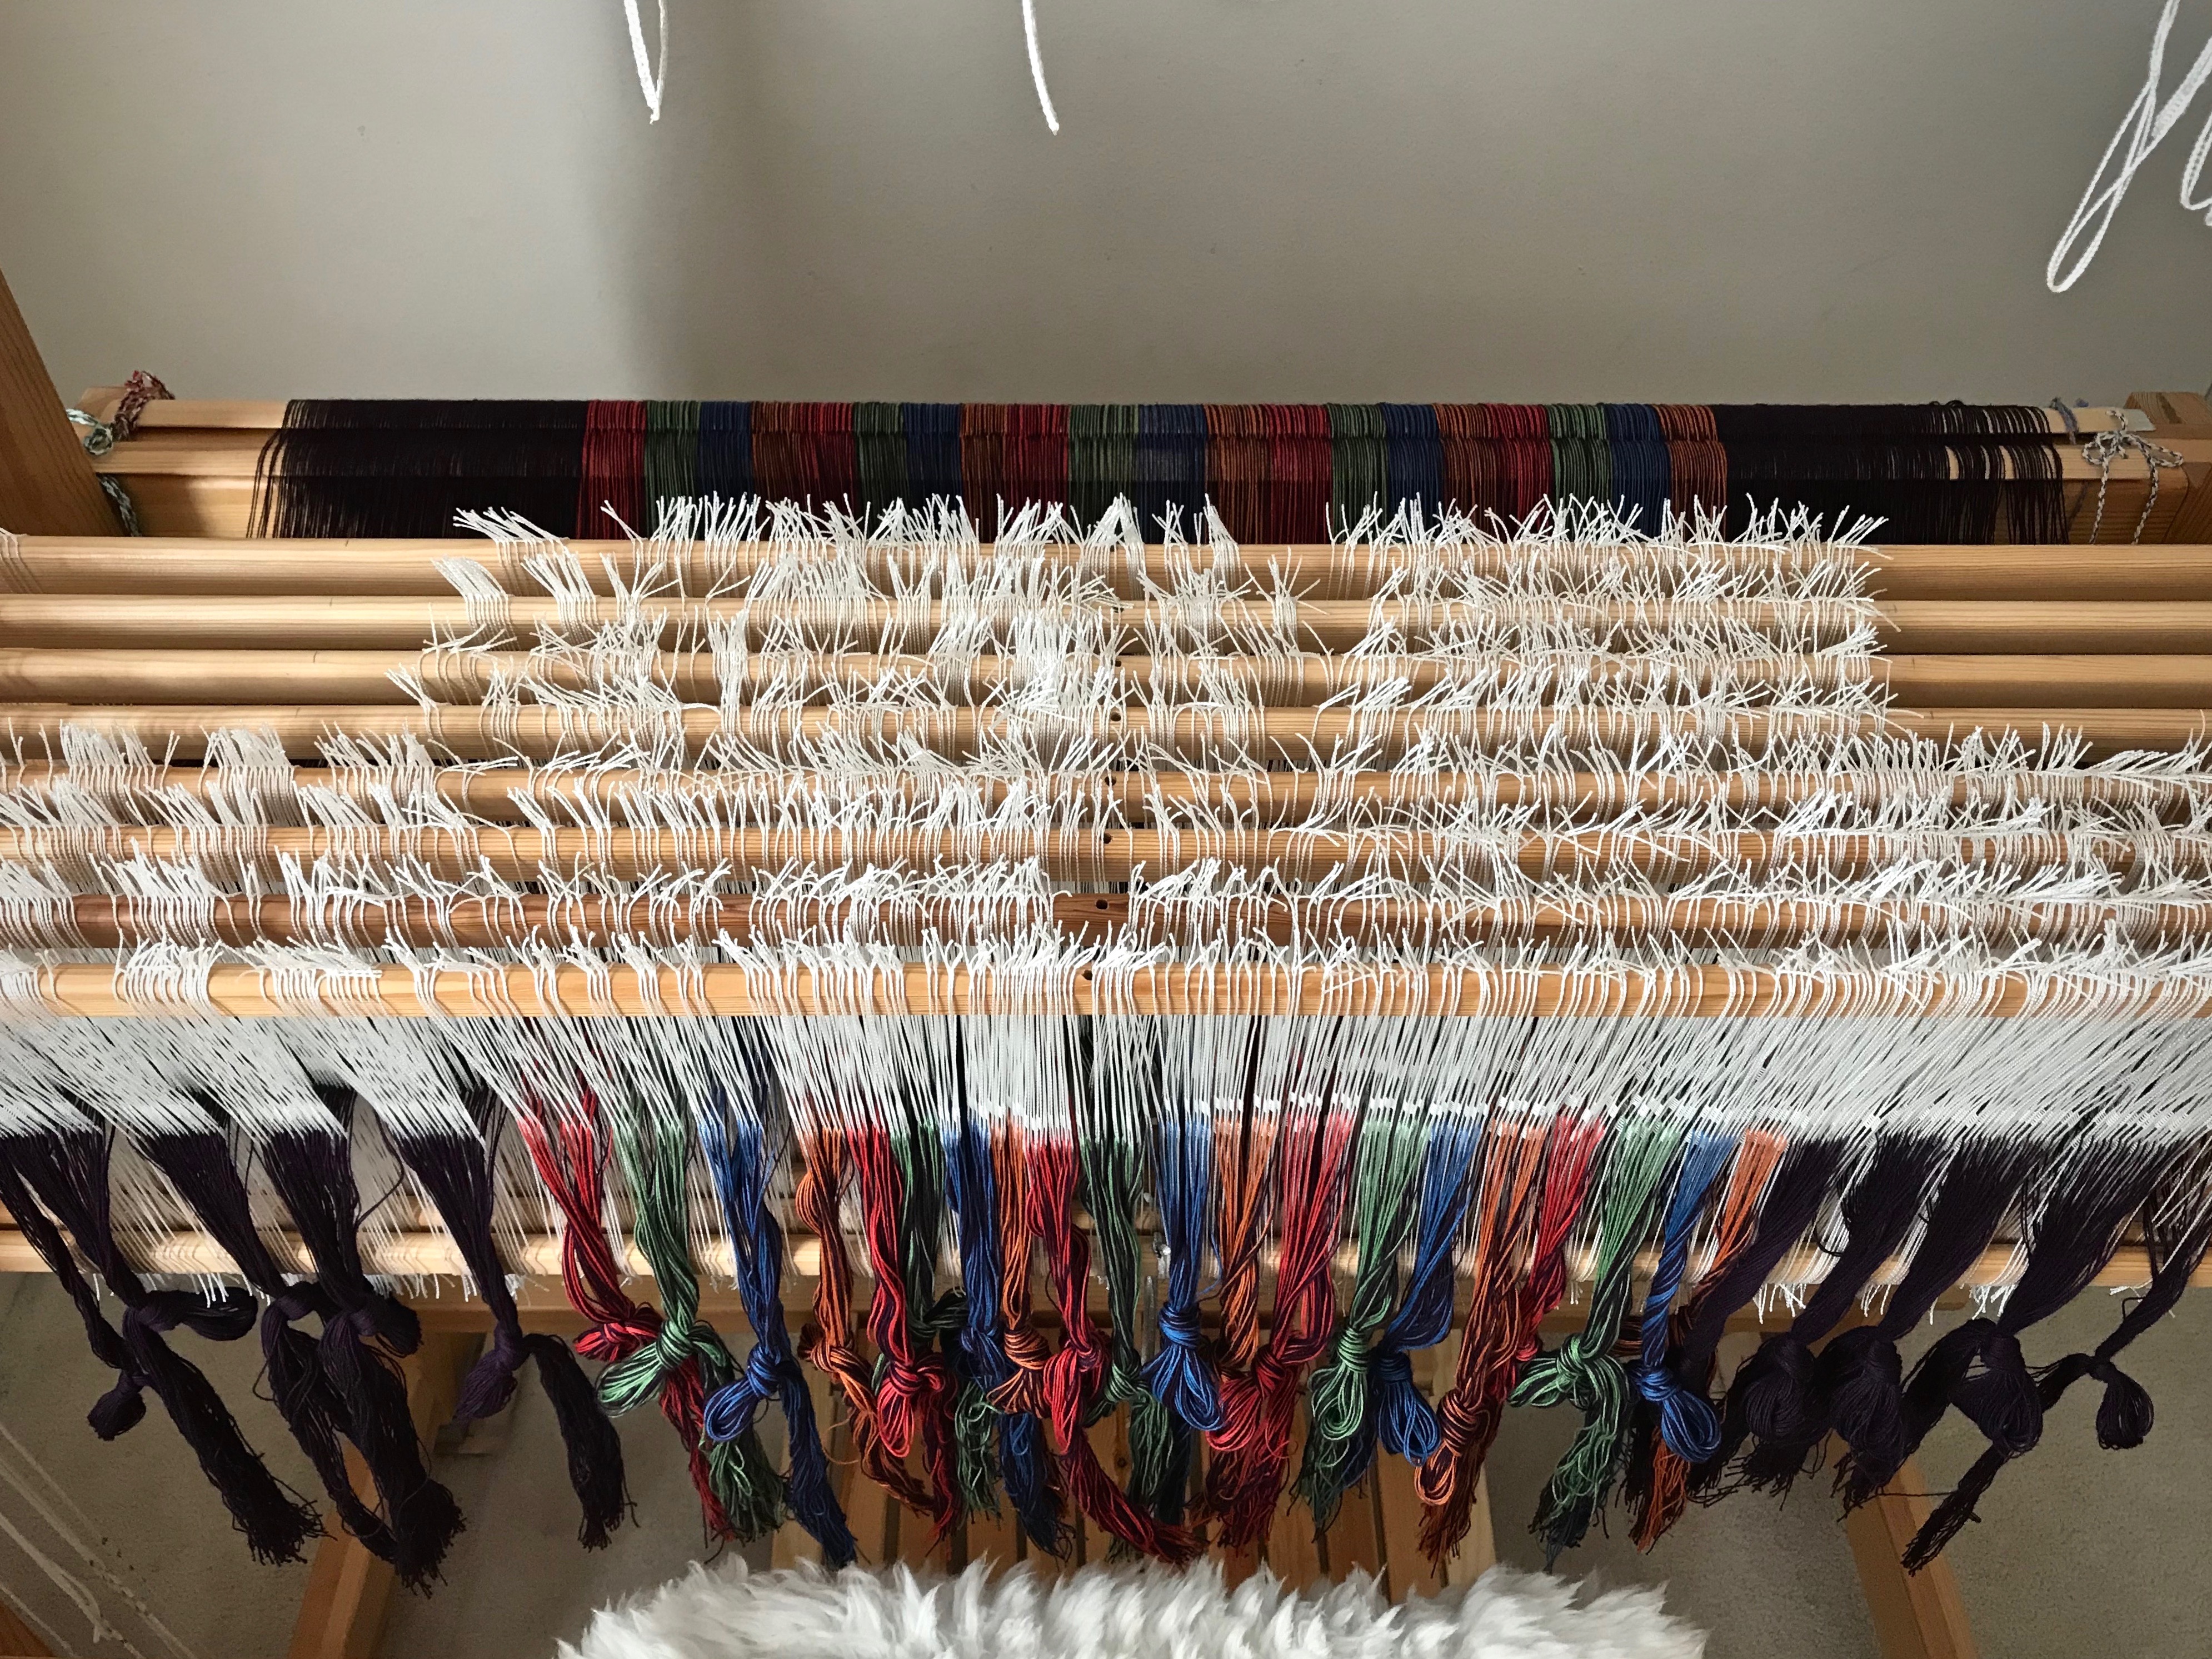
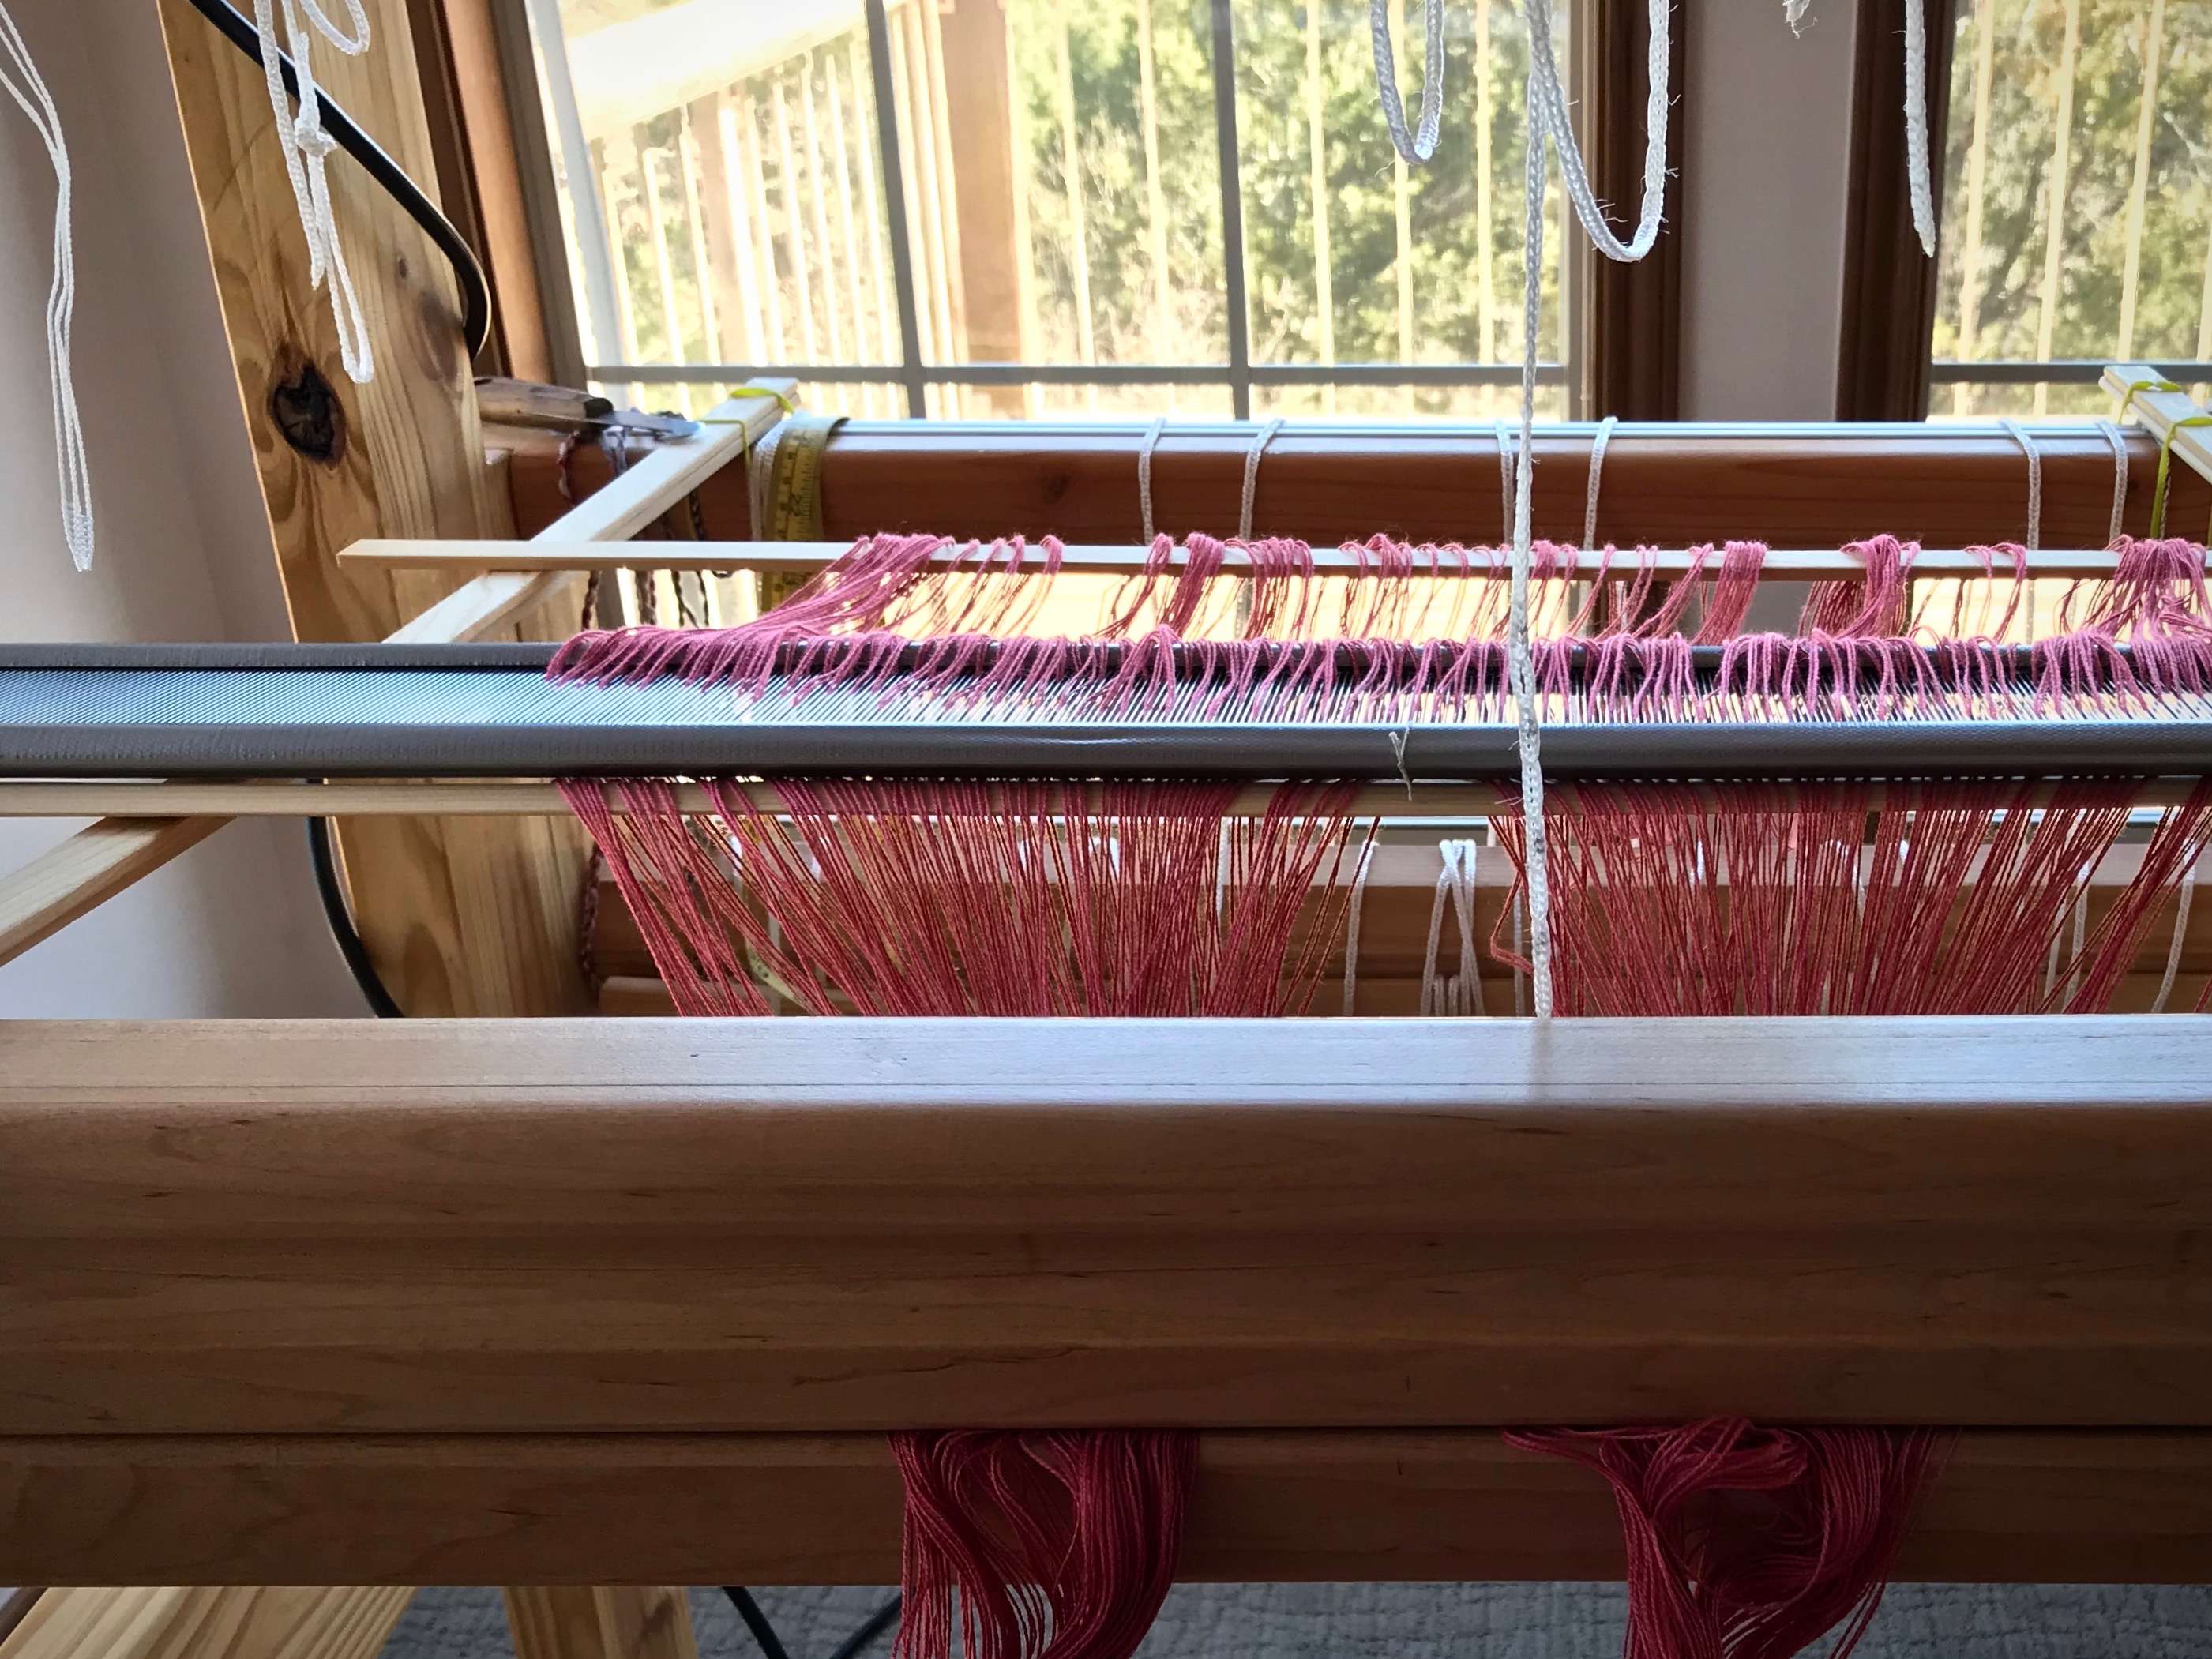
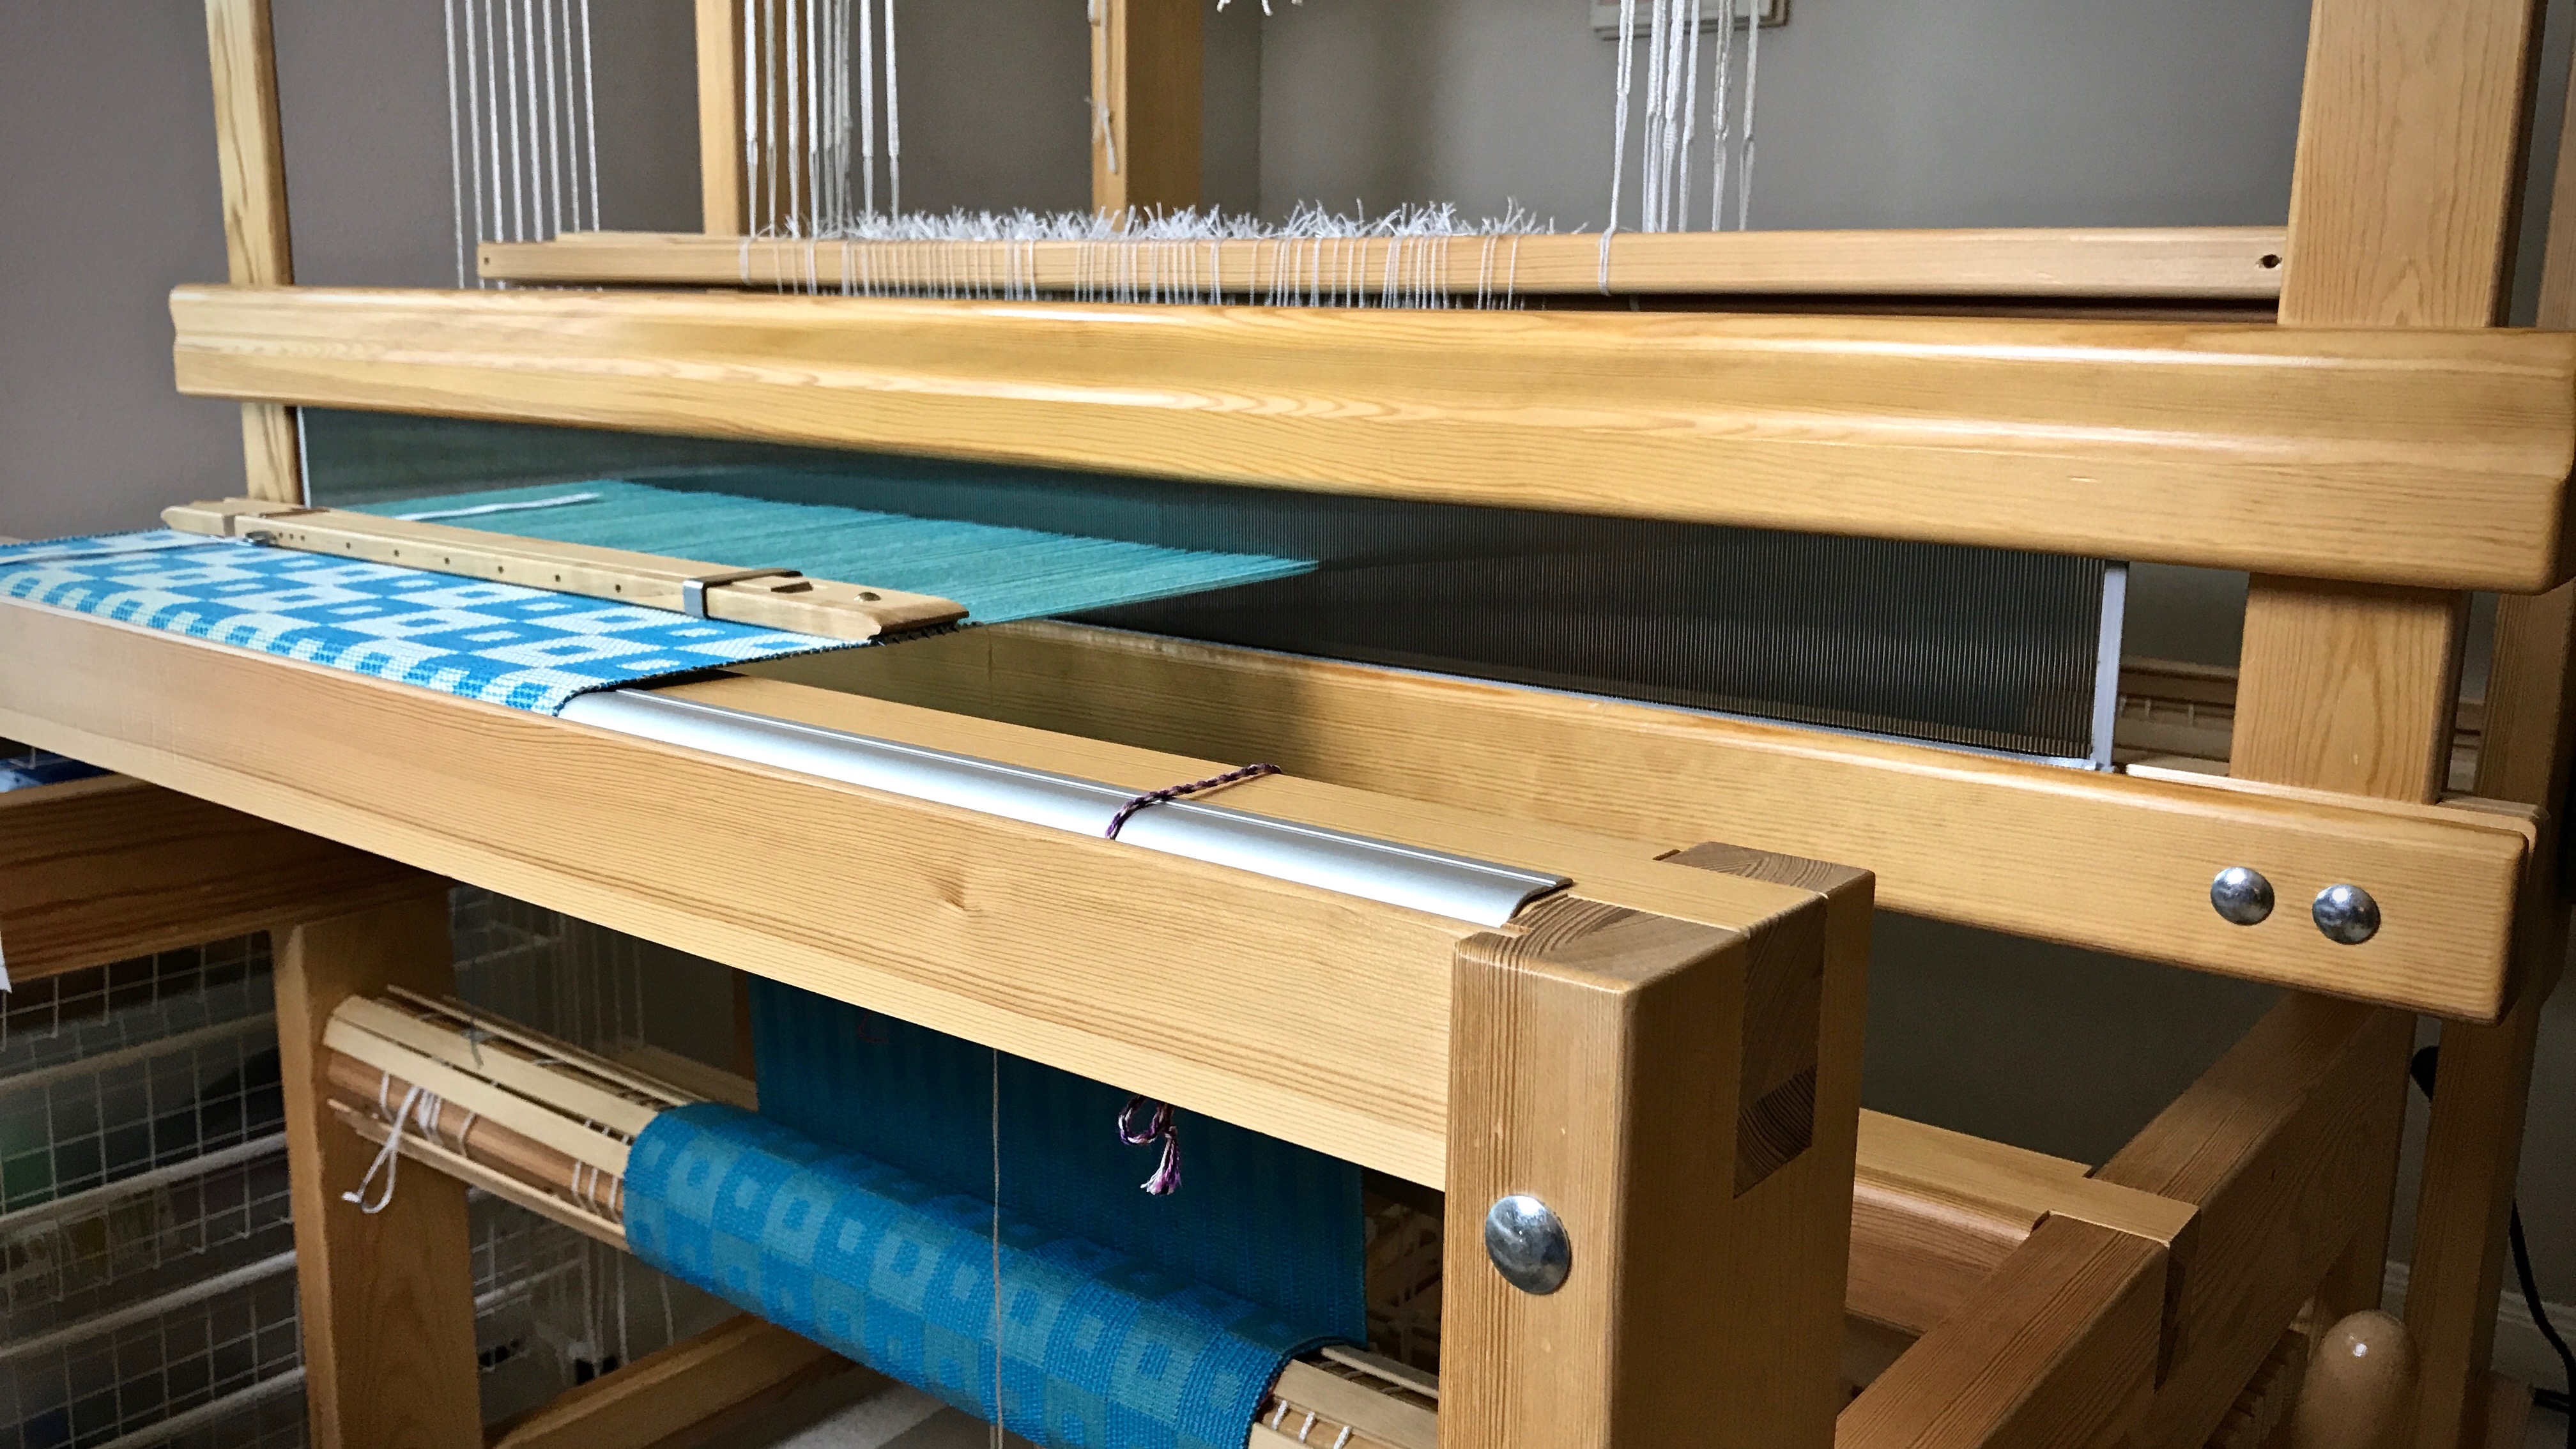
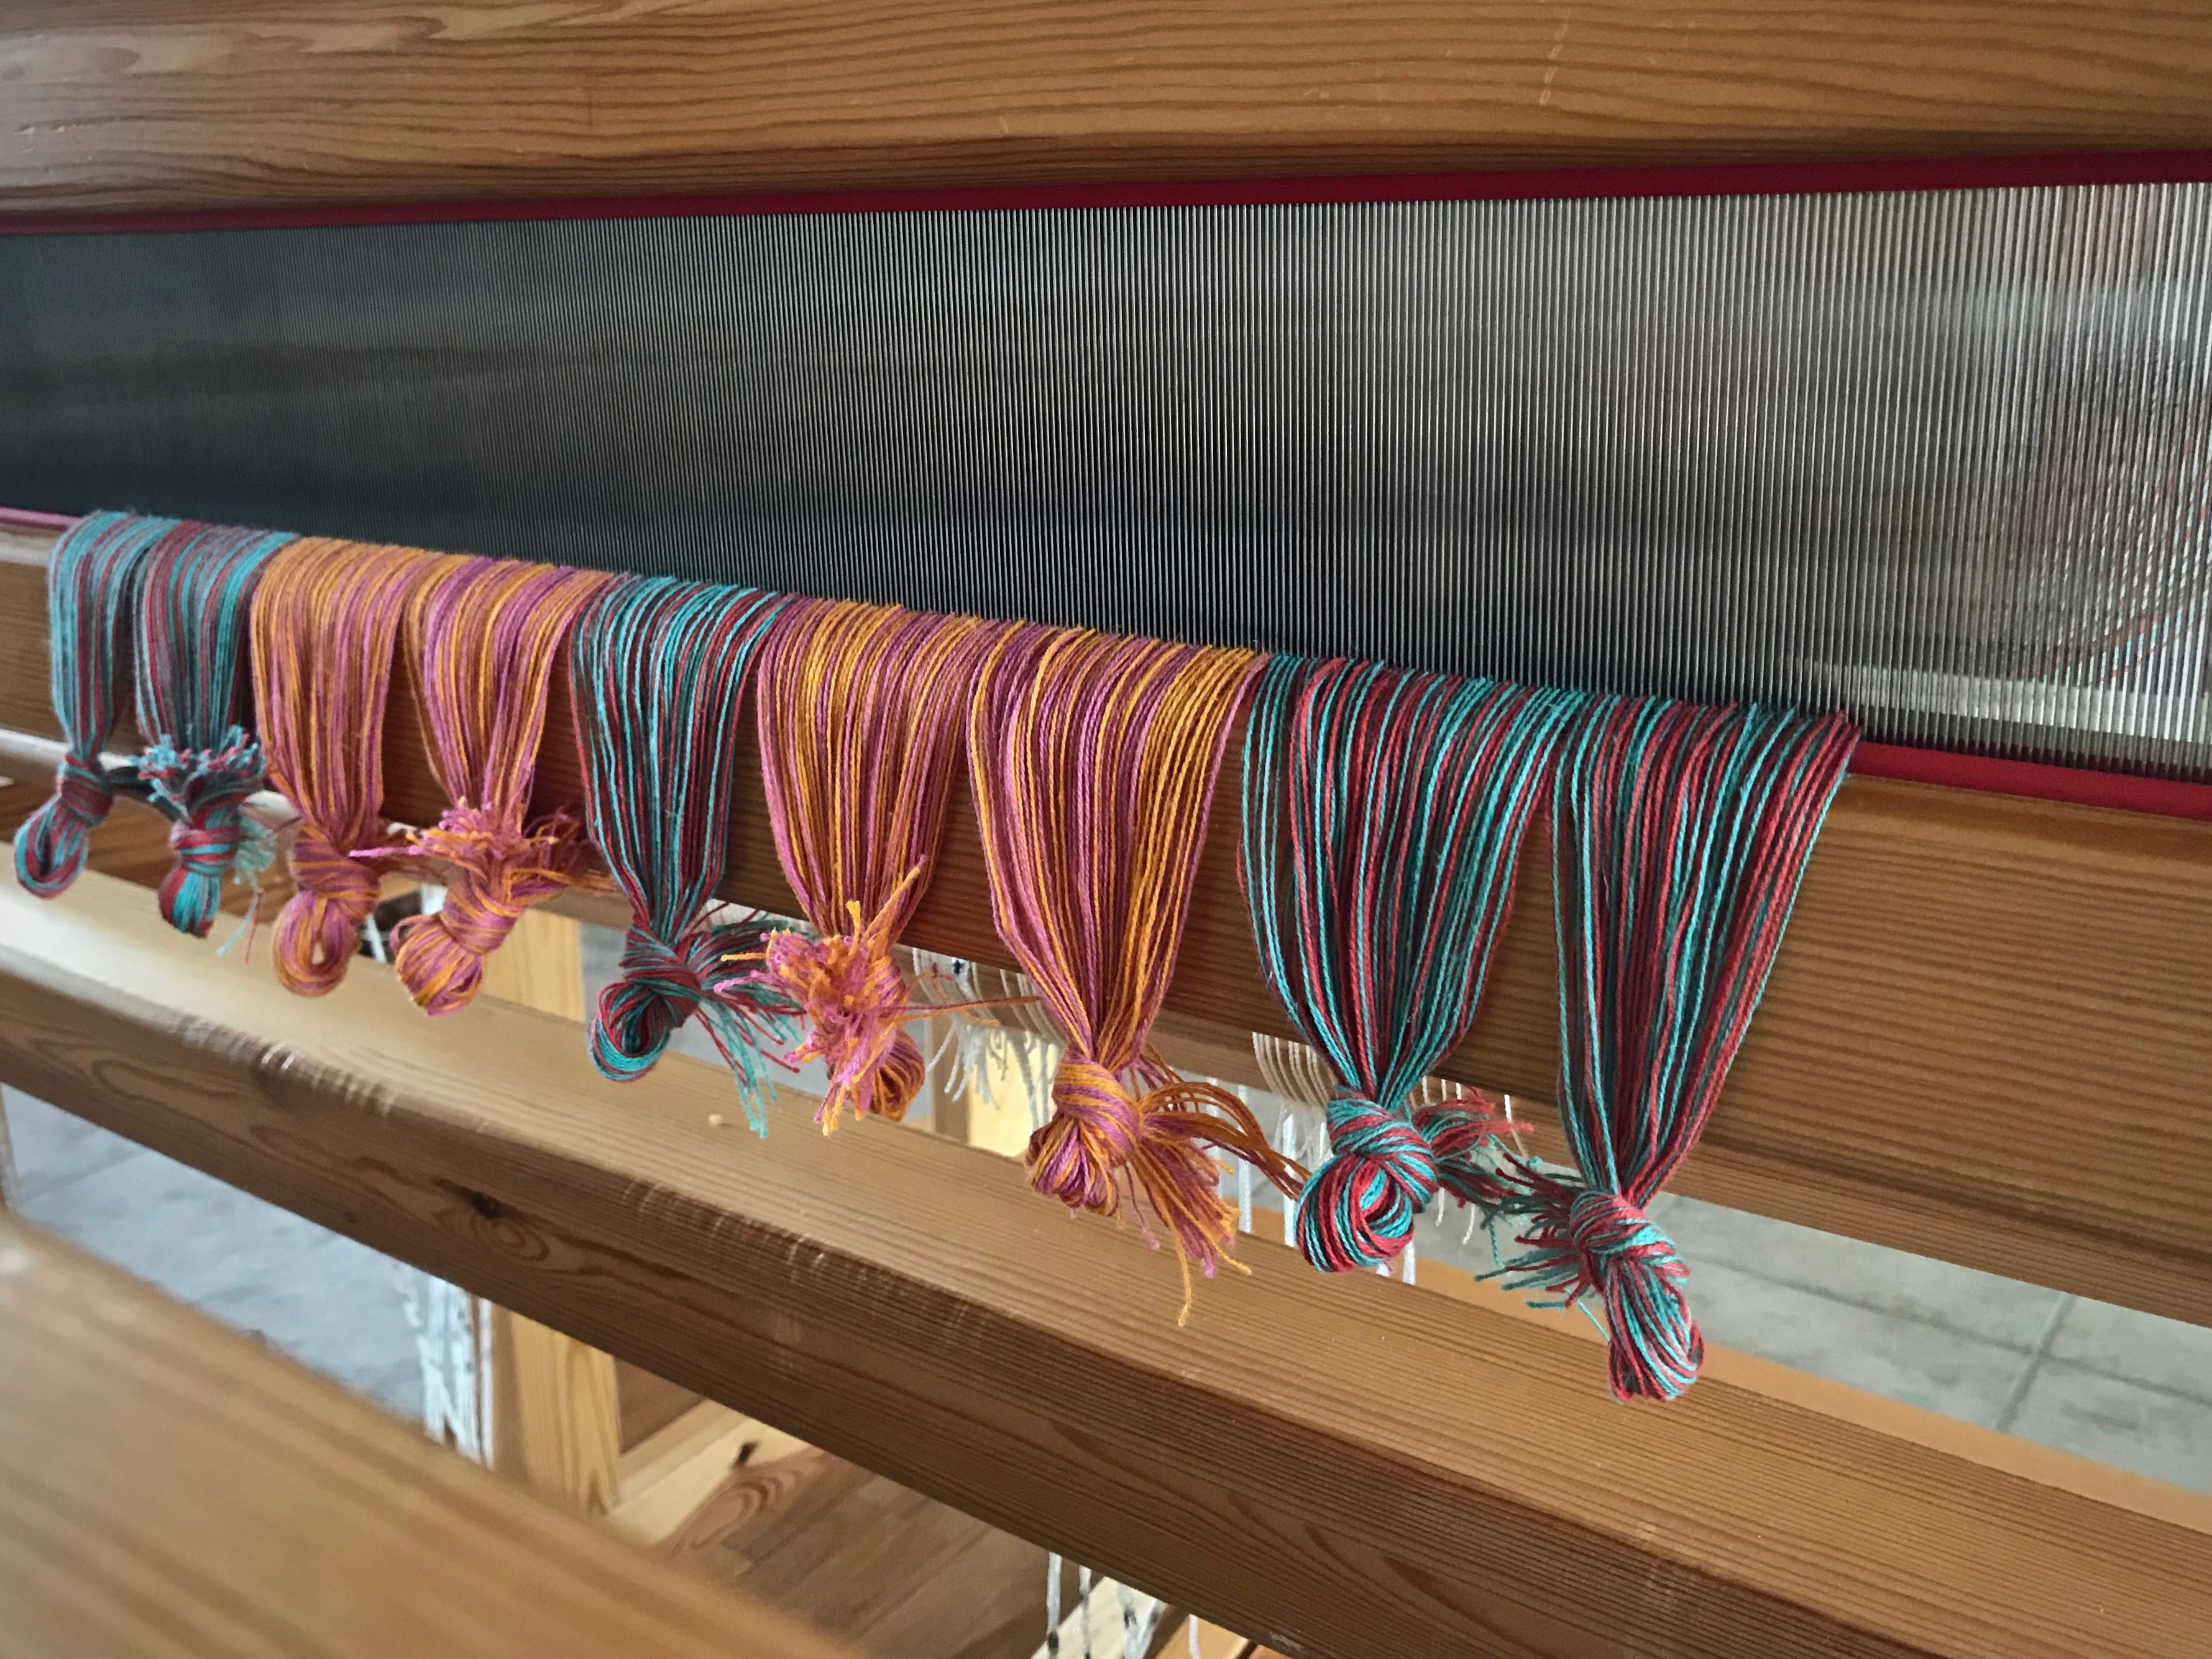
It is not easy to see sleying errors in this fine-dent reed. I unknowingly quadrupled the ends in four of the dents, instead of the specified two ends per dent. When I check as I go, I find the errors while they are still easy to fix.

How to check and double-check for sleying errors:

  • Tie ends into threading groups, using a loose slip knot. (I do this before threading the heddles.)
  • Sley one threading group. (I sley right to left.)
  • Visually check the sleyed group of ends for skipped dents and crowded dents.
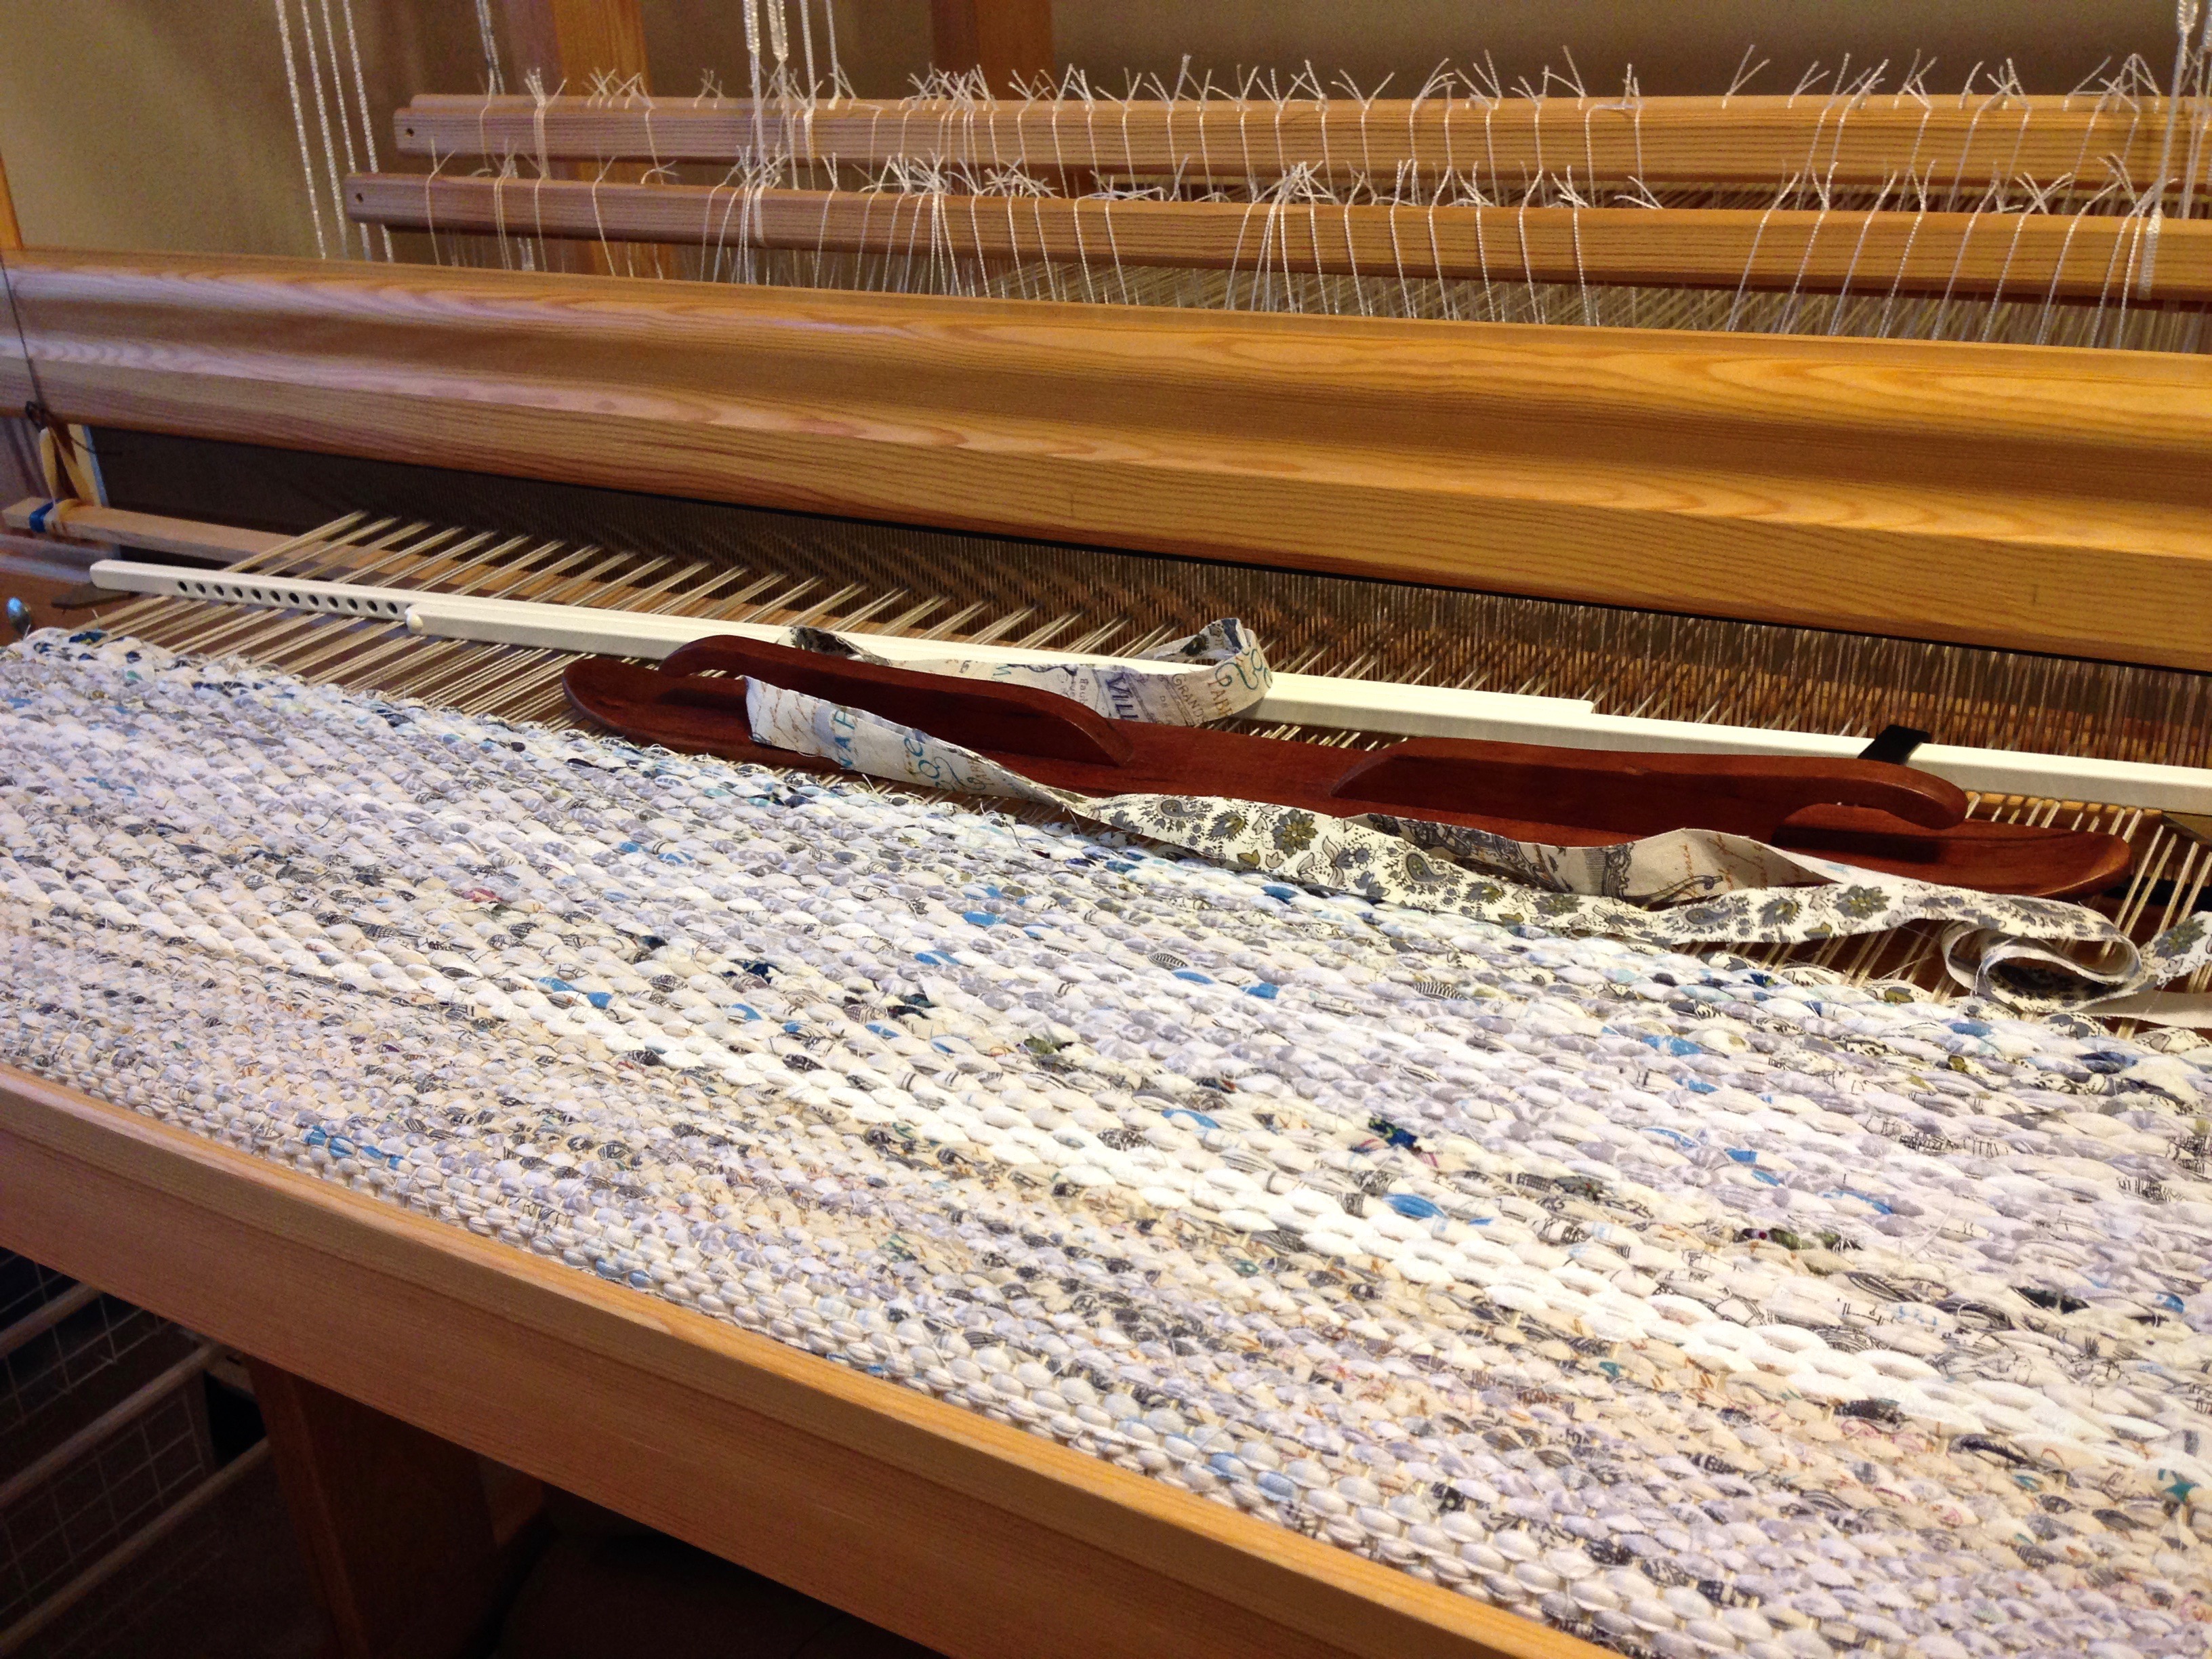
  • Do a Click Test. Use the hook end of the reed hook to count the dents by running the hook along the reed…click, click, click… Make sure the number of clicks matches the number of dents needed for that group of ends.
    —This is how I caught my errors. When the dents came up short in the Click Test, I knew I had some crowded dents that I had failed to catch in the visual check.
  • Move ends and re-sley as needed.
  • Sley each remaining group of ends, checking as you go, visually and with the reed-hook Click Test.
Reed is sleyed. Dressing the loom for double-weave towels.
Two ends per dent in this 70/10 metric (equivalent to an 18-dent imperial) reed.

May your errors be few and fixable.

Happy sleying,
Karen

Thousands of Threads

Finally! Every warp end is in a heddle, where it needs to be for double-weave cloth to happen. I don’t mind the time it takes. The process of dressing the loom is fascinating. And I hope I will always see it that way. I’m thankful that I get to weave.

Threading complete! 2,064 ends for a double weave throw.
Threading complete! 2,064 ends in that many heddles, at about 3 ends per minute. But who’s counting?

And now, onward to sleying the reed!

Sleying the reed. 4 ends per dent.
Reed is sleyed at 4 ends per dent in a 50/10 metric reed (equivalent to a 12-dent reed, imperial), at about 12 ends per minute, which feels pretty fast at the moment.

Thanks. It’s something we give. Heartfelt thanks is a ready gift that costs us nothing to give. Gratitude leads us to see blessings in the ordinary, and opportunities in the routines of life. When we abound in giving thanks, letting it spring up from a satisfied soul, we bring life to our family and our community. An abundance of thanks to God lifts our eyes to a view from above. It’s there that we see all those threads, thousands of them, working together to become a glorious cloth for our good. That’s reason to give thanks.

Thankful for friends like you,
Karen

Tools Day: Tape Measures

A tape measure is a weaver’s best friend. Think about how many ways the tape measure serves you. I have one at each loom. Always. And I have a few others scattered around, hanging up, and in bags. Because you never know when you might need to measure something.

Tape Measure Uses

  • Take measurements to determine the desired size of the finished cloth, such as window measurements for curtains, floor space for area rugs, or length of skirt tiers for skirt fabric.
  • Measure the length of a guide string for winding the warp.
  • Find the starting point for the warp width in the pre-sley reed.
  • Double check the width of the warp after it is pre-sleyed.
  • Check the width of the warp on the back tie-on bar.
  • Center the reed in the beater for beaming the warp by measuring the distance from the warp in the reed to the outside edge of the beater on both sides.
  • Find the starting point to sley the reed by measuring half of the warp width outwards from the center of the reed.
  • Double check the width of the warp in the reed after it is sleyed.
  • Center the reed in the beater for weaving.
  • Adjust to the correct width of the warp on the front tie-on bar after the warp is tied on.
  • Mark the measured weaving length on twill tape or ribbon to use as a weaving length guide.
  • Measure how far one quill weaves.
  • Measure the distance between pieces that require unwoven warp, such as for fringe, or for tying knots between rag rugs.
  • Measure the distance from the first shaft (nearest the back of the loom) to the back tie-on bar (especially when you are hoping there is enough warp left to finish a symmetrical pattern).
  • Measure the width and length of fabric that is cut from the loom.
  • Measure the width and length of fabric that has been wet finished, dried, and pressed.
  • Measure your pleasure at the loom. Immeasurable!
Tape measure, in constant use at the loom. Let me count the ways...
Tape measure with imperial and metric units, both of which I use regularly. Metal ends have been removed from the tape to clearly see the tape’s markings, and because I slip the tape into a dent of the reed when I am marking the spot to start sleying.
Tape measure at the loom. Various uses.
Glimåkra Ideal loom, with tape measure in its usual place hanging on the end of the loom bench.
Tape measure usage at the weaving loom.
Glimåkra Standard loom, with tape measure ready for the next measuring task.
Preparing the loom for weaving.
Tape measure hanging over the back beam on the Texas hill country loom while pre-sleying the reed and positioning things to prepare for beaming the warp.
Tape measure hangs on peg strip above the work table.
Extra-long tape measure hangs on the peg strip above my work table.
Sometimes a long tape measure is needed!
Occasionally, I borrow Steve’s metal carpenter’s tape measure from his wood carving bench.
Travel tapestry supplies, including tape measure.
Compact retractible sewing tape measure rides in my travel tapestry bag. It has imperial and metric units.
No purse is complete without a tape measure, right?
No purse is complete without a tape measure, right? (A tape measure can outlive the business it promotes.)

What have I missed? Can you think of other ways your tape measure comes in handy?

May you be blessed in full measure.

All the best,
Karen

Tools Day: Reeds

Eventually, I would like to have a metric reed (or two) in every possible size. Until then, I will be happy with what I have, while I gradually add to my supply, as needed, one reed at a time.

I prefer metric reeds (dents per 10 centimeters) over imperial reeds (dents per inch). For one thing, the math is easier for project planning. And because there are smaller increments between sizes, there are more sett choices with metric reeds. It could be my imagination, but it often seems that the metric reed yields a Goldilocks “just right” sett.

Assortment of weaving reeds.
Supply of reeds. Some purchased new, some second-hand purchases, and some received as gifts. All but one have been used on my looms. The reeds usually reside in my weaving supply closet.

My selection of reeds vary in length, from 70 cm (27″) to 120 cm (47″), to fit the weaving widths of my looms. But Glimåkra countermarch looms have beaters that are open on the sides, so I can use any length reed in any loom.

Beginning cotton warp with M's and O's.
Reed with 120 cm weaving width is being used on this 100 cm Glimåkra Ideal. This is a 22.5 dents/inch reed, sleyed two ends per dent. Notice that the warp is high in the reed? That’s because the front tie-on bar is going over the breast beam.

My all-around favorite reeds are those made by Glimåkra because they are lightweight and easy to handle, …and they come in metric sizes. (Of course, you need to choose reeds that work with your loom.)

Taqueté in Tencel on eight shafts.
This 120 cm reed is a perfect fit for the weaving width of the 120 cm Glimåkra Standard loom. This is a 50/10 metric reed, giving a Goldilocks “just right” sett for this 8/2 tencel taqueté.

I put together a reed conversion chart so that we can see our options at a glance. You never know when a new project will “require” a new metric reed!

Weaving reed metric/imperial conversion chart.

May your next project have a Goldilocks “just right” sett.

Happy weaving,
Karen

Quiet Friday: Rya Rag Rug

I wasn’t happy with a simple “X” for the design area, but I struggled to come up with something better for this rug. And then, Steve and I went to the symphony. There, on the floor, in the long hallway, was the inspiration I needed for the pattern design on this rug!

Design inspiration for a rug.
Design inspiration is found on the floor on the way to the symphony.

Despite all that went wrong from the start, and how many things I had to undo and do over, I must tell you that I really did enjoy weaving this rug. The rya knots and loops made it fun and interesting. And this unique fluffy rug will always remind me of that sweet symphony date with my honey, when he patiently waited as I pulled out my iPhone to snap a few shots of the floor. Now that’s love.

Counting warp ends on the warping reel.
Dressing the loom starts with pre-sleying the reed.
Ski shuttle and temple for making large rag rug.
Ski shuttle holds doubled weft–fabric cut into 3/4″-wide strips.
Cutting fabric strips for rya knots.
Three different lengths of fabric strips are used for making the rya knots.
Placing rya knots in large rag rug.
Adding more rya knots.
Large rag rug with rya knots and loops.
Loops are made with the help of a wooden dowel.
Rag rug with inlay, using a brown paper cartoon under the warp.
Brown paper cartoon under the warp has the outline for the pattern. Lines on the cartoon, showing where to change the inlay technique, are inked onto the warp as a guide.
Making loops on a rag rug. Fun!
Making loops.
Extra warp width after re-sleying the reed.
After weaving a sample at the very beginning, I re-sleyed the reed, spreading the warp ends further apart. Excess warp ends, because of the increased width, are chained on both sides. Future band loom warps?
Another do-over.
Don’t ask. Almost finished weaving, and another do-over happened.
Cutting off!! Time to celebrate!!
Cutting off! Time to celebrate!!
Handwoven rag rug with rya knots and loops.
Sculpted inlay appearance is achieved by graduated lengths of the rya strips and heights of the loops.

Rag rug with rya and loops. Karen Isenhower

May your design inspiration come from unanticipated places.

Love,
Karen