Conversation with Joanne Hall

Drive up to this storybook cottage, and you can tell there is something special about it. It’s the home of Ed and Joanne Hall. When I arrive, Joanne greets me and takes me down the hand-crafted pine stairs to her delightful weaving studio dotted with floor looms.
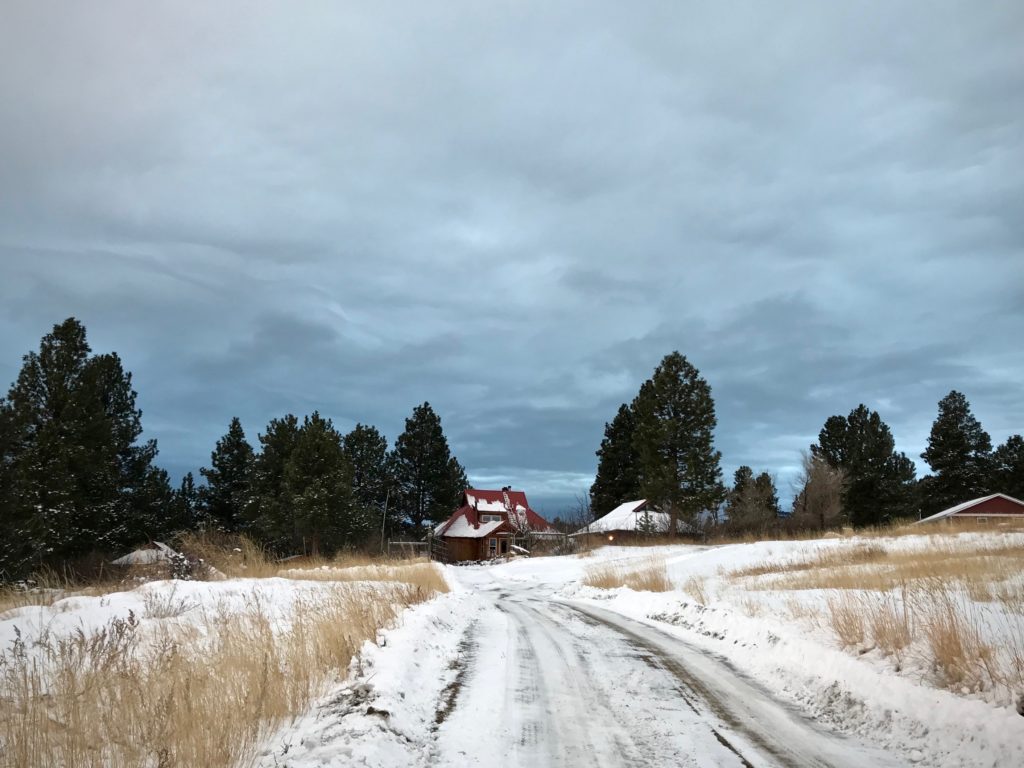
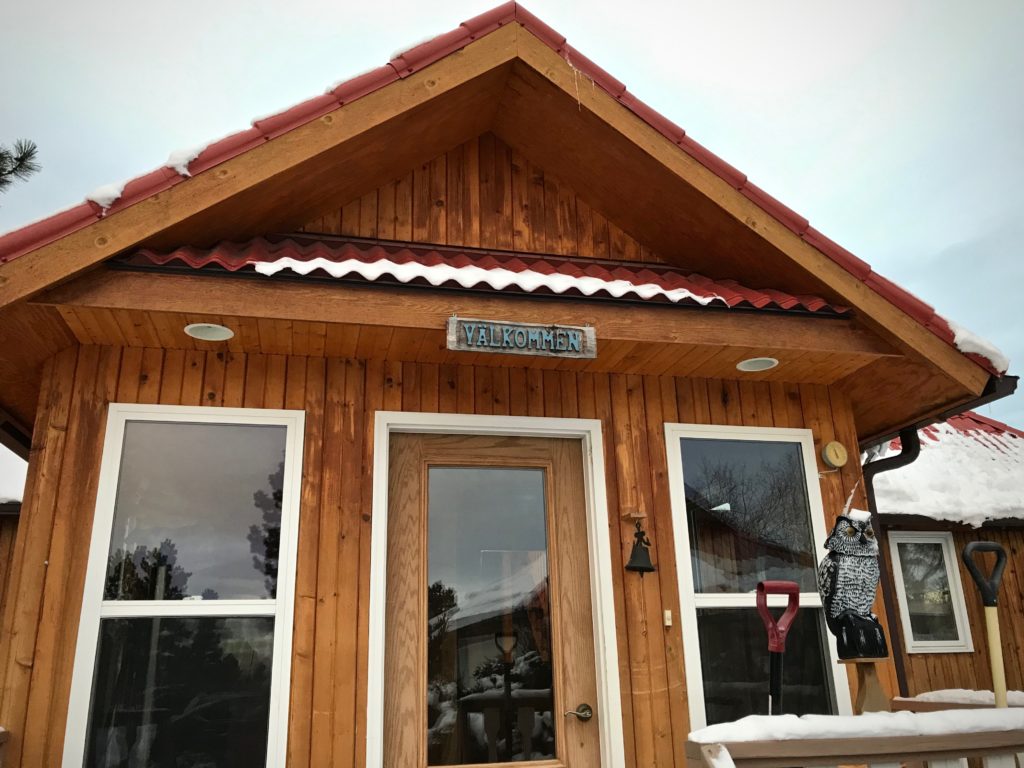
Storybook cottage in Montana mountains.
Driving up to the Hall’s home and Joanne’s weaving studio in Montana.
Welcome!
Välkommen = Welcome

I recently had the joy of learning the ins and outs of drawloom weaving in this storybook studio in Montana. After the class ended, Joanne and I sat at her kitchen table to share some thoughts about weaving.

Joanne Hall
Joanne Hall
Photo credit: Ed Hall

Come join us, and sit in on our conversation…

If you could keep only one loom, what would it be?

The 59” Glimåkra Standard. That would be my loom, with a drawloom. A big loom is easier to set up, easier to warp because I can step inside it, and easier to weave on than a little loom. As you get older you need every advantage you can get.
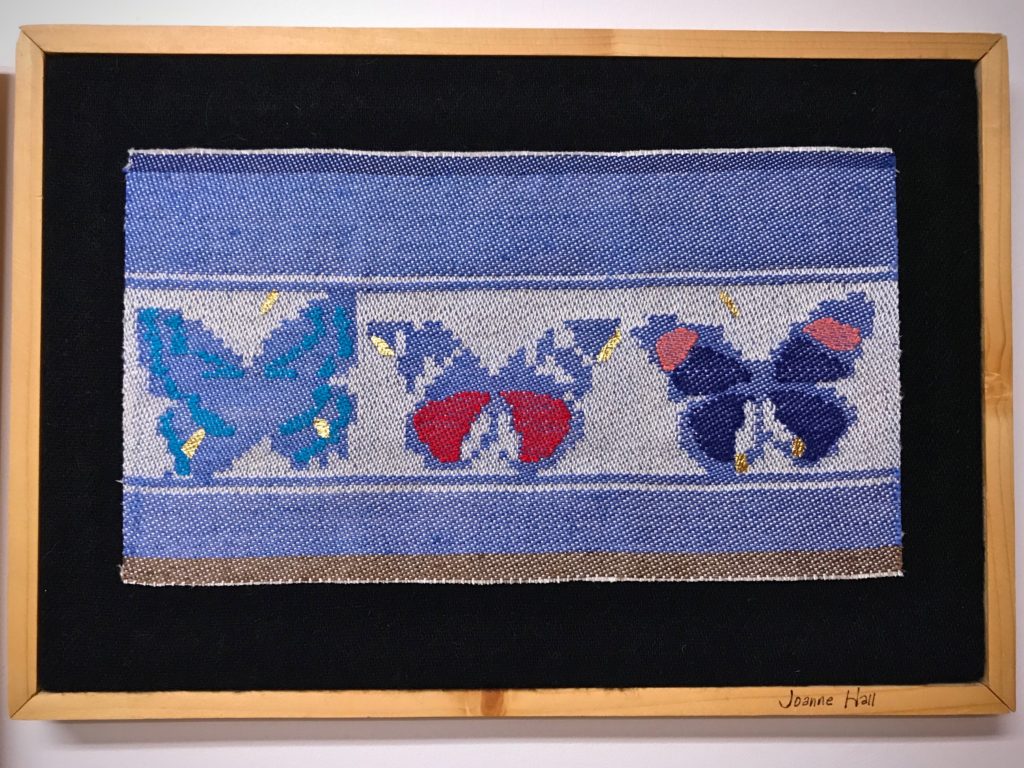
Butterflies, woven by Joanne Hall on a single unit drawloom.
Butterfly piece was woven on the very first warp Joanne put on her drawloom. The warp is 20/2 cotton, unbleached; and the weft is 16/1 linen.
Being a tapestry weaver, I had to add more colors, so I laid in some colors and then I put a little gold leaf here and there. I did not want to add anything that looked like embroidery. I wanted my new work on the drawloom to have all the elements woven in.
– Joanne Hall

What would you weave on that loom?

I would mostly make narrow warps. I could weave some blankets or larger things, as well, because it’s easy on that loom. It is easy to beat and so easy to treadle. I could also weave tapestry on it.

Describe the drawloom you would use.

With the Myrehed combination, I would have both the shaft drawloom and the single unit drawloom. I do like images, like tapestry weaving, so I would enjoy weaving with the single unit drawloom.
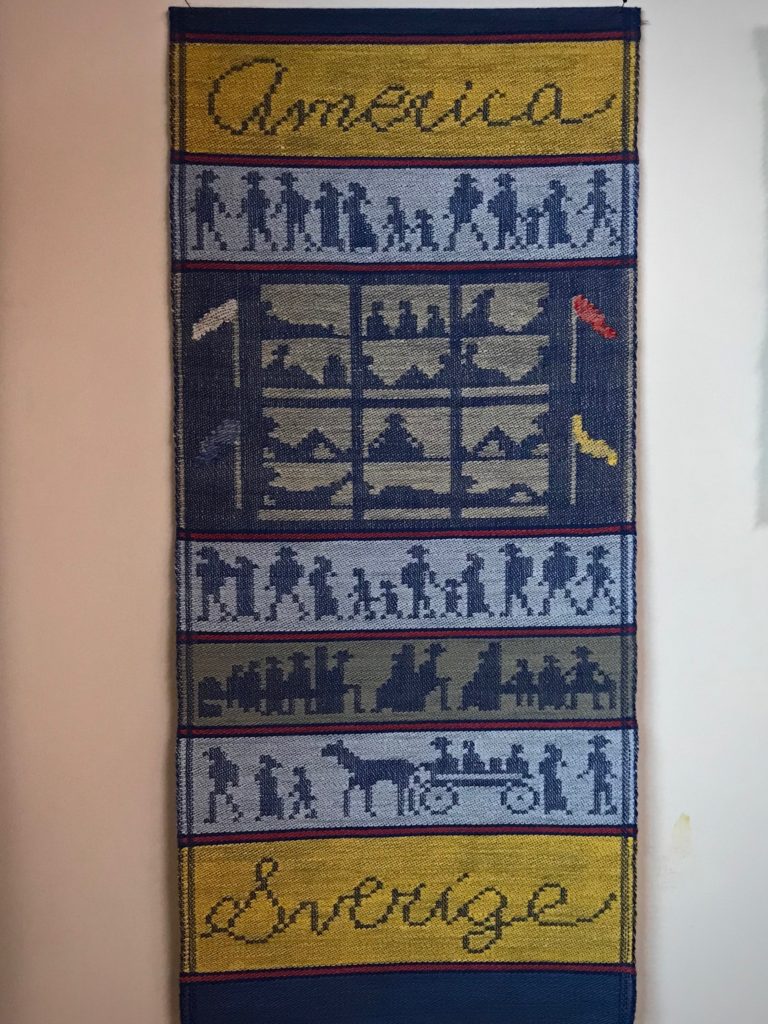
Story of the Immigrants, woven by Joanne Hall on single unit drawloom.
Story of the immigrants.
Three of my grandparents immigrated from Sweden to America. This tells the story of their journey–walking, riding, then endless days on the boat, then walking again, all the way to Minnesota.
– Joanne Hall

Are there any weaving secrets you’d like to share?

One important thing to know is to wind a warp with more than one thread, especially a long warp. It is easier to beam and you will prevent problems when you wind with two or more threads. And doing so may also have a positive effect on weaving that warp.

Another thing to consider is that once you start weaving, plan to invest in good equipment. Some weavers start out buying the smallest, least expensive equipment. That’s okay for getting started, but don’t spend too much time with inferior equipment. Once you start warping looms, get a big vertical warping reel that is more than two yards around. You can wind a warp in half an hour, an hour at the most. And the warp will be more even and accurate than one wound on smaller equipment.

If someone wants to learn more about weaving, what is a good way to start?

Go someplace where you can take a class weaving on floor looms, even if you have never woven before. Keep in mind that researching online can be more confusing than helpful. In a class you will learn much faster and you will probably get better information.
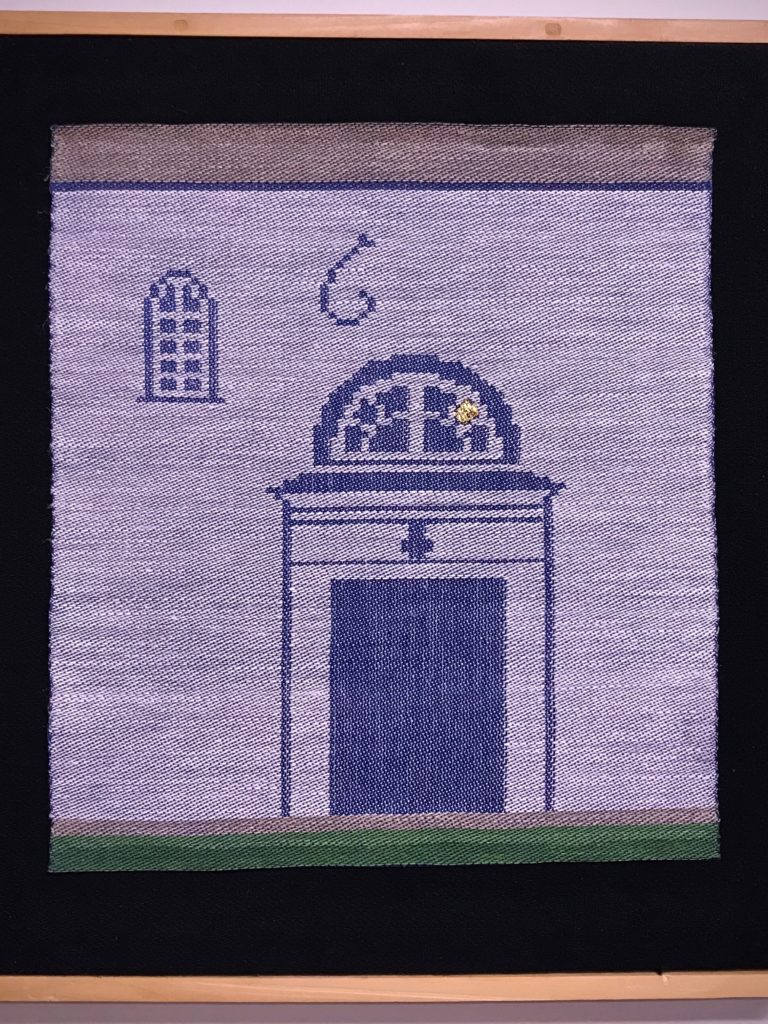
Church Door by Joanne Hall.
Front door of Joanne’s father’s father’s (grandfather’s) church in the small town of Ör, in Dalsland, Sweden. The “6” near the door was part of the date on the church, 1661.
Woven on single unit drawloom by Joanne Hall.
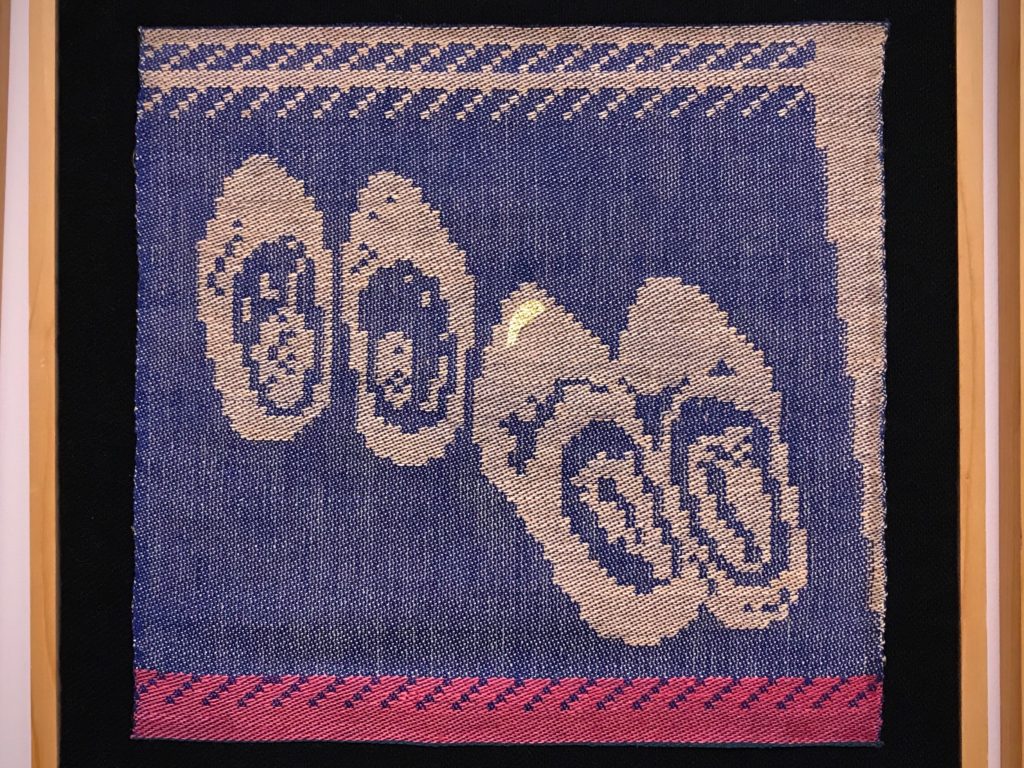
Wooden Shoes, woven by Joanne Hall.
From a photo Joanne took in a small red house in an outdoor museum in the place where her mother’s family lived. These wooden shoes were on a rag rug in front of the fireplace.
Woven on single unit drawloom by Joanne Hall.
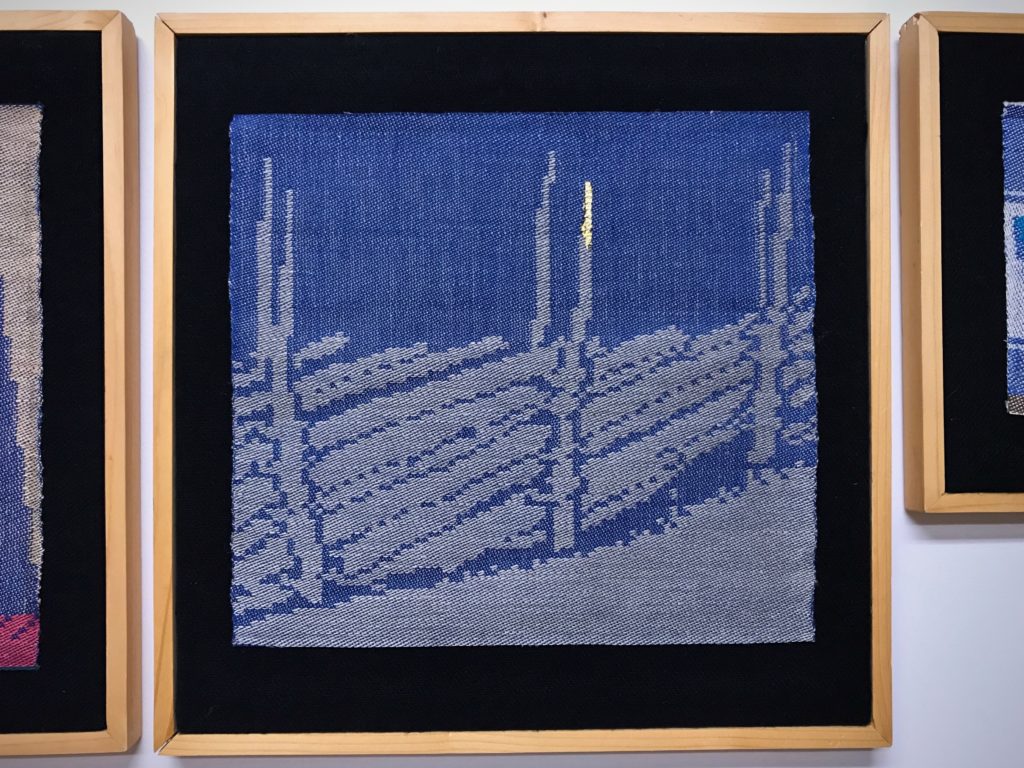
Fence in Sweden, woven by Joanne Hall.
Fence that is typical of fences all over Sweden. This came from a photo of the fence around an outdoor museum in Falköping Sweden, Joanne’s mother’s grandparent’s home.
Single unit drawloom, woven by Joanne Hall.

Any final thoughts?

In Sweden, weavers guilds are different than they are here in the US. Most everyone in Sweden can join a guild, called a vävstuga, which in Sweden is a place with looms—floor looms, big floor looms. You meet there as often as you want, and you can weave on floor looms in the company of other weavers, who are very helpful. If we had that, it would be wonderful.

That would be wonderful, indeed! I think I got a little taste of that, right here in your Montana studio. Thank you!

Happy Weaving,
Karen and Joanne

Tried and True: Threading Eight Shafts

Threading four shafts is straightforward because the heddles fit perfectly between four fingers and a thumb. Threading eight shafts is tricky because we don’t have that many fingers! Thankfully, threading eight shafts can be as straightforward as threading four shafts. I like to think of it as four shafts in the back, and four shafts in the front.

For a review of threading four shafts, watch the short video in this post: You Can Prevent Threading Errors.

Threading Eight Shafts – Straight Draw

  • Set a small group of heddles apart on each shaft to prepare for threading the next group of ends.
  • Pick up the next threading group of ends and bring it to the front, on the left side of the separated heddles.
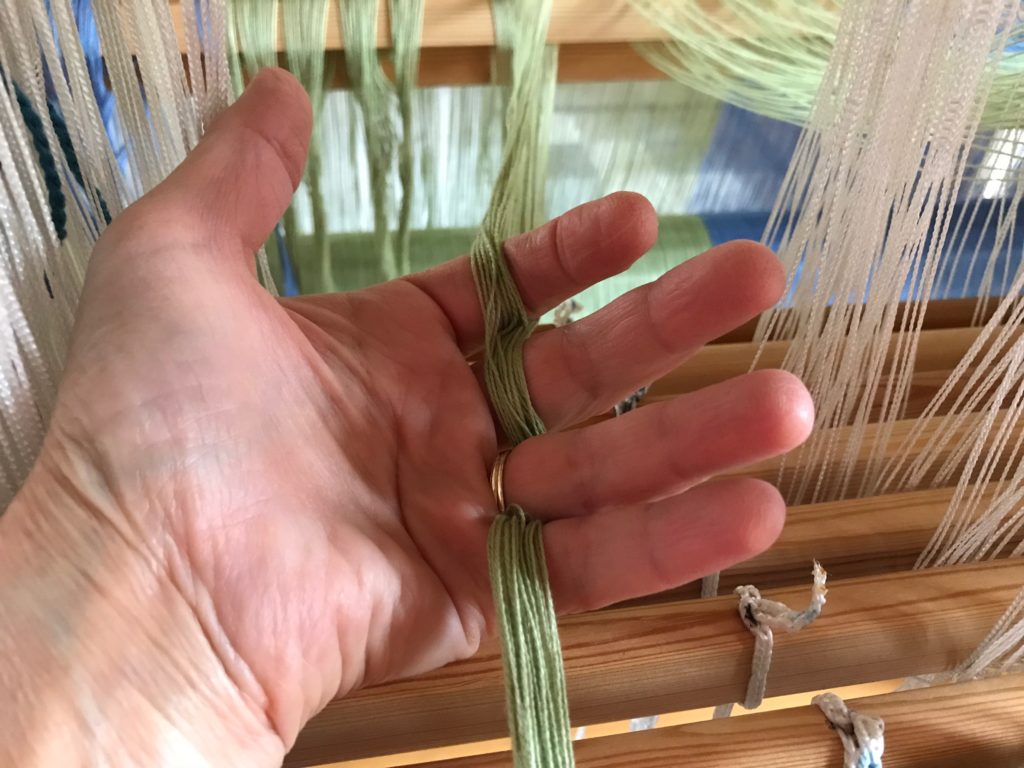
  • Lace the threading group of ends under, over, under, over the fingers of your left hand, palm up.

Threading eight shafts - the easy way.
Left hand becomes tensioning device for threading the heddles. I like to put my index finger in between the two parts of the cross, as separated by the lease sticks.

  • Wrap left hand index finger around the group of heddles on shaft one (the shaft nearest the back of the loom), the middle finger around heddles on shaft two, the ring finger around heddles on shaft three, the pinky around heddles on shaft four, and bring the thumb around to hold it all loosely together.

Threading eight shafts - the easy way.
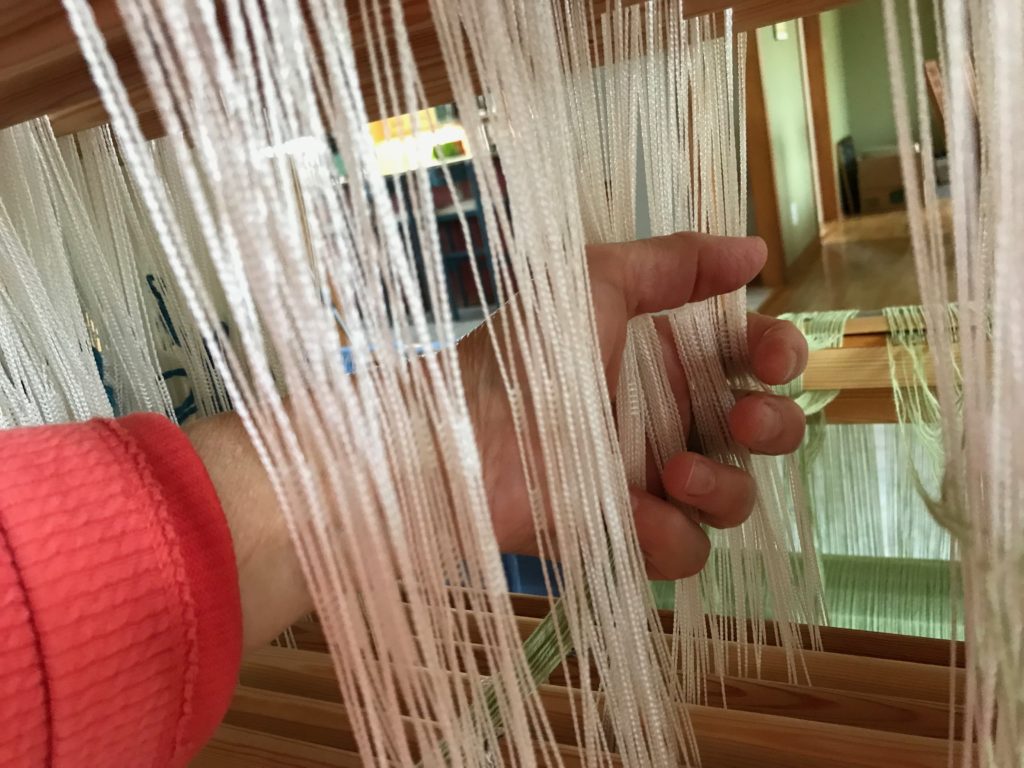
Each warp end is taken in order from between the lease sticks, and then threaded through the heddles in order.

  • Thread the first four heddles—1, 2, 3, 4.
  • With the right hand, hold the group of warp ends taut, and open the fingers of the left hand to release the heddles.
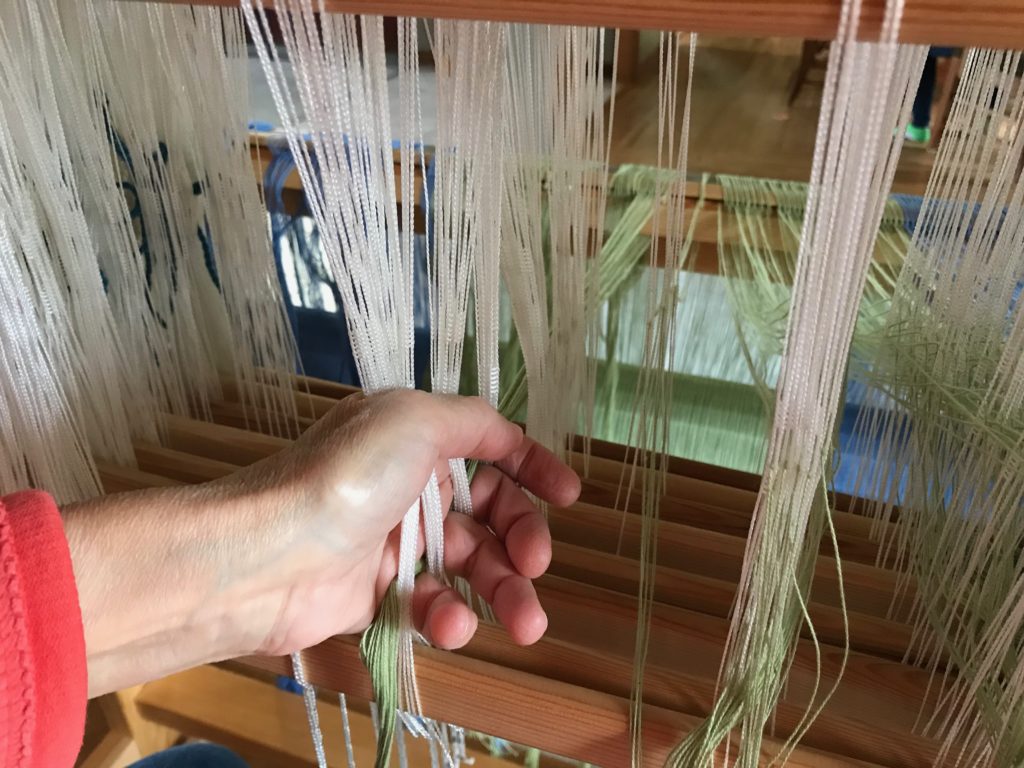
  • Keeping the group of warp ends loosely laced around the fingers, slide the left hand toward you to thread the next four heddles—5, 6, 7, 8. Position your fingers around the heddles on each shaft, as you did for the first four shafts.

Threading eight shafts - the easy way.
Left hand slides toward the front of the loom to thread the next four heddles. It helps to hold the warp ends taut with the right hand while the left hand is repositioned.

  • After threading the second set of heddles, follow the same procedure as before and slide the left hand back again to thread 1, 2, 3, 4.
  • Continue sliding the left hand forward and back, until the threading is completed for that group of ends.
  • Check the threading group for accuracy, and then tie the group of ends together in a loose slip knot.

Threading eight shafts.
Always check for accuracy before moving on to the next threading group.

Complete the threading across the warp. And then, step back and admire the beauty of a beamed and threaded loom.

Glimakra Standard. Threading the loom.
Shafts are raised high for good access and visibility for threading, and for checking for accuracy.

Threading is complete. 8-shafts undulating twill.
Threading is complete. Cotton throw. 8/2 cotton, undulating (wavy) twill on eight shafts.

May you find efficient methods for the work of your hands.

Happy weaving,
Karen

Tools Day: Band Loom Warping Board

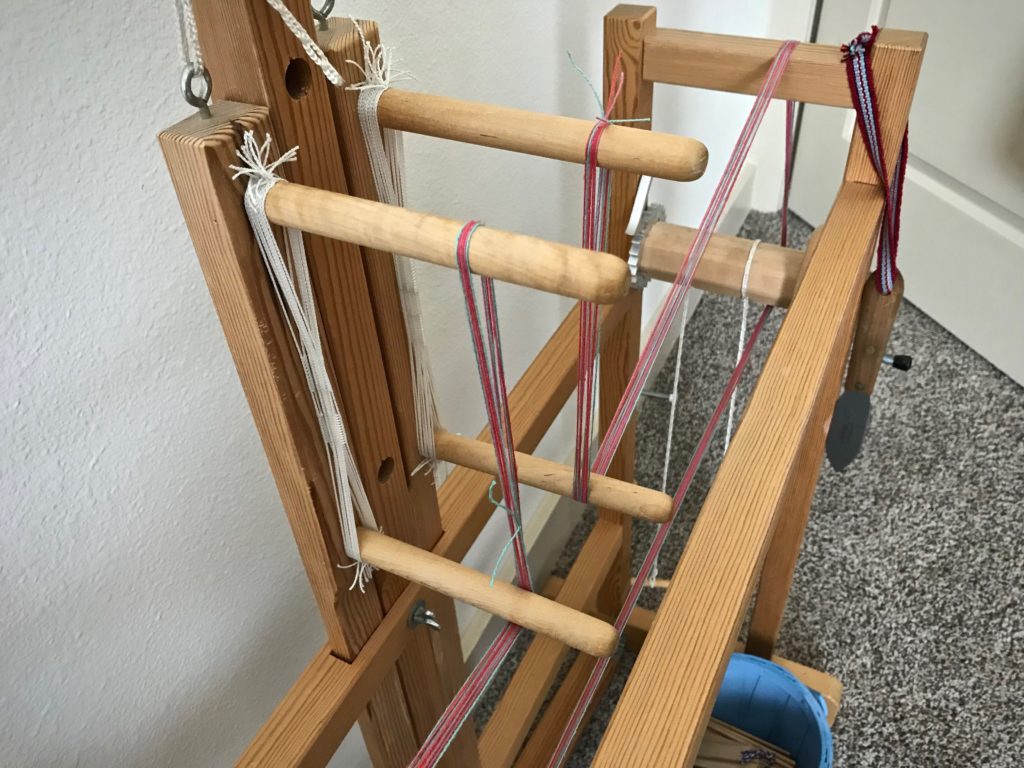
It is almost effortless to make a short warp for the band loom. All you need is a peg at the beginning and a peg at the end. You can use a spoke of the warp beam wheel, for instance, at one end, and the leg of an upside-down stool at the other. I normally use my warping reel, though, for even a simple warp, because the reel is so handy. However, I don’t have my warping reel here at the apartment, so I am turning my band loom into a handy warping board for this band loom project.

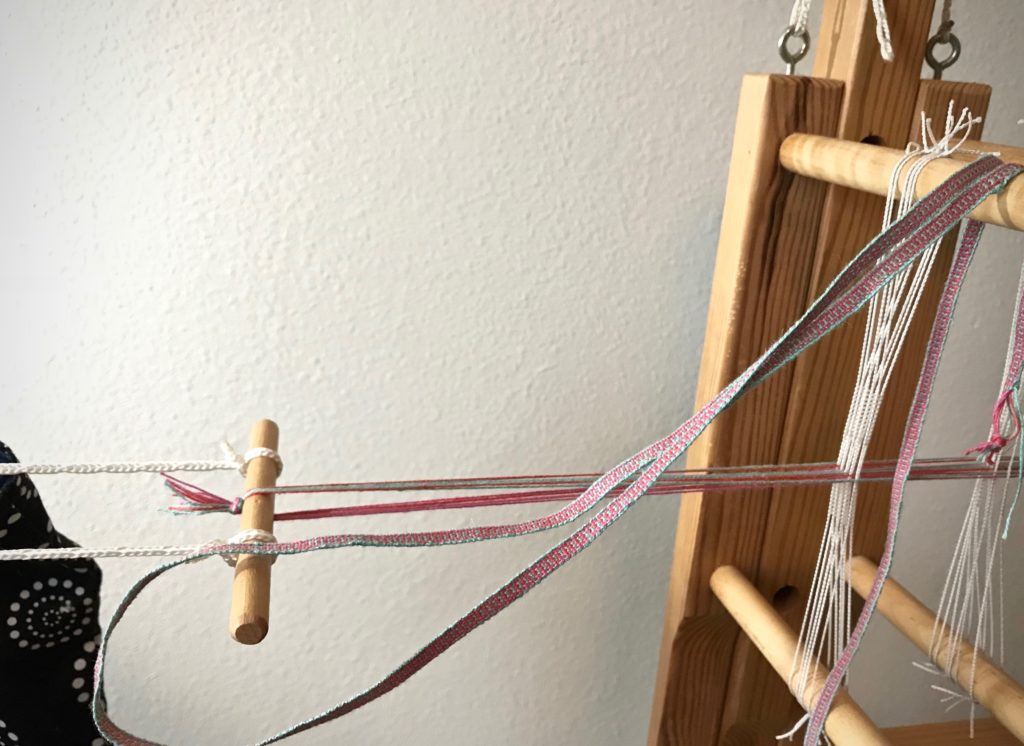
Using the Glimakra band loom as a warping board.
Using the Glimåkra band loom to measure a narrow cottolin warp.

How to Use the Band Loom as a Warping Board

Tools and supplies:

  • Glimåkra band loom
  • Thread for weaving a narrow band
  • Basket and/or spool holder(s)
  • Scissors

How to use the band loom as a warping board.
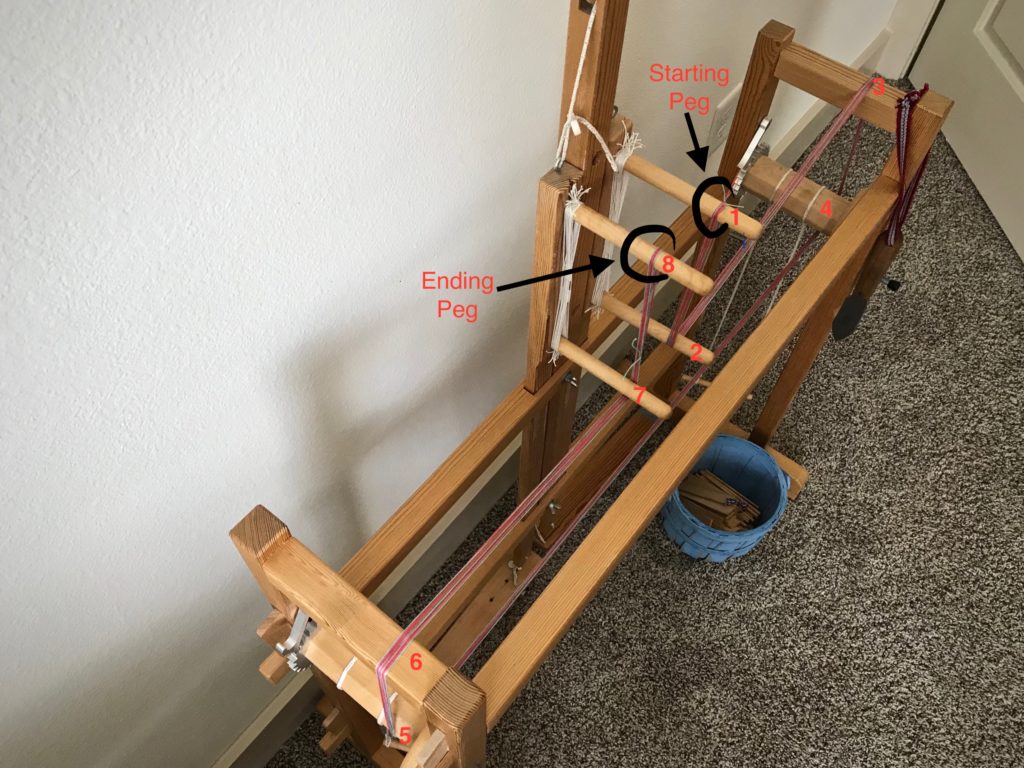
Starting at one peg and ending at another. The band loom becomes a simple tool for winding a short warp.

For a warp of approximately two meters:

  • Put the warp thread on the floor below—quills in a basket, and/or thread tubes on spool holders.
  • Using two or more ends, tie the ends together with an overhand knot. (I used three ends together for this warp.)
  • Bring the warp ends up around the warp beam and over the back beam.
  • Loop the knot on the starting peg.
  • Draw the ends from the starting peg to the ending peg, around the band loom, following this path:
  1. Starting peg–upper heddle peg nearest back beam
  2. Lower heddle peg nearest back beam
  3. Back beam
  4. Warp beam
  5. Cloth beam
  6. Front beam
  7. Lower heddle peg nearest front beam
  8. Ending peg–upper heddle peg nearest front beam
  • Follow the winding path in reverse order back to the starting peg.
  • Continue winding until you have reached the desired number of ends.
  • Cut the ends and tie off at the starting peg or the ending peg.
  • Tie one or two choke ties, if needed. (I didn’t need them for this short warp.)
  • Carefully remove the warp and dress the band loom as usual. (For a tutorial on dressing the band loom, click here: Quiet Friday: Band Loom Warping and Weaving.)
  • Weave to your heart’s content.

Weaving hanging tabs for towels on my Glimakra band loom.
One meter of woven band is cut off. The remaining band warp is tied back on. Weaving can resume at any time.

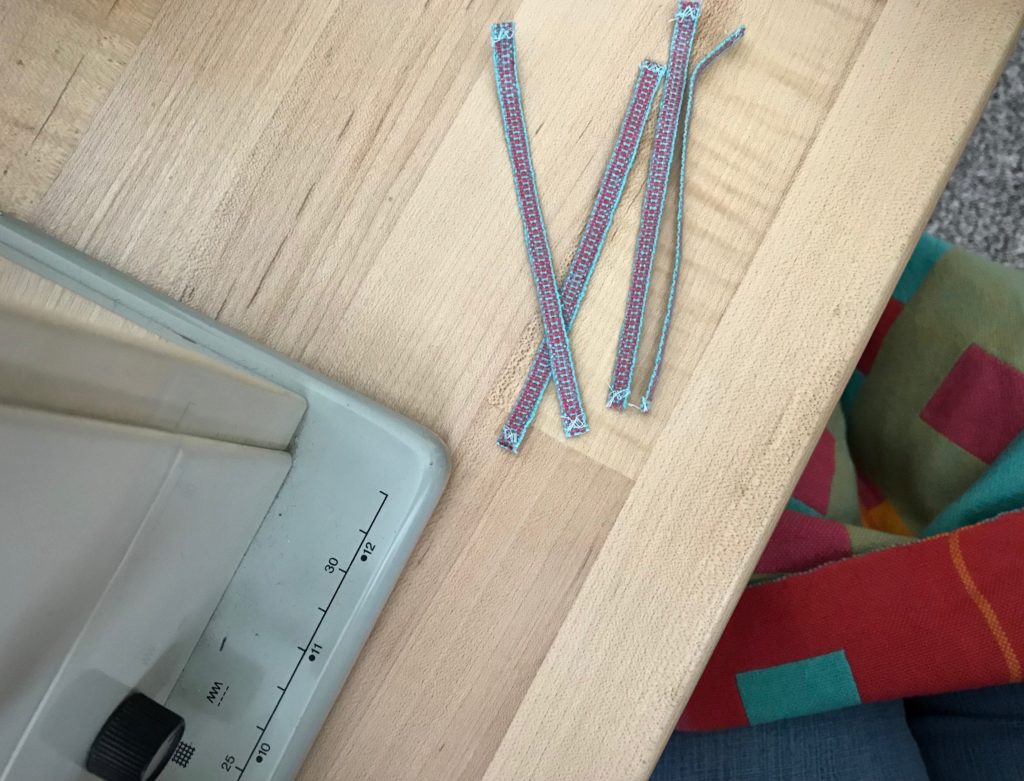
Preparing to sew handwoven ribbons onto handwoven towels for hanging.
Ends secured, and cut in 10.5 cm lengths, the tabs are ready to be sewn onto the double weave towels.

May you find tools you didn’t know you had.

Happy band weaving,
Karen

Tools Day: Weaving Apron

In my memories, I always picture Grandma wearing an apron, whether doing housework, gardening, or baking coffee cake in her kitchen. Maybe that is part of the magic I feel when I put on my weaving apron.

Weaving apron makes sense.
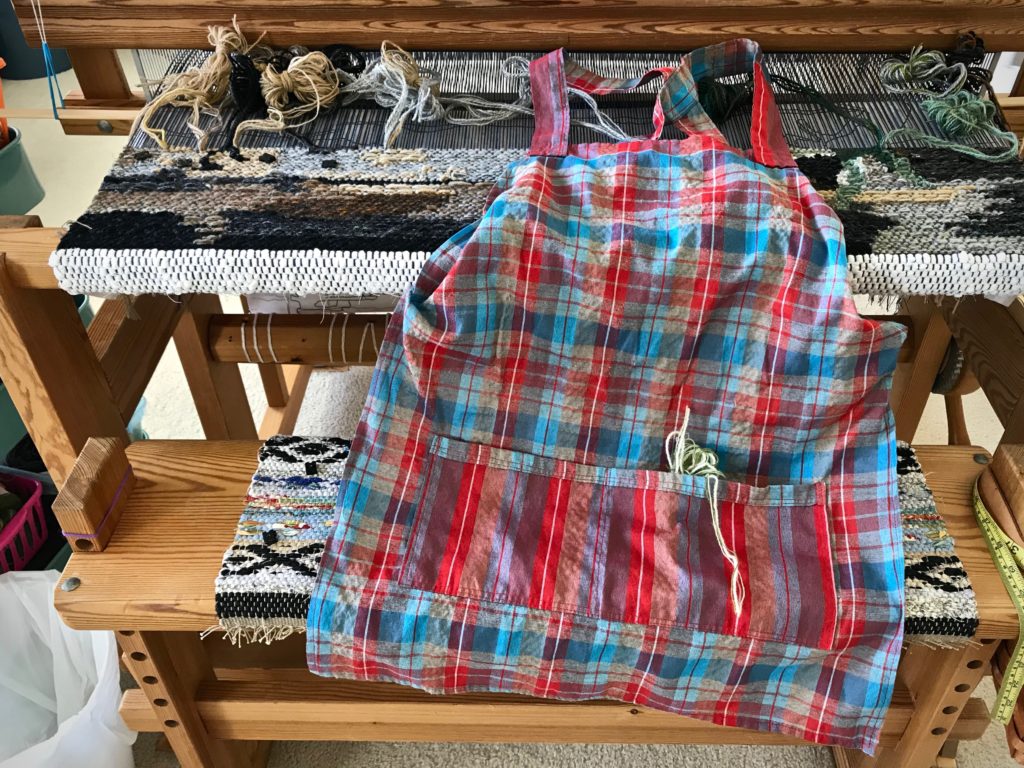
Weaving apron is ready for my next session at the Glimåkra Standard loom. Fabric protection board protects the fabric on the loom, but without an apron my clothing suffers from rubbing up against the board.

I sit right up to the breast beam when I weave, which helps my posture and my reach. This makes the fabric on the loom vulnerable, especially to buttons, buckles, or zippers. It also gives my clothes undue wear, even creating small holes in some of my shirts. My Glimåkra Standard loom has the fabric protection board, aka “belly board,” but that is not in place until the knots from the beginning of the warp go under the breast beam. So, the first inches of weaving go unprotected. My other looms don’t have a fabric protection board.

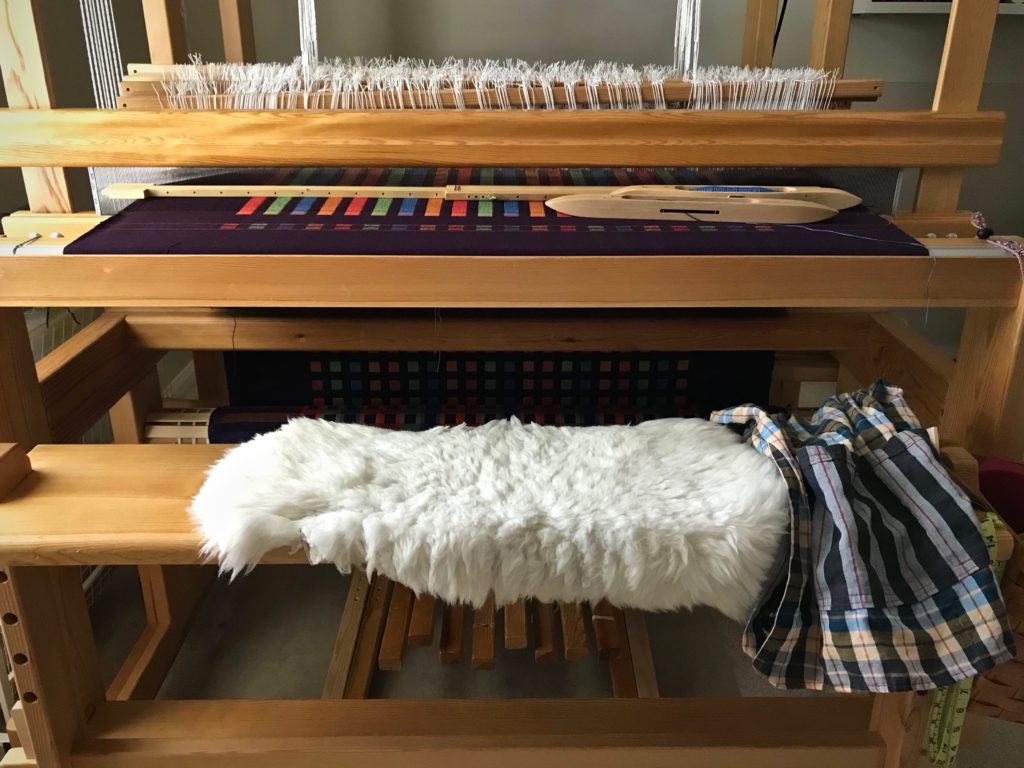
Weaving apron is used to protect fabric on the loom and on the weaver.
Apron is kept on the loom bench for easy access. There is no fabric protection board on this loom, so without an apron, the tapestry being woven and the clothing I wear are both susceptible to damage from repeated contact.

Weaving apron with pockets!
Apron pockets keep things handy.

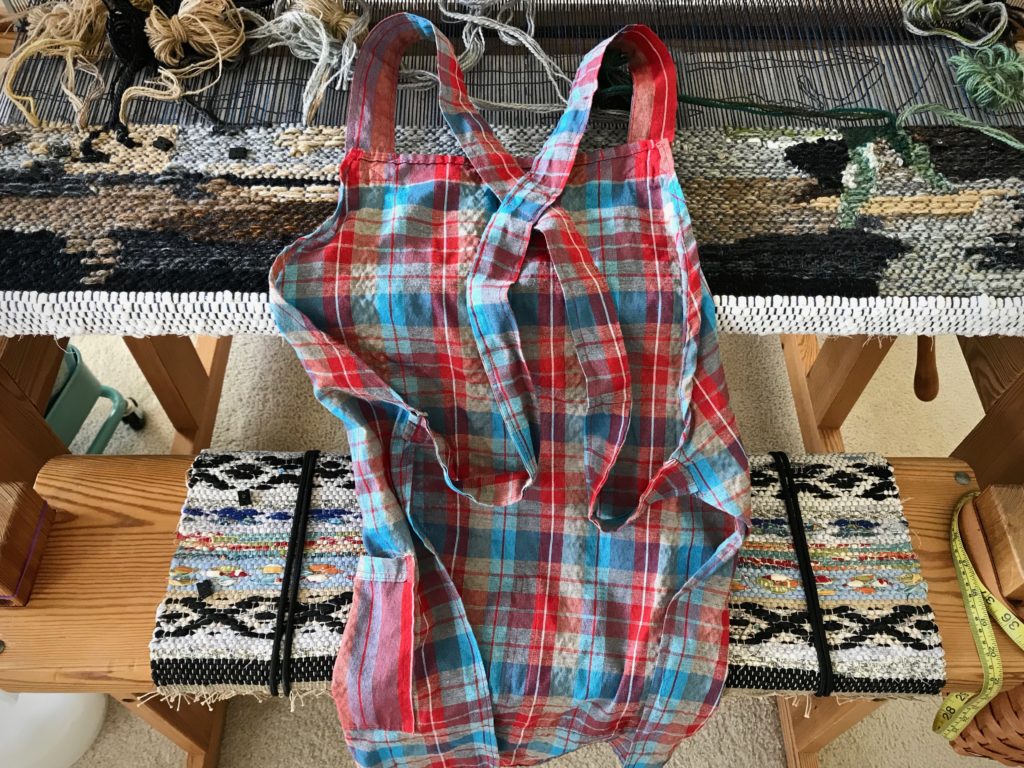
Weaving apron, criss-cross back straps.
With simple criss-cross straps at the back, this weaving apron fits just about anybody. And there is no bow to tie in the back, like my Grandma’s aprons had.

A weaving apron guards both the fabric on the loom and my clothes. The apron also gives me ample pockets, good for countless things—dropping in a few wound quills to take back to the loom, keeping a tape measure handy, separating one wool butterfly from the rest, and other things you wouldn’t think of if you didn’t have them.

Weaving apron, and why it makes sense!
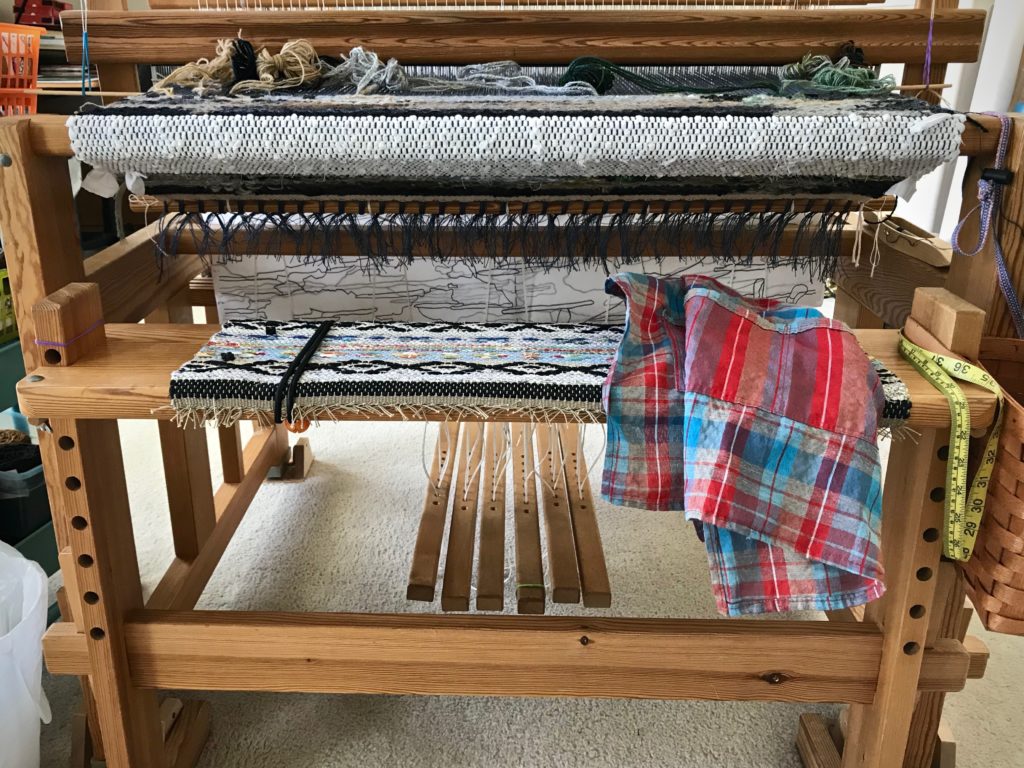
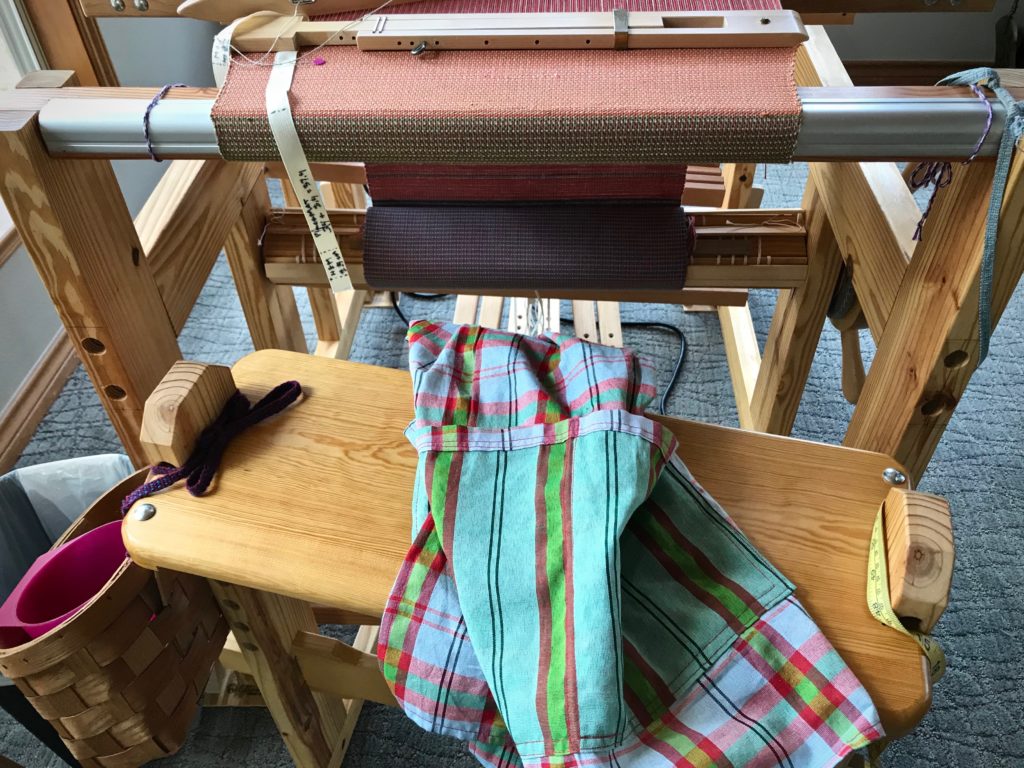
Texas hill country loom has its weaving apron ready for my next visit there.

An apron like this would be easy to make. However, I was fortunate to come across the perfect weaving apron (not labeled as such), pockets and all, at a quaint little shop in Texas hill country. So, now I keep one at each loom. And when you put one of these aprons on to weave, something magical happens…

May you have ample pockets.

Happy weaving,
Karen

Tools Day: Measure Once

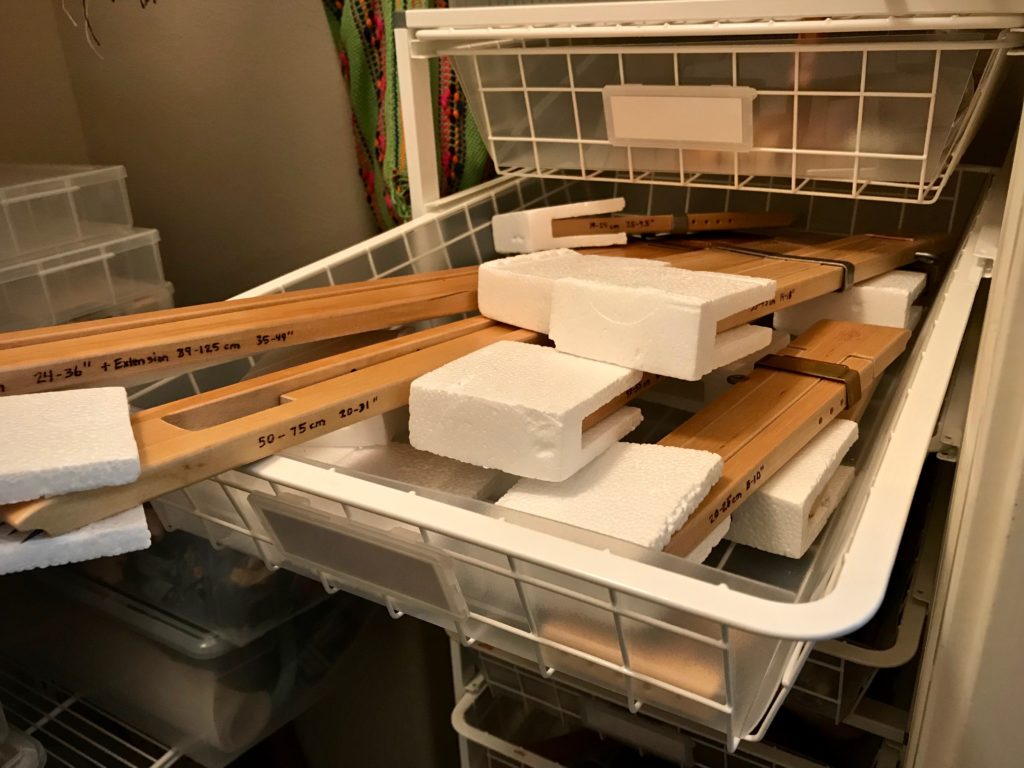
It occurs to me that I am unnecessarily doing something the hard way. Repeatedly. For every new project, I pull out my tape measure to find the right set of lease sticks. The tape measure also helps me select the temple needed for the current weaving width. No more! I do like my tape measure, but why am I measuring these things every time? Why not measure them once and label them?

Solution

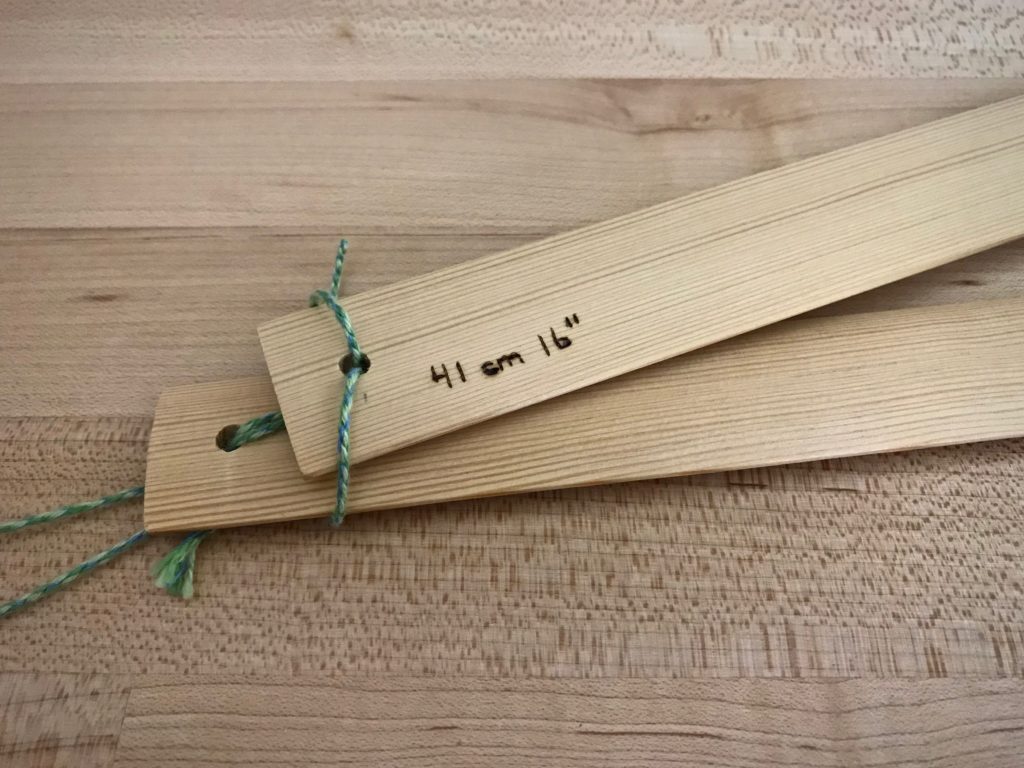
  • Measure the lease sticks and write the length in centimeters and in inches on one stick of each pair, in pencil.
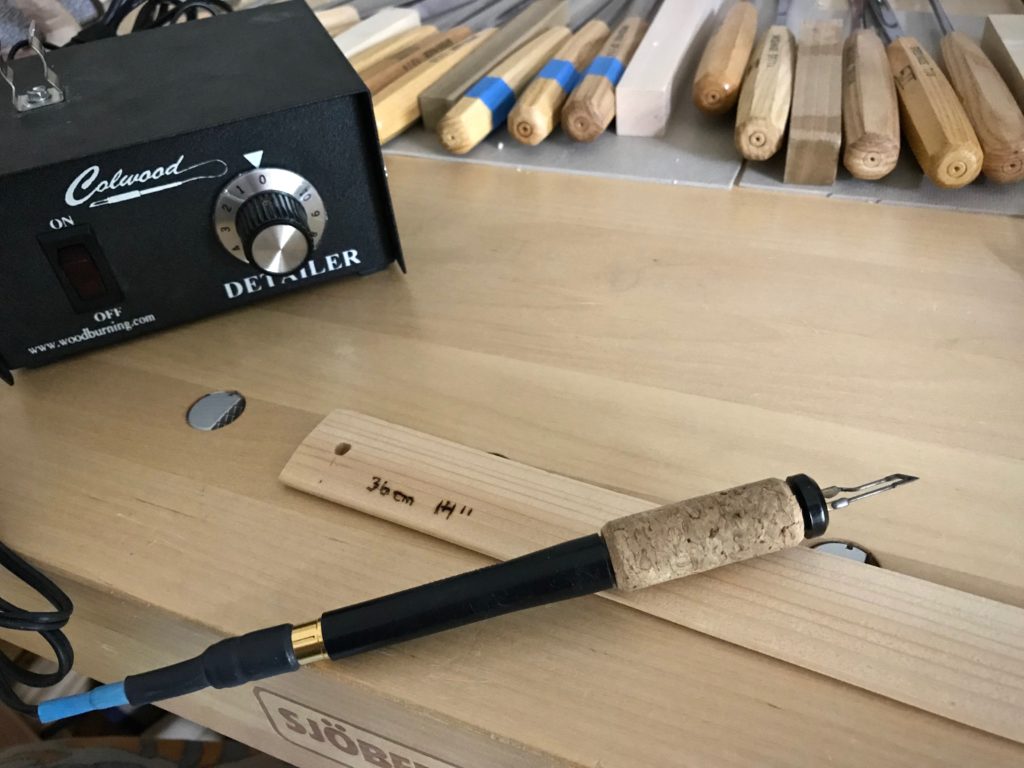
  • Use a wood burner to trace the pencil markings. (My husband Steve does this part for me.)

Weaving tip: Measurements on lease sticks.
Wood burner is used to write the length measurement on the end of a lease stick. Centimeters and inches are indicated because I use metric or imperial units, depending on the project.

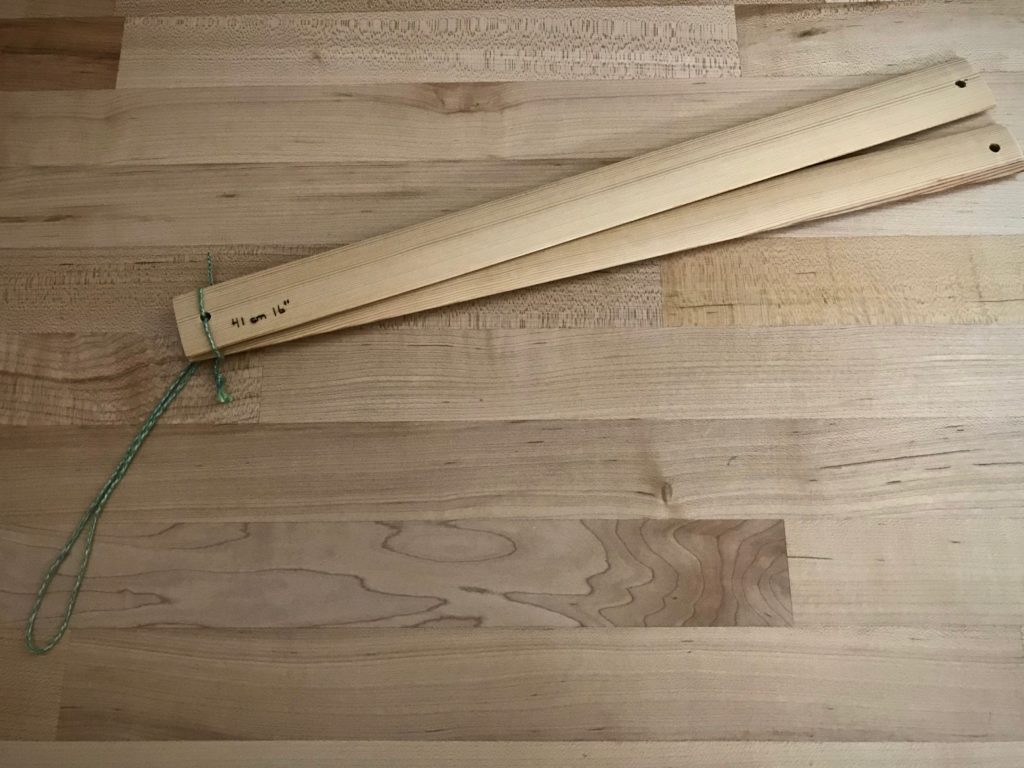
  • Thread a cord through one end of each pair of lease sticks, to keep pairs together. Hang the lease stick pairs with the measurements clearly visible.

Weaving tip: Measured lease sticks paired together for hanging.
Looped cord is threaded through the lease stick holes to provide an easy way to hang pairs together.

Paired lease sticks, ready for hanging.

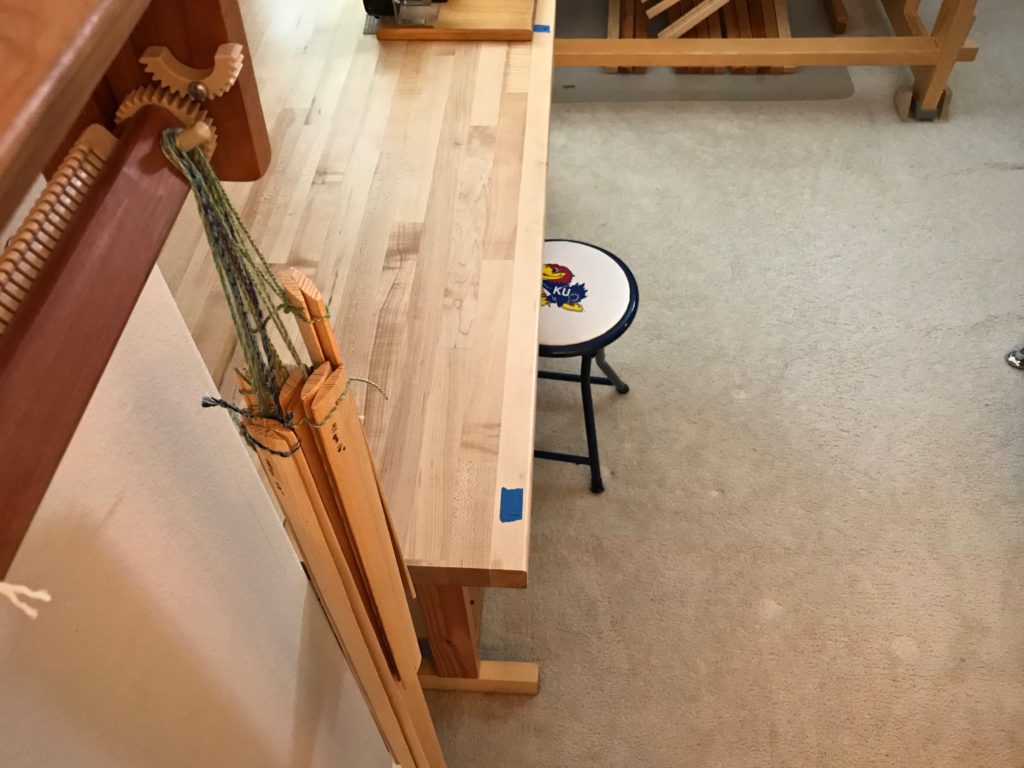
Lease sticks hanging in the weaving studio.
Pairs of lease sticks hang beside my worktable in my weaving room. My ol’ Beka rigid heddle loom on the wall happens to provide just the right little hanging post for the measured lease sticks.

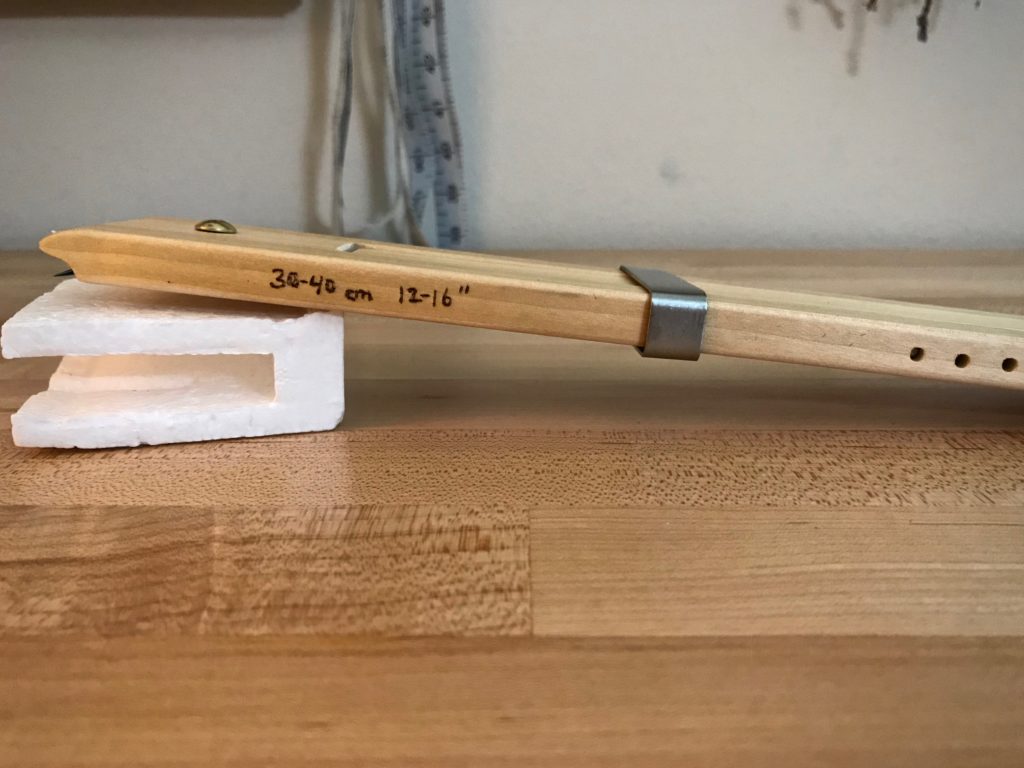
  • Look up the temple sizes on a website that sells them, and write the size range in centimeters and in inches on each temple, in pencil.
  • Use a wood burner to trace the pencil markings. (Steve, again.)

Weaving tip: Measure the temples.
Range of temple widths is important information when I’m choosing a temple. Weaving width of a project must fit in that range.

  • Store the temples in a manner in which the marked measurements are easily seen.

Weaving tip: Find the right temple size the first try!
No more trying different temples to find one that fits. Now I can look at the markings and select the correct temple the first time.

Now I have permanent at-a-glance measurements for each of these frequently-used tools!

May you find something to simplify.

Happy weaving,
Karen