Getting Dressed to Weave

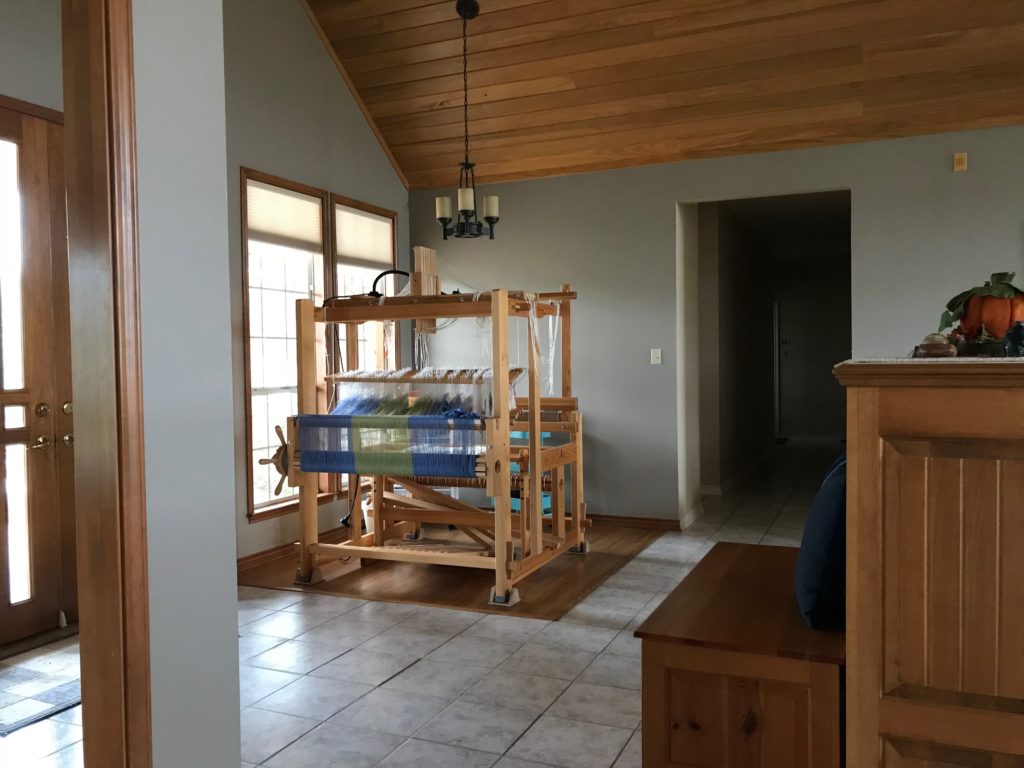
I want to wrap up in this cozy throw already. But I need to weave it first. This is an undulating twill throw that I am making for sweet Lindsay, one of my daughters-in-law. Of course, I am including enough warp to make a small throw of my own.

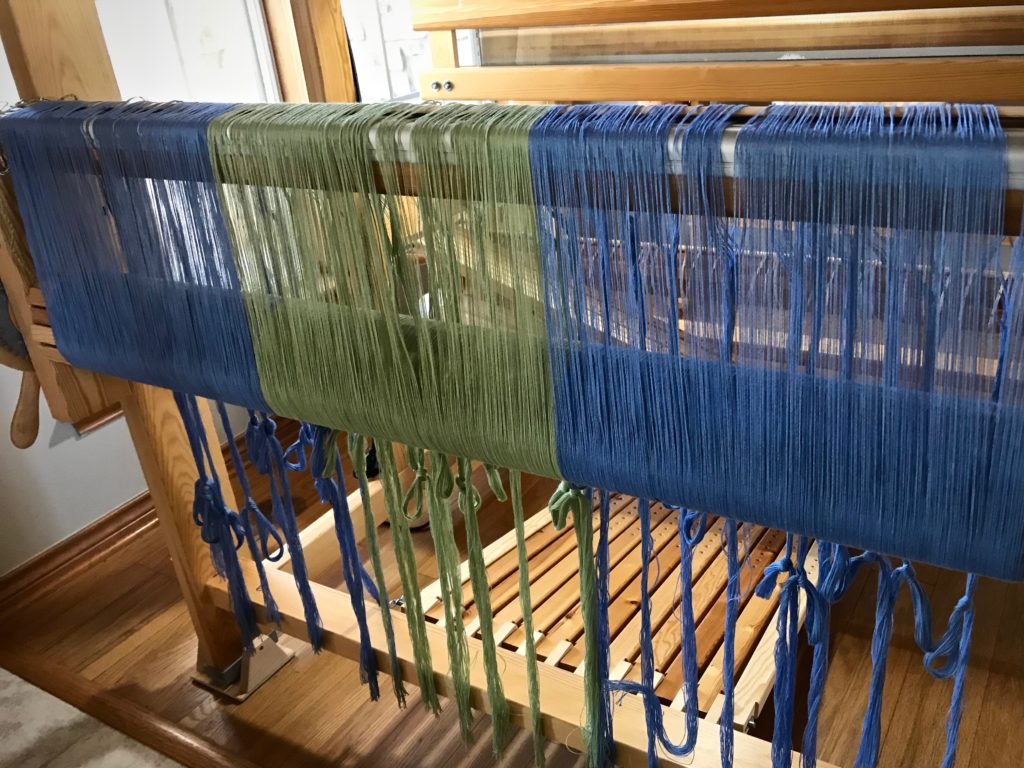
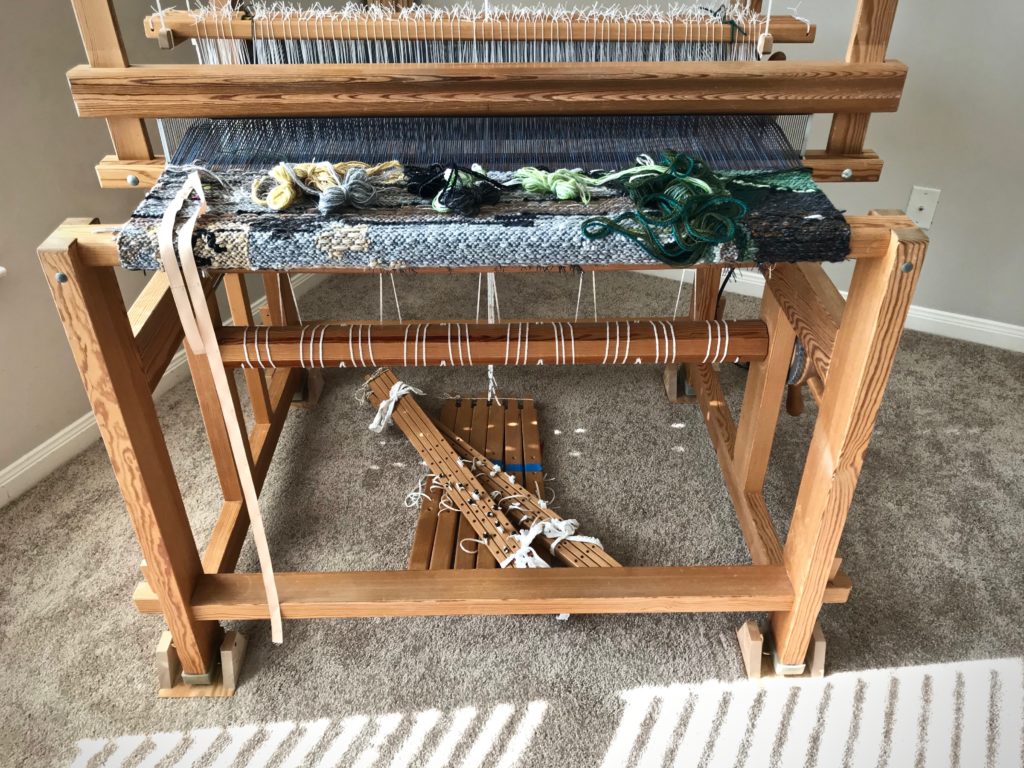
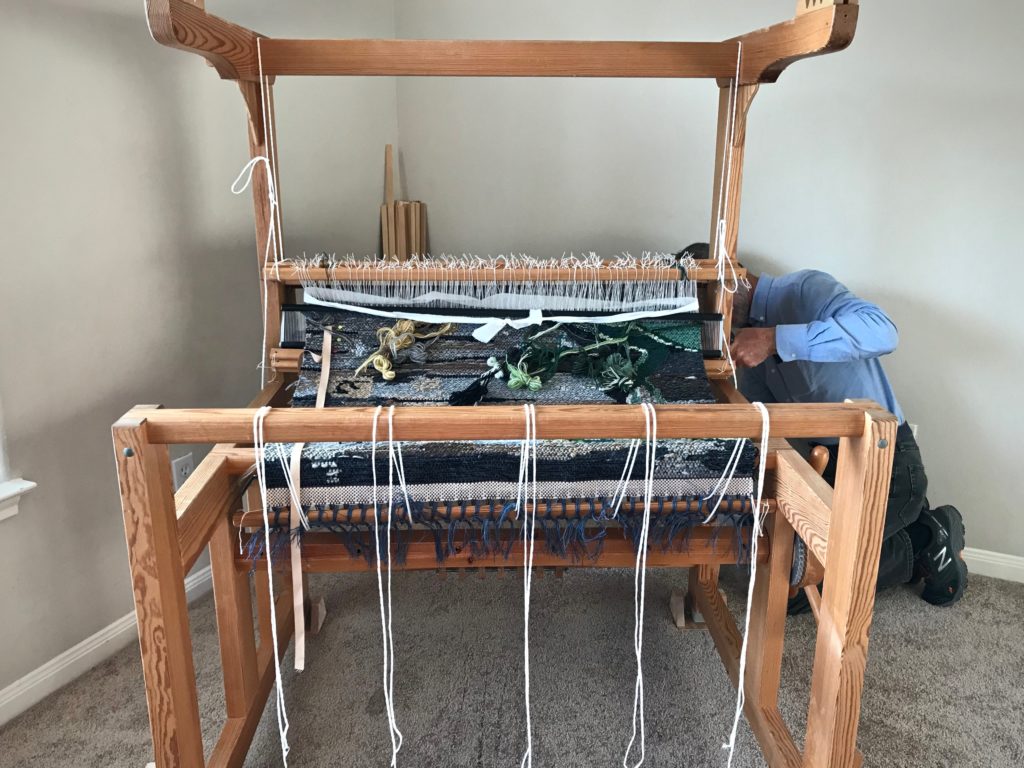
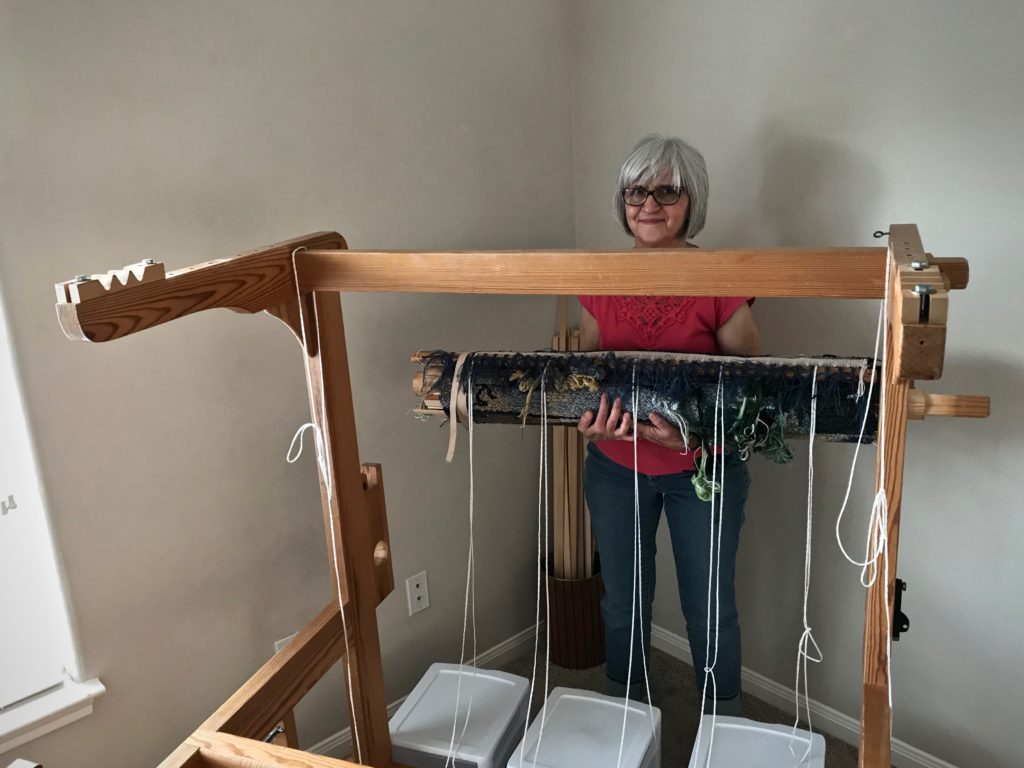
Getting ready to beam the warp. Back to front warping.
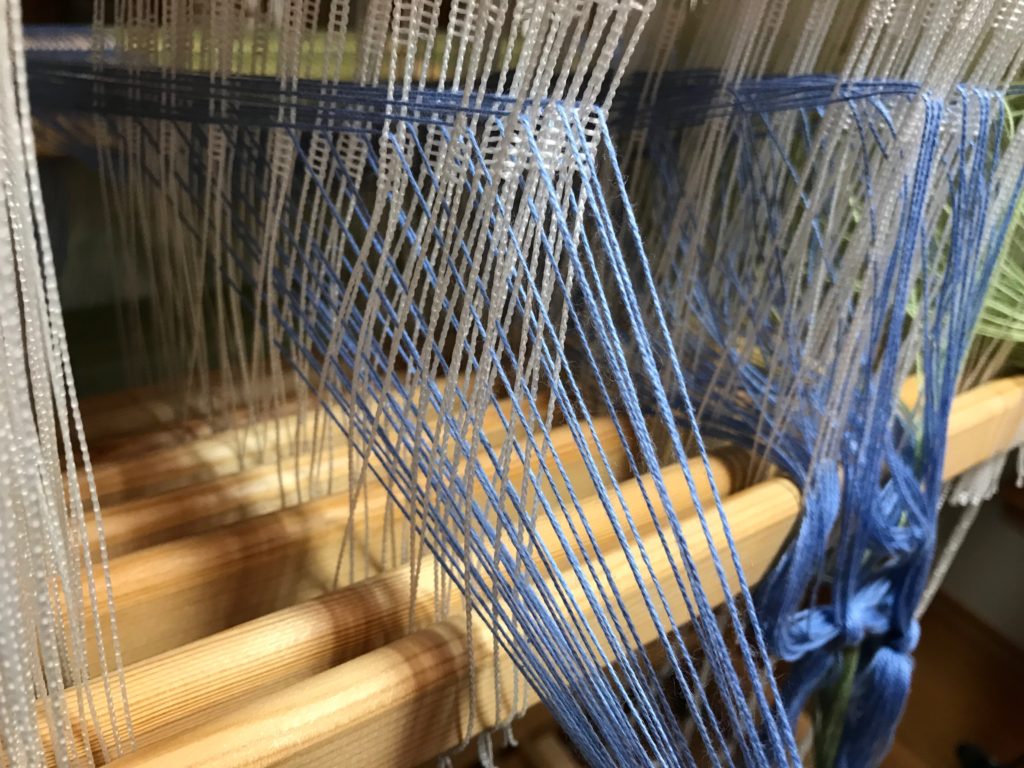
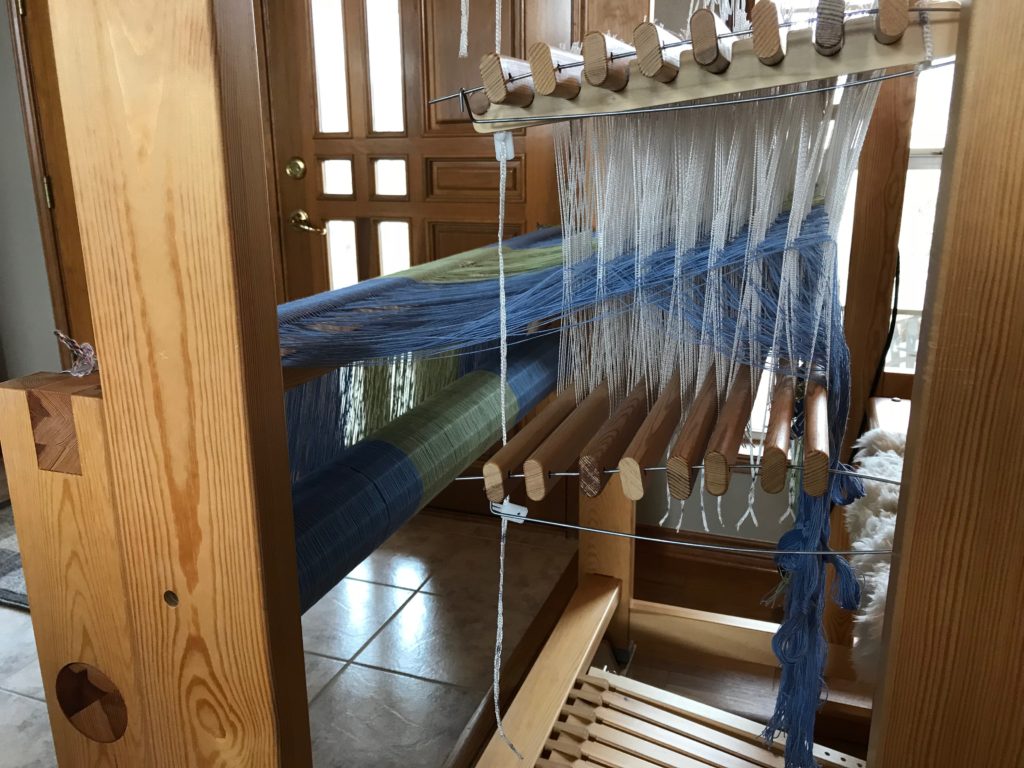
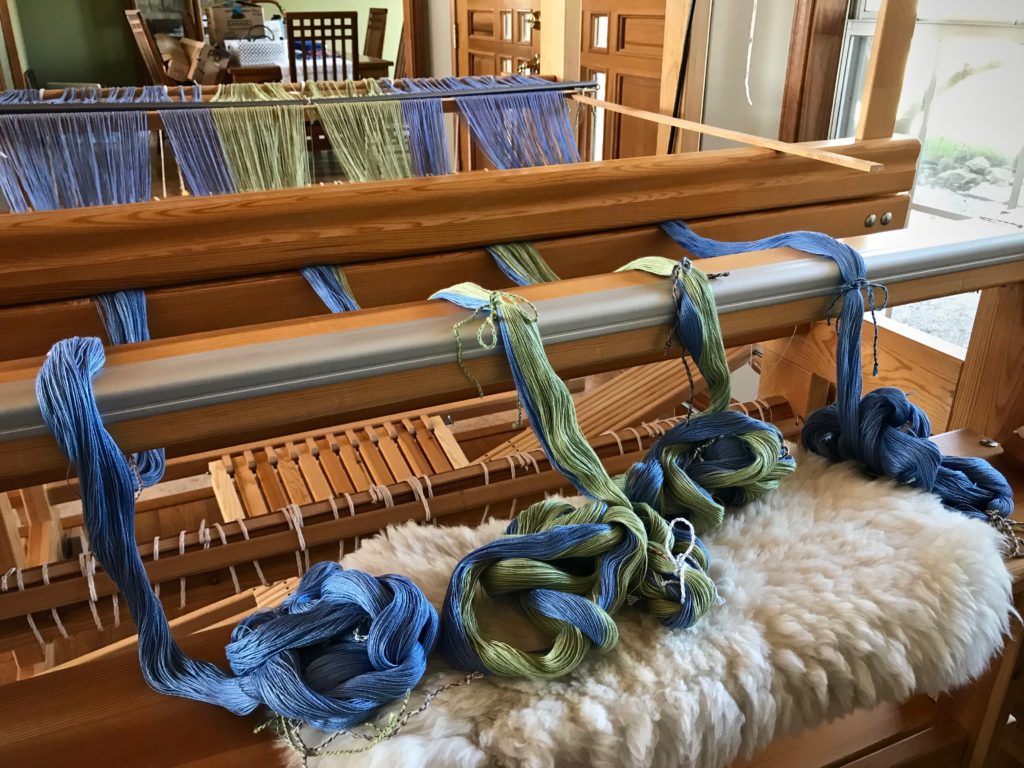
Four chained bouts. The 8/2 cotton warp is pre-sleyed, and the back tie-on bar has been placed through the loops at the end of the warp.

Every step of dressing the loom is fascinating. I easily get immersed in the enjoyment of the process. All the while, I’m dreaming of the finished work.

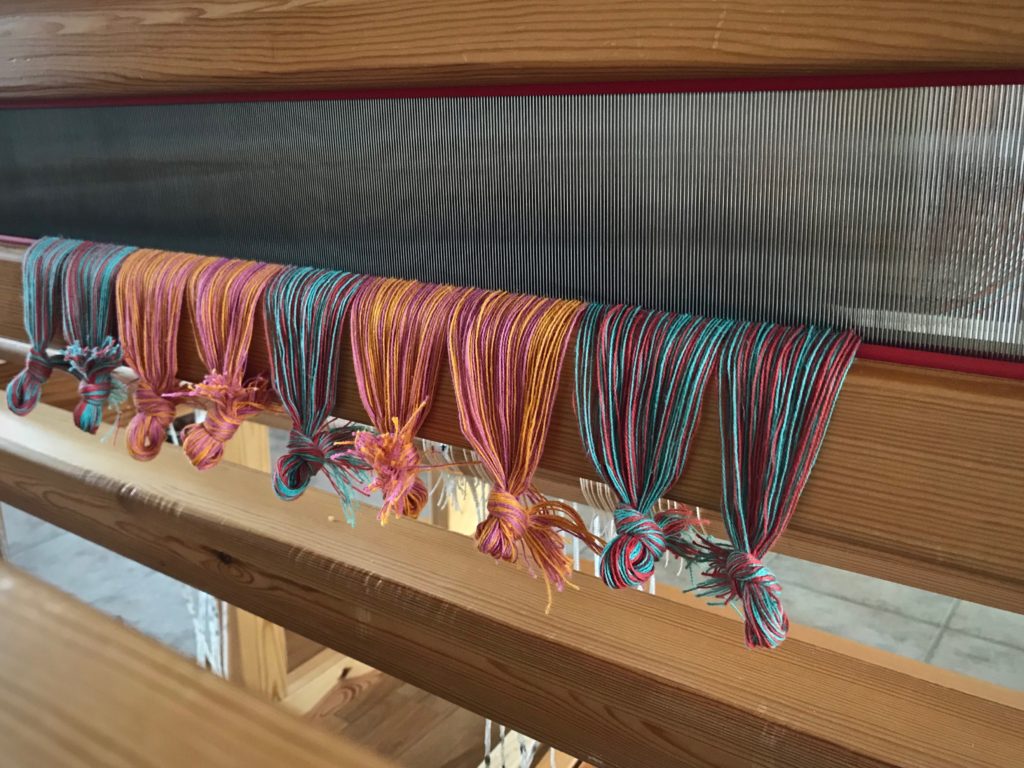
Read to beam the warp, using warping trapeze.
Warping trapeze is in place at the front of the loom. Ready to beam these soothing colors onto the warp beam.
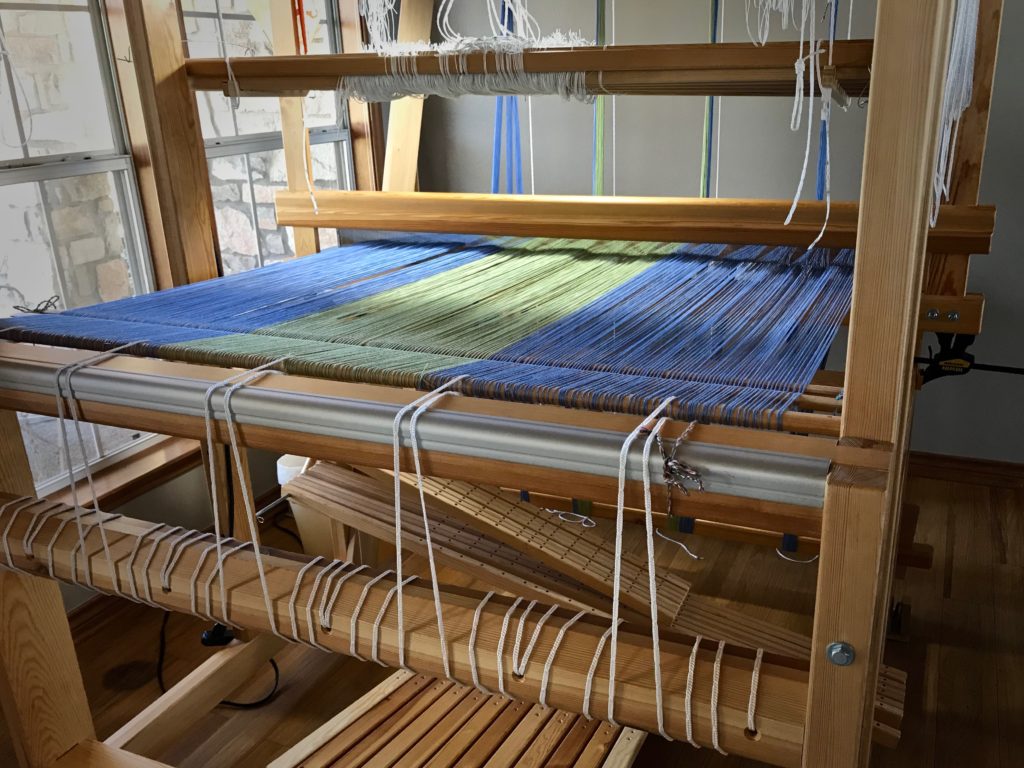
Warp is beamed. Ready for threading.
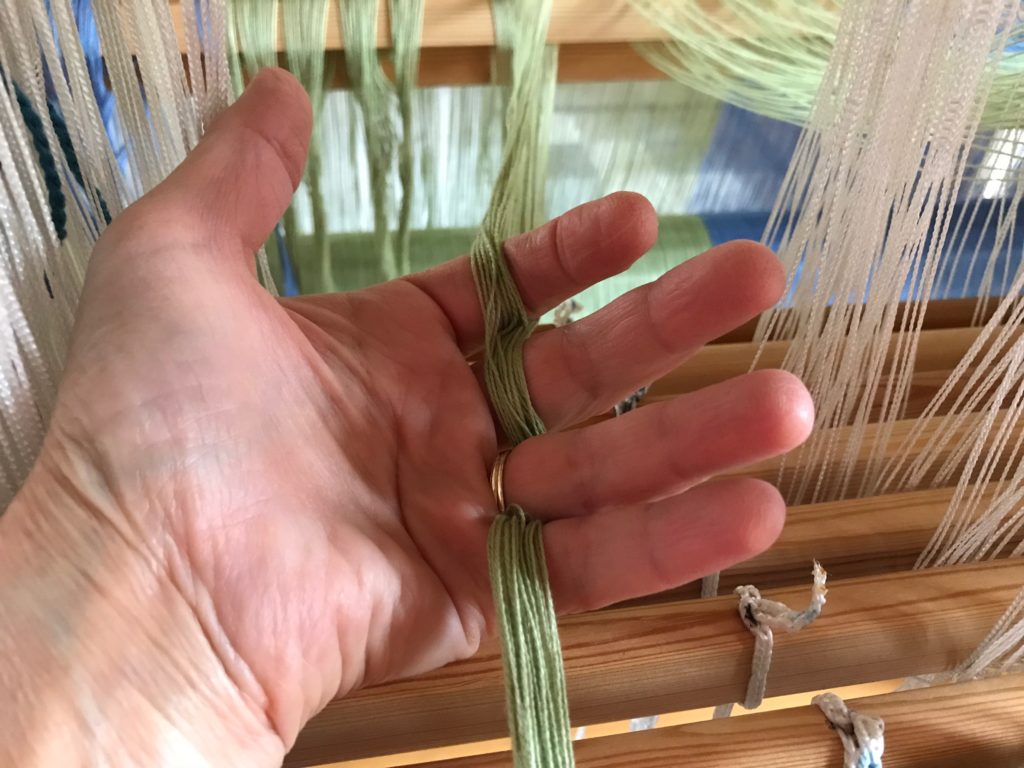
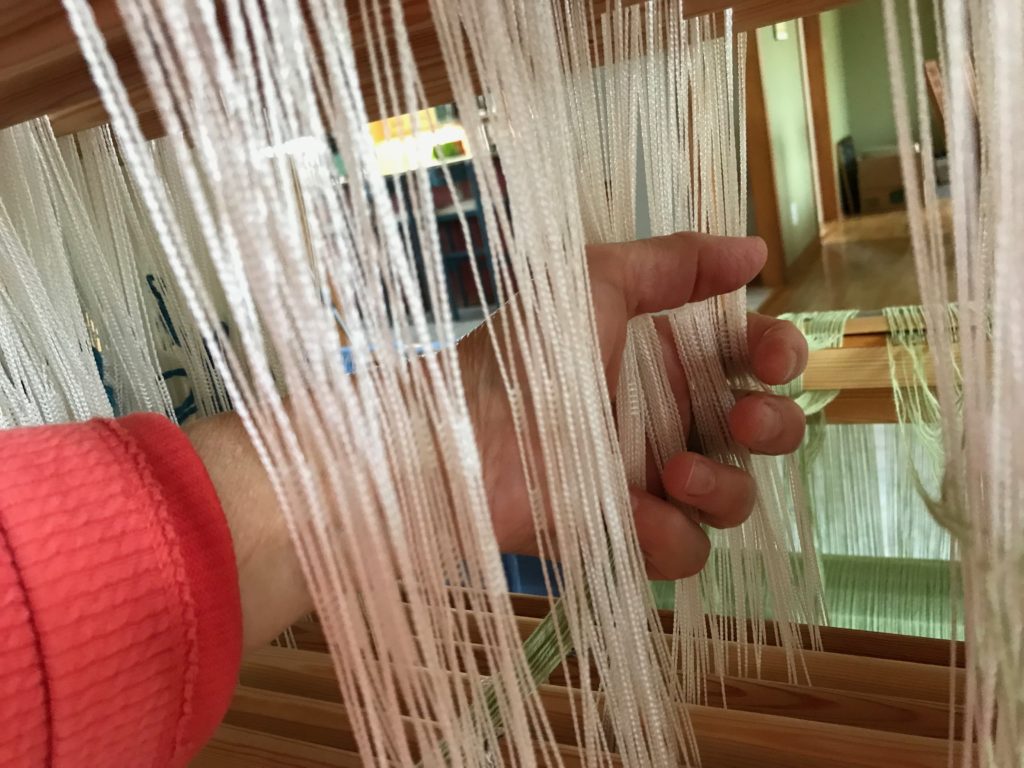
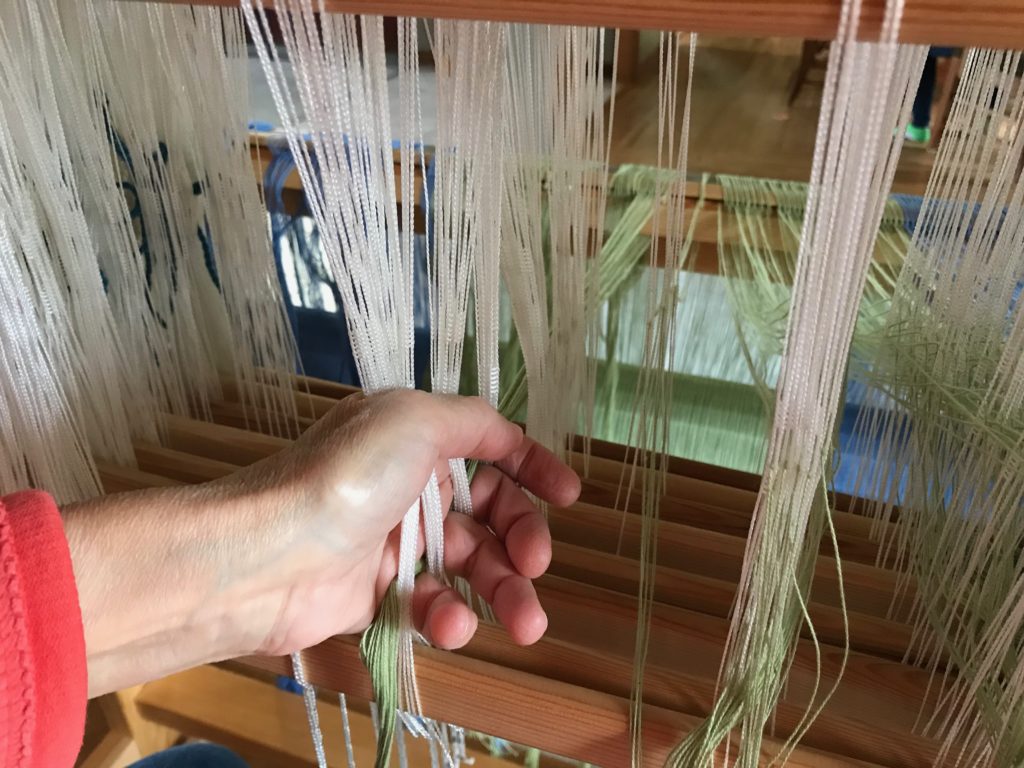
Warp is beamed. Warp ends are counted into groups of 32 ends each, for efficiency and accuracy in threading. This will be threaded for undulating twill on eight shafts.

Dressing the loom leads to the making of cloth. Dressing our lives leads to the making of good character. Prayer is of utmost importance in dressing our lives. Prayer is not a single step in the process, but a posture of faith throughout the process. Earnest prayer reaches God. The power of prayer is not in our words, in the threads we express, but in the Grand Weaver. He receives our humble threads and weaves them into his will to bring about his beautiful cloth. Fascinating, isn’t it?

May you dream as you dress the loom.

Prayerfully,
Karen

Quiet Friday: Lizard Tapestry

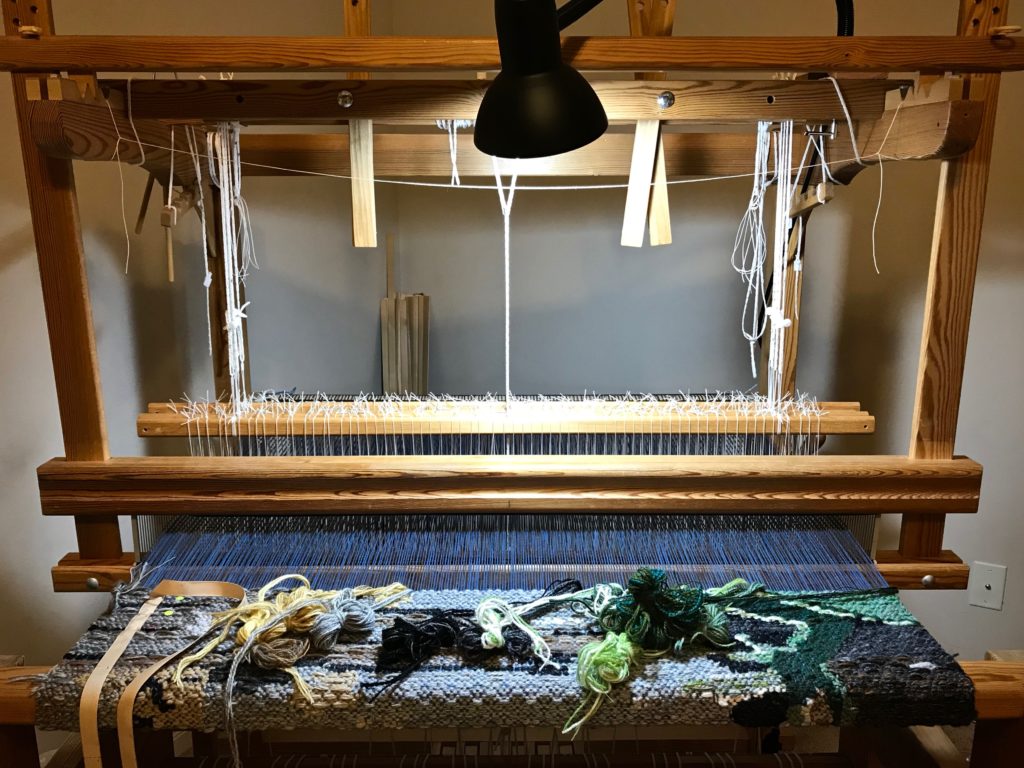
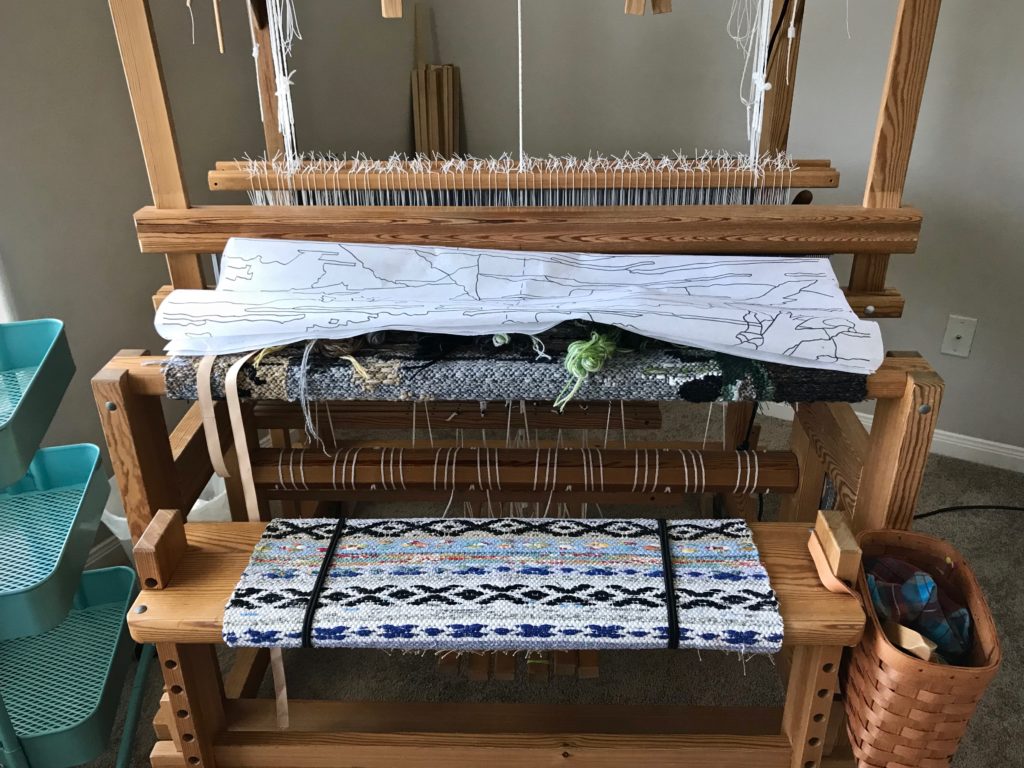
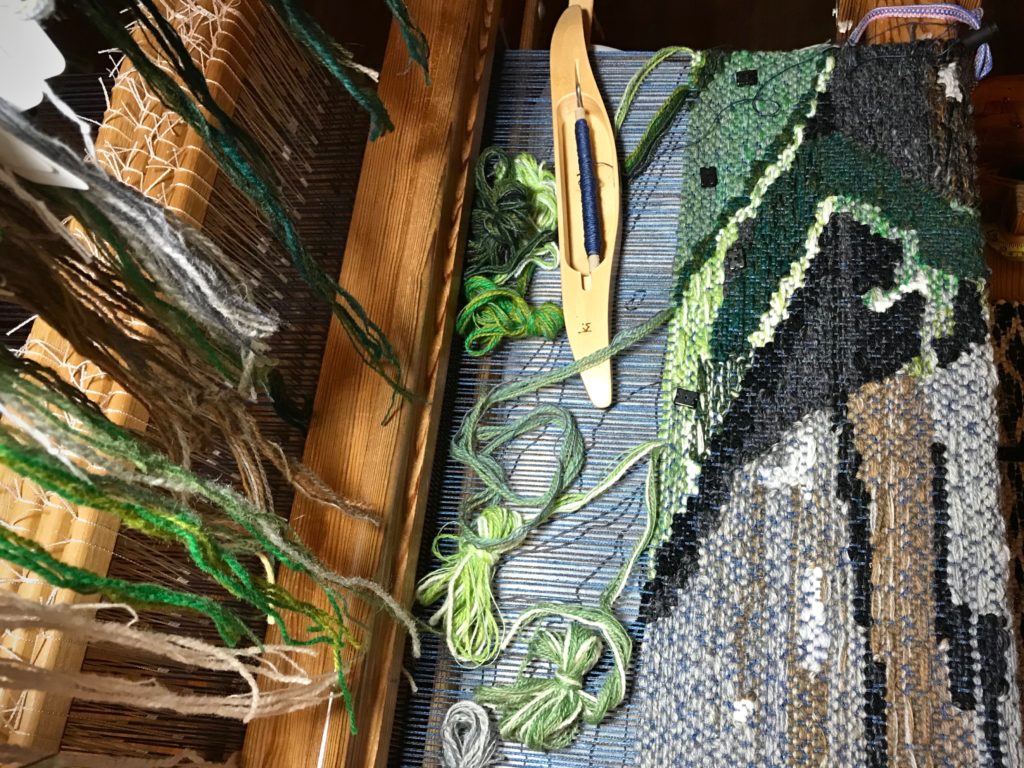
This is the moment we’ve been waiting for! We finally get to see the whole tapestry. This lizard has given me quite a ride! I have learned plenty. Things I’m happy with myself about, like drawing a cartoon from a photograph, following the cartoon details, making and keeping track of butterflies. And some things I’d like to improve, like choosing colors that give the best contrast, managing the cartoon under the tapestry, and choosing where to pick the floats. I’m eager to do four-shaft tapestry again so I can learn some more!

I wove the fringe into an edging, ending with a small braid. Next, I will tack the edging and braids to the back, clip weft tails on the back, and sew on a backing fabric. And then, I’ll find a special place to hang this Lizard tapestry in our Texas hill country home, just a half mile from the place I saw and photographed the cute little green anole in the first place.

Finishing the ends on the Lizard tapestry.
Finishing the ends.


Lizard Tapestry.
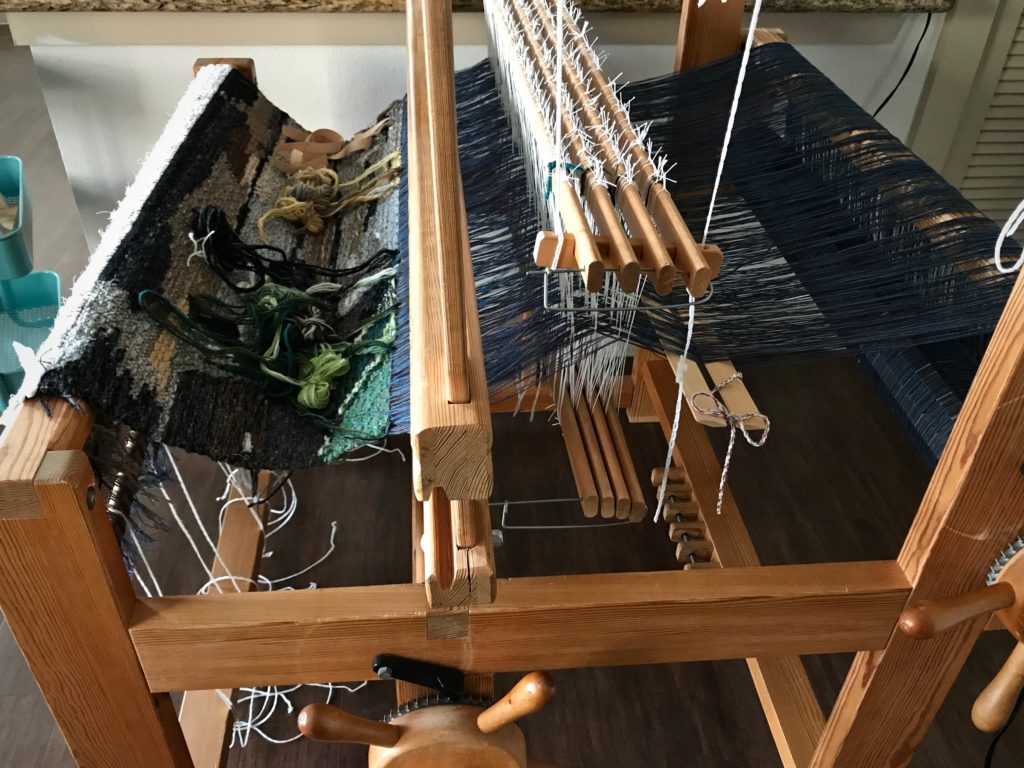
Lizard Tapestry. Next steps are clipping weft tails on the back, adding a backing, and hanging in our Texas hill country home.

May your learning experiences take you for an exciting ride.

Happy Weaving,
Karen

~Change Is Coming~
With Steve’s approaching retirement, I am implementing some adjustments for Warped for Good. Friday posts will become less frequent, and by December you will receive new posts only on Tuesdays. Today is my final Quiet Friday post, something I’ve enjoyed doing once a month for the five and-a-half years Warped for Good has been active.

I invite you to continue joining with me on this weaving journey at Warped for Good!

Tools Day: Click Test

It is not easy to see sleying errors in this fine-dent reed. I unknowingly quadrupled the ends in four of the dents, instead of the specified two ends per dent. When I check as I go, I find the errors while they are still easy to fix.

How to check and double-check for sleying errors:

  • Tie ends into threading groups, using a loose slip knot. (I do this before threading the heddles.)
  • Sley one threading group. (I sley right to left.)
  • Visually check the sleyed group of ends for skipped dents and crowded dents.
  • Do a Click Test. Use the hook end of the reed hook to count the dents by running the hook along the reed…click, click, click… Make sure the number of clicks matches the number of dents needed for that group of ends.
    —This is how I caught my errors. When the dents came up short in the Click Test, I knew I had some crowded dents that I had failed to catch in the visual check.
  • Move ends and re-sley as needed.
  • Sley each remaining group of ends, checking as you go, visually and with the reed-hook Click Test.
Reed is sleyed. Dressing the loom for double-weave towels.
Two ends per dent in this 70/10 metric (equivalent to an 18-dent imperial) reed.

May your errors be few and fixable.

Happy sleying,
Karen

Lizard Tapestry Disruption

I started the Lizard tapestry right before our big disruption. Selling your house means that every in-process project instantly becomes vulnerable. Yikes! After a sleepless night, I contacted my friend Joanne Hall. Can this weaving be saved? Yes!, she assured me, as she gave me instructions for dismantling the loom.

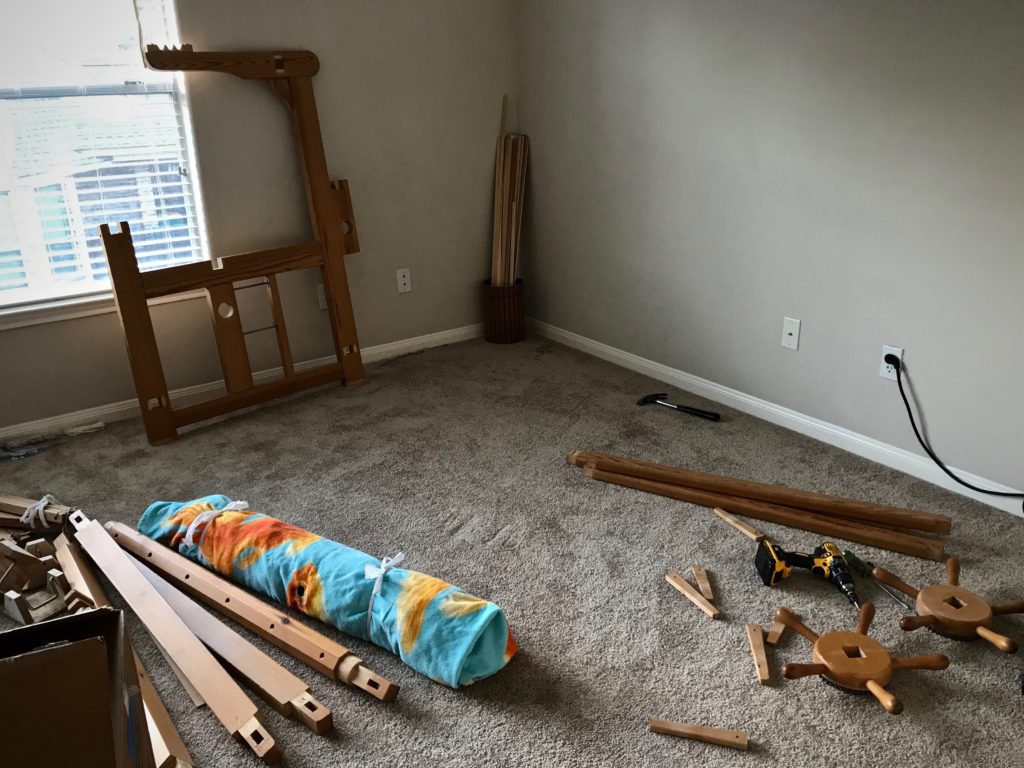
Getting ready to dismantle loom for relocation.
Yarn supply is packed up, including all the wool butterflies.
Getting ready to dismantle loom for moving.
Cartoon is removed.

Everything is logical about the process. Undo things, tie parts together, take things apart. And I don’t have to cut off the weaving? No. Remove the beam cords from the cloth beam. It’s that simple.

Lamms and treadles removed for moving the loom.
Lamms and treadles have been taken off.
Moving a loom without ruining a tapestry in progress!
Beam cords are removed from the cloth beam.
Removing the warp beam. Relocating the loom.
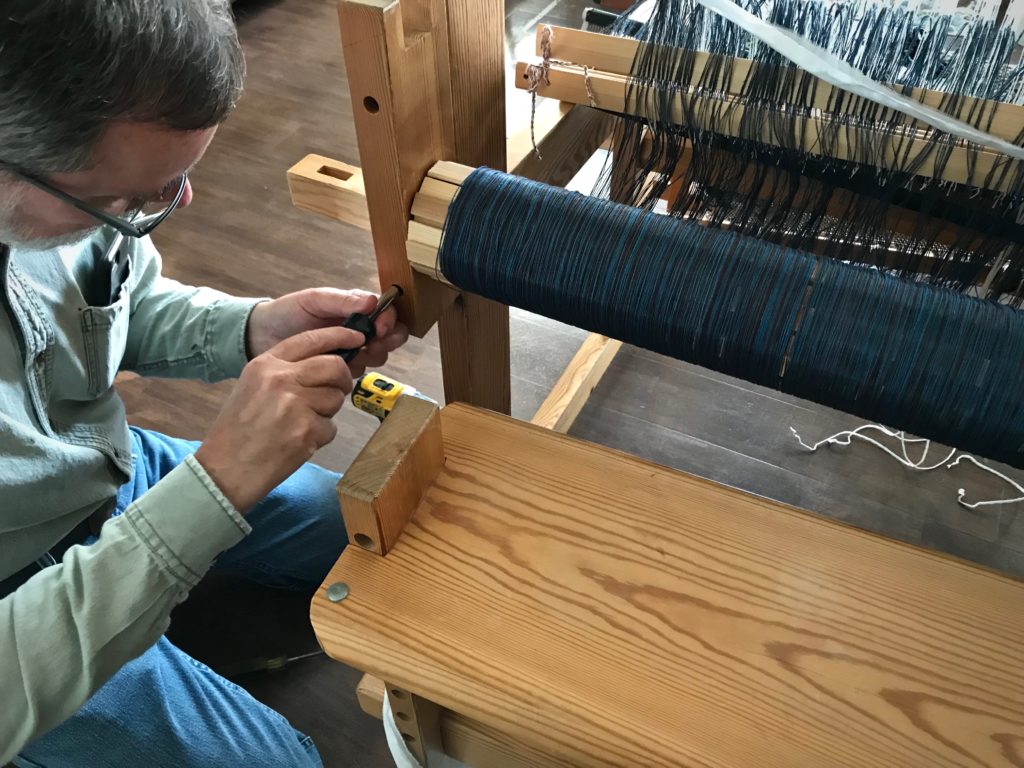
Steve unscrews a bolster that holds one side of the warp beam so I can remove the warp beam.
Warp beam removed! Hope to put this back together.
Holding the precious bundle!
Taking the loom apart.
Taken apart. Tapestry, reed, and shafts are rolled and bundled up in the fish beach towel.

Now all I have to do is wait

Relocating my loom.
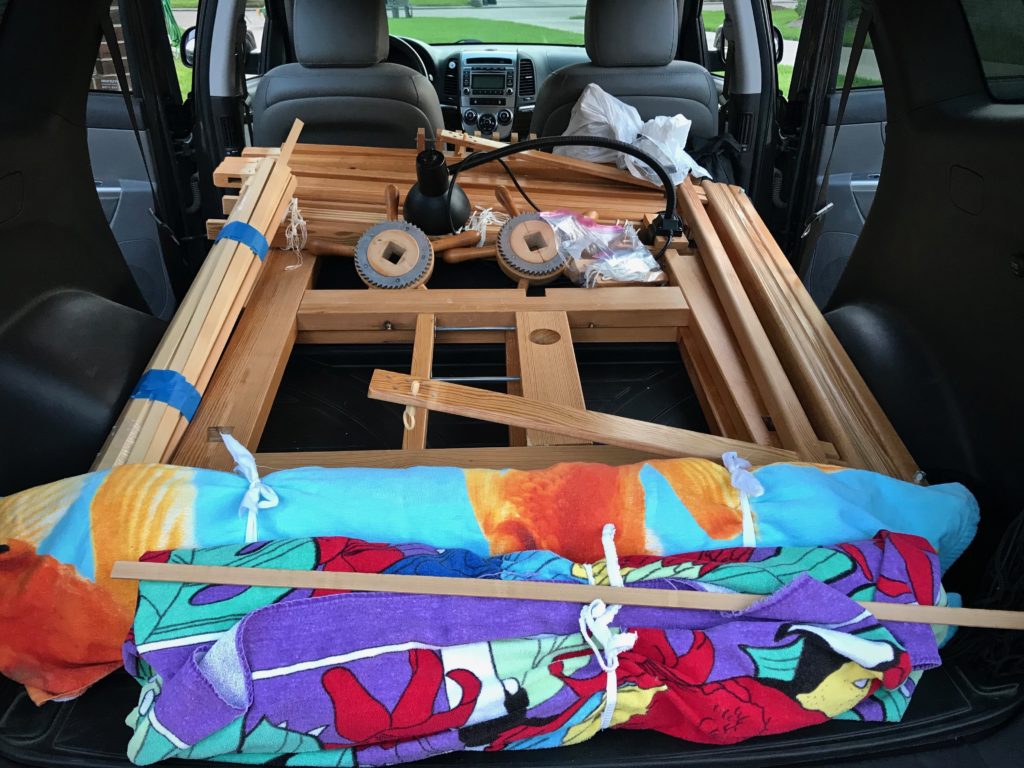
Everything fits in the car, ready for transport.

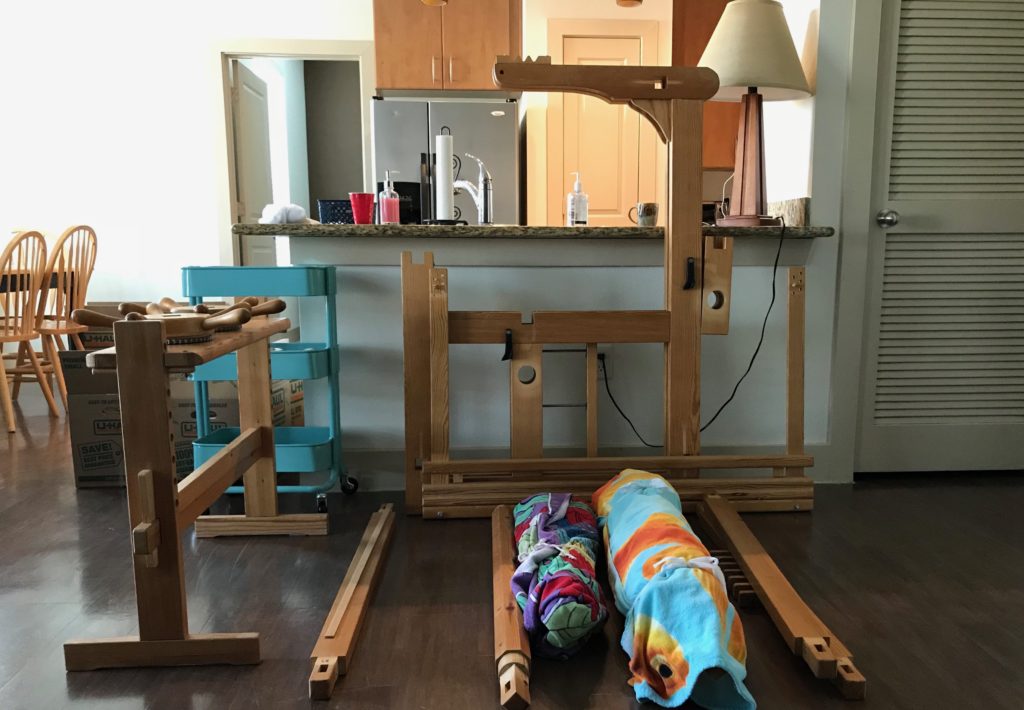
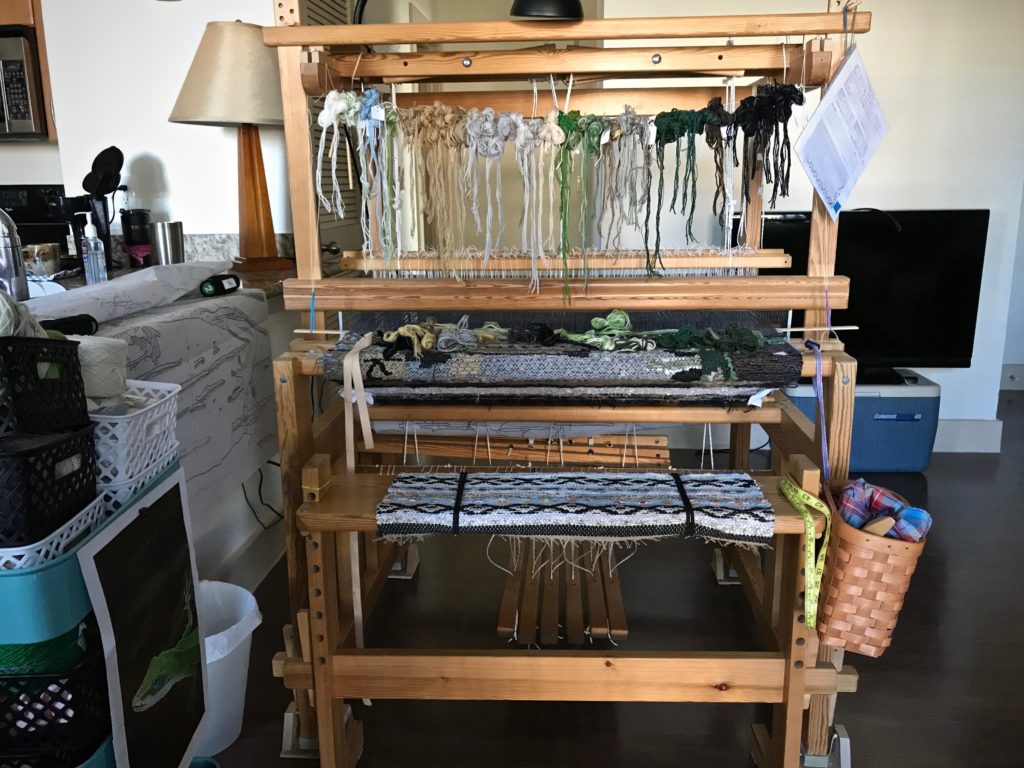
All the dust has settled, the house transaction is done, and the loom has been re-located and put back together. It’s the first thing you see when you enter our ground-floor apartment.

Getting ready to re-assemble loom.
New location for the loom is in the living room of our apartment.
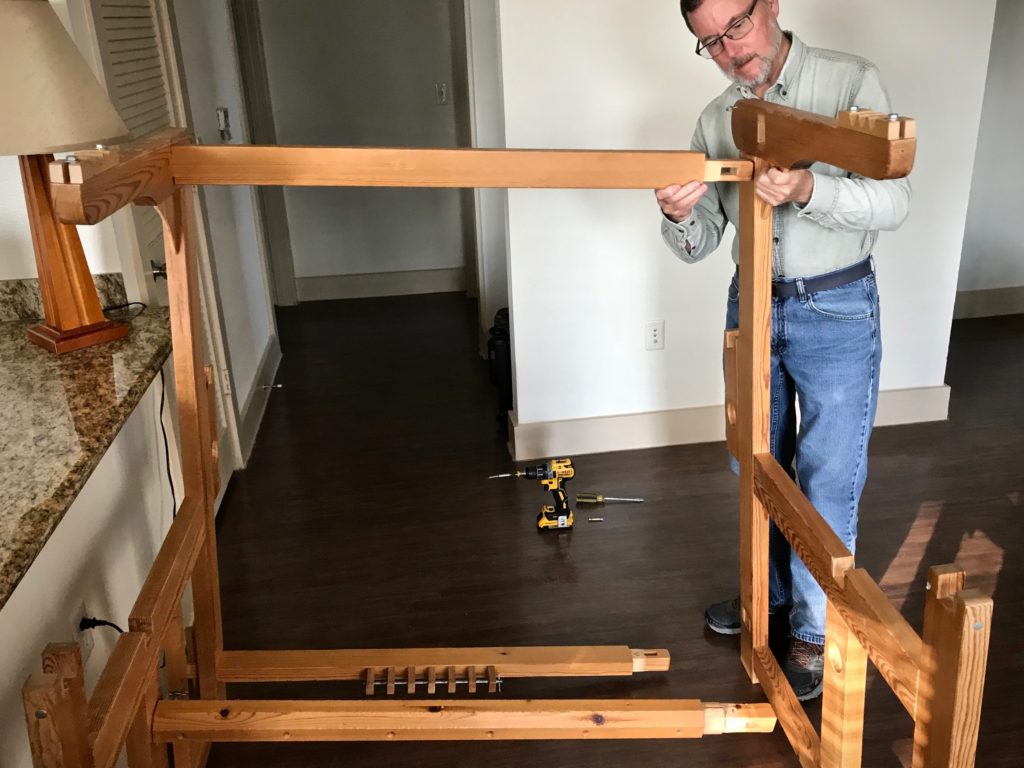
Simple Swedish loom assembling.
Re-assembling my loom after relocating.
Re-attaching the bolster to hold the warp beam.
Re-assembling loom after relocating.
Tapestry in view.
Using a spare heddle as a cord threader.
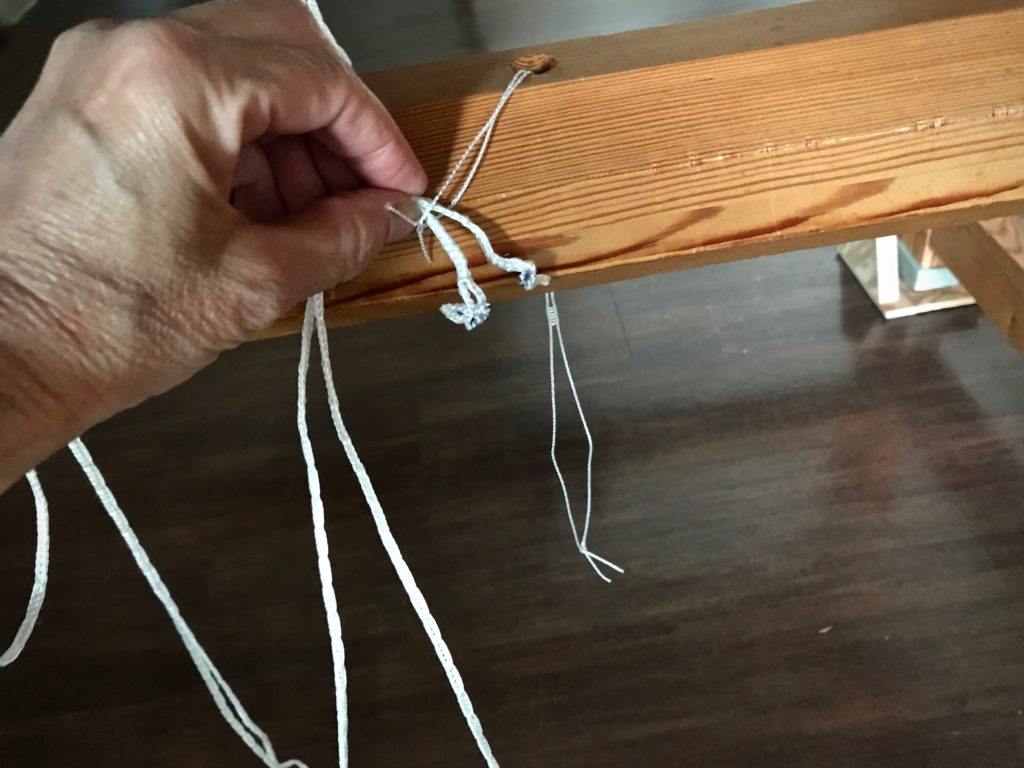
Spare Texsolv heddle works as a cord threader (I forgot to pack the “real” cord threader) to re-attach the cords on the cloth beam.

What about the Lizard? Can I resume where I left off? Good news: IT WORKED!

Ready to weave after relocating the loom!
Everything is put back together. Beam cords are re-attached. Yarn is unpacked. Warp is tensioned.
Lizard four-shaft tapestry.
Lizard foot grips the breast beam as weaving resumes!

When have you had to wait? Something you dearly long for is unreachable for a while. Waiting for the Lord is always waiting with hope. I trusted my friend’s advice. So, my hope was strong while I waited to see this lizard take shape again. In a similar way, I can trust the Lord when there is a disruption. Wait with strong hope. Wait for the grace to begin again.

May you wait patiently.

Happy Weaving,
Karen

Lizard in Black and White

Some things are better seen without color. Hence, an enlarged version of my lizard in black and white. Variances in value are not as easily discerned in the full-color print. These subtle value distinctions bring realism to the lizard tapestry. For this reason, I sort all the yarn into small groups of color and value, which clarifies my choices for each wool butterfly.

Lizard portrait in black and white for tapestry project.
Lizard portrait in black and white shows nuances in color value.

Yarn Sorting Process:
1. Select yarn colors for the tapestry.

2. Group like colors together.

Sorting wool yarn for a tapestry. Tutorial.
Wool yarn, much of which has been accumulated from previous projects.

For each color group (I have seven color groups):
1. Arrange yarn on a white background in value order, from light to dark. Take a picture.

Arranging yarn by color value for tapestry.
Green, from light to dark.

2. Take another picture using the smart phone black and white setting (“Noir” in the filters on my iPhone).

Yarn in order by value. Blog post explanation.
Photo shows that a couple adjustments are needed for the yarn-value order.

3. Adjust yarn to make value order corrections.

Yarn in order by color value. Suggestions on blog post.
Adjustments made.

4. Divide the yarn into three value sections. 1. light, 2. medium, 3. dark.
5. Label baskets to hold each yarn section; i.e., “G 3” for green, dark.

The preparation for a project like this is immense. And tedious. But this is a weaving adventure. Indeed, the results may very well be astounding. That’s my hope.

Yarn for tapestry sorted by color and value. Tutorial.
Little baskets of yarn next to the loom, sorted by color and value.

Life itself is a full color project. Immense and tedious. Rise above these earthly things. Our Grand Weaver sees the value distinctions that we miss with our natural eye. What hope this gives! Trusting him through this real life adventure brings assurance of astounding results. Setting my mind on these “above” things turns troubles into treasures whose values will be evident in the final real tapestry.

May you persevere.

With you,
Karen