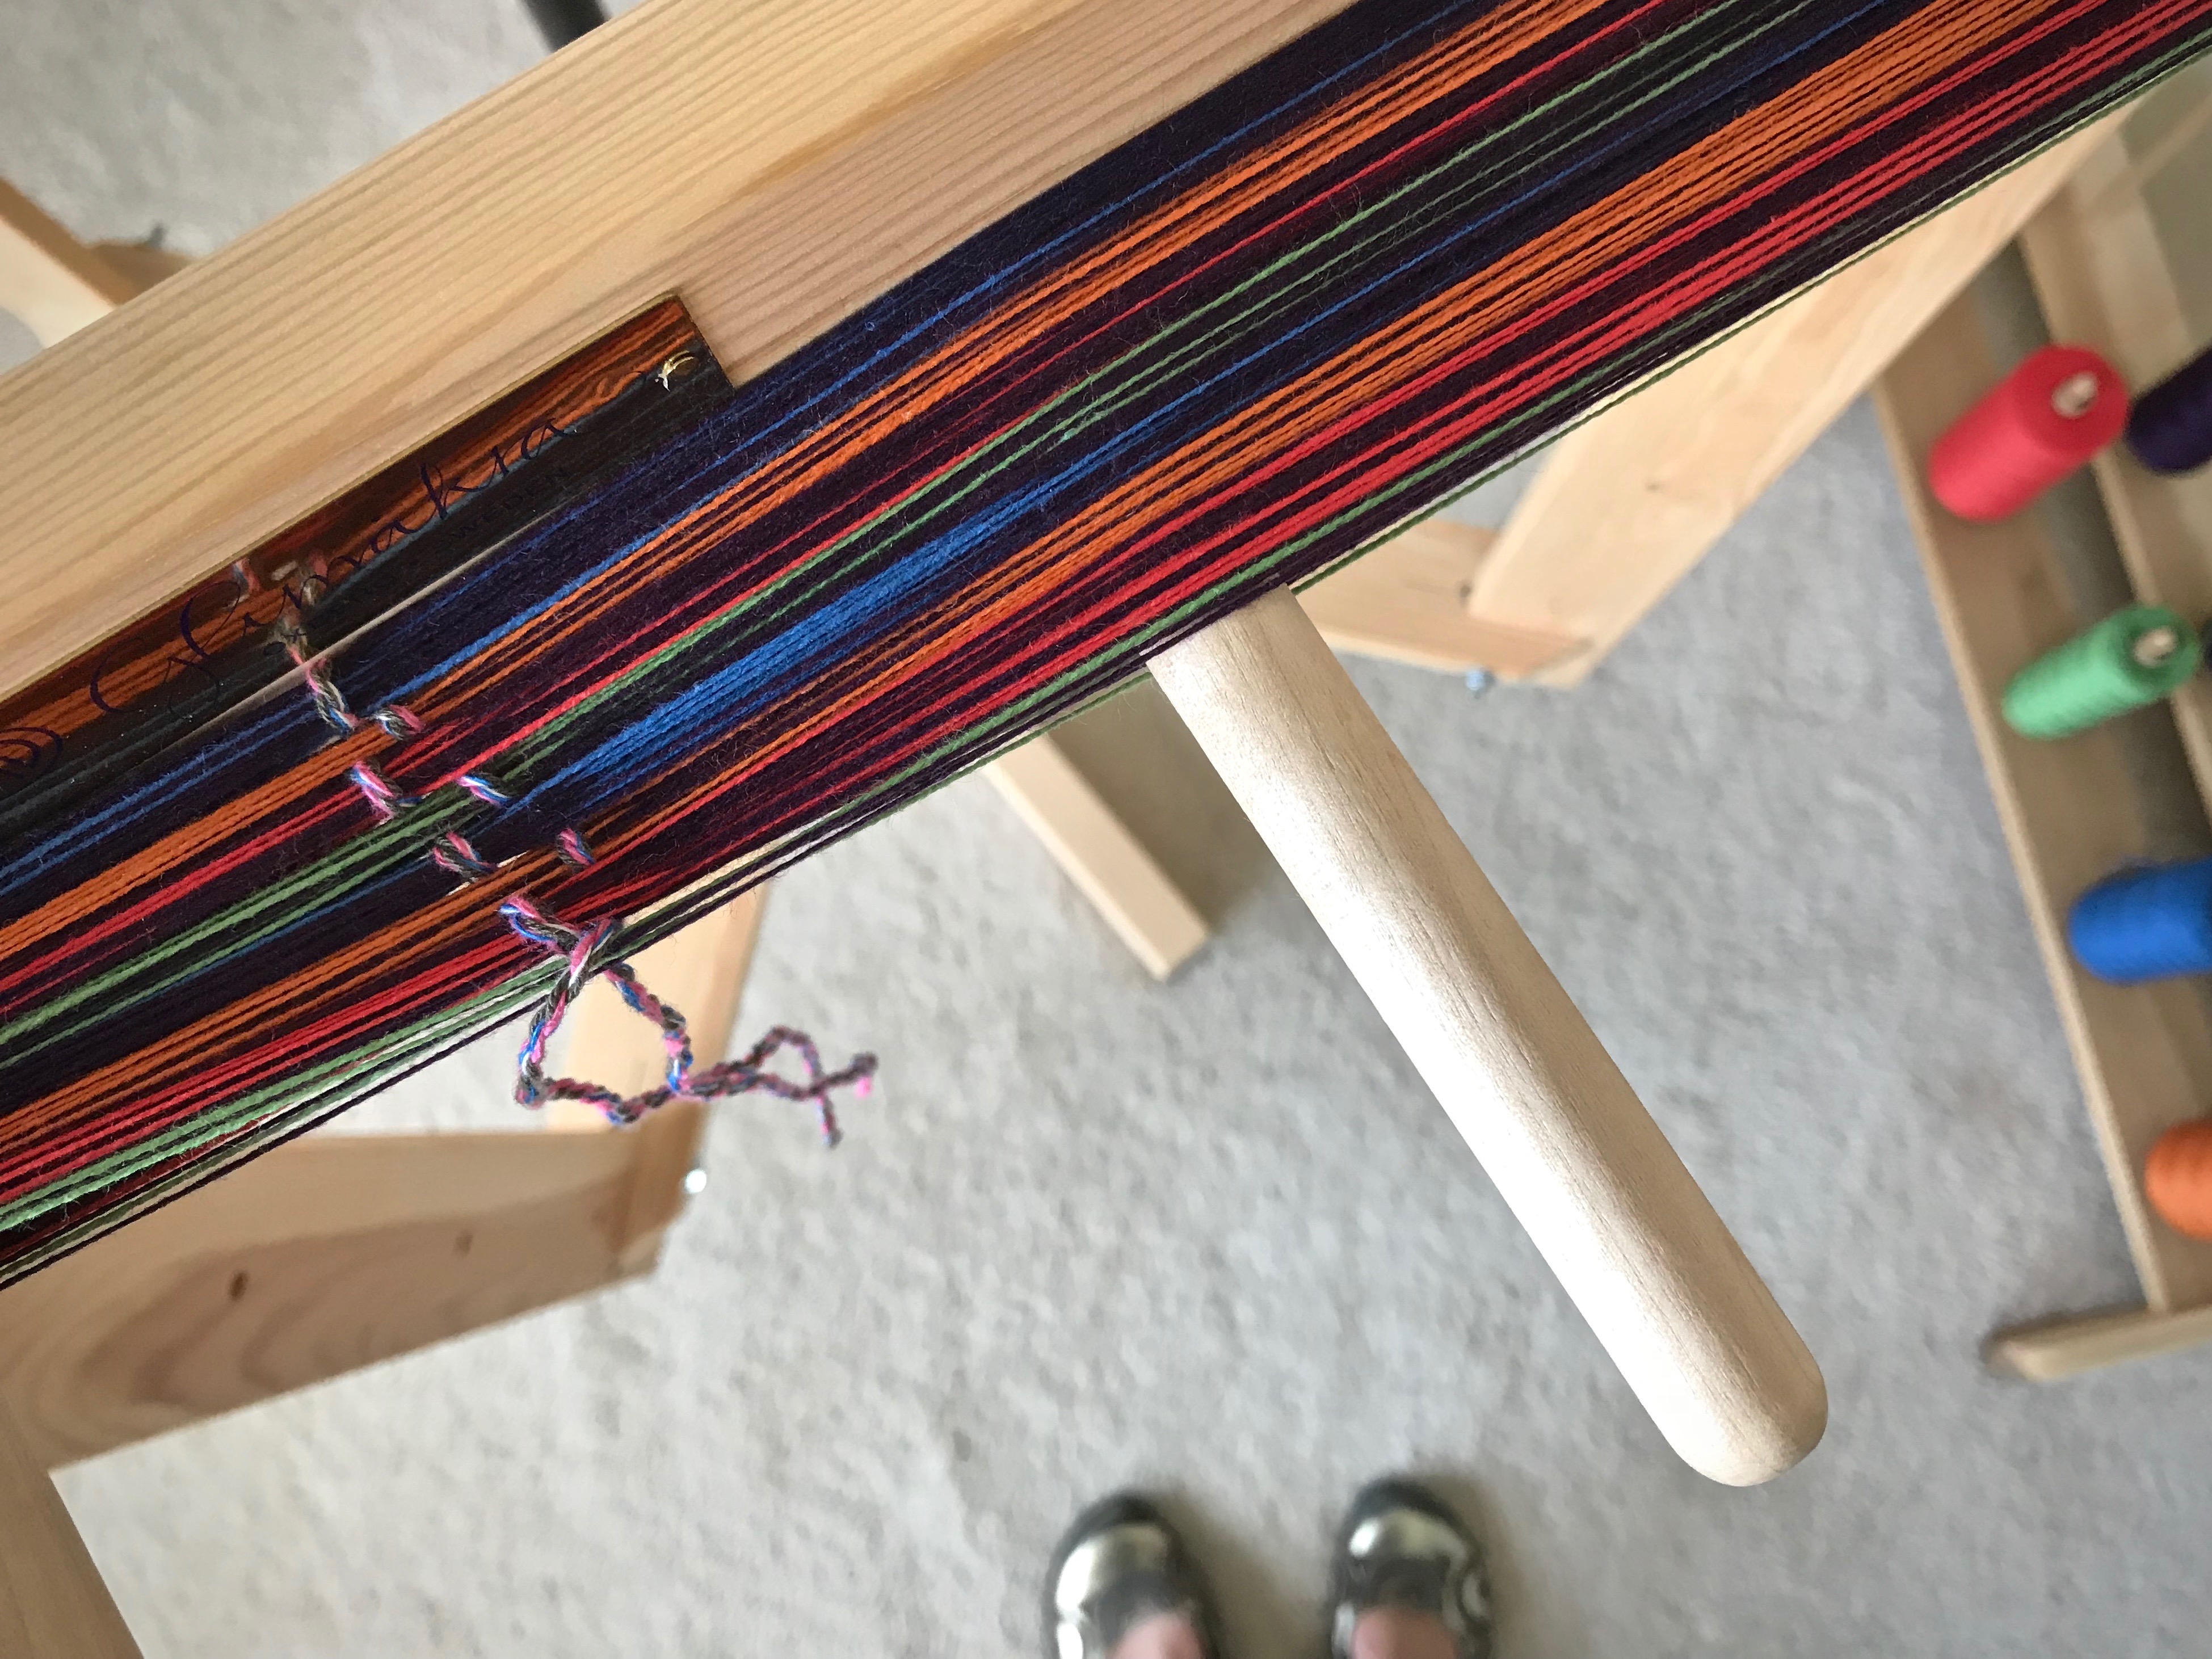
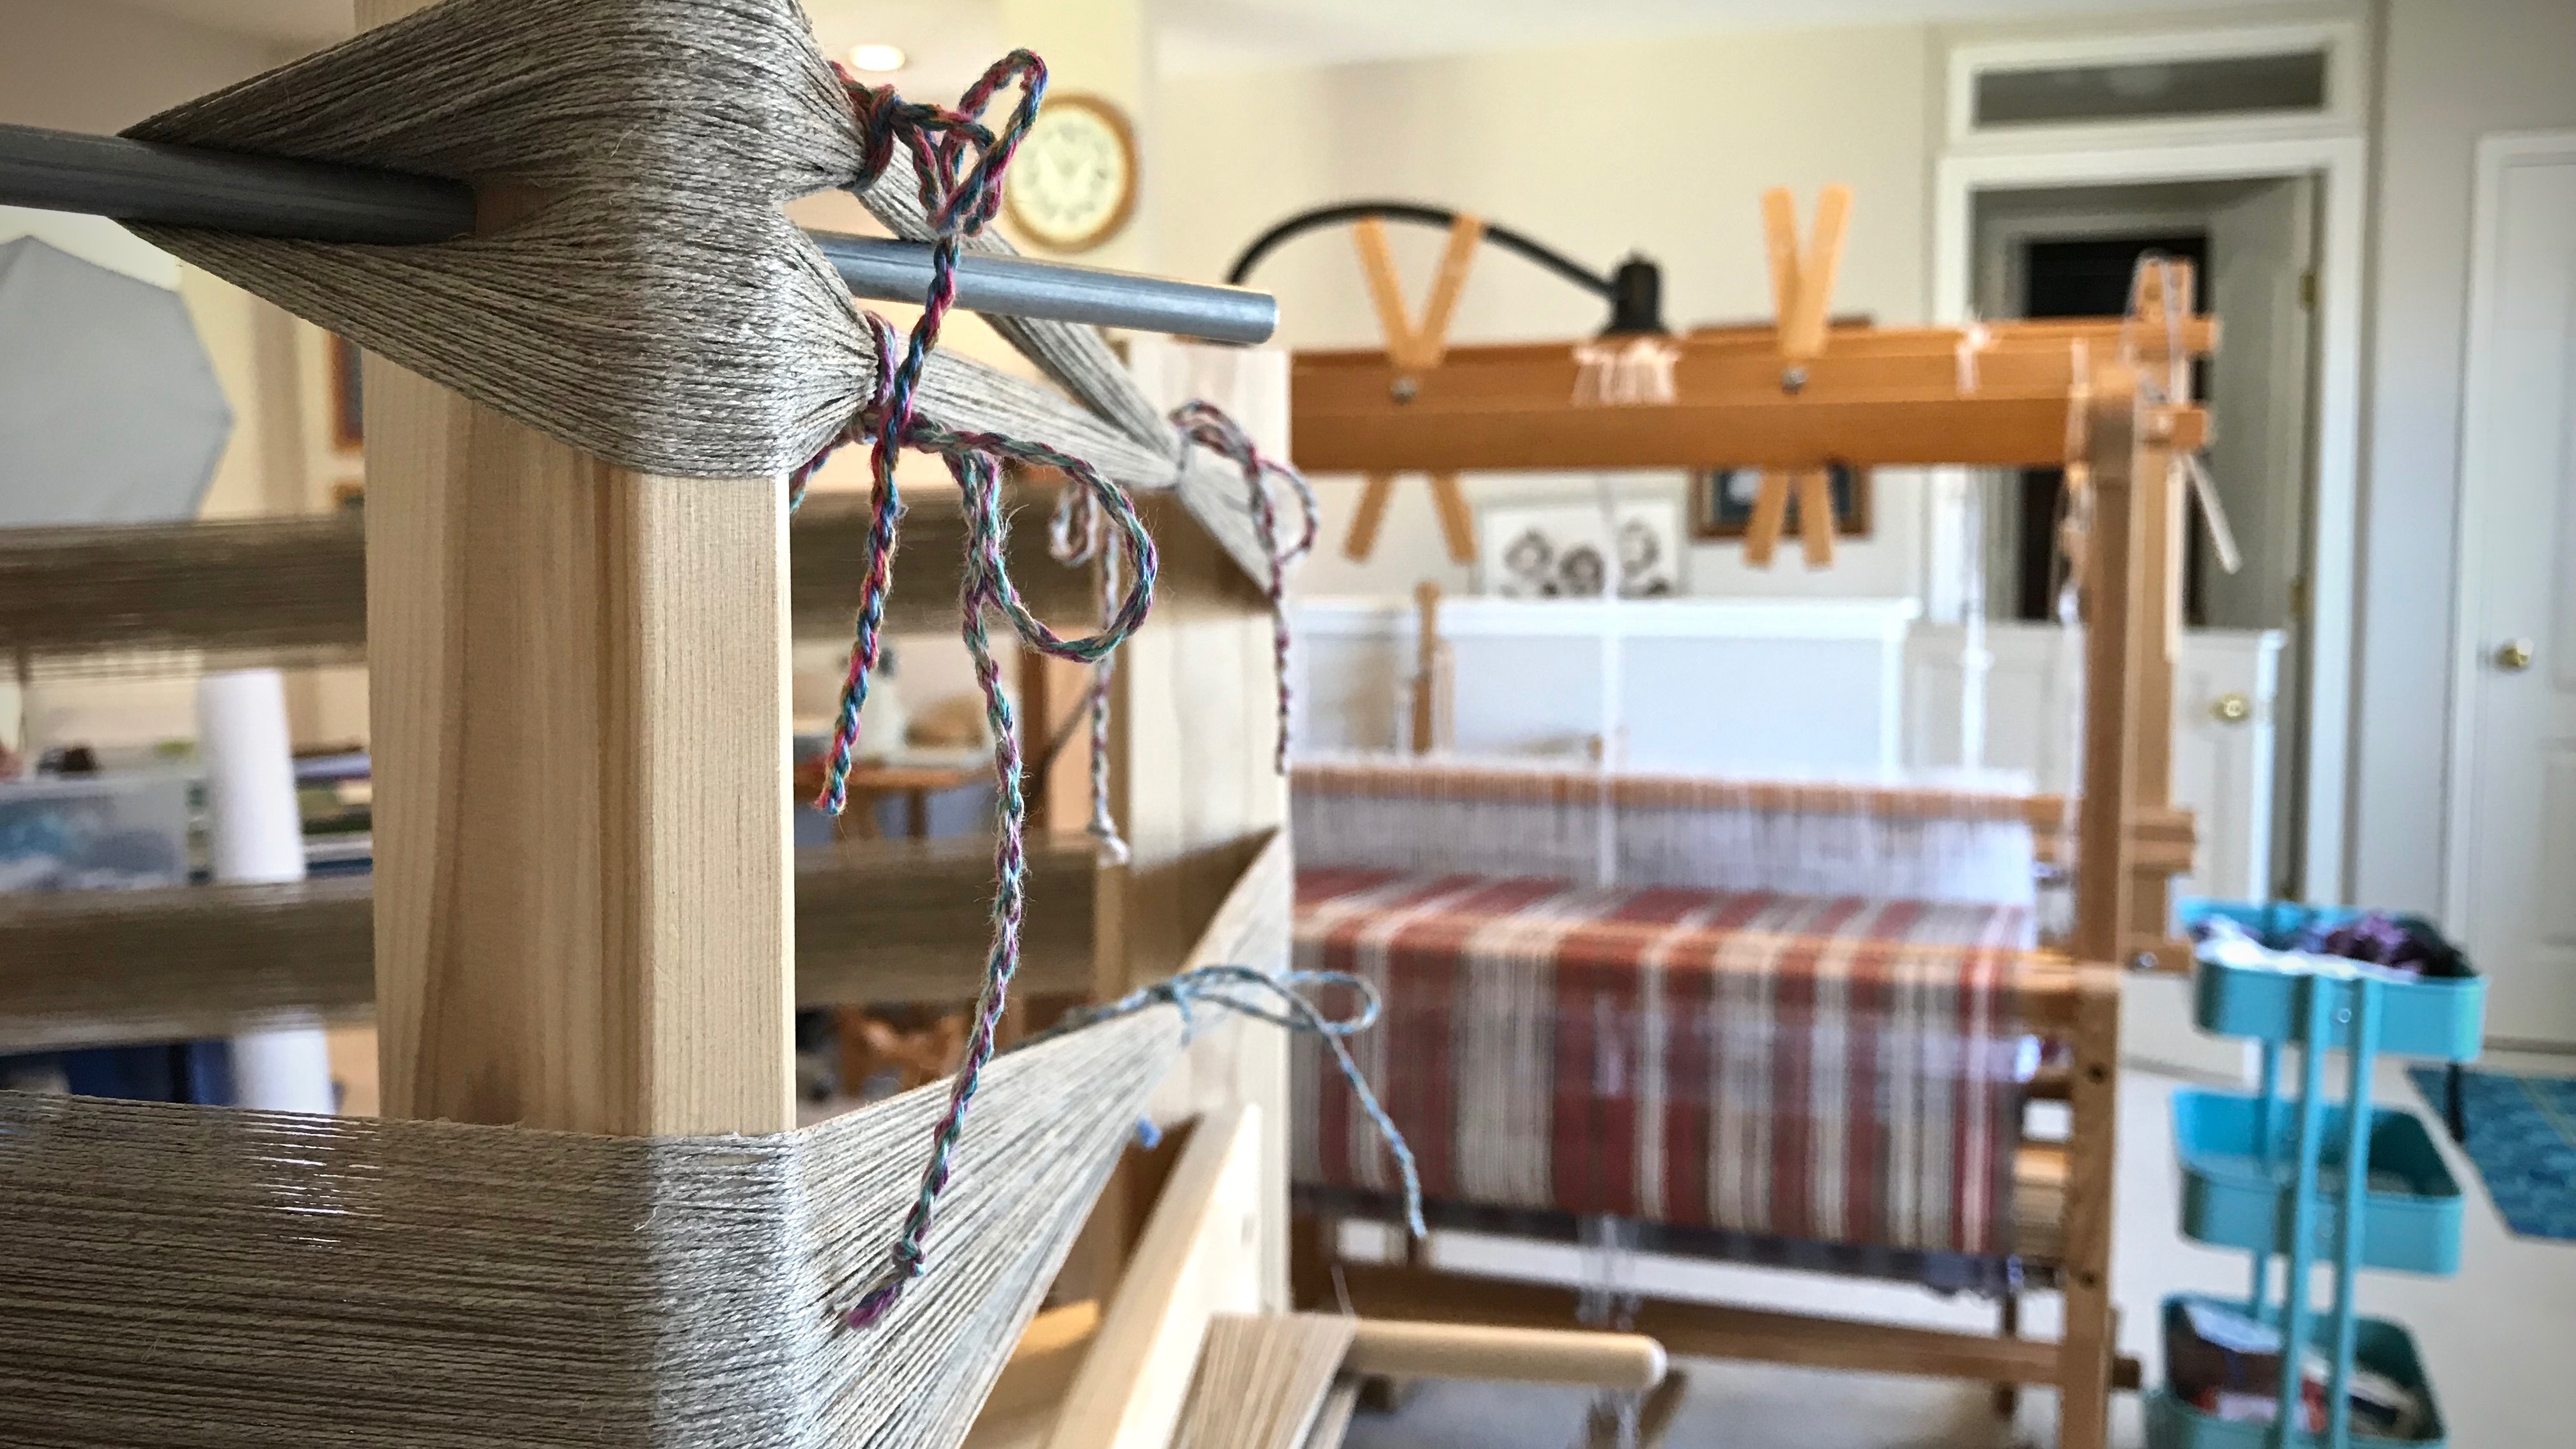
It is almost effortless to make a short warp for the band loom. All you need is a peg at the beginning and a peg at the end. You can use a spoke of the warp beam wheel, for instance, at one end, and the leg of an upside-down stool at the other. I normally use my warping reel, though, for even a simple warp, because the reel is so handy. However, I don’t have my warping reel here at the apartment, so I am turning my band loom into a handy warping board for this band loom project.

How to Use the Band Loom as a Warping Board
Tools and supplies:
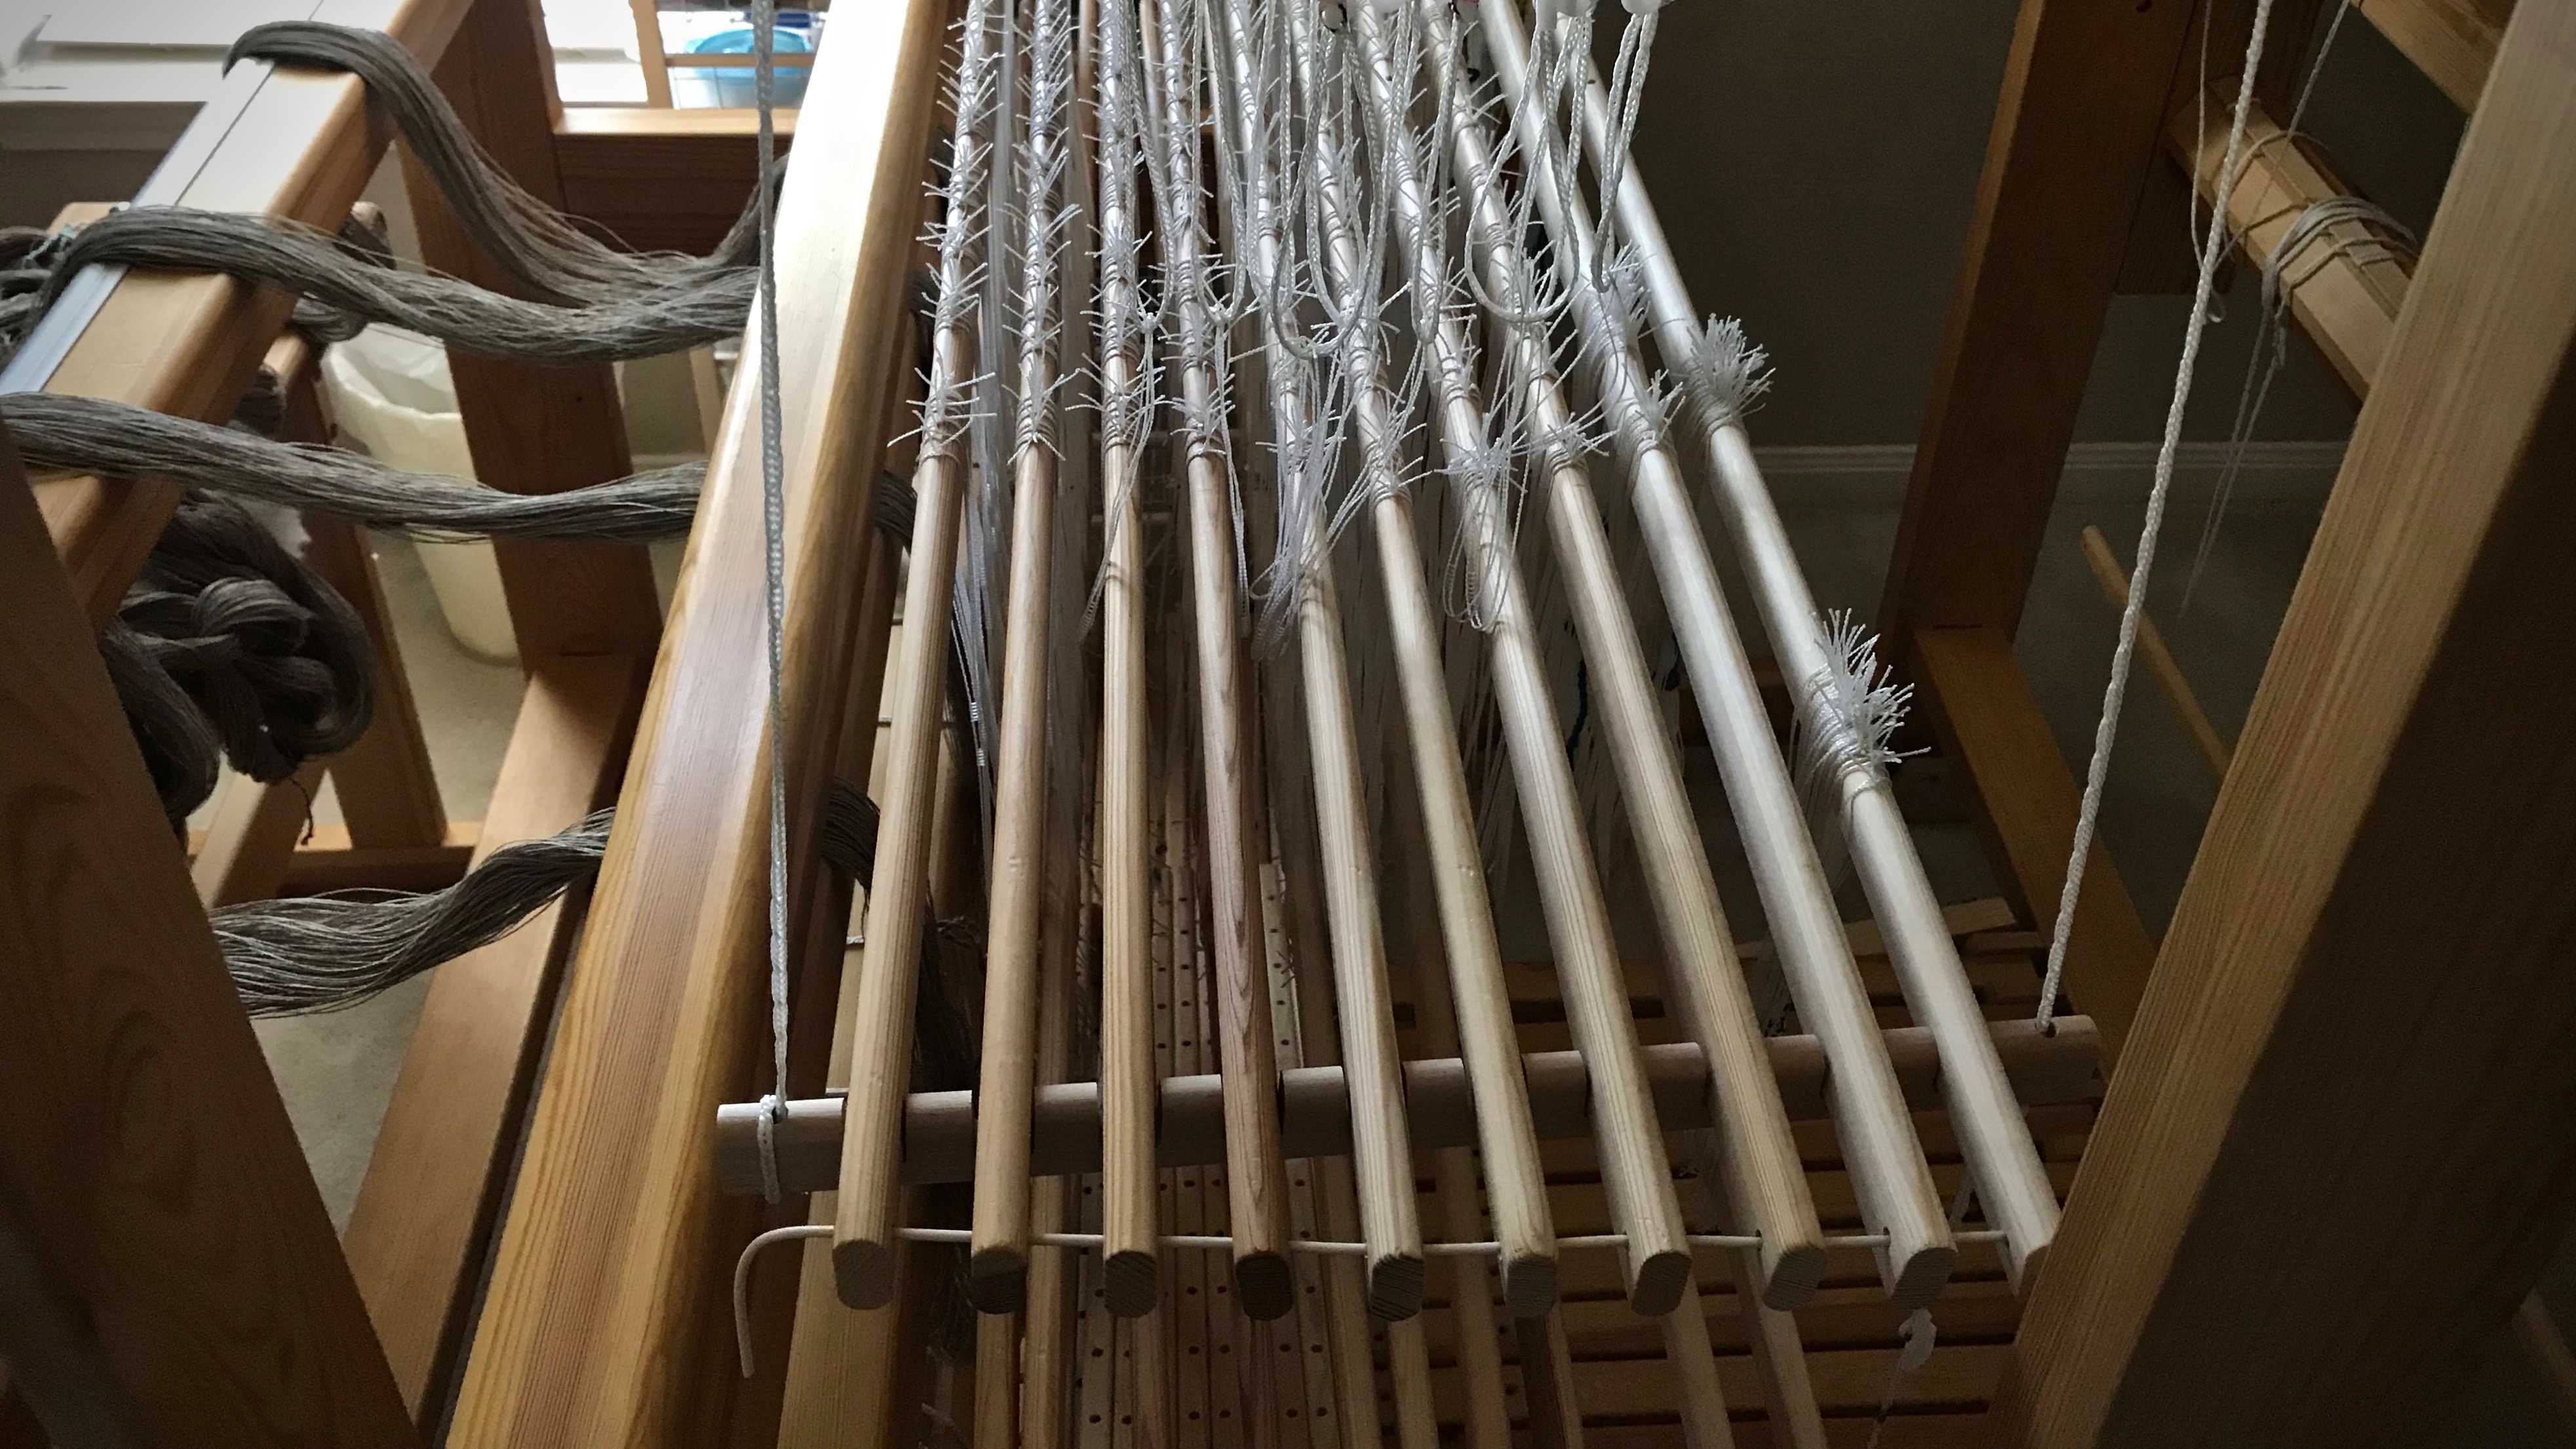
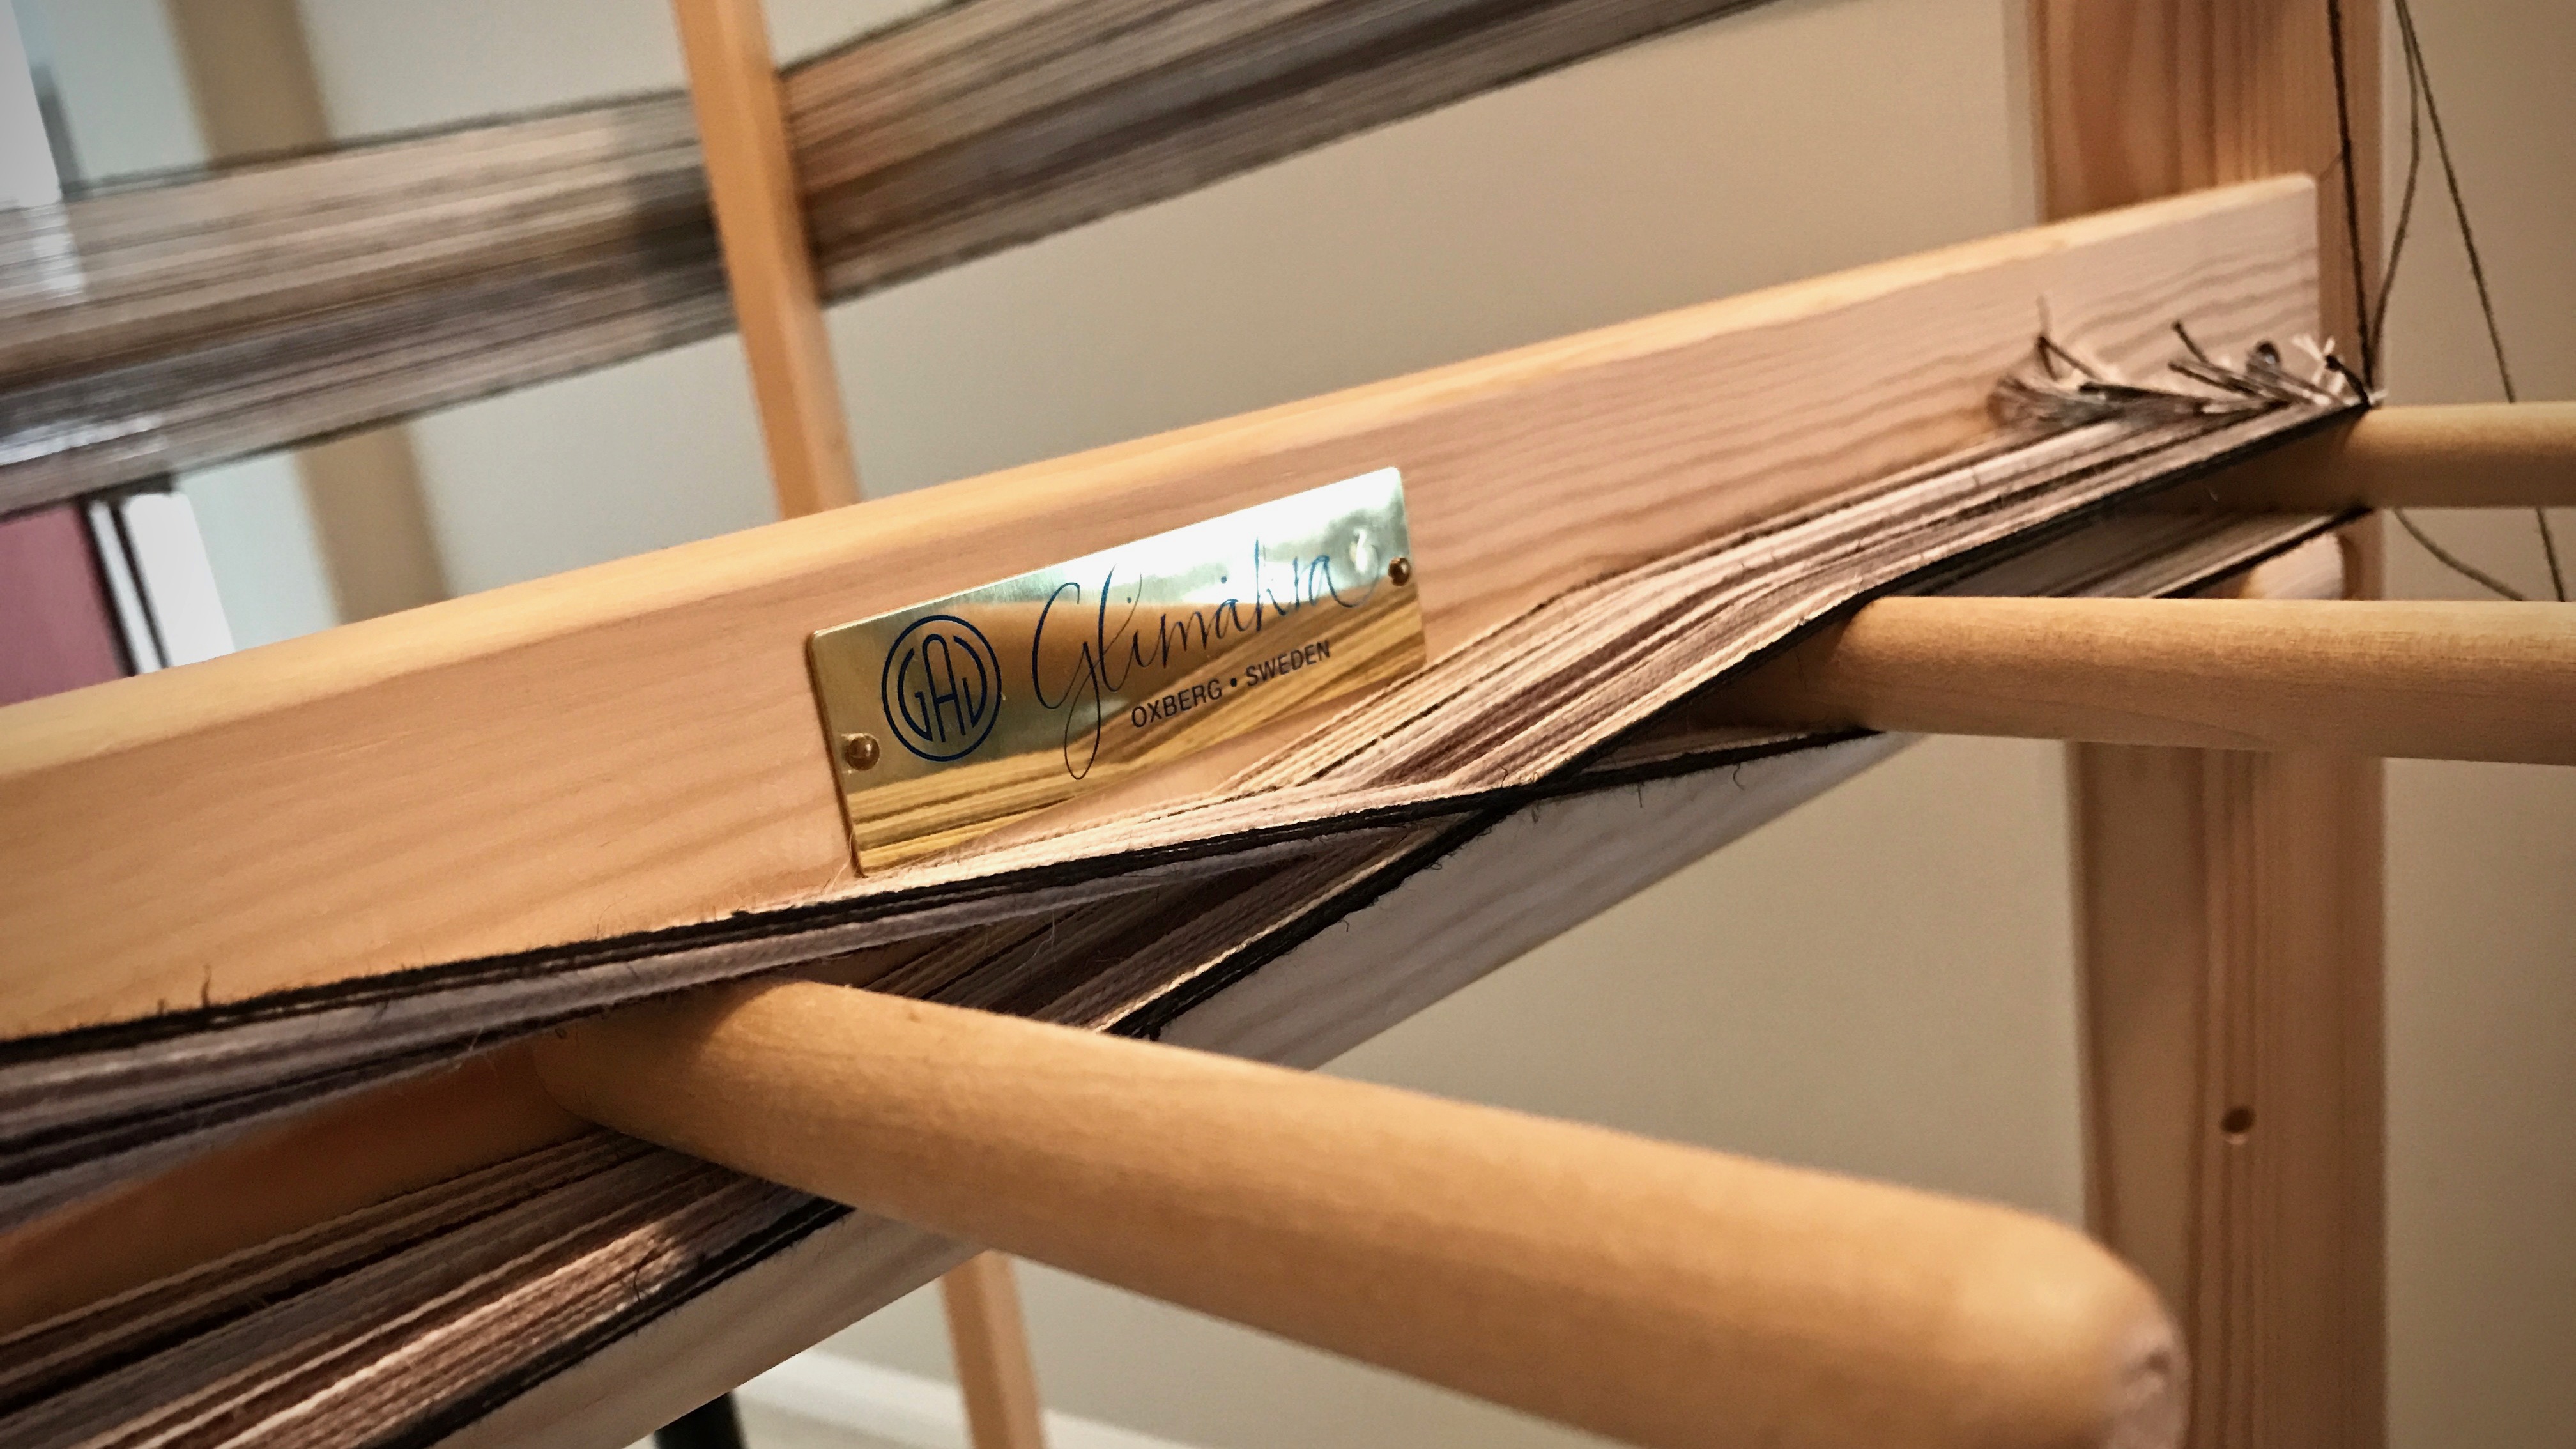
- Glimåkra band loom
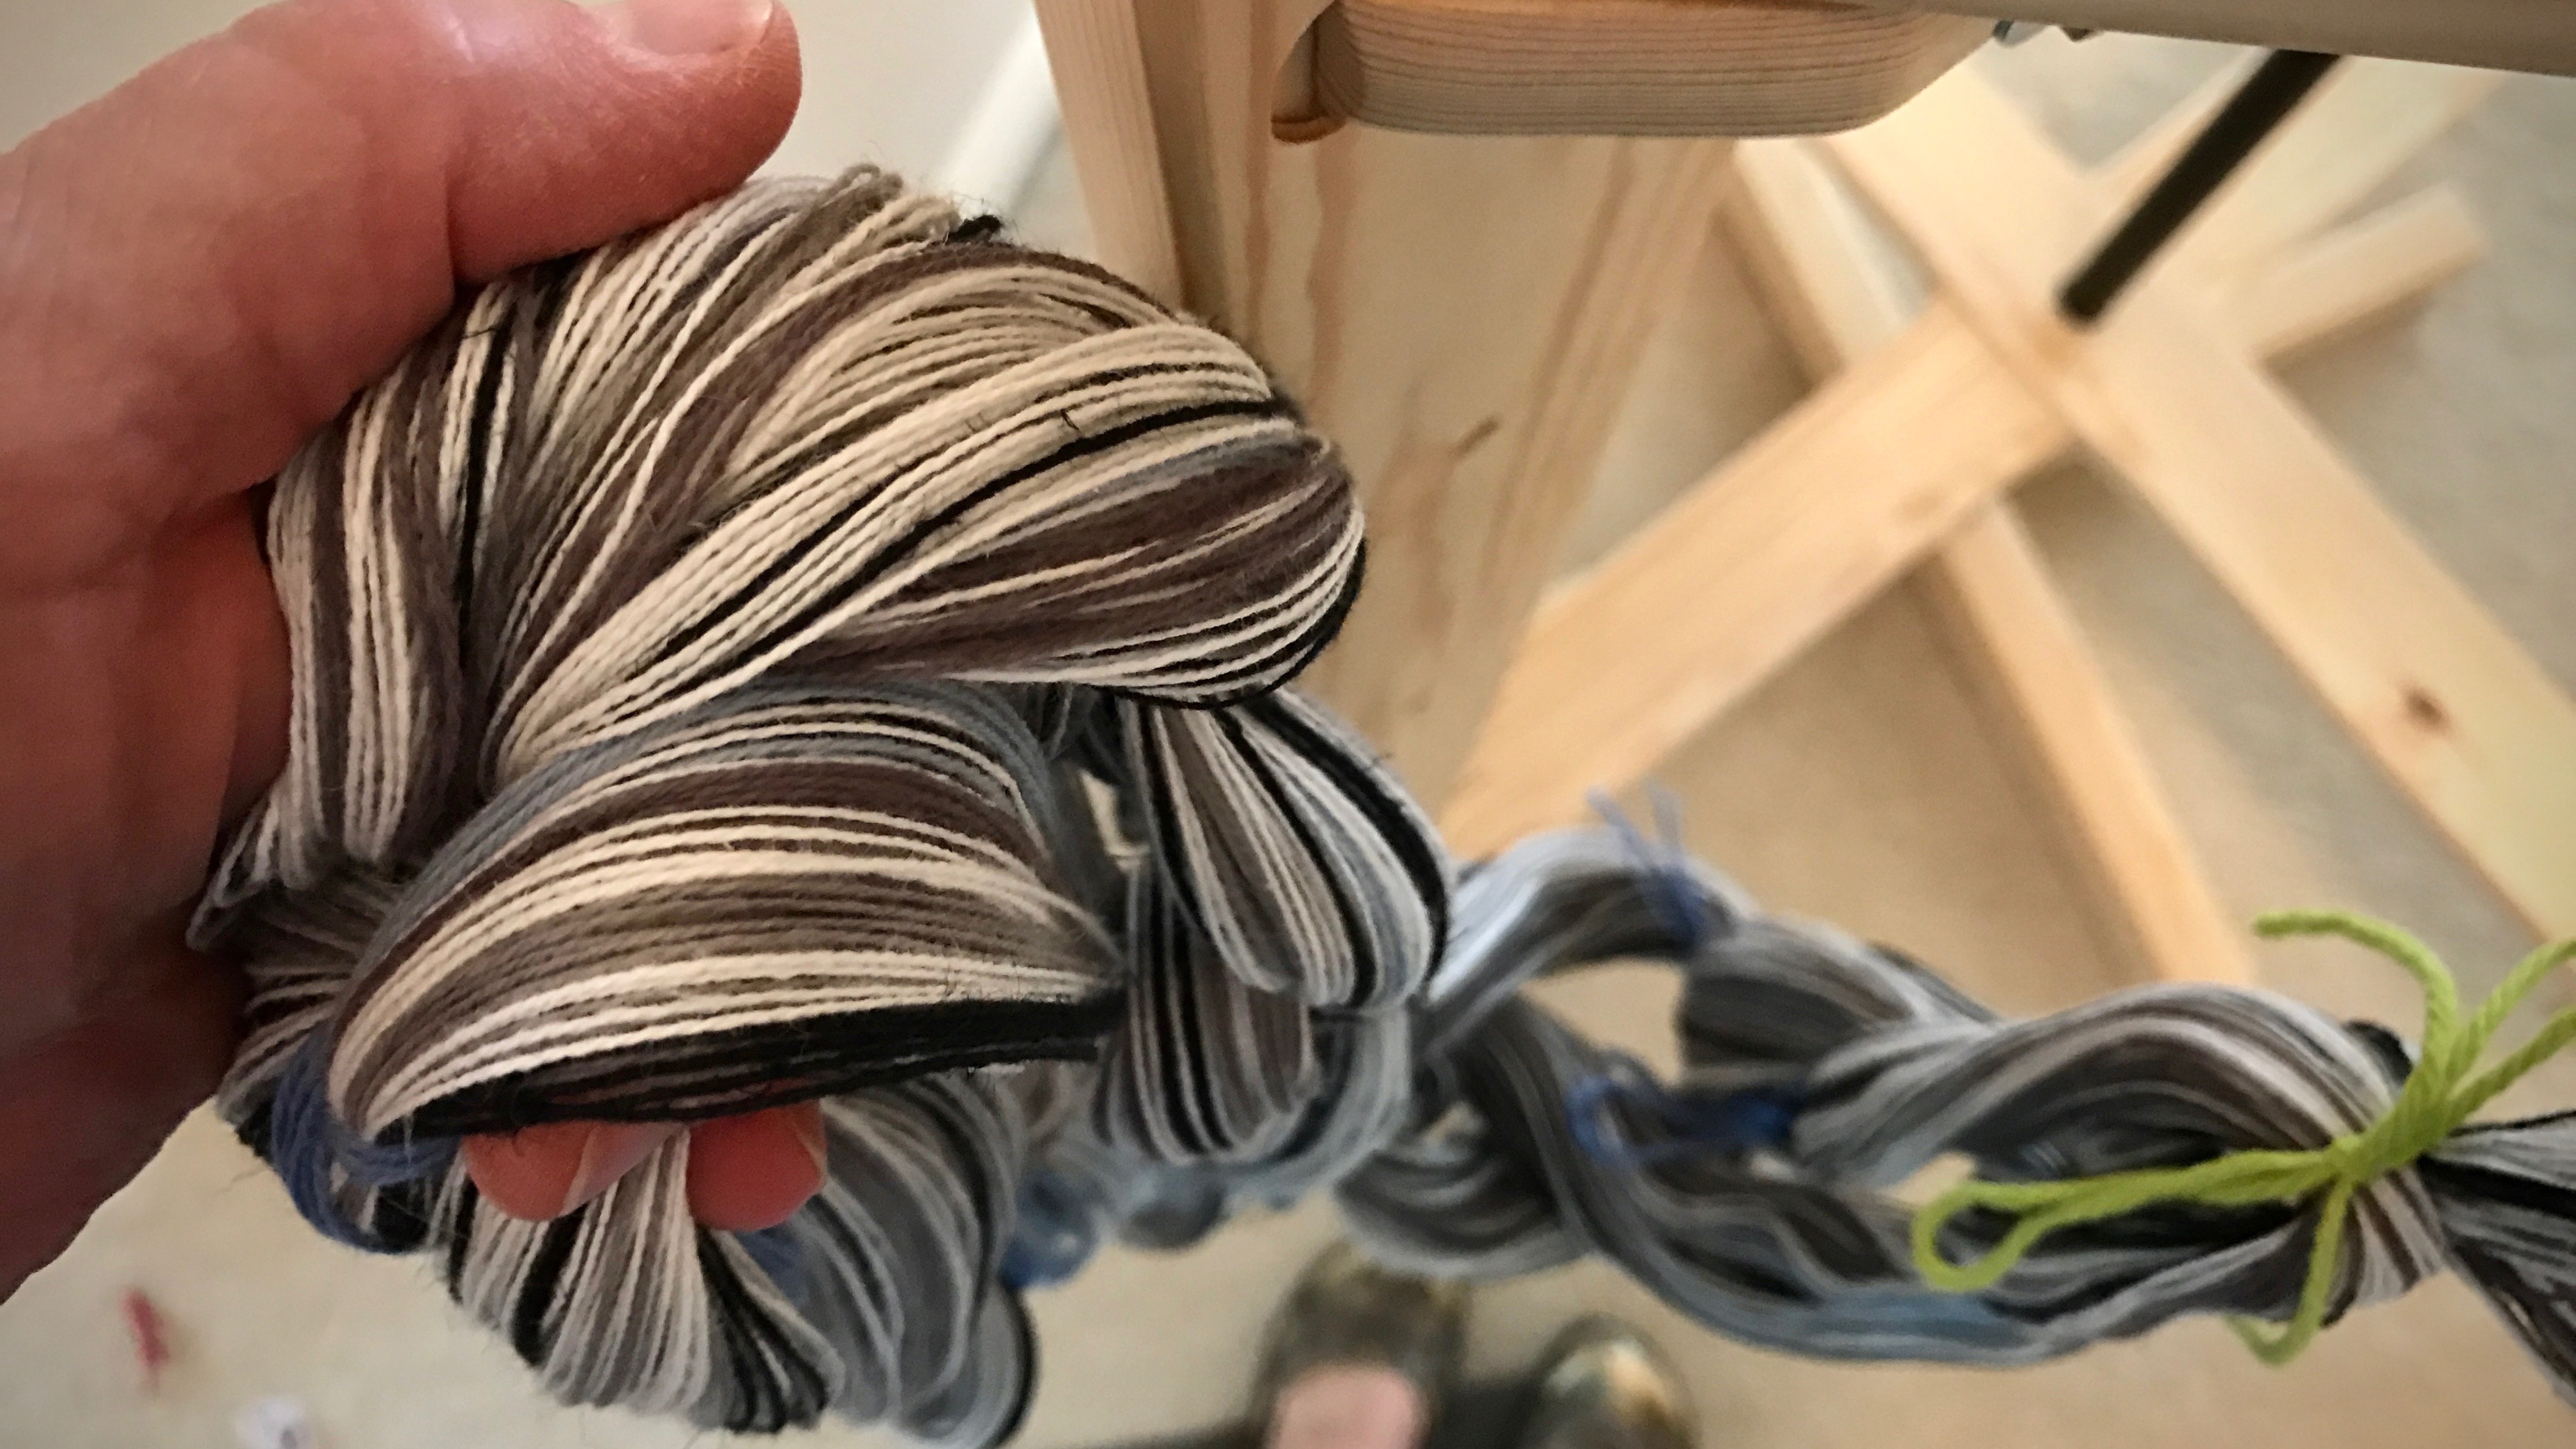
- Thread for weaving a narrow band
- Basket and/or spool holder(s)
- Scissors

For a warp of approximately two meters:
- Put the warp thread on the floor below—quills in a basket, and/or thread tubes on spool holders.
- Using two or more ends, tie the ends together with an overhand knot. (I used three ends together for this warp.)
- Bring the warp ends up around the warp beam and over the back beam.
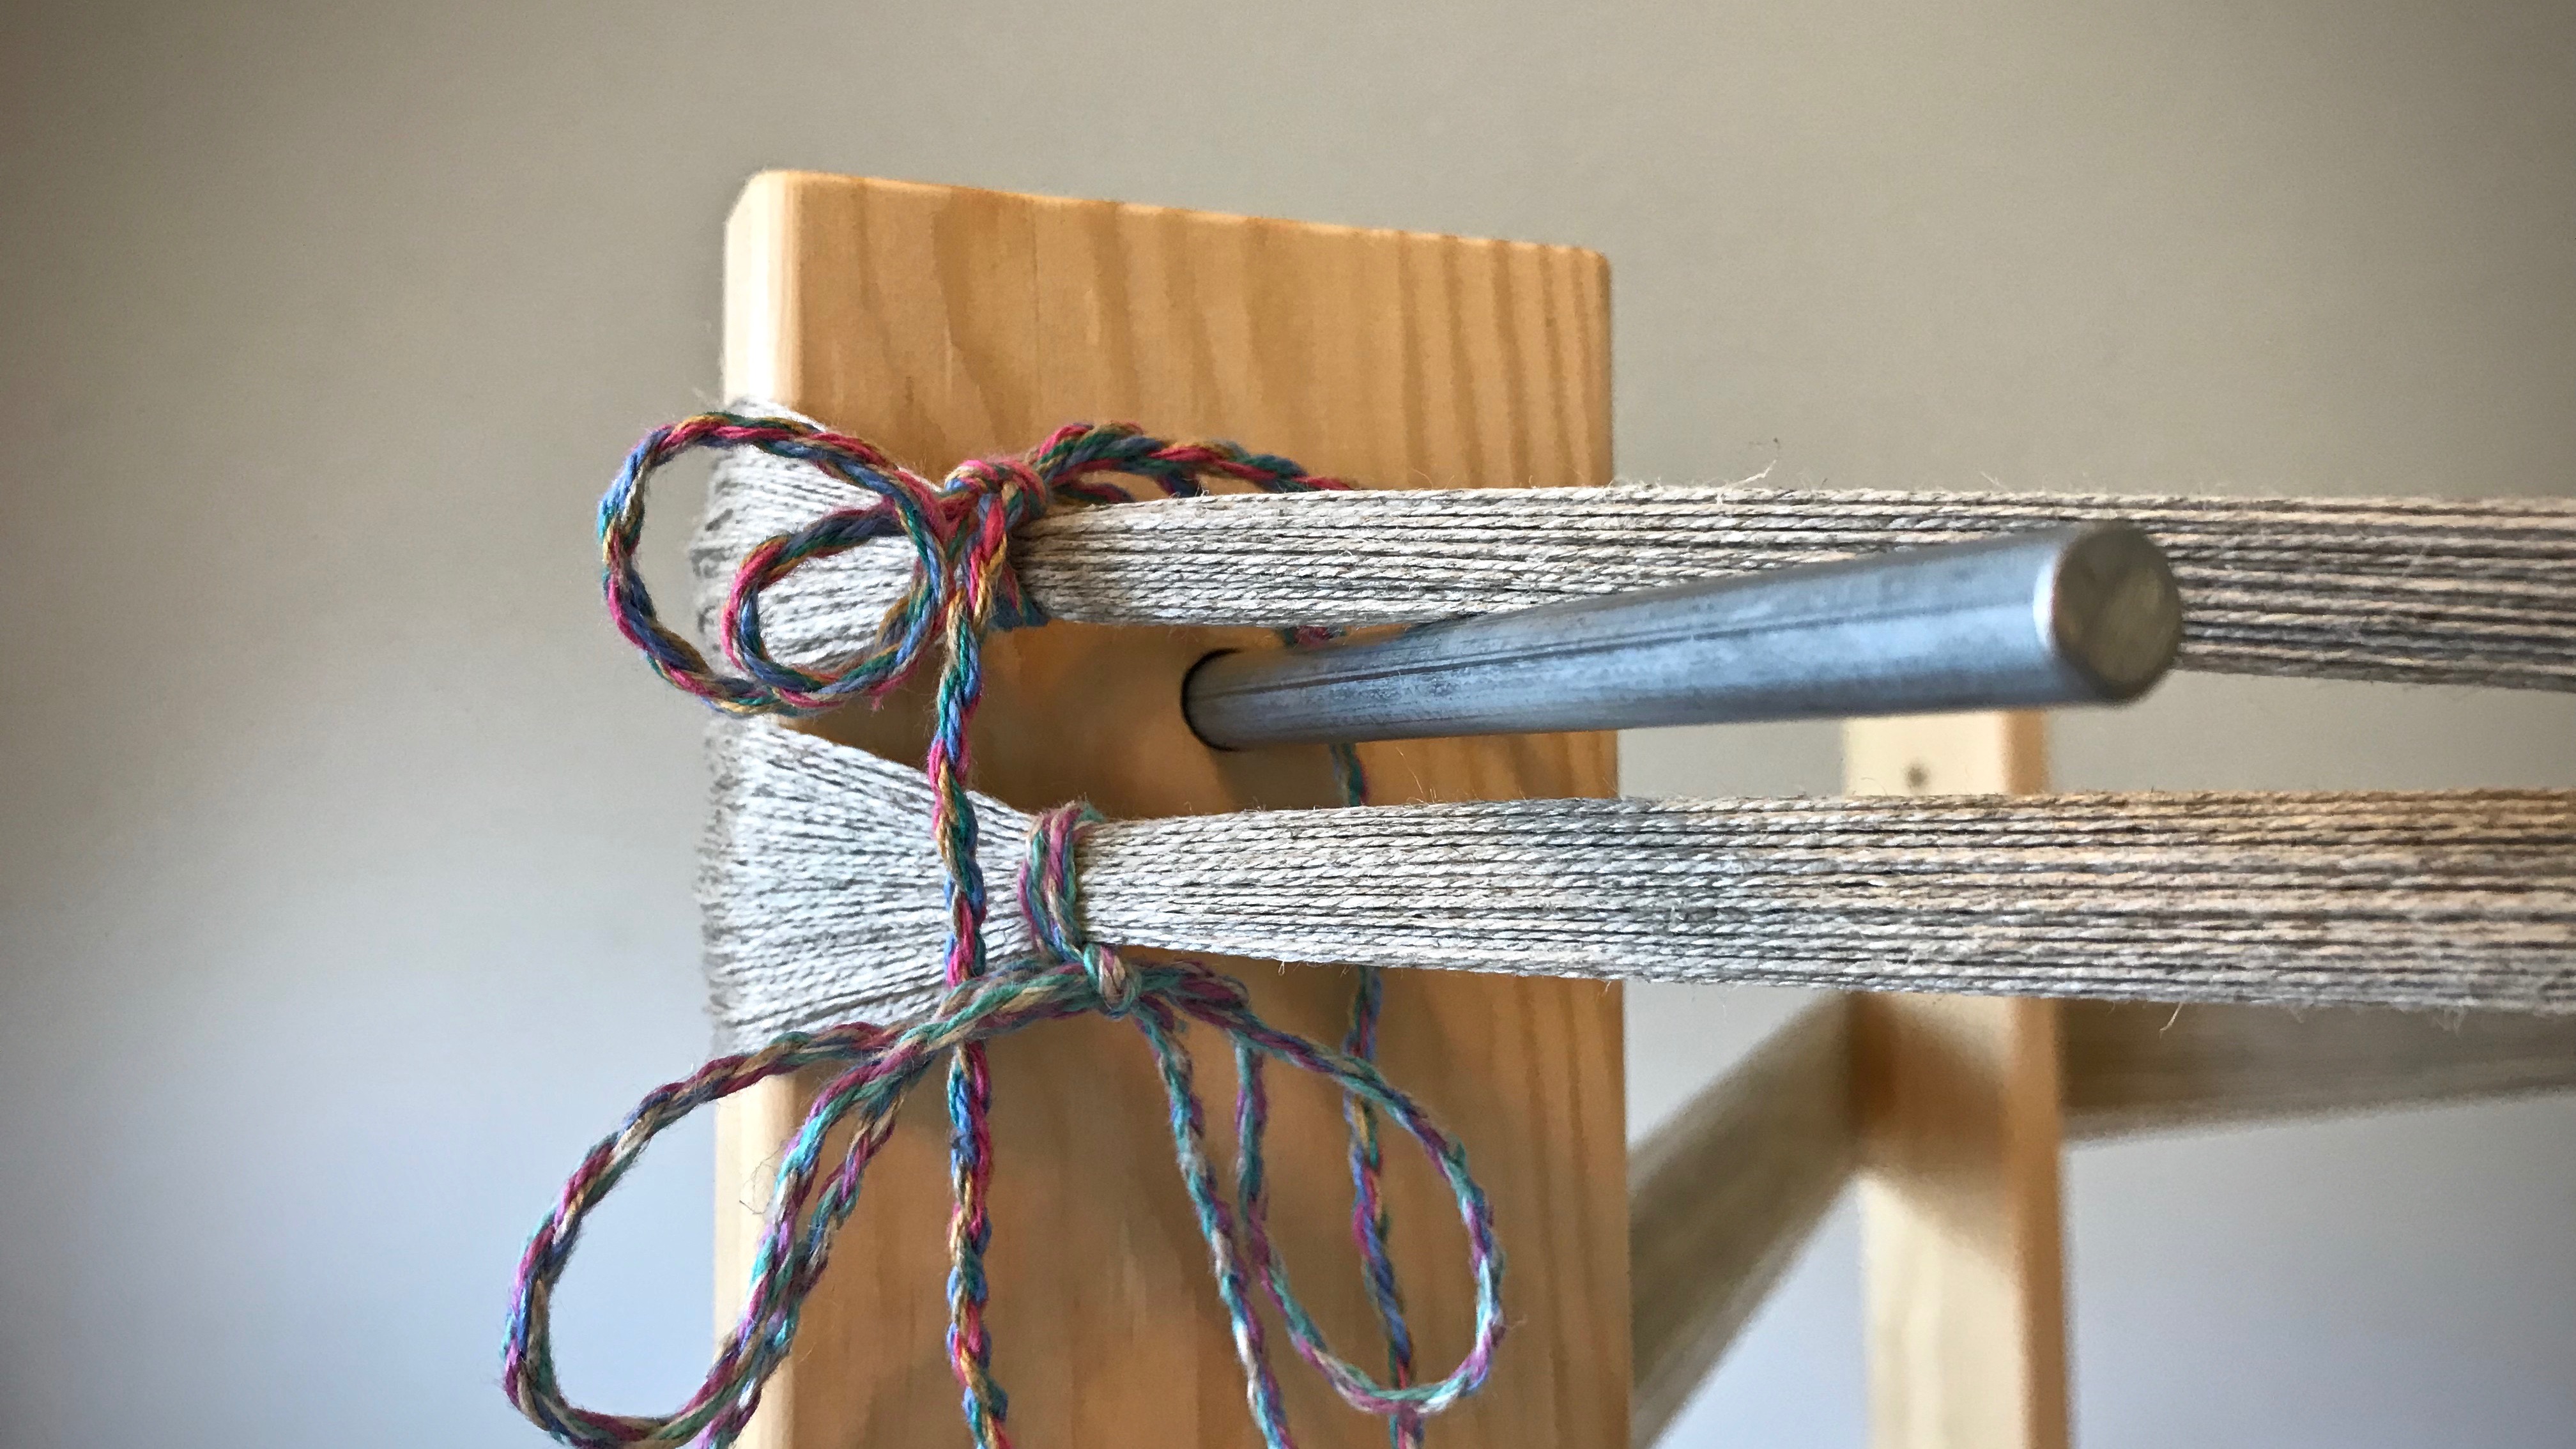
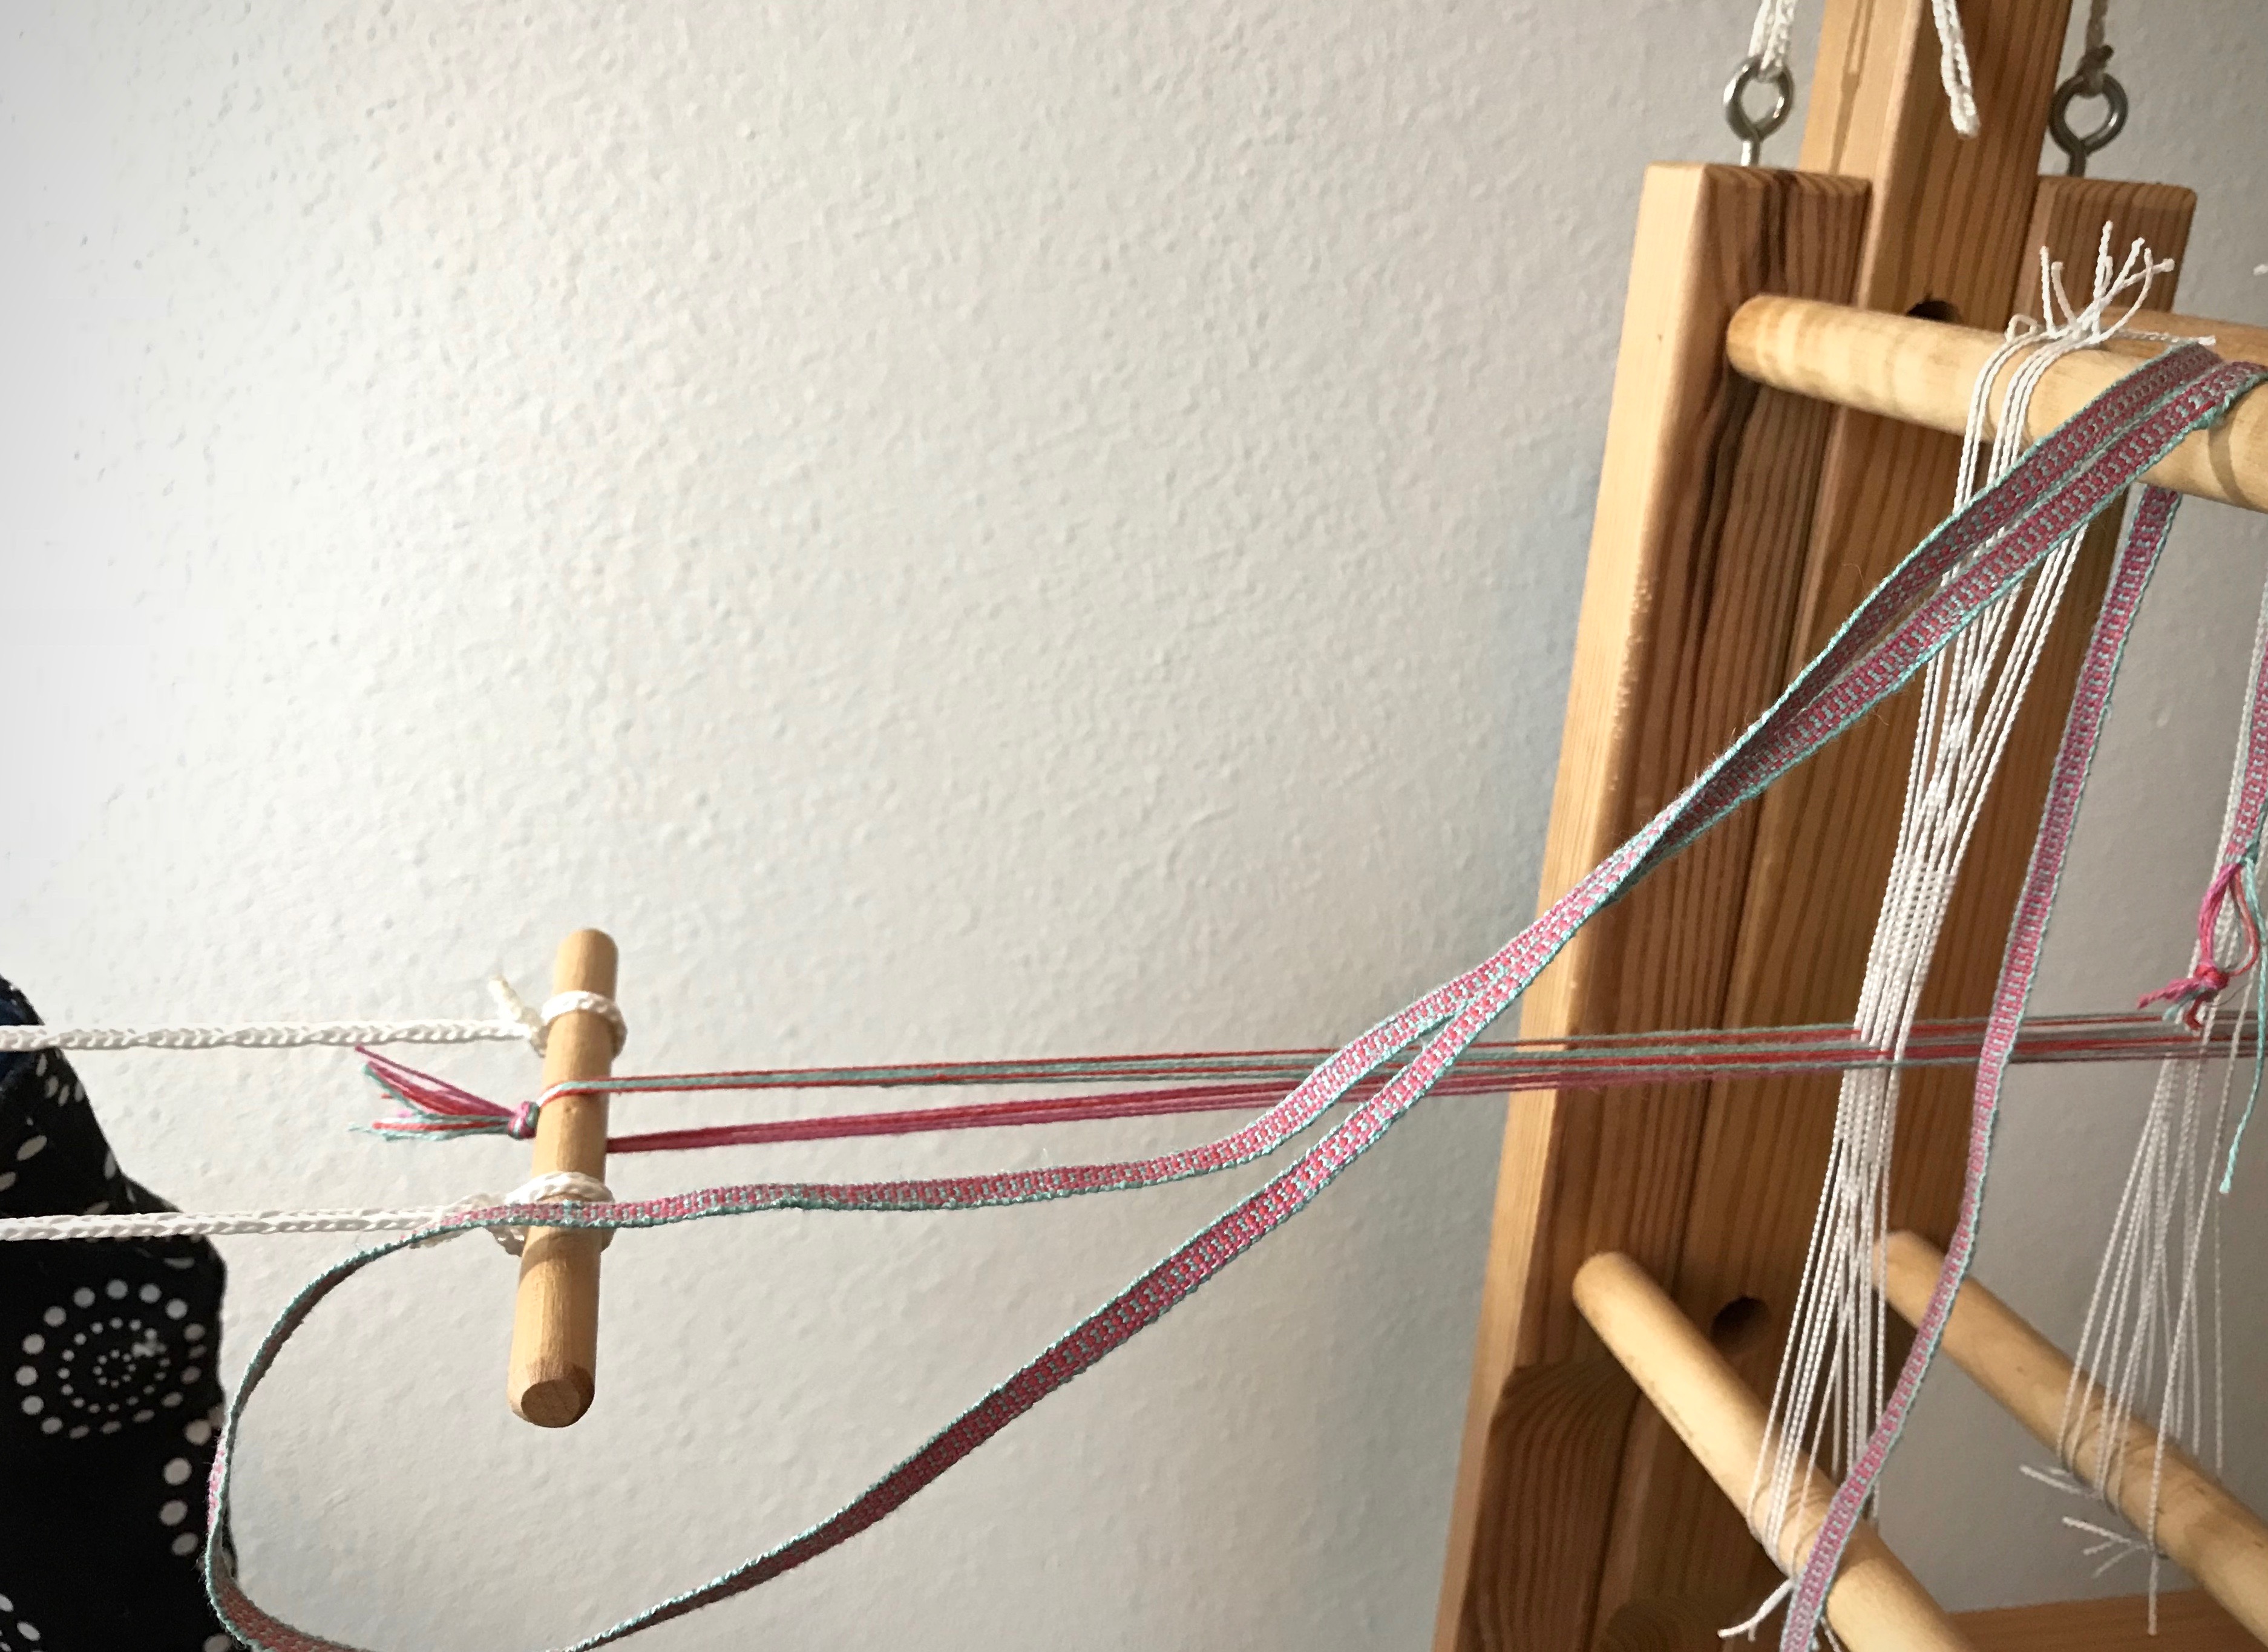
- Loop the knot on the starting peg.
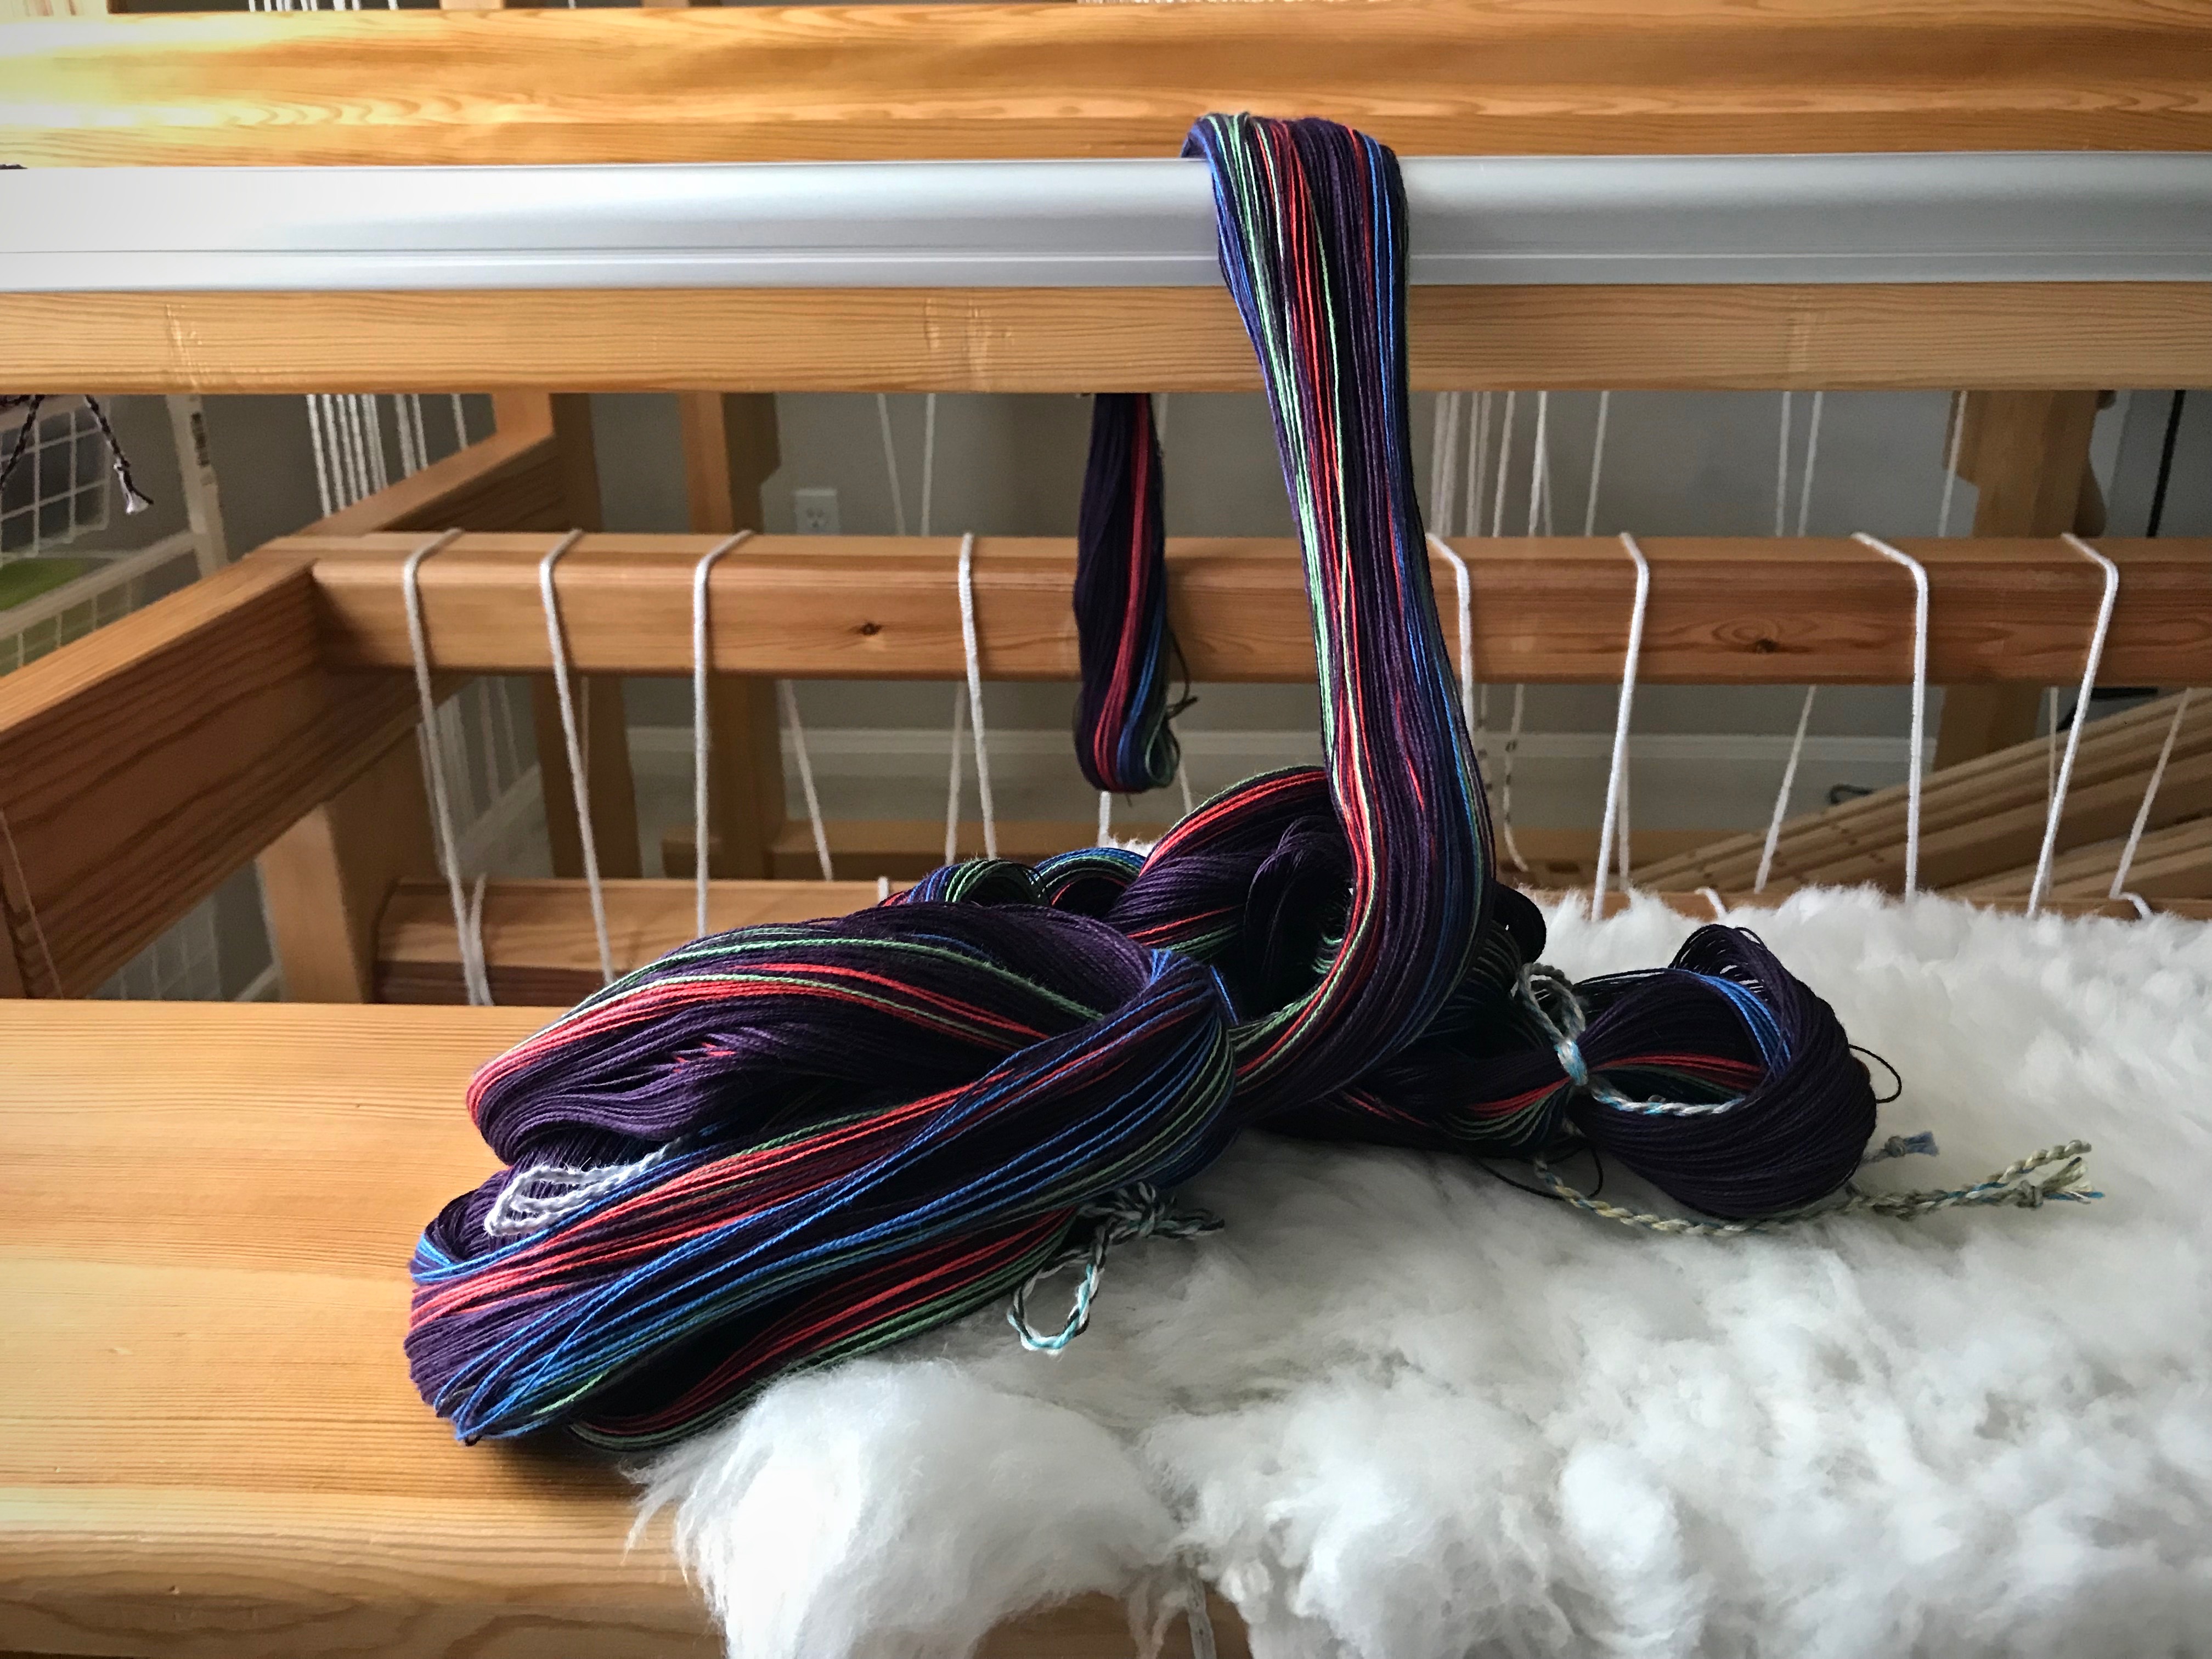
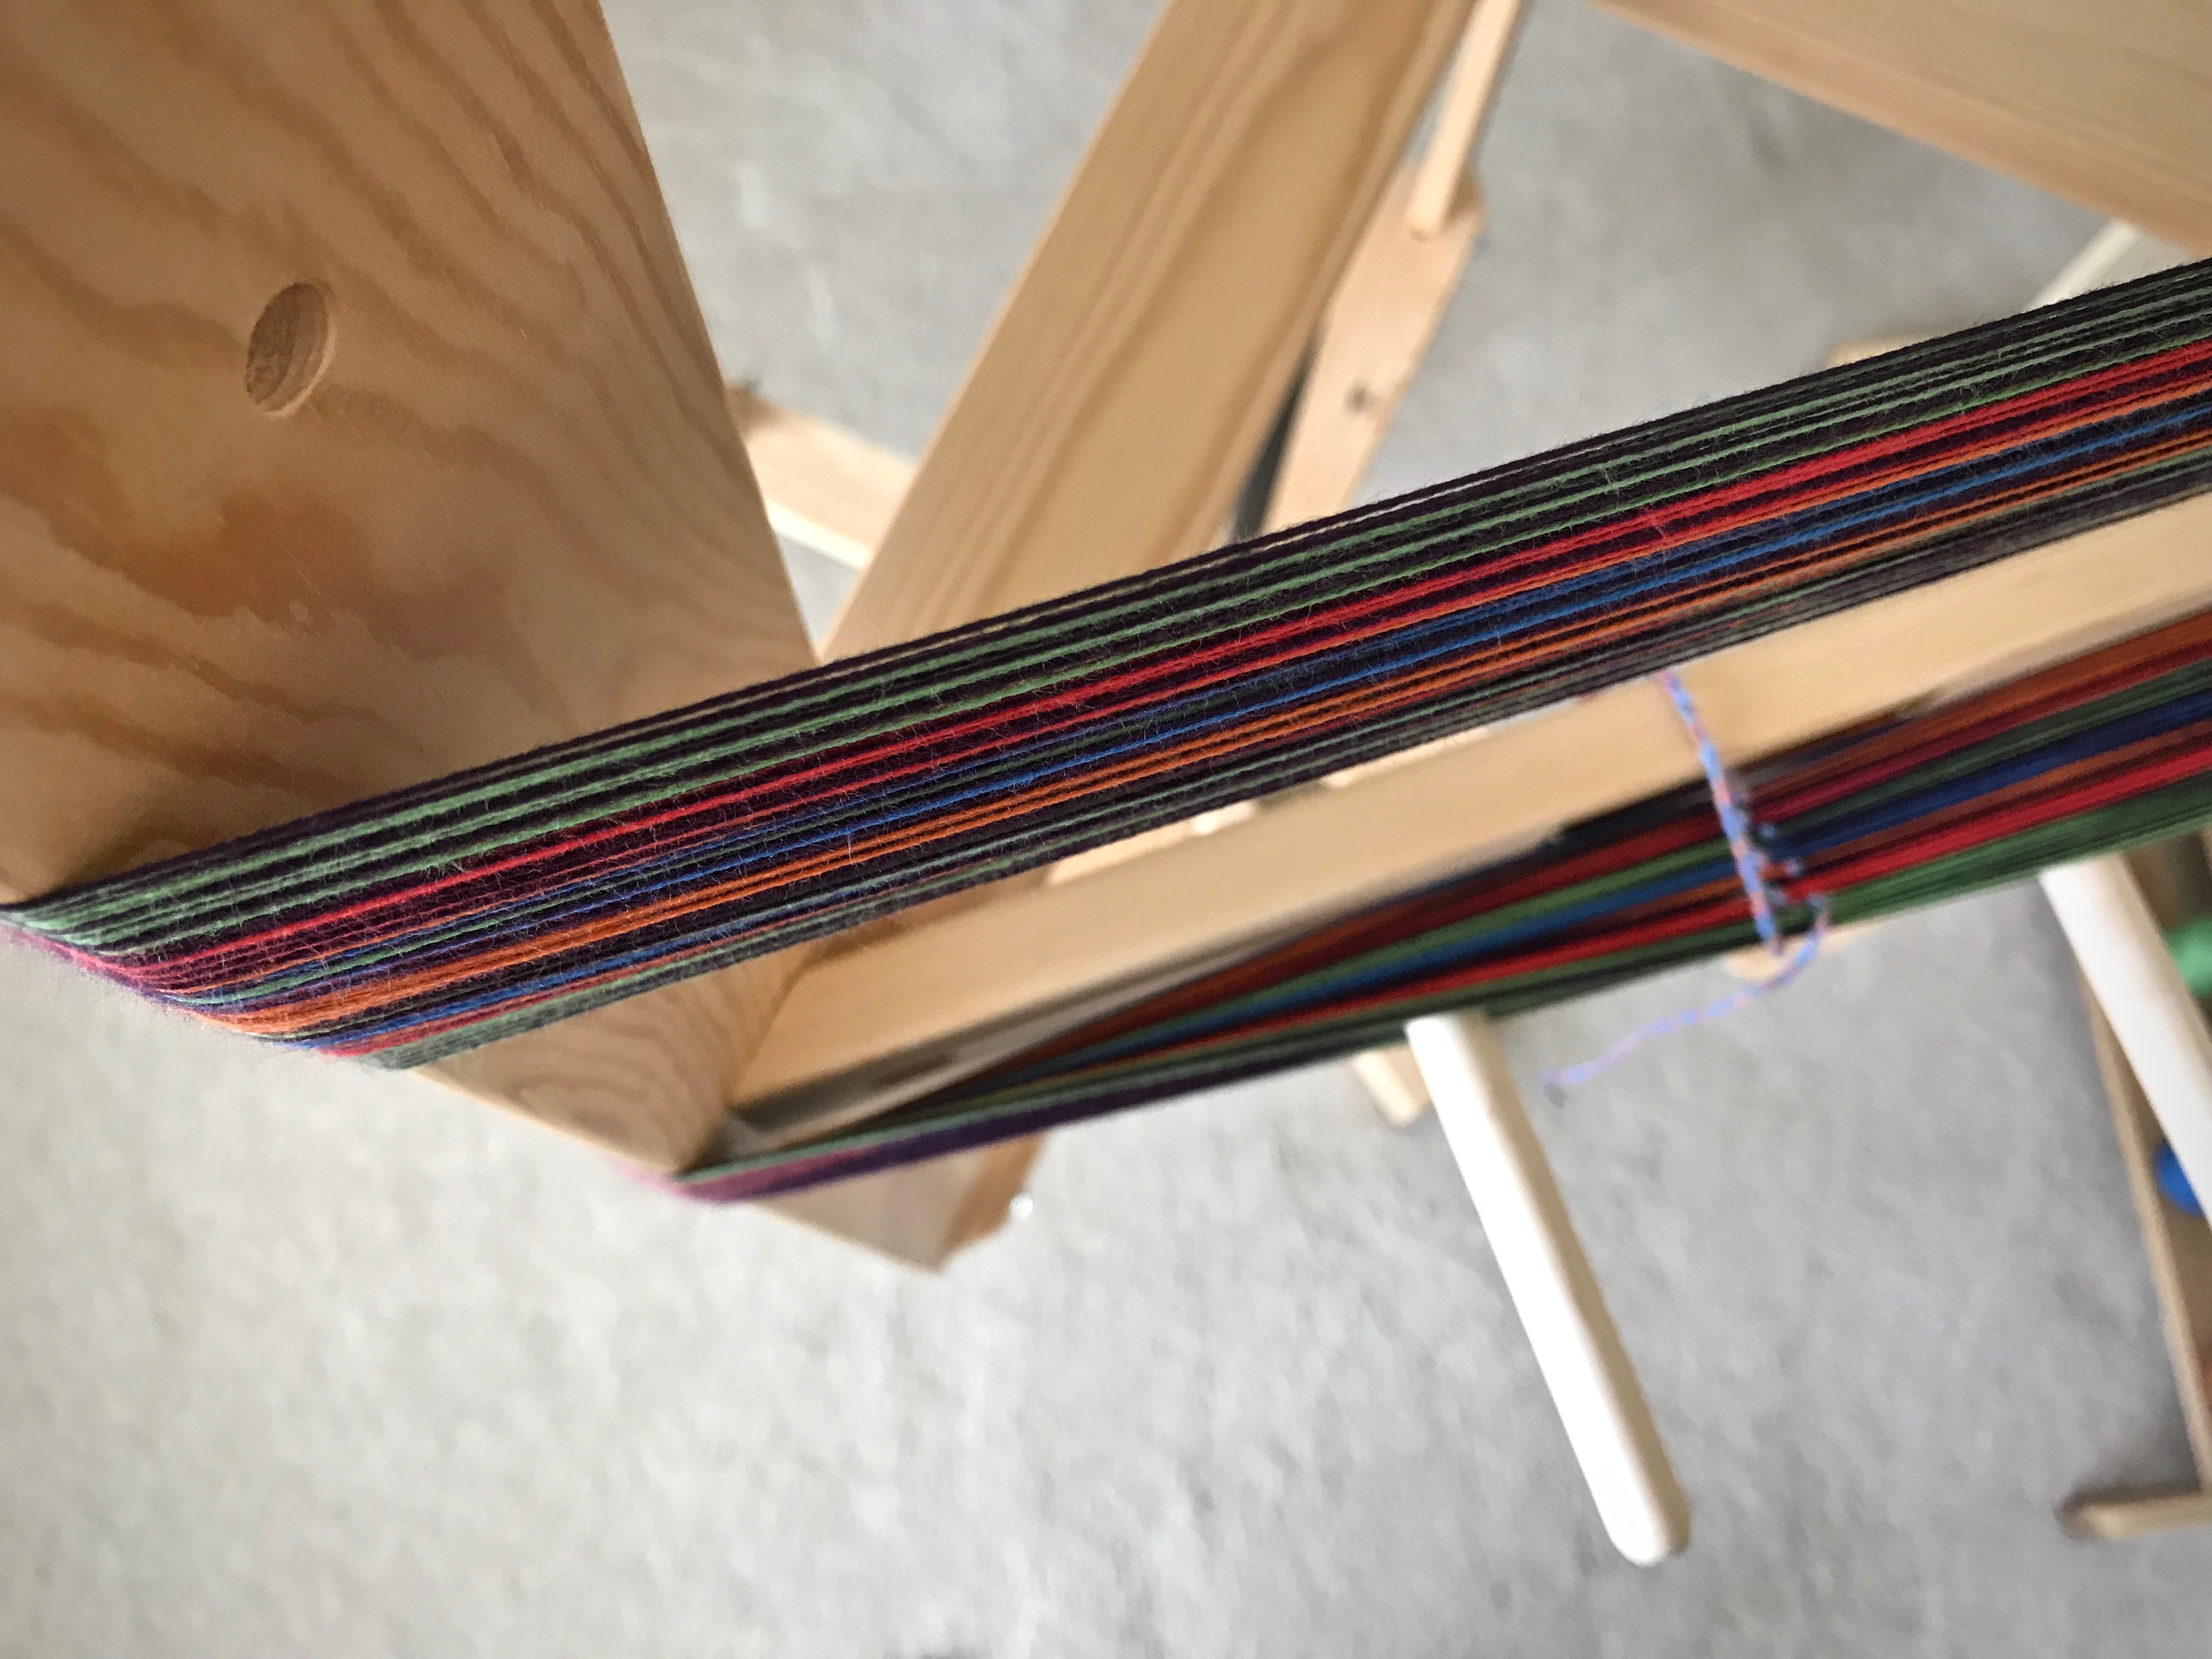
- Draw the ends from the starting peg to the ending peg, around the band loom, following this path:
- Starting peg–upper heddle peg nearest back beam
- Lower heddle peg nearest back beam
- Back beam
- Warp beam
- Cloth beam
- Front beam
- Lower heddle peg nearest front beam
- Ending peg–upper heddle peg nearest front beam
- Follow the winding path in reverse order back to the starting peg.
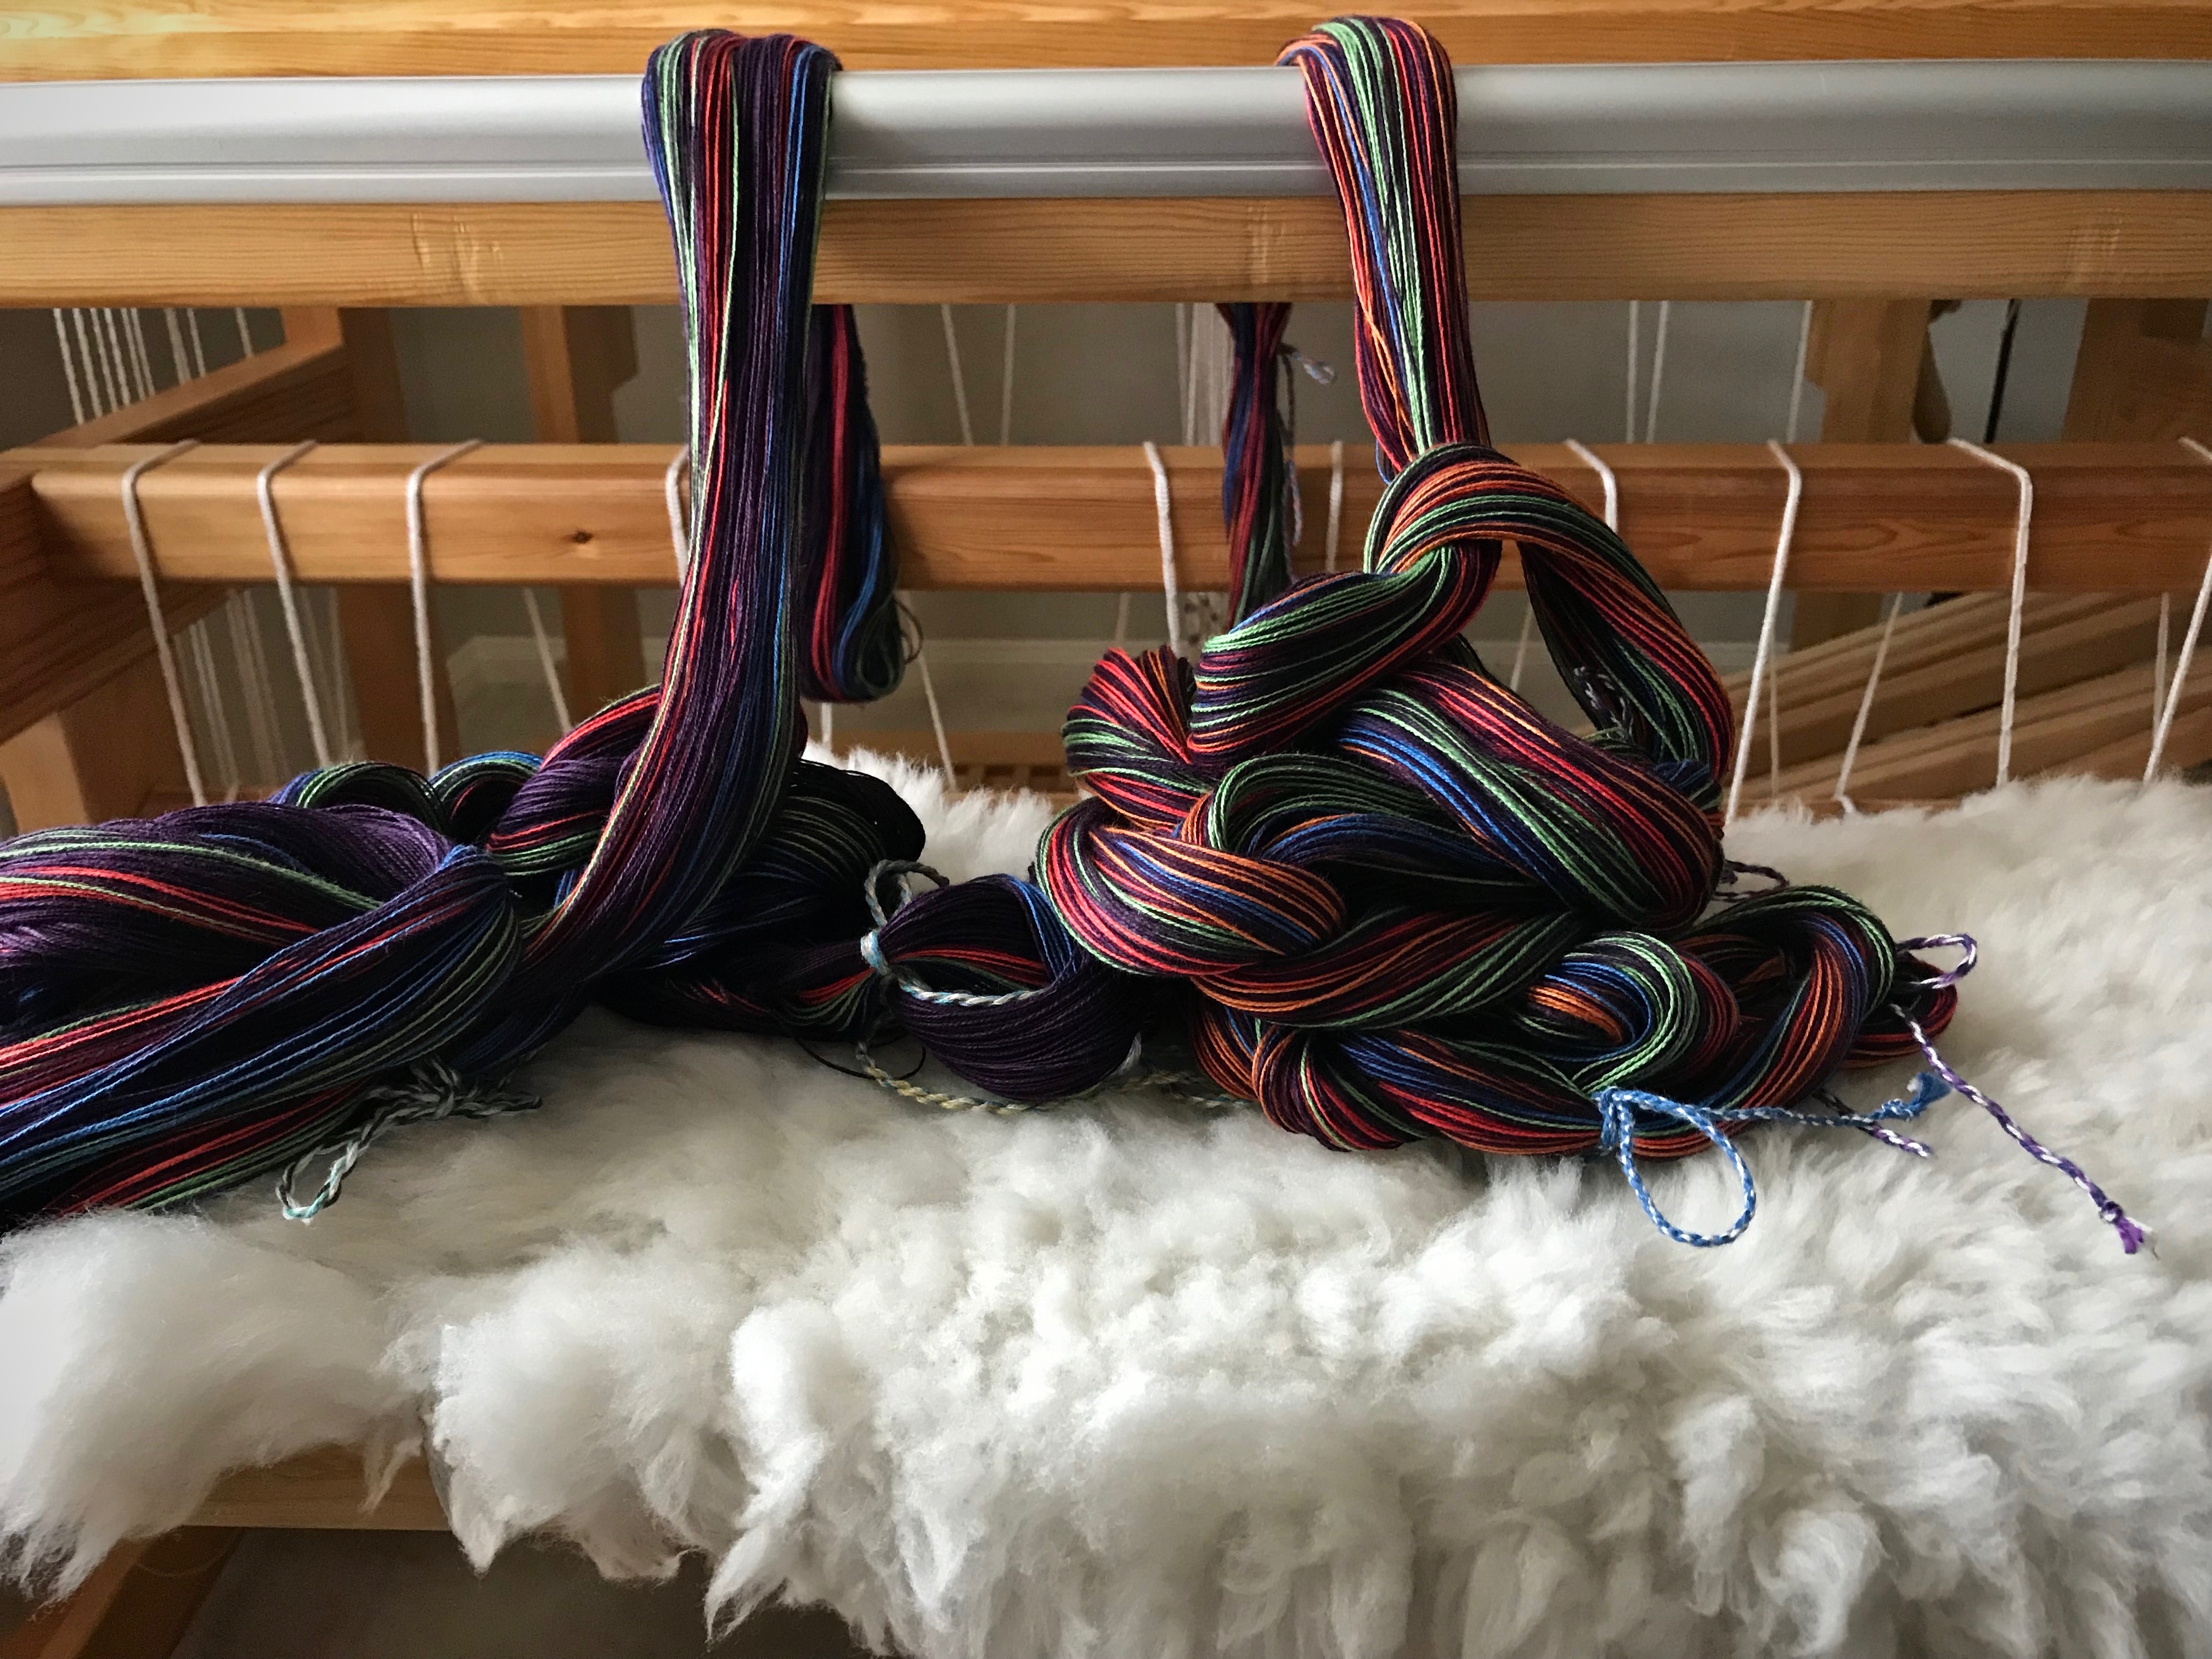
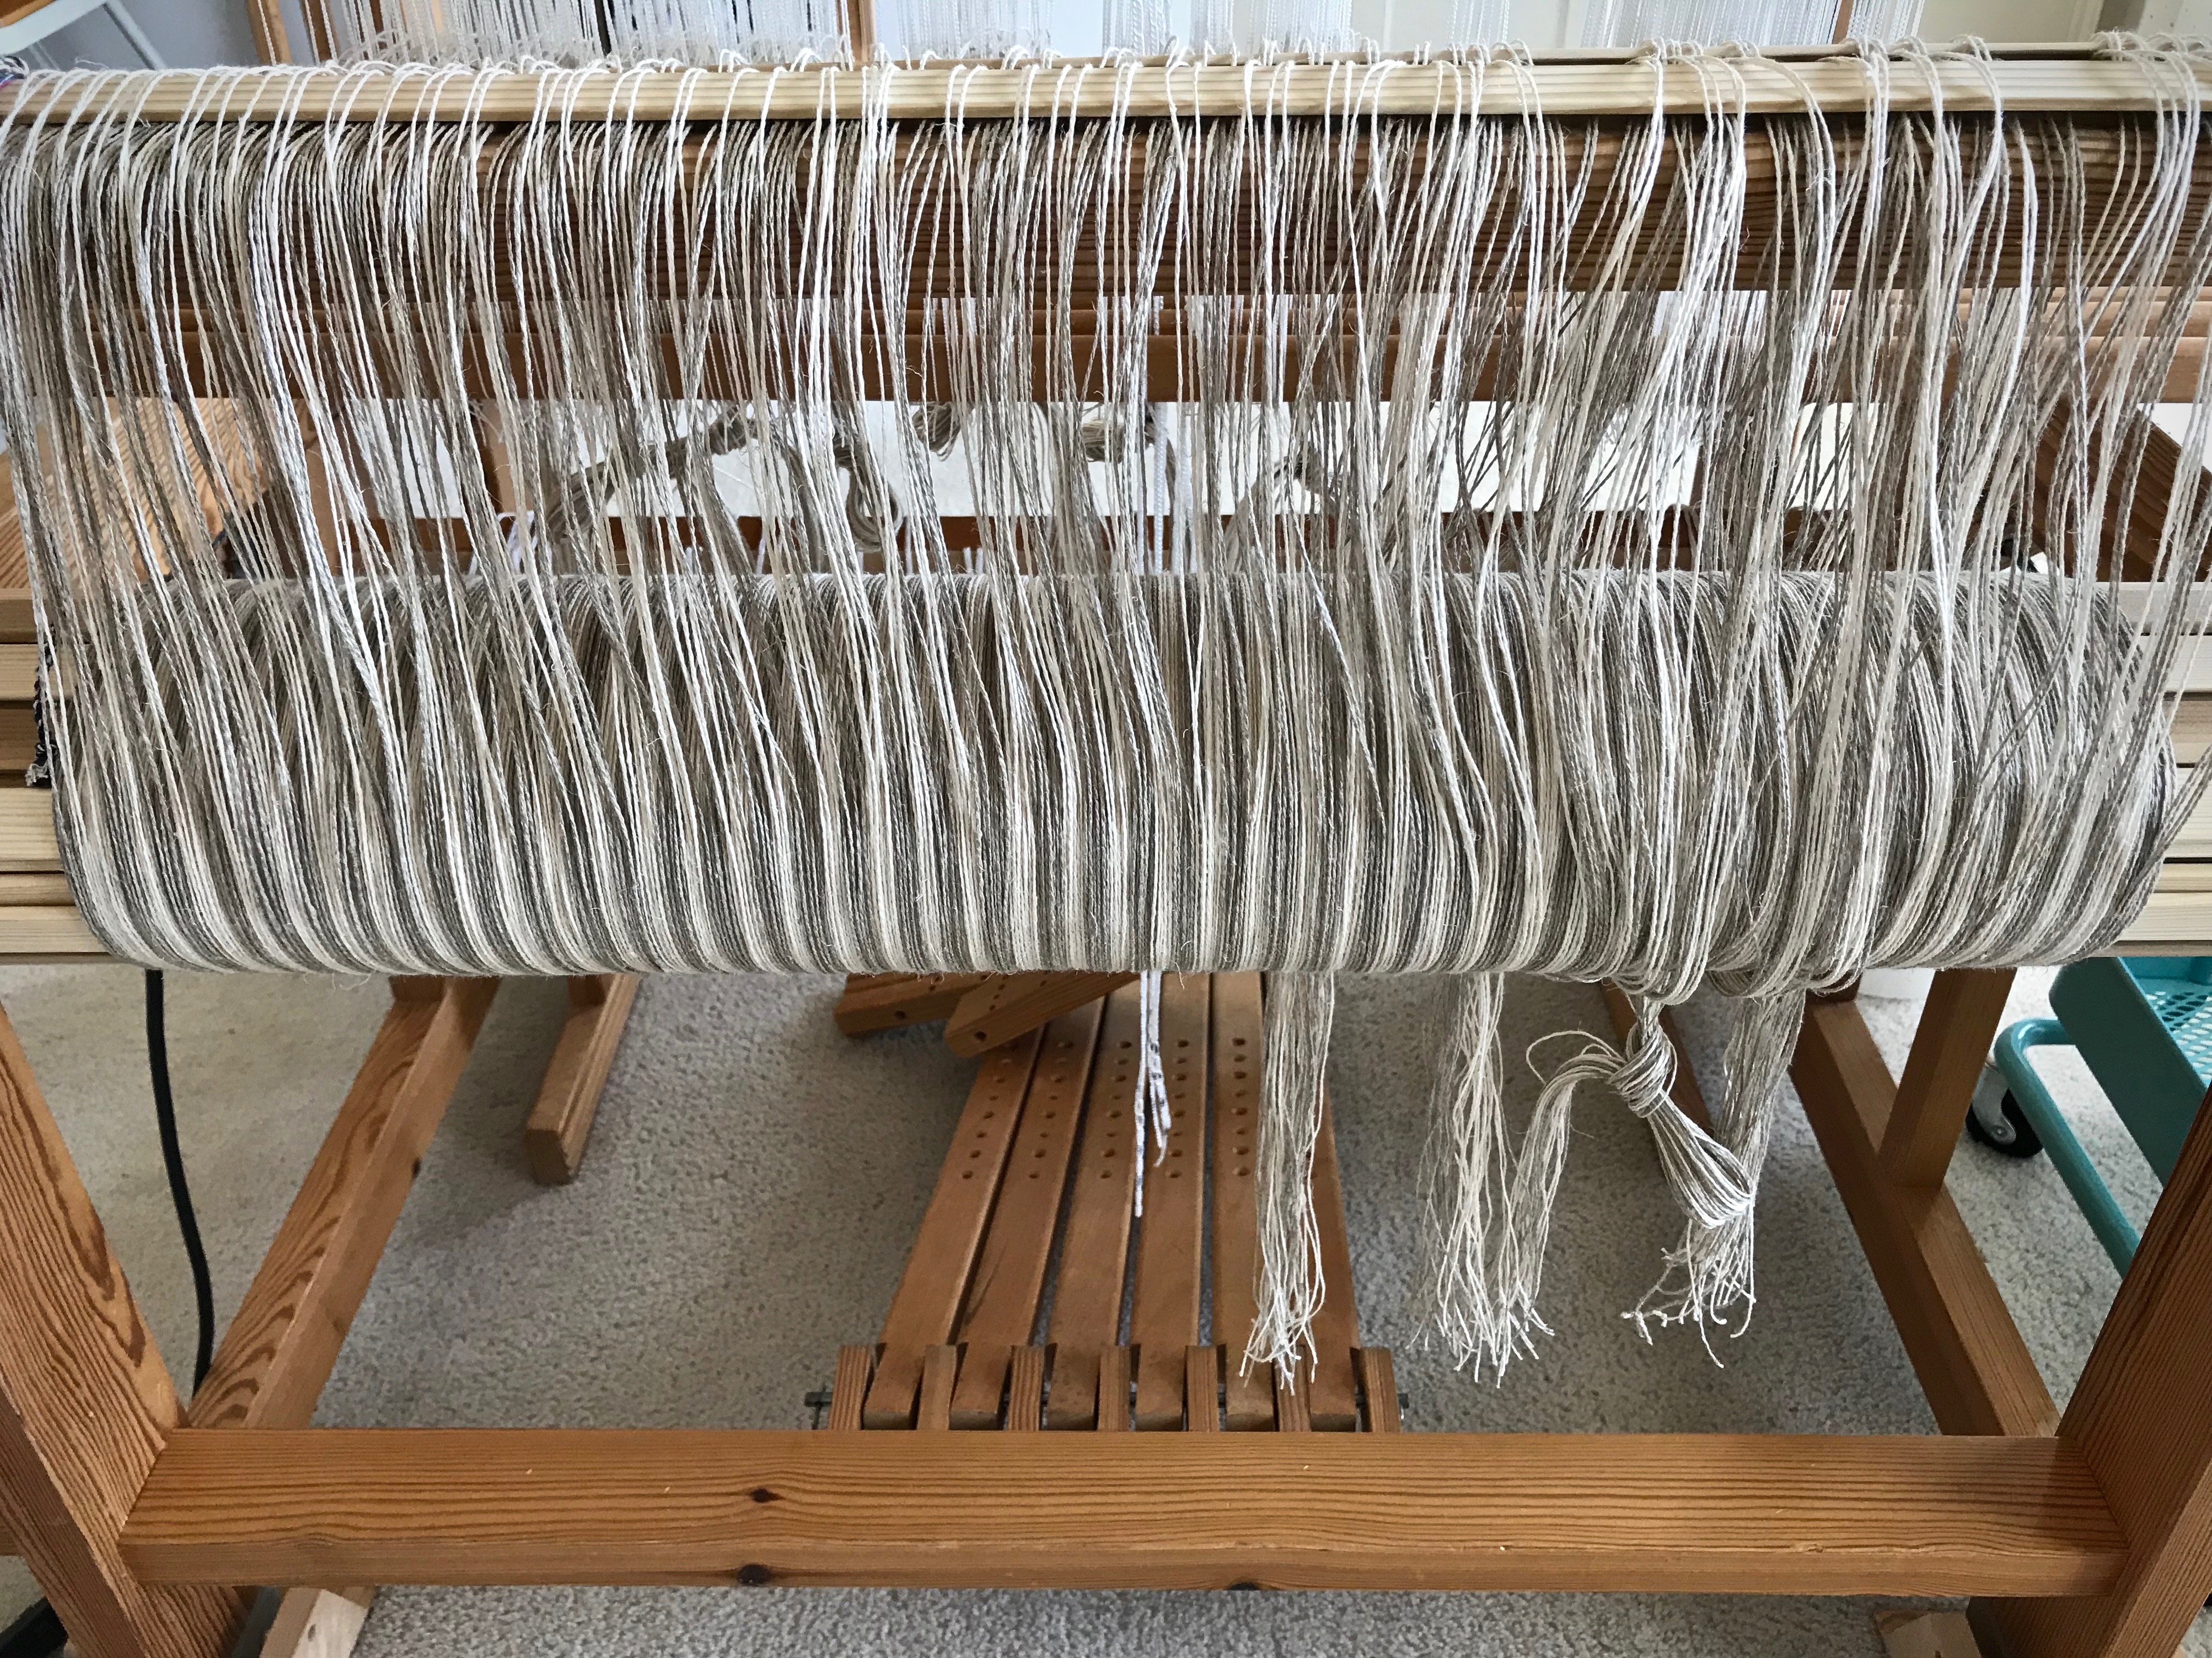
- Continue winding until you have reached the desired number of ends.
- Cut the ends and tie off at the starting peg or the ending peg.
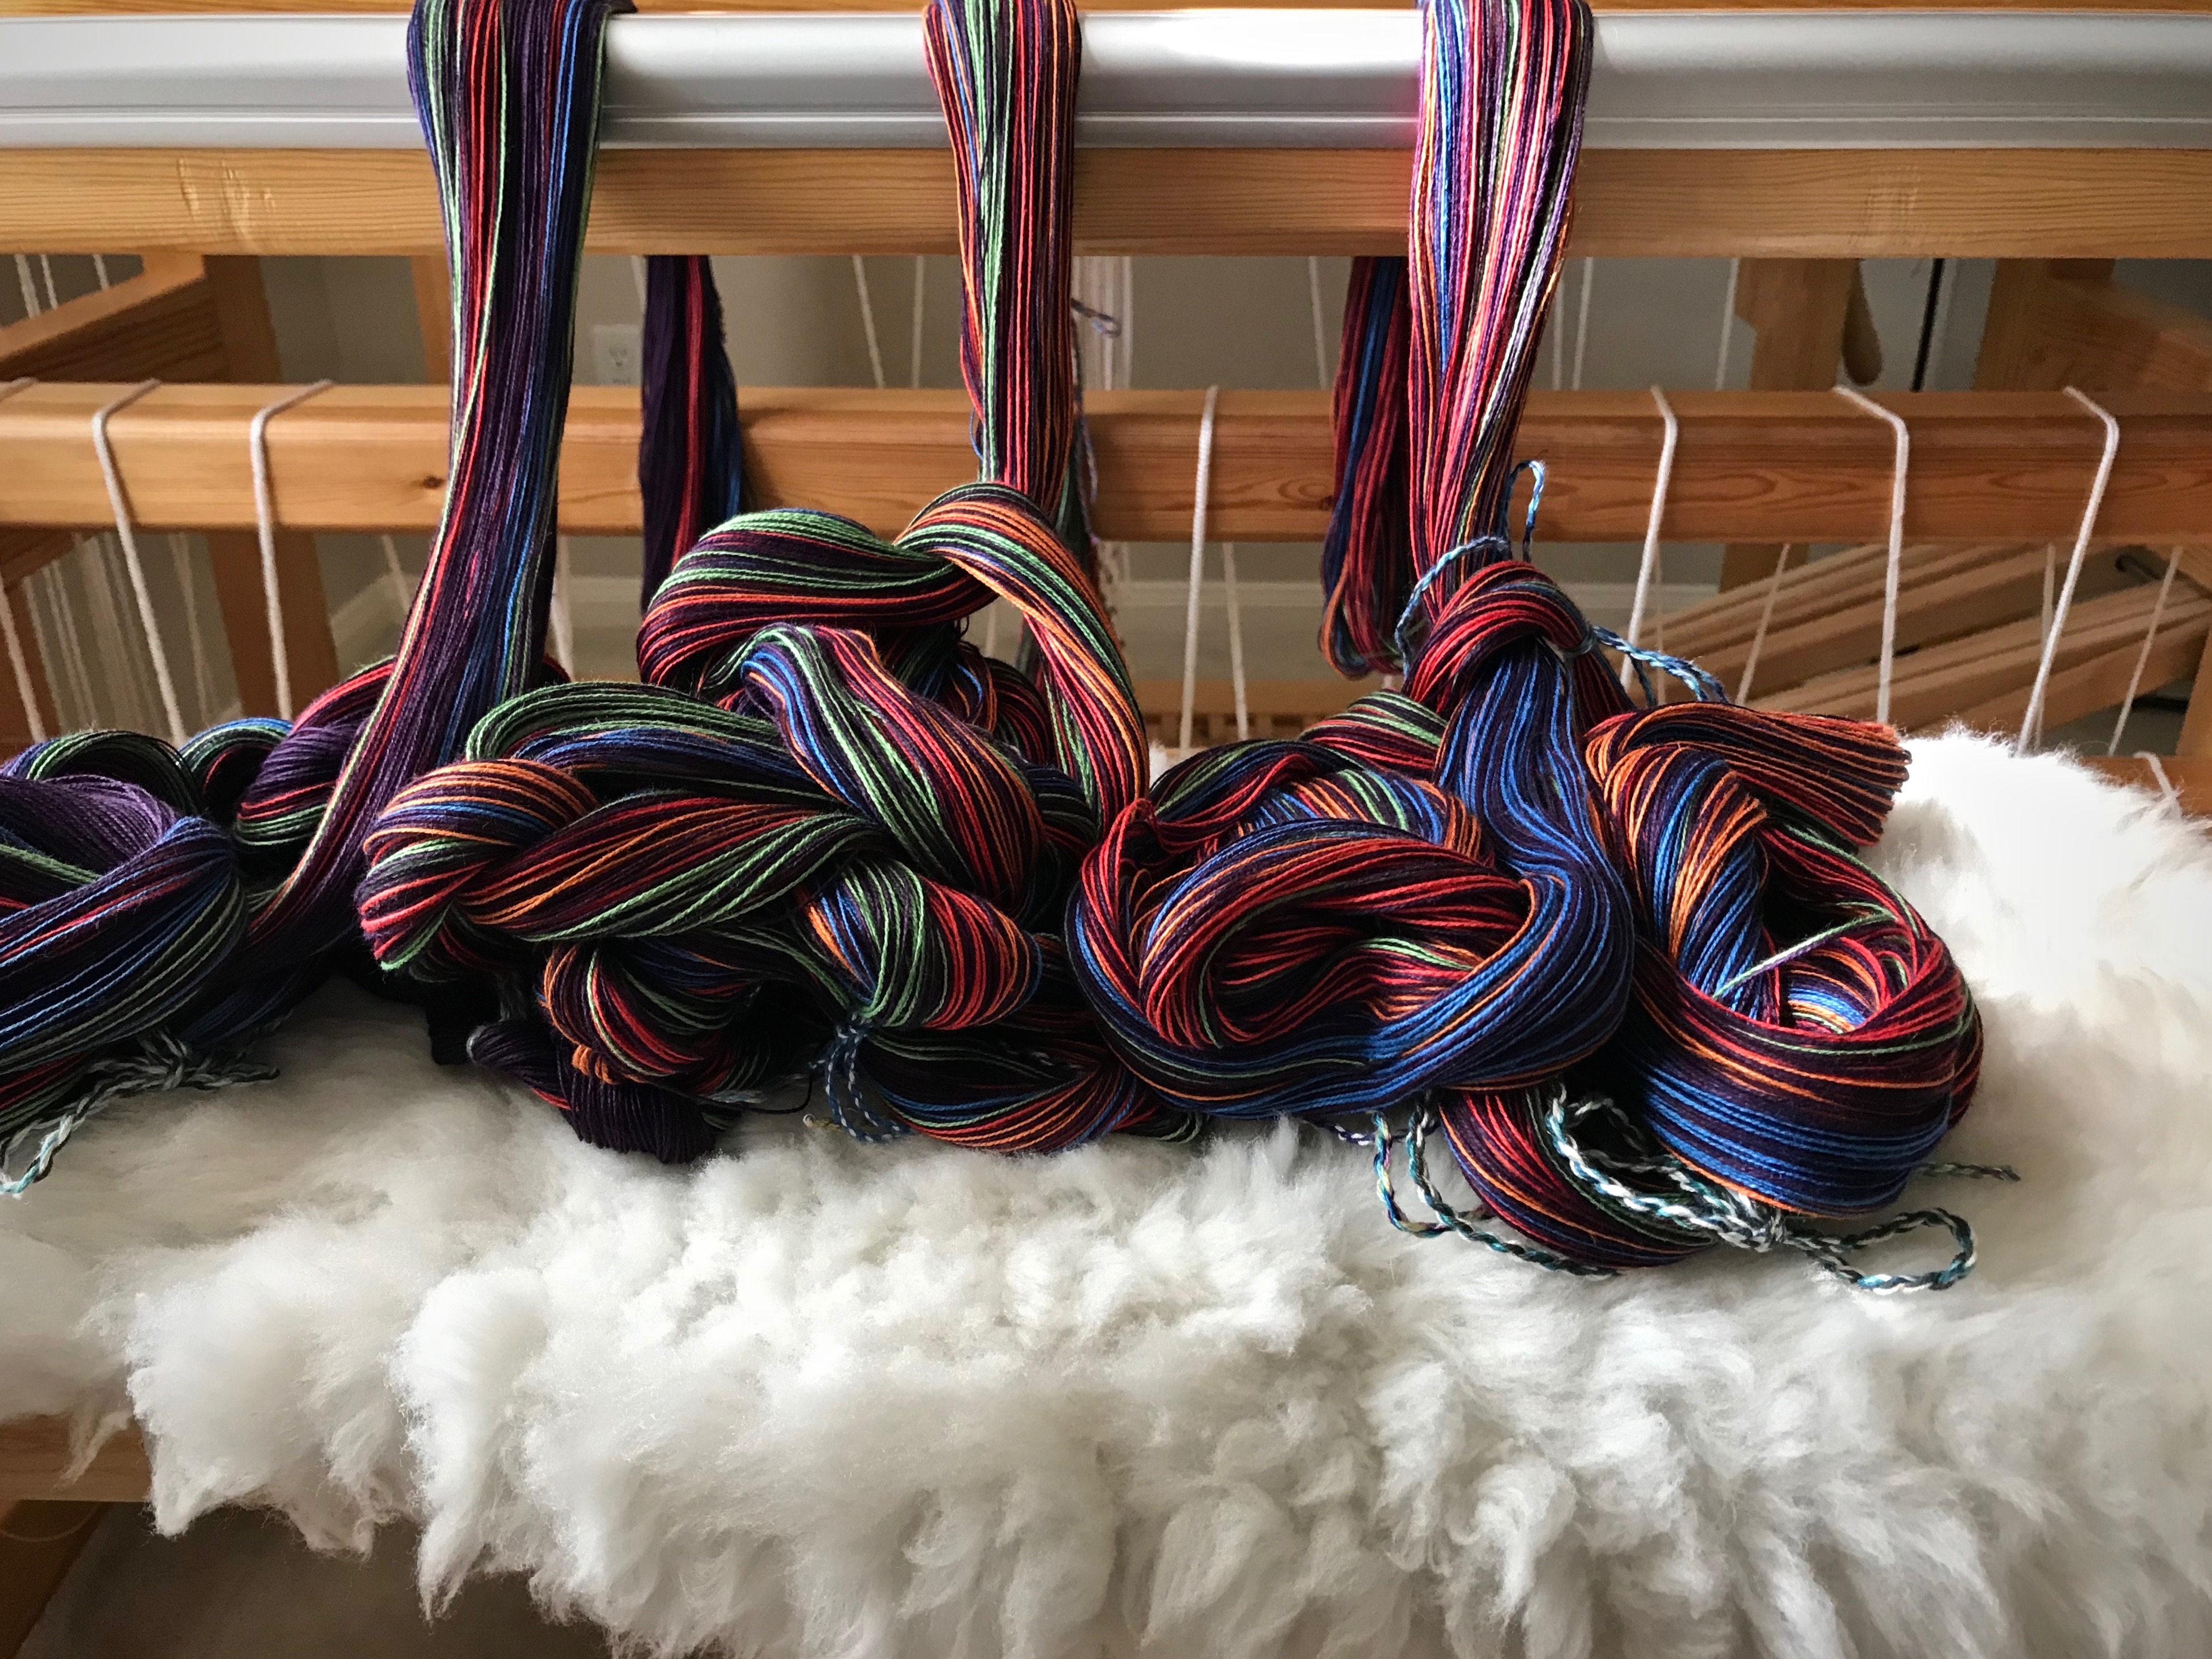
- Tie one or two choke ties, if needed. (I didn’t need them for this short warp.)
- Carefully remove the warp and dress the band loom as usual. (For a tutorial on dressing the band loom, click here: Quiet Friday: Band Loom Warping and Weaving.)
- Weave to your heart’s content.

May you find tools you didn’t know you had.
Happy band weaving,
Karen