Tried and True: Checklist for Winding a Warp

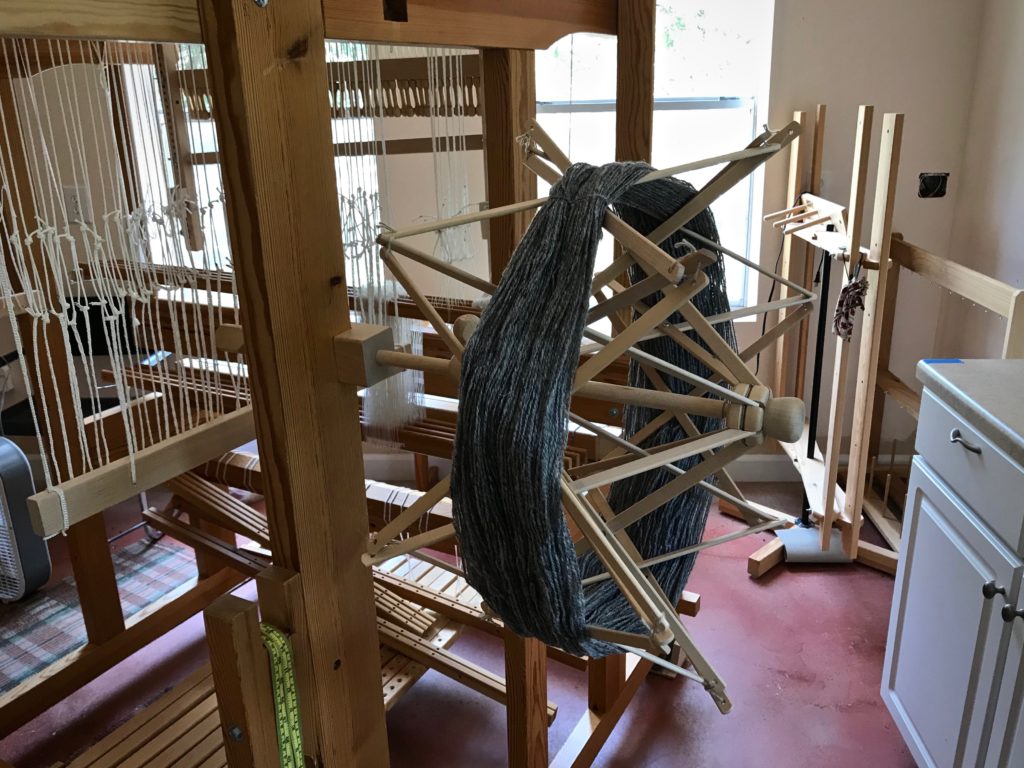
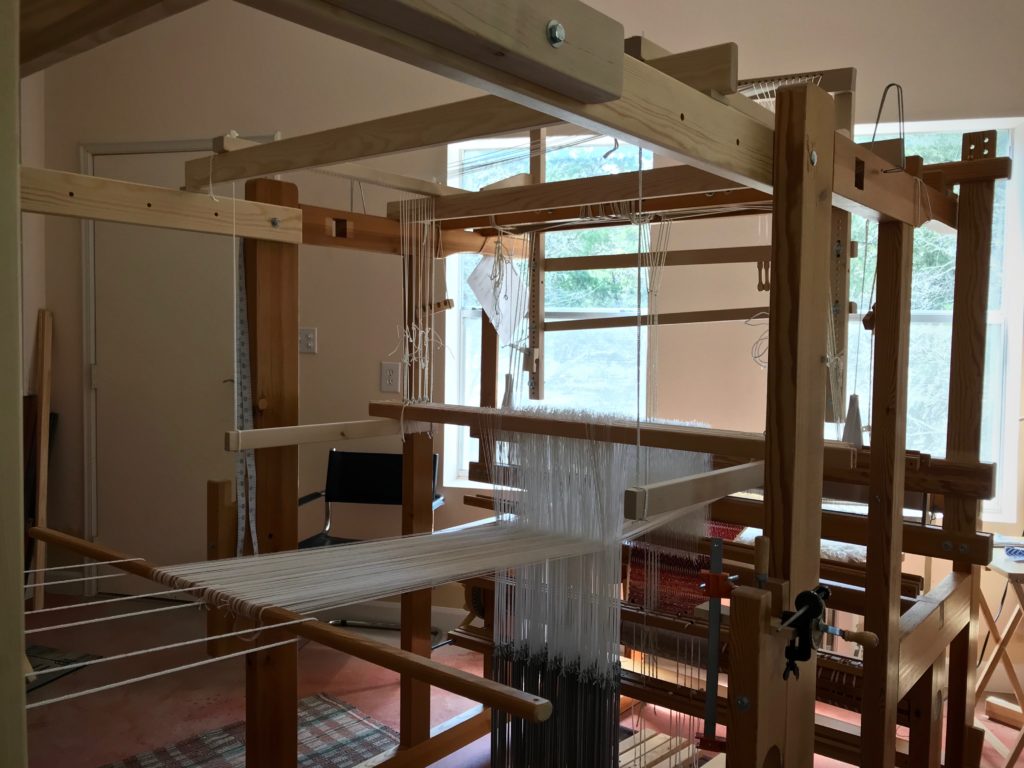
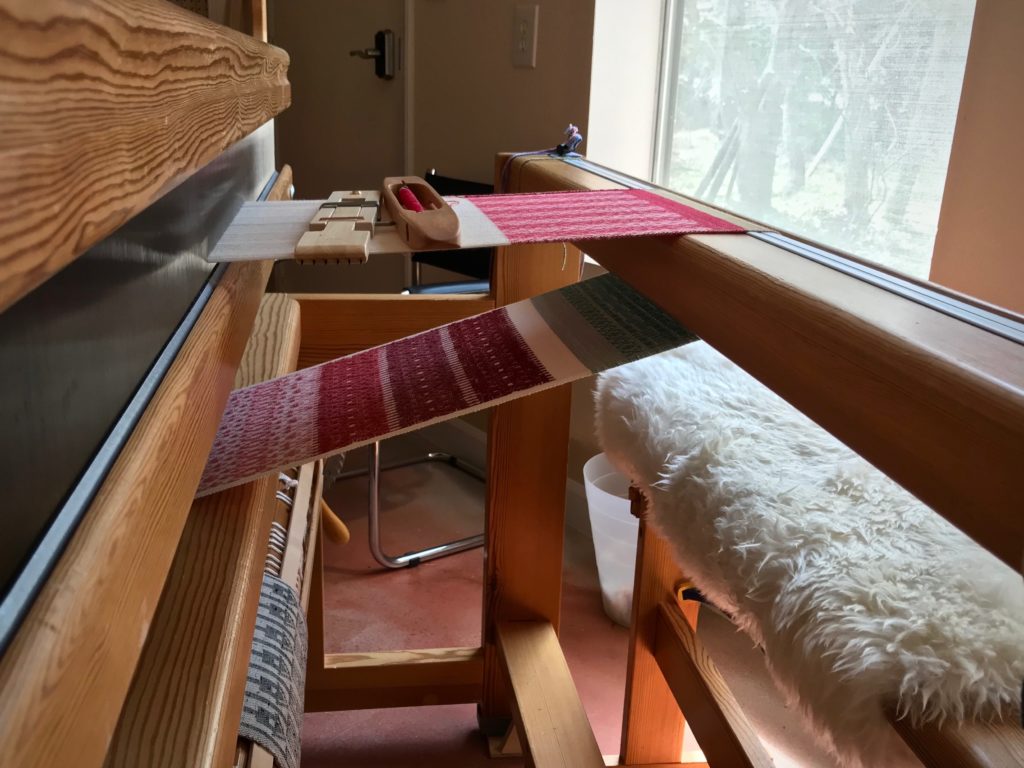
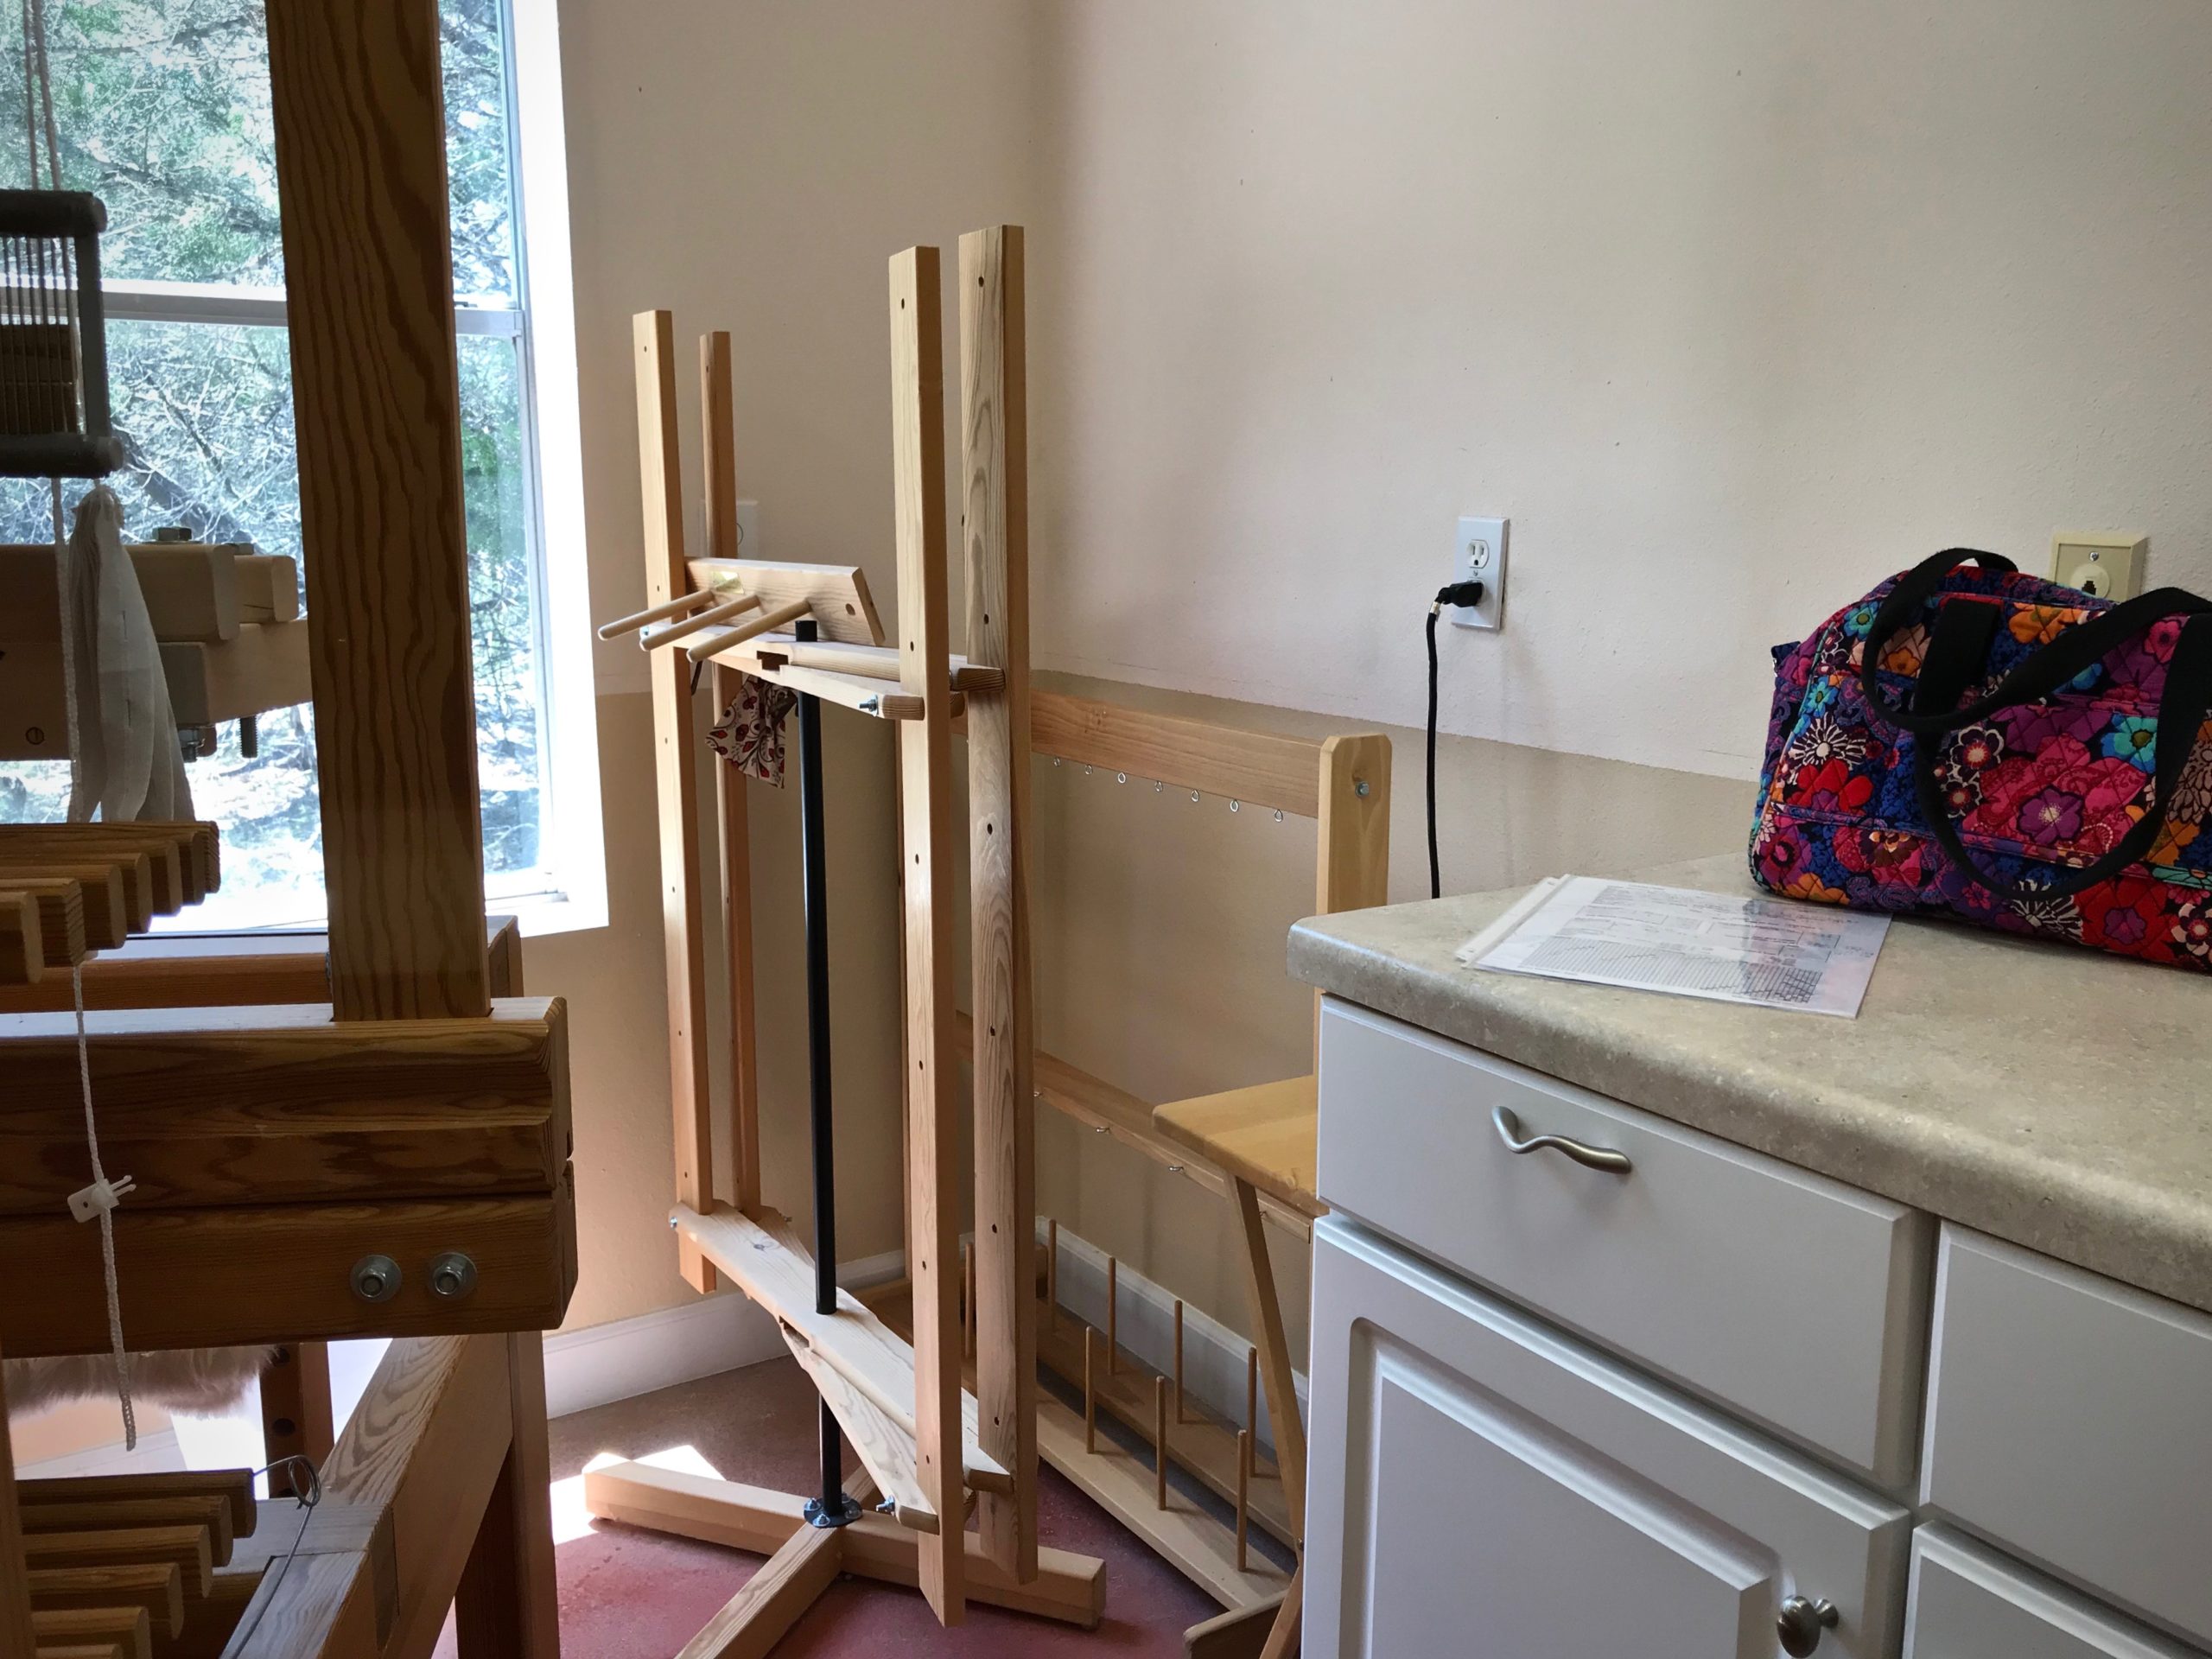
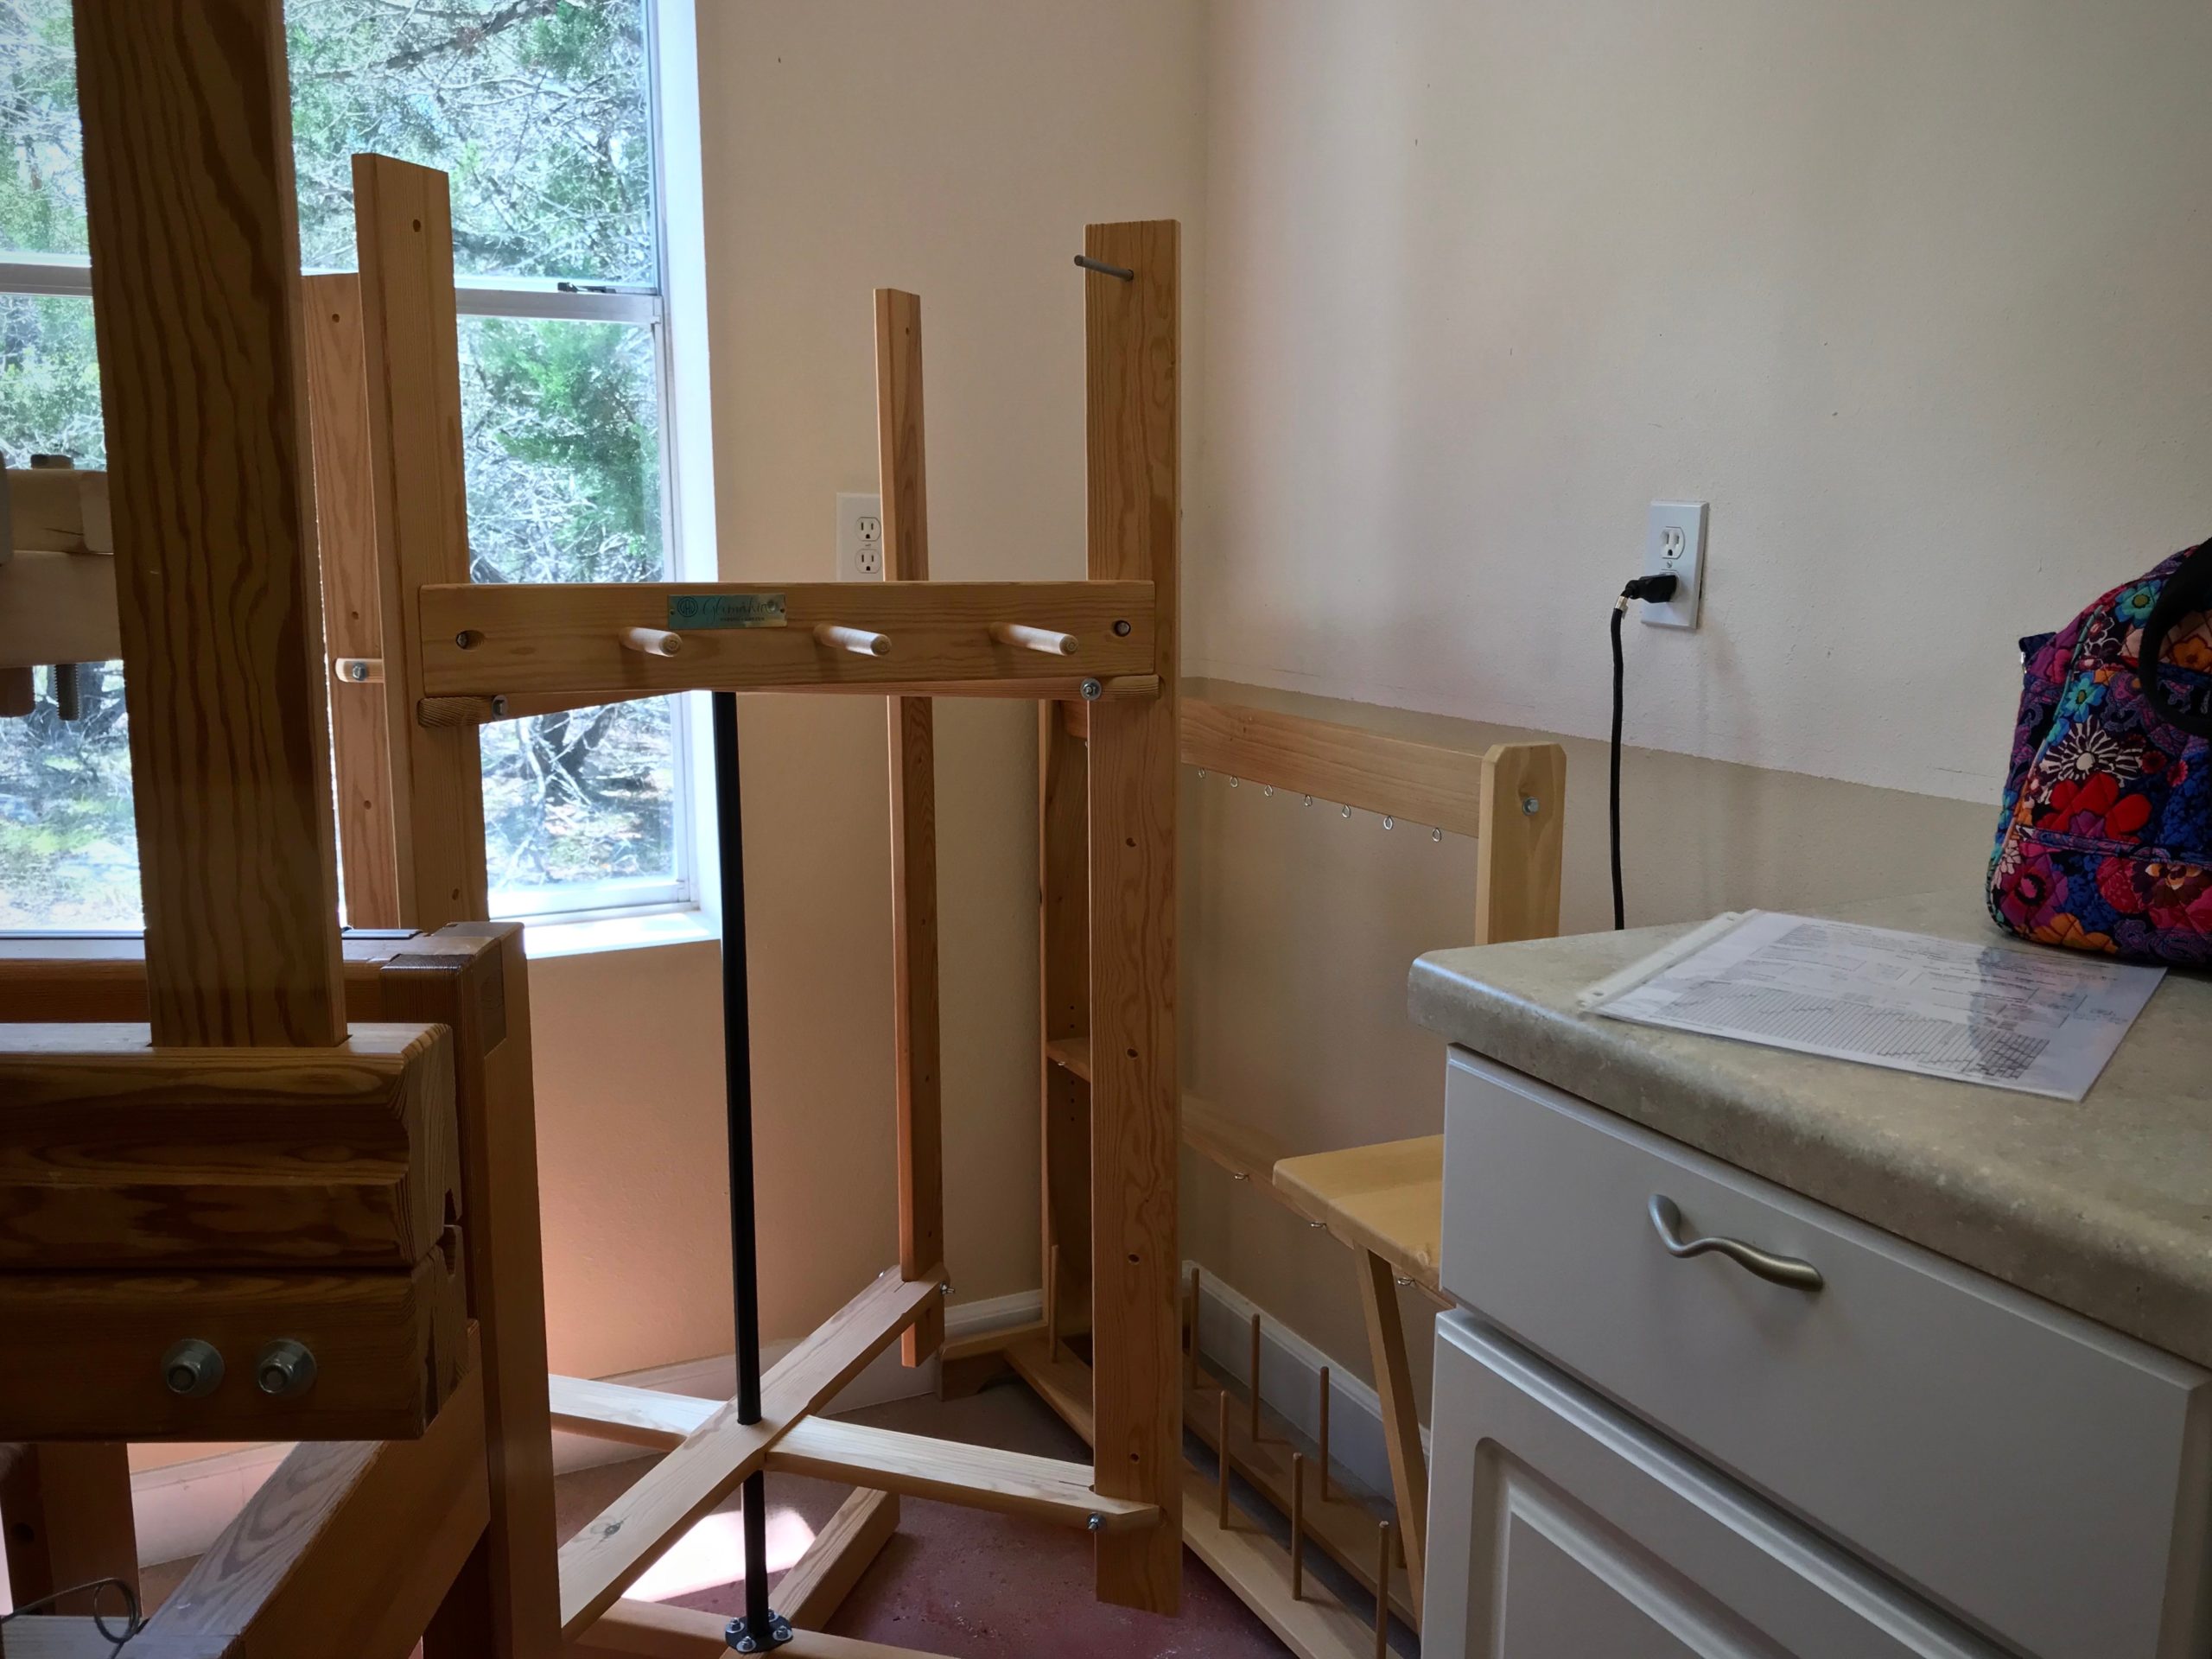
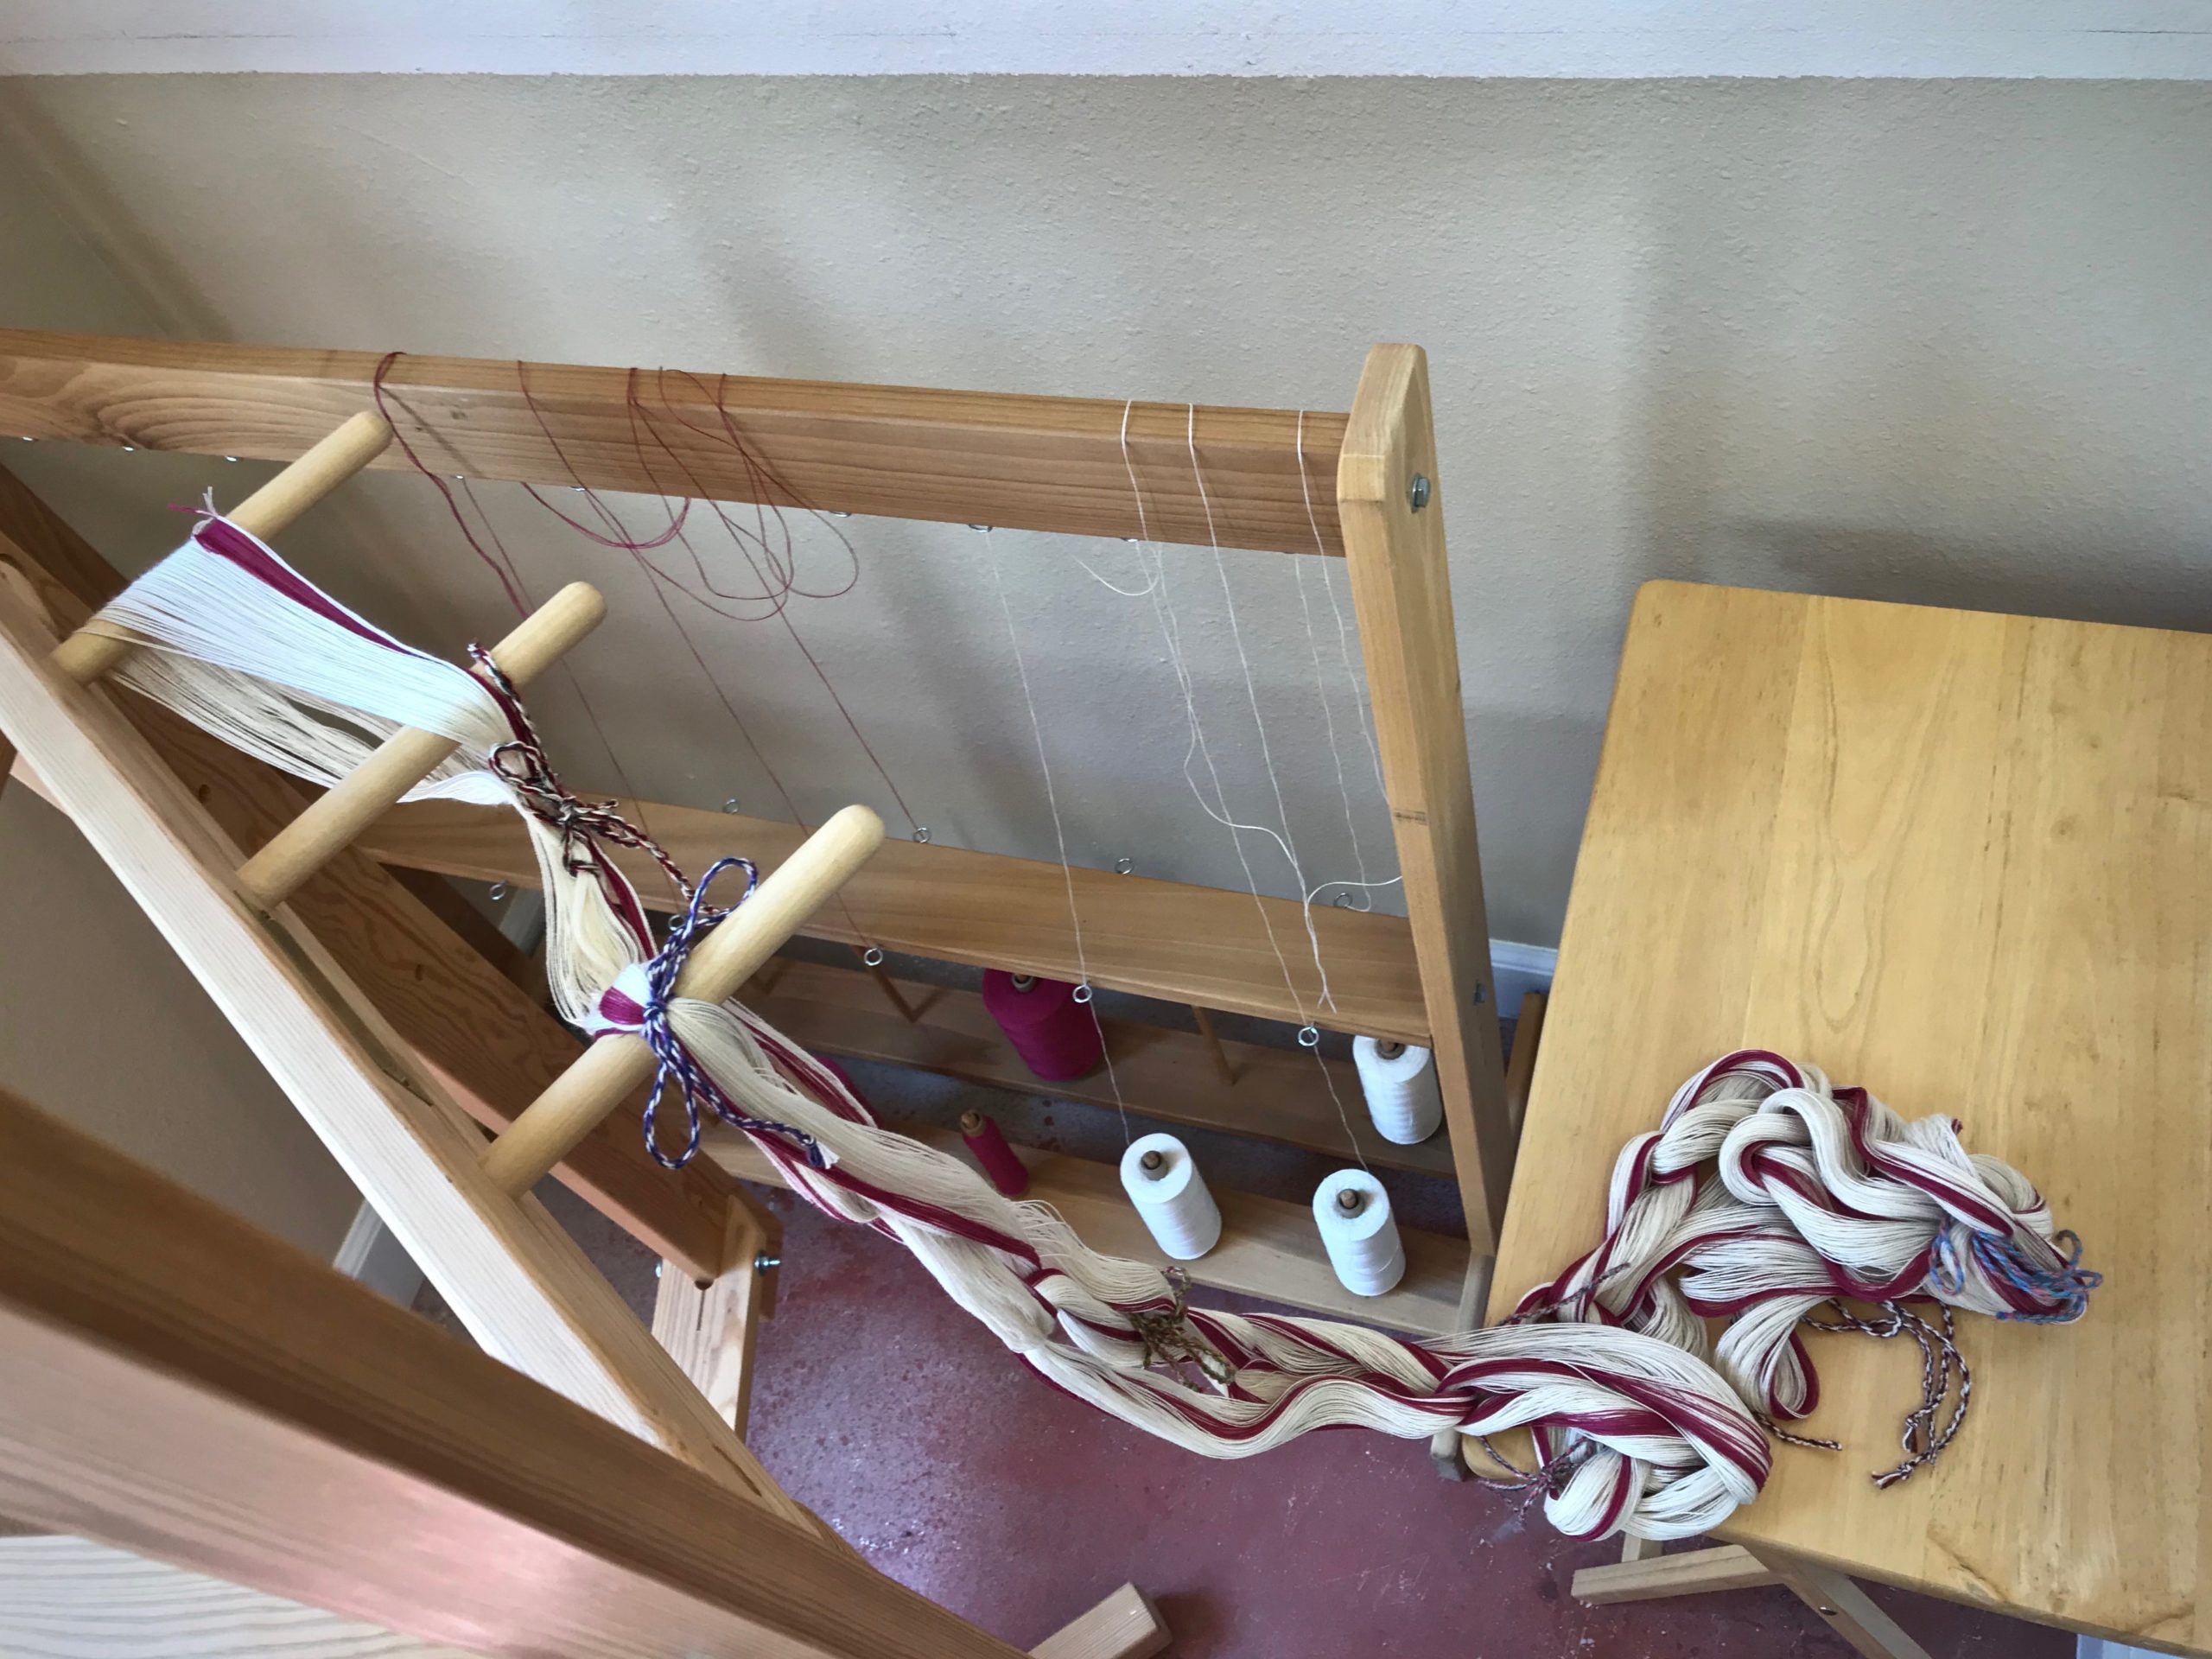
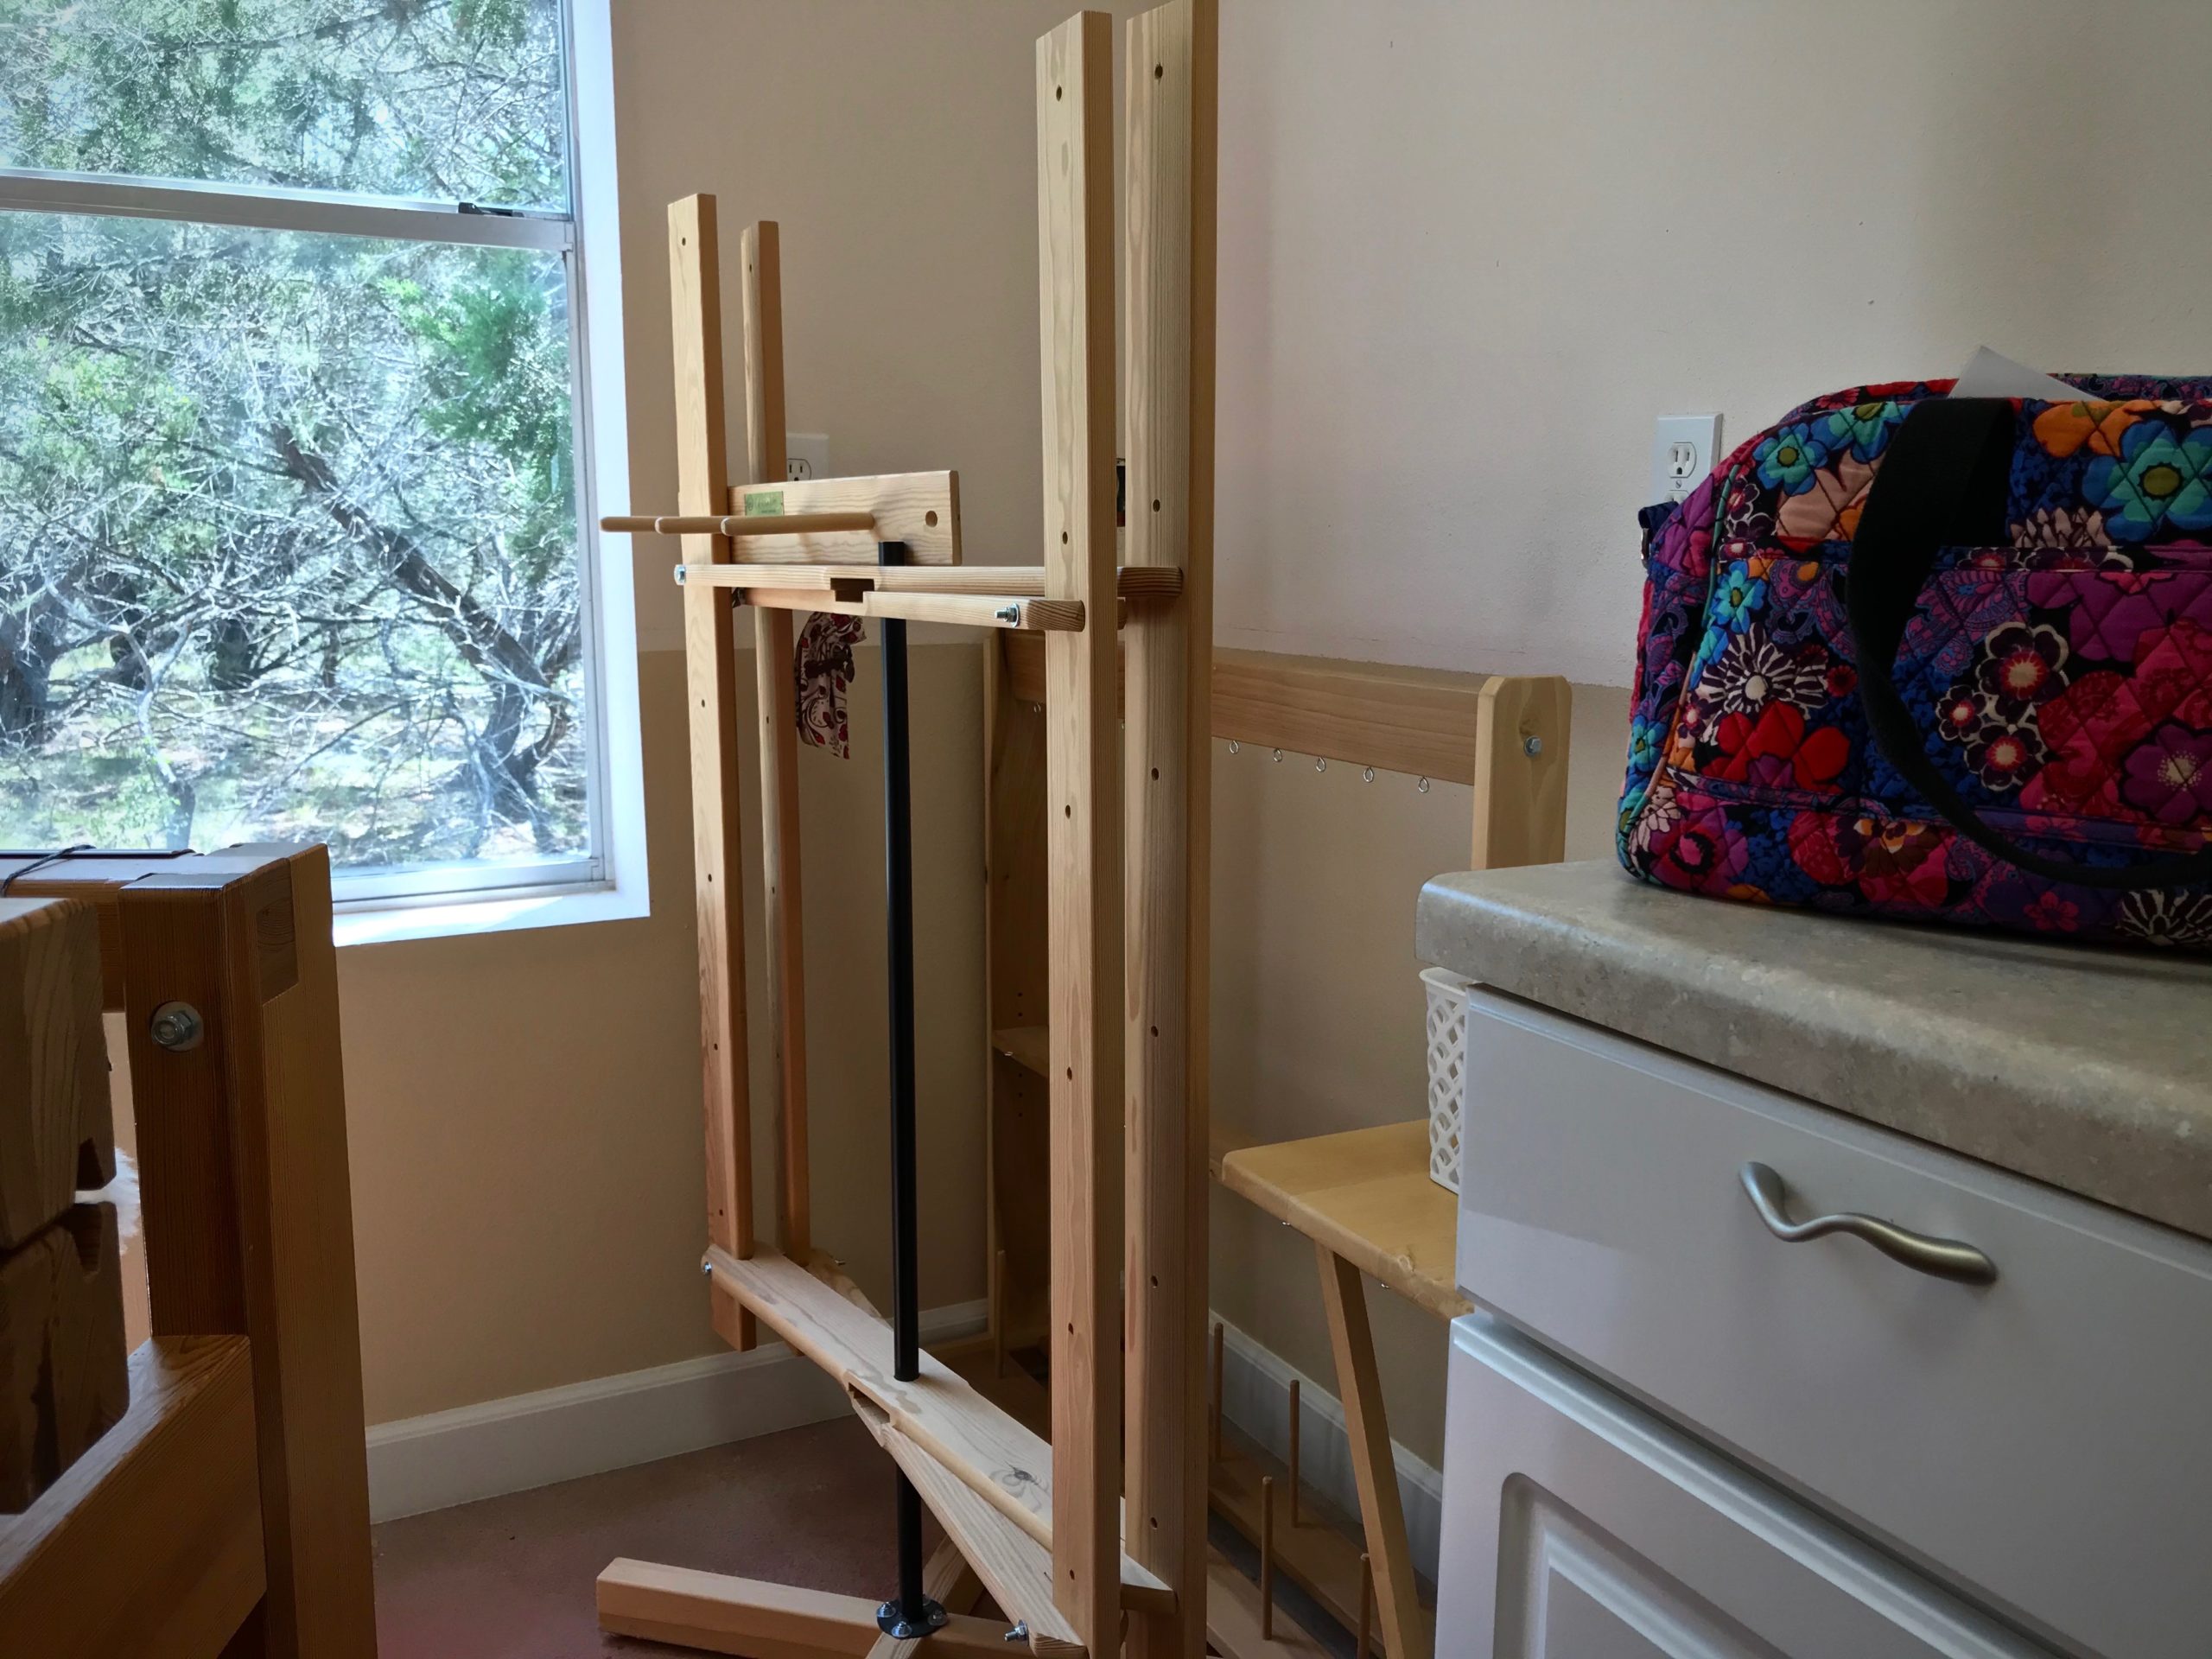
I am winding a narrow warp for my next drawloom project. My warping reel is in a little four-foot-by-four-foot corner of my drawloom studio, and has just enough room to maneuver. When I am ready to wind a warp the first thing I pull out is my trusty checklist. I use a checklist for efficiency. It keeps me on track. And it’s more dependable than my memory.

Checklist for Winding a Warp

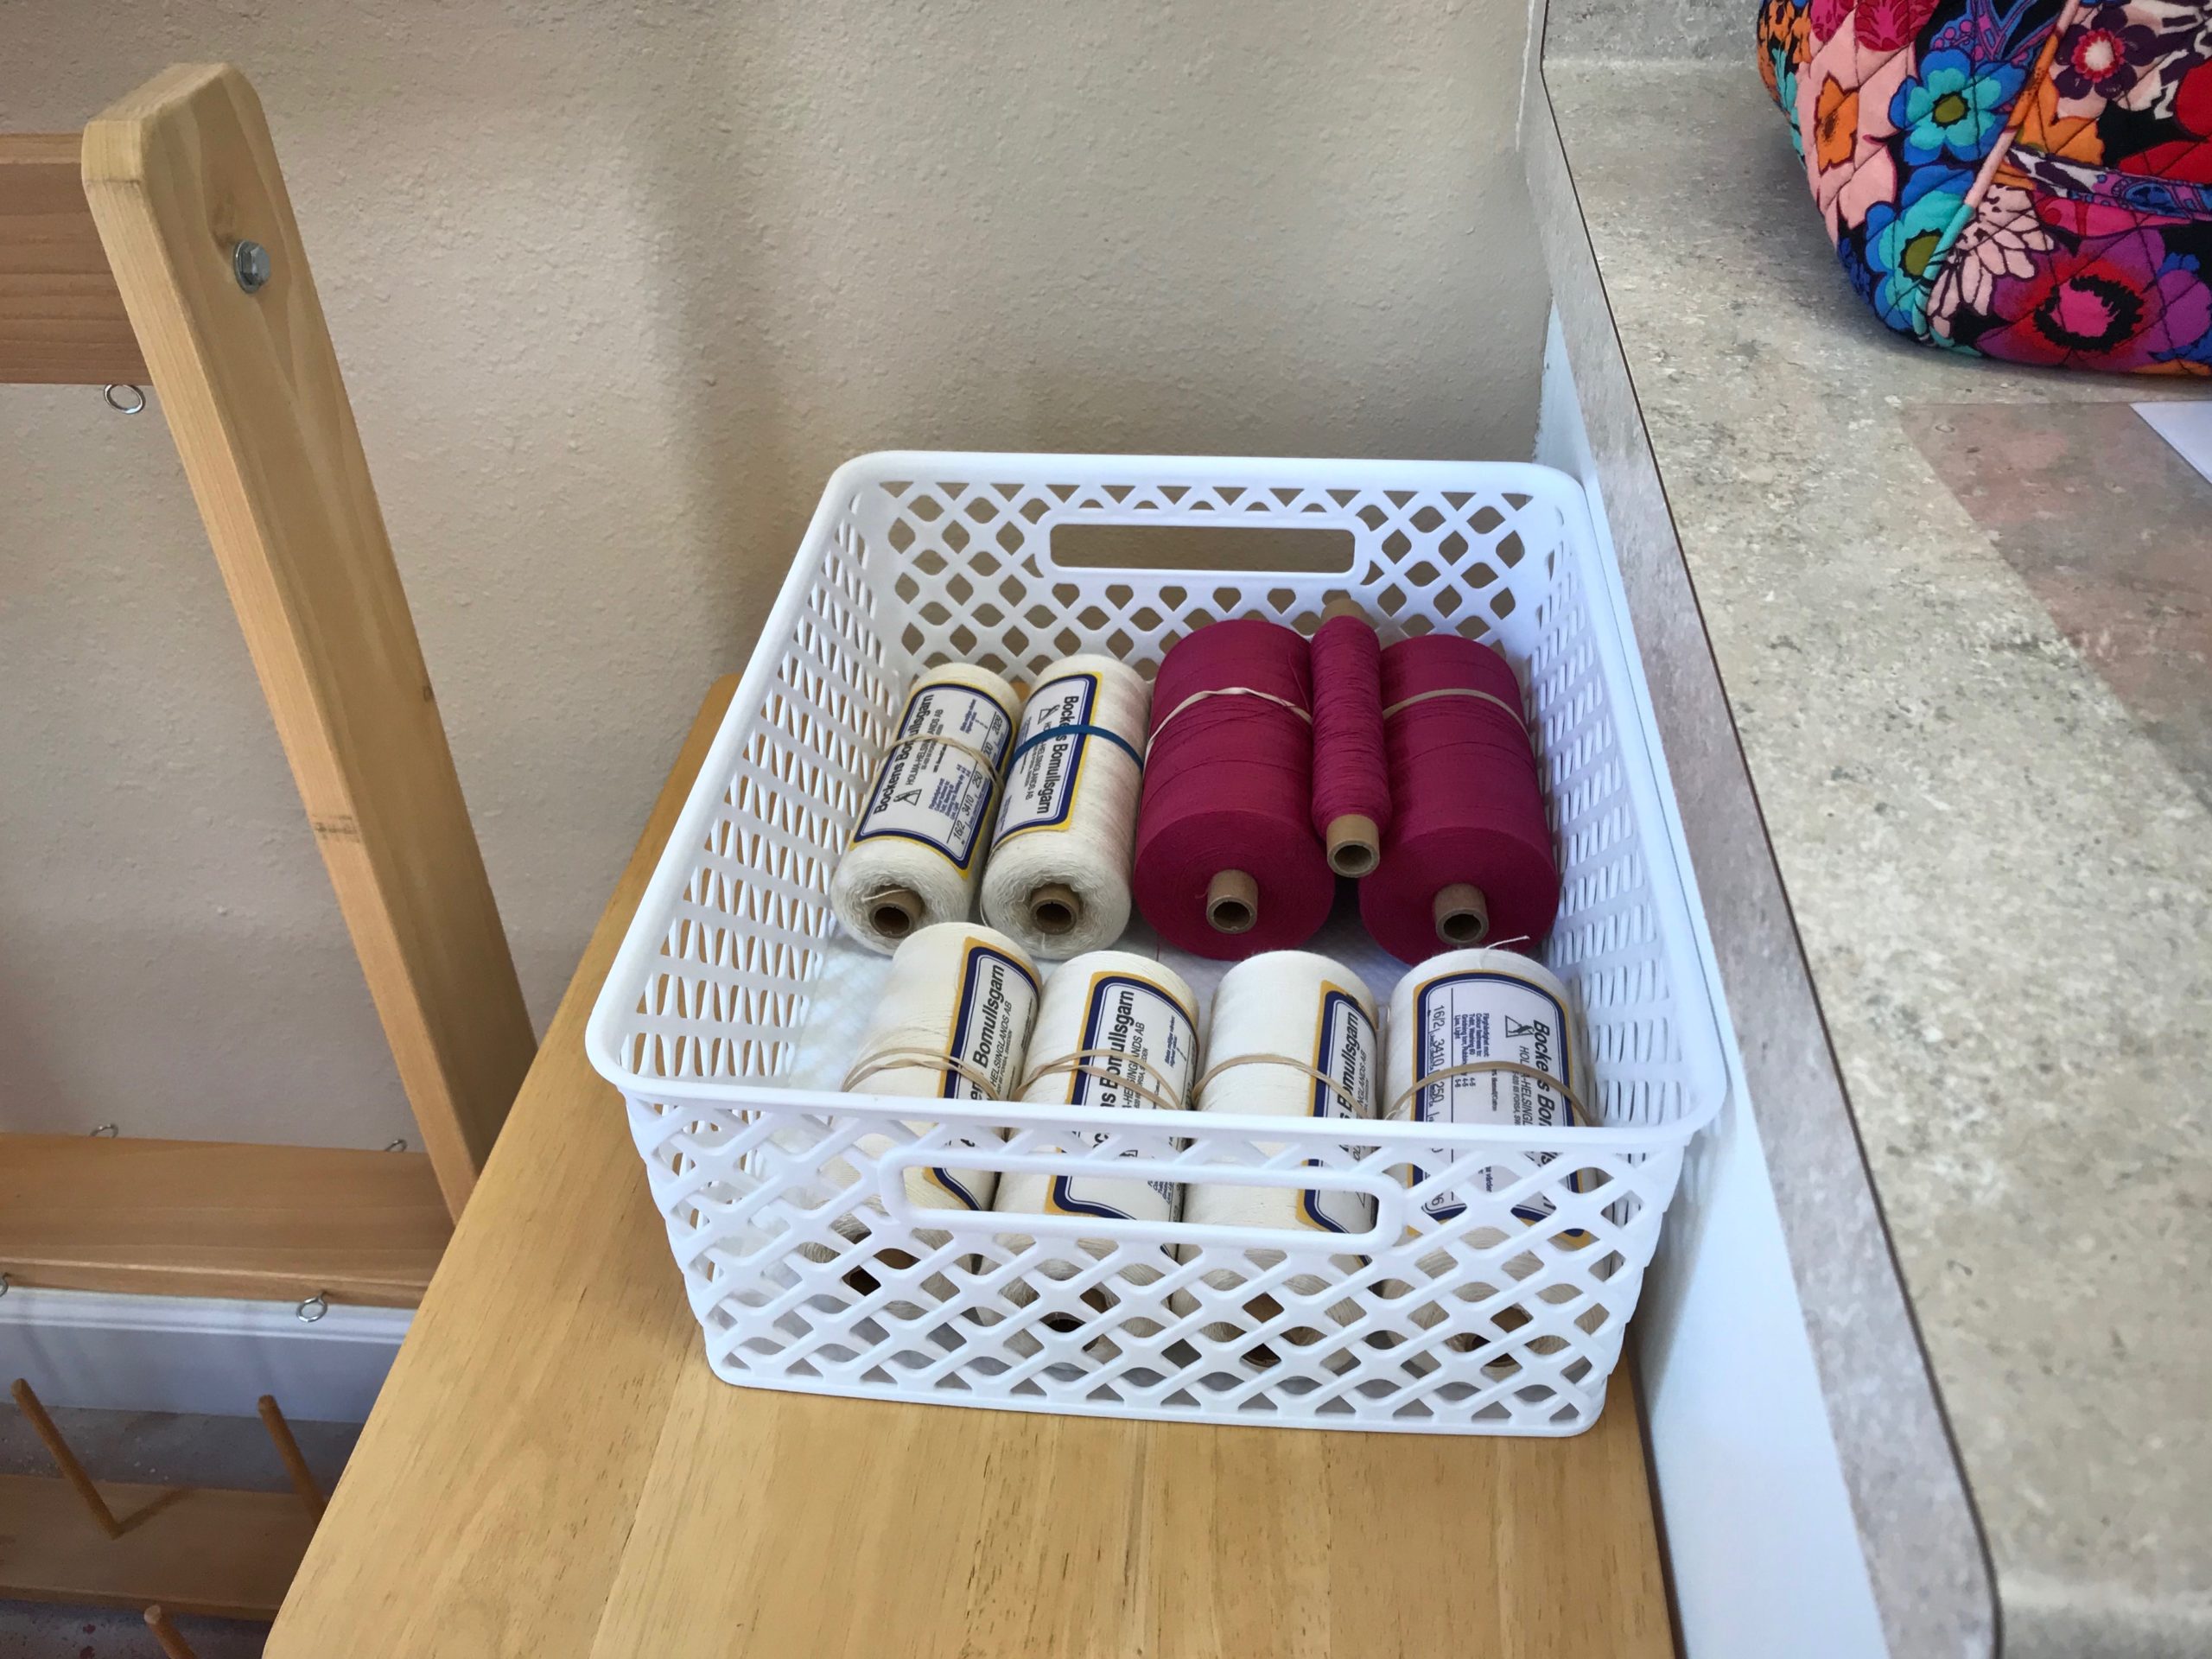
__ Weigh warp thread and write the amounts on the project notes. By weighing the thread before and after a project, you will know exactly how much warp thread was used in the project.

__ Stick a sample four-inch thread to each thread label; put a rubber band around the tube. After you finish winding the warp, you can quickly pair each yarn with its correct label because of the sample thread stuck to the label.

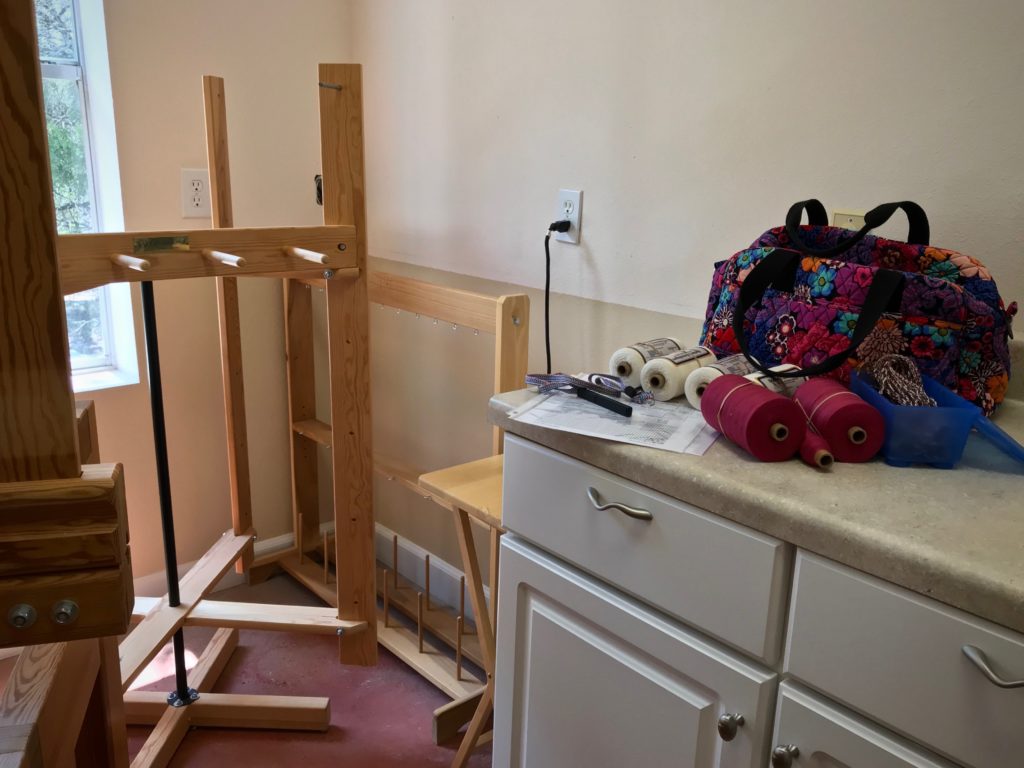
__ Bring supplies to the warping reel. If your warping reel is in a different room, or in a separate building, like mine is, make sure you have all you need before you head to the warping reel.

+ Thread for the project

+ Thread stand, if not already in place

+ Scissors

+ Choke ties

+ Project notes, with fully completed draftAn incomplete draft may give faulty information. Also, a review of the project notes and draft is a good idea, especially if weeks or months have passed since you wrote it all down.

Checklist for winding a warp.

__ Set up the warping reel for warp length. Use a guide string, or measure the distance needed to place the pegs and turning pin at the right place on the warping reel for the warp you are going to wind.

Checklist for winding a warp.

__ Set out the thread on the thread stand. Wind the warp with two or more threads at the same time, for best results.

__ Hang or tape up the project notes at eye level. Project notes show the warp sequence and other vital information.

__ Take note of warp length, number of bouts, and number of ends in each bout. Aim for 25 cm (10”) or less in the reed, or 200 or fewer ends, per bout. For the drawloom, wind the warp in pattern unit increments when possible.

Checklist for winding a warp.

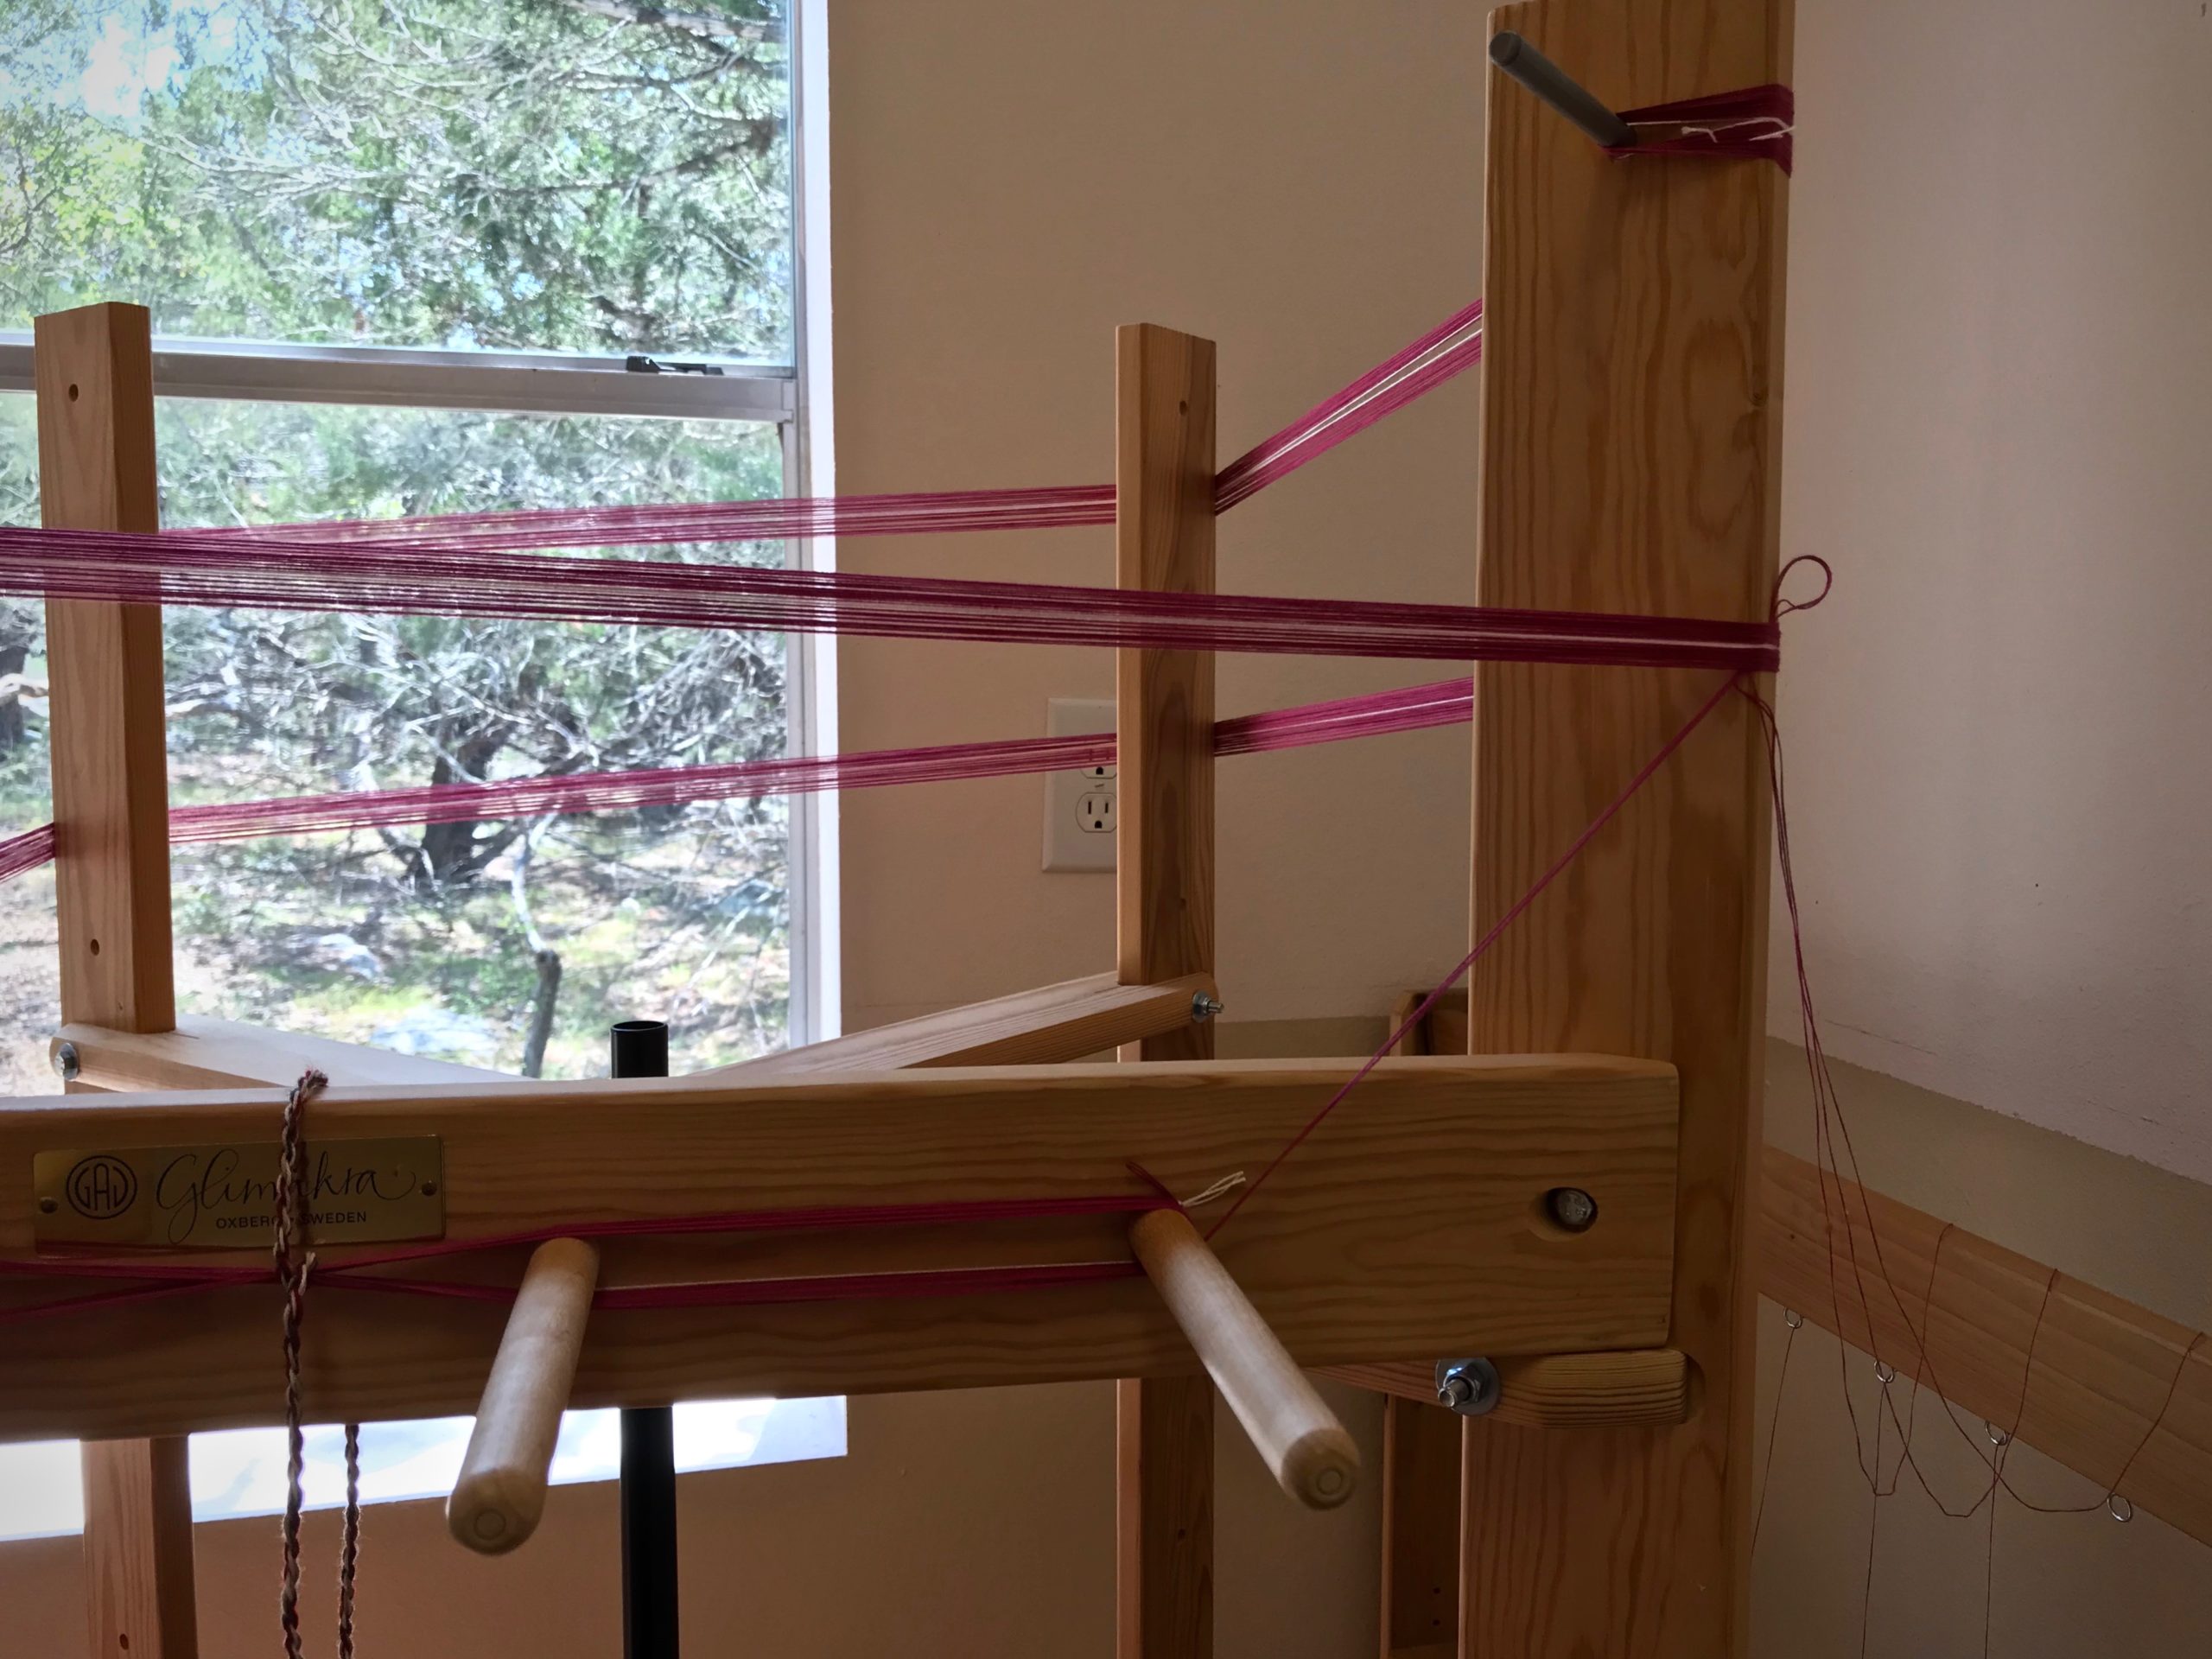
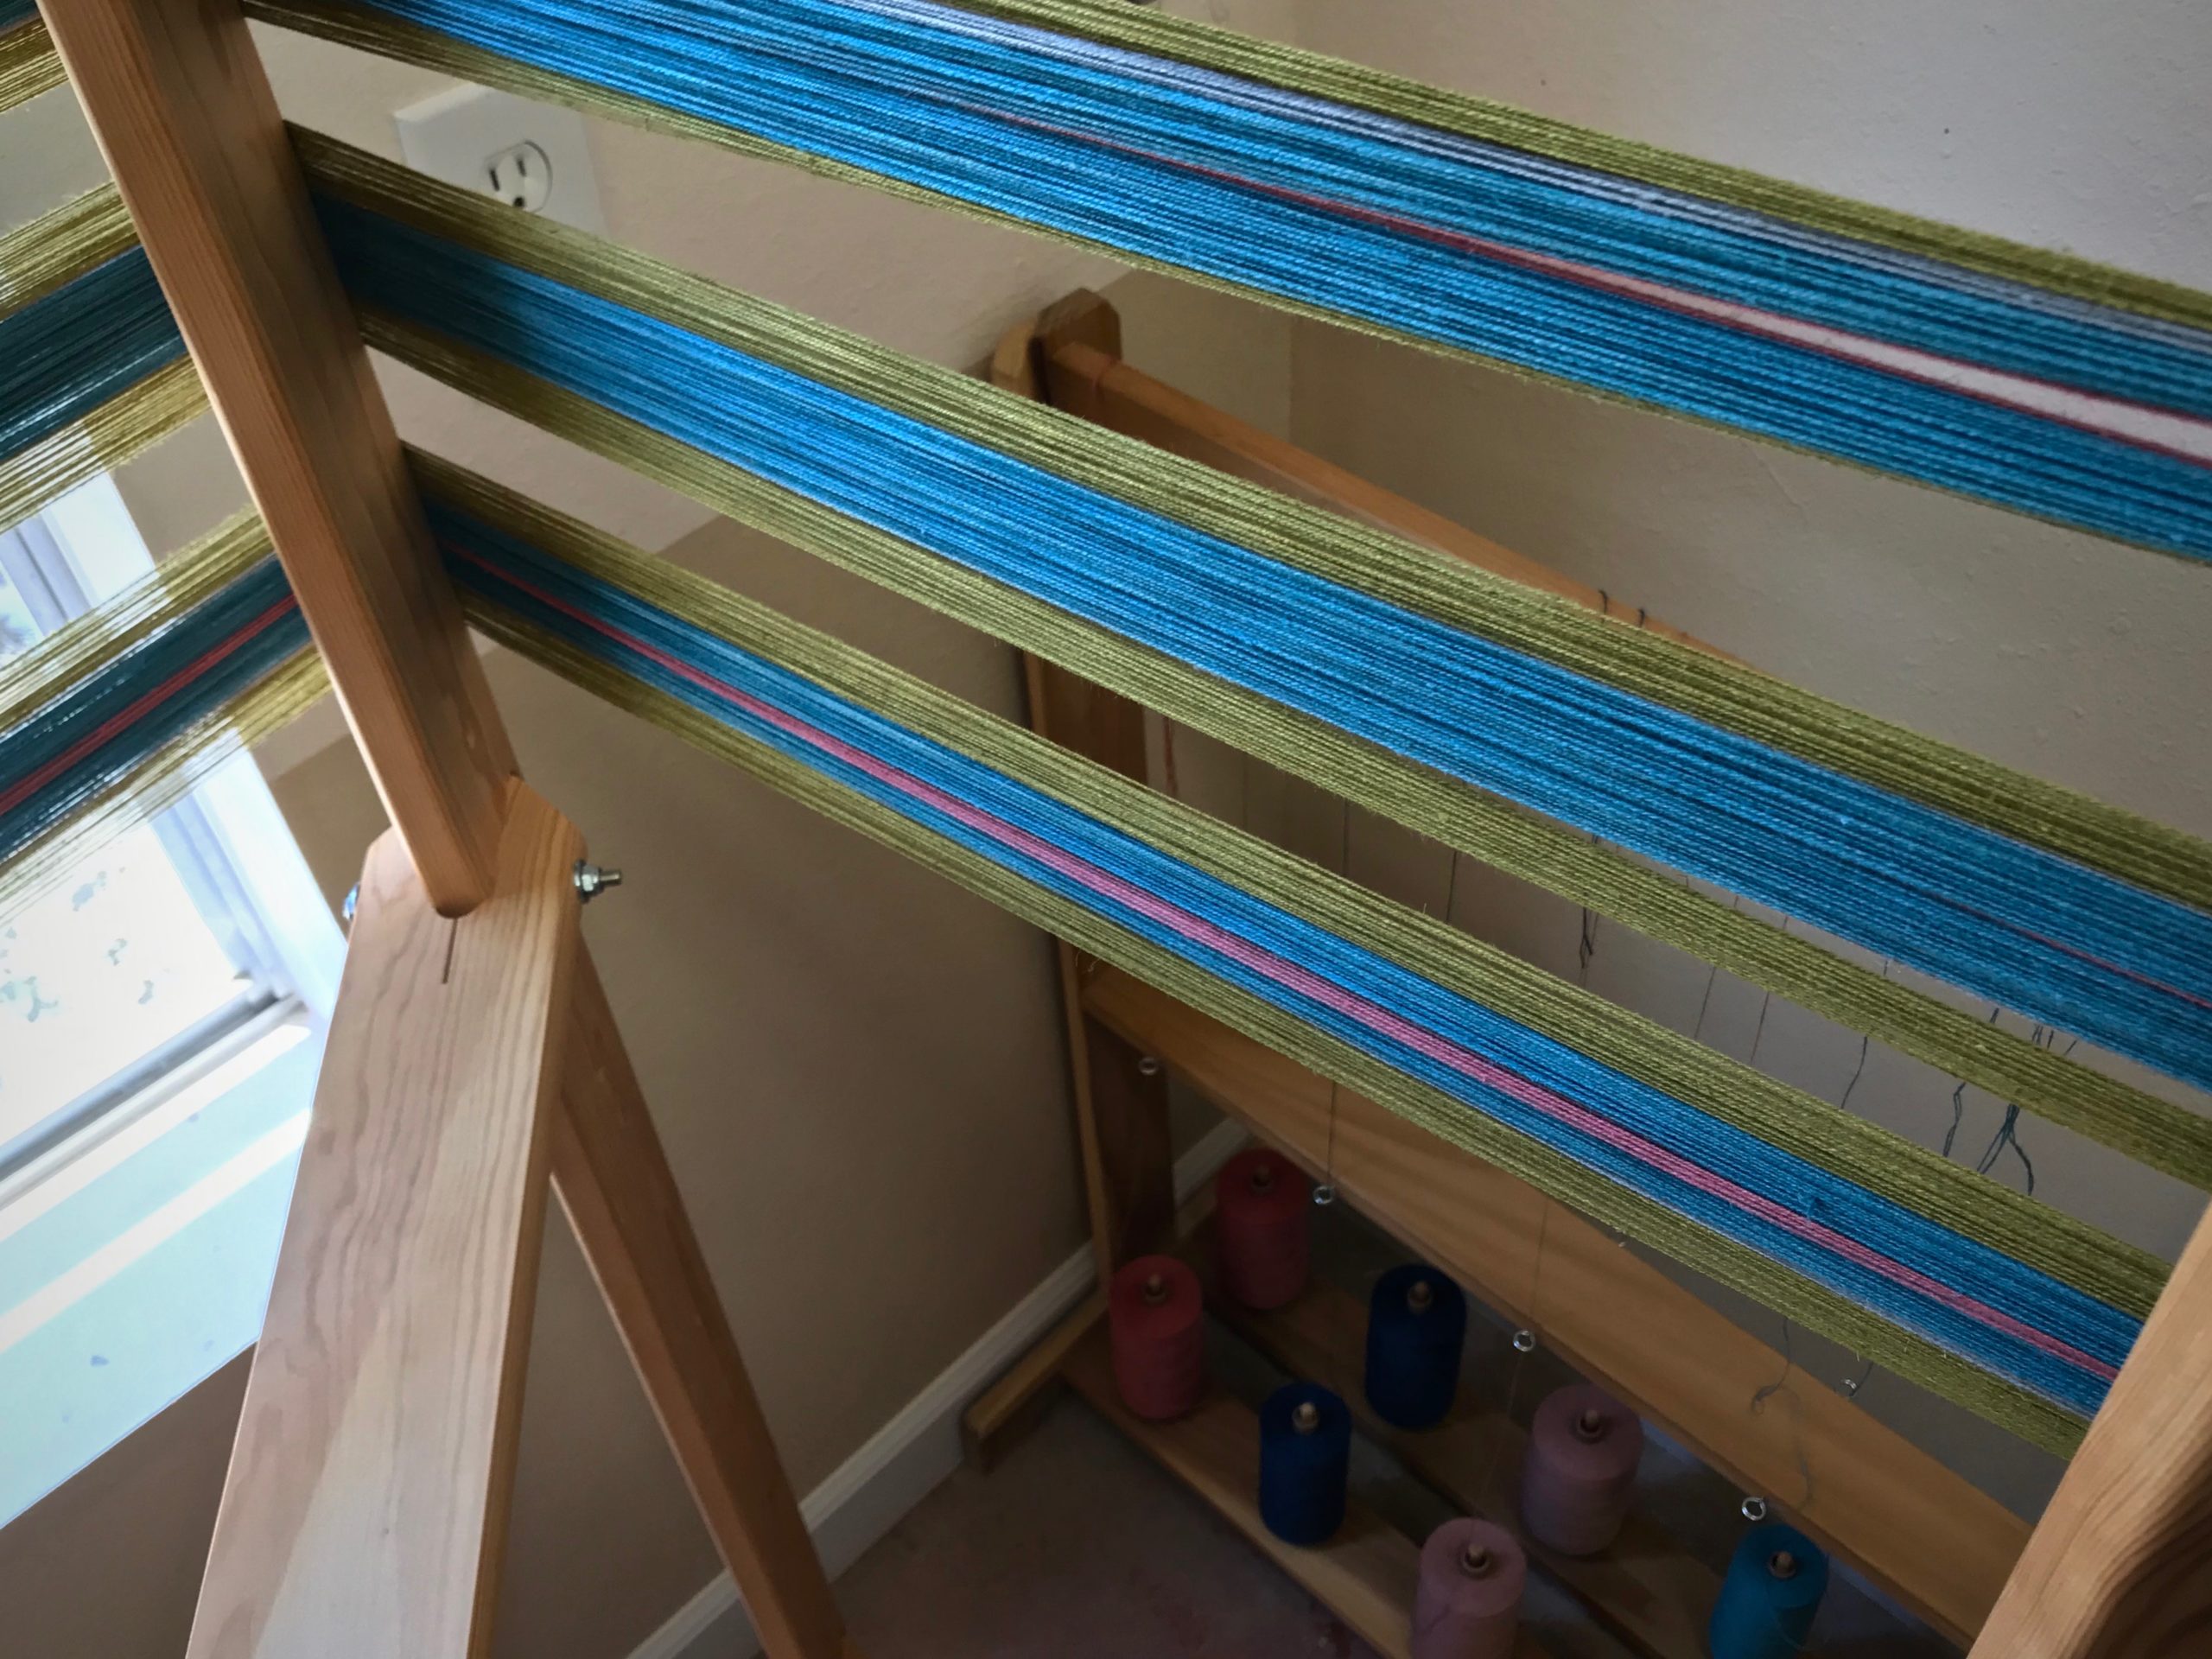
__ Wind first bout, counting warp ends. Use a cord between groups of ends to keep track of the counting.

Checklist for winding a warp.

__ Visually check the warp order. Check to see that the warp order on the warping reel matches the warp sequence on the project notes. (I added this step to my checklist after the time I omitted 6 threads at the center of a warp, discovered after threading the loom.)

__ Tie off around the turning pin or the outside peg. Always wind the last pass with two or more threads together so you can tie them around the pin or peg.

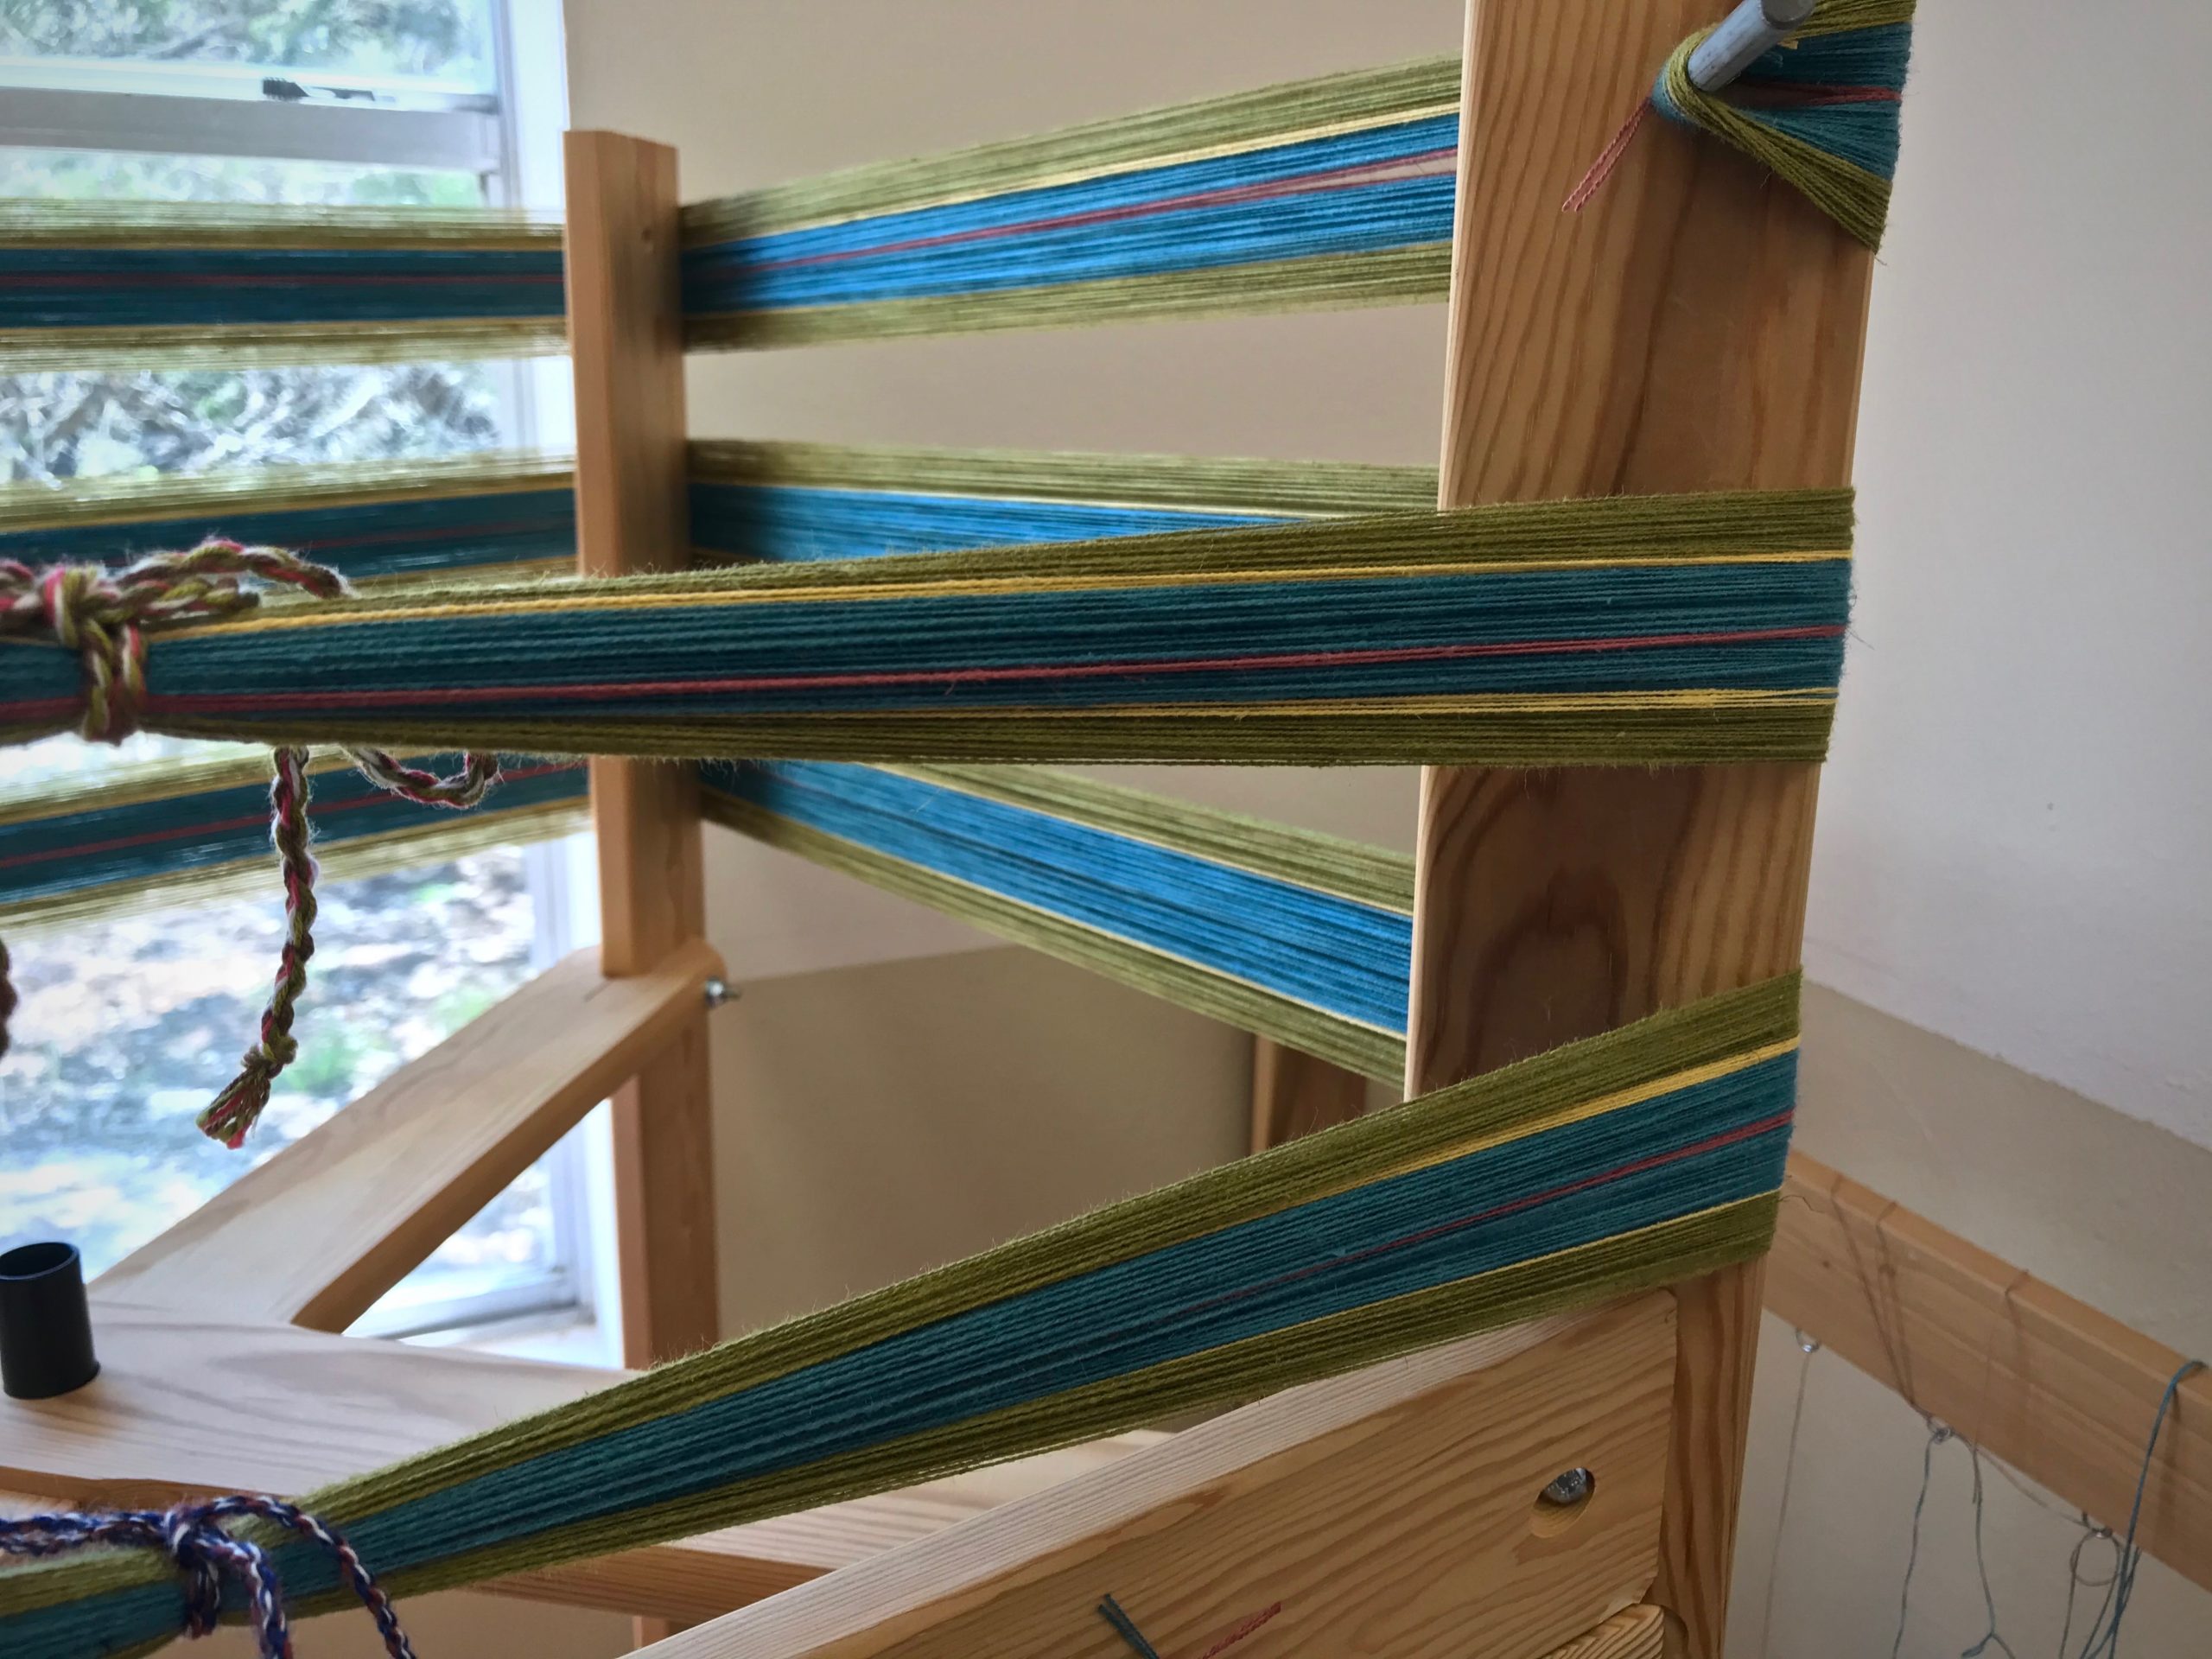
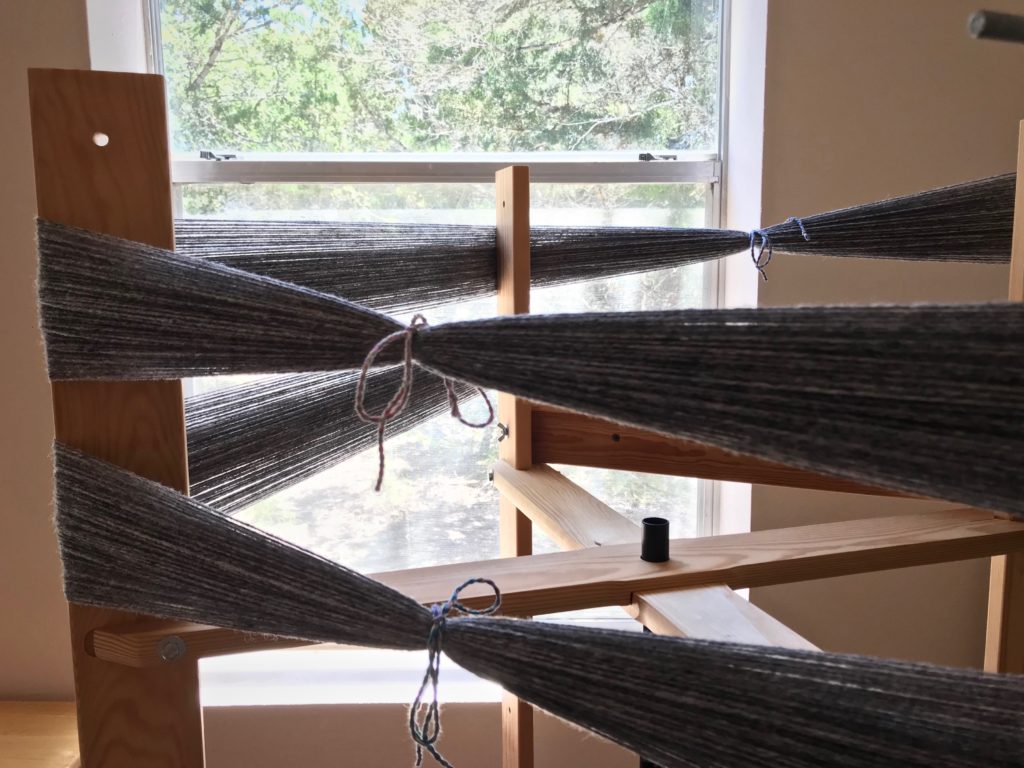
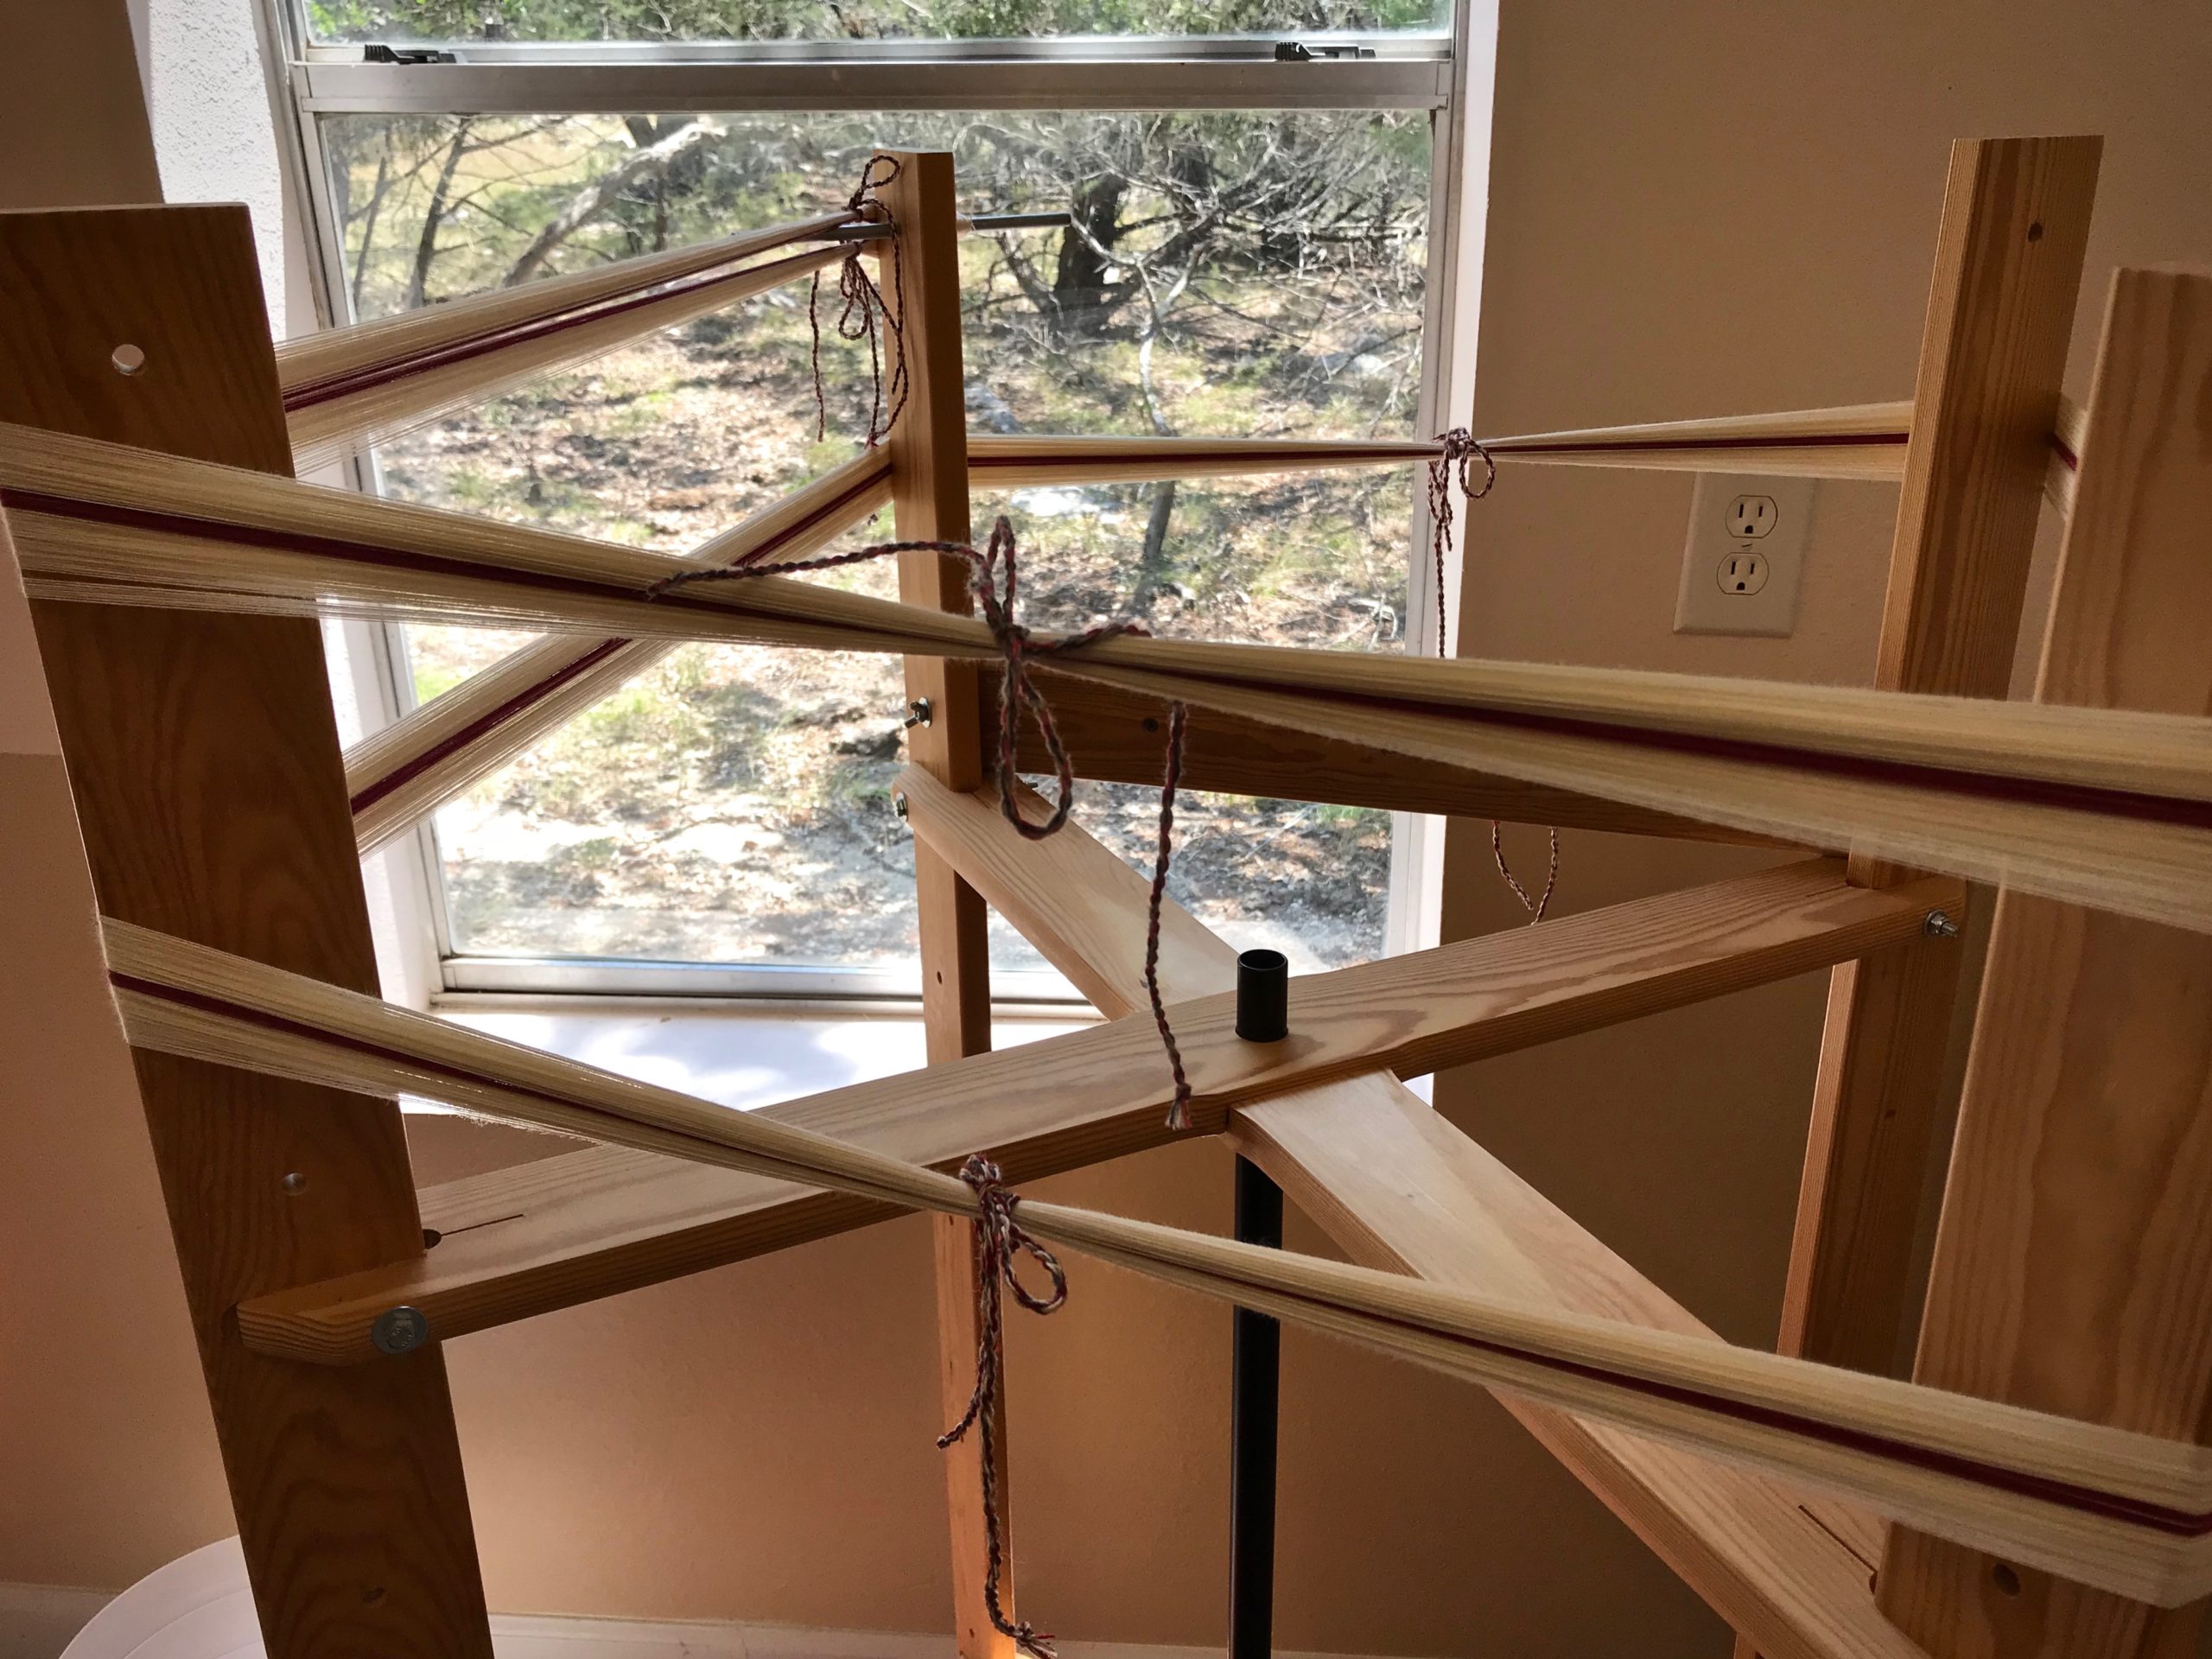
__ Tie the lease cross; and tie choke ties on the warp. Tie the cross first, and tie any passes of the warp directly above the cross. Then, spin the wheel and tie the warp wherever it passes on the side opposite the cross. Also tie at the turning pin, at the top and bottom of the loop.

Checklist for winding a warp.

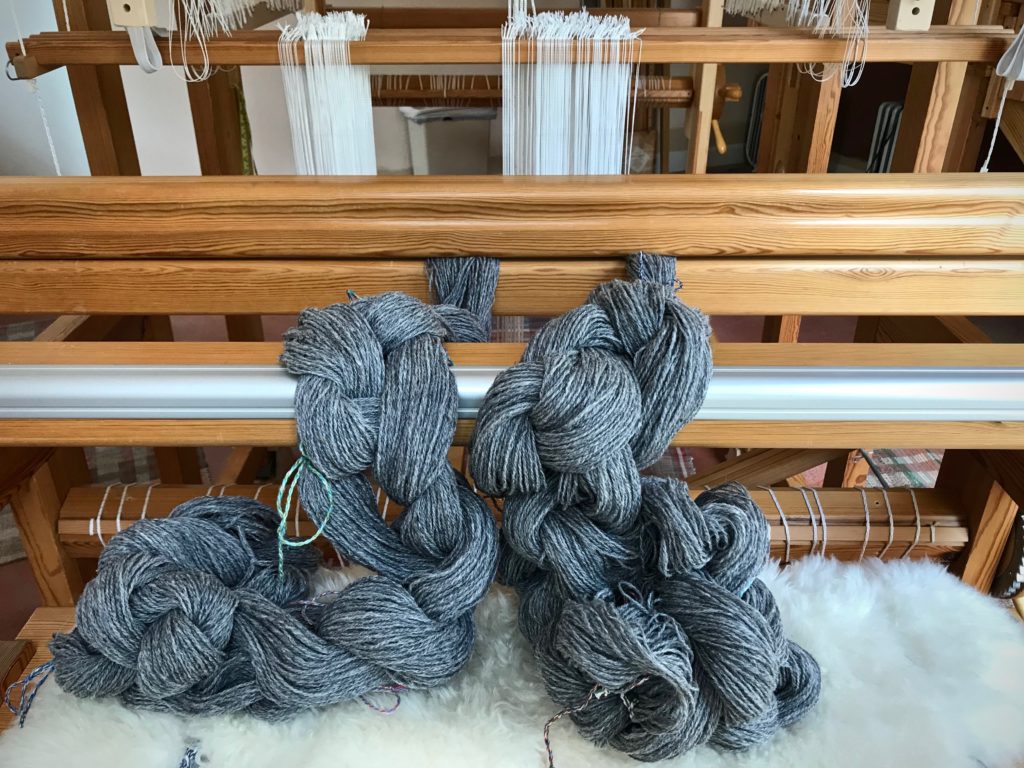
__ Chain the warp bout. Start the chain by holding the loop at the turning pin, and pull out the pin. Chain the warp, ending at the cross. (I use my knee, not so gracefully, to control the turning of the reel as I chain the warp.)

Checklist for winding a warp.

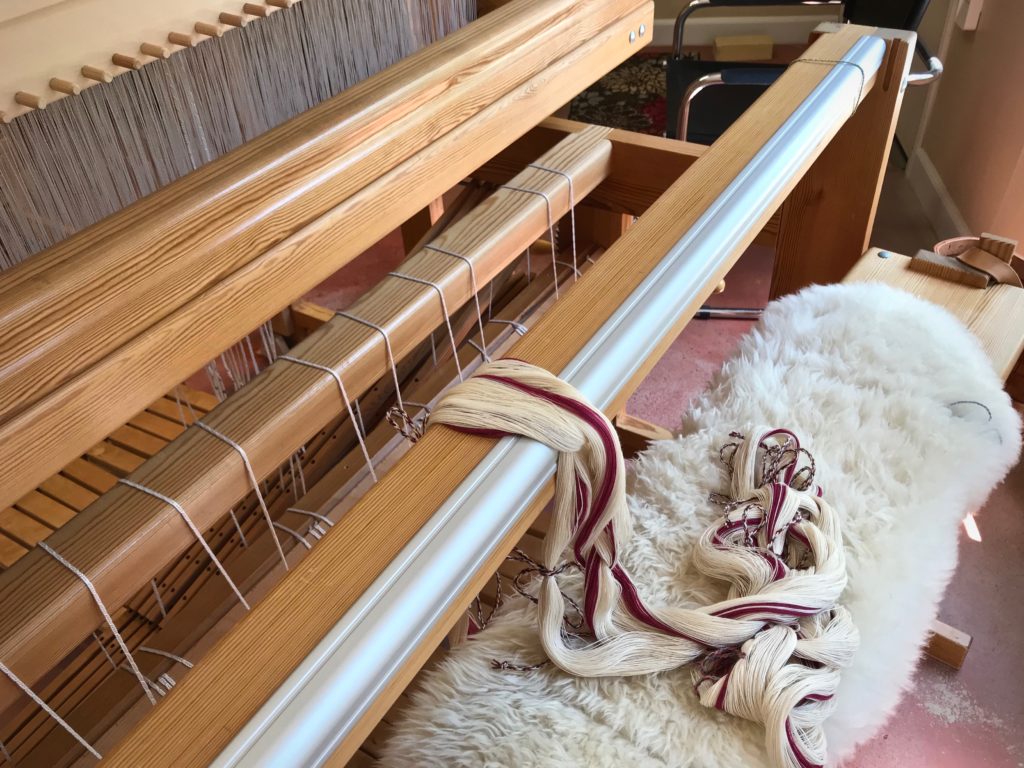
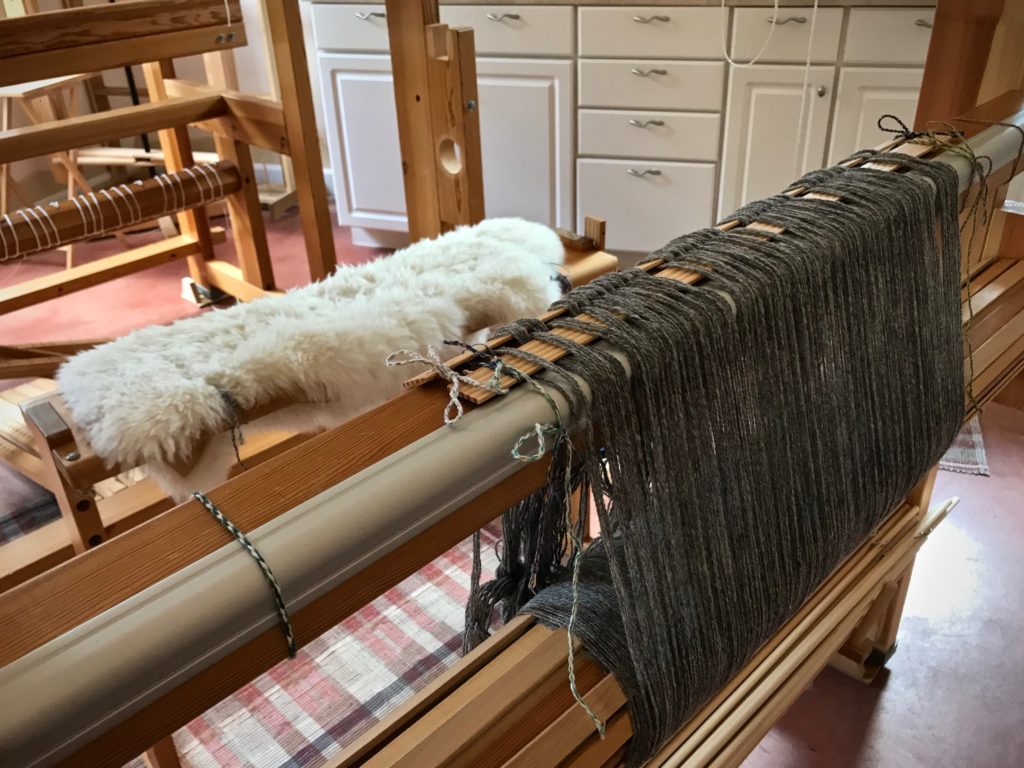
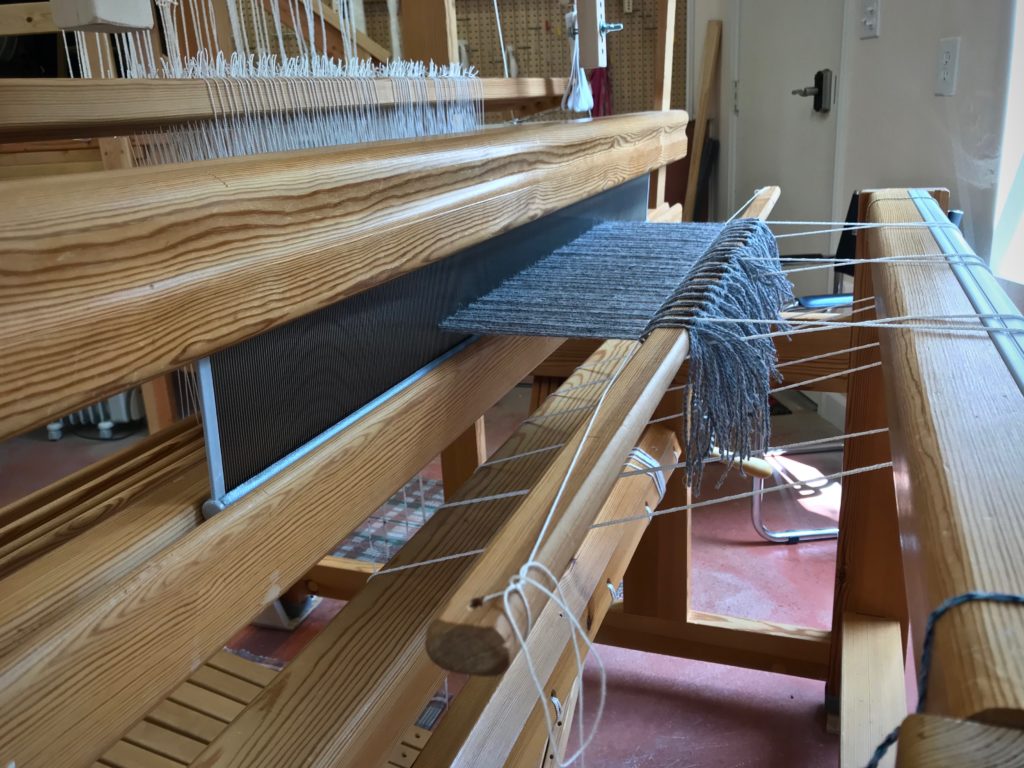
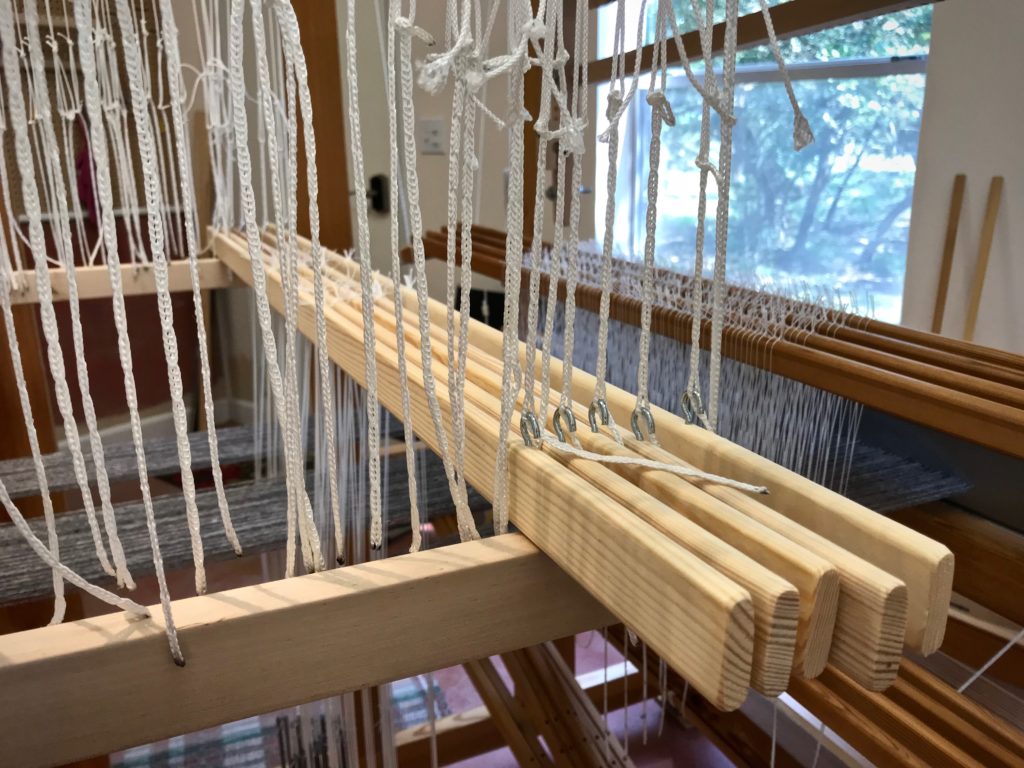
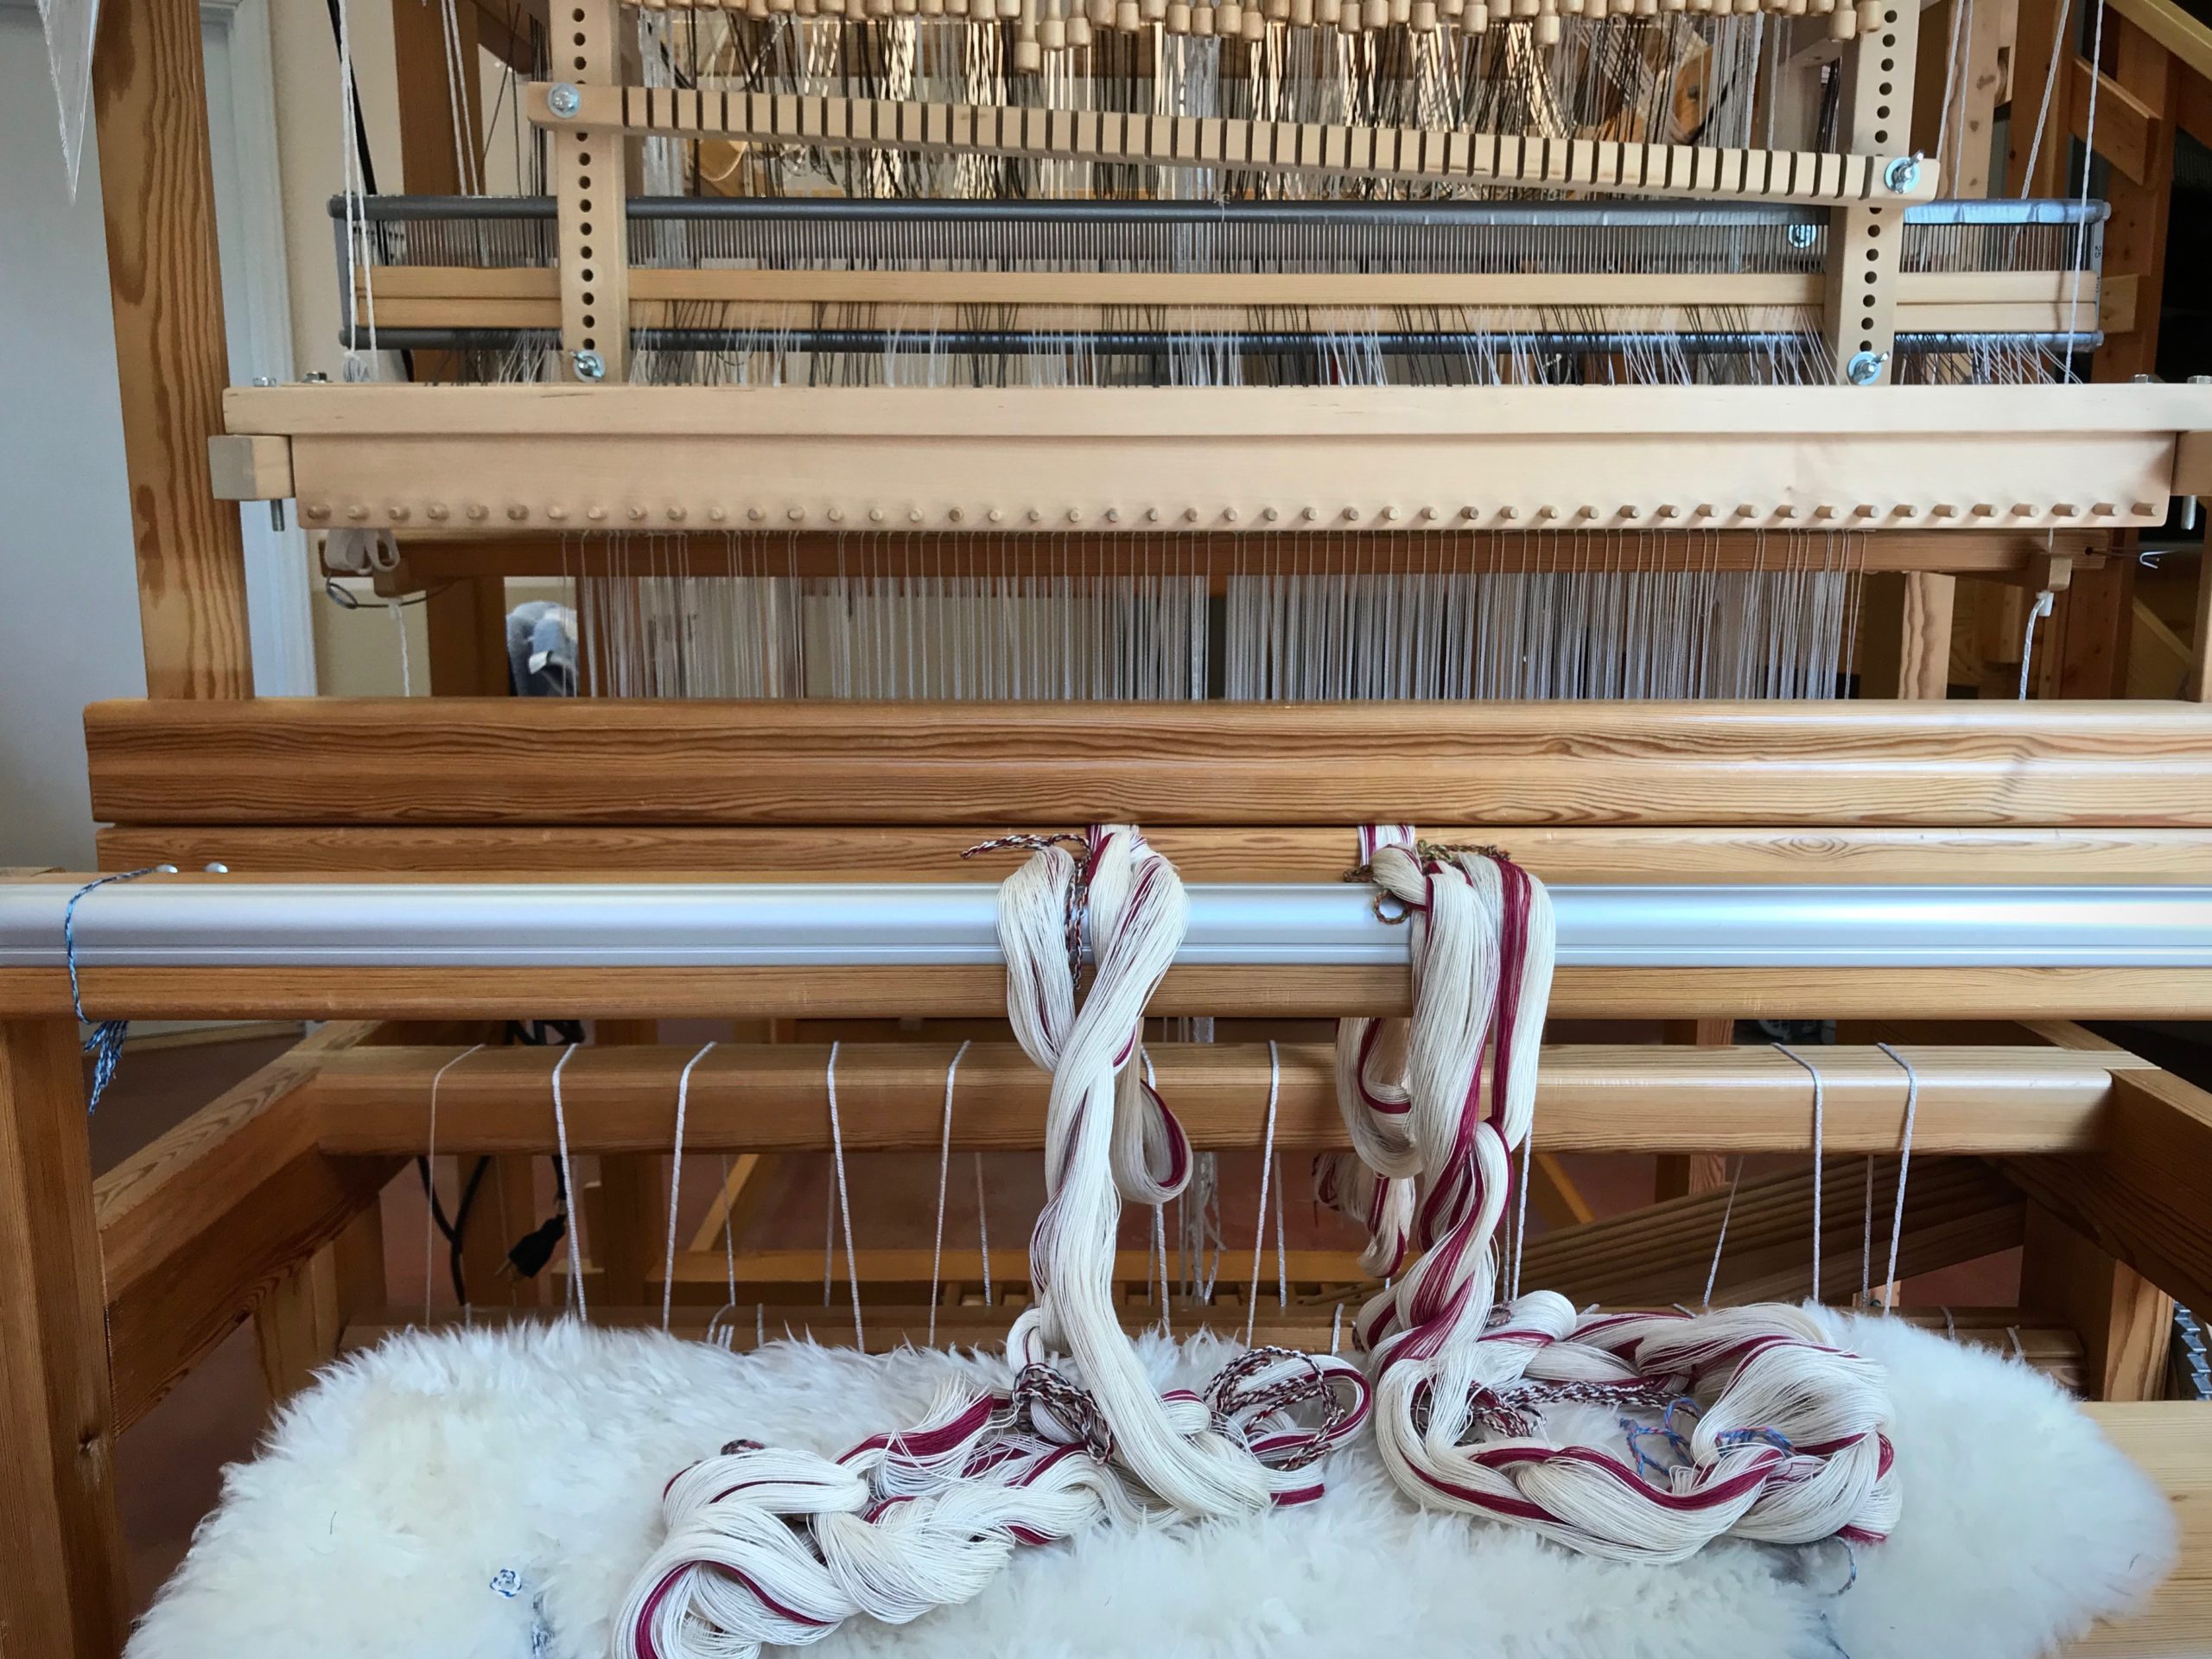
__ Place the warp bout on the loom, with the lease cross end going through the beater.

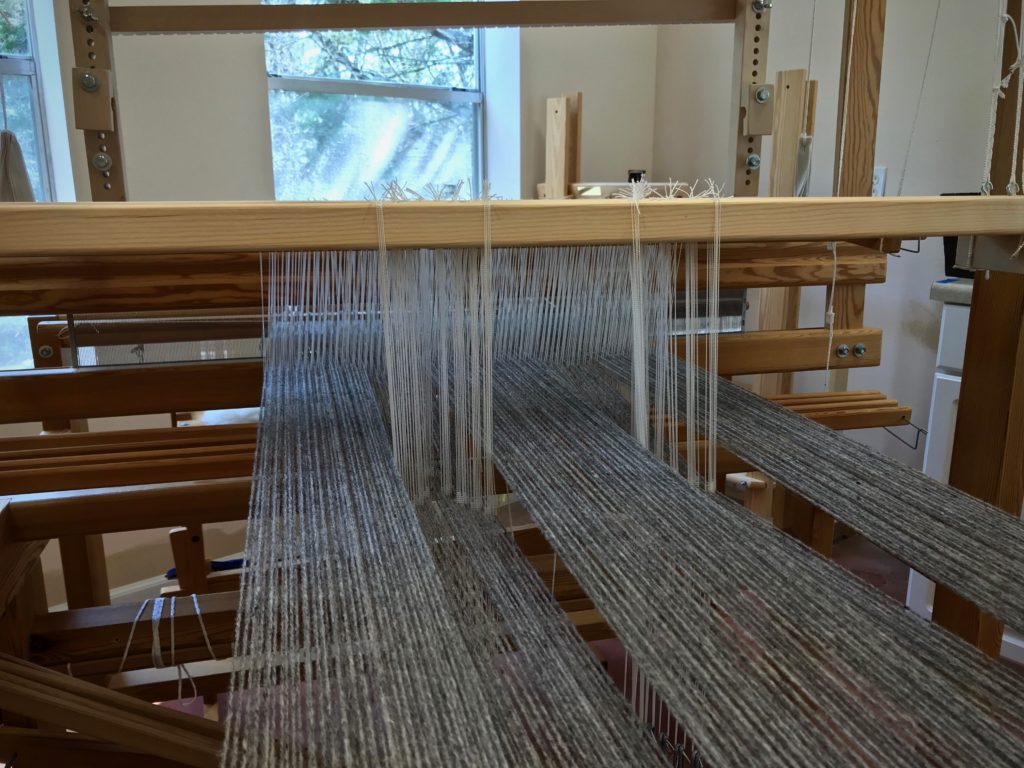
__ Wind remaining bouts, following the same procedure. When you place the warp chain on the loom double check the warp sequence to make sure the bouts are in the right order.

Checklist for winding a warp.

__ Roll up the thread tubes, replace labels, weigh thread and write down amounts, and place thread tubes in project bin. Each loom has its own project bin to hold the thread for that project.

Checklist for winding a warp.

__ Put away the choke ties, scissors, and thread holder.

__ Fold up the warping reel.

Checklist for winding a warp.

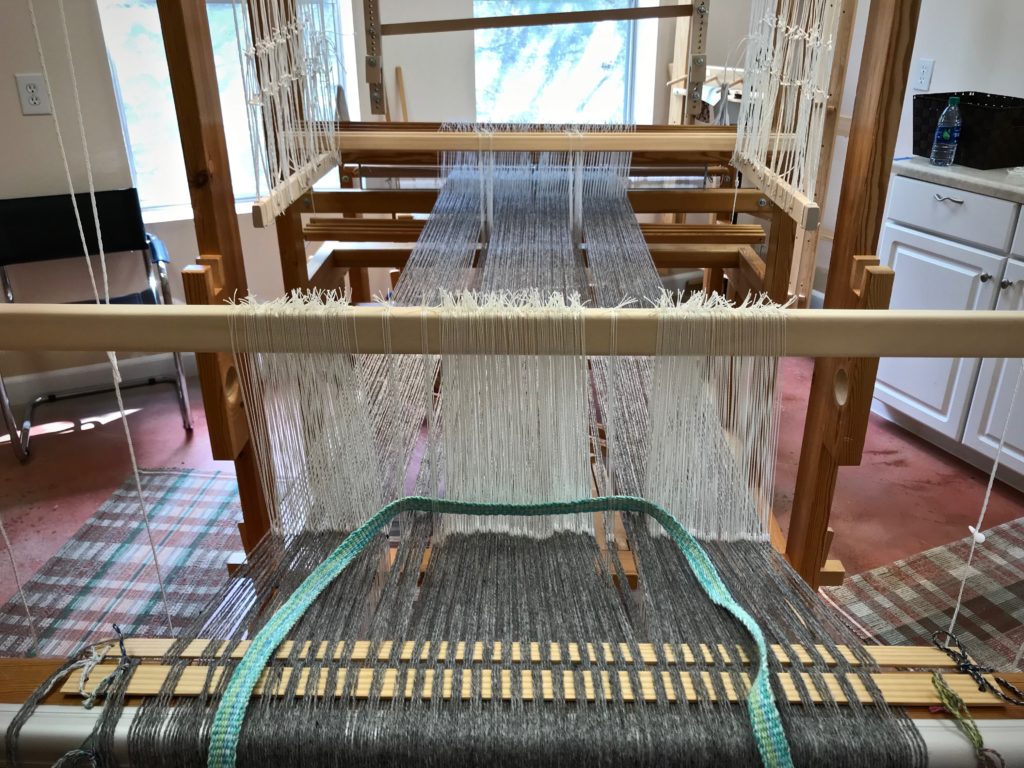
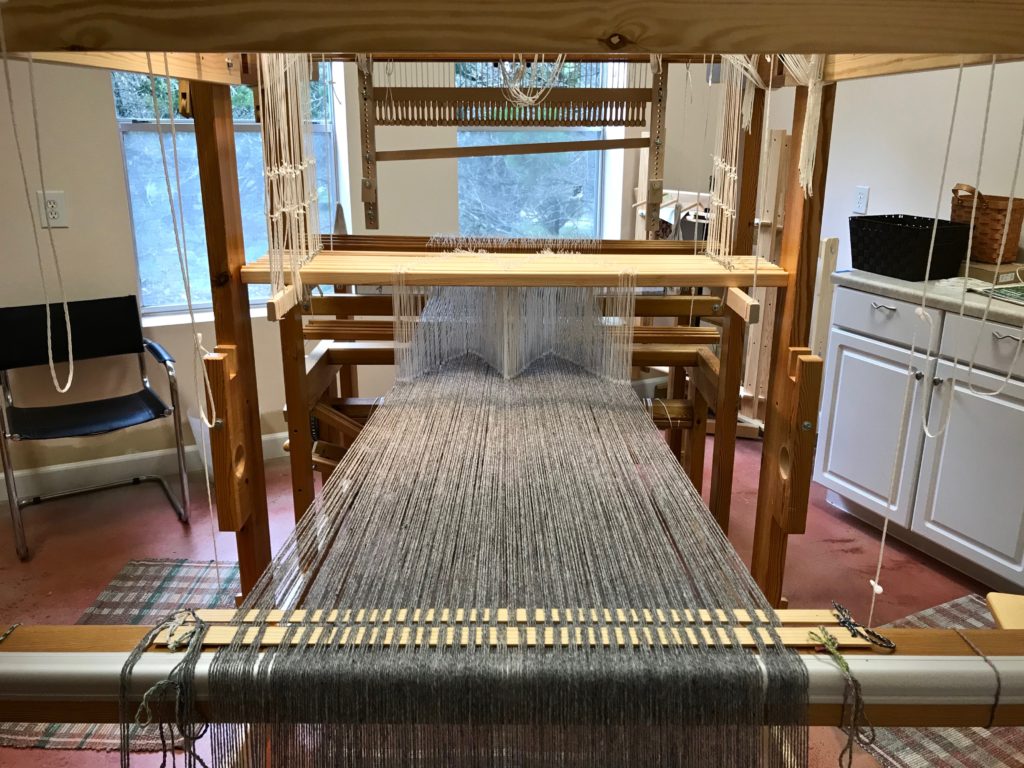
Get ready to dress the loom!

Checklist for winding a warp.

May you enjoy the process.

Happy Weaving,
Karen

Warp Chains Are Beautiful

The reel spins ‘round, ‘round, ‘round one way, and then ‘round, ‘round, ‘round back the other way. Rhythmic, mesmerizing, and strangely soothing. Counting, as I wind two ends at a time, I find myself whispering “2, 4, 6, 8, 10, 12, ….” The warping reel is one of my favorite pieces of equipment. This warp has seven colors of 22/2 Cottolin for bath towels which are to accompany the hand towels I recently made. I am winding this in four bouts, and there are different color changes in each bout.

Winding a warp for cottolin bath towels.
First bout on the warping reel.
Making cottolin bath towels.
Second bout. Choke ties about every meter keep the ends from shifting as the warp bout is chained and taken to the loom.
Making a warp for handwoven bath towels. Cottolin.
Third bout. Each of the four bouts has nearly the same number of warp ends.
Glimakra warping reel - one of my favorite pieces of equipment!
Fourth bout.

I marvel at the combination of thread colors as I chain each bout off the reel. The warp chains look beautiful. They always do. Warp chains are dreams in the making, where anything is possible. Haven’t you dreamt of handwoven bath towels?

Winding a warp on the Glimakra warping reel.
Came close to running out of thread on some of the tubes. (I did have backup tubes, but not from the same dye lots.)
Beautiful warp chains!
Beautiful warp chains, ready for the loom.

When we listen closely, we can hear the inaudible. Our hearts can hear the softest whisper. “2, 4, 6, 8, 10, 12, …” Even the hairs on our head are numbered by the Grand Weaver who planned our existence. Our days are numbered, as well. And when our heart is listening, we can hear the quiet whisper of the Lord Jesus, “Are you weary and burdened? Come to me, and I will give you rest.”

May you listen for the softest whisper.

Gently,
Karen

Process Review: Dressing the Drawloom the Second Time

Dressing the drawloom the second time is easier than the first time. No slip ups or confusion. Just smoothly moving from one step to the next. (Read to the end to see what to expect for July.)

Winding skeins of wool yarn into balls.

With my first drawloom warp the most challenging part was distributing the pattern shafts. (See Q and A with Joanne Hall and Drawloom Dressing.) This time something clicked and the light bulb turned on. Instead of blindly following steps, I now understand what I am doing, and why. And I am having fun in the process!

Winding warp on the warping reel.
Winding the warp on the warping reel, making two bouts.
Big fat wool warp chains.
Warp chains of 6/2 Tuna wool, ready to dress the loom.
Ready to thread pattern heddles.
After beaming the warp, the loom bench is moved to the back of the loom for threading heddles. Pattern heddles first, and then, ground heddles.
Sleying the reed on the drawloom.
With the reed sleyed, it’s time to return the ground shafts to the front of the loom and put the reed in the beater.
Leveling string is doing its job!
Warp is tied on, and the leveling string is doing its job.
Distributing pattern shafts on the drawloom.
Inkle band serves to separate pattern heddles as I distribute the pattern shafts.
Adding pattern shafts to the drawloom.
Pattern shafts are resting nicely on the pattern shaft holders. Their little hooks grab the Texsolv that connects them to the draw cords and handles.
Dressing the drawloom!
Pointed threading can be seen in the arrangement of the heddles on the pattern shafts.
Dressing the drawloom!
Drawloom setup is complete except for tying up the treadles. Treadle tie-ups on a drawloom are refreshingly simple.
Testing pattern sheds on the drawloom.
Testing pattern sheds by pulling some of the draw handles. After a few small adjustments, she’s ready to weave!
Wool on the drawloom.
First sample. 6/2 Tuna wool warp and weft, 4-shaft broken twill on the ground shafts, sett is 5.5 ends per cm, 16 pattern shafts with 1 extra shaft for the edges.

Friends, It’s that time again, when Warped for Good is put on pause for the month of July.

Thank you for sharing in this journey with me!

What’s on my looms: I am near the end of the blue double weave blanket on the Standard, and I am planning a new pictorial tapestry for that loom. The drawloom is dressed and in motion. And the Ideal loom is still sitting ready for rosepath rag rugs. Also, Steve and I have a Casita trip planned that will include some leisurely backstrap band weaving.

What’s on your loom right now? Share with us in the comments.

See you the first Tuesday of August! (In the meantime catch me over on Instagram @celloweaver.)

May your second times be better than your first times.

Keep on Weaving,
Karen

All the Looms

The plan to keep every loom dressed is easy when there is only one loom. Now that I have four floor looms, it’s a tough plan to follow. The drawloomcheck. The Glimåkra Standard, dressed in Tuna wool—check. The two smaller looms are threaded, and just need tying on and tying up. So, I’m well on my way! The end of the first warp on the drawloom is in view, however. That means the drawloom will soon be back in the queue. And so it goes.

Winding a warp for rosepath rag rugs. 12/6 cotton. Spring colors.
Warp for cottolin towels.
Warp for cottolin towels is threaded on the little hand-built loom.
Opphämta on the drawloom.
Opphämta on the drawloom. Pattern weft is 6/1 Fårö wool. The right side of the fabric is seen underneath, as it comes around the breast beam.
Threading heddles on the Glimåkra Ideal.
Blue and Almond Tuna wool warp.
Blue and Almond Tuna wool warp is tied on in 1″ sections.

I like to stay a step ahead of my looms. I’m ready to wind a new warp as soon as I finish cutting off. It’s the cycle of weaving. But I have trouble staying ahead.

Tying up treadles on the Glimakra countermarch.
Twelve shafts. Twelve upper lamms. Twelve lower lamms. Twelve treadles. This is an amazing system.
Warp is tied on. Ready for rag rugs!
Warp is tied on. Ready to add the leveling string.
Loom is dressed for small wool double weave blanket.
Loom is dressed. Treadle cords are adjusted. Ready for weaving!
End of warp on the drawloom.
End of warp comes near the pattern heddles. This is my first drawloom warp, so I’m waiting to see how far I can weave until I lose a good shed. So far, so good.
My first drawloom warp.
Closing chapter of my first drawloom warp. I’ll keep “turning pages” until the shed disappears.

We have good plans for our lives. But often, it’s tough to follow those plans. Too many things happen at once, and we don’t know how to stay ahead of it all. The thing to remember is that our plans stem from our inner commitments. When we commit our ways to the Lord, trusting him, he leads us through our days. Trust turns plans into achievements. And those are the plans worth pursuing.

May your best plans succeed.

Happy Weaving,
Karen

Conversation with Joanne Hall

Drive up to this storybook cottage, and you can tell there is something special about it. It’s the home of Ed and Joanne Hall. When I arrive, Joanne greets me and takes me down the hand-crafted pine stairs to her delightful weaving studio dotted with floor looms.

Storybook cottage in Montana mountains.
Driving up to the Hall’s home and Joanne’s weaving studio in Montana.
Welcome!
Välkommen = Welcome

I recently had the joy of learning the ins and outs of drawloom weaving in this storybook studio in Montana. After the class ended, Joanne and I sat at her kitchen table to share some thoughts about weaving.

Joanne Hall
Joanne Hall
Photo credit: Ed Hall

Come join us, and sit in on our conversation…

If you could keep only one loom, what would it be?

The 59” Glimåkra Standard. That would be my loom, with a drawloom. A big loom is easier to set up, easier to warp because I can step inside it, and easier to weave on than a little loom. As you get older you need every advantage you can get.

Butterflies, woven by Joanne Hall on a single unit drawloom.
Butterfly piece was woven on the very first warp Joanne put on her drawloom. The warp is 20/2 cotton, unbleached; and the weft is 16/1 linen.
Being a tapestry weaver, I had to add more colors, so I laid in some colors and then I put a little gold leaf here and there. I did not want to add anything that looked like embroidery. I wanted my new work on the drawloom to have all the elements woven in.
– Joanne Hall

What would you weave on that loom?

I would mostly make narrow warps. I could weave some blankets or larger things, as well, because it’s easy on that loom. It is easy to beat and so easy to treadle. I could also weave tapestry on it.

Describe the drawloom you would use.

With the Myrehed combination, I would have both the shaft drawloom and the single unit drawloom. I do like images, like tapestry weaving, so I would enjoy weaving with the single unit drawloom.

Story of the Immigrants, woven by Joanne Hall on single unit drawloom.
Story of the immigrants.
Three of my grandparents immigrated from Sweden to America. This tells the story of their journey–walking, riding, then endless days on the boat, then walking again, all the way to Minnesota.
– Joanne Hall

Are there any weaving secrets you’d like to share?

One important thing to know is to wind a warp with more than one thread, especially a long warp. It is easier to beam and you will prevent problems when you wind with two or more threads. And doing so may also have a positive effect on weaving that warp.

Another thing to consider is that once you start weaving, plan to invest in good equipment. Some weavers start out buying the smallest, least expensive equipment. That’s okay for getting started, but don’t spend too much time with inferior equipment. Once you start warping looms, get a big vertical warping reel that is more than two yards around. You can wind a warp in half an hour, an hour at the most. And the warp will be more even and accurate than one wound on smaller equipment.

If someone wants to learn more about weaving, what is a good way to start?

Go someplace where you can take a class weaving on floor looms, even if you have never woven before. Keep in mind that researching online can be more confusing than helpful. In a class you will learn much faster and you will probably get better information.

Church Door by Joanne Hall.
Front door of Joanne’s father’s father’s (grandfather’s) church in the small town of Ör, in Dalsland, Sweden. The “6” near the door was part of the date on the church, 1661.
Woven on single unit drawloom by Joanne Hall.
Wooden Shoes, woven by Joanne Hall.
From a photo Joanne took in a small red house in an outdoor museum in the place where her mother’s family lived. These wooden shoes were on a rag rug in front of the fireplace.
Woven on single unit drawloom by Joanne Hall.
Fence in Sweden, woven by Joanne Hall.
Fence that is typical of fences all over Sweden. This came from a photo of the fence around an outdoor museum in Falköping Sweden, Joanne’s mother’s grandparent’s home.
Single unit drawloom, woven by Joanne Hall.

Any final thoughts?

In Sweden, weavers guilds are different than they are here in the US. Most everyone in Sweden can join a guild, called a vävstuga, which in Sweden is a place with looms—floor looms, big floor looms. You meet there as often as you want, and you can weave on floor looms in the company of other weavers, who are very helpful. If we had that, it would be wonderful.

That would be wonderful, indeed! I think I got a little taste of that, right here in your Montana studio. Thank you!

Happy Weaving,
Karen and Joanne