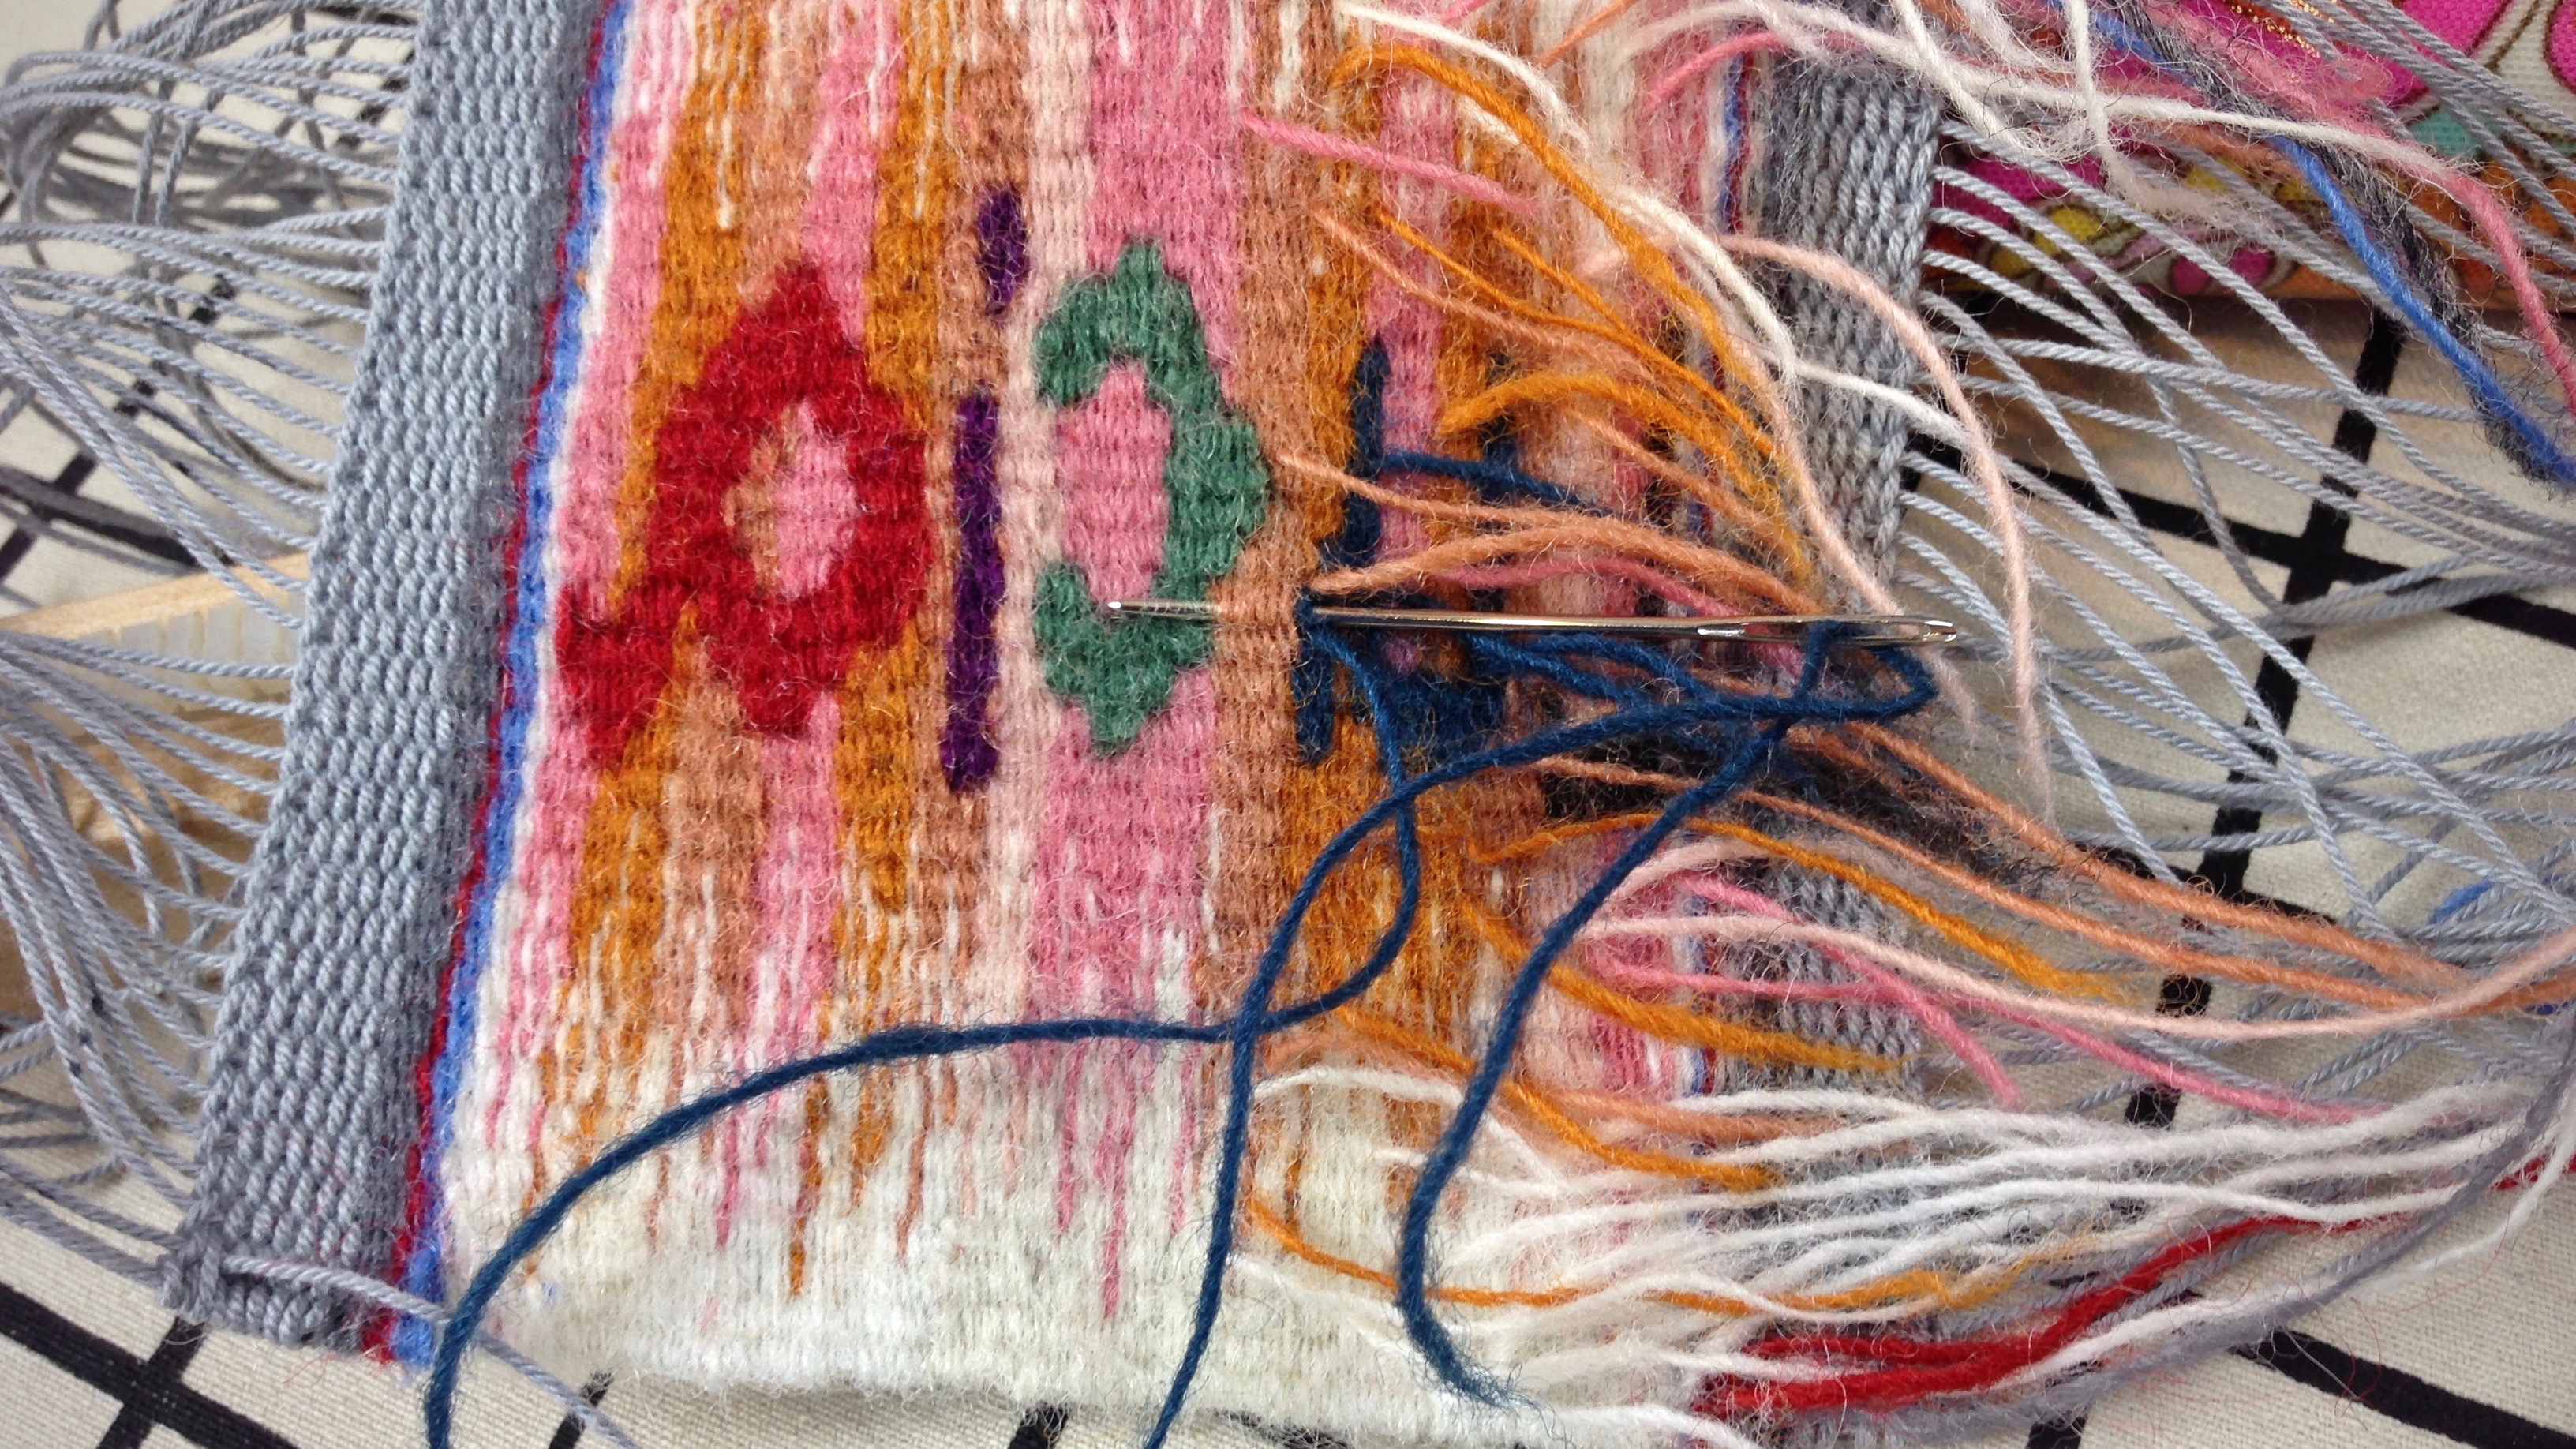
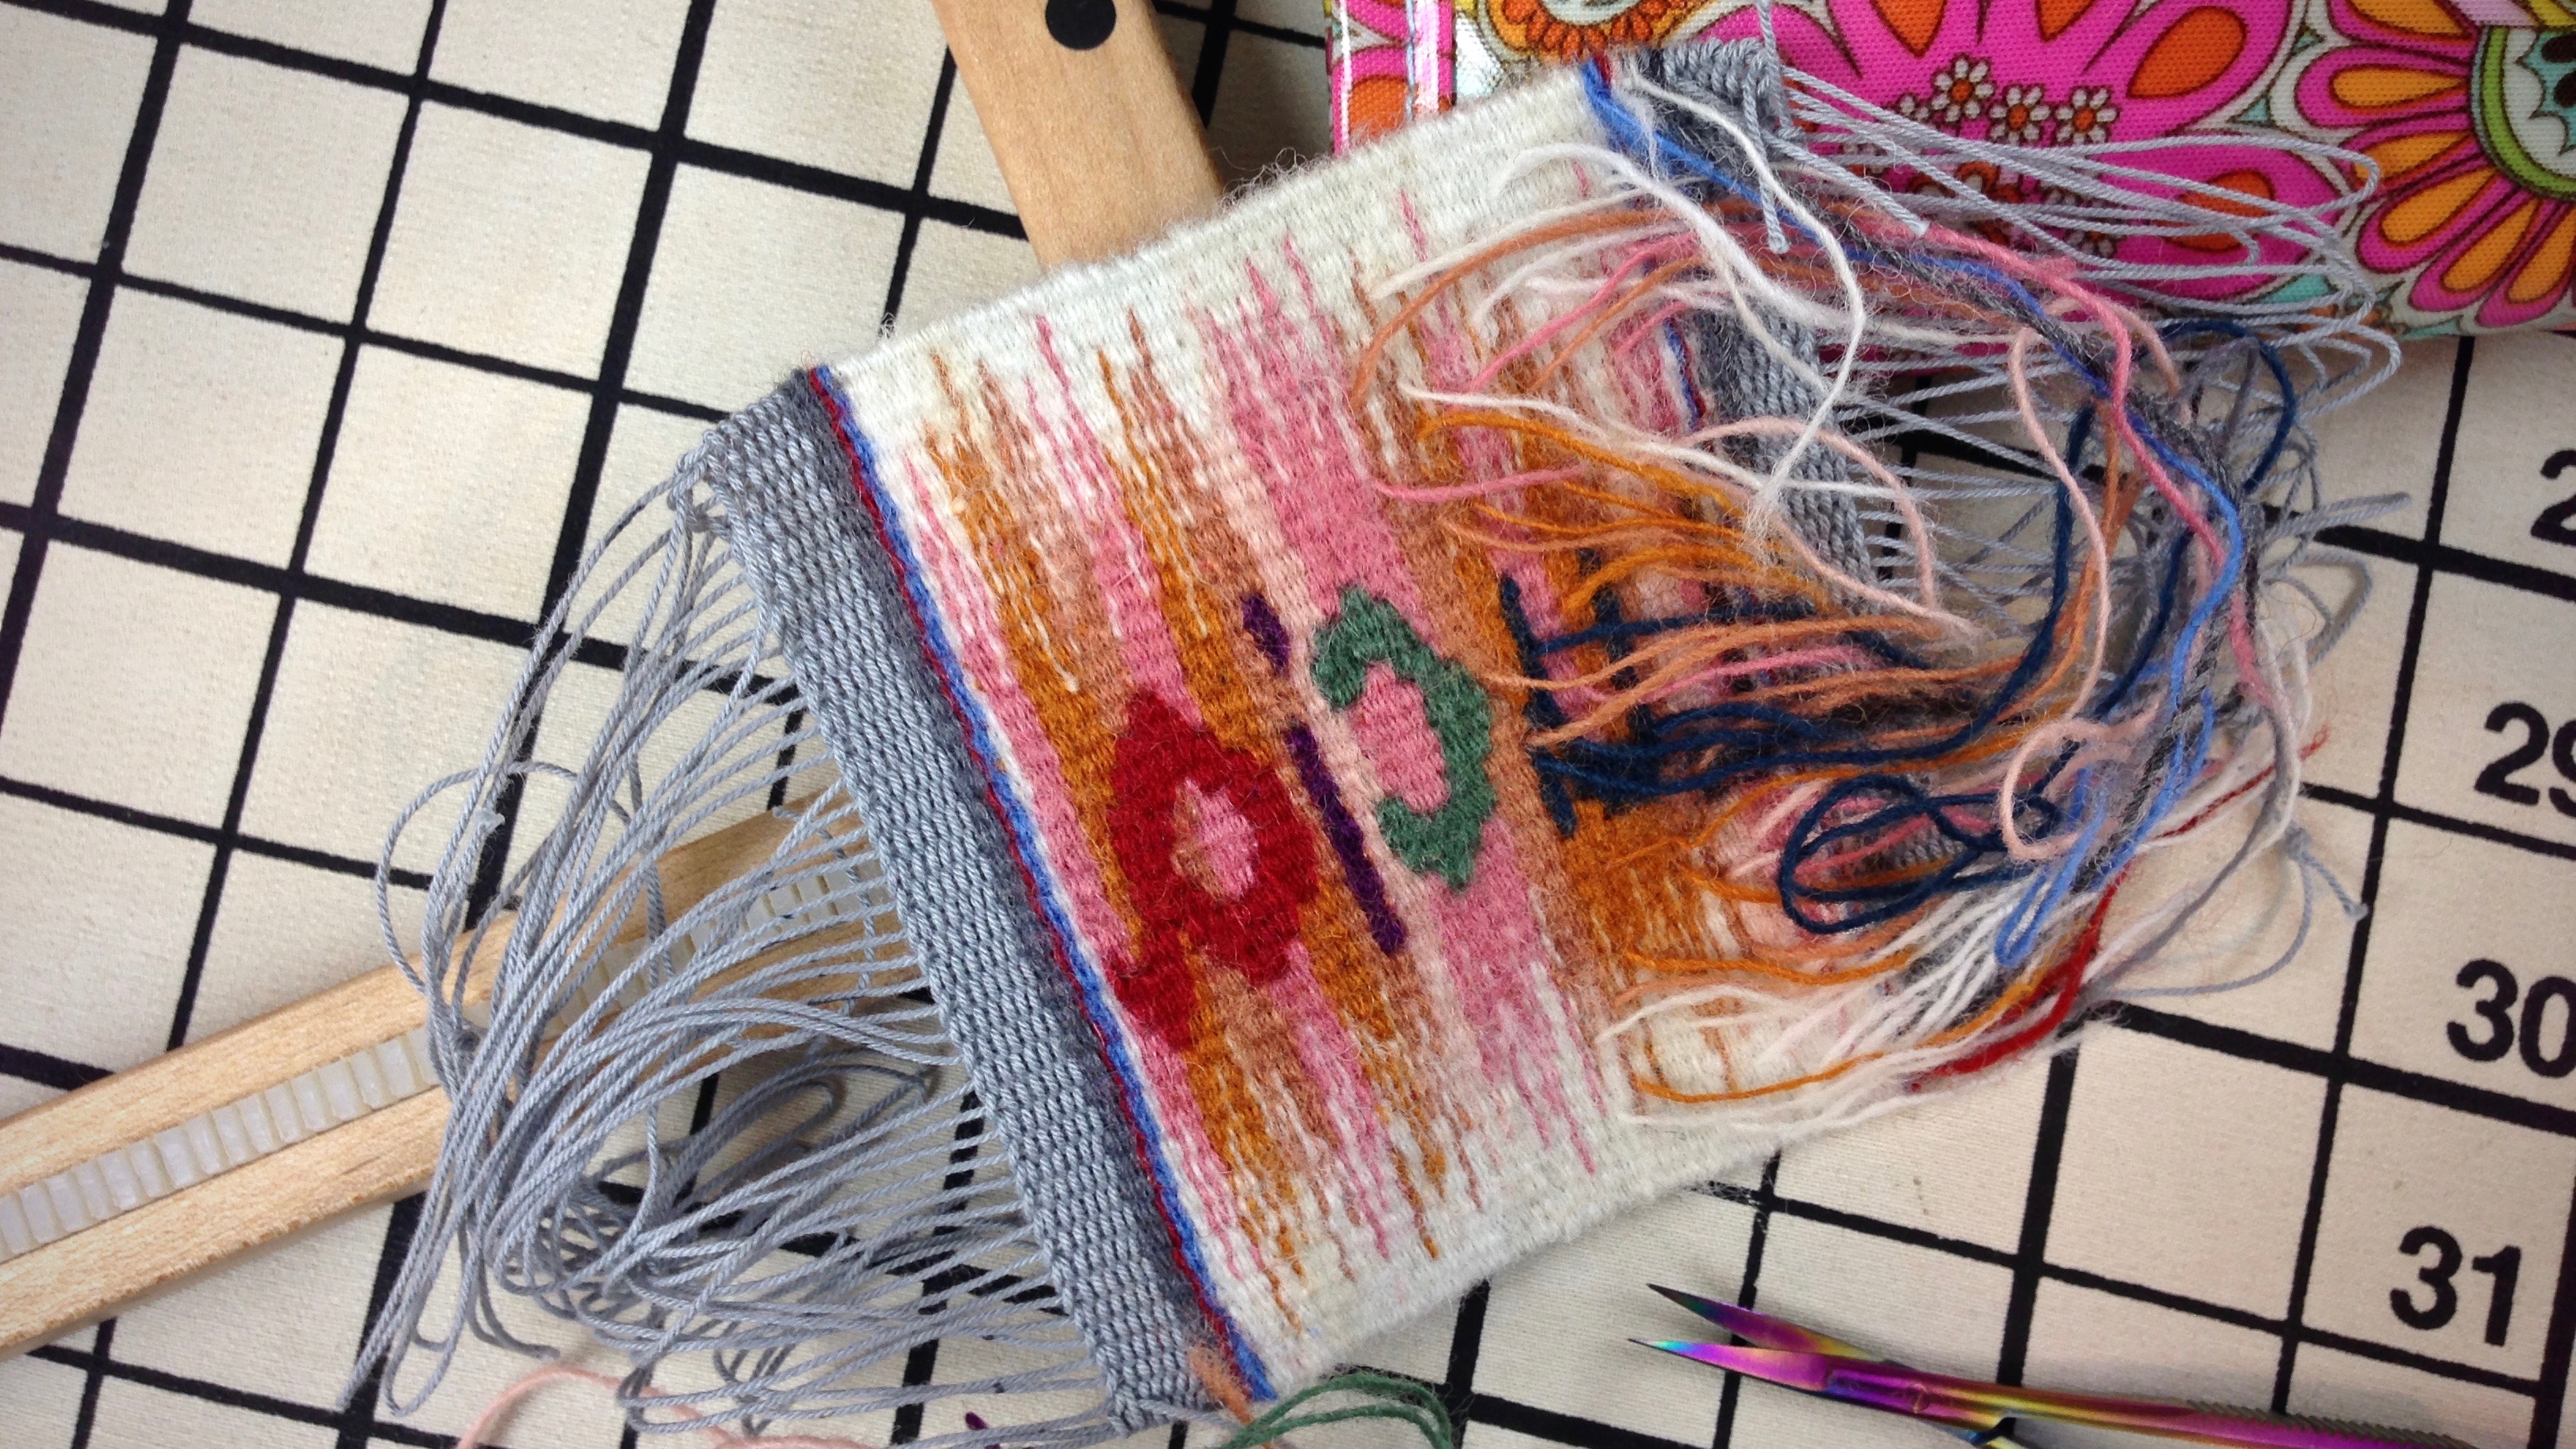
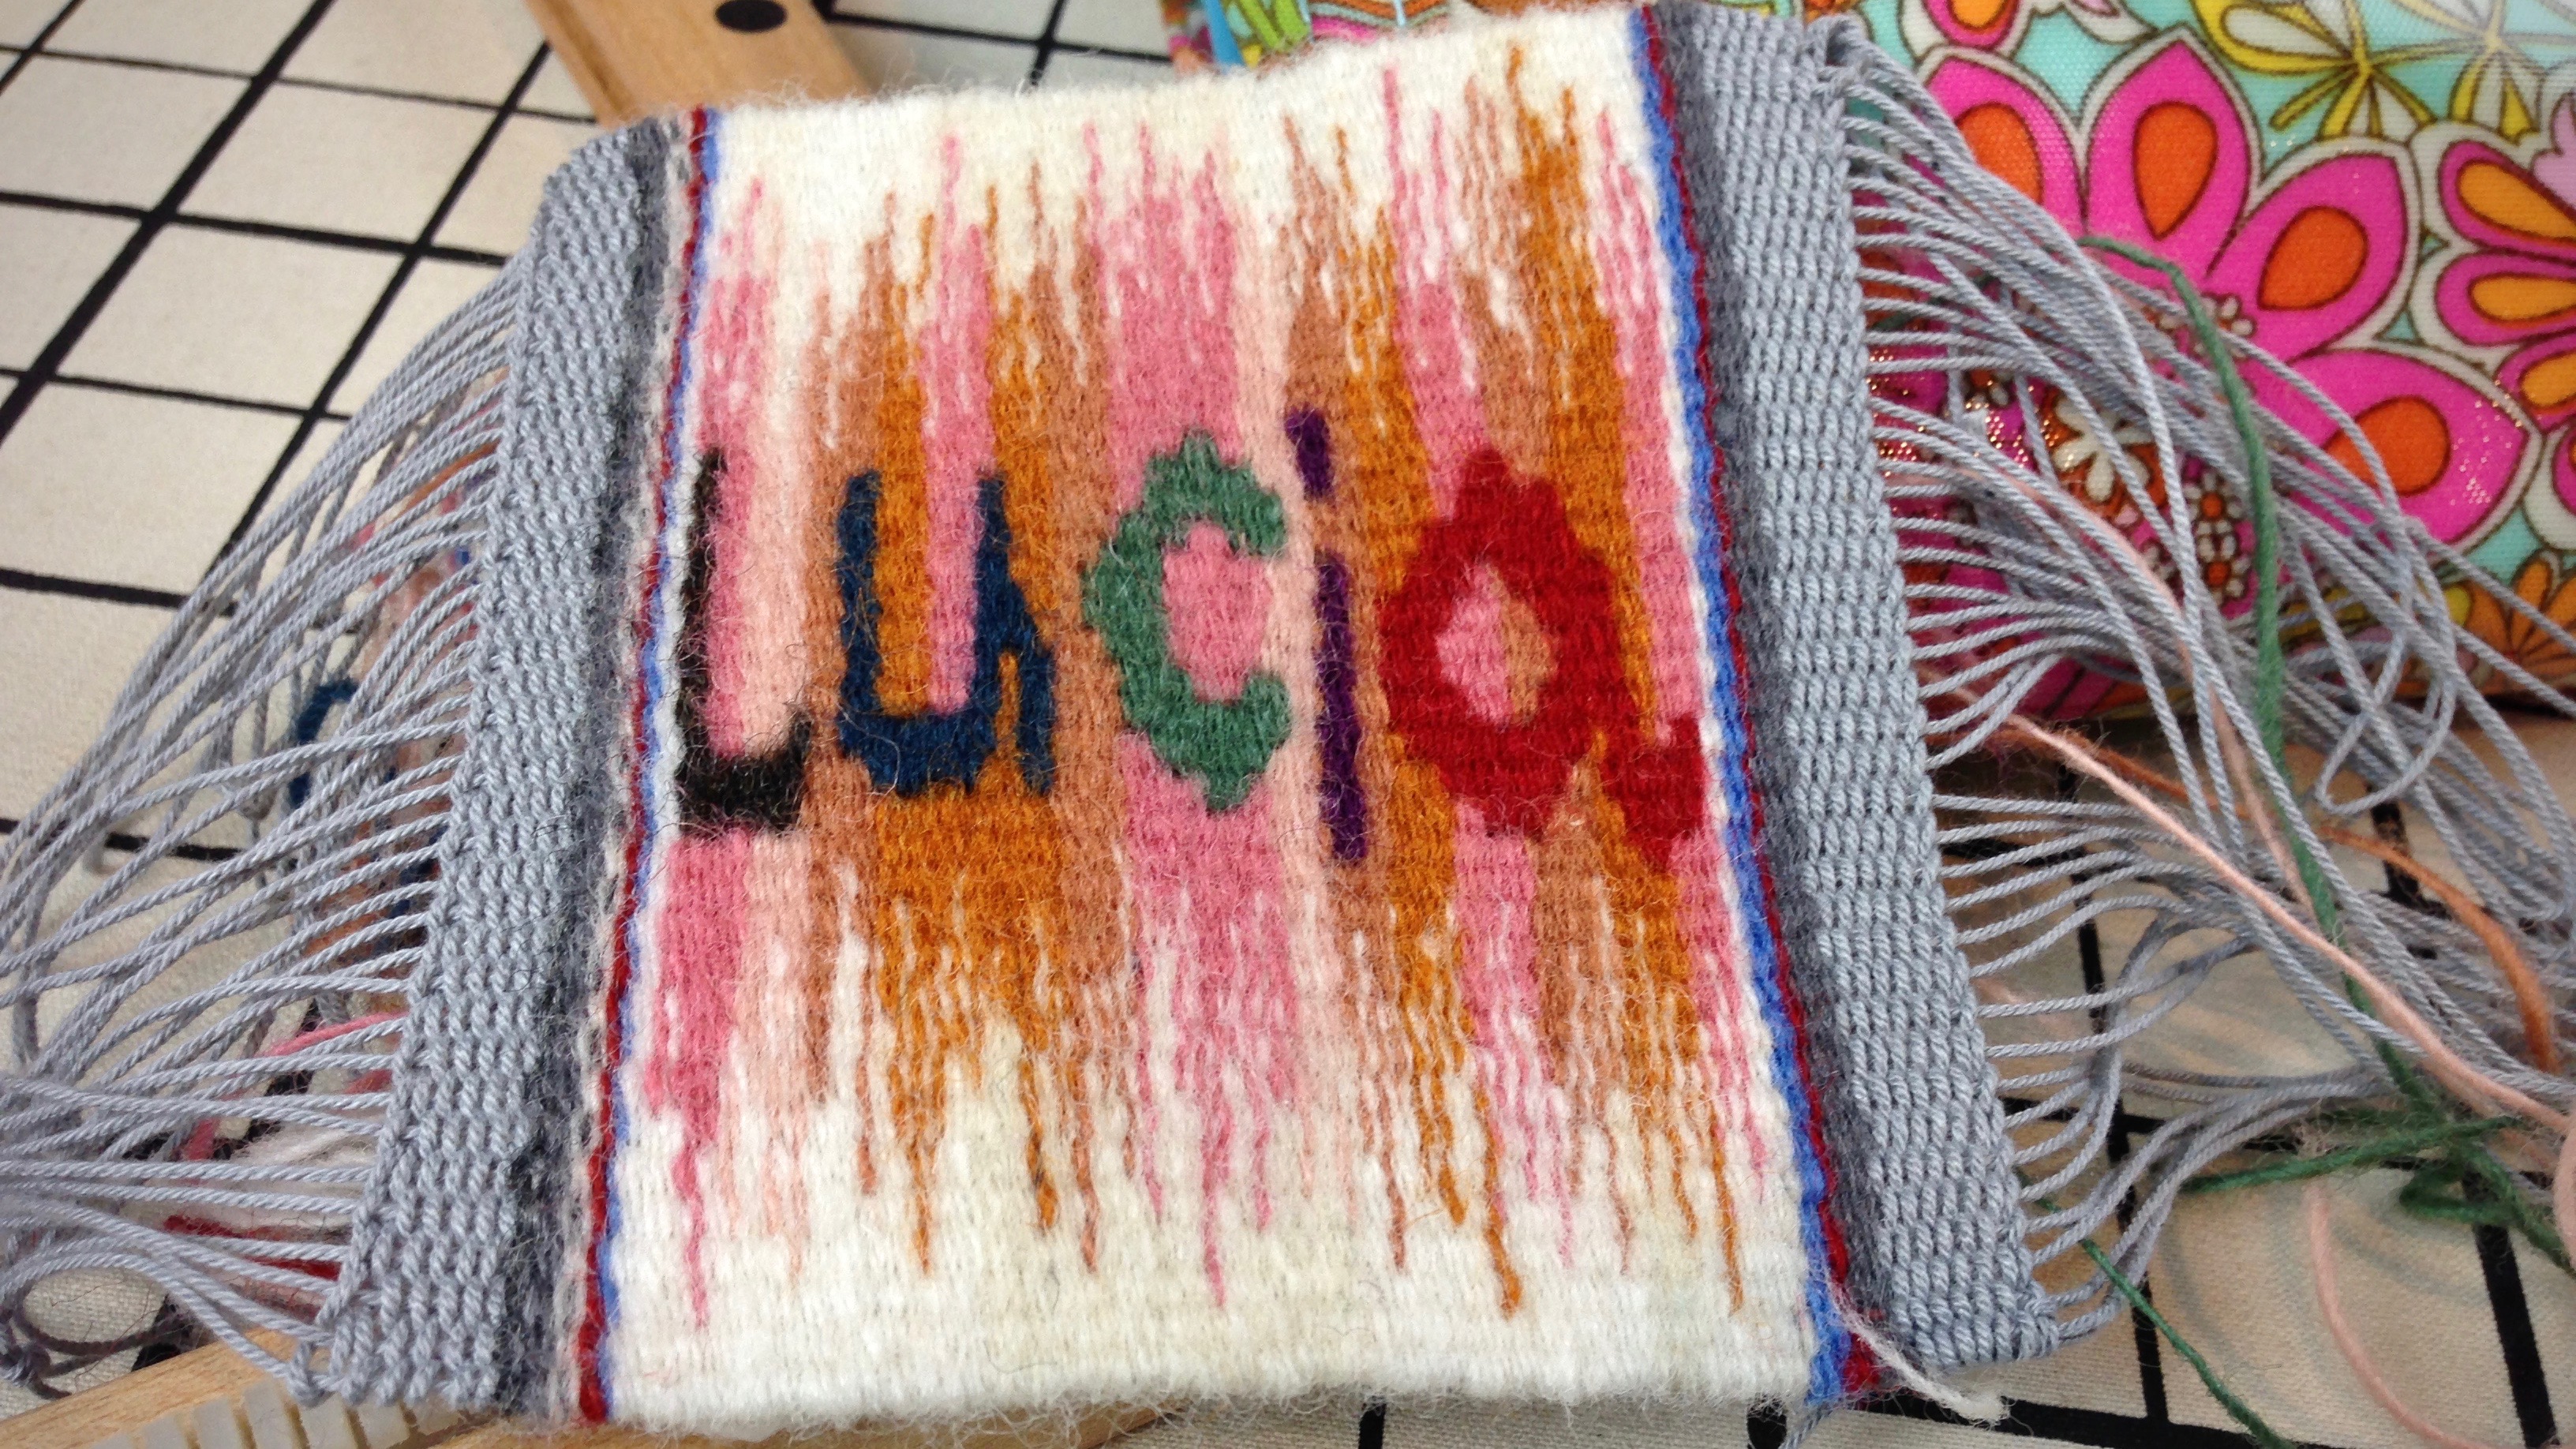
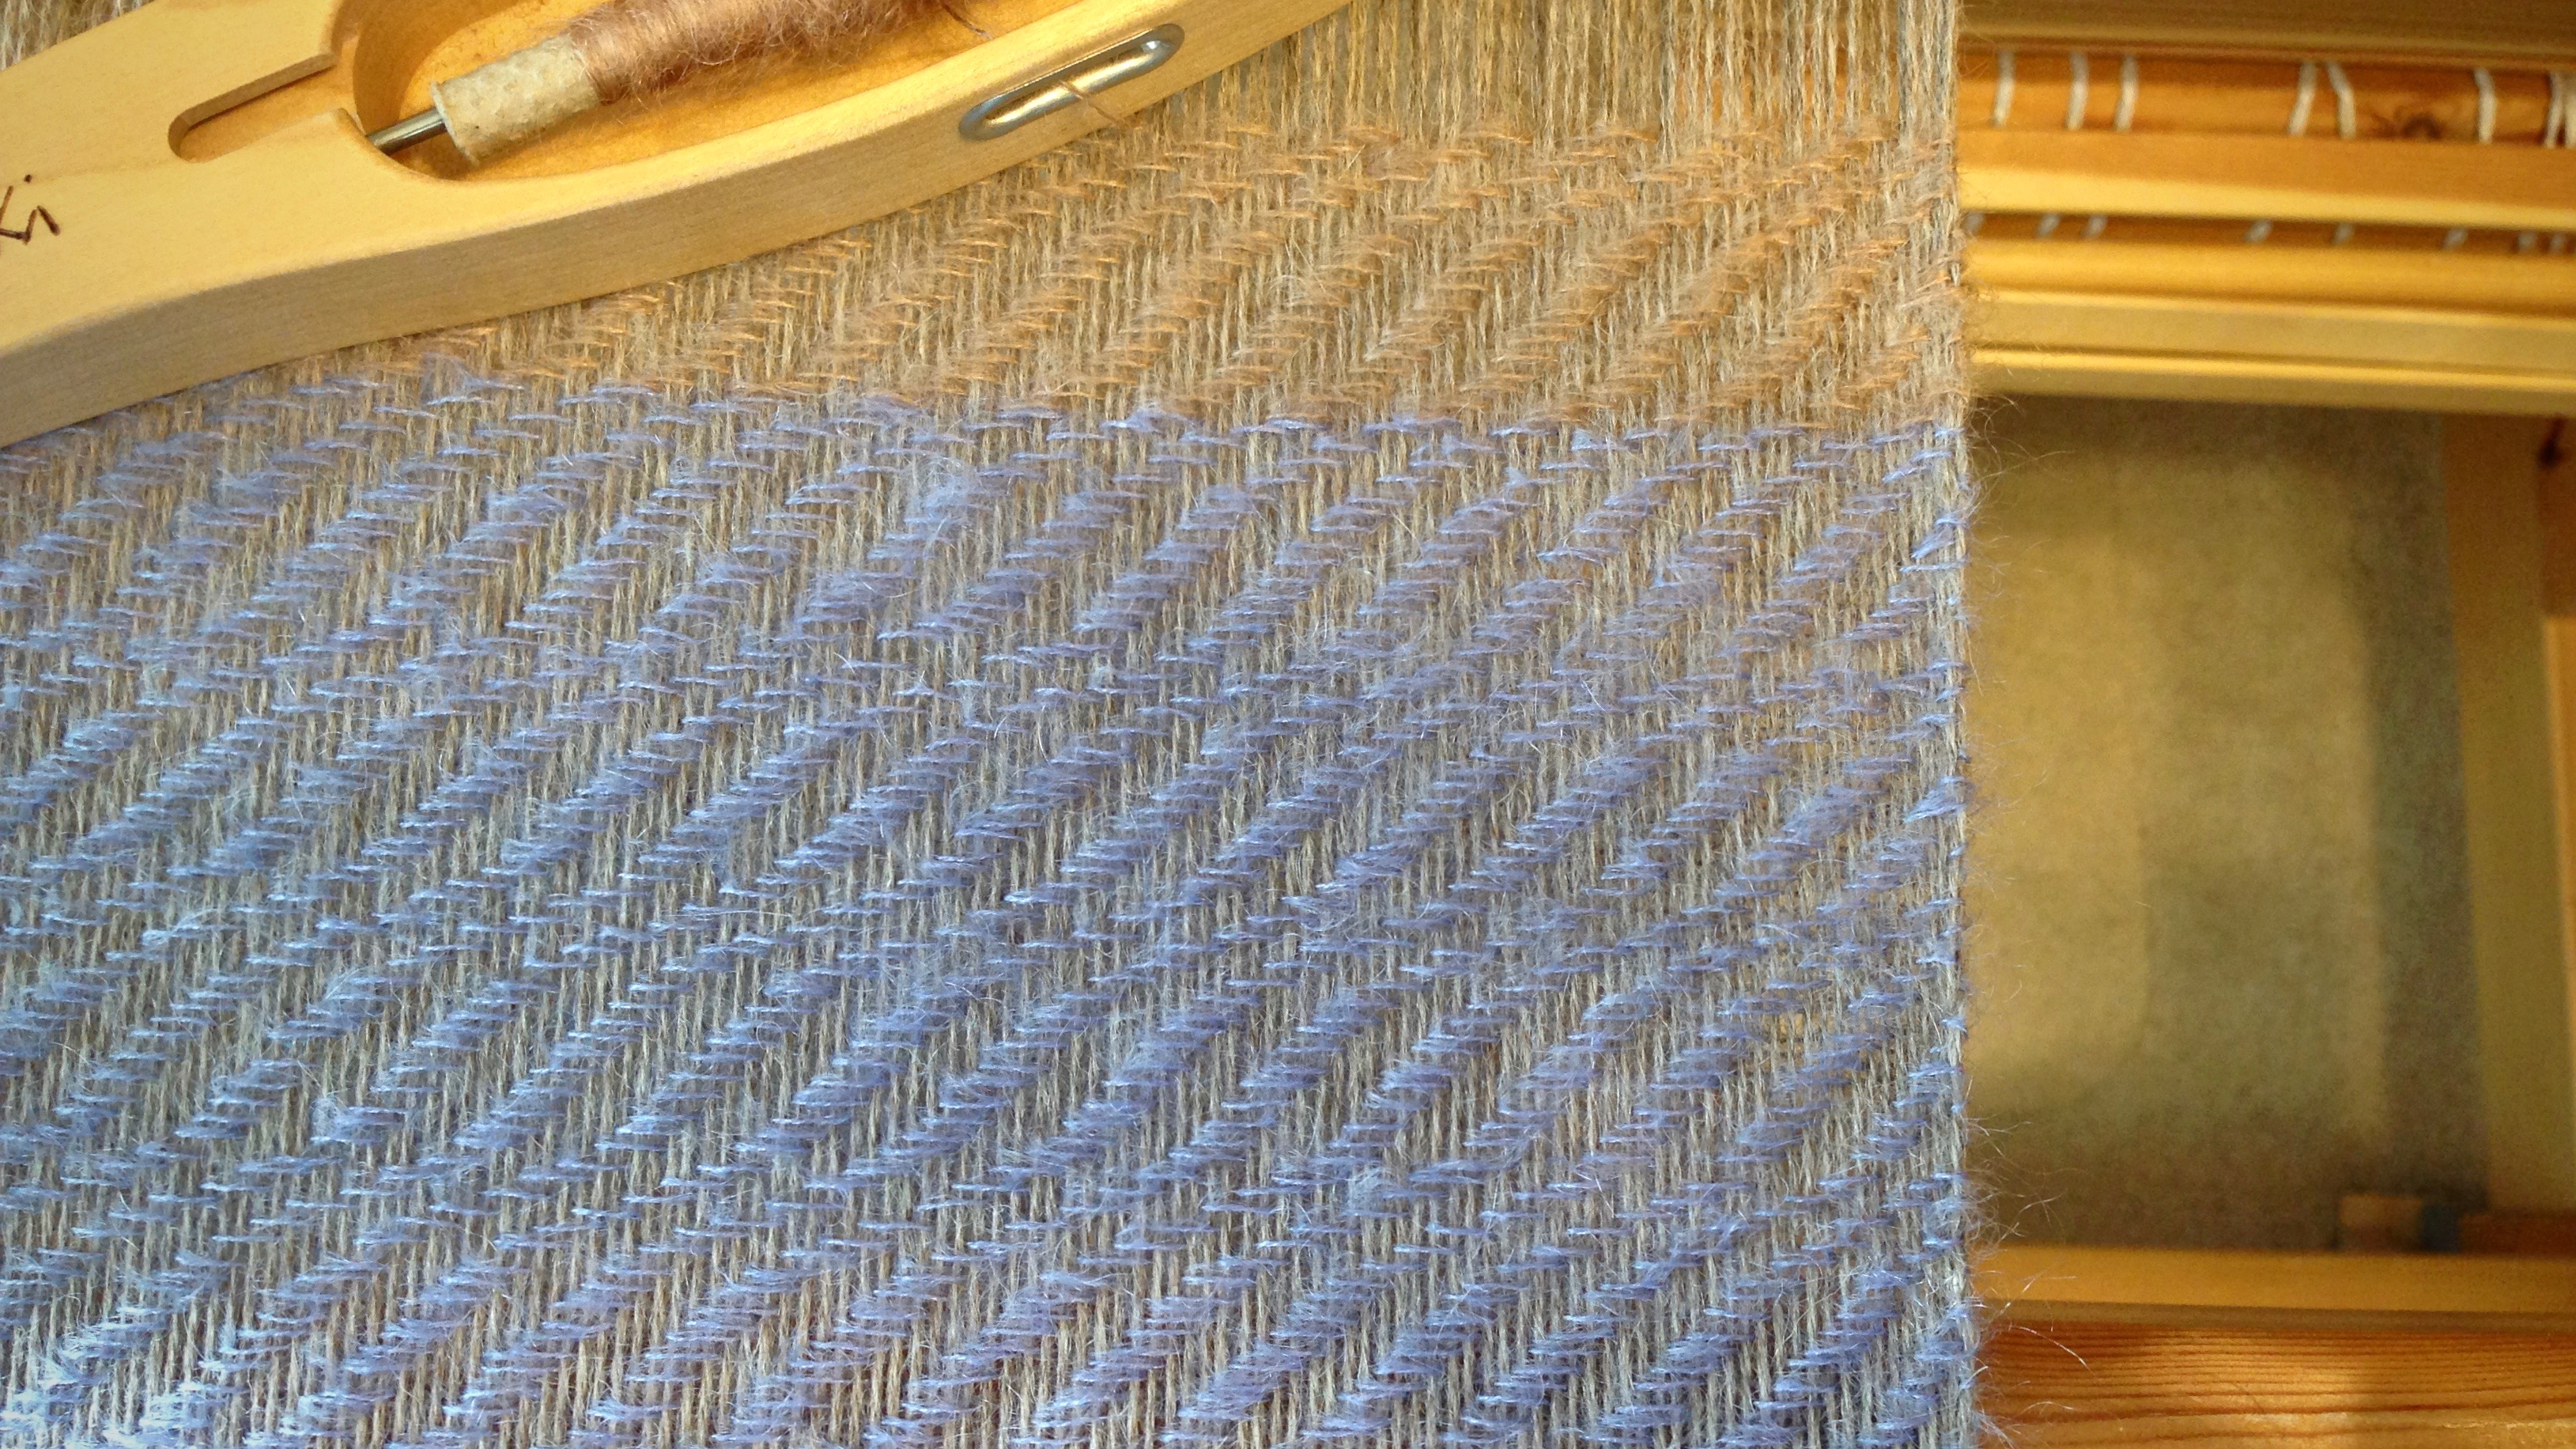
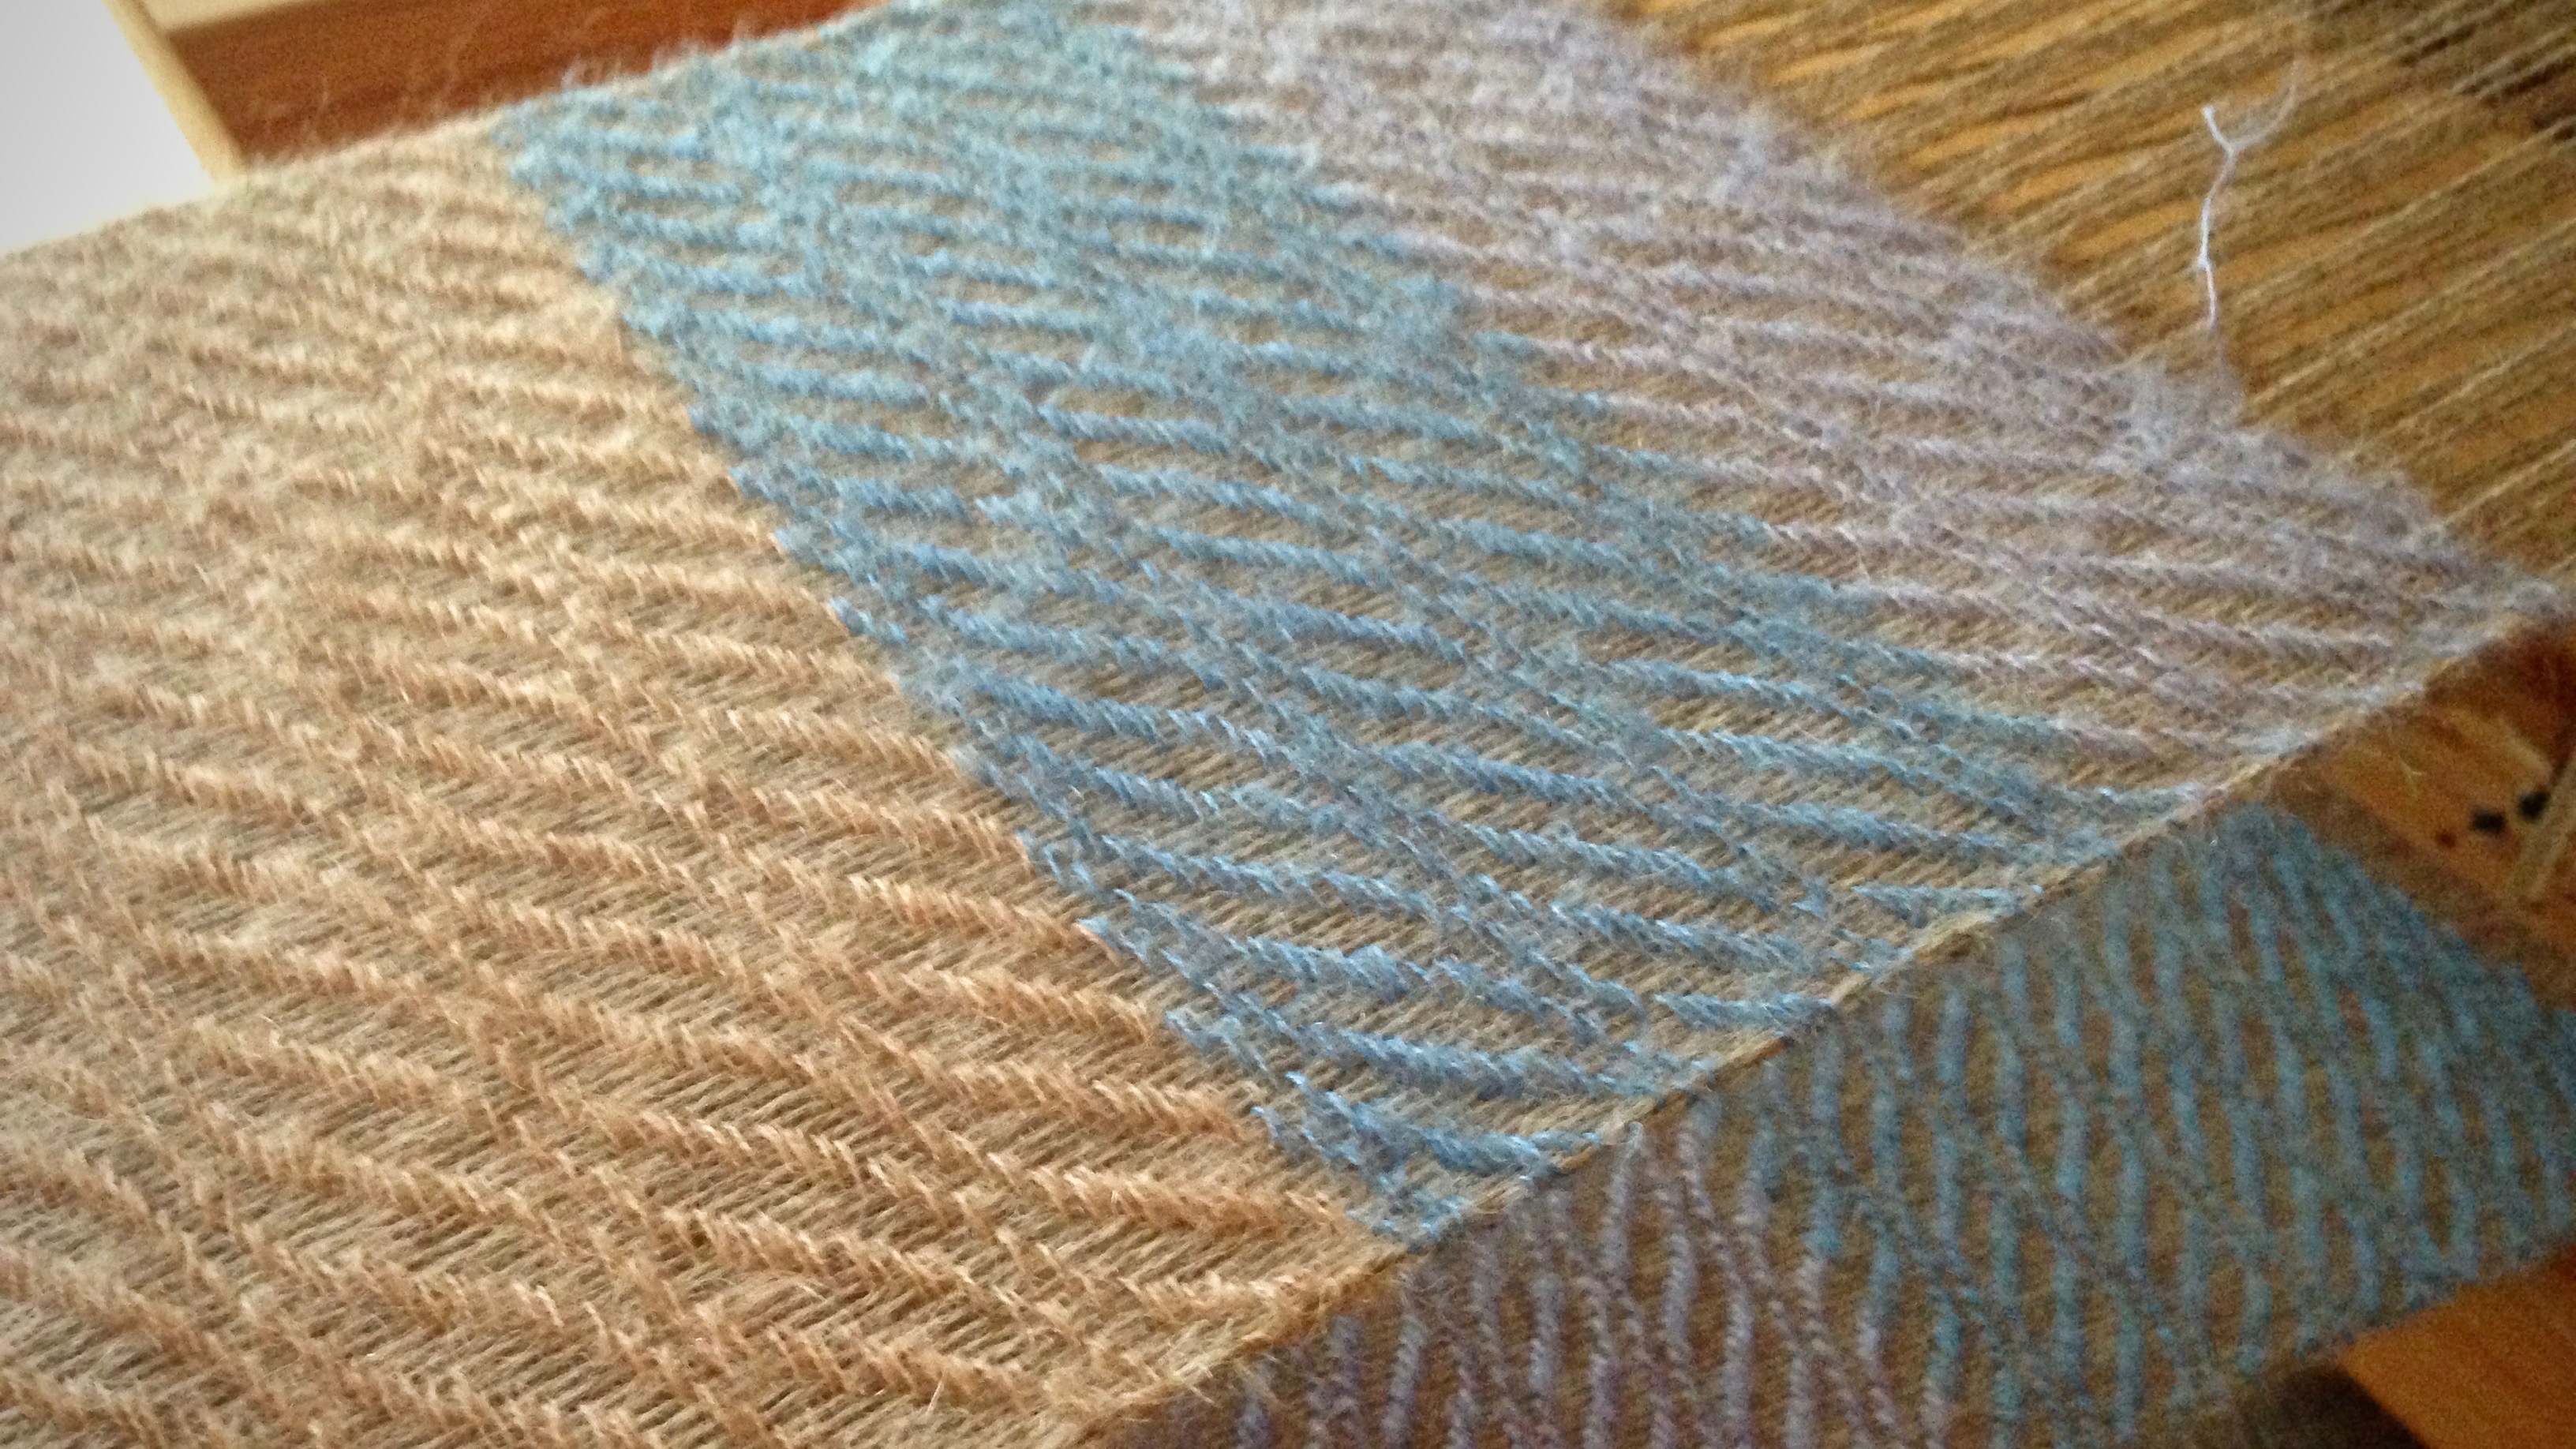
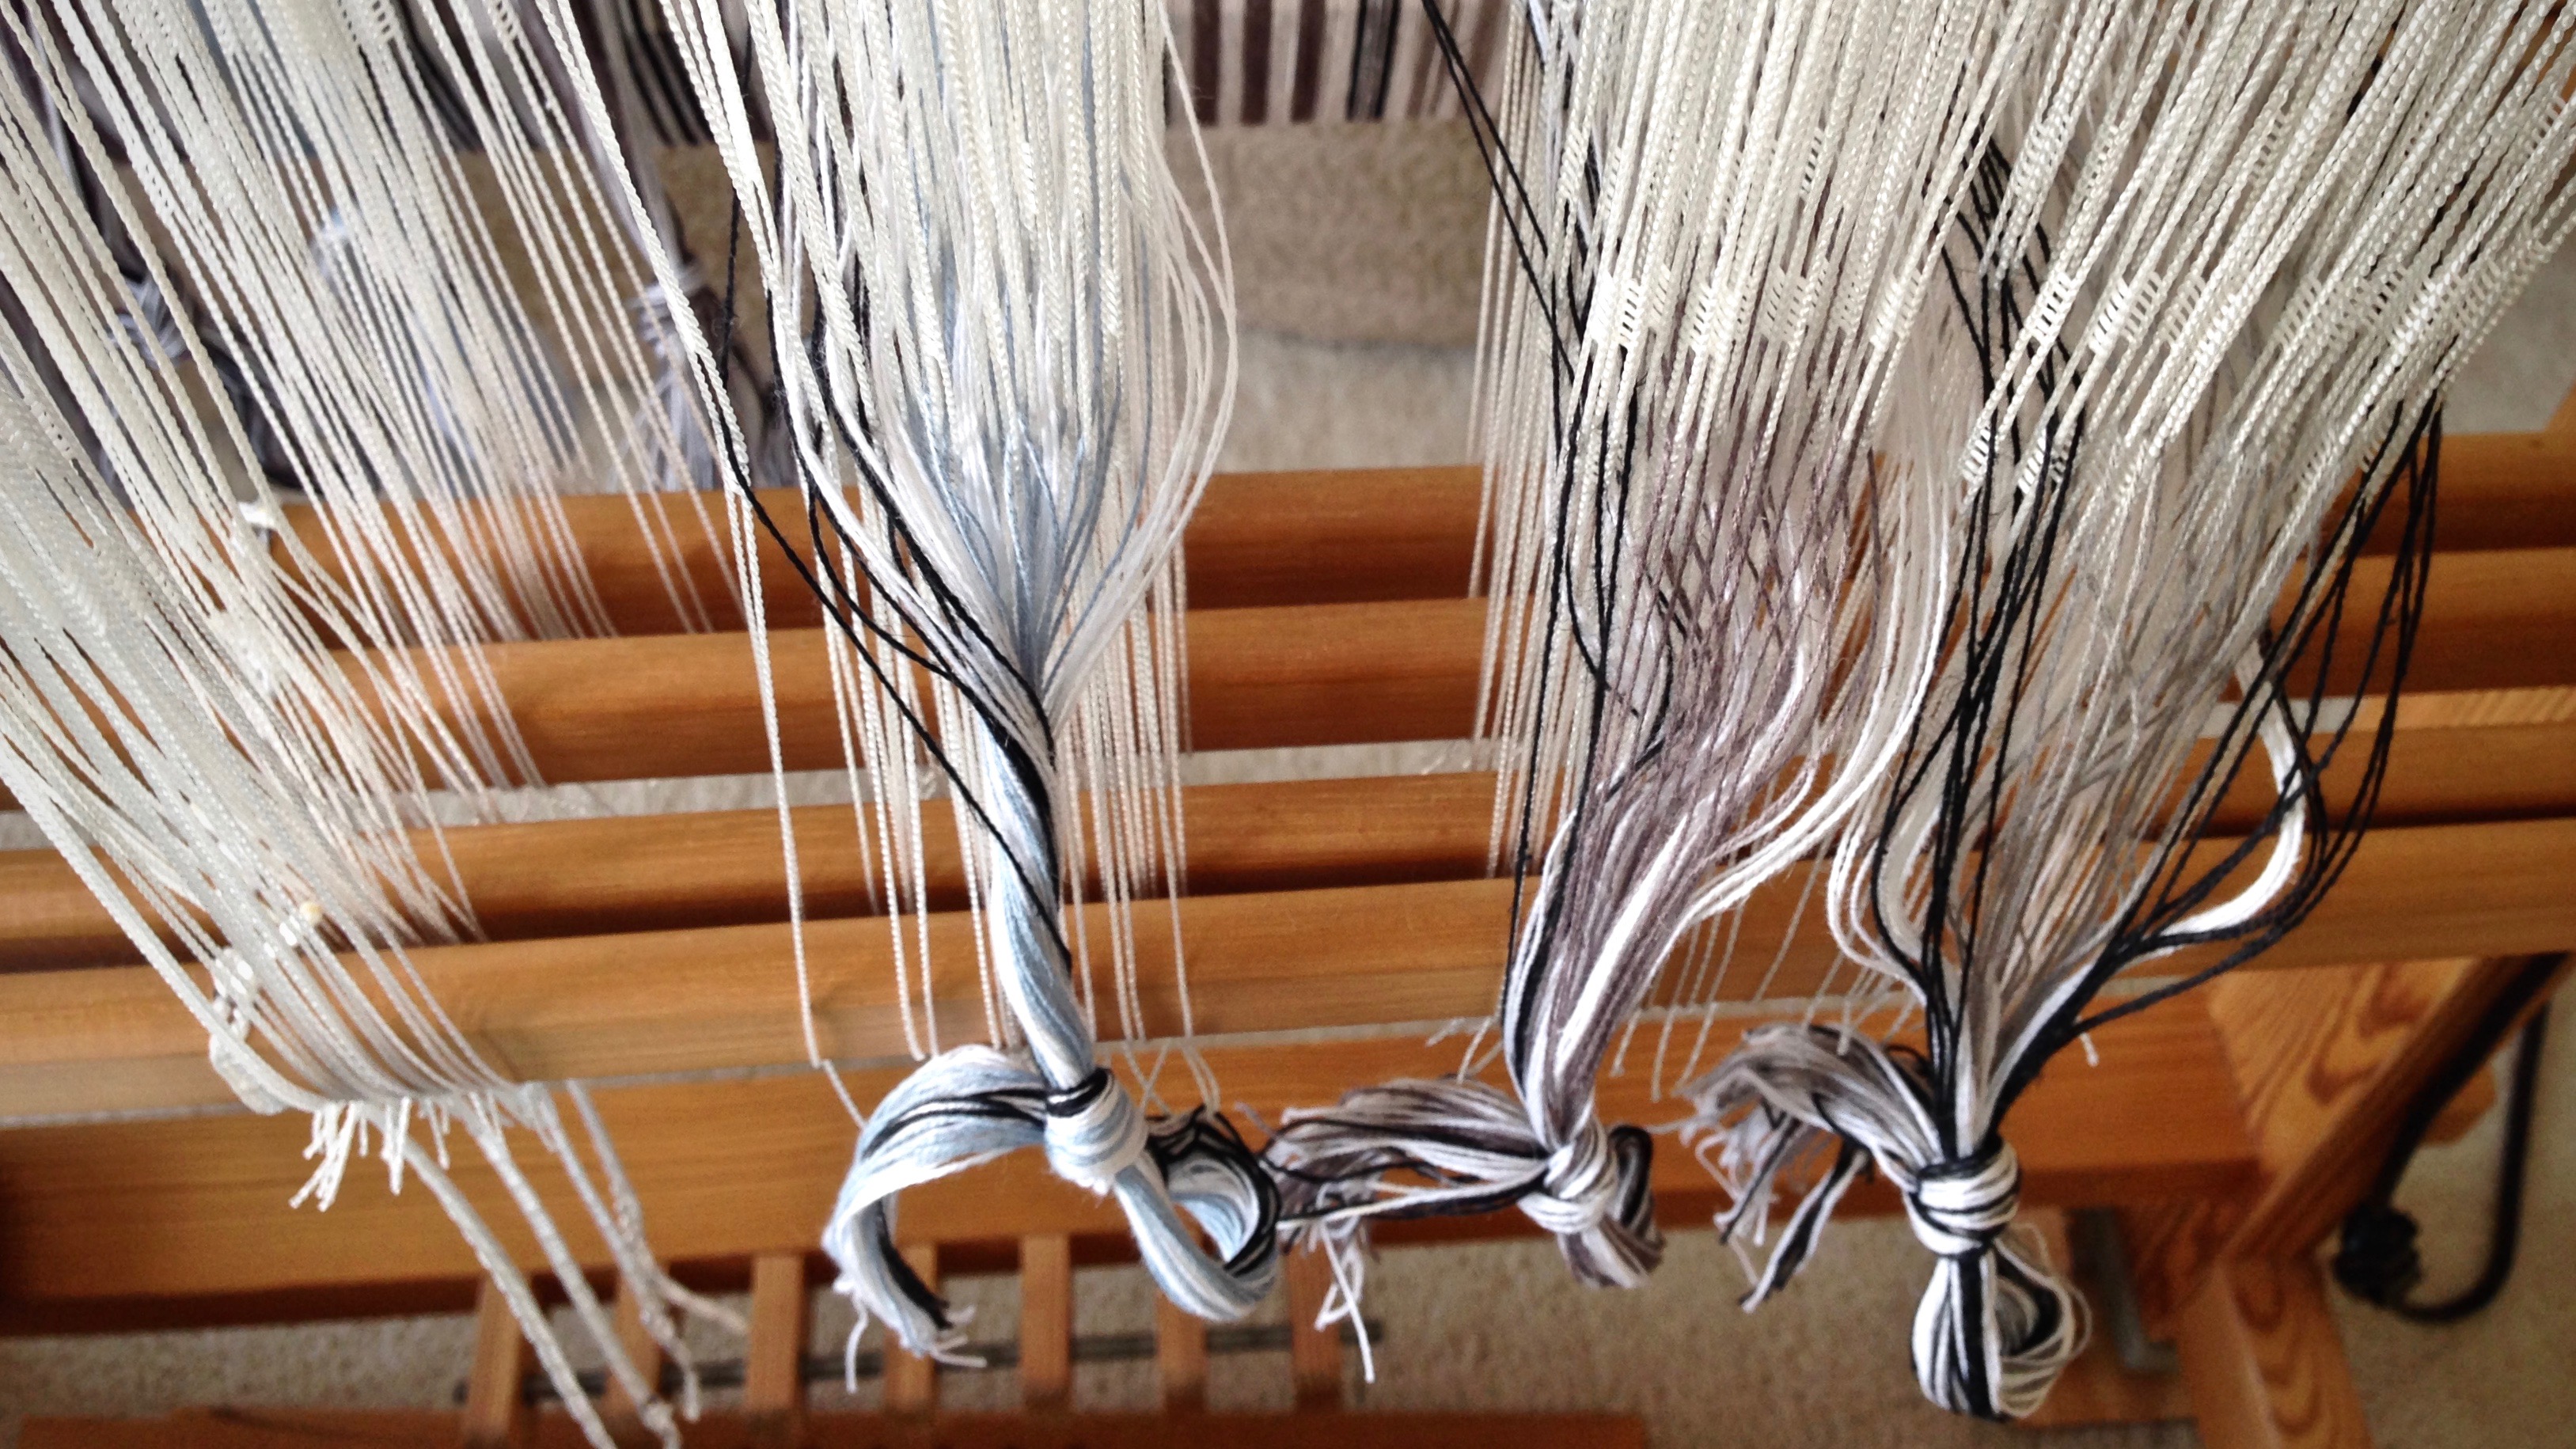
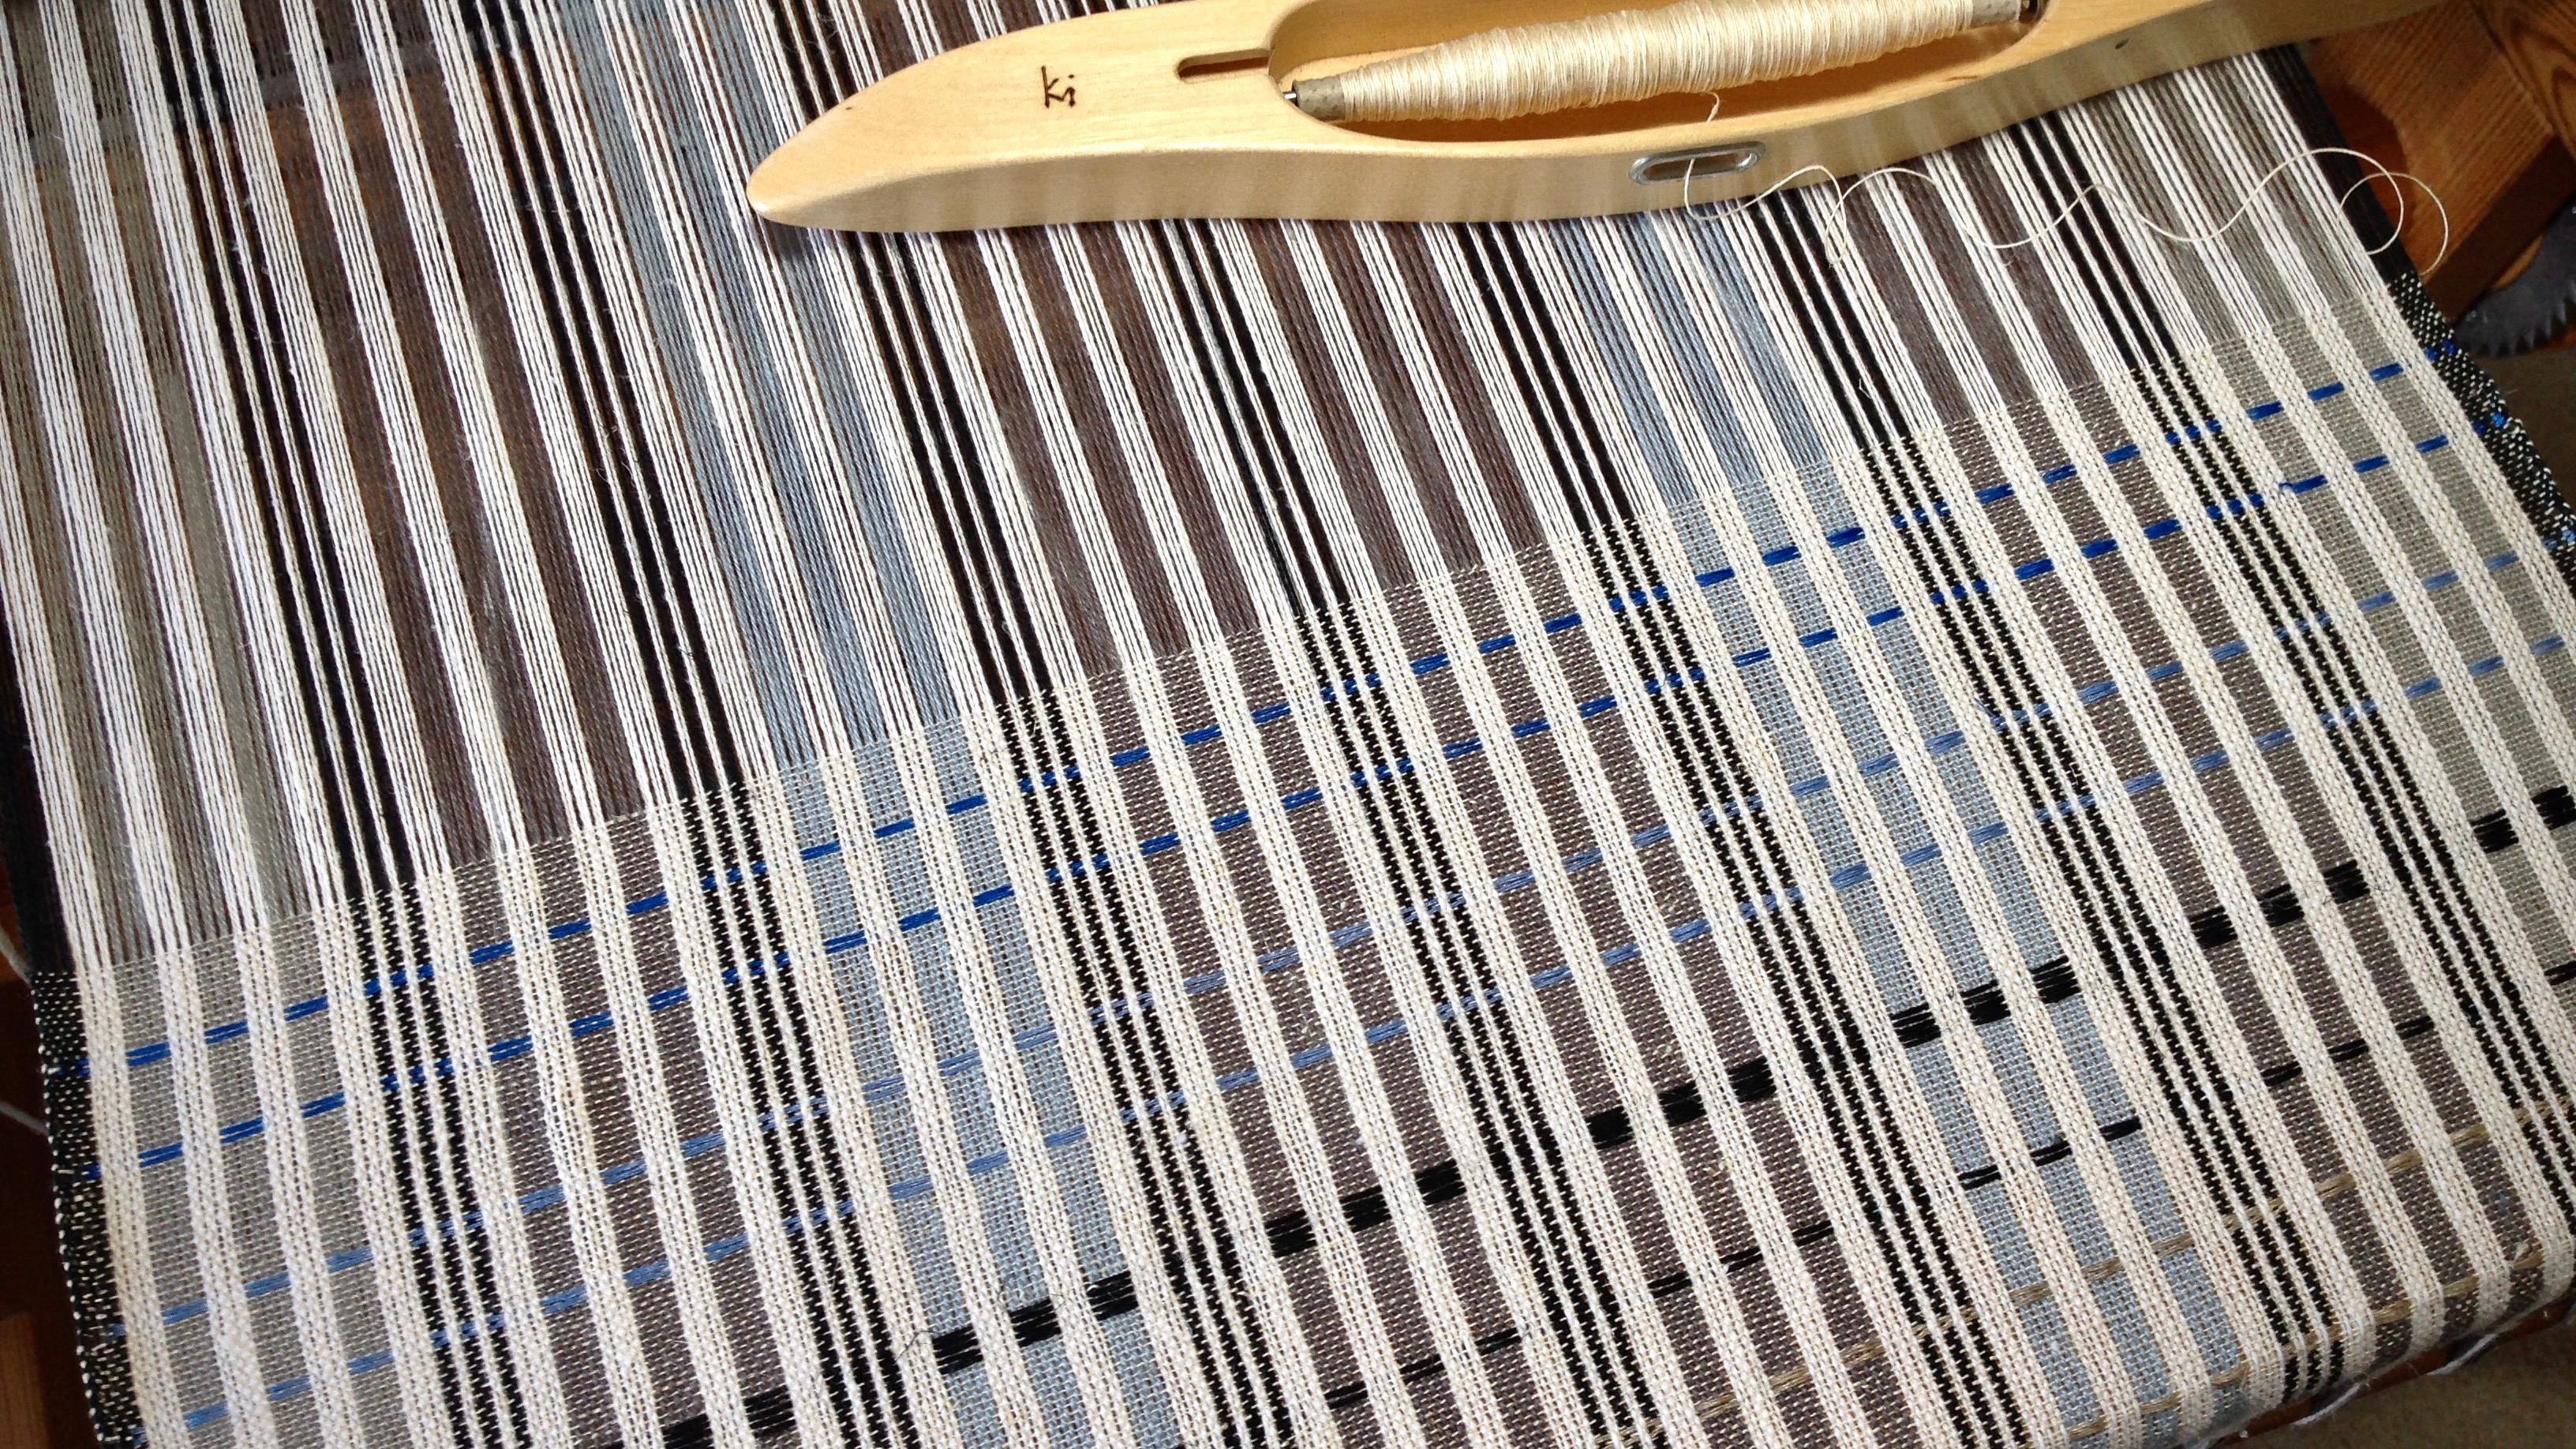
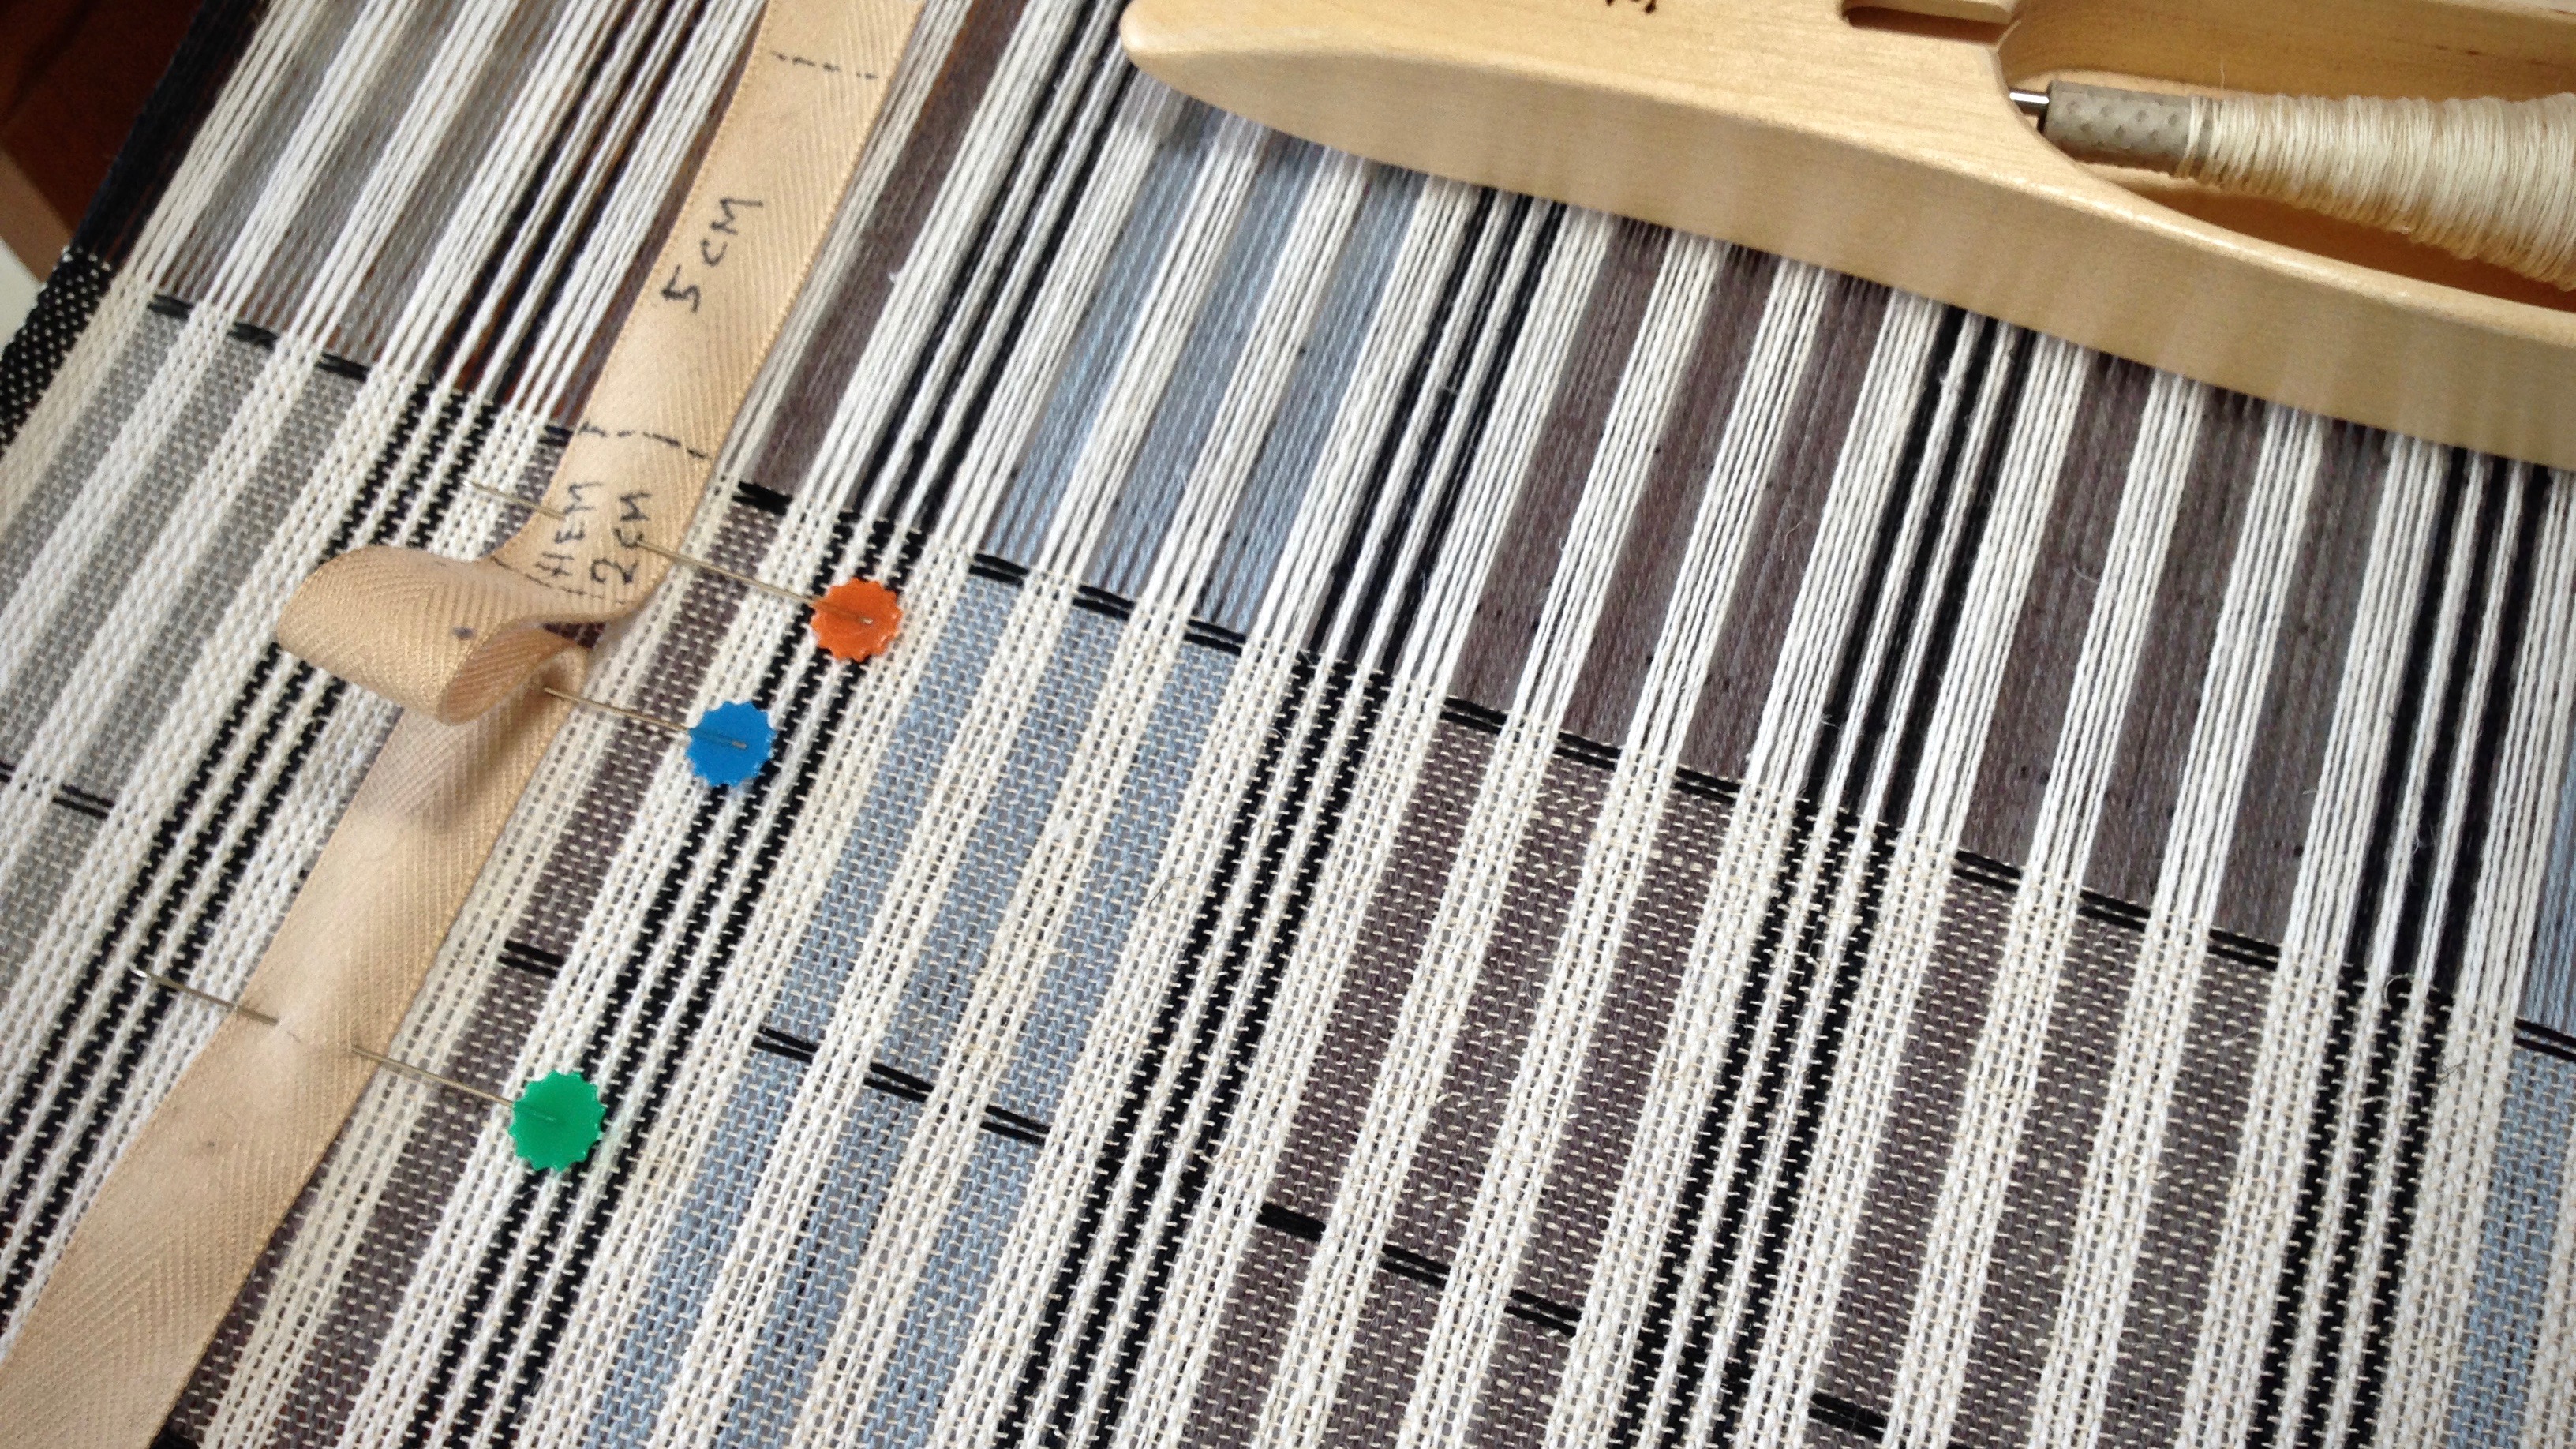
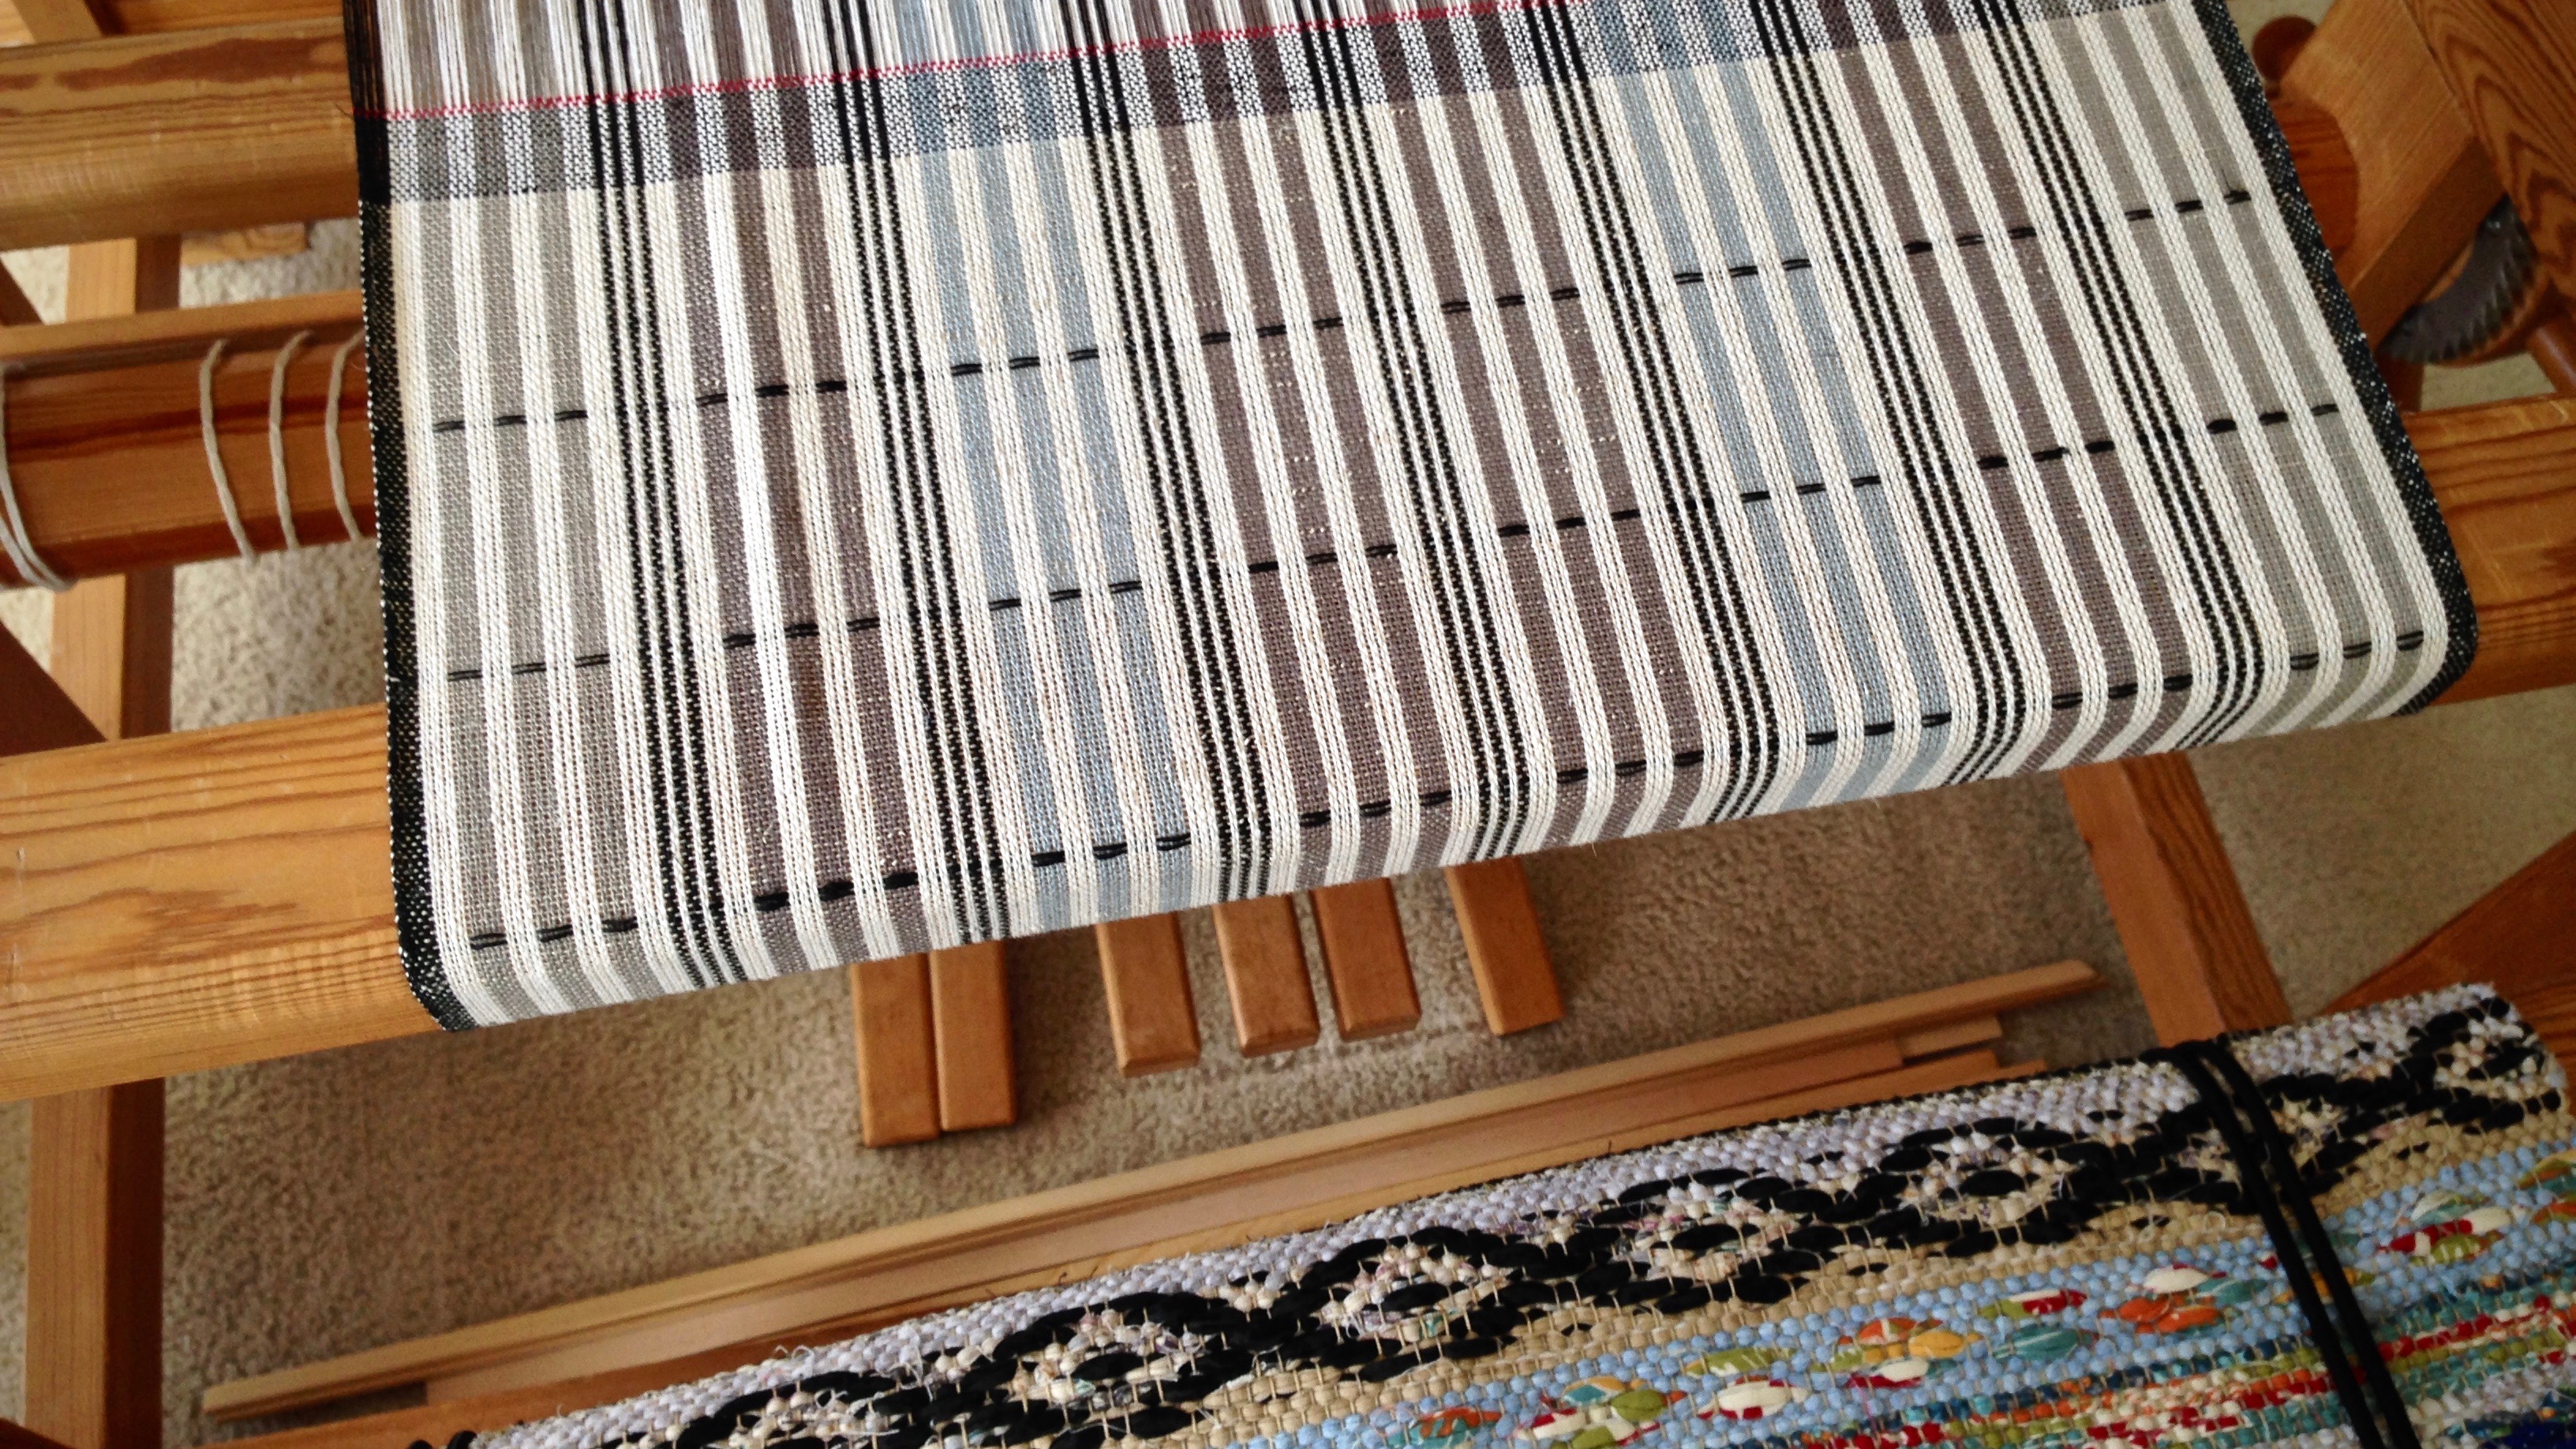
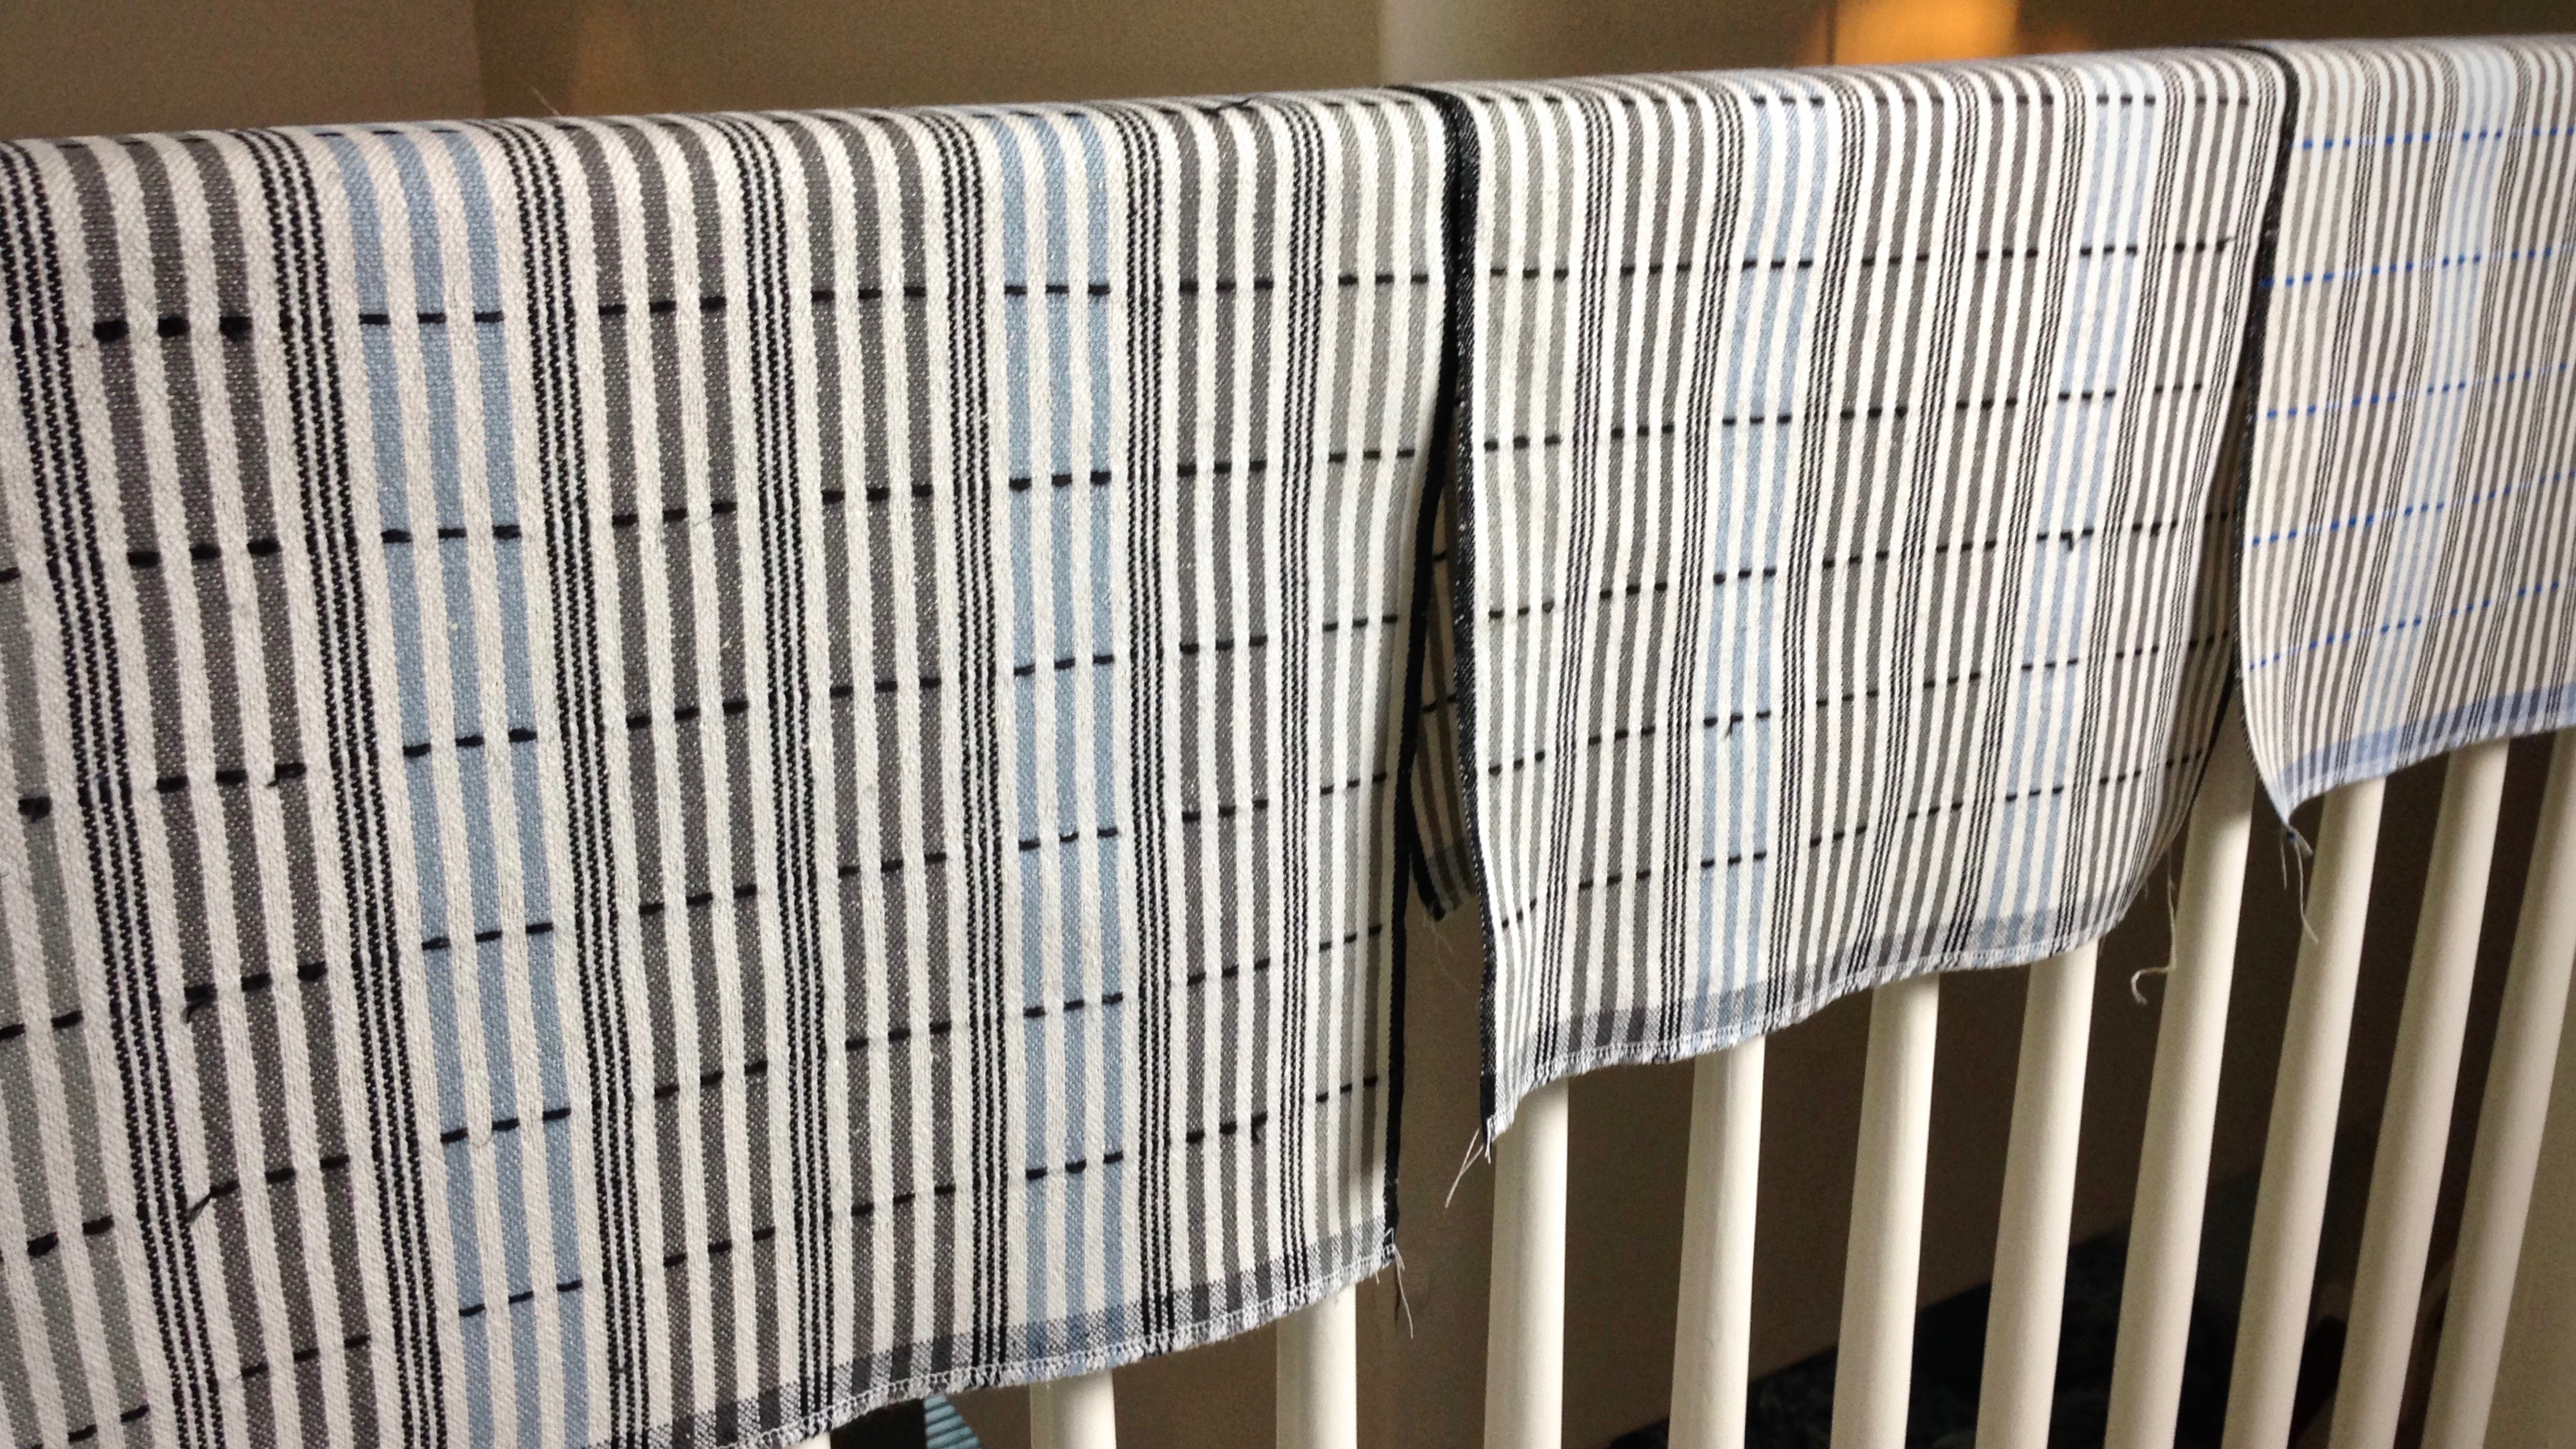
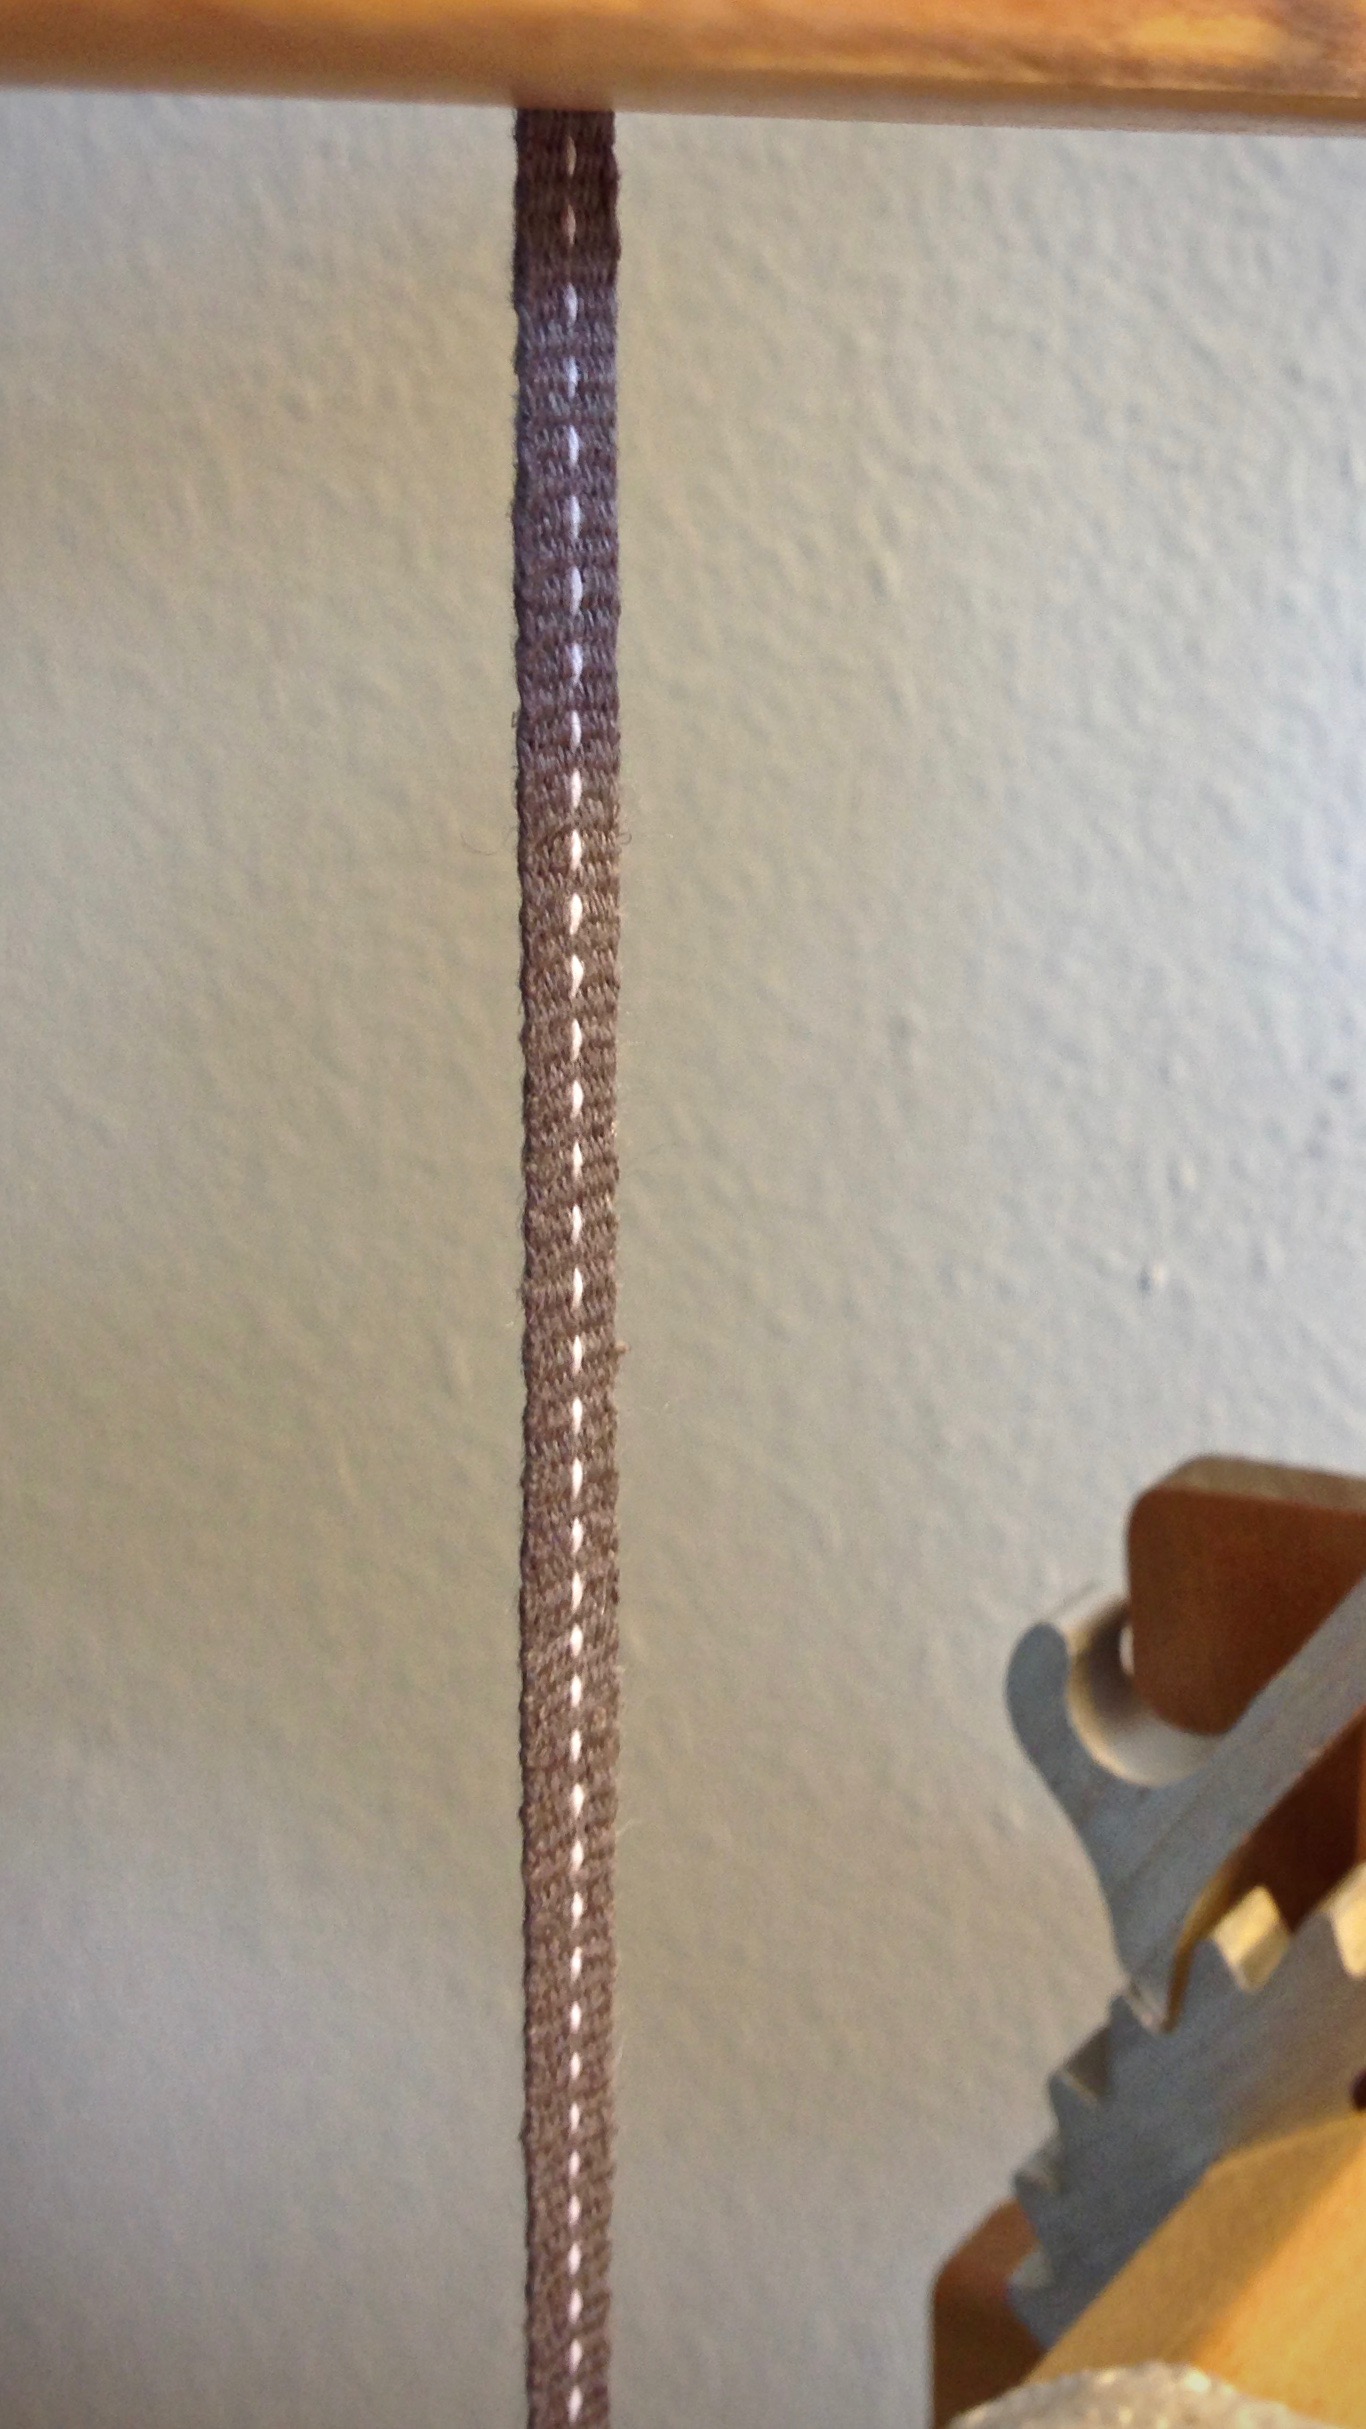
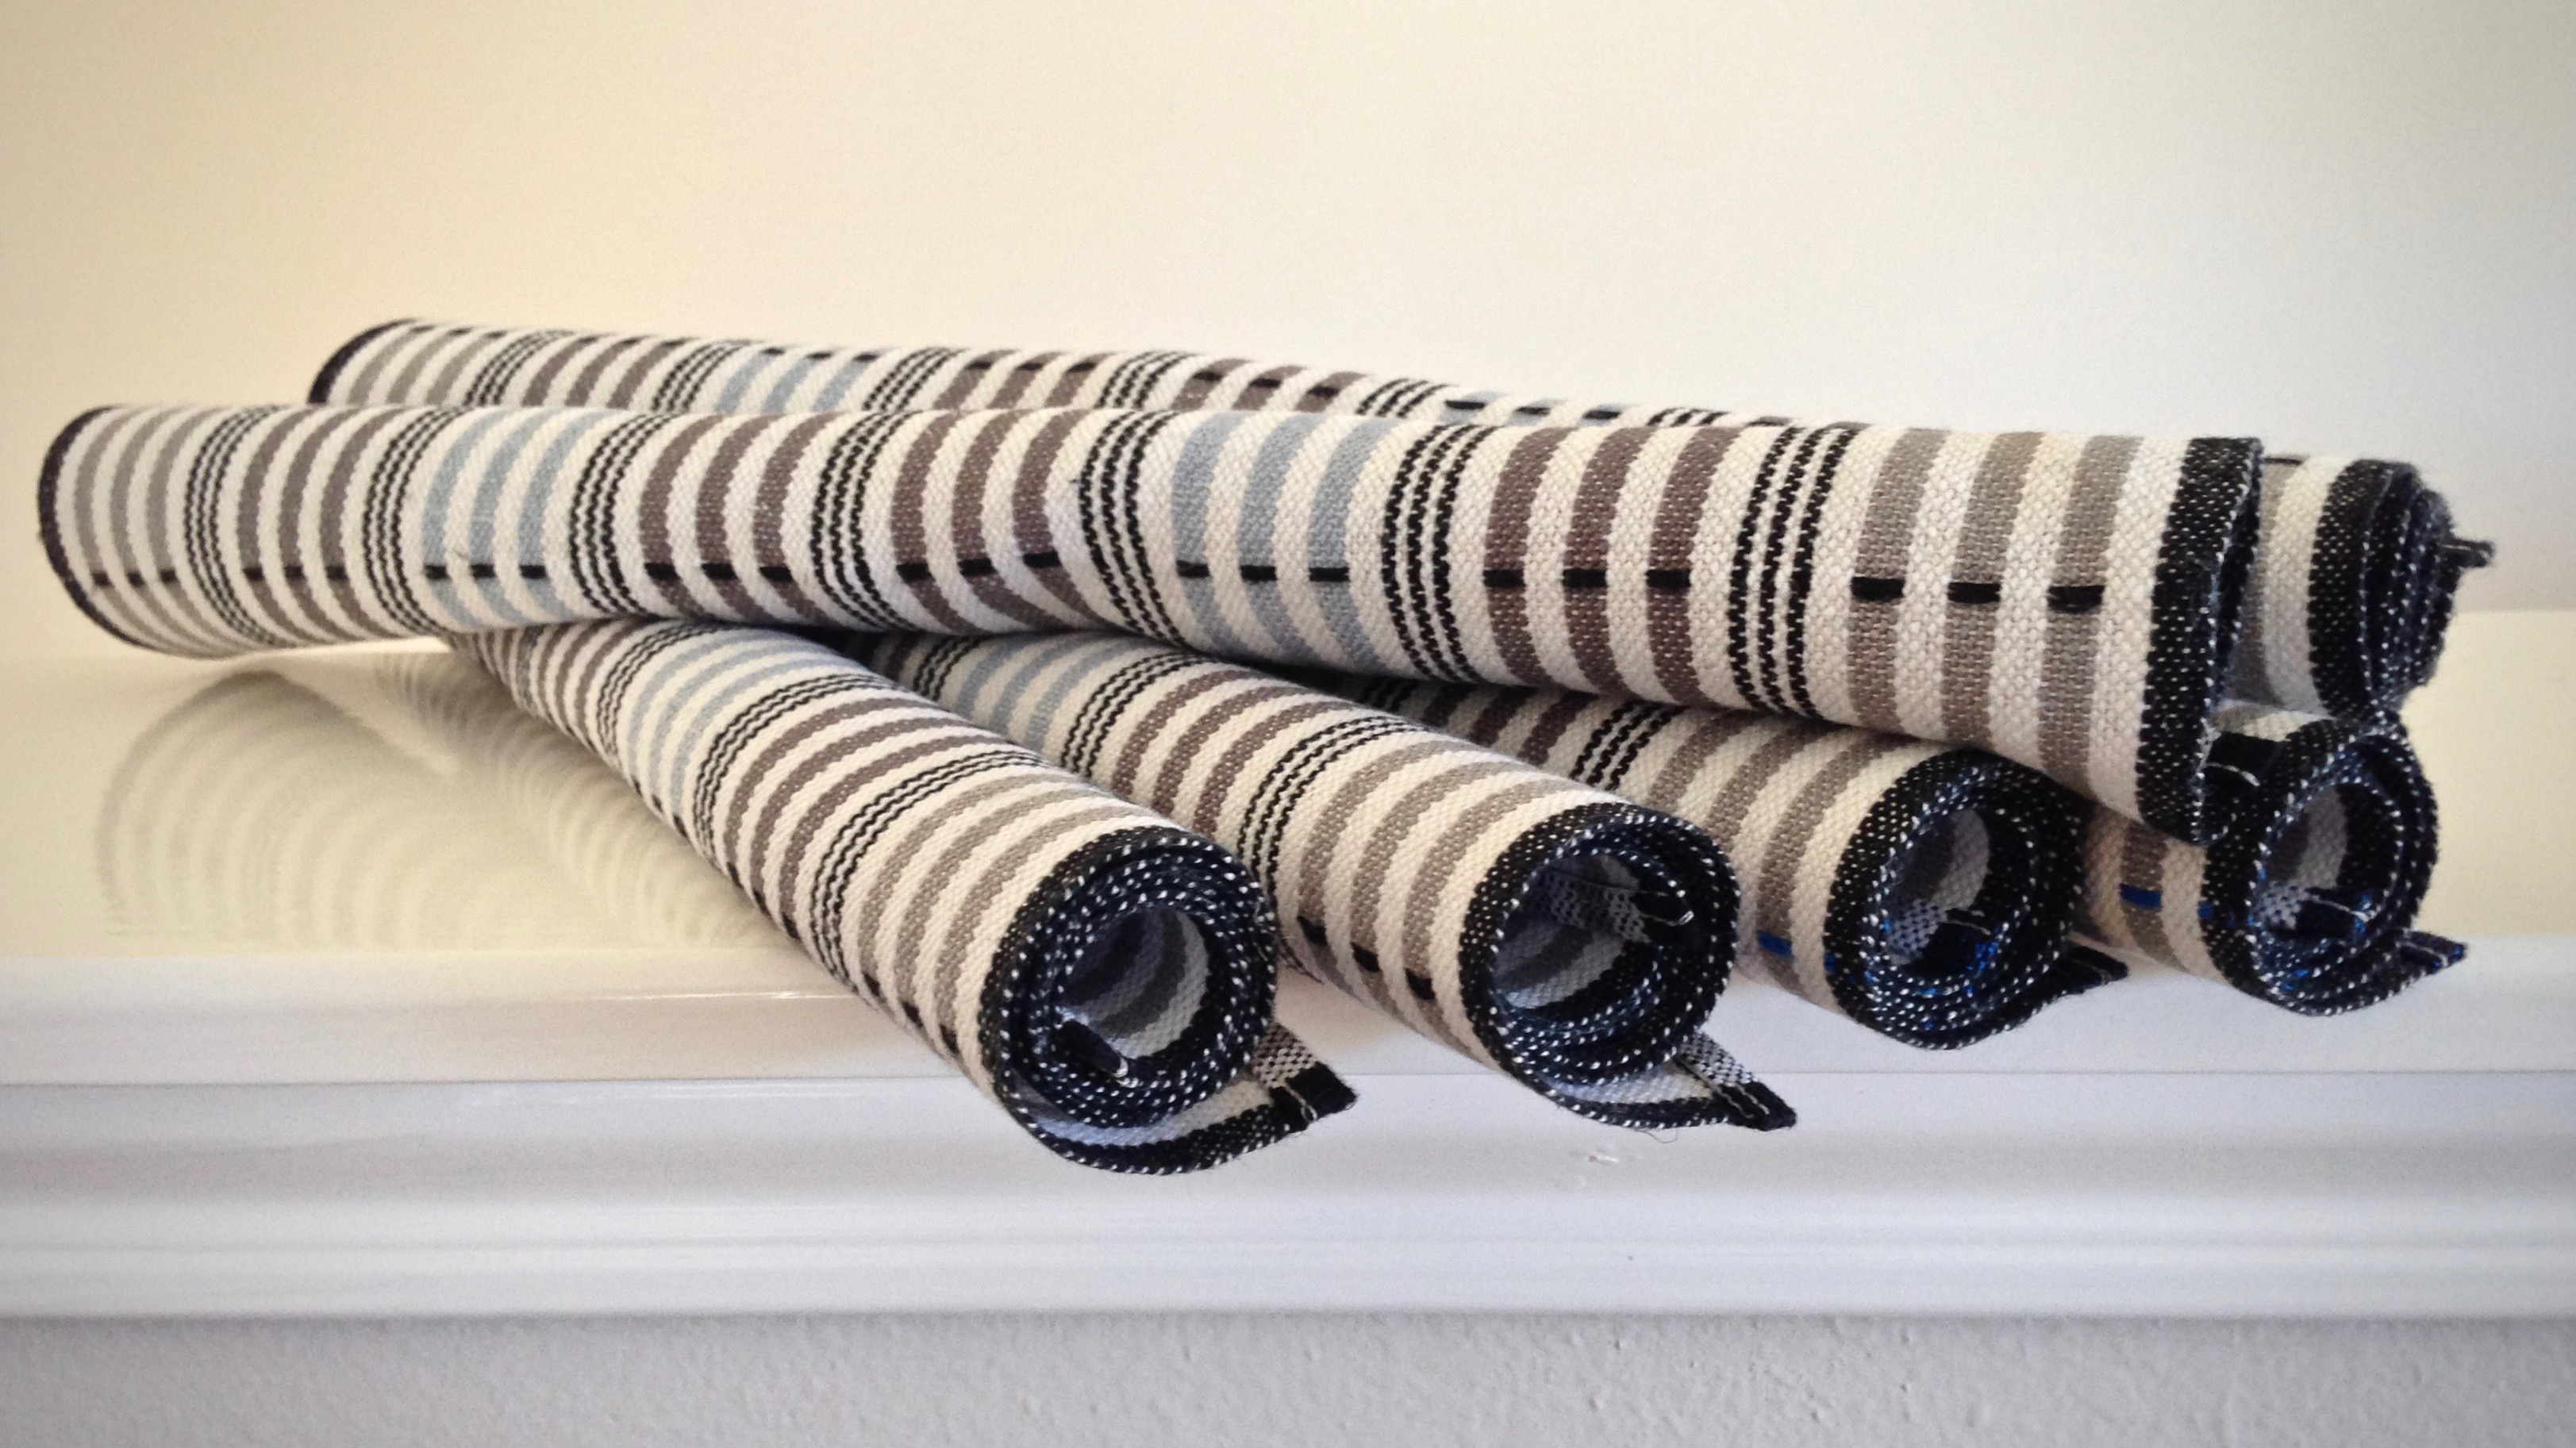
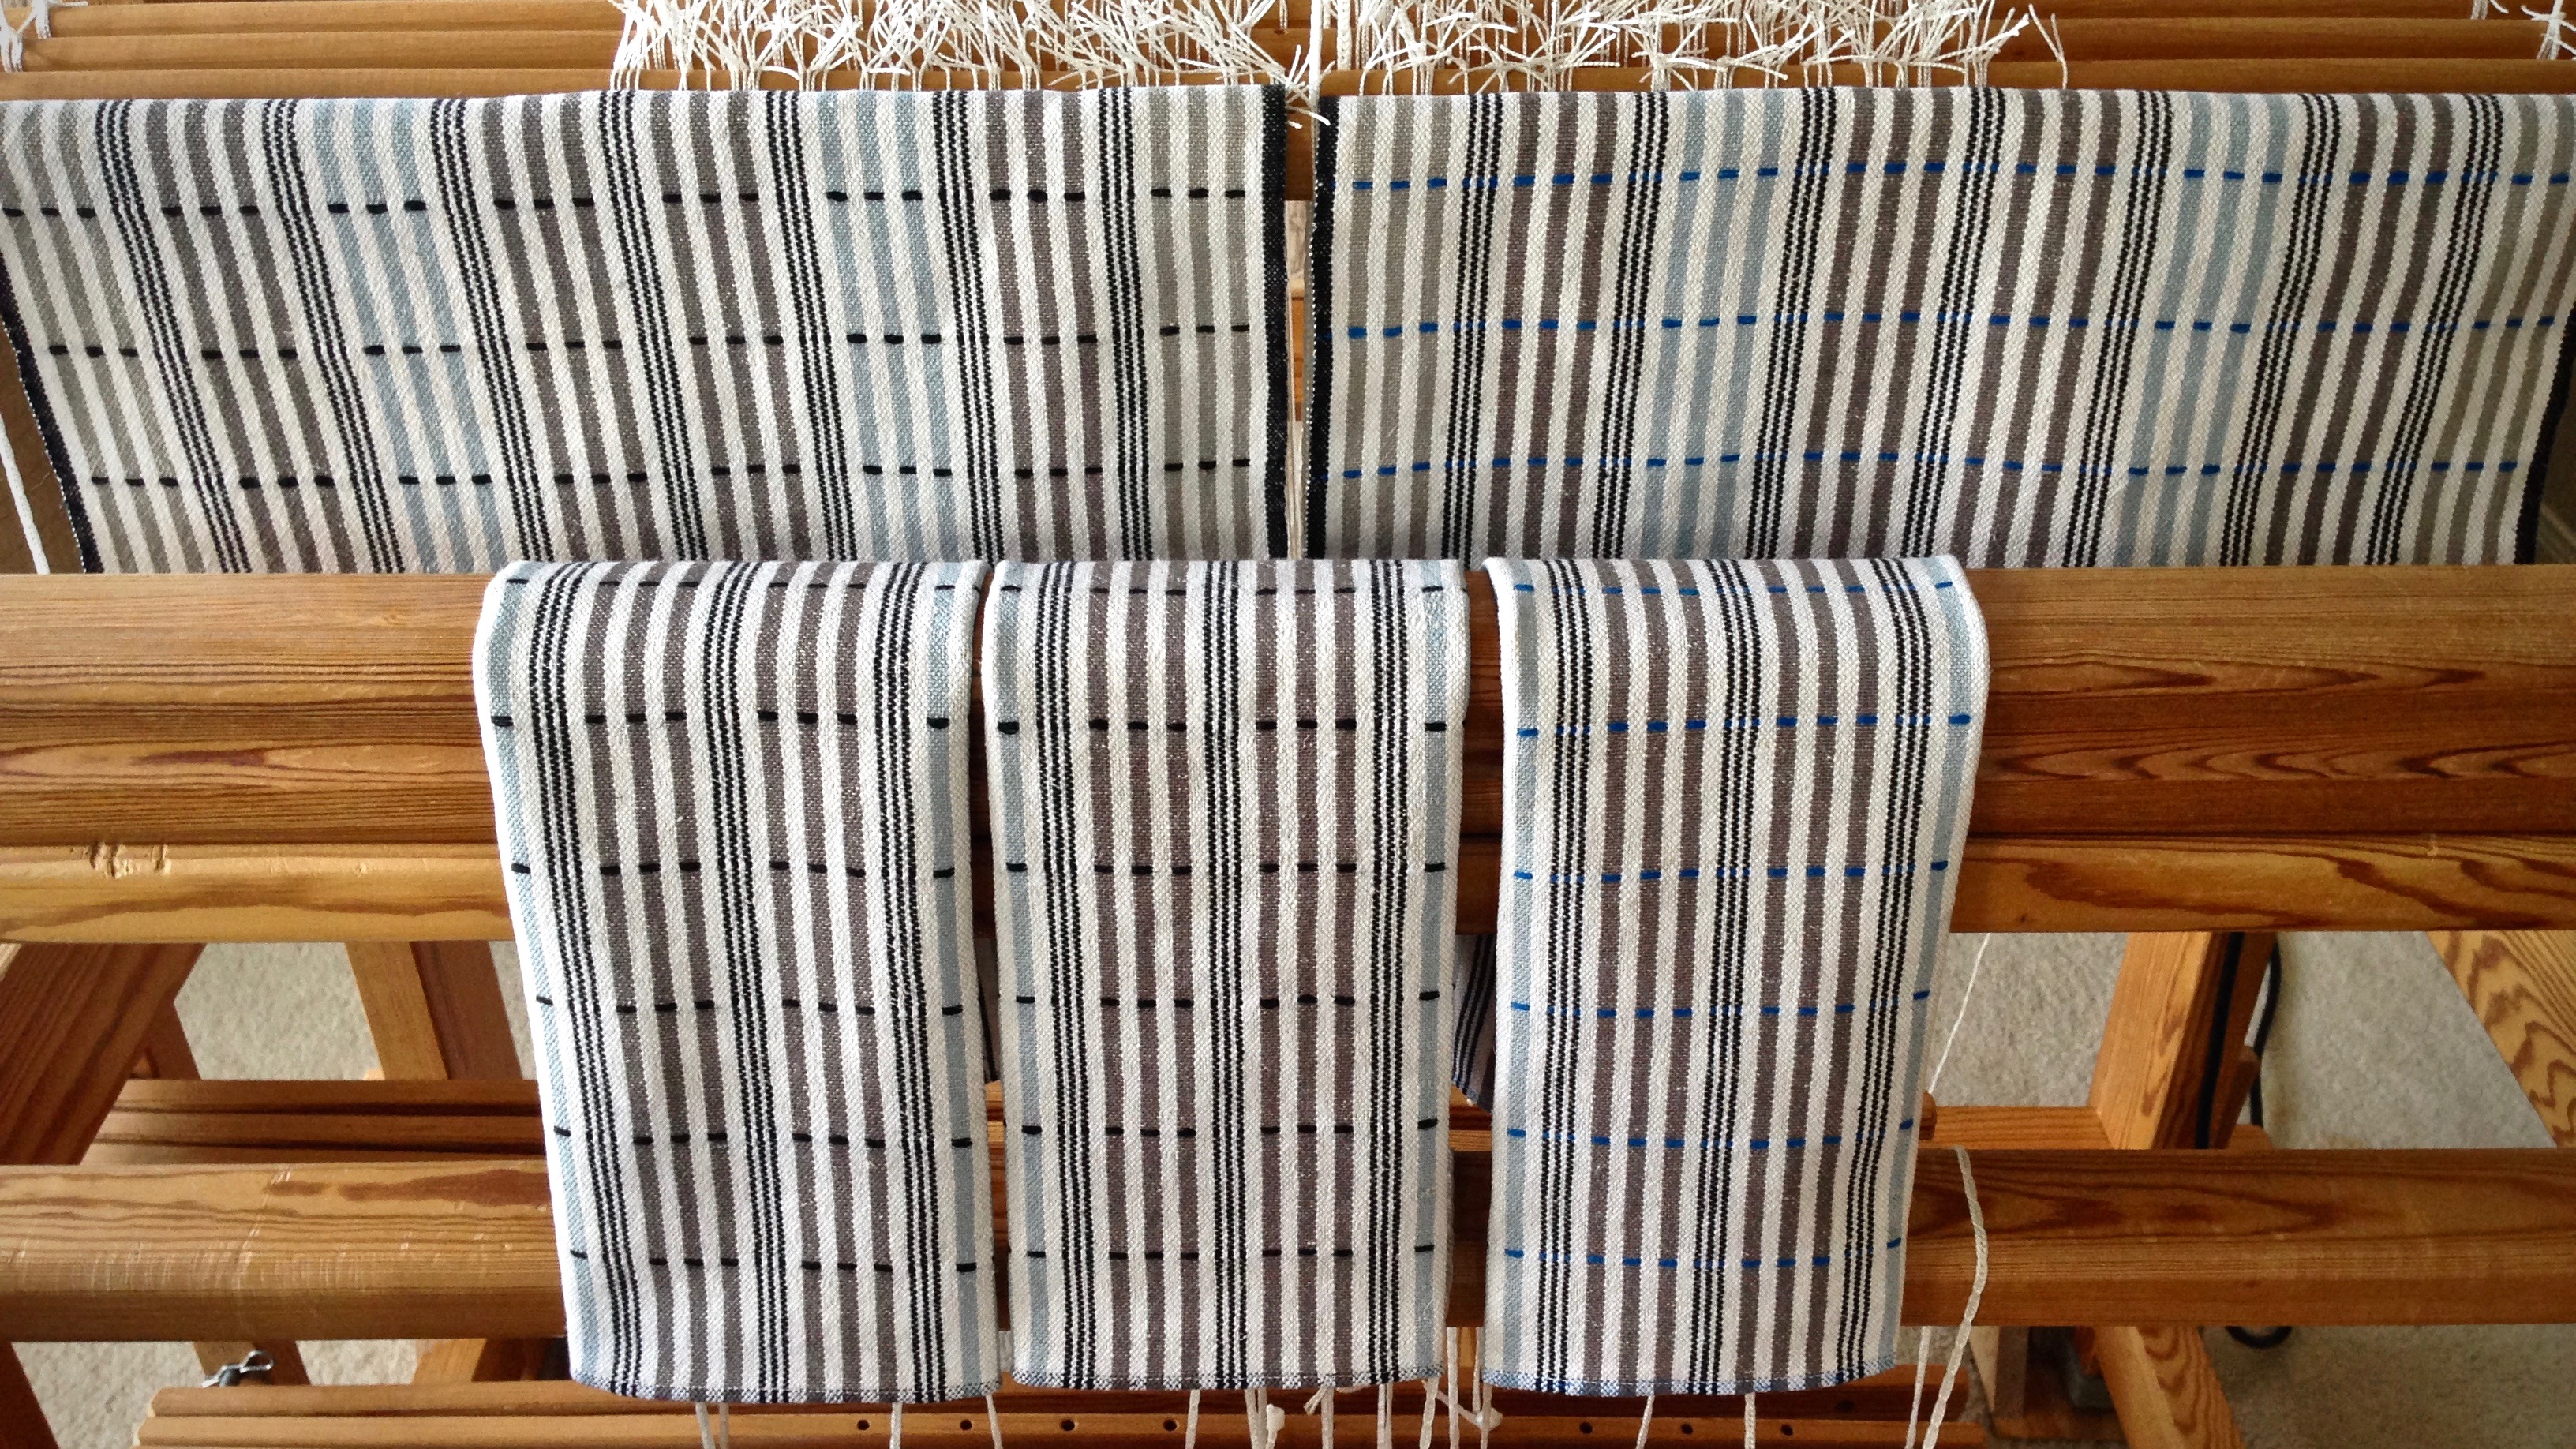
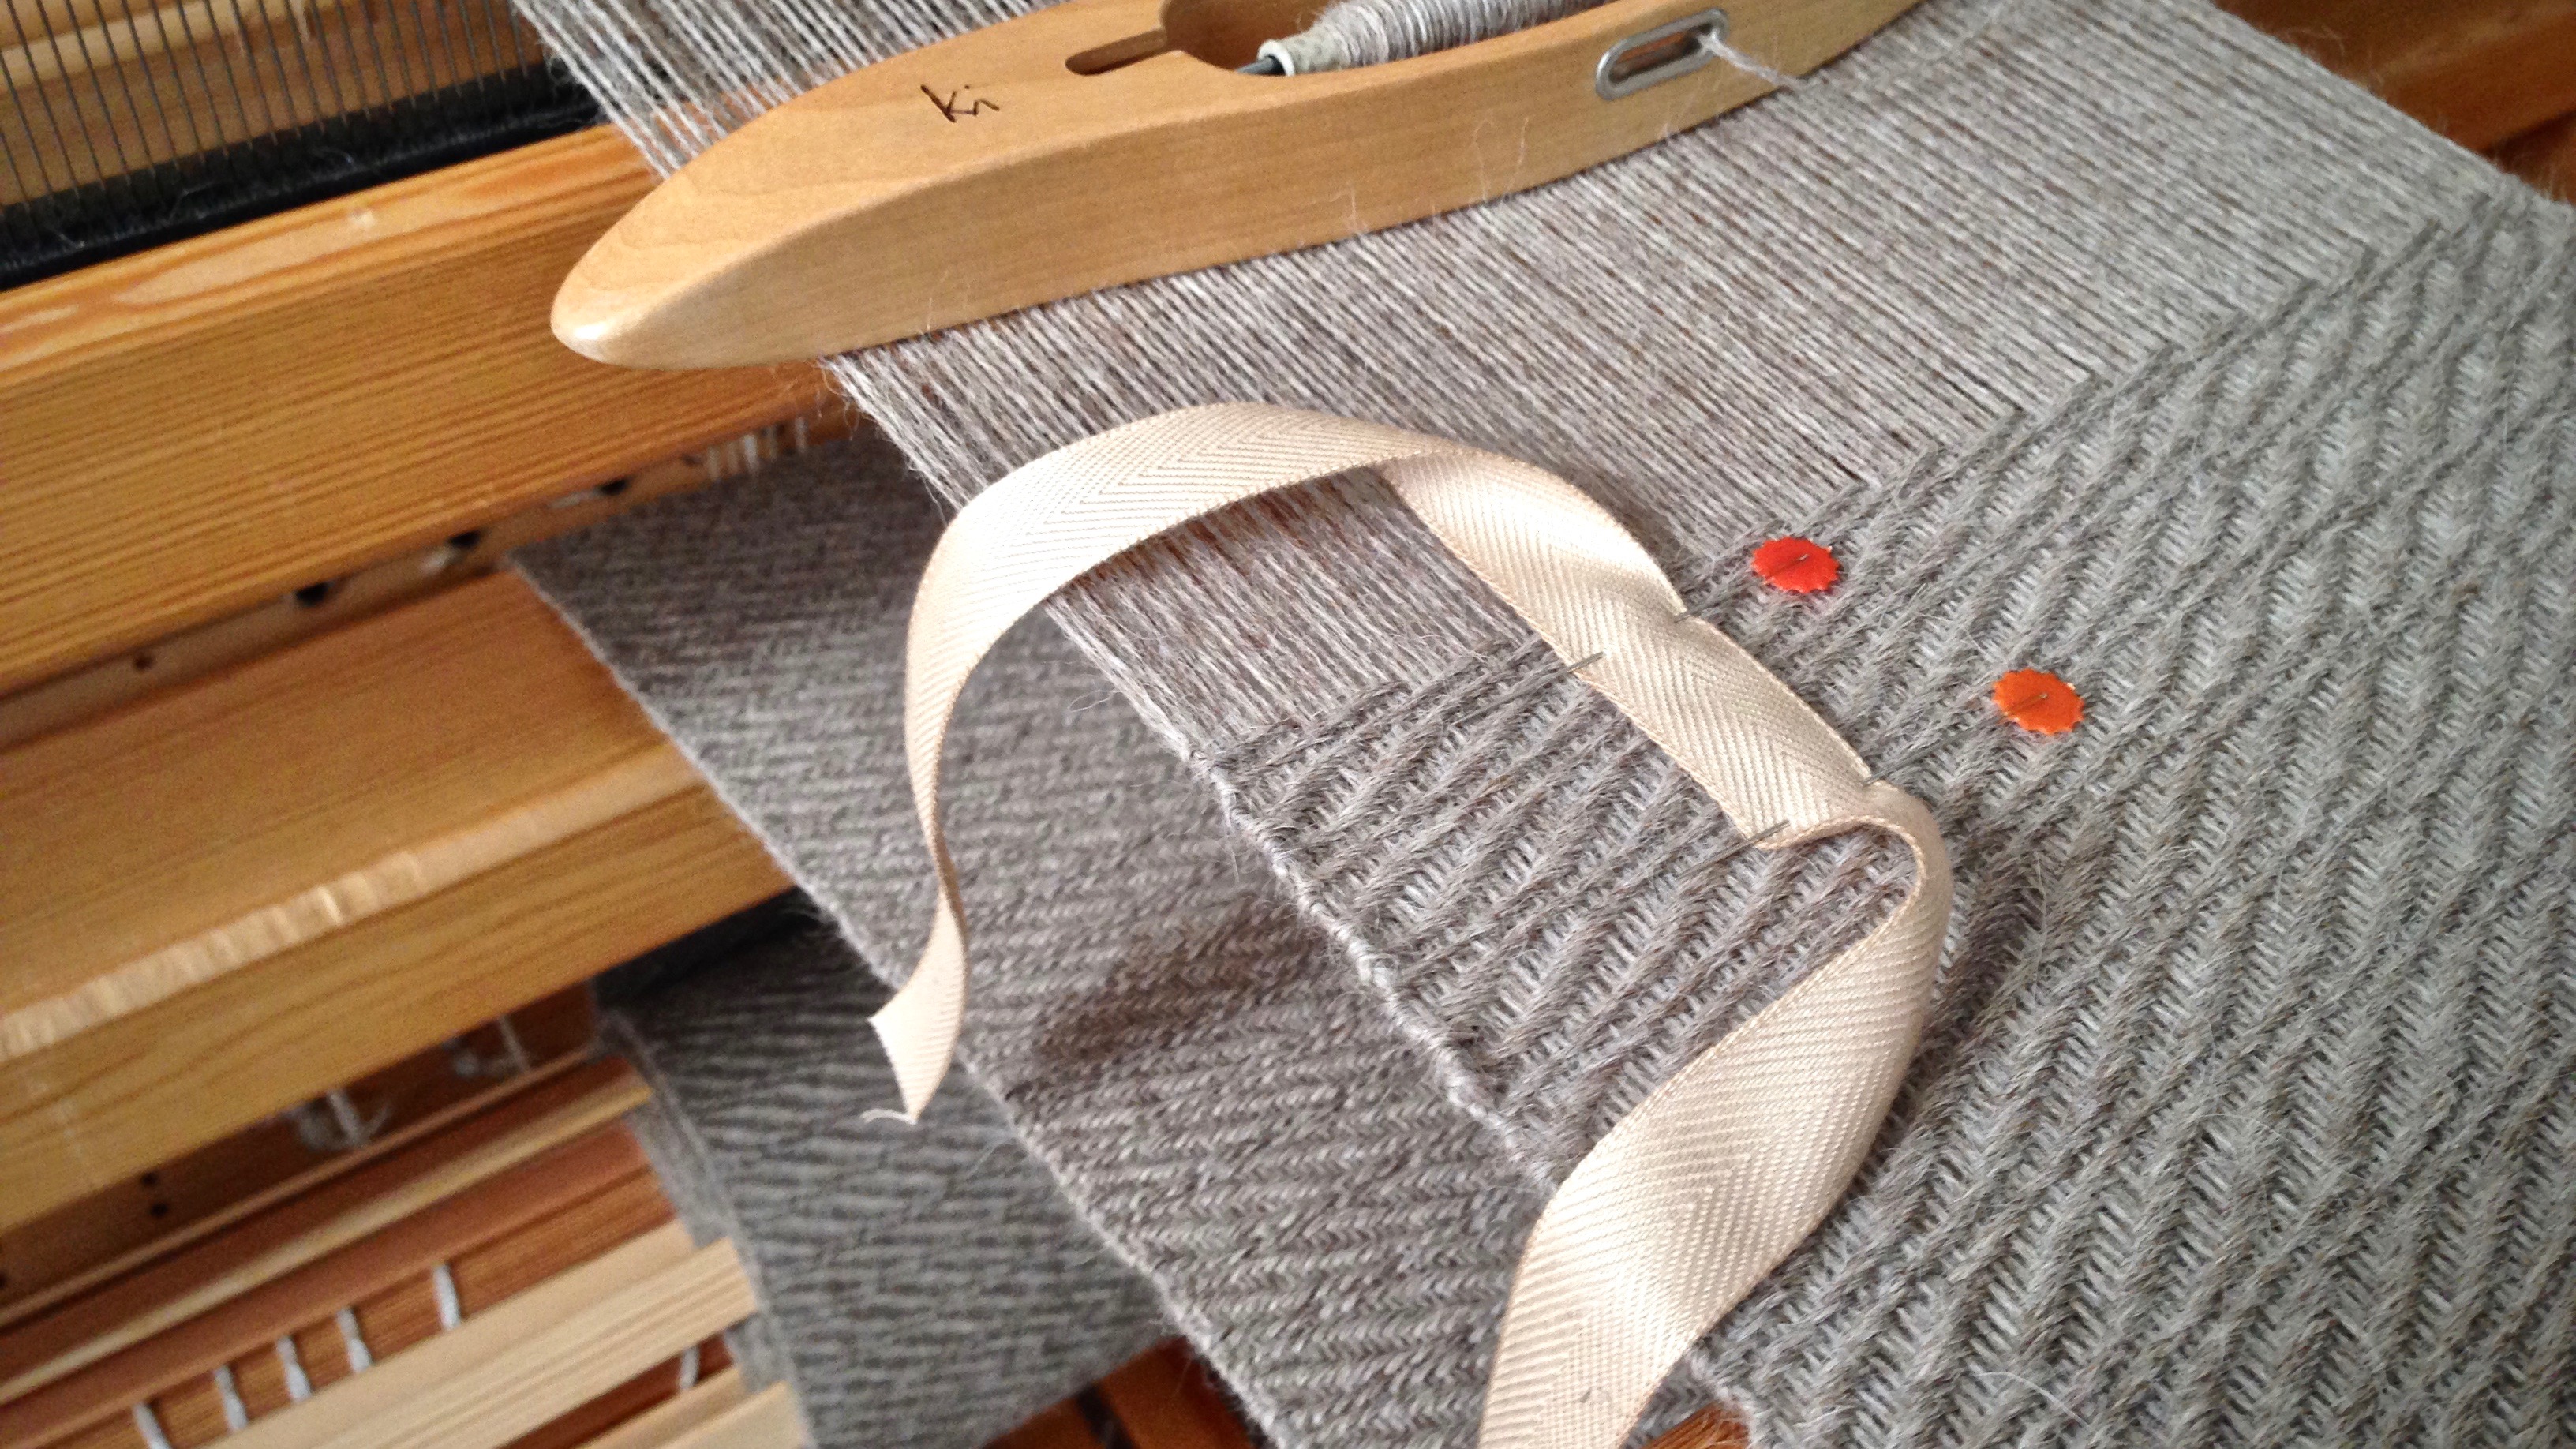
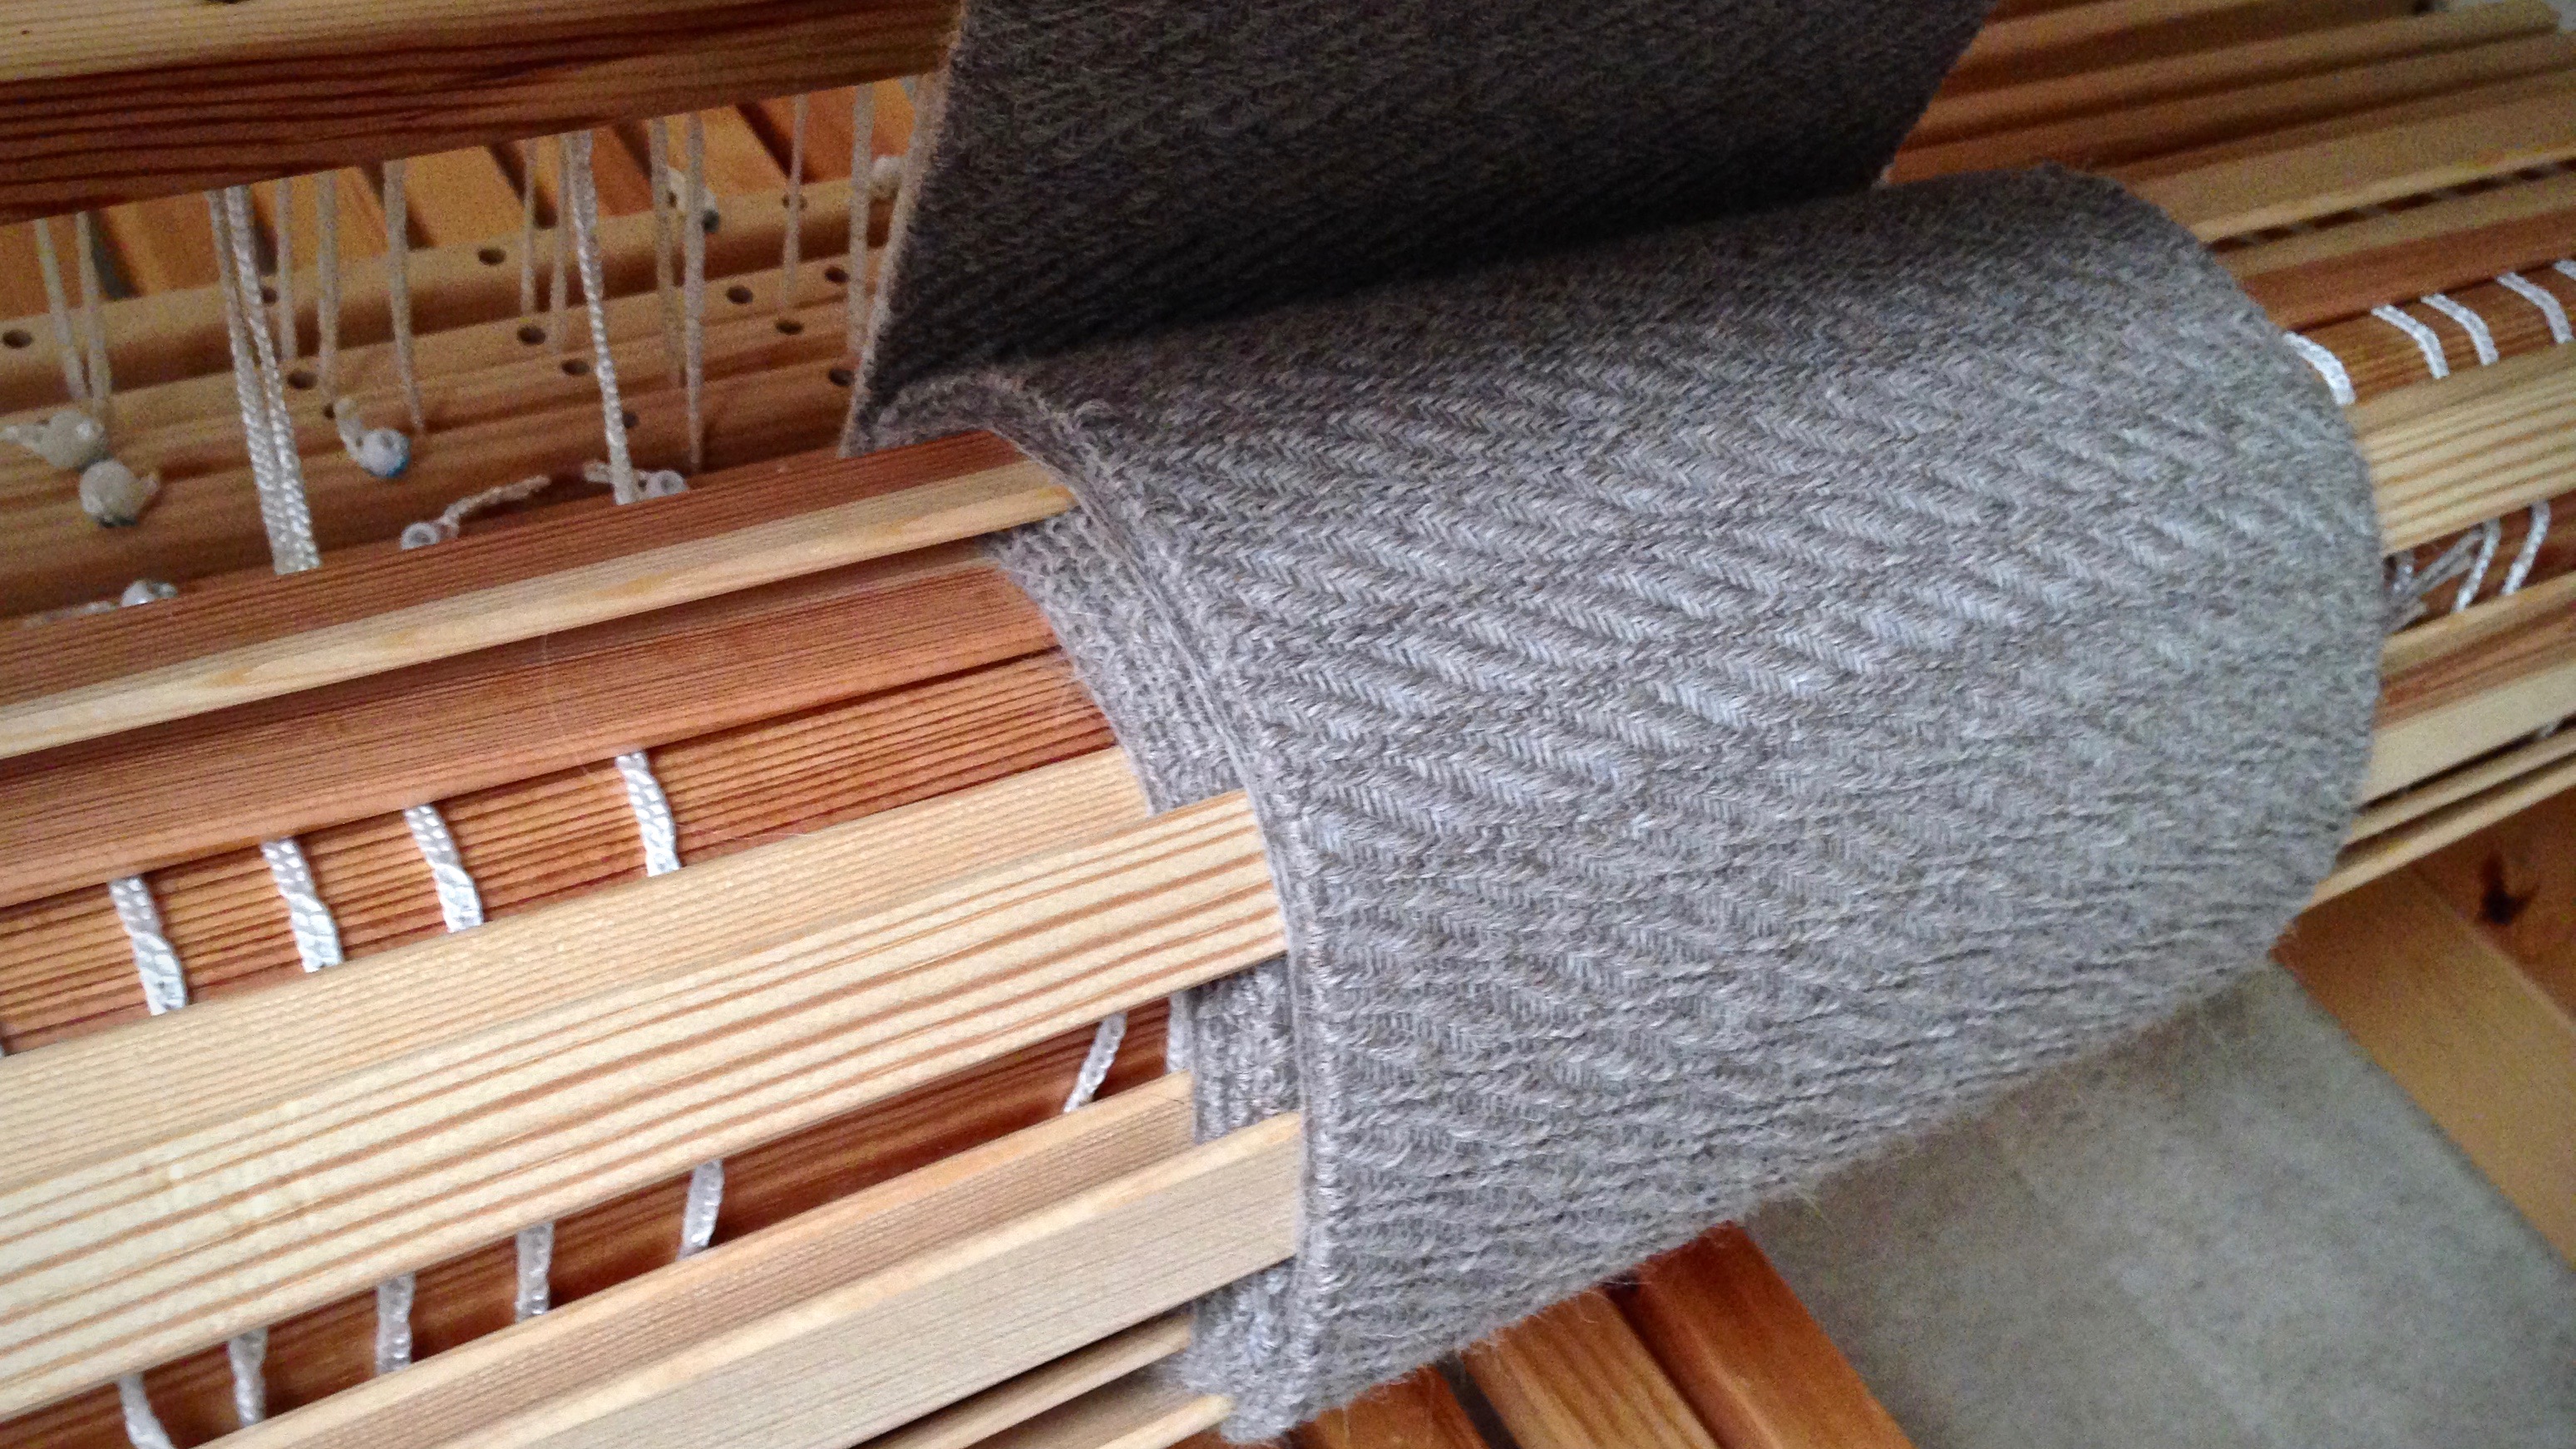
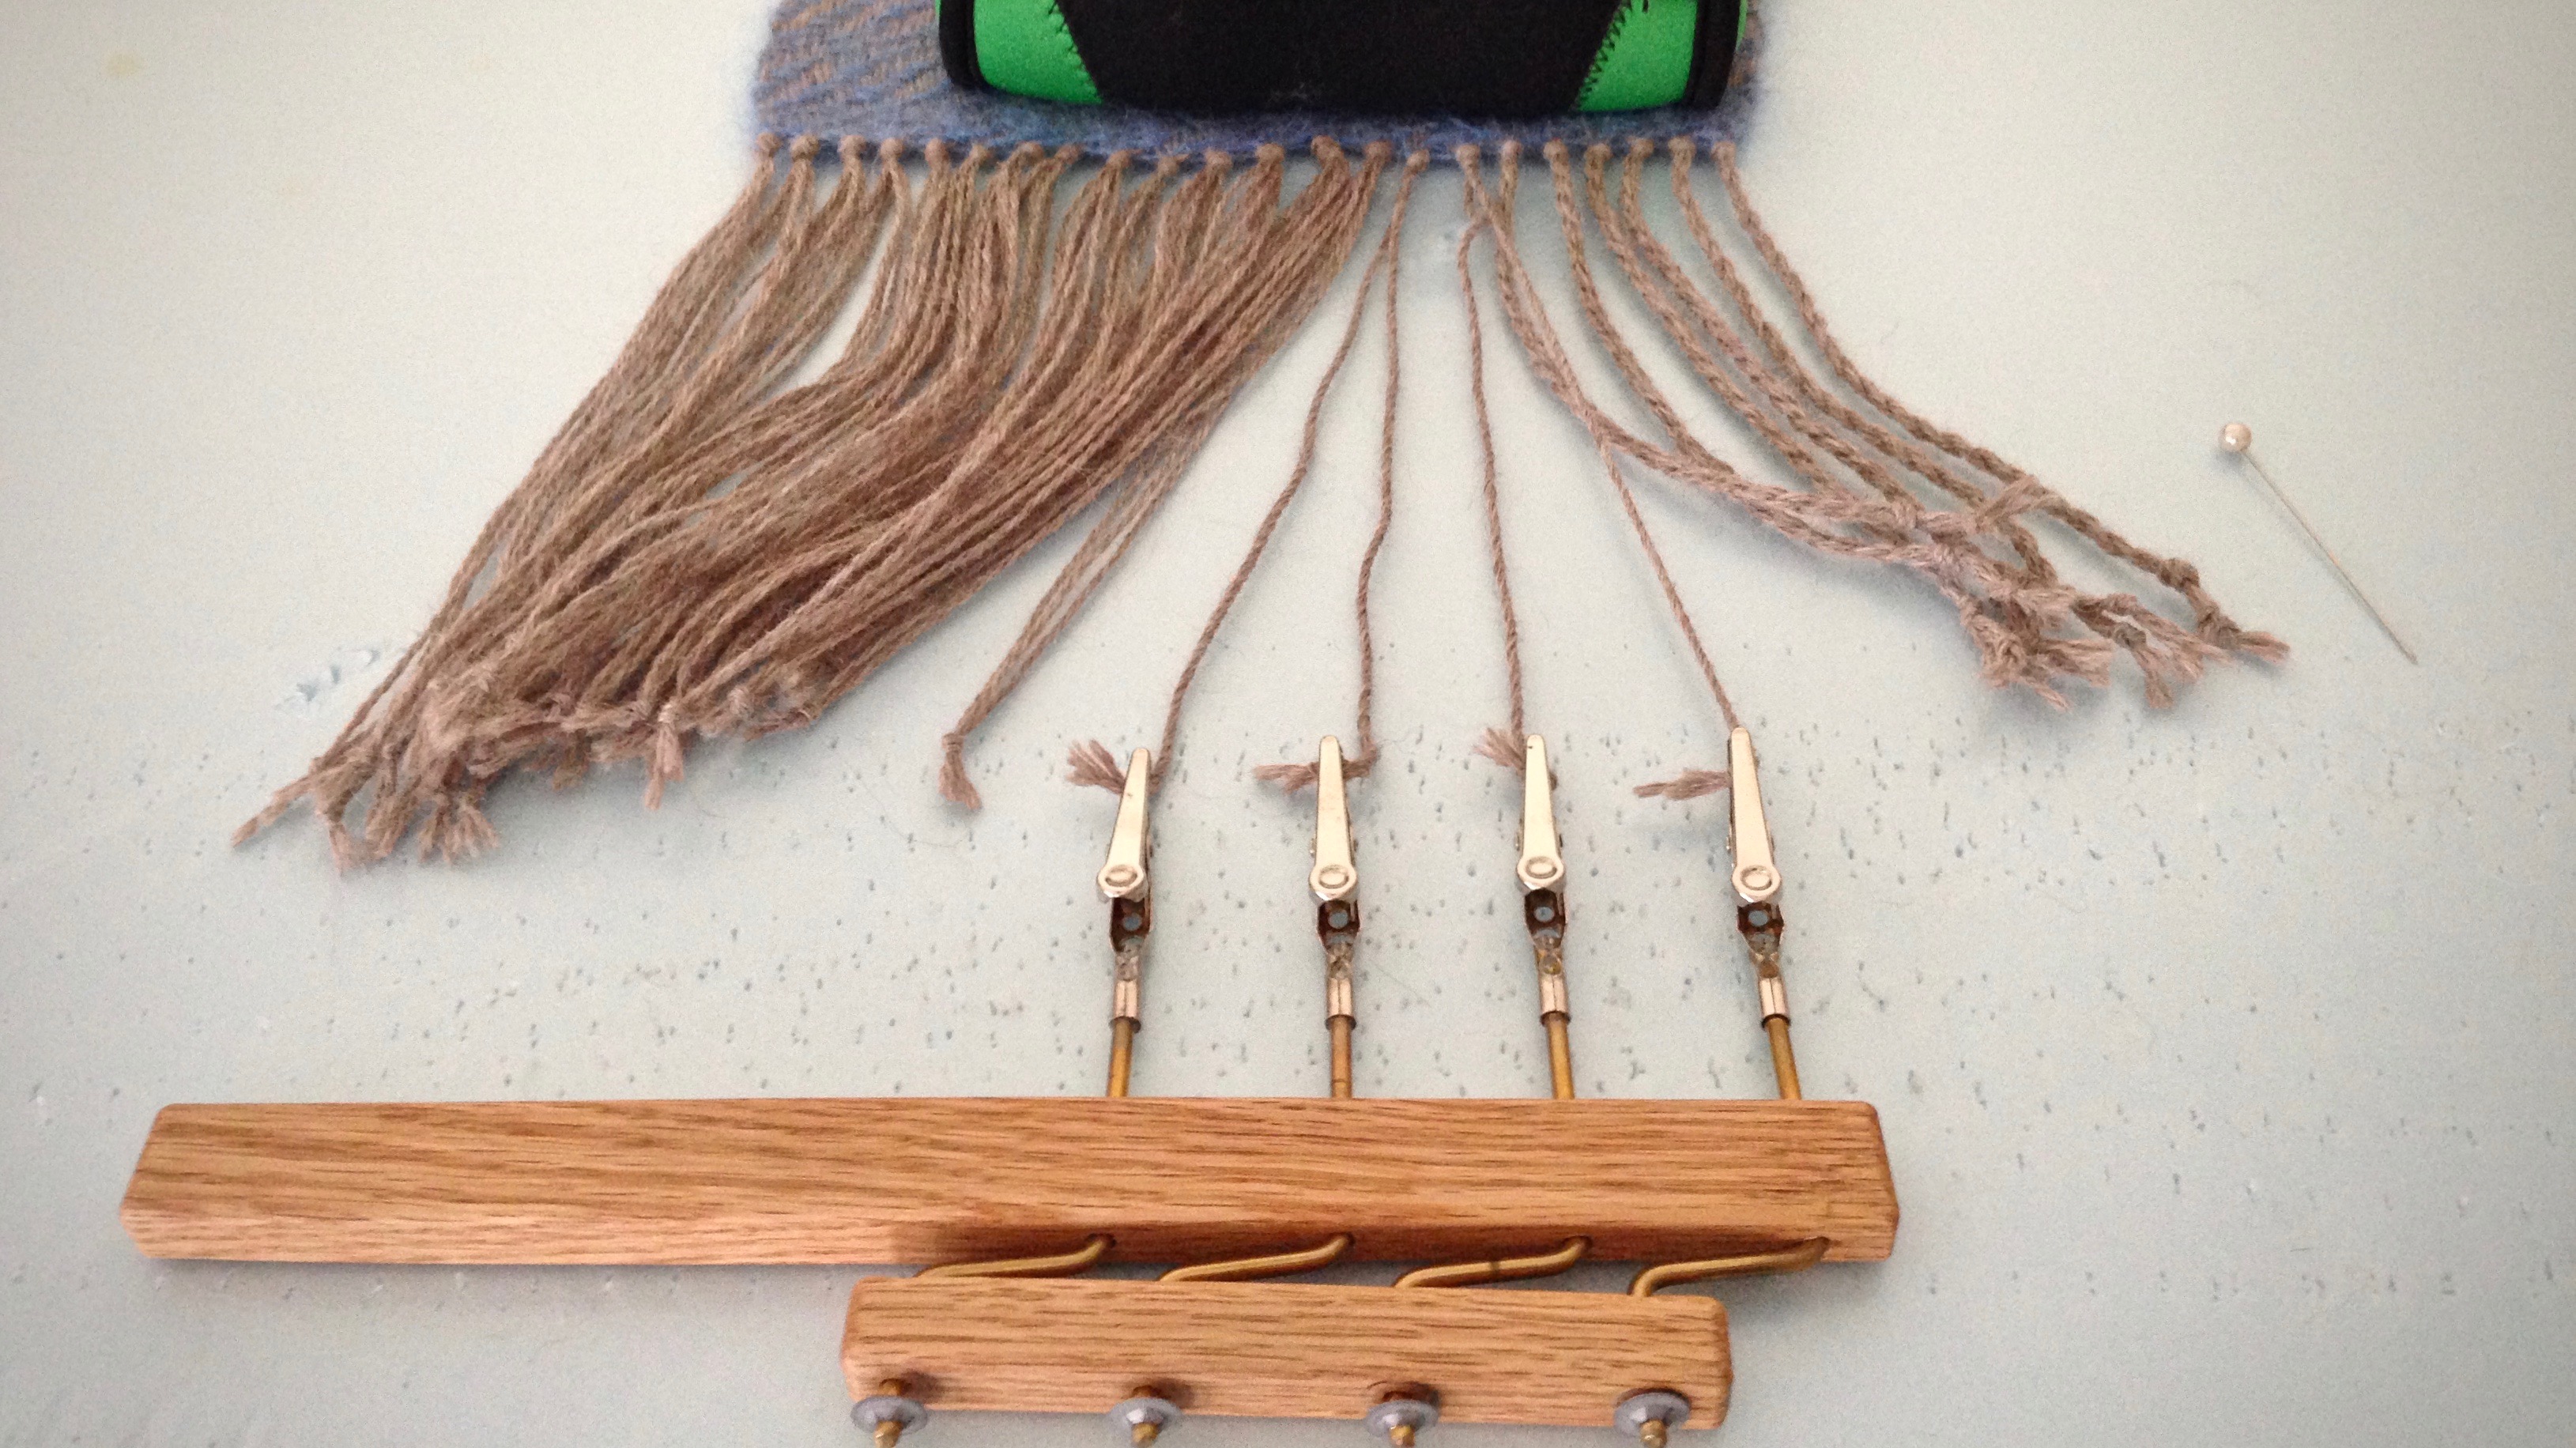
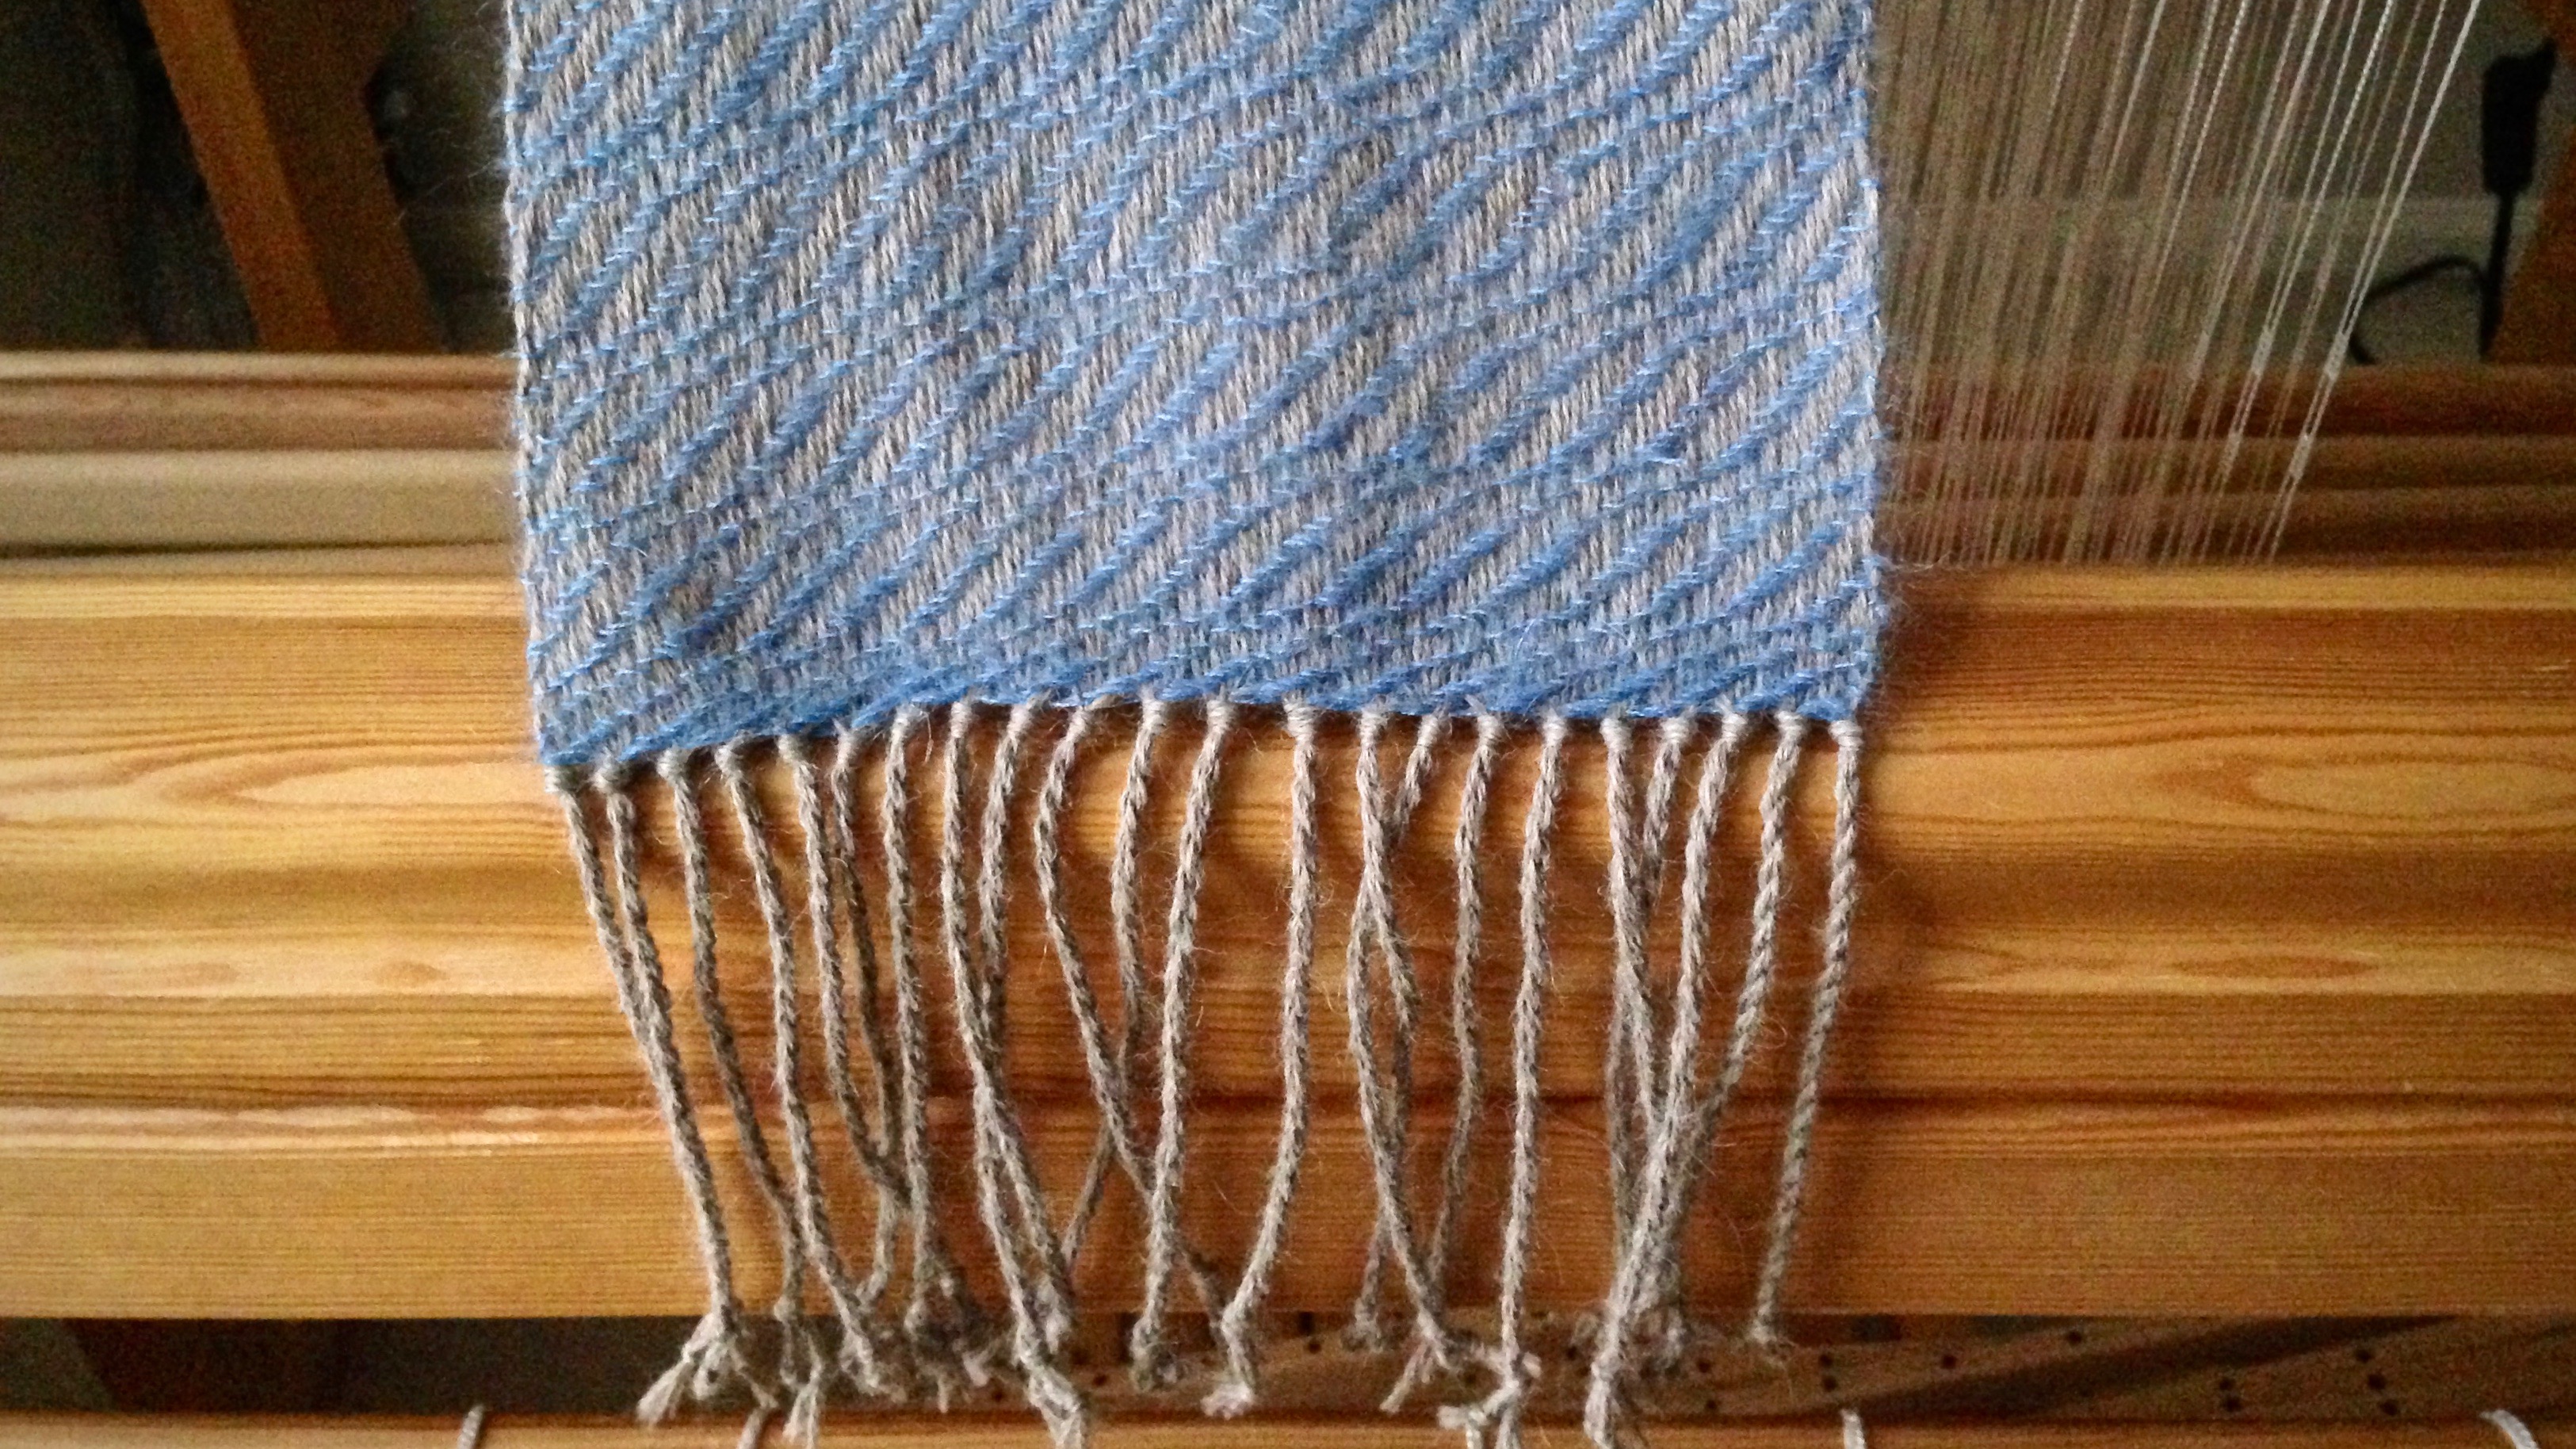
Did you notice I didn’t hemstitch these alpaca scarves on the loom? Instead, small overhand knots secure the weft. The knots provide a base for lattice fringe on one scarf, and for twisted fringe on another.
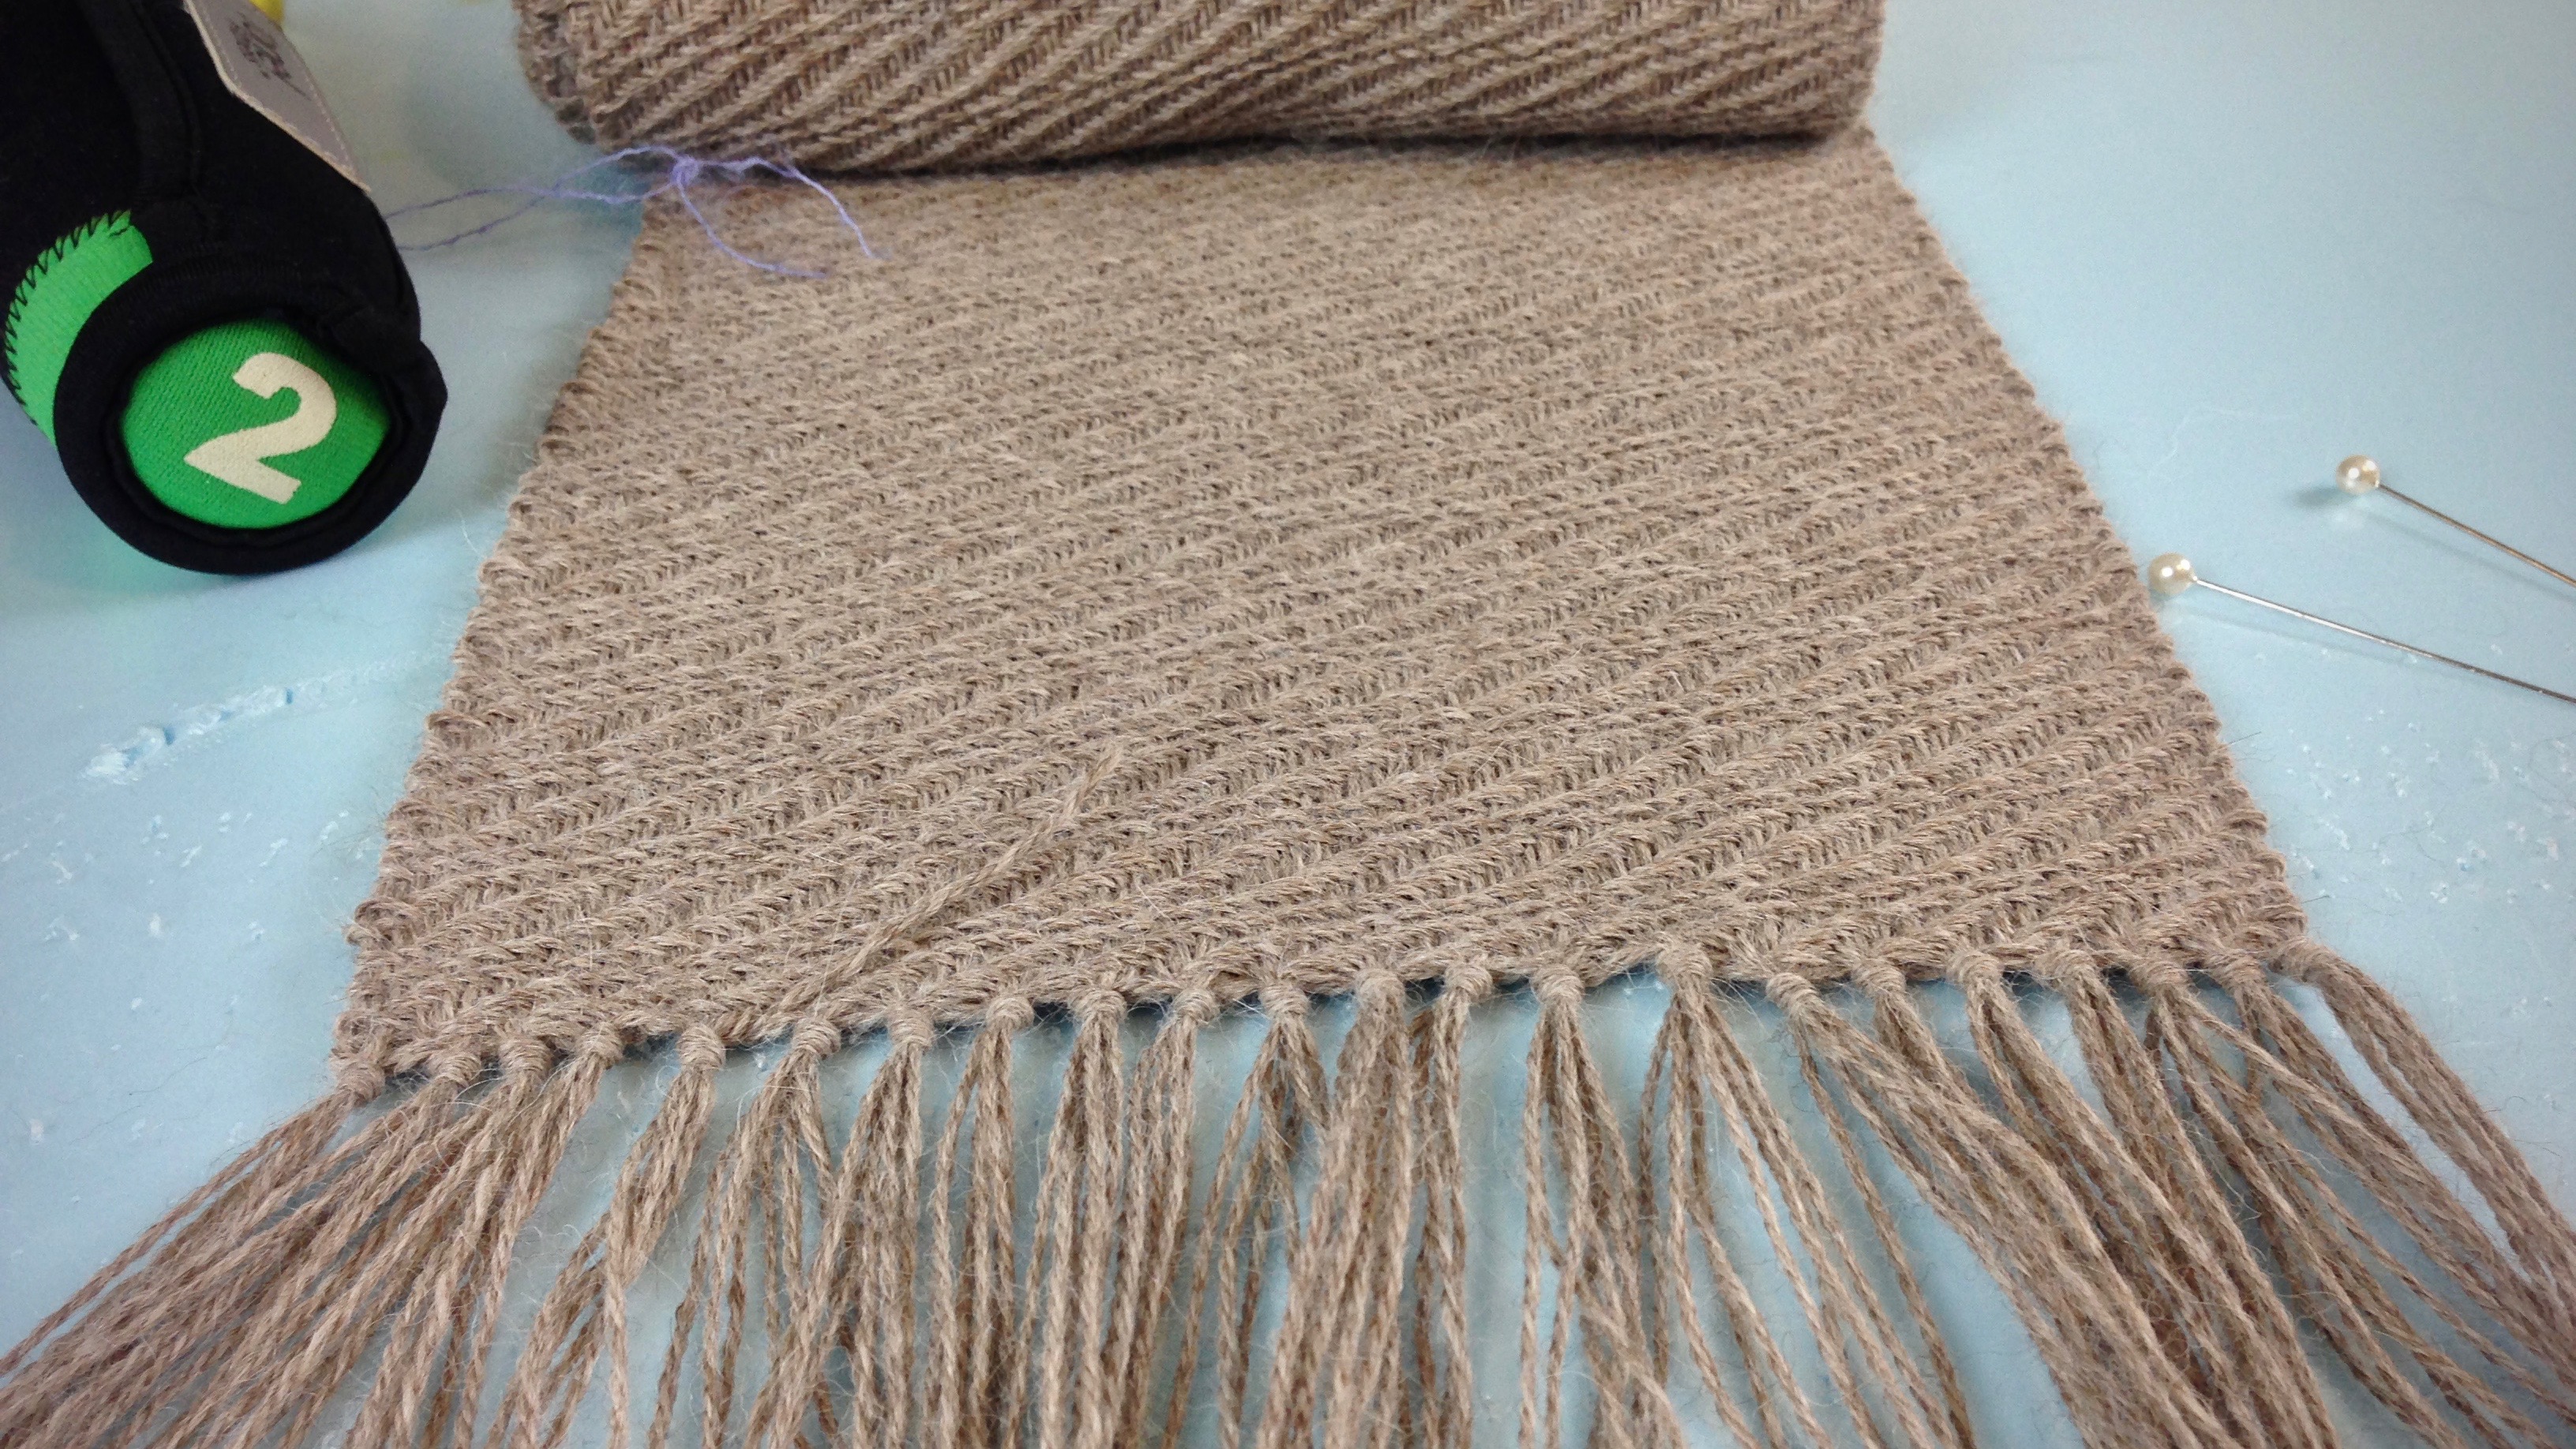
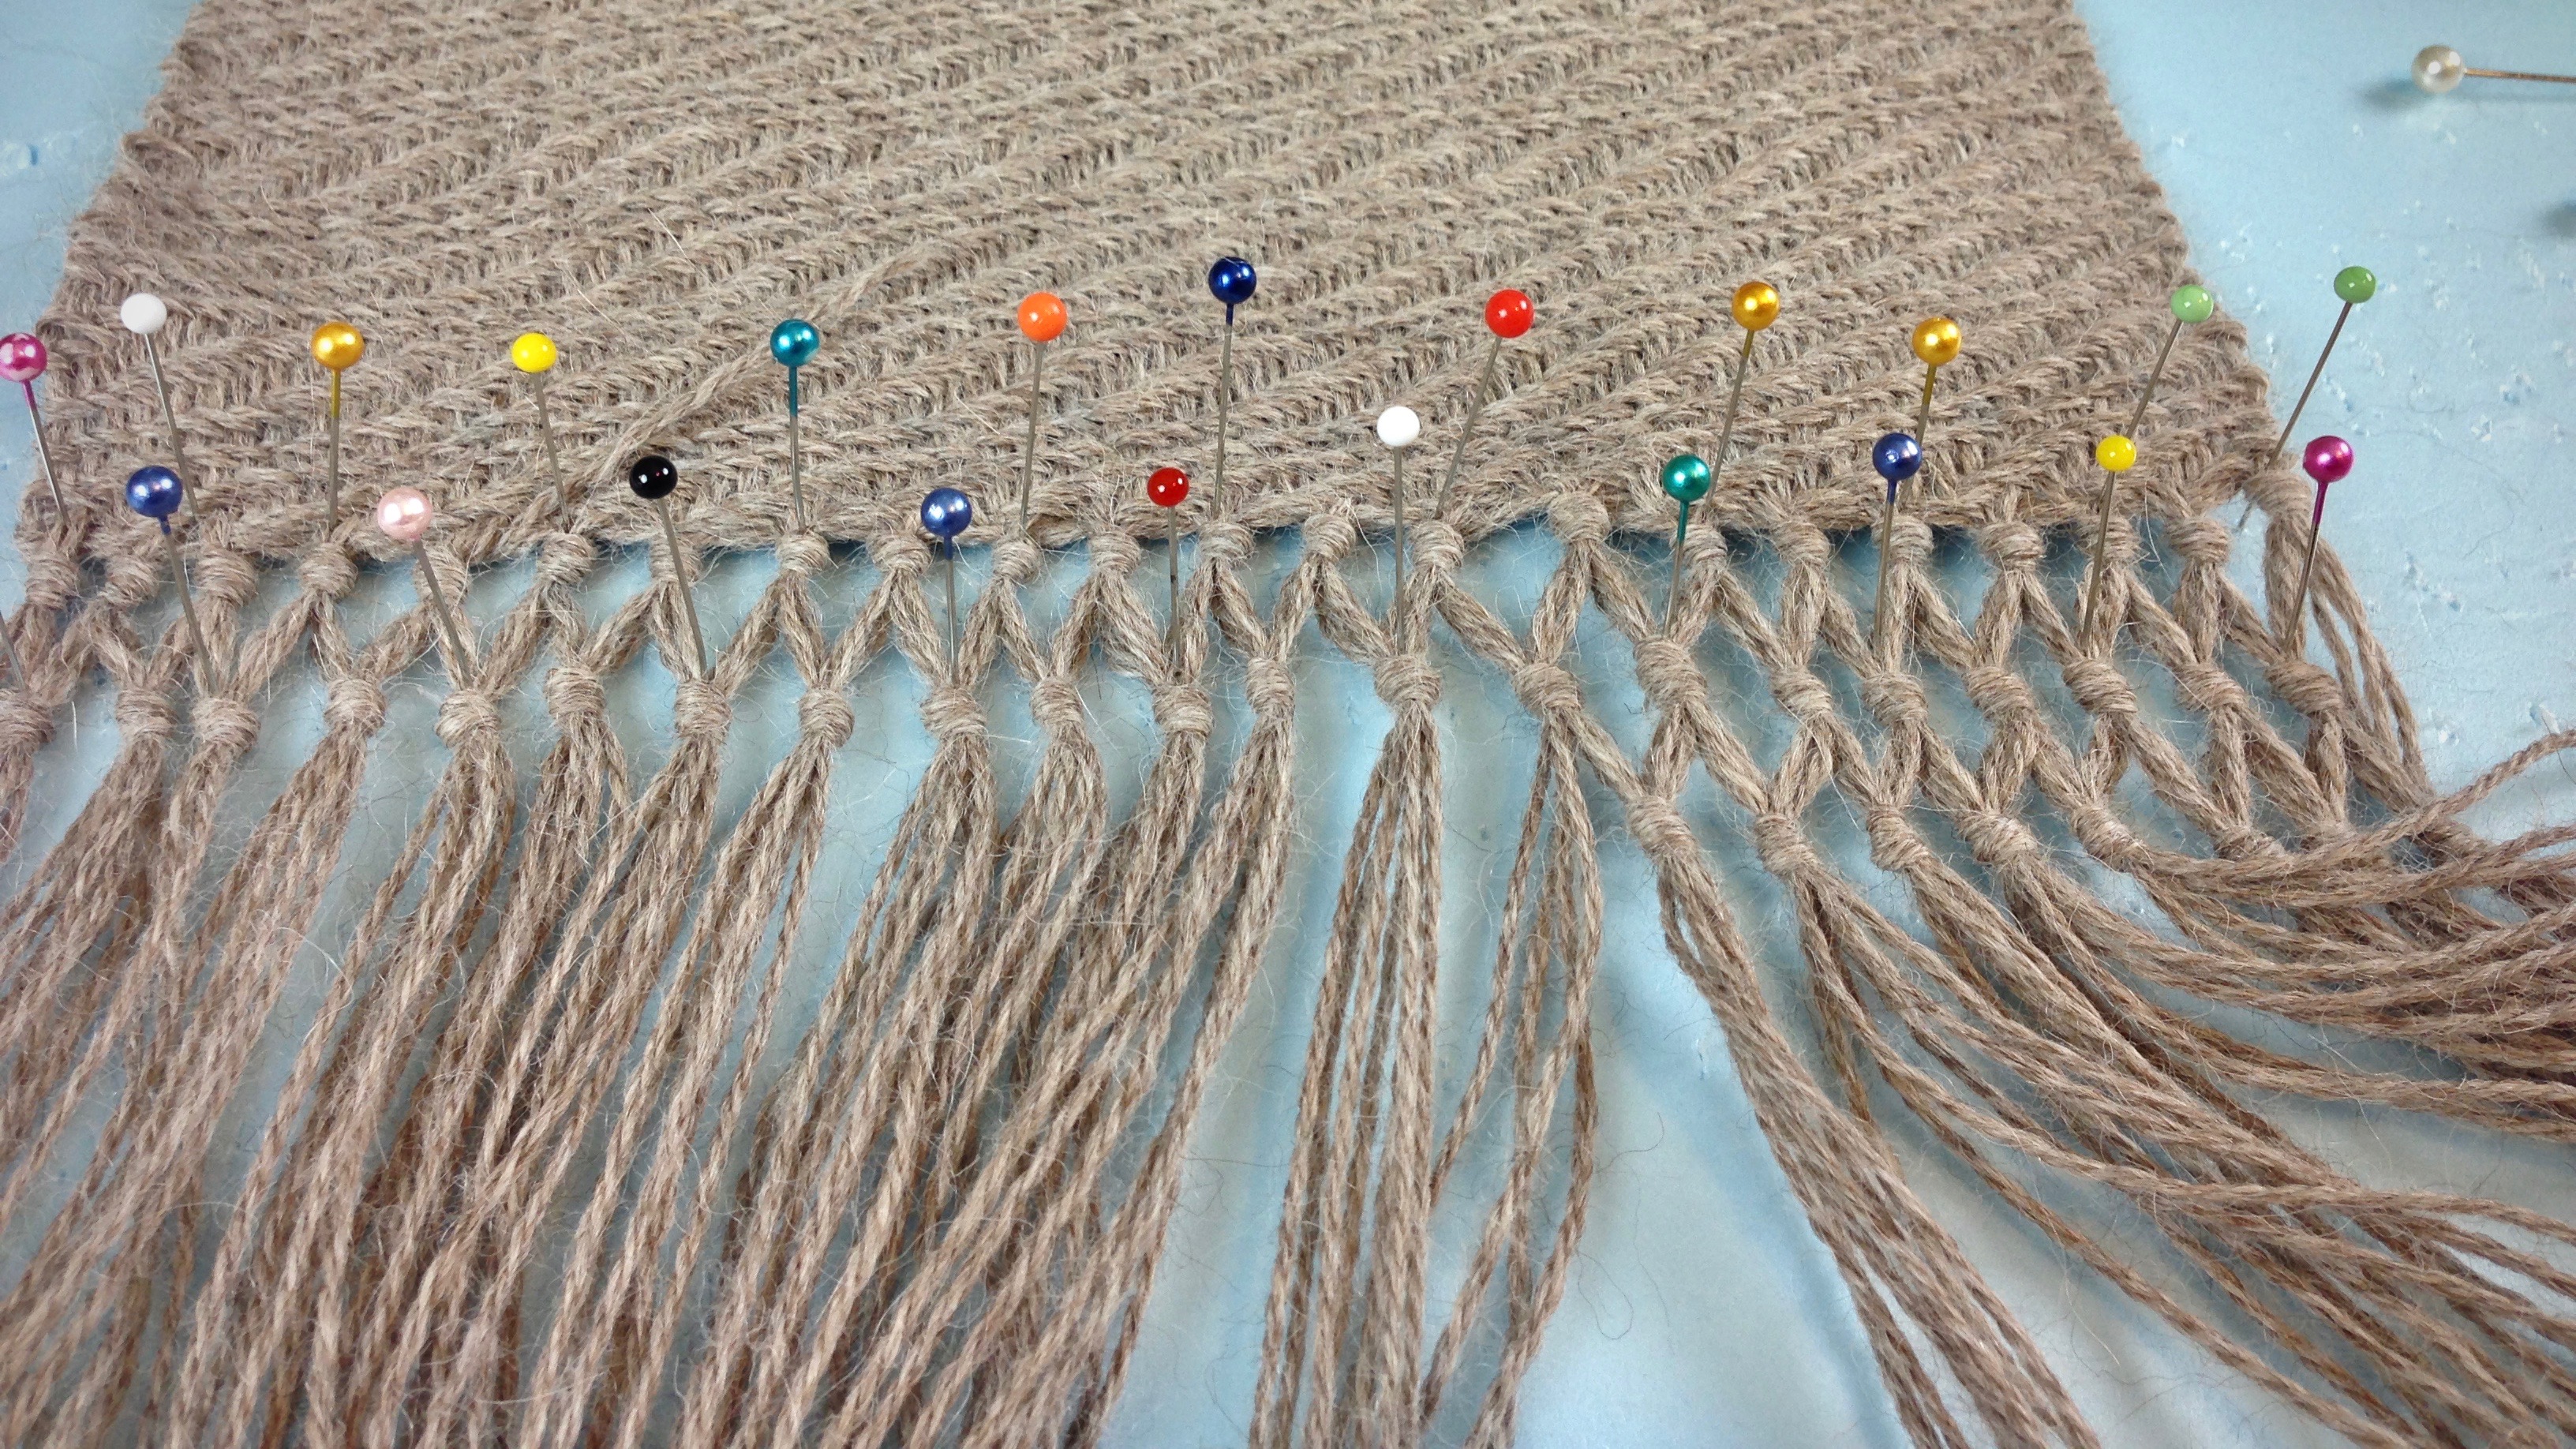

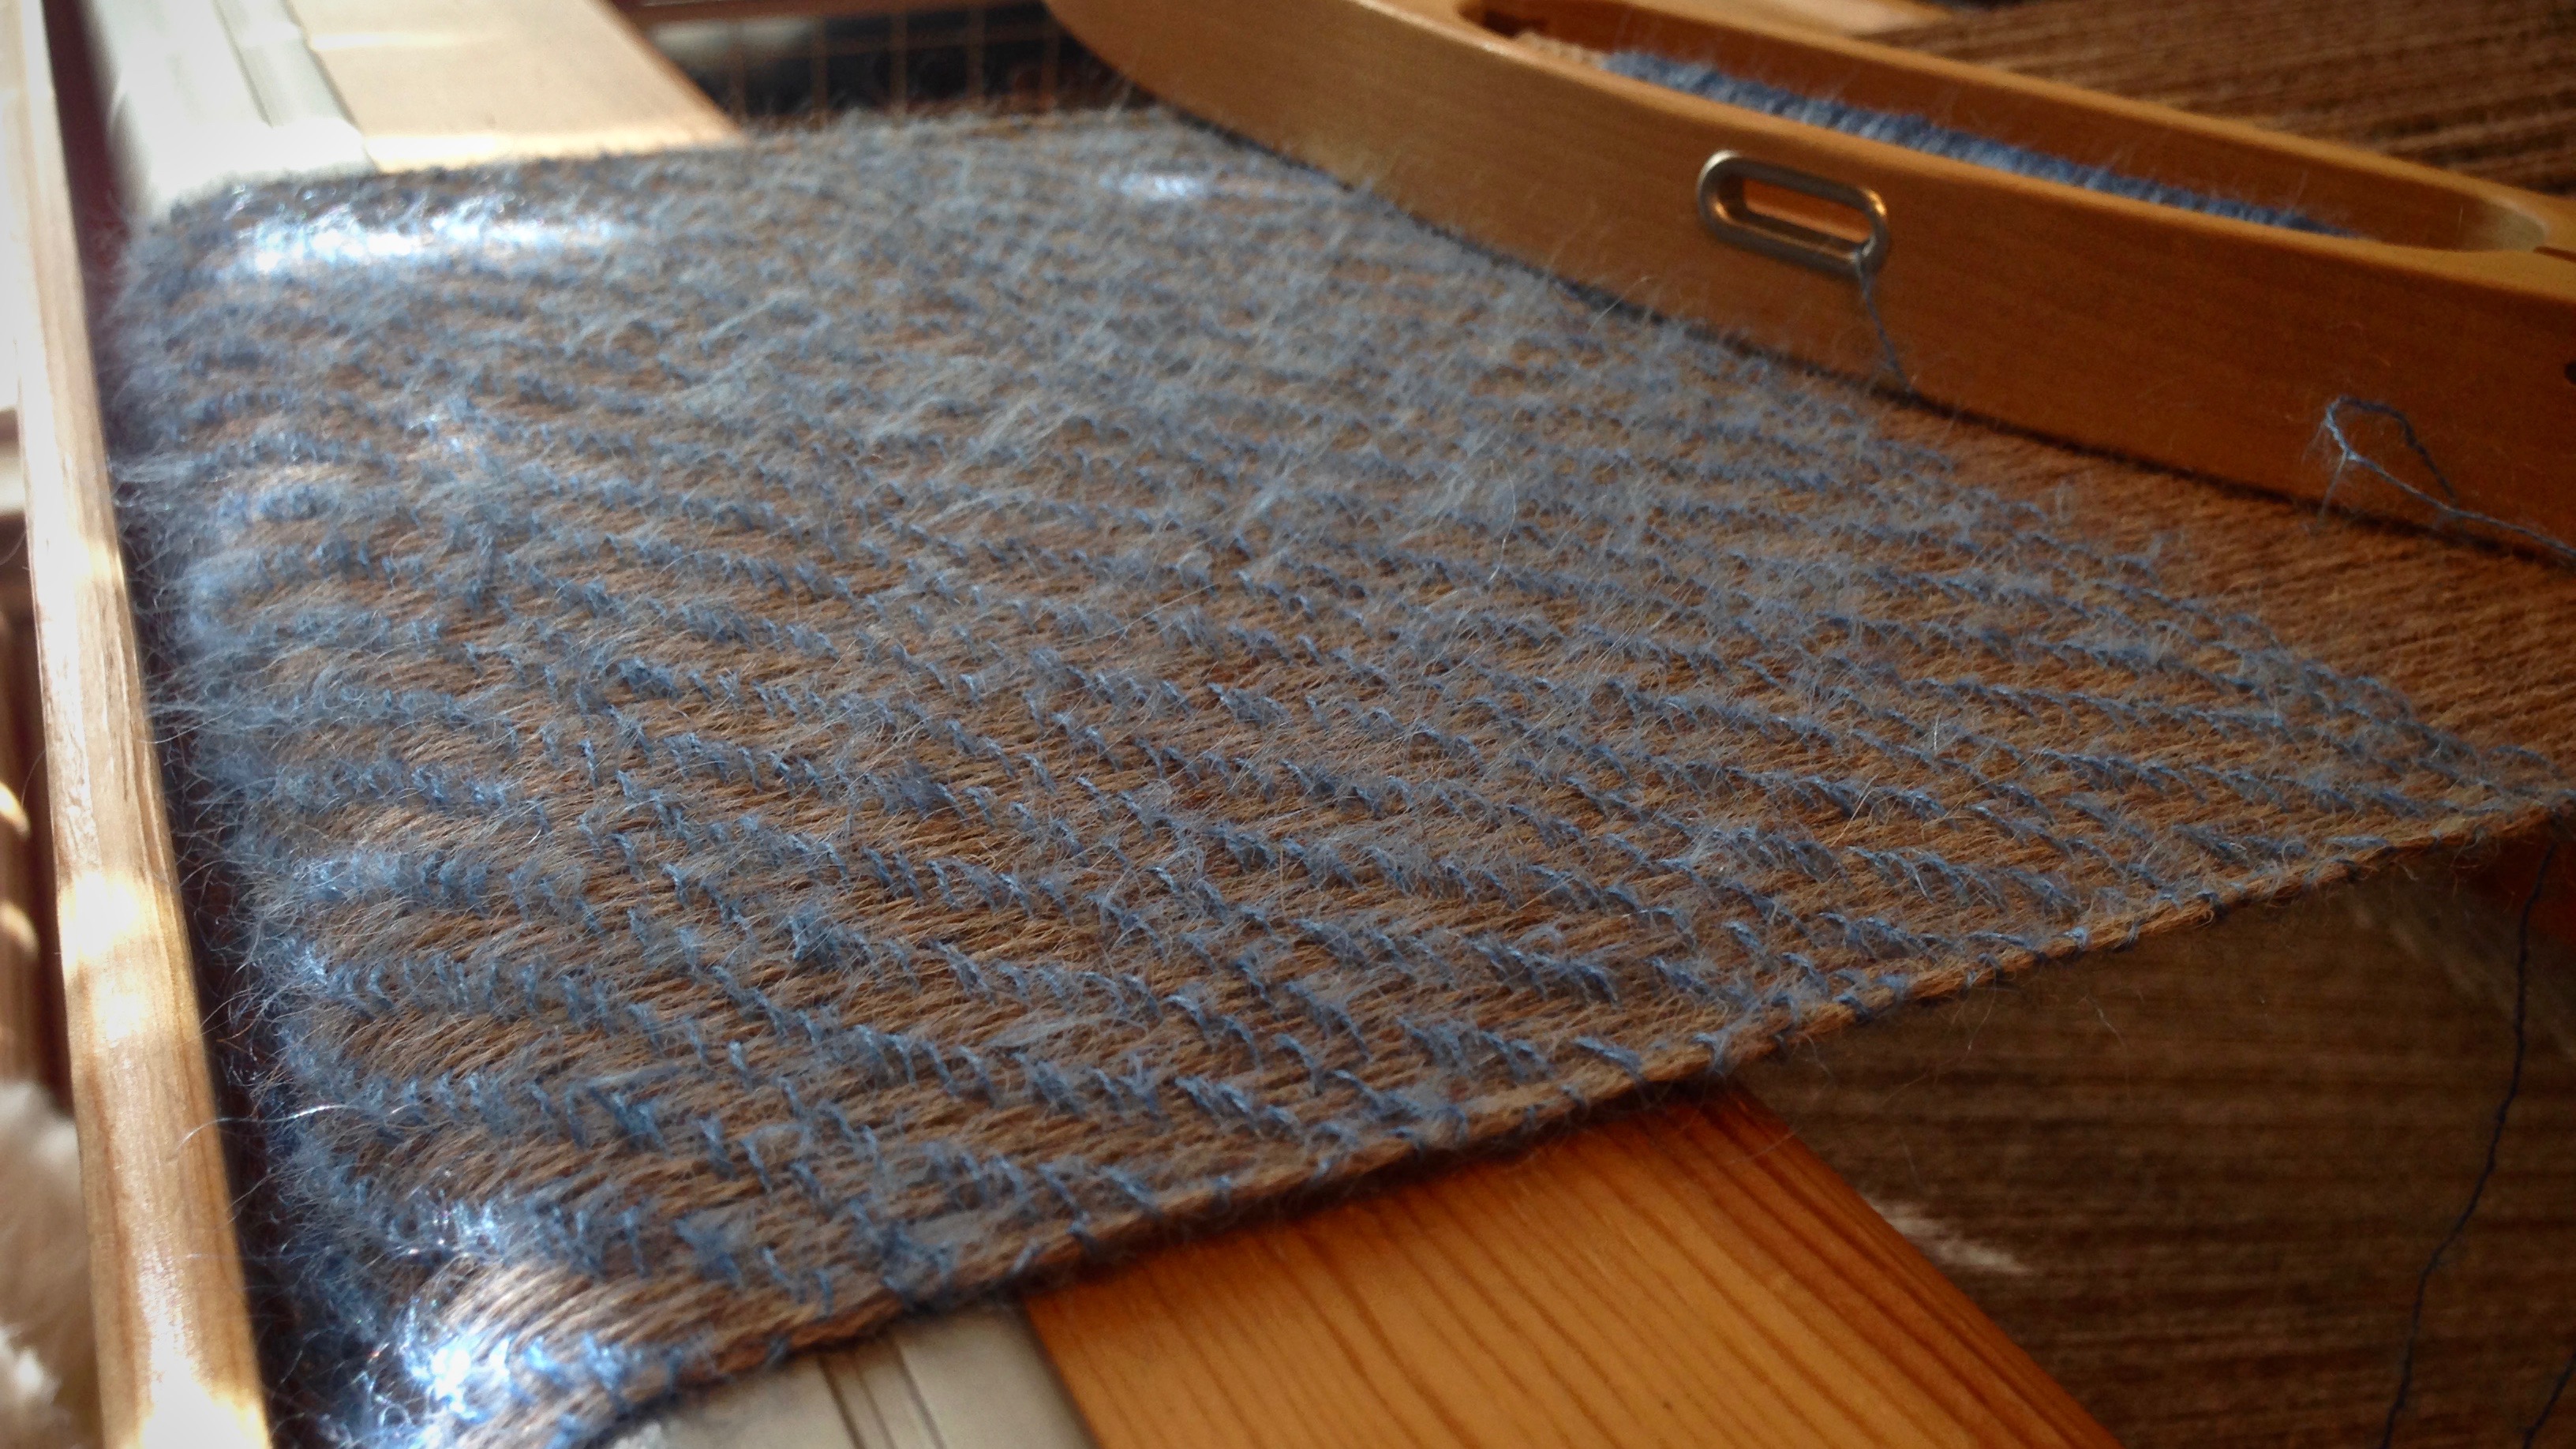
Tying knots for lattice fringe is meticulous. And twisting the fringe is not much faster. But it’s not about how long it takes. I’m not a production weaver. I’m a one-of-a-kind weaver who enjoys the process of turning threads into unique cloth, no matter how long it takes. After the fringes are done, I will hand wash the scarves and let them hang to dry. Slow and steady, the scarves take shape. From the very beginning, I work with the end in mind–handcrafted artisan designer scarves.
Time is a gift. Time to make things. Time to finish what we make. And time to undergo our own finishing. Look up. The one who made us takes the time to do the finishing we need. Our Maker doesn’t rush or hurry. He has a beautiful end in mind. We look up to heaven as we pray, acknowledging that our Grand Weaver is on his throne. We can be thankful that our times are in his hands.
May your finishing bring beautiful results.
With you,
Karen