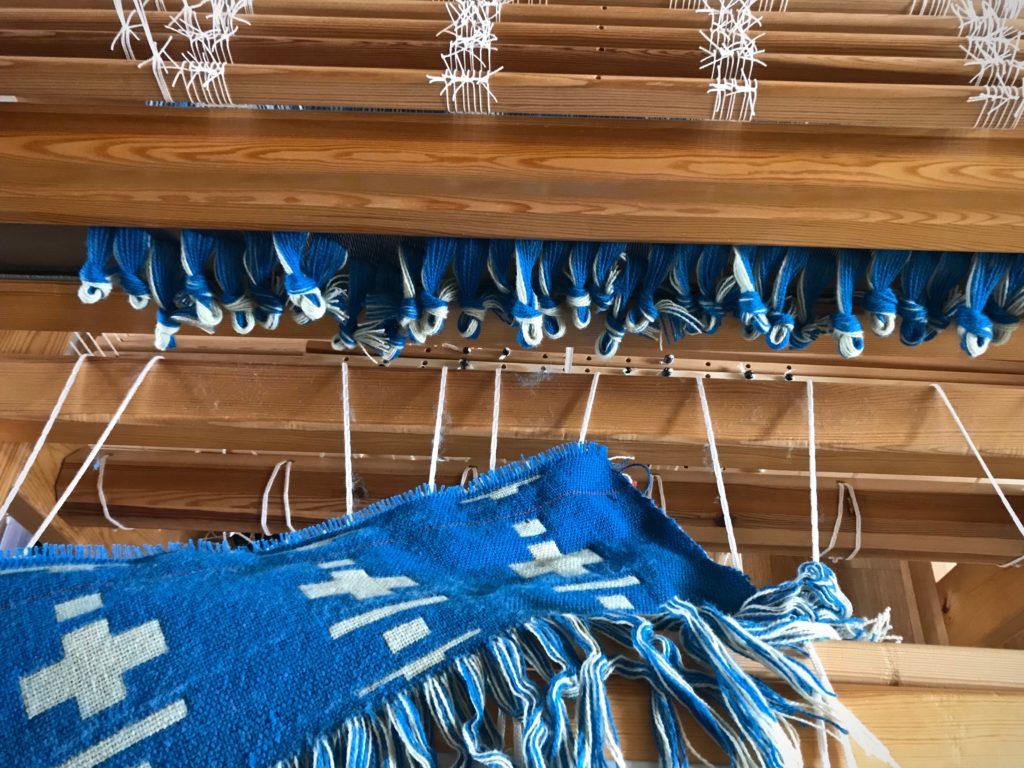
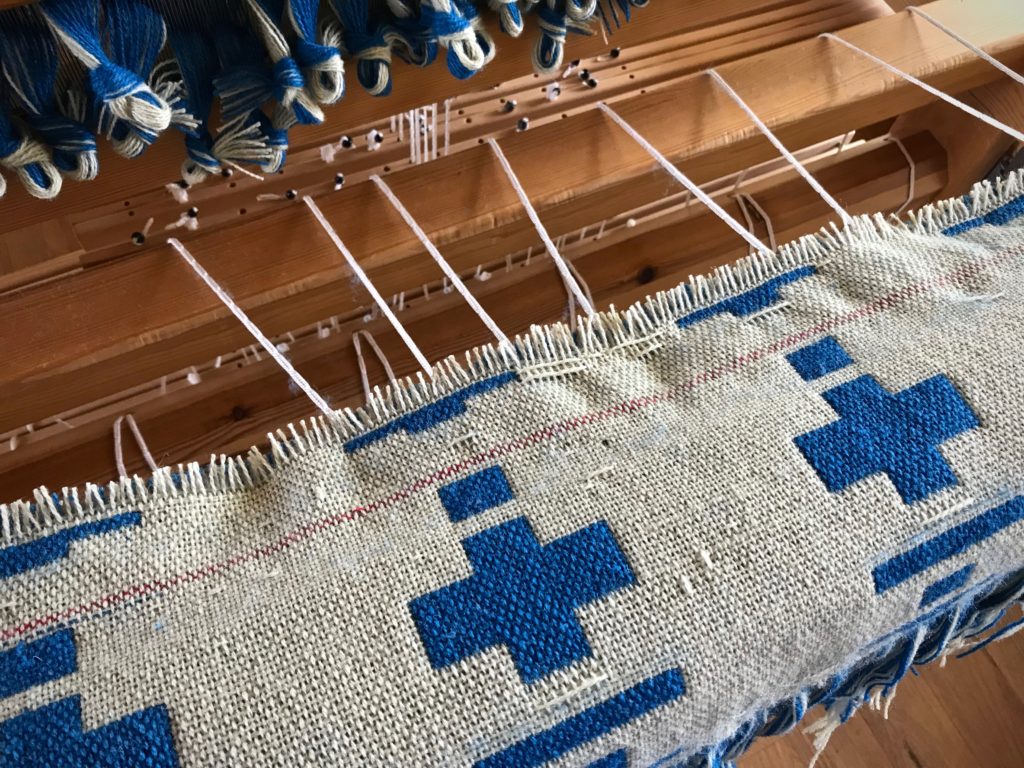
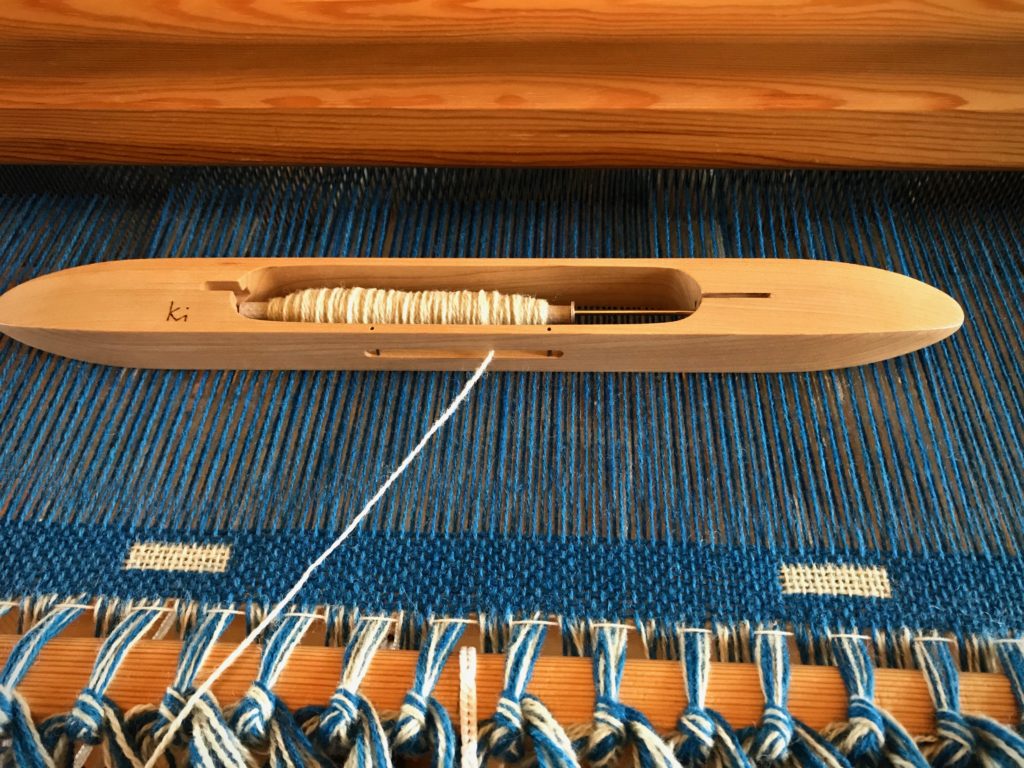
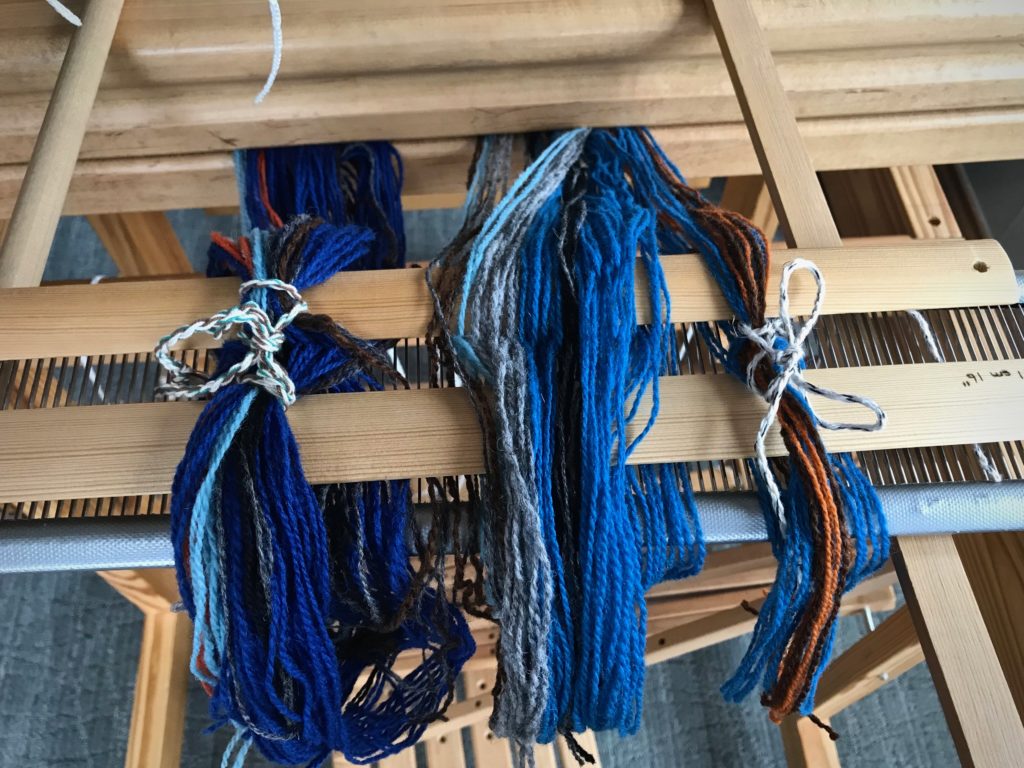
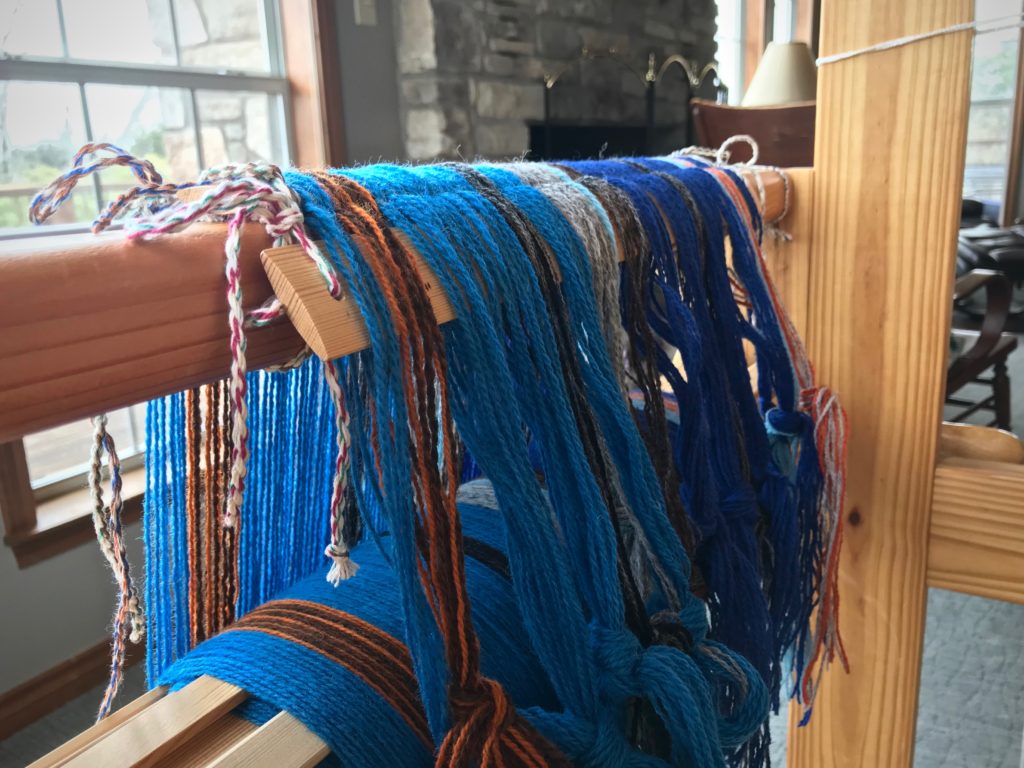
It’s not a good feeling when you discover that you did not tie the lease cross on one of the warp bouts. When you wind a warp, it’s the cross that keeps the ends in proper order. I carefully tie both sides of the cross before removing the bout from the warping reel. This time, though, I inadvertently tied only part of the cross, which is, essentially, not tying the cross at all.
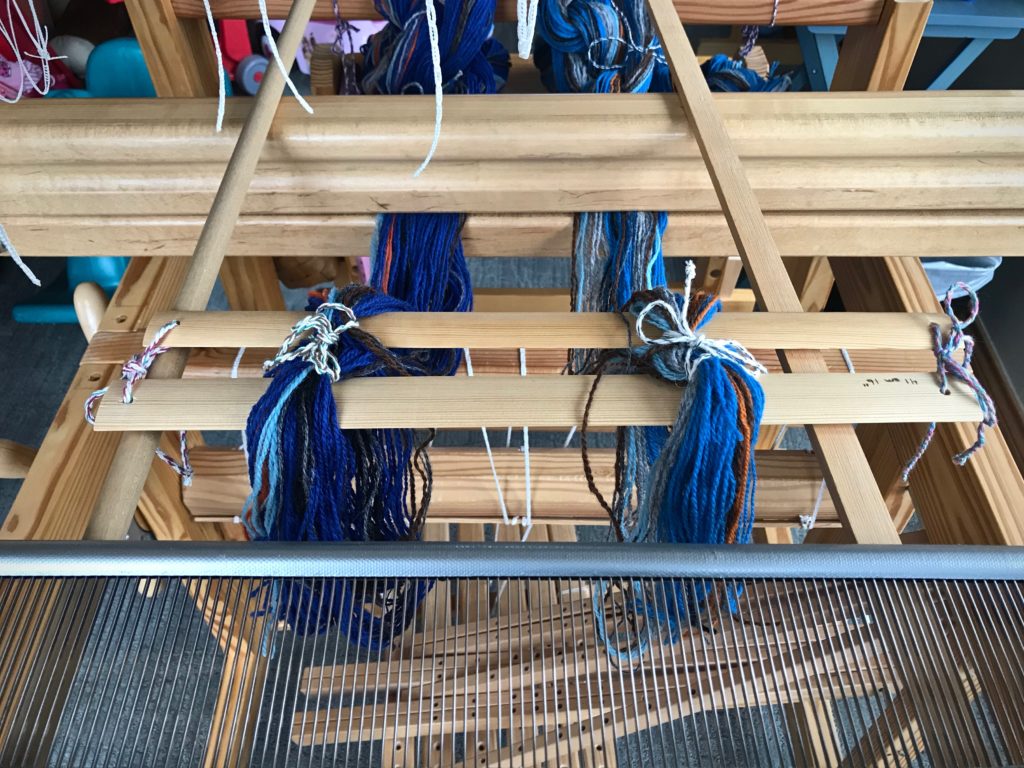
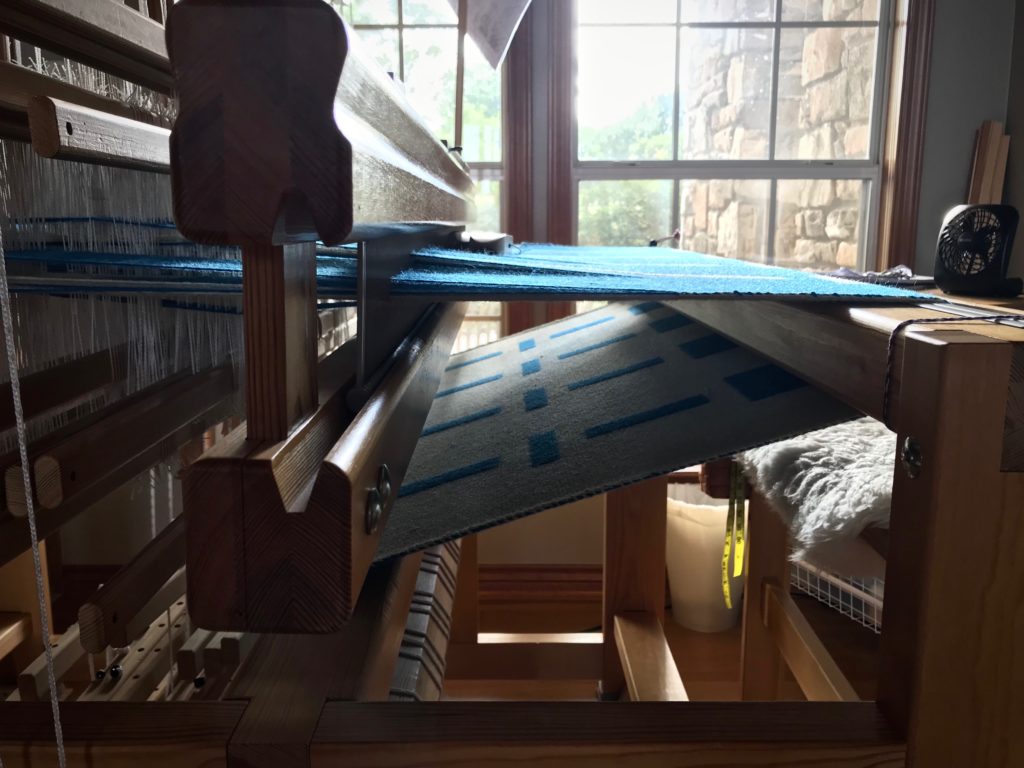
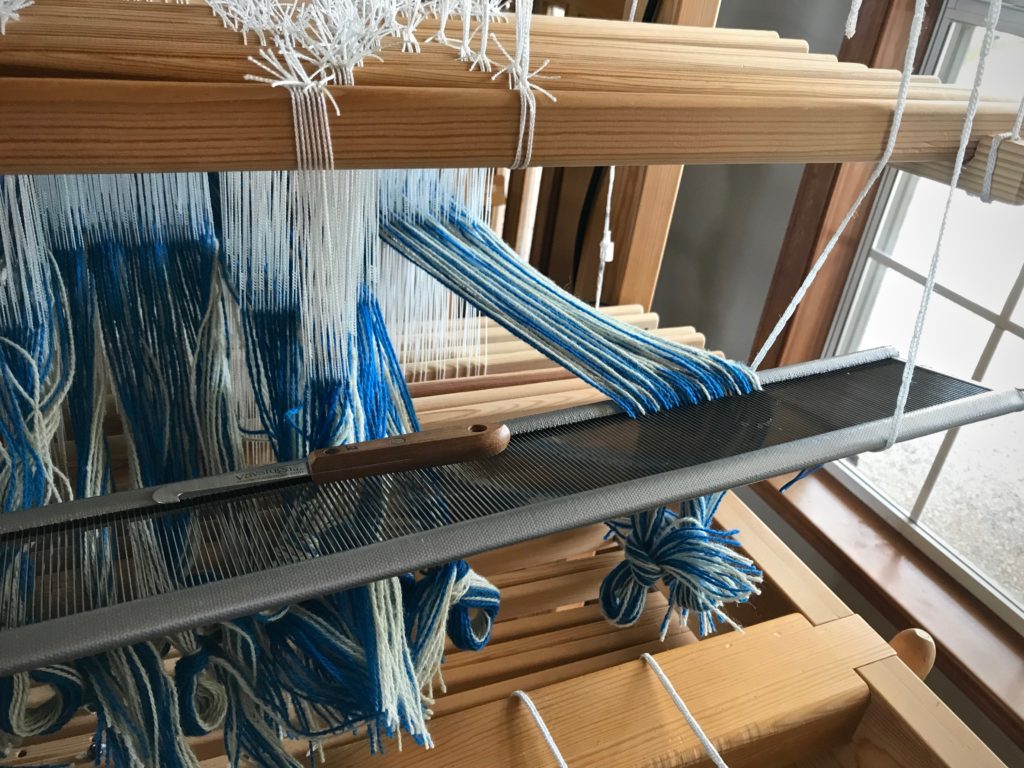
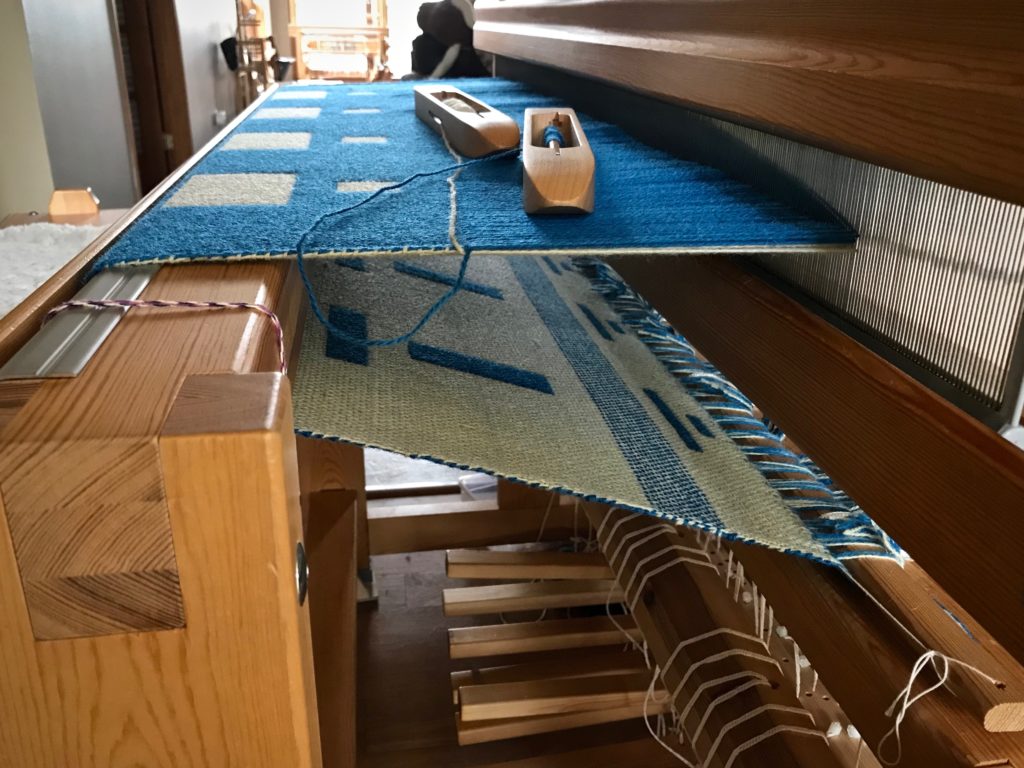
I make my best guess to recreate the thread order, inserting the lease sticks little by little. And as I beam the warp there are several twists that threaten the whole process, getting hung up at the reed. But I coax the warp through at a snail’s pace, not forcing anything.
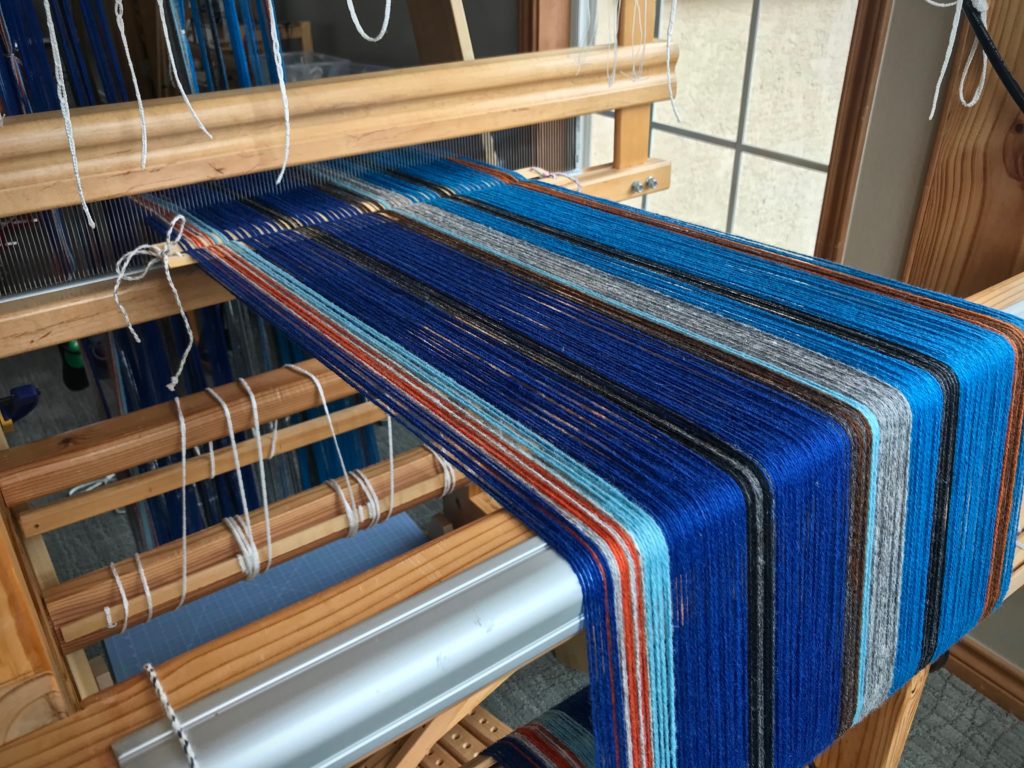
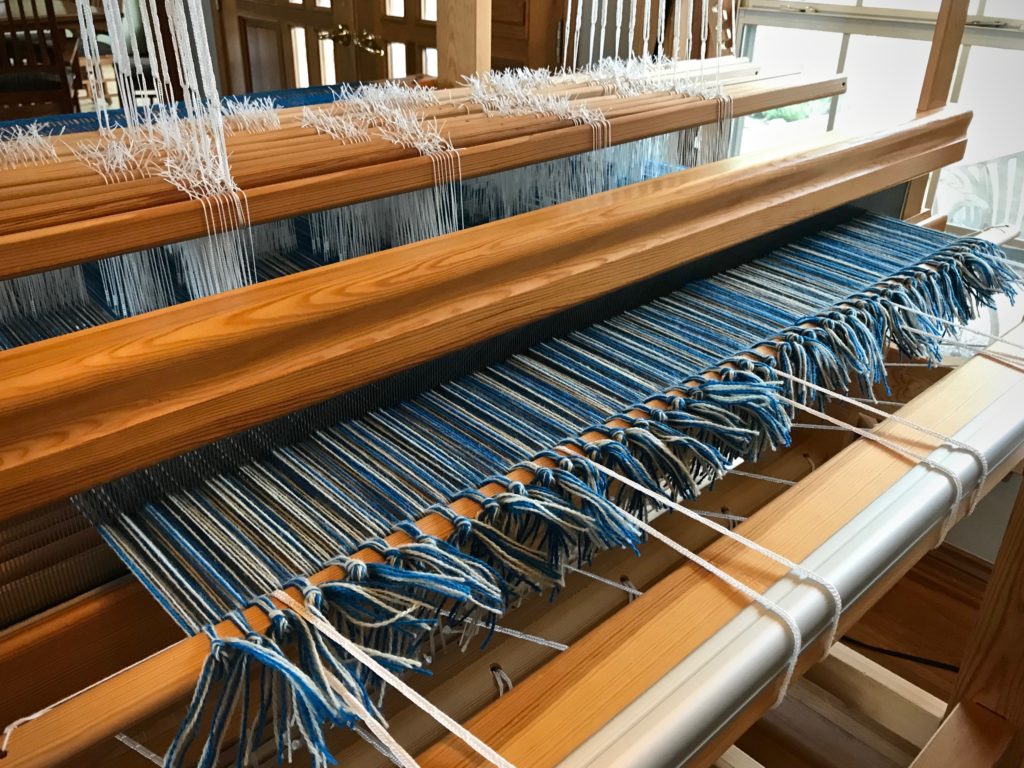
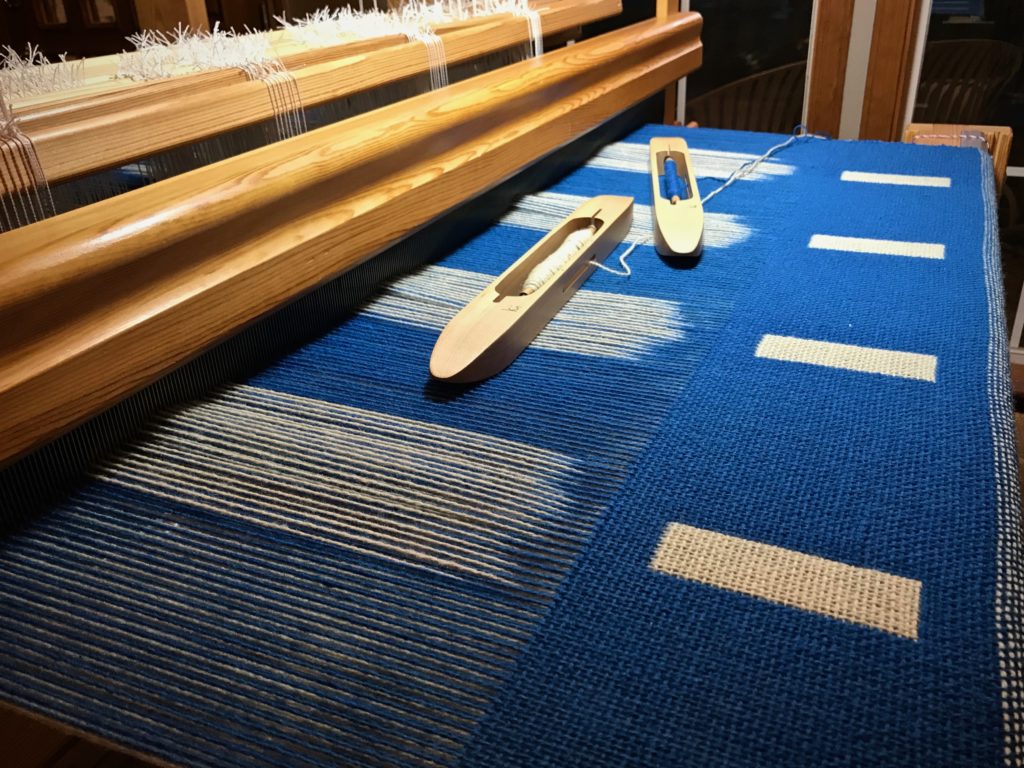
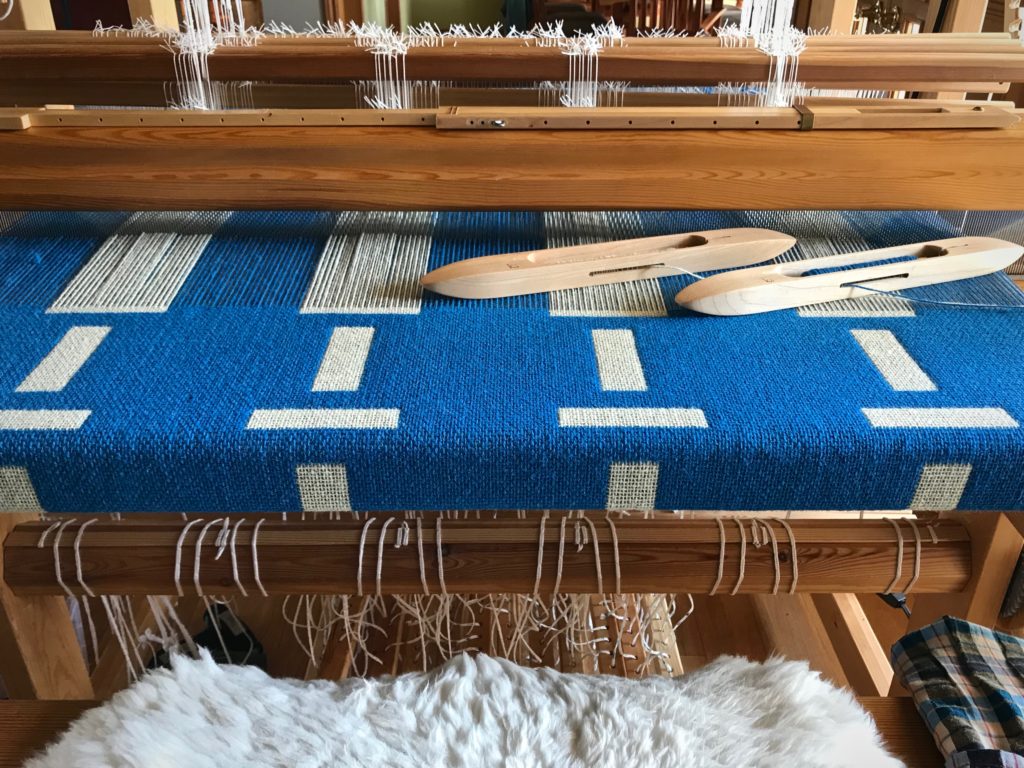
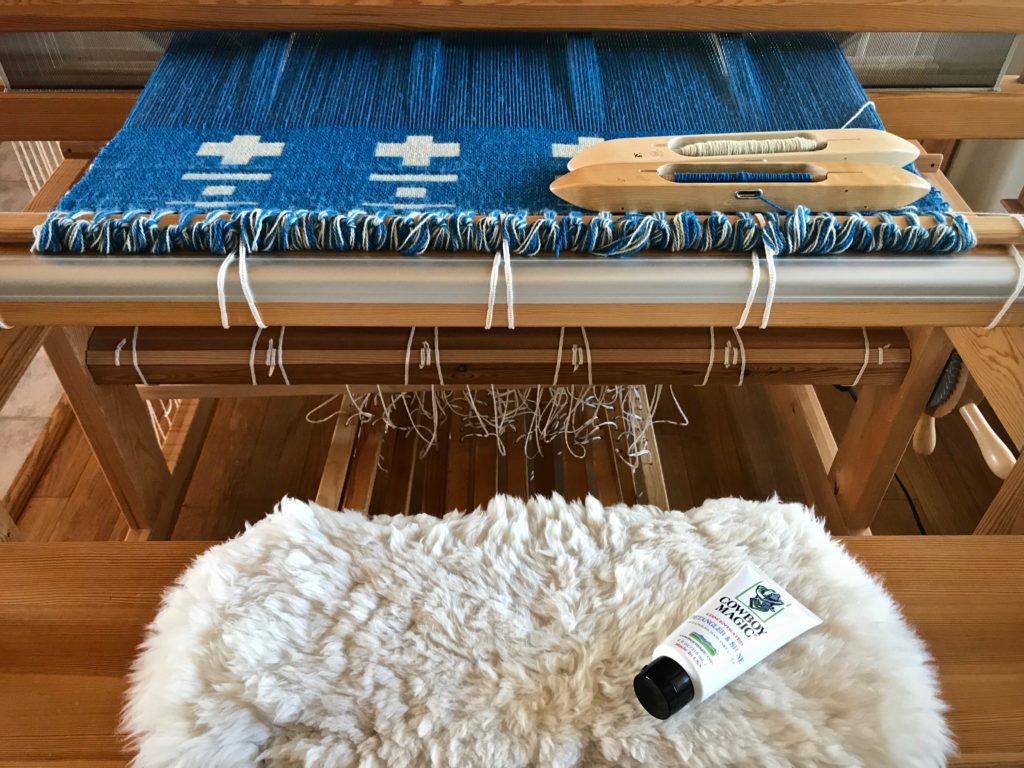
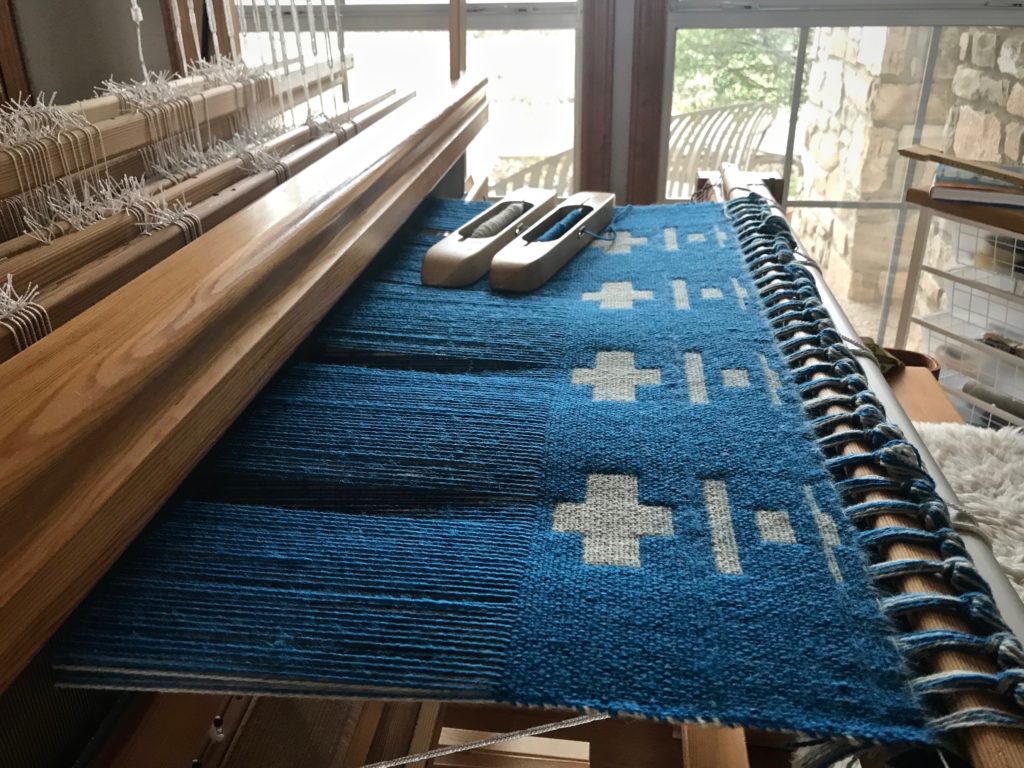
Eventually, the warp is successfully beamed. What a relief!
Things that matter become misaligned when we or those around us mess up. Some of the ensuing twists and conflicts spell disaster. It’s not a good feeling. We start to imagine that we’re alone and forgotten. You are not forgotten. Baby Jesus of the real Christmas story grew to manhood for a clear purpose. He came in pursuit of you and me, gently calling, never forcing, ever loving us, to put our threads back in order again through his cross. What a relief!
May your threads be put in order.
Good Christmas,
Karen