Kuvikas Squares Meet Stripes

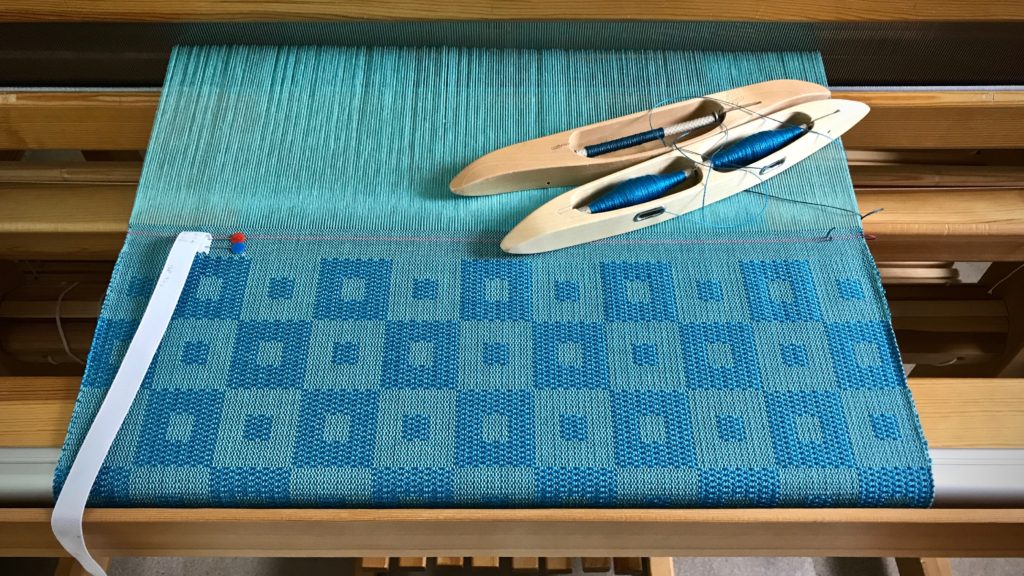
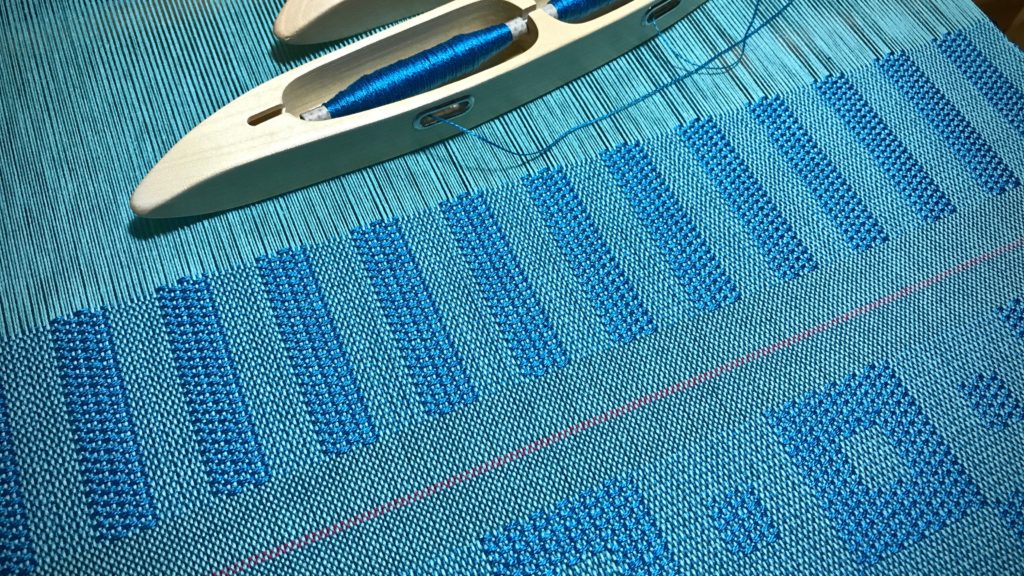
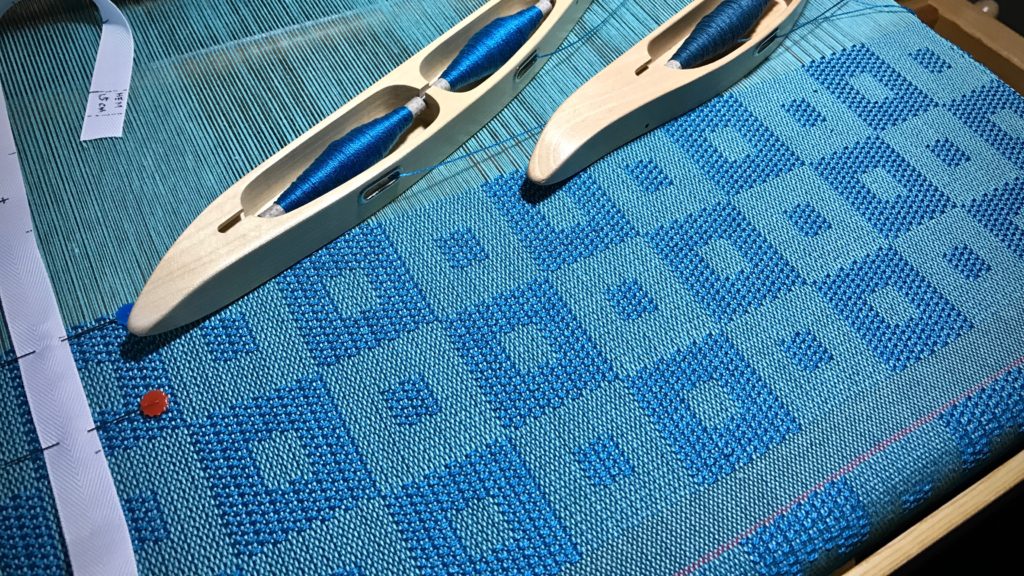
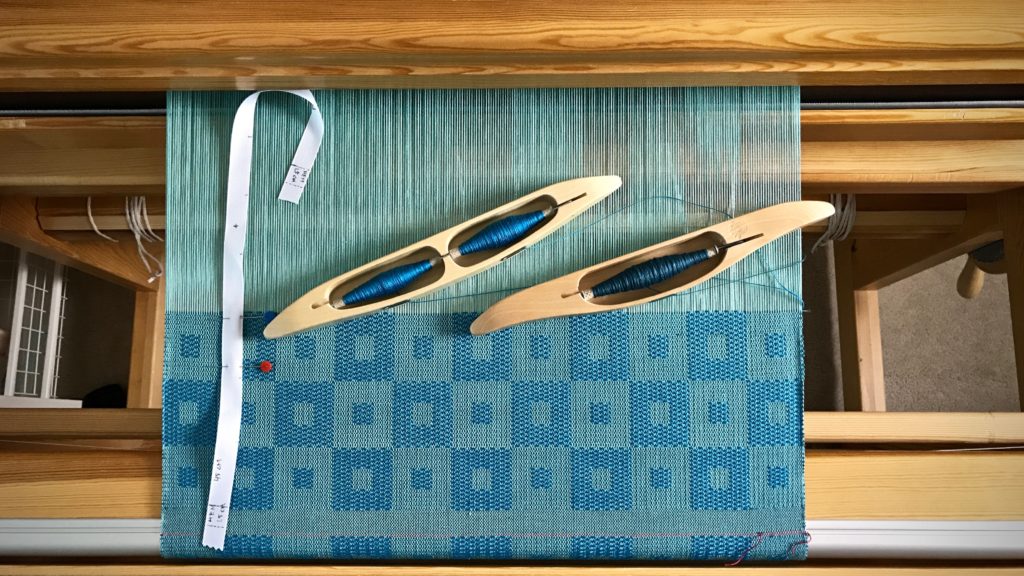
After neglecting this Glimakra Standard loom for a few weeks, I lost my consistency in beating. The first panel, side one of a cushion, has a square-within-a-square pattern. And the squares are not all equal. If I tried to put the same pattern on the back panel, the cushion front and back would not match up at the seams.

Kuvikas (summer and winter).
Each block consists of twenty picks, so there are sixty picks for each row of the square-within-a-square pattern. Consistency in beating is crucial in order to have all the rows of squares equal in size.

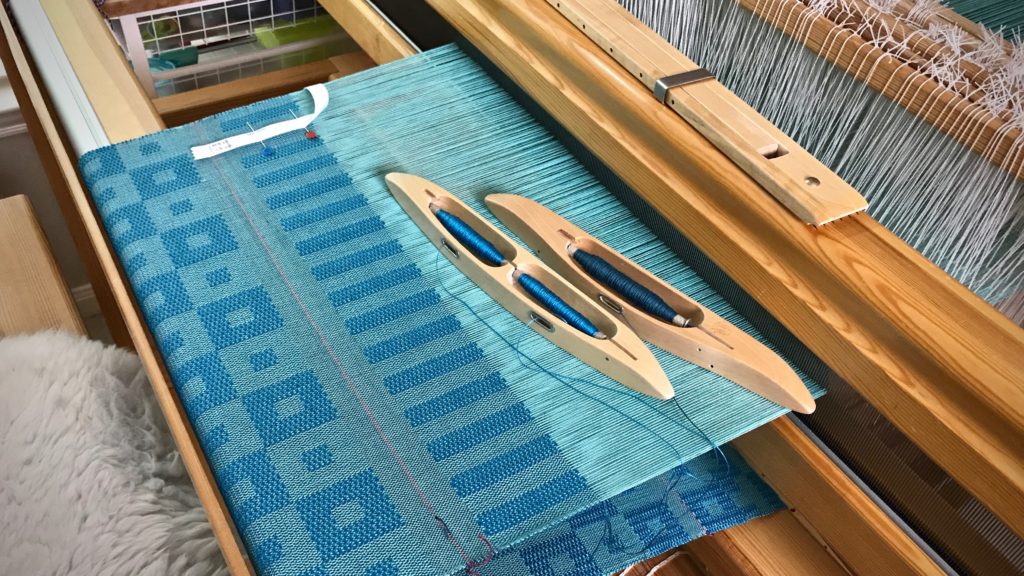
Stripes to the rescue! The stripes use one of the four possible kuvikas blocks. I get a coordinating pattern without the fuss of trying to match up the sides. The stripes have a ribbed appearance–simpler than the squares, but still geometric. The patterns are different, but they work together and complement each other.

Kuvikas. Front and back cushion panels.
Two red picks separate the front and back panels of the cushion.
Kuvikas squares and stripes.
Repeating “block one” makes a simple stripe pattern. The square-within-a-square pattern is made by weaving two groups of blocks. Group 1: block two, block one, block two. Group 2: block three, block four, block three.

There are many different gifts in people; and the gifts all come from the same source. Each gift is like a pattern than can be used in a variety of ways, complementing the other patterns around it. Our Grand Weaver sees the whole project, and places the people with the gifts where they best fit in the overall fabric. You are made for a purpose. Your gifts are exactly what the rest of us need.

May your gifts bless those around you.

With purpose,
Karen

Empty Quills

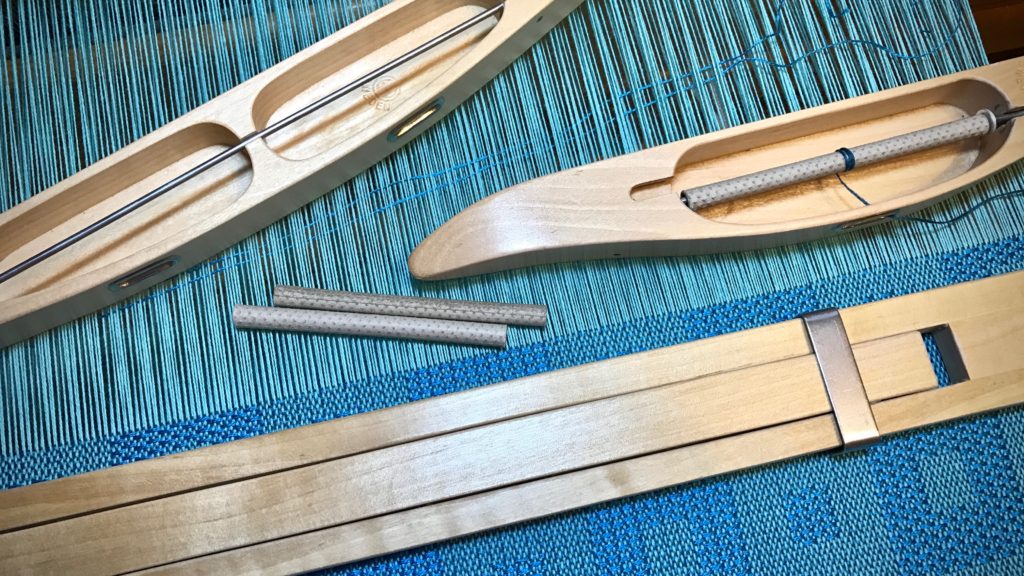
No matter how much thread is on the quill, if you keep weaving, you will eventually come to a bare quill. Three at once, this time. Two with tencel in the double-bobbin shuttle and one with 8/2 cotton. A quill is a small item with an essential role. This mostly-hidden cardboard cylinder holds the threads that weave.

Kuvikas on eight shafts.
Kuvikas on eight shafts with 8/2 cotton warp, 8/2 cotton ground weave, and doubled 8/2 tencel pattern weft.

An empty quill is a stopping place. You have to stop. Wind another quill, or three, before you weave some more. Or, use quills from your loom bench basket that you had already wound. It’s the cycle of weaving. Weave. Stop. New quill. Weave. Stop. And so on.

The quill is mostly hidden until the thread runs out. Likewise, truth seems like a secret until it comes to light. And then you realize it holds the fibers of life. Truth is worth searching for. It is central to understanding our existence. Examine a thread of reality, keep pulling that thread, and unroll it. It always ends up at truth. Truth is that core, that weaver’s quill, around which reality is wound. For our Grand Weaver, truth always holds the threads that weave.

May truth be at your core.

Yours,
Karen

Quiet Friday: Risky Way to Fix a Threading Error

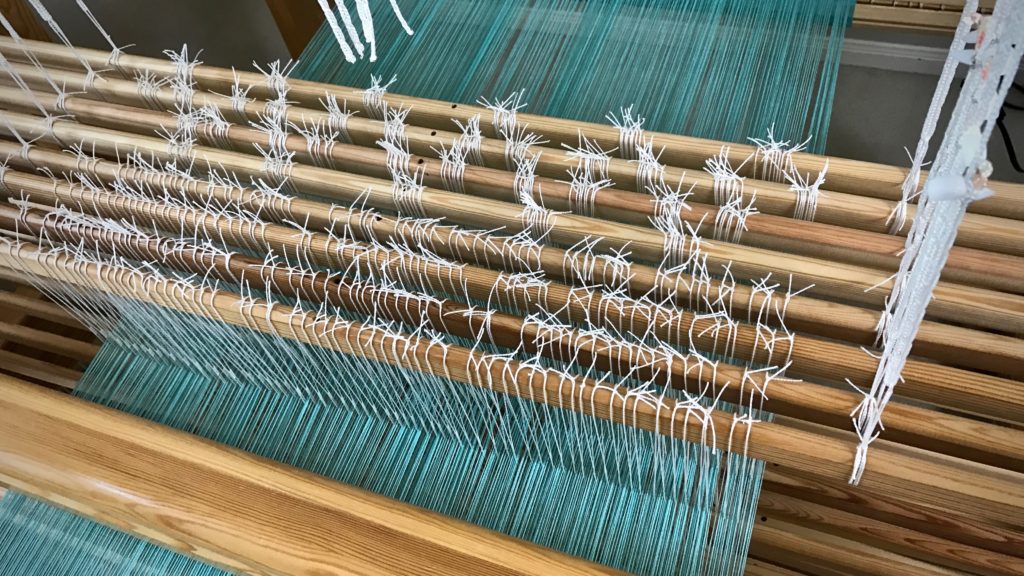
We all have threading errors from time to time. This time I completely transposed the threading on shafts one and two. I saw the error when I started weaving; the pattern in the cloth was not as it should be. After a few days of contemplating, arguing with myself, and studying the error, I decided on an ingenious and risky fix (I hinted at it in My Best Weaving Stunt to Date!). Switch the two mis-threaded shafts. Yikes! One slip up could bring the whole warp down–figuratively and literally. I caught myself holding my breath several times through the process. Gently hopeful, but not 100% sure that my plan would work. Thankfully, it did work.

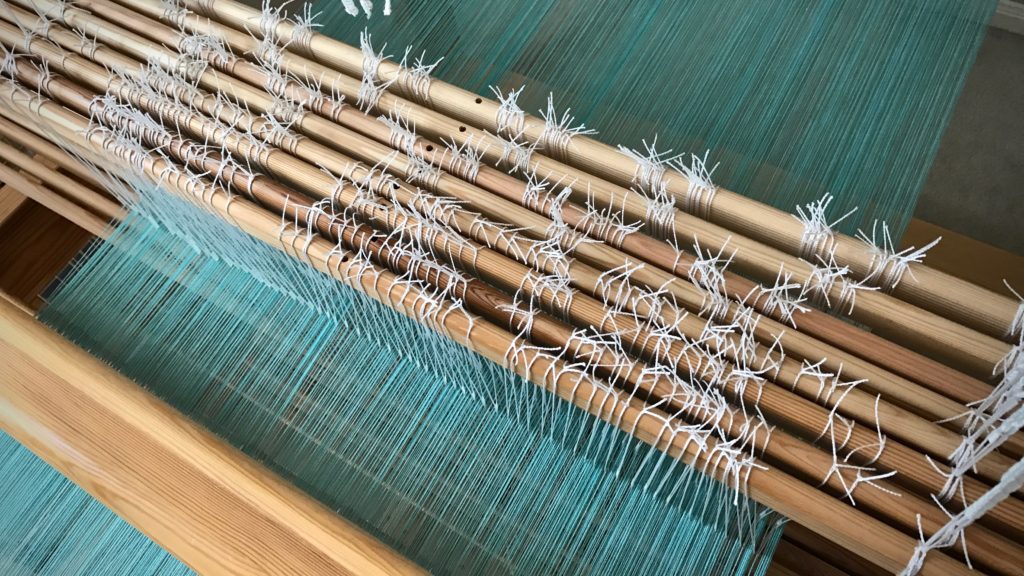
The threading went from this

Threading error and a risky fix. Switch 2 shafts!
Shafts 1 and 2 (counting from back to front) have been threaded incorrectly. Shaft 1 should be 2, and 2 should be 1.

to this

Risky way to fix a threading error. Video.
Shaft bars 1 and 2, upper and lower, have been switched. The operation was similar to transferring lease sticks in the back-to-front warping process.

Here’s a short video that shows the maneuvers I did to correct the error. No re-threading needed! The kuvikas square within a square wins!

May you be brave enough to take appropriate risks when needed.

Happy Problem Solving,
Karen

Skeleton Tie-Up on a Countermarch?

I’ve been told that you cannot do a skeleton tie-up on a countermarch loom. That would require pressing two treadles at the same time, which is not feasible on a countermarch. Guess what? I have a skeleton tie-up, and I’m pressing two treadles at a time for the pattern blocks in this kuvikas structure. On my countermarch!

Kukivas (summer and winter) on the loom. Karen Isenhower
Trying to establish a consistent beat so that the squares are all the same size. Making the squares a little taller than they are wide will, hopefully, produce actual squares in the end. The fabric is expected to shrink more in length than in width when it is cut from the loom, and washed and dried.

It works because the tie-up is carefully planned to avoid conflicting treadle movements. I couldn’t be more thrilled with the square-within-a-square results. Isn’t it fascinating that a design such as this can be fashioned by hand, using a simple wooden loom and a bunch of strings, with a few simple tools? And a non-standard tie-up?

Skeleton tie-up on a countermarch loom for kukivas.
Pressing two treadles at the same time is surprisingly less cumbersome than I had imagined it would be. The whole series of motions feels like a slow majestic dance.

Have you seen the sky on a moonless night? Who made that starlit fabric? Who wove the pattern of the heavens? Who put the sun in place, and set the earth on its axis? How grand and glorious are these constant features of our existence! Our human hands can create no such thing. The heavens reveal the glorious nature of God. They shout the unmistakable truth that God is our Creator. Surely, the fabric we make with our hands serves to confirm that we belong in the hands of our Maker.

May the work of your hands be a reflection of you.

In awe,
Karen

Tools Day: Leveling String

Thirty-five years ago, I took a beginner rigid heddle loom class. Our teacher taught us to use strips of toilet paper (or fat scrap yarn) as weft at the beginning of the weaving to space the warp. After several inches of weaving, the warp ends would fall into alignment. Unless fringe is planned, that beginning warp goes to waste, not to mention the unsightly aspect of the throwaway weft. Here comes the leveling string to the rescue! This piece of 12/6 cotton seine twine is just what we need to get off to a good start with every project we put on the loom. The leveling string levels out the warp ends, and delivers a nice, flat weaving surface. It is superb to be able to weave fabric right from the very beginning of the warp!

The use of a leveling string is also described in my three favorite books that detail how to warp a loom:

  • The Big Book of Weaving, by Laila Lundell
  • Learning to Warp Your Loom, by Joanne Hall
  • Dress Your Loom the Vävstuga Way: A Benchside Photo Guide, by Becky Ashenden

Tools:

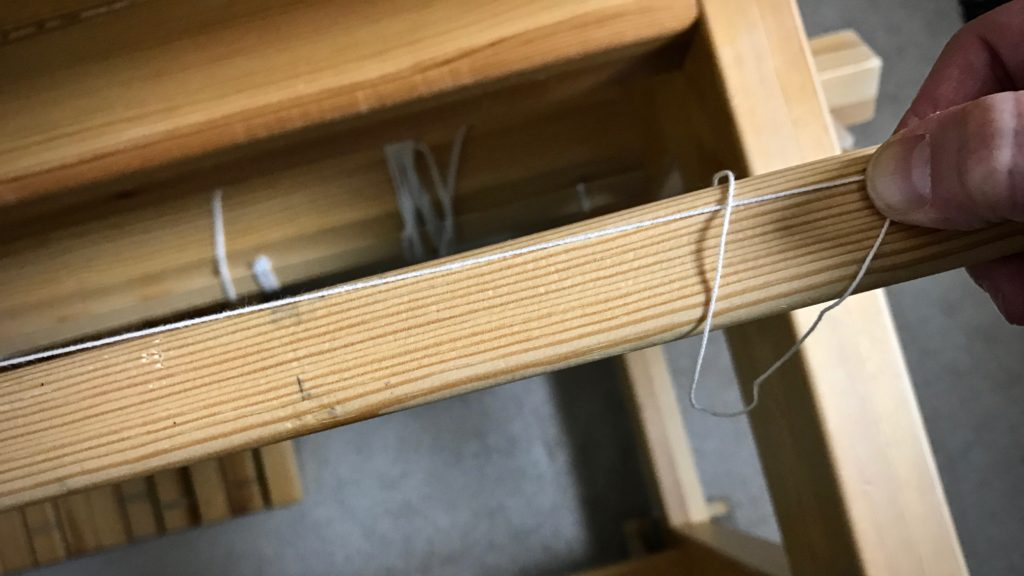
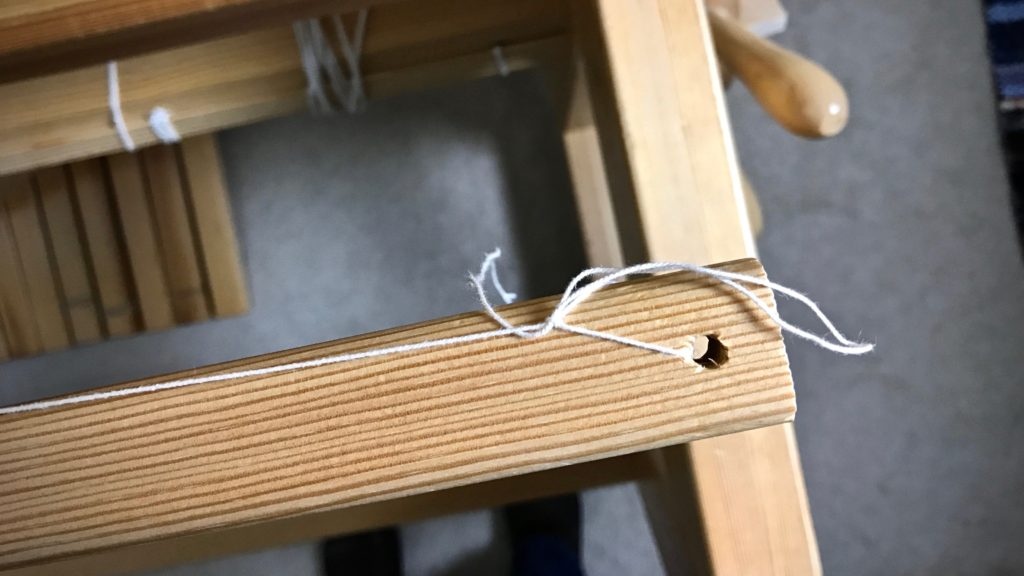
  • Front tie-on bar with a hole at each end (Joanne Hall writes, “If there are no holes in your bar, replace the cord with a thin stick.” I have not tried this, but I trust anything Joanne says!)
  • 12/6 cotton seine twine, the length of front tie-on bar, plus about 20 inches (I like to have plenty of string to tie the knots on the ends)

Steps:

1. Tie on warp in small bundles, about 1″ each, with half of the bundle’s ends going over, and half going under, the front tie-on bar (as seen in Step 3 pictures). Tie the ends together with a bow knot or other tie-on knot. (TIP – If you do not tie the knots too tight, it is easier to get even tension across the warp, and it is easier to tighten the leveling string in Step 4.)

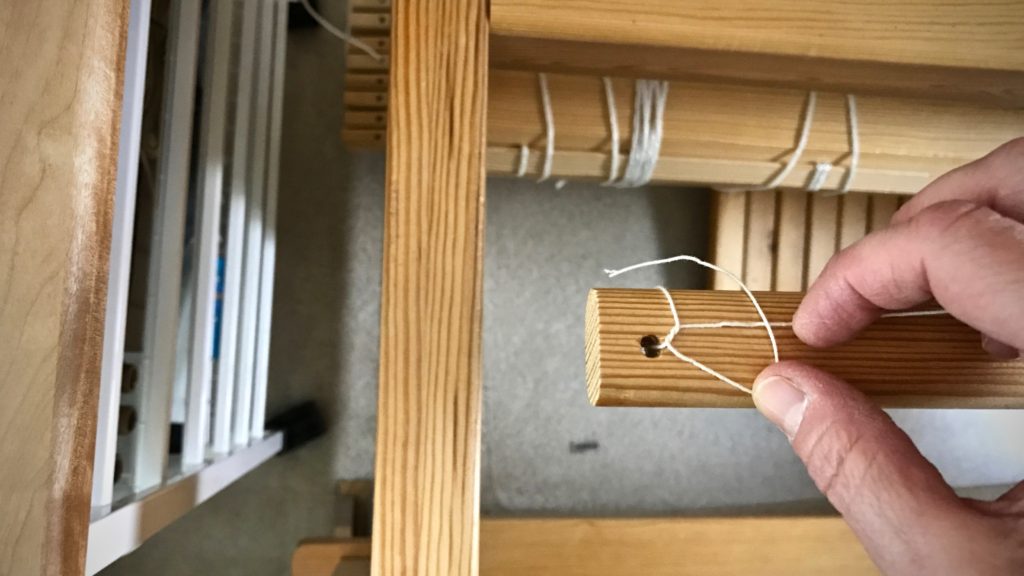
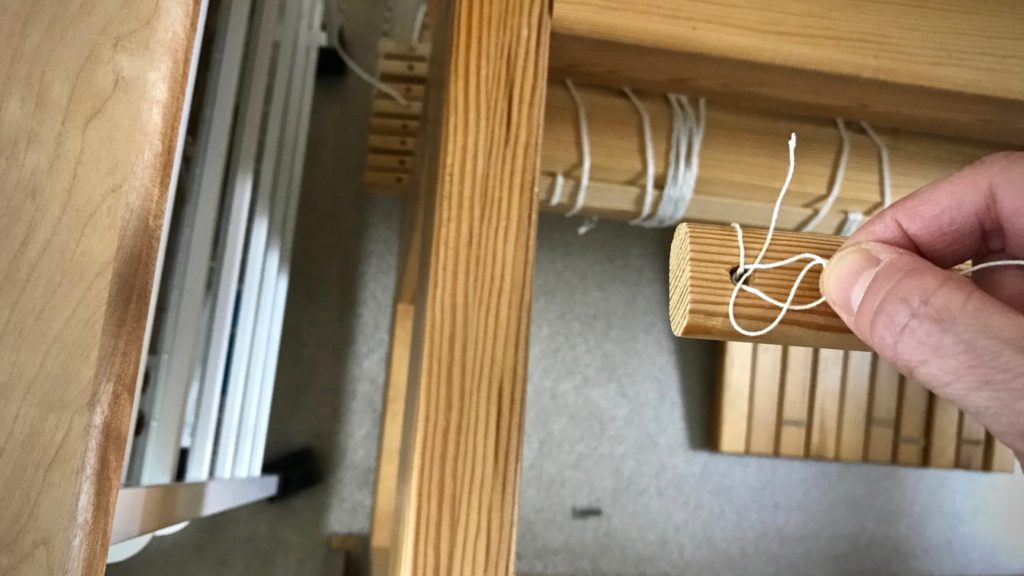
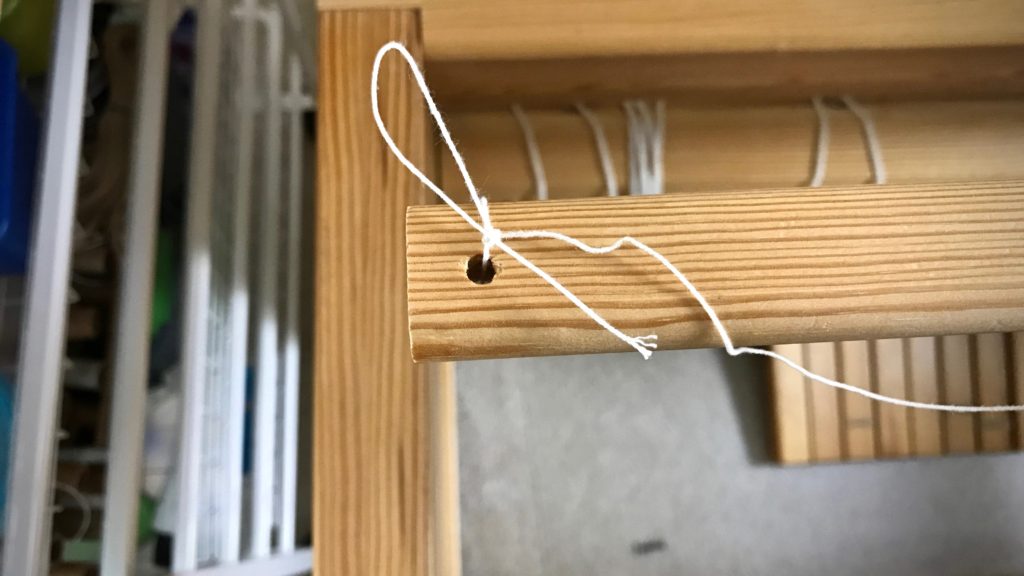
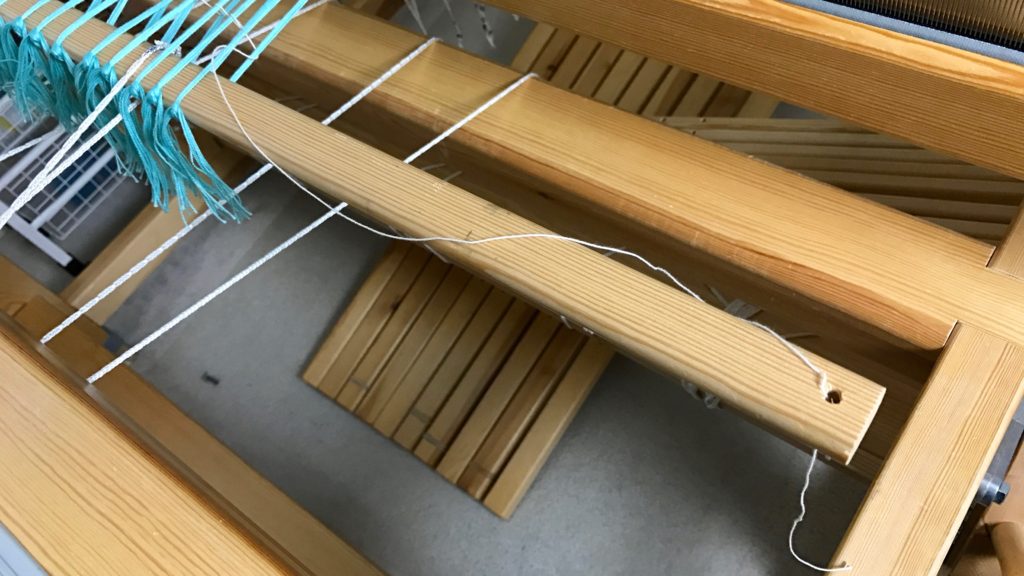
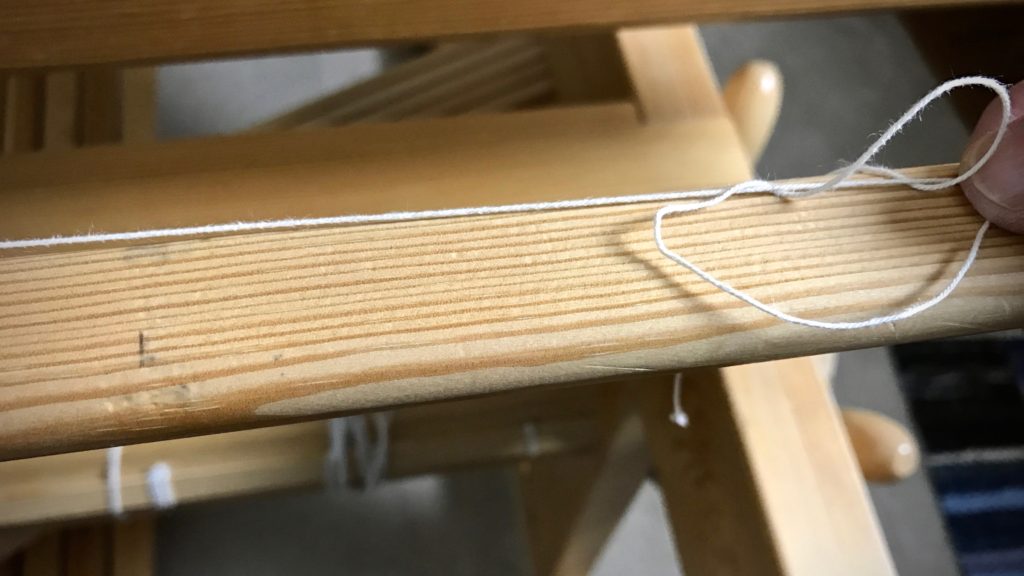
2. Tie one end of the leveling string to one end of the front tie-on bar, using a slip knot with half bow.
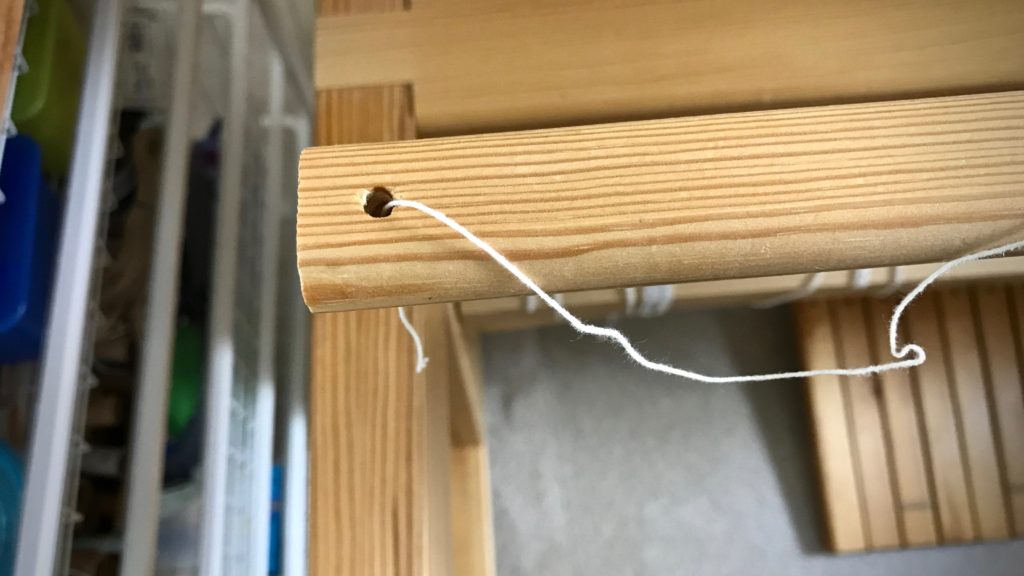
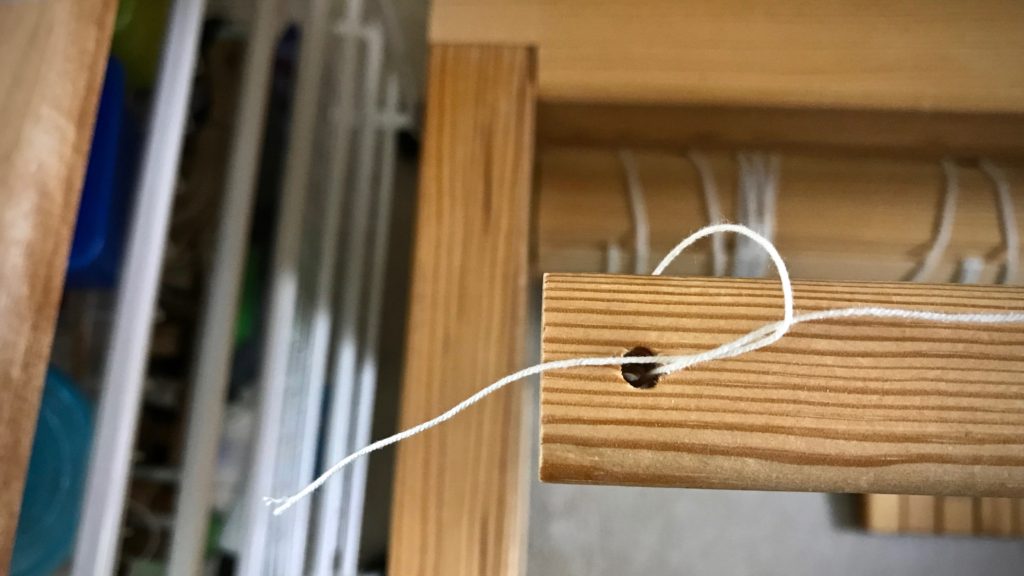
Tying the leveling string. Tutorial pics.

Tying the leveling string. Step-by-step.

Leveling string - tying it on.

Tying on the leveling string. How to.

How to tie the leveling string.

3. Thread the leveling string over and under the tie-on bundles, going over the raised ends and under the lowered ends.
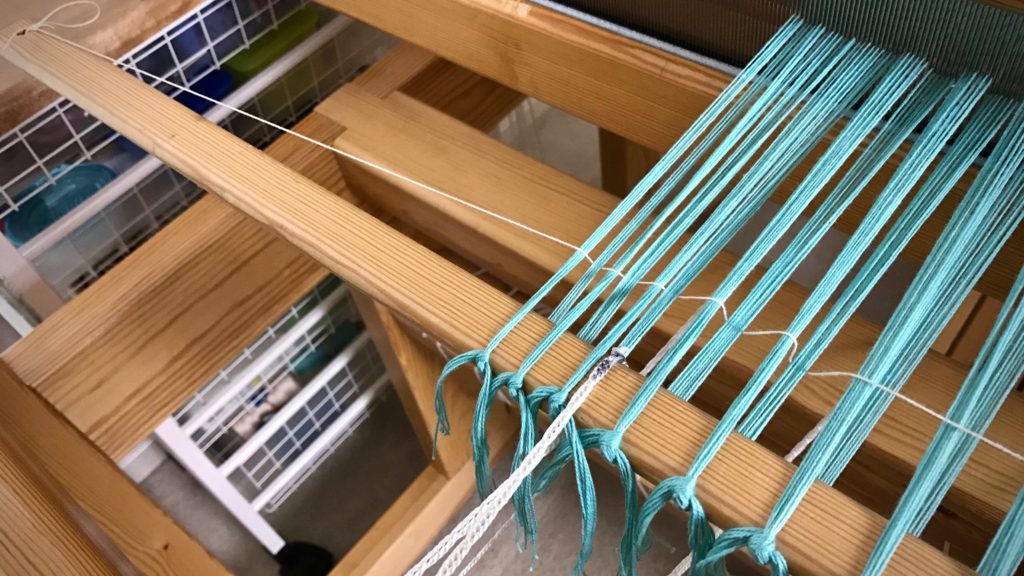
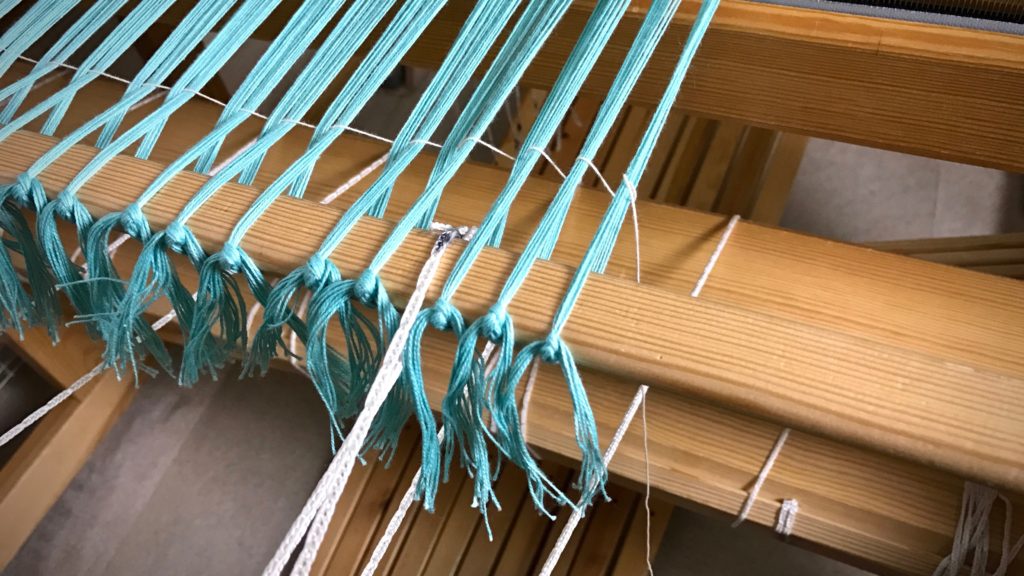
Threading the leveling string through the warp. Tutorial pics.

Leveling string going through the warp.

Tying the second end of the leveling string.

4. Tighten the leveling string while tapping it in with the beater.
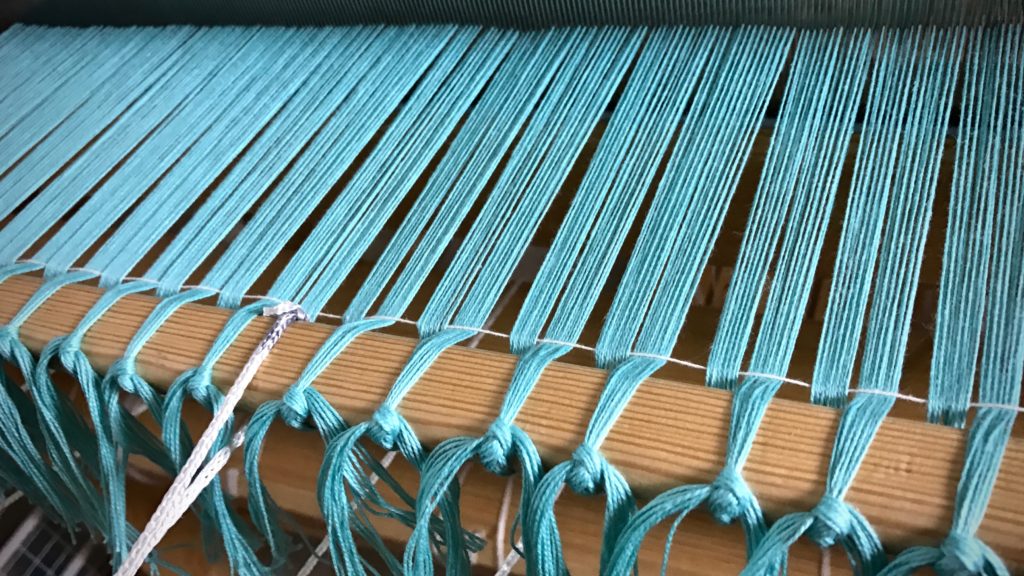
Tightening the leveling string.

5. Tie the end of the leveling string to the end of the front tie-on bar, using a slip knot with half bow, as before.
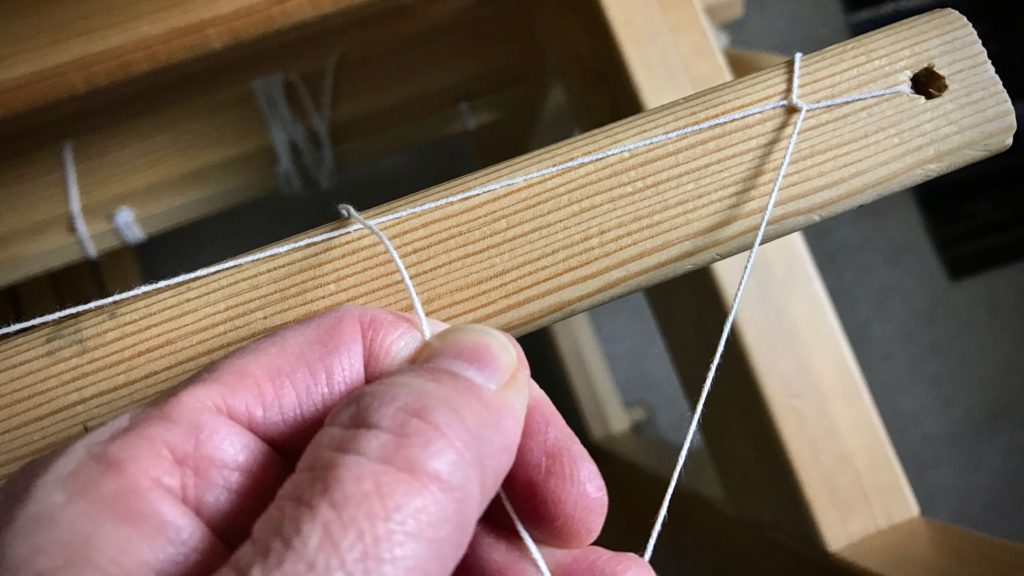
How to tie the second end of the leveling string.

How to tie the leveling string.

Finishing the knot for the leveling string.

Why I use a leveling string.

6. Weave to your heart’s content.
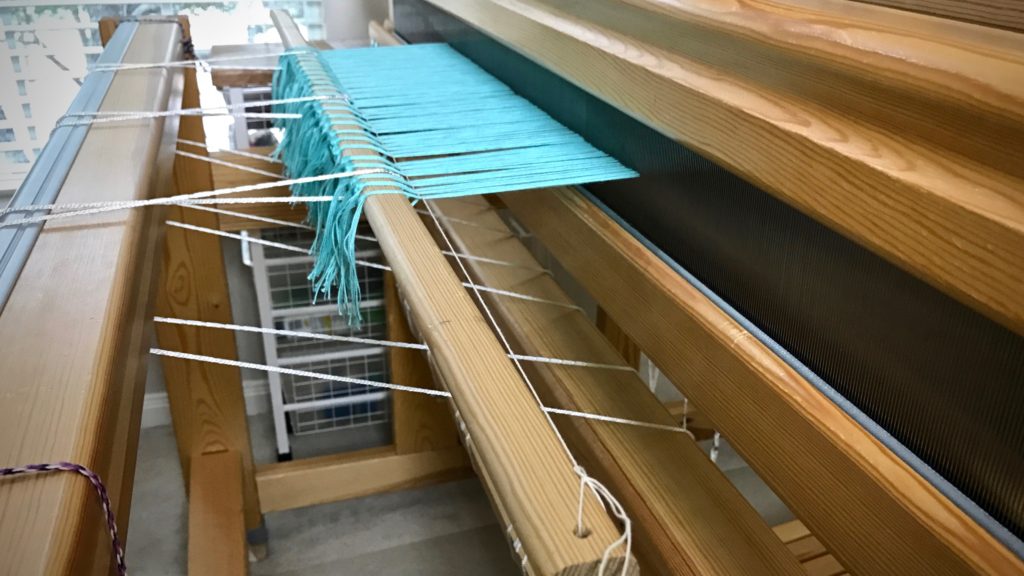
Why the leveling string is so helpful!

When you get to the end of the warp, and are ready for cutting off, simply tug the loose end of the string at one end of the bar to release the slip knot, and pull the leveling string out of the warp.

May you weave as soon as possible.

Happy Valentine’s Day,
Karen