Process Review: Unboxing Siru

Steve and I assembled another loom recently. This 40 cm (15 3/4”) Glimakra Siru Rigid Heddle Loom is going camping with me. It folds and opens effortlessly, even with a warp on it. The Siru loom has built-in support for two heddles. This gives me the perfect excuse to dip my toes into two-heddle weaving on the rigid heddle loom.
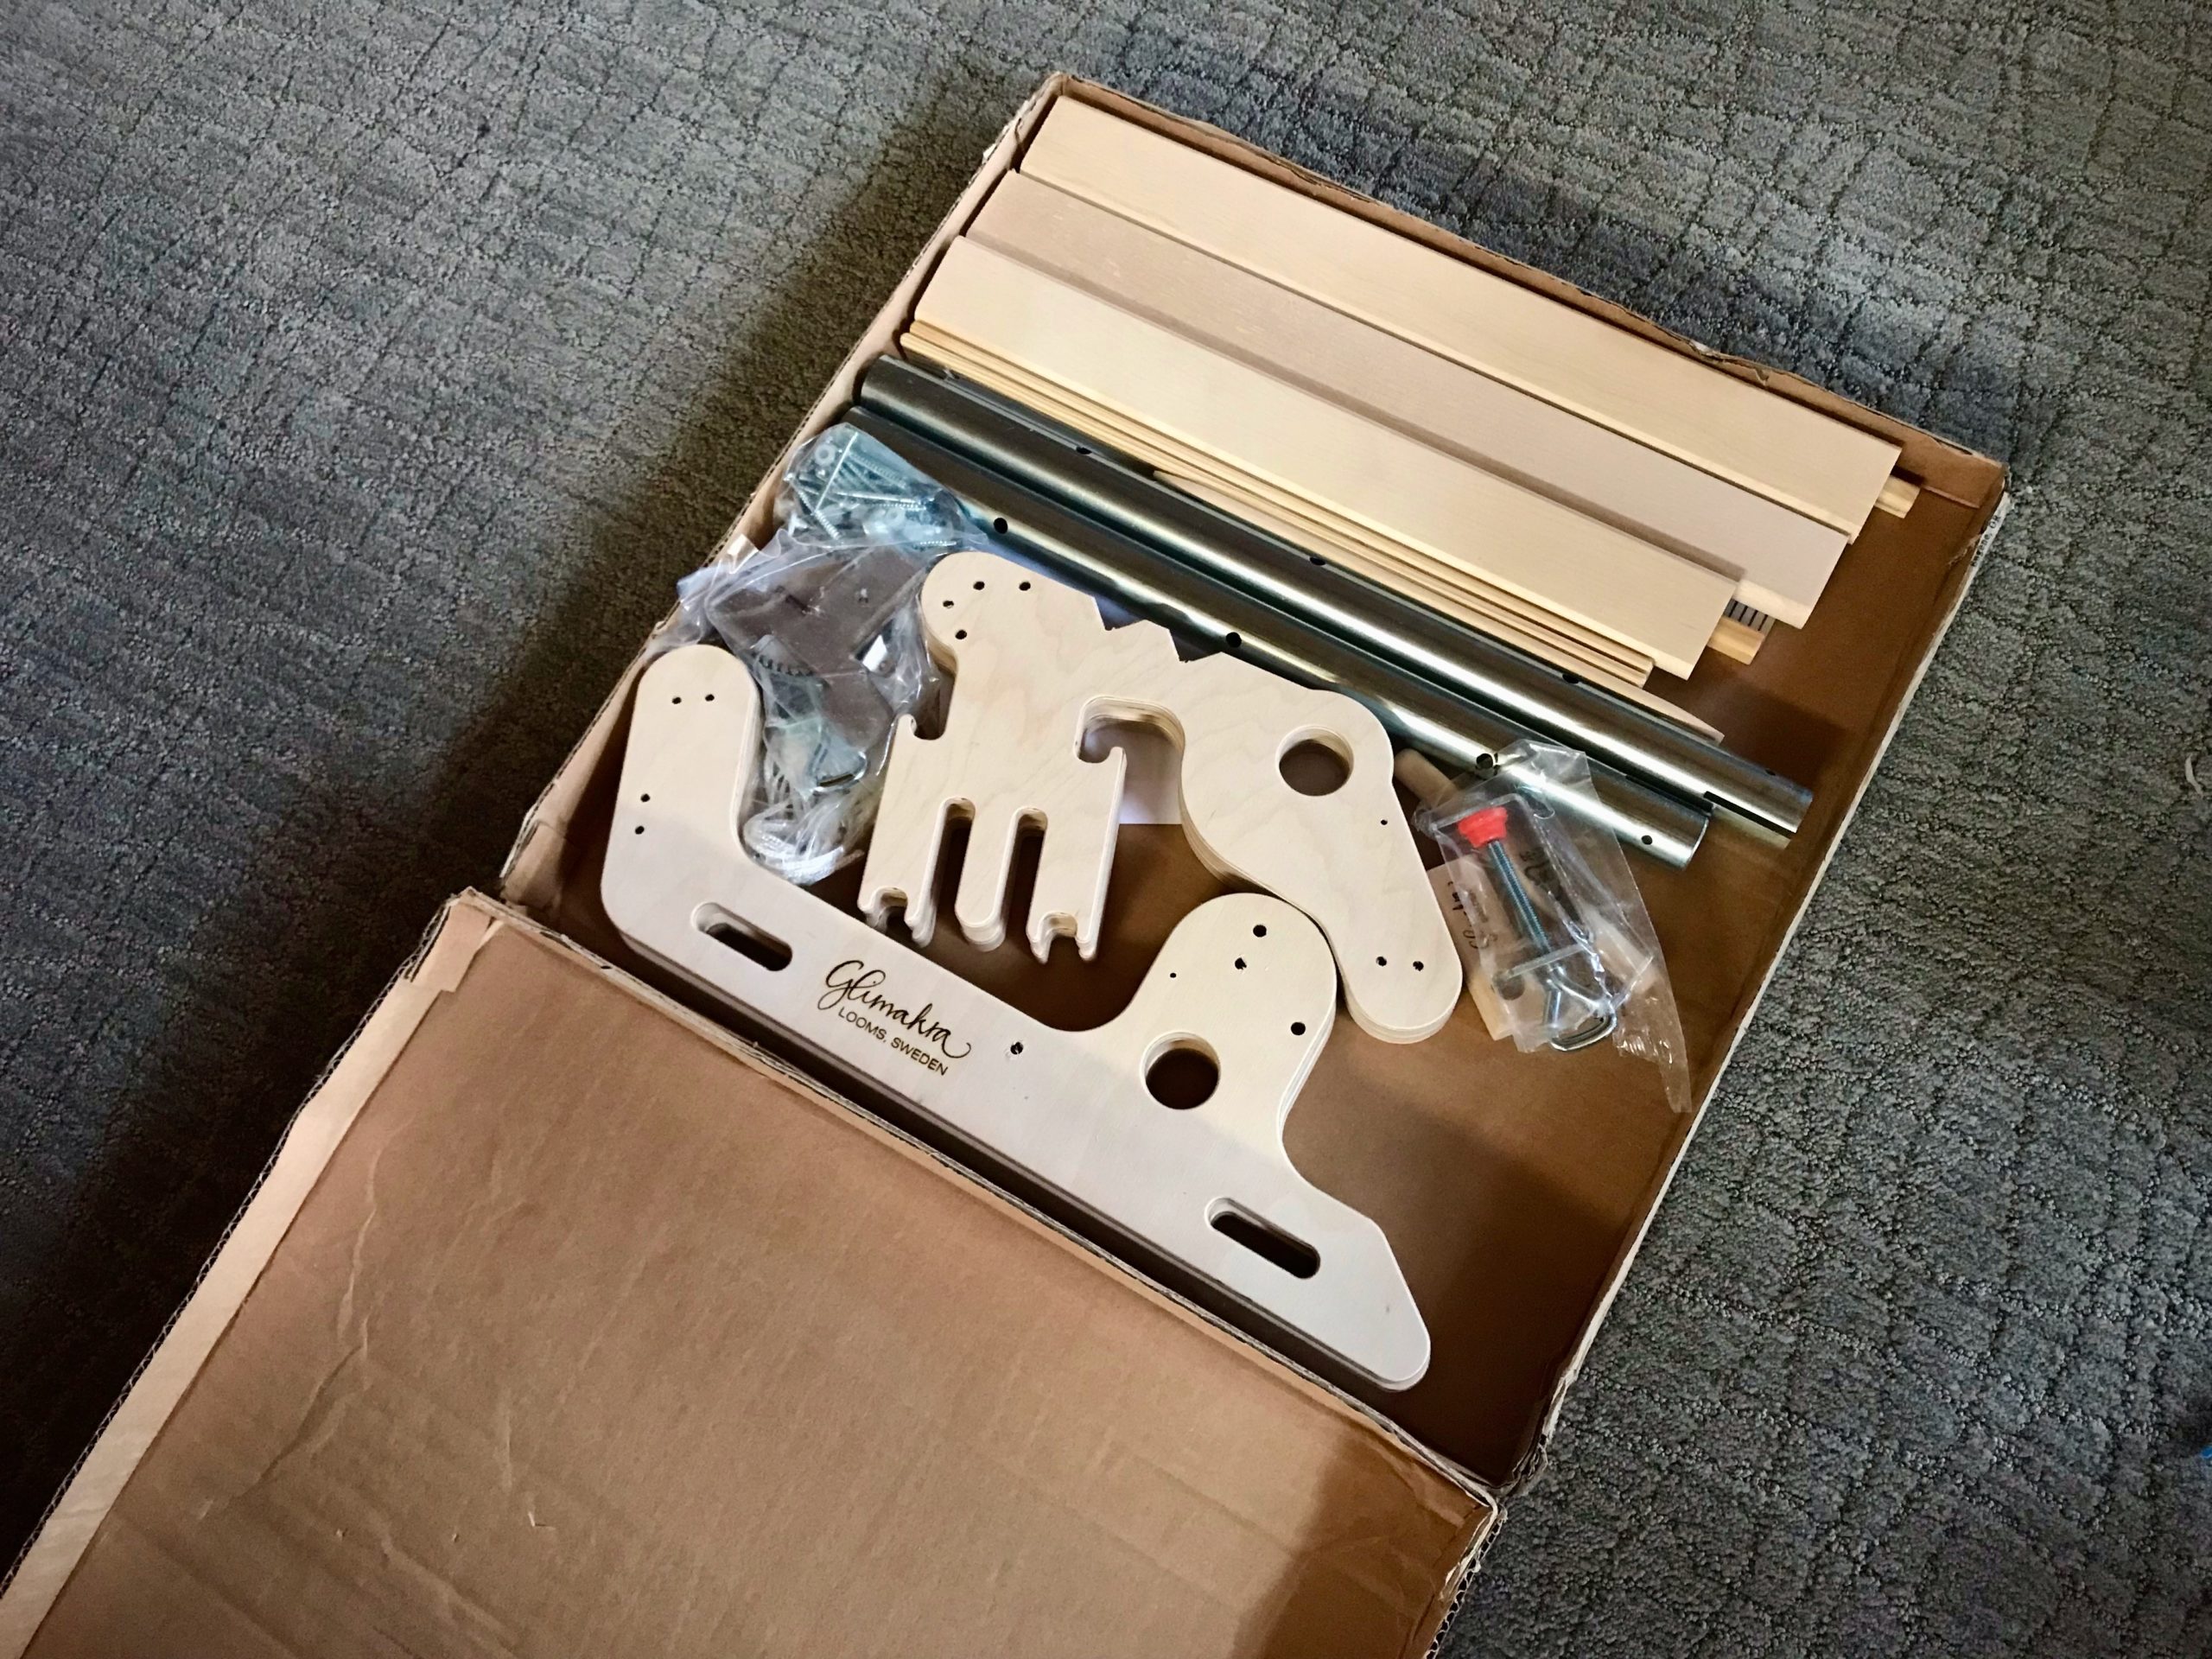
Assembling a new Glimakra Siru RH loom.
Glimåkra Siru Rigid Heddle Loom in the box. Do I see a little dinosaur? …or is that a pony?
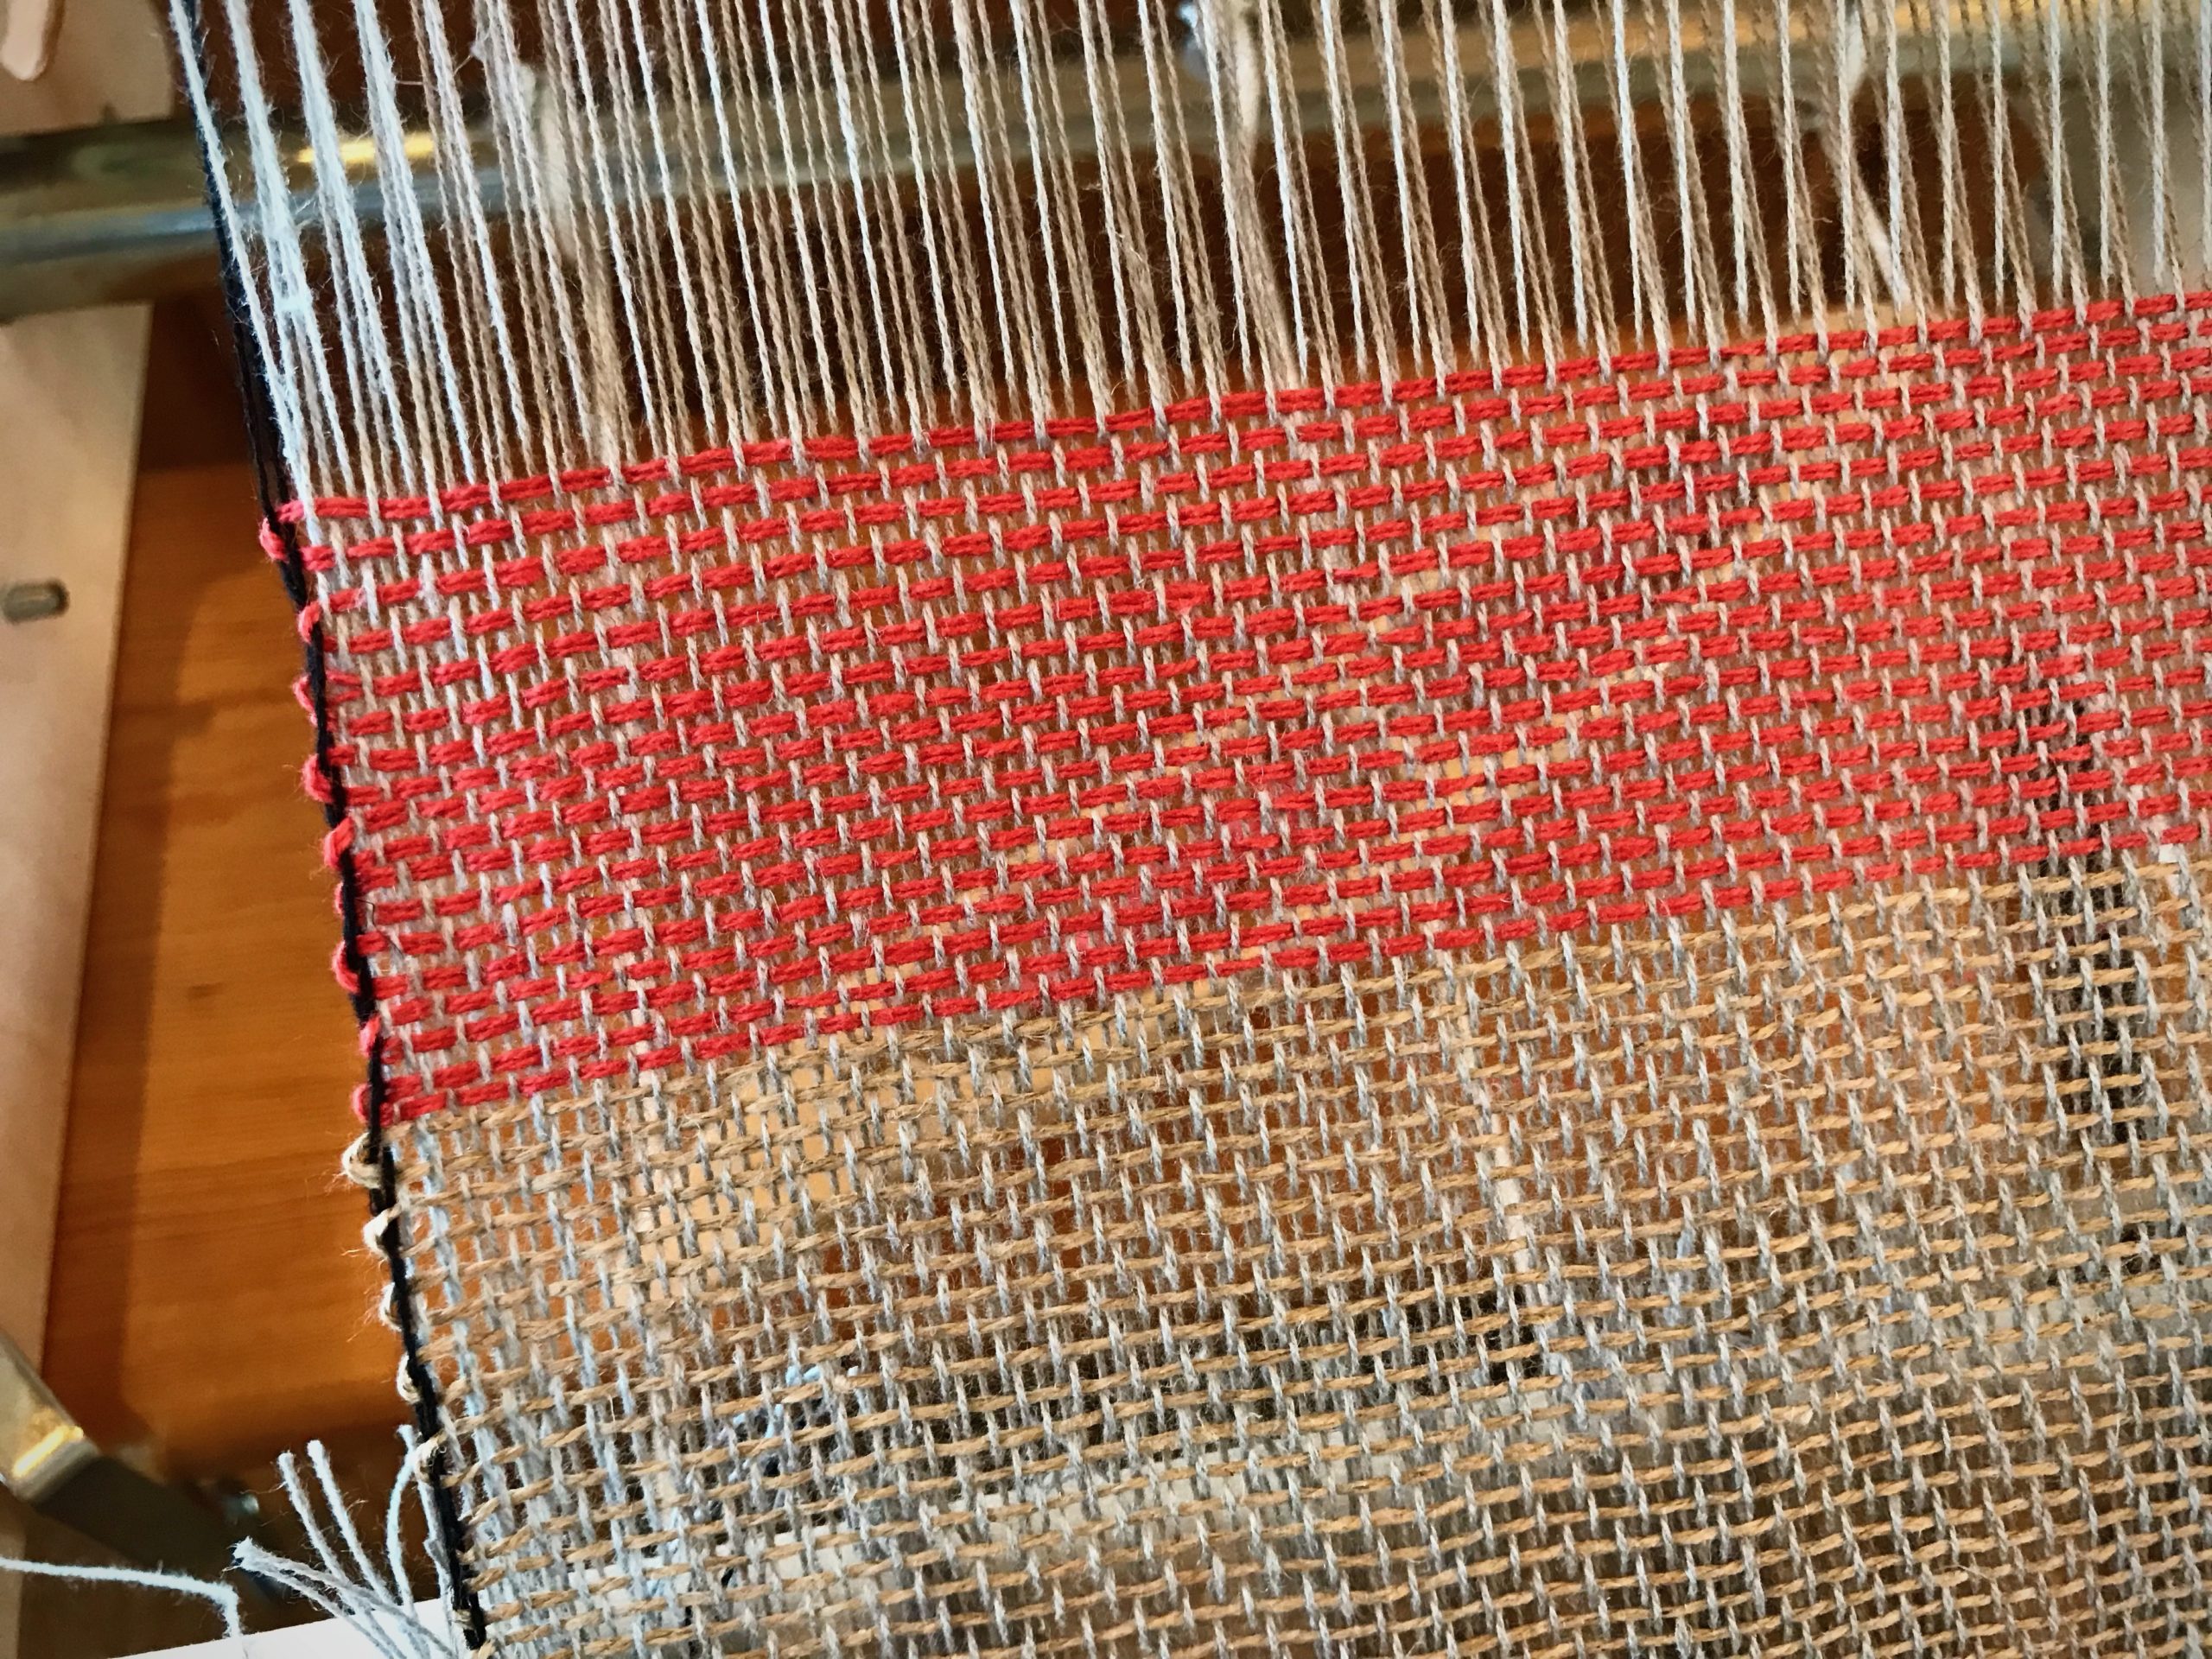
Weaving with 2 heddles on rigid heddle loom.
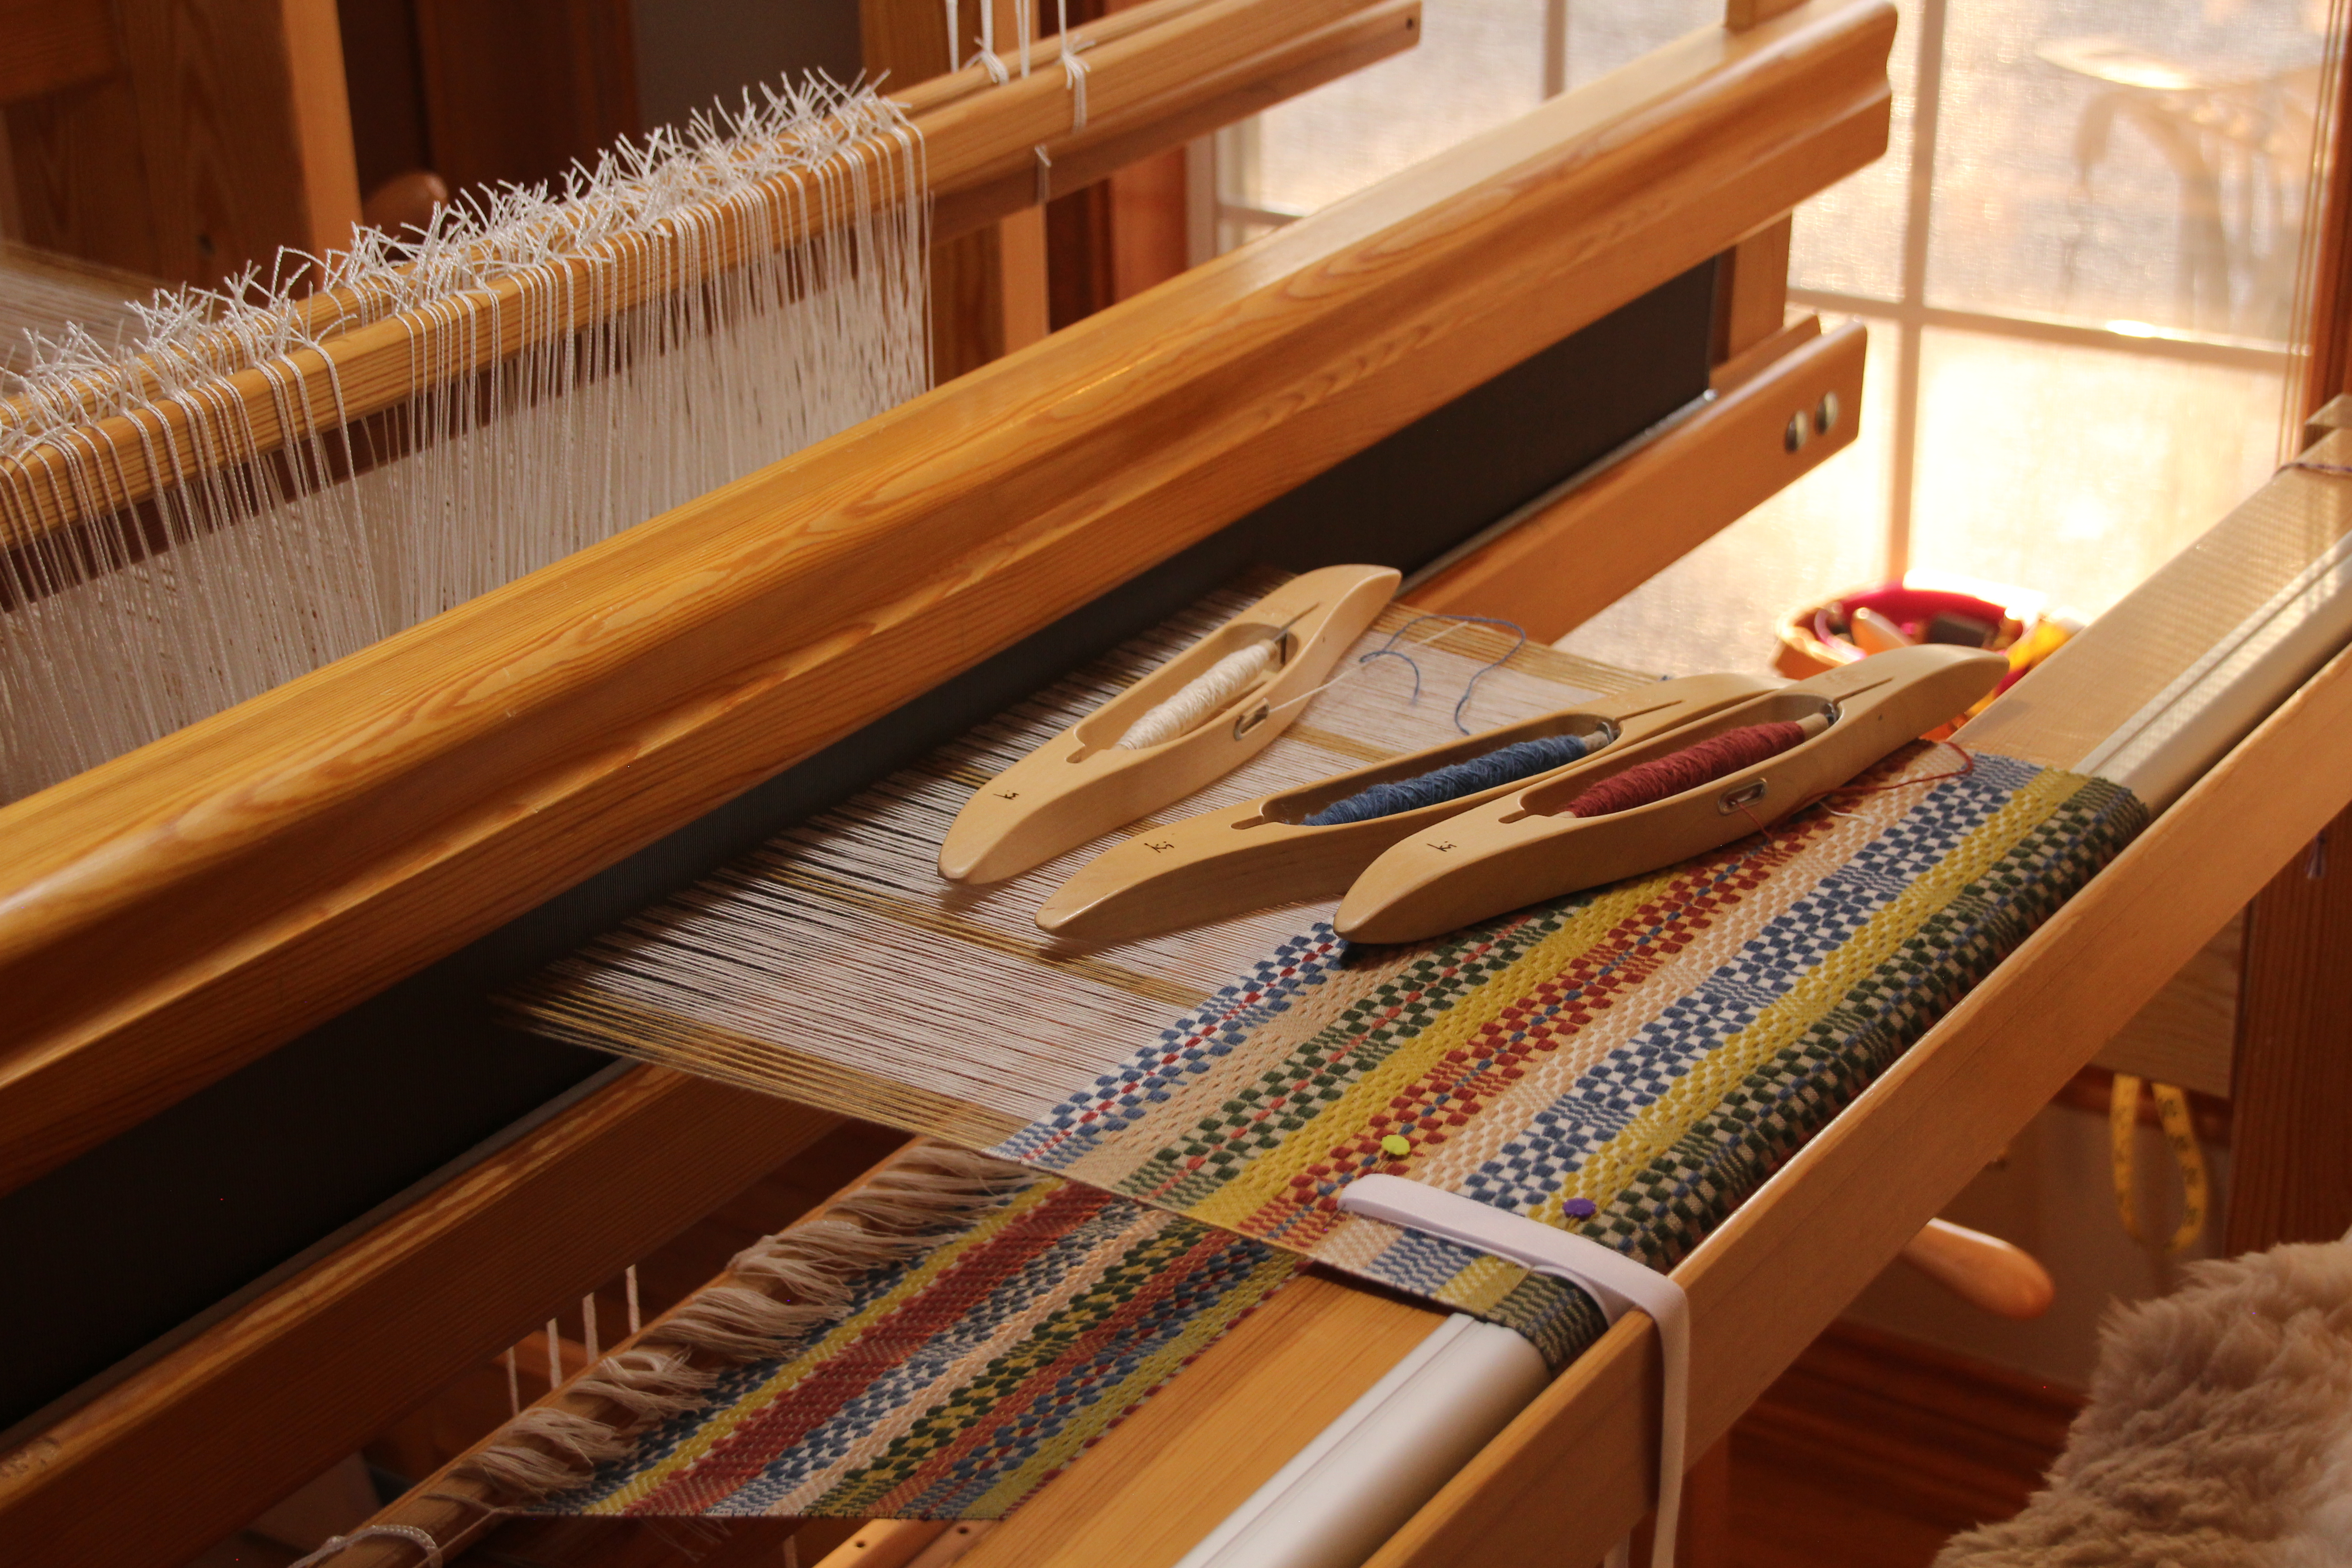
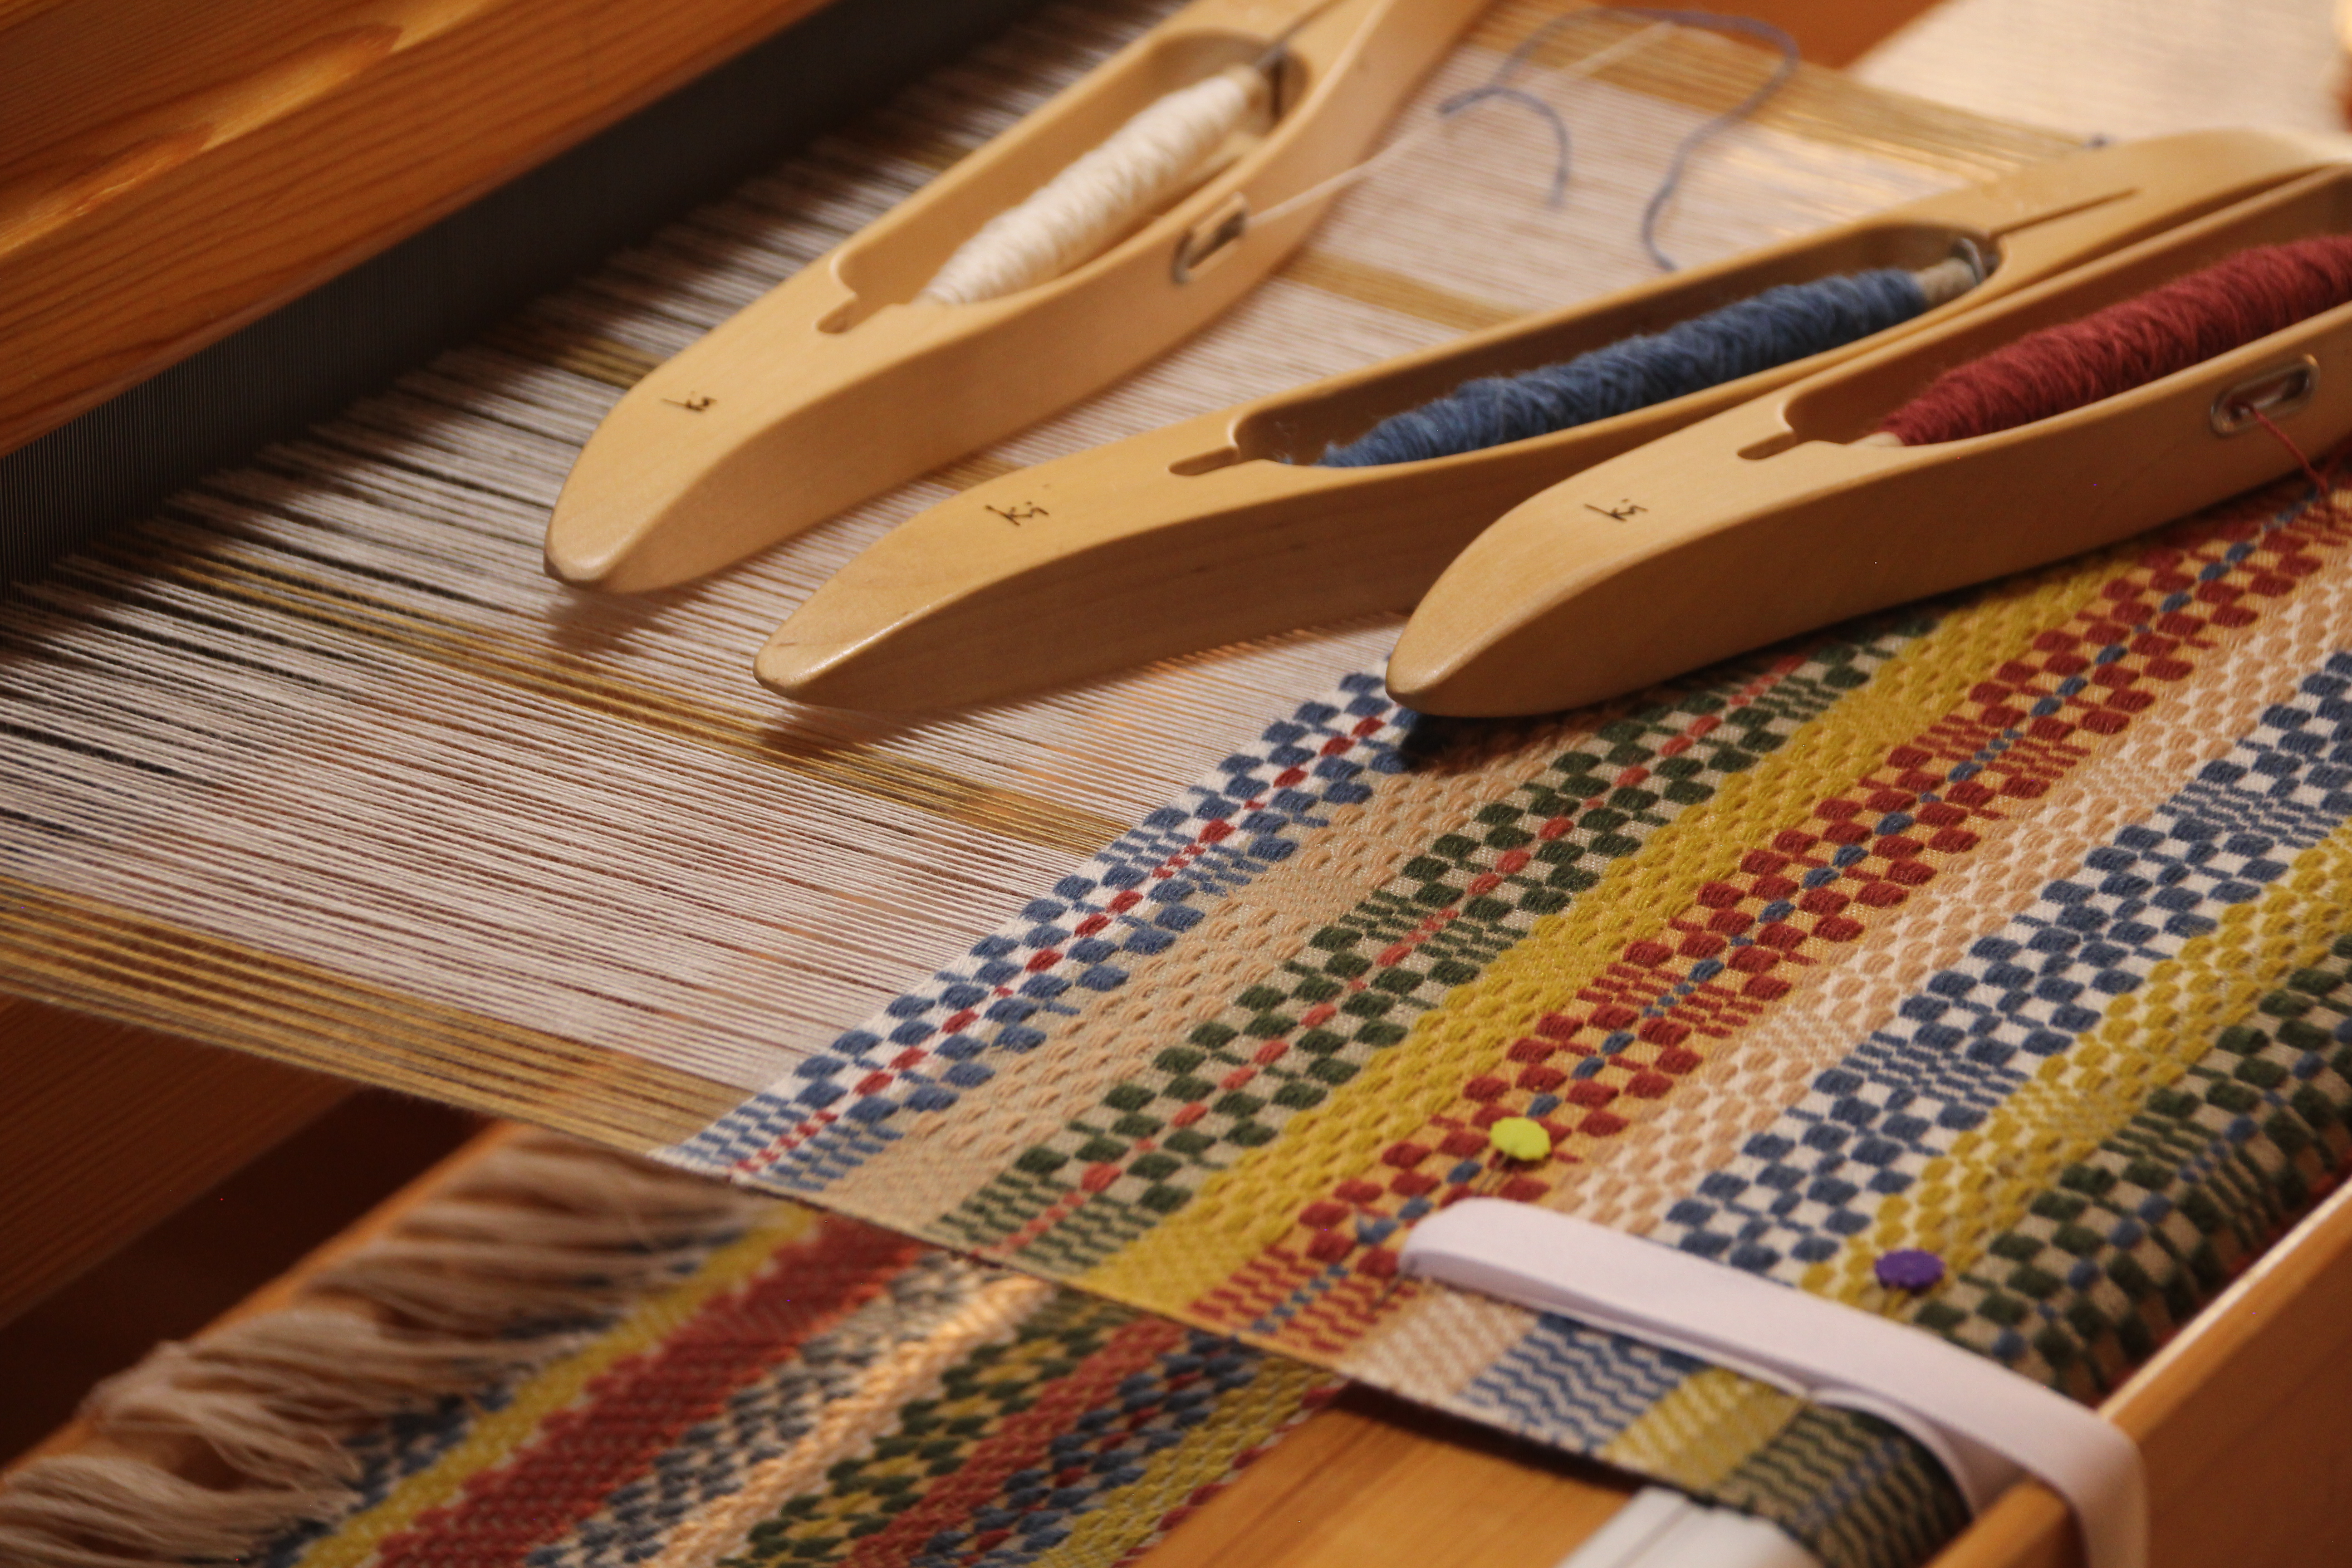
First project is a three-shaft twill, using 2 heddles. Warp is 22/2 cottolin. I am trying an assortment of linen, cotton, and cottolin wefts, with single threads and doubled threads. Everyone wants to know what I am making… Answer – Nothing in particular, I’m just weaving for fun.

As with any loom assembly, Steve and I first lay out all the parts and pieces, putting like things and sizes together. We then mark off the supply list in the instructions to make sure no parts are missing. That prep work simplifies the whole assembly process. The written instructions that come with the loom are sparse, but I found this online video that shows clear assembly steps for the Siru: Siru Assembly

I am impressed with the Siru for its sturdy construction, ease of folding, and smoothly operating ratchets. I will write more on two-heddle weaving on the rigid heddle loom in the future, as I gain experience…

And here is our one-minute version of assembling and weaving on the Glimåkra Siru Rigid Heddle Loom:

May you put your parts and pieces in order.

Happy Travel Weaving,
Karen

Tapestry that Tries to Copy

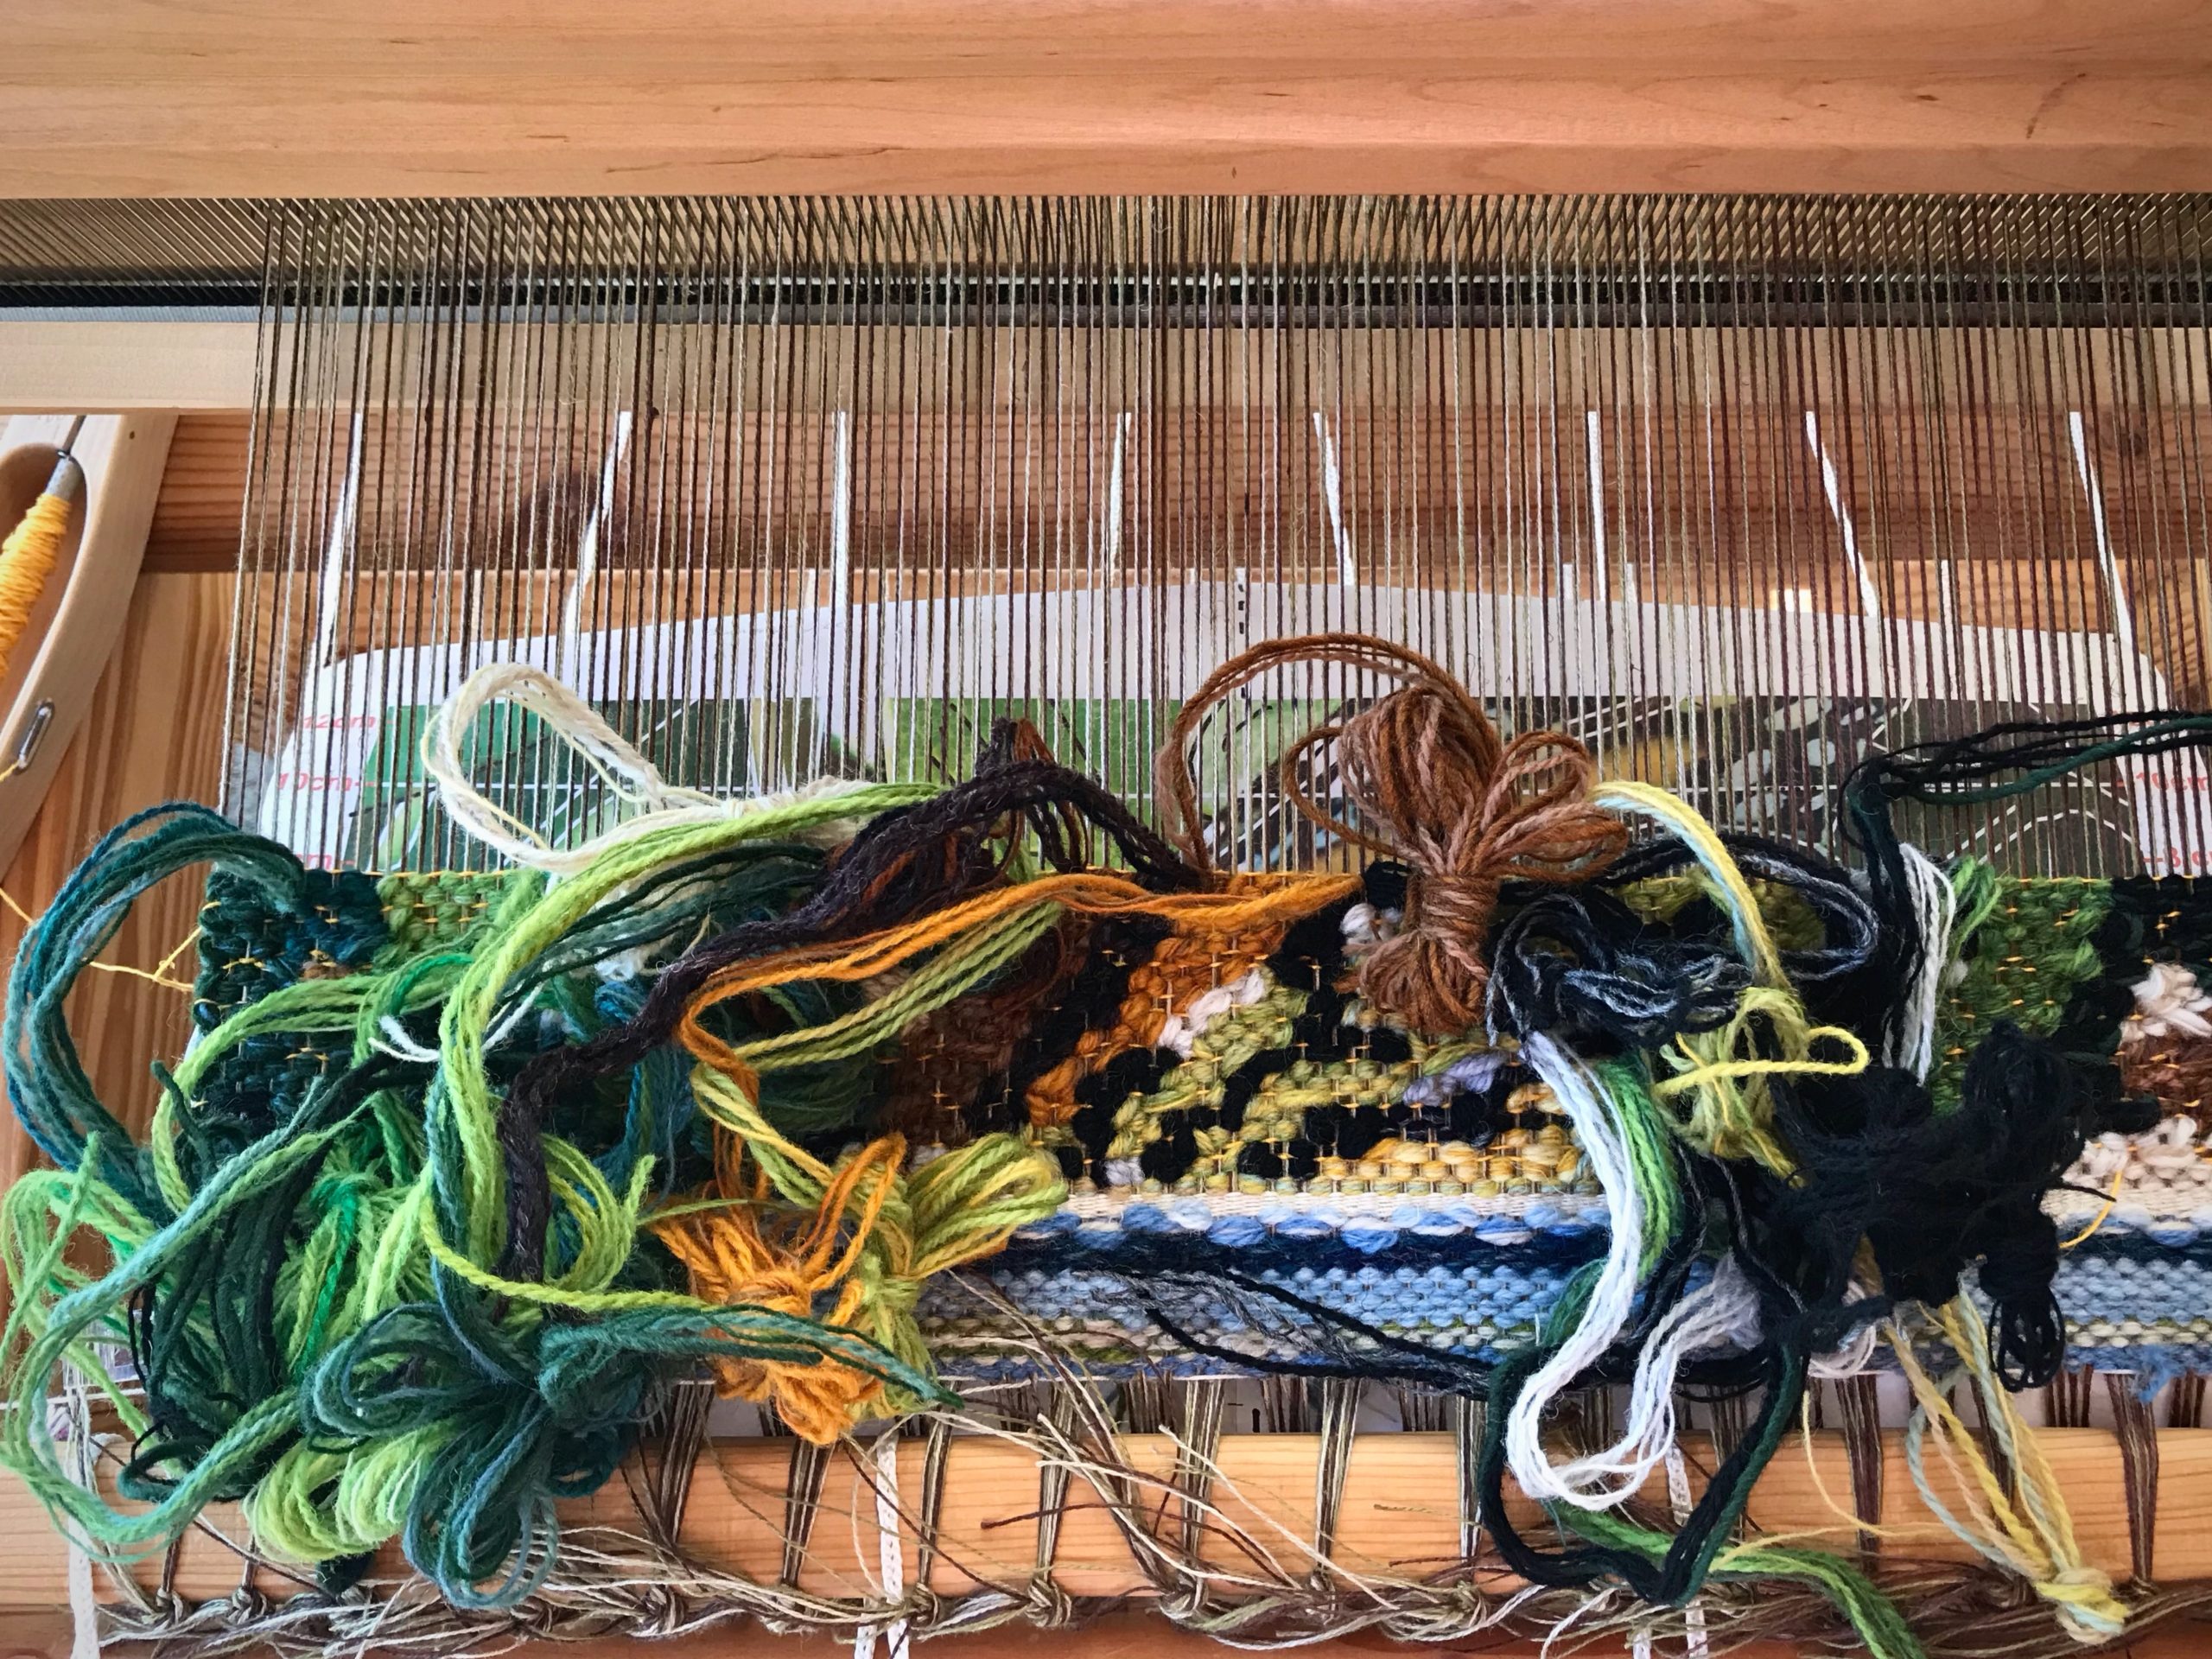
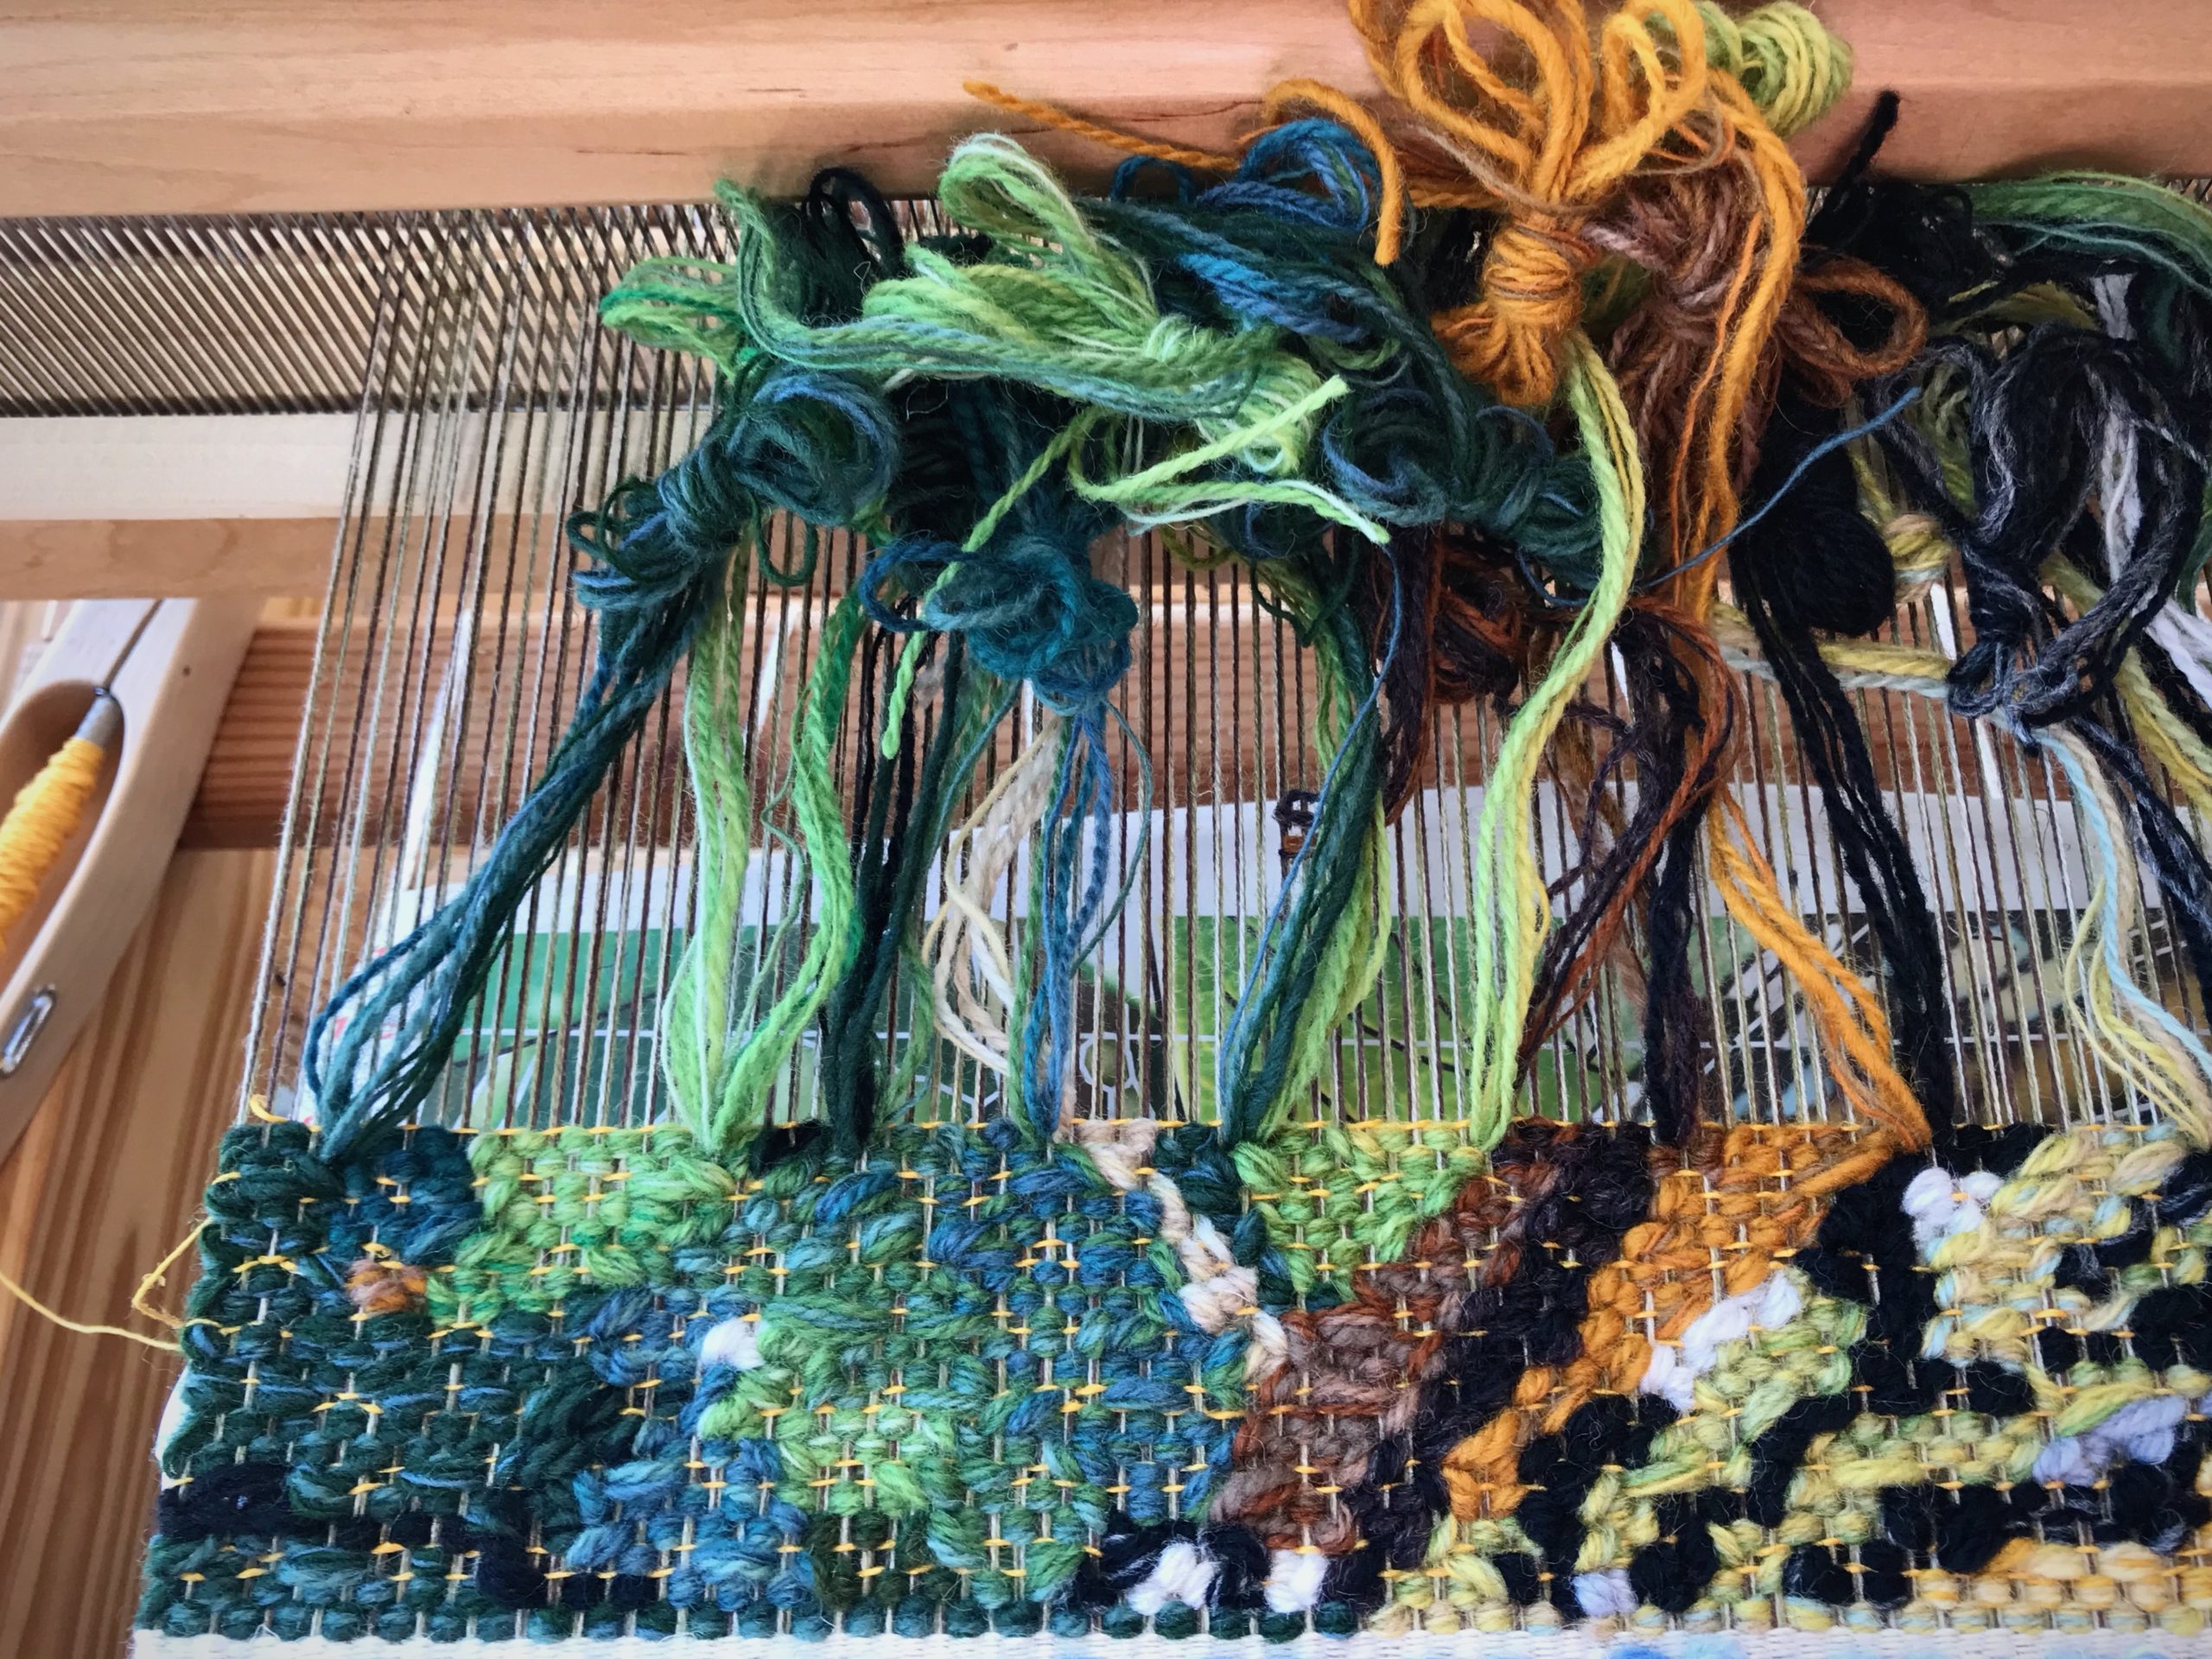
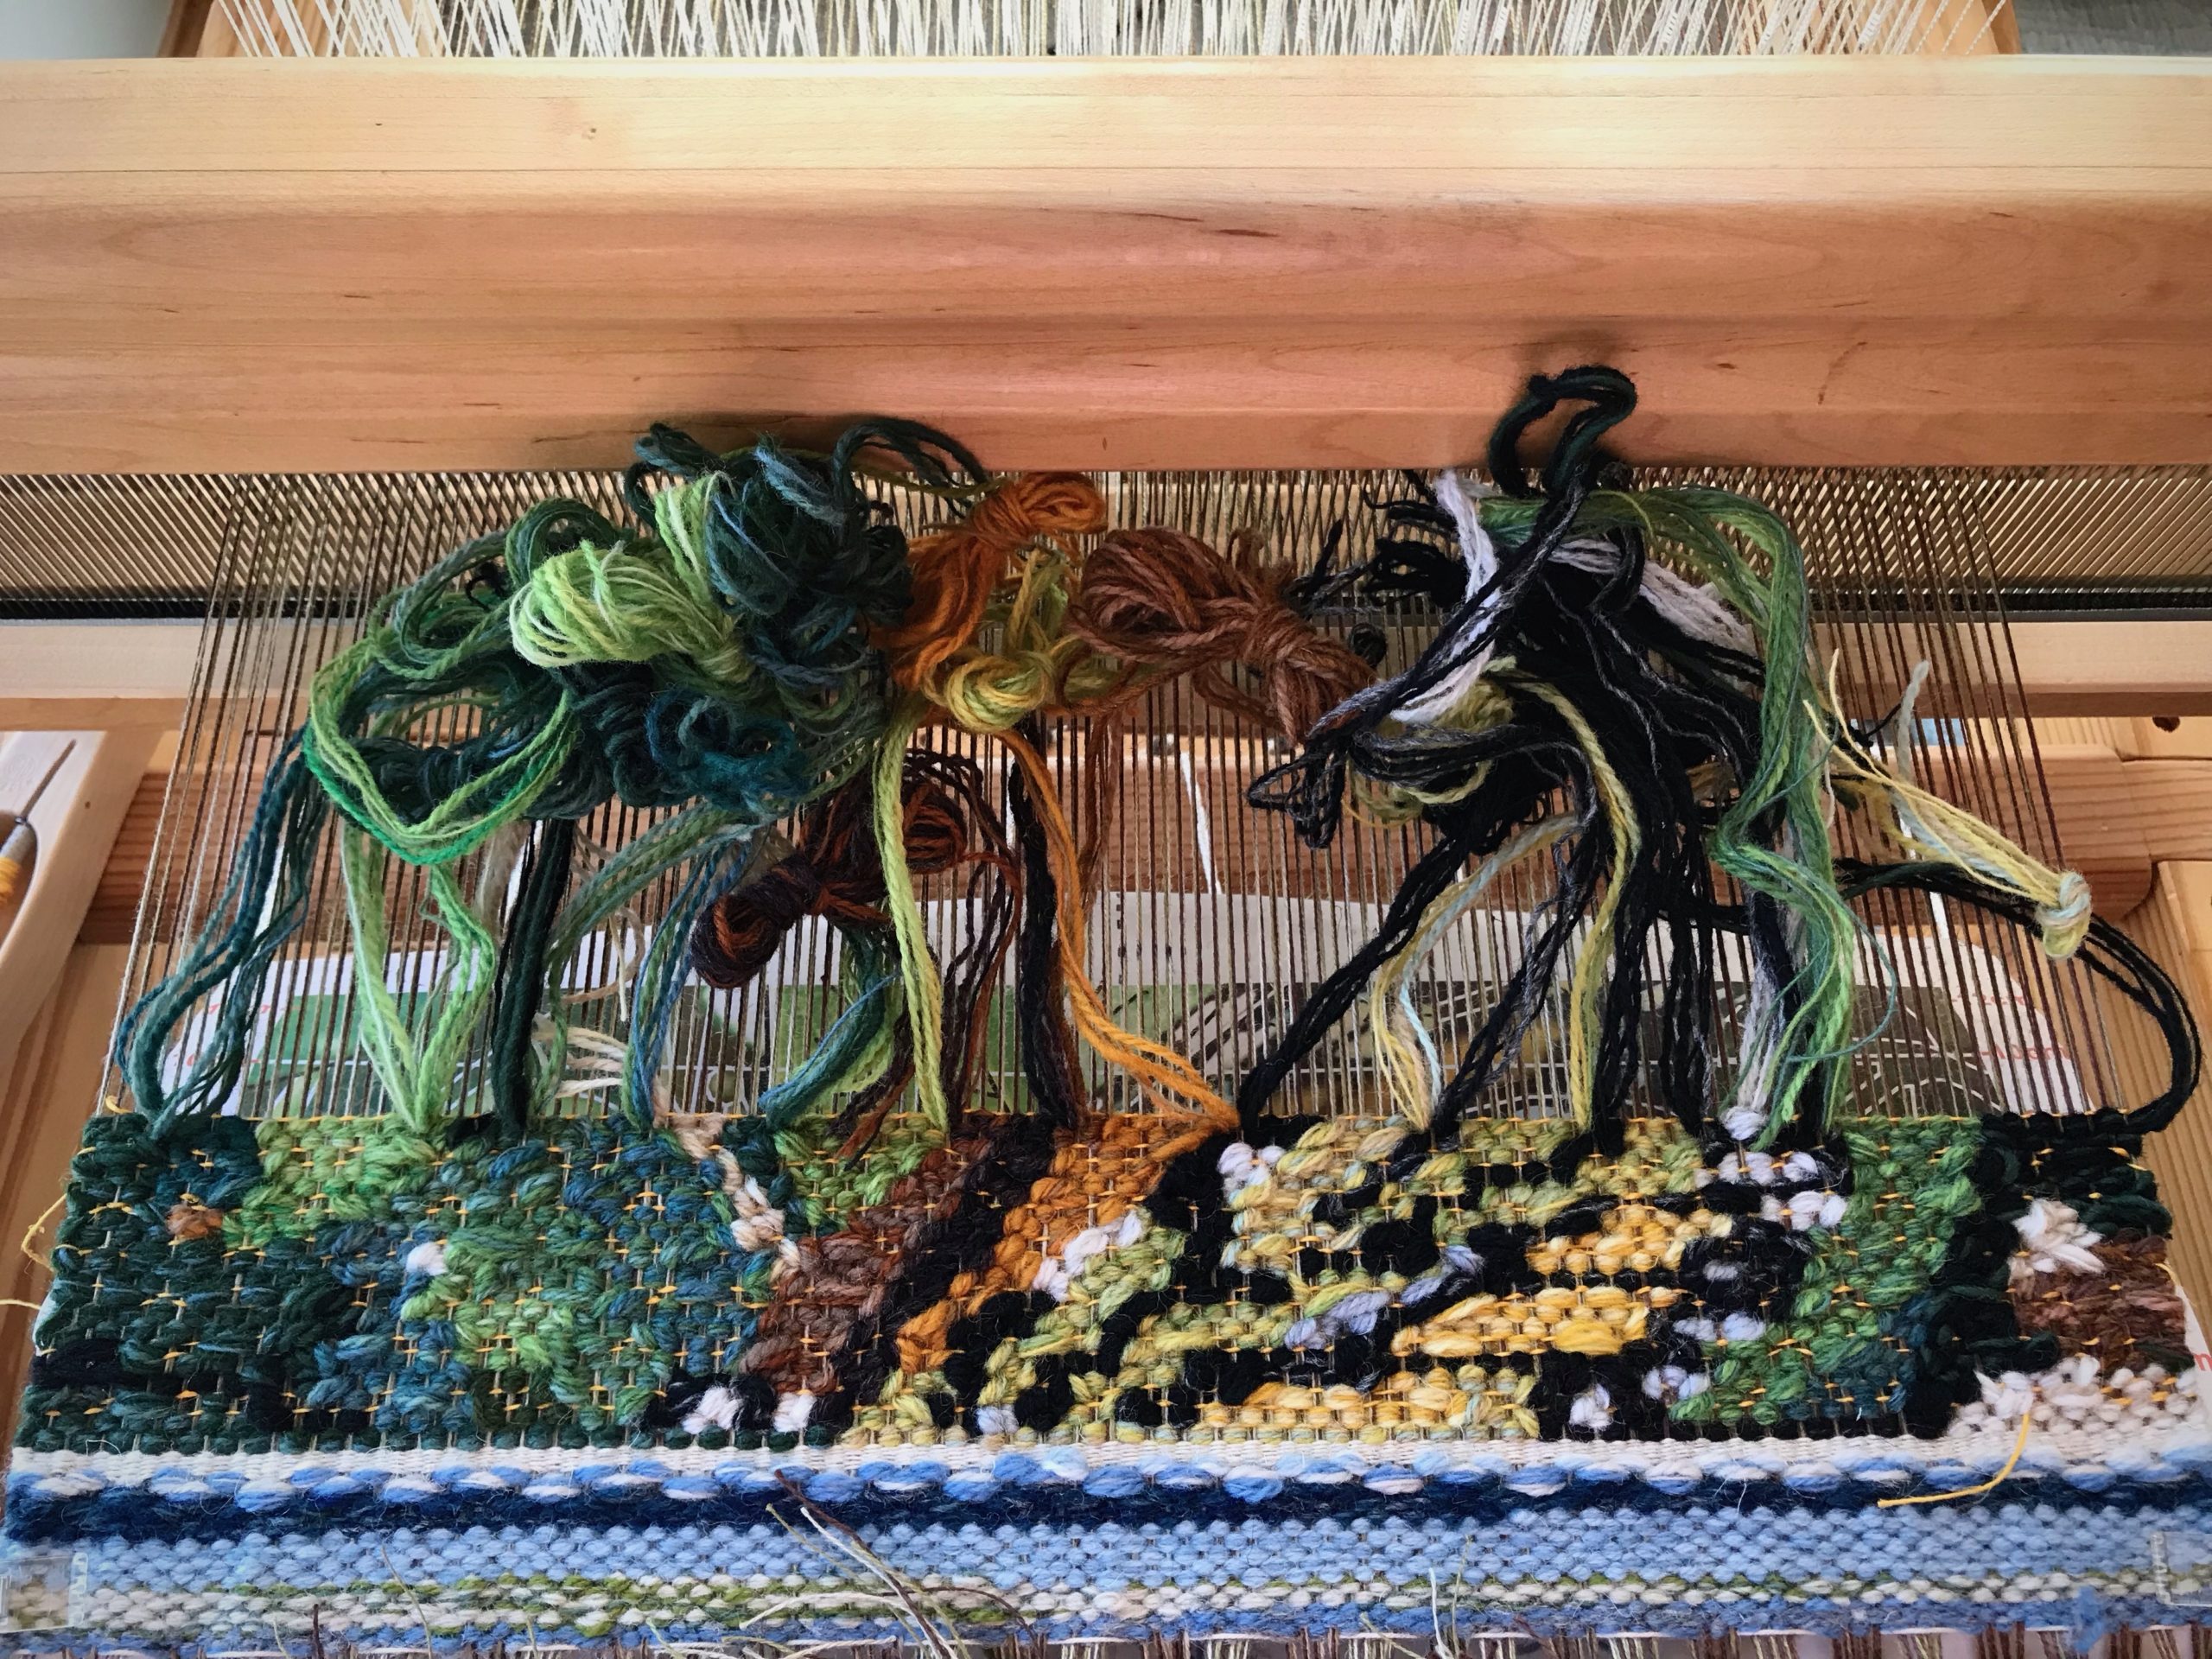
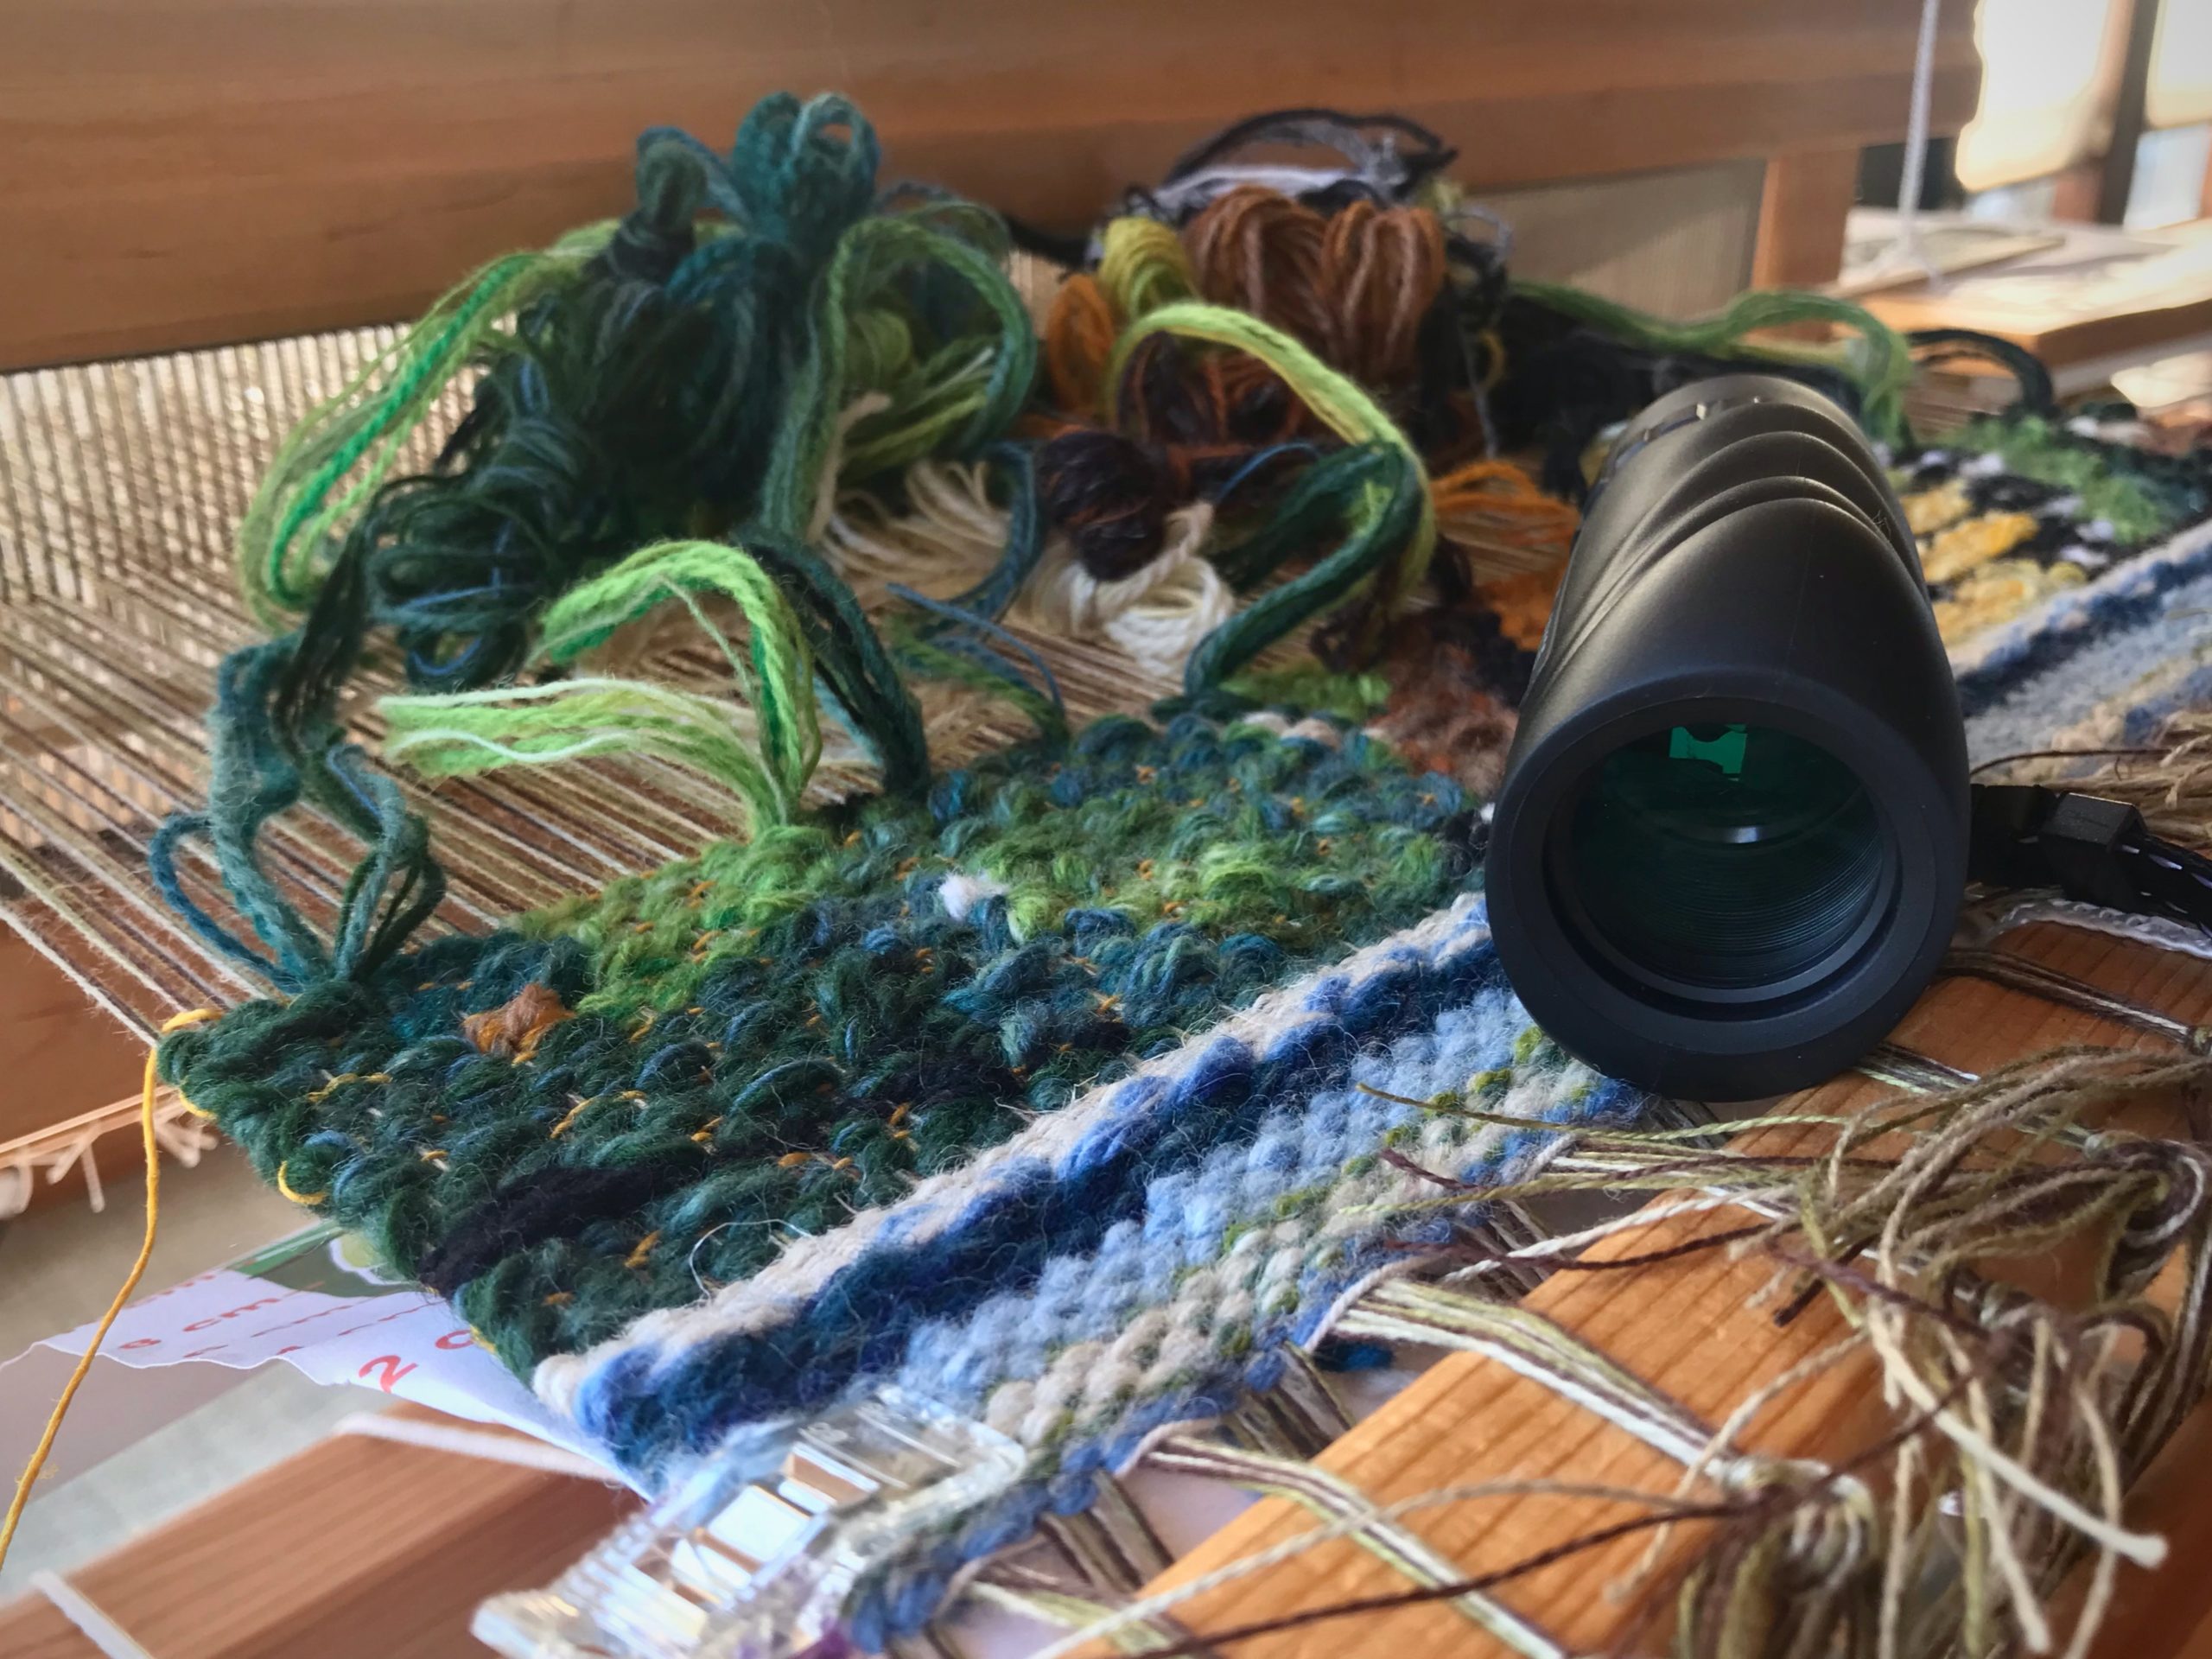
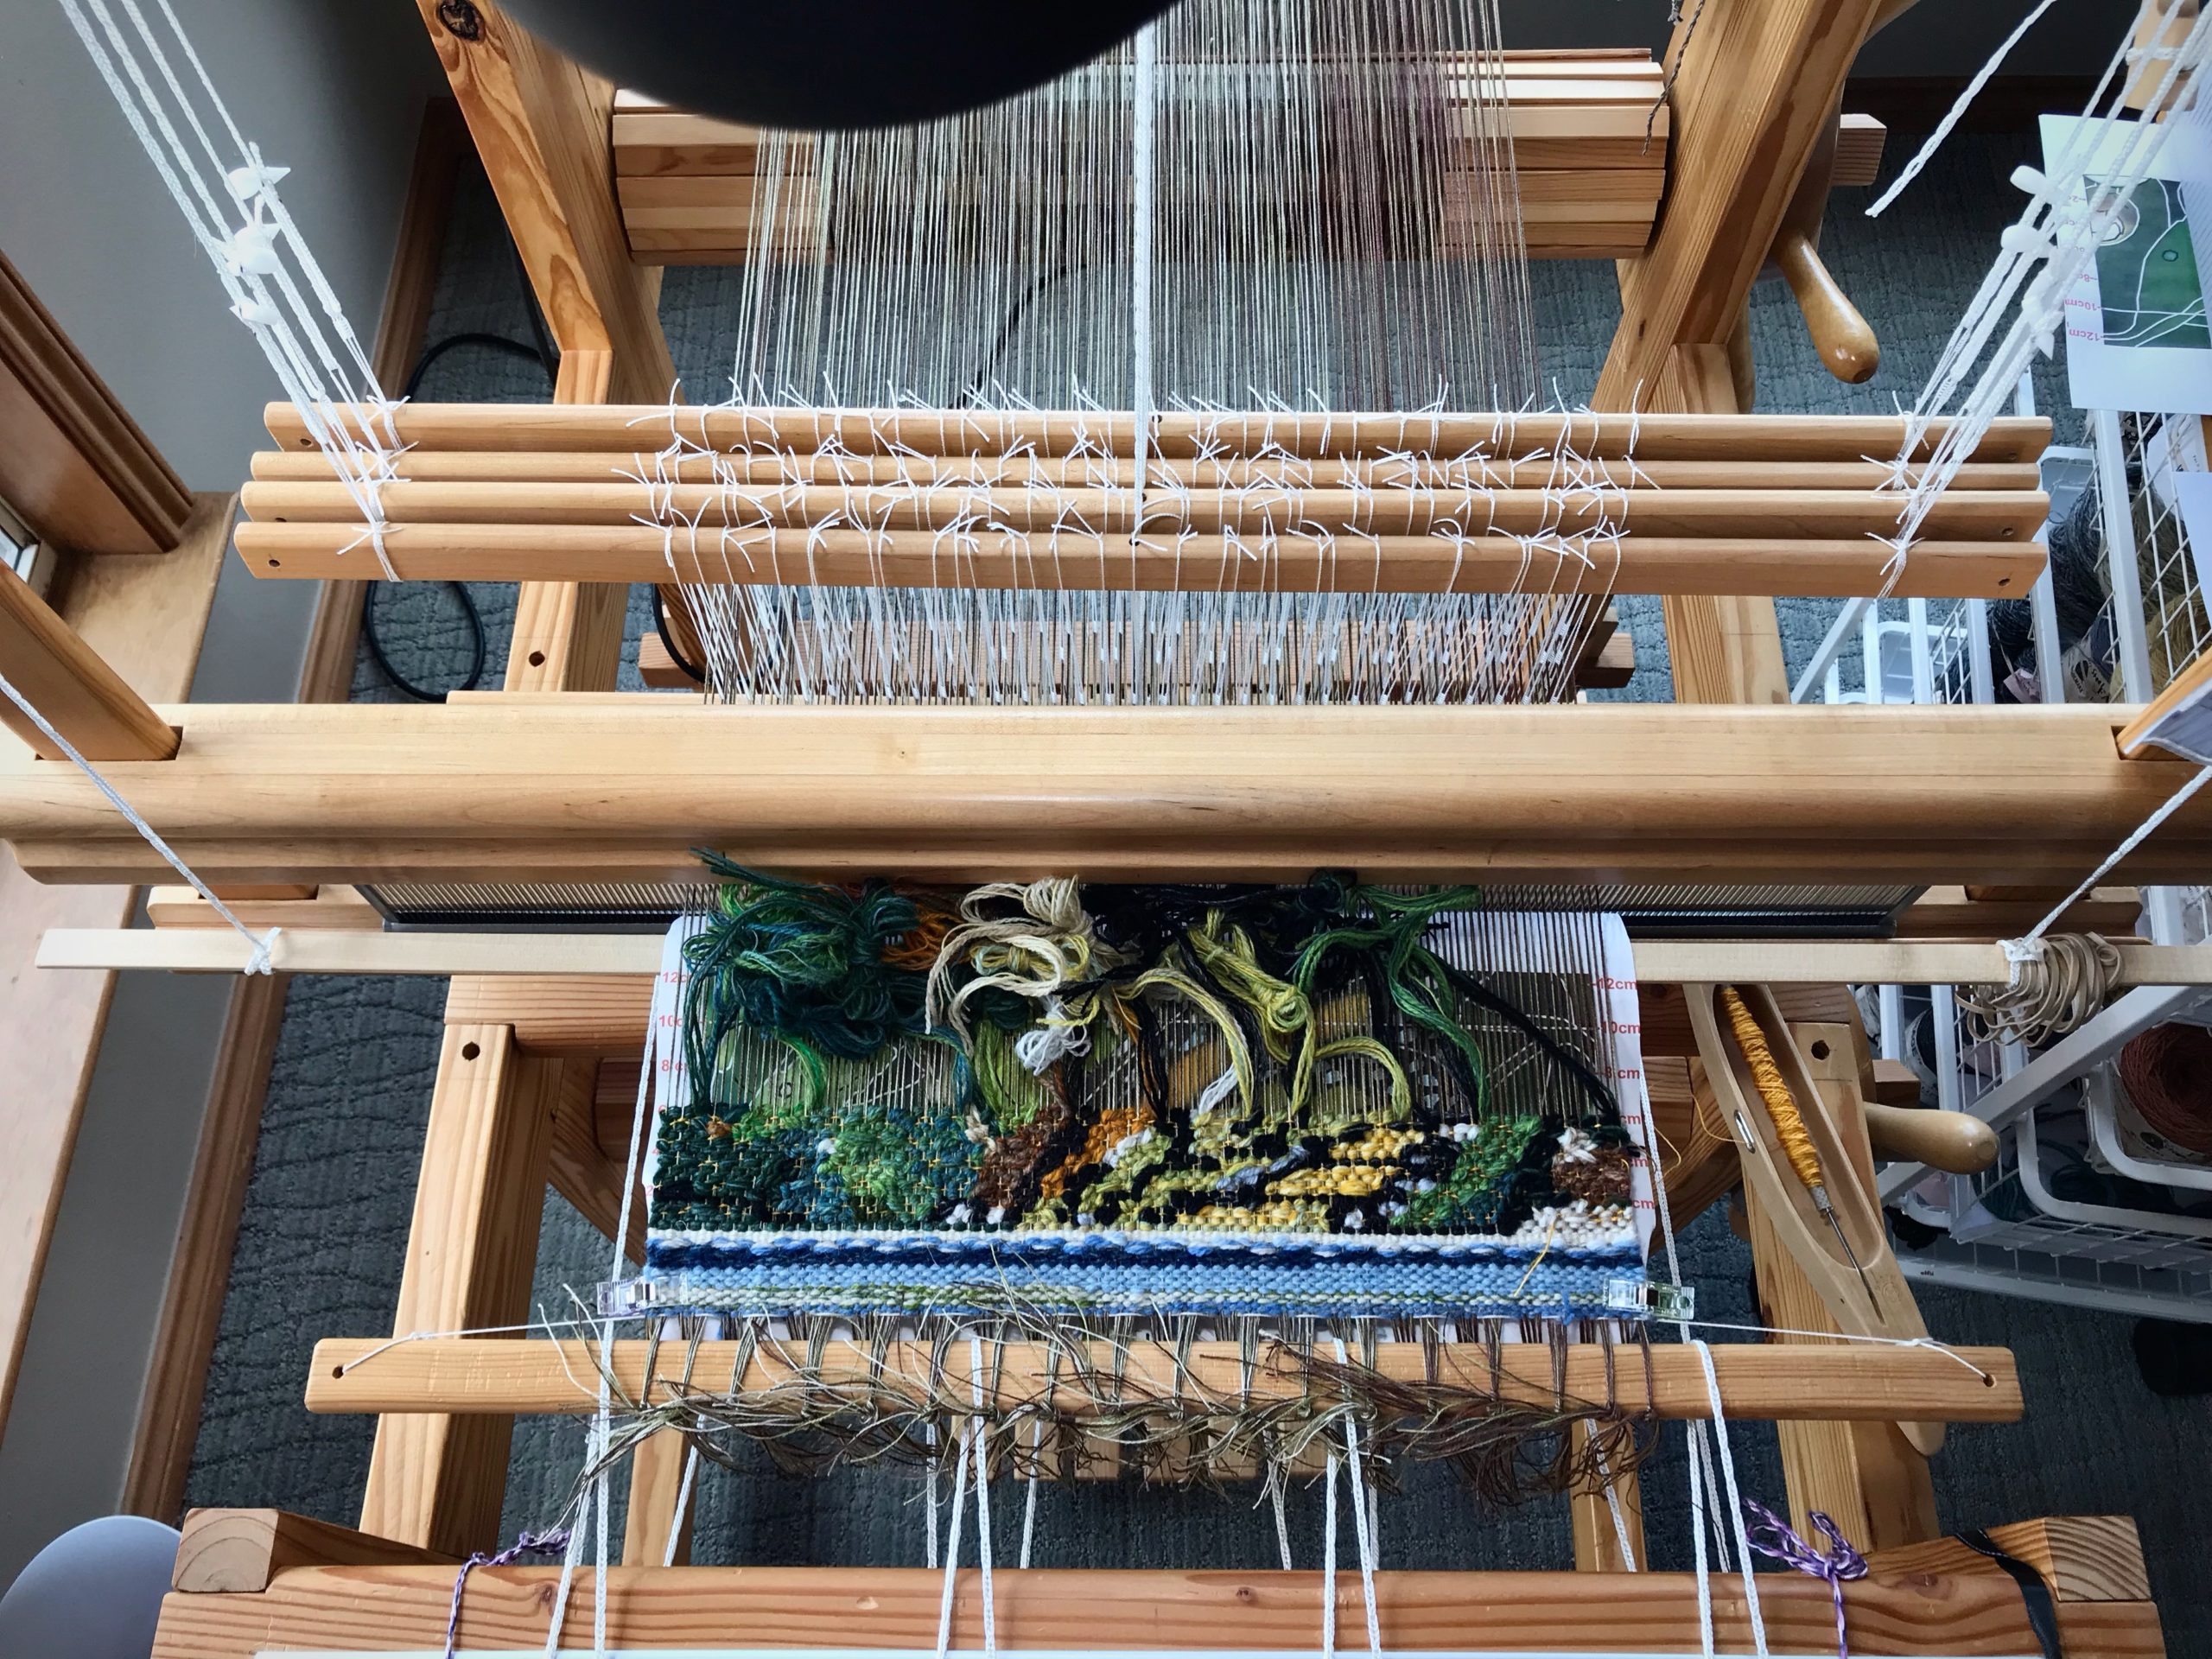
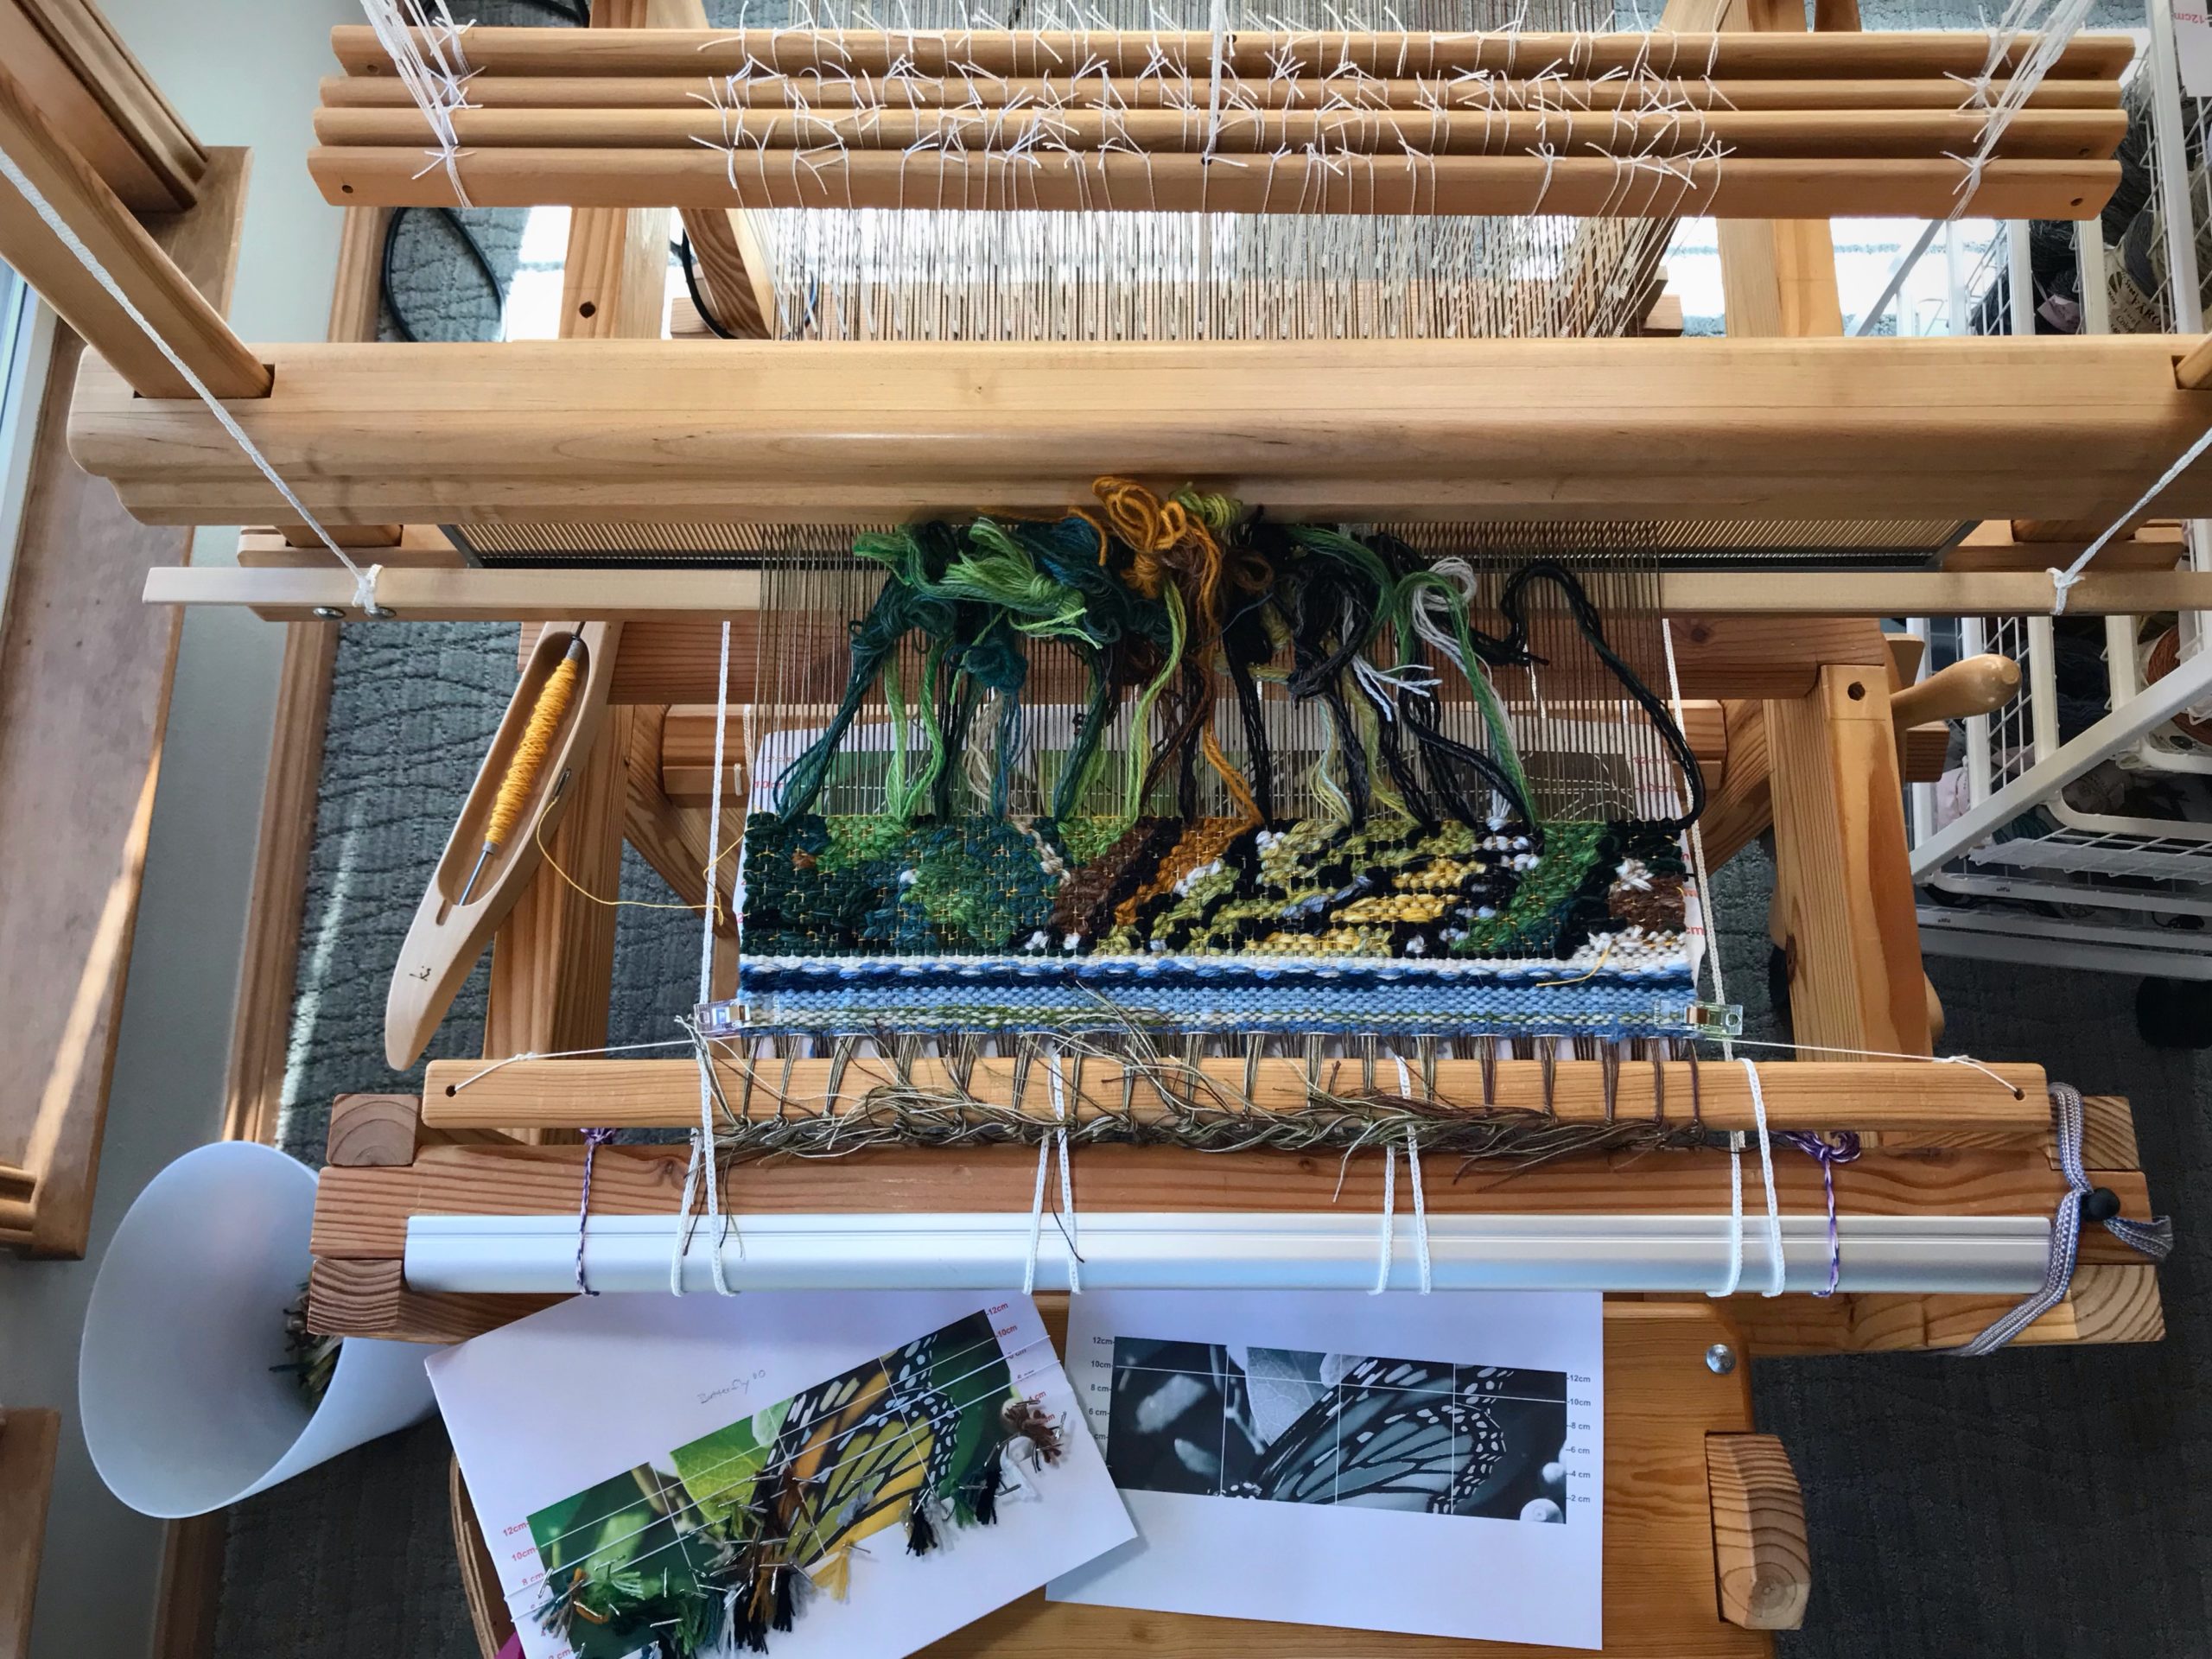
The jumble of yarn looks like a random play of colors. But if you look a little closer, and push the yarn butterflies out of the way, you can tell that the color choices are deliberate. You see only a hint of the image, though, until you look through the back end of the monocular, or step up on the step stool to have a look from up above the weaving. That’s when you get an overview of what’s on the loom.

New tapestry project.
Yarn butterflies each have a mix of wool, mostly 6/2 Tuna and 6/1 Fårö yarn.
Weaving a new tapestry on the floor loom.
The mix of colors in each yarn butterfly is a deliberate selection for the specific hues, values, and intensities I want to portray.
Tapestry of a butterfly wing.
View from my seat on the loom bench.

This warp is a study project. I want to test some tapestry techniques to help me develop my style. I made the cartoon by cropping and enlarging a photograph I took years ago. The butterfly had just emerged from its chrysalis! The subject for my study: the butterfly’s intricate wing.

Tapestry on the floor loom, and how to view it.
Peering through the *wrong* end of the monocular gives me a distant view of the tapestry in progress.
Get a view from higher up to get a better perspective on life.
I stand on a stepstool near the loom to get an even broader view of the tapestry from a distance. This perspective shows me how effective my yarn selections are (or are not) for the image I want to create.
Intricate butterfly wing - subject for tapestry study.
Cartoon in a reduced size helps me see the color distinctions. Photo in black and white helps me see value contrasts.

Who designed the butterfly wing? A stained-glass artist may conceive it. A tapestry weaver may copy it. A silk dyer may imagine it. But only our Creator could bring it to life. God makes himself known. Push the obstacles out of the way. Look for design. Gain a higher perspective. With each woven row, the image becomes more and more clear. When the butterfly wing begins to flutter you know you are witnessing something from the mind of God.

May you see what is hidden.

Happy weaving,
Karen

Tried and True: Shuttle Shuffle

Some of the monksbelt flowers have a different color for the three center picks. The new color is only temporary, so I simply carry the first weft color up the side for that short distance.

How to shuffle shuttles.
Monksbelt with six colors of 6/1 Fårö pattern weft and three colors of 16/2 cotton ground weft.

More than one shuttle doesn’t necessarily mean more difficult. Everything runs a little smoother when there is an efficient exchange of shuttles between your hands.

Monksbelt flower garden.

How to Handle the Exchange of Shuttles

  1. For this example, the temporary weft starts from the left and goes to the right. Weave the first pick of the temporary weft, catching the shuttle with your right hand. (If the first pick of the temporary weft goes from right to left, reverse the right hand/left hand instructions, here and following.)
  2. Transfer the shuttle with the temporary weft (active weft) to your left hand.
  3. With your right hand pick up the shuttle that has the weft that will be carried up the side (inactive weft). Bring the shuttle all the way around the active weft and then lay the shuttle down again.
  4. Transfer the shuttle with active weft back to your right hand and continue weaving.
  5. Follow steps 2 – 4 until the section with temporary weft is finished.
  6. Tuck in the tail of the temporary weft and continue weaving with the weft that has been carried up the side.

Here’s a short demo:

May your shuttle exchanges go smoothly.

Happy Weaving,
Karen

On Drawloom Time

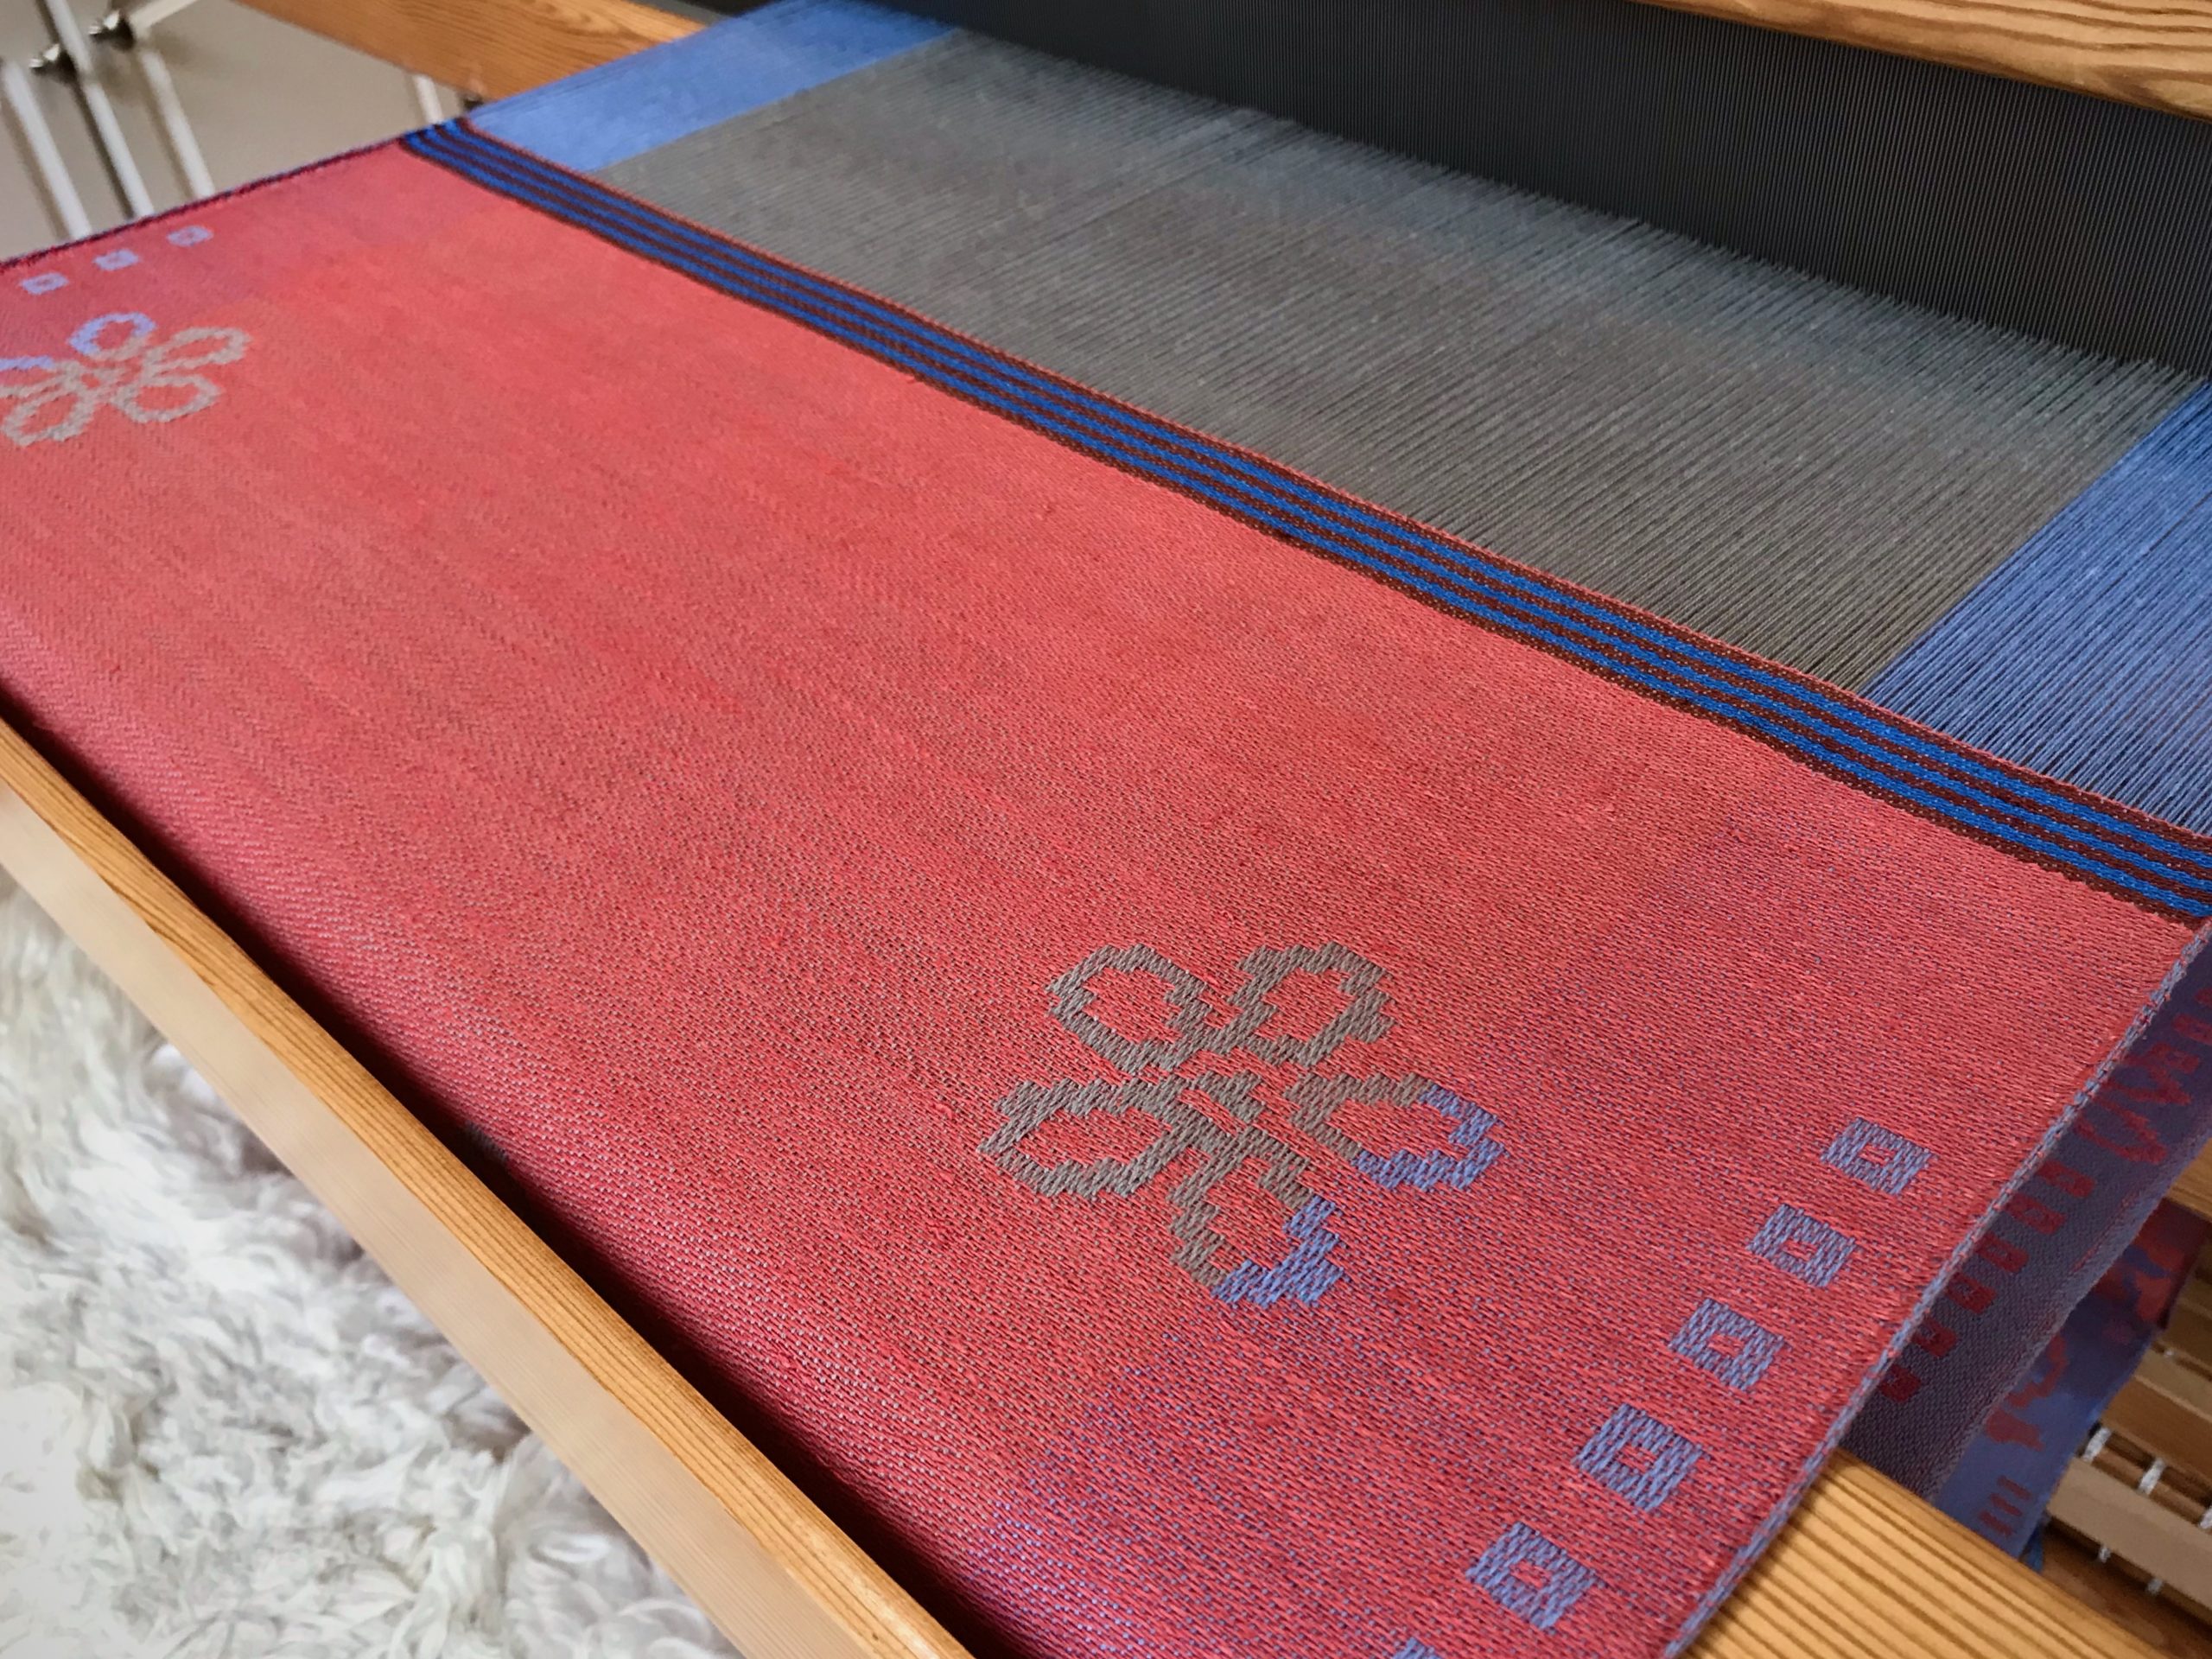
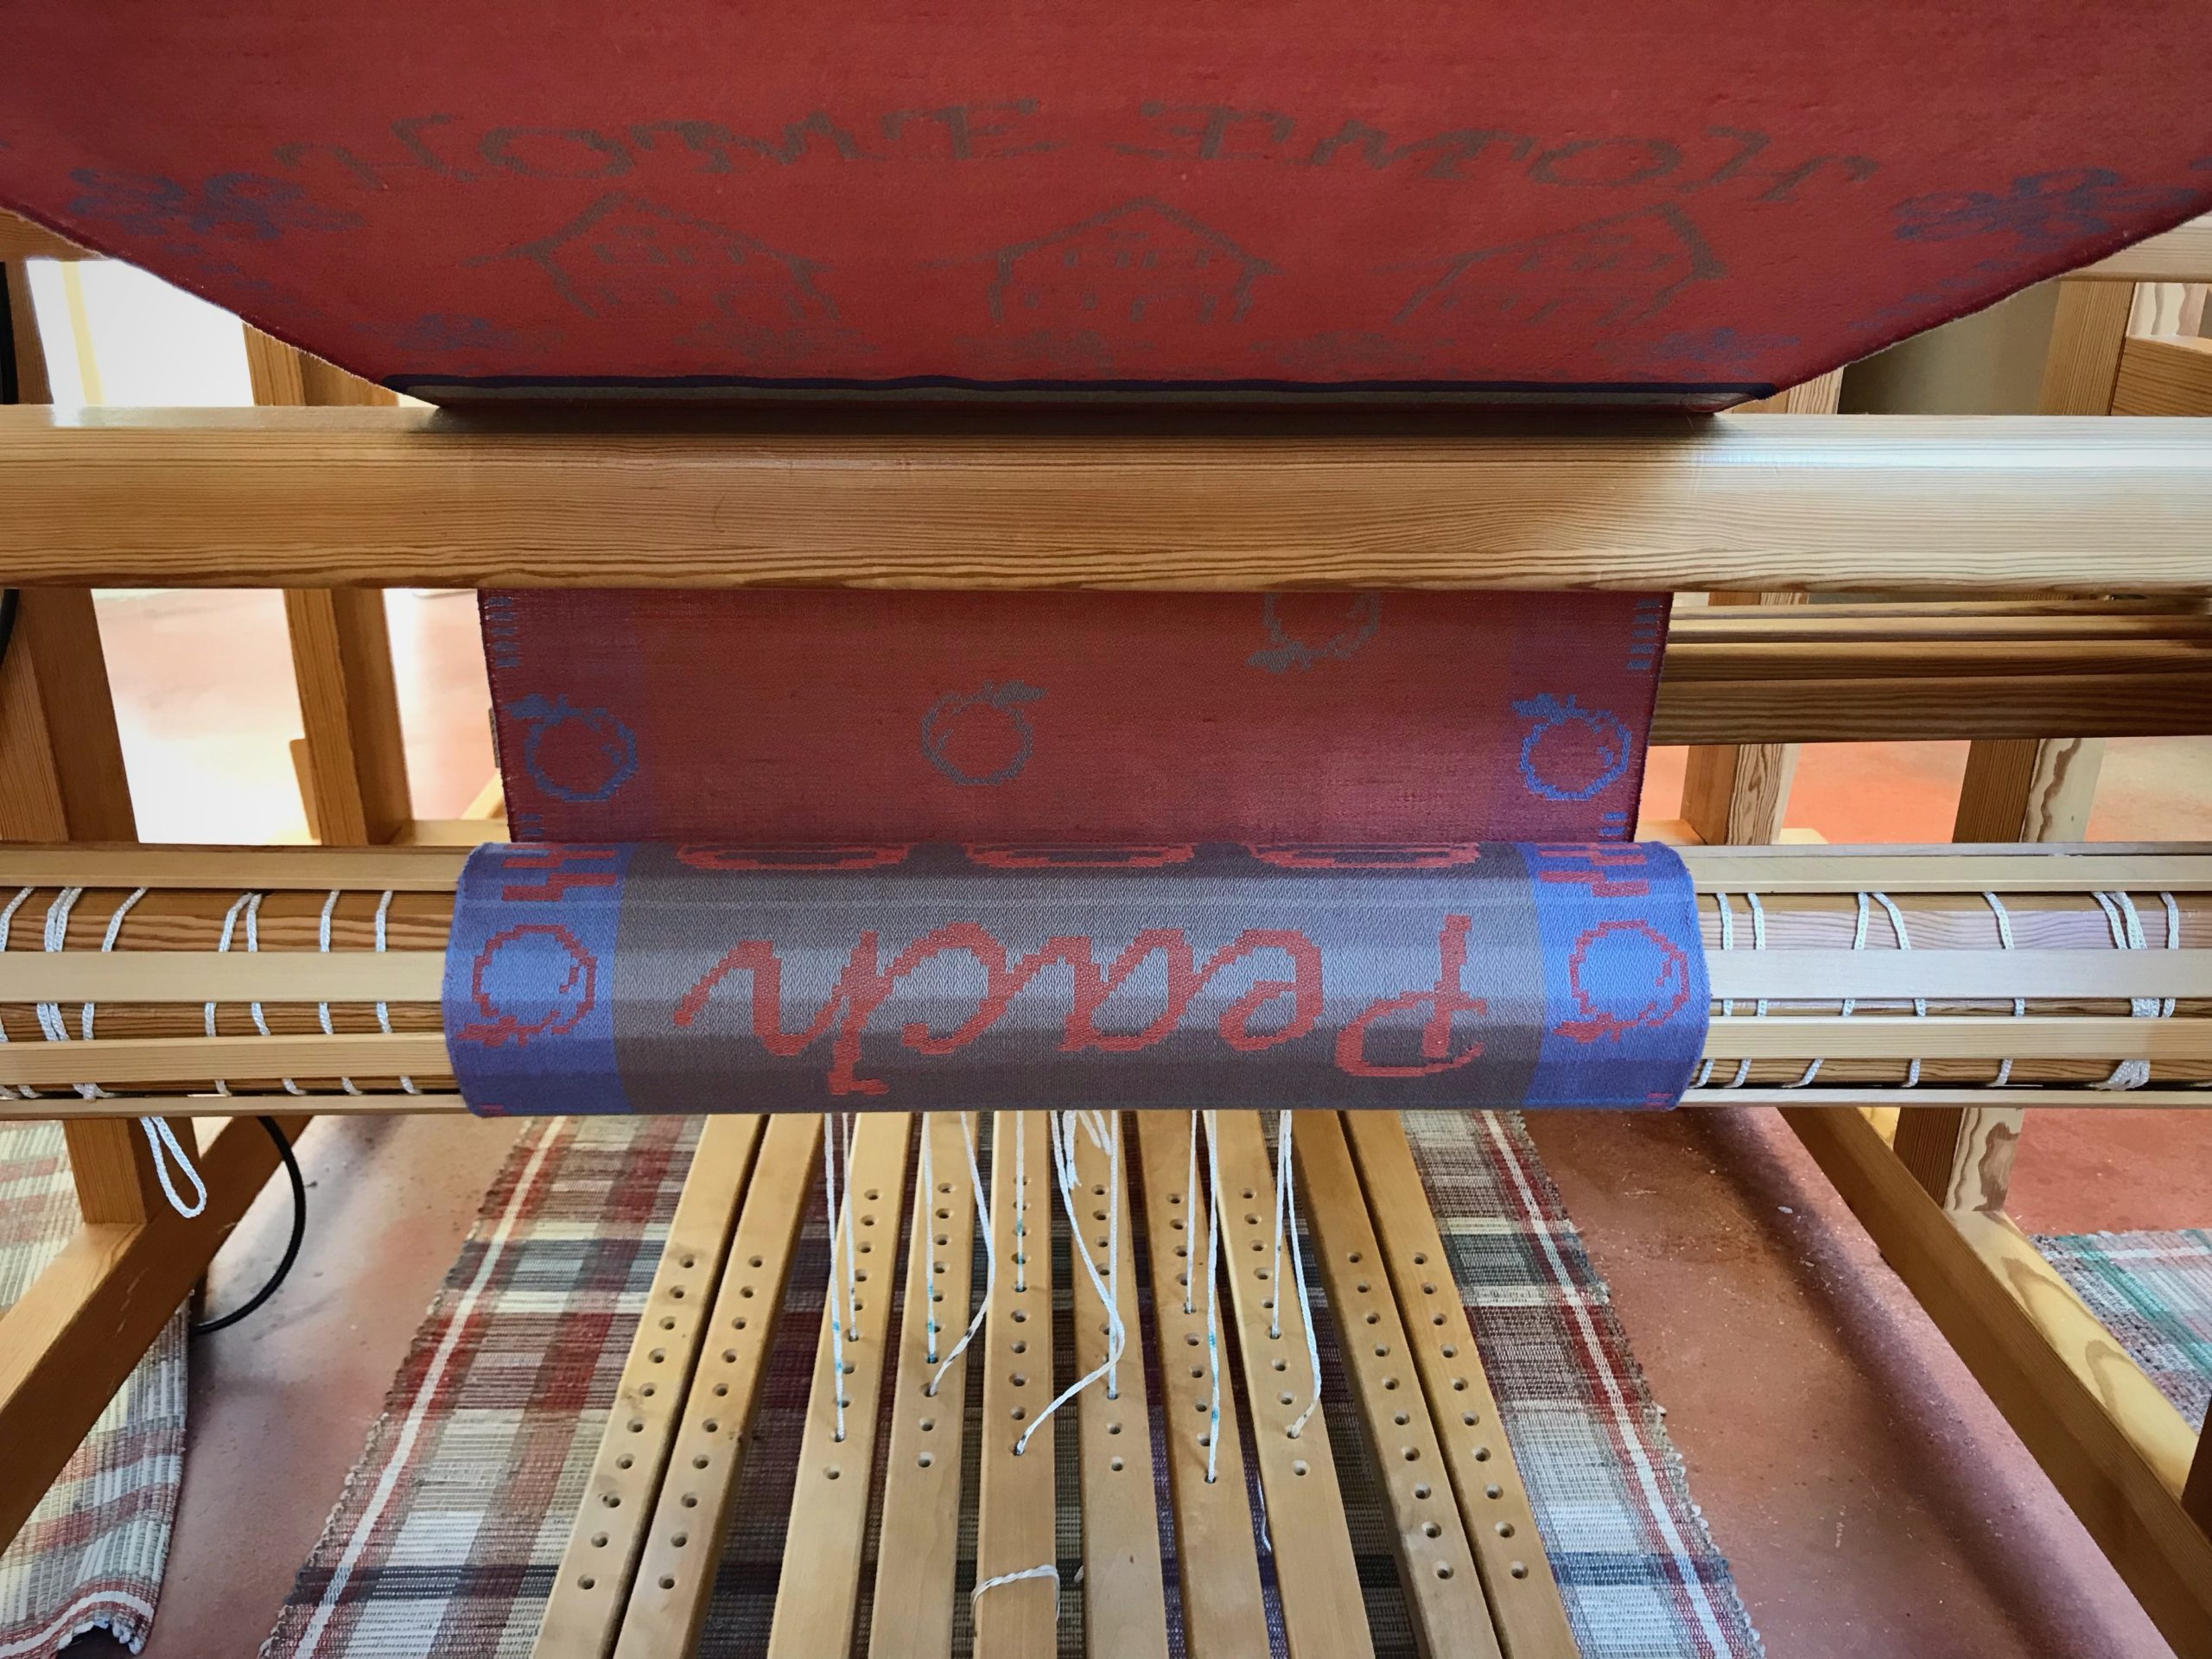
As much as I tried to look under the warp to see it, I could not get a decent view of the reverse side of the fabric. Until now. I am overjoyed to see that this gray and blue warp is even better than I had imagined. As the first towel on the warp rounds the cloth beam I see a silver-like glimmer behind the cursive “Peach,” and shiny blue loveliness at the borders.

Whimsical flowers woven on the drawloom.
Conclusion of Towel Number Two. This is when I can finally look at the cloth beam to clearly see the reverse side of Towel Number One.

Yet, this is but a fleeting glimpse. Oh, drawloom, you make me wait sooo long to see what I have woven. In that waiting, I continue to weave, content with the process. The towels that will result will last a very long time. That makes every minute at the loom time well spent.

Anticipation! Seeing the reverse side of what's woven on the drawloom!
First towel wraps around the cloth beam, revealing the silver and blue side that was underneath while weaving.

We work and work for things that are temporary. Even the most spectacular drawloom-woven towels wear out eventually. God has placed eternity in our hearts. We know there’s more to life that these fleeting days. Eternity gives meaning for today. The full scope of what God is doing is beyond our here-and-now comprehension. But at times, when we are given a glimpse into his wondrous mysteries, we are assured that eternity with him will far surpass our brightest imaginations.

May your days be full of meaning.

Happy Weaving,
Karen

Miss Fit and I

This is the moment Miss Fit and I have been waiting for! We have come to the beginning of the end of the real tiered skirt. Or, maybe I should say it’s the end of the beginning, since weaving is just the beginning of this skirt. My next step is to finish the fabric: find and repair errors, wash, dry, press. And then, on to construction: detail studies, measure, cut, gather, sew seams. And lastly, of course, I will find an occasion to wear the summery subtly-patterned huckaback skirt, even if summer has already slipped into hiding until next year.

New 24/2 cotton warp.
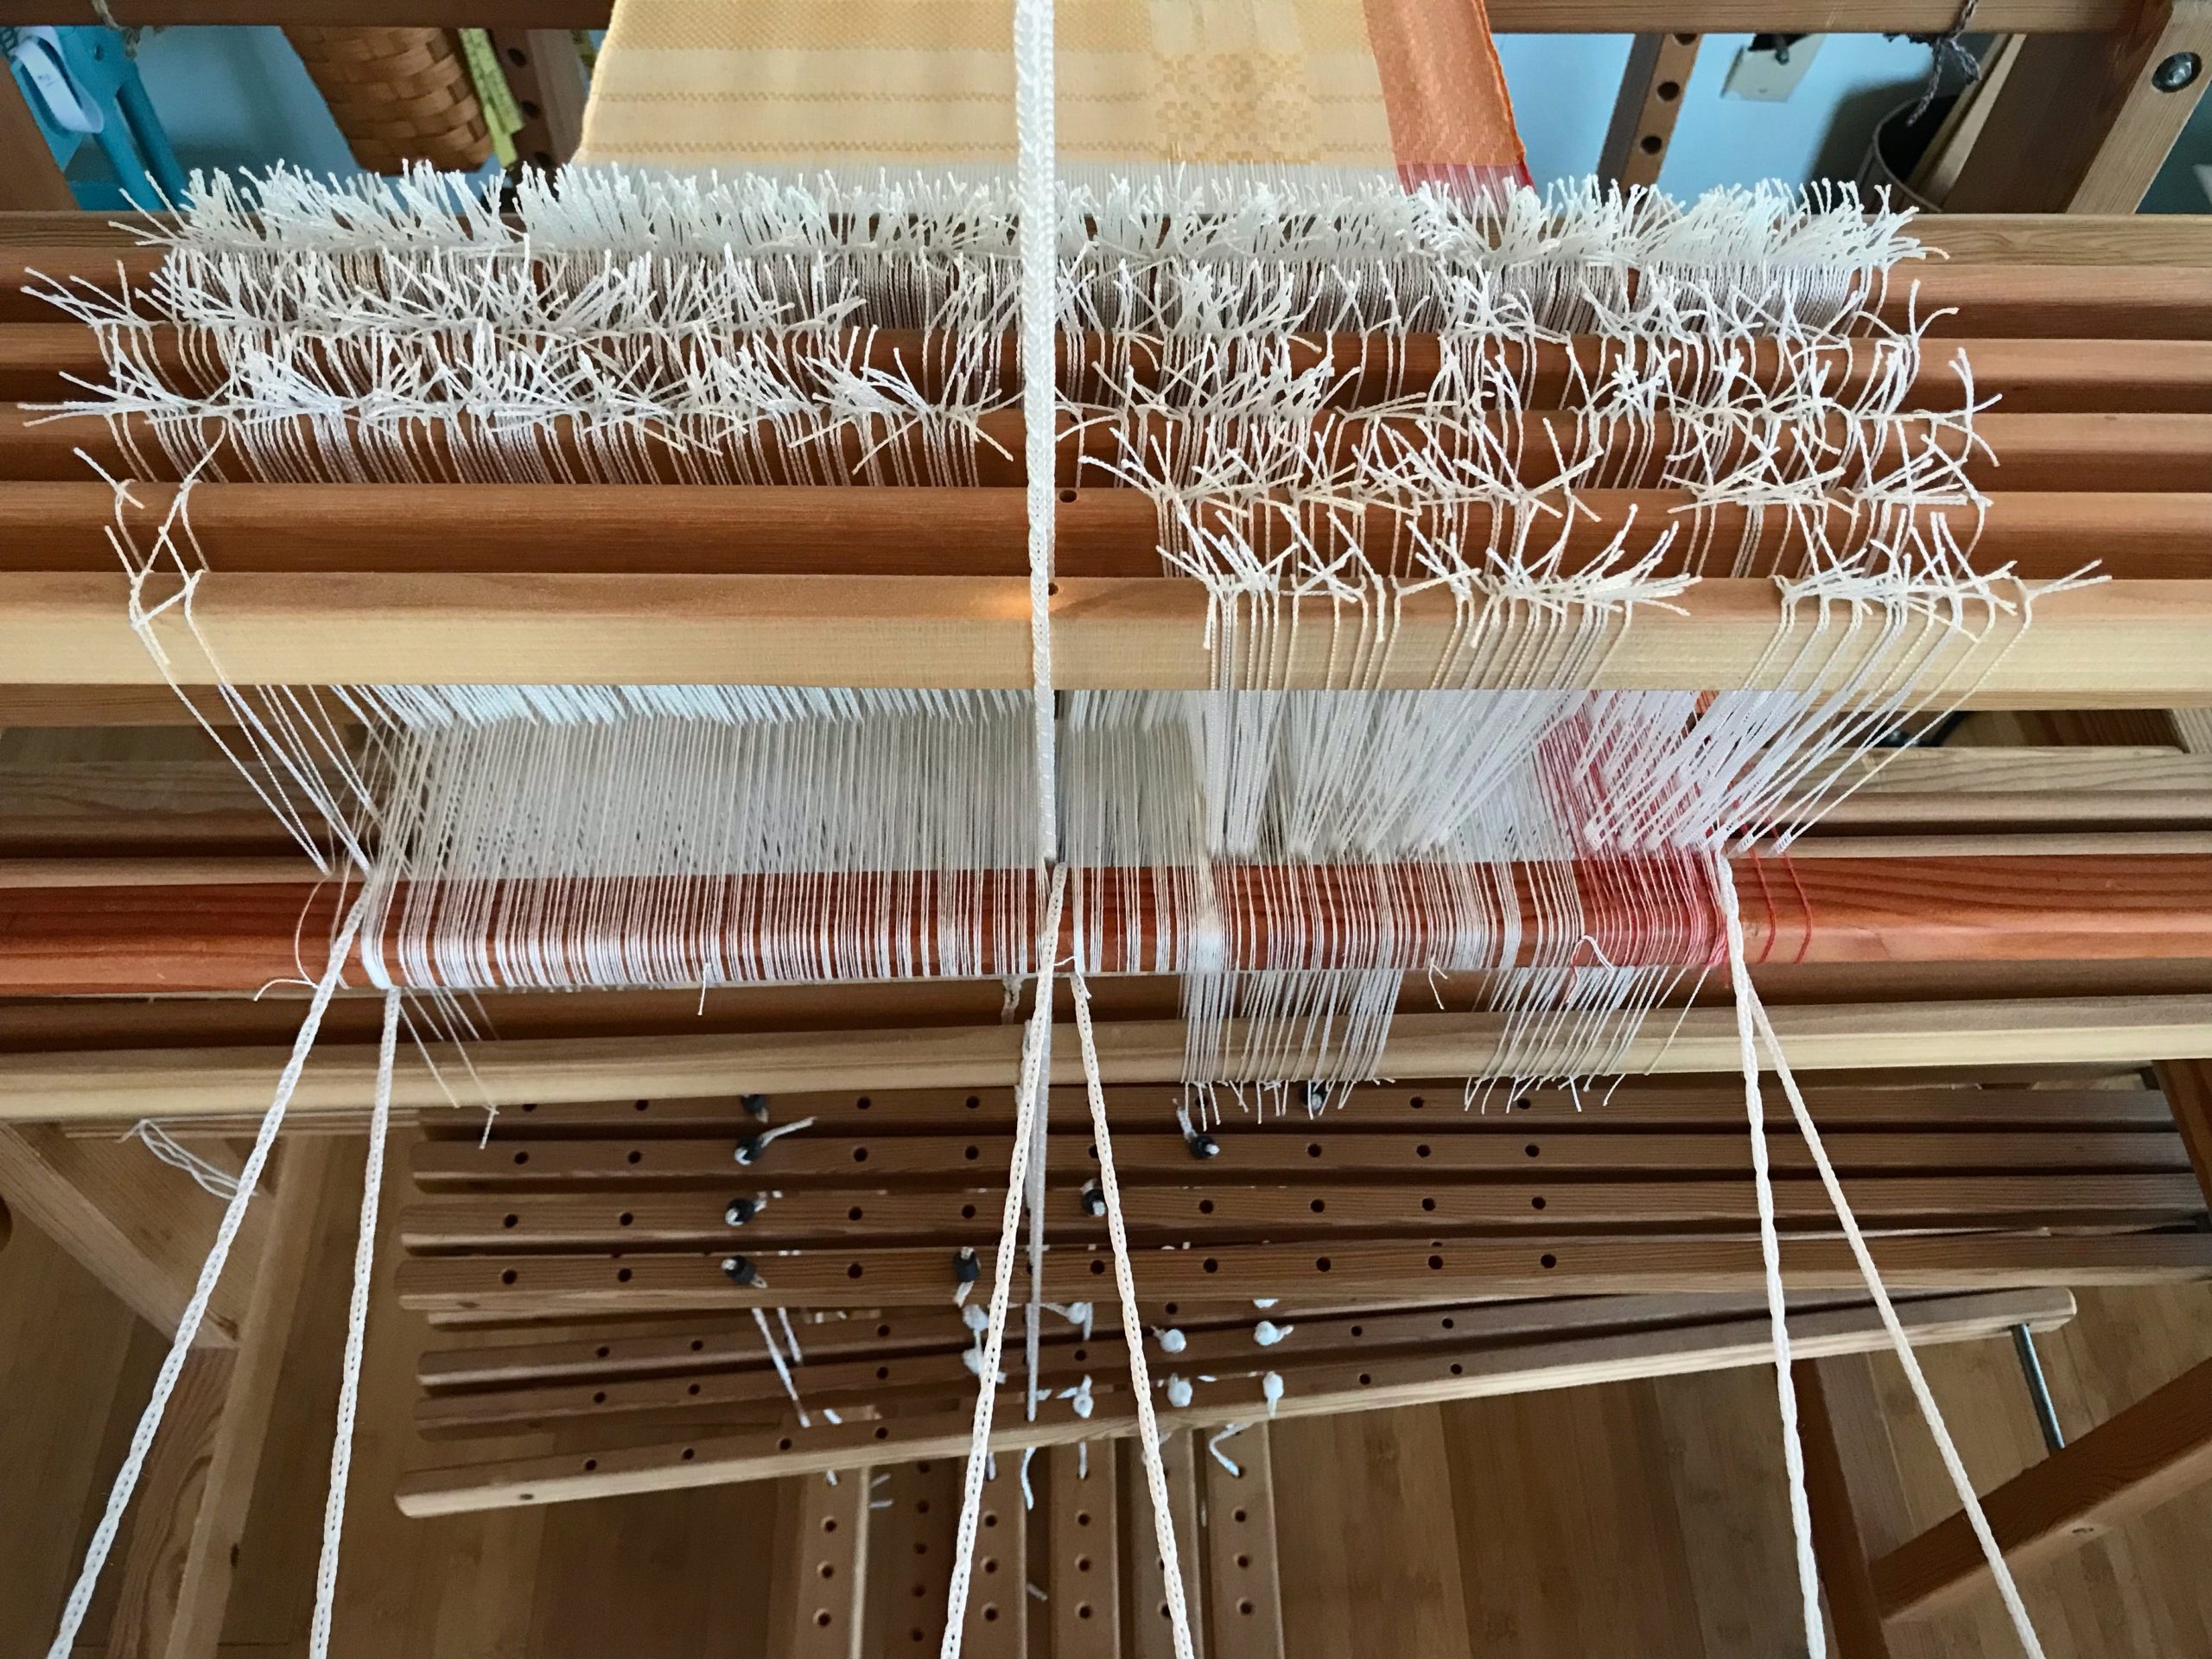
Beaming the 24/2 cotton warp on my 100 cm Glimåkra Ideal Countermarch loom.
Weaving fabric for a tiered skirt.
Fabric for the first tier of a three-tiered skirt. 16/1 linen weft.
Weaving fabric for a 3-tiered skirt.
Fabric for the second and third tiers of the skirt. Classic pattern in five-shaft huckaback.
Cloth beam on the Glimakra Ideal loom.
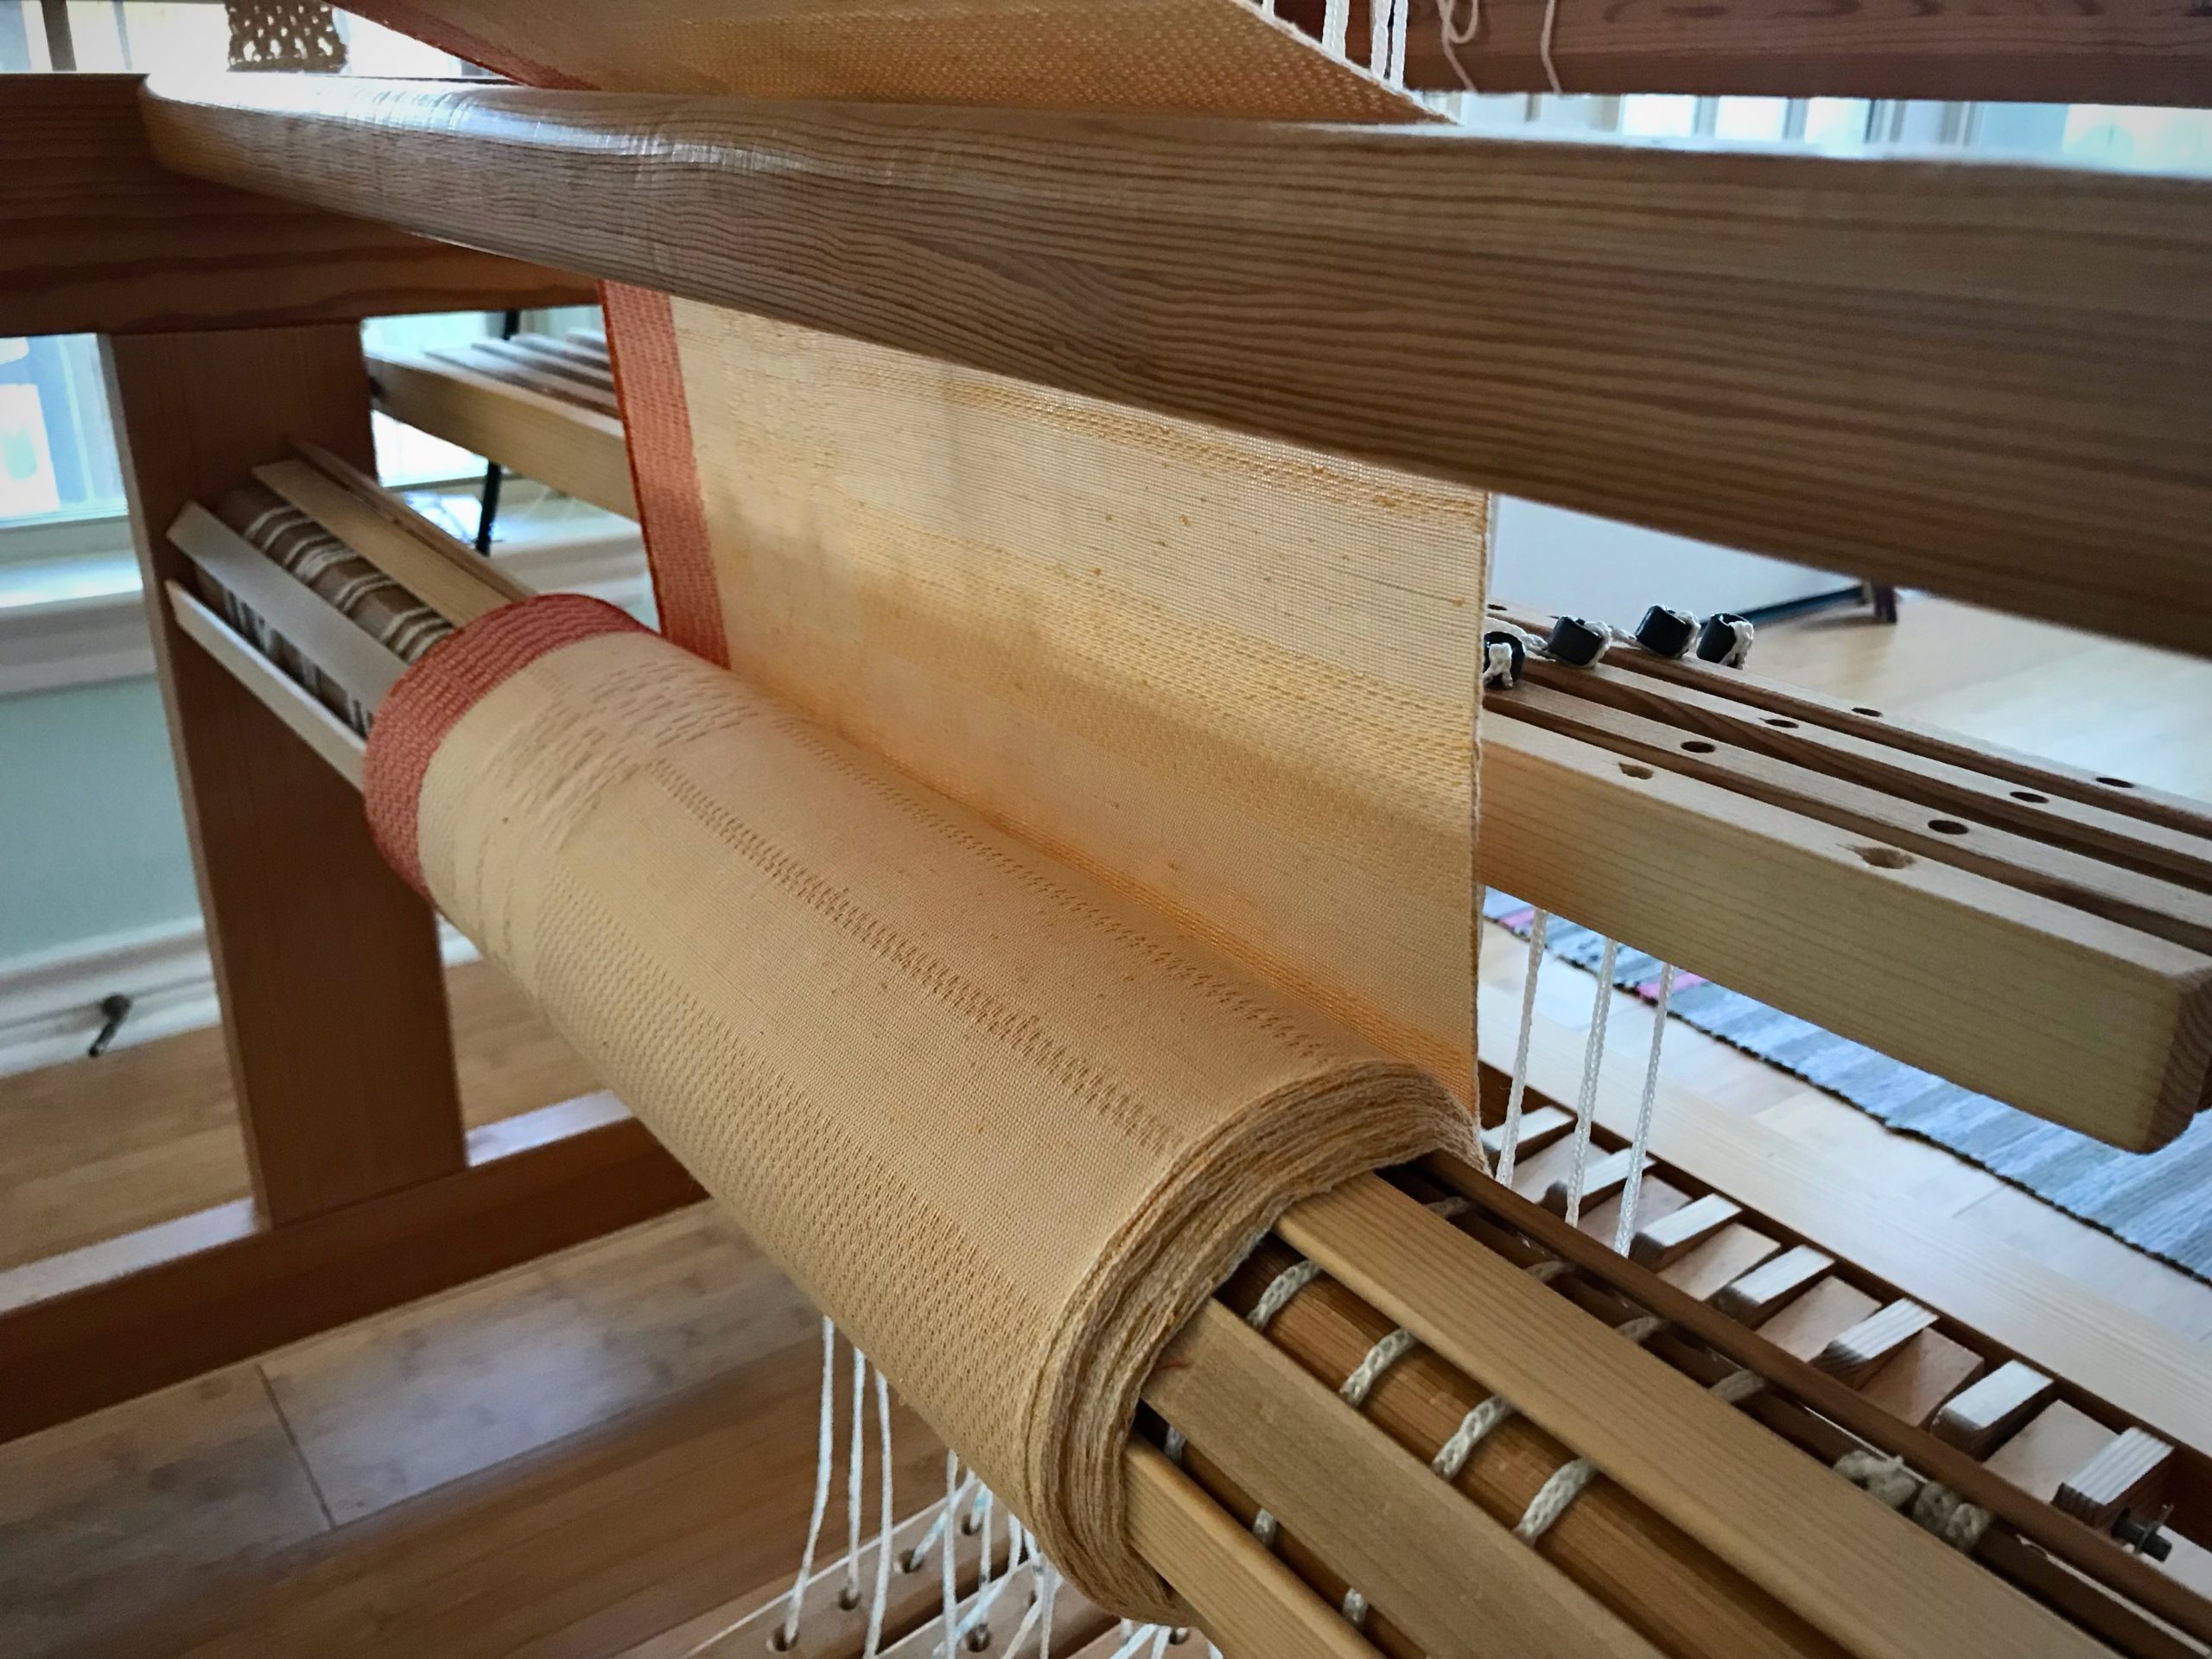
Cloth beam fills with skirt fabric as I near the end of the warp.
Weave until there's nothing left to weave!
Weave until there is nothing left to weave. That’s my motto.
Fabric for a handwoven skirt.
Cutting off as dusk hits the windows.
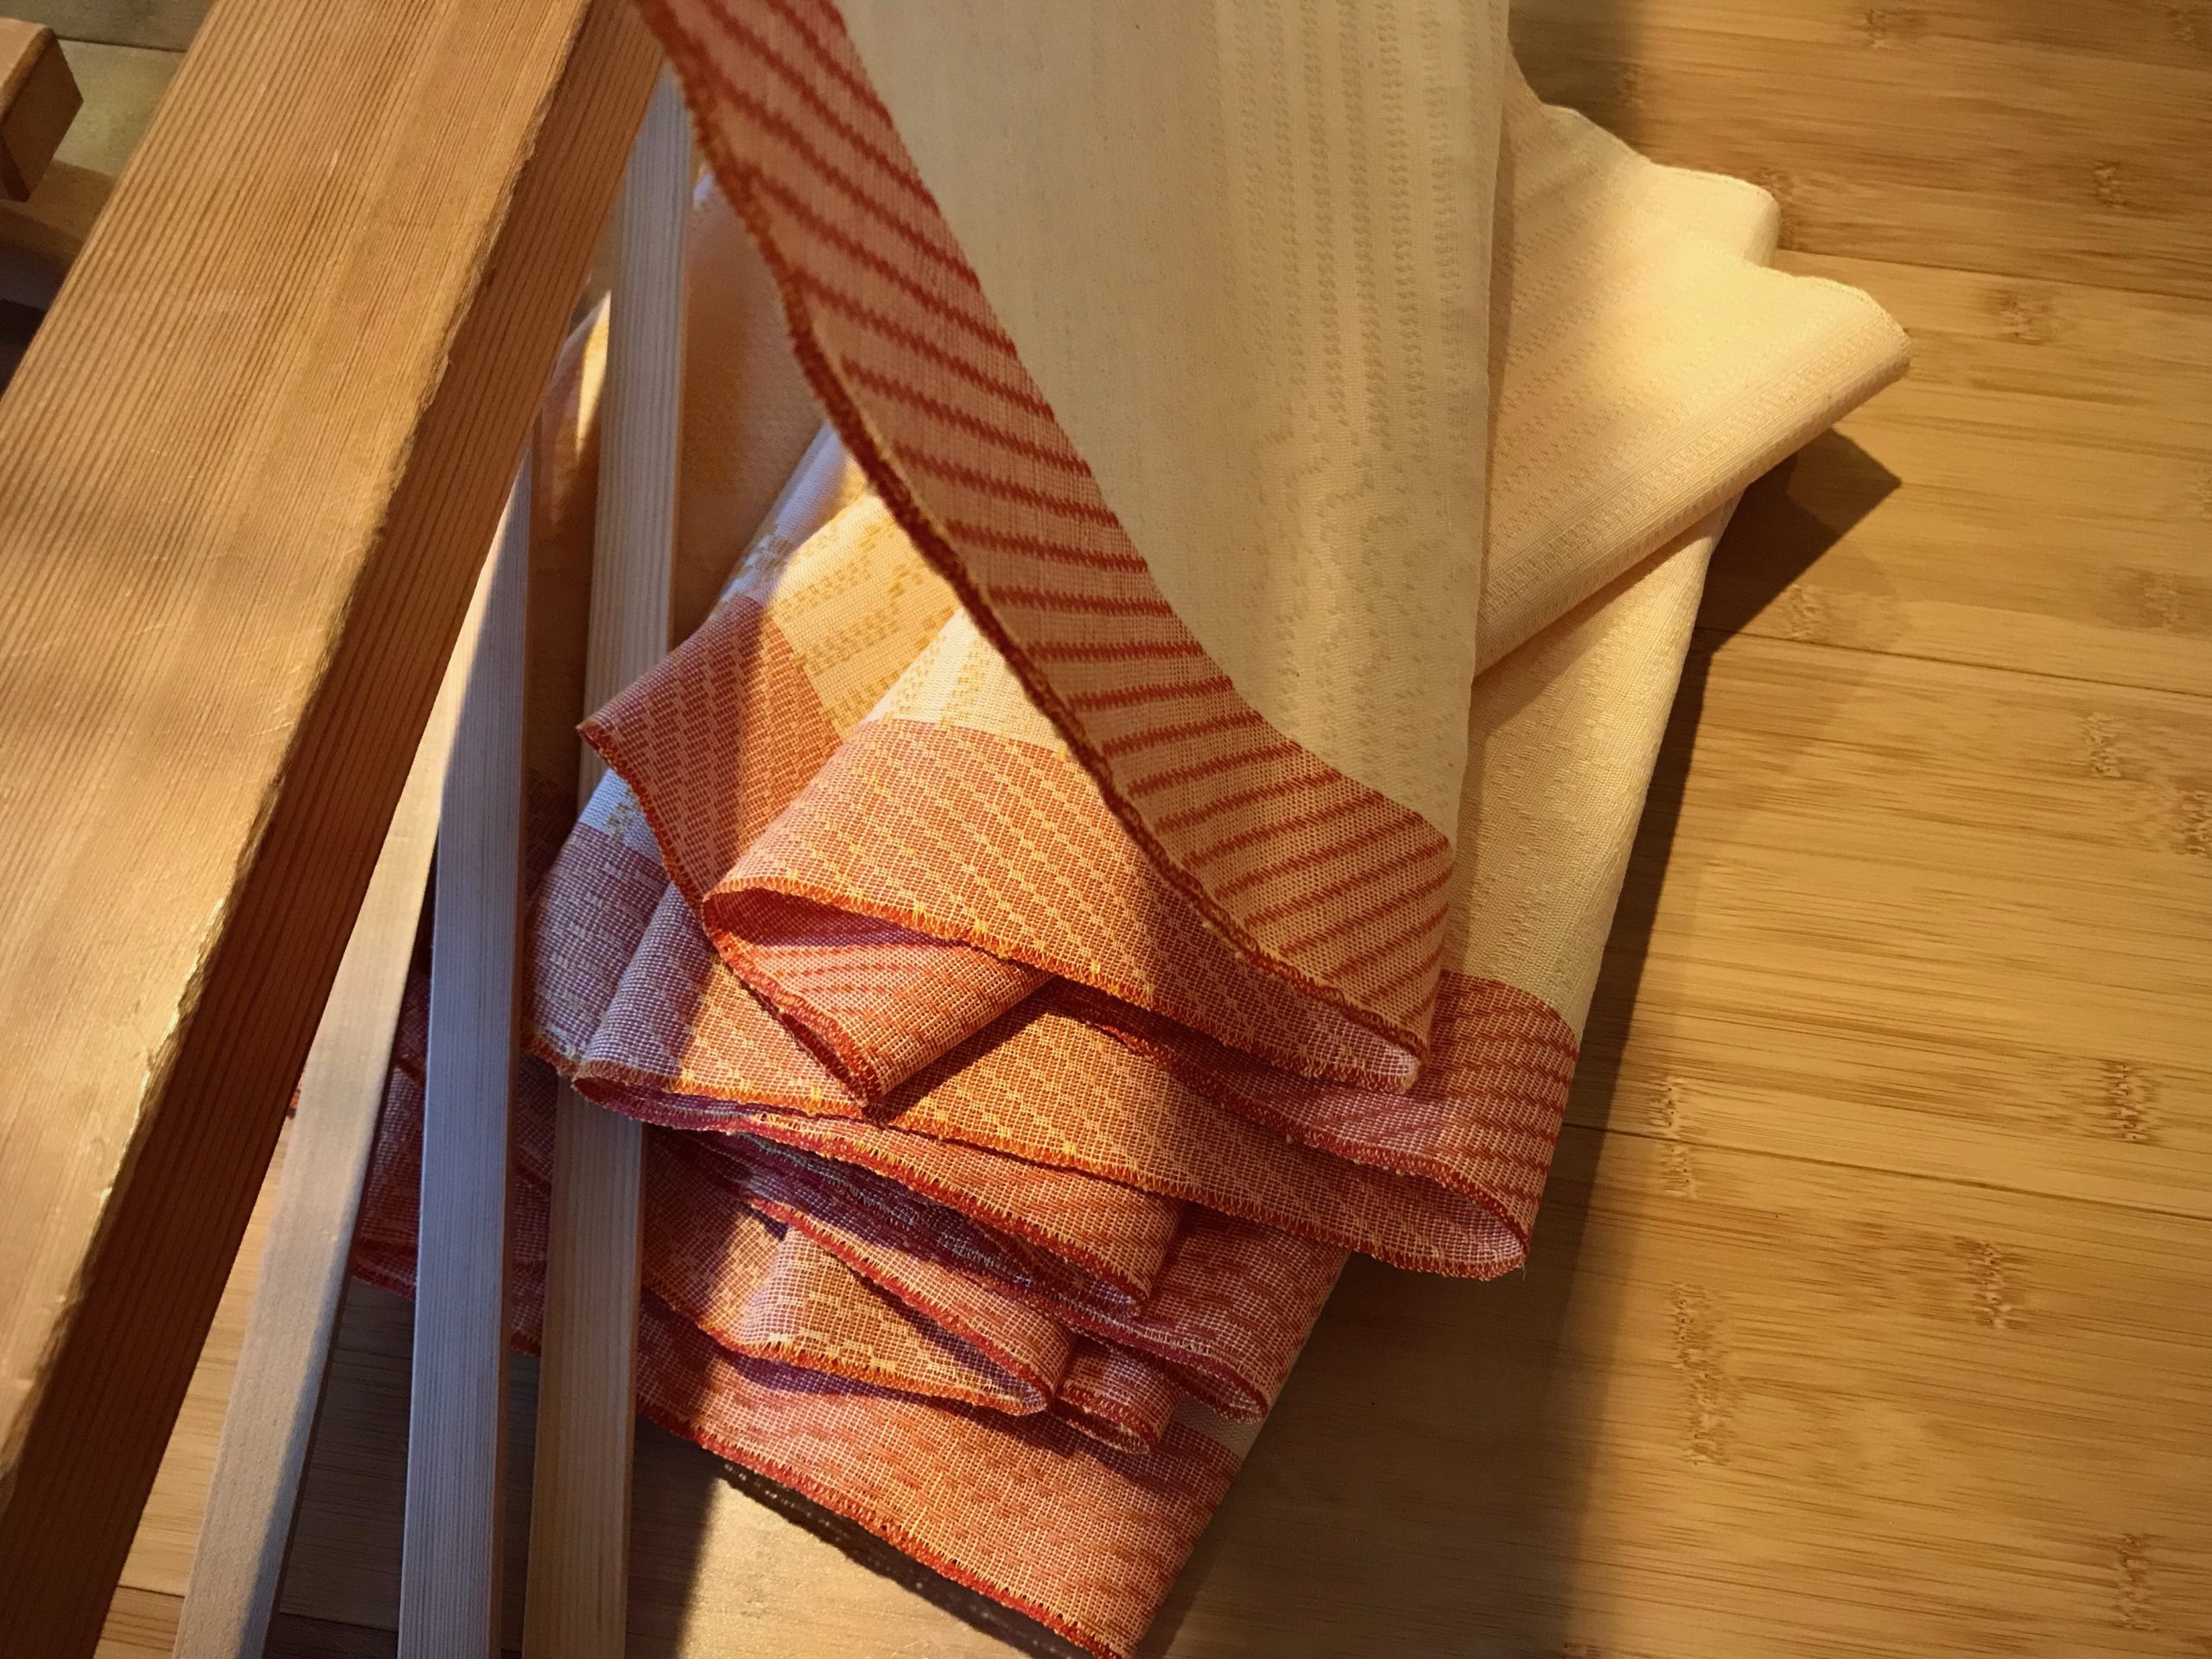
Handwoven fabric for a 3-tiered skirt!
First view off the loom is always a special moment. Love at first sight!
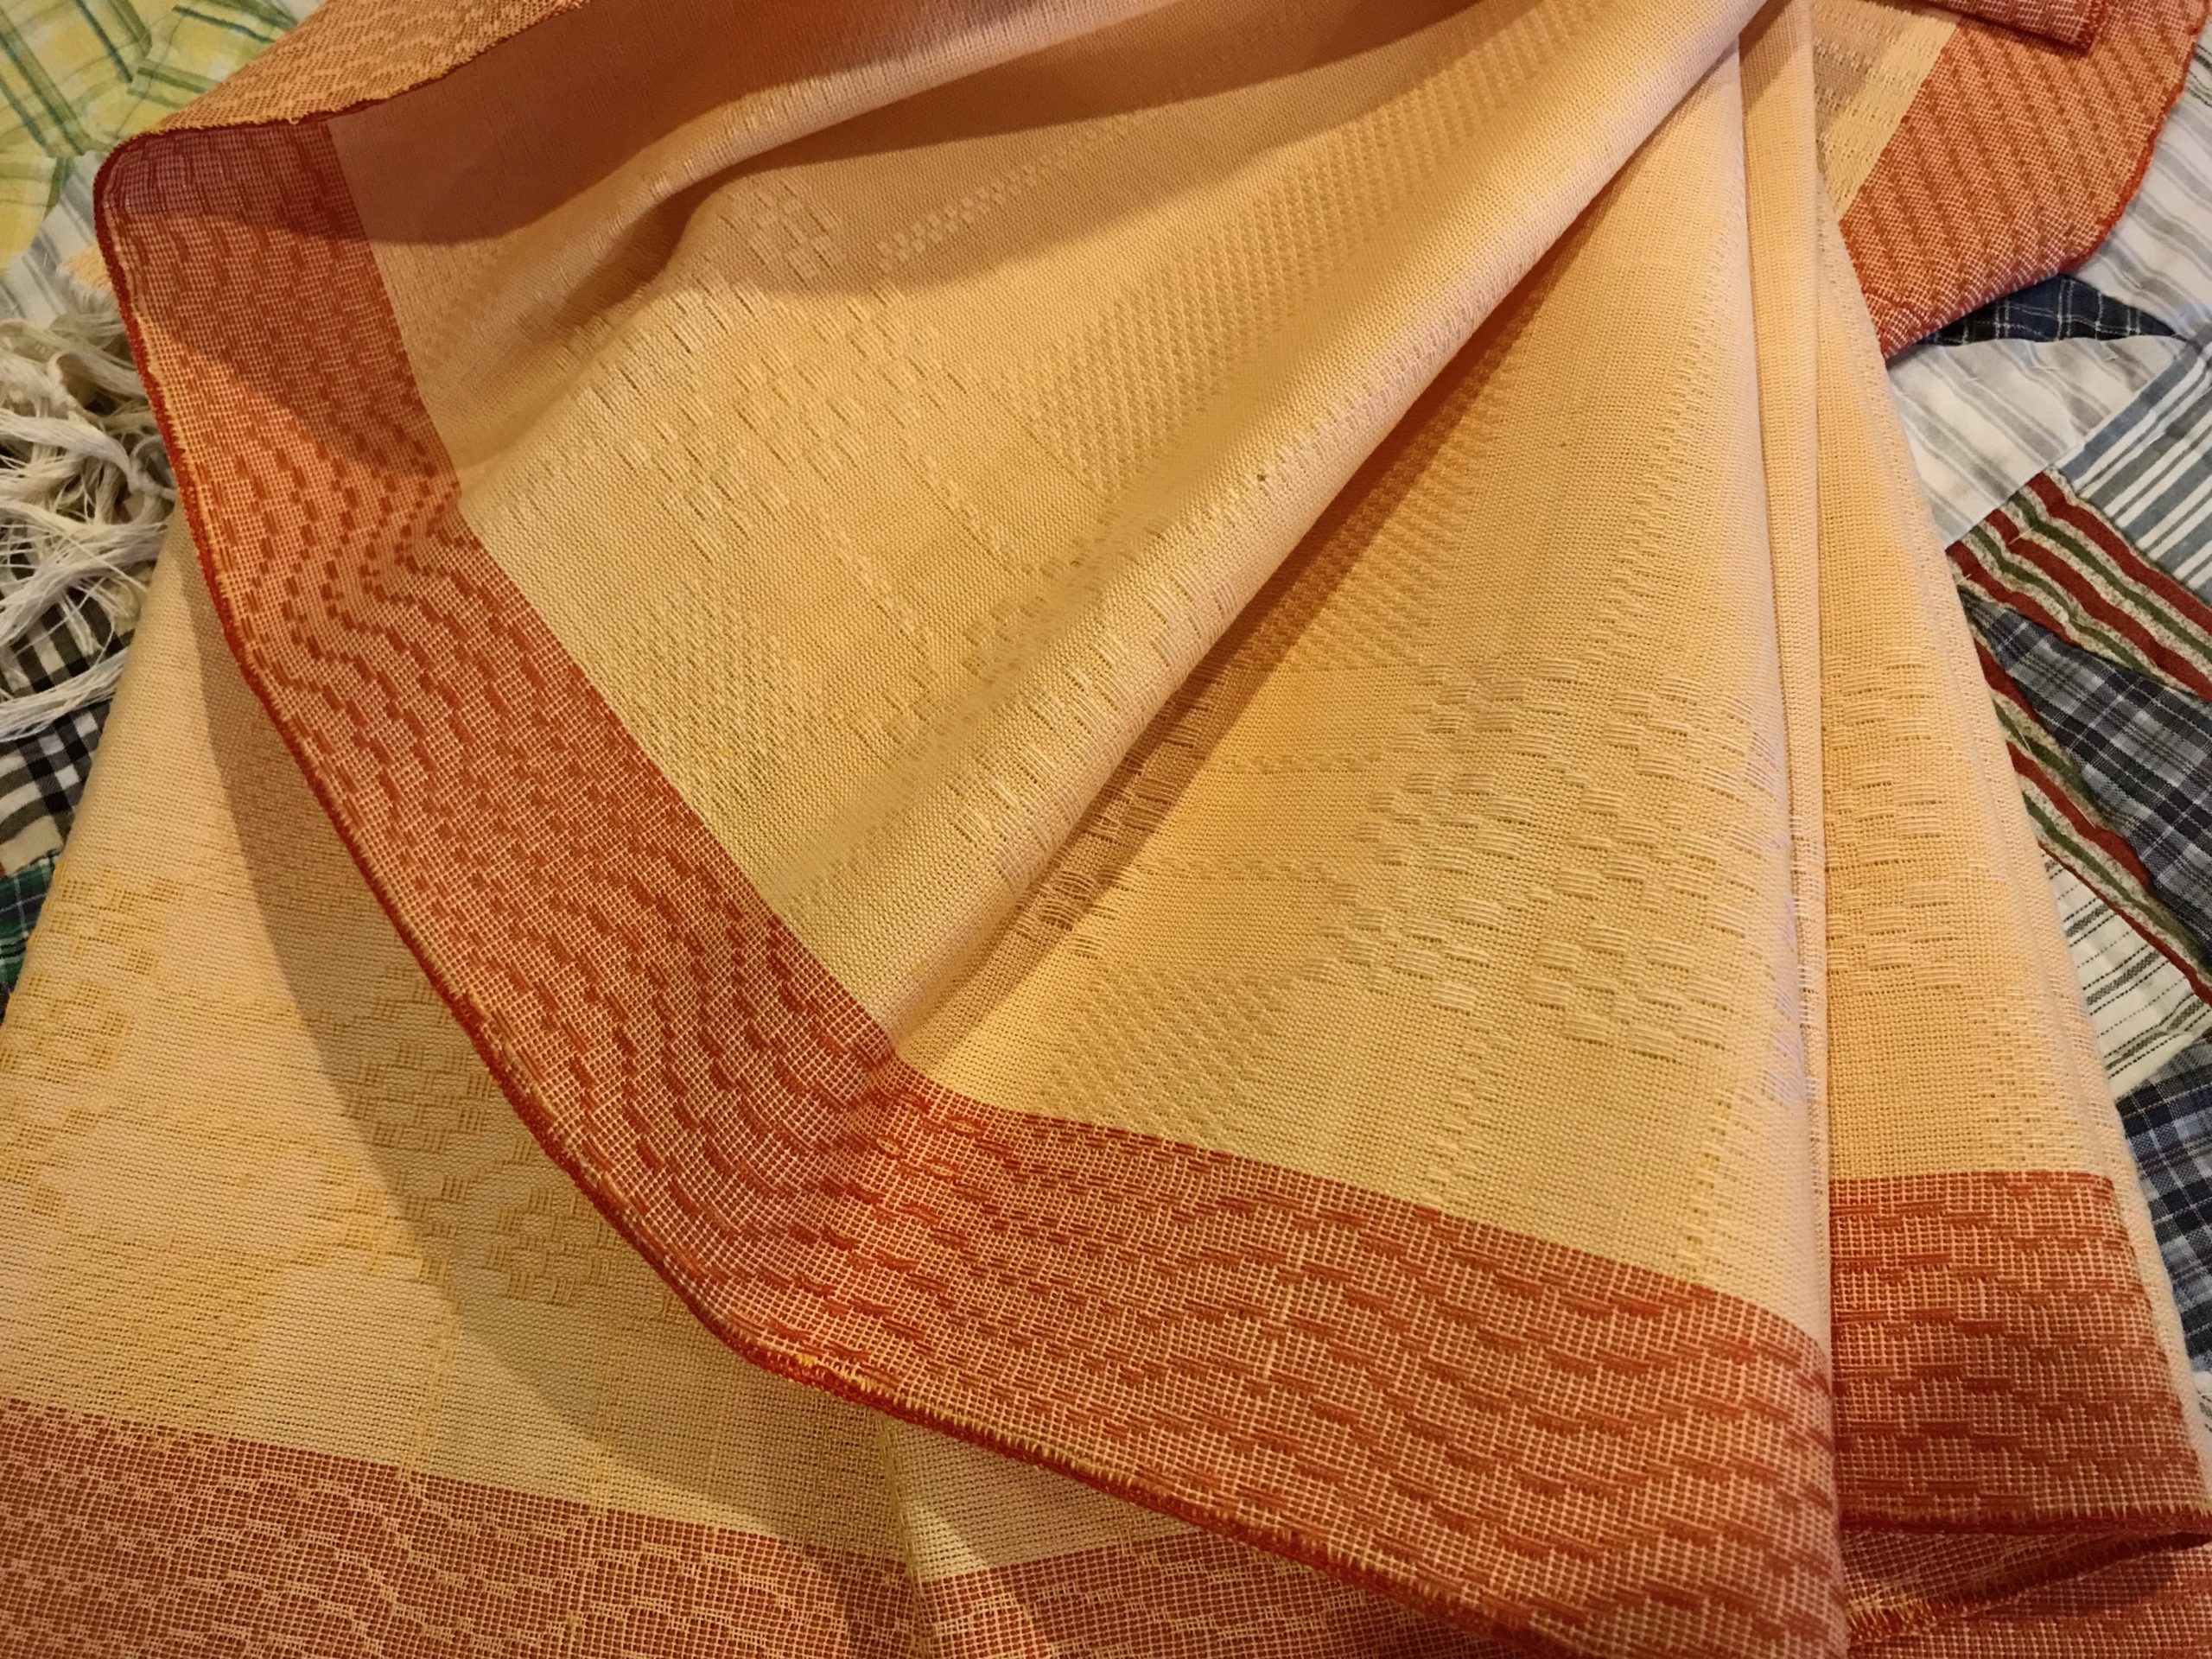
Handwoven skirt fabric.
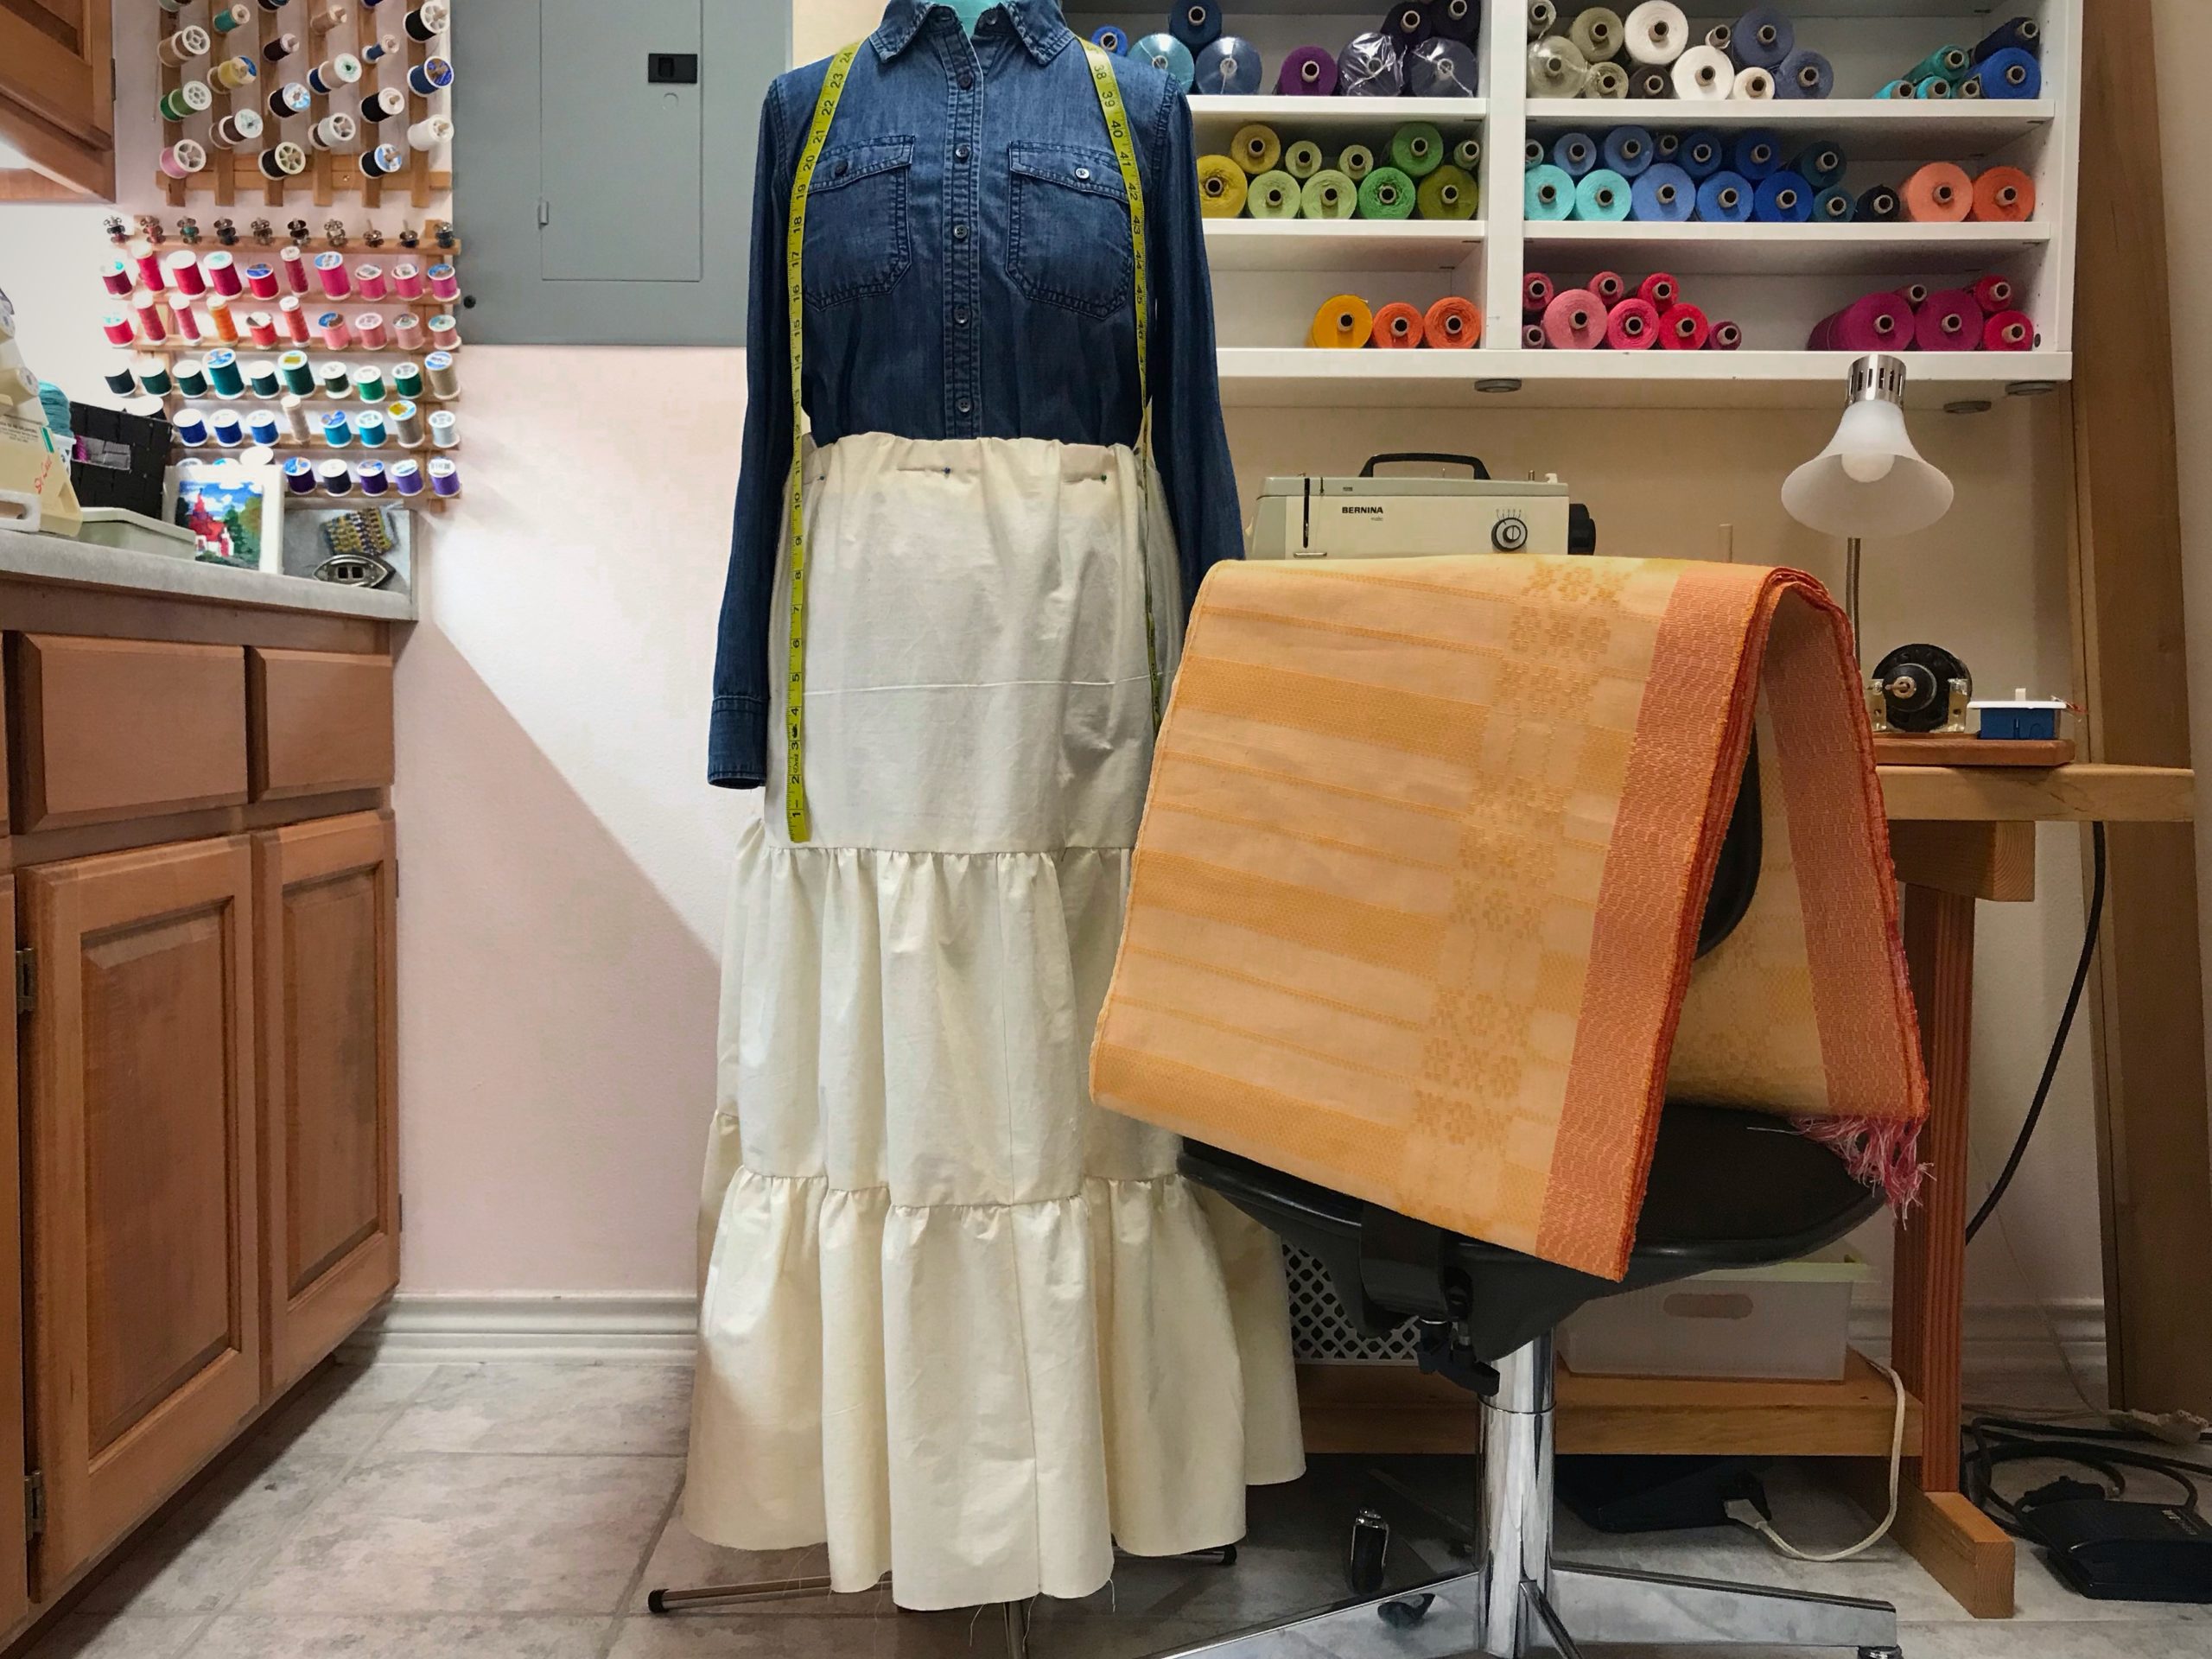
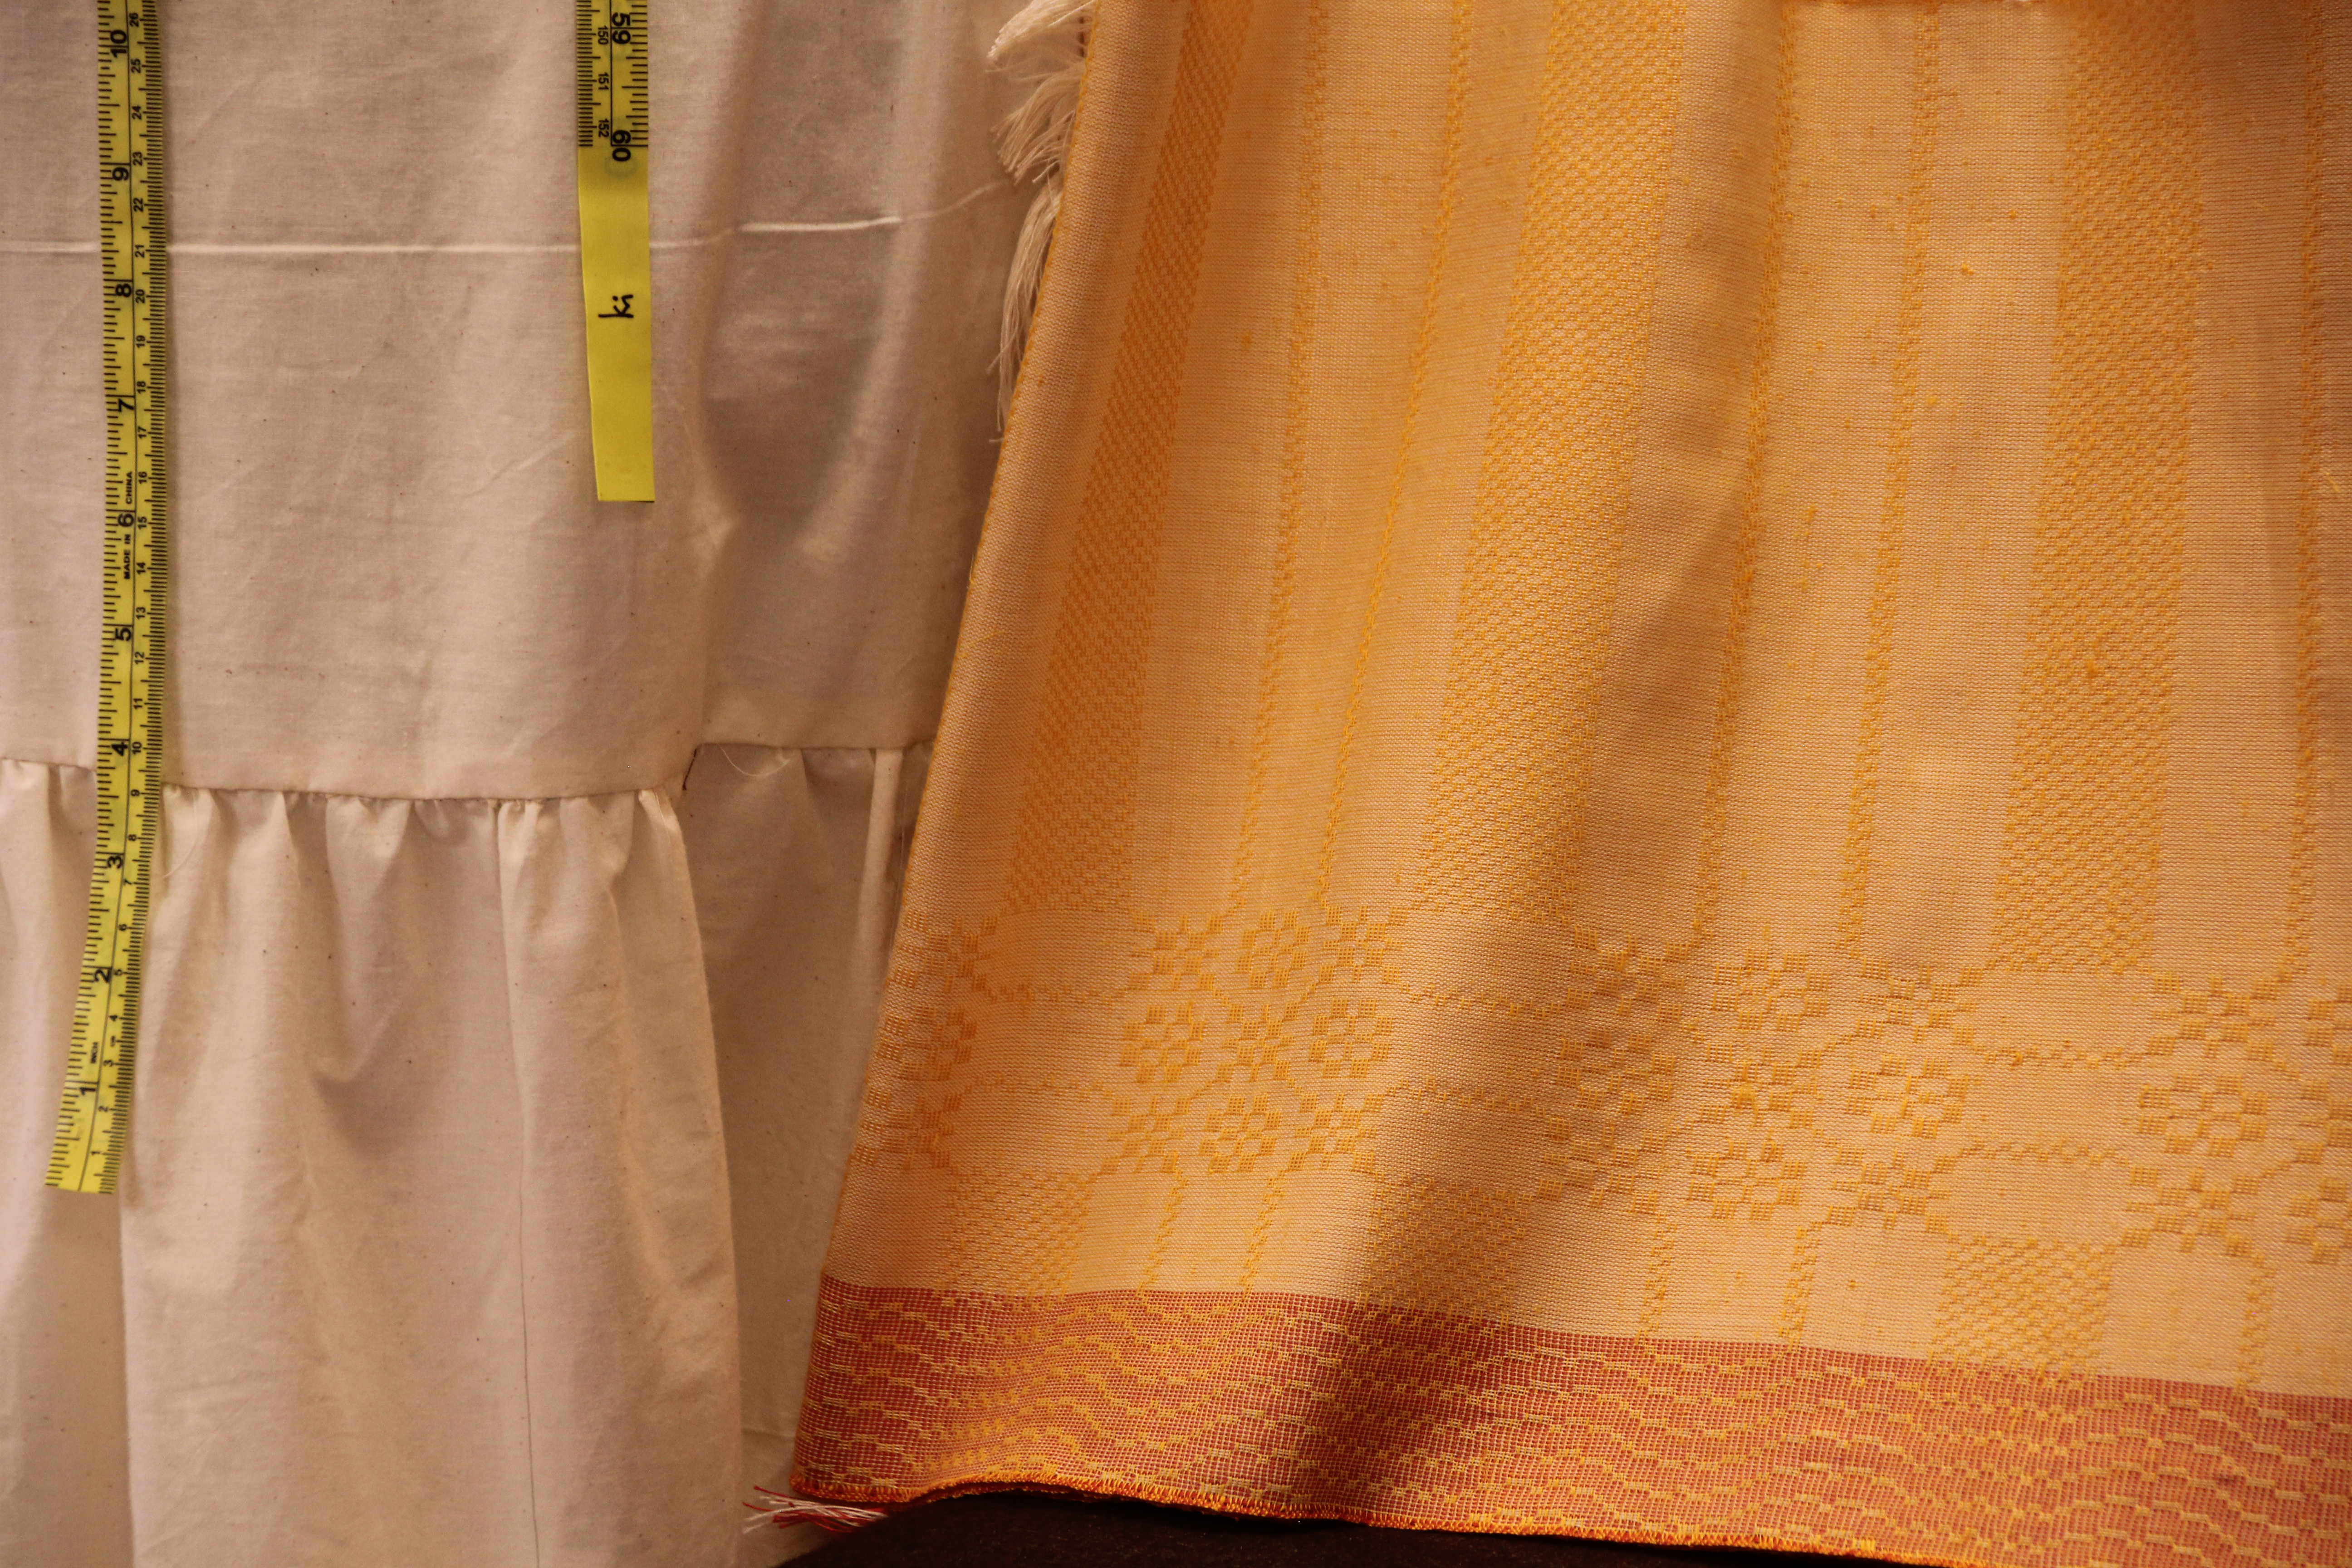
Miss Fit is modeling a preliminary muslin of the tiered skirt. I will do some detail studies with small pieces of the handwoven fabric, and then make a final muslin before sewing the “real” tiered skirt.
Handwoven fabric for a tiered skirt.
Detail of skirt fabric.

May you see your ideas take shape.

Miss Fit’s double,
Karen