Stony Creek Drawloom Rag Rug

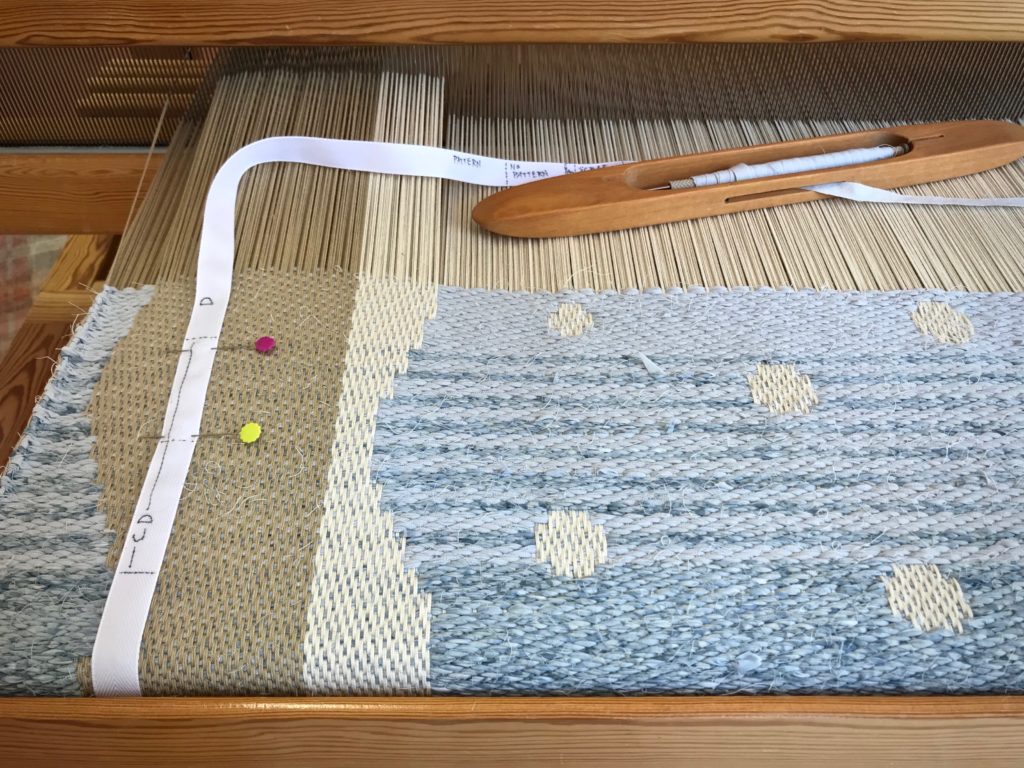
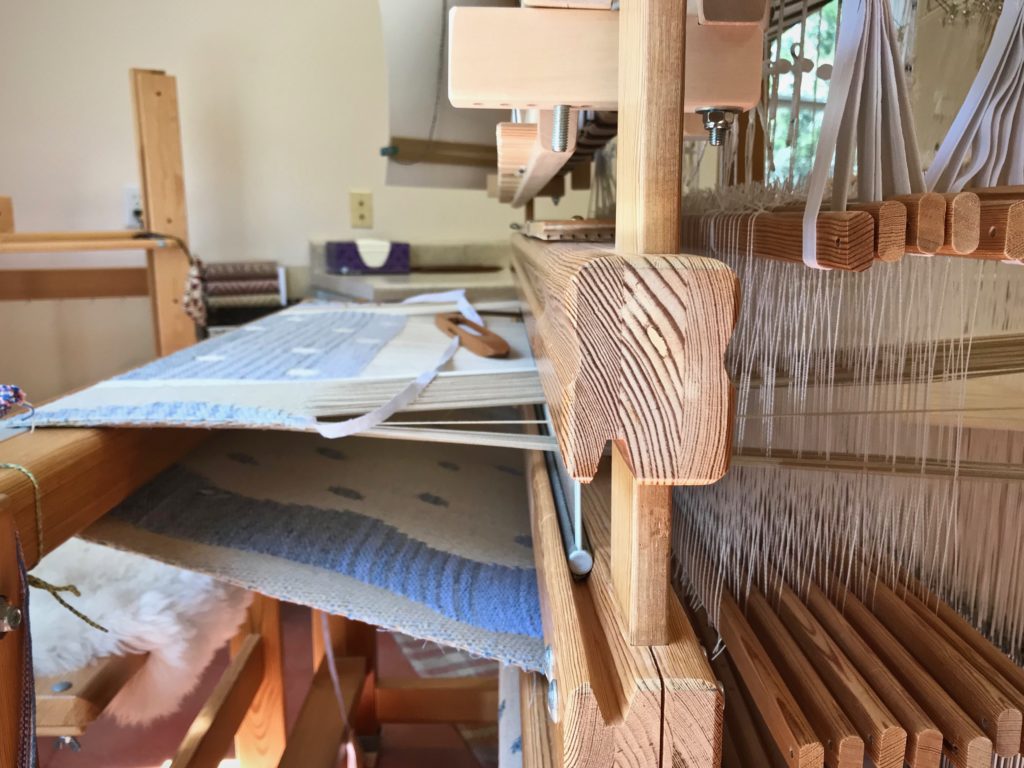
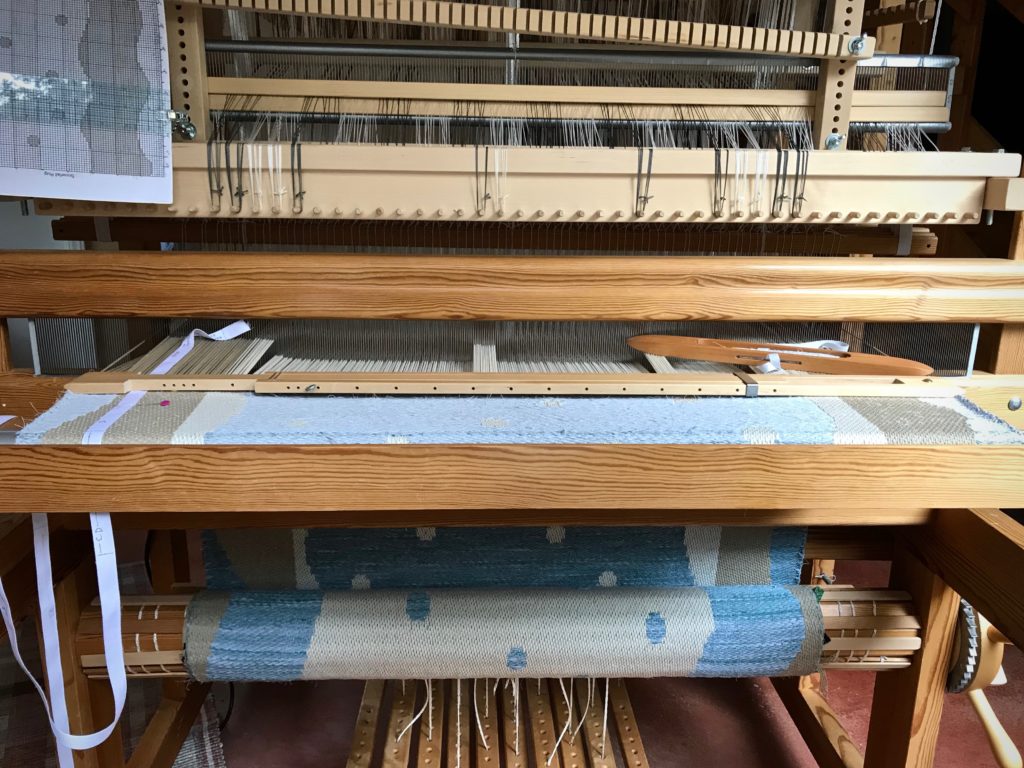
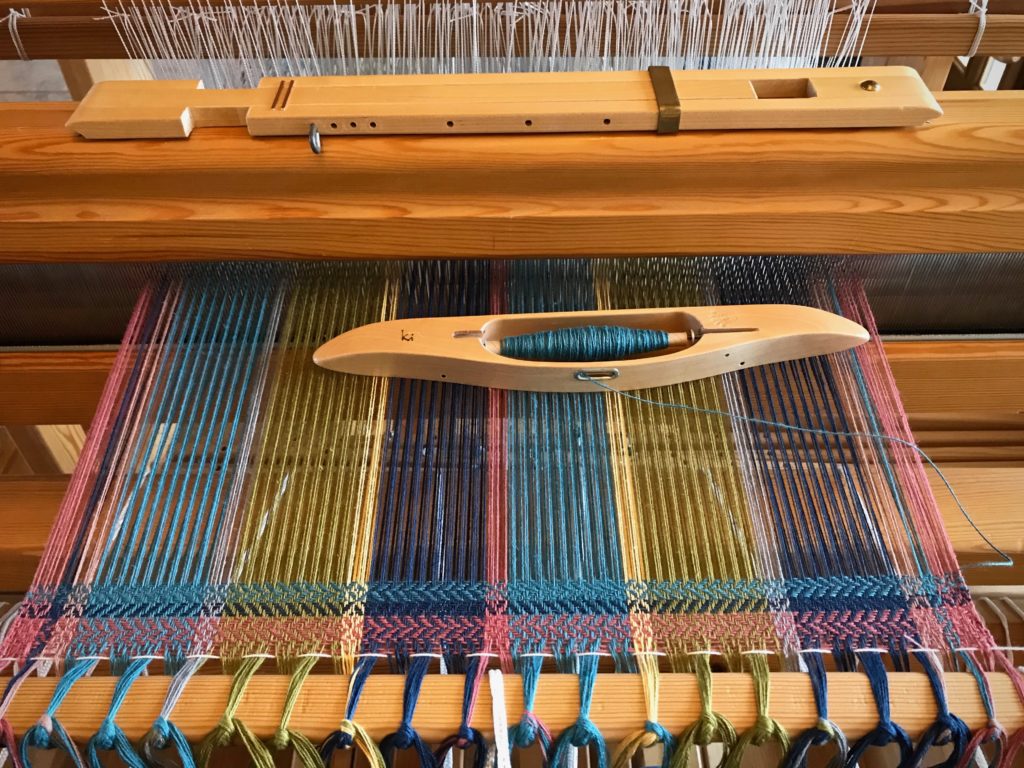
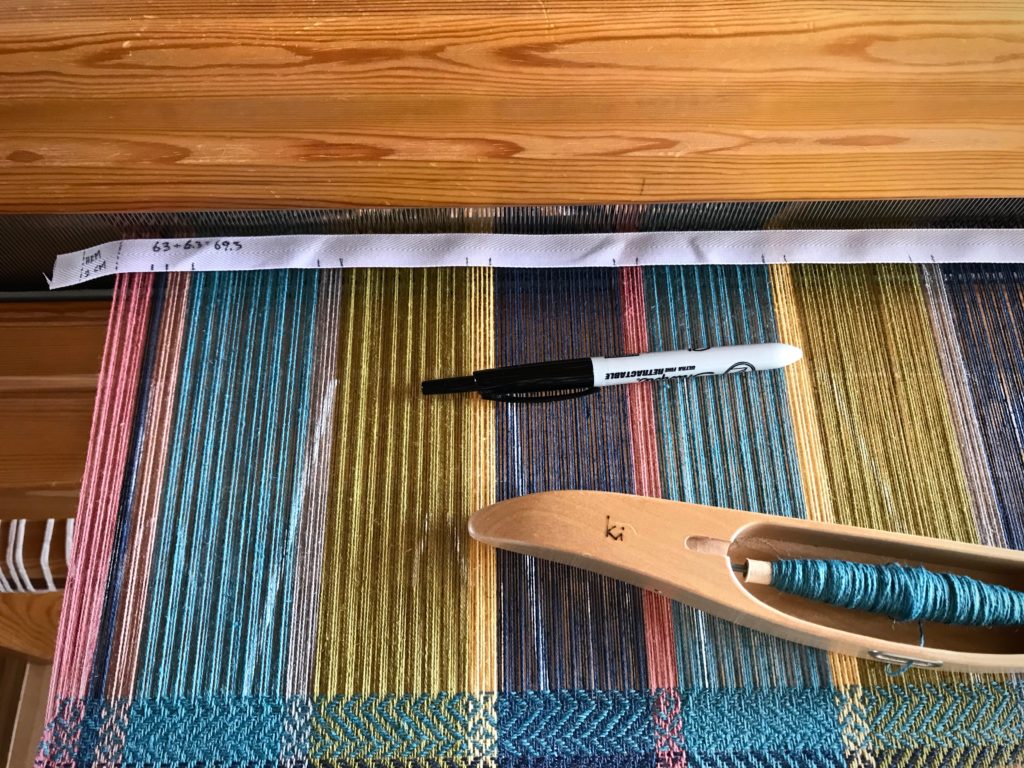
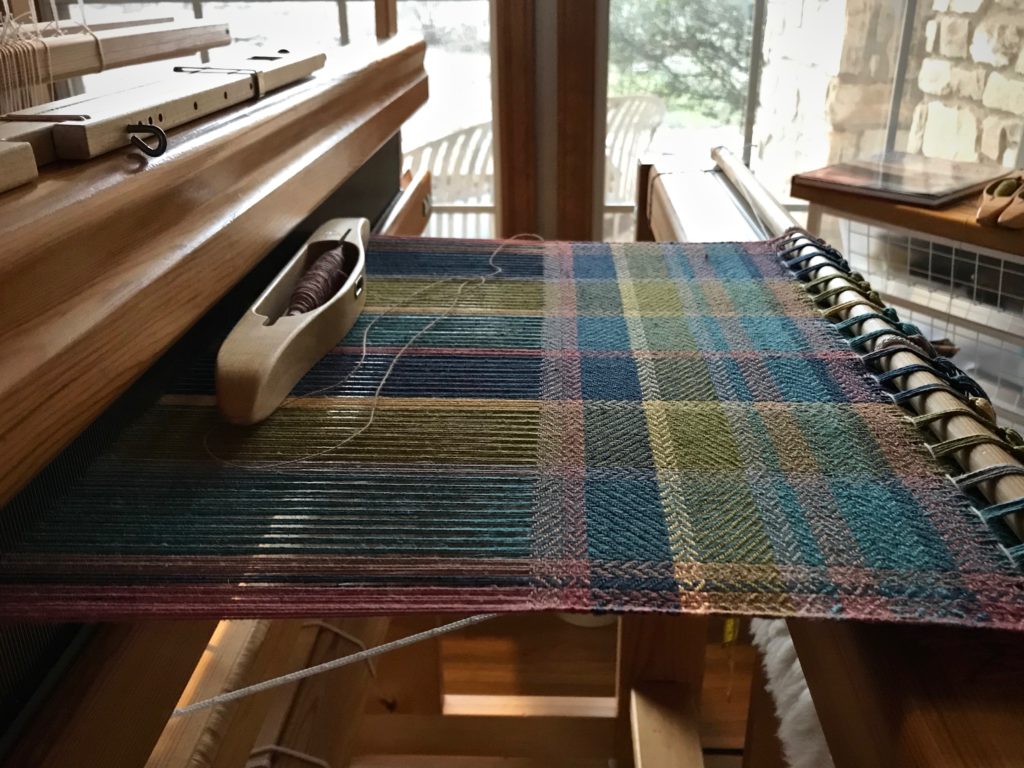
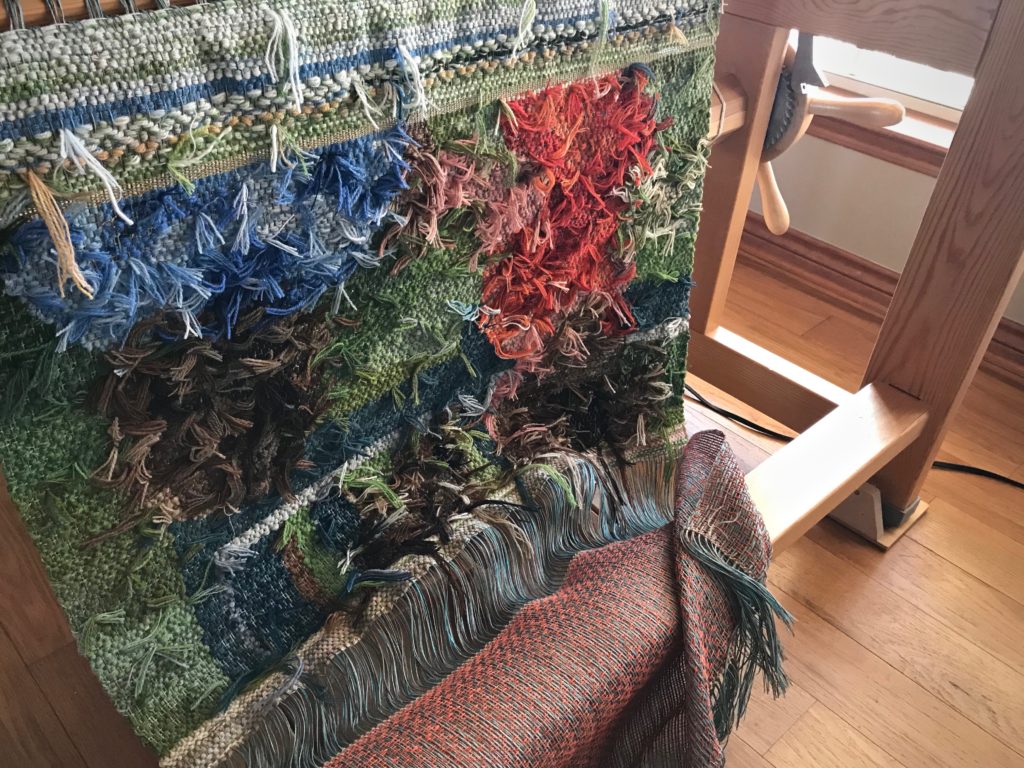
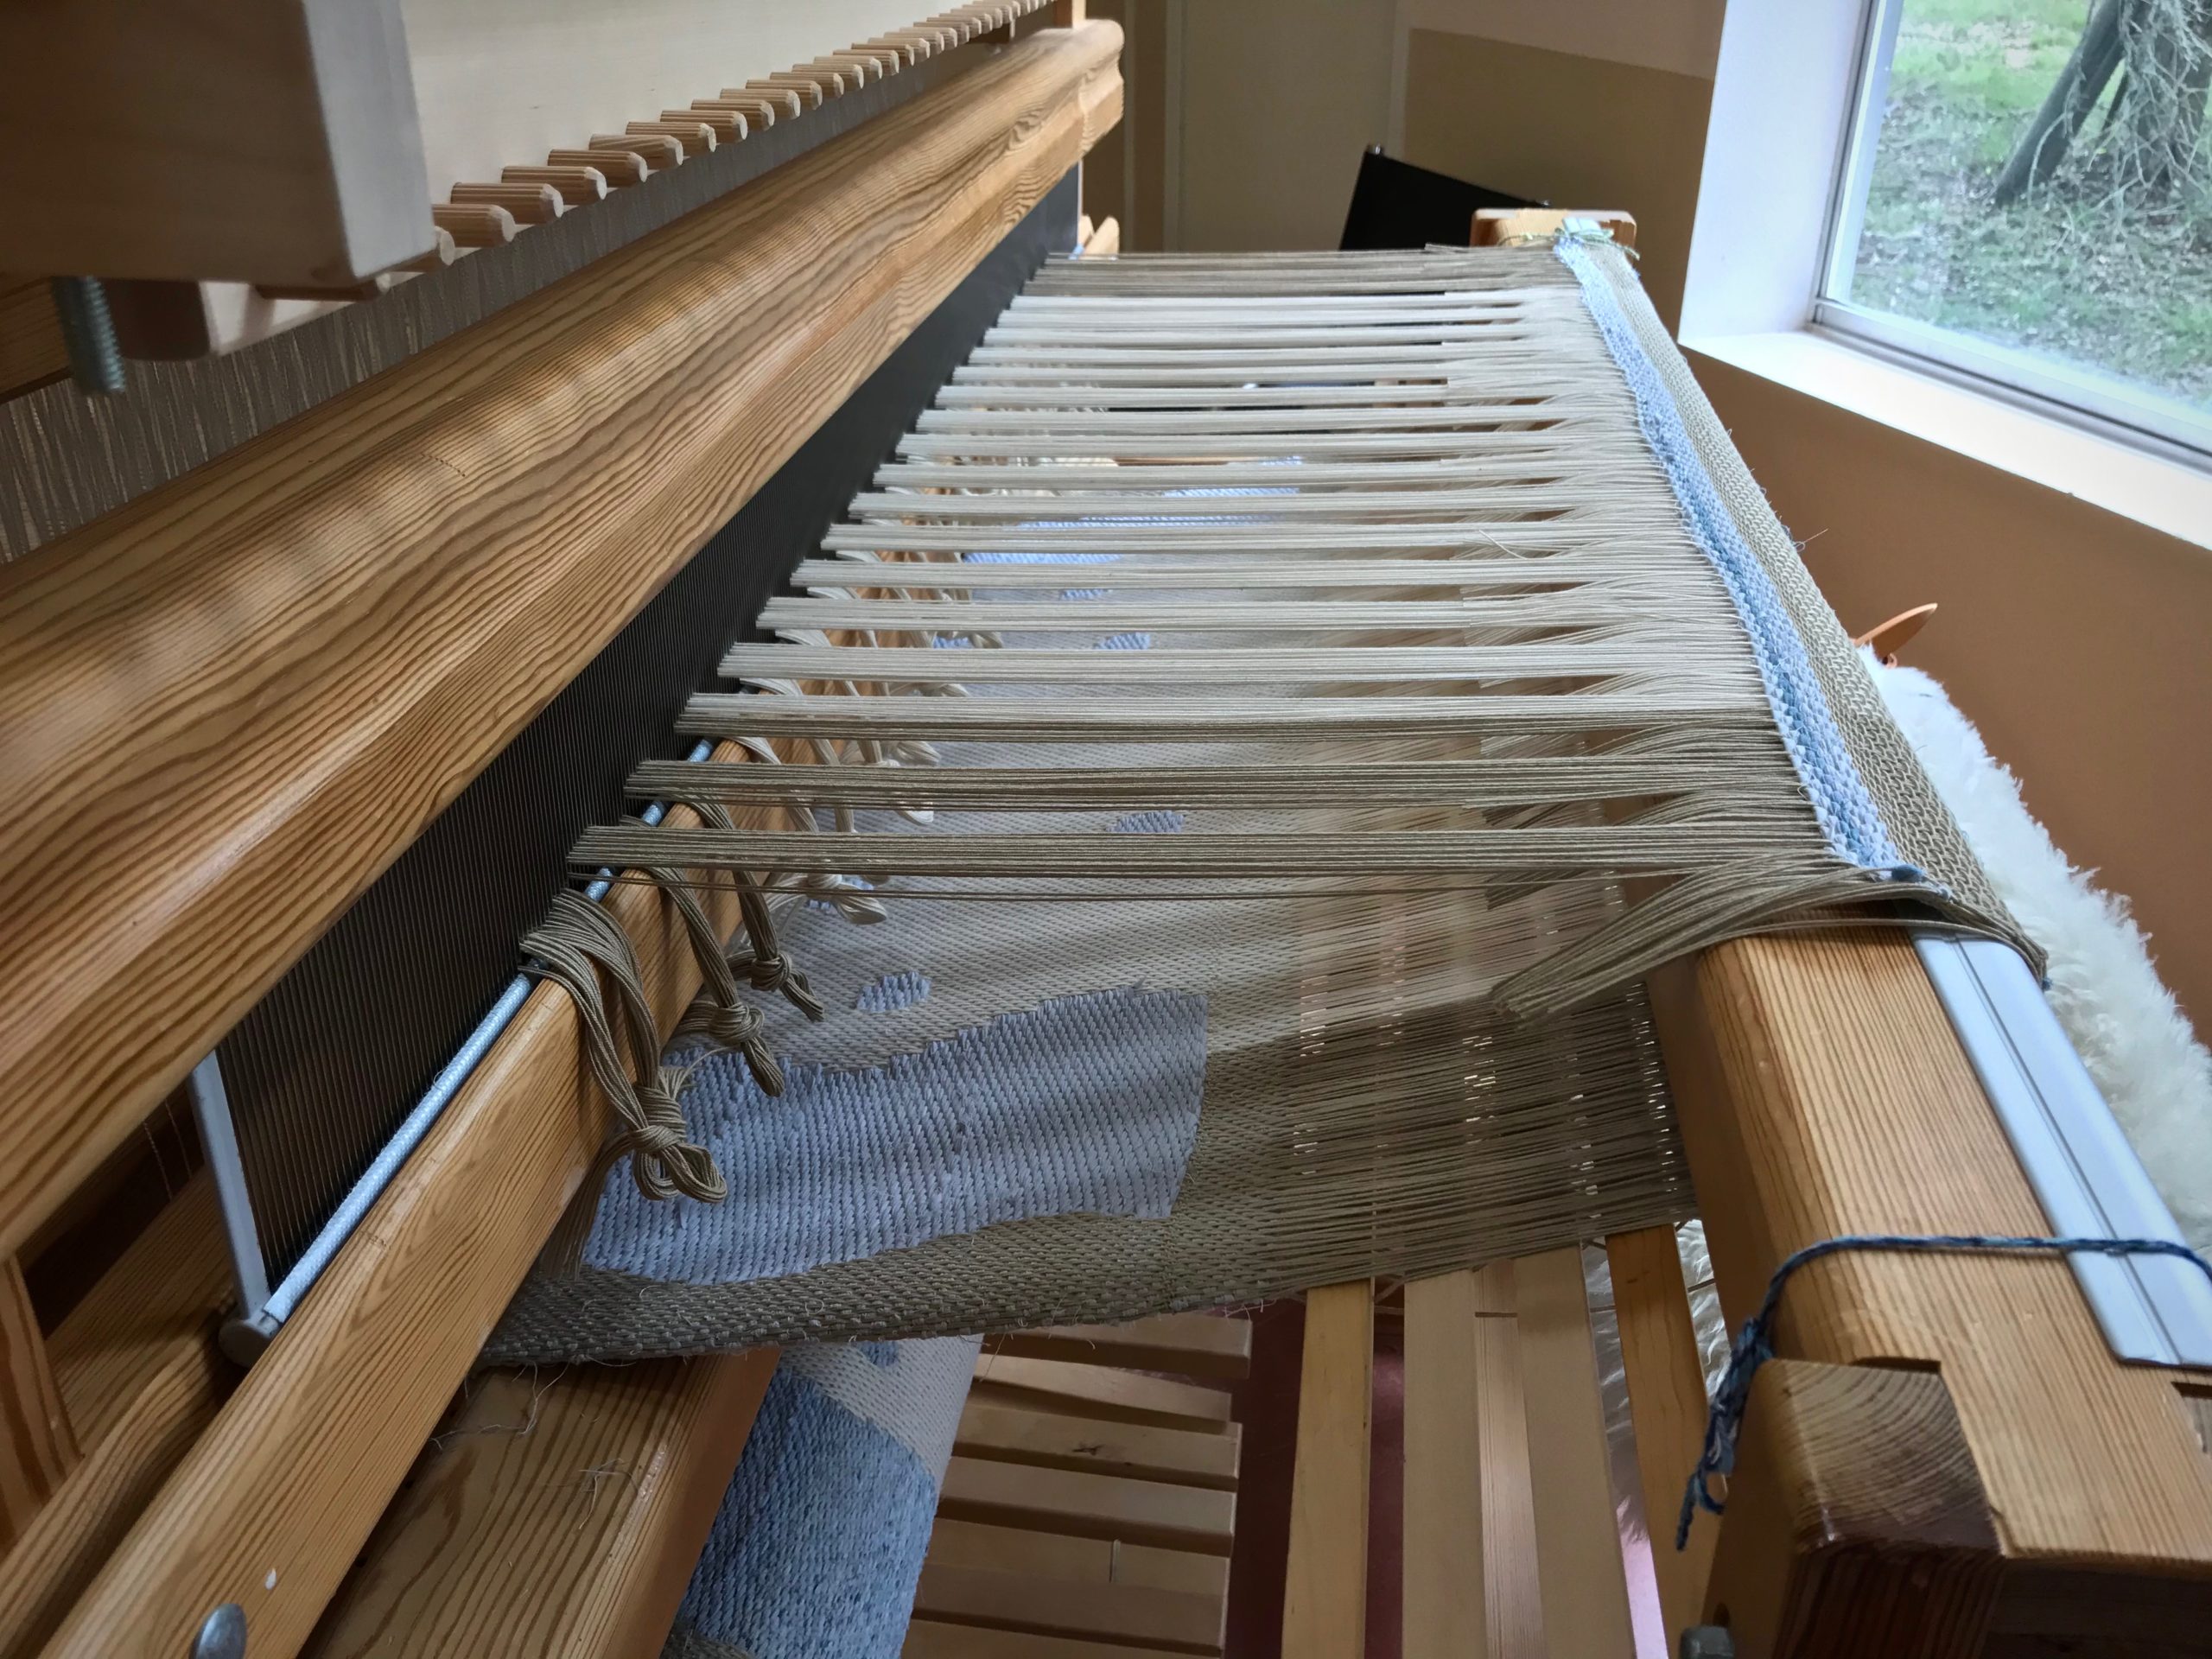
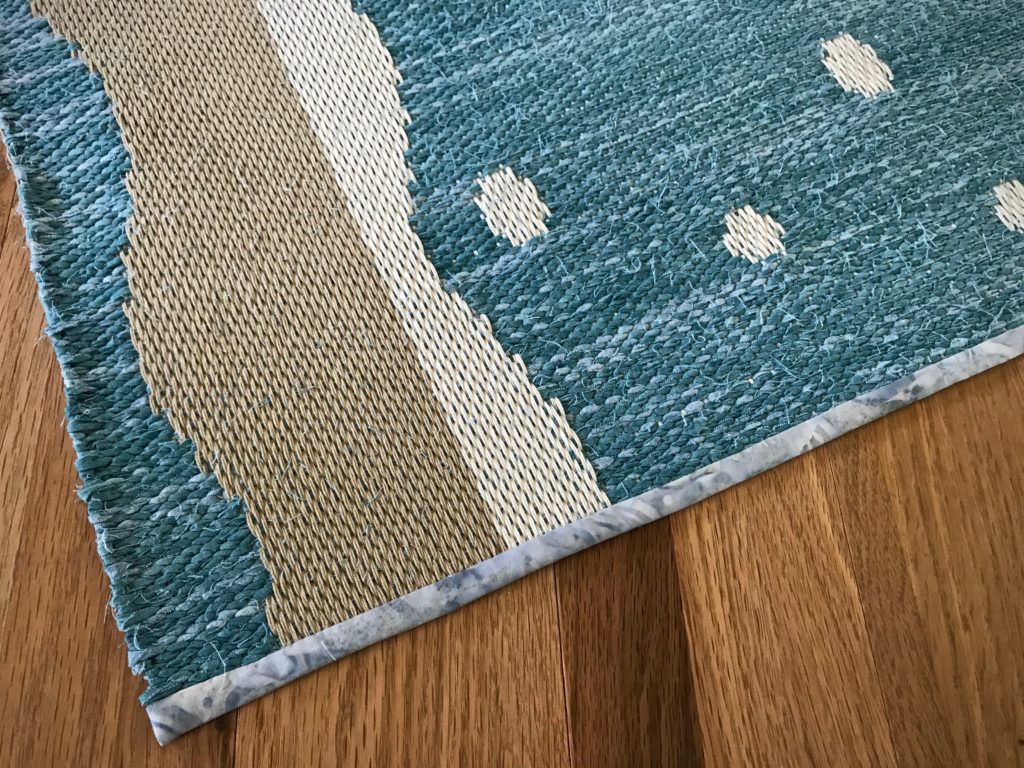
I have woven umpteen rag rugs. But never one like this! Eight-shaft satin on the single-unit drawloom brings its own challenges, from managing draw cords to getting a decent shed. Add rag weaving to the mix and we have a whole new experience!

Cutting off drawloom rag rug.
Cutting off in 1-inch sections to make it easy to tie back on for the second rug on the warp.

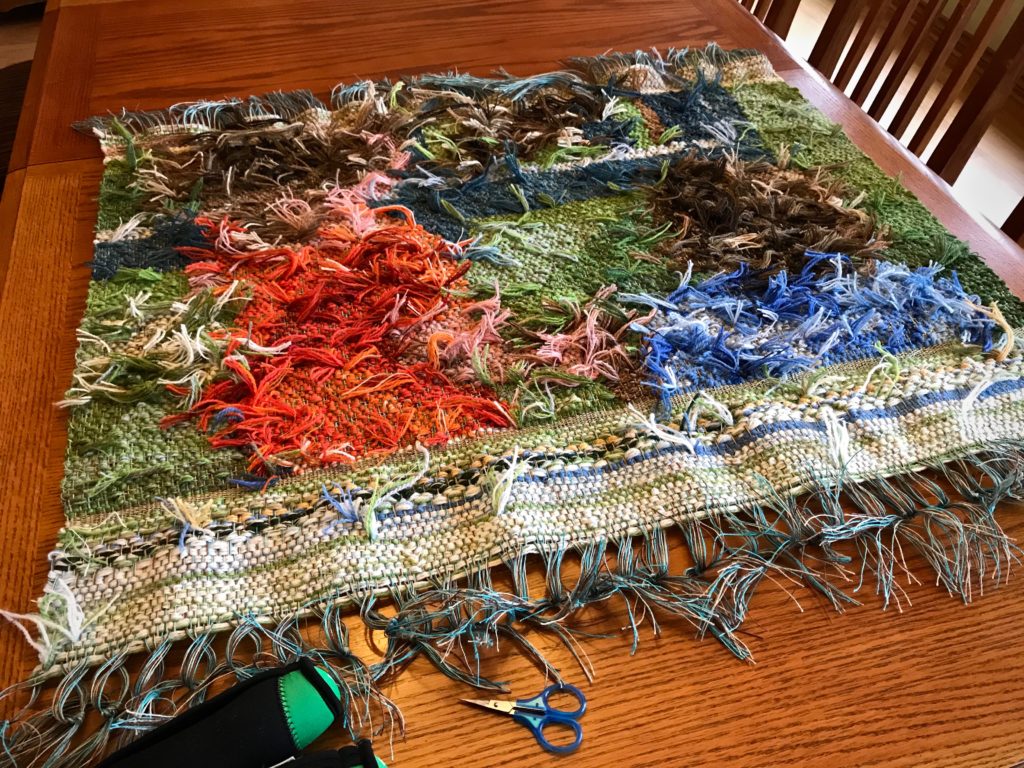
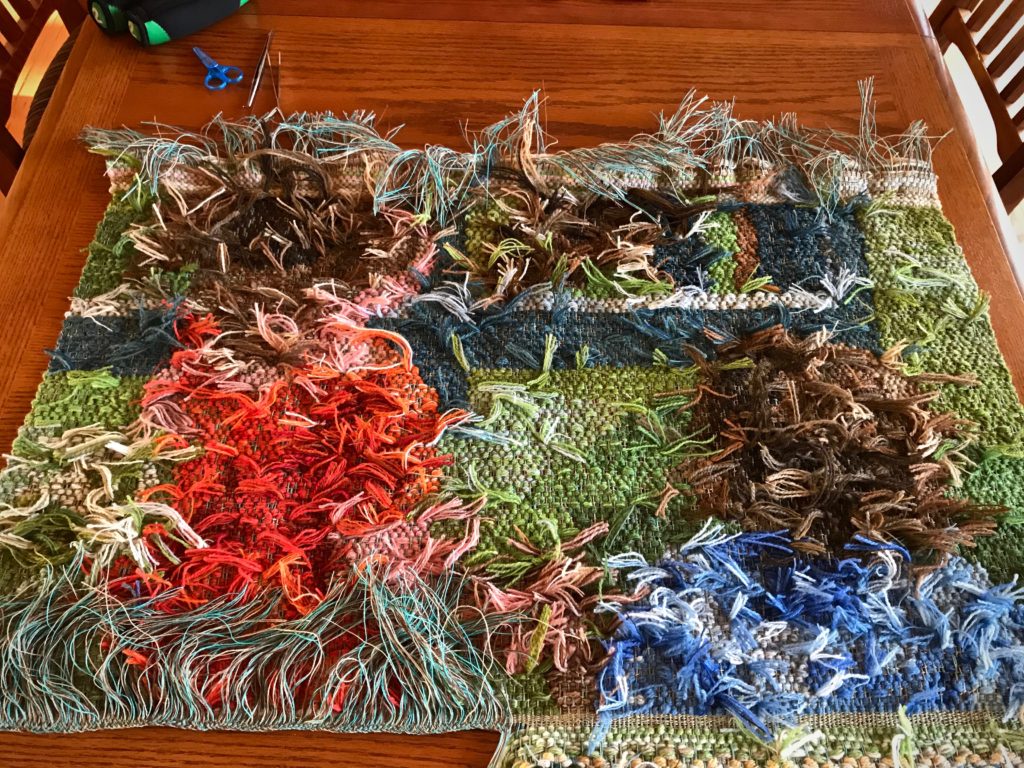
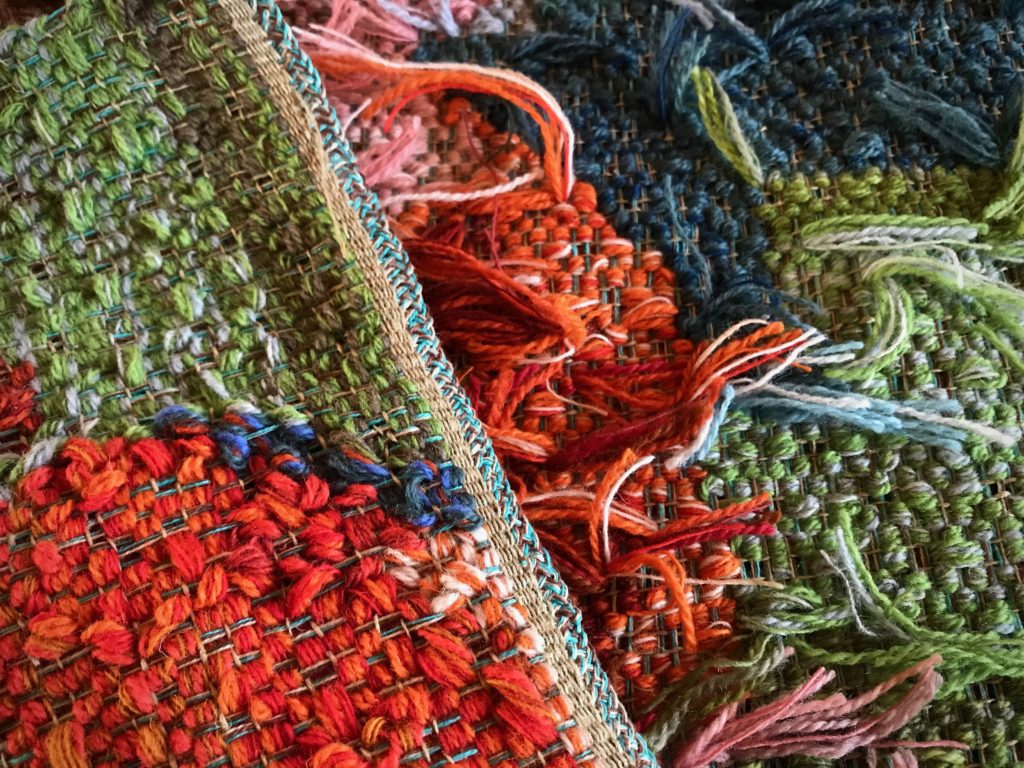
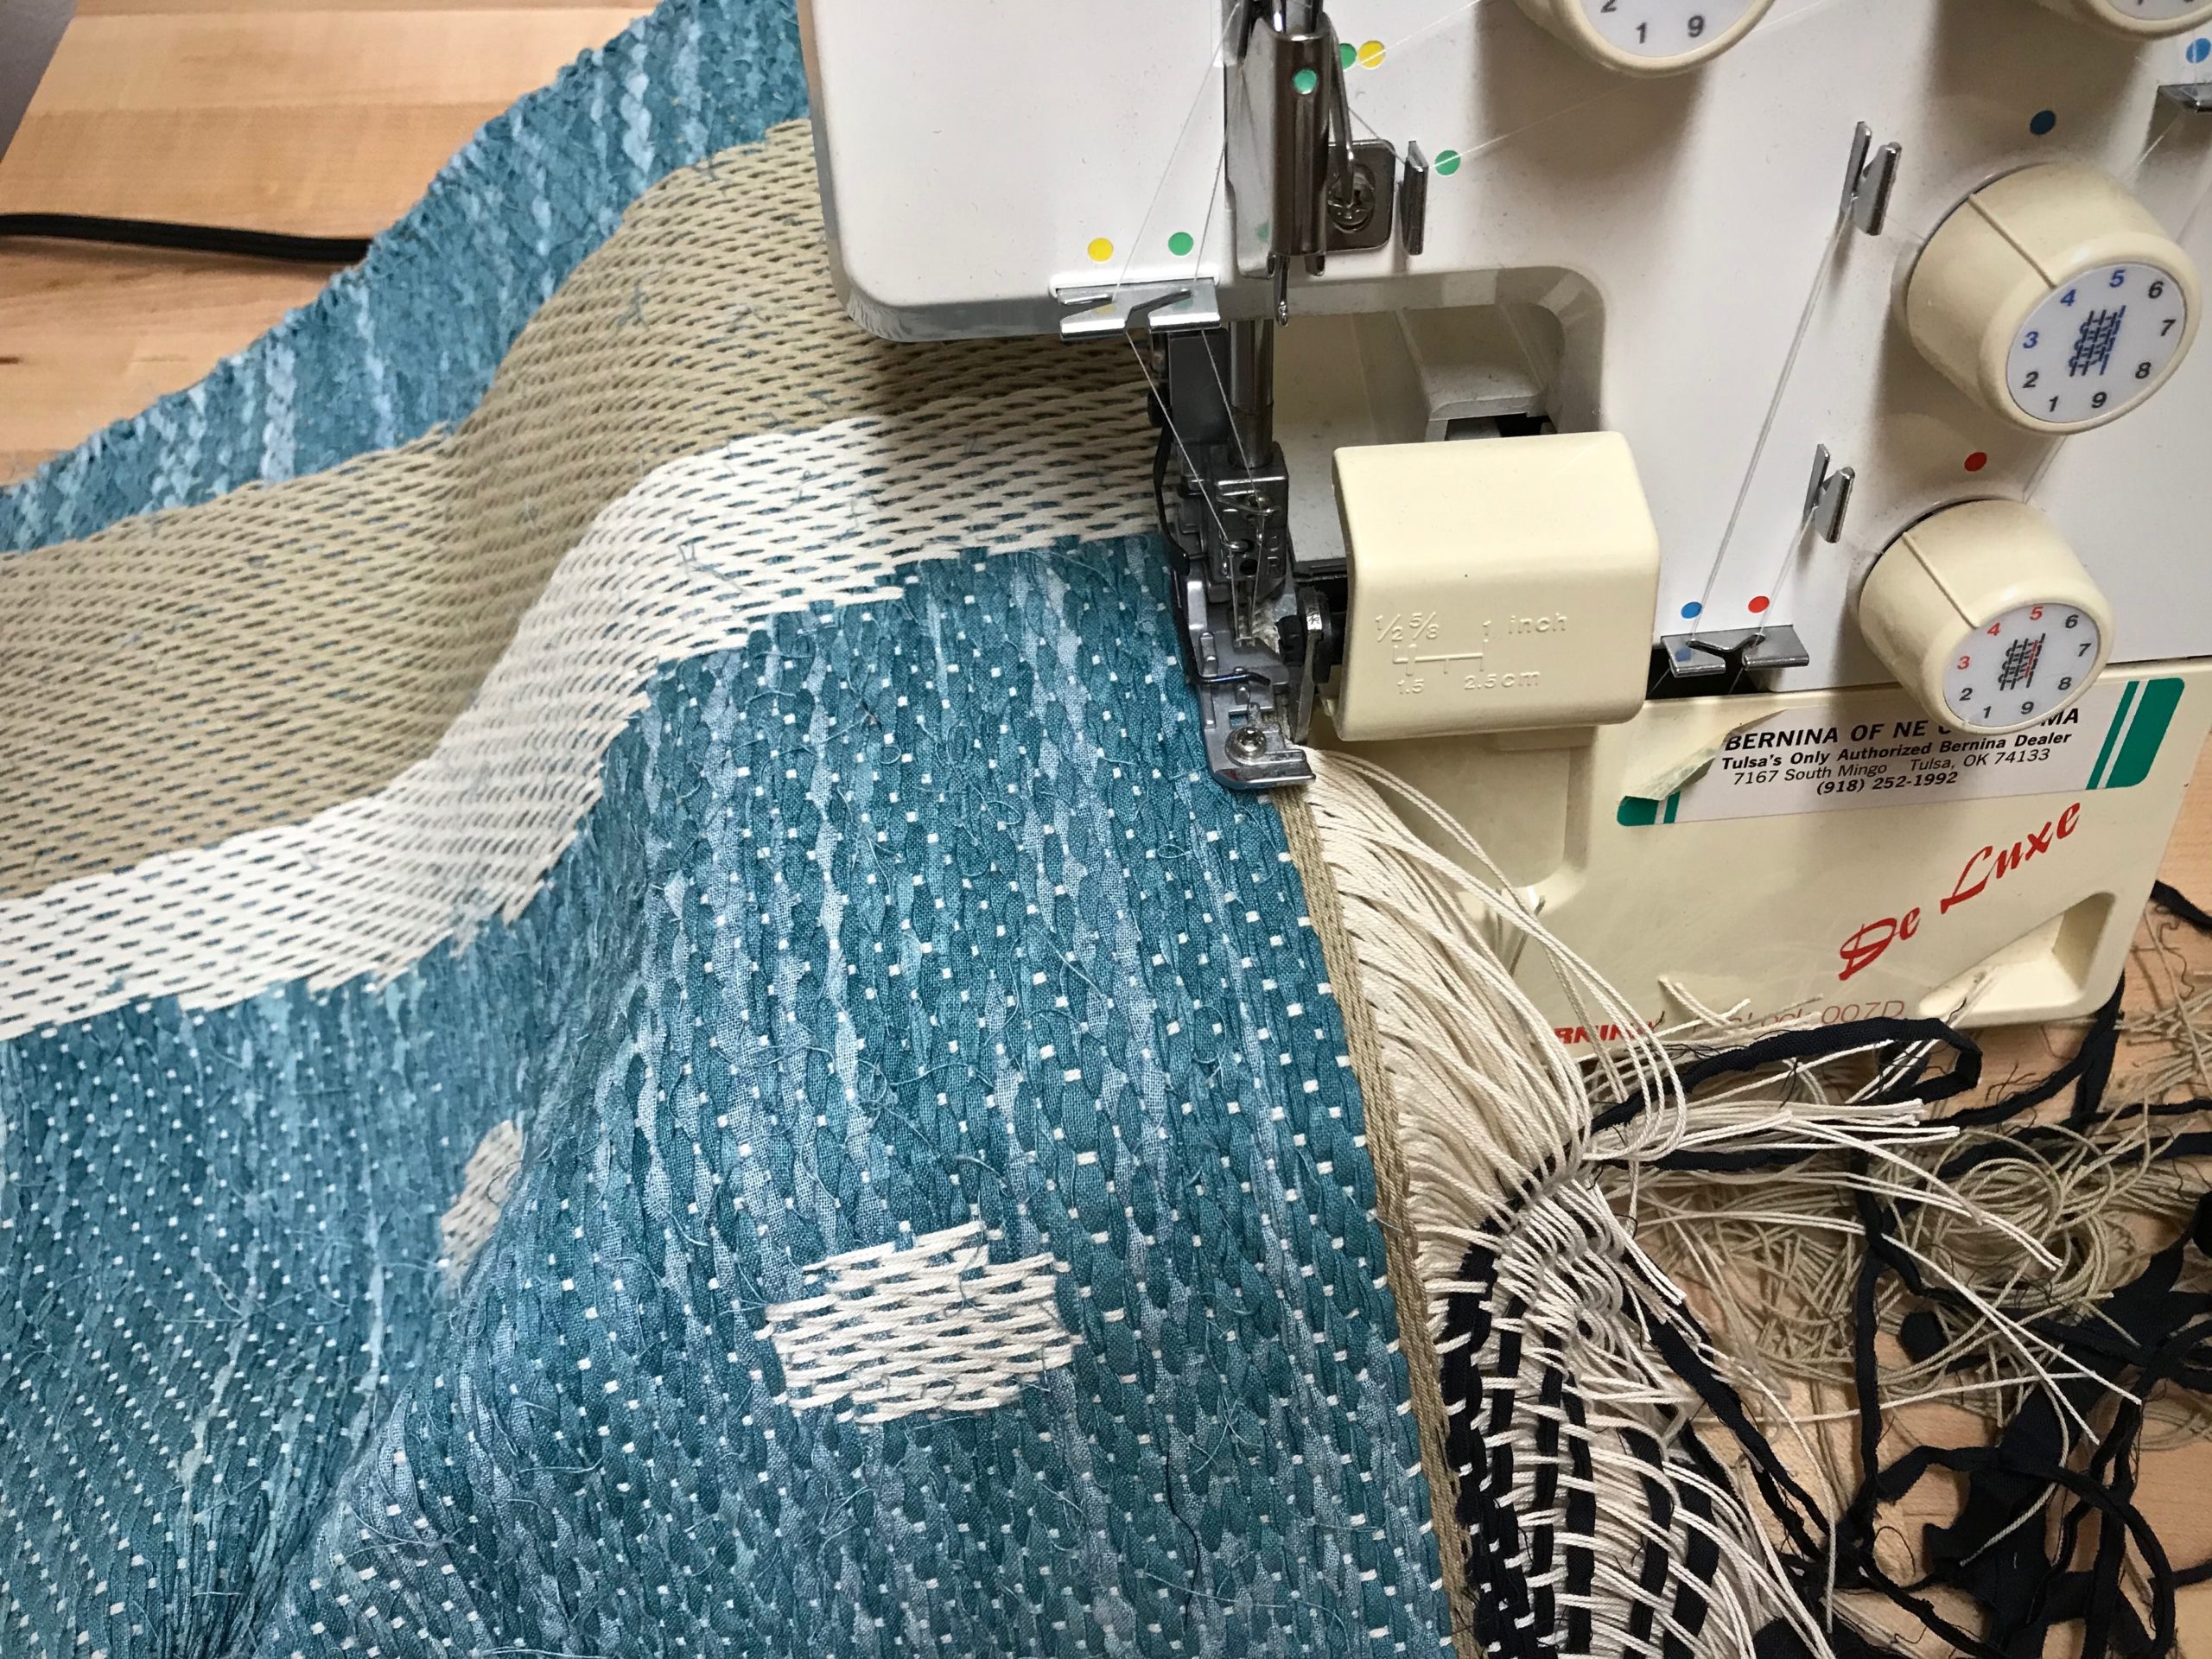
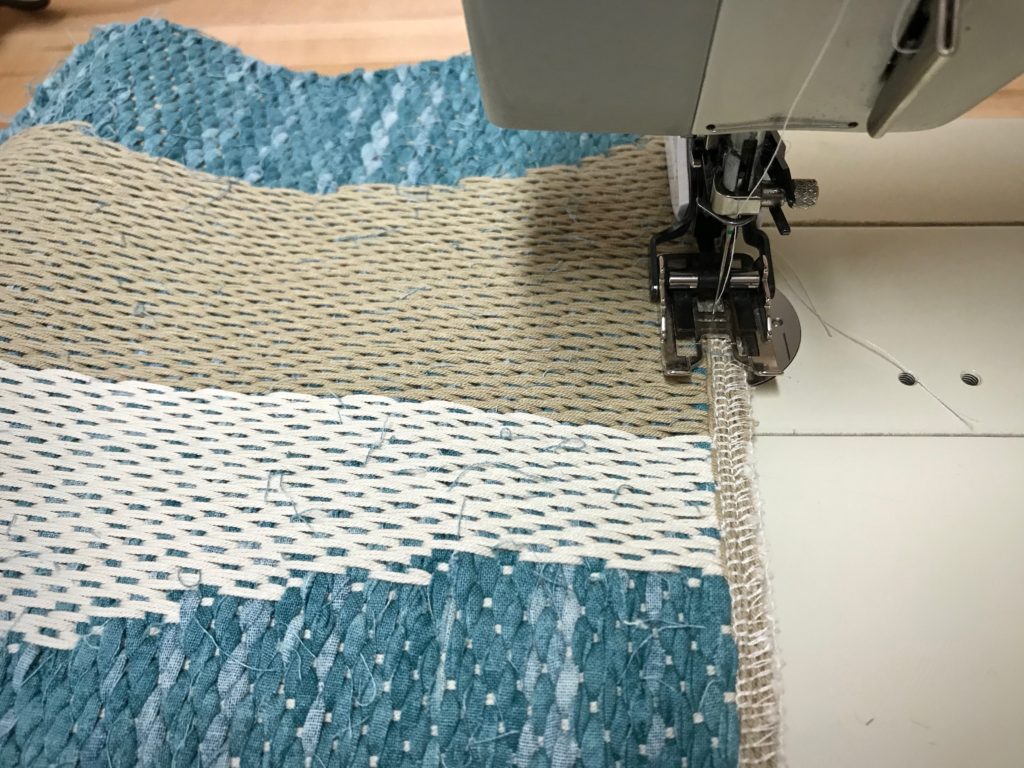
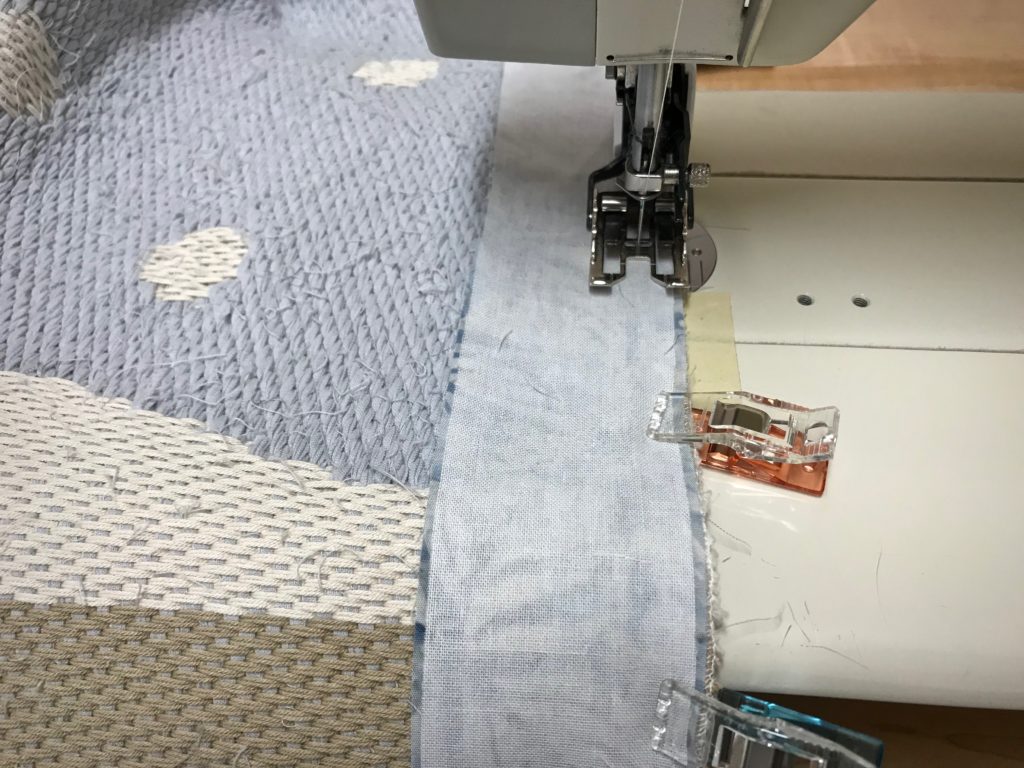
Finishing has its own set of new challenges. My go-to method of tying knots to secure warp ends is unwieldy in this instance because the threads are extremely dense. By quietly doing some detail studies on a sample, I find a way to finish this unusual rug: Secure the ends with the serger. Then, sew two rows of straight stitches on the sewing machine for added security. Sew a narrow bound hem using some of the fabric that was used as weft in the rug. Steam press to finish.

Drawloom rag rug finishing details.
Serger cuts off the ends as it overlocks the edge. I pull out the scrap header little by little just ahead of the serger needles and blade.
Finishing drawloom rag rug - steps.
Two rows of straight stitching.
Bound hem on a drawloom rag rug.
Lightweight woven fusible interfacing backs the fabric used for the narrow bound hem.
My Grandma's thimble.
My Grandma’s thimble helps me hand stitch the back side of the bound hems.
Drawloom rag rug finished!
Finished and pressed.
Stony Creek Rag Rug woven on single-unit drawloom! (Design by Kerstin Åsling-Sundberg)
Dream come true! Stony Creek Rag Rug (Design by Kerstin Åsling-Sundberg)

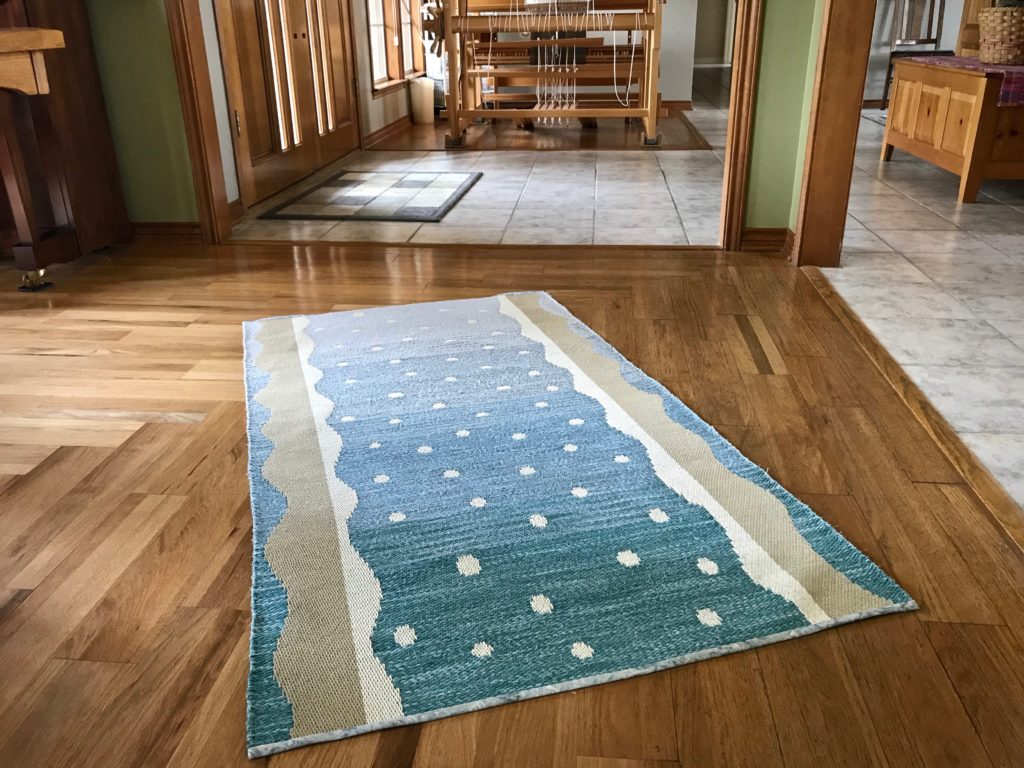
I have another rag rug to weave on this warp. It will still be a challenge. With what I’ve learned, though, I’m anticipating a satisfying weaving and finishing experience.

We know what to do in normal circumstances. It’s in unusual times that we fall into dismay. Private time with Jesus turns confidential fears to confident faith. He treats our challenges like personal detail studies, showing us the way forward. His grace enables us to conquer the next challenge with confident faith.

May your confidence grow.

With faith,
Karen

Drawloom Rag Rug Color Transition

This is a huge project. Four shades of blue from dark to light span the nearly one-and-a-half-meter-long rug. I have reached the final color-transition section. I am eagerly awaiting the day this rug will be rolled out!

Rag rug on the drawloom. Color transition.
Transitioning from one color to the next.

My measuring ribbon shows me where to make the color changes. I alternate two weft colors (C and D) through the transition area to blend the hues. All the while, I stop after every half-unit of four picks to manage the draw cords. A graphed chart tells me exactly which of the 164 draw cords to pull or release. In this way the graphic designs are woven into the rug, row by row. I weave in quiet, allowing me to put full attention on each move.

Drawloom rag rug.
View of the underside of the rug as it goes from the breast beam to the knee beam.
Single unit drawloom rag rug.
Draw cords are arranged by tens, alternating black cords and white cords. I pull the cords as they correspond to the prepared chart hanging at the left side of the loom.

We need hope in these unsettling times. Jesus invites us to admit our fears and failures, and put our trust in him, and follow him. And this is the message Jesus gives his followers: I am always with you. The Lord gives strength and courage. As our Grand Weaver, he has his full attention on us. So be strong and take courage.

May you have hope that lasts.

Love,
Karen

Tried and True: Designing Handwoven Towels

How do you come up with a design for standout hand towels? Sometimes it’s nice to start with someone else’s ideas. There is a gorgeous wool throw, designed by Anna Svenstedt, in Favorite Scandinavian Projects To Weave: 45 Stylish Designs for the Modern Home, by Tina Ignell. This Colorful Throw—Reverse Twill makes a perfect template for designing eye-catching hand towels.

New handwoven towels.
Warp chains with seven colors of 22/2 cottolin for standout hand towels.

Decisions:

  • Colors – a set of seven colors, to be used in warp and weft
  • Fiber – 22/2 cottolin for warp and weft
  • Reed and sett50/10 metric reed, 10 ends per centimeter (~ 12-dent reed, 24 ends per inch)
  • Finished size of towel – 39.5 cm x 63 cm (15.5” x 24.5”)
  • Number of towels – 2 pairs of towels = 4 total
  • Spacing of warp stripes – add two more narrow stripes at each selvedge to balance the pattern

These decisions enable me to prepare a project plan, make calculations, and write a new weaving draft.

New handwoven towels.
Testing, testing…

When the loom is dressed, the design process continues as I begin weaving a sample section. This is where I decide what weft colors to use, the spacing of weft stripes, and specific treadling patterns. I add these notes to my project sheet, which I keep at the loom as my weaving roadmap.

Measuring for weft stripes.
I place my measuring twill tape along the reed to mark the spacing of the warp stripes. I will use that same spacing for weft stripes to make plaid towels.
Testing colors and patterns.
Sample weaving to try out colors, stripe spacing, and treadling patterns. And, simply to practice this broken reverse twill treadling, which requires concentration.
First towel starts after the red cutting line.

These hand towels are a preview. If they turn out as hoped, I may have to make some bath towels to match.

May your designs stand out.

Happy Weaving,
Karen

Siblings Tapestry and Process Video

Drum roll please… And now, I present to you: Siblings

Siblings Tapestry by Karen Isenhower

The Siblings tapestry is a woven expression of personal meaning. The tapestry tells a story of a singular incident, almost hidden in the excitement of the occasion. Lucia grasps Ari’s wrist as they approach Sugar Pie, the bunny. In that moment I see something worth keeping—precious sibling love.

Please enjoy this short video of the process of weaving and finishing the Siblings tapestry.

May you know the security of true love.

Happy Weaving,
Karen

Tapestry Promise

You will see the front of the Siblings tapestry. I promise. When I cut a tapestry from the loom the weaving is finished. But the tapestry is not complete until the finishing is finished. And I have substantial handwork yet to do before this tapestry is ready for display.

Cutting off a new tapestry!
Cutting off the tapestry.
Back of the Siblings tapestry.
View of the back of the tapestry. Non-distinct imagery.

I am securing the ends in a woven edging. Then, I will trim weft tails, stitch things down around the perimeter, and put on a backing. Additional hand-stitching work will stabilize the whole piece. When you see the Siblings tapestry again, you will see it in full view on the wall right behind my loom.

Woven edging on the new tapestry.
Warp ends are woven together along the edge, and will end with a short braid.
Tapestry just off the loom. Finishing process.
Edge will be folded under and stitched down before the backing is added.

Hope is built on promise. Do not forget God’s promise. Come to Me, all of you who are weary and burdened, and I will give you rest. And, Jesus expresses the promise to His followers, I will be with you always. We see the tapestry of life from the human side, the unfinished side. Hope, paired with patience, takes us through the uncertain future. We have assurance of the Lord’s grace, His meticulous handwork, bringing His work to completion. In the meantime, we give Him our burdens and He gives us rest. As promised.

May your hope be strong.

With you,
Karen