What a Cellist Weaves

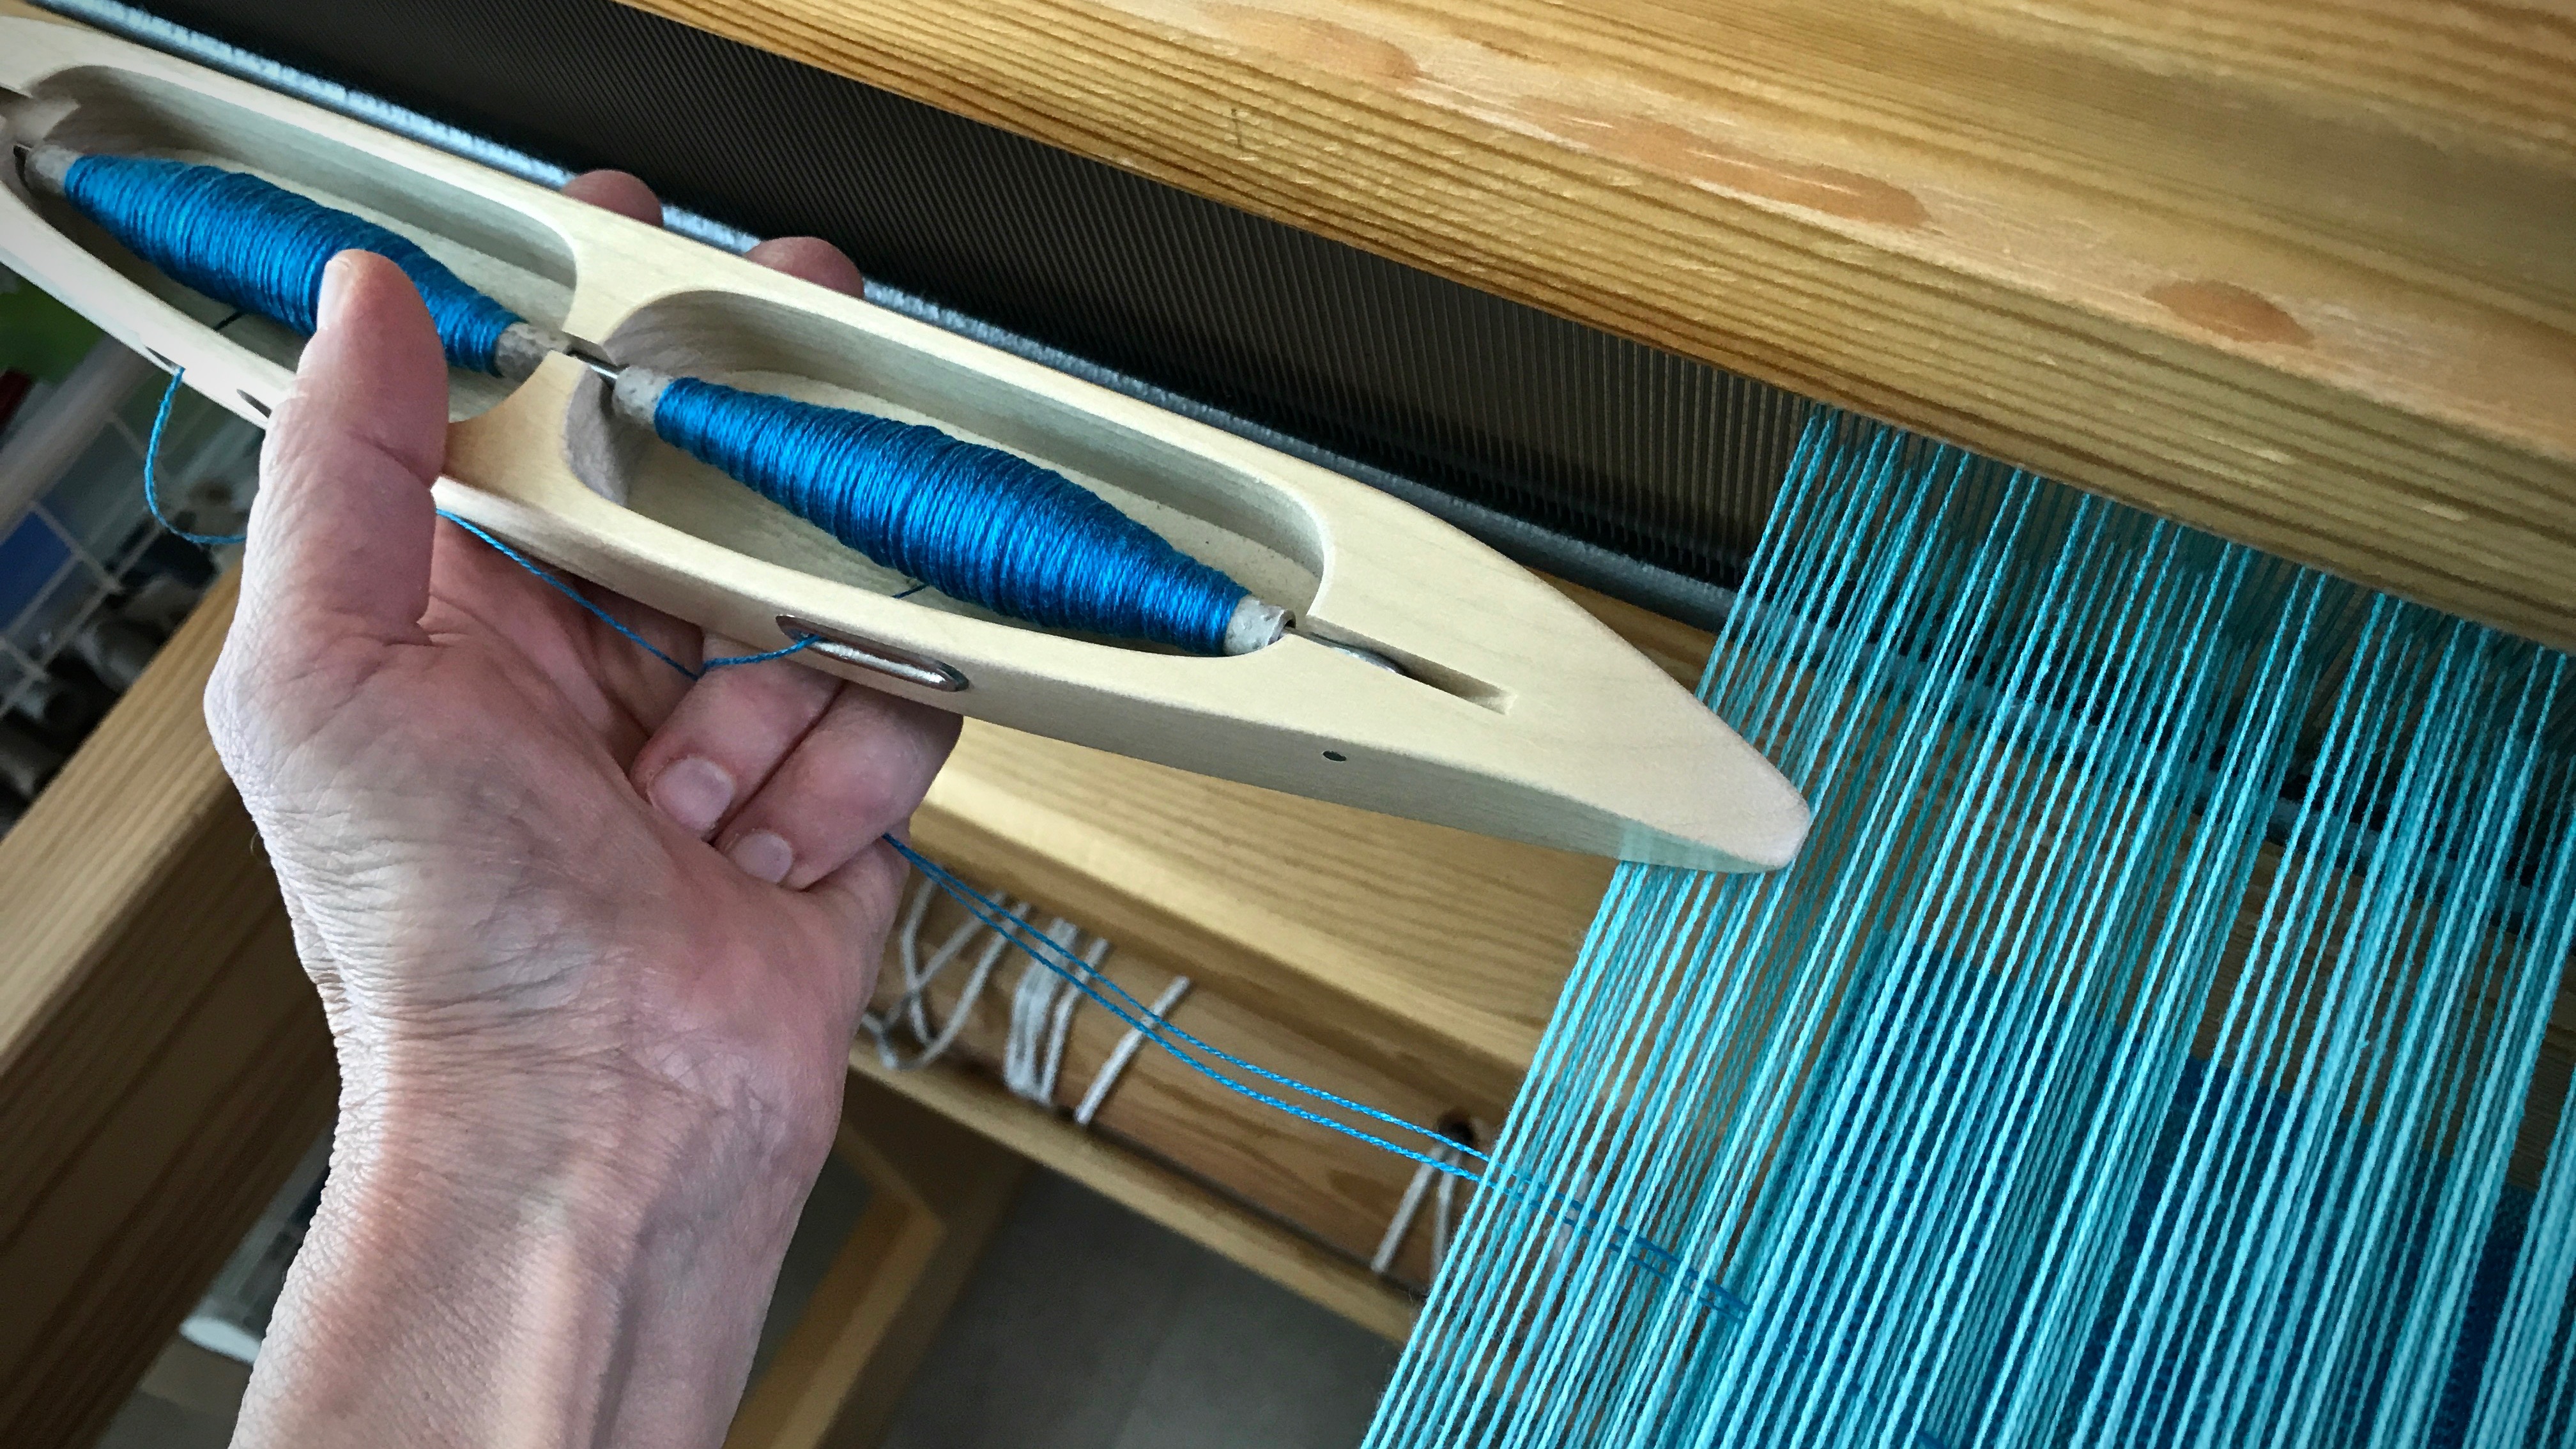
I approach weaving like a musician. The looms are instruments, and everything is practice. When I was twelve years old I fell in love with the ‘cello and began learning to play the instrument. Over time, I discovered the value of mindful practice, the need for which is ongoing. It’s not perfection I’m after, but intent to apply all I’ve learned.

Glimakra band loom.
Finished woven band. 12/6 cotton for warp and 16/1 linen for weft.
Band loom woven cord for cello endpin stop.
Small slider is added to make the cord’s length adjustable.

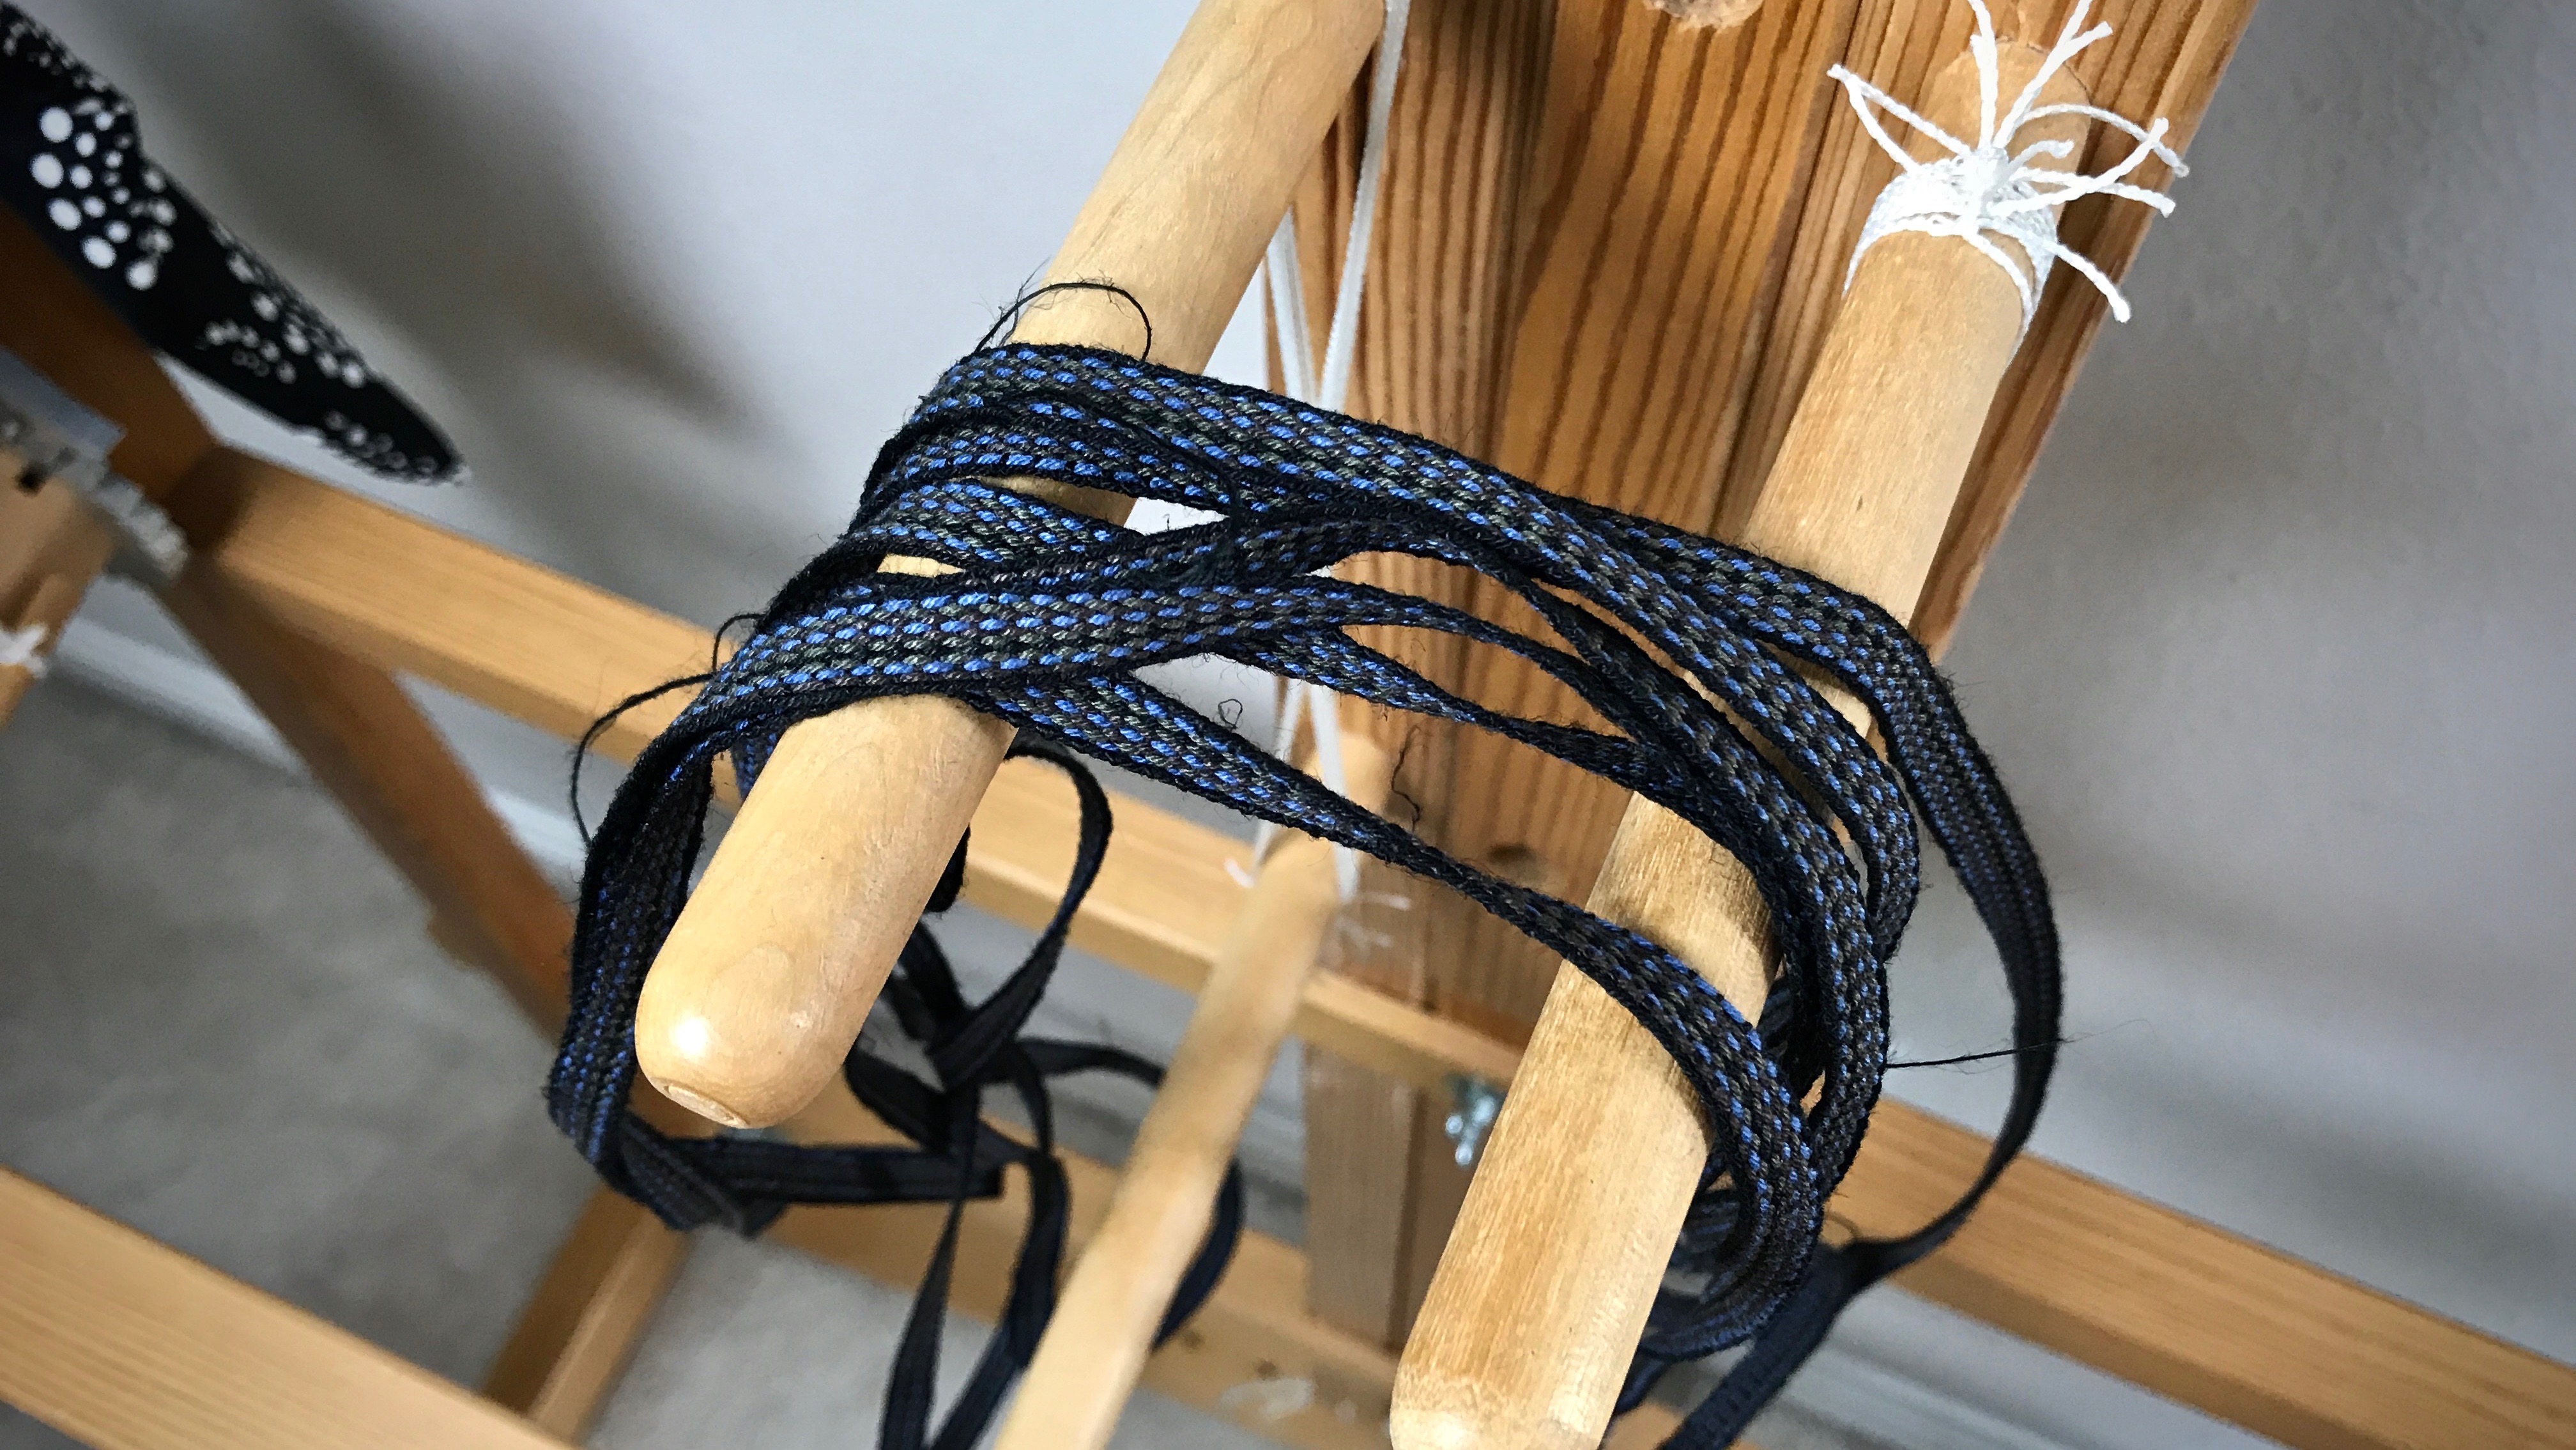
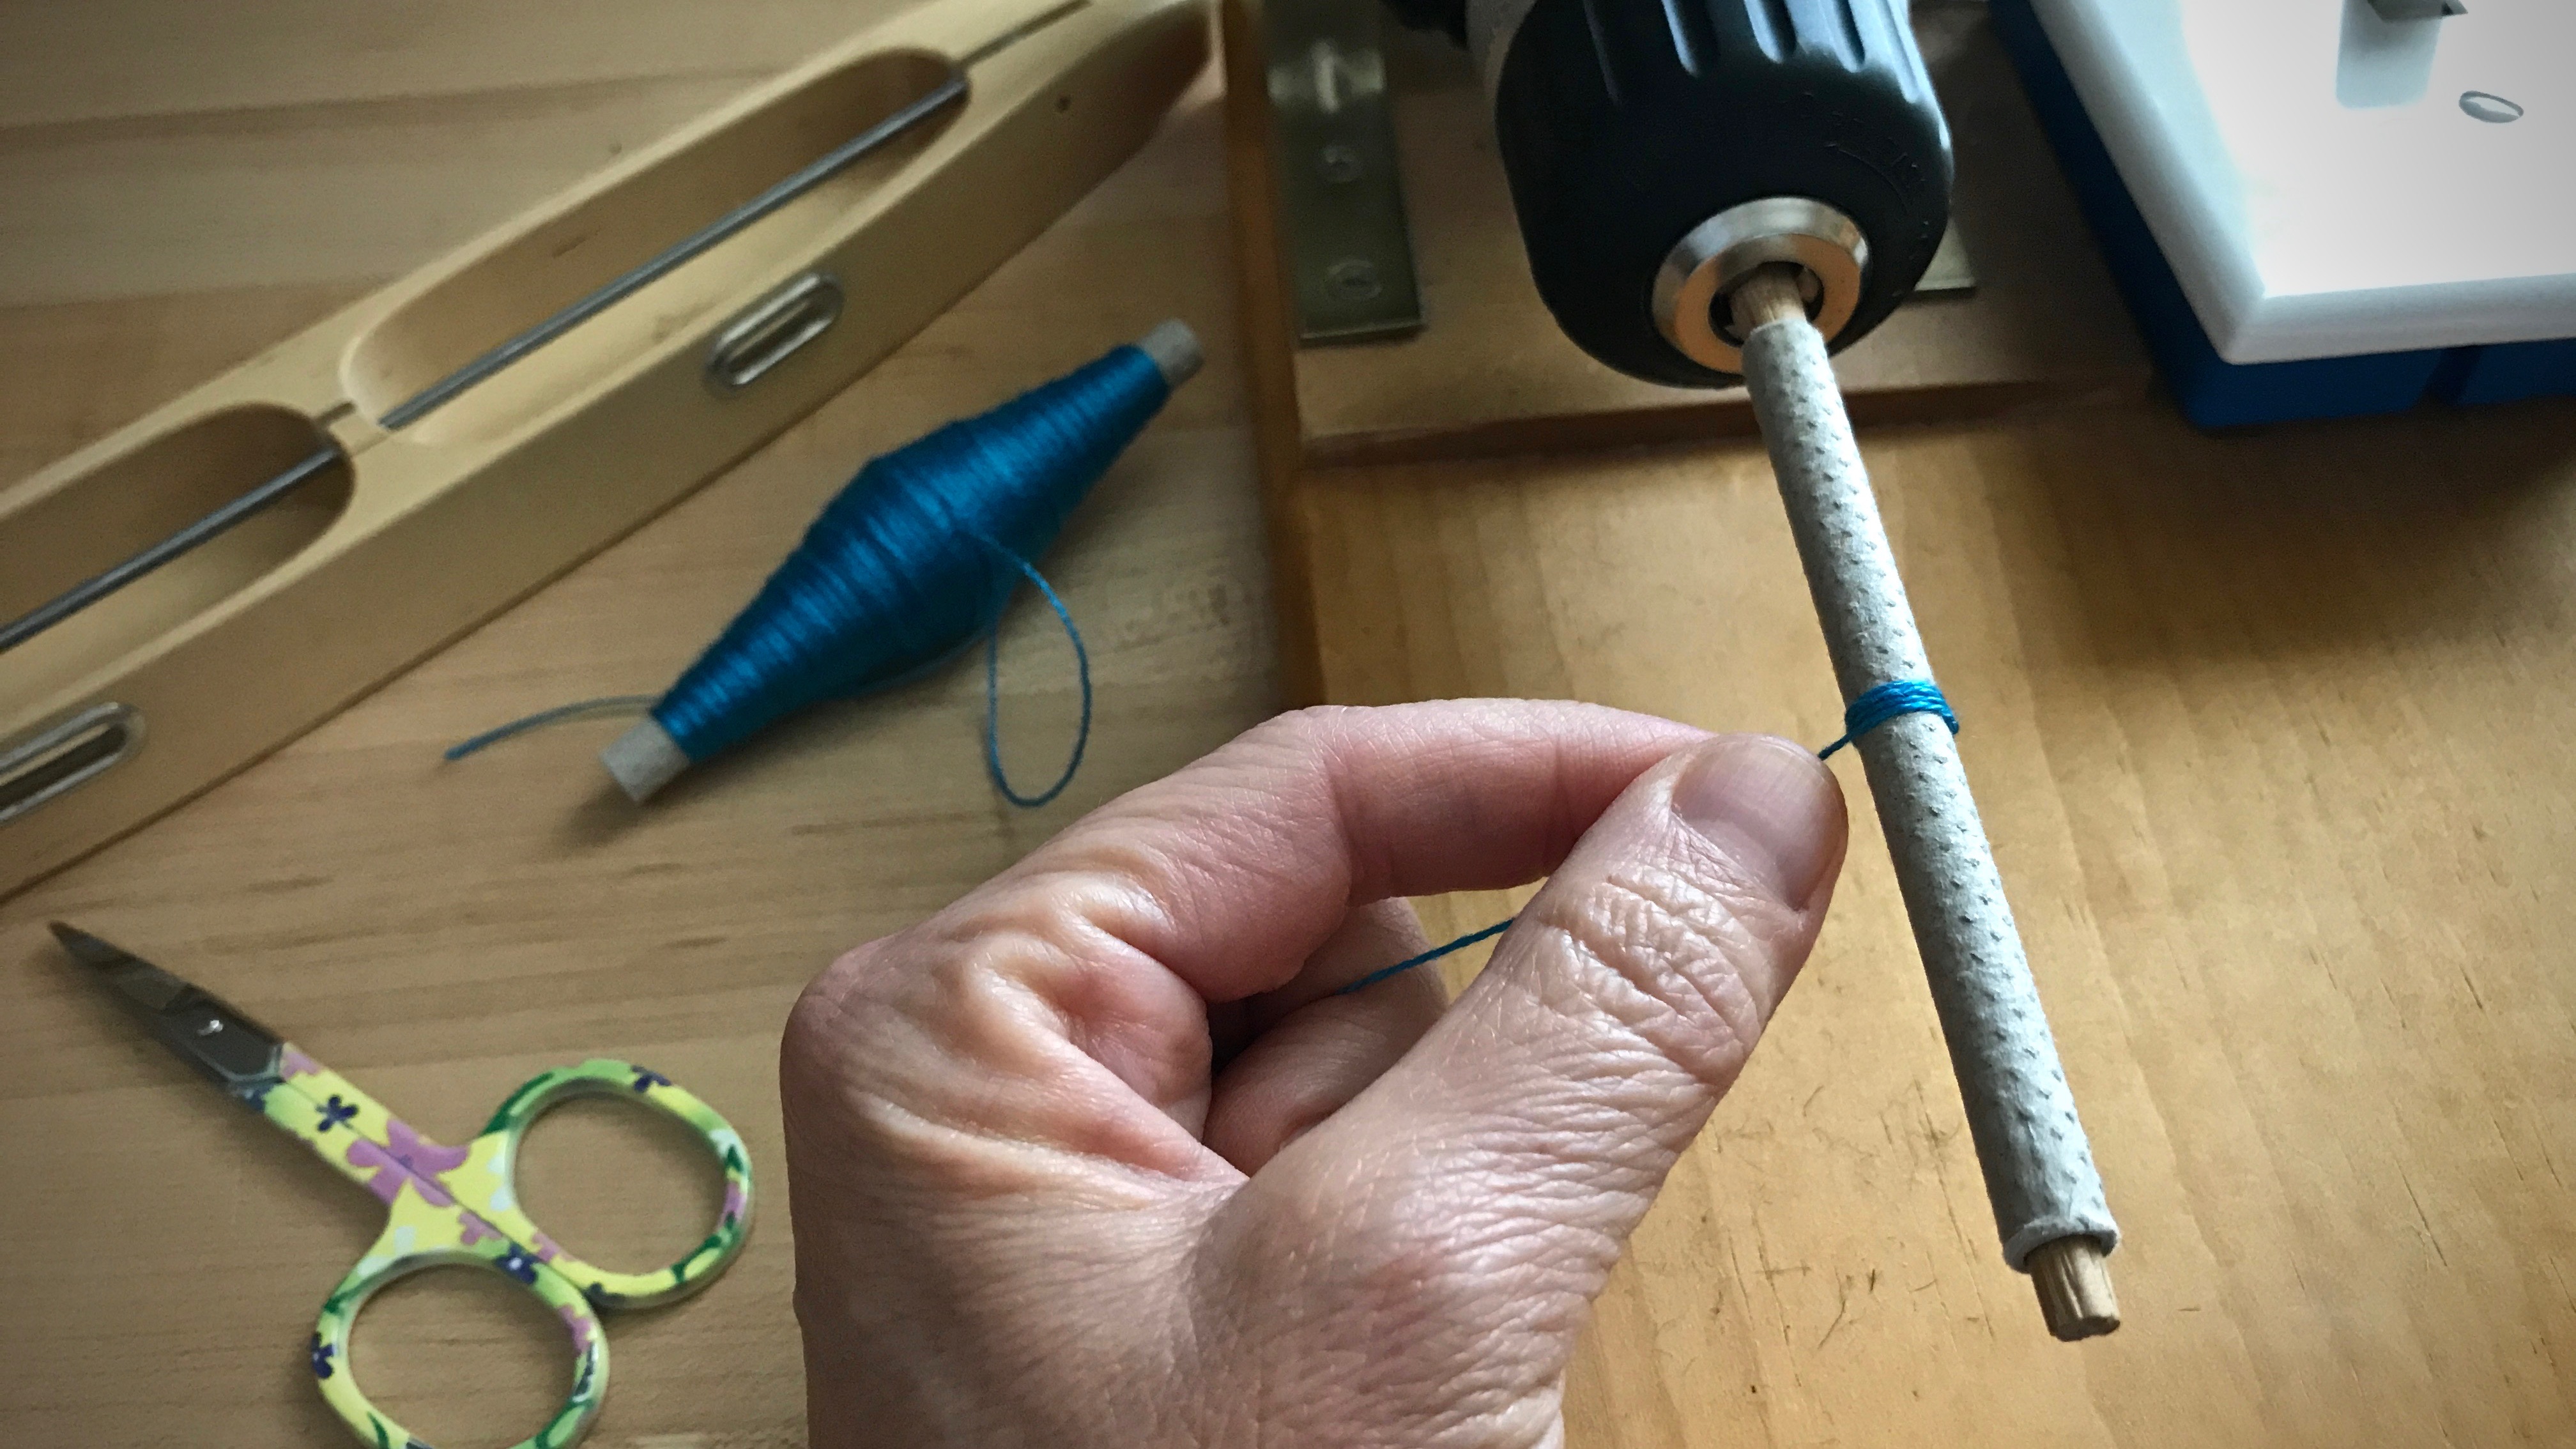
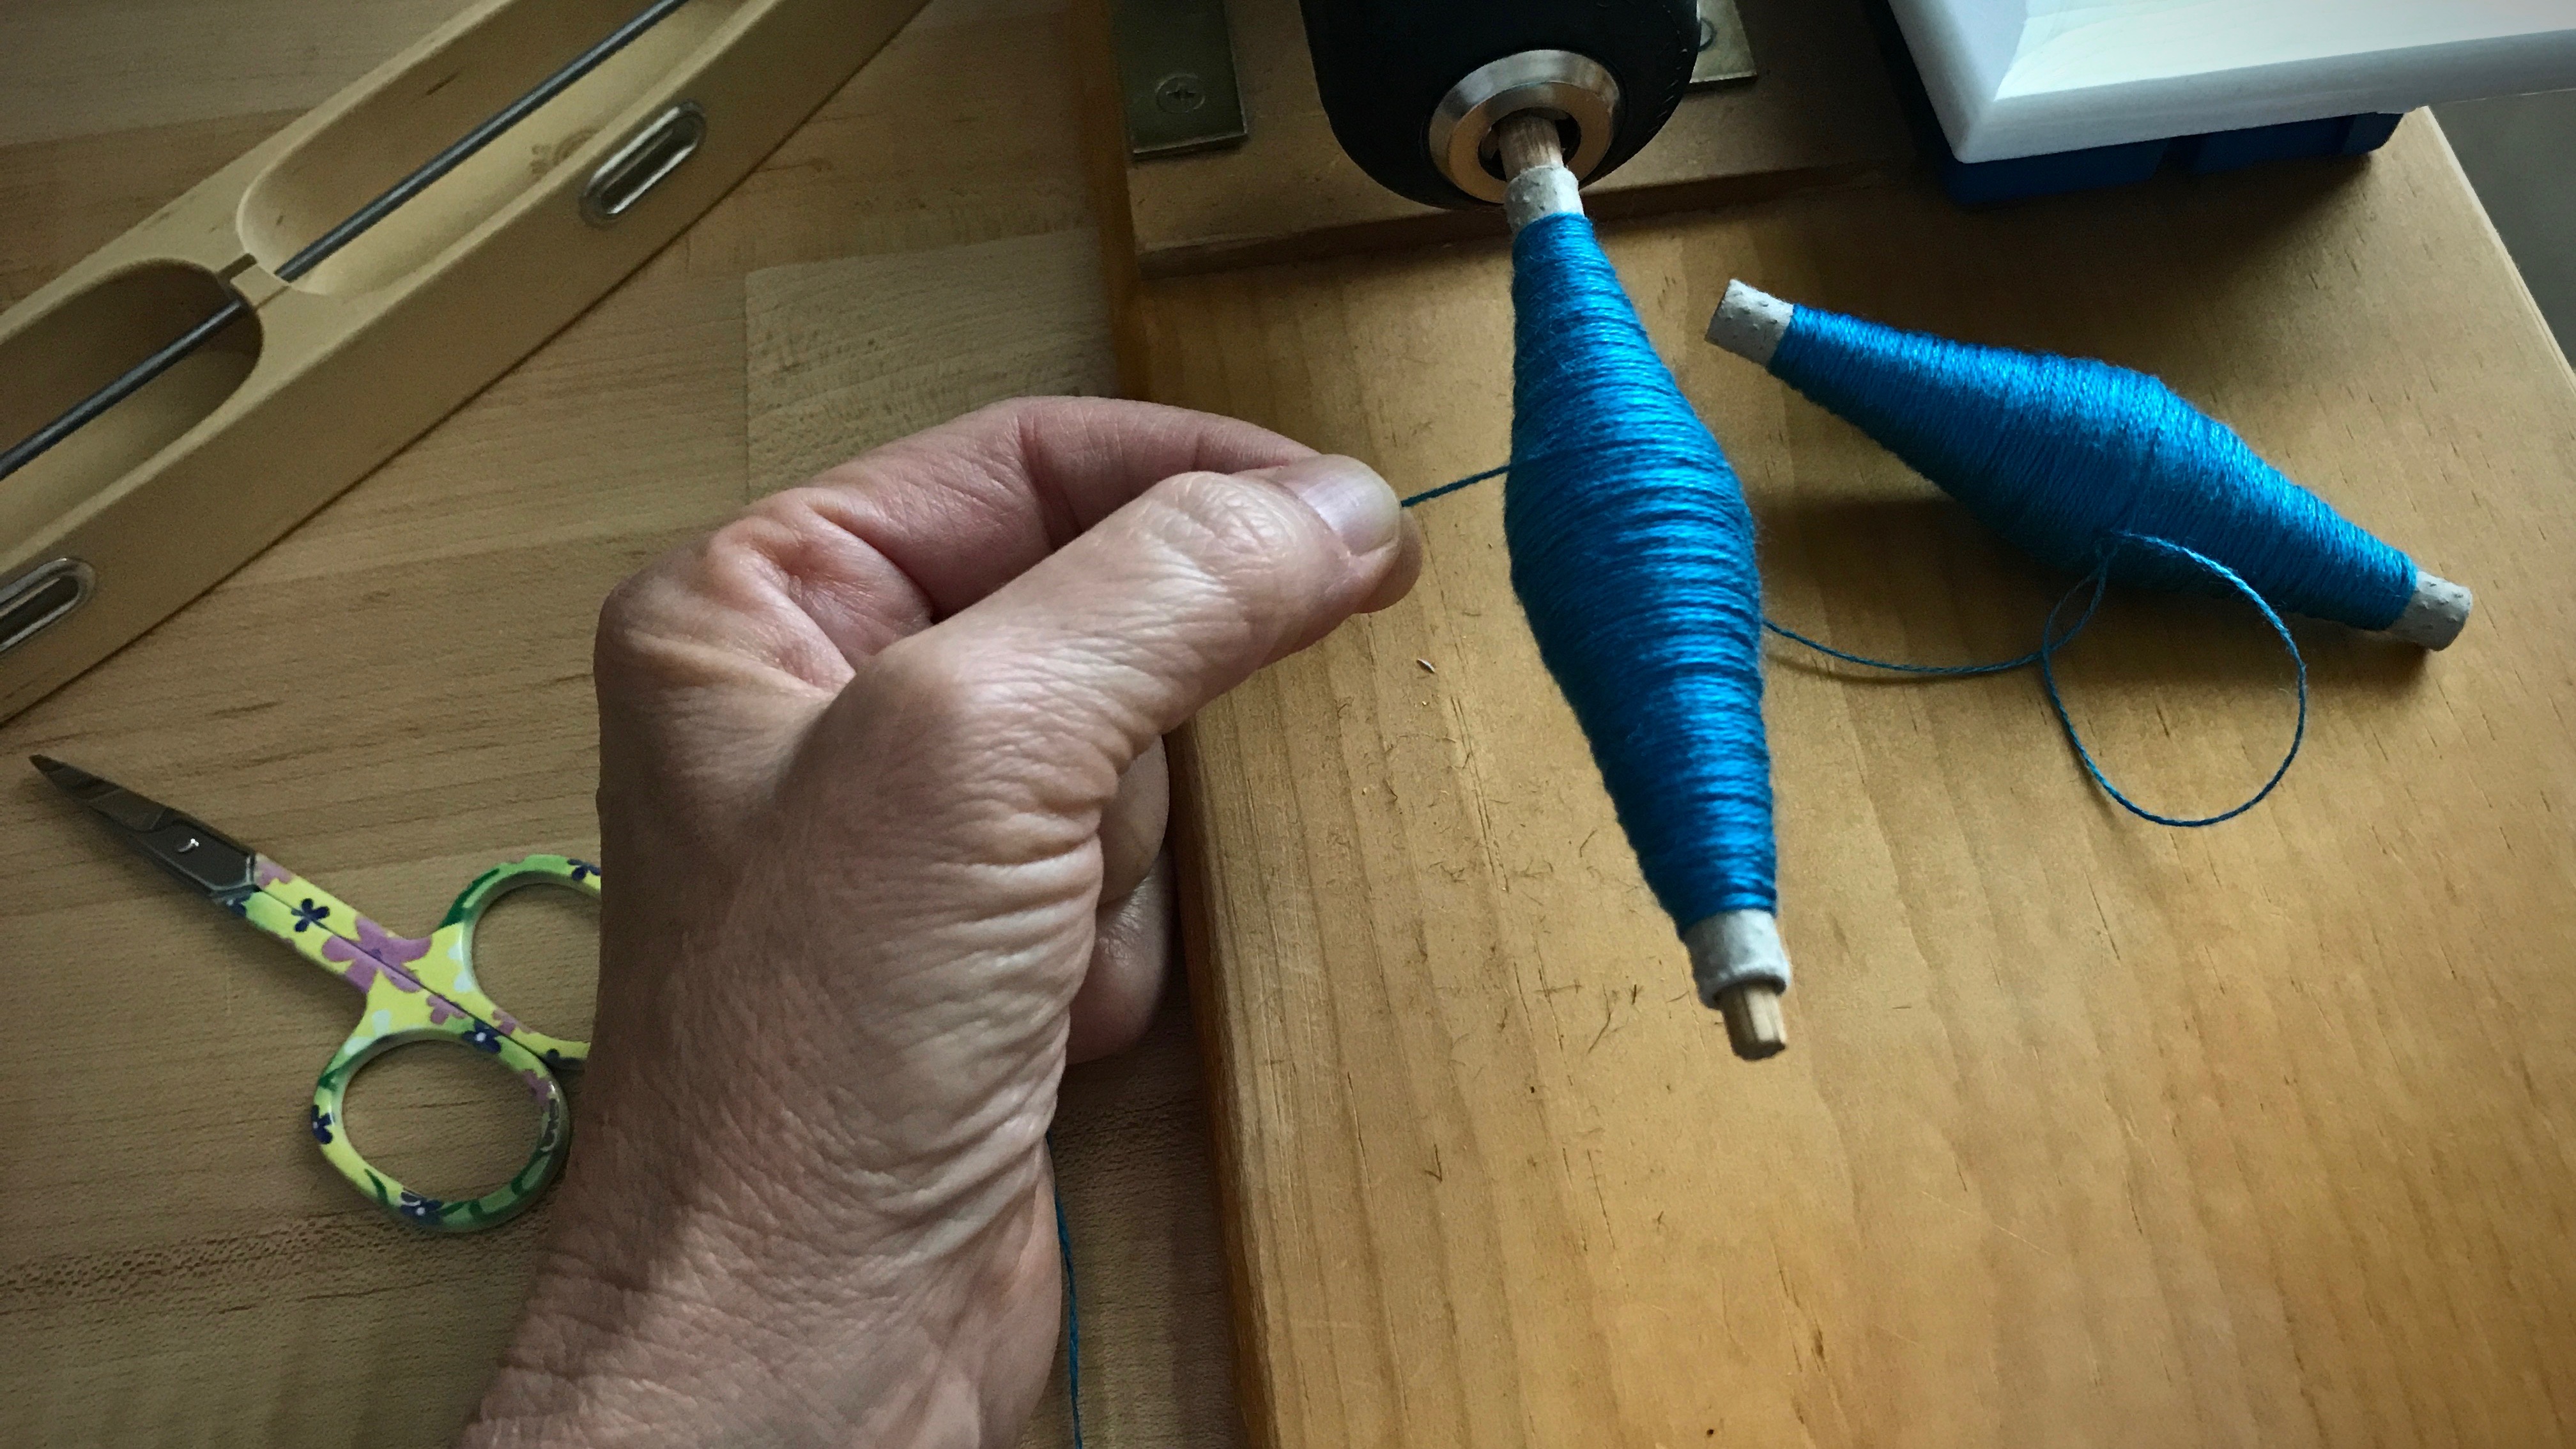
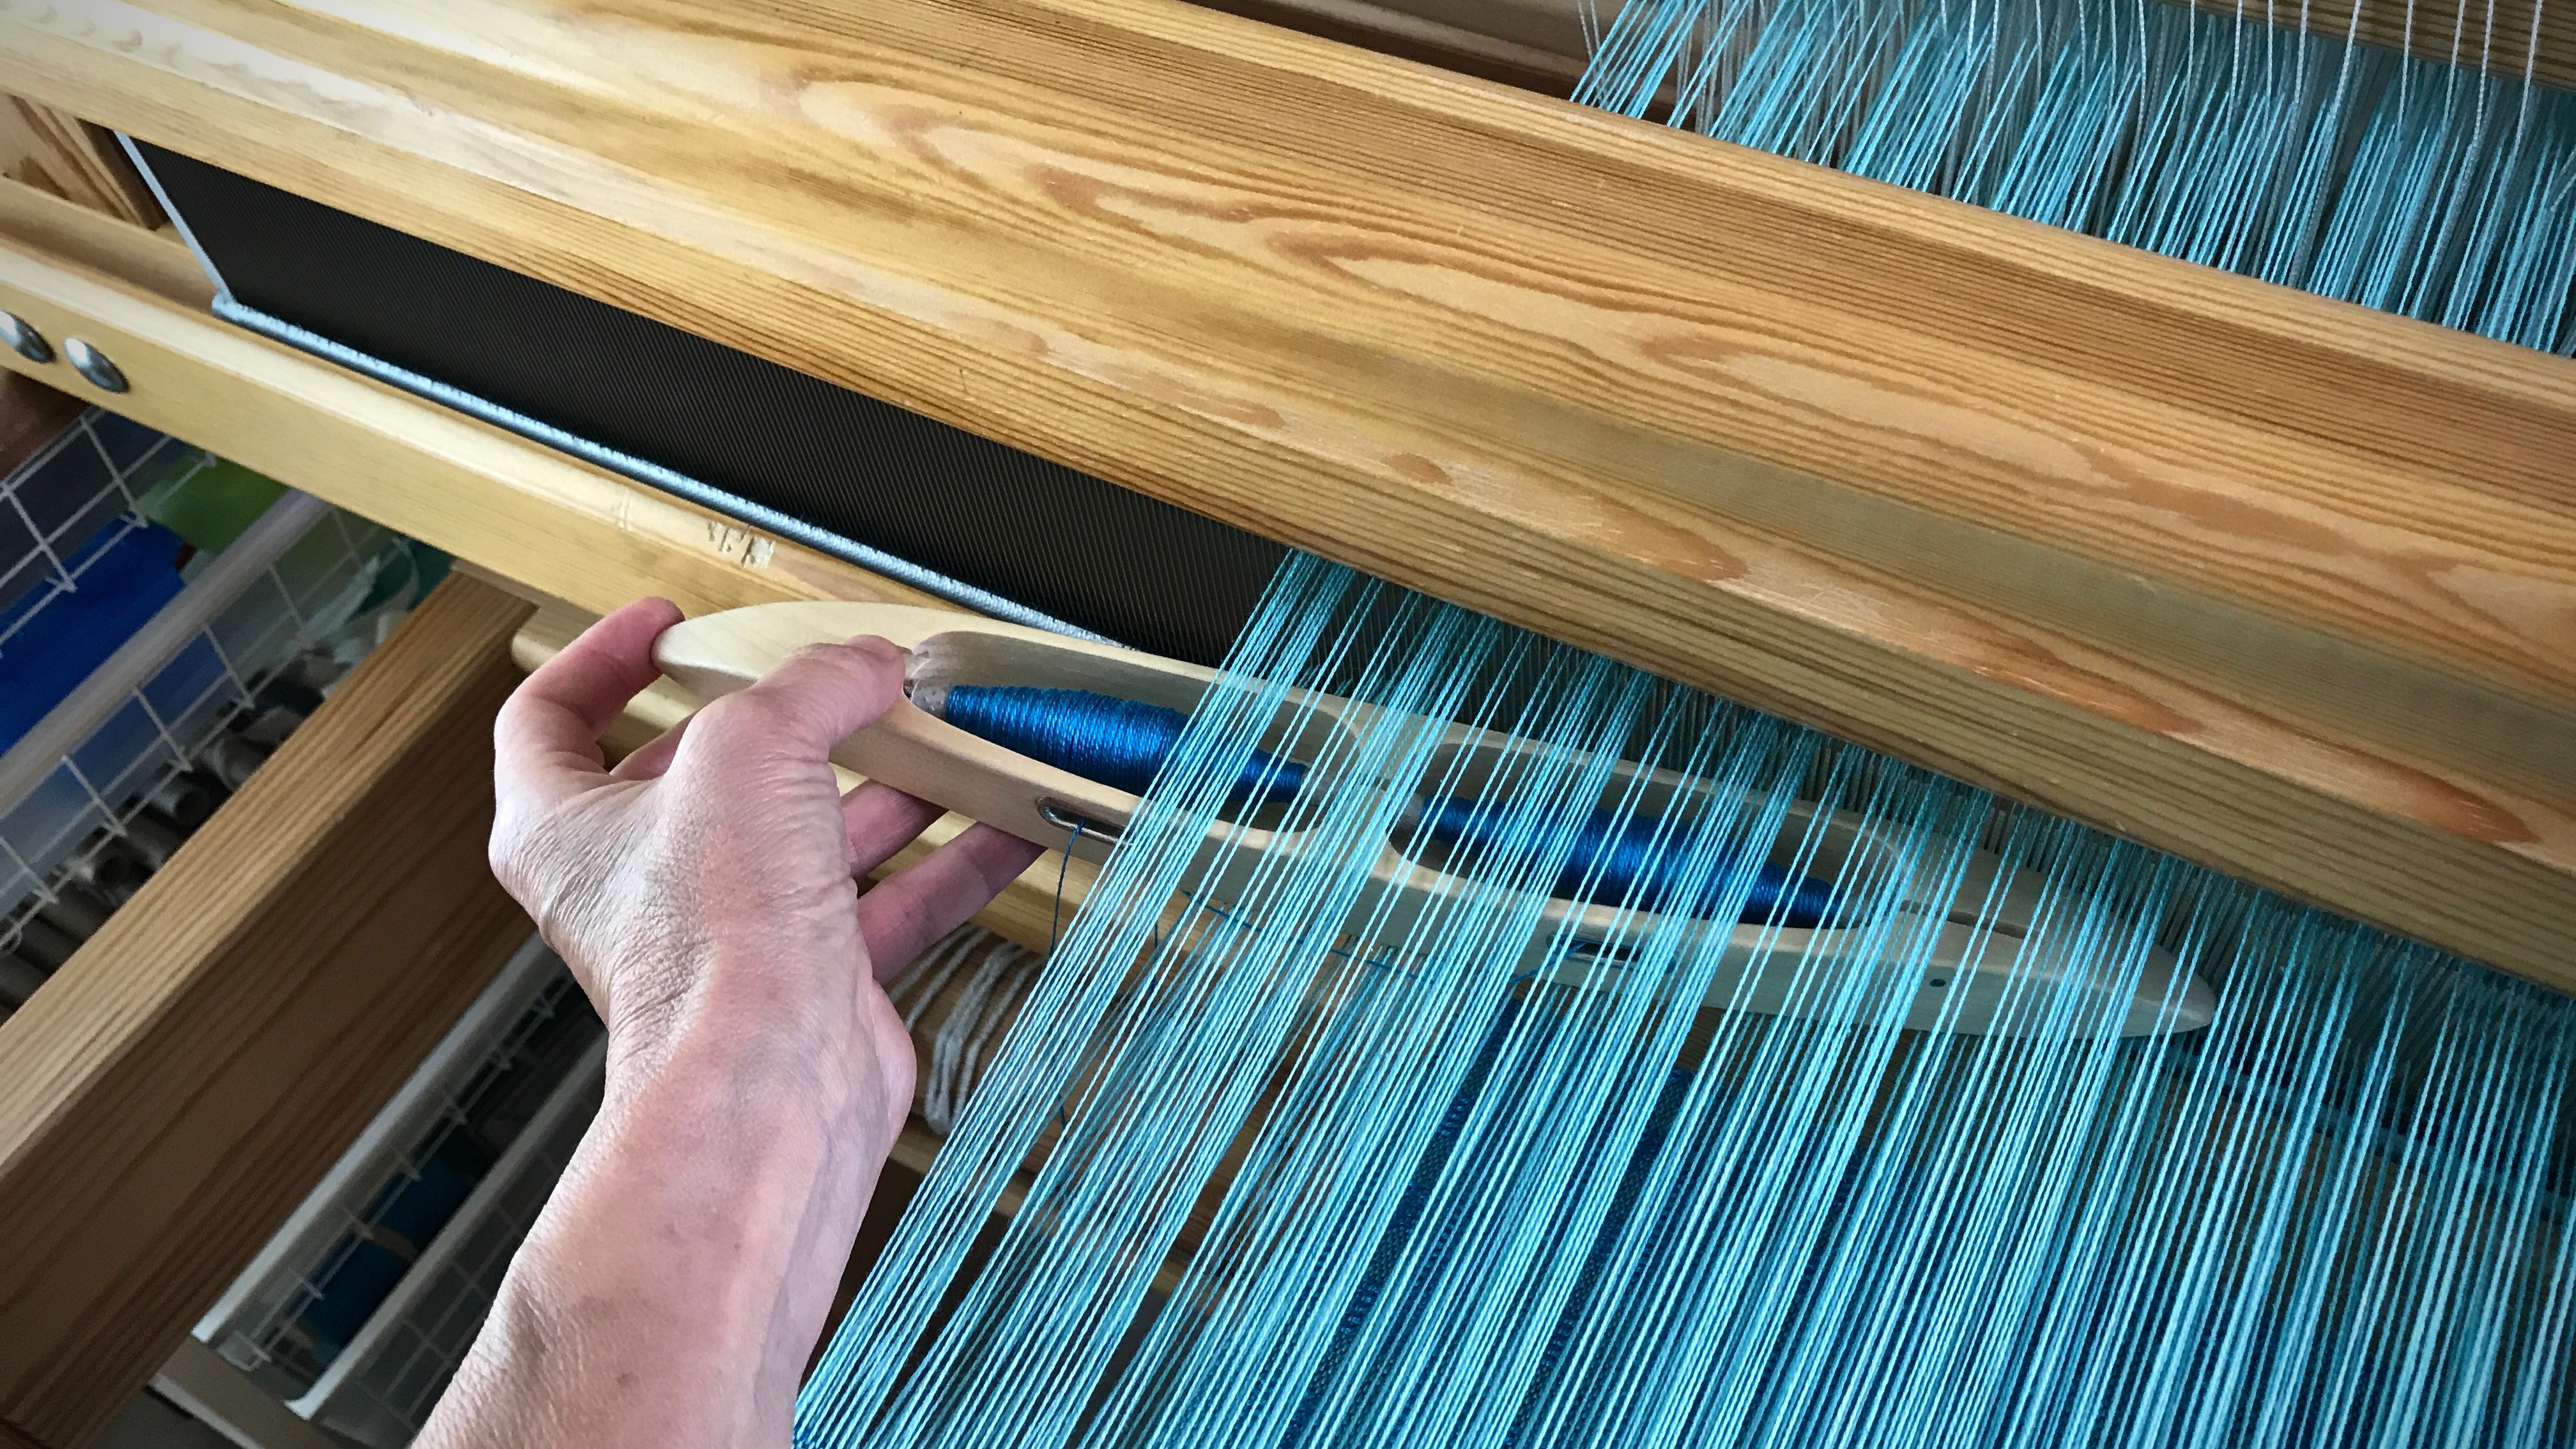
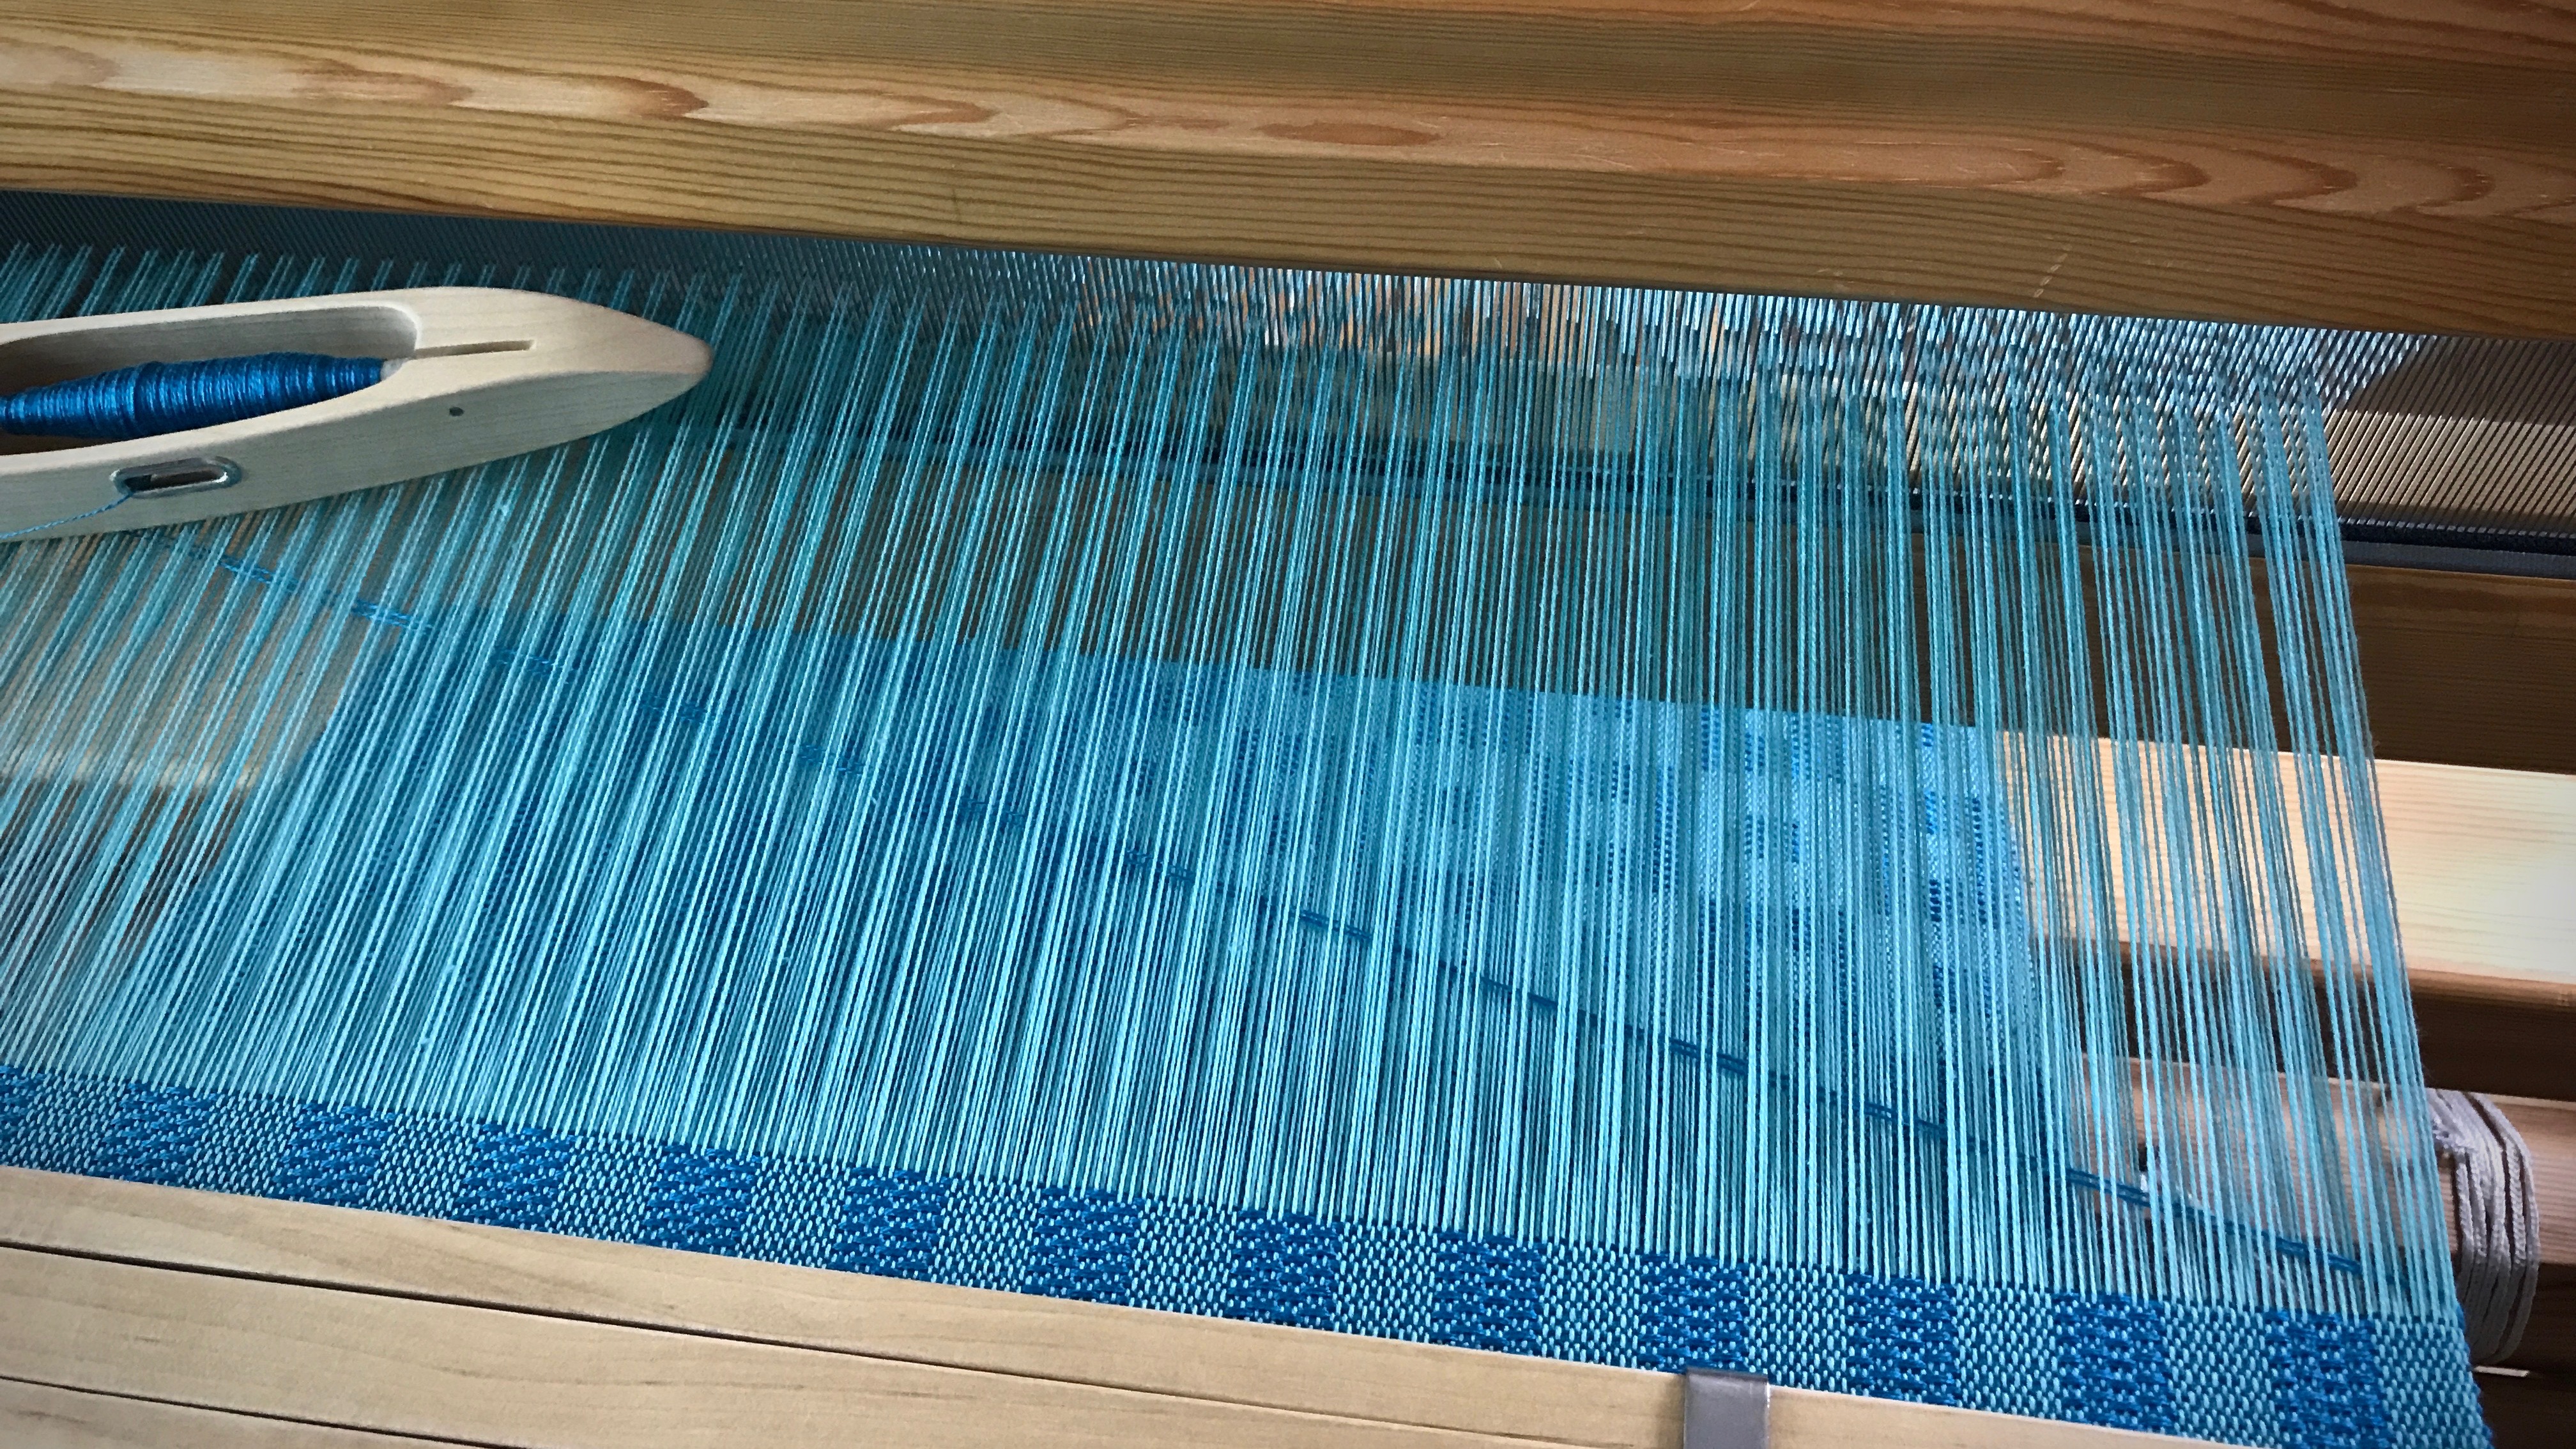
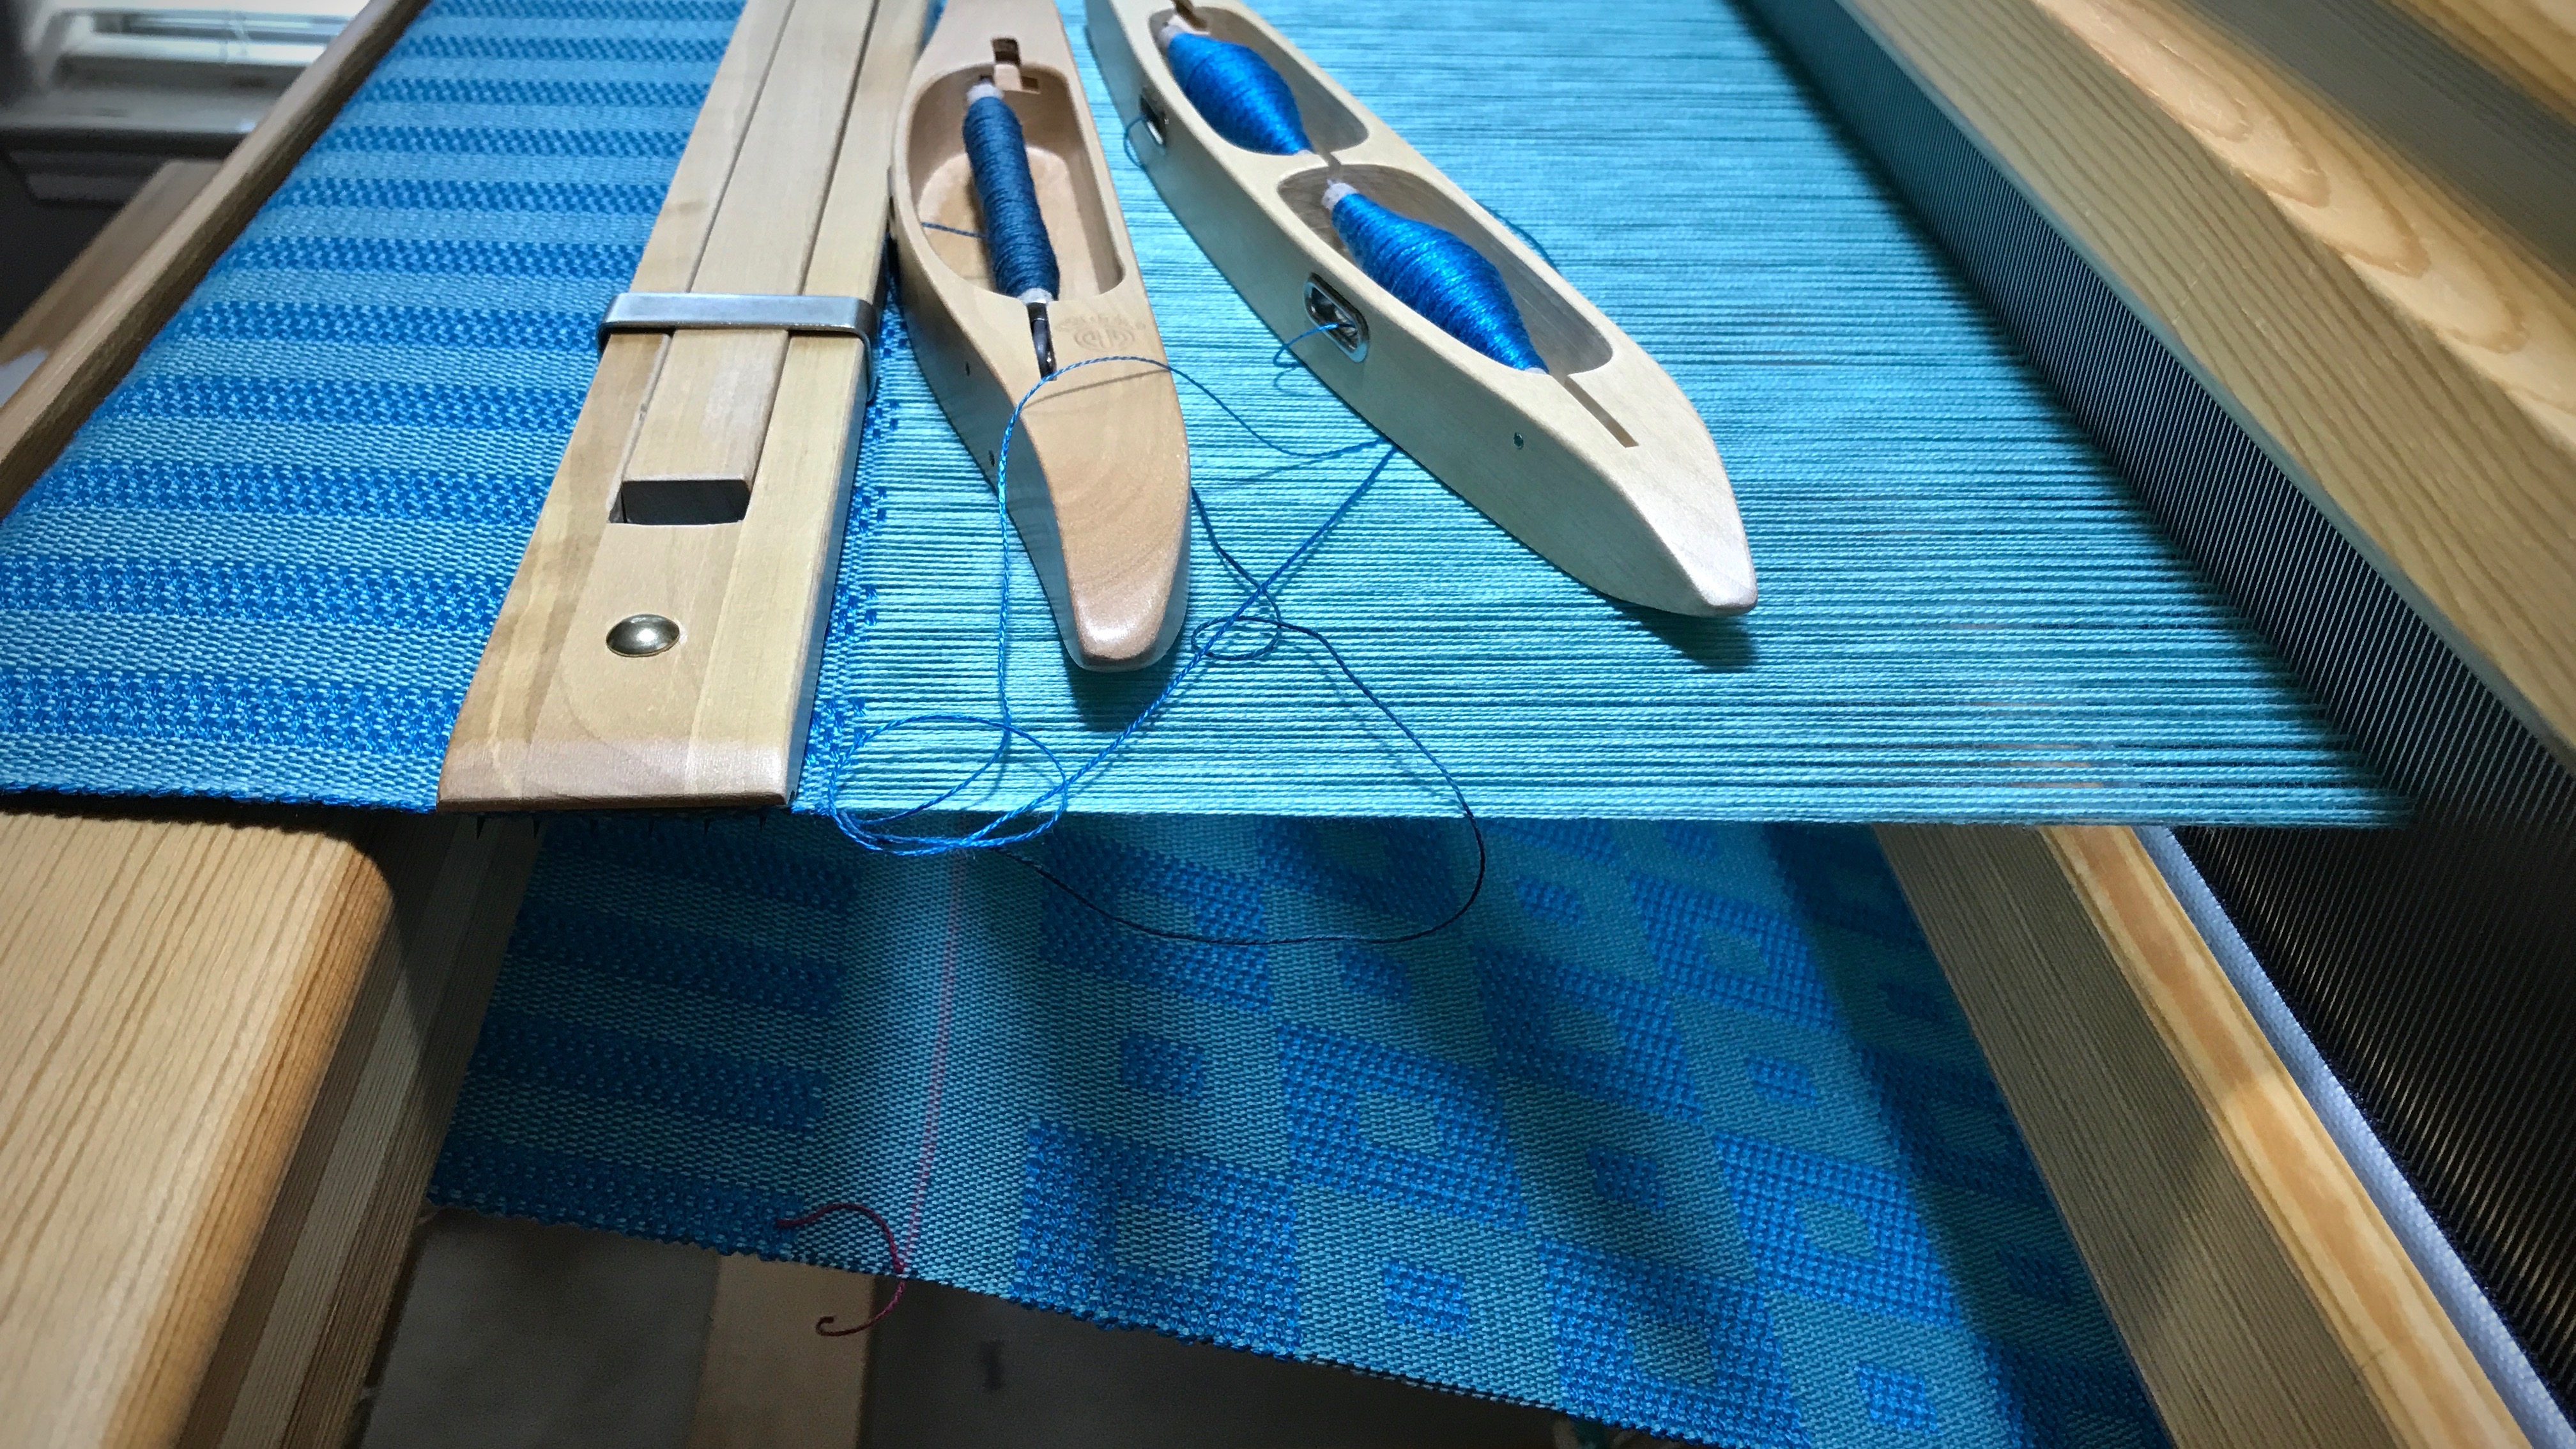
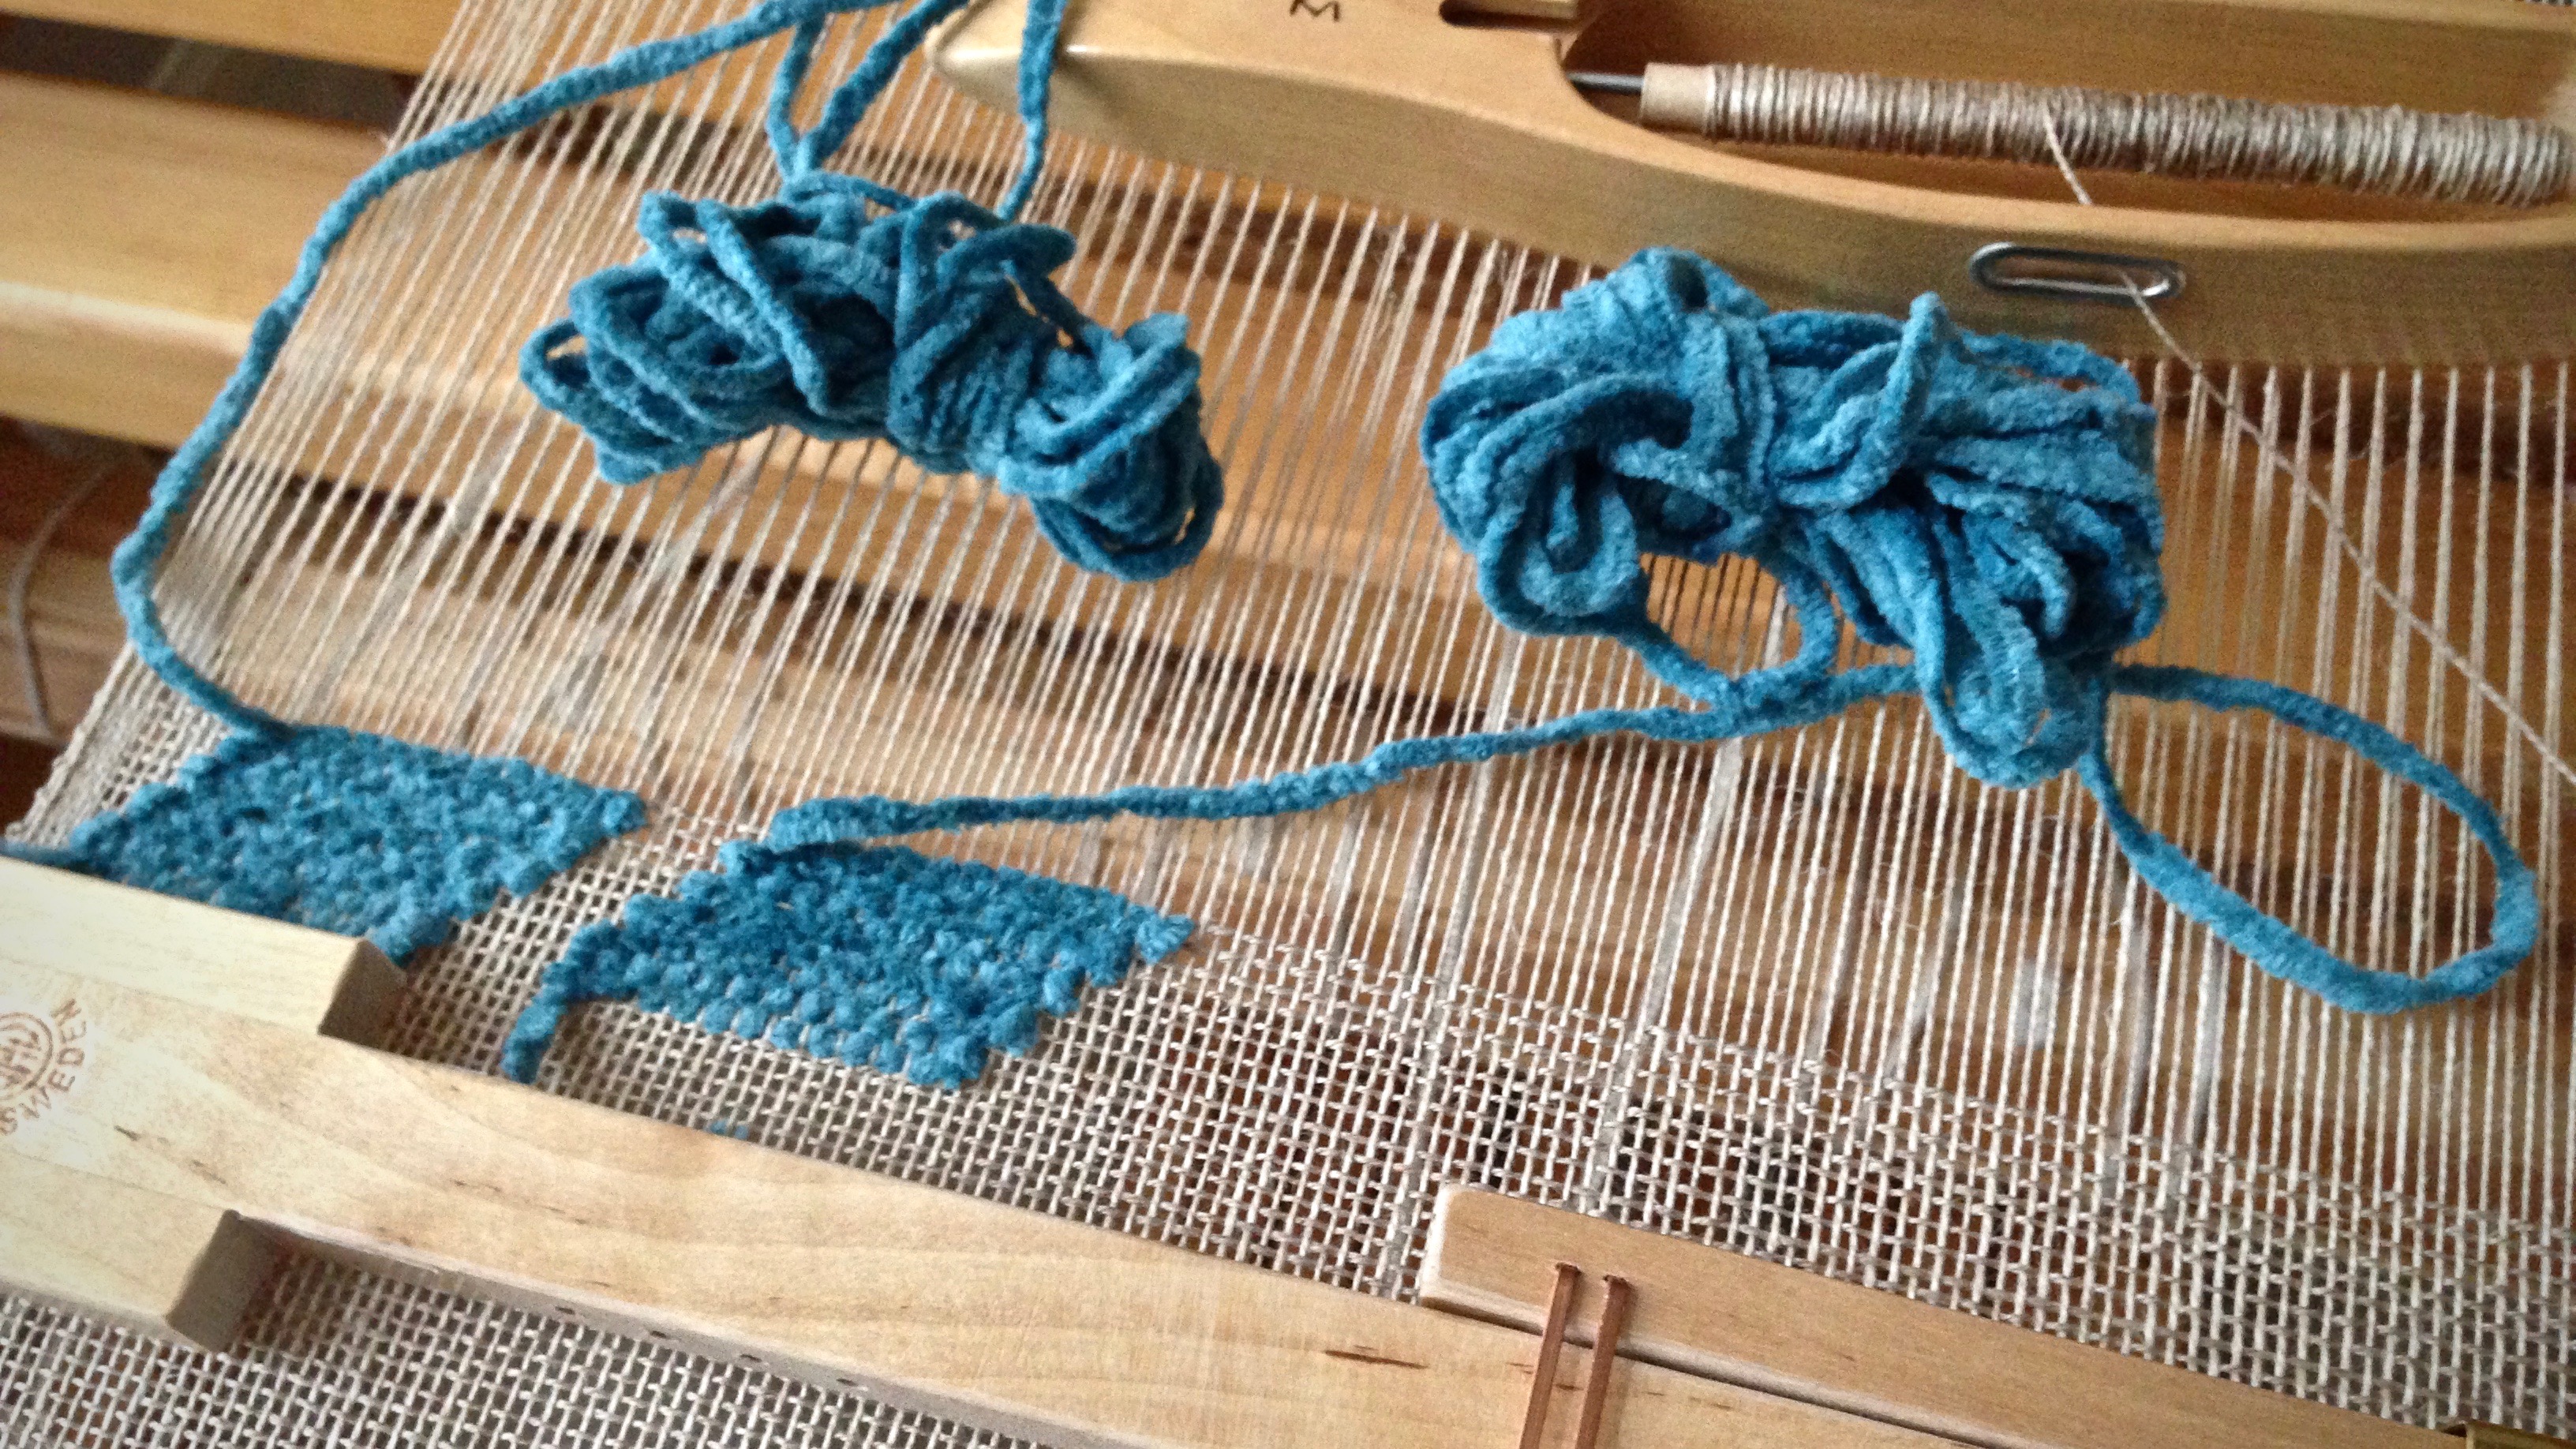
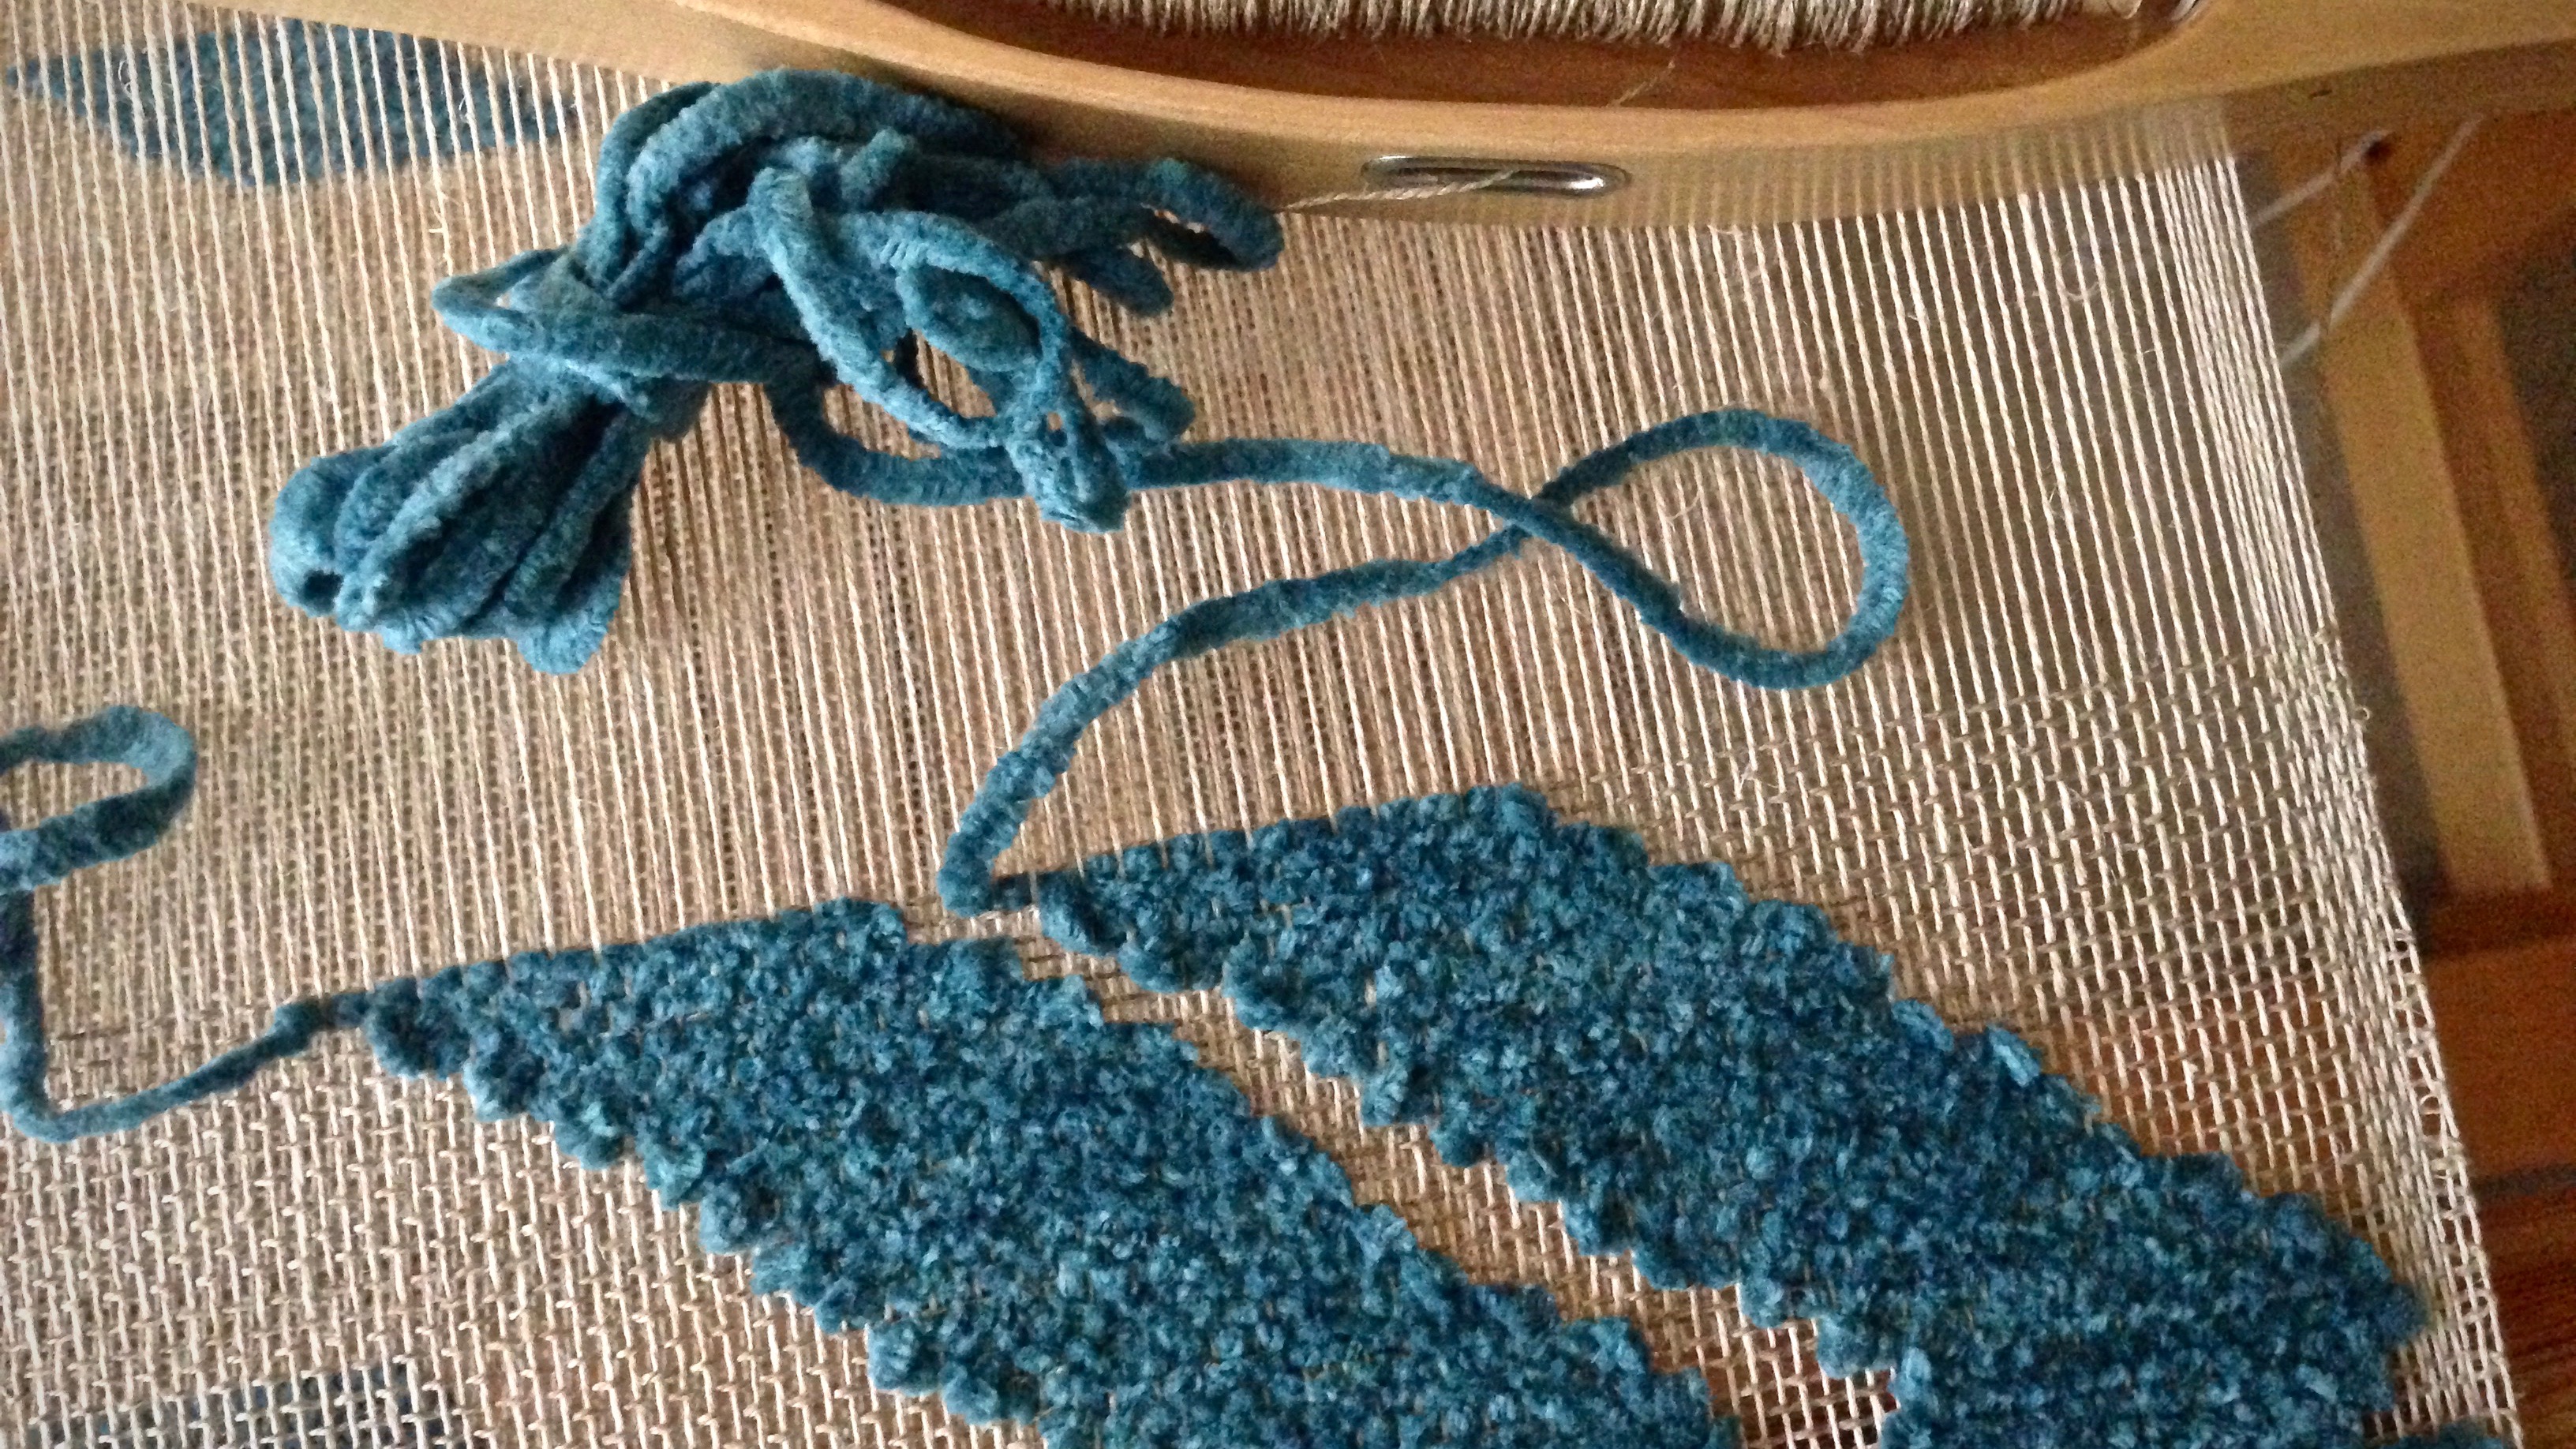
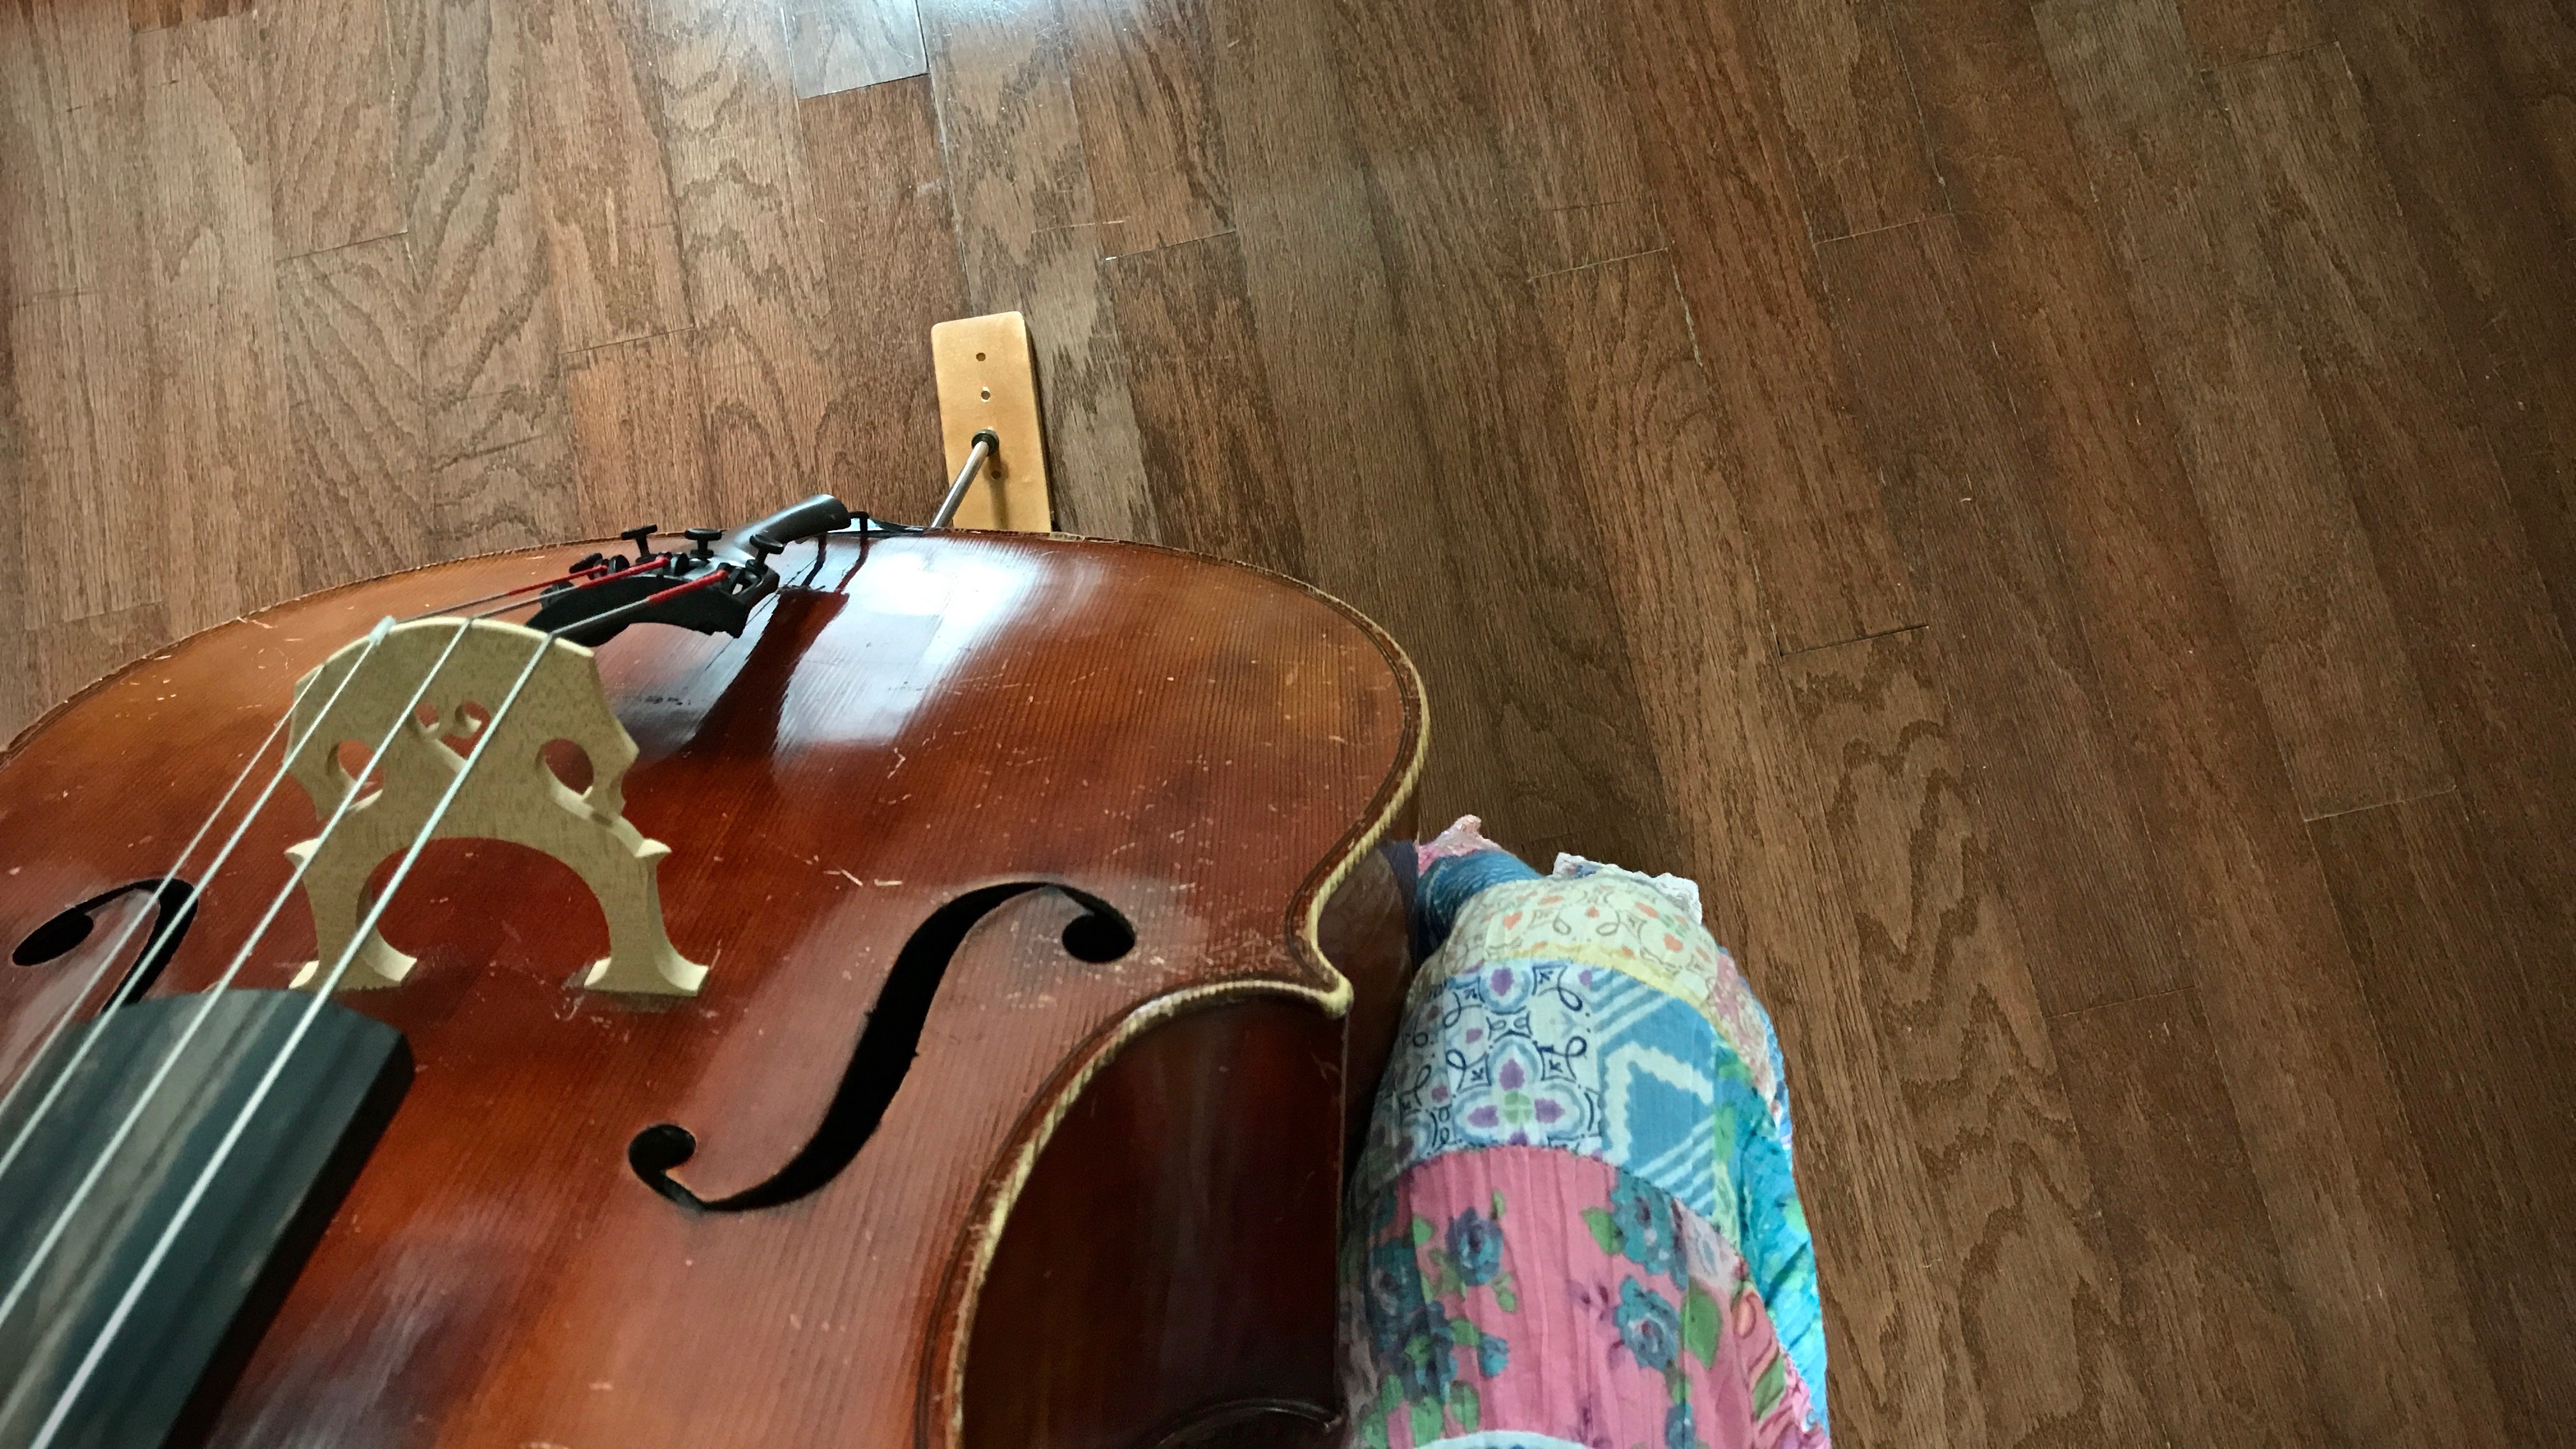
This once, my weaving and ‘cello playing overlap. My husband designed this cello endpin stop for me! I got to weave a cord on my band loom that connects the pieces together. (I showed you the beginning steps in Finer Weft for a Stronger Cord.)

Hand-crafted cello endpin stop, with handwoven band.
Hand-crafted ‘cello endpin stop.
Hand-crafted cello endpin stop.
‘Cello and me.

What if our interactions with people are opportunities to practice real love? It’s no big deal if I love those who love me. Or, do good when I know someone will return the favor. Or, lend to someone who will pay me back. Real love is loving those who don’t love you back. That takes practice. When we love, do good, and give, expecting nothing in return, we start to resemble God’s character. No, we won’t attain His perfection, but when we apply all He’s taught us, we begin to look like His children. For He loved us long before we loved Him back.

May you practice real love.

Love,
Karen

Tools Day: Double-Bobbin Shuttle

The first time I wove fabric that required a doubled weft I did not use a double-bobbin shuttle. I didn’t own one. I used a regular boat shuttle and sent it across twice, going around the outer warp end. Those first thick and thin towels came out beautifully. So I know it can be done.

Weaving with a double-bobbin shuttle. Tips.
Square pattern peeks through from below. Double-bobbin shuttle carries the doubled tencel weft for this kuvikas fabric.

The first time I used a double-bobbin shuttle I wondered if it was worth it. It was awkward and clumsy in my hands. Since that rocky introduction a few years ago, I have woven many meters with my double-bobbin shuttles. They have become cherished tools and efficient accomplices to some of my favorite fabric-making endeavors!

Tips for Weaving with a Double-Bobbin Shuttle (and a short video demonstration)

  • Practice. Make sure you allow extra warp length for practicing. You will probably need it at first. Have fun and laugh, and refrain from throwing the shuttle across the room.
  • Winding Equal Bobbins. Wind the first quill. Lay it close to the bobbin winder where you can see it easily. As you wind the second quill, attempt to match it in size to the first one. (Winding two quills with equal amounts of thread is no small challenge.)
Winding equal quills for a double-bobbin shuttle.
Visibility of the first wound quill is key for judging how much thread to wind on the second quill.
Winding quills for double bobbin shuttles.
Knowing when to stop is the trick. The ideal is for both quills to become empty at the same time. This only happens in your dreams. But sometimes you can get pretty close.
  • Sending the Shuttle. Sending the double-bobbin shuttle through the shed is the same as sending a regular boat shuttle across. The best release is done with a flick of the forefinger so the shuttle speeds across. Then, the doubled weft naturally snugs the selvedge, and the two threads are neatly aligned across the shed. With a slower, more timid shuttle send-off, the quills unwind unequally.
Weaving with a double-bobbin shuttle.
Holding the shuttle palm up, the forefinger launches the shuttle to glide quickly through the shed.
Results of timid shuttle send-off.
Timid or sluggish shuttle send-off lays unequal lengths of threads in the shed.
How to tips for weaving with a double-bobbin shuttle.
Deliberate send-off of the shuttle helps the threads to lay across the shed in equal lengths.
  • Receiving the Shuttle. Receiving the shuttle can be the awkward and clumsy part at first. Especially if you are trying to practice a quicker send-off. I catch the shuttle as for any boat shuttle, palm up. And then, if needed, I fold my two bottom fingers around the threads, guiding them to fall equally across the shed.
Using a double-bobbin shuttle. Tips.
After catching the shuttle, I gently close my fingers around the two threads, as needed, to guide them to fall evenly across the warp.
  • Weave. Enjoy the process.
Shuttle shadows. Karen Isenhower
Shuttle shadows.

May your practice produce perfection. (Well, maybe not perfection, but at least improvement.)

Happy weaving,
Karen

Transparent Linen

Ten centimeters of plain weave are for the casing at the top of this transparency. My aim is five picks per centimeter. What a challenge! It’s not a good idea to be fussy about it, pulling out and repositioning the weft. Linen can’t take that. So, carefully I go, restraining the beater in my hands, to be as precise as possible. Packing in the weft for a few picks at the beginning and end of the section takes a stronger beat, …with much less effort.

Trying to weave linen at 5 picks per centimeter.
Close to five picks per centimeter! More practice needed.
Linen, at the top of a woven transparency.
Woven section at the top of the transparency will be folded over and sewn down to make a casing. A rod will be inserted in the casing for hanging the finished transparency. A few tighter-packed picks begin and end the casing section.

Restraint is not easy. The easy path is to do what’s popular, familiar, and people-approved. We falsely think our ease at the moment is the most important thing. Don’t entertain false notions. Walk in the right way, even when it takes restraint. Blessings come to those who avoid the temptation of easier paths. The warp and weft are aligned, imperfectly, as we learn how to restrain the beater.

Weft inlay with cotton chenille over 16/2 linen.
Cotton chenille yarn is wound into butterflies to use as weft inlay.
Transparency with linen background and cotton chenille pattern weft.
Linen background serves as a transparent backdrop for the inlay pattern.

The linen web becomes a successful backdrop for the chenille inlay. That’s when the purpose for the linen becomes evident. It’s an almost-invisible (transparent) framework for the visible inlay pattern. The hard work of restraint is at its best, like this, when it draws little attention to itself.

May you succeed in your practice of restraint.

Happy Weaving,
Karen

Another Small Tapestry Loom

One more little tapestry loom? I signed up for Rebecca Mezoff’s Weaving Tapestry on Little Looms online class, and ordered a Hokett loom to go with it. This petite 7″ x 8″ loom is made by Jim Hokett, who uses exotic woods for the looms. Mine is made of bubinga and chechen woods. Very pretty and nice to the touch! This is a 6-dent loom, and I have warped it double, to have 12 ends per inch.

Hockett loom warped for weaving a small tapestry.
Hokett 6-dent loom is warped 12 ends per inch by warping 2 ends per dent. I am not accustomed to using a tapestry beater or a shed stick. It will be fascinating to try some new things!
New Hokett loom - starting sample for Rebecca Mezoff's class.
I did some weaving while riding in the car. I finished the header, a short hem, and a row of special knots for the hem’s turned edge.

In this course, I am practicing some basic small loom tapestry techniques. Rebecca has a very organized, clear teaching style, so it’s a joy to learn from her. As I practice, I am reviewing things I have learned previously; and I am picking up great tips that are new to me. And, for once, lo and behold, I am weaving tapestry from the front!

May your new year start with learning something new.

Happy Year End,
Karen

Wavy Twill Rythym

I’m happy when I find my weaving rhythm, and I’m almost there with this scarf. This alpaca yarn is a weaver’s dream. No warp ends are breaking, and the weft compliantly scoots into place. That means I can put most of my attention on other details.

All those "oops" as I learn the treadling at the beginning of the warp.
Getting the kinks out at the start of the warp. 1-2-3-4-5-6-7-8; 1-3-5-7; 2-4-6-8. I always plan enough warp to be able to practice first. I have plenty of “oops” in the first few inches.

This wavy 8-shaft twill has straight twill threading, which means the pattern is in the treadling. It’s not difficult treadling…once you get the hang of it. But, as usual, it takes practice. It is tricky to find and correct errors because of the subtle curve in the pattern. The more practice I get, the smoother the weaving goes, and the fewer errors I make. There is no shortcut to the kind of confidence that comes from attentive practice.

Alpaca scarf, weaving in the afternoon sun.
Weaving in the afternoon sun. Whimsically weaving a bit of sunlight into the cloth.
Alpaca scarf on the loom. 8-shaft wavy twill.
When weaving rhythm takes off, quality improves, as does weaving enjoyment.

Did you know you are gifted? There are skills and insights that come easier for you than for other people. The gifts that God put in you, that are in your DNA, set you apart. Practice them to gain confidence. Put your attention on using your gifts. You may be surprised how much your gifts bless others. Finding your rhythm is worth the effort it takes. (And, on the subject of DNA, here’s an interesting perspective from Sarah H. Jackson, Textile Artist.)

May you unwrap your gifts.

With you,
Karen