Swedish Overshot Experience

Experience builds on experience. The more I practice the classic Swedish weave structures, the more freedom I have in the process. Dice weave, halvdräll, and, now, this monksbelt, are all related. These are variations of overshot. I am putting what I know into practice, even though this is the first time I have woven monksbelt on my own loom. (My prior experience with monksbelt was first in a workshop with Joanne Hall, and then, under Becky Ashenden’s tutelage at Vävstuga Swedish Classics.)

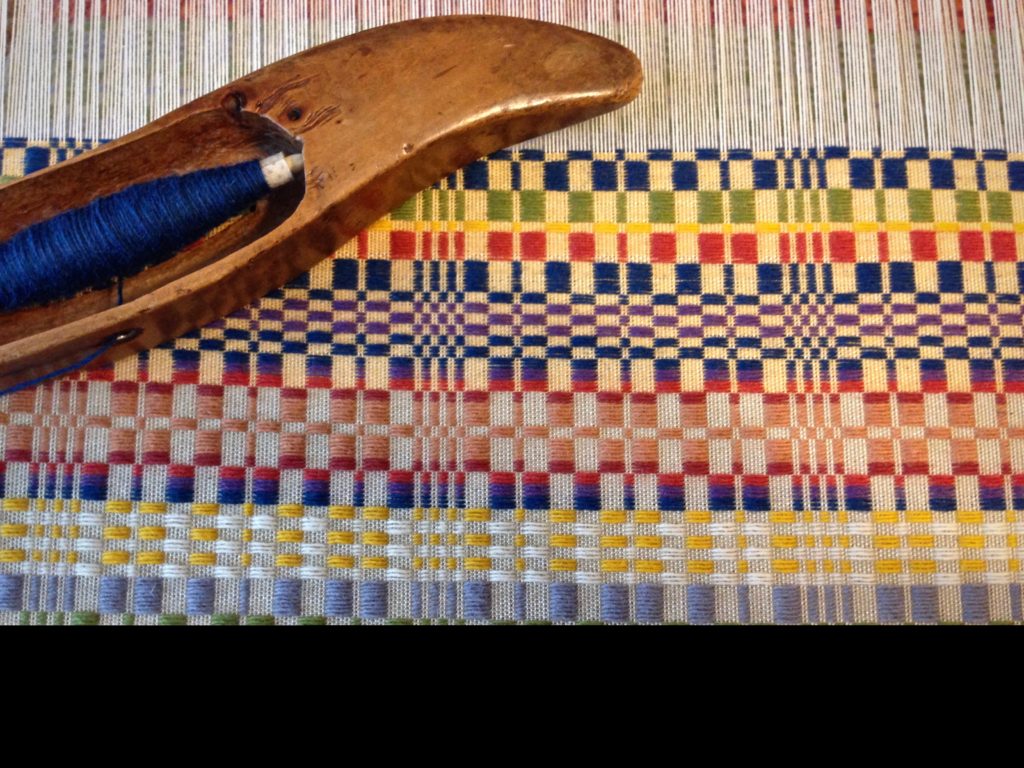
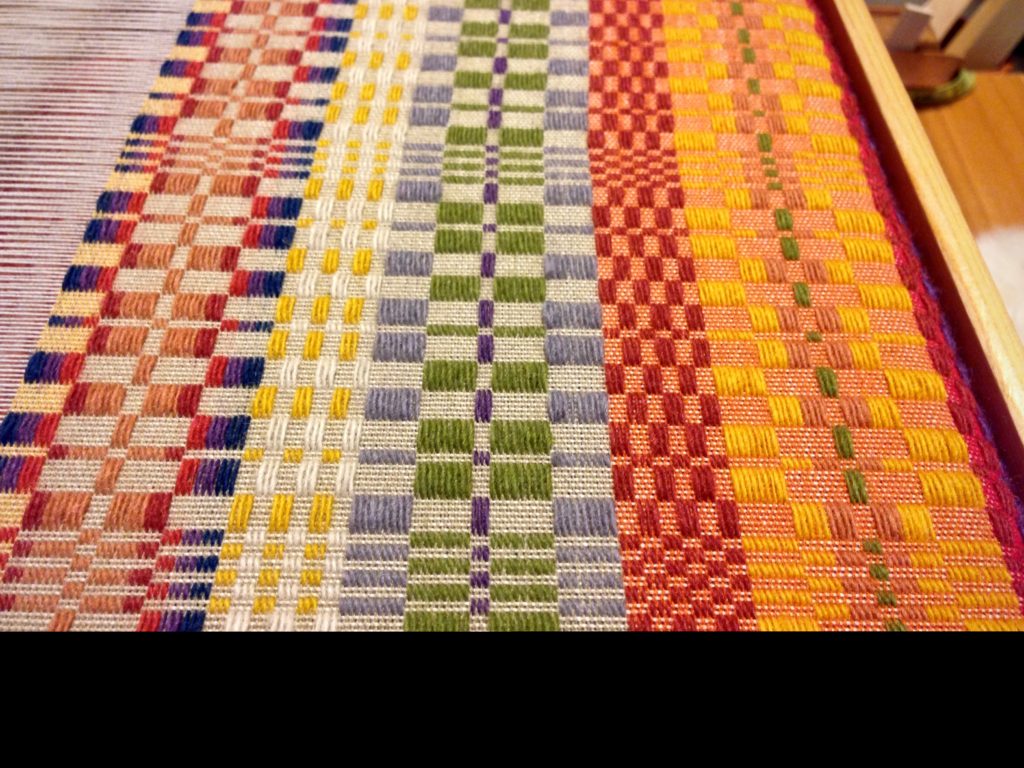
Colorful Fårö wool is used for the monksbelt pattern weft.

Plan projects from start to finish, dress the loom single-handedly, use complex threading and complicated treadling, and weave with multiple shuttles. Do you relish these challenges? It is possible to weave things that don’t require as much training or practice. You can find a pattern on Pinterest or in a magazine, and do what “everybody” is doing. Not much is required of “everybody” in the crowd.

Classic monksbelt pattern with innovative color variations.
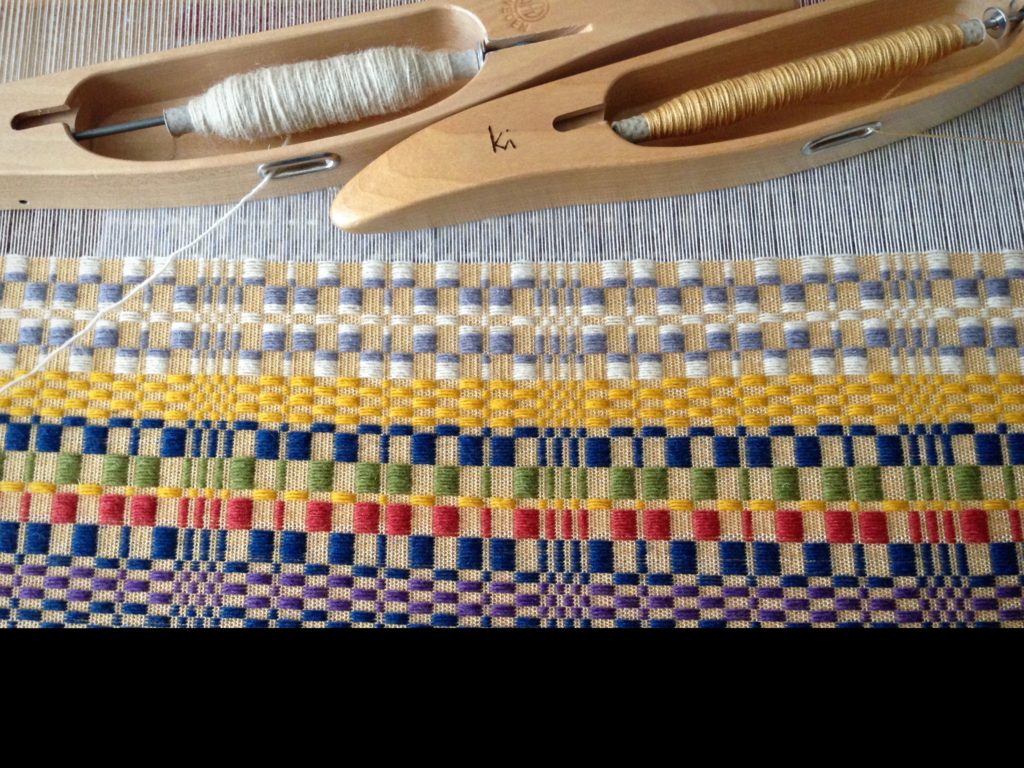
Classic monksbelt patterning is repeated with different color variations.
Swedish overshot, such as monksbelt, uses two shuttles--one for fine thread, and one for the thicker pattern weft. Warp is 16/2 cotton. Ground weave weft is 16/2 cotton. Pattern weft is 61 Fårö wool. Sett is 22 1/2 ends per inch. Weft density is 30 pattern picks per inch, with 2 tabby picks in between.
Swedish overshot, such as monksbelt, uses two shuttles–one for fine thread, and one for the thicker pattern weft. Warp is 16/2 cotton. Ground weave weft is 16/2 cotton. Pattern weft is 6/1 Fårö wool. Sett is 22 1/2 ends per inch. Weft density is 30 pattern picks per inch, with 2 tabby picks in between.

But some people strive to learn, and practice what they learn, building on previous experience. Consider truth. You are responsible for the truth you know. The more you are taught, the more that is required of you. And as you practice the truth you know, you discover the freedom that comes along in the process.

May you grow in experience.

Happy weaving,
Karen

Perfect Warp Tension?

Two fingers gently test the resistance of the threads, from the center of the warp, moving outwards to the right, and to the left. This is how I evaluate the warp tension. I don’t rush; and I give the effort all my attention. Weft rep, where the ground weft almost completely covers the warp, is especially susceptible to hills and valleys from uneven warp tension. After I have made several tension adjustments, I tie on the leveling string. Next is tying up lamms and treadles, and winding quills. Then, the joy of weaving this monksbelt begins!

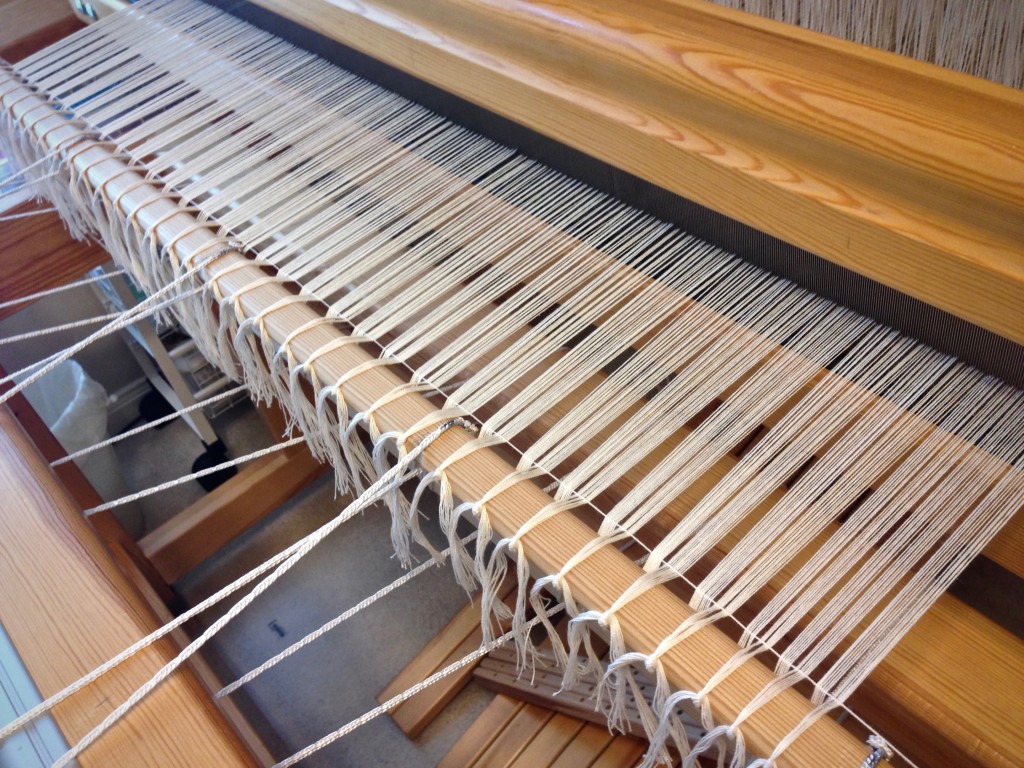
Cotton warp with leveling string, getting ready to weave monksbelt!
Leveling string is in place across the beginning of the warp. Lamms, which can be seen below the warp, are tied up next. And then, the treadles are tied up. After that, weaving begins!

The ability to feel unevenness in warp tension is a learned practice. Being attentive is half the battle; and patience is the other half. Taking time on the front end reduces correction time after weaving has begun.

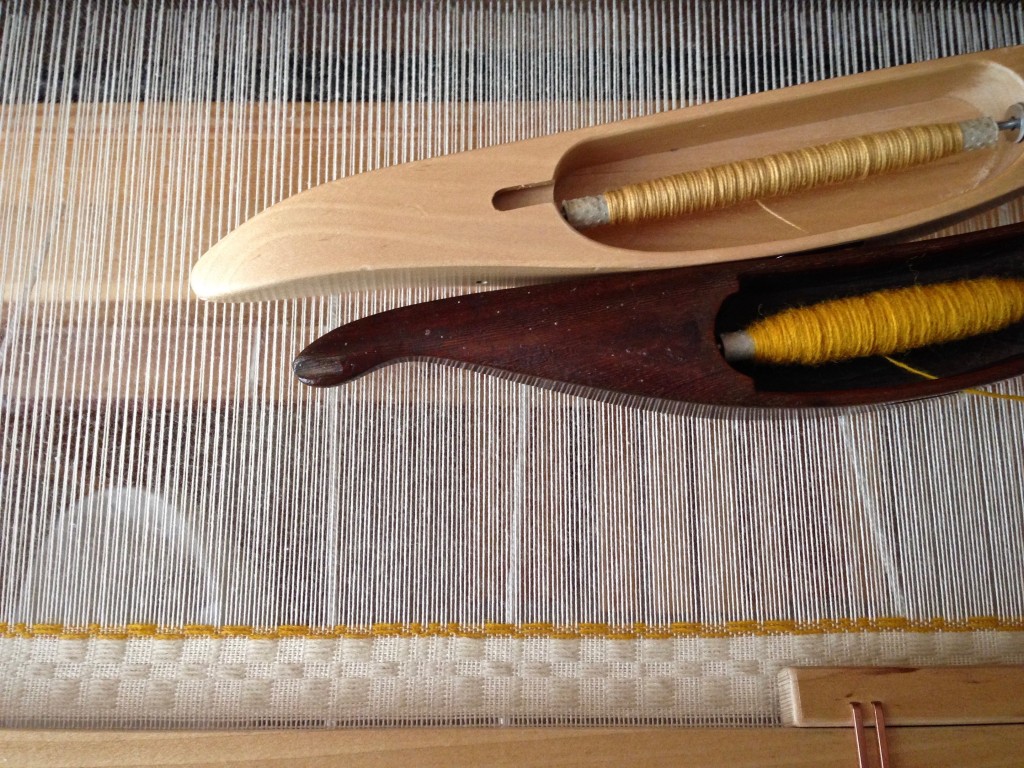
Sampling at the beginning of monksbelt project. 16/2 cotton and 6/1 Fårö wool.
Classic Swedish weave, monksbelt, is woven here with 6/1 Fårö wool for the pattern weft, over 16/2 cotton for the weft rep ground weave. Sampling has begun!

Skilled listening is a learned practice, too. Listening is more than hearing, isn’t it? Pay attention to how you listen. It matters. It takes a gentle touch to listen with a heart of understanding. When we listen with an unbending heart, we only hear what we want to hear. Patience on the front end results in fewer corrections later.

May you hear and be heard.

Gently,
Karen

Quiet Friday: Warping Back to Front with Confidence

“Put on many short warps.” This was the best piece of advice I received as a new weaver! Repeated practice of the back-to-front warping steps accelerated my confidence at the loom. If I can get it on the loom, surely I can weave it, right? When you are comfortable dressing the loom, you start feeling like a “real” handweaver. And before you know it, you are planning, designing, and weaving. And having the time of your life!

Tips for Preparing the Warp for Beaming

  • Wind the warp with two (or more) threads, separated by your fingers to keep them from twisting. This virtually eliminates tangles during the warping process.
  • Wind multiple bouts, when needed. The rule of thumb I use is to stay under 200 ends or 10 inches. Smaller bouts equalize the tension across the width of the warp.
  • Tie tight choke ties about every yard or meter along the warp before chaining it. This keeps the warp ends from shifting.
  • Keep the warp under constant, even tension. Threads can get into trouble if you let them relax.

Warping Back to Front

1 Lay warp chains across the breast beam, and through the beater, with the lease cross of each warp chain on the other side of the beater.
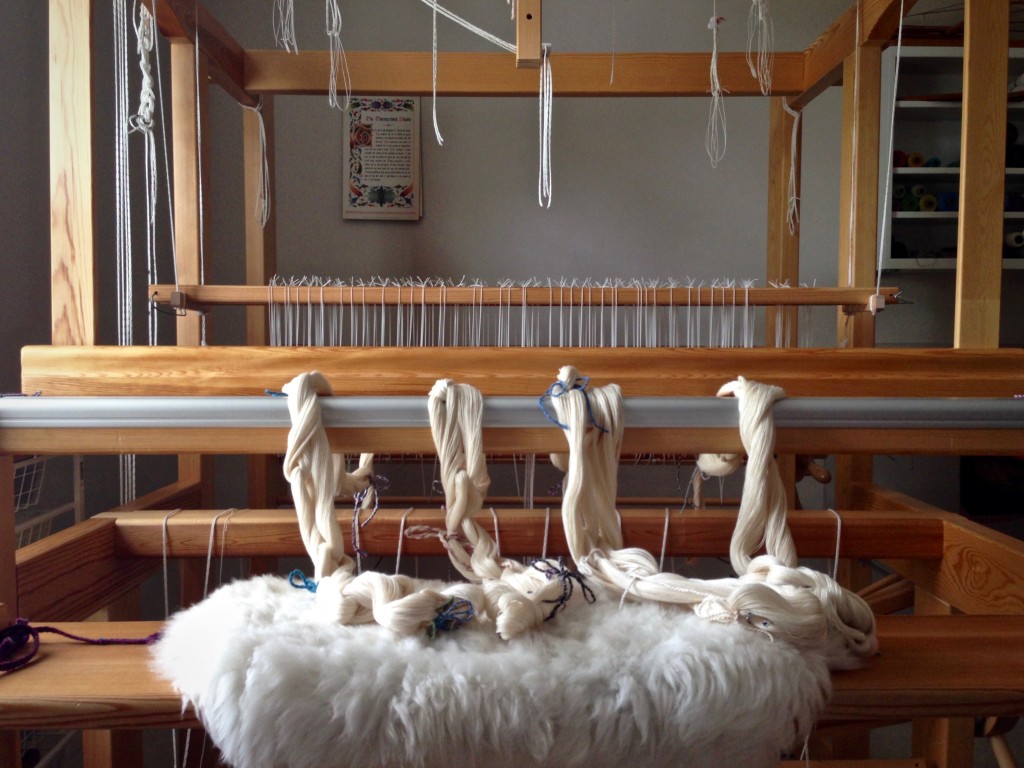
Warp chains ready for warping the loom back to front.

2 Raise the shafts out of the way, and place support sticks over the beater and the back beam to hold the lease sticks and the pre-sley reed. Thread the lease sticks through the cross of each chain. Lease sticks in the picture are being tied together.
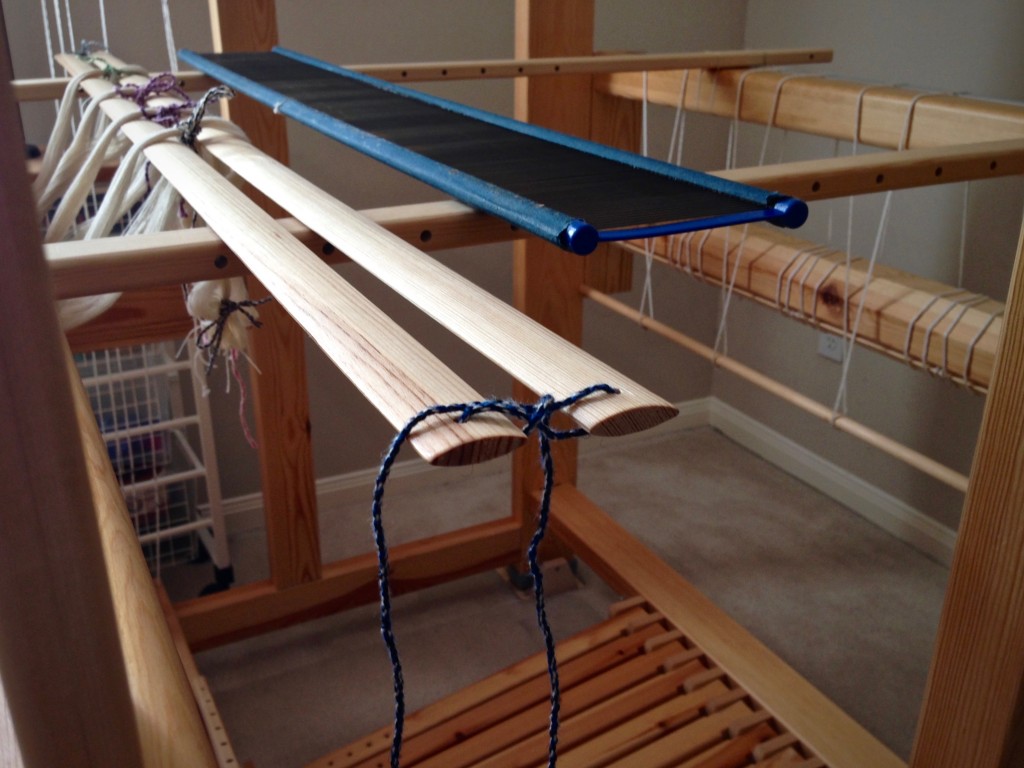
Tying lease sticks during warping process. B2F warping explained.

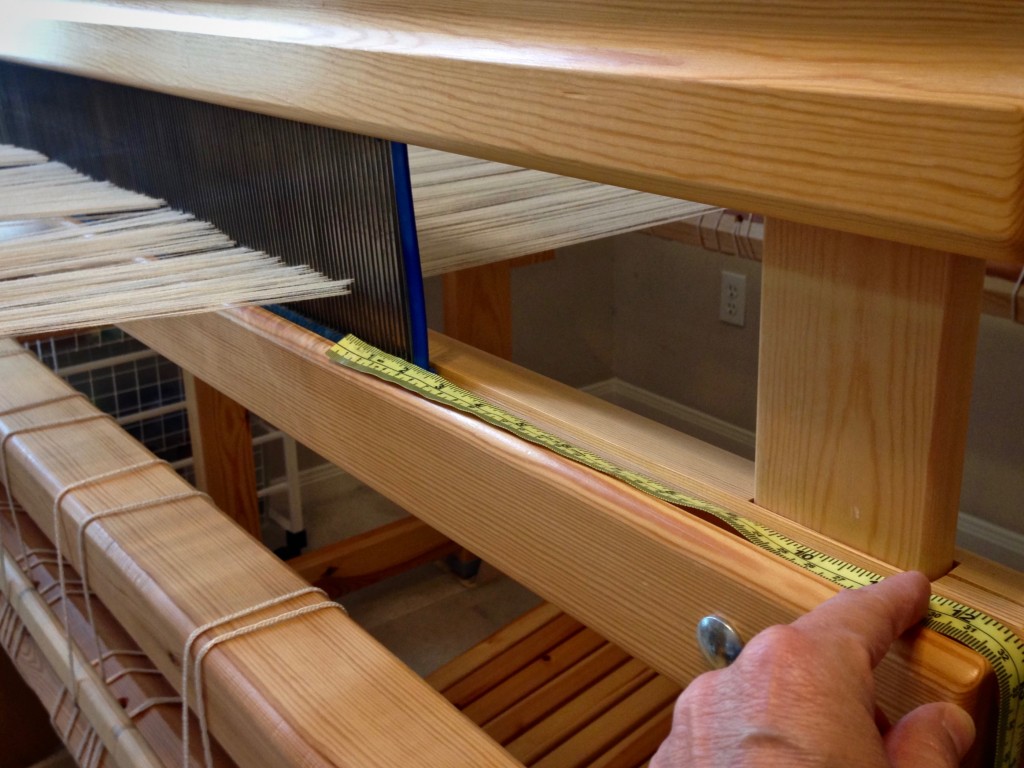
3 Use tape measure and reed hook to mark the starting dent for pre-sleying the reed.
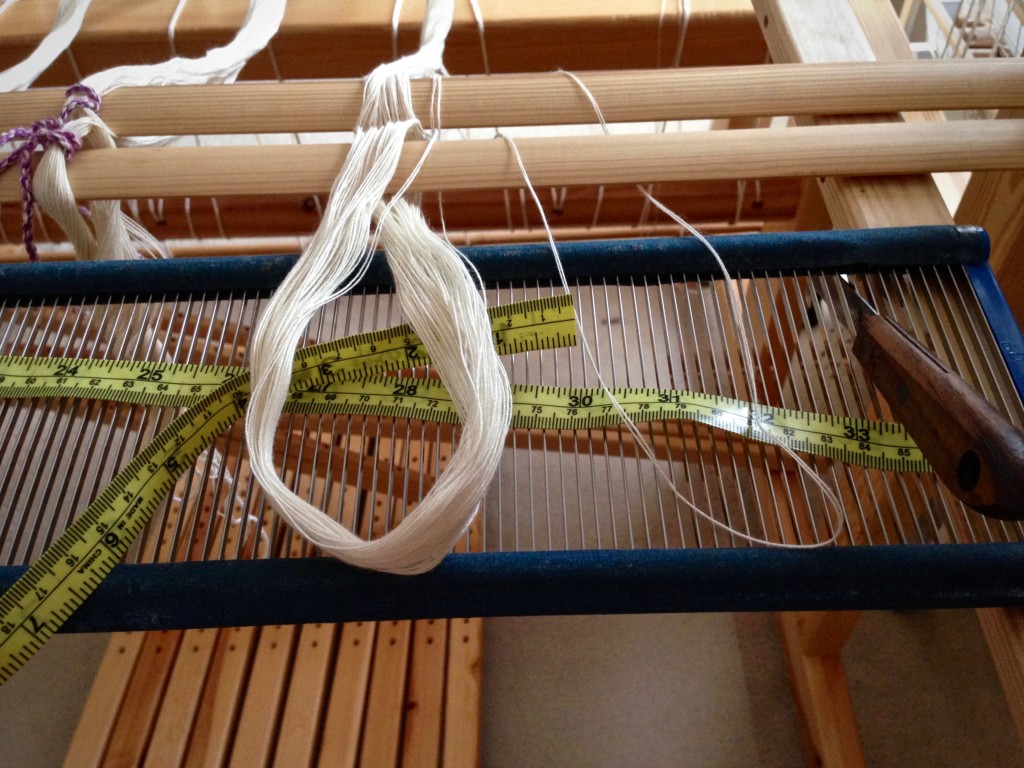
Pre-sleying the reed in back to front warping.

4 Divide warp into sections corresponding to the cords on the back tie-on bar. Insert the tie-on bar through the loops that form at the end of the warp.
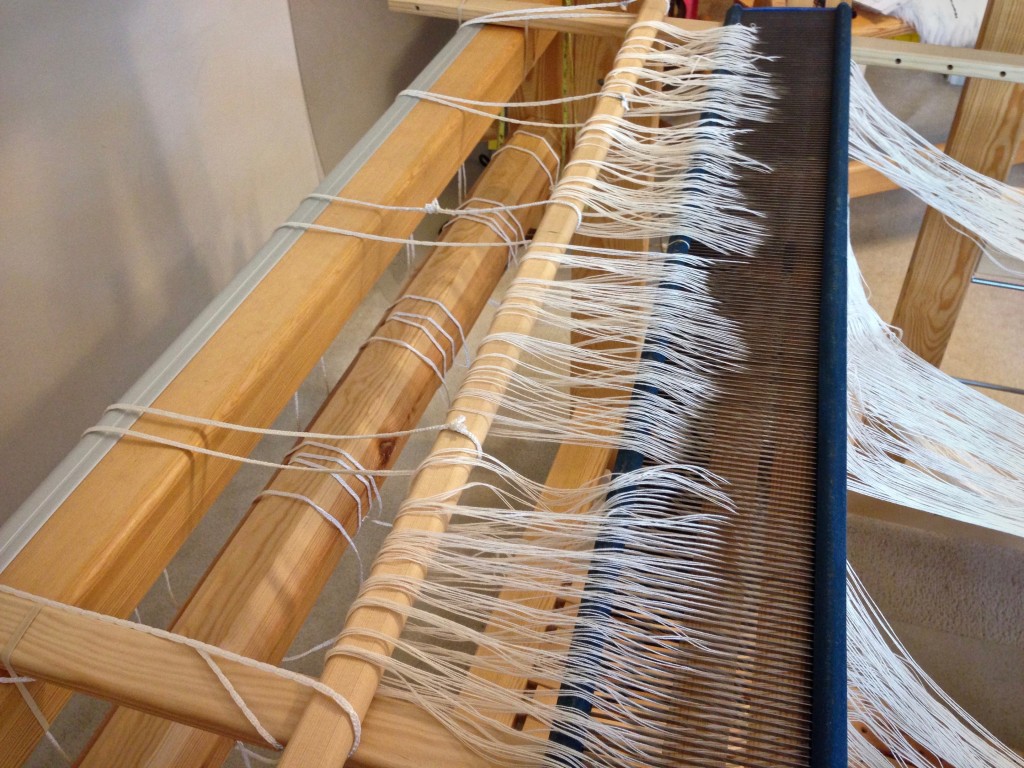
Insert tie-on bar while warping back to front.

5 Install the warping trapeze at the front of the loom, or use another method to extend the warp and weight it. Texsolv cord is connected to the end of each warp chain to extend the length. (This is a 3.5 meter warp–not long enough to go over the trapeze cross bar.) Weights are suspended from the texsolv cords with S-hooks.
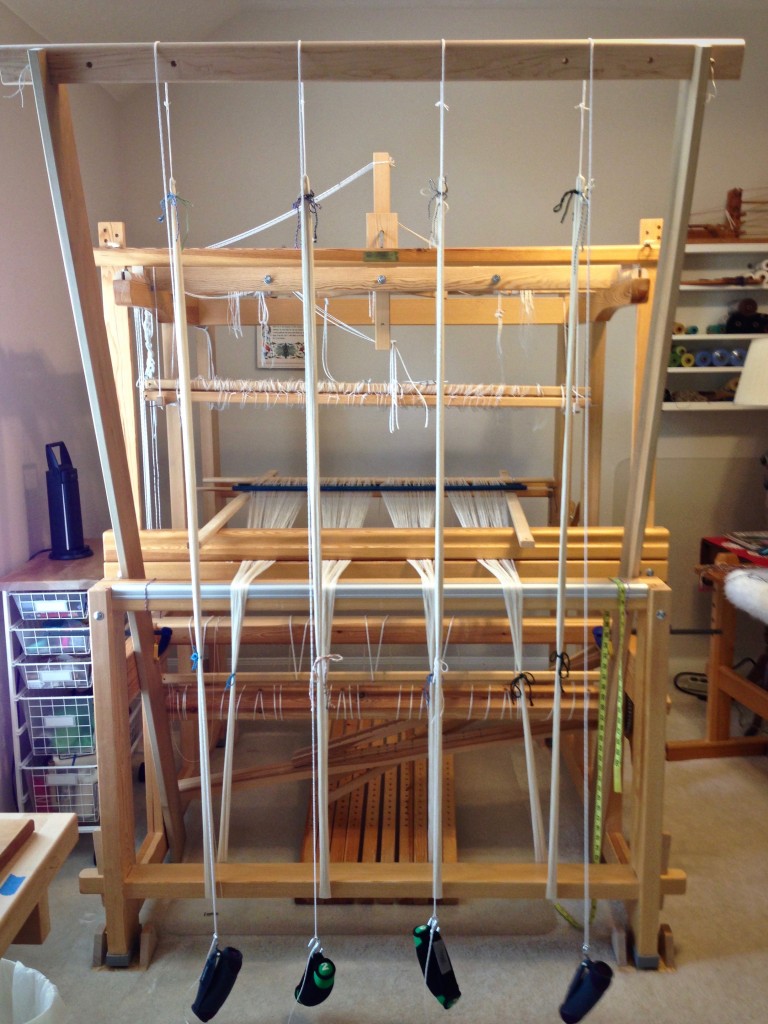
Adjusting the warp on the warping trapeze.

6 Transfer the lease sticks from in front of the reed to behind the reed. This is a gutsy way of transferring lease sticks. (Please don’t try this method unless you read about it first in Becky Ashenden’s book, noted below.)
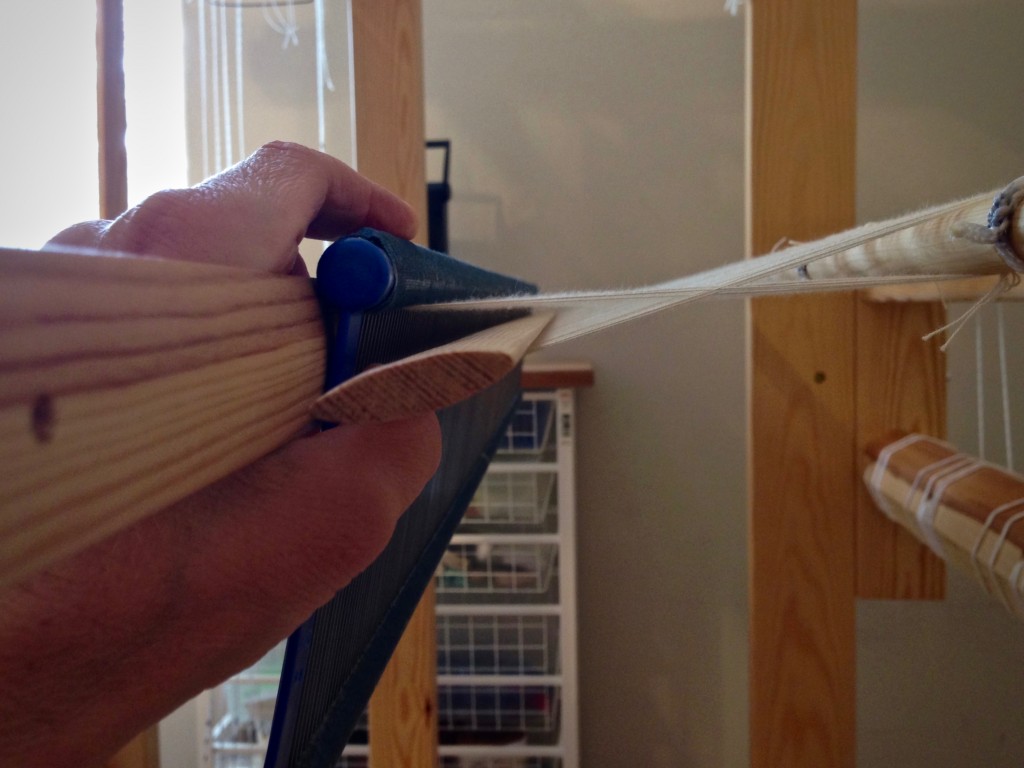
Transferring lease sticks like this takes guts!

7 Straighten out each warp end from the reed to the back tie-on bar.
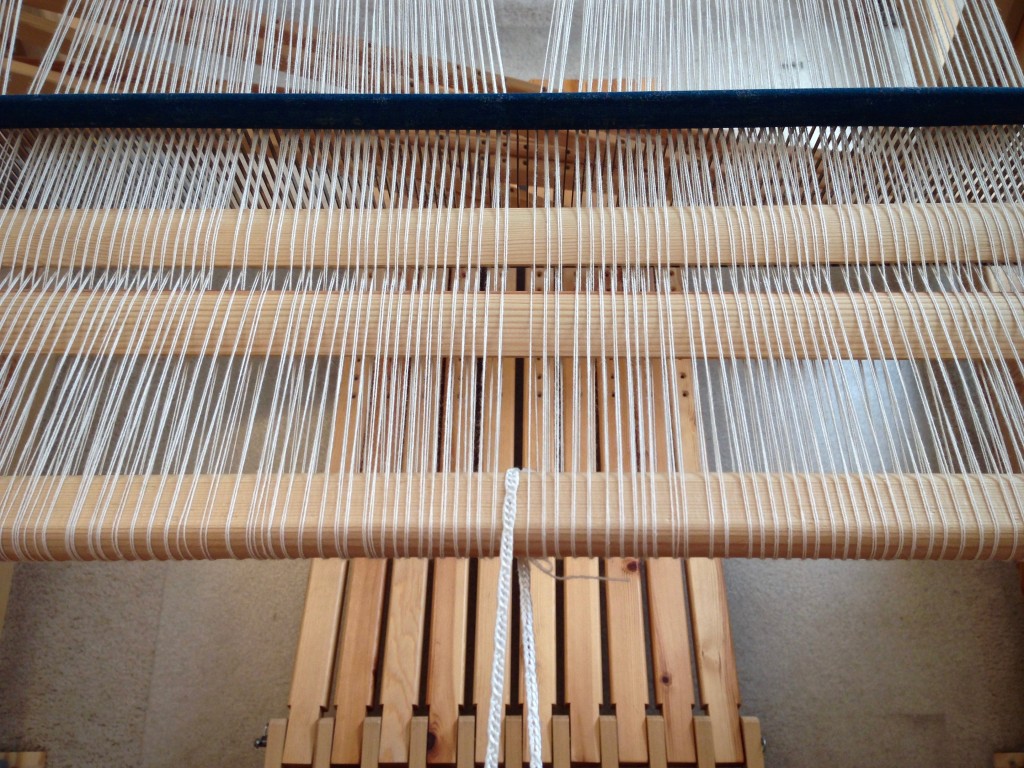
Winding on a new warp. Back to front warping pics.

8 Place the reed in the beater. Center the reed in the beater.
Placing the reed in the beater.

9 Remove choke ties between the beater and the trapeze cross bar, but do not remove choke ties from the very end of the warp. Starting at the reed, separate each warp bout in the middle.
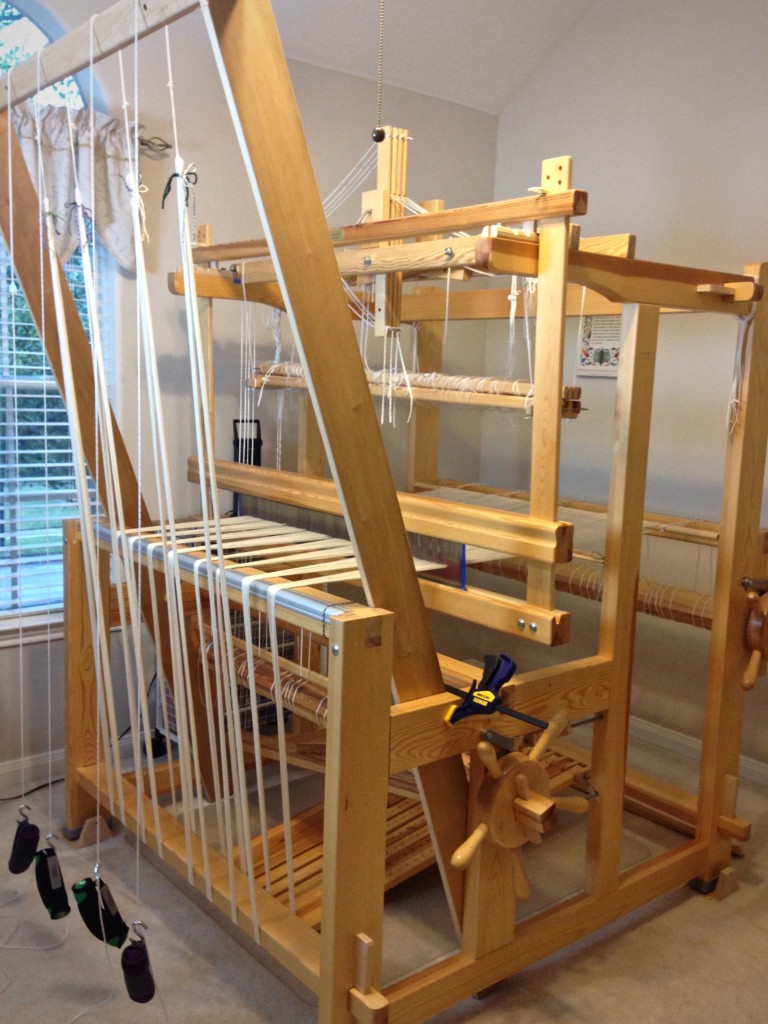
Warping trapeze in use for warping Glimakra Standard.

10 After sliding lease sticks toward the reed, wind the warp onto the beam. Place a warping slat on each flat side of the warp beam for one revolution. (Octagonal beam uses eight sticks.) Advance weight at the front of the loom as needed. After two additional revolutions of the beam, add warping slats for one revolution again. Continue this pattern as beaming progresses.
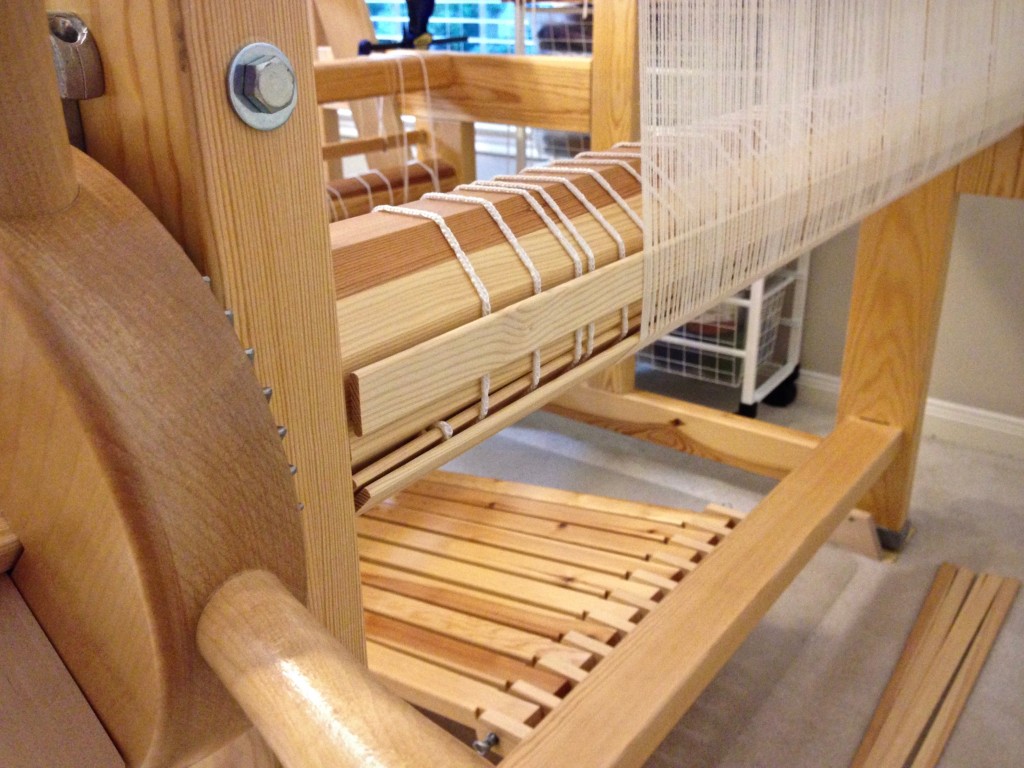
Warping slats during beaming. Beaming tutorial.

11 Tie beater back to allow a little more warp to be wound on.
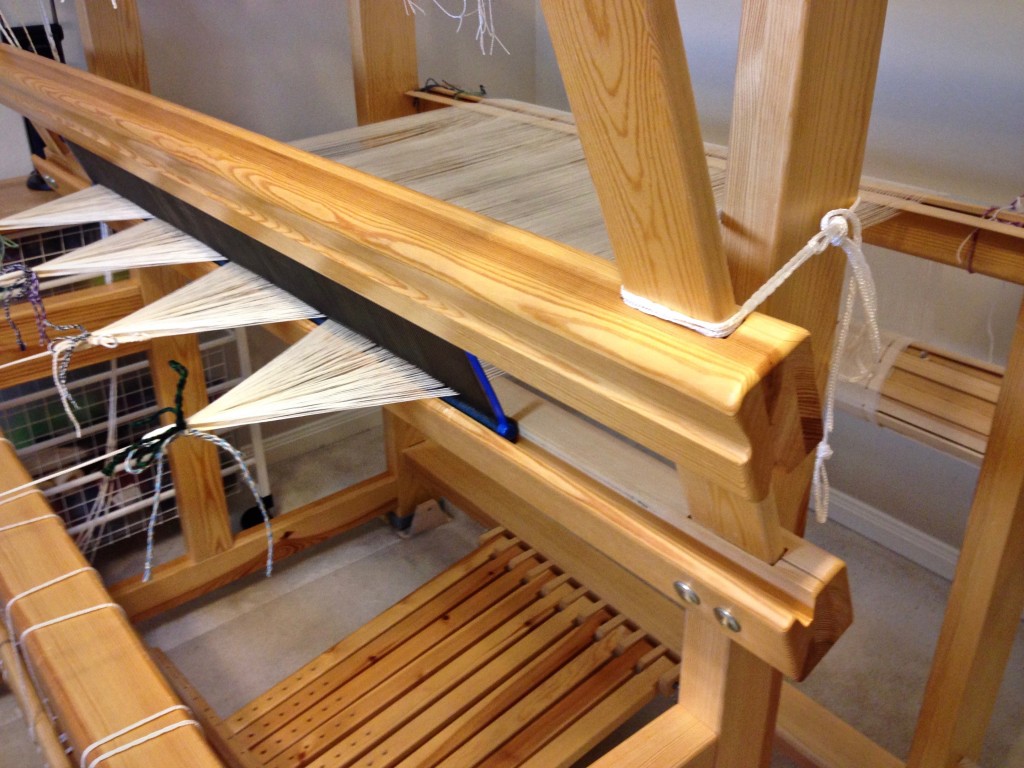
Finishing up beaming the warp.

12 Tie lease sticks to the back beam. Do not forget this step!
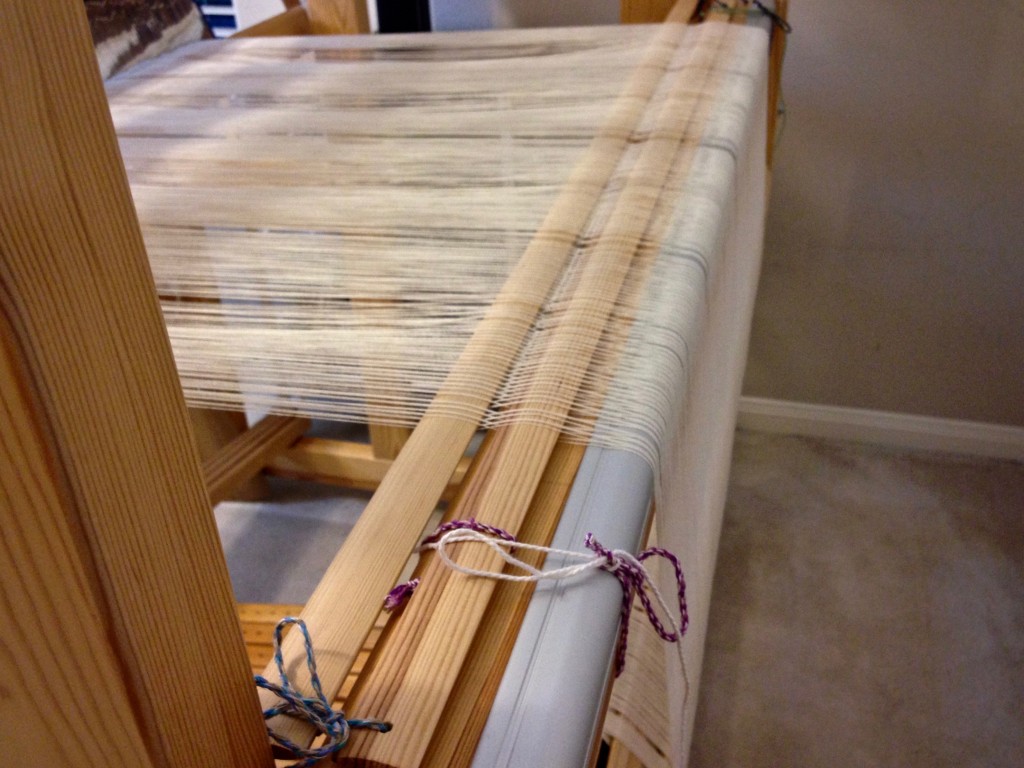
Tie the lease sticks to the back beam before cutting the ends.

If you missed step 12, do it now, or you will be yelling for help as you try to hold the cut ends with one hand while trying to keep the lease sticks from slipping out with your other hand. I speak from experience.

13 Loop the end of the warp chain around your hand, and then remove the remaining choke ties. Cut the loop.
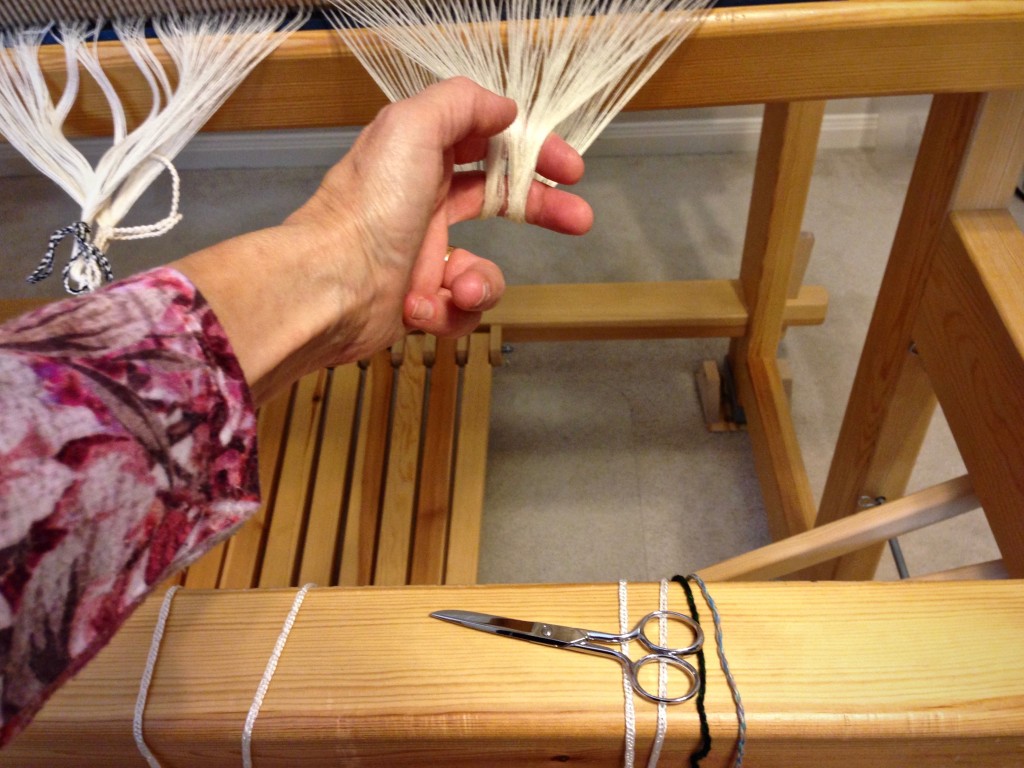
Cutting ends after beaming the warp.

14 Remove a group of warp threads from the reed and tie in a loose slipknot. Continue across the warp. Remove the reed.
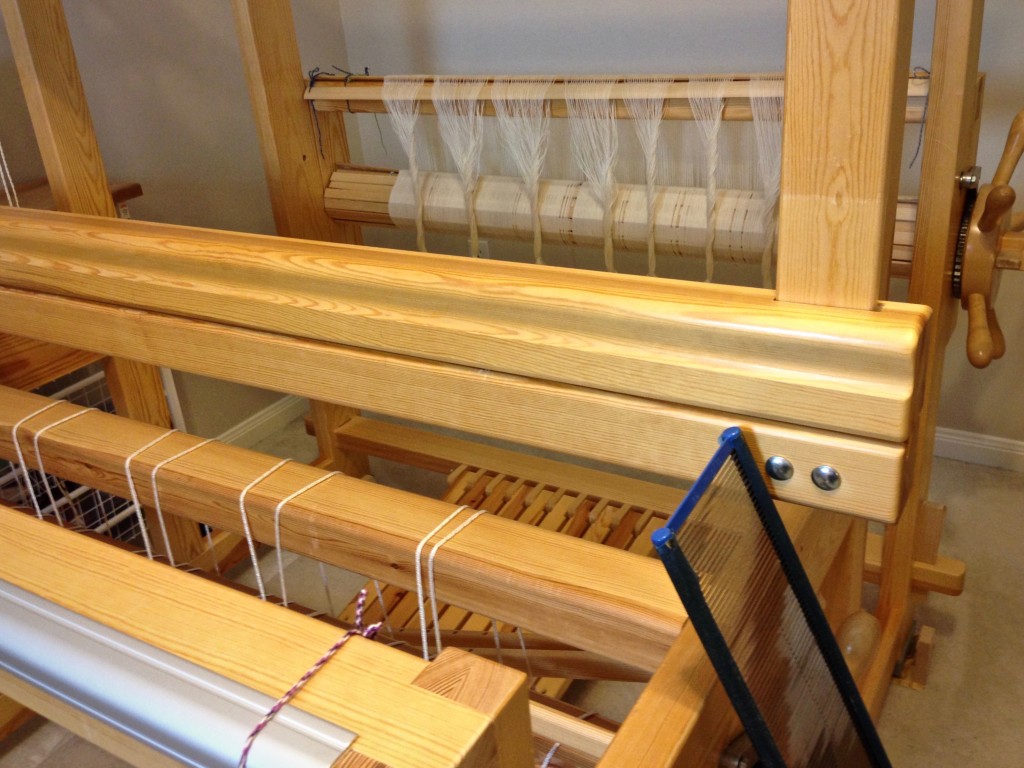
New warp of 16/2 cotton for monksbelt on weft rep.

15 Use the threading draft to count the warp ends into threading groups, tying each grouping with a slipknot.
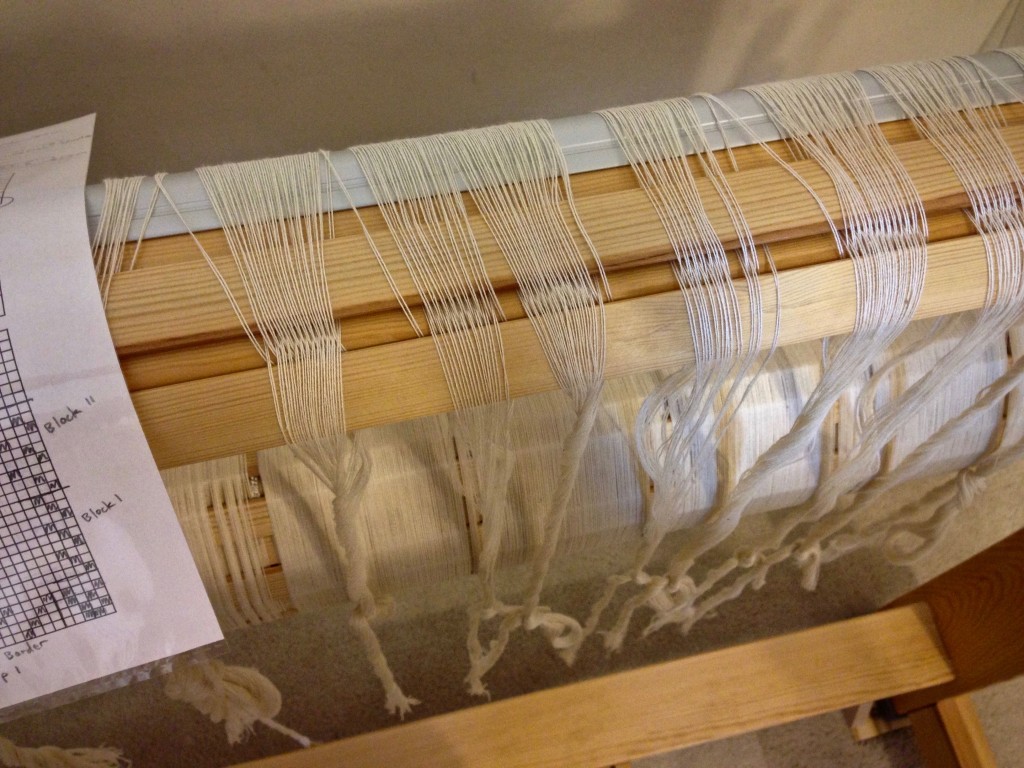
Grouping warp ends before threading.

16 Adjust the loom for threading. For this Glimåkra Standard loom, I move the countermarch assembly to the back of the loom, put the bench in the “playhouse,” and lower the shafts for threading.
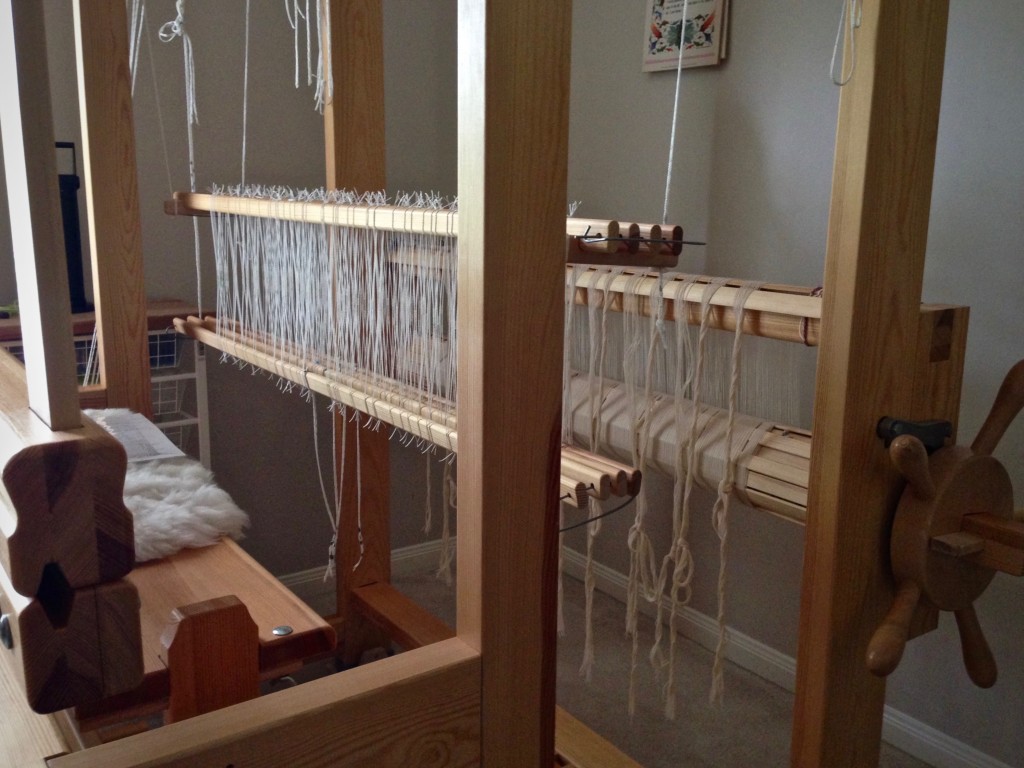
Bench "in" the loom for threading. Glimakra Standard.

For more thorough instructions about warping your loom, please consult these excellent resources:

  • Dress Your Loom The Vävstuga Way, A Bench-Side Photo Guide, by Becky Ashenden
  • Learning to Warp Your Loom, by Joanne Hall
  • The Big Book of Weaving, by Laila Lundell

May you find yourself beaming, inside and out.

Resurrection blessings,
Karen
Big Dream Tapestry Starts Here

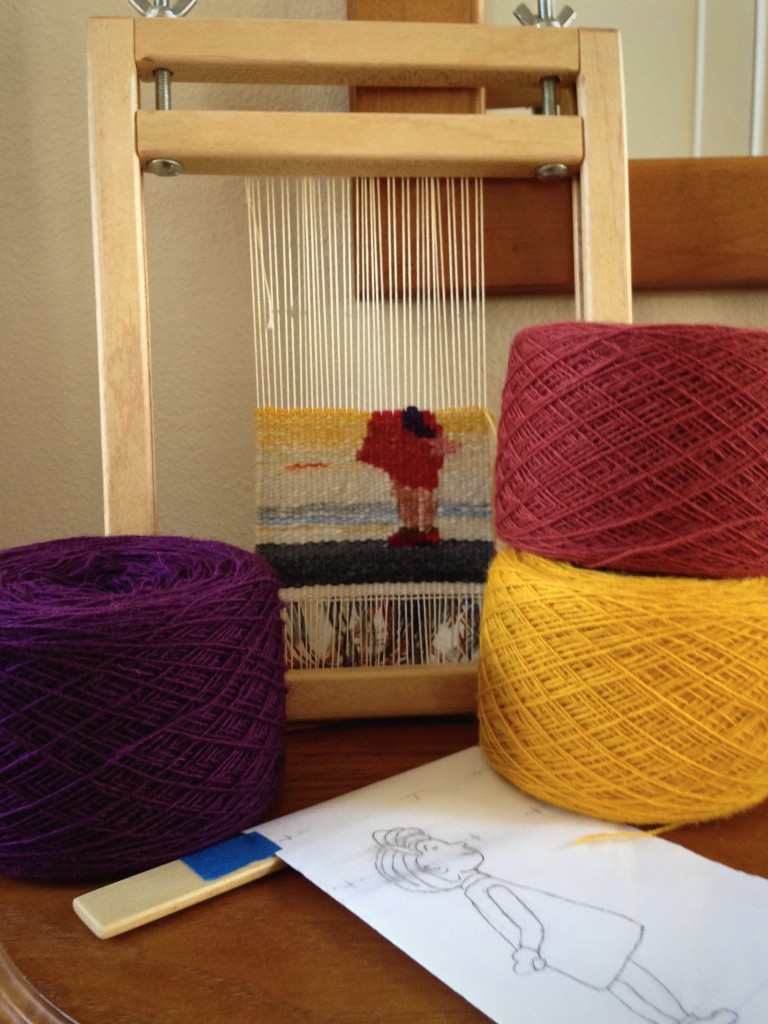
I dream of doing four-shaft tapestry with rosepath threading on my floor loom. I’m not there yet. It is an ambitious goal. I am inching my way toward that goal by facing little problems on my tiny frame loom and working out solutions as I go. Learning to follow a cartoon is part of the process.

Little girl tapestry in process, with Borgs Faro wool.
Little girl is being woven from the back, one row across at a time. The weft is Borgs Fåro wool, a single-ply that packs together nicely for tapestry weaving.

I derived the cartoon for this tapestry from a picture in a children’s book. The cartoon, held in place behind the warp threads, is my constant guide. As I make ongoing judgments about colors and other details, the cartoon keeps me on course and shows me the desired outcome.

Life is full of choices. If I purposely align myself with integrity, like a tapestry weaver following a cartoon, I have a guideline for decisions. But if I carelessly keep things in my path that tempt me, it’s like covering up parts of the cartoon with random post-it notes. The picture gets obscured. Our surroundings can set the stage for making good choices. And one good choice leads to another good choice. That’s the beauty of practicing with small things. When the time comes for four-shaft tapestry, I’ll be ready.

May you flourish in your surroundings.

A step at a time,
Karen

Sun Rising

The little village is waking up. Sun rising. This small tapestry is near completion, and I am happy with the things I have learned in the process. Now, I am preparing a cartoon and gathering an array of Fåro wool colors for the next small tapestry. I may be jumping in over my head with this next one, but I will learn new things to practice.

Sun Rising. Small tapestry project on Freja loom.
Little woven village at the start of a new day. Sky is developed with hatching. Small ojos form three birds in the sky. Freja Tapestry Frame.

In my tea and tapestry time (tapestry diary) in the evenings, my intention is to improve my tapestry skills by practicing the little that I know. The concept is to learn by doing. Find what works, and do it more. For example, in the class I recently attended at Weaving Southwest, Teresa Loveless worked with me on the hatching technique. When I came home to this little tapestry village, I wanted to implement that new understanding right away. The sunrise sky, created with hatching, came as a result of Teresa’s coaching and my desire to learn by doing.

Isn’t that how we navigate through life? Take what you know about how to live, and how to please God. And then do it more. Learn by doing. Every new insight builds, not on what we know, but on what we have put into practice.

May you enter a sunrise season of life.

With pleasant anticipation,
Karen