Skeleton Tie-Up on a Countermarch?

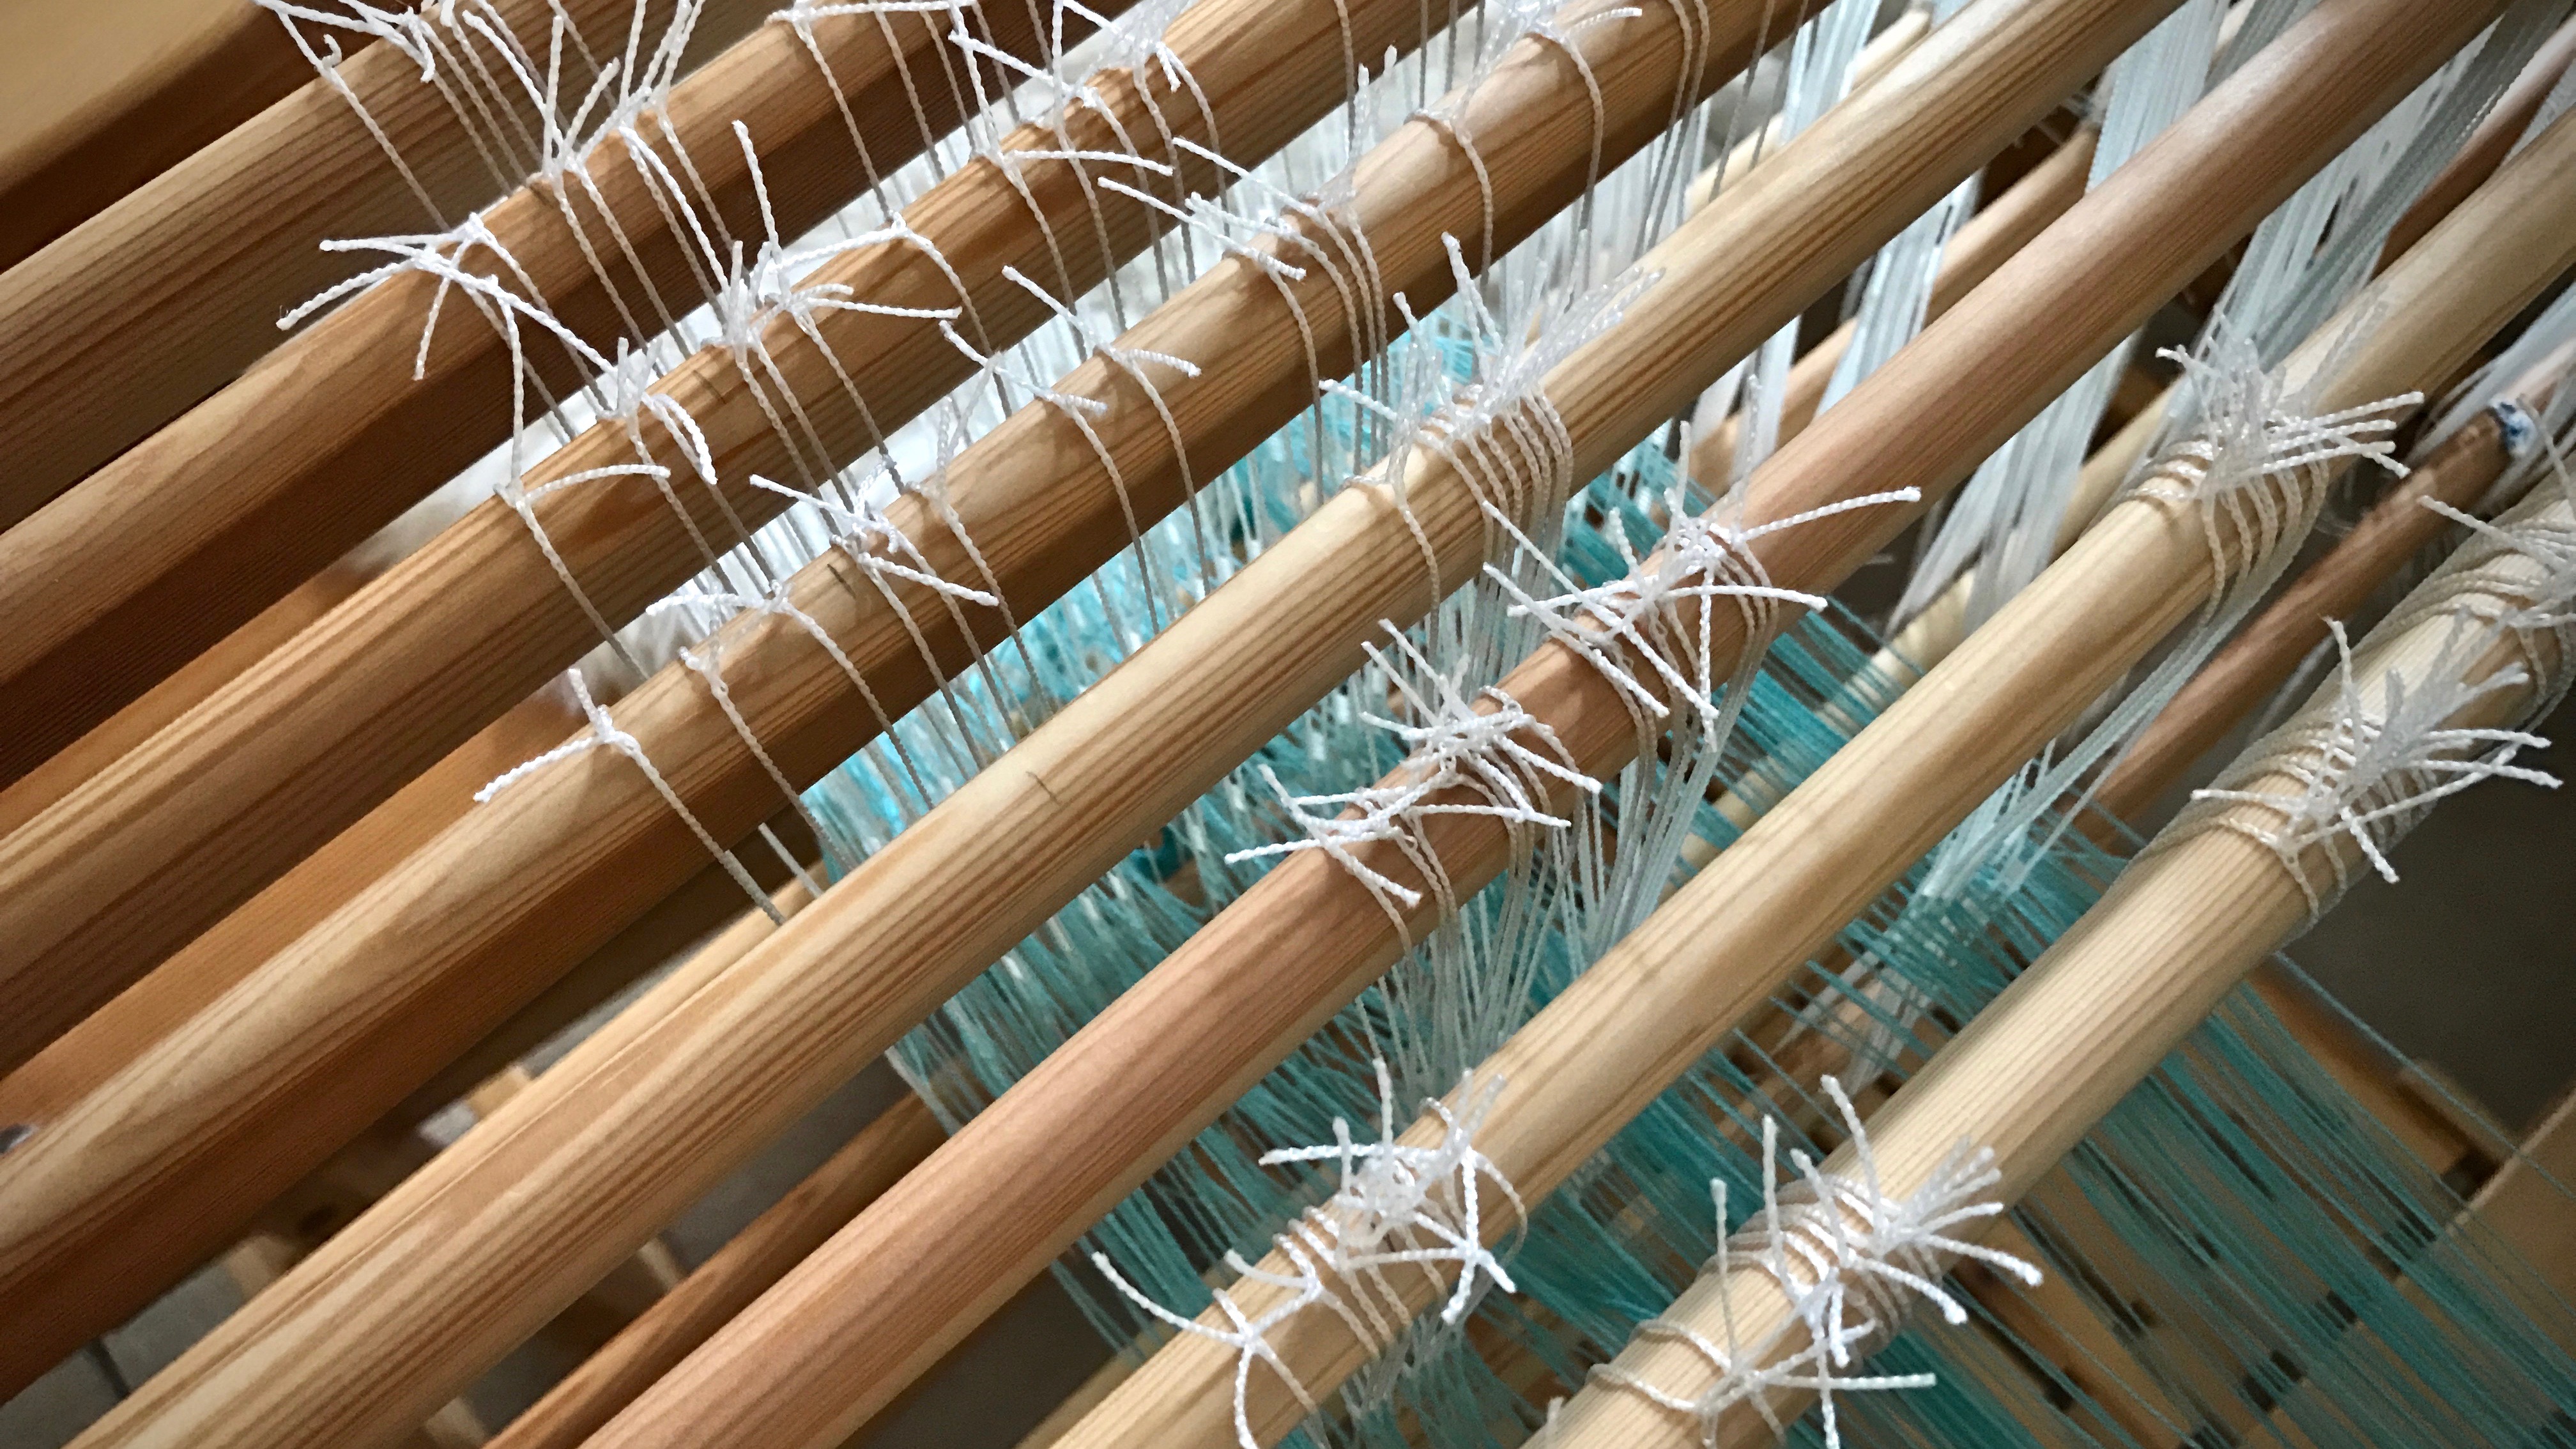
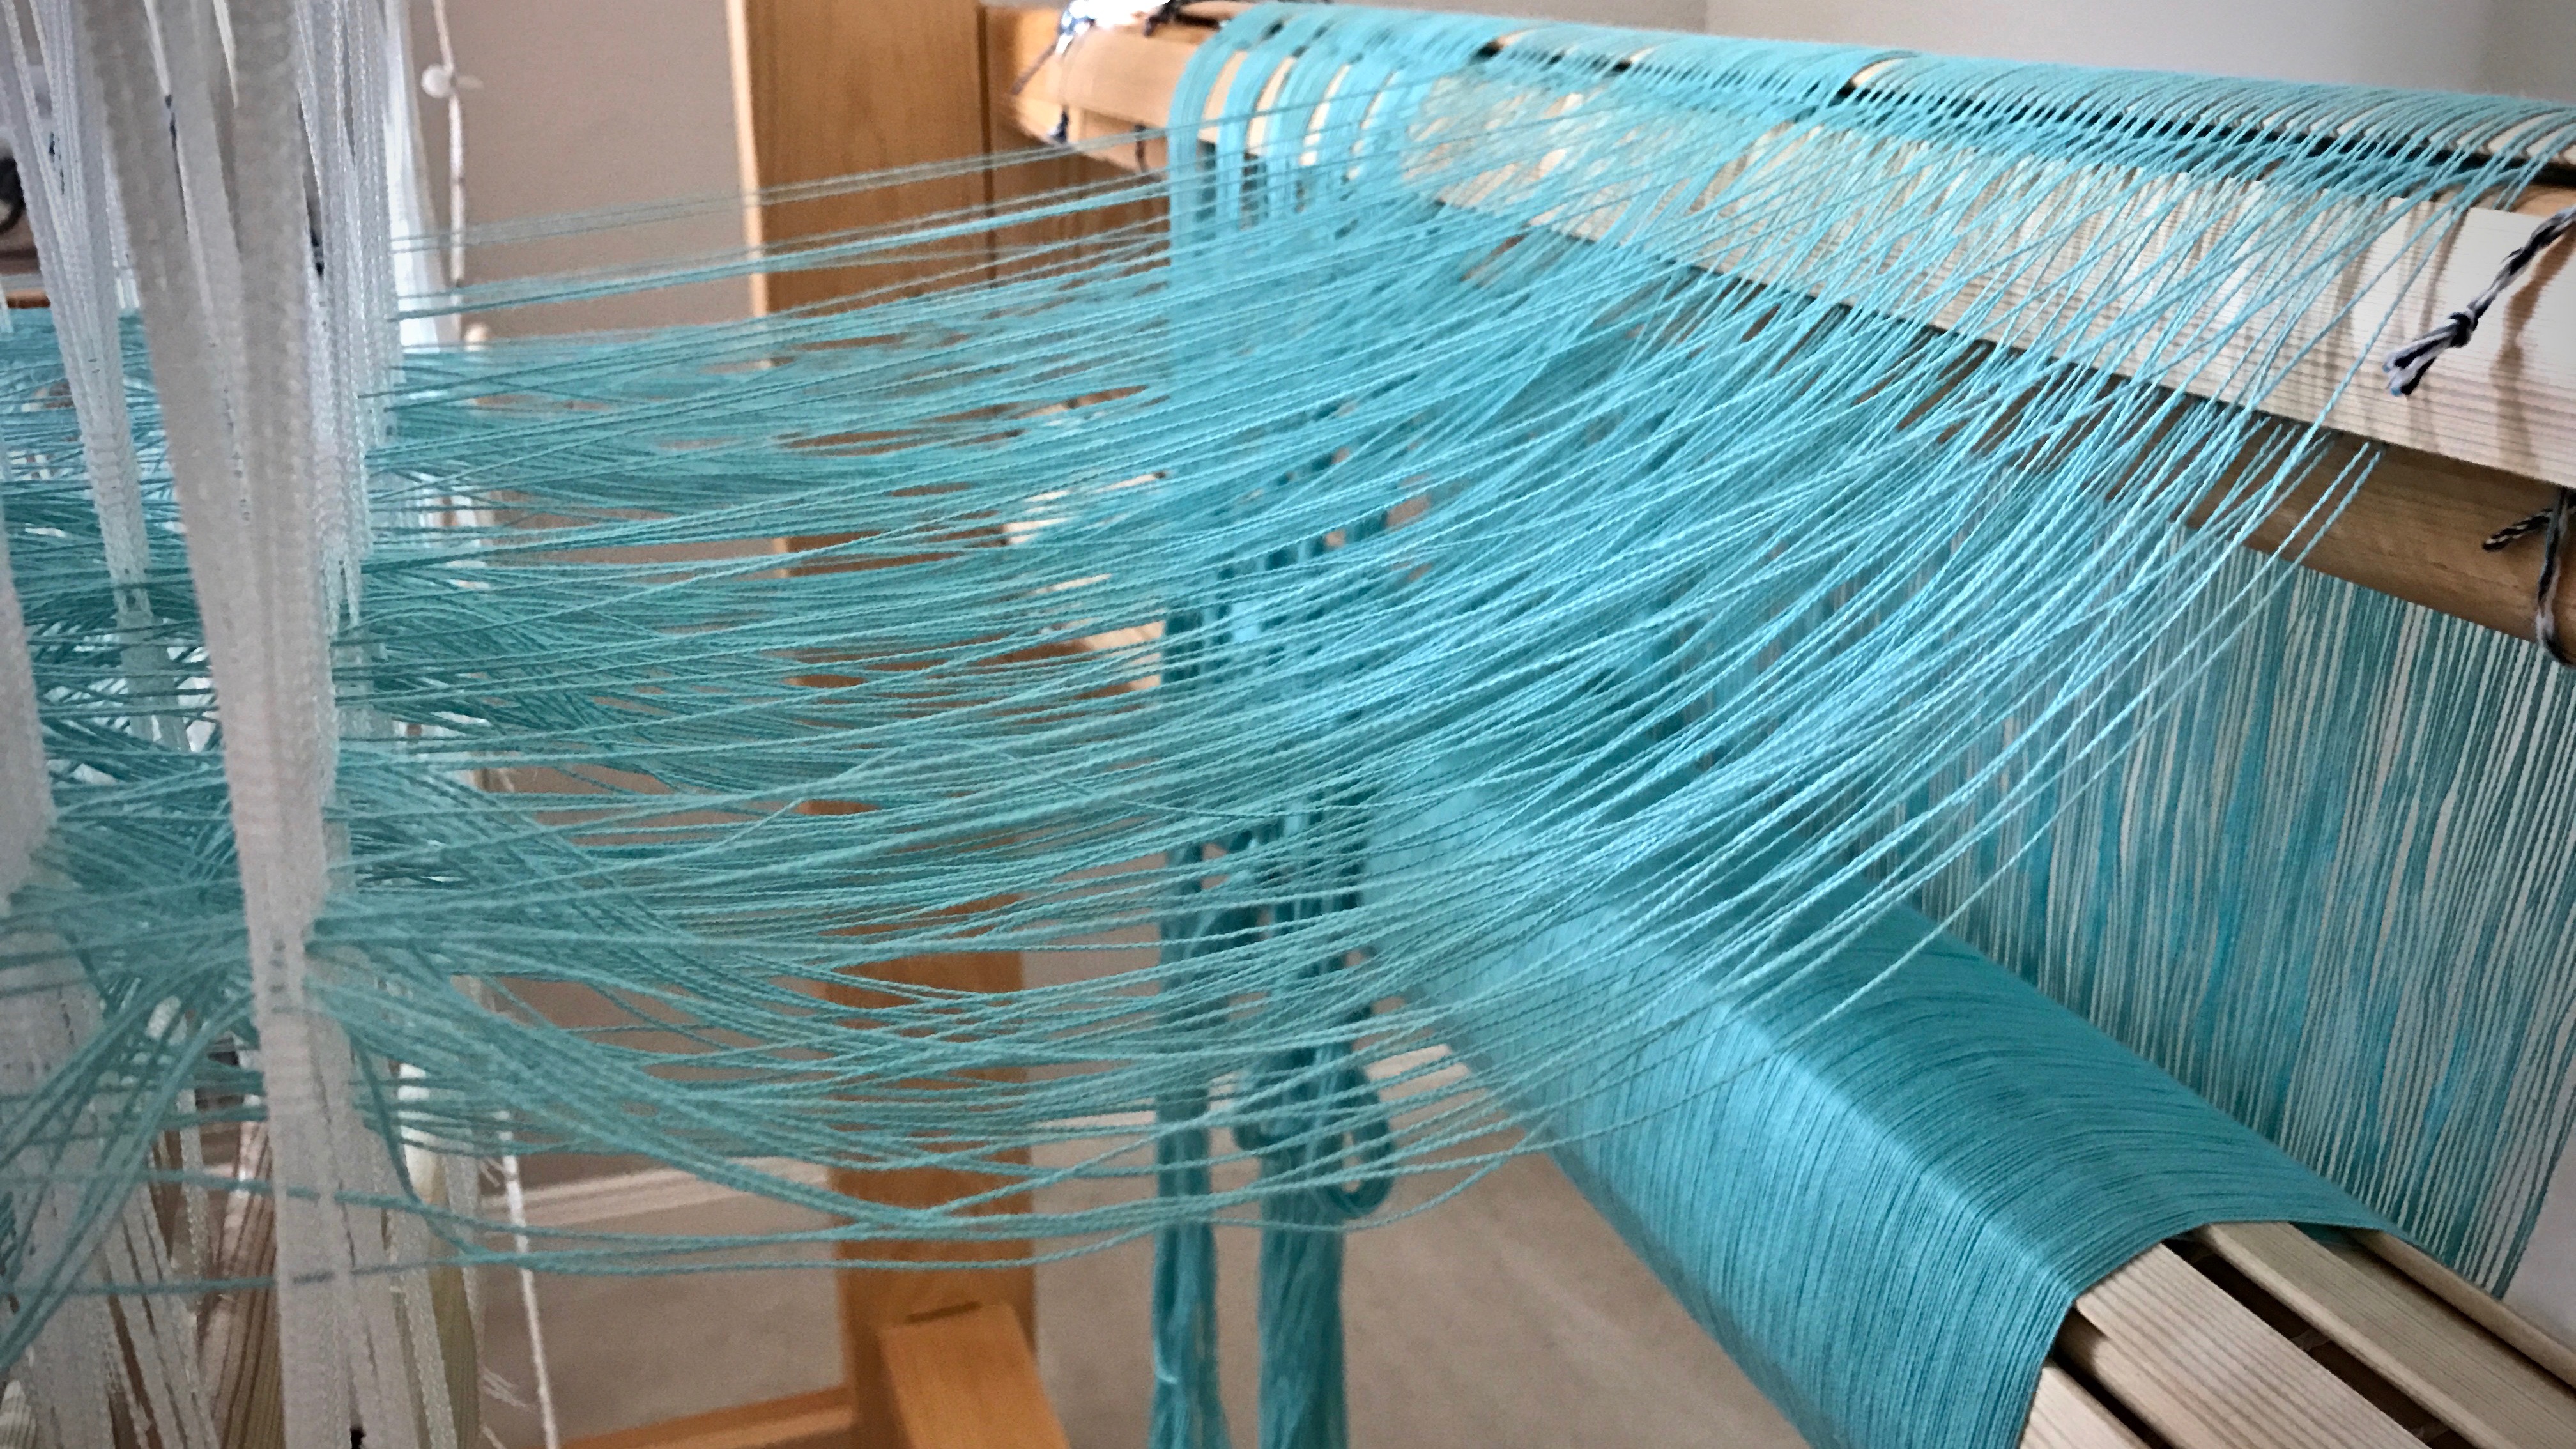
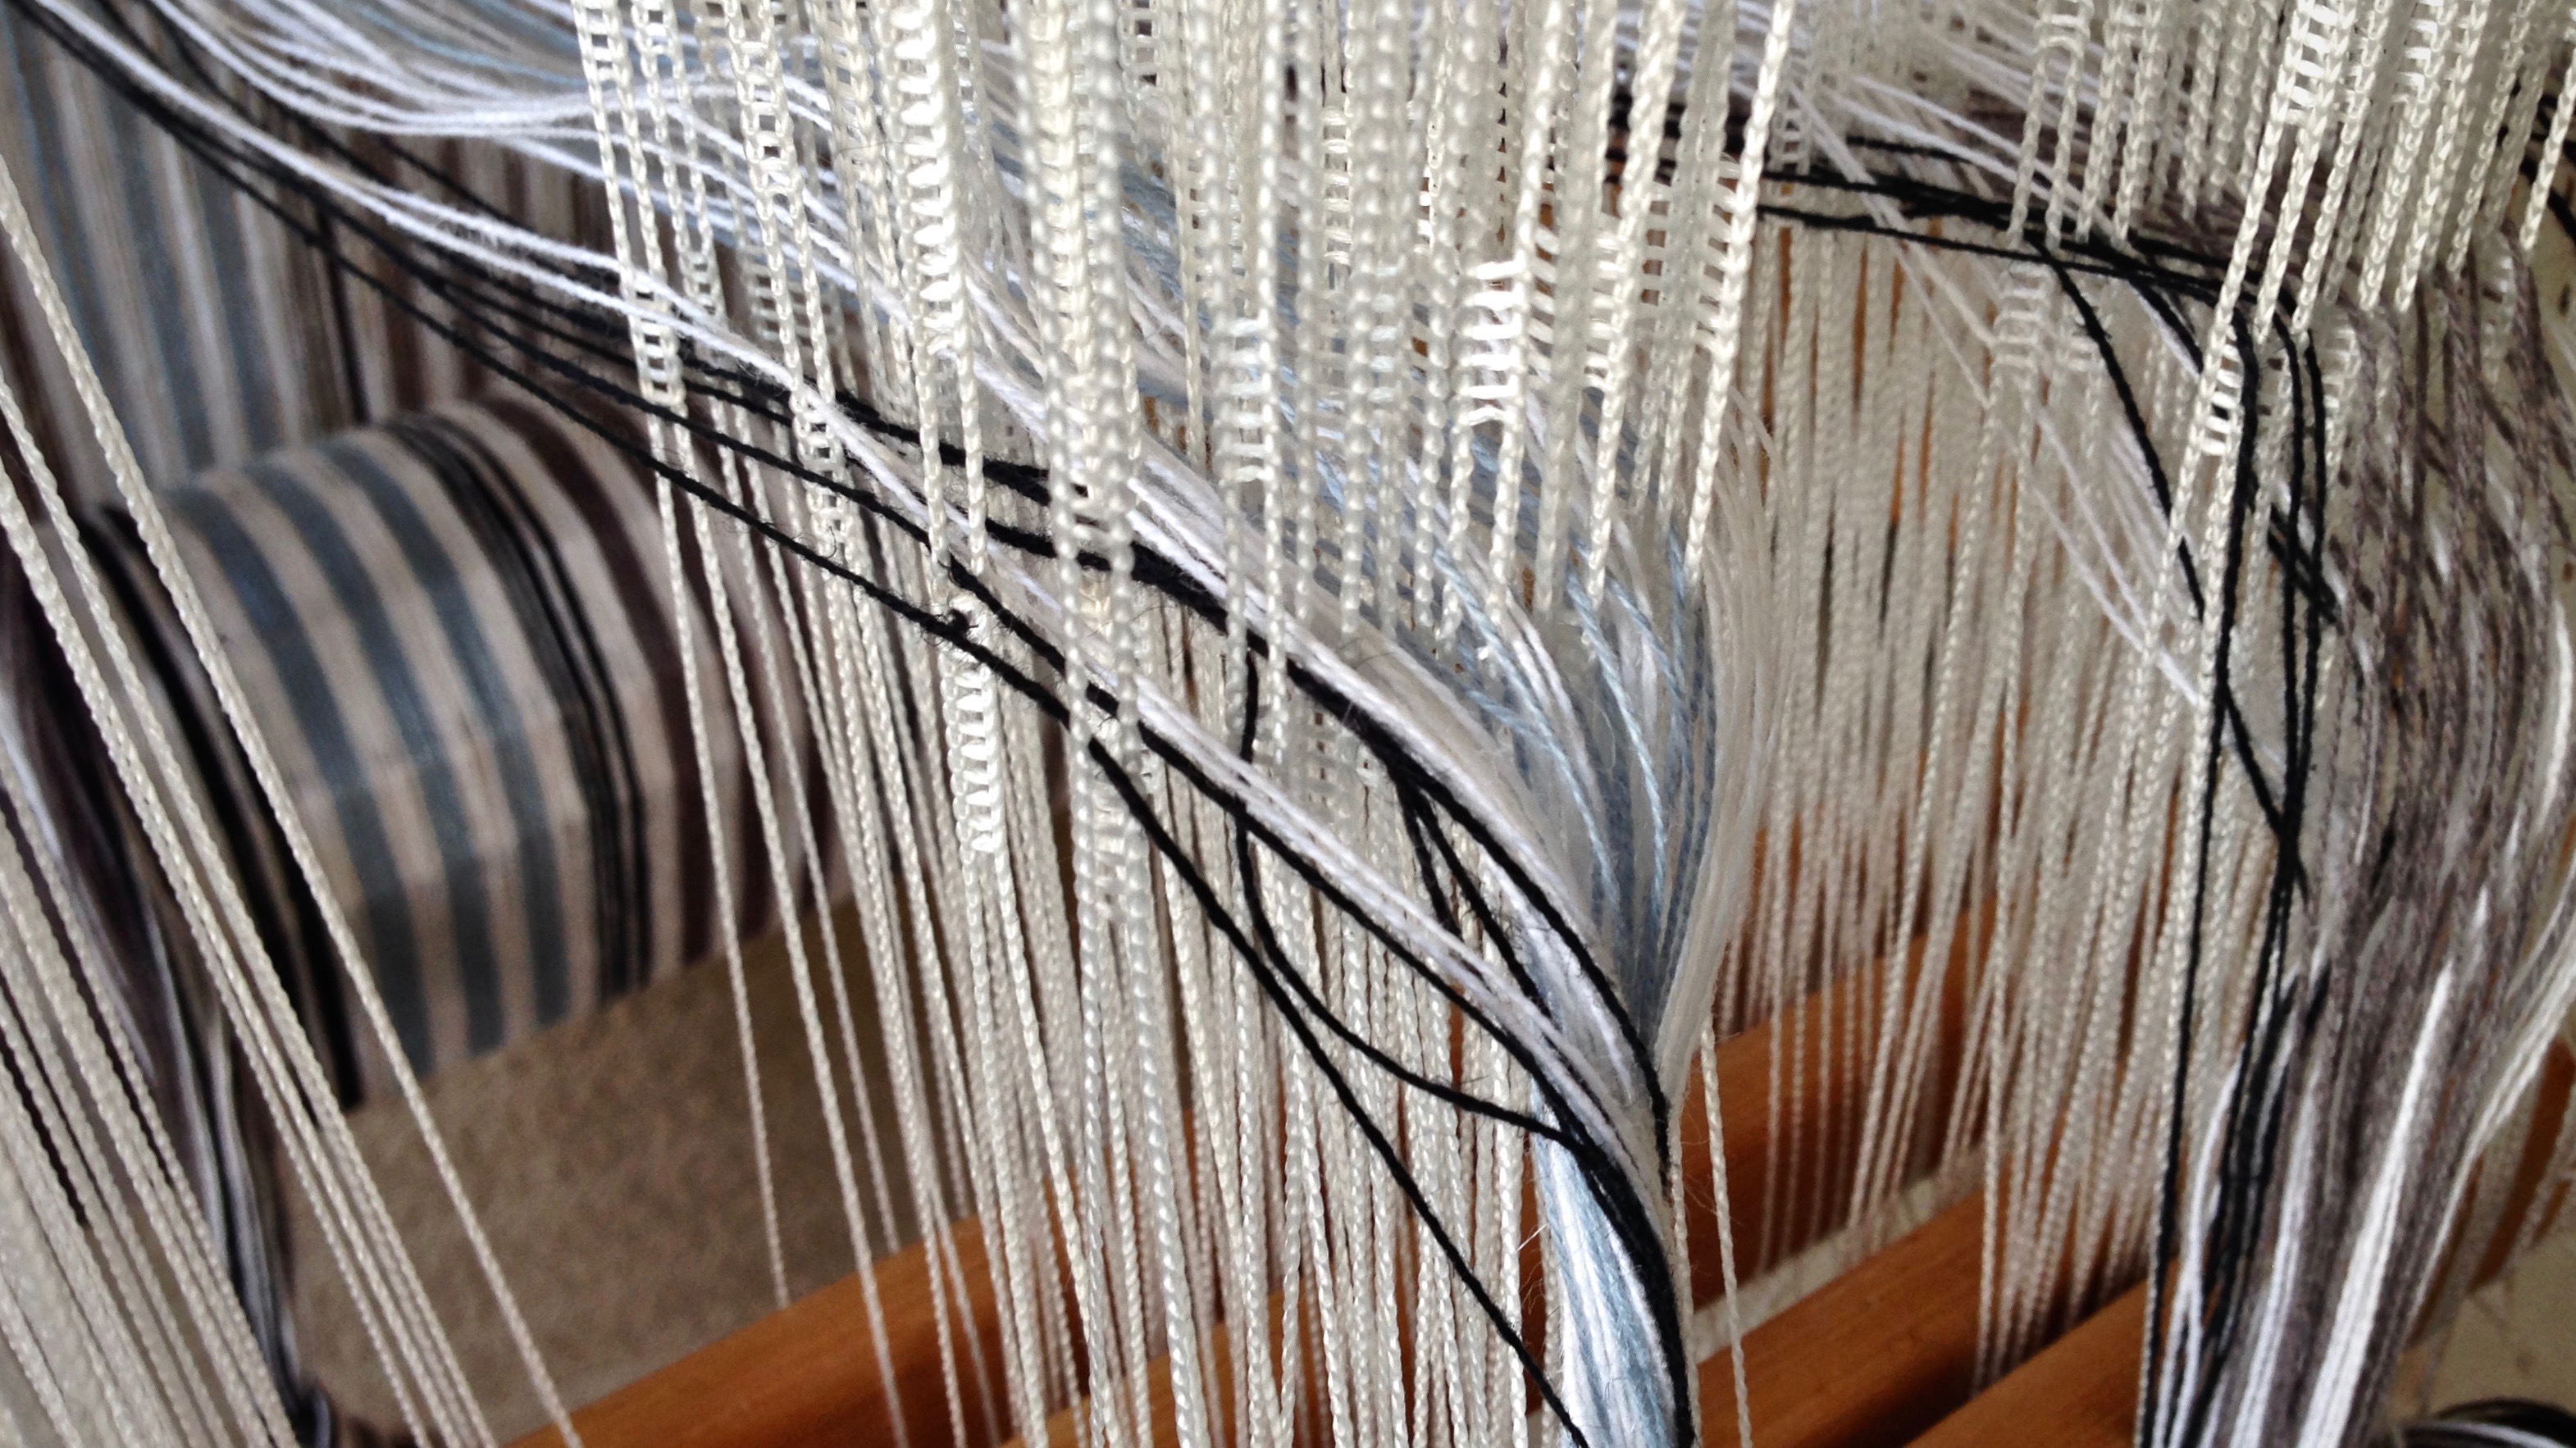
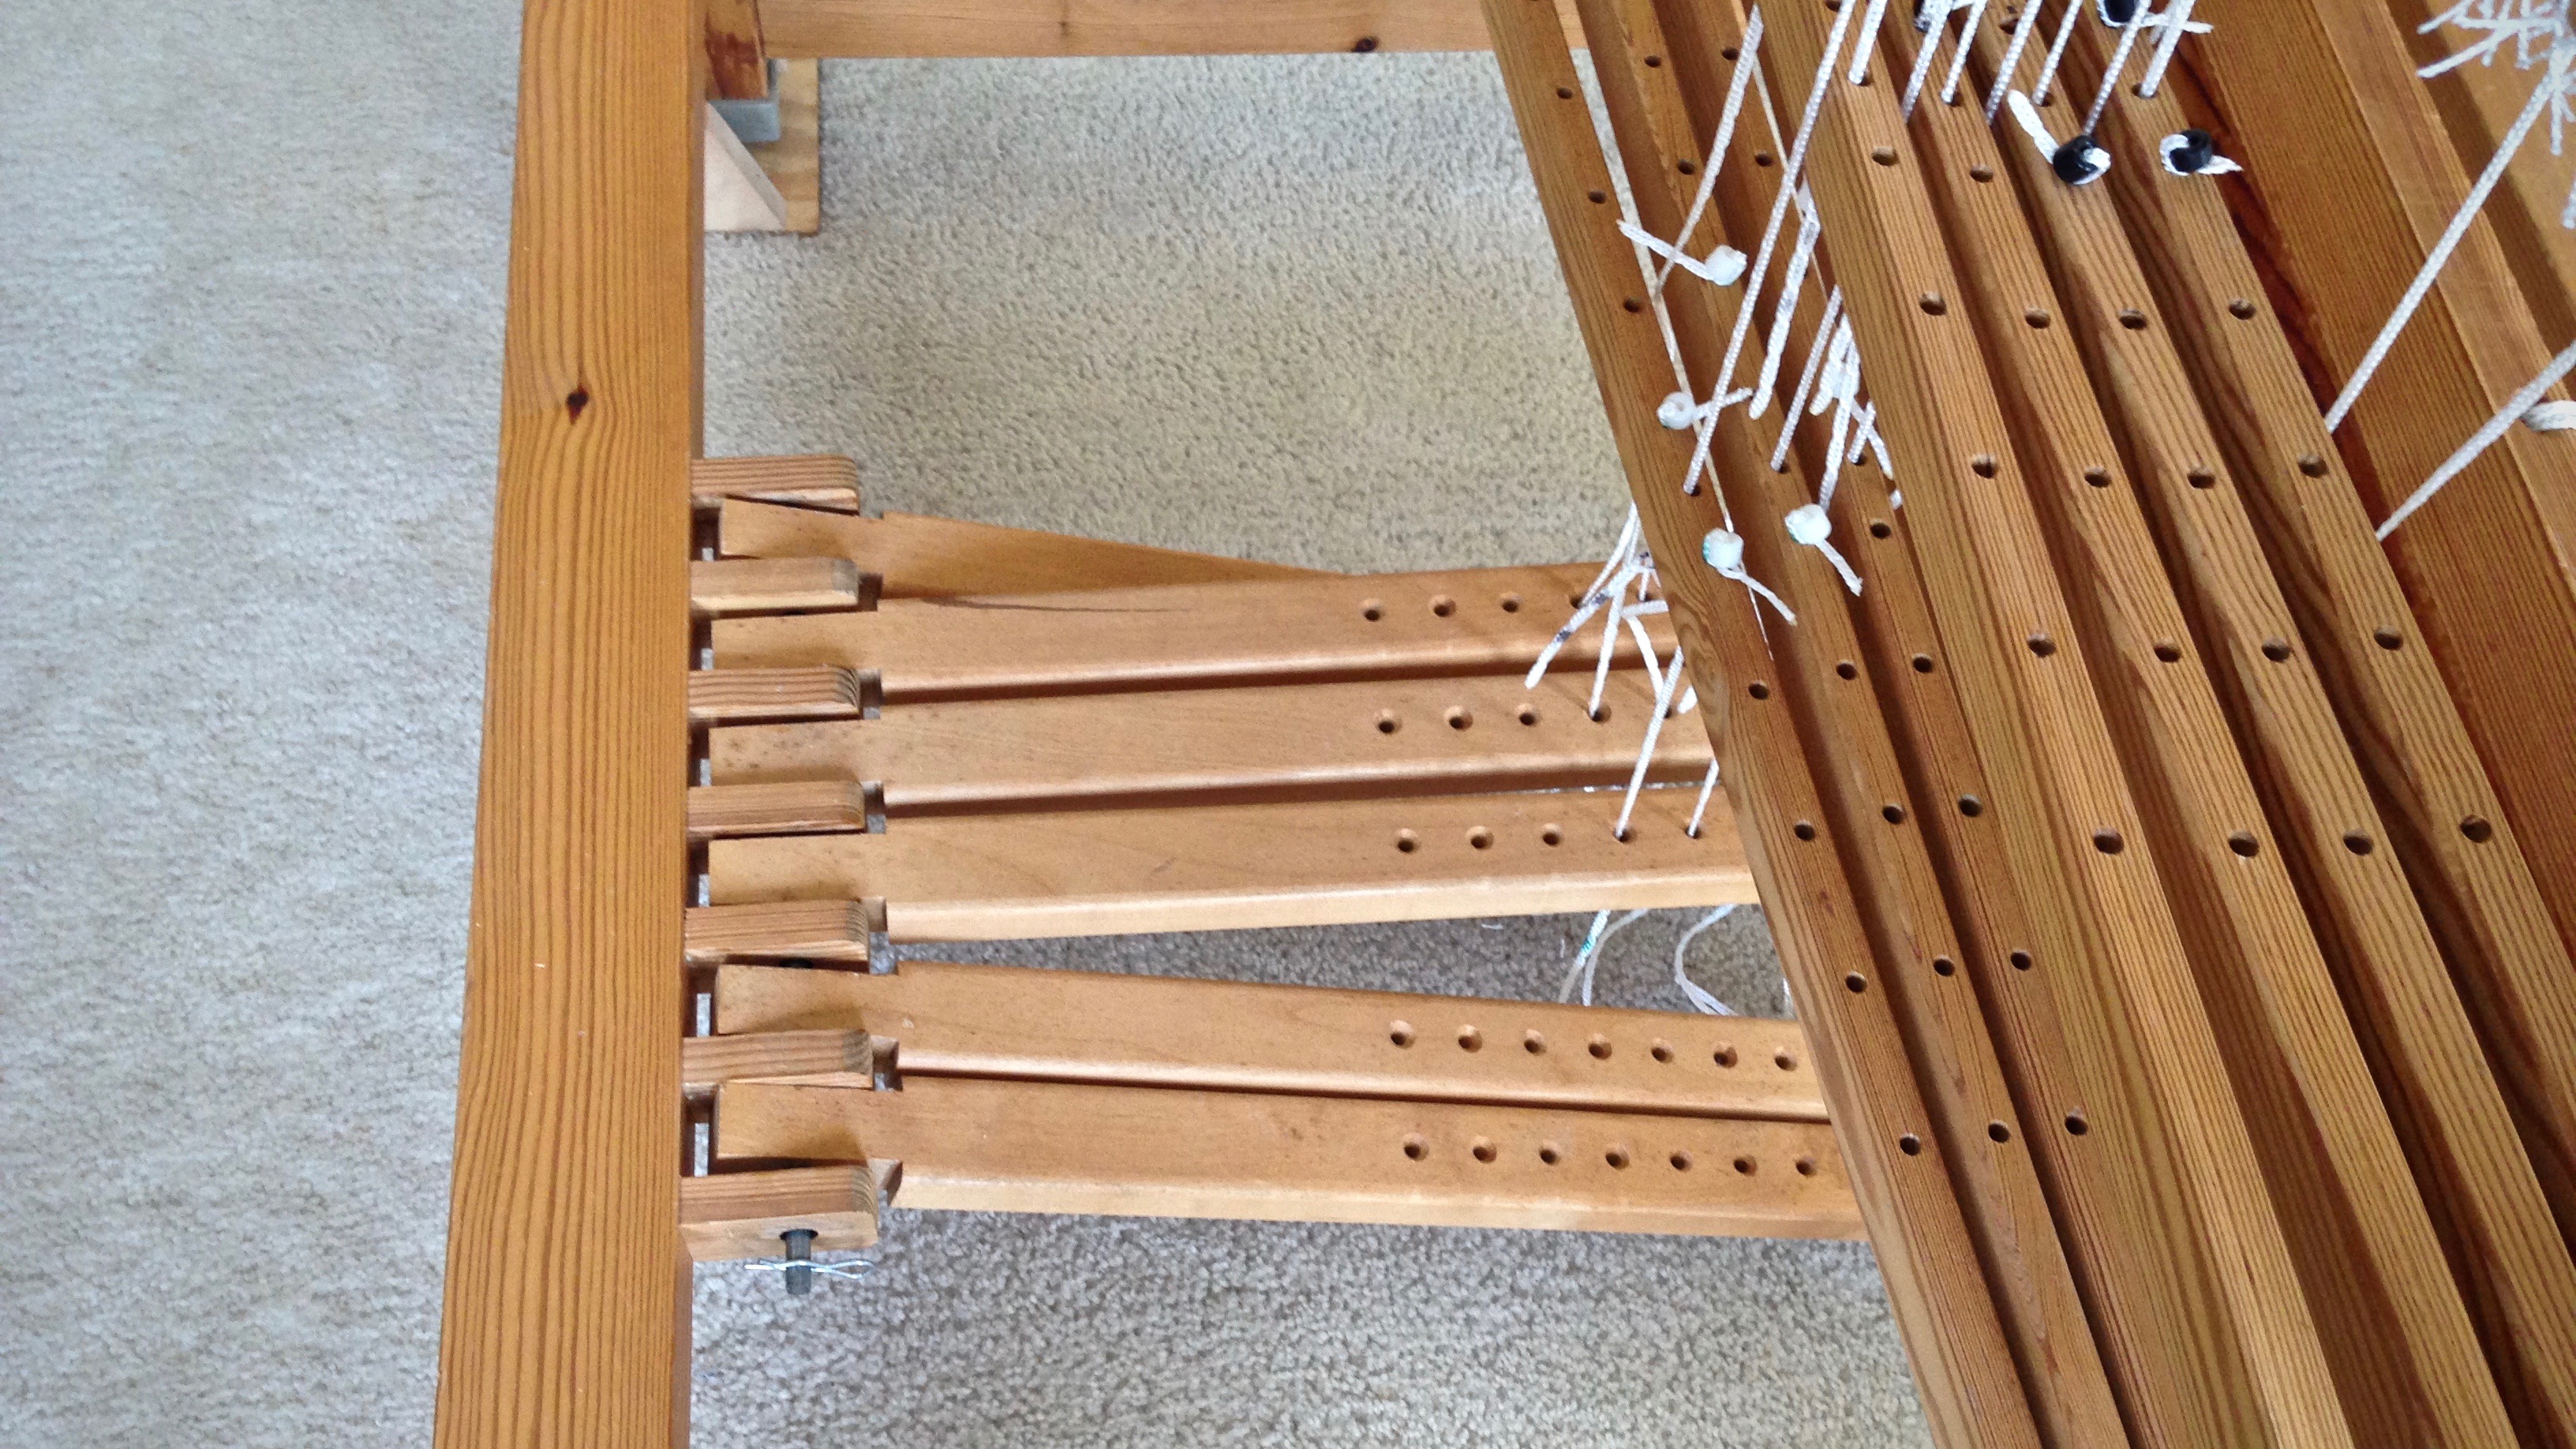
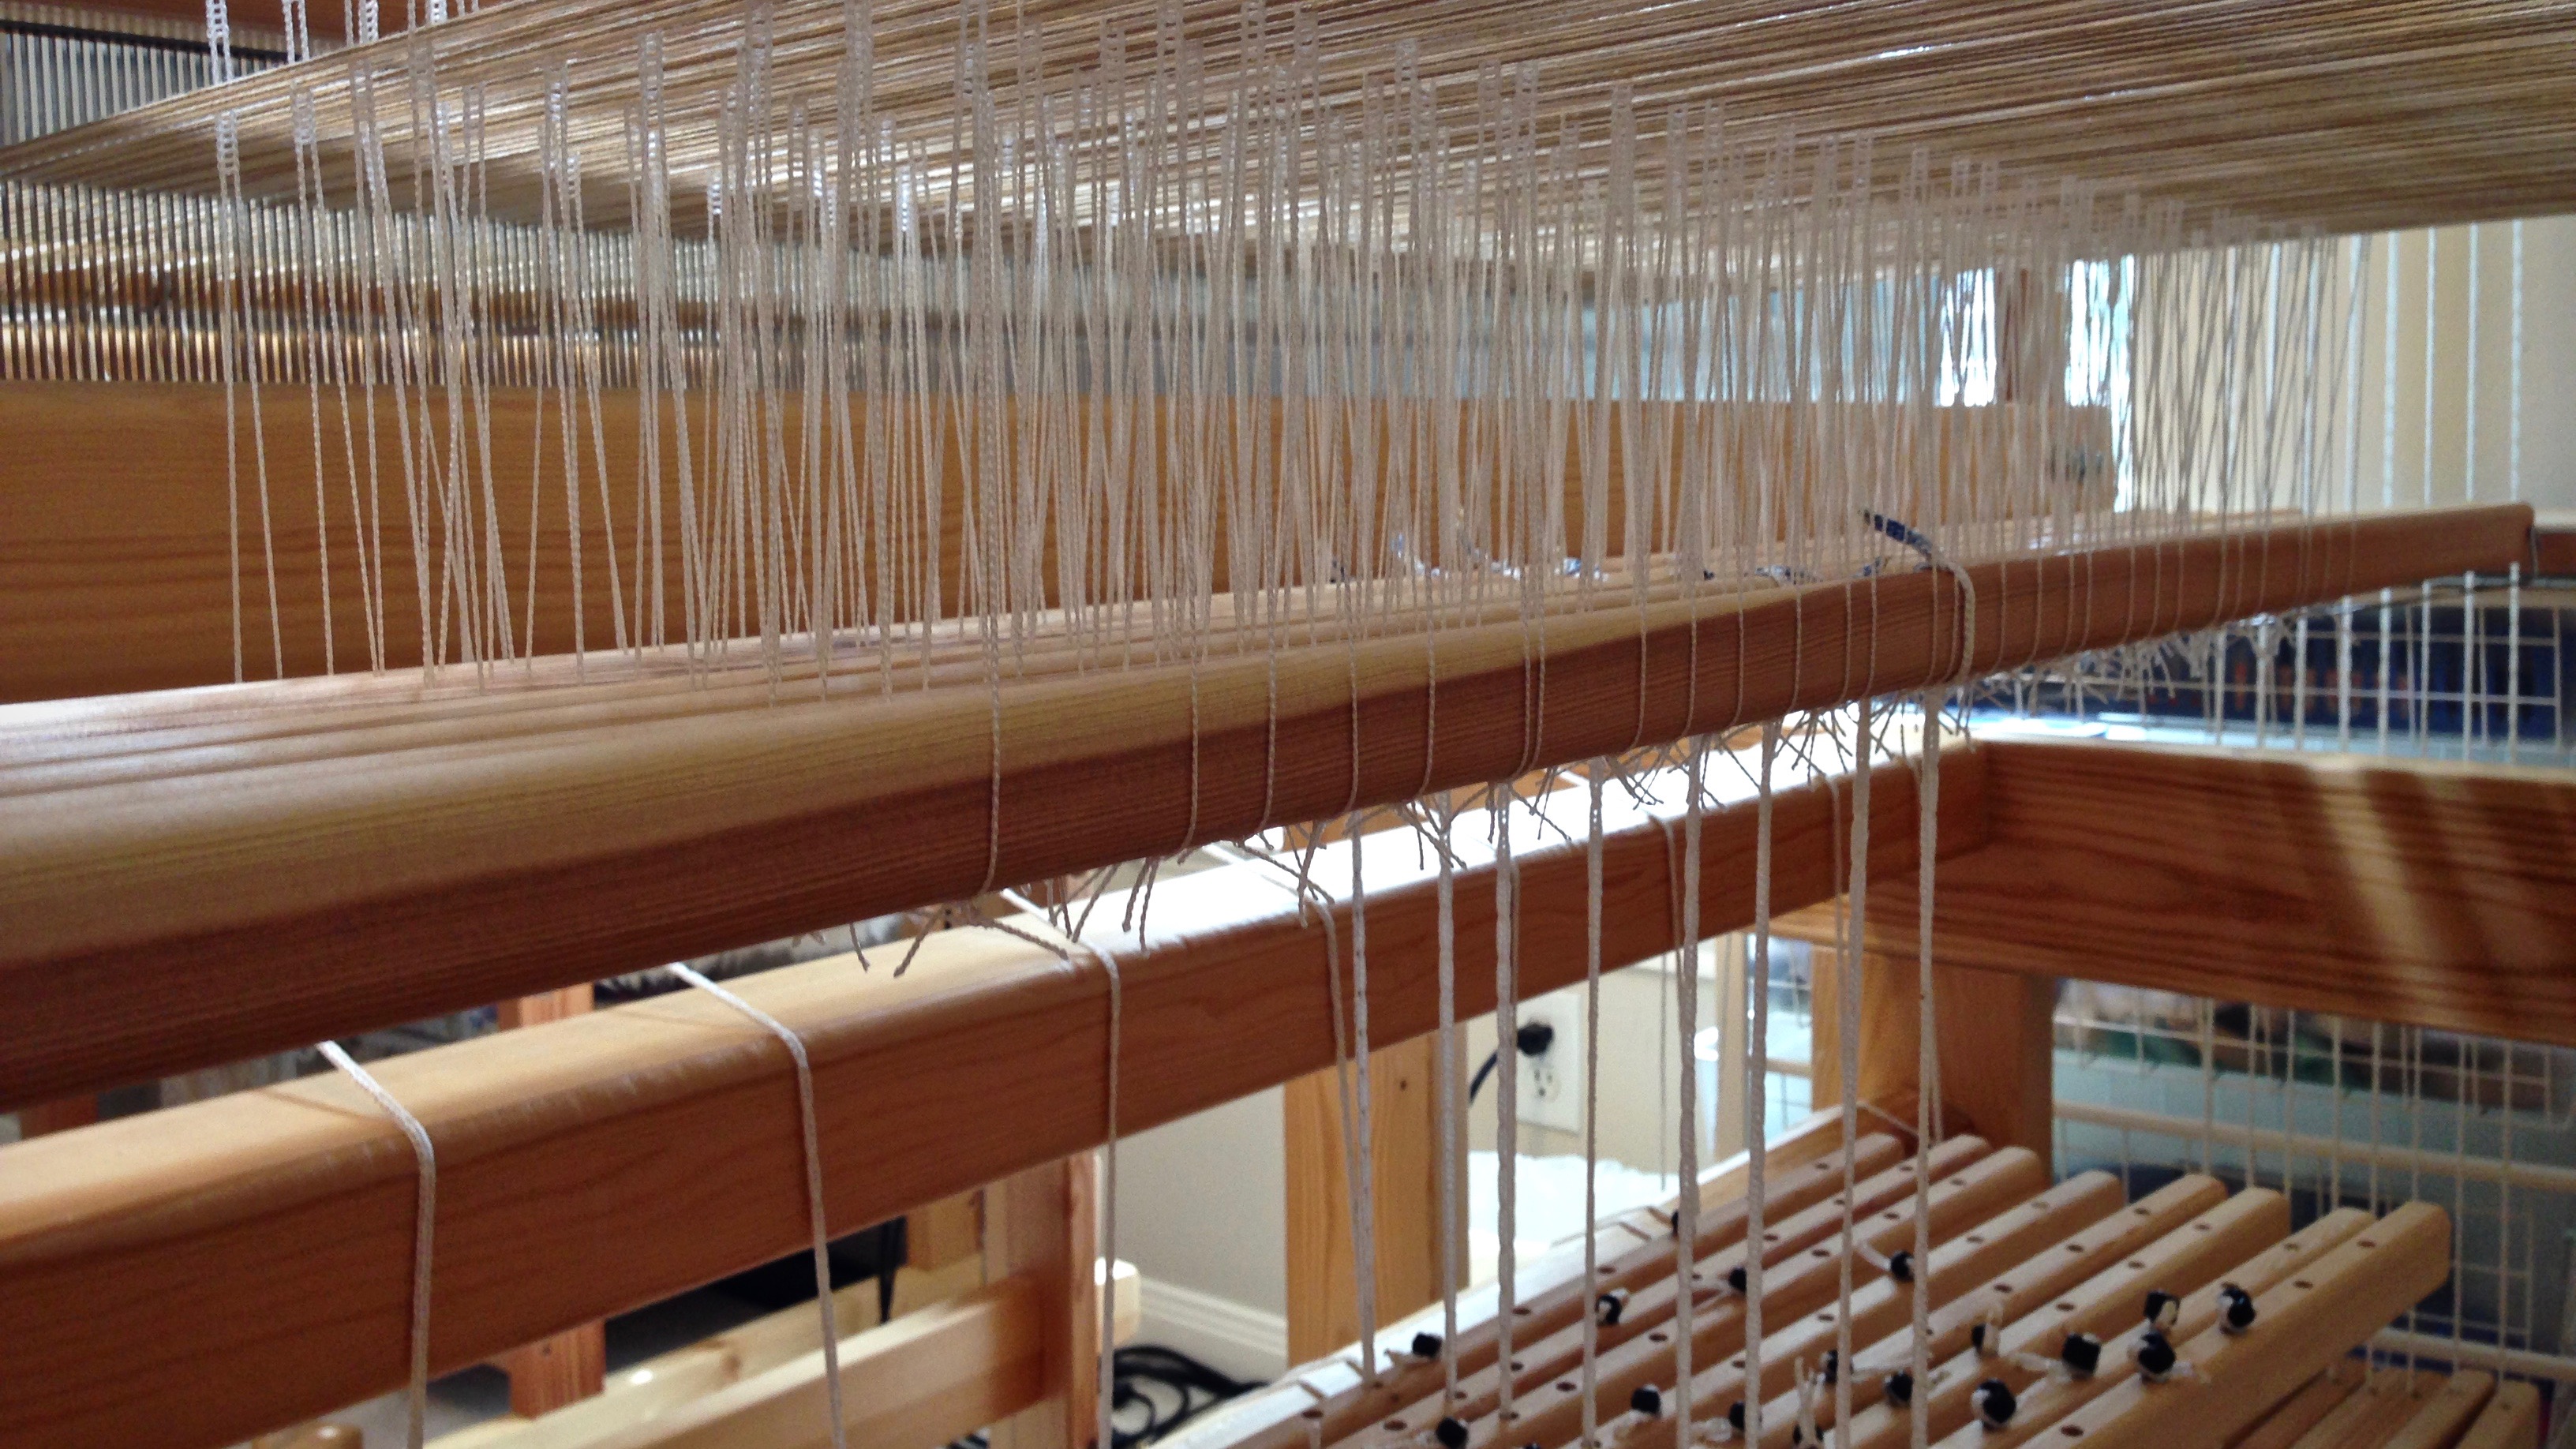
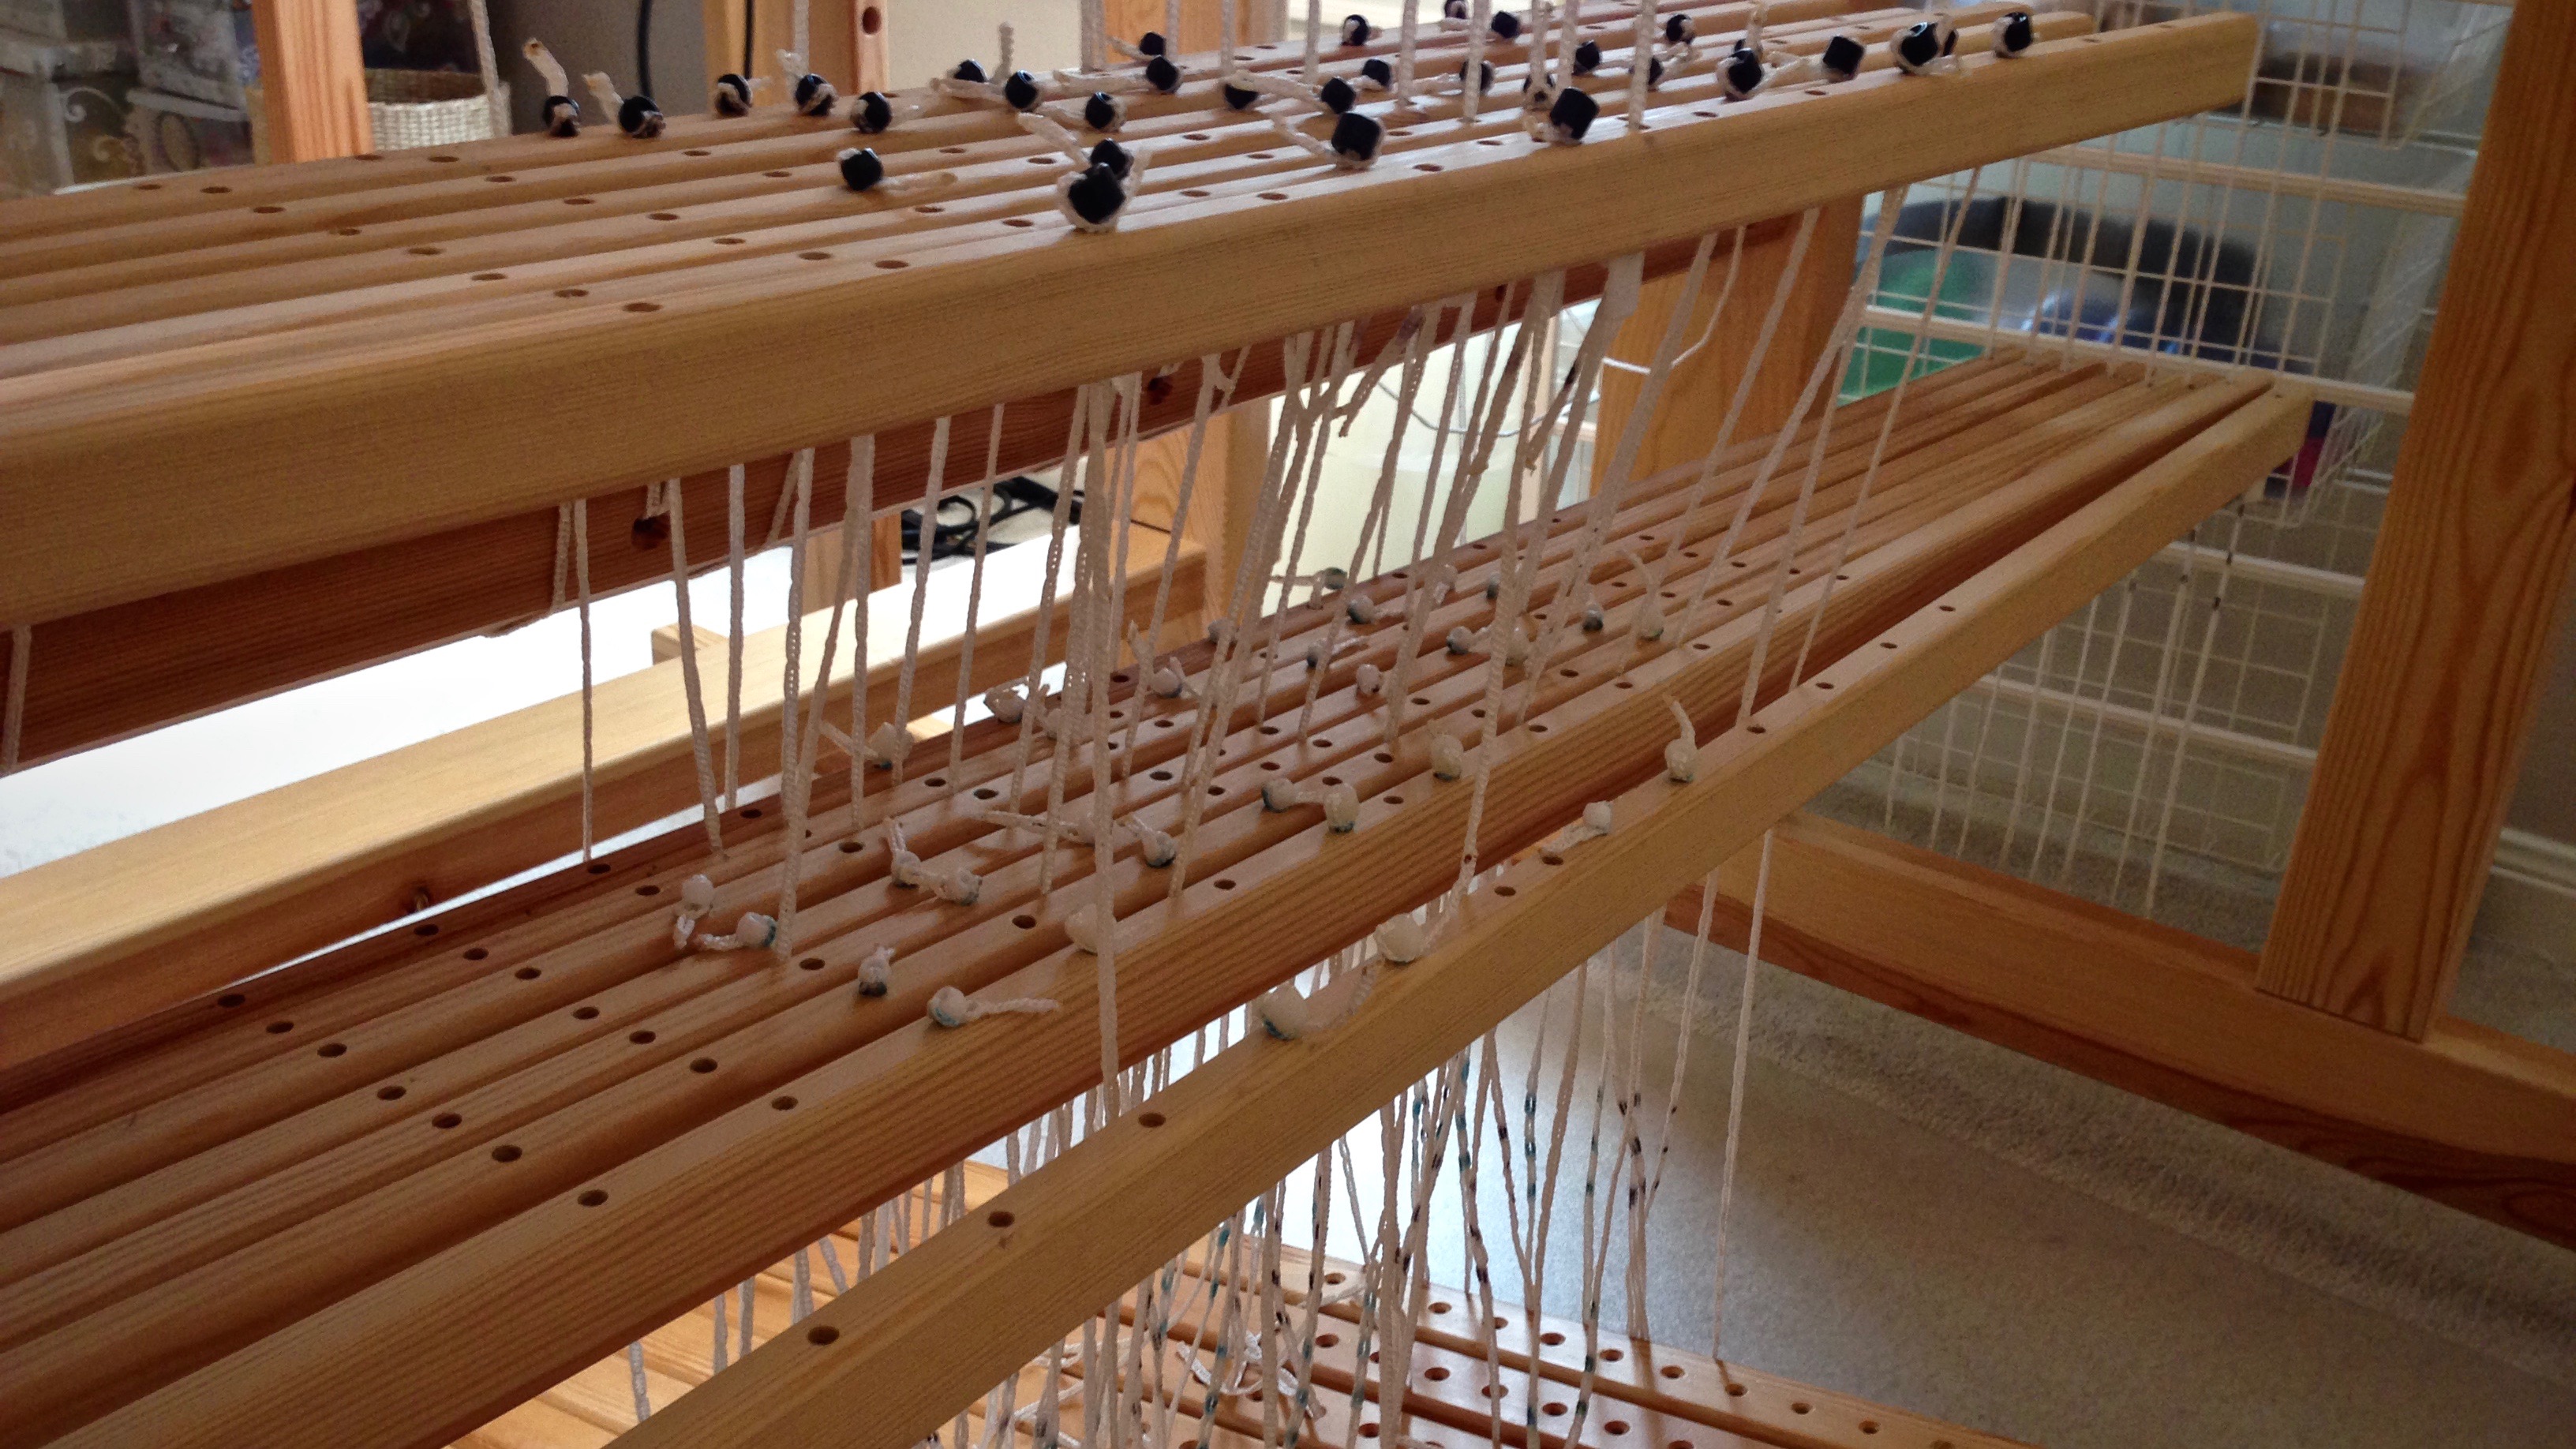
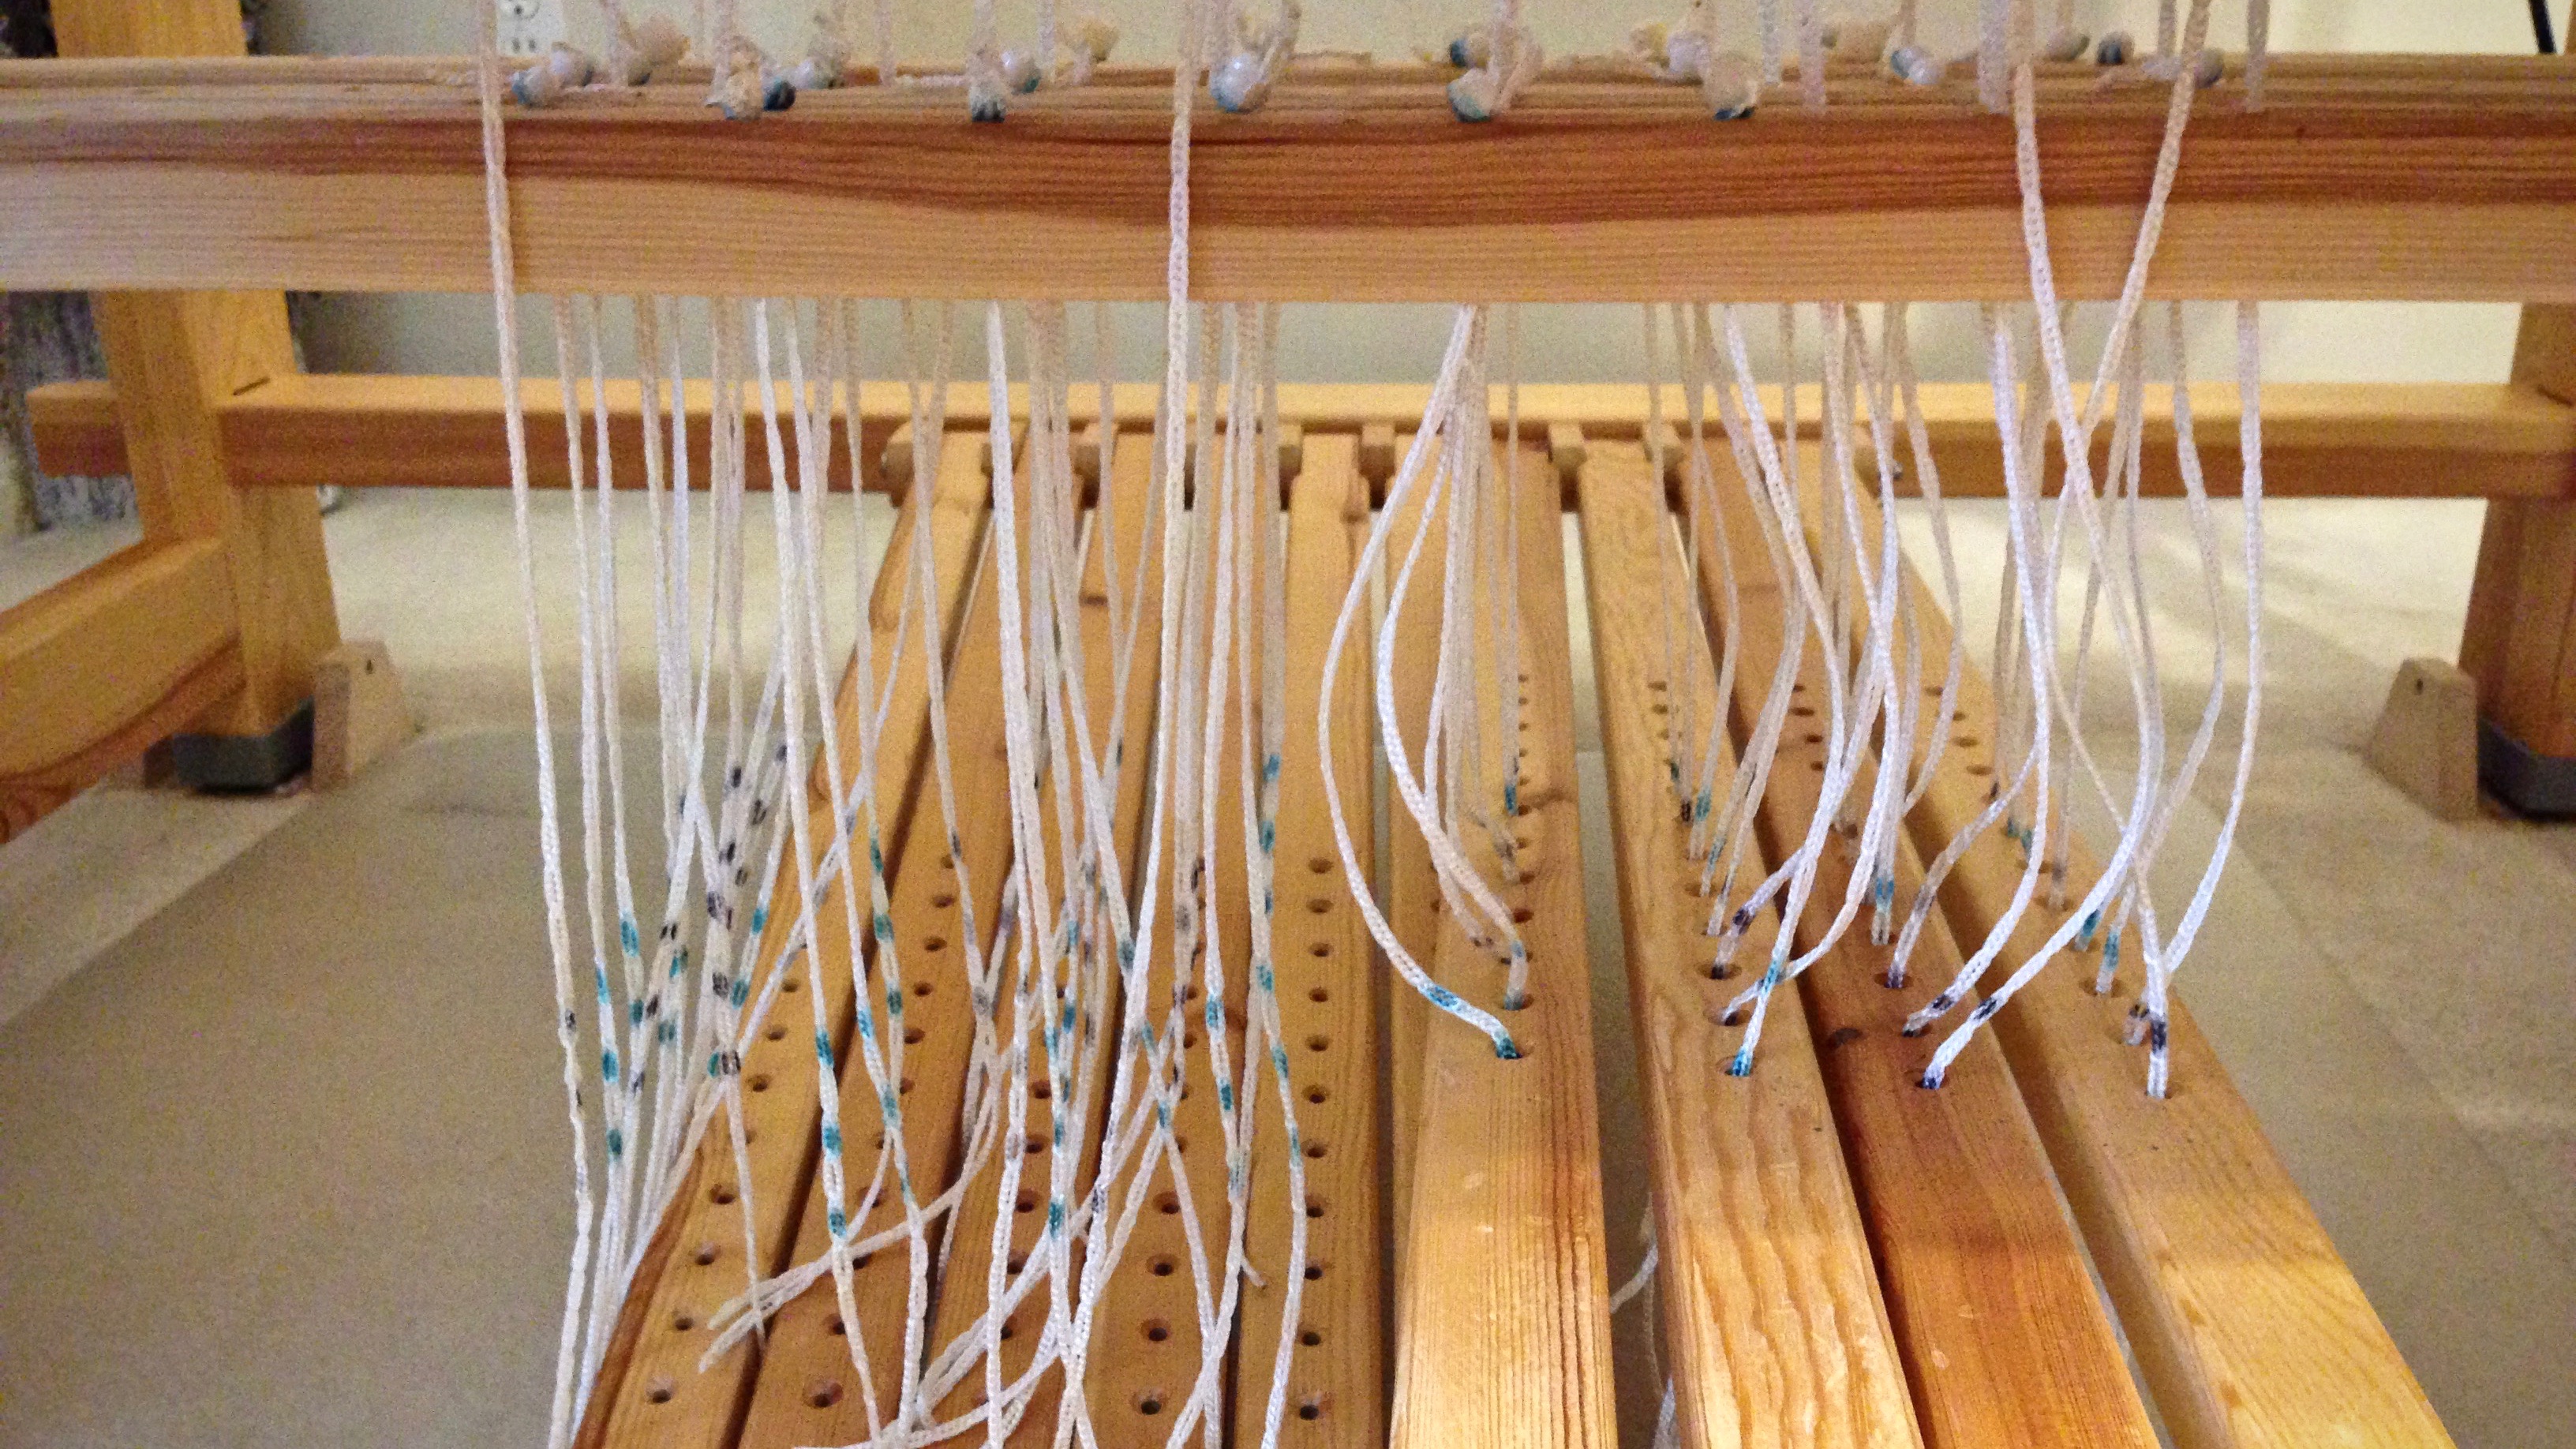
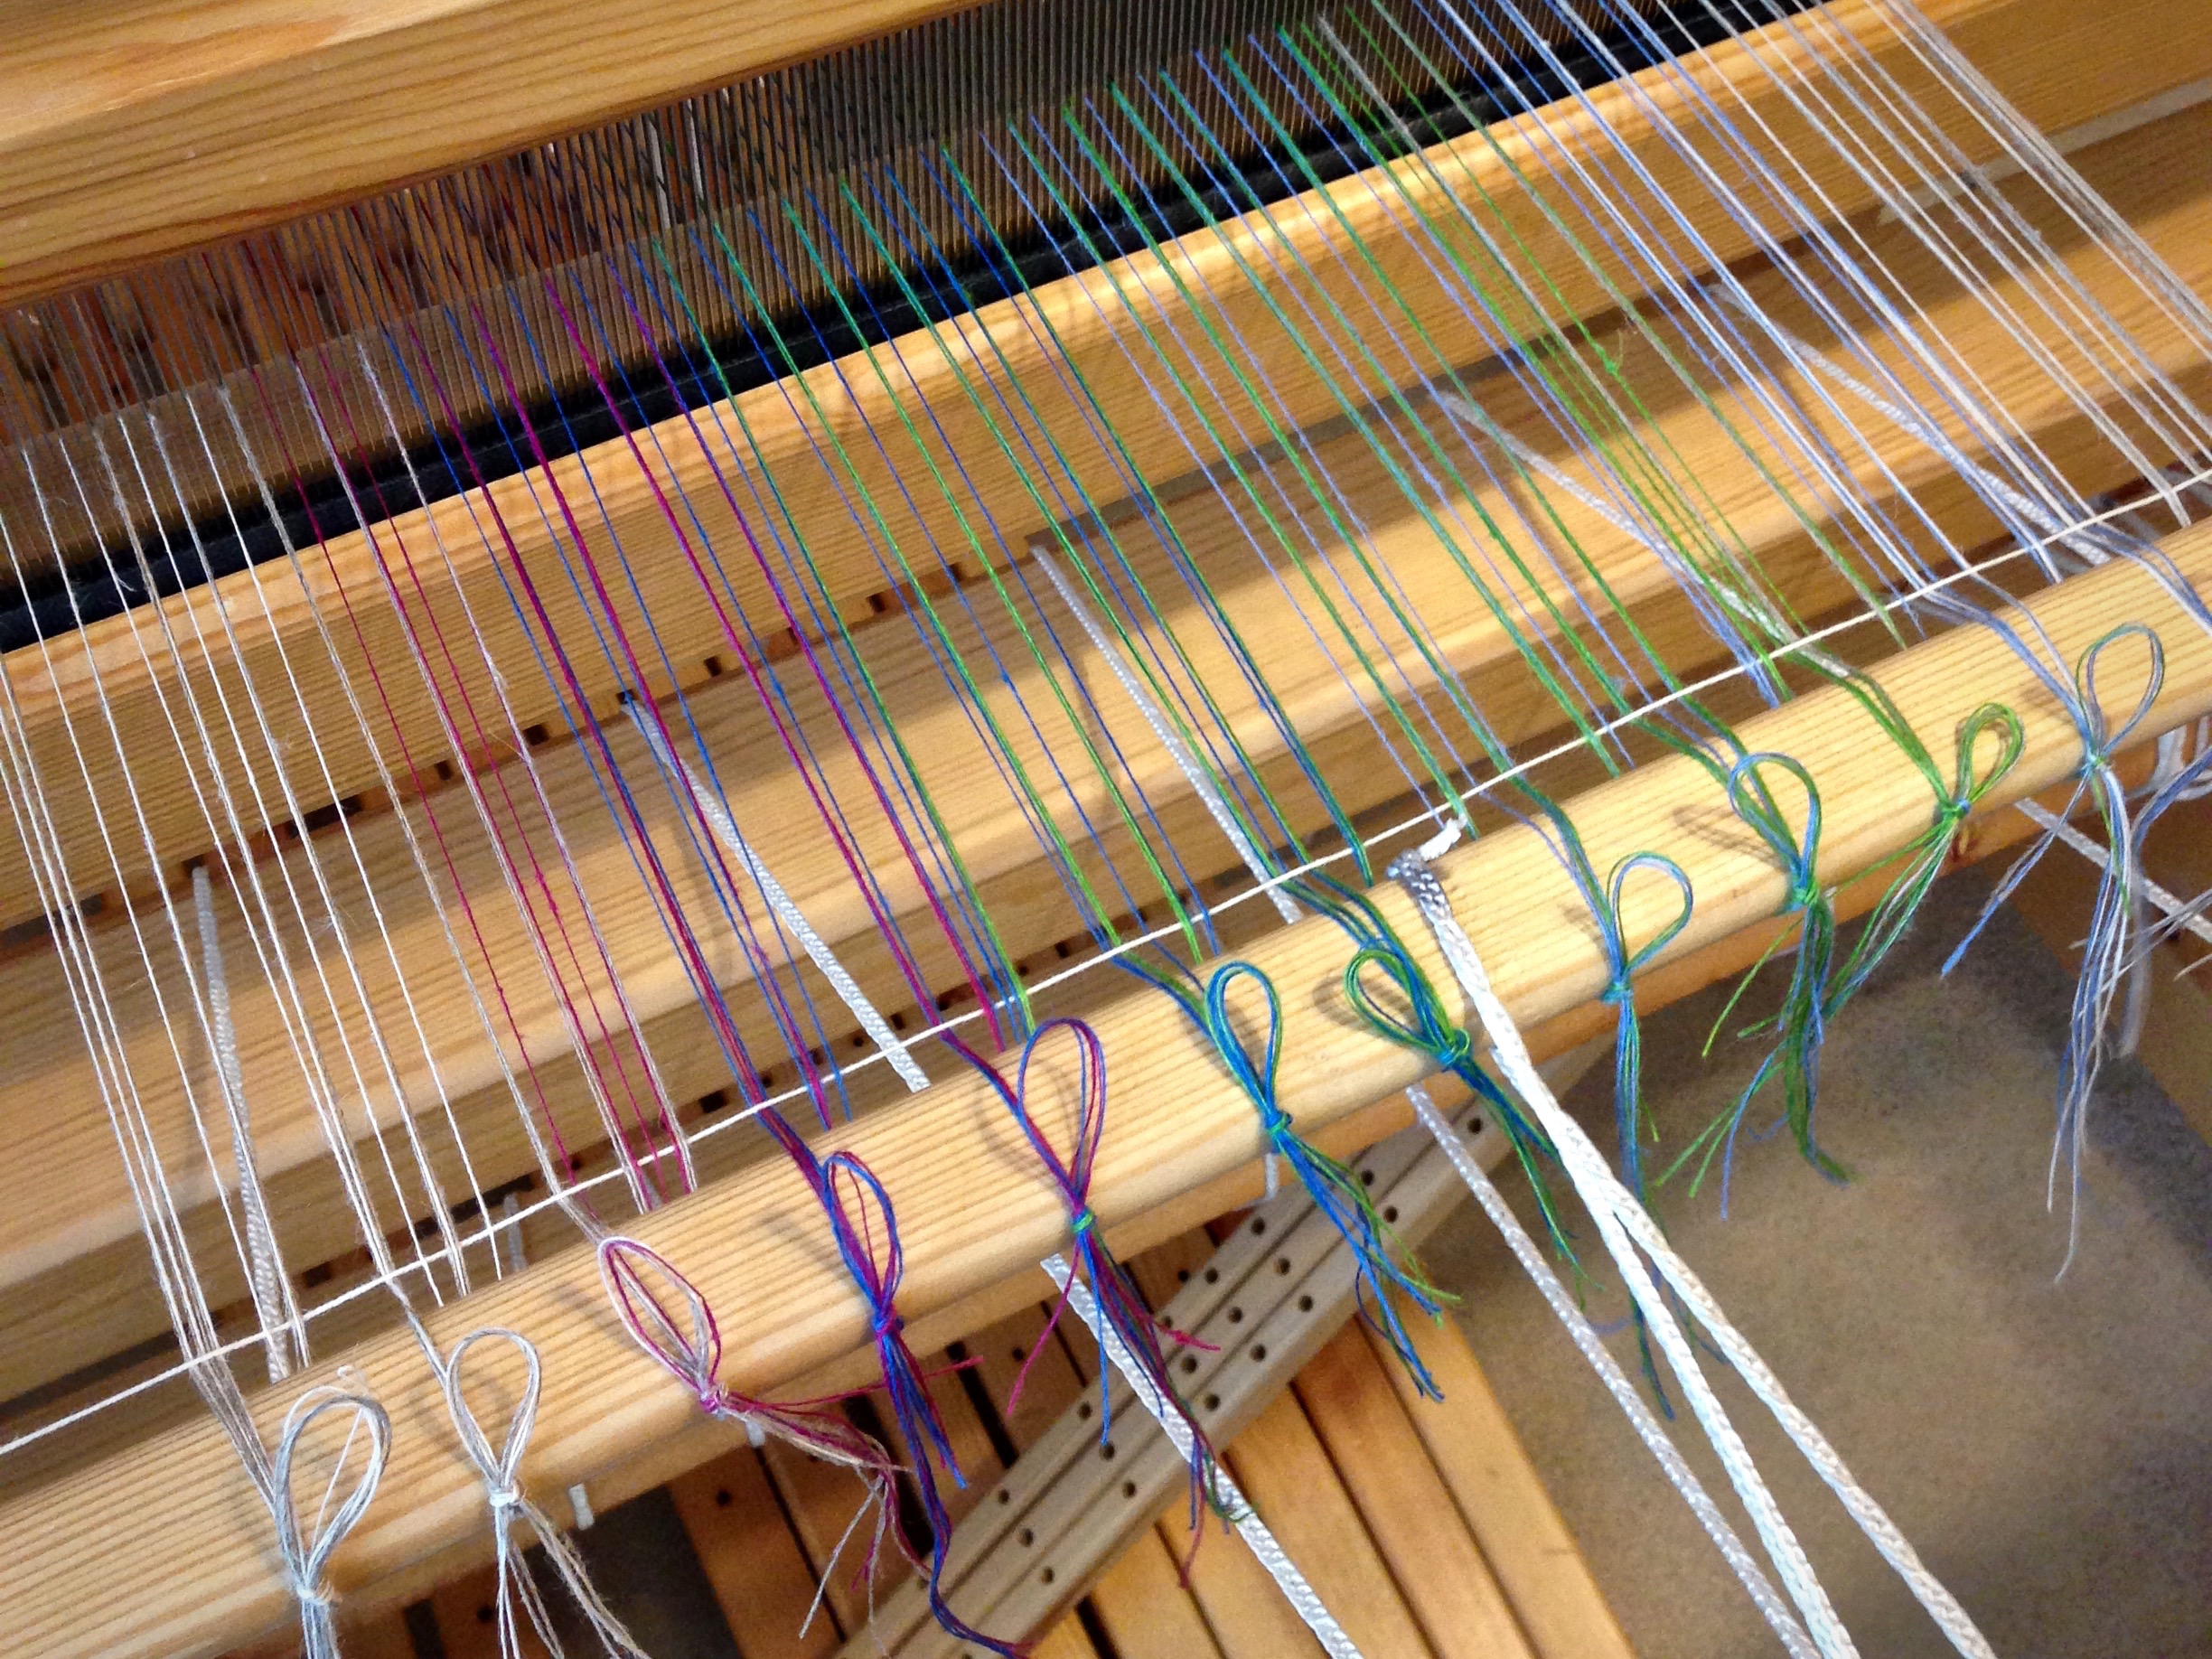
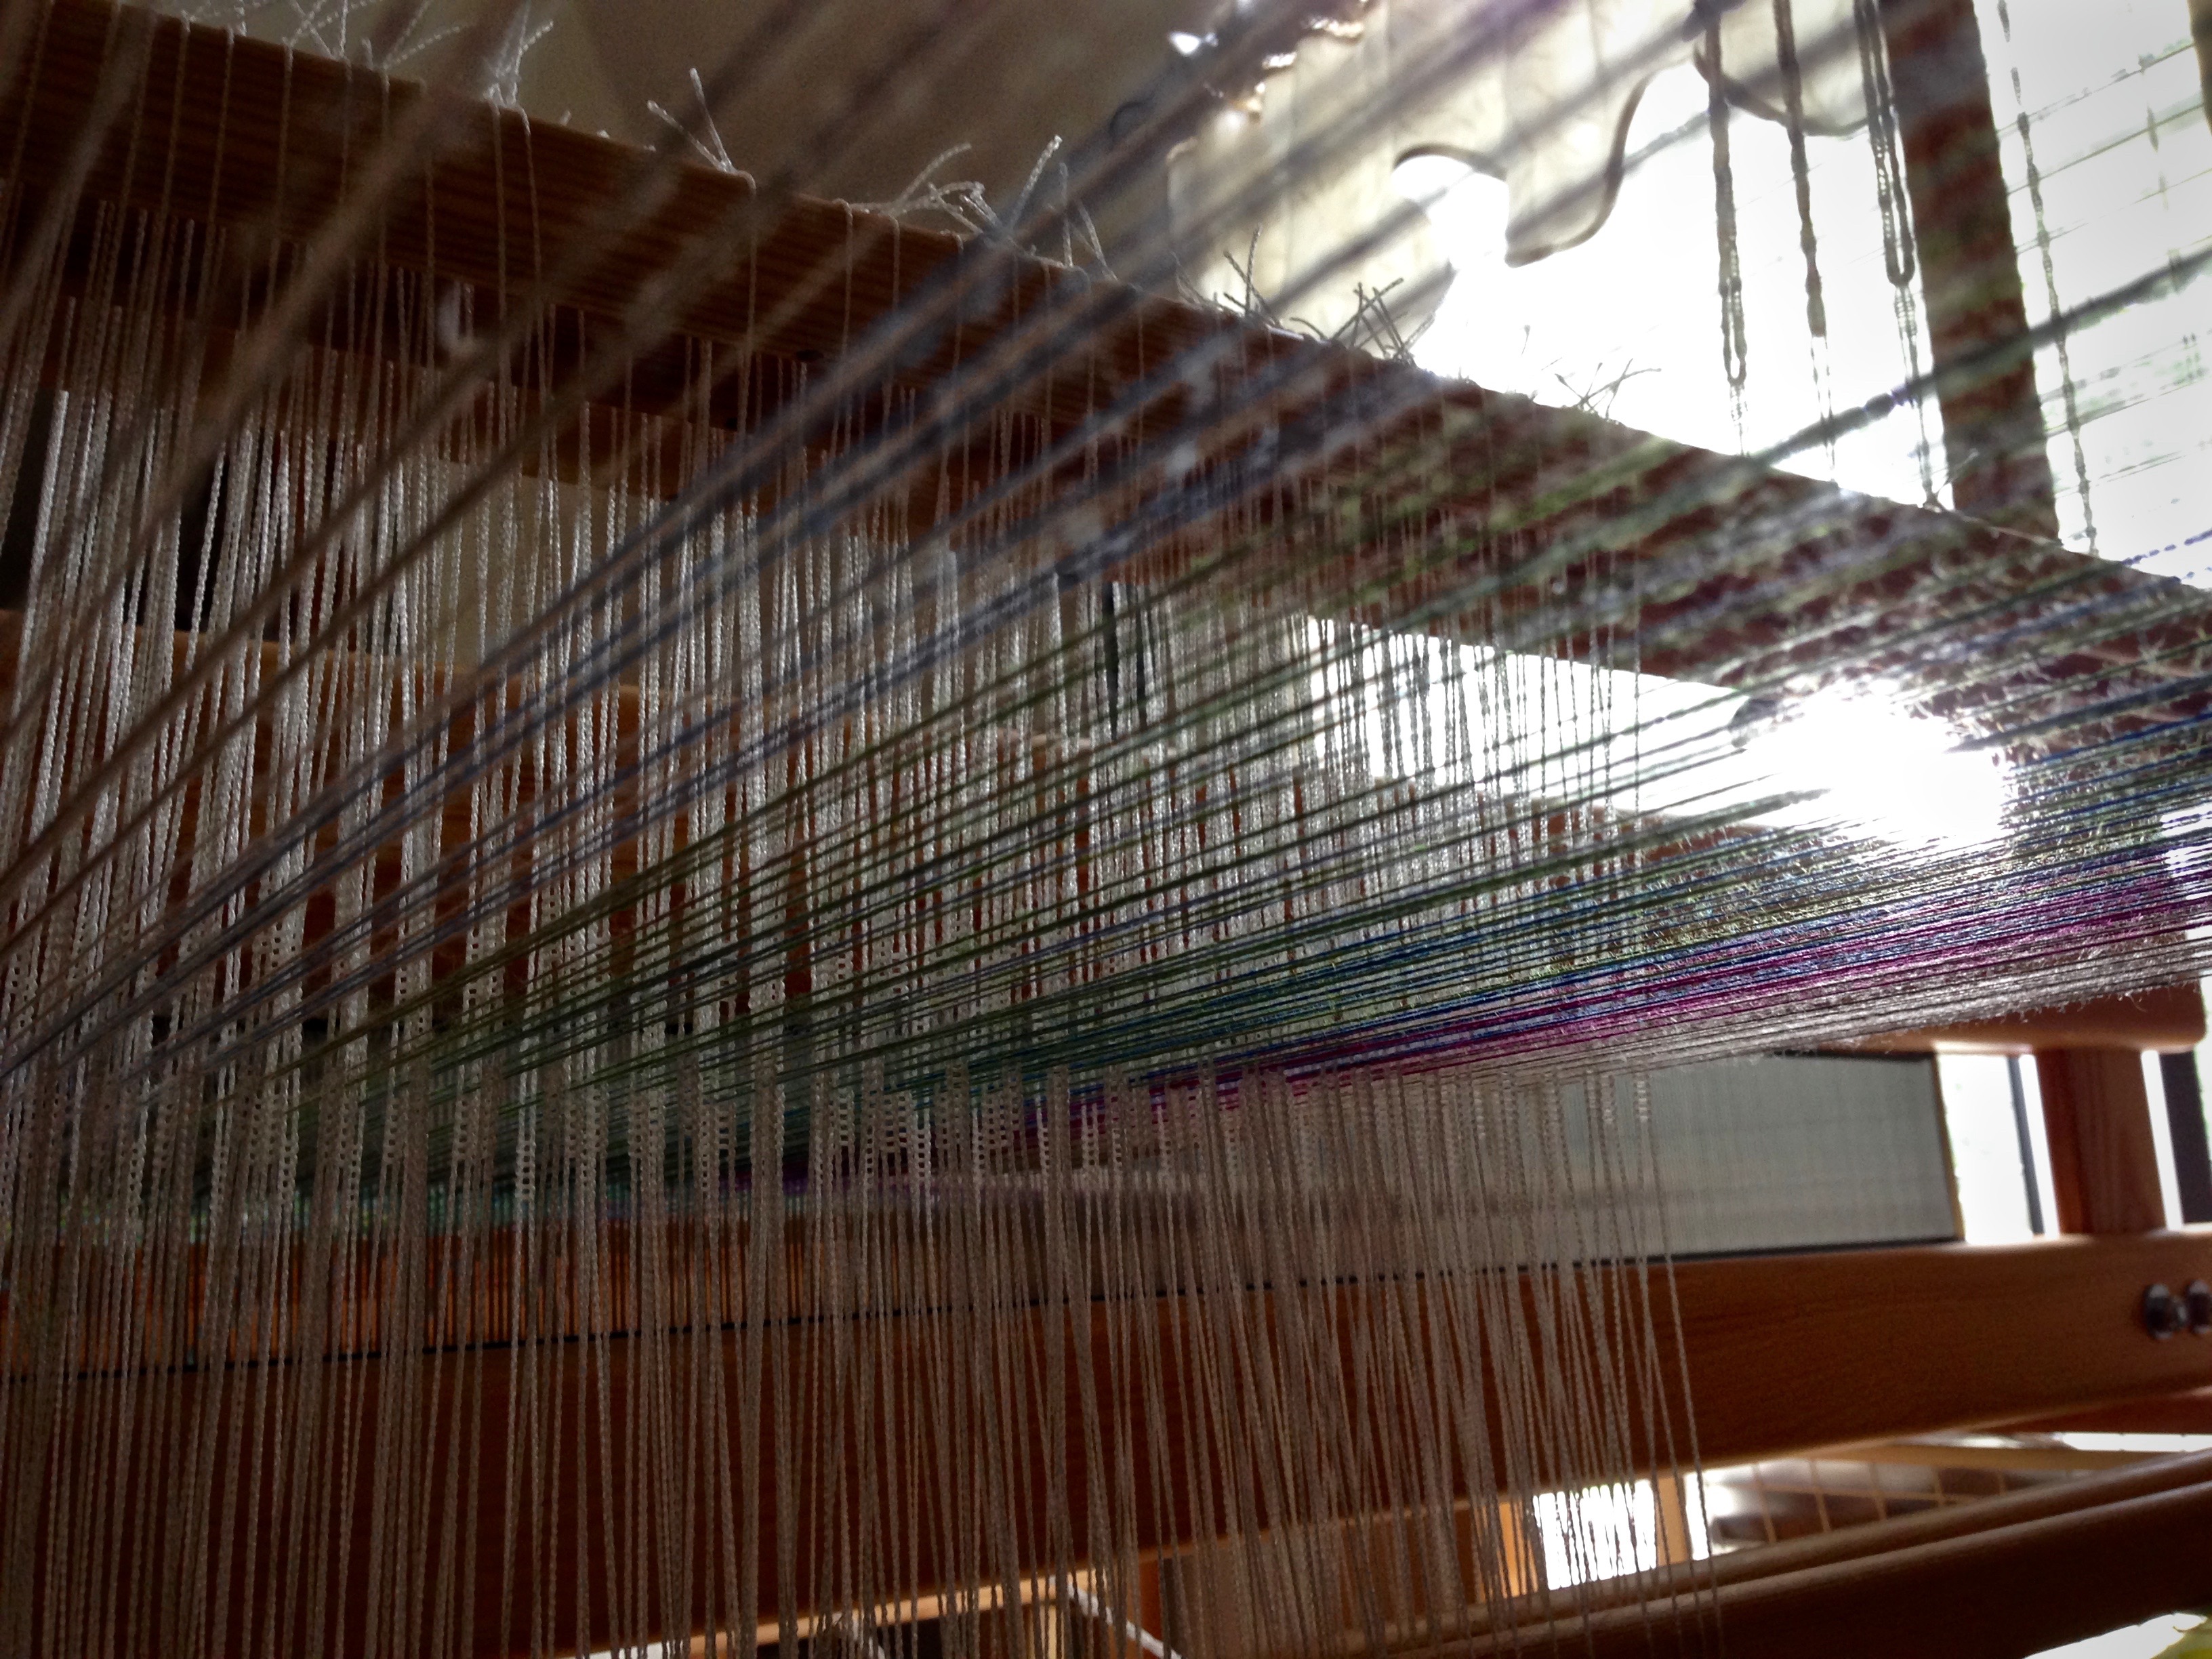
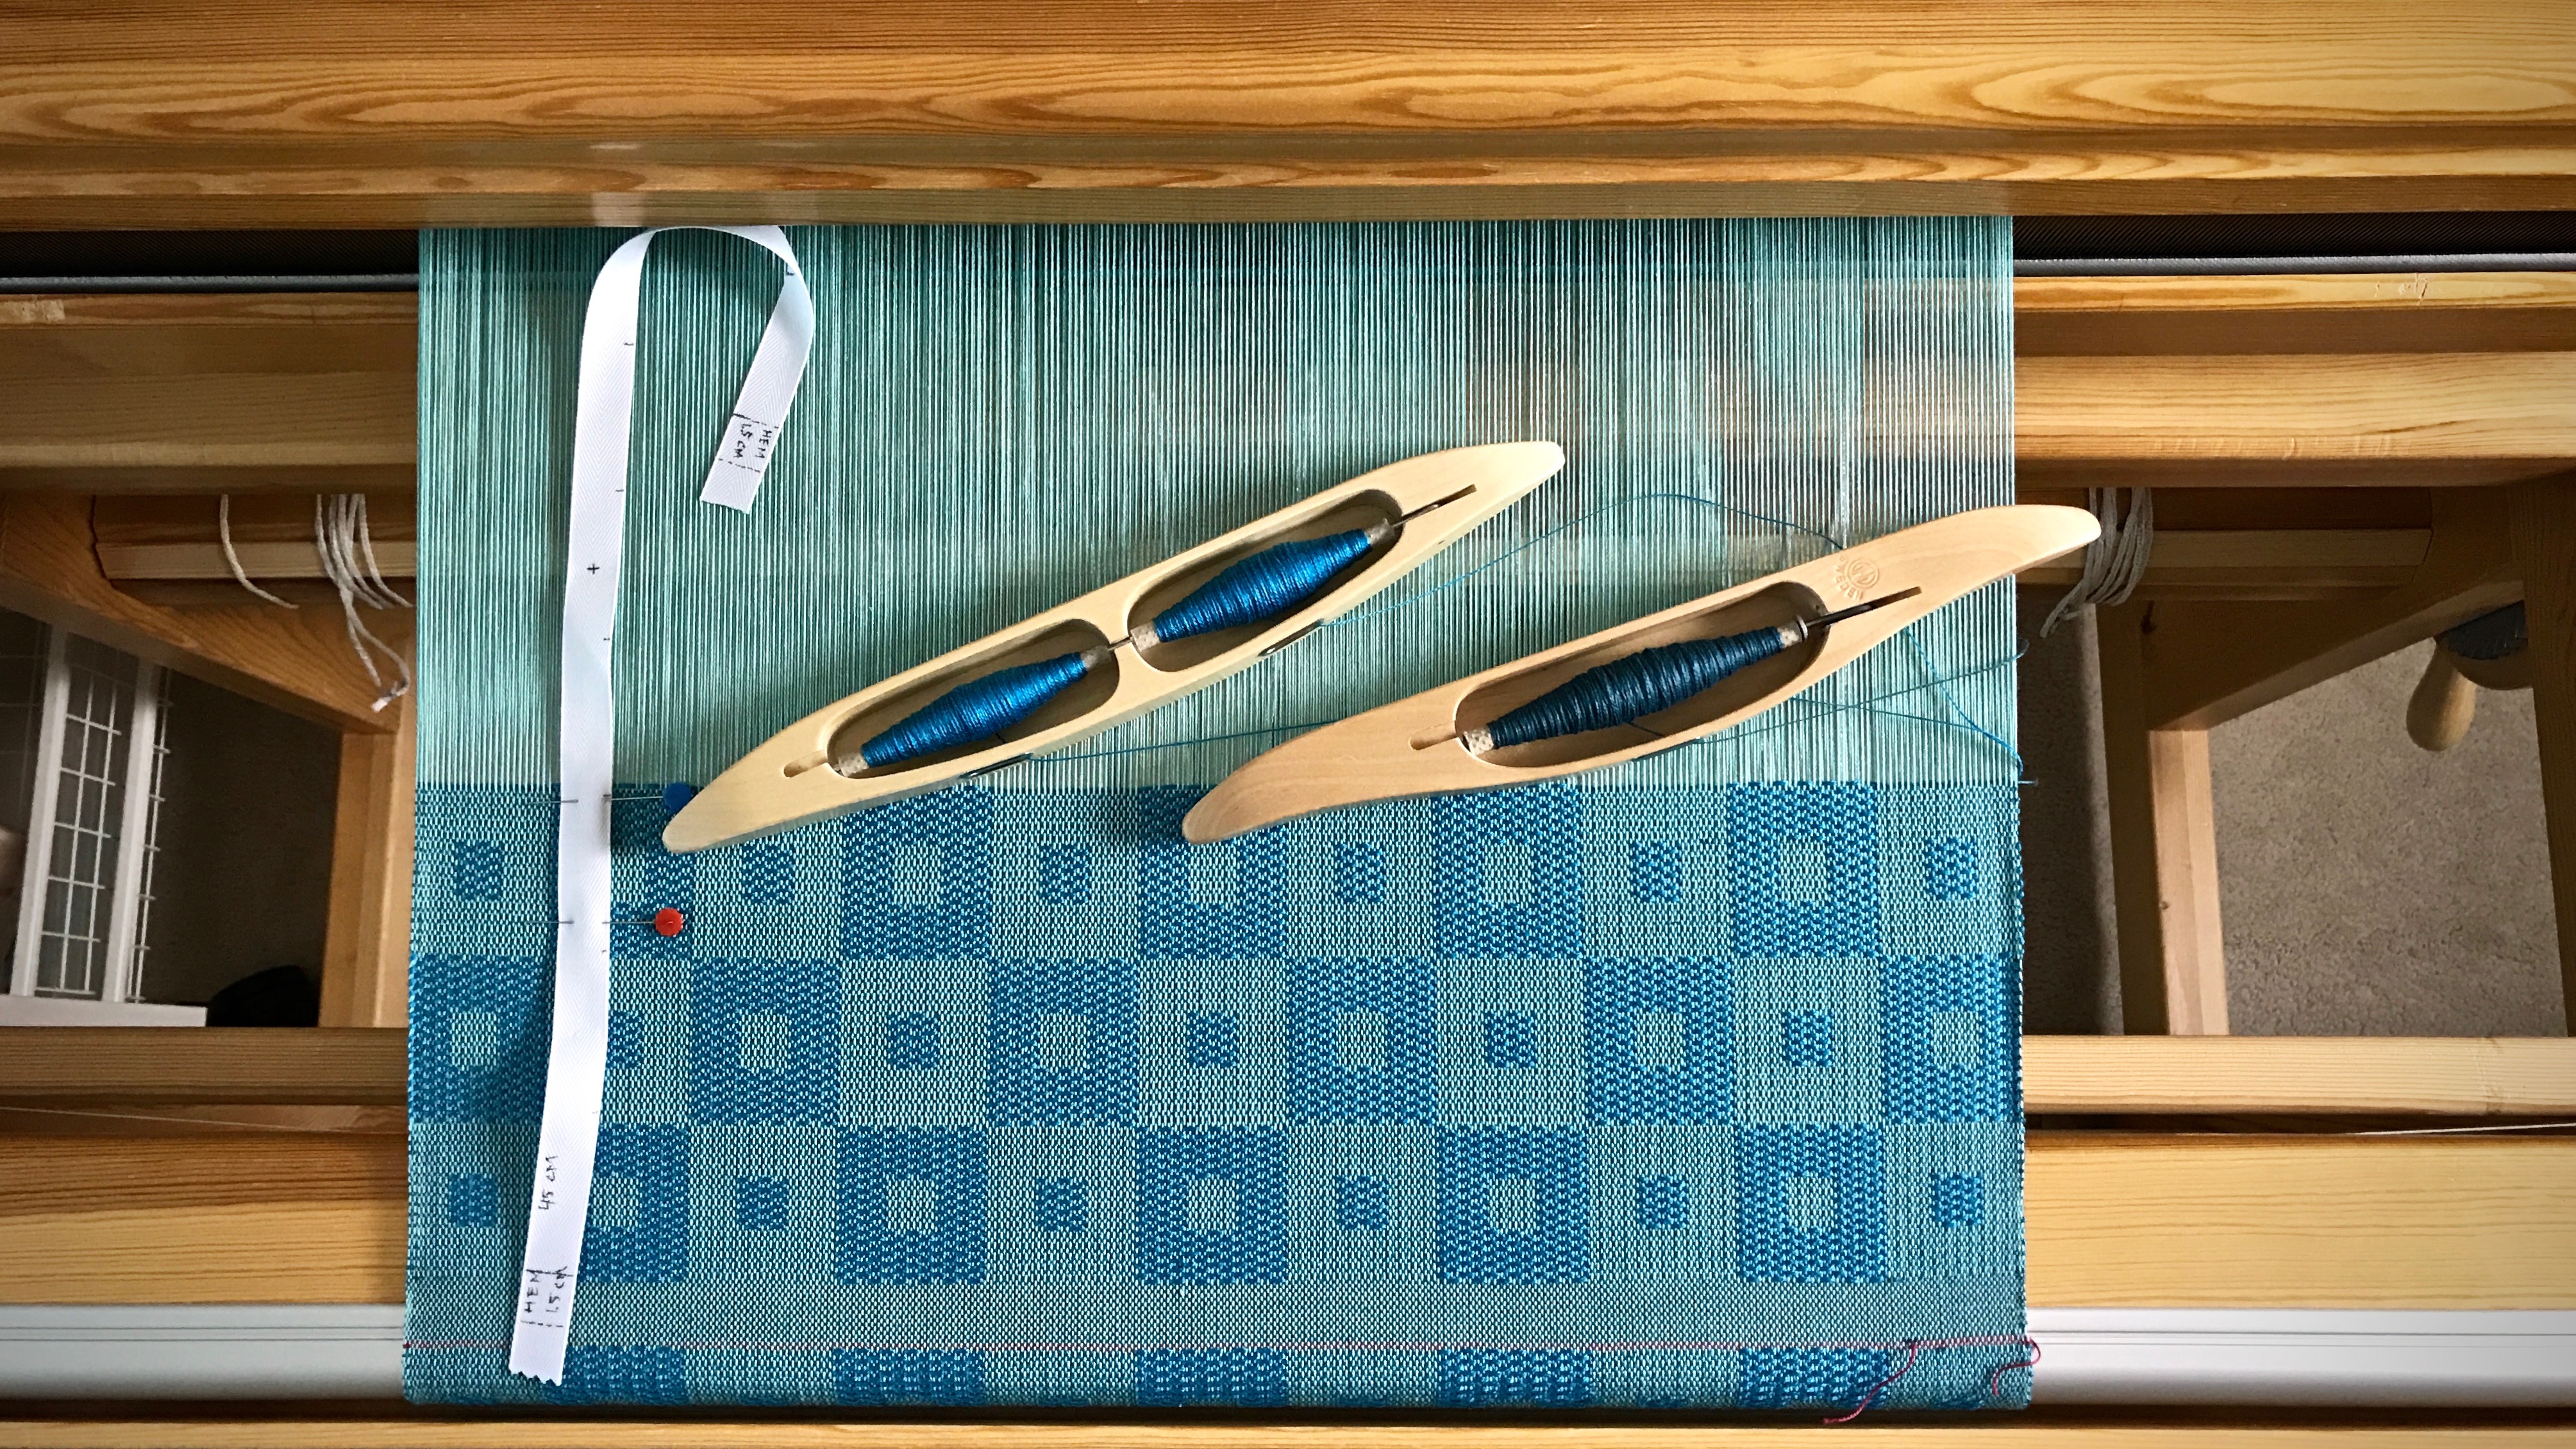
I’ve been told that you cannot do a skeleton tie-up on a countermarch loom. That would require pressing two treadles at the same time, which is not feasible on a countermarch. Guess what? I have a skeleton tie-up, and I’m pressing two treadles at a time for the pattern blocks in this kuvikas structure. On my countermarch!

Kukivas (summer and winter) on the loom. Karen Isenhower
Trying to establish a consistent beat so that the squares are all the same size. Making the squares a little taller than they are wide will, hopefully, produce actual squares in the end. The fabric is expected to shrink more in length than in width when it is cut from the loom, and washed and dried.

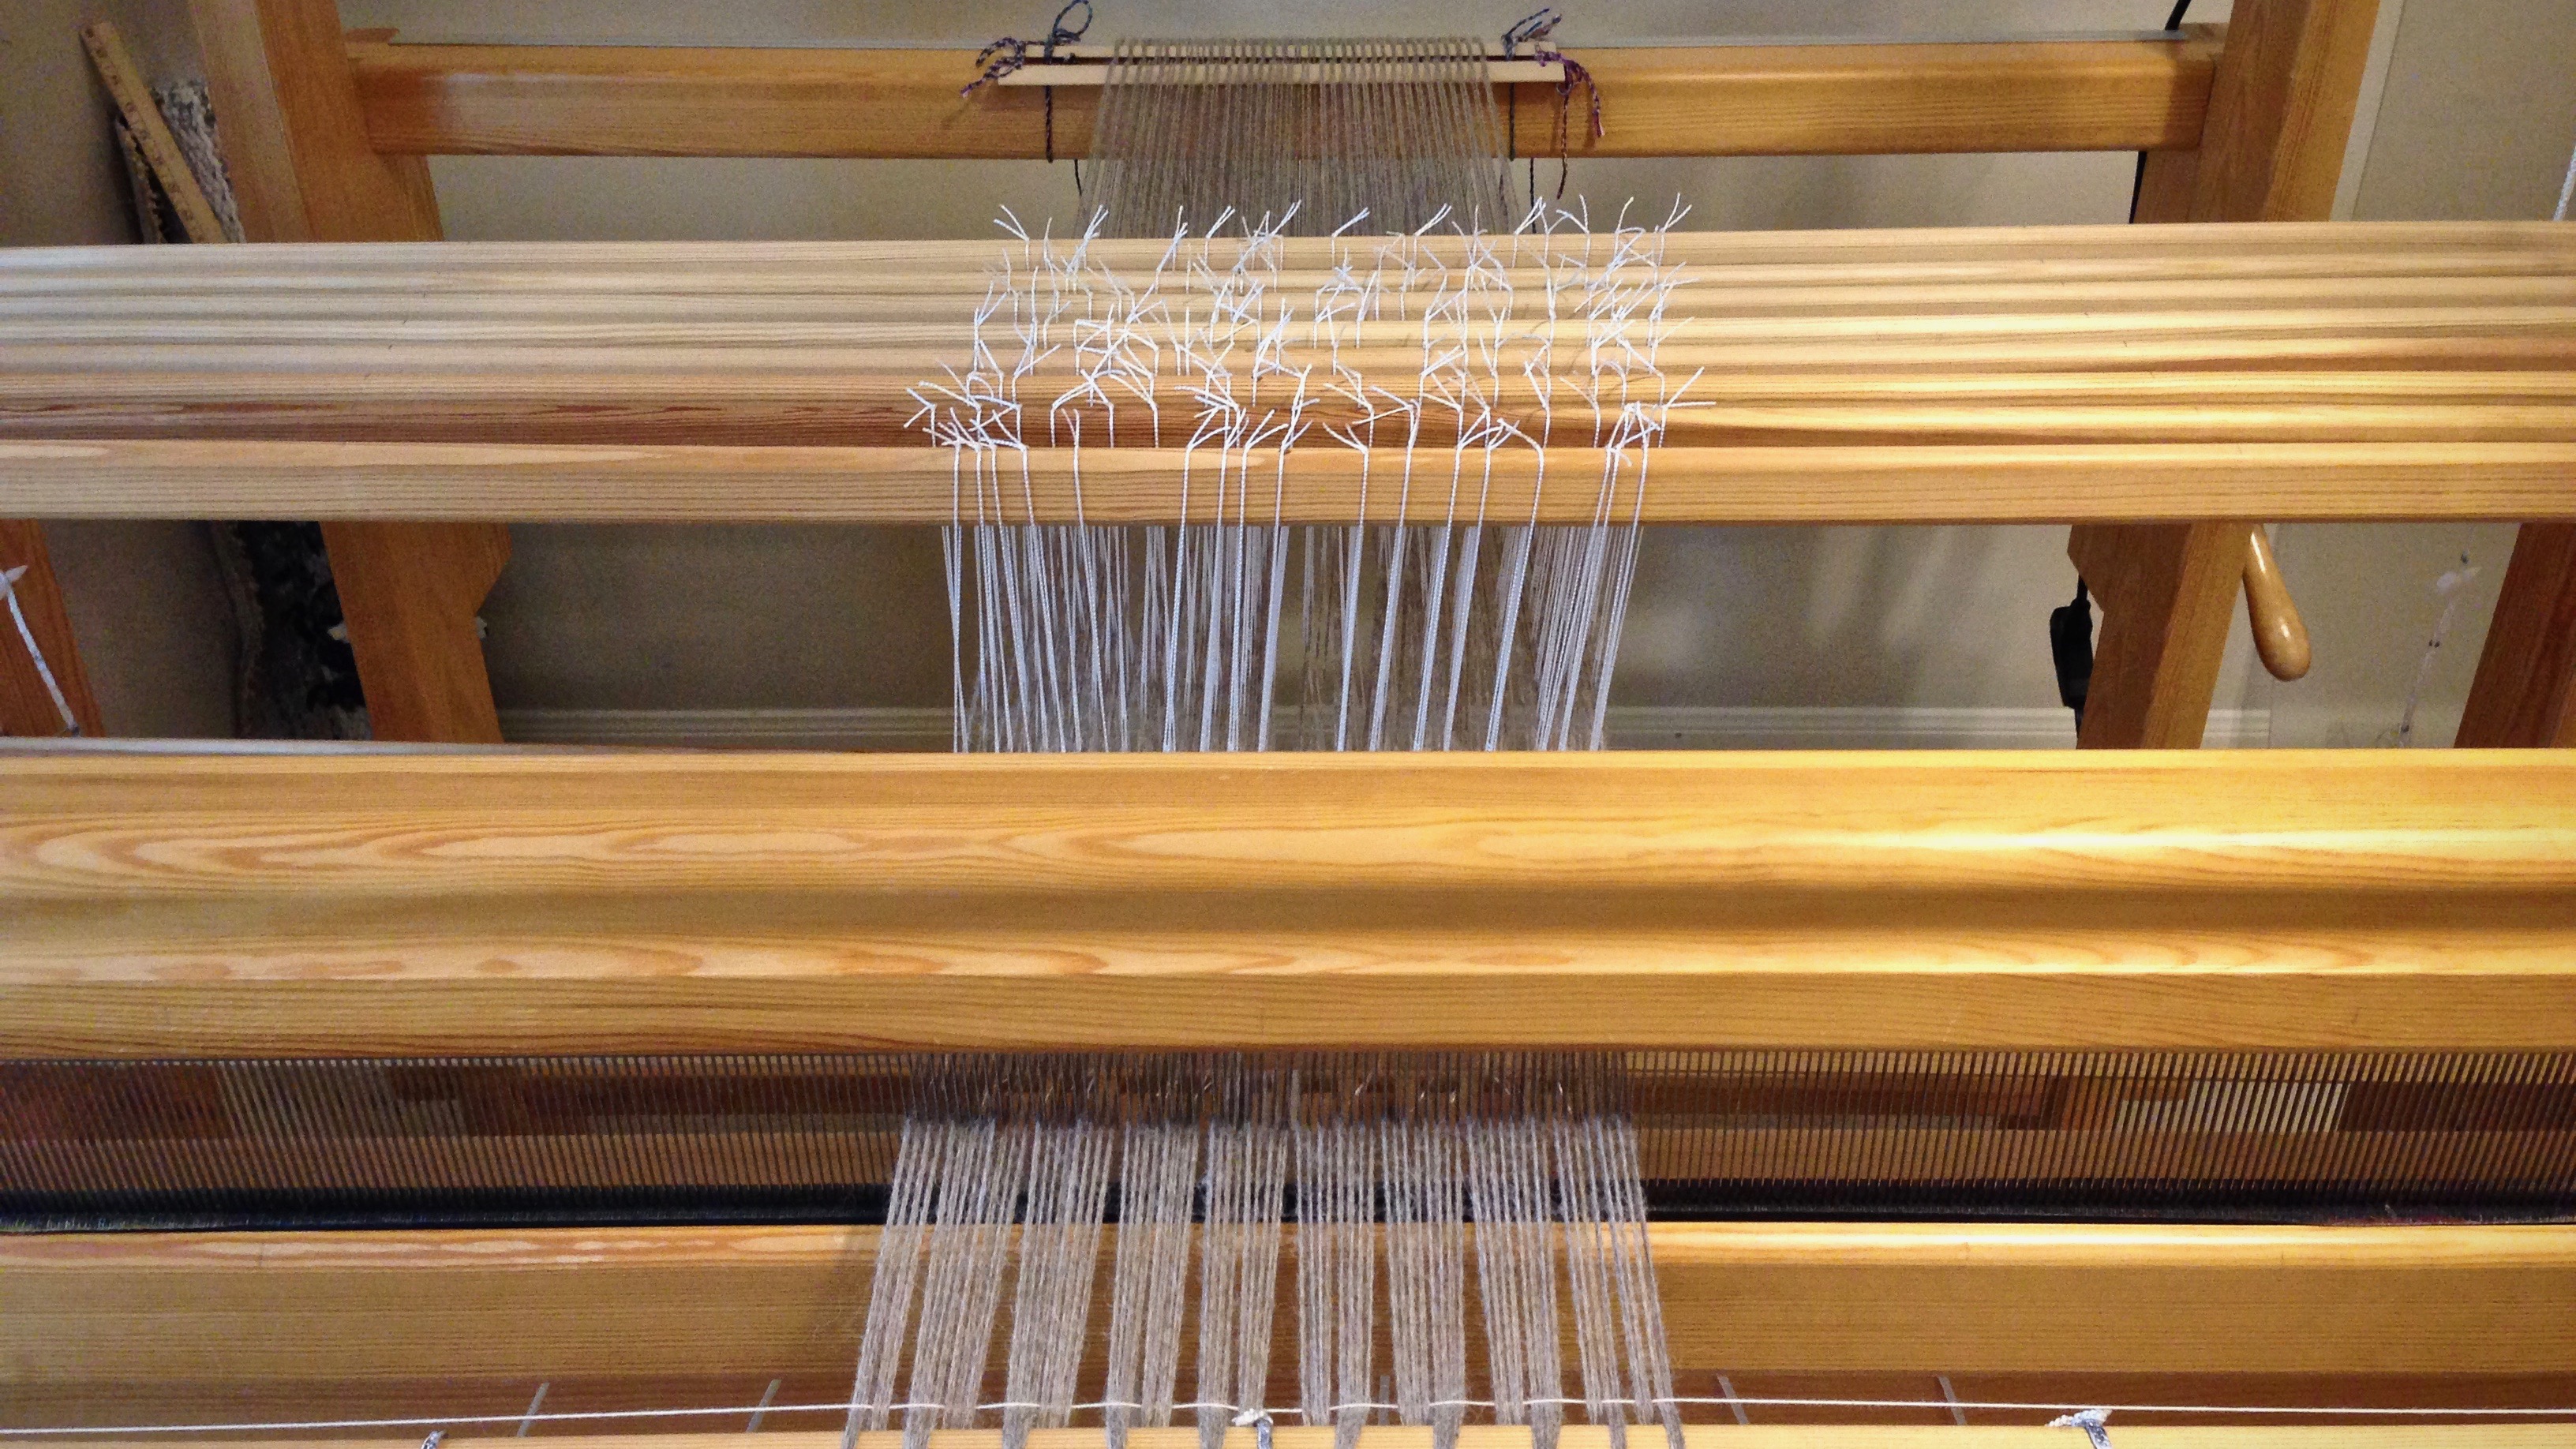
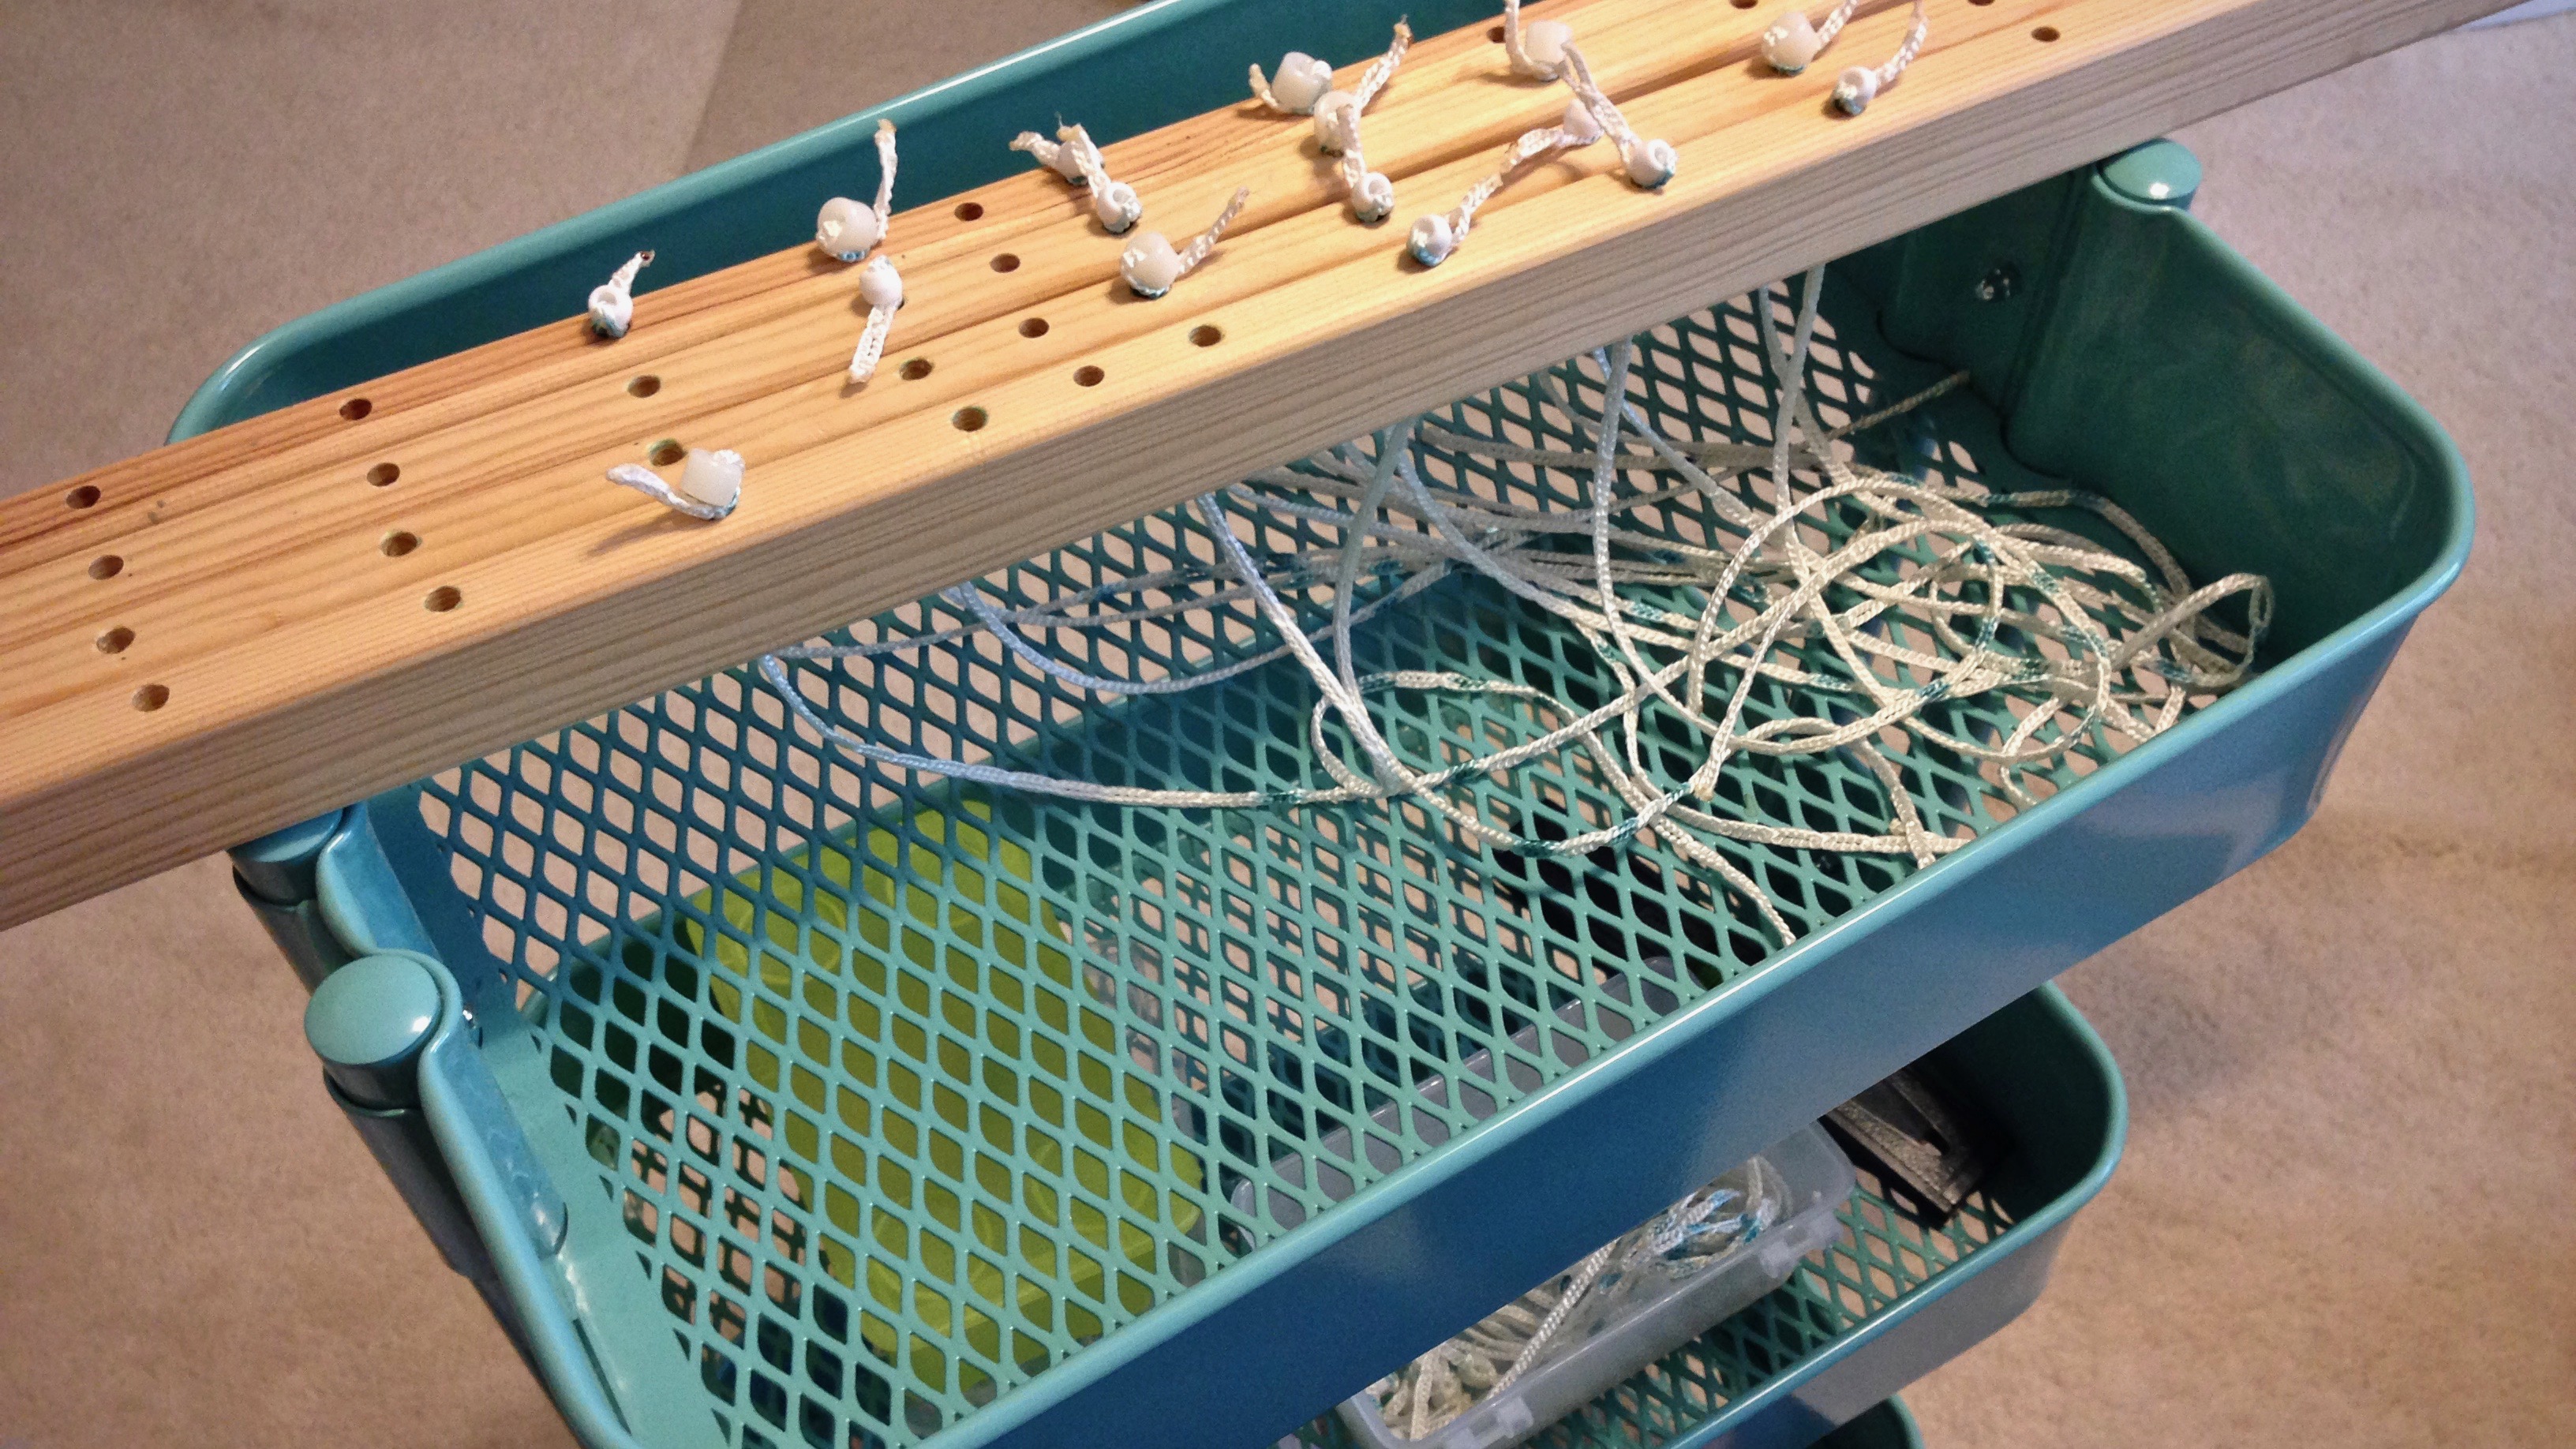
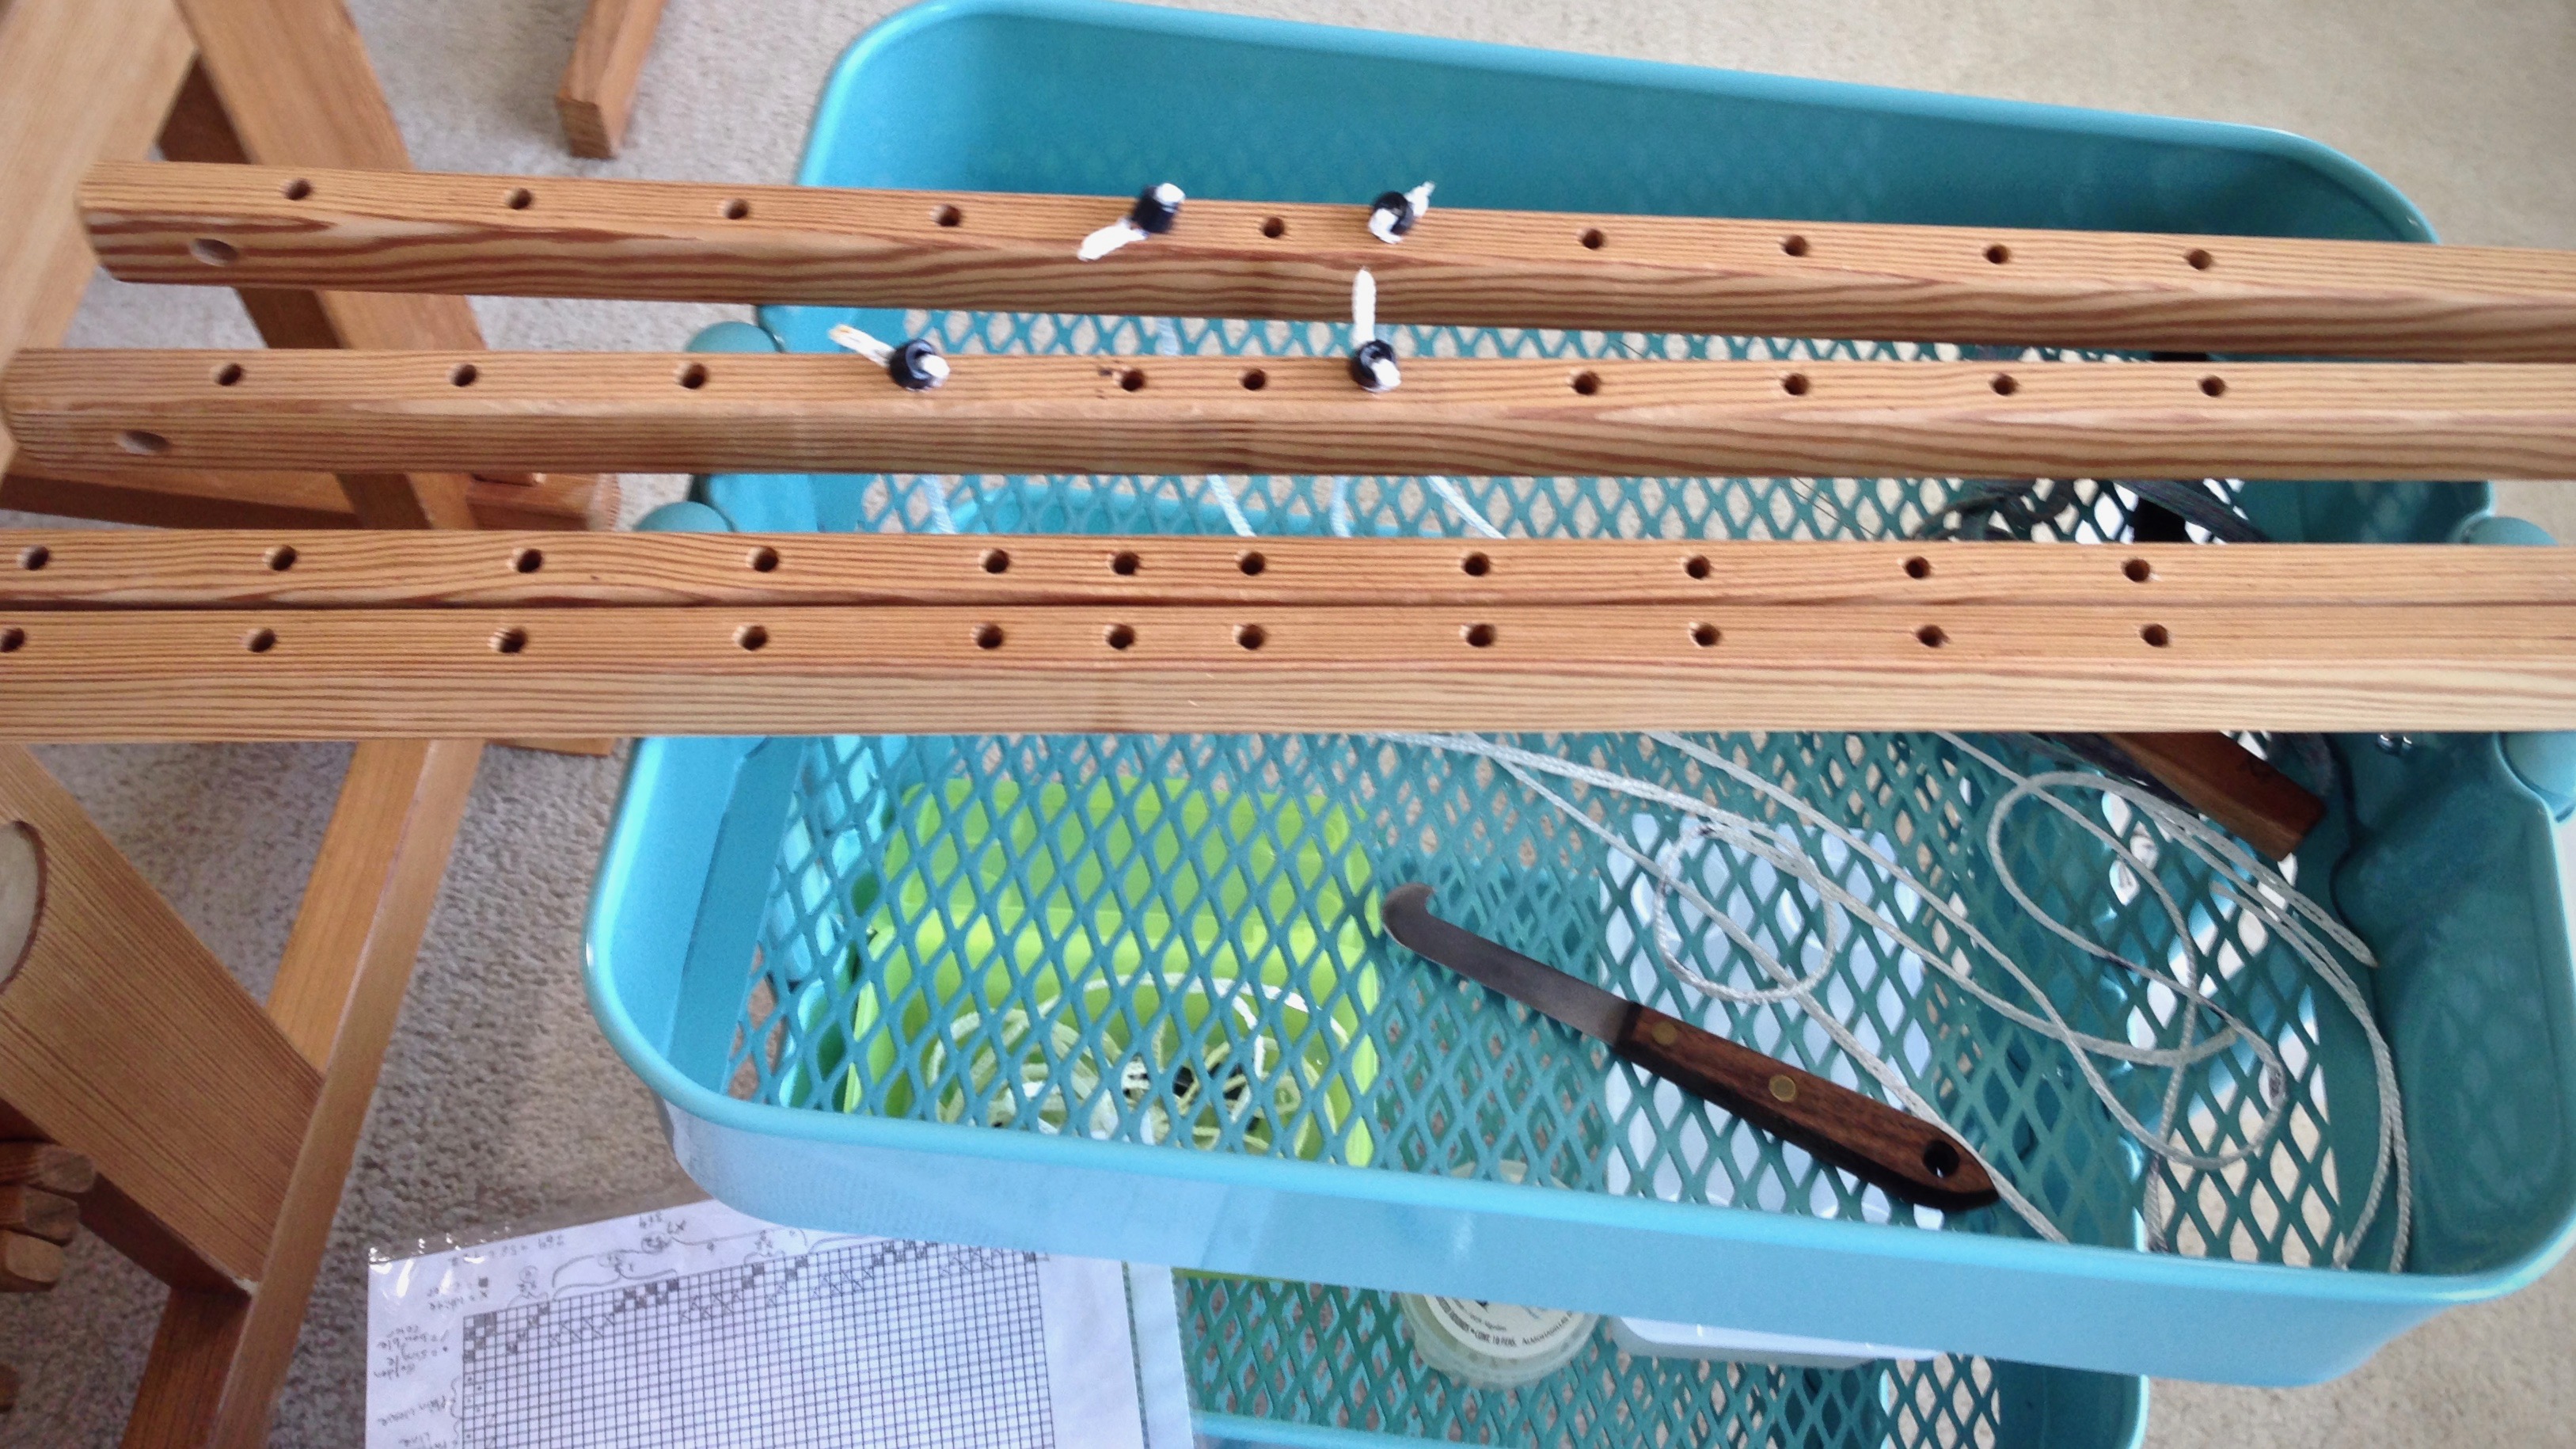
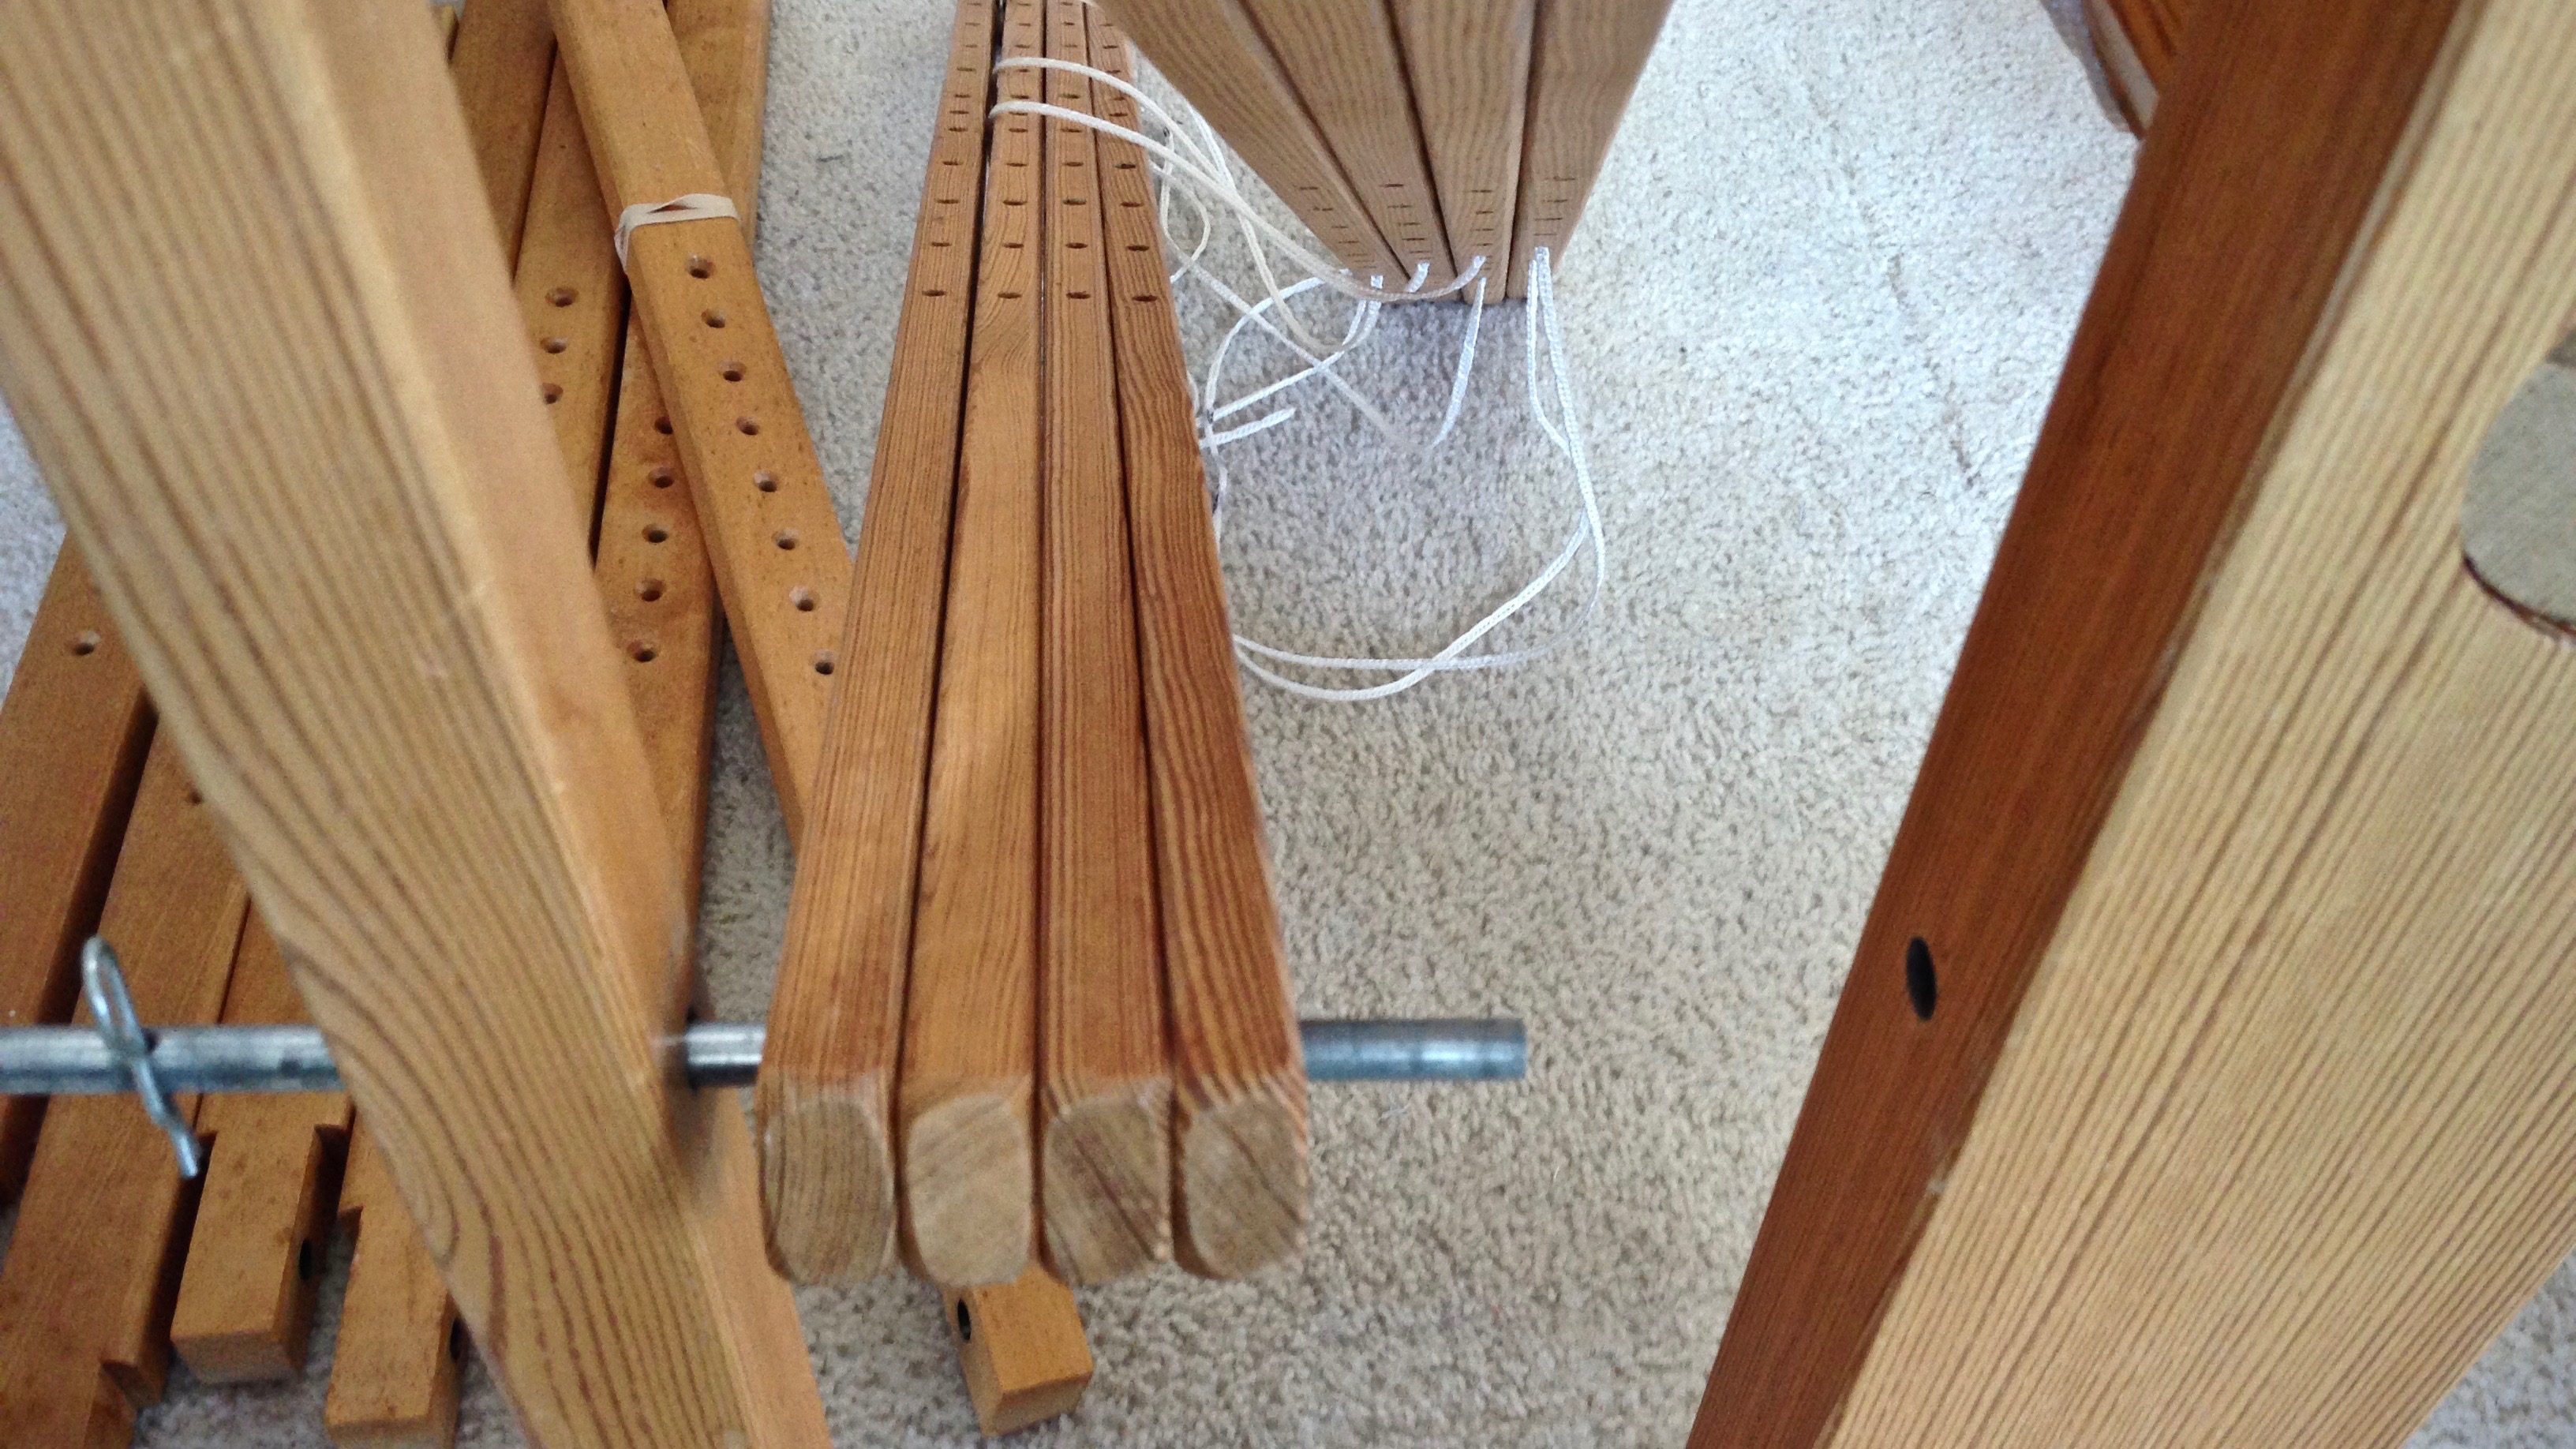
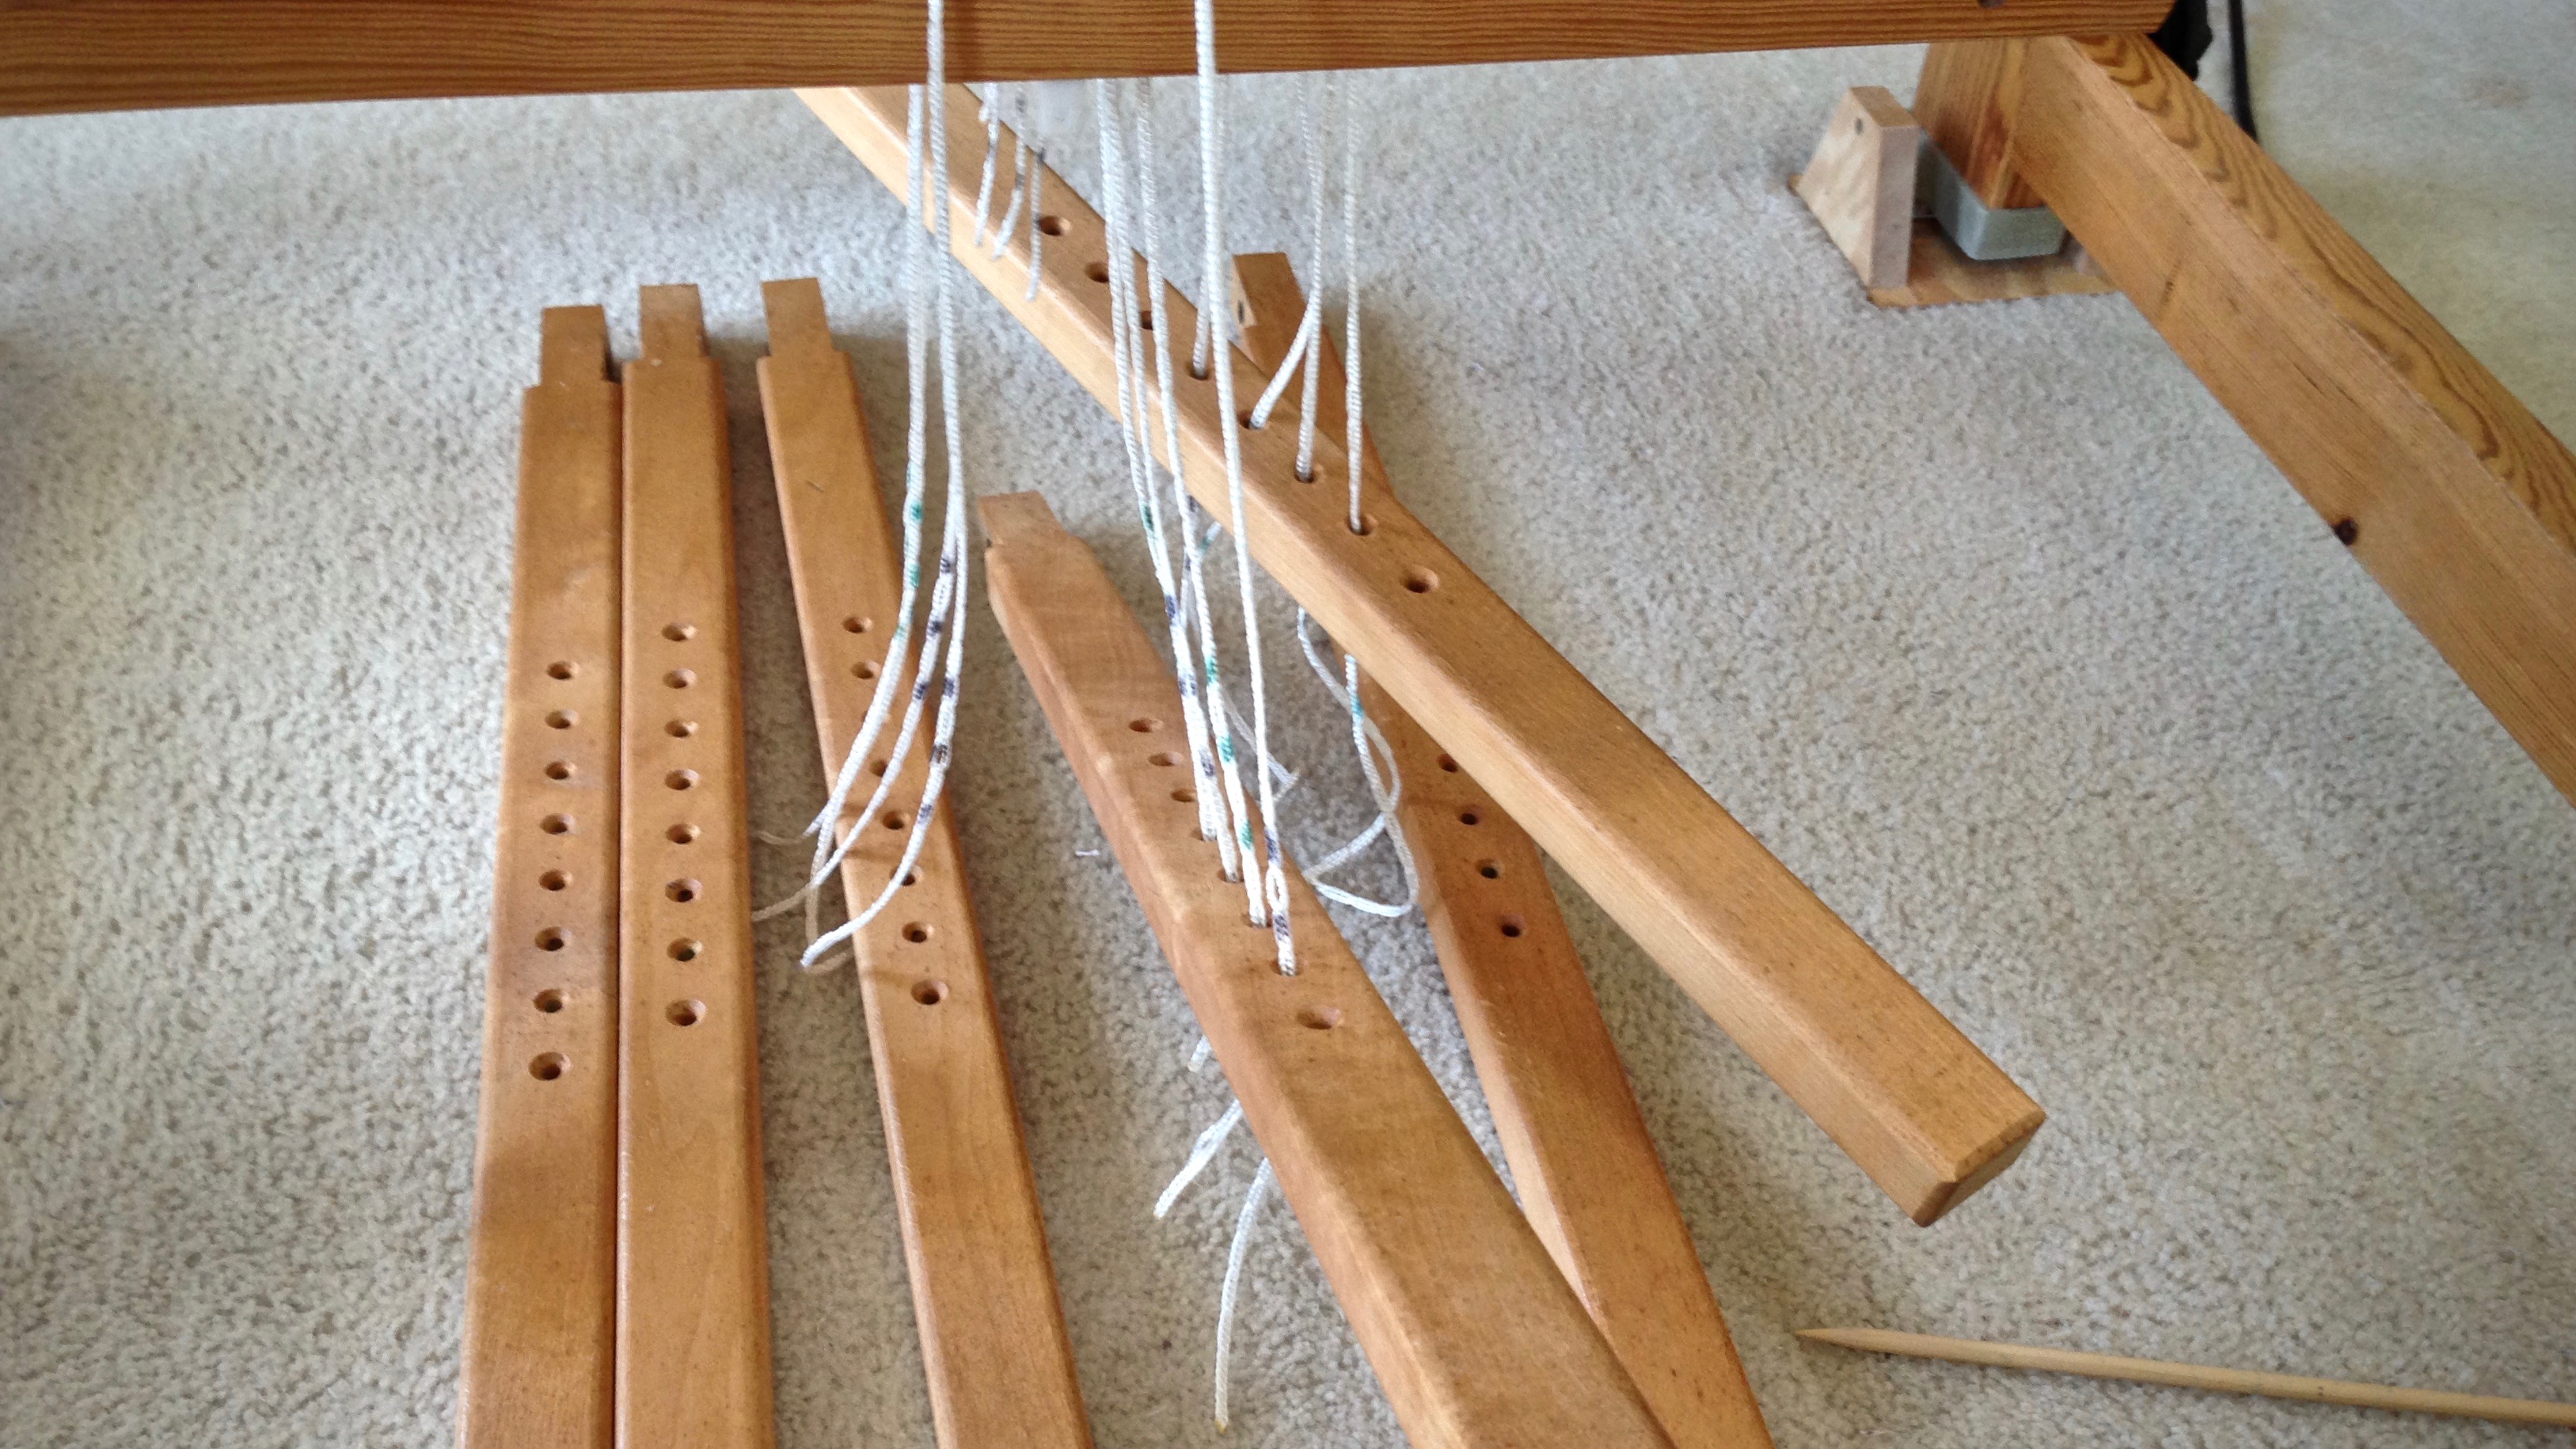
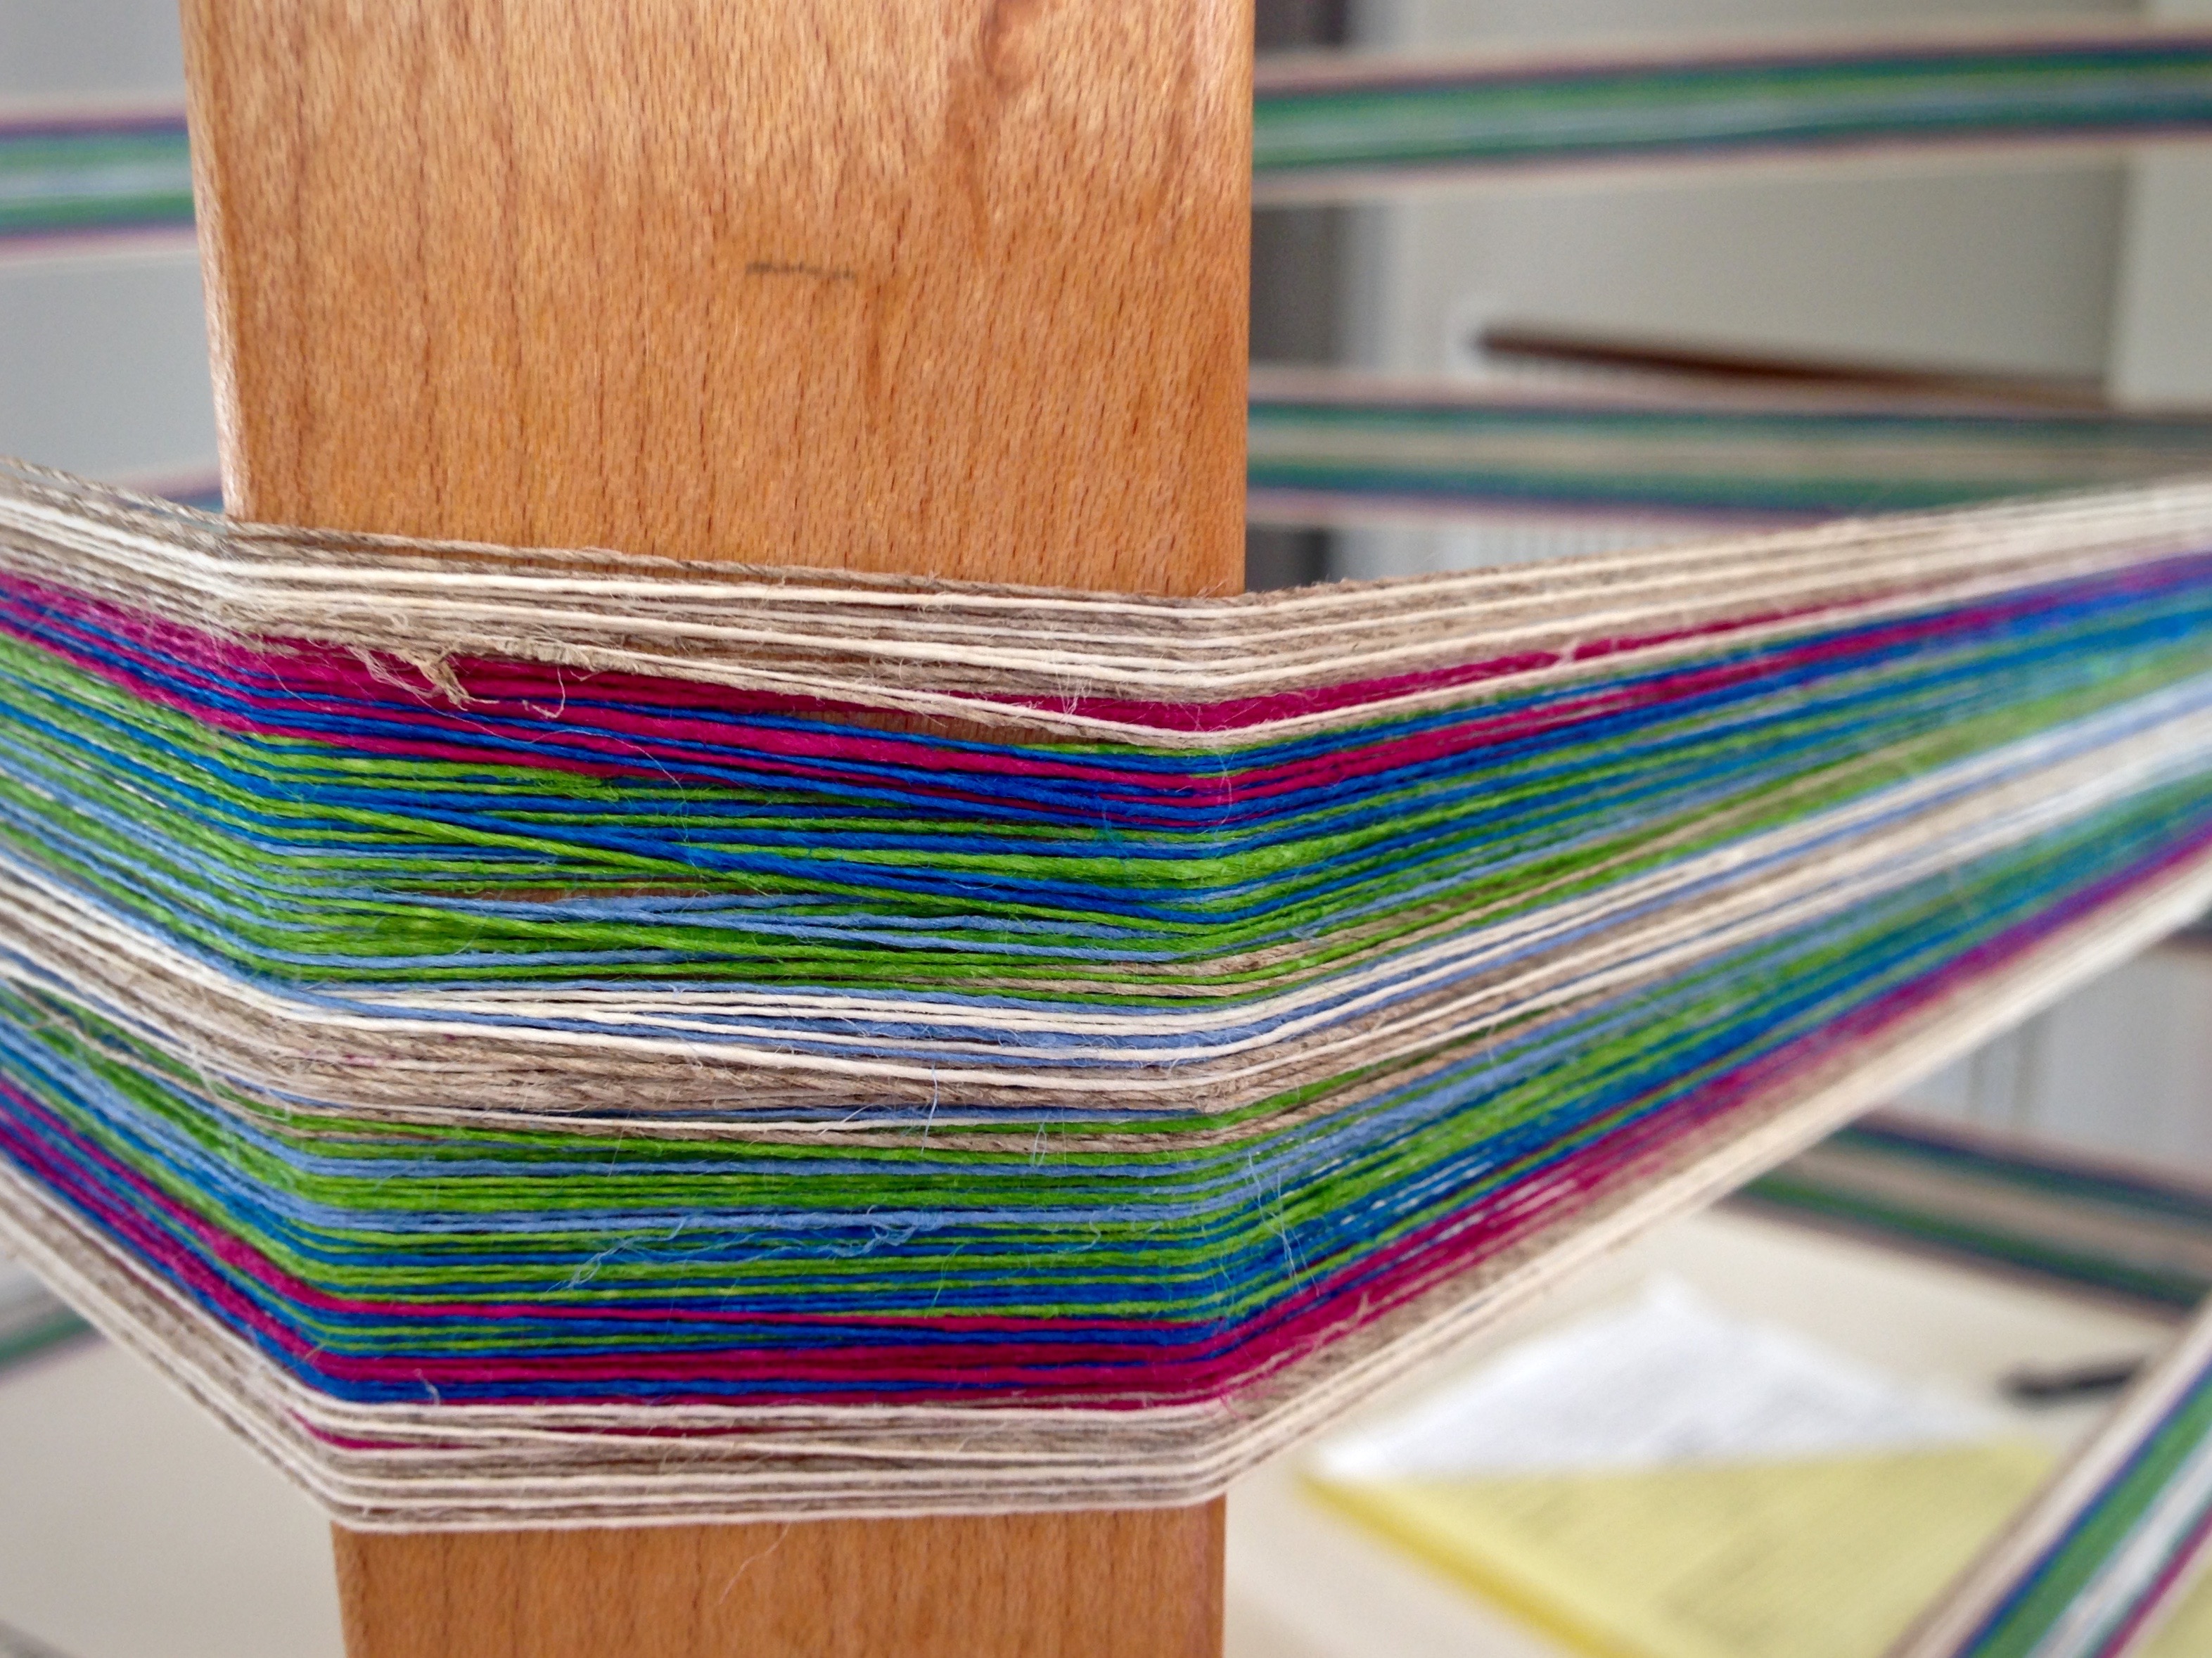
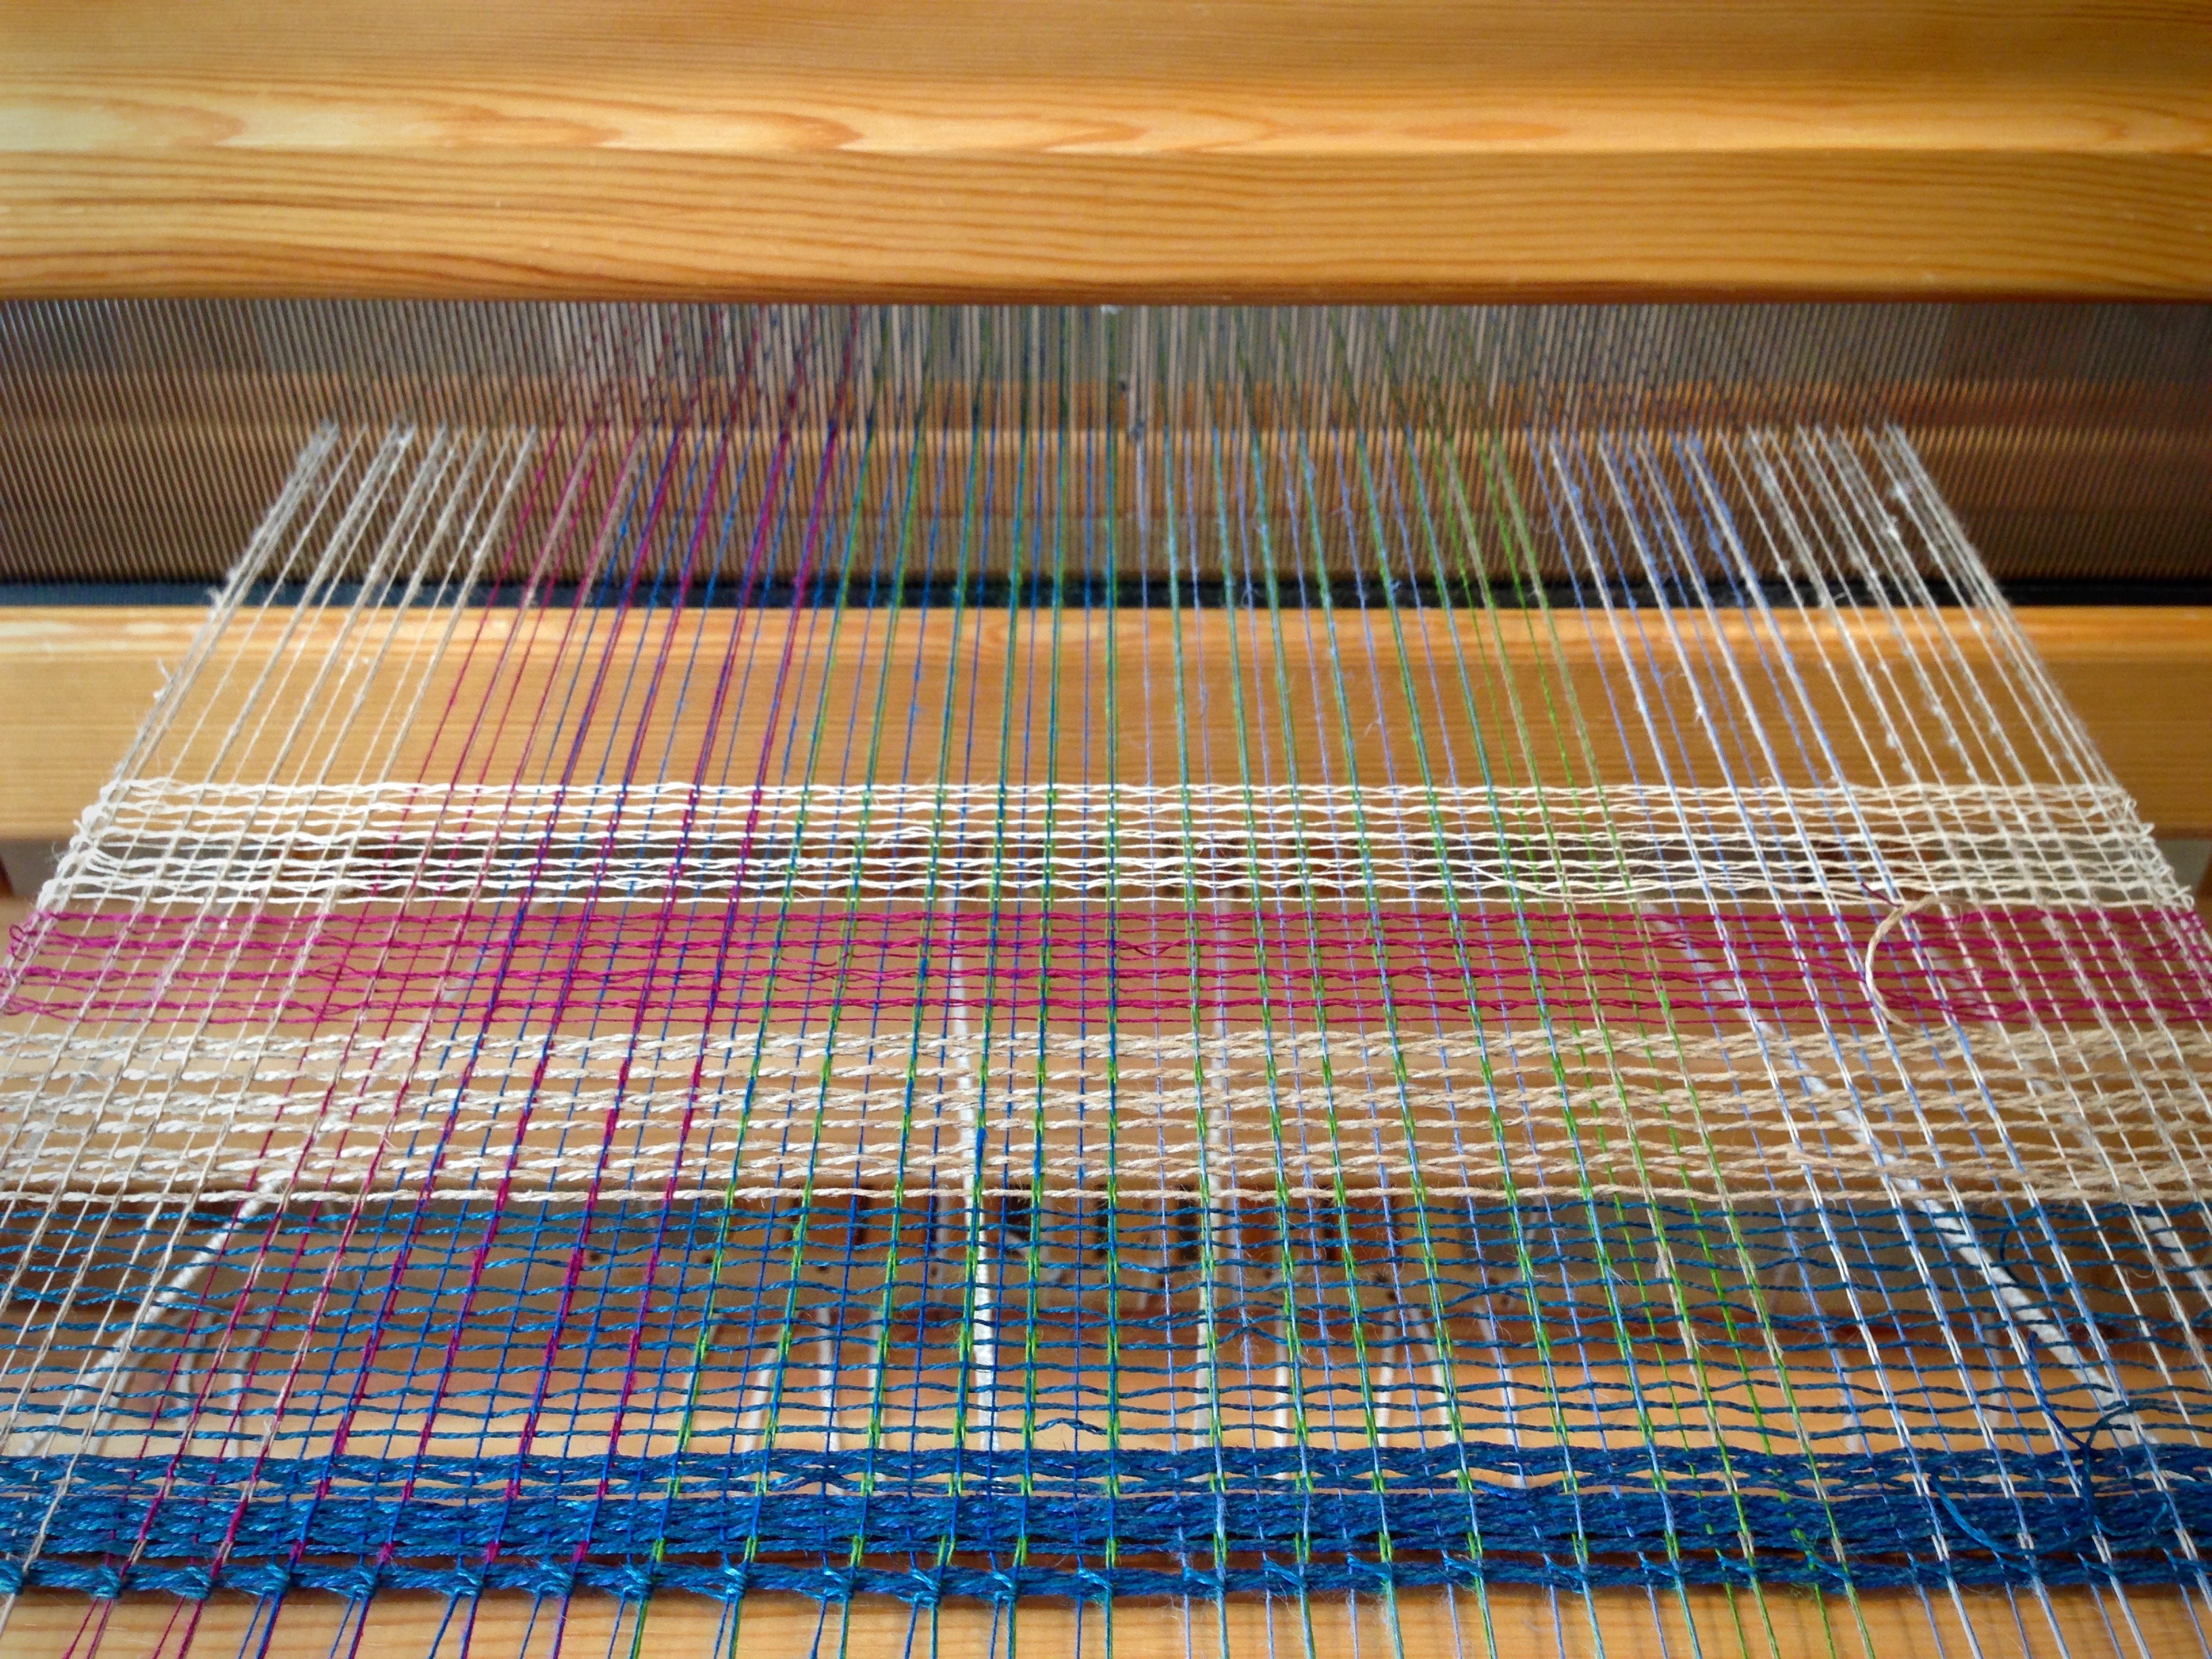
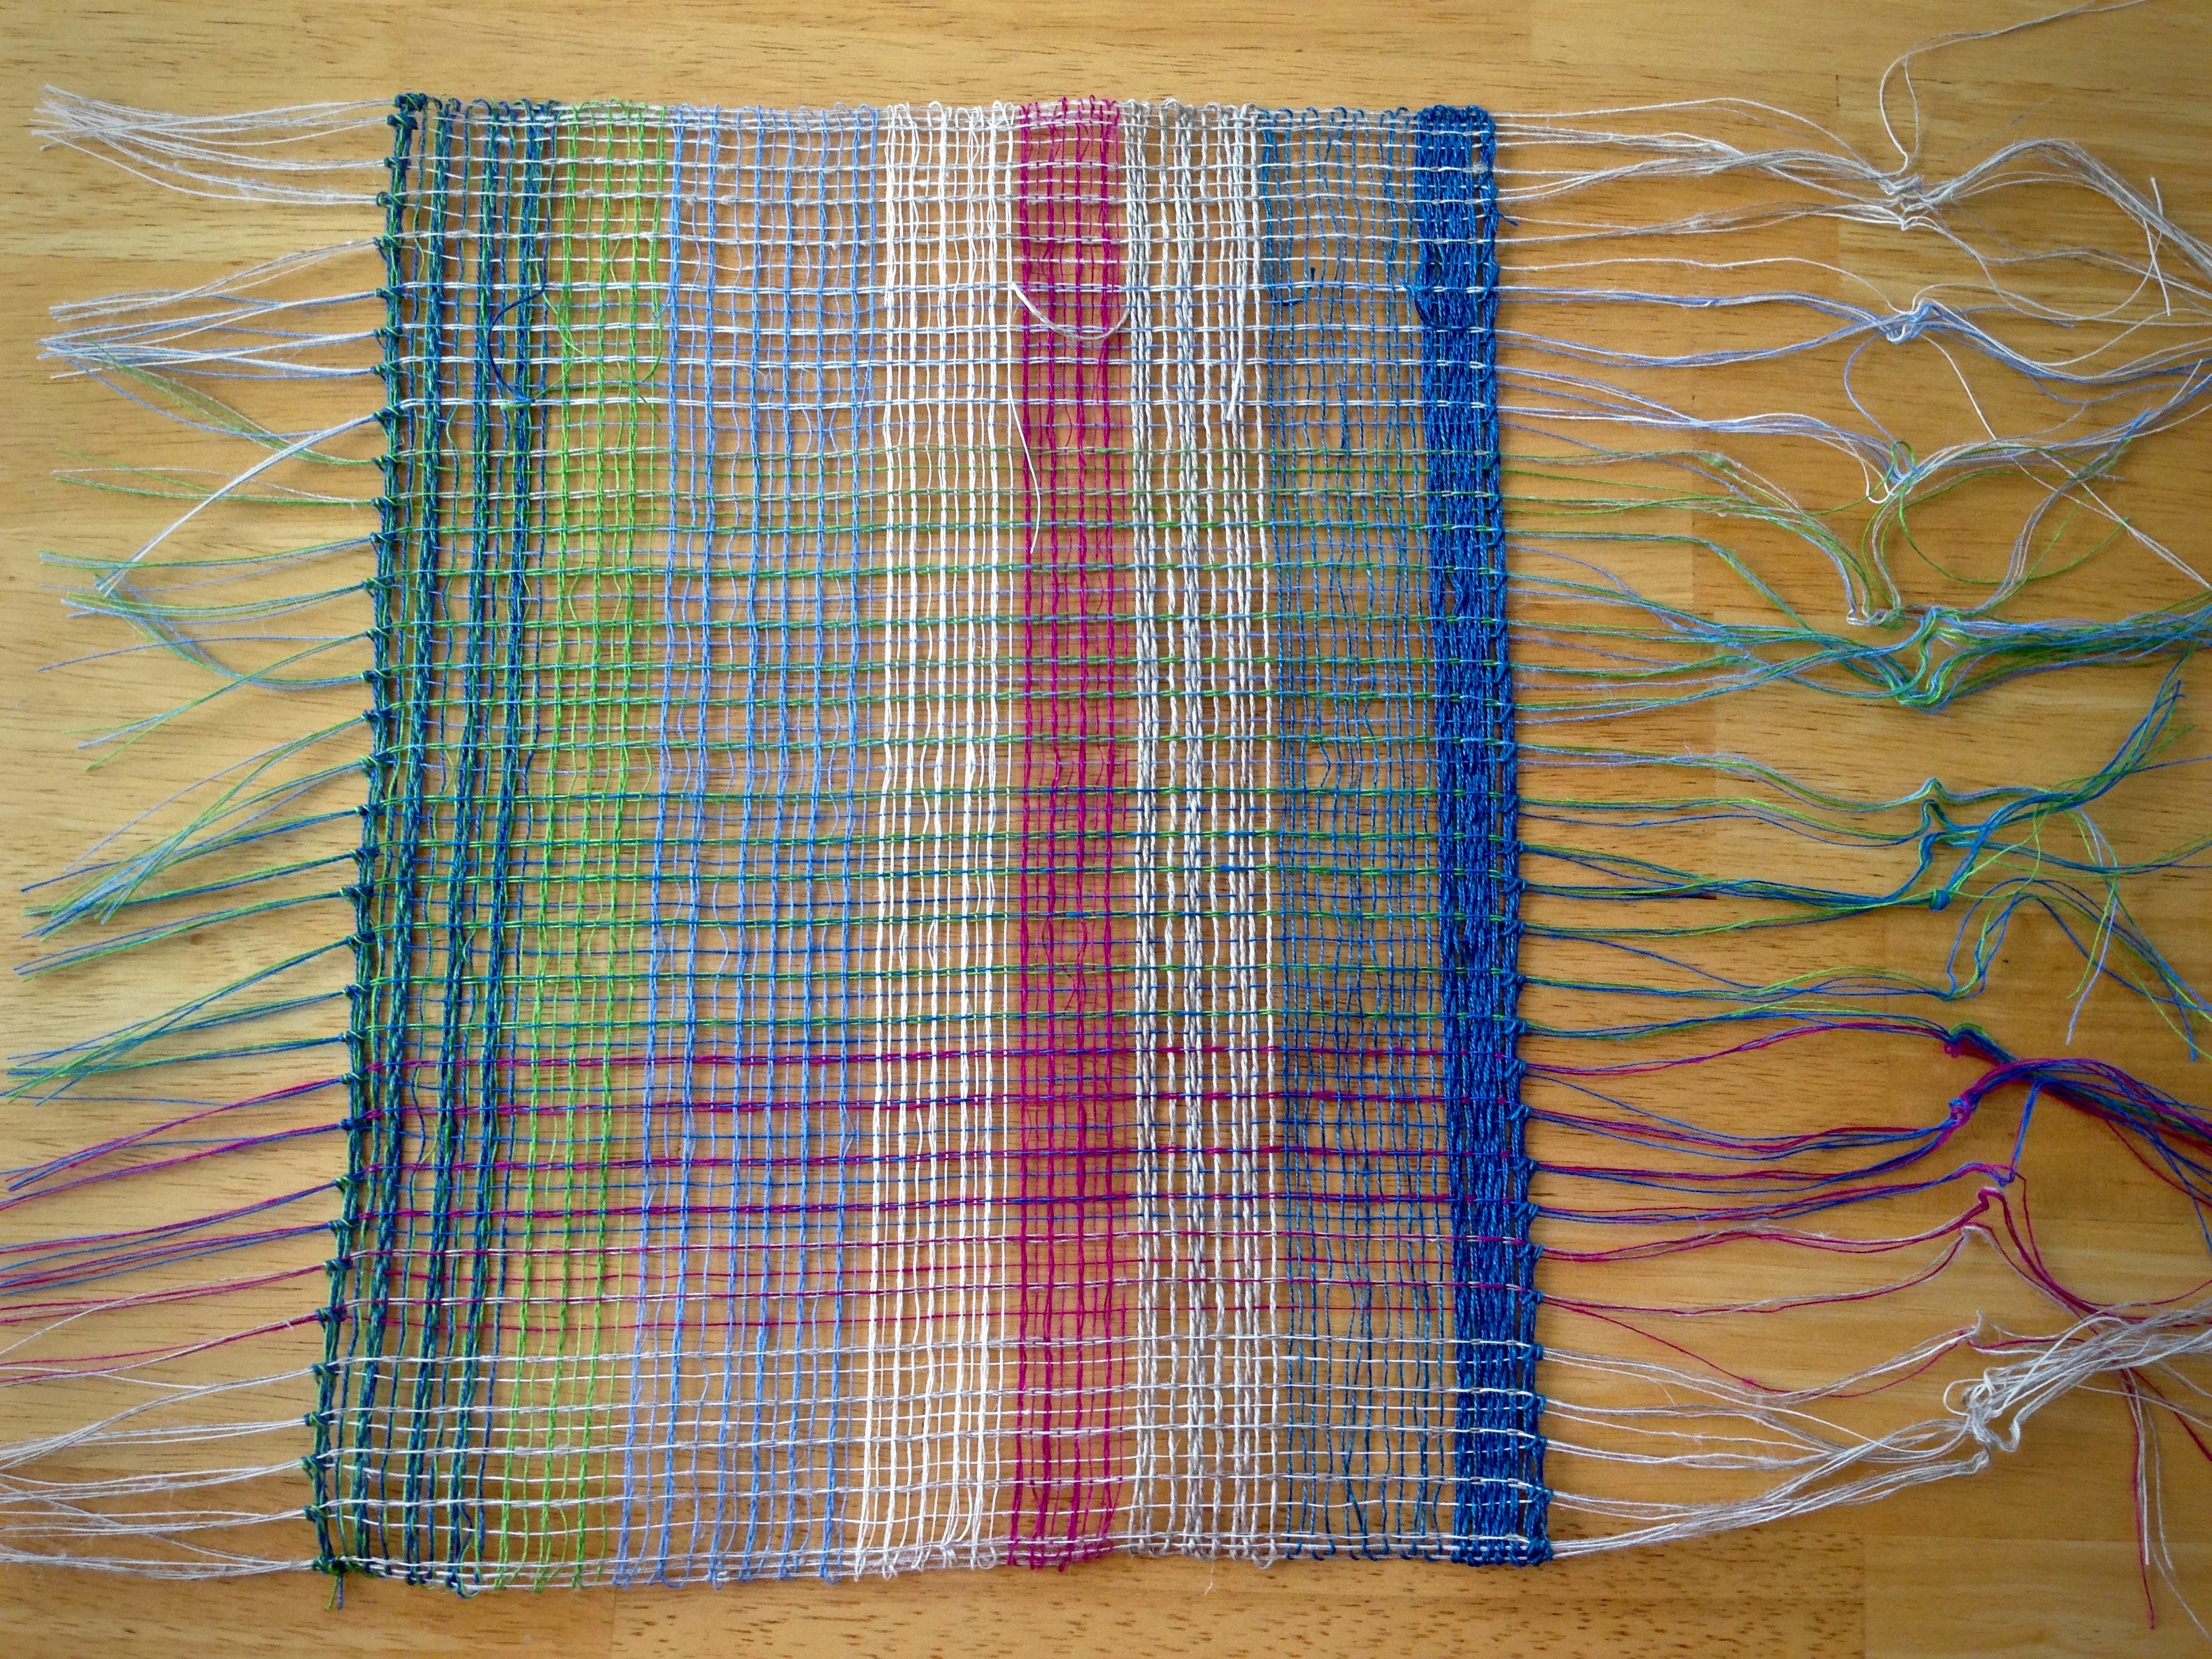
It works because the tie-up is carefully planned to avoid conflicting treadle movements. I couldn’t be more thrilled with the square-within-a-square results. Isn’t it fascinating that a design such as this can be fashioned by hand, using a simple wooden loom and a bunch of strings, with a few simple tools? And a non-standard tie-up?

Skeleton tie-up on a countermarch loom for kukivas.
Pressing two treadles at the same time is surprisingly less cumbersome than I had imagined it would be. The whole series of motions feels like a slow majestic dance.

Have you seen the sky on a moonless night? Who made that starlit fabric? Who wove the pattern of the heavens? Who put the sun in place, and set the earth on its axis? How grand and glorious are these constant features of our existence! Our human hands can create no such thing. The heavens reveal the glorious nature of God. They shout the unmistakable truth that God is our Creator. Surely, the fabric we make with our hands serves to confirm that we belong in the hands of our Maker.

May the work of your hands be a reflection of you.

In awe,
Karen

Kuvikas and Taqueté

Kuvikas and taqueté. There are always new things to try. I’m back to eight shafts. This Glimåkra loom is highly adaptable. It is no problem to set up the loom for a new project. You may have guessed that I like to switch it up. Four shafts or eight shafts, two treadles or ten. And, change the tie-up, too. I don’t mind. With this project, I am going to change the treadle tie-up again at the midway point, switching from kuvikas to taqueté.

Threading eight shafts on my Glimakra Standard loom.
Threading eight shafts. Four pairs of shaft bars have been added to switch from a four-shaft project to an eight-shaft project. Four additional upper lamms and lower lamms have also been added to the loom.

If you know and practice the basics, it’s not frightening to try new weave structures. Every new experience builds on what I’ve learned before. I can trust the system of weaving that I’ve been taught, and that I practice with every project. It makes sense.

Aquamarine cotton. Threading my Glimakra Standard loom.
After the warp is beamed, the warp ends are tied with an overhand knot into groups, according to the threading pattern. In this case, 48 ends are in each group. Counting the ends into groups helps eliminate, or at least reduce, threading errors.
Threading eight shafts for kuvikas and taqueté.
Complex, but not complicated. Warp ends are inserted into specific heddles to set up the loom for a particular type of cloth. Very systematic.

Don’t be afraid. The Lord not only teaches us his ways–his system, but offers us his strength while we learn. I can trust him for that. Trust replaces fear. I don’t have to find my own way, or guess. The system works. It makes sense. I learn to weave, and live, one step at a time, with freedom to enjoy the process.

May you rise above your fears.

All the best,
Karen

Quiet Friday: Countermarch Back Savers

After back surgery, I wondered how-in-the-world I would be able to tie up my countermarch looms. After a four-week ban on bending over, I was eager to weave, but not eager to do anything that might strain or injure my back.

Two simple maneuvers made it possible for me to tie up the lamms and the treadles on both of my Glimäkra countermarch looms:

  1. Remove the lamms. Treadle cords are added while sitting in a comfortable position.
  2. Detach the treadles. Bring treadles closer to the front of the loom for attaching treadle cords.

And two important practices kept me from over-reaching and overdoing it:

  1. Sit on a low stool instead of the back of the loom or the floor.
  2. Take frequent breaks to stand up, stretch, and walk around.

Tools:

  • Low stool for sitting
  • Rolling cart (IKEA cart) or small table
  • Plank of wood, longer than the loom is wide (one plank of warping trapeze, 1″ x 5″)
  • Treadle cords, Texsolv pins, other tie-up supplies
  • Length of cord to hold treadle up (Texsolv cord that’s used for hanging the reed for sleying)

The 120 cm (47″) Standard loom has open space in the loom, making it easy to get within arm’s reach of most things; but the challenge increases with the number of shafts–eight for this tie up.

Alpaca warp, ready for countermarch tie-up without back strain.
Beamed, threaded, sleyed, tied on. Waiting for the final step of tying up lamms and treadles.
  • Lamms are removed, 2 at a time, and placed on the cart to add the treadle cords, all the while sitting on a comfortable stool.

Countermarch tie-up without back strain.

  • After all 8 lower lamms have the treadle cords added, the lamms are reinserted in the loom, 2 at a time.

Countermarch tie-up without back strain.

  • Treadle rod is removed to detach the treadles. Wood plank keeps the treadles from sliding back while treadle cords are attached at the front of the loom.

Trick to make countermarch tie-up easier on the back.

  • Cord acts as a sling to hold the treadle up to a comfortable height.

Tips for making countermarch tie-ups more back friendly.

  • The raised treadle helps with visibility, and enables the use of both hands, especially helpful for the “Vavstuga method” of tying up treadles with knitting needles (I use sharpened dowels). After treadles are tied up, re-attach the treadles at the back of the loom.

Hints for making countermarch tie-up more back friendly.


The 100 cm (39″) Ideal loom requires more reaching. Tying lamms to the shafts is a challenge for short arms, like mine. With four shafts, and only three treadles for this tie up, the rest of the process isn’t difficult.

Threaded for striped towels. Glimakra Ideal.
Threaded for striped towels. Glimäkra Ideal has smaller spaces in which to work than in the Standard loom.
  • Upper lamms are placed on the cart. I hold the weaving draft in my lap as I add the treadle cords to the lamms.

IKEA cart as tie-up helper.

  • Lower lamms are removed as the pin is pulled out. After the treadle cords are added, the lamms are reinserted.

Removing lamms to make countermarch tie-up back friendly.

  • Detached treadles lay on the floor. They easily pivot up at the front of the loom for attaching treadle cords.

Tips for making countermarch tie-ups less straining on the back.

  • Everything is tied up and ready to weave!

All tied up and ready to weave!

May you stay healthy to live long and weave.

Happy Weaving,
Karen

Below the Warp

Important things are happening below the warp on my eight-shaft countermarch loom. Eight upper lamms, eight lower lamms, and eight treadles beneath the lamms are at work. Shaft cords connect shafts to lamms. Treadle cords connect lamms to treadles. When the loom is all tied up, stepping on a treadle raises some shafts and lowers others, making it possible to send the weft across in a shuttle. And weaving happens.

Countermarch loom tie-up.
Heddles line up like soldiers, holding each warp end in place. Shaft cords reach down from the lower shaft bars and are attached to the upper lamms with little Texsolv anchor pins.
Tying up Glimakra Standard countermarch loom.
Treadle cords hang loose from the upper and lower lamms, each cord in its proper position.

Everything below the surface matters. When you start weaving, it won’t take long to see if all the connections work. When everything behind the reed and underneath the warp is set up properly, you can expect a pleasant weaving experience.

Tying up countermarch treadles.
Treadle cords reach down to the treadles to finish the line of connections. Cords are threaded onto a sharpened dowel beneath the treadle to hold the cords in place.

Joy is evidence of what is happening below the surface. You can see joy on the face of someone who looks to the Lord and trusts in Him. Joy is more than a smile. It’s a radiance that starts on the inside. Trusting in the Lord produces positive connections below the surface. That deep trust is formed through life’s most difficult moments– joy that is cultivated there endures. Like weaving on a countermarch loom, joy depends on true connections.

May you have reasons to smile.

Joyful Weaving,
Karen

Quiet Friday: Weaving Linen Air

Linen lace weaving. It’s like weaving air. 16/1 linen warp and weft, with uneven sleying and careful weaving. Beating is not the right word this time; let’s call it “placing the weft.” Gentle, gentle, gentle, easy does it. No temple needed. Indeed, what would you hook the temple into? There is almost nothing there.

Linen on the warping reel.
Winding the 16/1 linen warp on the warping reel.
Linen warp chain, ready to dress the loom.
Wound warp is chained and placed over the breast beam and through the beater in preparation for dressing the loom.
Lease sticks with linen.
Lease sticks.
Dressing the loom with linen singles.
Ends are counted and grouped before threading.
Uneven sleying of the reed with linen singles.
Reed is sleyed unevenly, sometimes called “crammed and spaced.”

I did weave a sample, trying out different colors and sizes of weft. The weave is so airy; honestly, I was not sure if the fabric would hold its shape off the loom. To wet finish, I first soaked the sample for 20 minutes in hot water with mild soap. Then, I washed it by hand, lifting and lowering the net-like cloth repeatedly in the water. I rolled it in a towel and gently squeezed to remove moisture. Lastly, I laid it out flat to dry.

Half bow keeps linen from slipping, while allowing adjustments.
Half bow-tie makes sure the linen will not slip. Adjustments are easy, if necessary, after weaving a few inches.
Tying up treadles in the "playhouse" under the warp.
Treadle tie-up happens in the “playhouse” under the warp in the back. Sunlight through the linen reveals “invisible” hairy fibers.
Sample weaving. Linen lace.
Sample.
Linen sample, not yet wet finished.
Sample, not yet wet finished.
Linen sample in black and white.
Black and white view shows cloth structure.

Result? It came through beautifully, with the lace weave intact. Linen, there is something about you that is exquisite and delightful, yet a bit mischievous and sly. I like you.

Linen sample after wet finishing. Karen Isenhower
After wet finishing and drying, the linen sample shows a glimpse of scarves to come.
Weaving linen air. Karen Isenhower
Weaving linen air.

May all your concerns be as light as air.

Happy Linen Weaving,
Karen