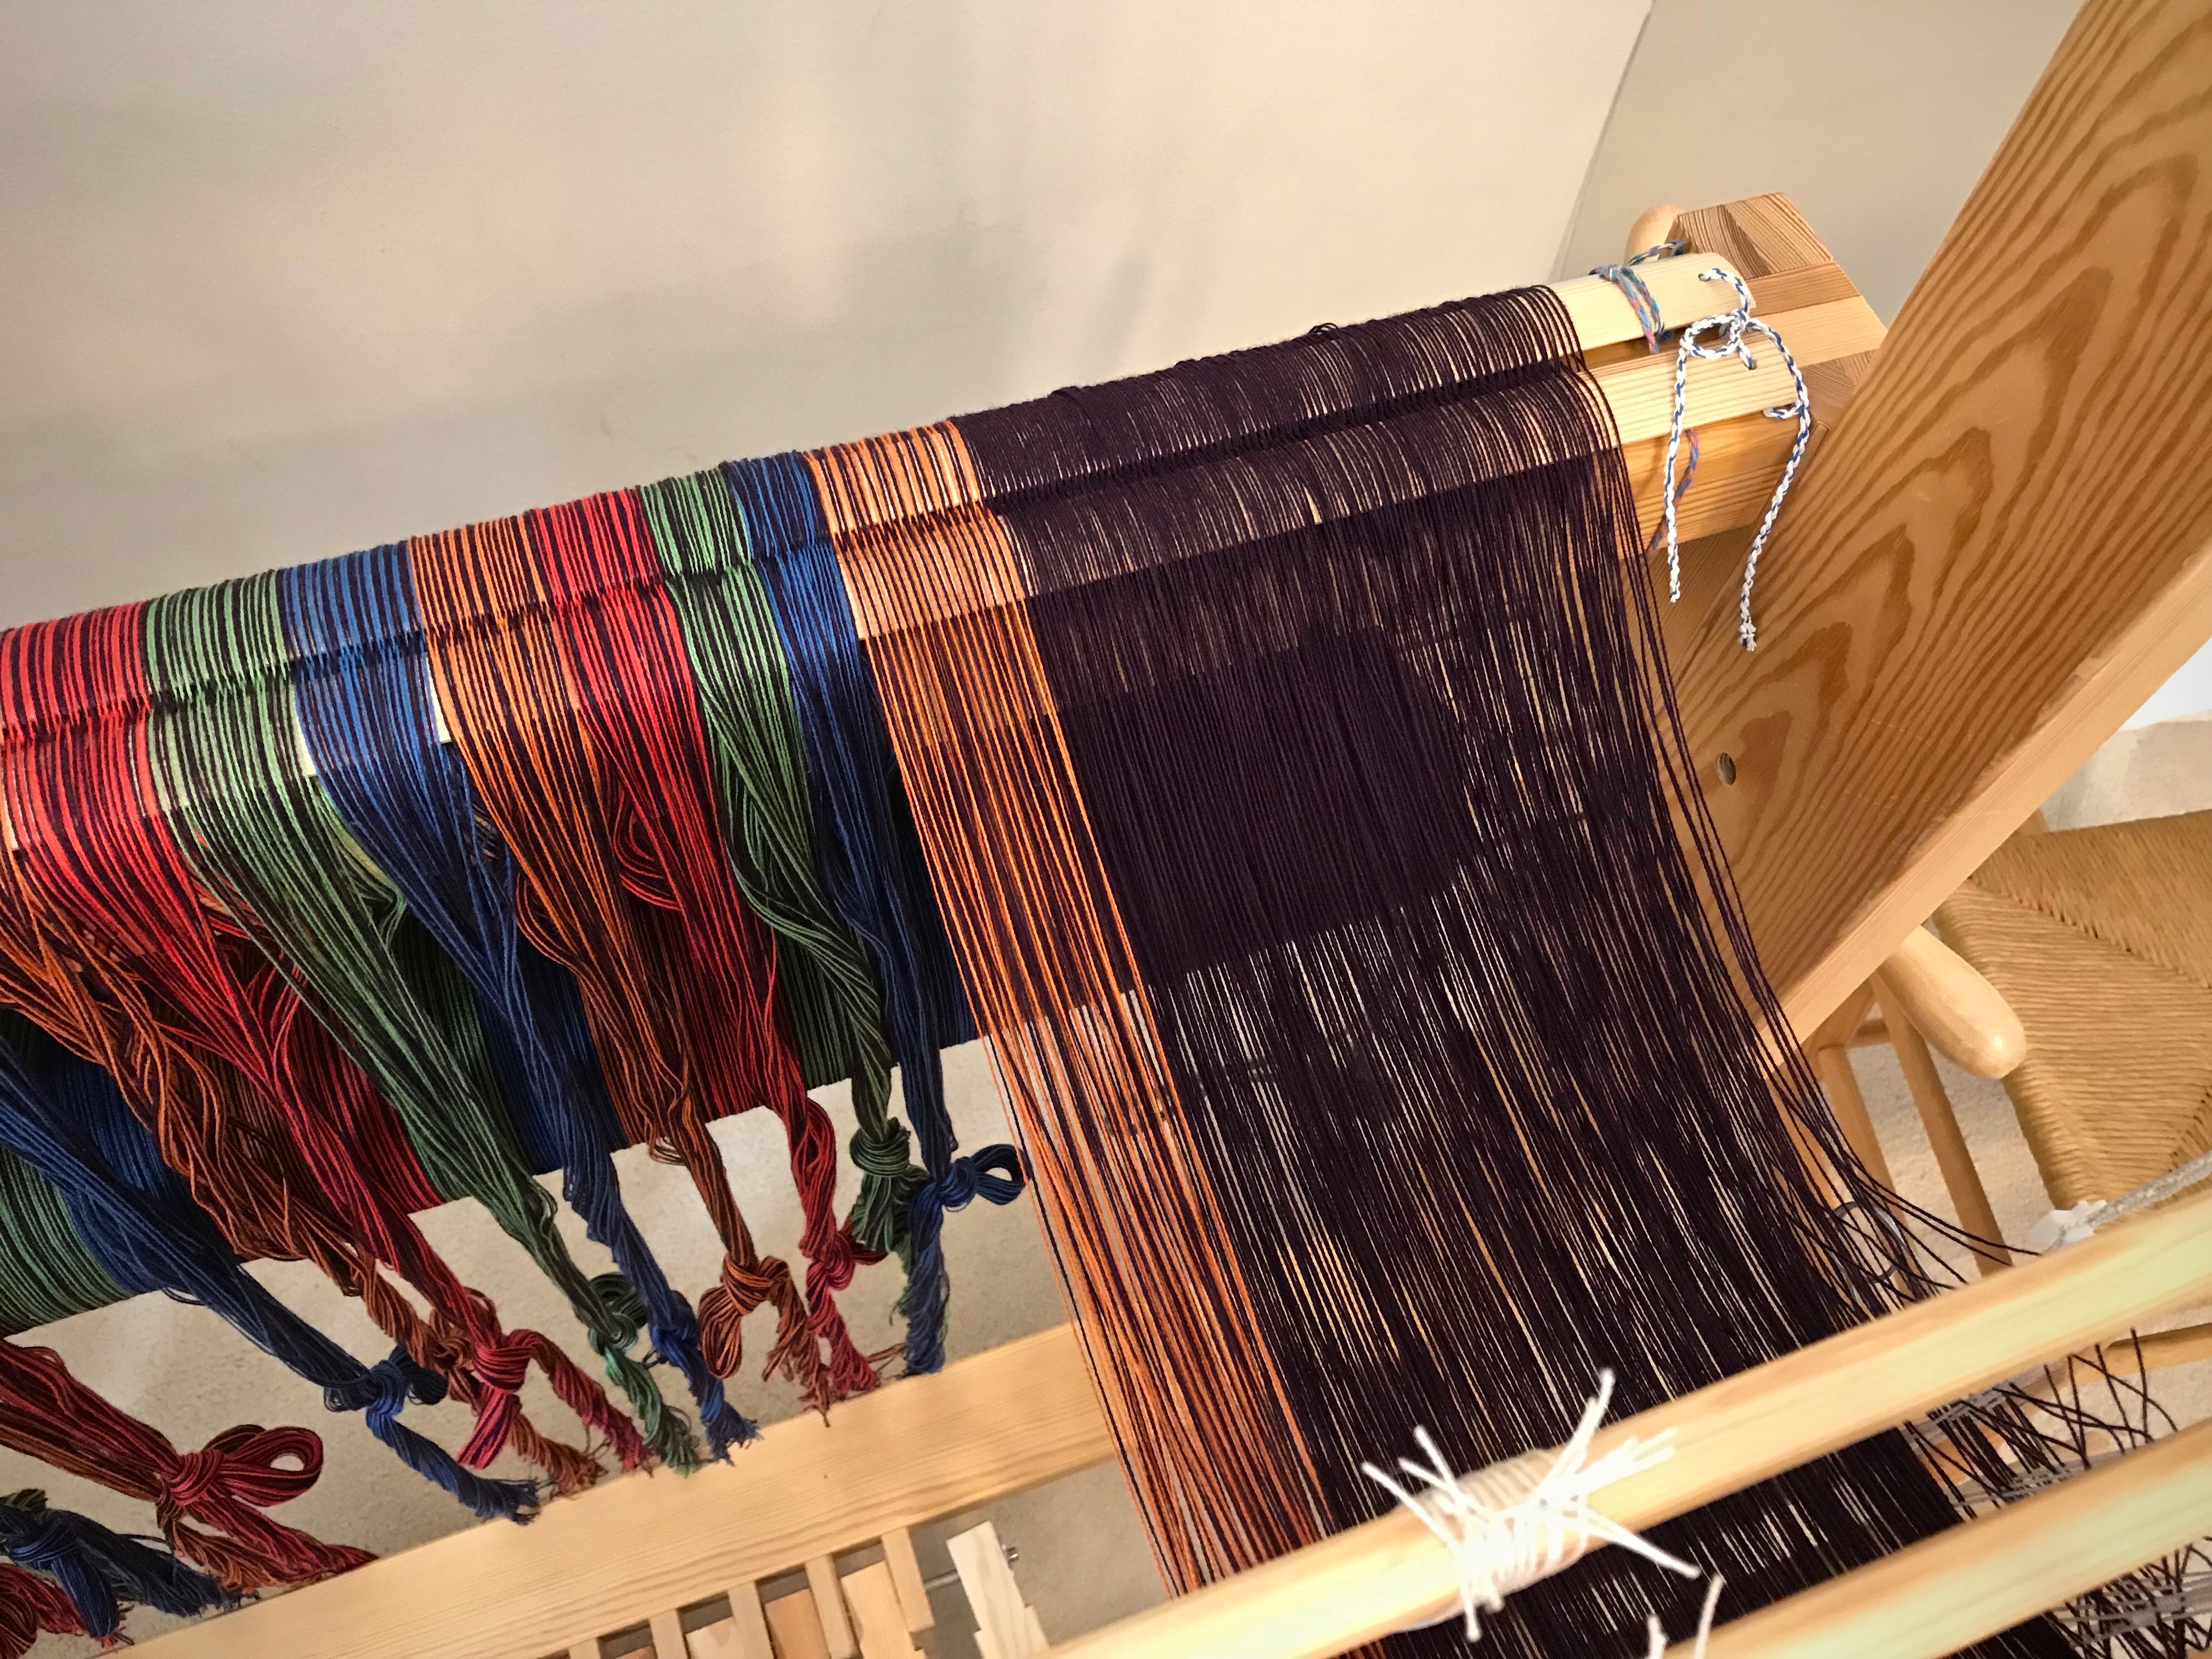
I am well into threading when I realize I neglected to take into account how many heddles I need for this project! I don’t have 2,064 even if I grab all of the heddles from the other loom. This double weave throw project is at a deadend until more heddles appear. I hurriedly place an order for more heddles…
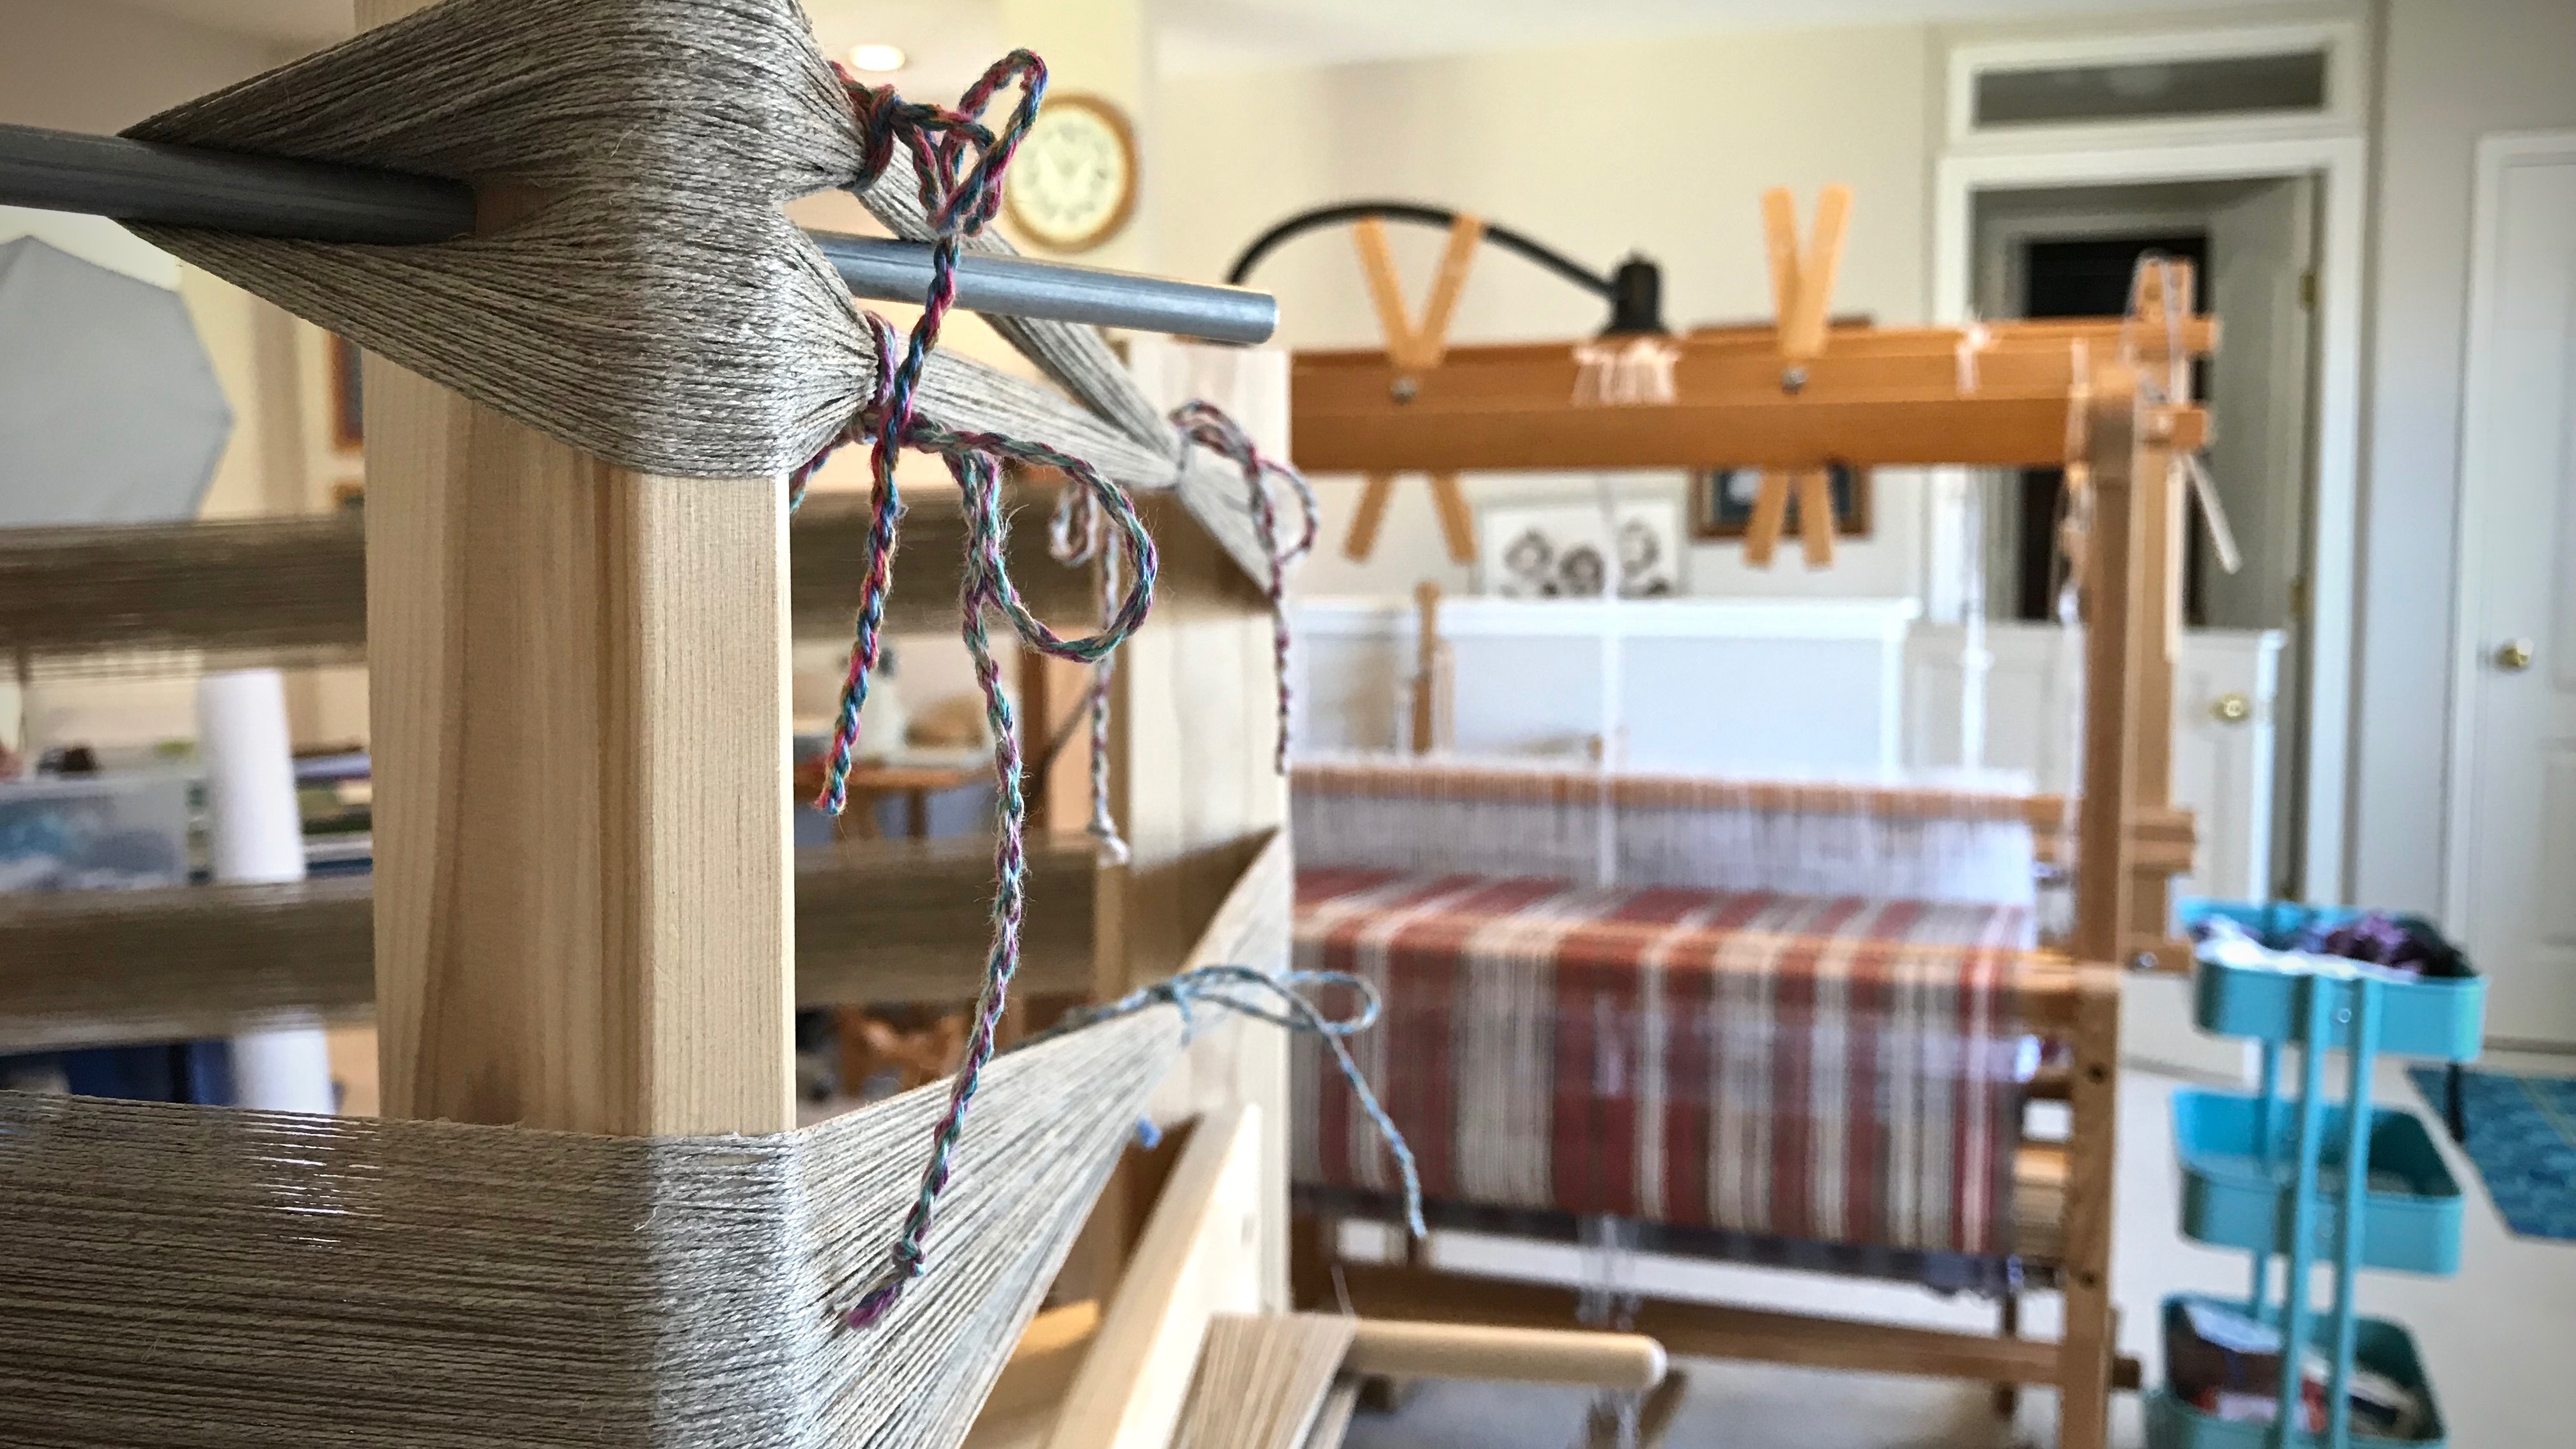
This Glimåkra Standard is one of three looms that share my supply of Texsolv heddles.
Thankfully, the new heddles arrive quickly and the project is alive again.
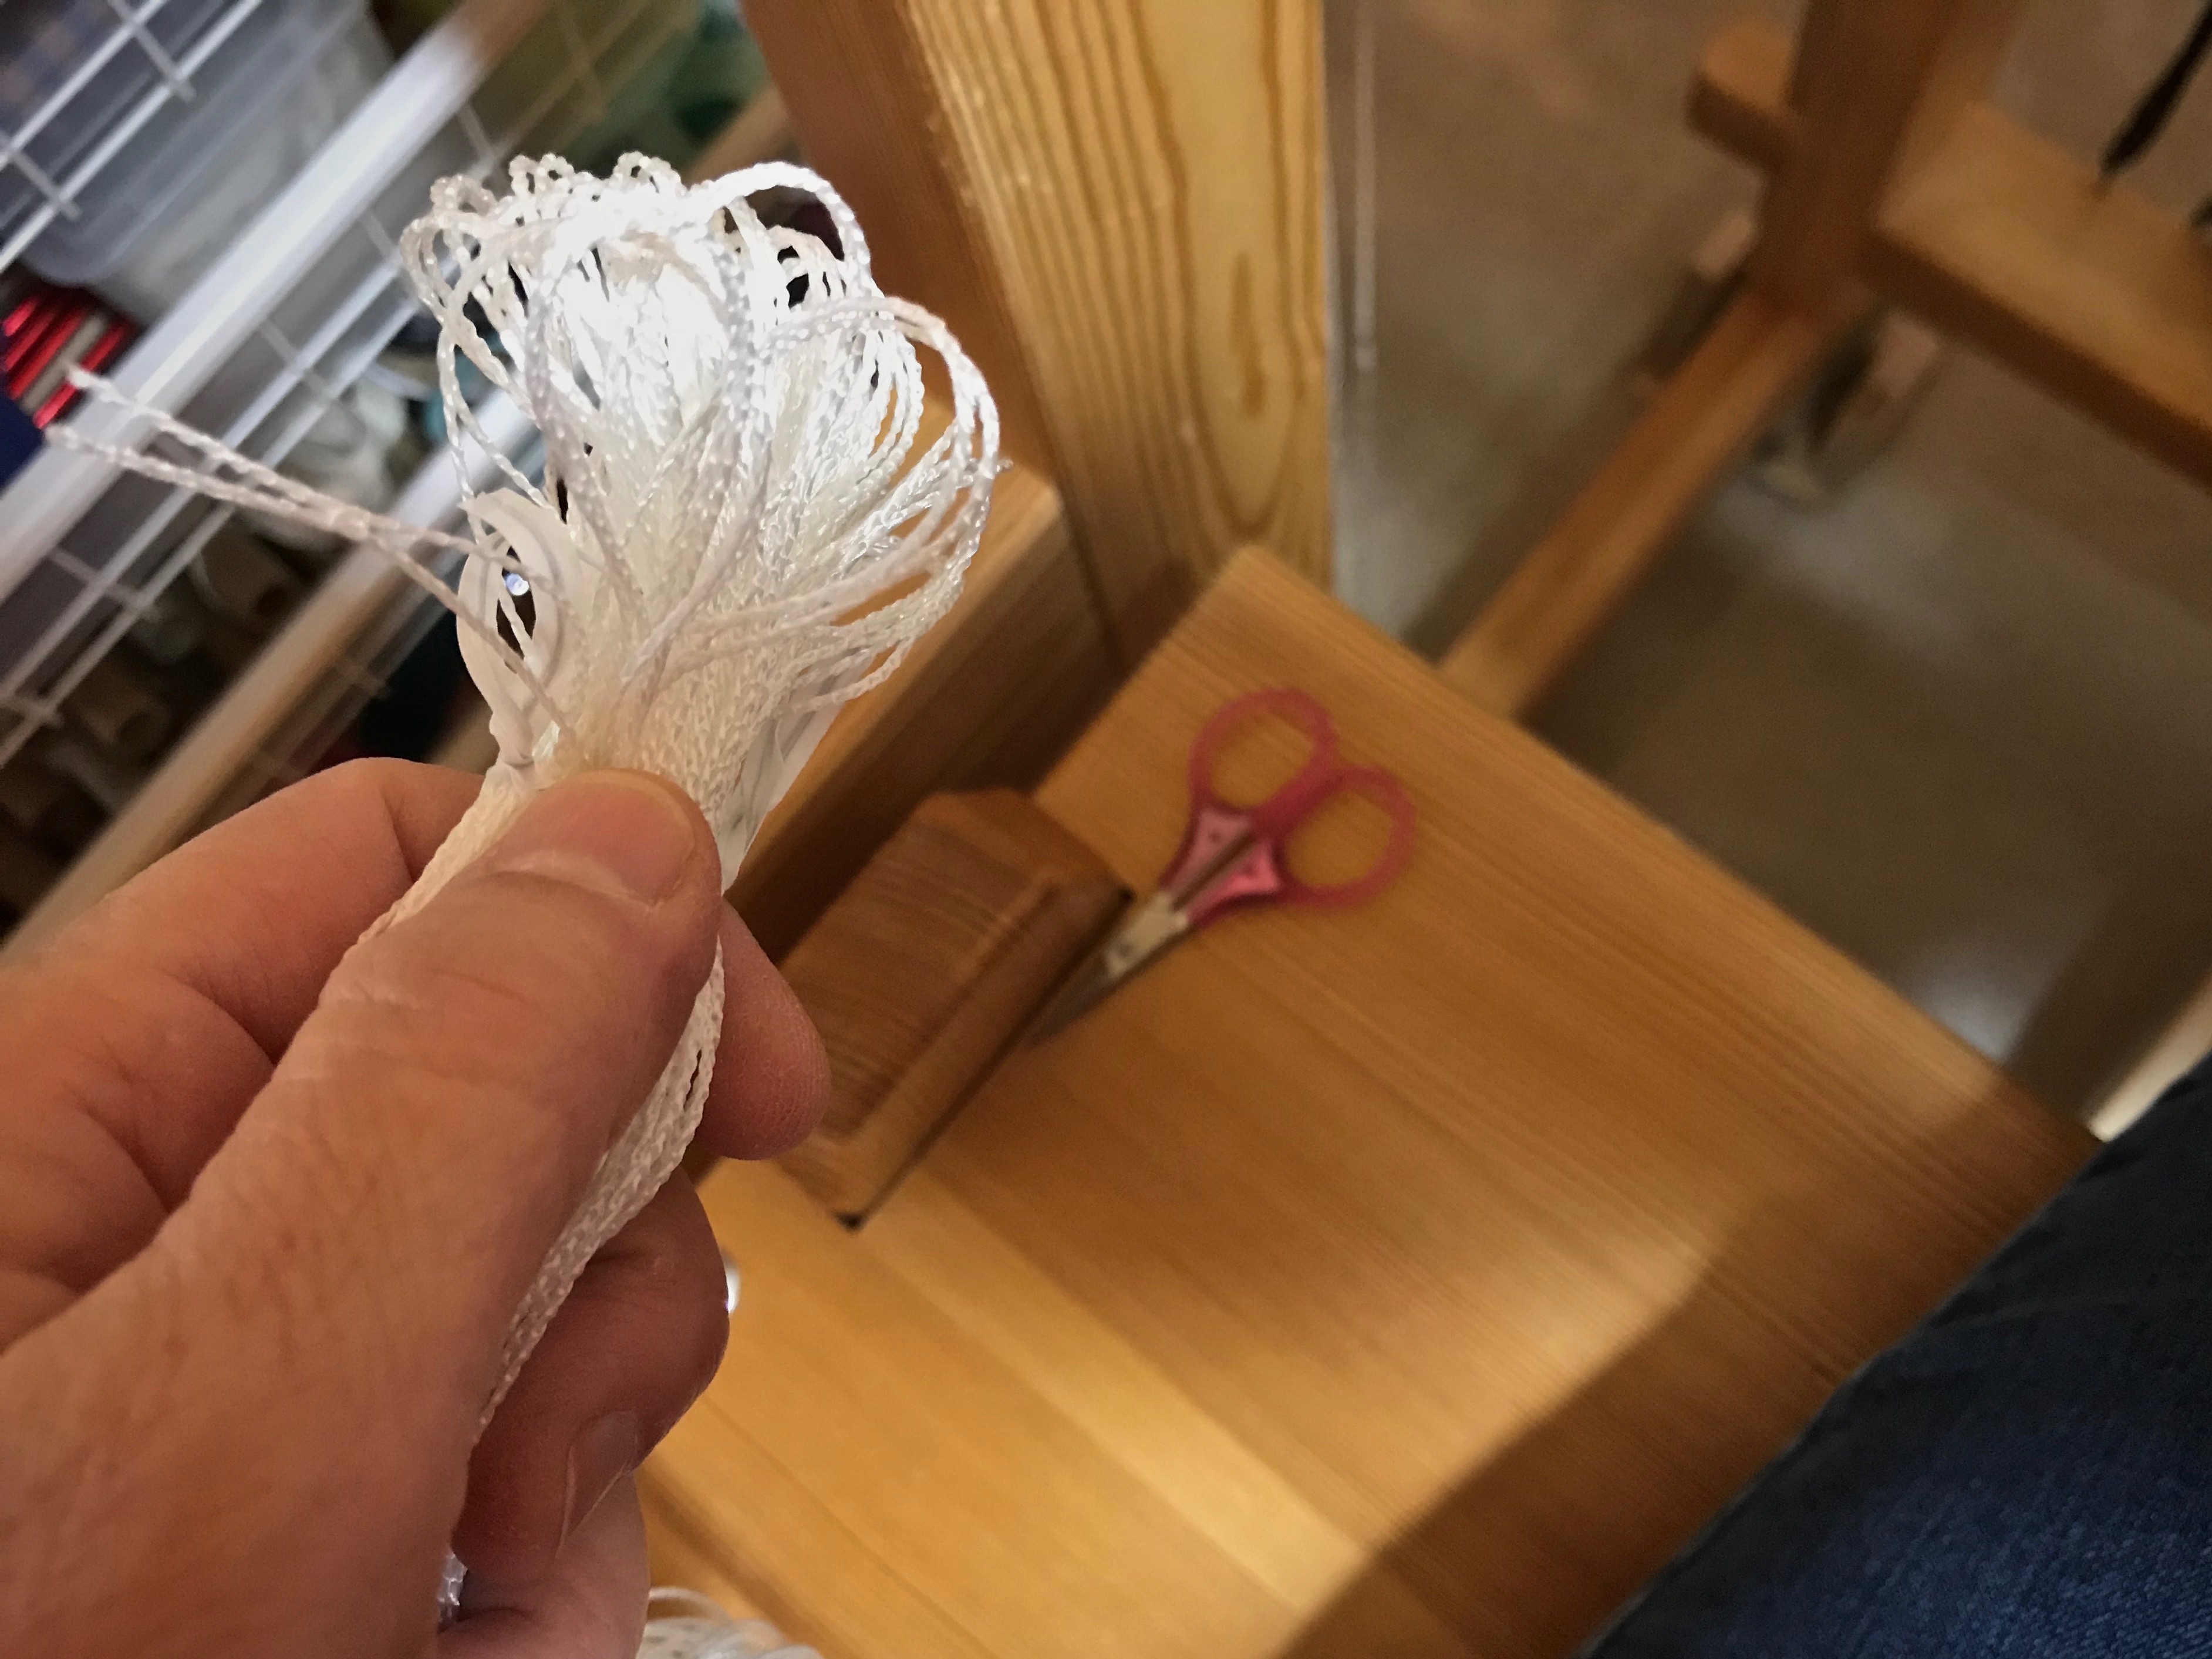
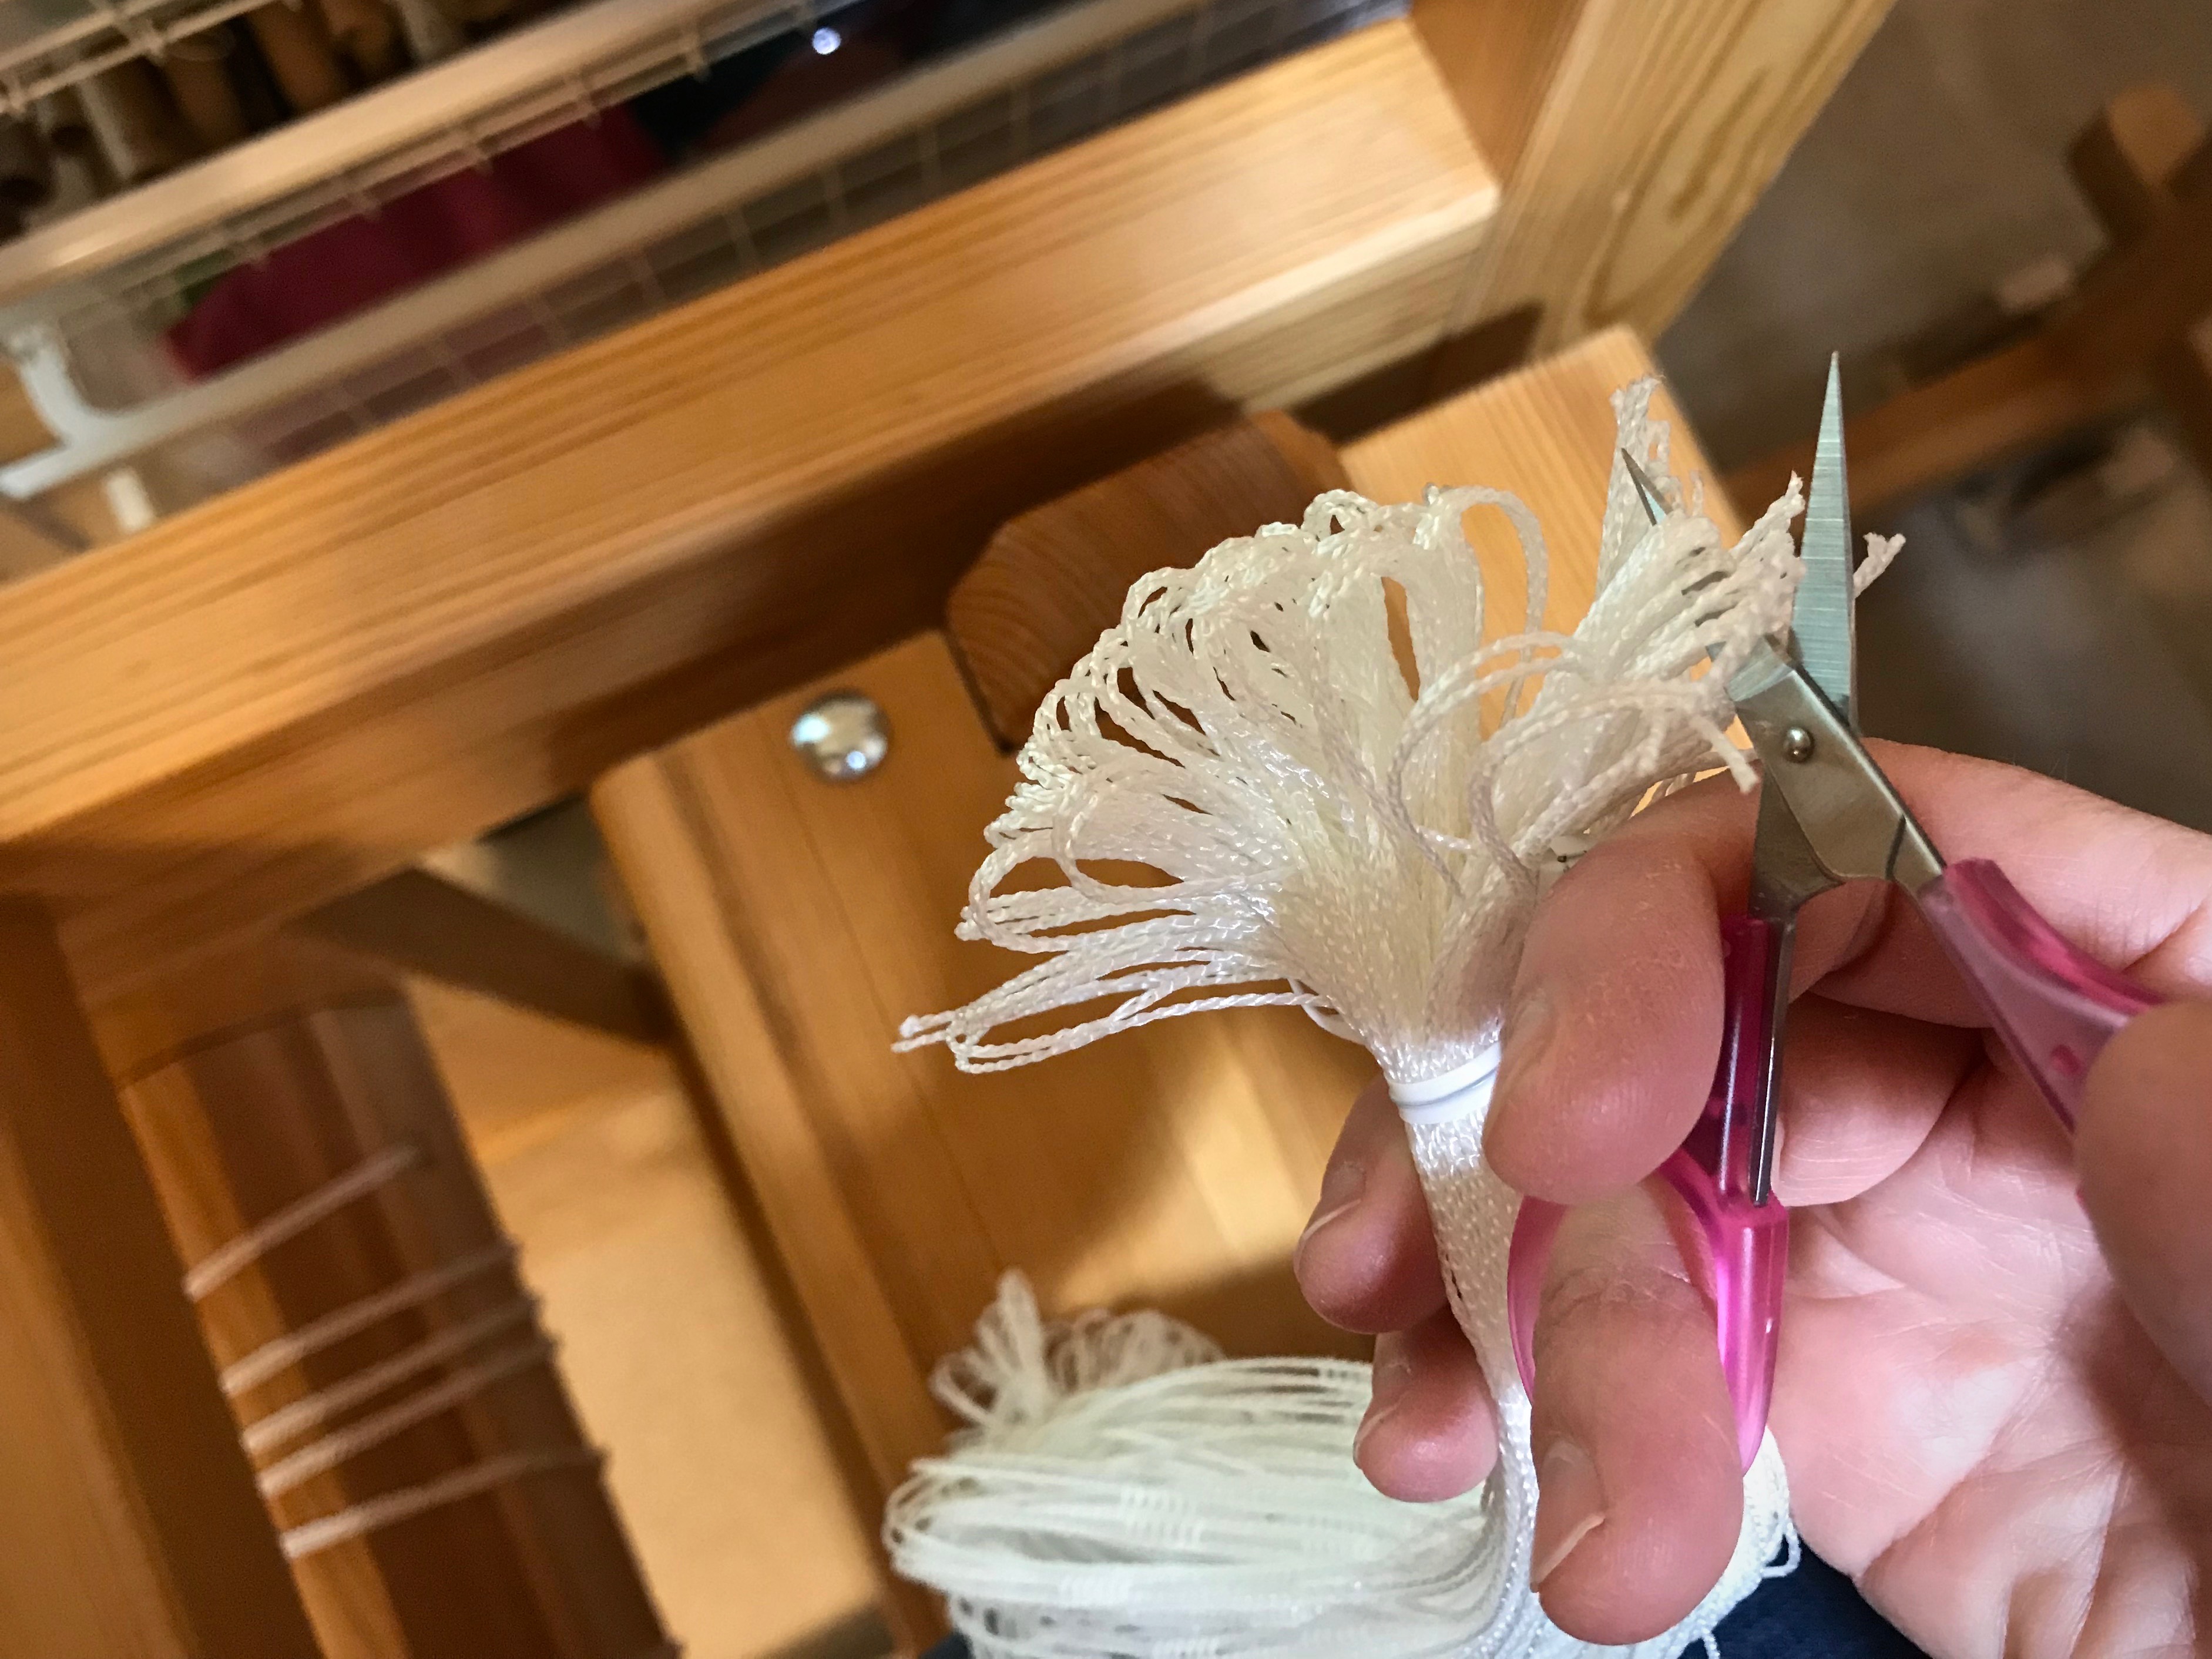
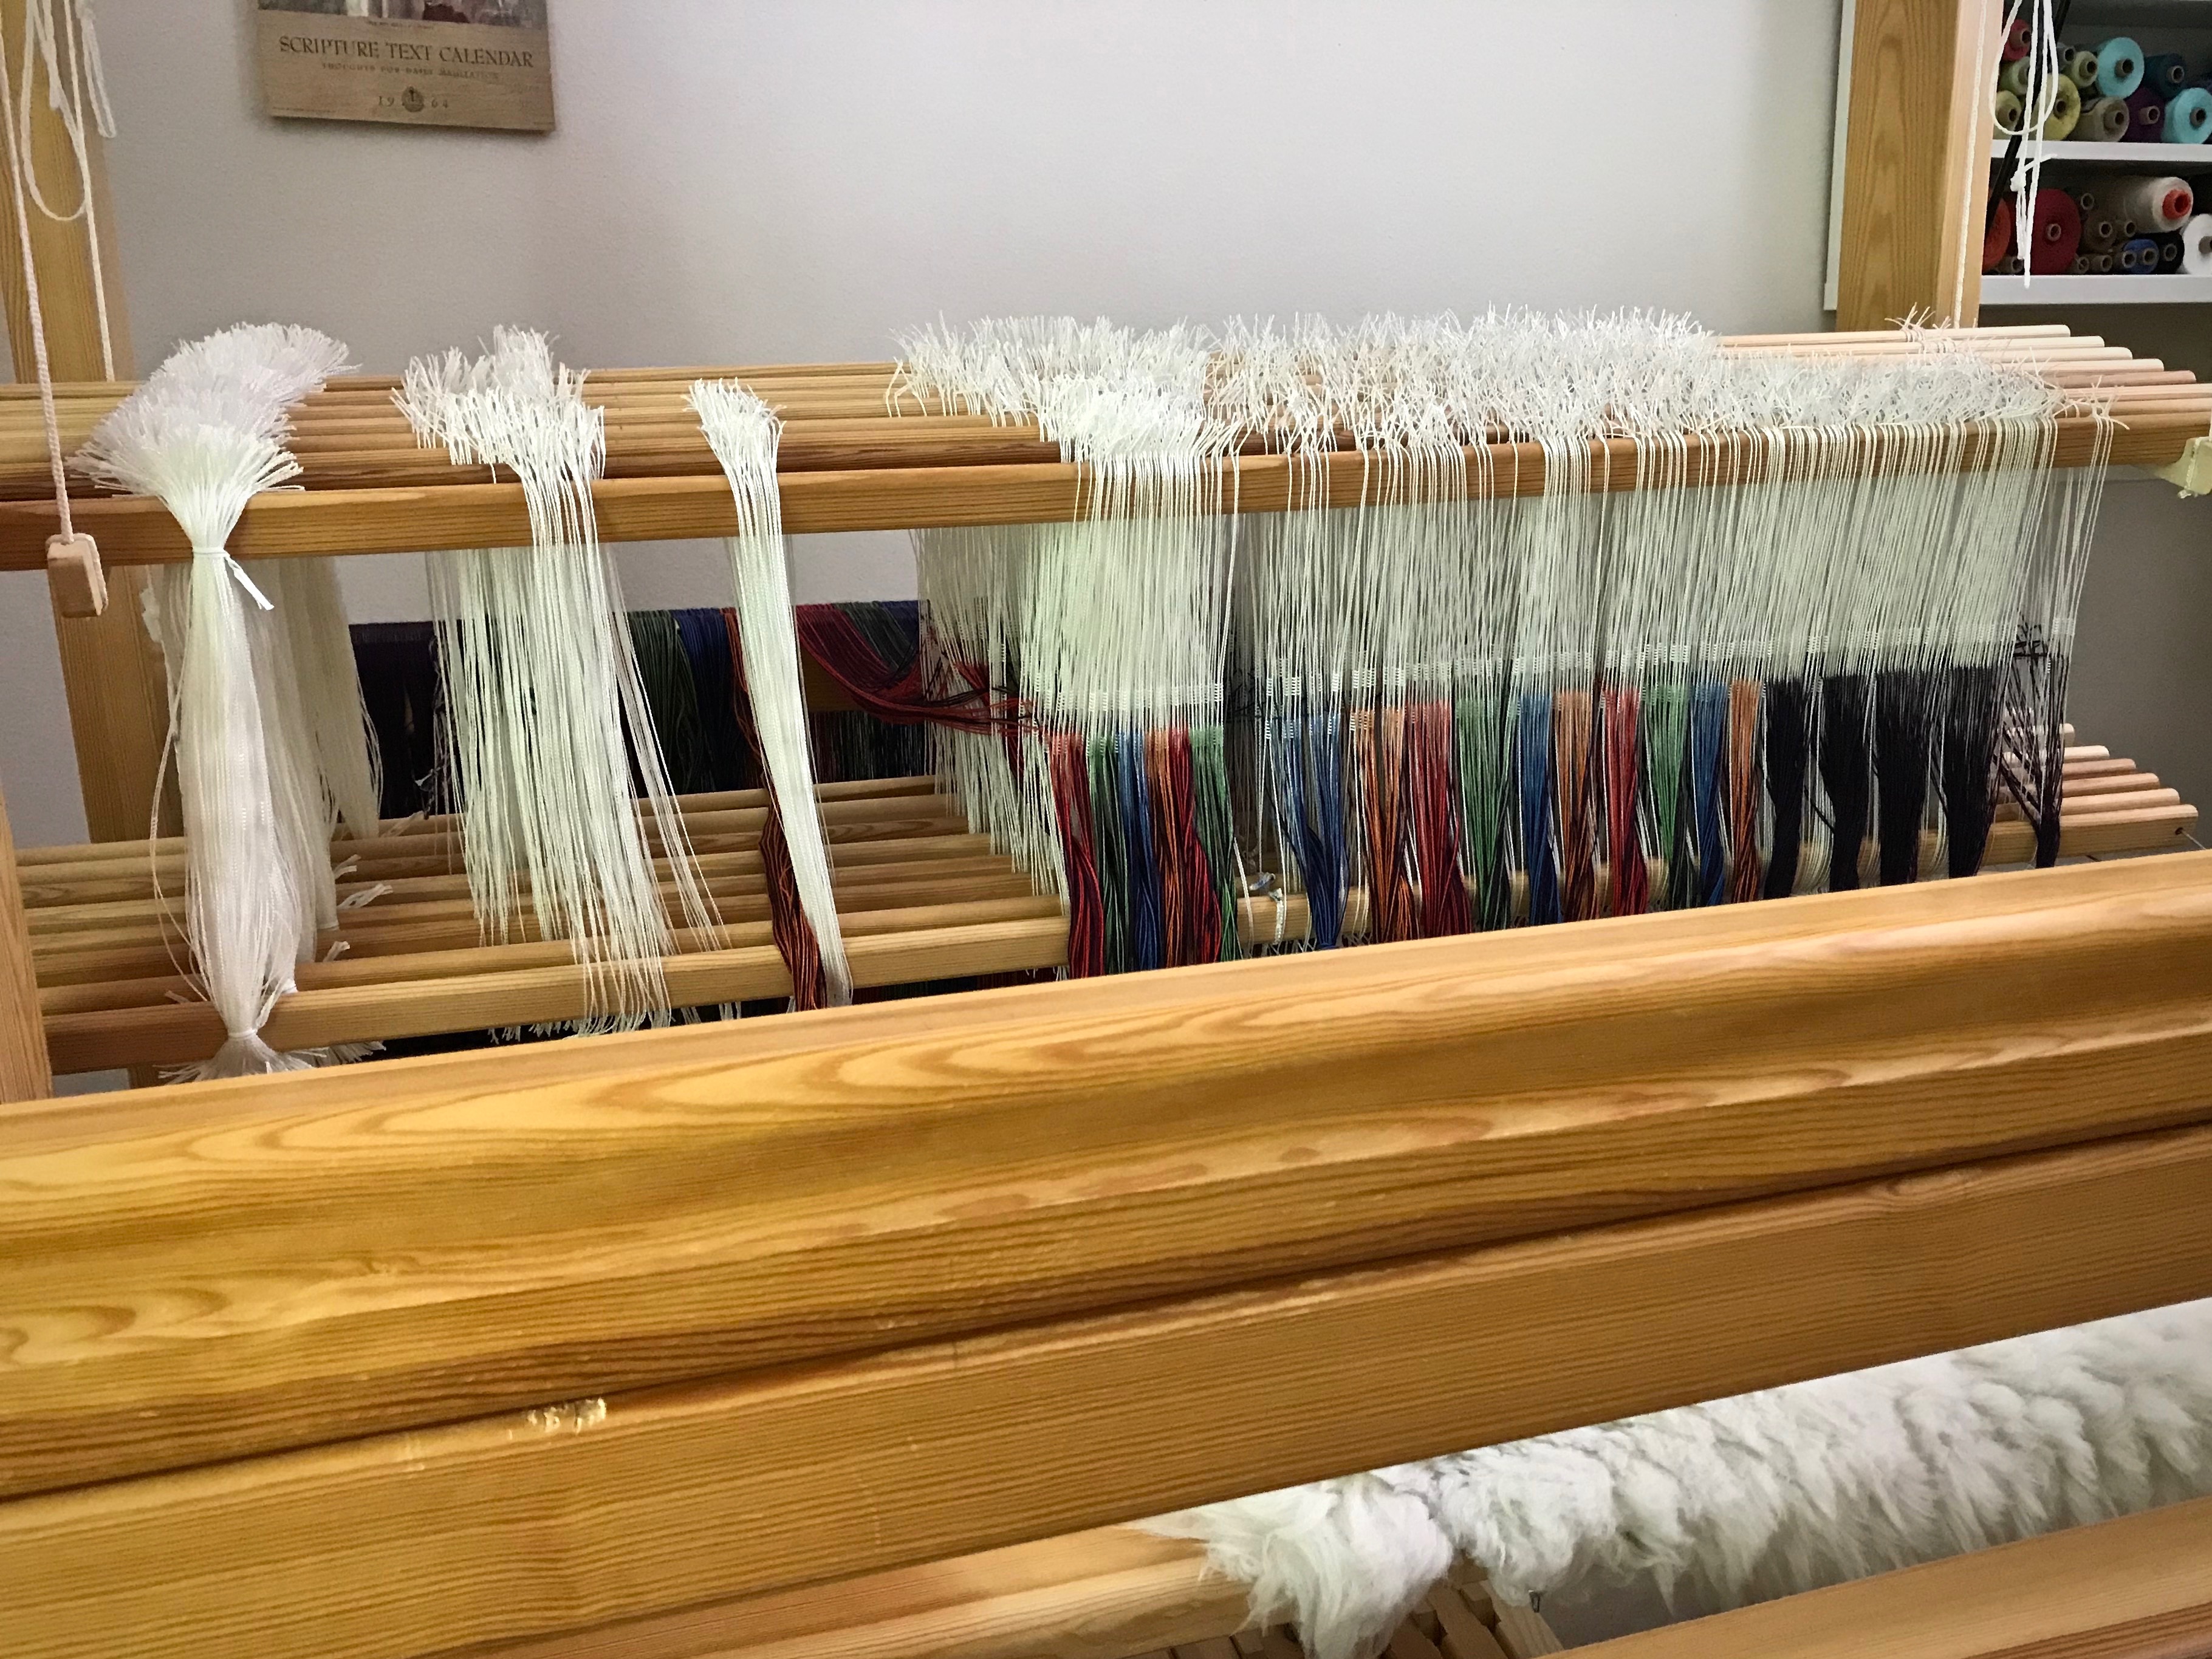
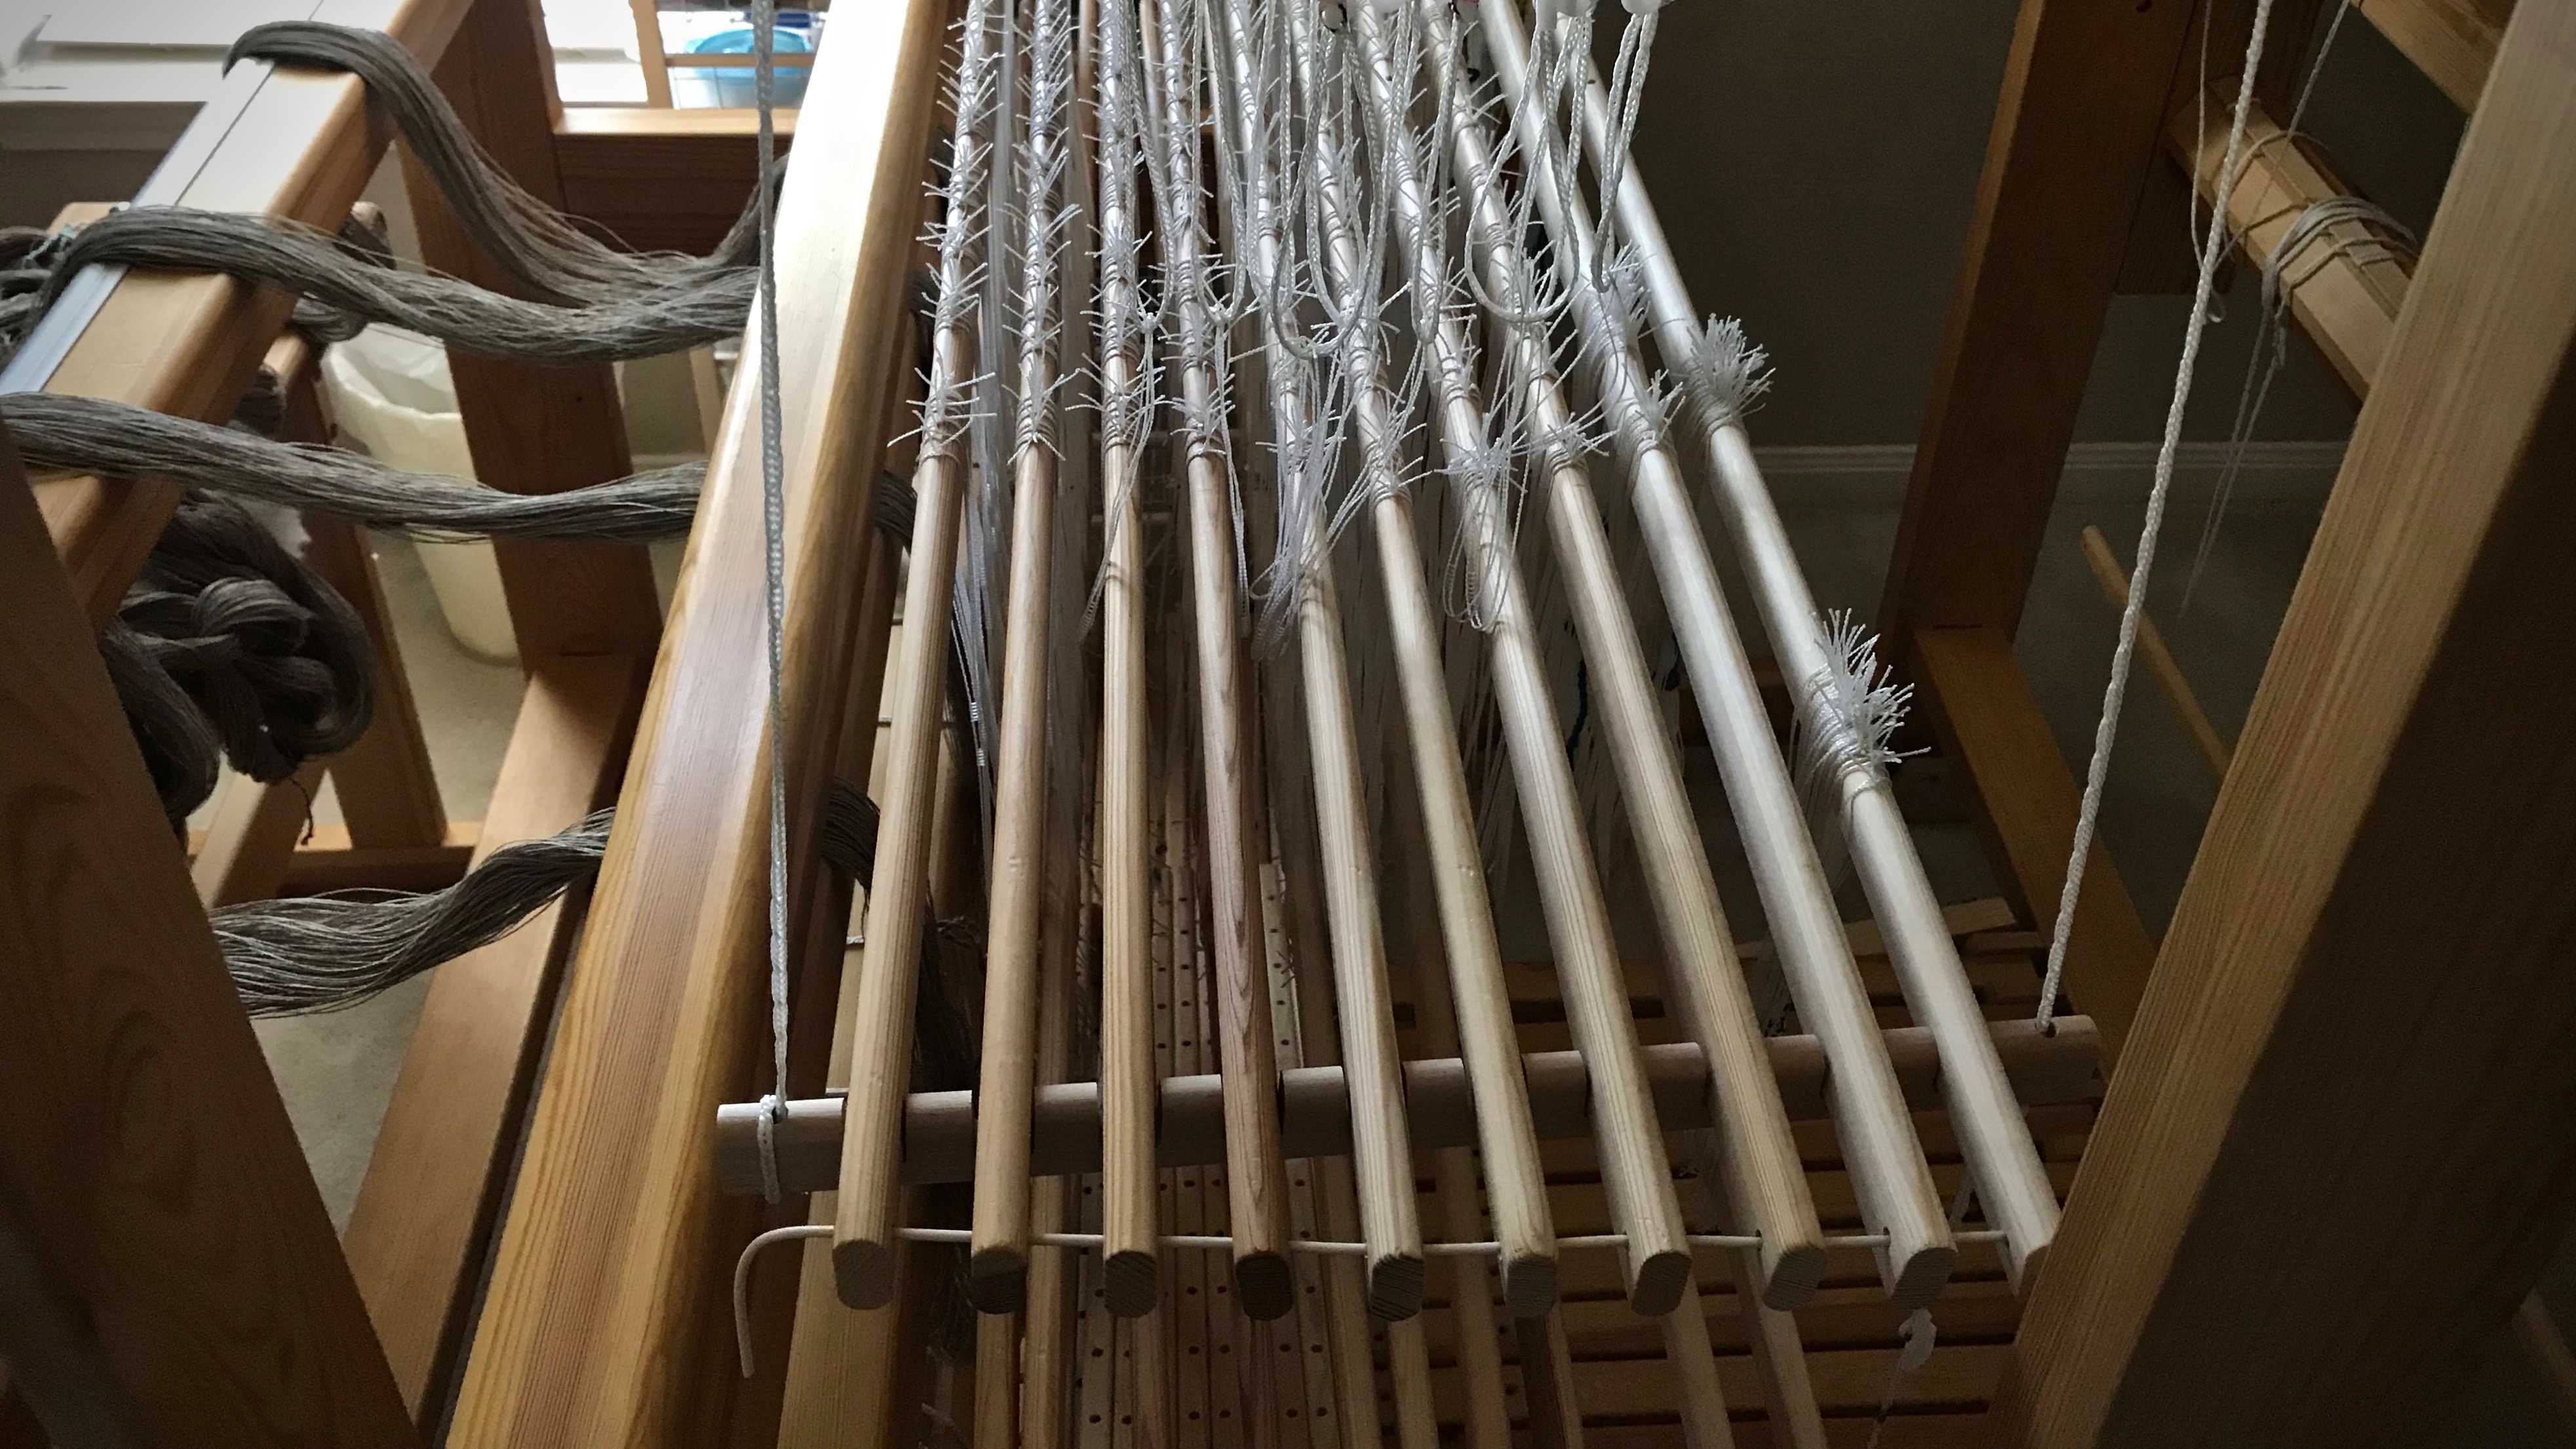
This is what 1,000 Texsolv heddles looks like! I didn’t want to run out again any time soon.Heddles come in bundles of 100, held together with twist ties. WARNING: DO NOT undo the twist ties before you put the heddles on the shaft bars. You’ll be sorry…Before putting the heddles on the shaft bars, and while they are still tied into bundles, clip the loops at each end.I clip the loops on both ends of the heddles. It is easy to move heddles wherever you want if the loops are cut, including repositioning individual heddles. (It is far easier to clip the loops while the heddles are still tied together.)There are 100 new heddles on each shaft. The heddles that are not used will be tied up and put away in my heddle box, ready for the next time I need more heddles.
Alive. This is the Easter season when we celebrate the resurrection of Jesus Christ. He died, and was made alive again! What makes it even more fantastic is what that means for us. We all have a goodness shortage. And without a source of true goodness, our lifetime self-improvement project is at a dead end. Yet, through faith in the powerful working of God, we are raised with Christ. We are made alive together with him. His true goodness becomes our living source.
Threading progresses. New bundles of heddles stand ready to be used!
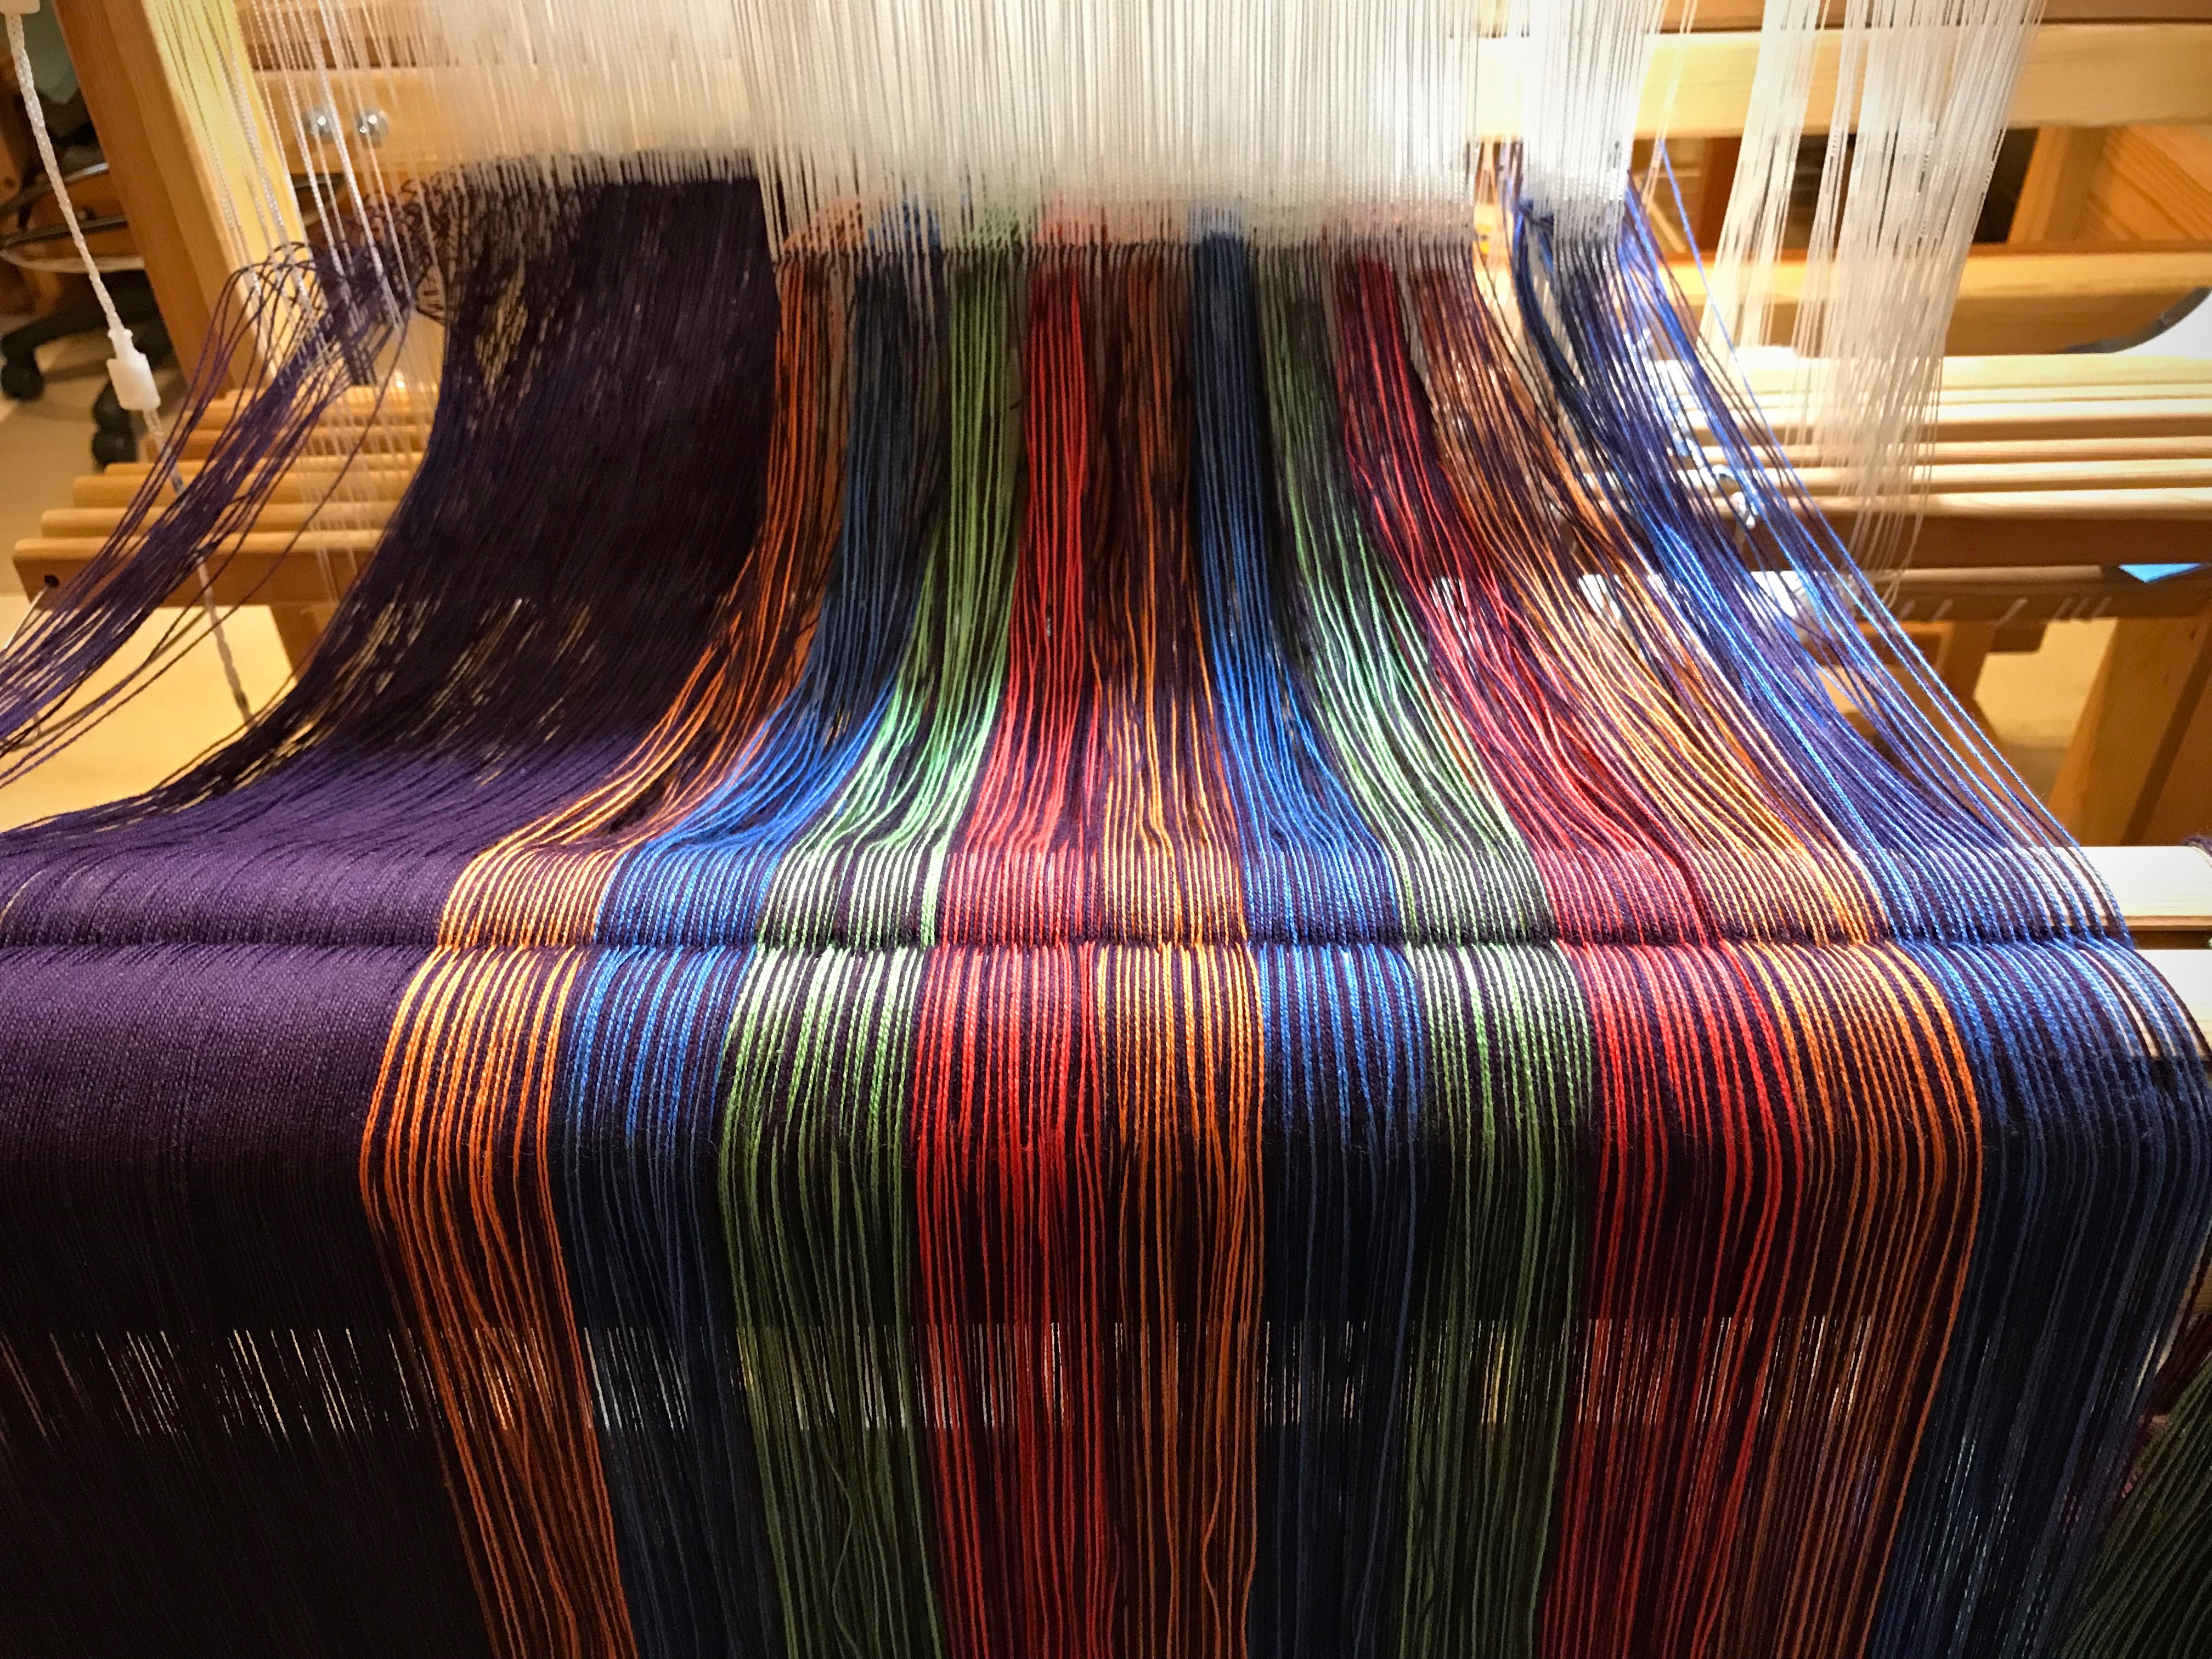
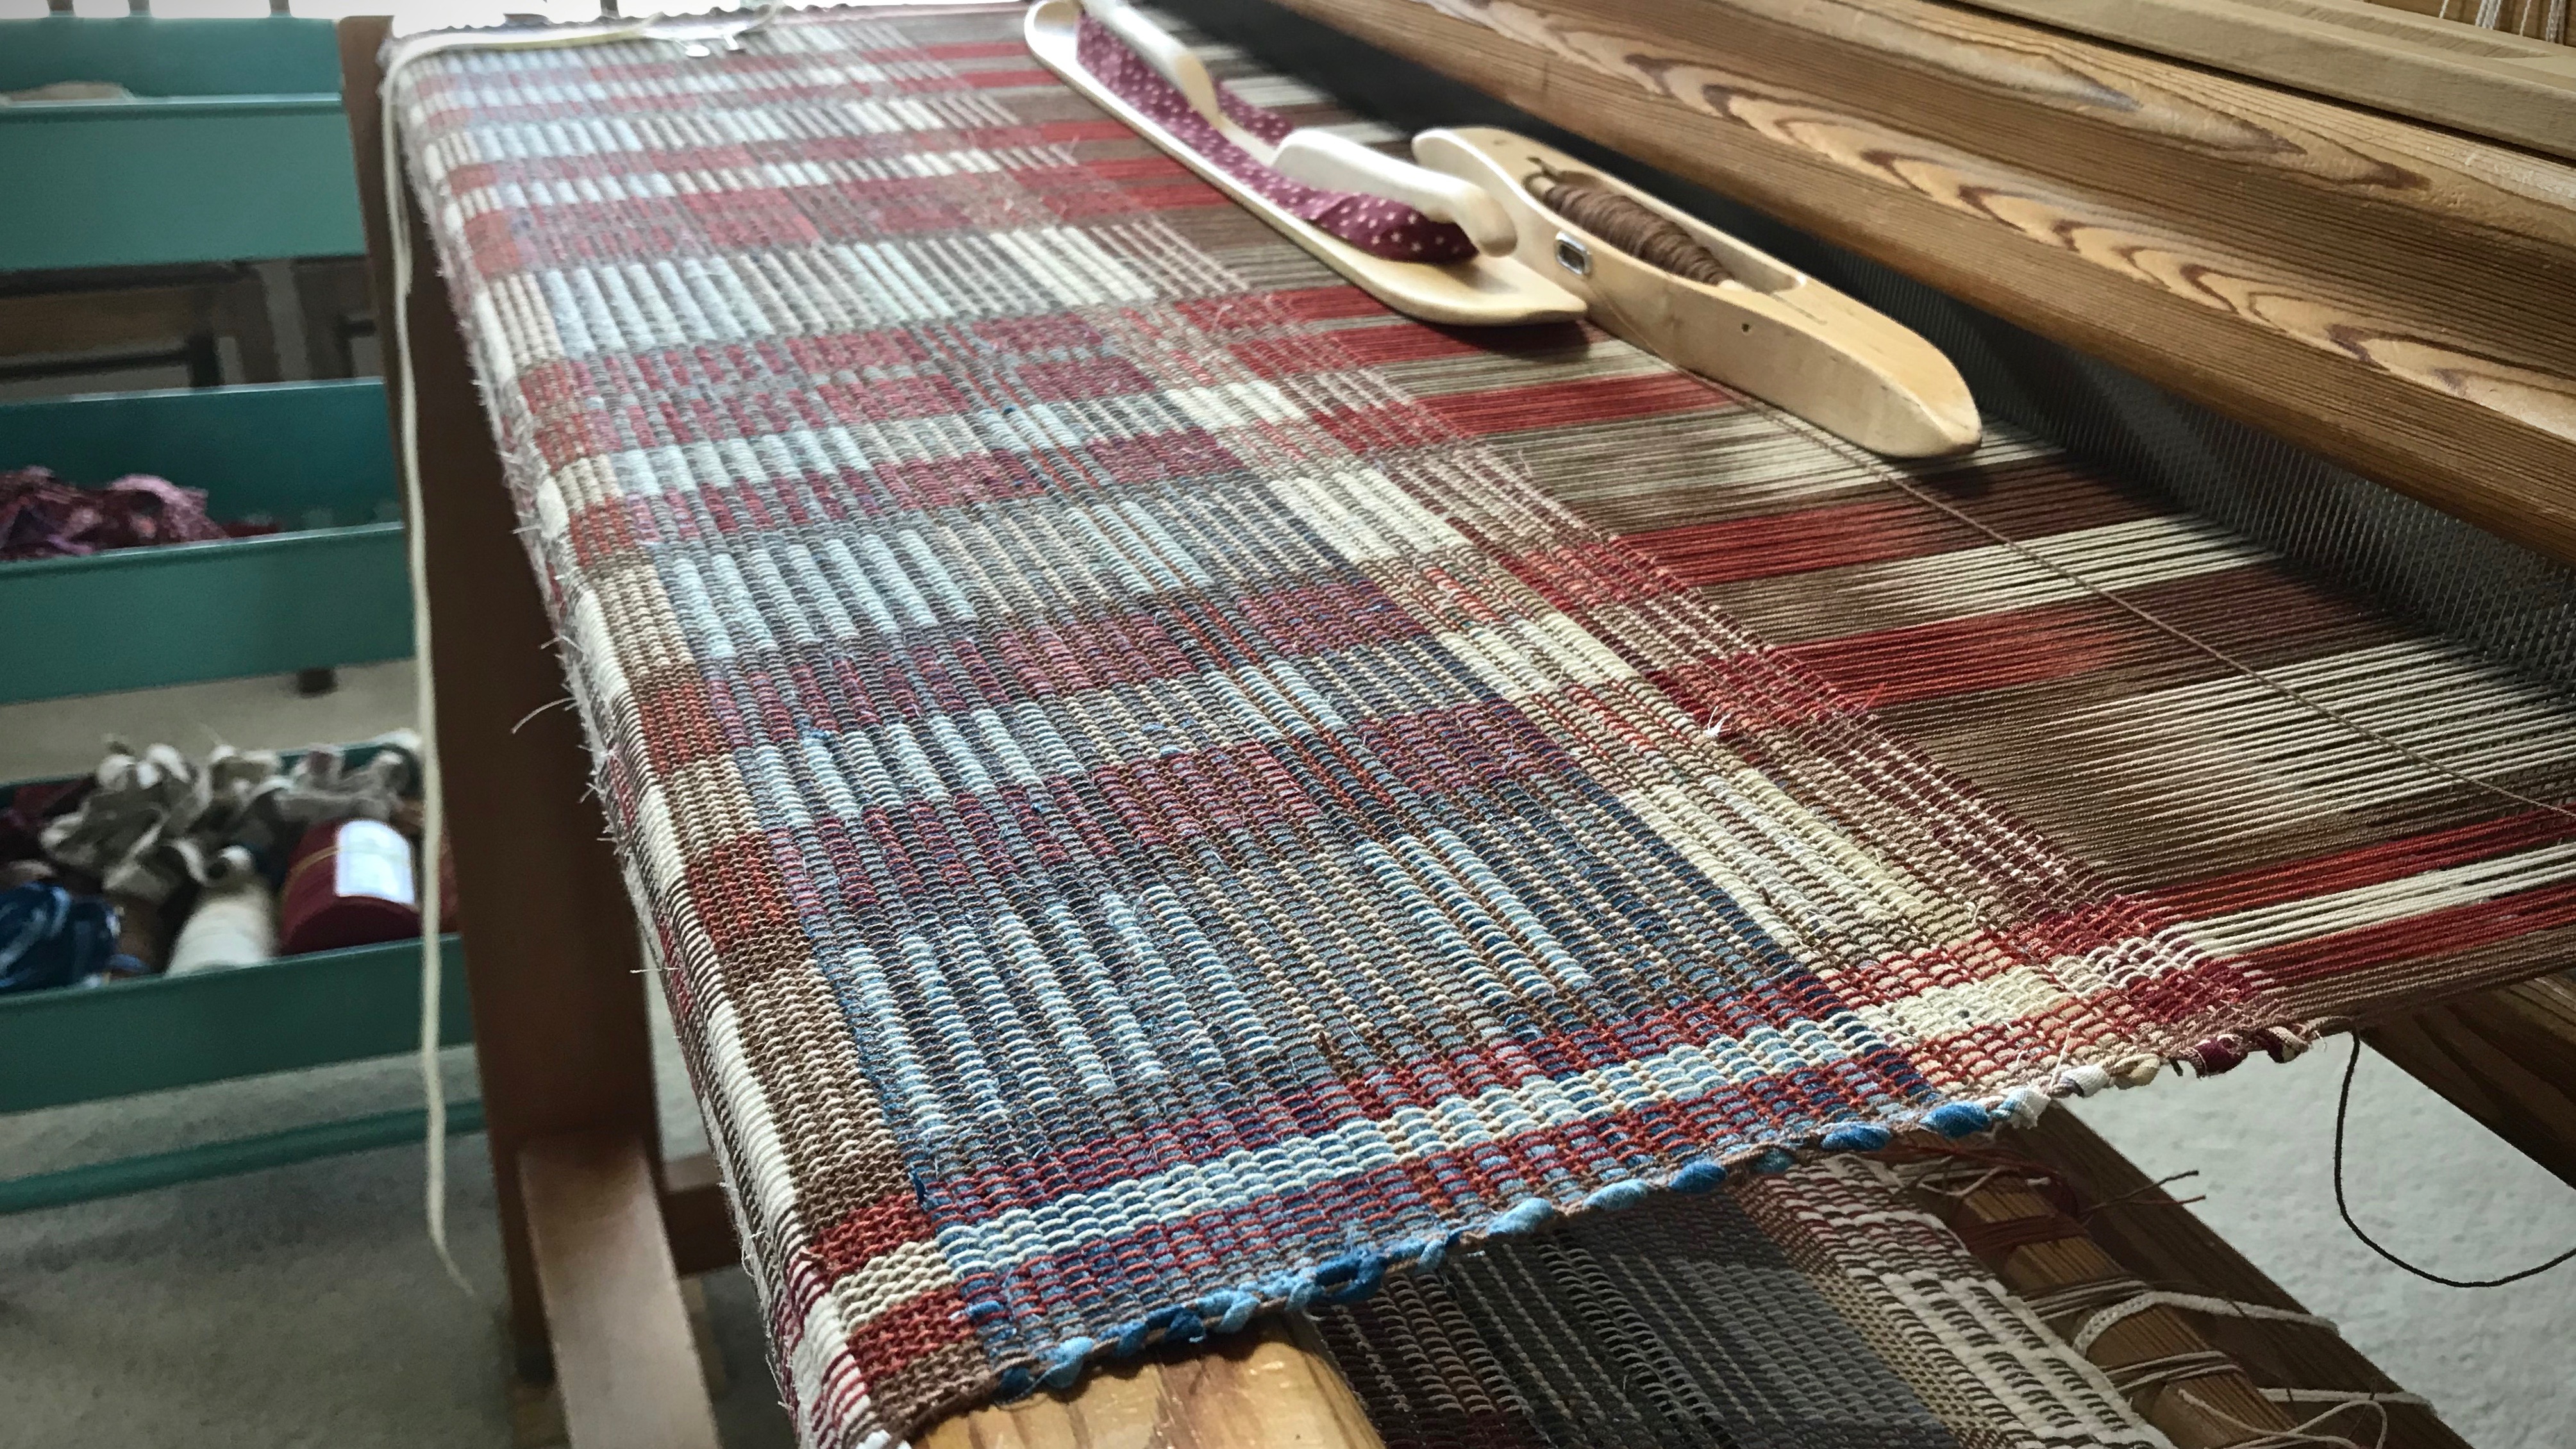
Halfway is a milestone when you are threading 2,064 ends. This double weave in two blocks has threading such that I can listen to podcasts without losing my place. It’s a long stretch to the halfway point.
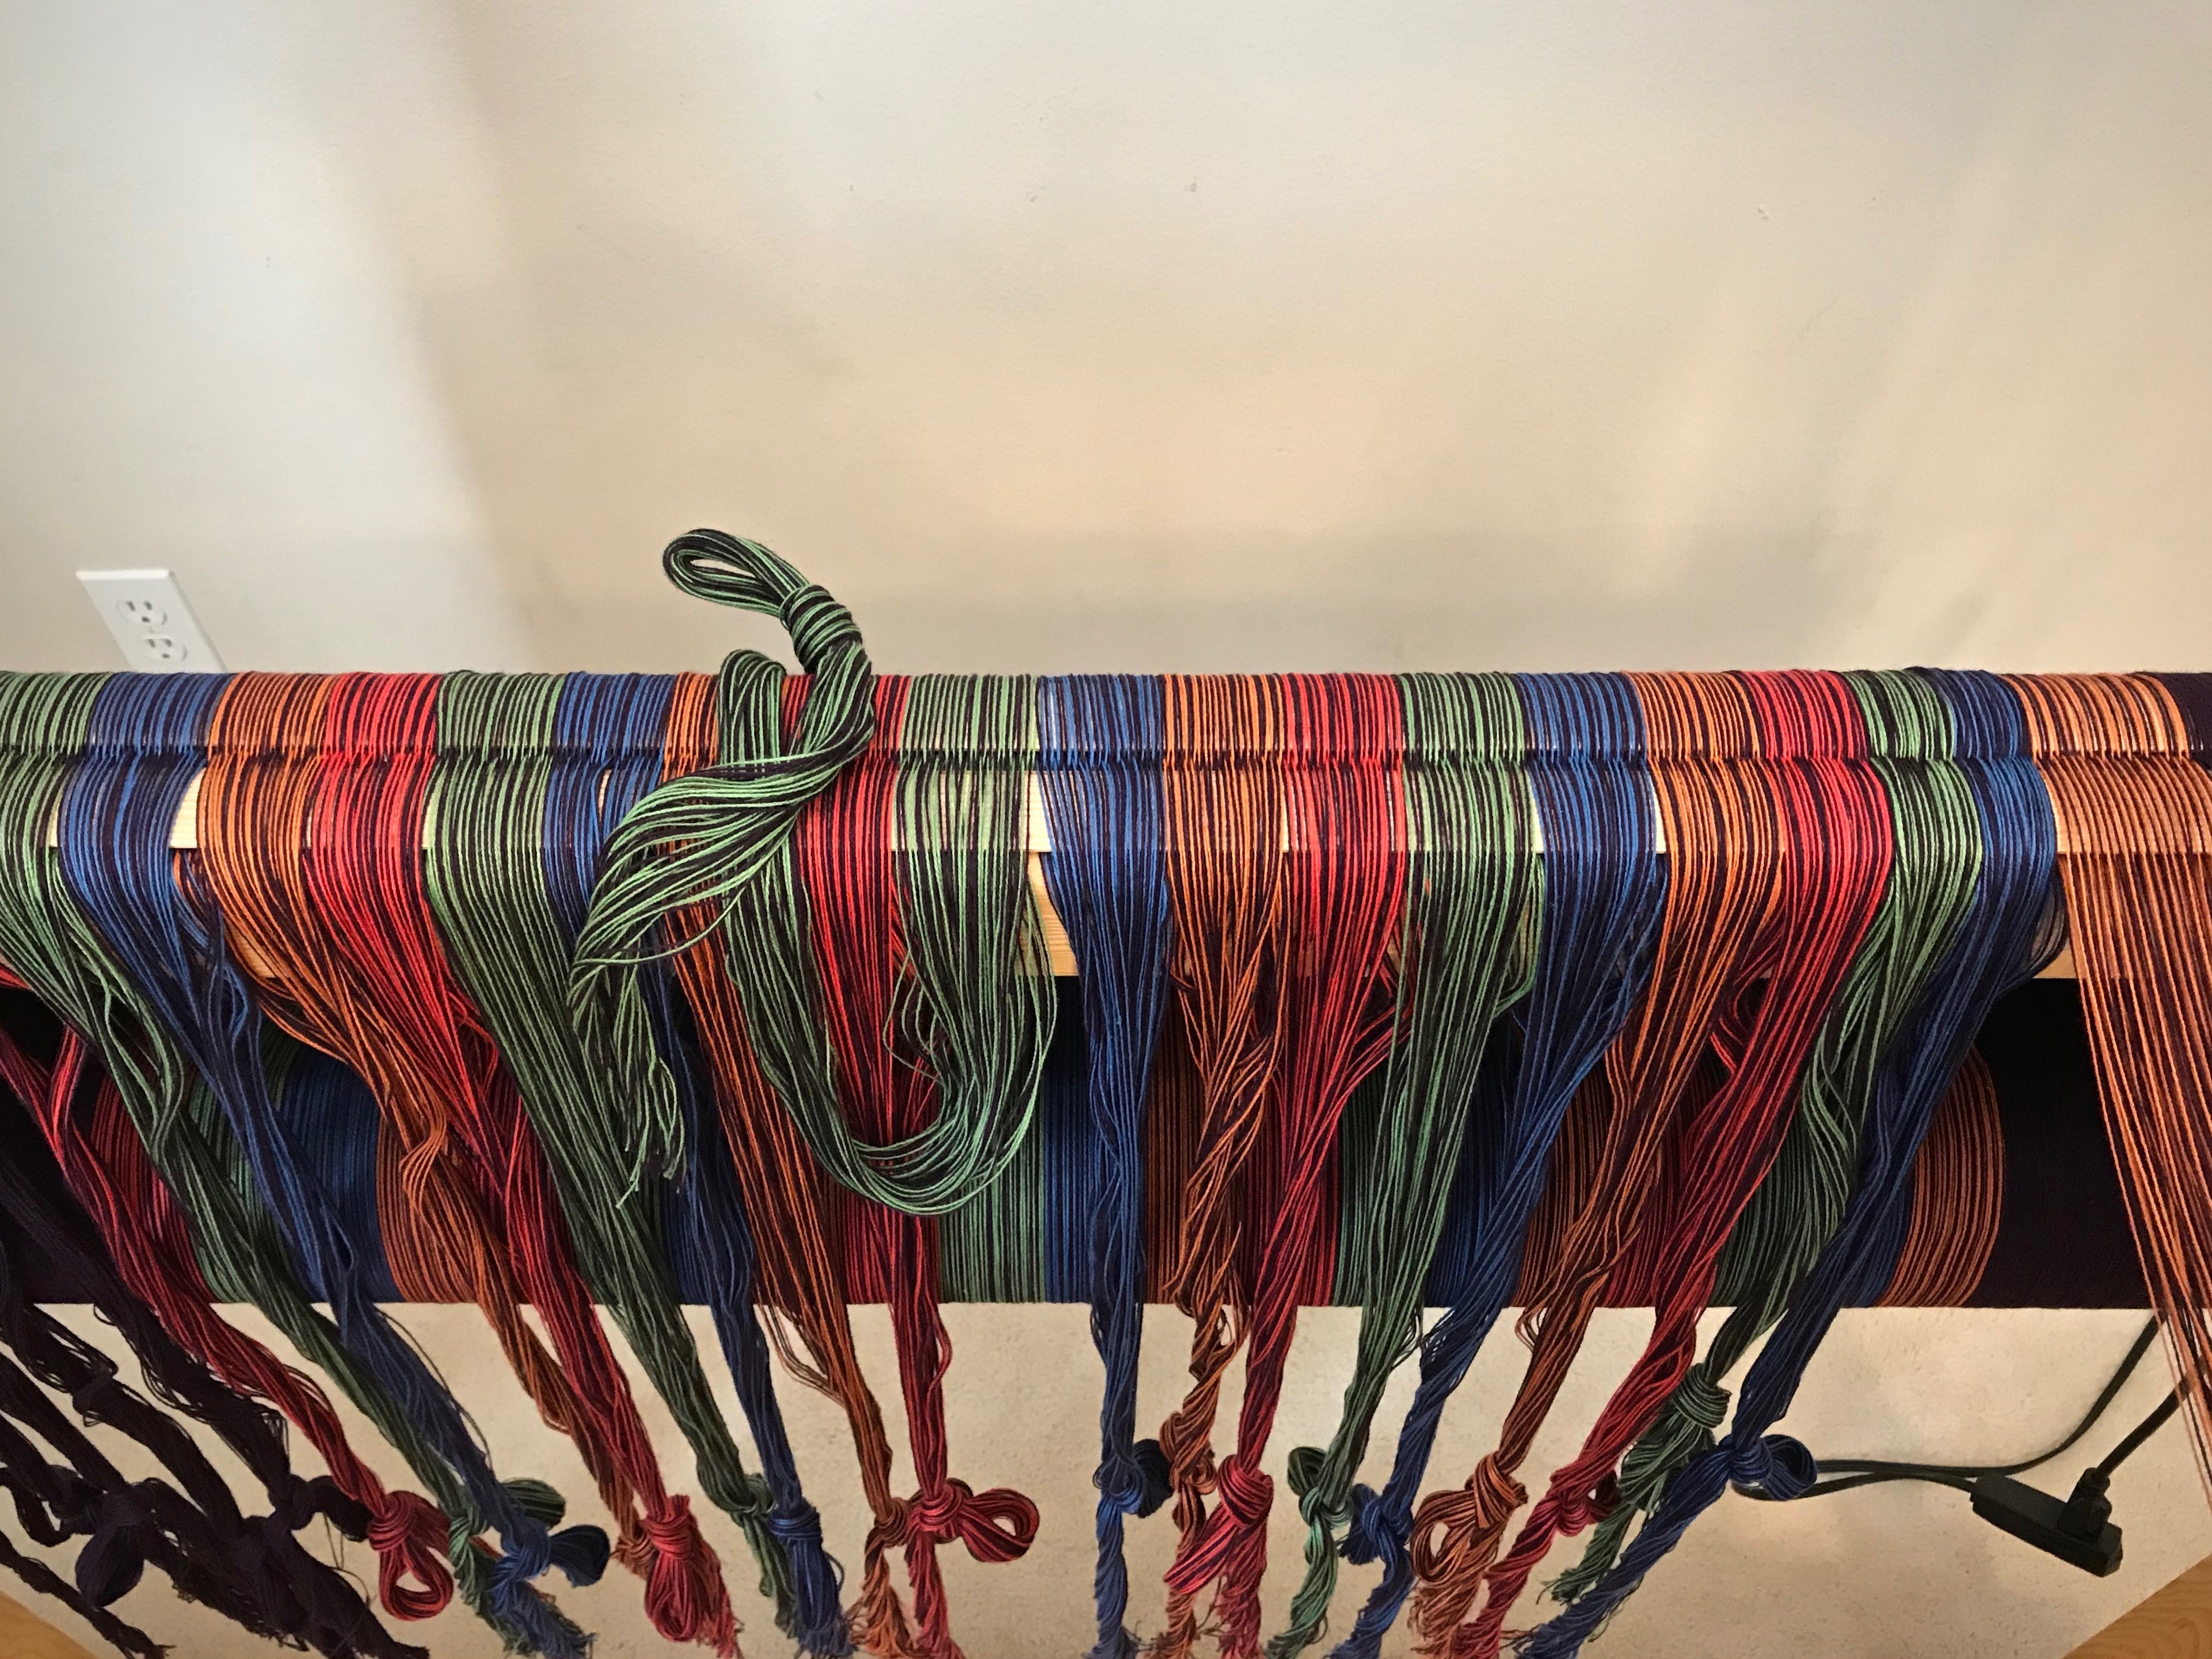
Before threading, I find the center of the warp and the group of ends that are just past center. I drape those ends on the back beam to mark the spot.
Center of the warp is identified. The ends just left of center mark the spot.Sitting in my playhouse to thread the heddles. No hurry.
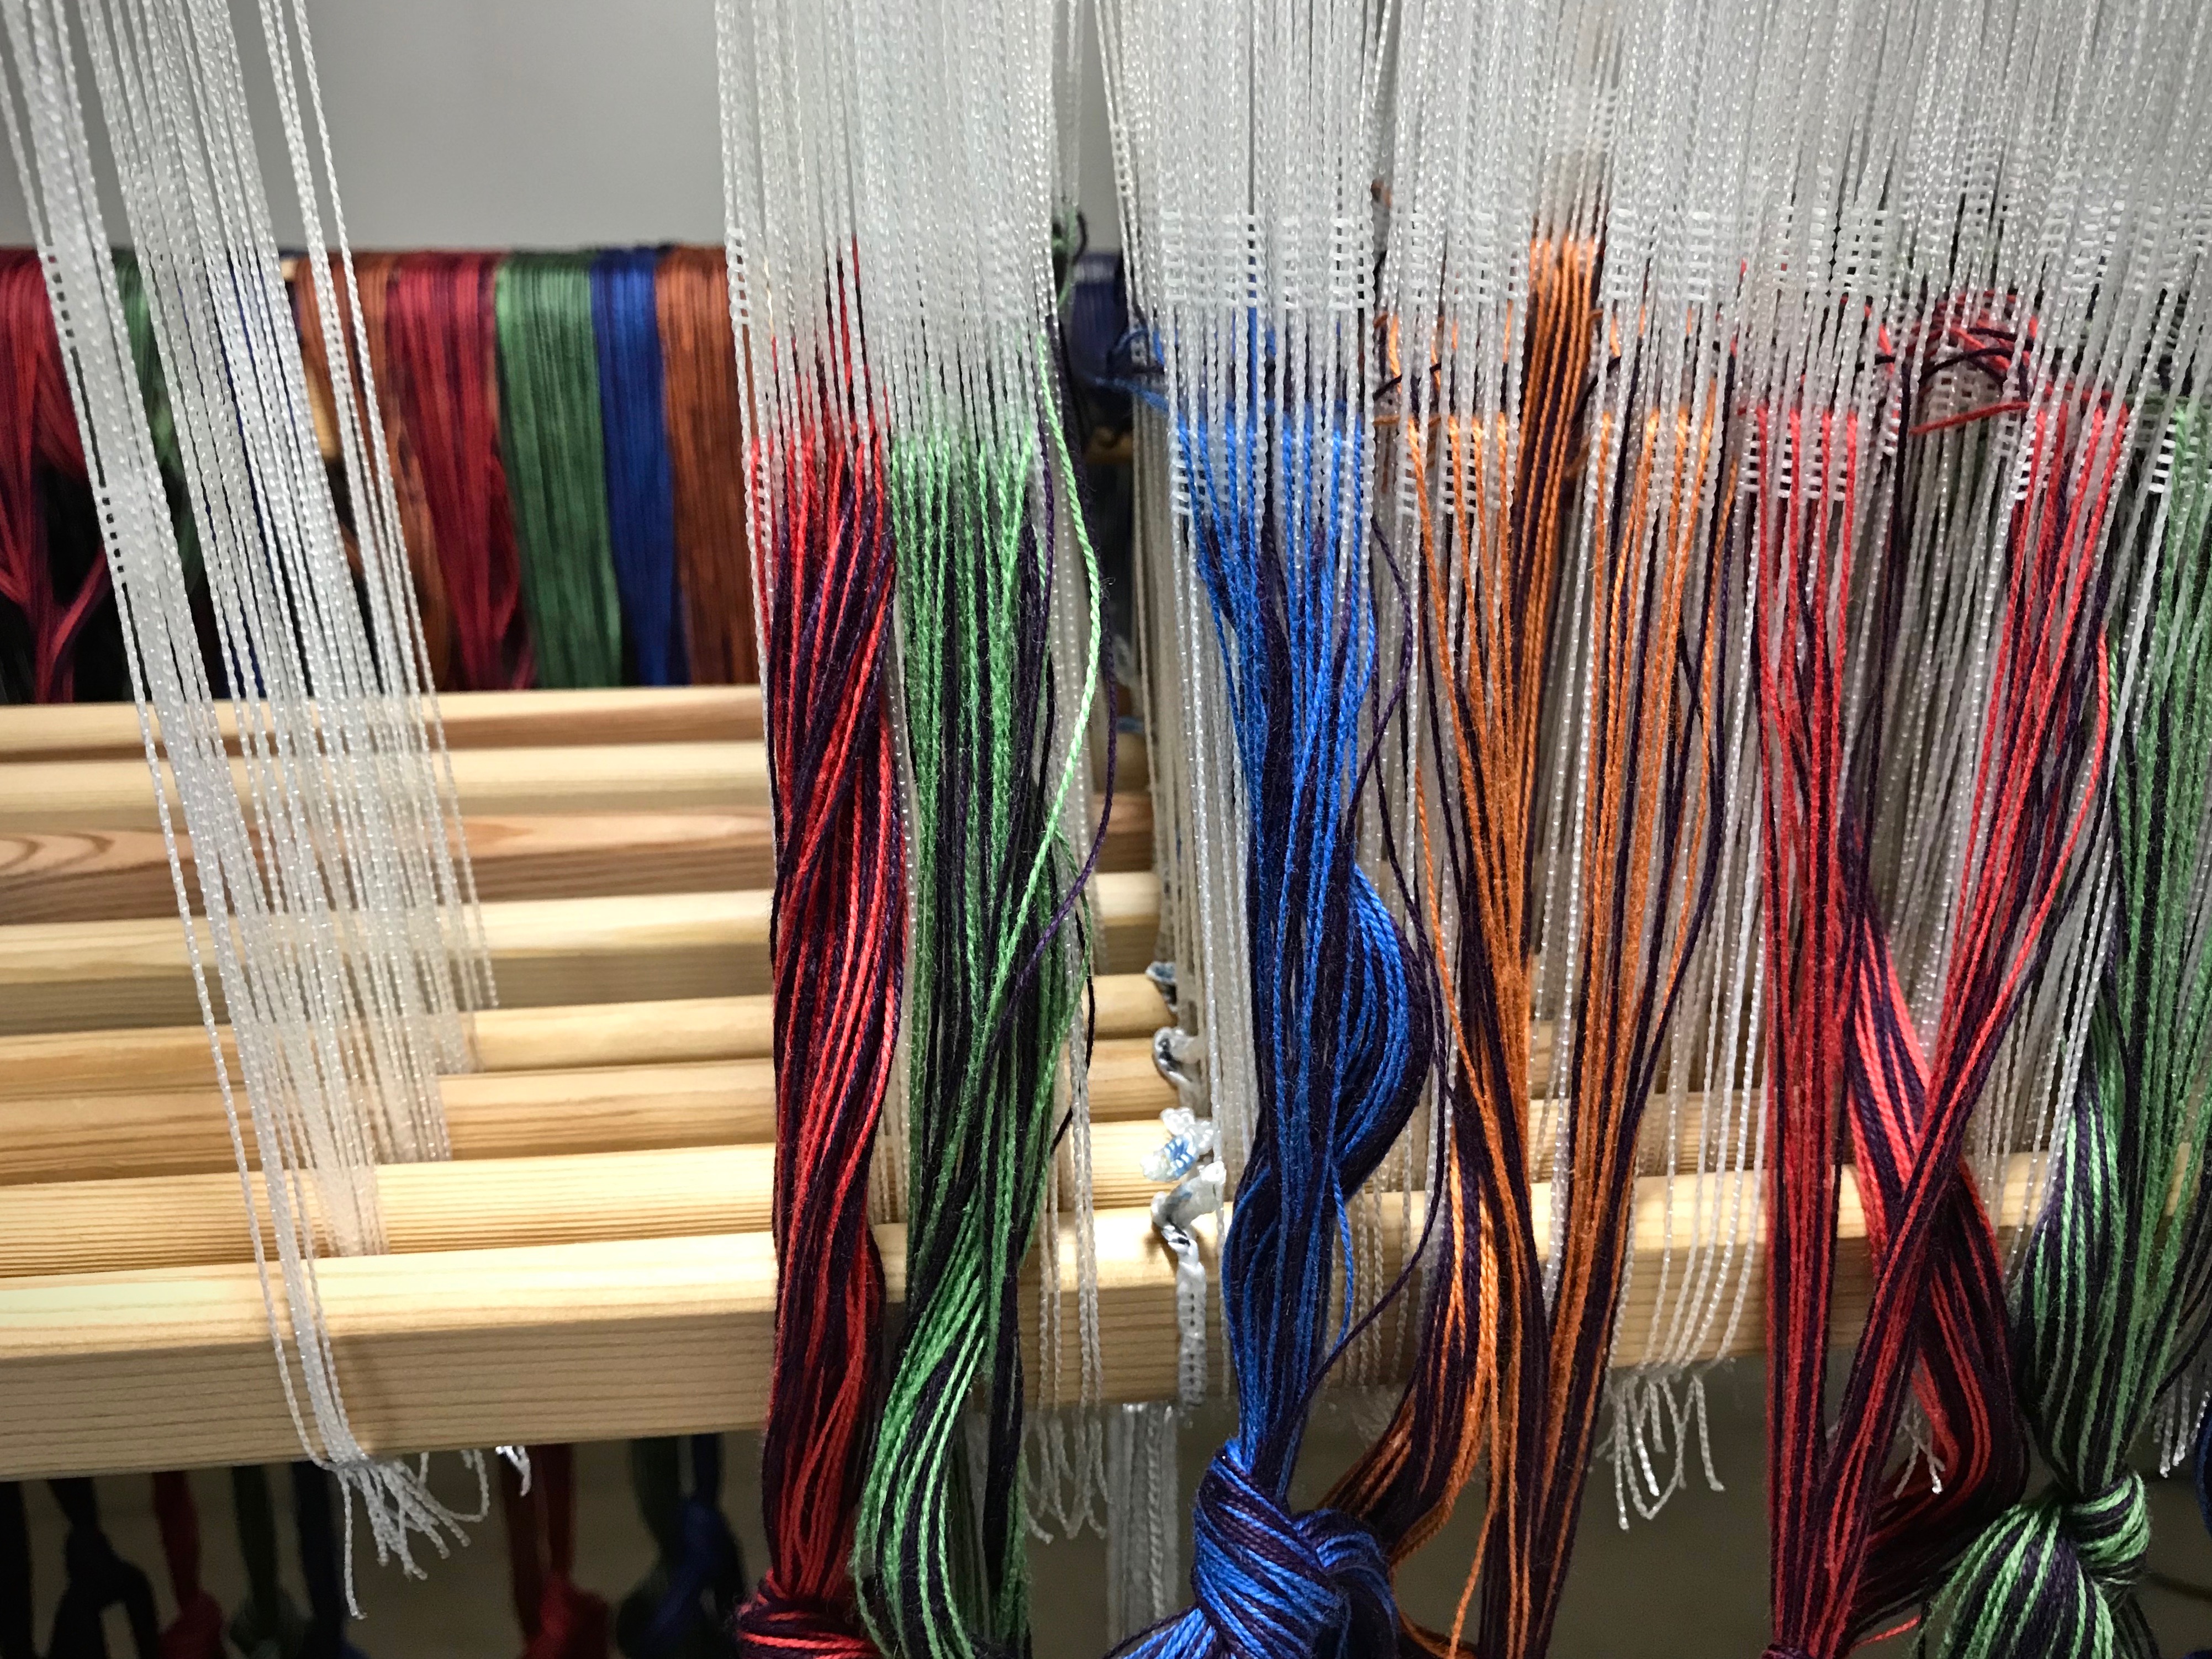
I’m excited to reach halfway in the threading! It’s a turning point. Now, while they are readily accessible, I position all of the shaft-to-lamm cords to hang down, right at the center of the warp where they belong.
Half of the threading work is done! Only 1,032 ends to go. 🙂Center of the warp. Good time to align the cords that go from the lower shaft bars to the upper lamms.Threading for the double weave throw continues, a few minutes here, an hour there, until all the ends are in heddles.
Have you ever reached a turning point in life, and knew it was time to position things? We try to be good and loving. But we’re never as good as we think. And we end up loving only the people we want to love. We have been separated from God. Our misdeeds push us away from him. Easter is resurrection, but before that is the cross of Christ. God so loved us that he closed the separation between us and him with the cross. That’s the turning point he offers to us, to set things right. Our part is to believe.
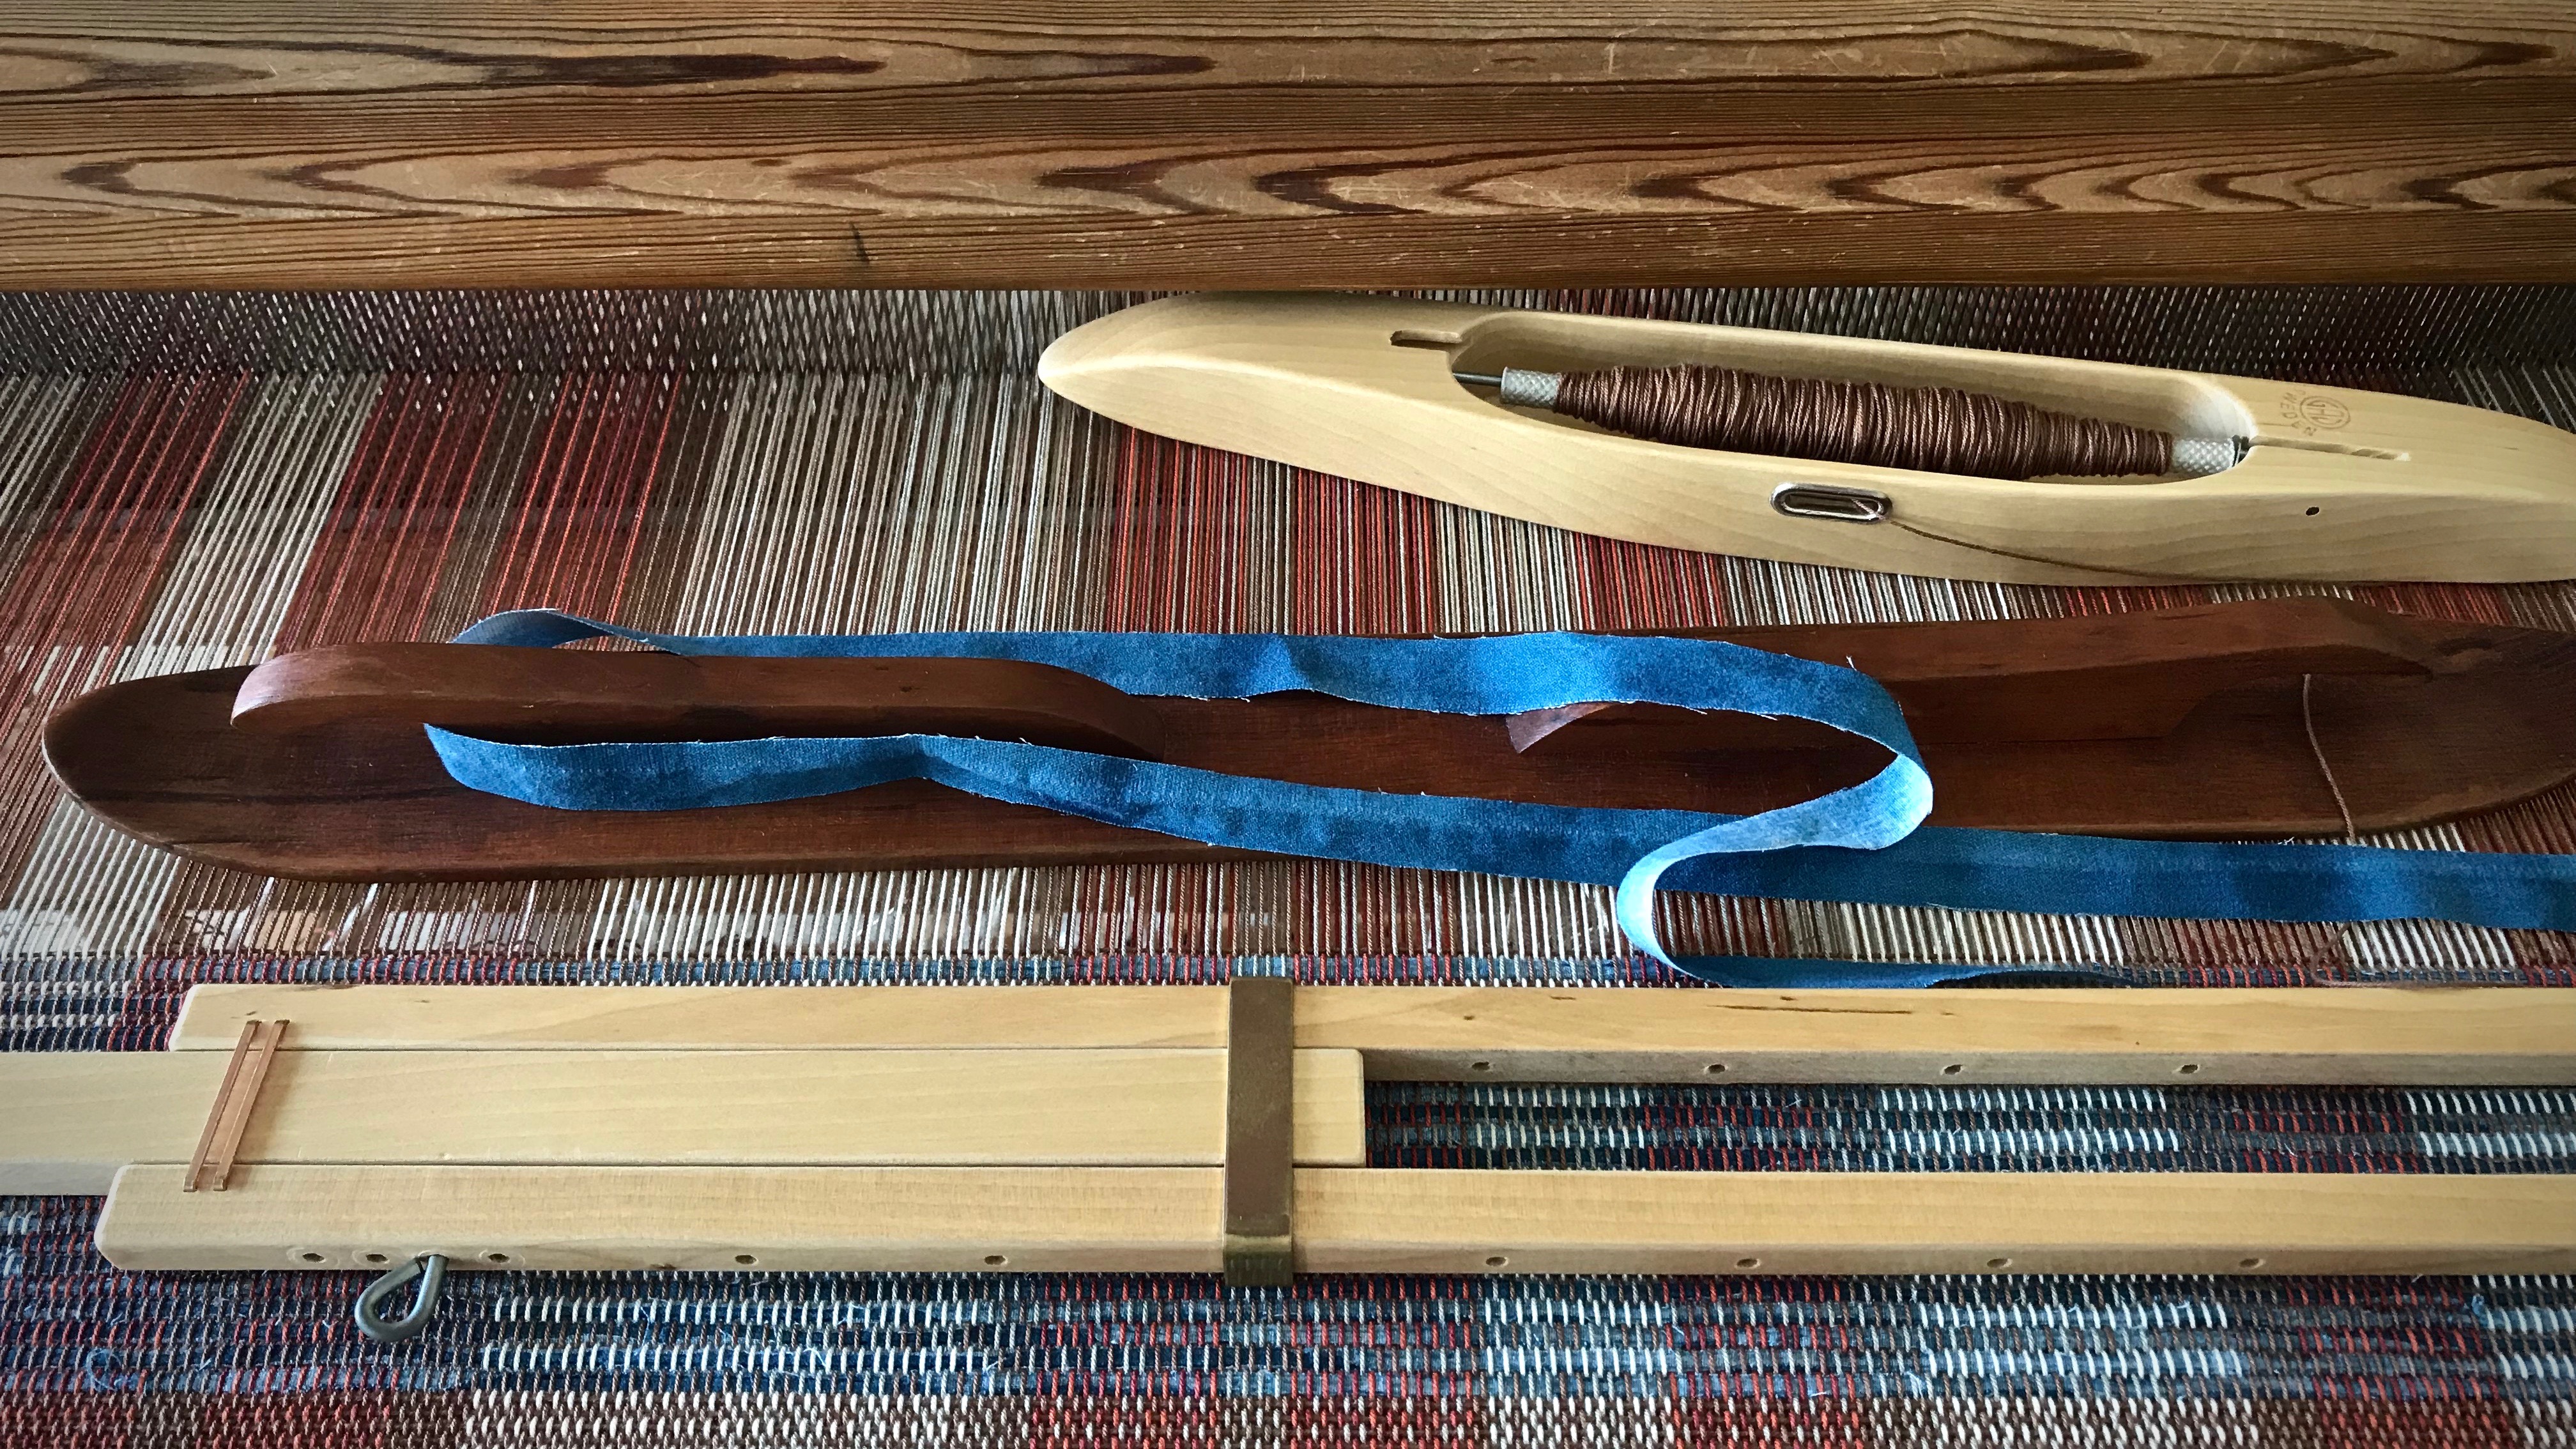
Here’s a secret: Two threads are better than one. To measure a warp, I always, without exception, wind the warp with two or more threads together. A warp that is wound with a single thread is prone to tangle as threads twist around each other. A warp wound with pairs of threads won’t do that.
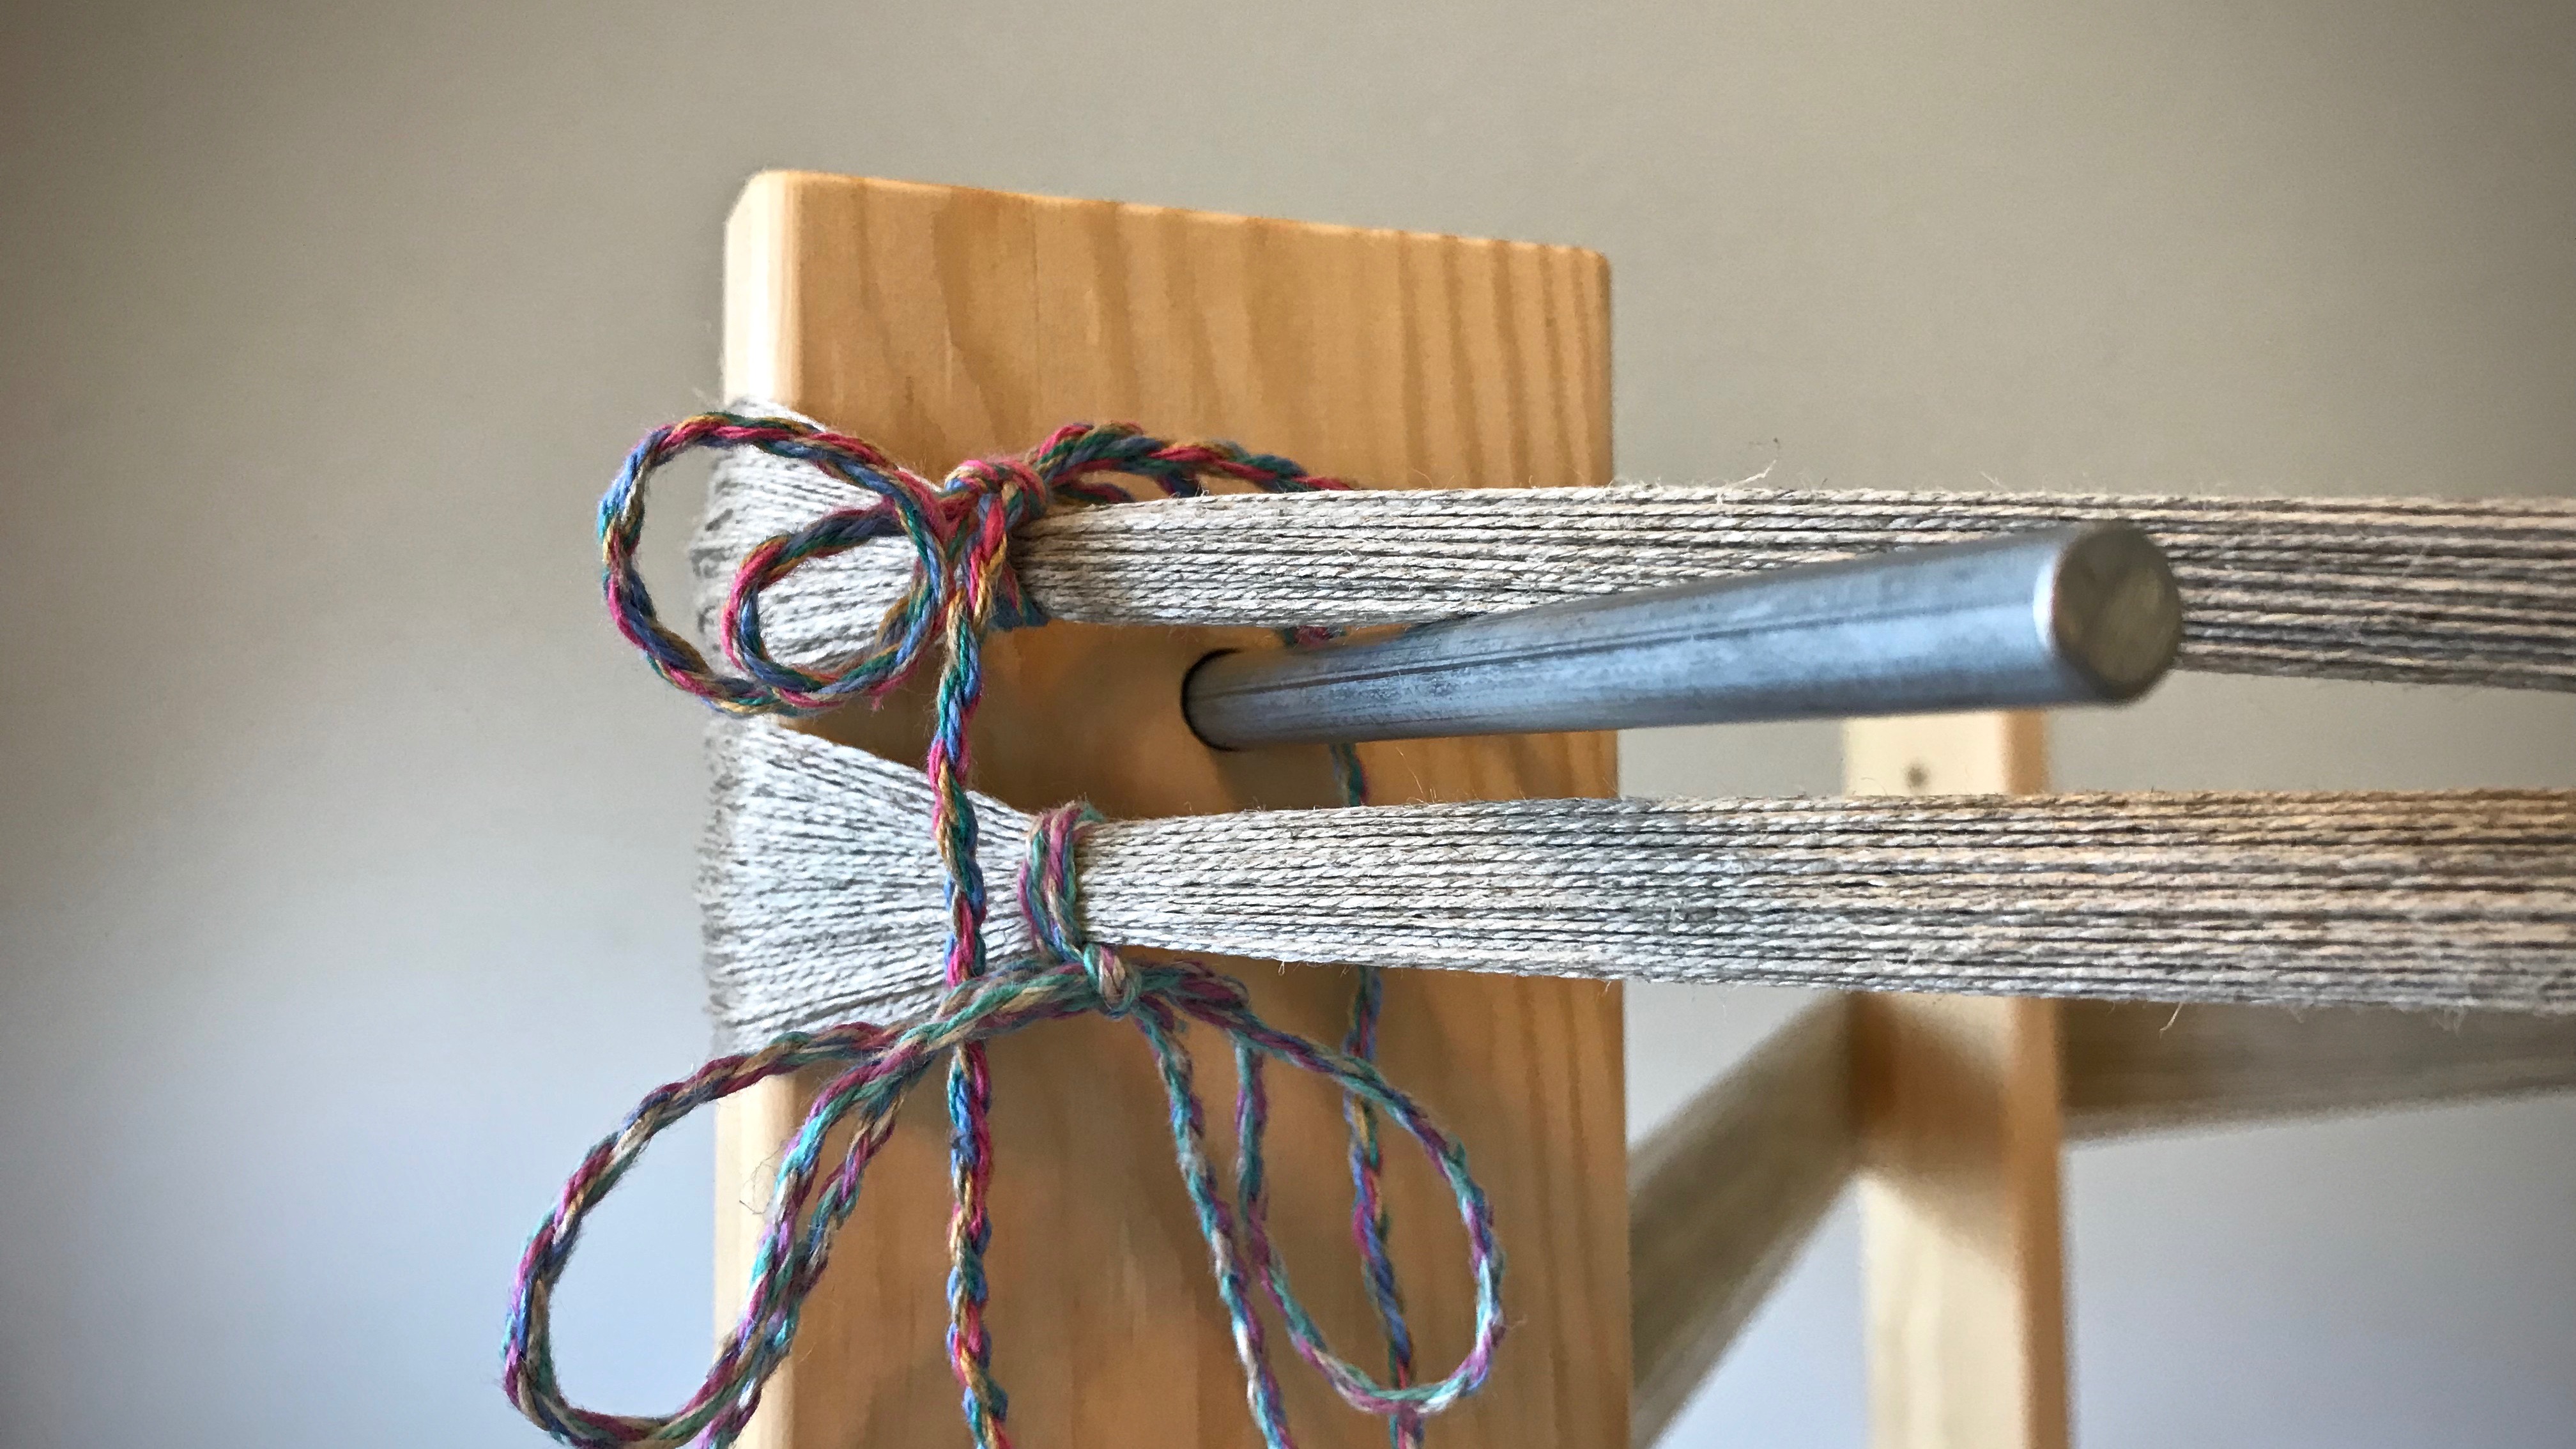
Choke ties secure the warp bout around the starting pin on the warping reel.I hold two threads in my right hand, with my little finger separating them, to wind the warp. My left hand turns the warping reel. I purchase enough thread to be able to wind with two tubes at a time. Any thread that remains unused goes toward another project.
I am particular about this warp. It’s linen, so consistency matters. Tangles would disrupt the even tension the linen needs. I have dräll in five-shaftsatin in mind as I take each careful step to dress the loom. I expanded the loom to ten shafts to be able to weave this! Expect happy weaving, to be sure, but imagine how pleasant it will be to hold this dreamed-of cloth in my hand. That future cloth gives meaning to my present efforts at the loom.
Various stages of weaving. Winding 16/2 unbleached line linen to warp the Standard loom. The Baby Loom (Glimåkra Ideal) in the background is in the middle of rag-rug weaving.Ten shafts in place on the Big Loom (Glimåkra Standard) to prepare the loom for weaving dräll in five-shaft satin.
There must be meaning beyond this life for us to find meaning in this life. The end of the weaving is the beginning of the life of the cloth. There is purposeful preparation by the Grand Weaver, with a precisely measured warp. The back-and-forth shuttle is like the ticking of a clock, or the passing of years. The end is the beginning. Can you imagine the splendid setting the Grand Weaver has in mind for his hand-woven cloth?
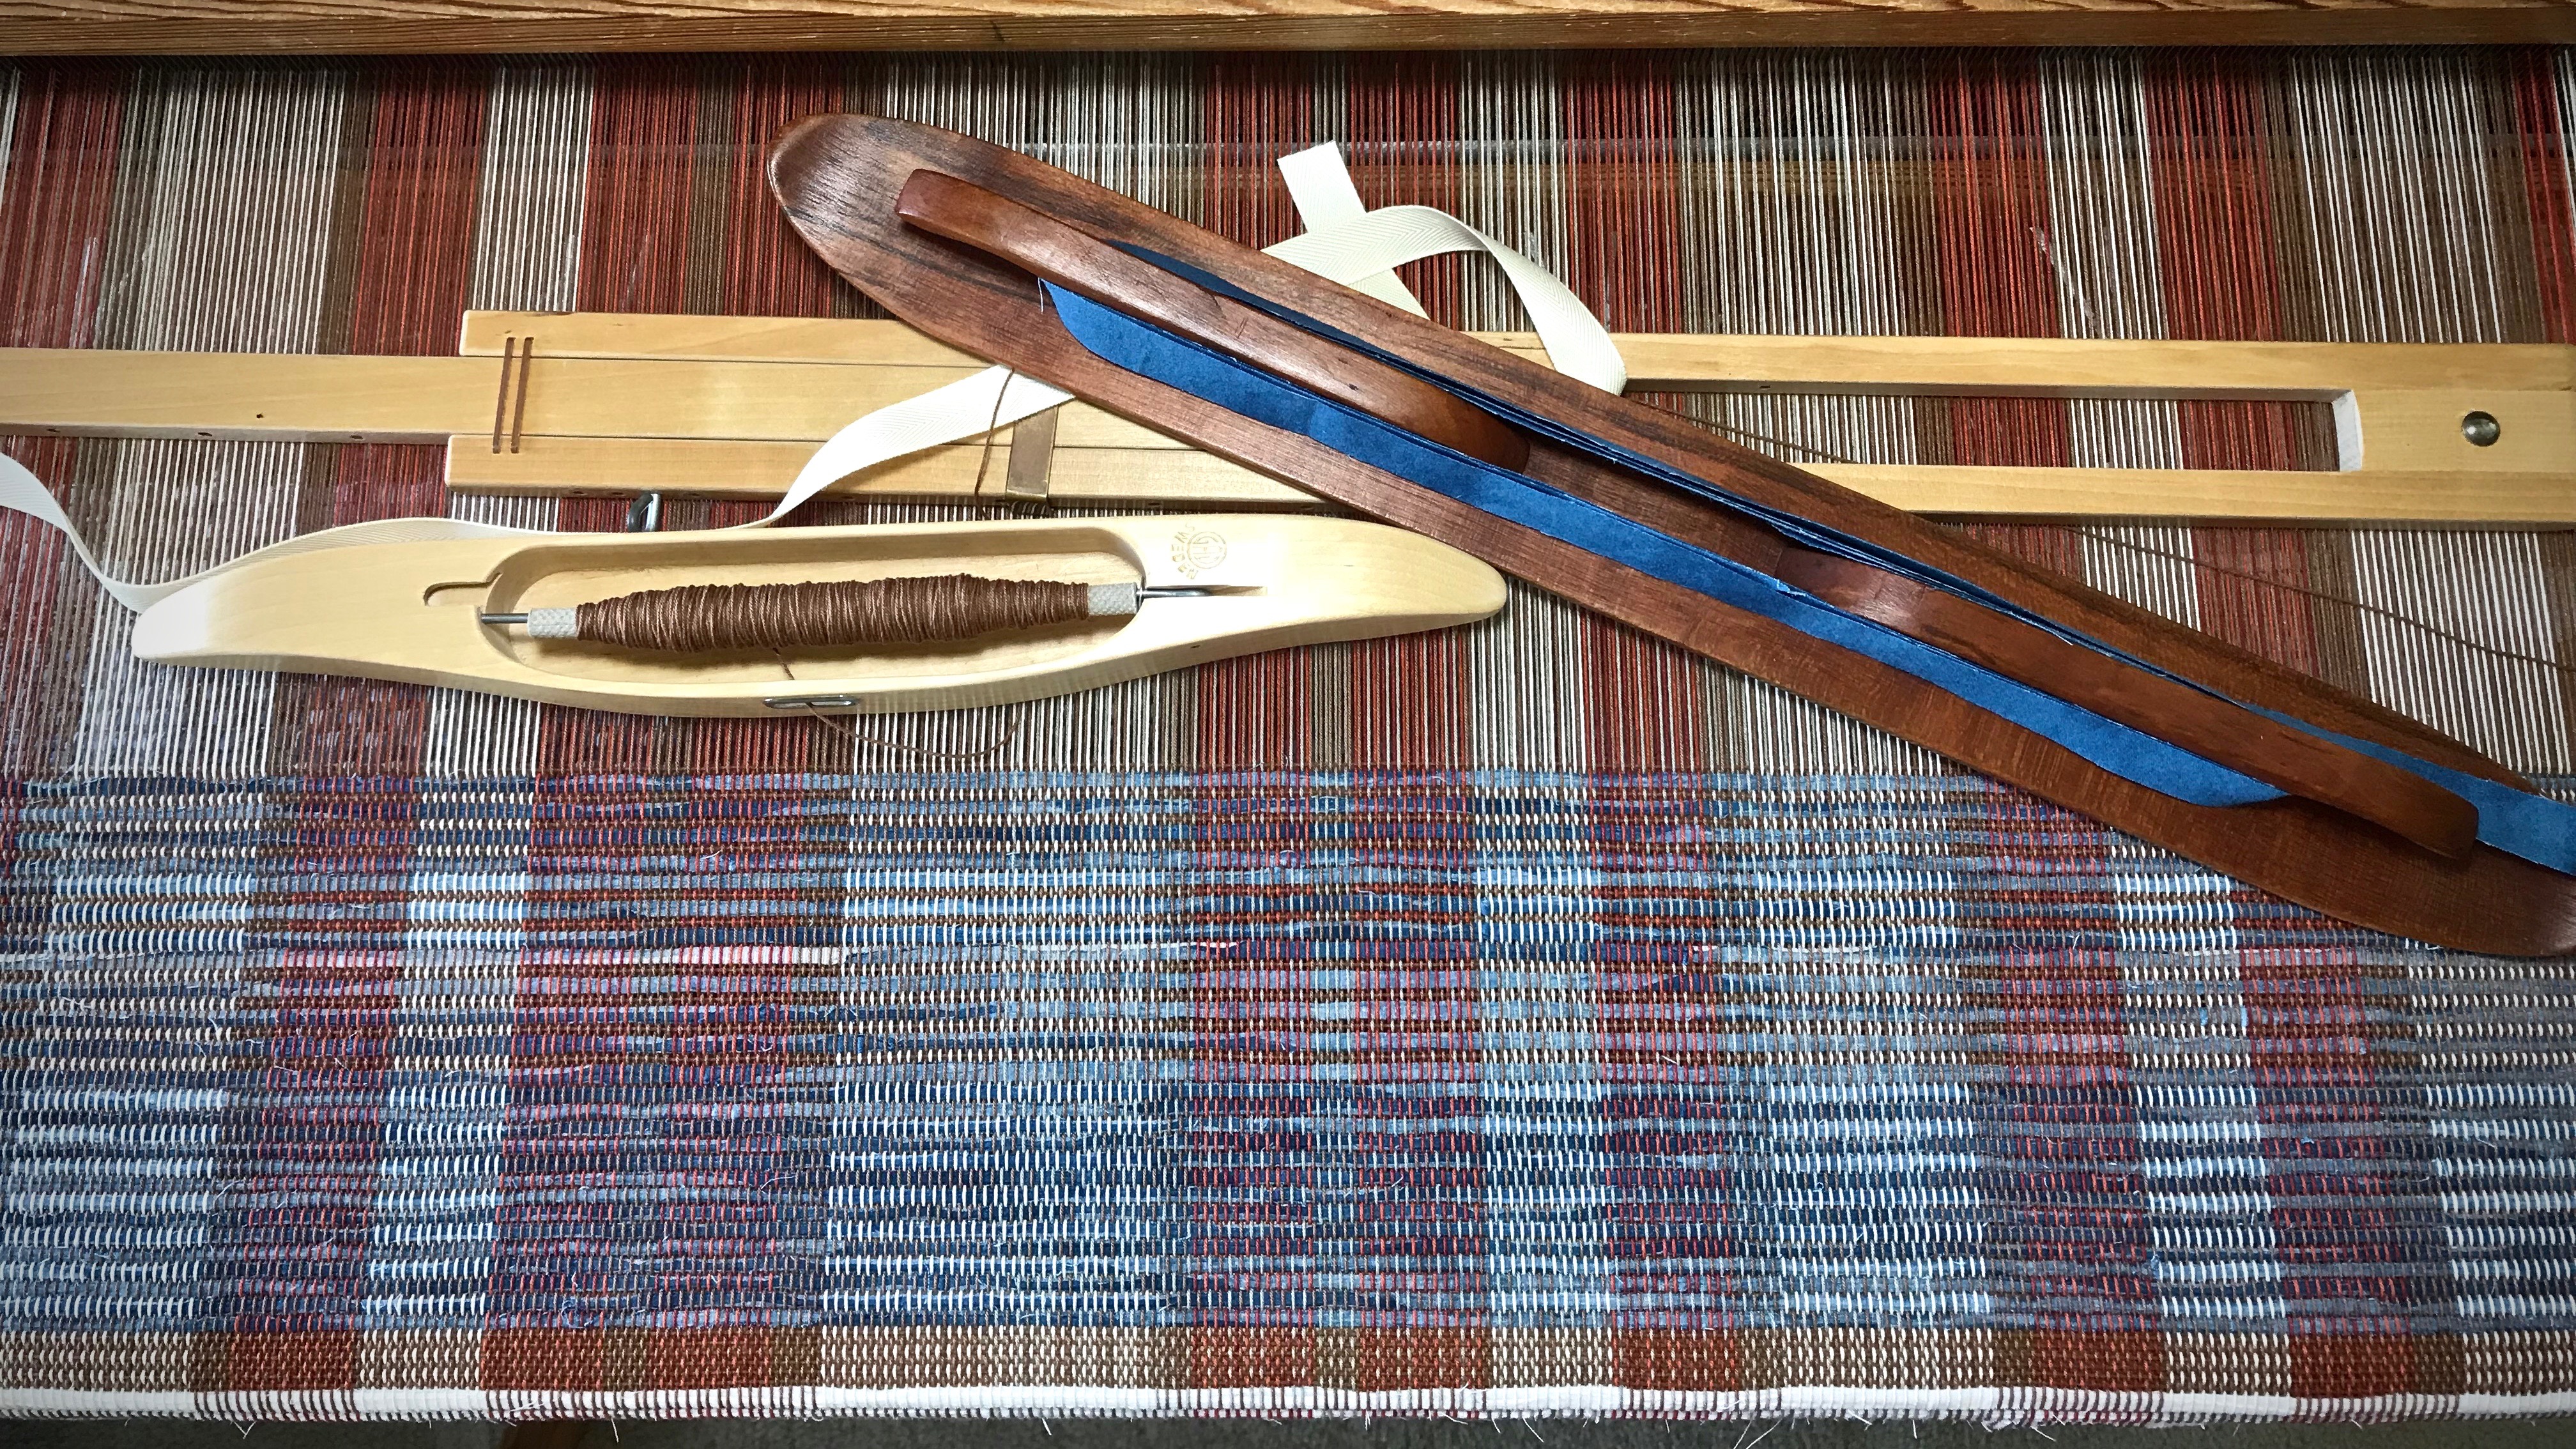
The temple is one of my favorite tools. I have a collection of them. I happily use a temple for almost everything I weave. And I certainly wouldn’t dream of weaving a rag rug without one!
Rag rugs are especially susceptible to draw-in, and a temple helps reduce that by maintaining the proper width of the rug. Draw-in distorts the shape of a rug, contributes to uneven warp tension, and can make selvedge threads break. A temple also aids in getting tight selvedges, and enables the firmest beat possible. (My favorite temples to use, even for rugs, are the wooden ones made by Glimåkra.)
Set the temple to the proper width. (The video below shows how I do it.)
You can set the temple into the cloth as soon as there is is enough woven for two or three teeth to sink into. Then, move the temple up when you have woven enough to set all the teeth into the cloth.
Even with a temple, place adequate weft through the shed. The tool works best in conjunction with careful weaving practices.
Watch out for the sharp points! I get pricked when I forget and reach around the selvedge to straighten something out.
Make sure the temple is far enough back from the fell line that it won’t scrape the edge of your beater. I have a scar on my beater because it was hitting the temple. Unfortunately, I didn’t notice until the damage was done.
Move the temple frequently. For consistency at the selvedges on a rag rug, I move the temple at least every inch.
Remove the temple by moving the slider with one hand, while holding the center part down with the other hand. Keep the pin in place and the temple will draw up in the center. Then, disengage the teeth from the cloth on both sides.
Width in the reed for this rag rug is 90 cm on this 100 cm loom. I keep a supply of temples so that I have what I need for any weaving width.
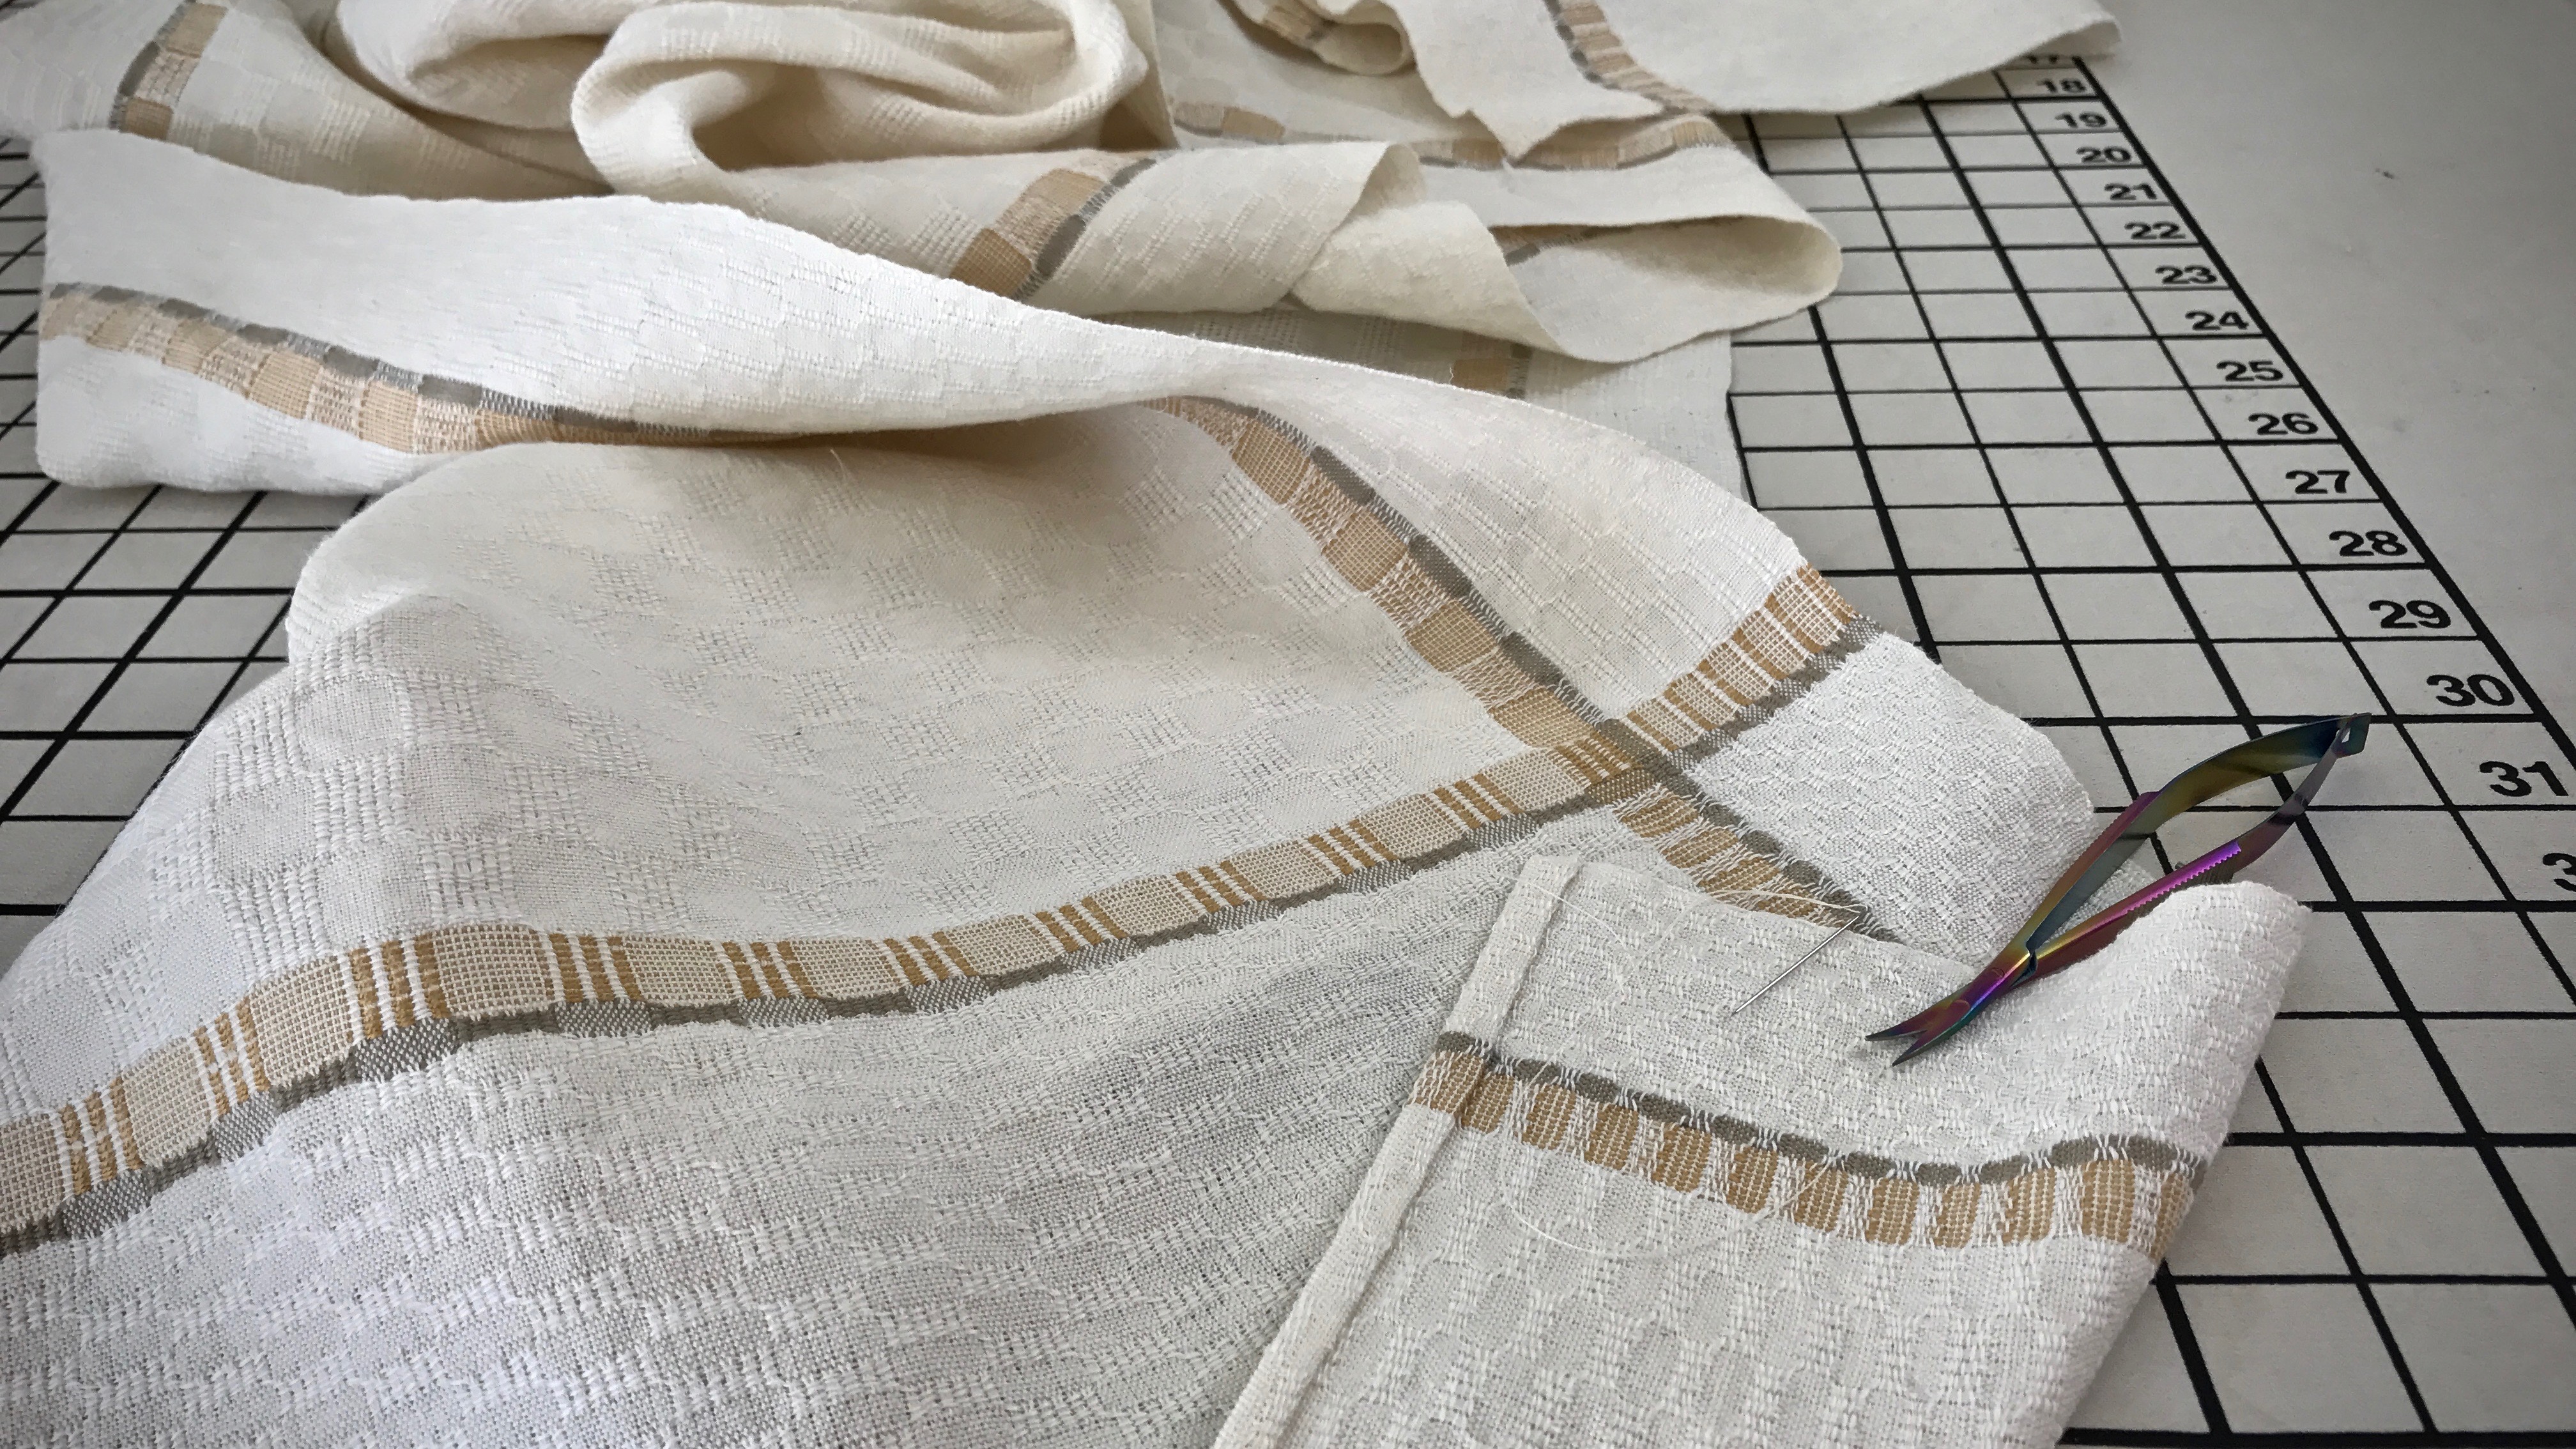
Hems shouldn’t be noticed. At least, not at first glance. I don’t want the stitching of the hem to detract from the overall handwoven quality. Decorative items, like this table runner, deserve a hand-stitched hem. But for functional pieces, like these tea towels, I stitch the hems on my trusty old Bernina sewing machine. This ensures the durability I want for something that will be thrown in the washer and dryer again and again.
Long M’s and O’s table runner is hemmed by hand using an invisible hem stitch.
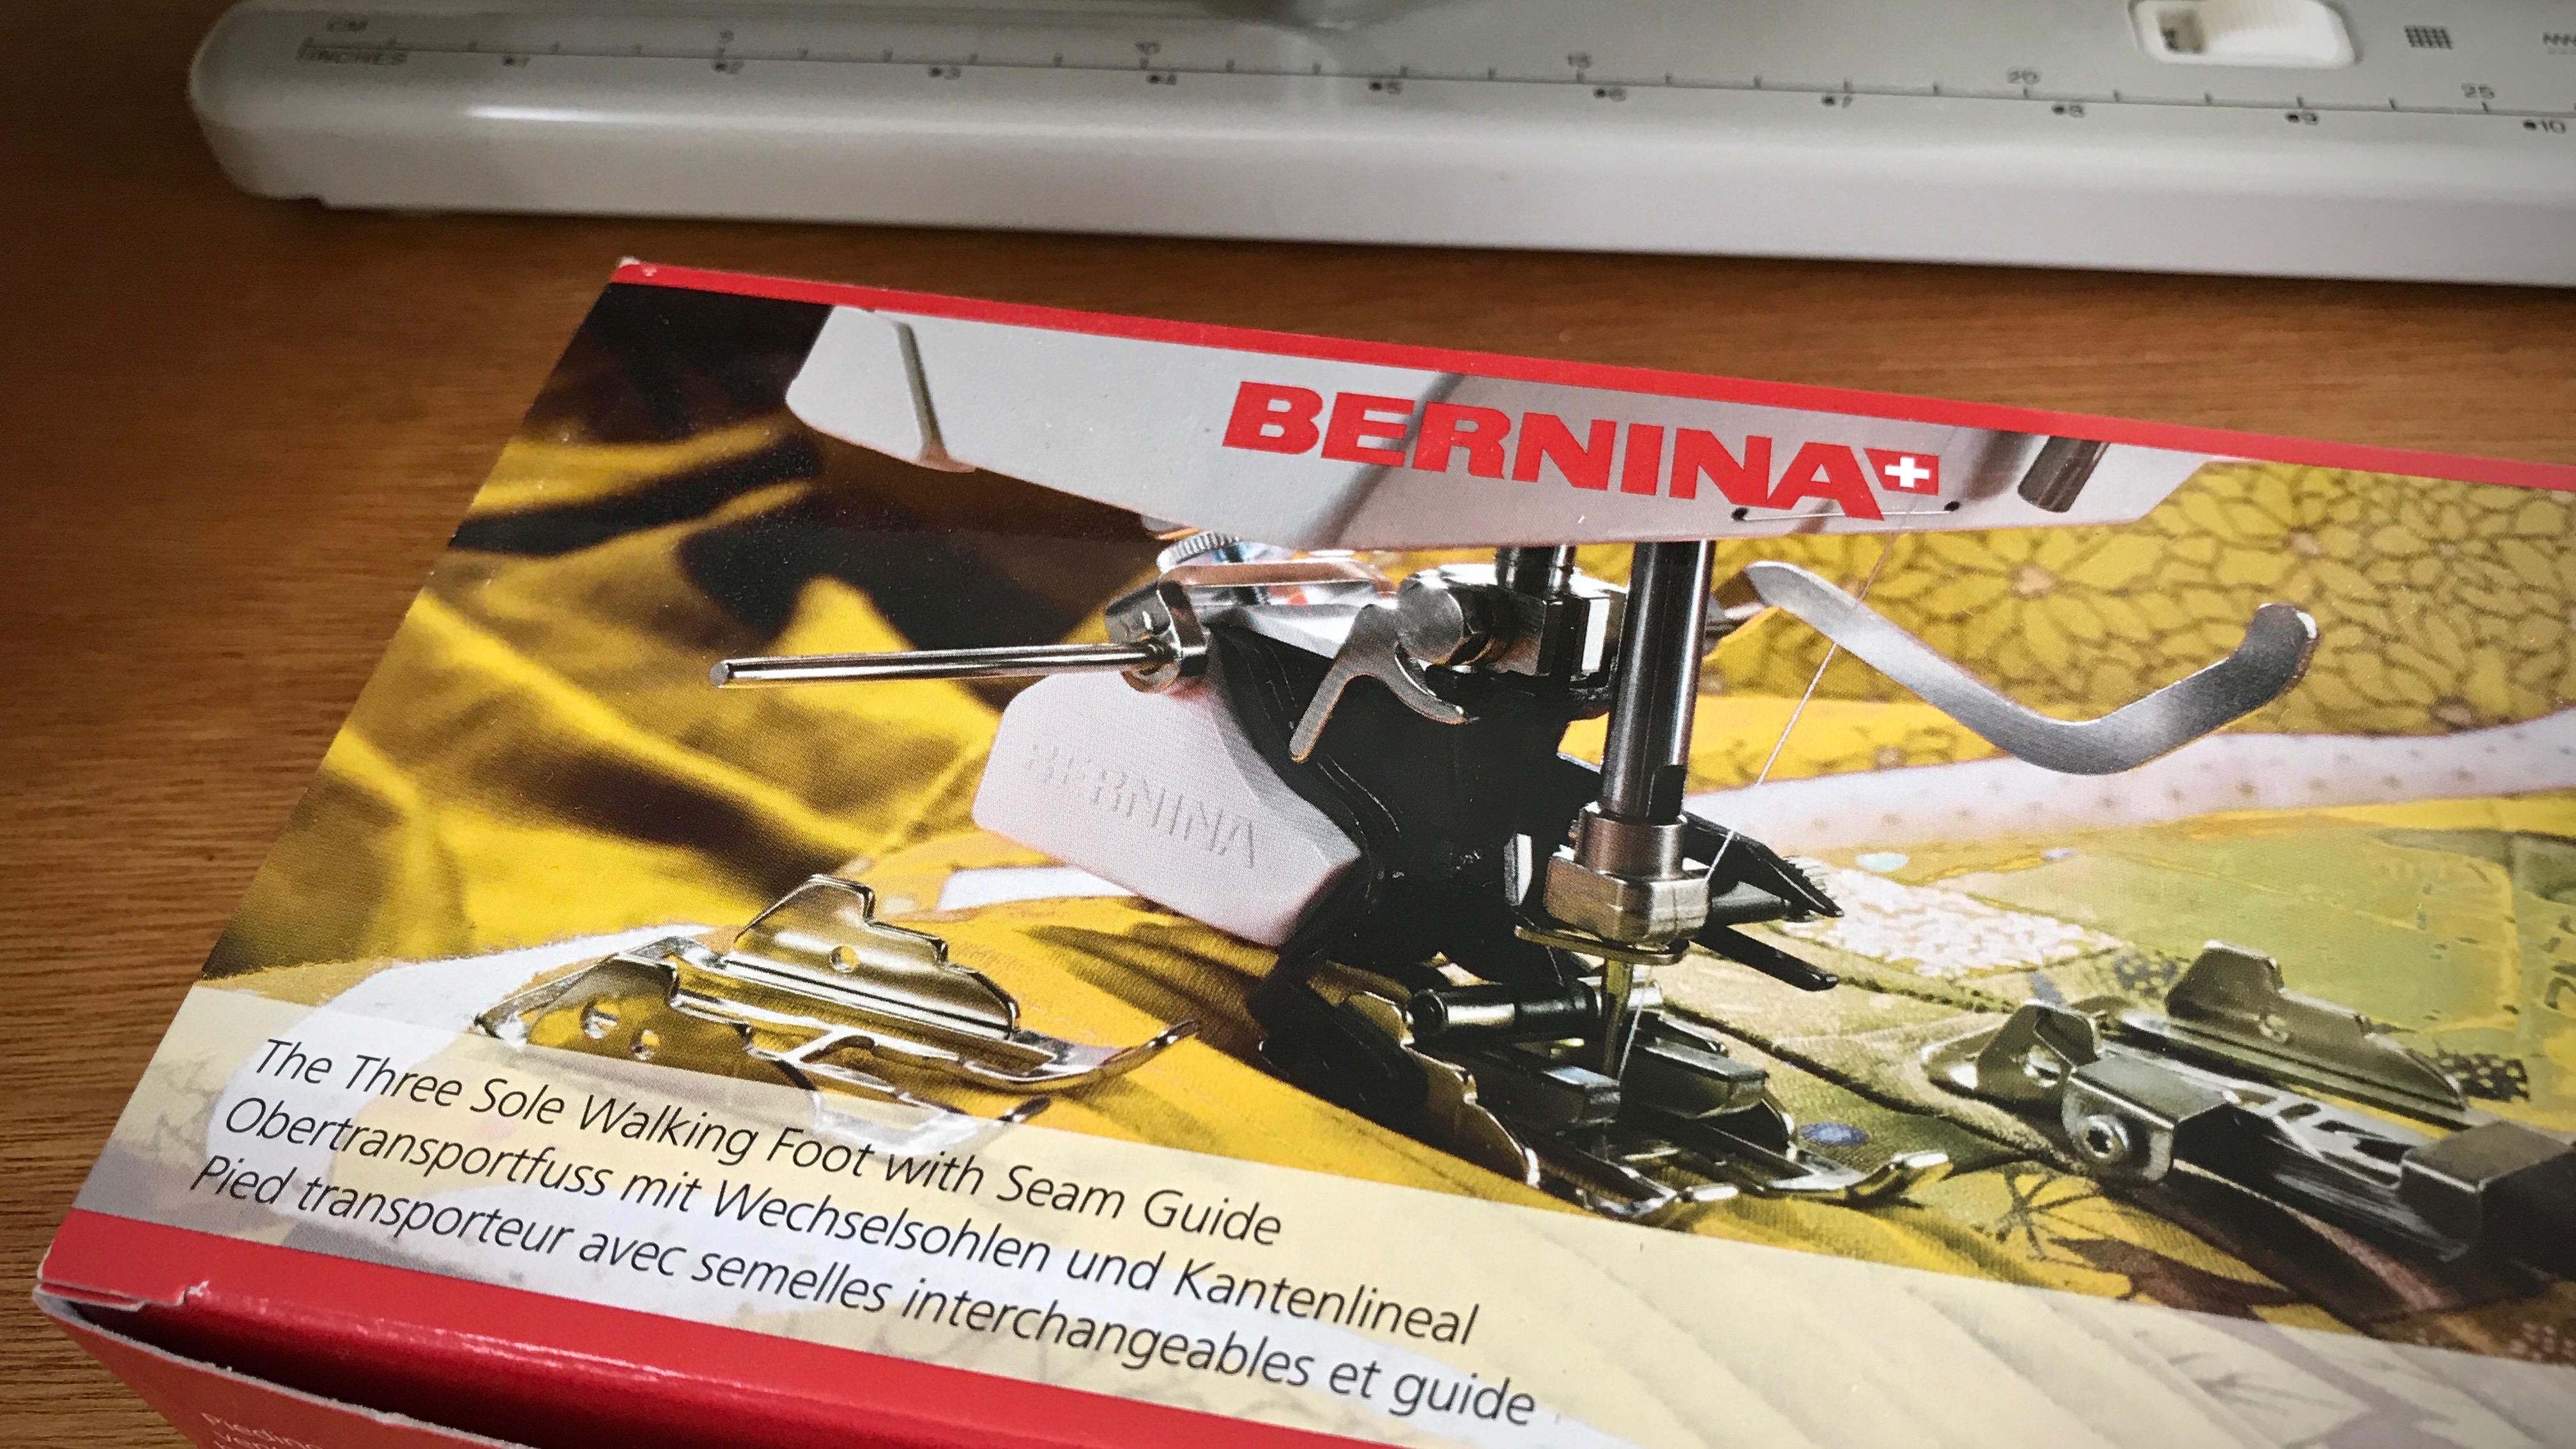
Last year I purchased a Bernina walking foot through my local Bernina repairman. It was one of the best sewing investments I have made. (Don’t be fooled by off-brand “Bernina compatible” products.) The advantage of a walking foot is that it evenly feeds layers of fabric, which is especially useful for sewing handwoven fabric. And for the towel hem, it means the top of the hem won’t become skewed and slanted as you sew, like it might with a regular sewing machine foot.
Bernina Three Sole Walking Foot with Seam Guide. The walking foot stays on my Bernina sewing machine almost all the time.
One of the three sole plates that comes with the Bernina walking foot is a sole for edge stitching. This works beautifully for stitching a narrow hem on lighter-weight fabric, like these airy cotton and linen towels.
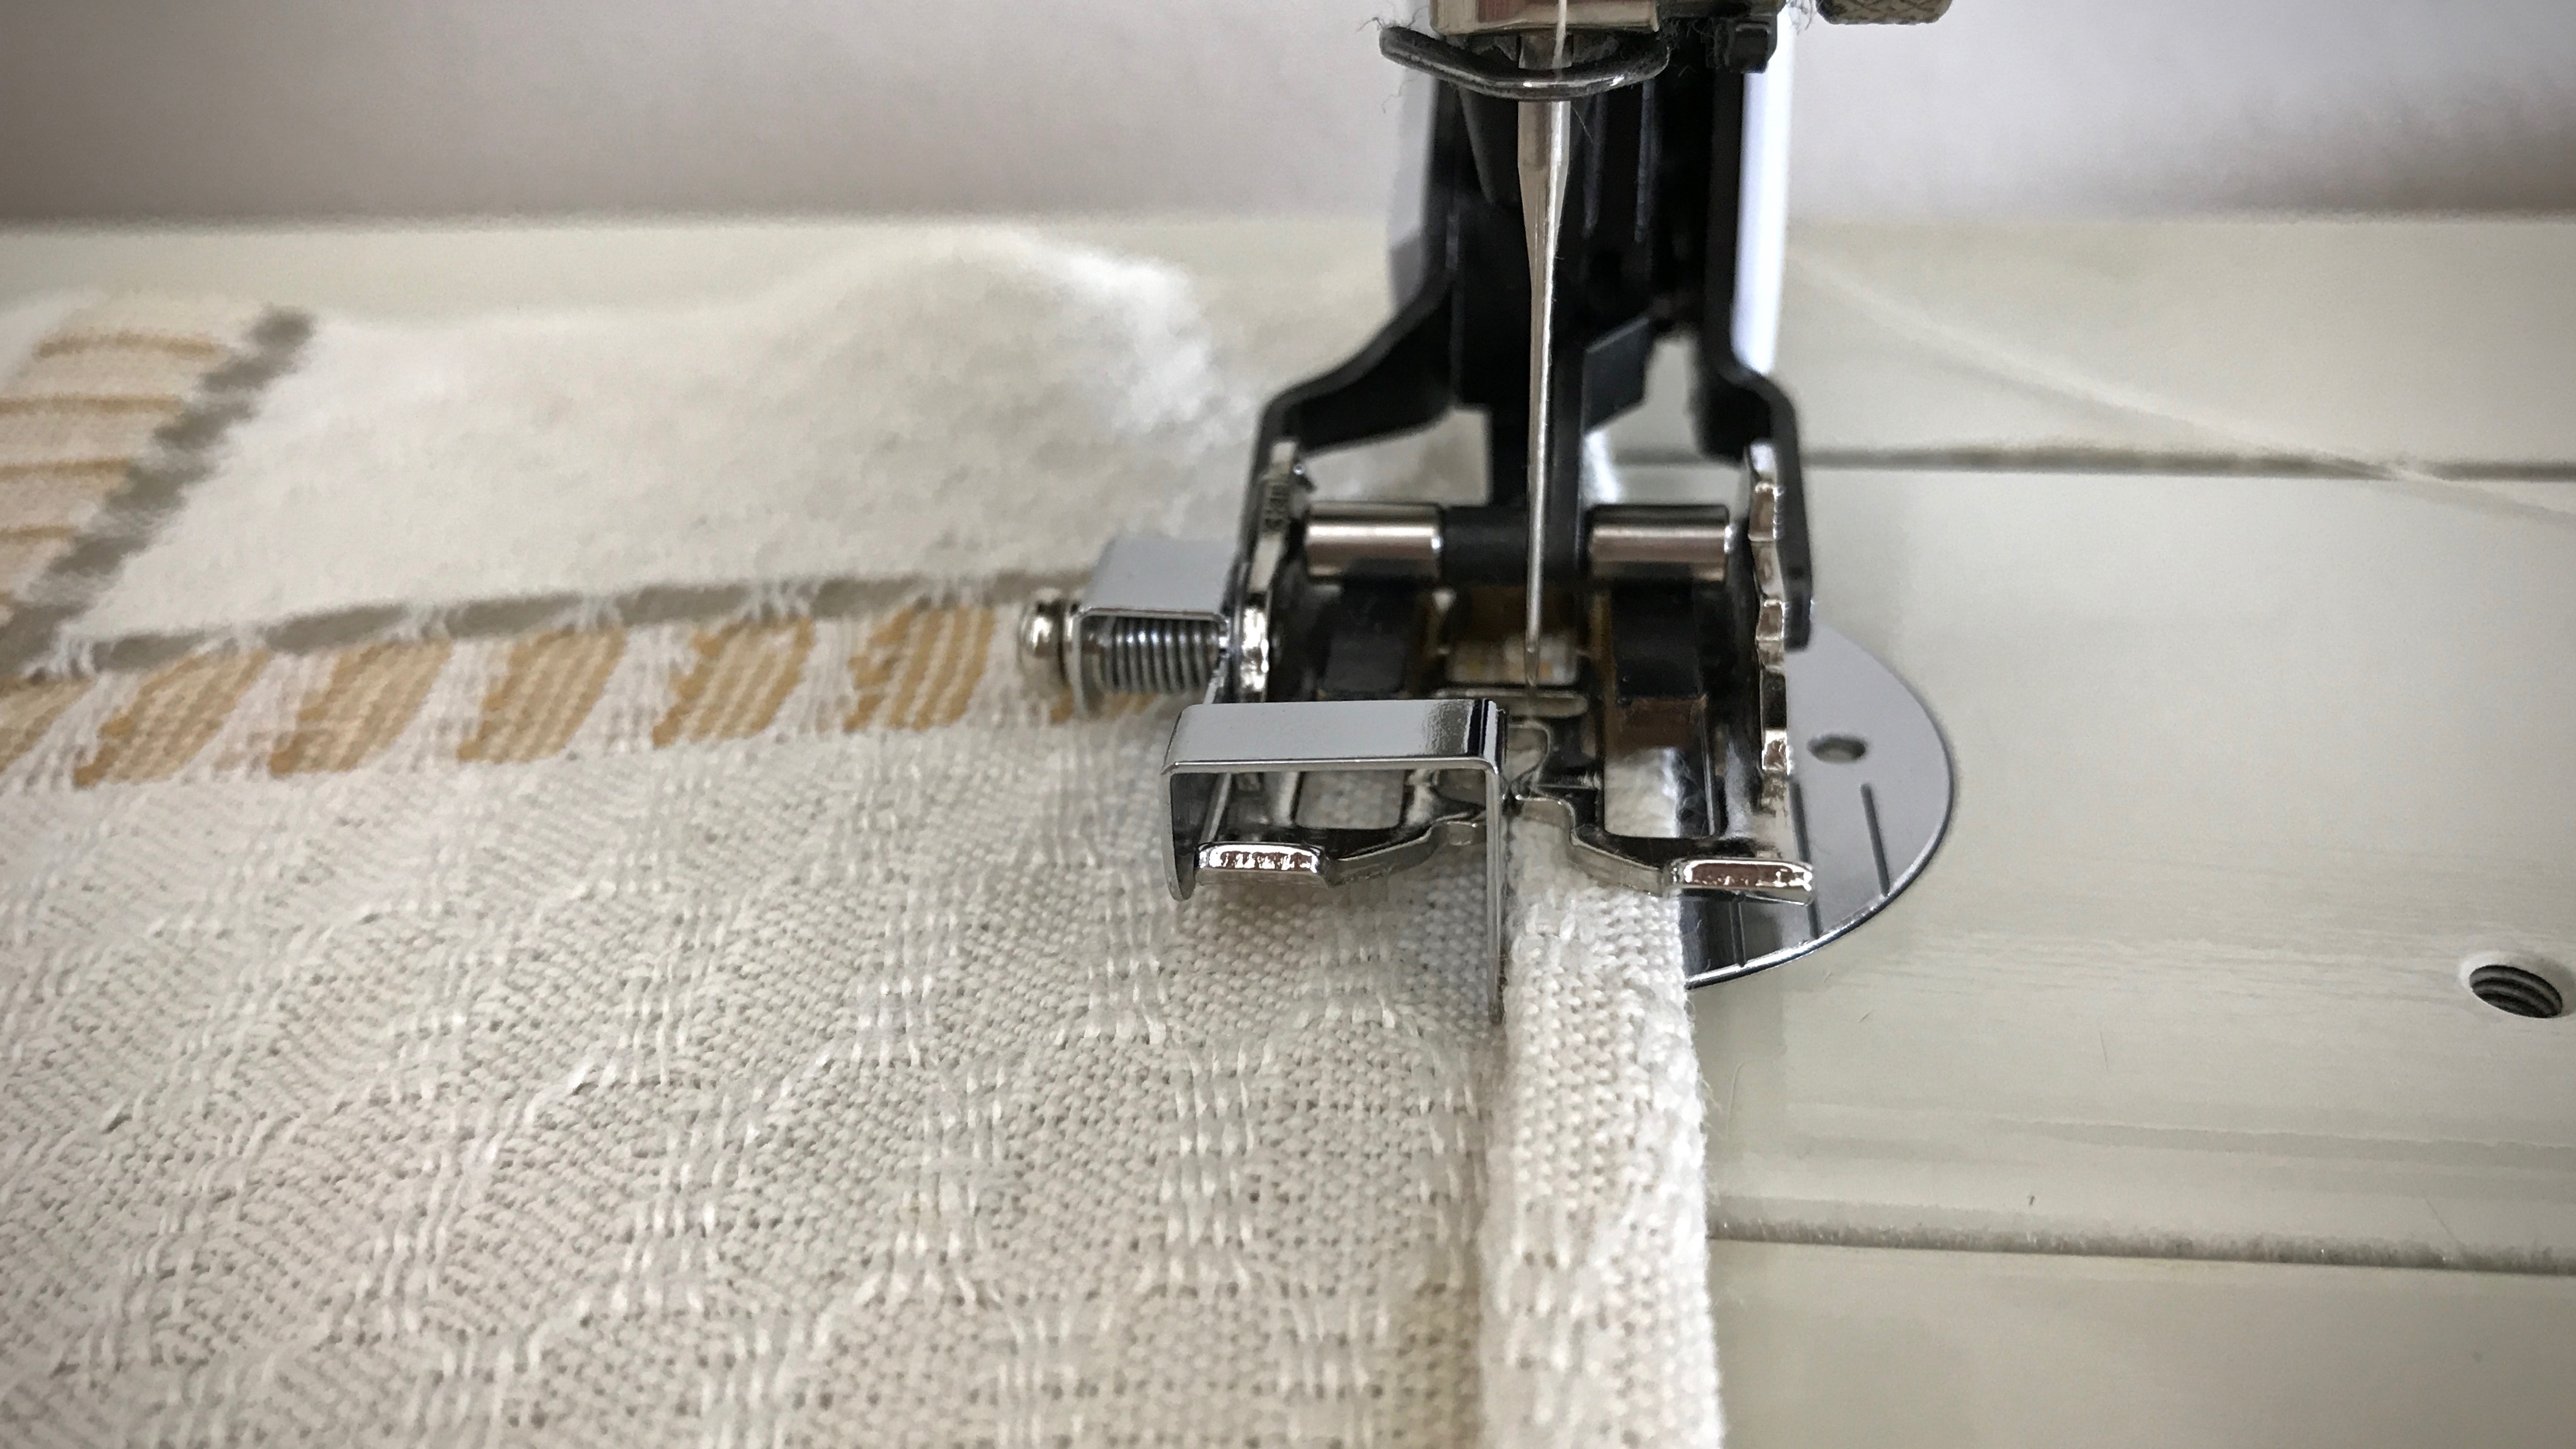
My process for a machine-stitched narrow hem
Turn and press the 1/4″ hem twice. Hold the folded edge in place with small fabric clips.
Small fabric clips hold the folded and pressed towel hem in place, in preparation for stitching the hem.
At the sewing machine, attach the edge-stitching sole plate to the walking foot. Align the fold of the hem with the edge-stitching guide.
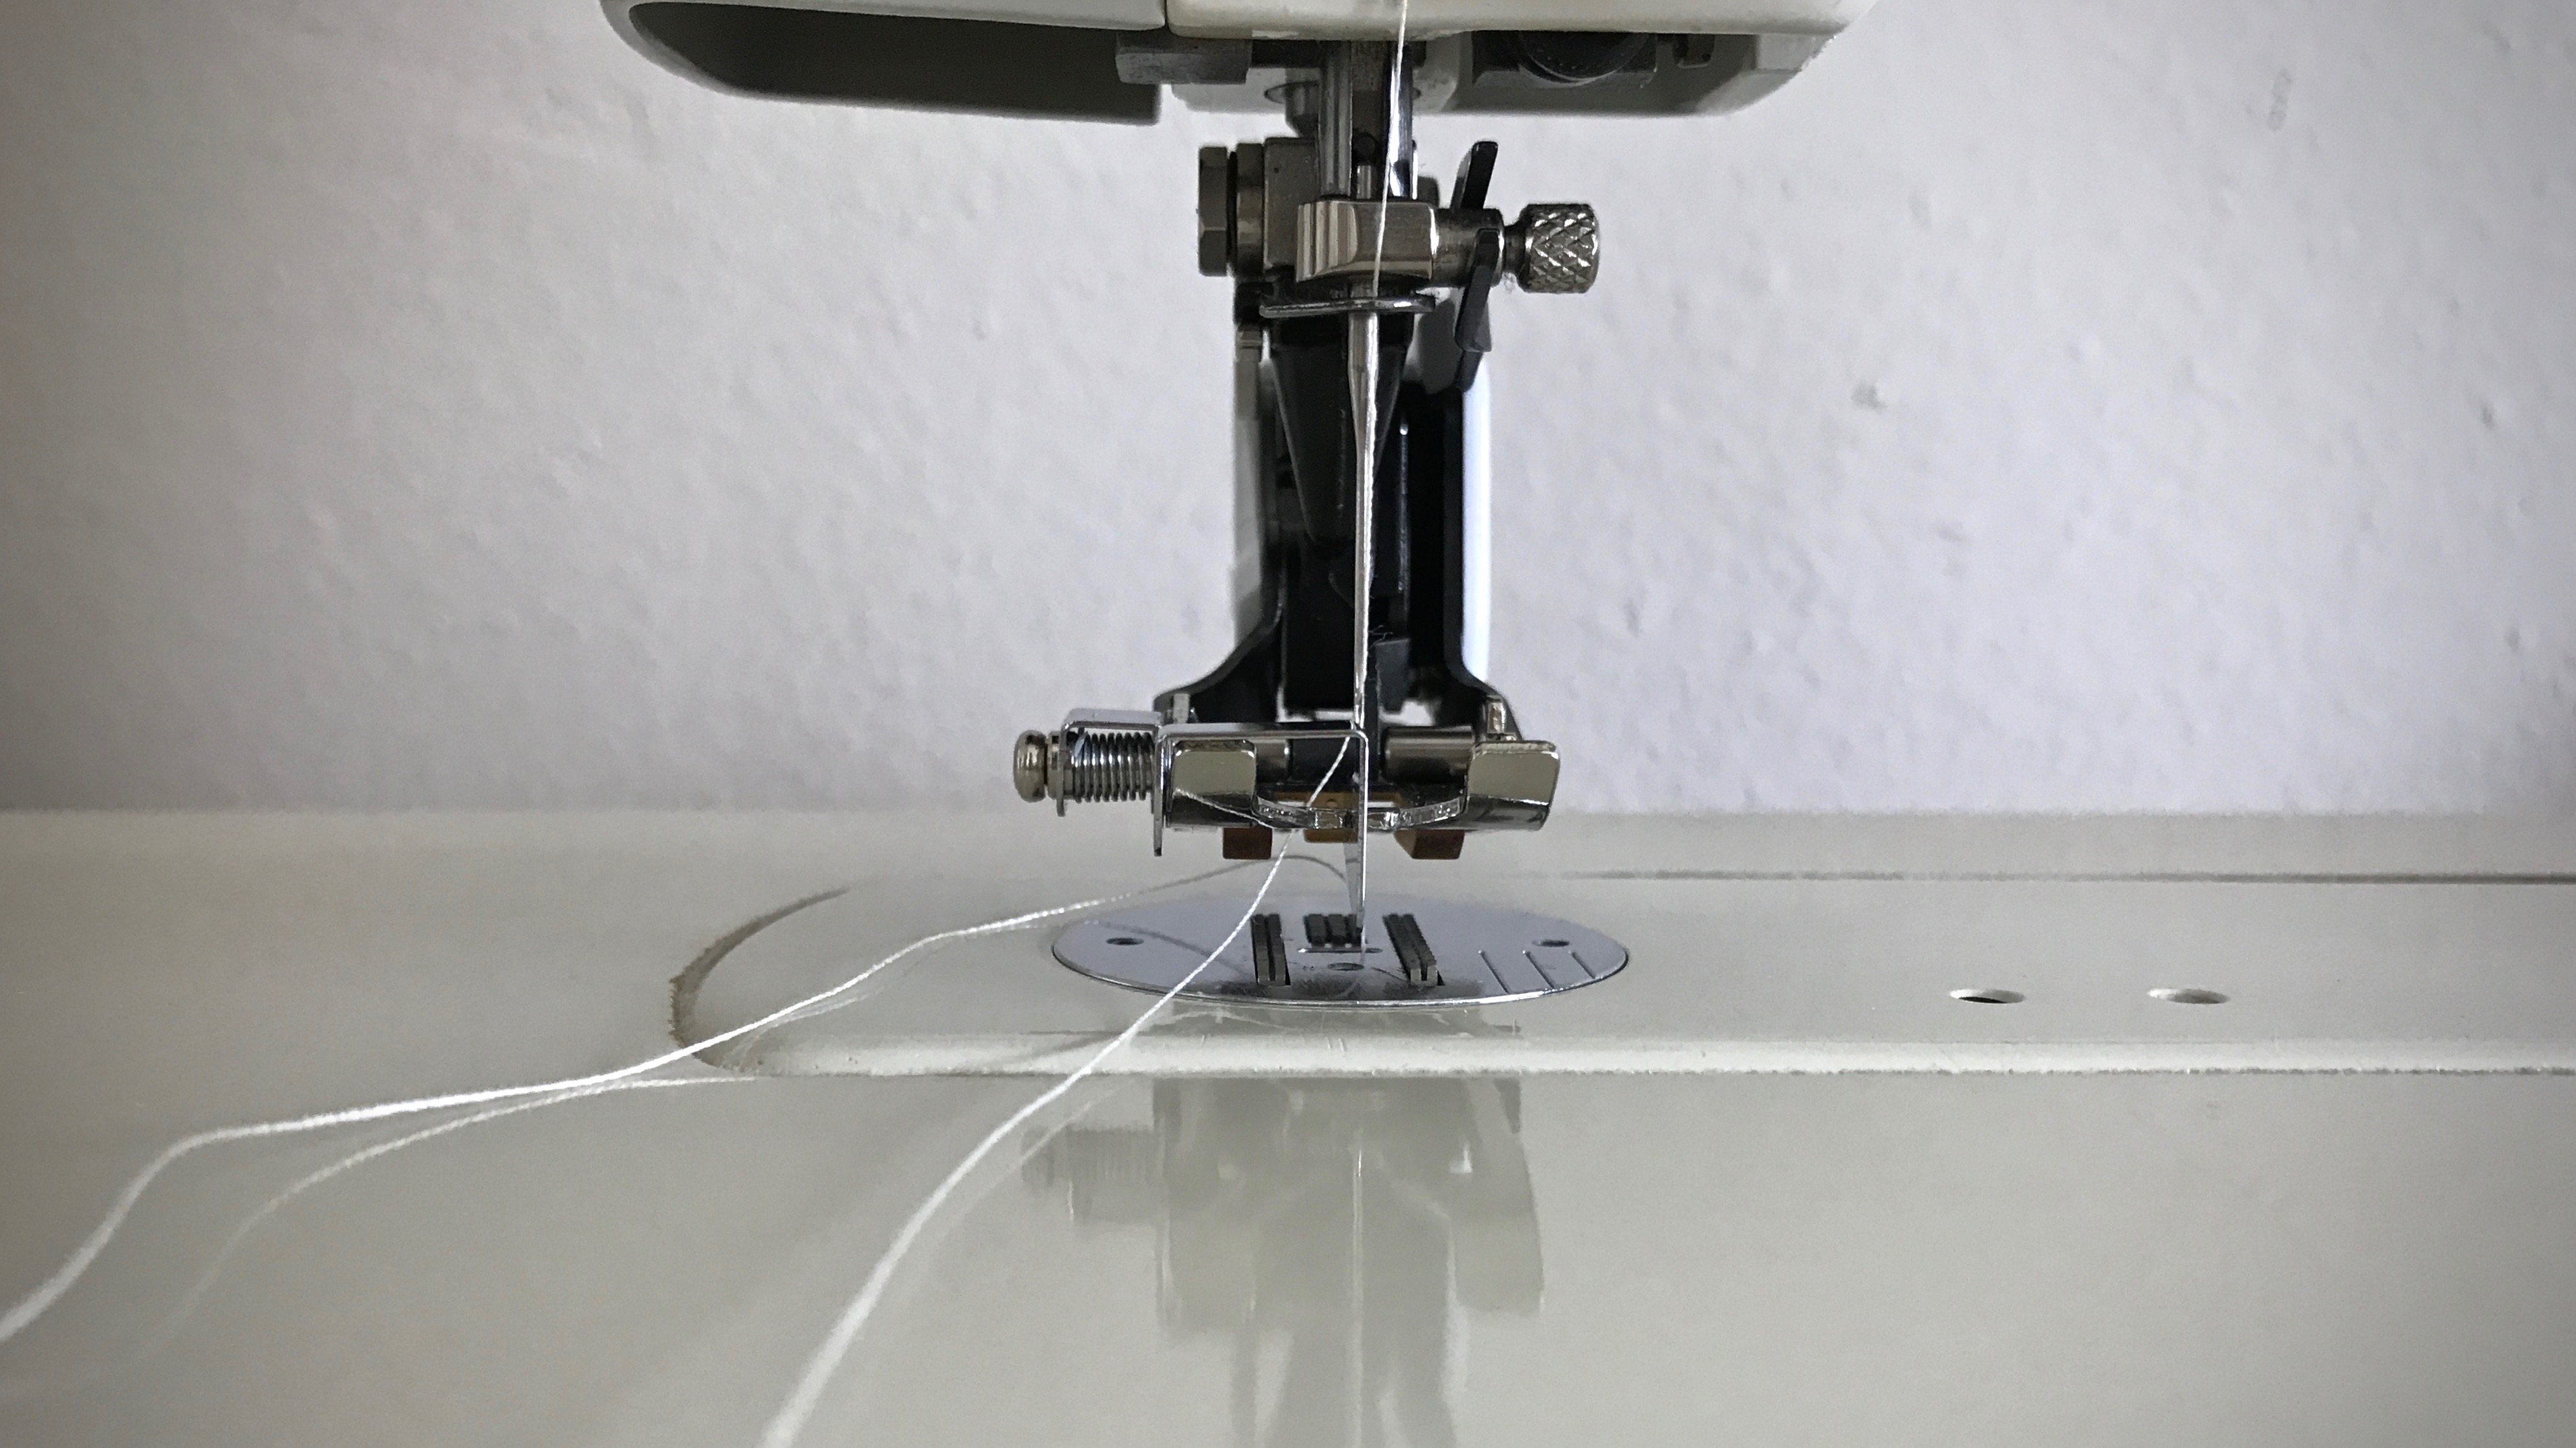
Sole with stitch guide. The metal plate that extends below the foot is a steady guide that works for sewing a narrow hem, as well as for top-stitching, or “stitch-in-the-ditch” techniques.
Adjust the sewing machine needle to the right, so that it catches the fabric just inside the edge of the fold.
Sewing the narrow hem. Needle is positioned so that it is to the right of the hem fold.
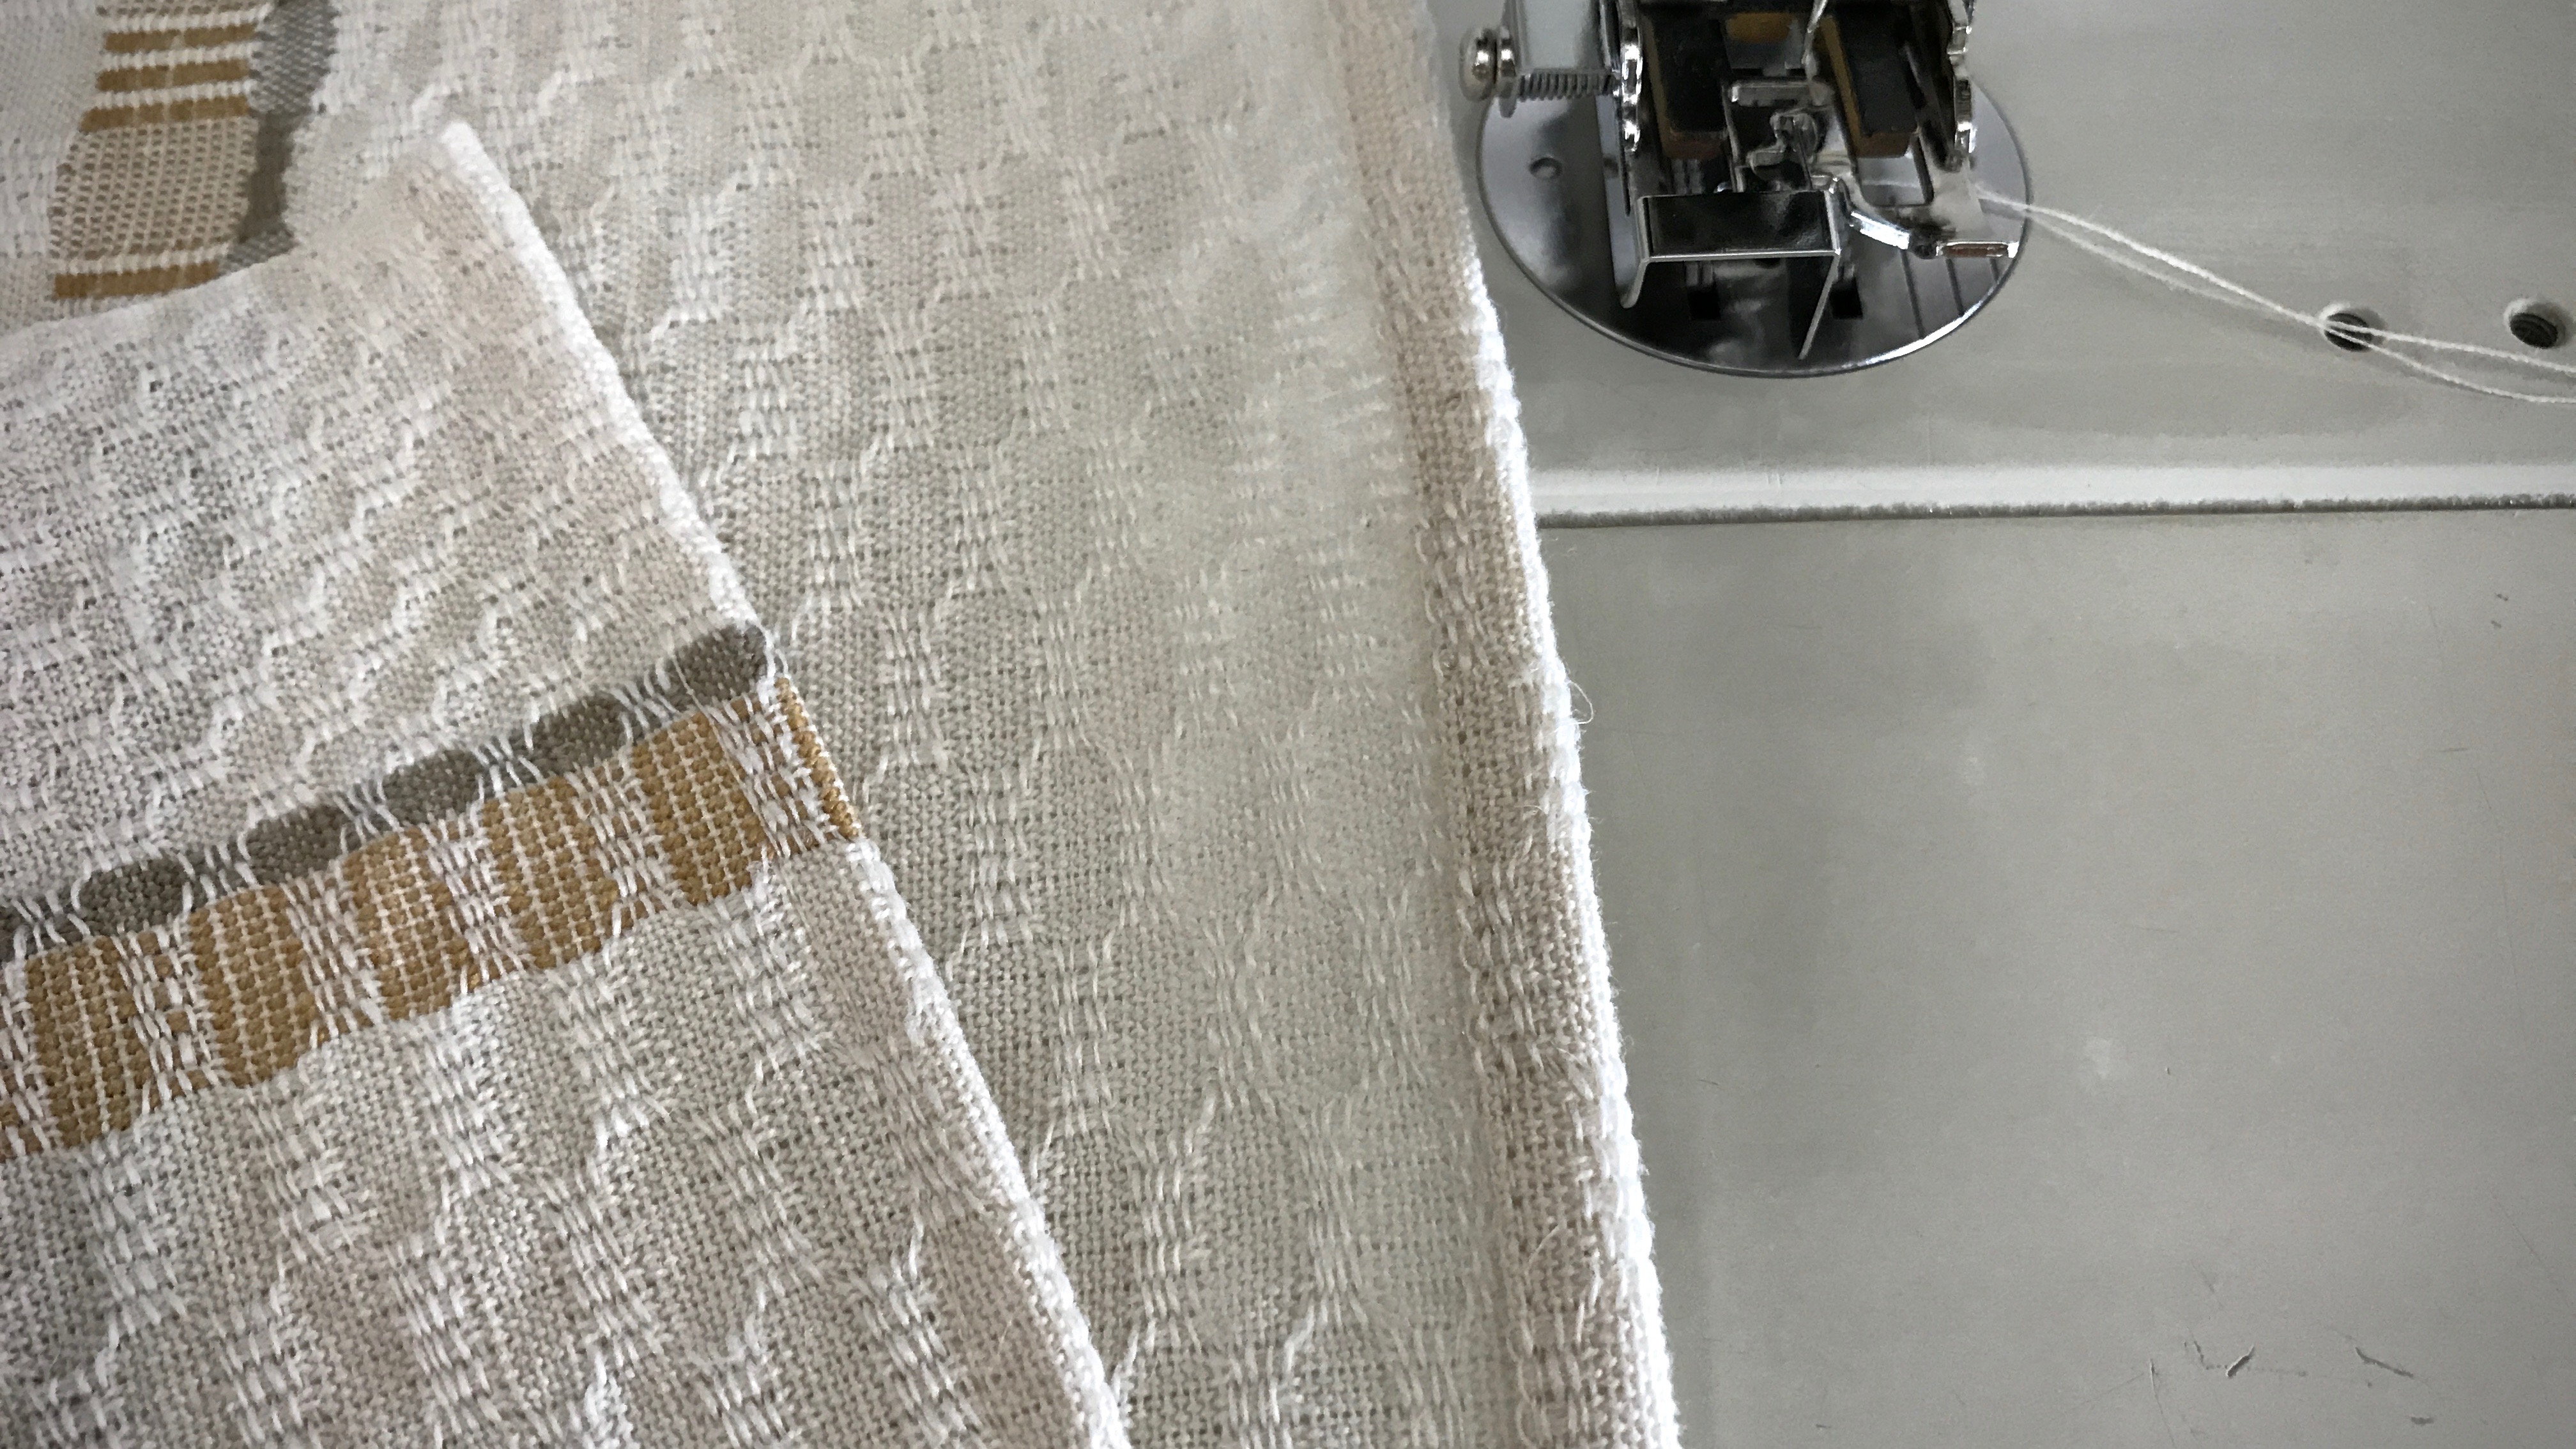
Slowly sew a narrow hem, keeping the folded edge next to the walking foot’s edge-stitching guide. Remove fabric clips before they come to the needle.
Front and back of the hem have consistent, straight stitching. The narrow hem (not yet pressed) will be barely visible.
May your hems be a suitable frame for your handiwork.