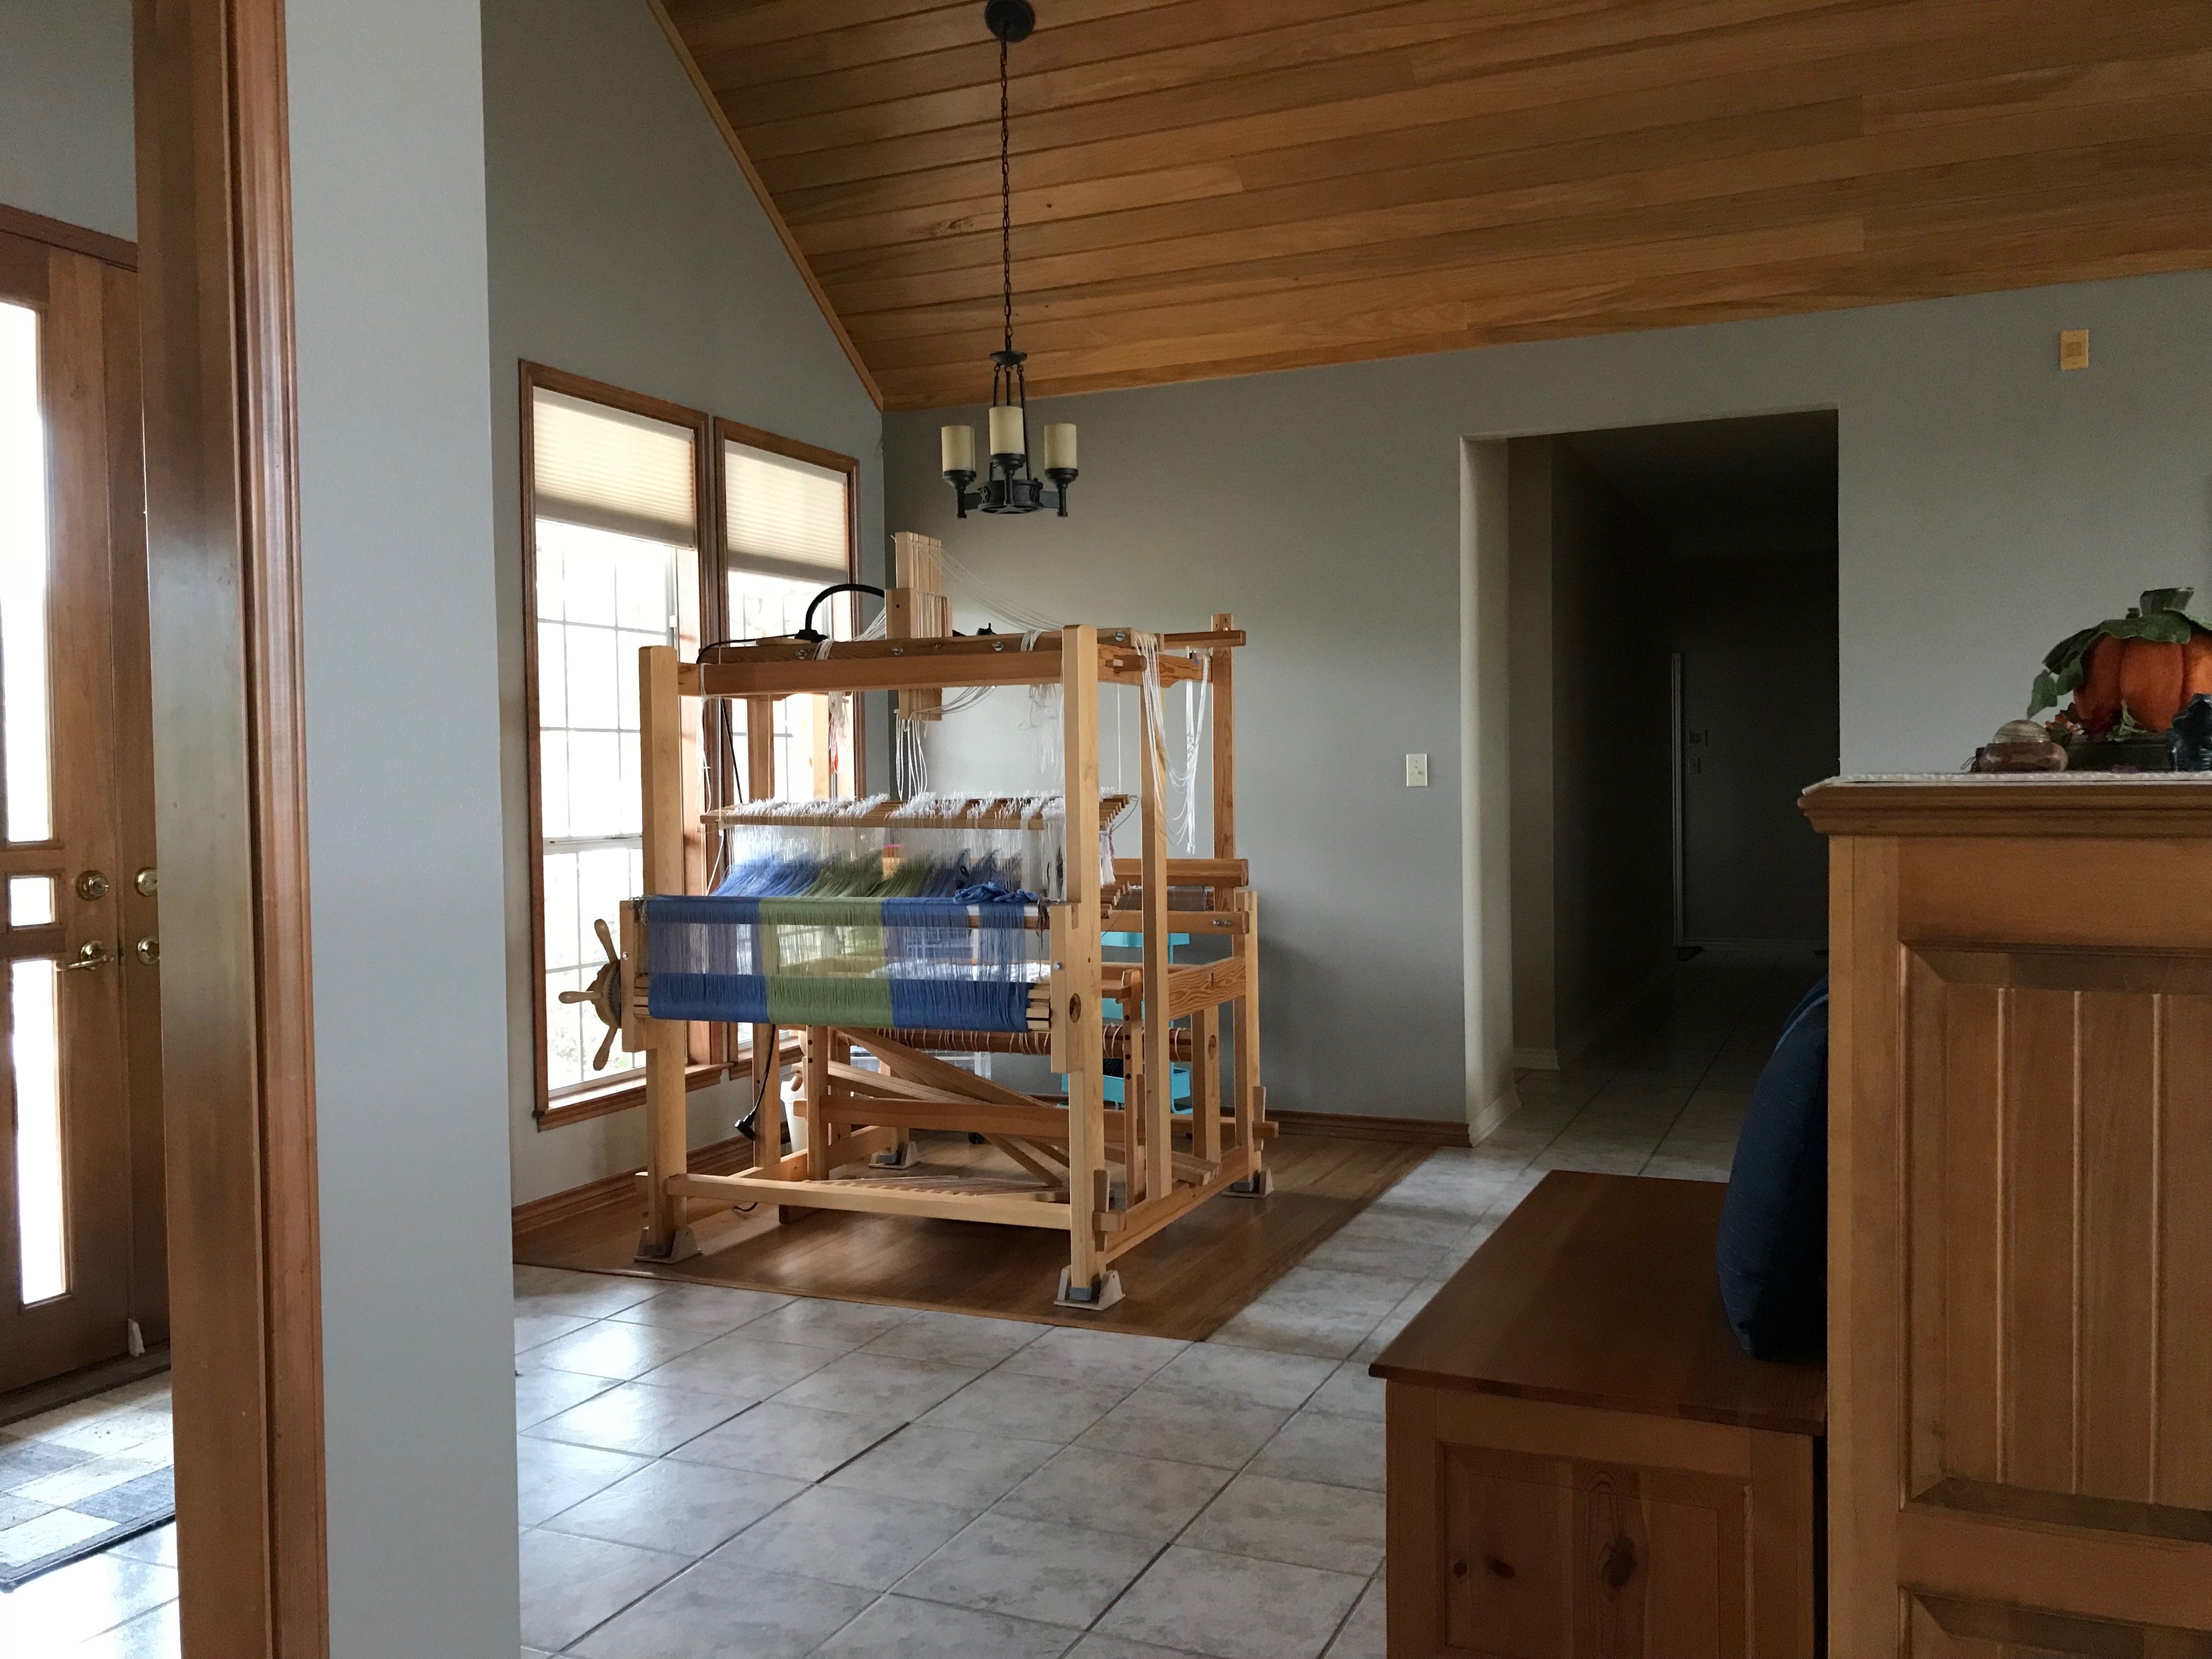
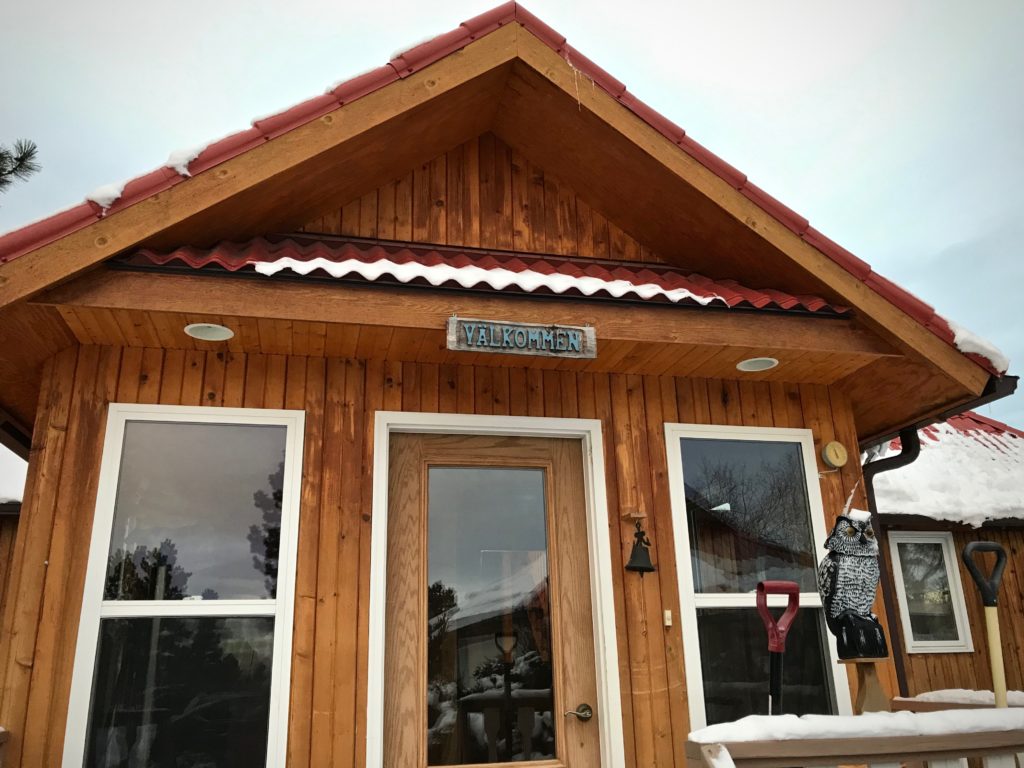
Drive up to this storybook cottage, and you can tell there is something special about it. It’s the home of Ed and Joanne Hall. When I arrive, Joanne greets me and takes me down the hand-crafted pine stairs to her delightful weaving studio dotted with floor looms.

I recently had the joy of learning the ins and outs of drawloom weaving in this storybook studio in Montana. After the class ended, Joanne and I sat at her kitchen table to share some thoughts about weaving.
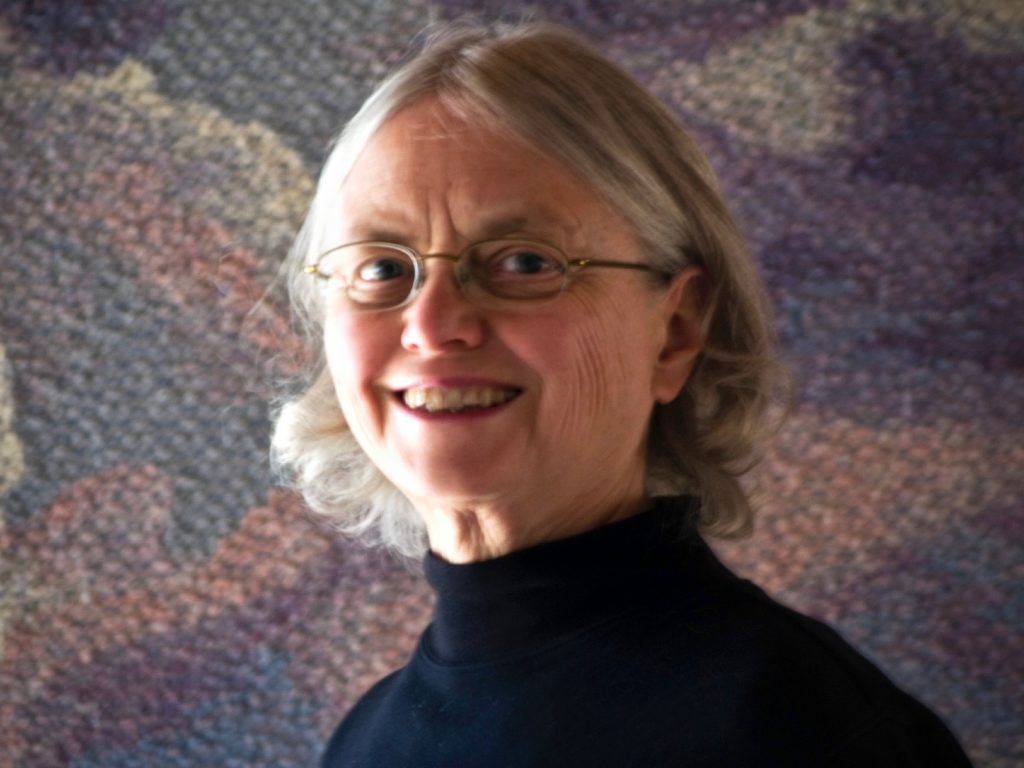
Photo credit: Ed Hall
Come join us, and sit in on our conversation…
If you could keep only one loom, what would it be?
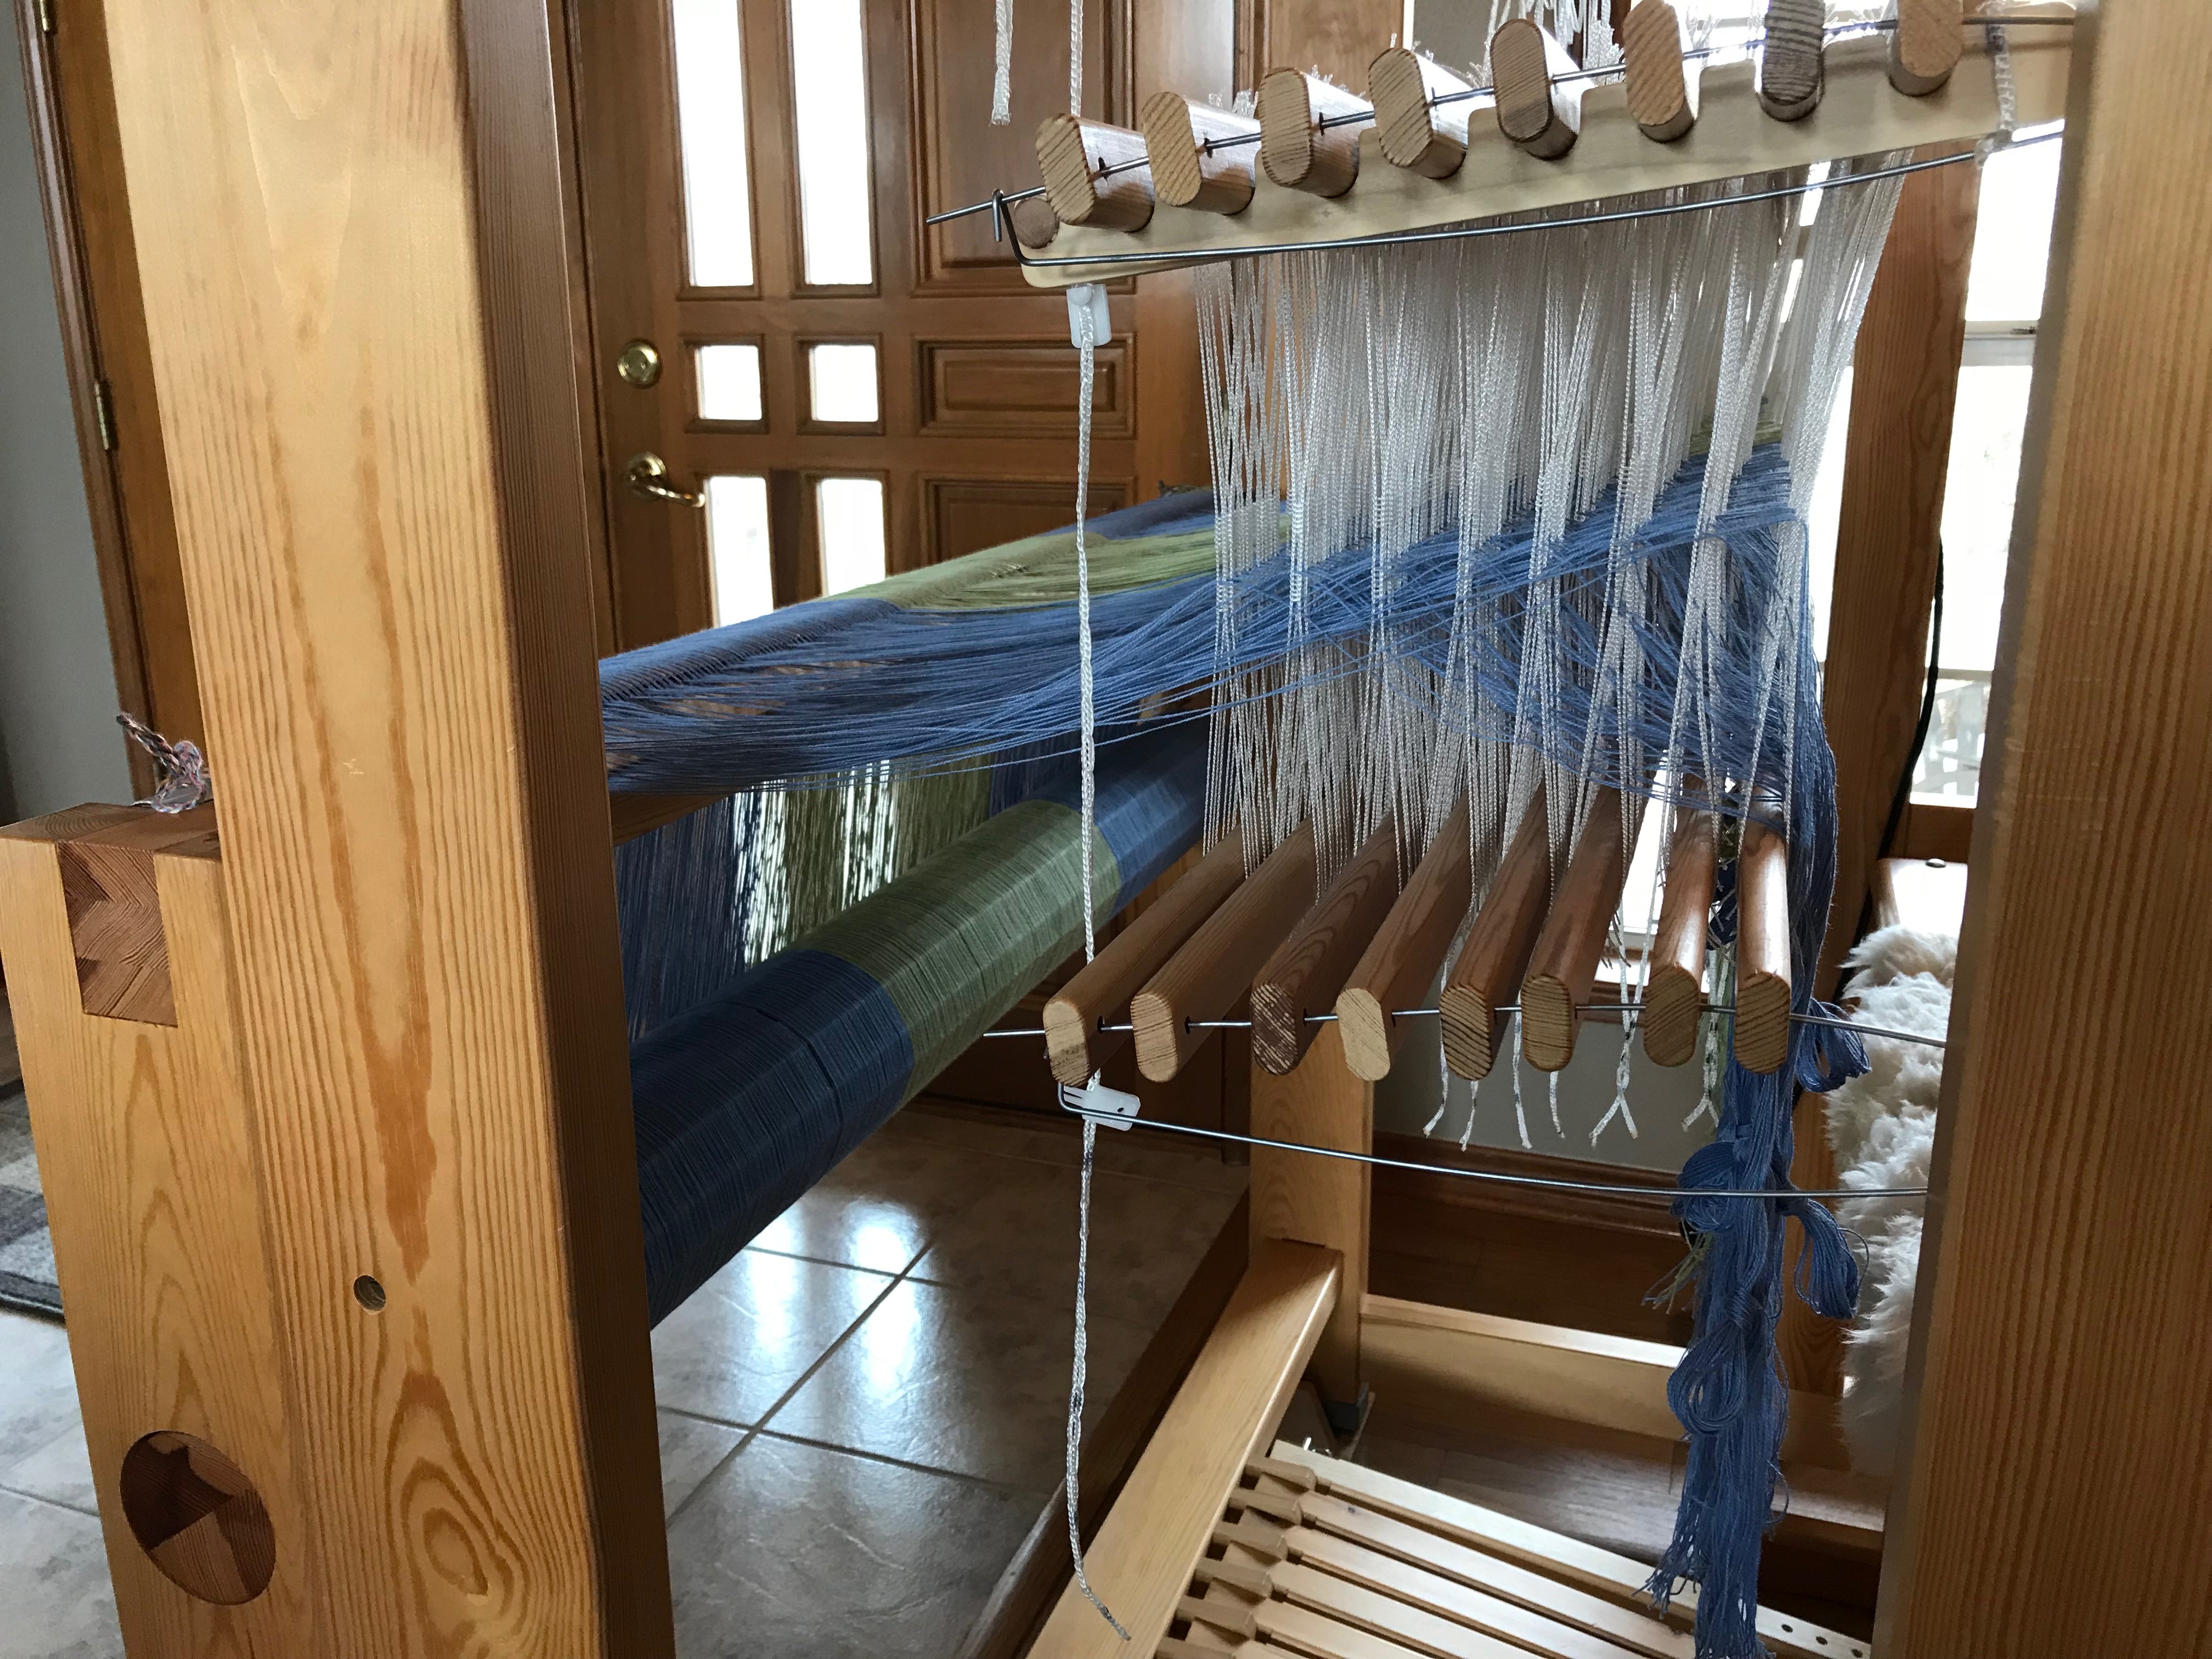
The 59” Glimåkra Standard. That would be my loom, with a drawloom. A big loom is easier to set up, easier to warp because I can step inside it, and easier to weave on than a little loom. As you get older you need every advantage you can get.
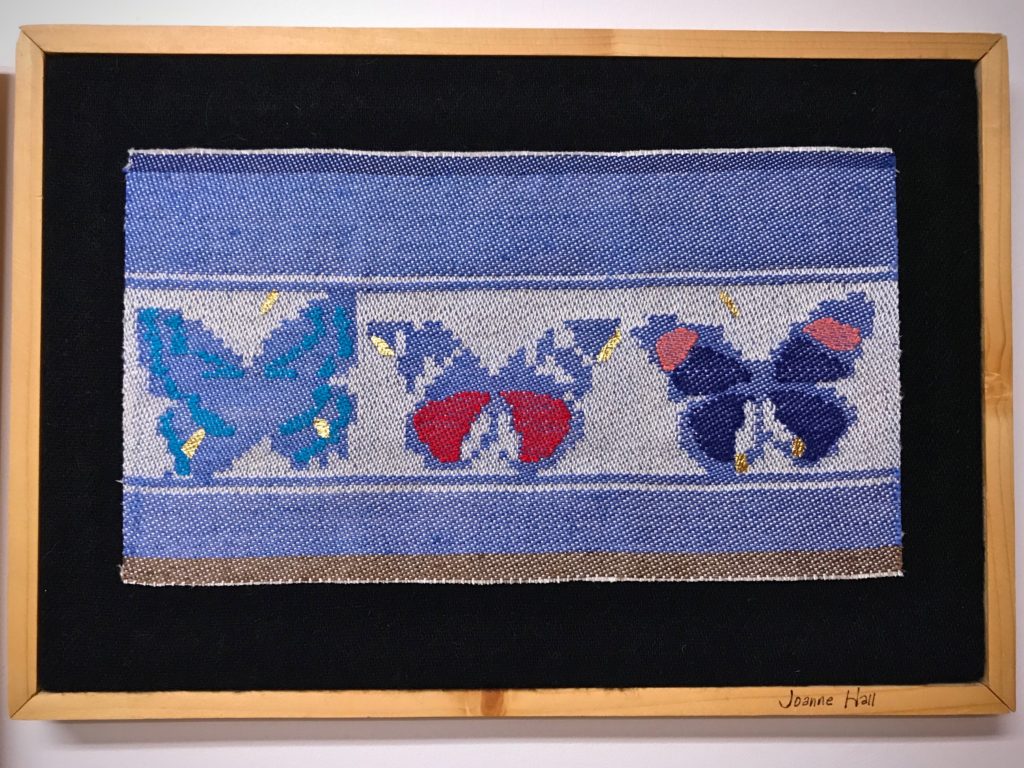
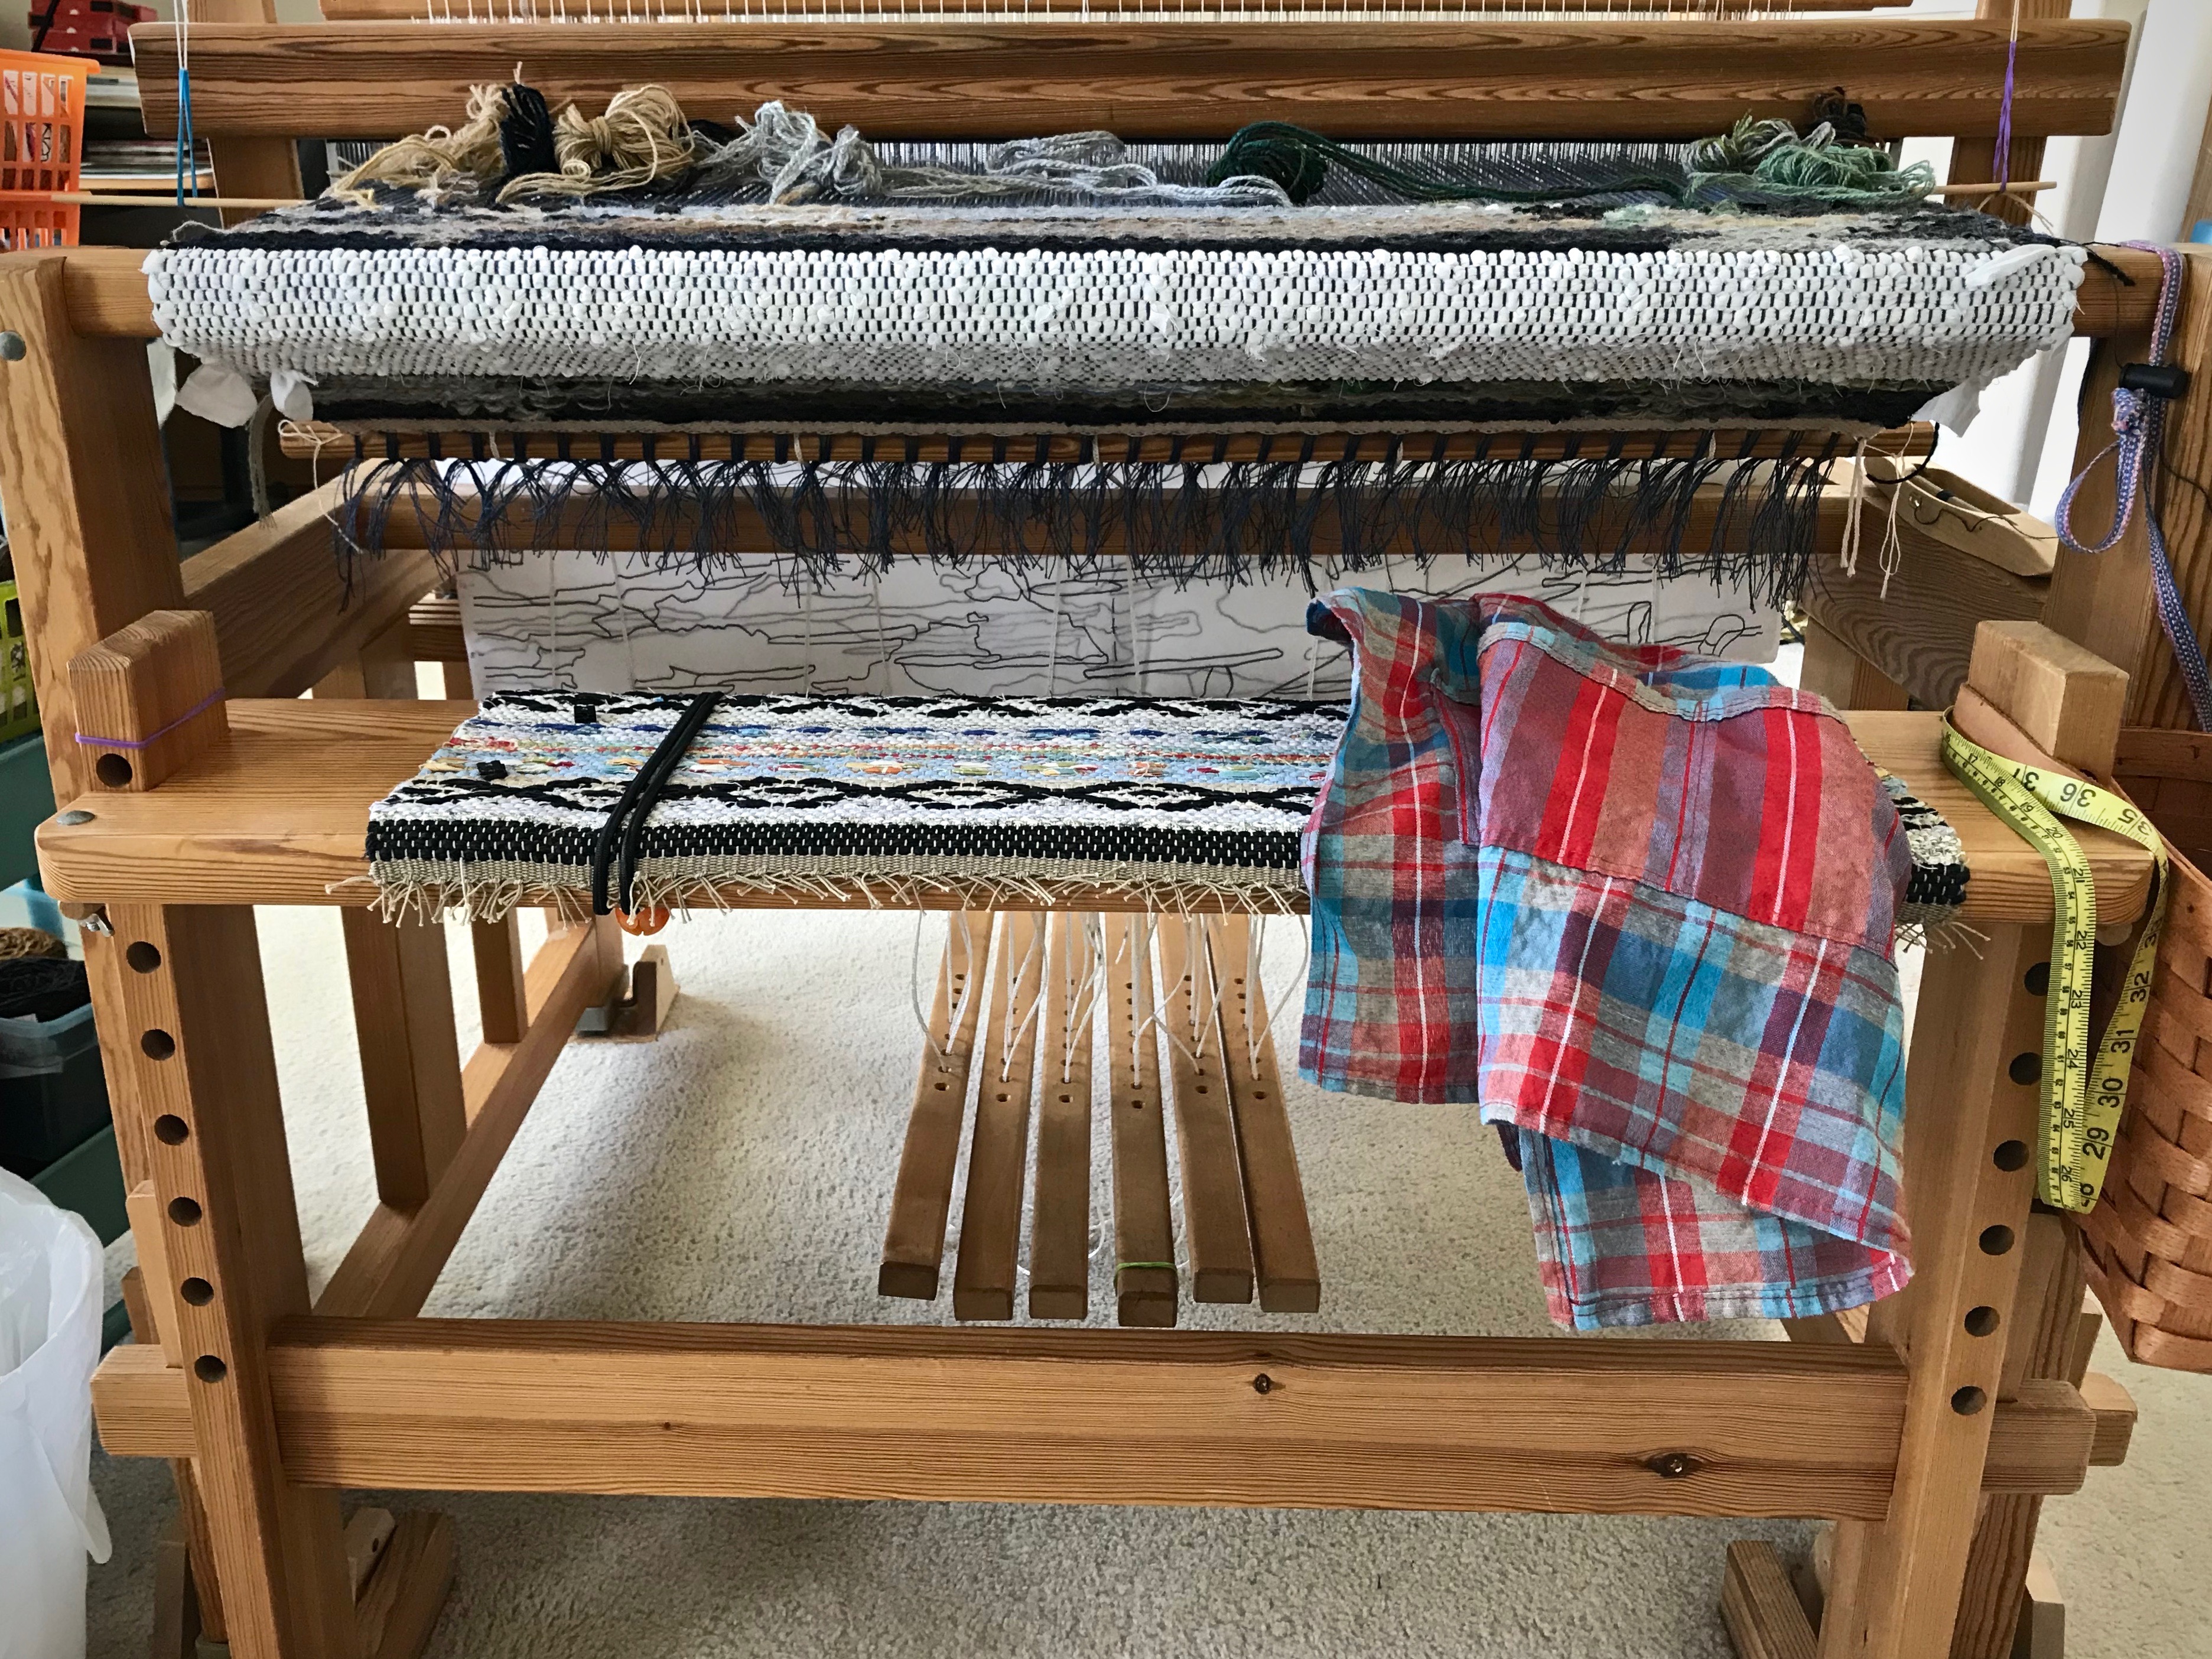
Being a tapestry weaver, I had to add more colors, so I laid in some colors and then I put a little gold leaf here and there. I did not want to add anything that looked like embroidery. I wanted my new work on the drawloom to have all the elements woven in.
– Joanne Hall
What would you weave on that loom?
I would mostly make narrow warps. I could weave some blankets or larger things, as well, because it’s easy on that loom. It is easy to beat and so easy to treadle. I could also weave tapestry on it.
Describe the drawloom you would use.
With the Myrehed combination, I would have both the shaft drawloom and the single unit drawloom. I do like images, like tapestry weaving, so I would enjoy weaving with the single unit drawloom.
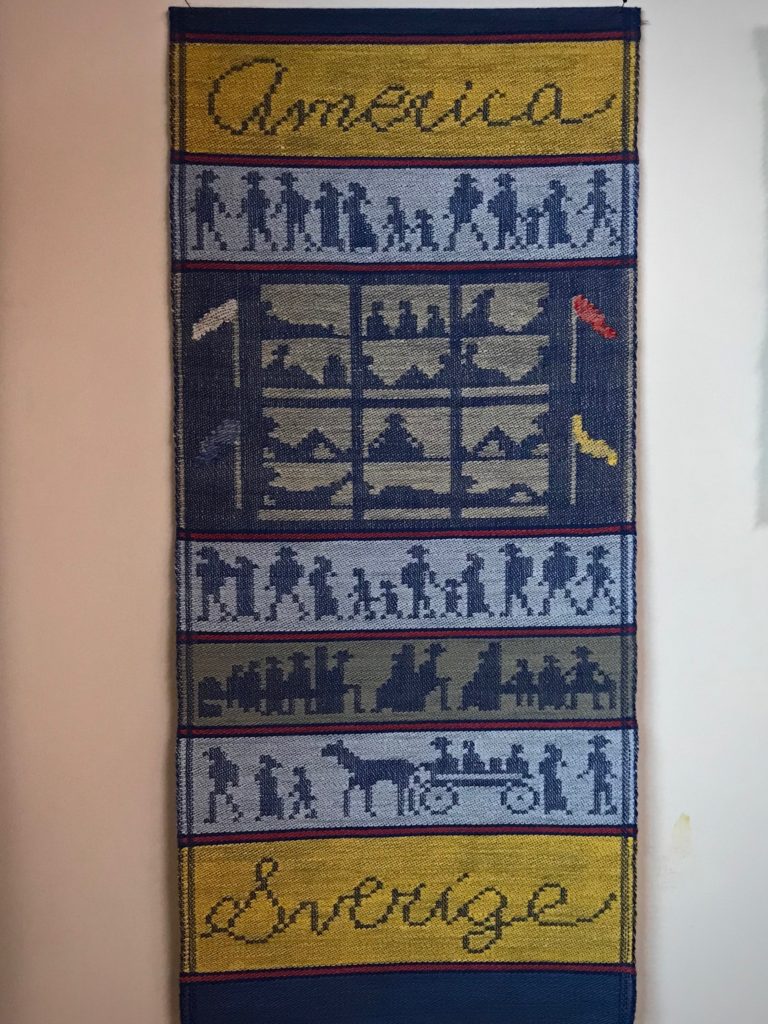
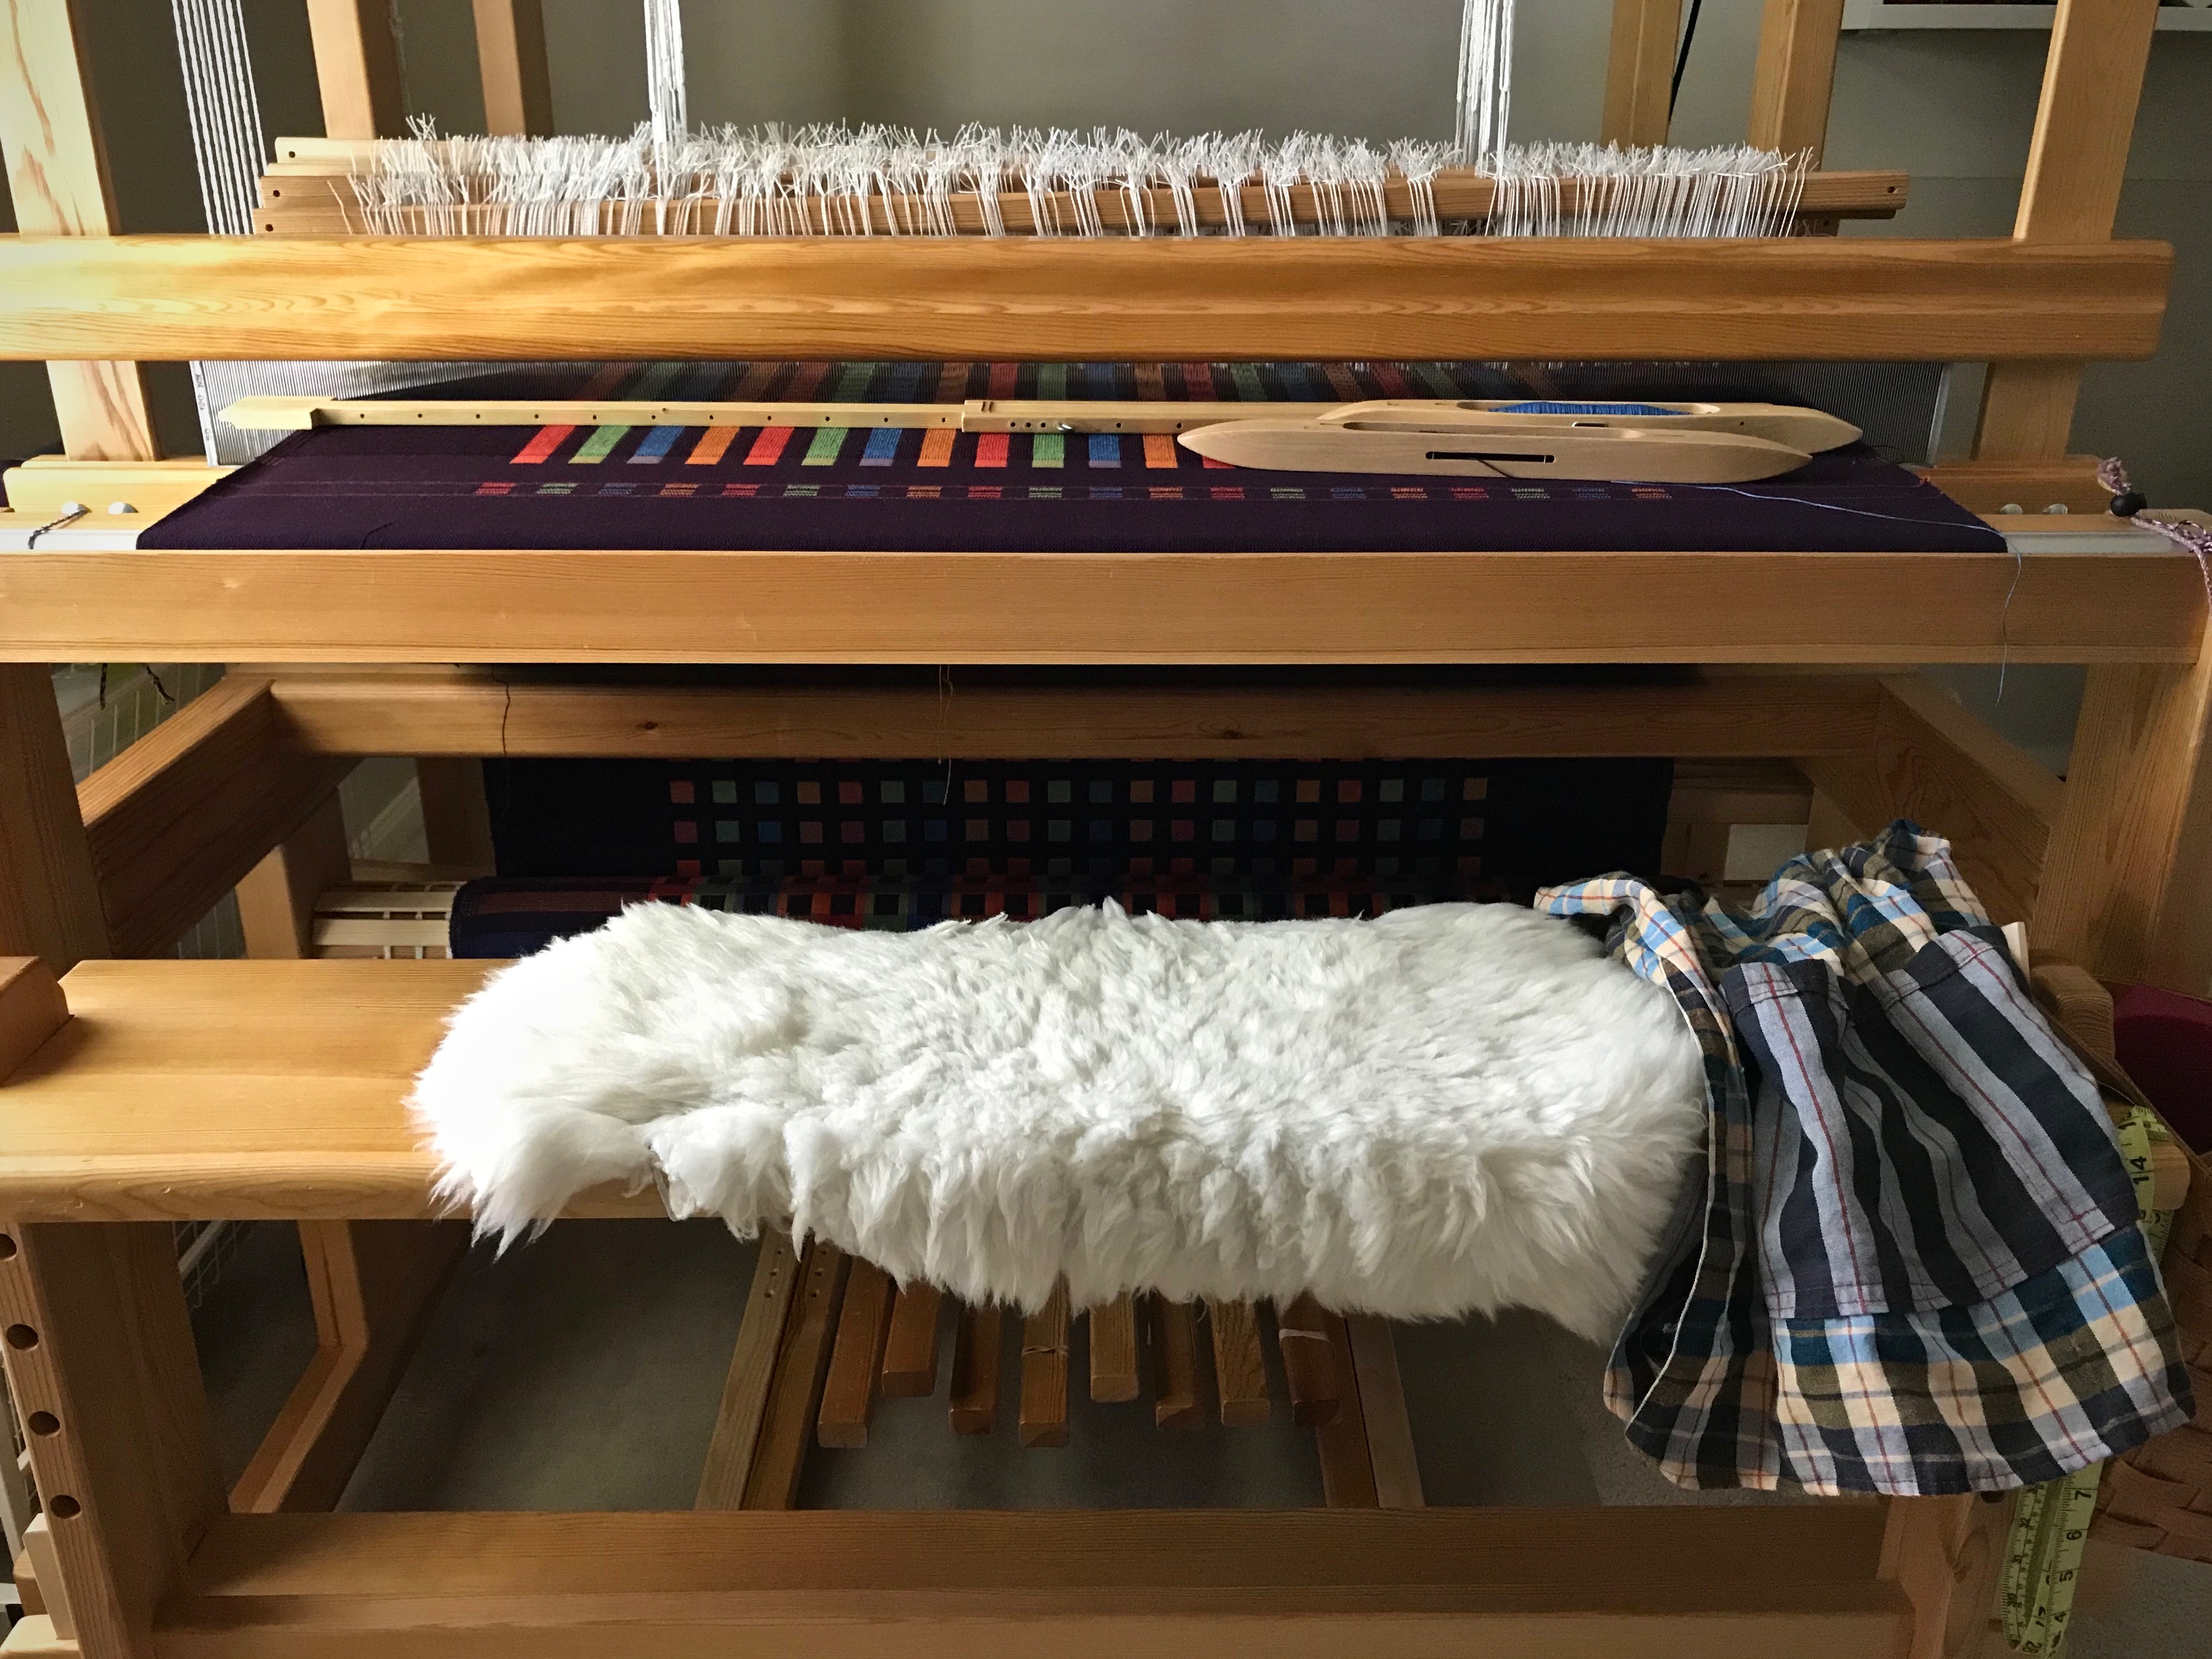
Three of my grandparents immigrated from Sweden to America. This tells the story of their journey–walking, riding, then endless days on the boat, then walking again, all the way to Minnesota.
– Joanne Hall
Are there any weaving secrets you’d like to share?
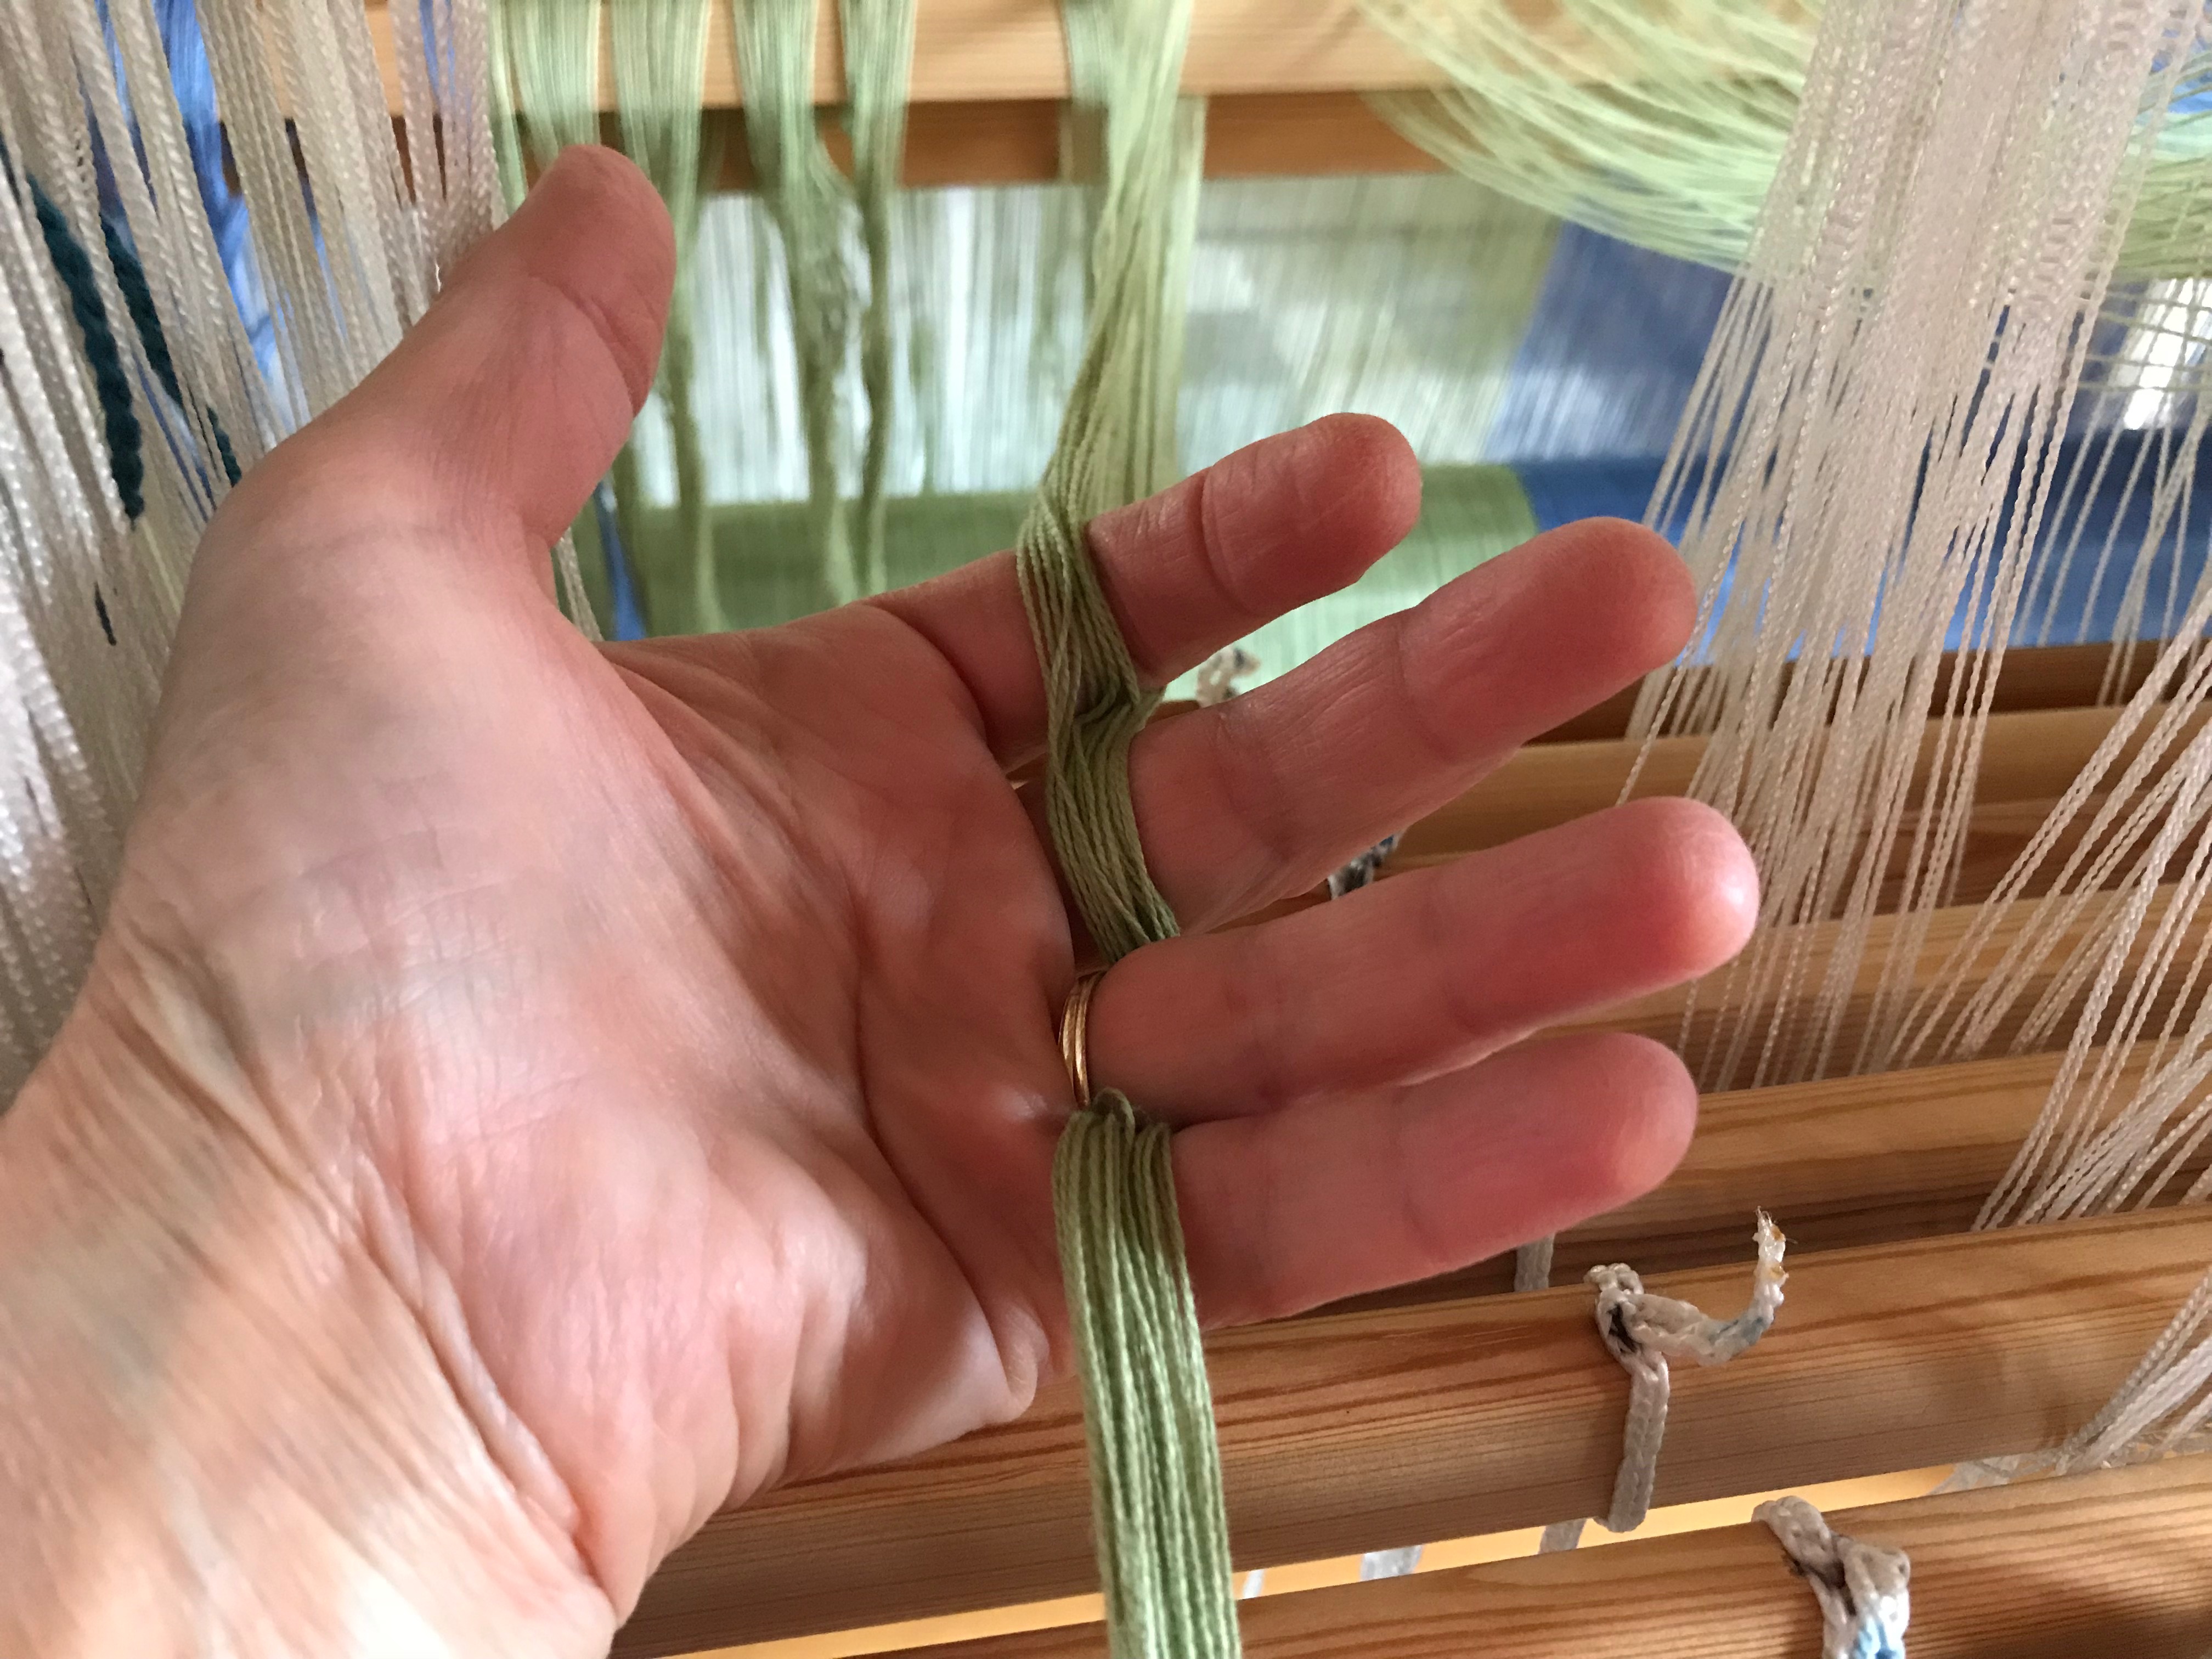
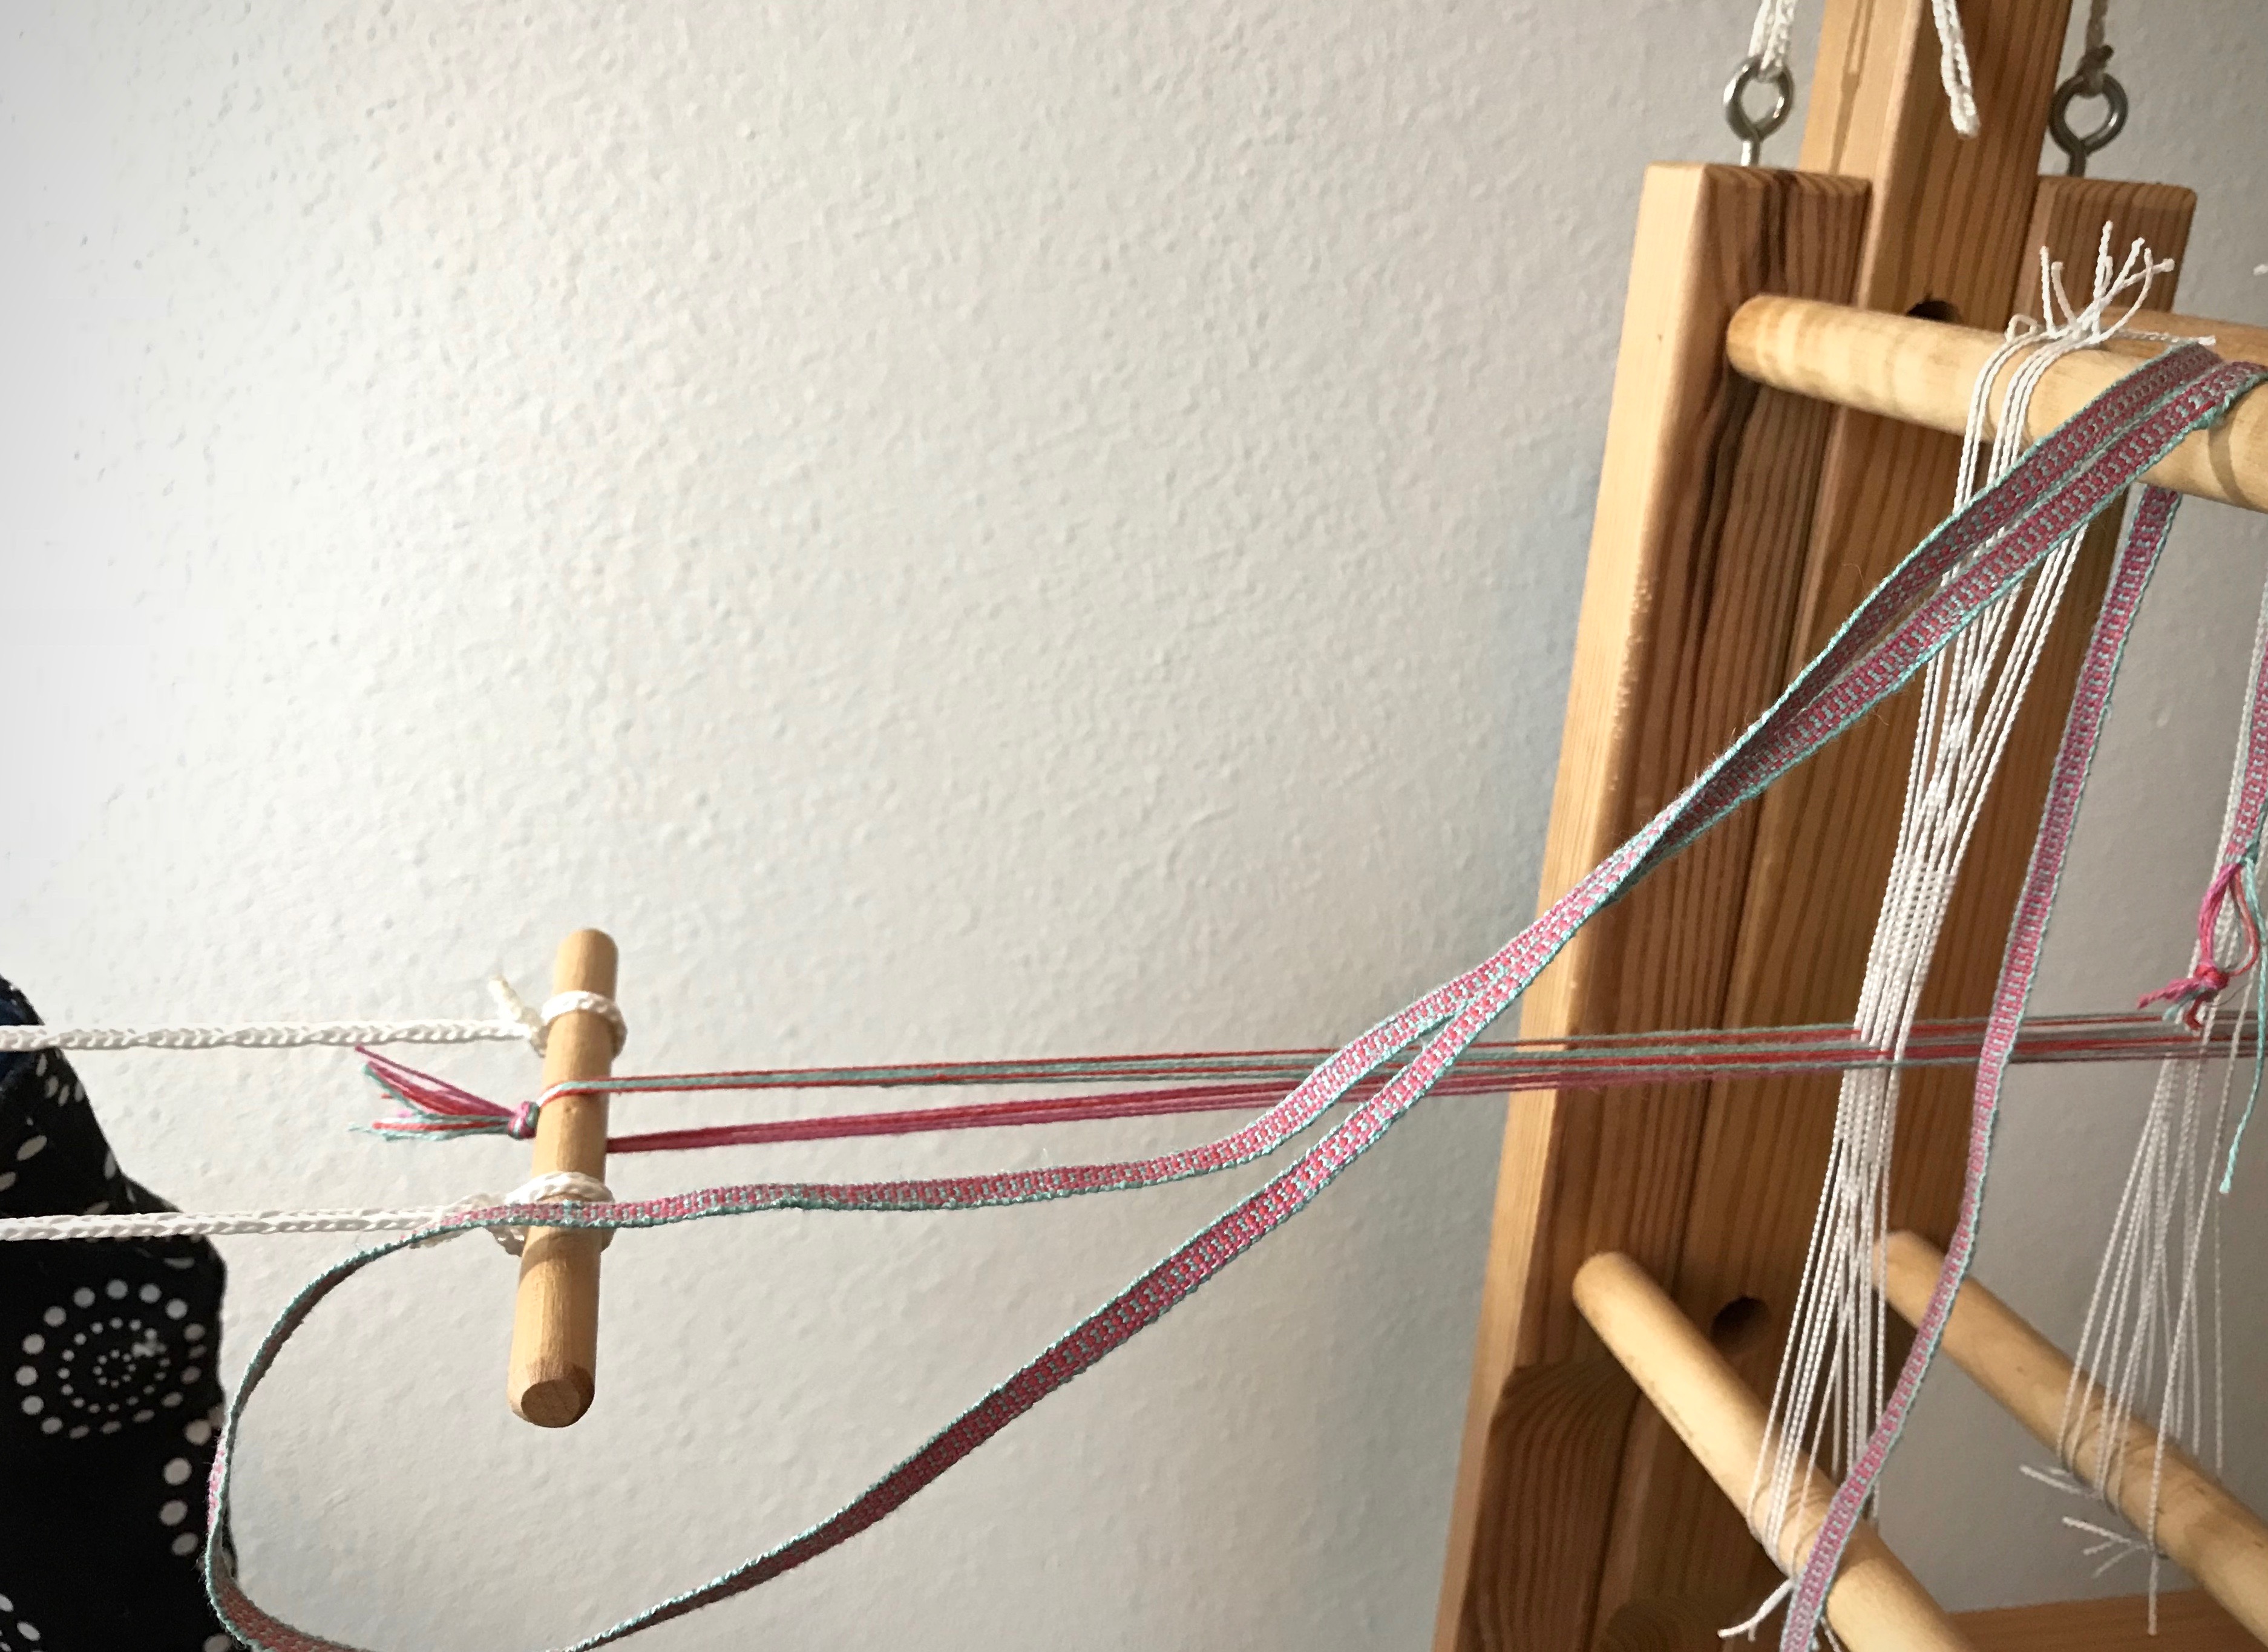
One important thing to know is to wind a warp with more than one thread, especially a long warp. It is easier to beam and you will prevent problems when you wind with two or more threads. And doing so may also have a positive effect on weaving that warp.
Another thing to consider is that once you start weaving, plan to invest in good equipment. Some weavers start out buying the smallest, least expensive equipment. That’s okay for getting started, but don’t spend too much time with inferior equipment. Once you start warping looms, get a big vertical warping reel that is more than two yards around. You can wind a warp in half an hour, an hour at the most. And the warp will be more even and accurate than one wound on smaller equipment.
If someone wants to learn more about weaving, what is a good way to start?
Go someplace where you can take a class weaving on floor looms, even if you have never woven before. Keep in mind that researching online can be more confusing than helpful. In a class you will learn much faster and you will probably get better information.
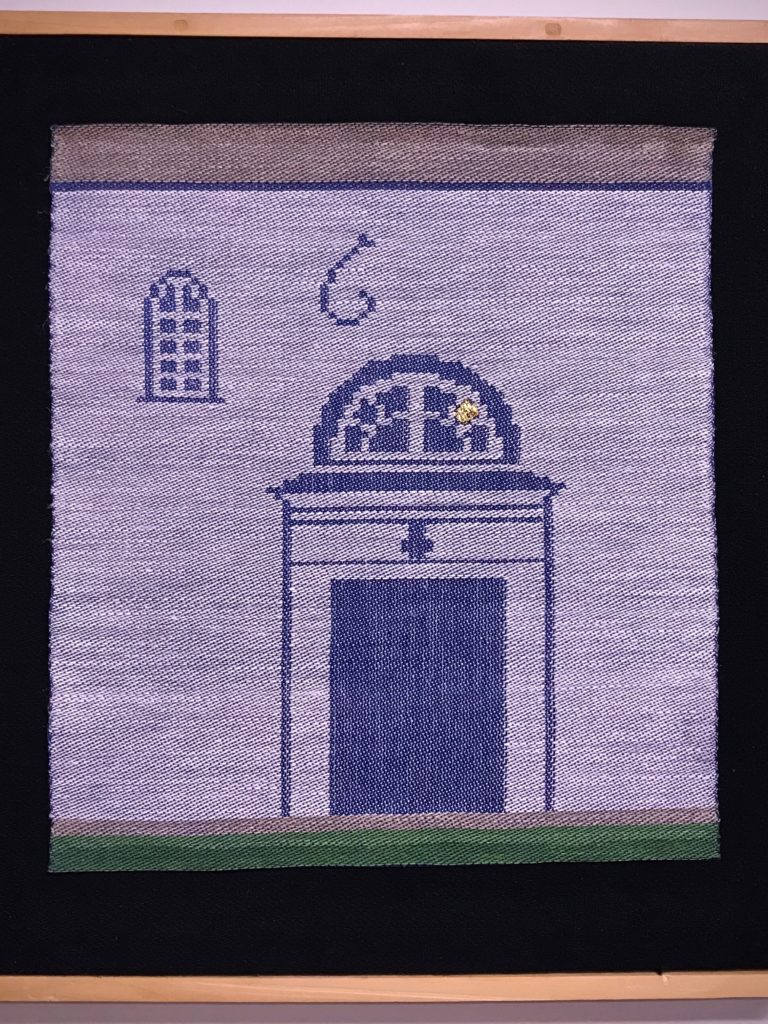
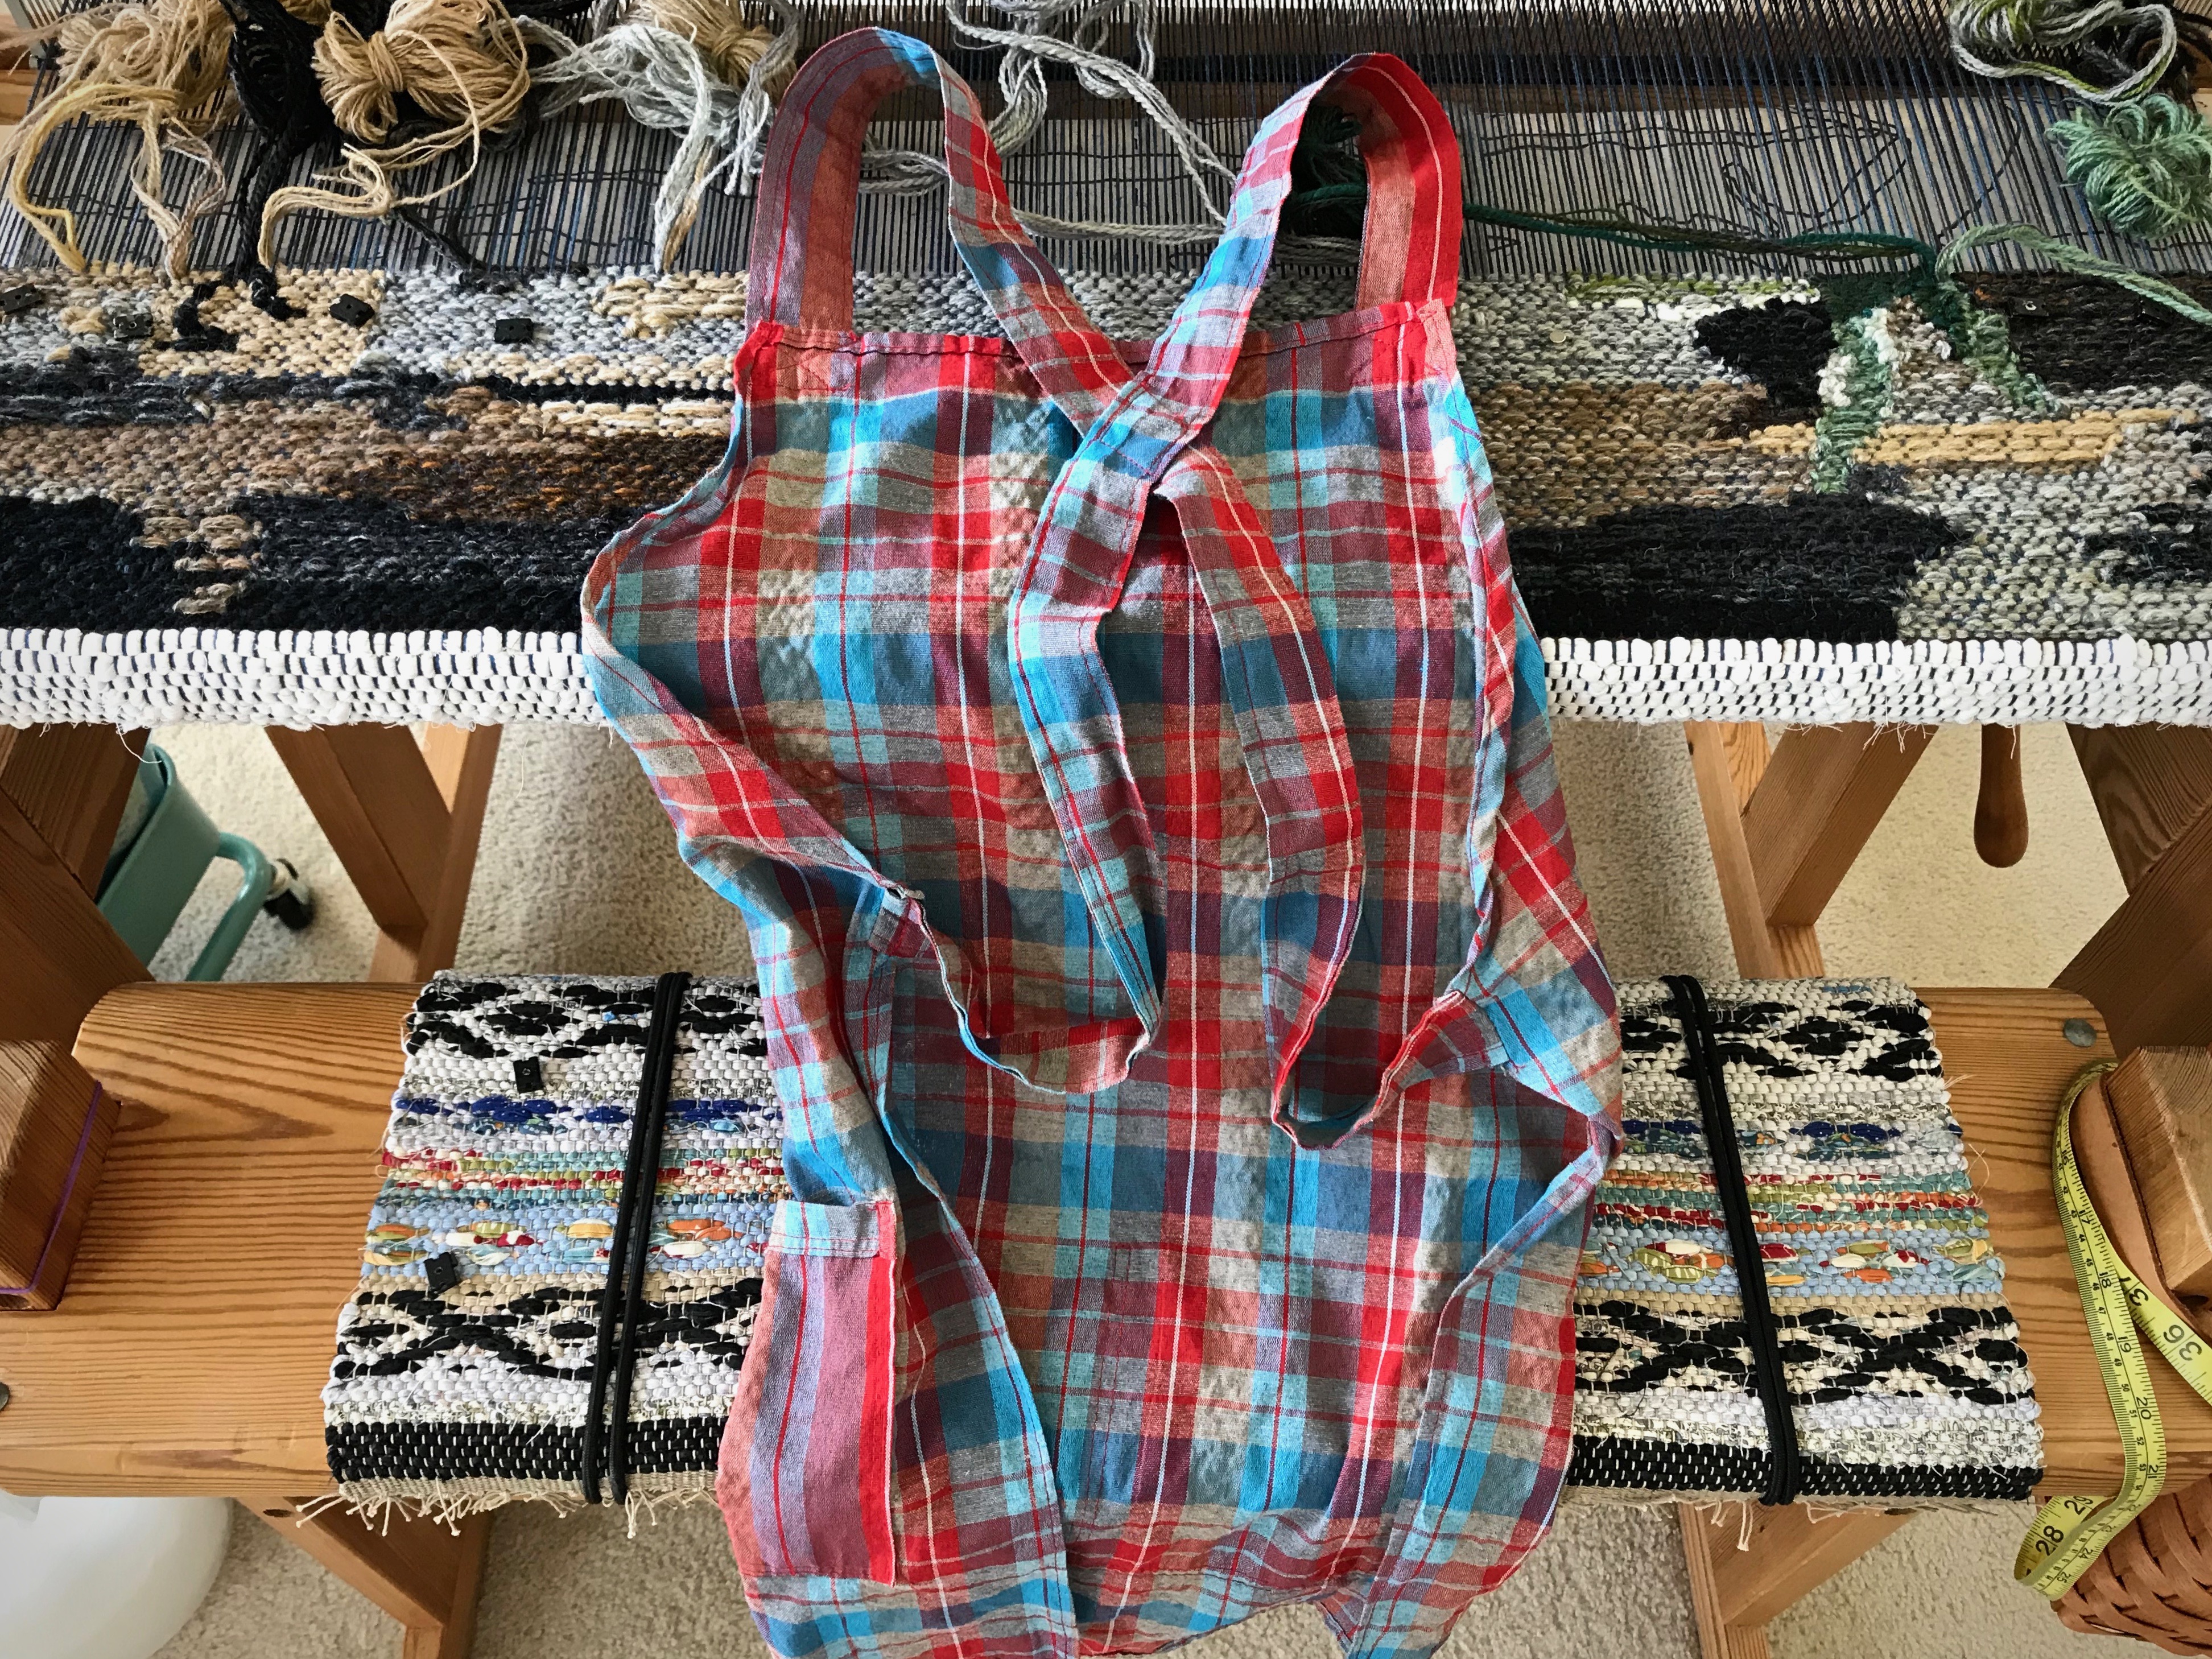
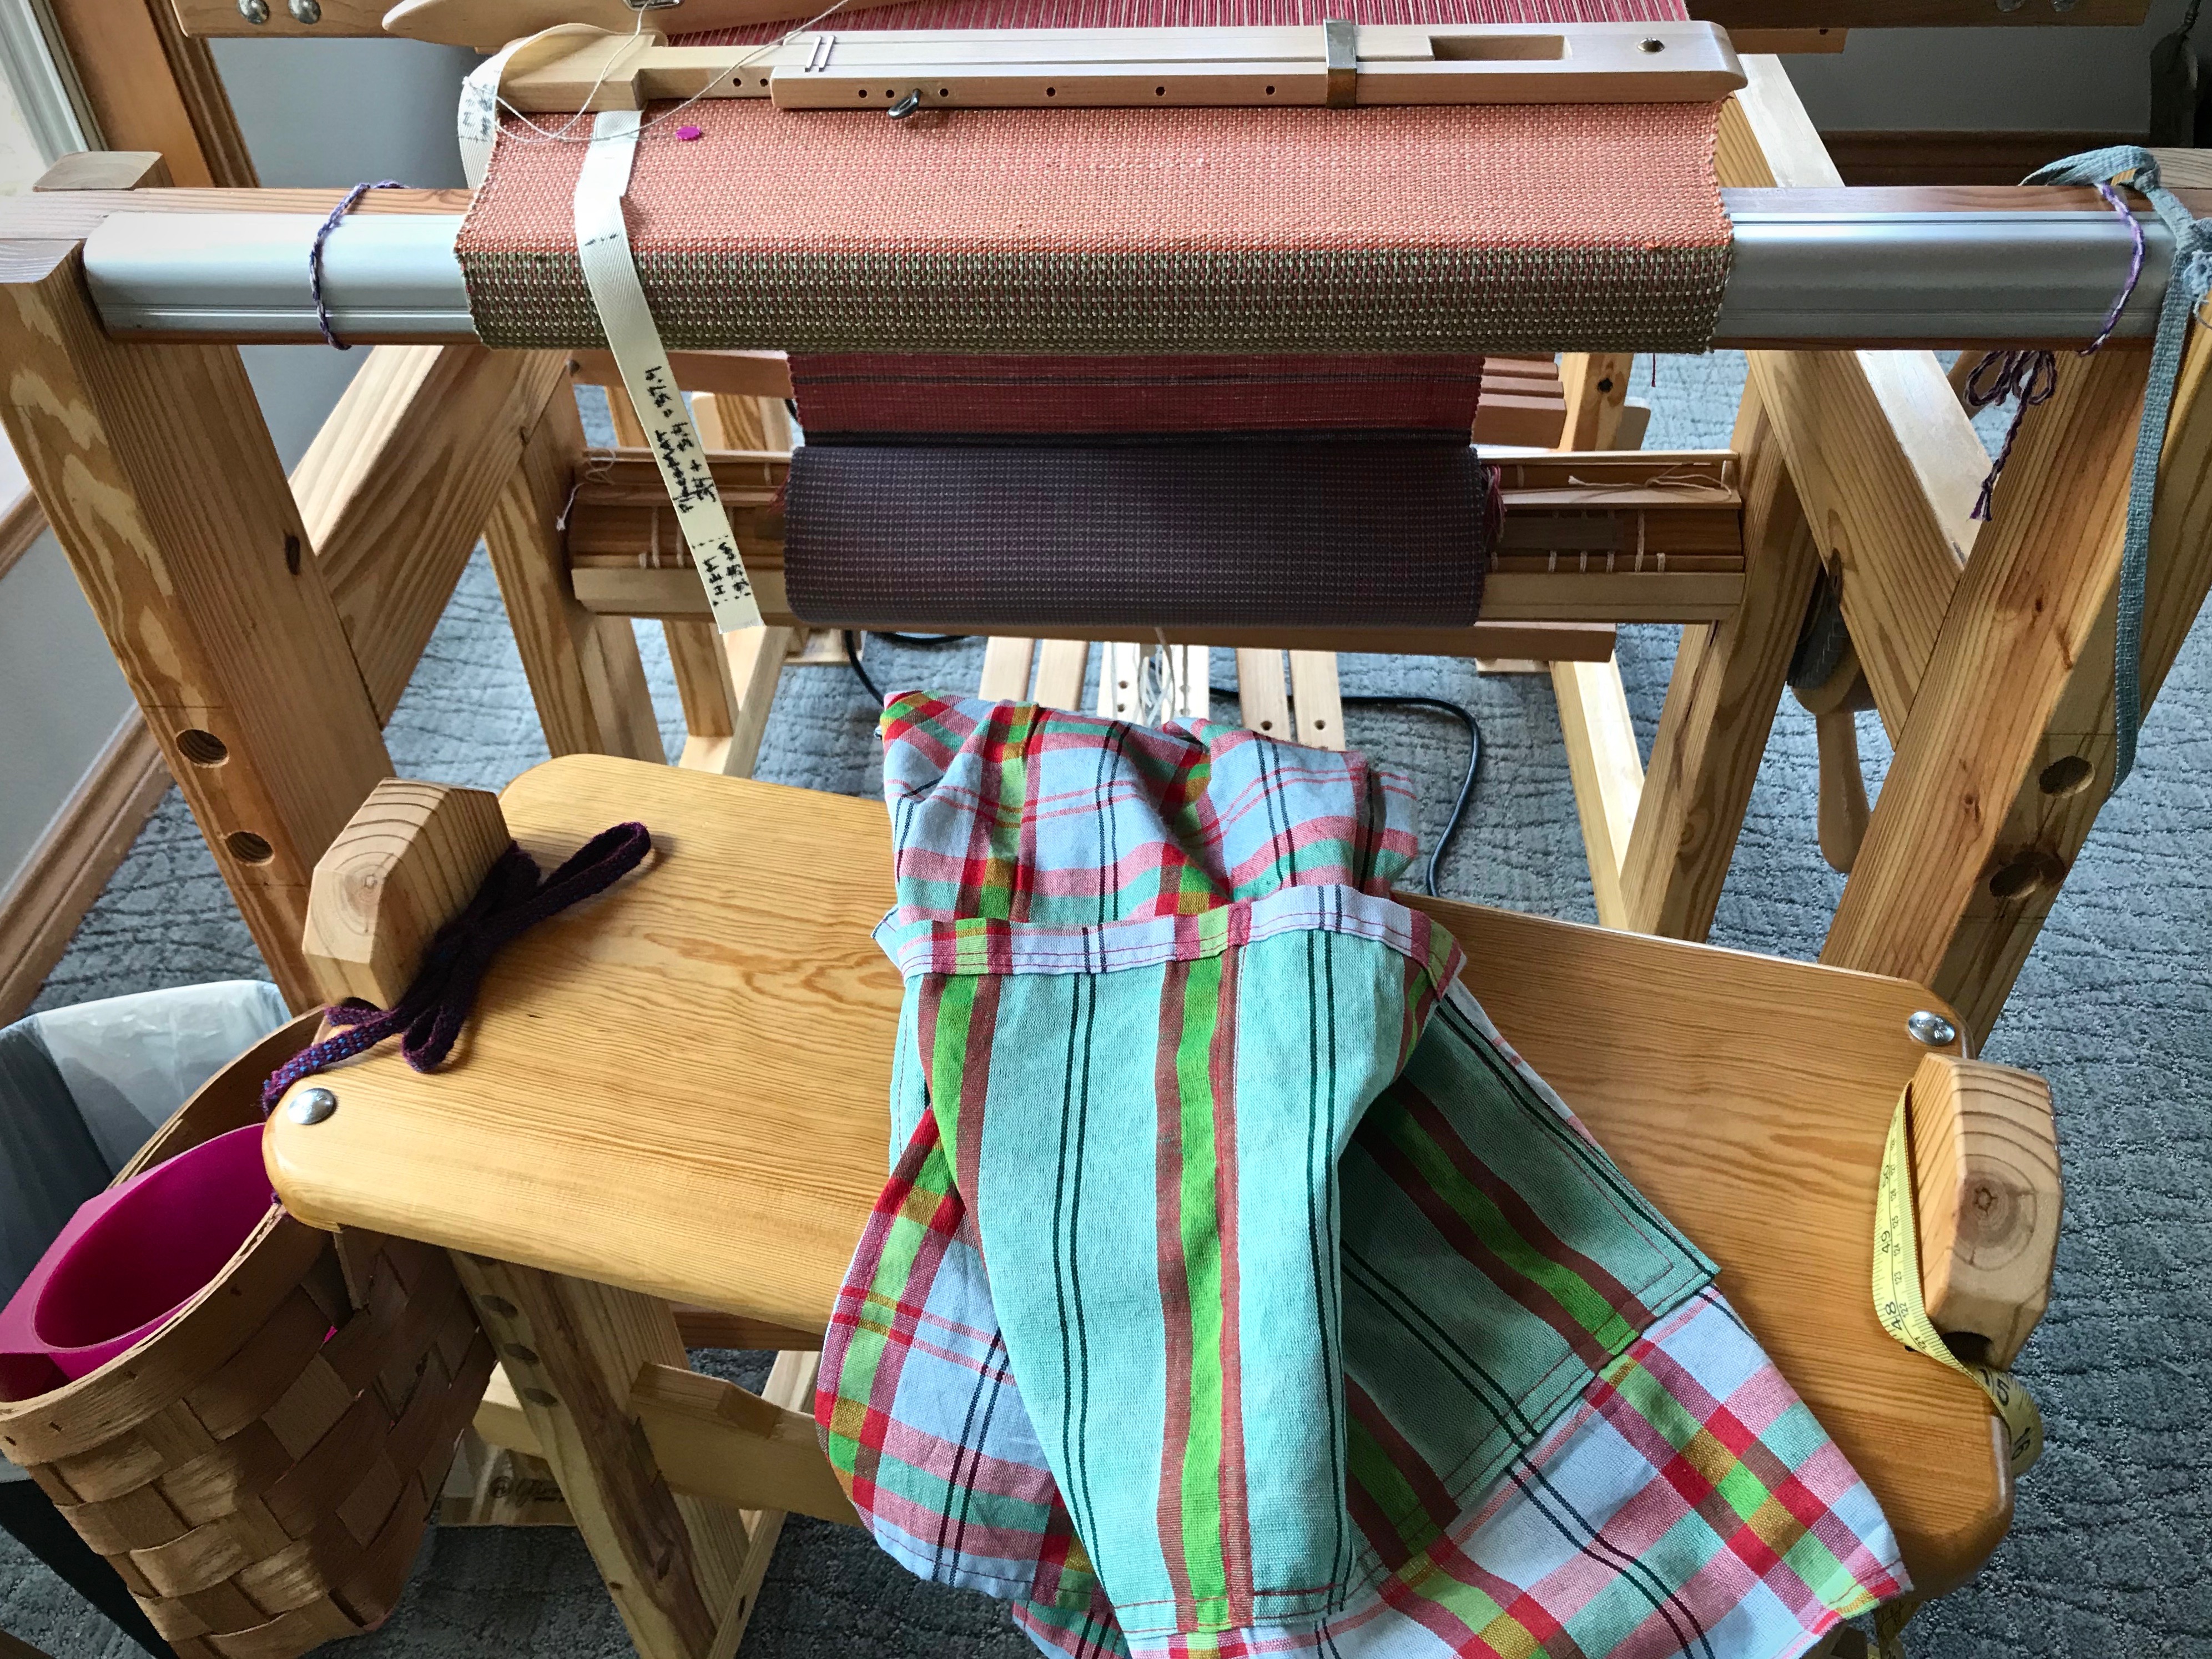
Woven on single unit drawloom by Joanne Hall.
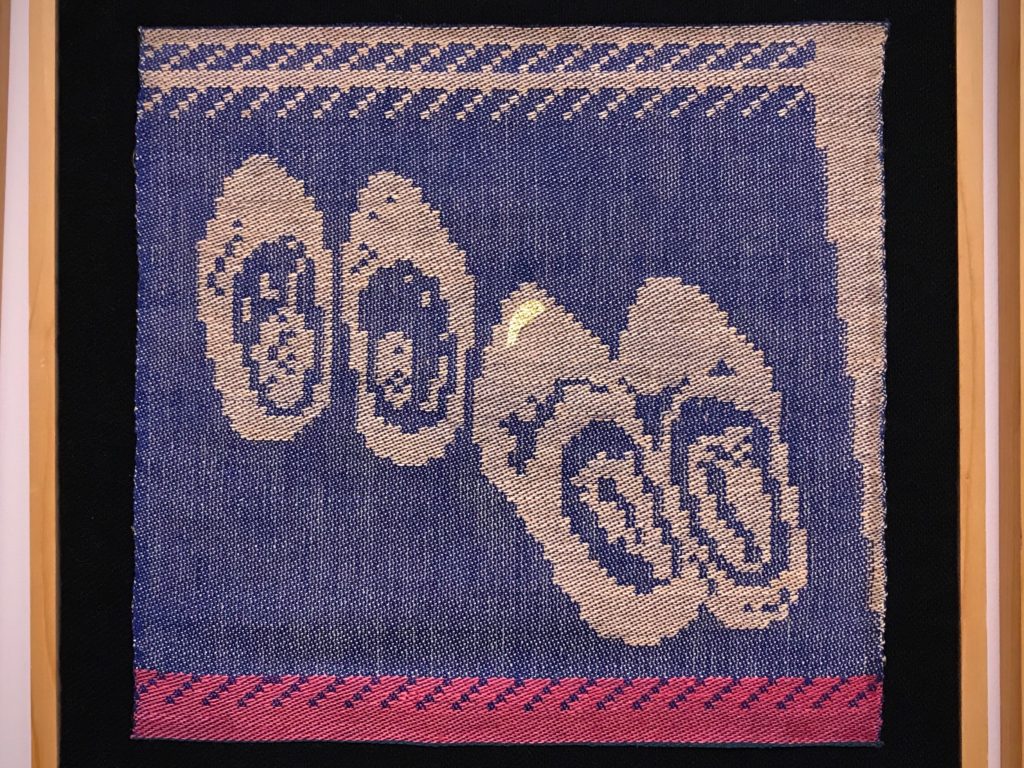
Woven on single unit drawloom by Joanne Hall.
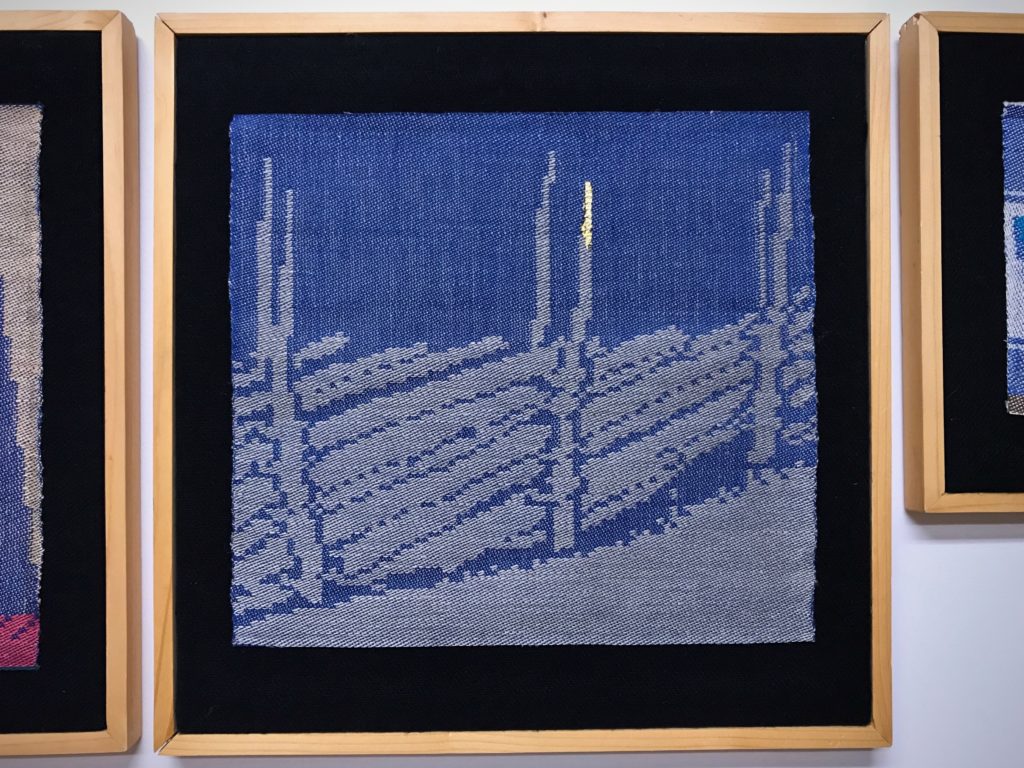
Single unit drawloom, woven by Joanne Hall.
Any final thoughts?
In Sweden, weavers guilds are different than they are here in the US. Most everyone in Sweden can join a guild, called a vävstuga, which in Sweden is a place with looms—floor looms, big floor looms. You meet there as often as you want, and you can weave on floor looms in the company of other weavers, who are very helpful. If we had that, it would be wonderful.
That would be wonderful, indeed! I think I got a little taste of that, right here in your Montana studio. Thank you!
Happy Weaving,
Karen and Joanne