Cutting Off Celebration!

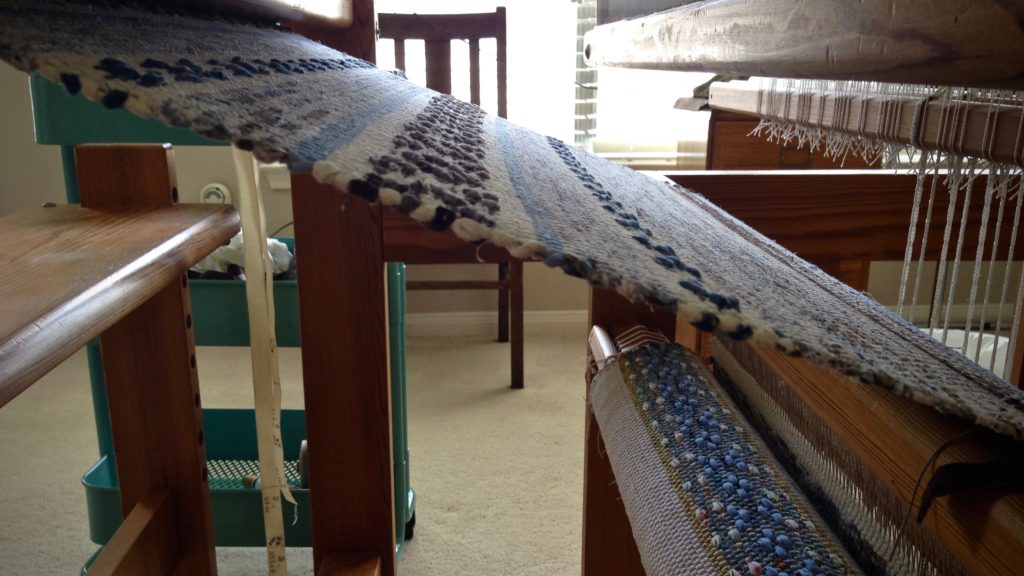
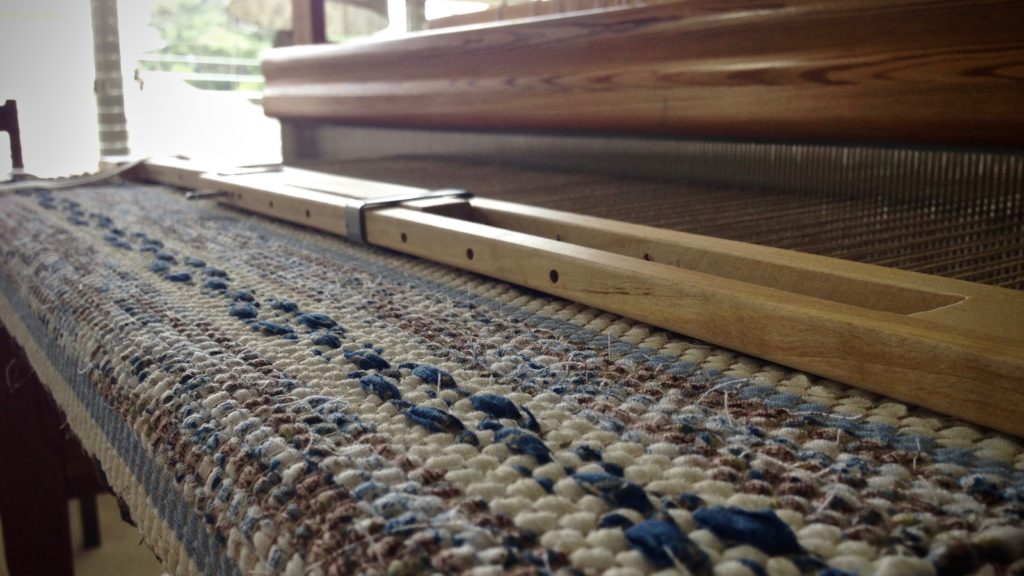
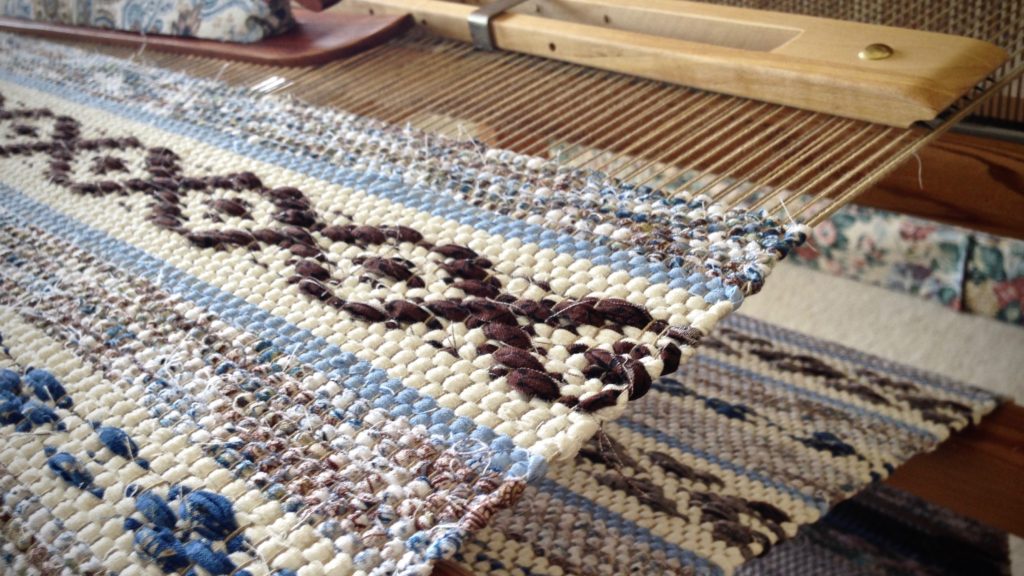
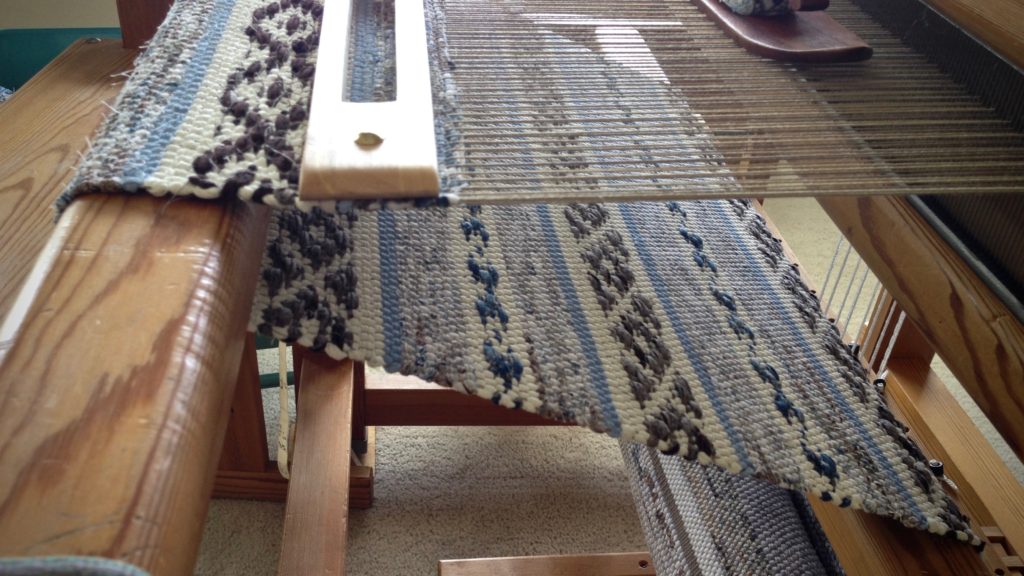
Is there anything as exciting as cutting off? Oh sure, there will be some errors to mend. And only wet finishing will reveal the true nature of the cloth. But after investing hours and hours at the loom, cutting the fabric off is a celebration. This is the moment when the work of this weaver’s hands is finally revealed!

While admiring and examining the fabric as it comes off the loom, I am already moving onto the next step–finishing. Here are a few of my regular practices.

  • Thread-mark the right side of the fabric on each sample and individual piece before completely removing the fabric from the loom. This removes guesswork later. Thread a blunt-tip needle with 6 – 8″ of warp or weft thread, and make a 1/2″ stitch through the fabric. Leaving a loose loop, tie the ends of the thread together in a square knot on the right side of the fabric.
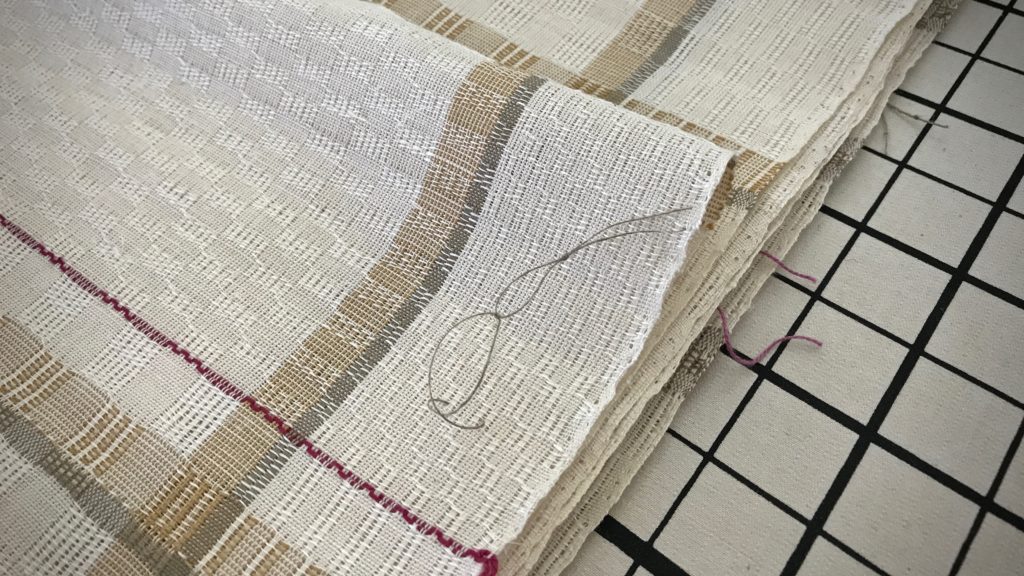
Weaving tip: Thread-mark the fabric.
Knot in the thread tells me that this is the right side of the fabric. Thread marks are sewn onto each piece before removing the fabric from the loom if the difference between the right and wrong side of the fabric is less than obvious. Thread marks remain until hems are turned under.
  • Tie sequential knots in the thread marks. e.g., First towel has one knot, second towel has 2 knots, etc. This enables accurate record-keeping measurements before and after wet finishing for individual items.
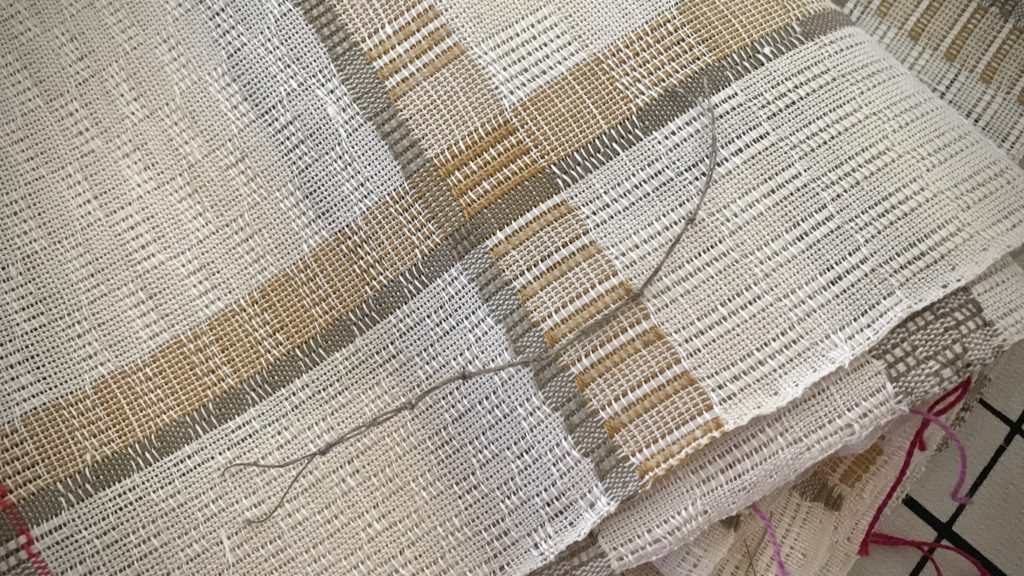
Weaving tip: How I number the towels on a warp.
After washing, I count the number of knots in the thread to know which towel is which. Before and after measurements enable me to calculate the amount of shrinkage that occurs, which helps for planning future projects.
  • Cut pieces apart before washing.

1. Two weft picks have been woven for each cutting line. The two threads make an easy guide path for the scissors.
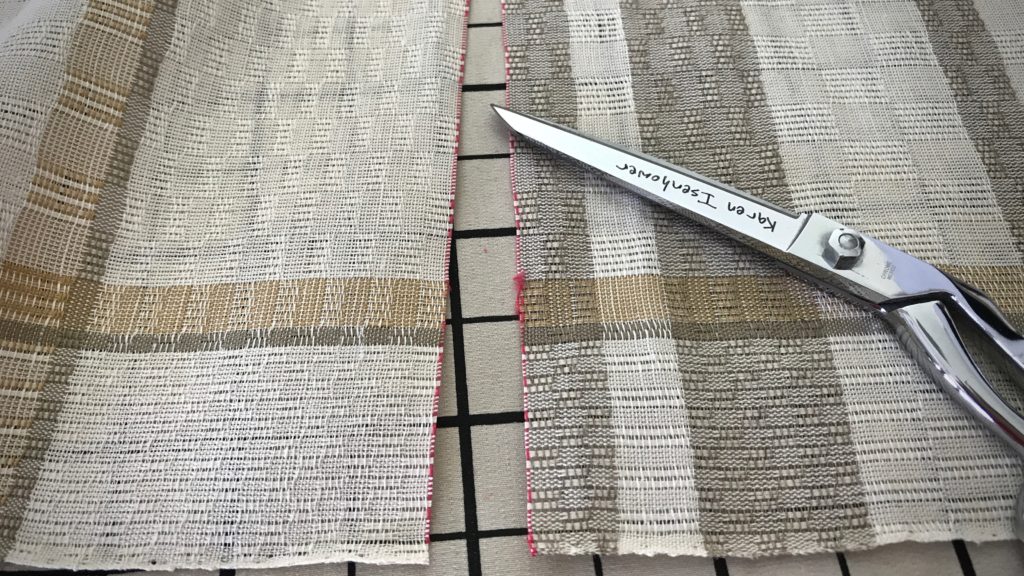
Cutting line between woven items.
Cutting line for separating the woven pieces. Cut between the two red weft threads.

2. Use the same cutting-line color for every project (I use red, unless red is one of the weft colors in the project). This helps prevent accidental cutting at weft design stripes in the piece (which I did once –Oops!– before establishing this rule).

3. Pull out the cutting-line threads. Any remaining thread residue is easily removed with a lint roller.
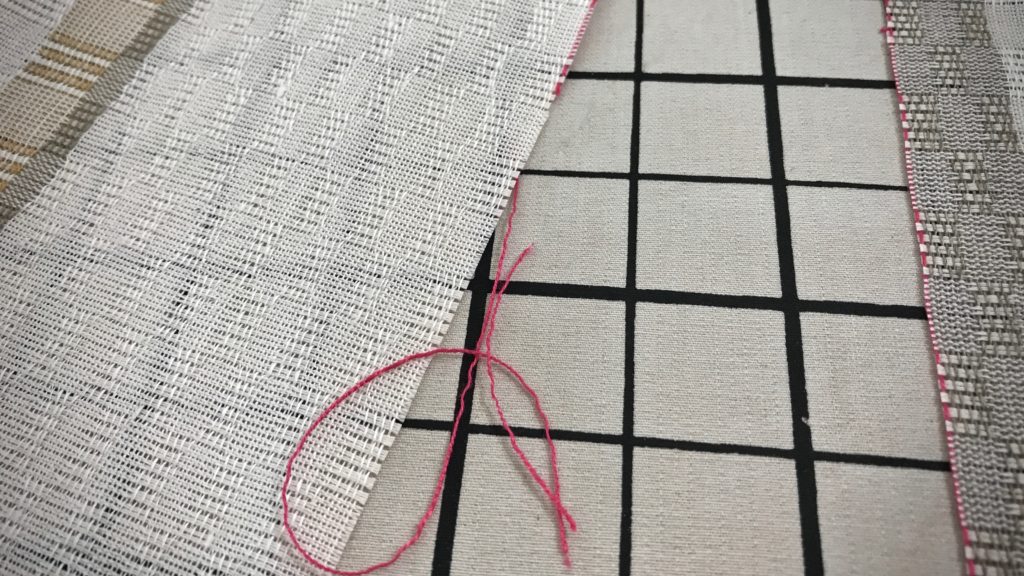
Pulling out the cutting line.
Red cutting line thread pulls off, leaving a straight woven edge for finishing.
  • Finish the cut edges with an overlock stitch on a serger or with a zigzag stitch (preferably a three-stitch zigzag, according to my friend, Elisabeth) on a sewing machine.
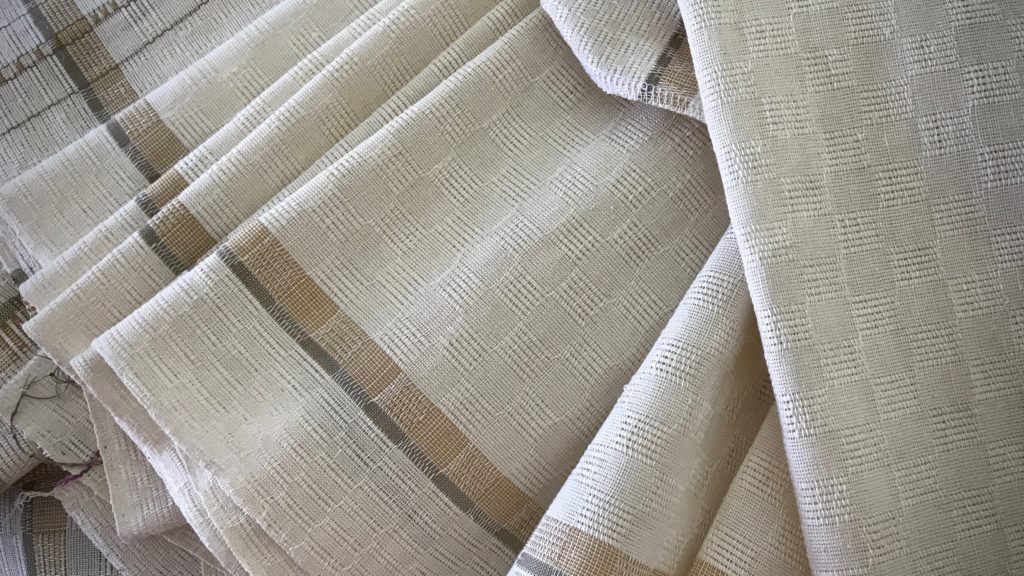
Getting ready to wet finish these M's and O's towels!
All items are prepared for washing. Errors have been mended, and cut edges have been finished with the serger.
M's and O's (Sålldräll) after washing. Karen Isenhower
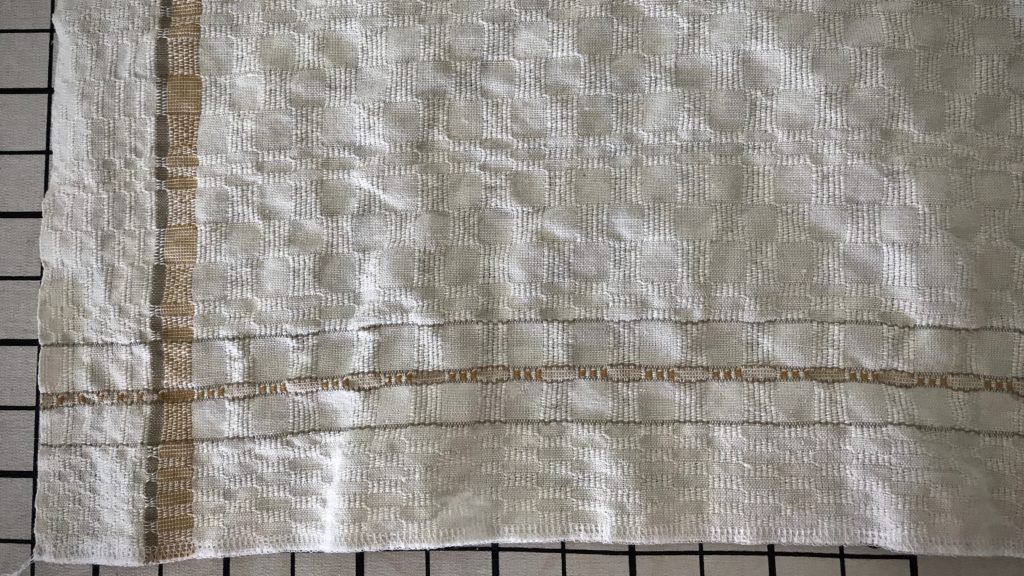
Lovely texture of the M’s and O’s (Sålldräll) structure is revealed after washing. A few more finishing steps remain: pressing, adding handwoven hanging tabs, and hemming.

Humans are not finished until they are loved. Love is patience and kindness at the core. We want to be on the receiving end of that, don’t we? We all need someone to love us–to carry our burdens, to believe us, to hope the best for us, to endure with us. It’s in the finishing that we discover the value, the corrections needed, and the beauty that has been woven in. This is the love of God to us. This is the finishing work of Jesus Christ, and his love in us.

May you have many cutting-off celebrations.

With love,
Karen

PS It’s good to be back with you! I hope you had a pleasant and weaving-full July.

Tools Day: Double-Bobbin Shuttle

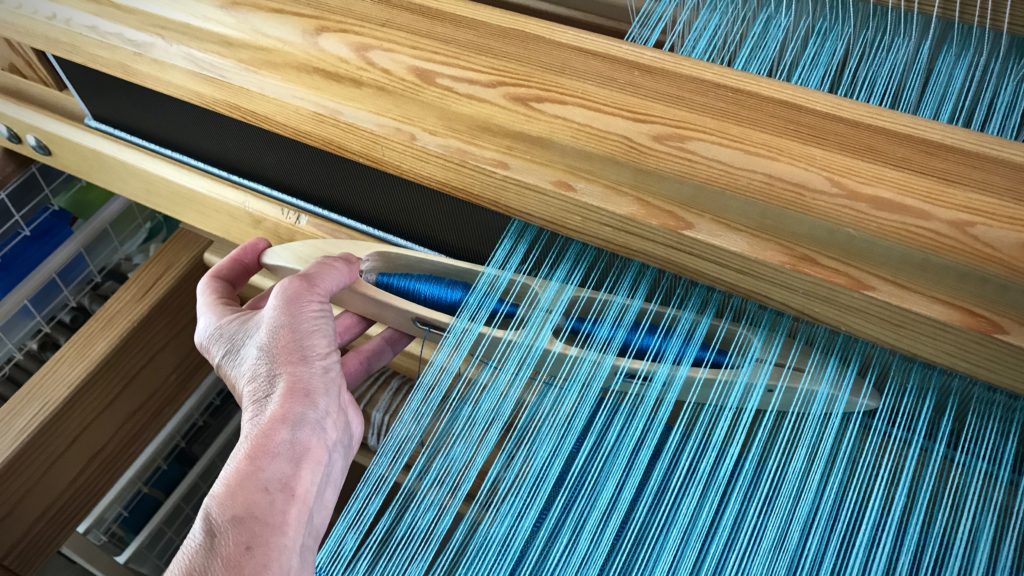
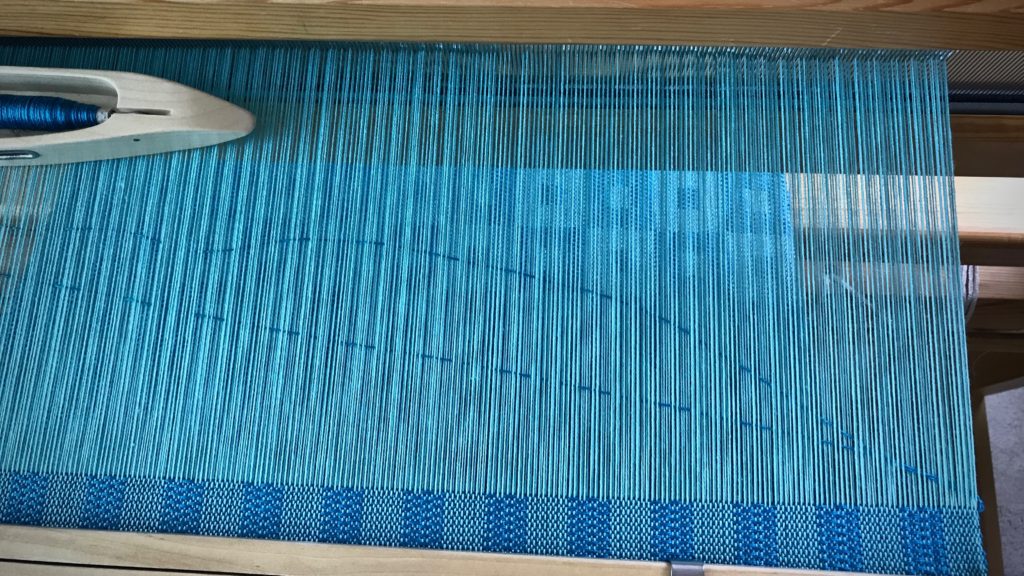
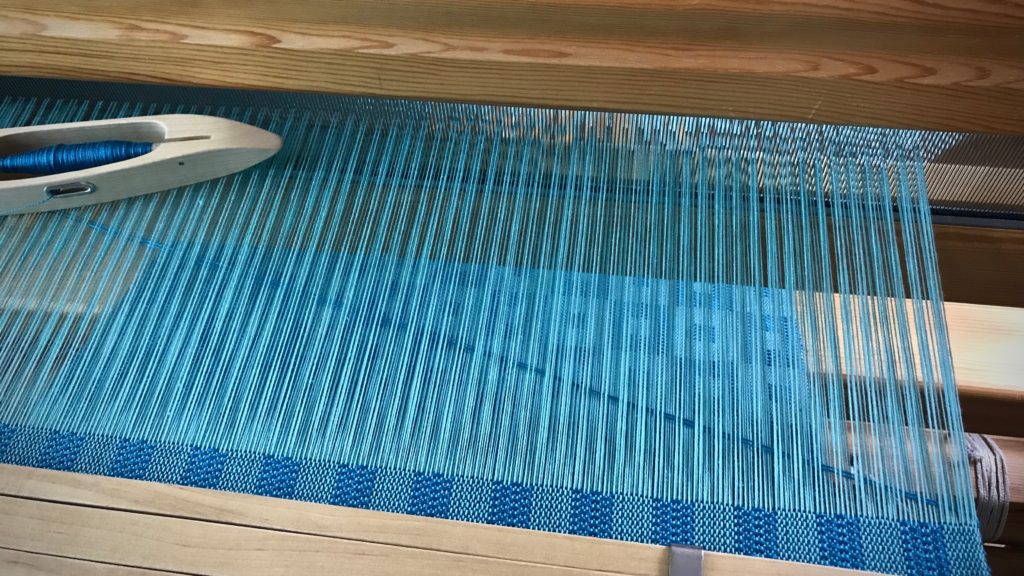
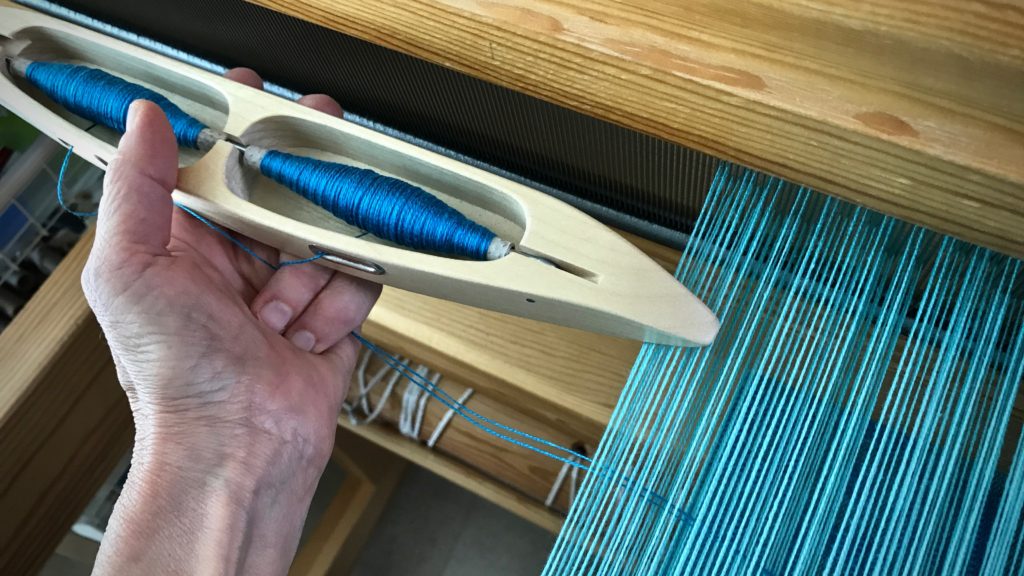
The first time I wove fabric that required a doubled weft I did not use a double-bobbin shuttle. I didn’t own one. I used a regular boat shuttle and sent it across twice, going around the outer warp end. Those first thick and thin towels came out beautifully. So I know it can be done.

Weaving with a double-bobbin shuttle. Tips.
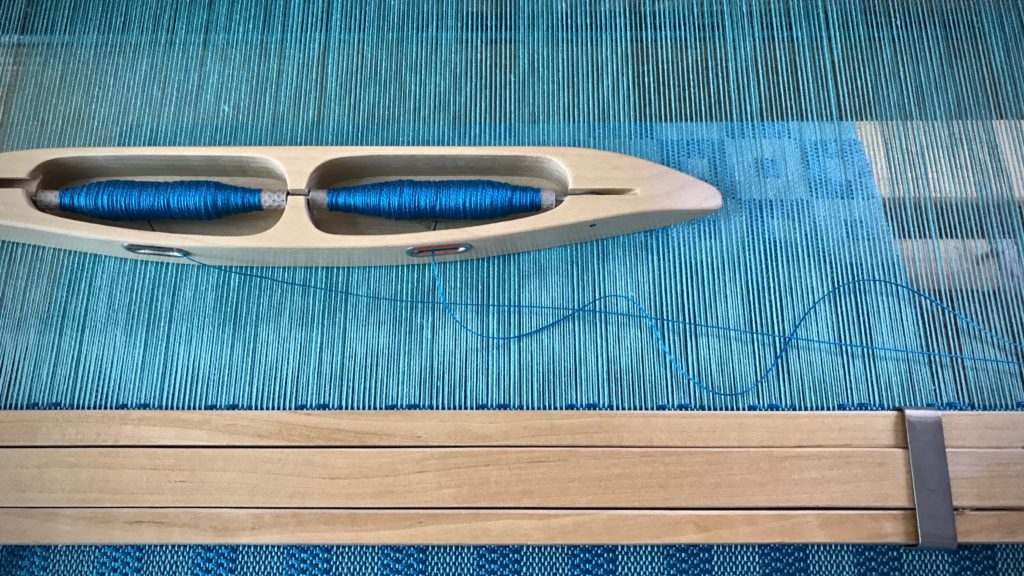
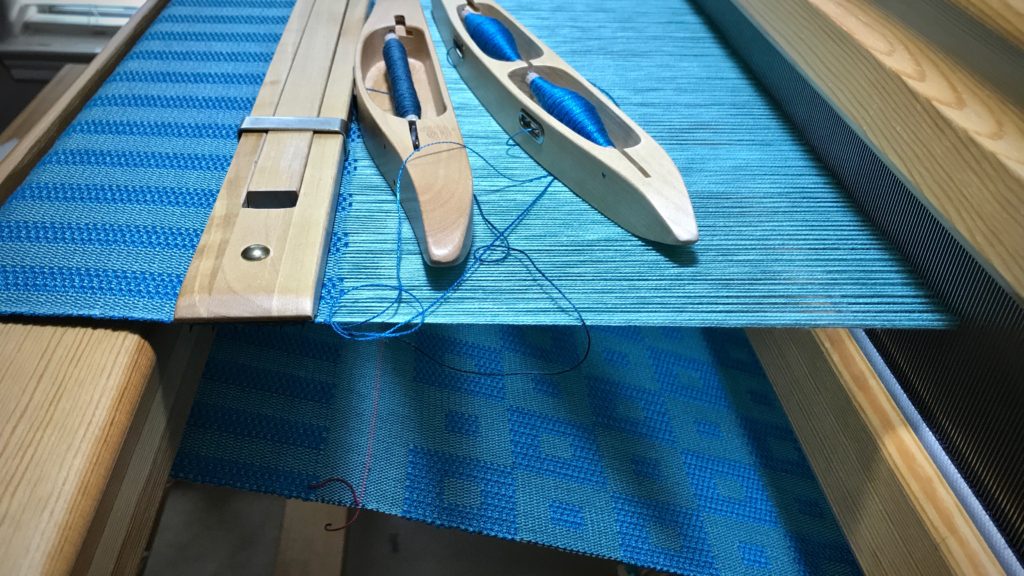
Square pattern peeks through from below. Double-bobbin shuttle carries the doubled tencel weft for this kuvikas fabric.

The first time I used a double-bobbin shuttle I wondered if it was worth it. It was awkward and clumsy in my hands. Since that rocky introduction a few years ago, I have woven many meters with my double-bobbin shuttles. They have become cherished tools and efficient accomplices to some of my favorite fabric-making endeavors!

Tips for Weaving with a Double-Bobbin Shuttle (and a short video demonstration)

  • Practice. Make sure you allow extra warp length for practicing. You will probably need it at first. Have fun and laugh, and refrain from throwing the shuttle across the room.
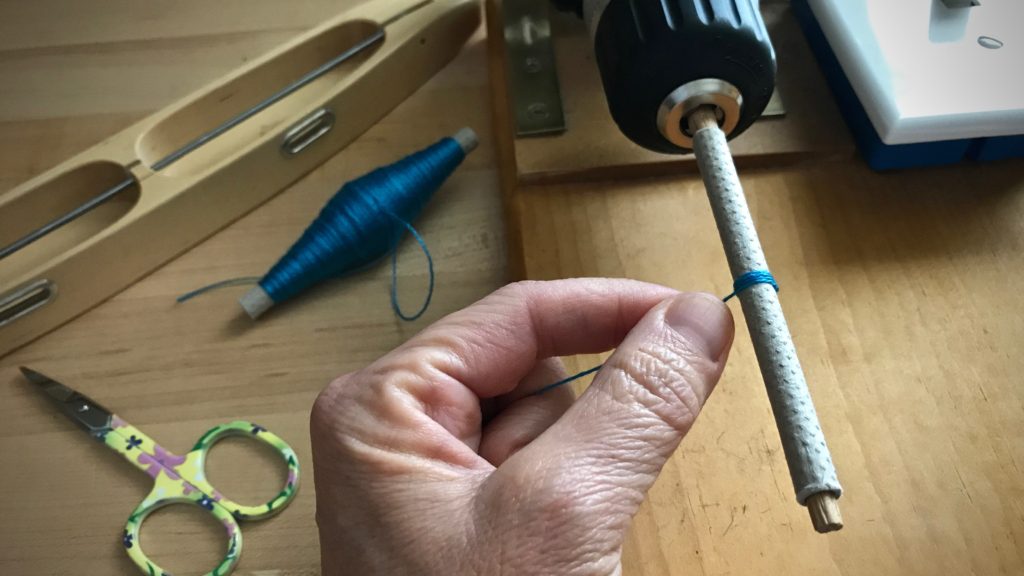
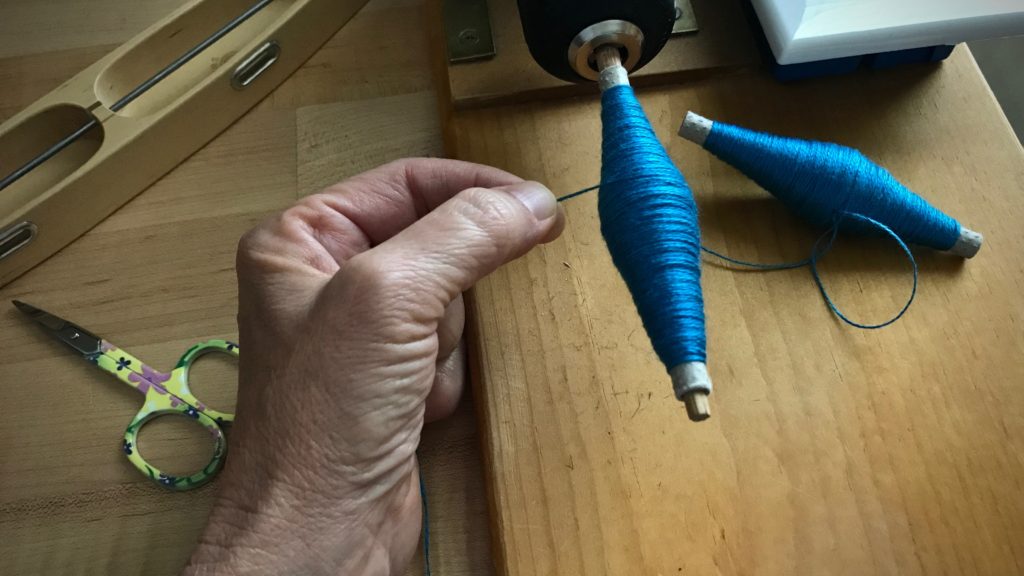
  • Winding Equal Bobbins. Wind the first quill. Lay it close to the bobbin winder where you can see it easily. As you wind the second quill, attempt to match it in size to the first one. (Winding two quills with equal amounts of thread is no small challenge.)
Winding equal quills for a double-bobbin shuttle.
Visibility of the first wound quill is key for judging how much thread to wind on the second quill.
Winding quills for double bobbin shuttles.
Knowing when to stop is the trick. The ideal is for both quills to become empty at the same time. This only happens in your dreams. But sometimes you can get pretty close.
  • Sending the Shuttle. Sending the double-bobbin shuttle through the shed is the same as sending a regular boat shuttle across. The best release is done with a flick of the forefinger so the shuttle speeds across. Then, the doubled weft naturally snugs the selvedge, and the two threads are neatly aligned across the shed. With a slower, more timid shuttle send-off, the quills unwind unequally.
Weaving with a double-bobbin shuttle.
Holding the shuttle palm up, the forefinger launches the shuttle to glide quickly through the shed.
Results of timid shuttle send-off.
Timid or sluggish shuttle send-off lays unequal lengths of threads in the shed.
How to tips for weaving with a double-bobbin shuttle.
Deliberate send-off of the shuttle helps the threads to lay across the shed in equal lengths.
  • Receiving the Shuttle. Receiving the shuttle can be the awkward and clumsy part at first. Especially if you are trying to practice a quicker send-off. I catch the shuttle as for any boat shuttle, palm up. And then, if needed, I fold my two bottom fingers around the threads, guiding them to fall equally across the shed.
Using a double-bobbin shuttle. Tips.
After catching the shuttle, I gently close my fingers around the two threads, as needed, to guide them to fall evenly across the warp.
  • Weave. Enjoy the process.
Shuttle shadows. Karen Isenhower
Shuttle shadows.

May your practice produce perfection. (Well, maybe not perfection, but at least improvement.)

Happy weaving,
Karen

Quiet Friday: Swedish Rosepath Rag Rug

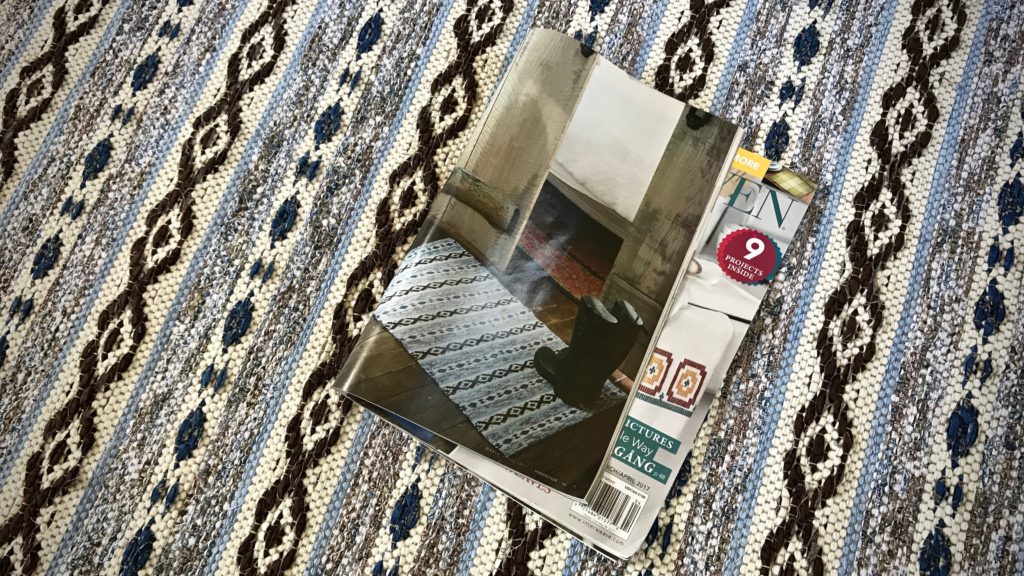
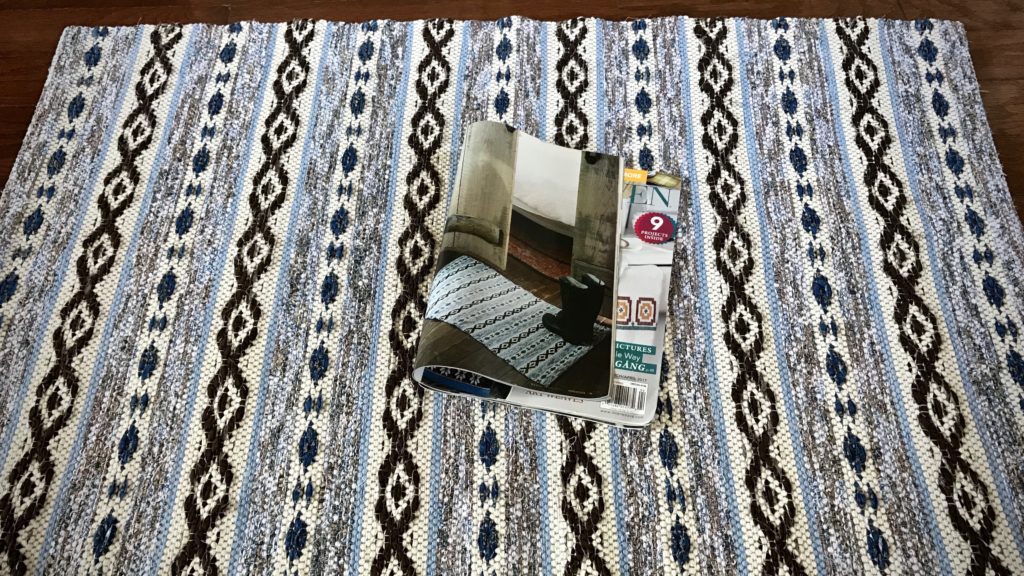
My introduction to rosepath rag rugs was on a room-size loom in Joanne Hall’s magical Montana studio. I was so happy at that moment that I actually cried. It’s no surprise, then, that I relish every opportunity to weave a rosepath rag rug. And even better, to share the joy with other handweavers who may not have tried it yet. Look what came in the mail this week! The March/April 2017 issue of Handwoven, with a project by yours truly–Swedish Rosepath Rag Rug!

Swedish Rosepath Rag Rug, as seen in March/April 2017 Handwoven.

Not everyone loves weaving rag rugs. That’s fine. But if you’re a weaver, there is probably something that draws your interest and brings delight. A certain weave structure, silky fibers, fine threads, complex patterns, bold colors. Something. And if you’re not a weaver, there is something else that triggers your pursued interest. Find that spark that ignites joy in you!

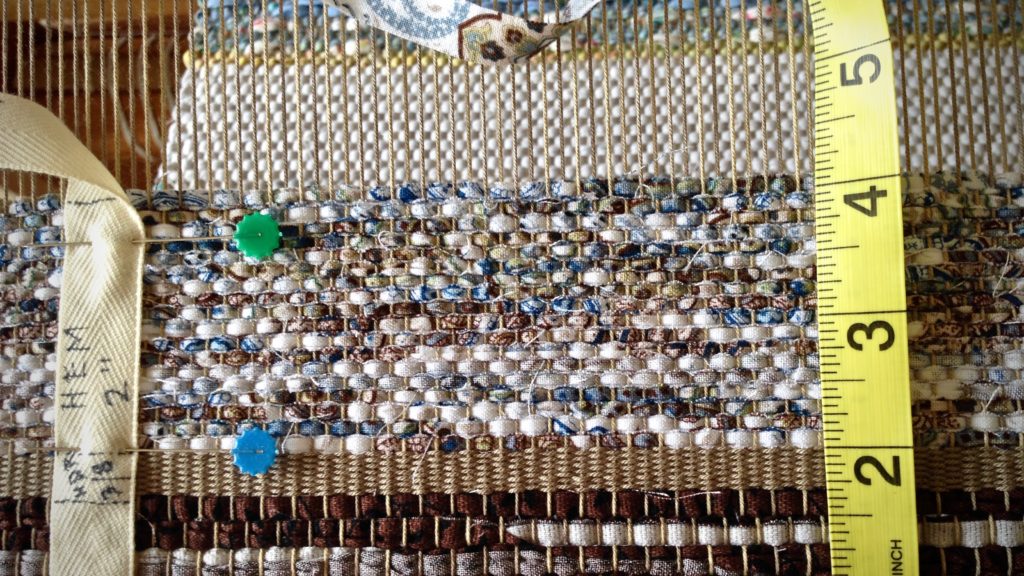
Beginning a rag rug.
Besides using a pre-measured tape, taking a picture at the beginning of the rug, with the yellow tape measure in view, makes it easy to replicate the hem at the end of the rug.
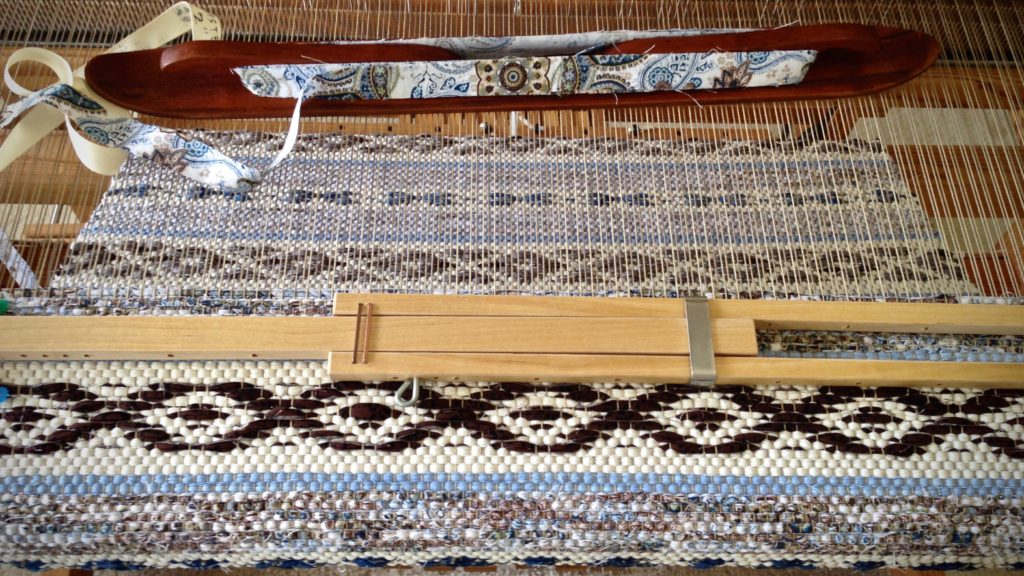
Temple in place, weaving Swedish rosepath rag rug.
Temple is in place, keeping the rugs a consistent width. Metal rug temples are good, but I still prefer a regular wooden Glimåkra temple for weaving rag rugs.
Weaving rosepath rag rugs. Fun!
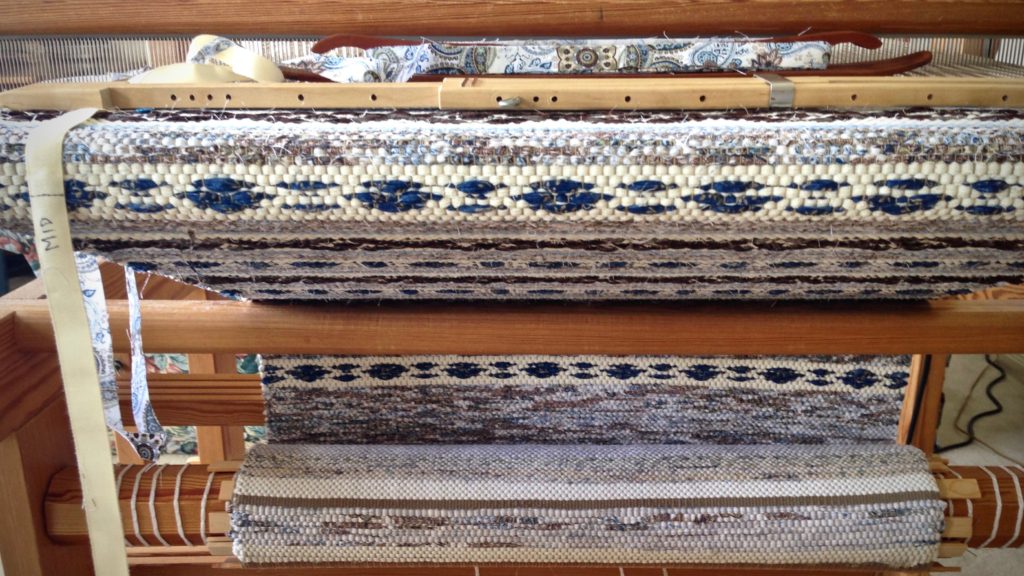
Many rosepath variations are possible. The rug on the cloth beam uses a similar design, with different colors.
Swedish Rosepath Rag Rug. Karen Isenhower
Making paths of roses. Rosepath.
Swedish Rosepath Rag Rug.
Progress!
Seeing the reverse side of the rosepath rag rug on the loom.
Reverse side of the rug has a subtly different pattern.
Swedish rosepath rag rug on the loom. Rug in March/April 2017 Handwoven.
Cloth beam fills up with rag rugs. Pleasant sight for a rag rug weaver!
Ending the rosepath rag rug on the loom.
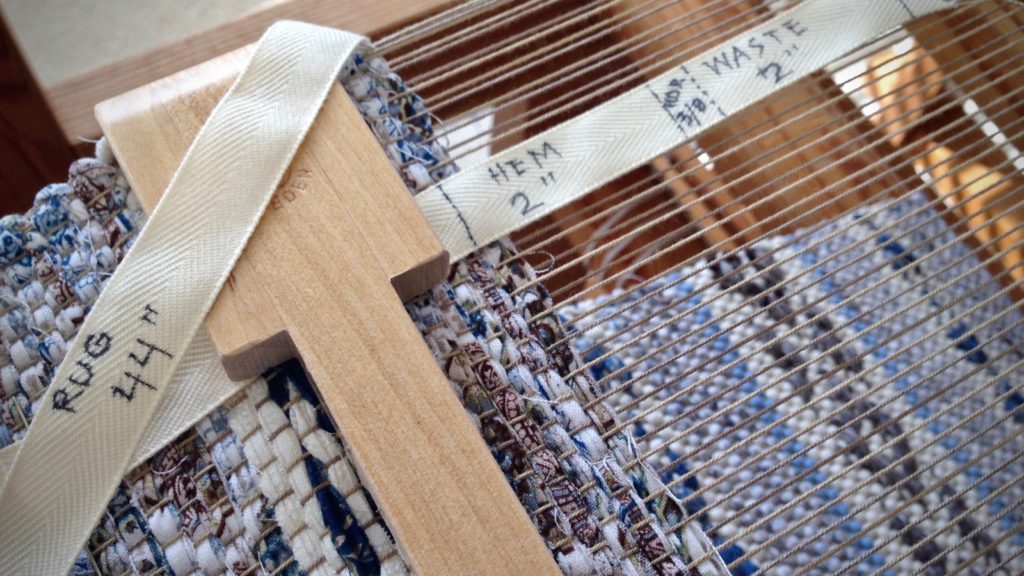
Ending the rug on the loom. Following the markings removes guesswork.

Keep a song in your heart. Sing. Sing for joy. Sing praise to the Grand Weaver who put the seed of searching in you. A seed that bursts open with joy when ignited with a spark, and flourishes into something distinguishable. Trust the Lord with all your heart. Your heart will find its melody.

Swedish Rosepath Rag Rug as seen in March/April 2017 Handwoven.
Published in March/April 2017 Handwoven.

May your heart sing a joyful tune.

ATTENTION: The draft for the  Swedish Rosepath Rag Rug from Handwoven is written for a sinking shed loom. Therefore, for a jack loom, you must tie up the “white” empty squares instead of the numbered squares for the pattern to show right side up as you weave.

If you are interested in weaving rag rugs, take a look at Rag Rug Tips, a new tab at the top of the page.

Happy Weaving,
Karen

Quiet Friday: Risky Way to Fix a Threading Error

We all have threading errors from time to time. This time I completely transposed the threading on shafts one and two. I saw the error when I started weaving; the pattern in the cloth was not as it should be. After a few days of contemplating, arguing with myself, and studying the error, I decided on an ingenious and risky fix (I hinted at it in My Best Weaving Stunt to Date!). Switch the two mis-threaded shafts. Yikes! One slip up could bring the whole warp down–figuratively and literally. I caught myself holding my breath several times through the process. Gently hopeful, but not 100% sure that my plan would work. Thankfully, it did work.

The threading went from this

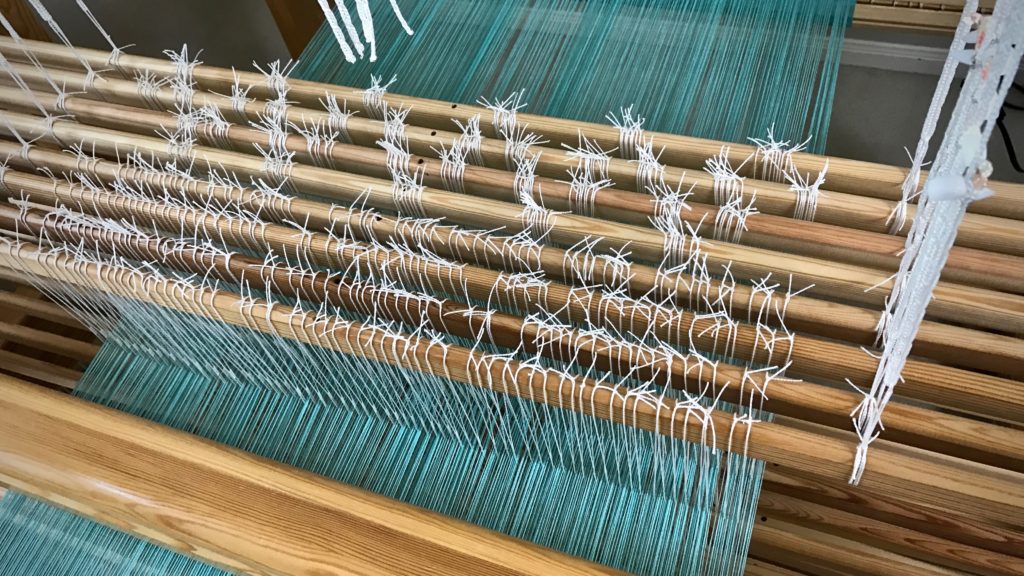
Threading error and a risky fix. Switch 2 shafts!
Shafts 1 and 2 (counting from back to front) have been threaded incorrectly. Shaft 1 should be 2, and 2 should be 1.

to this

Risky way to fix a threading error. Video.
Shaft bars 1 and 2, upper and lower, have been switched. The operation was similar to transferring lease sticks in the back-to-front warping process.

Here’s a short video that shows the maneuvers I did to correct the error. No re-threading needed! The kuvikas square within a square wins!

May you be brave enough to take appropriate risks when needed.

Happy Problem Solving,
Karen

Tools Day: Leveling String

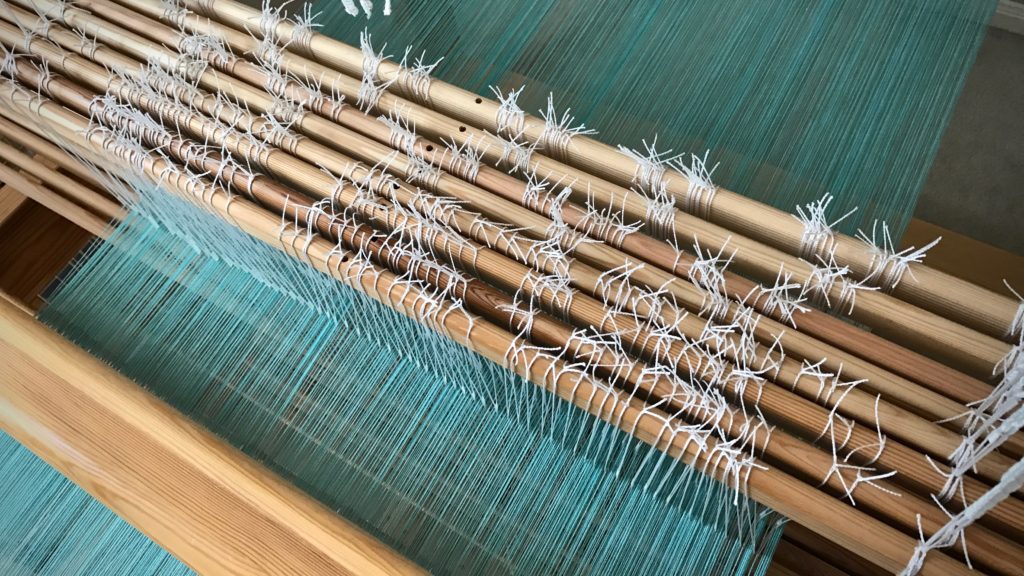
Thirty-five years ago, I took a beginner rigid heddle loom class. Our teacher taught us to use strips of toilet paper (or fat scrap yarn) as weft at the beginning of the weaving to space the warp. After several inches of weaving, the warp ends would fall into alignment. Unless fringe is planned, that beginning warp goes to waste, not to mention the unsightly aspect of the throwaway weft. Here comes the leveling string to the rescue! This piece of 12/6 cotton seine twine is just what we need to get off to a good start with every project we put on the loom. The leveling string levels out the warp ends, and delivers a nice, flat weaving surface. It is superb to be able to weave fabric right from the very beginning of the warp!

The use of a leveling string is also described in my three favorite books that detail how to warp a loom:

  • The Big Book of Weaving, by Laila Lundell
  • Learning to Warp Your Loom, by Joanne Hall
  • Dress Your Loom the Vävstuga Way: A Benchside Photo Guide, by Becky Ashenden

Tools:

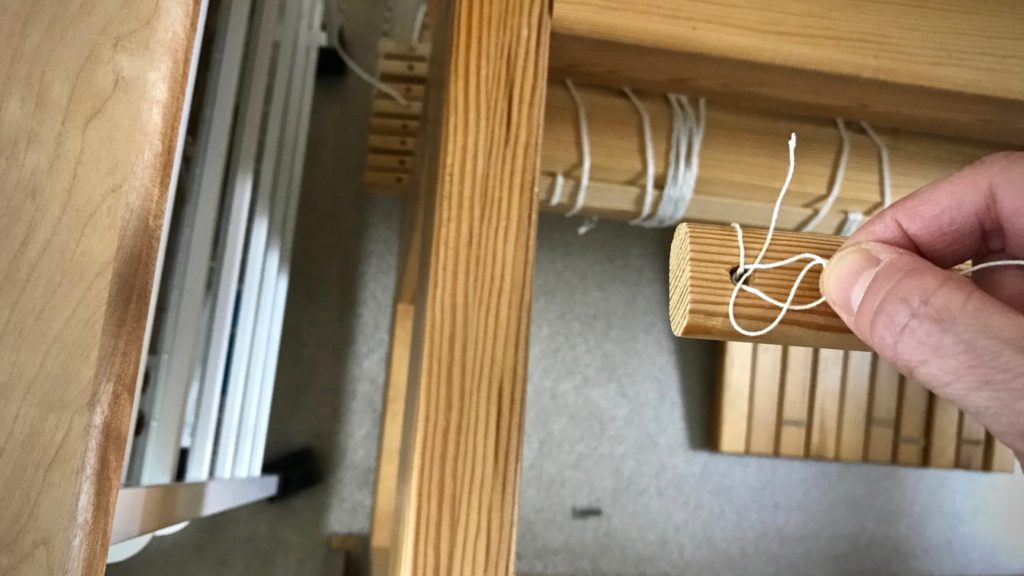
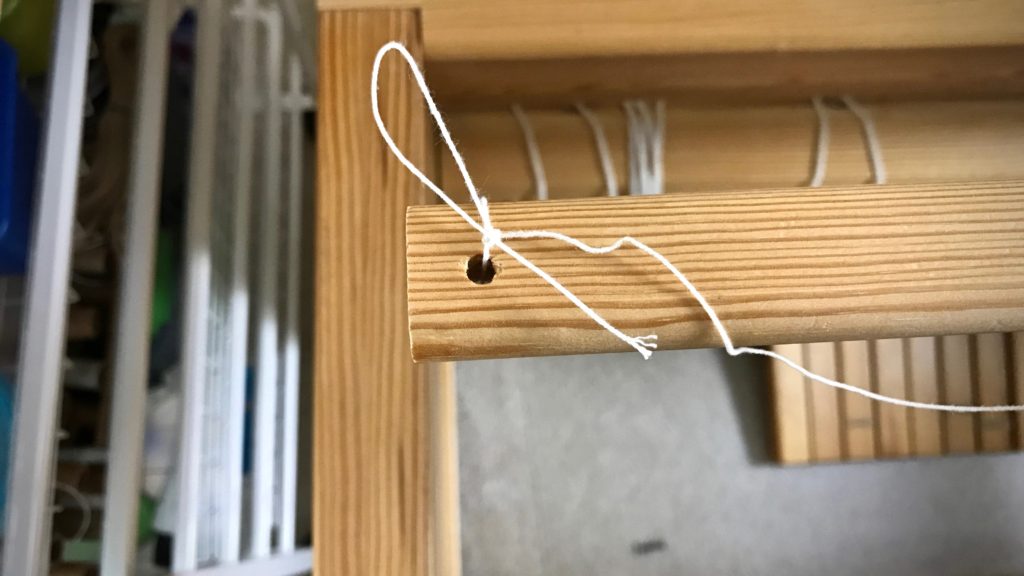
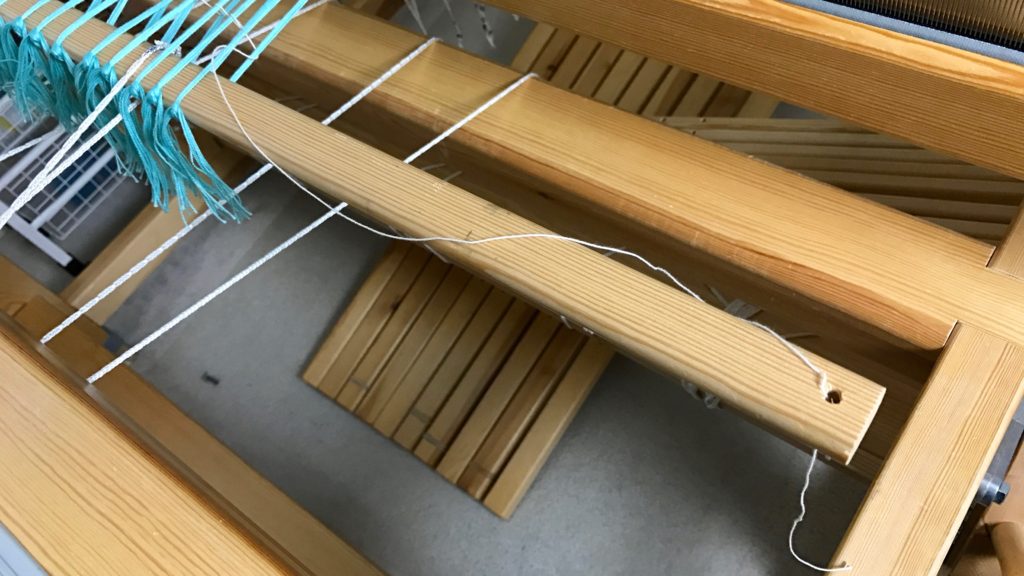
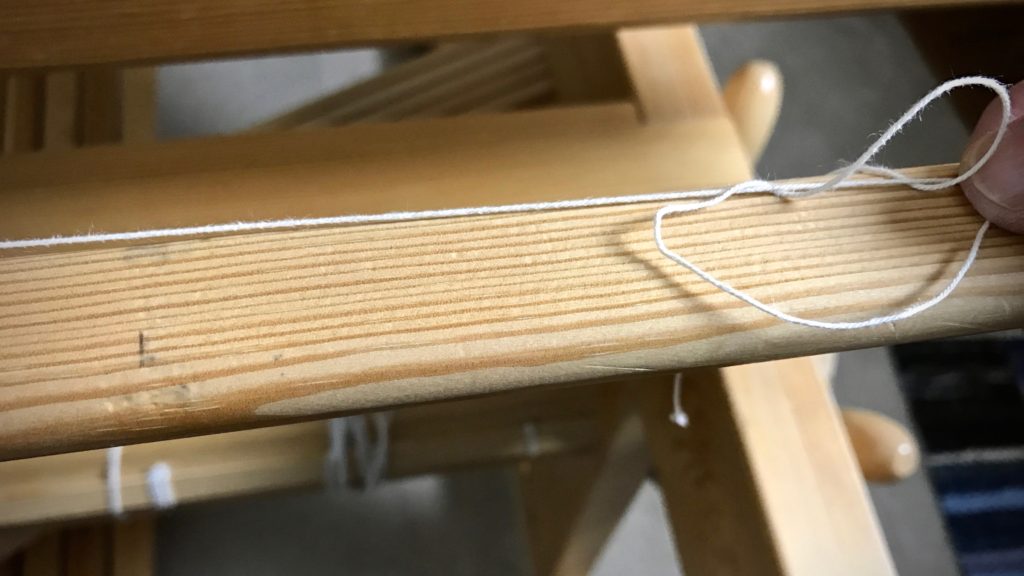
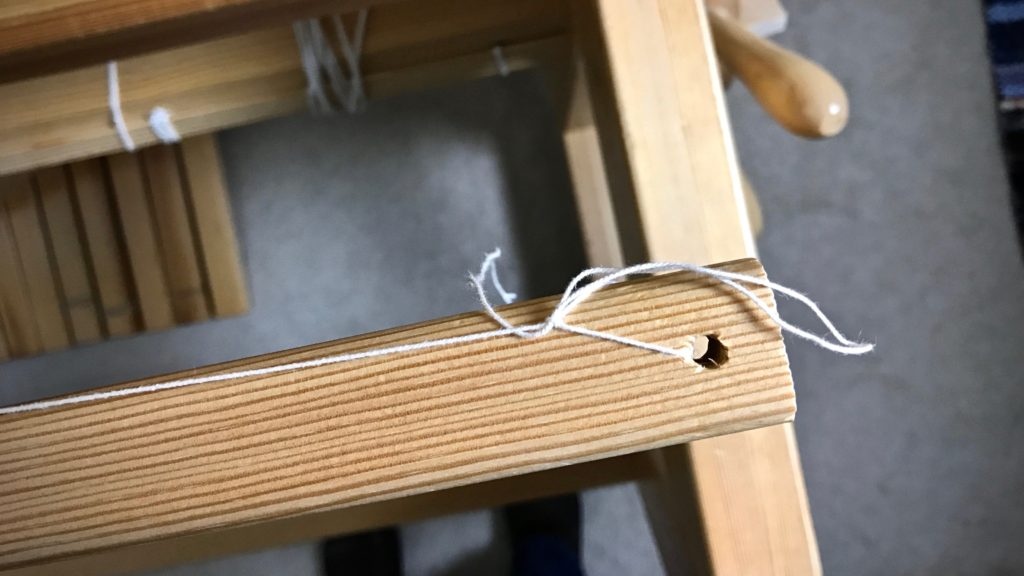
  • Front tie-on bar with a hole at each end (Joanne Hall writes, “If there are no holes in your bar, replace the cord with a thin stick.” I have not tried this, but I trust anything Joanne says!)
  • 12/6 cotton seine twine, the length of front tie-on bar, plus about 20 inches (I like to have plenty of string to tie the knots on the ends)

Steps:

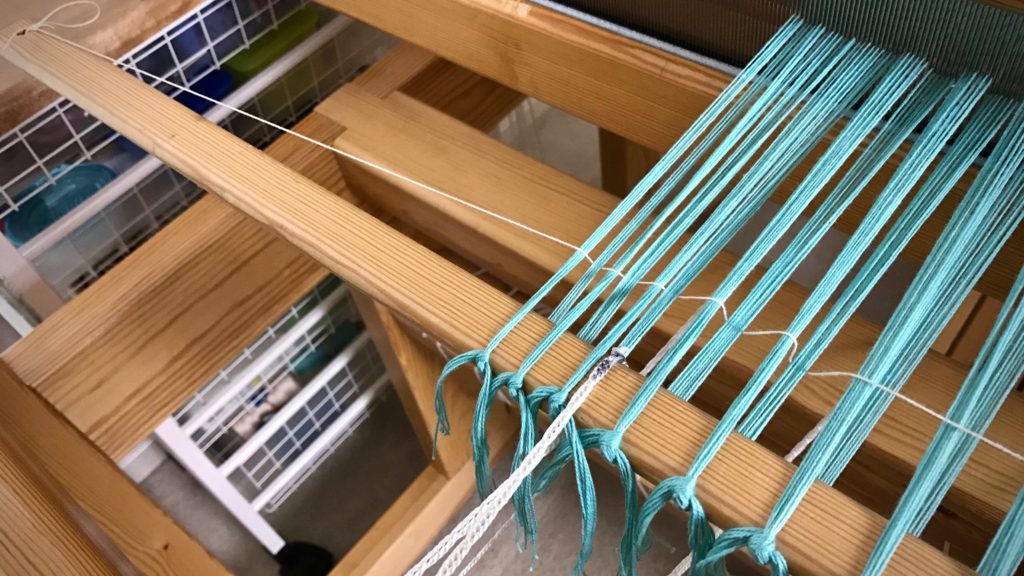
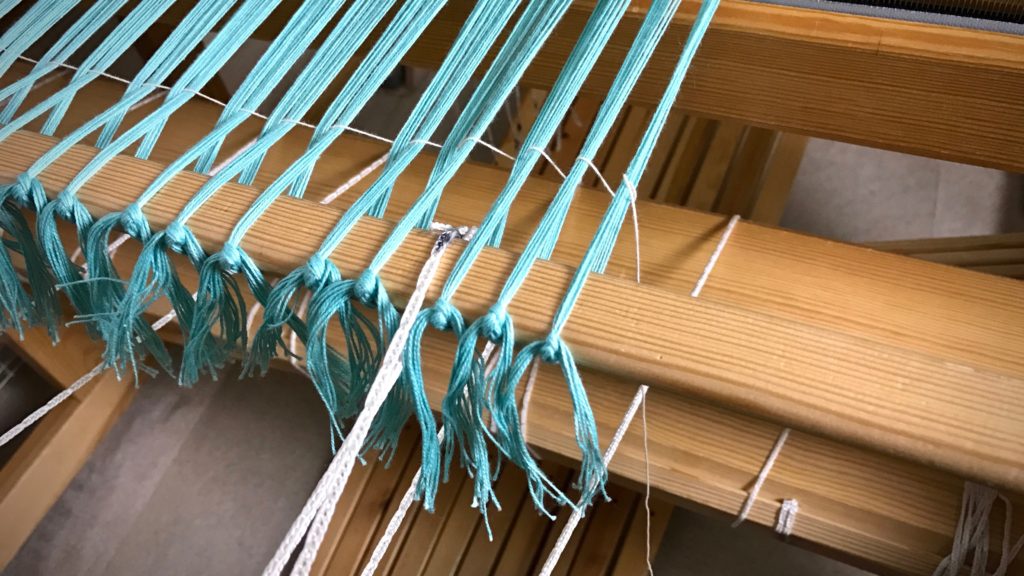
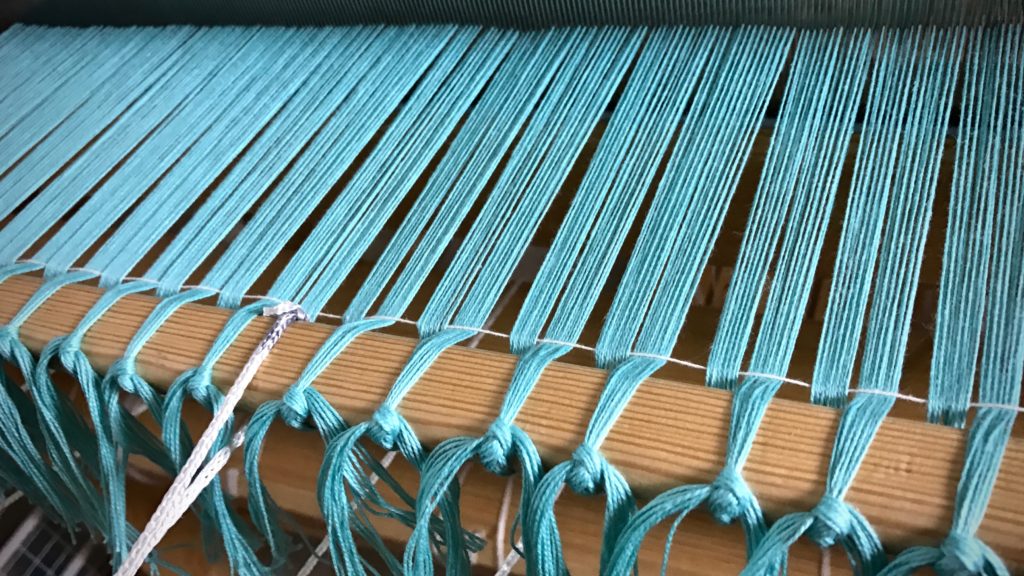
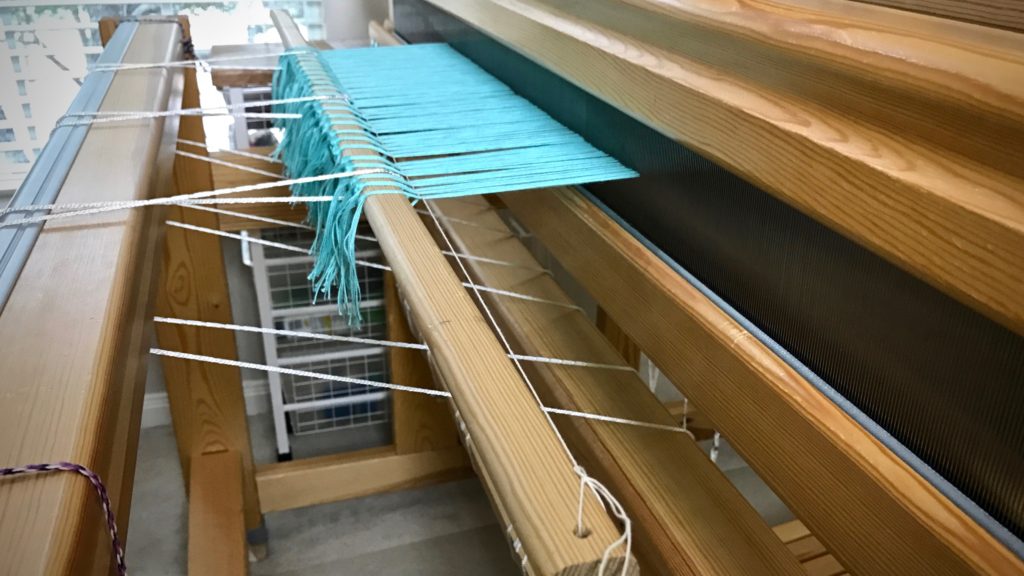
1. Tie on warp in small bundles, about 1″ each, with half of the bundle’s ends going over, and half going under, the front tie-on bar (as seen in Step 3 pictures). Tie the ends together with a bow knot or other tie-on knot. (TIP – If you do not tie the knots too tight, it is easier to get even tension across the warp, and it is easier to tighten the leveling string in Step 4.)

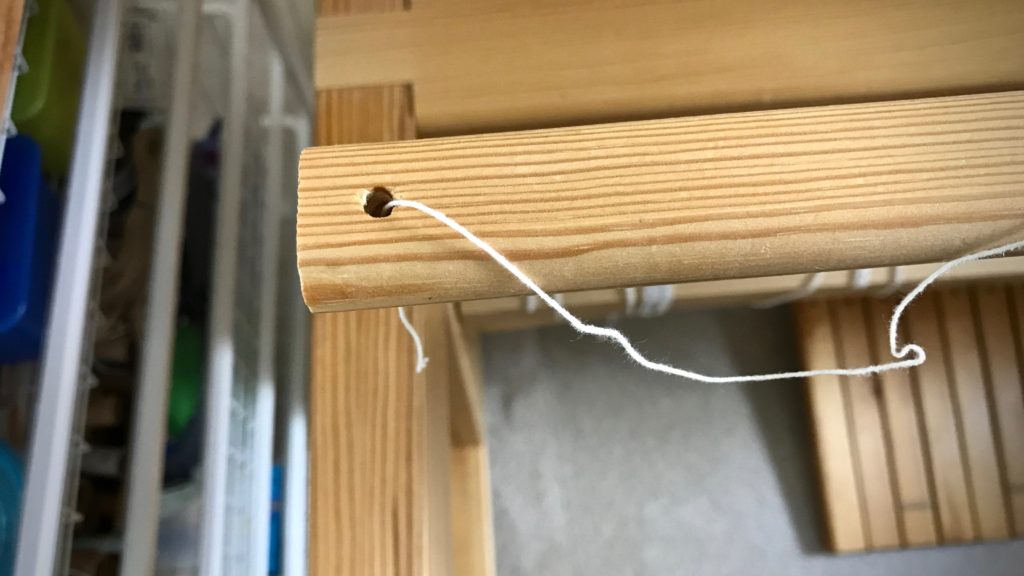
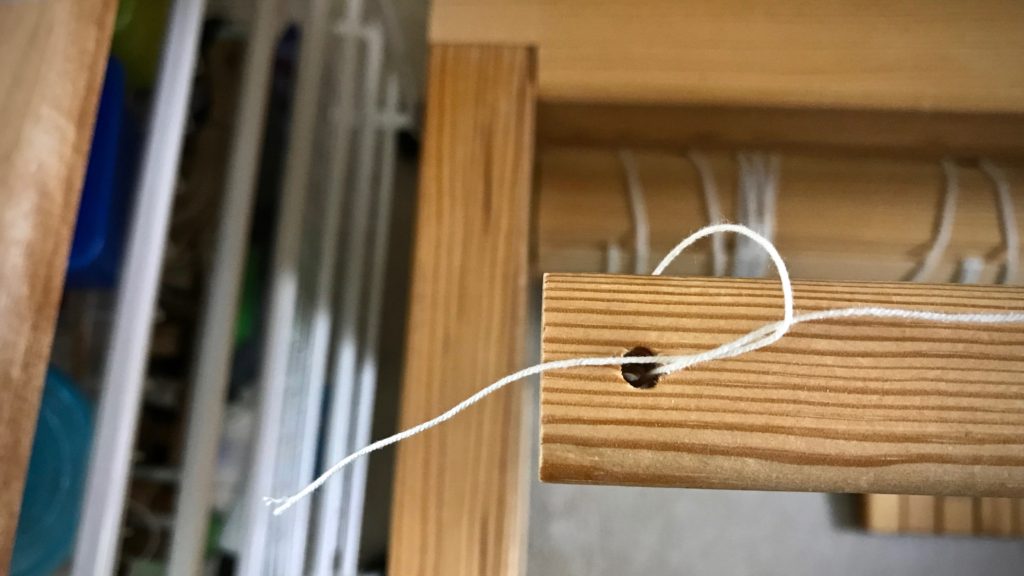
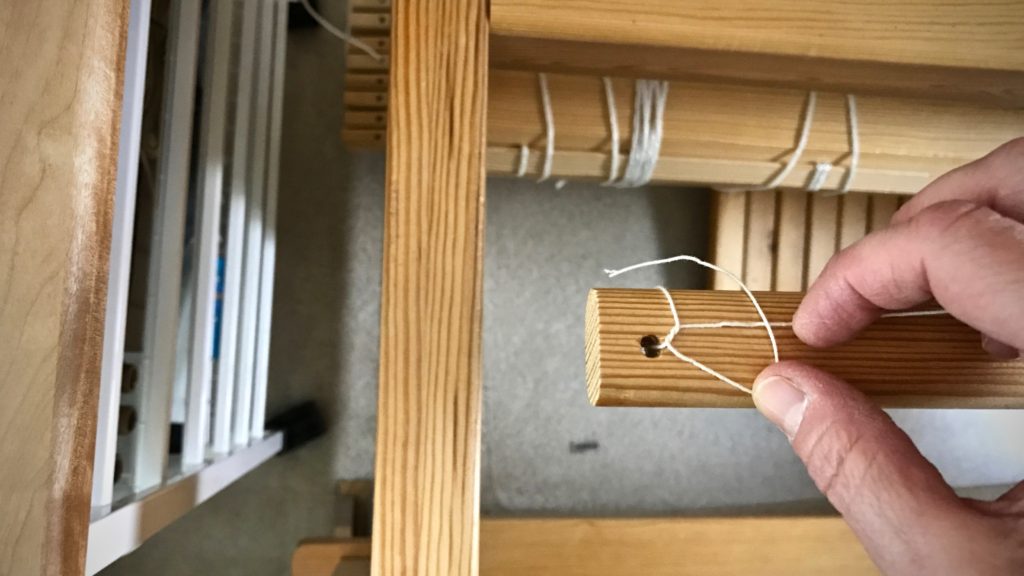
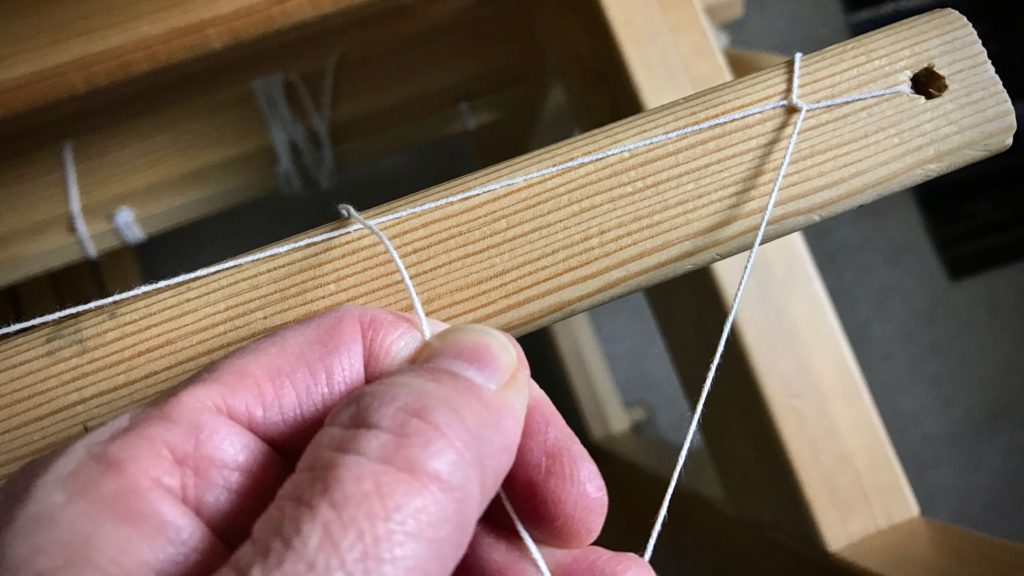
2. Tie one end of the leveling string to one end of the front tie-on bar, using a slip knot with half bow.

Tying the leveling string. Tutorial pics.

Tying the leveling string. Step-by-step.

Leveling string - tying it on.

Tying on the leveling string. How to.

How to tie the leveling string.

3. Thread the leveling string over and under the tie-on bundles, going over the raised ends and under the lowered ends.

Threading the leveling string through the warp. Tutorial pics.

Leveling string going through the warp.

Tying the second end of the leveling string.

4. Tighten the leveling string while tapping it in with the beater.

Tightening the leveling string.

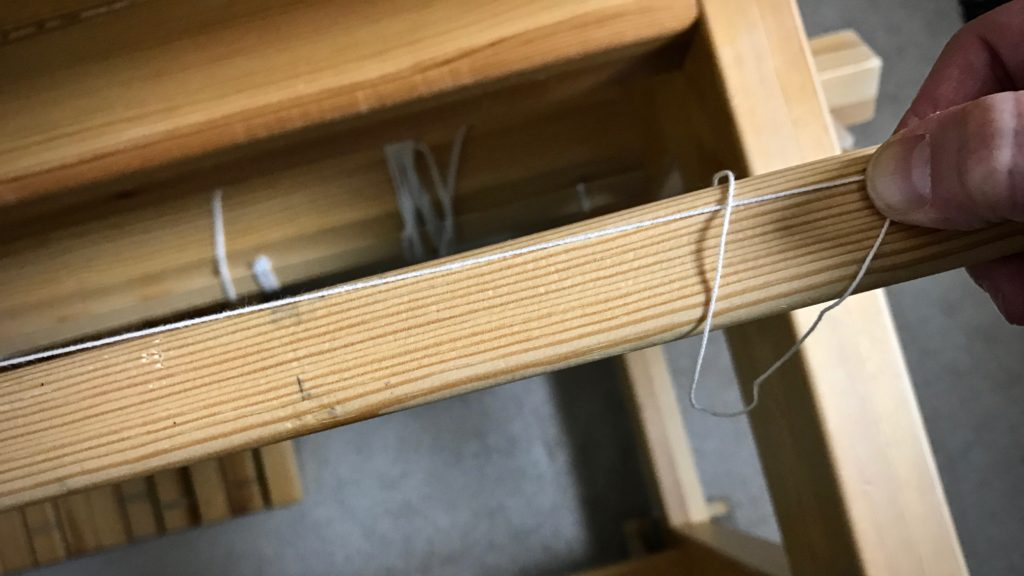
5. Tie the end of the leveling string to the end of the front tie-on bar, using a slip knot with half bow, as before.

How to tie the second end of the leveling string.

How to tie the leveling string.

Finishing the knot for the leveling string.

Why I use a leveling string.

6. Weave to your heart’s content.

Why the leveling string is so helpful!

When you get to the end of the warp, and are ready for cutting off, simply tug the loose end of the string at one end of the bar to release the slip knot, and pull the leveling string out of the warp.

May you weave as soon as possible.

Happy Valentine’s Day,
Karen