Quiet Friday: Linen Satin Dräll

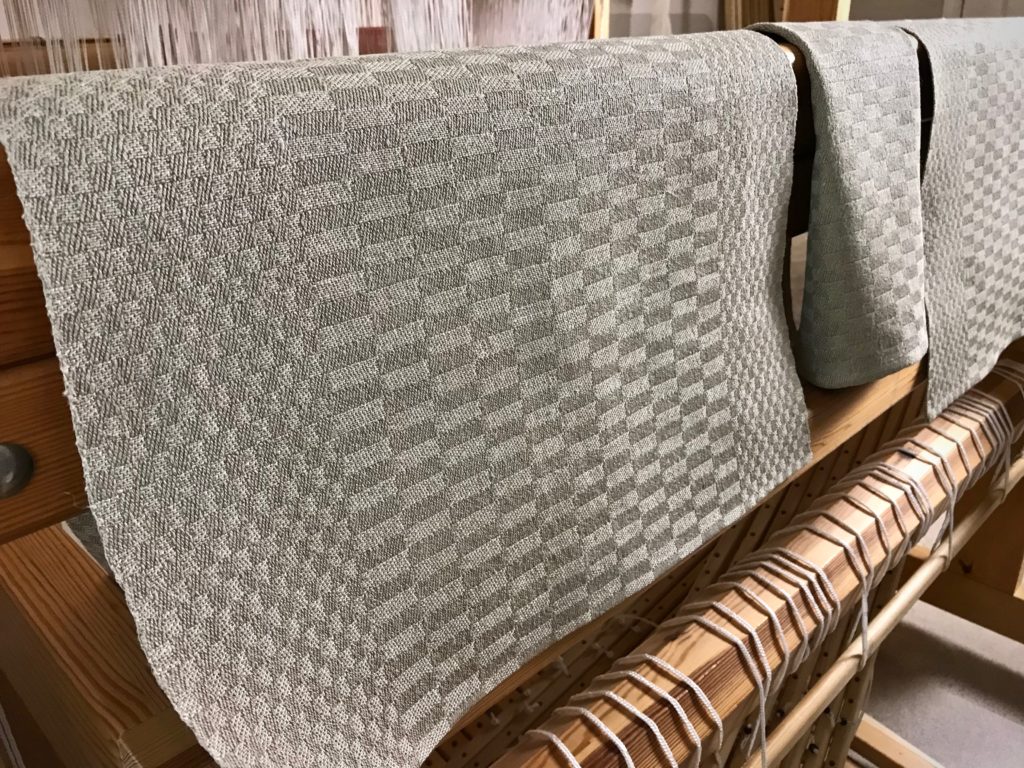
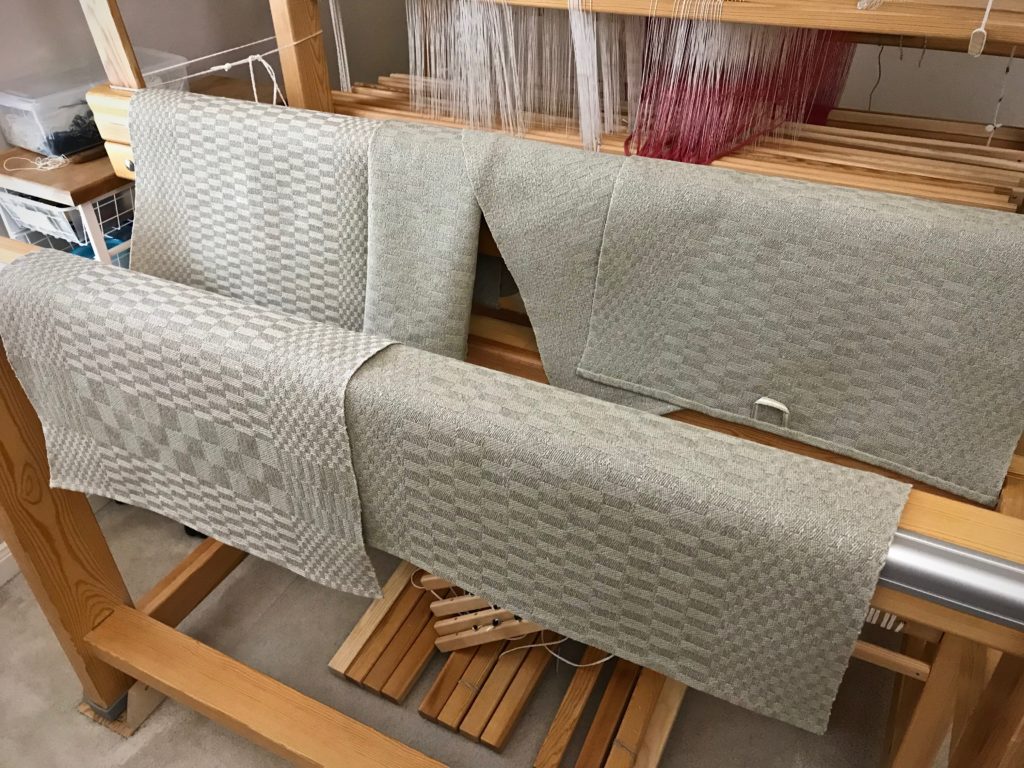
This is one of those weaving projects that puts you on top of the world. Everything about it. Linen, ten shafts, five-shaft satin weave, ten treadles, gorgeous Moberg damask shuttle, single-shuttle rhythm, full-body weaving, magical fabric. I did have more than my share of knots in the warp, and a few skipped threads and selvedge loops. But you will see no evidence of those glitches now. All you will see is the natural beauty of linen, with its characteristic unevenness. And the reflective satin dräll weave, with its light-catching trickery.

The warp is Bockens unbleached 16/2 line linen. Two of the towels use 16/1 golden bleached linen for the weft. At my husband’s request, the remaining three towels have 16/2 linen weft, in ecru. The thicker weft helps make these into robust absorbent handtowels. A table square finishes off the set.

Enjoy the process with me as I reminisce over the start-to-finish pleasure of weaving these towels.

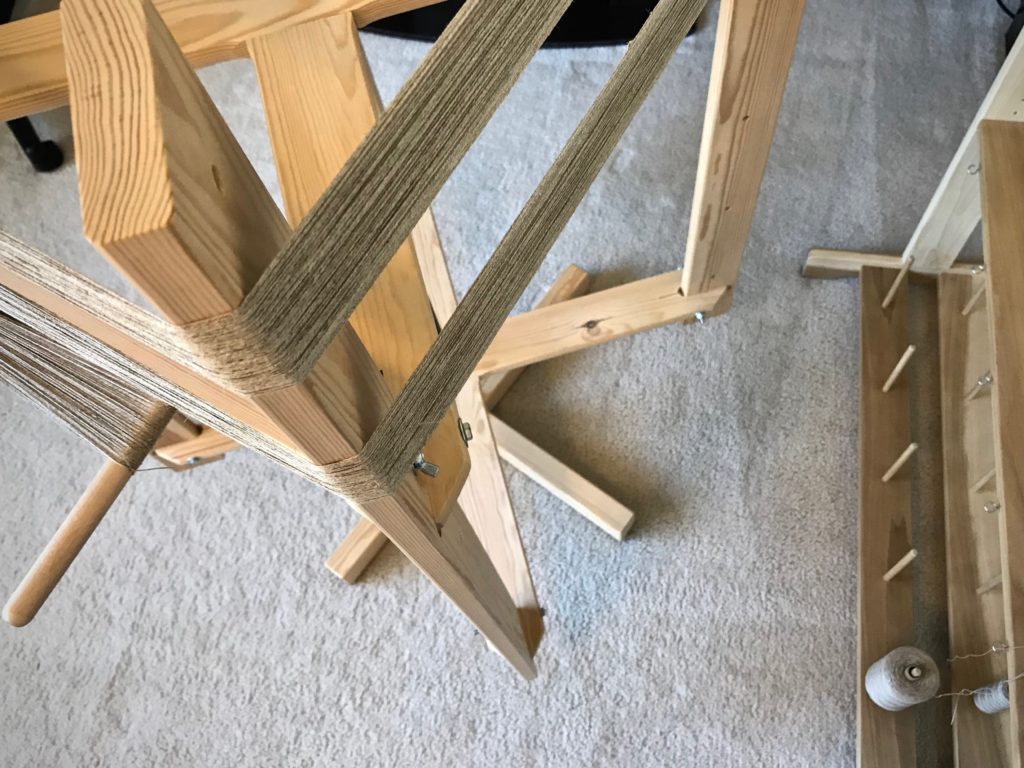
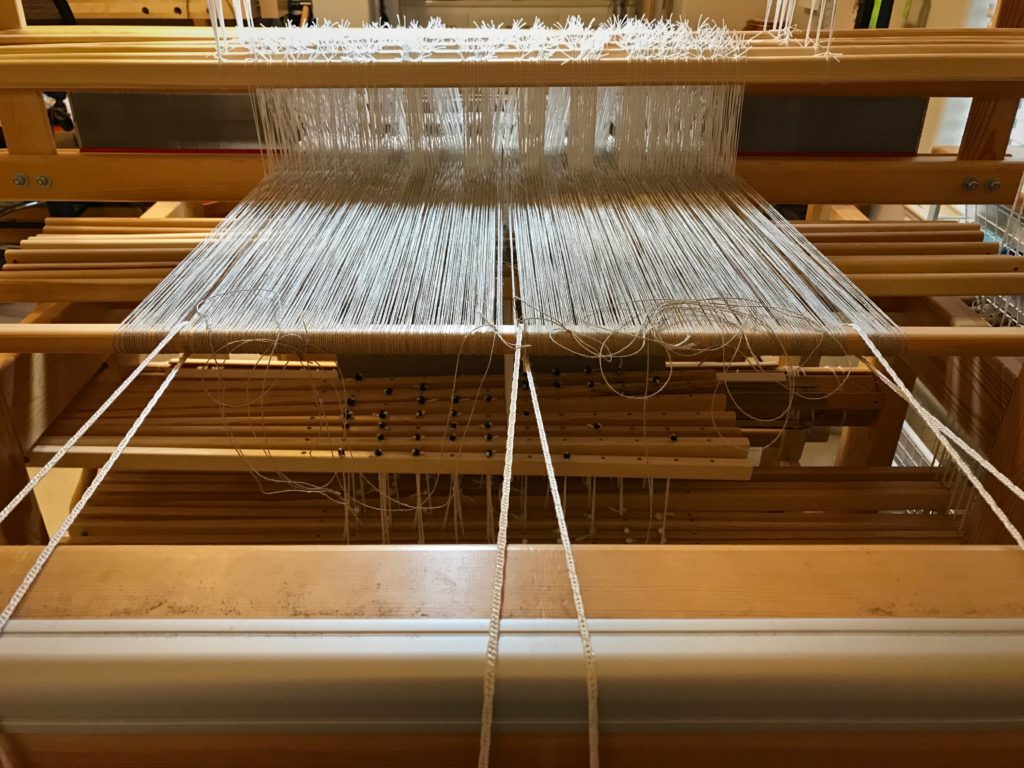
Winding a linen warp.

Linen warp chains.

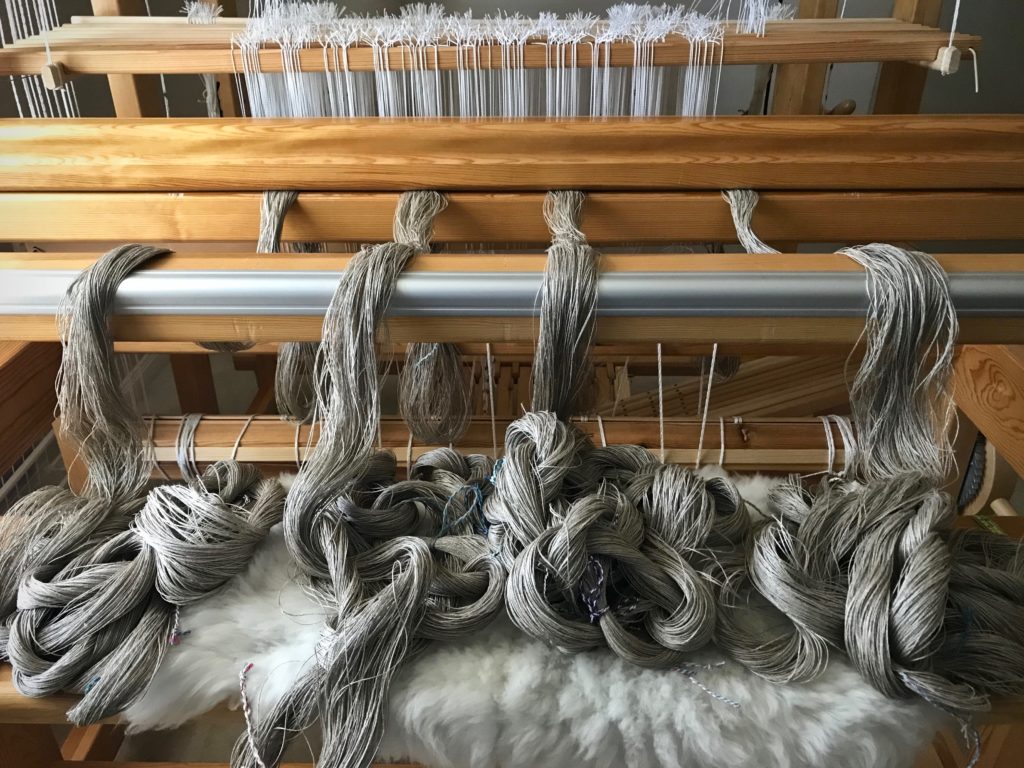
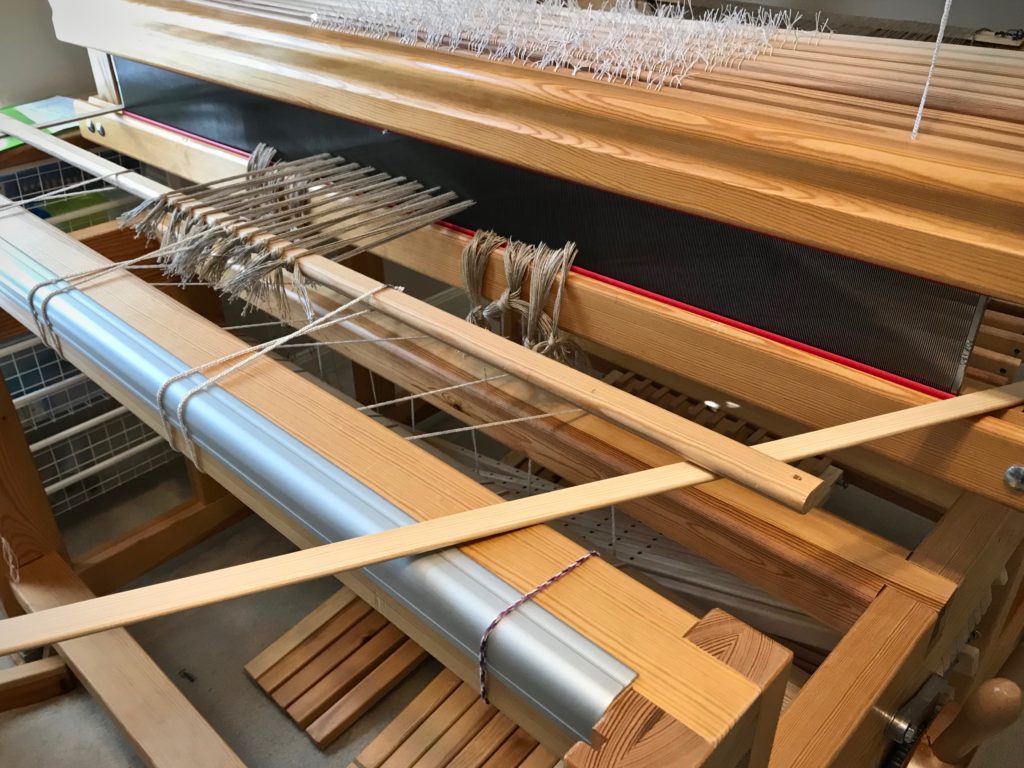
Tying on the linen warp.

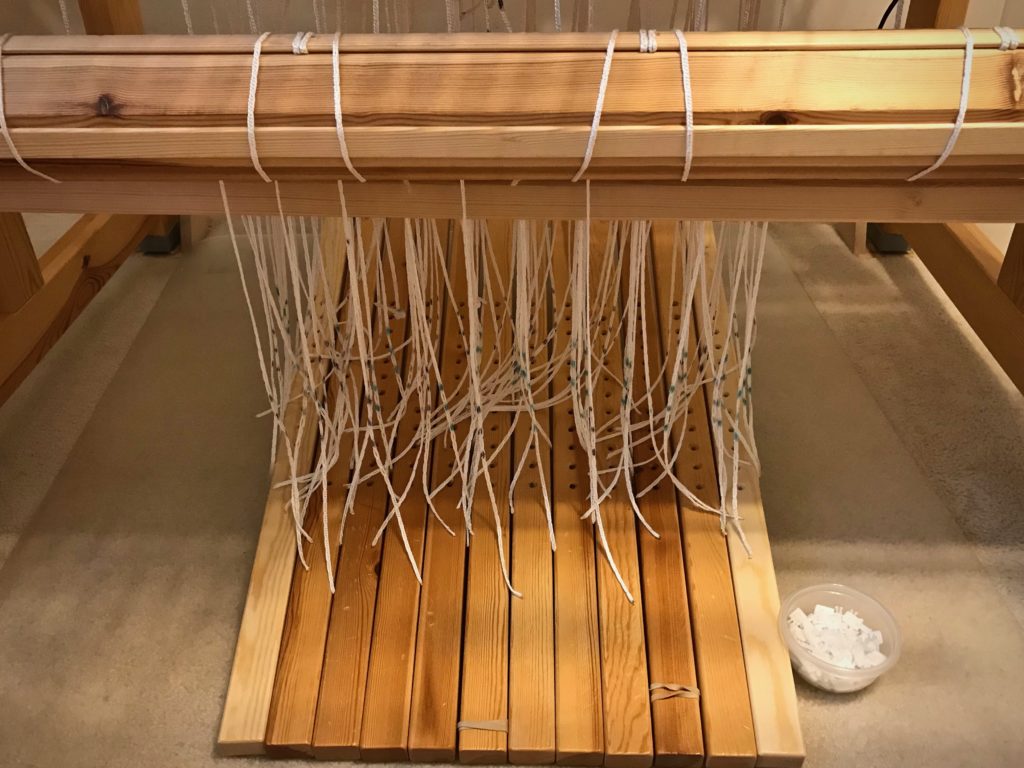
Tying up 10 treadles on a countermarch!

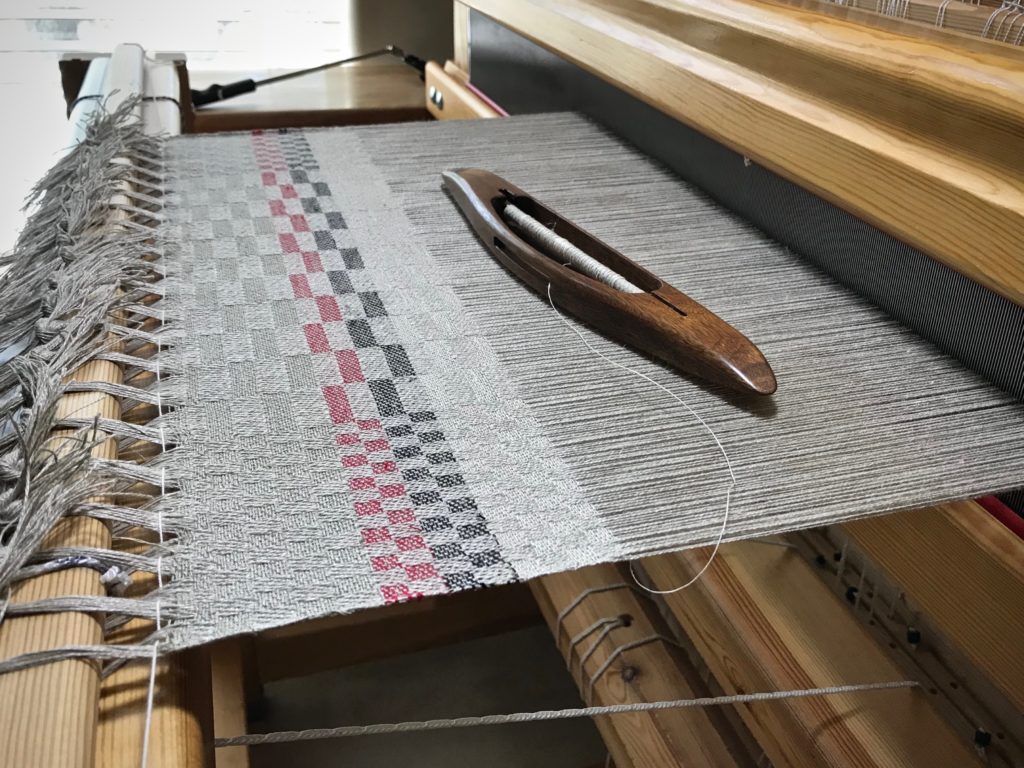
Sampling weft colors on a linen warp.

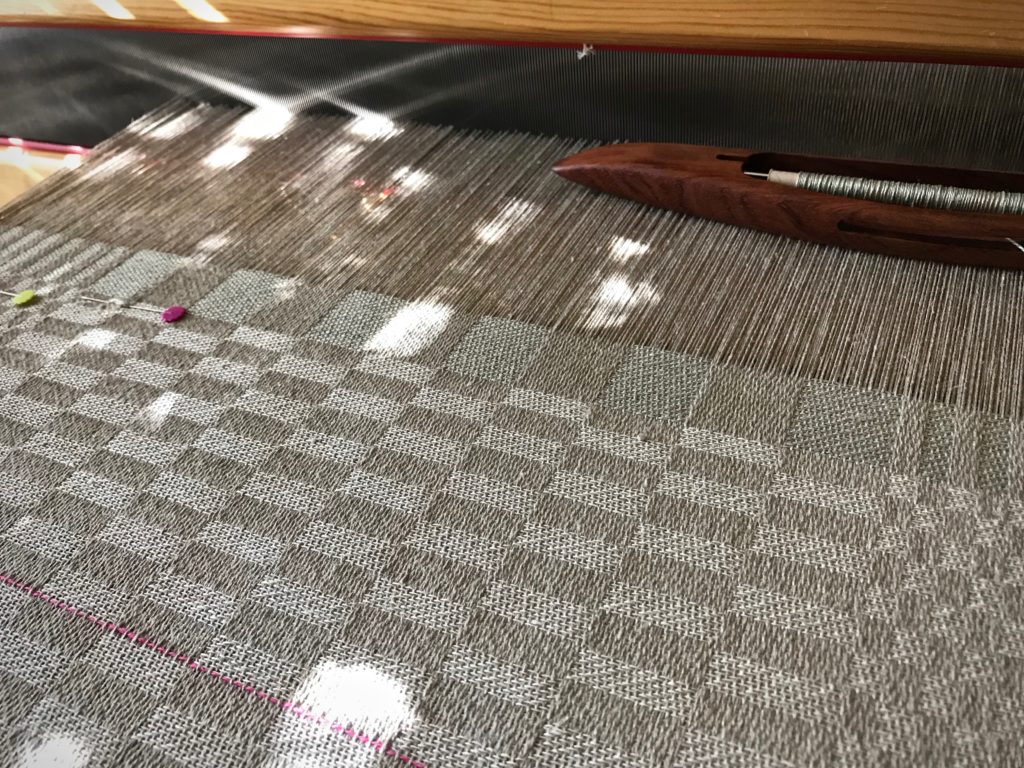
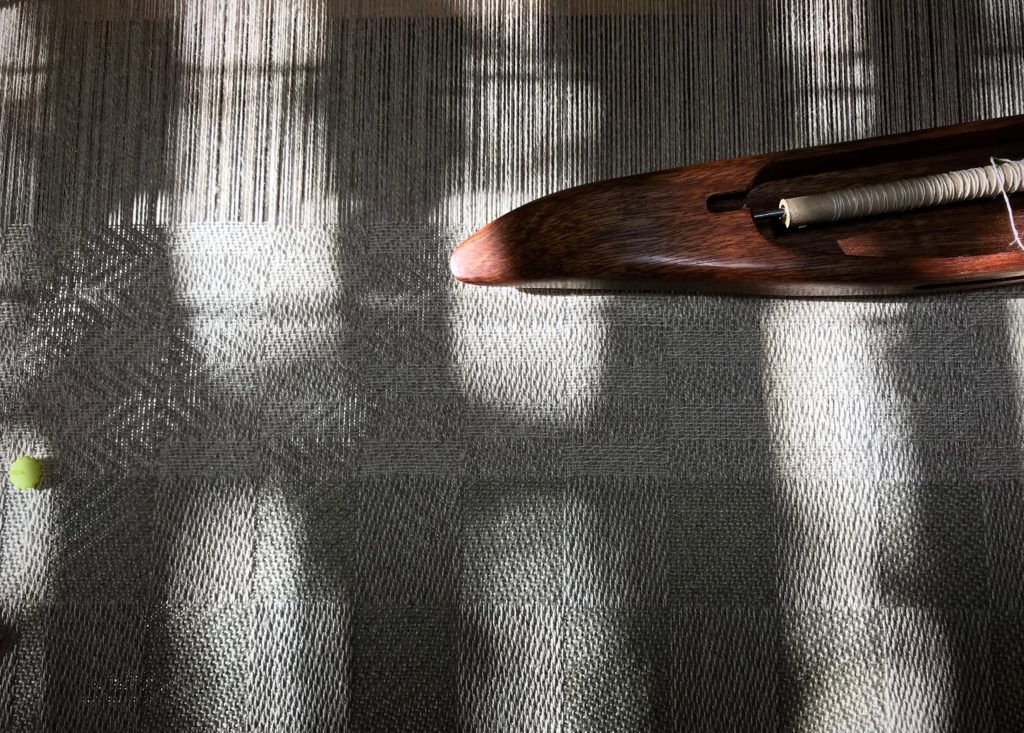
Sunlit linen damask weaving.

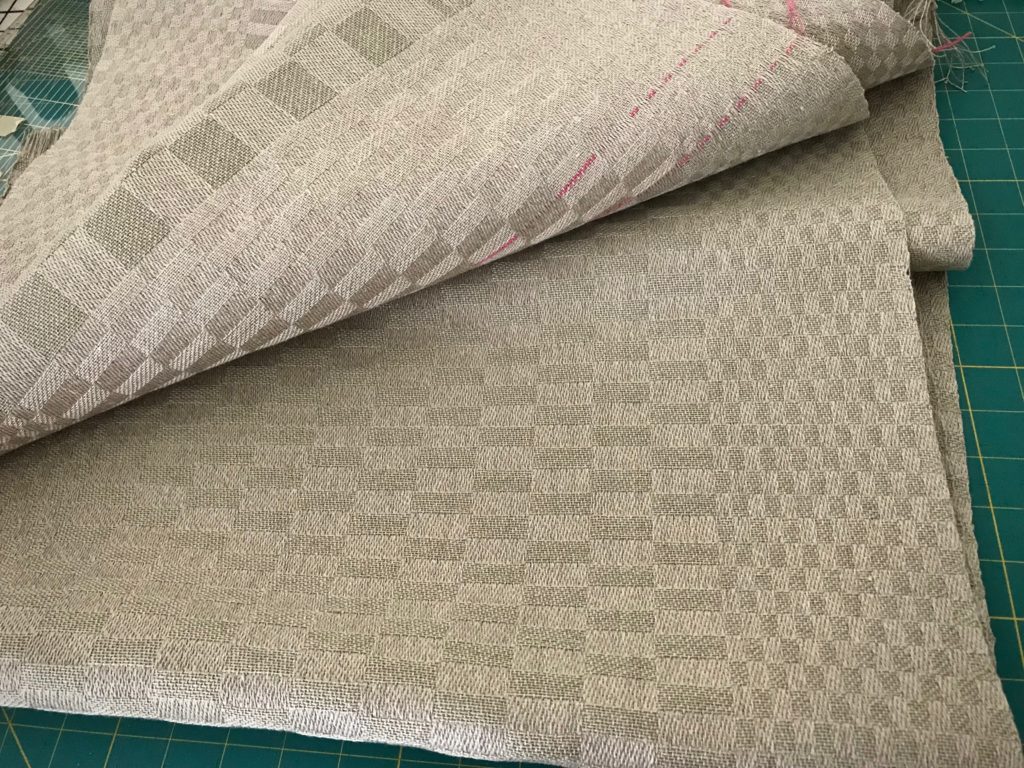
Hidden patterns in the 5-shaft satin.

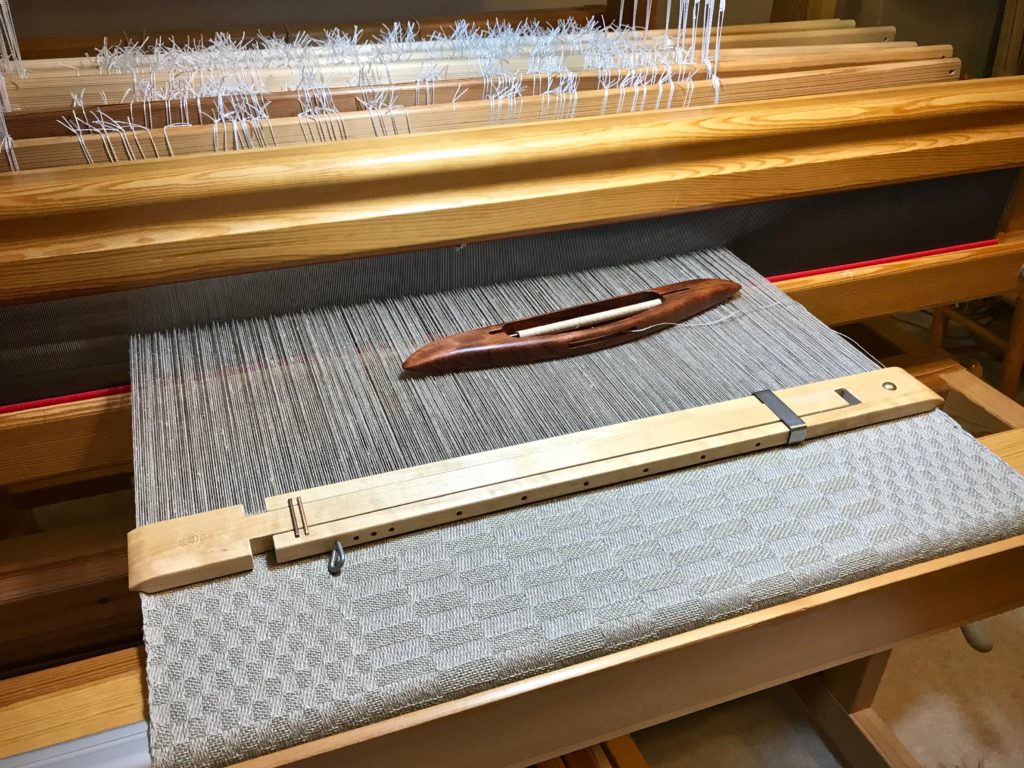
Linen 5-shaft satin dräll!

Beautiful Moberg damask shuttle.

Spliced warp ends.

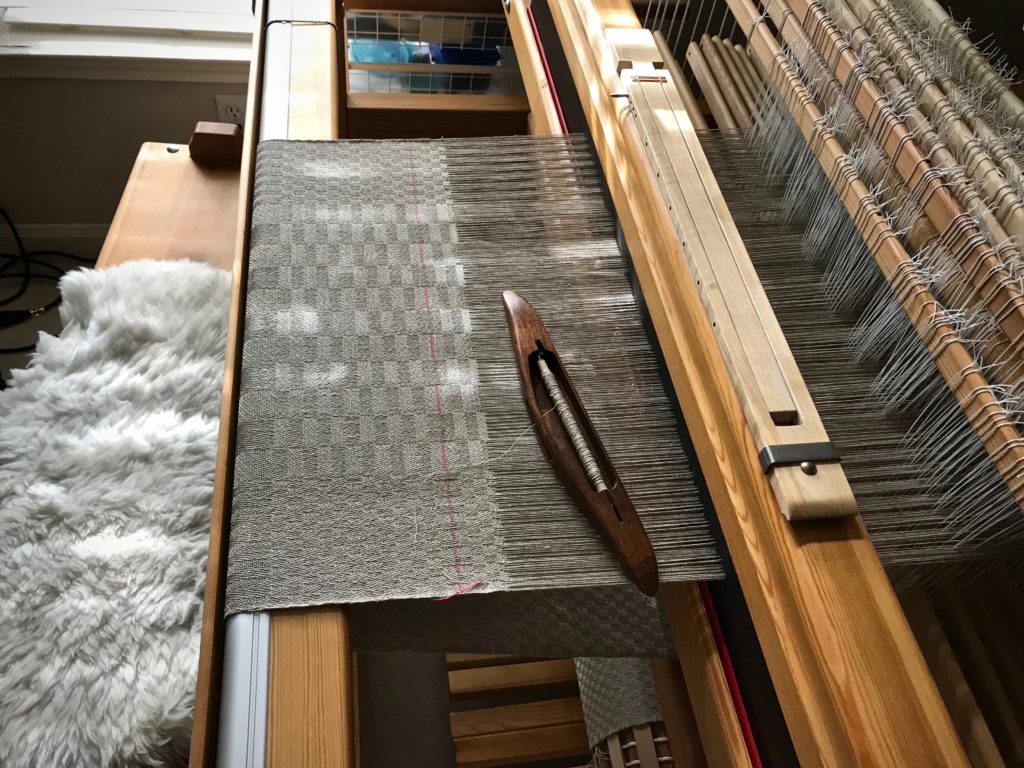
Linen satin dräll on the loom.

End of the warp is near. So many warp end repairs!

Cutting off! Linen 5-shaft satin dräll.

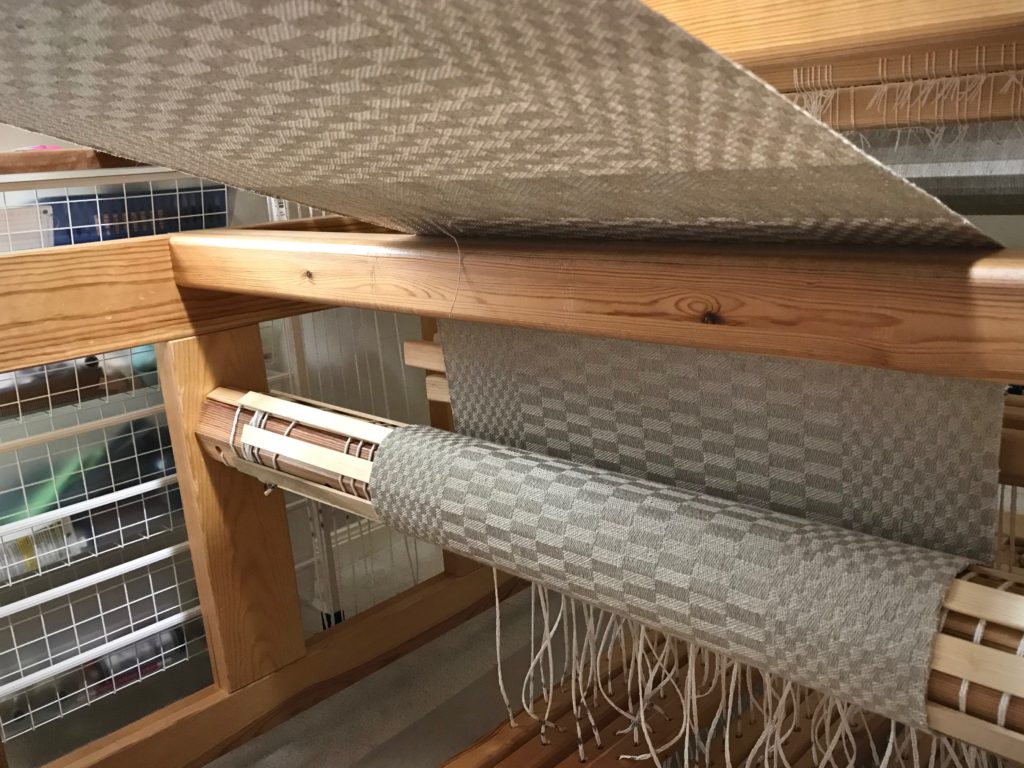
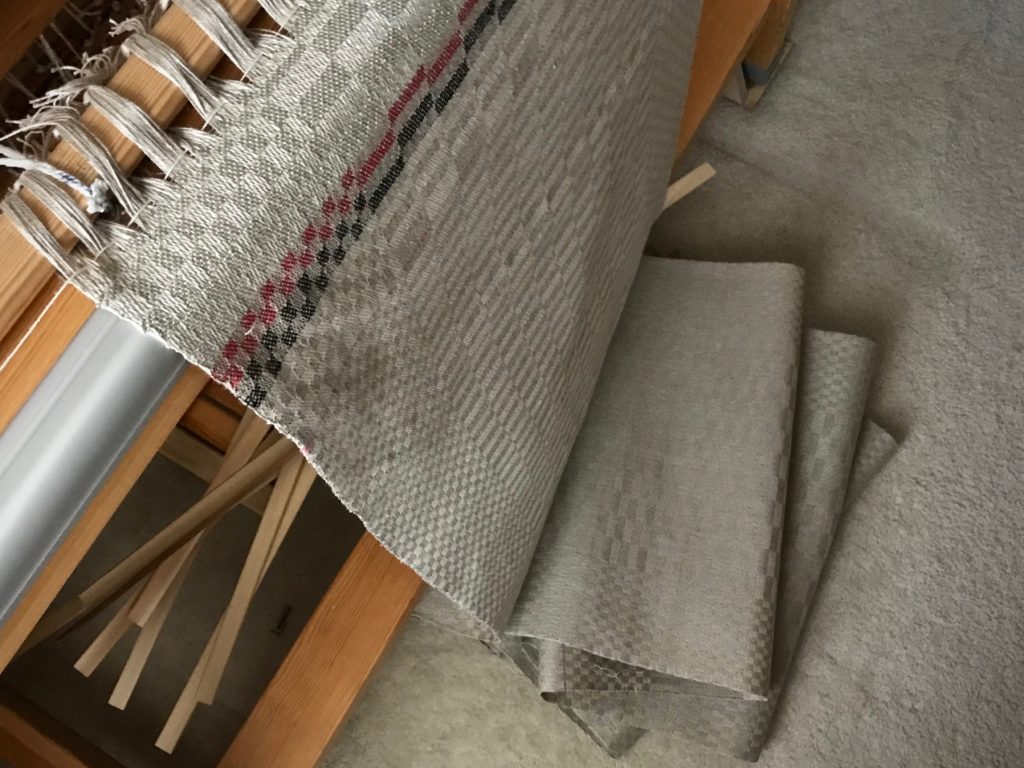
Just off the loom--linen 5-shaft satin.

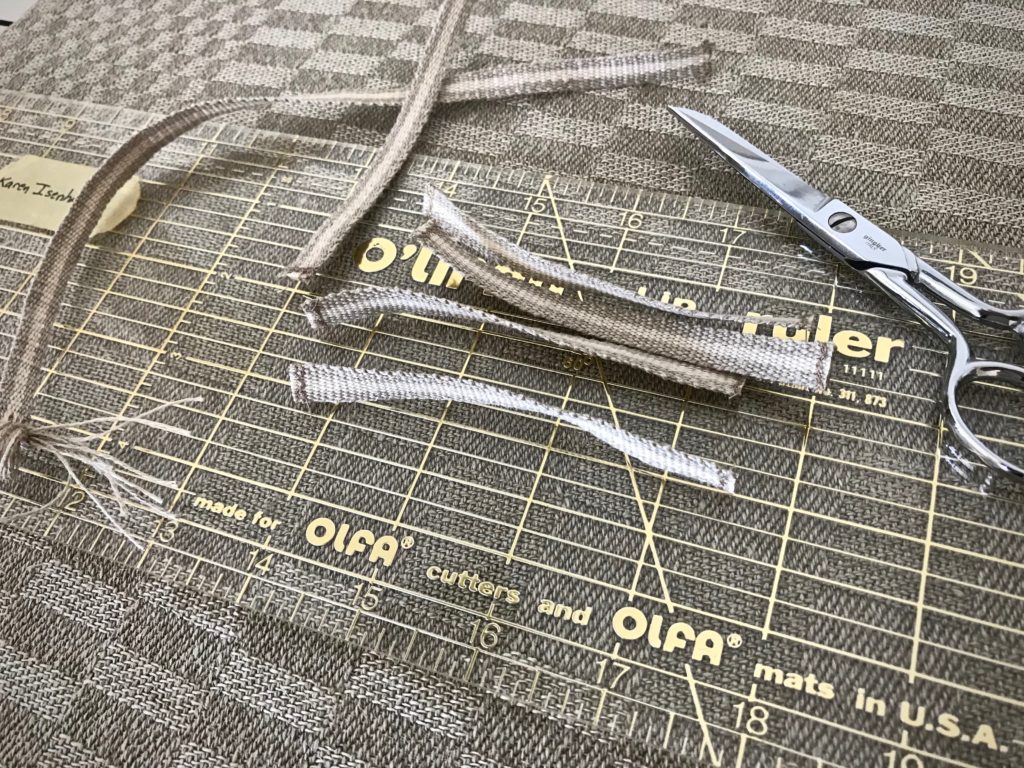
Glimakra band loom. Hanging tabs for towels.

Ready to sew handwoven hanging tabs on new linen towels.

Just off the loom--linen 5-shaft satin handtowels.

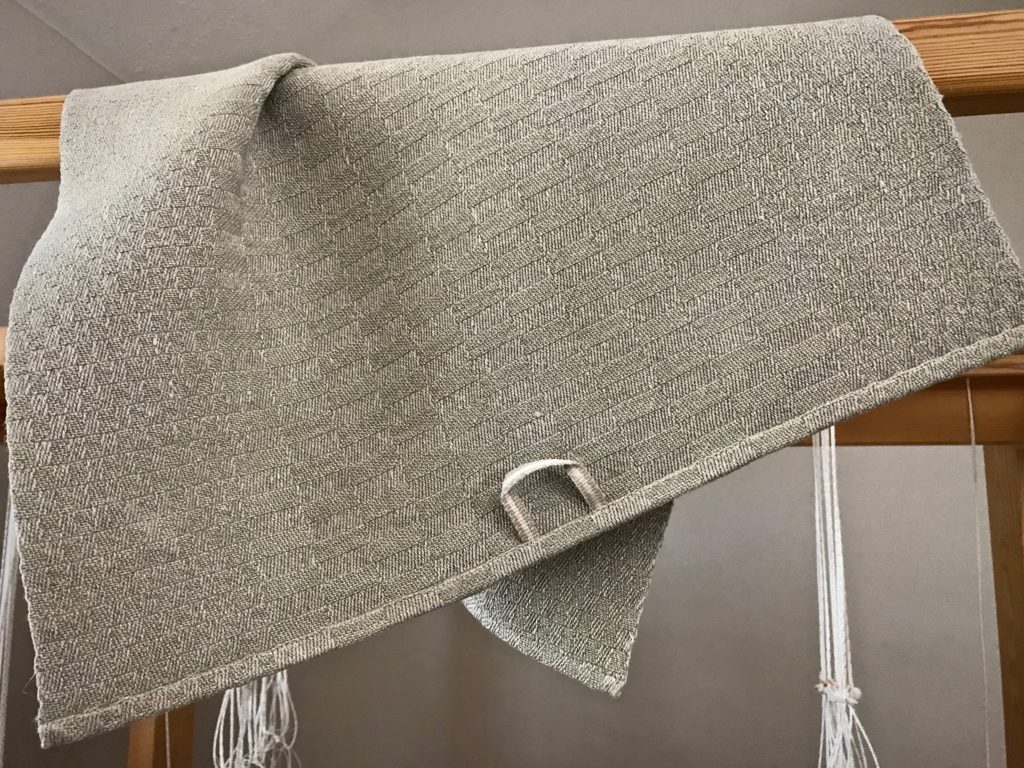
Handwoven linen towel with handwoven hanging tab.

Handwoven set of linen satin dräll towels. Karen Isenhower

May you find pleasure in what you do.

Happy Weaving,
Karen

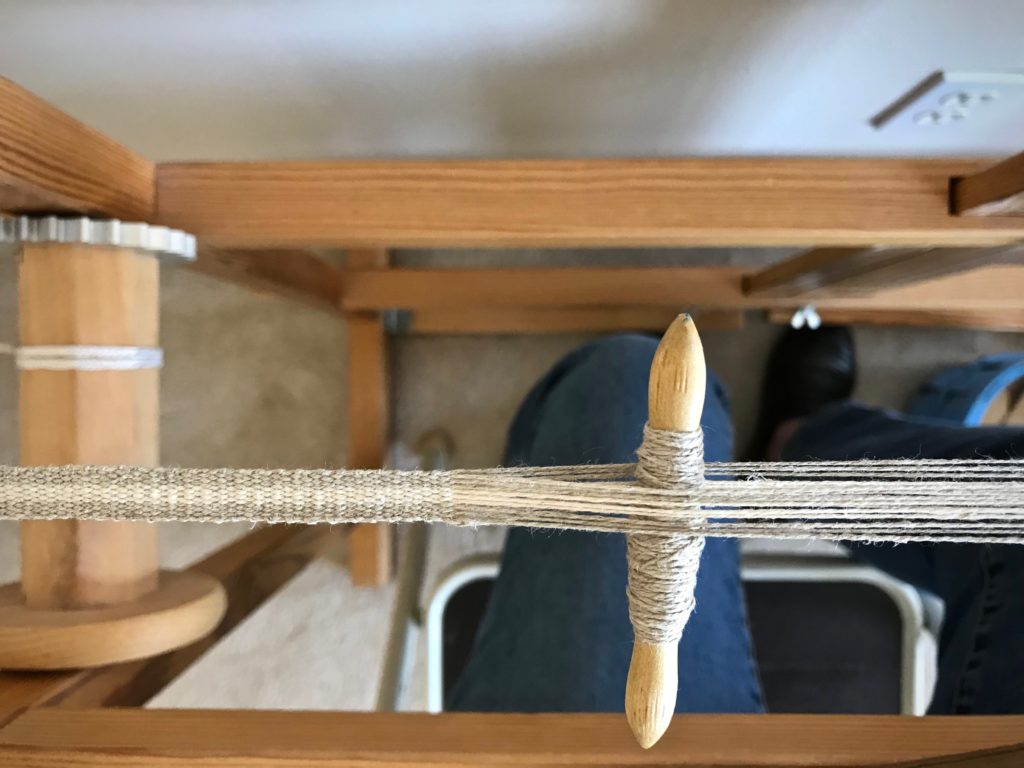
Tools Day: Leveling String

Thirty-five years ago, I took a beginner rigid heddle loom class. Our teacher taught us to use strips of toilet paper (or fat scrap yarn) as weft at the beginning of the weaving to space the warp. After several inches of weaving, the warp ends would fall into alignment. Unless fringe is planned, that beginning warp goes to waste, not to mention the unsightly aspect of the throwaway weft. Here comes the leveling string to the rescue! This piece of 12/6 cotton seine twine is just what we need to get off to a good start with every project we put on the loom. The leveling string levels out the warp ends, and delivers a nice, flat weaving surface. It is superb to be able to weave fabric right from the very beginning of the warp!

The use of a leveling string is also described in my three favorite books that detail how to warp a loom:

  • The Big Book of Weaving, by Laila Lundell
  • Learning to Warp Your Loom, by Joanne Hall
  • Dress Your Loom the Vävstuga Way: A Benchside Photo Guide, by Becky Ashenden

Tools:

  • Front tie-on bar with a hole at each end (Joanne Hall writes, “If there are no holes in your bar, replace the cord with a thin stick.” I have not tried this, but I trust anything Joanne says!)
  • 12/6 cotton seine twine, the length of front tie-on bar, plus about 20 inches (I like to have plenty of string to tie the knots on the ends)

Steps:

1. Tie on warp in small bundles, about 1″ each, with half of the bundle’s ends going over, and half going under, the front tie-on bar (as seen in Step 3 pictures). Tie the ends together with a bow knot or other tie-on knot. (TIP – If you do not tie the knots too tight, it is easier to get even tension across the warp, and it is easier to tighten the leveling string in Step 4.)

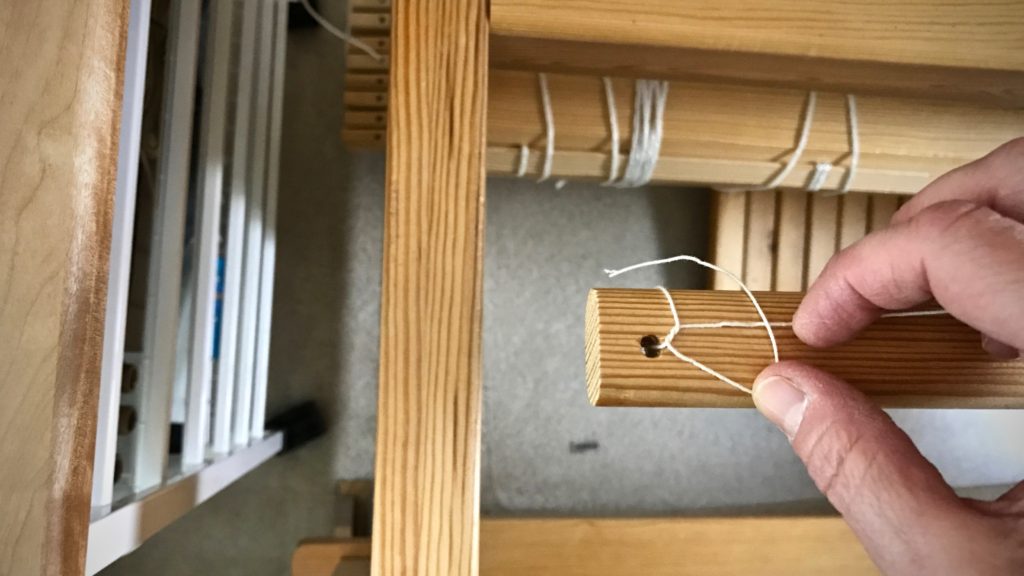
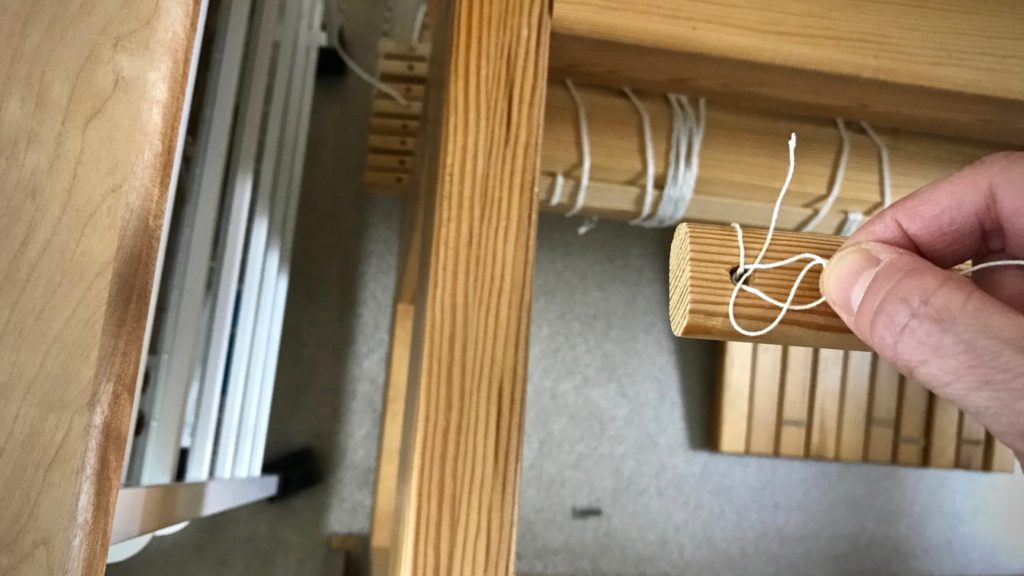
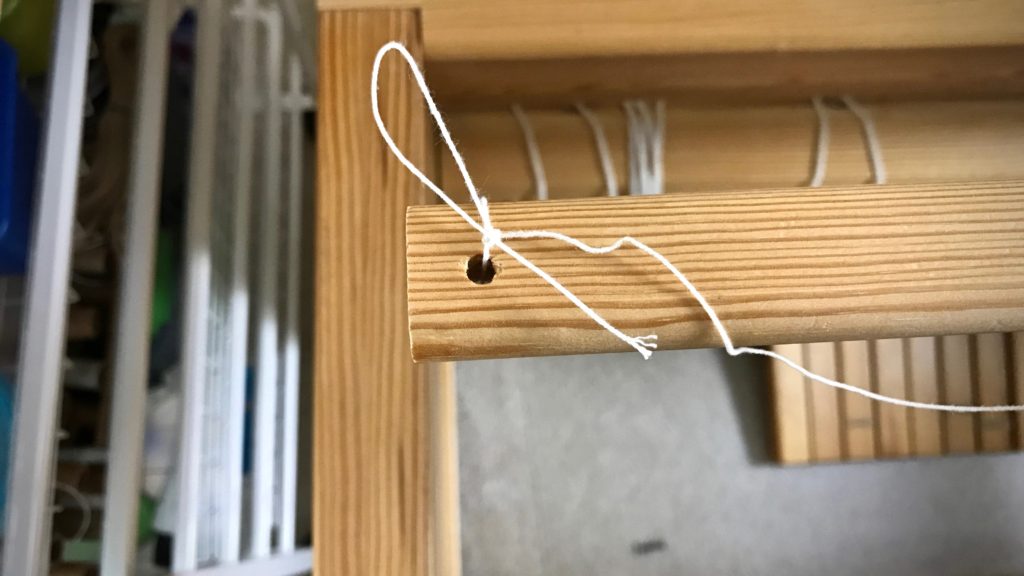
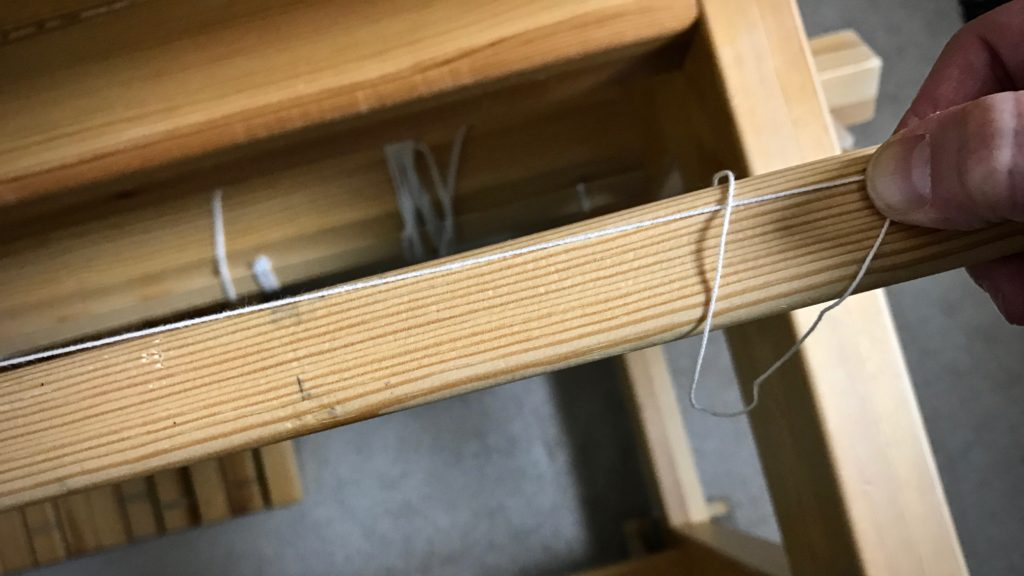
2. Tie one end of the leveling string to one end of the front tie-on bar, using a slip knot with half bow.
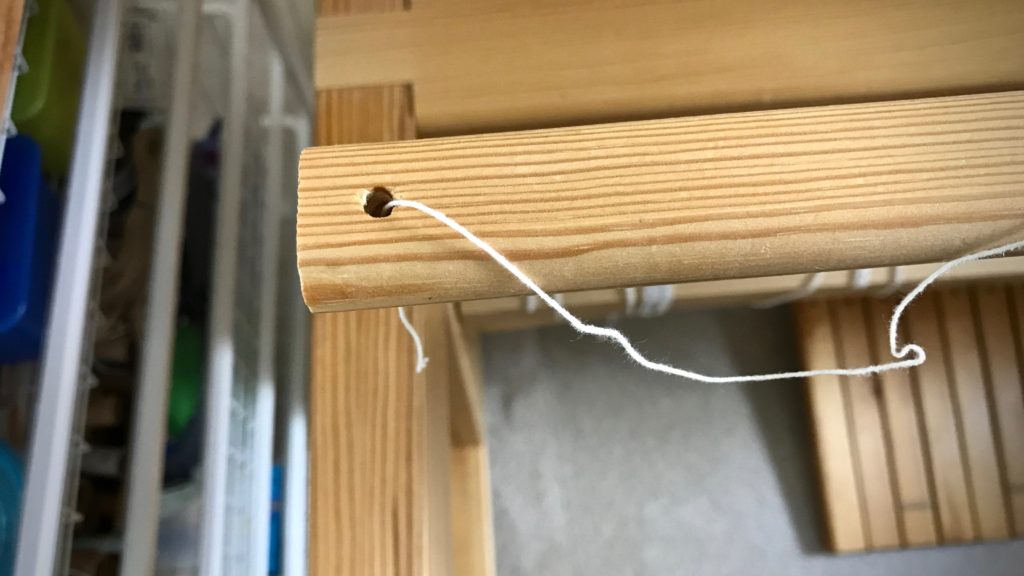
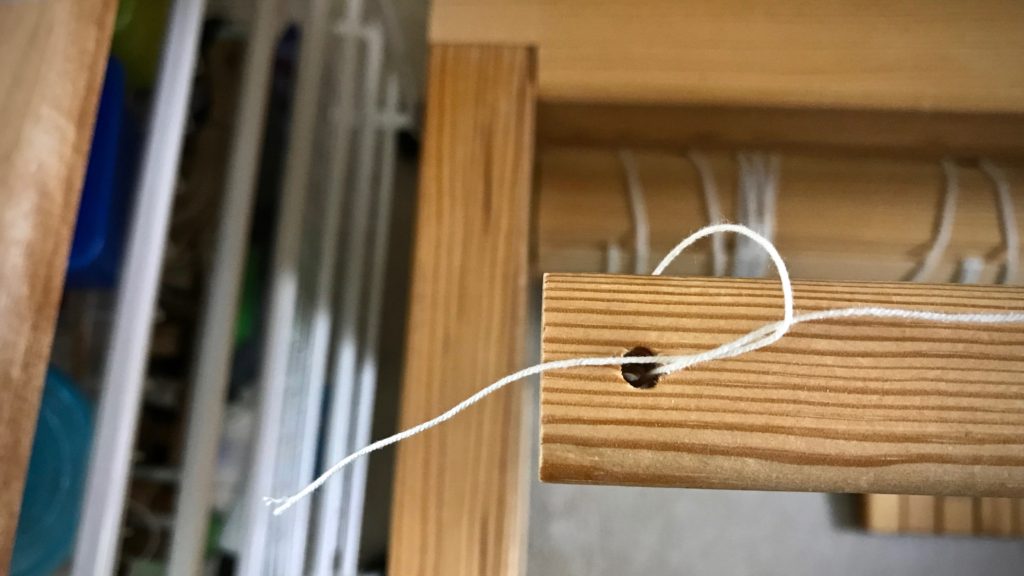
Tying the leveling string. Tutorial pics.

Tying the leveling string. Step-by-step.

Leveling string - tying it on.

Tying on the leveling string. How to.

How to tie the leveling string.

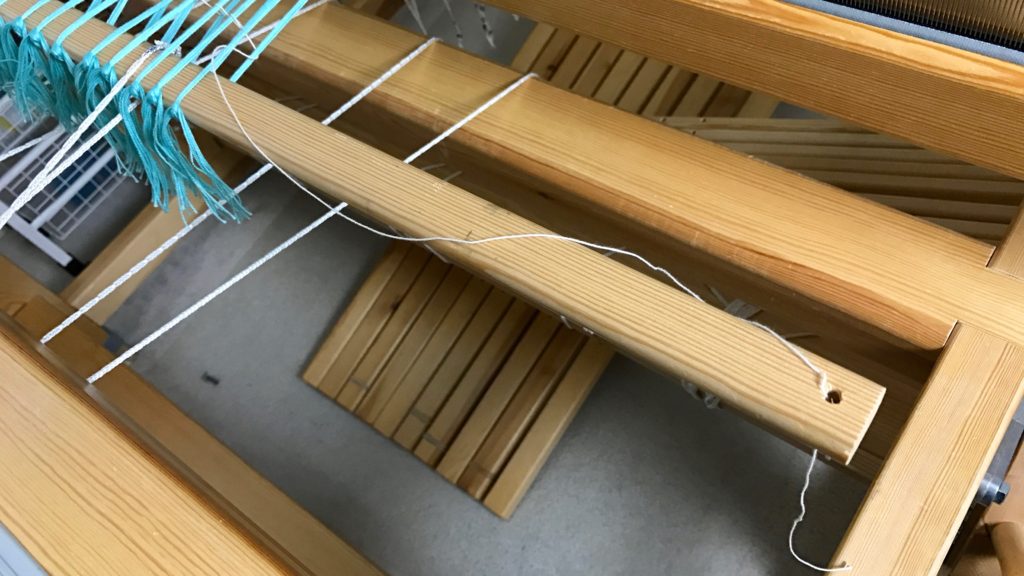
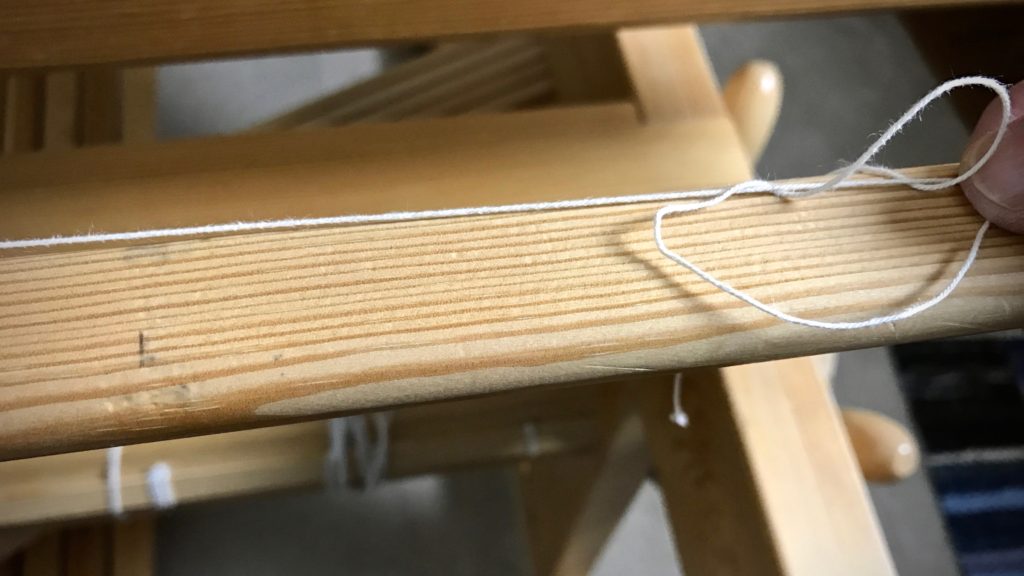
3. Thread the leveling string over and under the tie-on bundles, going over the raised ends and under the lowered ends.
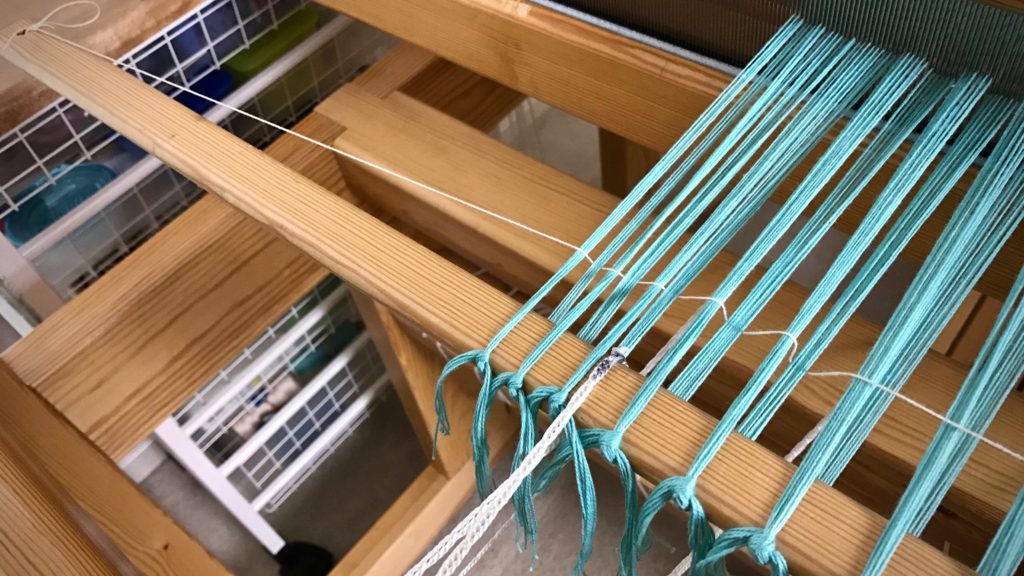
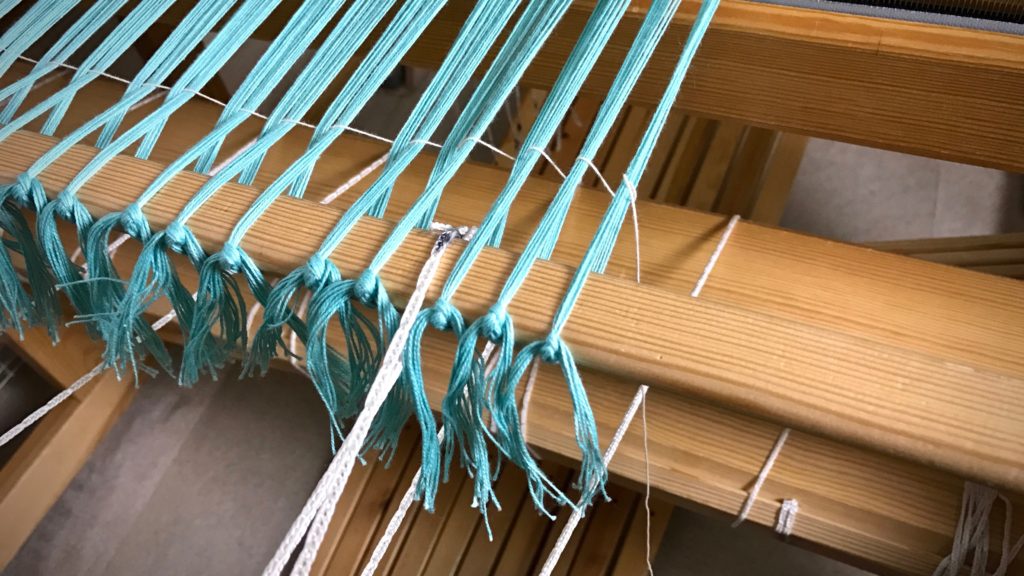
Threading the leveling string through the warp. Tutorial pics.

Leveling string going through the warp.

Tying the second end of the leveling string.

4. Tighten the leveling string while tapping it in with the beater.
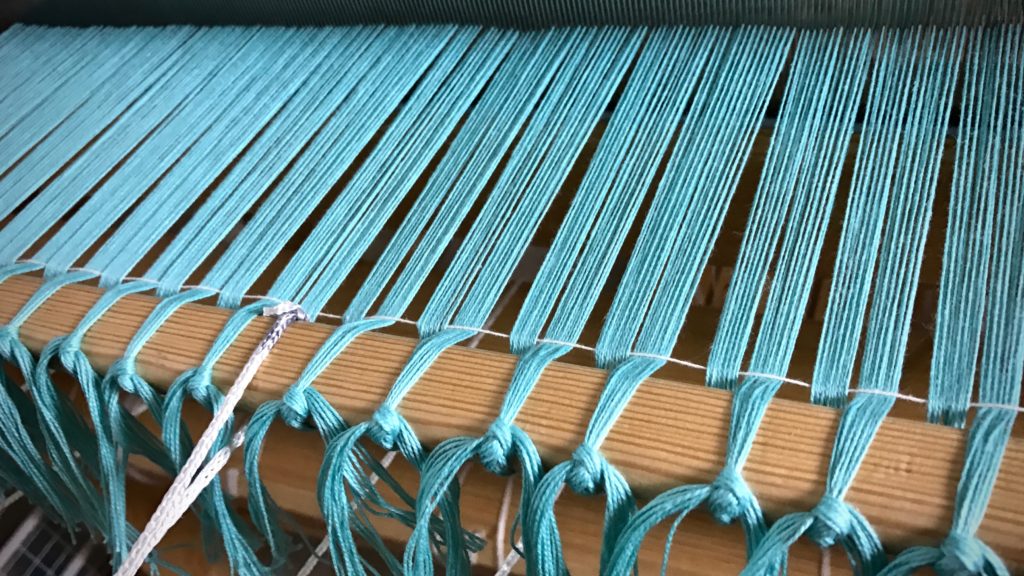
Tightening the leveling string.

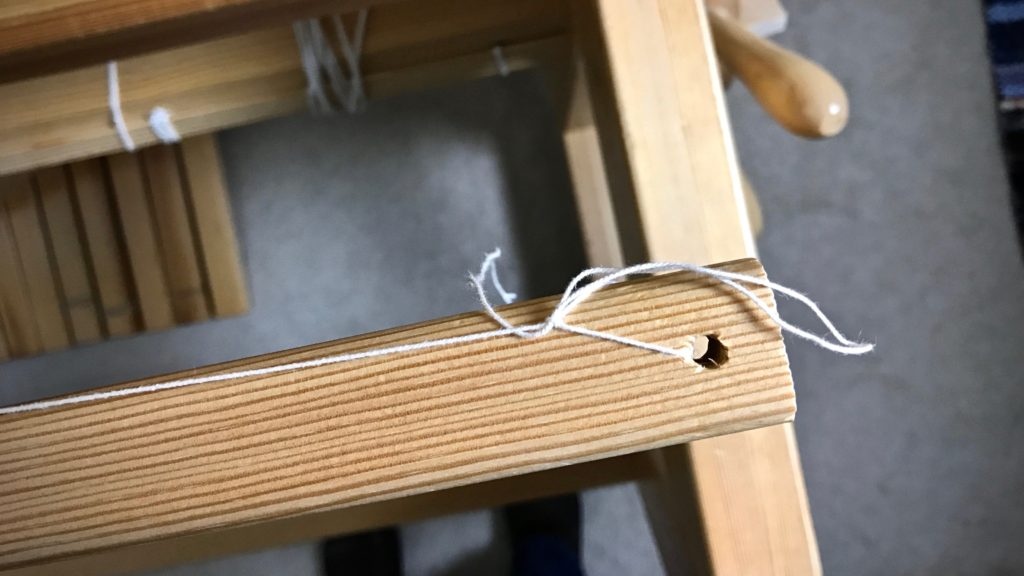
5. Tie the end of the leveling string to the end of the front tie-on bar, using a slip knot with half bow, as before.
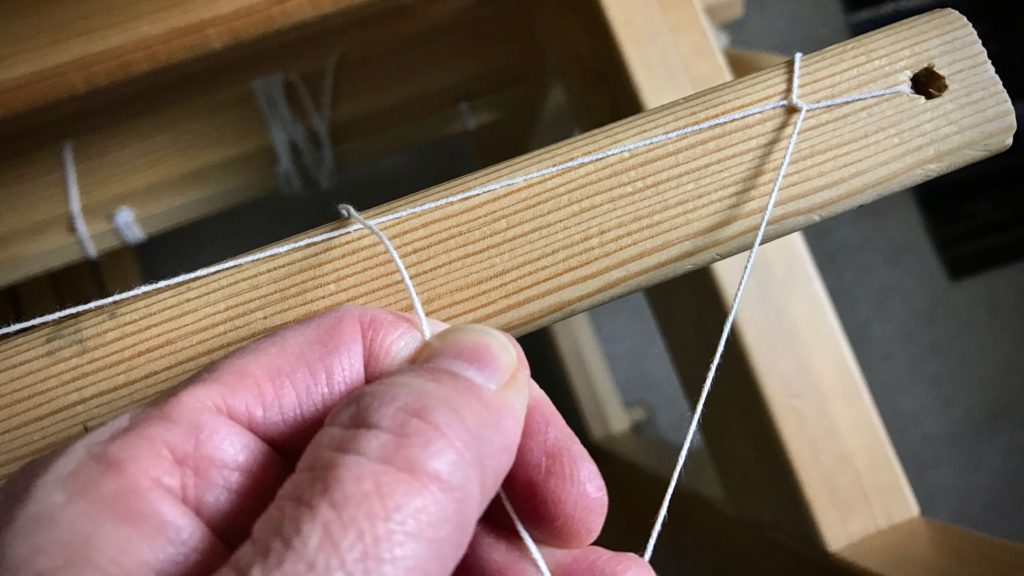
How to tie the second end of the leveling string.

How to tie the leveling string.

Finishing the knot for the leveling string.

Why I use a leveling string.

6. Weave to your heart’s content.
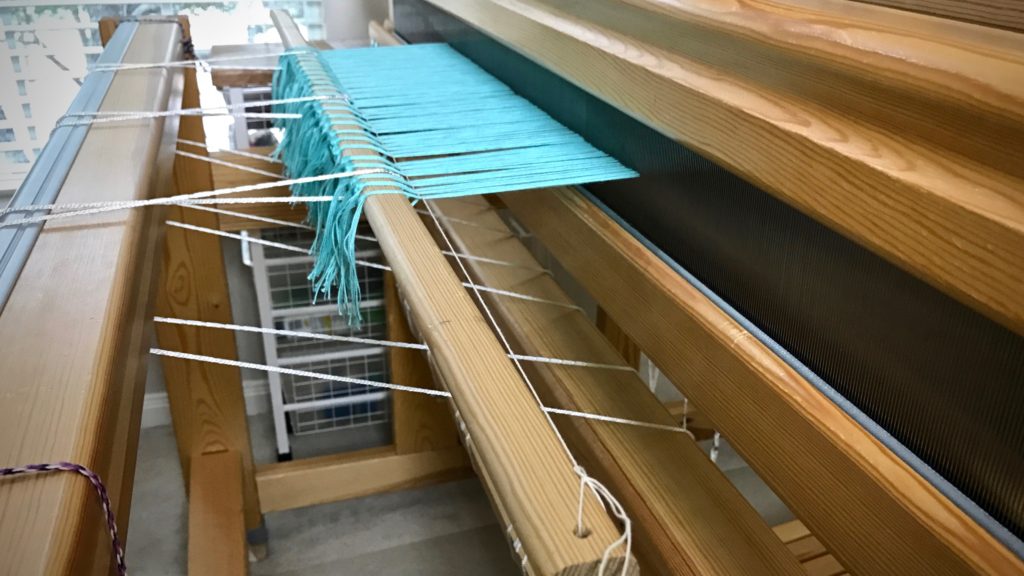
Why the leveling string is so helpful!

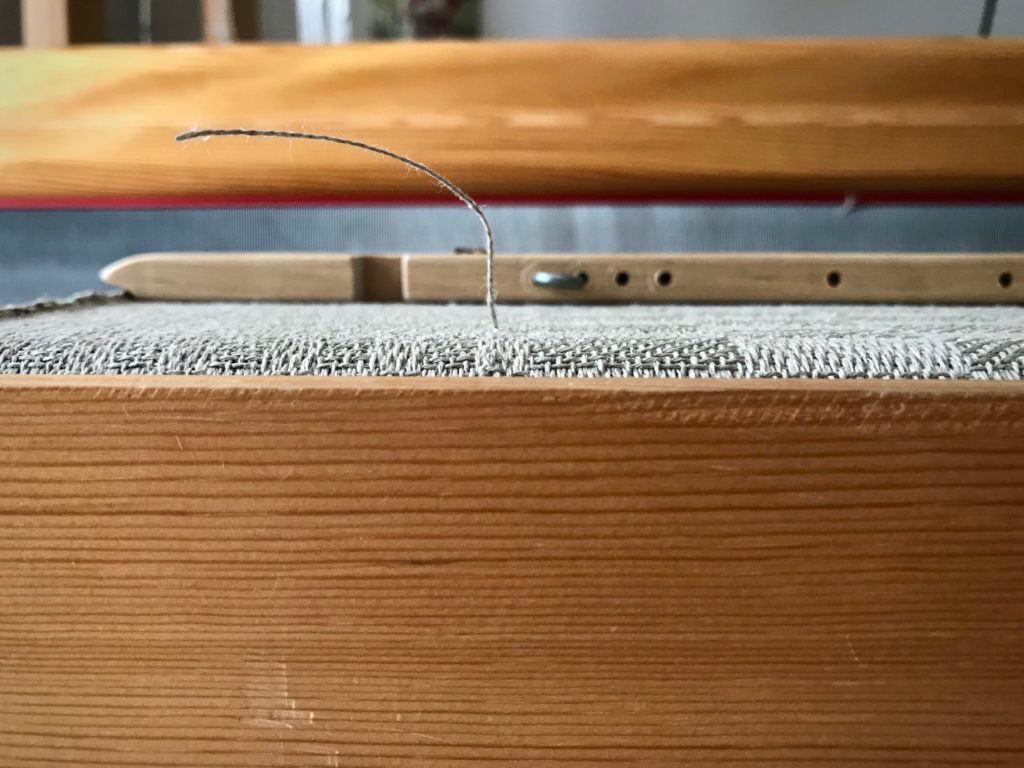
When you get to the end of the warp, and are ready for cutting off, simply tug the loose end of the string at one end of the bar to release the slip knot, and pull the leveling string out of the warp.

May you weave as soon as possible.

Happy Valentine’s Day,
Karen

Unrolling New Towels

The length of woven cloth unrolls and unrolls until you get all the way back to the front tie-on bar. The towels are 70% linen. Oh, how I wish you could touch this fabric! You would feel the crispness of a linen tea towel, with a little bit of cotton softness.

Cutting off! Plattväv linen towels.
Plattväv towels and one table square are unrolled from the loom. Last to come through are the warp end knots securely hugging the front tie-on bar.

It all comes back to the front tie-on bar. This is where the weaving begins. The warp ends must be secure at the beginning. No one wants the tie-on knots to slip as the woven fabric rounds the cloth beam. You want warp ends to be securely fastened, with no chance of losing their grip. Your cloth depends on it.

Plattväv towels waiting to be hemmed.
Plattväv towels, with 22/2 cottolin warp, and 16/1 linen weft. The towels have been washed, dried, and pressed. They are ready to be hemmed.

Think of yourself gripping onto hope. Think of the knots that hold tightly to the front tie-on bar. Hold tightly to hope, and don’t let go while the weaving progresses. Our hope is not some vague wish. Our hope is based on the redeeming work of Jesus Christ–God’s promise to be with us. God can be trusted to keep his promise. Don’t waver in your tight grip on this true hope. The fabric of your life depends on it.

May you be known for hope.

Hopeful,
Karen
Three Rosepath Rag Rugs For Now

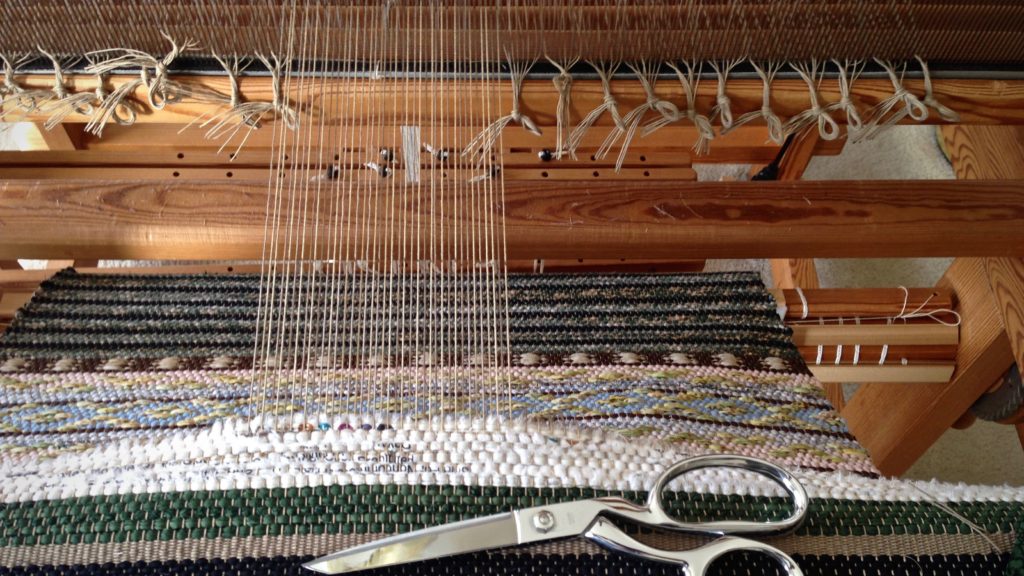
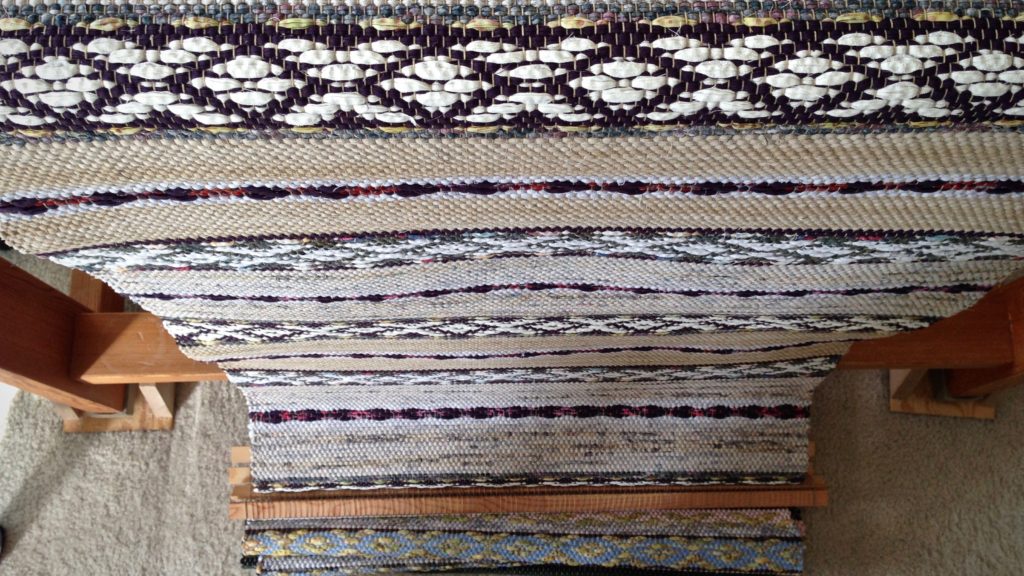
There are three completed rosepath rag rugs on the loom, with warp remaining for at least one more rug. Since I don’t know how soon I will be able to weave the remainder, cutting off the completed rugs makes sense. After hemming, I will have three new rugs for Etsy. (Don’t miss the new Quick Tip video at the end of this post!)

Cutting off rosepath rag rugs, with some warp remaining to be woven.
As the warp ends are cut, they are tied into one-inch groupings to simplify tying back on to the tie-on bar.
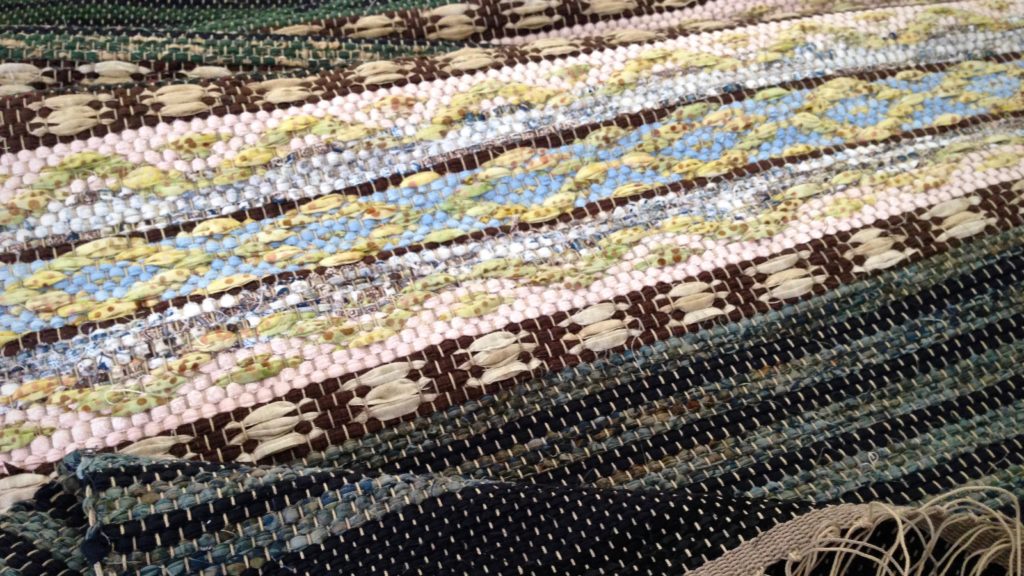
Unrolling some new rosepath rag rugs!
Warping slats are used as spacers between rugs. Some of my slats are barely wide enough for this warp.

I look forward to full weaving days again, with both looms dressed, and shuttles zooming. That rag rug warp still on the loom will be a reward worth waiting for.

Rosepath rag rug ready to be hemmed. Karen Isenhower
One rug has warp end knots, and is ready for pressing and hemming.
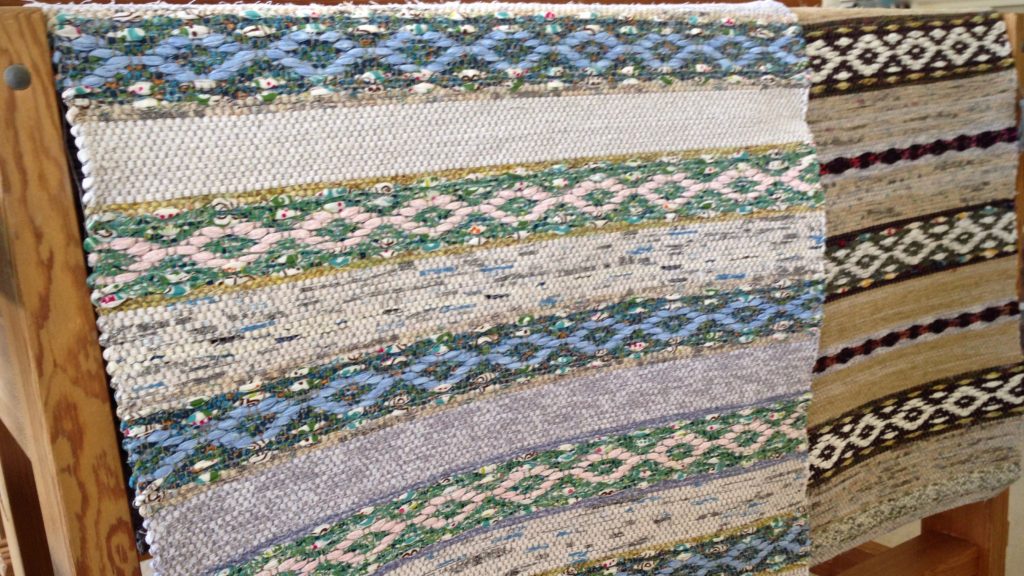
Two rosepath rag rugs just off the loom. Karen Isenhower
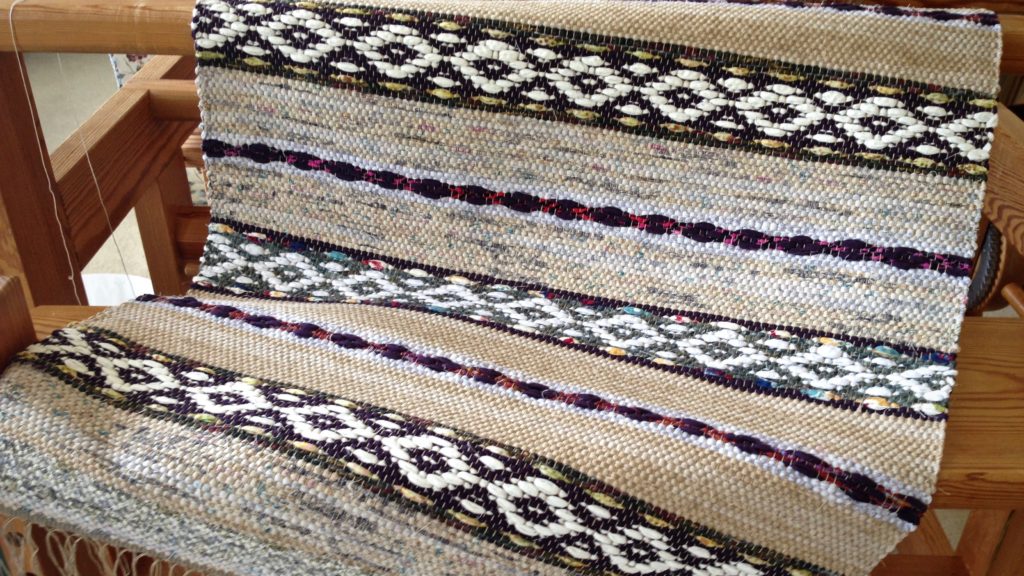
Rosepath in two variations.
Rosepath rag rug ready to be hemmed. Karen Isenhower
Broad rosepath pattern lends elegance to this rag rug.

Last week, when I awoke from surgery, the relentless pain I had been experiencing in my left leg and lower back was gone. Completely gone! It made me think of heaven. Ancient writings tell us that the lame will leap like a deer, and that sorrow and sighing will flee away. There’s no place for pain in heaven. All the people there have been healed and restored. That’s a reward worth waiting for. And I won’t be surprised if there are at least a few in heaven who are weaving away to their heart’s content.
May you know what to do while waiting.

Wishing you well,
Karen