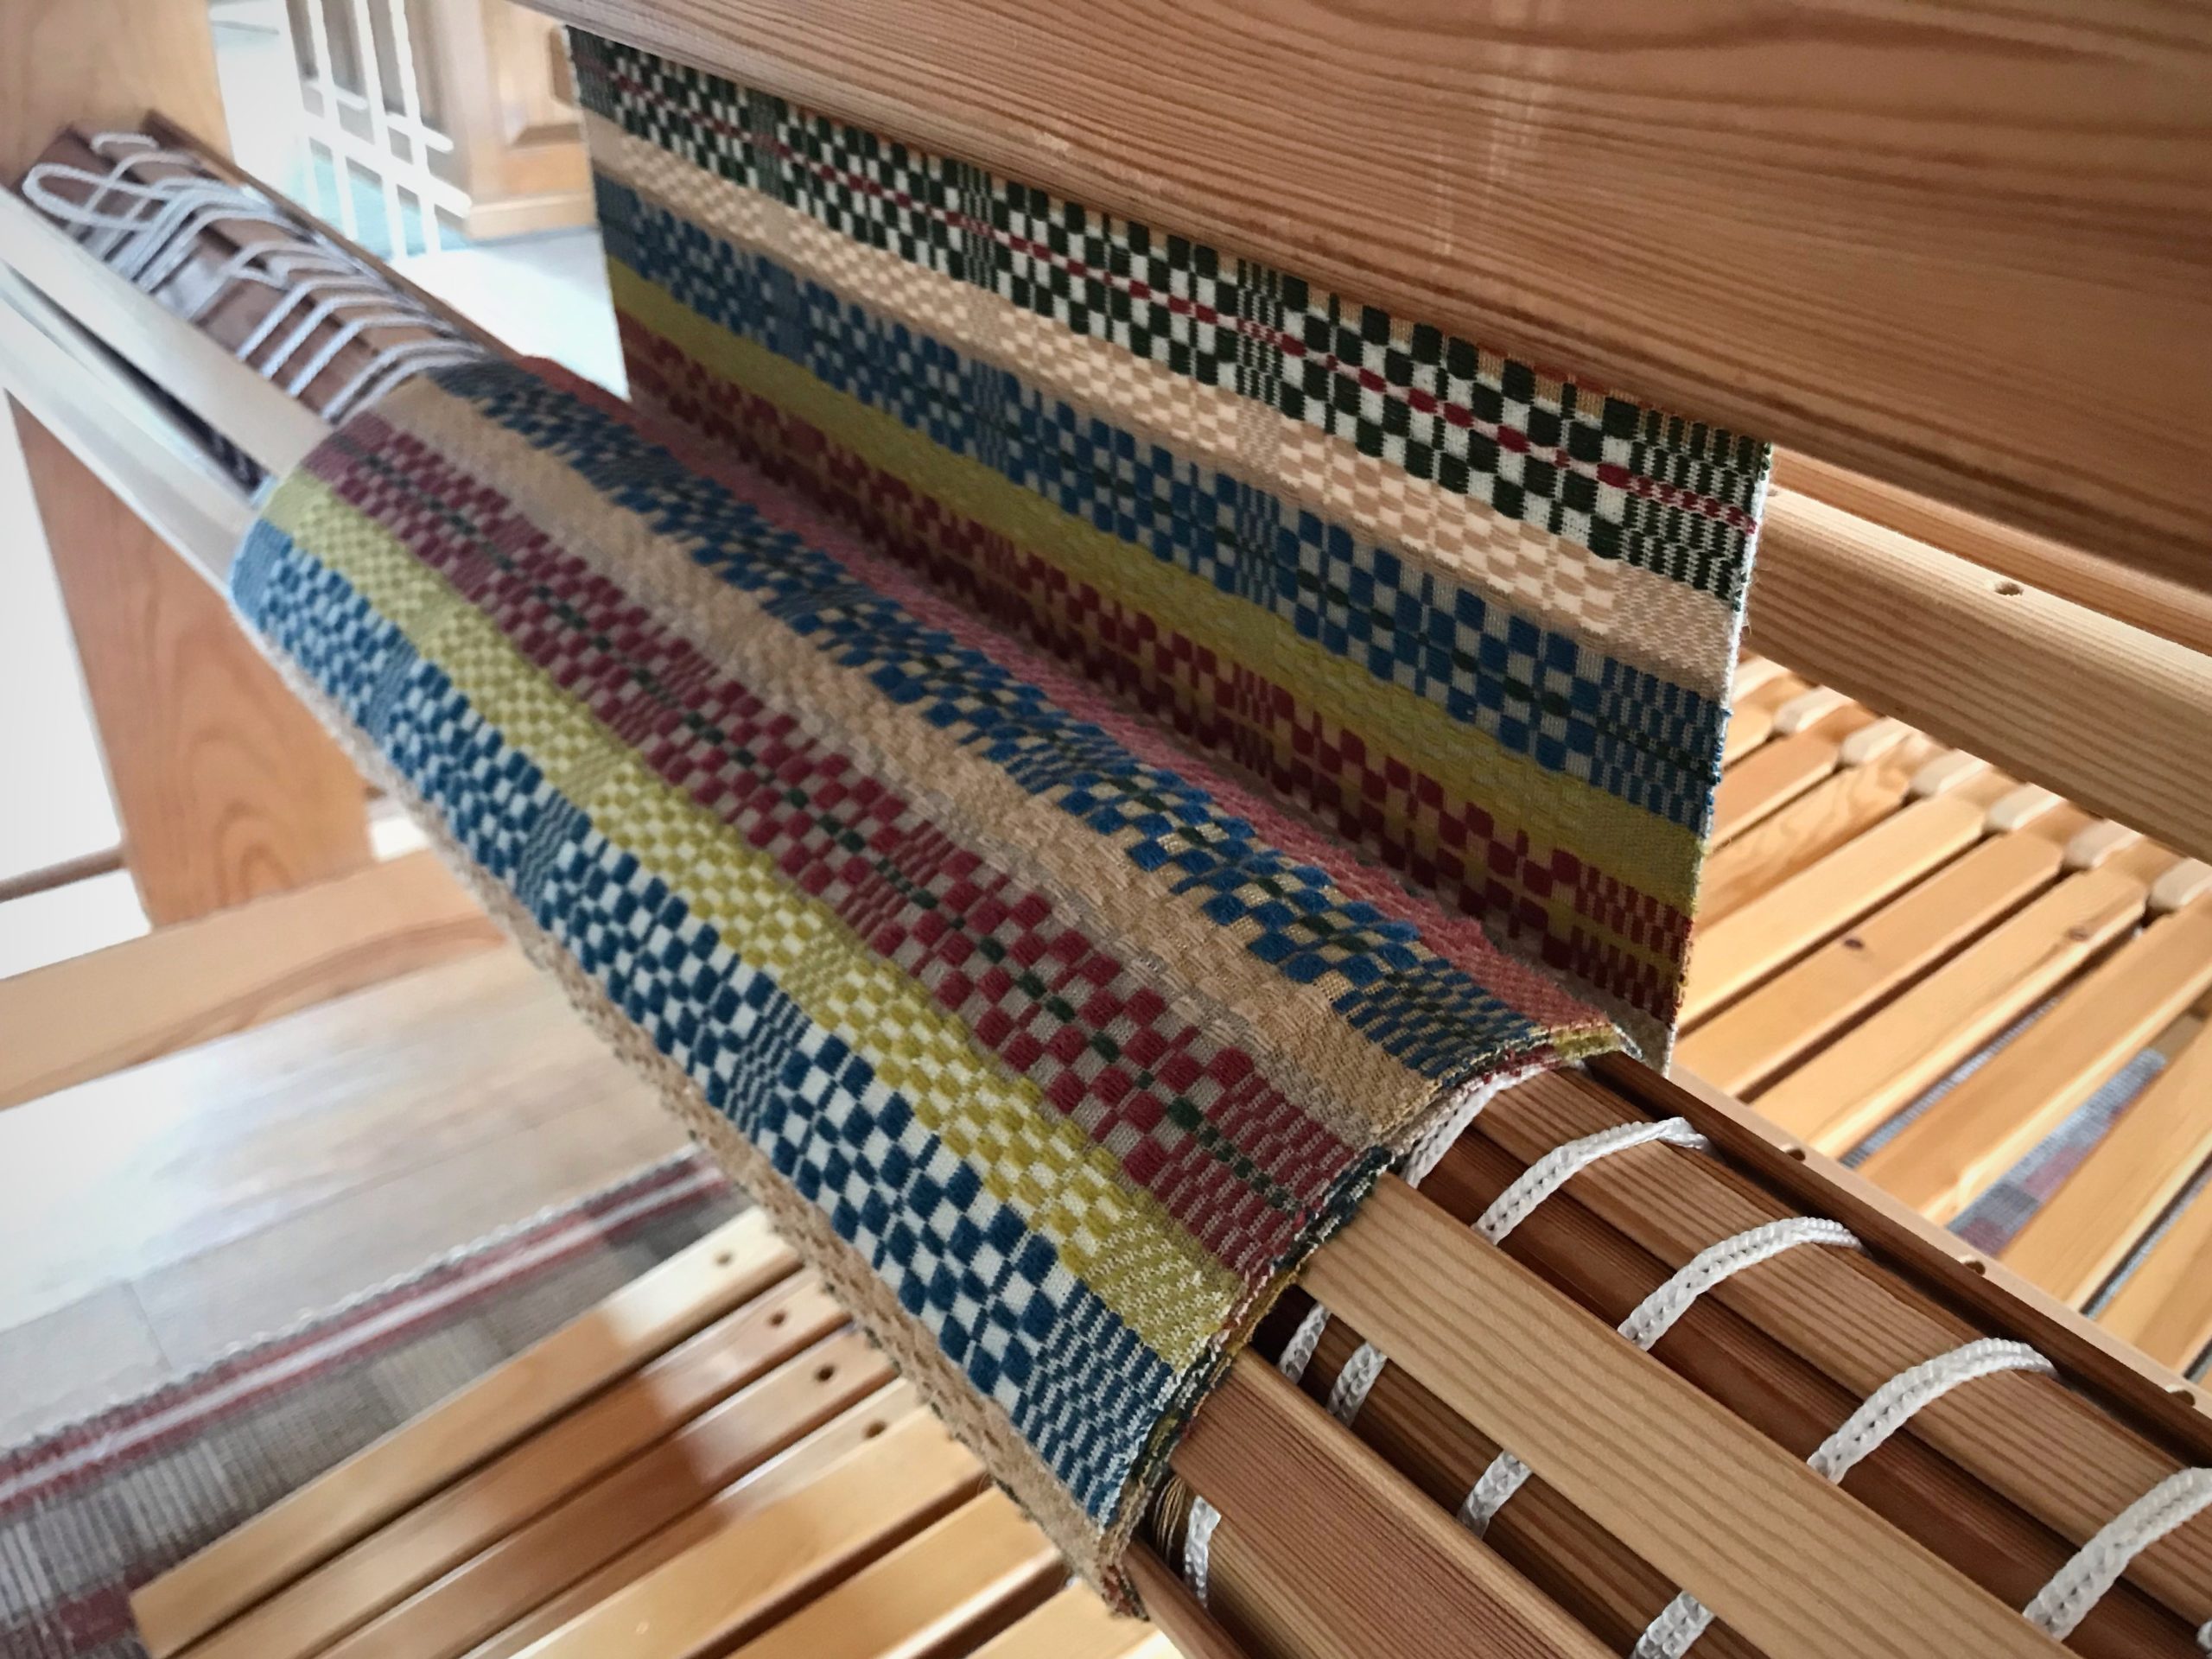
I have good reasons for cutting off this first double-binding rag rug before proceeding with the rest of the warp. This pause and reset ensures happy weaving to the end. Cutting off gives me a fresh start for the next rug.
Reasons for cutting off rag rug before end of warp
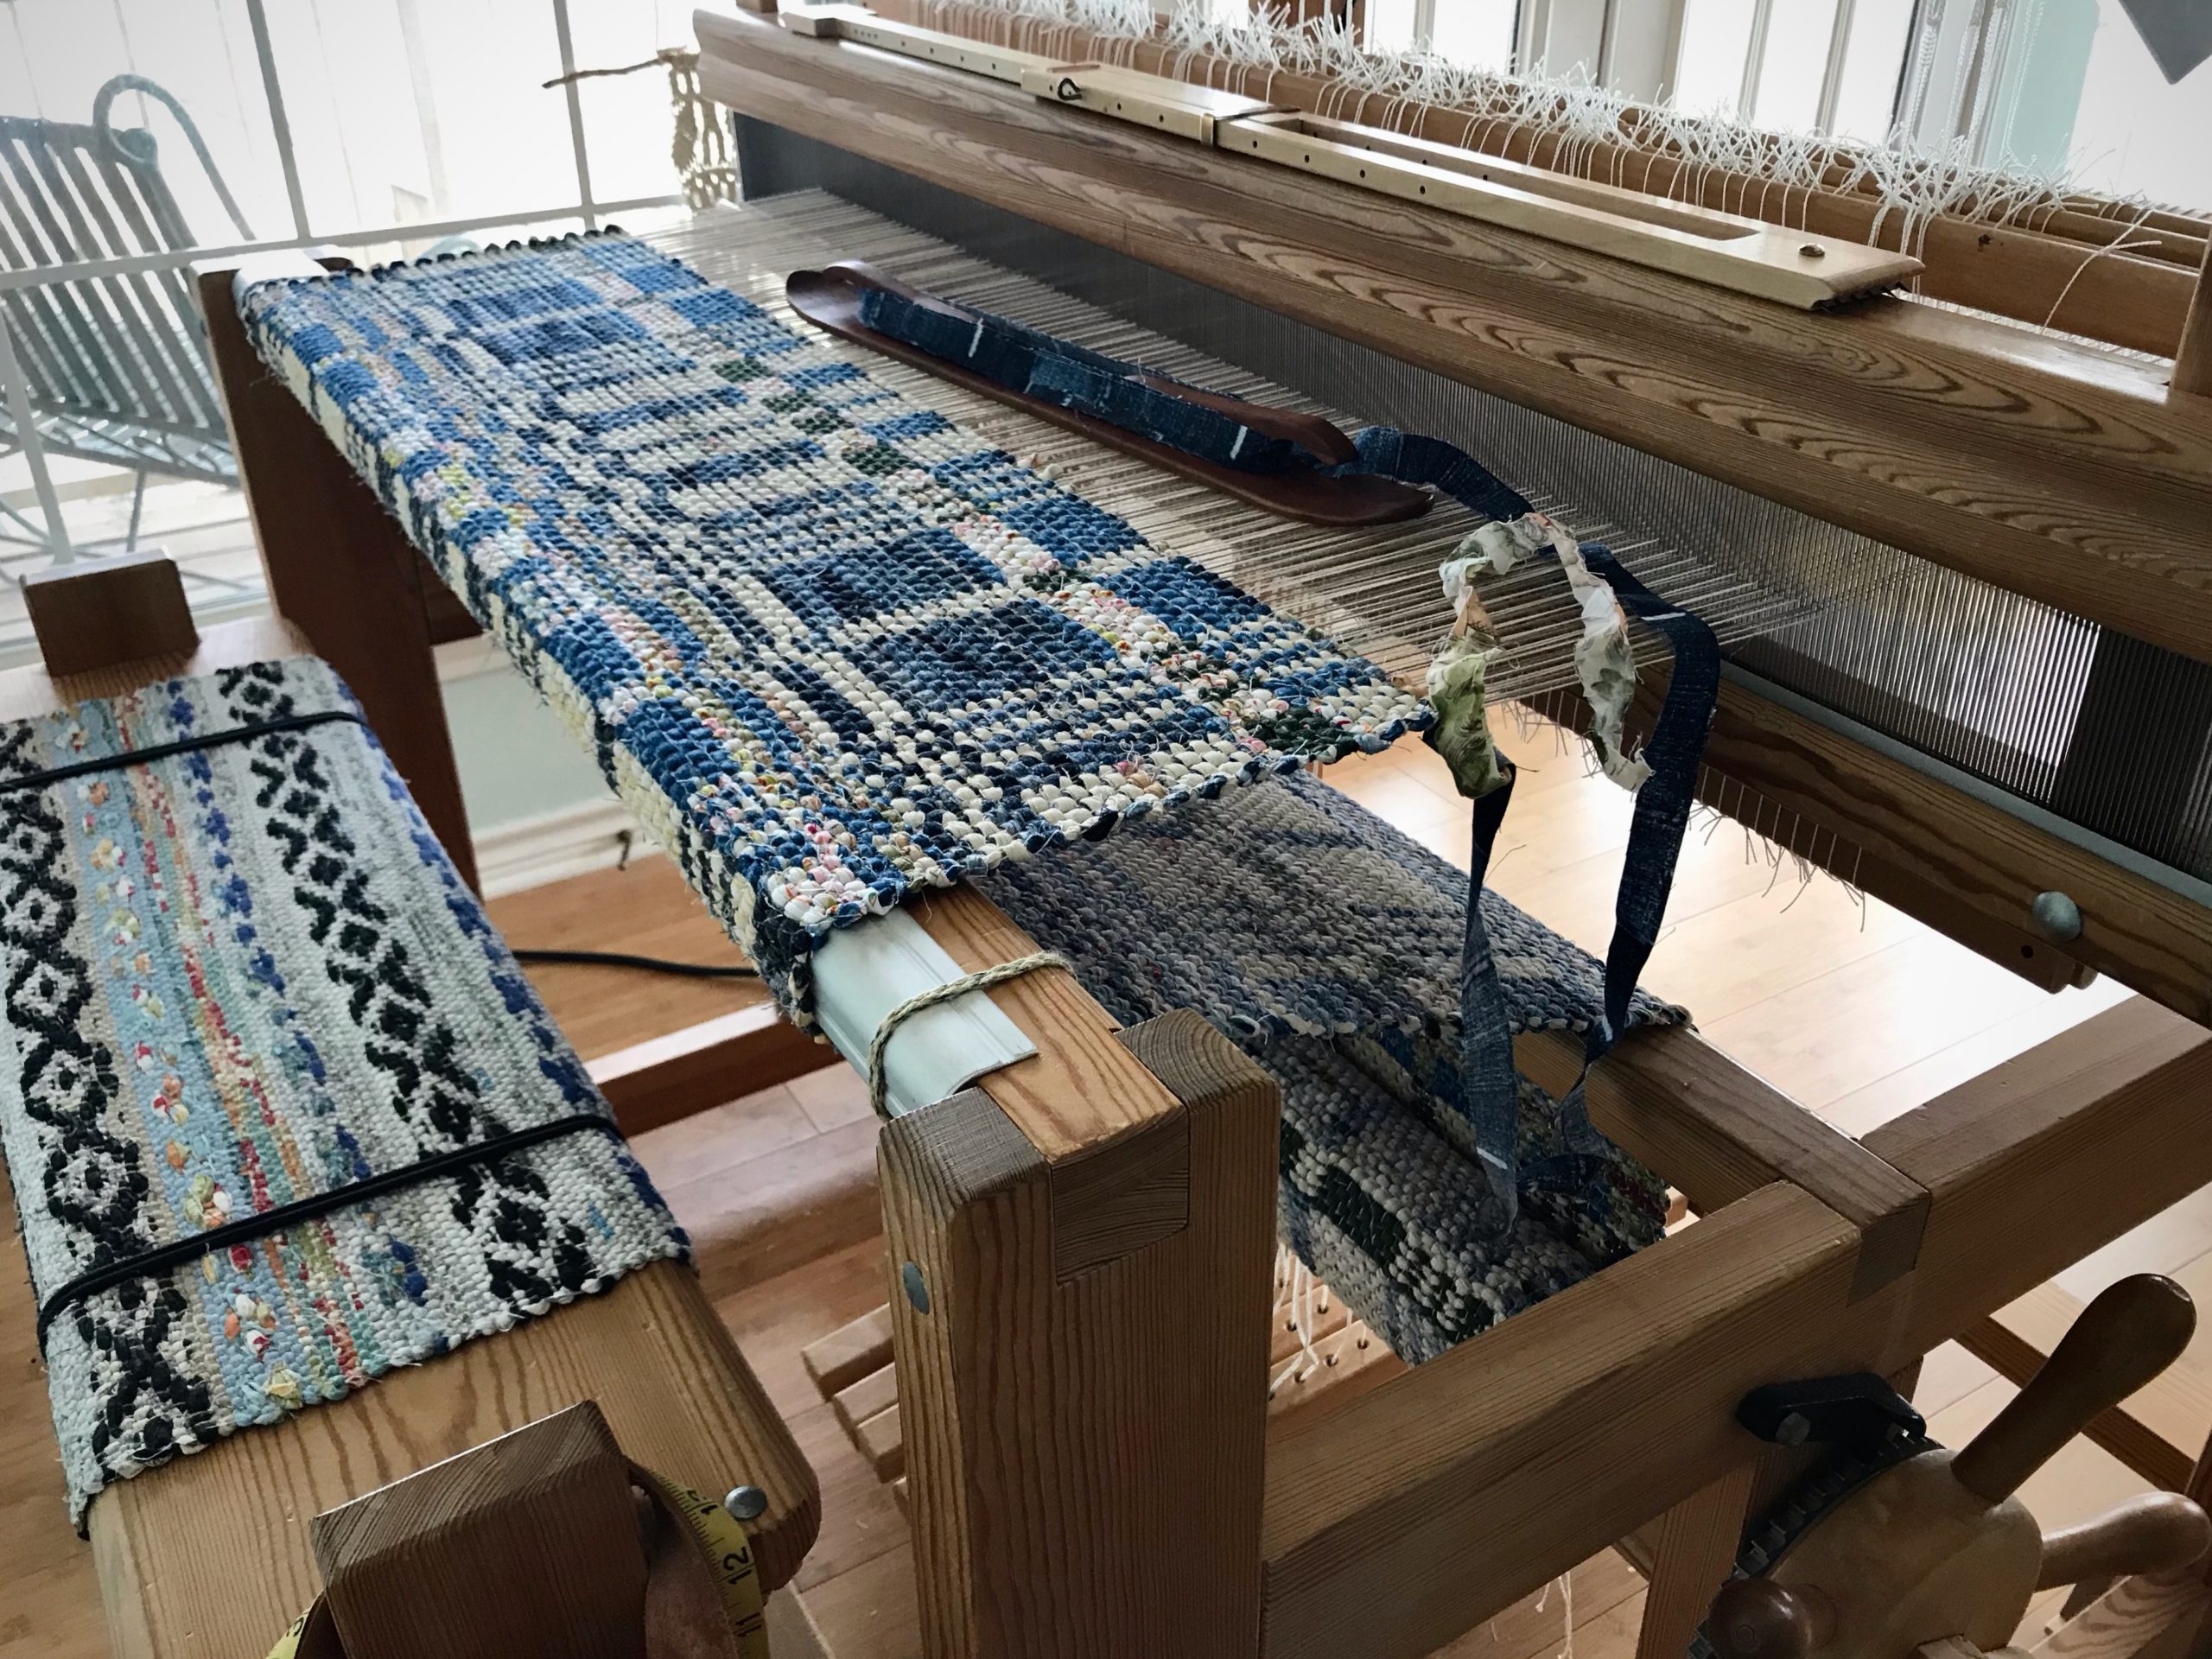
- Uneven warp tension. I can improve the warp by tying back on.
- Large rag rag. I can get a tighter warp tension by removing the rug’s bulk from the cloth beam.
- New design. It helps me to see the completed rug before starting the next one, since this is a brand-new design.
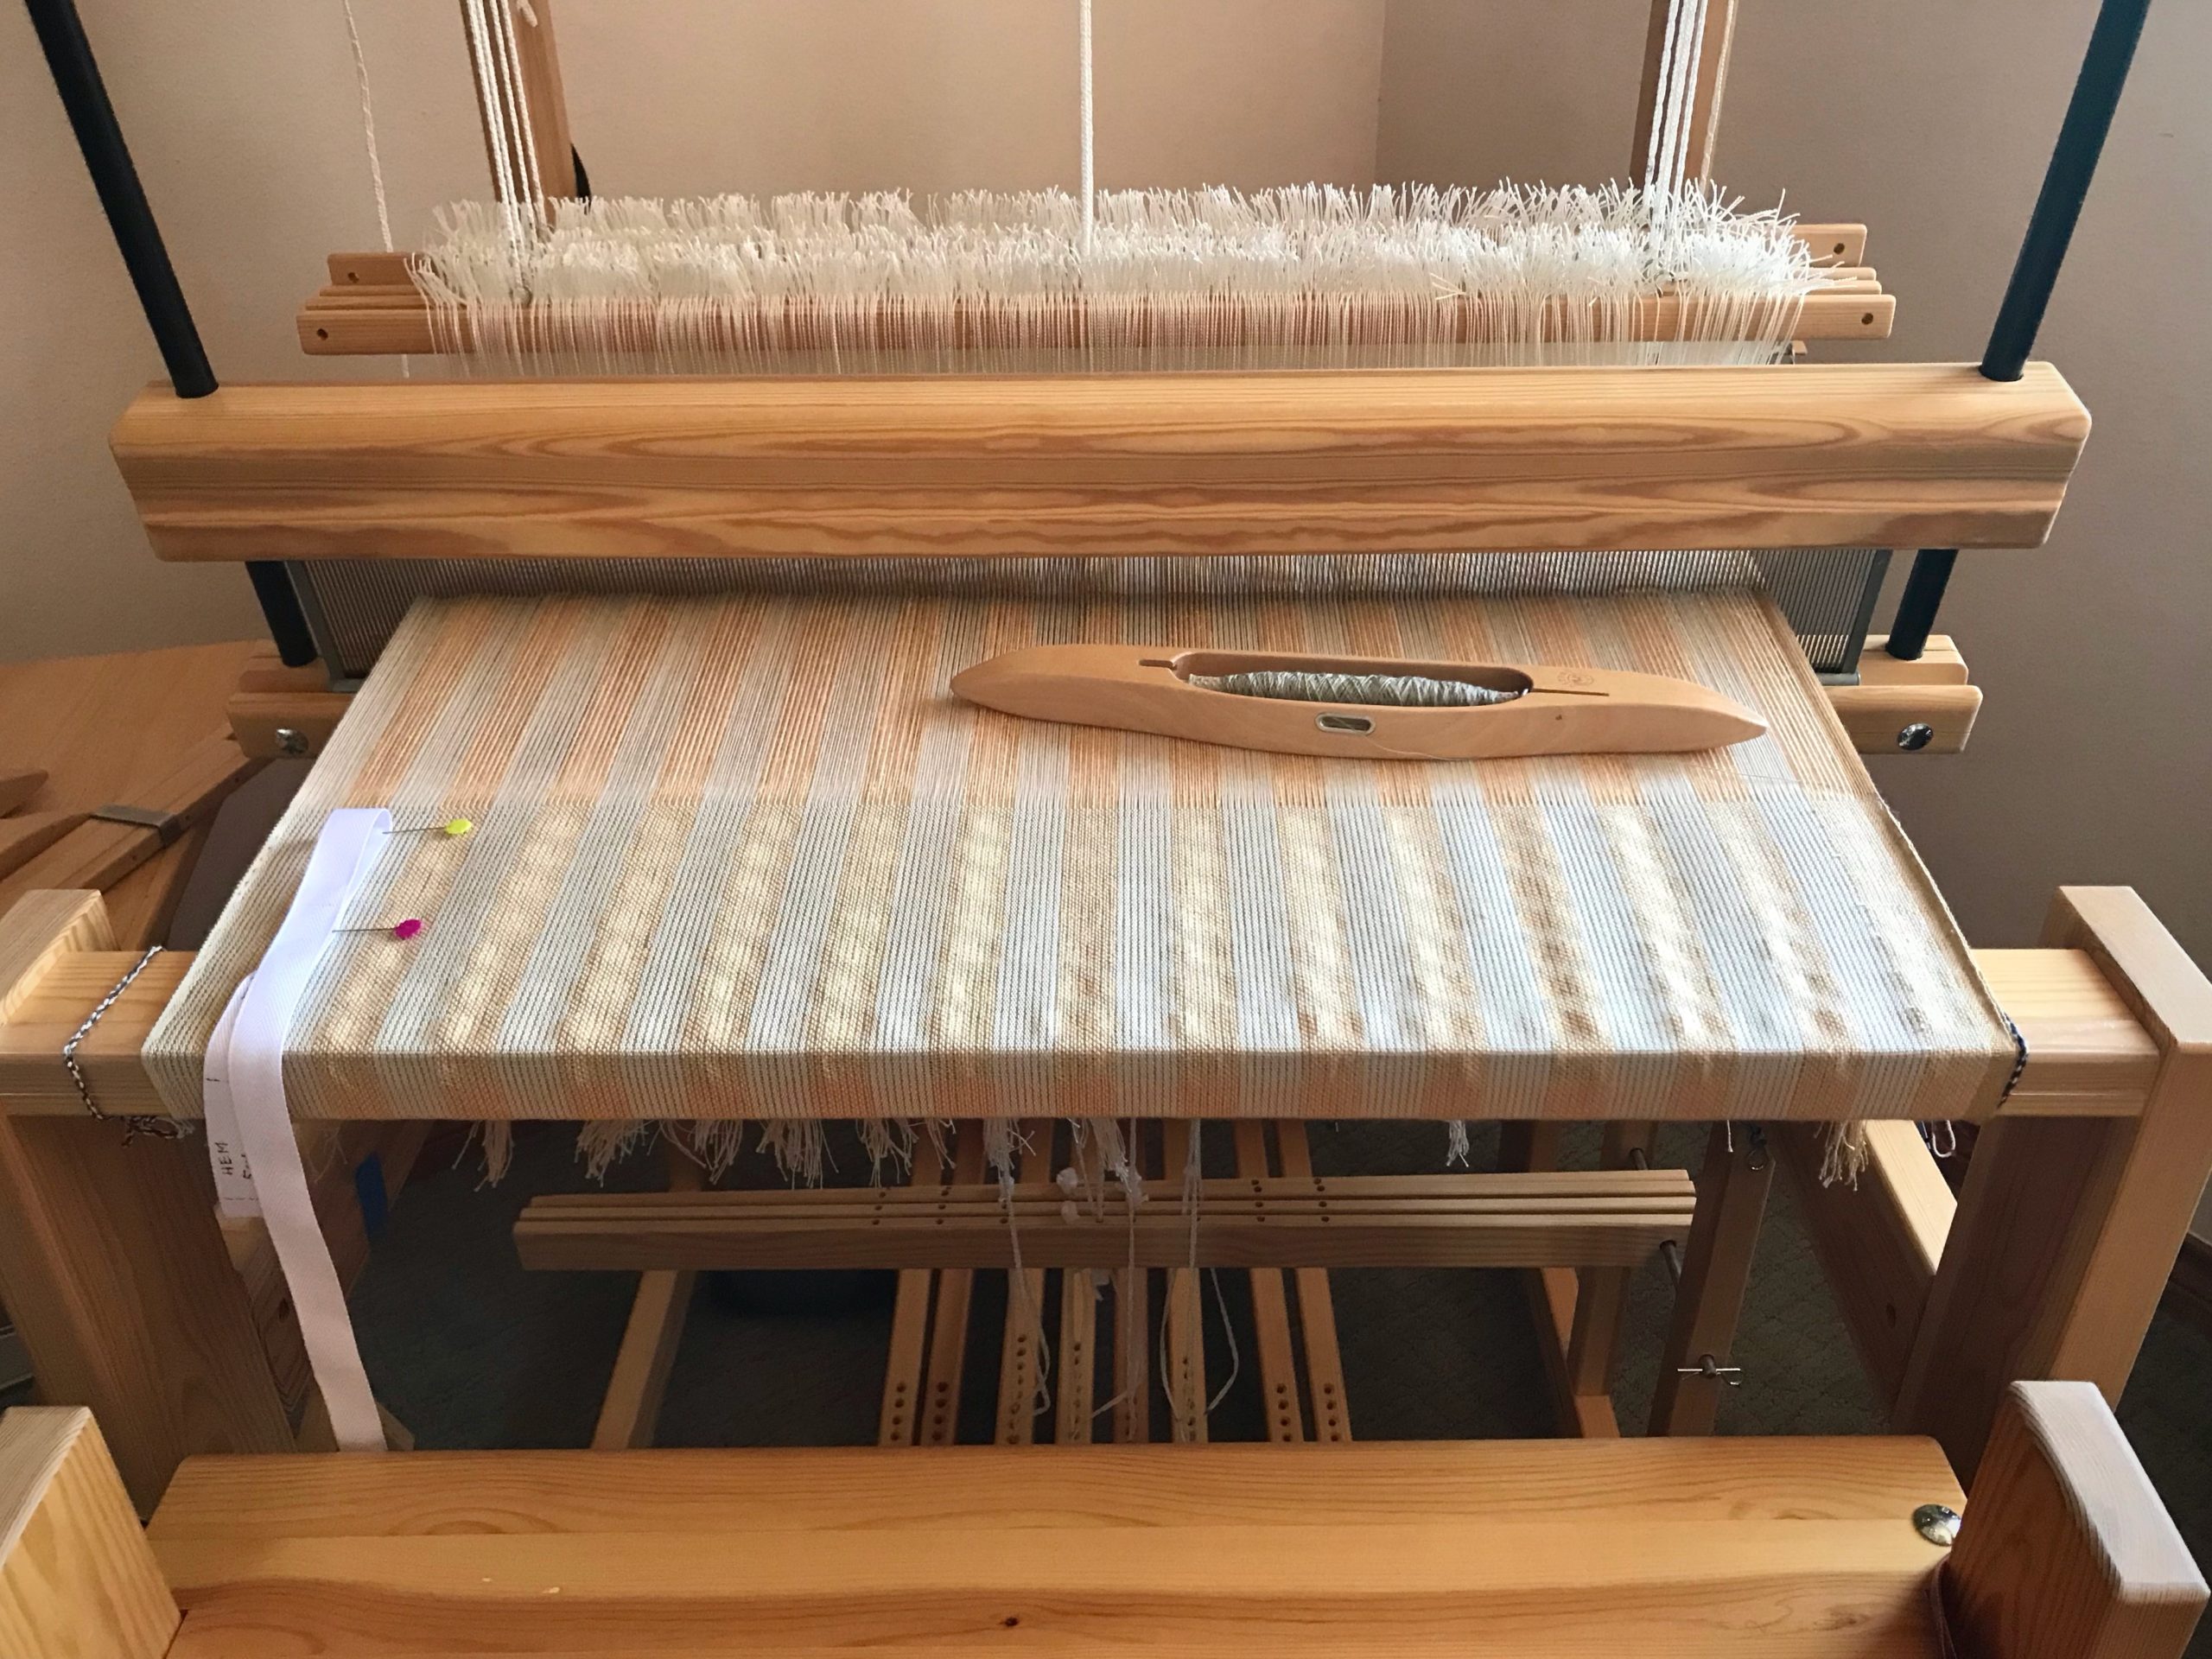
Steps for cutting off rag rug before end of warp (countermarch loom)
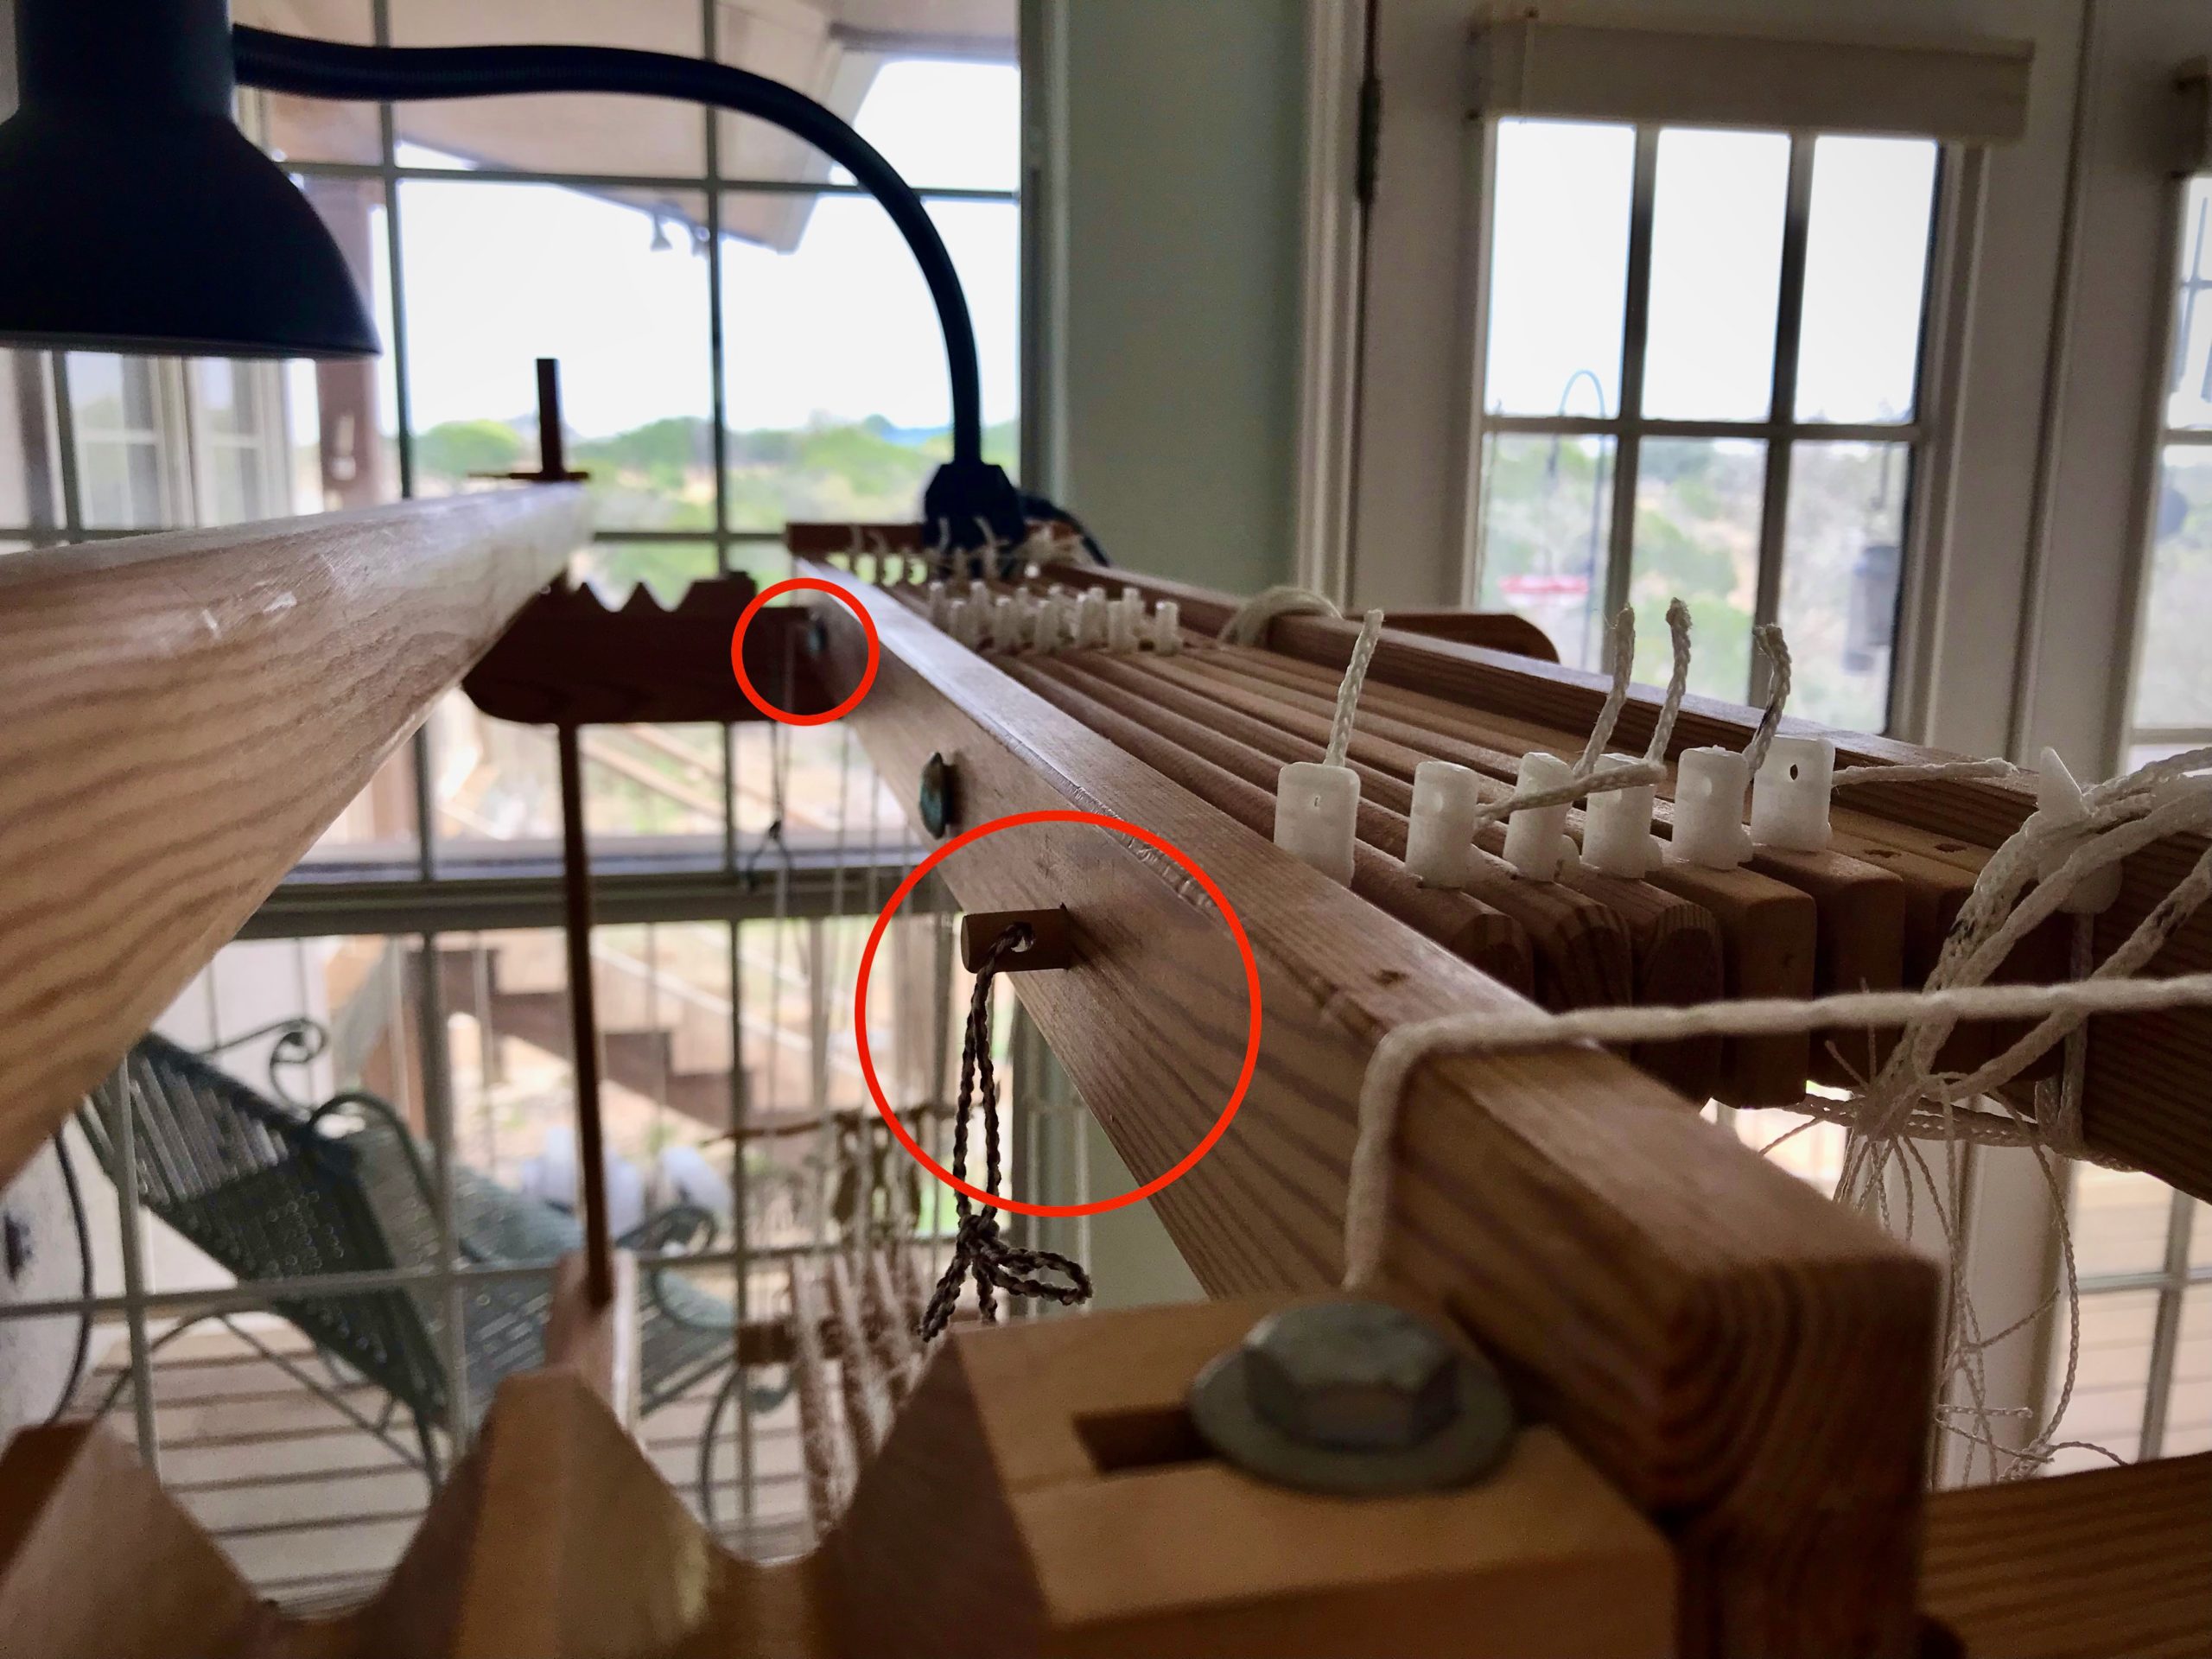
- Replace shaft holders. Insert shaft pins.
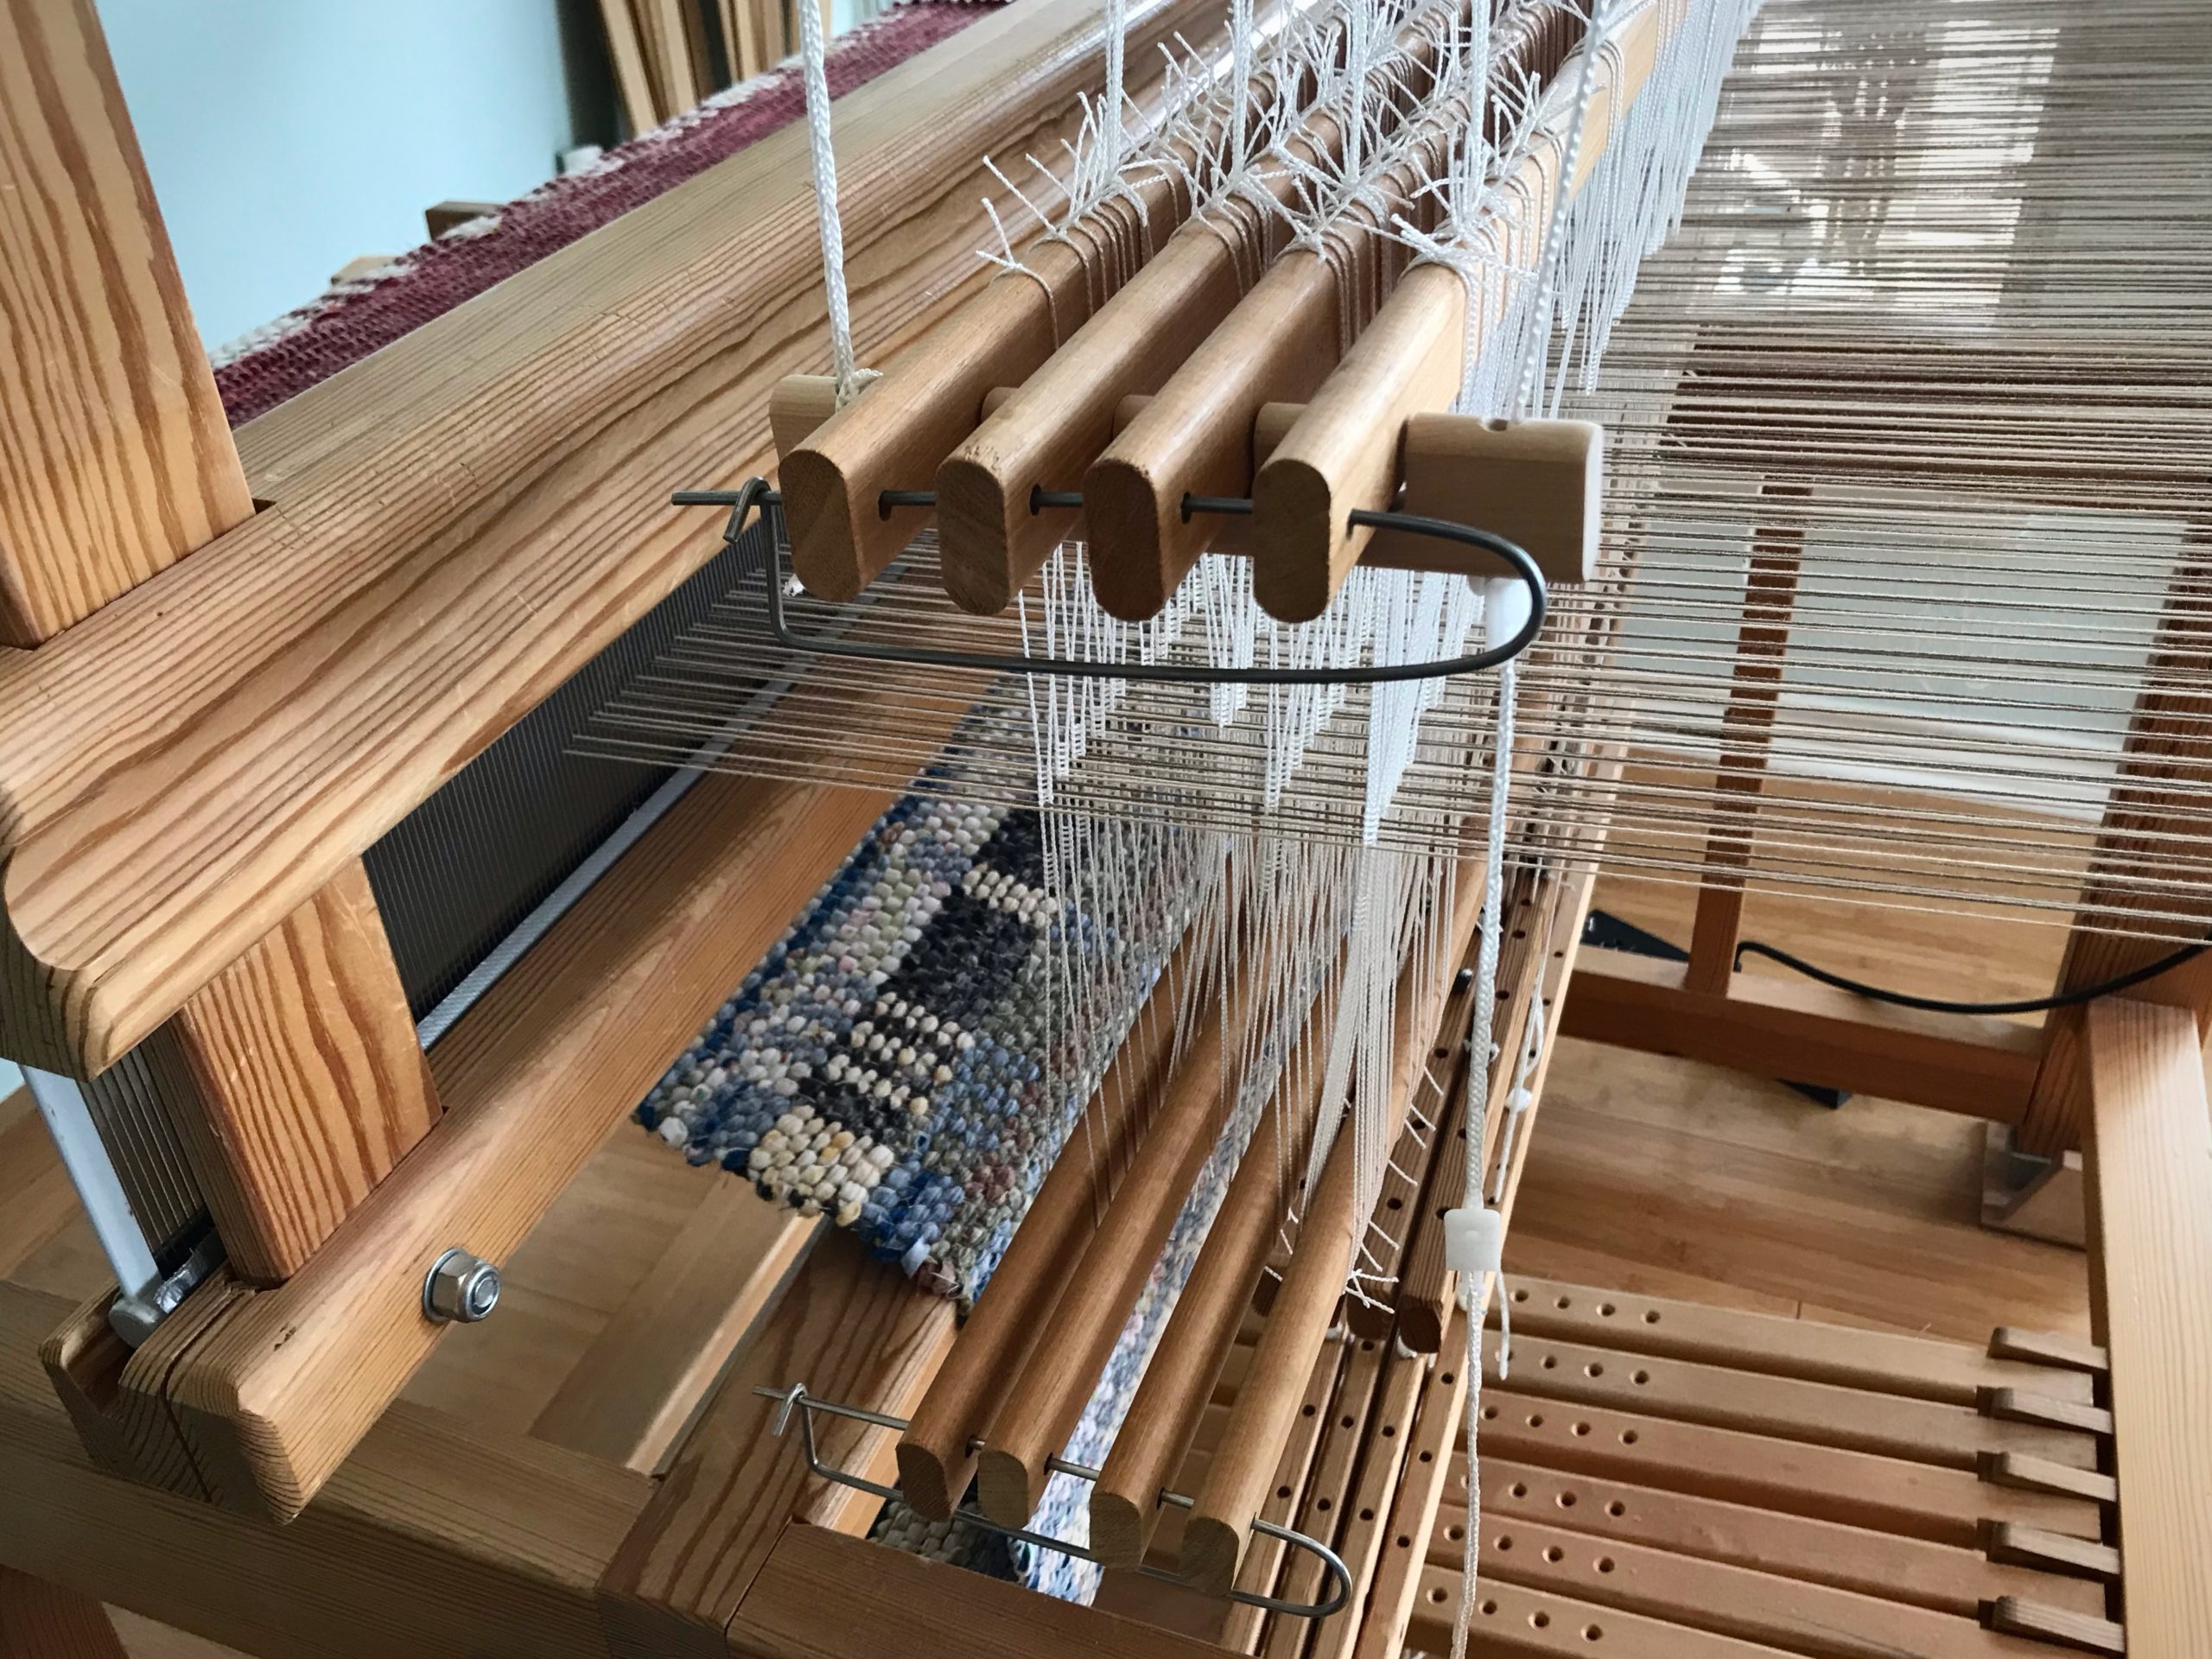
- Insert locking pin(s) in the countermarch.
- Tie lease sticks to back beam.
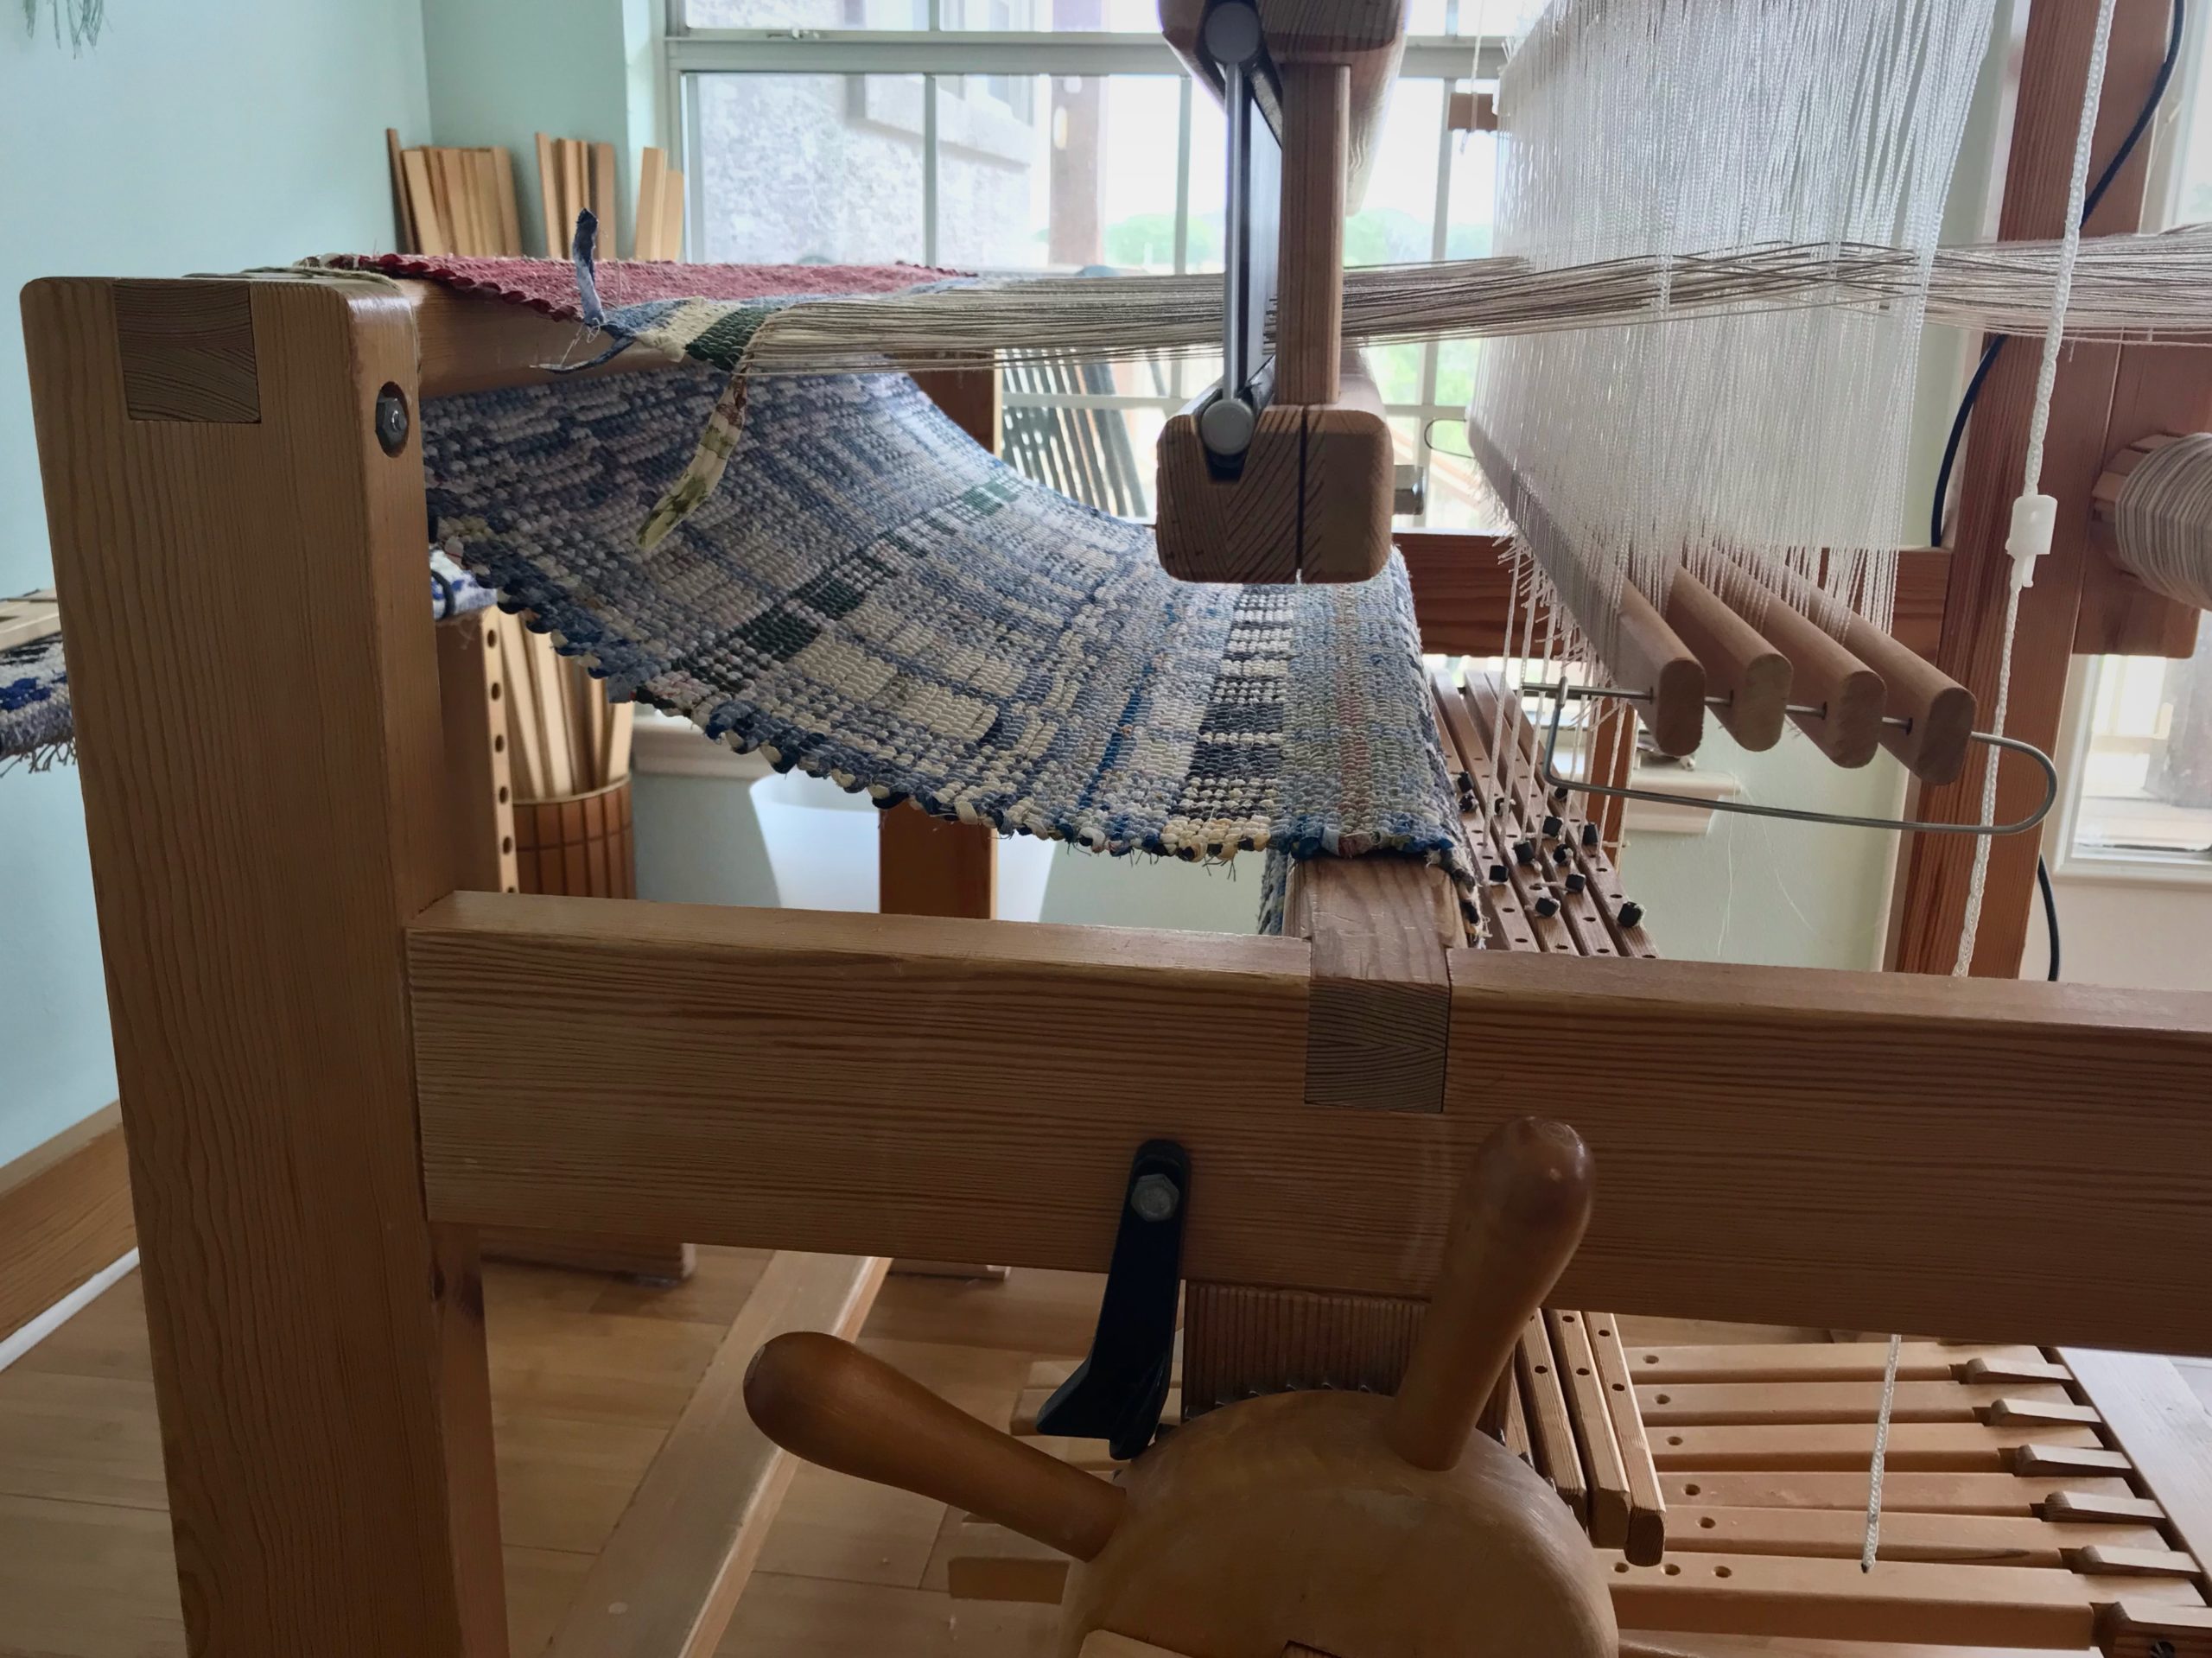
- Release tension back and front.
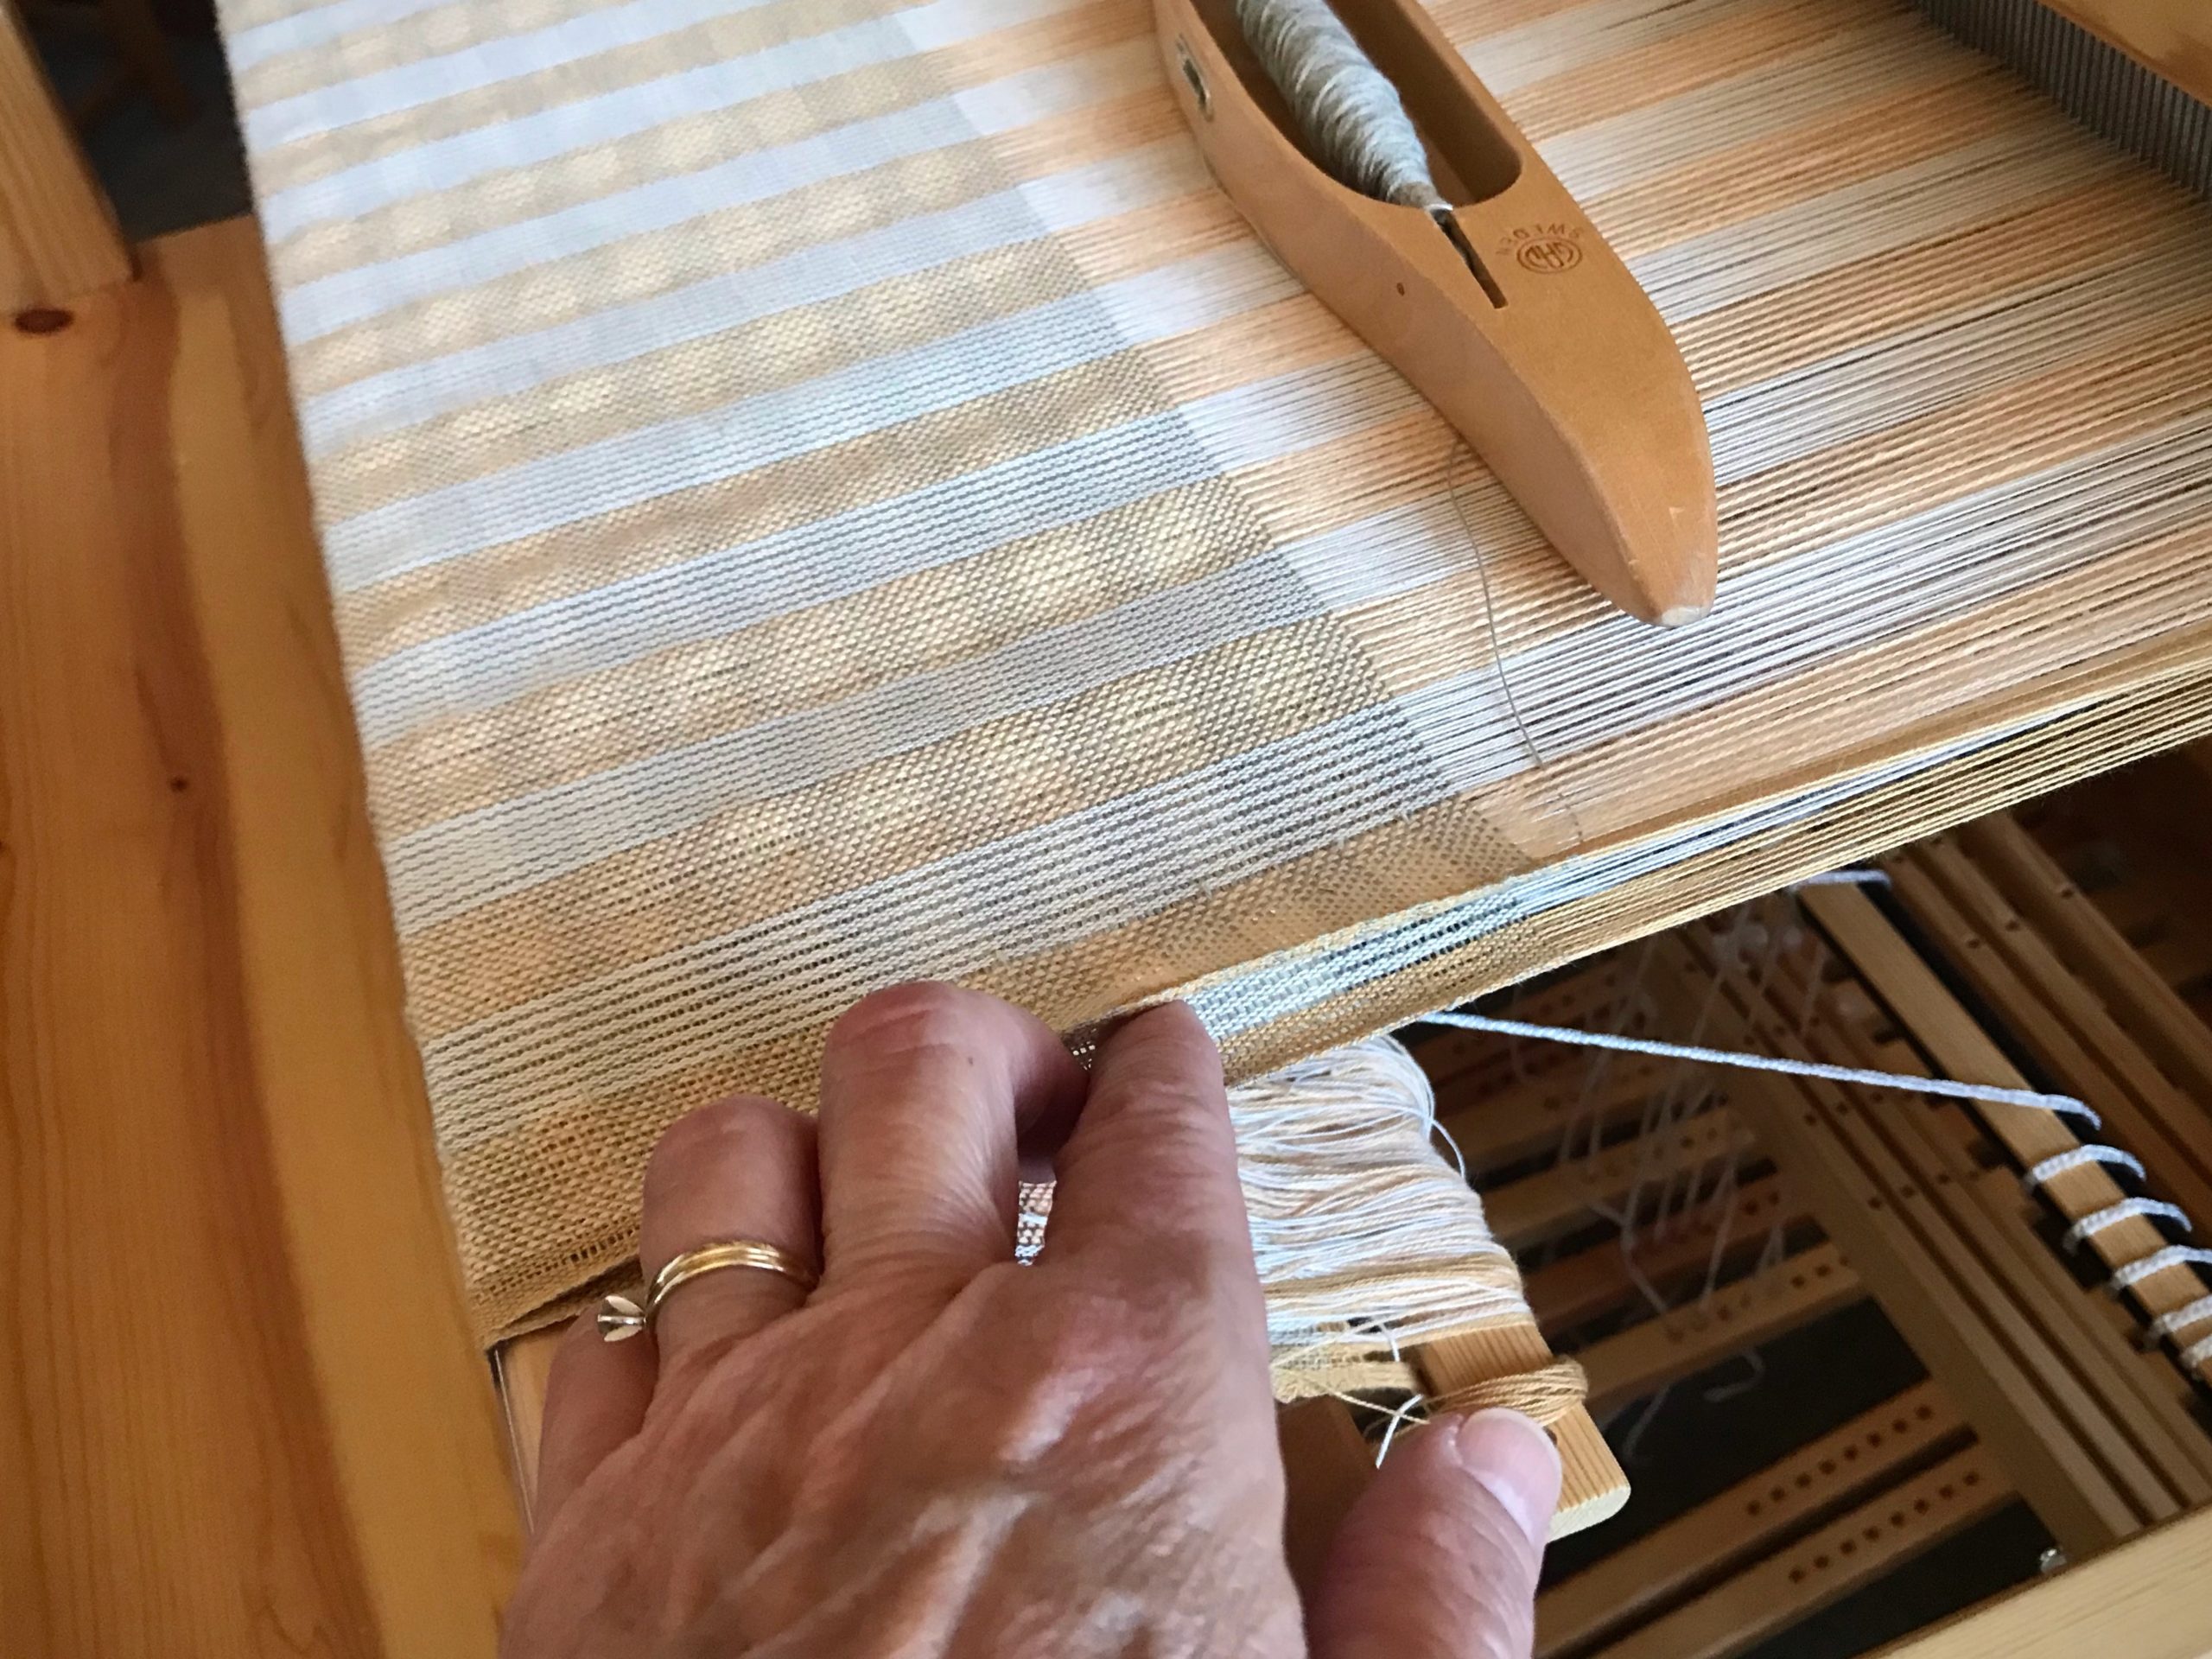
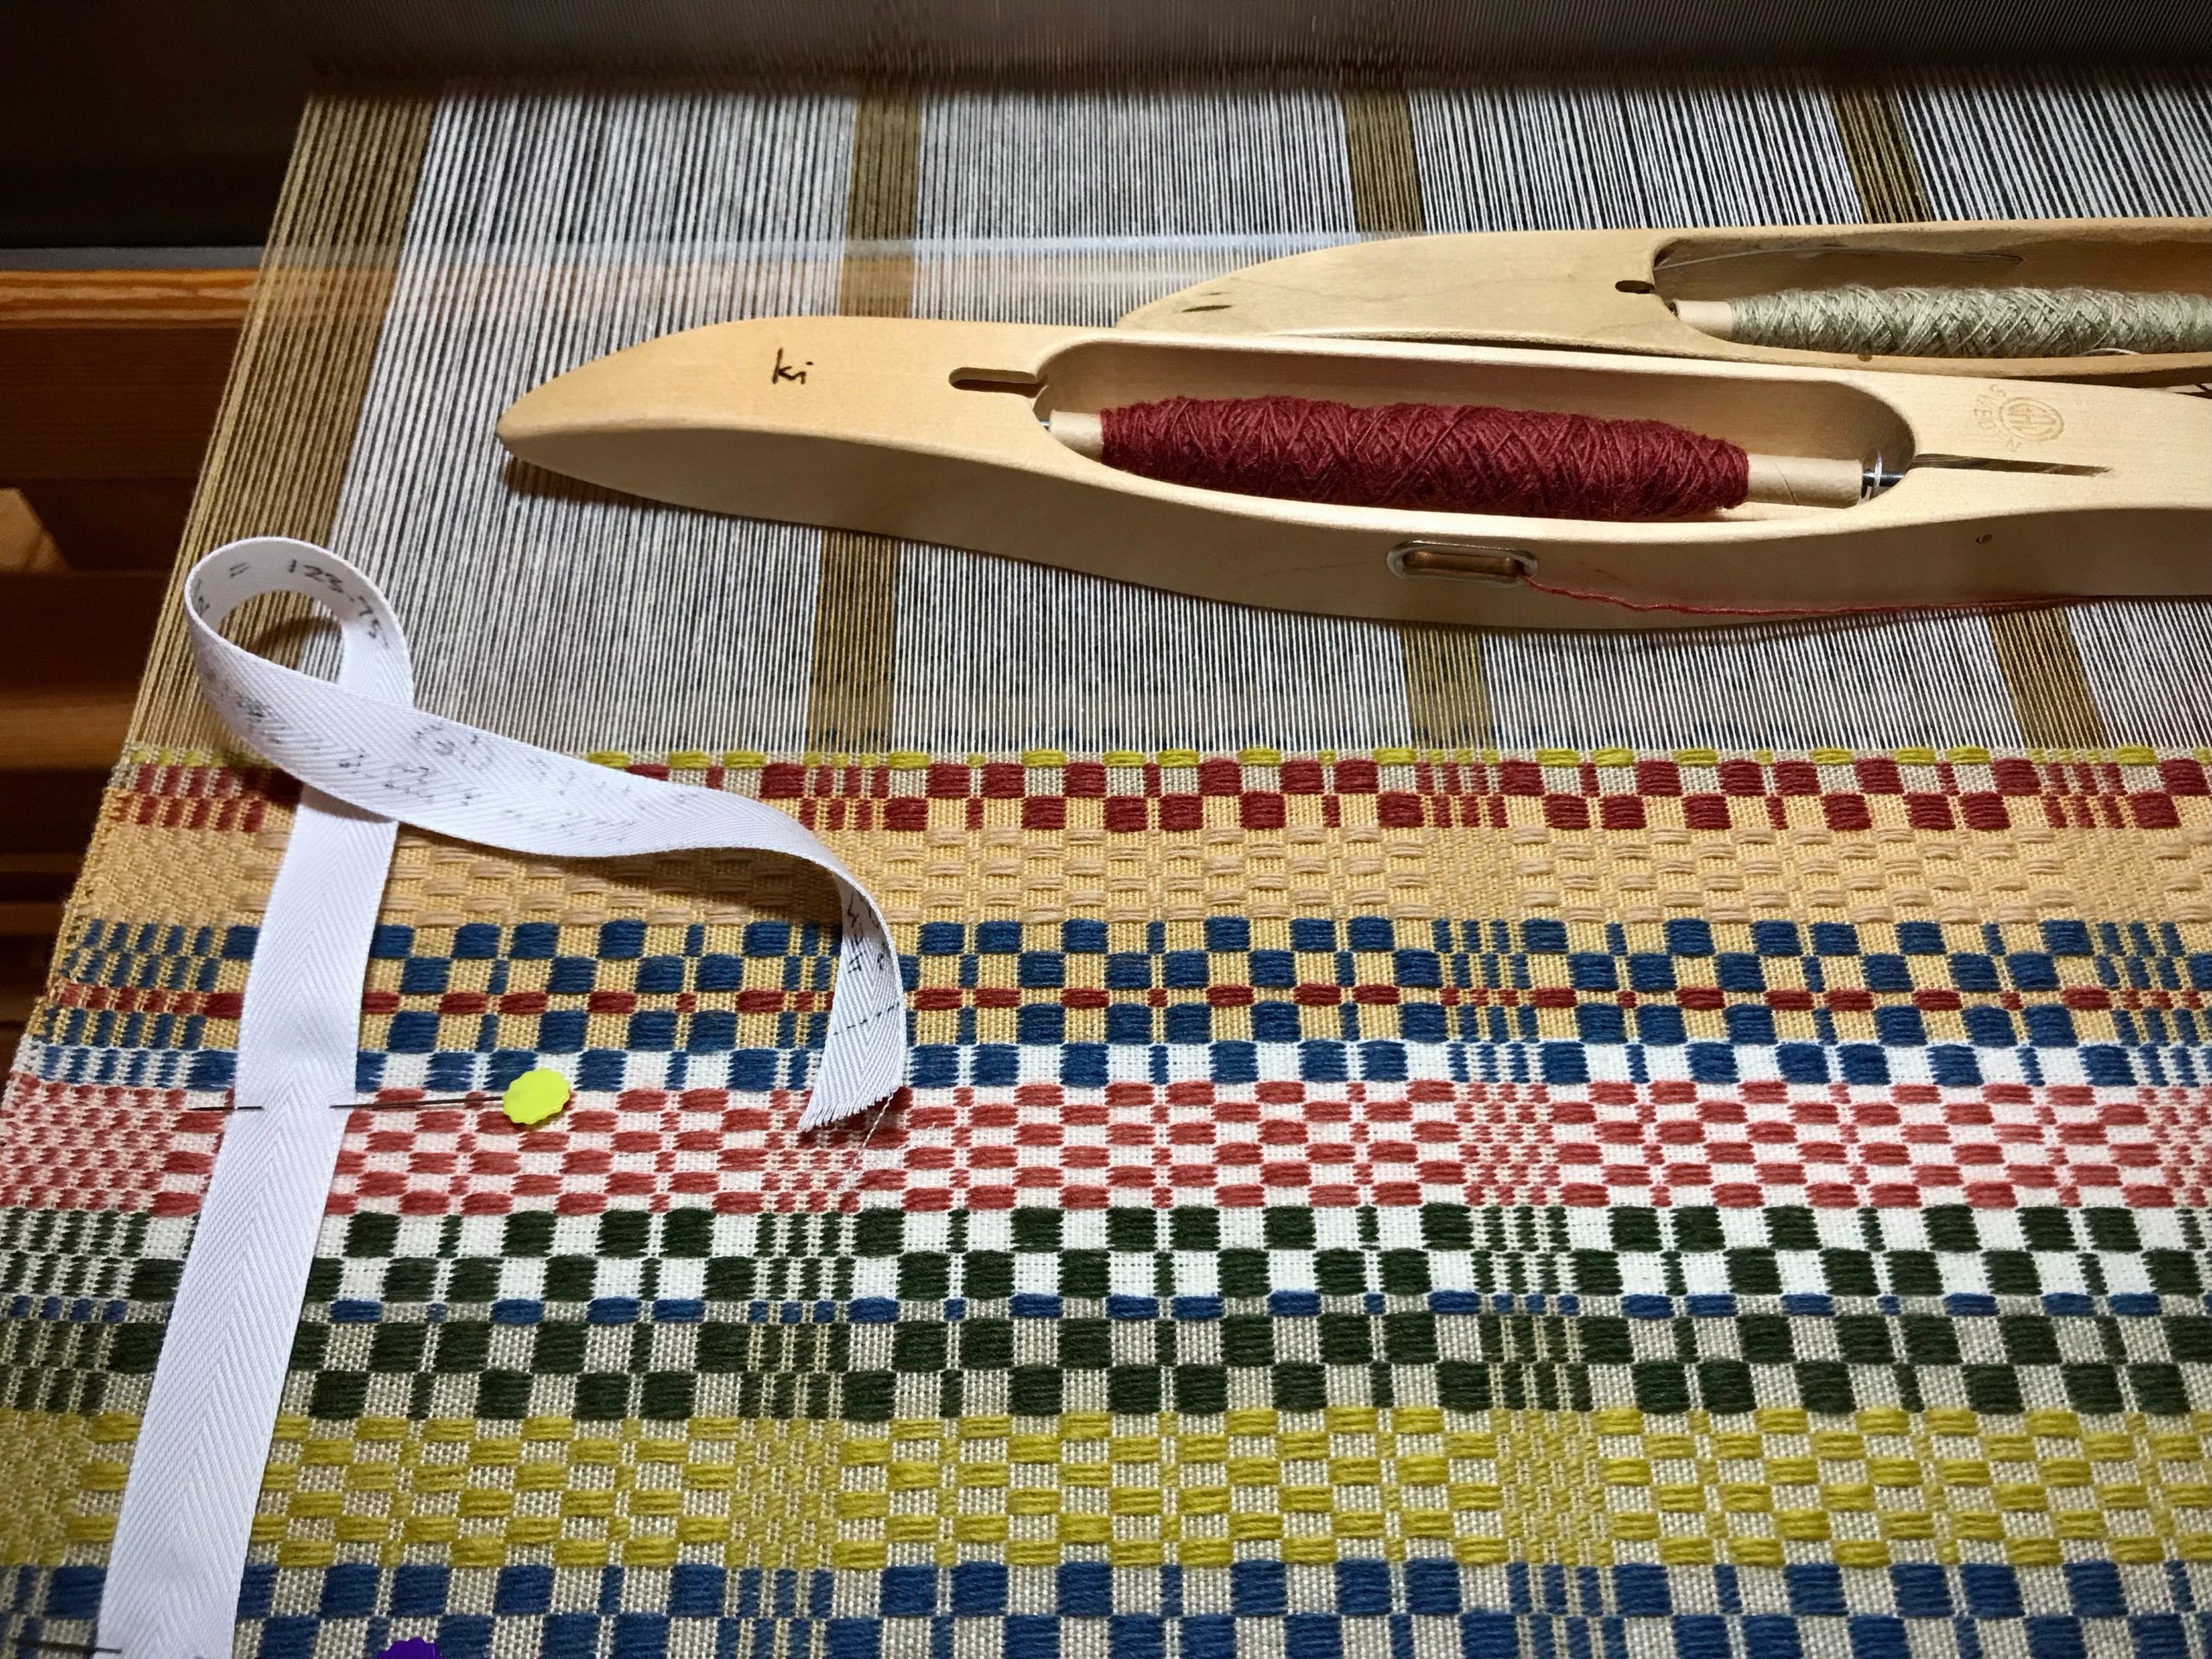
- Mark a cutting line across the warp with a black marker. Allow at least 10 centimeters (4 inches) beyond the rug’s warp-thread header for tying knots later that will secure the weft.
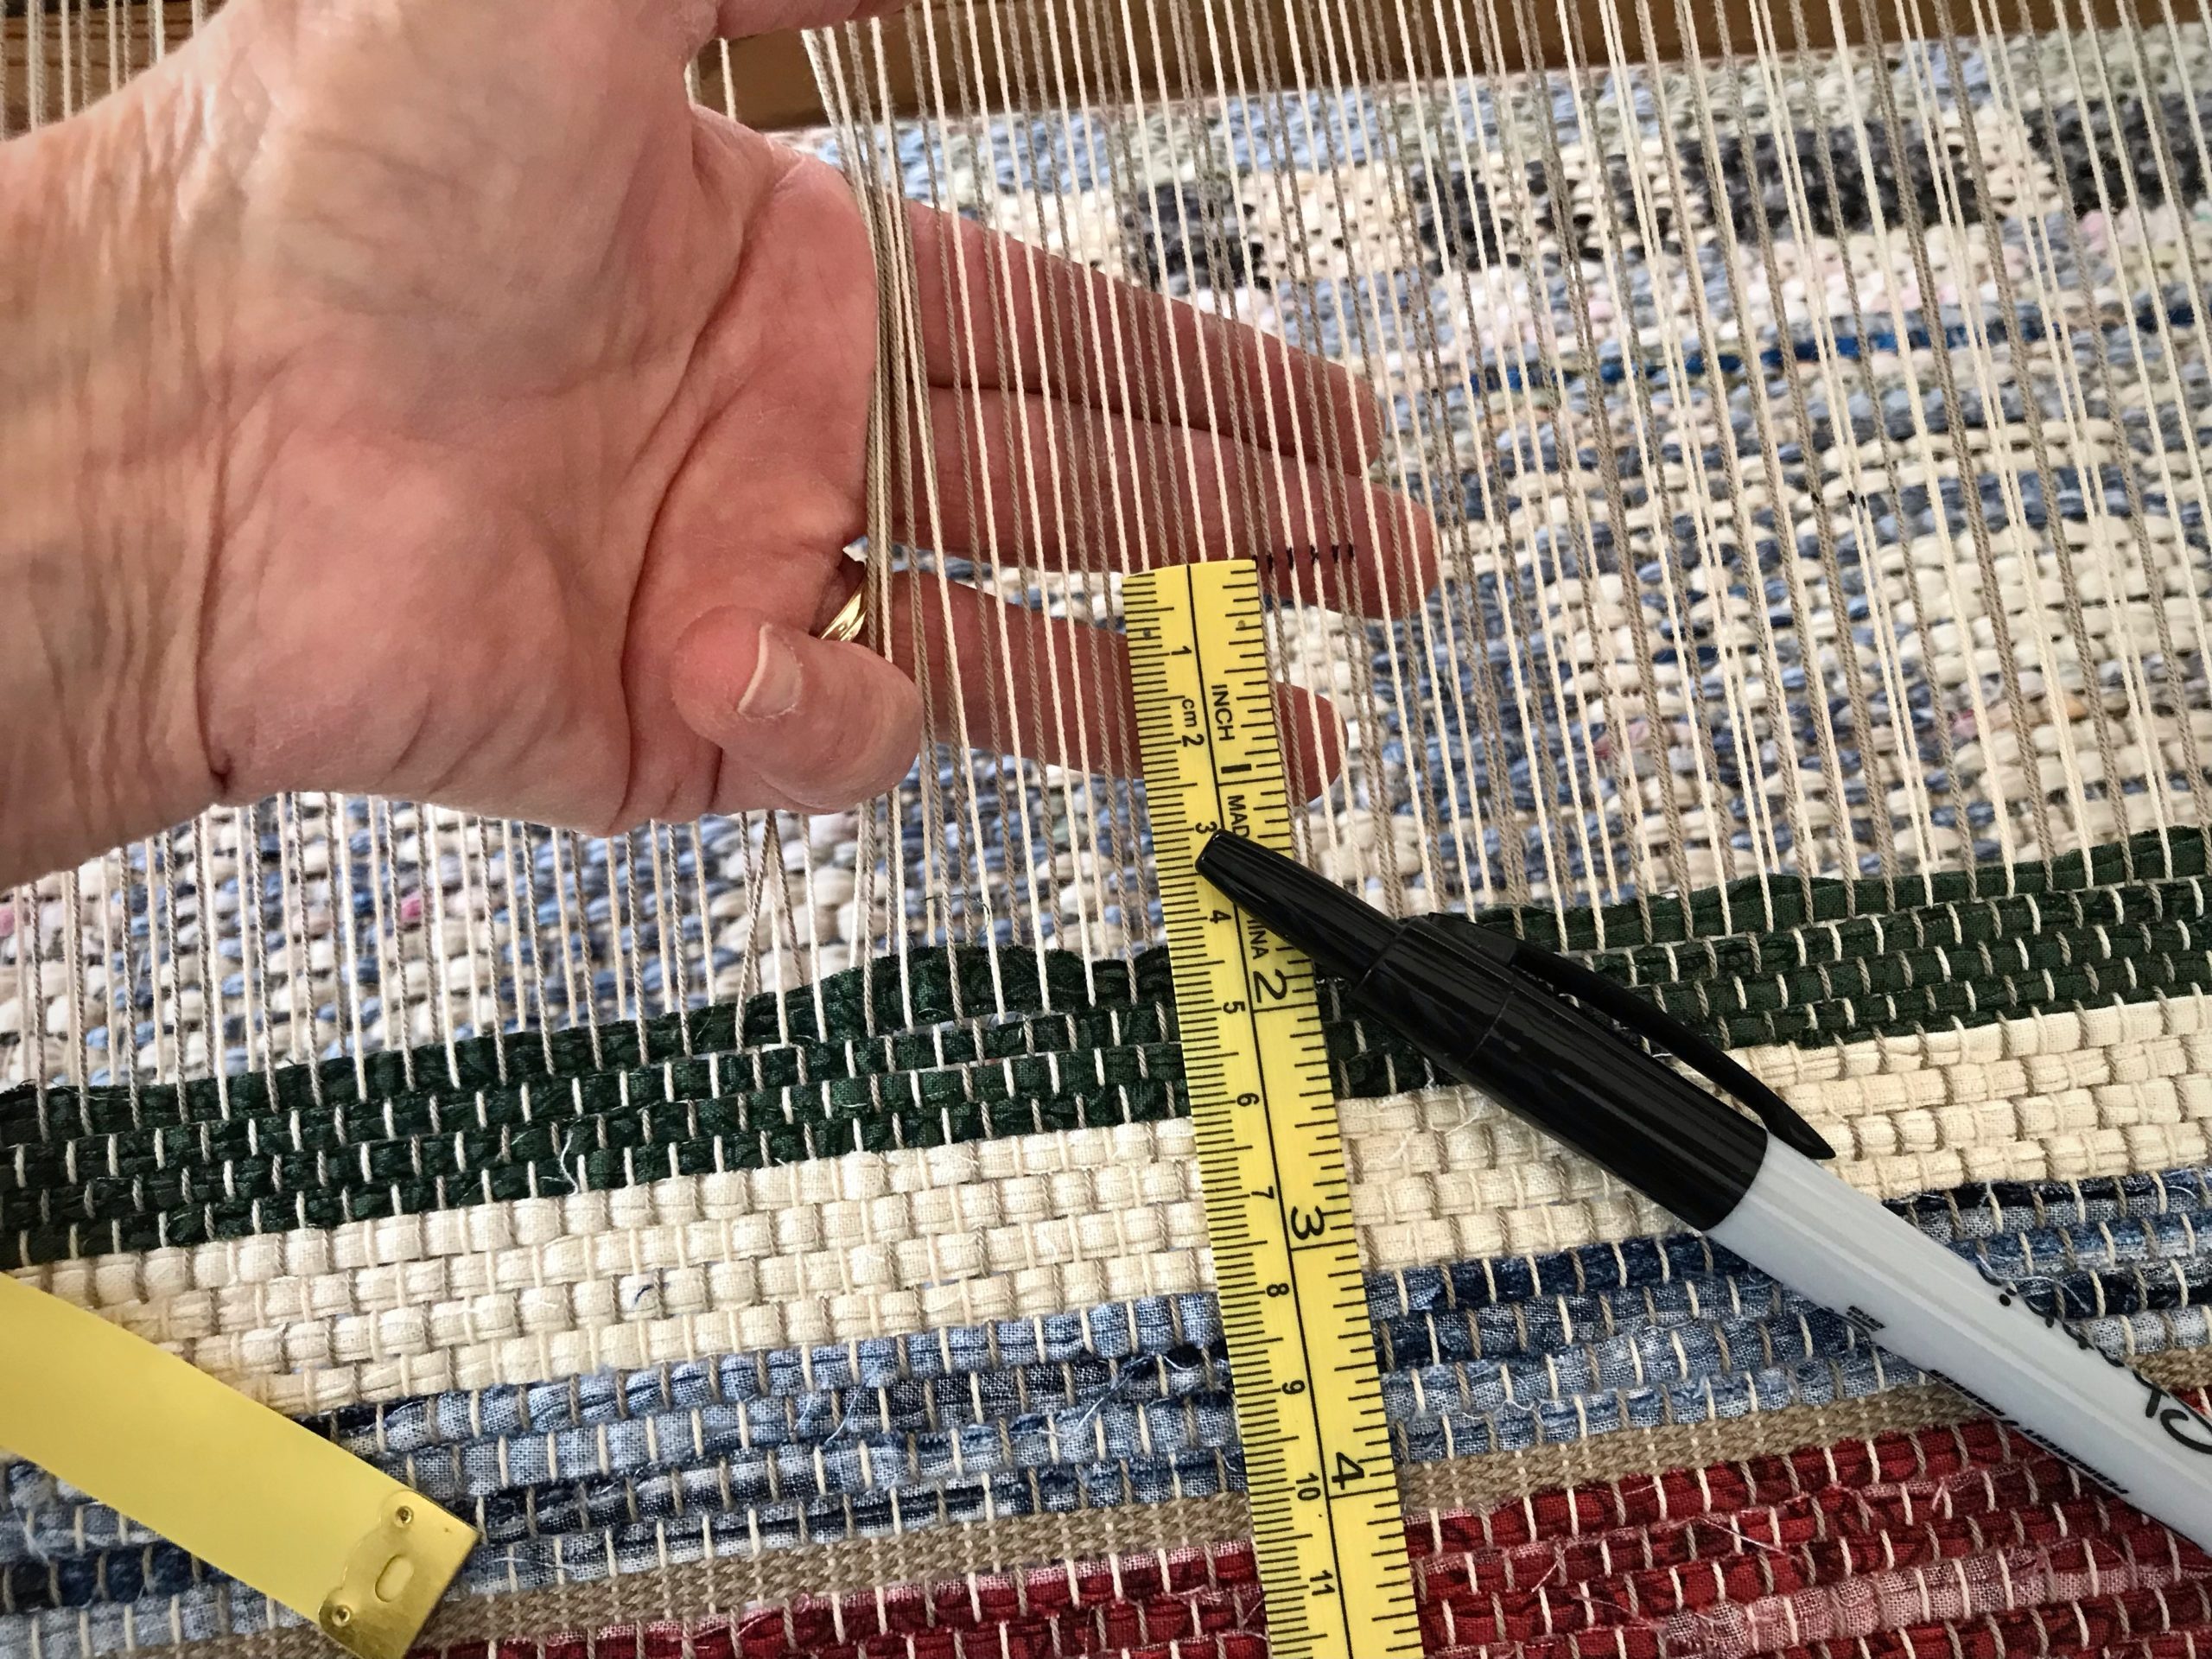
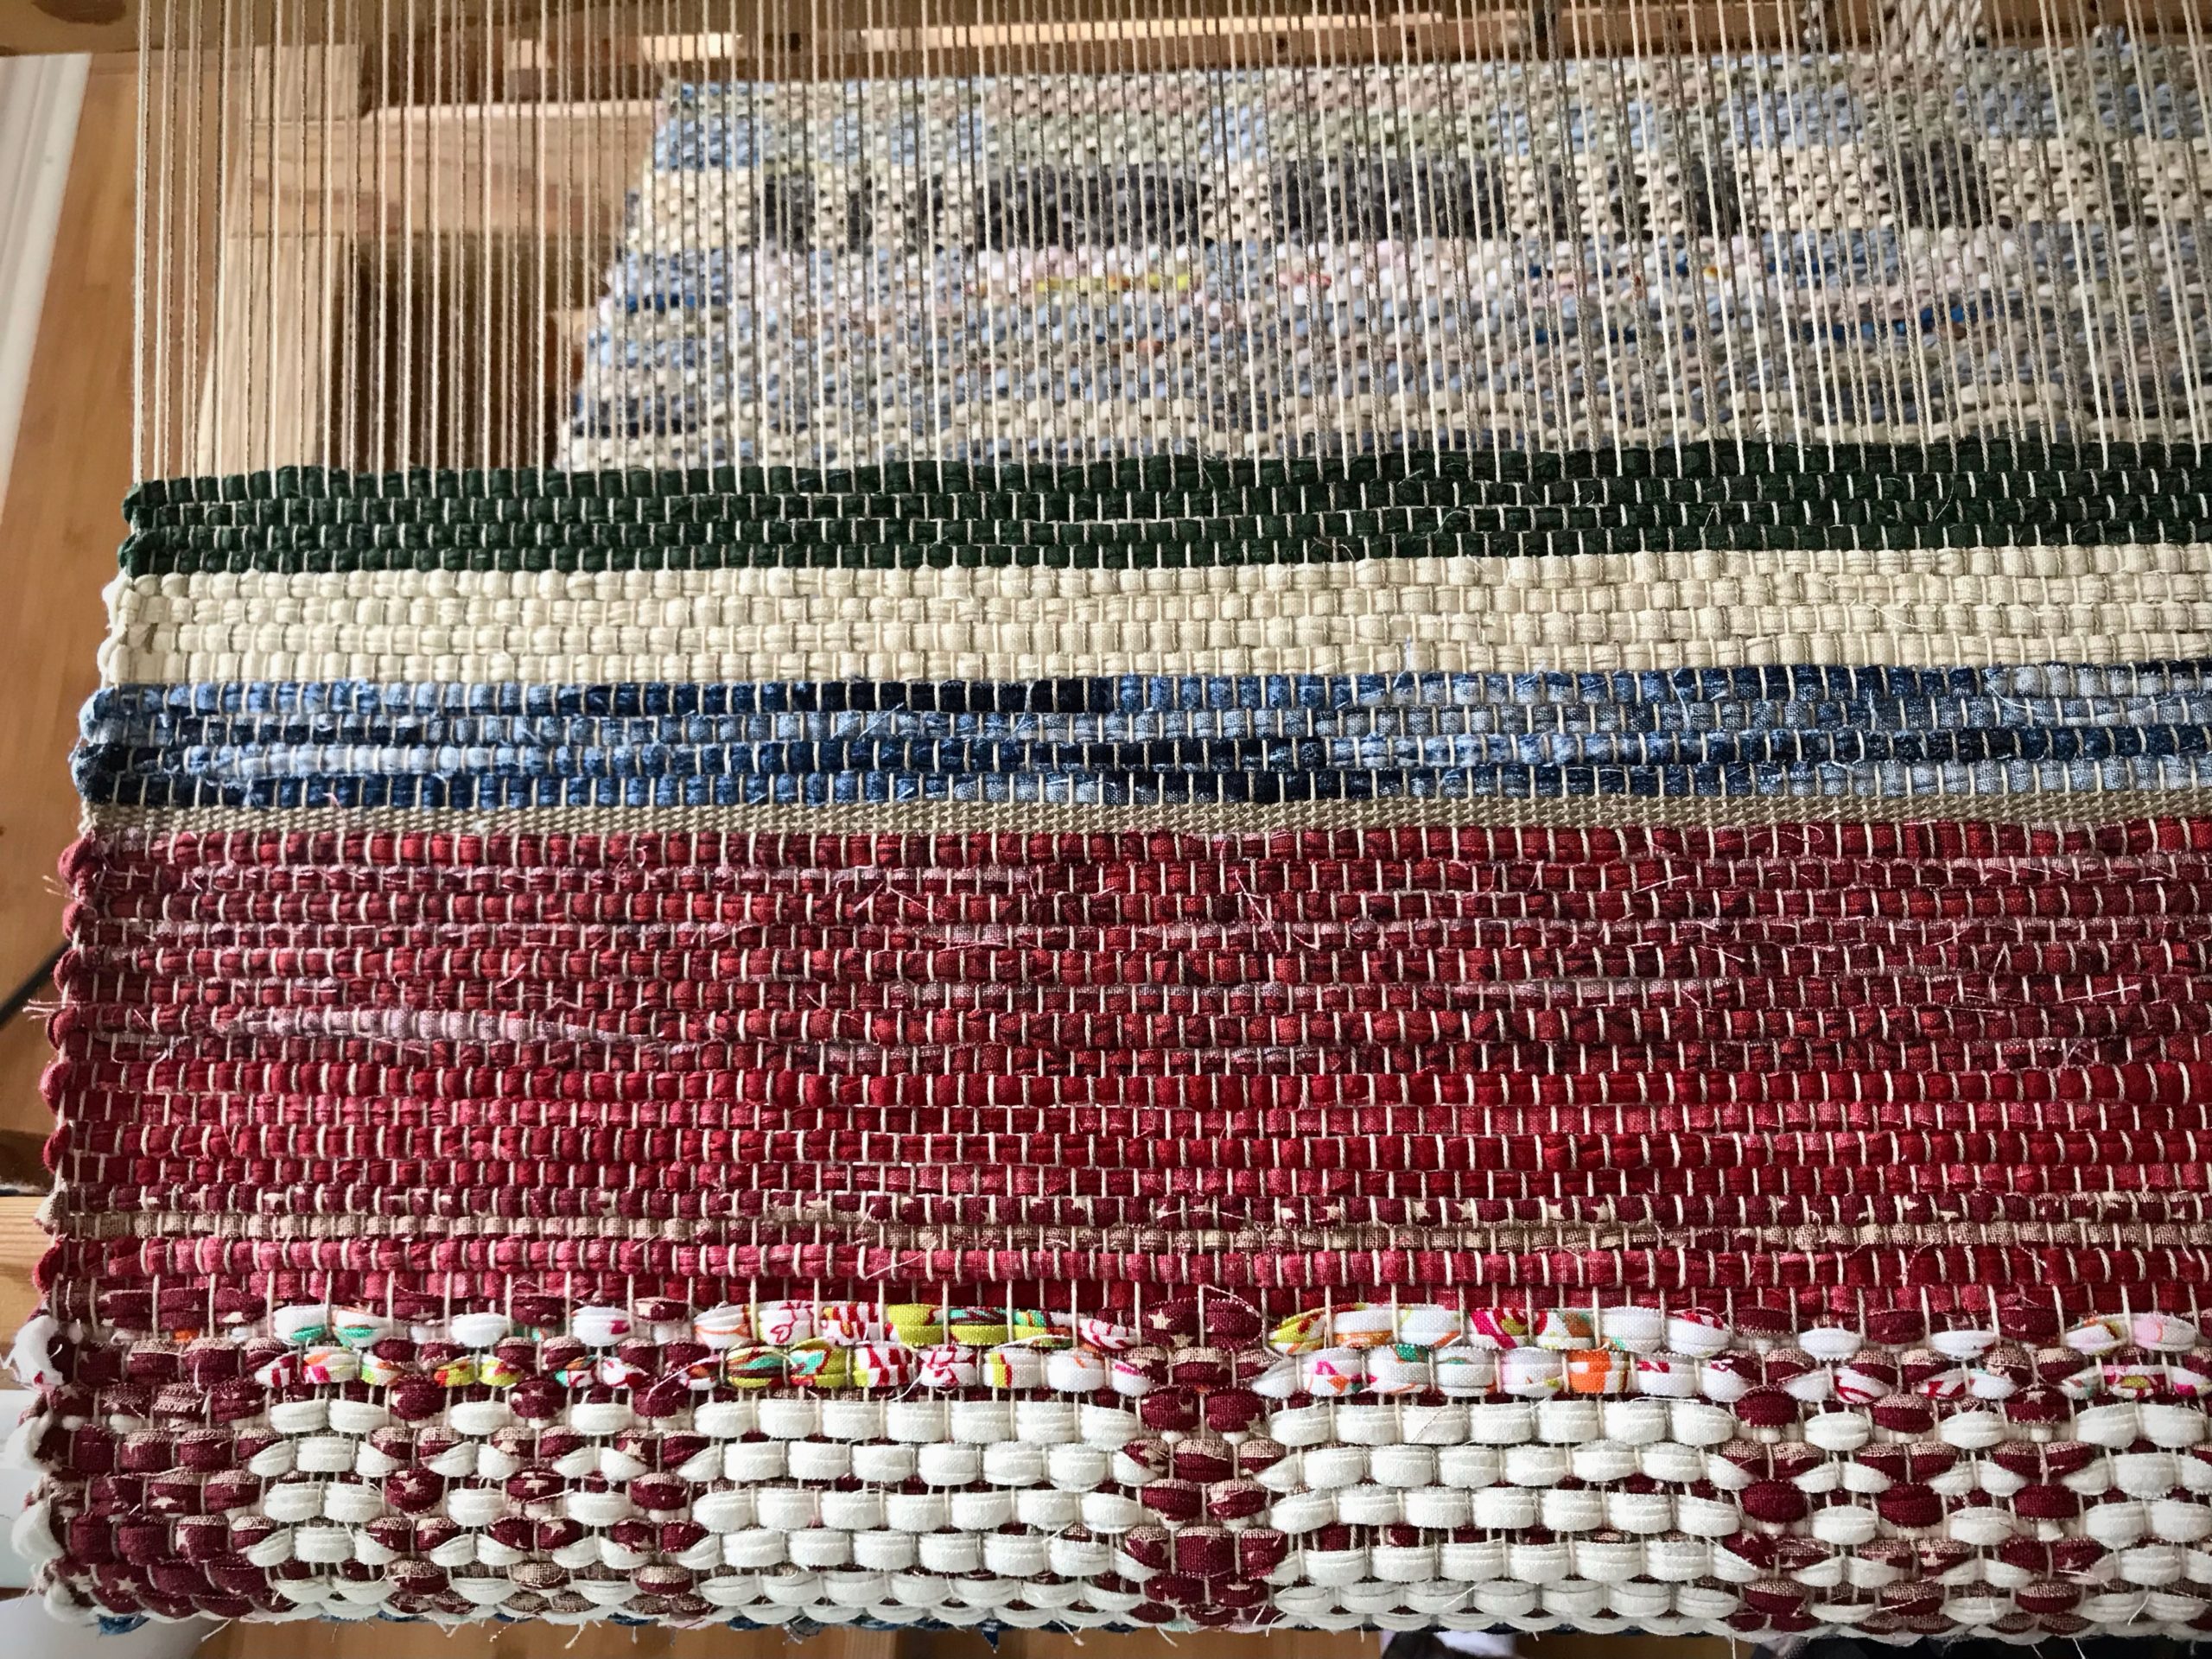
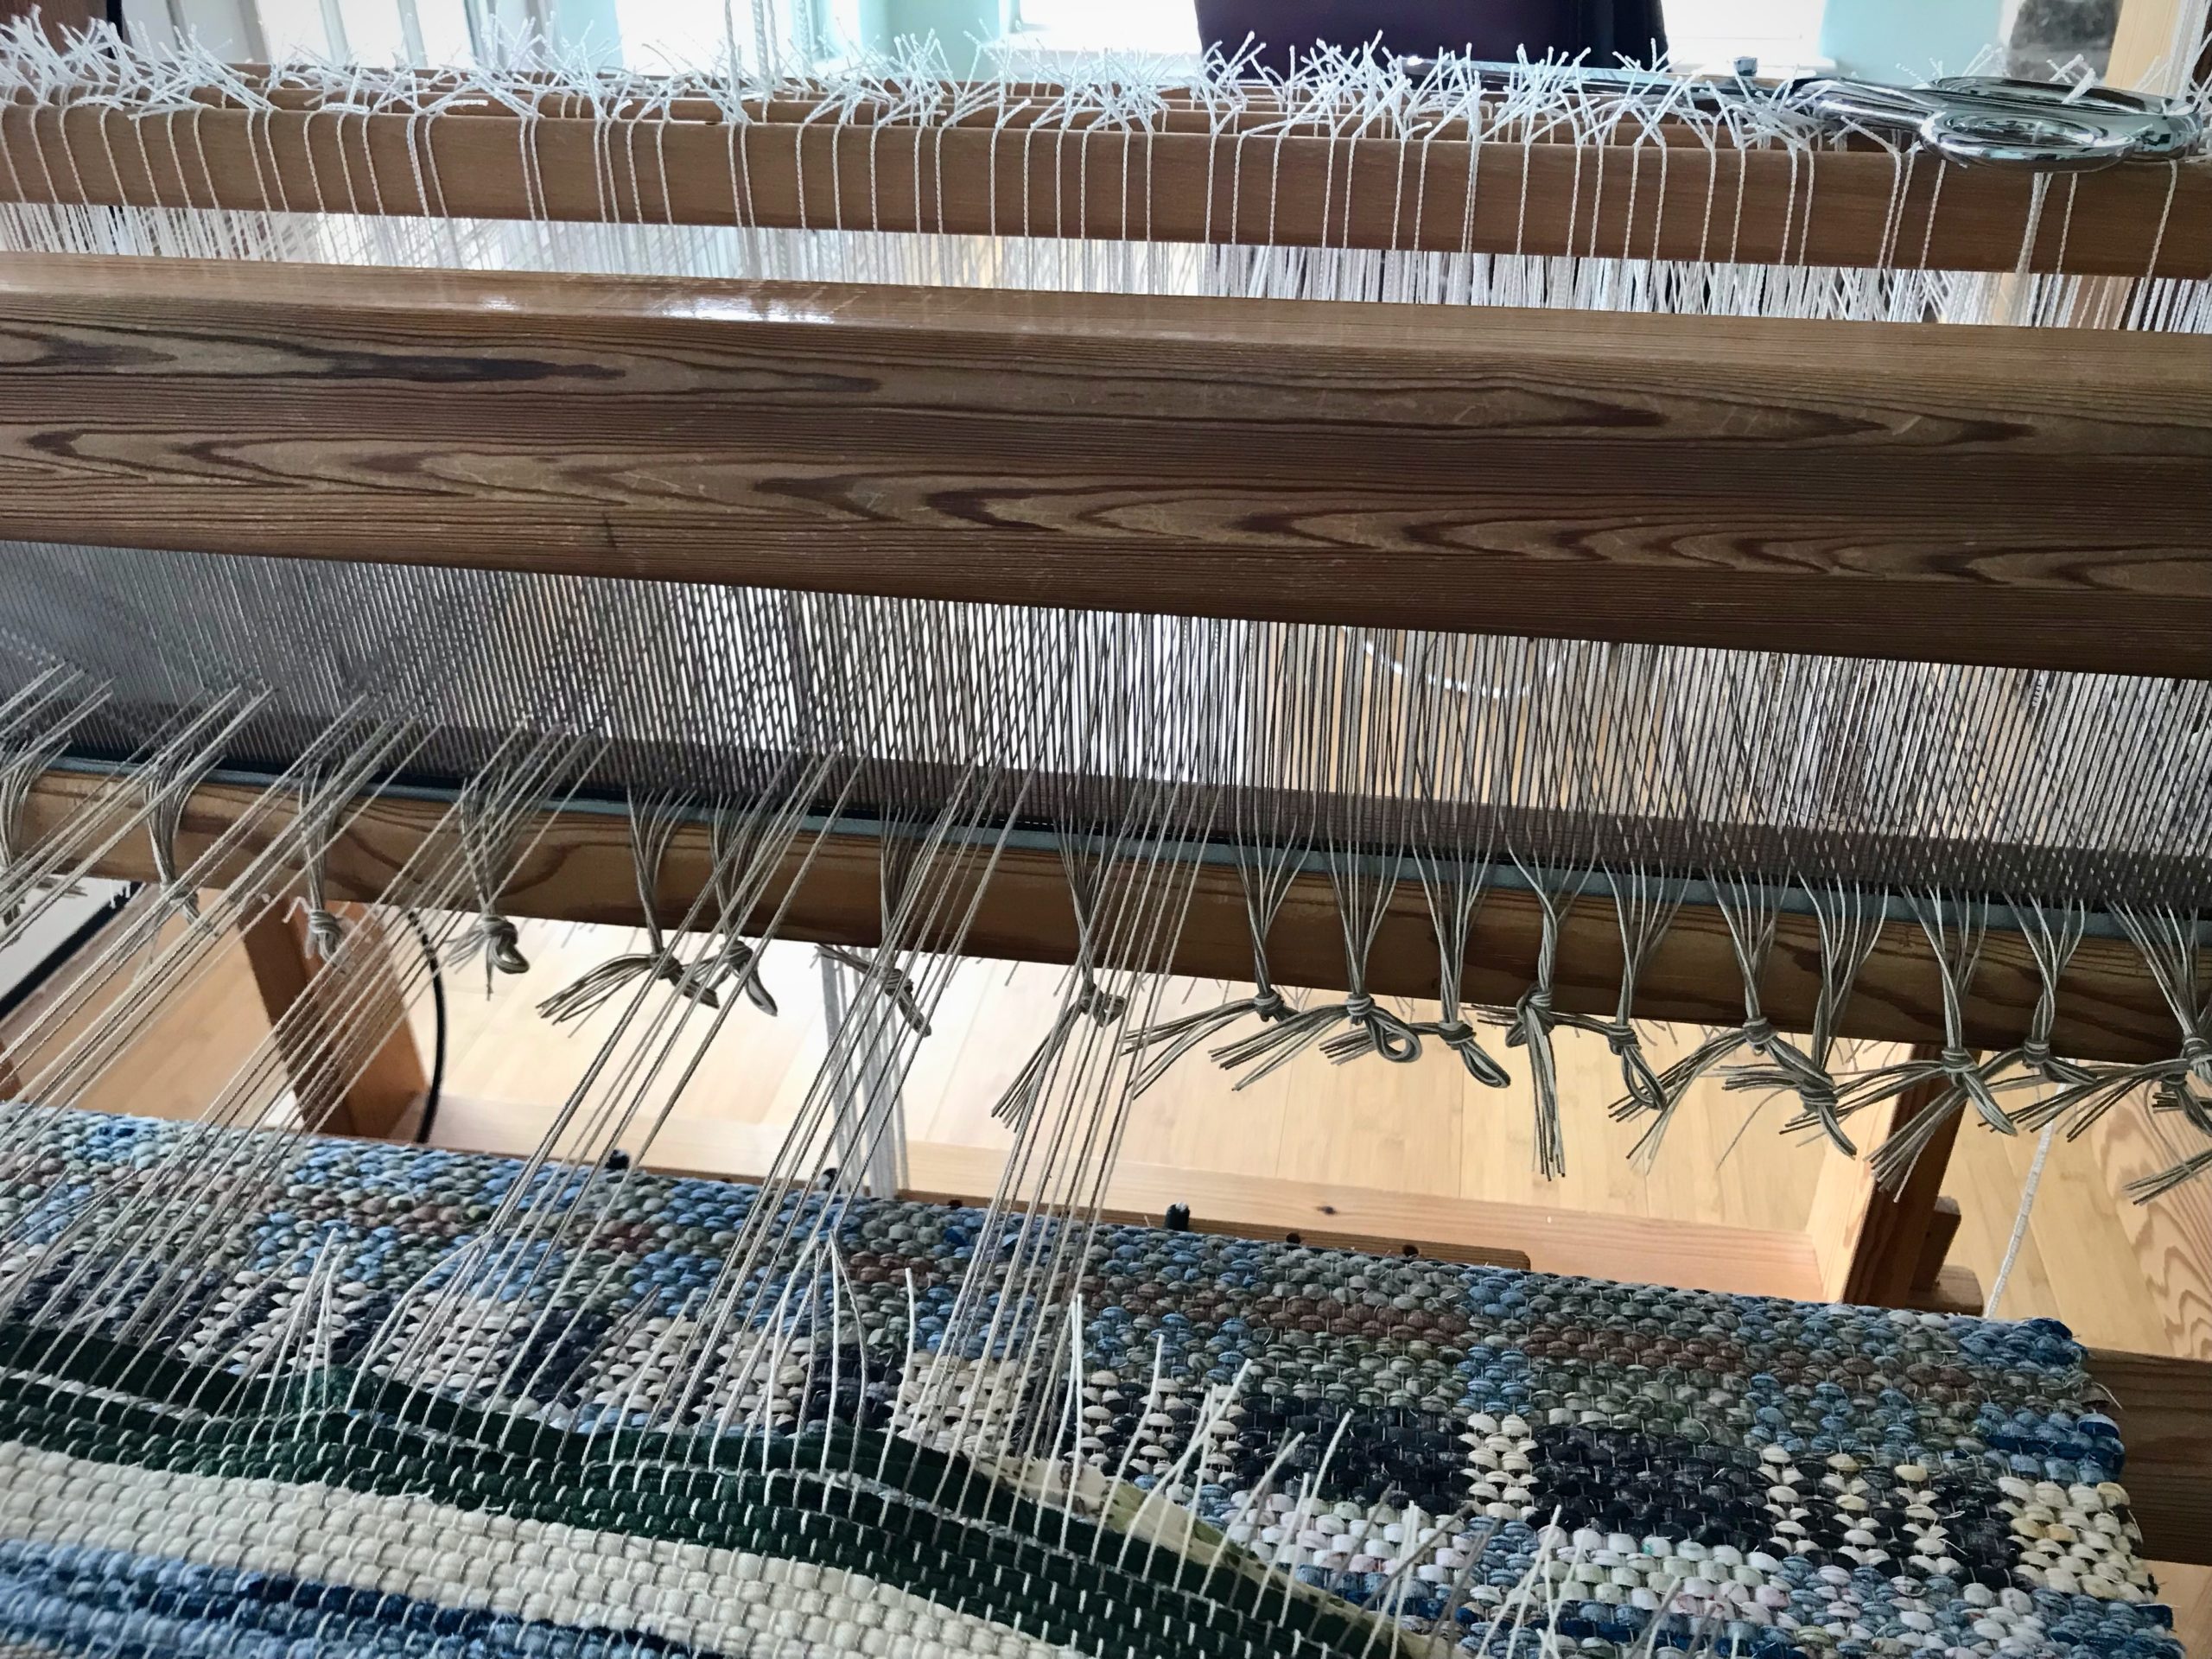
- With tying back on in mind, cut one group of ends and skip the next group of ends. Continue across the warp, alternating cut and uncut groups of ends. Tie groups of cut ends in slipknots as you go.
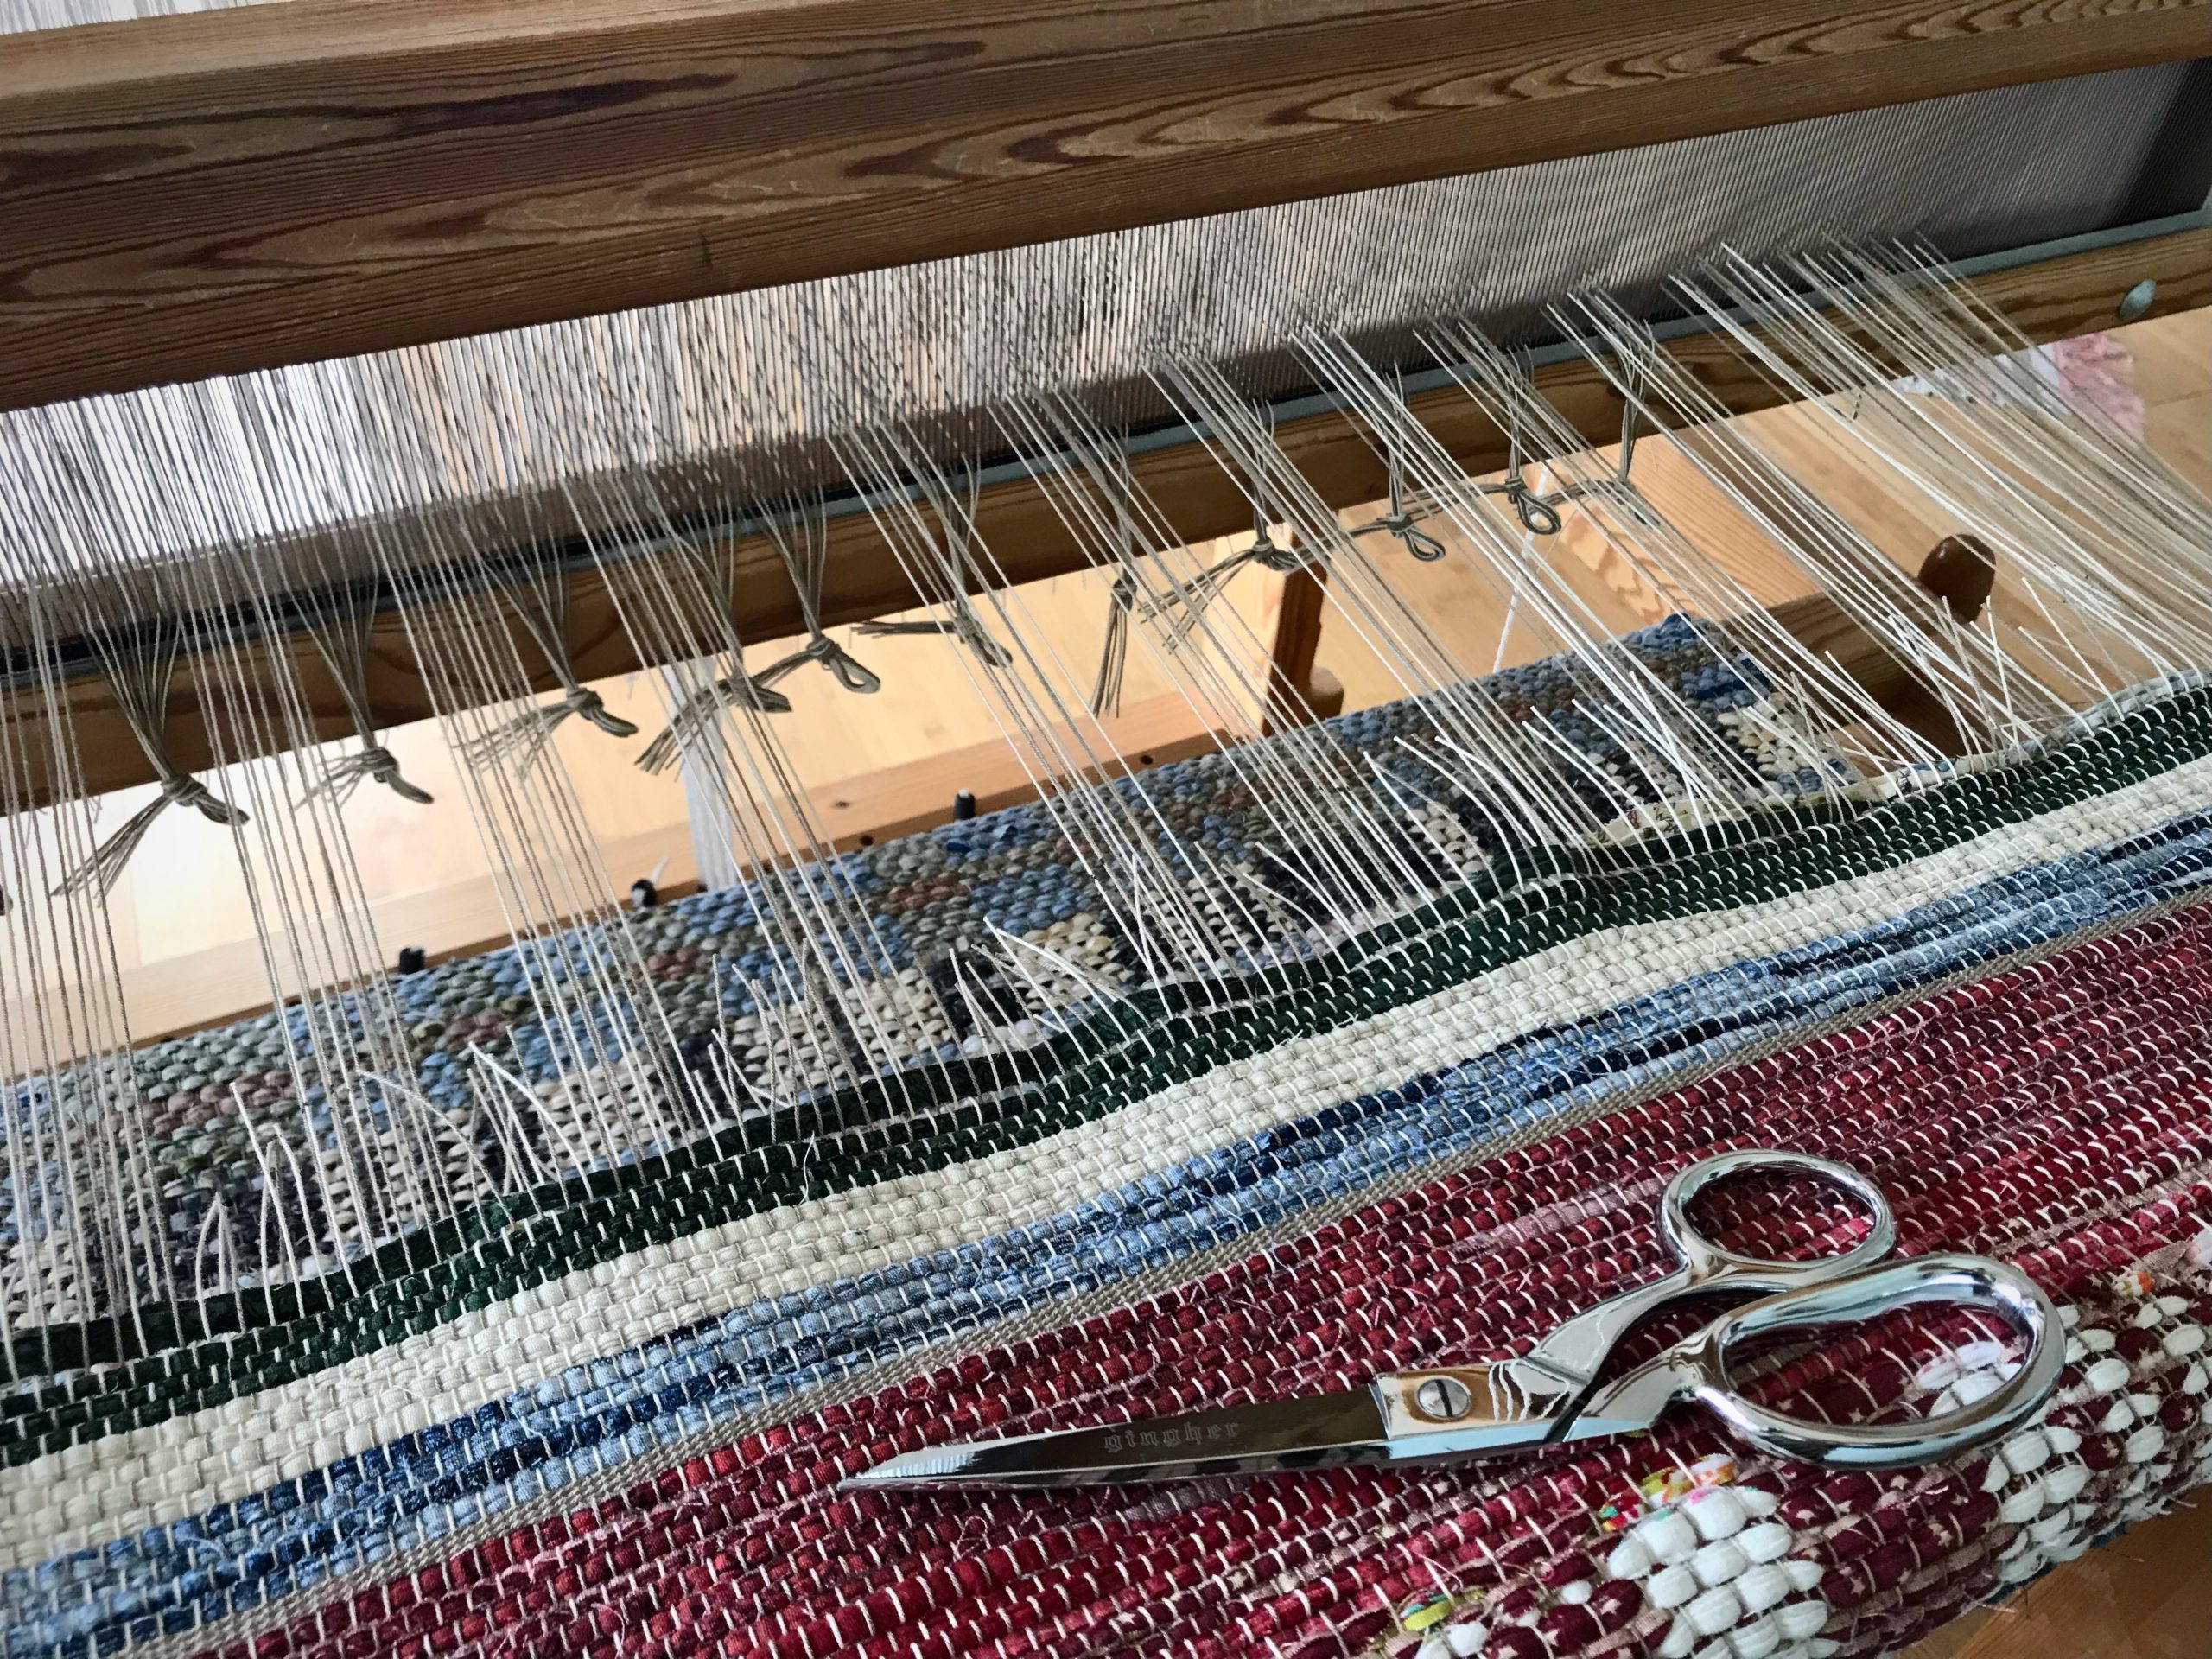
- Make a second pass, cutting the remaining groups of ends, and tying them in slipknots.
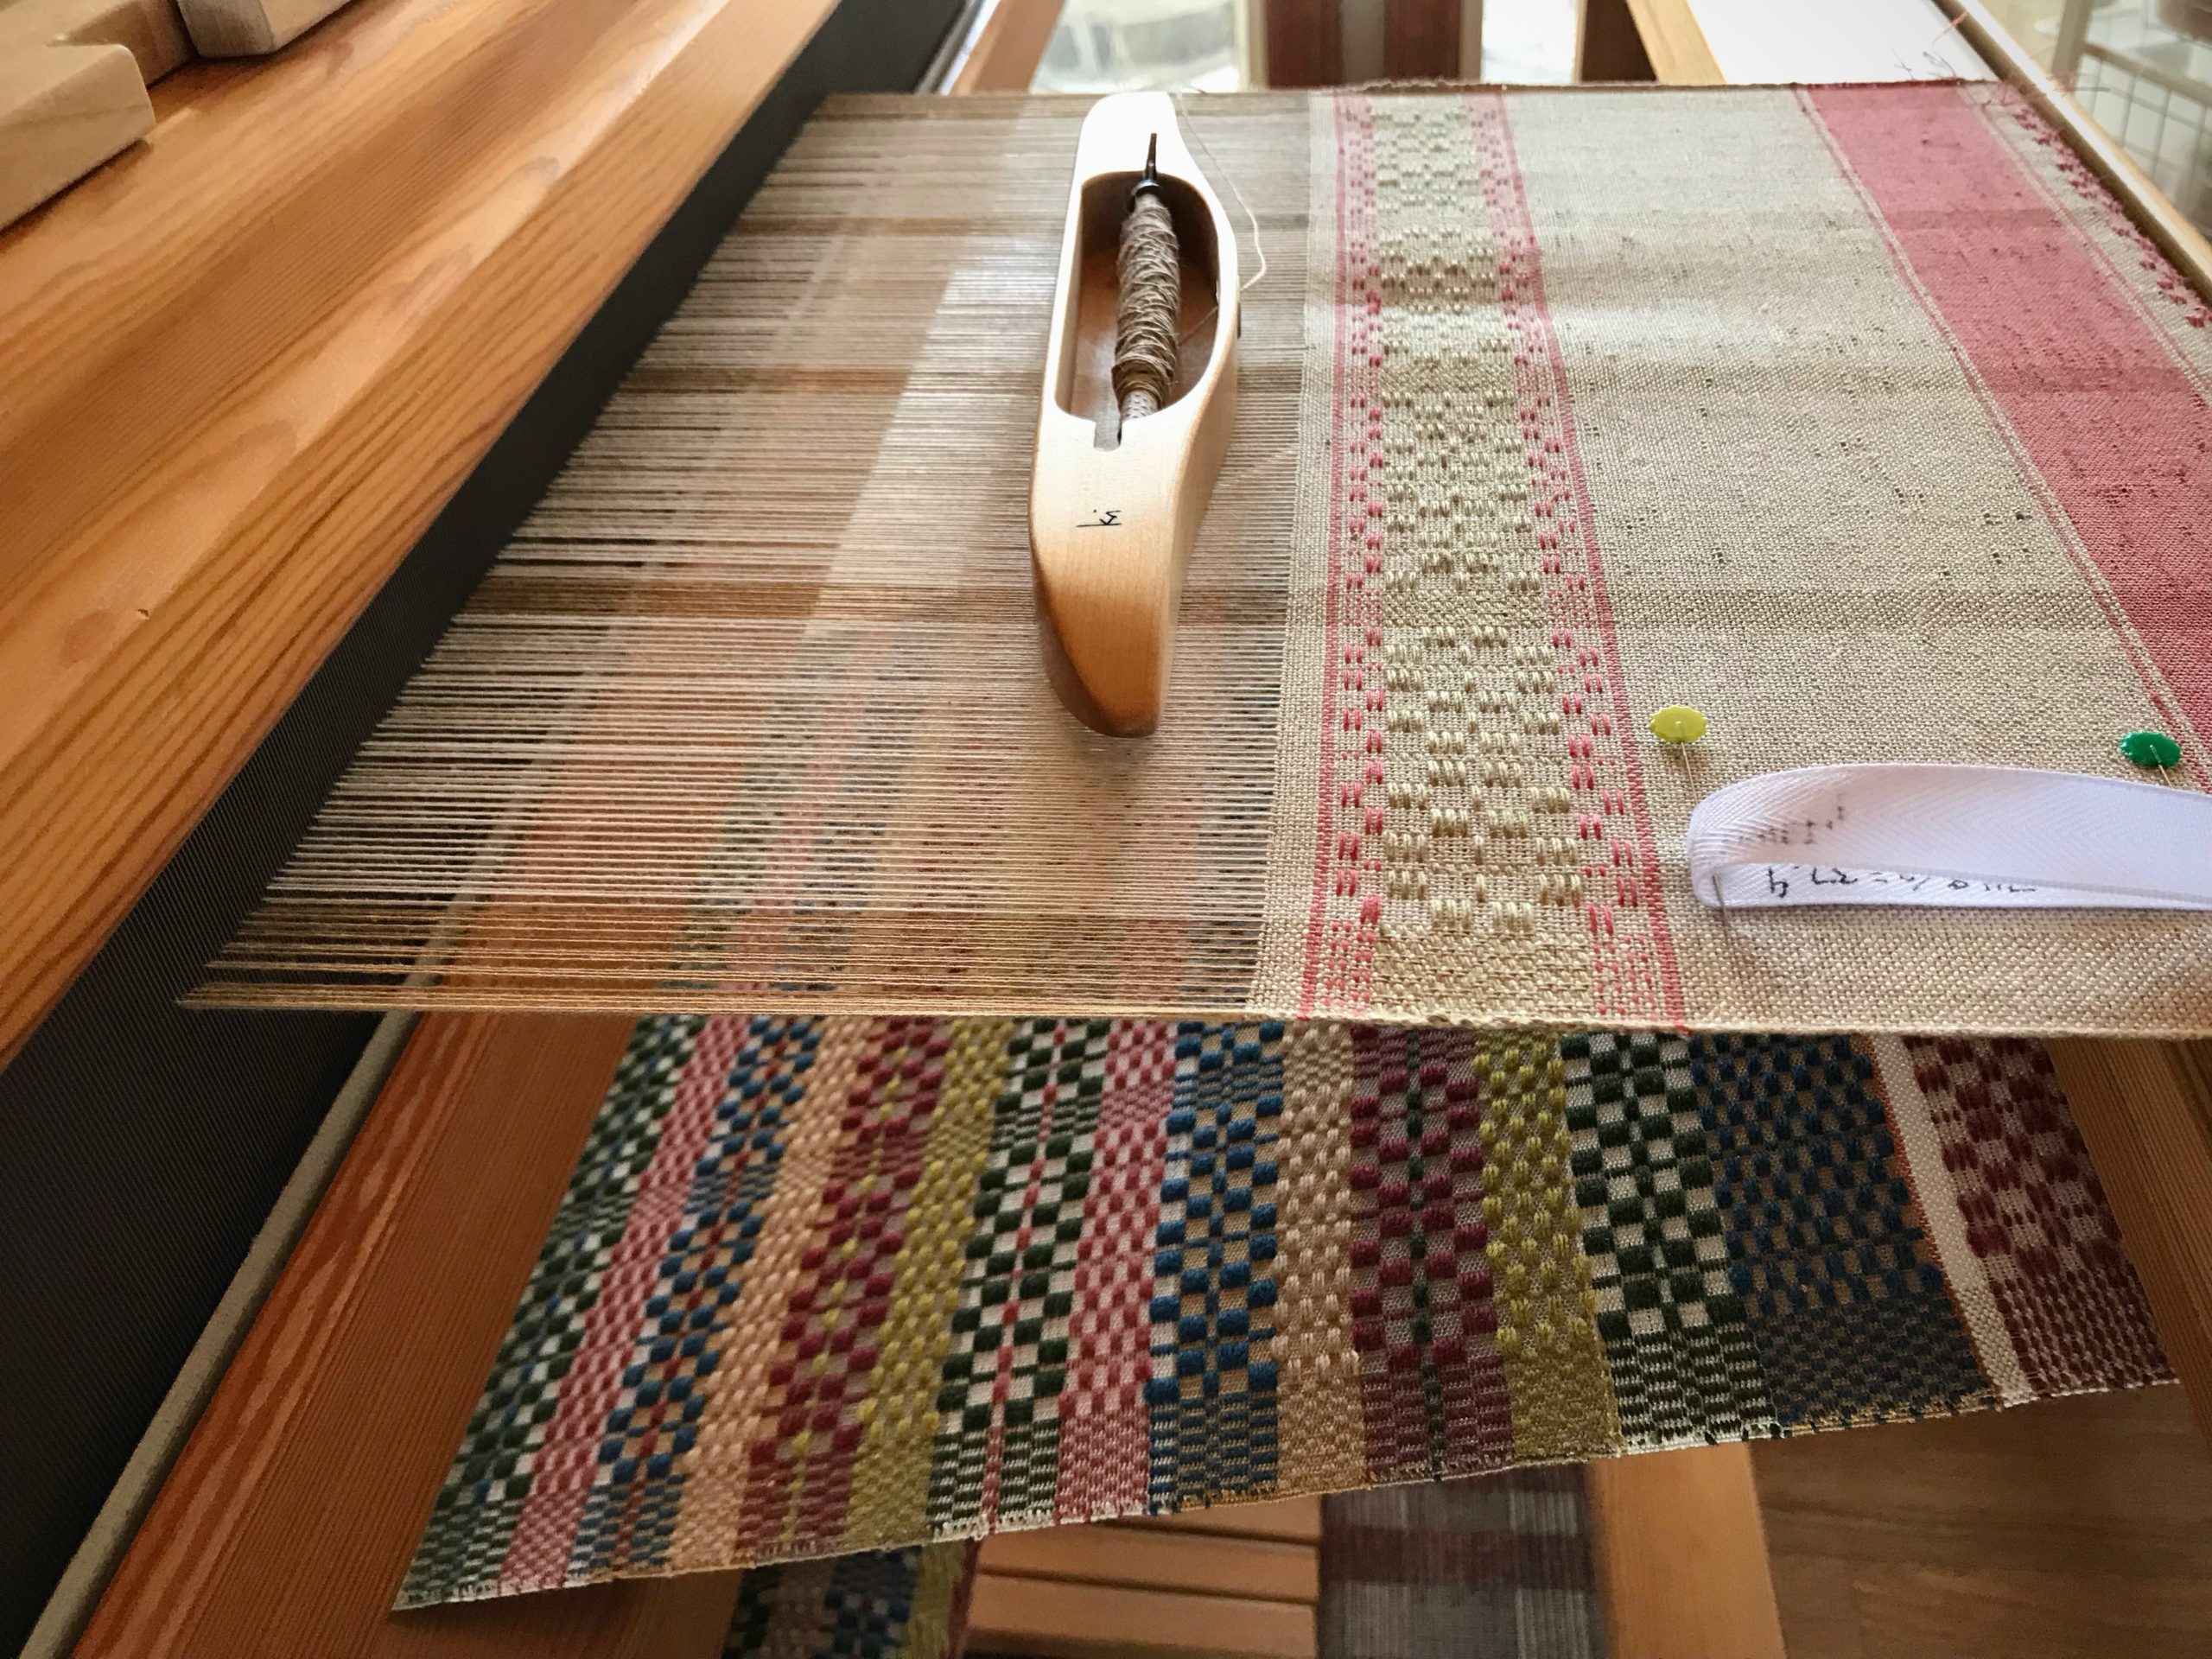
- Unroll the rug from the cloth beam. Take a photograph.
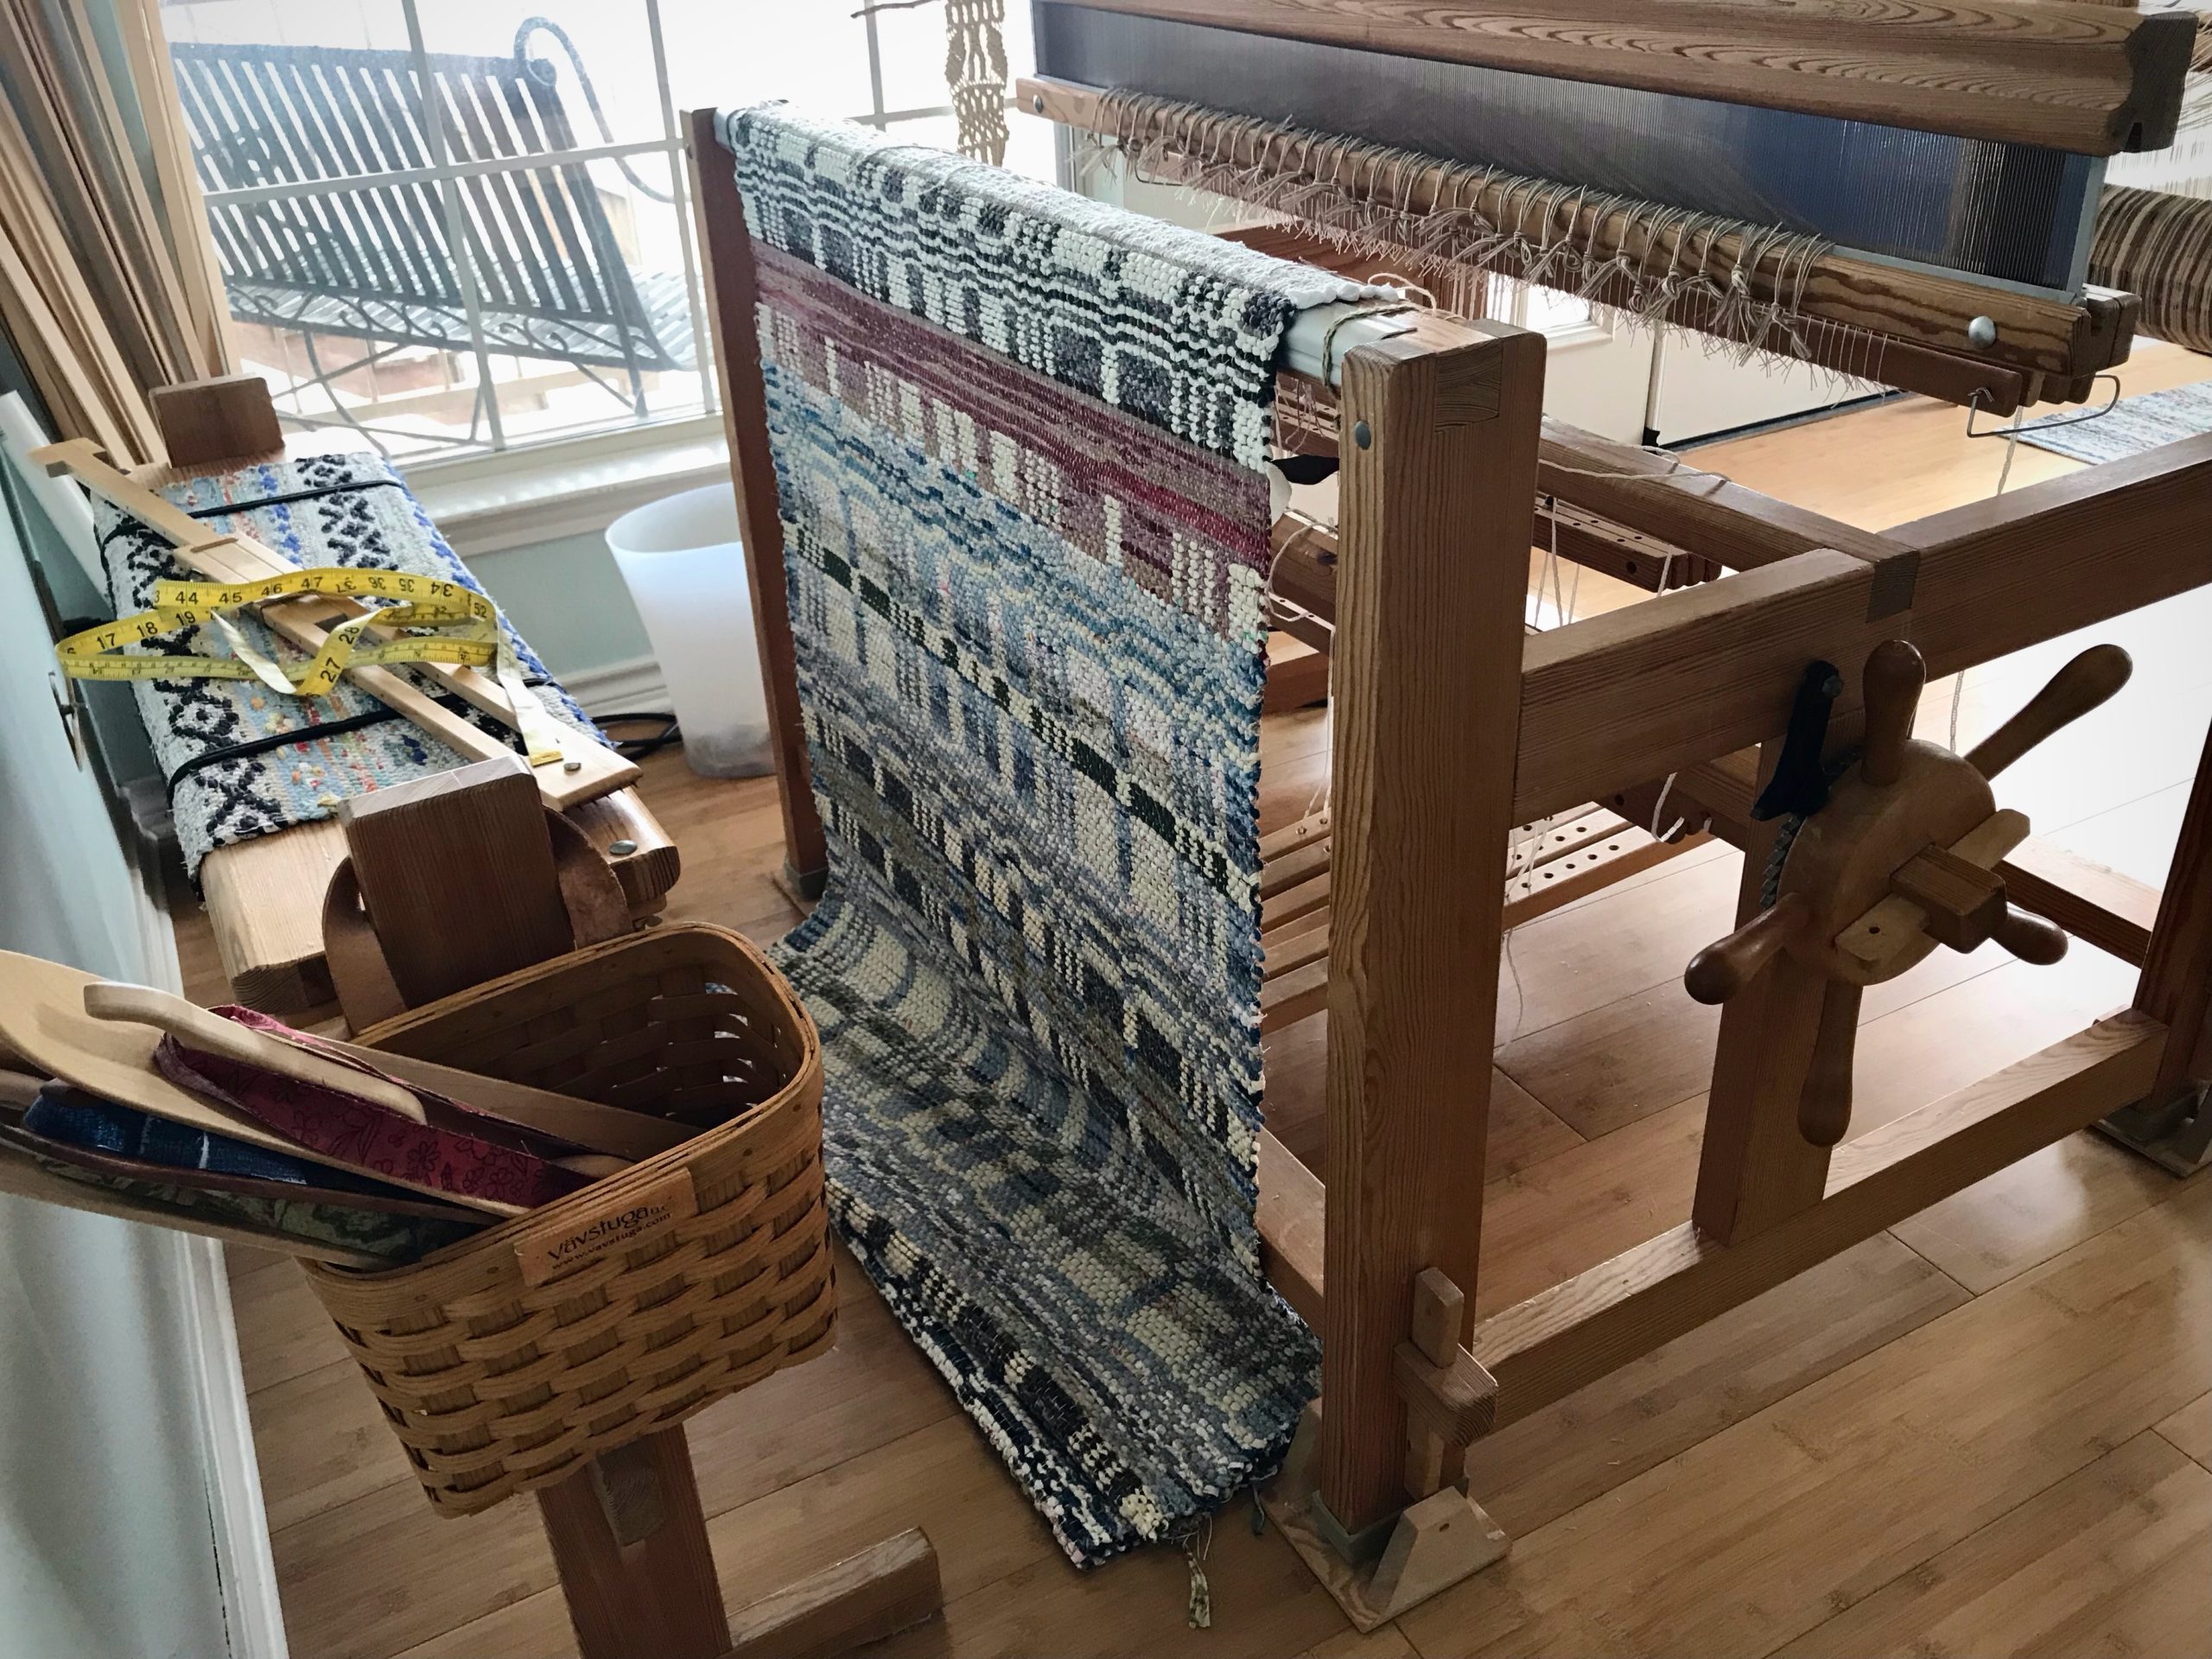
- Lay the rug out on the floor. Ooh and aah.

May you get a fresh start whenever you need it.
Happy Weaving,
Karen