Process Review: Jämtlandsdräll with Julia

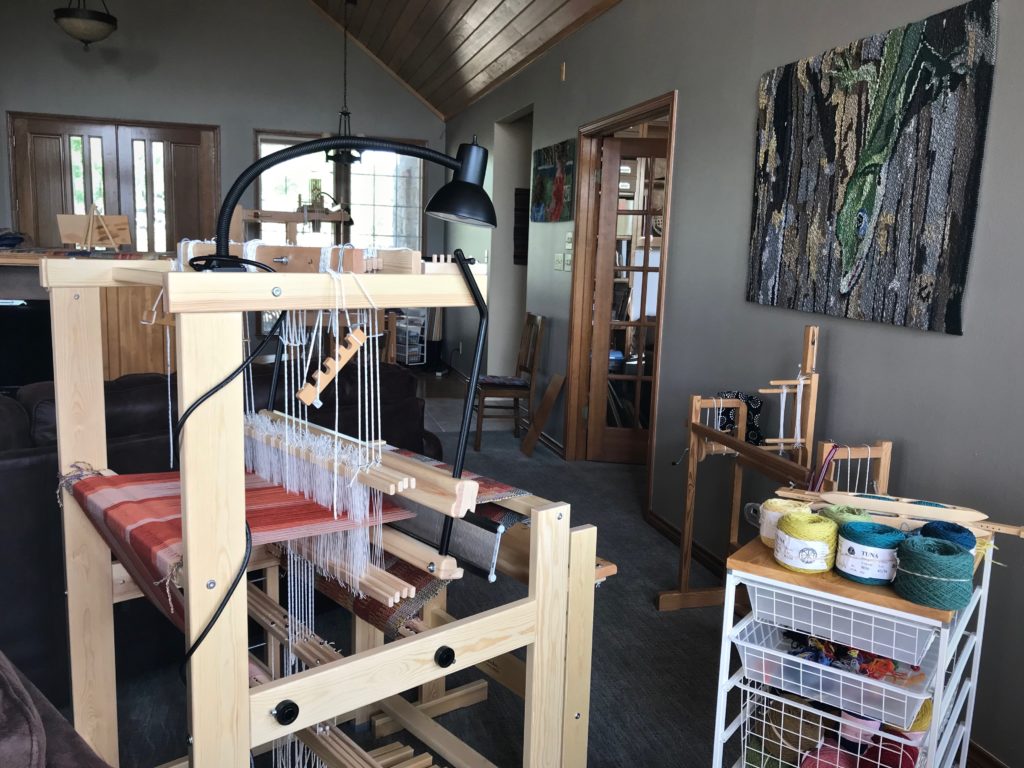
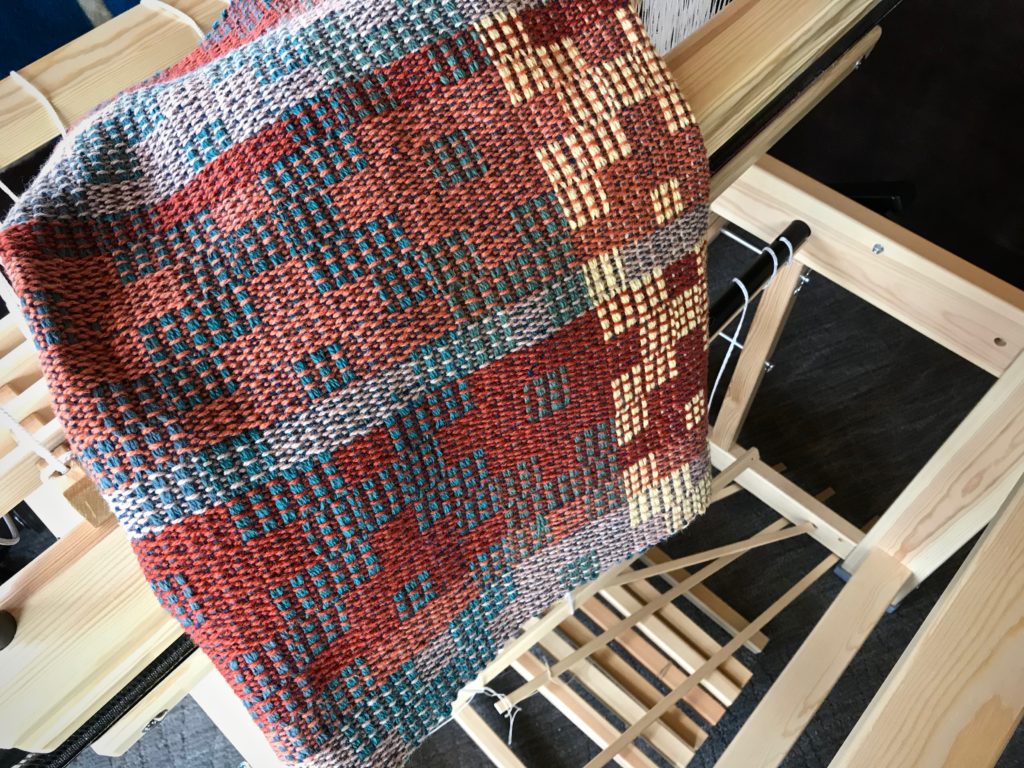
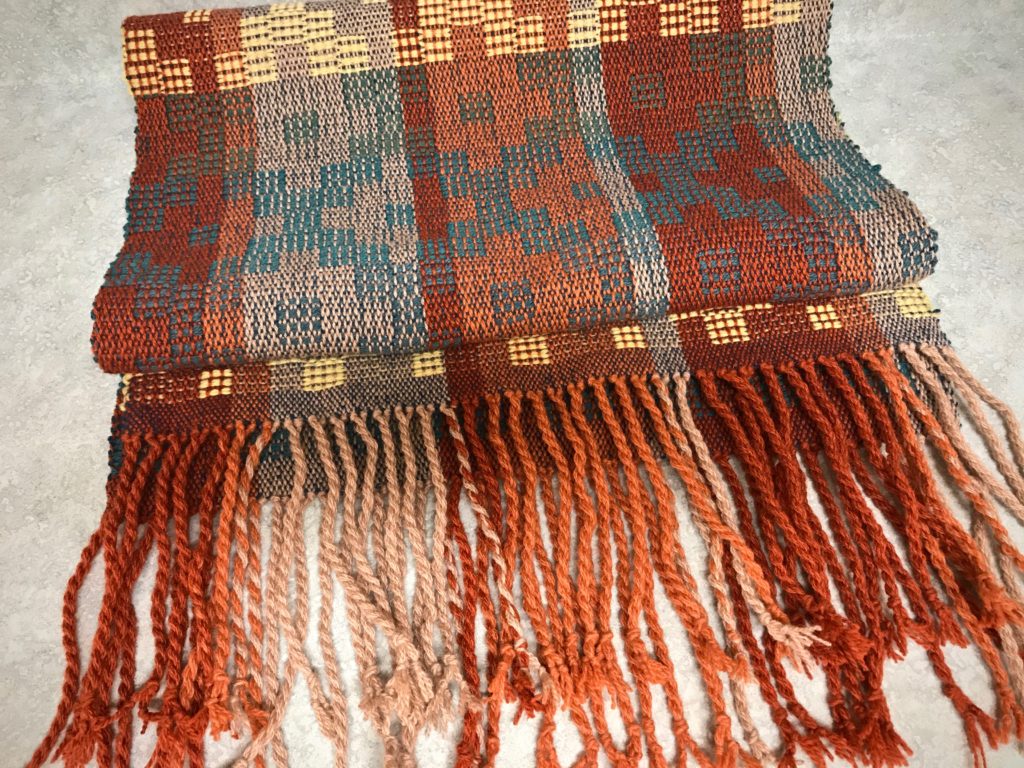
My intention is to weave fabric for a couple of cushy throw pillows. But after just one pattern repeat, I realize that this cloth on my brand new Glimåkra Julia is something I would like to wear! No pillows this time. Instead, here is my new autumn/winter shoulder wrap, embellished with frisky swinging fringes. Miss Julia has proven her worth on four-shaft Jämtlandsdräll (crackle) in 6/2 Tuna wool. Her next adventure will be something that explores all eight shafts. (See My New Glimåkra Julia Loom.)
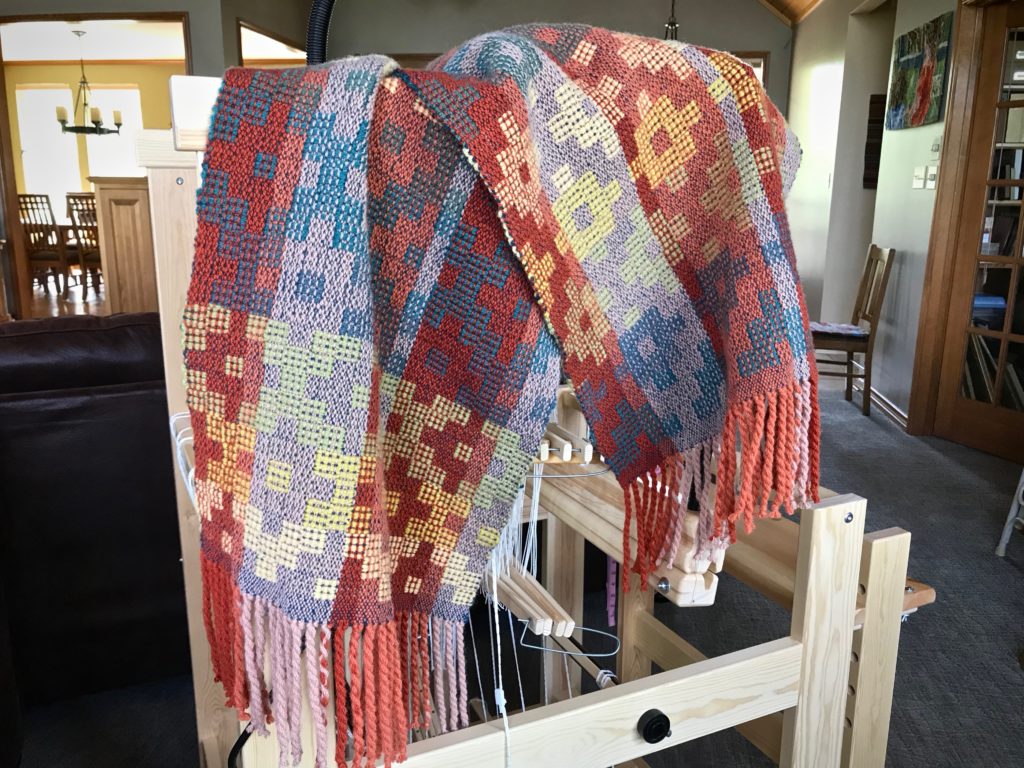
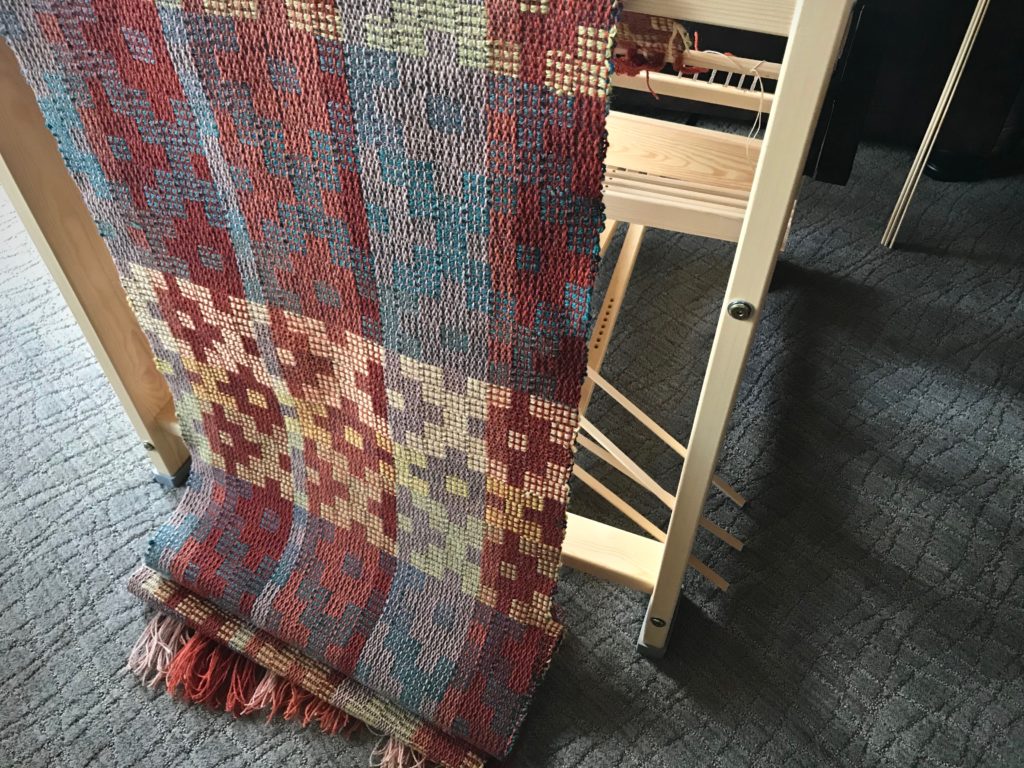
Jämtlandsdräll Wool Wrap - woven on Glimåkra Julia.
Finished wrap. Ready for cool weather!

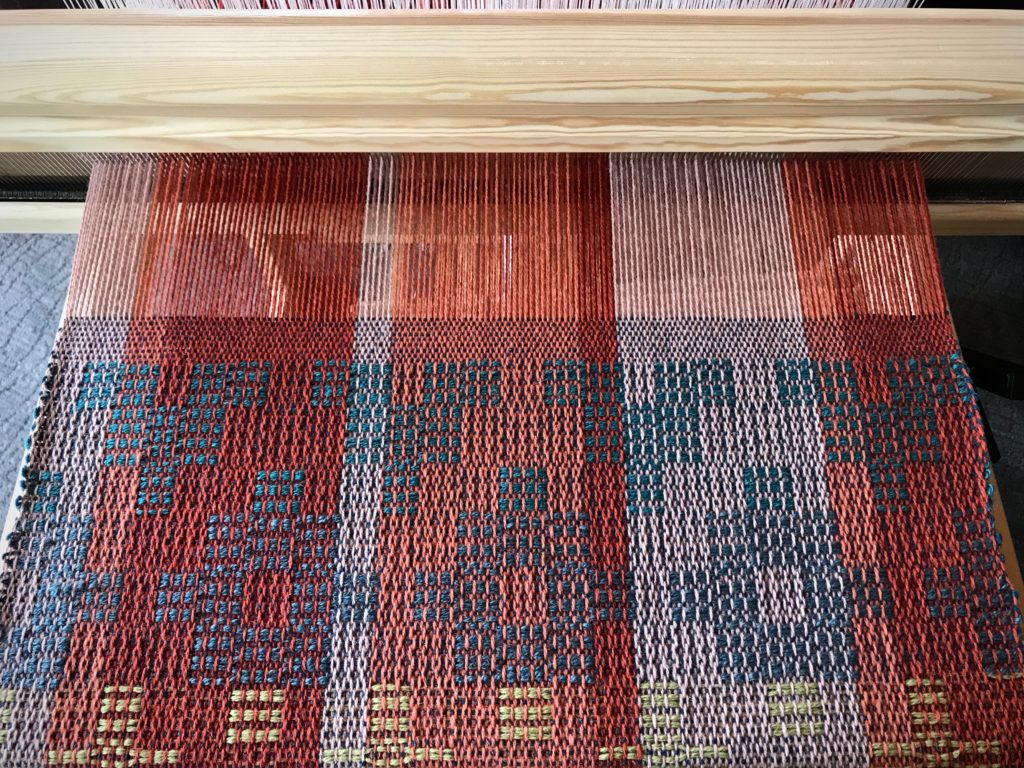
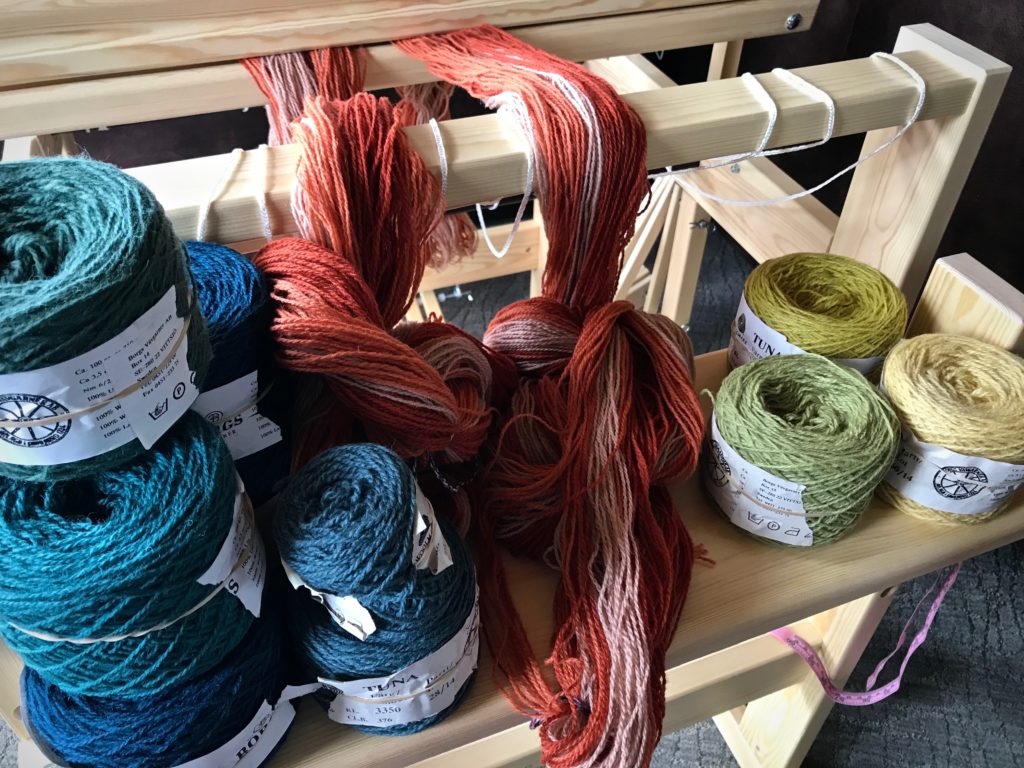
This project starts with the draft for the Jämtlandsdräll Blanket on p.59 of Simple Weaves, by Birgitta Bengtsson Björk and Tina Ignell. Tuna yarn samples, along with Fiberworks Silver for Mac, help me jazz up the color. I settle on three colors for the warp, with burnt orange as the anchor. Six different colors are used for the pattern weft, plus dark teal for the tabby.
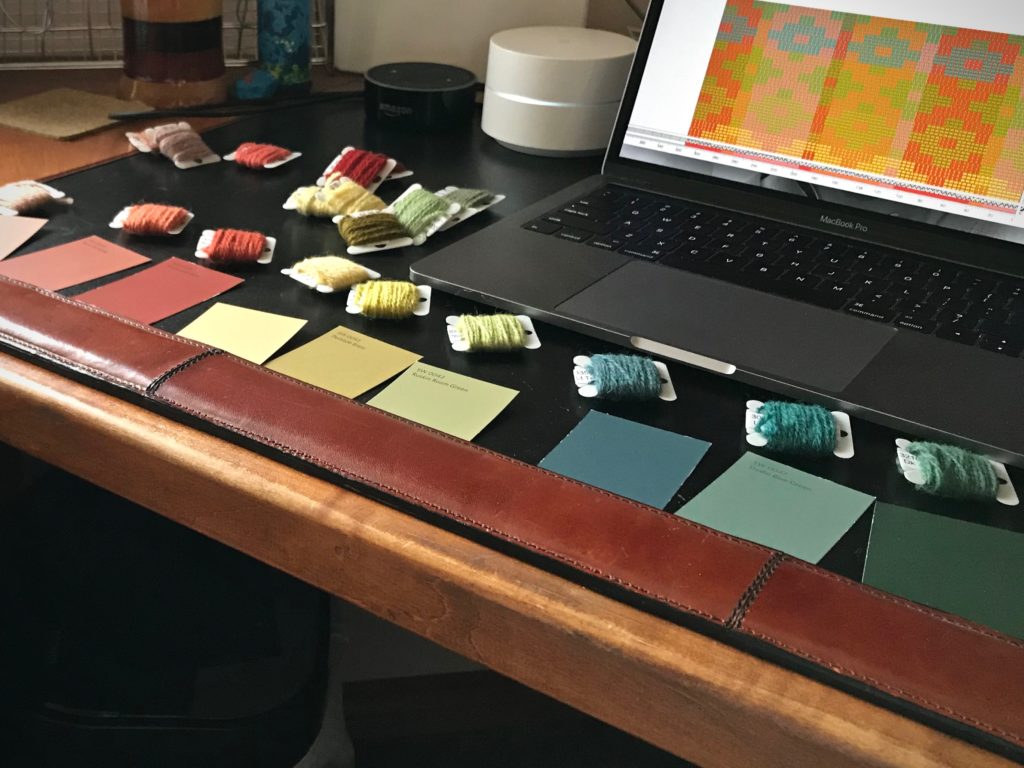
Planning my next weaving project on Fiberworks.
Paint chips, Tuna yarn samples, and Fiberworks Silver for Mac aid my planning process.
Colors! Let's see how they work together on the loom.
Colors! Let’s see how they work together on the loom.
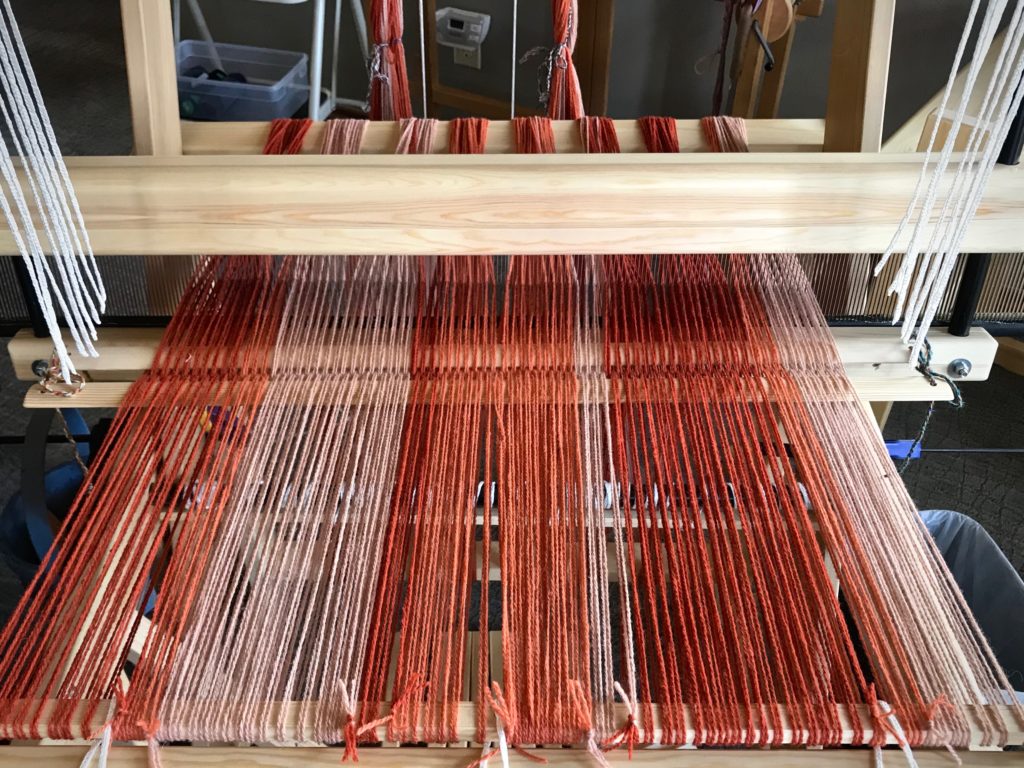
Beaming the warp on my new Julia.
Beaming the warp.
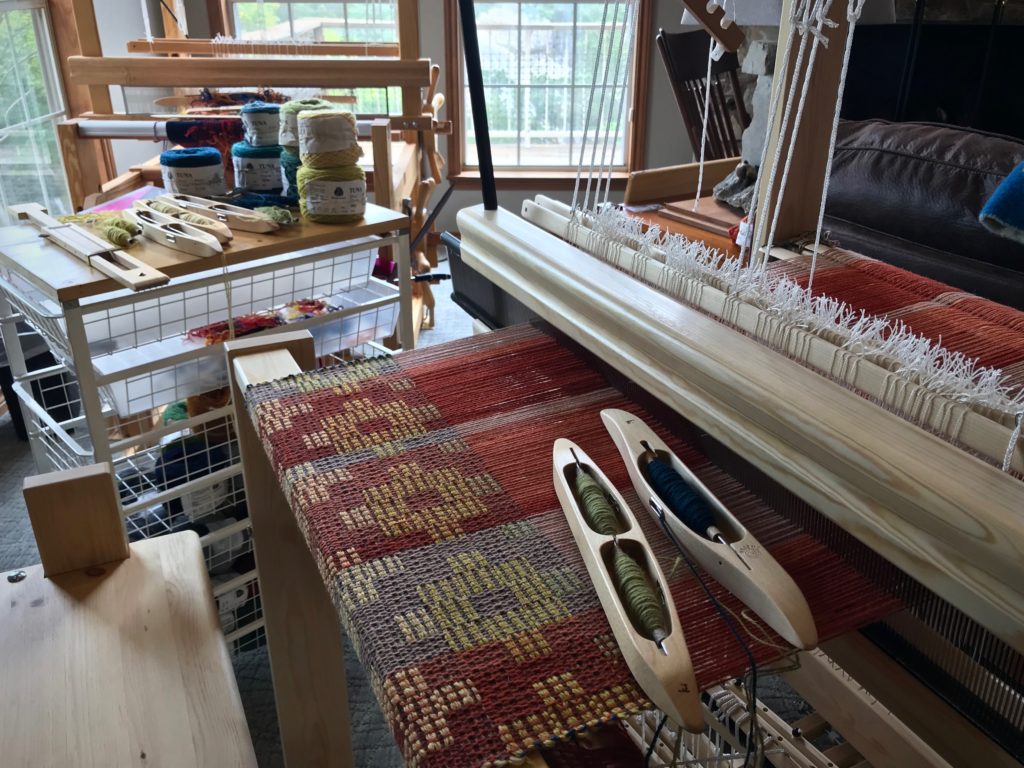
Weaving Jamtlandsdrall (Crackle) on my new Julia.
Daylight, plus colorful yarn. As summer is warming up outside, Julia is dressed warmly inside.
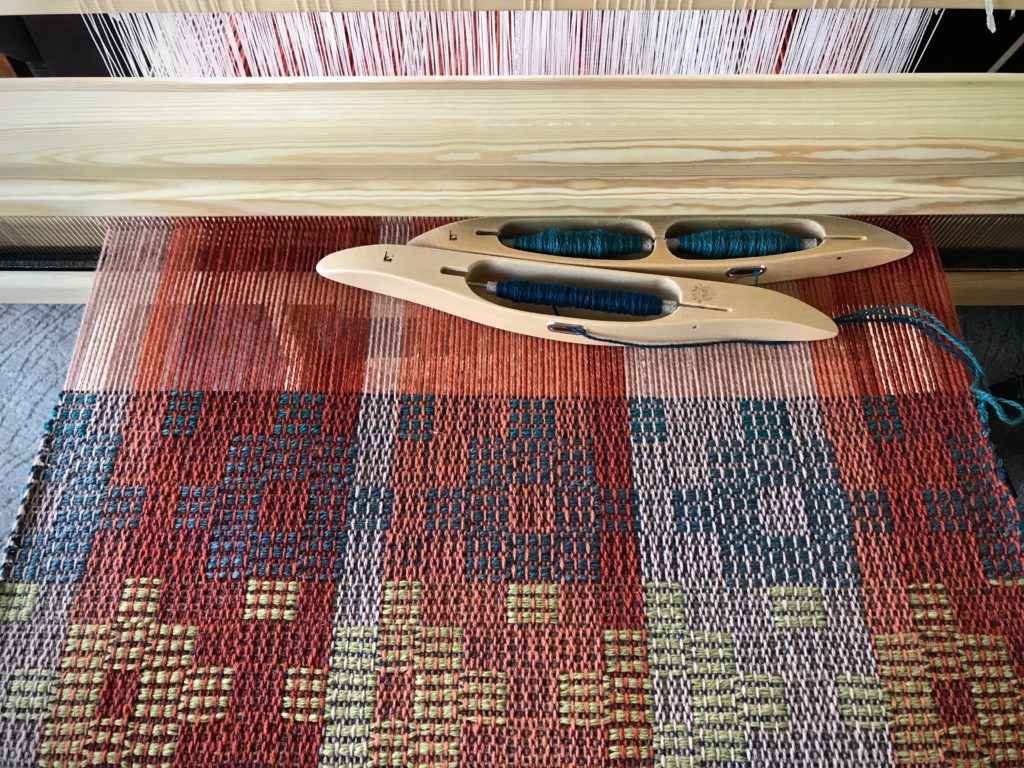
Weaving Jamtlandsdrall (crackle) on my new Julia.
There is something about weaving with a double-bobbin shuttle that I especially enjoy.
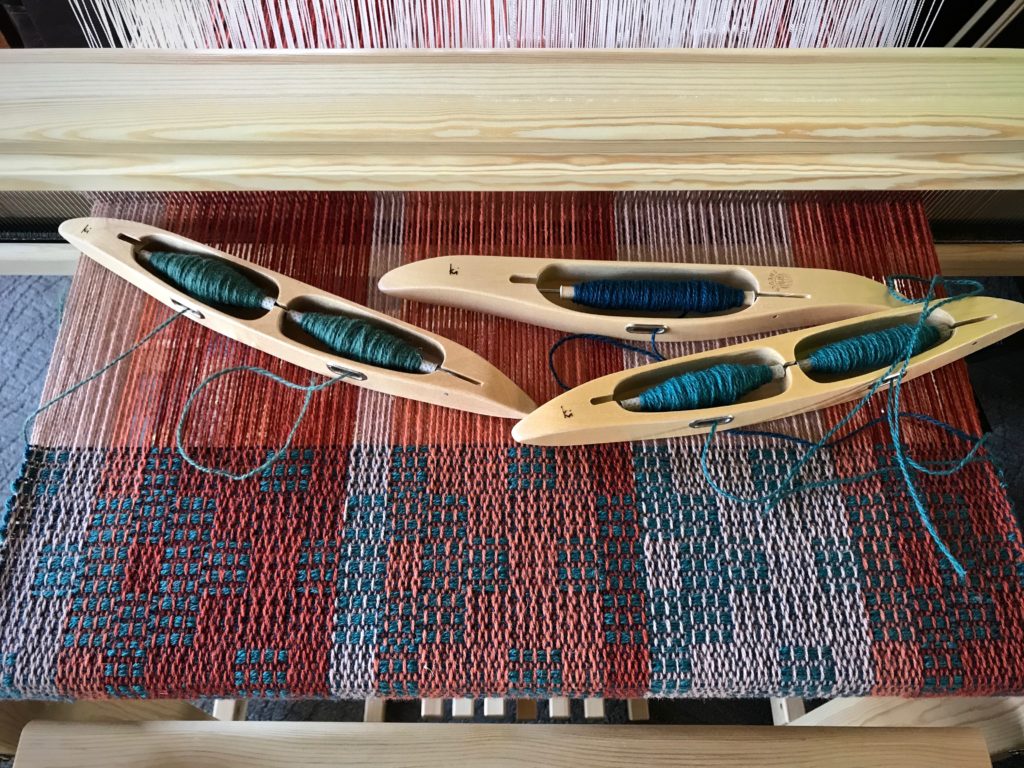
Color gradation in the pattern.
Some color gradation in the pattern.
My new Glimakra Julia!
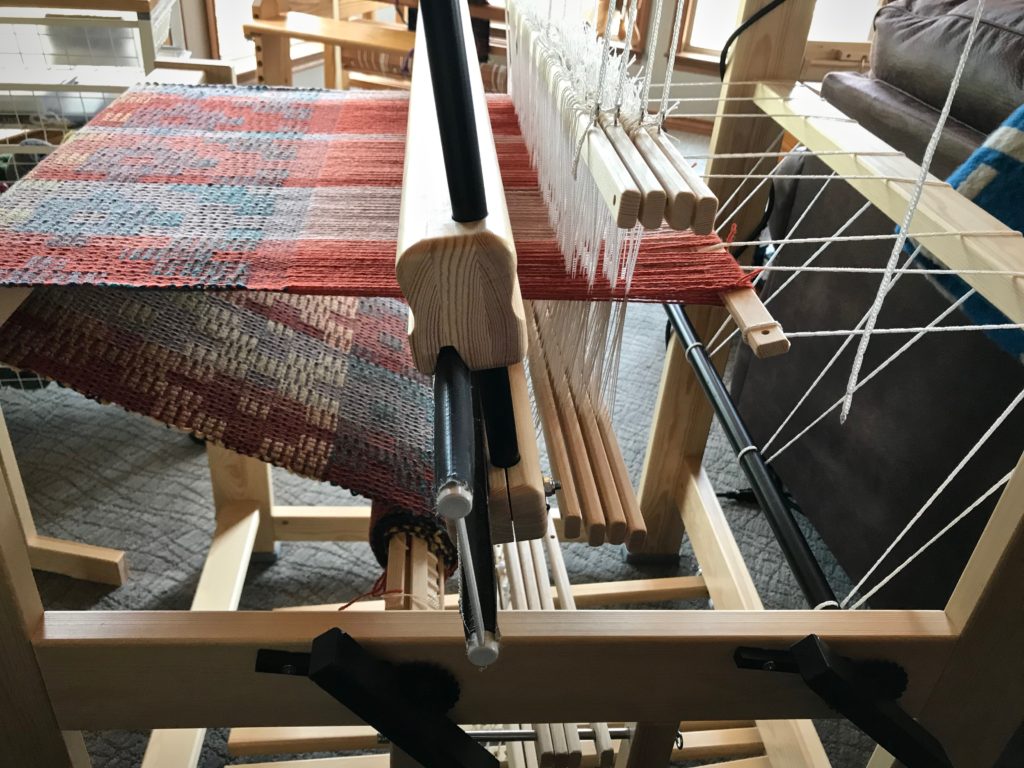
Miss Julia, filling up her cloth beam.
Crackle (Jamtlandsdrall) in Tuna Wool.
Ending with a few picks of plain weave.
End of warp on my new Glimakra Julia.
Thrums at the end of the warp will serve as fringe.
Cutting off Jamtlandsdrall (crackle)!
Cutting off, giving a view of the back side of the cloth. Front and back have reverse images.
Jämtlandsdräll, just off the loom.
Twisting fringe on Jamtlandsdrall wrap.
Much to my pleasant surprise, after removing (unweaving) my short sample weaving at the beginning, and untying the front tie-on knots, I had the EXACT same length of fringe–to the centimeter–on both ends of the woven wrap.
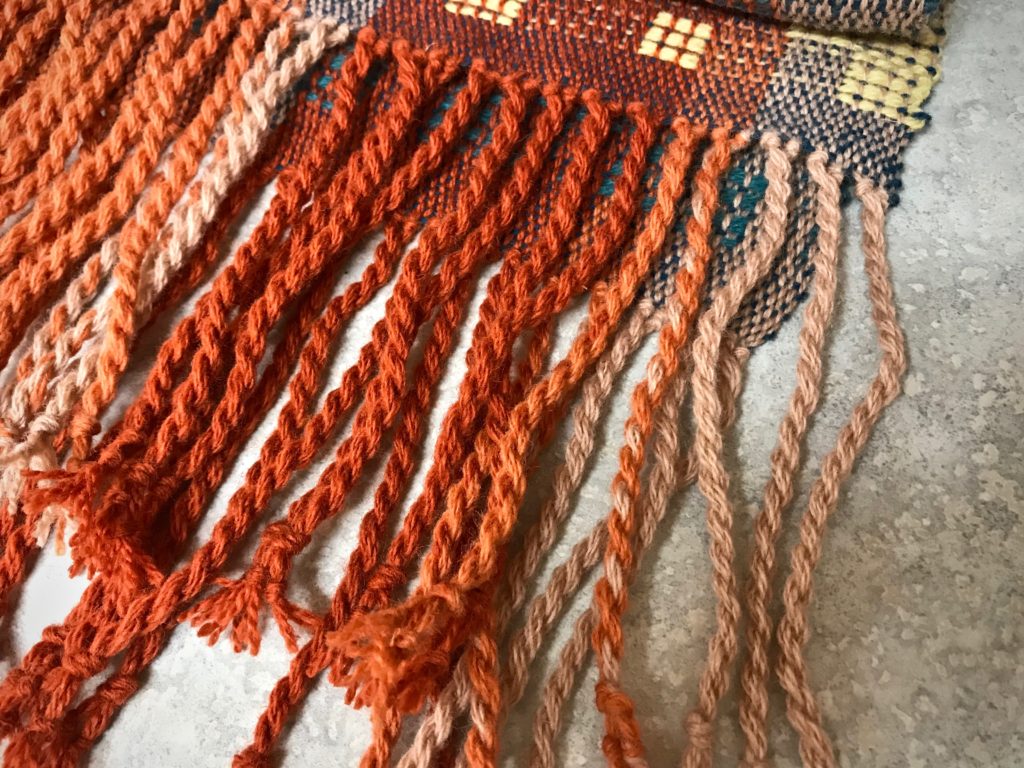
Chunky, frolicky fringe.
Overhand knots secure the weft. Two groups of four warp strands each form each chunky fringe. Now, this wrap is ready for wet-finishing.

This is one of those times when the weaving is so satisfying that I truly don’t want the warp to come to an end. (…except that I’m excited to start on Julia’s second adventure!)
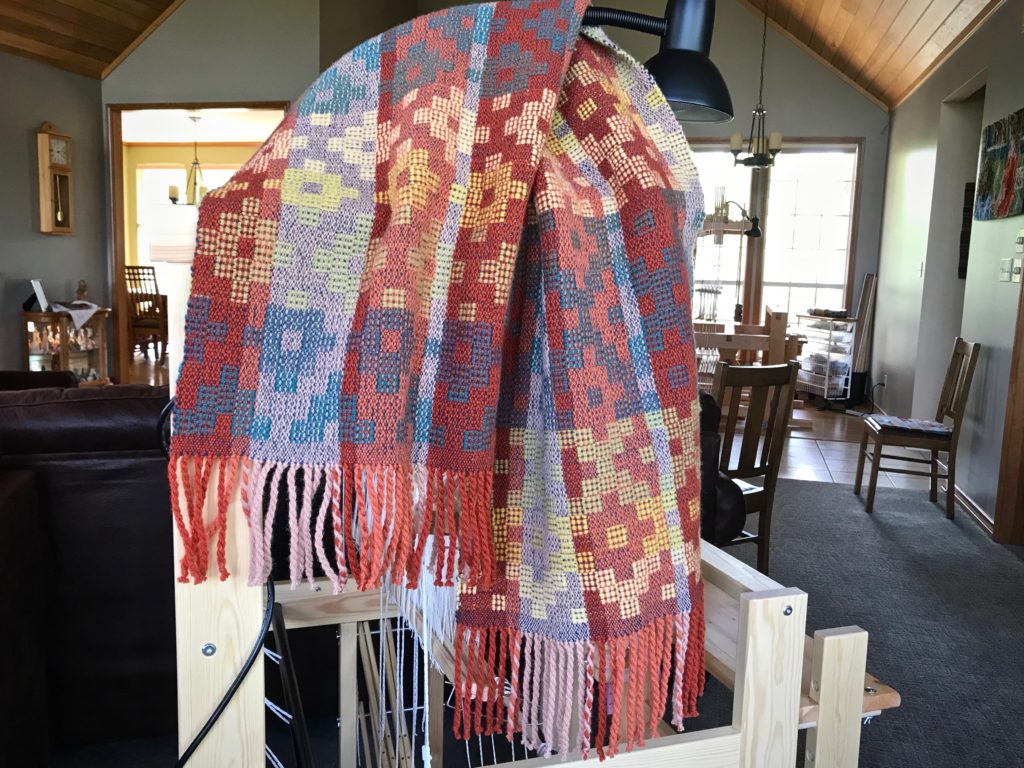
Jämtlandsdräll Autumn/Winter Wrap

May your adventures never cease.

Happy Weaving,
Karen

Process Review: Jubilation Hand Towels

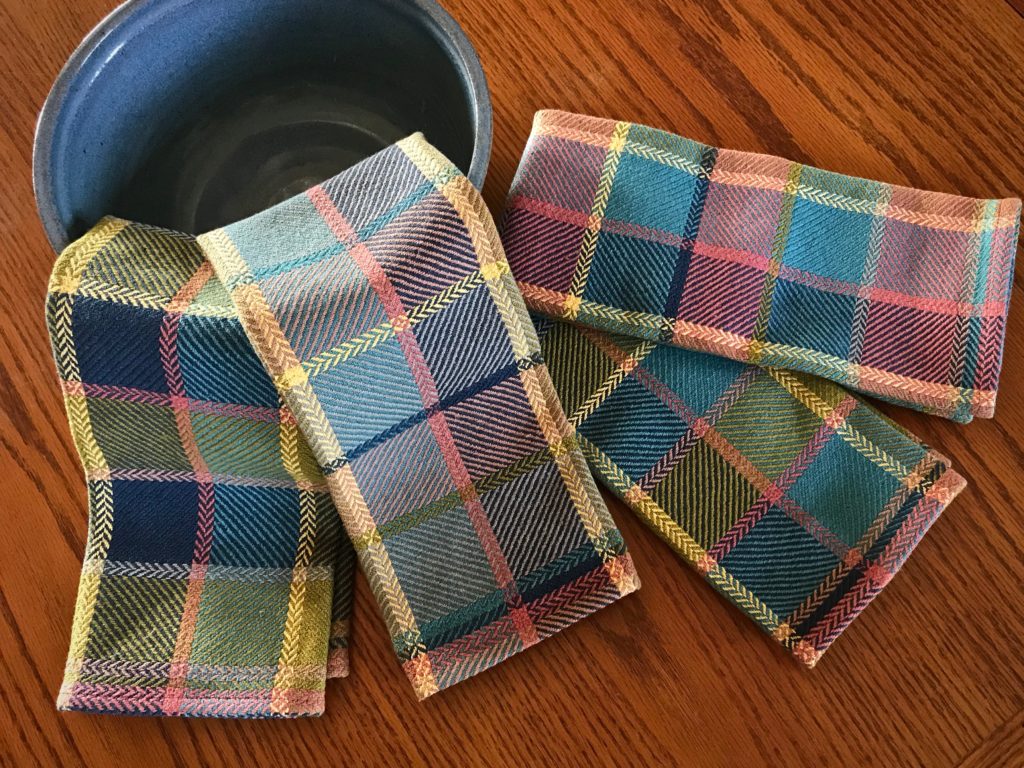
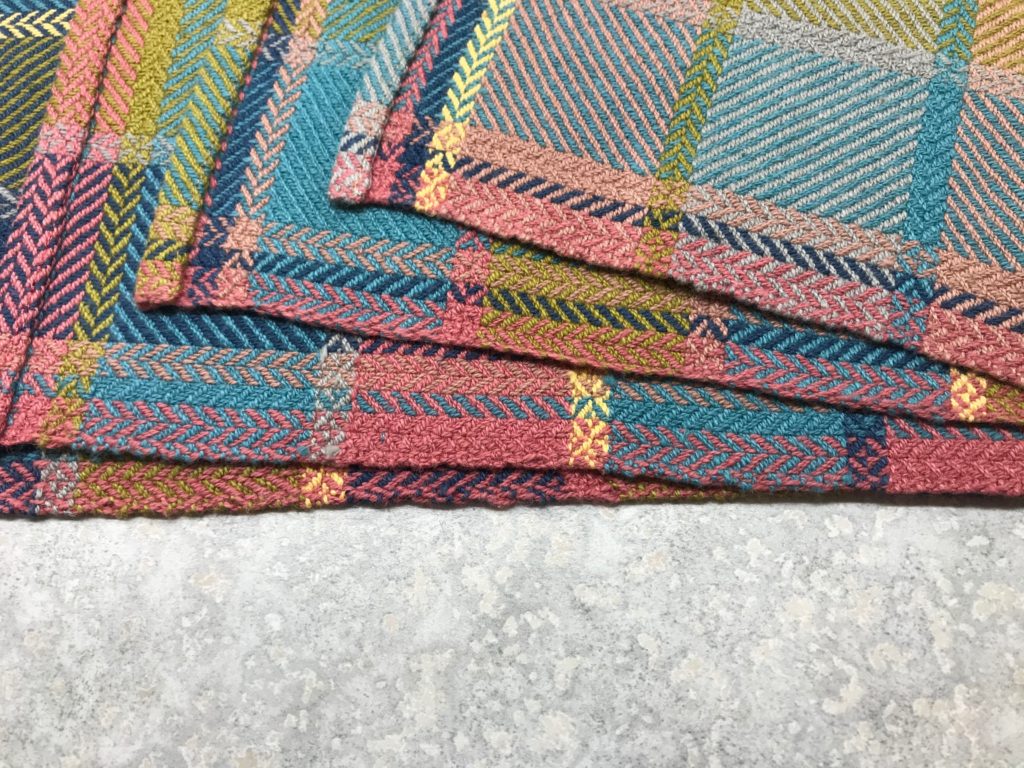
These towels make me think of my father. He was a brilliant architect. As an architect’s daughter, I learned to appreciate the interaction of structure, design, and color. This fabric has it all! These towels are also an expression of joy, a prominent aspect of my dad’s personality. If you could create a tangible article of jubilation, this would be it.

Broken and reverse twill structure. Handwoven towels.
Broken and reverse twill structure. Using all the same colors, each towel has a different sequence of weft color order.

After weaving three towels, I eliminated the floating selvedges. Which one of the four towels do you think was woven without floating selvedges? Leave your answer in the comments. (1 – 4, with the towel on top as #1.)

Four new handwoven towels.
Three of the four towels were woven with floating selvedges.

Here’s a short slideshow video that shows the process from start to finish:

Jubilation bath towels are up next on the Glimåkra Standard!

May your jubilation rub off on your family and friends.

Happy Weaving,
Karen

Handwoven Scarves Embellished with Flair

You could say I finished these scarves too late. Winter in Texas has come and gone. But I prefer to think of it as considerably early. When cool weather comes back around in a few months, I’ll be ready. I began with the draft for the lovely Stardust scarf, designed by Mona Nielsen, published in Happy Weaving, from VävMagasinet, p.74. I simply substituted the yarn and colors in the book with what I had on hand.

New warp on warping reel for winter scarves.
Warp is mostly 6/2 Tuna wool, with some 7.5/2 Brage wool included.
Stripes on the back beam. What a lovely sight!
Made with yarn on hand. This means that additional stripes have been added to the plan.
Weaving by the fire in the middle of winter.
Weaving by the fire in the middle of winter. Mora 20/2, a fine wool, is used for weft.
Two new wool scarves coming off the loom!
Two scarves coming off the loom.
Fringe twisting.
Fringes are cut and twisted.

The scarves are delightful, but the icing on the cake is the addition of fluffy, furry pompoms, an embellishment with youthful flair. And that is exactly what I will put on at the first sign of autumn chill.

Making pompoms to embellish the handwoven scarf.
Some of the thrums are used in making pompoms.
With the Pom and Tassel Maker by Red Heart I can make seven pompoms at a time.
With the Pom and Tassel Maker by Red Heart I can make seven pompoms at a time. I wrapped the yarn around 100 times, making full and thick pompoms.
Each furry ball is shaped and trimmed.
Each furry ball is shaped and trimmed. I used 8/2 cotton for the 12″ tie around the center of the pompoms.
Adding pompom embellishments to the scarf.
Each pompom is stitched to 3 – 4 twisted fringes. Seven pompoms at each end of the scarf.
Handwoven scarves with pompoms!
Now, the scarves are ready for wet finishing. Notice how you can see the separate strands of yarn in the pompoms before they are washed.
Handwoven scarves with pompoms, hanging to dry.
Scarves have been washed by hand in warm water in a large sink, with Eucalan delicate wash. I purposely gave them as much agitation as I could by hand. They are hanging to dry. Notice how the pompoms have slightly felted, making them even more soft and furry.
Winter scarf amid spring bluebonnets in Texas hill country.

Some things are certain. The sun will rise tomorrow. The seasons will follow their schedule. The faithfulness of the Lord our God will never end.

May you dress in youthful flair.

Warmly,
Karen

Process Review: Garden Rosepath Rag Rugs

A rosepath rag rug puts beauty under our toes. Strange? Yes, strangely wonderful. Let’s fill our homes with handmade goodies. Let’s make smiles happen in every corner. Let’s be different and make a difference. Live with beauty underfoot.

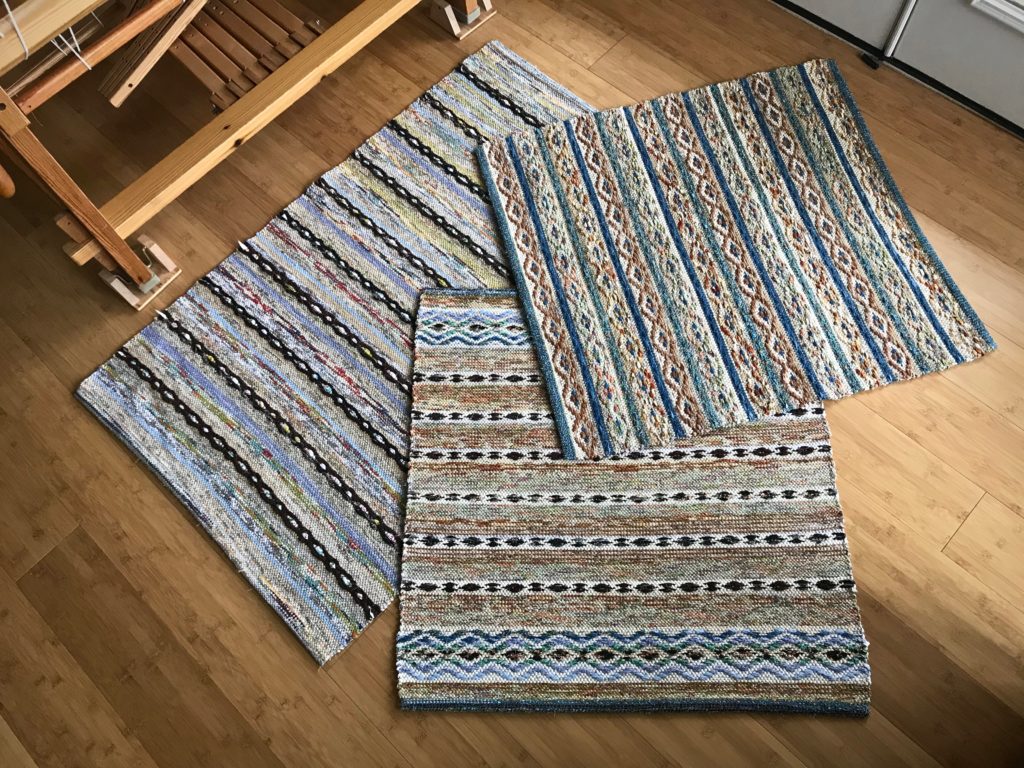
Three of these rugs have already gone to their new homes. (See Tied Up in Knots.) The remaining three rugs bring outdoor garden beauty indoors.

Rosepath rag rugs with a garden theme. Karen Isenhower
From bottom to top: Planting Seeds, Prayer Garden, Mystery Garden.

Come with me now to review the process of making these six rosepath rag rugs.

As Shelter in Place becomes a necessity for many, consider these words of encouragement from the book of Psalms: For He [the Lord] will conceal me in His shelter in the day of adversity. Psalm 27:5a

May you have smiles in every corner of your home.

Peace,
Karen

Siblings Tapestry and Process Video

Drum roll please… And now, I present to you: Siblings

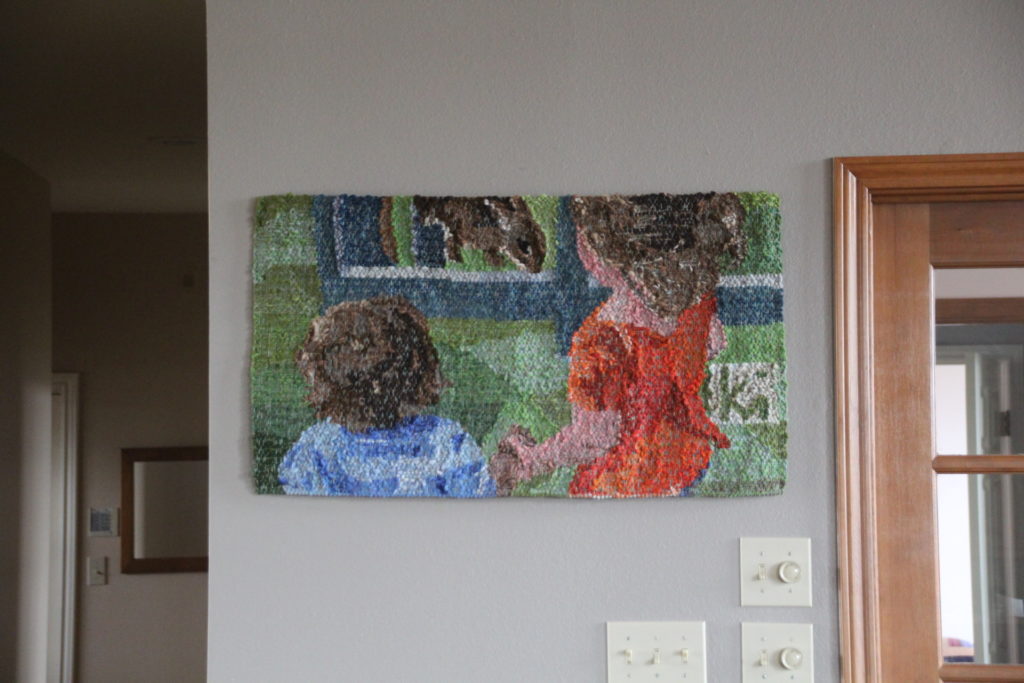
Siblings Tapestry by Karen Isenhower

The Siblings tapestry is a woven expression of personal meaning. The tapestry tells a story of a singular incident, almost hidden in the excitement of the occasion. Lucia grasps Ari’s wrist as they approach Sugar Pie, the bunny. In that moment I see something worth keeping—precious sibling love.

Please enjoy this short video of the process of weaving and finishing the Siblings tapestry.

May you know the security of true love.

Happy Weaving,
Karen