Tried and True: How to Remove Guesswork

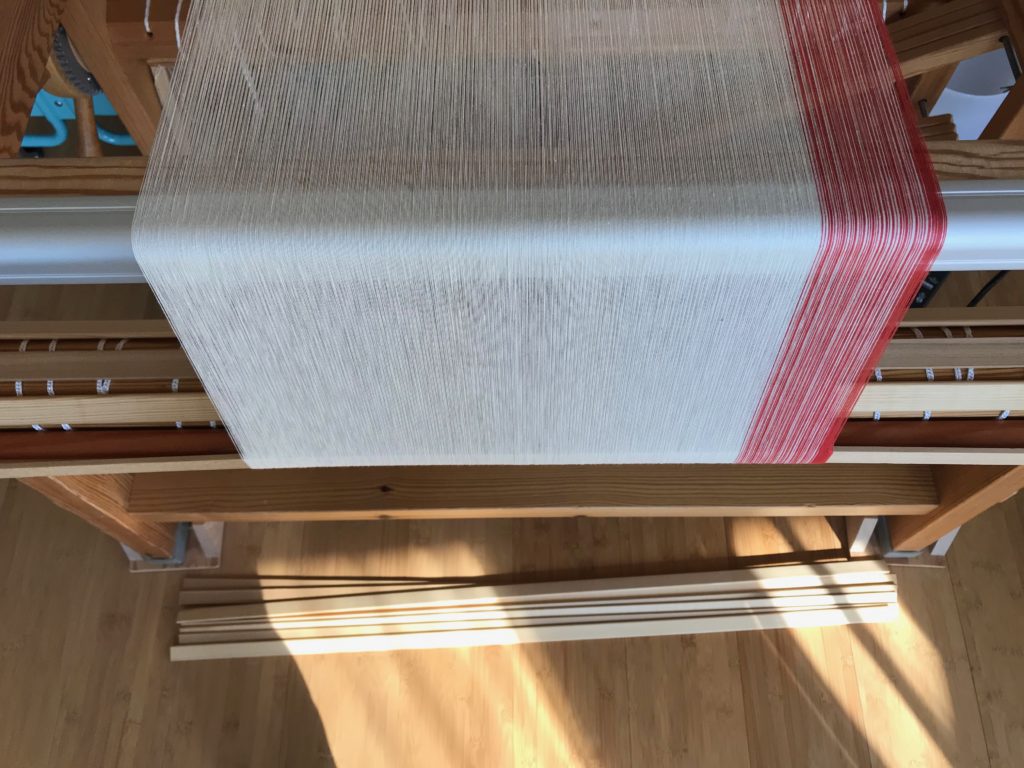
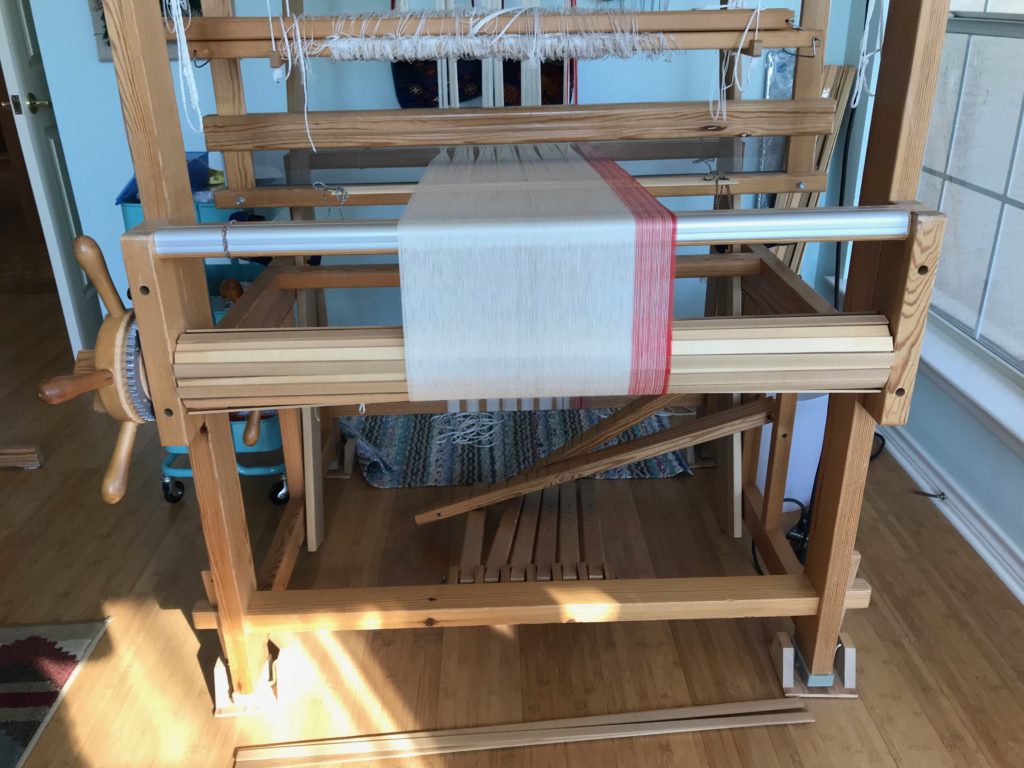
Documenting your work for repeatability is valuable for any any step-by-step process. With the Lizard tapestry I learned how to do the finishing, including the backing. By the time I was ready to put a backing on the Siblings tapestry, I had limited recall of that first experience. Now that Eye of the Beholder is ready for backing, I need help again. Fortunately, I made note of every detail while constructing the backing for the Siblings tapestry. So, this time I have the benefit of written and photo documentation. No guesswork!

How to Document Your Steps
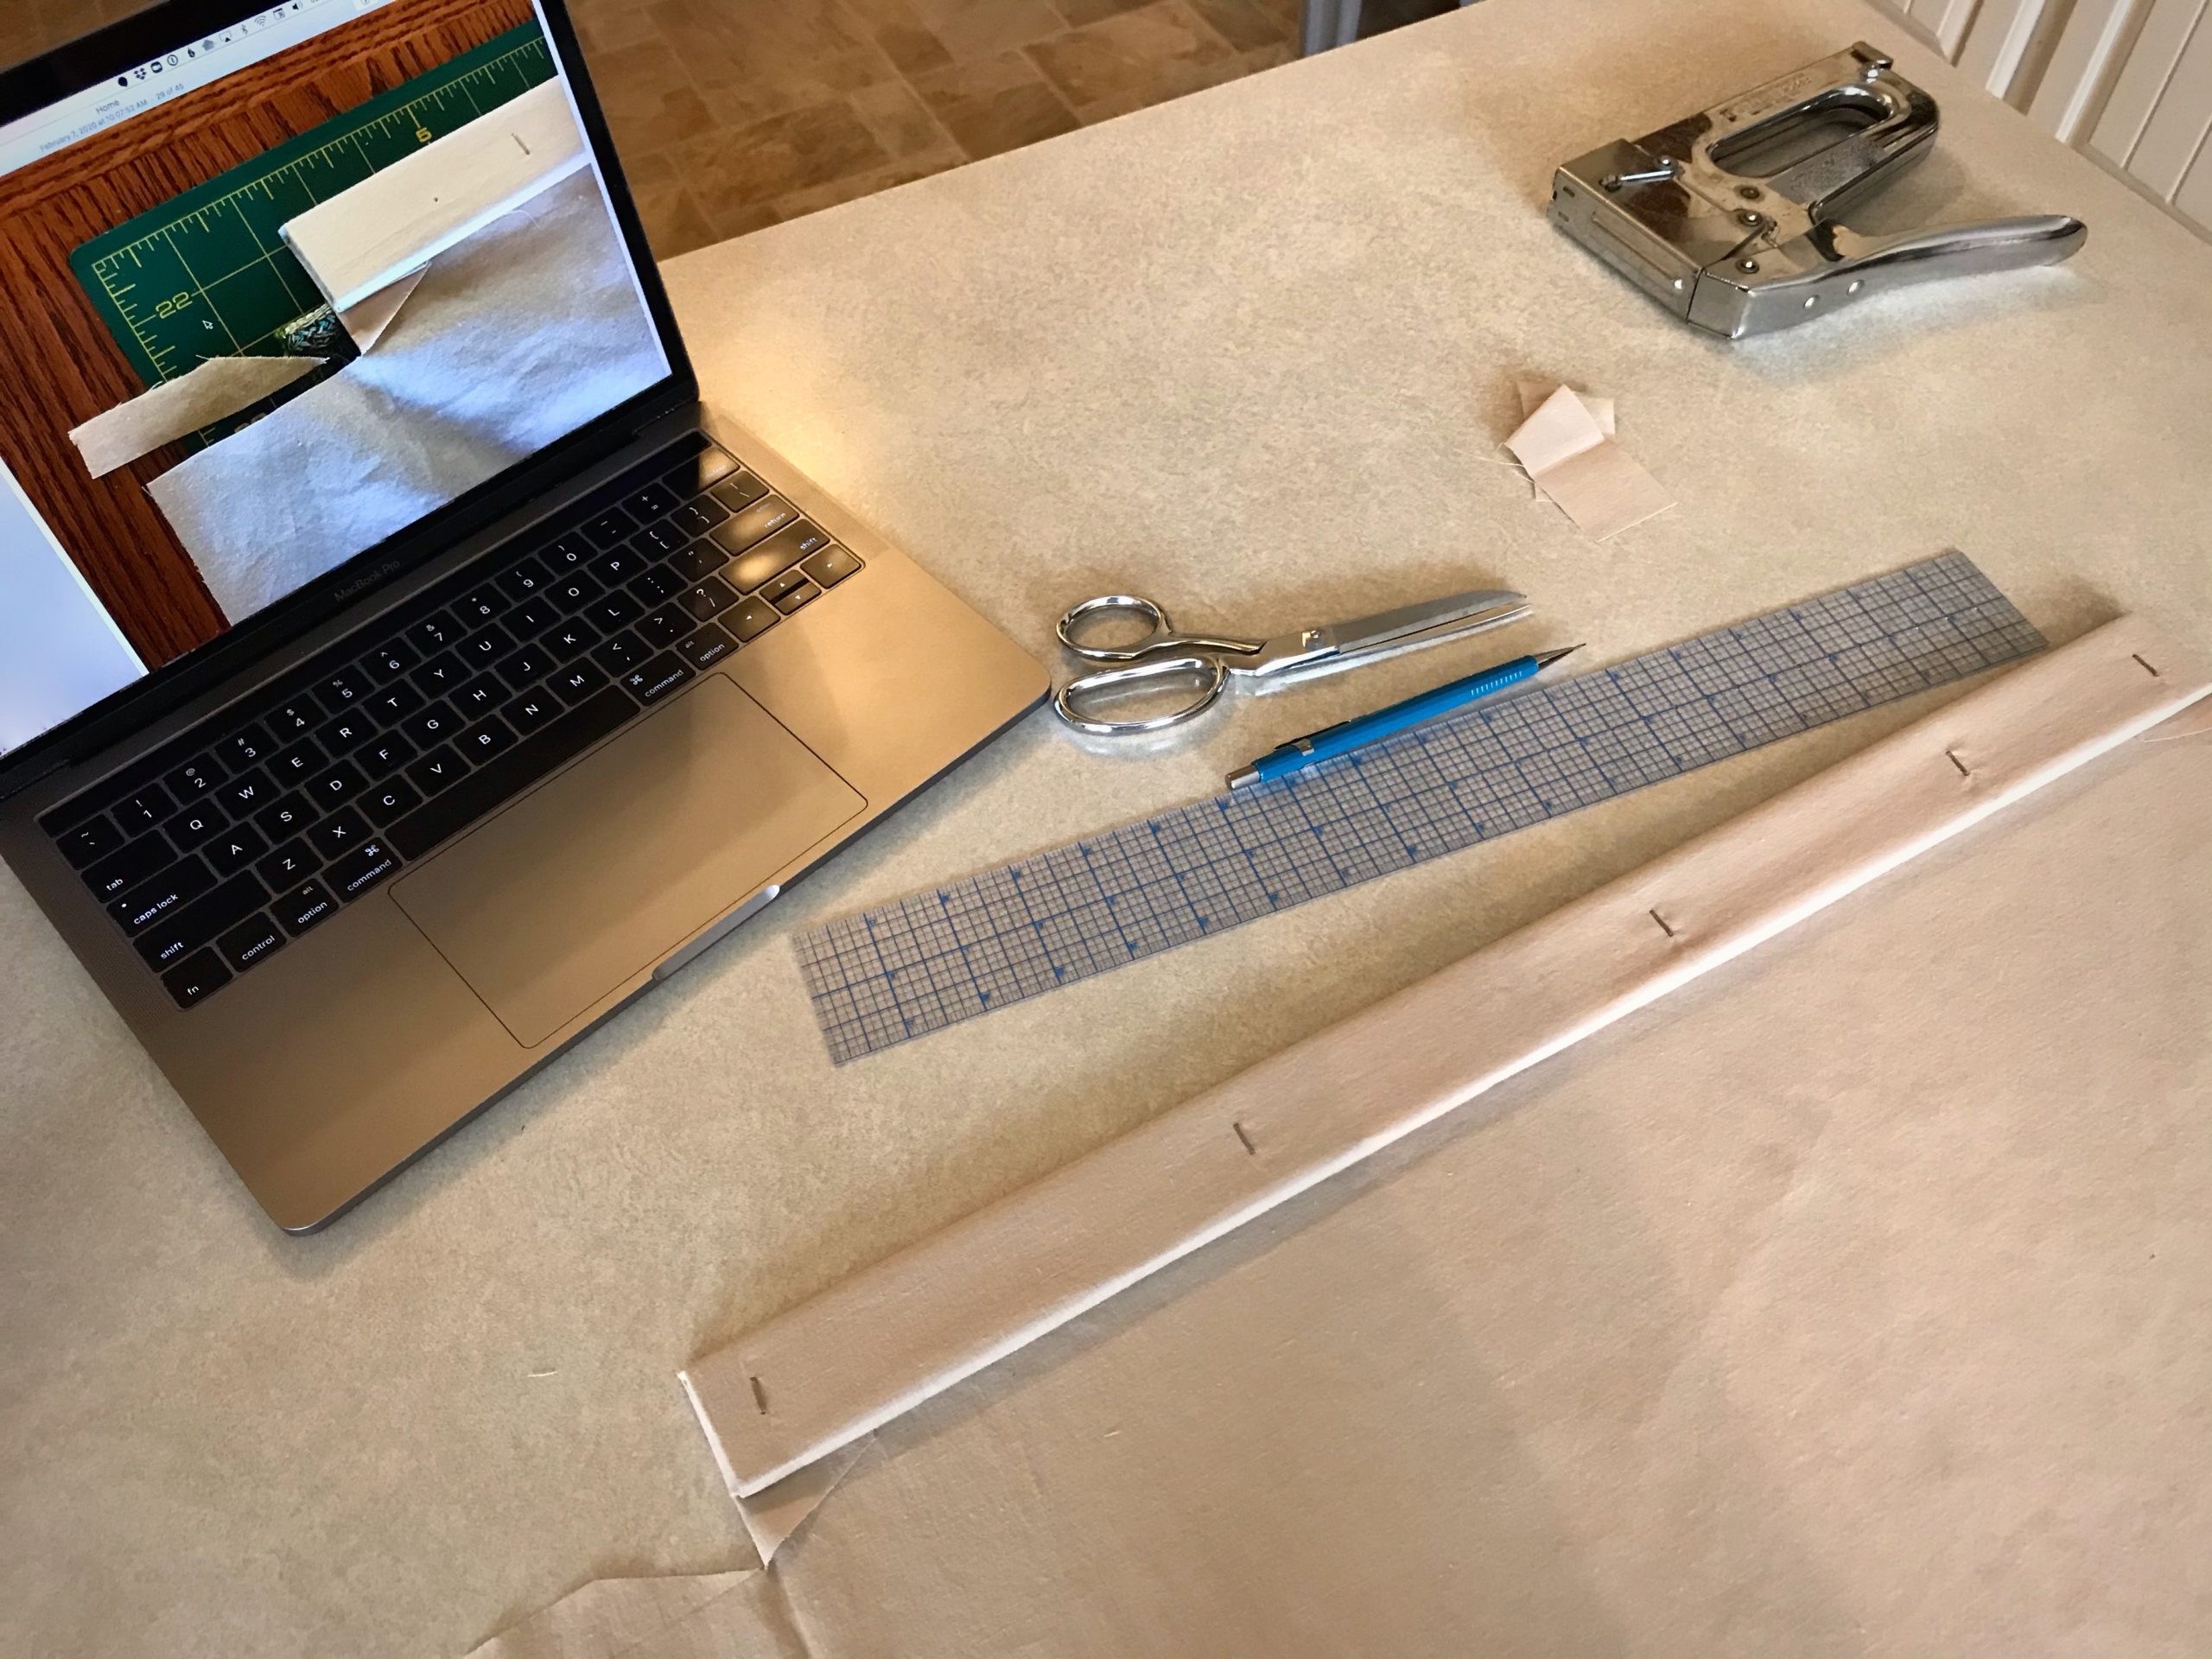
How to document your process steps.
Photo guidance on the computer corresponds with enumerated steps on my phone. This removes guesswork for the next part of the process.
  1. Do research. Gather your notes, search resources, and get advice from experienced weavers regarding the process you want to document.
  2. Outline the steps. Write out and number all the steps as you understand them. Doing this before you start helps you think through the entire process.
  3. Refine the steps. Begin working through the steps in order. Adjust the steps as you go. You may need to add or eliminate steps, or change the order in which they are done.
  4. Make it visual. Take a photo of any step that benefits from visual clarification.
  5. Finalize. Simplify and clarify the instructions in every step as if they are meant for someone who knows less about this process that you do. Remove redundant and/or unnecessary photos.

May you remove guesswork as much as possible.

All the best,
Karen

Tried and True: How to Count to Three – and Other Weaving Tips

We weavers are resourceful. We enjoy finding solutions that make our time at the loom more efficient, while raising the quality of our weaving. We’ve done some of these little tricks so much we don’t think about them anymore. And then, some innovations are things we think up on the spot because necessity, as you know, is the mother of invention.

Keep Count

Necessity: Keep from losing my place with treadling repeats.
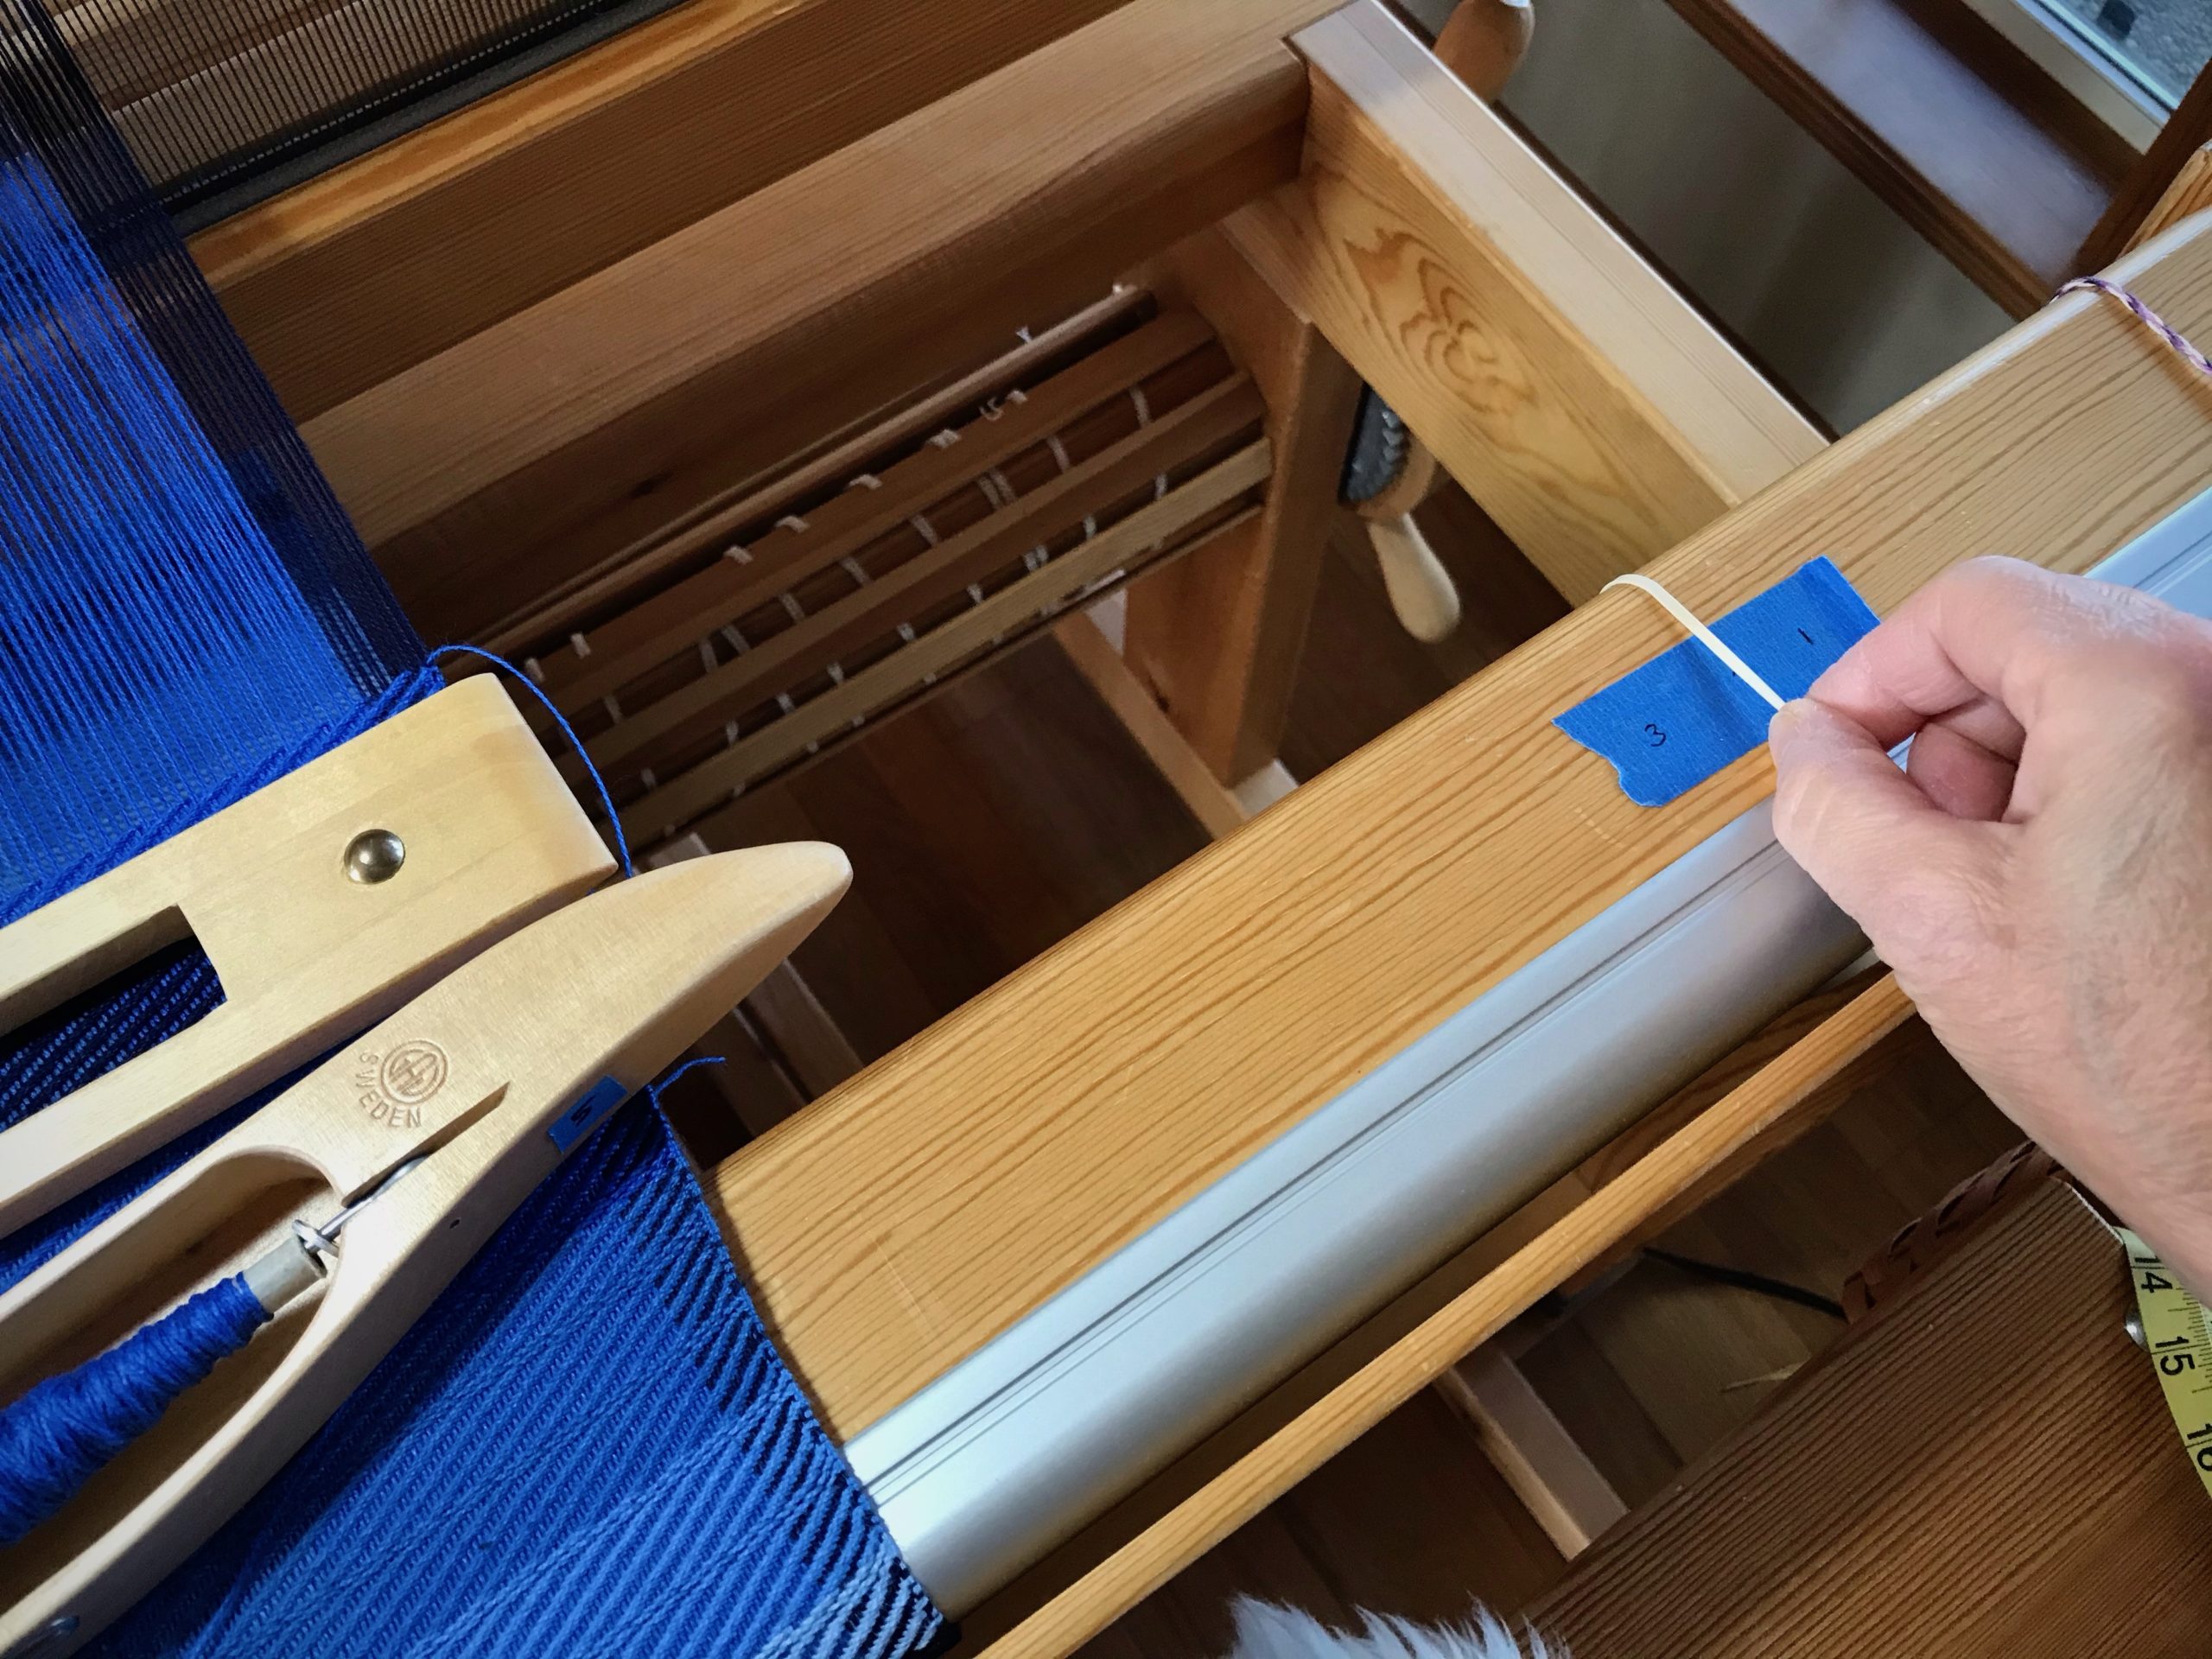
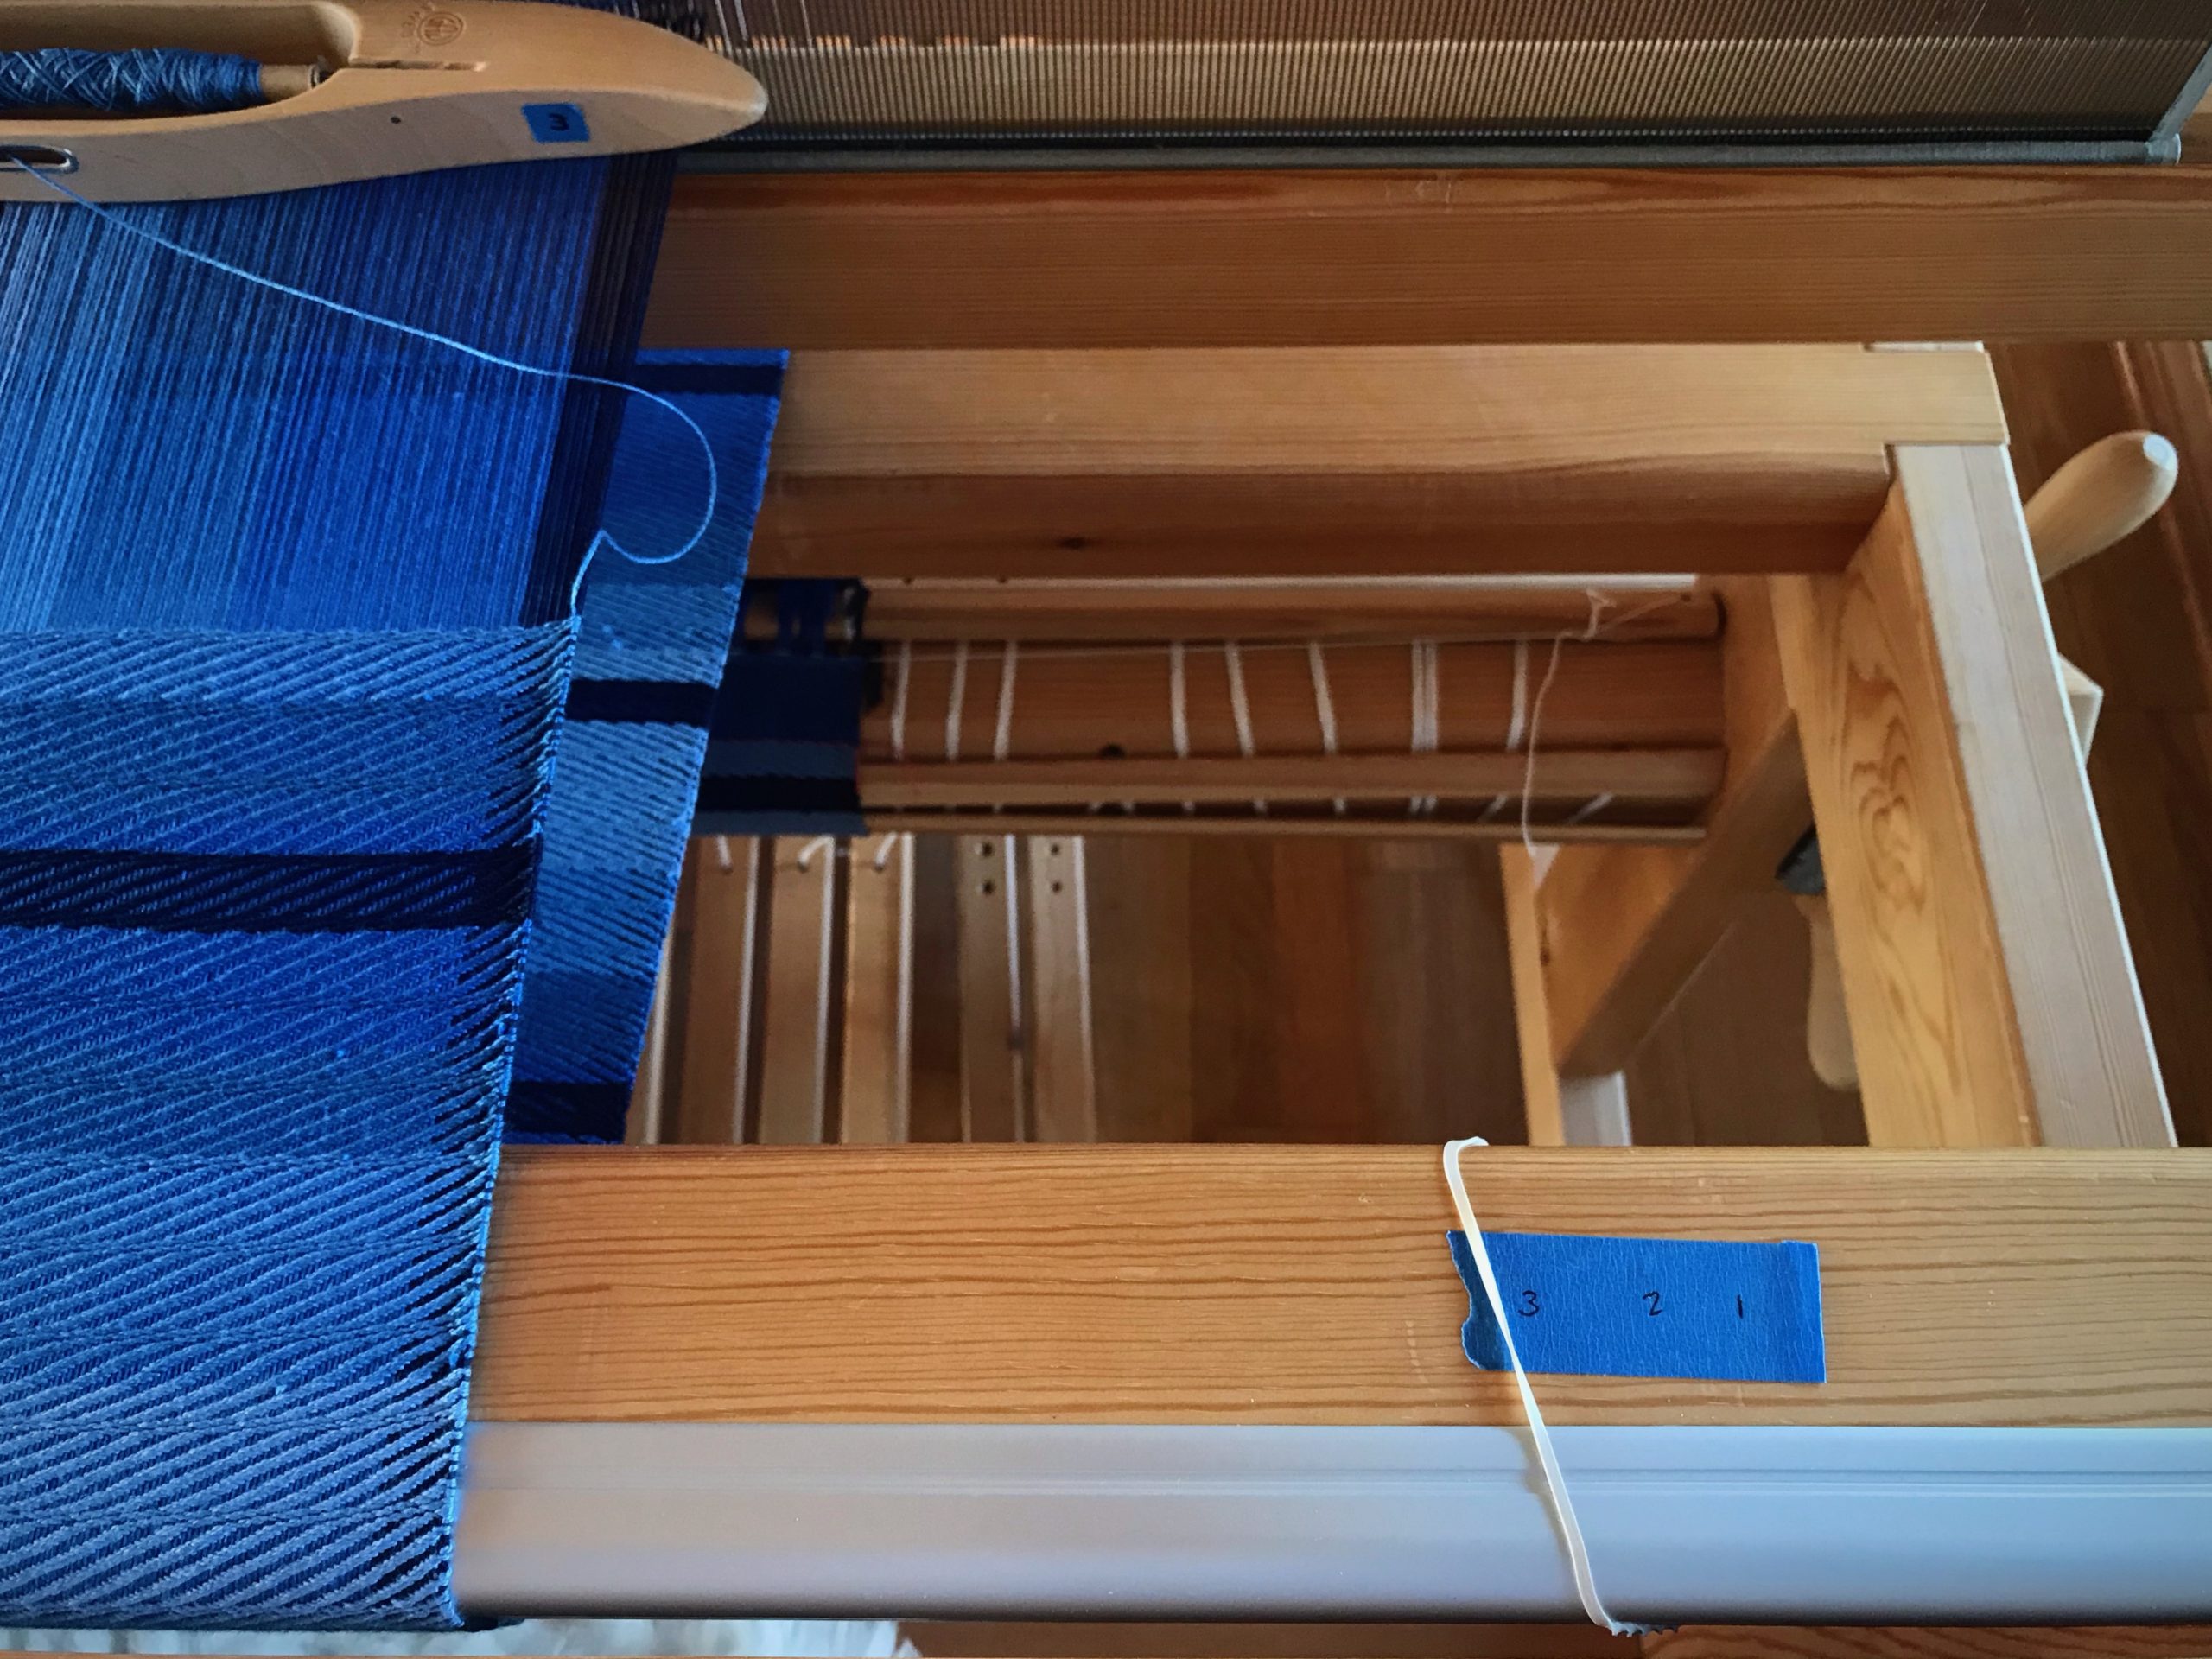
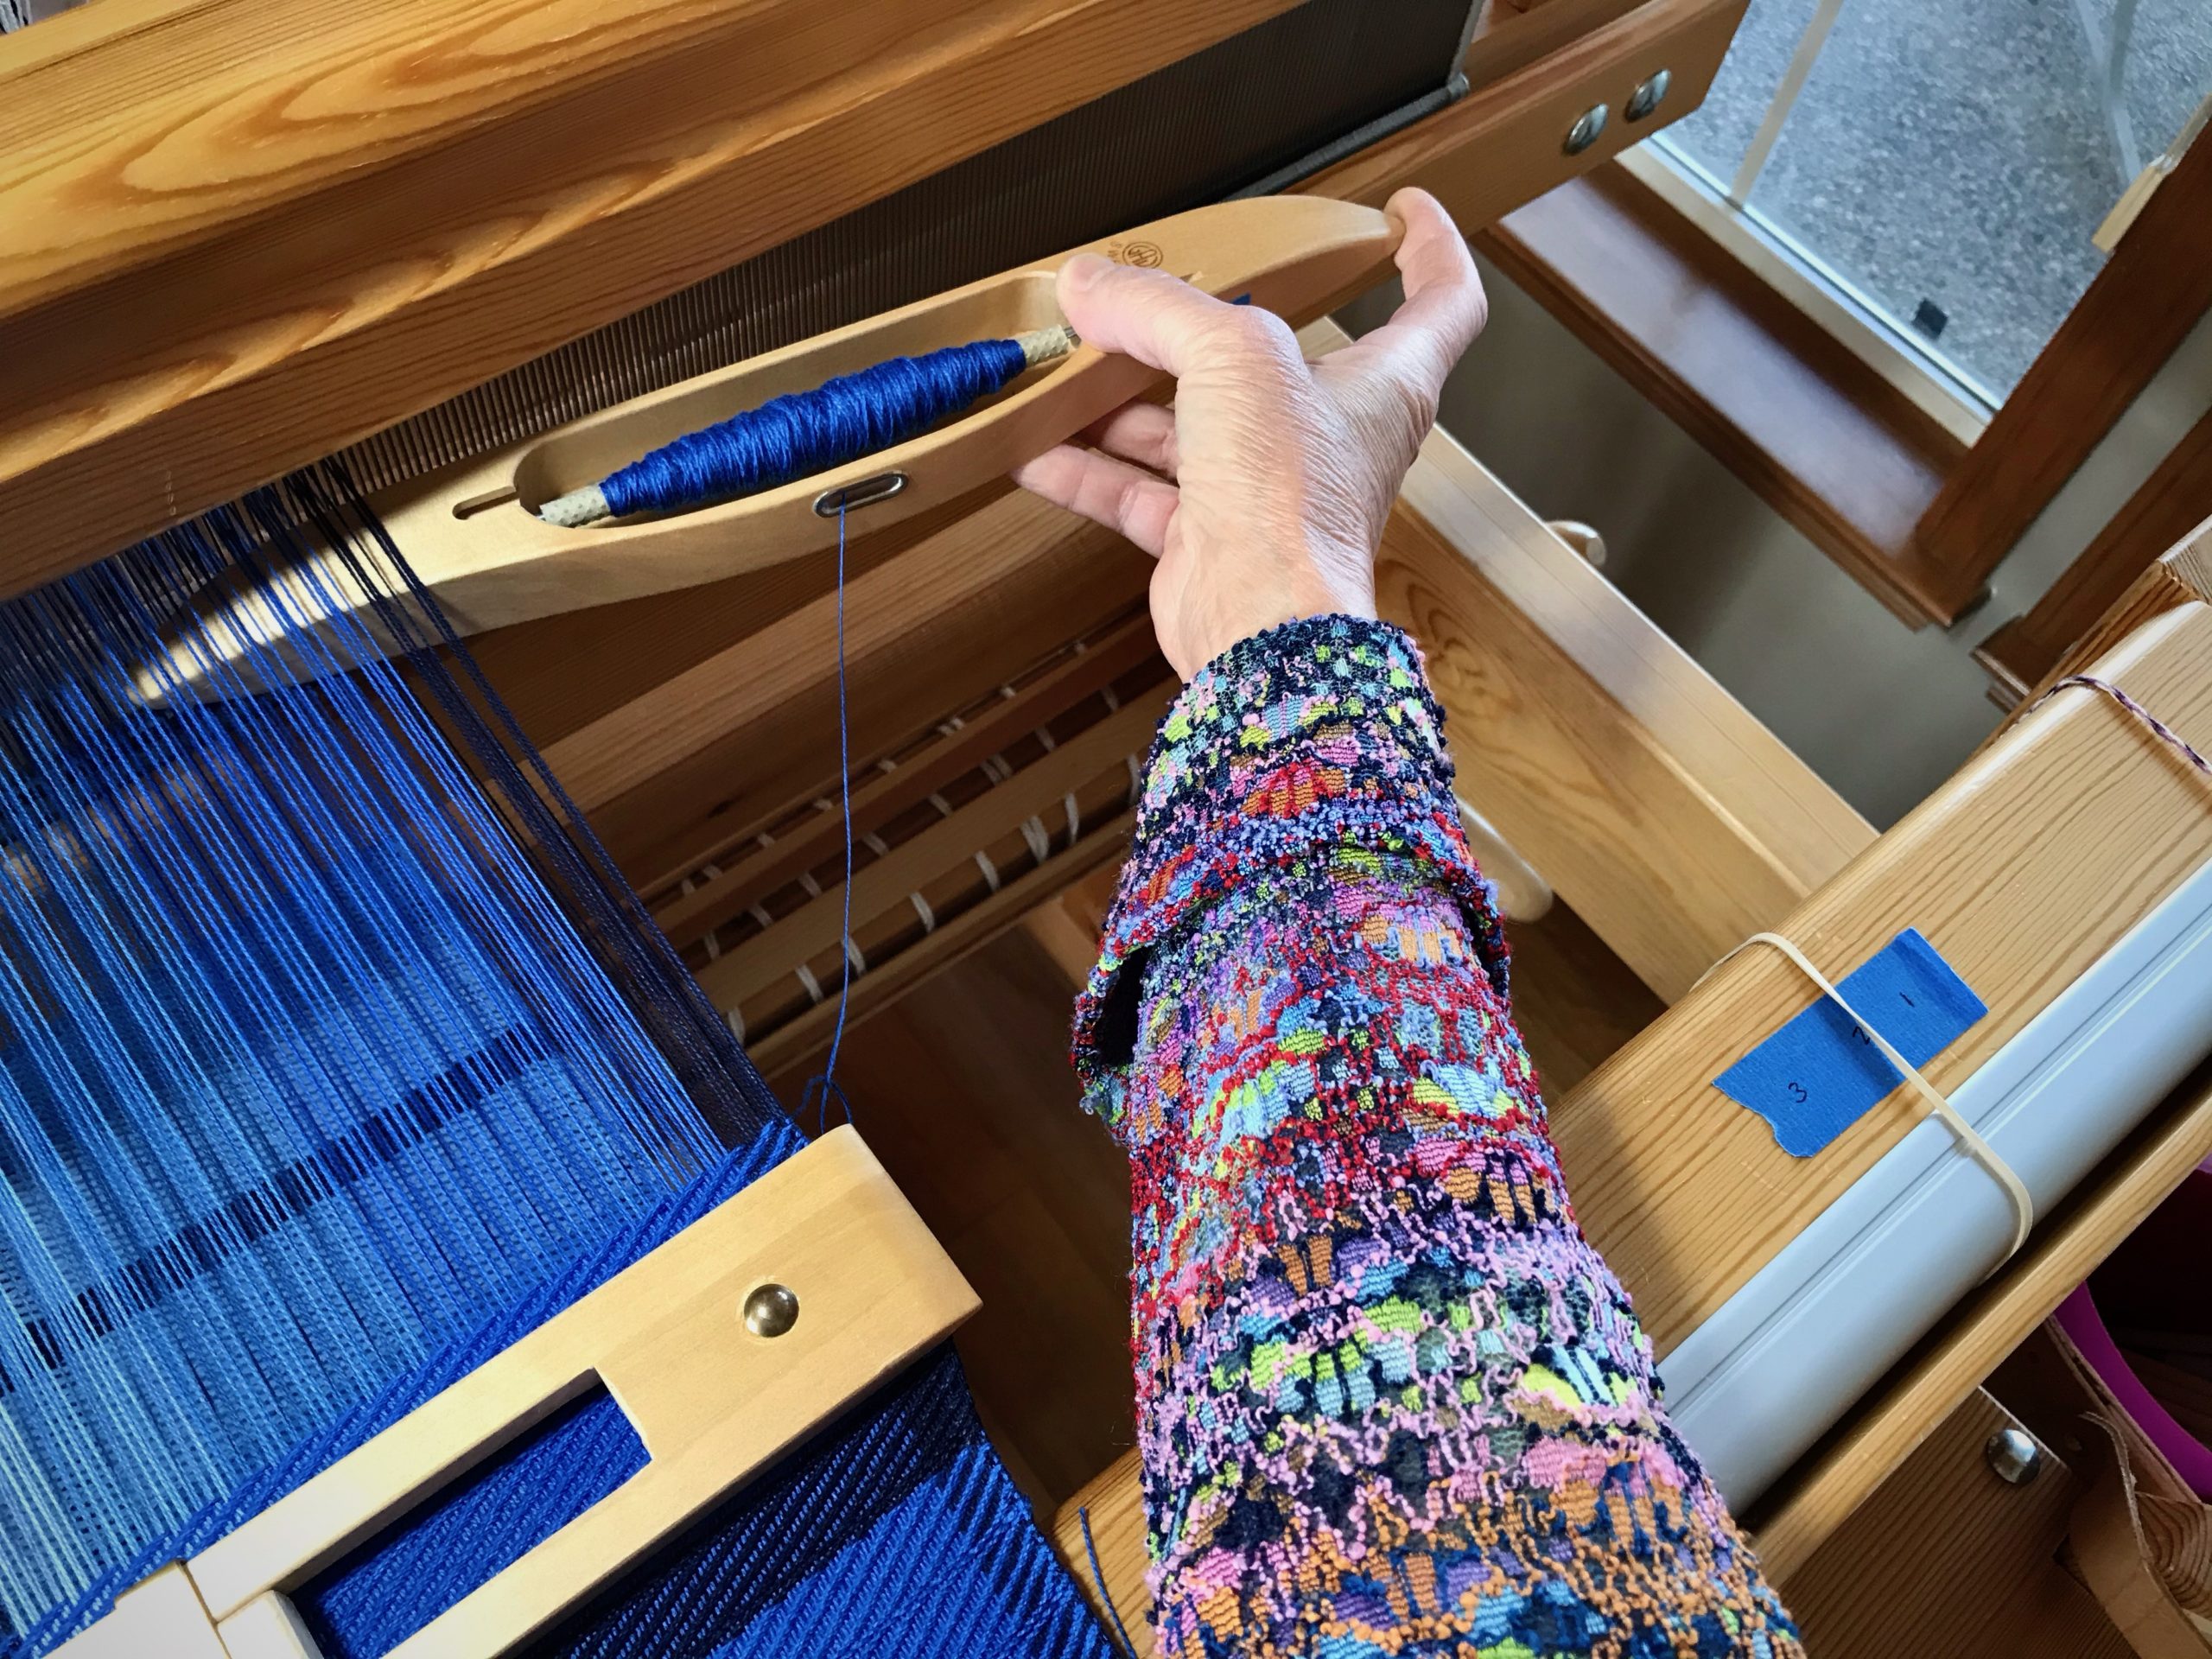
Solution: A strip of blue painter’s tape with “3 2 1” and a rubber band, placed on the breast beam. Move the rubber band on the tape (from right to left) to track repeats.

Weaving tips - low tech solutions.
I need help counting to 3 when it comes to treadling repeats. On the Glimåkra Standard loom, I am able to loosen the warp enough to lift the breast beam so I can put a rubber band on it. Without a removable breast beam, one could use a separate small piece of tape instead of a rubber band to keep track.
Keep track of repeats. Blog post with tips and tricks.
Low tech solution for keeping track.

Shuttle Catch

Necessity: Keep from fumbling the catch, having to reposition the shuttle in my hand to send it back across the warp.
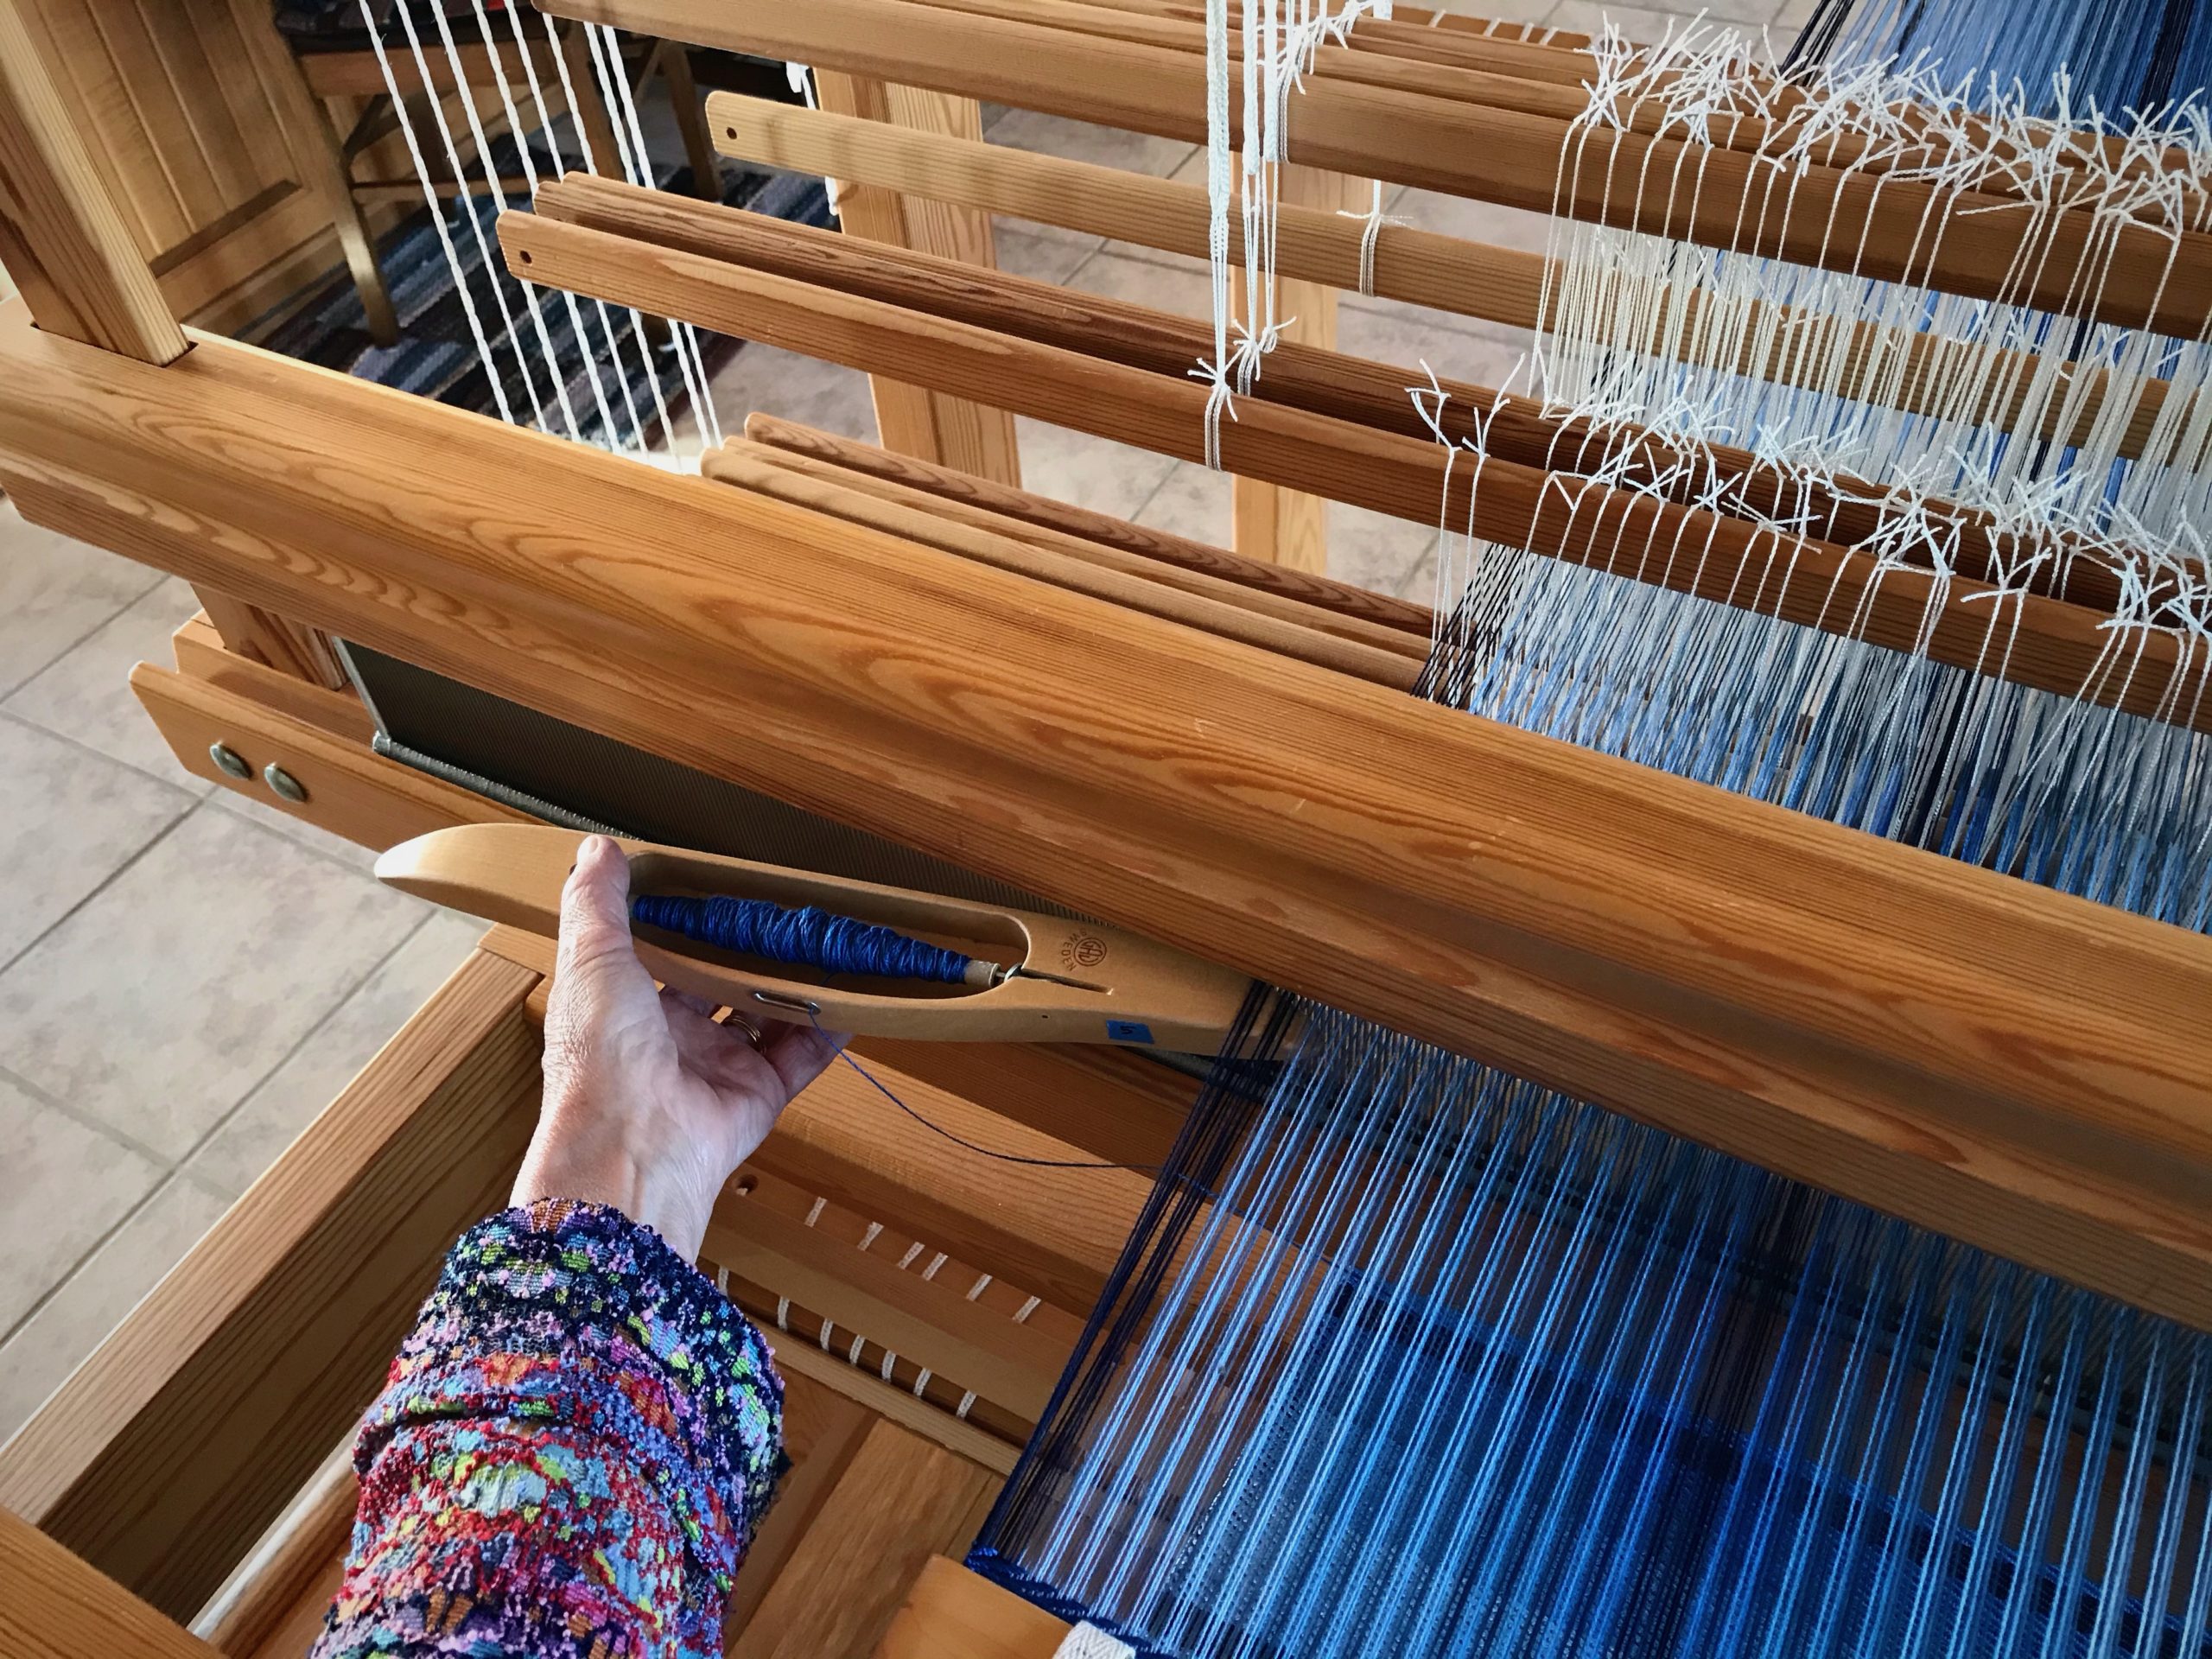
Solution: Keep my eye on the shuttle. If I turn my head to watch the movement of the shuttle, my catching and throwing improves immediately. This makes my selvedges improve, too.

Weaving tips and tricks. Easy tip on how to catch the shuttle perfectly.
It is easy to throw and catch the shuttle without actually looking at your hands. I have to consciously remember to turn my head to follow the shuttle with my eyes.

Leave No Trace

Necessity: Keep from leaving slightly perceptible lines in the woven cloth that reveal every time I stop to move the temple and advance the warp.
Solution: When it is almost time to advance the warp, I move the temple and then weave one or more pattern sequence(s) before advancing the warp. This helps me leave no trace of starting and stopping.

Tips and tricks for the weaving loom.
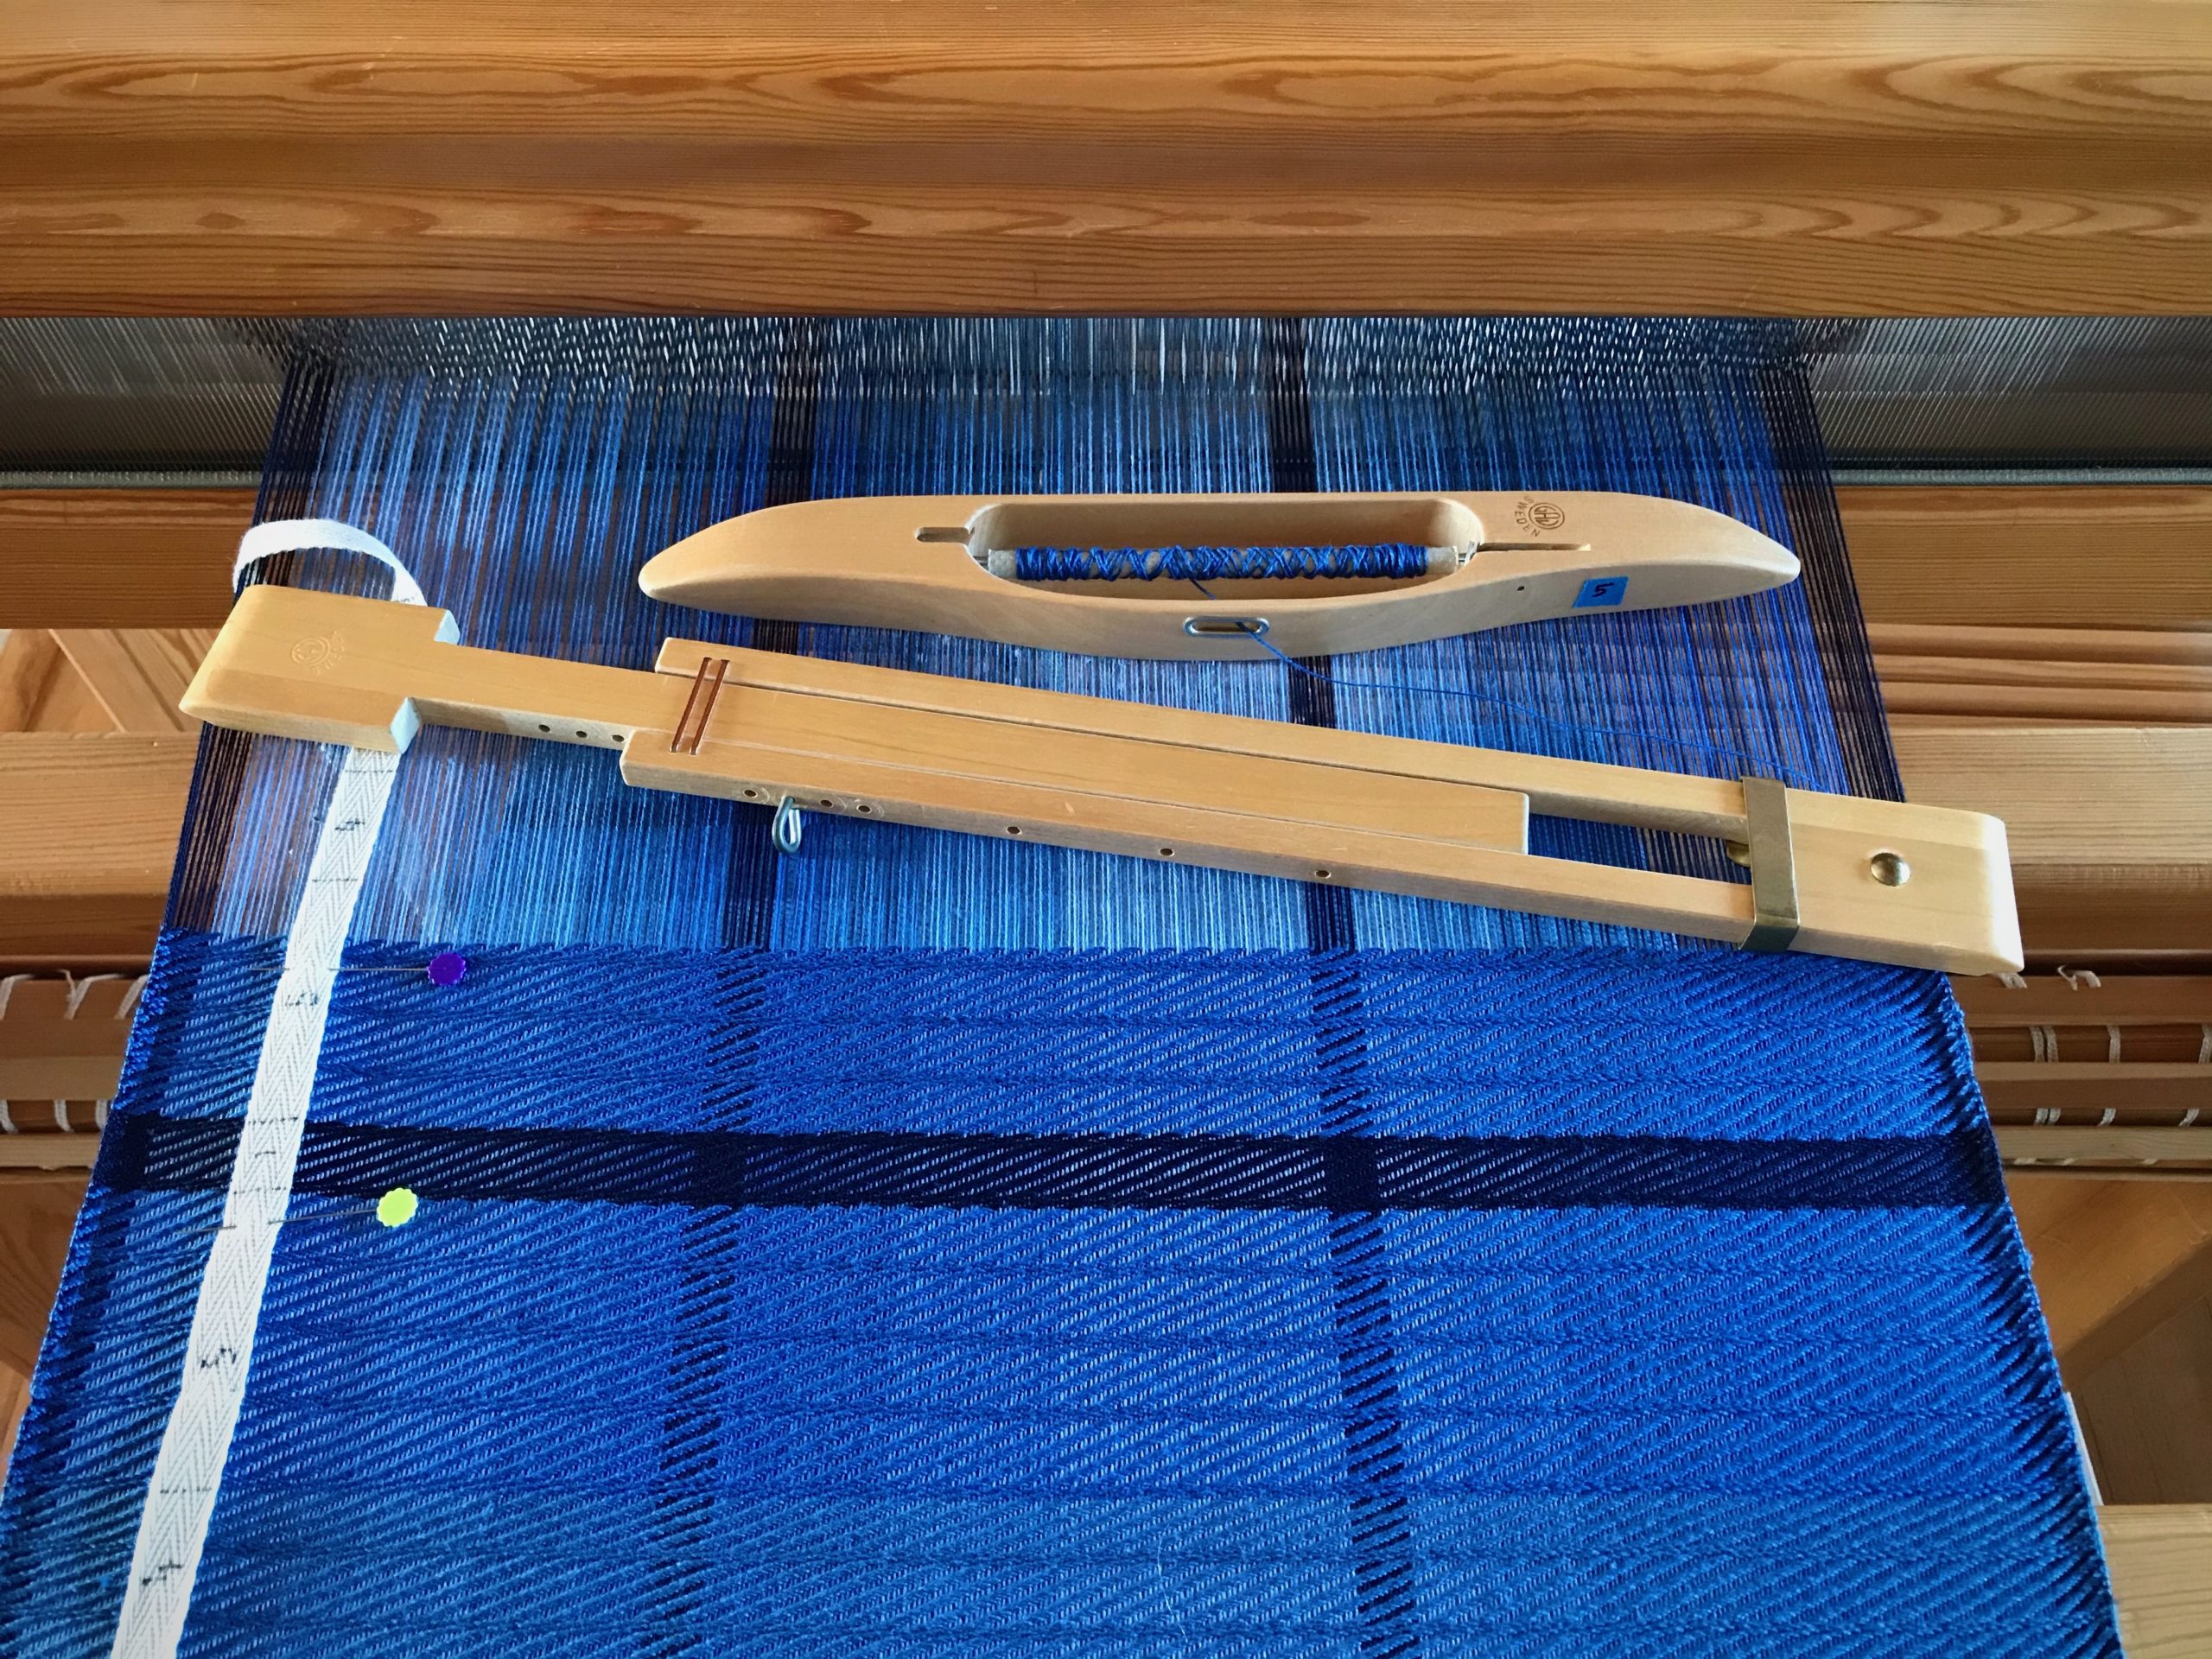
Almost ready to advance the warp, I remove the temple and reposition the pins on my guide tape. Then, I put the temple back on, near the fell line.
Tips about when to advance the warp.
After moving the temple, I weave one or more complete treadling sequences before advancing the warp.
Three simple weaving tips for efficiency and quality!
After advancing the warp, I know exactly where I left off because of my tape-and-rubber-band counter. My eyes are on the shuttle to continue this segment of weaving.

Do you have a simple tip that improves your efficiency and/or quality at the loom? Please share in the comments.

May you notice what you’re doing.

Happy Weaving,
Karen
Tried and True: Slay – Sleigh – Sley

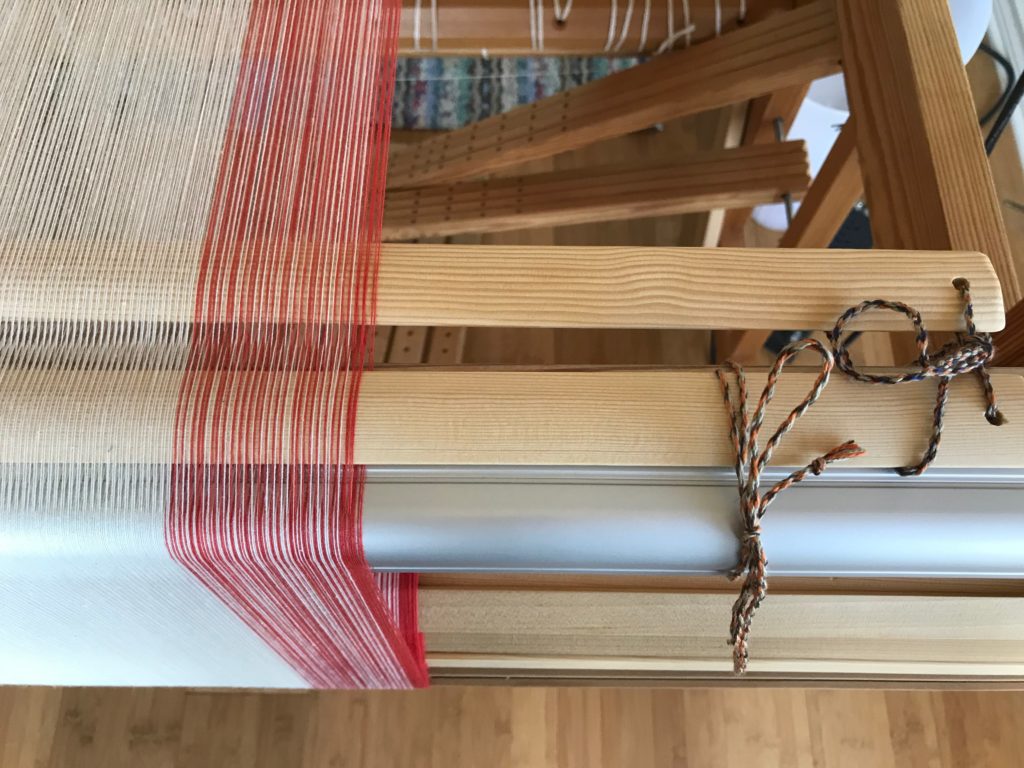
Slay the dragon. Ride the sleigh. Sley the reed. To succeed in these challenges, you must be prepared, pay attention, and make sure you’re on the right track. Here, I’m going to focus on sleying the reed with success. (For dragon slaying and sleigh riding challenges, I won’t be of much help.) Don’t miss the new video below with tips for sleying the reed.

Loom lighting makes a difference!
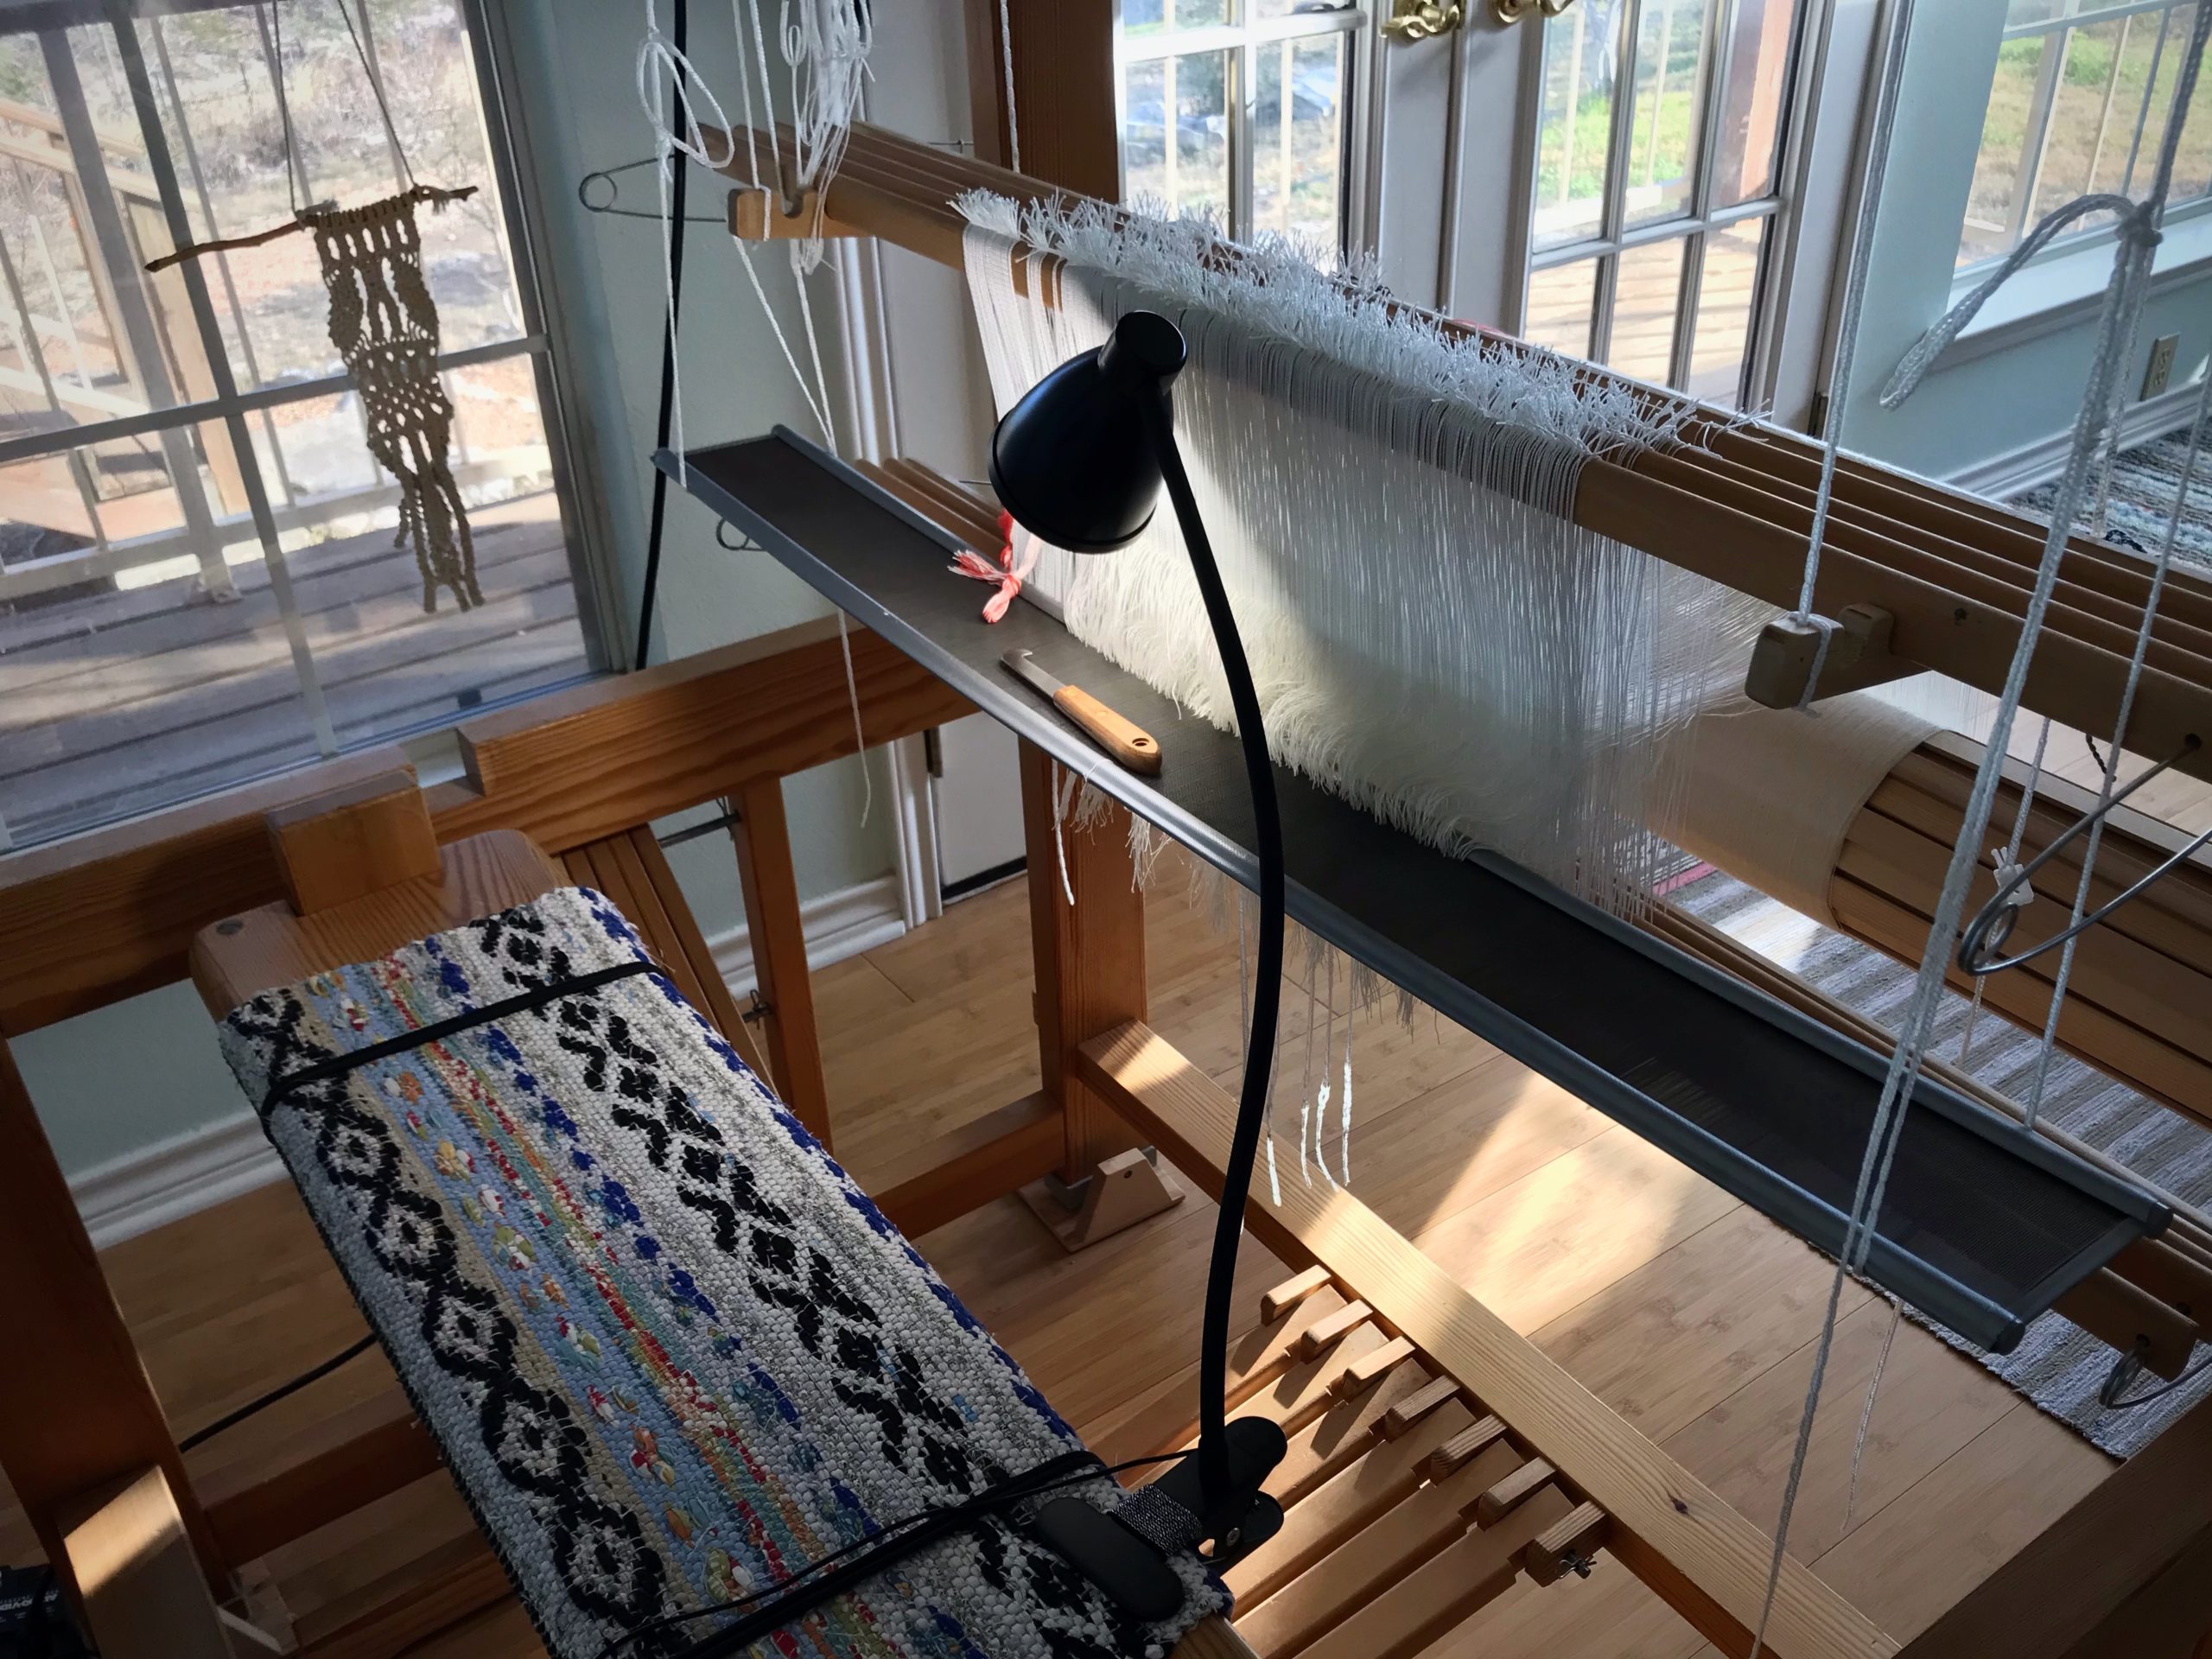
Shop light attached to top of loom provides good general lighting to all working areas of the loom. Smaller clip-on lamp provides directed light for detail work, like sleying a dense reed.
Clip-on lamp for detail work at the loom.
Even in a room filled with natural light, a focused bright light on the work area relieves eye strain and reduces errors.

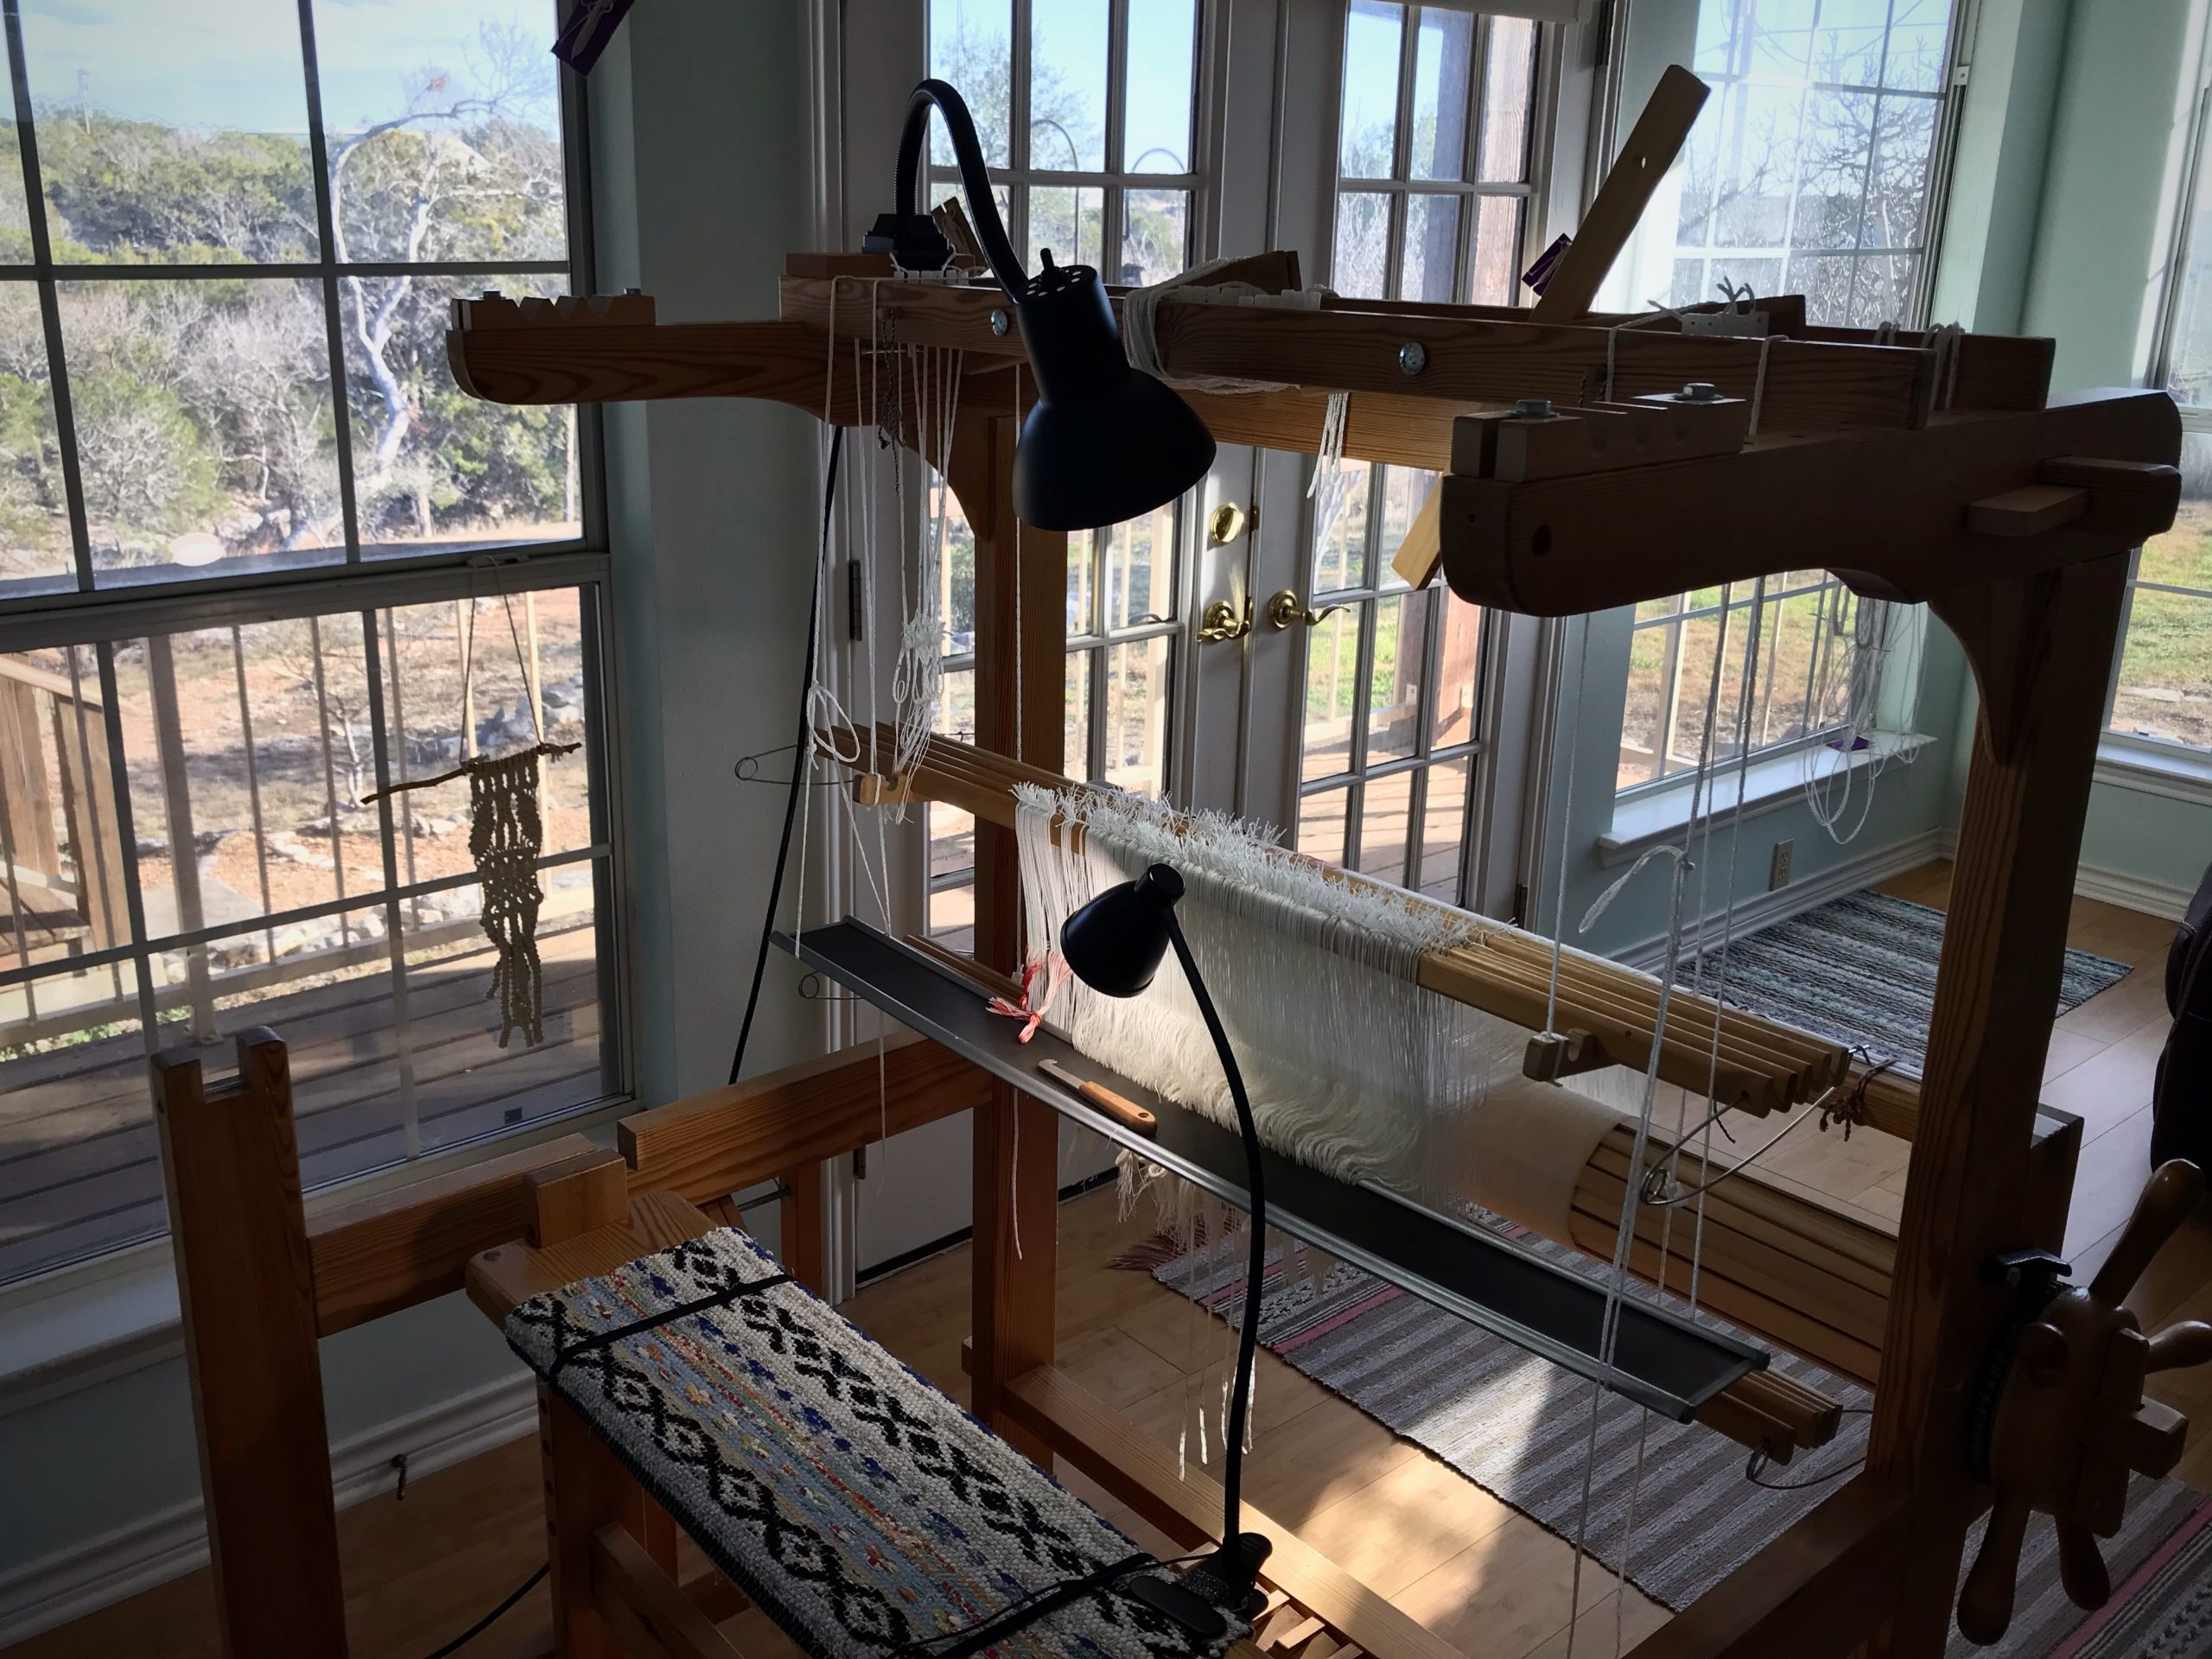
First, make sure you have good lighting. I have a snake arm shop light attached to the top of my loom. (See Tools Day: Loom Lighting for more about loom lighting.) I also have a smaller clip-on gooseneck LED lamp, clipped onto my loom bench, that illuminates my specific working area. With a fine-dent reed, like this metric 100/10- (~ imperial 25-) dent reed, focused lighting makes a difference. It means seeing the dents instead of guessing.

Making a new video. Tips for sleying the reed.
Making a new video. Steve does the filming and I do the editing.

In this video, I share some tips for sleying the reed, with checkpoints to ensure success. (See Tools Day: Click Test for more about the “click test” mentioned in the video.)

May your dragons be few.

Yours truly,
Karen
Tried and True: Weft Color Changes and Video

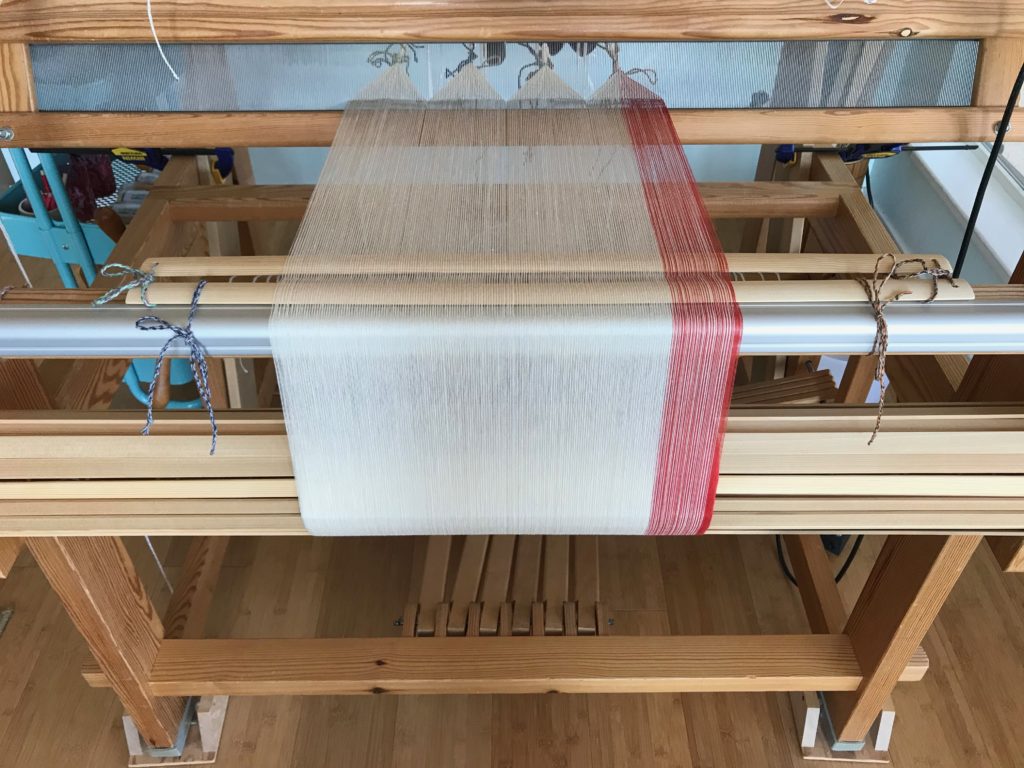
I have an efficient way to handle weft color changes. It’s very simple. This is for those instances when I need to end one weft thread and start a new one. As a rule, I take care of weft tails as I go. I don’t want to come back to them later if I don’t have to. If I tuck in each weft tail at the beginning of the row, thickness from the extra wefts builds up at the selvedge, especially if I’m weaving horizontal stripes. The method I describe reduces the extra wefts, and eliminates having to tuck any tails in.

Weaving tutorial about weft color changes.
Color changes add to the movement and excitement of the design.
How to change weft colors - simple!
Vertical and horizontal narrow stripes in six-shaft broken twill.

How to Start a New Weft Color

  1. Weave the last pick of one color.
  2. Change to the shed needed for the next color. Take the shuttle with the first color into the shed for about about 3 cm (1 1/8”), and bring the shuttle up and out through the top of the warp.
  3. Lightly beat (tap) in the 3 cm (1 1/8”) of thread. Carefully snip off the thread close to the warp.
  4. Weave a pick of the next color, with the end of the new thread overlapping the 3 cm (1 1/8”) of the previous color thread. Position the new thread such that the end is outside the selvedge just a hair.
  5. Beat in the new weft and continue weaving until the next color change.
Tutorial about efficient way to change weft colors.
Ending the third of four bath towels.
Stripes in towels. How to!
Hand towels waiting to be paired up with the bath towels…hopefully, before Christmas!

Watch this short video to see me demonstrate this method of changing the weft colors.

May your choice of weft colors give a glimpse of your best qualities.

Simply Weaving,
Karen
Process Review: Beaming the Warp

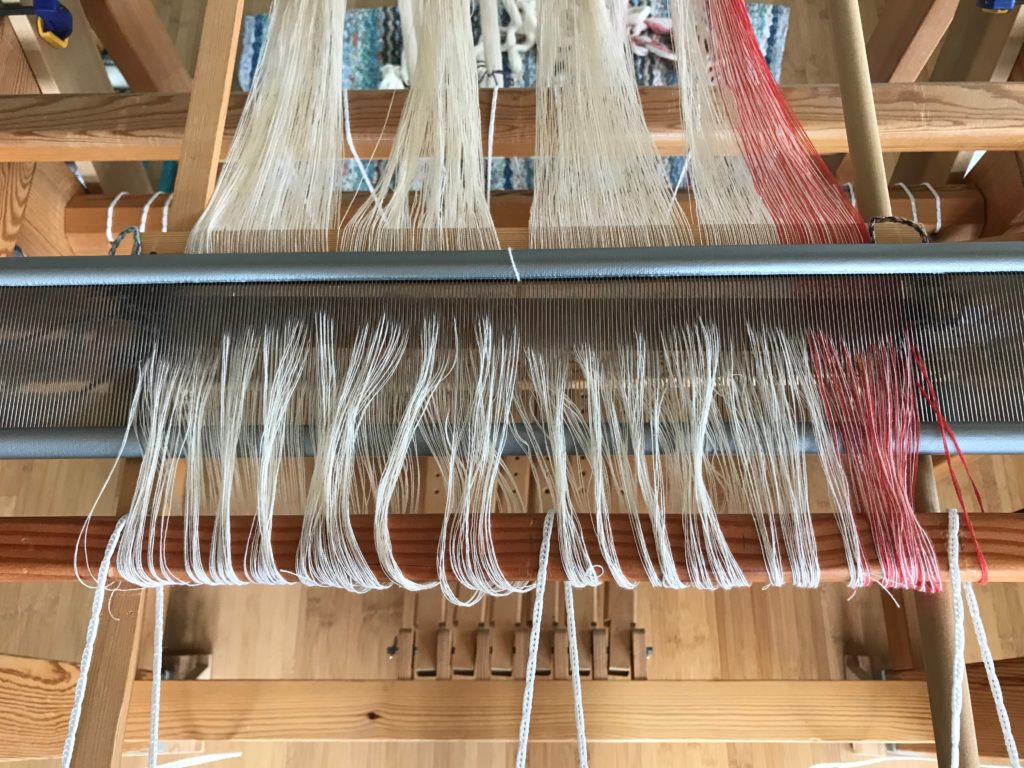
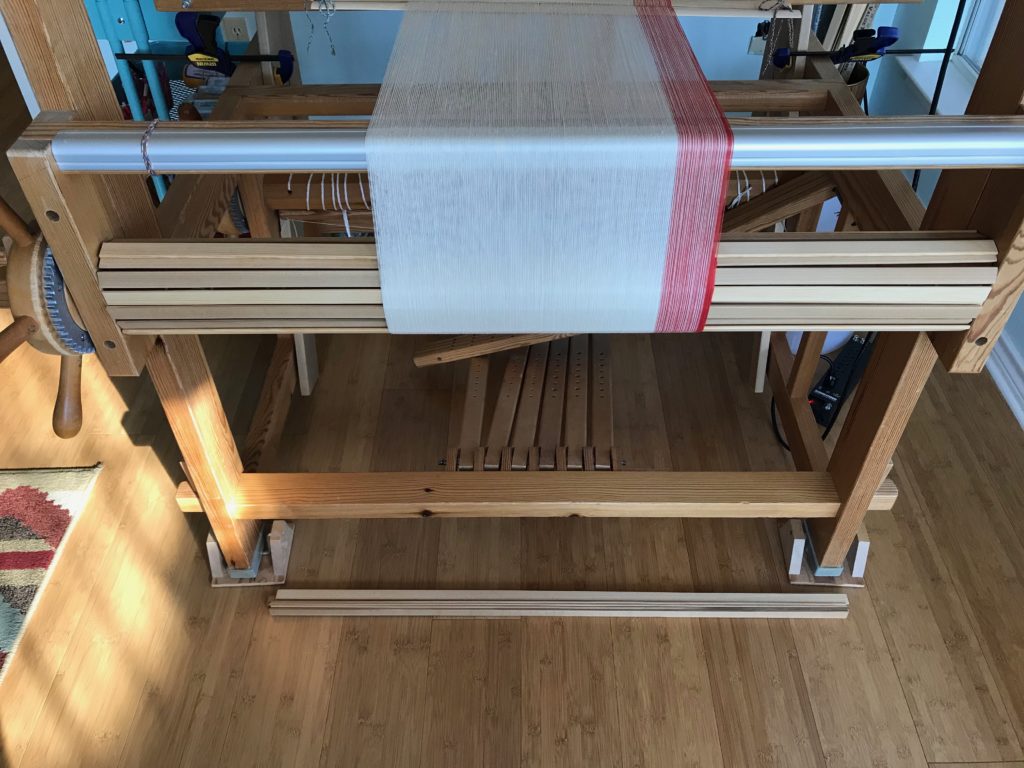
I am making a new ‘cello skirt (a tiered skirt), starting from scratch. The warp is 24/2 cotton, most of it unbleached. Each tier will be edged with a narrow Poppy border. The pattern in the cloth will be a huckaback (huck lace) design, adapted from Little Tablecloth in Huckaback on p.10 in Happy Weaving from VävMagisinet.
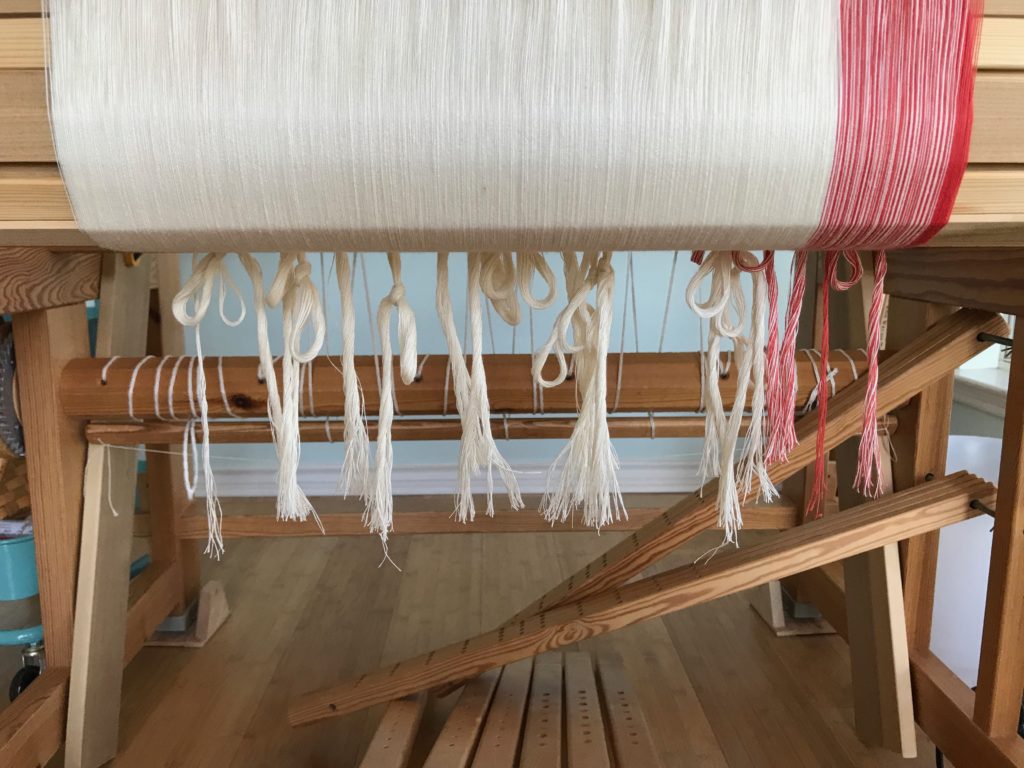
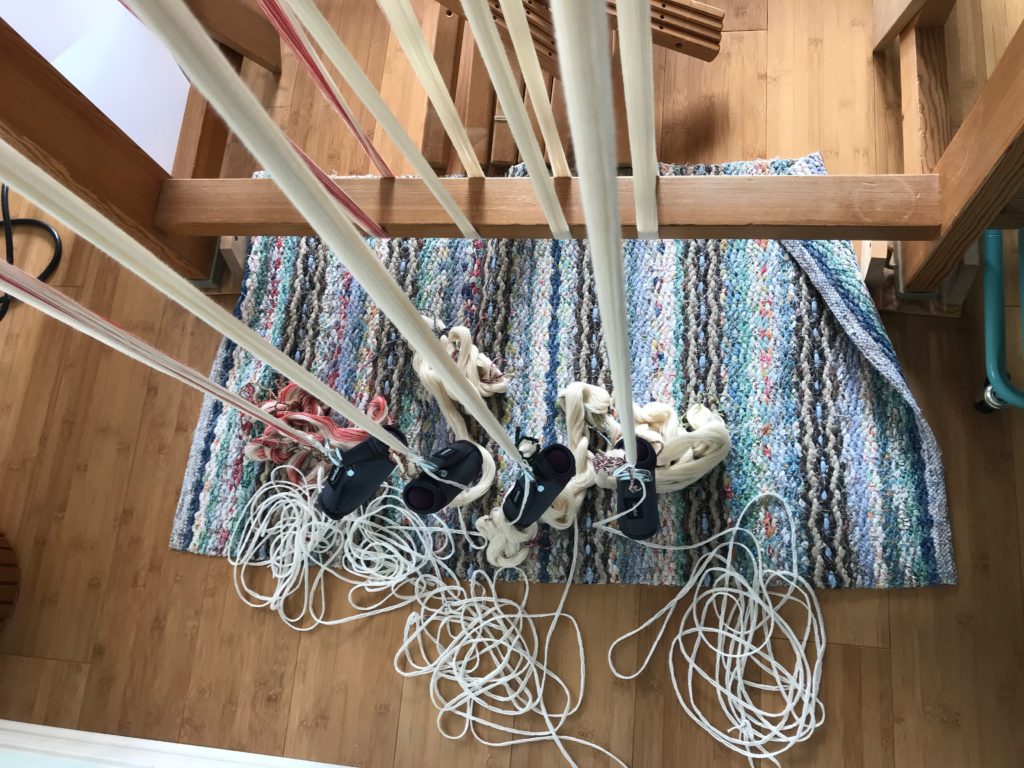
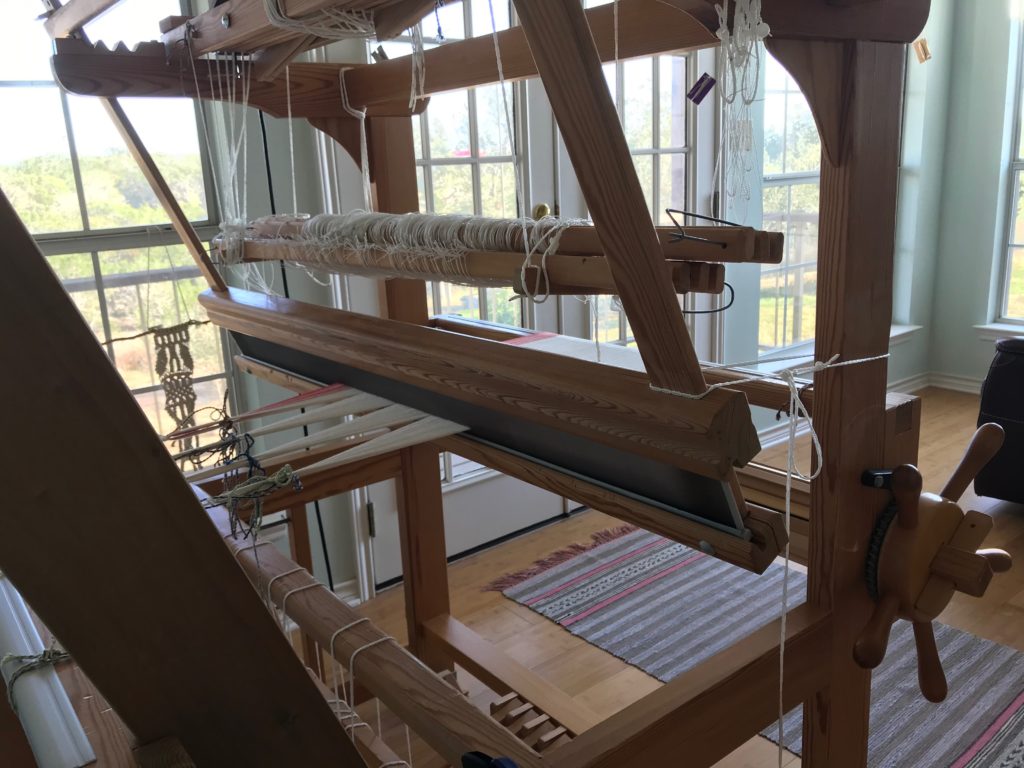
Preparing to beam the warp.

Today, I’m beaming the warp. My method includes a combination of things I have learned from these three excellent sources: Learning to Warp Your Loom, by Joanne Hall, Dress Your Loom the Vävstuga Way, by Becky Ashenden, and The Big Book of Weaving, by Laila Lundell.

I’ll let the pictures speak for themselves.

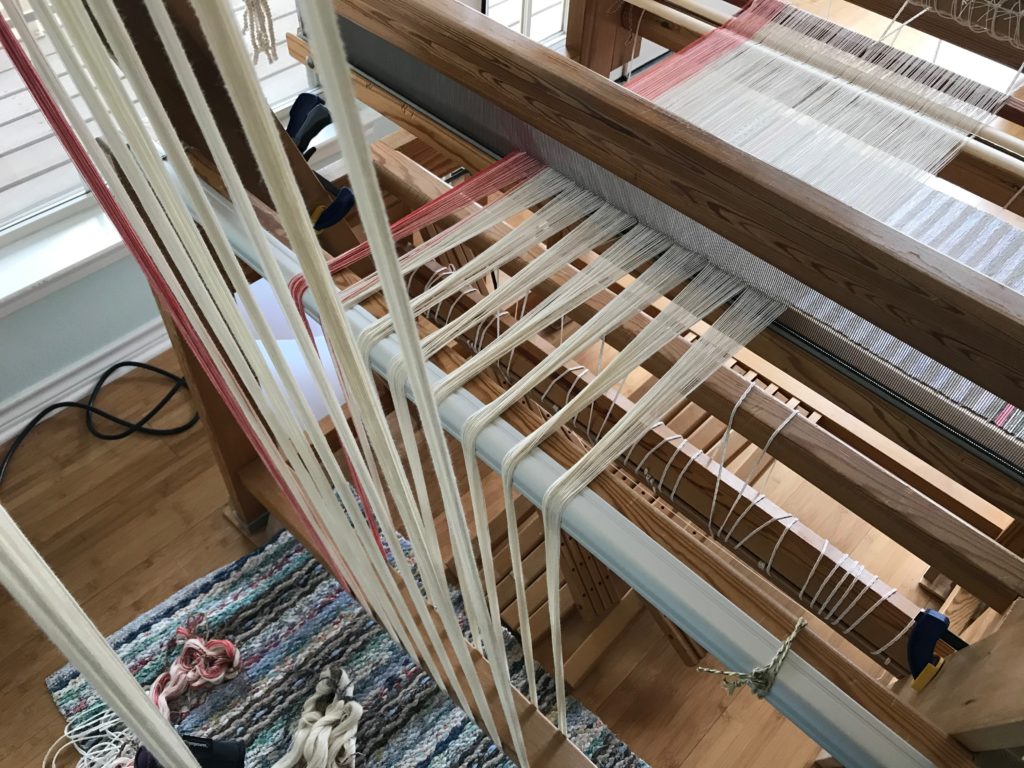
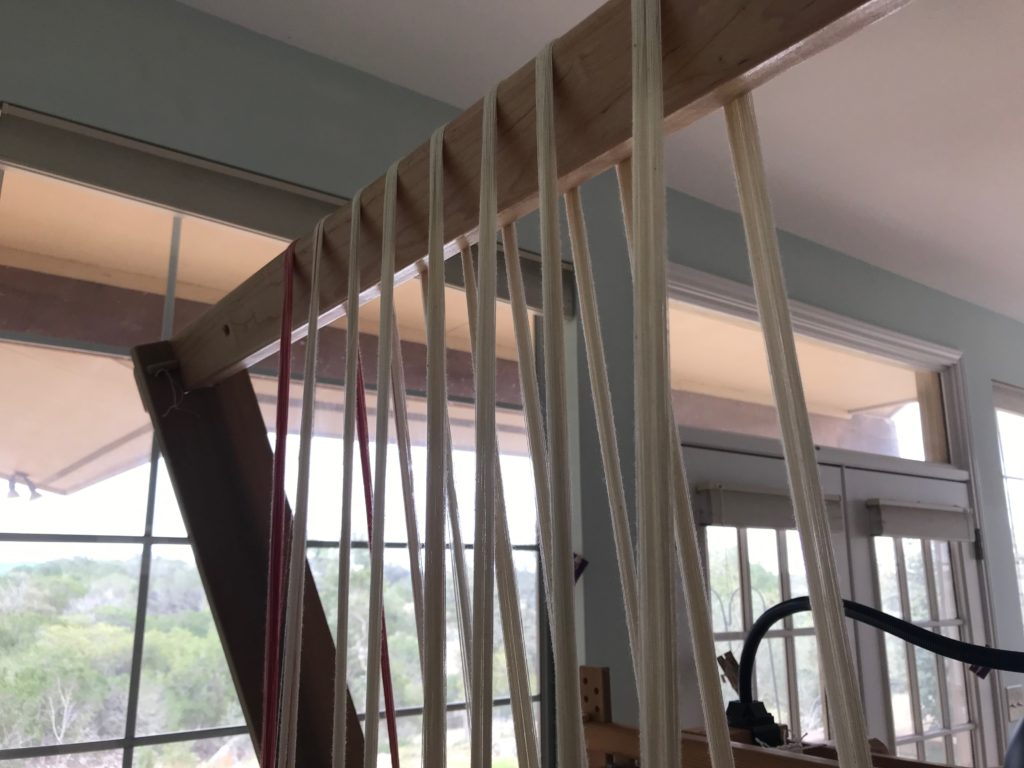
Using warping trapeze to beam the warp.
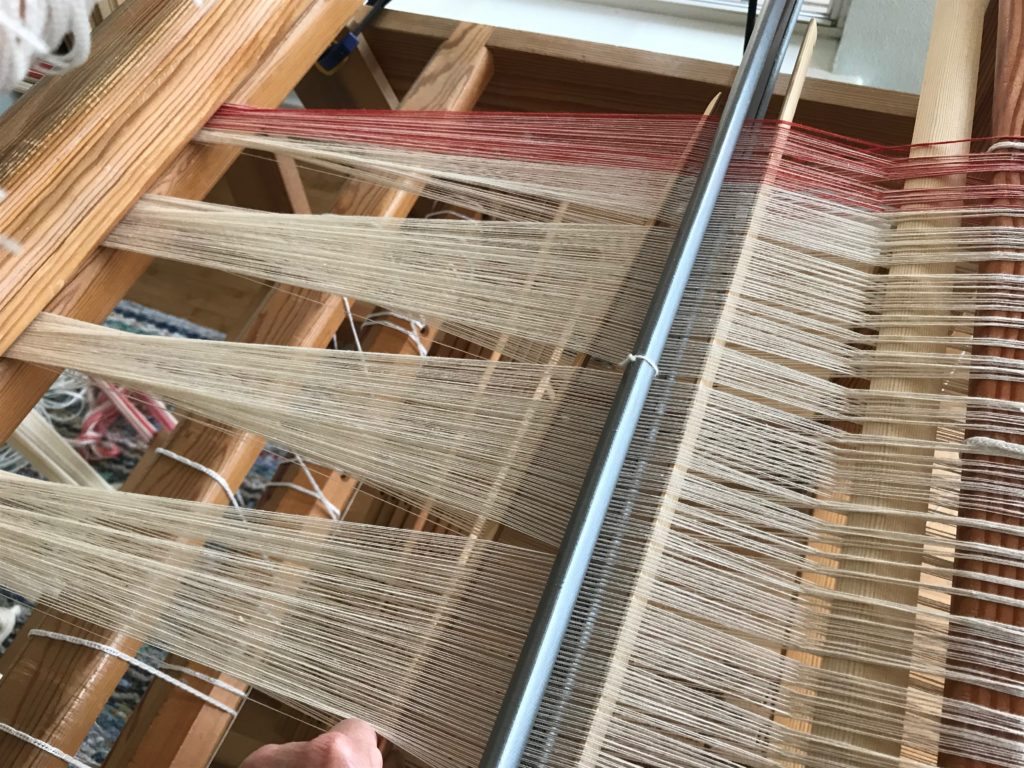
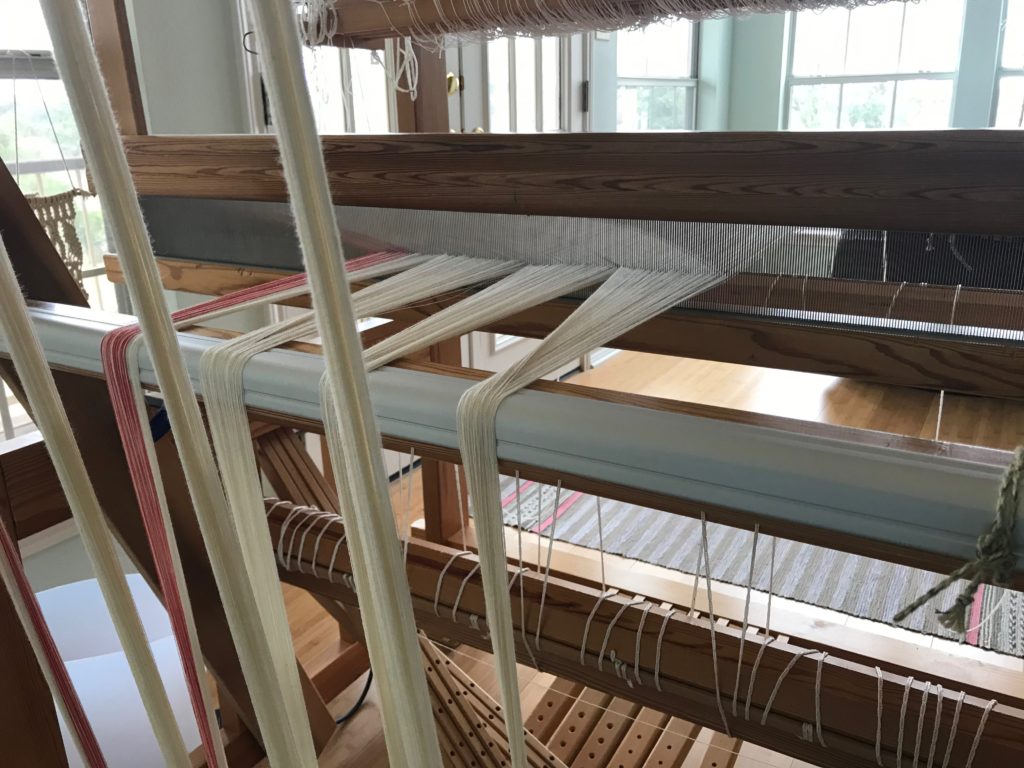
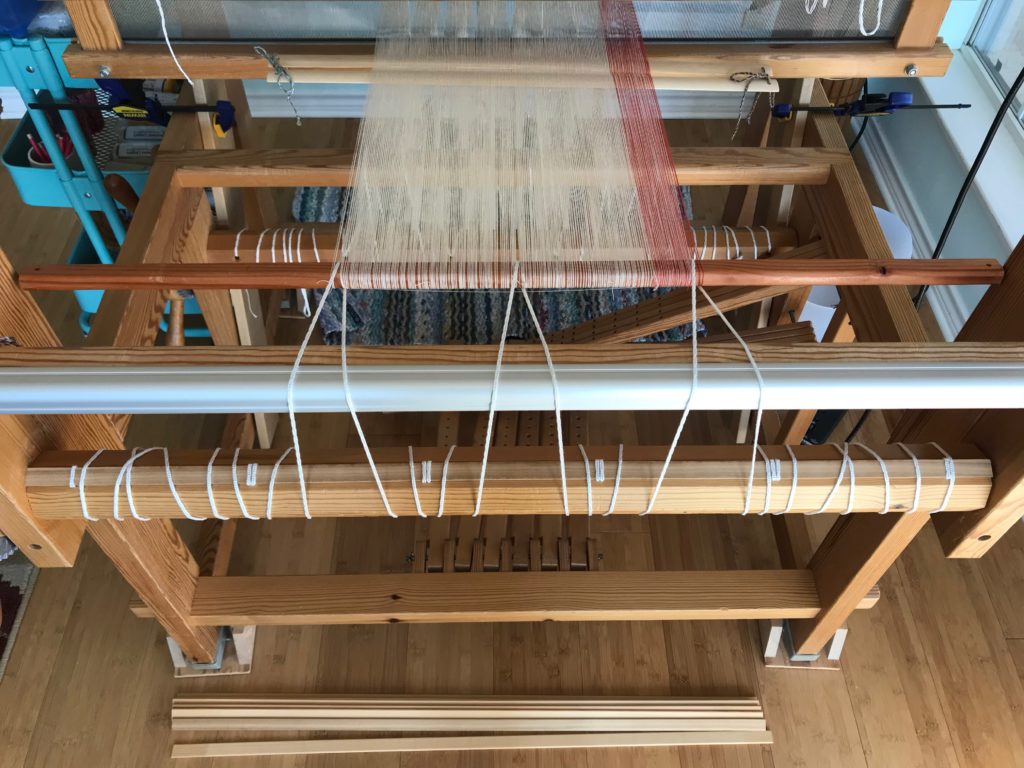
Transferring the lease sticks.
Transferring lease sticks.
Transferring lease sticks. Beaming.
Beaming a new warp.
Beaming the warp with a trapeze.
Warping trapeze in use.
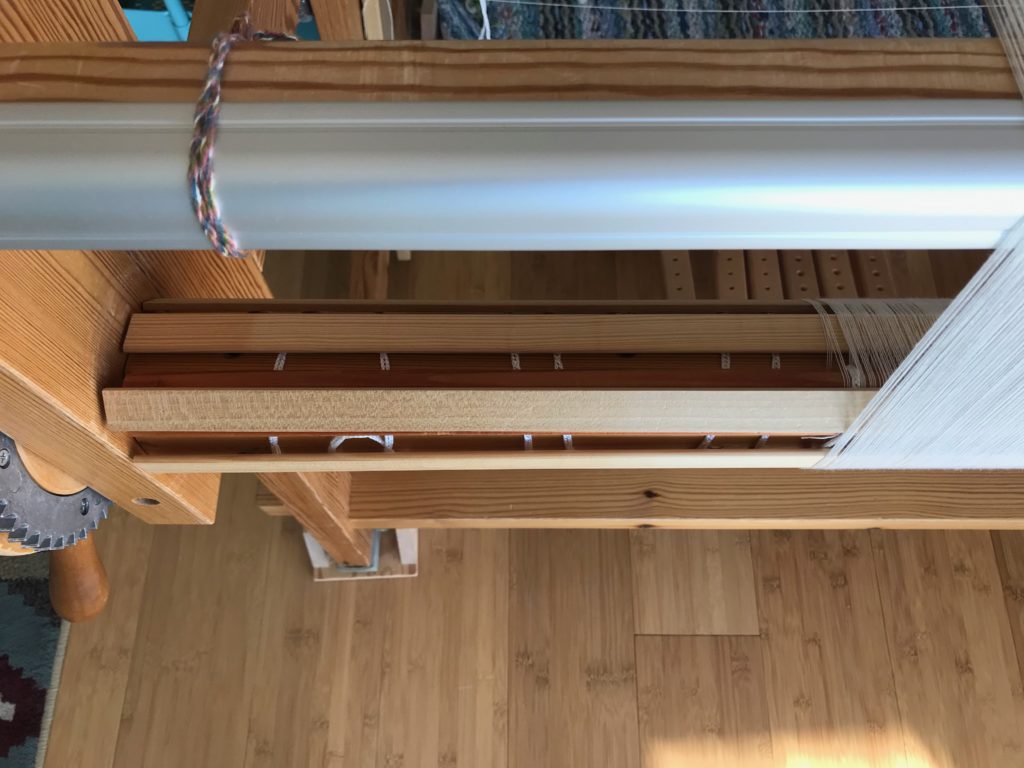
Using warping slats.
Placing warping slats.
Beaming with warping slats.
Warping trapeze in use.
Warping slats for beaming the warp.
Last step in beaming the warp.
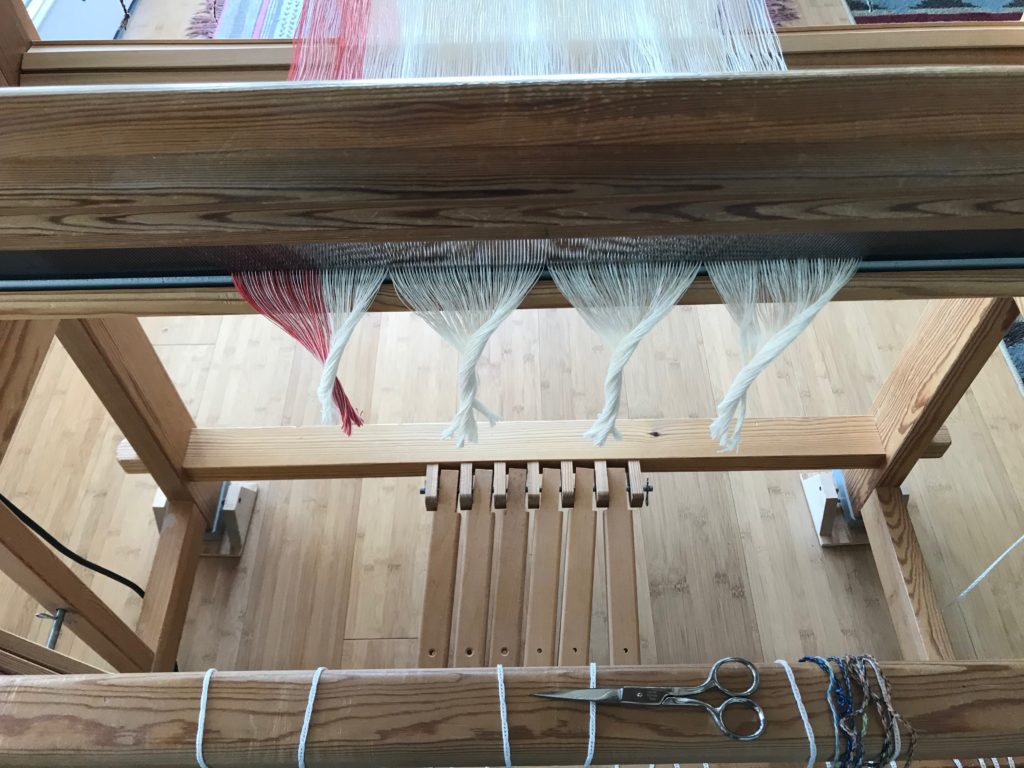
Tie the lease sticks to the back beam.
Lease sticks tied to back beam.
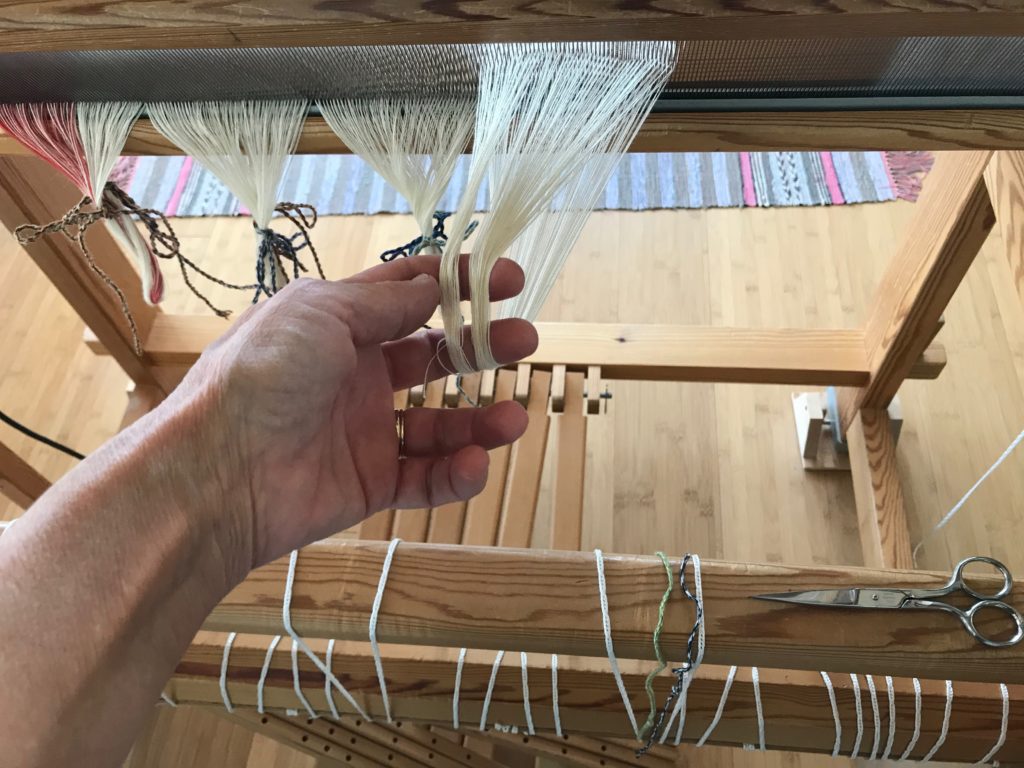
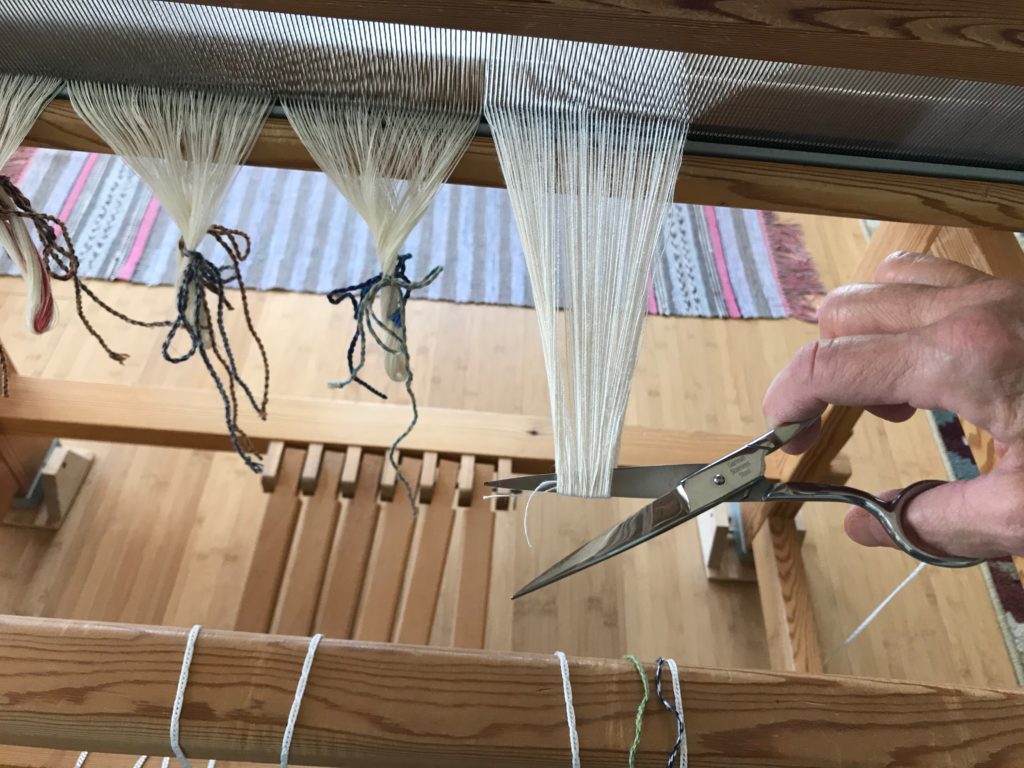
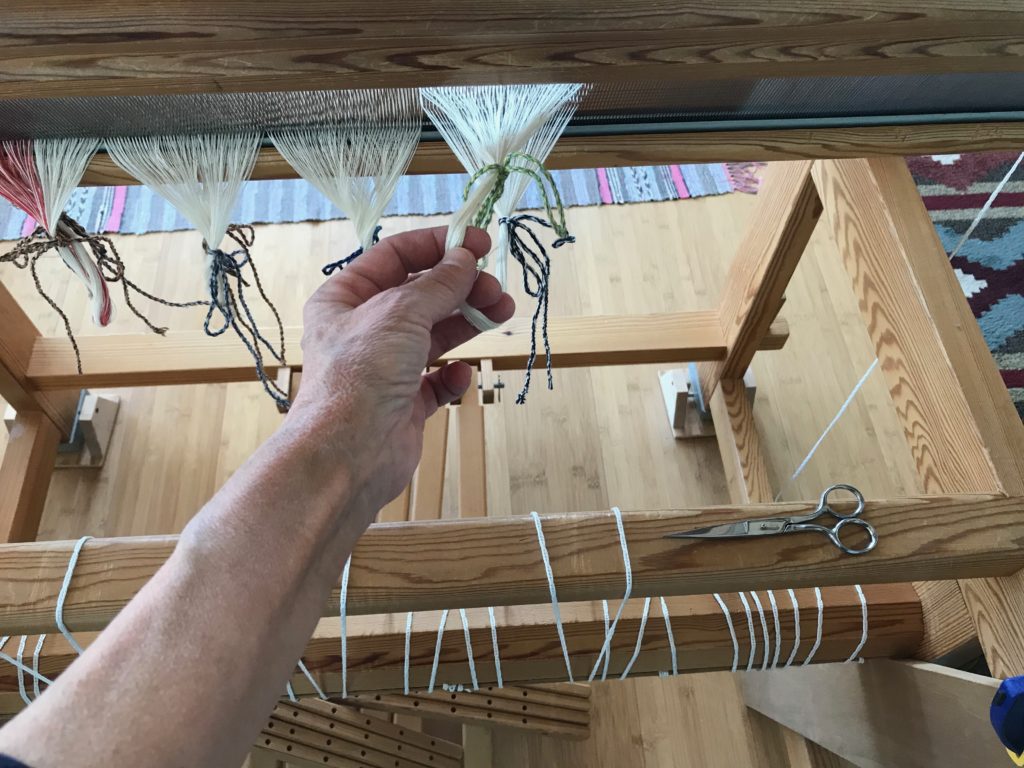
Ready to cut the end-of-warp loops.
Cutting loops at end of the warp.
Cutting the loops at the end of the warp.
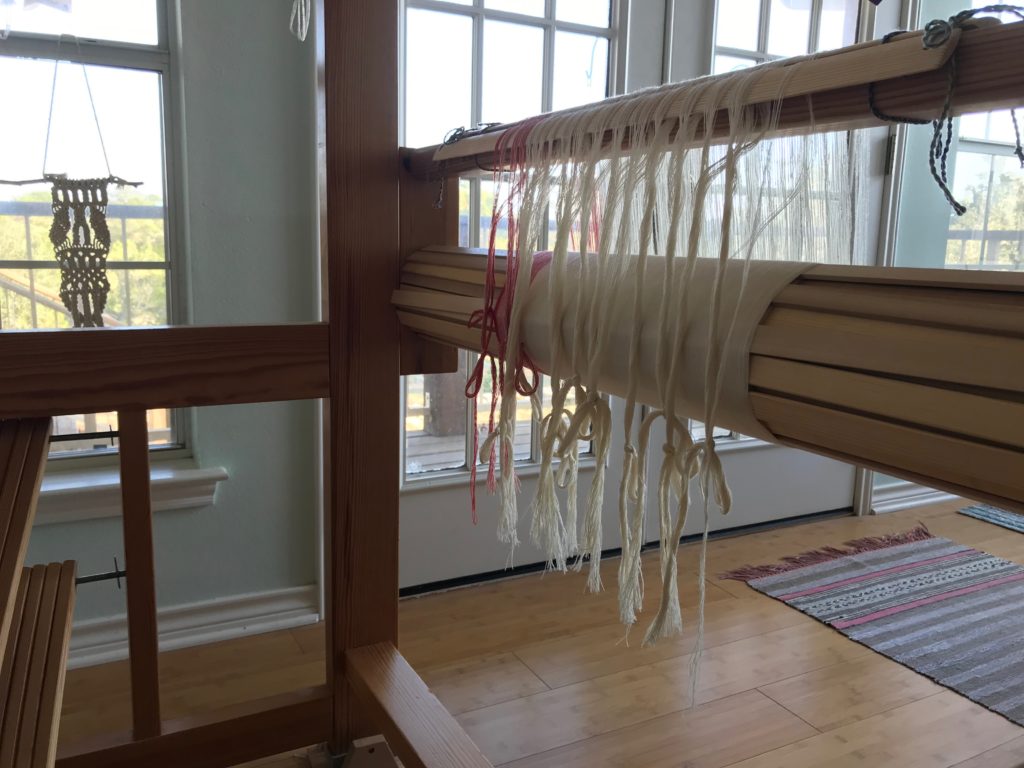
Beaming a new warp.
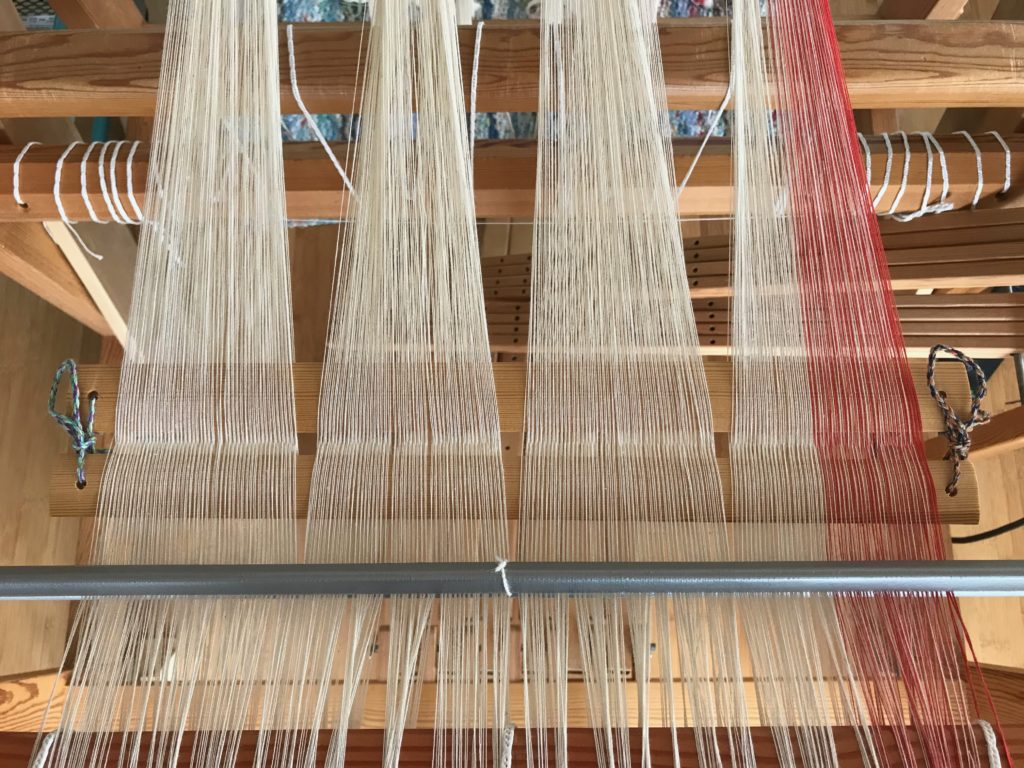
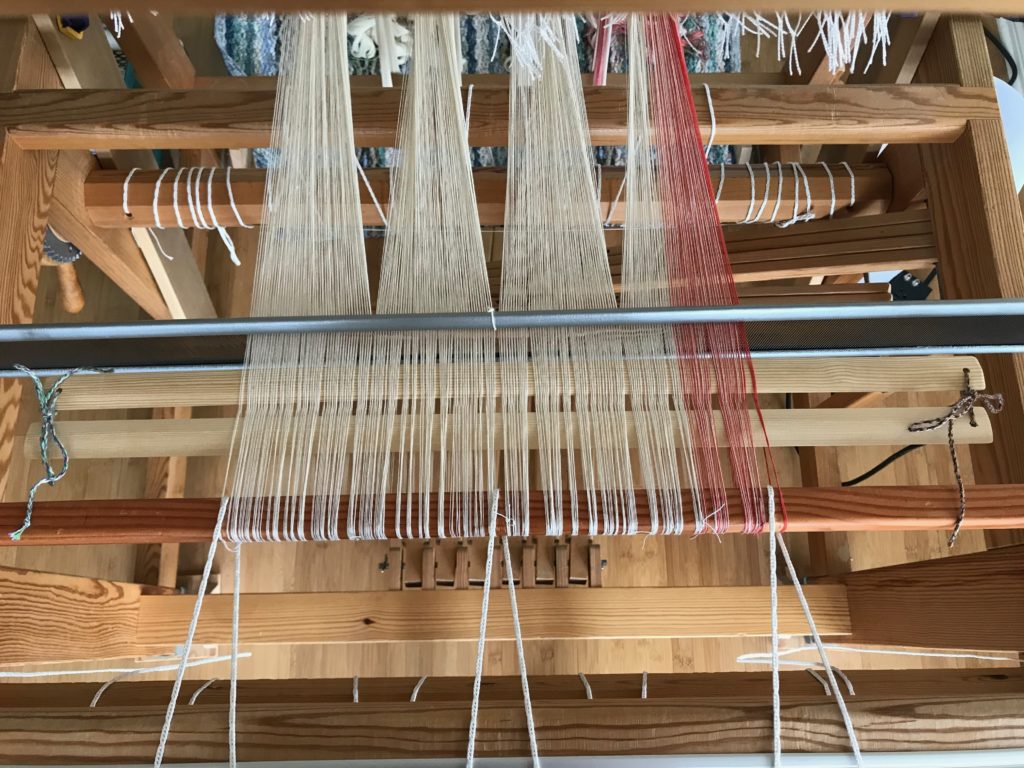
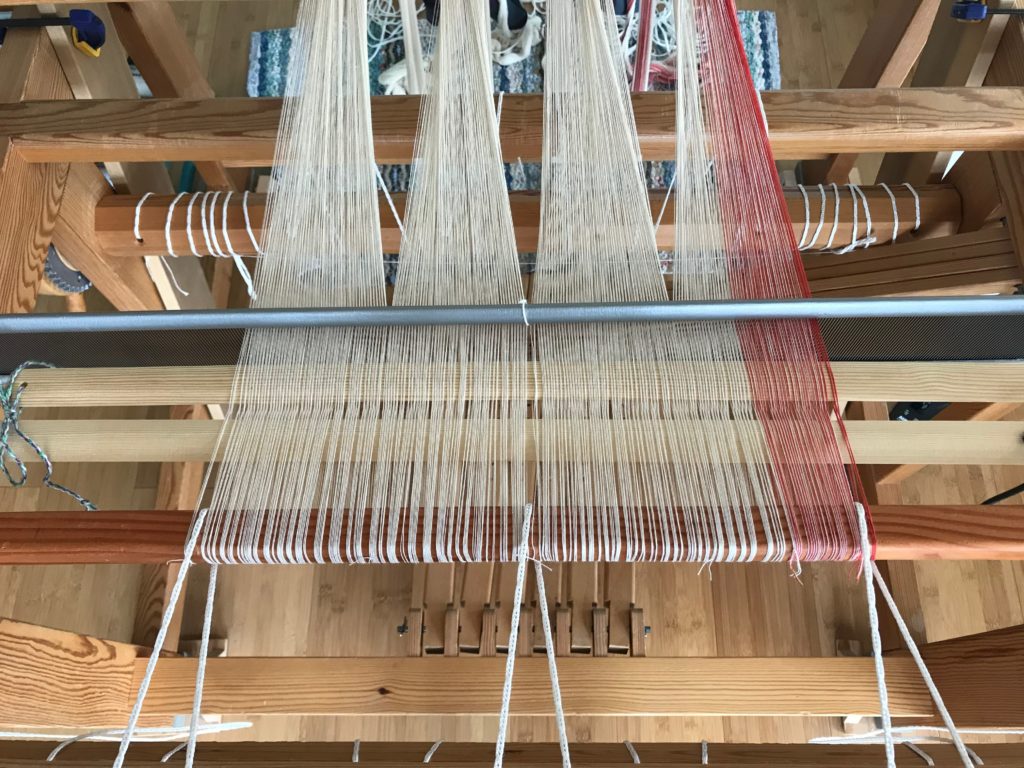
All Counted into Threading Groups
Newly beamed warp. Complete process pictures.
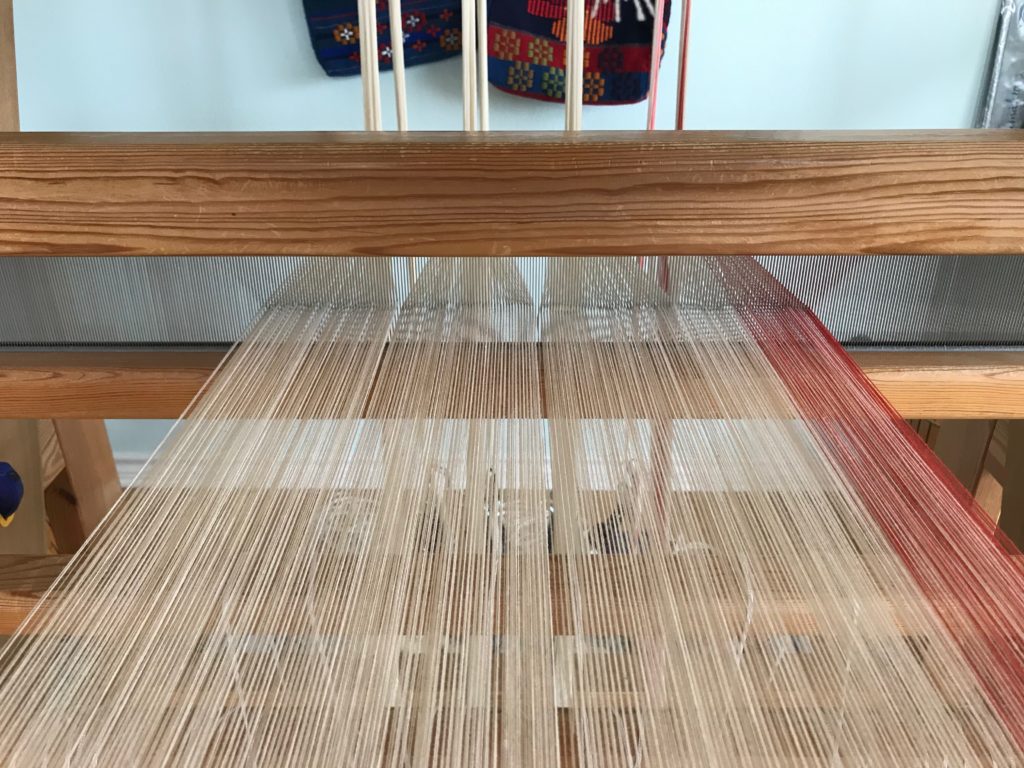
Newly beamed warp ready for threading.
Beaming process in pictures.

Do you have any questions about my beaming process? If you warp back to front, like I do, what do you do differently?

May you find yourself beaming.

Happy Weaving,
Karen