End of Warp Surprise

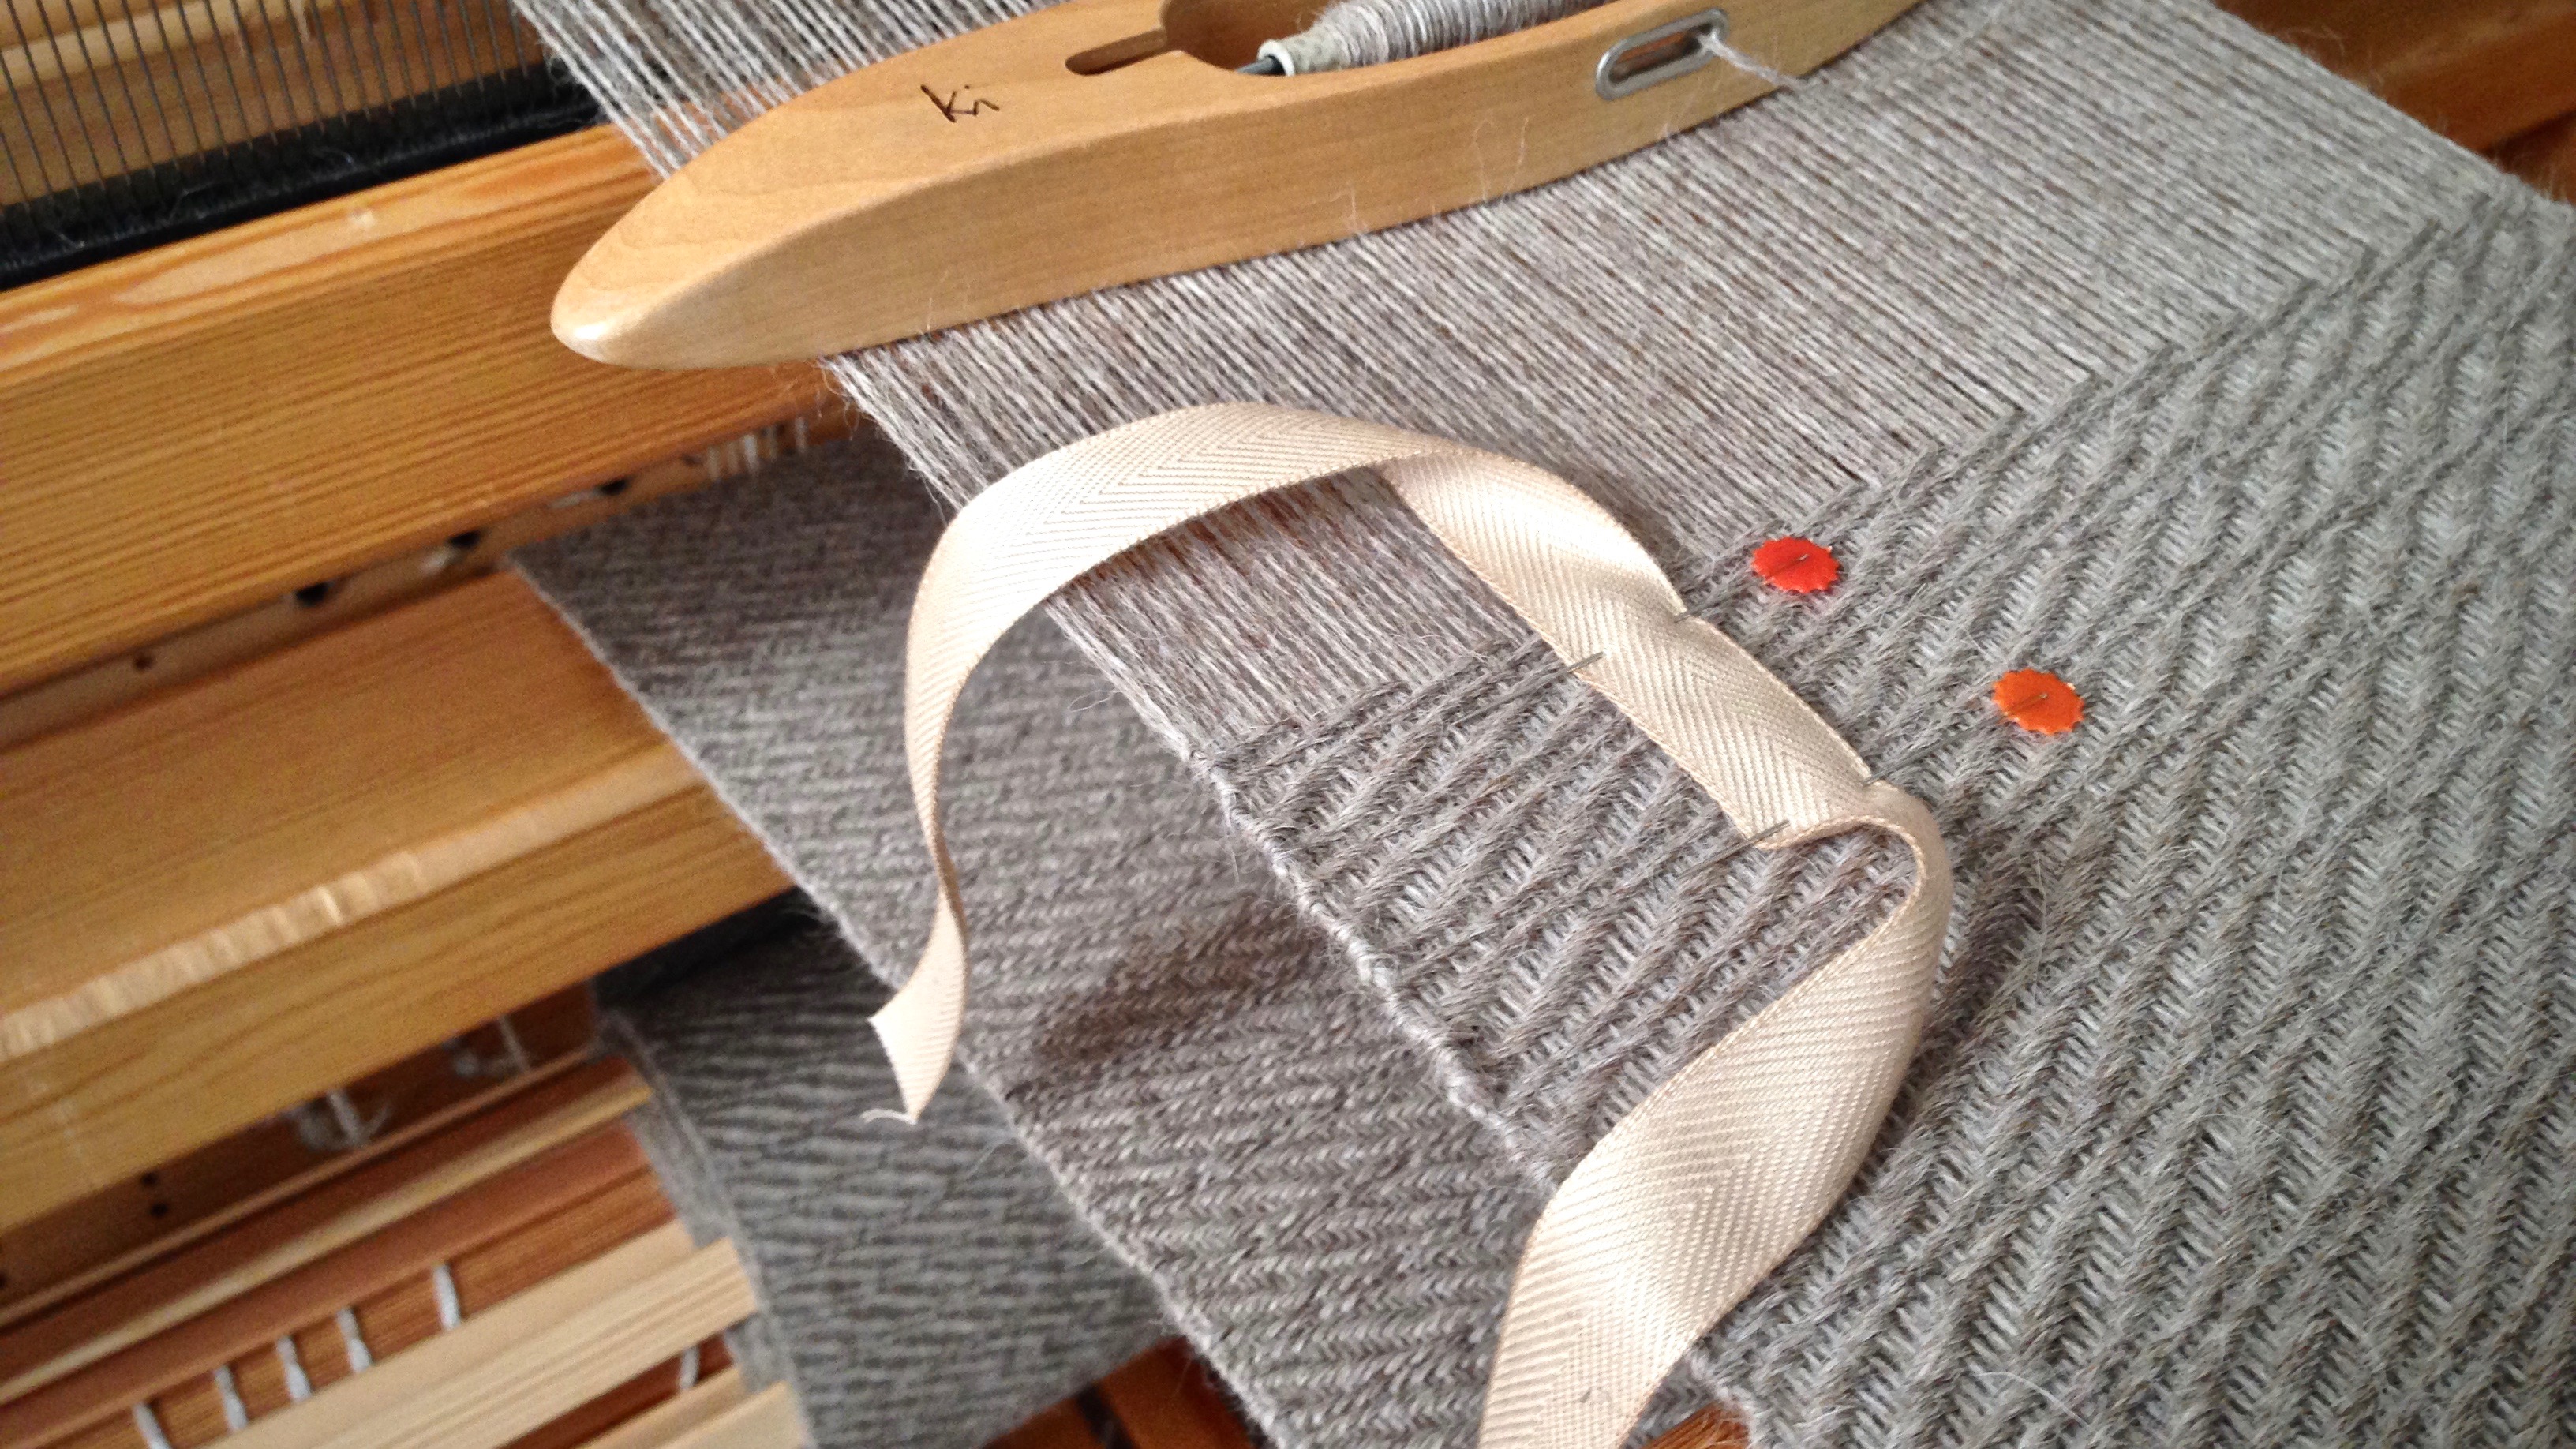
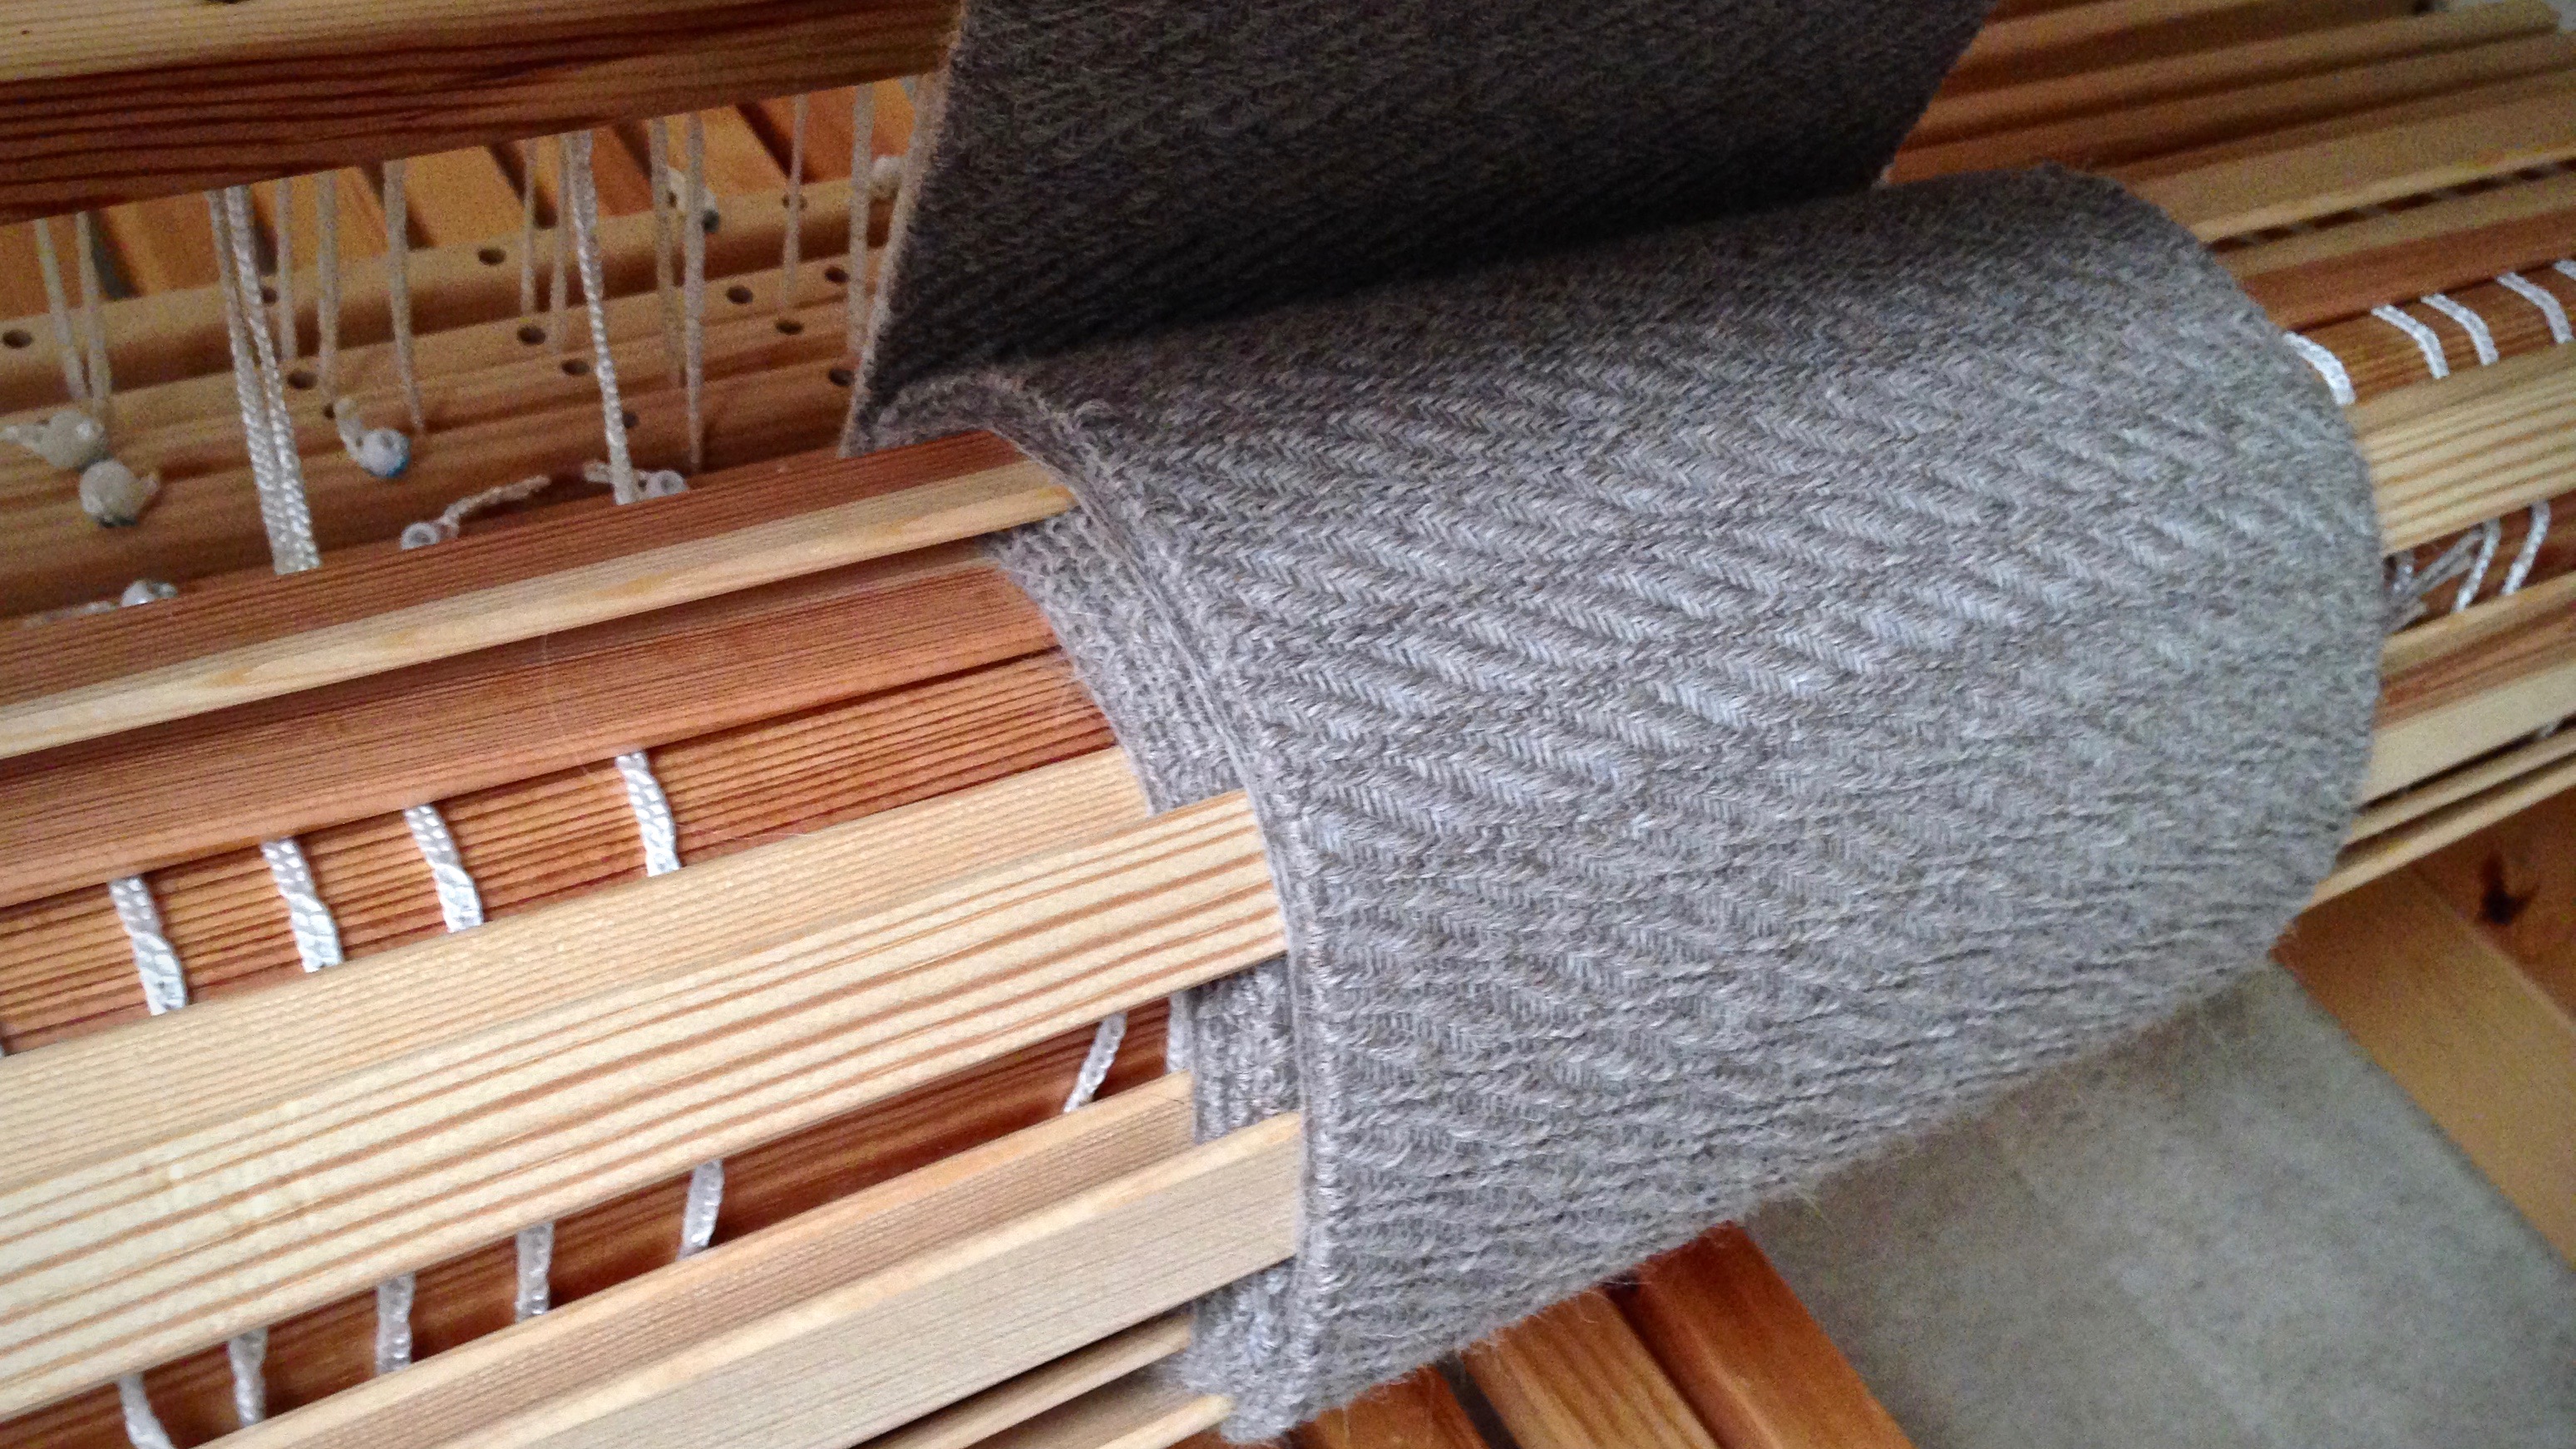
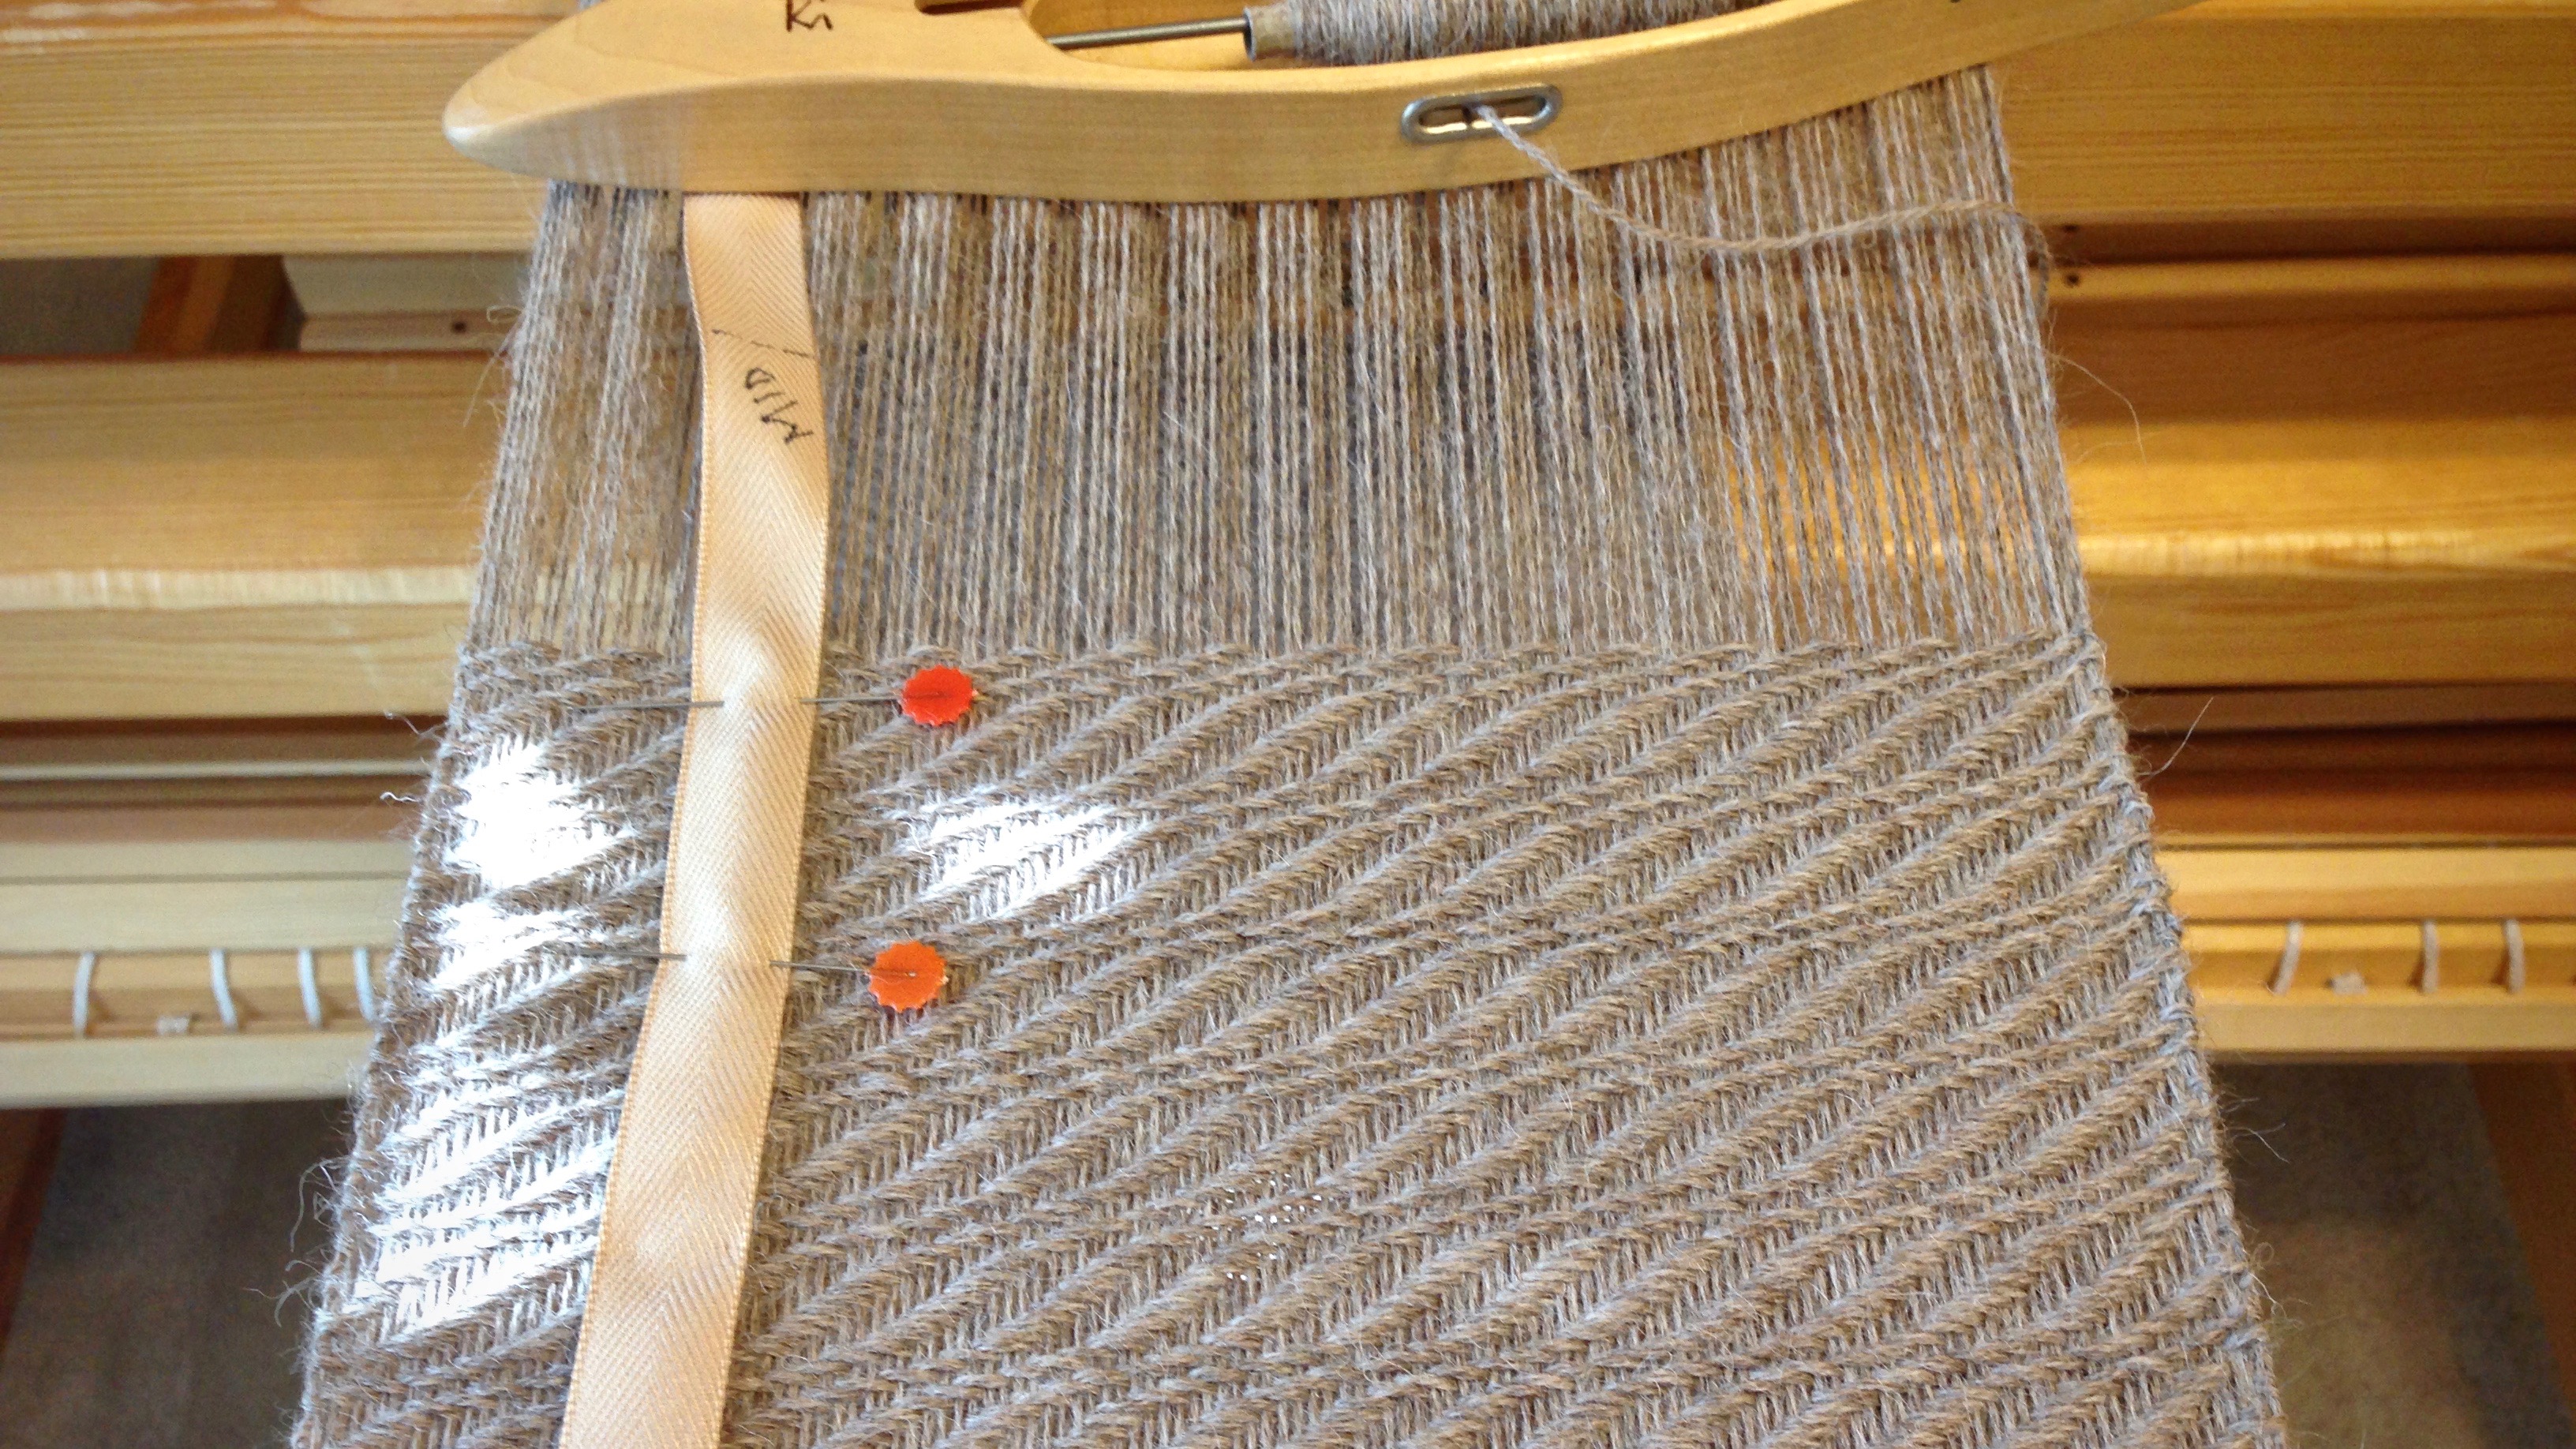
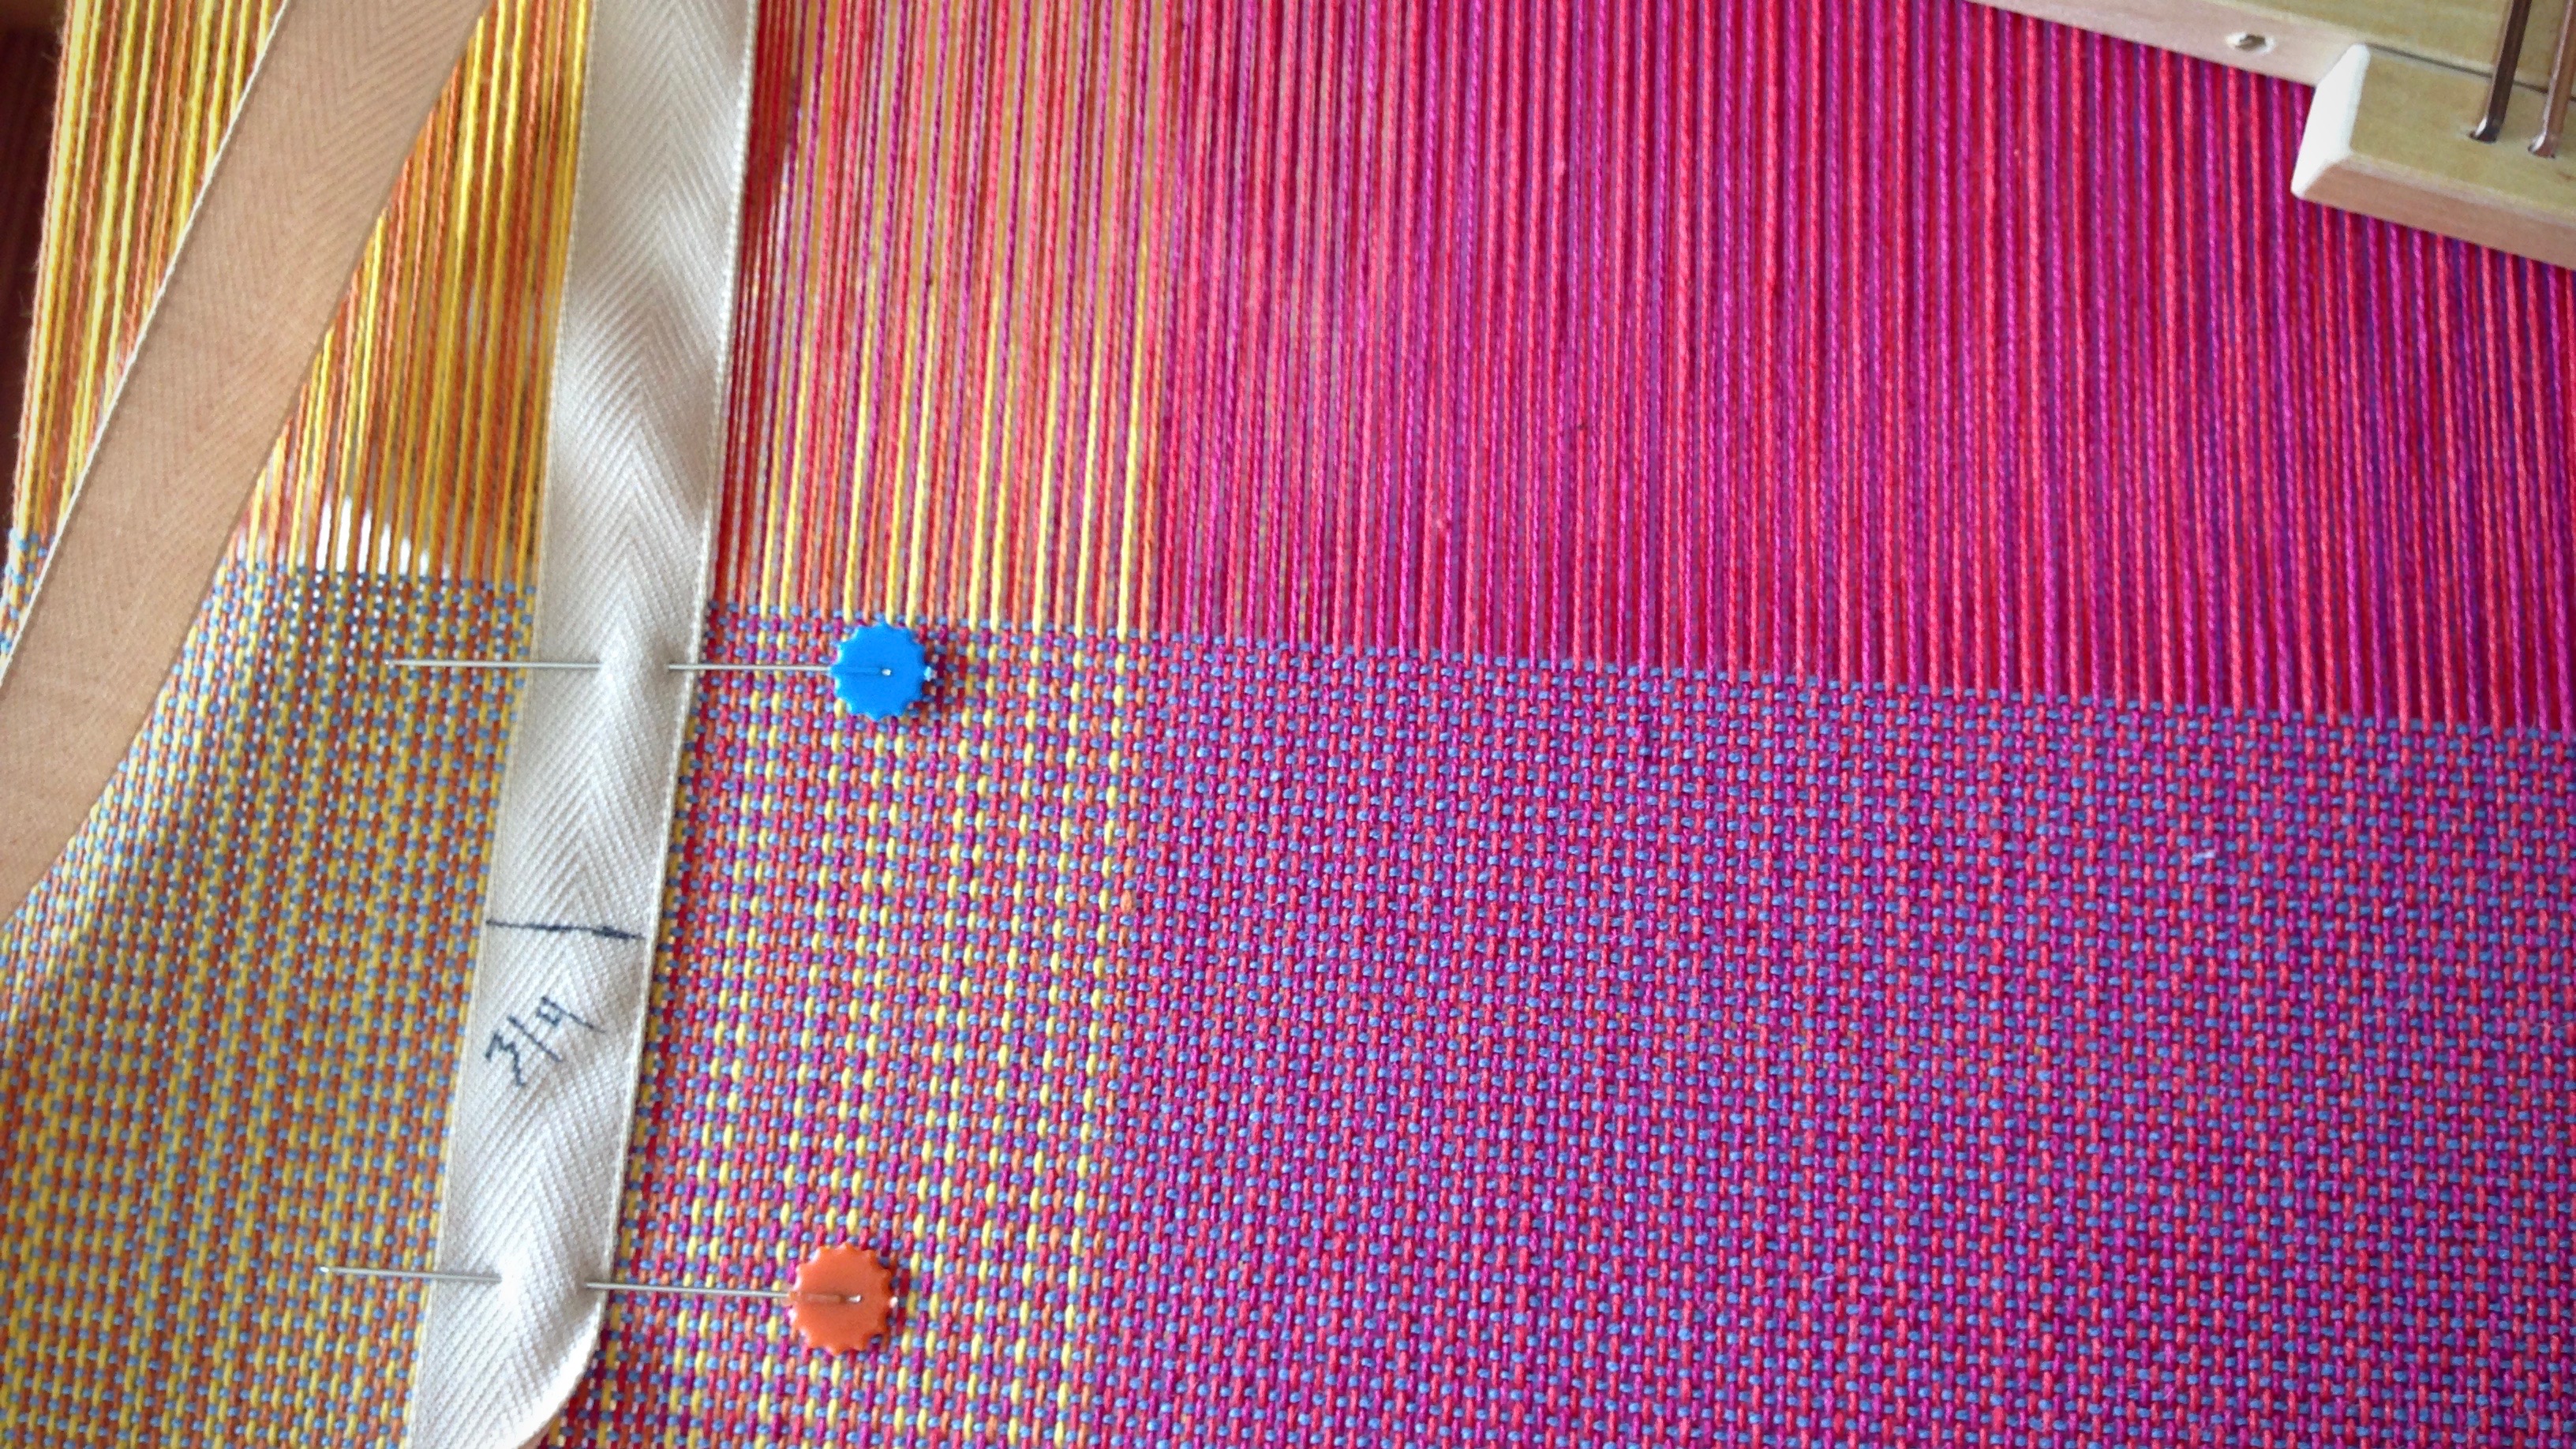
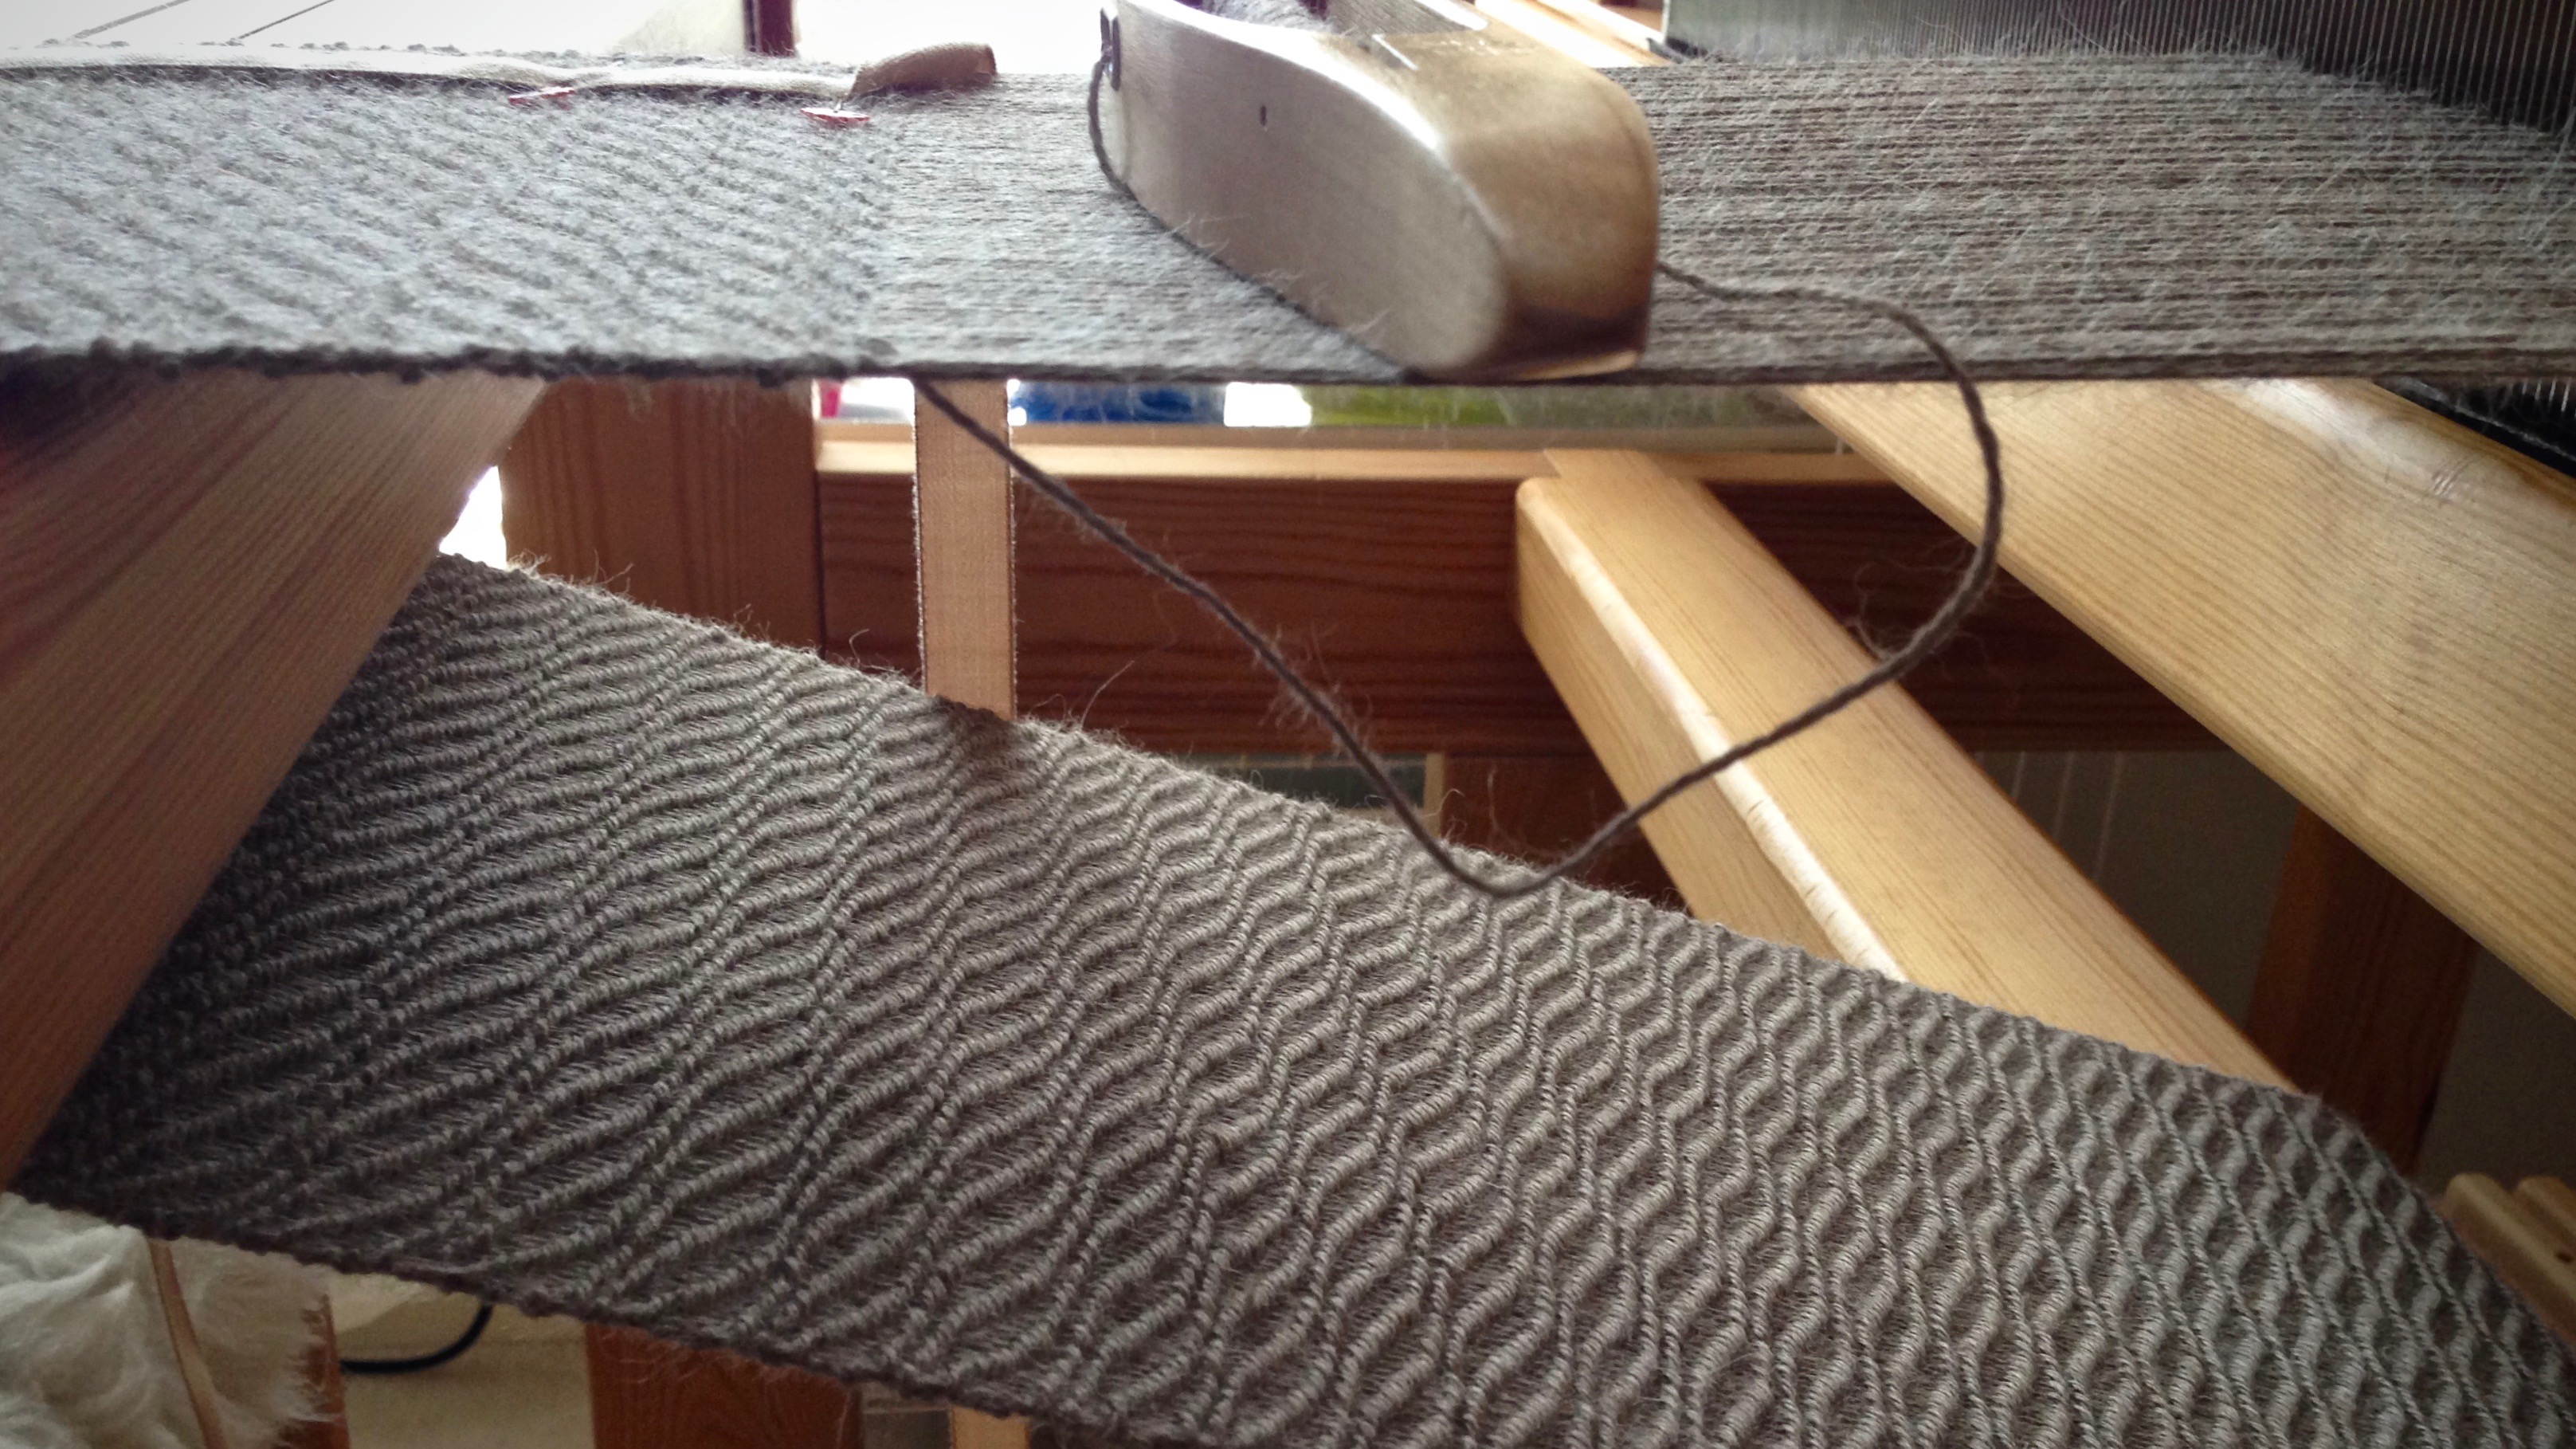
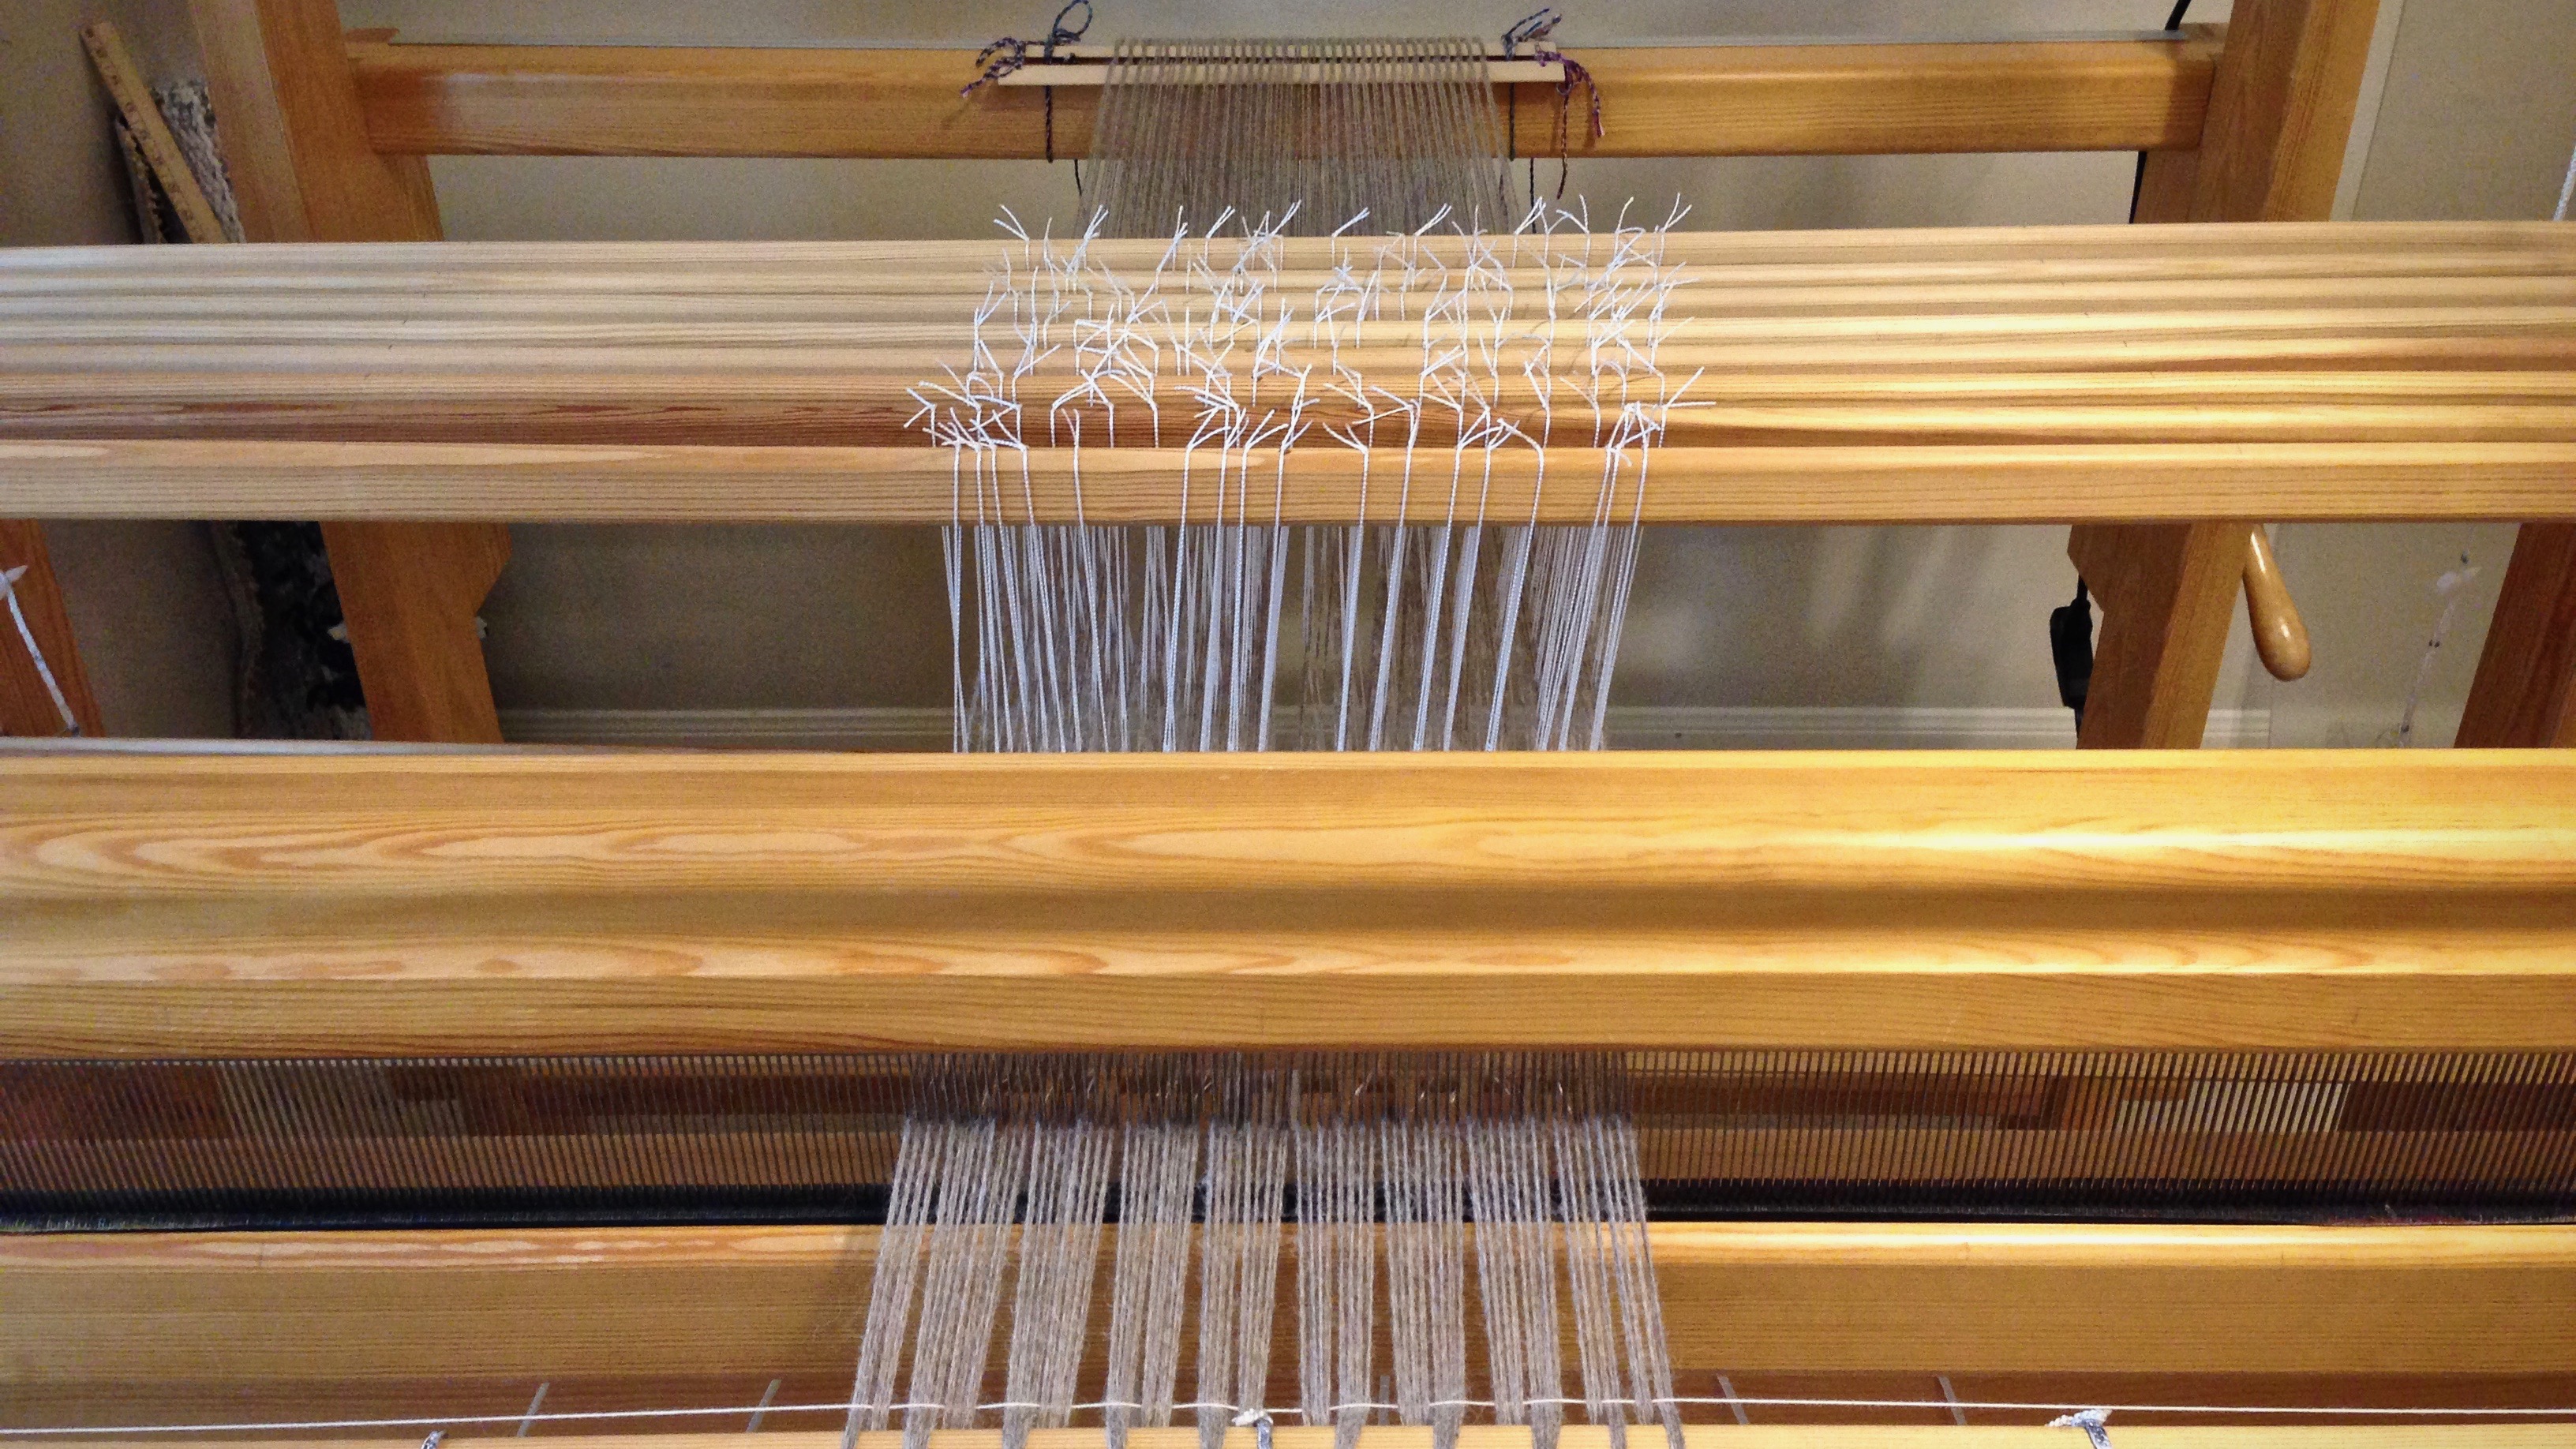
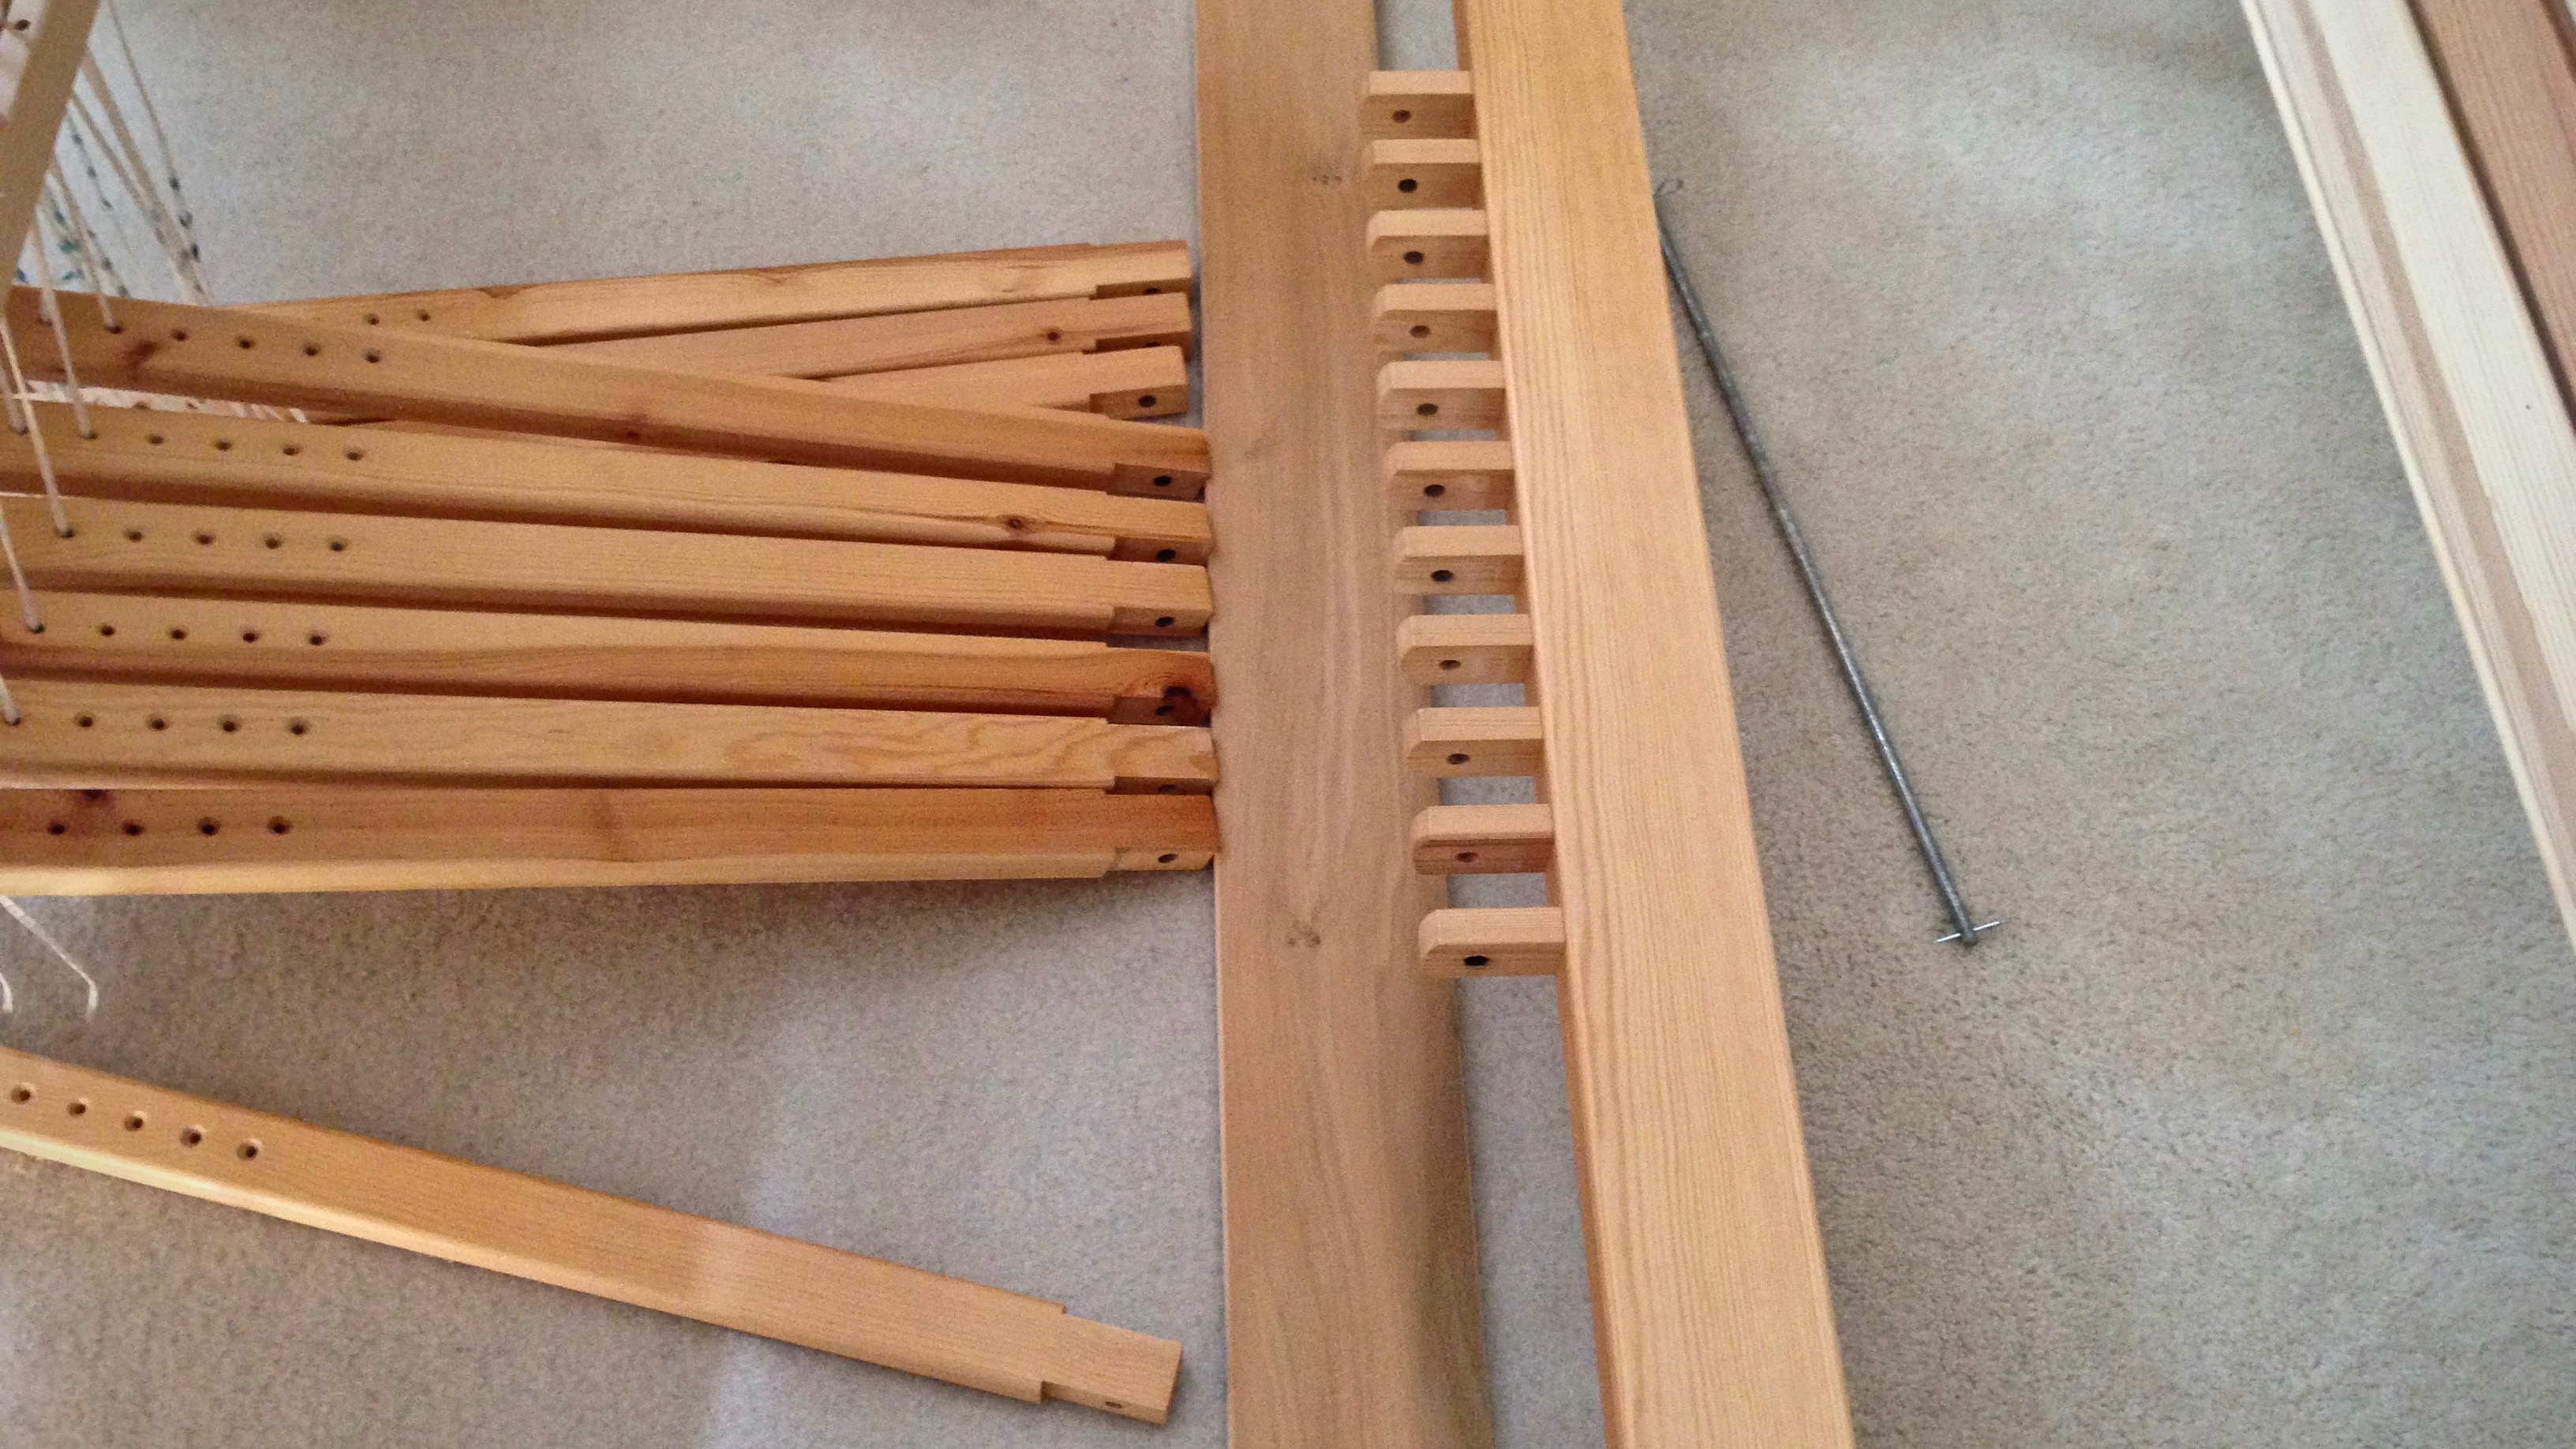
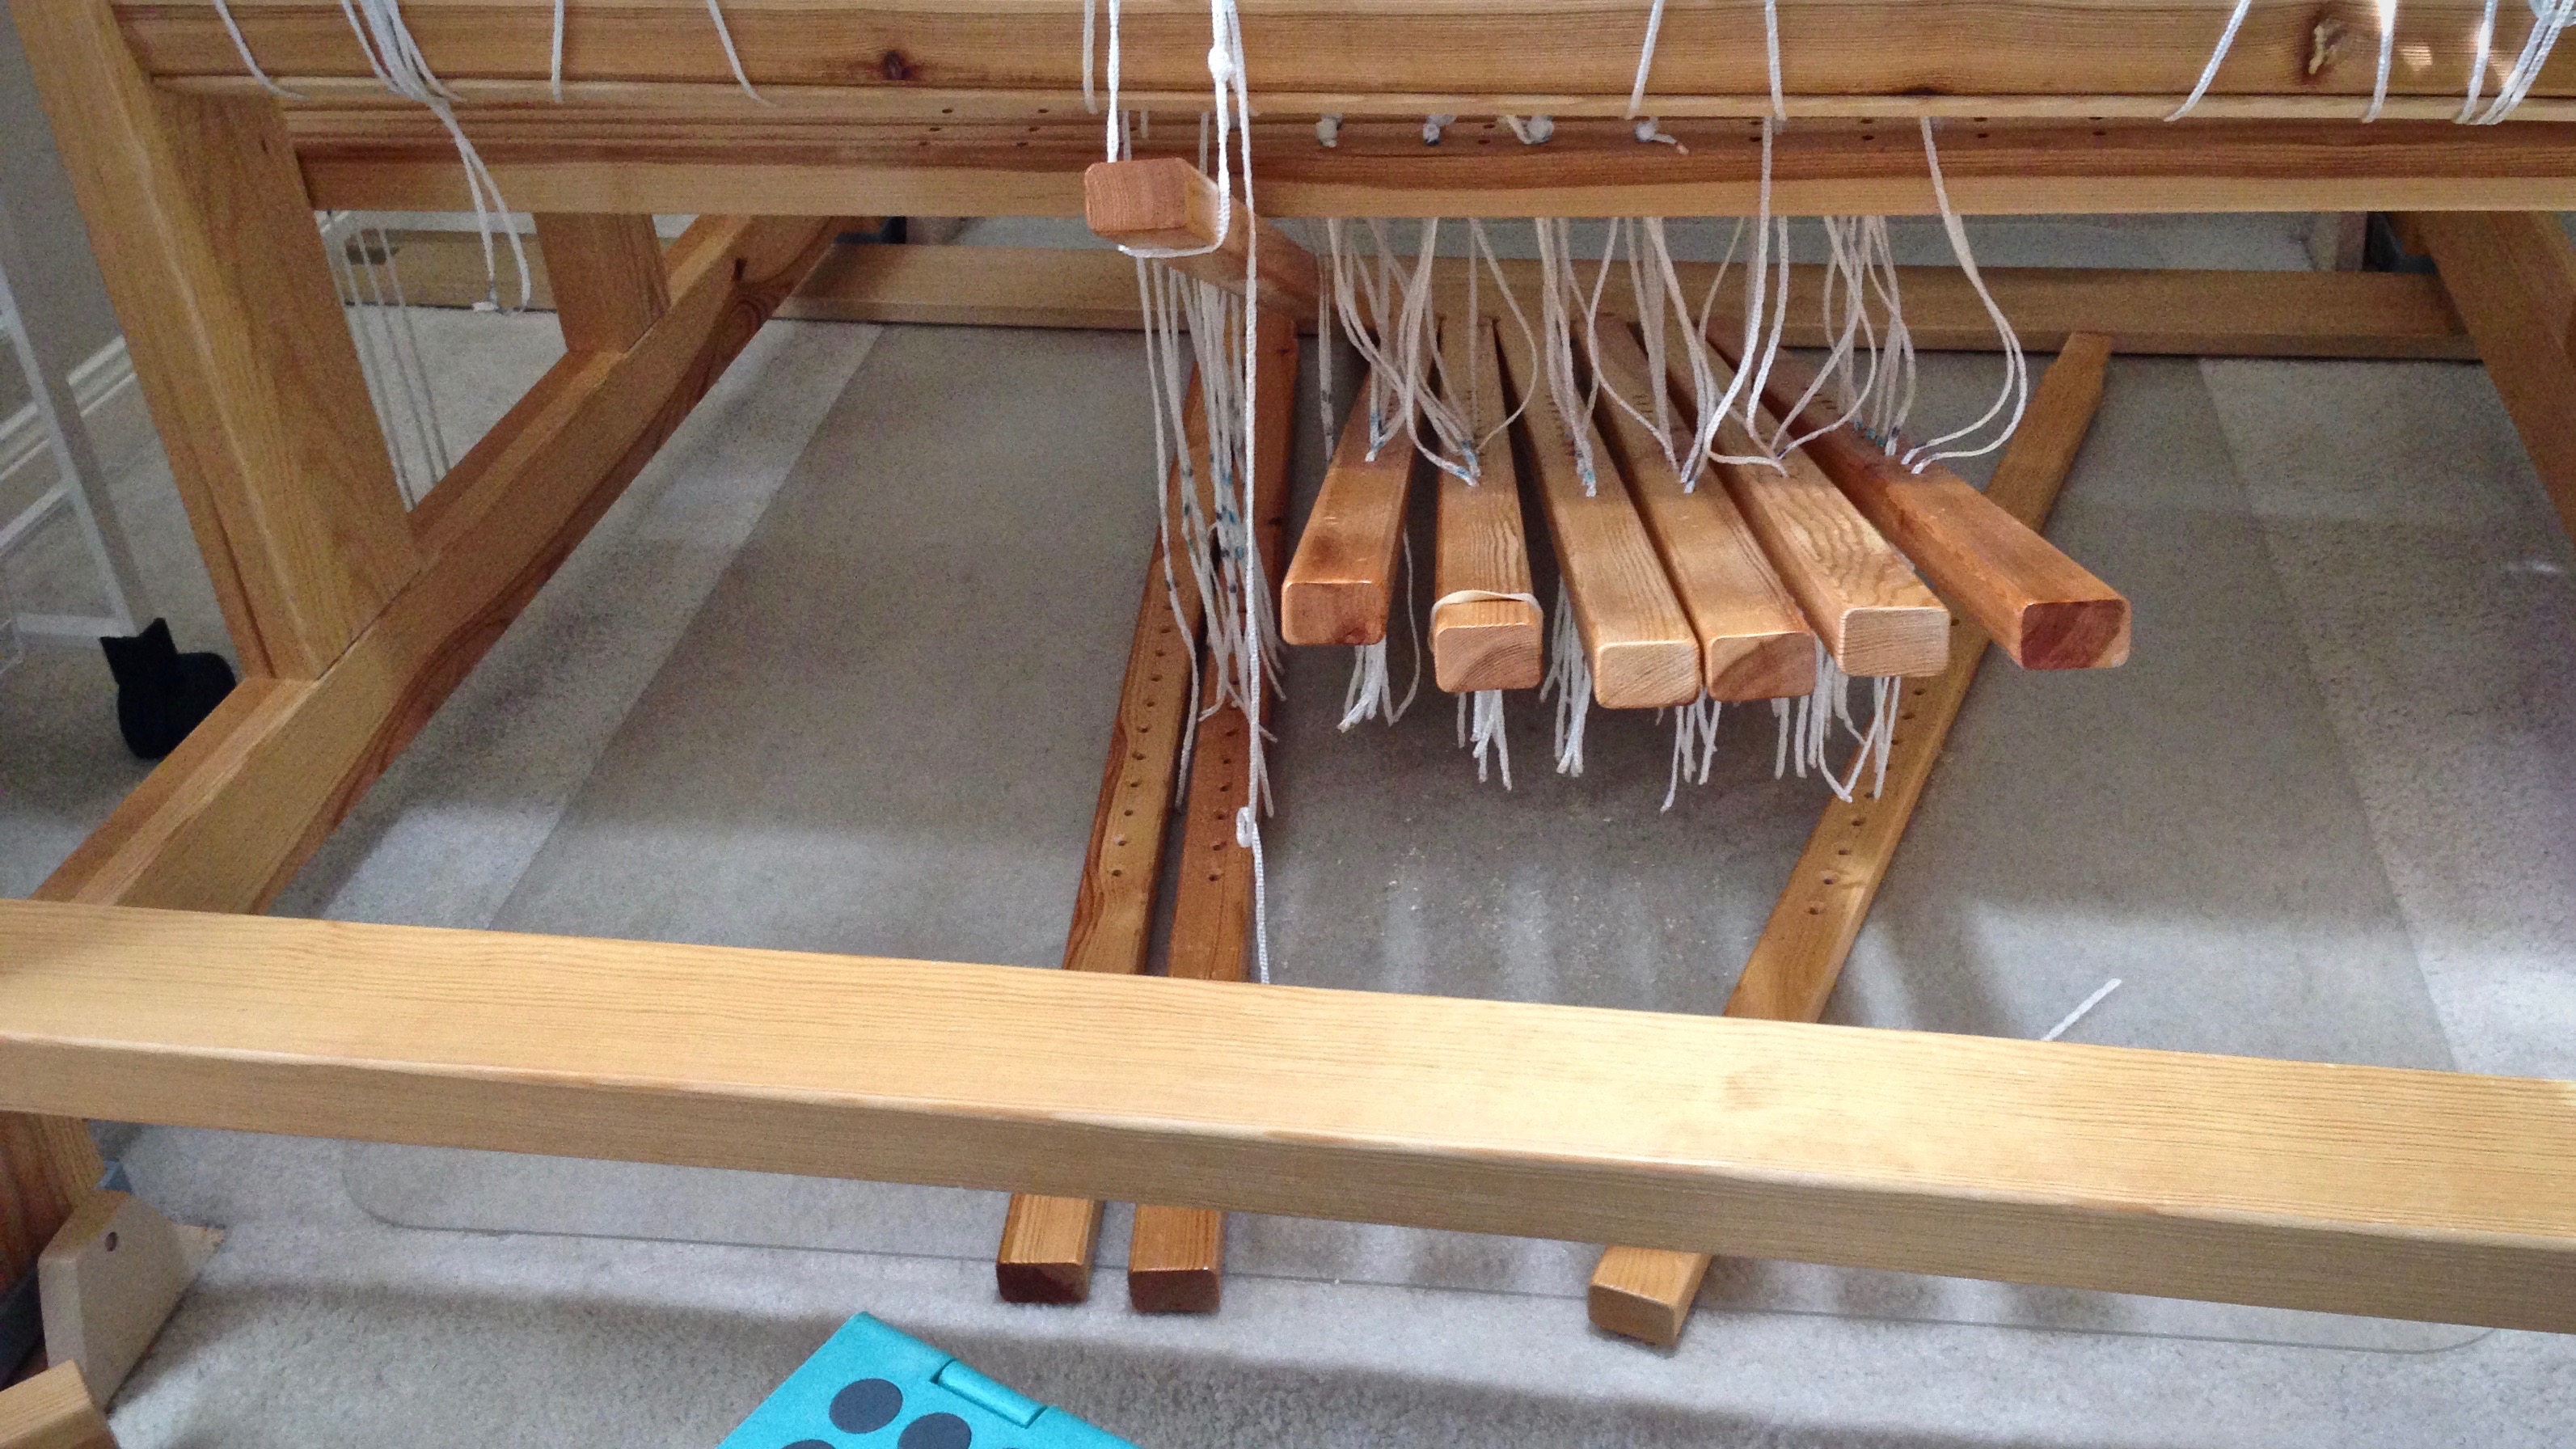
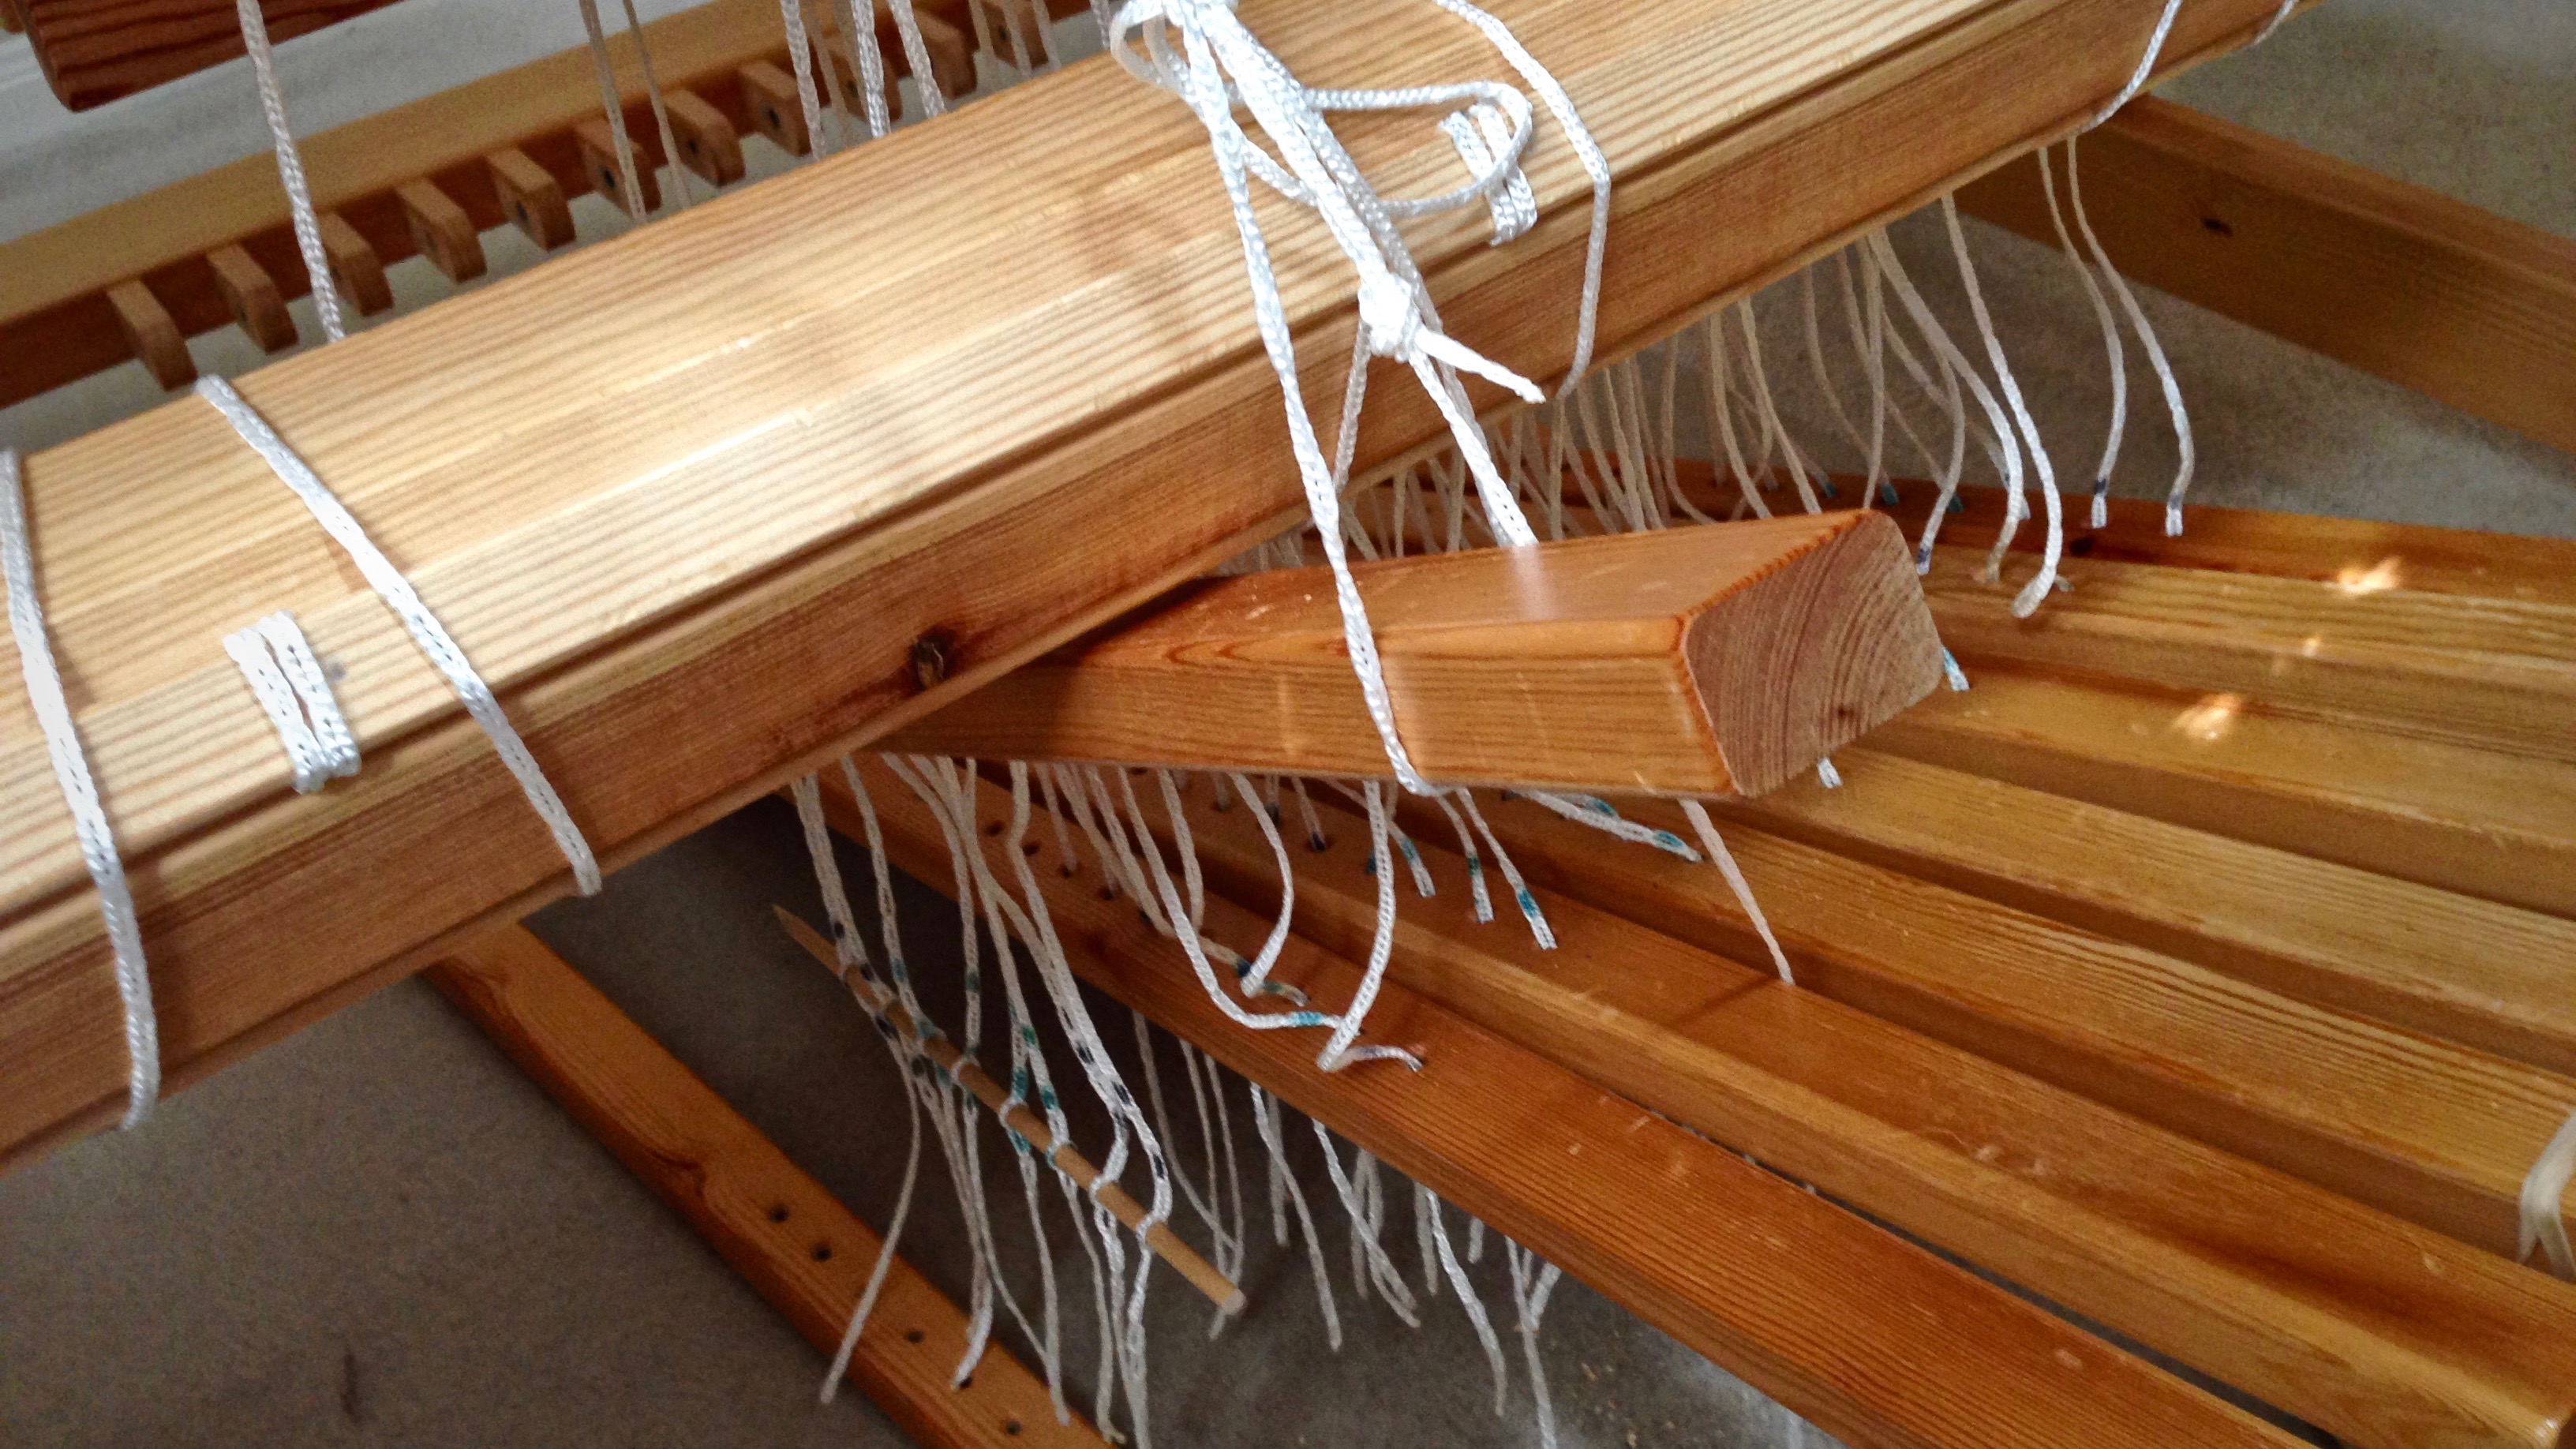
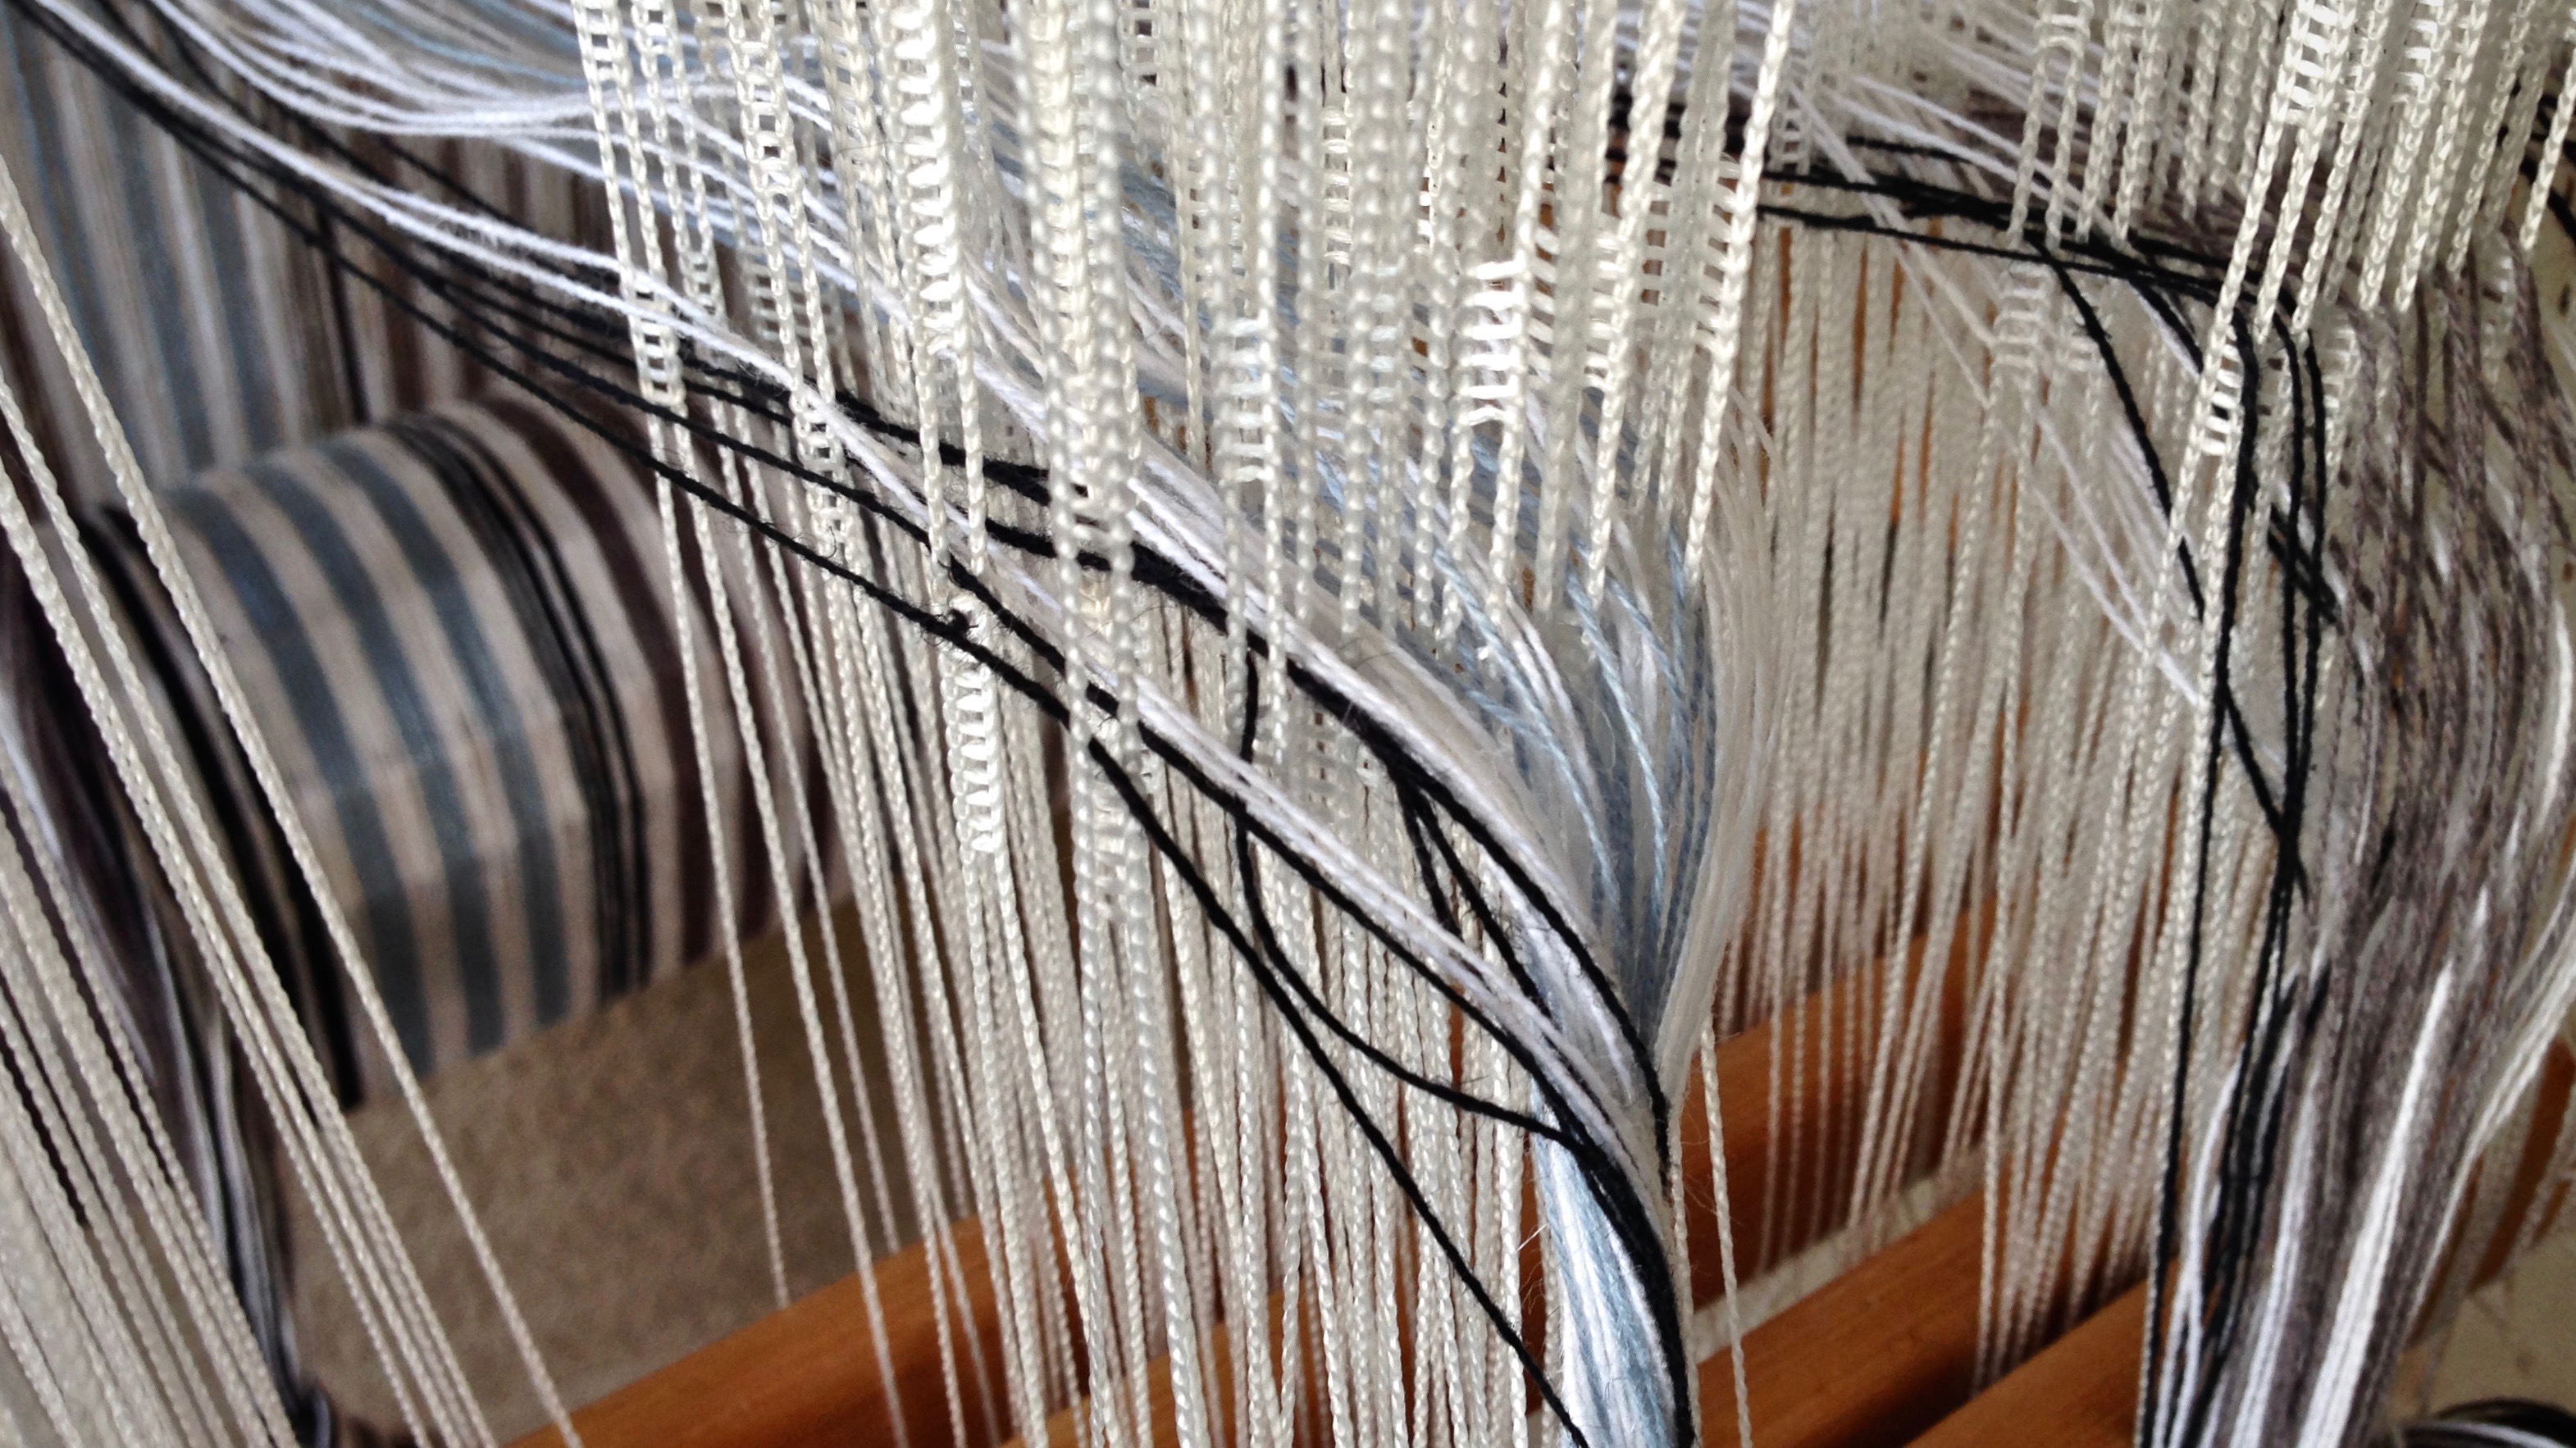
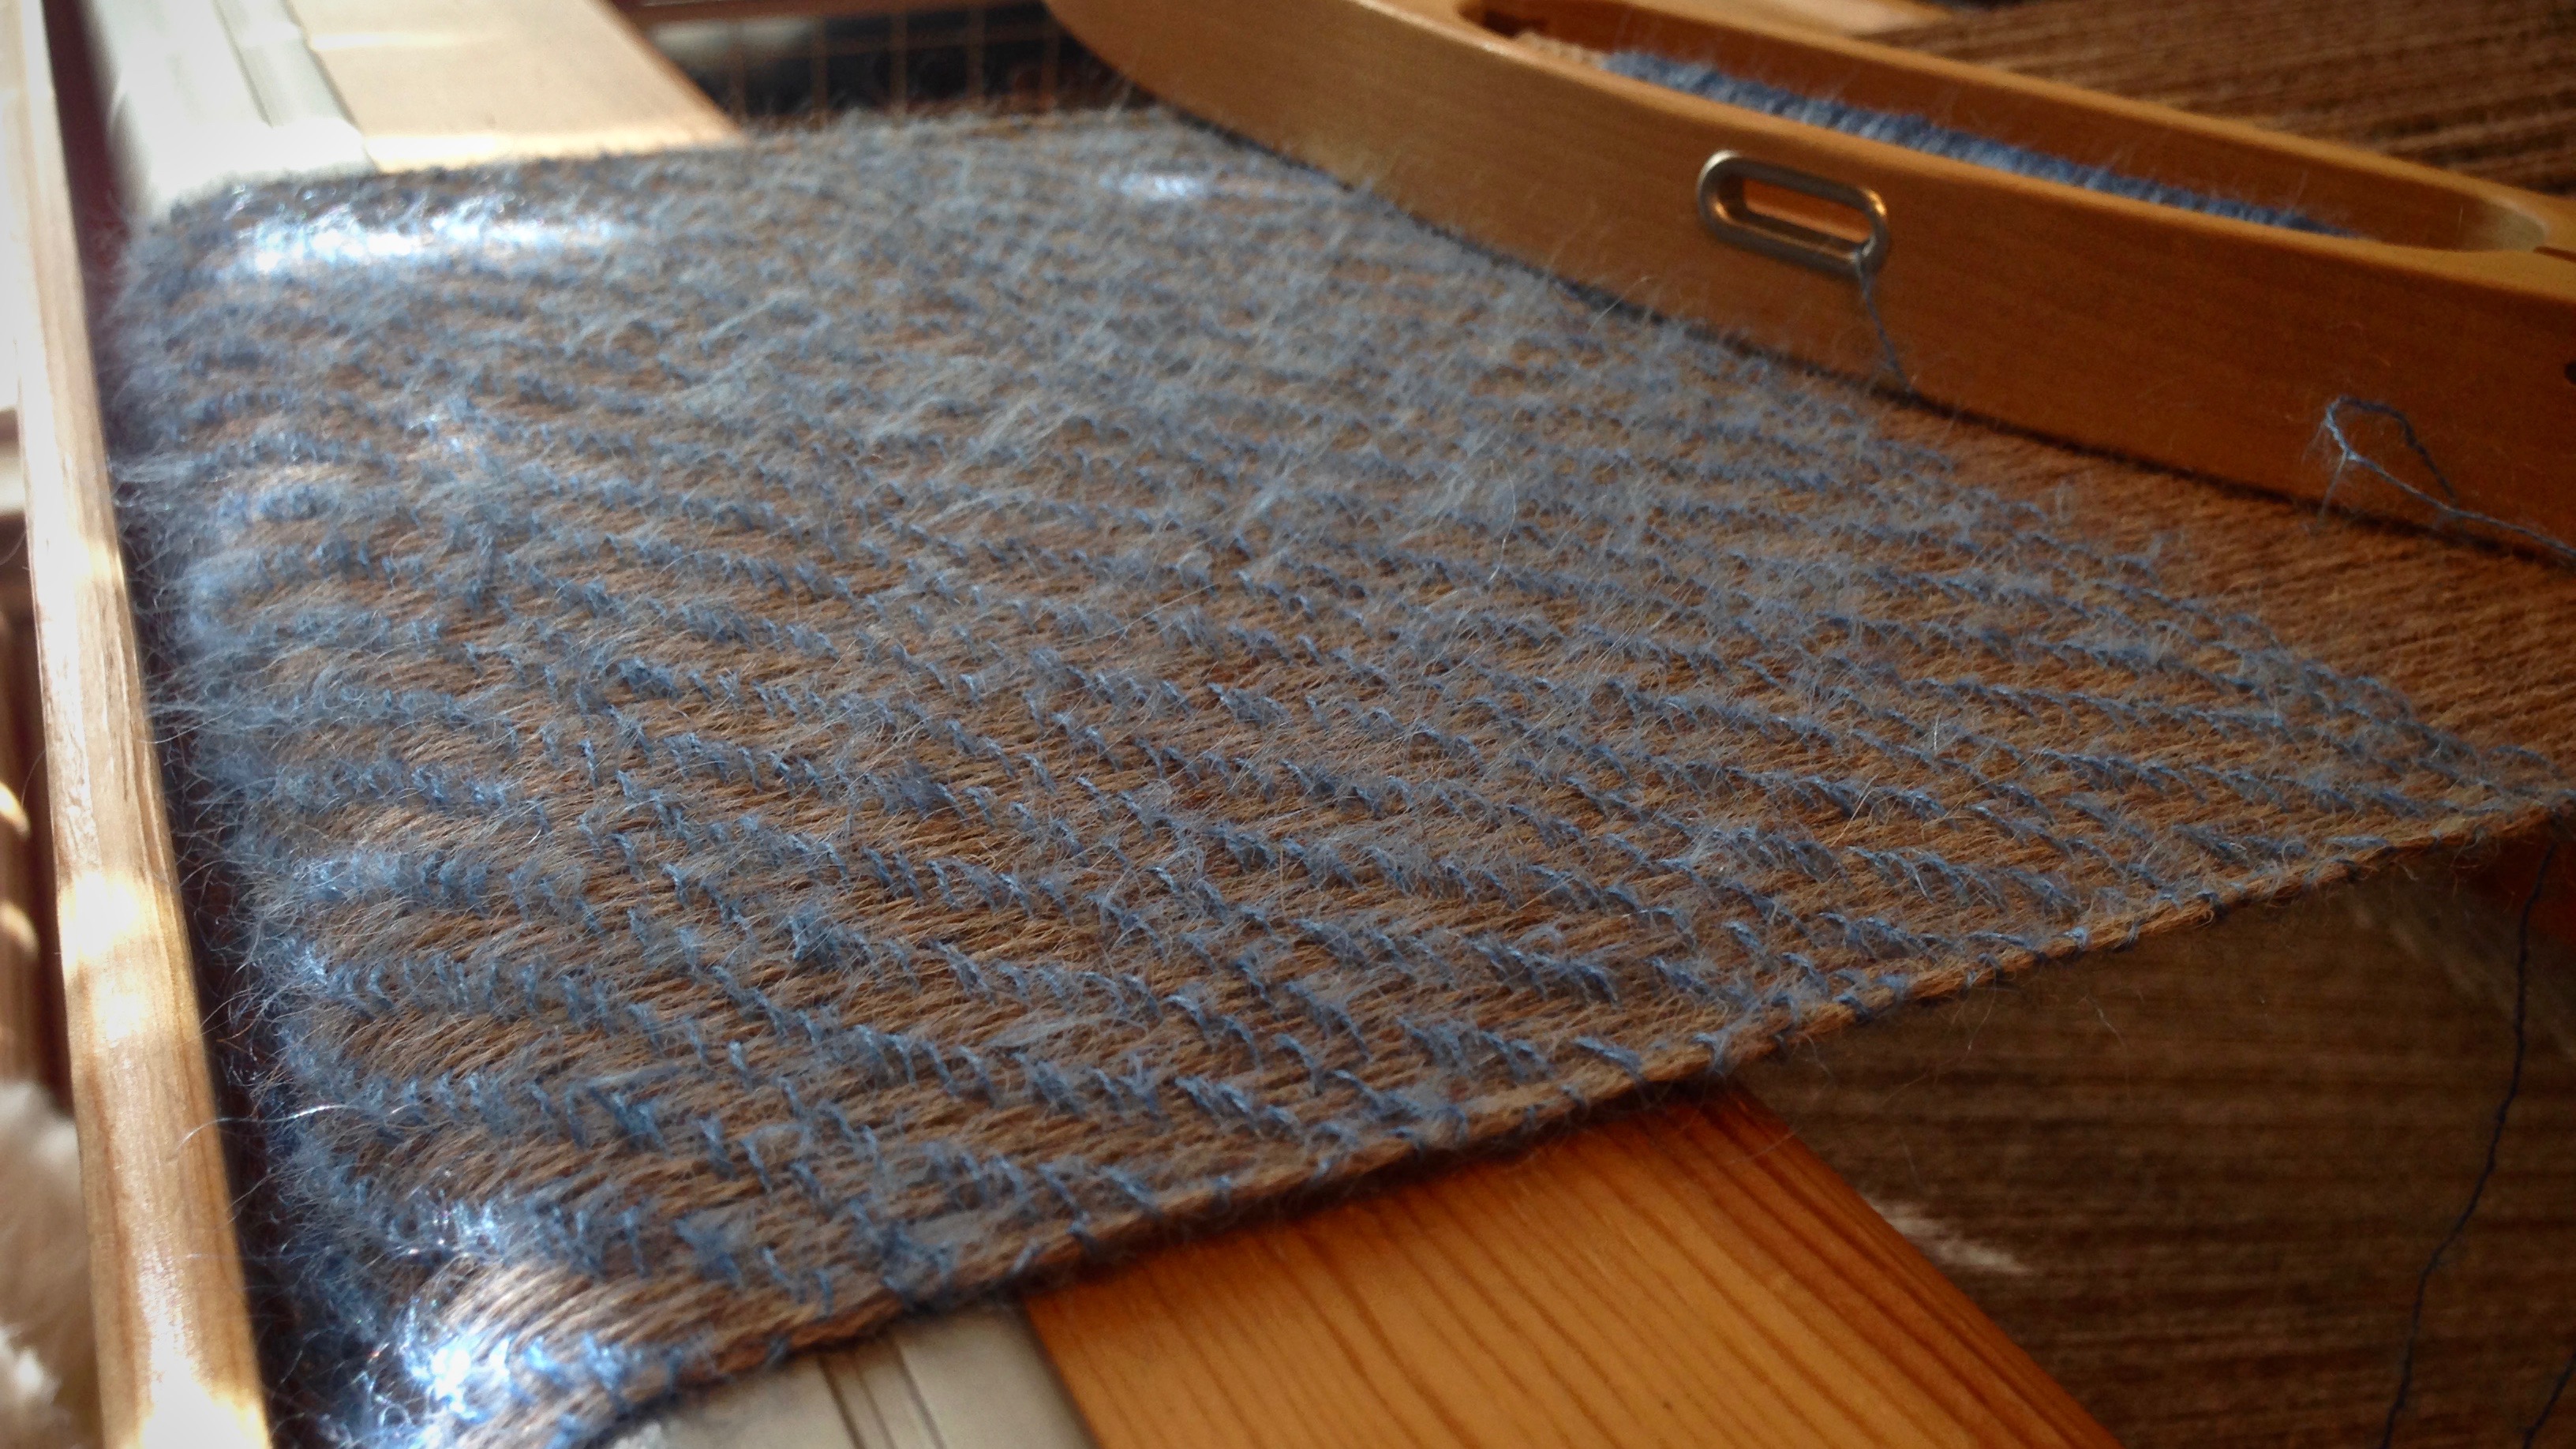
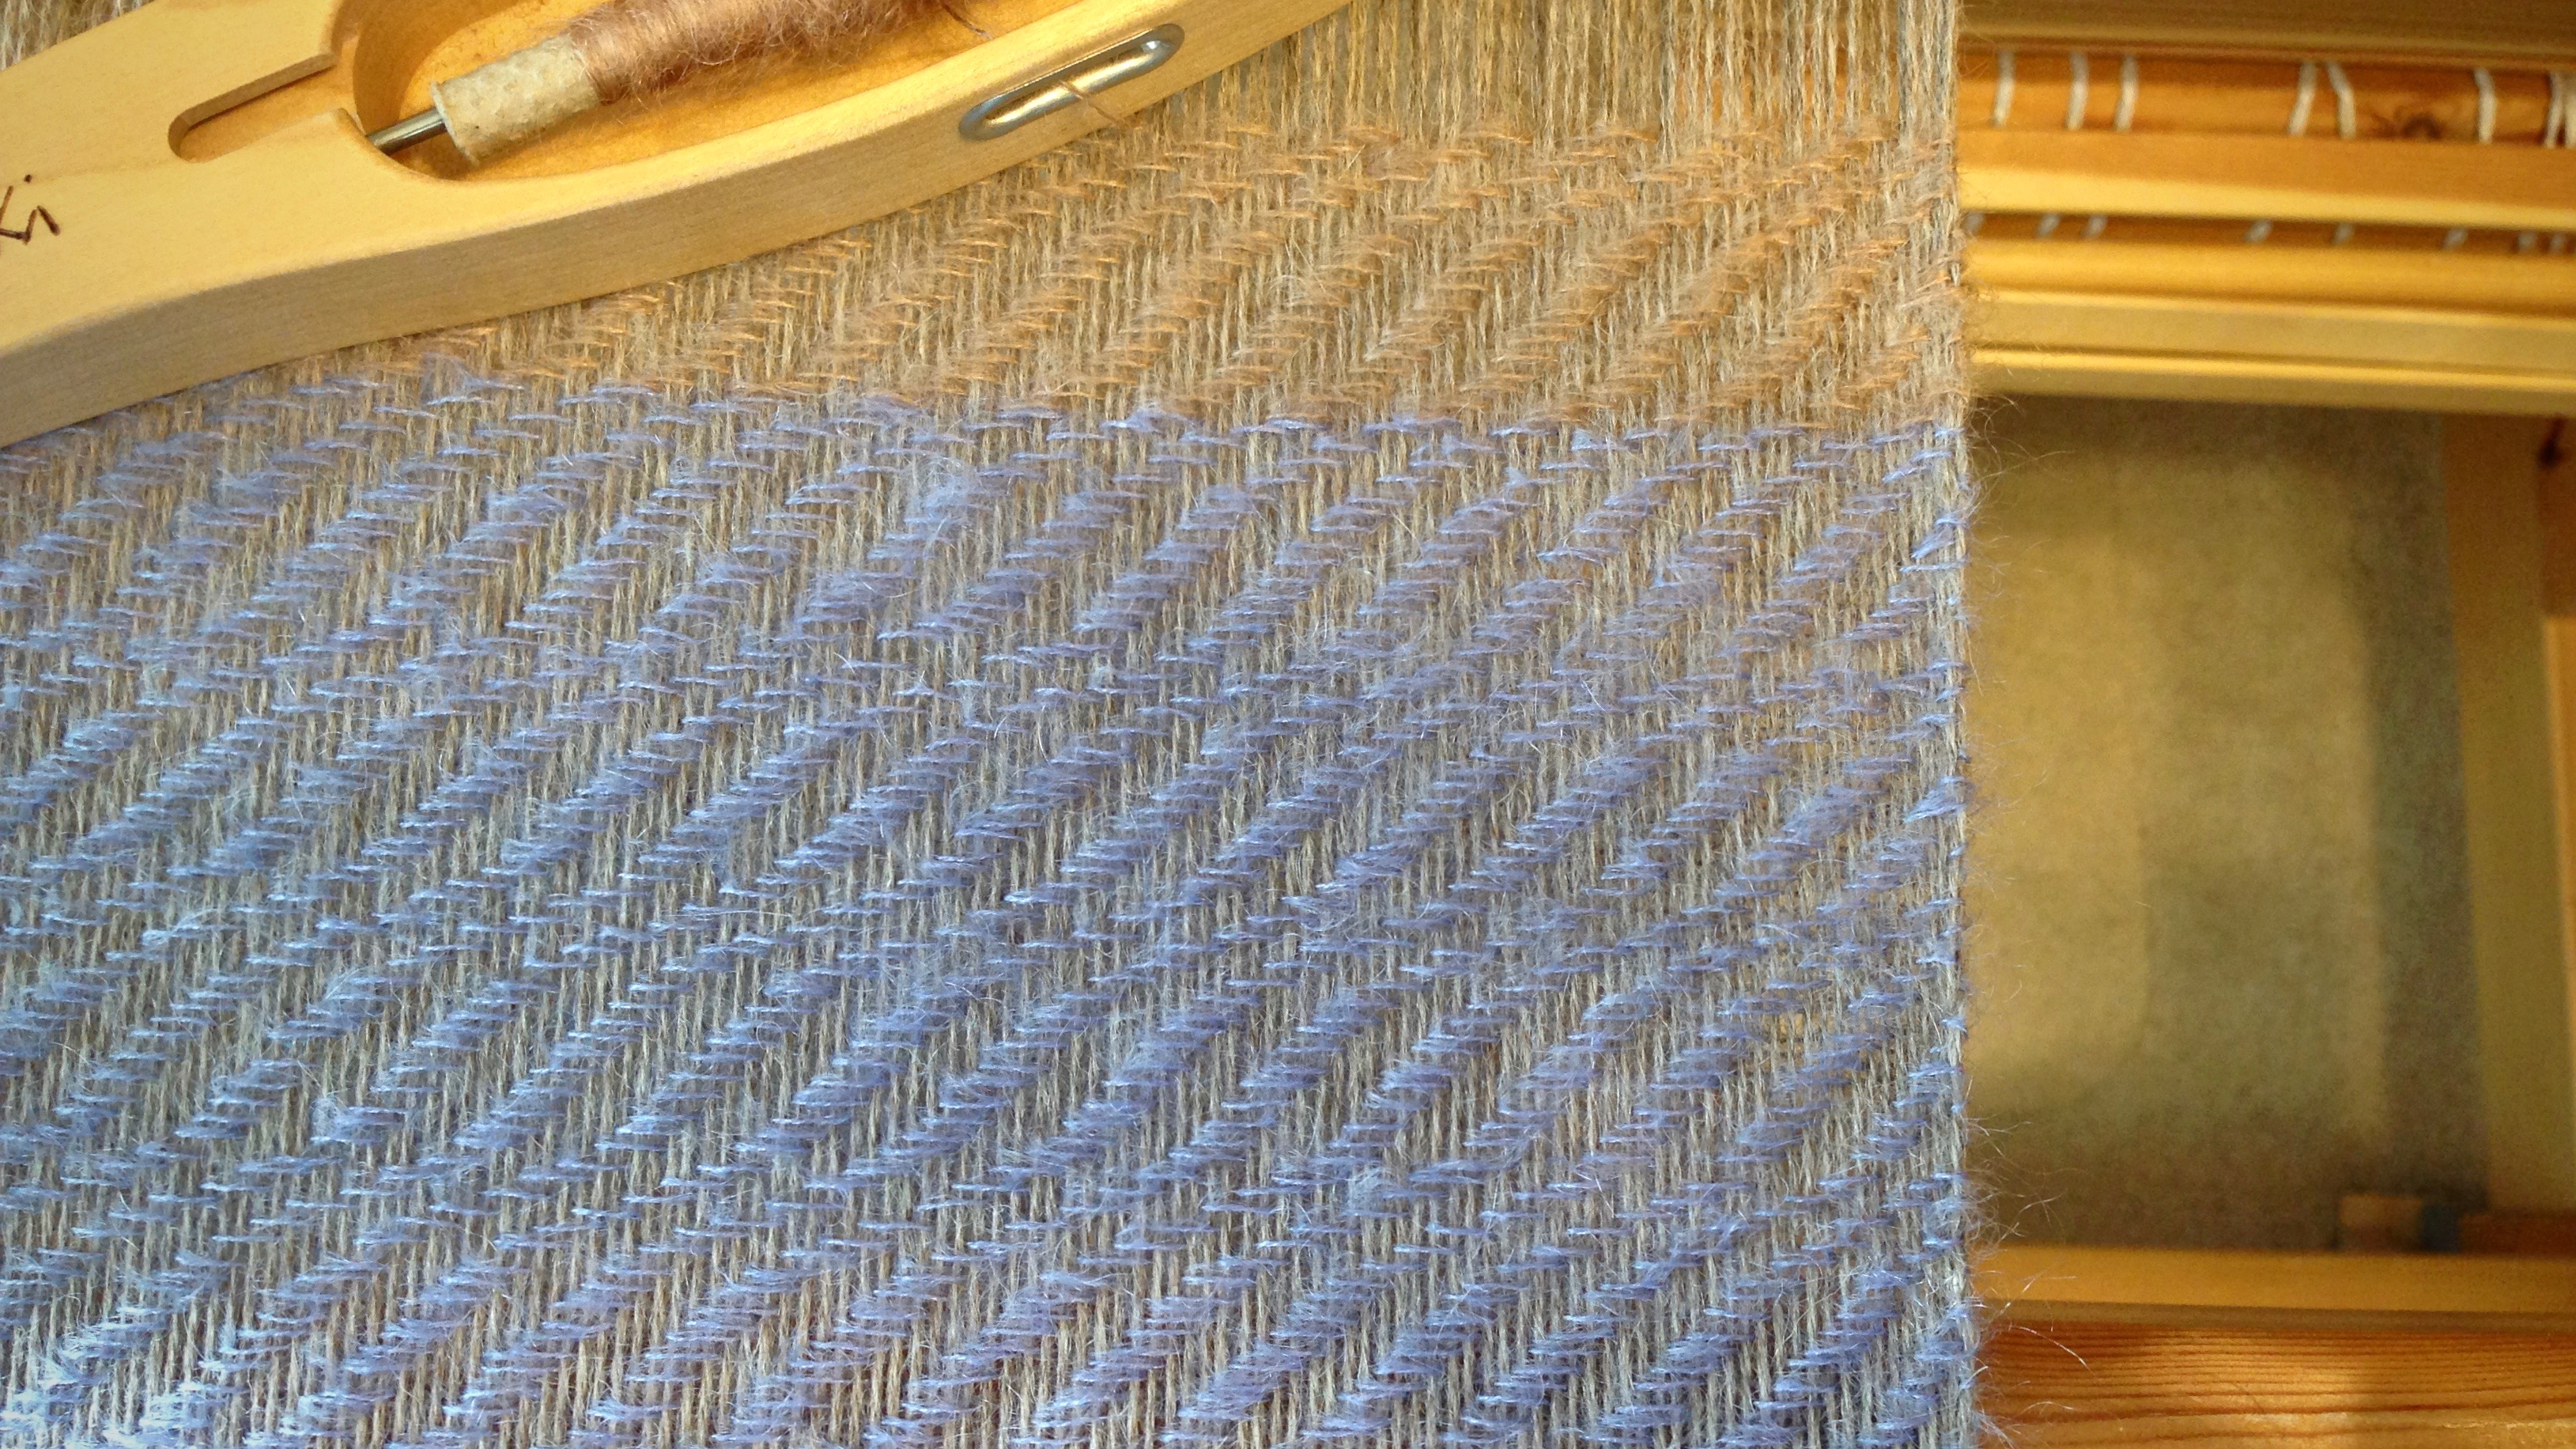
The end of the warp is a fantastic way to try out ideas for future weaving projects. I have some kid mohair/silk yarn on my shelf in blue, lavender, and tan. I wove some pretty shawls with this angelic yarn a few years ago on my rigid heddle loom. Hmm… would kid mohair/silk work as weft on the alpaca warp? This is a good way to learn. If it works, I know I can do it again, but on a larger scale. If it doesn’t work, I know what to avoid. The point is to learn.

Kid mohair/silk weft on alpaca warp.

Lavender mohair/silk weft on alpaca warp.

Alpaca warp and kid mohair/silk weft for a dreamy scarf.

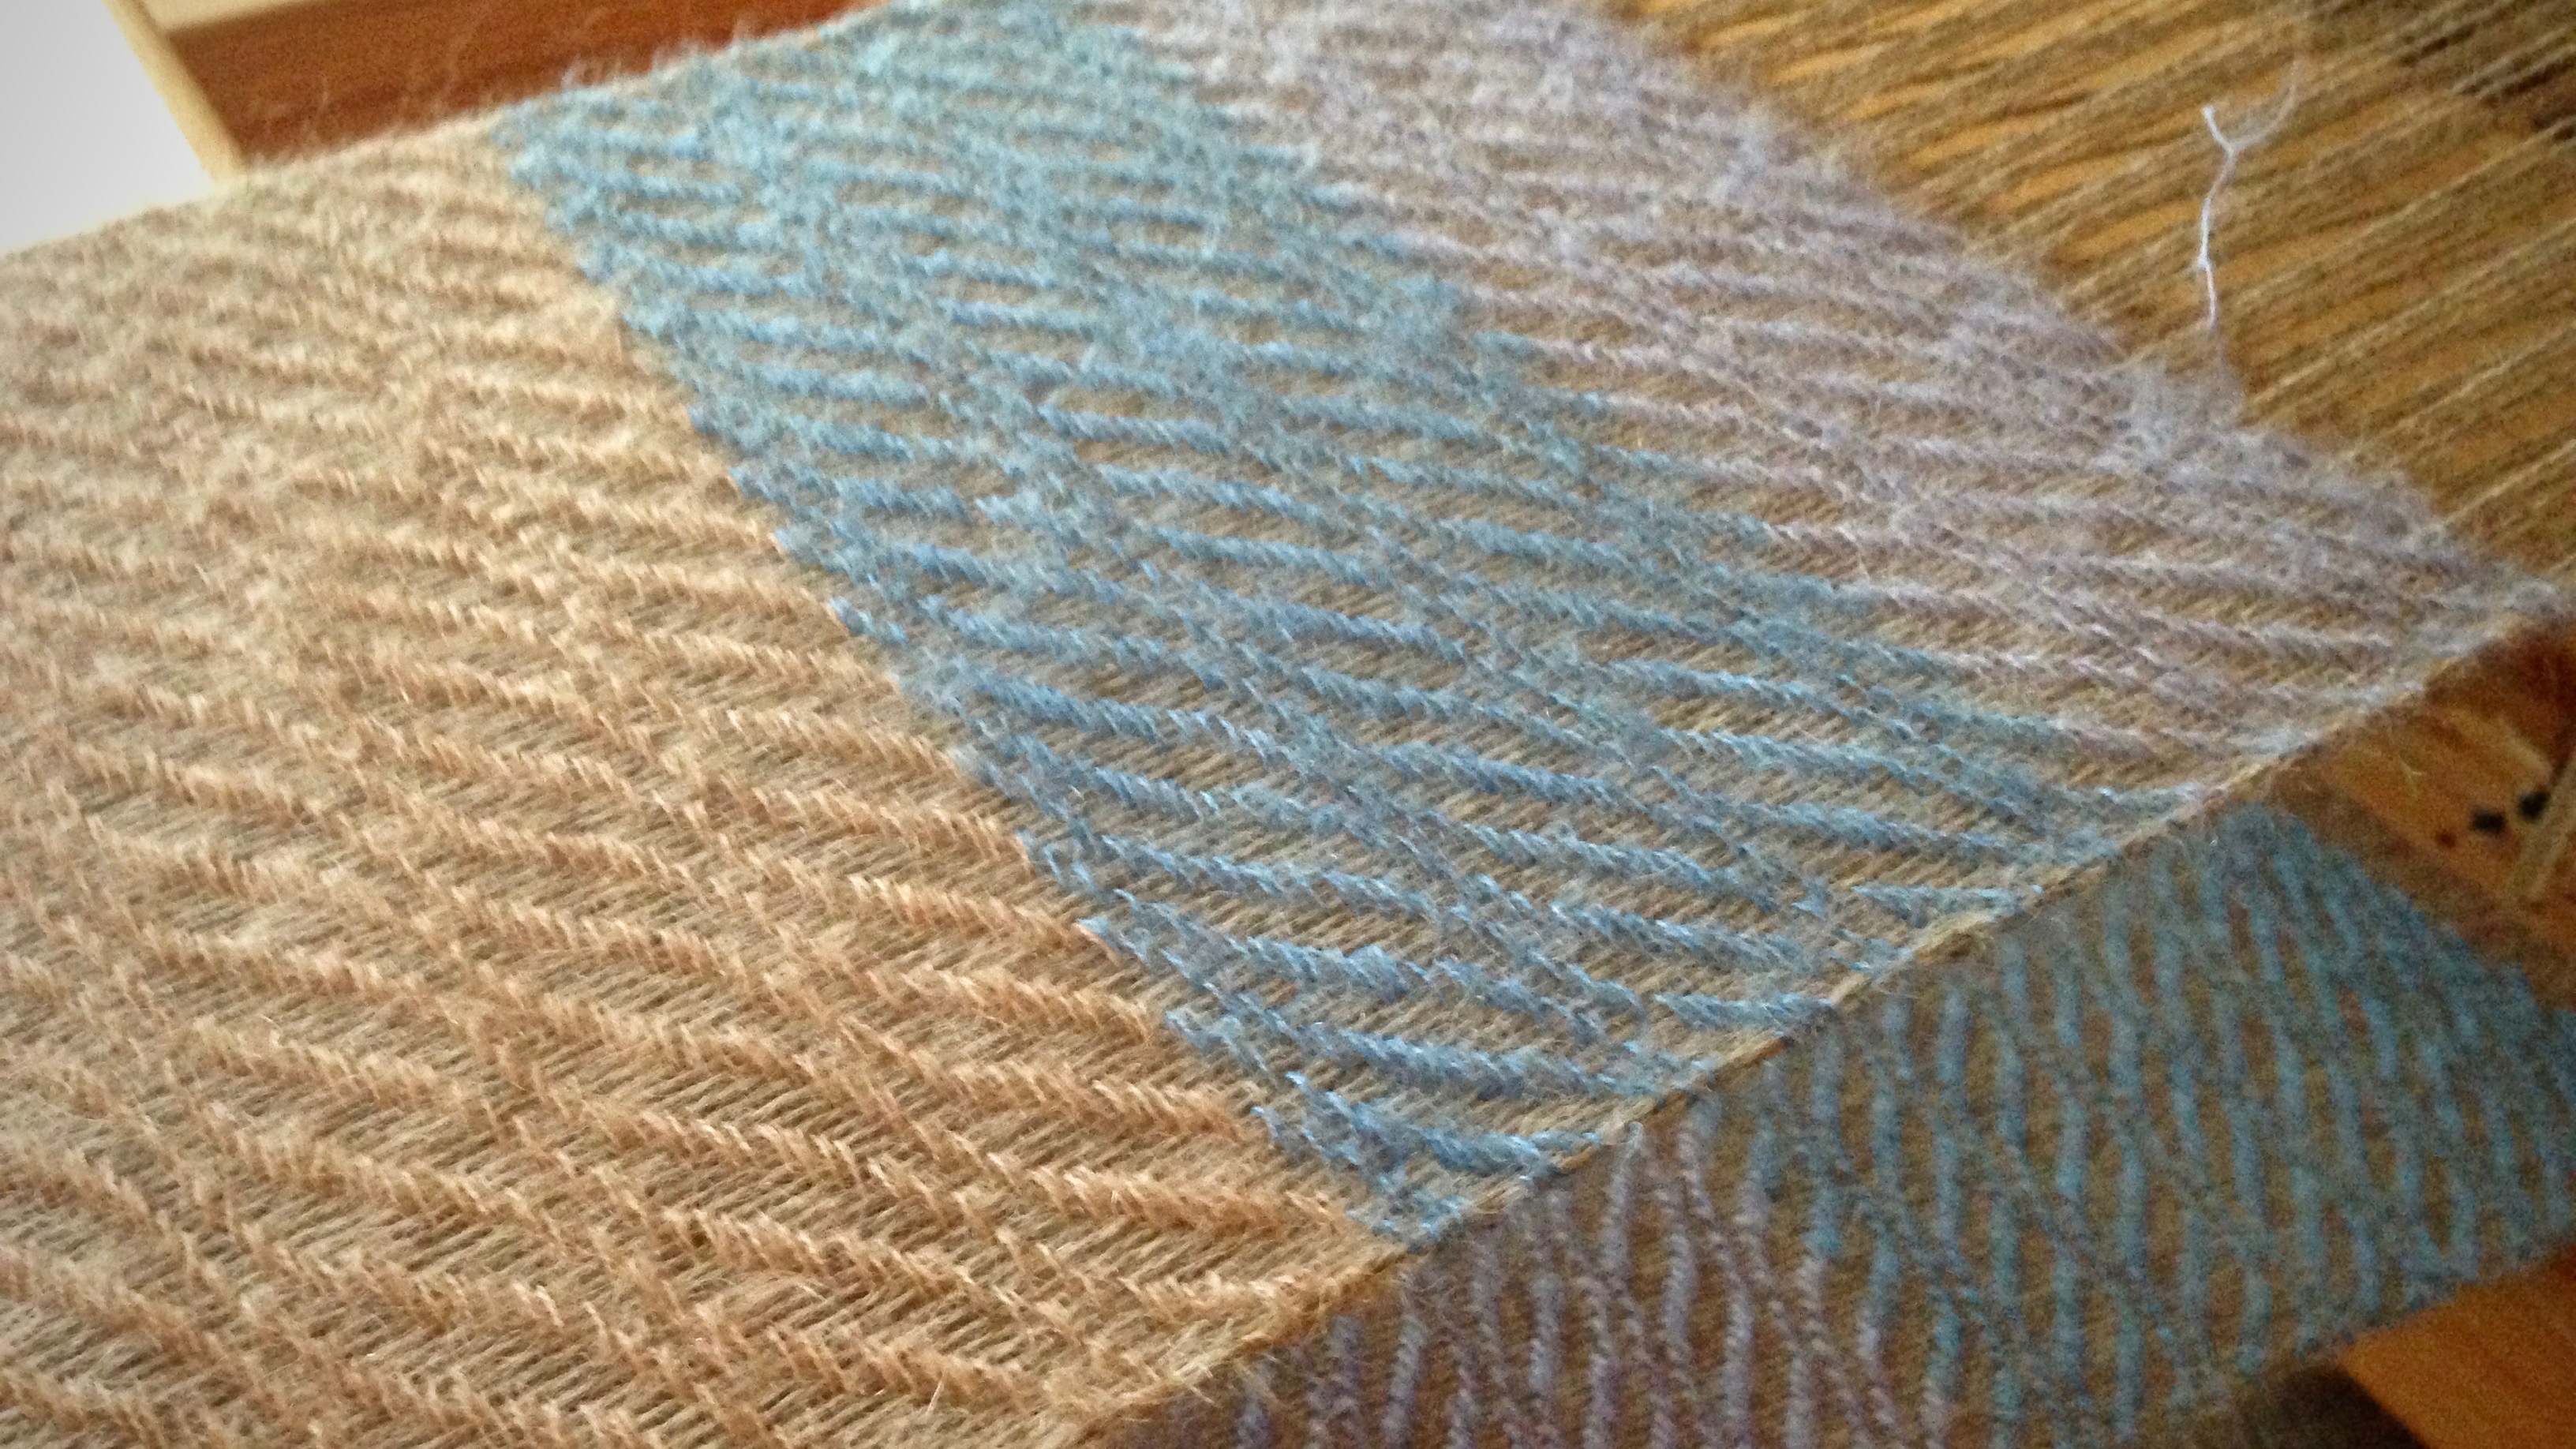
As handweavers, we learn by doing. And in daily life, we learn by doing–walking in this manner or that. We do not walk alone. The Lord stands ready to teach every inquiring soul. My prayer is, “Lord, teach me; help me understand; help me walk.” Sometimes what we learn surprises us. The trial weft may be even better than the one we originally planned.

May you enjoy lifelong learning.

Blessed,
Karen

Two Long Alpaca Scarves

The end is near. I can see the end of the pre-measured tape. These two long scarves could be named “too long” scarves. The repeating pattern of this eight-shaft twill is very…repetitive. And the color is very…monotone. Soft and warm, they will certainly be beautiful scarves…eventually. Can you tell I am ready to be finished?

Soft and cozy handwoven long alpaca scarves.
Soft 3-ply alpaca yarn is used for the warp and the weft. The end is in sight!

I don’t always have patience. I want things to hurry up; I want to be finished now. And I don’t want trouble along the way. Obstacles make me lose my patience; and my attitude becomes unattractive. As much as I try to stay positive, the negative thoughts can get the best of me. When we’re at our worst we need kindness the most. Kindness changes us. Kindness reminds us to look at what is being woven.

Woven fabric at the cloth beam. Warping slats between the scarves keeps the unwoven yarn (for fringe) from slipping off the cloth layers at the sides.
Woven fabric forms layers around the cloth beam. Warping slats are added at the cloth beam between the scarves to keep the unwoven yarn (for fringe) from slipping off the cloth layers at the sides.

We all need and desire kindness, even when we don’t deserve it. Grace is pure kindness toward the unworthy. God gives great grace. He takes an unworthy subject like me and pours on kindness. In that grace I find the patience I need for today. Oh, how lovely that scarf will be!

May you give and receive generous amounts of kindness.

Giving thanks,
Karen

Tools Day: Measured Weaving

How far will you travel? How will you know when you have arrived? Do you wish you could know when you are halfway there? Applied to weaving, I like to have the answers to these questions before I begin the “journey.” A pre-measured tape gives me consistency, especially important for multiple pieces in a set. The tape also acts as my “trip odometer.” I can see how far I’ve gone, and exactly how much is left to weave. It satisfies my insatiable need to know how close I am to the end. Are you like that, too?

How to Make and Use a Pre-Measured Tape

Supplies

  • Roll of 3/4″ or wider twill tape (or any cloth tape or ribbon that does not stretch, and that pins easily)
  • Tape measure with inches and/or centimeters
  • Fine tip permanent marker
  • Flat head pins
  1. Use the permanent marker to place markings on the twill tape, as measured with the tape measure. Mark the start line 1/2″ from the end of the twill tape, so that the tape can be pinned in front of the mark.
  2. After drawing a line for the starting point and ending point, draw a line at the midway point, labeled MID.
  3. Include dotted lines for hem measurements, if applicable. Write the hem measurement on the twill tape; i.,e., 3/4″ or 2 cm.
  4. Write the weaving length measurement on the twill tape. Include calculation for takeup, if desired; i.,e., 25″ + 3″.
  5. Write the project or item description on the twill tape, if desired, for ease of repeat use; i.e., handtowel.
  6. Add other lines or marks, as needed, for borders, placement of weft colors, or other design elements.
  7. 1/2″ after the final marking, cut pre-measured twill tape from the roll of tape.

With the warp under tension, pin the pre-measured twill tape near the right or left selvedge with two flat-head pins. Match the start line of the tape with the beginning of the weaving.
Before each advancement of the warp, move the pin closest to the breast beam to a point near the fell line. In this way, have the pins leapfrog each other, moving only one pin each time. Always keep the warp under tension when moving the pins.

Red cutting lines between black and white towels.
Beginning hem, after red cutting lines between towels.
Ending hem is followed by two red picks that will become the cutting line between towels.
When the "MID" point hits right where it should!
When the “MID” point hits right where it should! Mid point marking helps to confirm that the halvdräll pattern is centered and balanced in its length.
Pre-measured twill tape marks weft color placement on linen scarves.
Weft color placement is marked on the twill tape for these linen lace scarves.
Tricks with pre-measured tape for weaving.
Five centimeters, marked at the end of the twill tape, is a handy reference for spacing the weft pattern floats in these plattväv towels.
Alpaca scarf in an interesting 8-shaft twill.
I love seeing the “MID” point on a long piece, such as this 8-shaft twill alpaca scarf.
Pre-measured twill tape helps set the pace for the weaving project.
Breaking up the length into quarters helps to set a pace for the weaving project. This baby wrap was on a time crunch, so it was helpful to know when I was getting close to the end.

May you accurately measure your ways.

Truly yours,
Karen

Slow and Gentle Weaving

One soft alpaca scarf. Slow and gentle. This weaving does not let me hurry. I don’t beat the weft; I carefully place it with the beater. For a rag rug weaver like me, accustomed to boisterous weaving, this soft weaving requires my full attention.

Alpaca scarf on the loom. Eight-shaft undulating twill.
Long alpaca scarf is nearing completion. Twill tape for measuring keeps track of the woven length. Two flat-head pins leap frog ahead each time I advance the warp.

There is no variation in this scarf. It’s the same treadling sequence, over and over. After this much repetition, it seems like I should be able to do this without thinking. But, no, I have to pay attention. If I don’t, I lose my place. Glaring mistakes all happen by accident.

Long alpaca scarf on the loom. Slow and gentle weaving.
Long scarf wraps around the cloth beam before it is complete.

We can choose what to hear. Listen wisely. Most things do not go in one ear and out the other. They go in one ear and down into our souls. Listening to gossip, for instance, seems harmless. It might even taste sweet. But what we hear affects our hearts. Listening to gossip is swallowing poison. It’s like weaving a faulty treadling sequence while being distracted. We must pay attention, or the wrong pattern will be woven into the scarf. Instead, let’s enjoy the gentle process of placing the weft and paying attention as we repeat the sequence we know is right.

May you be lifted up by what you hear.

All the best,
Karen

Quiet Friday: Countermarch Back Savers

After back surgery, I wondered how-in-the-world I would be able to tie up my countermarch looms. After a four-week ban on bending over, I was eager to weave, but not eager to do anything that might strain or injure my back.

Two simple maneuvers made it possible for me to tie up the lamms and the treadles on both of my Glimäkra countermarch looms:

  1. Remove the lamms. Treadle cords are added while sitting in a comfortable position.
  2. Detach the treadles. Bring treadles closer to the front of the loom for attaching treadle cords.

And two important practices kept me from over-reaching and overdoing it:

  1. Sit on a low stool instead of the back of the loom or the floor.
  2. Take frequent breaks to stand up, stretch, and walk around.

Tools:

  • Low stool for sitting
  • Rolling cart (IKEA cart) or small table
  • Plank of wood, longer than the loom is wide (one plank of warping trapeze, 1″ x 5″)
  • Treadle cords, Texsolv pins, other tie-up supplies
  • Length of cord to hold treadle up (Texsolv cord that’s used for hanging the reed for sleying)

The 120 cm (47″) Standard loom has open space in the loom, making it easy to get within arm’s reach of most things; but the challenge increases with the number of shafts–eight for this tie up.

Alpaca warp, ready for countermarch tie-up without back strain.
Beamed, threaded, sleyed, tied on. Waiting for the final step of tying up lamms and treadles.
  • Lamms are removed, 2 at a time, and placed on the cart to add the treadle cords, all the while sitting on a comfortable stool.

Countermarch tie-up without back strain.

  • After all 8 lower lamms have the treadle cords added, the lamms are reinserted in the loom, 2 at a time.

Countermarch tie-up without back strain.

  • Treadle rod is removed to detach the treadles. Wood plank keeps the treadles from sliding back while treadle cords are attached at the front of the loom.

Trick to make countermarch tie-up easier on the back.

  • Cord acts as a sling to hold the treadle up to a comfortable height.

Tips for making countermarch tie-ups more back friendly.

  • The raised treadle helps with visibility, and enables the use of both hands, especially helpful for the “Vavstuga method” of tying up treadles with knitting needles (I use sharpened dowels). After treadles are tied up, re-attach the treadles at the back of the loom.

Hints for making countermarch tie-up more back friendly.


The 100 cm (39″) Ideal loom requires more reaching. Tying lamms to the shafts is a challenge for short arms, like mine. With four shafts, and only three treadles for this tie up, the rest of the process isn’t difficult.

Threaded for striped towels. Glimakra Ideal.
Threaded for striped towels. Glimäkra Ideal has smaller spaces in which to work than in the Standard loom.
  • Upper lamms are placed on the cart. I hold the weaving draft in my lap as I add the treadle cords to the lamms.

IKEA cart as tie-up helper.

  • Lower lamms are removed as the pin is pulled out. After the treadle cords are added, the lamms are reinserted.

Removing lamms to make countermarch tie-up back friendly.

  • Detached treadles lay on the floor. They easily pivot up at the front of the loom for attaching treadle cords.

Tips for making countermarch tie-ups less straining on the back.

  • Everything is tied up and ready to weave!

All tied up and ready to weave!

May you stay healthy to live long and weave.

Happy Weaving,
Karen