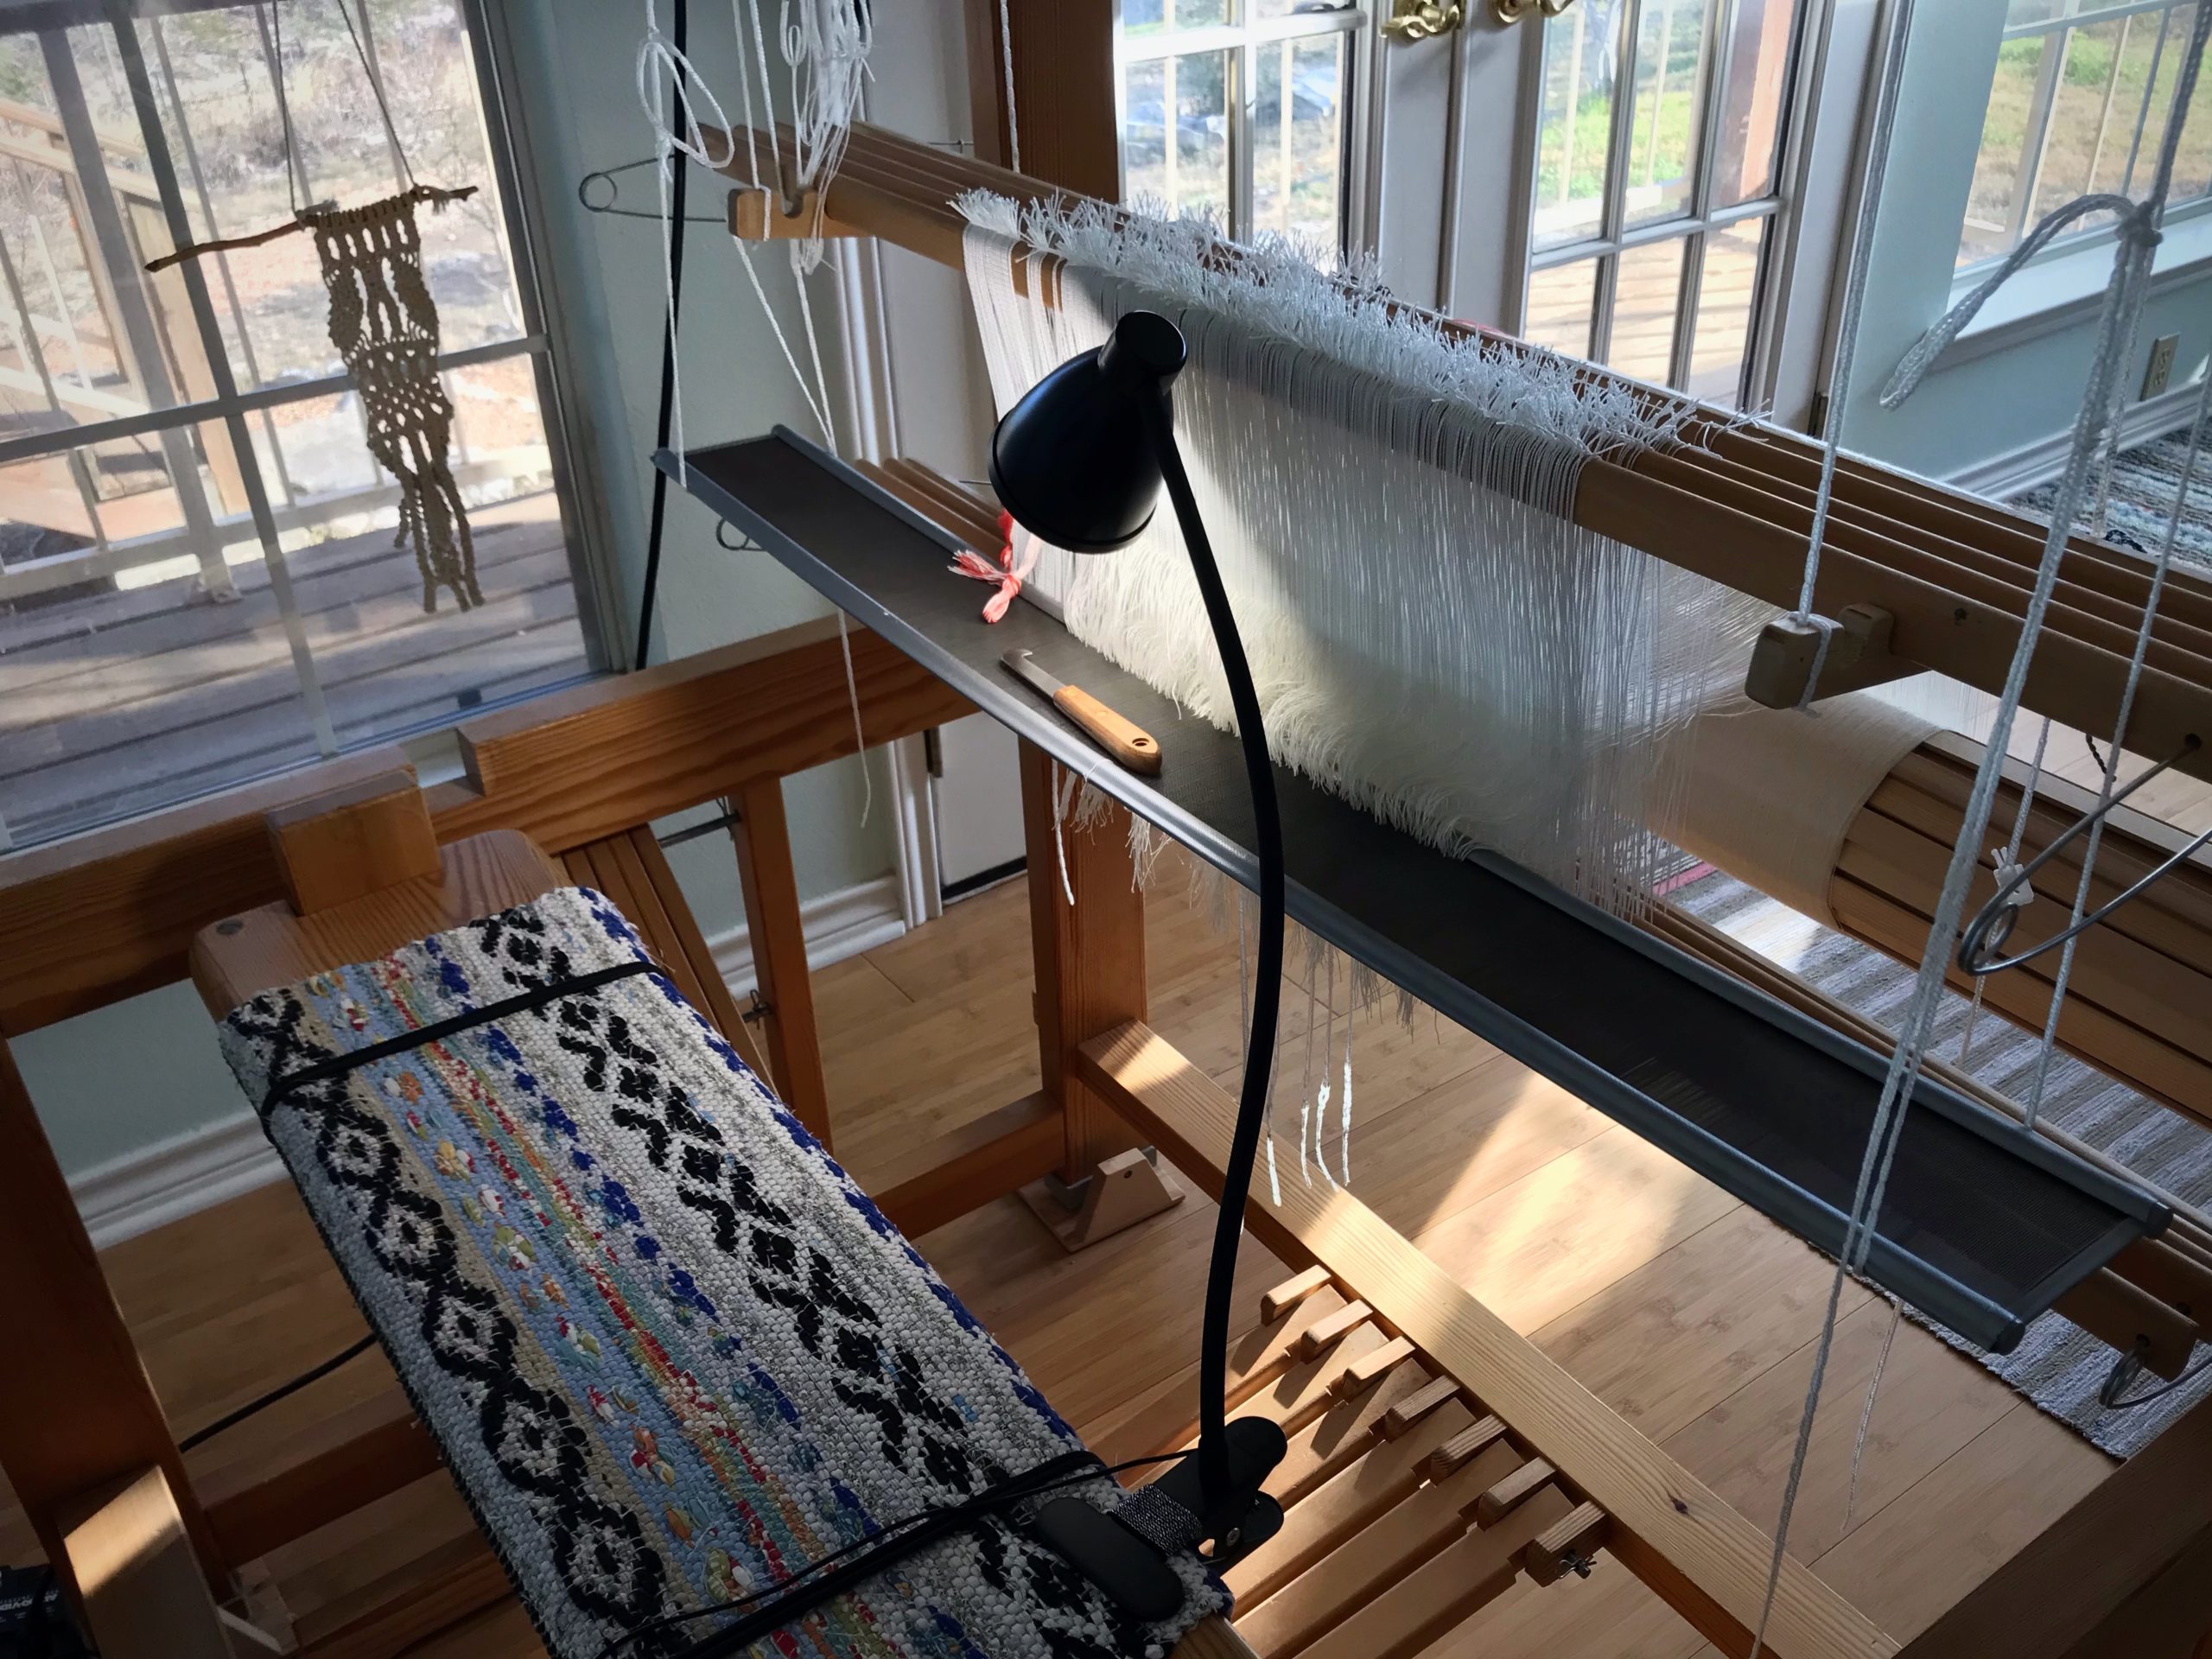
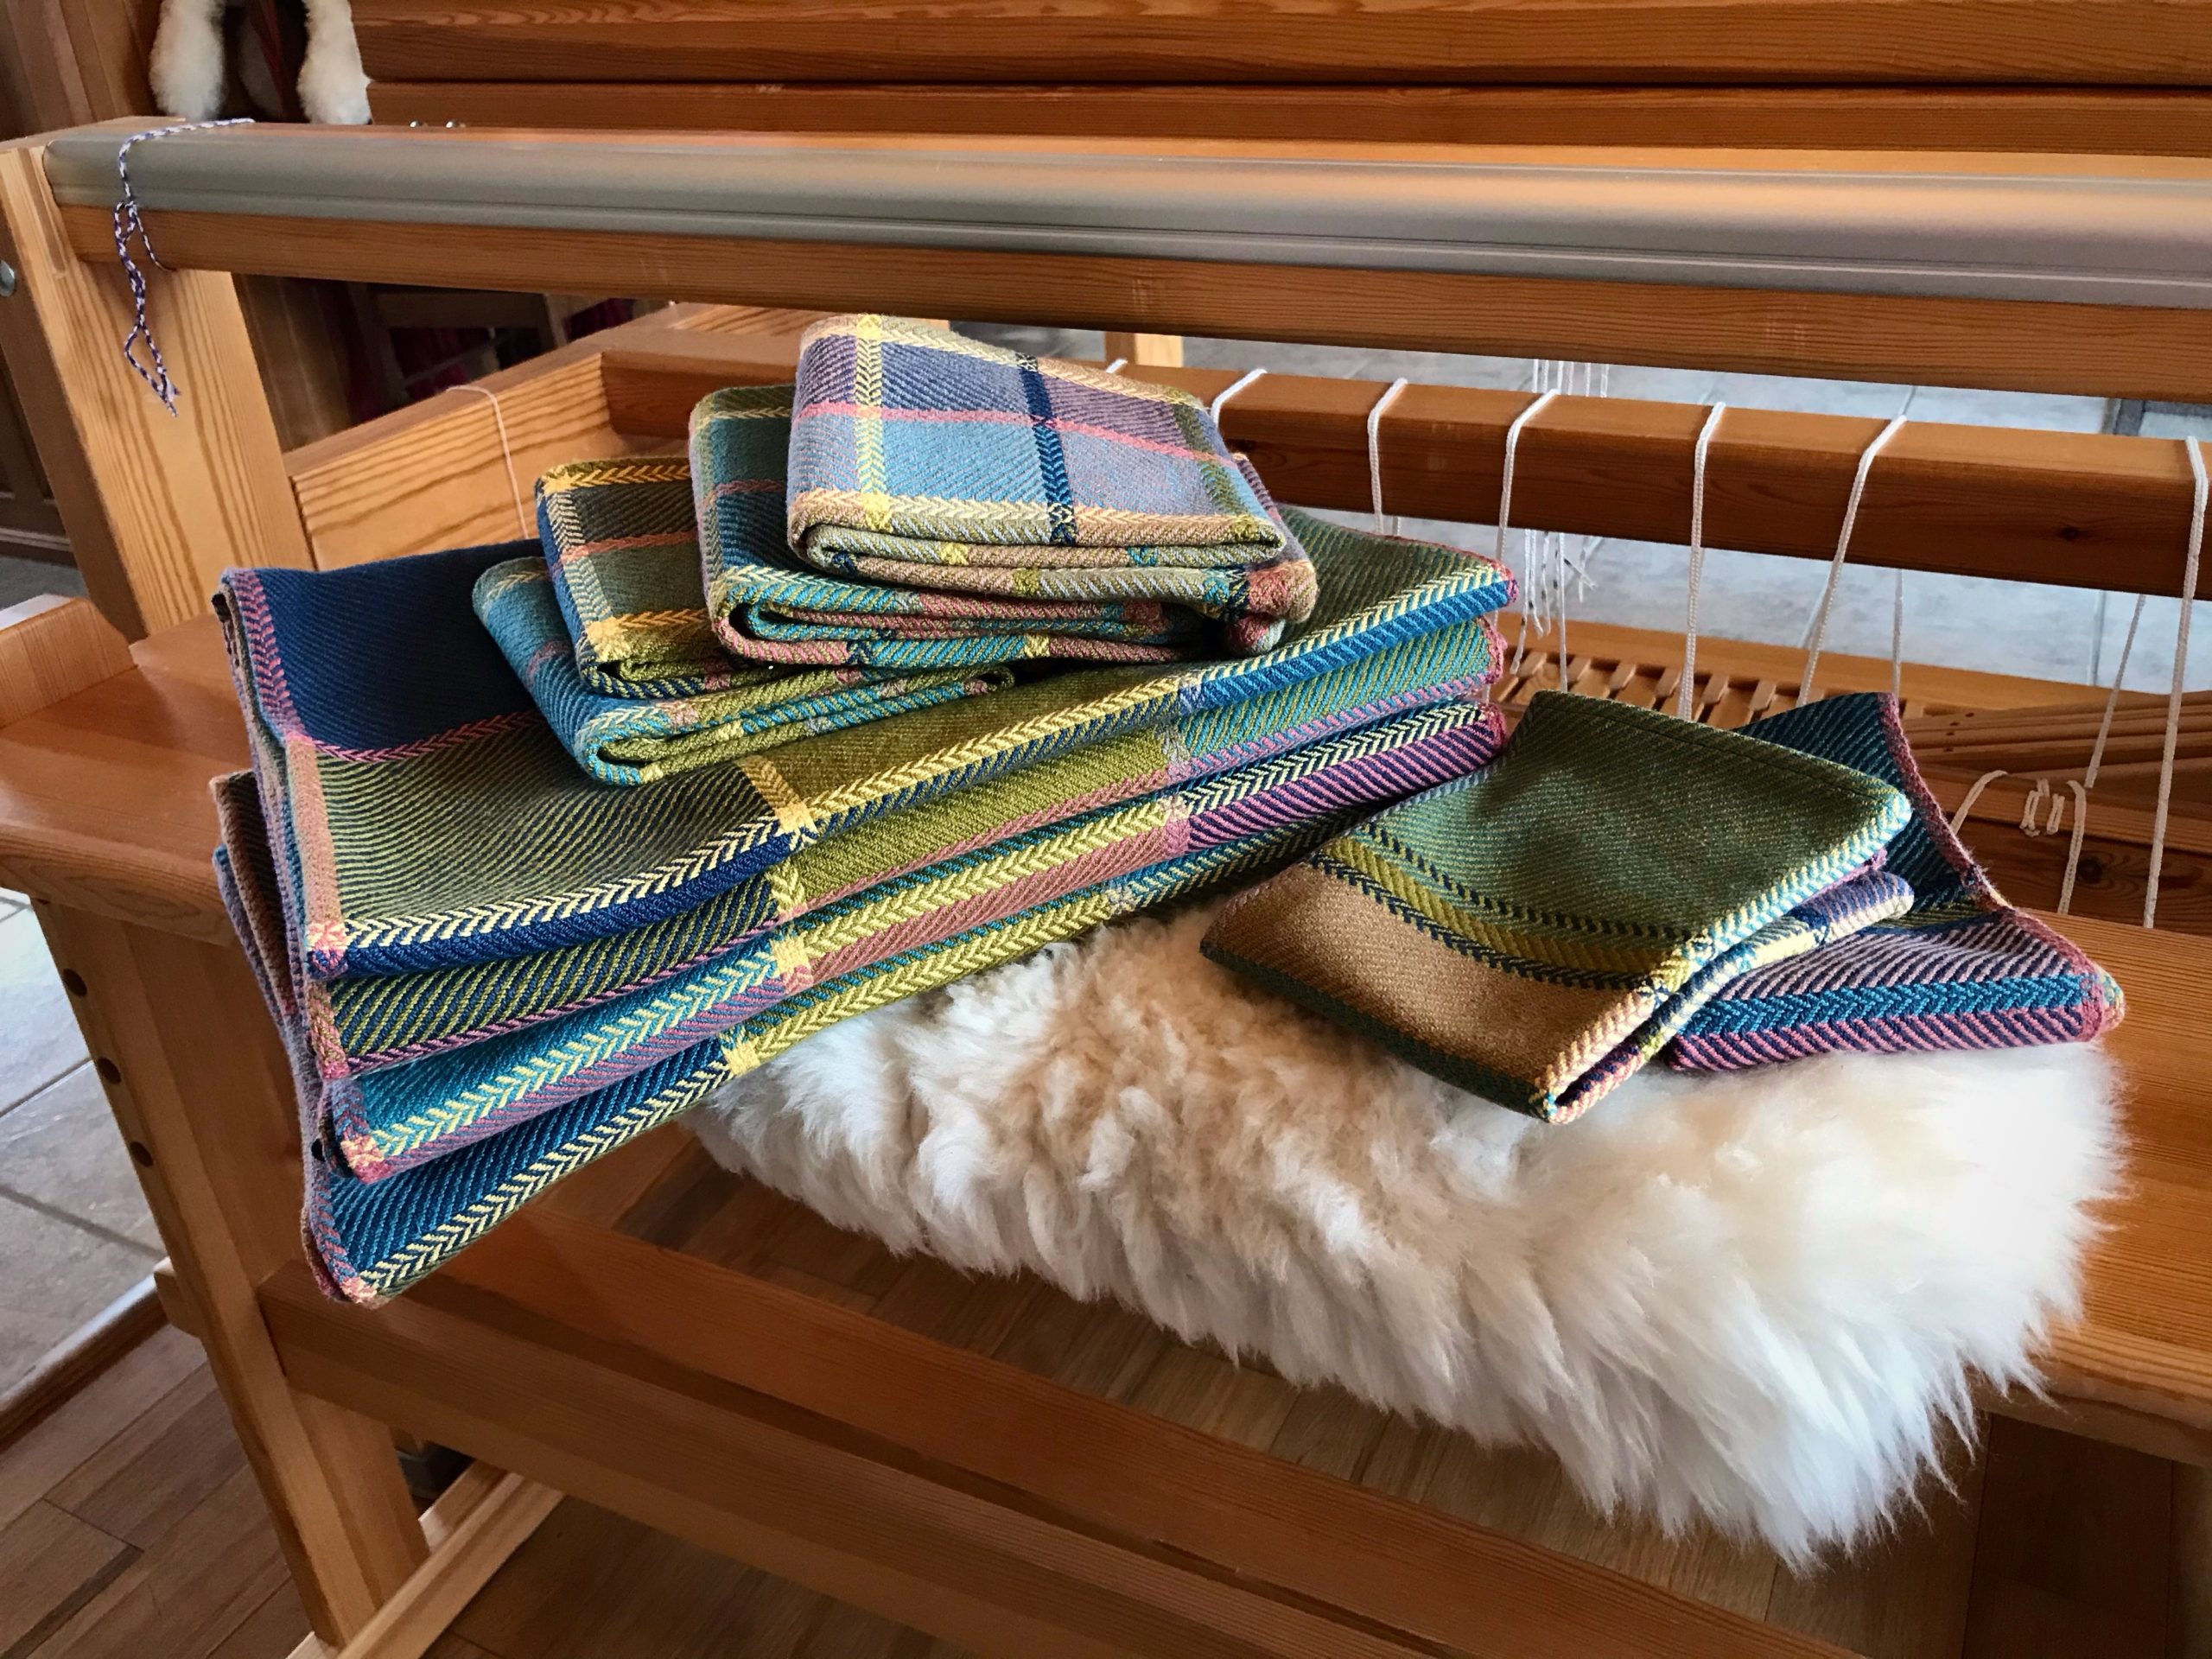
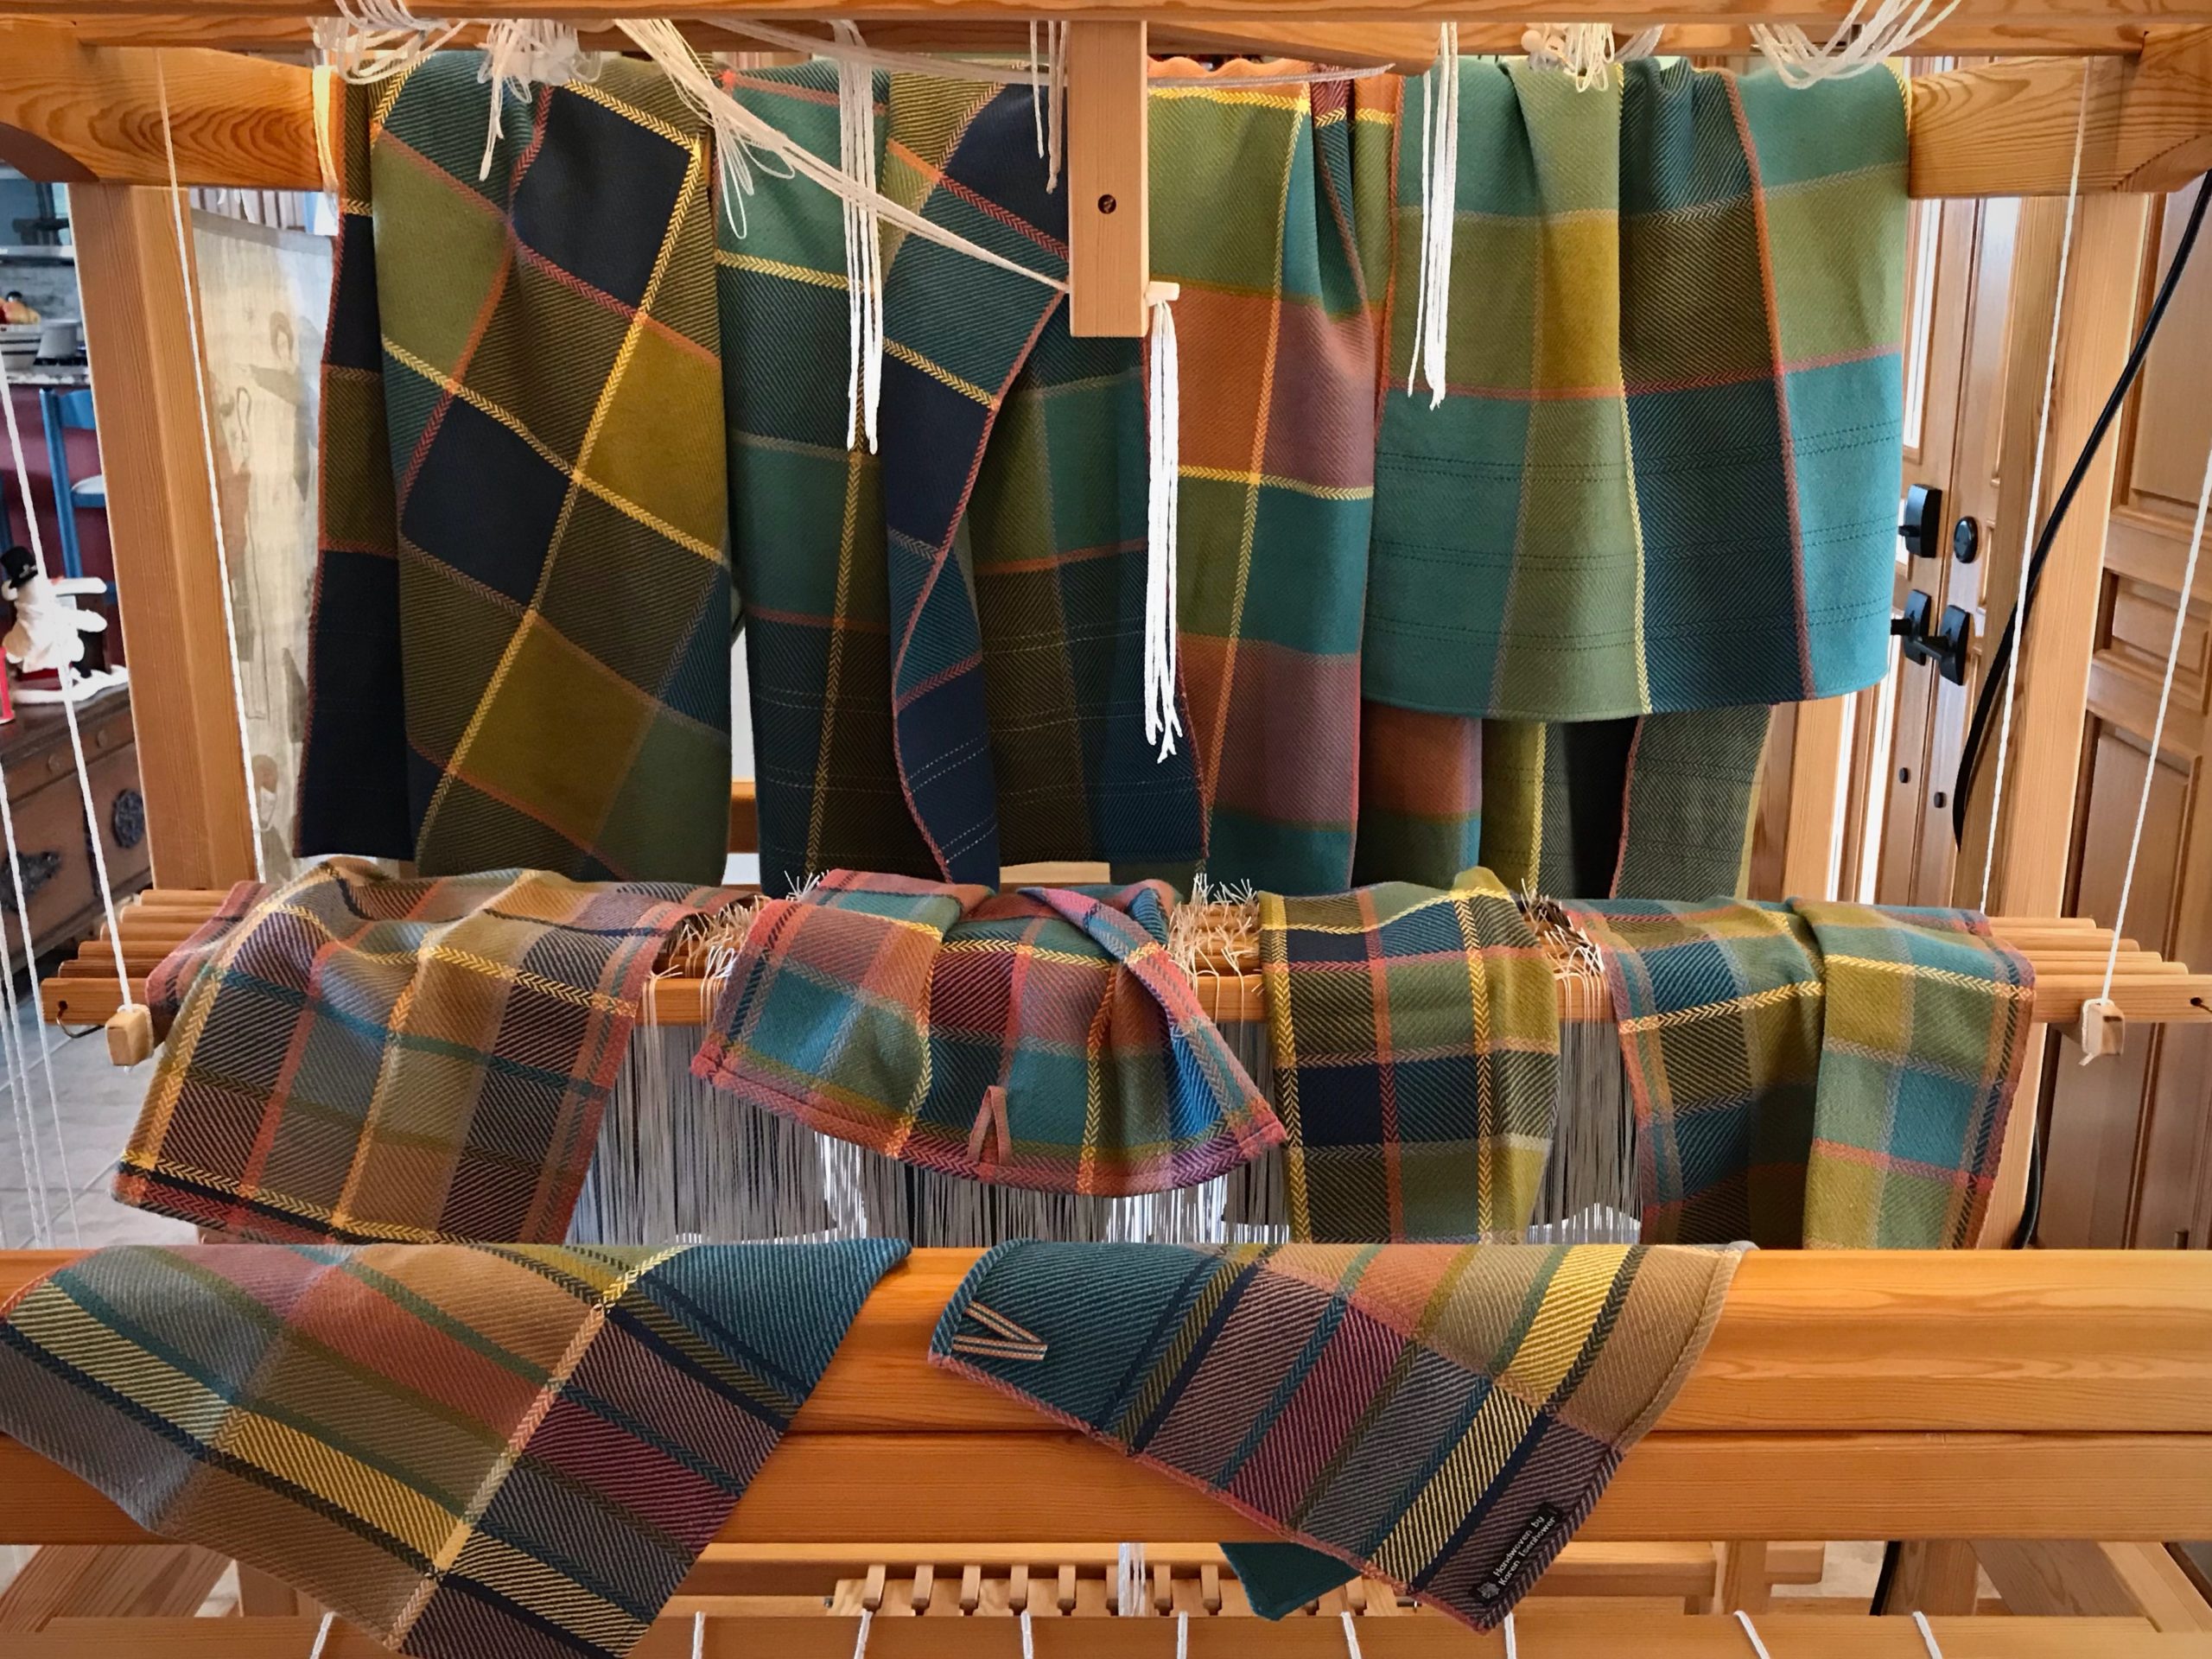
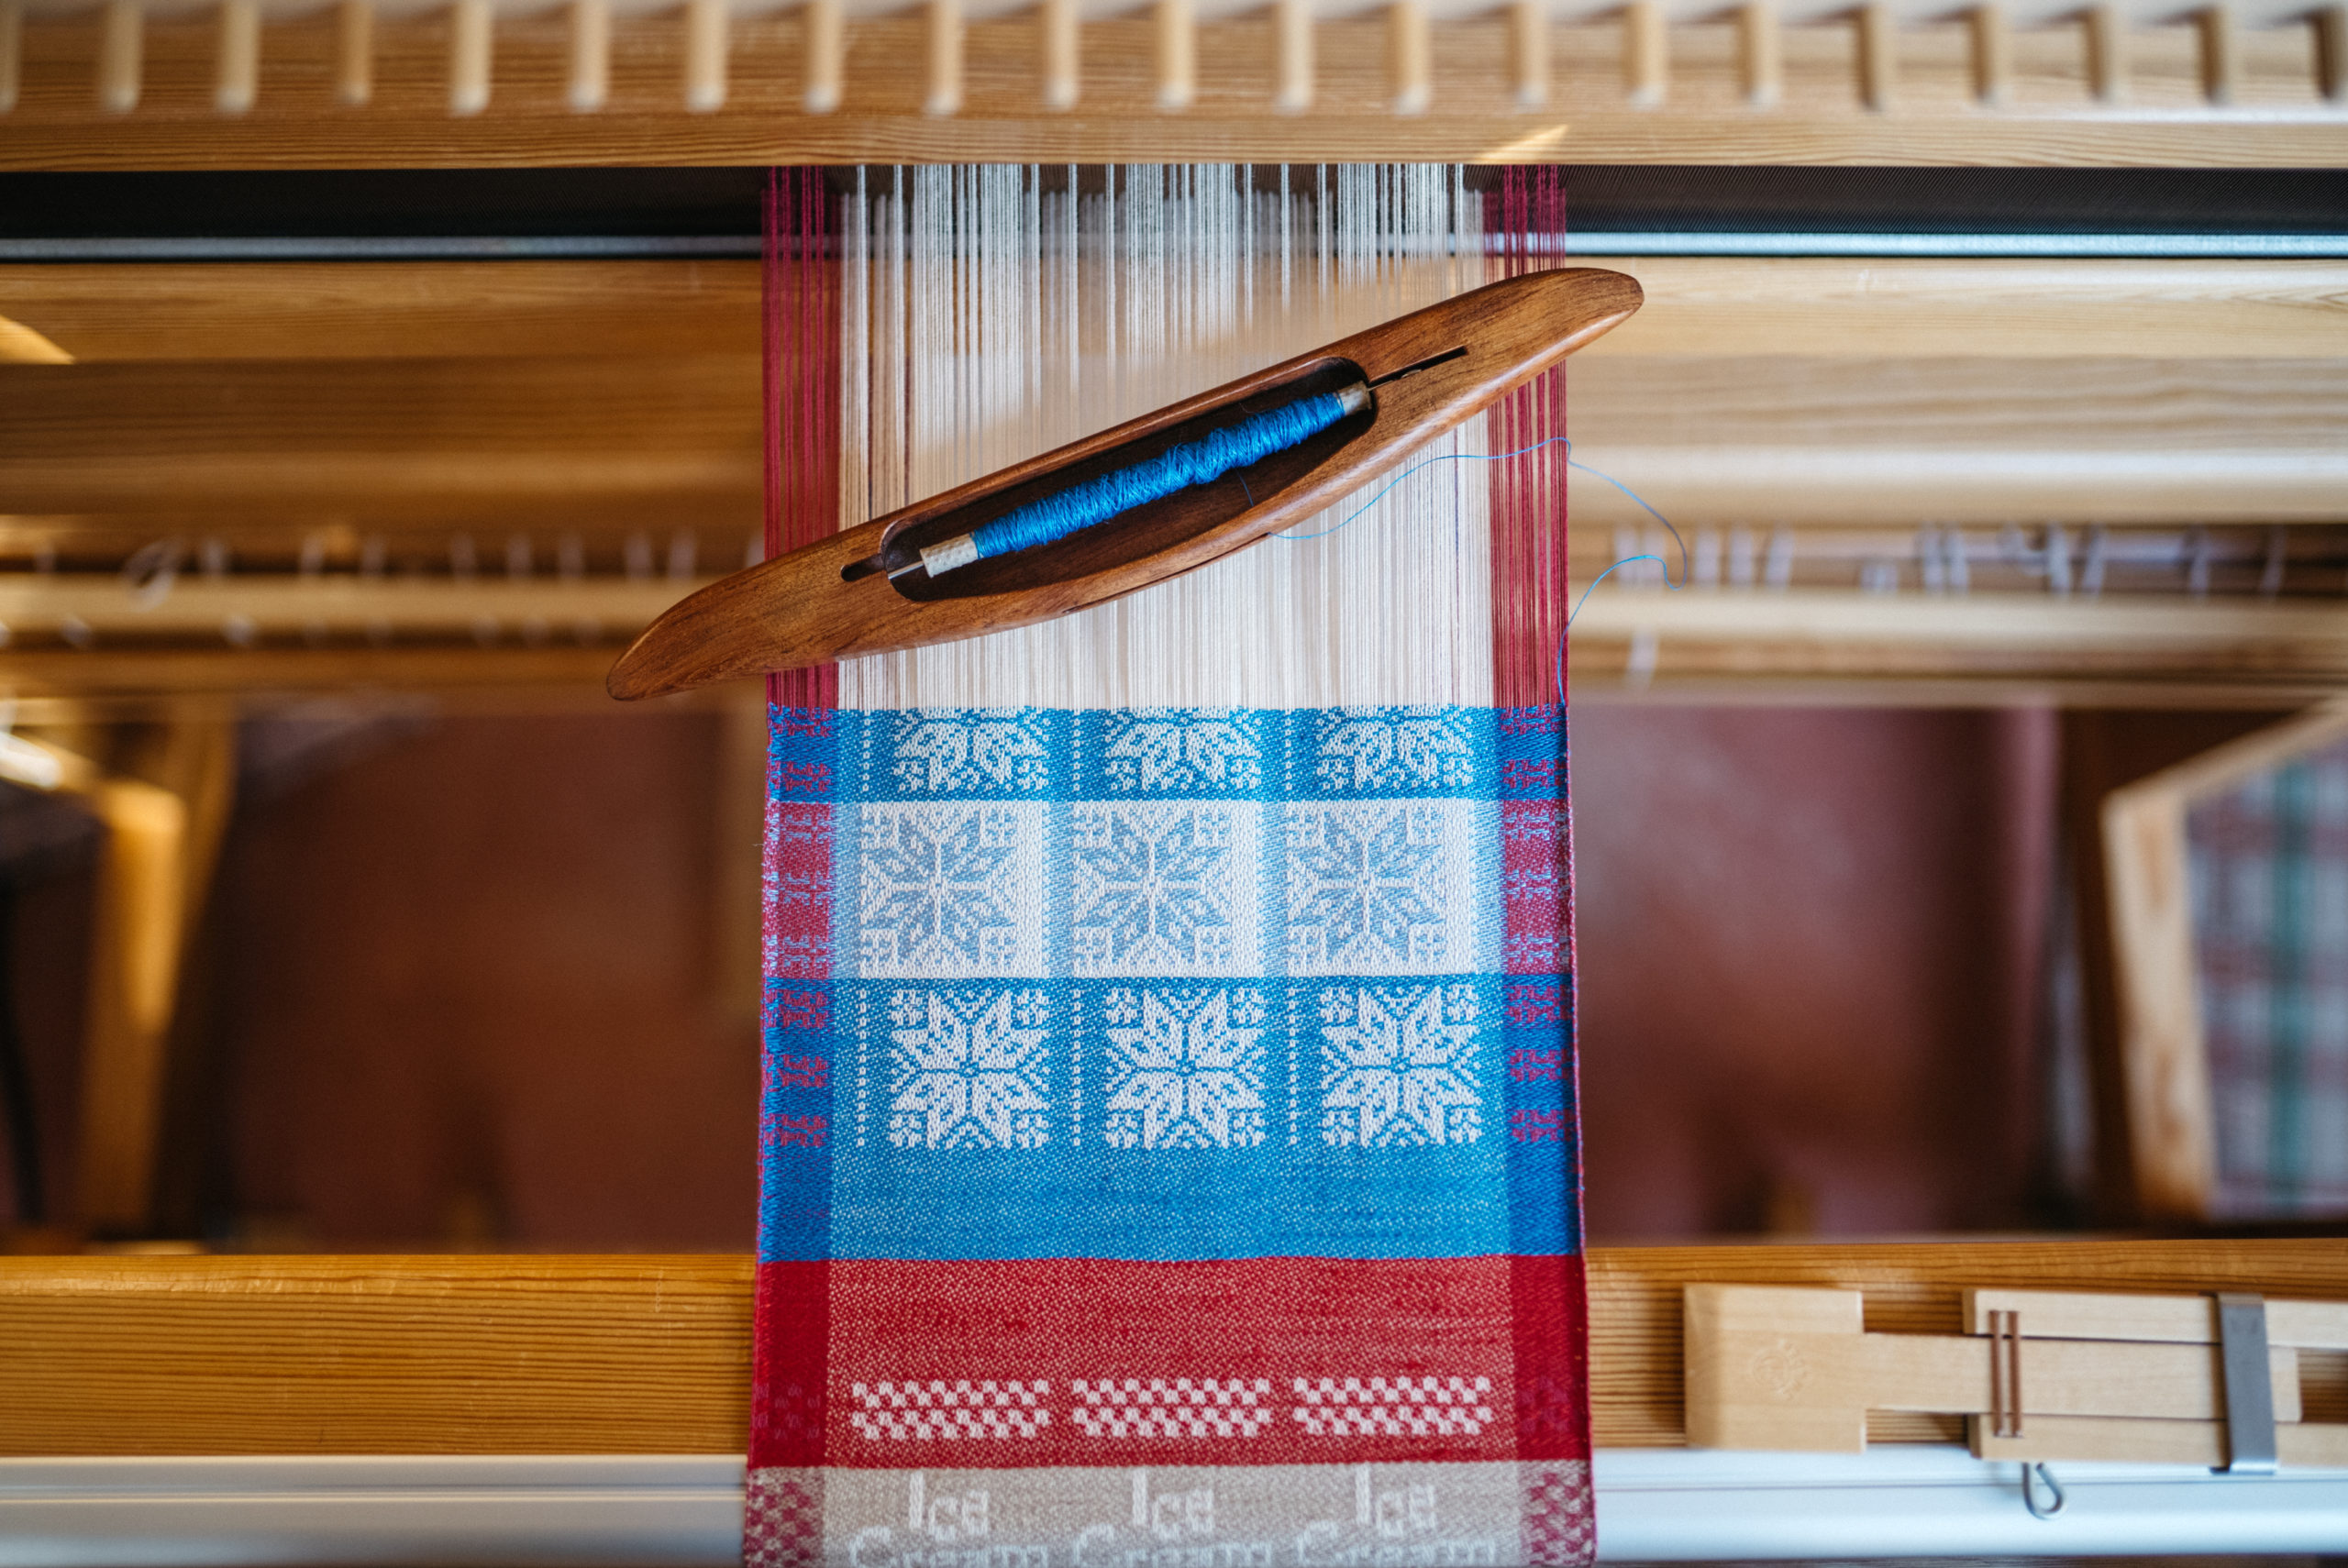
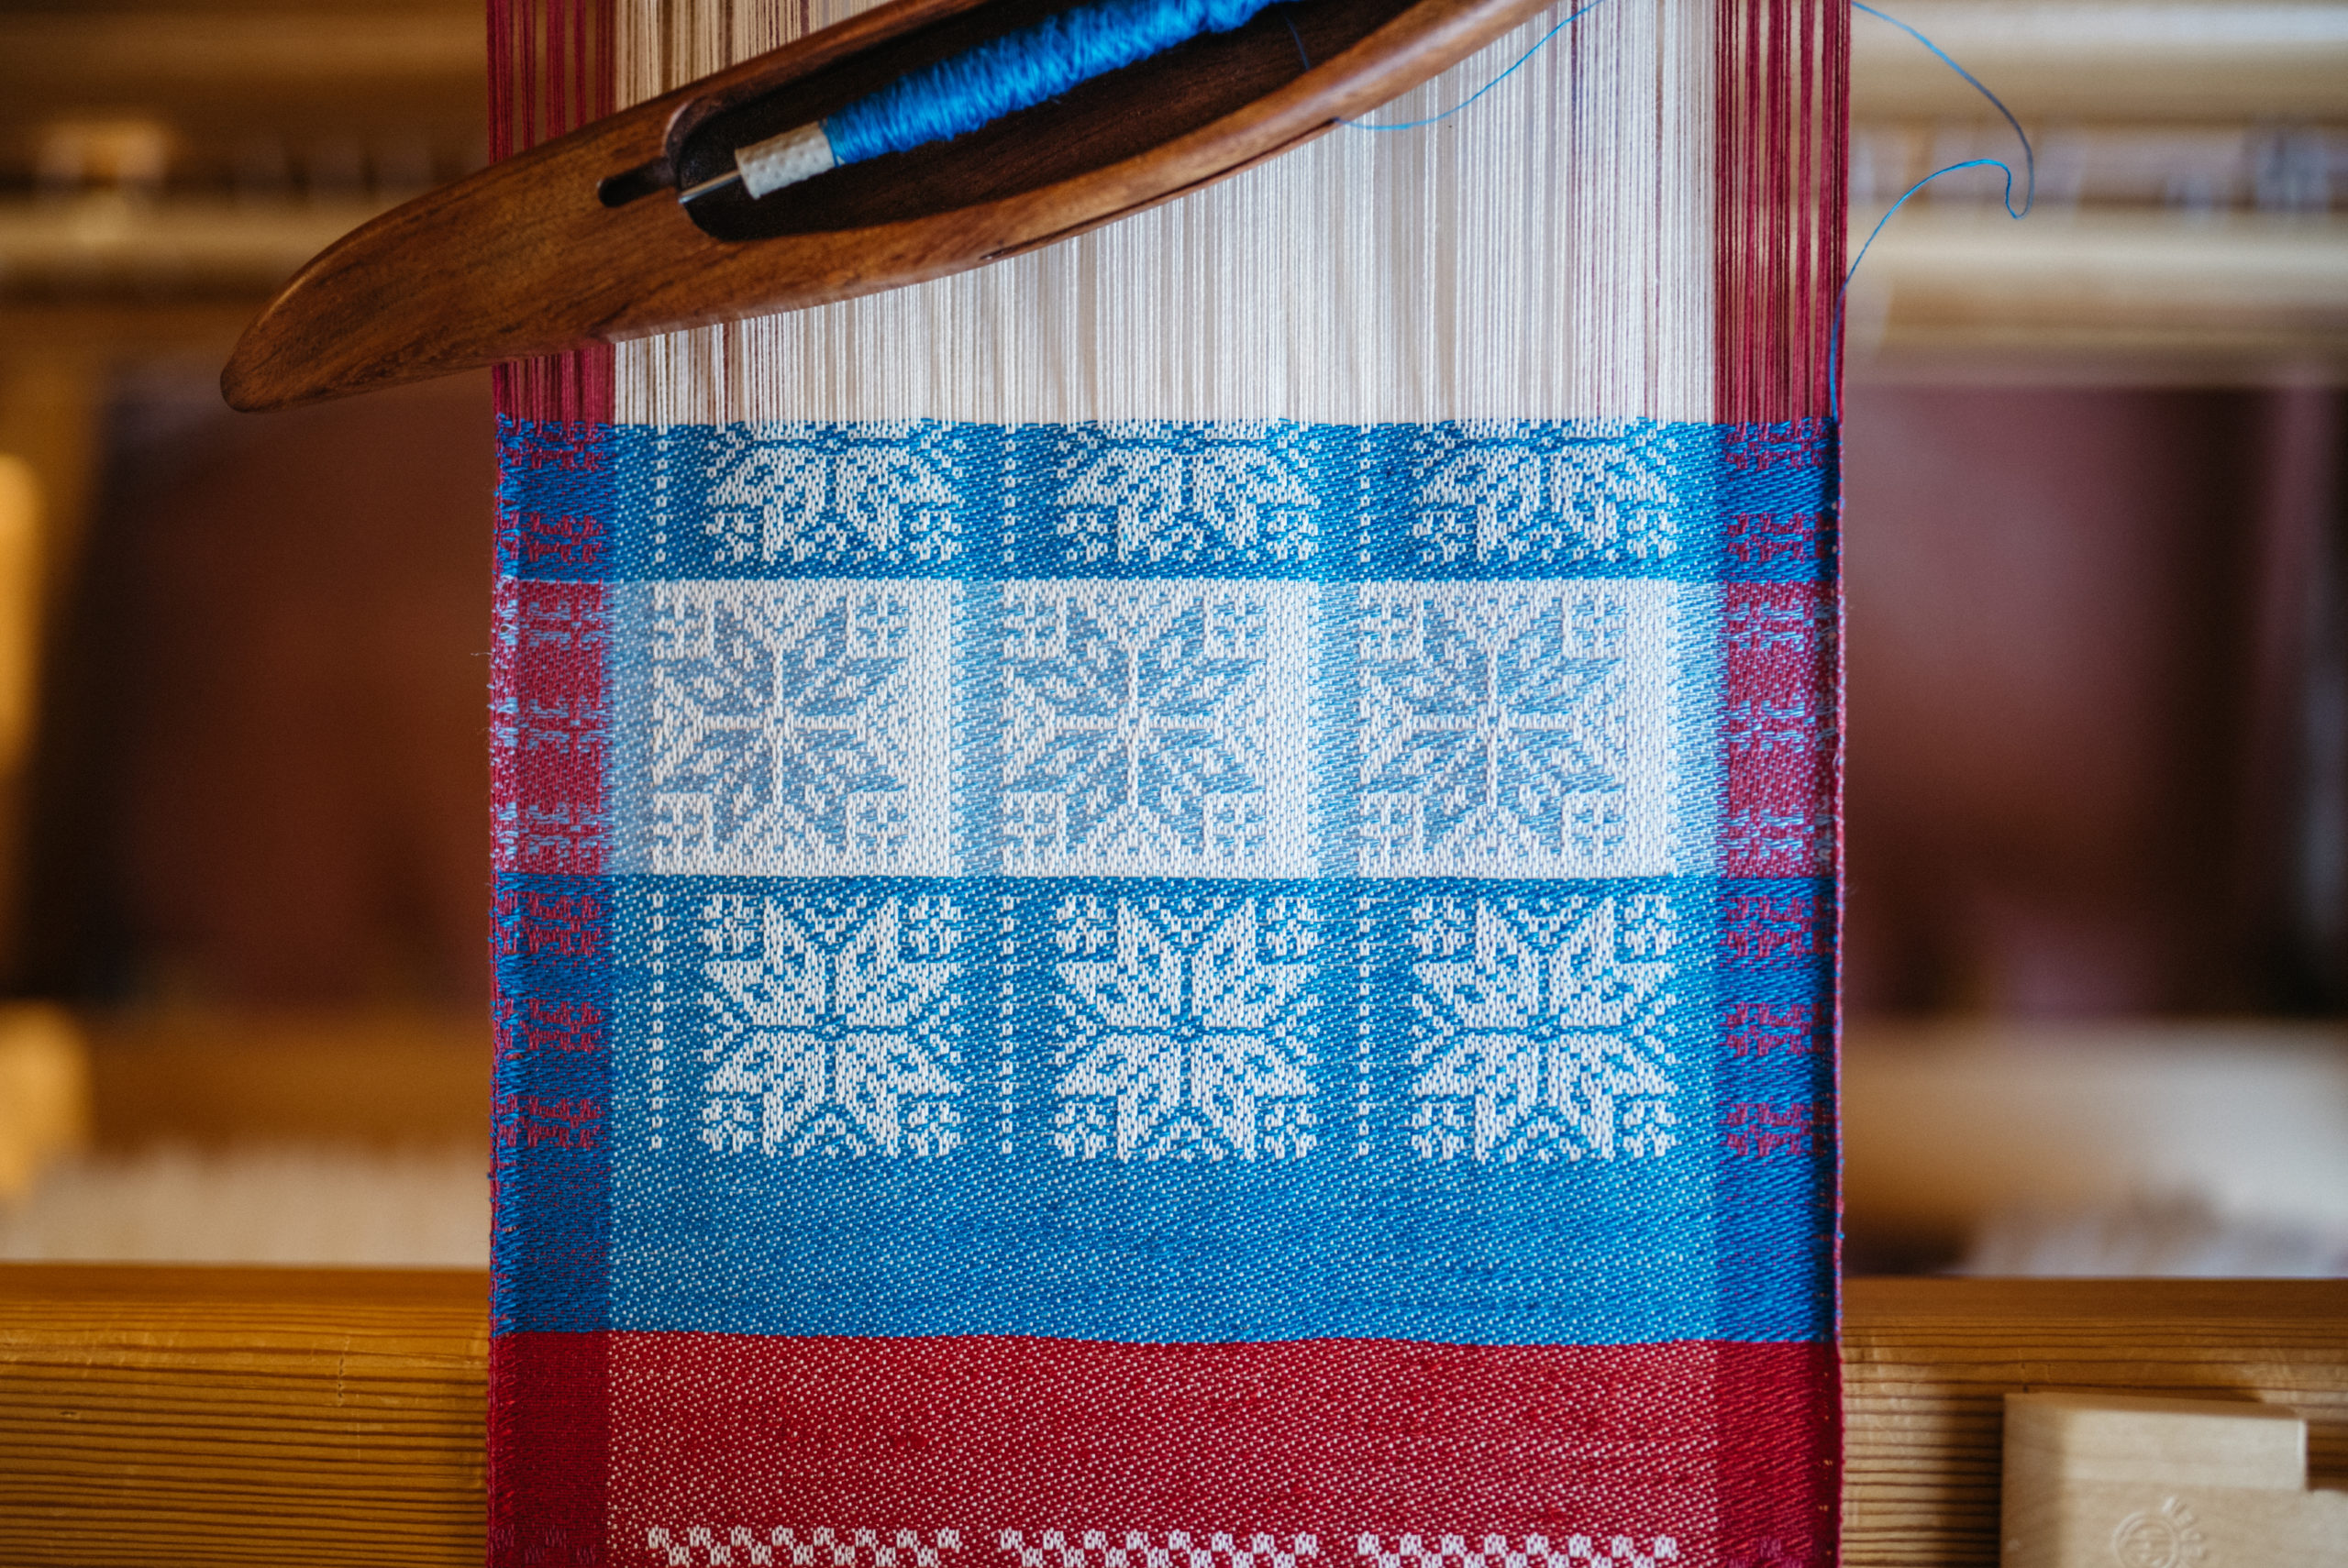
I am ending this warp with spectacular stars. Or are they snowflakes? I got a new book of patterns just in time. My friend Cathleen shared her innovative source with me—Selbu Mittens: Discover the Rich History of a Norwegian Knitting Tradition, by Anne Bårdsgård. This book is filled with beautiful charts, perfect for translating into drawloom designs. It has page after page of classic eight-pointed stars, which look like snowflakes to me.
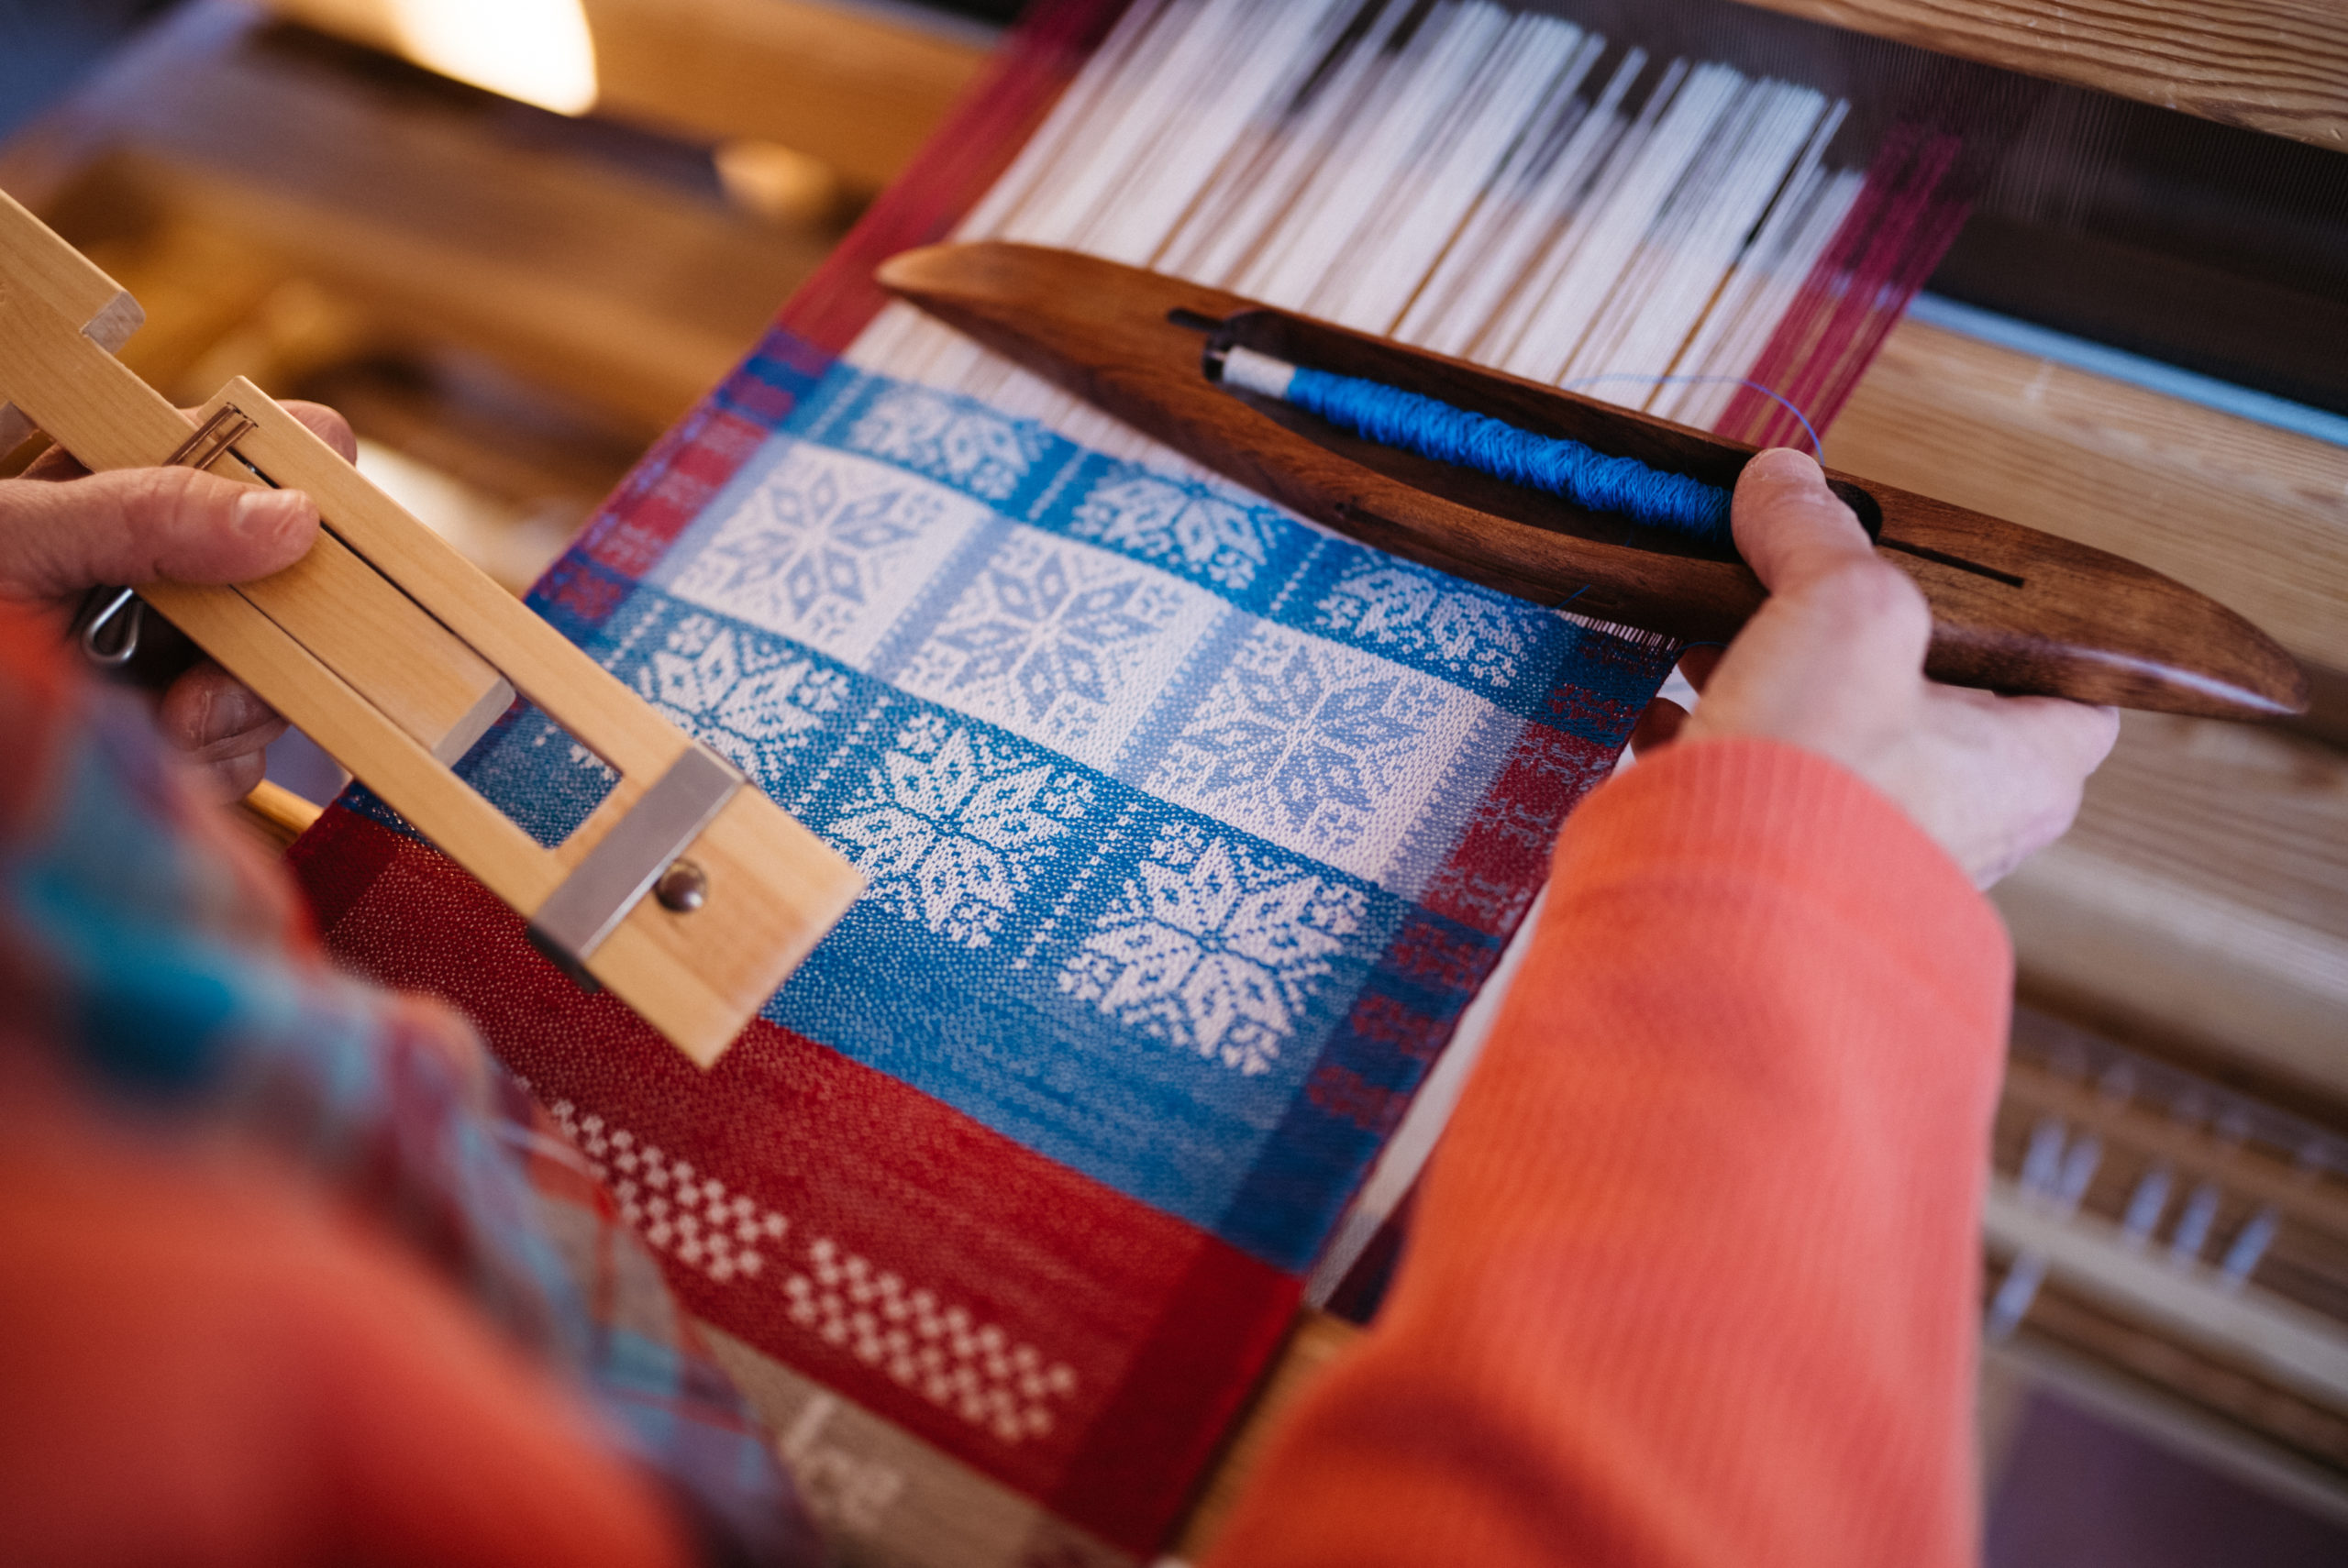
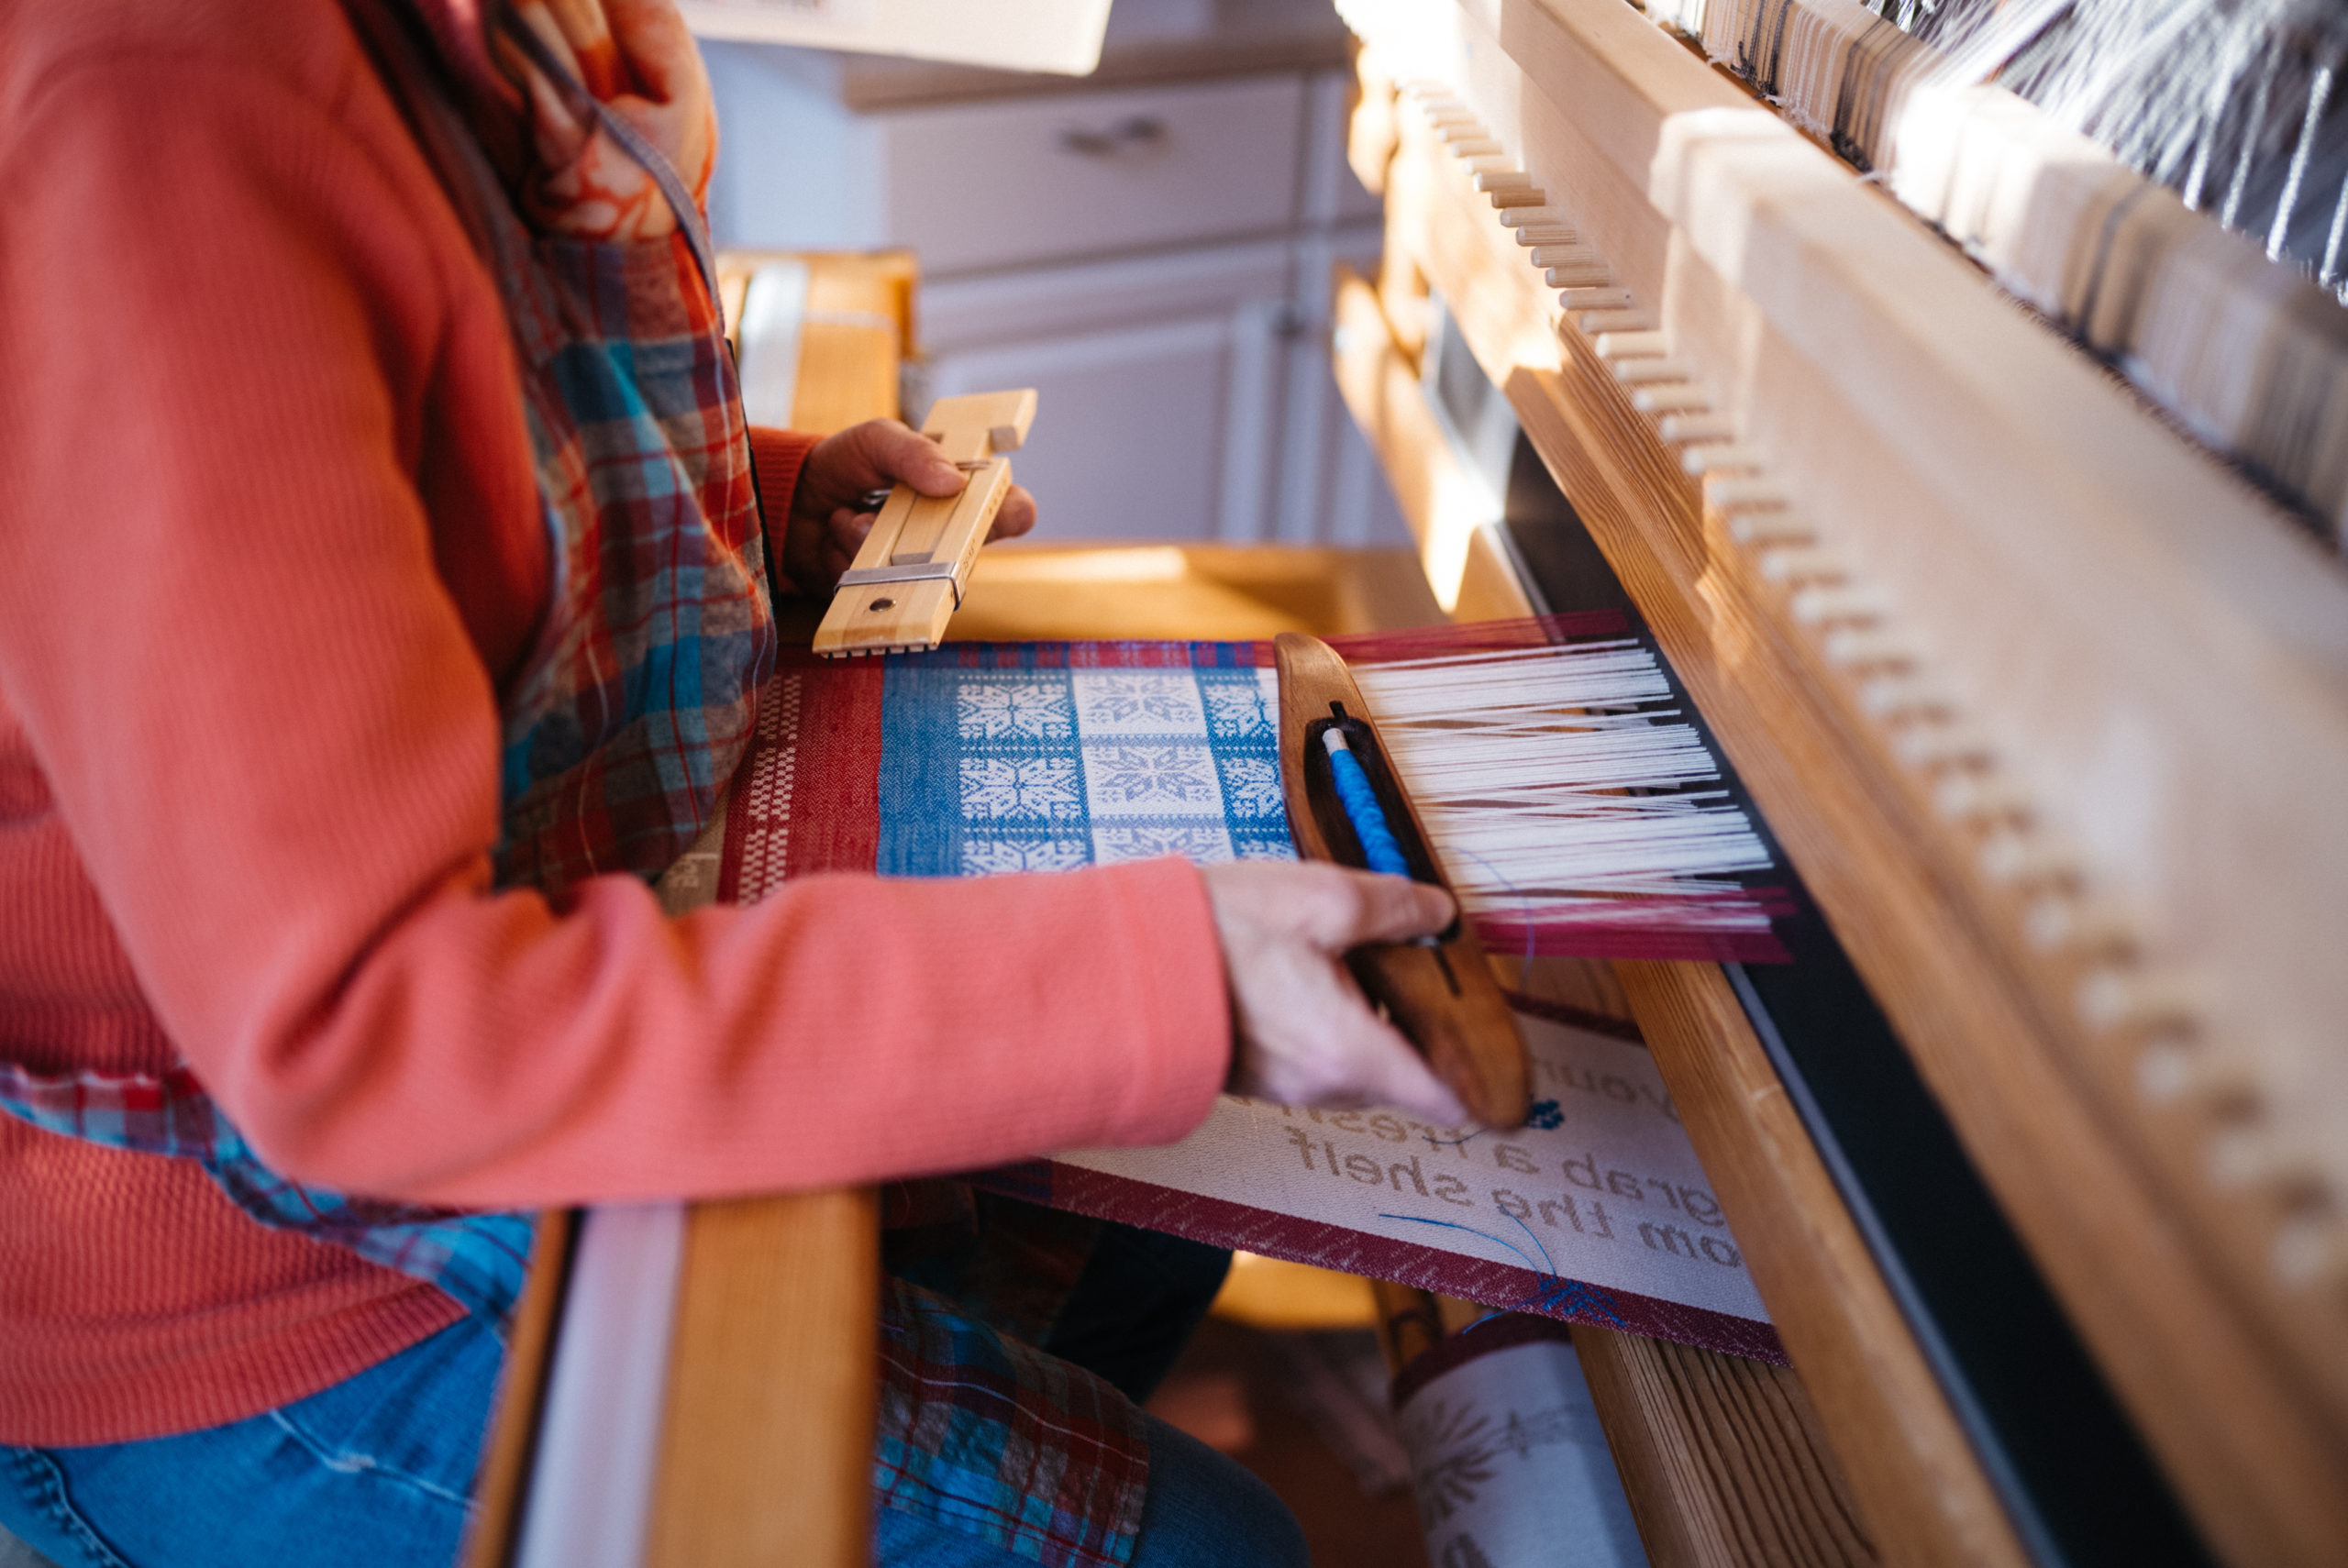
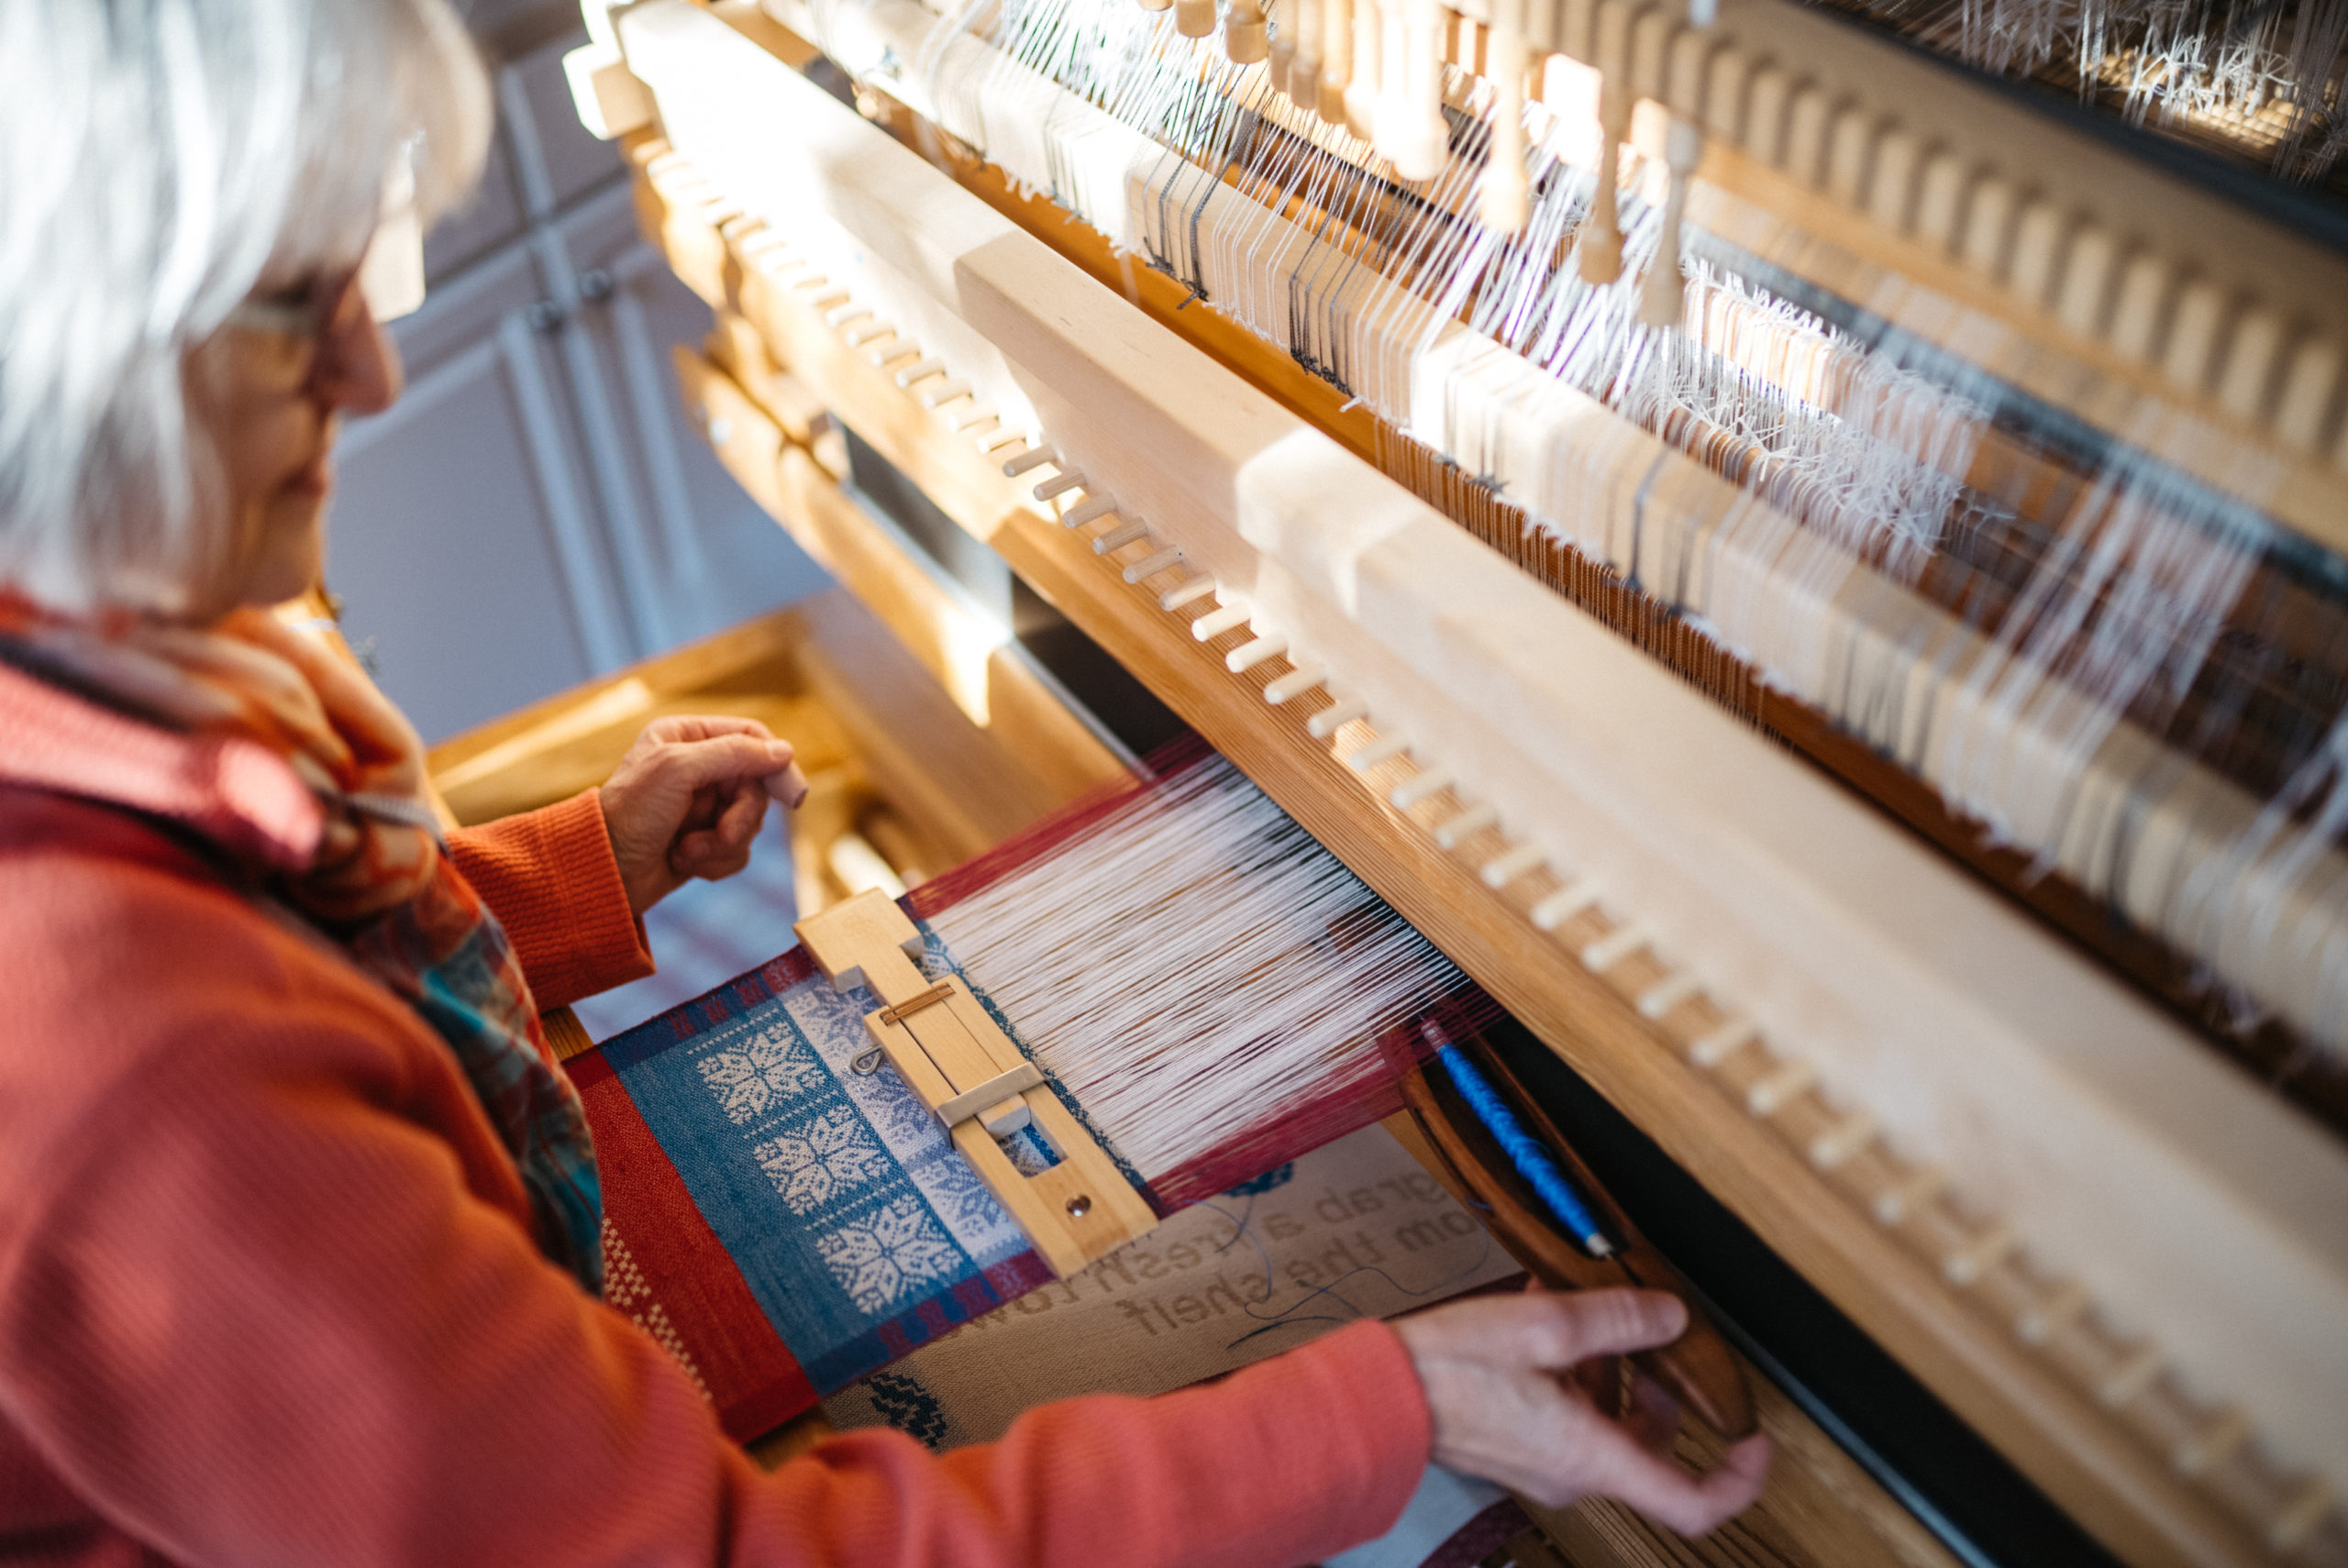
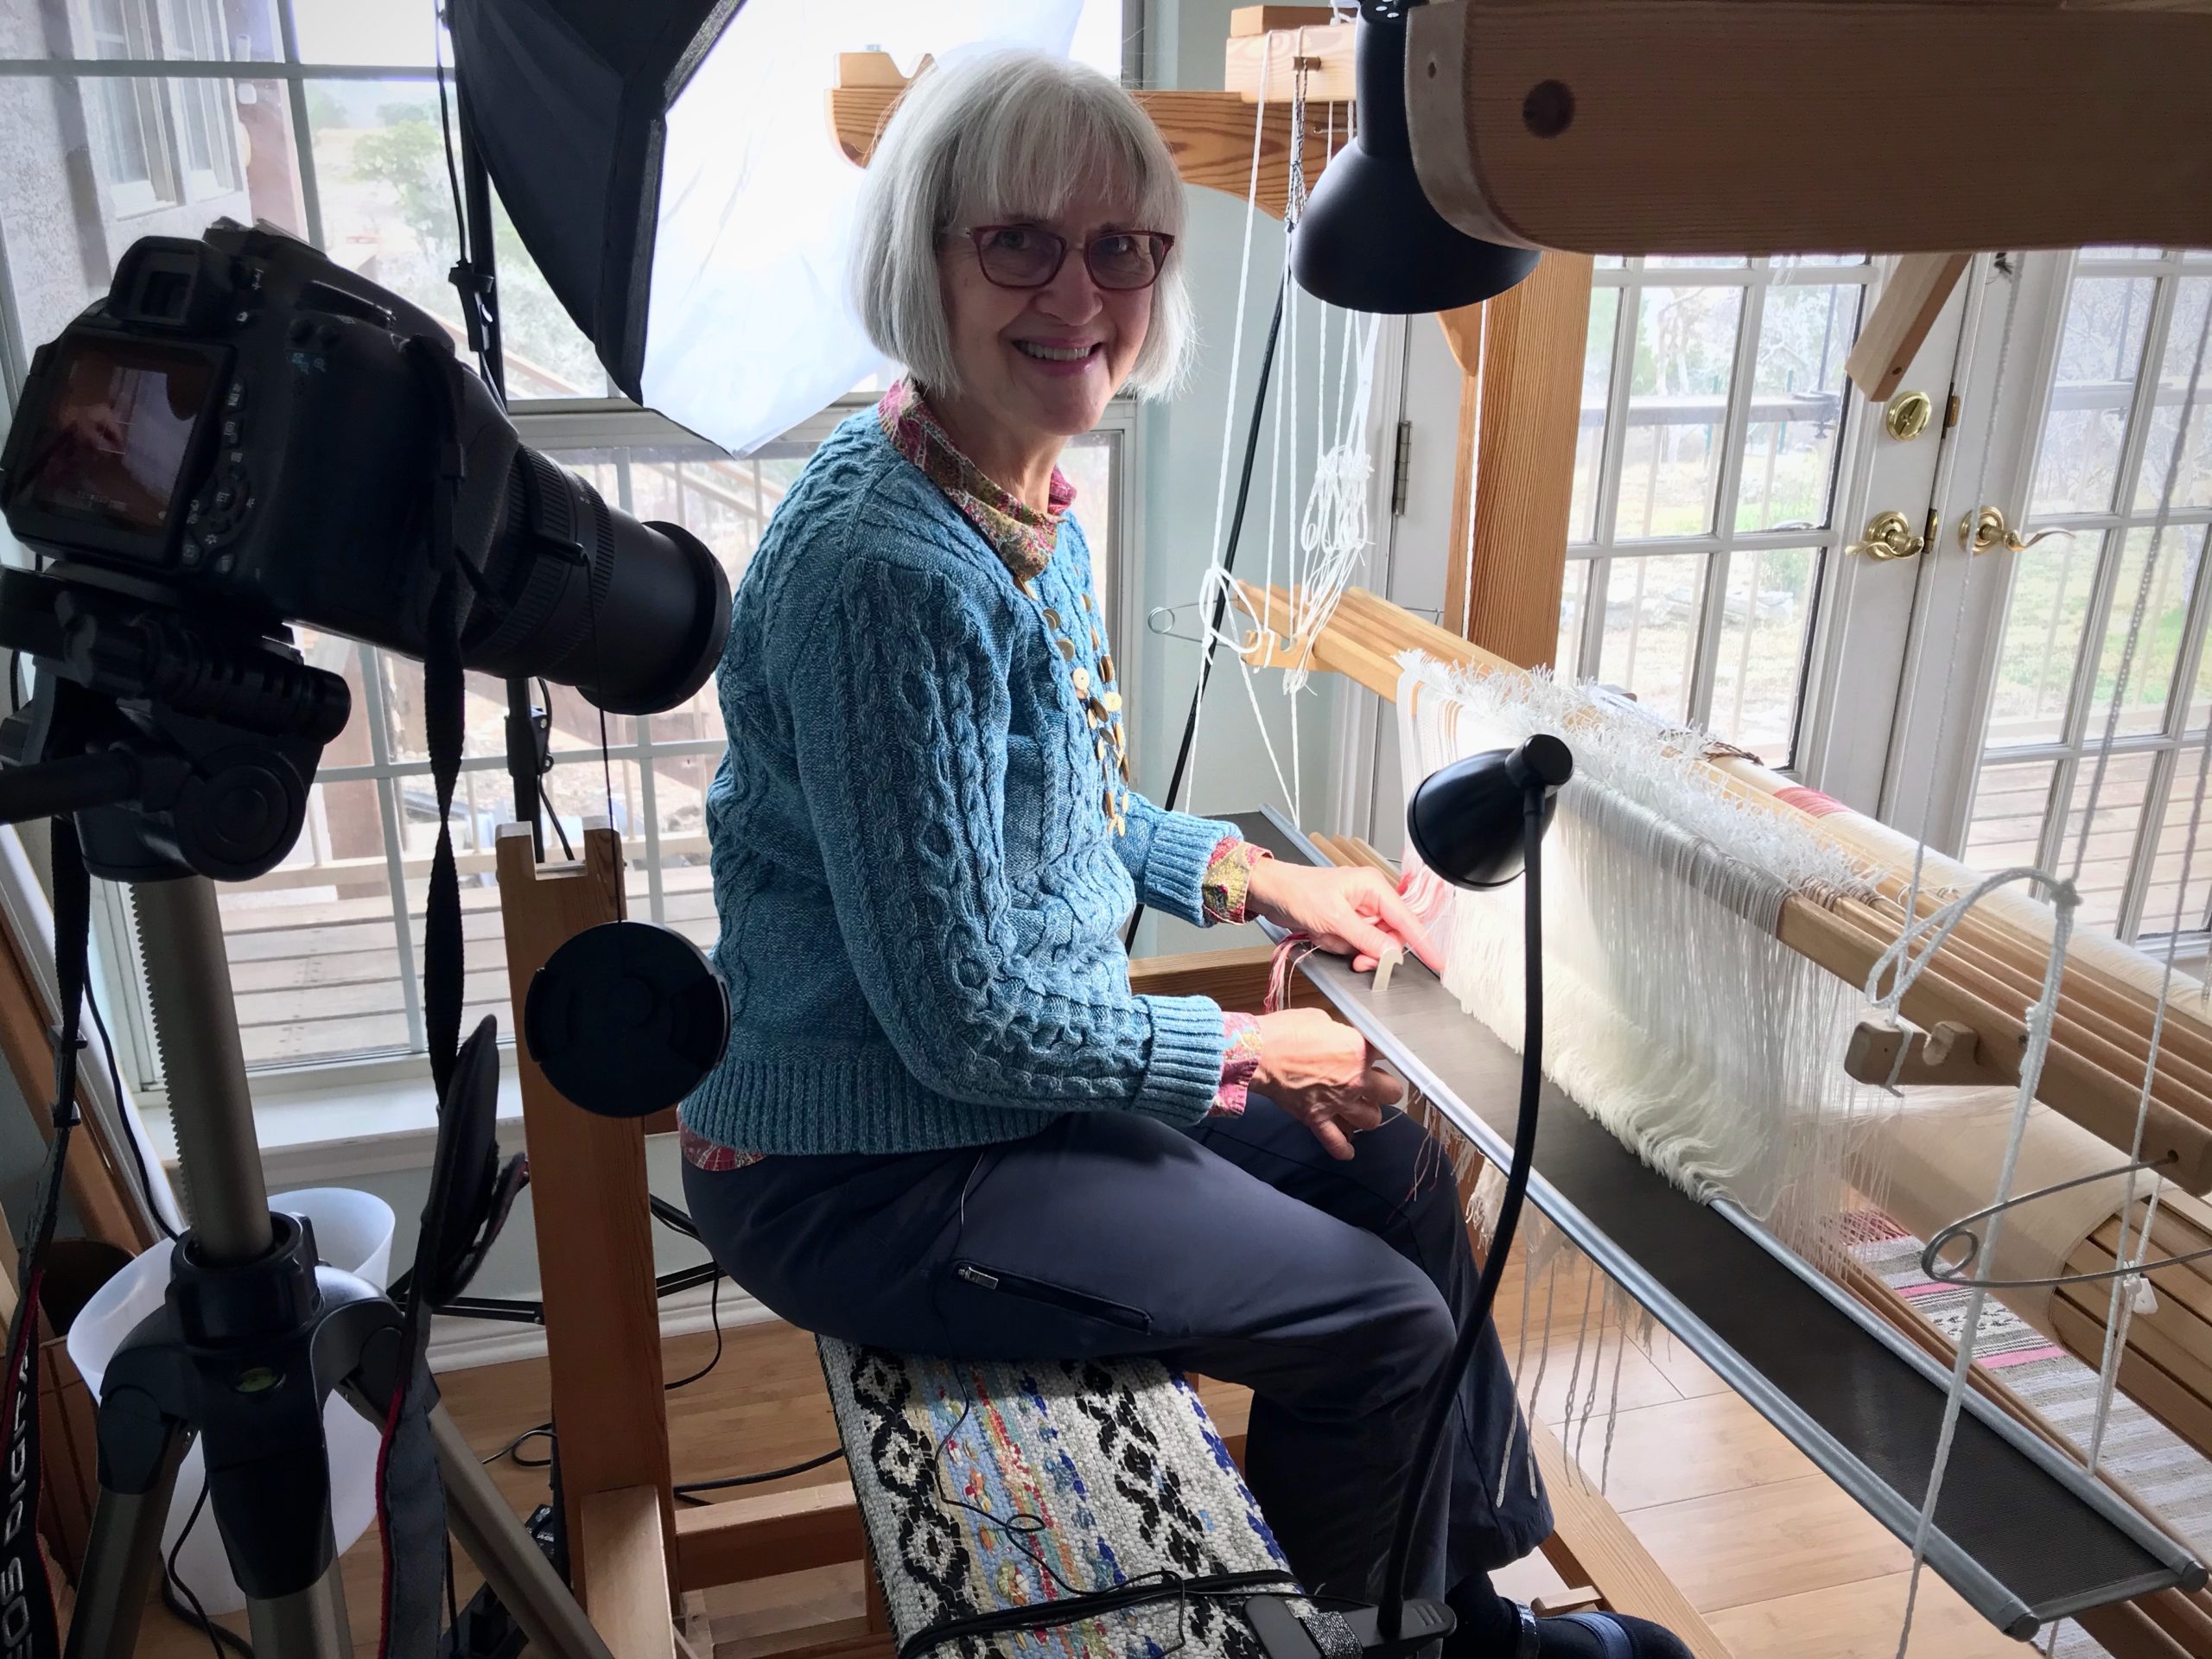
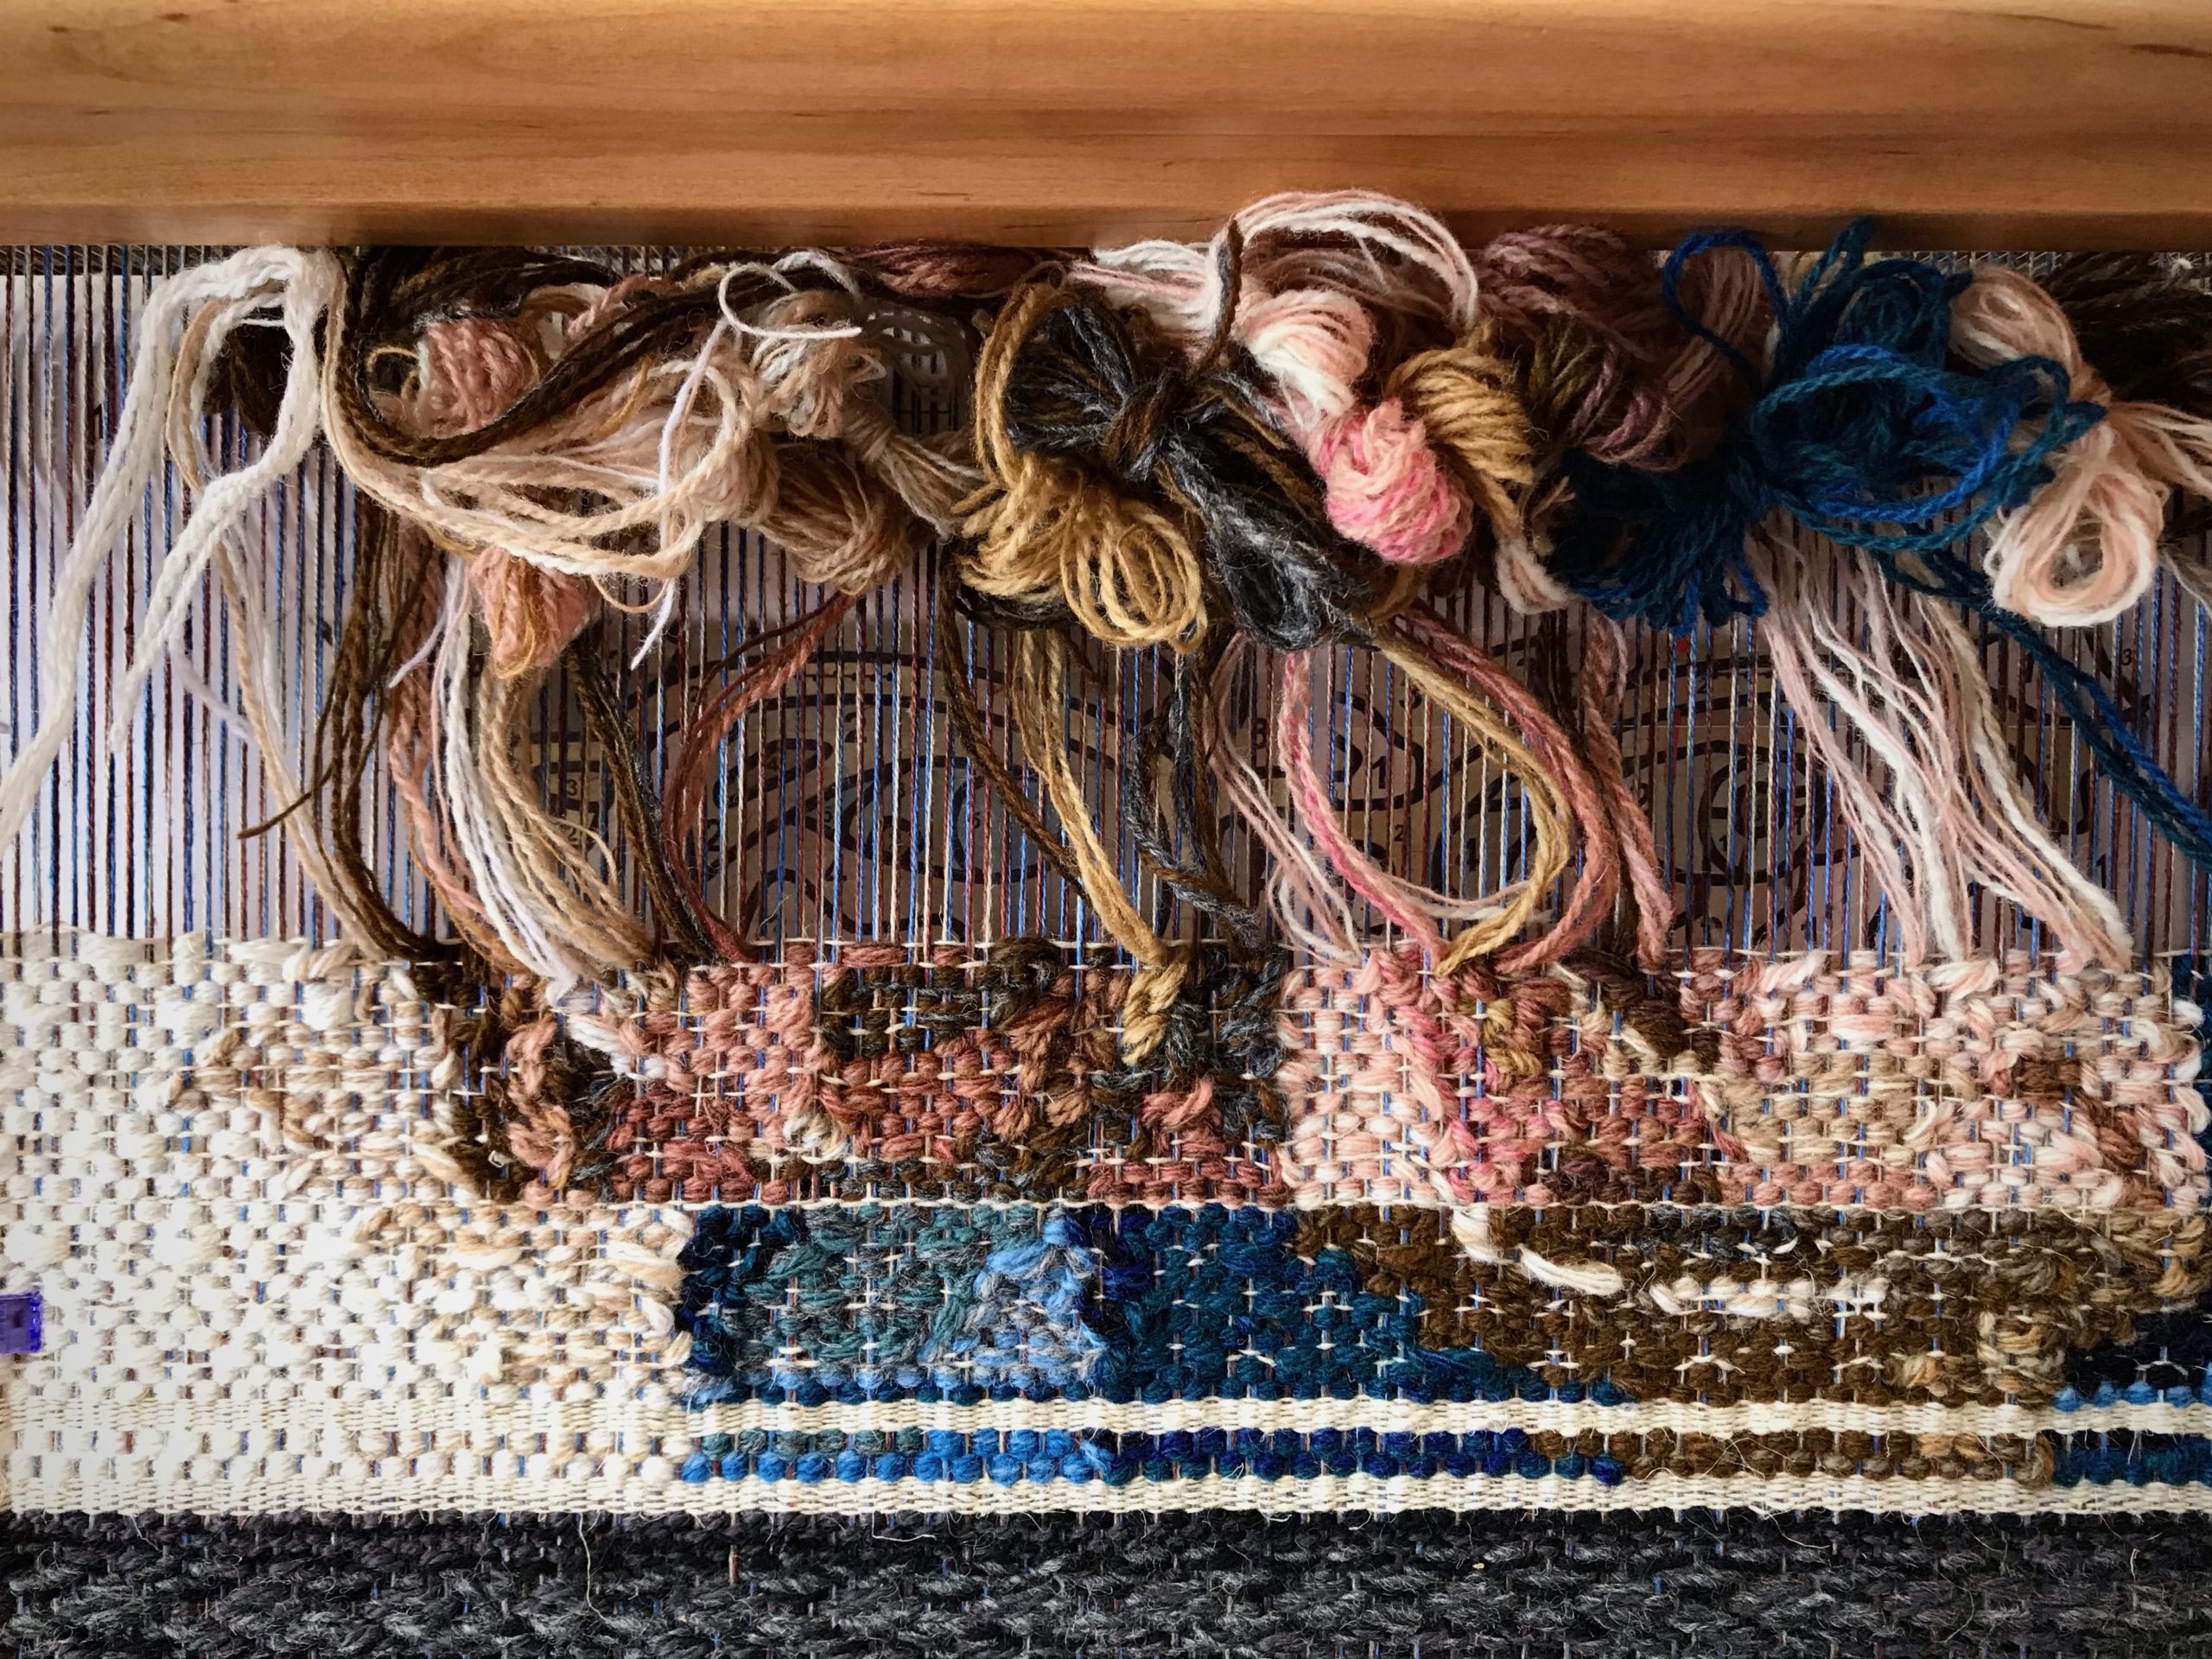
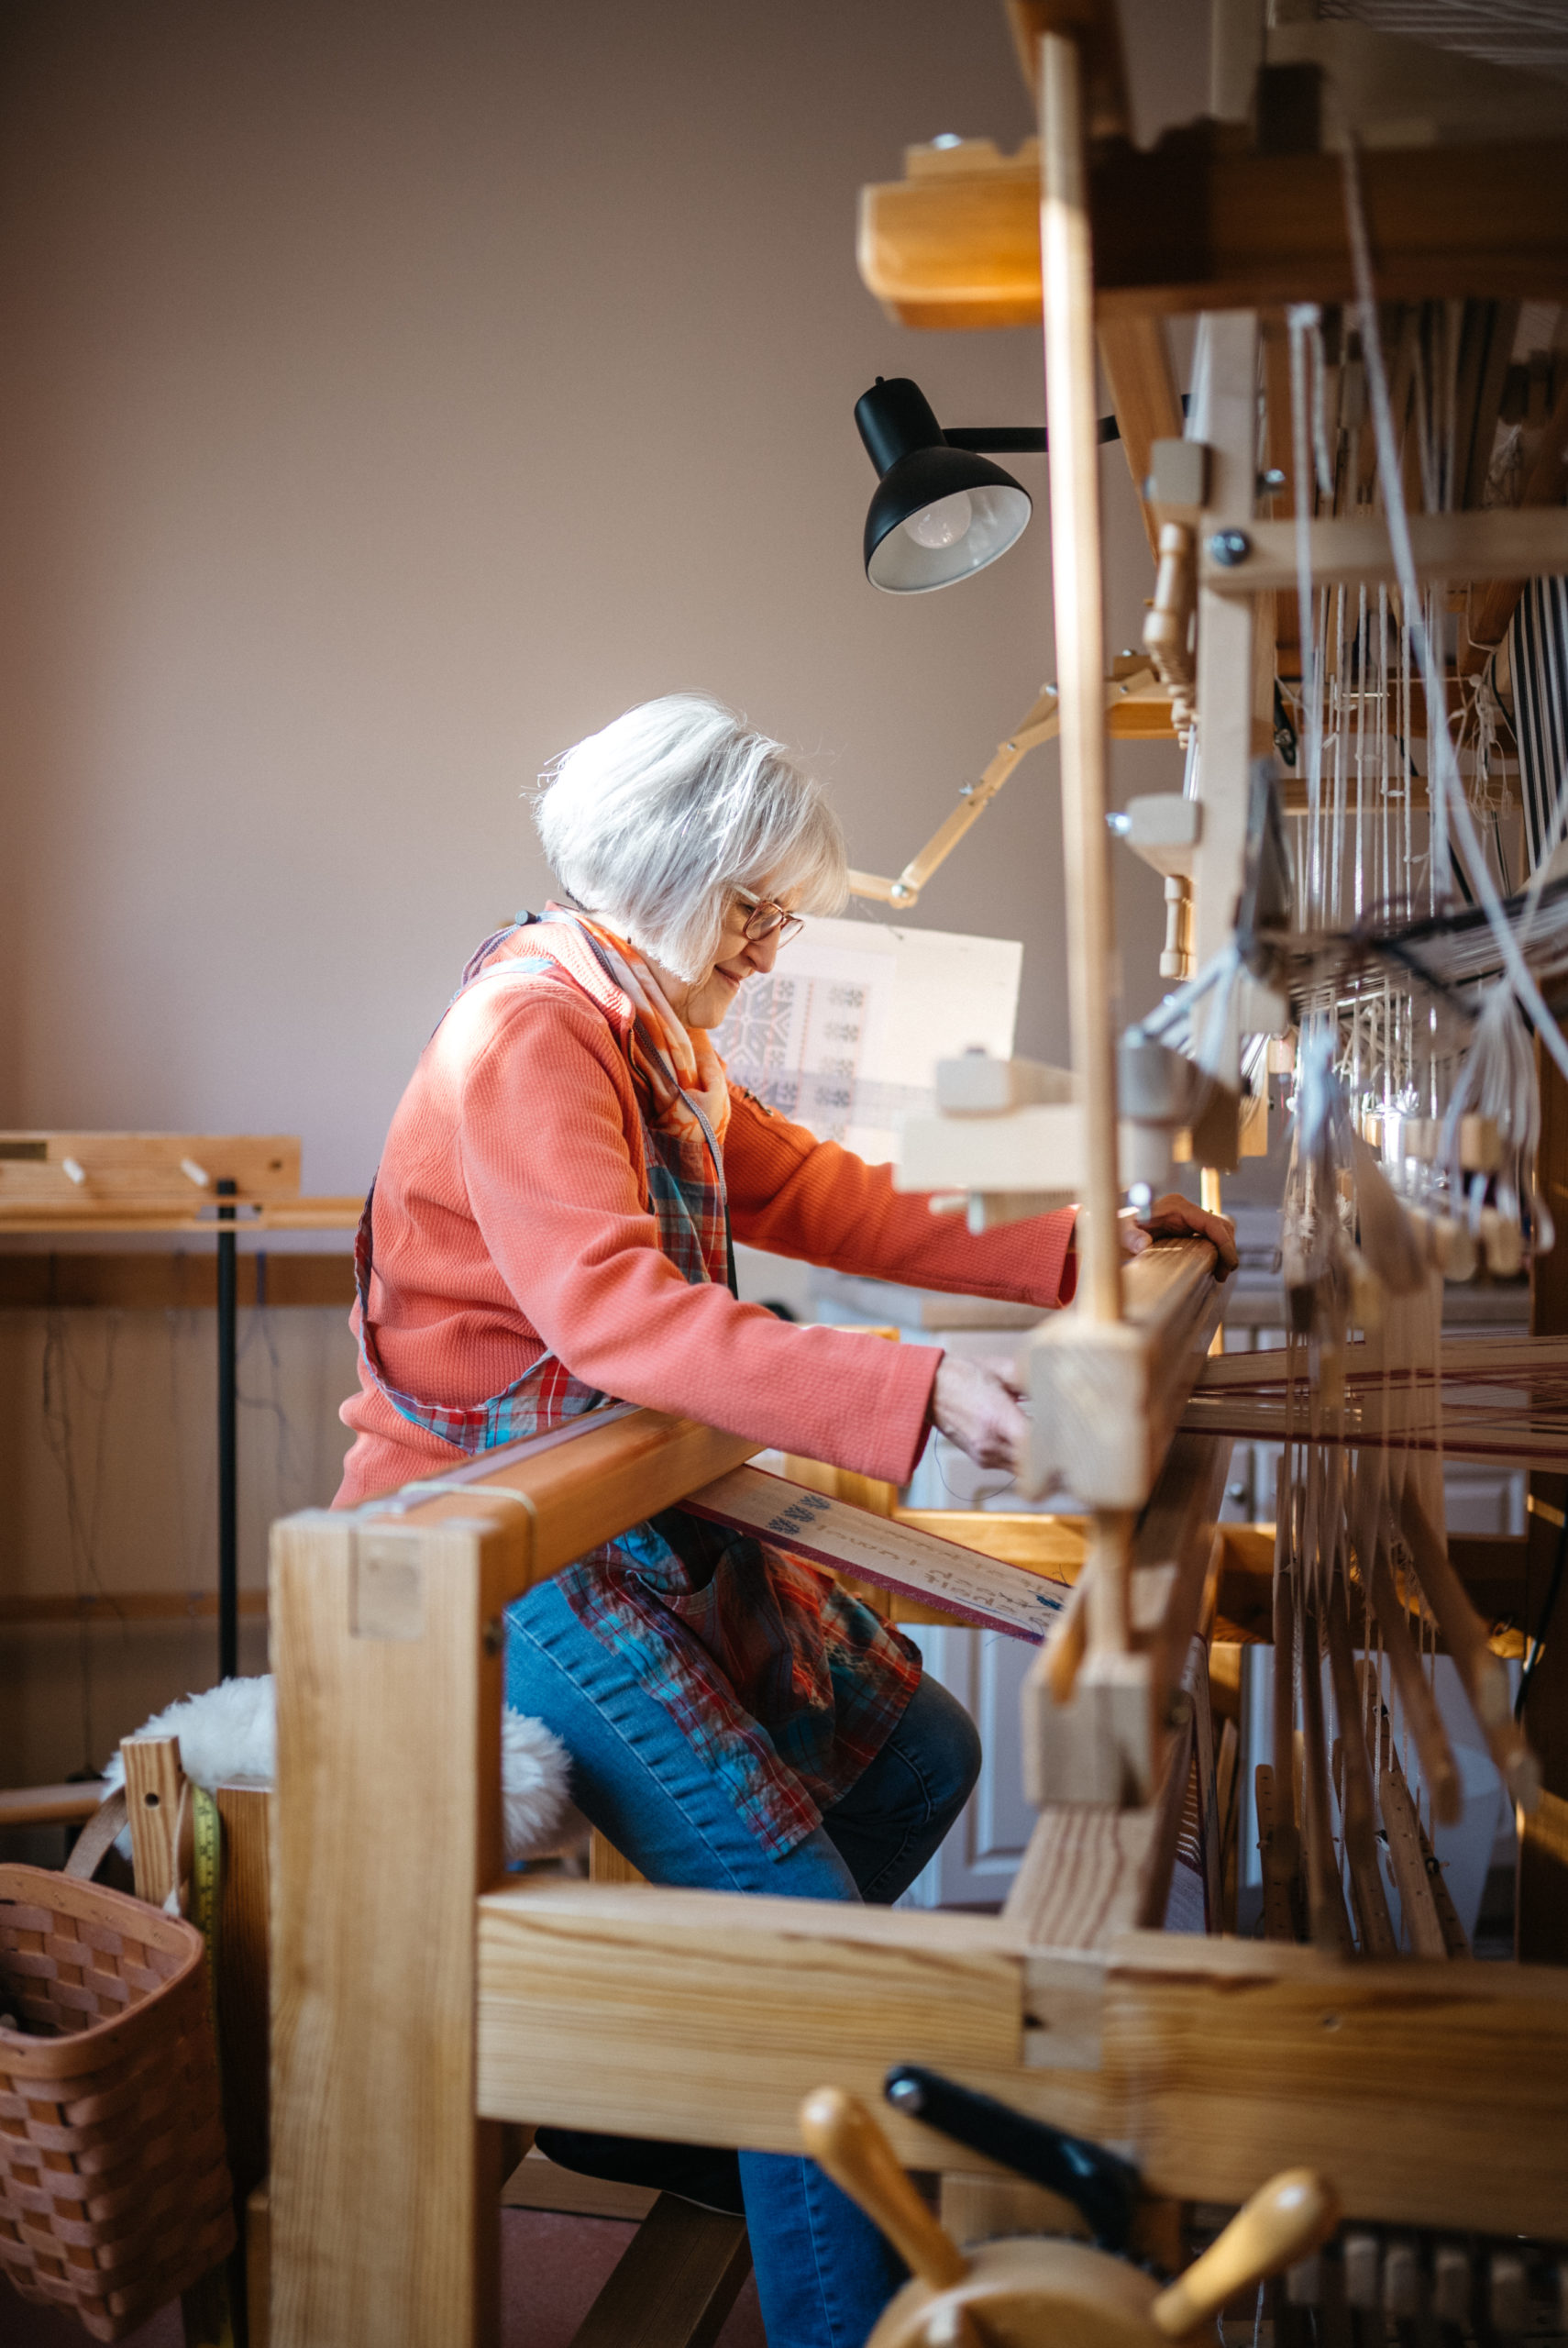
The star patterns all have an odd number of squares across the chart. My drawloom is currently set up with an even number of pattern shafts. To compensate, I am offsetting the star and adding a vertical dotted line. For the second row of stars I am flipping the offset and switching to a lighter shade of blue weft. I am also pulling the pattern shaft cords for the background around the star pattern. This reverses the pattern and ground, giving a different perspective of the same design, making the star blue and the background white.
Even when our perspective changes, the foundation stays the same. Truth endures. God speaks truth, even through his created designs. Stars in the heavens and snowflakes on the earth attest to the enduring truth of their Designer’s glory.
May the end of your warp be spectacular.
Happy Weaving,
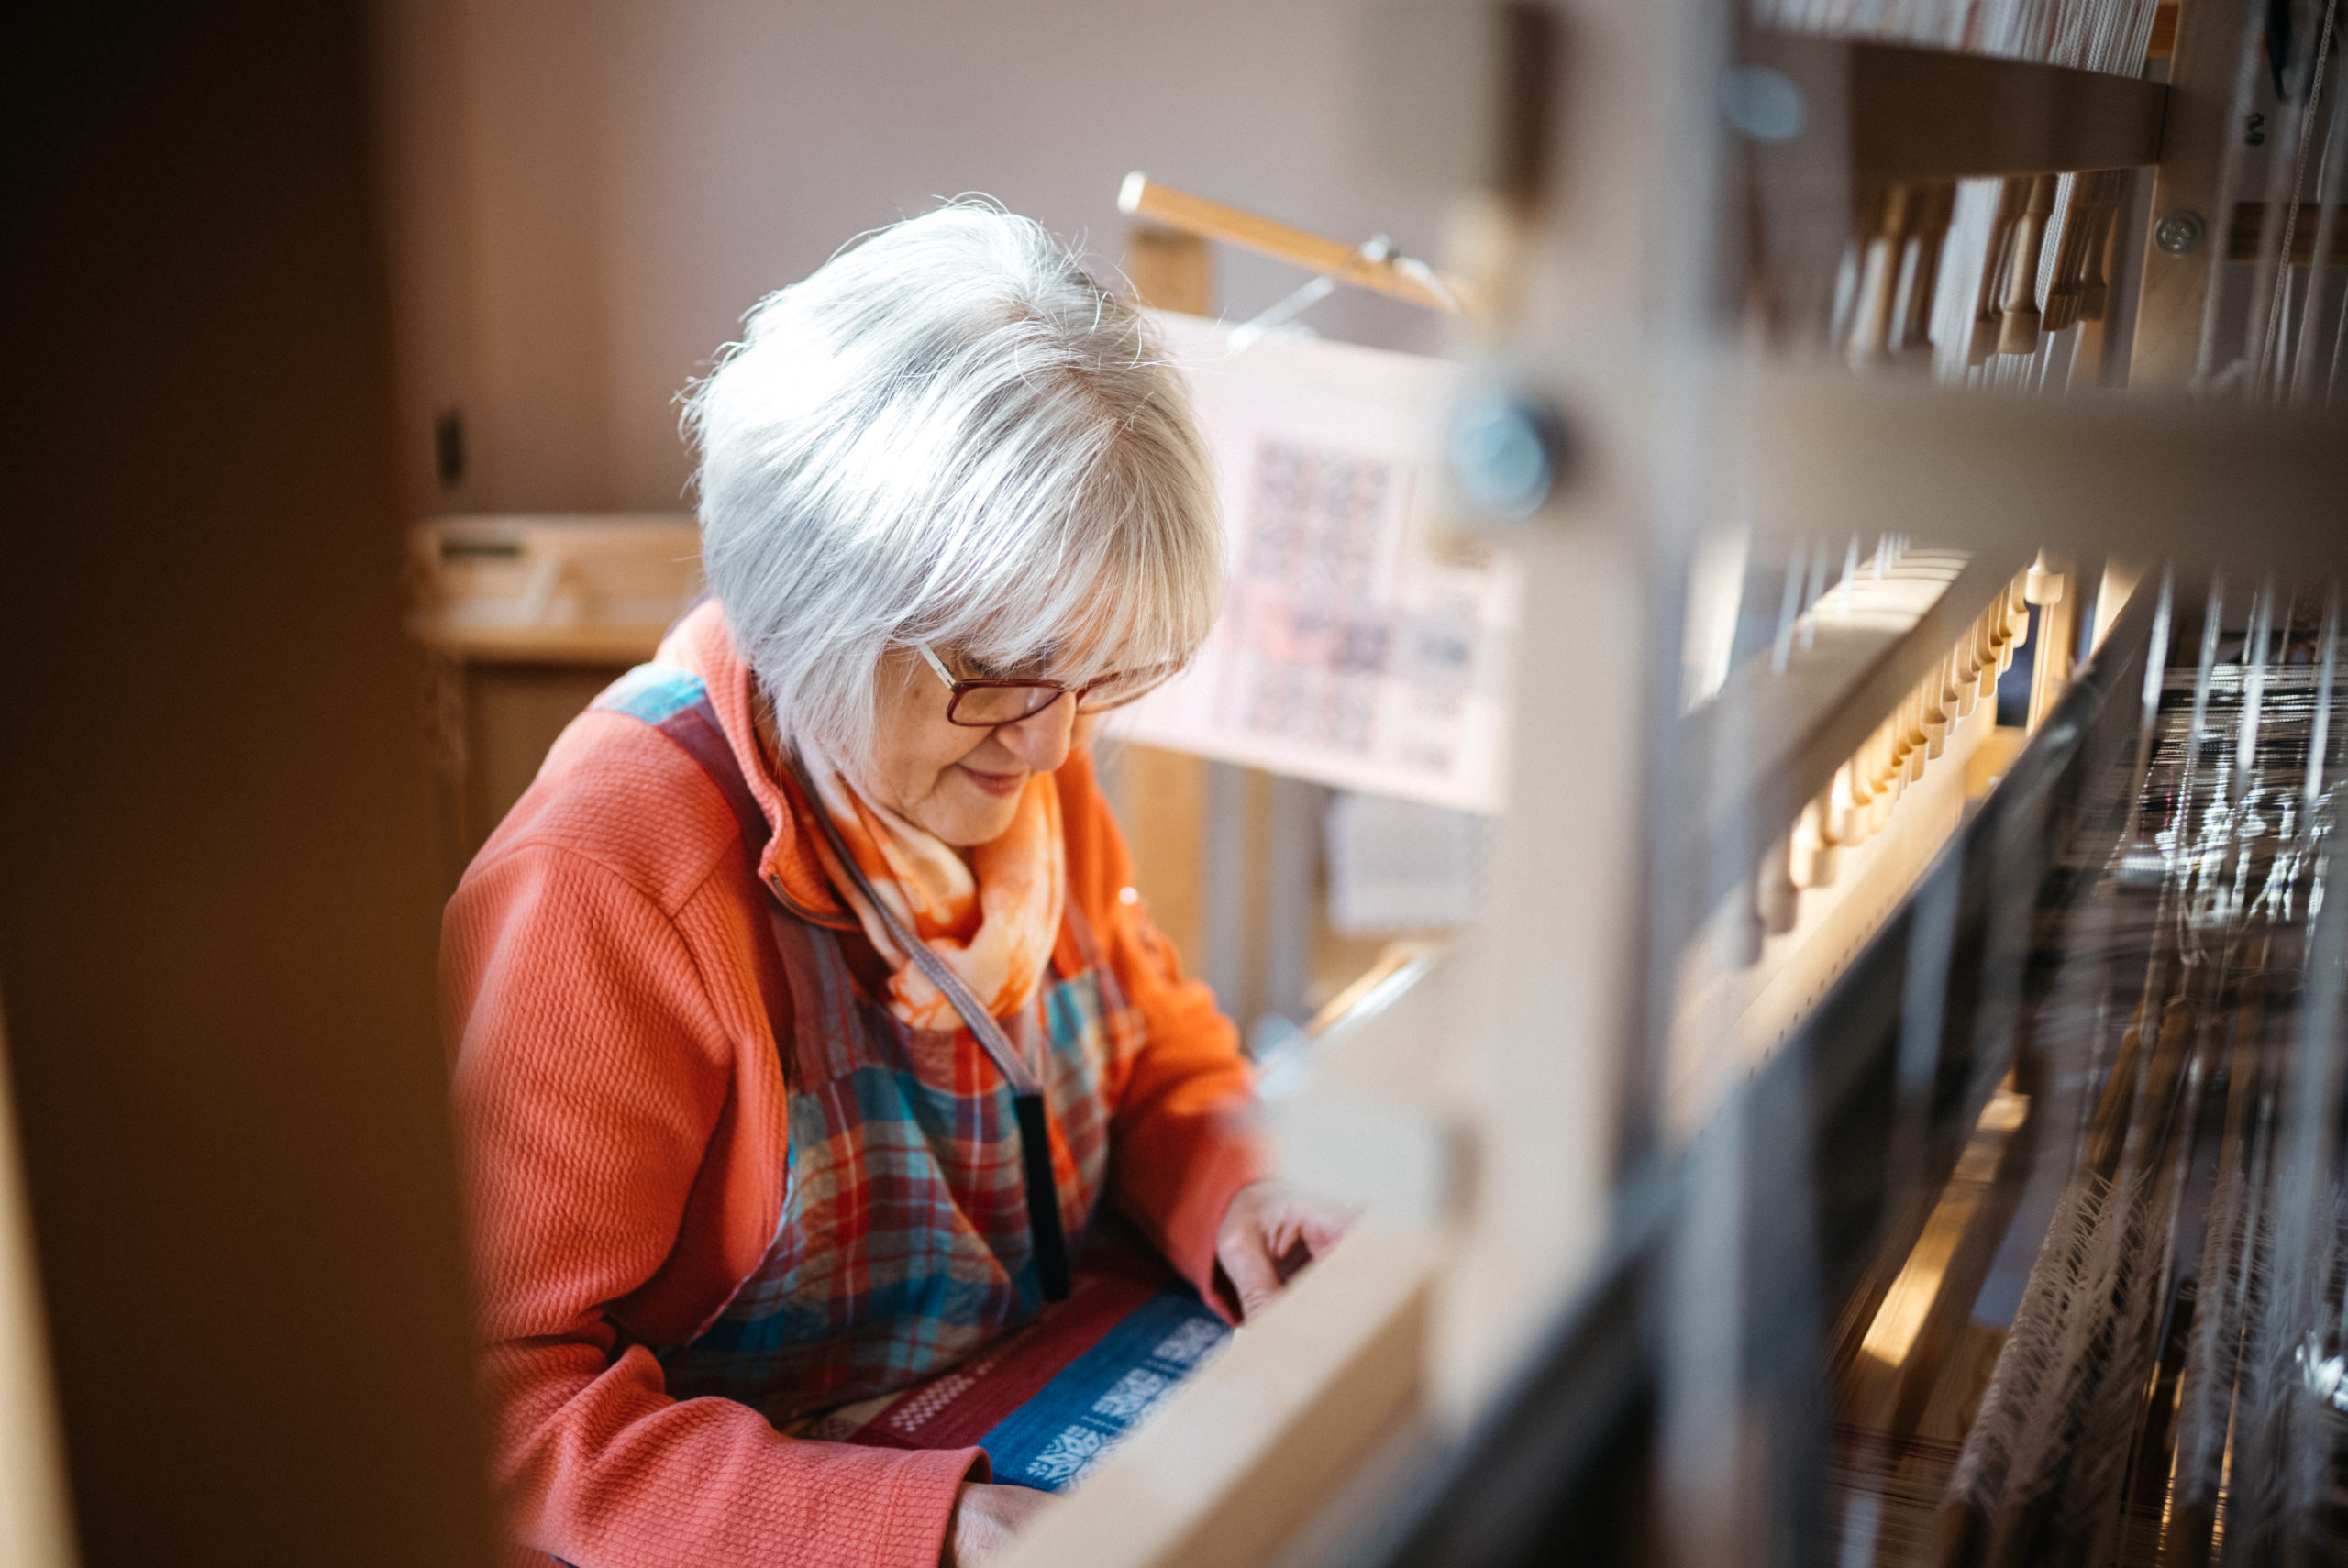
Karen