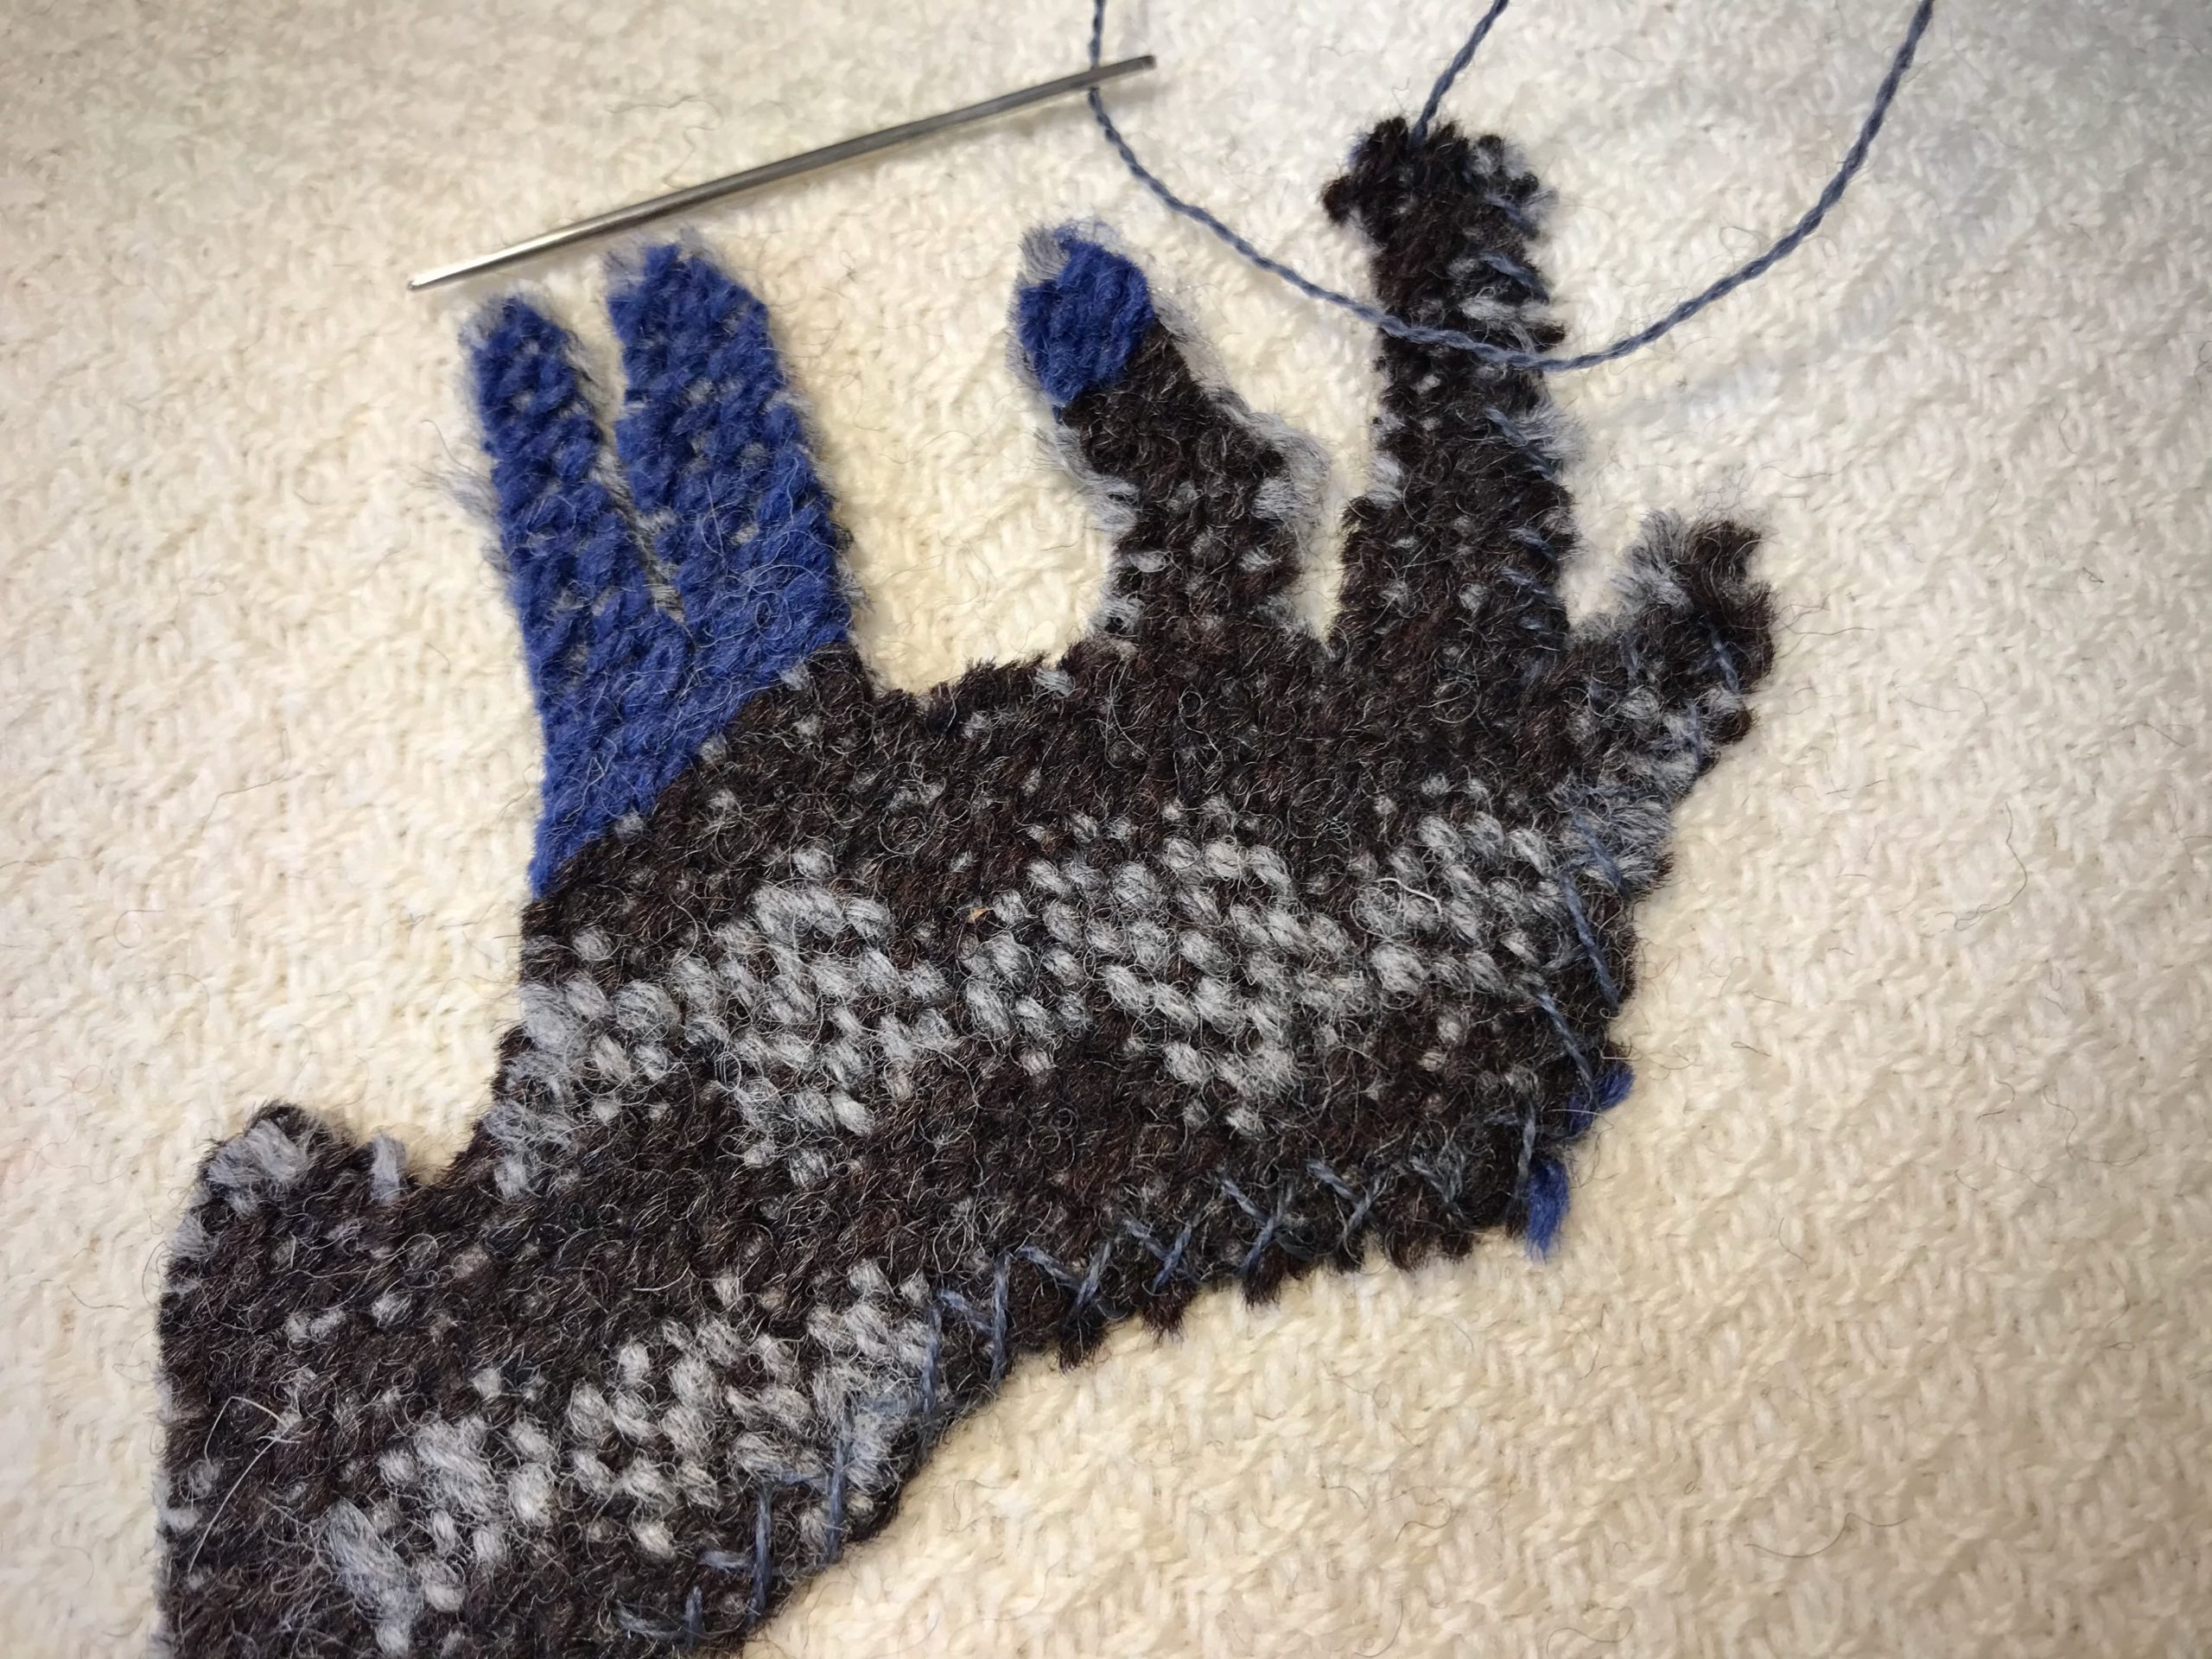
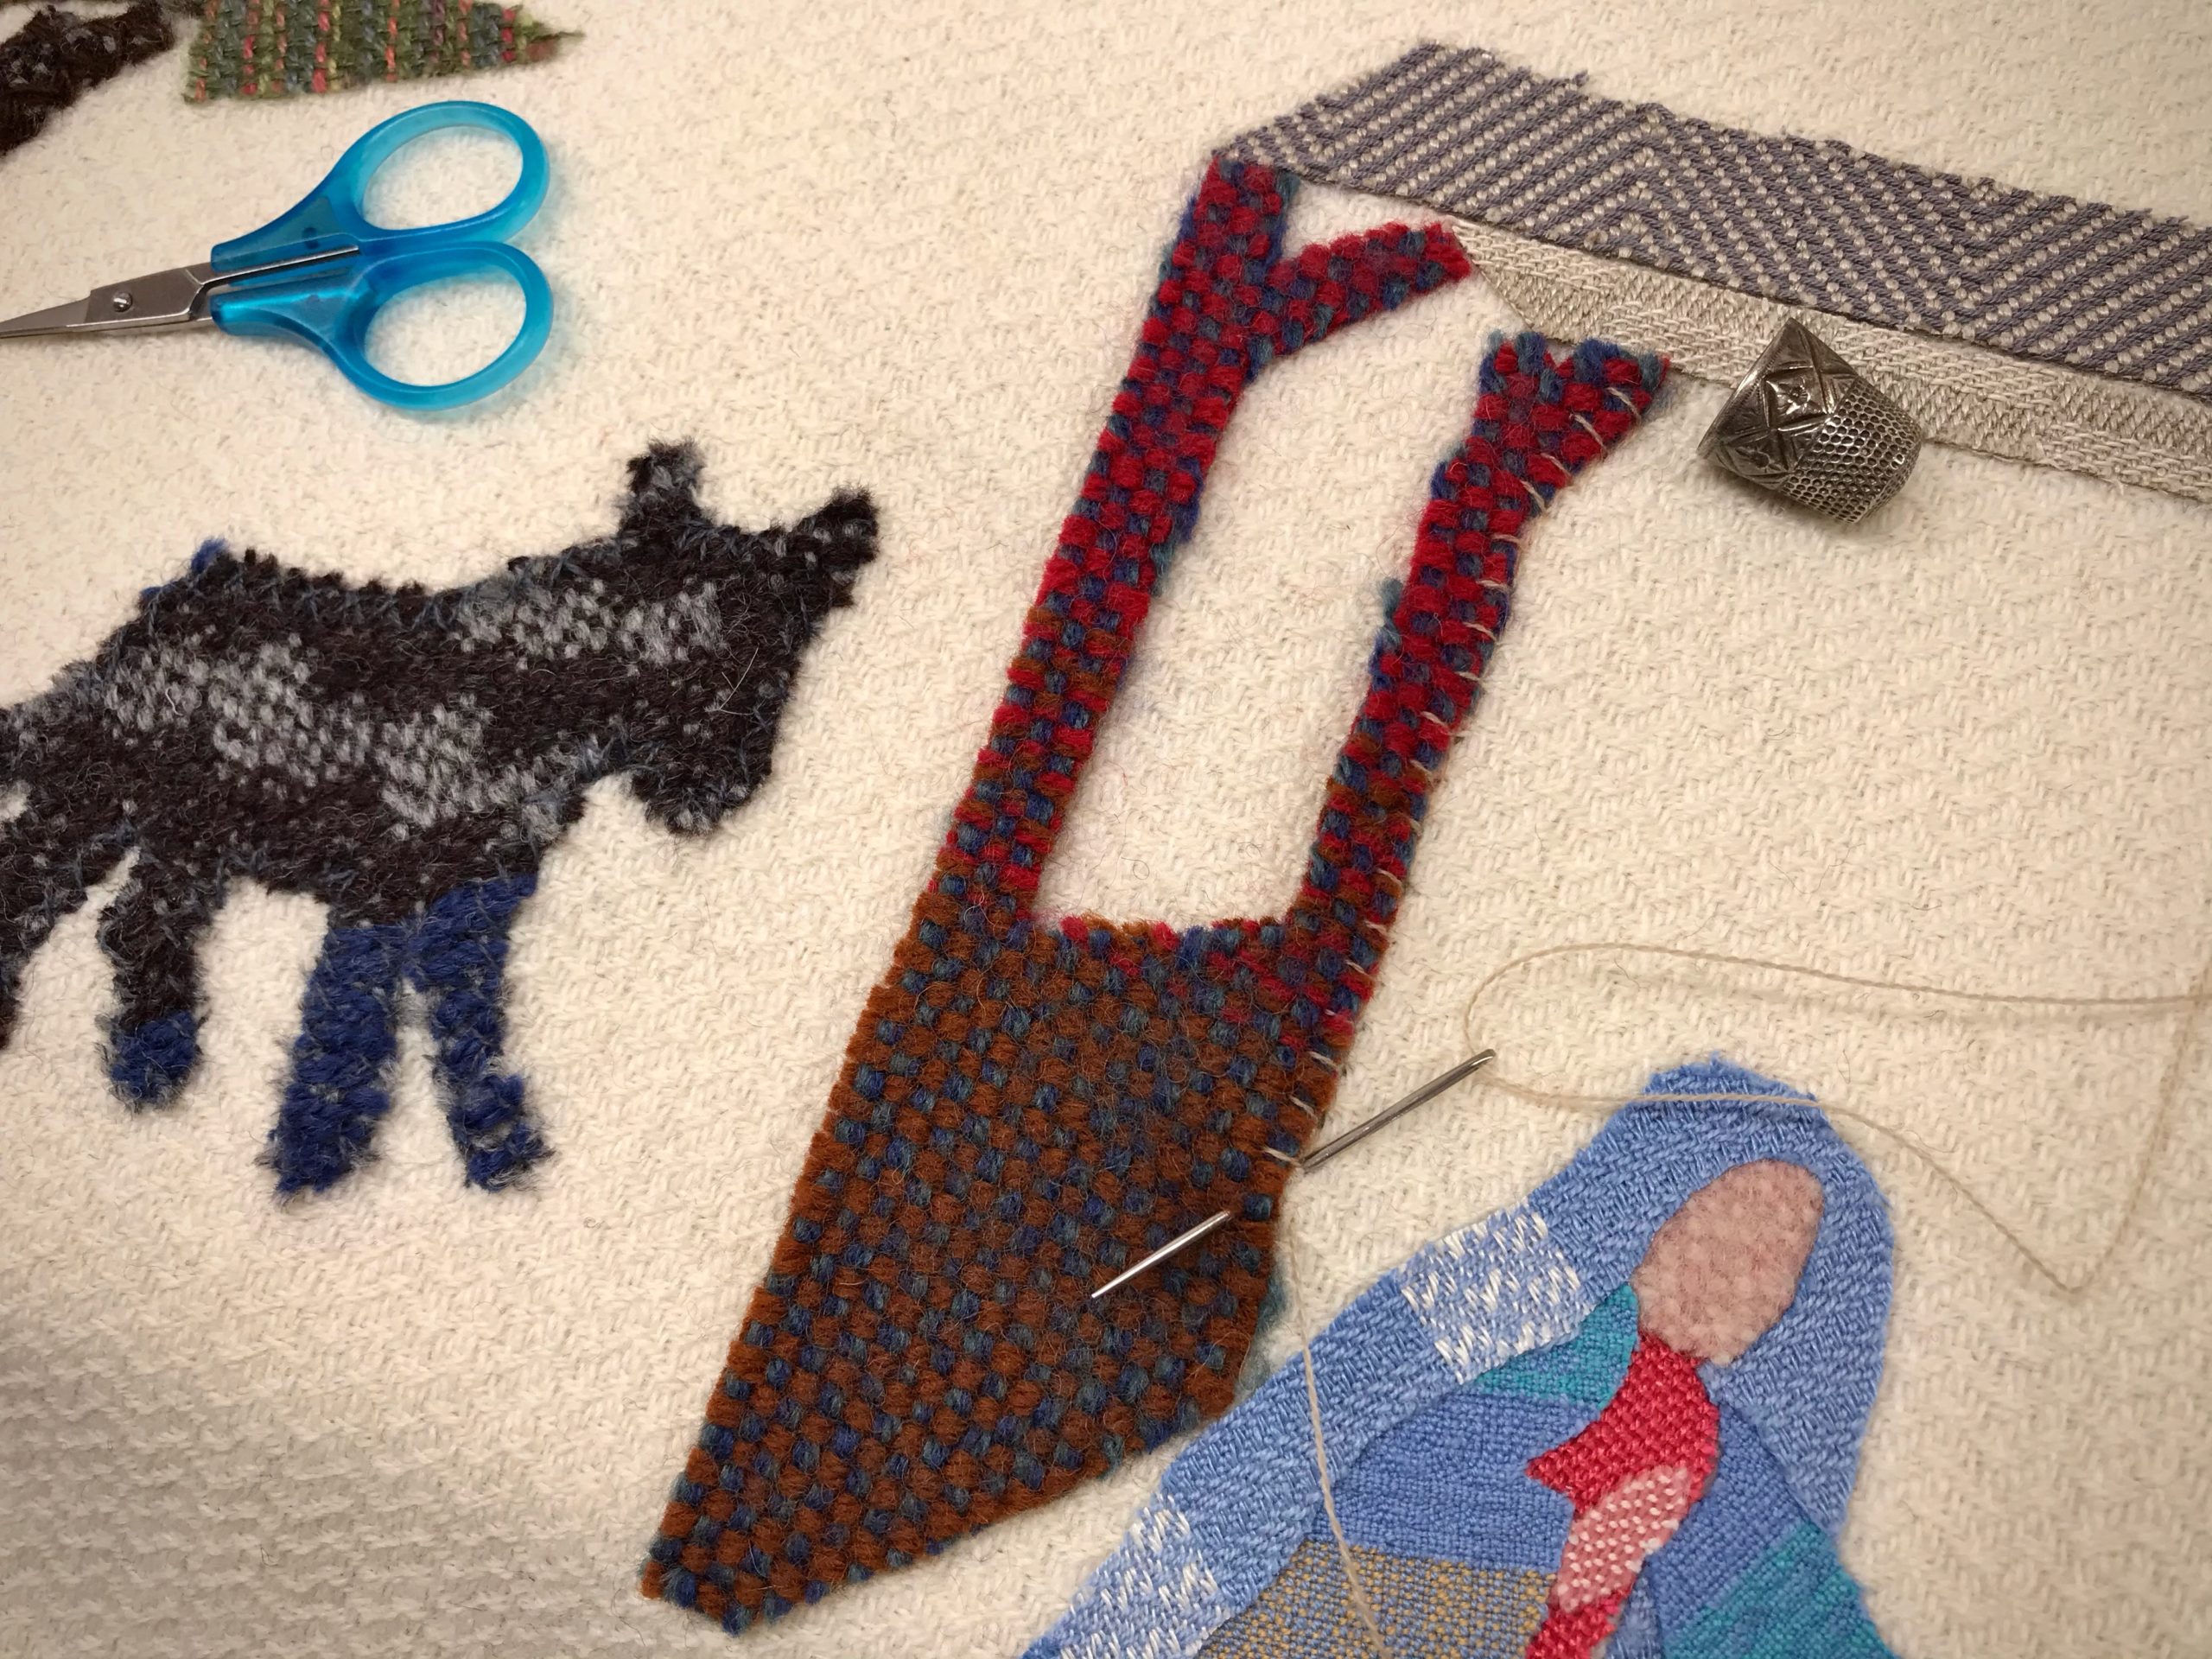
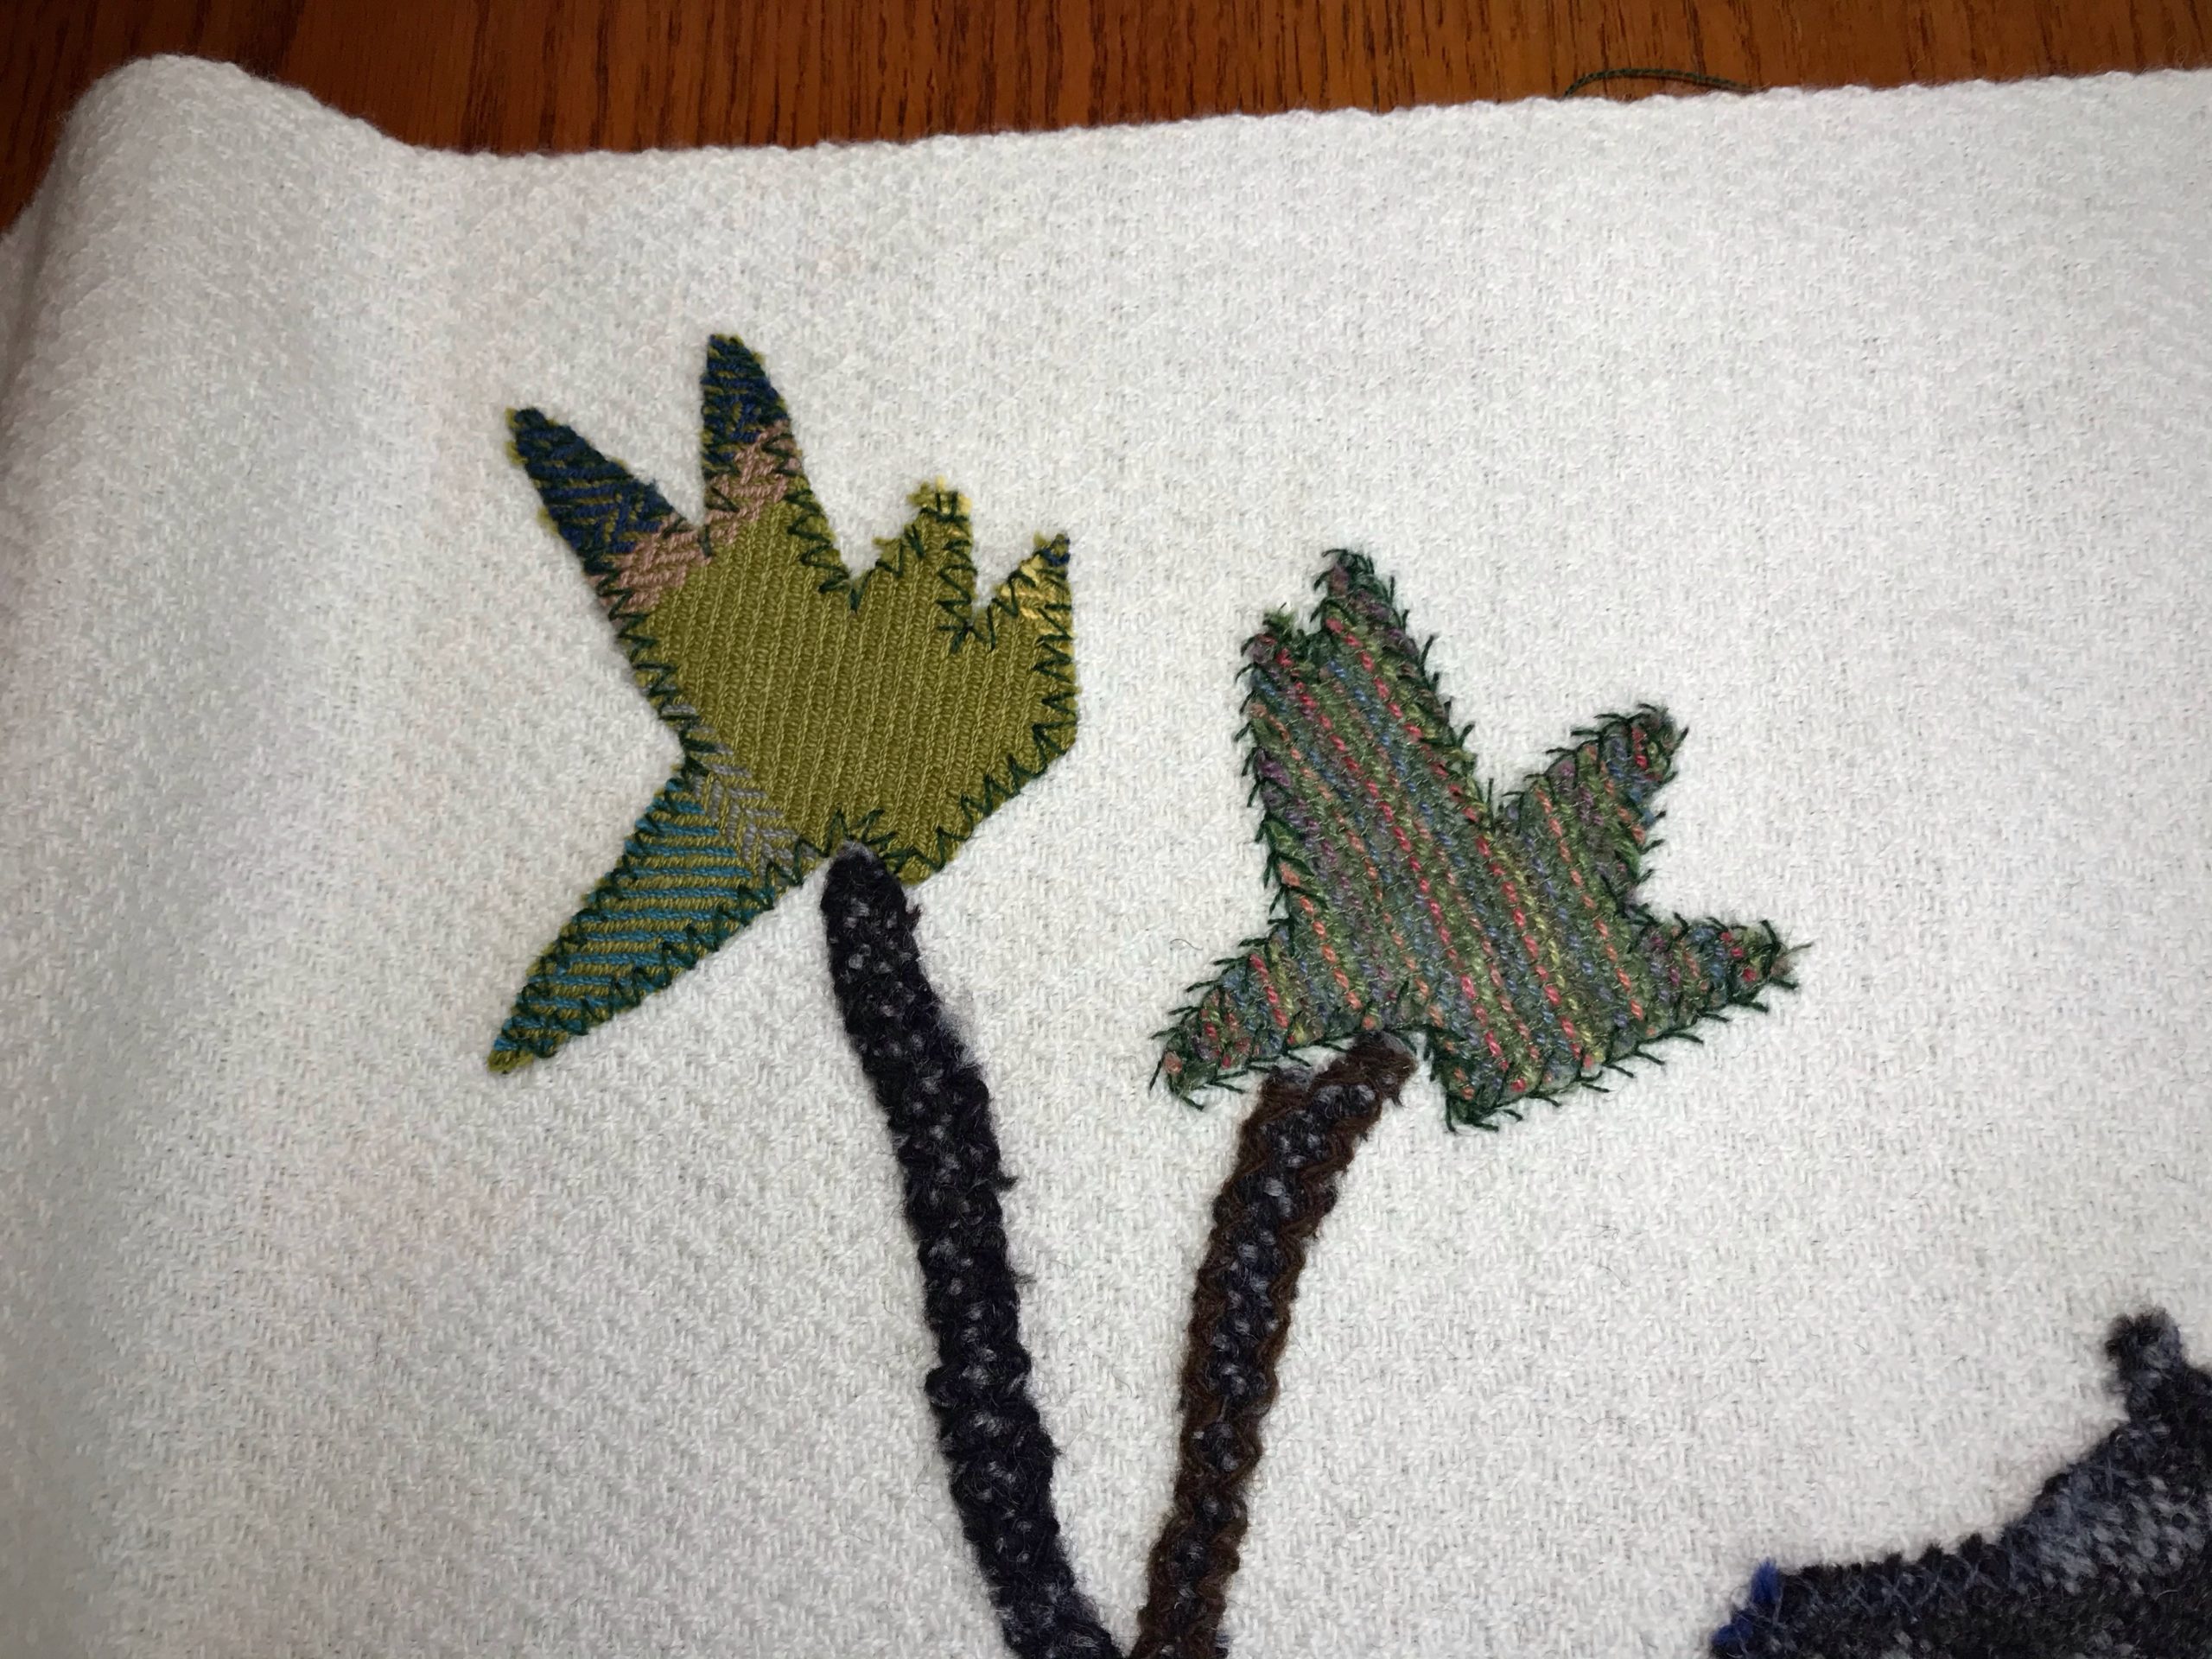
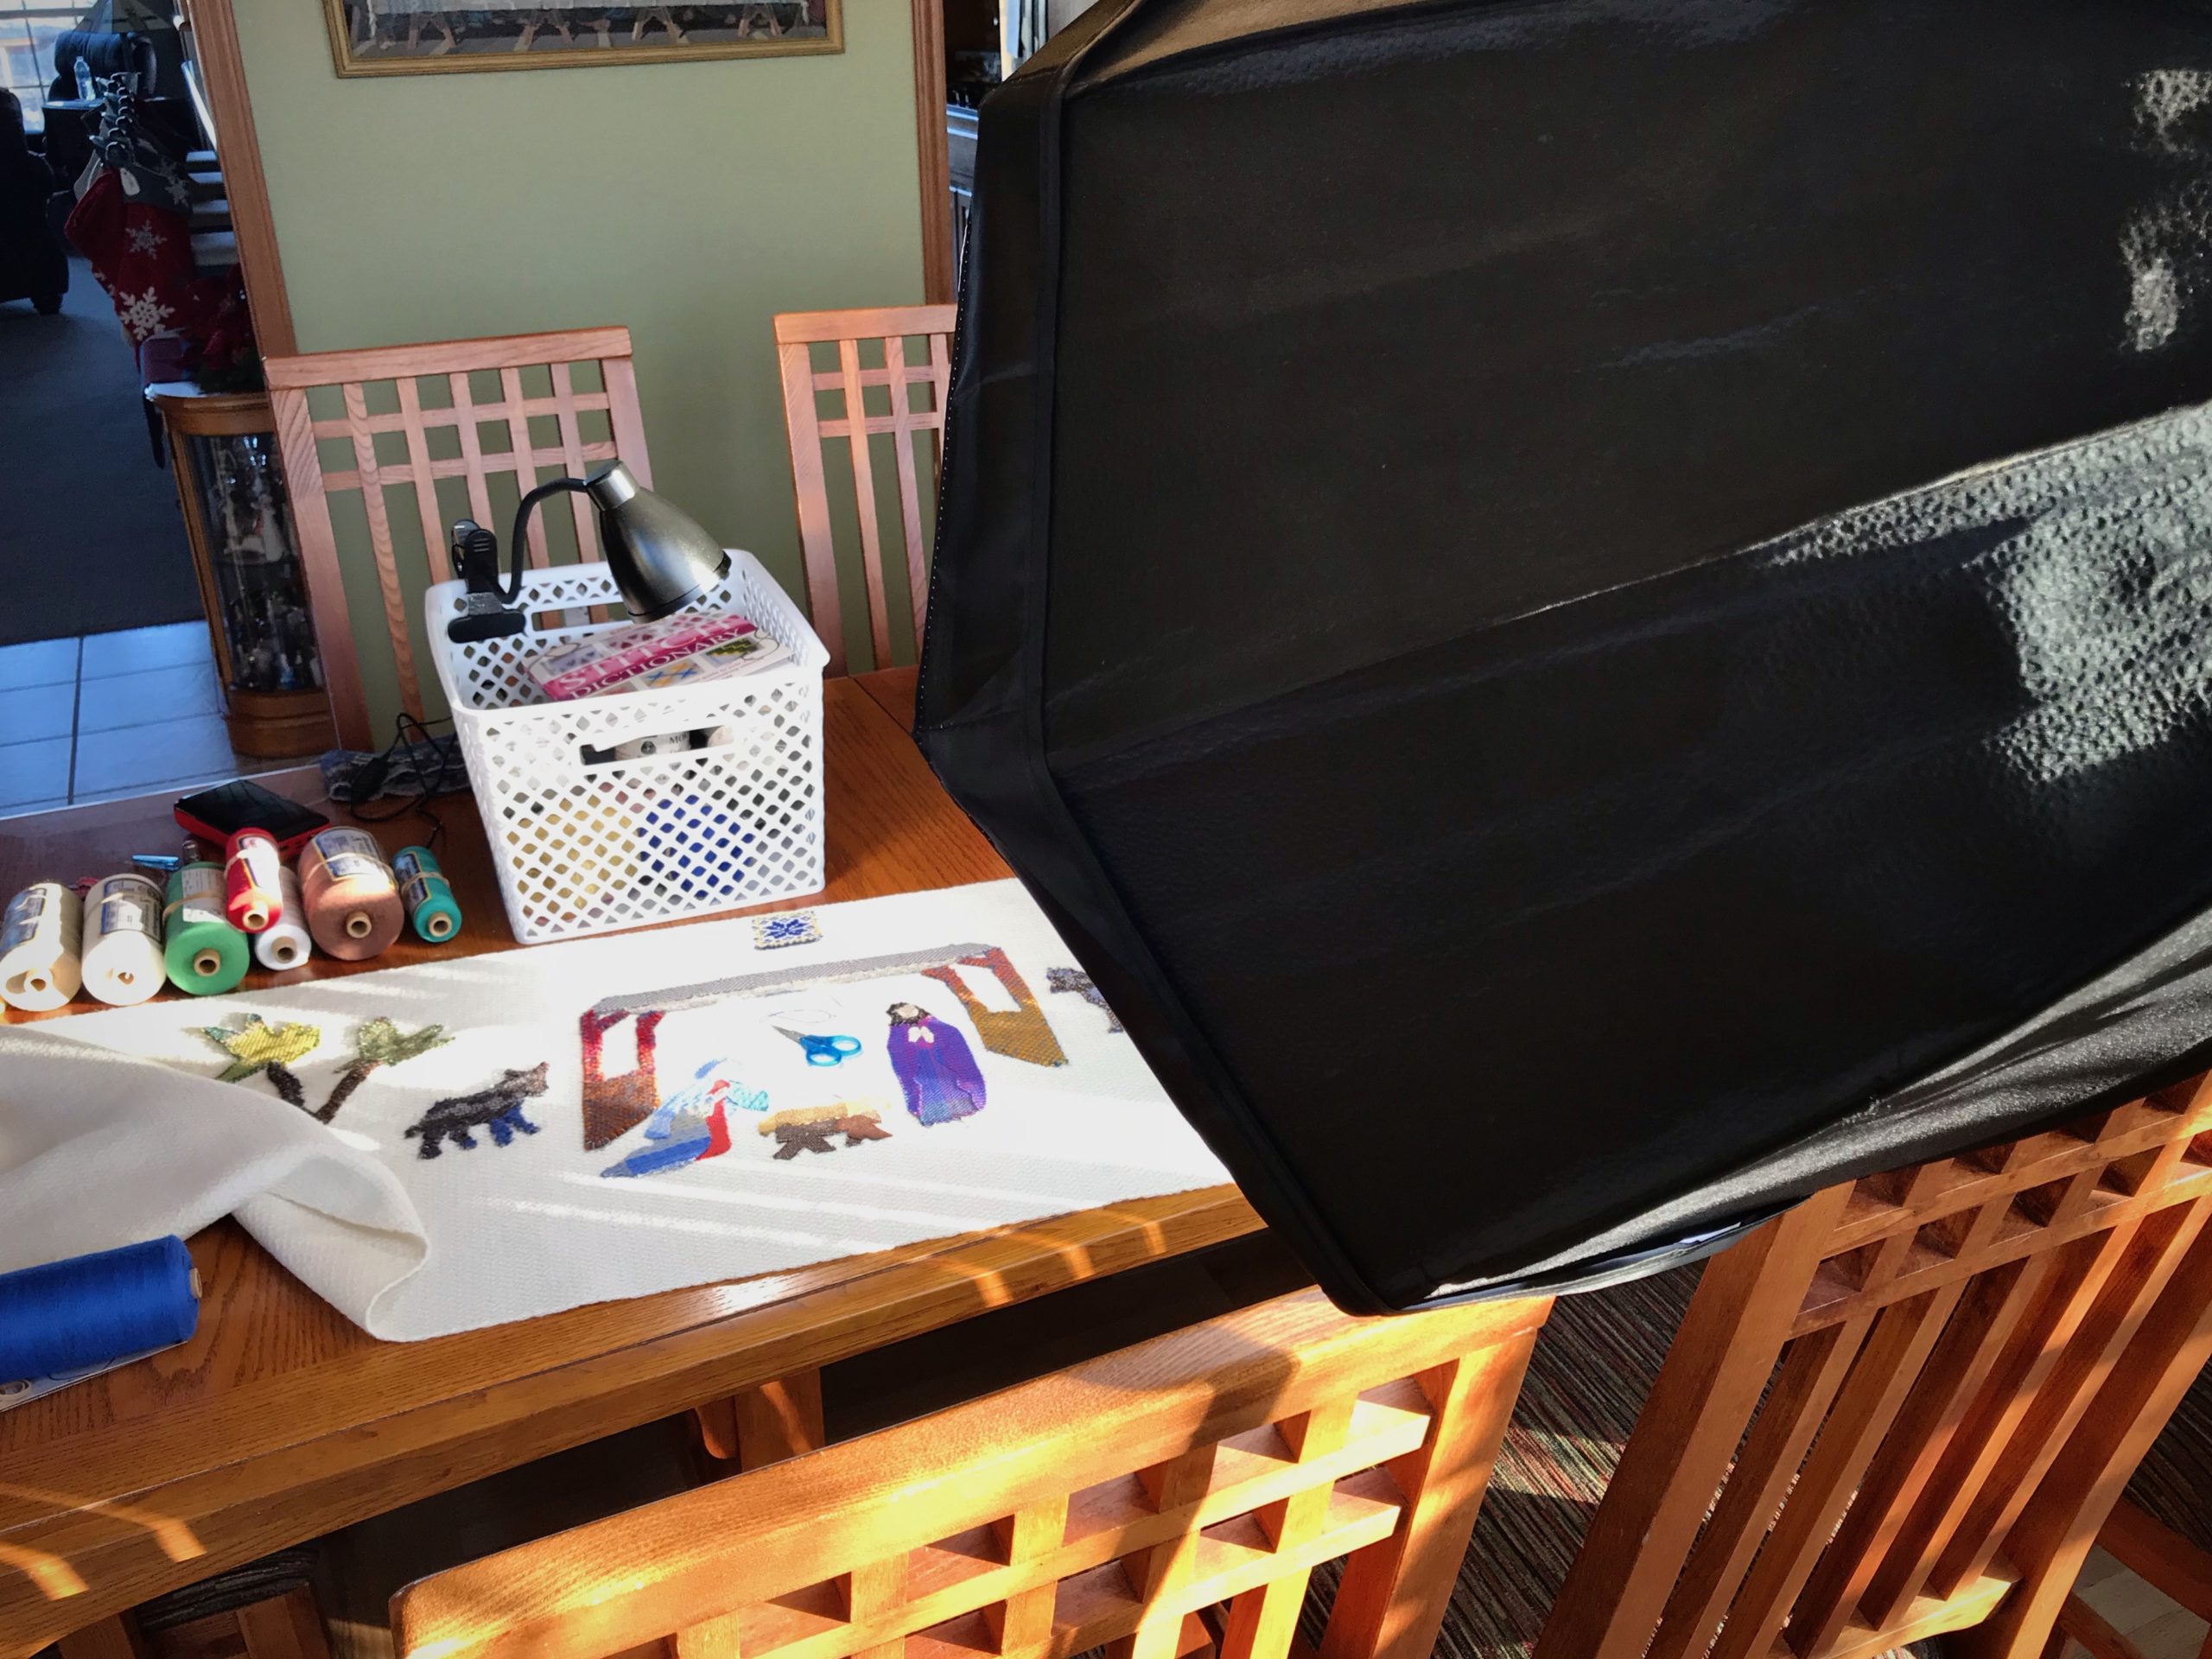
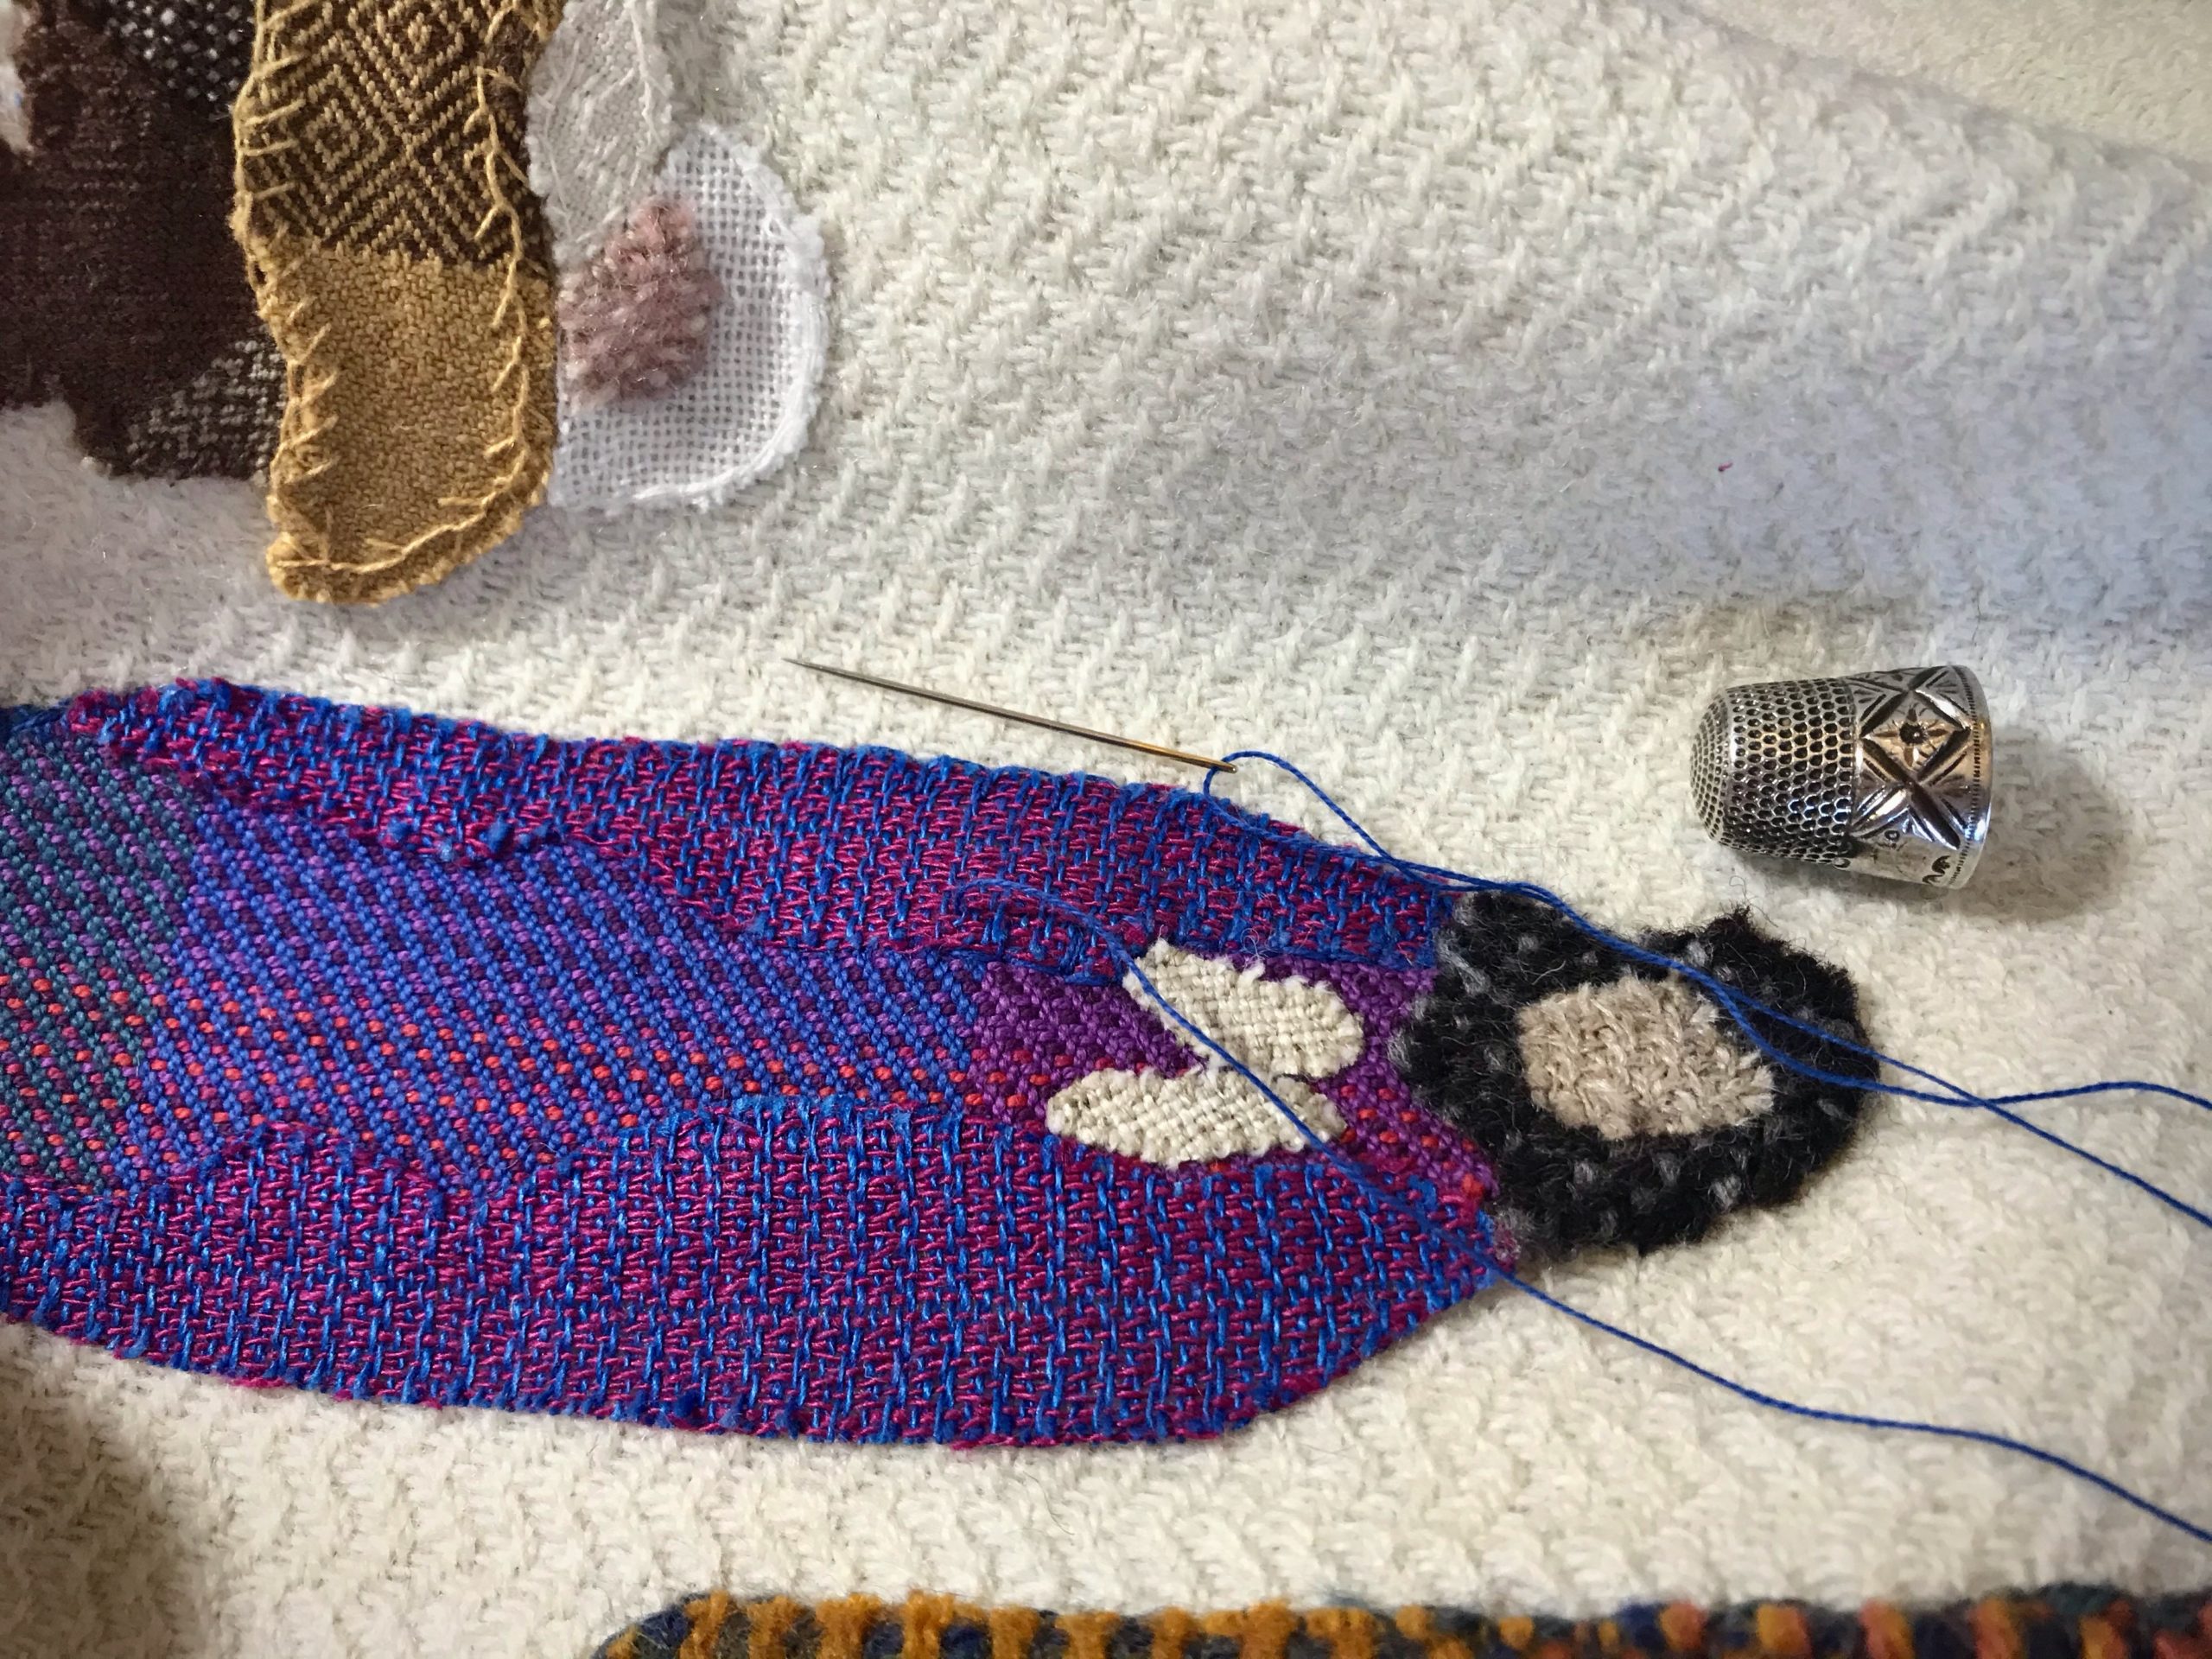
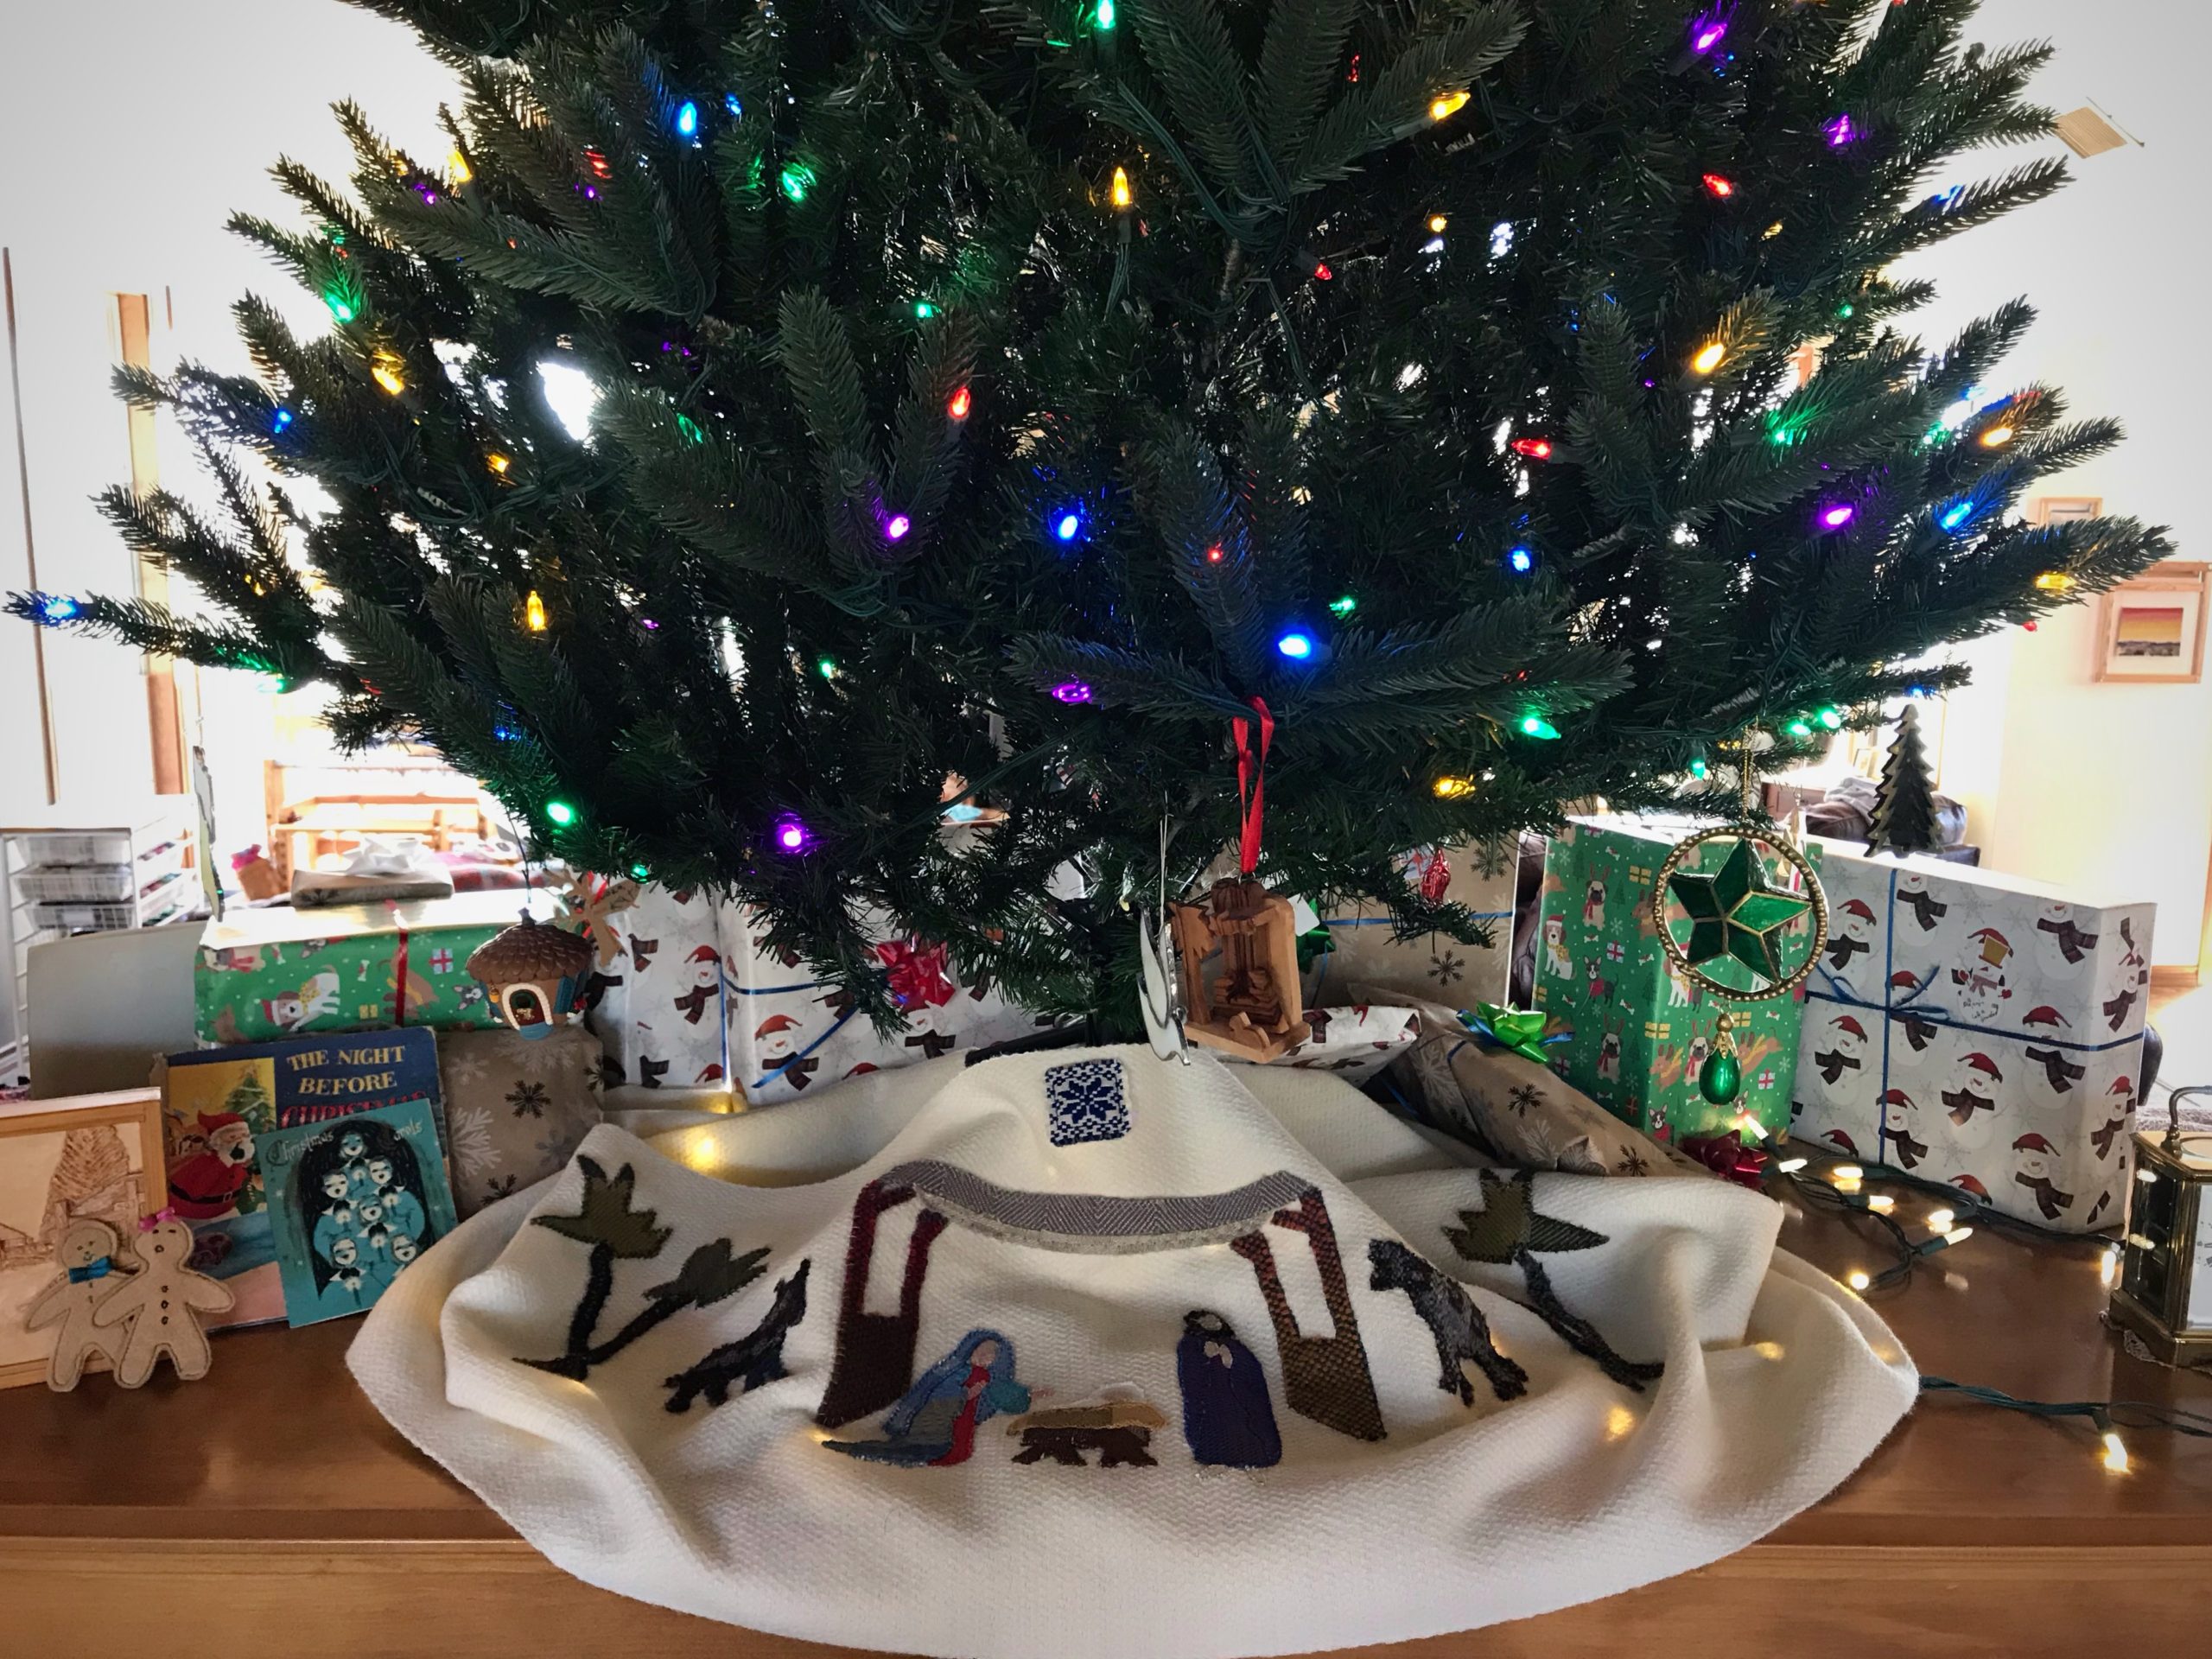
Our family celebrated a birth-day last week. Meet baby Isaac, our ninth grandchild! Also, this week, I am finishing up the pictorial scene of another celebrated birth-day. Each appliqué piece is stitched to the background, using various threads, needles, and simple embroidery stitches to help convey the details of this humble historical event.

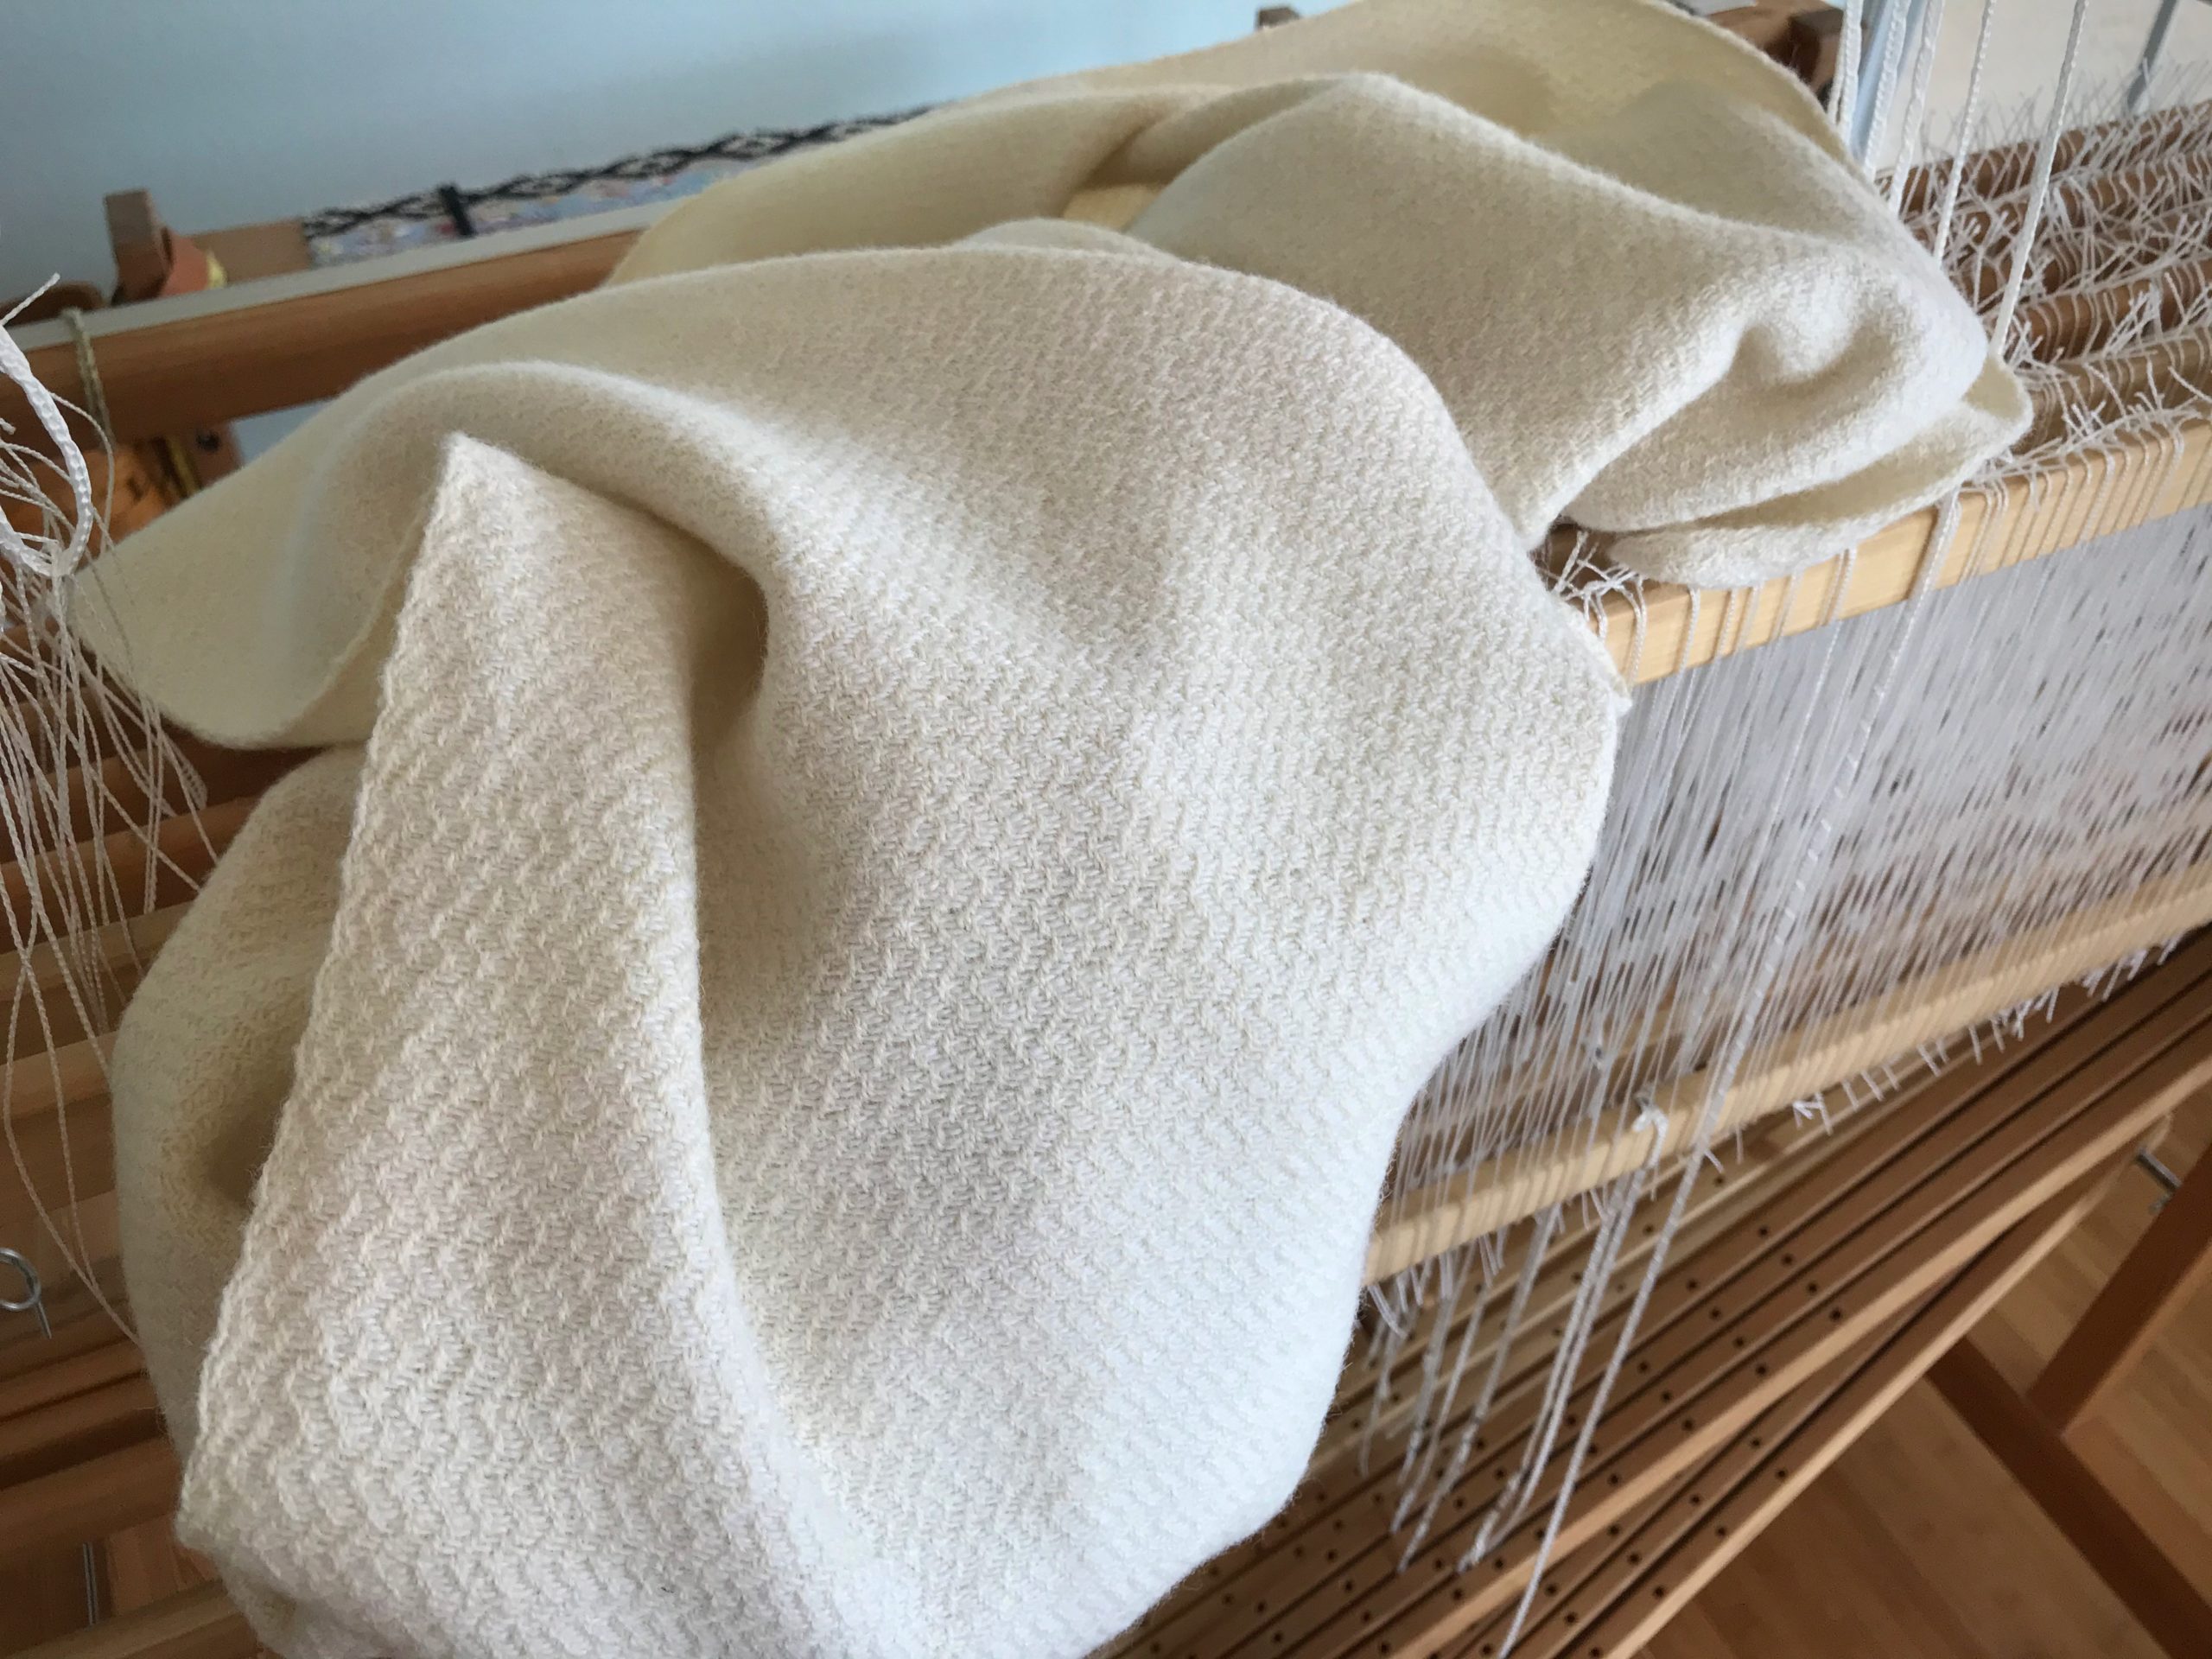
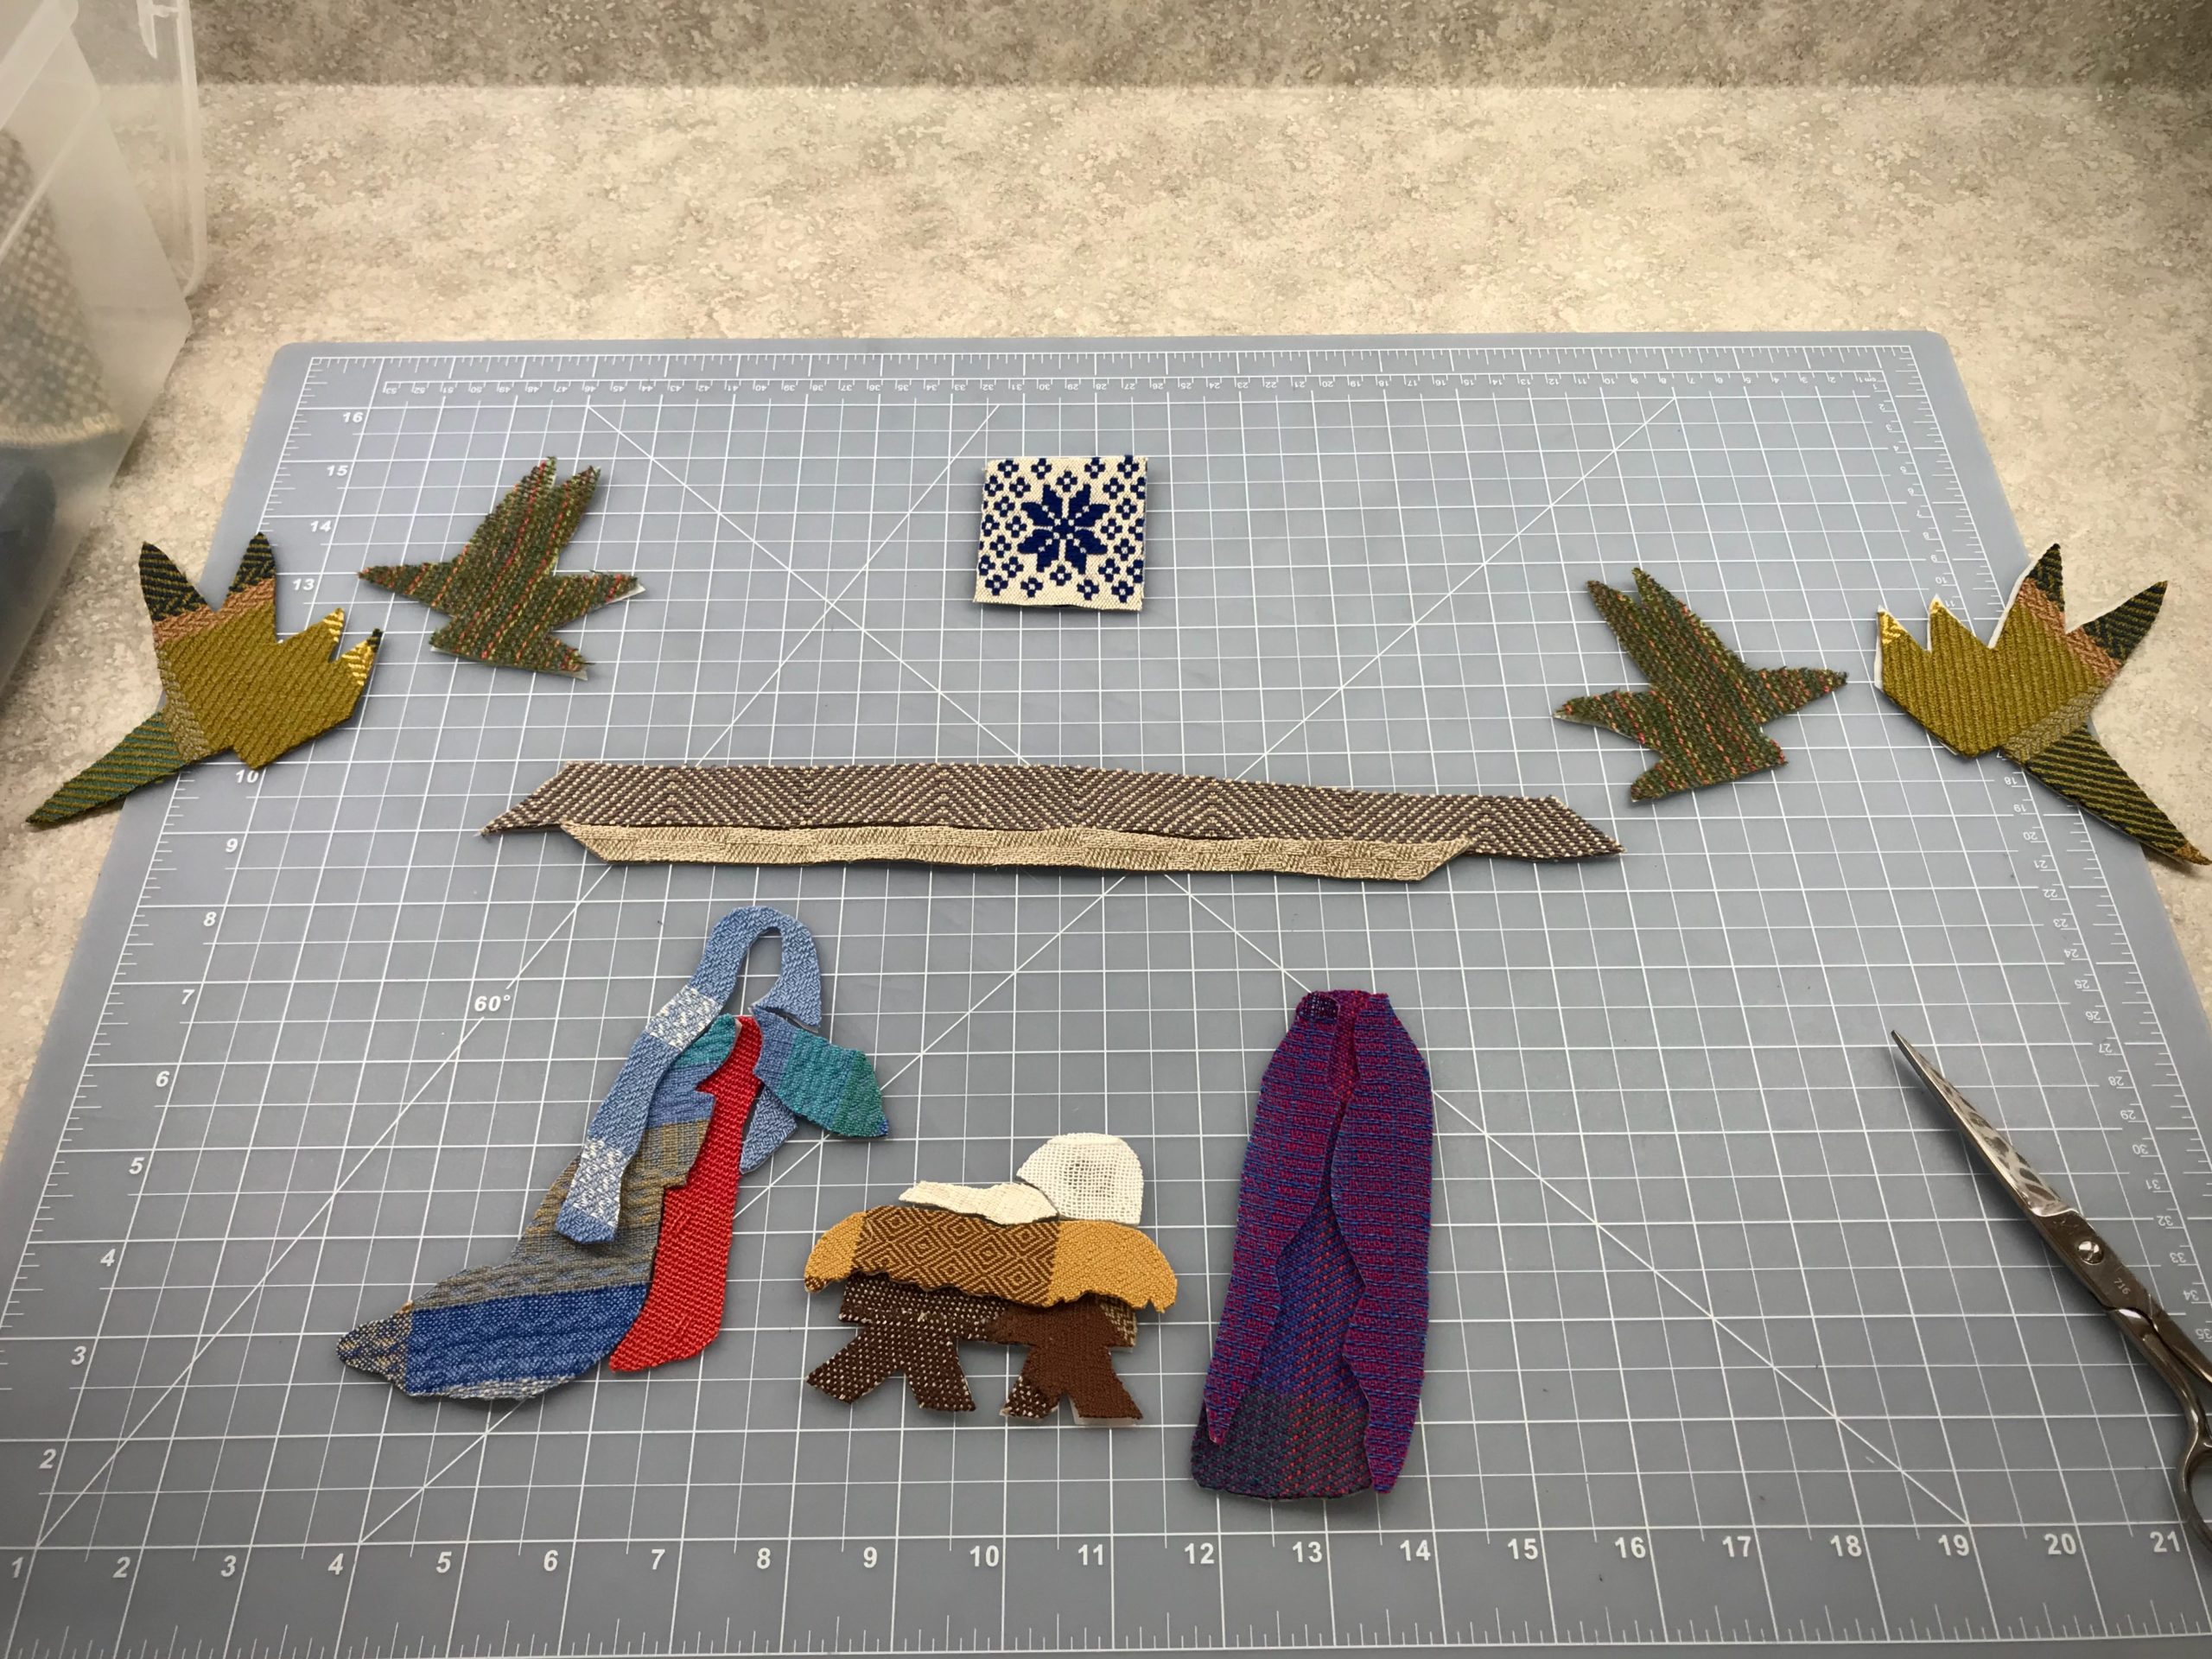
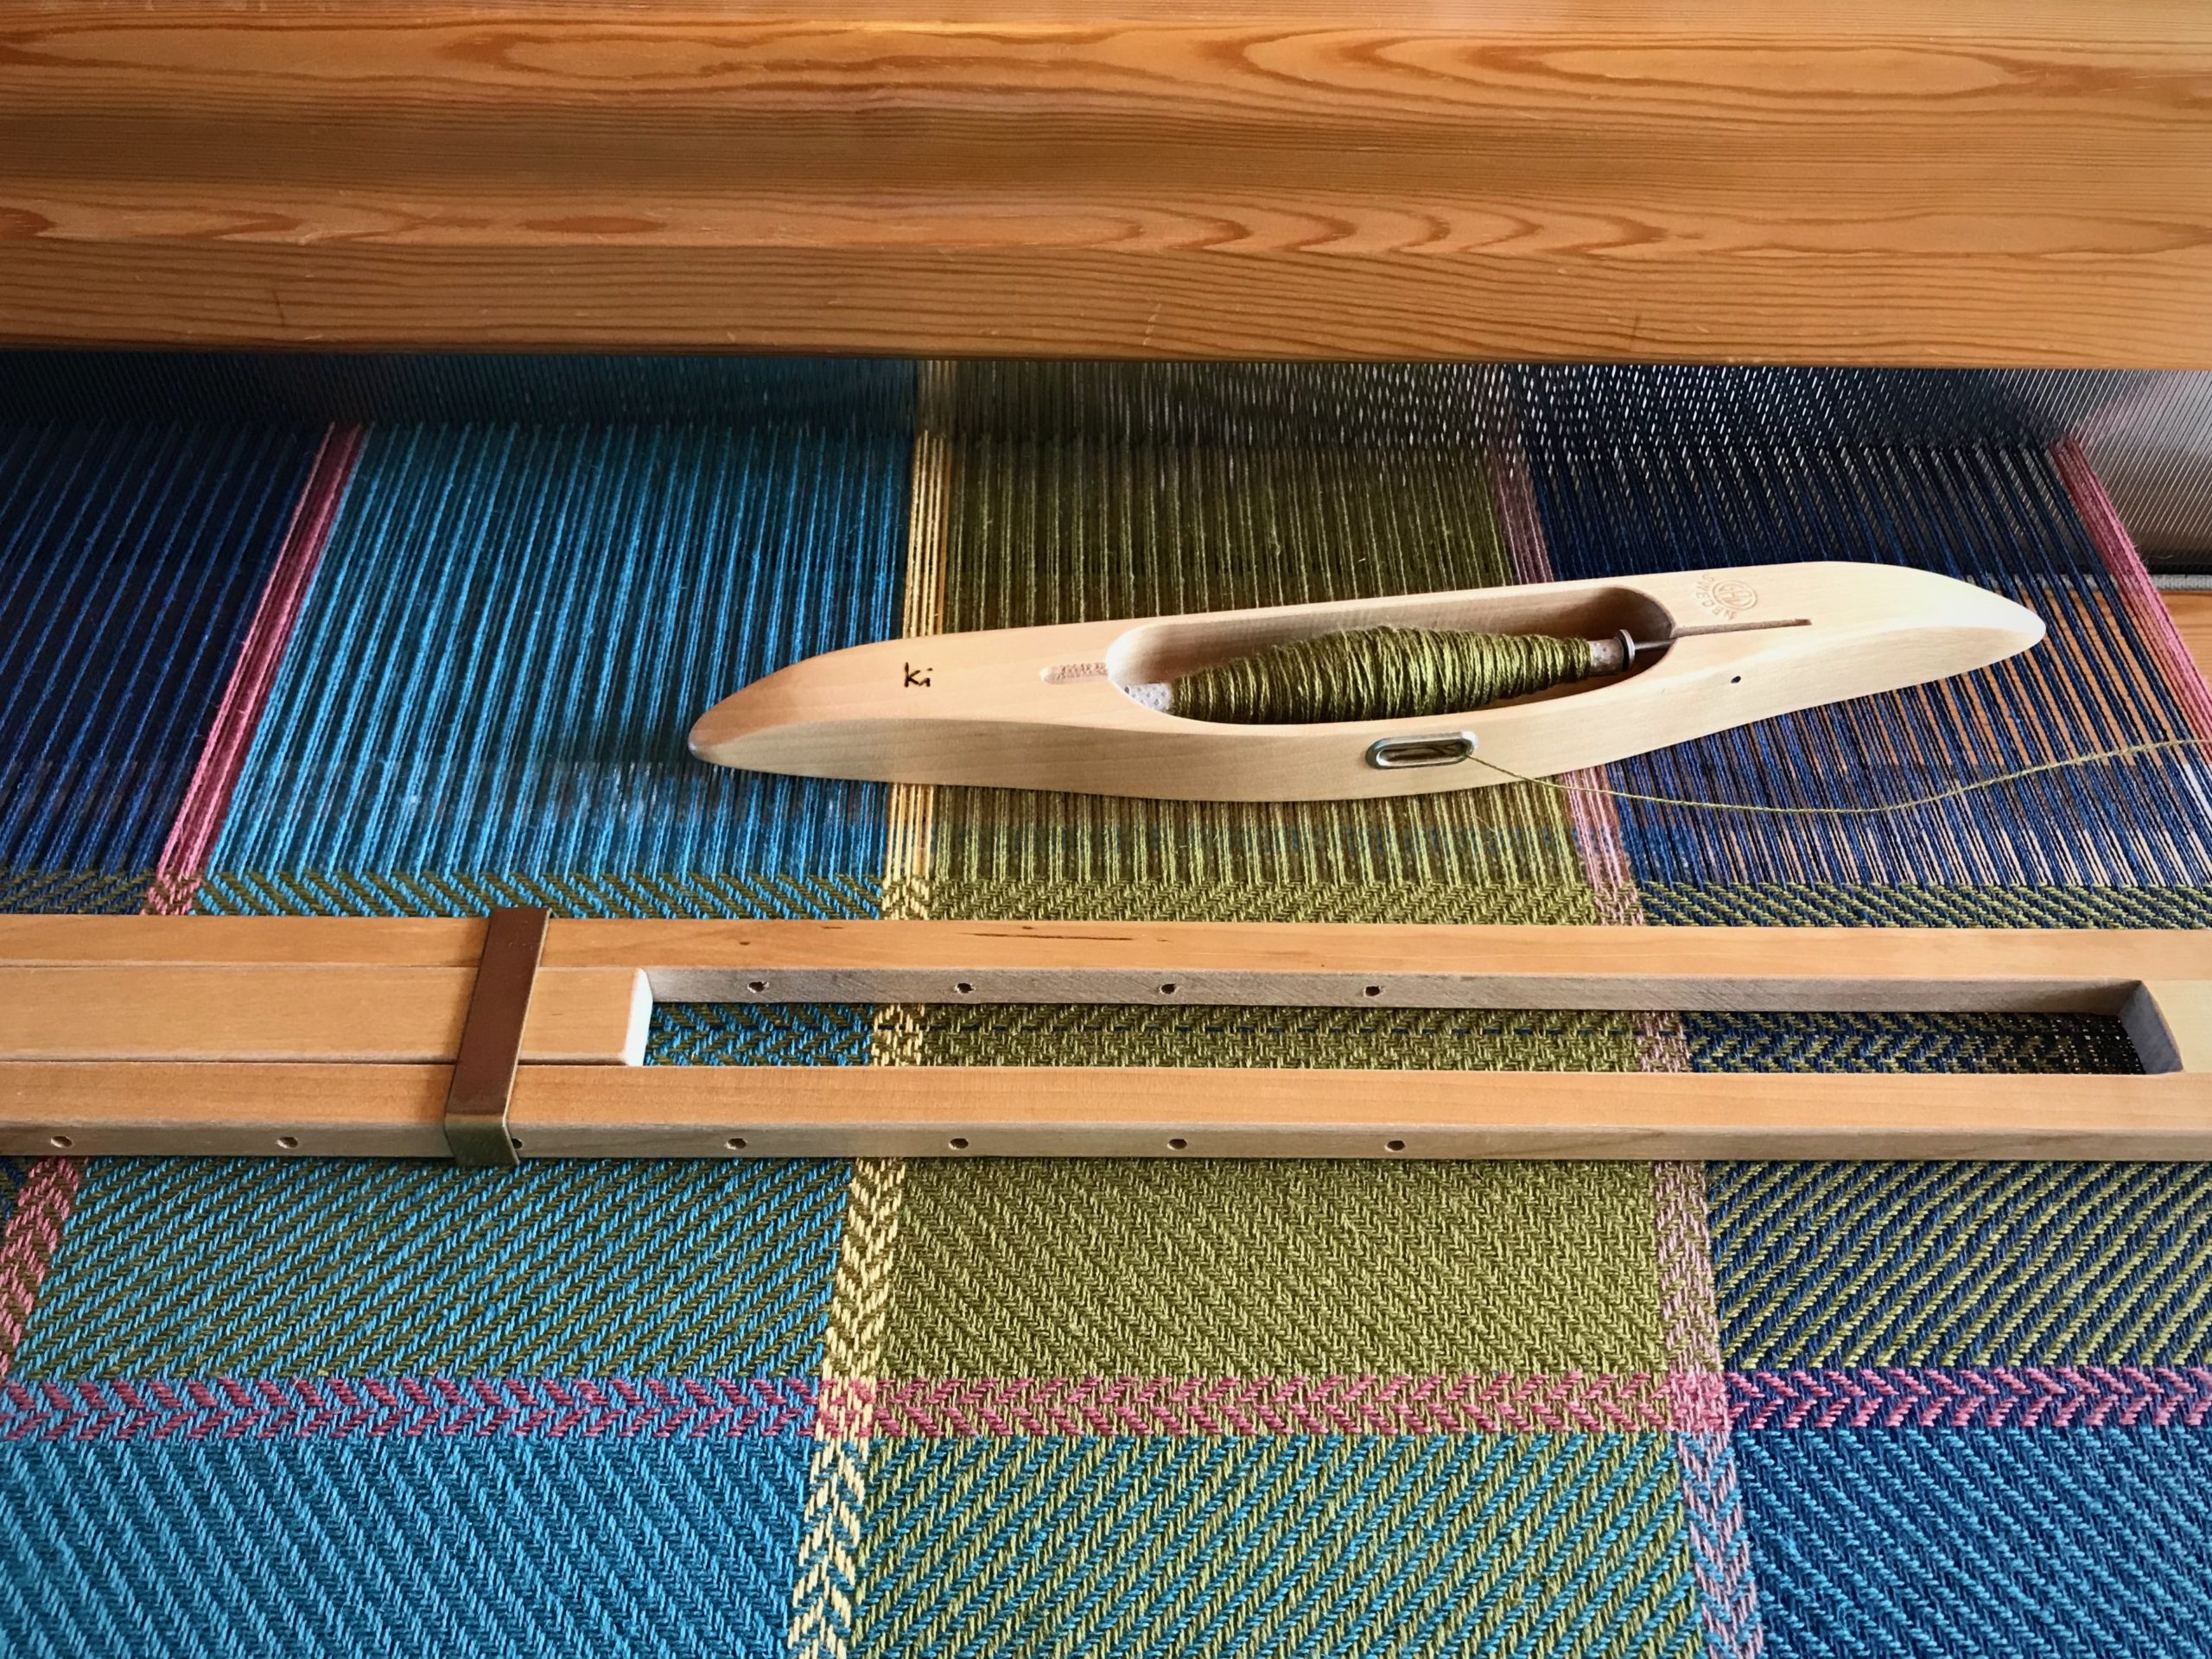
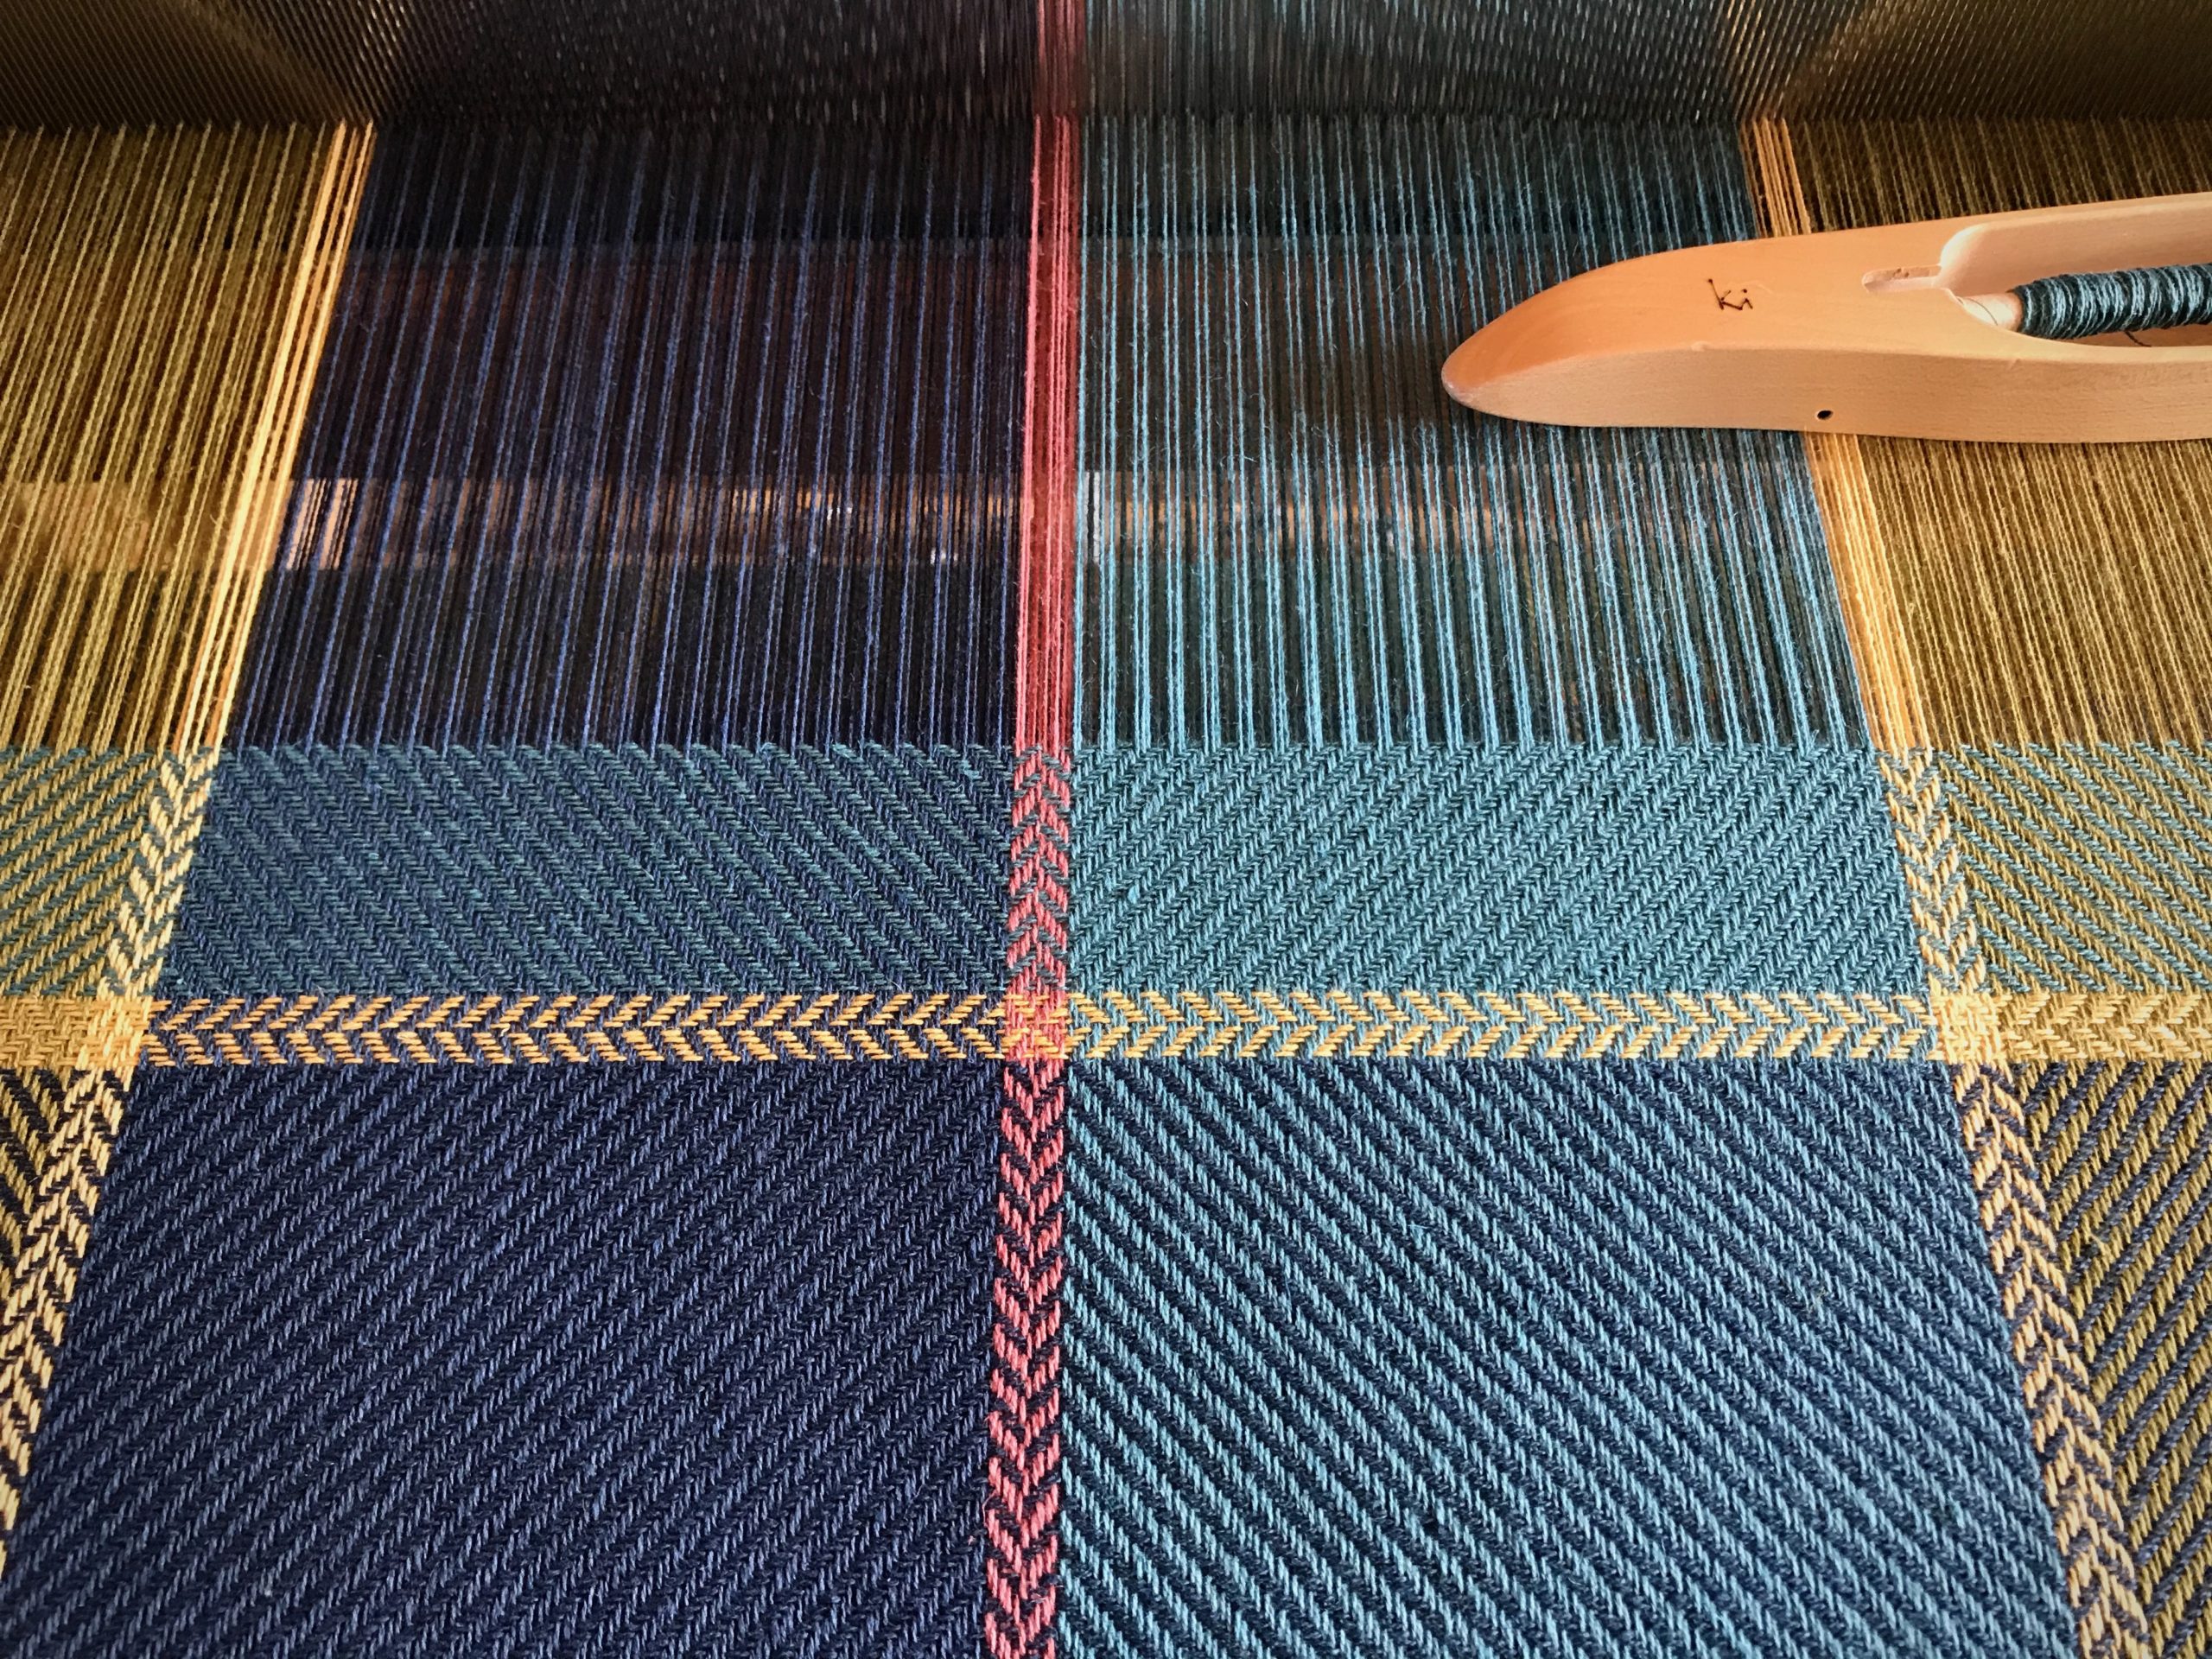
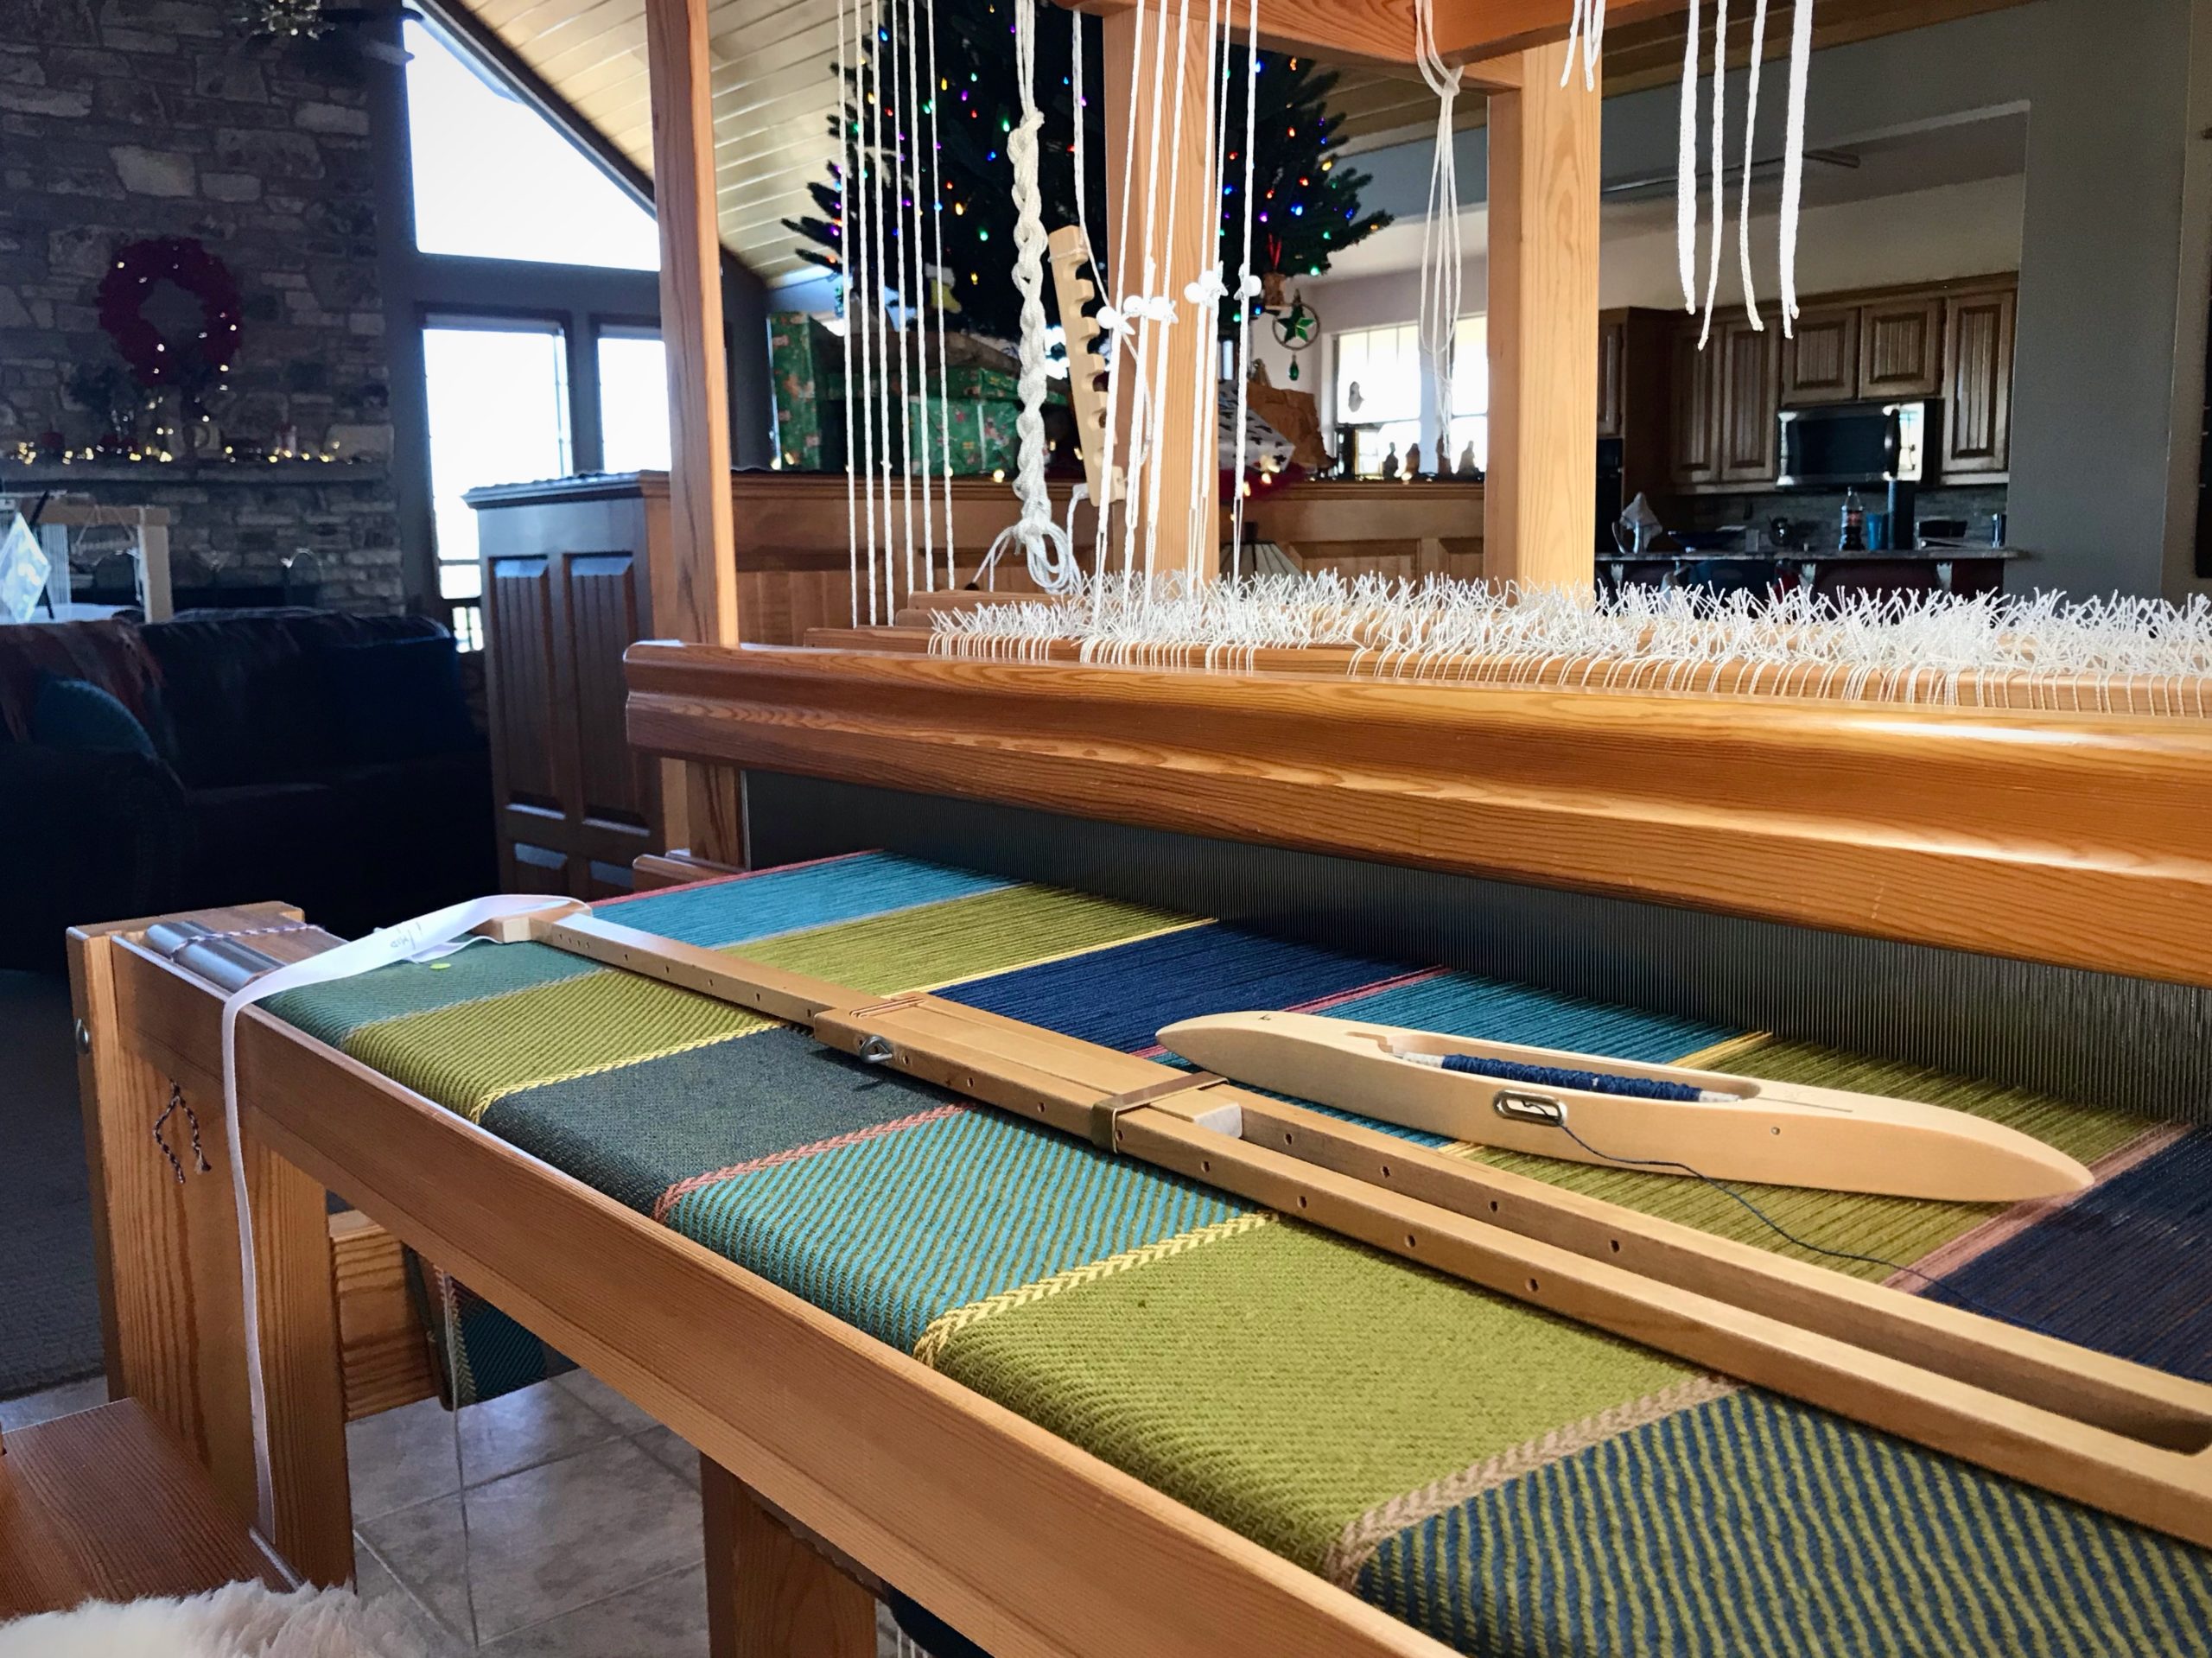
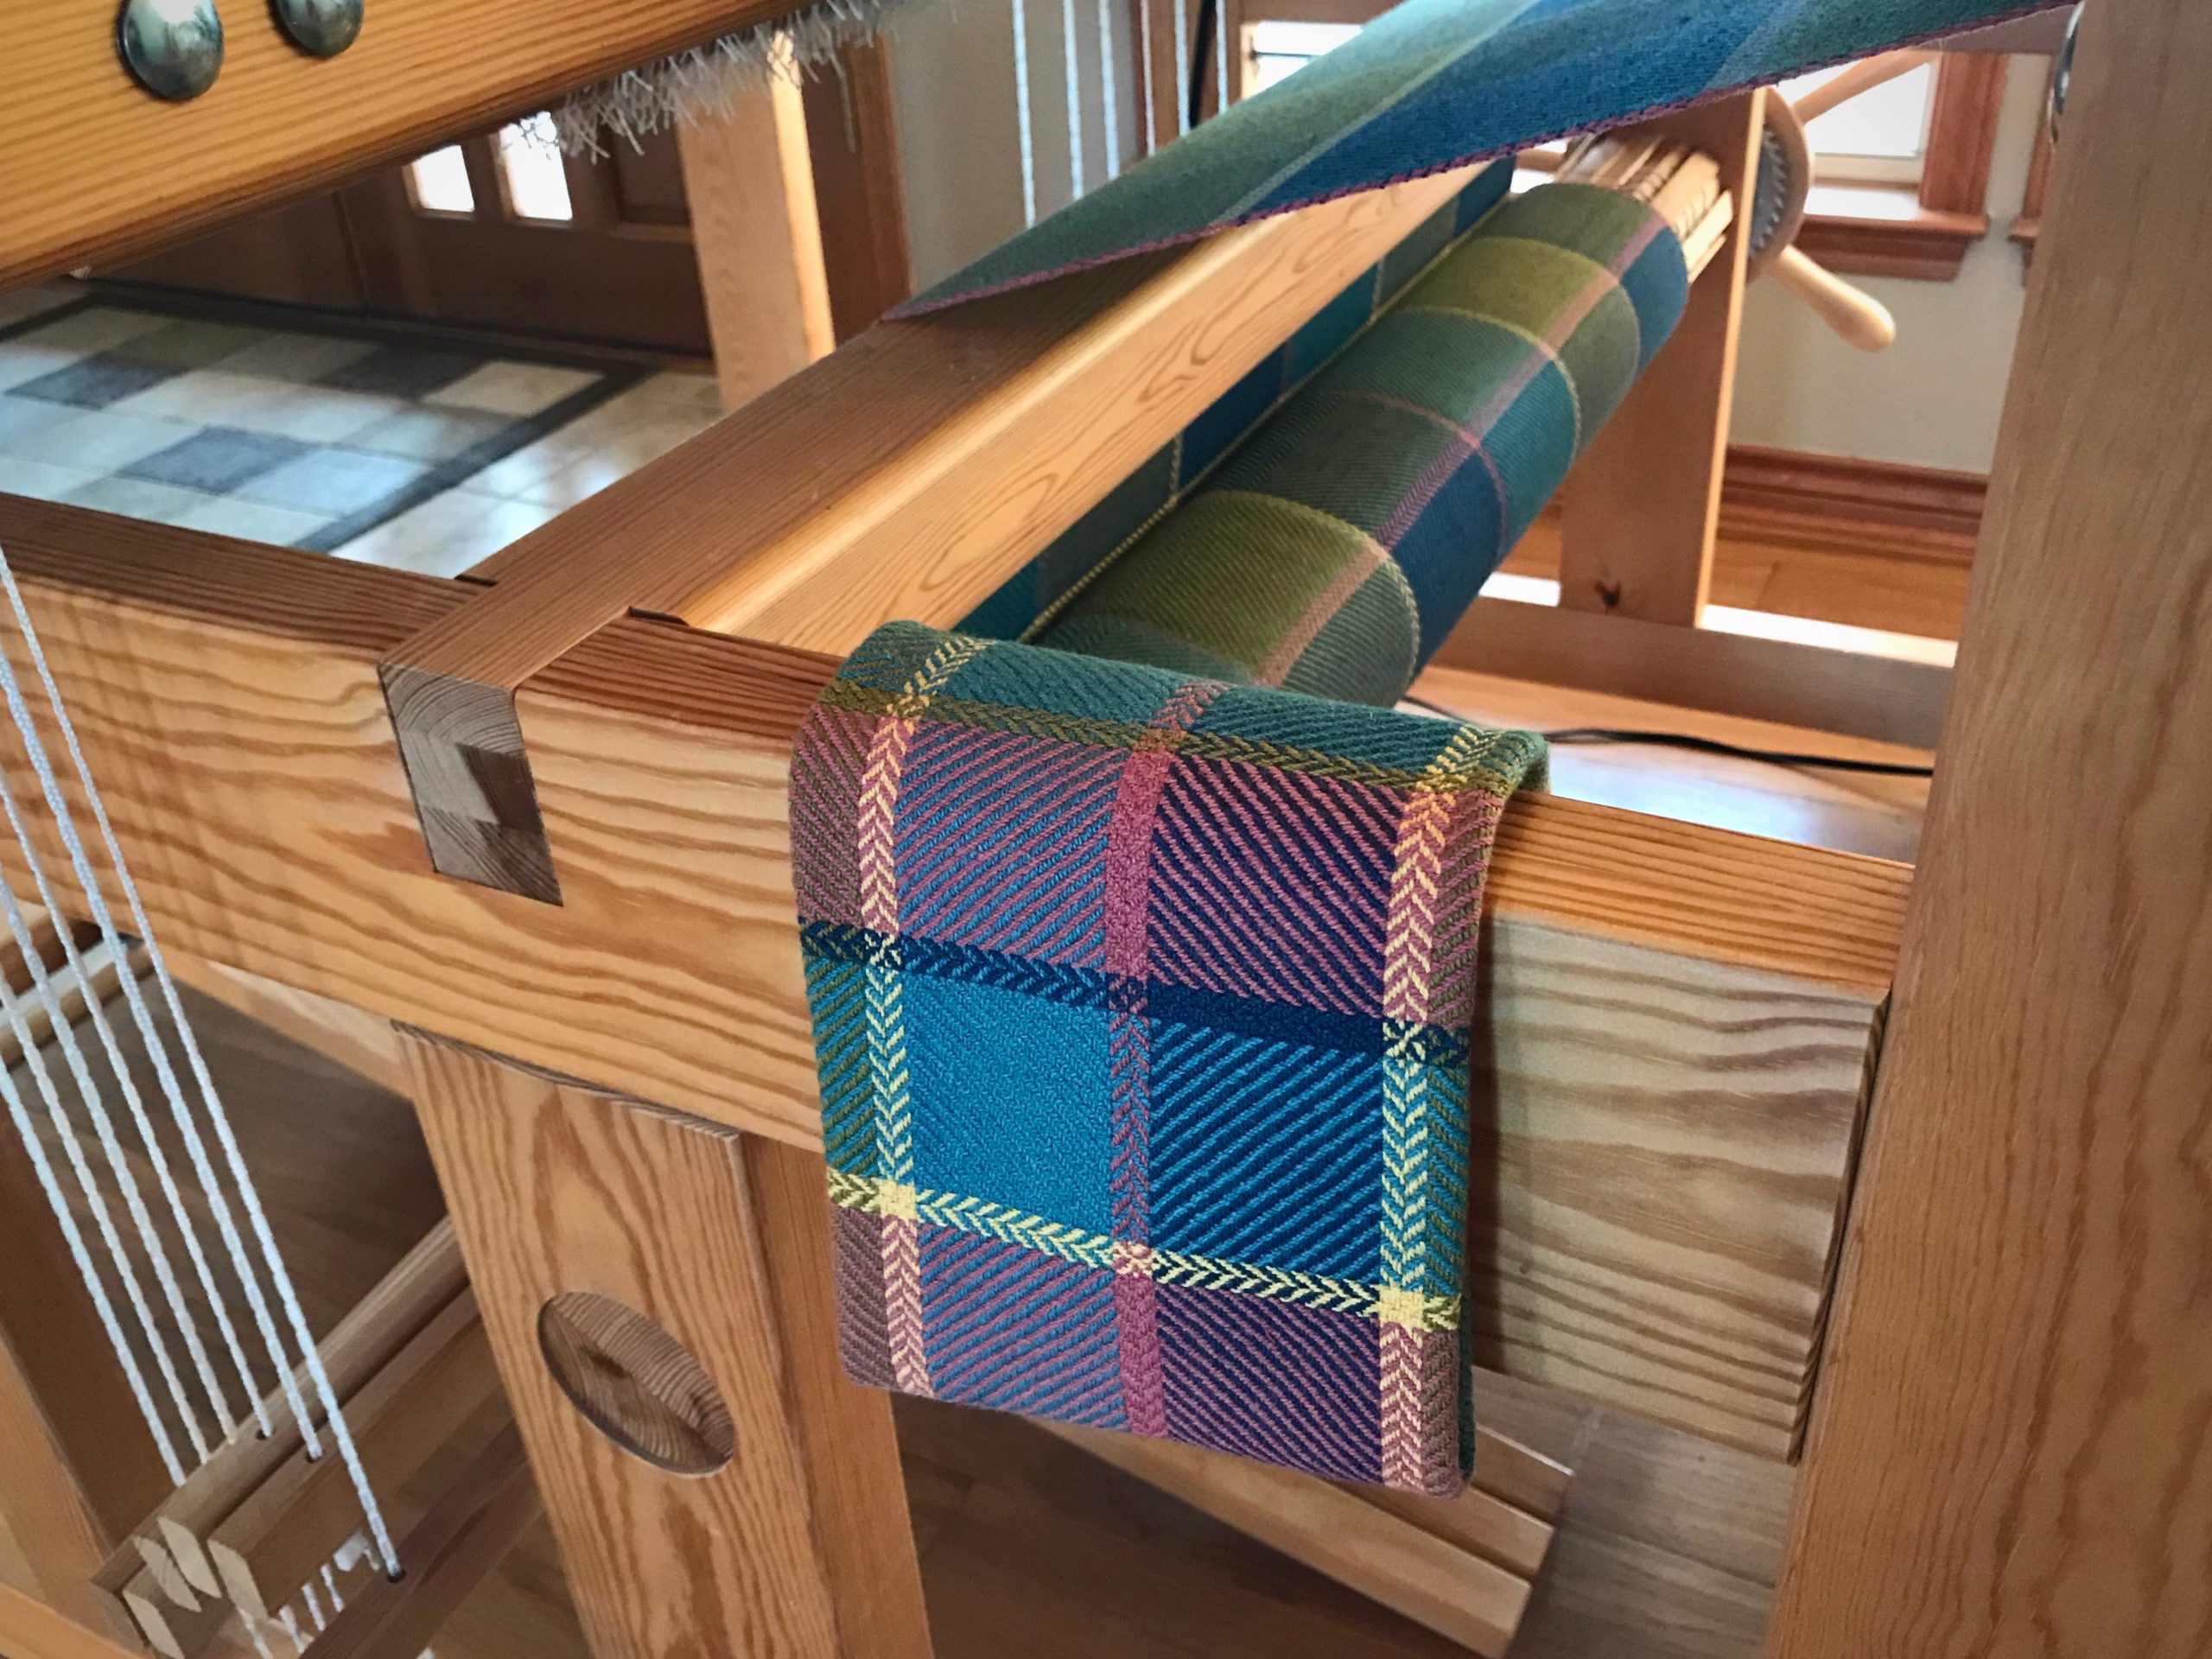
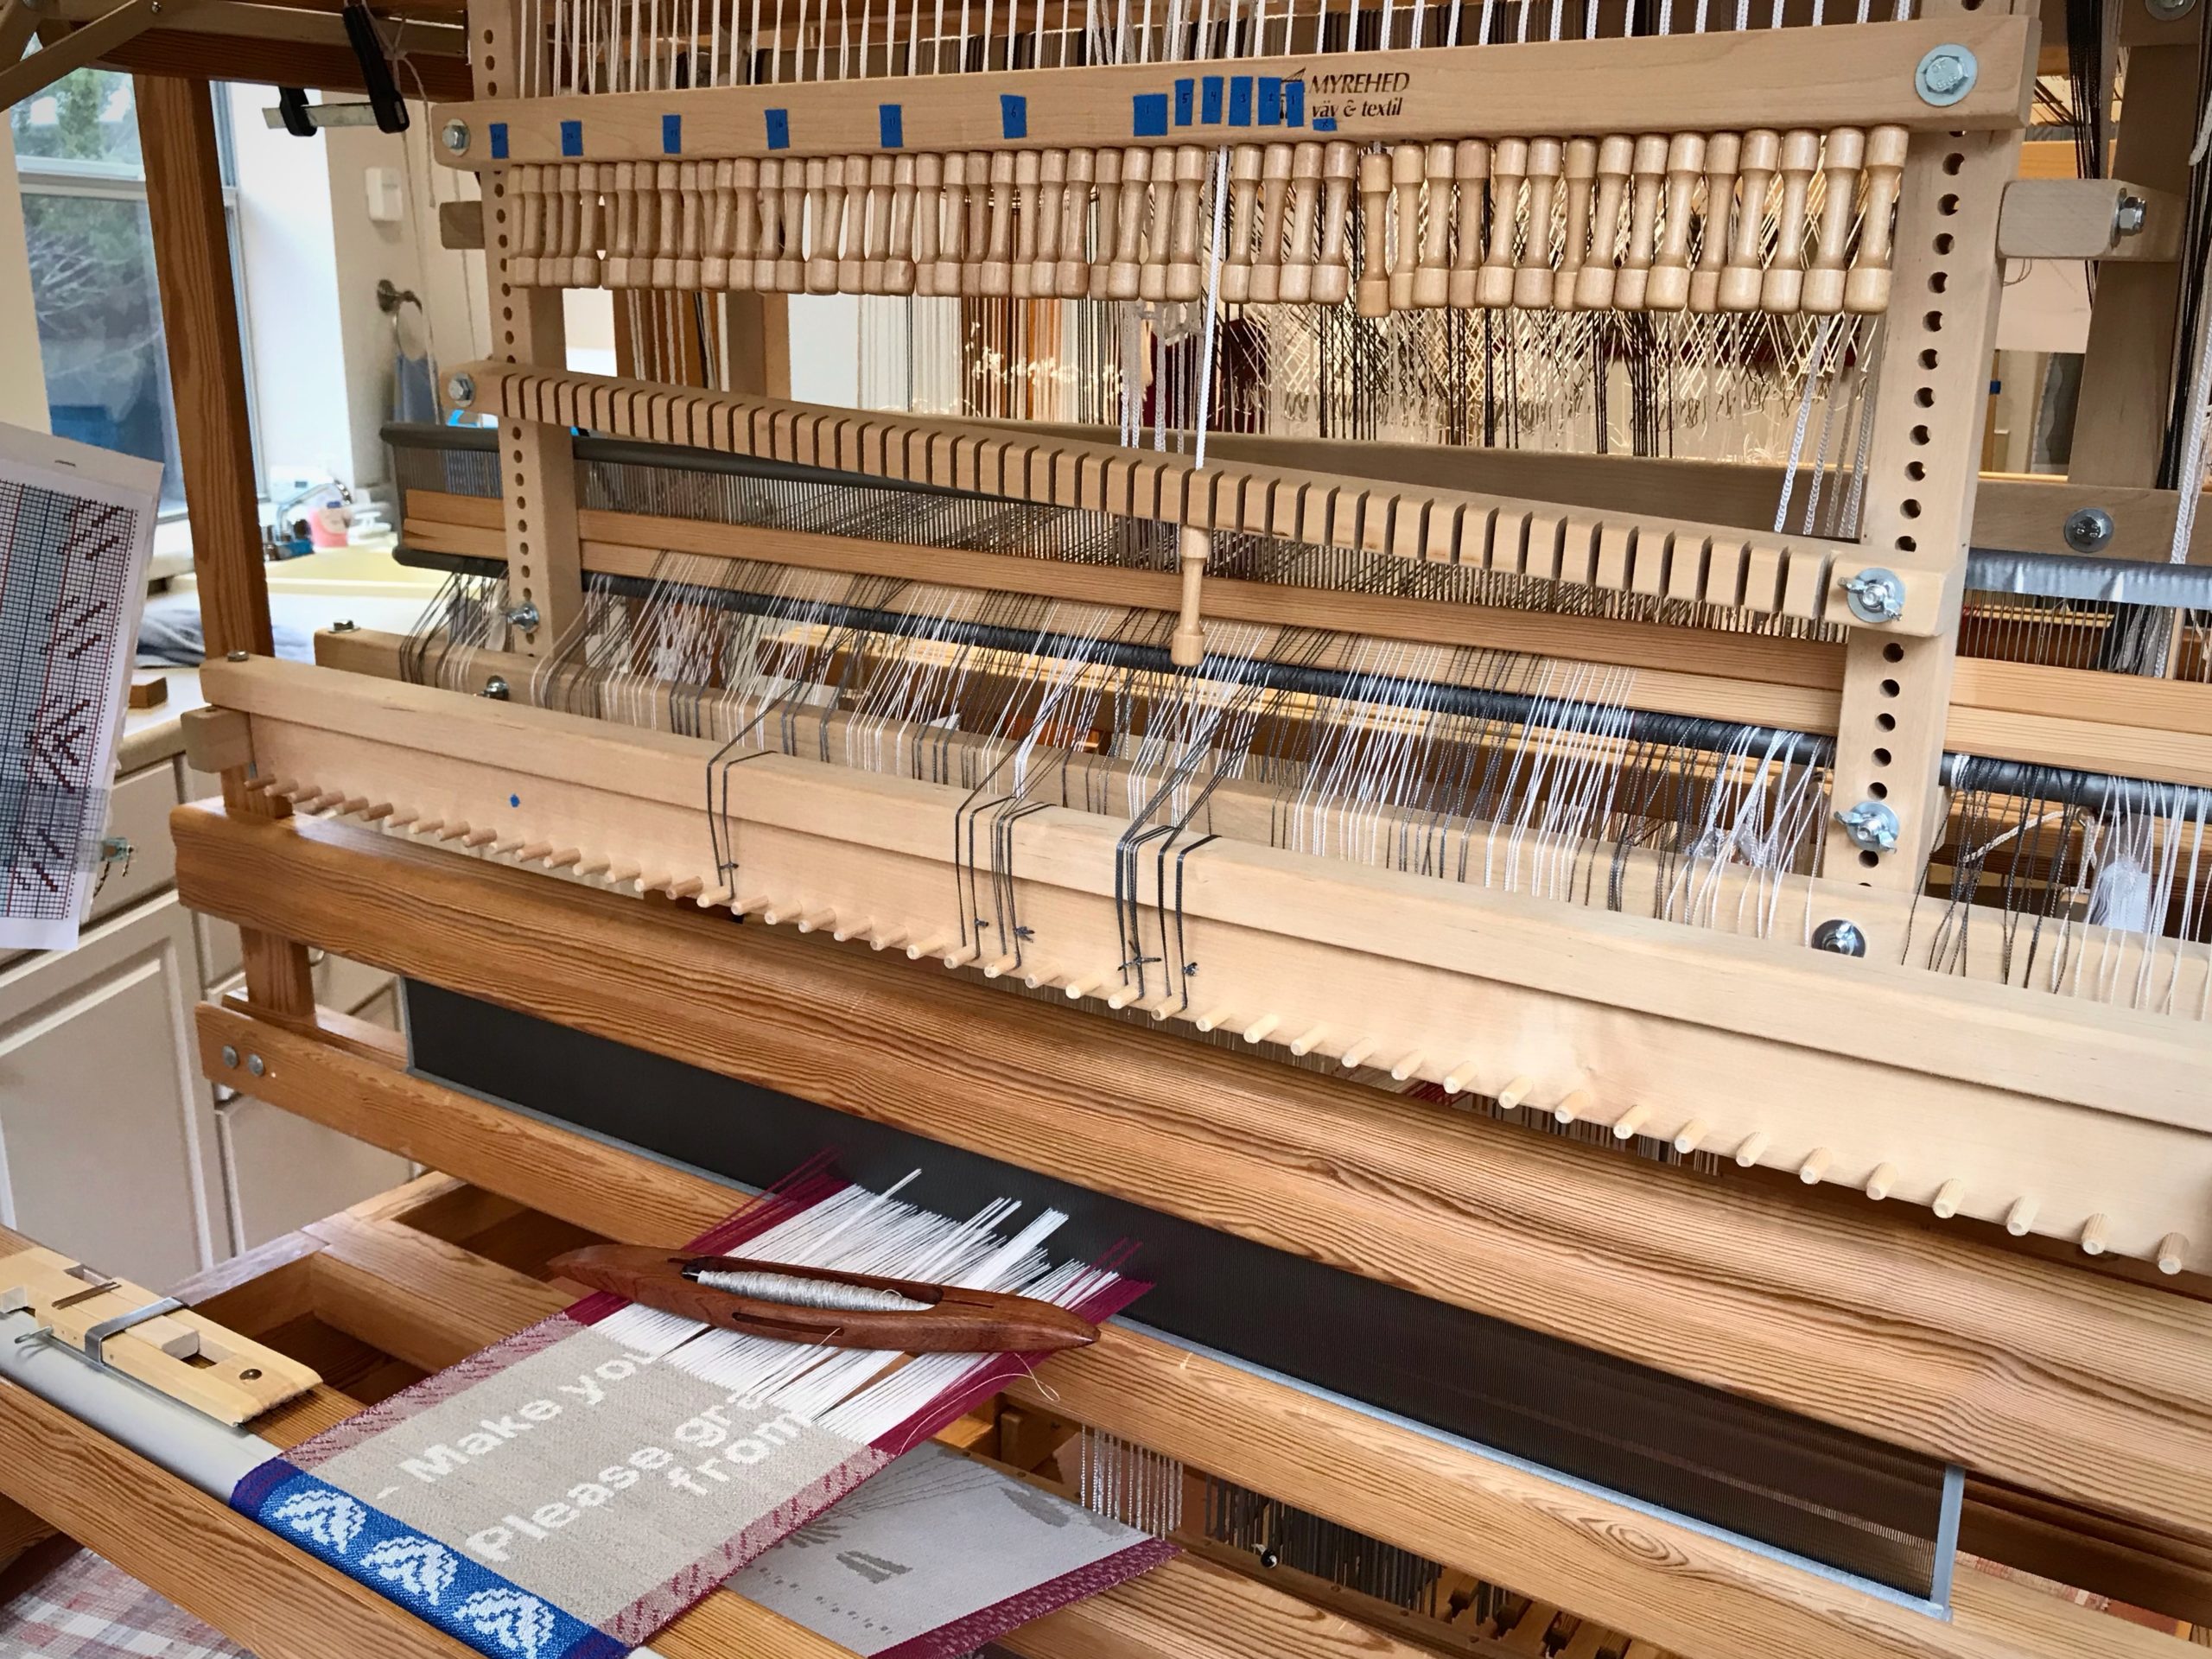
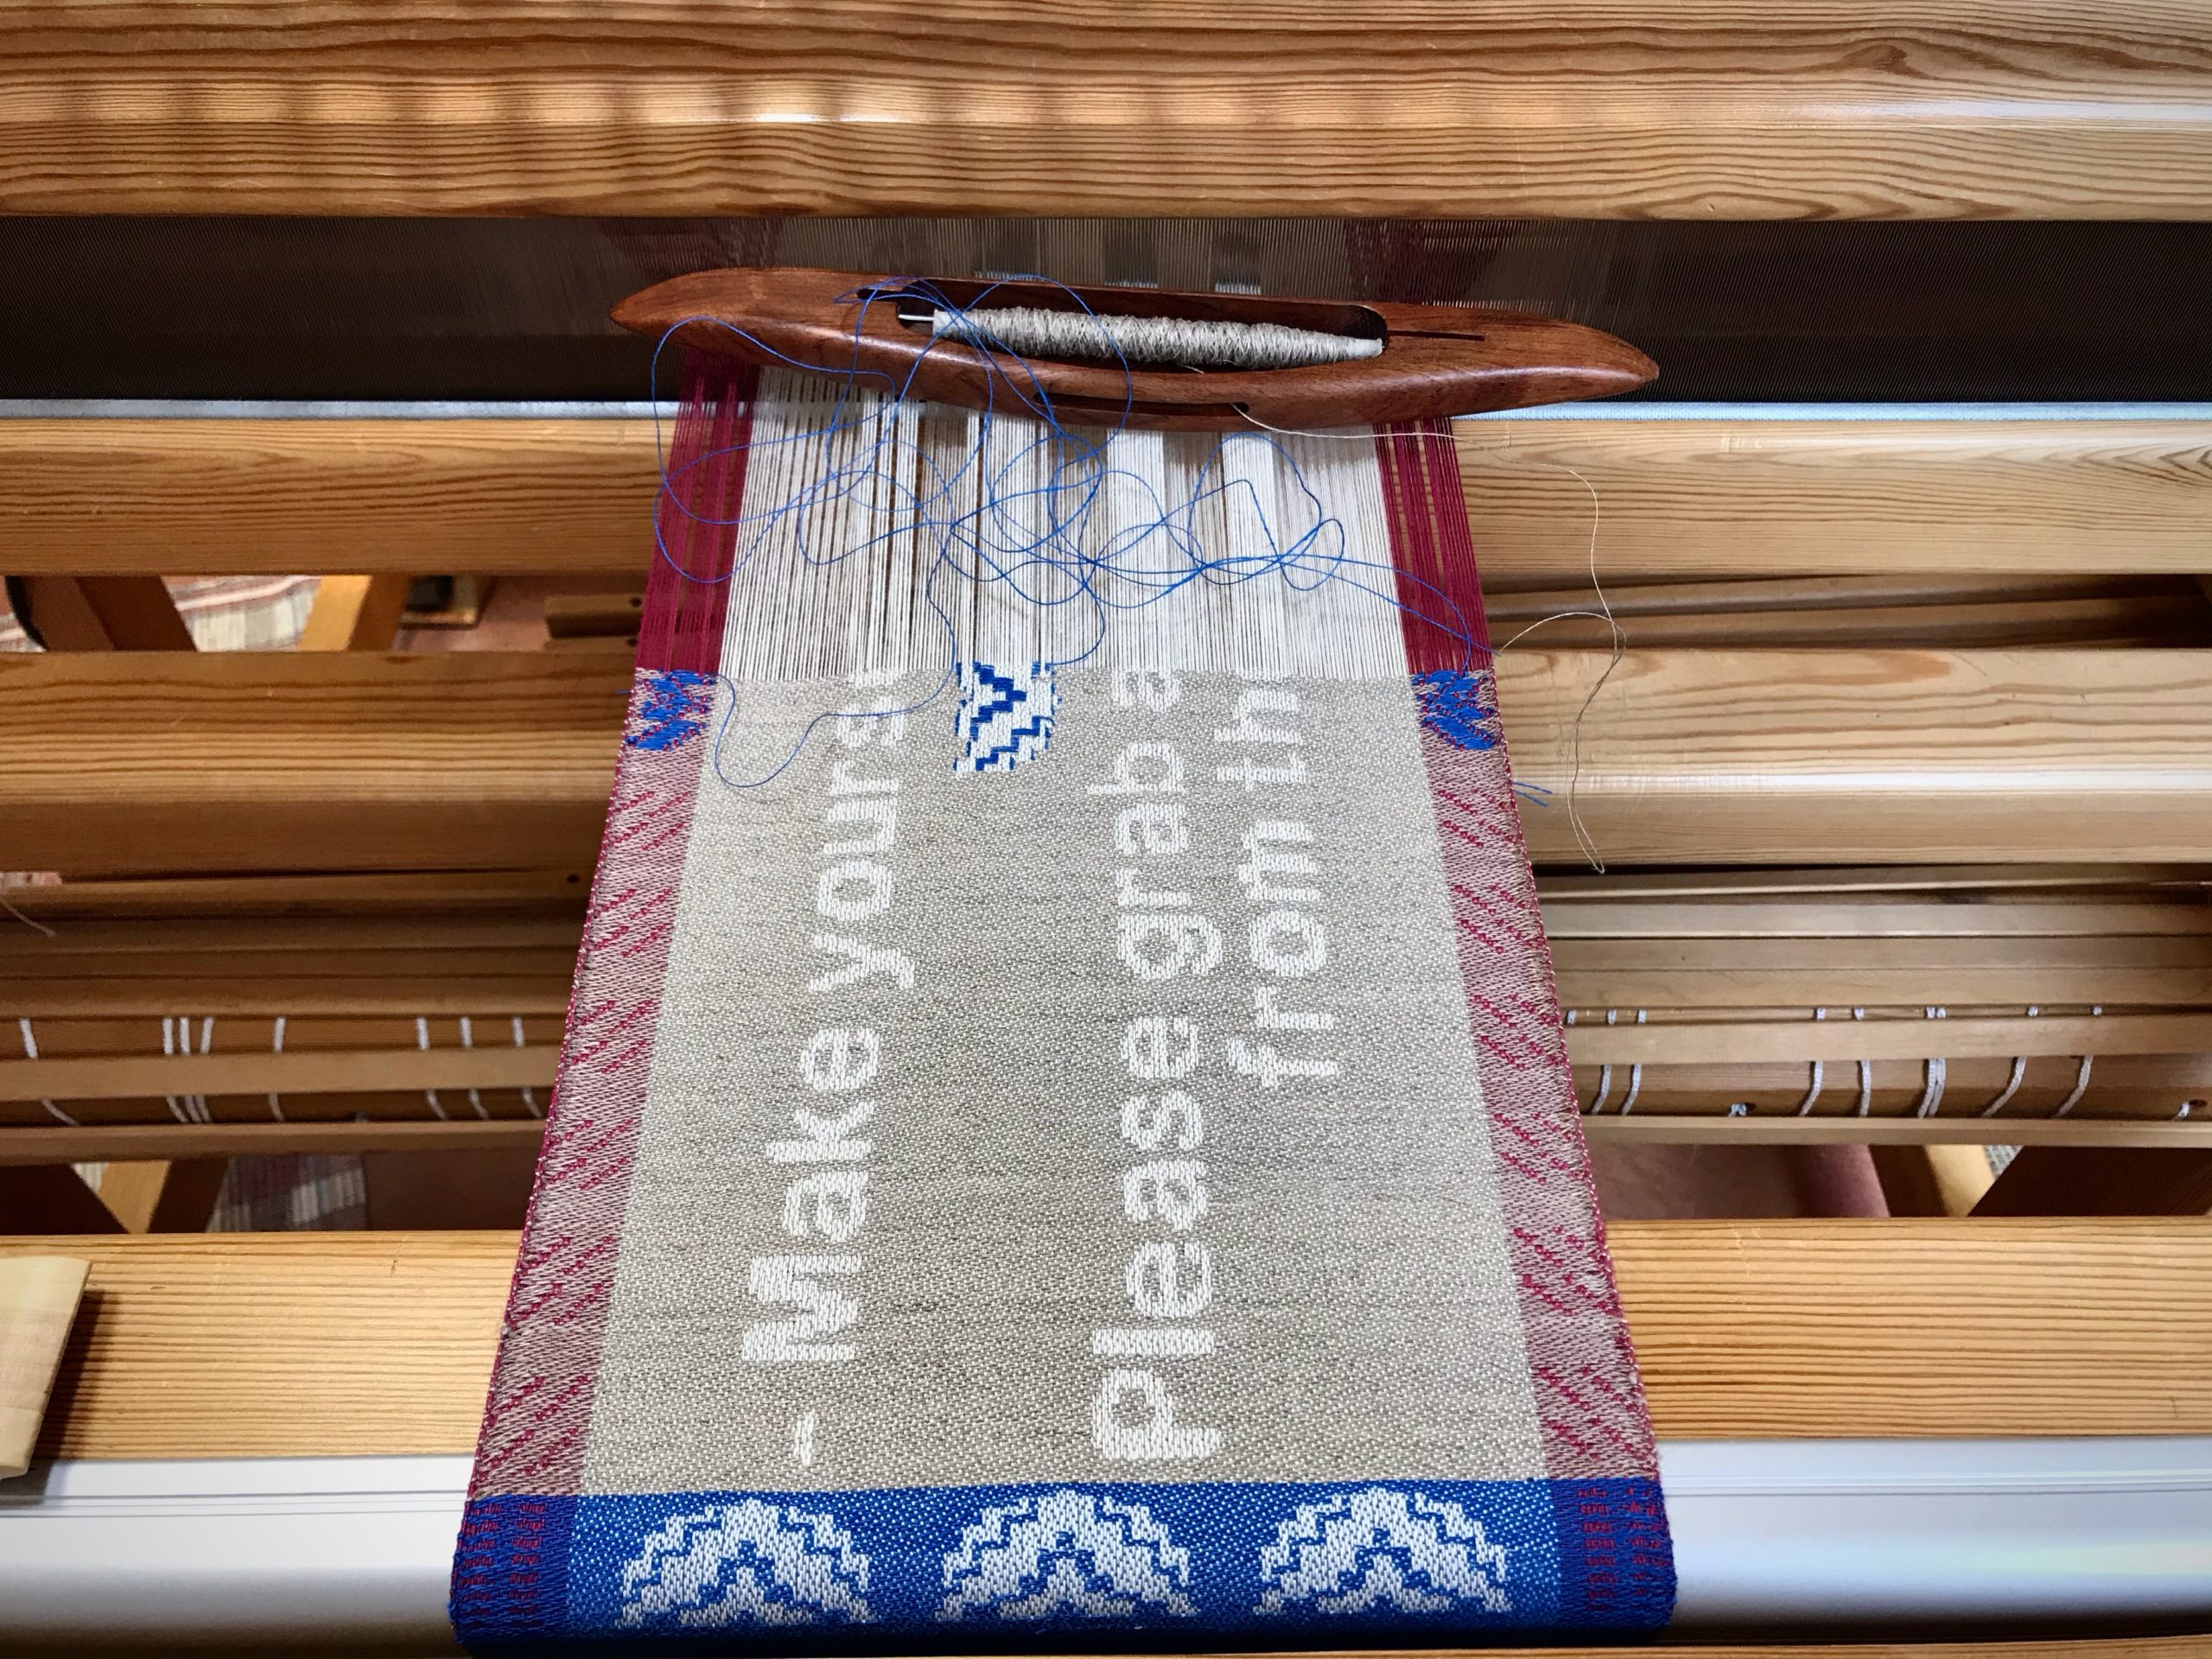
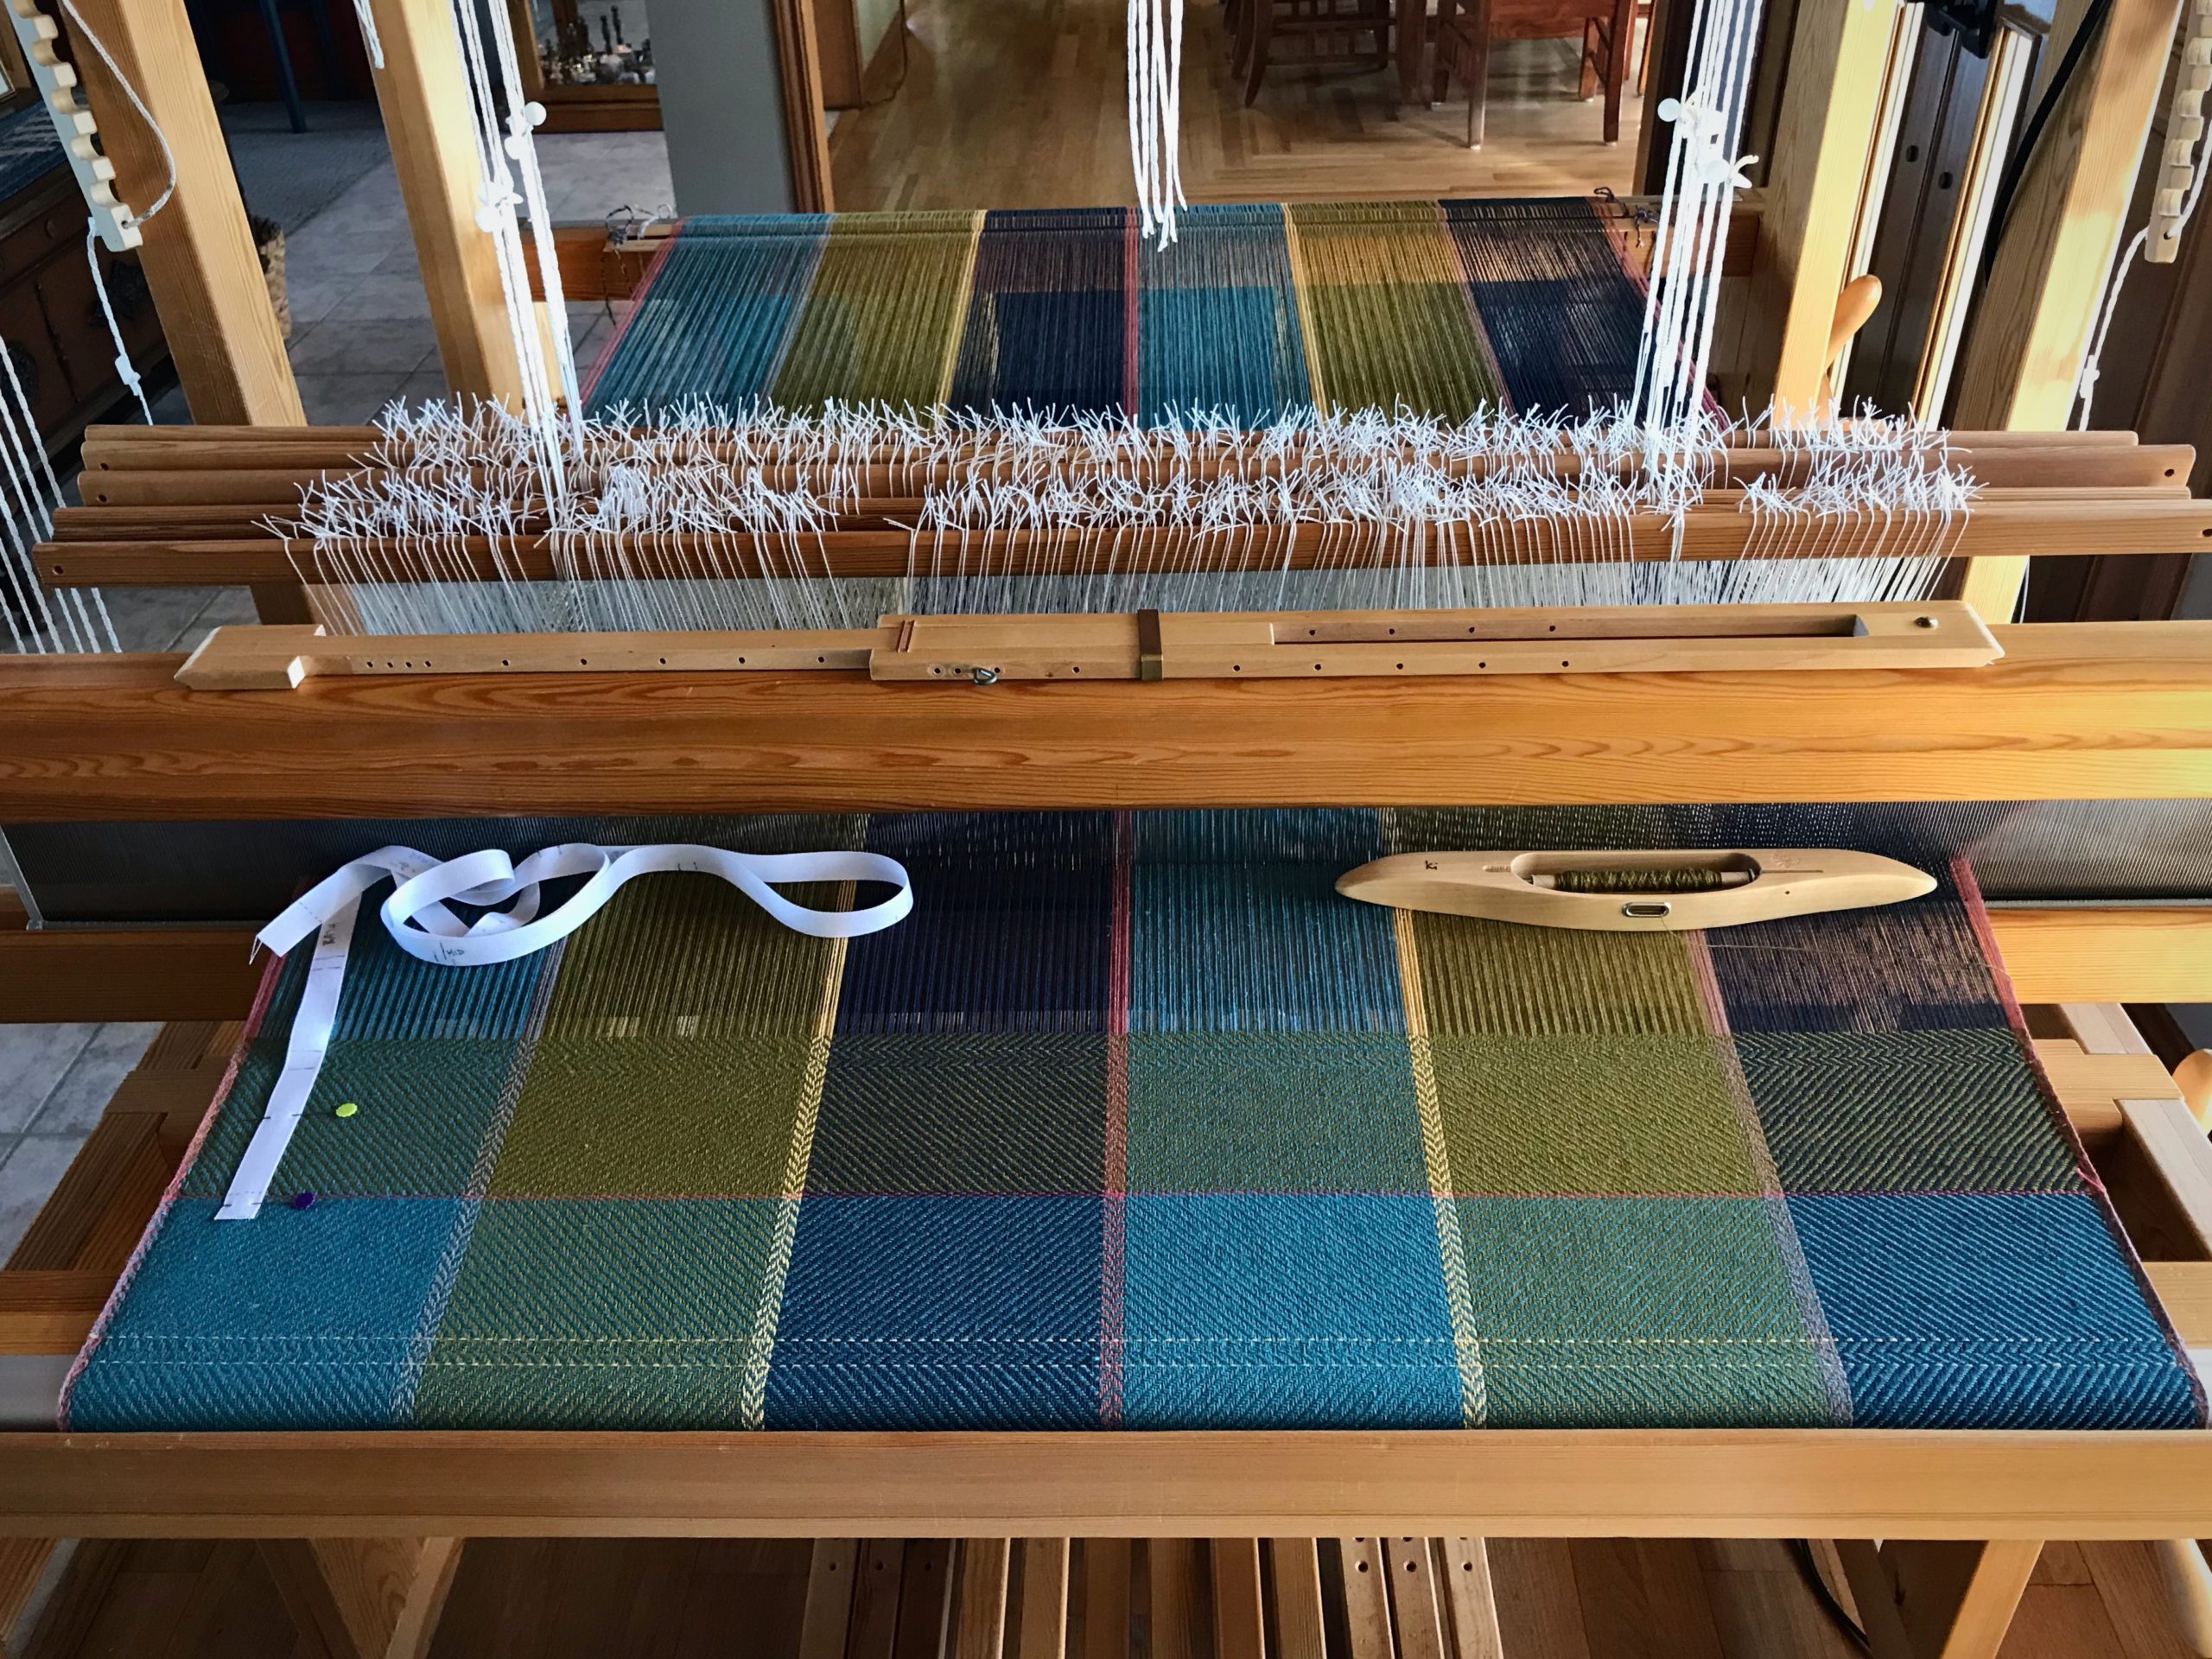
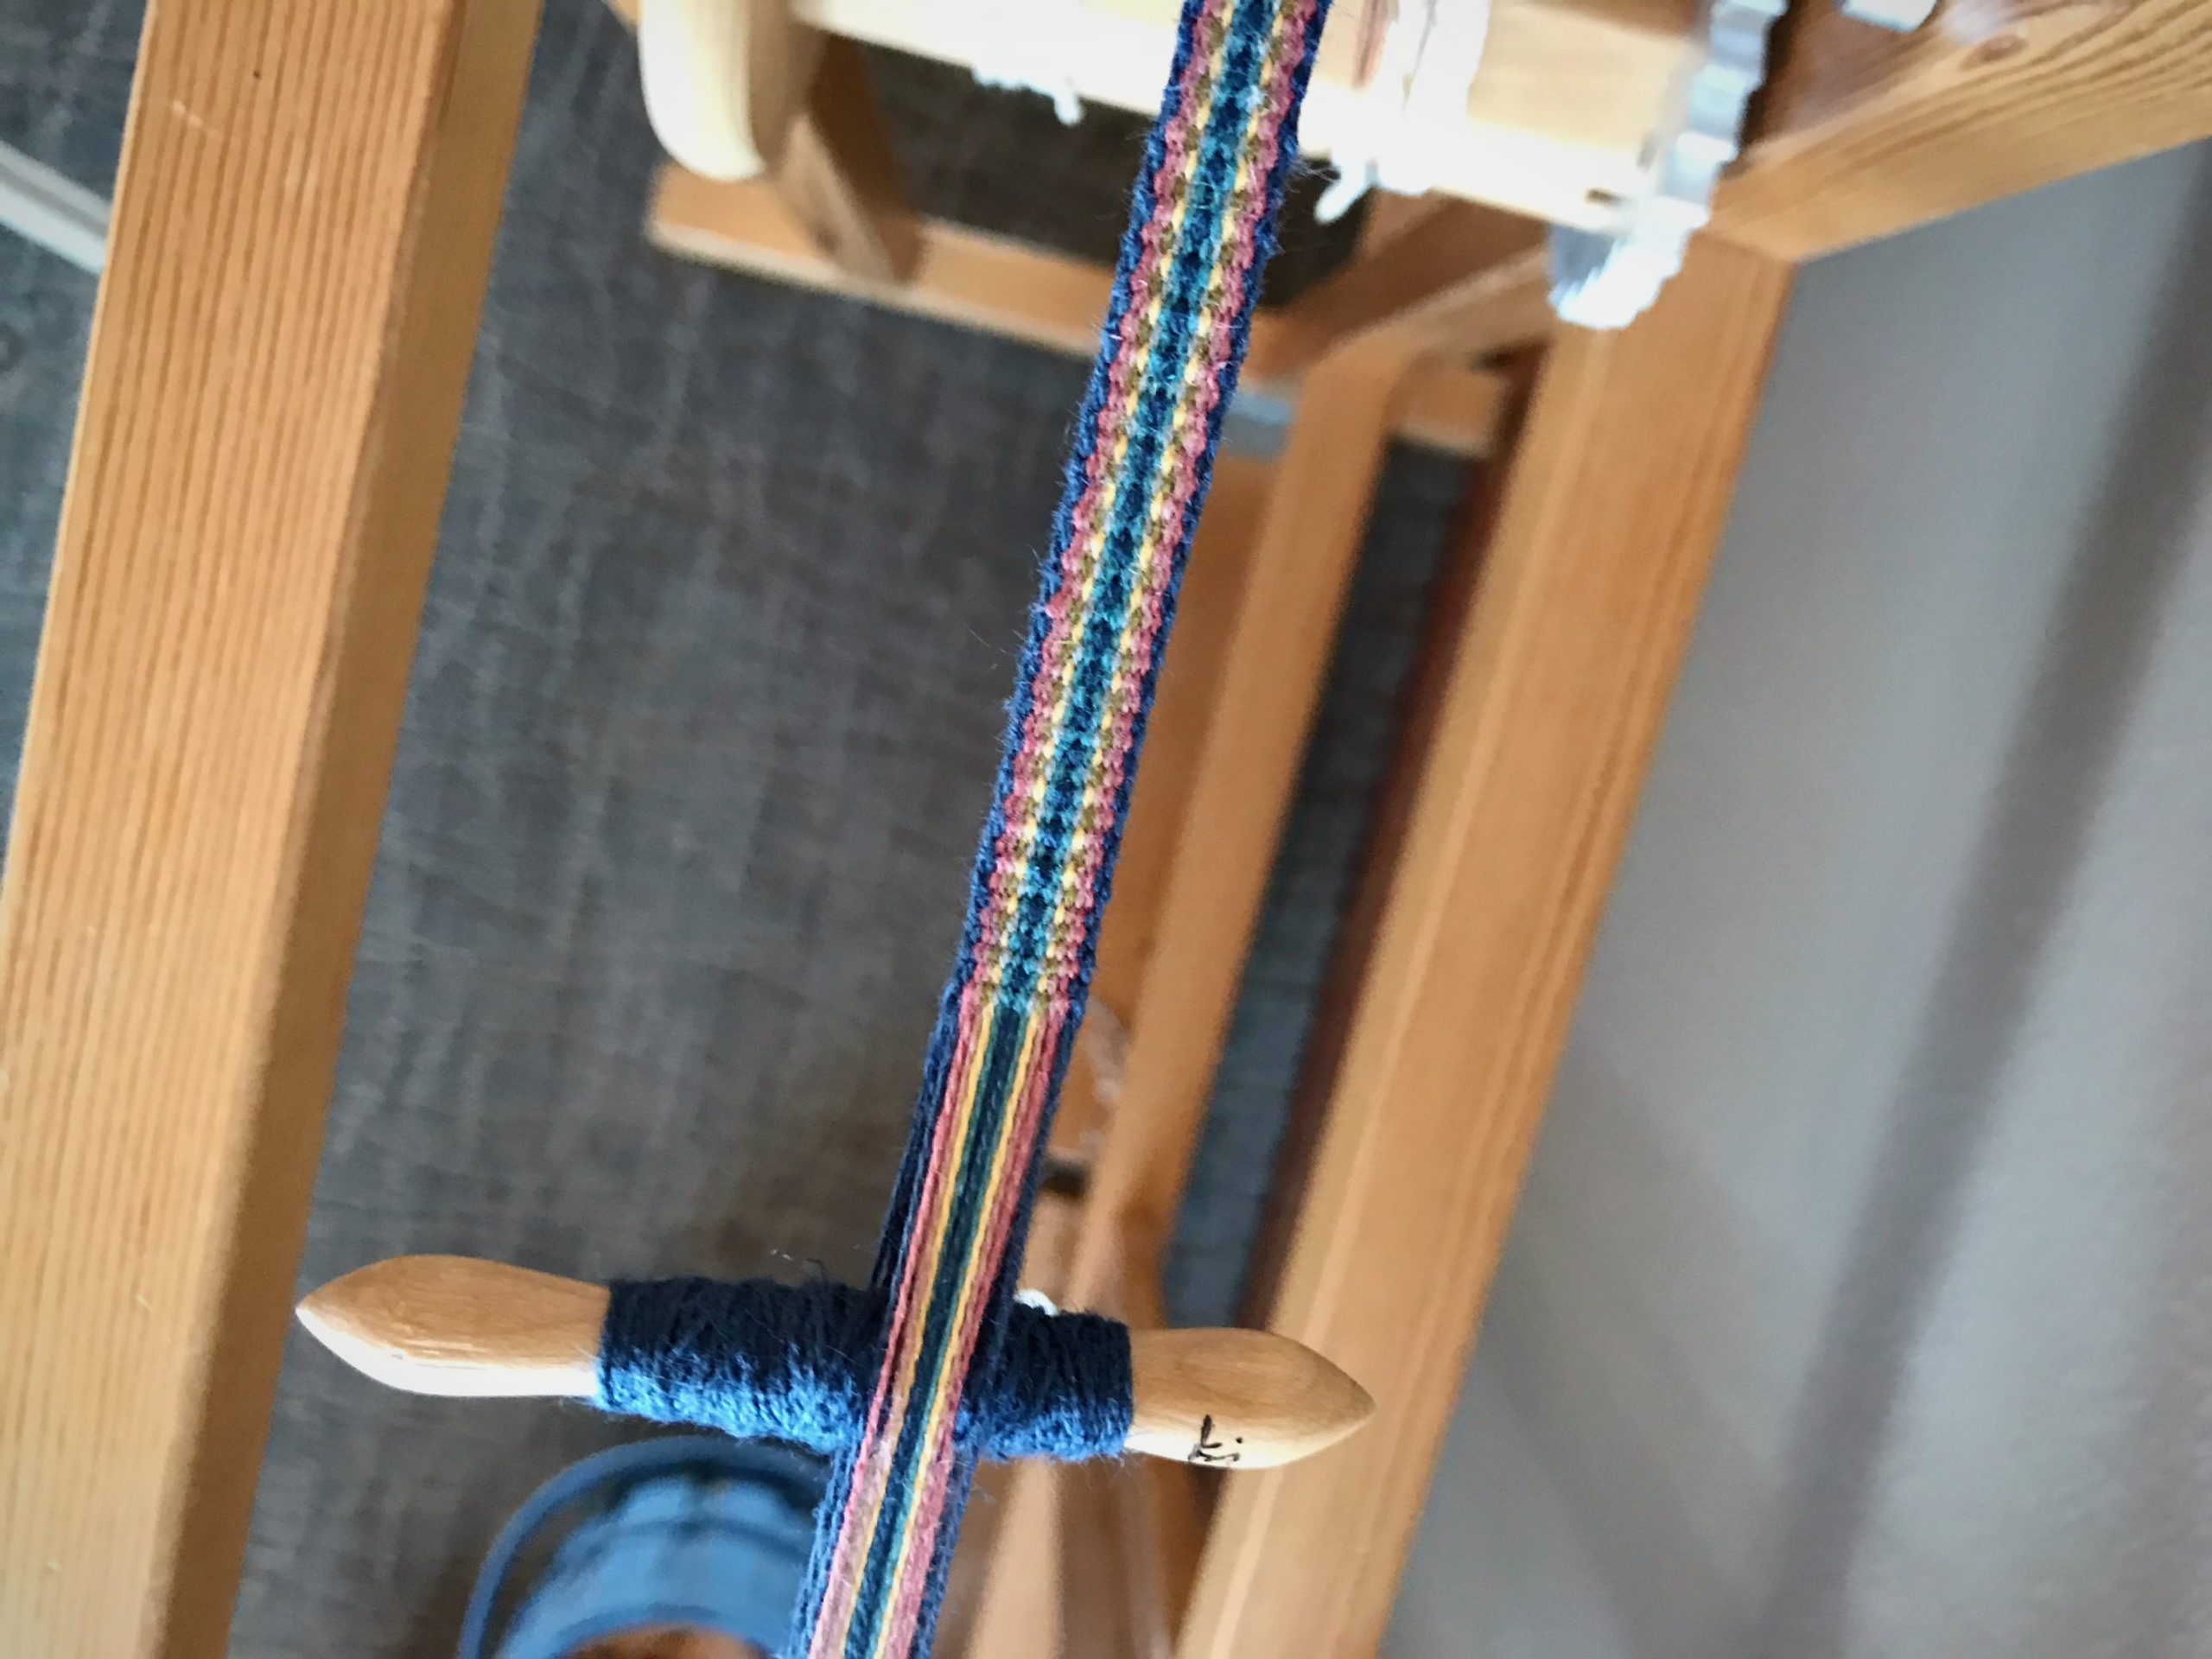
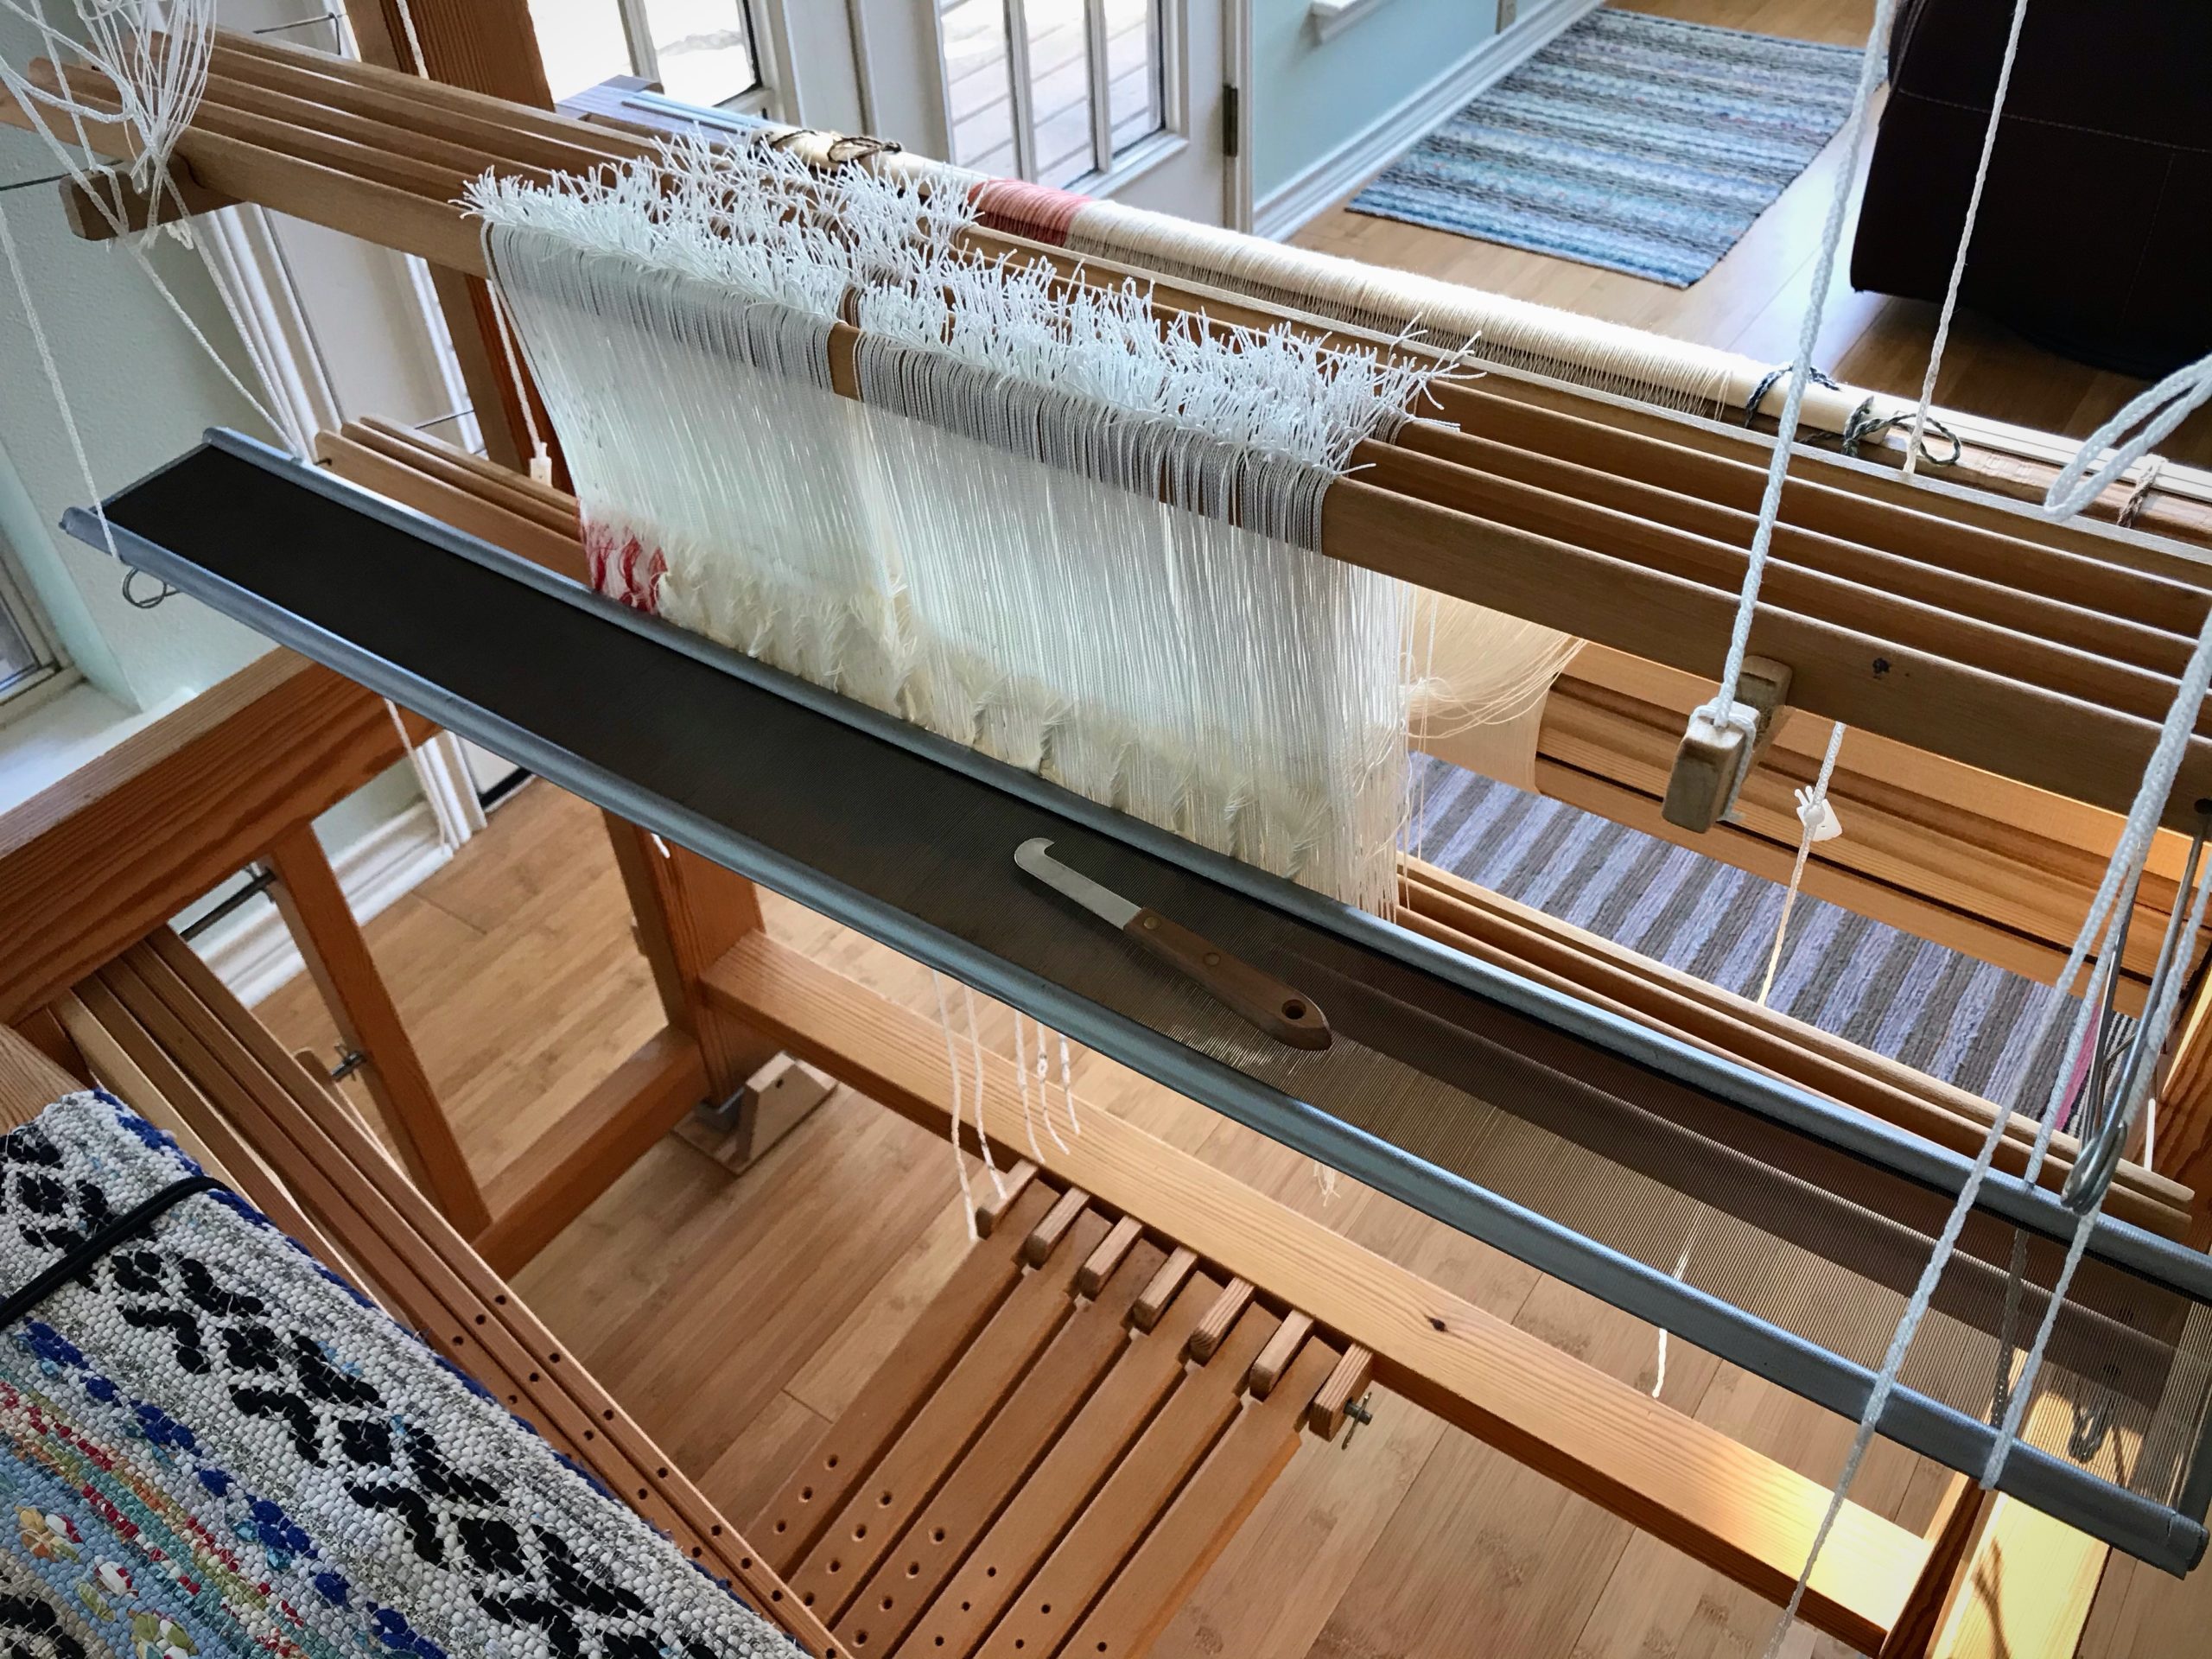
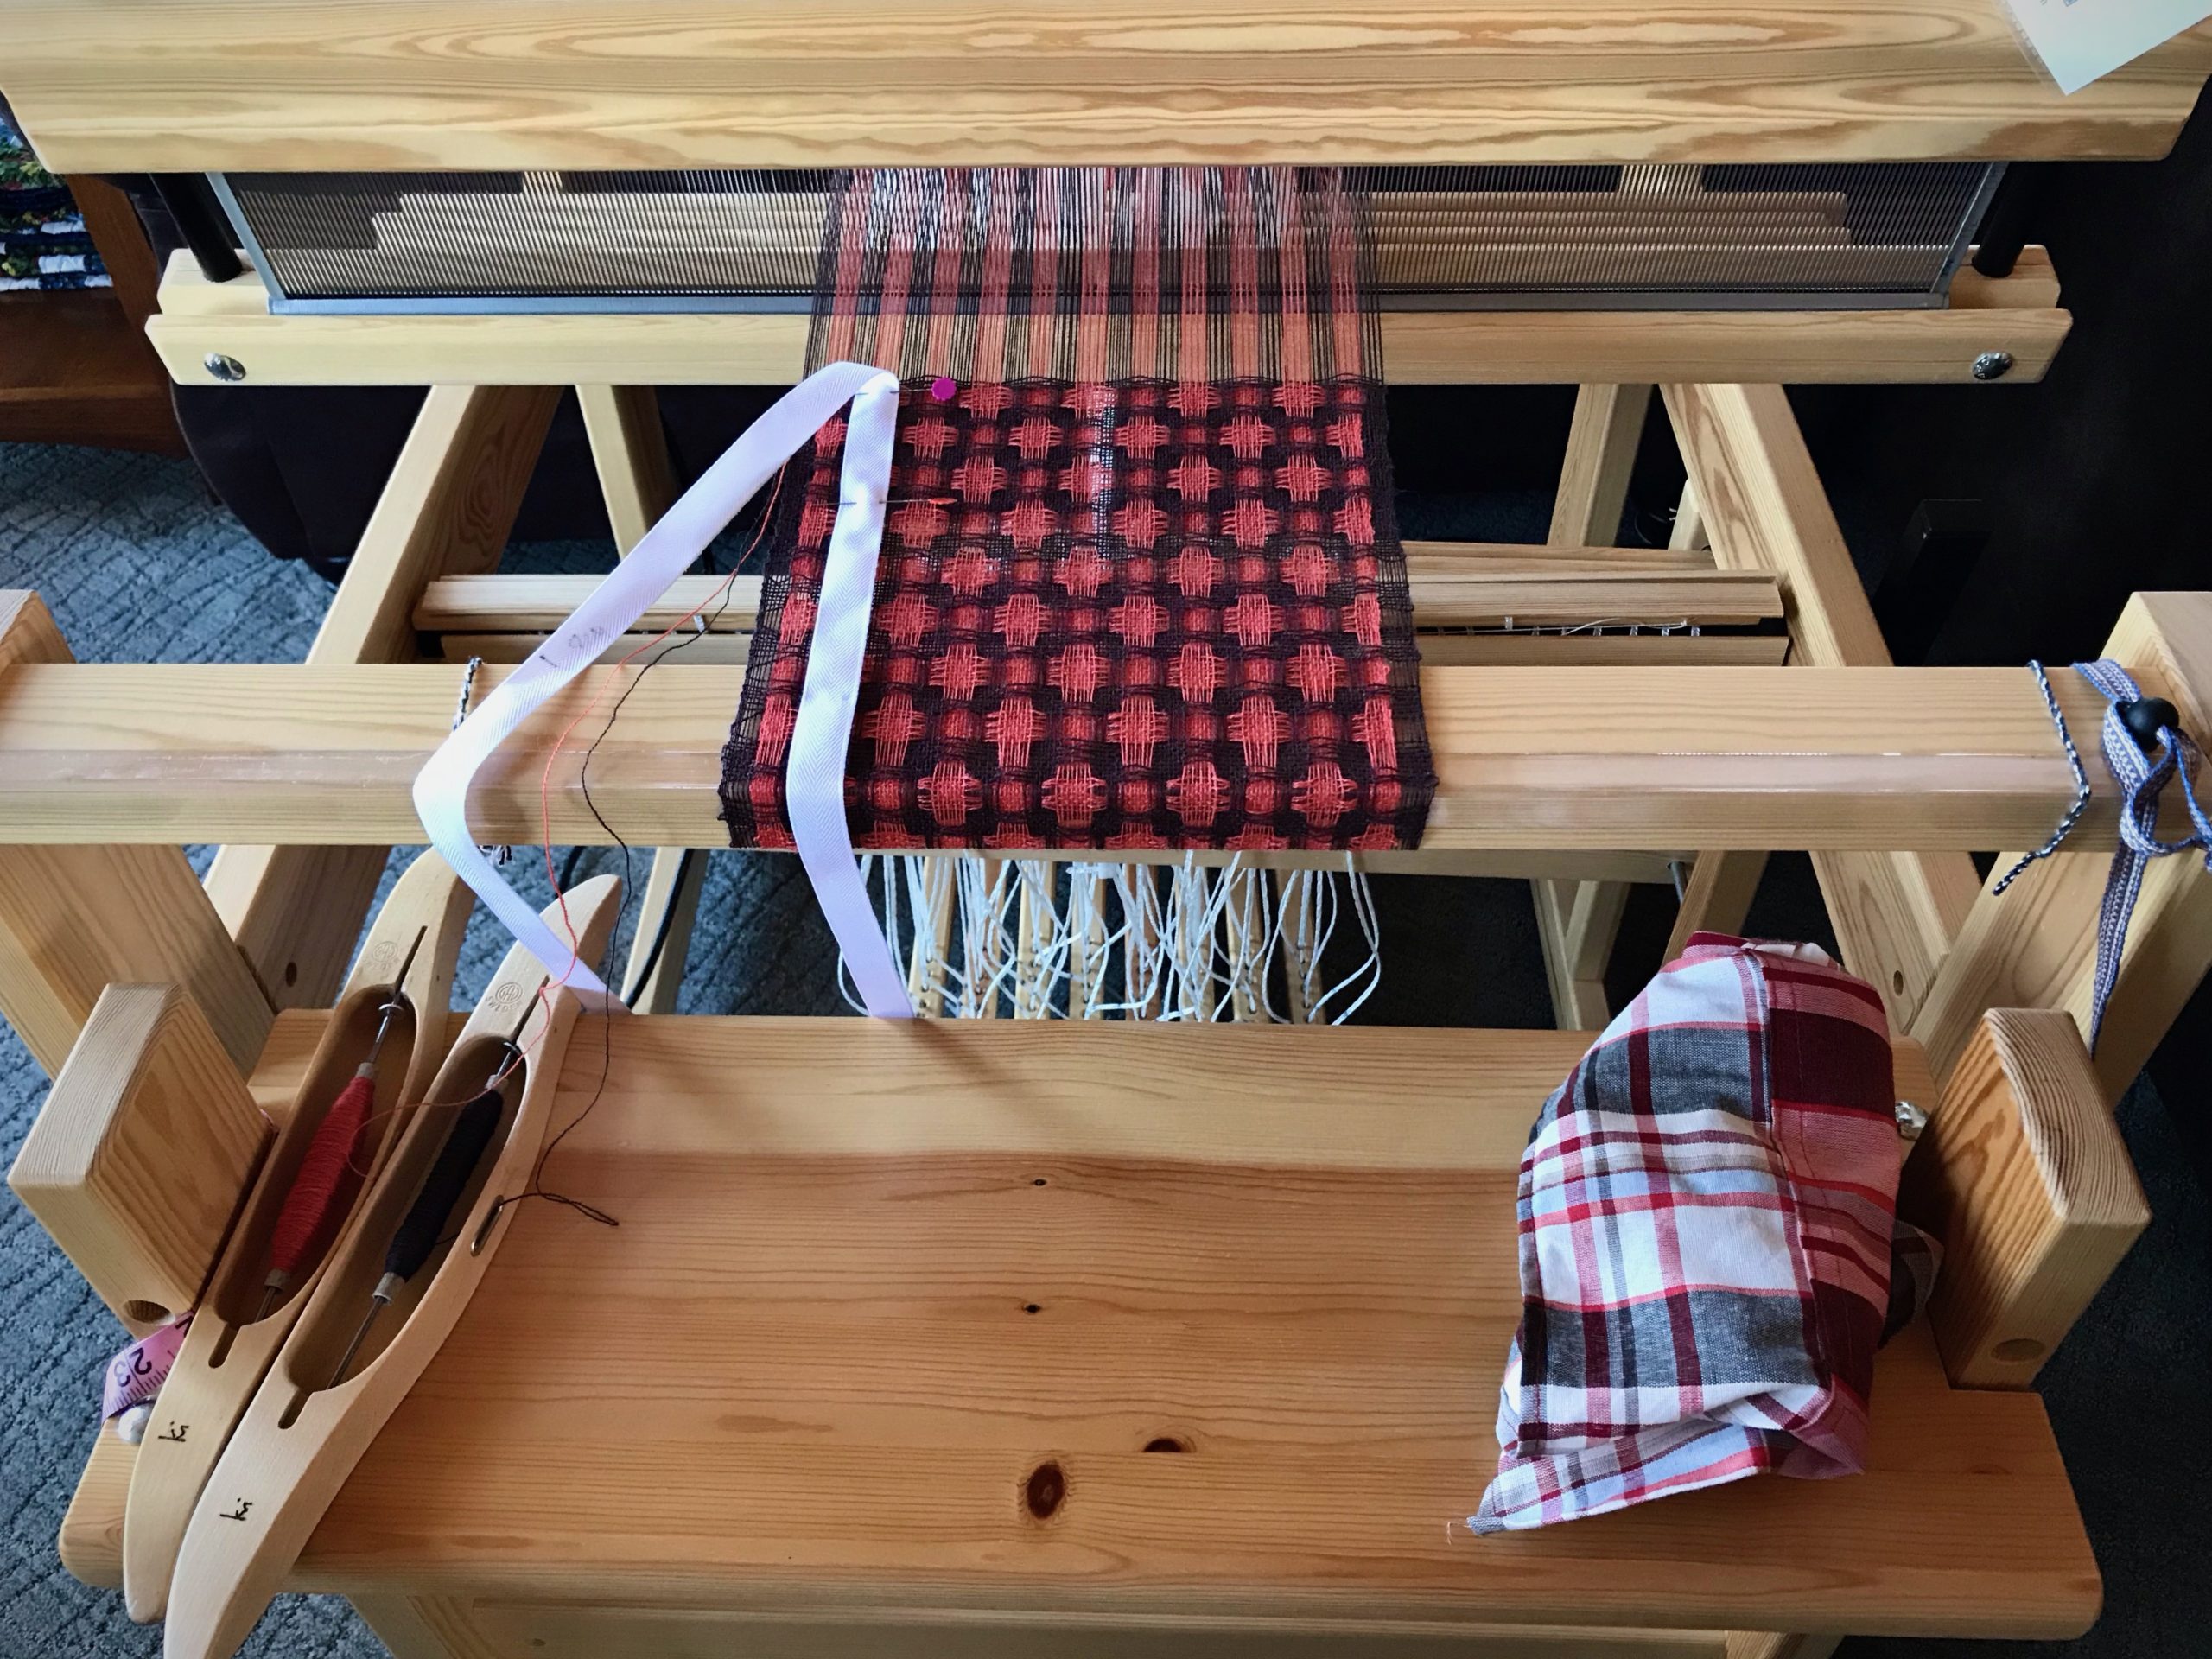
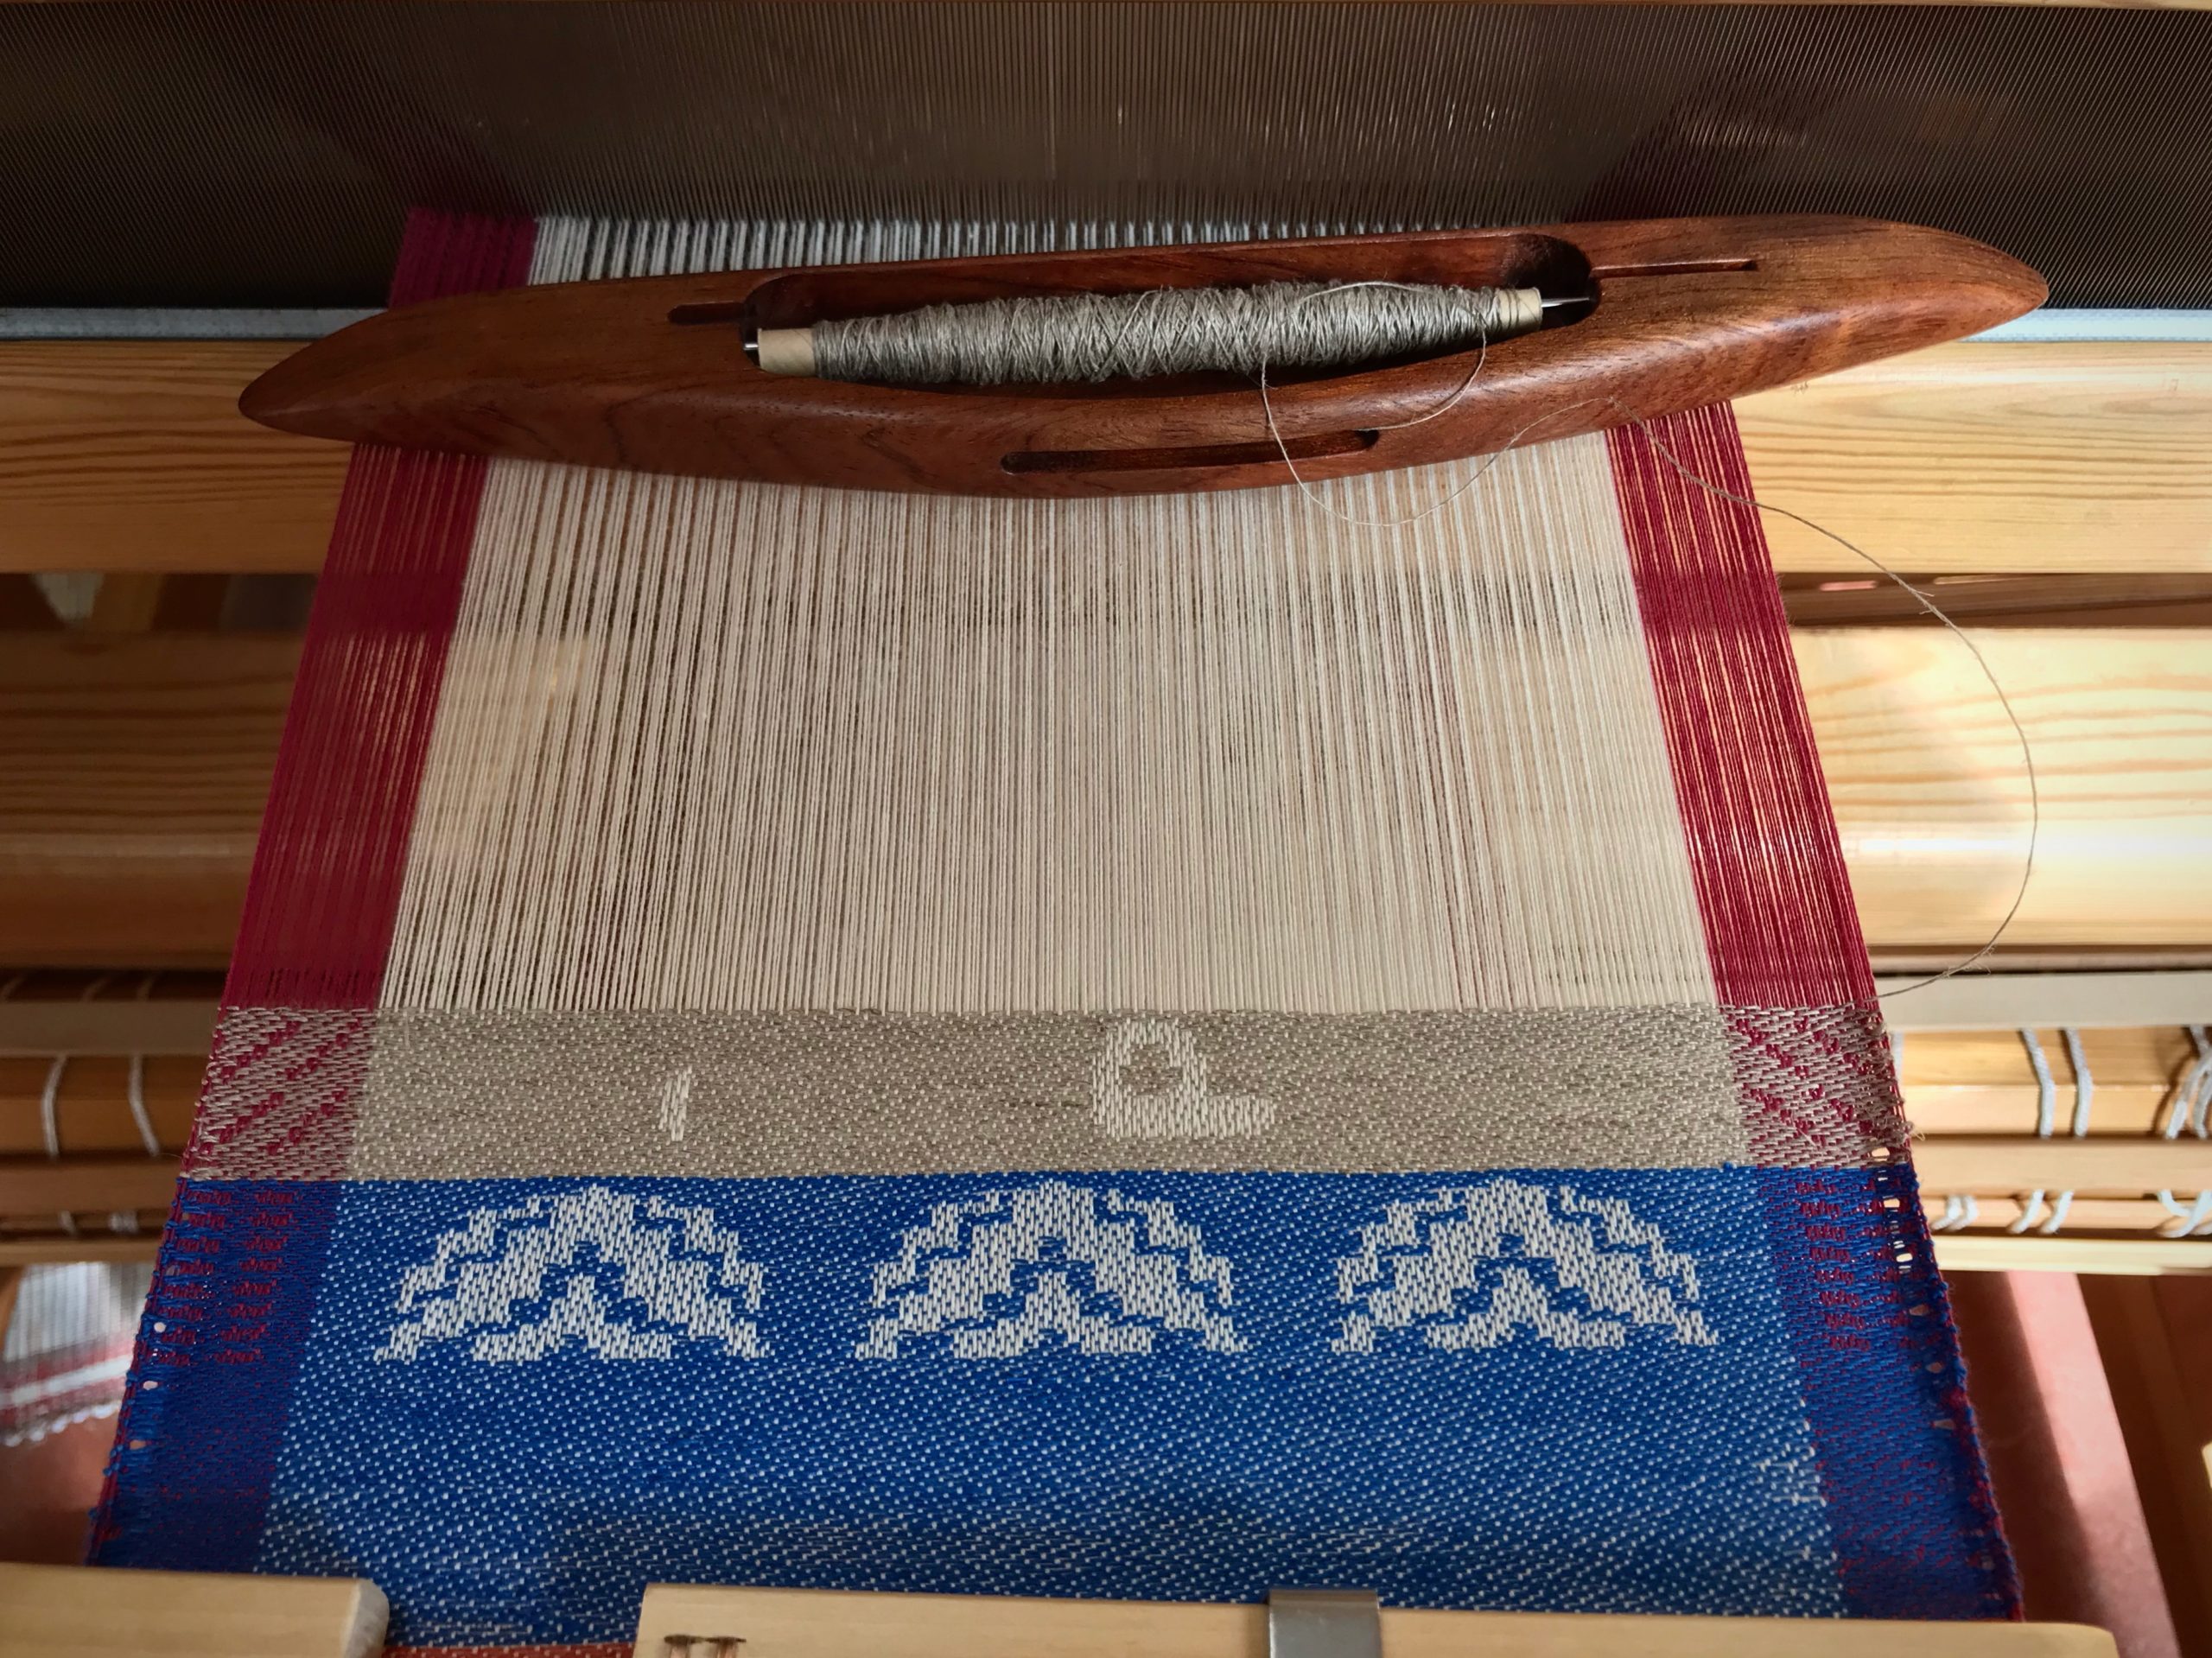
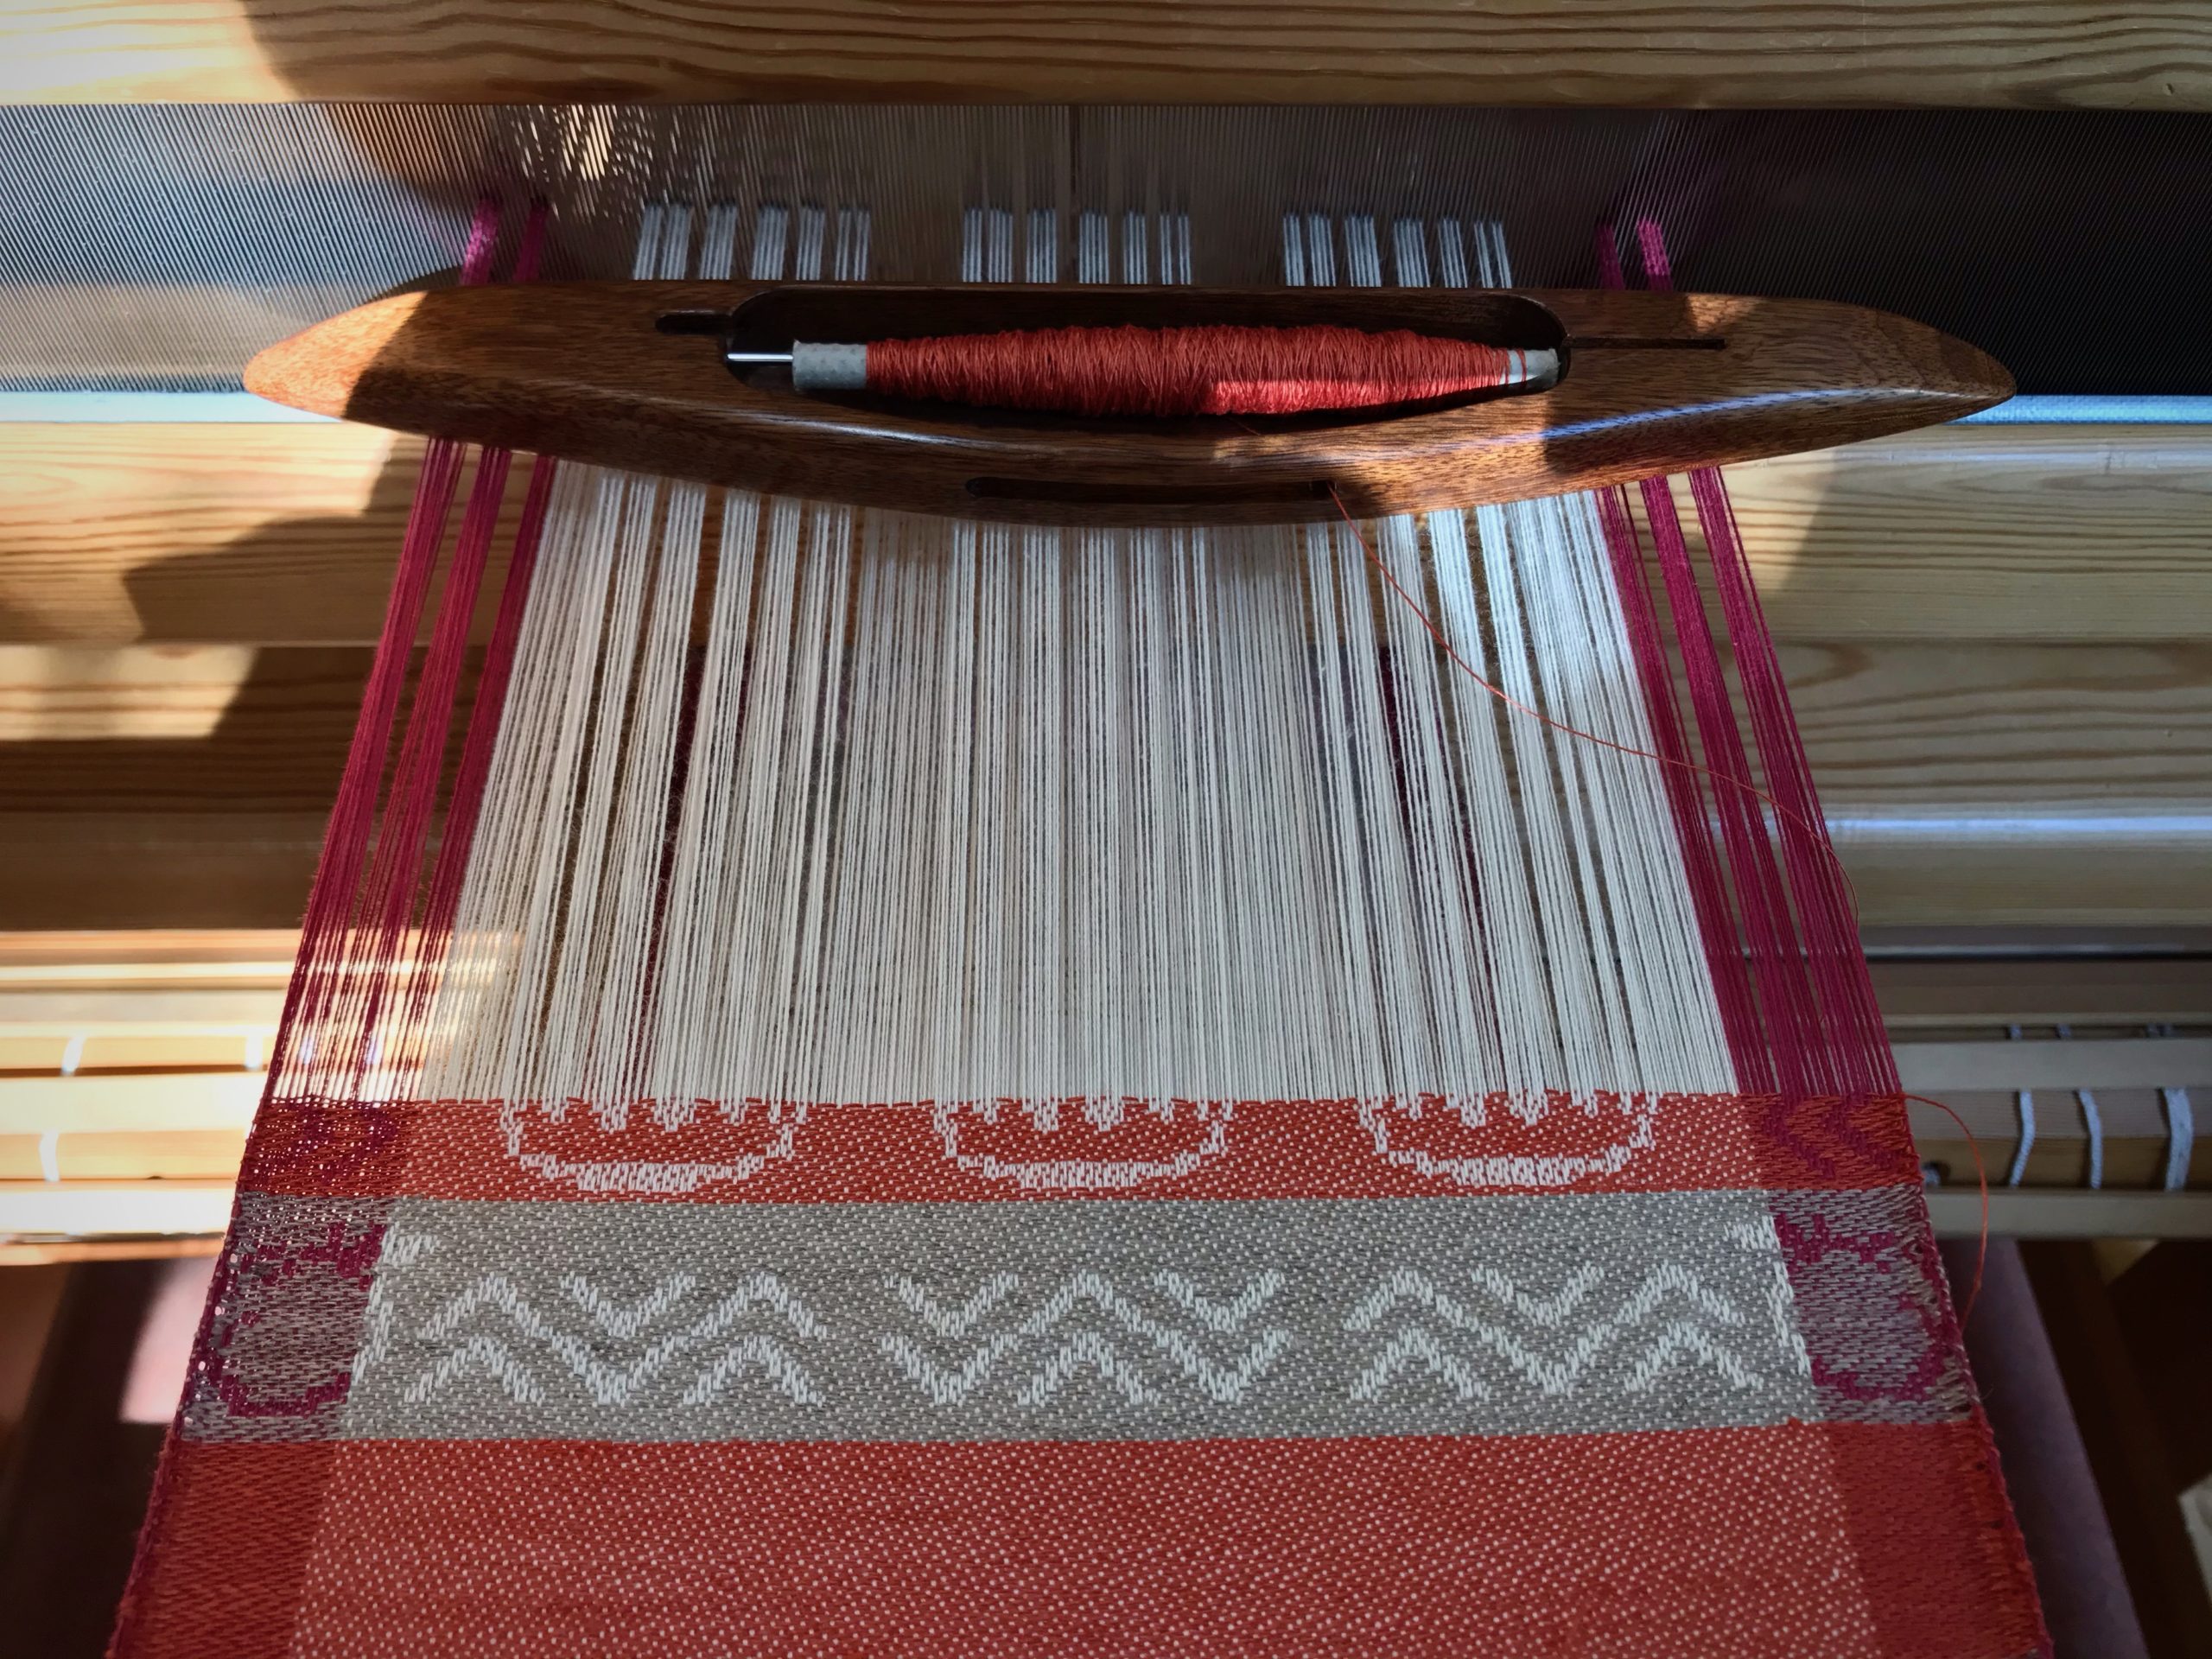
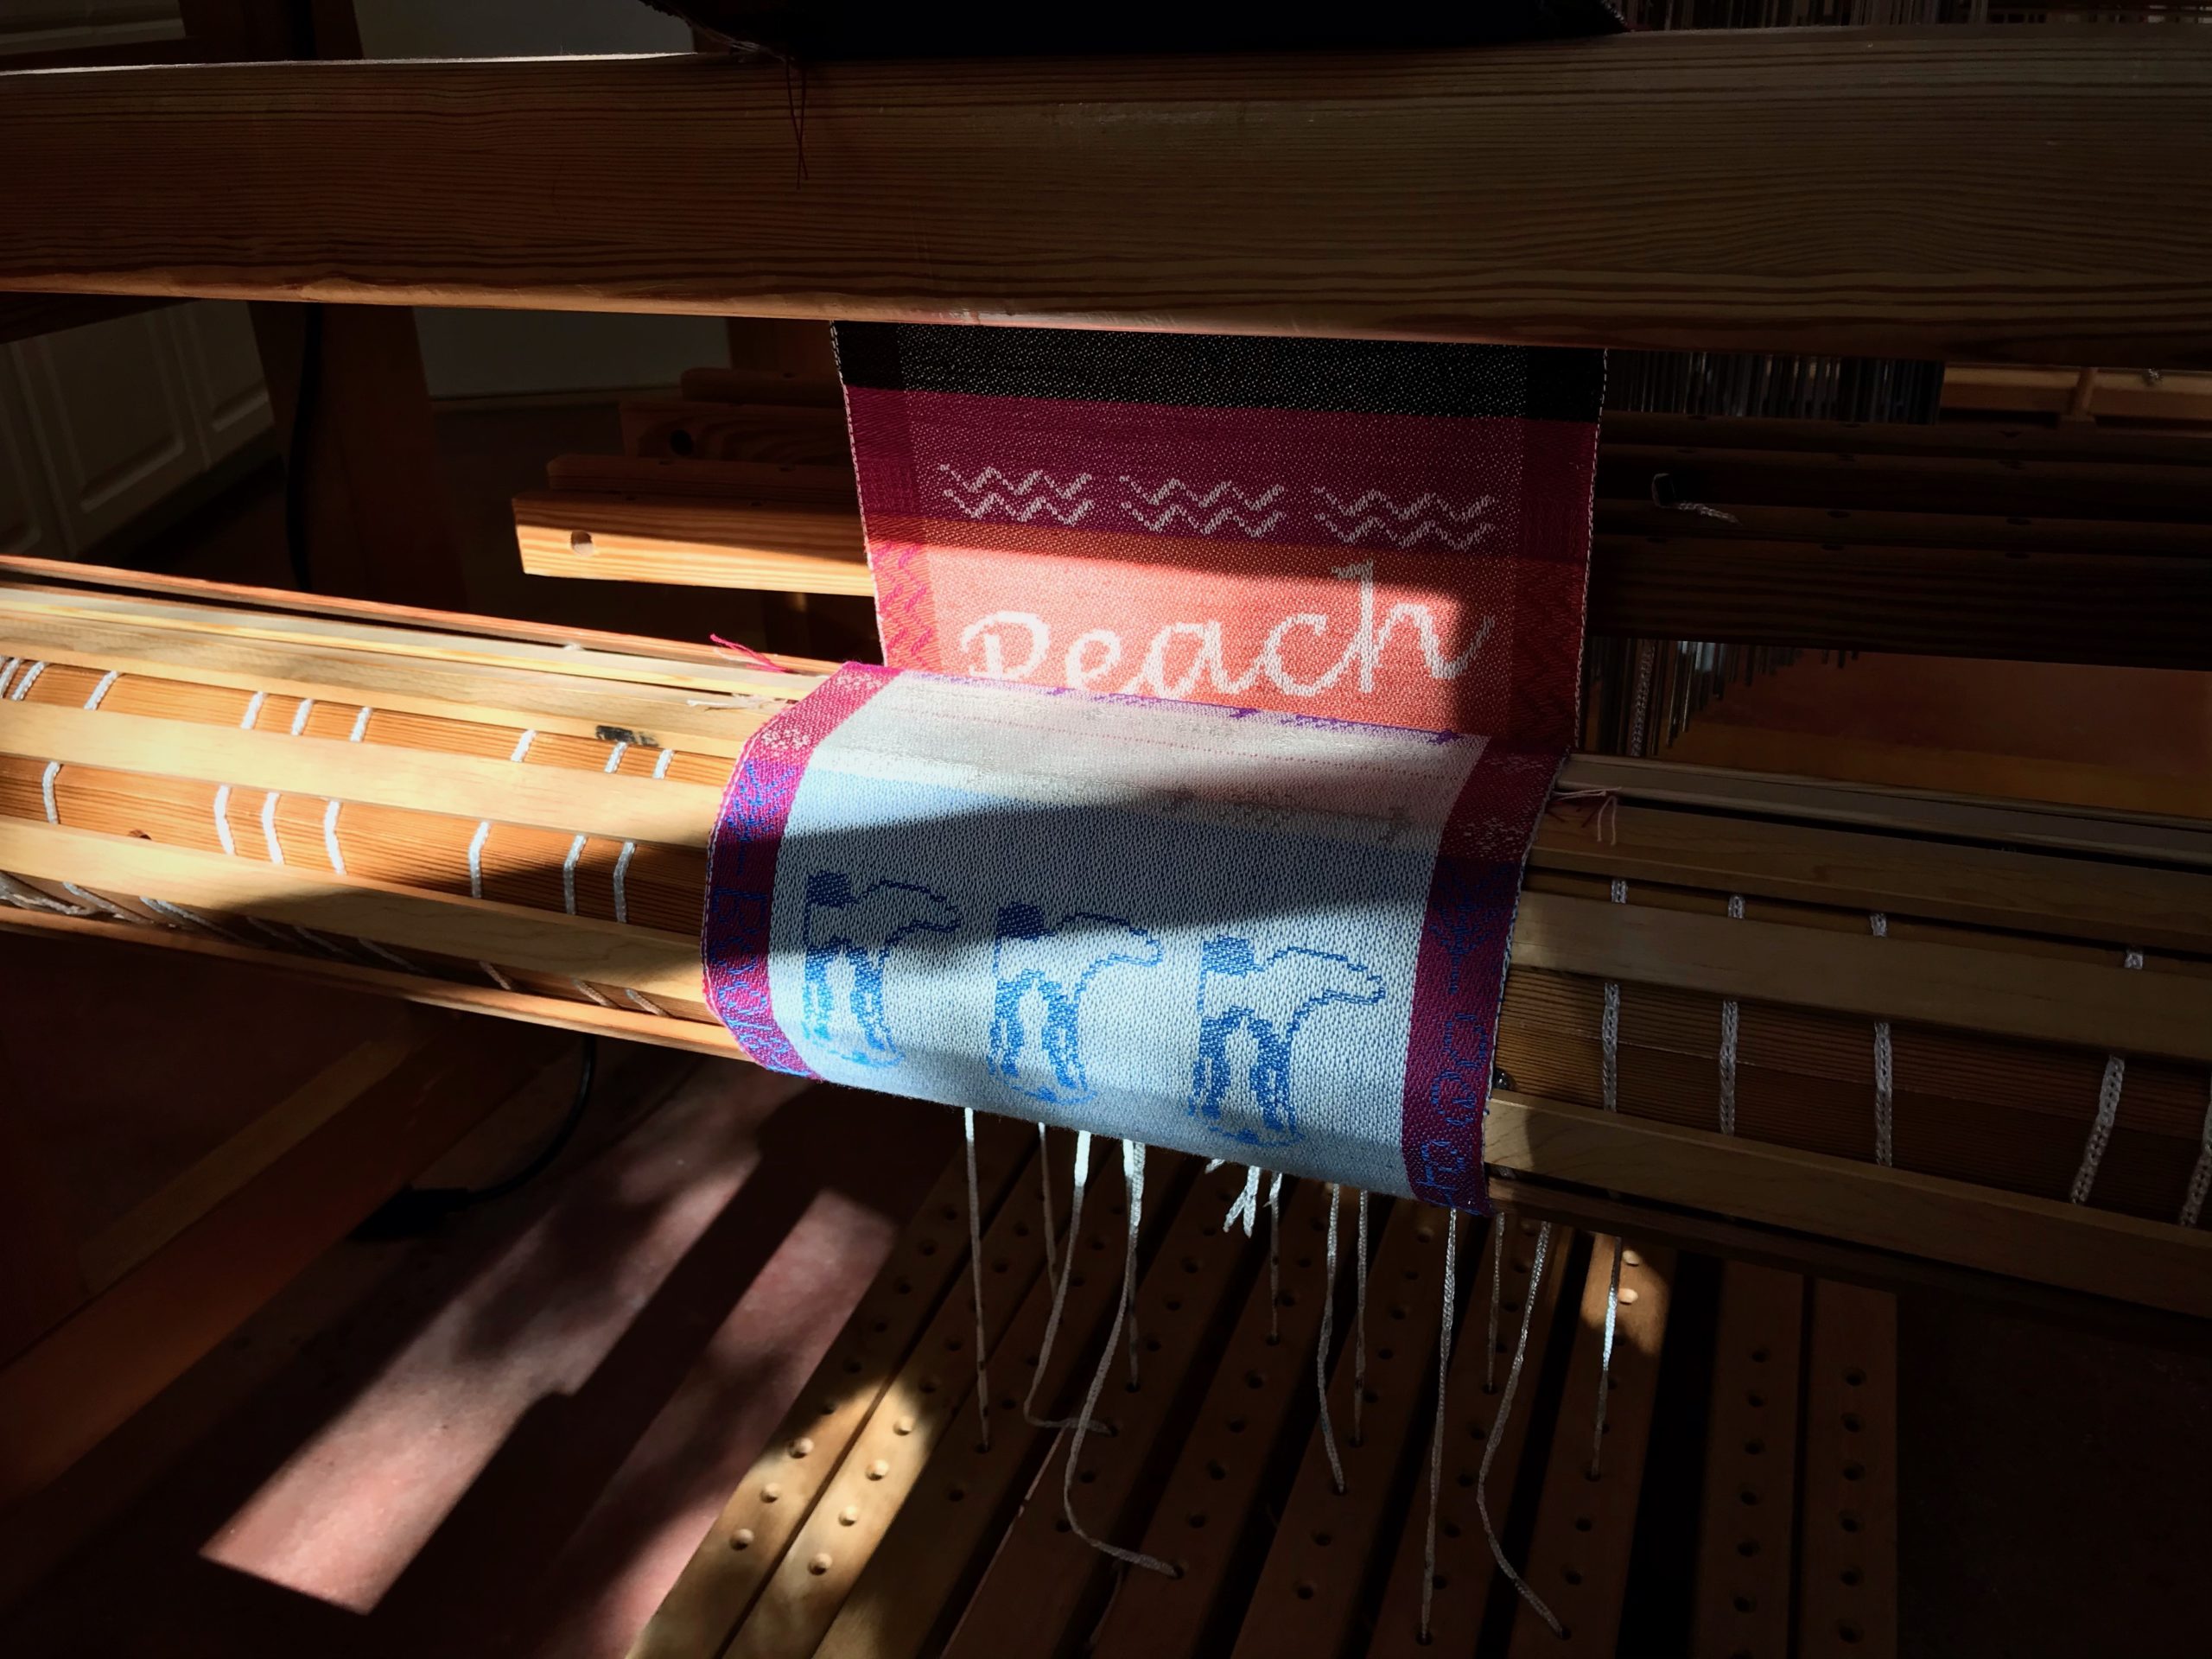
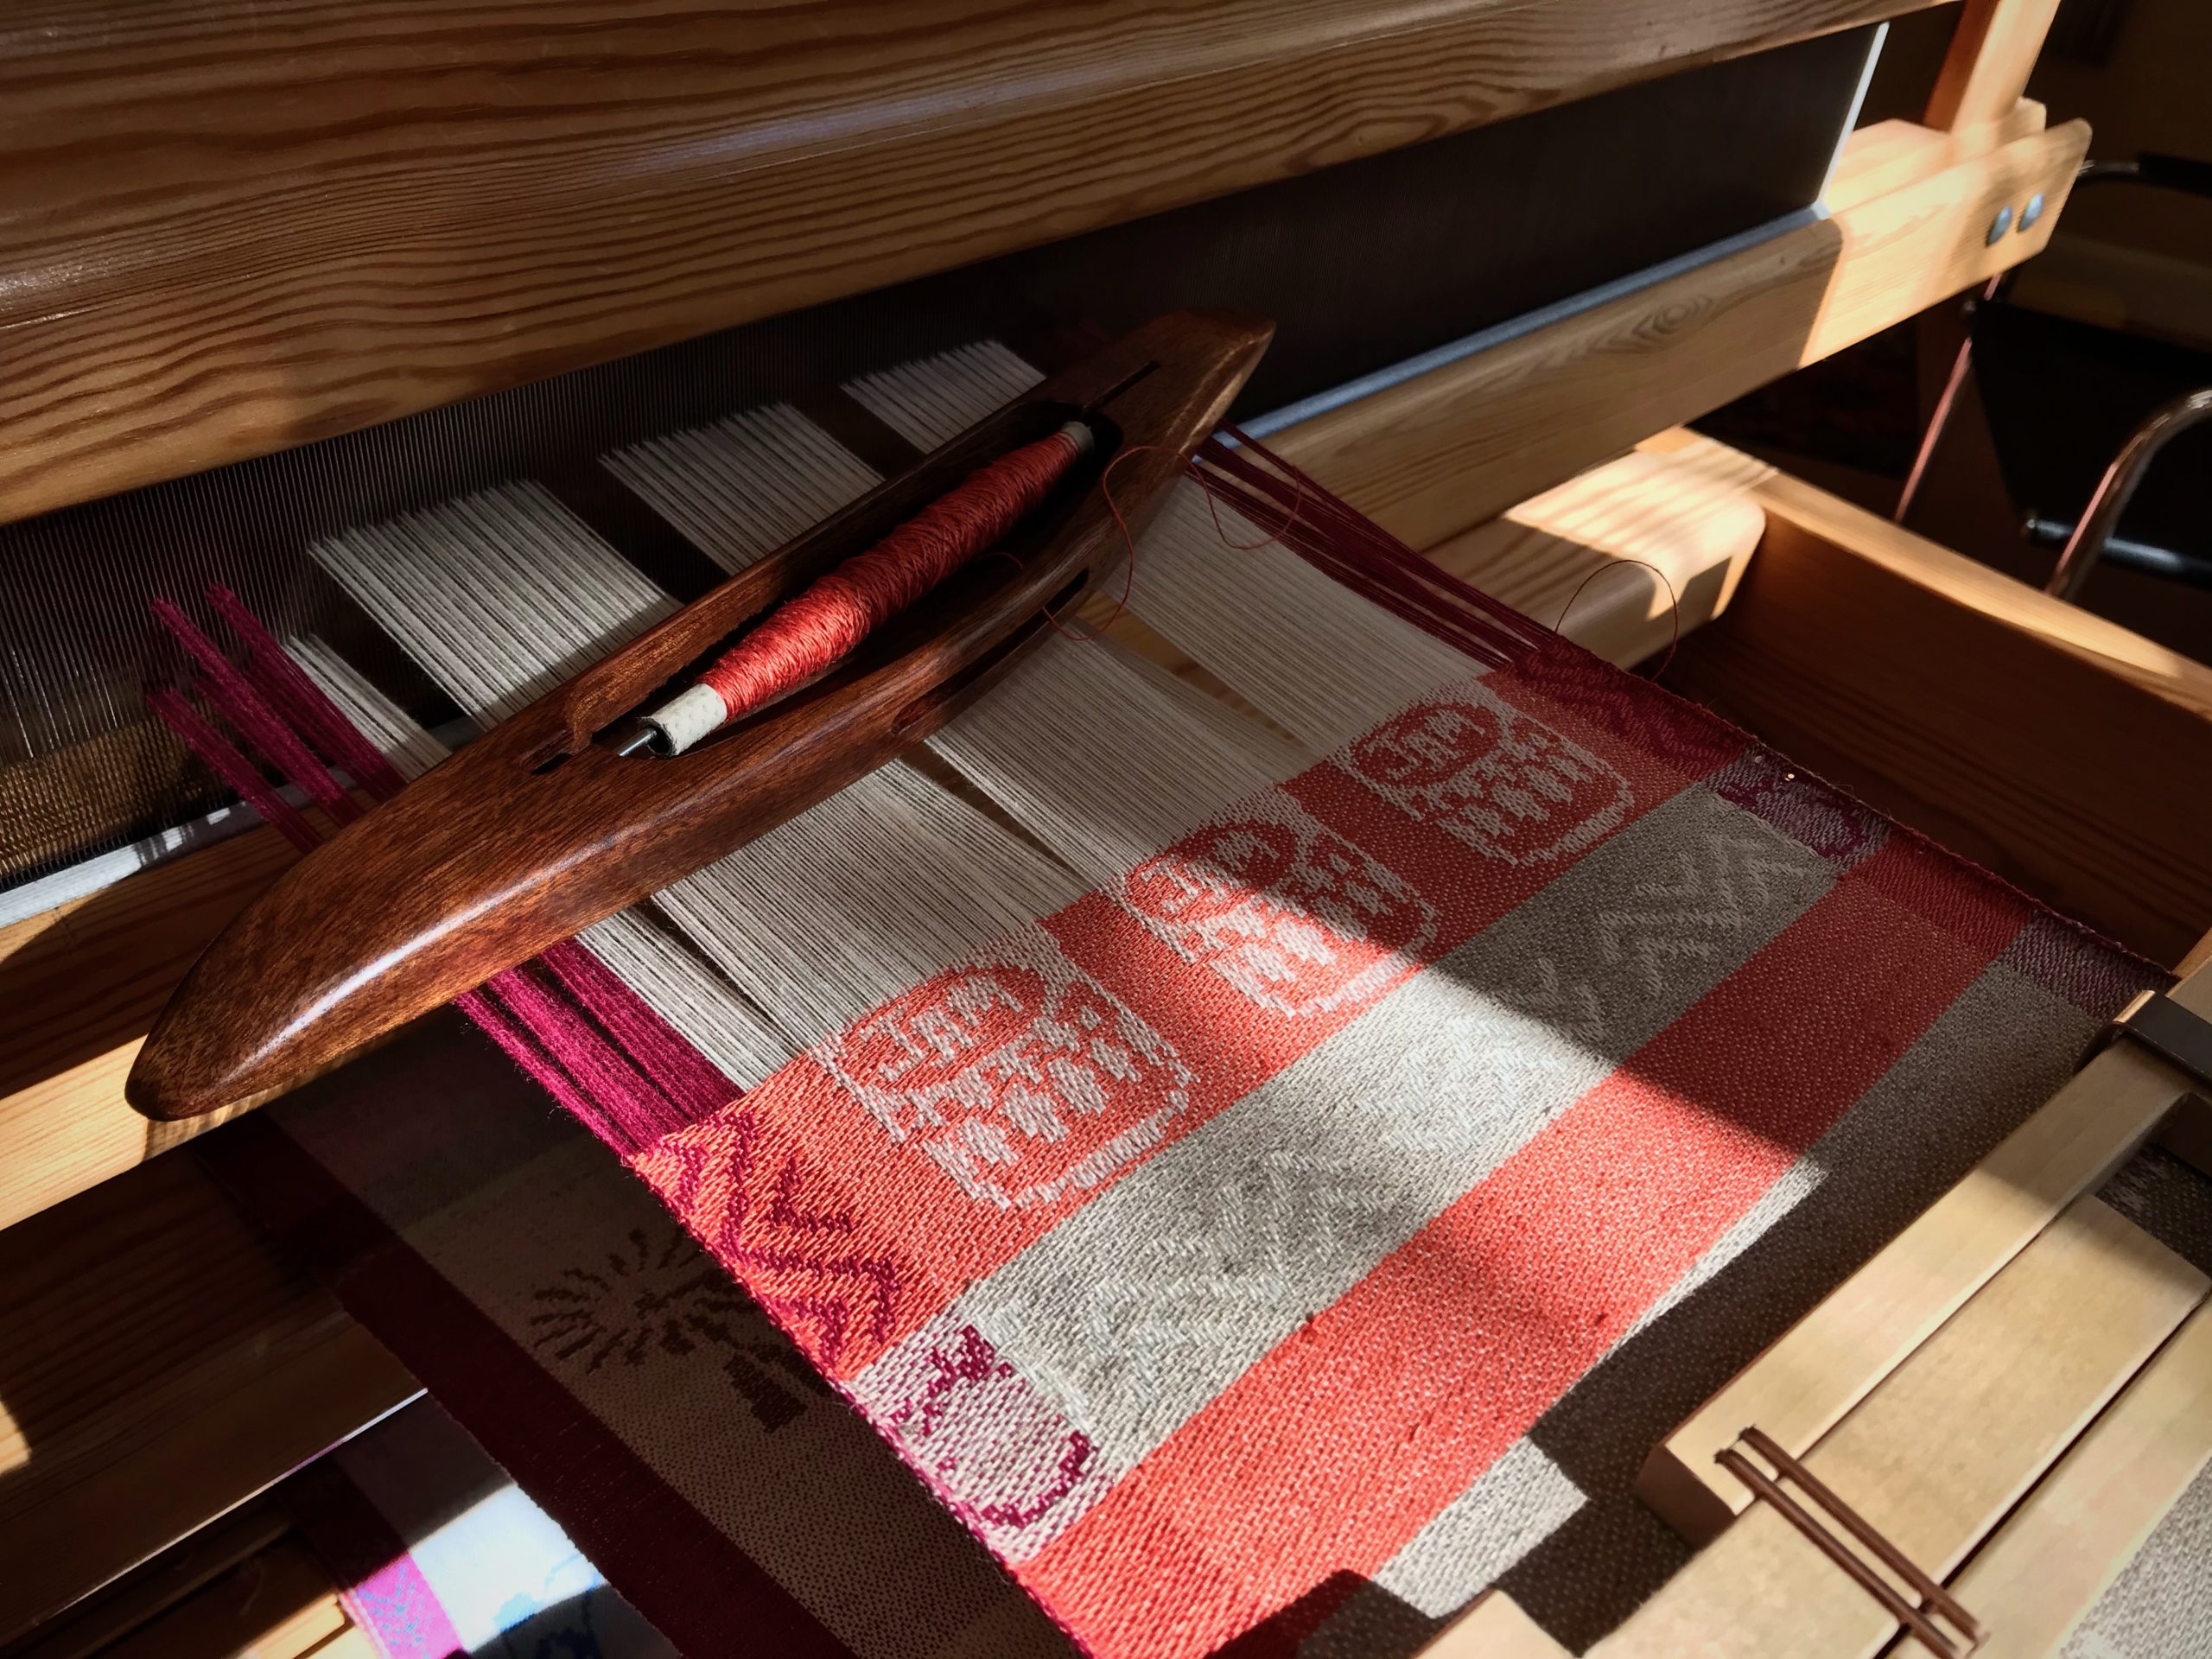
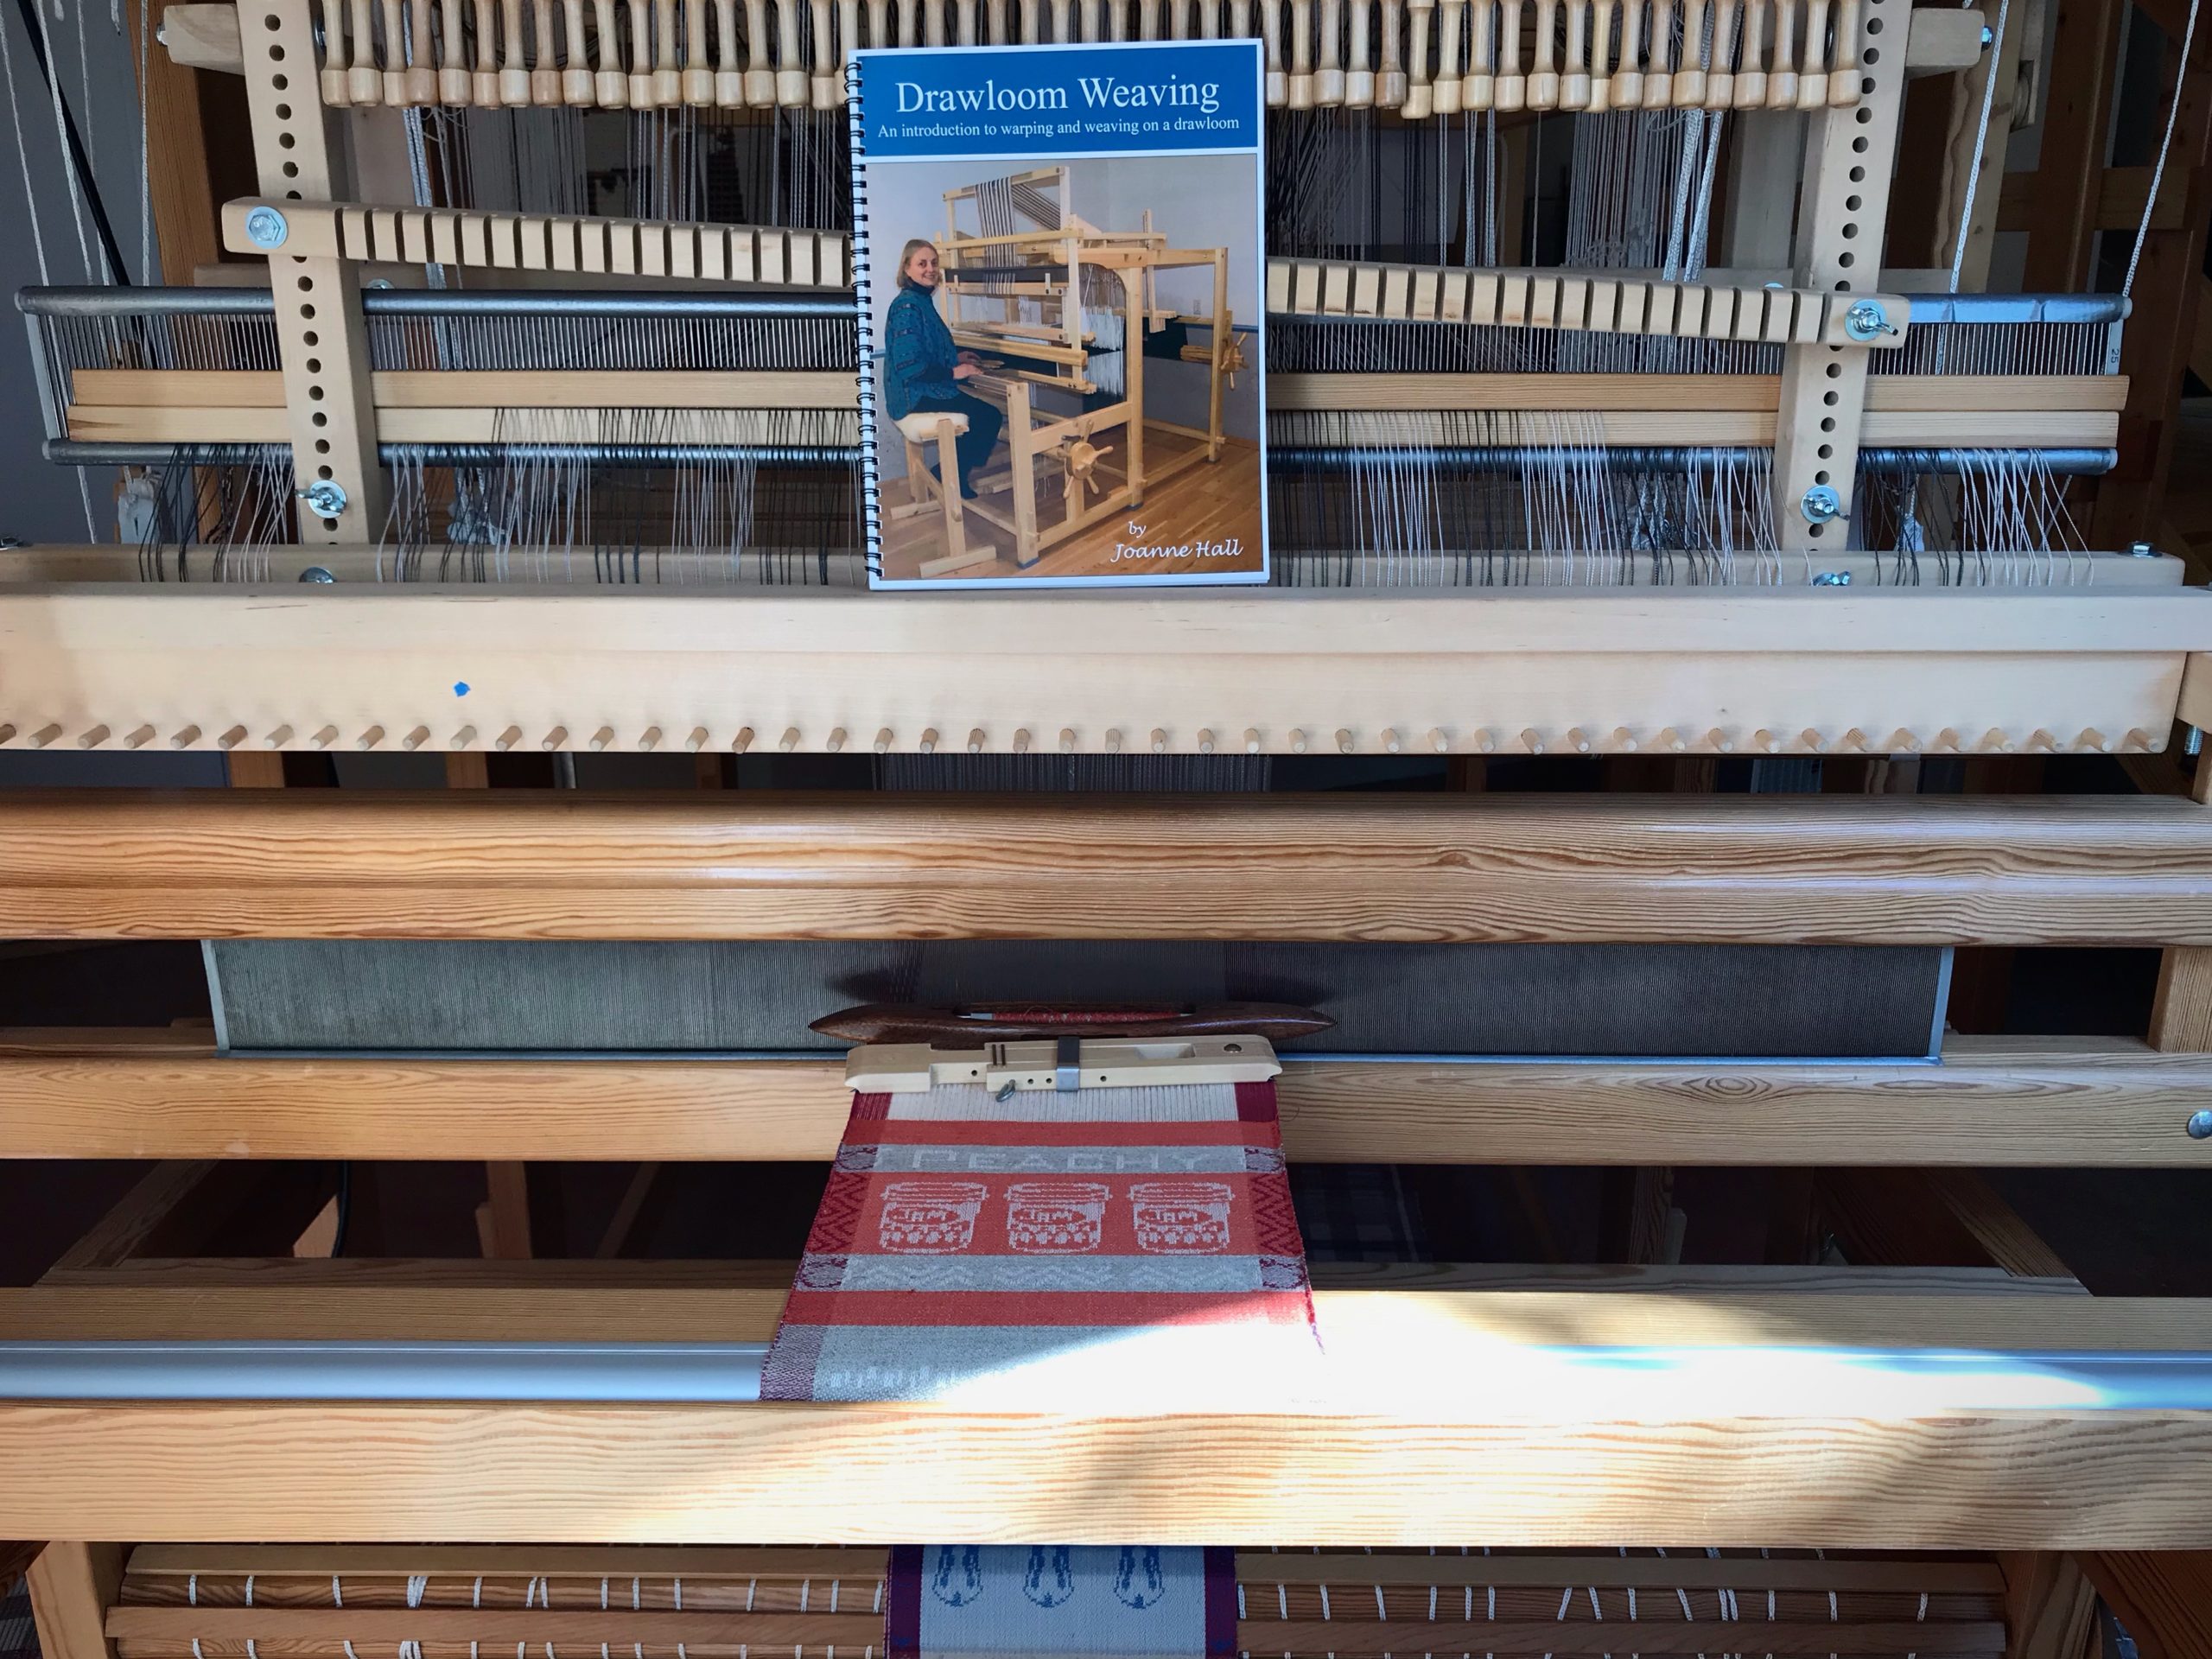
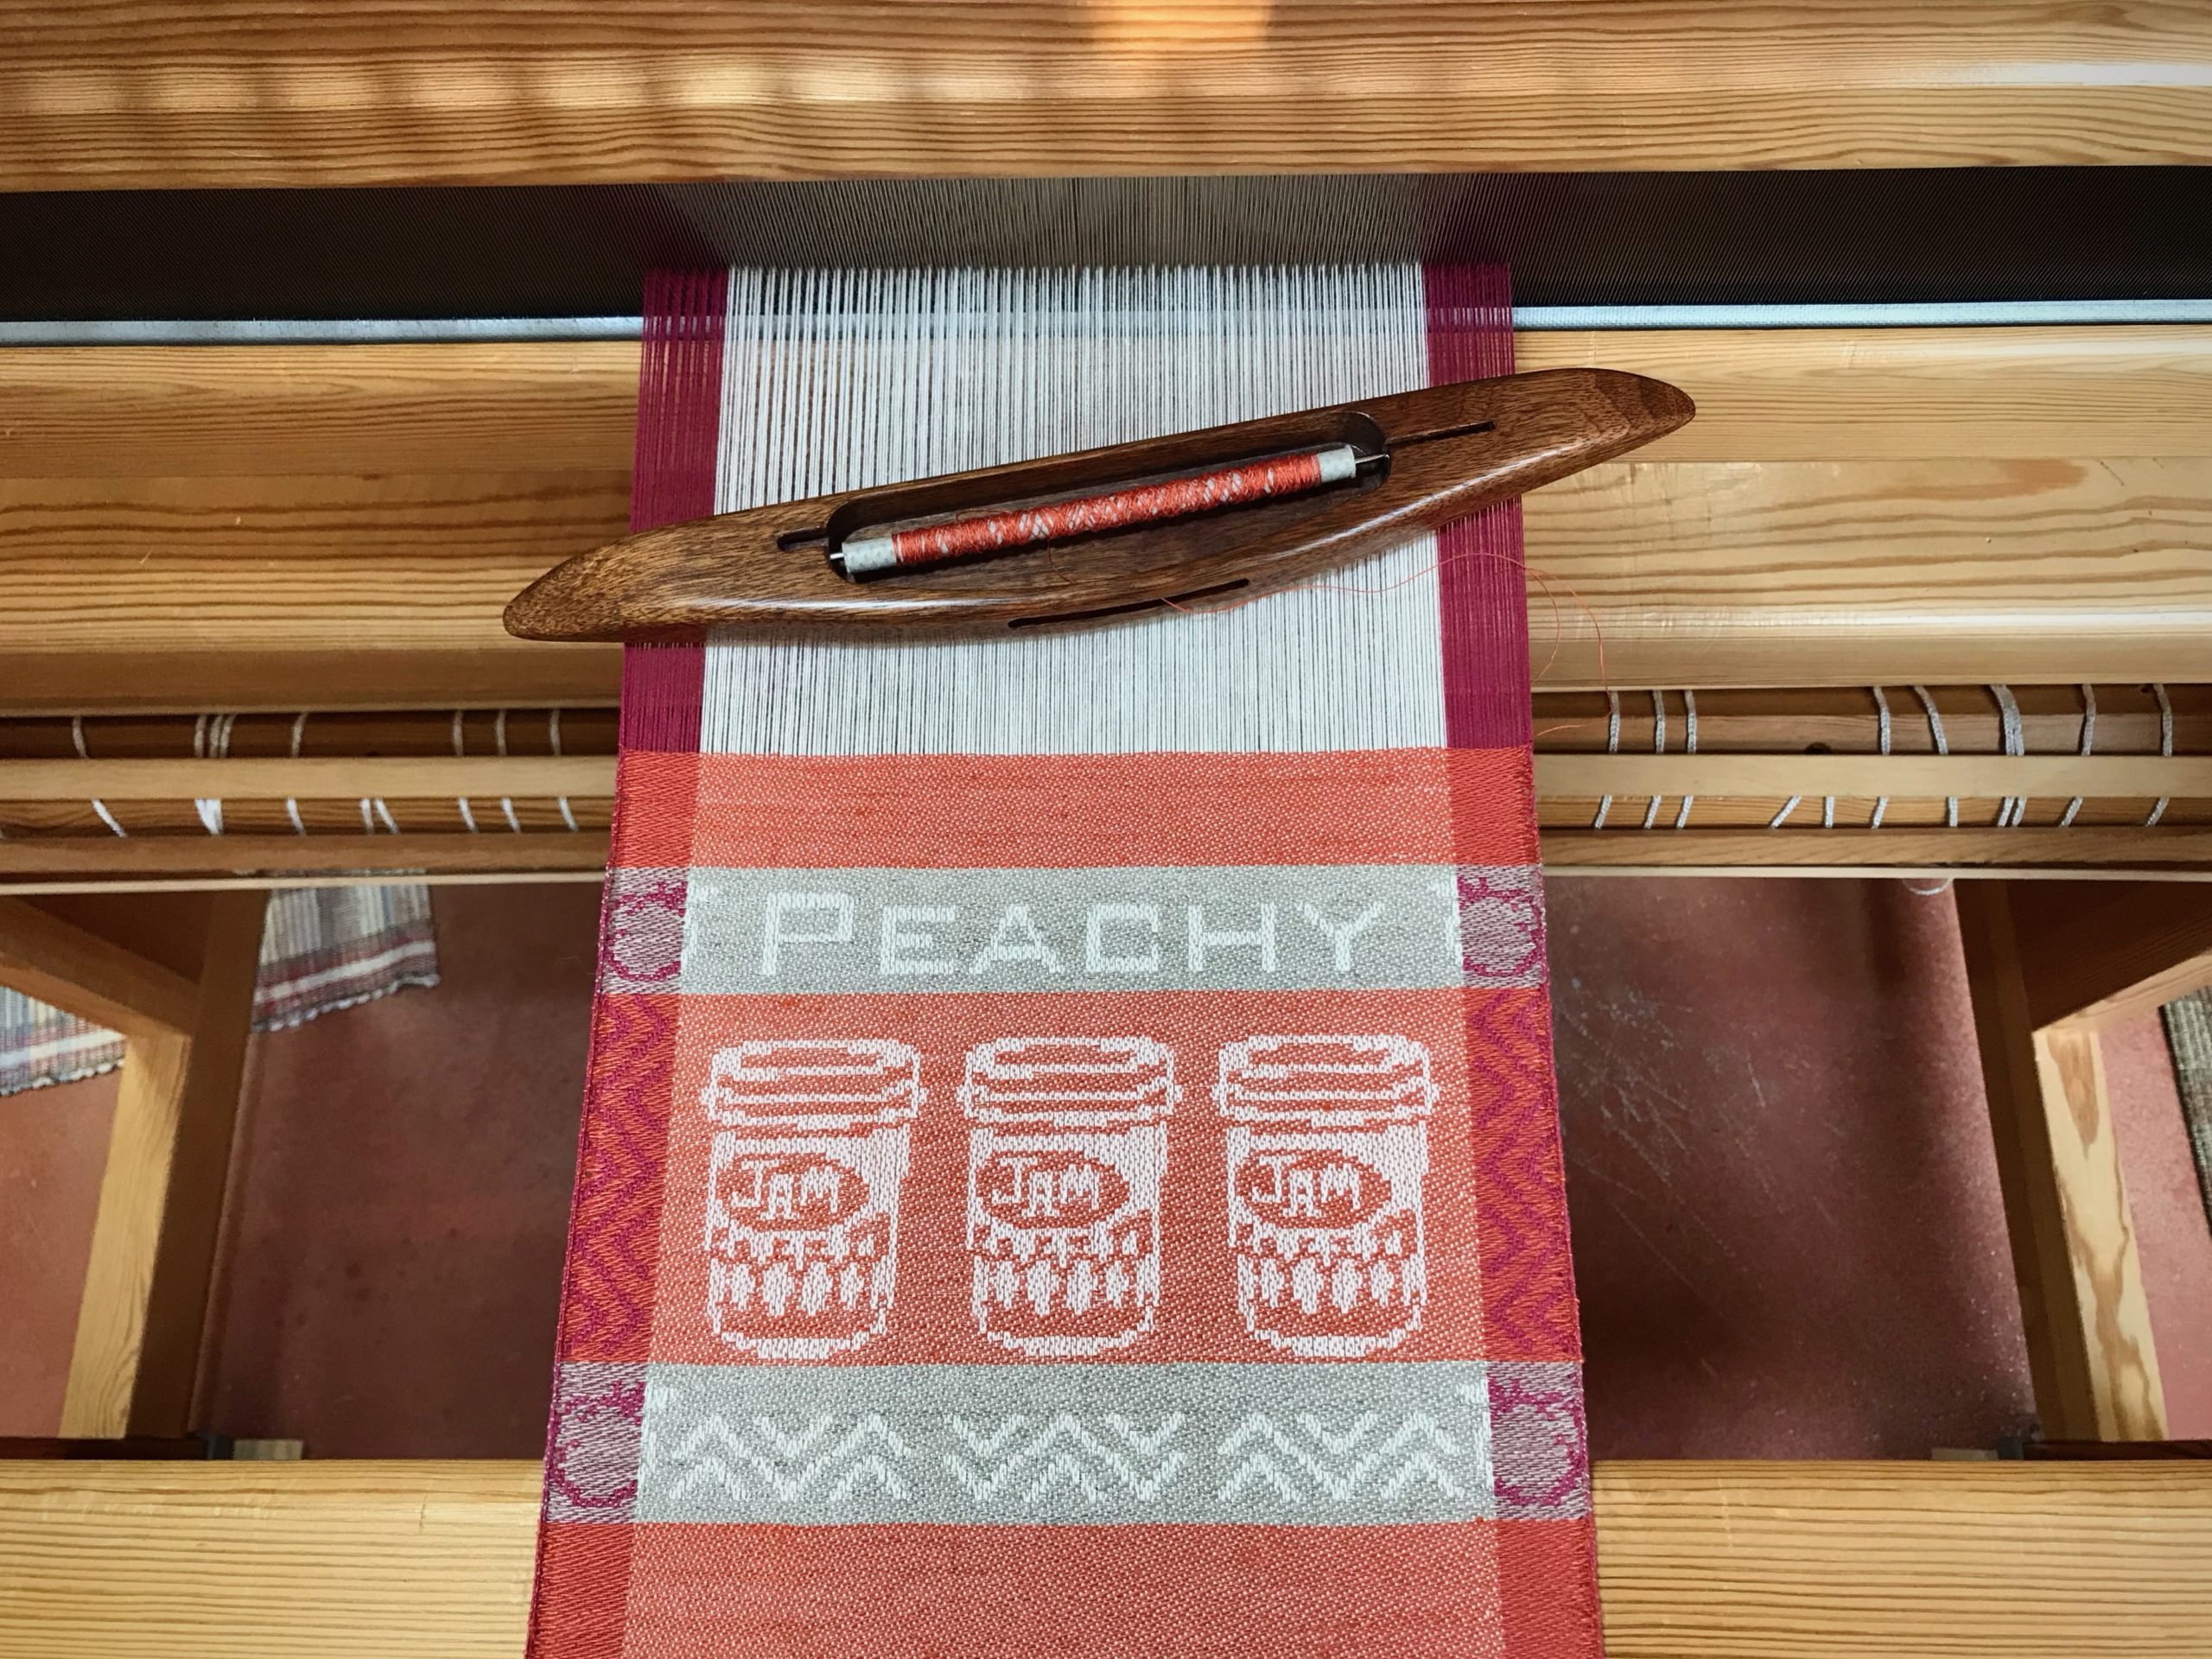
Many firsts are represented in these handwoven scraps. My first floor loom project, first handwoven curtains, first 8-shaft weave, first linen warp, first drawloom piece, etc. There are some special family memories here, too—wedding gifts, baby wrap, housewarming… Humble beginnings and handwoven treasures generated by love.

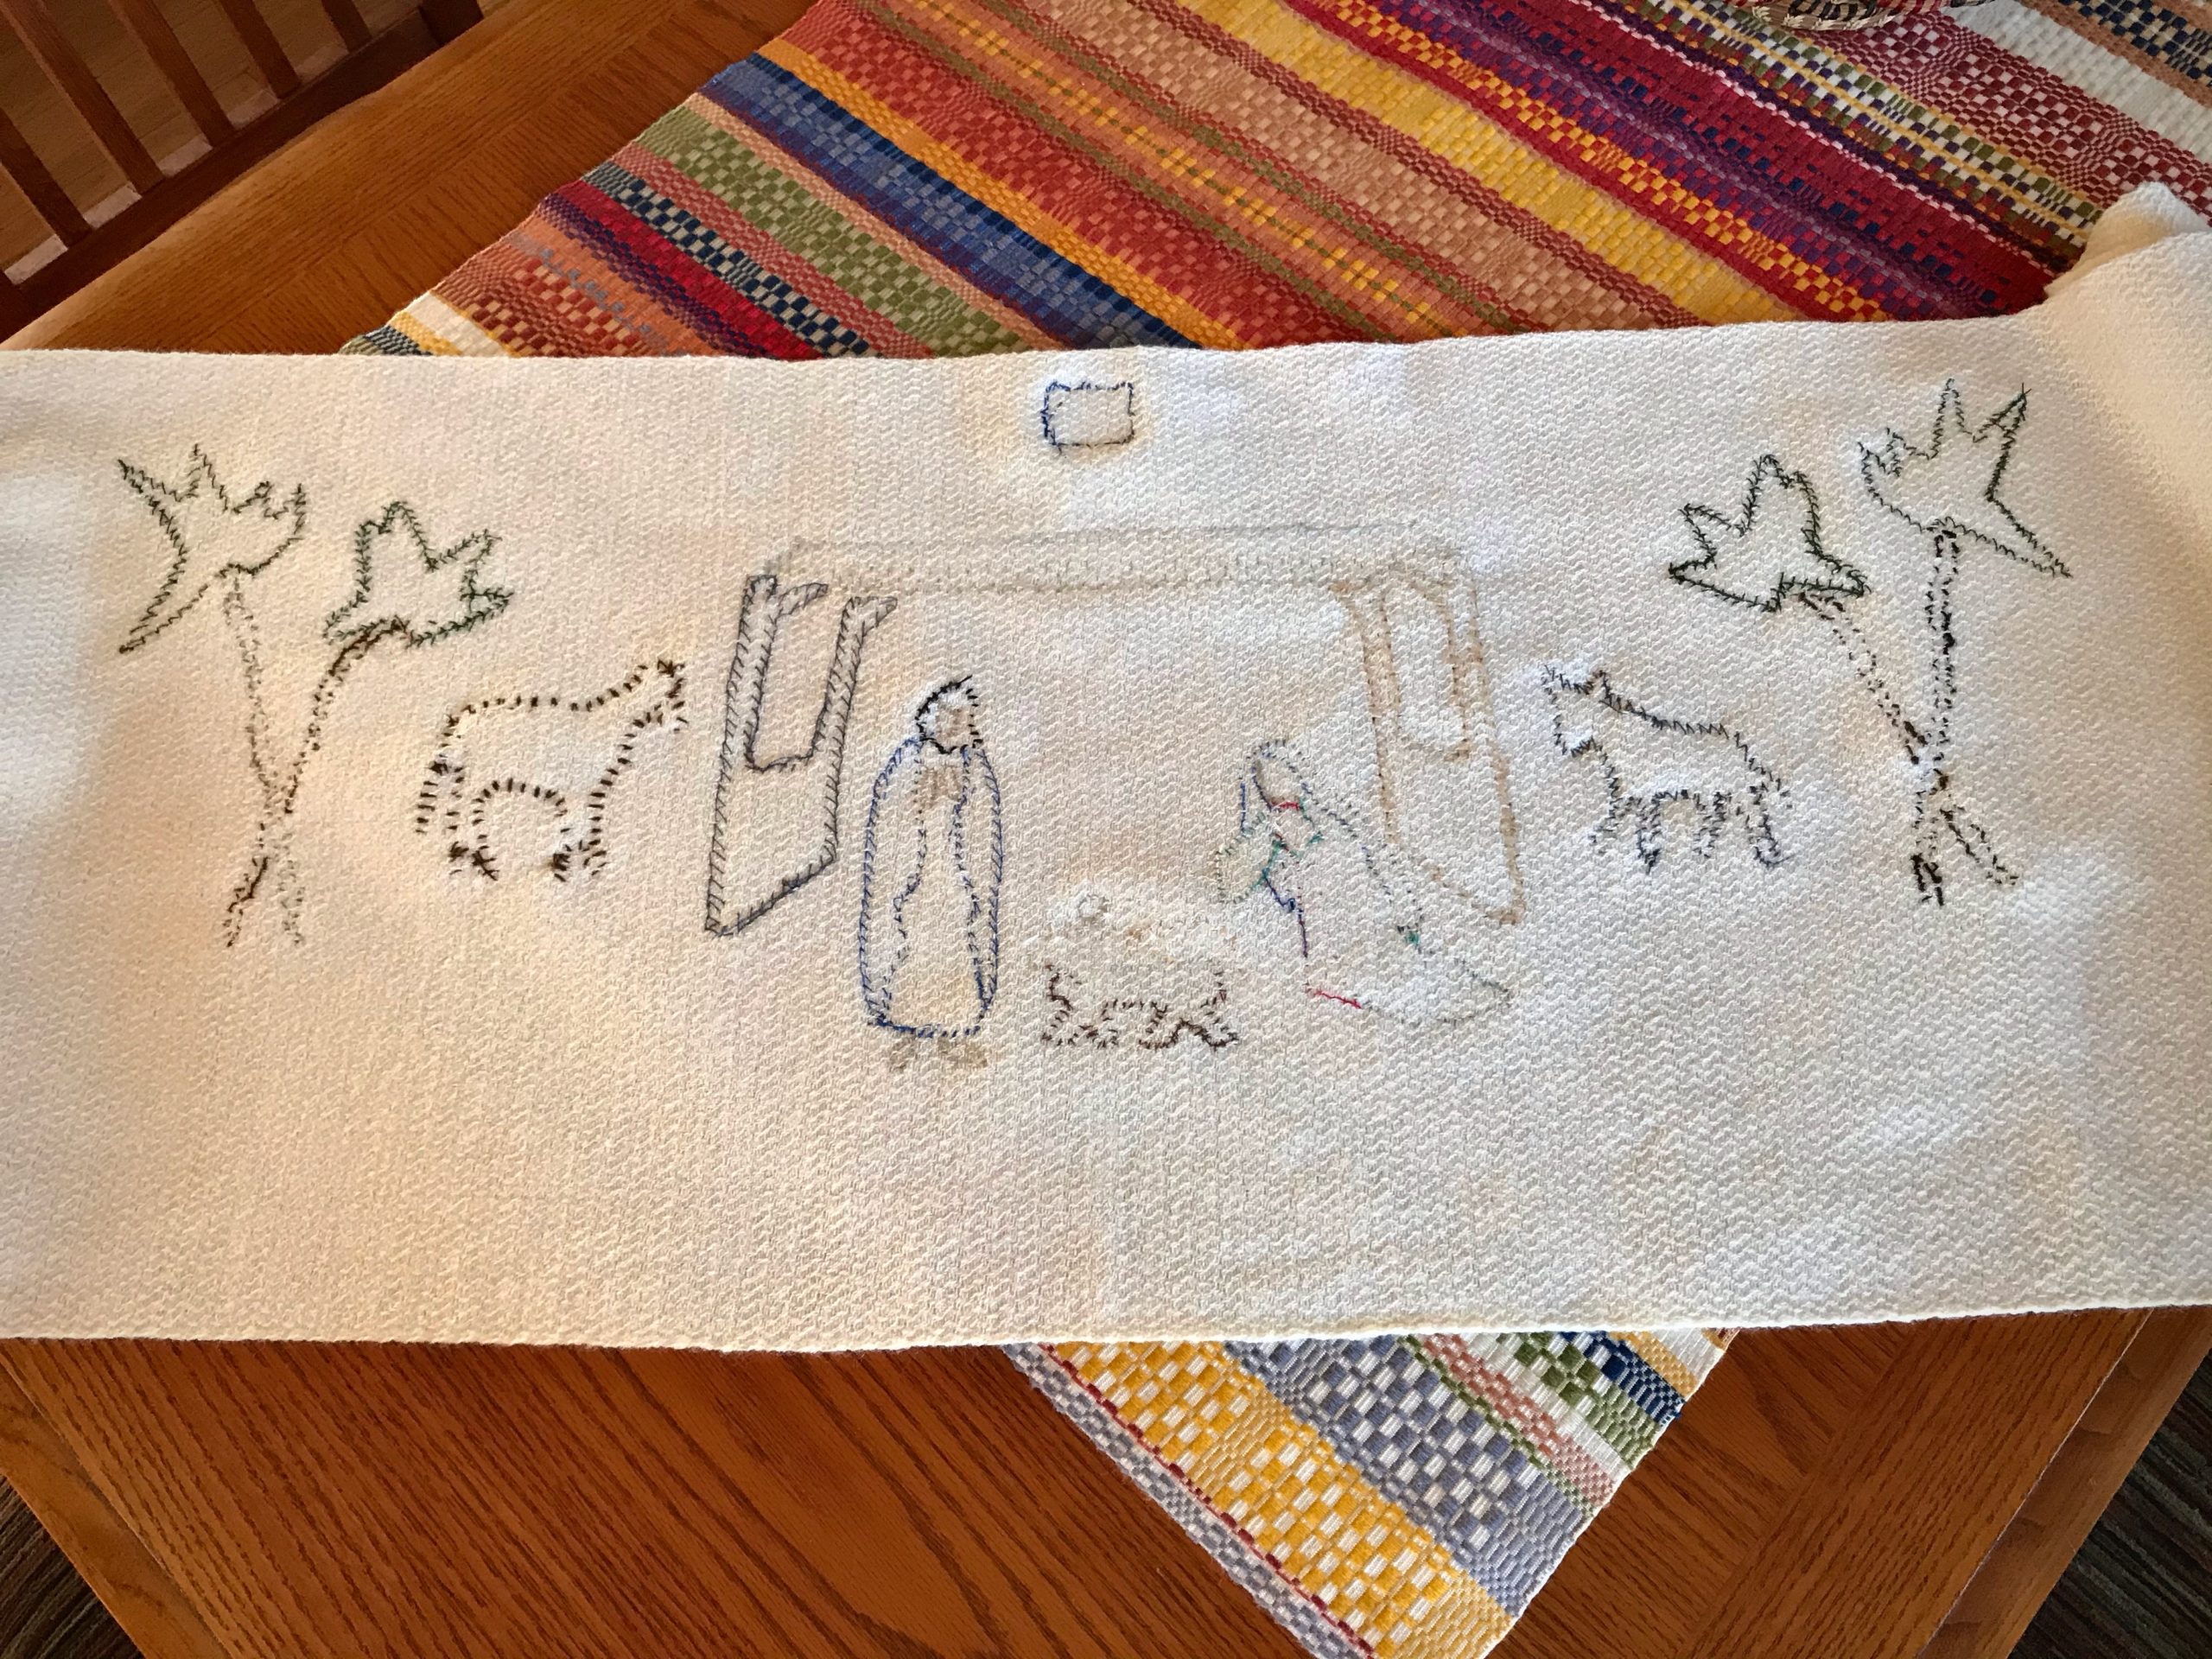
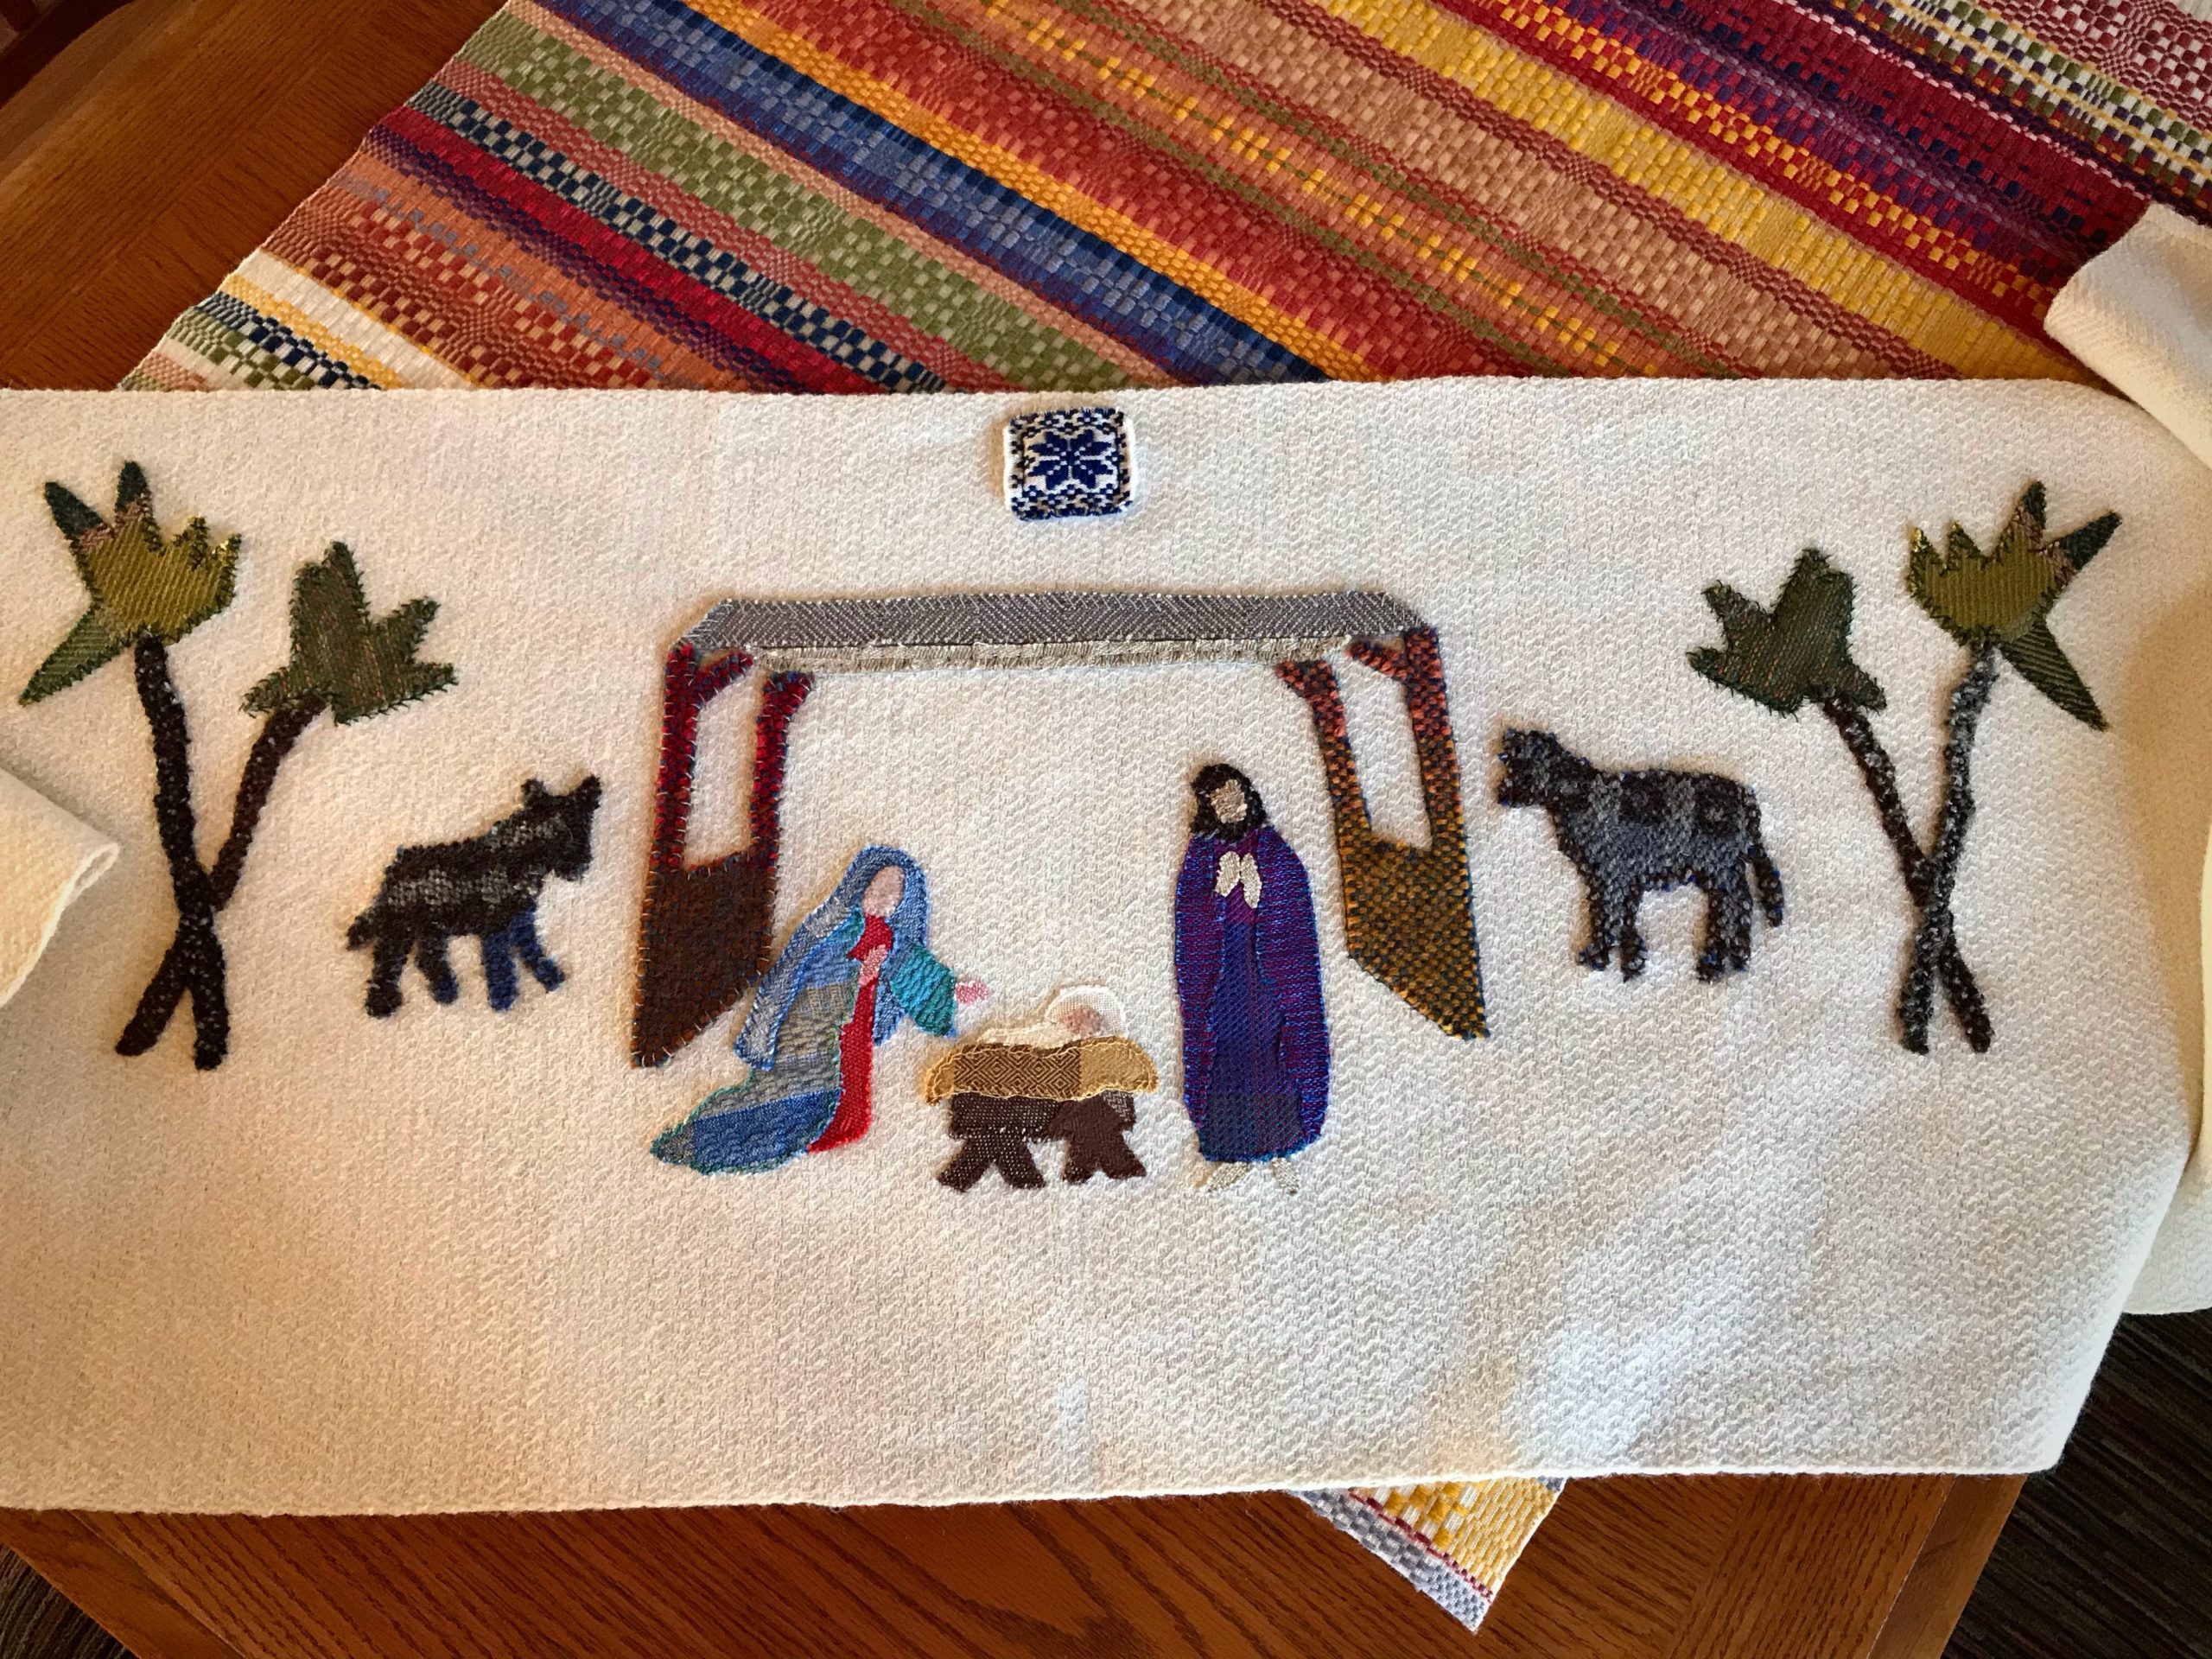
Birth is a picture of the fullness of God’s grace. The birth of our ninth grandchild is as glorious as the birth of the first. Each new child brings yet-unwrapped gifts. The birth of baby Jesus is a picture of the fullness of God’s grace brought within reach of all. His humble beginnings, with manger bed and young parents, animals and stars watching—all so wondrous to ponder. Christ Jesus came into the world, to be wrapped in scraps of cloth! We are still unwrapping the gifts he brought to us from heaven—forgiveness, peace, and enduring joy. God with us, Immanuel.
May your home be filled with heavenly treasures.
Christmas blessings,
Karen