Tried and True: Color Gradation

When I decided to use up some of the quills that have collected, I stumbled on one of my favorite techniques—color gradation. The weft colors change gradually instead of making distinct weft stripes. Remember the placemats on the little countermarch loom? I am weaving the last few.

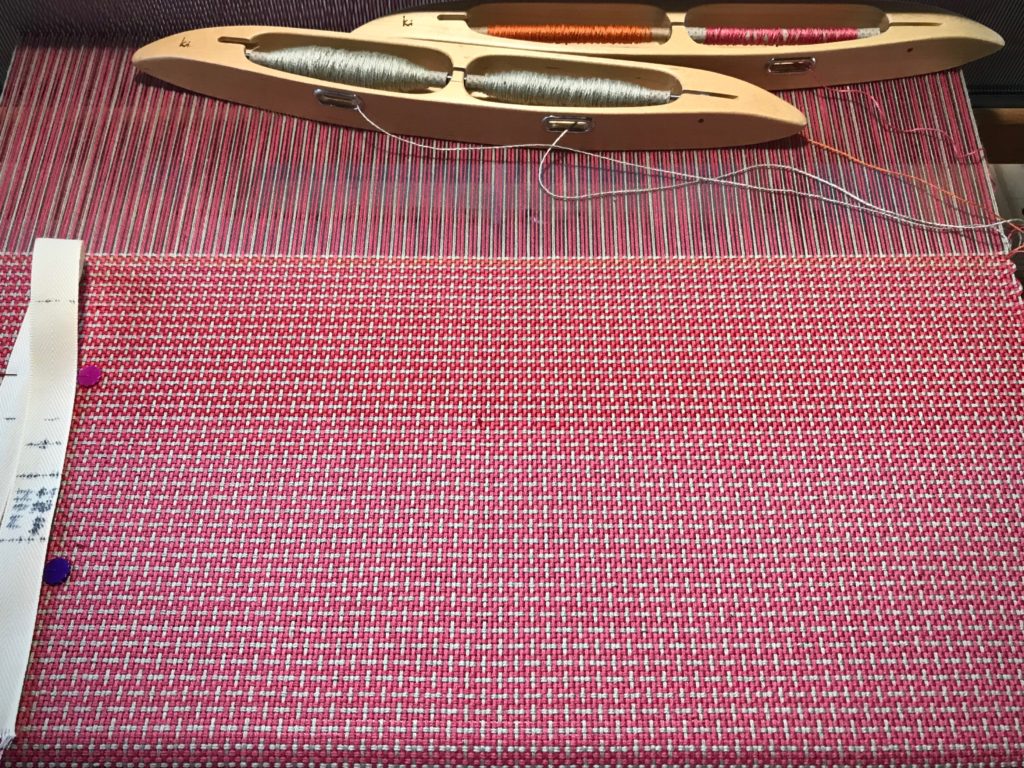
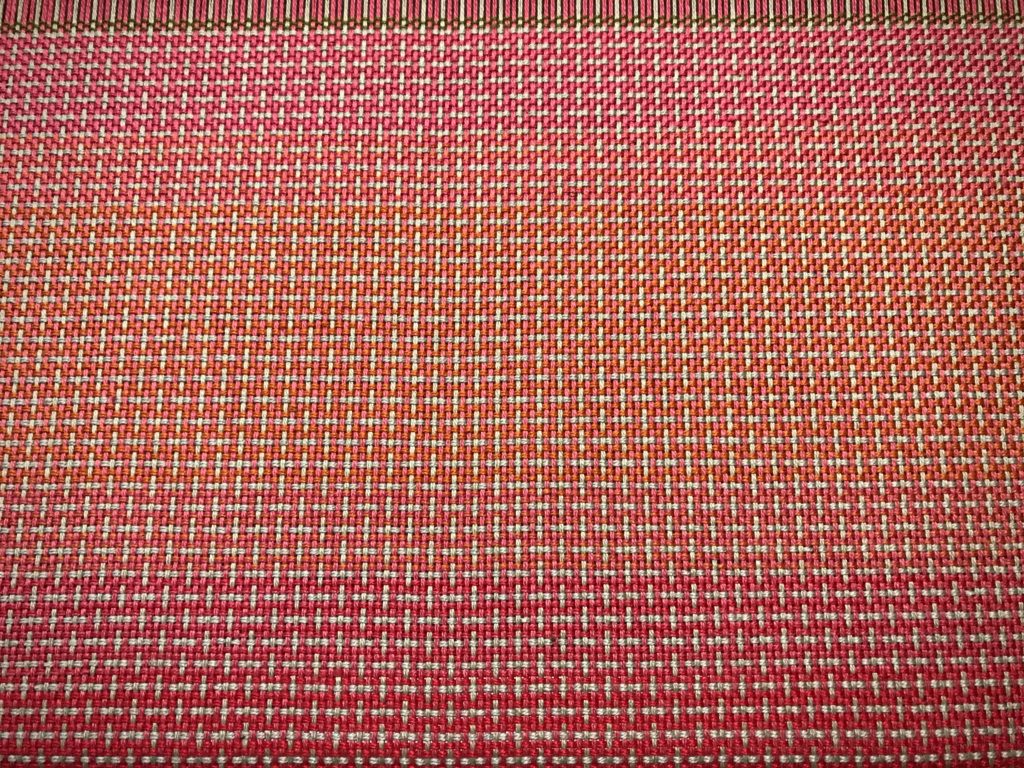
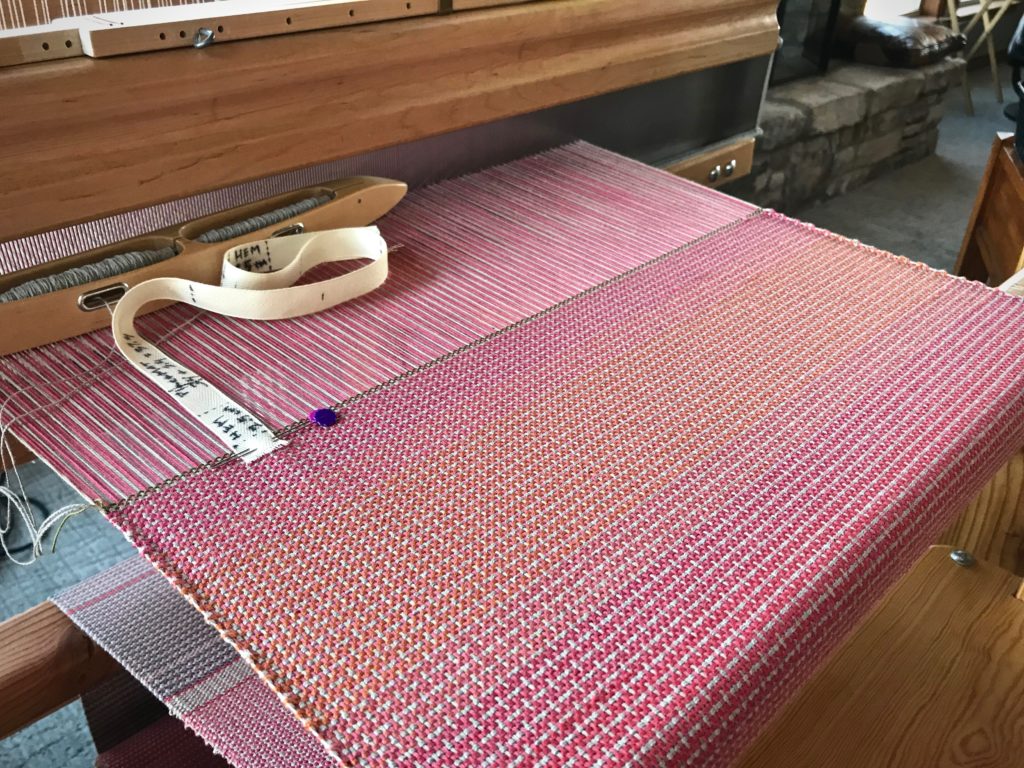
Color gradation on plain weave with color and weave effects.
Using up thread left on quills for some color gradation play.
Doubled weft gives opportunity for easy color gradation.
Color and weave effects on plain weave. 8/2 cotton weft is doubled.

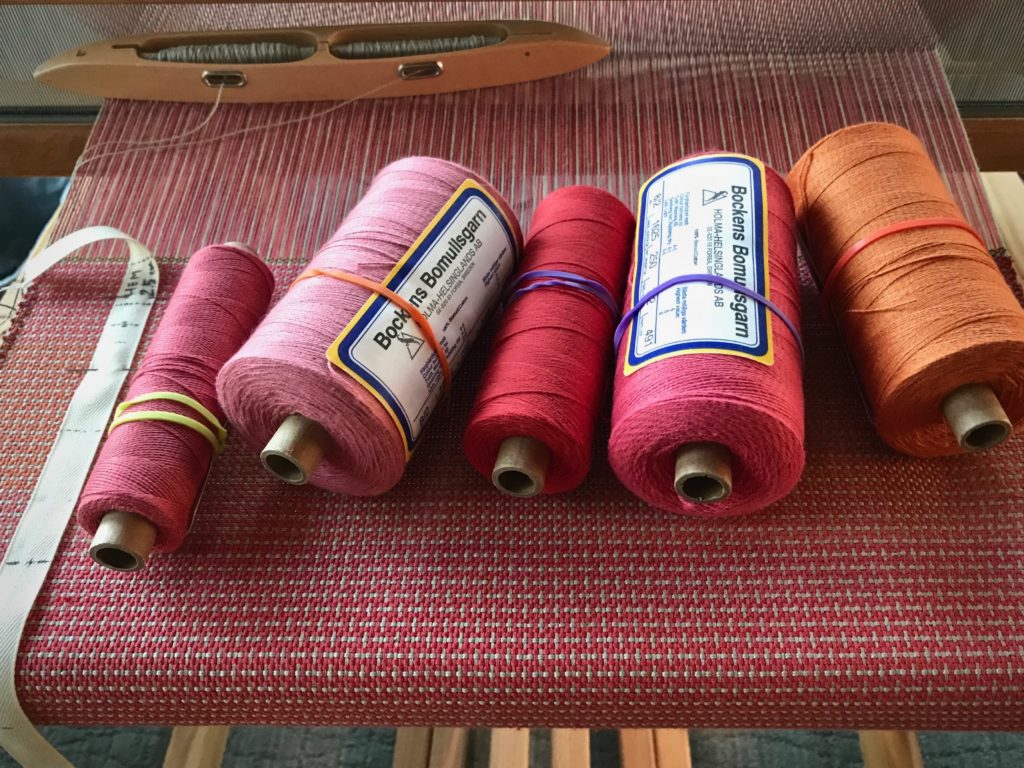
The quills on a double-bobbin shuttle don’t always empty at exactly the same time. The quill that has thread remaining on it goes in a box for later use. Those quills in the box are what I’m using here. For this placemat I’m letting gradient color changes happen in varying increments, according to the amount of thread left on the quill. I have five shades of 8/2 cotton, ranging from coral pink to pumpkin.

Colors for gradient weaving.
Color “sisters” play well together.

This is the perfect setup for some subtle color gradation: Five closely-related hues, a double-bobbin shuttle, and a supply of leftover quills. For best effect, I arrange the colors in order, from light to dark, or dark to light.

Color Gradation

  • Weave a section with two quills of color A (the lightest color)
  • Weave the next section with one quill of color A and one quill of color B (one shade darker than color A)
  • Weave the next section with two quills of color B
  • Weave the next section with one quill of color B and one quill of color C (one shade darker than color B)

And so on…

What could be simpler?

Color gradation.
Pumpkin color adds a pleasing subtle accent to the corals and reds in the cloth.

May you make something beautiful with the little bits that you have.

Happy weaving,
Karen

Tied On and Tied Up

Our transition to Texas hill country is finalized this week! The looms and I will be residing in the same house again. Let the weaving resume! One loom is dressed and waiting for me. Tied on above, and tied up below. Ready to weave!

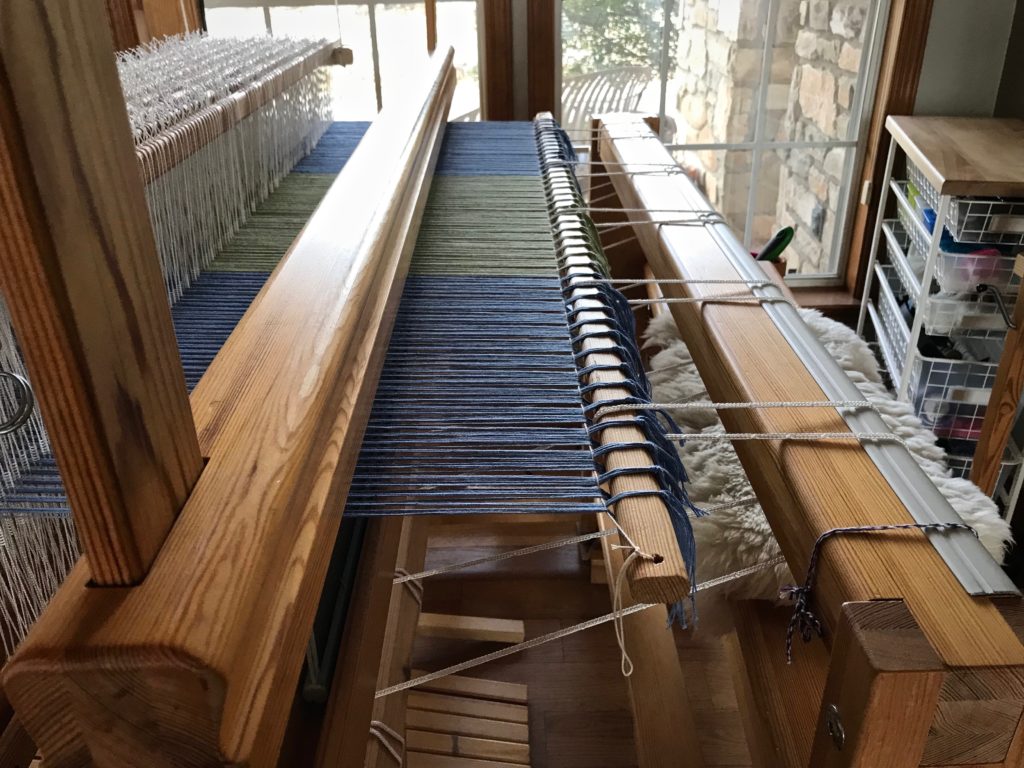
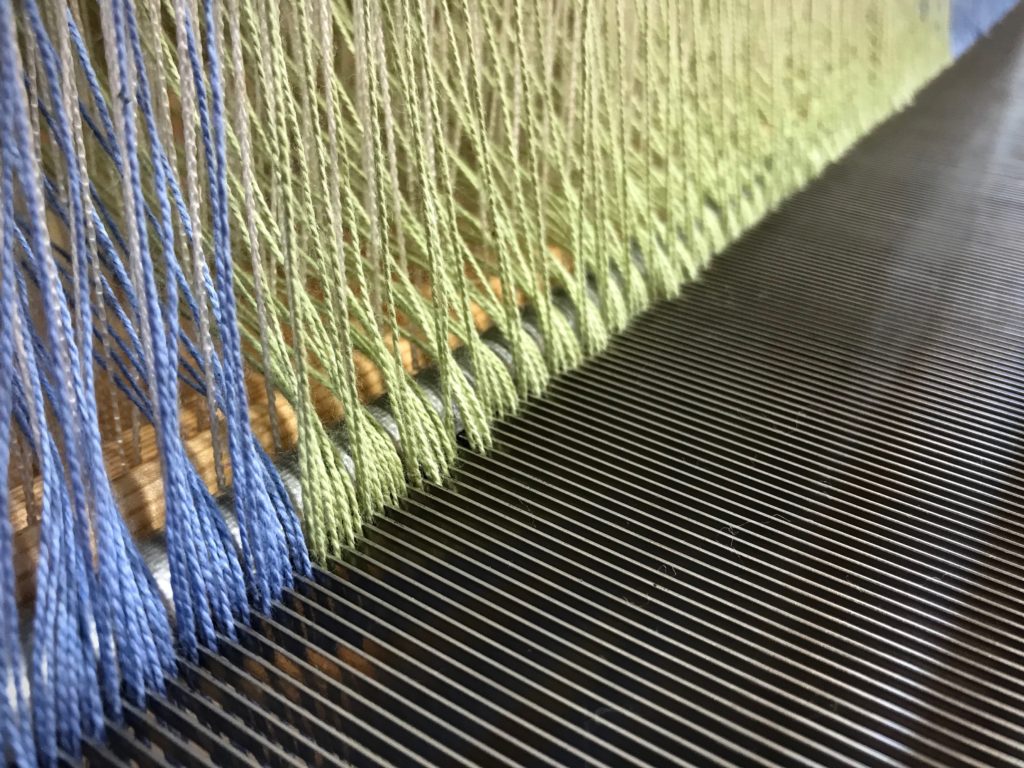
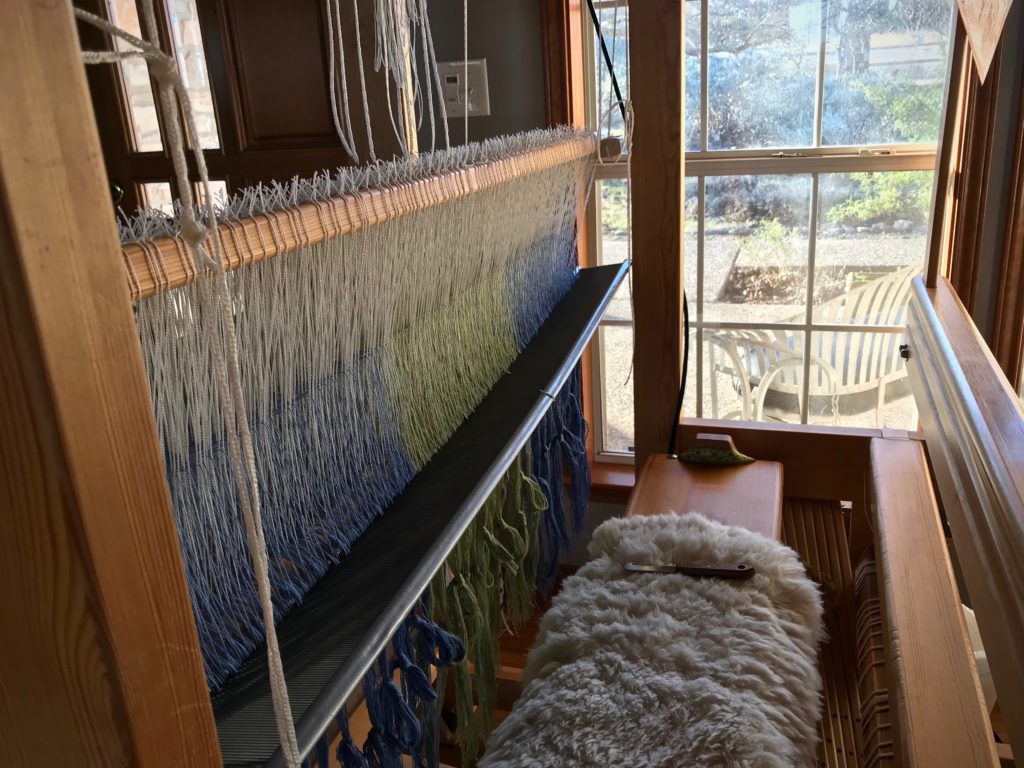
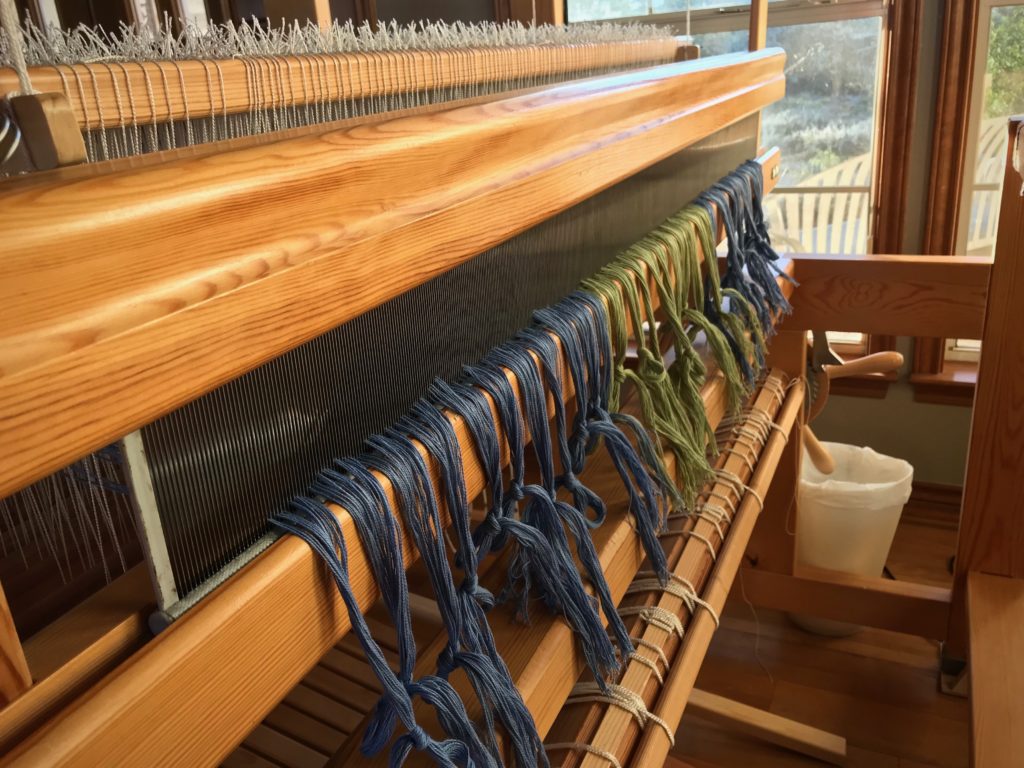
The warp is tied on to the front tie-on bar in 1-inch bundles, with 1/2-inch bundles at the selvedges. And then, I add the leveling string which makes it look neat and tidy and READY.

Leveling string flattens and evens out the warp for no-waste weaving.
Warp is tied on to the front tie-on bar. Leveling string flattens and evens out the warp for no-waste weaving.

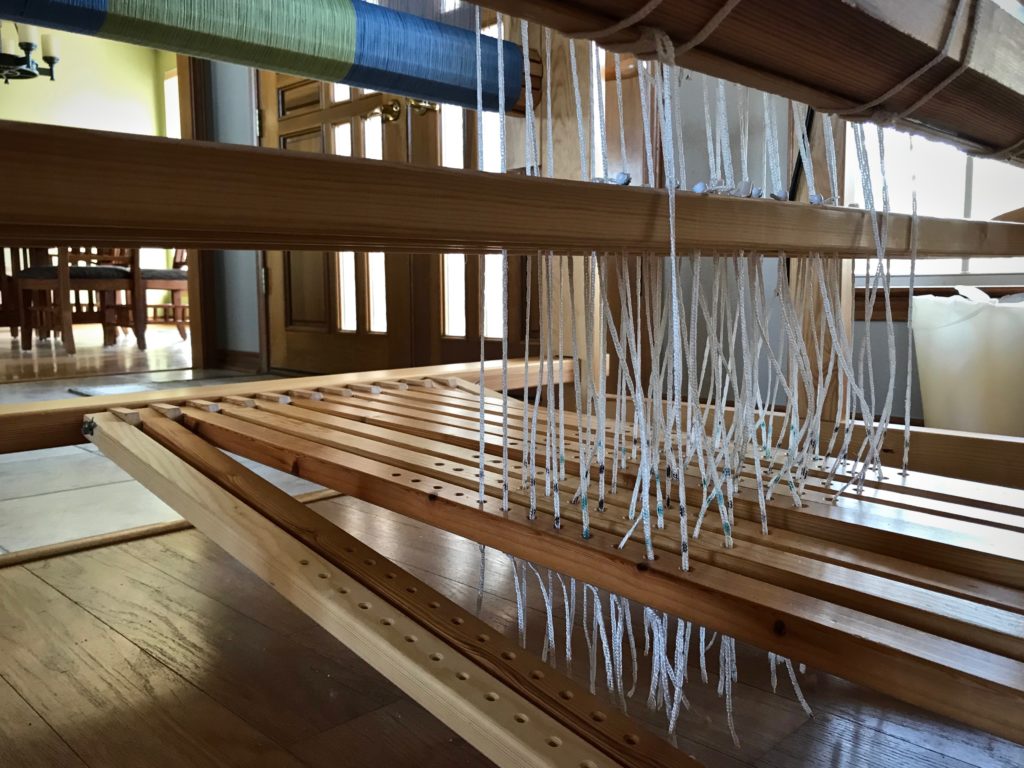
The upper and lower lamms are positioned, and the treadle cords are added and secured. It’s fascinating how simple and basic the whole system is. And how something this simple and basic can be the framework for boundless creative expression.

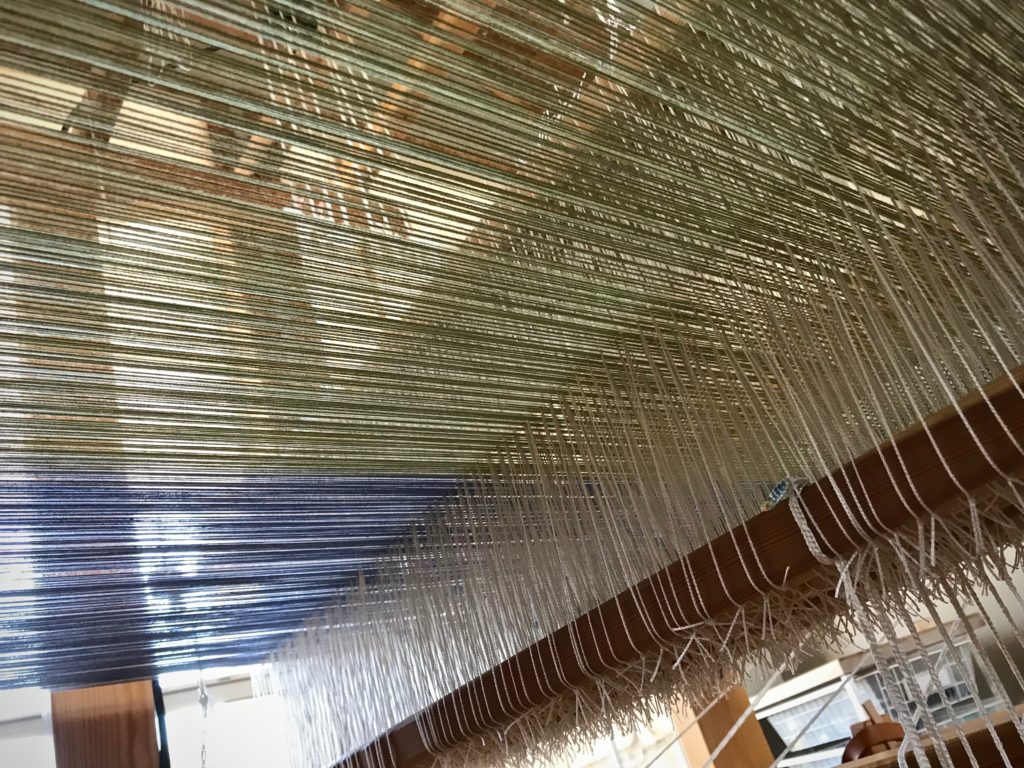
Under the warp. Intriguing view.
I sit on the treadle beam when I position the lamms, and then place the treadle cords in their holes. I’m always intrigued by the view of the warp and heddles from this vantage point.
Treadle cords on eight shafts.
Treadle tie-ups don’t frighten me. It all makes sense, and is part of the loom-dressing process that I enjoy.

If we think of prayer as something that gets us out of a crisis, or words to say in order to get what we want from God, we miss the whole point of prayer. And we face disappointment. Prayer always works. The work is not our clever words, nor the checking off of our wish list. Prayer is the framework of deep trust that stands ready for the Lord’s boundless creative expression. We pray because we trust him. Christmas—the birth of Christ—shows us that God always steps in at the right time.

May your framework be sure.

Advent greetings,
Karen

Another Loom?

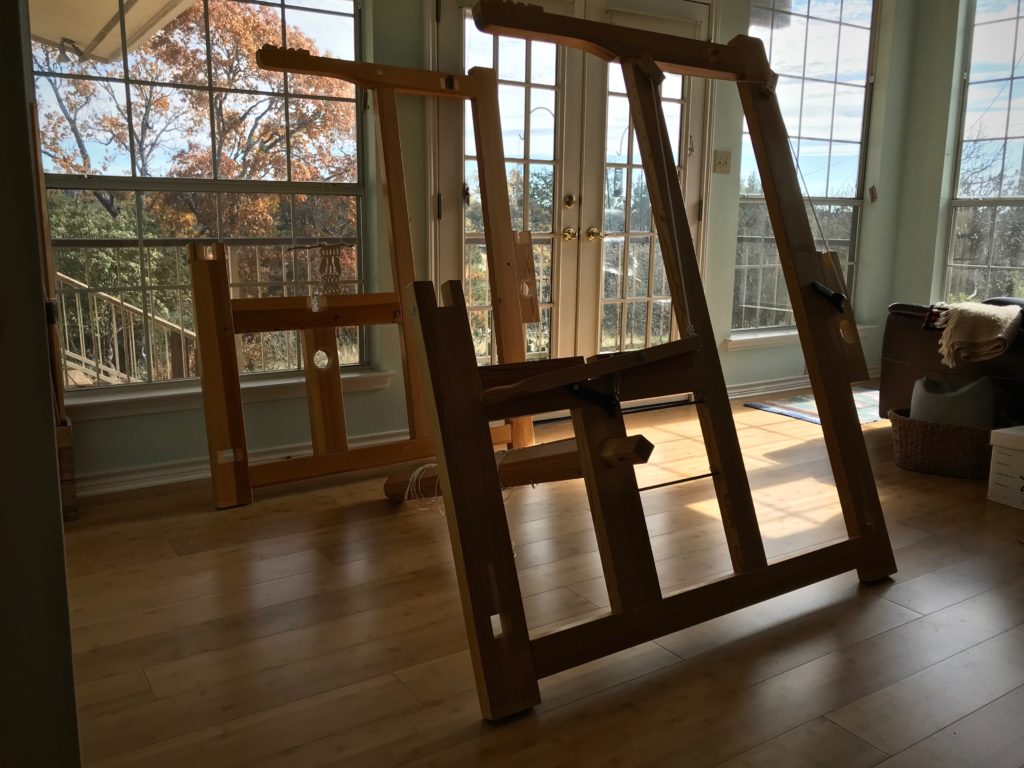
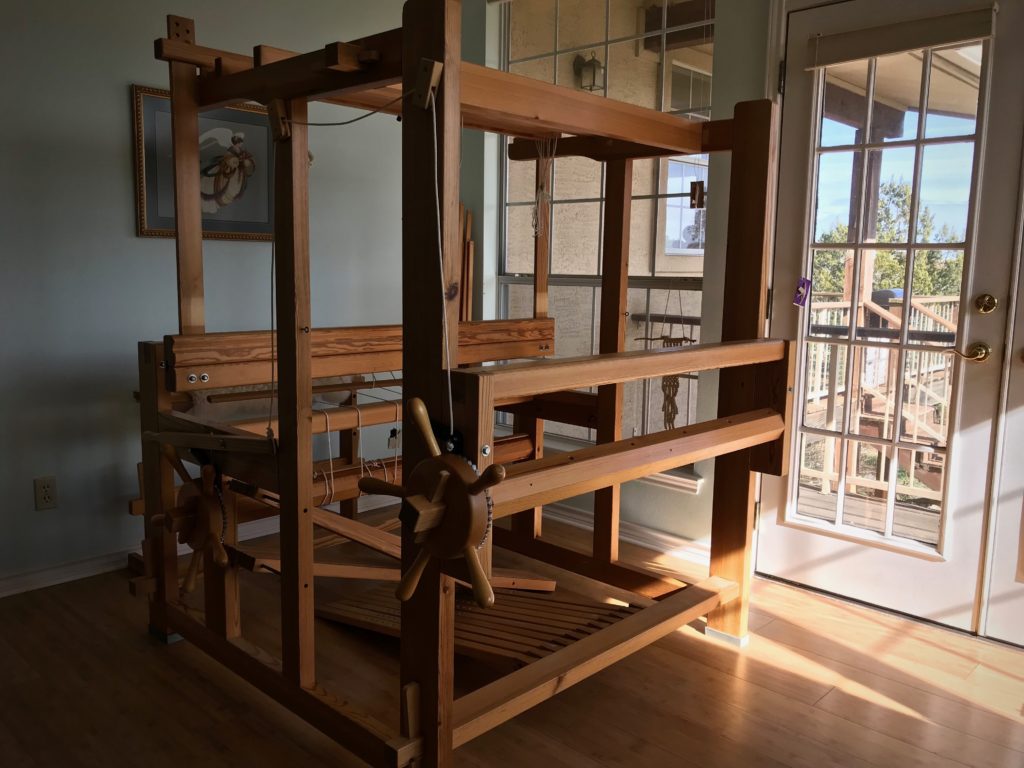
Guess what? I added another loom. You might think I already have plenty of looms. This one is a beautiful, well-cared-for 120 cm Glimåkra Standard countermarch loom. It’s the first real step toward another big dream—drawloom weaving. What a pleasant surprise for me to find out that the dear person handing off this loom is one of my blog friends from right here at Warped for Good! And not far from our Texas hill country home. Thank you, friend!

Bringing a loom home!
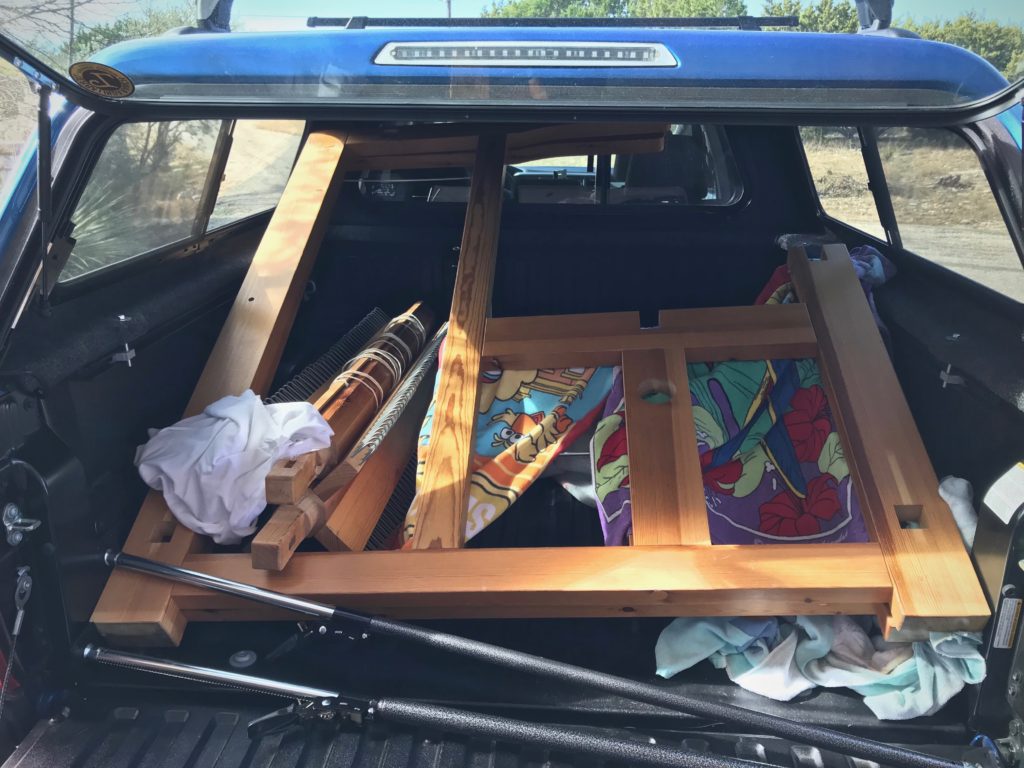
Glimakra Standard, 120 cm. The side gables fit, but just barely, in the covered bed of our Tacoma pickup truck.
Bringing a loom home with me!
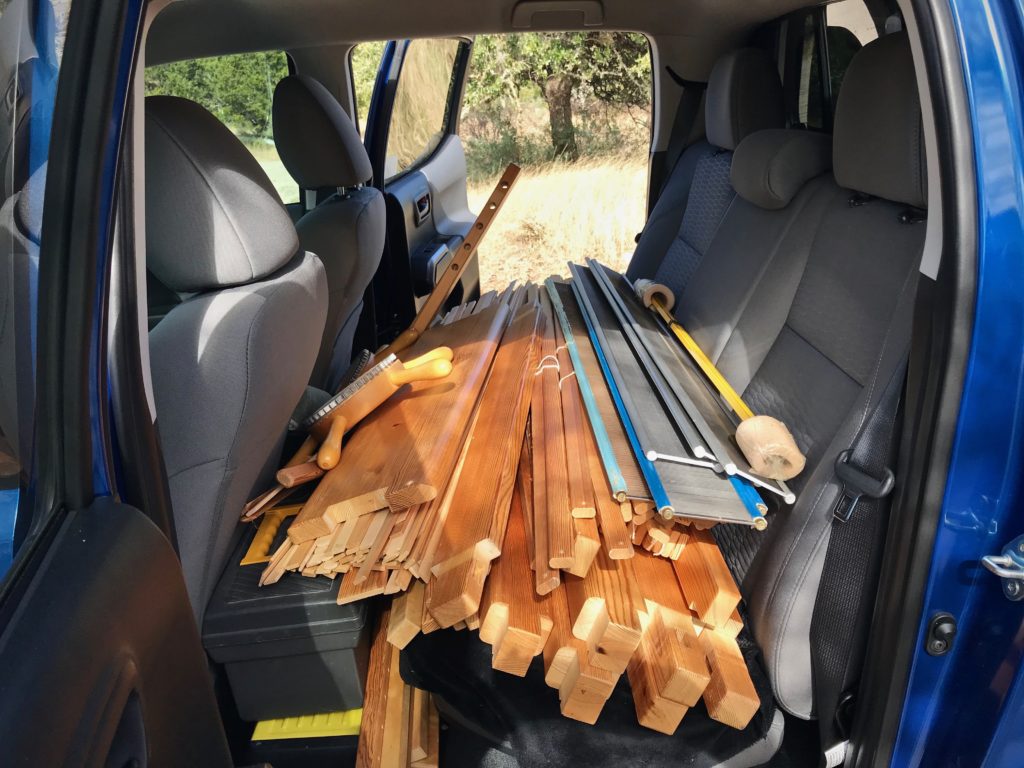
Sticks. A Swedish loom is mostly a pile of sticks all fitted together just so.

There are a few things to be done before drawloom weaving becomes a reality for me.

  • Read, re-read, and review everything I can get my hands on about drawlooms and drawloom weaving, especially Joanne Hall’s new book, Drawloom Weaving, and Becky Ashenden’s DVD, Dress Your Swedish Drawloom.
  • Fix up the light-filled room in the hangar (did I tell you we have an airplane hangar on our property?) where there is ample room for the extended-length drawloom.
  • Order the drawloom attachment and supplies.
  • Move the loom to its special room in the hangar.
  • Assemble the drawloom.

In the meantime, I’ll weave a couple projects on this loom while it sits in a prized corner in our home. In our little piece of hill country. (We make our final move there next week!)

Setting up a Glimakra Standard loom.
Setting up the loom.
New loom, ready and waiting.
Ready and waiting.
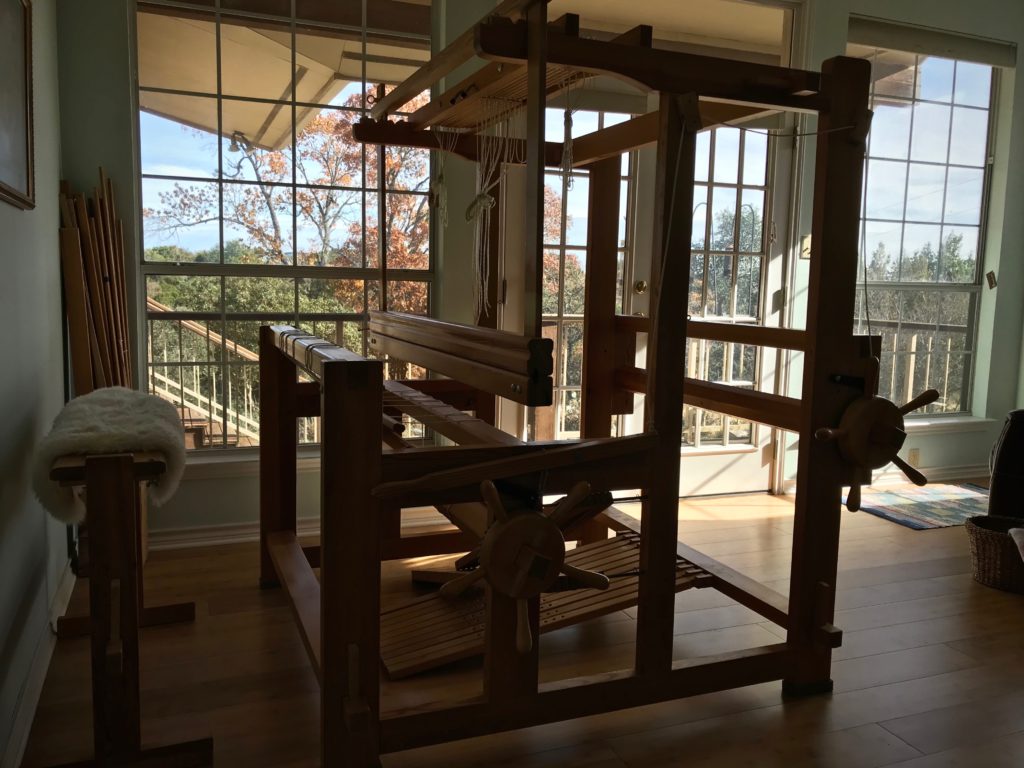
Loom with a view of Texas hill country.
Loom with a view of Texas hill country. Perfect temporary spot.

May you take a step closer to your biggest dreams.

With deep gratitude,
Karen

Two Kinds of Dressing

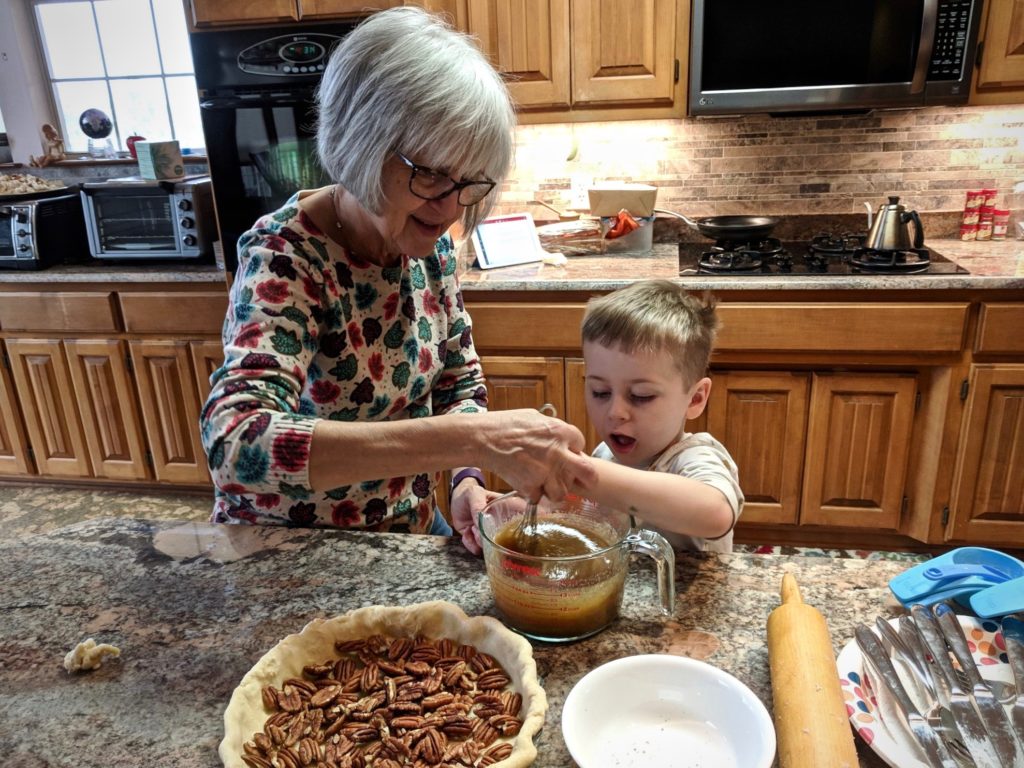
Before everyone arrives for our Thanksgiving family gathering, I am making pie crust for the pecan pie, dough for my “famous” cranberry bread, and doing the prep to make Gram’s turkey dressing. Each family is bringing their contributions to the meal (feast). Thanksgiving Day is a flurry of activity with too many cooks in the kitchen—just how we like it! And sitting at the table with the feast before us, we give thanks. Thanks to each other, and to our Creator. We are blessed!

Making perfect pecan pie for Thanksgiving.
Thanksgiving feast prep. It takes two pastry chefs to make the perfect pecan pie.

And before everyone arrives I also manage to sley the reed on the Standard. A different kind of dressing—loom dressing.

Sleying the reed.
Two ends per dent in a 45/10 metric reed.
Sleying the reed.
I sit “inside” the loom on my loom bench to sley the reed.
Next step - tying on!
After the reed is sleyed, I remove the loom bench, lower the shafts, and move the countermarch to the front of the loom. Then, I place the reed in the beater and make sure it is centered. Next step–tying on!
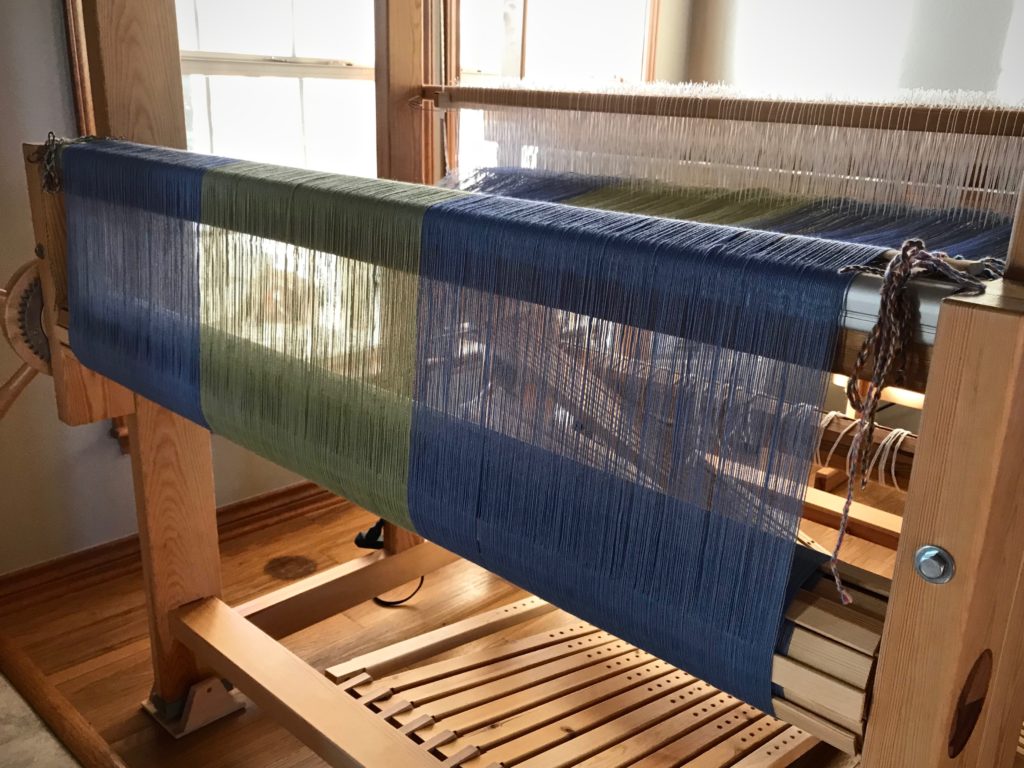
Fresh warp on the back beam. Magical!
Getting dressed. Oh the beauty of a fresh warp going over the back beam! Magical.

A feast for the eyes and hands and heart. Thankful indeed!

May you give thanks,
Karen

Thankfully No Cartoon

My small tapestry isn’t following a cartoon. This time, I am making it up as I go. It’s an exercise in spontaneity, which is good for someone who is most comfortable when she knows exactly what comes next.

I know enough of the fundamentals of tapestry weaving that I can “wing it.” It also helps that I have enough past mistakes in my experience to have learned a few things. Think of this improvisation as another dimension of practice. A challenge that turns into a learning experience. I have much to learn, so I’m thankful for the experience.

Small frame-loom tapestry. Travel weaving!
Small frame-loom tapestry. Fåro wool weft, 12/6 cotton warp.

Sometimes life’s turns give us some weaving to do without a comfortable cartoon to follow. We make it up as we go. An exercise in spontaneity? Yes. Even in this, though, we see the improvised design emerge. Give thanks. The Grand Weaver who taught you how to get this far has your learning experience in mind when He brings you to another challenge. Knowing we have much to learn, let’s give Him thanks!

May you learn enough to enjoy “winging it.”

Happy Thanks-Giving,
Karen