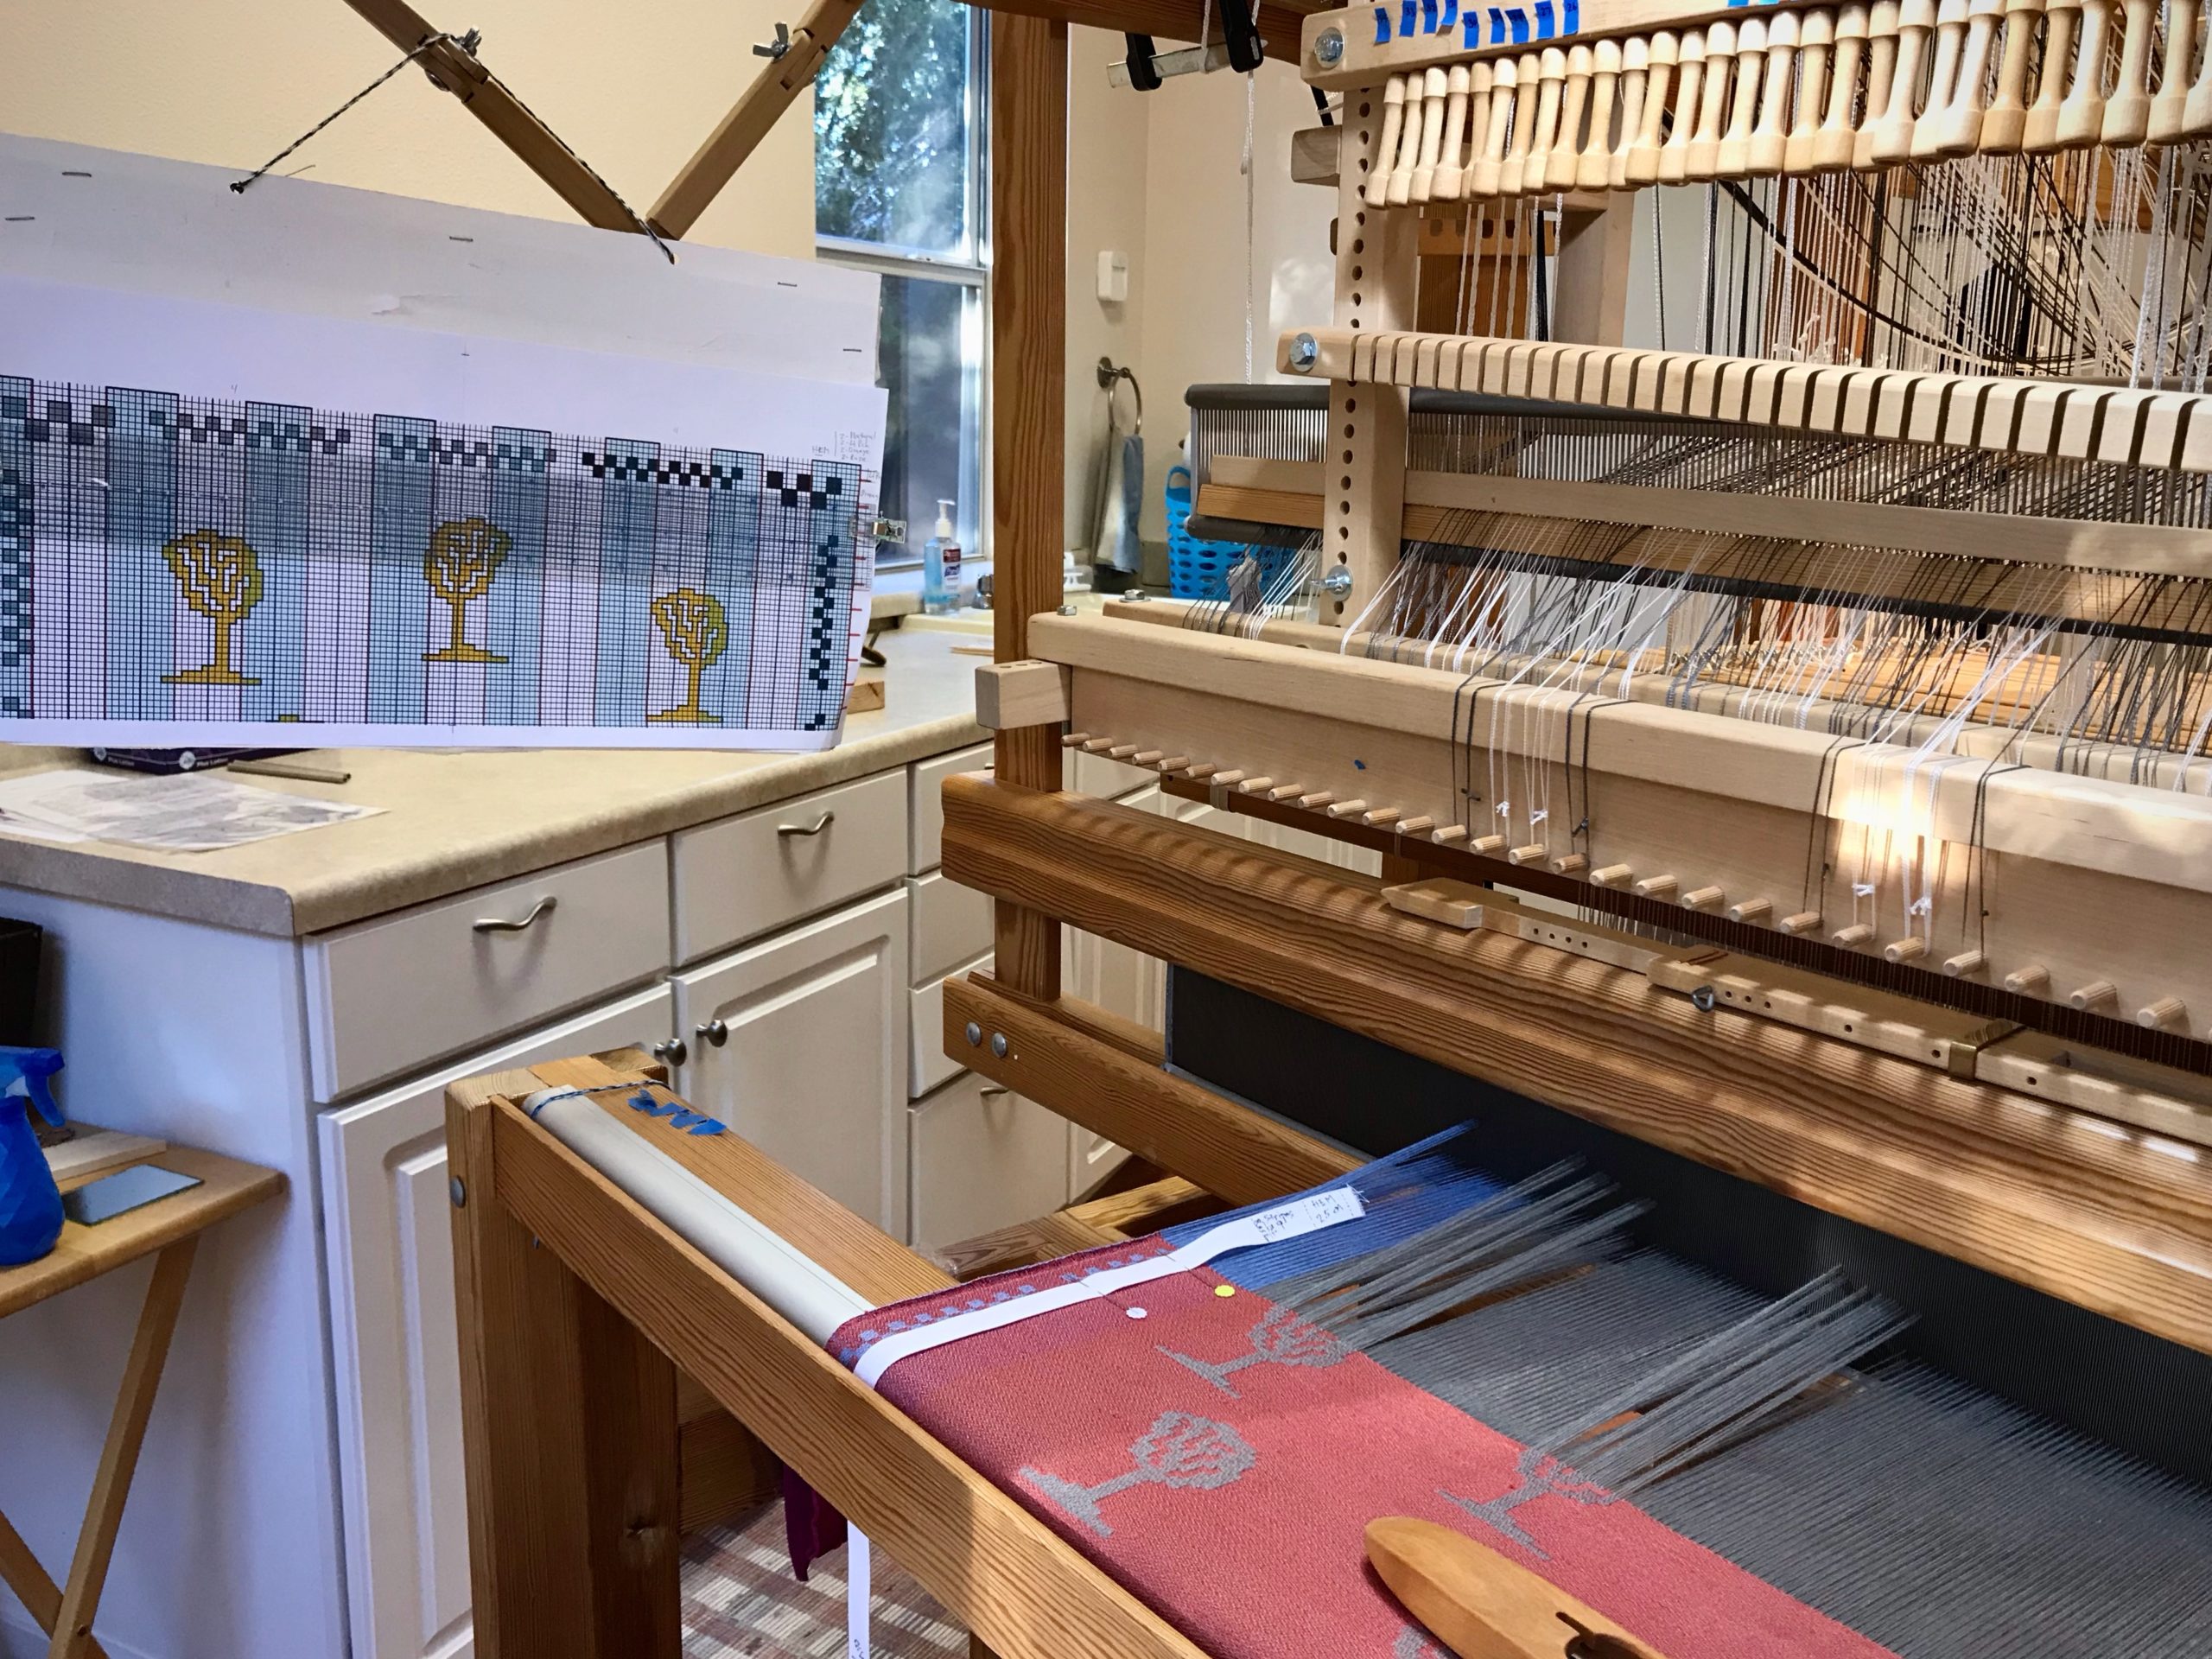
I’m in my own little world when I’m at the drawloom. No podcasts, no music going, no interruptions. It’s all deliberate focused attention on this thing I’m doing—following the chart row by row, drawing handles and cords, imprinting trees into cloth. It’s a delightful experience that I don’t want to end.
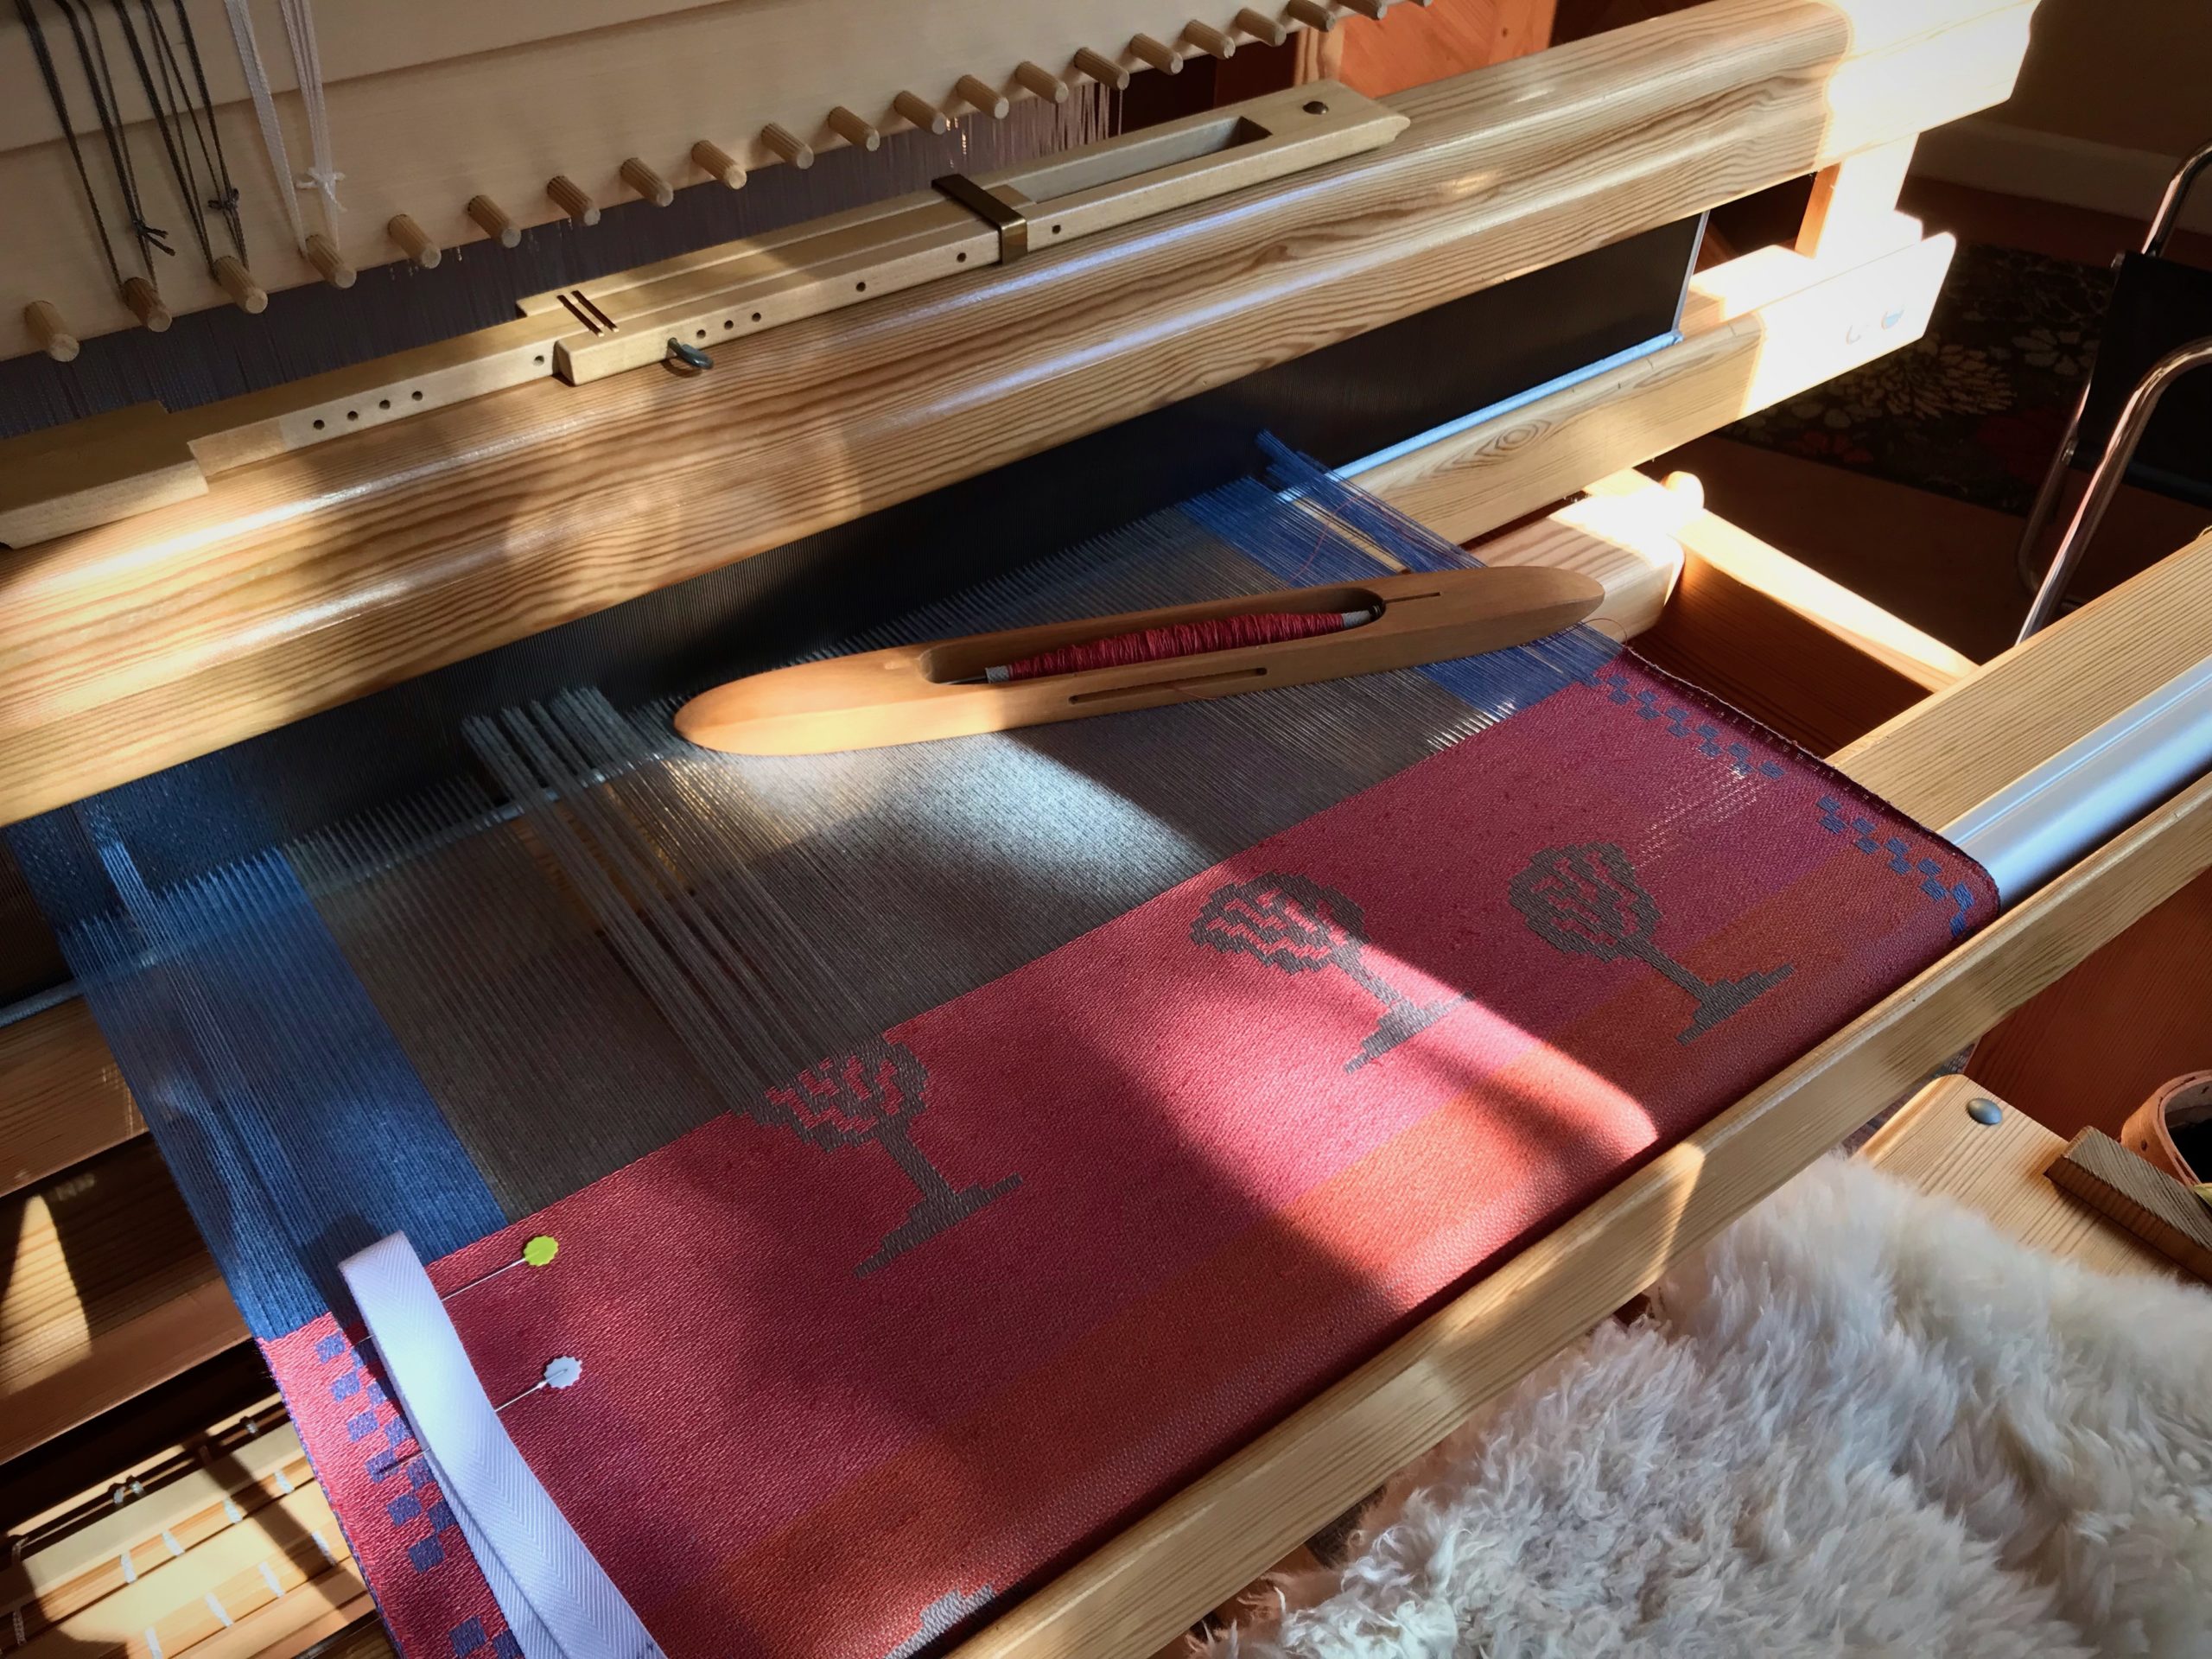
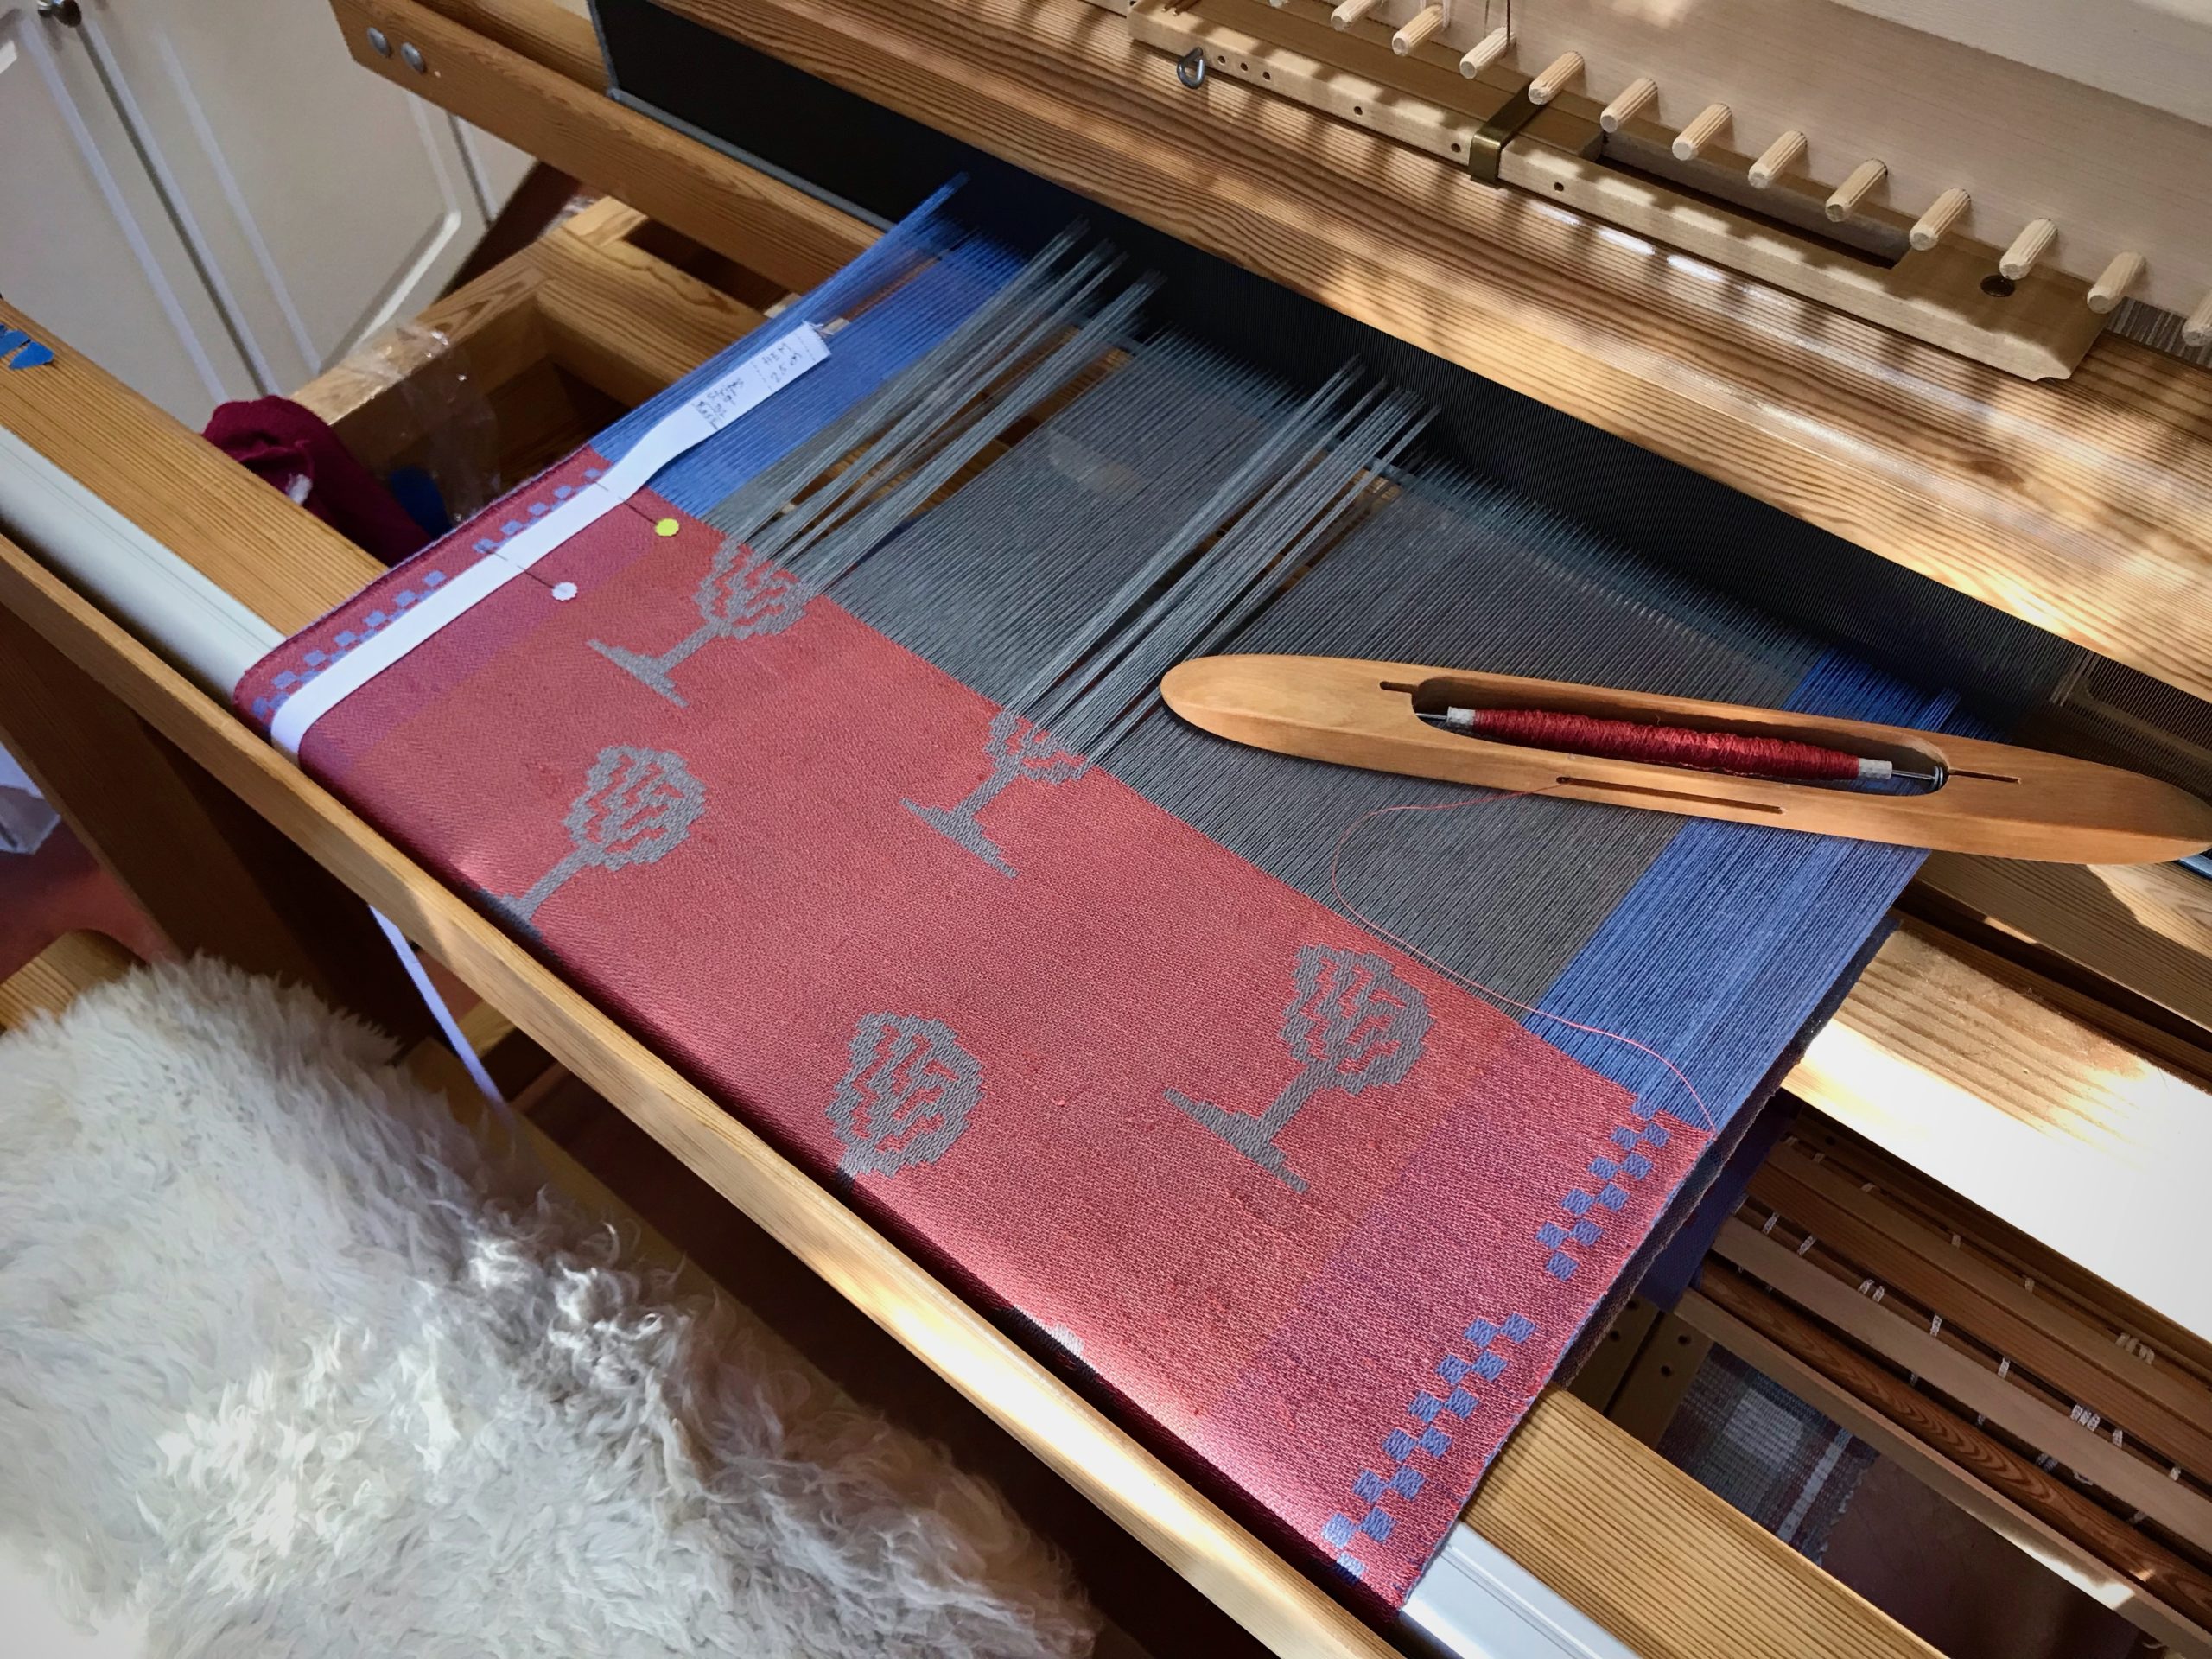
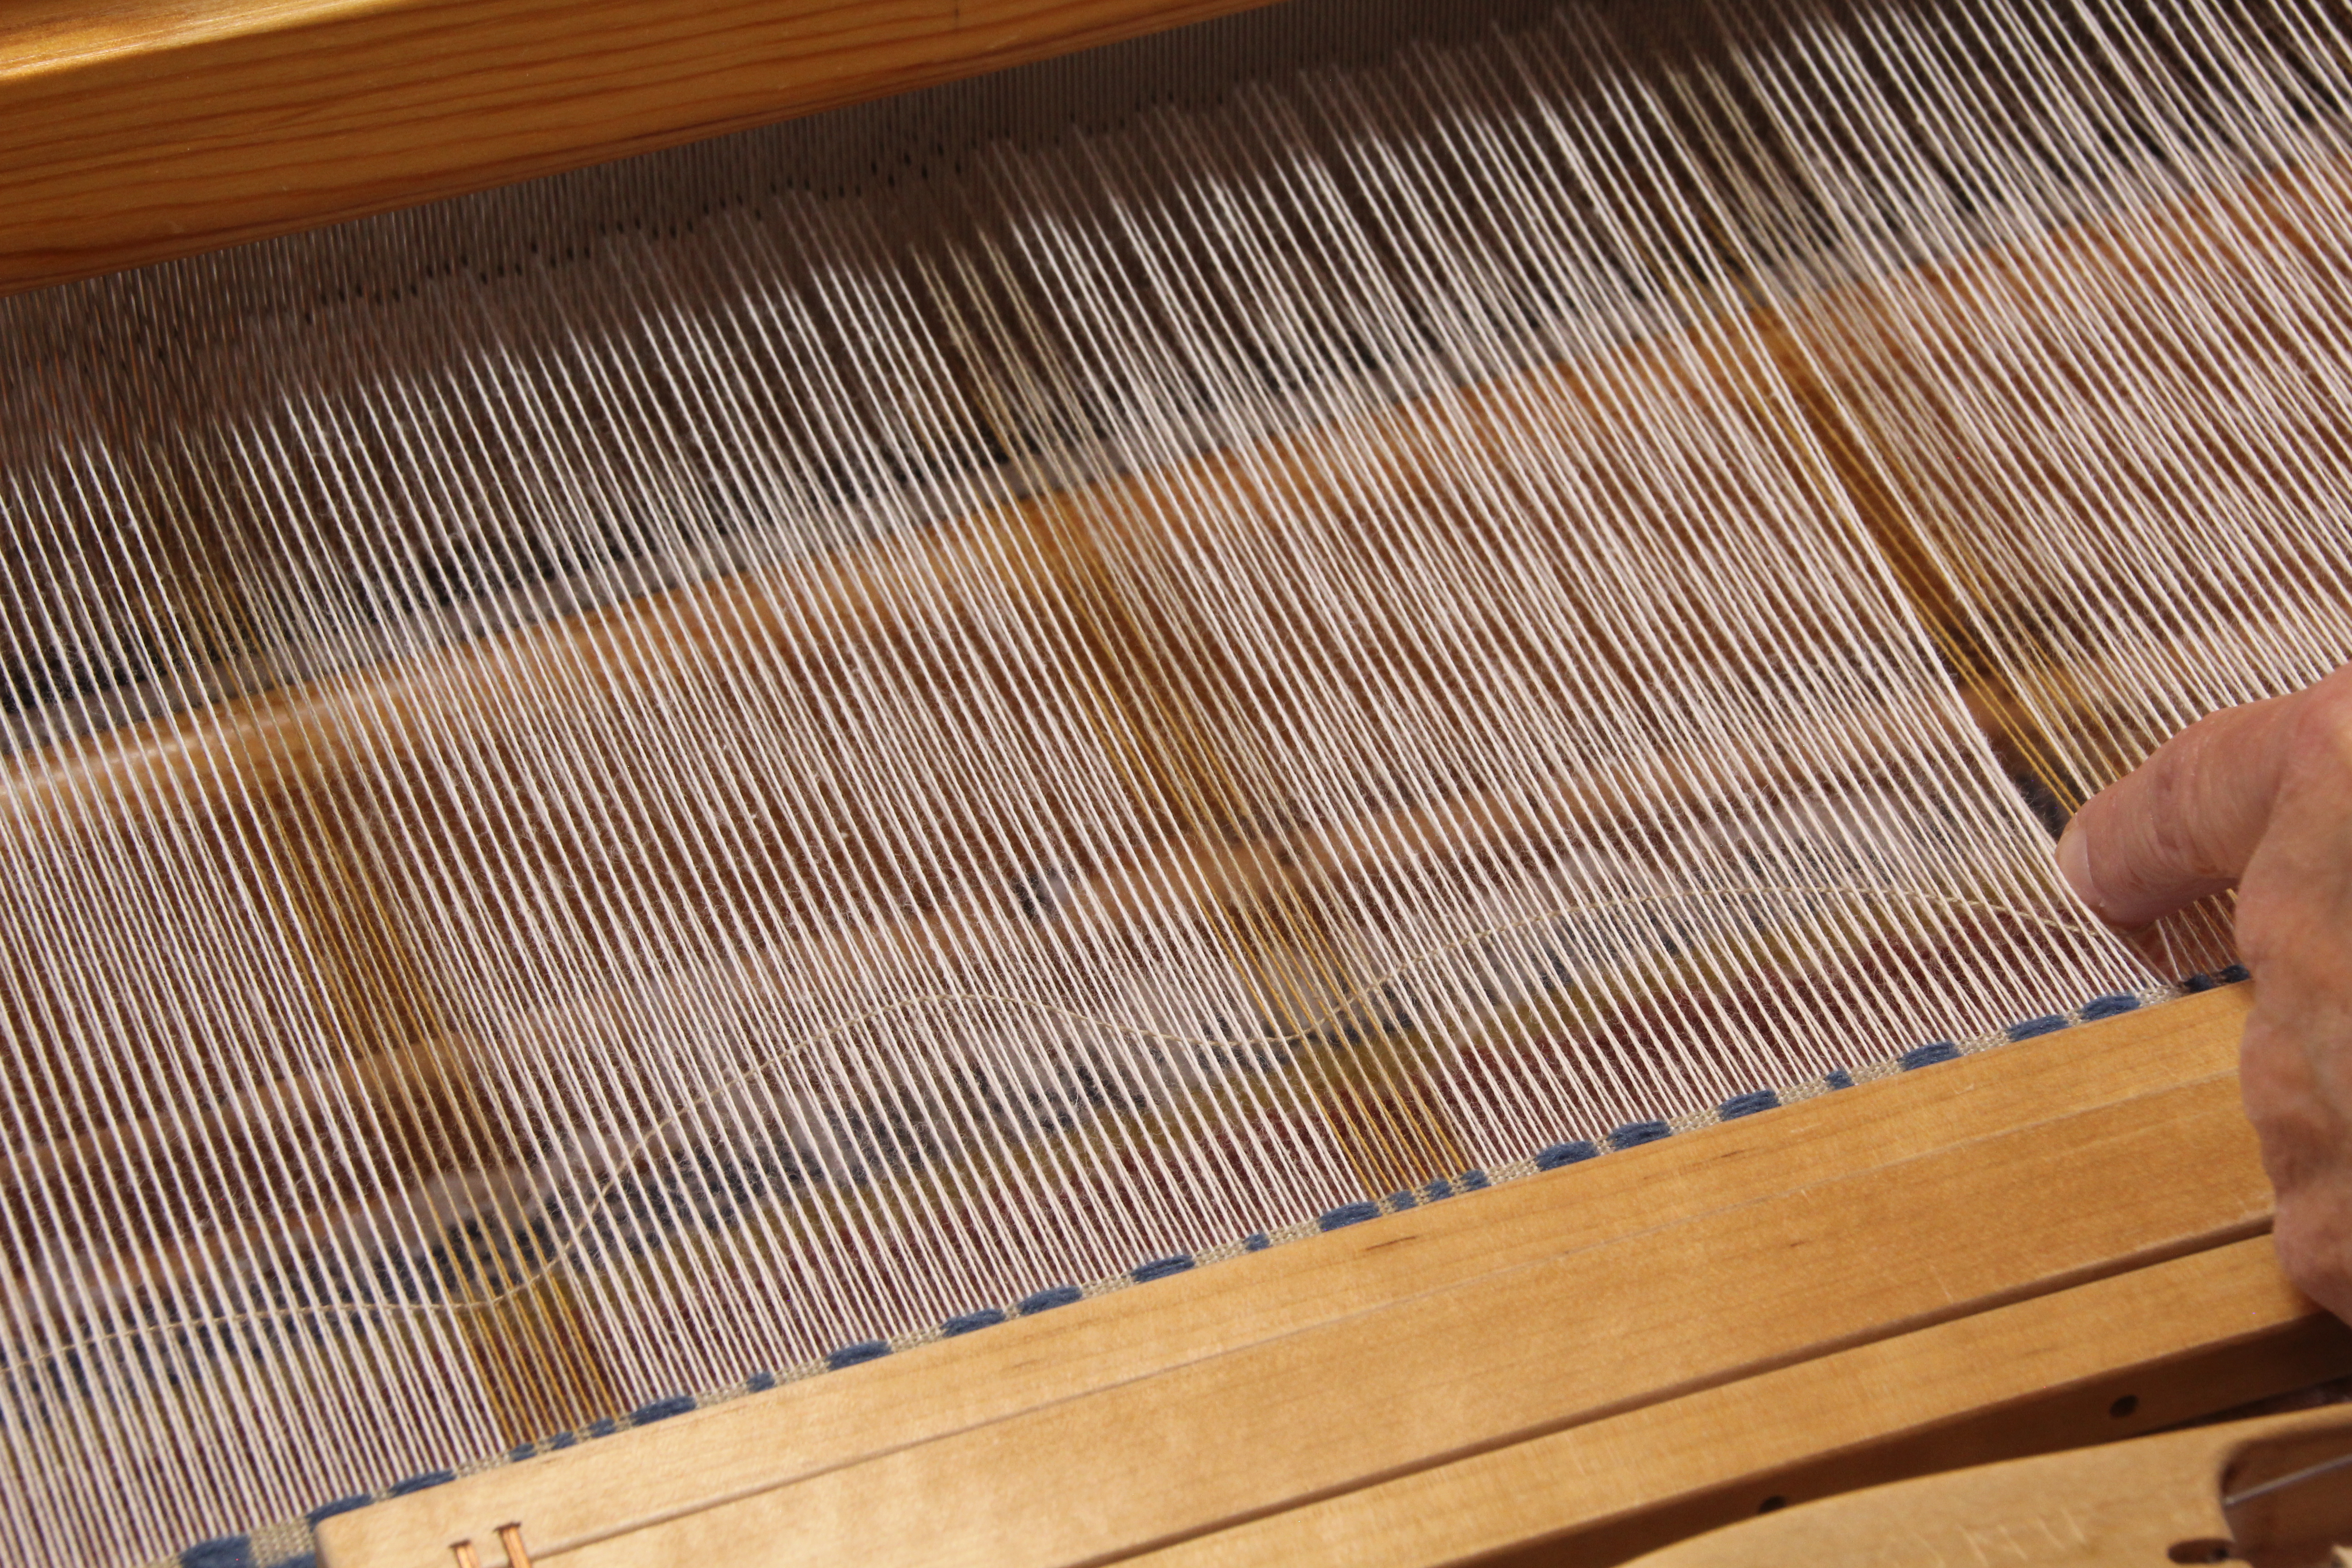
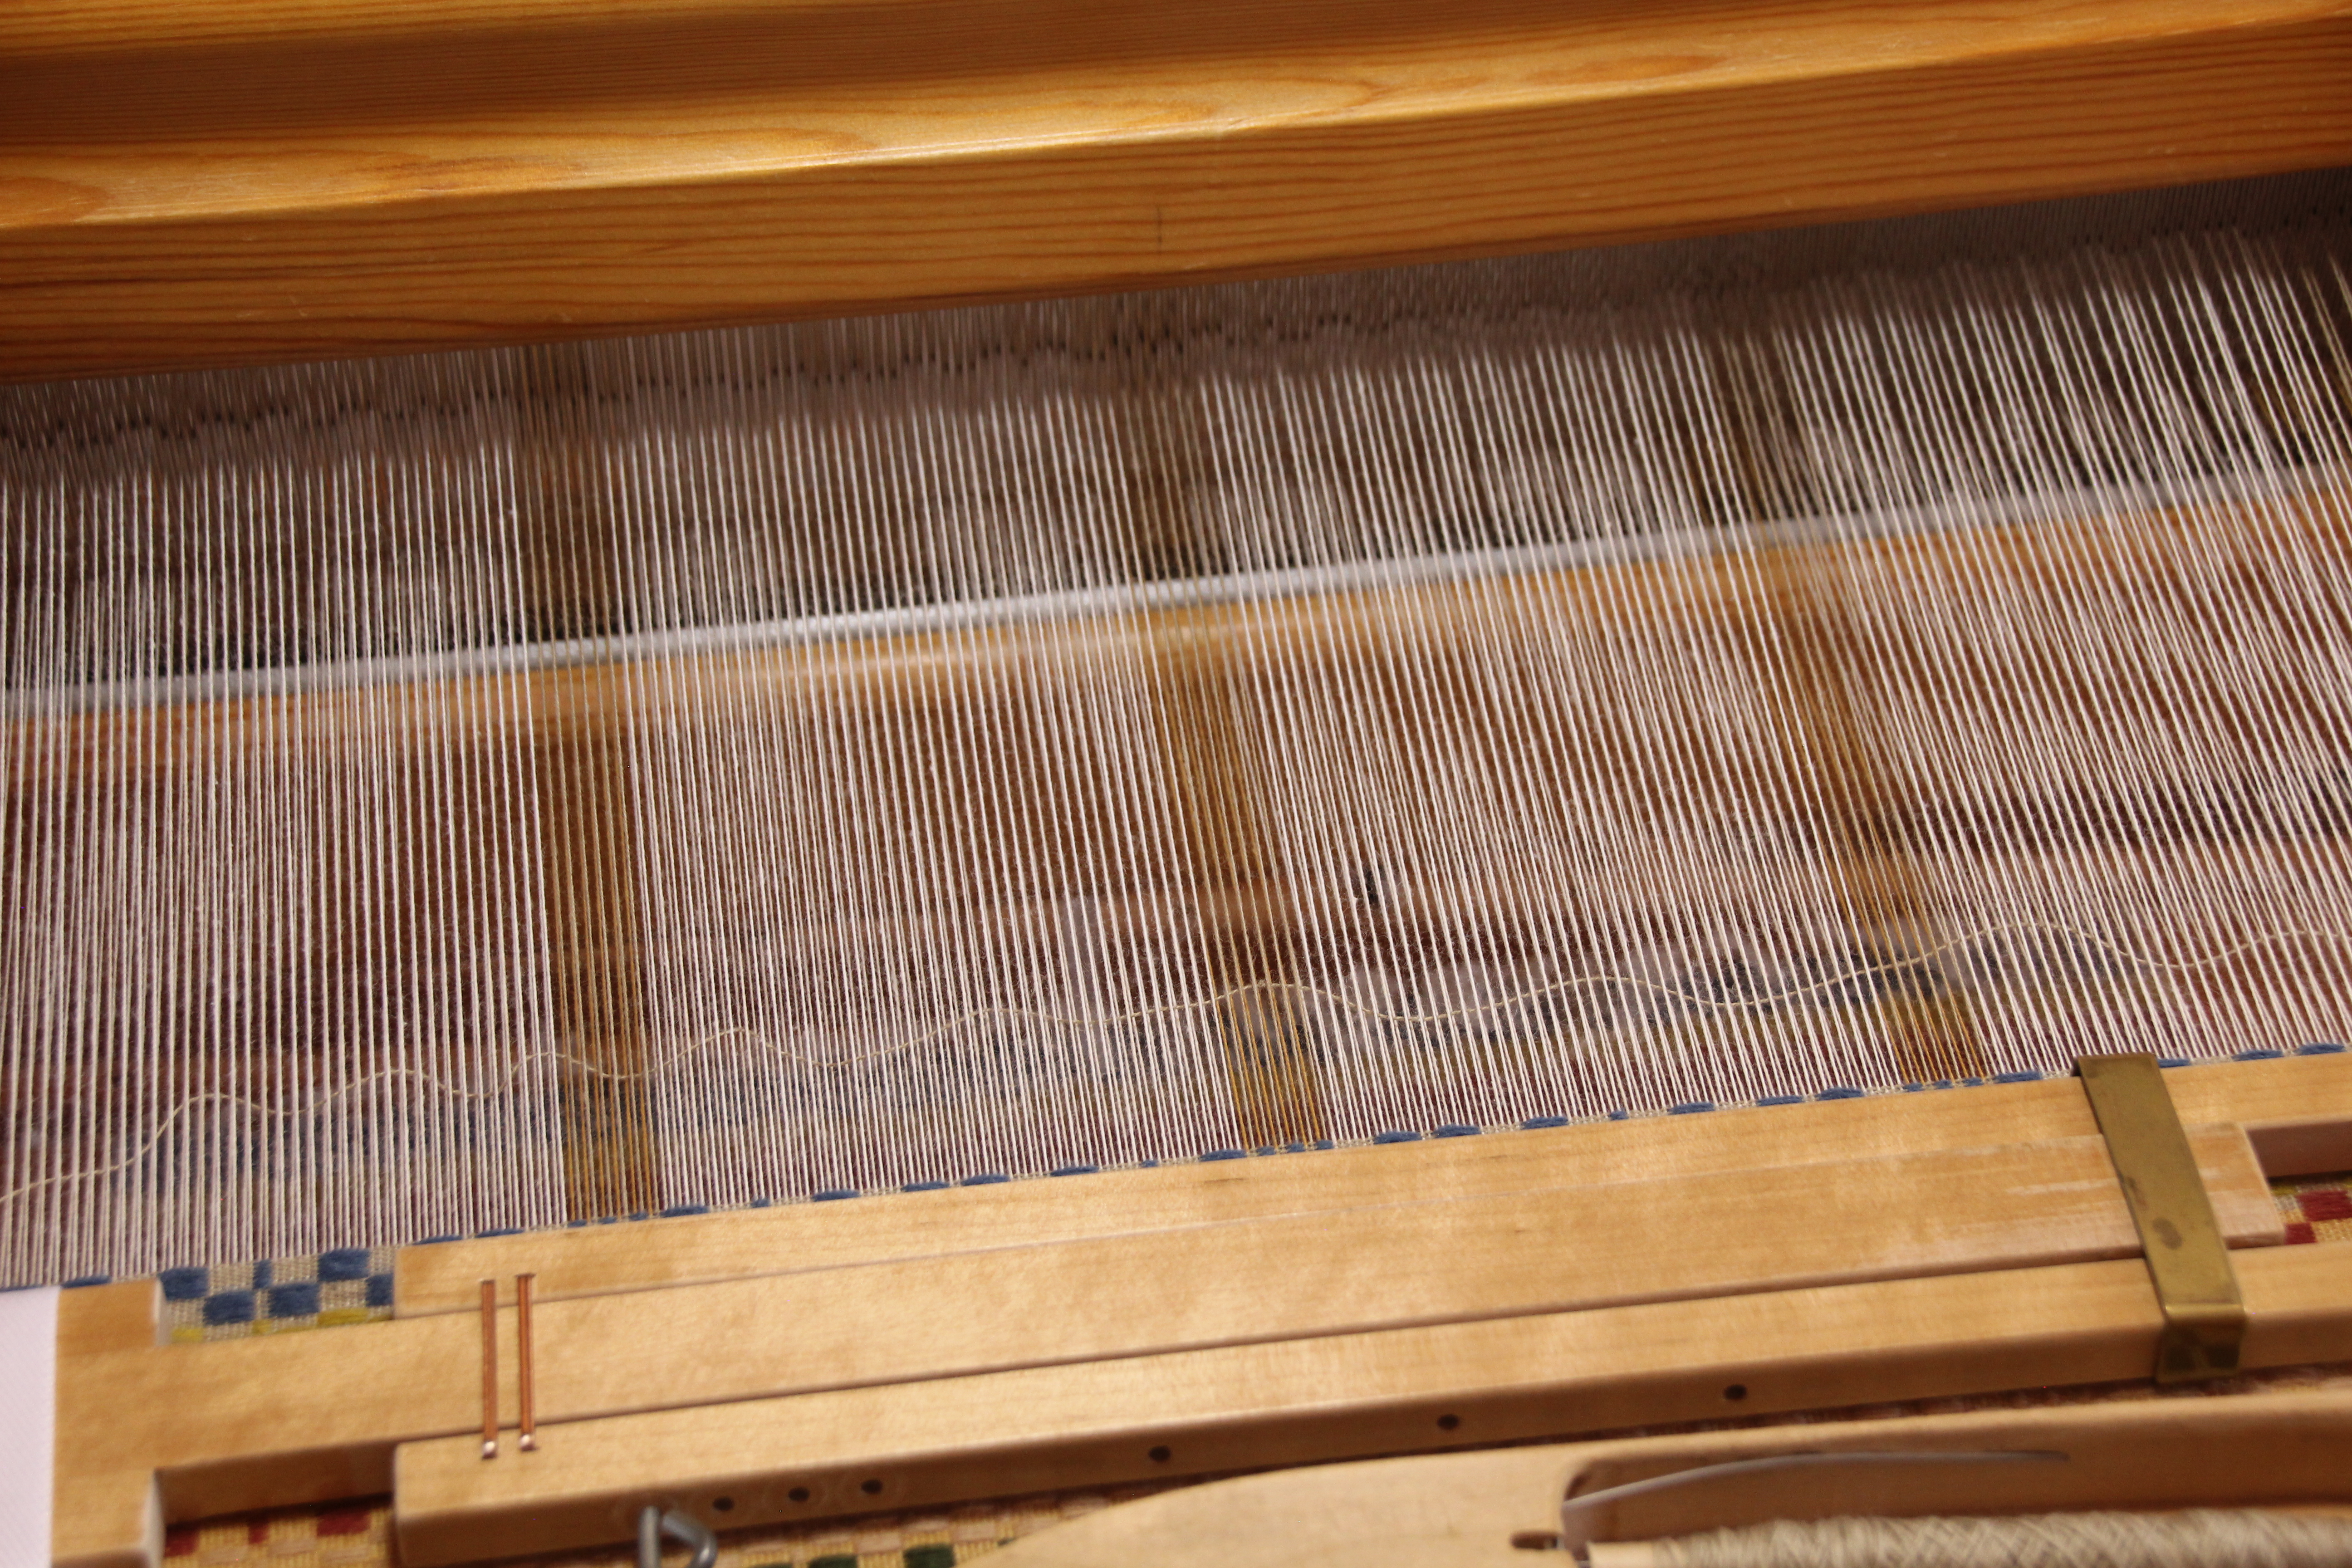
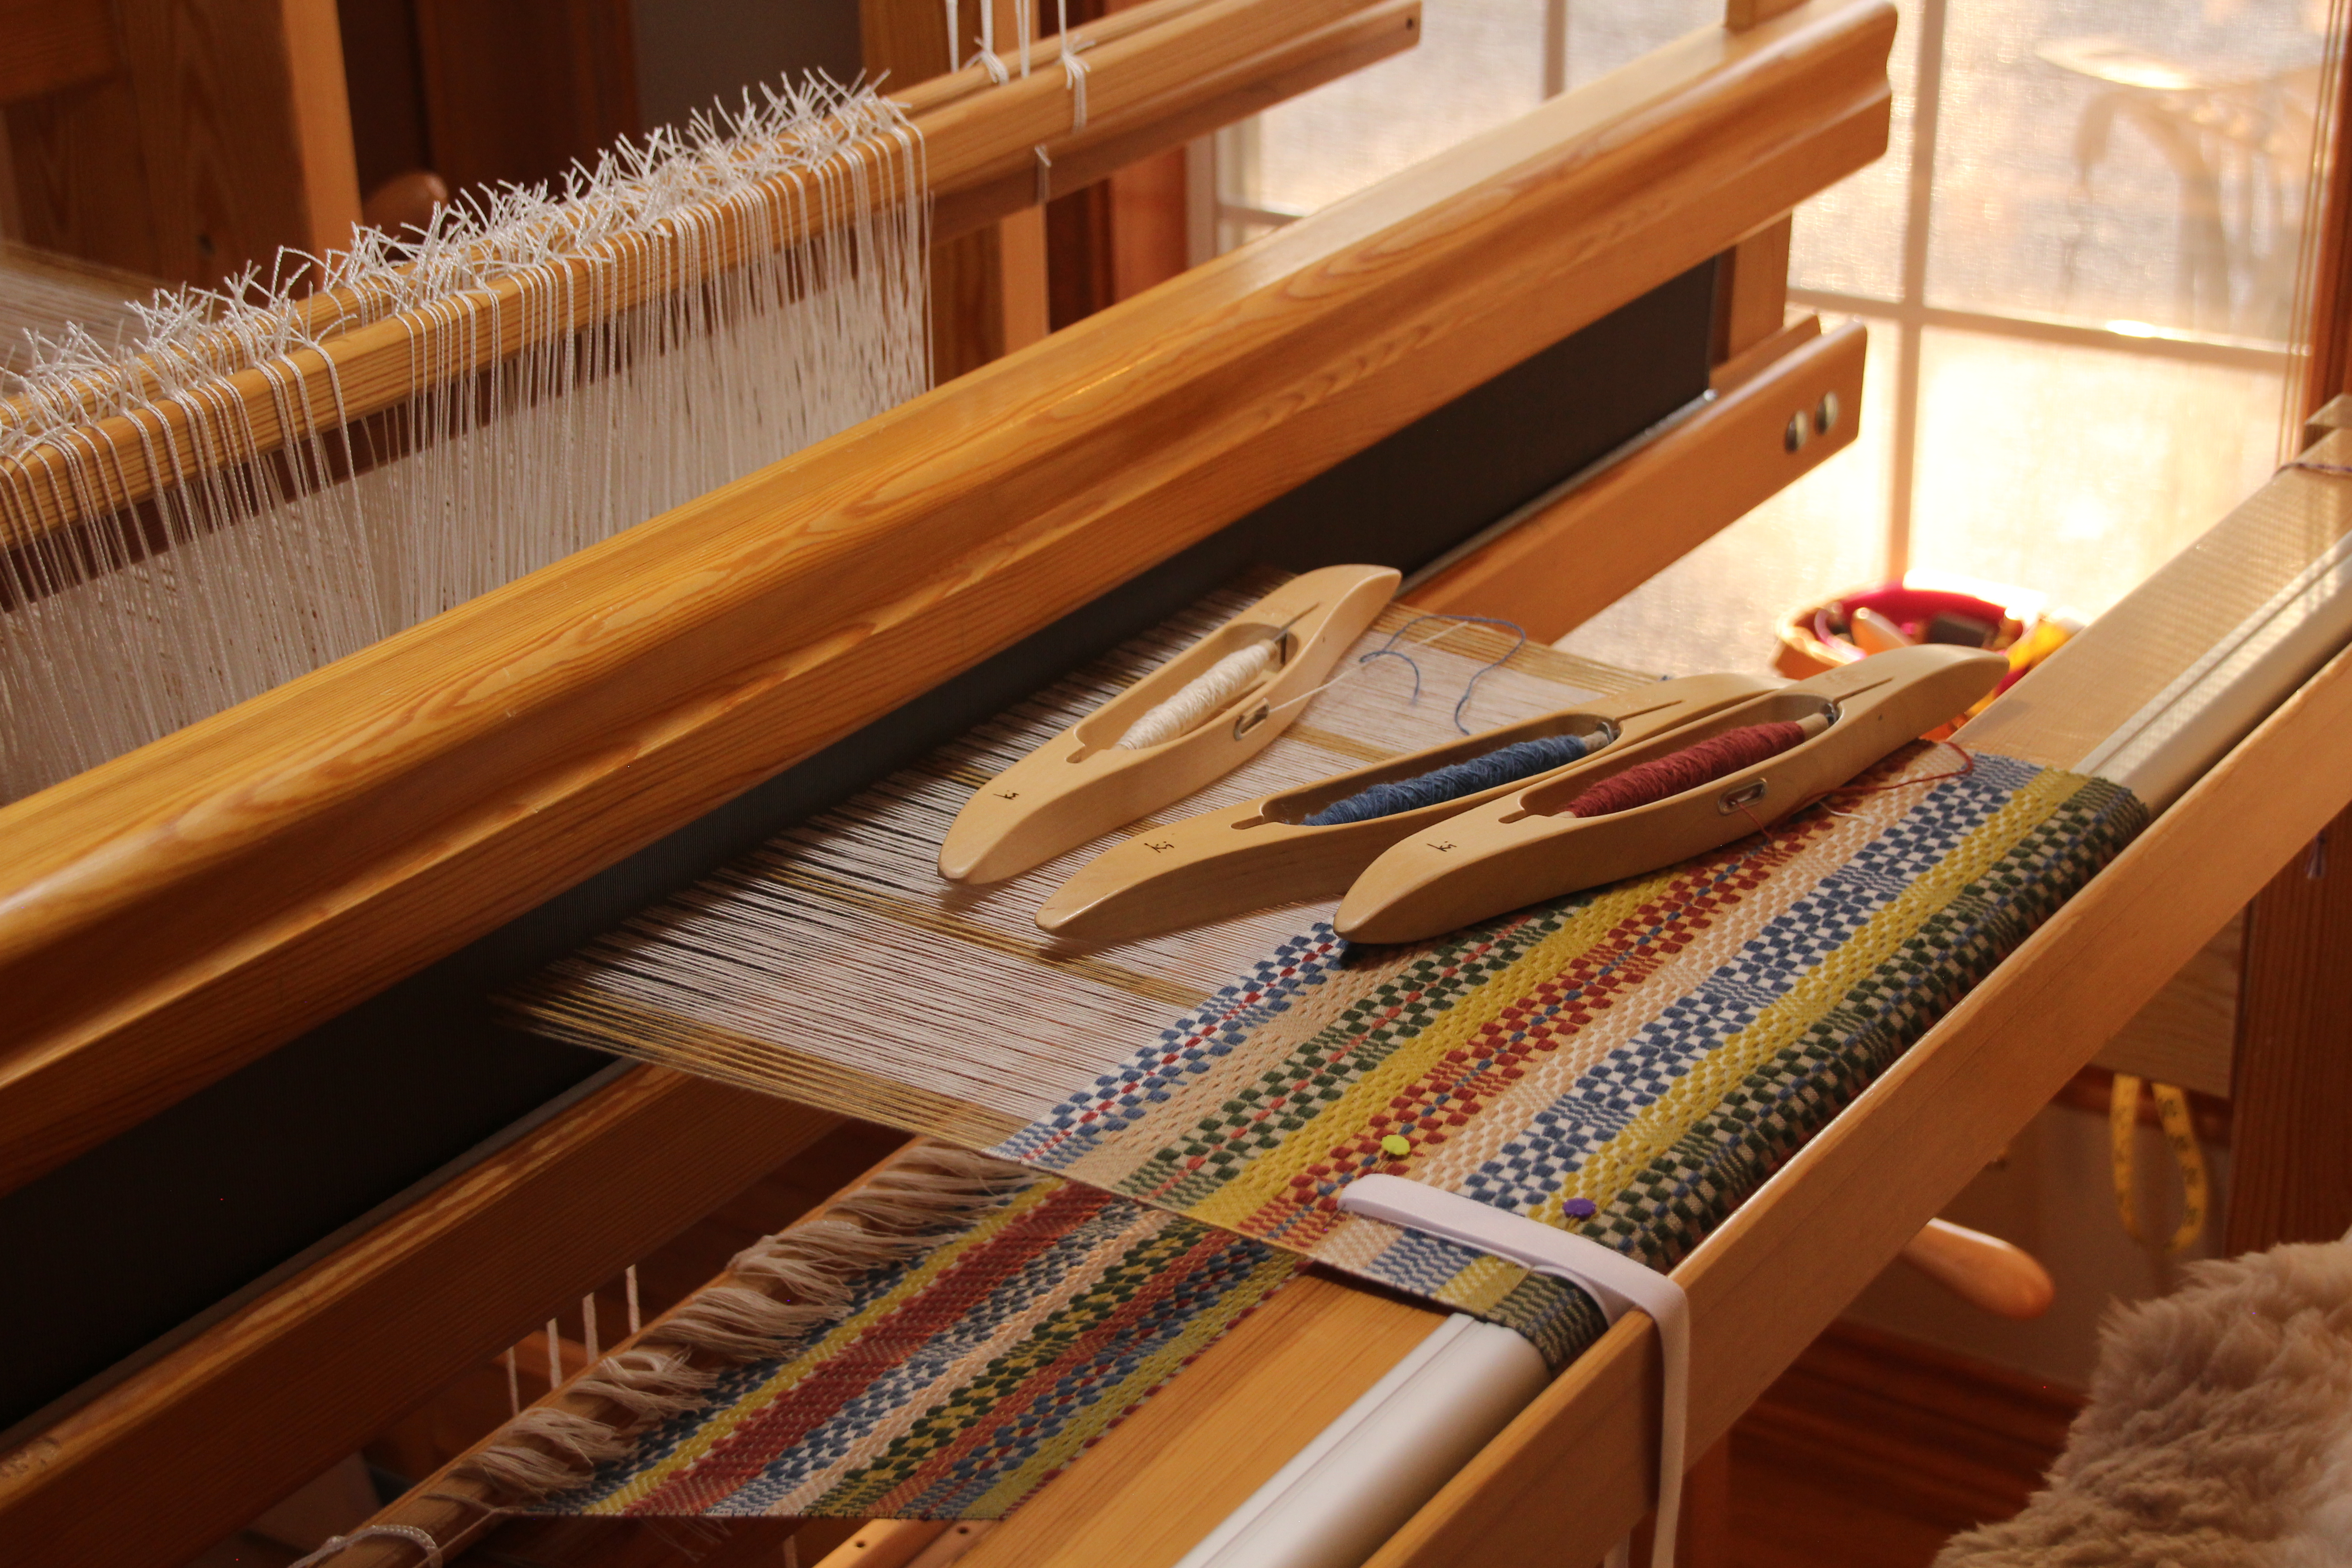
Single unitdraw cords pull up single units of threads. For the setup on this project one unit is 6 ends.Trees inside and outside.
The simple tree design is scattered across the fabric using the single unit draw system. At the start of this towel, the same tree design was woven on the side borders using the pattern shafts. With this combination drawloom I combine single units and pattern shafts to work in complex harmony, as an expression of my creativity.
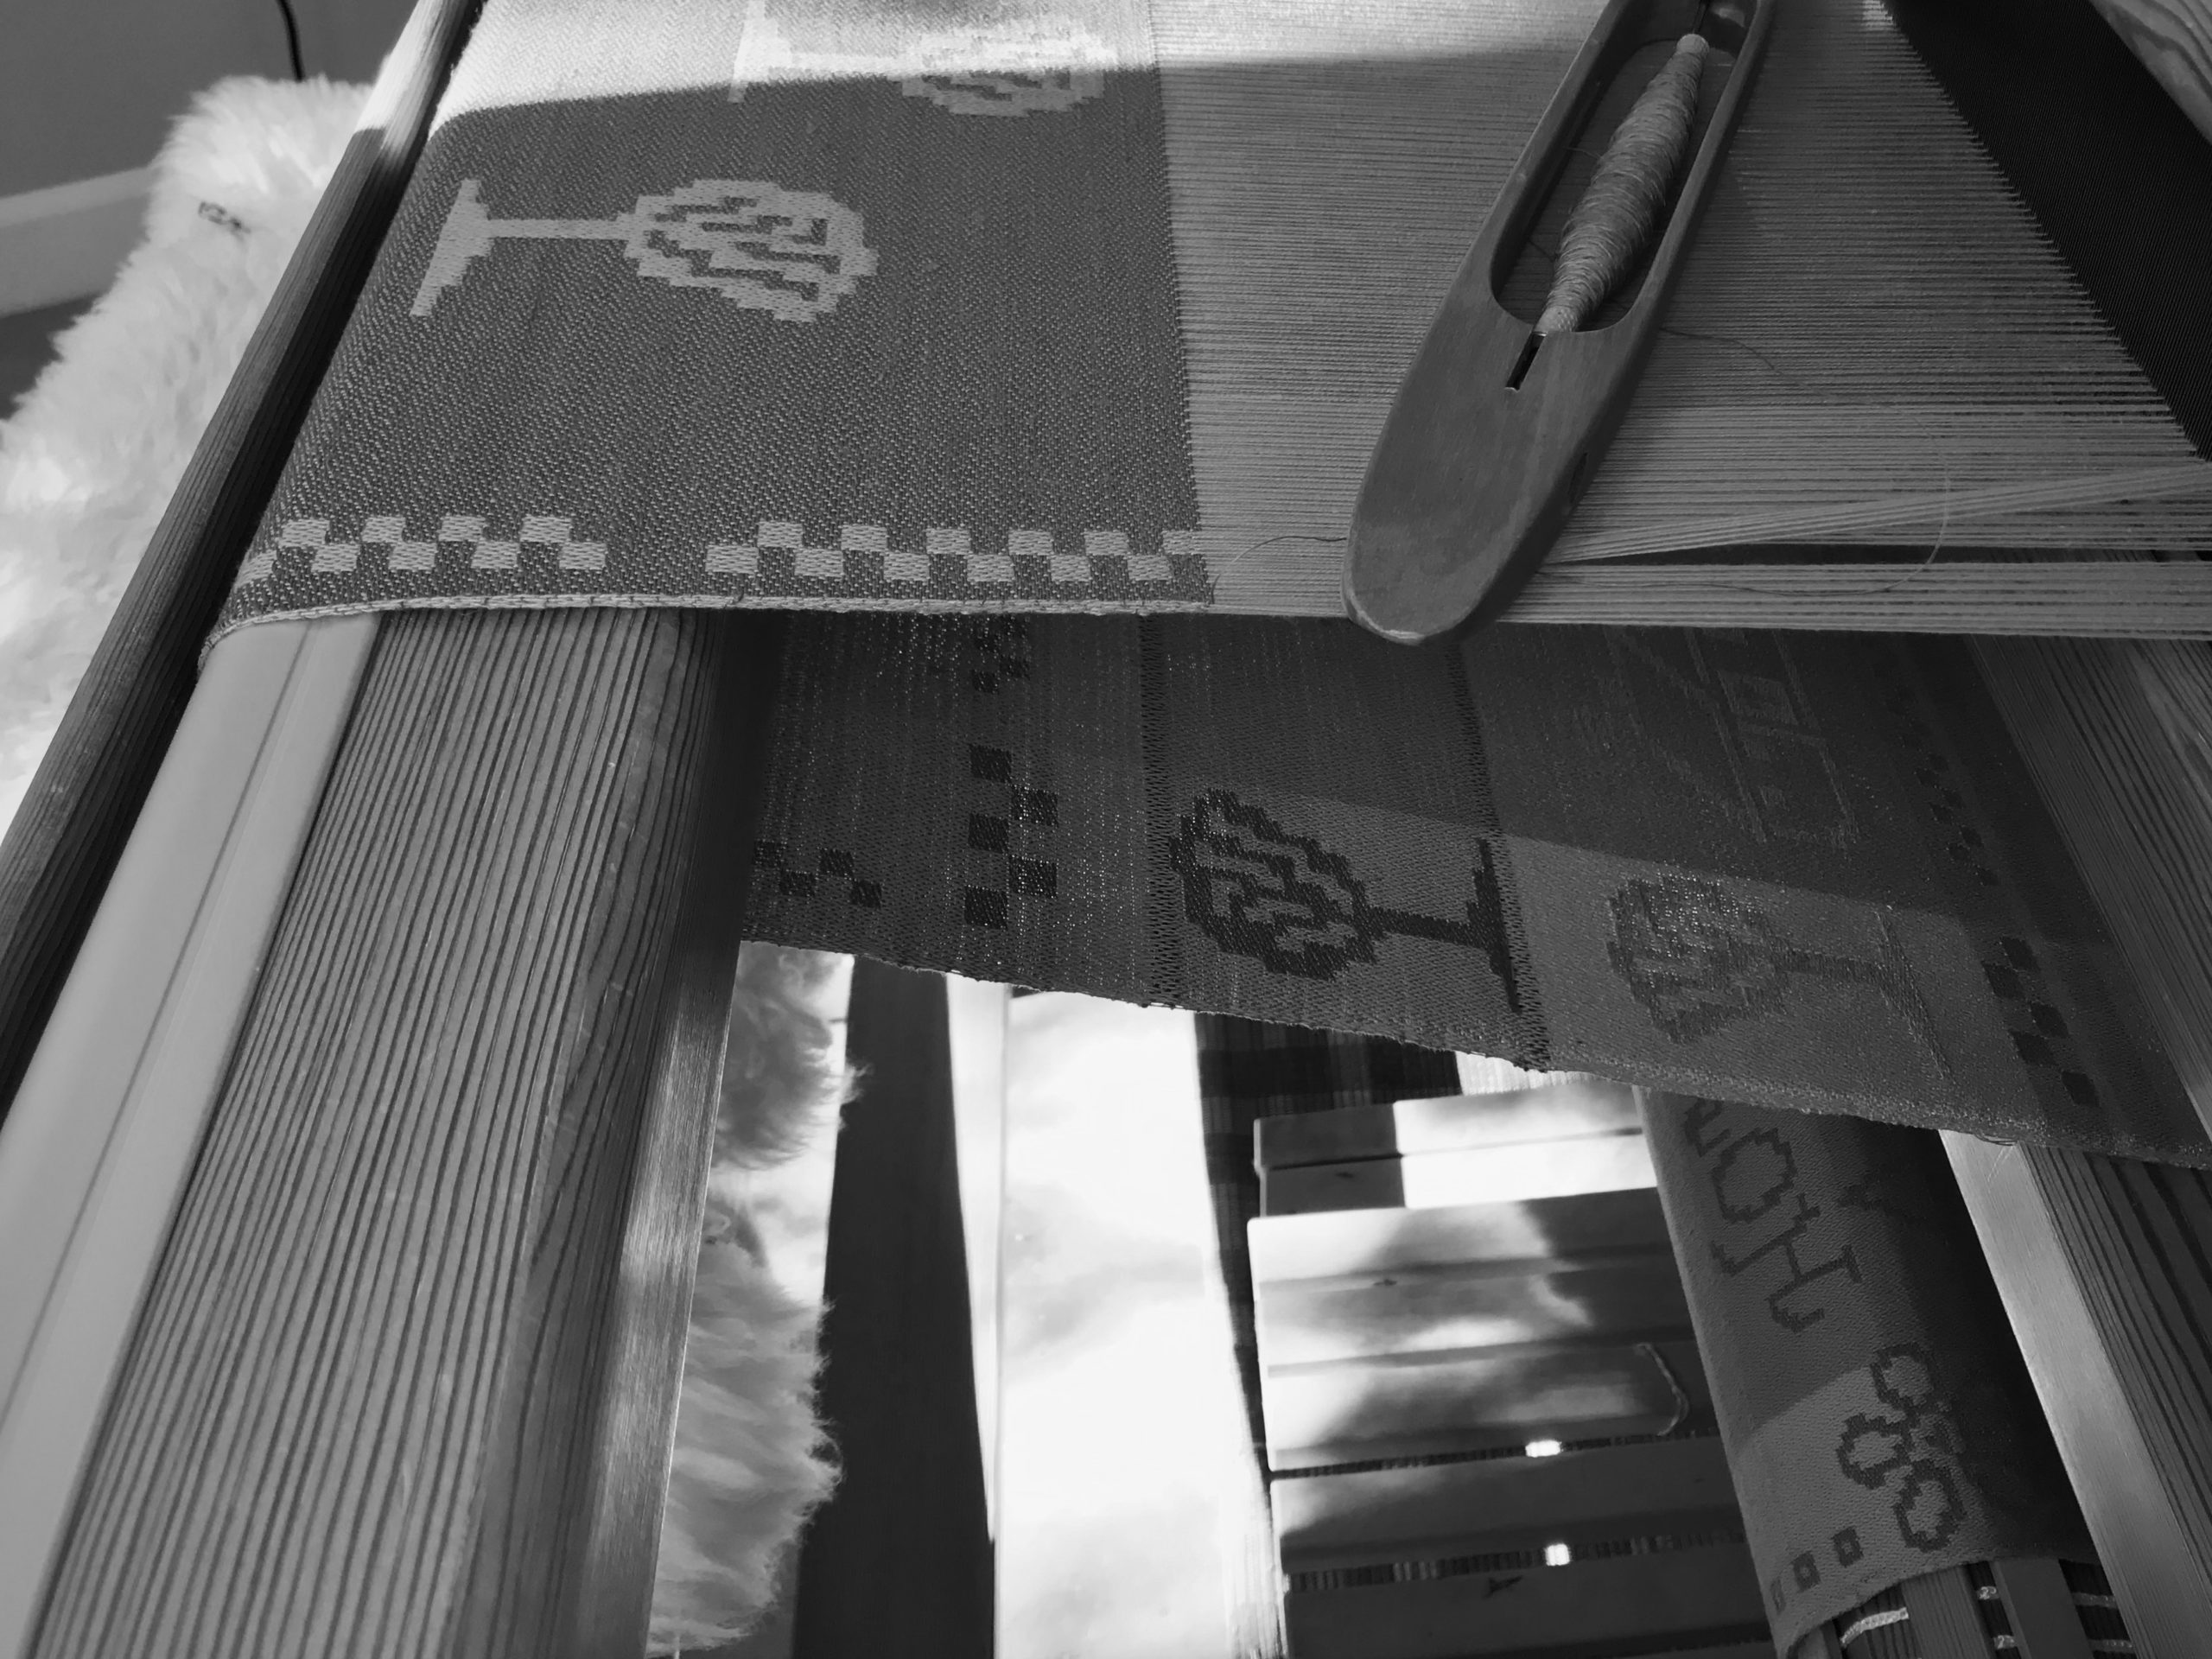
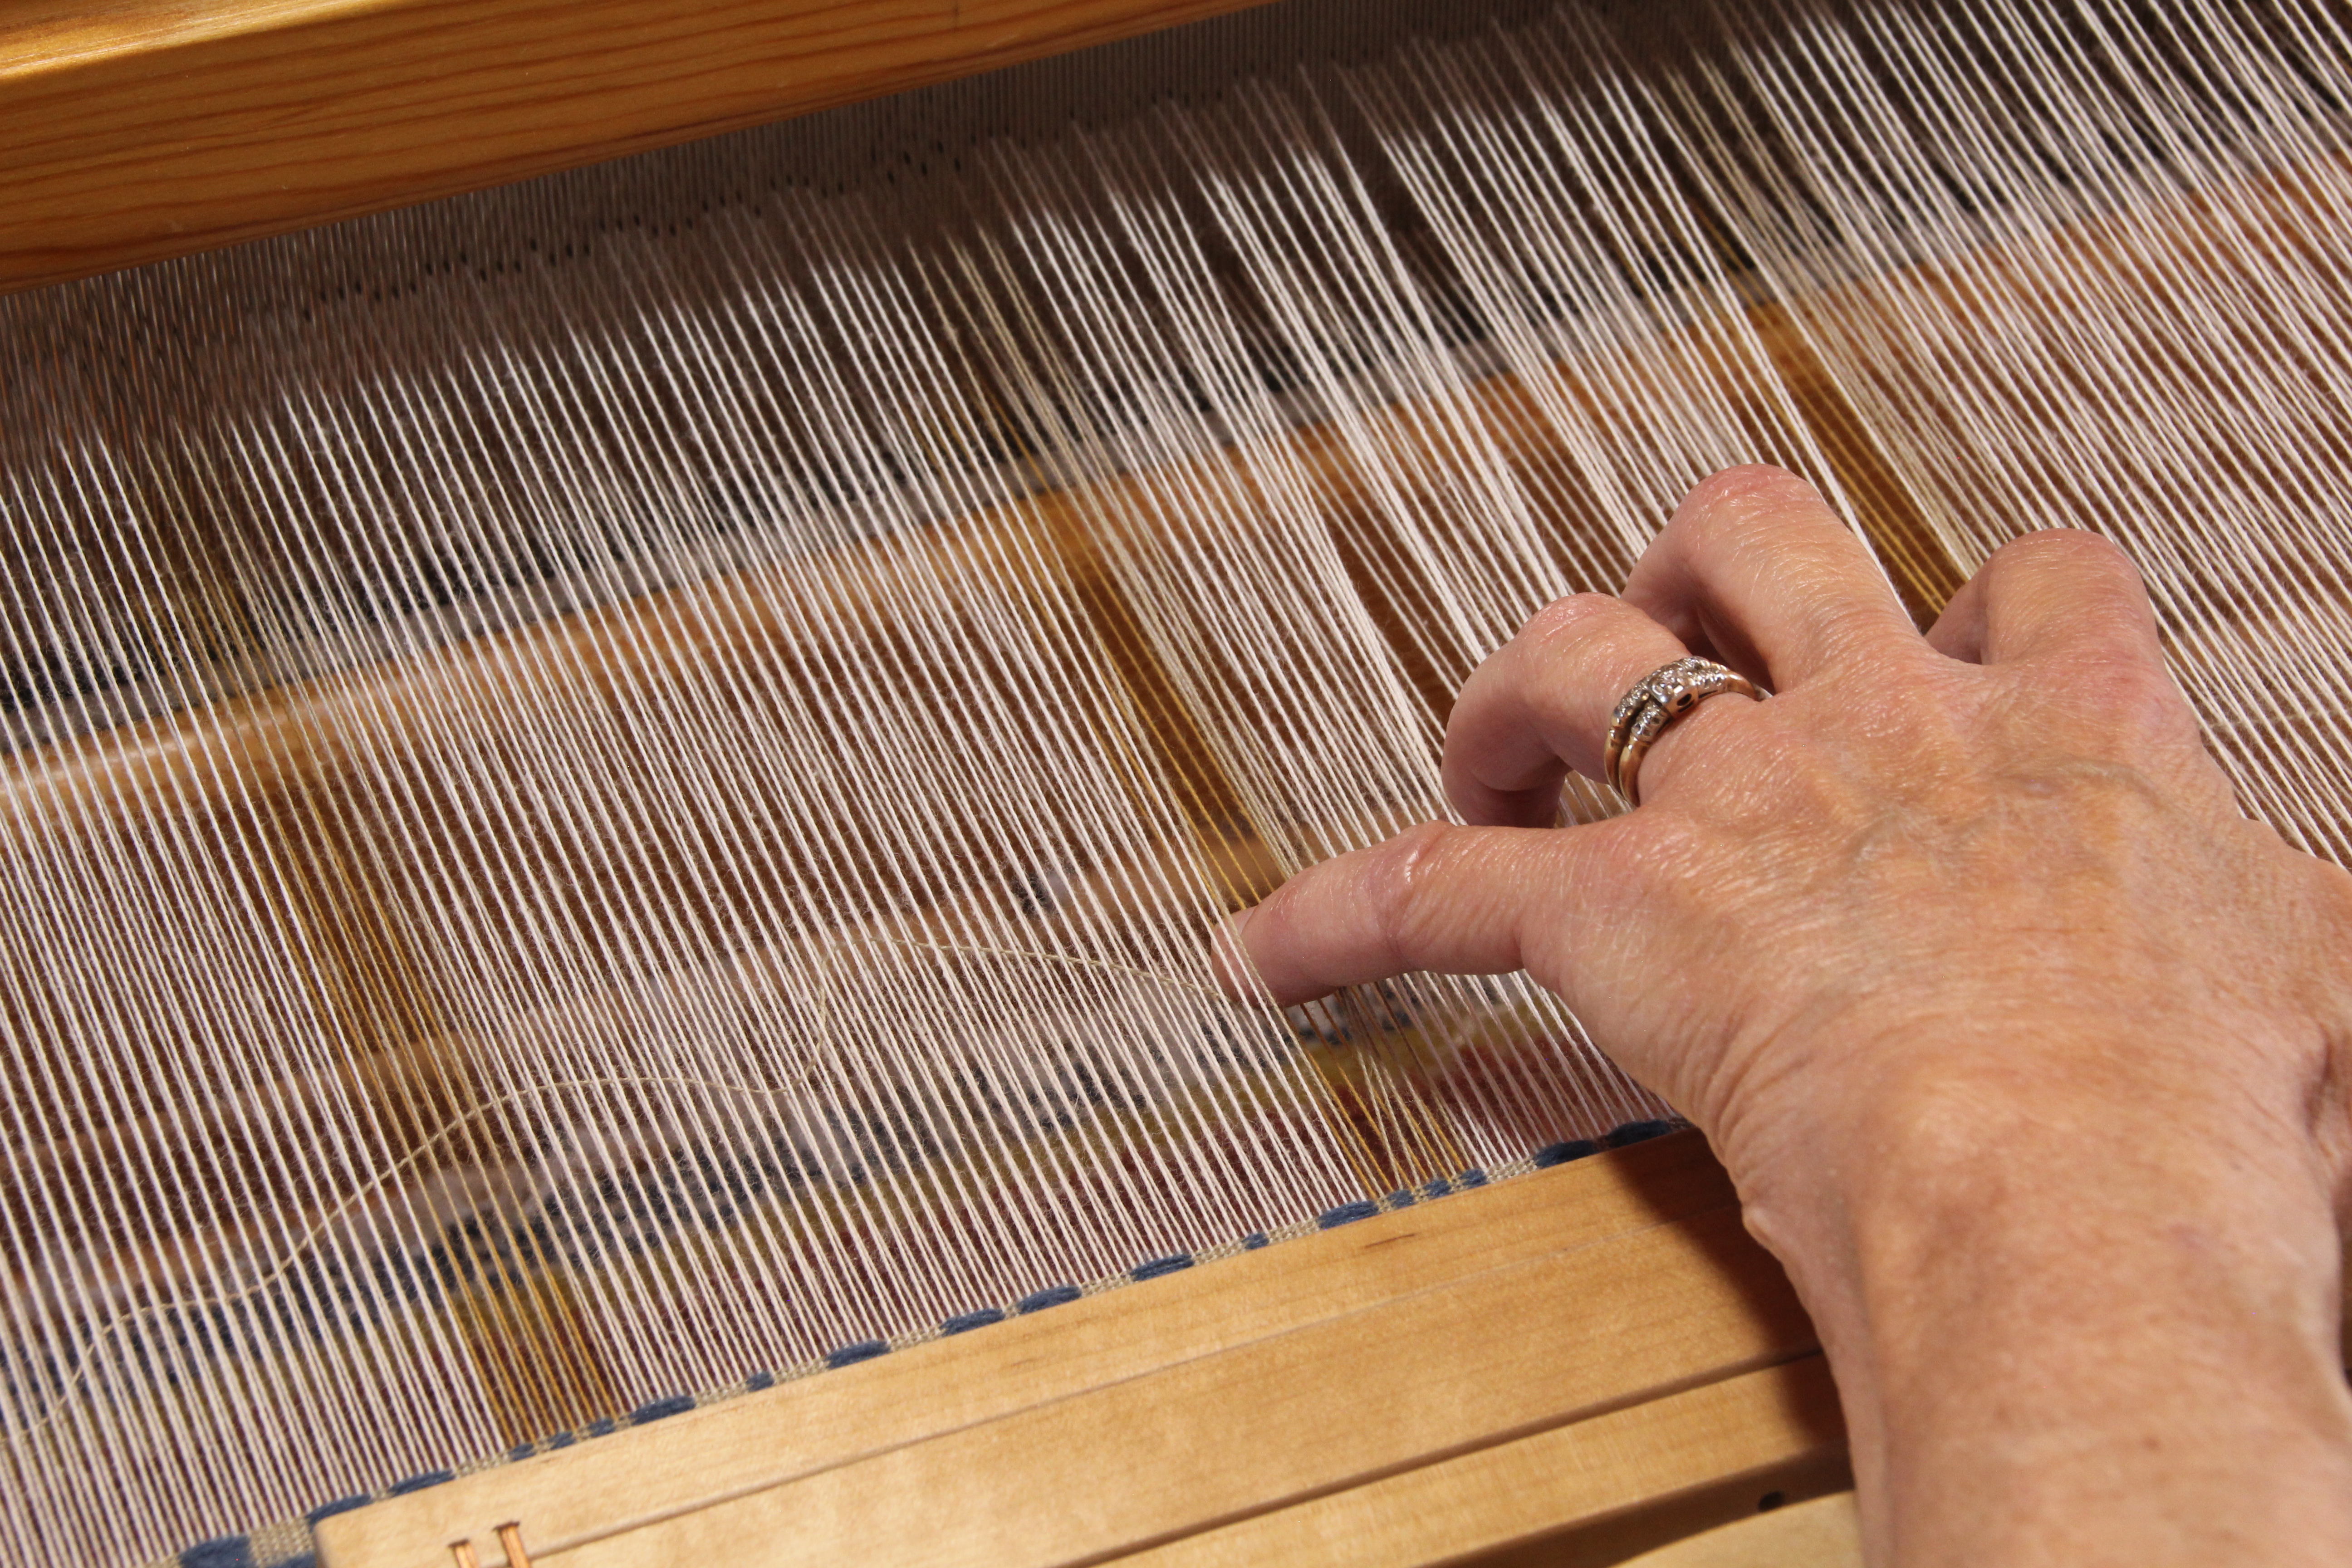
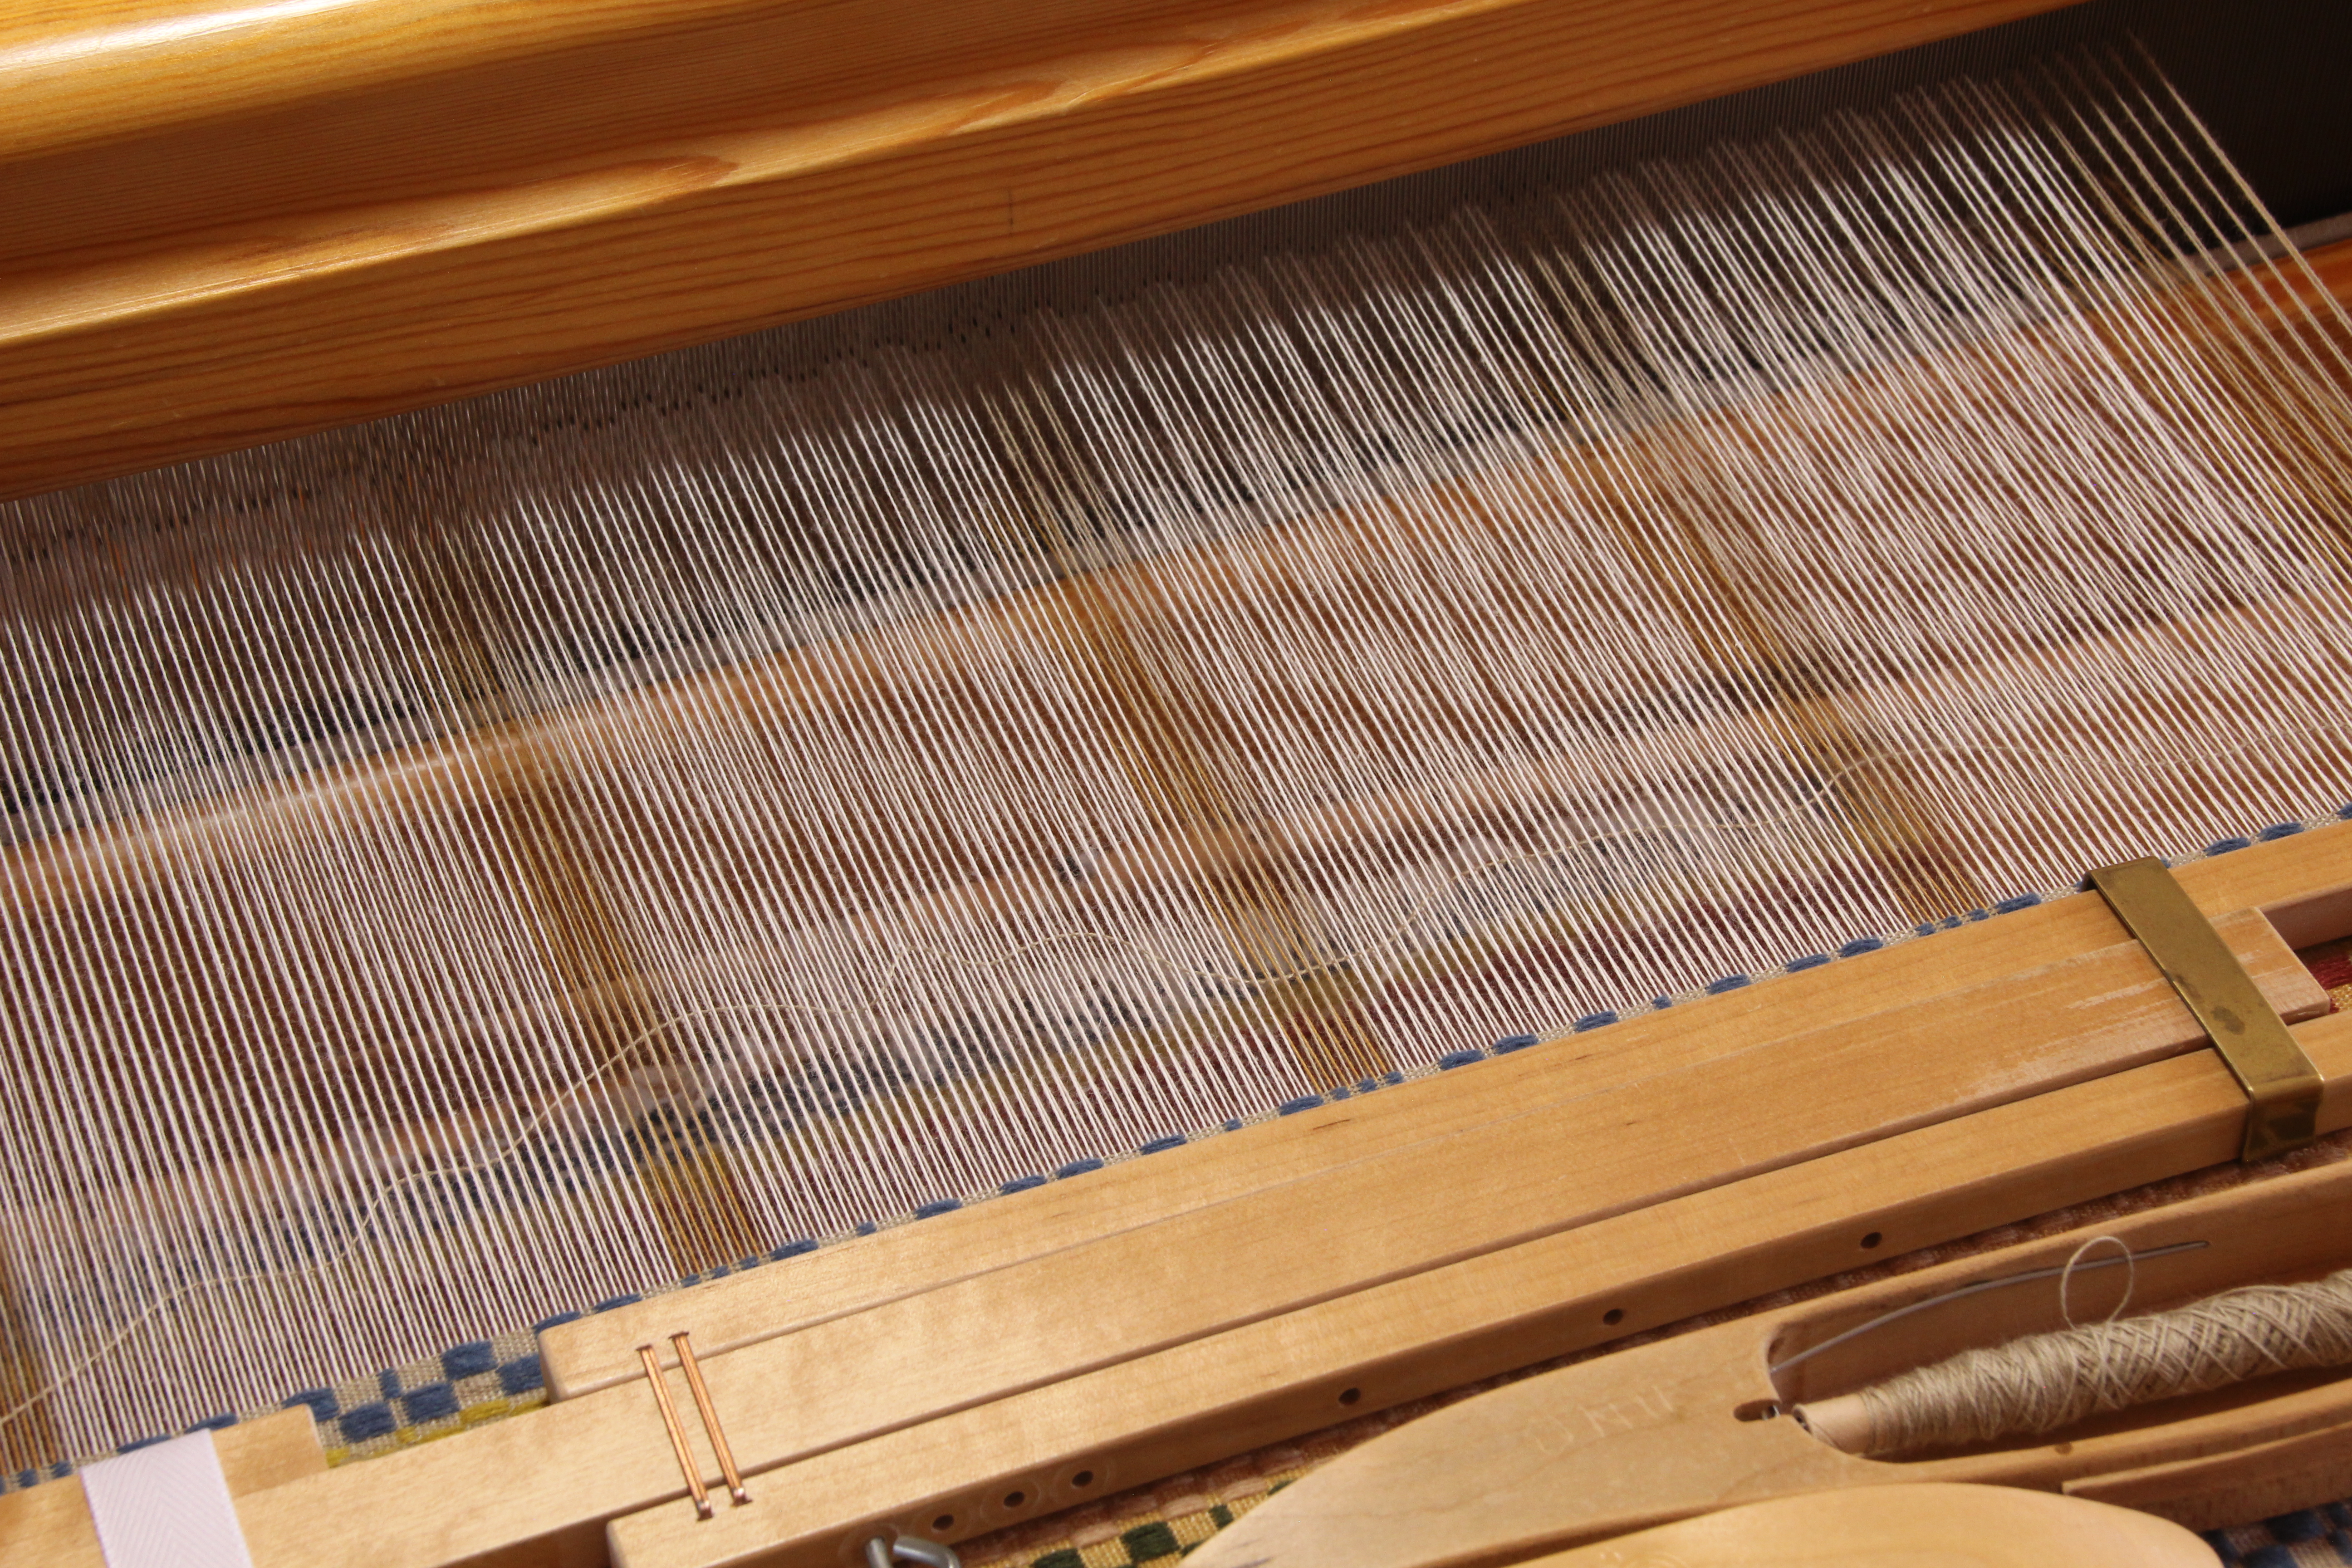
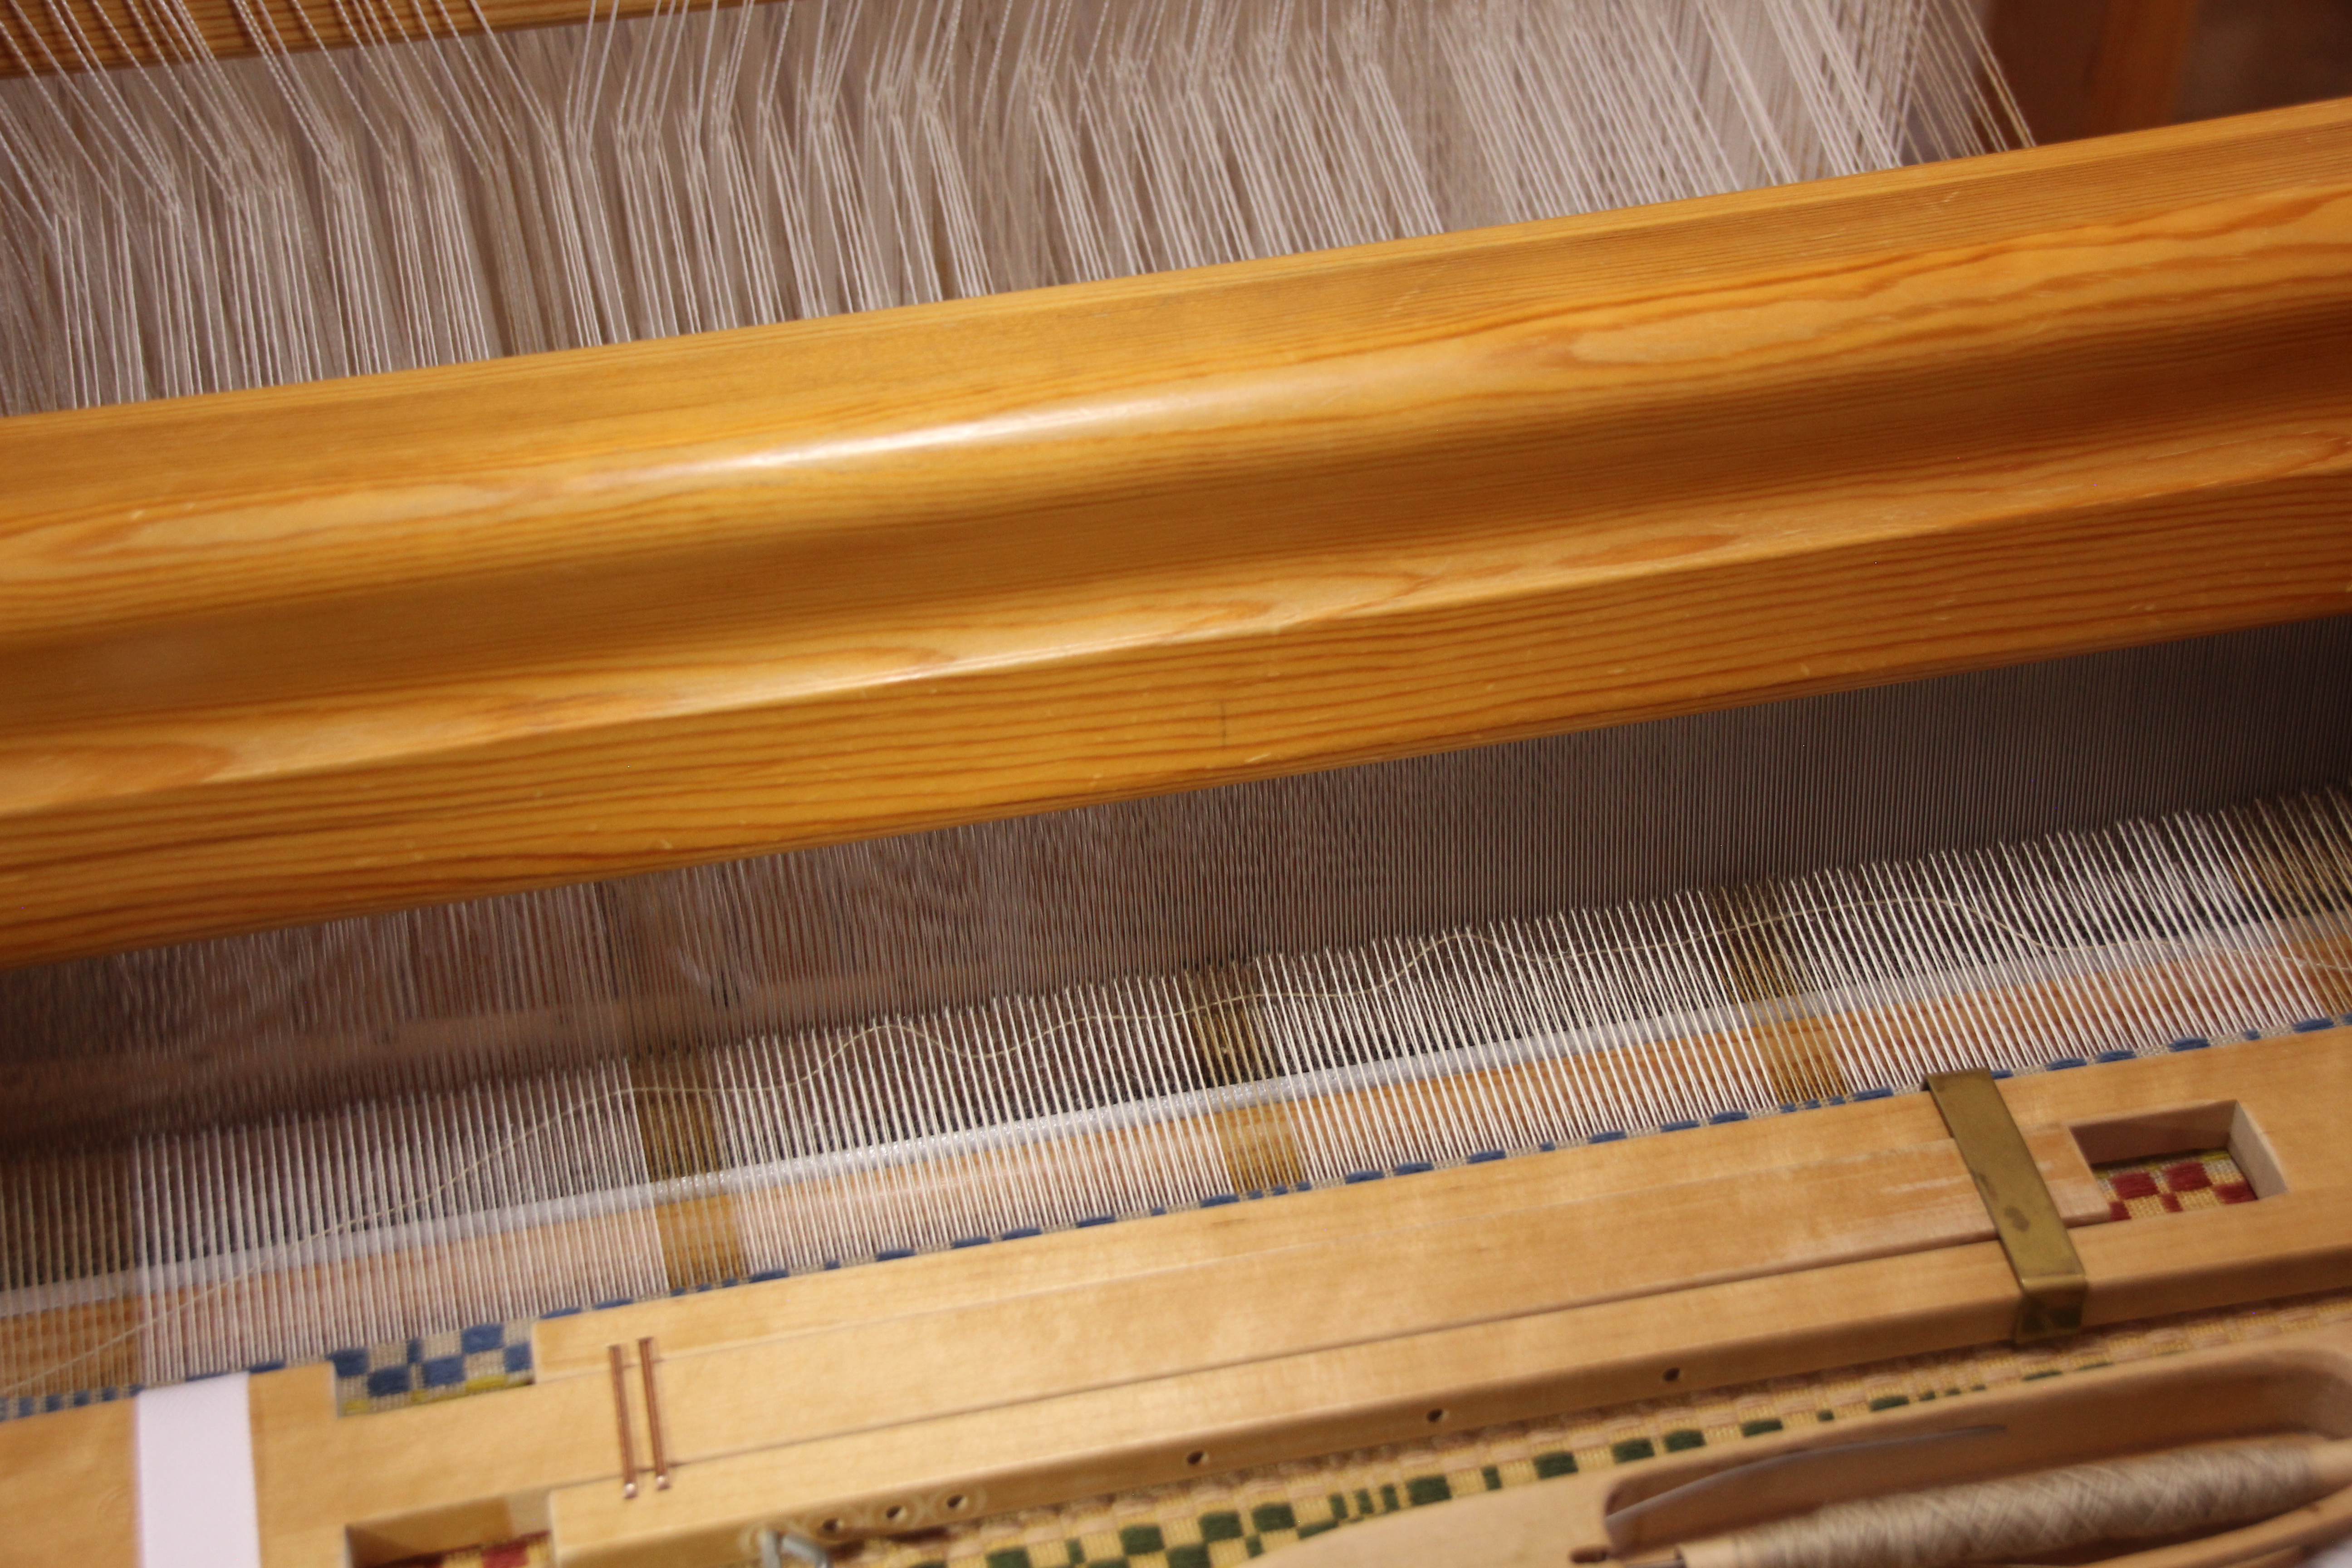
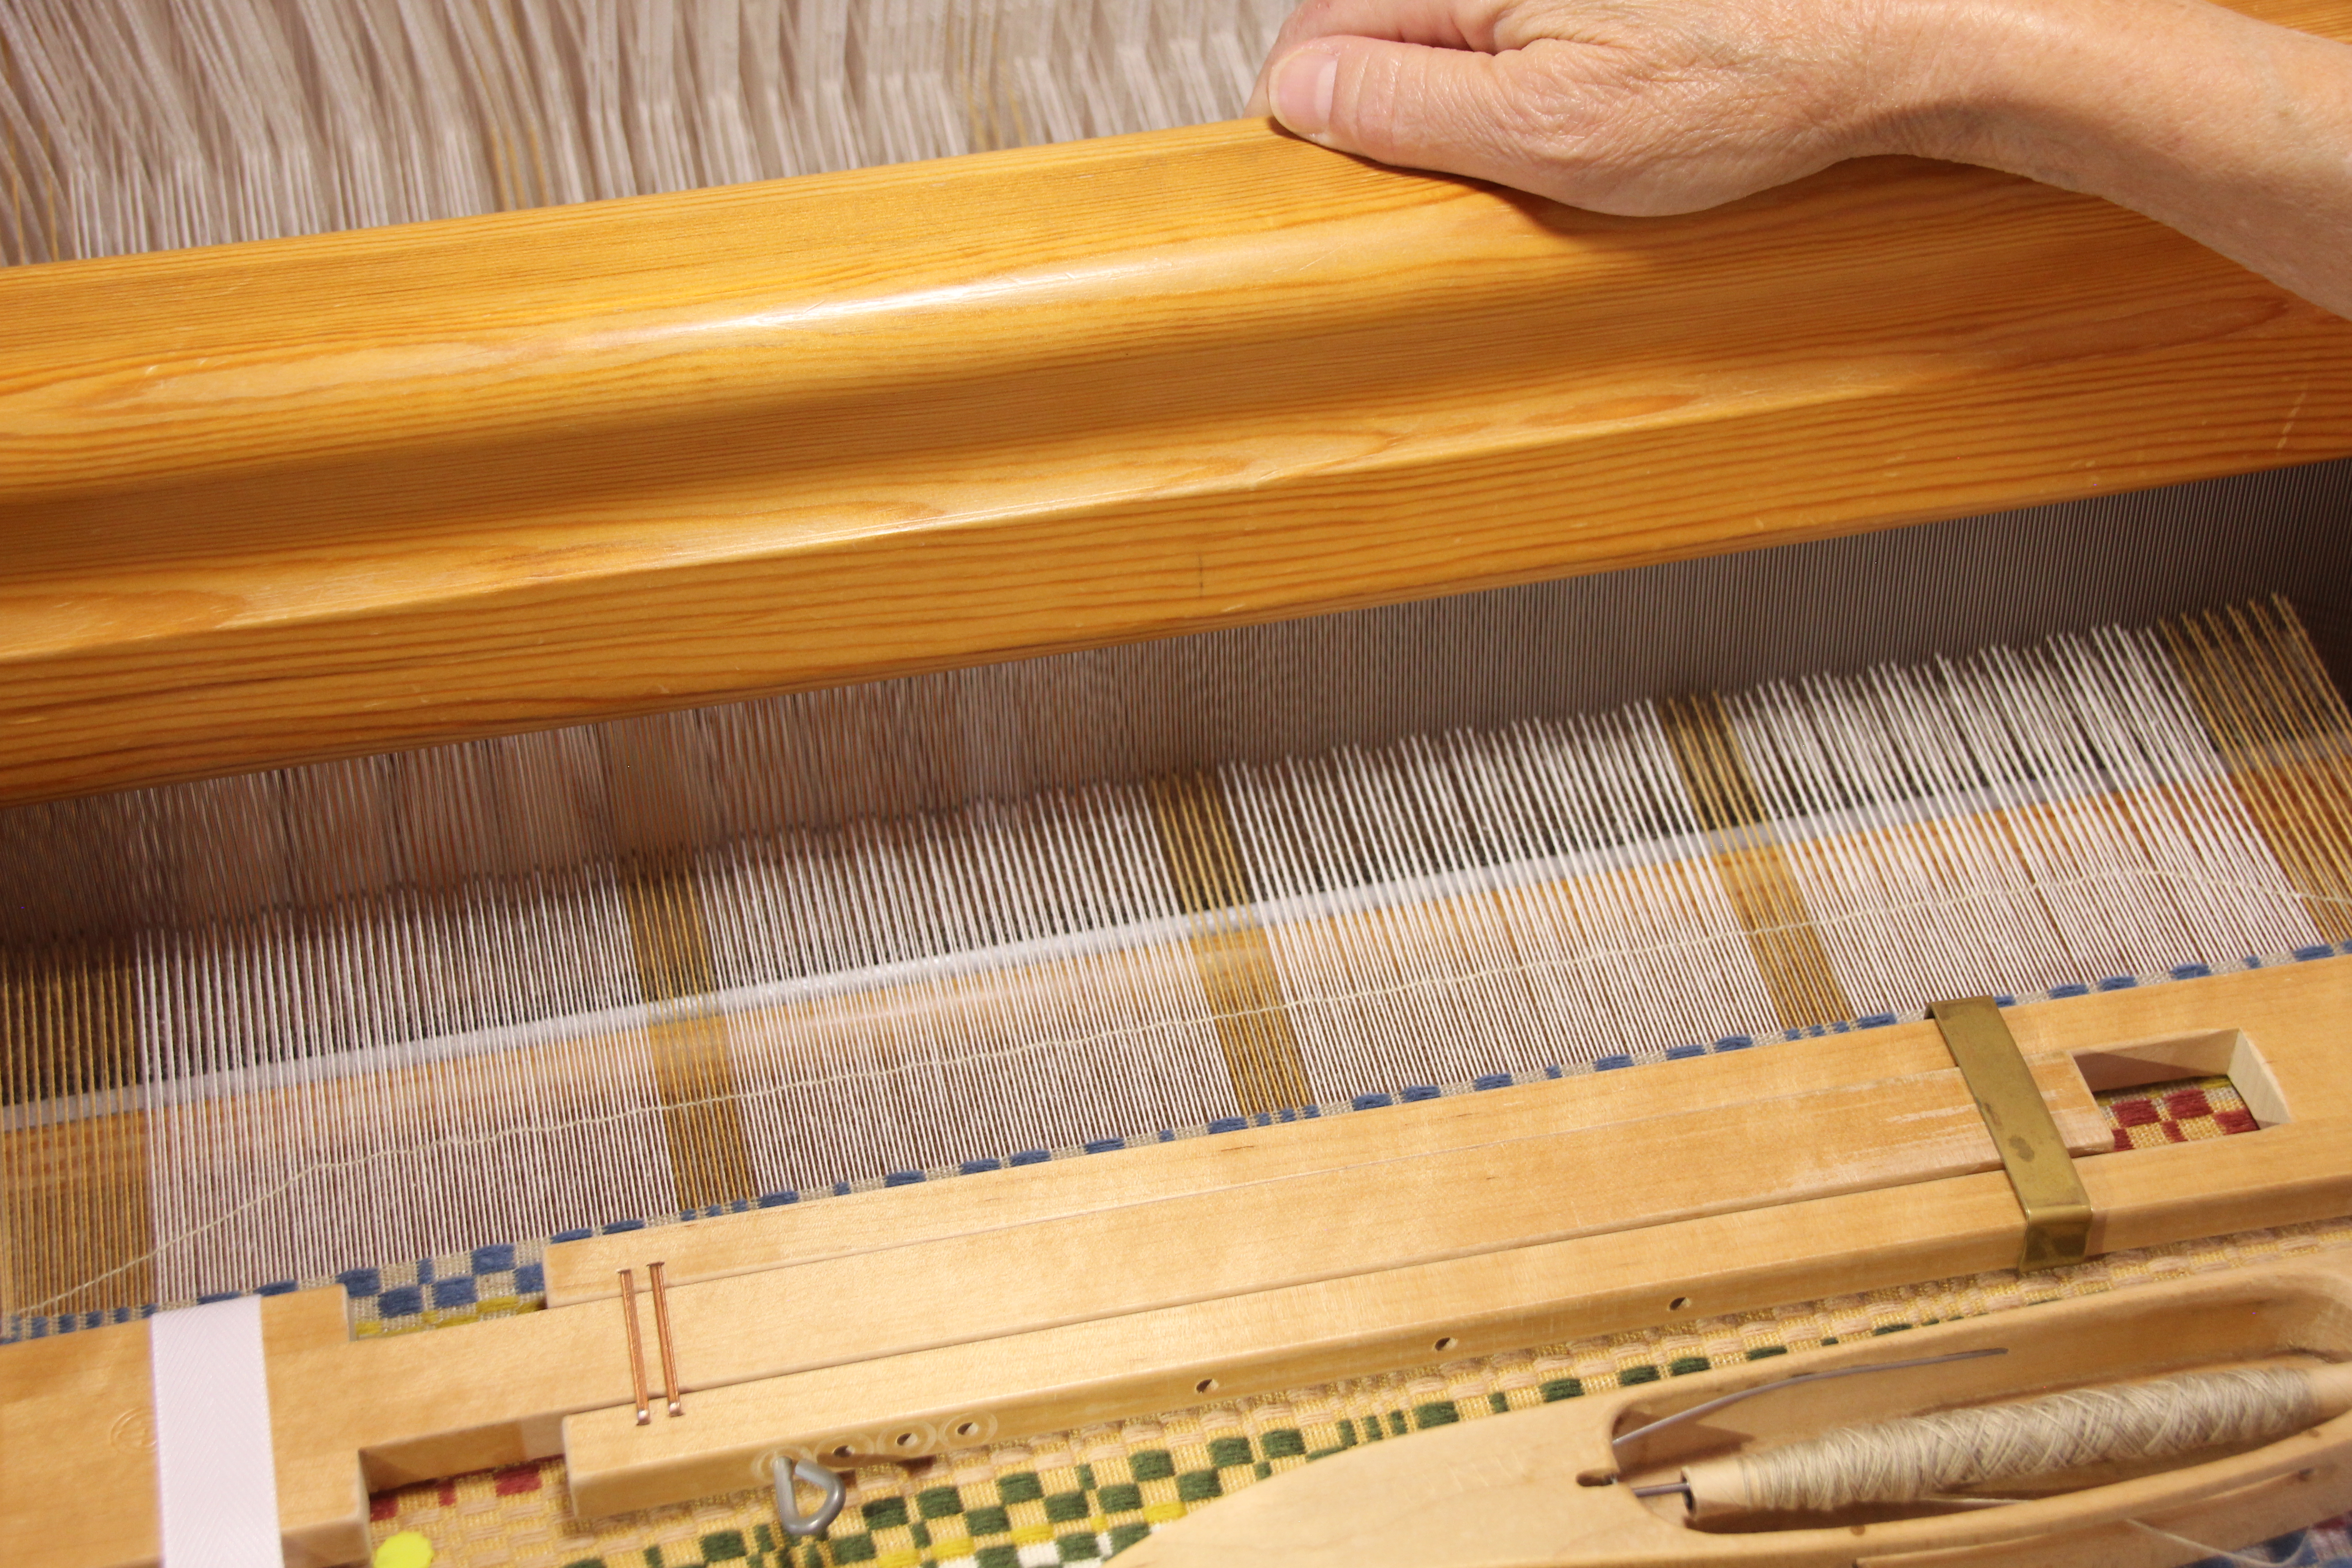
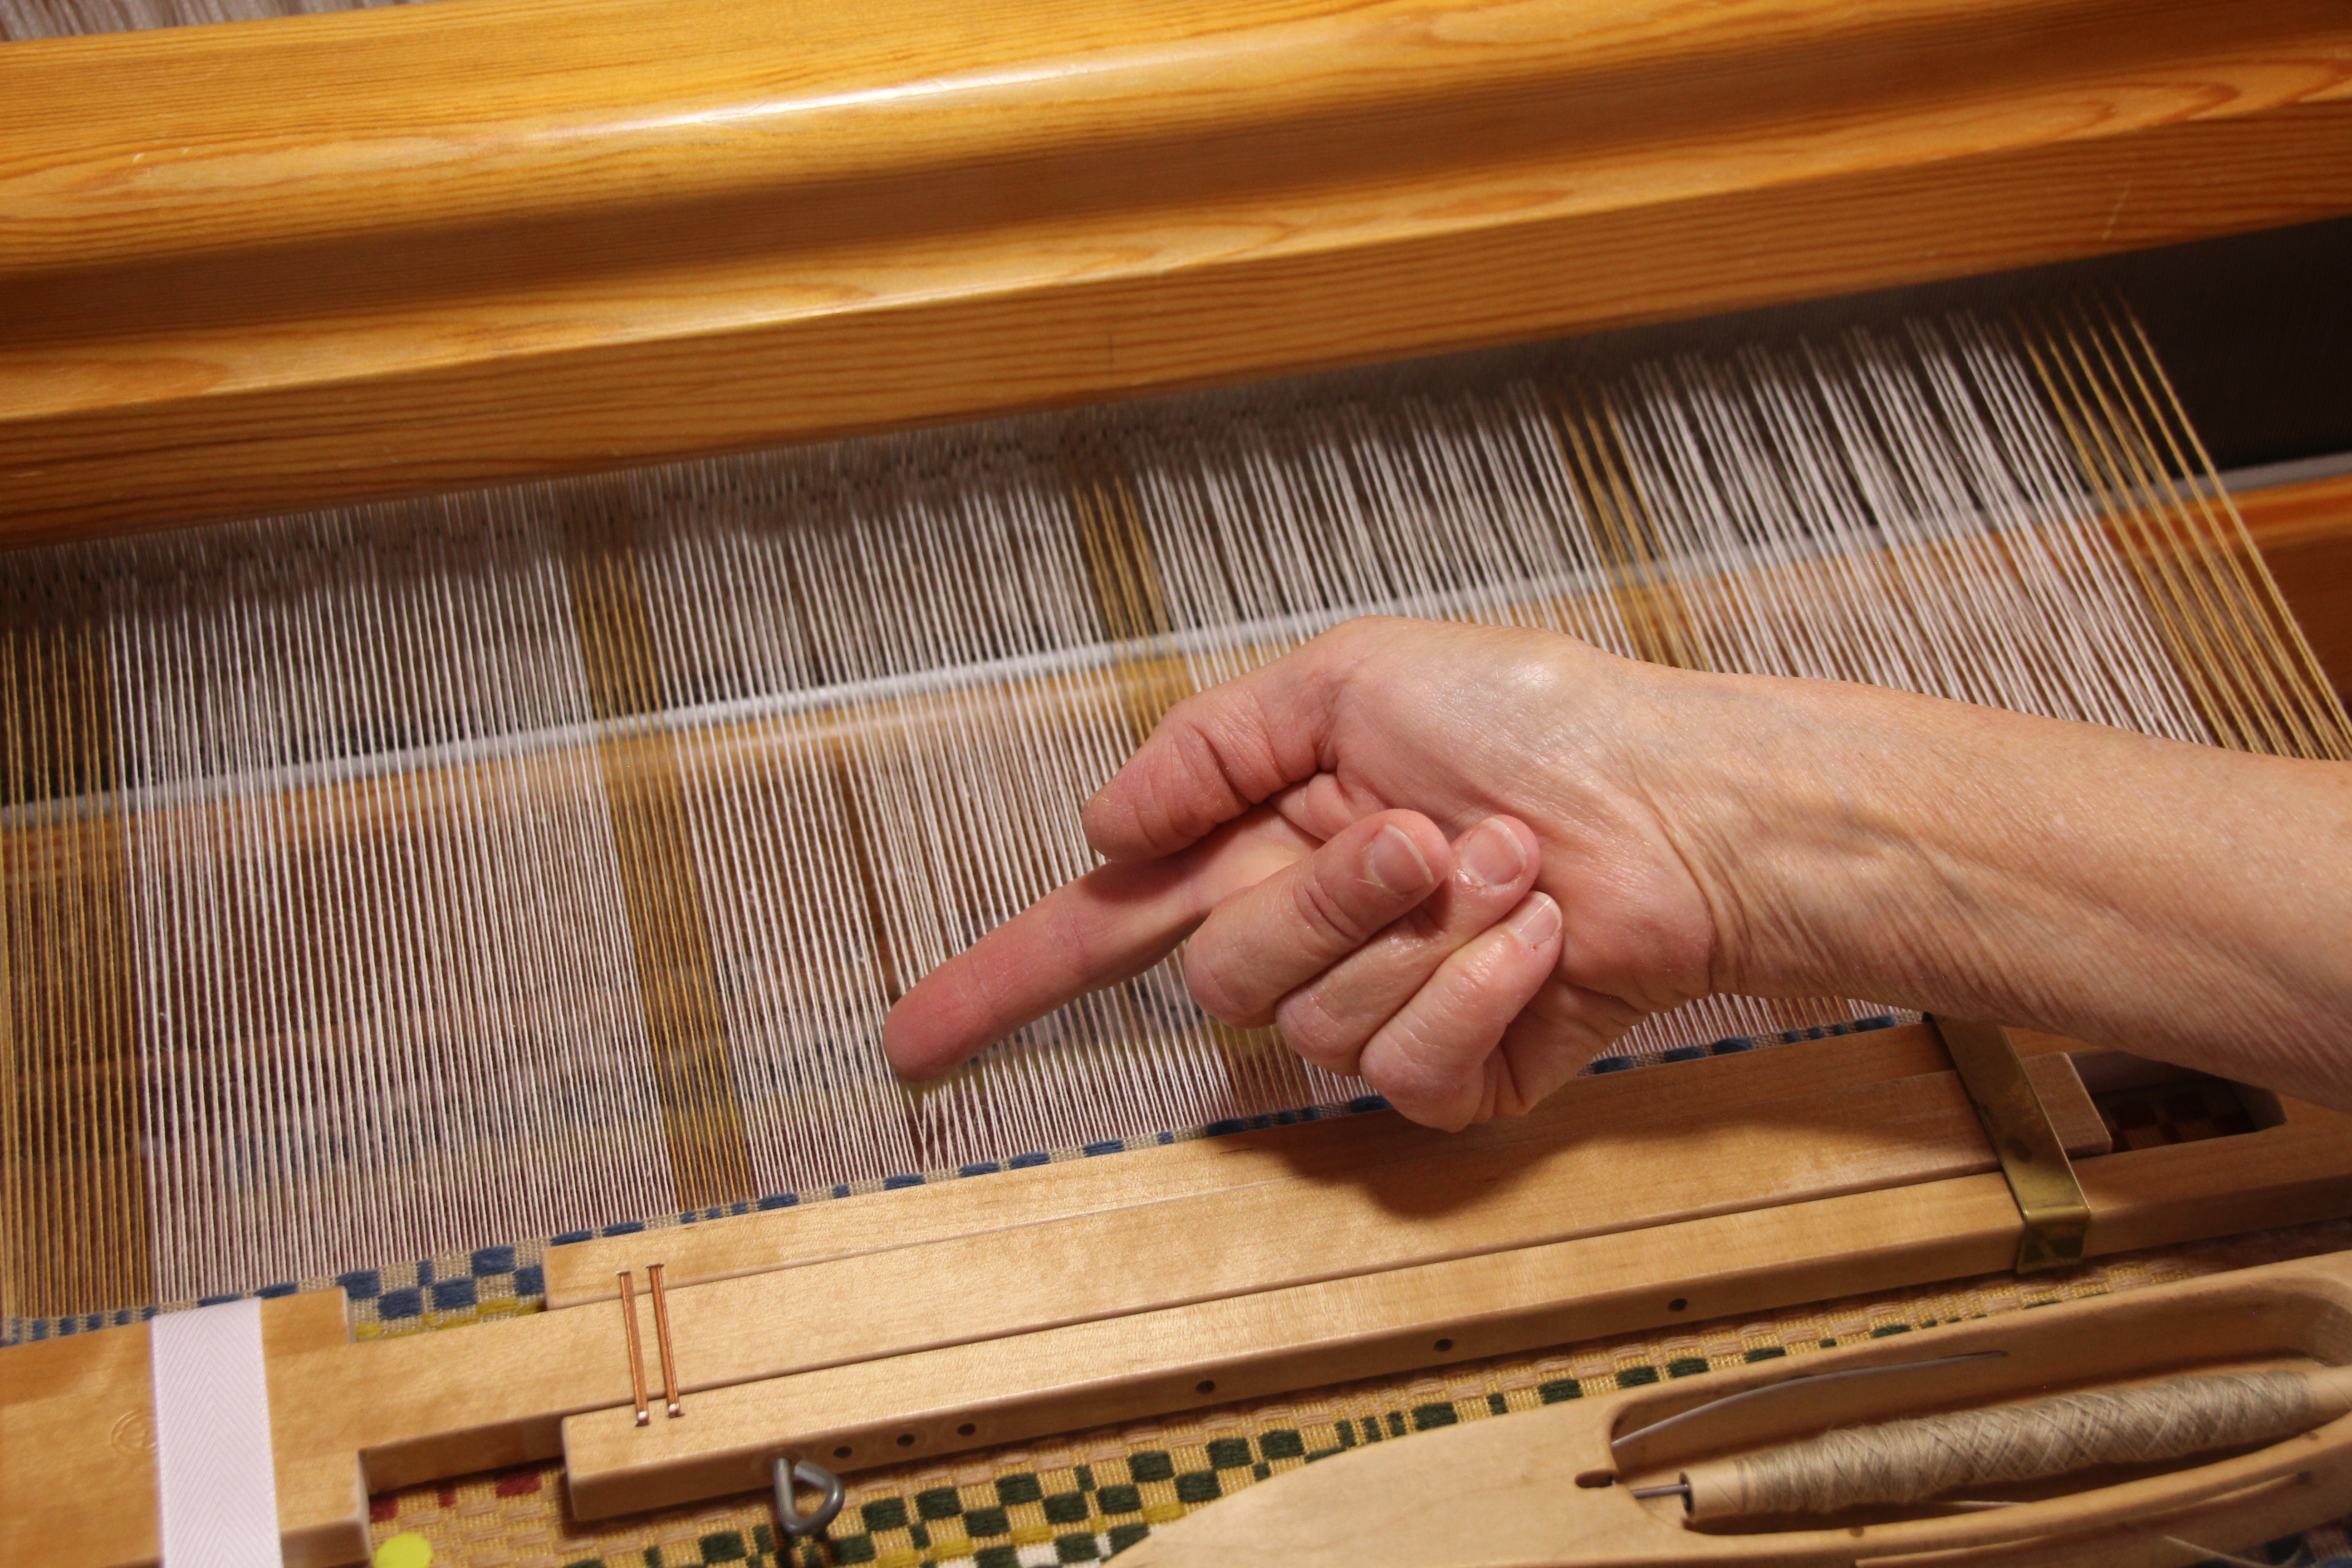
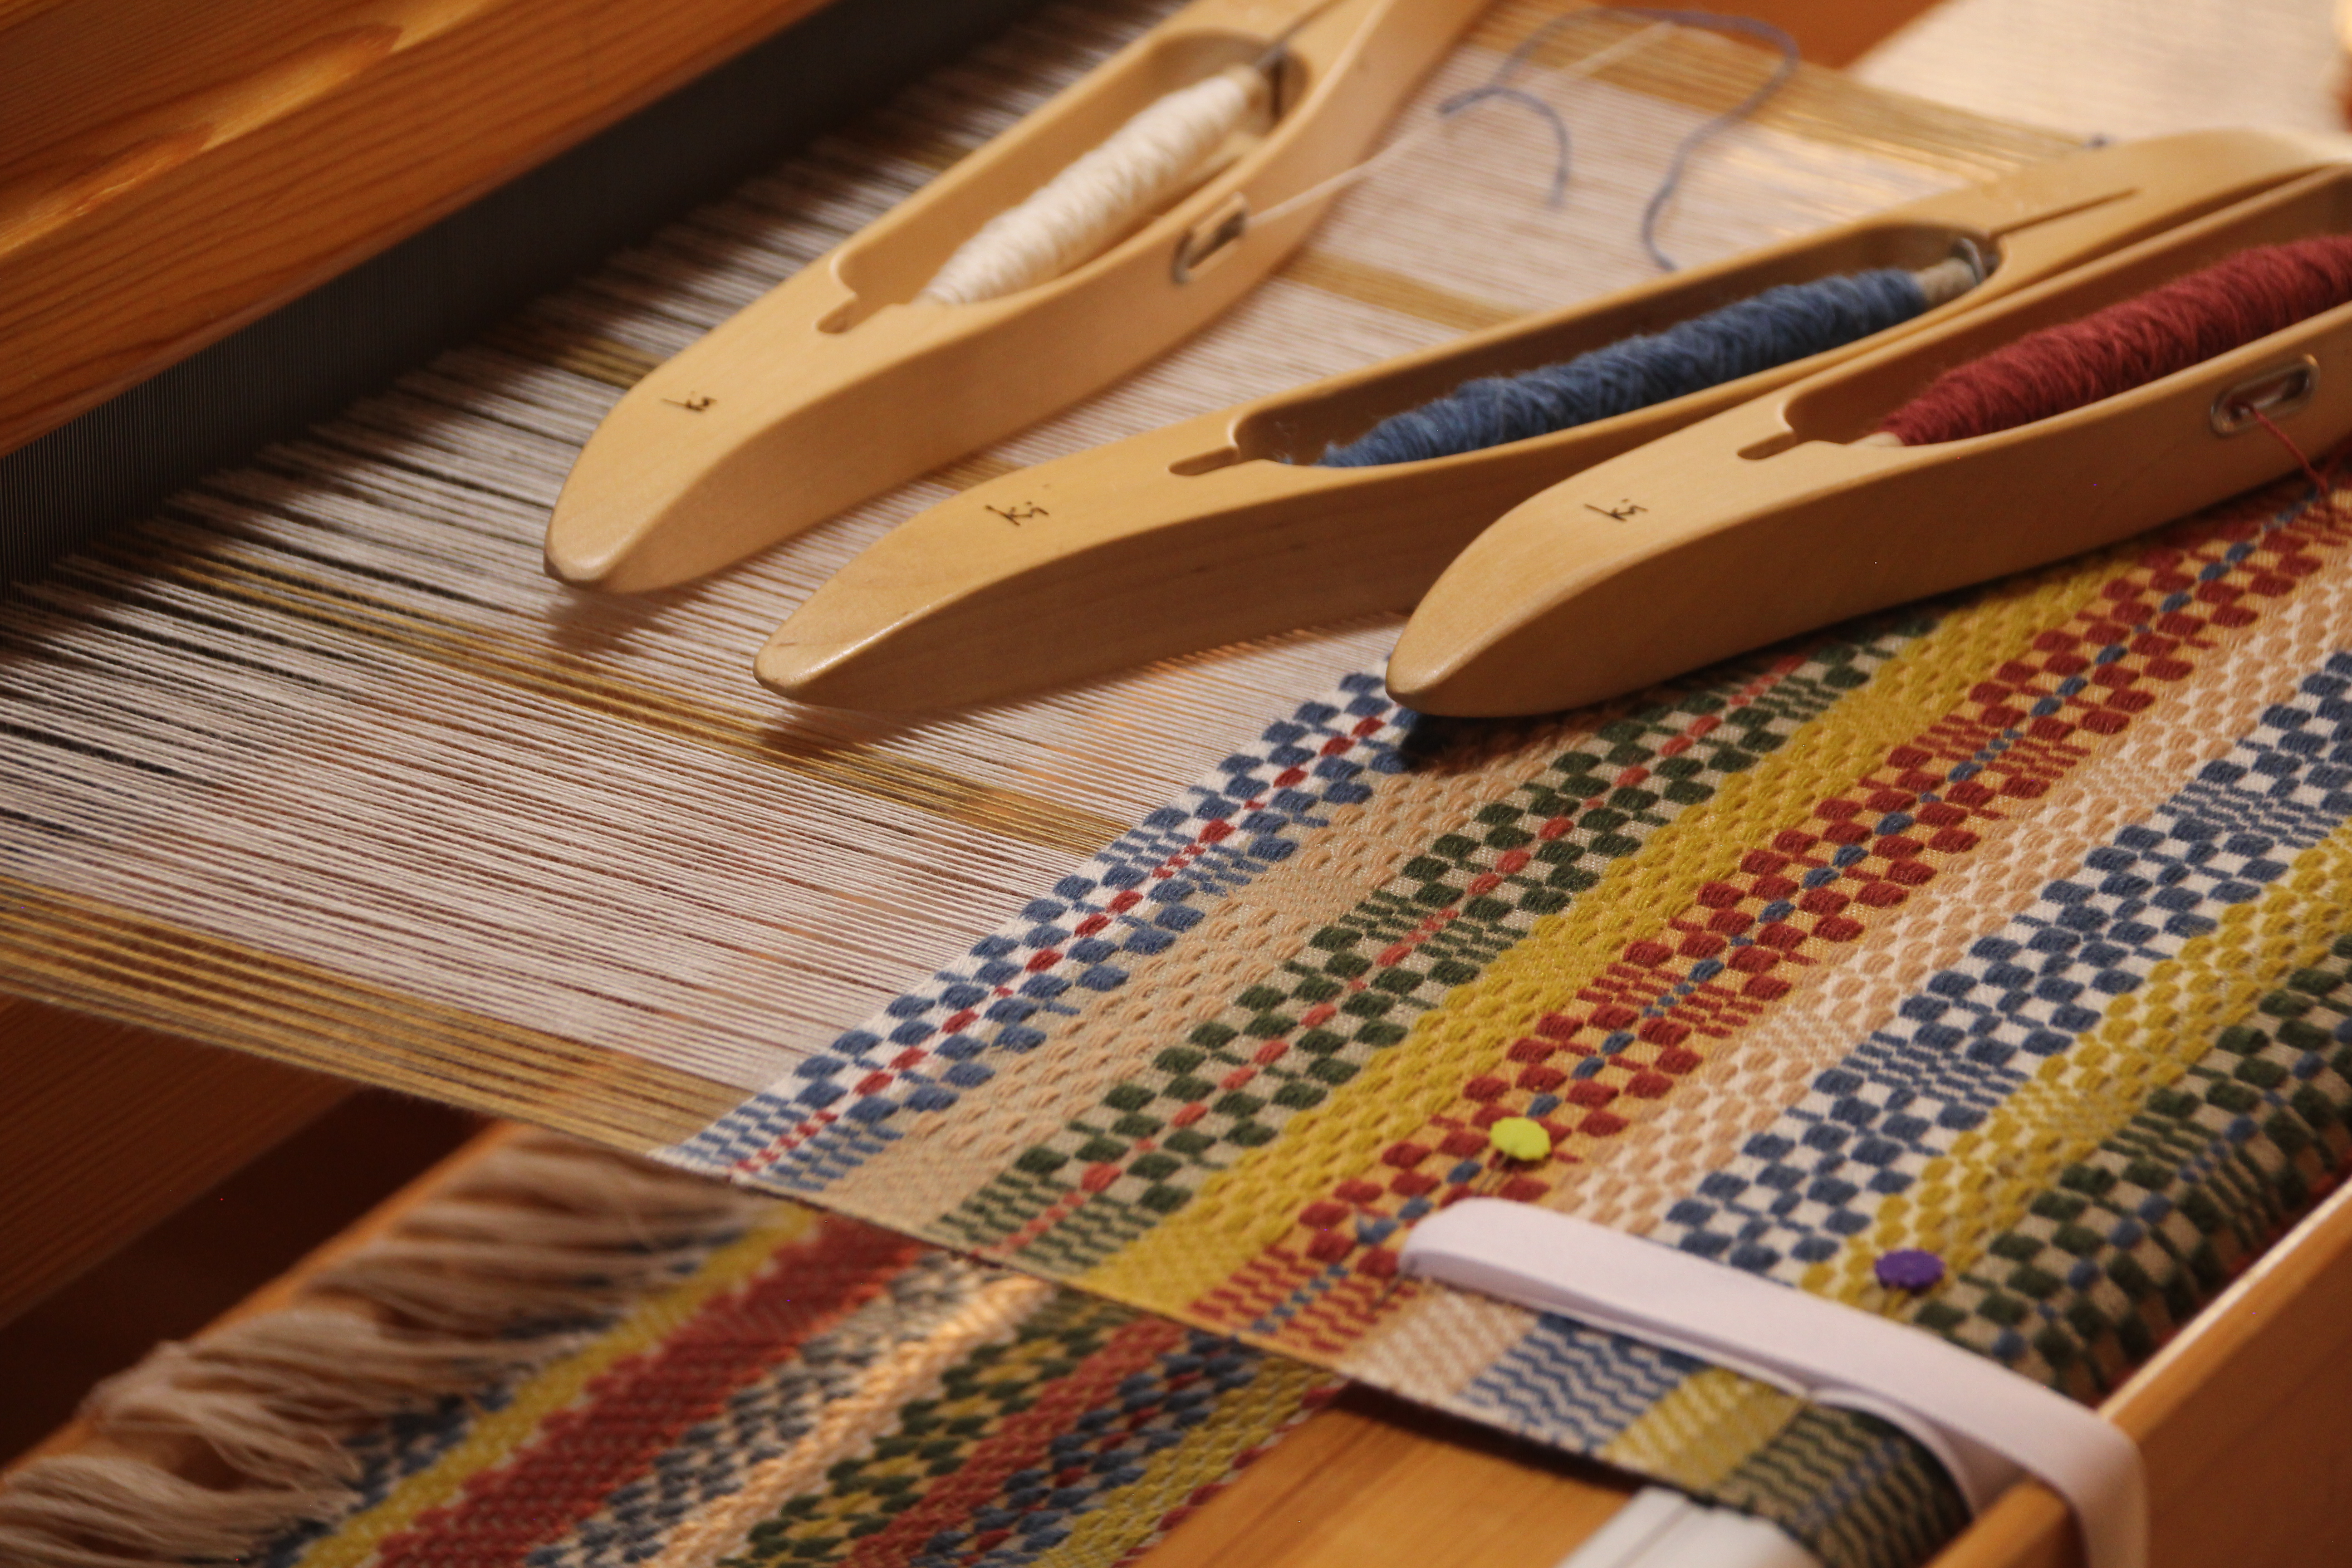
Trees on the side borders, as seen on the cloth below the breast beam, were woven using pattern shafts. Each pattern shaft holds units of ends in a certain order, which enables me to duplicate patterns across the warp or on the sides, as with these trees.Near the finishing line for this towel.Clear ruler moves up the chart, line by line, showing me exactly which black or white single unit cords to draw. The checked borders are produced with the pattern shaft draw handles.
The Lord is ready to give us his focused attention. Our complexity is no threat to him. When we allow him to direct our hearts, pulling cords at the right place to imprint his will in us, he faithfully completes the work, to the very last detail. The Lord embraces those who fully trust him. His unseen designs become visible in the lives of those who belong to him. We can just imagine the delight this brings to our Maker.
This is the completion of my first warp of three shafttwill on a rigid heddle loom. One step beyond plain weave, this opens the door to further exploration of double-heddle weaving on the rigid heddle loom. I already have two 50 cm (12-dent) heddles in hand for my next project, which will enable me to get an even finer/tighter cloth than with the 40 cm (10-dent) heddles I used for this project.
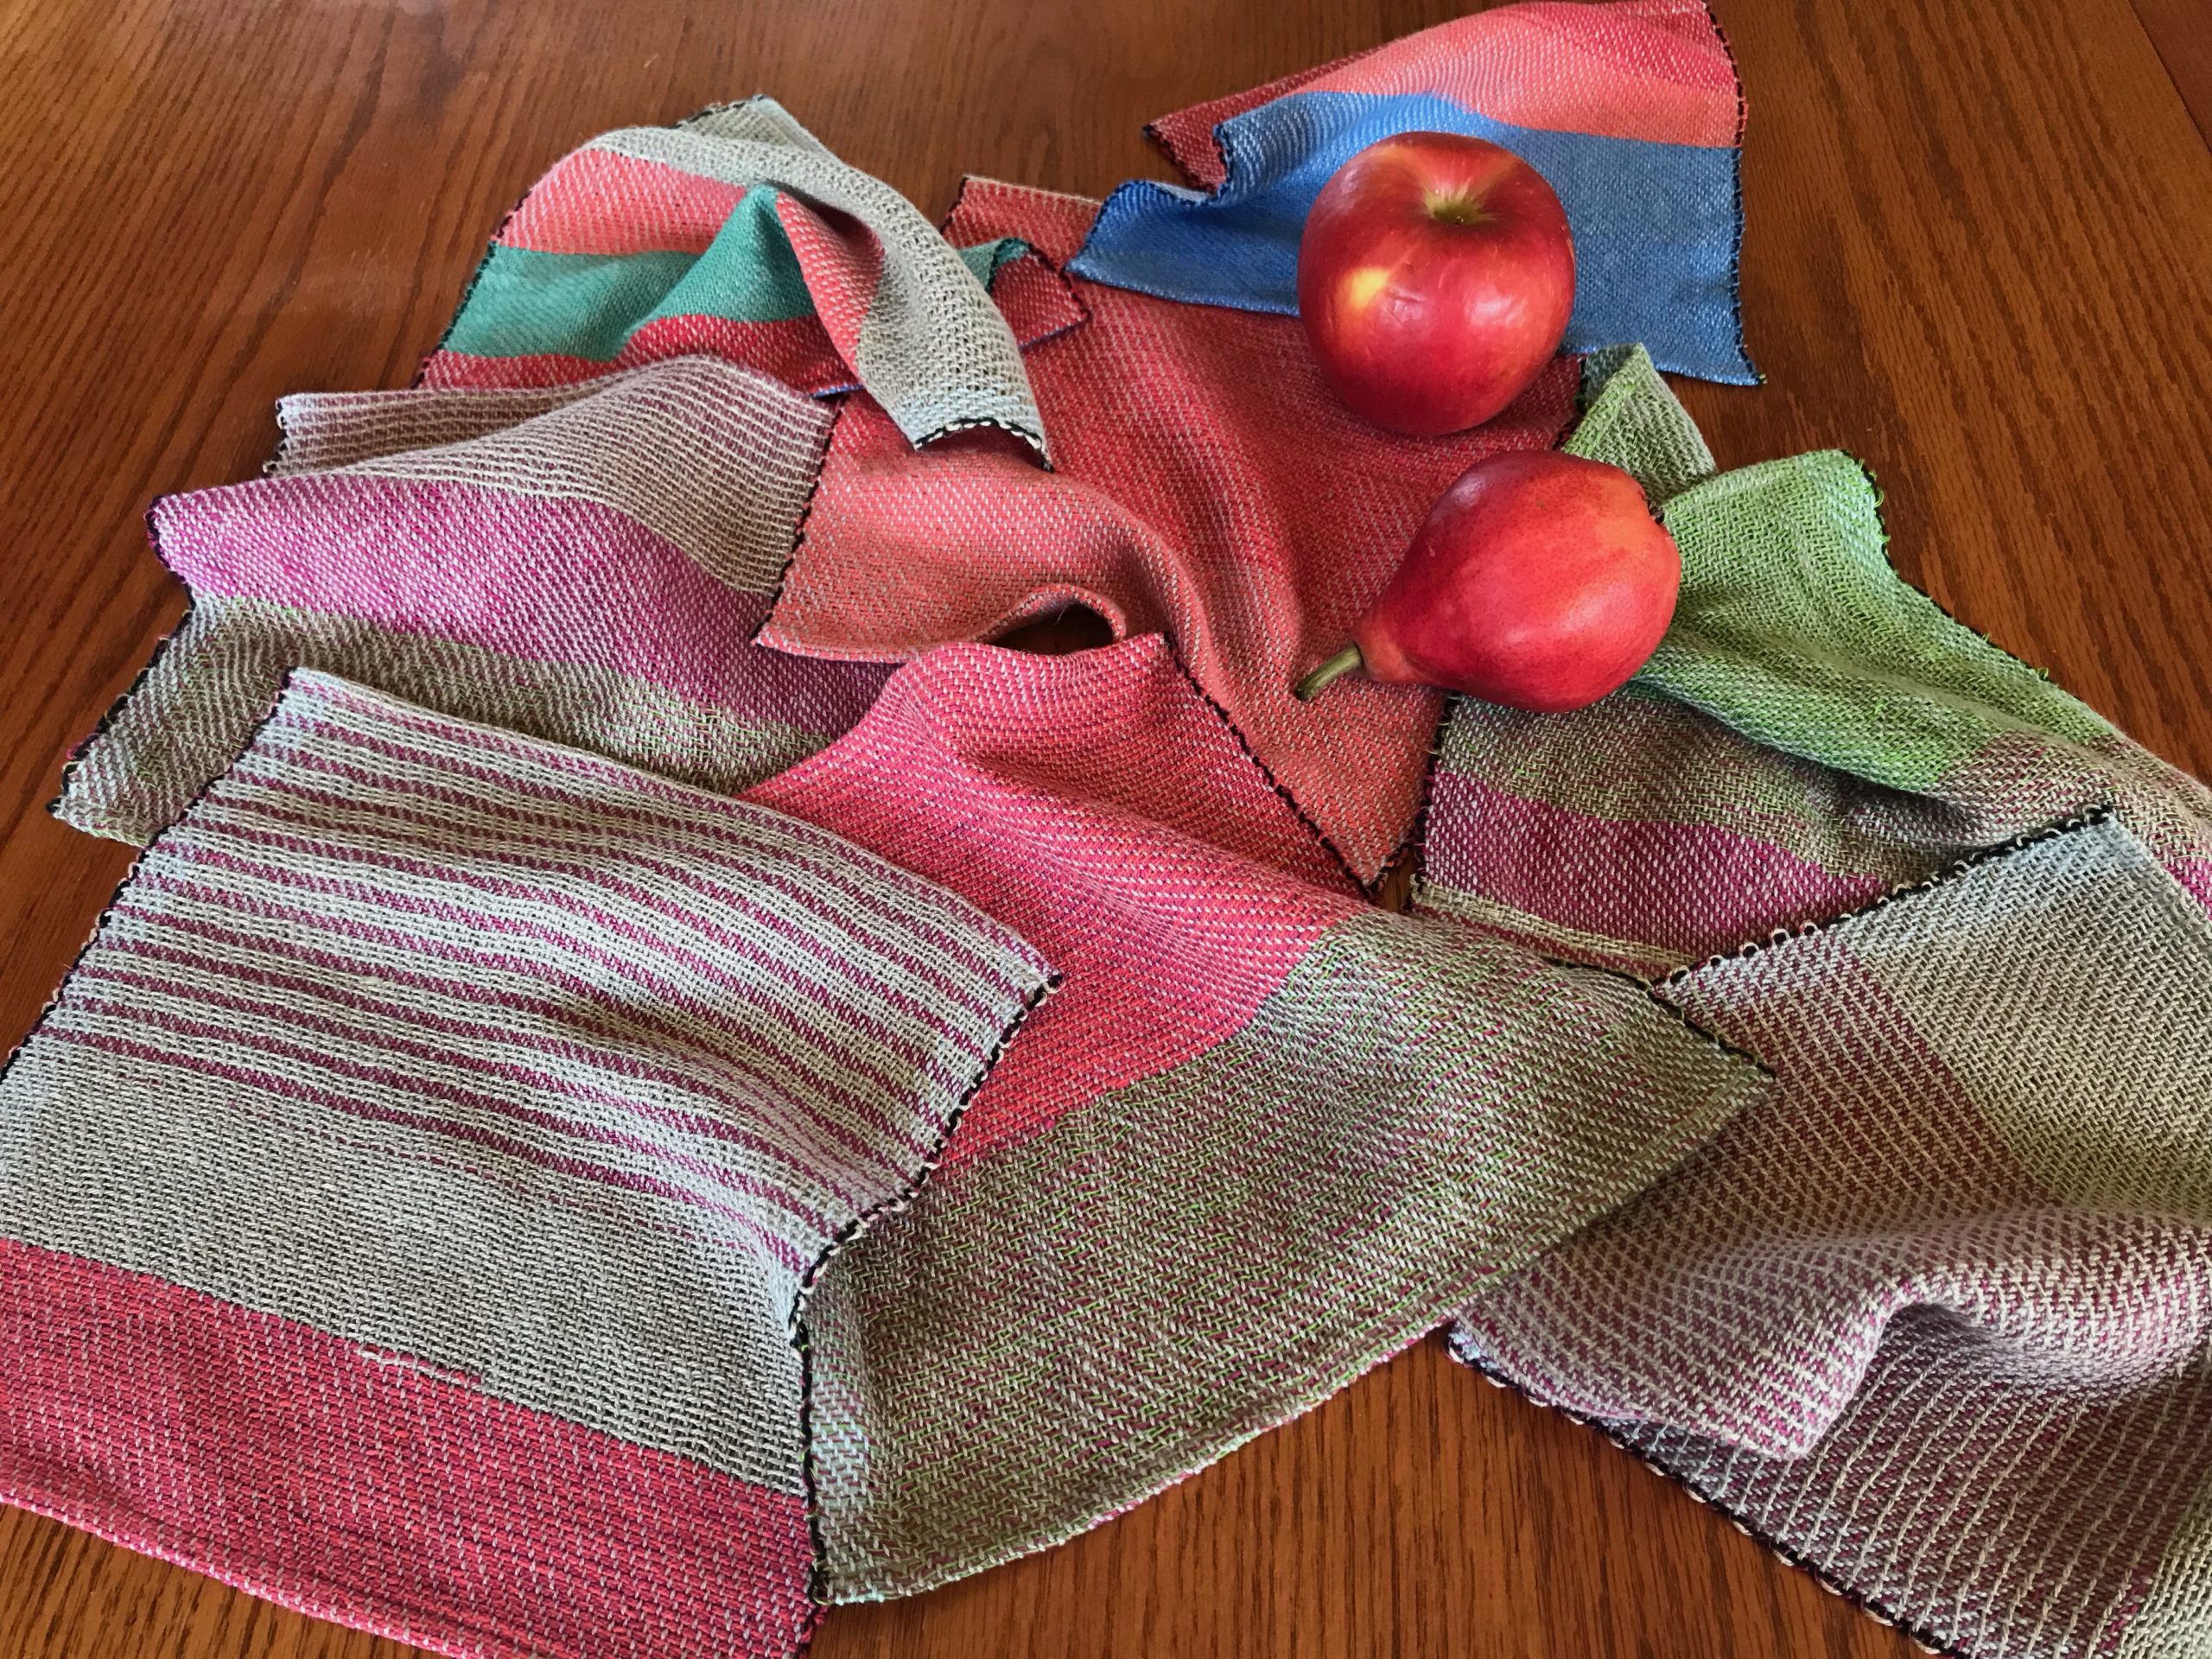
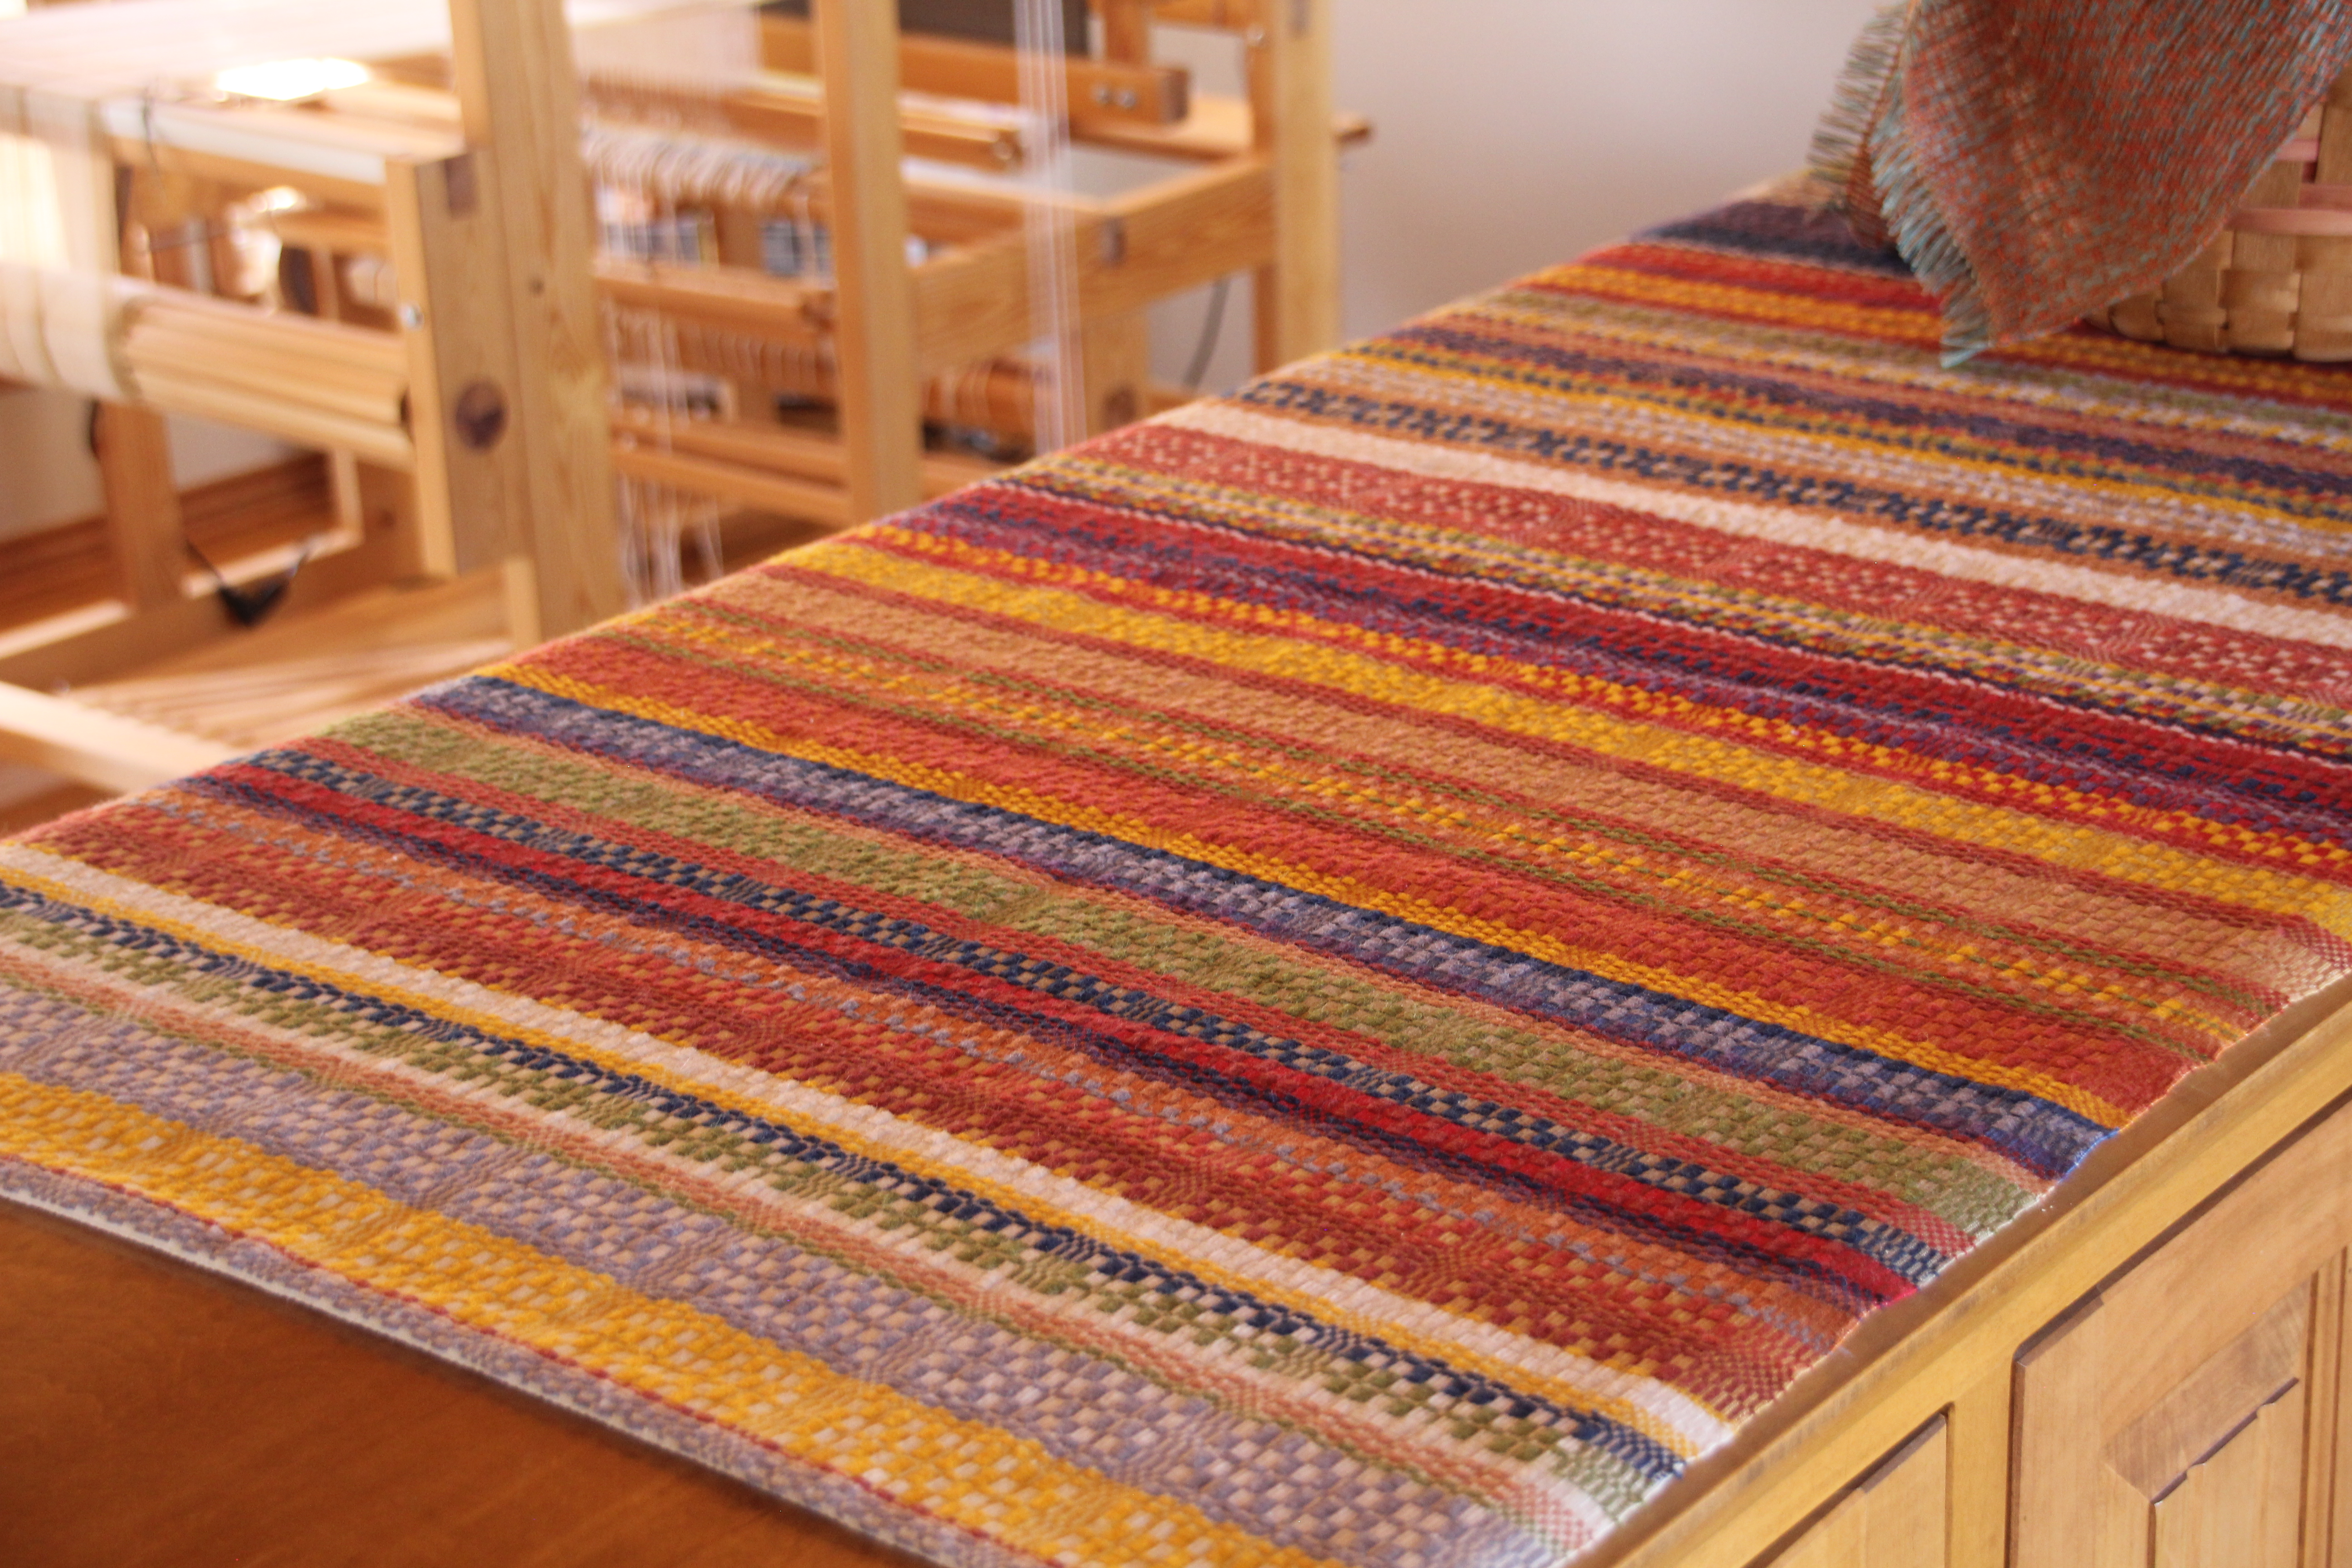
Glimåkra Siru rigid heddle loom, beside the Weber grill on the picnic table. Weaving outside in Guadalupe Mountains National Park, Texas.Cottolin warp, and cottolin and linen wefts, make lightweight, but sturdy colorful face cloths. 1/2 weft-faced twill.
The Glimåkra Siru Rigid Heddle loom is the star of this show. Follow along as I take a quick look back through the process of weaving this light fabric. The cotton and linen squares are perfect for face cloths and light wash cloths.
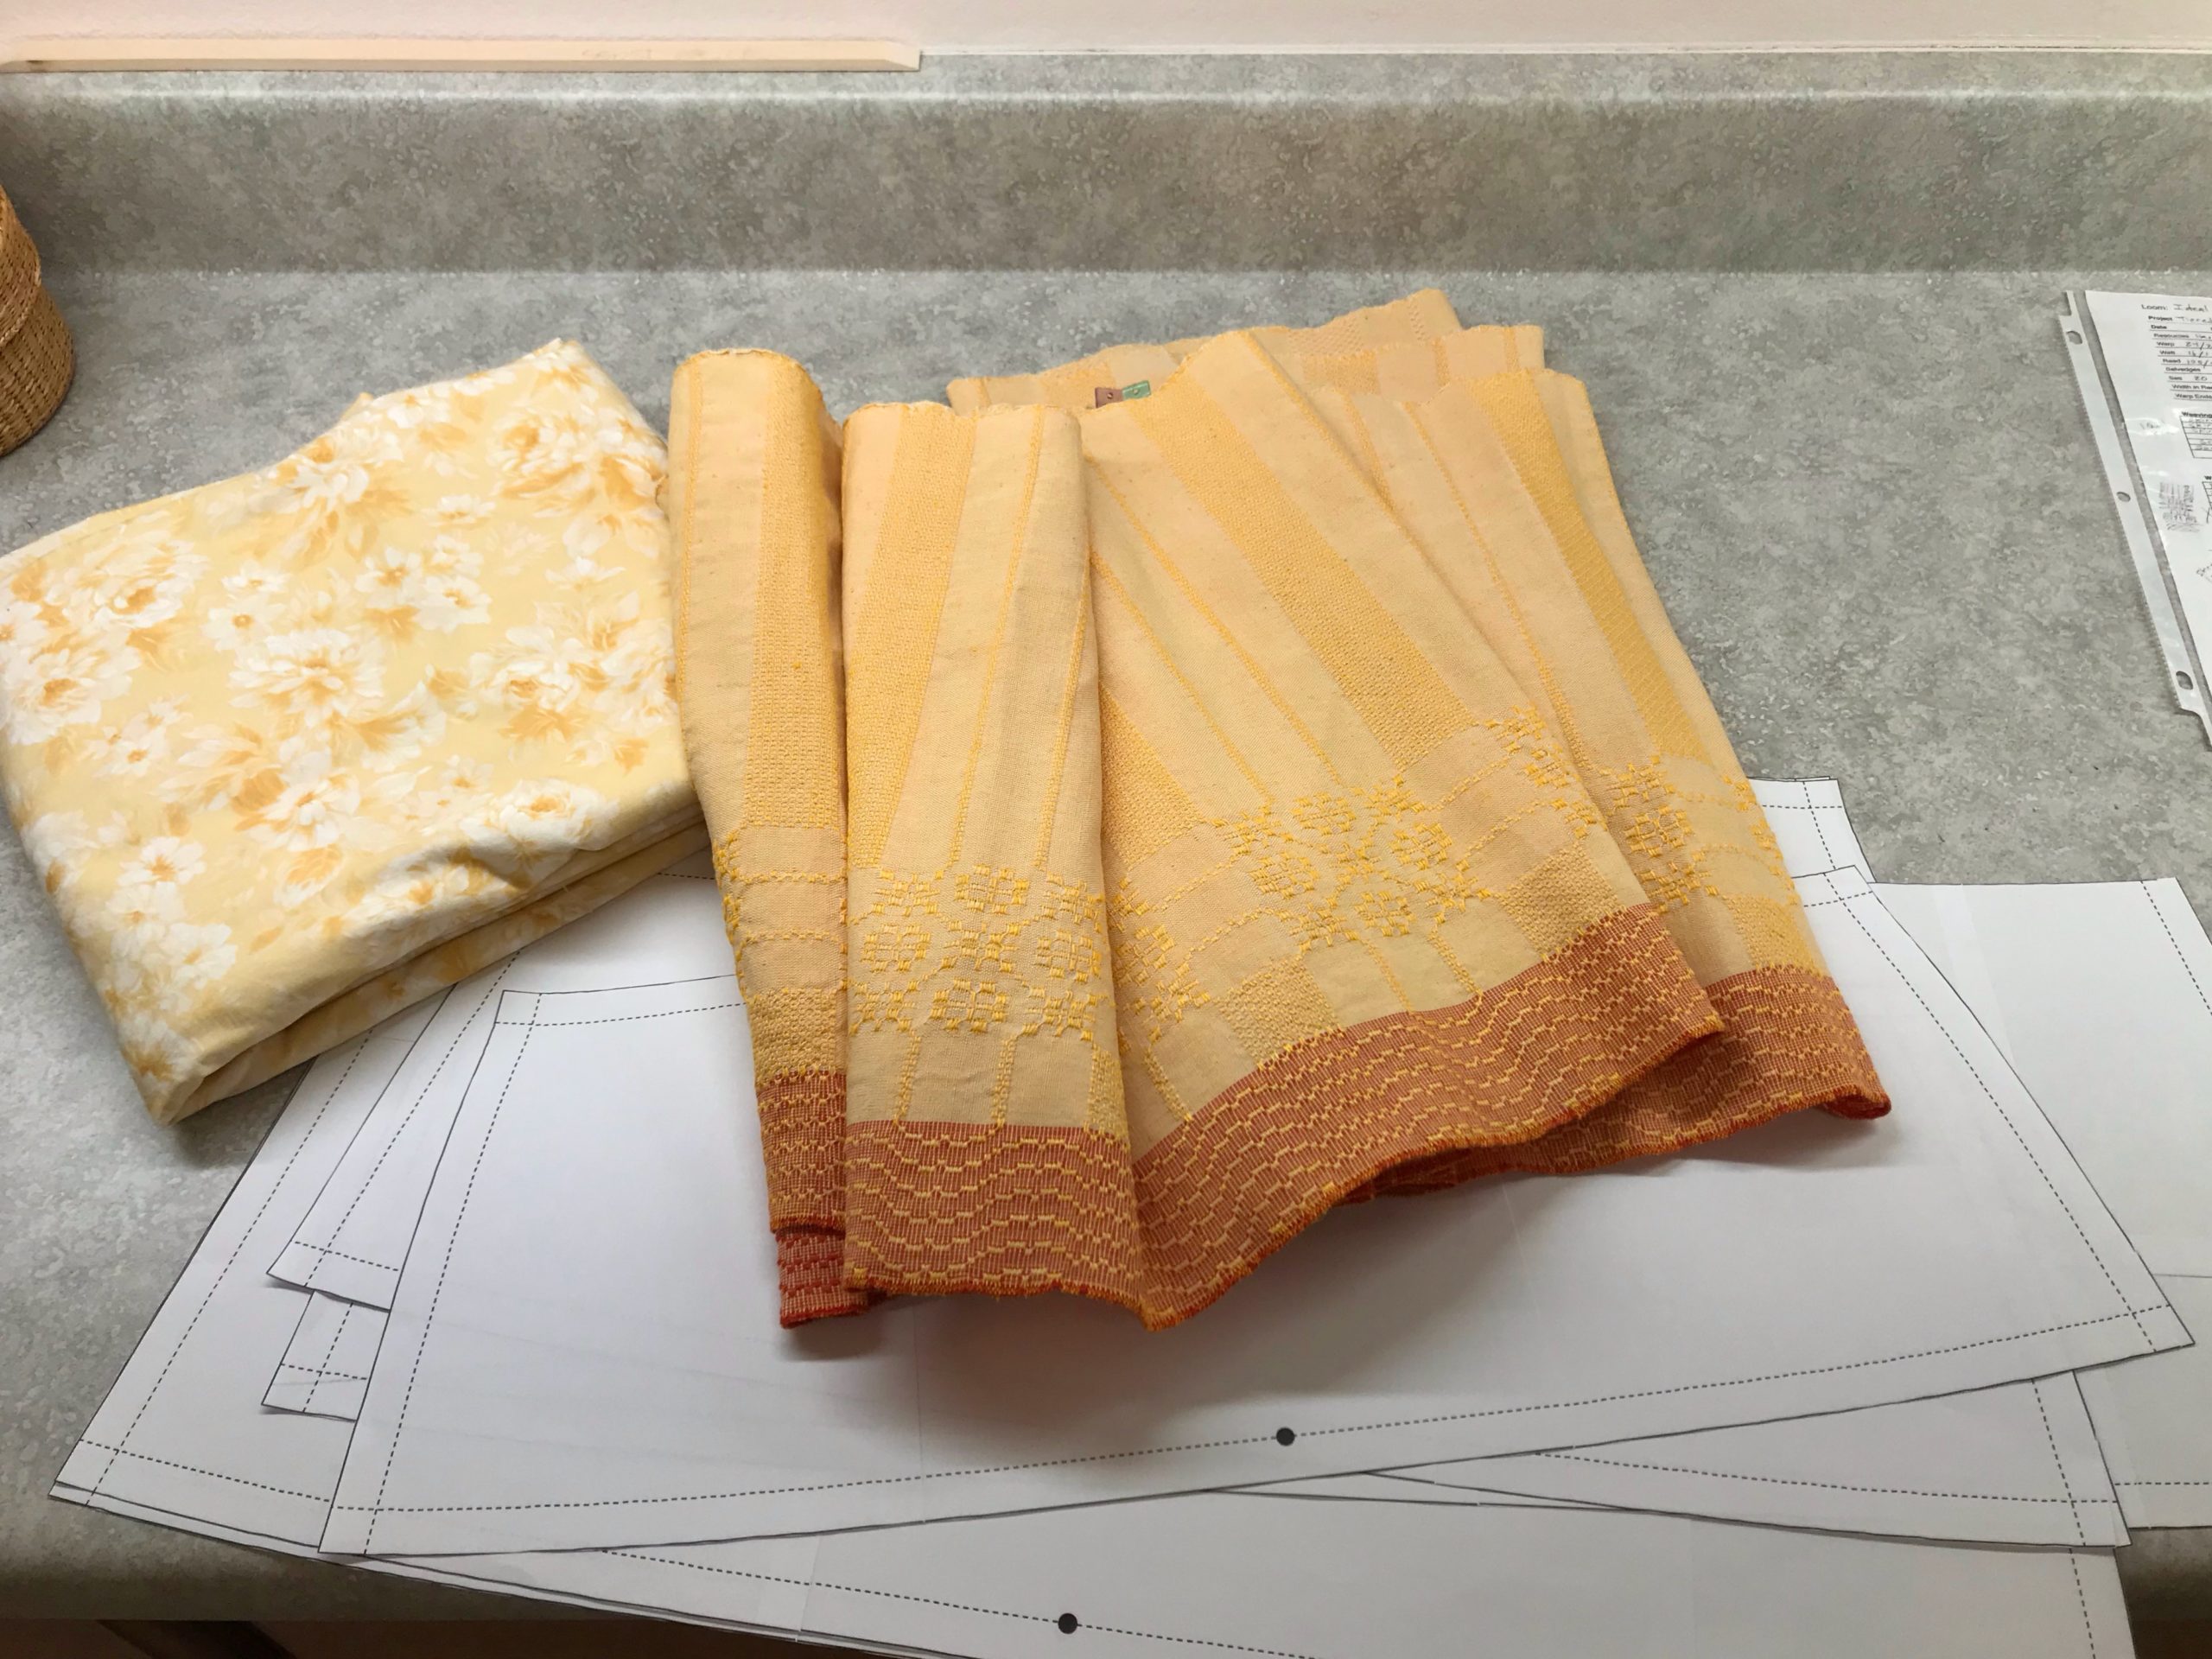
The skirt in my mind is picture perfect in style and fit. If I could snap my fingers and make the skirt appear, I would. Instead, I find my way to a workable sewing pattern by trial and error—agonizing over every small step. The sewing part doesn’t scare me. But I’m in over my head in the garment design arena.
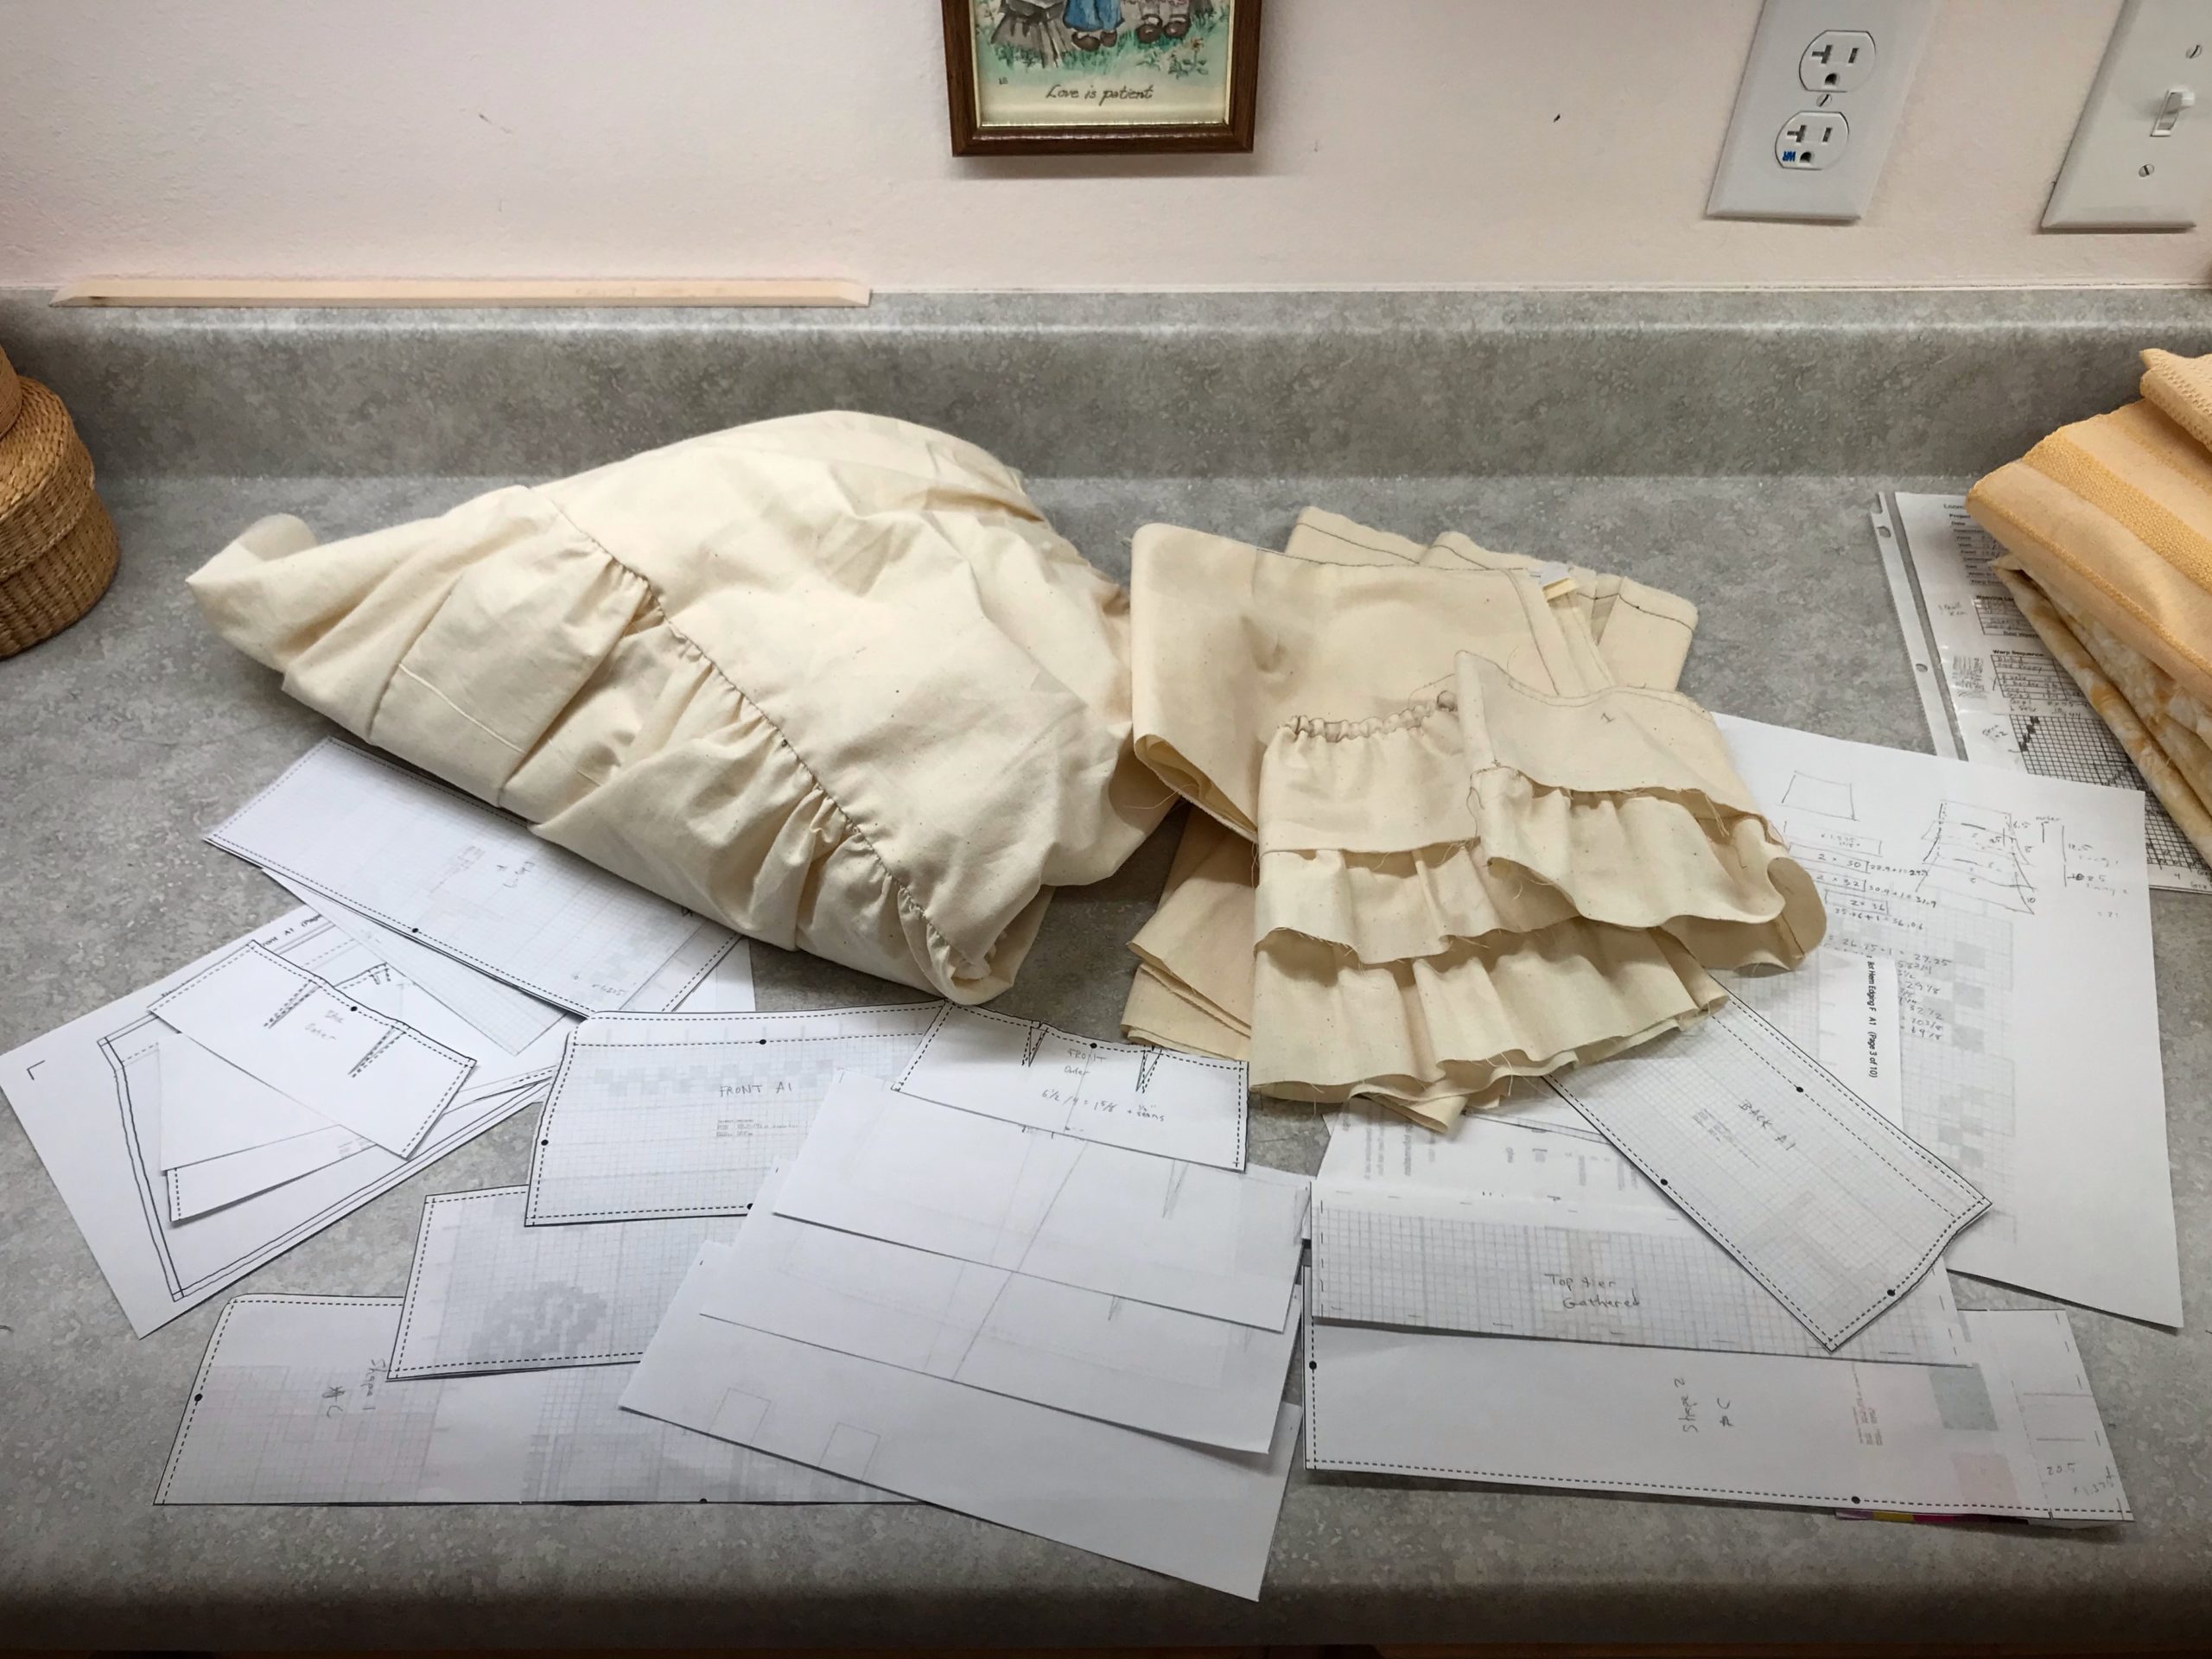
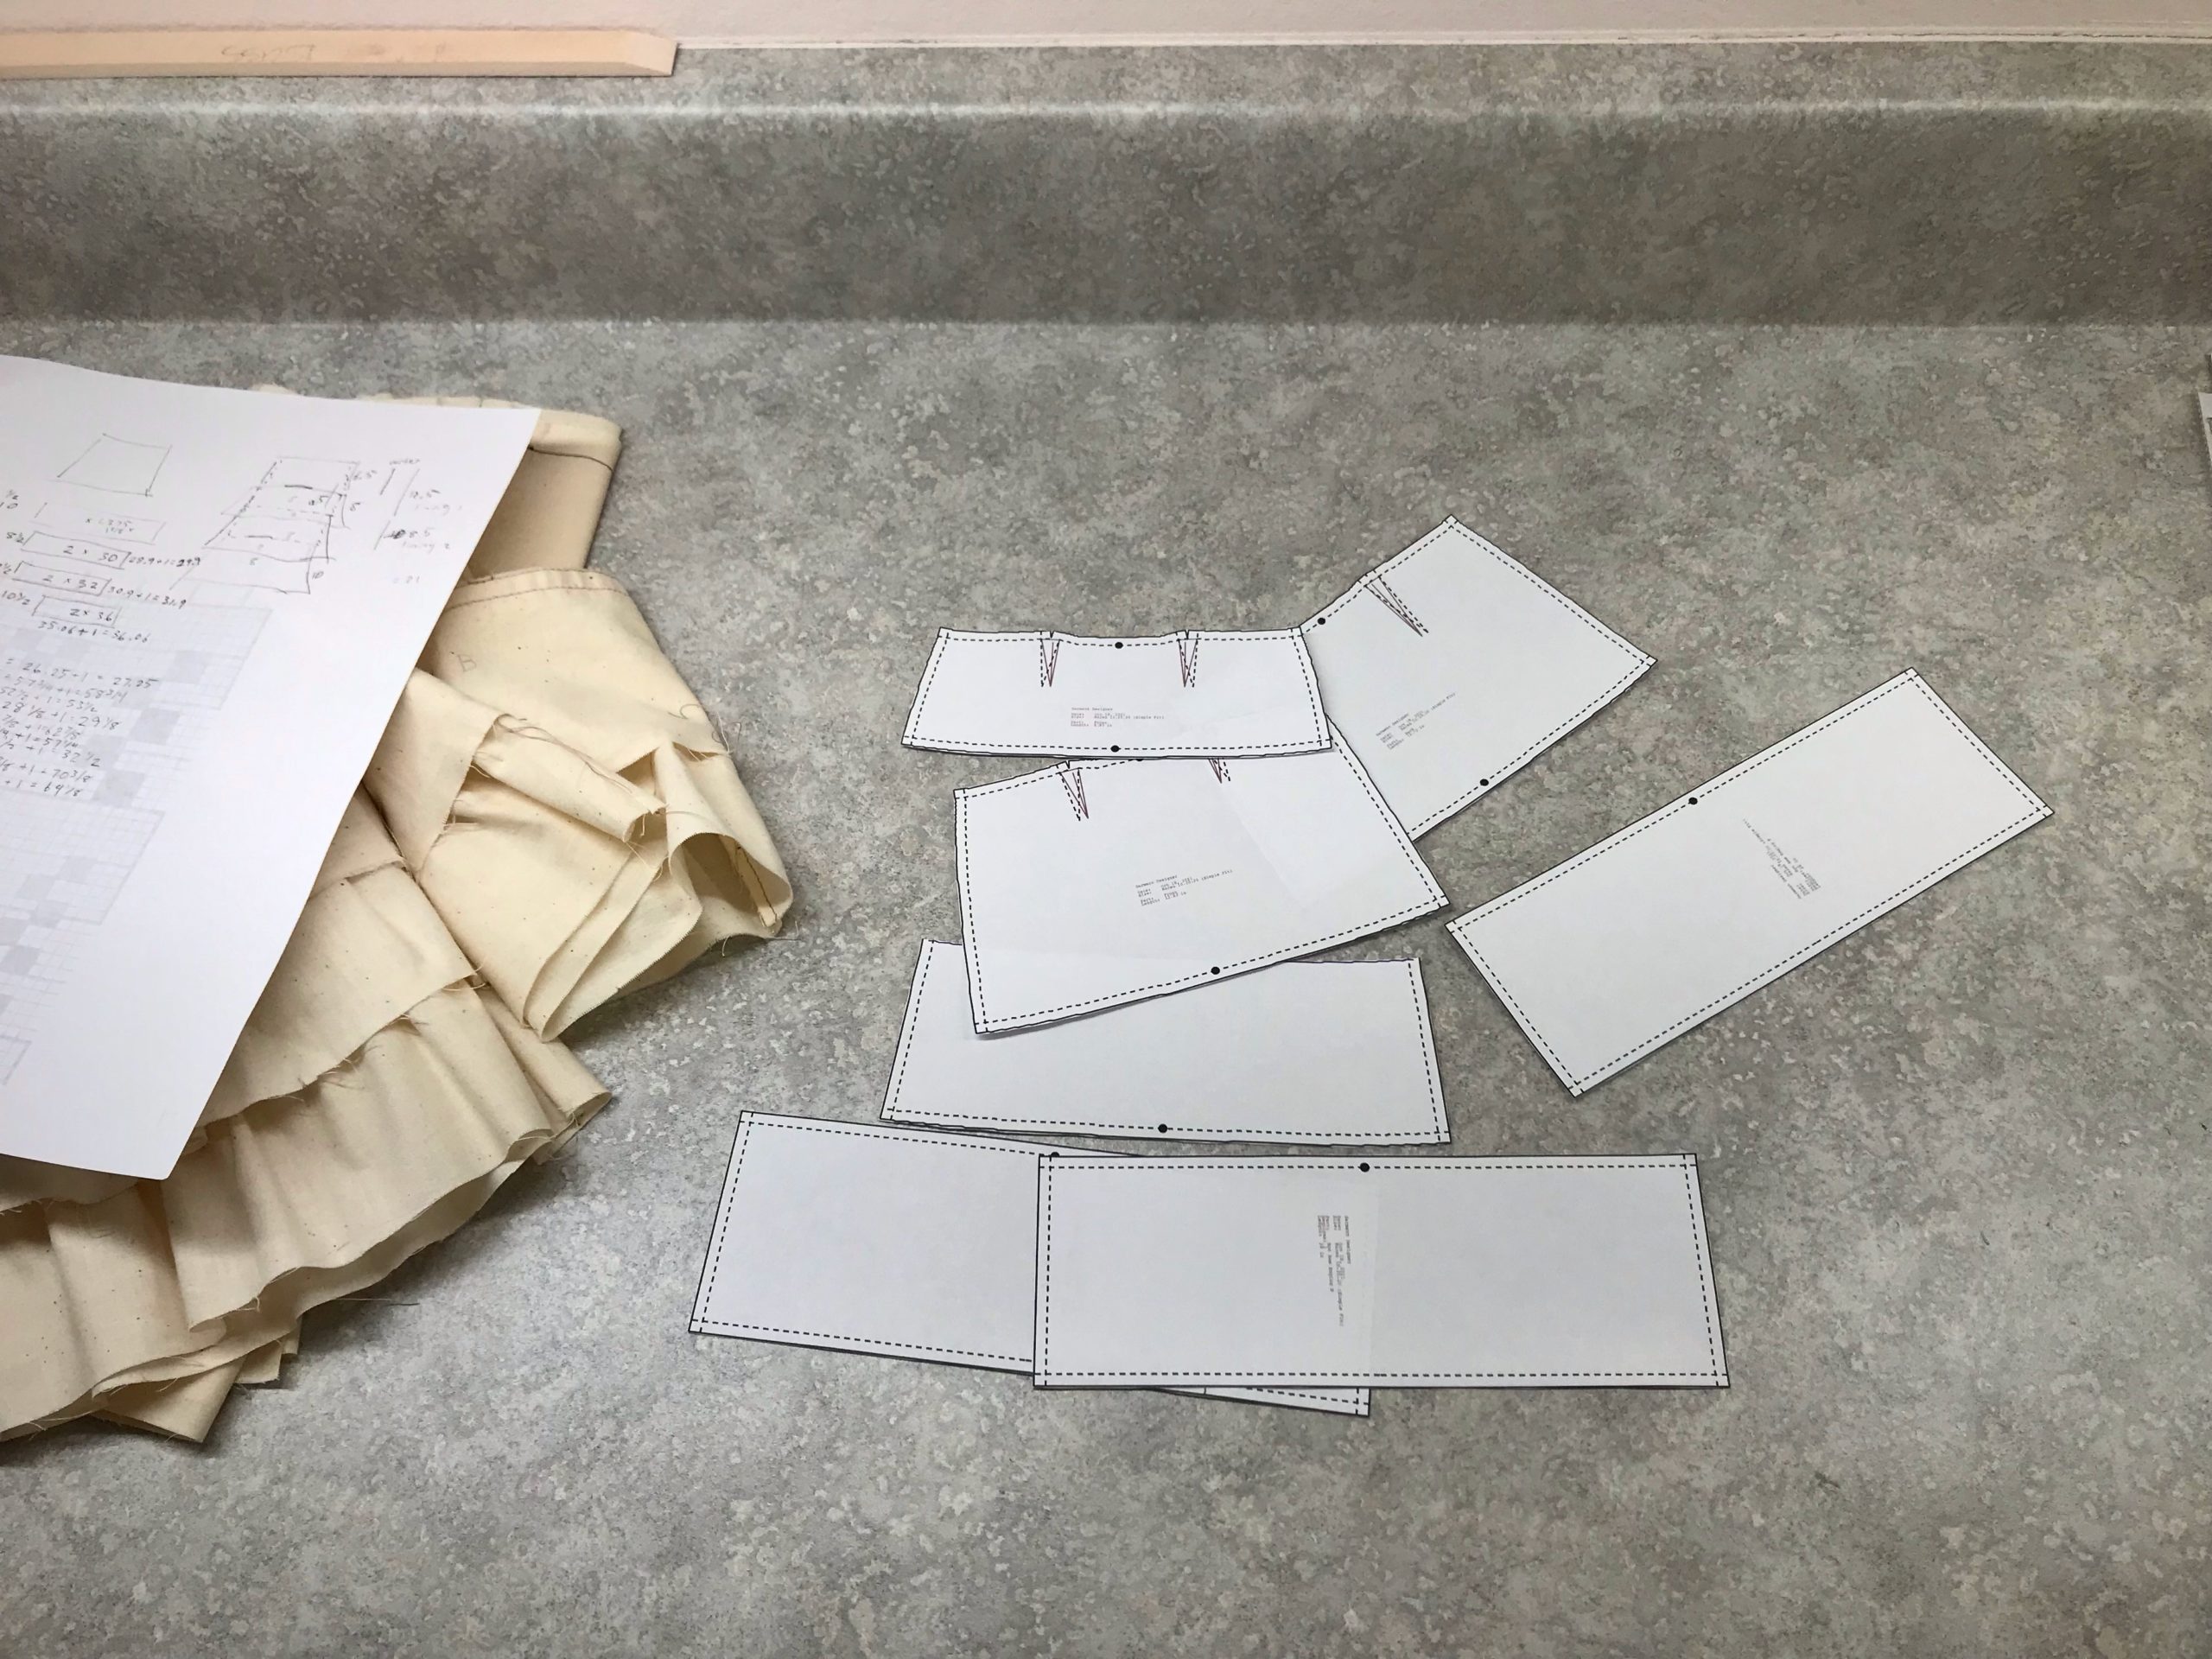
Quarter-scale pattern pieces give me a way to test and try various ways to put the skirt together. I learn a lot of things that don’t work. There is much sewing, ripping, tweaking, calculating and recalculating, etc. And pulling my hair out, figuratively speaking.Settling on something that works. One more little mockup should answer most remaining questions. I use Garment Designer (patterning and design software) to create the patterns. I can print quarter-scale and full-scale sewing patterns.
A not-as-simple layered tiered skirt replaces my original idea of a simple three-tiered skirt. The new design has a fitted yoke at the top of the skirt (and a zipper) instead of a super-simple elastic gathered waist. All this, so the distinctive borders of each tier will flutter freely, and not be trapped in seams. The trouble is worth it. I can see the finished skirt in my mind’s eye. It is phenomenal! The fabric is handwoven, made for a purpose. This is a skirt worth waiting for.
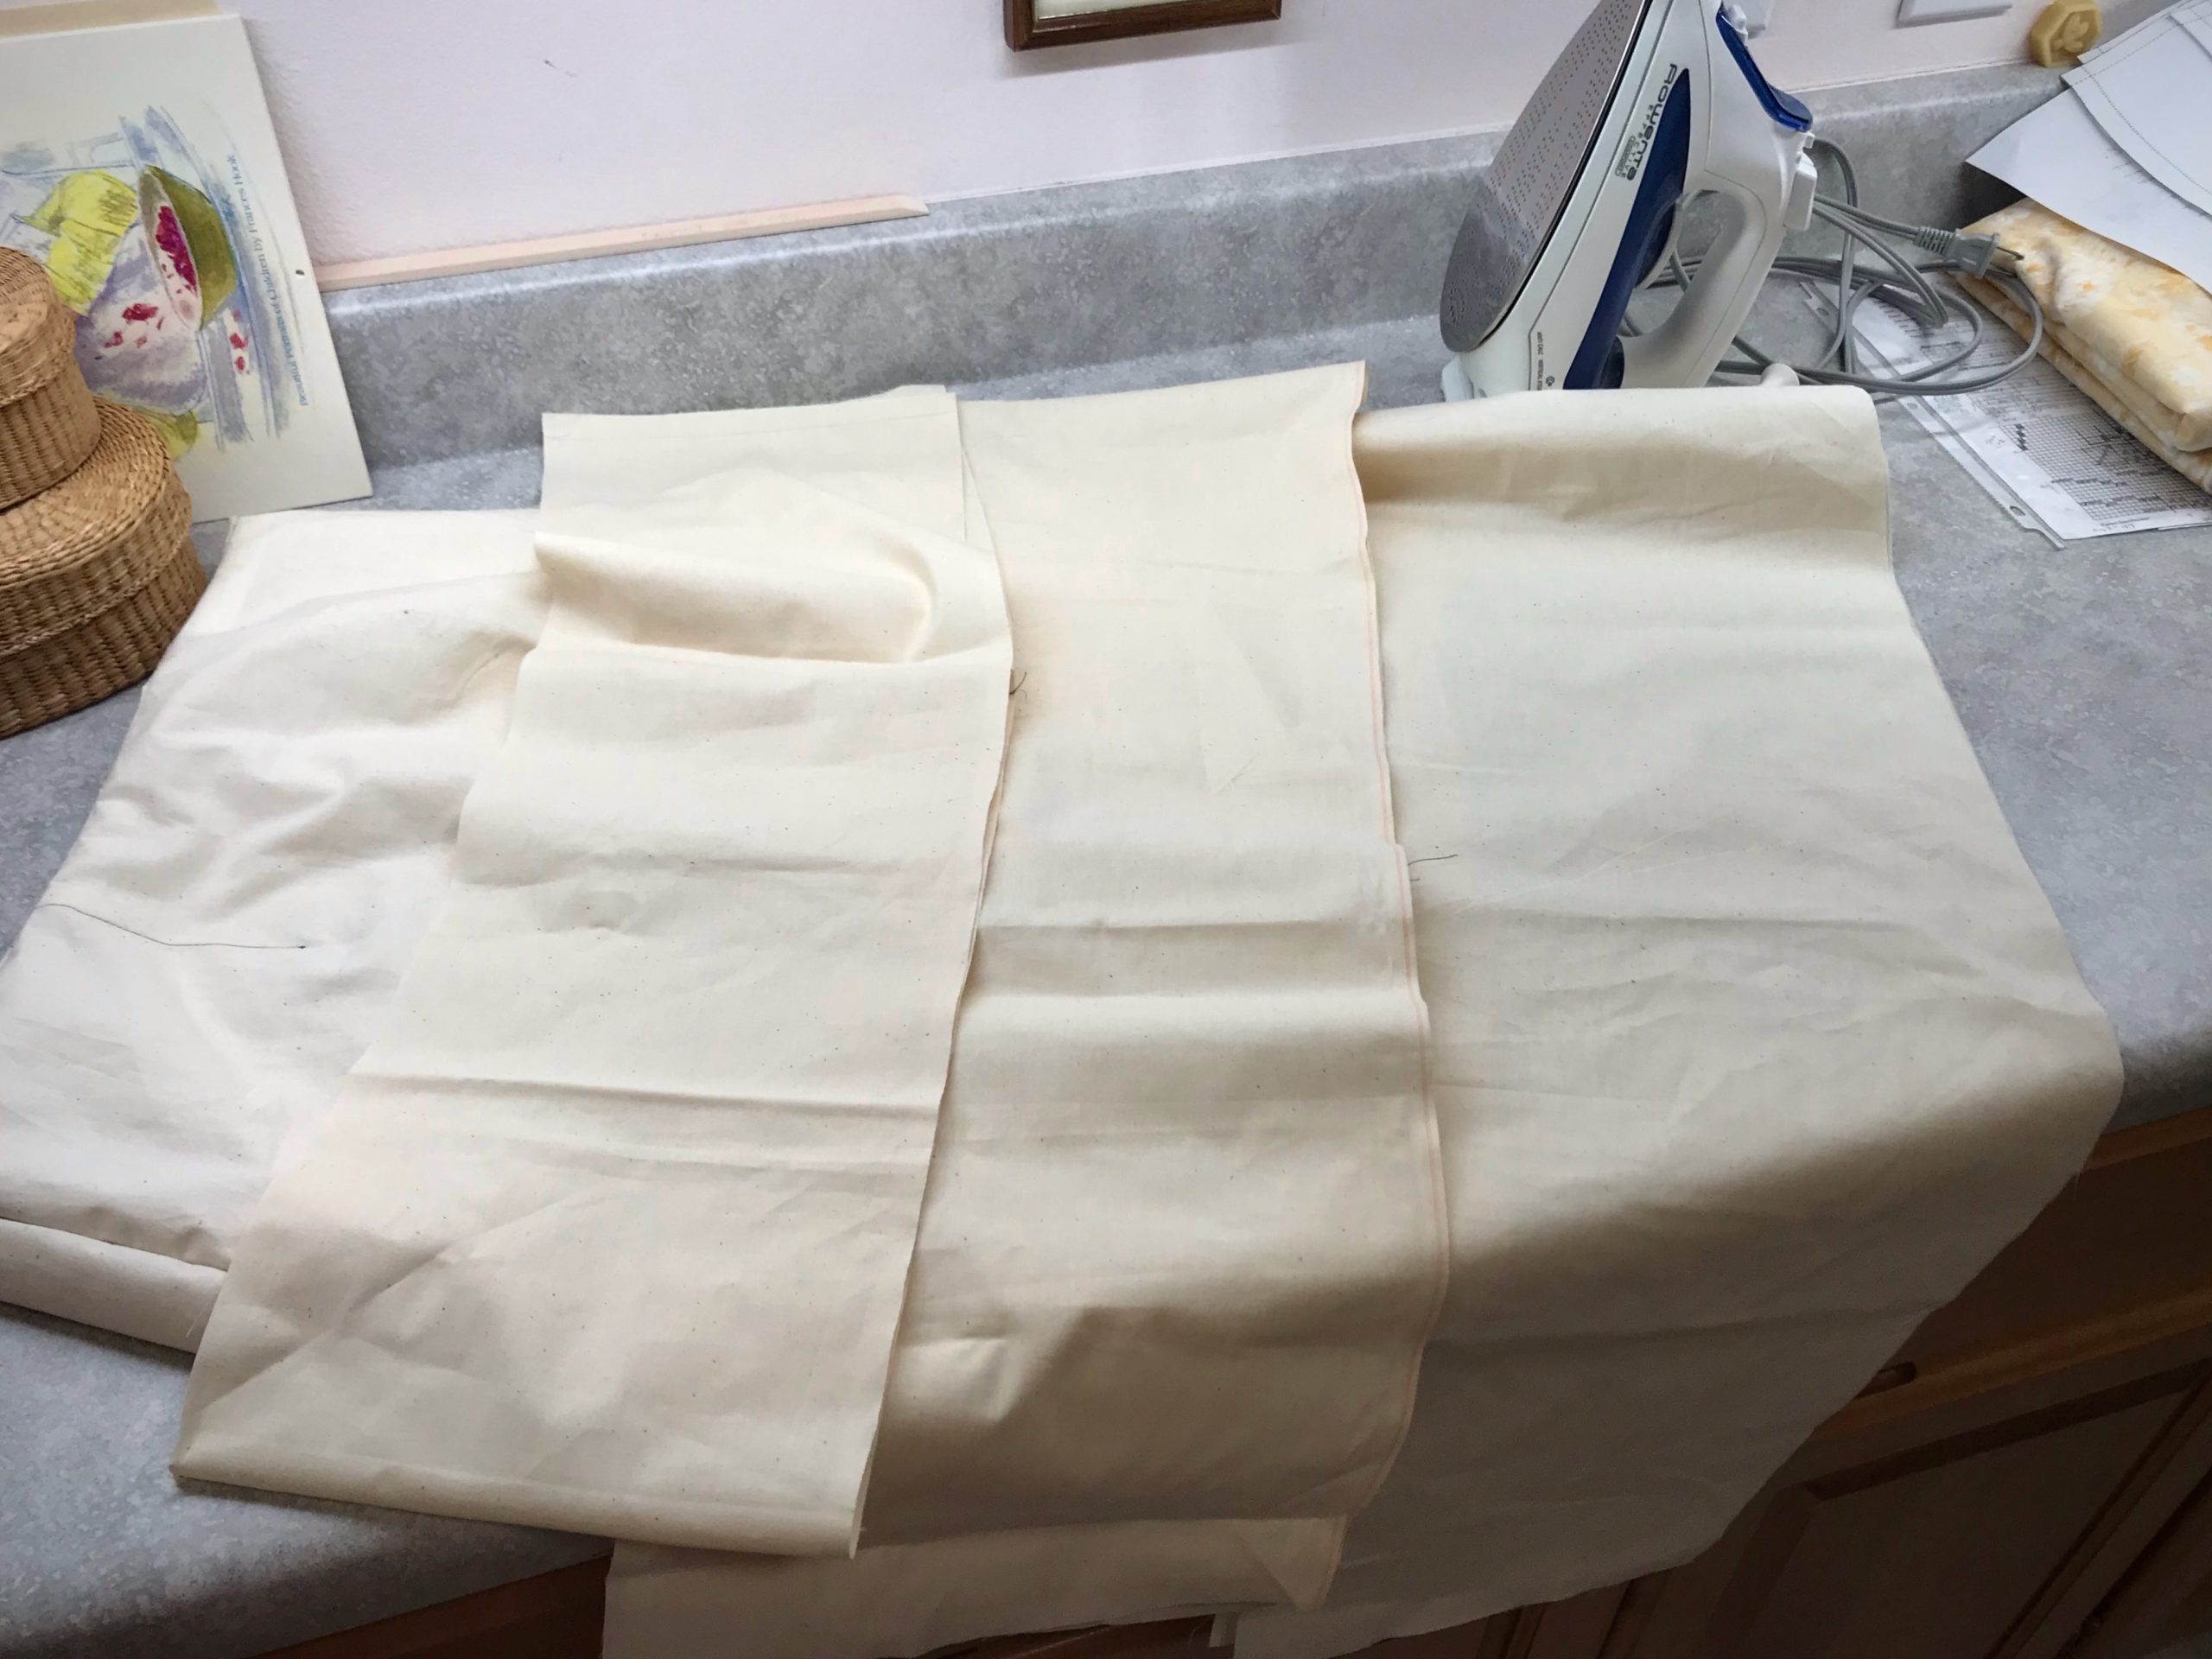
Testing ideas full scale. After several tries, I finally have a good fit on the skirt yoke, which is encouraging.Full-size mockup (not shown) satisfies my fit and style requirements. Floral cotton lining fabric will be concealed under the handwoven tiers. Full-scale sewing pattern is printed and ready…
You were skillfully made for a purpose. Through many trials and errors, lessons in success and failure, we discover why we are here. God created you for this very time. Trust him to guide you, especially through agonizing moments. By his grace, he forms us into the phenomenal masterpiece that he has always had in mind.
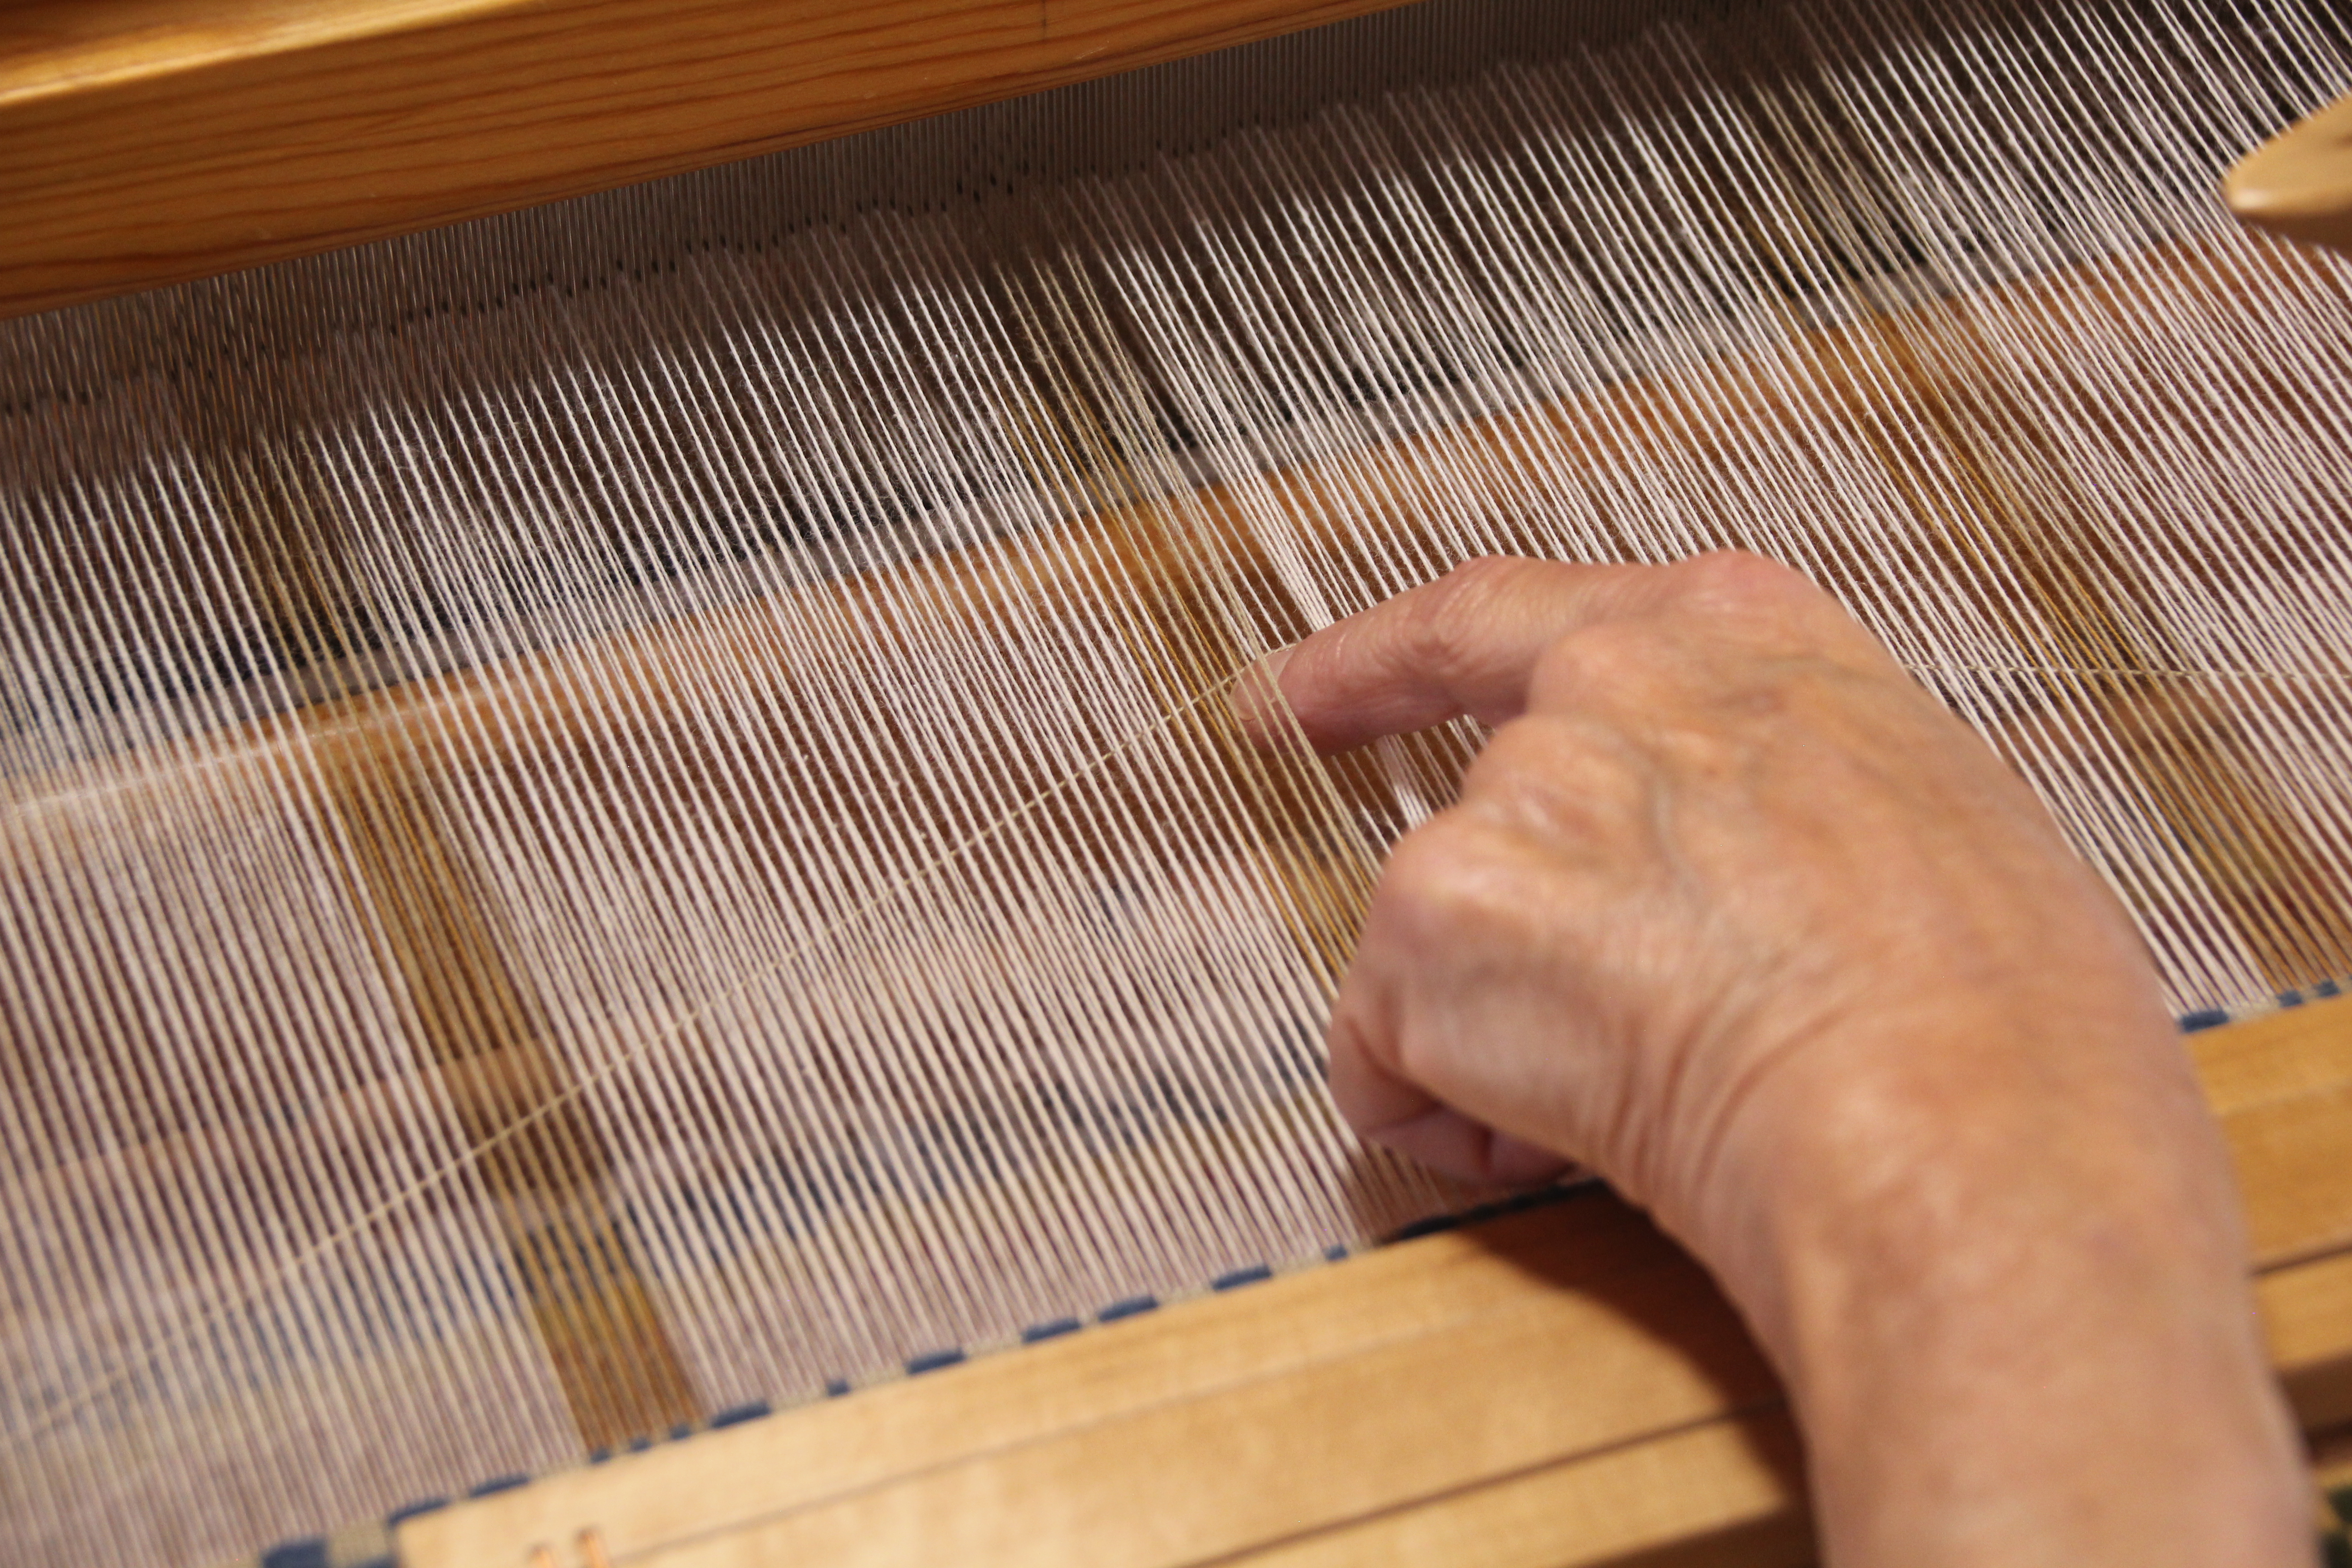
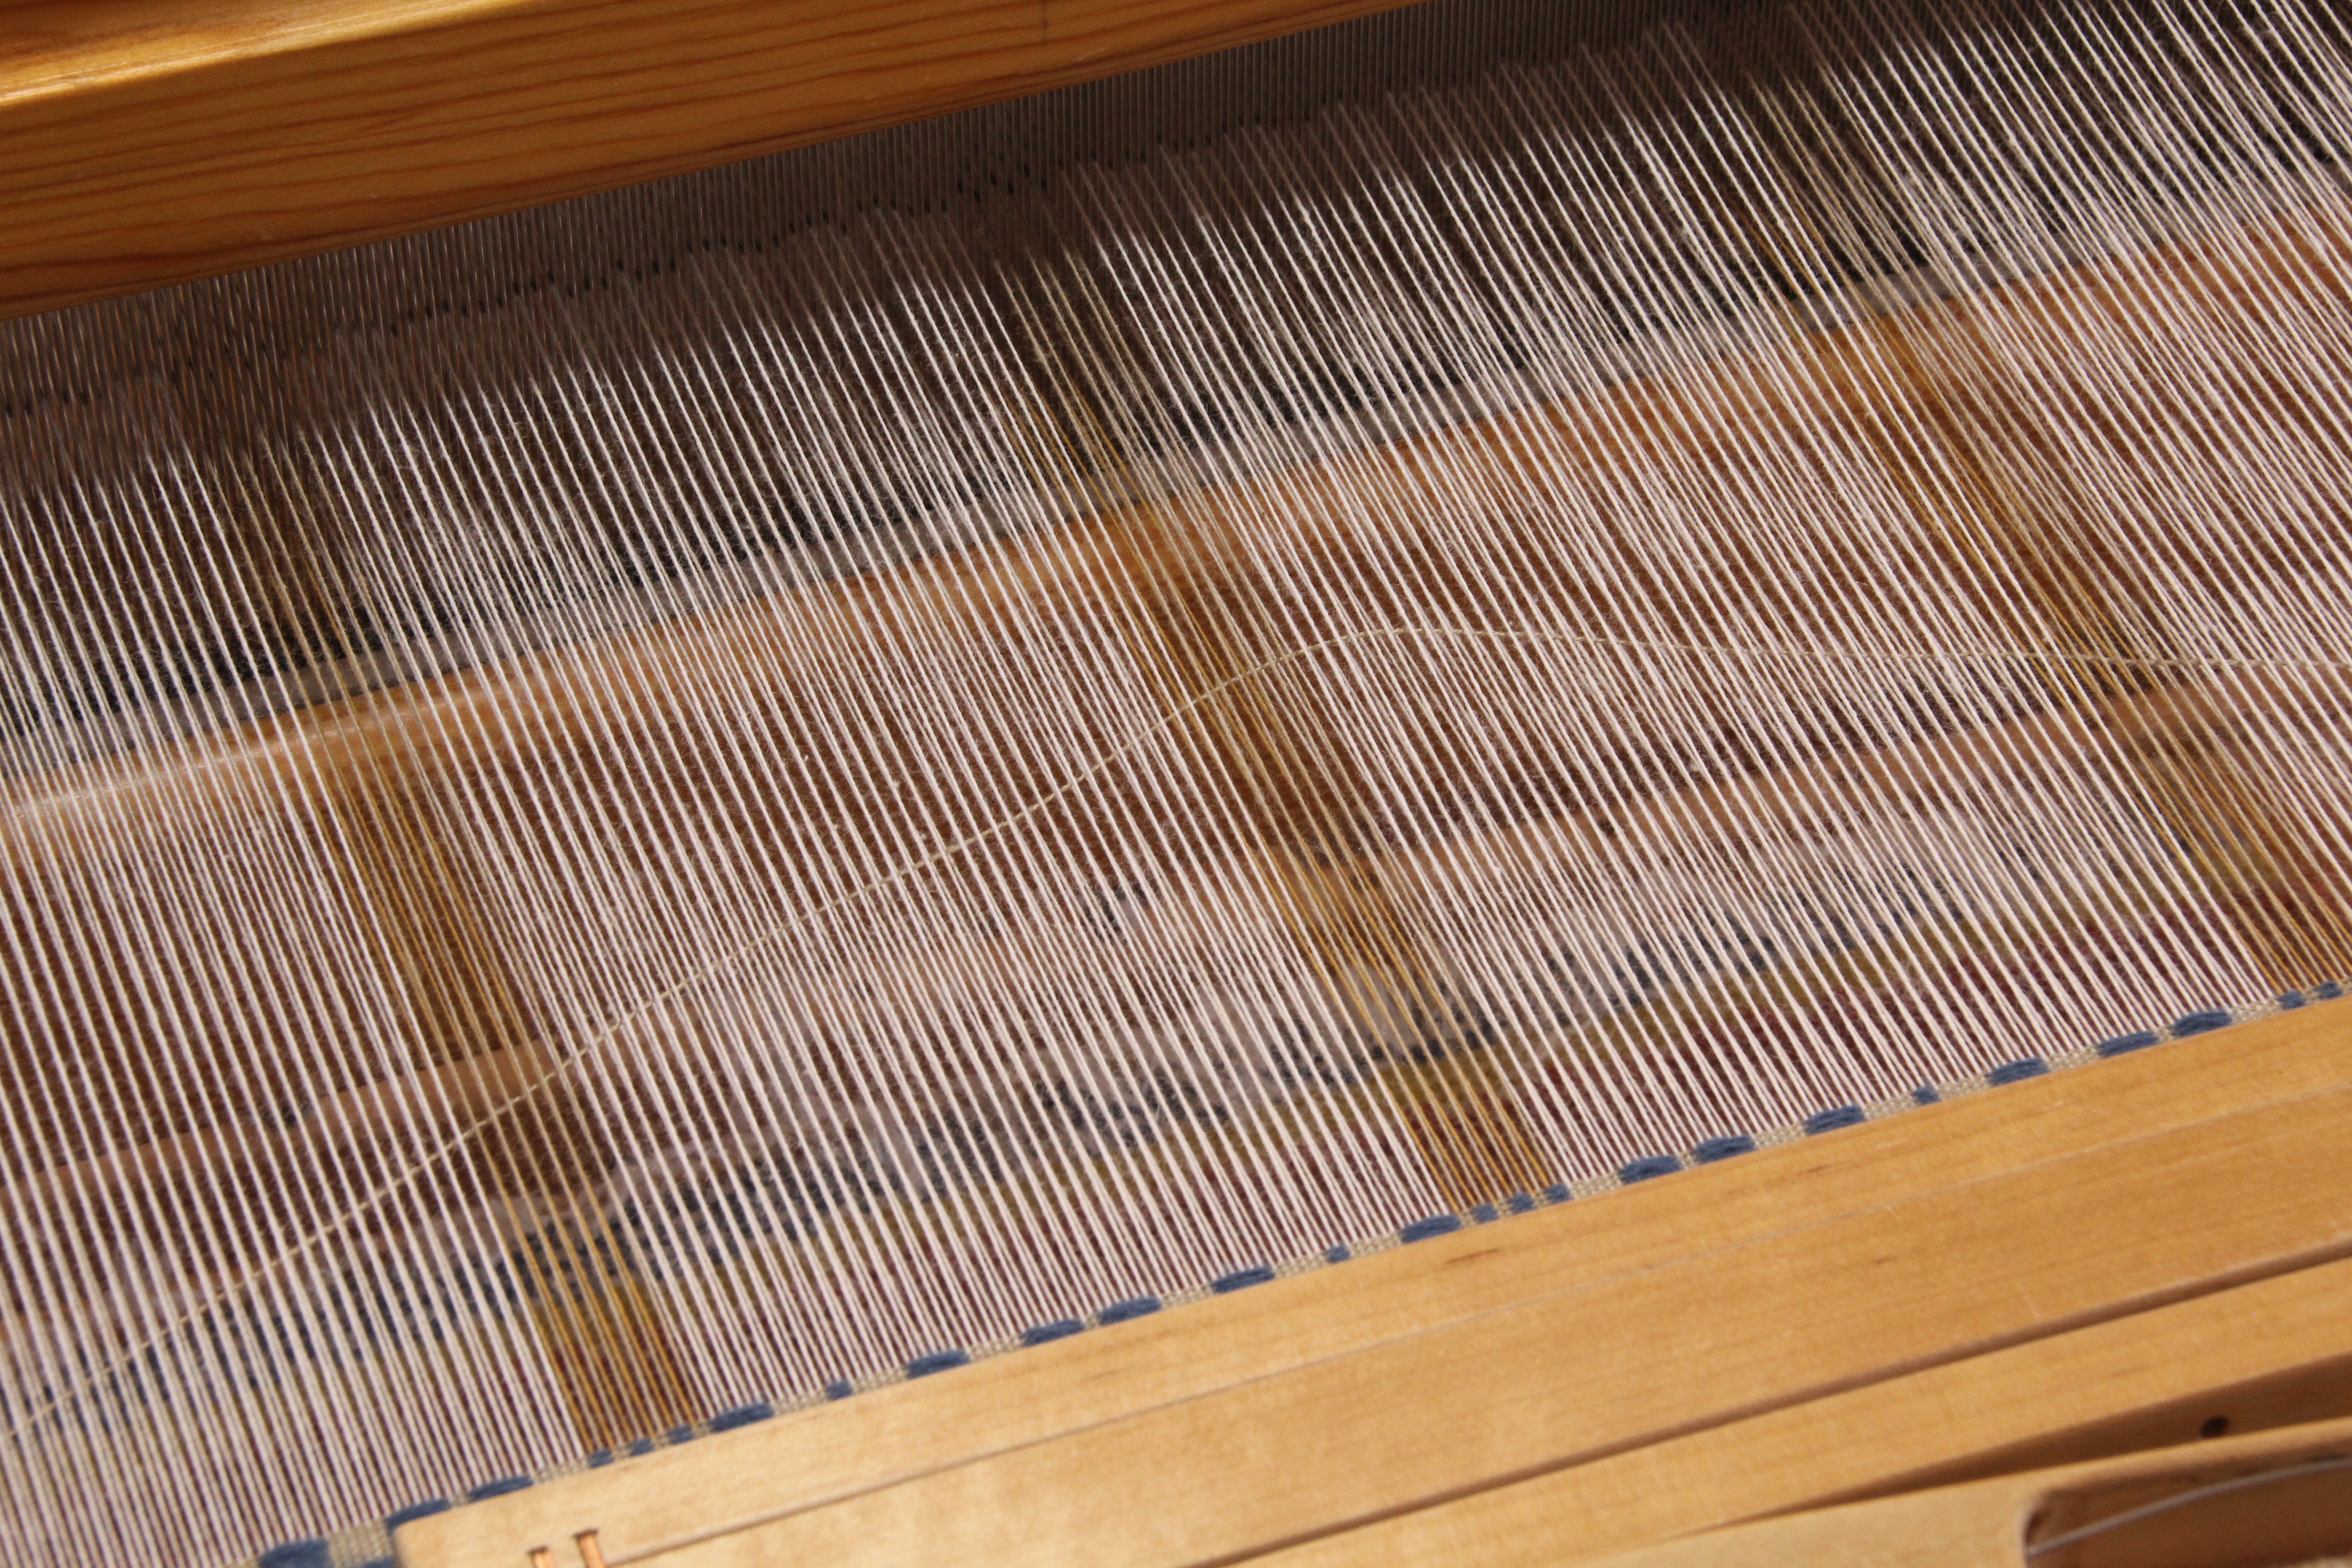
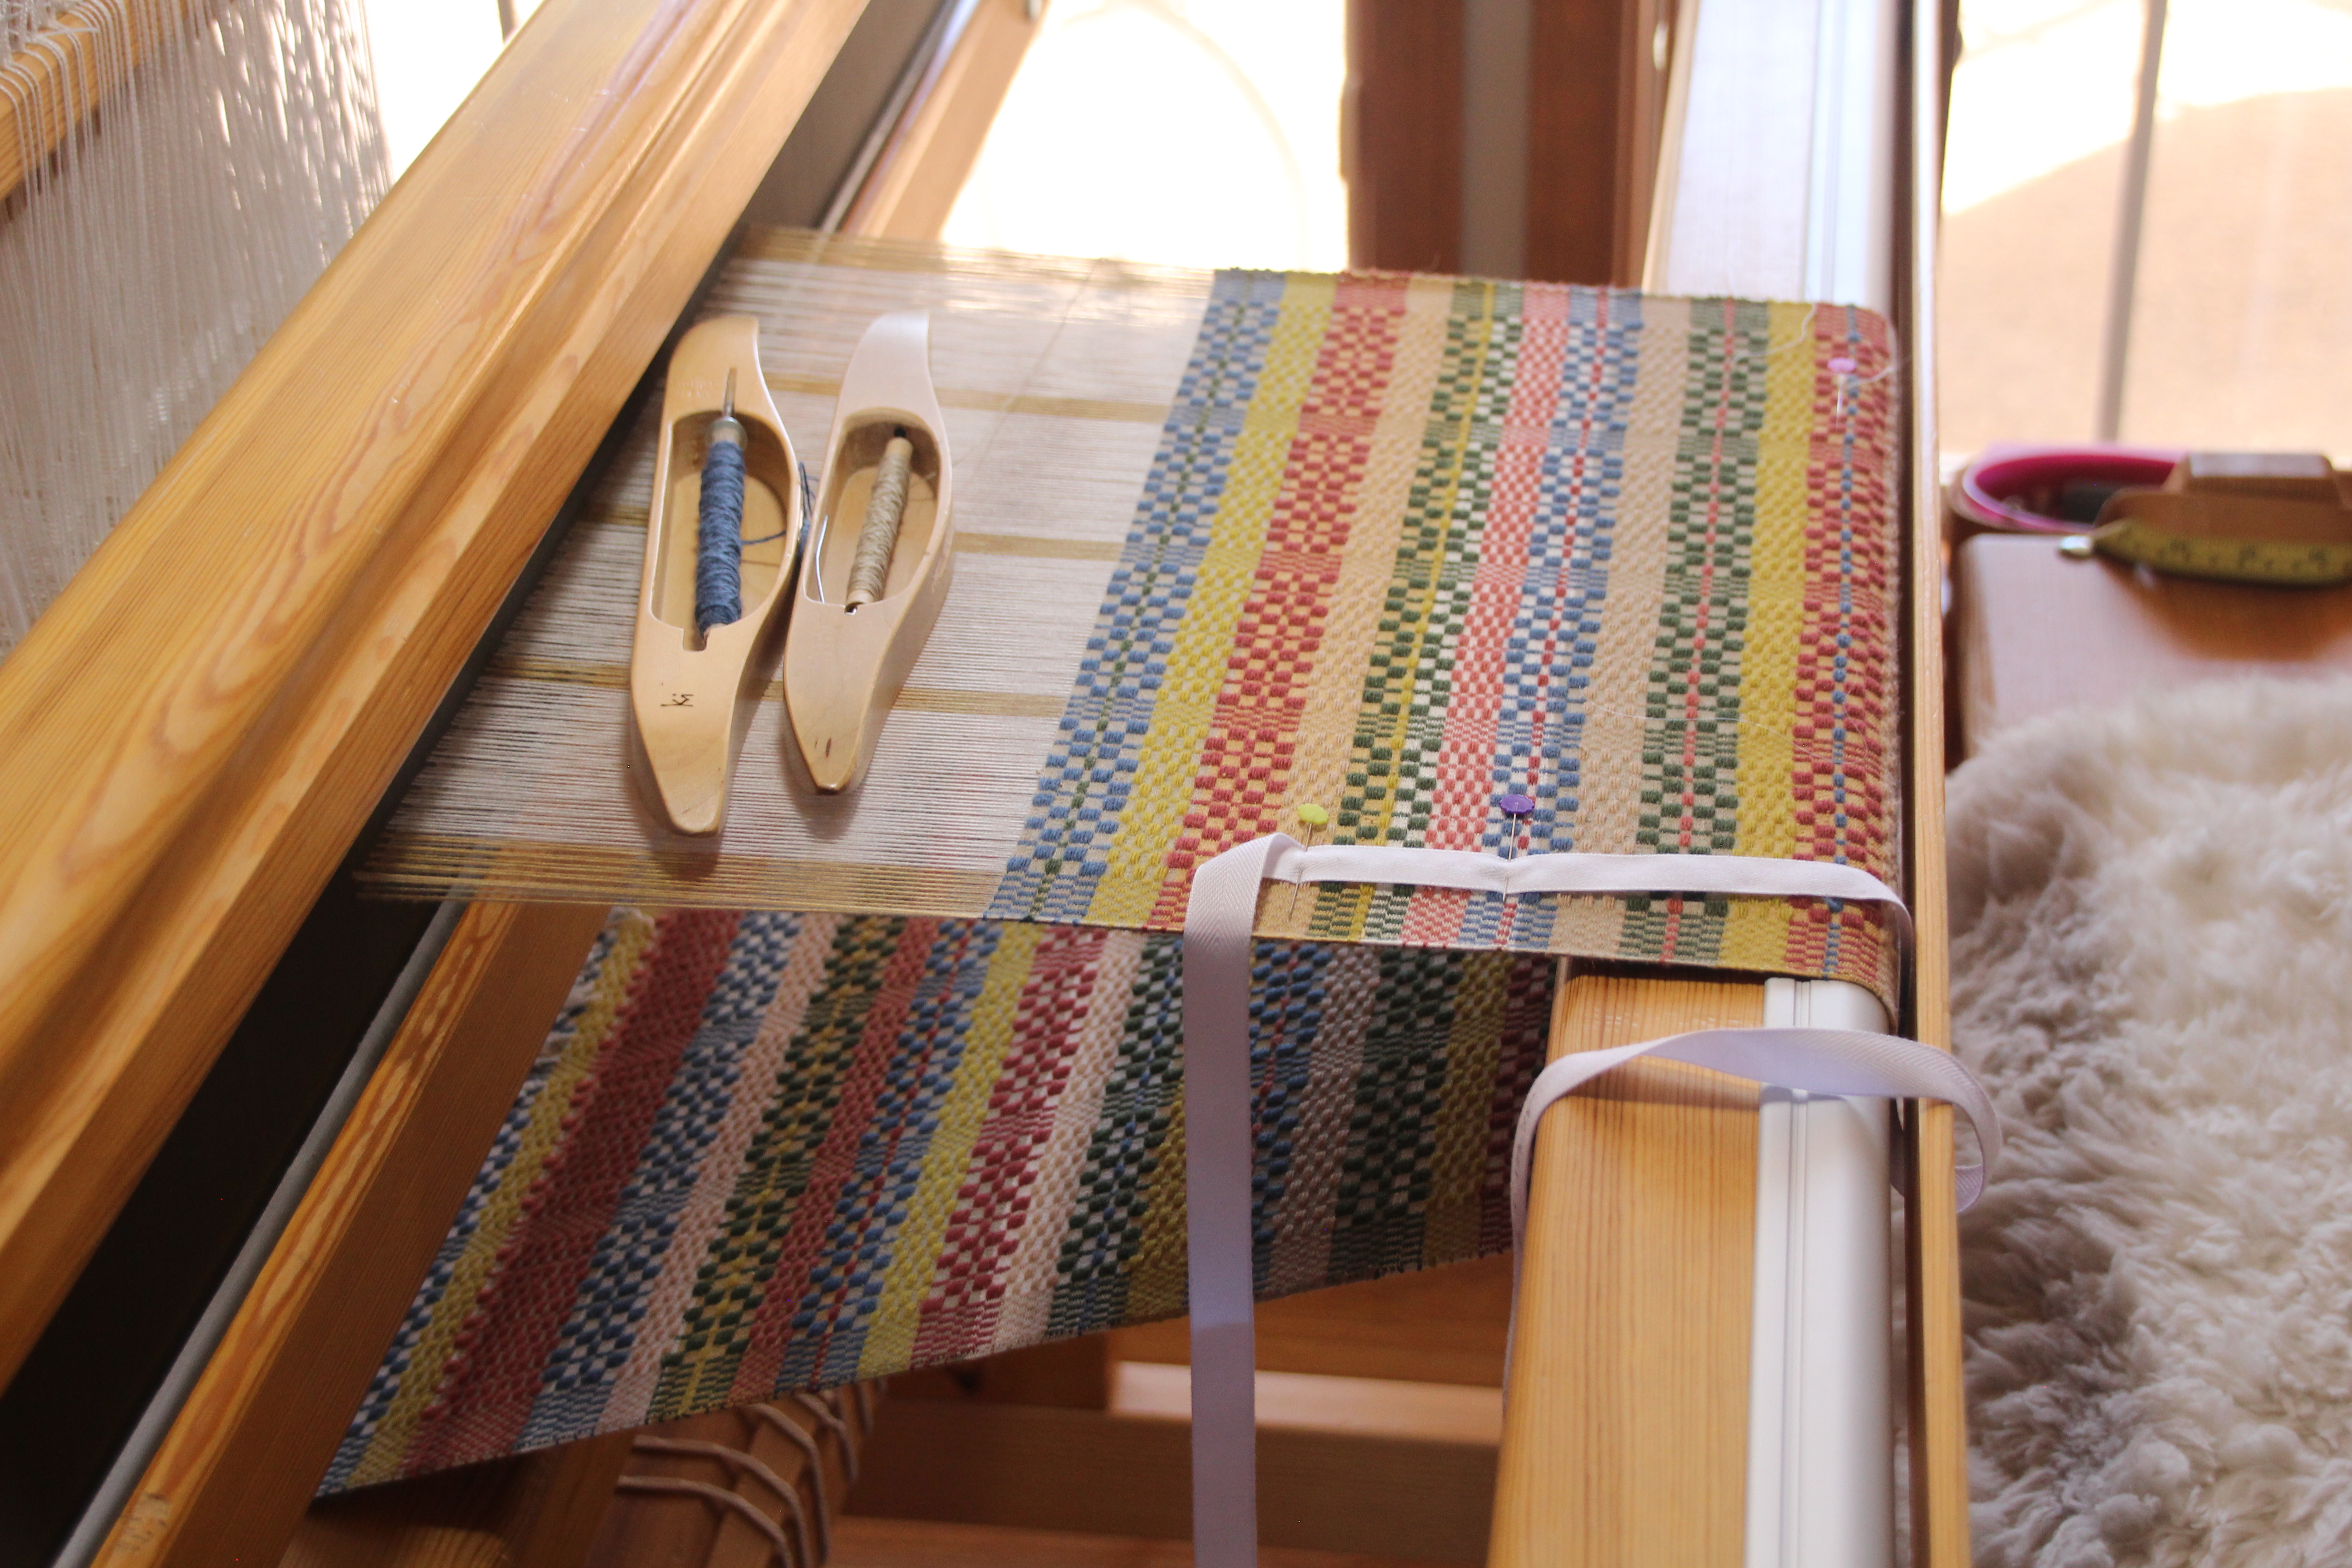
The monksbelt piece that adorns our entry is my favorite from all the projects in The Big Book of Weaving, by Laila Lundell. This current narrower version on the Standard is another heirloom monksbelt piece in the making. The ground cloth is weft rep.
Multi-color ground weave and vibrant Fårö pattern colors make this monksbelt fabric a standout. Glimåkra Standard in the background holds a new version of this favorite piece.
This is snail’s-pace weaving, with 2 picks of 16/2 cotton for the ground weave between every 6/1 Fårö wool pattern pick.
“To weave [weft rep]…the weft must be longer than the width of the warp and so the weft has to arc across the shed. There are two ways to do this: with many small waves across the width or with a large and high arc…The tiniest bit of unevenness can quickly build into hills and valleys across the weft line…”
The Big Book of Weaving, p. 236
Weft Rep in Three Steps
1. Make a Mountain.
After throwing the shuttle, increase the length of the weft by making it into a large arc in the open shed. Put one finger through the warp to form the peak while keeping enough tension on the thread with your other hand to maintain a good selvedge.
2. Make Hills and Valleys.
Keeping the shed open, push the mountain down into hills and valleys to evenly distribute the extra weft.
Turn the mountain into hills and valleys with your finger.
OR,
Simply drag your spread-out fingers lightly through the weft.
OR,
TIMESAVER – Slowly pull the beater toward you (shed open), smooshing the weft into a wavy line. Stop two or three inches away from the fell line.
3. Flatten the Hills
Treadle for the next shed. On the closed shed beat in the weft. Two short pulses with the beater distribute the weft more effectively than a single squeeze with the beater.
Watch for little loops that may form in places where there is a bit too much weft. To correct, open the shed, pull that portion of the weft back into a little hill and redo.
OR,
TIMESAVER – Draw the back of your fingernail across the warp where you see excess weft. This is often enough to even out little bumps.
Slower weaving develops into a rhythmic pace that is comfortable. And the cloth grows, line by line.
Some of the monksbelt flowers have a different color for the three center picks. The new color is only temporary, so I simply carry the first weft color up the side for that short distance.
Monksbelt with six colors of 6/1 Fårö pattern weft and three colors of 16/2 cotton ground weft.
More than one shuttle doesn’t necessarily mean more difficult. Everything runs a little smoother when there is an efficient exchange of shuttles between your hands.
Monksbelt flower garden.
How to Handle the Exchange of Shuttles
For this example, the temporary weft starts from the left and goes to the right. Weave the first pick of the temporary weft, catching the shuttle with your right hand. (If the first pick of the temporary weft goes from right to left, reverse the right hand/left hand instructions, here and following.)
Transfer the shuttle with the temporary weft (active weft) to your left hand.
With your right hand pick up the shuttle that has the weft that will be carried up the side (inactive weft). Bring the shuttle all the way around the active weft and then lay the shuttle down again.
Transfer the shuttle with active weft back to your right hand and continue weaving.
Follow steps 2 – 4 until the section with temporary weft is finished.
Tuck in the tail of the temporary weft and continue weaving with the weft that has been carried up the side.