Keep Threading Those Heddles

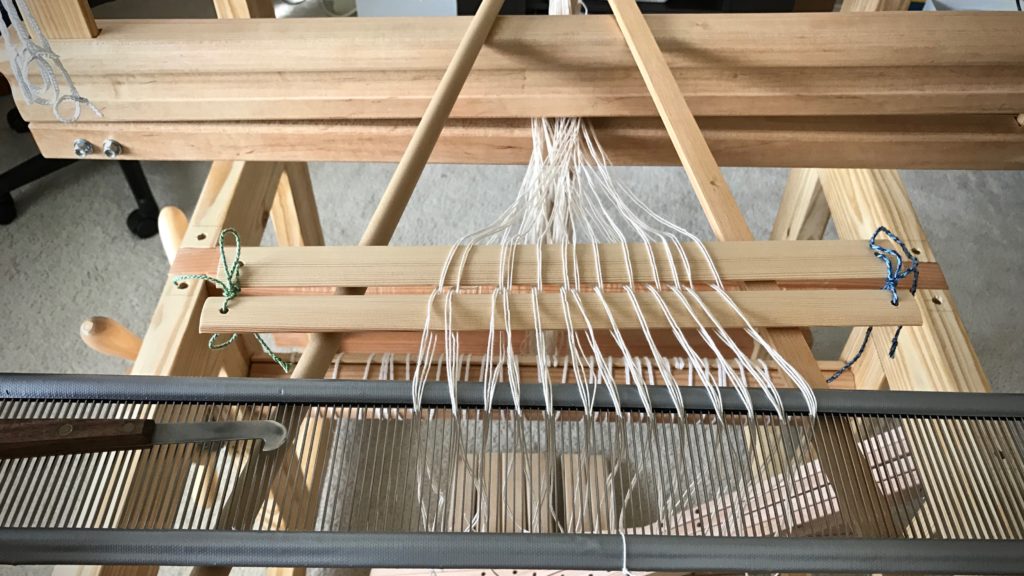
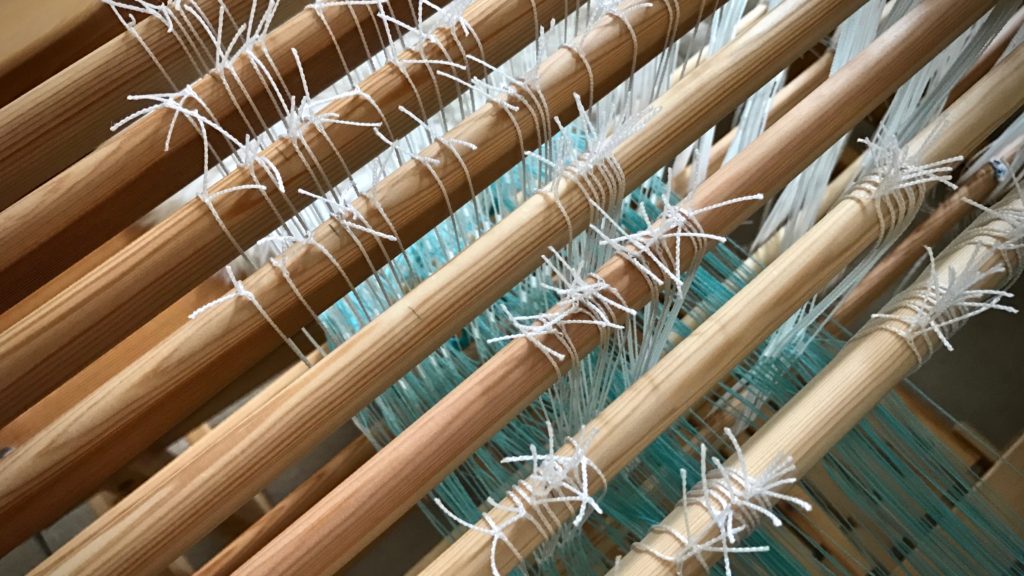
It will be worth it. 896 threads through these heddles, and then two ends per dent in the reed. This is the necessary dressing of the loom. I do it nine minutes, thirty-five minutes, and twenty-two minutes at a time. I do not accomplish it in one sitting. After accumulating almost five hours of threading, I’m ready to sley the reed.

Threading heddles.
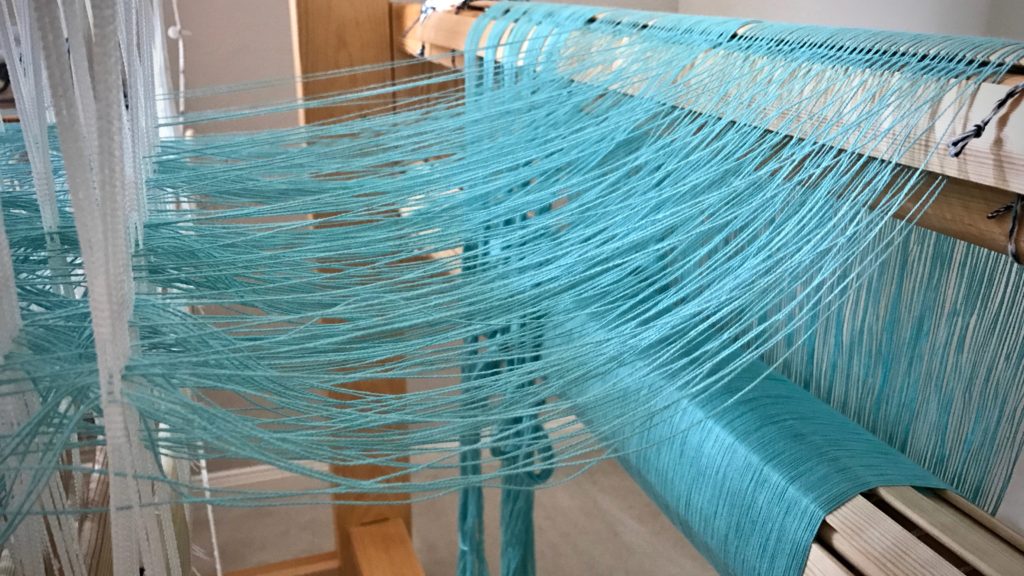
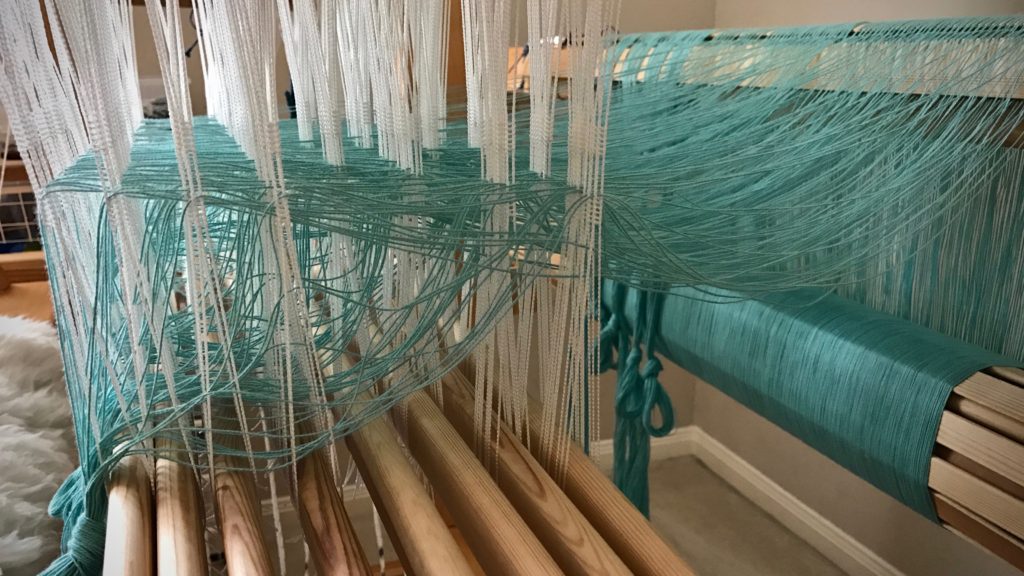
Colored threads are 16/2 cotton, thicker than the 24/2 unbleached cotton threads.
Threading Heddles
Checking for threading errors before tying the group of ends into a loose slip knot.

It is easy to lose concentration when there are so many ends. The M’s and O’s threading has just enough variation in it to make me wonder if I did keep it all in the correct sequence. We will find out. The threading, correct or not, is always revealed as the fabric is woven.

Texsolv heddles of four shafts. Glimåkra Ideal.
Texsolv heddles on four shafts, threaded. Glimåkra Ideal.
Sley the reed. Glimåkra Ideal.
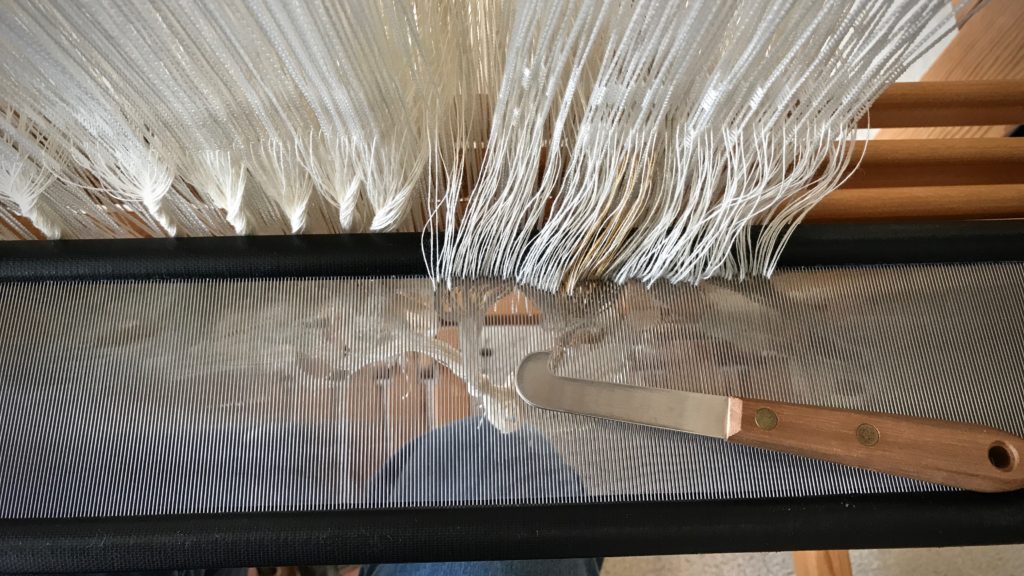
Two ends per dent are sleyed in this 22.5-dent-per-inch reed.

What is faith? Faith is putting your trust in something you have good reason to think is true. Stand firm, immovable, in your trust in the Lord. You put threads in the heddles because you have good reason to think these threads will become fabric. Don’t quit. Keep coming back to it. Be strong in faith. And do it from a framework of love. Your framework is always revealed in the cloth of your life.

May you stay strong.

Happy threading,
Karen

Weave Heirloom Fabric

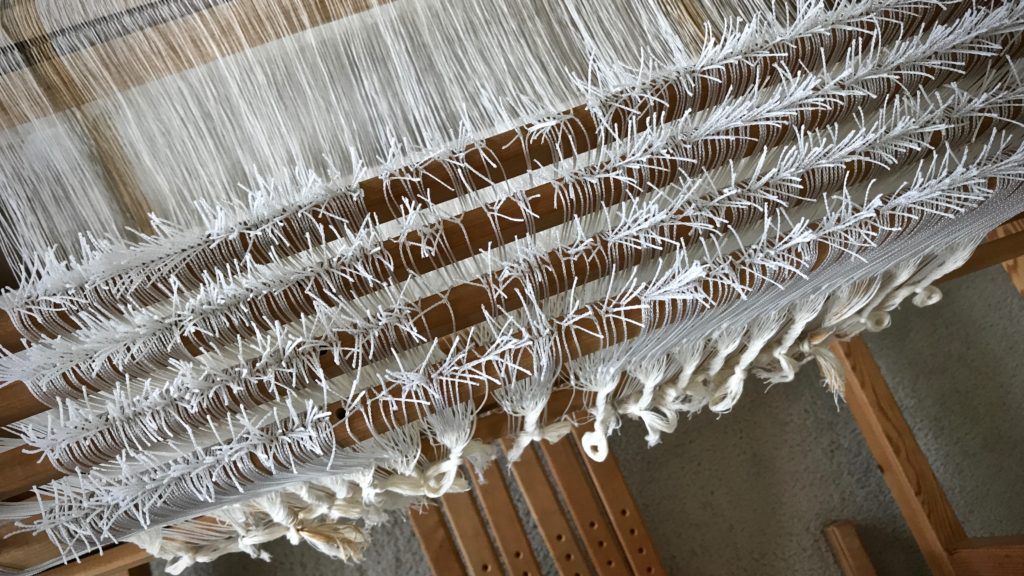
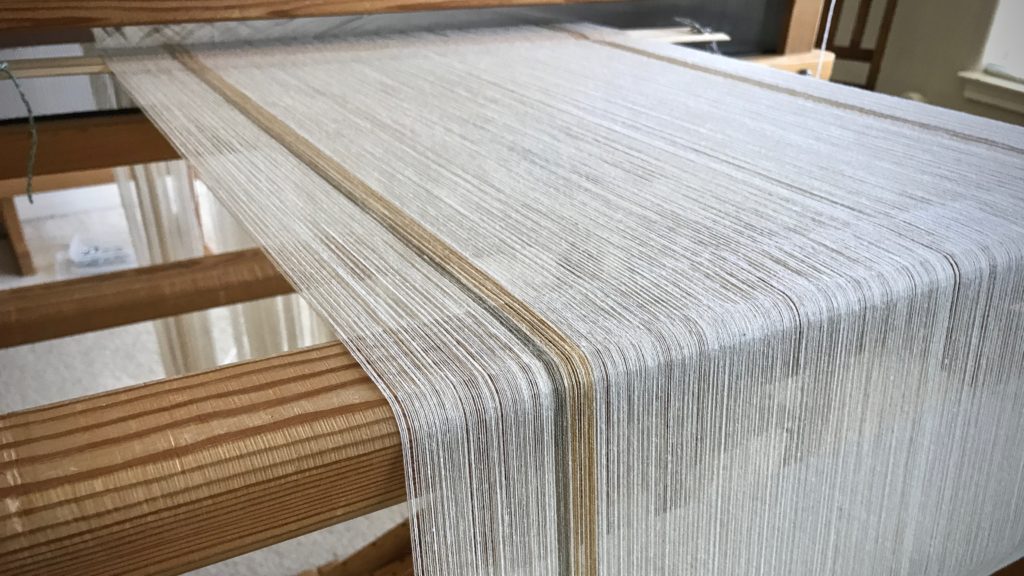
Fine threads. This warp may be the finest yet for me–24/2 cotton. 896 ends are lined up in a row. And, oh, they are soft. This is another fascinating experience for someone who enjoys seeing threads do remarkable things.

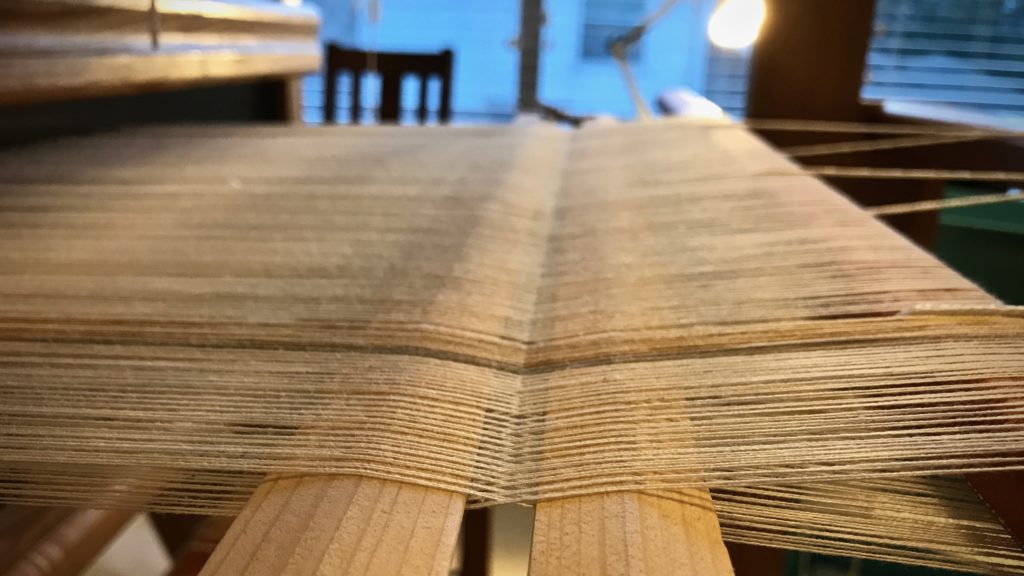
Lease sticks keep warp ends in order.
Lease sticks keep the ends in order.
Ordered threads on the back tie-on bar.

The weft for this will be fine, too–20/1 linen. Linen is strong thread in the right conditions. Can you imagine the fabric that will come from these fine cotton and linen threads?! Something lovely will be produced from many hours of winding the warp, dressing the loom, and weaving. When I throw the shuttle back and forth, heirloom-quality fabric will appear! Soft like cotton, and strong like linen.

Beaming eight-meter warp.
Beaming eight meters of warp.
Cotton warp ends.
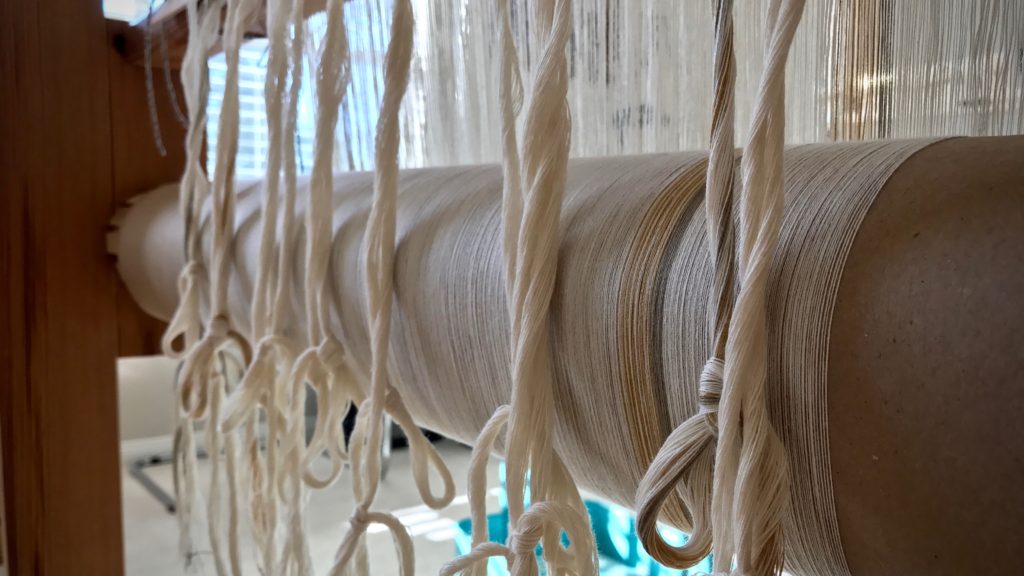
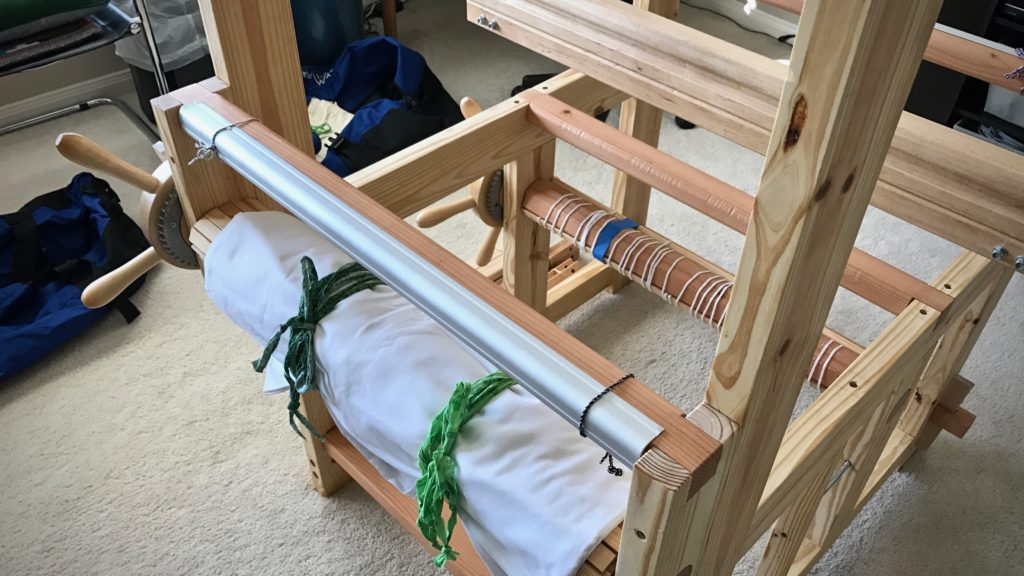
Brown paper is on the warp beam after running out of warping slats. Warp ends have been counted and loosely tied into threading groups.

We often define love by what someone says, knows, or does. I love you. I know how you feel. I will help you. It is possible, though, to say, know, and do nice things, but not have love. At its core, love is unselfishness and humility. Pure love comes from a pure heart. A pure heart that is unselfish and humble extends love as fluently as a weaver’s shuttle going back and forth. An honorable legacy is woven, soft and strong, through a heart of love.

May you weave a legacy of love.

Love,
Karen

~UPDATE~ Towel Kits ~

I have been delighted by the response for the towel kits, and have enjoyed putting the kits together! The River Stripe Towel Set, Pre-Wound Warp and Instructional Kit, for $150 per kit, is listed in the Warped for Good Etsy Shop until they are sold out. This is the final release of this kit. There are a few left.

(I may be persuaded to do another limited run of a kit in the future.)

Thank you!
Your weaving friend

Sweet Little Loom with a View!

Steve thought I should have another loom, so he used his carpentry skills to build a 27-inch Swedish-style four-shaft countermarch loom! It’s beautiful. It’s incredible! In preparation for retirement in a few years, we found a place in beautiful Texas hill country to call (our future) home. For now, it’s a place to gather with children and grandchildren on occasional weekends. And a place to put a sweet little loom.

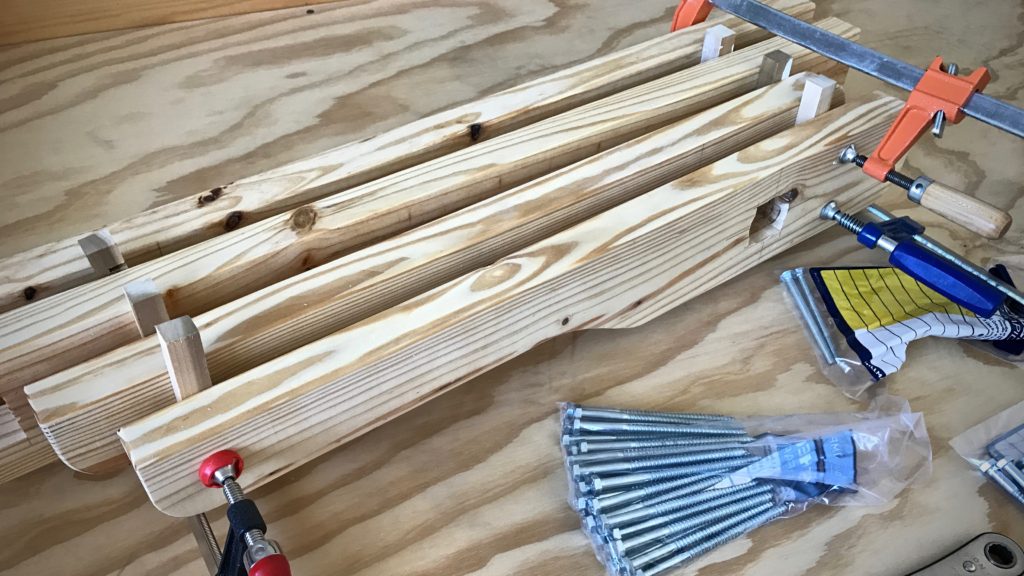
Making weaving loom parts.
Making weaving loom parts. Treadles.
Six treadles ready.
Putting the new little handbuilt loom together!
Final Touch. Tightening the cradles for the top of the hanging beater.
Maiden warp for a new sweet little loom.
Putting on the maiden warp of 12/9 cotton seine twine.
Ready to take the loom apart to move it.
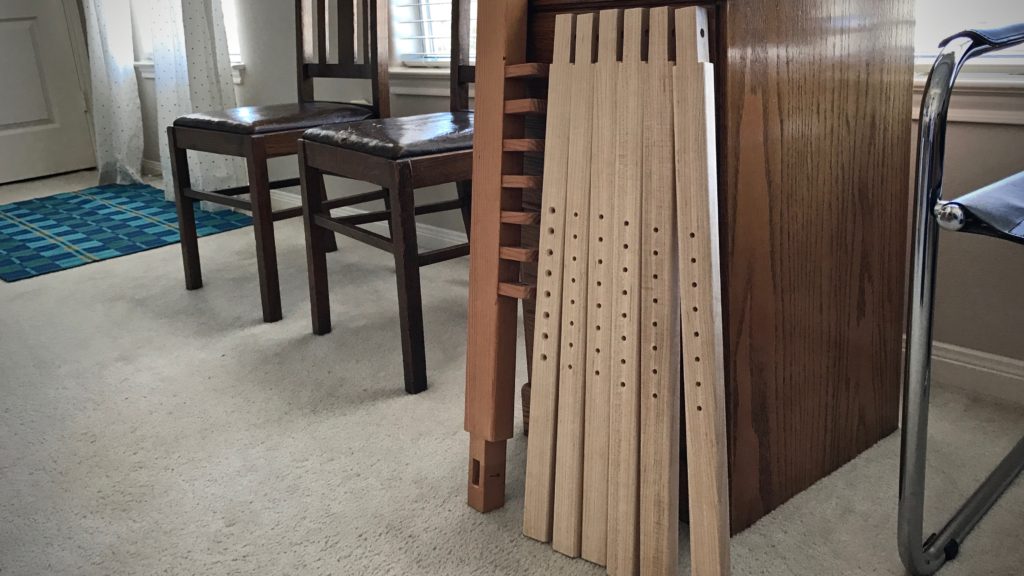
Loom is ready to be disassembled. Warp is wrapped up on the warp beam. Blue duffel bags will hold all the loom parts except for the side frames and the beater, to be transported to the new location.

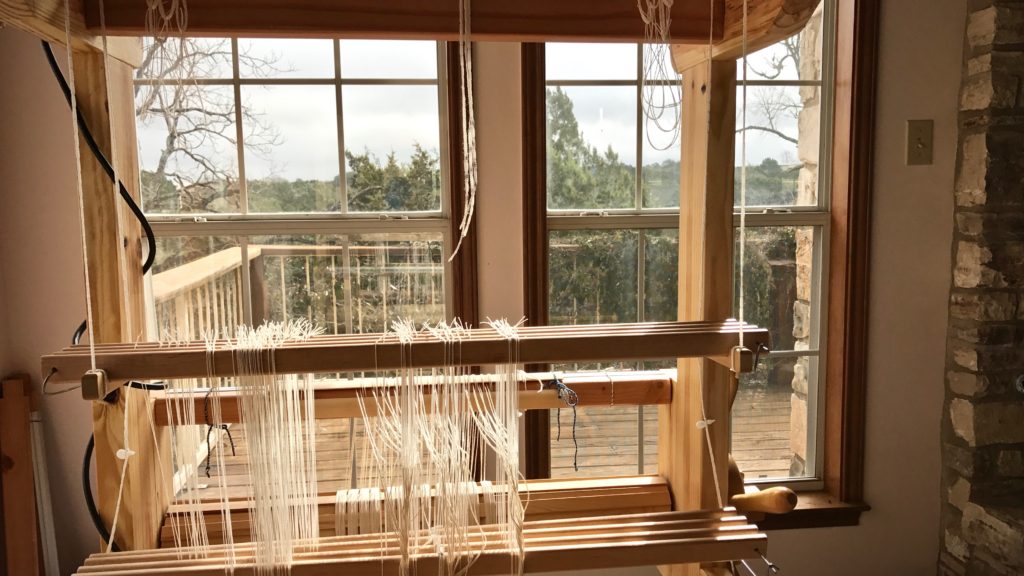
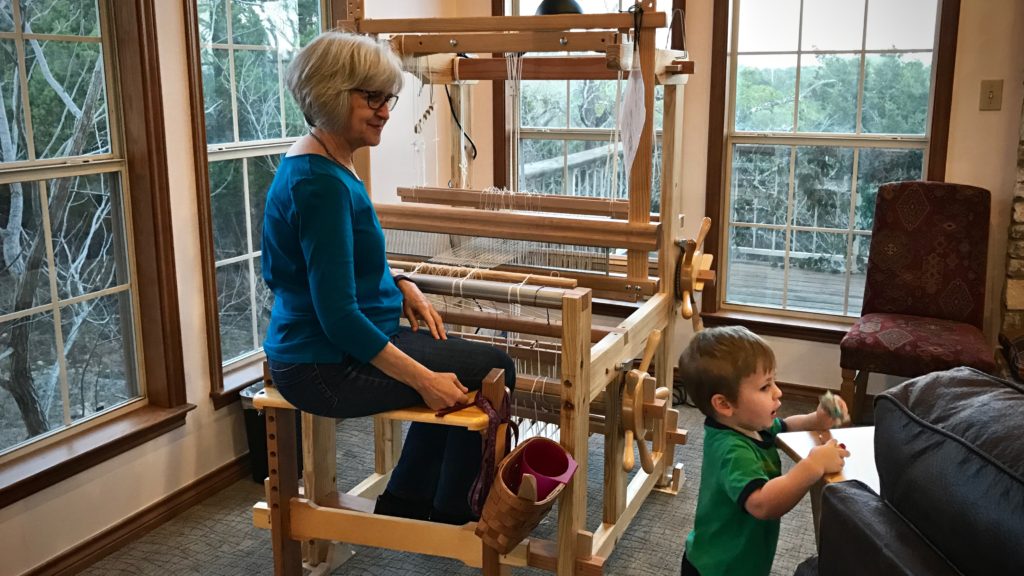
And it only gets better. We situated the petite loom by the corner windows in the living room. At the loom, I have the best seat in the house, with an amazing view of God’s creation. The loom tells me my husband knows me very well. And the view tells me the Lord knows me, too.

Loom with a view! Texas hill country.
Threading heddles while enjoying the hill country view!
Grandchildren, loom, view... heaven on earth!
Can there be a better setting? Grandchildren playing, loom, view…
Sweet little loom with a view!
Sweet little loom with a view! Heavenly!

None of us can come to God on our own terms. Not by our wisdom. Not by our strength. Only through humility do we find God. Humility opens our heart to God. That’s when we see how much He has done to get our attention to tell us He knows us and loves us. My special loom with a view is an example of what it’s like to be known and deeply loved.

May you know you are loved.

Blessings,
Karen

Tools Day: Leveling String

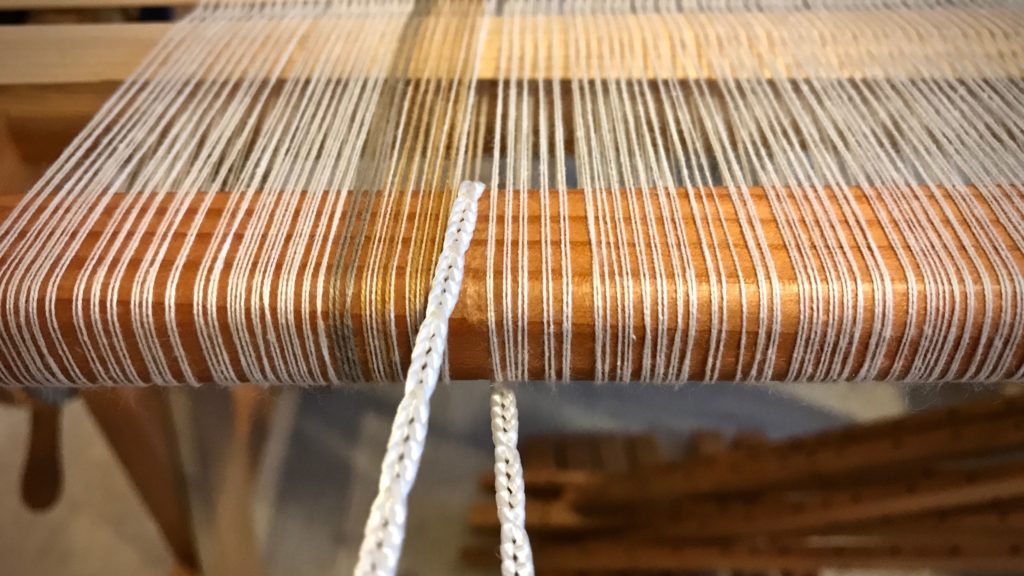
Thirty-five years ago, I took a beginner rigid heddle loom class. Our teacher taught us to use strips of toilet paper (or fat scrap yarn) as weft at the beginning of the weaving to space the warp. After several inches of weaving, the warp ends would fall into alignment. Unless fringe is planned, that beginning warp goes to waste, not to mention the unsightly aspect of the throwaway weft. Here comes the leveling string to the rescue! This piece of 12/6 cotton seine twine is just what we need to get off to a good start with every project we put on the loom. The leveling string levels out the warp ends, and delivers a nice, flat weaving surface. It is superb to be able to weave fabric right from the very beginning of the warp!

The use of a leveling string is also described in my three favorite books that detail how to warp a loom:

  • The Big Book of Weaving, by Laila Lundell
  • Learning to Warp Your Loom, by Joanne Hall
  • Dress Your Loom the Vävstuga Way: A Benchside Photo Guide, by Becky Ashenden

Tools:

  • Front tie-on bar with a hole at each end (Joanne Hall writes, “If there are no holes in your bar, replace the cord with a thin stick.” I have not tried this, but I trust anything Joanne says!)
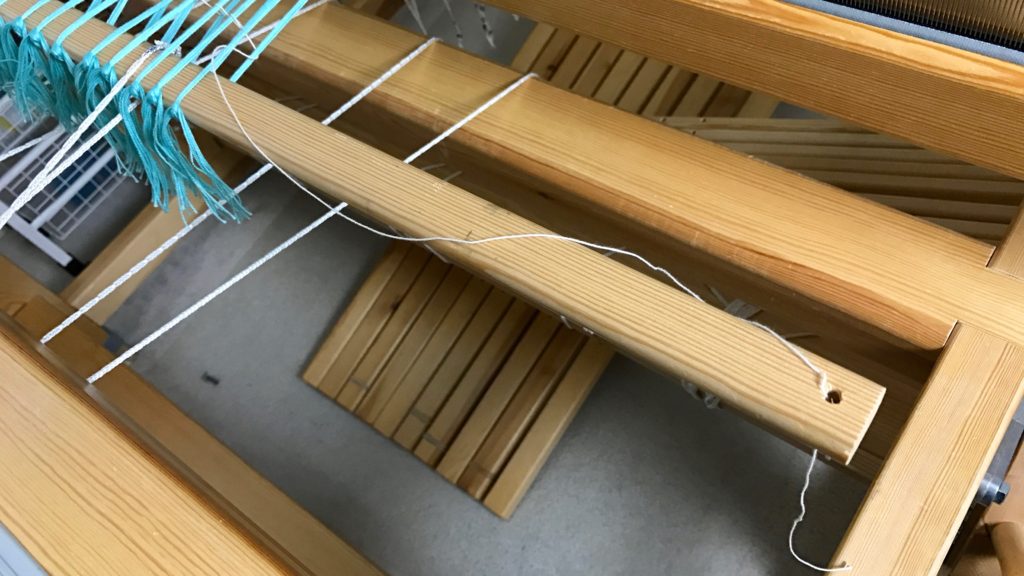
  • 12/6 cotton seine twine, the length of front tie-on bar, plus about 20 inches (I like to have plenty of string to tie the knots on the ends)

Steps:

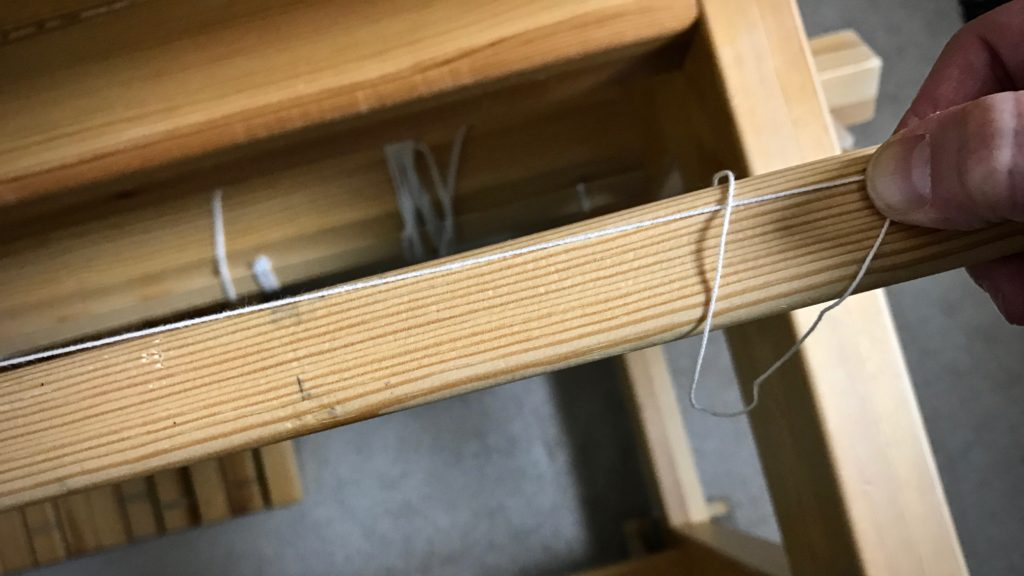
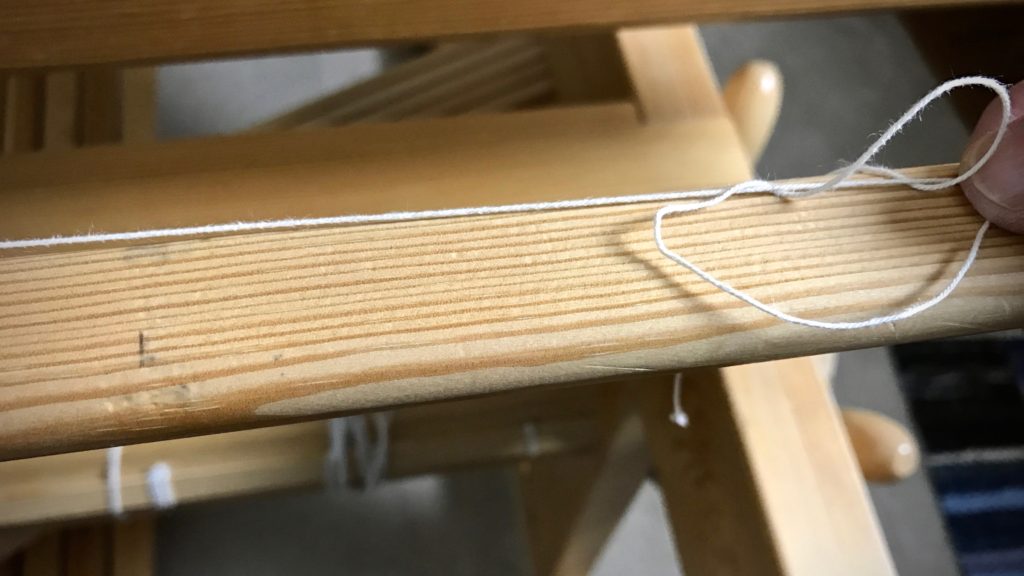
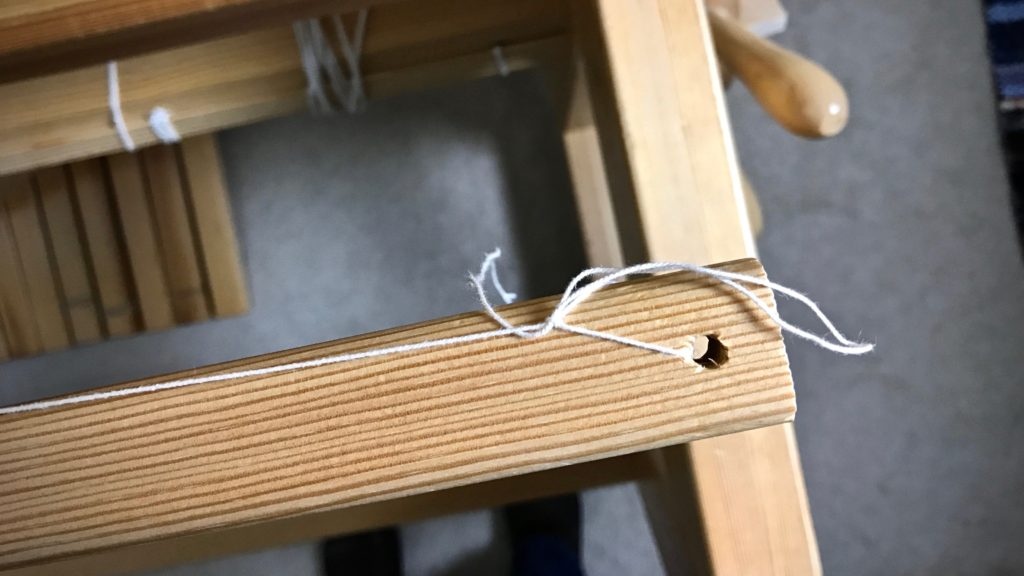
1. Tie on warp in small bundles, about 1″ each, with half of the bundle’s ends going over, and half going under, the front tie-on bar (as seen in Step 3 pictures). Tie the ends together with a bow knot or other tie-on knot. (TIP – If you do not tie the knots too tight, it is easier to get even tension across the warp, and it is easier to tighten the leveling string in Step 4.)

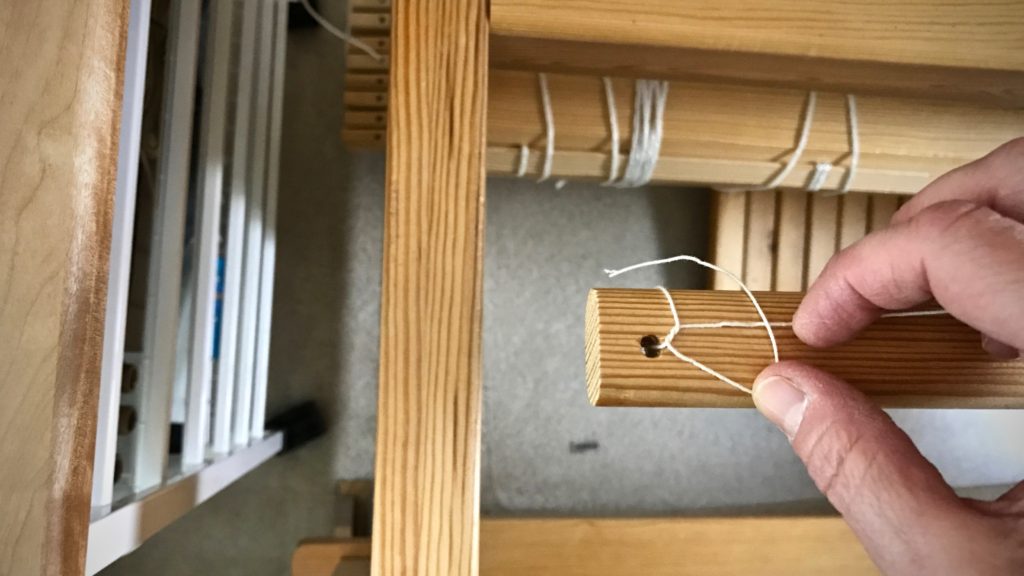
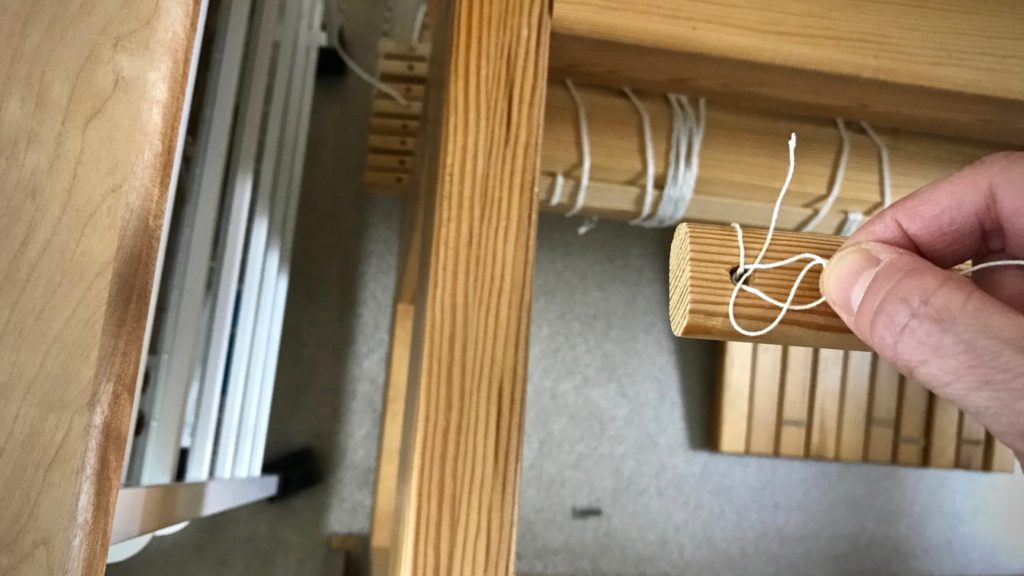
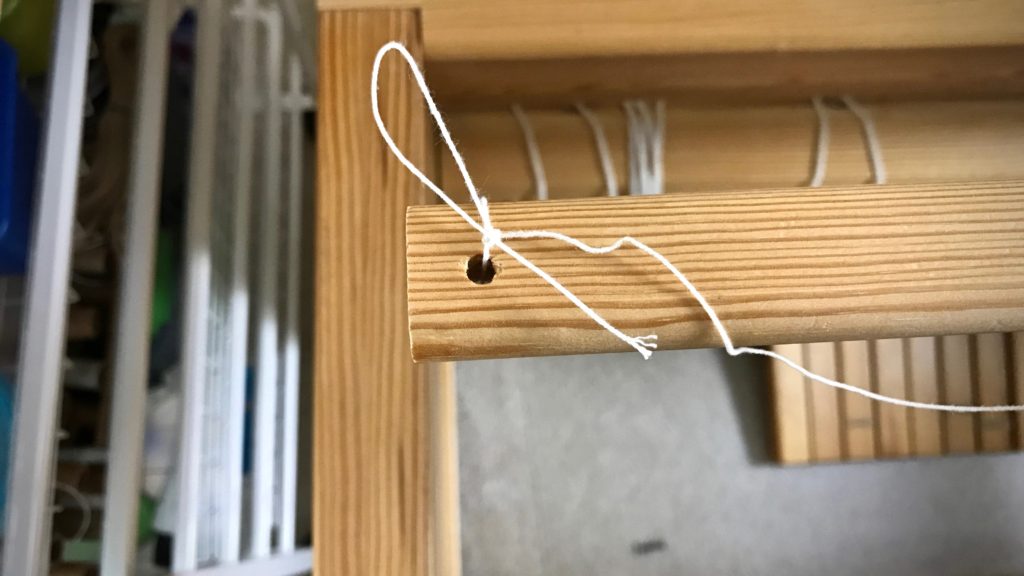
2. Tie one end of the leveling string to one end of the front tie-on bar, using a slip knot with half bow.
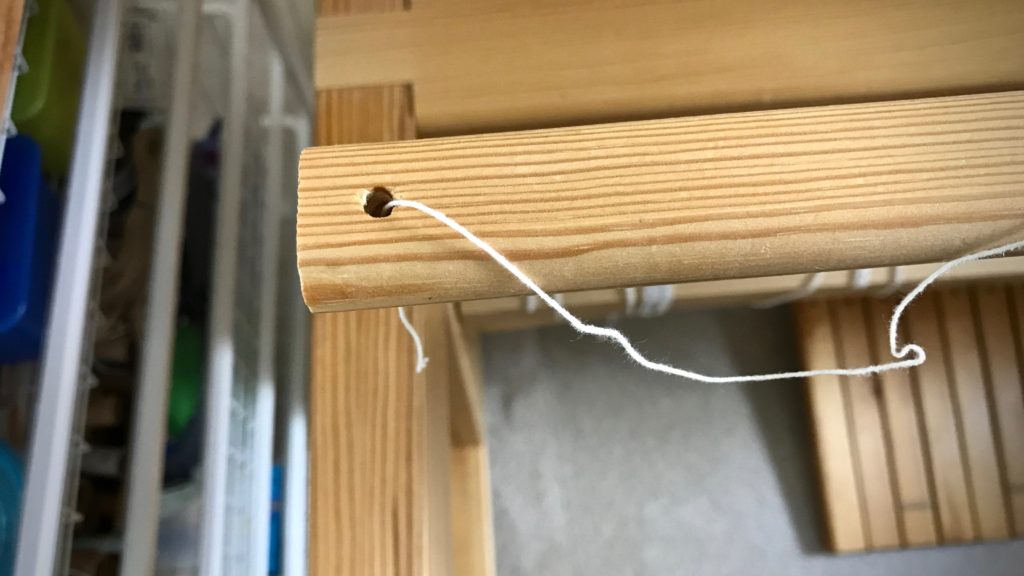
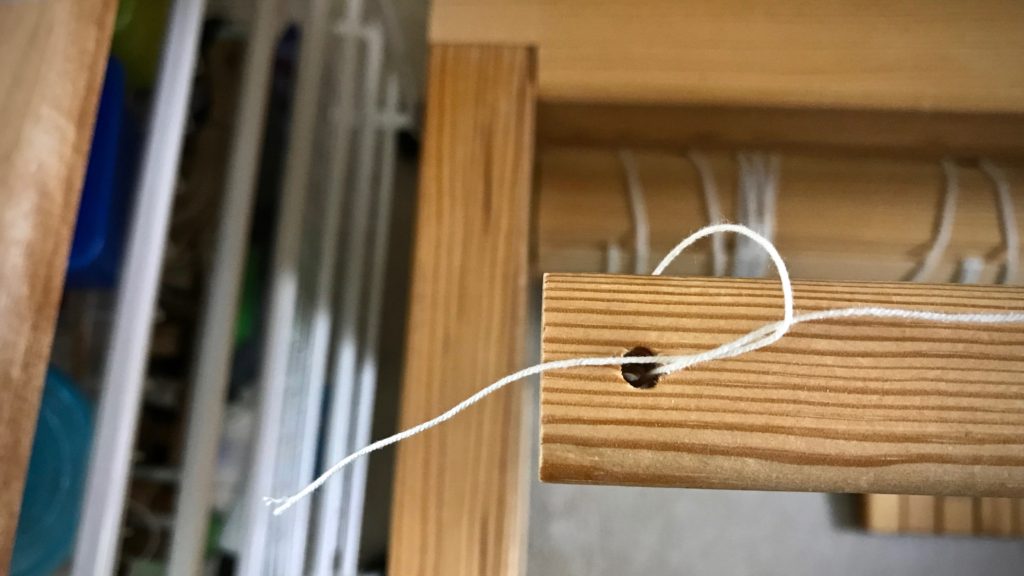
Tying the leveling string. Tutorial pics.

Tying the leveling string. Step-by-step.

Leveling string - tying it on.

Tying on the leveling string. How to.

How to tie the leveling string.

3. Thread the leveling string over and under the tie-on bundles, going over the raised ends and under the lowered ends.
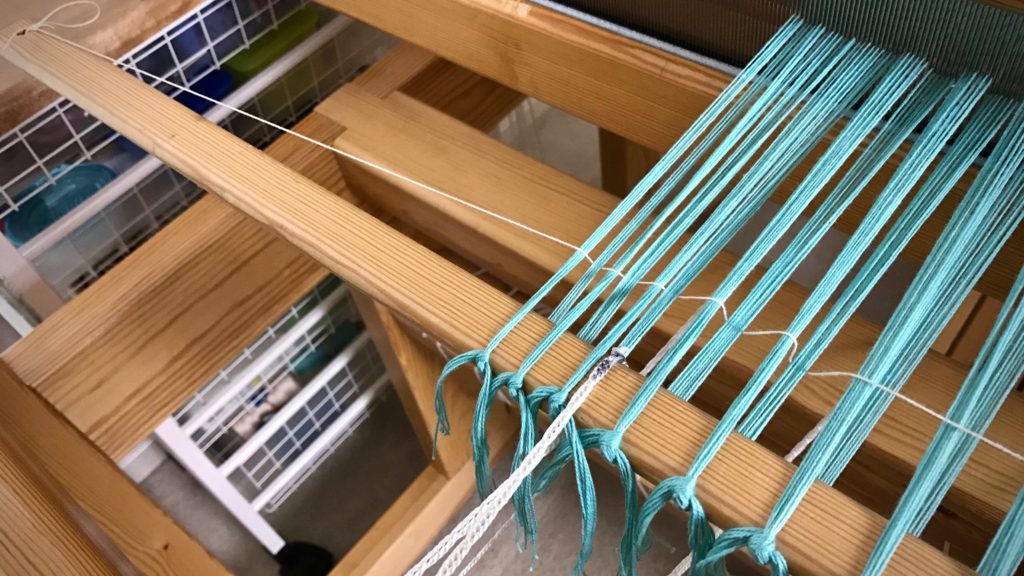
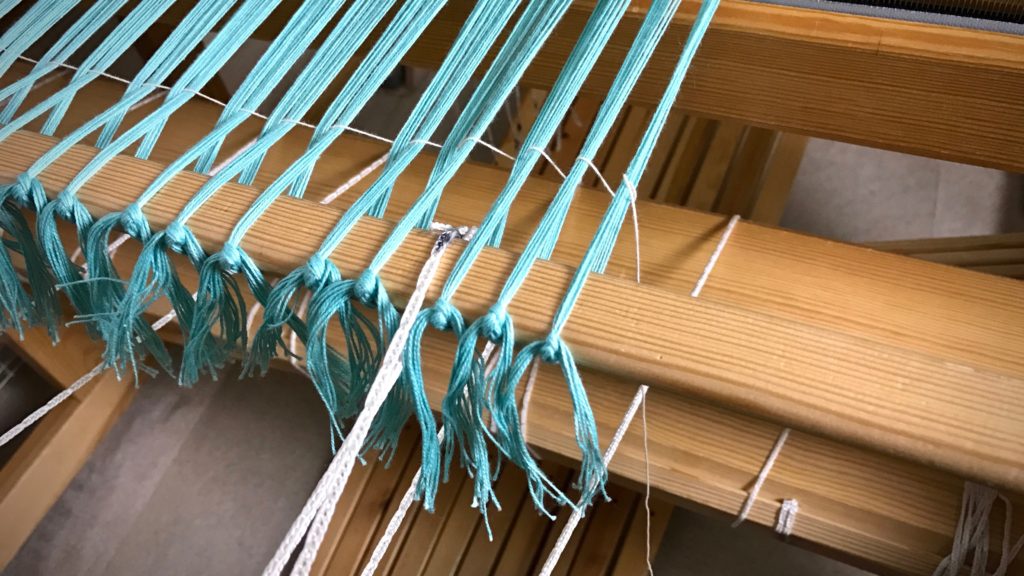
Threading the leveling string through the warp. Tutorial pics.

Leveling string going through the warp.

Tying the second end of the leveling string.

4. Tighten the leveling string while tapping it in with the beater.
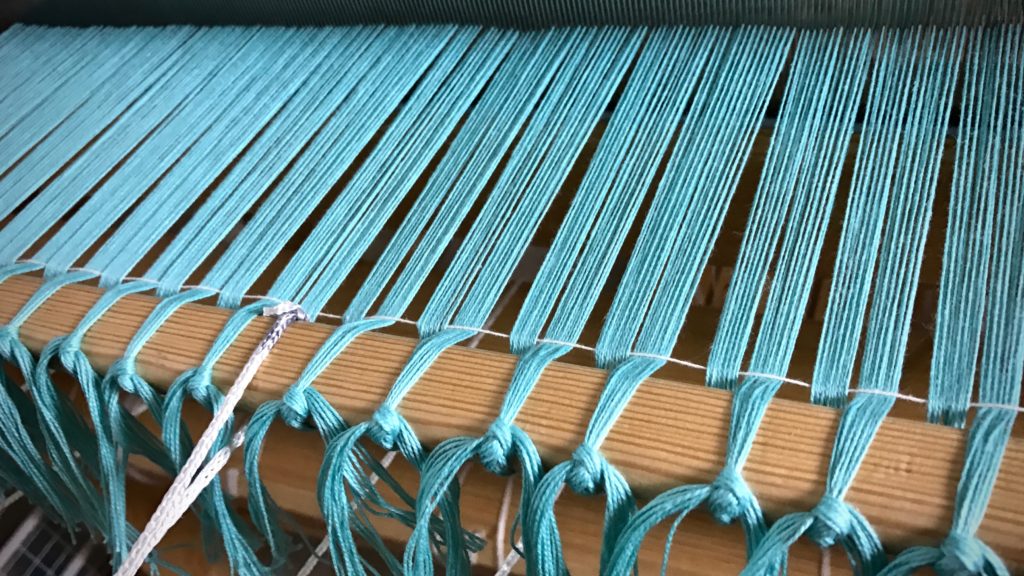
Tightening the leveling string.

5. Tie the end of the leveling string to the end of the front tie-on bar, using a slip knot with half bow, as before.
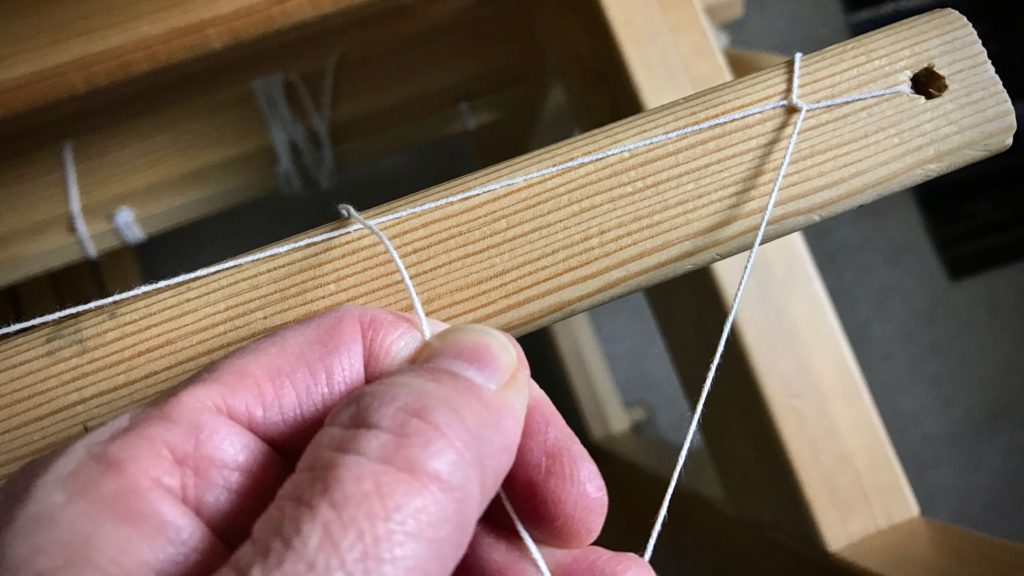
How to tie the second end of the leveling string.

How to tie the leveling string.

Finishing the knot for the leveling string.

Why I use a leveling string.

6. Weave to your heart’s content.
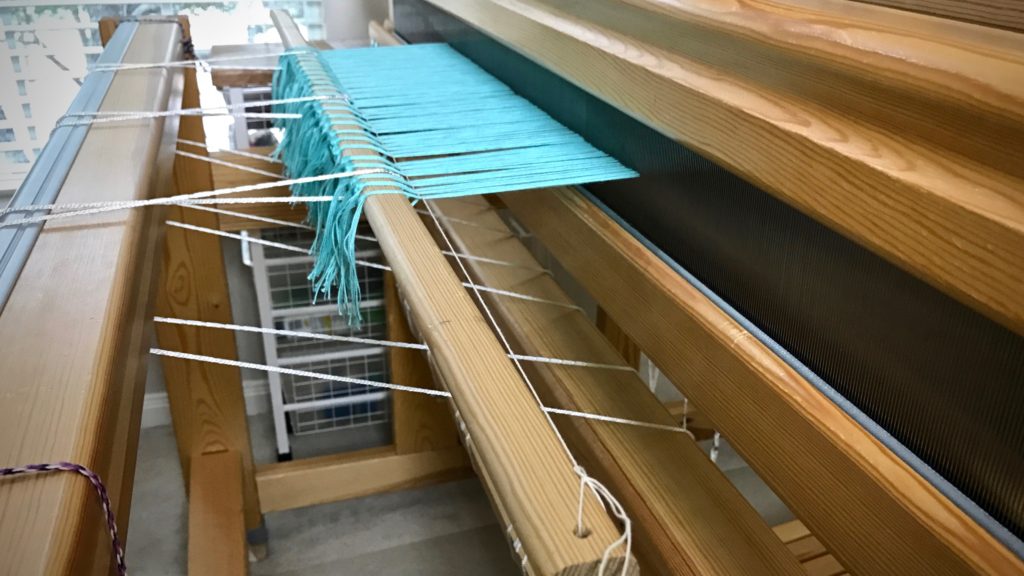
Why the leveling string is so helpful!

When you get to the end of the warp, and are ready for cutting off, simply tug the loose end of the string at one end of the bar to release the slip knot, and pull the leveling string out of the warp.

May you weave as soon as possible.

Happy Valentine’s Day,
Karen
Kuvikas and Taqueté

Kuvikas and taqueté. There are always new things to try. I’m back to eight shafts. This Glimåkra loom is highly adaptable. It is no problem to set up the loom for a new project. You may have guessed that I like to switch it up. Four shafts or eight shafts, two treadles or ten. And, change the tie-up, too. I don’t mind. With this project, I am going to change the treadle tie-up again at the midway point, switching from kuvikas to taqueté.

Threading eight shafts on my Glimakra Standard loom.
Threading eight shafts. Four pairs of shaft bars have been added to switch from a four-shaft project to an eight-shaft project. Four additional upper lamms and lower lamms have also been added to the loom.

If you know and practice the basics, it’s not frightening to try new weave structures. Every new experience builds on what I’ve learned before. I can trust the system of weaving that I’ve been taught, and that I practice with every project. It makes sense.

Aquamarine cotton. Threading my Glimakra Standard loom.
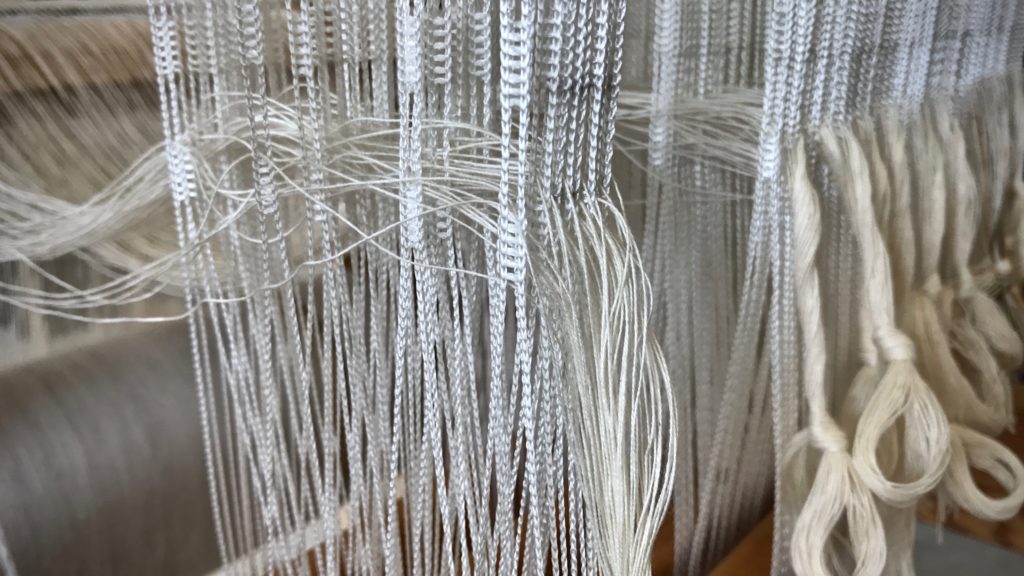
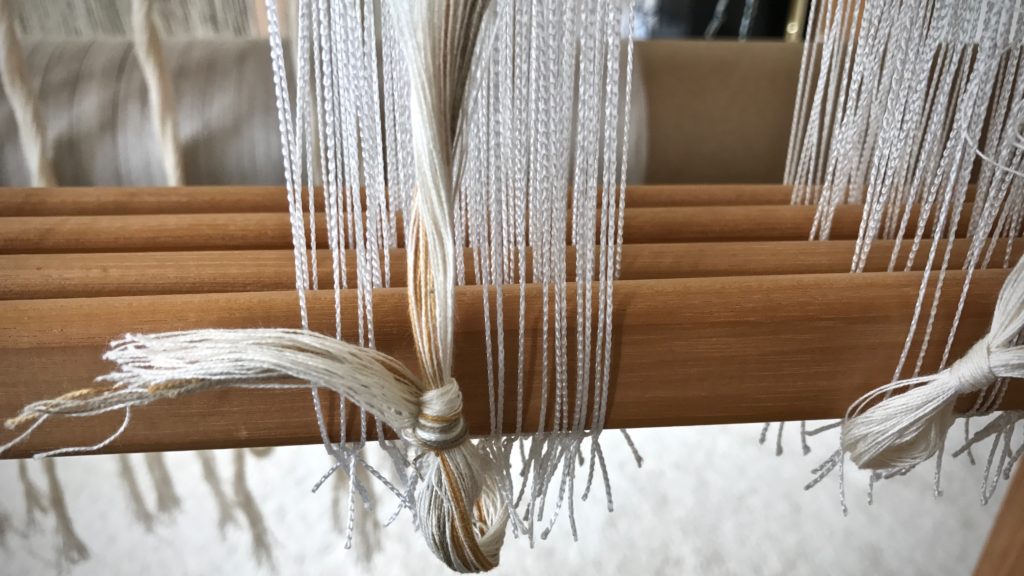
After the warp is beamed, the warp ends are tied with an overhand knot into groups, according to the threading pattern. In this case, 48 ends are in each group. Counting the ends into groups helps eliminate, or at least reduce, threading errors.
Threading eight shafts for kuvikas and taqueté.
Complex, but not complicated. Warp ends are inserted into specific heddles to set up the loom for a particular type of cloth. Very systematic.

Don’t be afraid. The Lord not only teaches us his ways–his system, but offers us his strength while we learn. I can trust him for that. Trust replaces fear. I don’t have to find my own way, or guess. The system works. It makes sense. I learn to weave, and live, one step at a time, with freedom to enjoy the process.

May you rise above your fears.

All the best,
Karen