Getting Dressed to Weave

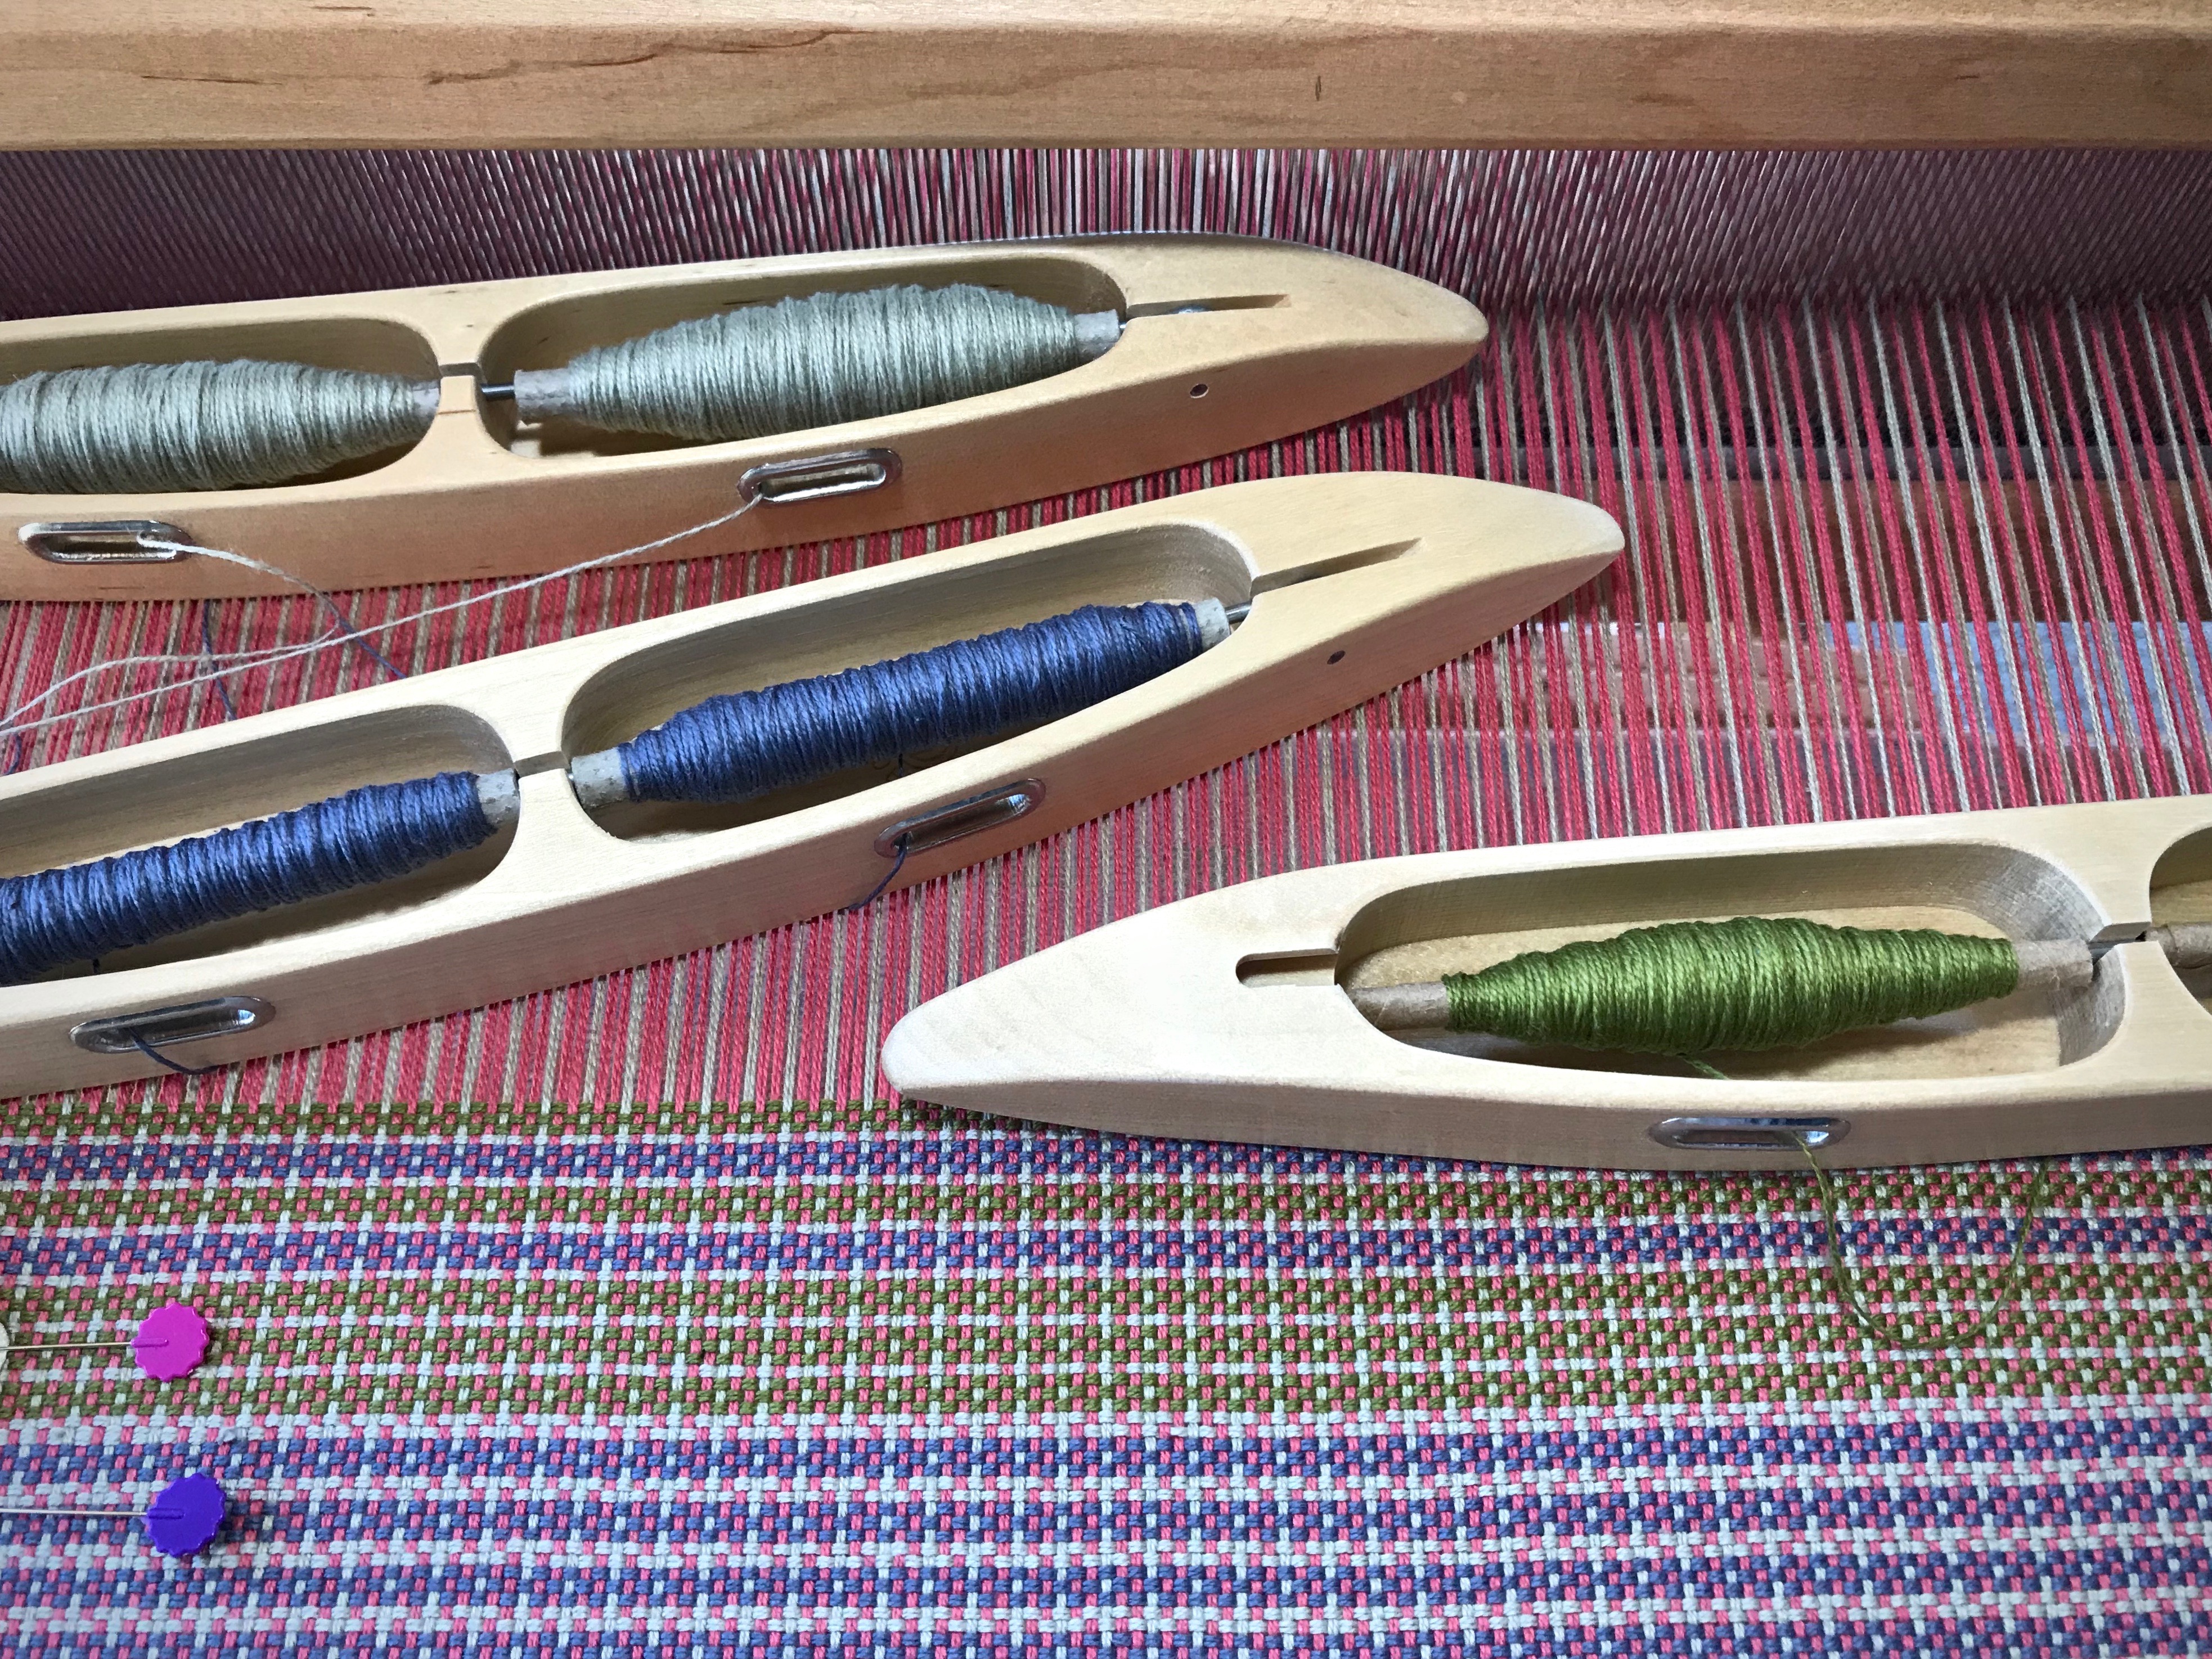
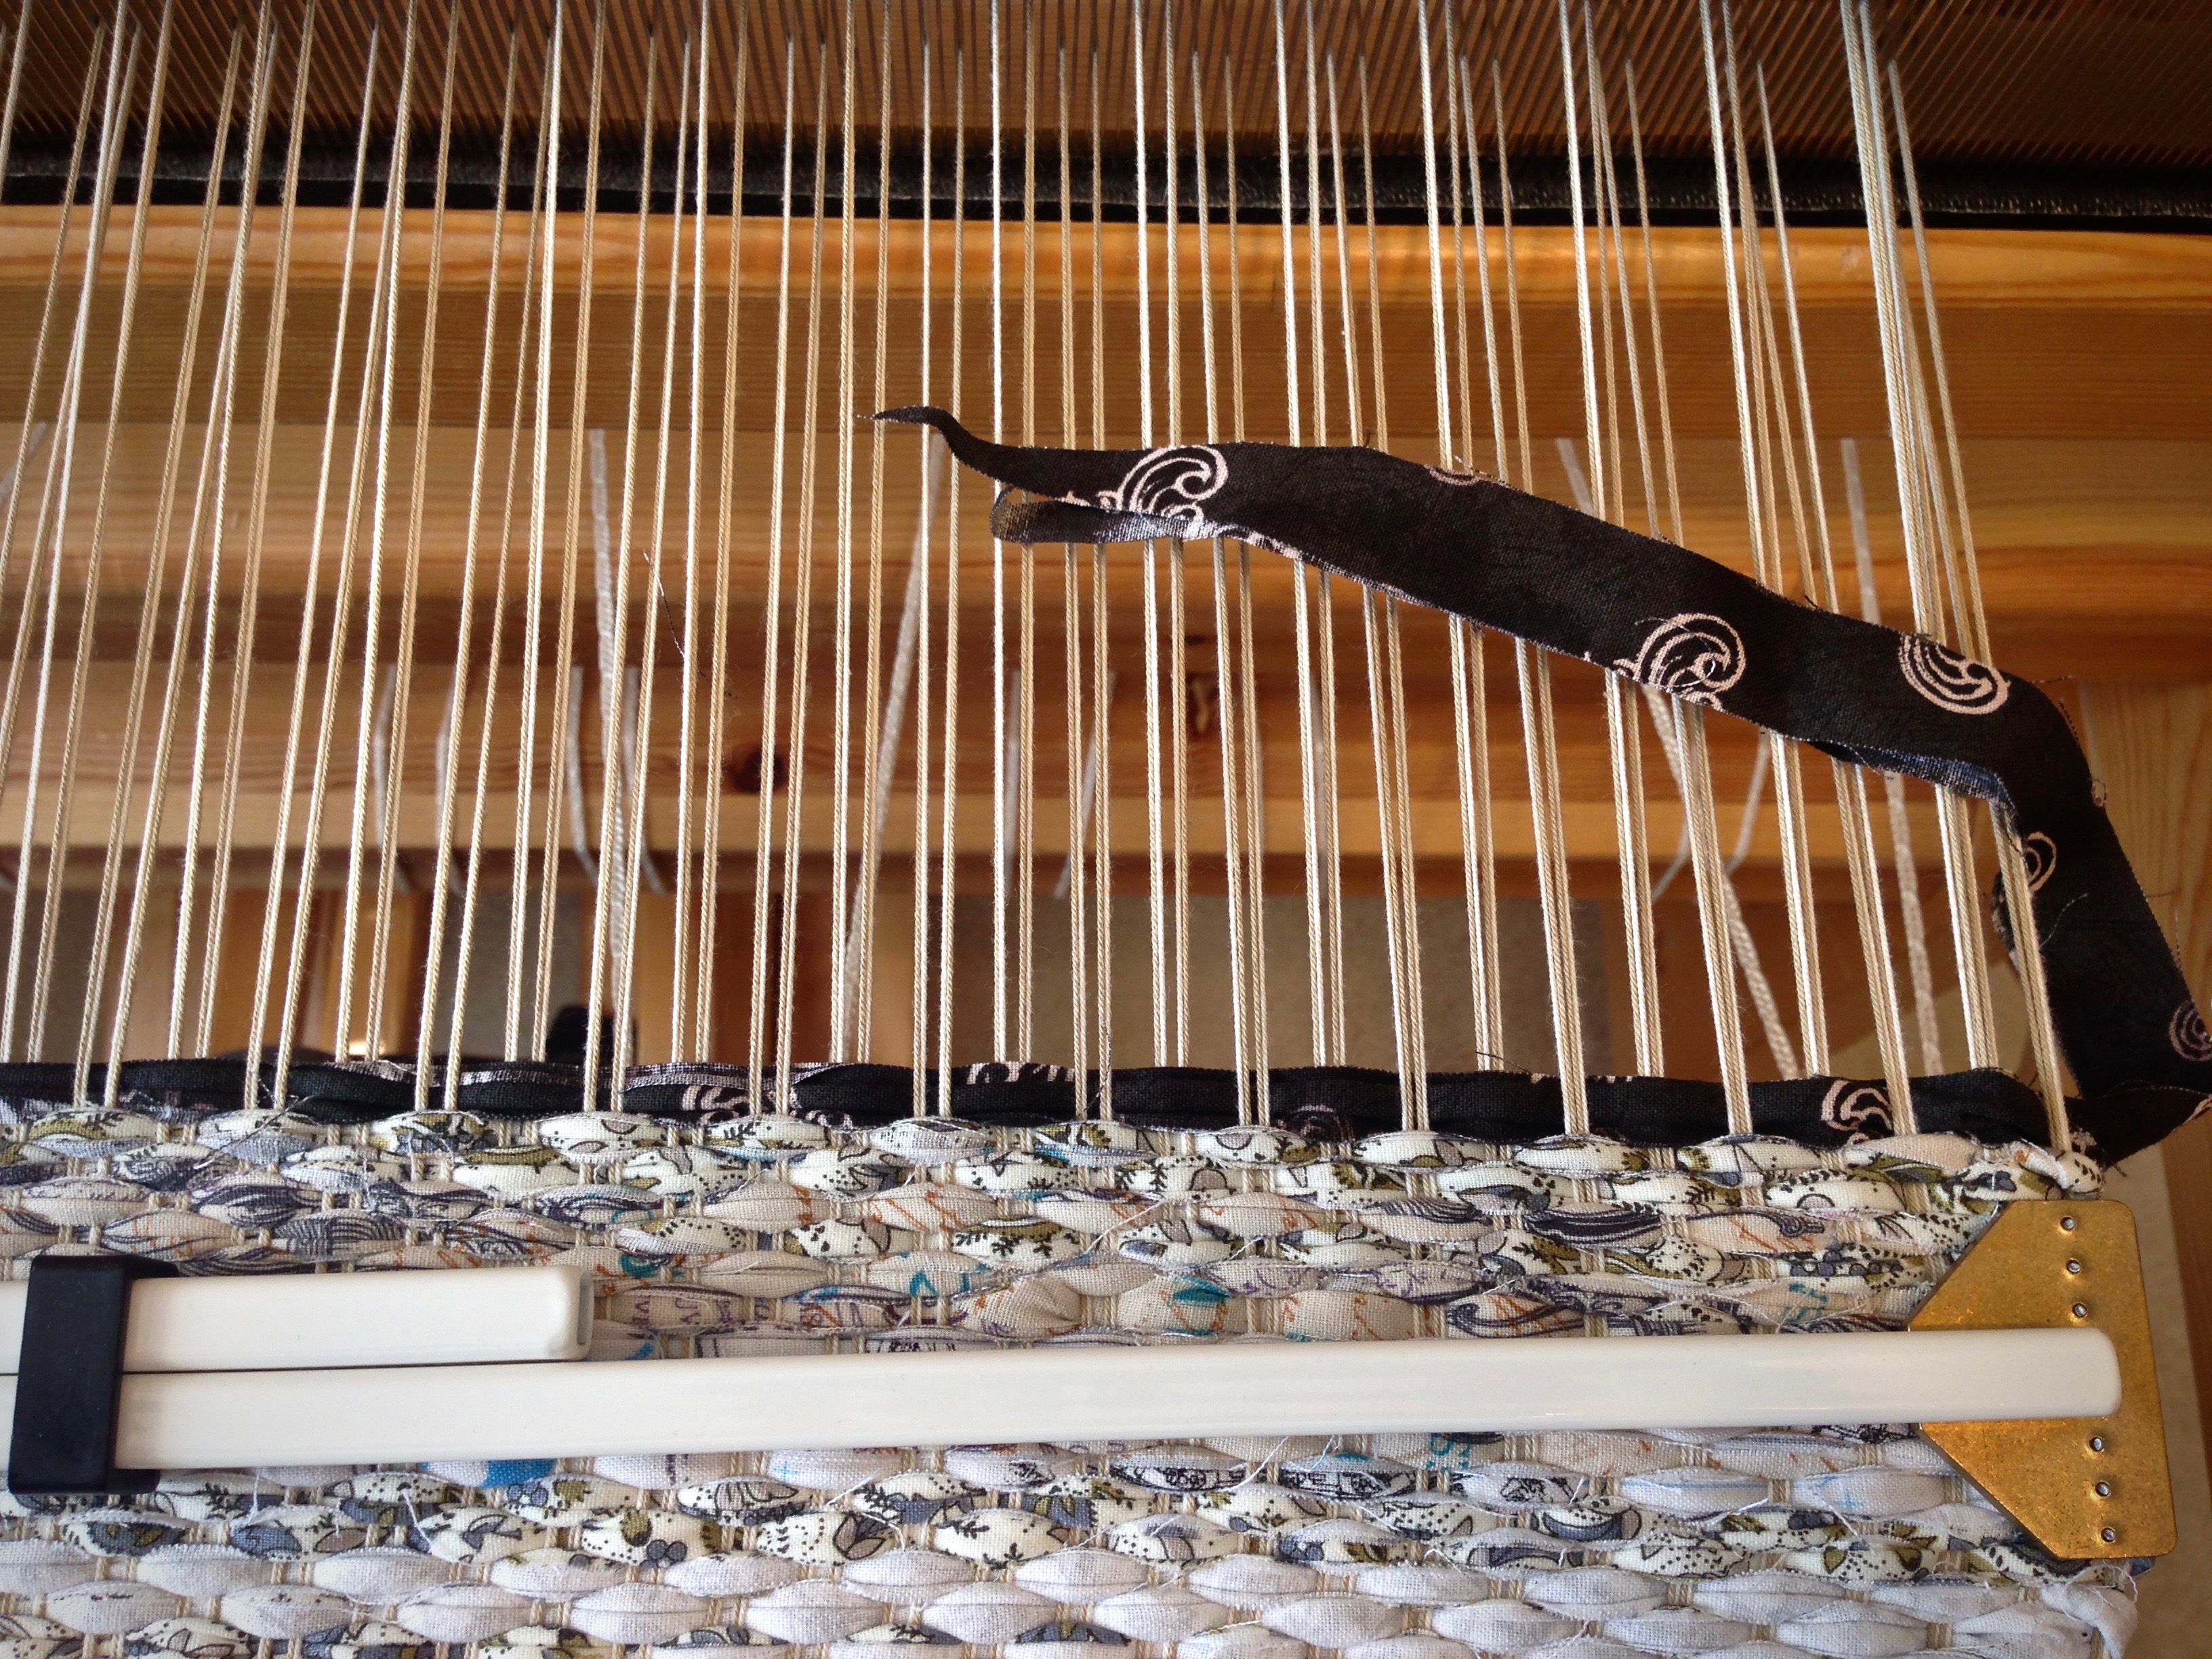
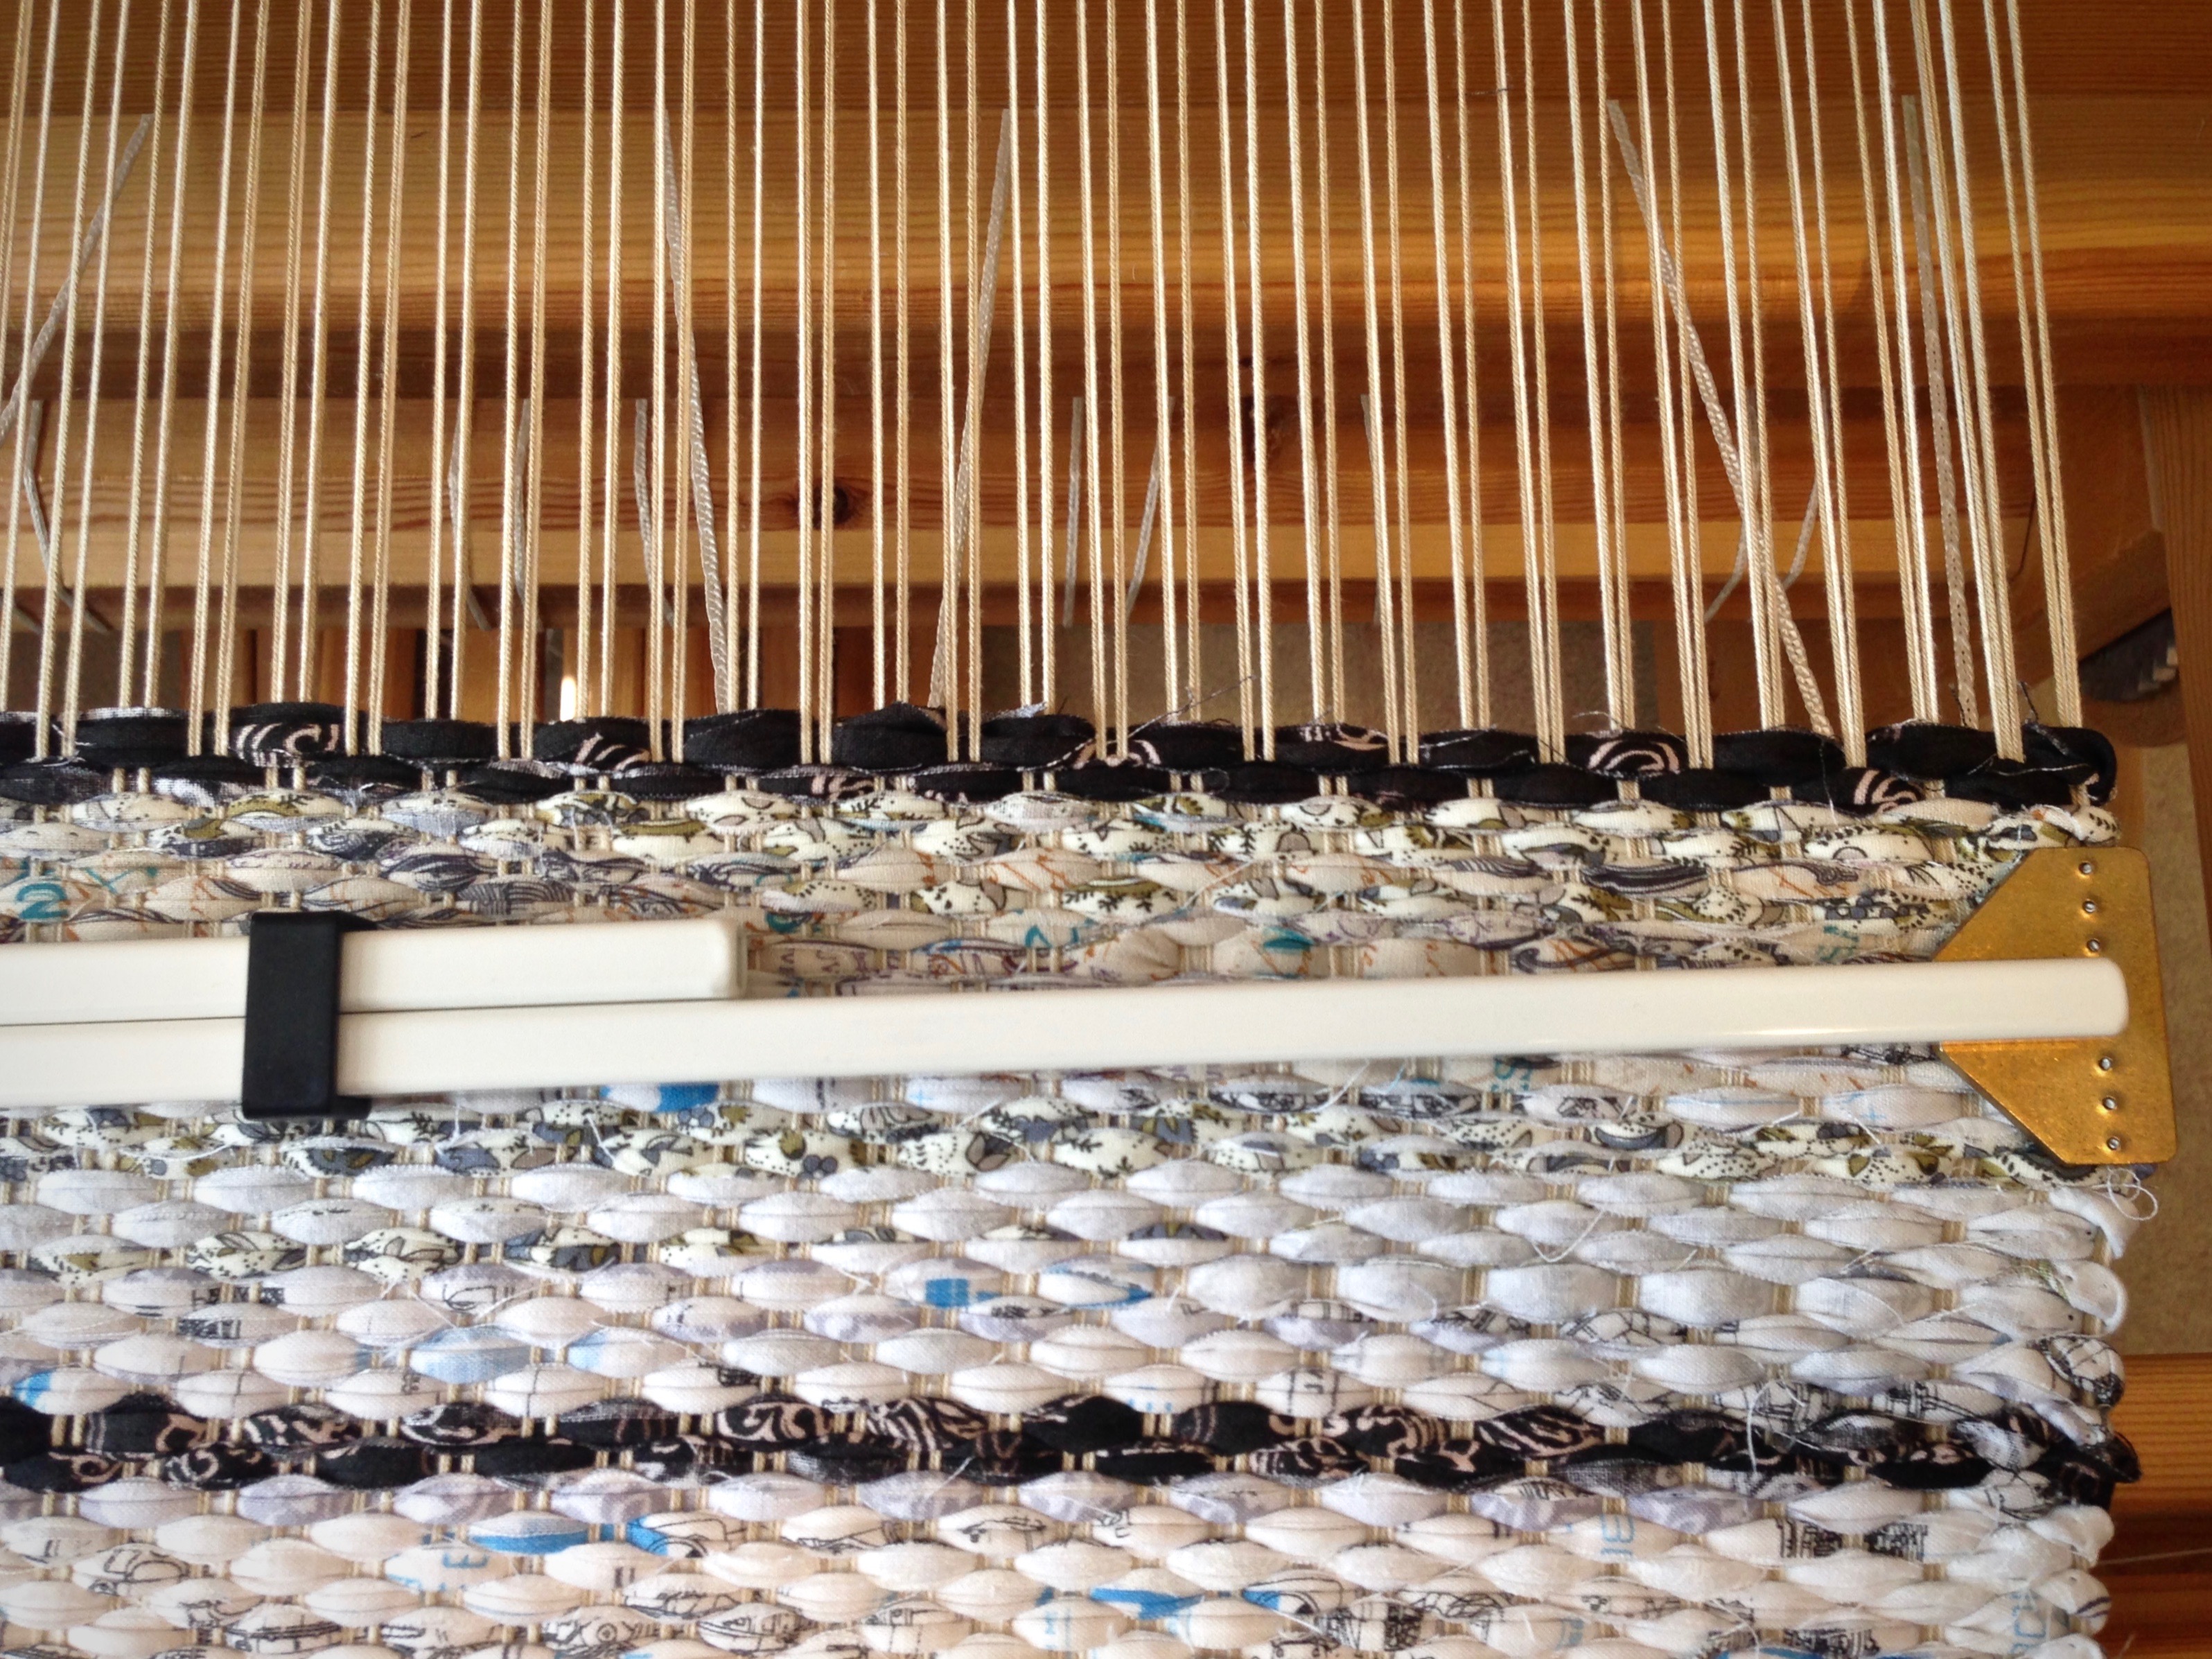
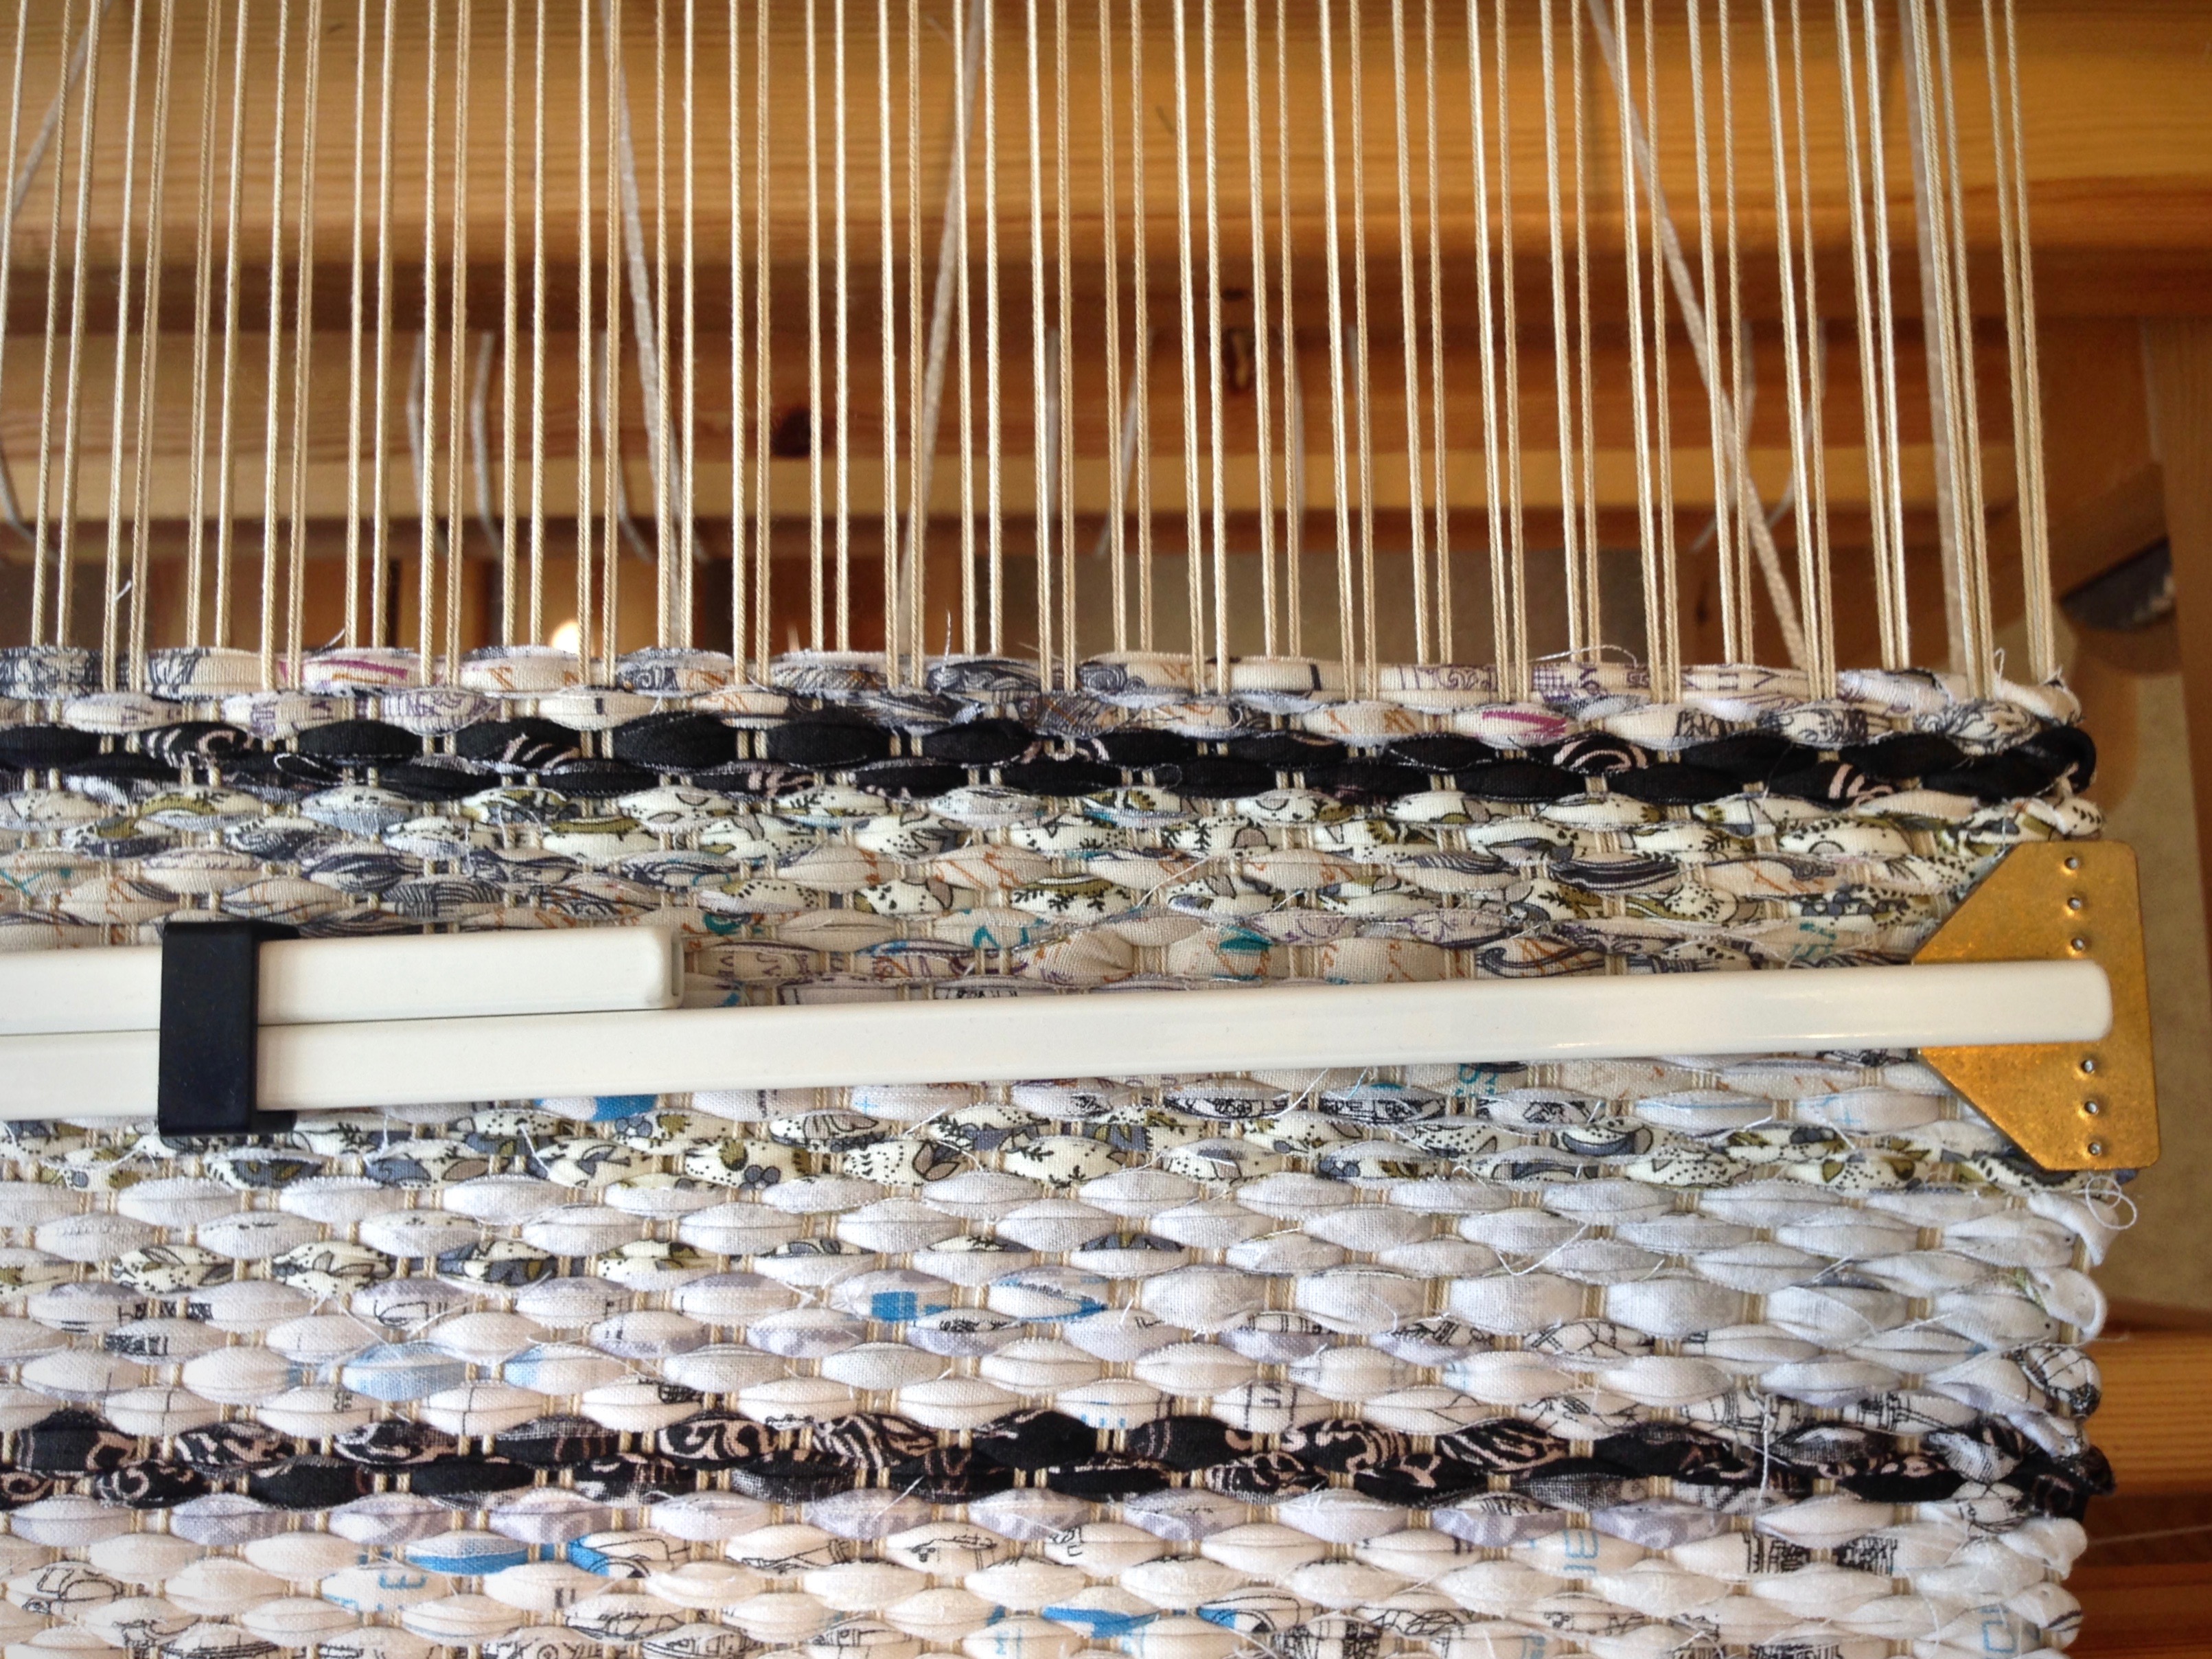
I want to wrap up in this cozy throw already. But I need to weave it first. This is an undulating twill throw that I am making for sweet Lindsay, one of my daughters-in-law. Of course, I am including enough warp to make a small throw of my own.

Getting ready to beam the warp. Back to front warping.
Four chained bouts. The 8/2 cotton warp is pre-sleyed, and the back tie-on bar has been placed through the loops at the end of the warp.

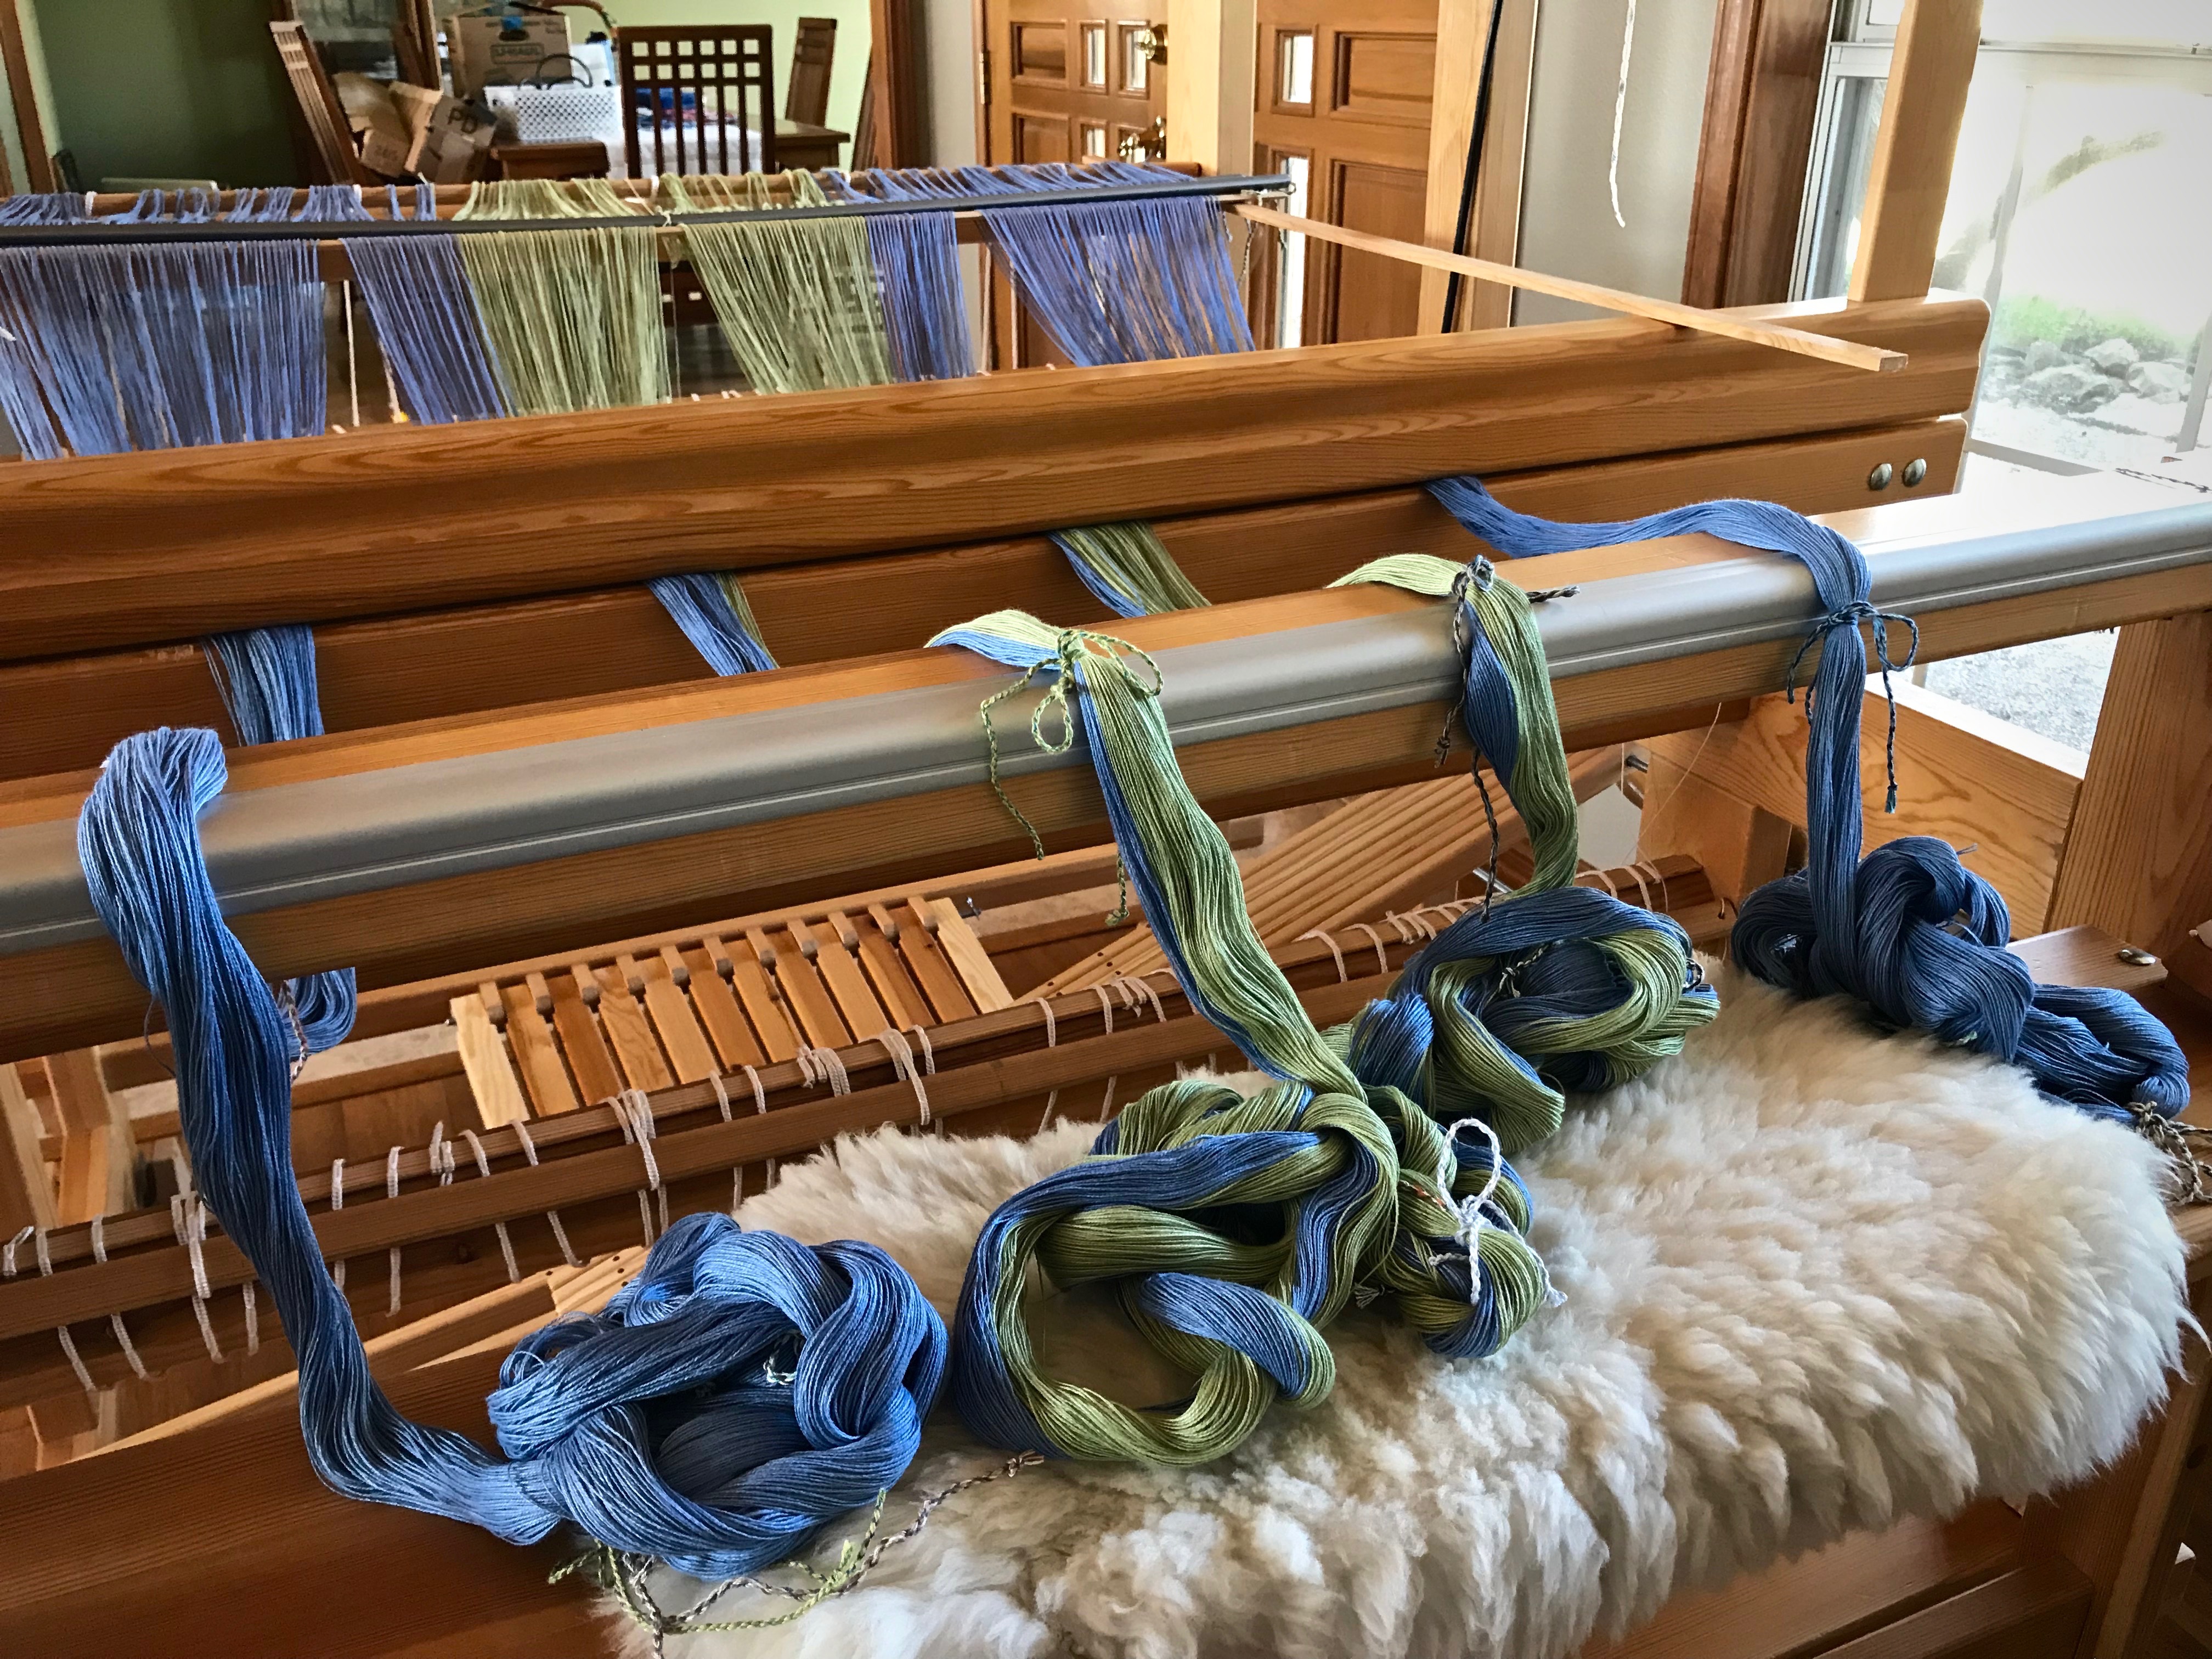
Every step of dressing the loom is fascinating. I easily get immersed in the enjoyment of the process. All the while, I’m dreaming of the finished work.

Read to beam the warp, using warping trapeze.
Warping trapeze is in place at the front of the loom. Ready to beam these soothing colors onto the warp beam.
Warp is beamed. Ready for threading.
Warp is beamed. Warp ends are counted into groups of 32 ends each, for efficiency and accuracy in threading. This will be threaded for undulating twill on eight shafts.

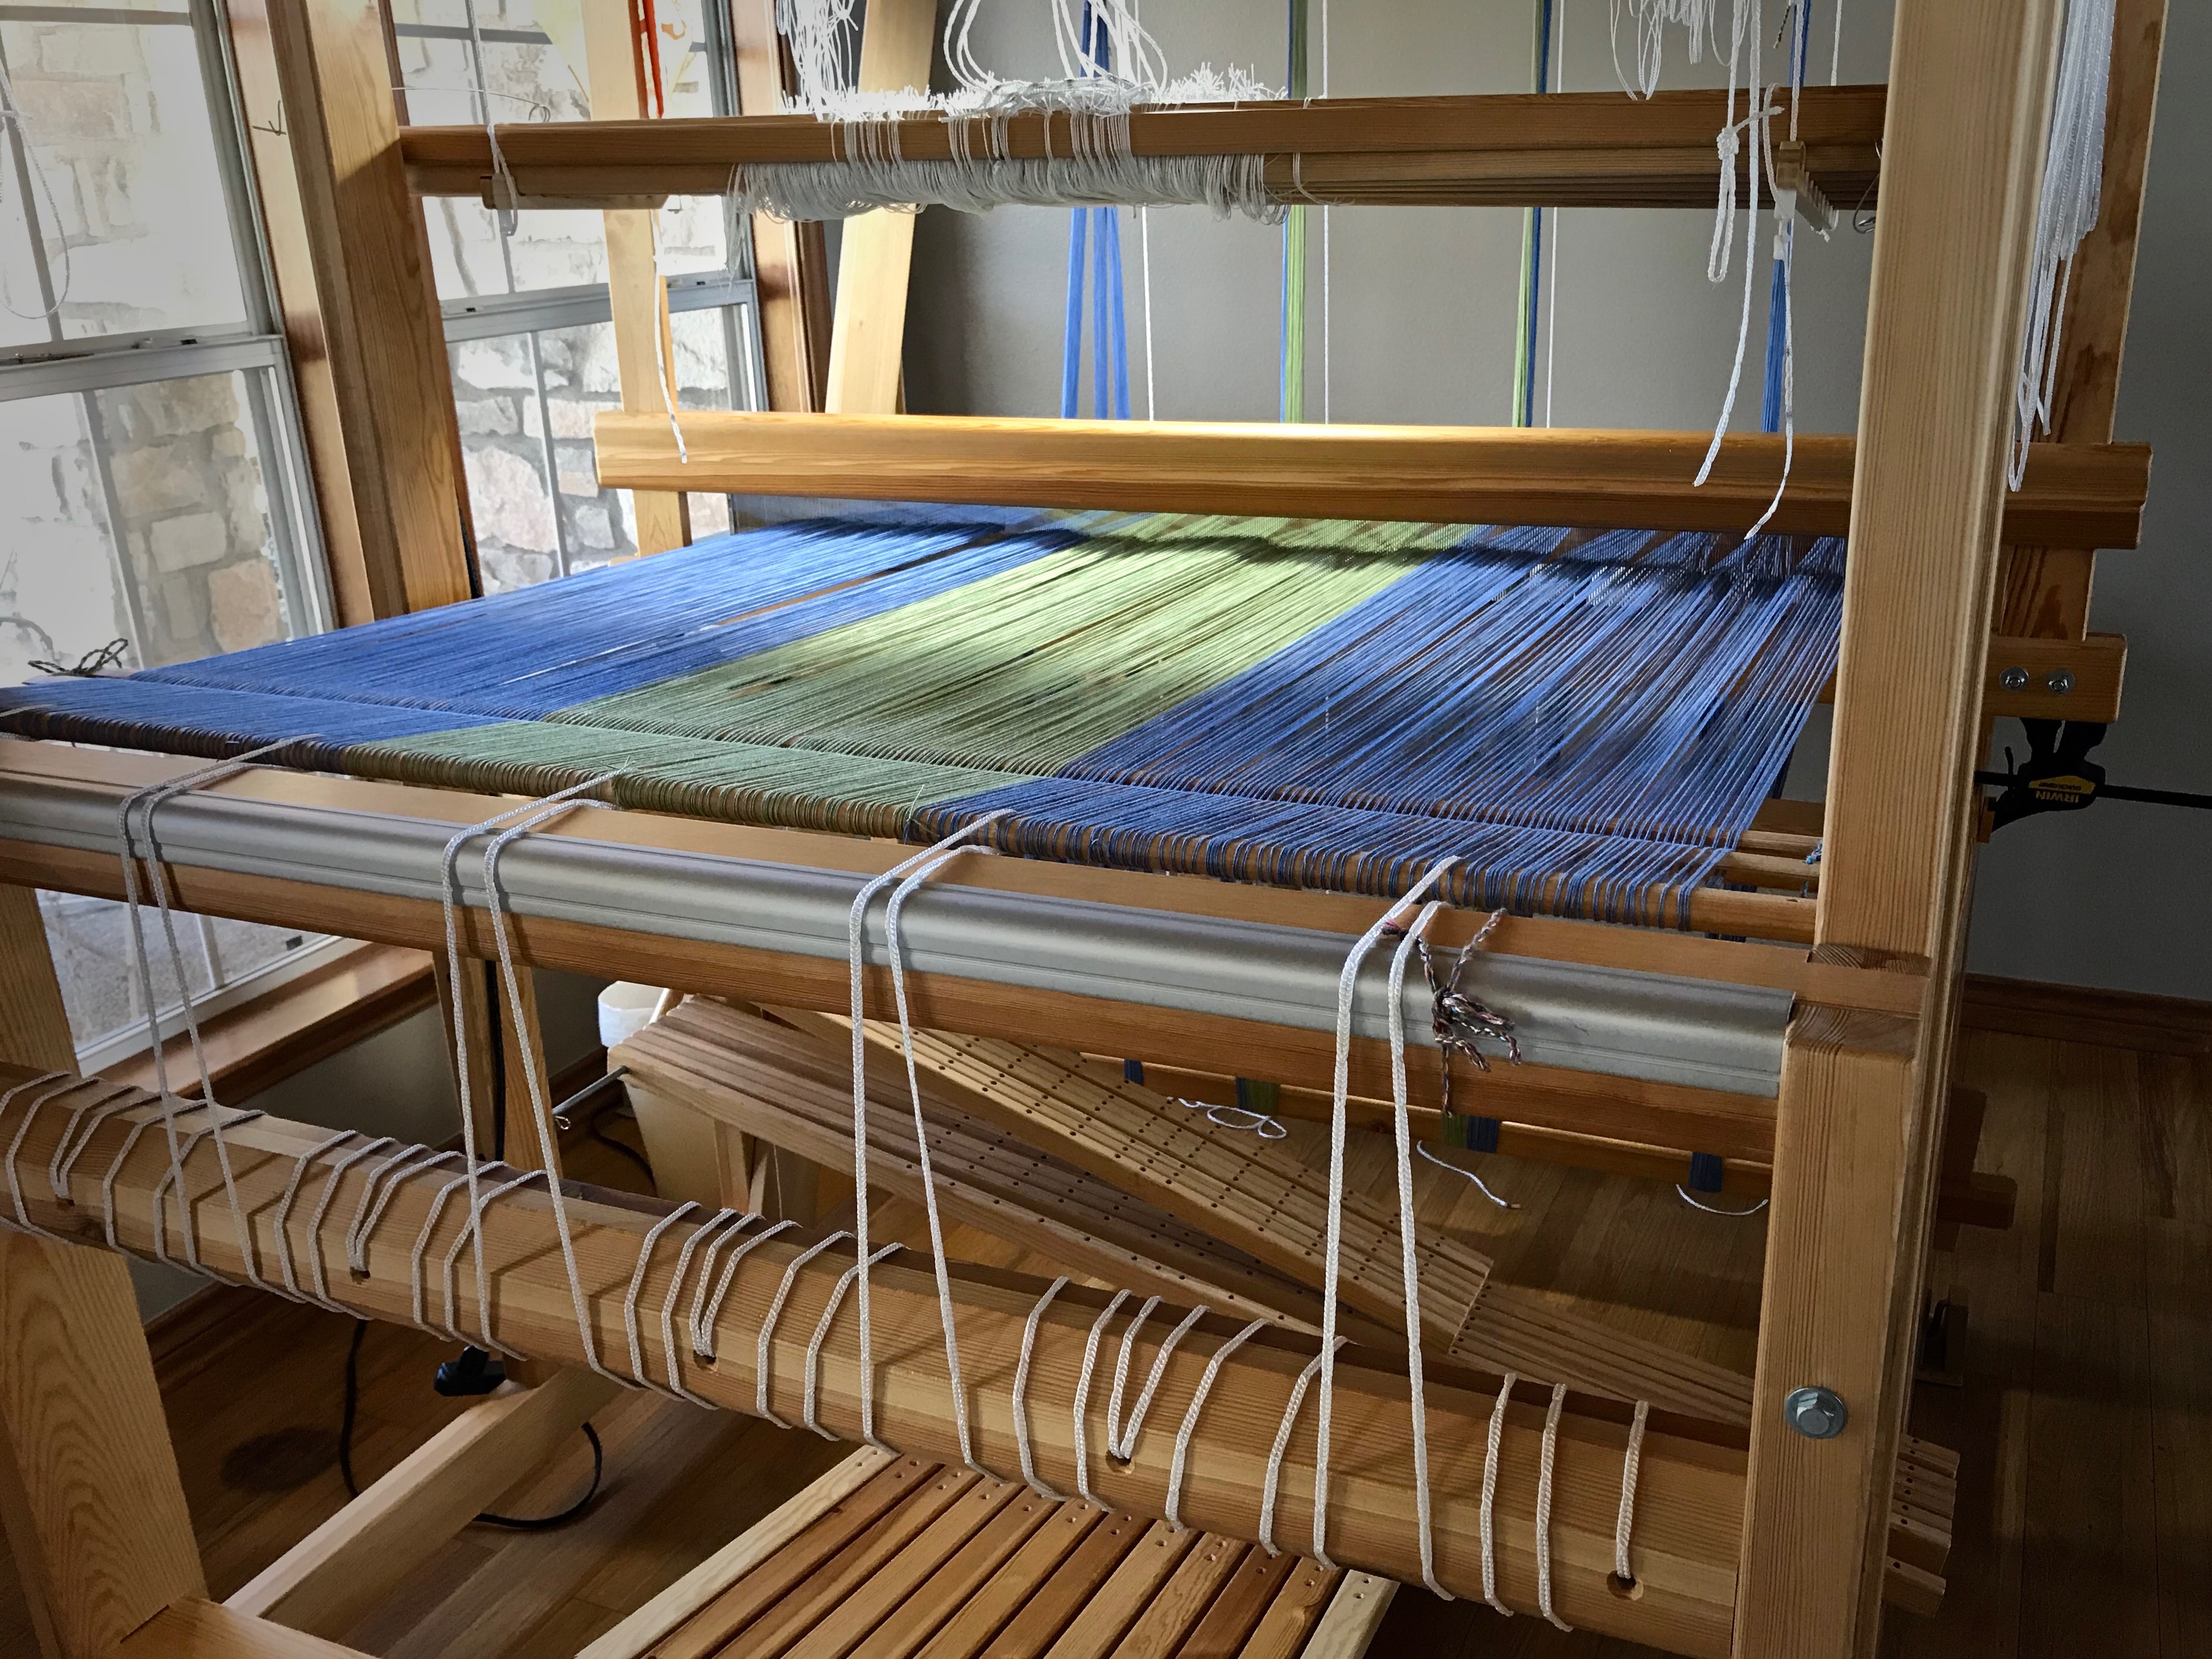
Dressing the loom leads to the making of cloth. Dressing our lives leads to the making of good character. Prayer is of utmost importance in dressing our lives. Prayer is not a single step in the process, but a posture of faith throughout the process. Earnest prayer reaches God. The power of prayer is not in our words, in the threads we express, but in the Grand Weaver. He receives our humble threads and weaves them into his will to bring about his beautiful cloth. Fascinating, isn’t it?

May you dream as you dress the loom.

Prayerfully,
Karen

Not the Easiest Way to Weave

I considered making a matching set, but at the loom I get an inclination to explore. Hence, no two placemats are alike. A change in the weft changes everything. New colors emerge! Slate and apple green on a coral warp become periwinkle and avocado. If you look closely, though, you can still see the underlying coral and camel stripes of the warp.

Cotton placemats on the loom with color and weave effects.
Second placemat uses red and orange in the weft. These colors work with the coral in the warp to bring out a distinctive color-and-weave effect in the design.

Three double-bobbin shuttles—this is not the easiest way to weave. I am carrying the colors up the selvedge, so it gets tricky when all three shuttles end up on the same side. Nevertheless, this is the joy of weaving a challenge. How and where to set the shuttles down, and which hand picks them up—ever aiming for efficiency. Newly-formed colors and technical pursuits—this is a handweaver’s thrill of discovery!

Three double bobbin shuttles for this color and weave placemat.
Beginning of the third placemat shows variation in pattern and color choices. Three double bobbin shuttles put my manual dexterity to the test.
Color and weave variations.
Coral and camel warp stripes form the base of the design. Pattern variations are produced by varying the number of picks per weft color.

Imagine the thrill of discovery that awaits us in heaven! Love permeates heaven. Like a narrow-striped warp, love is written into the fabric. The environment there is love, where pride and selfishness don’t exist. Blending of colorful personalities will be such as we’ve never seen. All to the glory of our Grand Weaver. And how marvelous that through Christ we’ve been given everything needed to practice that kind of love here and now. Double bobbin shuttles, and all.

May you rise to the challenge.

Love,
Karen

Shuttle Catching

I am already a quarter of the way on this baby wrap. Simple plain weave with one shuttle is fast and uncomplicated, making this the perfect setting to improve weaving technique. Surely, I can gain efficiency by examining some of my practices.

First quarter woven on baby wrap.
Twill tape has marks that show 1/4, Mid (1/2), and 3/4 of the length of woven baby wrap. The first quarter used about seven full quills of light blue weft.

Under scrutiny, I see that I am not consistent in how I catch the shuttle. It makes a difference where I make contact with the shuttle as it glides into my hand. I often have to reposition the shuttle in my hand to prepare it for the return throw. That’s not very efficient. Solution? Look at the hand that is catching the shuttle. All I have to do is turn my head to look, and the hand does the job. It’s amazing how that works. It pays to pay attention.

Beginning sample comes around the cloth beam. Baby wrap.
Beginning sample meets the cloth beam. View is from the front of the loom, looking under the breast beam.

Following Jesus can be compared to finding a breakthrough in weaving technique. It’s more than just meeting him, and trying to go the right way. That is weaving by habit, doing it like I’ve always done it. Jesus gives all to those who give him all. Breakthrough comes when I give up my habits to find a better way–his way.

He is no fool who gives what he cannot keep to gain what he cannot lose.

– Jim Elliot

May your eyes help your hands.

With love,
Karen

Simplest Rag Rug Stripe

An isolated thin weft stripe makes a bold statement. One simple technique greatly improves the efficiency of weaving such a stripe in a rag rug. This method eliminates the need to weave weft tails in at the beginning and end of the stripe. So, besides being efficient, the selvedges look better too.

How to Weave a Thin Weft Stripe (Two Picks)

1 Weave up to the stripe placement. No need to end the weft if the same weft will continue after the thin stripe.

Rag rug on loom. How to make thin stripes.

2 Place the first pick of the stripe in the shed, leaving a long tail of about 6 inches / 15 cm, or more.

How to make thin weft stripe in rag rug. Step by step pics.

3 Beat in the first pick of the stripe.

Making thin stripe in rag rug. How to.

4 Change sheds. Lay the long tail into the new shed.

Making thin stripe in rag rug. How to.

5 Send the shuttle across for the second pick, catching the previous weft to carry it up the selvedge.

Make a thin stripe in a rag rug. How to and pics.

6 As the weft goes across for the second pick, bring the shuttle all the way out.

Second pick of thin stripe. Explanation and pics.

7 Pull enough of the second pick through the warp to cut a tapered edge that will overlap the tapered edge of the long tail.

How to make thin stripe in rag rug.

8 Overlap the two tapered fabric strips in the shed.

Overlap in the shed. Rag rug instructions.

9 Beat in the second pick of the stripe.

Rag rug thin stripe.

10 Continue weaving with the previous weft that was carried up the selvedge.

Rag rug on the loom. Thin stripe tutorial.

If you’re like me, you are always on the lookout for ways to enhance weaving efficiency. One little tip can improve the whole weaving experience. When you know there is so much more to learn, and you are hungry to learn, every morsel of insight is delectable.

Has your soul ever felt hungry? Mine has. The Lord is ready to fill the hungry soul with good. He fills the empty. He satisfies the hungry, meeting the deepest need. One sweet morsel leads to another, inviting us to keep coming back. Taste and see that the Lord is good.

May you be hungry for good things.

Satisfied,
Karen