Tools Day: Loom Lighting

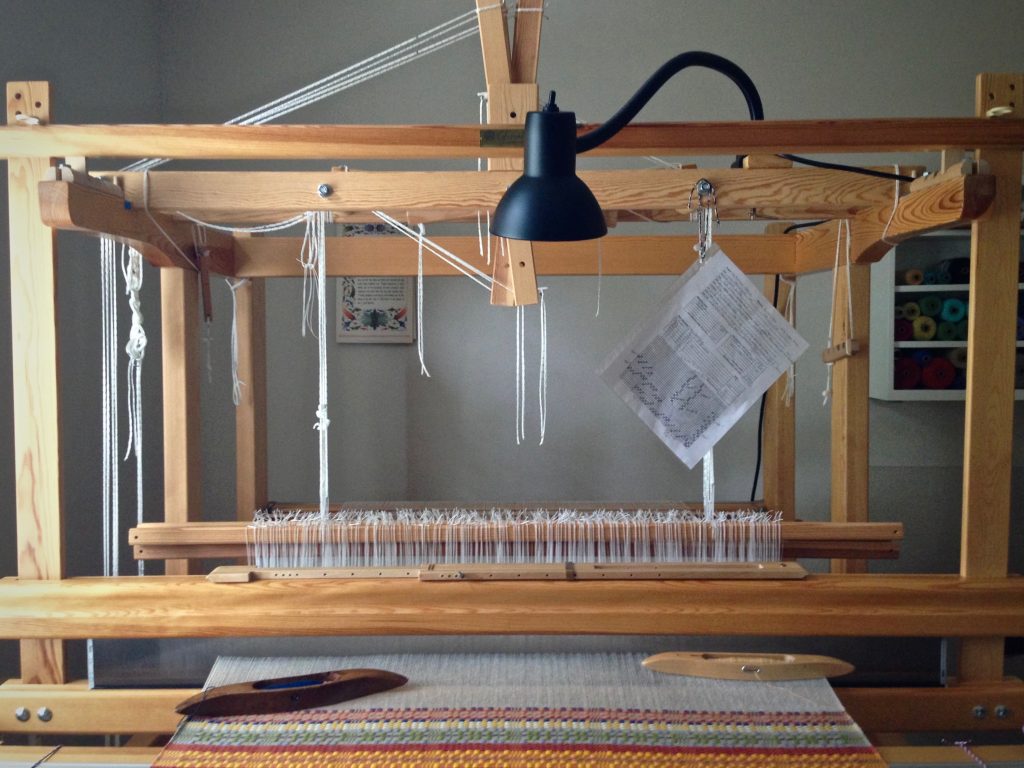
Let there be light! I now have exceptional lighting at my weaving looms. Steve installed a snake arm lamp on both of my Glimåkra looms. This wonderful illumination gives me greatly improved visibility, especially when working with fine threads. These lamps meet my lighting needs much better than the floor lamps I had been using. Good riddance, floor lamps!

Supplies

  • Snake arm shop light with clamp (mine are Rockler 24″ Snake Arm Shop Lights)
  • Light bulb, preferably close to natural light
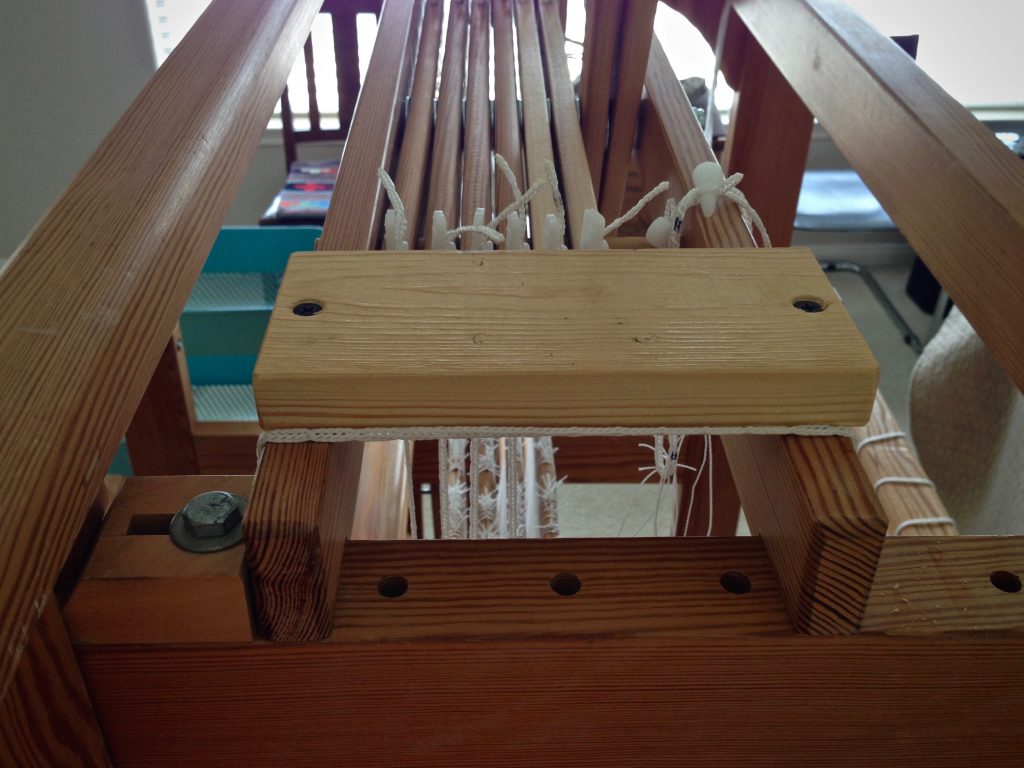
  • Wood block, sized to fit on loom (mine is installed on the countermarch frame; 8 1/2″ x 2 3/4″ x 3/4″ for the Glimåkra Standard 8-shaft loom; 6 1/2″ x 2 3/4″ x 3/4″ for the Glimåkra Ideal 6-shaft loom)
  • Electric drill and pilot bit
  • 2 drywall screws
  • Short three-prong extension cord

Steps

  • Prepare wood block by drilling screw holes (screw threads slip through the holes without biting)
  • Position prepared wood block on loom, mark loom for screw placement
  • Drill pilot holes
  • Screw wood block in place
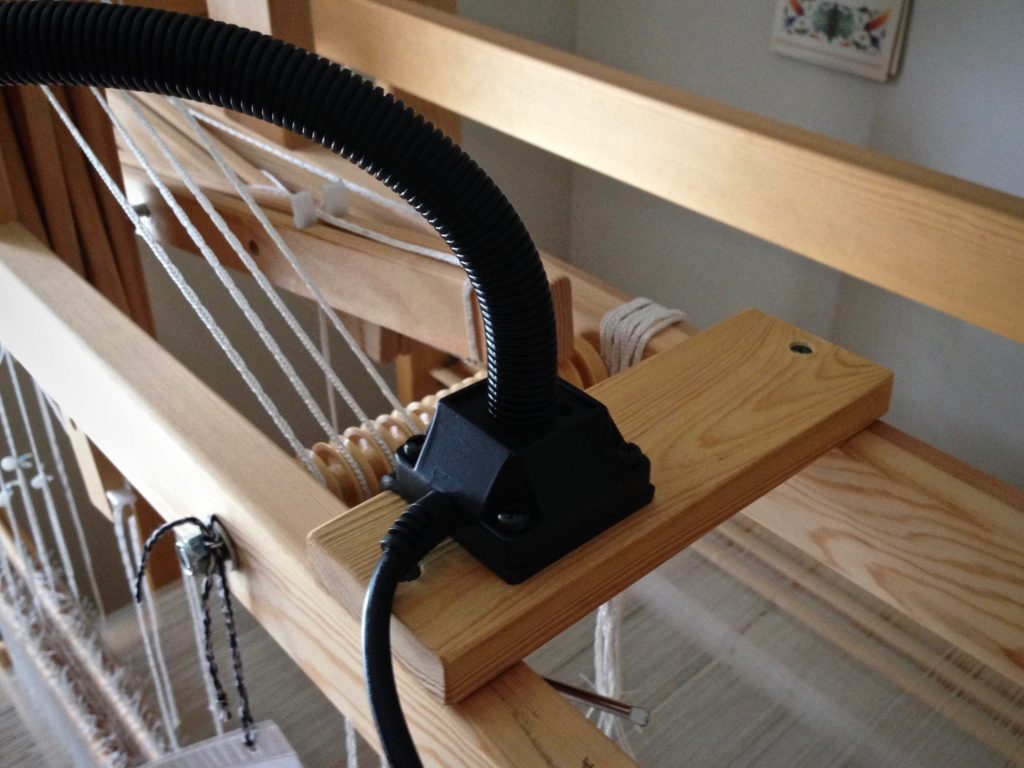
Mounting on Glimakra Ideal loom for a loom lamp.
Block of wood is screwed into place on the Glimåkra Ideal loom countermarch frame for mounting the loom lamp.


  • Position lamp and clamp into place
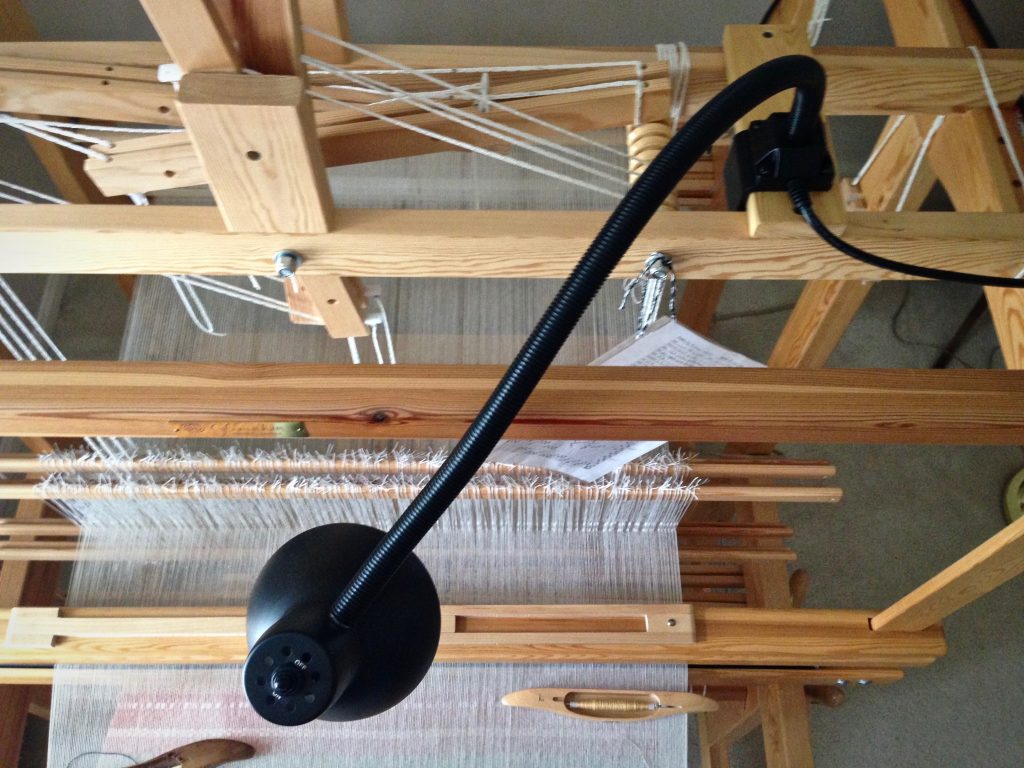
Mounting a loom lamp on the Glimakra Standard loom.
Lamp is positioned on the mounting that is attached to the Glimåkra Standard countermarch frame.
Snake arm loom light gives flexibility in directing light where it's needed.
Snake arm gives flexibility for directing the light onto the weaving surface, or over the area of work; e.g., threading, sleying the reed, etc.
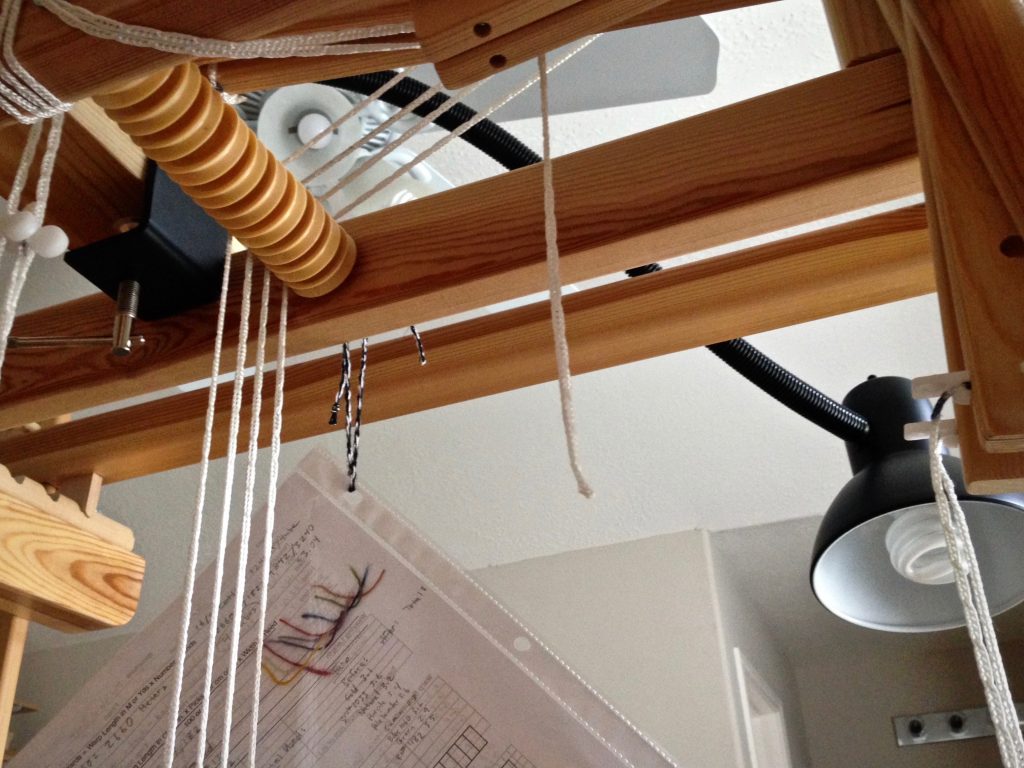
Loom lamp is clamped onto a mounting on the countermarch frame.
Lamp is clamped onto the mounting. Project notes hang for easy referral while weaving. The back of the sheet shows yarn snippets used in the project.


  • Plug lamp cord into extension cord; plug extension cord into outlet
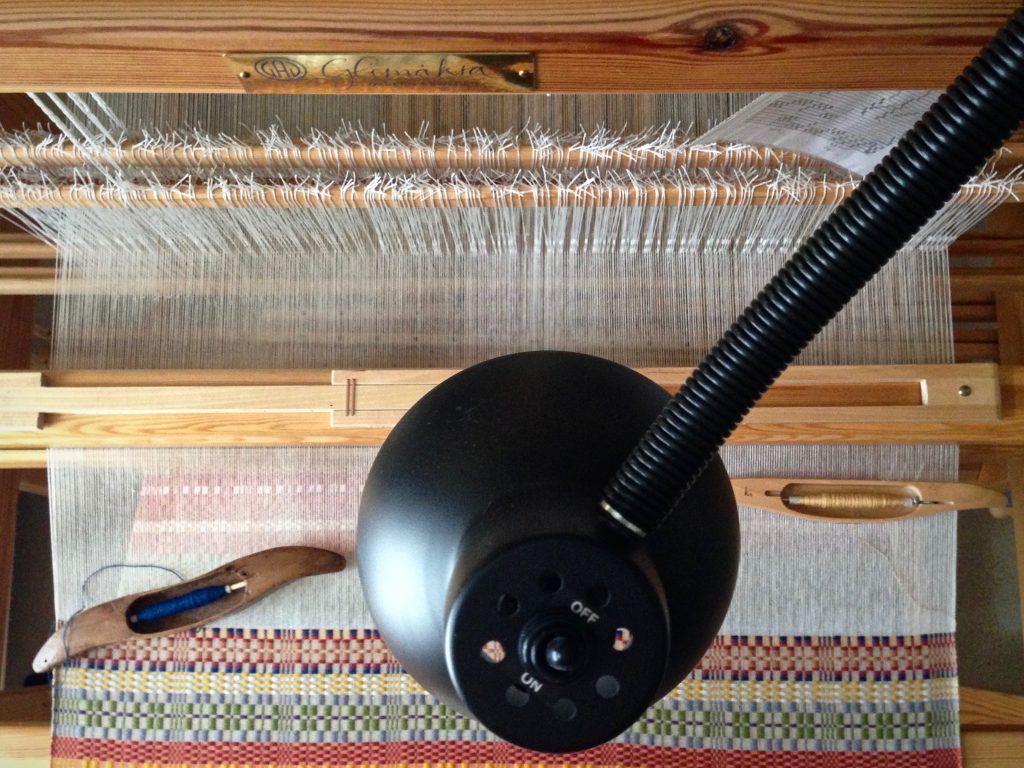
Loom light shines on monksbelt weaving.
Simple on/off switch controls the lamp. Monksbelt picks are easier to count with the new loom light turned on.


  • Illuminate!
Monksbelt on the Glimakra Standard loom. Well lit.
Lamp cord runs along the frame of the loom and down to the floor, where an extension cord continues to a wall outlet.


May the work of your hands be illuminated.

Wishing you the best,
Karen

Monksbelt Grid

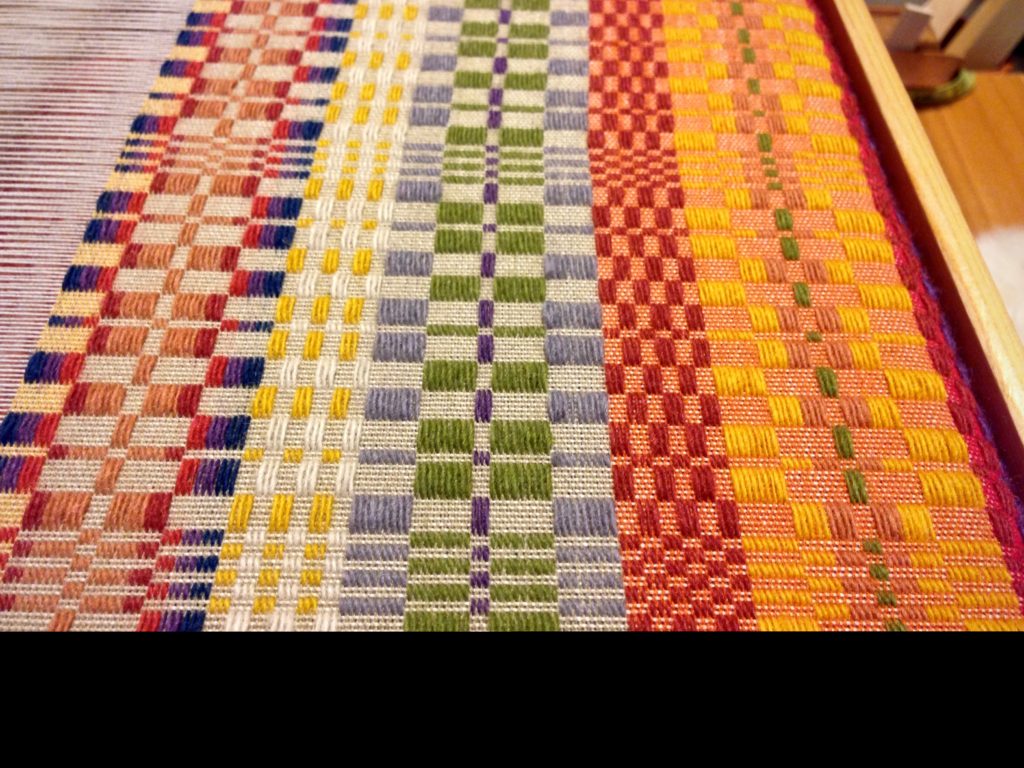
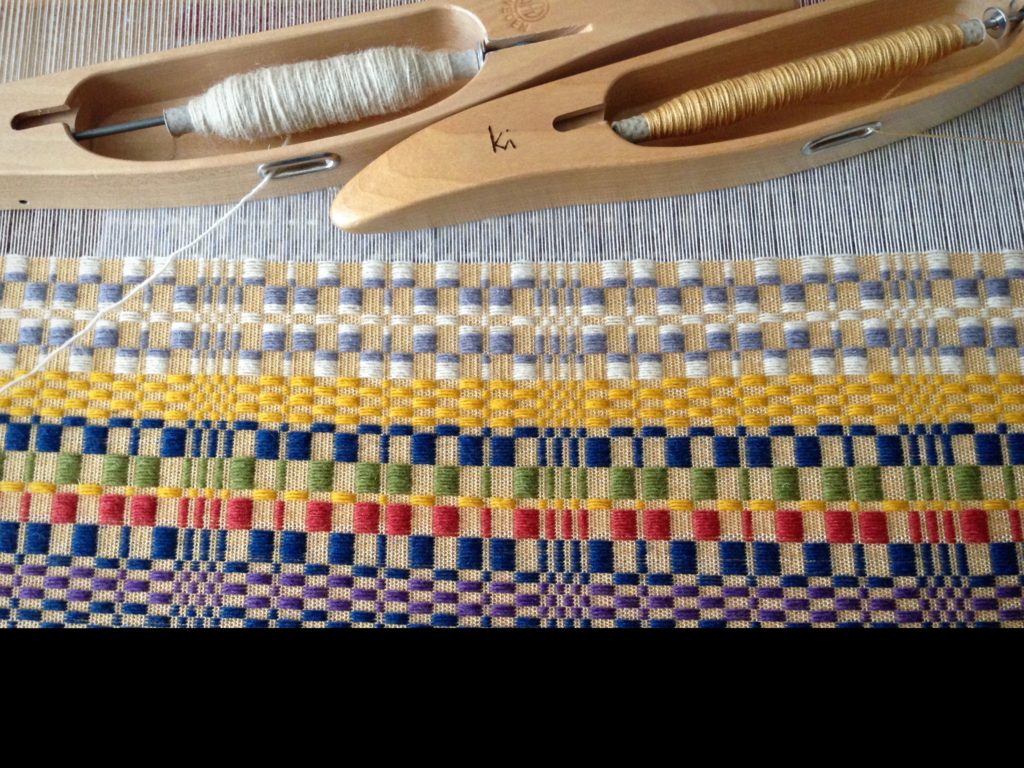
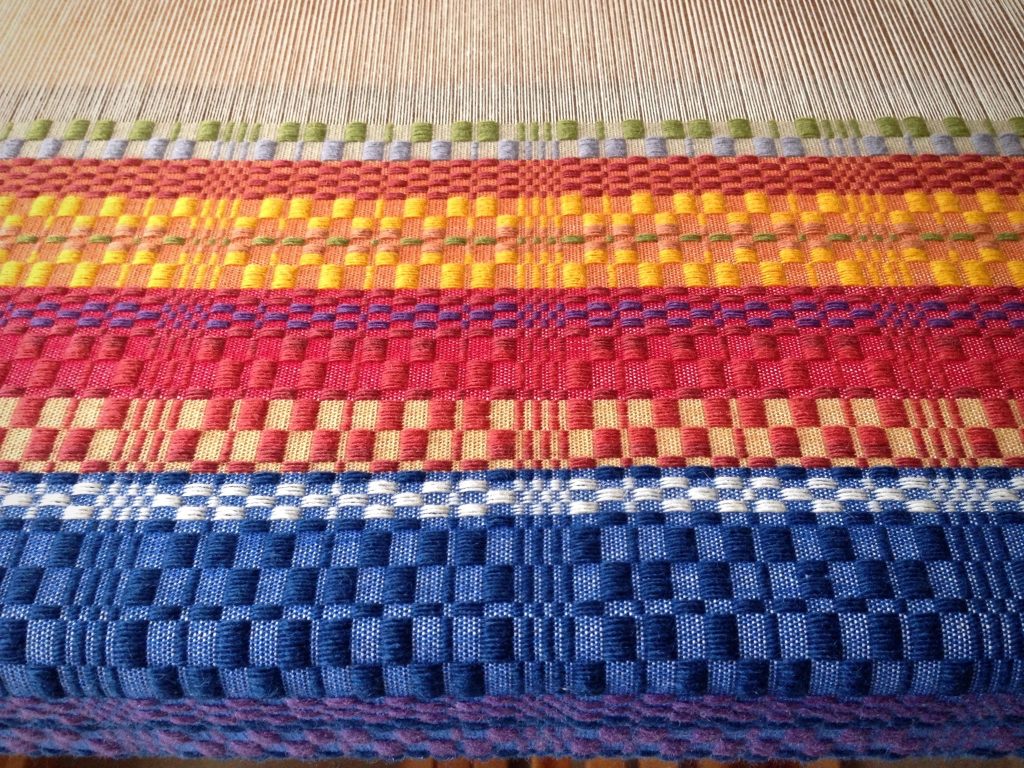
I think of monksbelt as a grid. The grid, created in the threading, has blocks that I get to fill in with color. The only thing I have to do is follow the treadling draft and keep the two shuttles in their proper order. The rest is play. It is amazing what you can do with nine pattern colors, several background colors, and a simple grid. 

Classic monksbelt with a modern look. Karen Isenhower
Swedish monksbelt has two blocks in the pattern. Ground weave and pattern colors are changed in irregular intervals, giving a modern look to a classic weave structure.

A grid is a framework, a structure, that gives boundaries to the space. We need a grid for coloring our decisions, for outlining our beliefs, and for drawing our convictions. Our hearts can be fooled, so don’t trust your heart to tell you what is right. What seems right may be wrong. We need a higher standard for forming the patterns of our life. It makes sense to stay with the grid that the Grand Weaver, our Maker, planned when he dressed the loom. Then, filling in the blocks with color is pure joy.

May you find colors that delight you.

With joy,
Karen

Designing at the Loom

For the most part, I am designing this monksbelt at the loom. Even so, I have guidelines regarding color order, sequence of tabby and pattern colors, and treadling order. Each time I remove the temple, I make mental notes for the upcoming segment. When I advance the warp, I step back to get a better idea of where I’ve been, and where I want to go.

Monksbelt with Faro wool pattern weft.
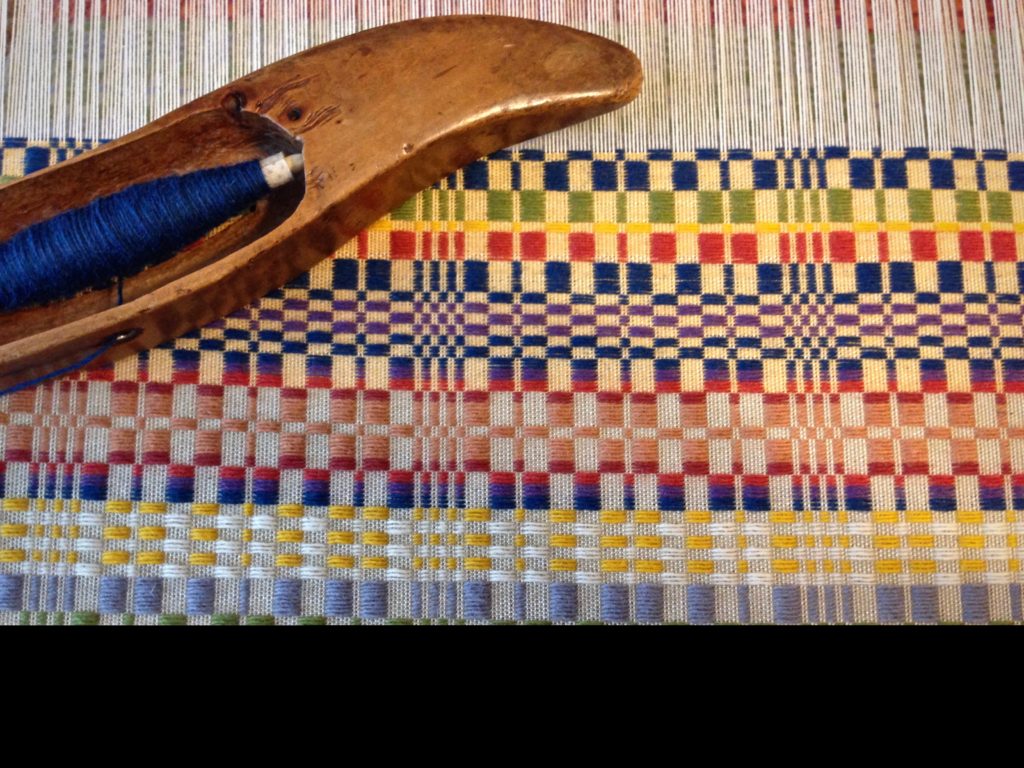
Two tabby picks of blue 16/2 cotton are between each Fårö wool pattern pick. Purple wool weft is carried up the selvedge a short distance under the blue wool weft .

The challenging part is the weft rep tabby. I make a high arch with the tabby weft, and change sheds before beating the weft in. Inconsistency shows up as streaks, especially with darker weft, like the blue tabby I’m on now. When it seems like too much effort to get it right, I have to remember that I am not just making yardage; I am developing skills and habits for successful weaving.

Saturated colors bring high contrast to the monksbelt pattern.
The intensity of saturated colors provide high contrast. Lavendar wool appears gray when deep purple and dark blue are introduced.

It takes planning and caring to build a home. It takes wisdom. Homes are built with wisdom. It’s like designing at the loom. We can’t see into the future, but we can set guidelines that help us make a good design. There is always a challenging part, in every stage. All the more reason for consistency in our convictions. Home is not just a place. Home is where we learn to love.

May your home be your family’s favorite place.

Designing,
Karen

Quiet Friday: Band Loom Warping and Weaving

My two-treadle Glimåkra band loom is called into action. I don’t have to add hanging tabs for the towels that I am weaving on the Ideal loom. But I want to. A little band weaving here and there, and I will have this special detail ready for the towels when they come off the loom. (Watch me weave on the band loom in the video below.)

Glimakra two-treadle band loom. How to warp and weave.

How I Warp the Band Loom:

Band loom warp.

  • Put the end loop of the warp on the warp beam tie-on bar. Insert lease sticks in the cross. Tie the sticks together; or tape them together with masking tape.

Warping the band loom tutorial.

  • Remove tie around lease cross. Hold the warp taut with the left hand while winding on with the right hand. Insert warping slats around the beam the first time around, and then every other time around after that.

Band loom warping tutorial.

  • Wind on until the beginning of the warp is a few inches in front of the heddles.

Warping the Glimakra band loom.

  • Tie or tape the lease sticks to the back beam. Cut the loops at the front end of the warp.

Warping the band loom.

  • Thread the heddles, alternating between the heddles on the right and on the left.

How to thread a band loom.

Threading the Glimakra band loom.

Glimakra band loom, threaded. Steps and pics.

  • Hold the warp taut and depress each treadle to check for any crossed threads.

Warping the band loom.

  • Tie the warp onto the front tie-on bar.

Band loom ready for weaving.

  • Tighten the tension; wind your shuttle; and weave to your heart’s content! (A short cardboard quill can be used as a shuttle.)

Glimakra band loom weaving. Karen Isenhower

May you go the extra mile to add special little details.

Happy band weaving,
Karen

Between the Lavender Picks

I almost kept going. But something was off. Maybe the tabby hadn’t been beaten in as tight between the lavender pattern picks. In that case, a few more rows would obscure the slight difference. I did not want to undo; and wishful thinking tempted me to avoid taking a closer look. Sensibility won, though. I did stop to examine the cloth.

Weft threads are carefully snipped back to point of error.
Weft threads are carefully snipped back to the point of error. I did this very slowly, with a bright light shining on the area being snipped.

Even under close inspection, my eyes could not identify the error. I struggled to see the fine details. Magnifying glass to the rescue! Magnification revealed two extra tabby picks. Aha! Two fine threads out of place are enough to throw off the pattern. If not corrected, this errant line across the finished cloth would draw the attention of every eye. Knowing precisely where the error is gives me courage to face the necessary operation. Snip, snip, snip. Undo. Fresh start.

Magnifier reveals 2 extra tabby picks to be removed.
Magnifier reveals two extra tabby picks (16/2 cotton) that must be removed.
Error removed.
Weft threads are pulled out one by one, and then discarded.

An honest report tells it like it is. When we are trusting the Lord, we have courage to stop and examine errors, bypassing wishful thinking. Faith is like a magnifying glass that enables us to see clearly. Courage comes alive through the eyes of faith. The difficult and painful process of undoing errors and making corrections is worth it when you consider the high value of the finished fabric.

Monksbelt on the loom. Karen Isenhower
Monksbelt weaving continues. All is well.

May you catch your errors while they can be undone.

Honestly,
Karen