Making Hanging Tabs for Towels

It’s this kind of detail that takes a handcrafted item up a notch. A hanging tab made from a handwoven band is more than an accent for a handwoven hand towel. The small hanging tab, mostly unnoticed, adds a statement: This towel has a purpose. It is meant to be placed where it will be used.

How to Make Hanging Tabs for Towels from a Handwoven Band:

  • Mark cutting lines on the woven band. My lines are 4 1/4″ apart.
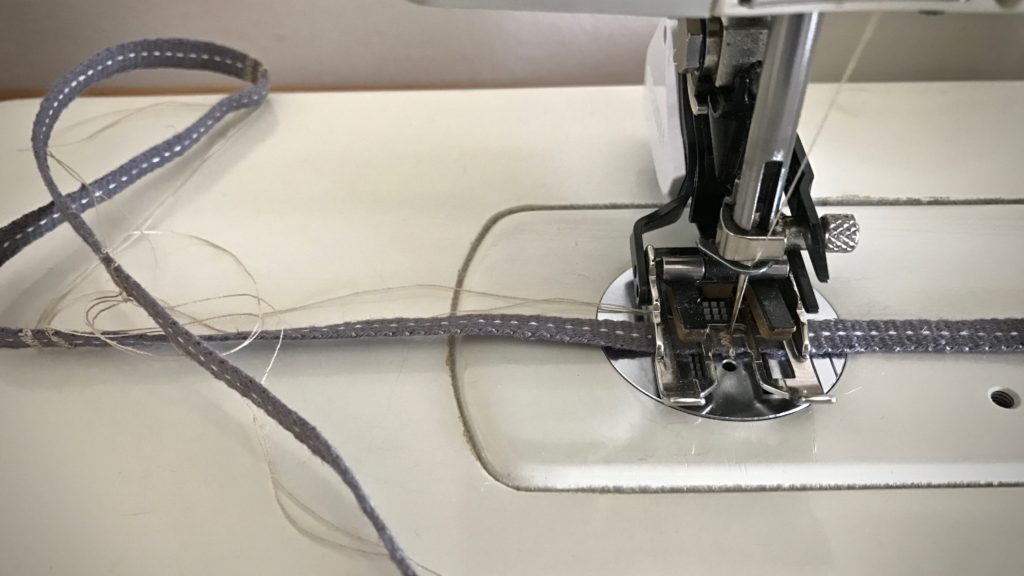
  • Zigzag forward and back on both sides of the marked lines, leaving room for cutting apart.

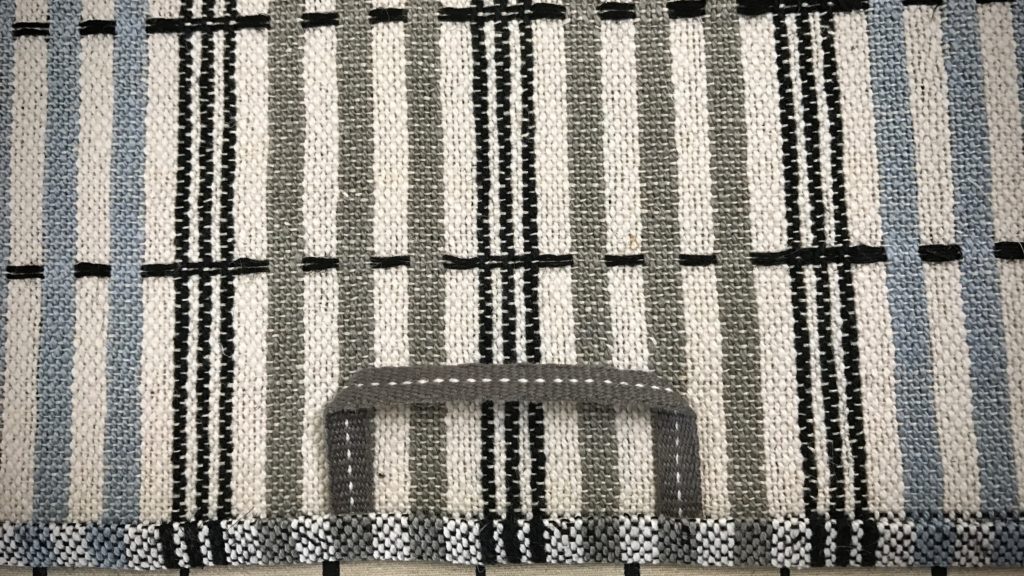
Zigzag between hanging tabs.

Making hanging tabs for towels.

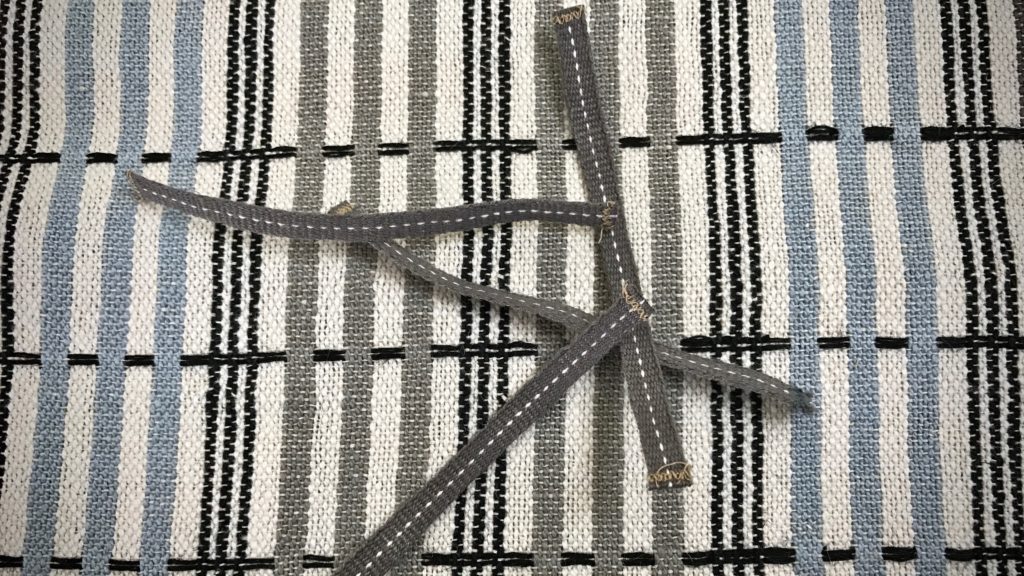
  • Cut the band apart at the marked lines, between the zigzag rows.

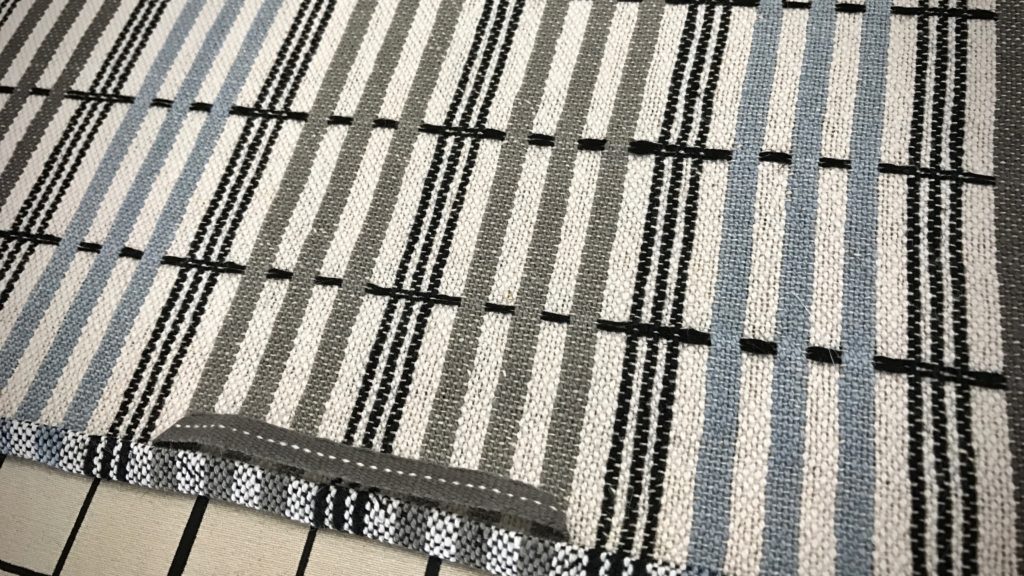
Hanging tabs, cut apart for towels.

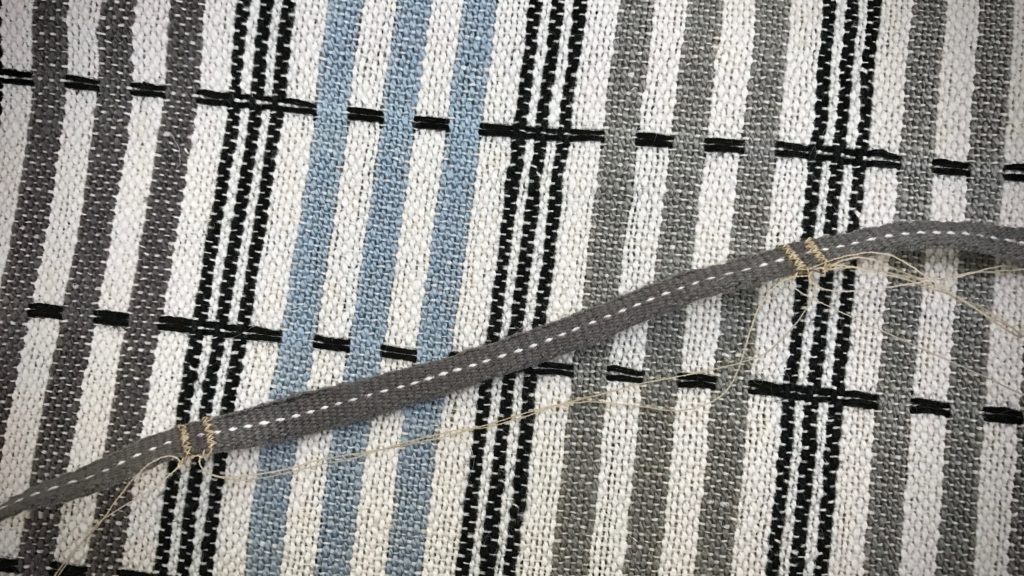
  • Decide where and how to place the hanging tab.

Trying different versions of hanging tabs.

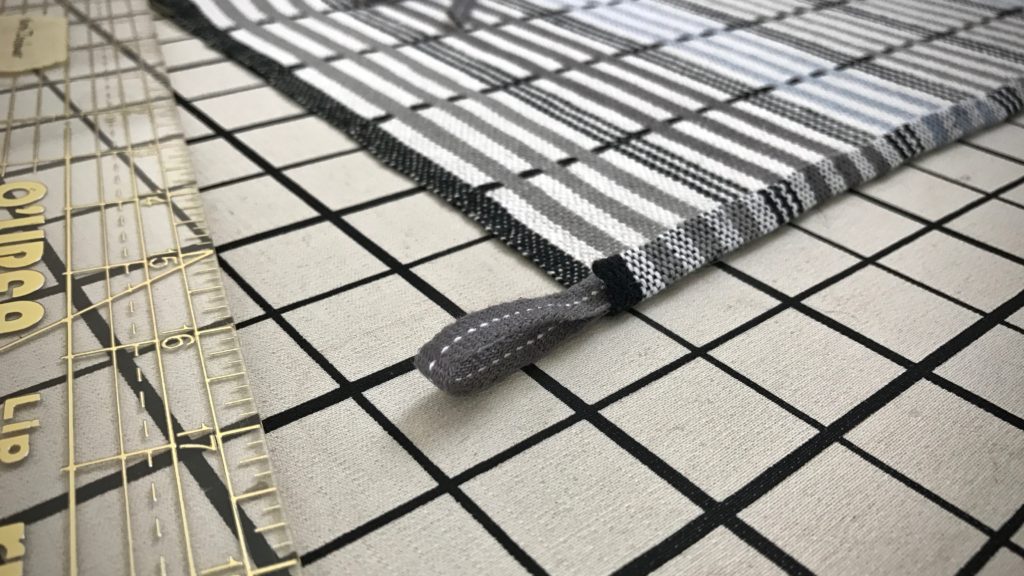
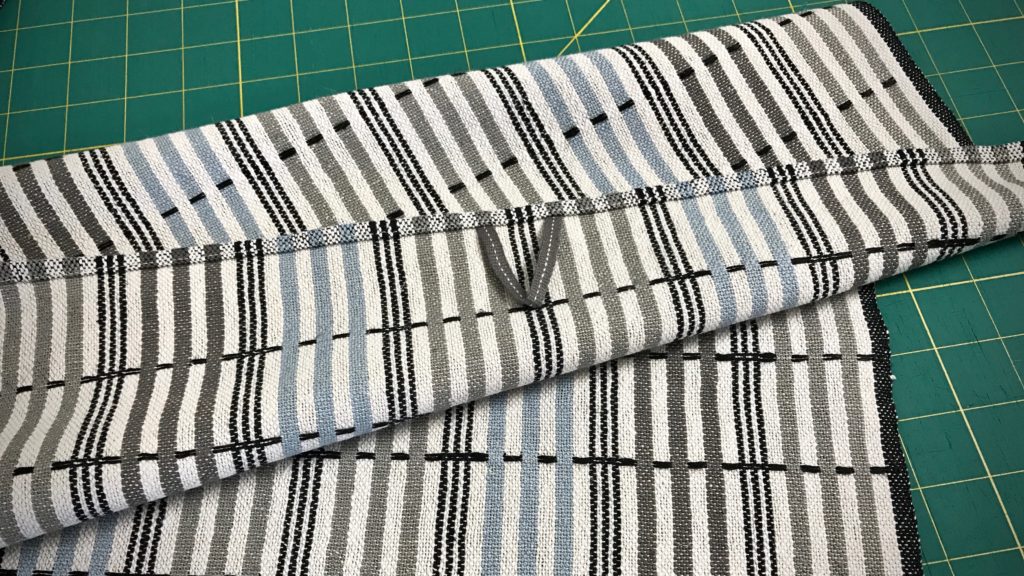
One style of hanging tab for handwoven towel.

Handwoven band for hanging tab on towels.

Loop for hanging tab on towel. Handwoven band.

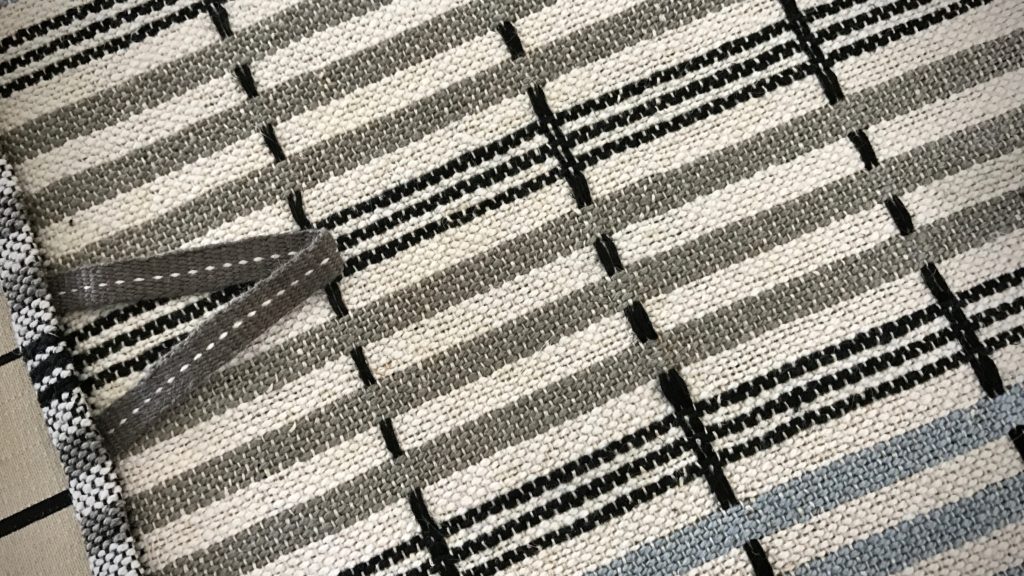
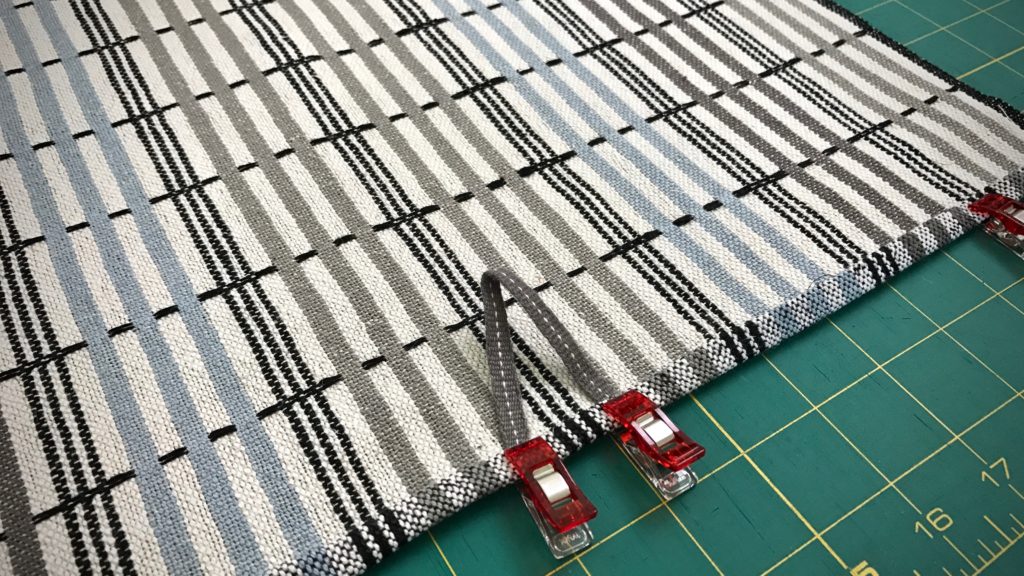
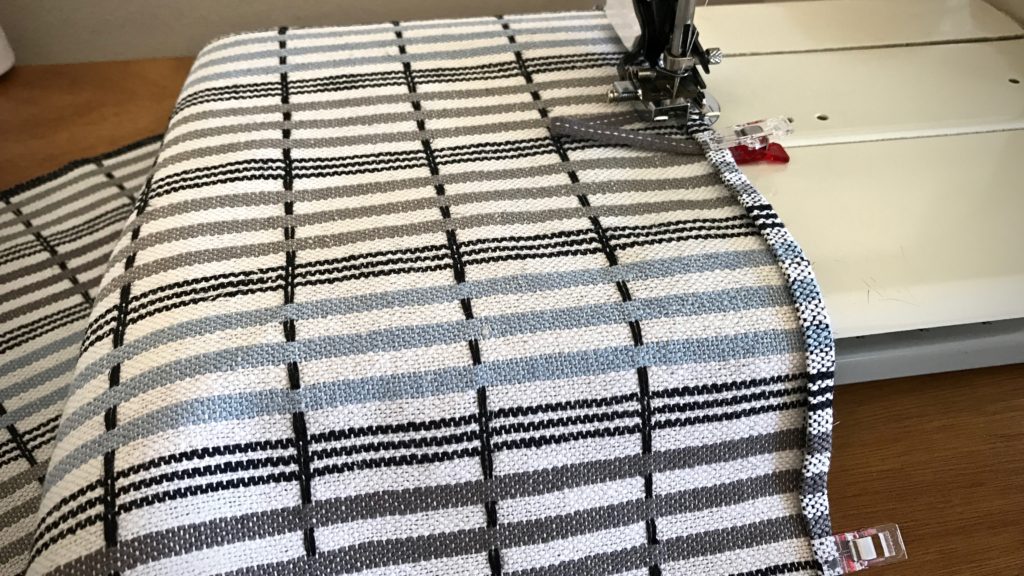
  • Position the tab, and push the zigzagged ends to the fold inside the pressed and folded towel hem. Pin or clip in place.

Adding handwoven band to hand towel.

  • Stitch the towel hem, securely catching the ends of the hanging tab.

Adding hanging tab to handwoven towel.

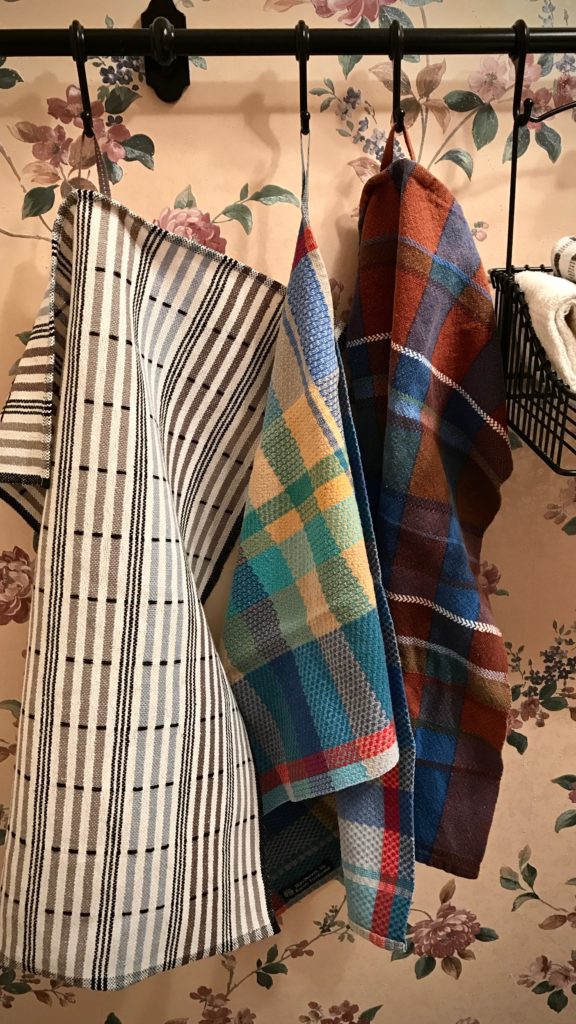
Finished handwoven linen-cotton towel with hanging tab.

  • Use the towel. Enjoy!

Handwoven towels being used!

Your prayers matter. Pray a blessing on your children and grandchildren. Your prayers add a detail to their lives that sets them apart. The blessing we ask is that they know the Lord. That they will call on the Lord. That they will say they belong to the Lord. Ultimately, our prayer is for the Lord to place them where they live out the purpose for which he has designed them.

May your prayers reach the heart of God.

With purpose,
Karen

Tools Day: Leveling String

Thirty-five years ago, I took a beginner rigid heddle loom class. Our teacher taught us to use strips of toilet paper (or fat scrap yarn) as weft at the beginning of the weaving to space the warp. After several inches of weaving, the warp ends would fall into alignment. Unless fringe is planned, that beginning warp goes to waste, not to mention the unsightly aspect of the throwaway weft. Here comes the leveling string to the rescue! This piece of 12/6 cotton seine twine is just what we need to get off to a good start with every project we put on the loom. The leveling string levels out the warp ends, and delivers a nice, flat weaving surface. It is superb to be able to weave fabric right from the very beginning of the warp!

The use of a leveling string is also described in my three favorite books that detail how to warp a loom:

  • The Big Book of Weaving, by Laila Lundell
  • Learning to Warp Your Loom, by Joanne Hall
  • Dress Your Loom the Vävstuga Way: A Benchside Photo Guide, by Becky Ashenden

Tools:

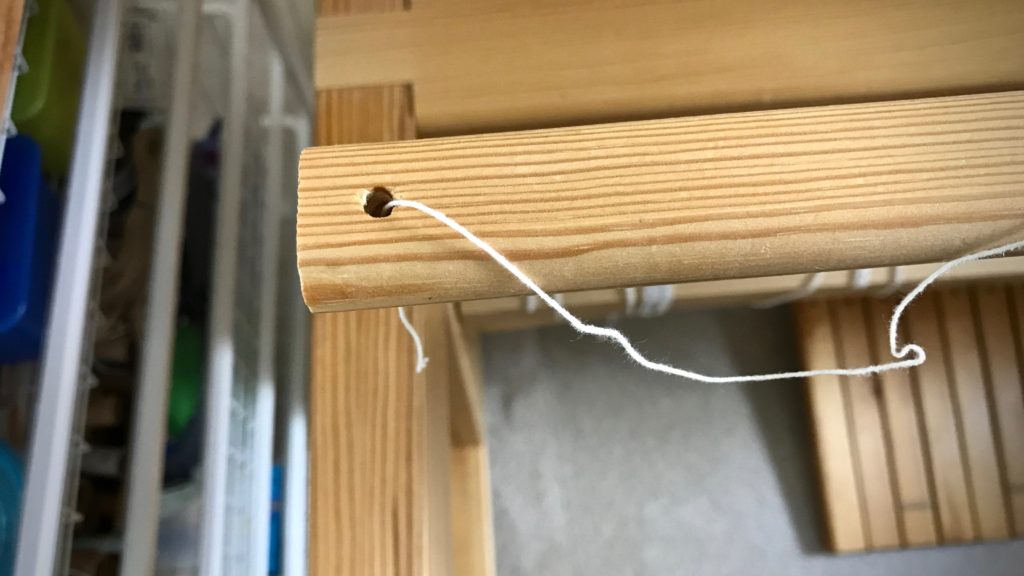
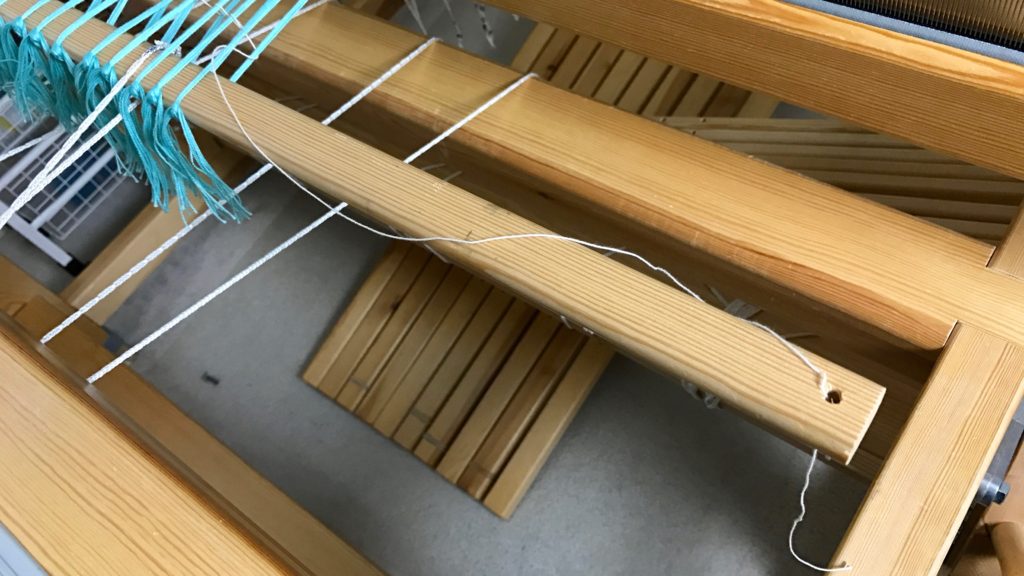
  • Front tie-on bar with a hole at each end (Joanne Hall writes, “If there are no holes in your bar, replace the cord with a thin stick.” I have not tried this, but I trust anything Joanne says!)
  • 12/6 cotton seine twine, the length of front tie-on bar, plus about 20 inches (I like to have plenty of string to tie the knots on the ends)

Steps:

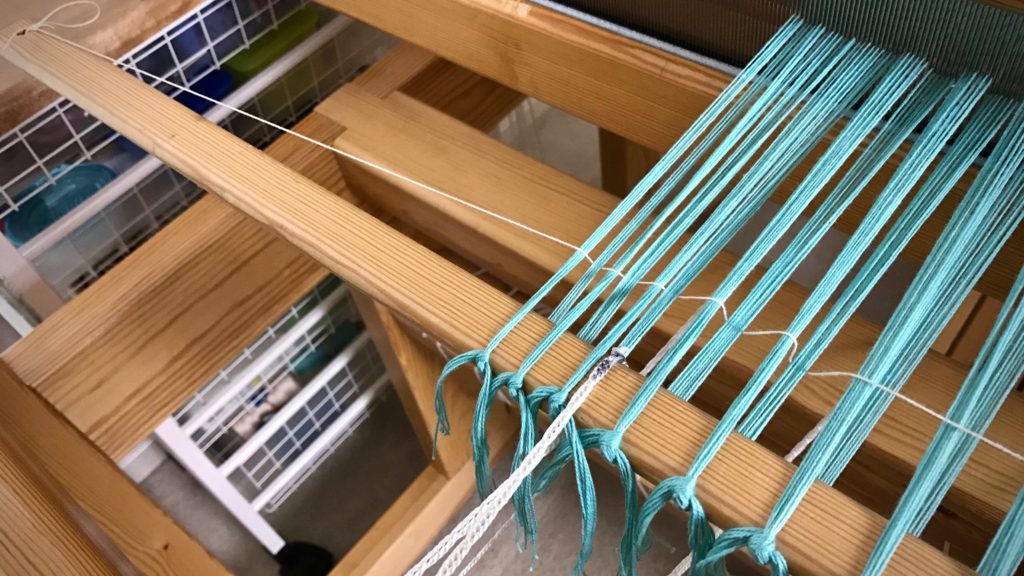
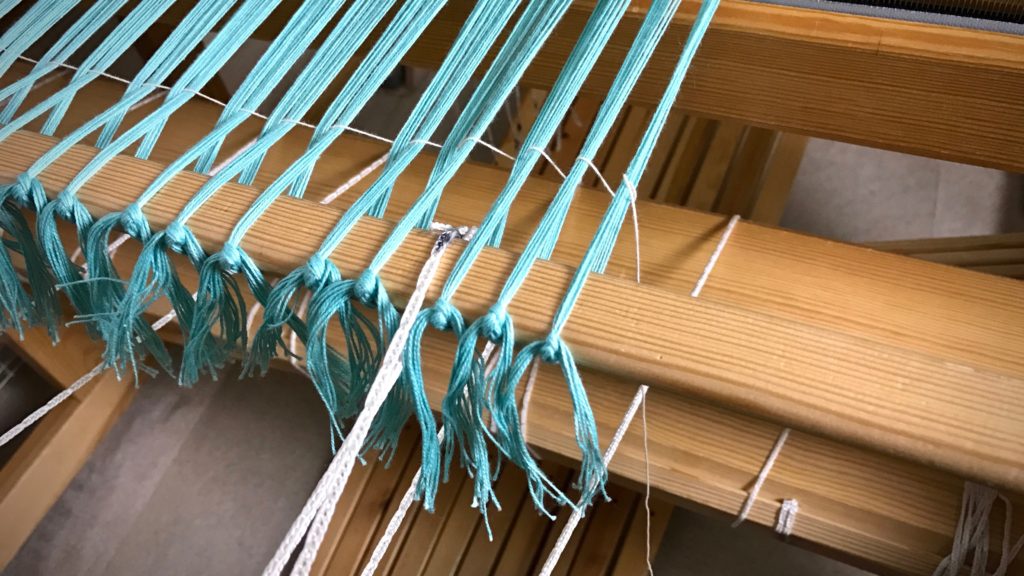
1. Tie on warp in small bundles, about 1″ each, with half of the bundle’s ends going over, and half going under, the front tie-on bar (as seen in Step 3 pictures). Tie the ends together with a bow knot or other tie-on knot. (TIP – If you do not tie the knots too tight, it is easier to get even tension across the warp, and it is easier to tighten the leveling string in Step 4.)

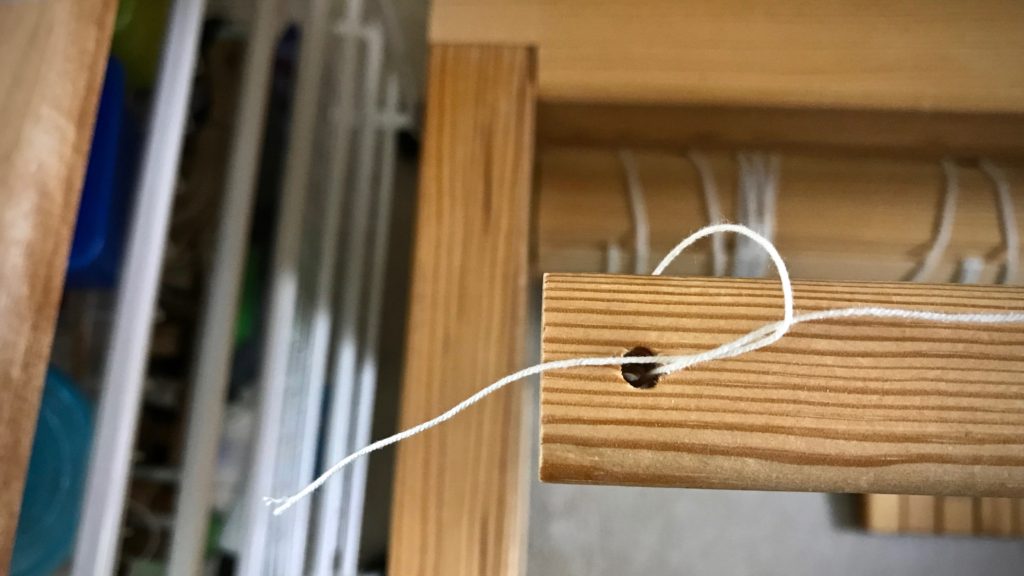
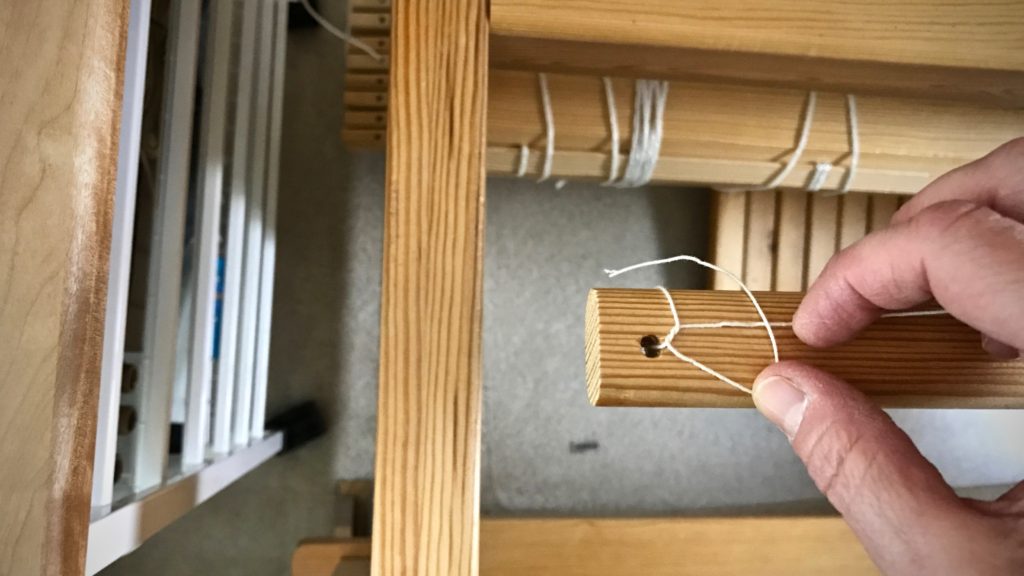
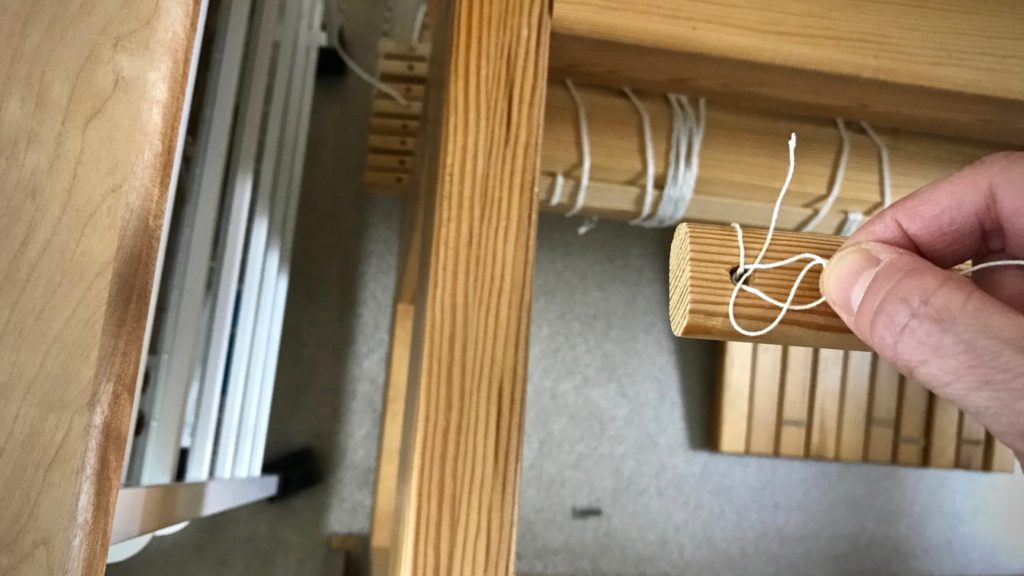
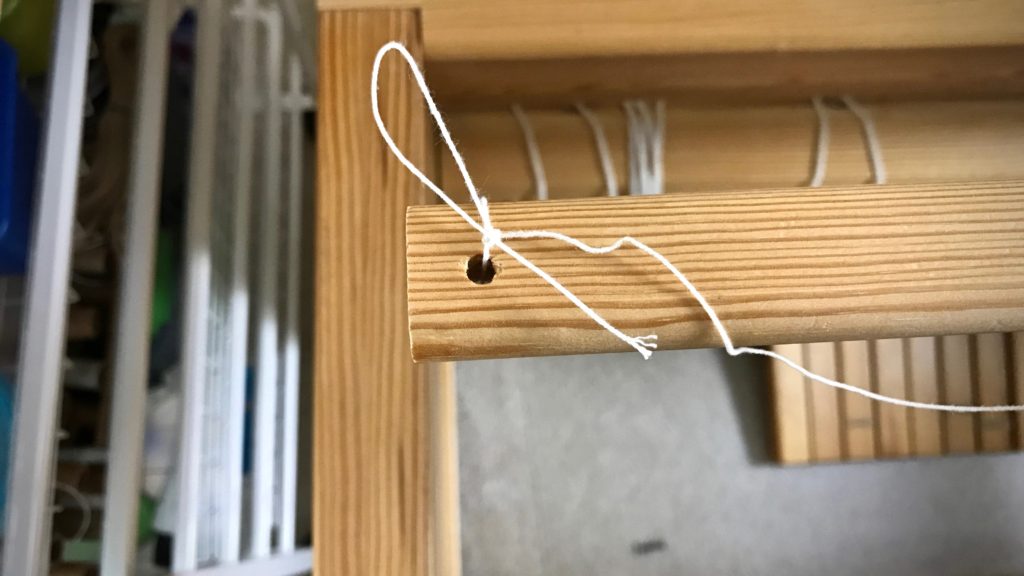
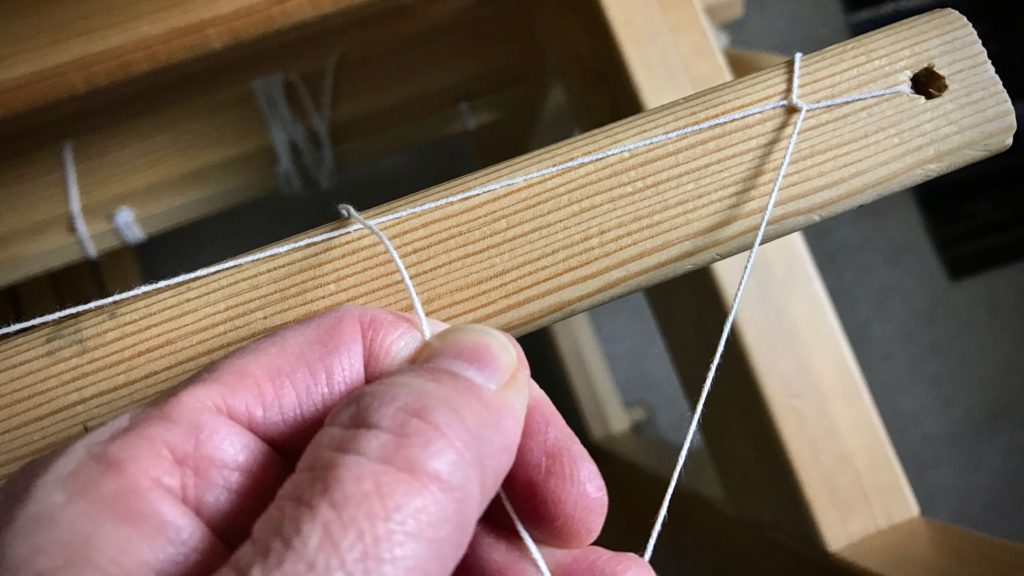
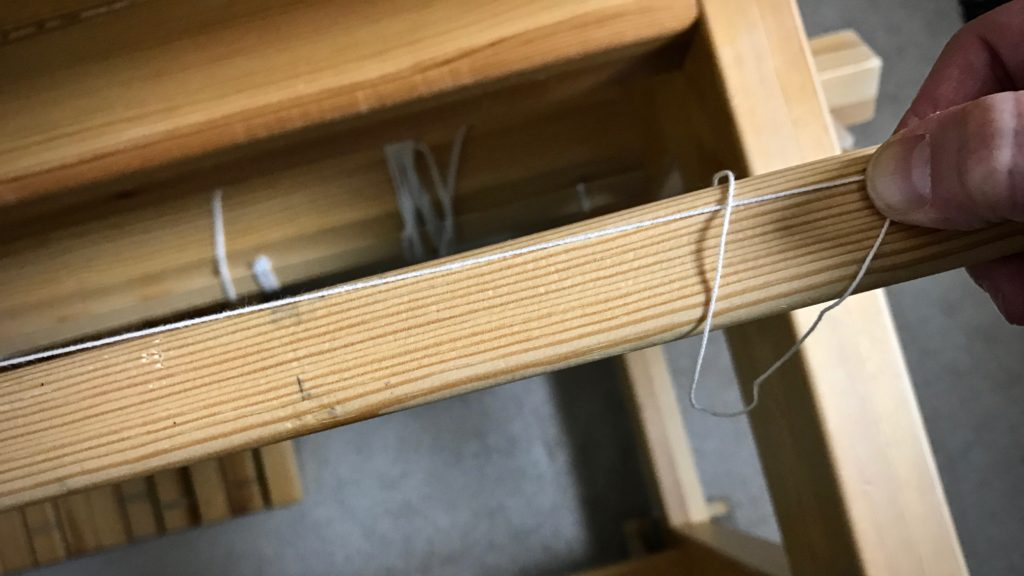
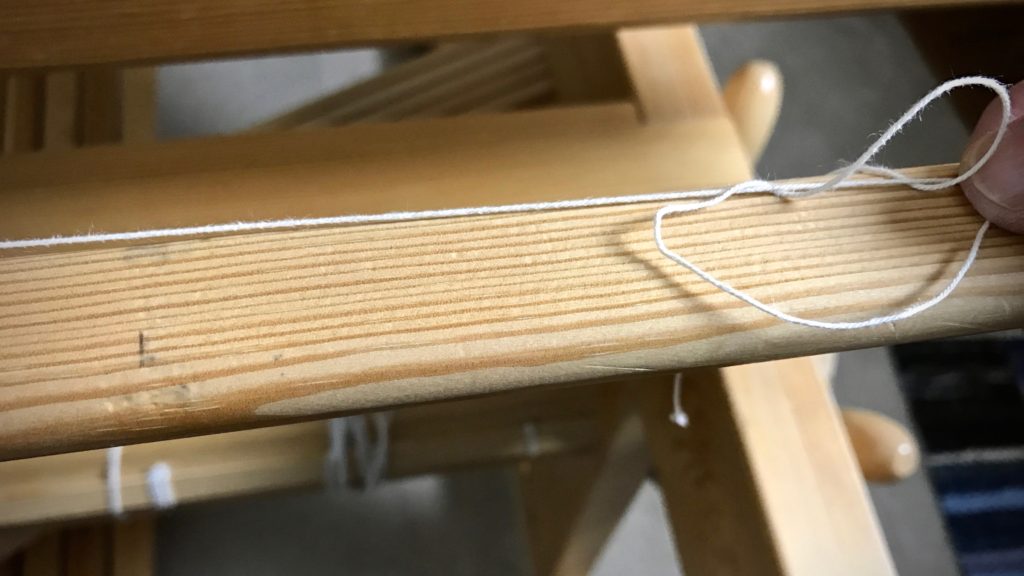
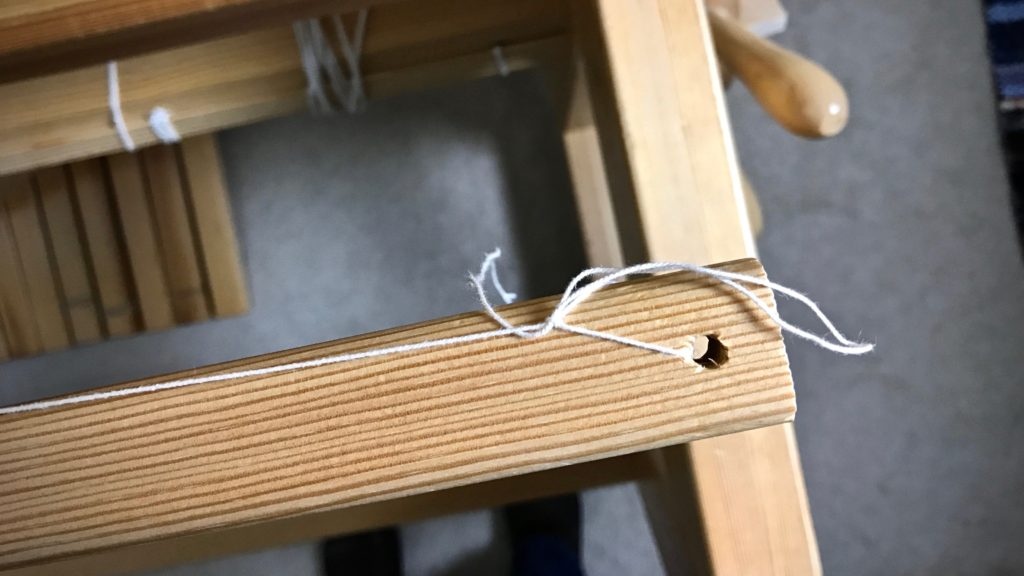
2. Tie one end of the leveling string to one end of the front tie-on bar, using a slip knot with half bow.

Tying the leveling string. Tutorial pics.

Tying the leveling string. Step-by-step.

Leveling string - tying it on.

Tying on the leveling string. How to.

How to tie the leveling string.

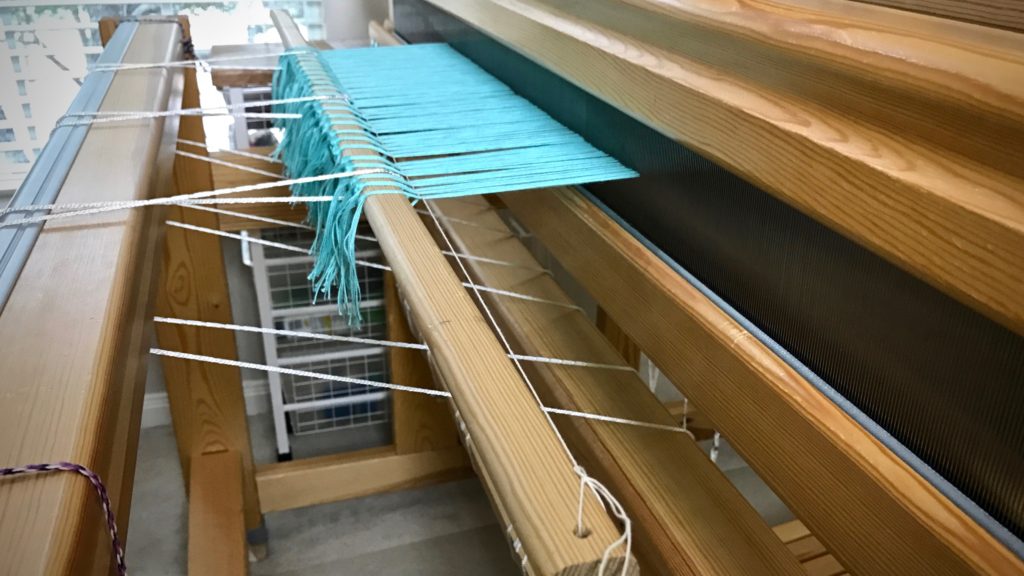
3. Thread the leveling string over and under the tie-on bundles, going over the raised ends and under the lowered ends.

Threading the leveling string through the warp. Tutorial pics.

Leveling string going through the warp.

Tying the second end of the leveling string.

4. Tighten the leveling string while tapping it in with the beater.

Tightening the leveling string.

5. Tie the end of the leveling string to the end of the front tie-on bar, using a slip knot with half bow, as before.

How to tie the second end of the leveling string.

How to tie the leveling string.

Finishing the knot for the leveling string.

Why I use a leveling string.

6. Weave to your heart’s content.

Why the leveling string is so helpful!

When you get to the end of the warp, and are ready for cutting off, simply tug the loose end of the string at one end of the bar to release the slip knot, and pull the leveling string out of the warp.

May you weave as soon as possible.

Happy Valentine’s Day,
Karen
My Best Weaving Stunt to Date!

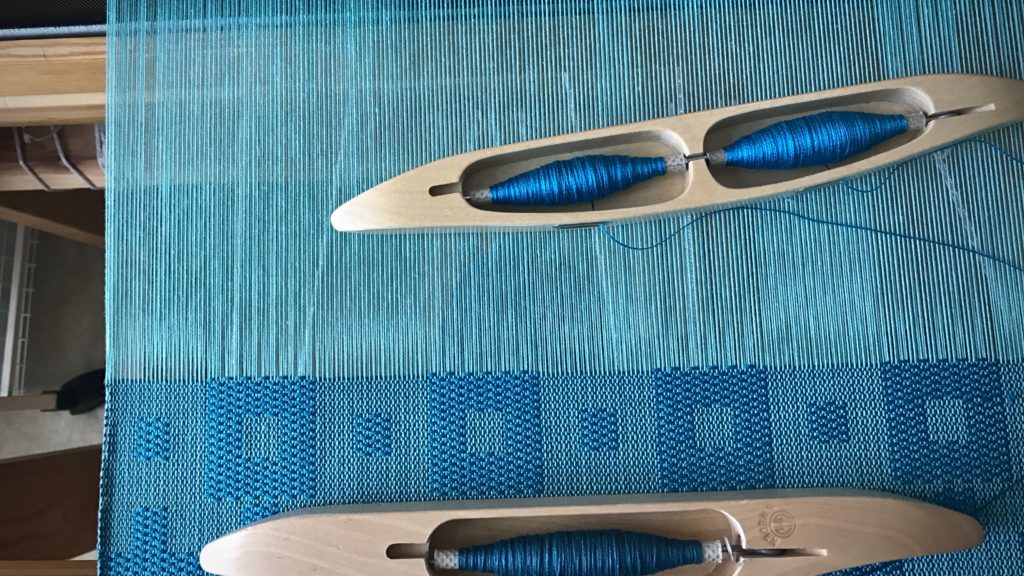
Do you ever go out on a limb? I’ve been known to play it safe. But not today! My excitement for weaving this kuvikas structure was severely dampened when I saw that the pattern in the cloth was not the pattern I intended. What happened? I had switched the threading for shafts 1 and 2! Consistently, too–all the way across the warp.

Start of kuvikas (summer and winter), and discovery of threading error.
While testing weft color options, I realize that this is NOT the pattern for which I thought I had threaded. Even though this pattern does reveal an “I” for “Isenhower,” I had my heart set on a square within a square.

I could leave the threading as is. No one would know. Oh, the arguments I had with myself at this point. “Take it out, and re-thread.” “You’d be crazy to take it out and re-thread.” The crazy self won. (I did find myself asking, “What solution would Becky Ashenden, the weaving solution genius, come up with?”) Here is the stupendous thing: I was able to correct the pattern by doing shaft-bar gymnastics. And no re-threading! What?! (I documented the process and will bring it to you in my Quiet Friday post at the end of the month.)

Kuvikas (summer and winter), cotton tabby and tencel pattern weft.
The sight of these little squares within squares makes me extraordinarily happy! 8/2 cotton tabby weft. Doubled 8/2 Tencel pattern weft. Kuvikas, as this weaver intended it to be.

There are times when we are called to go out on a limb. It’s the right thing to do. But the prospect is overwhelming. We ask, “Who? Me?” And “How, Lord?” Trust the Lord, one step at a time. He will be with you. Marvelous things will happen, catching even you by surprise.

May you know when to go out on a limb.

Happy,
Karen

How to Splice the Warp – Video

Knots show up in the warp. It’s a normal part of weaving. Weaving over the knot is almost never a good idea. You have to deal with the little obstacle. This is why it is handy to know how to splice the warp. Thankfully, it’s not hard to do. There are a few standard variations on how to perform this operation. I use a method that I first came across here, by Kirsten Froberg, that makes sense to me. And, hooray, there are no tails to weave in later!

I made a new video to demonstrate how I do it. You can watch it below…

How to splice the warp.
Spliced area of the warp happens to land in the hems of two adjoining towels. Pink weft picks serve as a cutting line between the towels.
How to deal with a knot in the warp. Tutorial video.
Ending the splice. There are no tails to weave in later with this method.

How to Remove a Knot in the Warp

  • Insert a replacement warp end. Attach with a pin.
  • Weave an inch with original and replacement warp ends in place.
  • Cut original warp end. Hang it over the back beam.
  • Weave until original warp end is long enough to reinsert.
  • Insert original warp end. Attach with a pin.
  • Weave an inch with replacement and original warp ends in place.
  • Cut and remove replacement warp end.
  • Trim cut warp ends after wet finishing.

May the knots that get in your way be easy to remove.

Happy Weaving,
Karen
Tools Day: Measured Weaving

How far will you travel? How will you know when you have arrived? Do you wish you could know when you are halfway there? Applied to weaving, I like to have the answers to these questions before I begin the “journey.” A pre-measured tape gives me consistency, especially important for multiple pieces in a set. The tape also acts as my “trip odometer.” I can see how far I’ve gone, and exactly how much is left to weave. It satisfies my insatiable need to know how close I am to the end. Are you like that, too?

How to Make and Use a Pre-Measured Tape

Supplies

  • Roll of 3/4″ or wider twill tape (or any cloth tape or ribbon that does not stretch, and that pins easily)
  • Tape measure with inches and/or centimeters
  • Fine tip permanent marker
  • Flat head pins
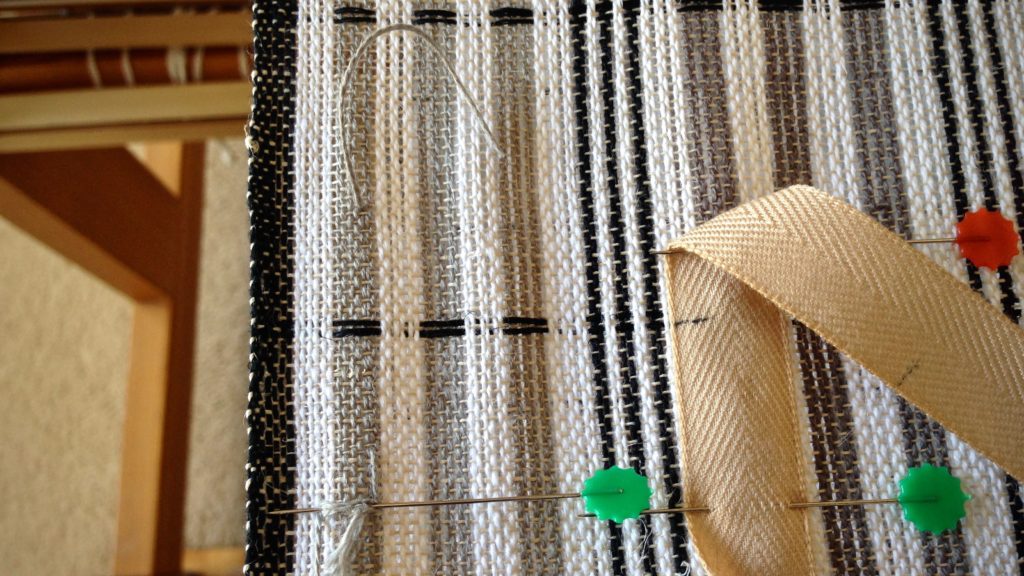
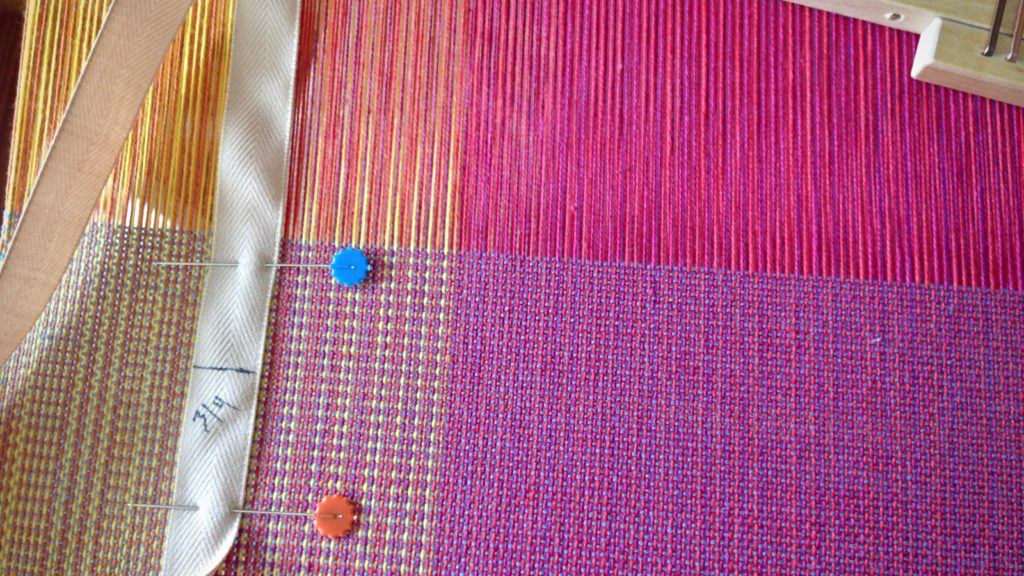
  1. Use the permanent marker to place markings on the twill tape, as measured with the tape measure. Mark the start line 1/2″ from the end of the twill tape, so that the tape can be pinned in front of the mark.
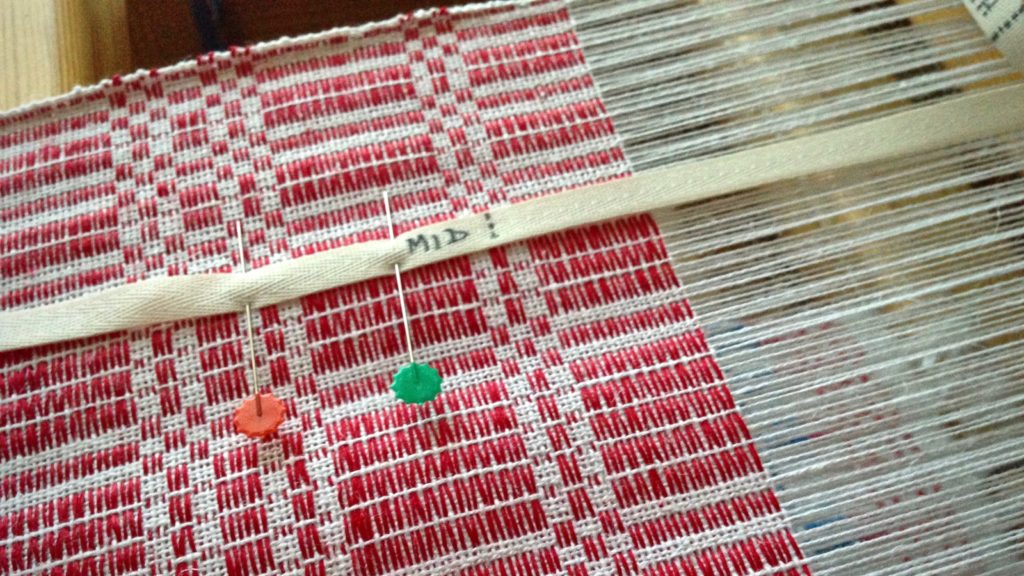
  2. After drawing a line for the starting point and ending point, draw a line at the midway point, labeled MID.
  3. Include dotted lines for hem measurements, if applicable. Write the hem measurement on the twill tape; i.,e., 3/4″ or 2 cm.
  4. Write the weaving length measurement on the twill tape. Include calculation for takeup, if desired; i.,e., 25″ + 3″.
  5. Write the project or item description on the twill tape, if desired, for ease of repeat use; i.e., handtowel.
  6. Add other lines or marks, as needed, for borders, placement of weft colors, or other design elements.
  7. 1/2″ after the final marking, cut pre-measured twill tape from the roll of tape.

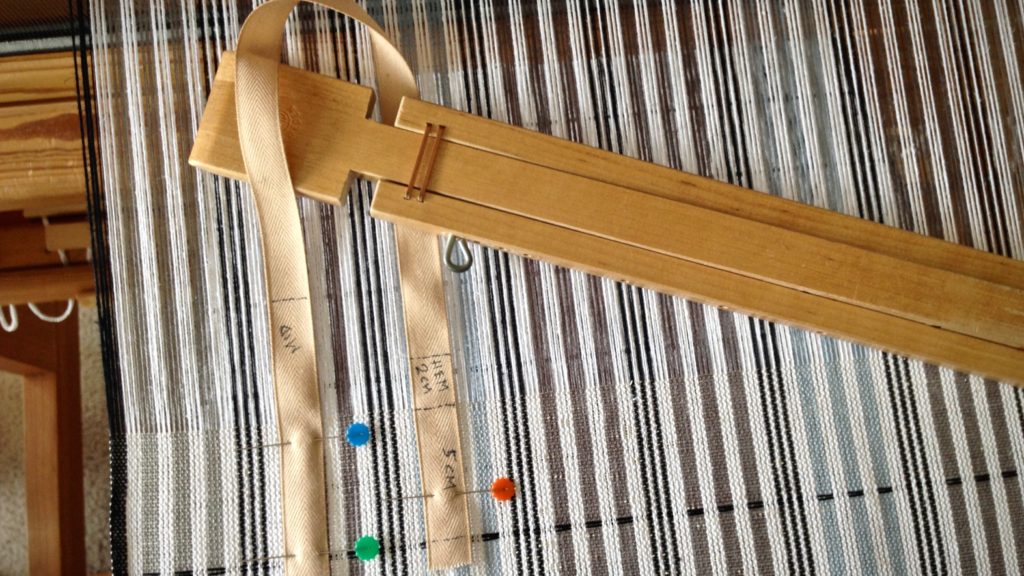
With the warp under tension, pin the pre-measured twill tape near the right or left selvedge with two flat-head pins. Match the start line of the tape with the beginning of the weaving.
Before each advancement of the warp, move the pin closest to the breast beam to a point near the fell line. In this way, have the pins leapfrog each other, moving only one pin each time. Always keep the warp under tension when moving the pins.

Red cutting lines between black and white towels.
Beginning hem, after red cutting lines between towels.
Ending hem is followed by two red picks that will become the cutting line between towels.
When the "MID" point hits right where it should!
When the “MID” point hits right where it should! Mid point marking helps to confirm that the halvdräll pattern is centered and balanced in its length.
Pre-measured twill tape marks weft color placement on linen scarves.
Weft color placement is marked on the twill tape for these linen lace scarves.
Tricks with pre-measured tape for weaving.
Five centimeters, marked at the end of the twill tape, is a handy reference for spacing the weft pattern floats in these plattväv towels.
Alpaca scarf in an interesting 8-shaft twill.
I love seeing the “MID” point on a long piece, such as this 8-shaft twill alpaca scarf.
Pre-measured twill tape helps set the pace for the weaving project.
Breaking up the length into quarters helps to set a pace for the weaving project. This baby wrap was on a time crunch, so it was helpful to know when I was getting close to the end.

May you accurately measure your ways.

Truly yours,
Karen