Tied On and Tied Up

Our transition to Texas hill country is finalized this week! The looms and I will be residing in the same house again. Let the weaving resume! One loom is dressed and waiting for me. Tied on above, and tied up below. Ready to weave!

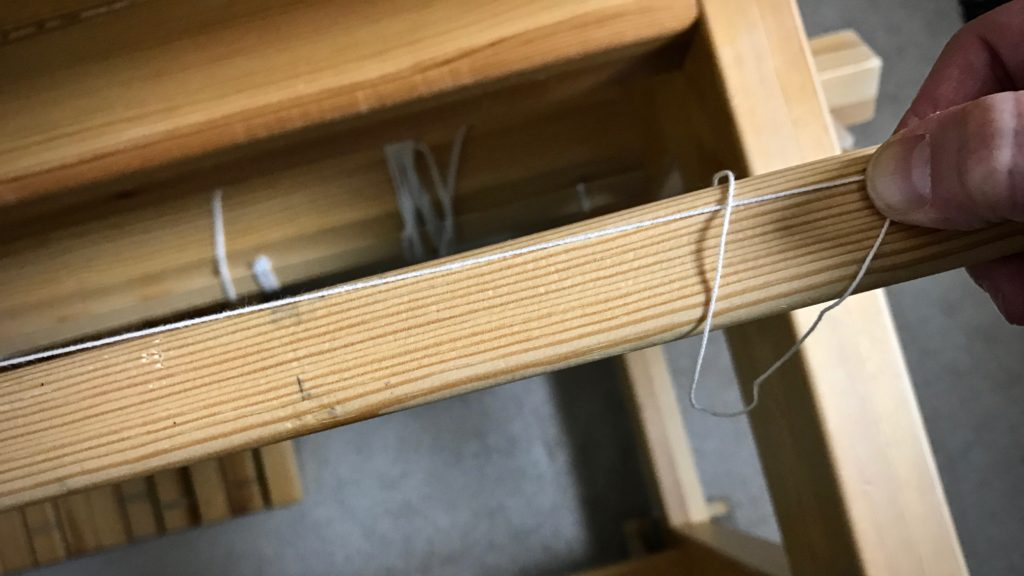
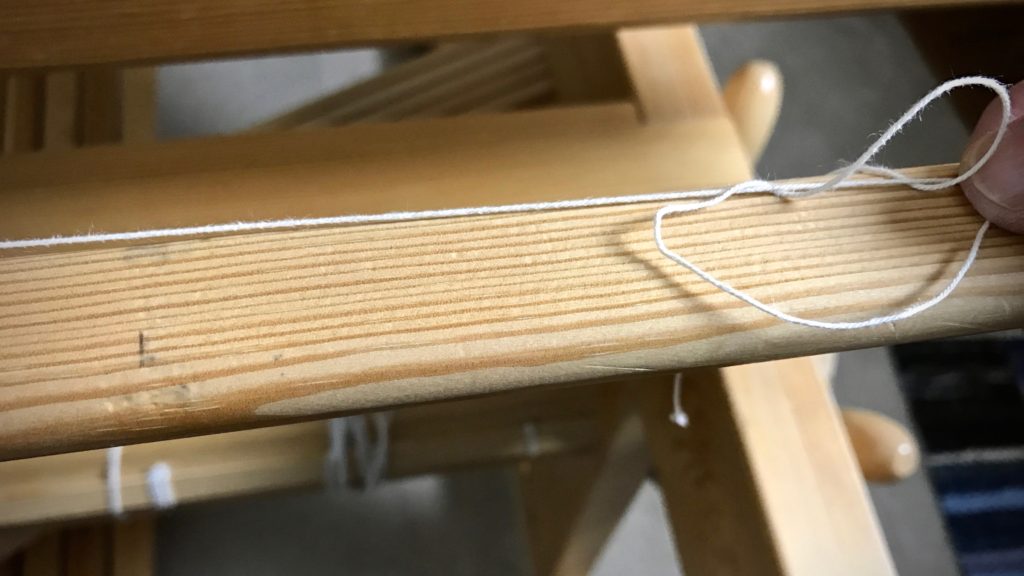
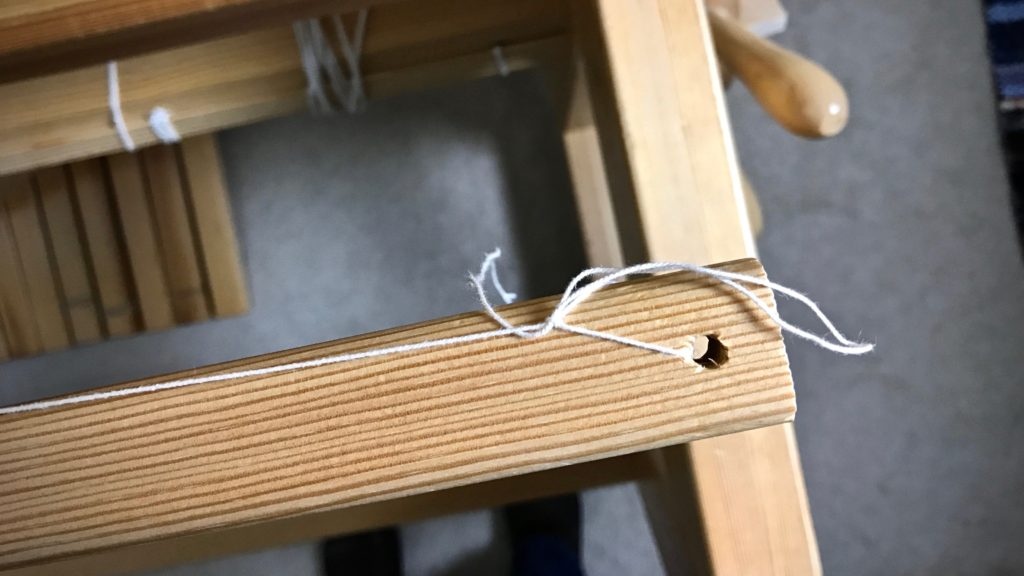
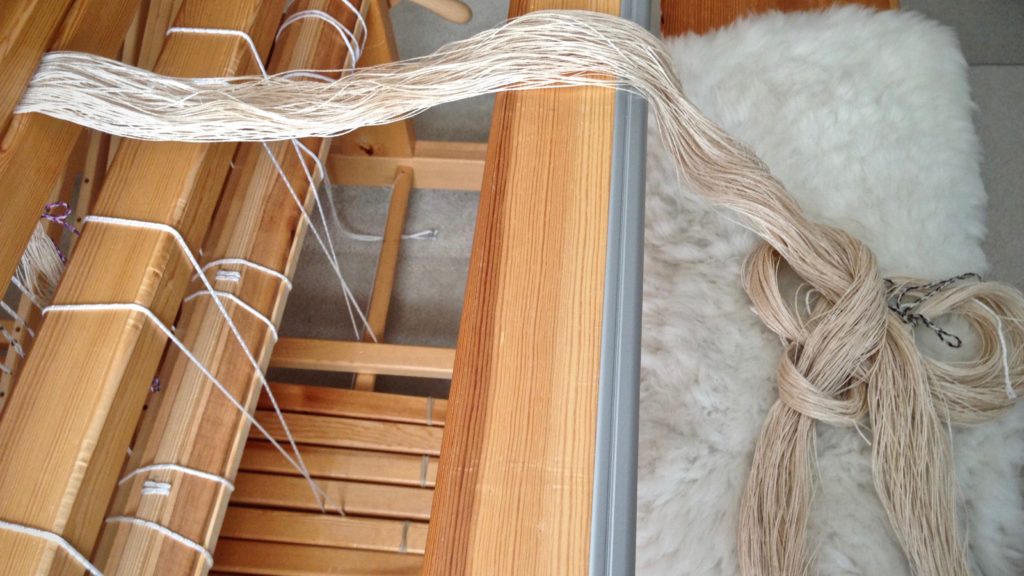
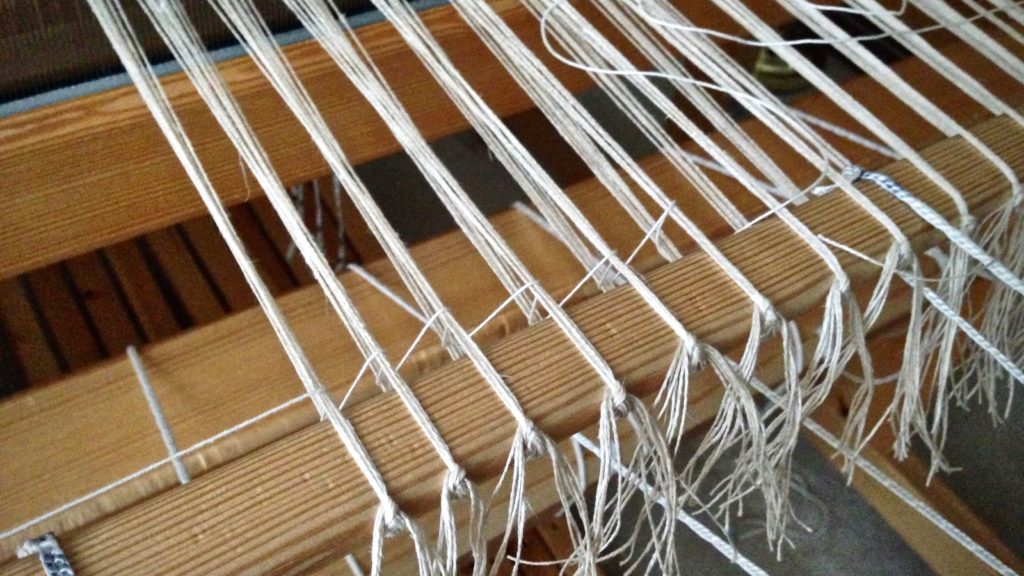
The warp is tied on to the front tie-on bar in 1-inch bundles, with 1/2-inch bundles at the selvedges. And then, I add the leveling string which makes it look neat and tidy and READY.

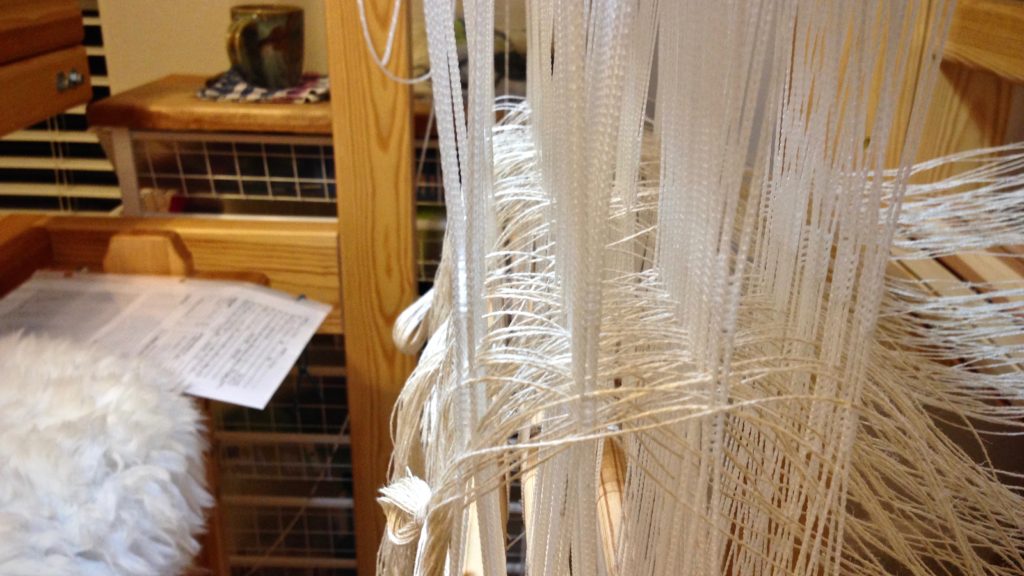
Leveling string flattens and evens out the warp for no-waste weaving.
Warp is tied on to the front tie-on bar. Leveling string flattens and evens out the warp for no-waste weaving.

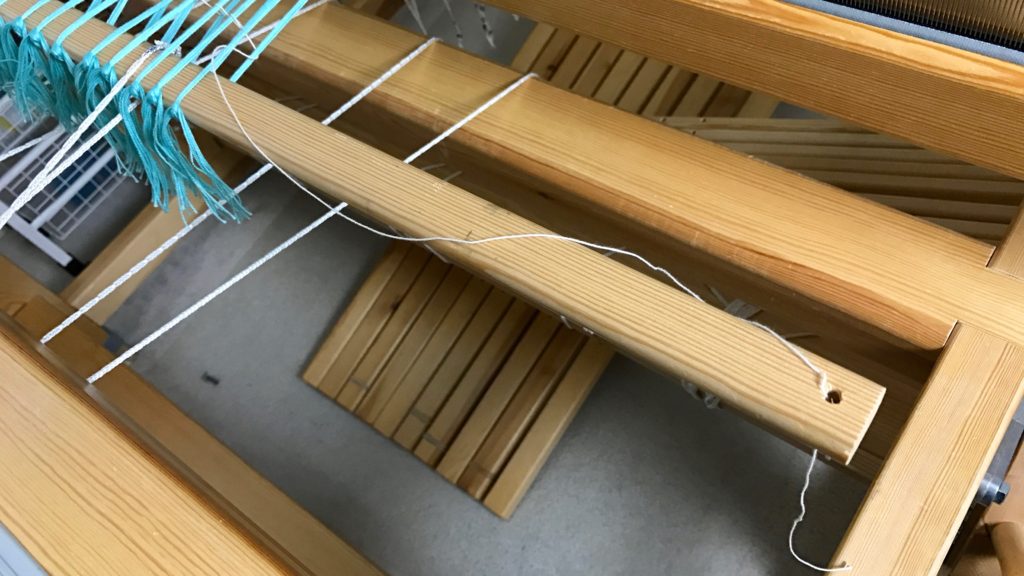
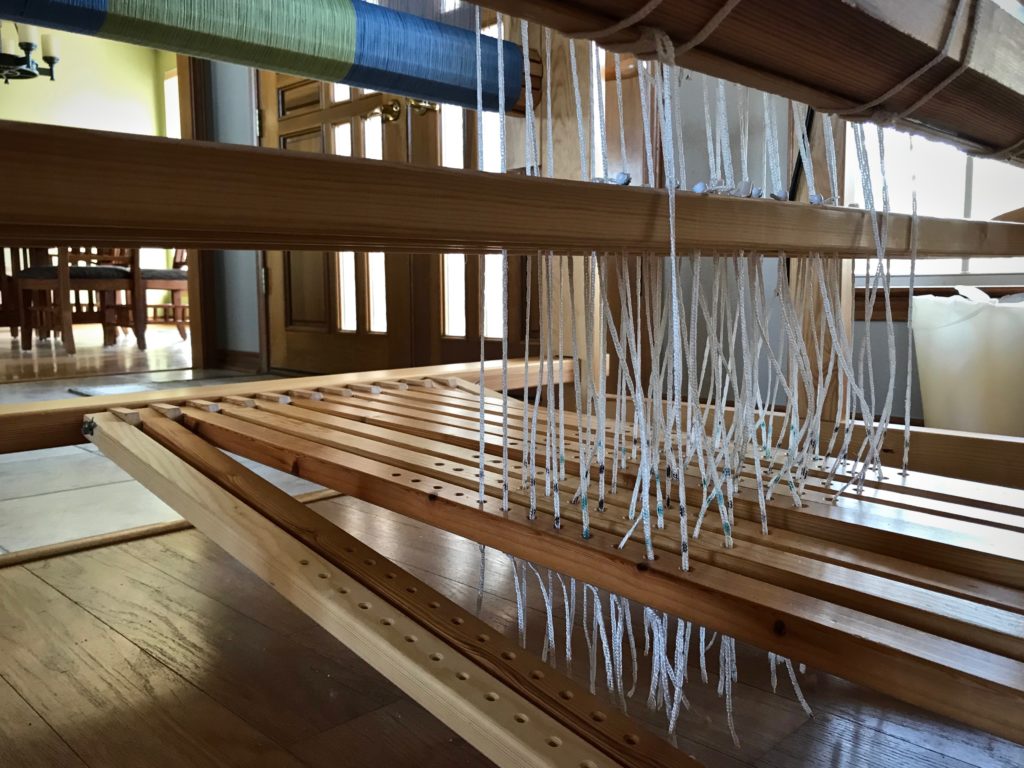
The upper and lower lamms are positioned, and the treadle cords are added and secured. It’s fascinating how simple and basic the whole system is. And how something this simple and basic can be the framework for boundless creative expression.

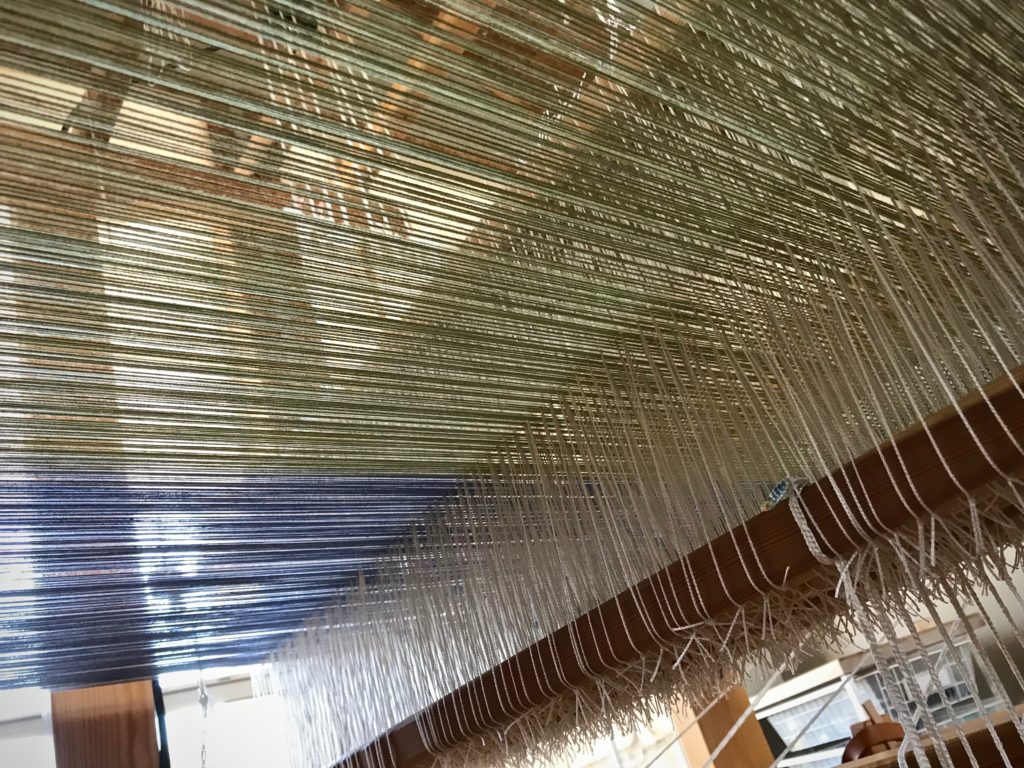
Under the warp. Intriguing view.
I sit on the treadle beam when I position the lamms, and then place the treadle cords in their holes. I’m always intrigued by the view of the warp and heddles from this vantage point.
Treadle cords on eight shafts.
Treadle tie-ups don’t frighten me. It all makes sense, and is part of the loom-dressing process that I enjoy.

If we think of prayer as something that gets us out of a crisis, or words to say in order to get what we want from God, we miss the whole point of prayer. And we face disappointment. Prayer always works. The work is not our clever words, nor the checking off of our wish list. Prayer is the framework of deep trust that stands ready for the Lord’s boundless creative expression. We pray because we trust him. Christmas—the birth of Christ—shows us that God always steps in at the right time.

May your framework be sure.

Advent greetings,
Karen

Tools Day: Leveling String

Thirty-five years ago, I took a beginner rigid heddle loom class. Our teacher taught us to use strips of toilet paper (or fat scrap yarn) as weft at the beginning of the weaving to space the warp. After several inches of weaving, the warp ends would fall into alignment. Unless fringe is planned, that beginning warp goes to waste, not to mention the unsightly aspect of the throwaway weft. Here comes the leveling string to the rescue! This piece of 12/6 cotton seine twine is just what we need to get off to a good start with every project we put on the loom. The leveling string levels out the warp ends, and delivers a nice, flat weaving surface. It is superb to be able to weave fabric right from the very beginning of the warp!

The use of a leveling string is also described in my three favorite books that detail how to warp a loom:

  • The Big Book of Weaving, by Laila Lundell
  • Learning to Warp Your Loom, by Joanne Hall
  • Dress Your Loom the Vävstuga Way: A Benchside Photo Guide, by Becky Ashenden

Tools:

  • Front tie-on bar with a hole at each end (Joanne Hall writes, “If there are no holes in your bar, replace the cord with a thin stick.” I have not tried this, but I trust anything Joanne says!)
  • 12/6 cotton seine twine, the length of front tie-on bar, plus about 20 inches (I like to have plenty of string to tie the knots on the ends)

Steps:

1. Tie on warp in small bundles, about 1″ each, with half of the bundle’s ends going over, and half going under, the front tie-on bar (as seen in Step 3 pictures). Tie the ends together with a bow knot or other tie-on knot. (TIP – If you do not tie the knots too tight, it is easier to get even tension across the warp, and it is easier to tighten the leveling string in Step 4.)

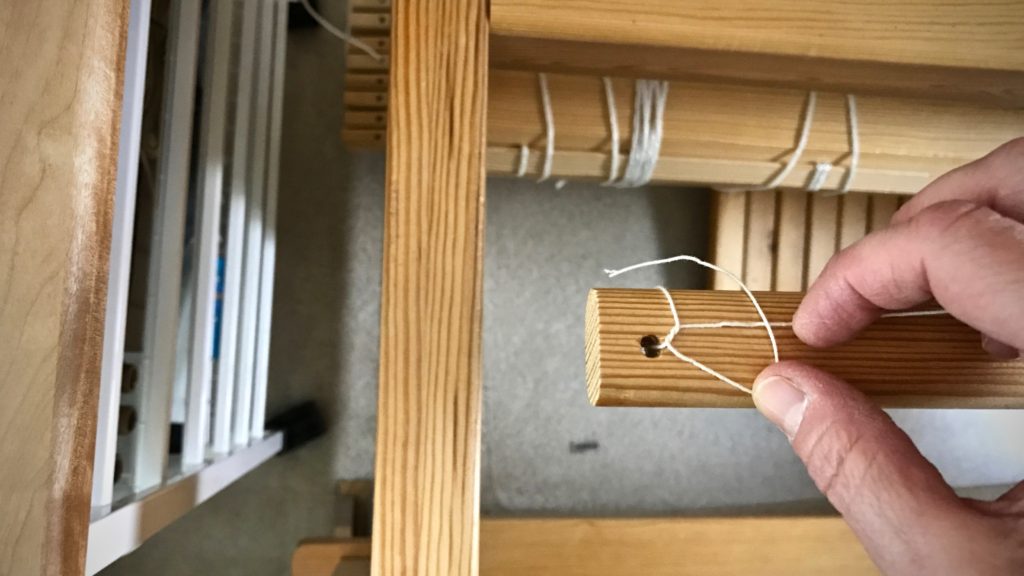
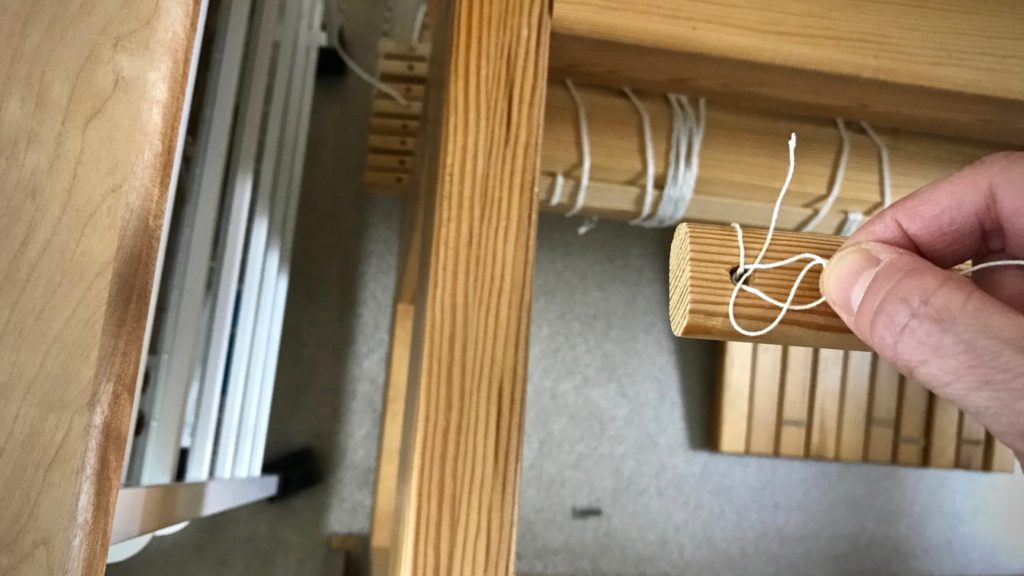
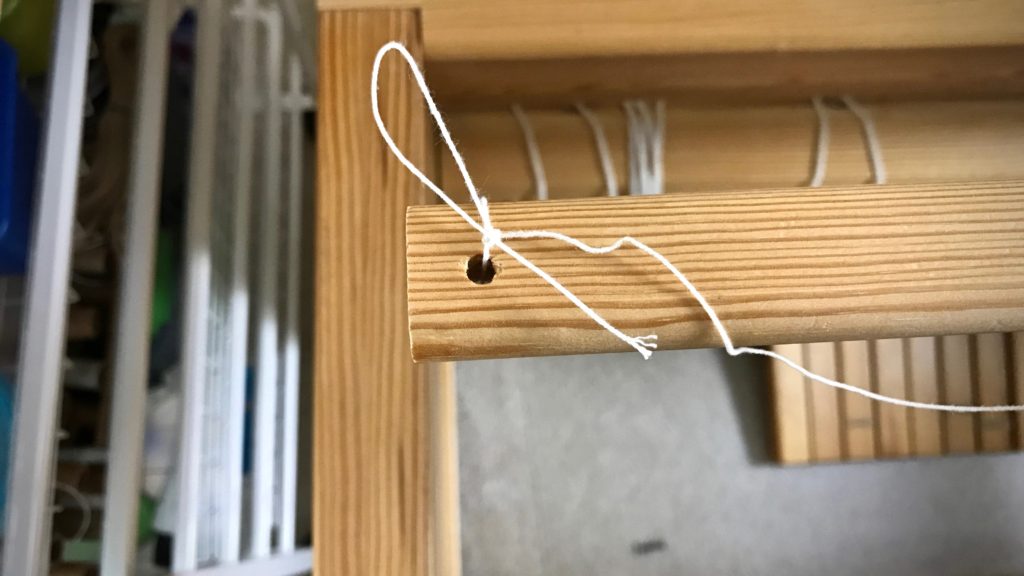
2. Tie one end of the leveling string to one end of the front tie-on bar, using a slip knot with half bow.
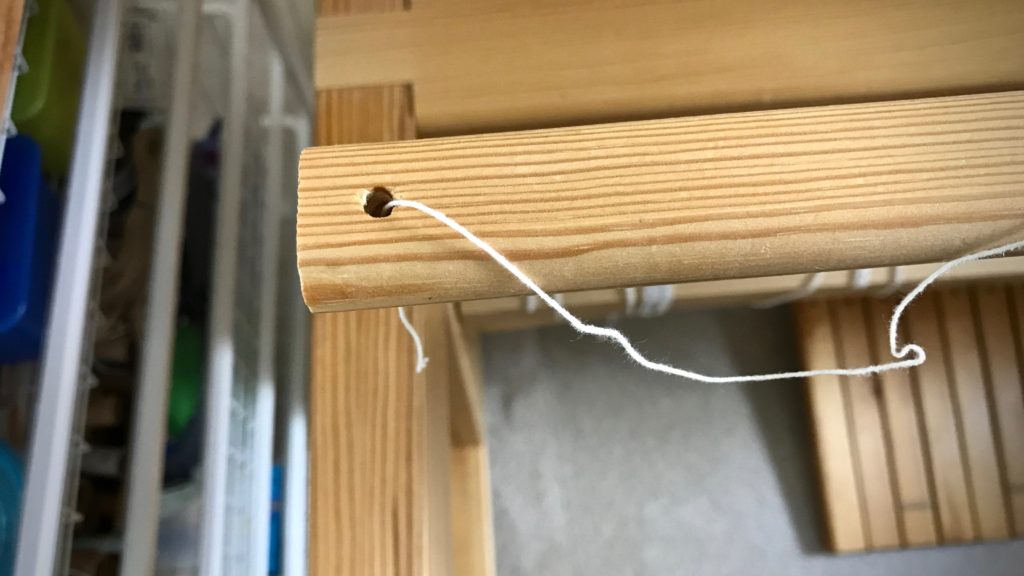
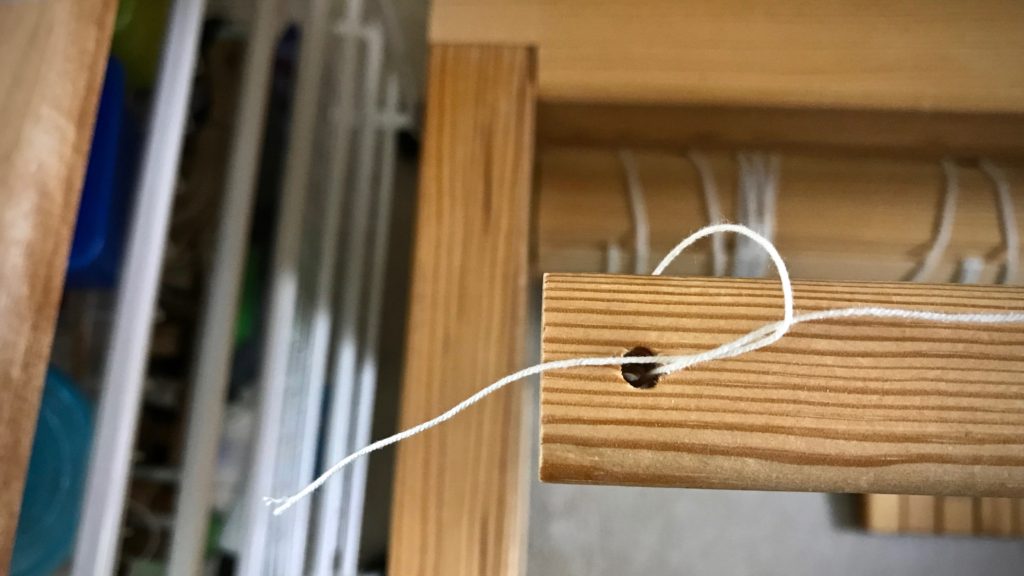
Tying the leveling string. Tutorial pics.

Tying the leveling string. Step-by-step.

Leveling string - tying it on.

Tying on the leveling string. How to.

How to tie the leveling string.

3. Thread the leveling string over and under the tie-on bundles, going over the raised ends and under the lowered ends.
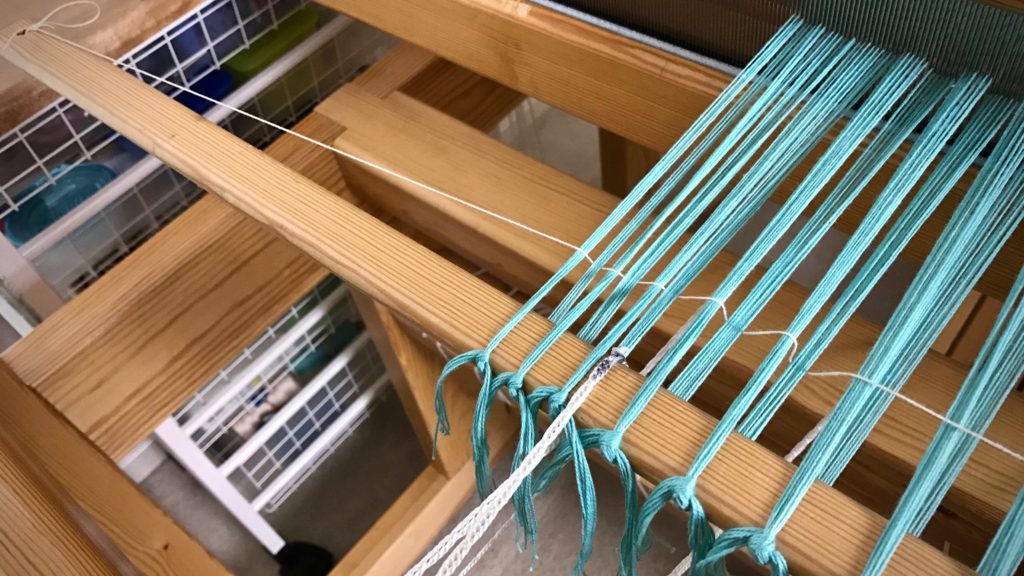
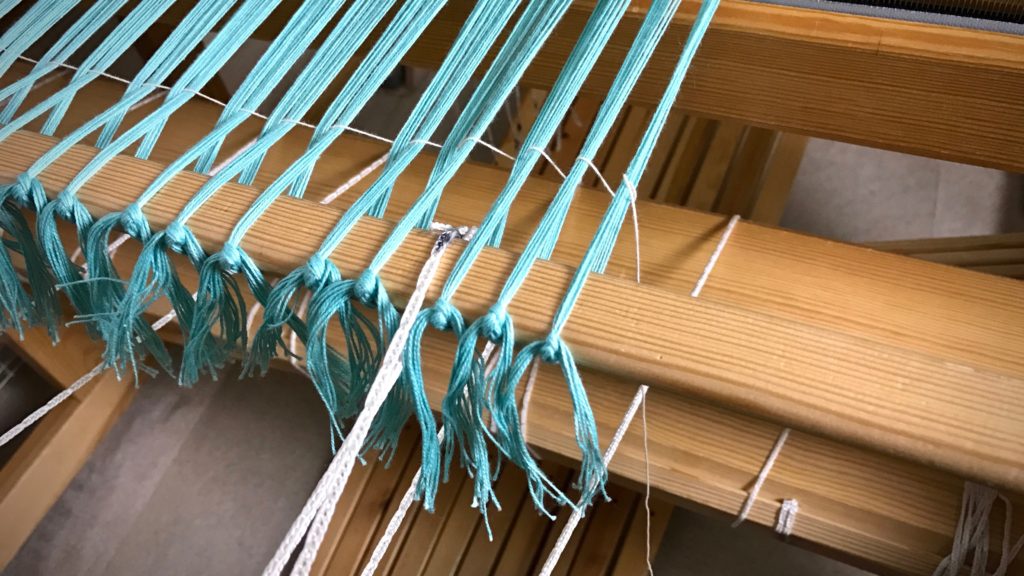
Threading the leveling string through the warp. Tutorial pics.

Leveling string going through the warp.

Tying the second end of the leveling string.

4. Tighten the leveling string while tapping it in with the beater.
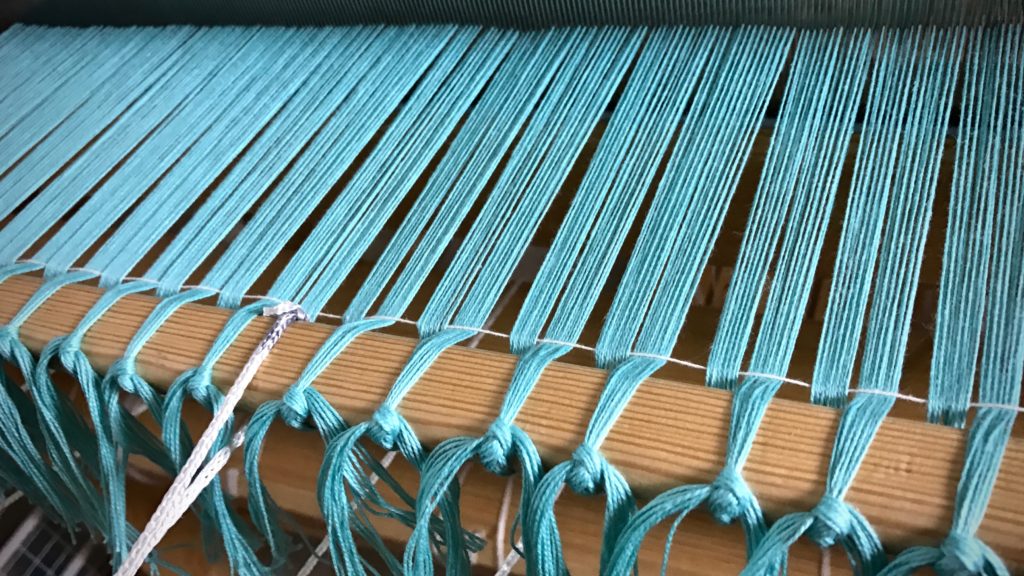
Tightening the leveling string.

5. Tie the end of the leveling string to the end of the front tie-on bar, using a slip knot with half bow, as before.
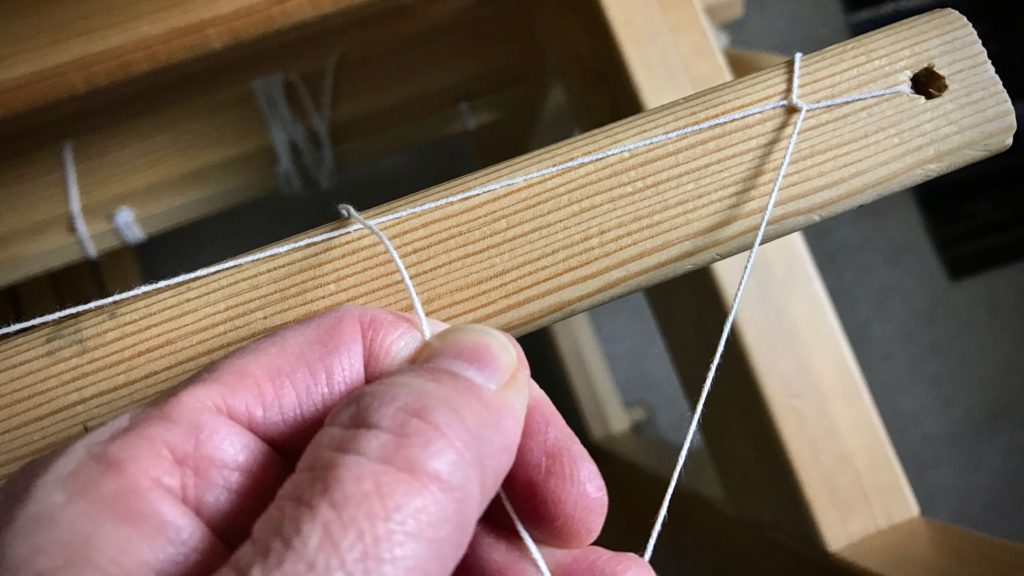
How to tie the second end of the leveling string.

How to tie the leveling string.

Finishing the knot for the leveling string.

Why I use a leveling string.

6. Weave to your heart’s content.
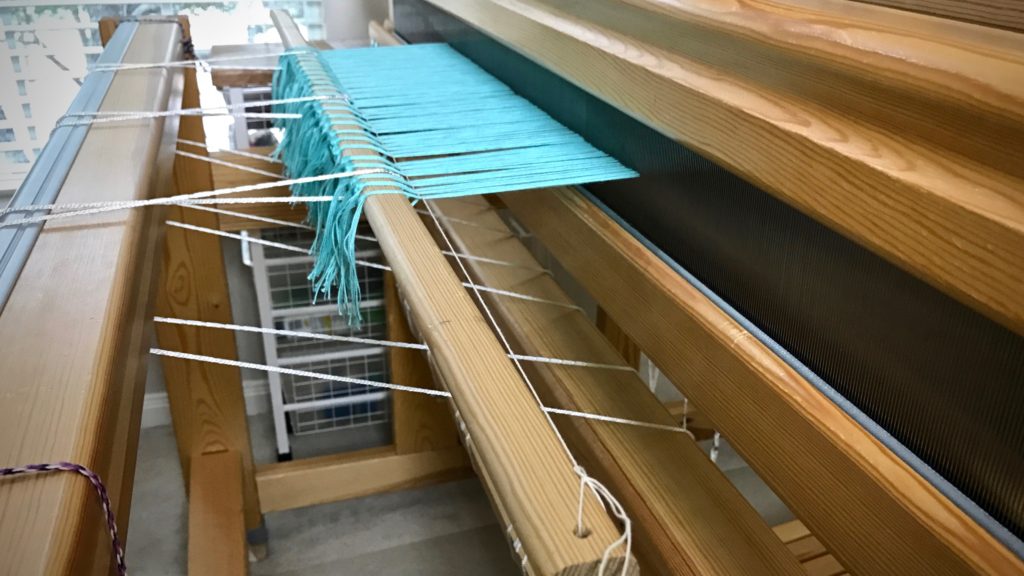
Why the leveling string is so helpful!

When you get to the end of the warp, and are ready for cutting off, simply tug the loose end of the string at one end of the bar to release the slip knot, and pull the leveling string out of the warp.

May you weave as soon as possible.

Happy Valentine’s Day,
Karen
Quiet Friday: Cartoon House Cartoon

The fascinating thing about weaving a transparency is that it feels like color-by-number with yarn. There are similarities to tapestry weaving, for sure. But this seems ten times faster. I found it to be engaging and fun! I echo what my transparency-weaving friend says when it’s time to stop and do something else, “Just one more row…”

Linen warp chain awaits beaming.
Warp chain of 16/2 golden bleached linen, before beaming the warp.
Threading heddles in the Glimakra Standard. Coffee and notes at hand.
Threading heddles in my little playhouse, with project notes by my side, and a cup of coffee on the side cart.
Adding the leveling string to a linen warp.
Leveling string is added with extra care so that abrasion of the linen warp is kept to a minimum.
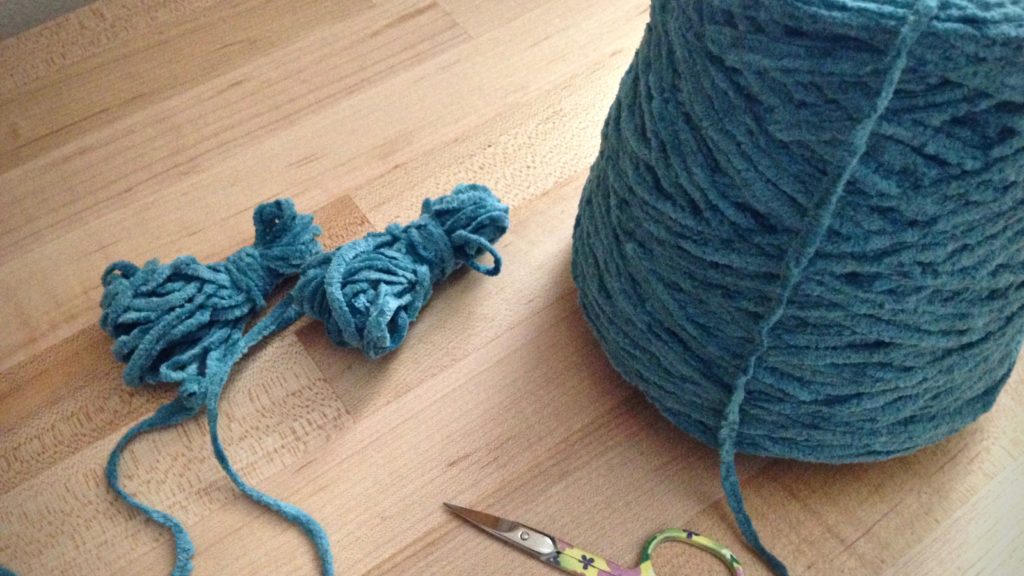
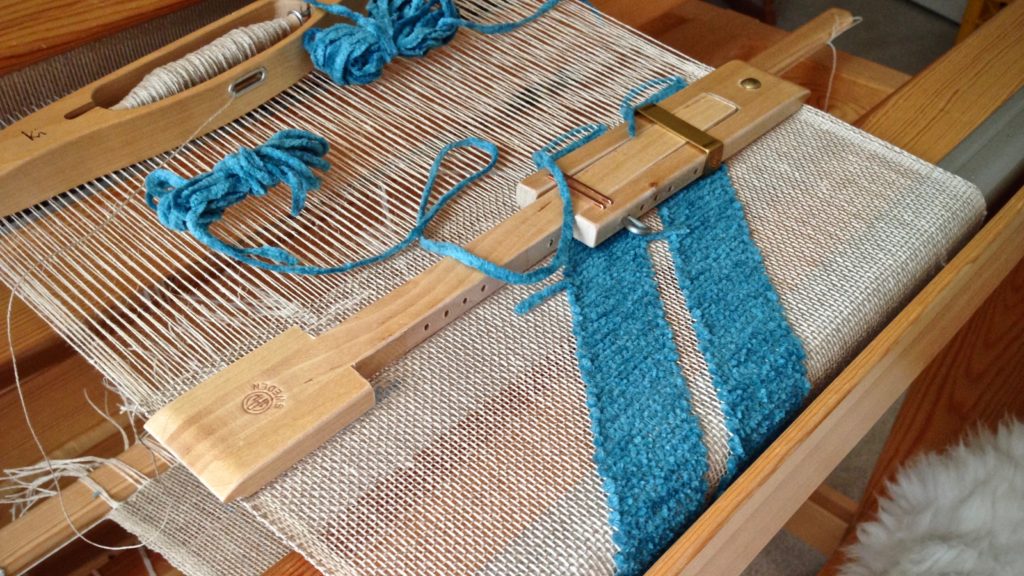
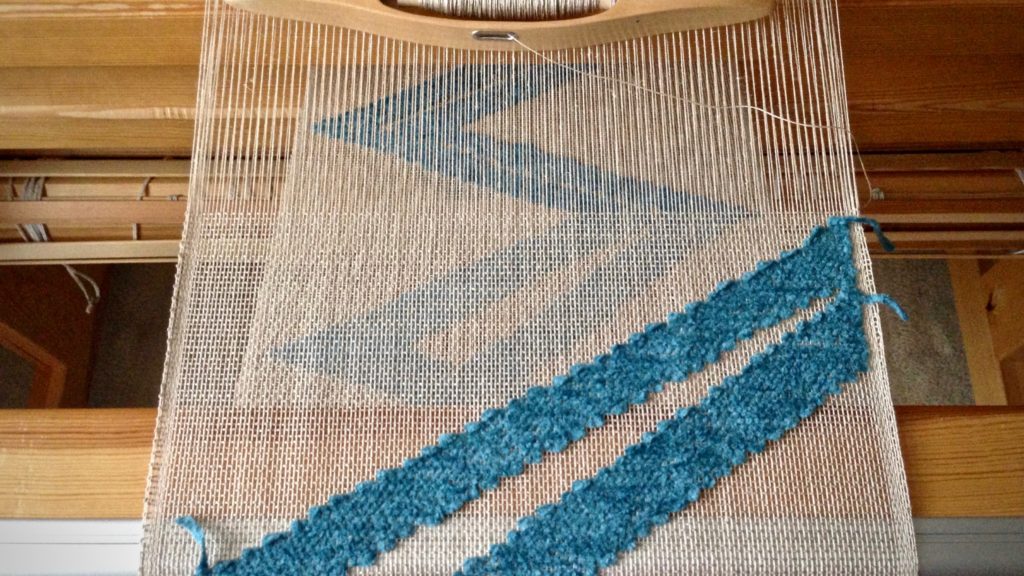
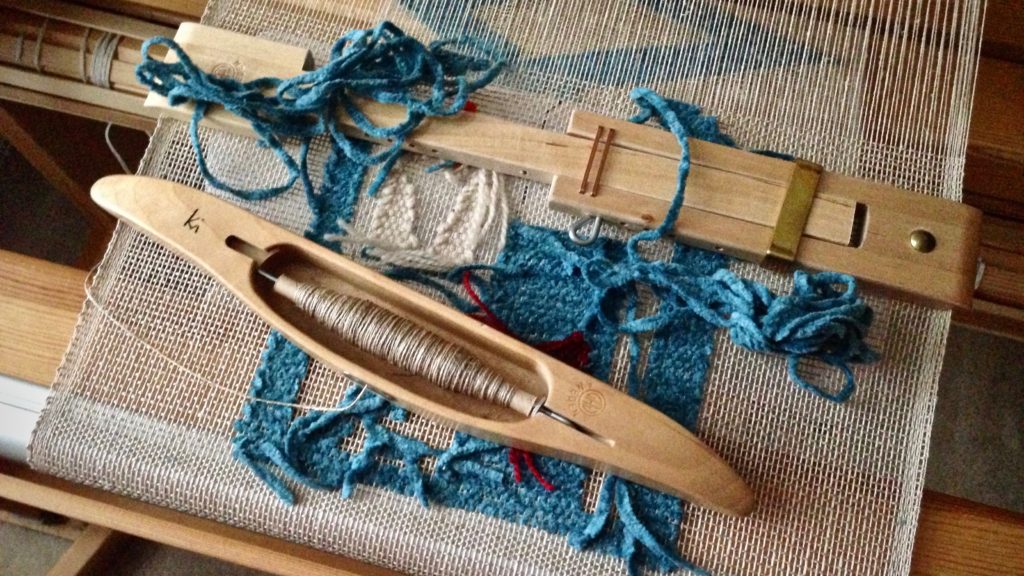
Butterflies are made from the hefty cotton chenille yarn.
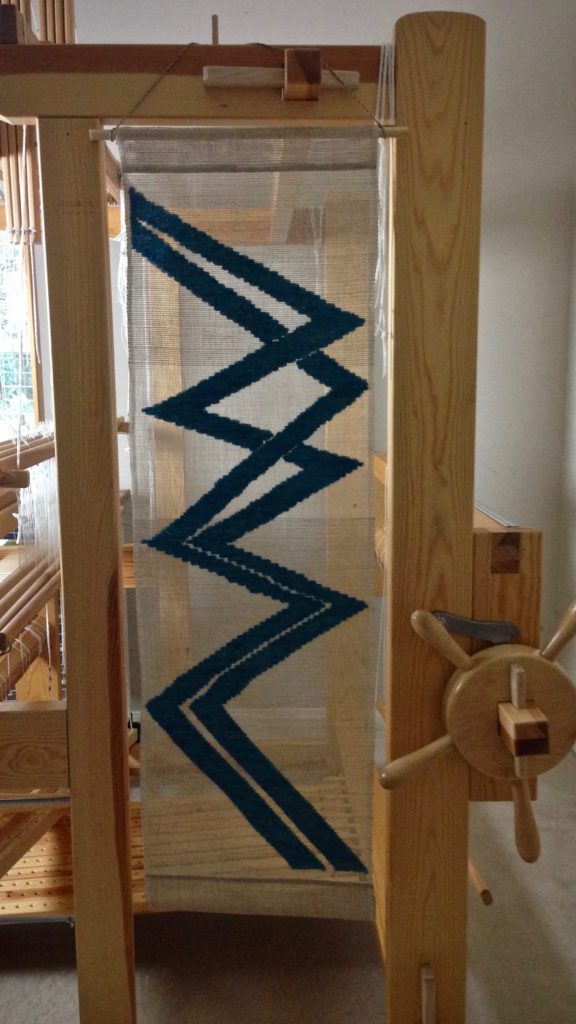
Weaving a transparency. Glimakra Standard loom.
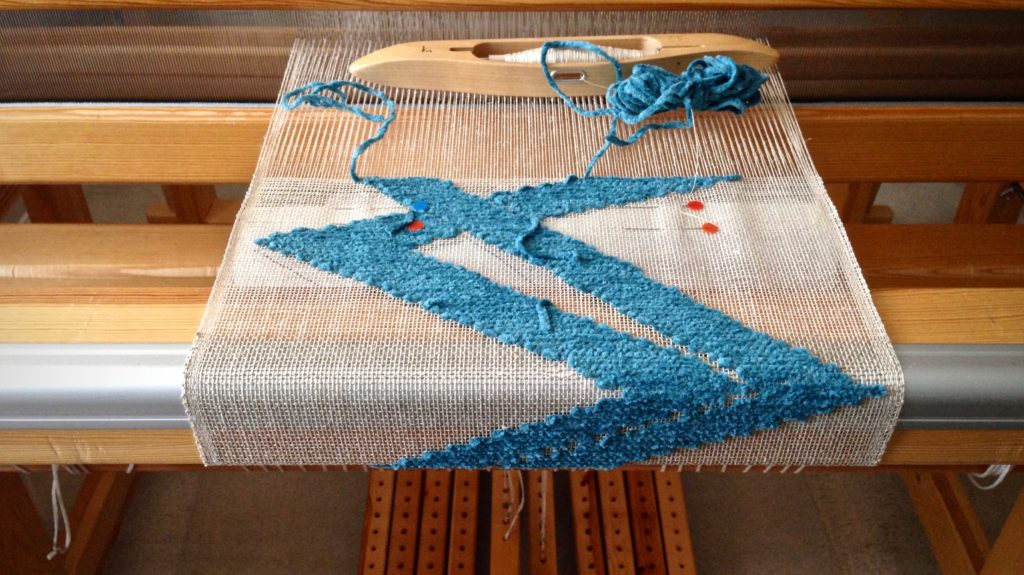
Weaving without a cartoon. I am counting warp ends to keep the pattern angle consistent.
Transparency weaving on the loom, with buckram cartoon.
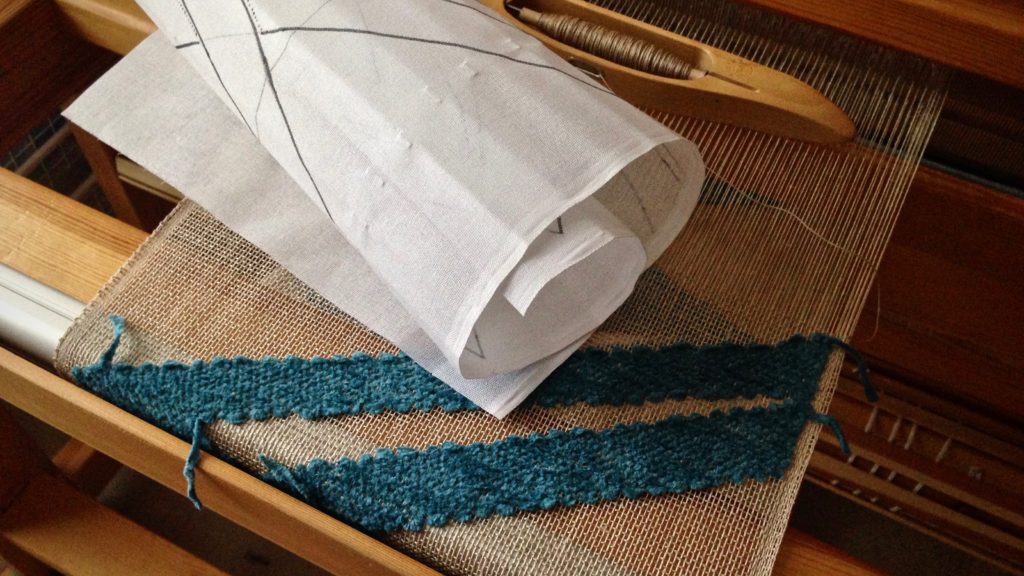
Cartoon has been added. The pattern weft follows the lines drawn on the buckram cartoon, which is pinned in place.
Cartoon removed at the end of the transparency weaving.
Cartoon is removed.
Ending a woven transparency.
Now, for the end of the warp…

New transparency, ready for hanging!

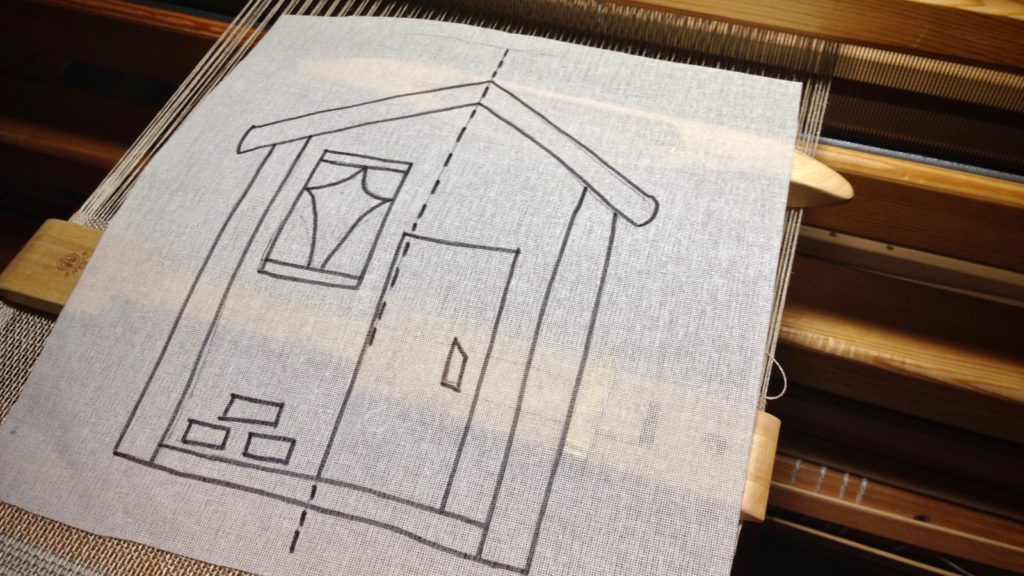
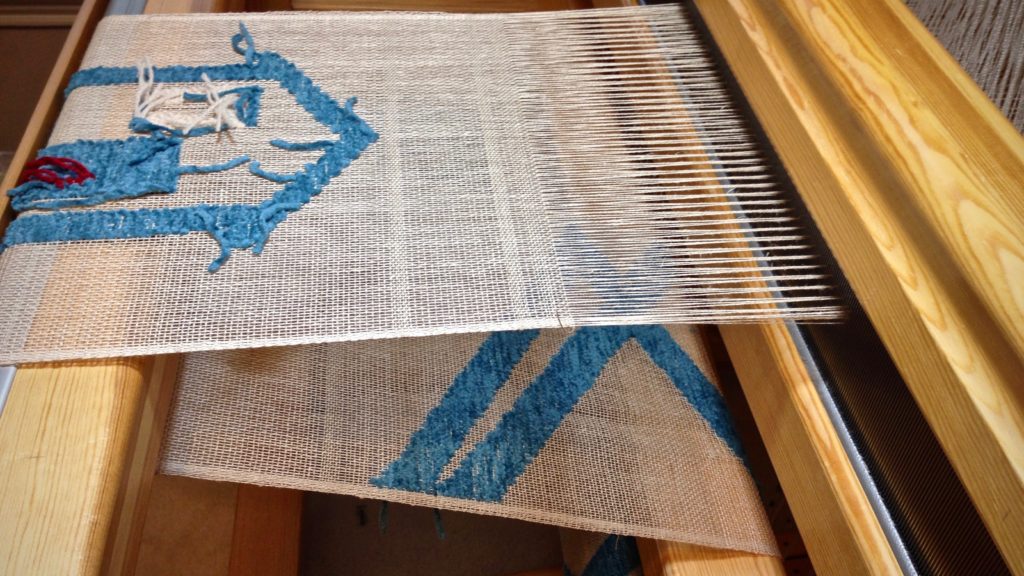
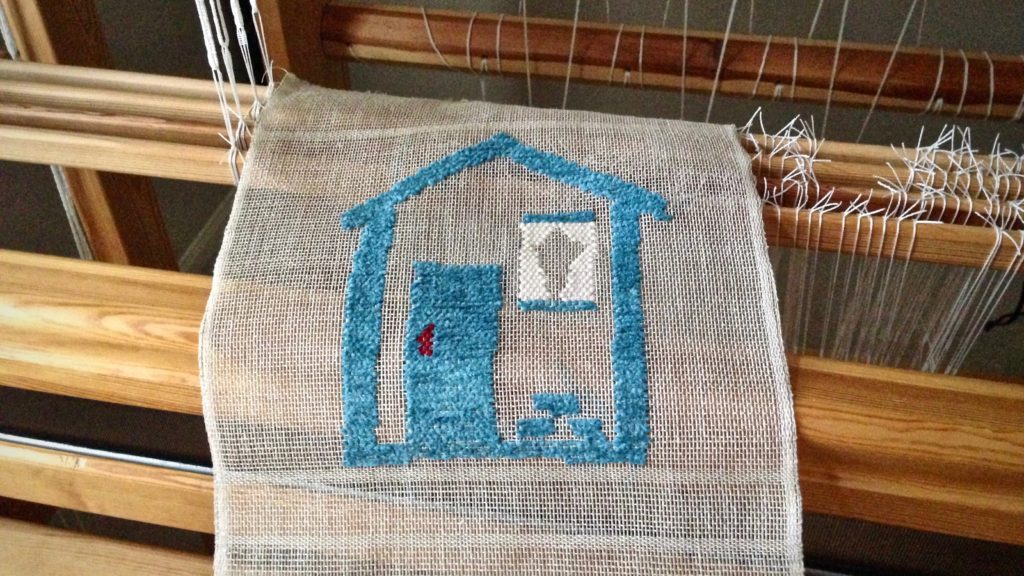
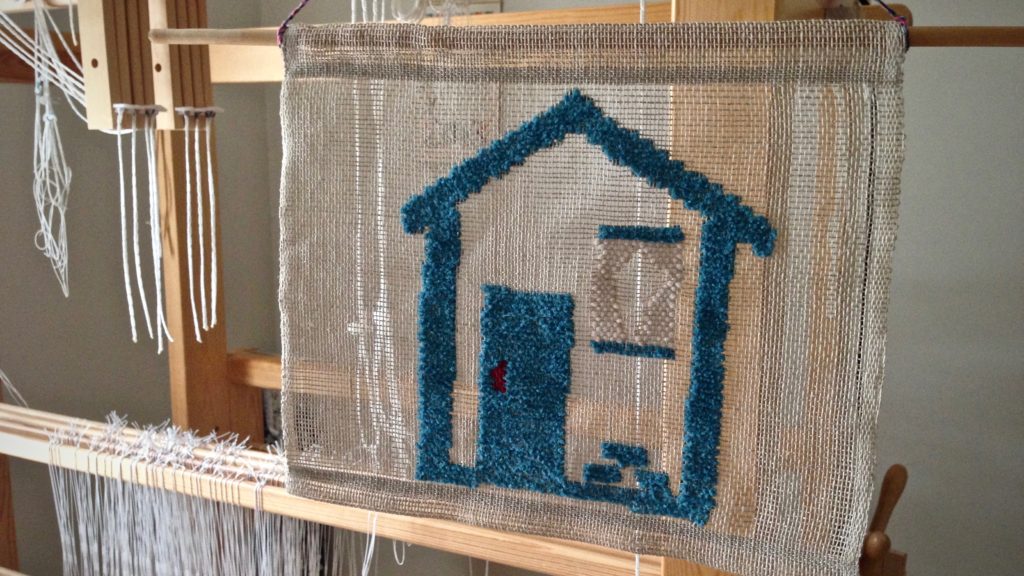
After the main transparency with the zigzags, I had room to play on the remaining warp. I made another cartoon–a “cartoon” house. This gave me a chance to use a few more yarn butterflies, without it being overwhelming. Home. Sweet. Home.

Cartoon for playtime at the end of the warp. Transparency weaving.
“Cartoon” house cartoon. Ready for playtime at the end of the warp.
Weaving a small transparency. Cartoon House.
With several butterflies going at once, the transparency weaving gets even more interesting!
Transparency weaving. Linen warp and weft. Cotton chenille pattern weft.
Now, the actual end of the warp is here.
Cartoon house just off the loom!
Cartoon house just off the loom.
Welcome home! Transparency weaving. Karen Isenhower
Welcome home! Home. Sweet. Home.

May you enjoy the fascination of learning something new.

Happy Weaving,
Karen