Everything Is Fixable

Every now and then I forget where I left off. This happens when I get interrupted when I am not quite finished with a sequence at the end of a weaving session, or when I get interrupted when I am just getting started back on the loom. Often, the interruptions are my own thoughts going in different directions. The only loss is a few dozen weft threads that get pulled out one by one, plus the time it takes to pull them out and weave the right ones back in. Everything is fixable.
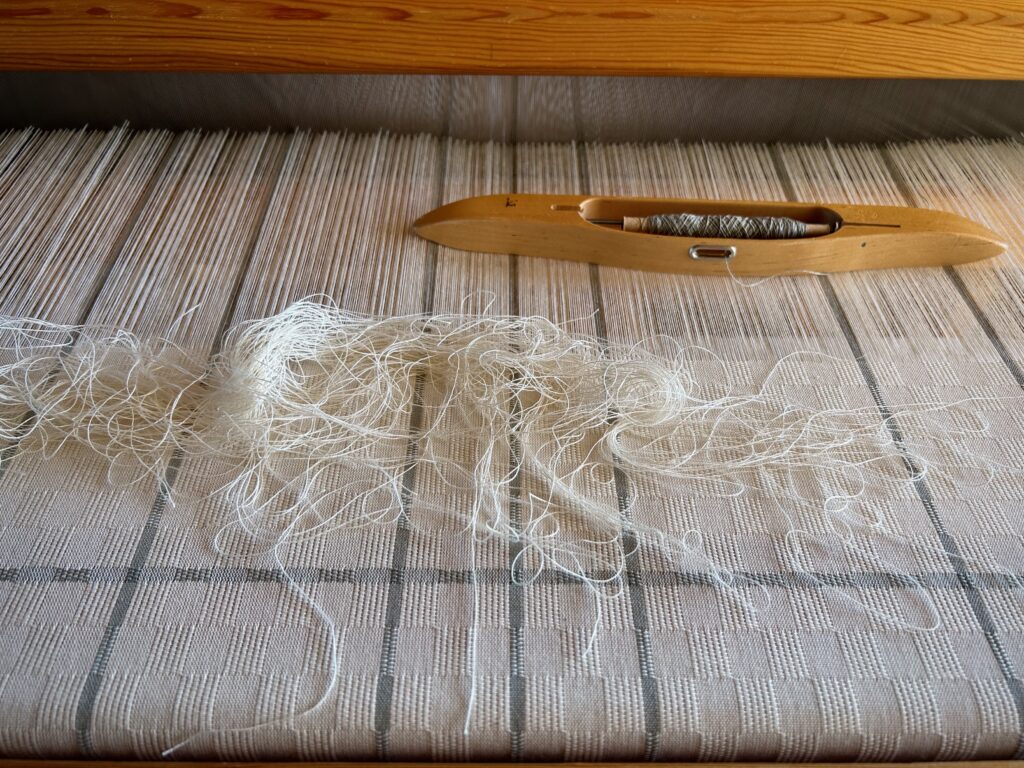
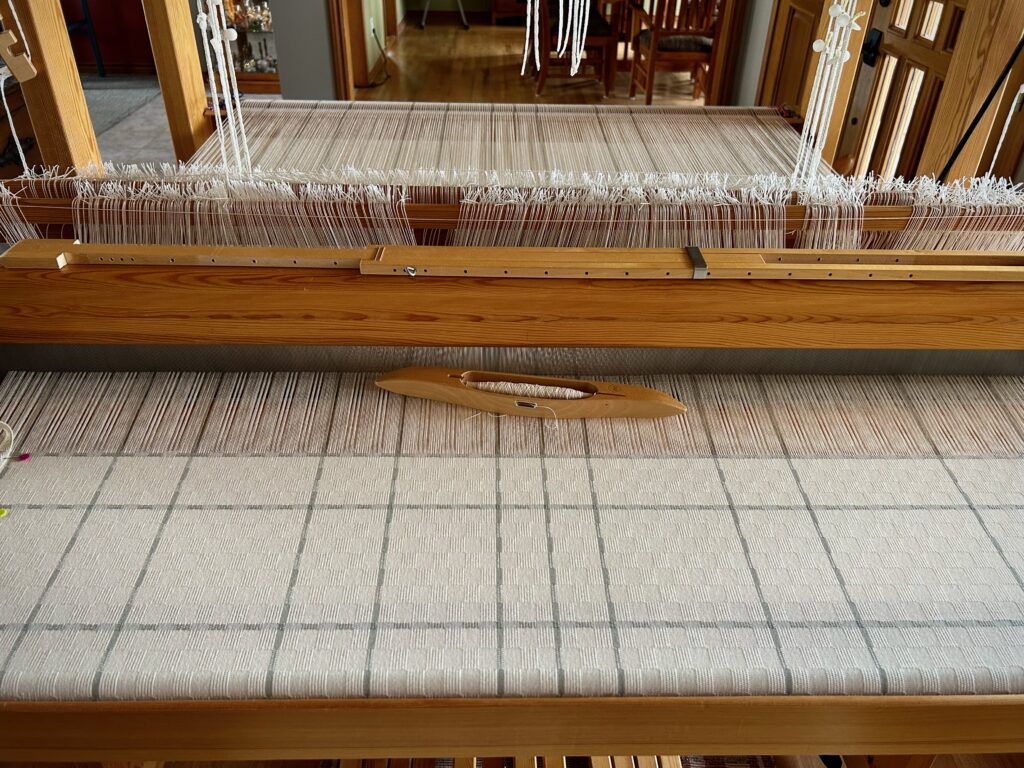
Sometimes it is necessary to backtrack. I was at a pause in weaving. When I came back to it I forgot to put in the gray weft stripe. Pulled out more rows than I wish, then resumed weaving, starting with the gray stripe.
No more troubles, just attentive weaving.
Still several meters to go on these bathroom curtains! 24/2 cotton, M’s and O’s, gray stripe is 16/2 cotton

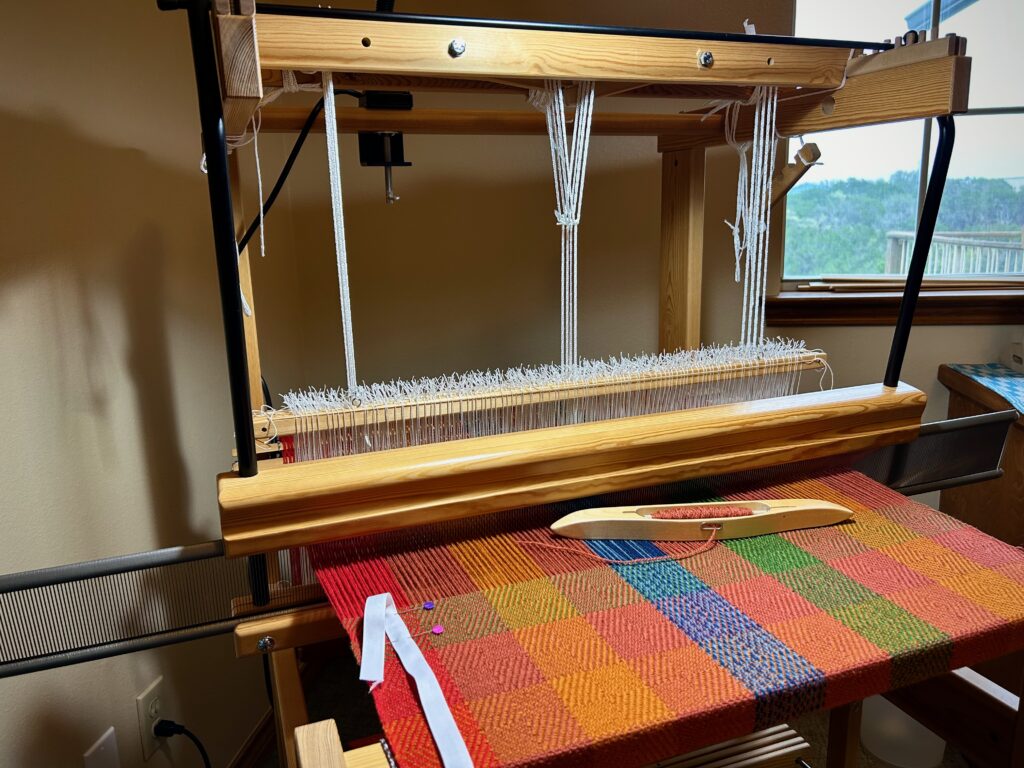
I have come to the unfortunate realization that I am probably short on blue weft yarn and green weft yarn. This project is using yarn from my excess, and the warp yarn was measured out just so. I miscalculated on the weft yarn. My solution is to space the blue and the green weft stripes further apart. If I still run out of either color I will finish with the colors I do have. I may end up liking it better that way. Everything is fixable.
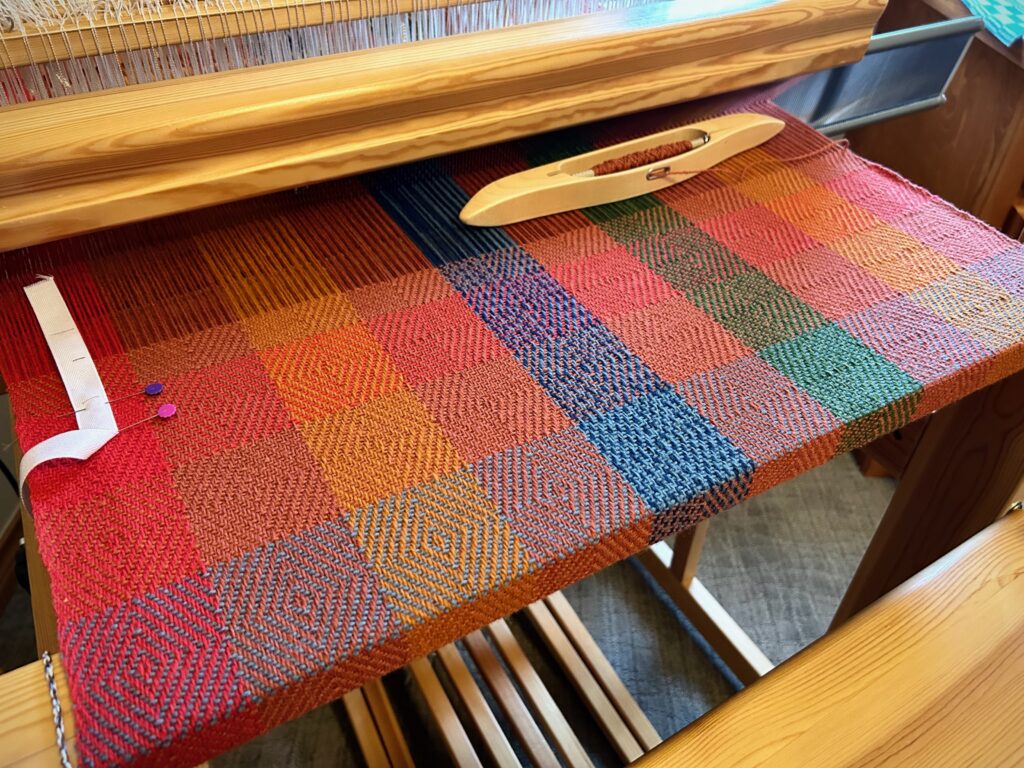
Blue weft at the front edge makes a lovely contrast with the poppy and the pumpkin warp colors.
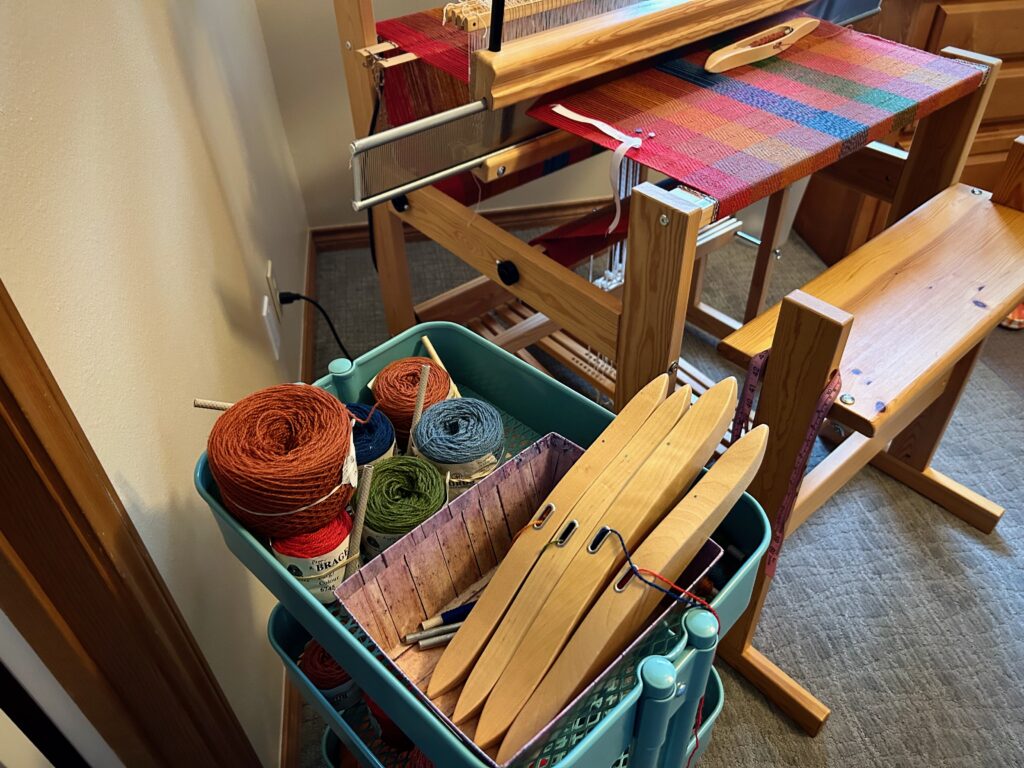
Cart by the loom holds shuttles and yarn. You can see that I am using a 120 cm reed in a 70 cm loom. I can get away with it by having the loom in the corner of the room.
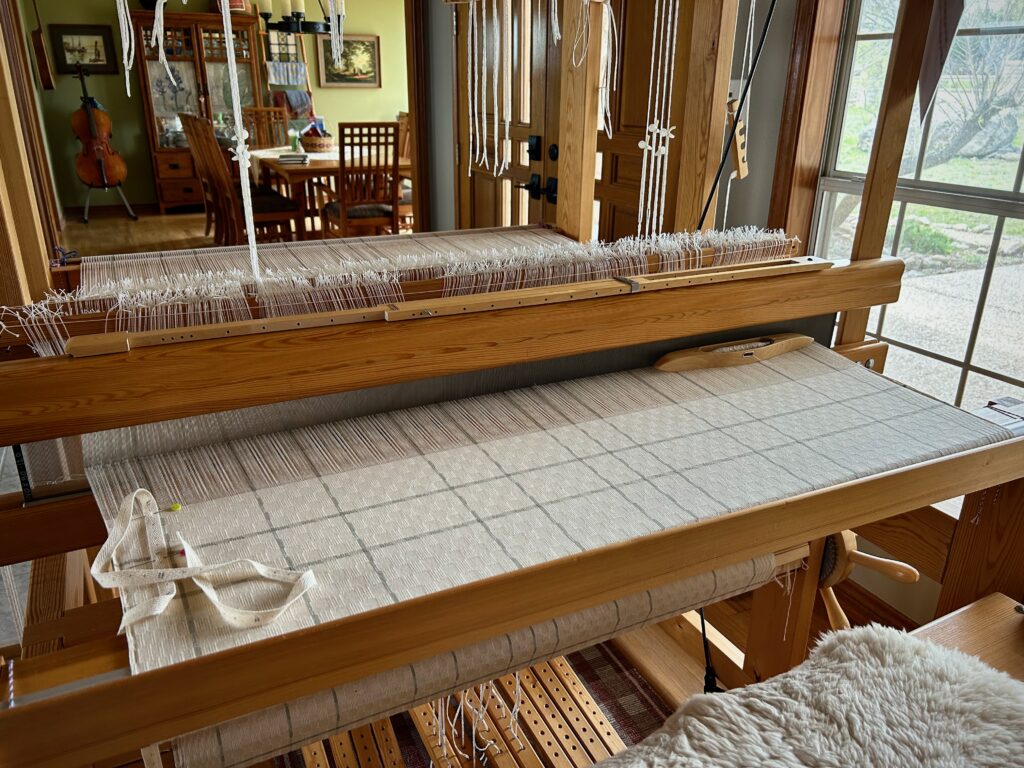
Winter wool indoors and spring blooms outdoors. Brage wool for an autumn/winter cape. Goose-eye twill on four shafts.

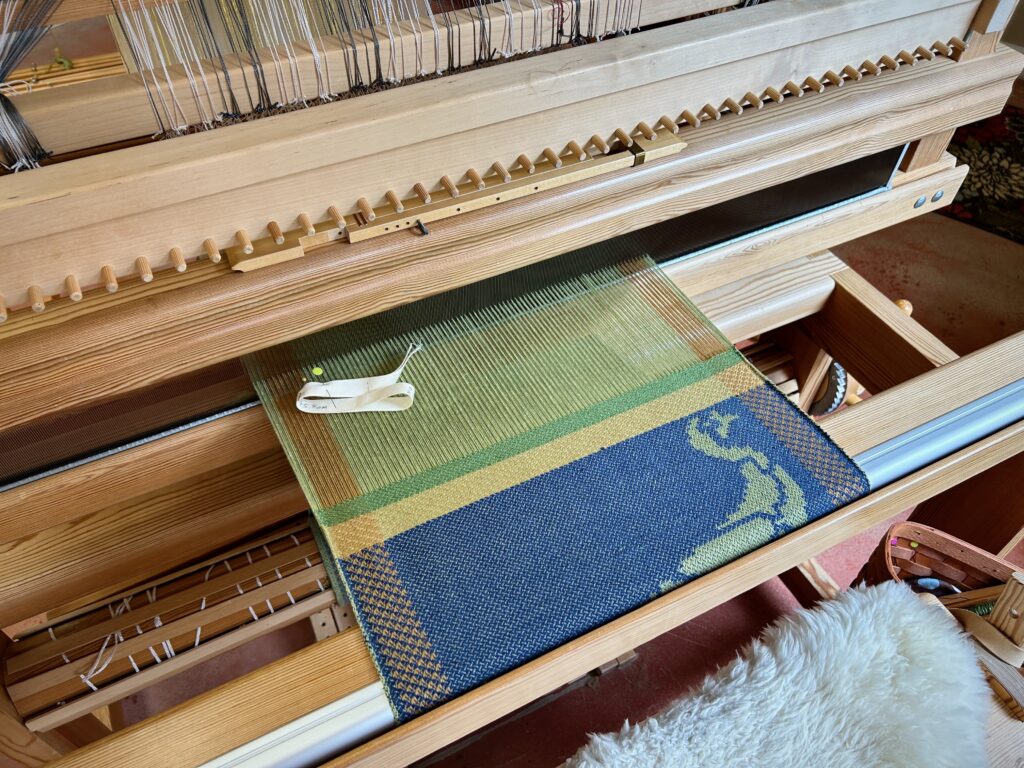
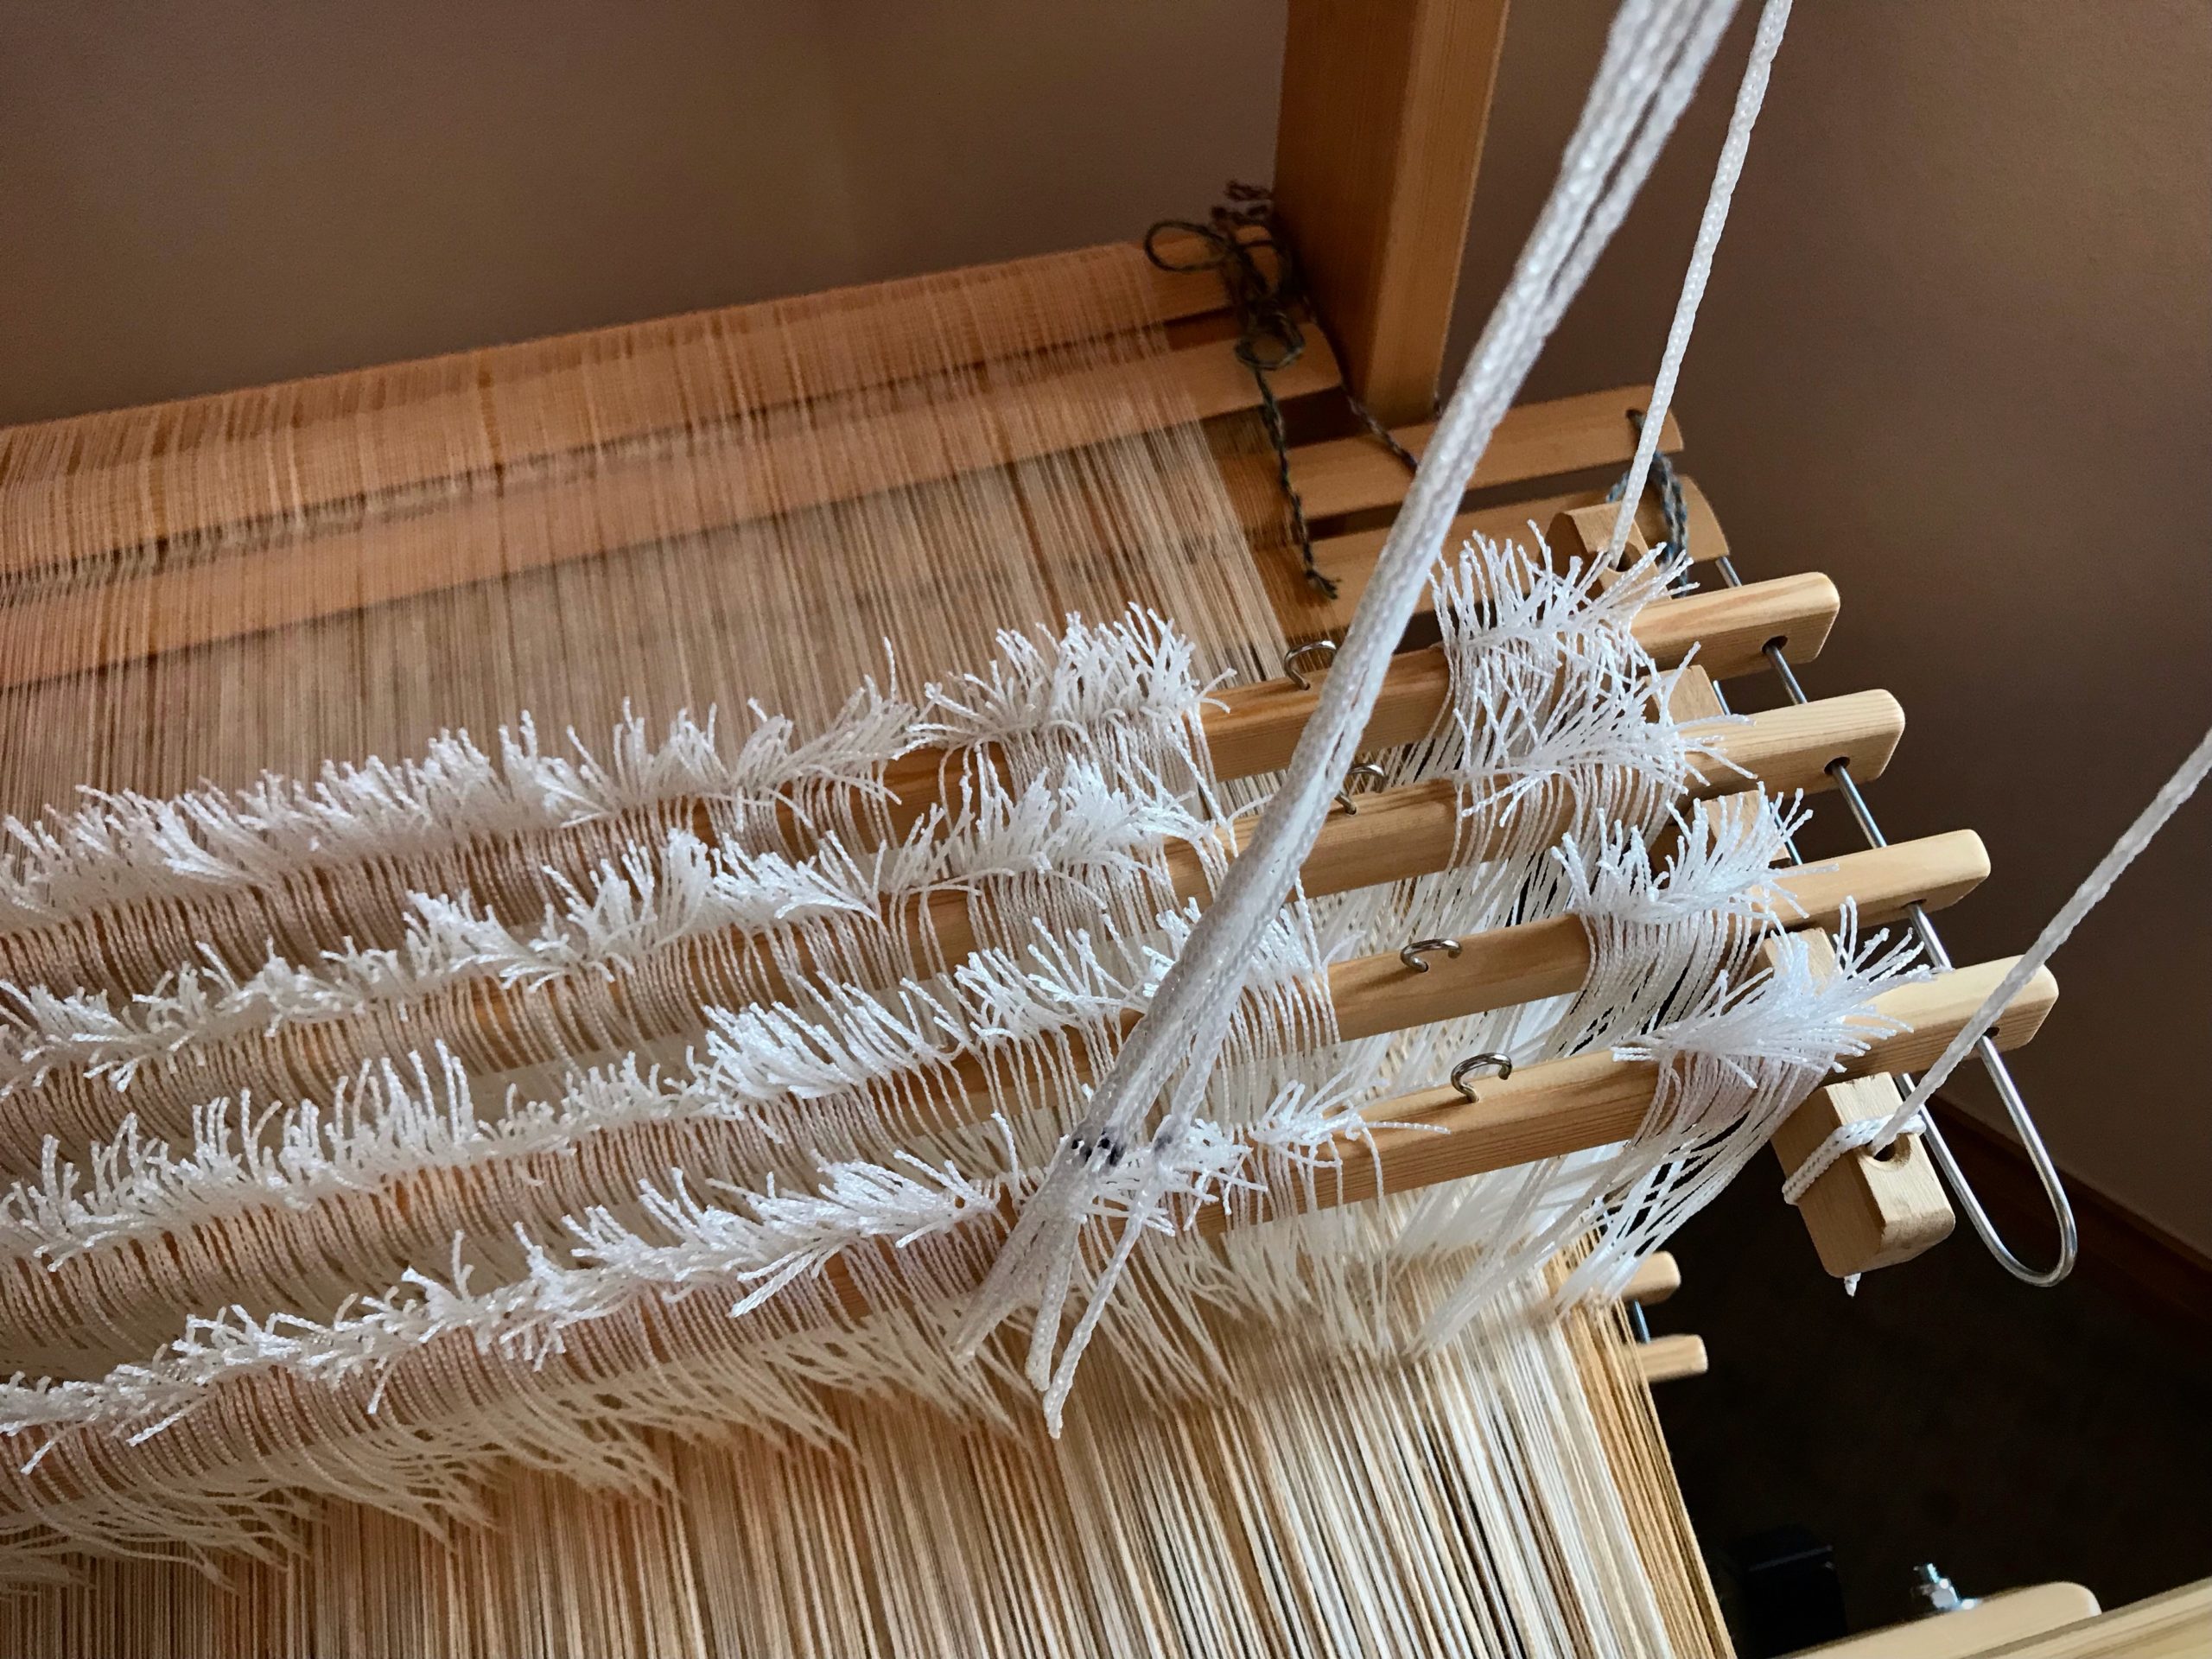
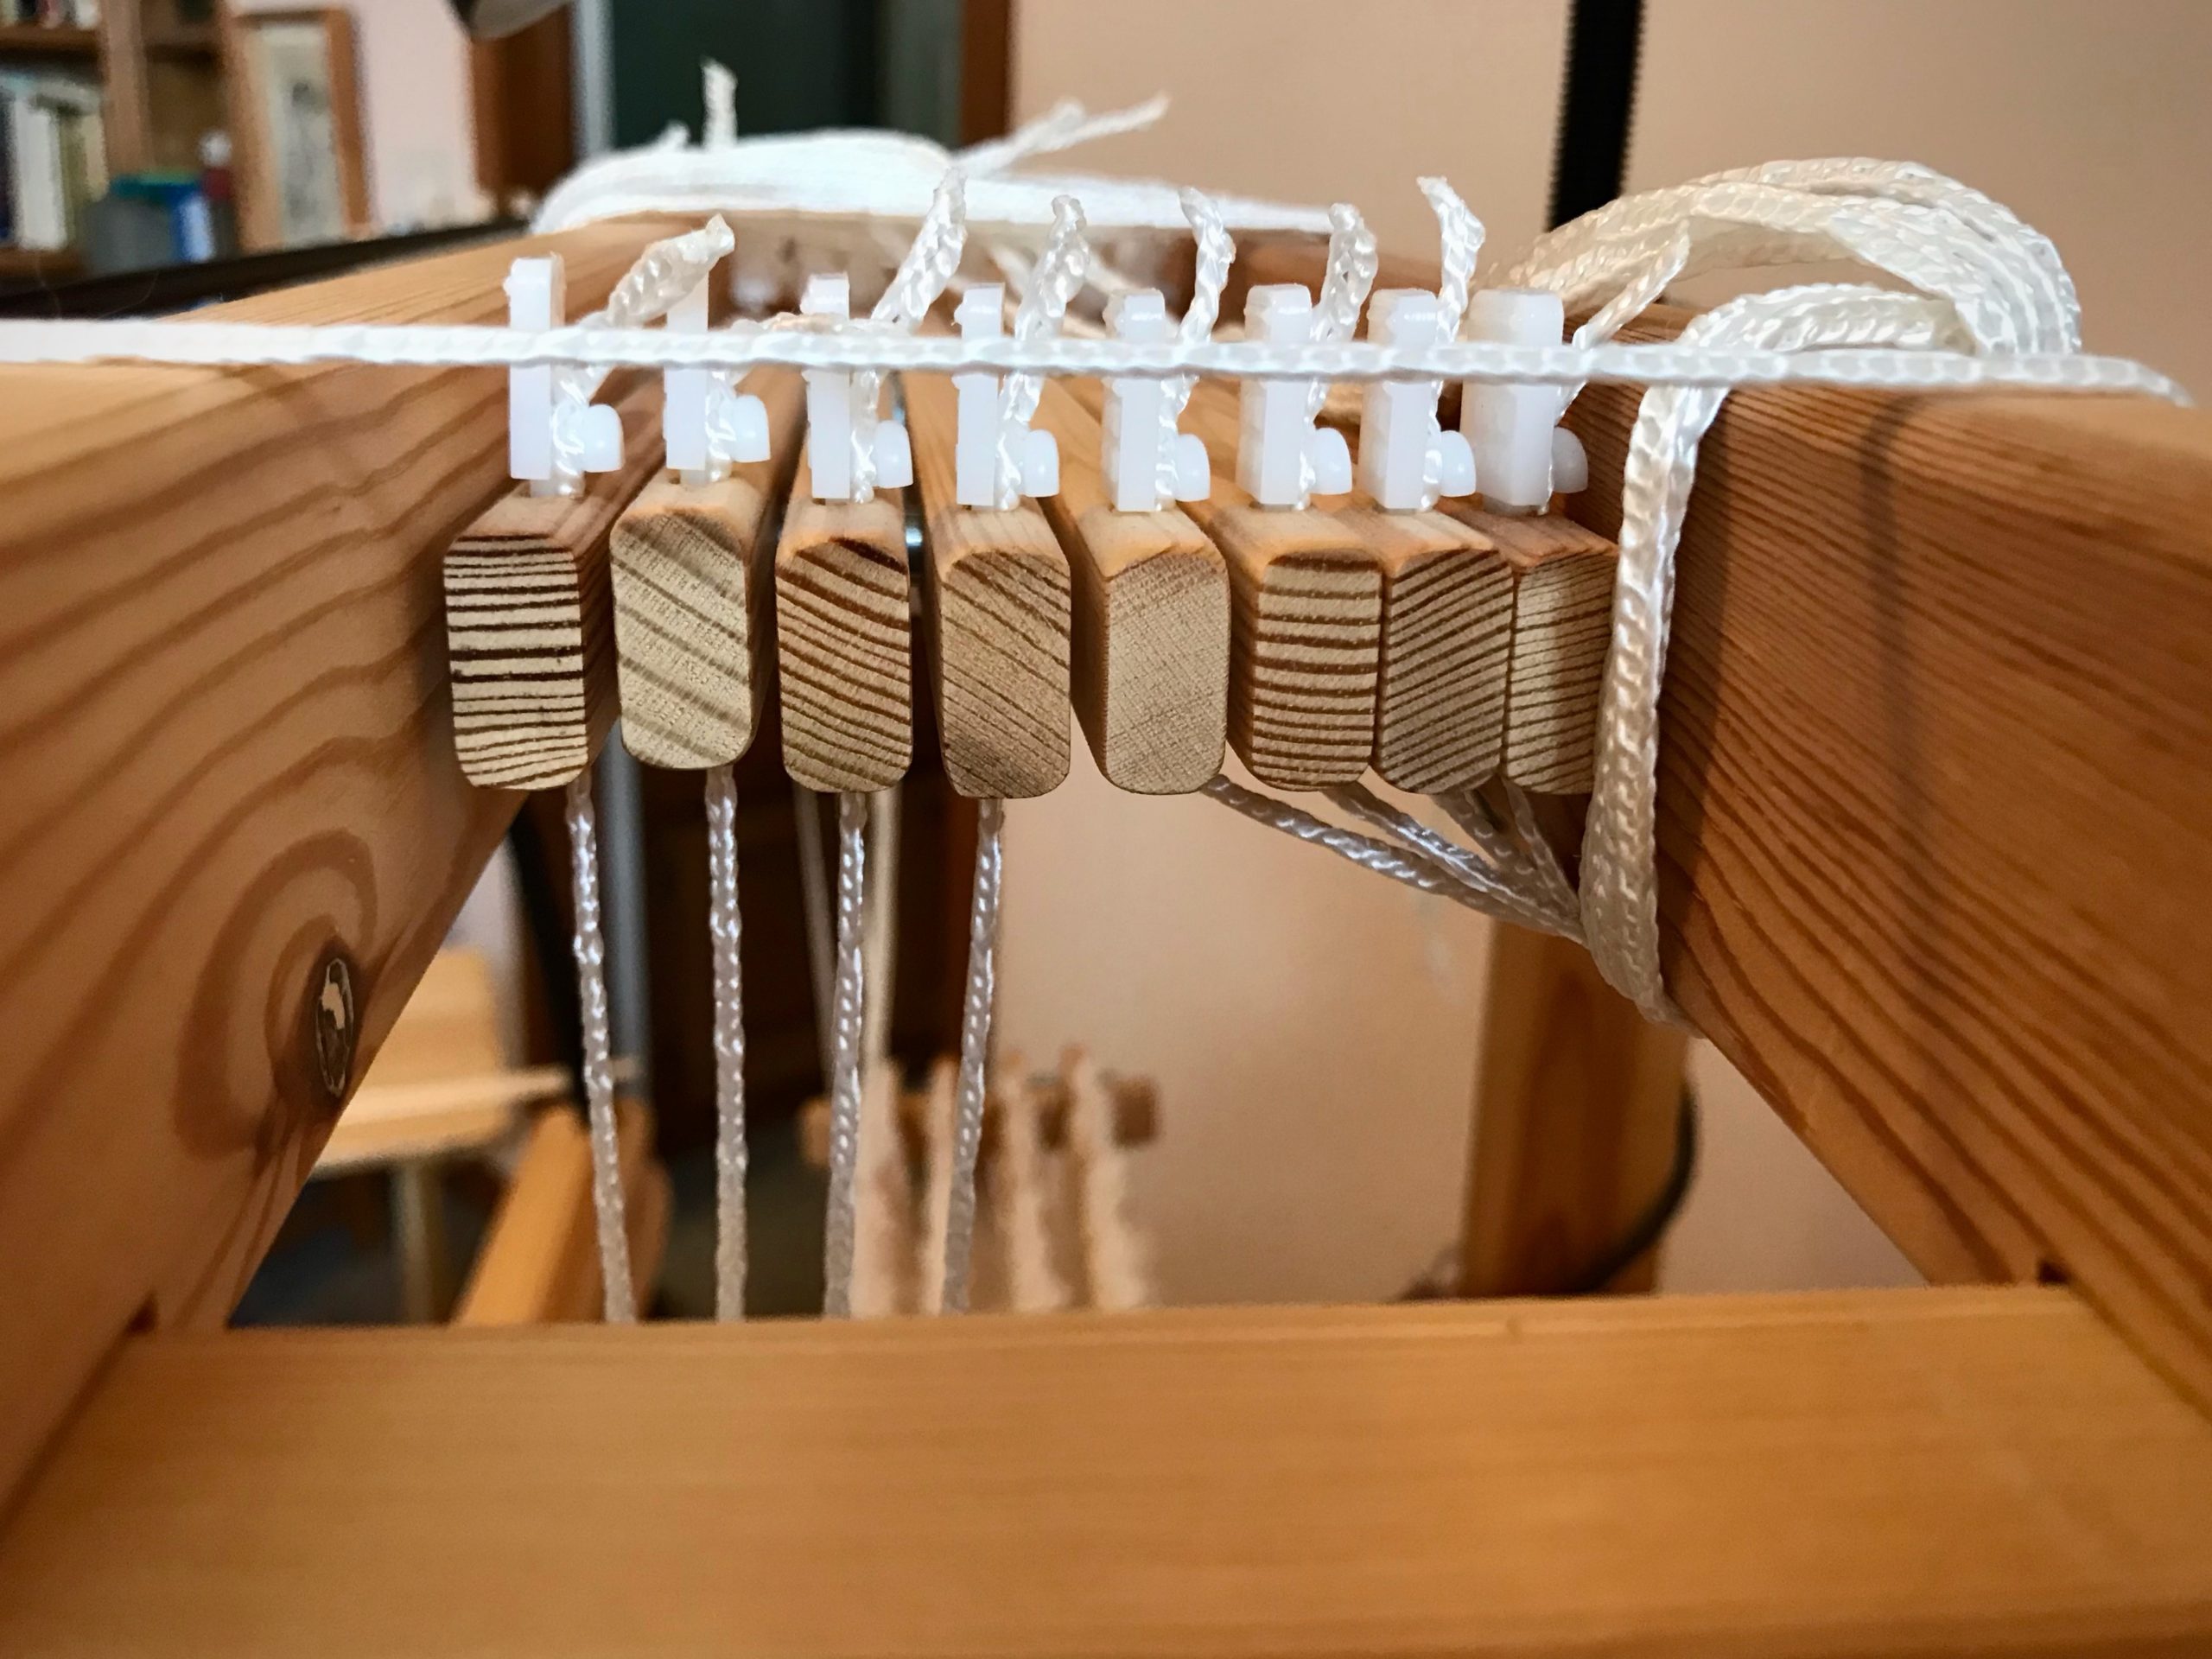
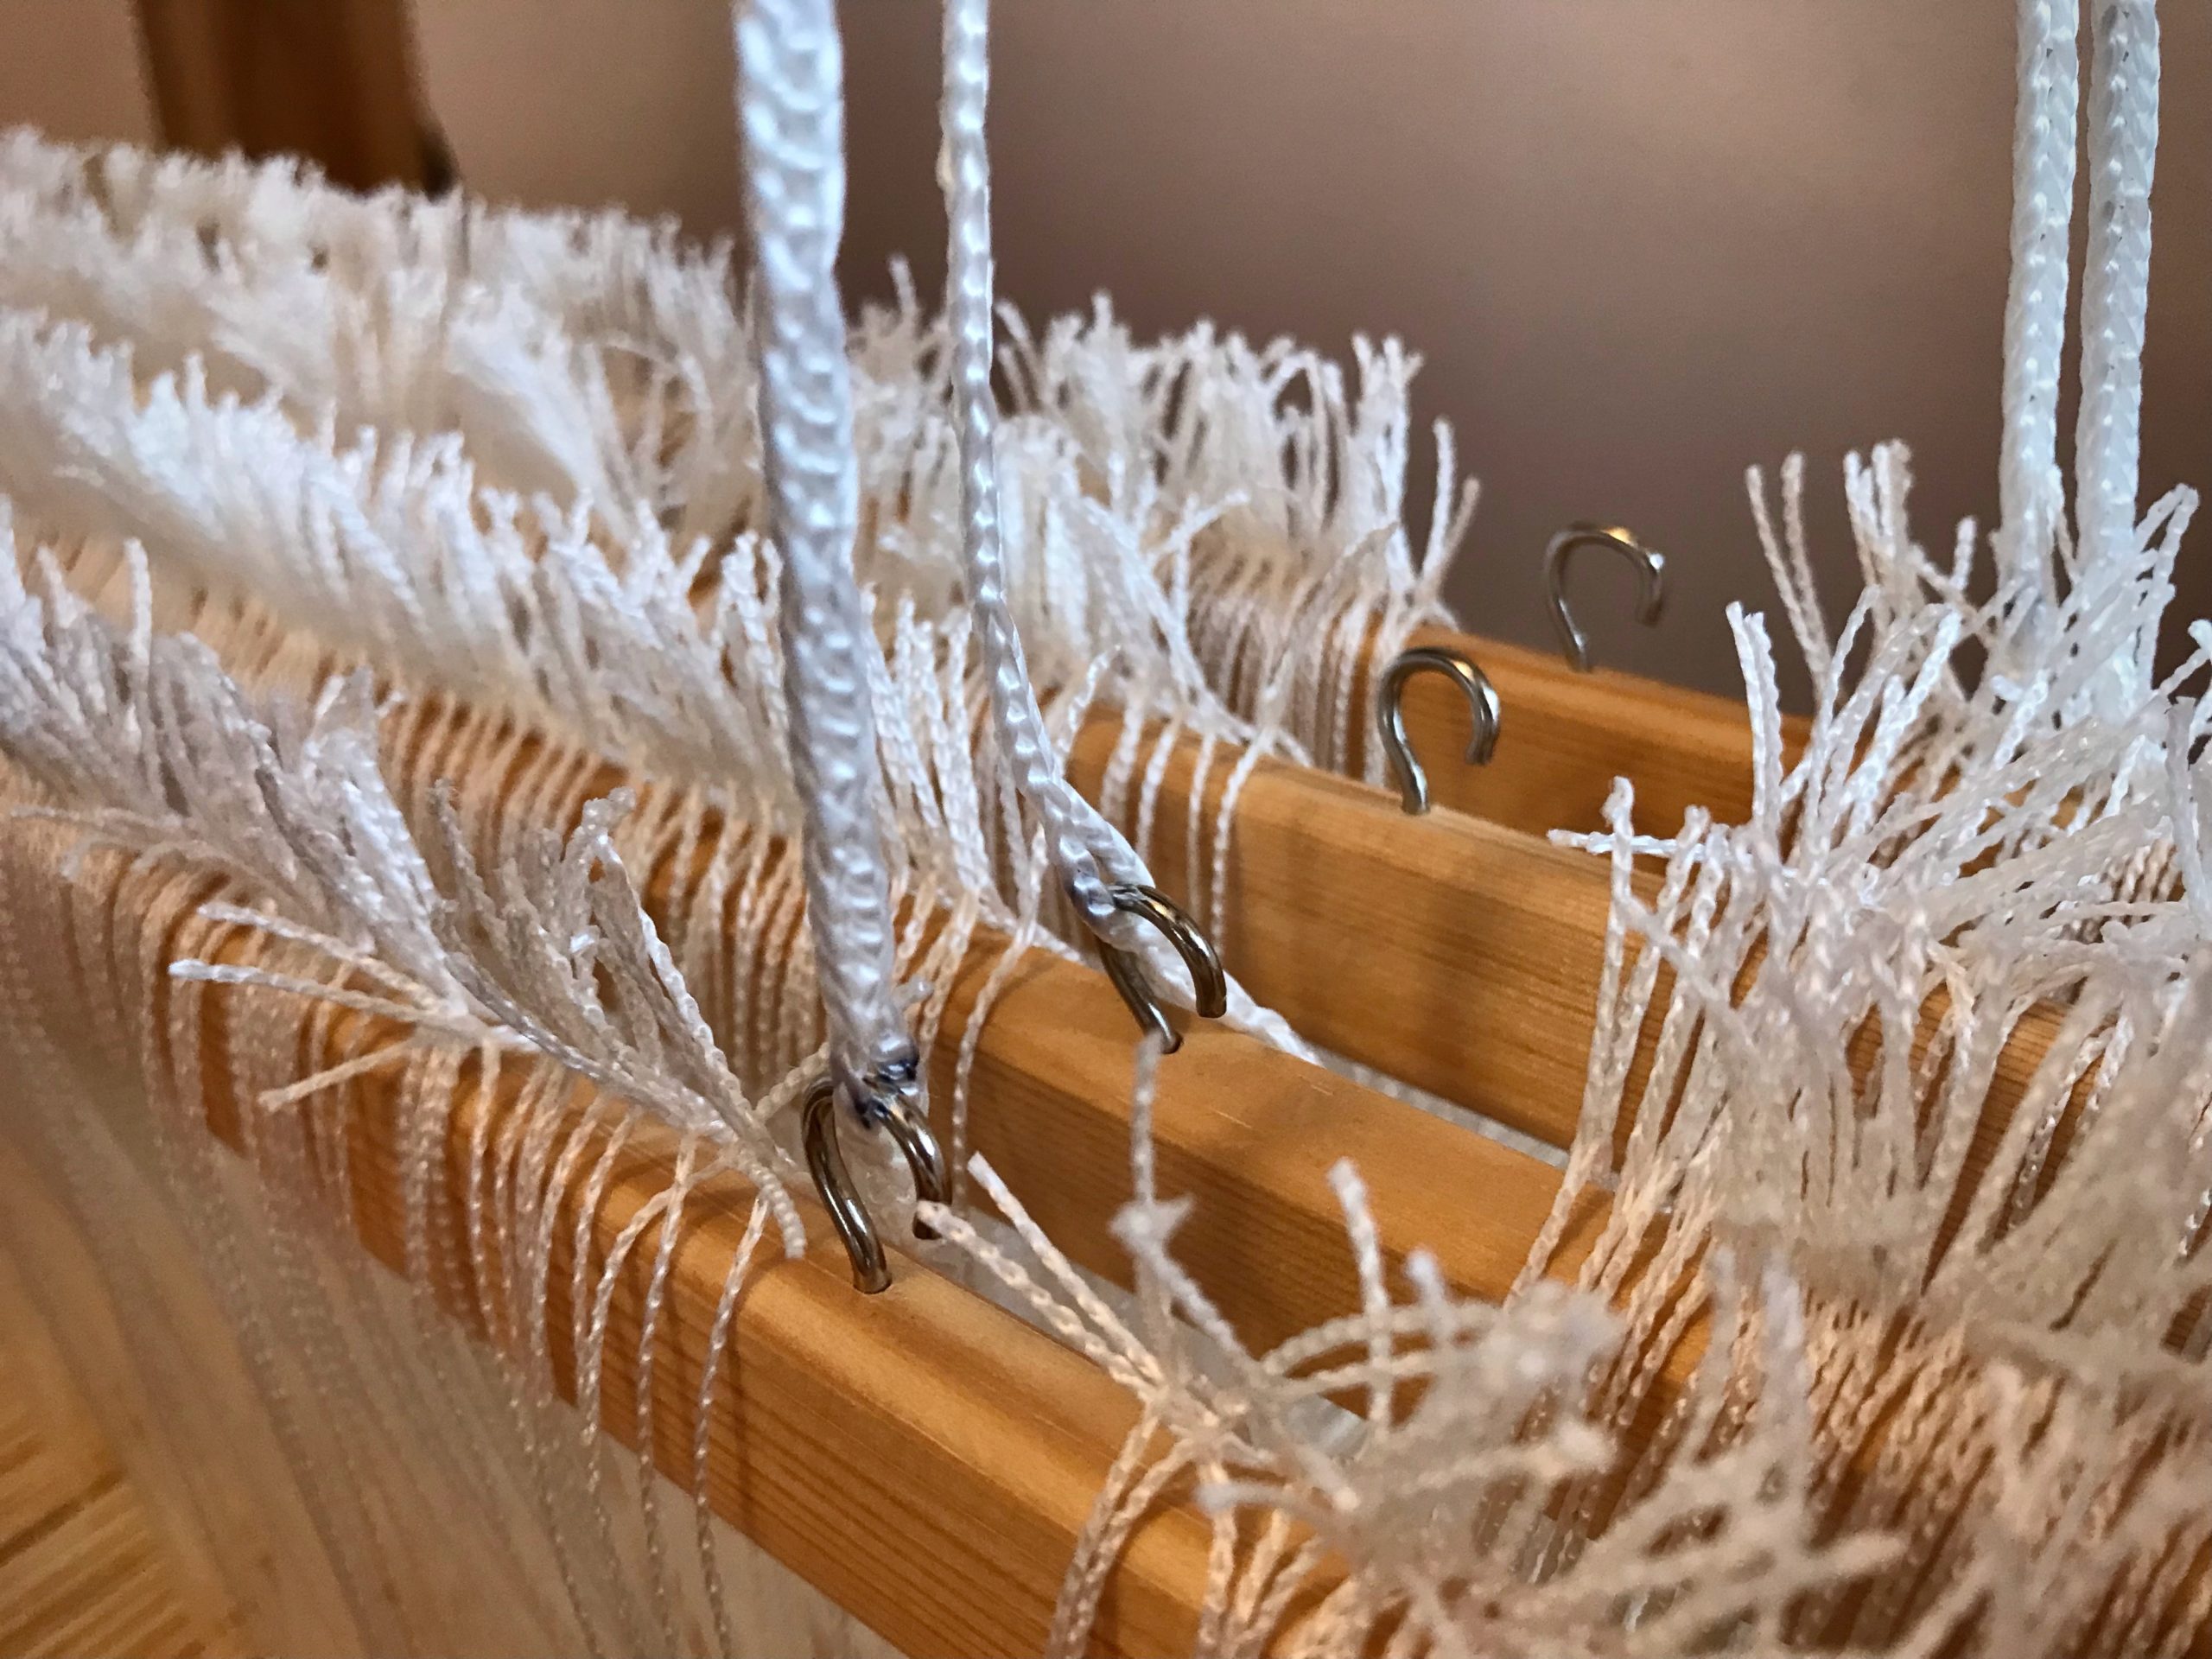
I did not imagine that one of the single-unit draw cords on the drawloom could snap in two while I am putting it on the hook bar. But it happened! Now what? I’m able to finish the 6-thread unit by tying a knot and maneuvering threads this way and that way. This is not acceptable for weaving the rest of the warp, however, nor even for the rest of this napkin. I just so happen to have a fancy clip that Steve brought to me a couple weeks ago, saying, “I thought you might be able to use this somewhere.” It is the perfect temporary fix for this shortened draw cord. I will replace the broken draw cord before starting the next critter napkin (roadrunner). Everything is fixable.
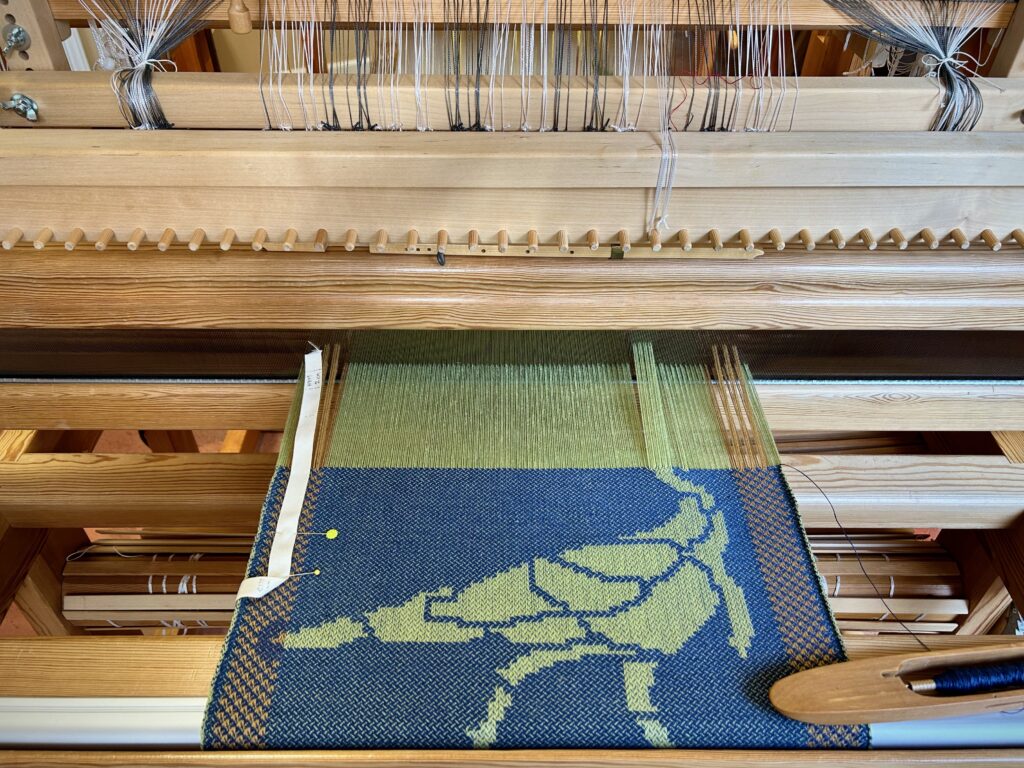
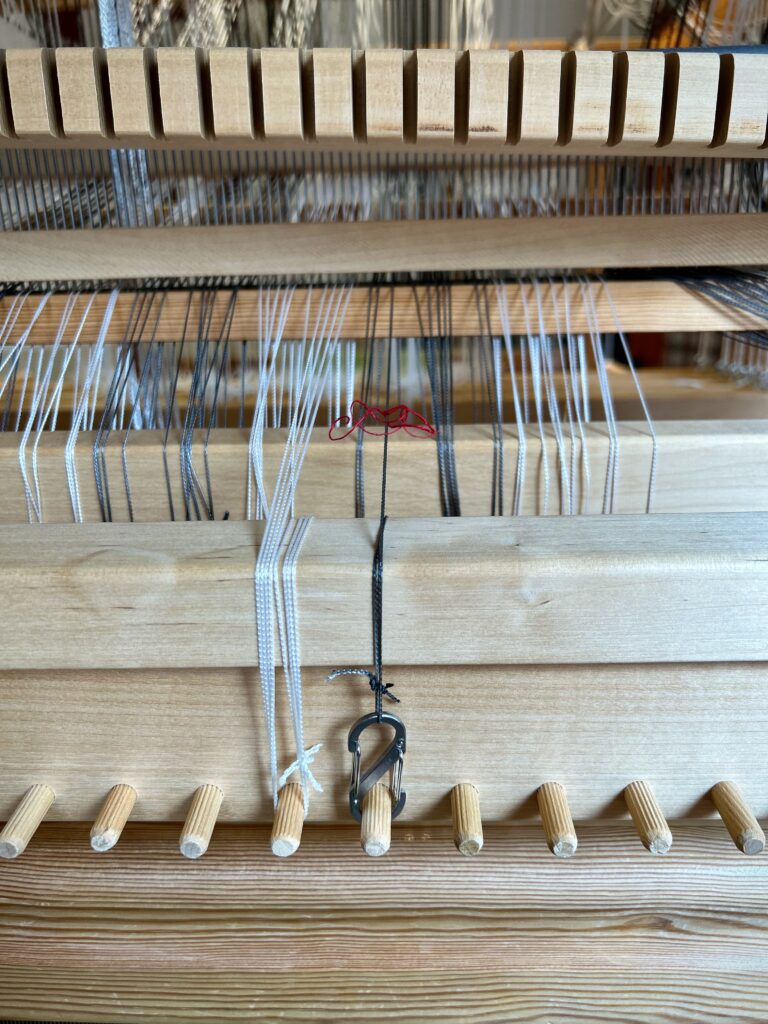
Wild turkey is running with his head cut off for a few days. The single-unit draw cord that raises the threads at the turkey’s chin snapped when I put it on the hook bar. I finished the 6-thread unit for that chin by tying a knot in the end of the draw cord. I need to make a permanent fix, though, because the knot makes the draw cord just a little too short.
As a temporary fix, I found a double caribiner clip that is just the right size to hold the draw cord. Before I start weaving the next critter, I will try to replace this broken draw cord with a new one.
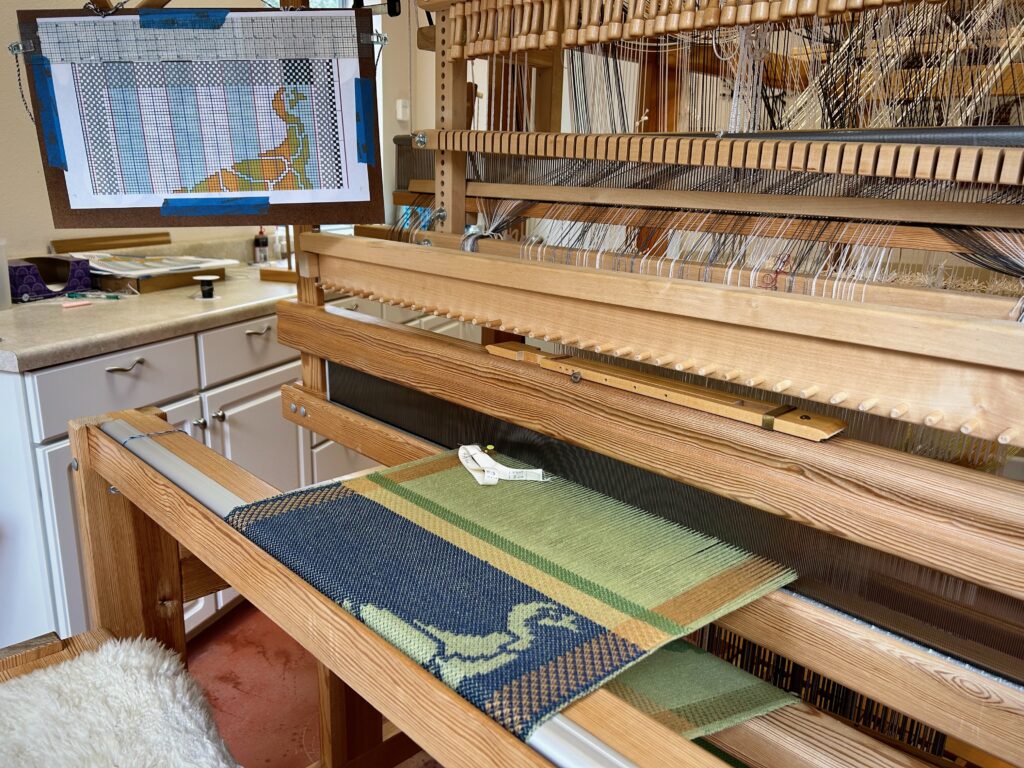
Wild Turkey – finished!
Chart beside the loom shows my row-by-row plan for the image being woven.

Yesterday we enjoyed Easter, the day of celebrating the resurrection of Jesus Christ from the dead. We are lost without Him, suffering from our own errors, miscalculations, and brokenness. The Heavenly Father raised Jesus from the dead to prove to us that Jesus is Lord. Everything is fixable in Him.

May you find the solution you need.

Your weaving friend, Karen

Check for Accuracy Now or Backtrack Later

It pays to check your work. I have reached a new level of experience in distributing patterns shafts. I know how to do it backwards and forwards now. Literally. Unfortunately, I moved almost all of the pattern shafts before noticing that the spacing between units is not quite right. Uh oh! So, one by one, I reversed the distribution of pattern shafts to get back to the point of error—the very beginning. The reverse move was …more complicated.

Distribution of pattern shafts is part of the setup for the drawloom. It is a multi-step process that moves the pattern shafts, one at a time, from the heddle bar at the back of the loom to the pattern shaft holders just behind the ground shafts at the front of the loom. Sound complicated? It’s not that hard, and is fun to do after you’ve done it a few times.

Lesson learned: Check my work. I am off by only one unit of threads. That small miss, however, is enough to sabotage the whole project if not corrected. The sooner I check my work against the master plan the better. Fortunately, everything at the loom is fixable. It’s never too late to start again.

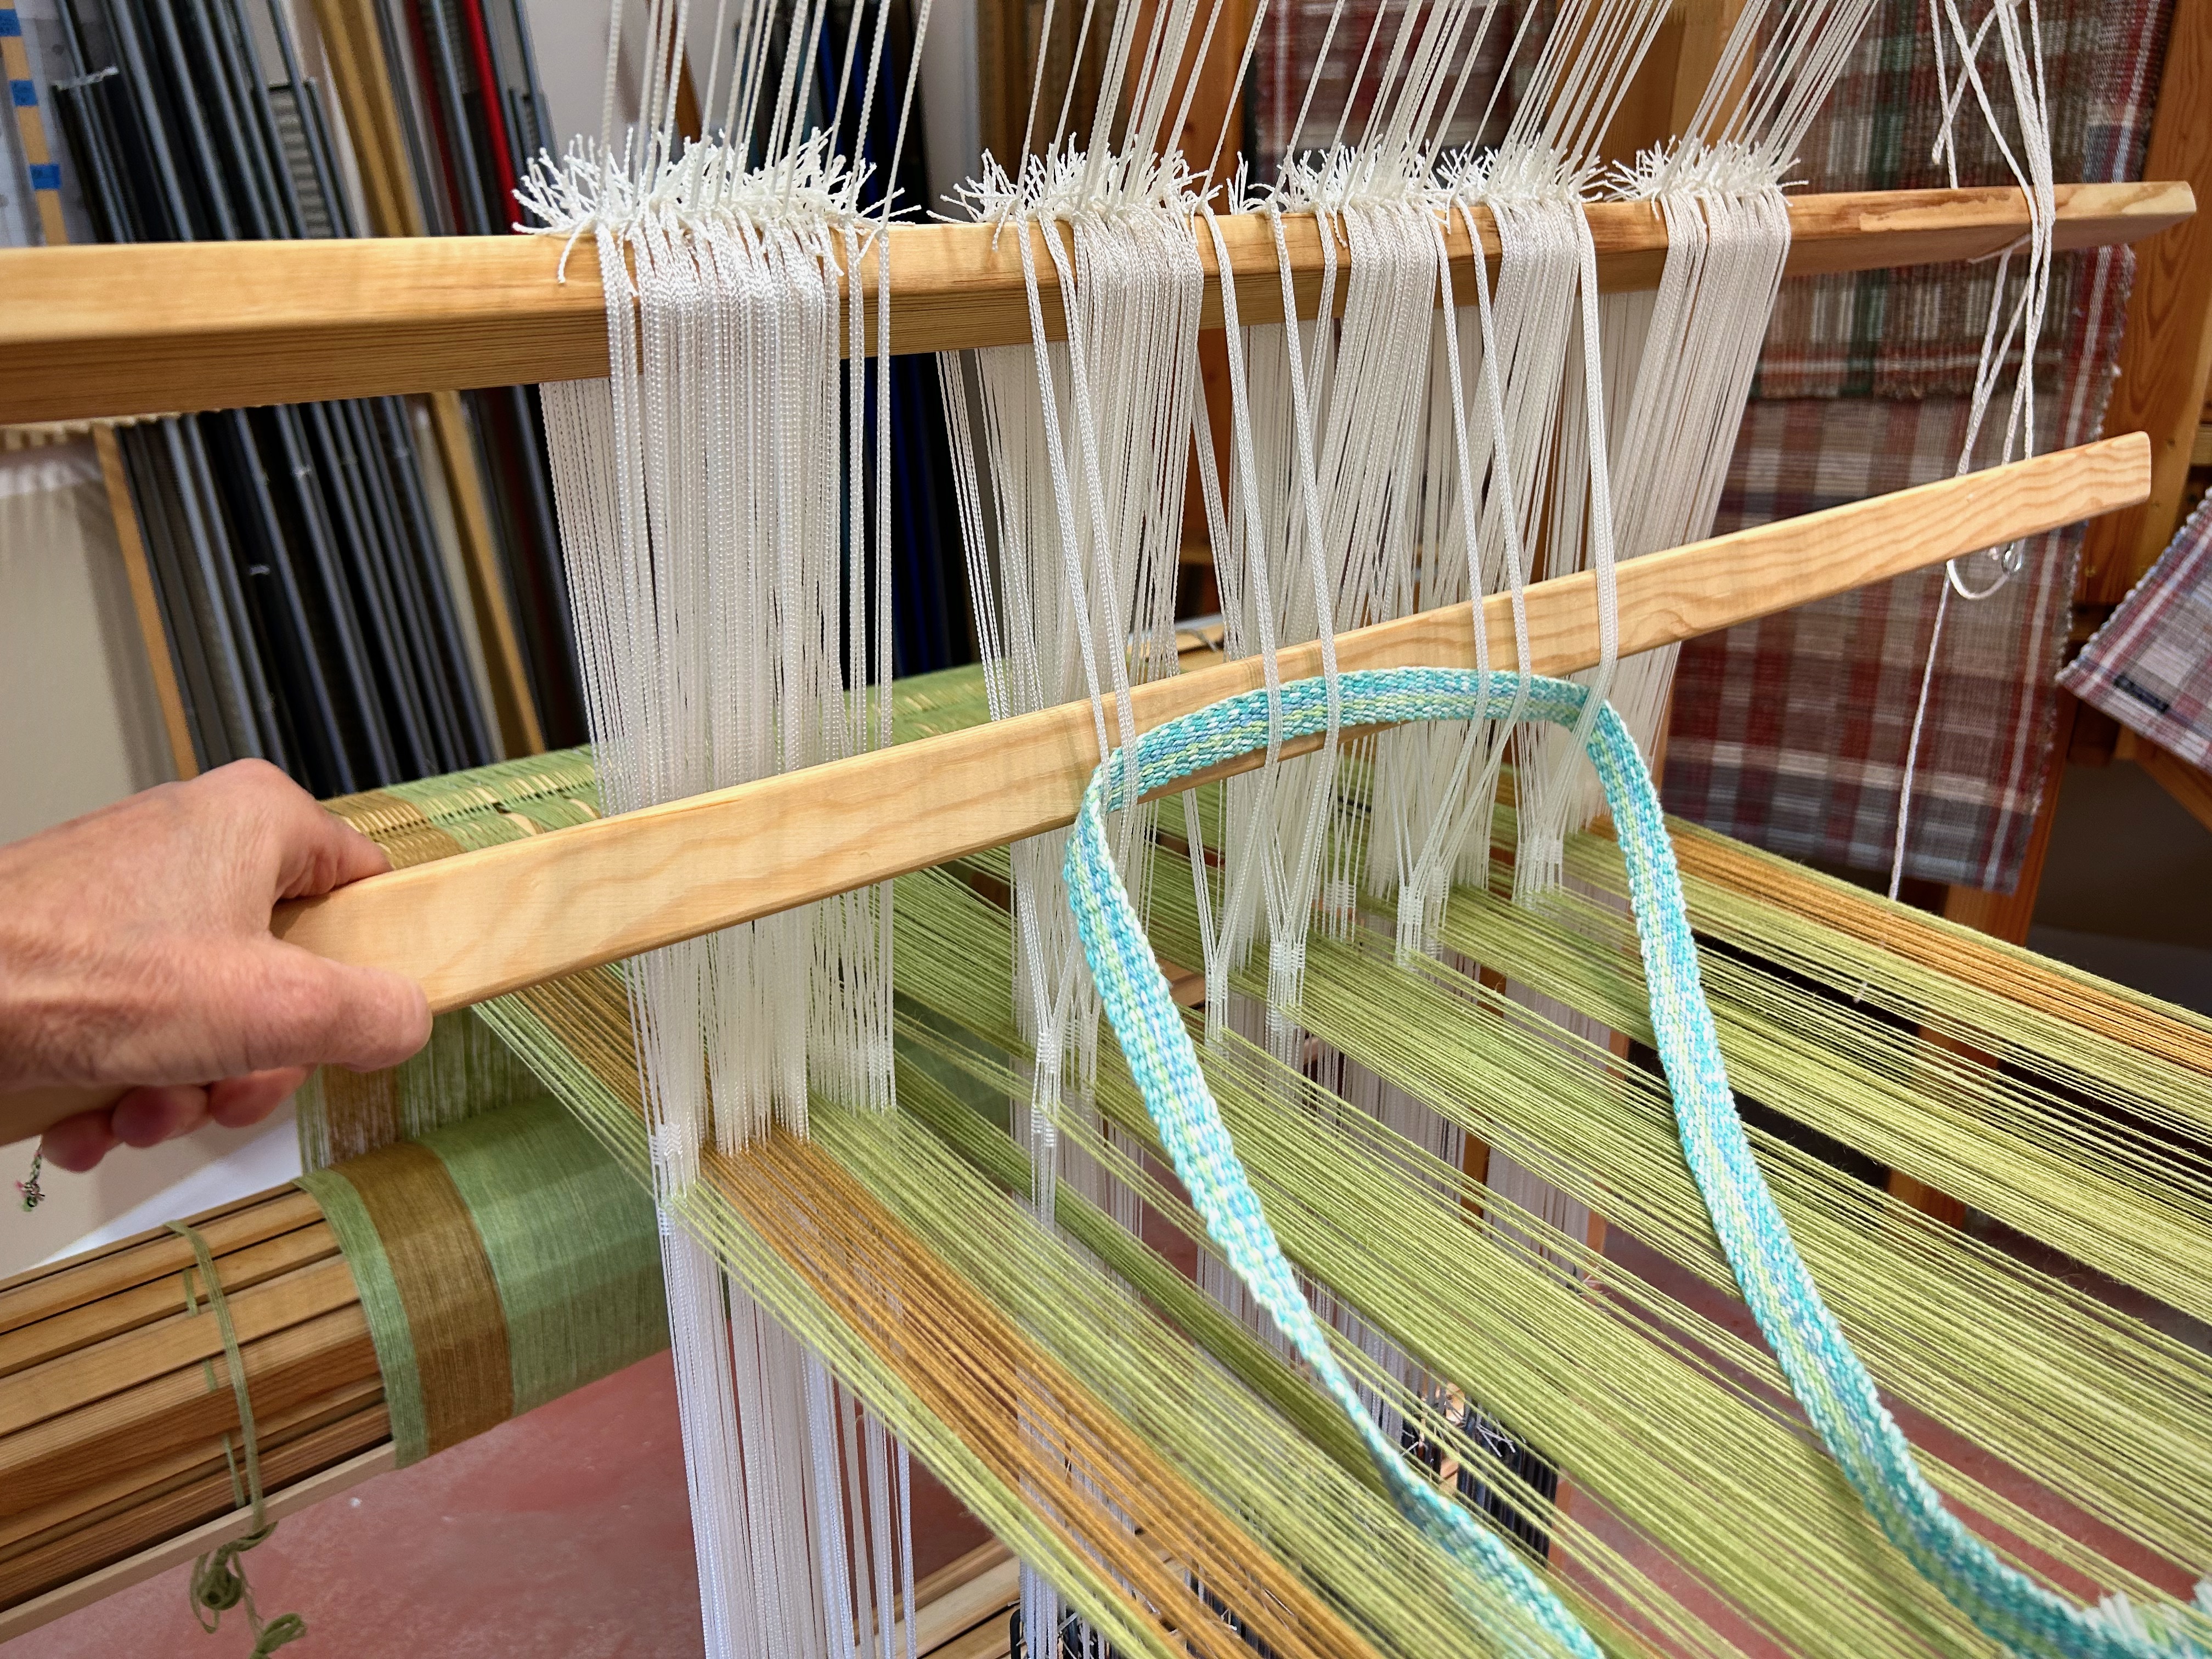
First, I use an old inkle band to slip between heddles that I am separating to transfer to a pattern shaft. Because I am using a combination of pattern shafts AND single units, I separate the heddles on the “front” side. If I were usining only pattern shafts and no single units, I could separate the heddles from the back while standing behind the loom.
I insert a pattern shaft through the separated pattern heddles. Then I remove the inkle band and hang it around my neck, ready for the next transfer.
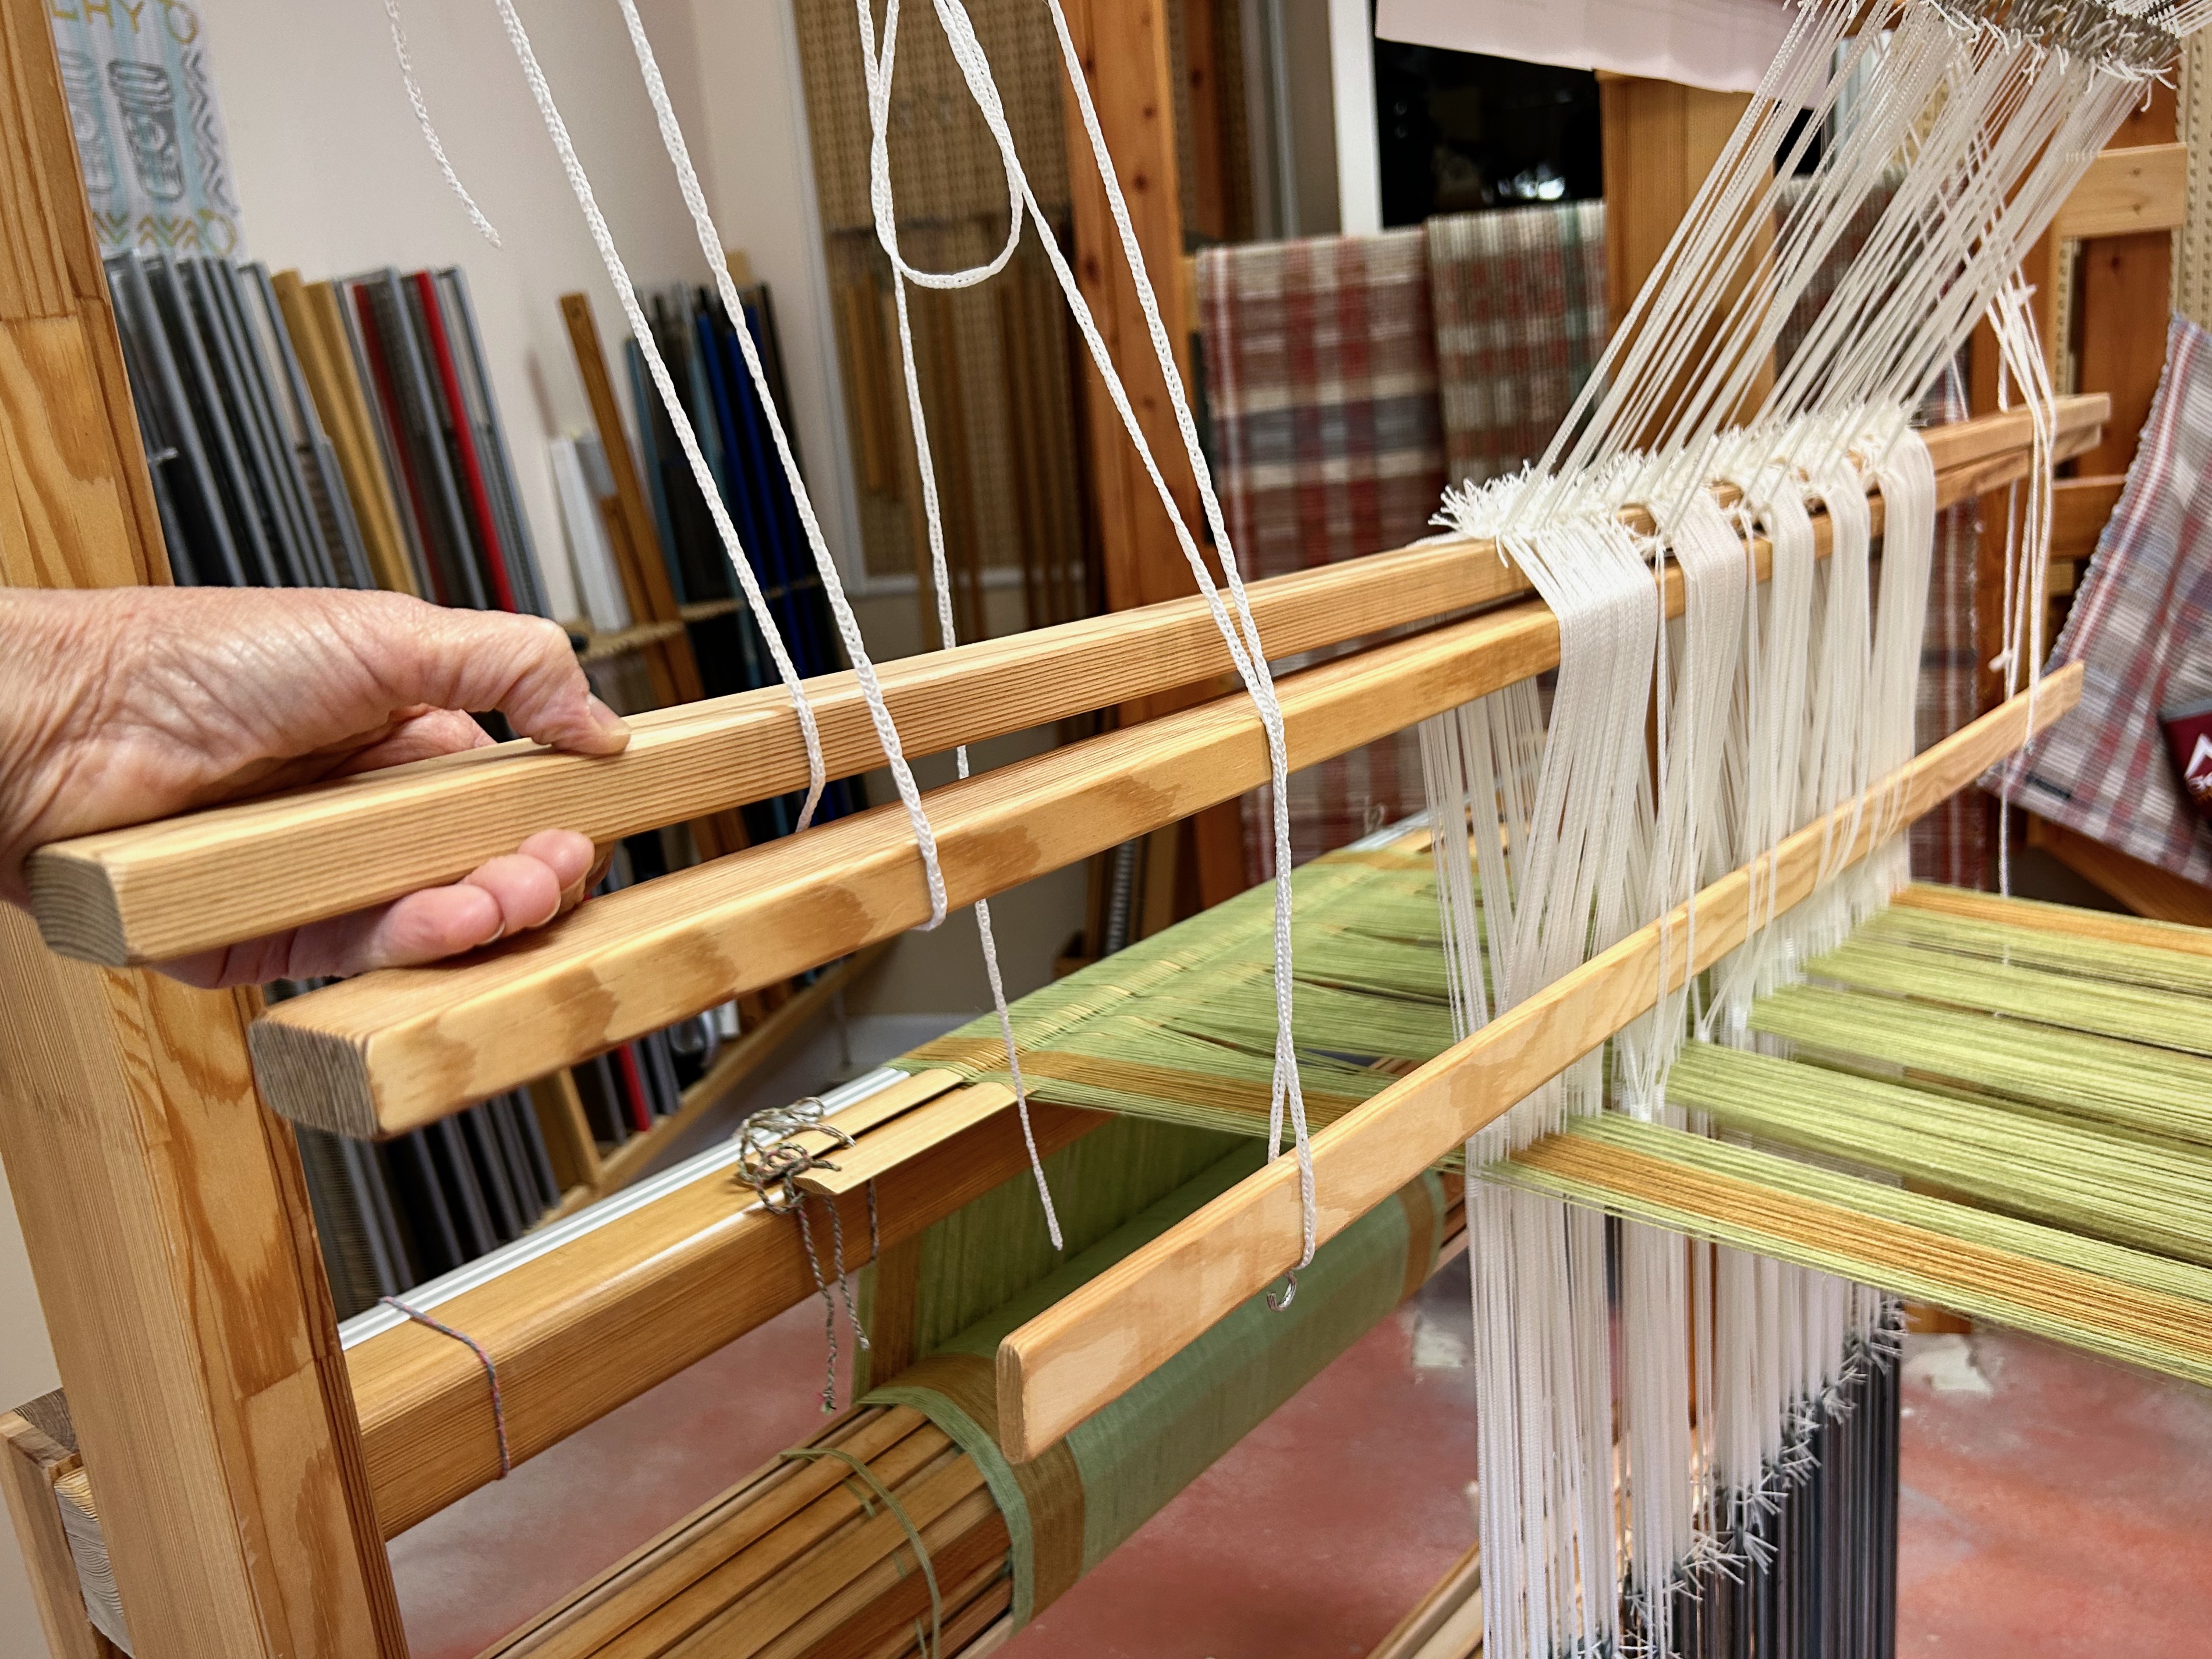
I slip the waiting heddle bar through the pattern shafts that have not been separated…
…and remove the first heddle bar. This releases the separated pattern heddles onto the pattern shaft, which is hanging in a pair of holding cords. From here, the pattern shaft is moved forward to the pattern shaft holders. (I also adjust the clip overhead that connects the thread unit to a single unit draw cord.)
After backtracking and starting over, I now diligently check the number and spacing of units on the heddle bar after every pattern shaft is moved into position. Success!
Twelve pattern shafts, plus one X shaft. This project uses pattern shafts for the borders only – top, bottom, and sides. The rest of the pattern areas will use single-unit designs.

The sooner I check my life against God’s master plan the better. Fortunately, everything is forgivable. It’s never too late to start again.

All set and ready to go! Everything works. After a bit more testing of weft colors and patterns, it’s critter time. Watch for Mr. Armadillo first!

May you check for accuracy sooner than later.

Be blessed,
Karen
Process Review: Pucker Up and Video

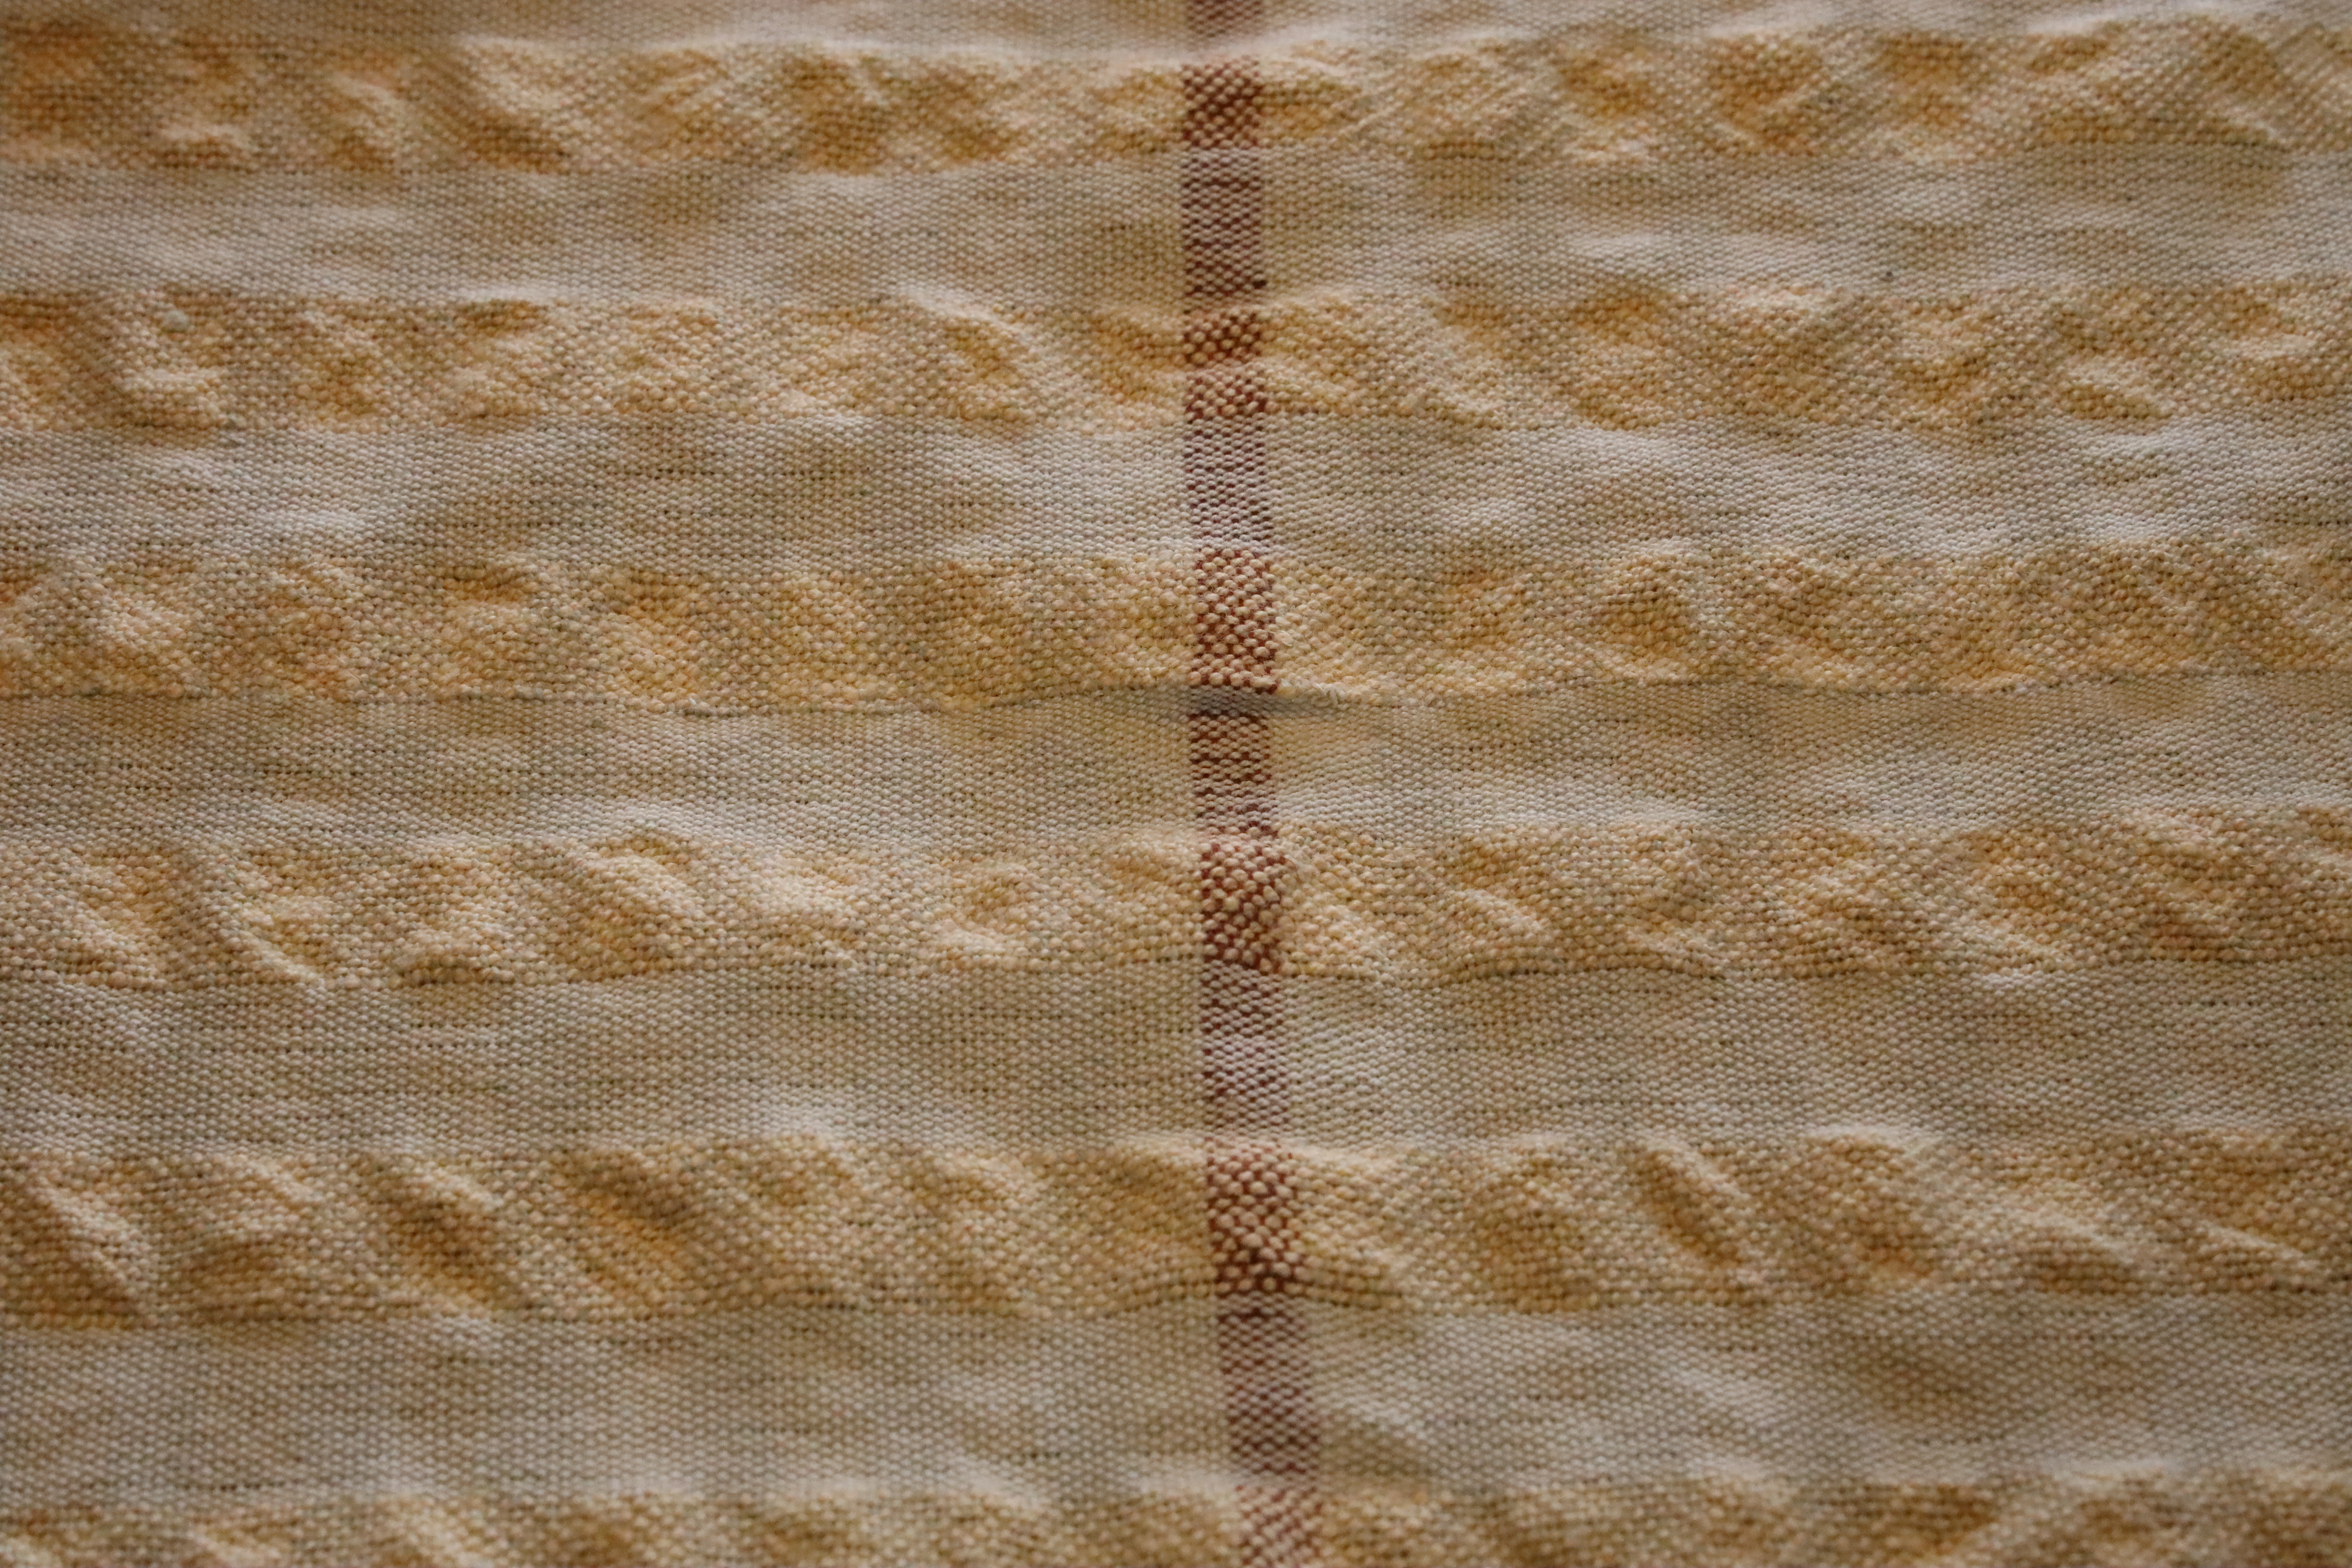
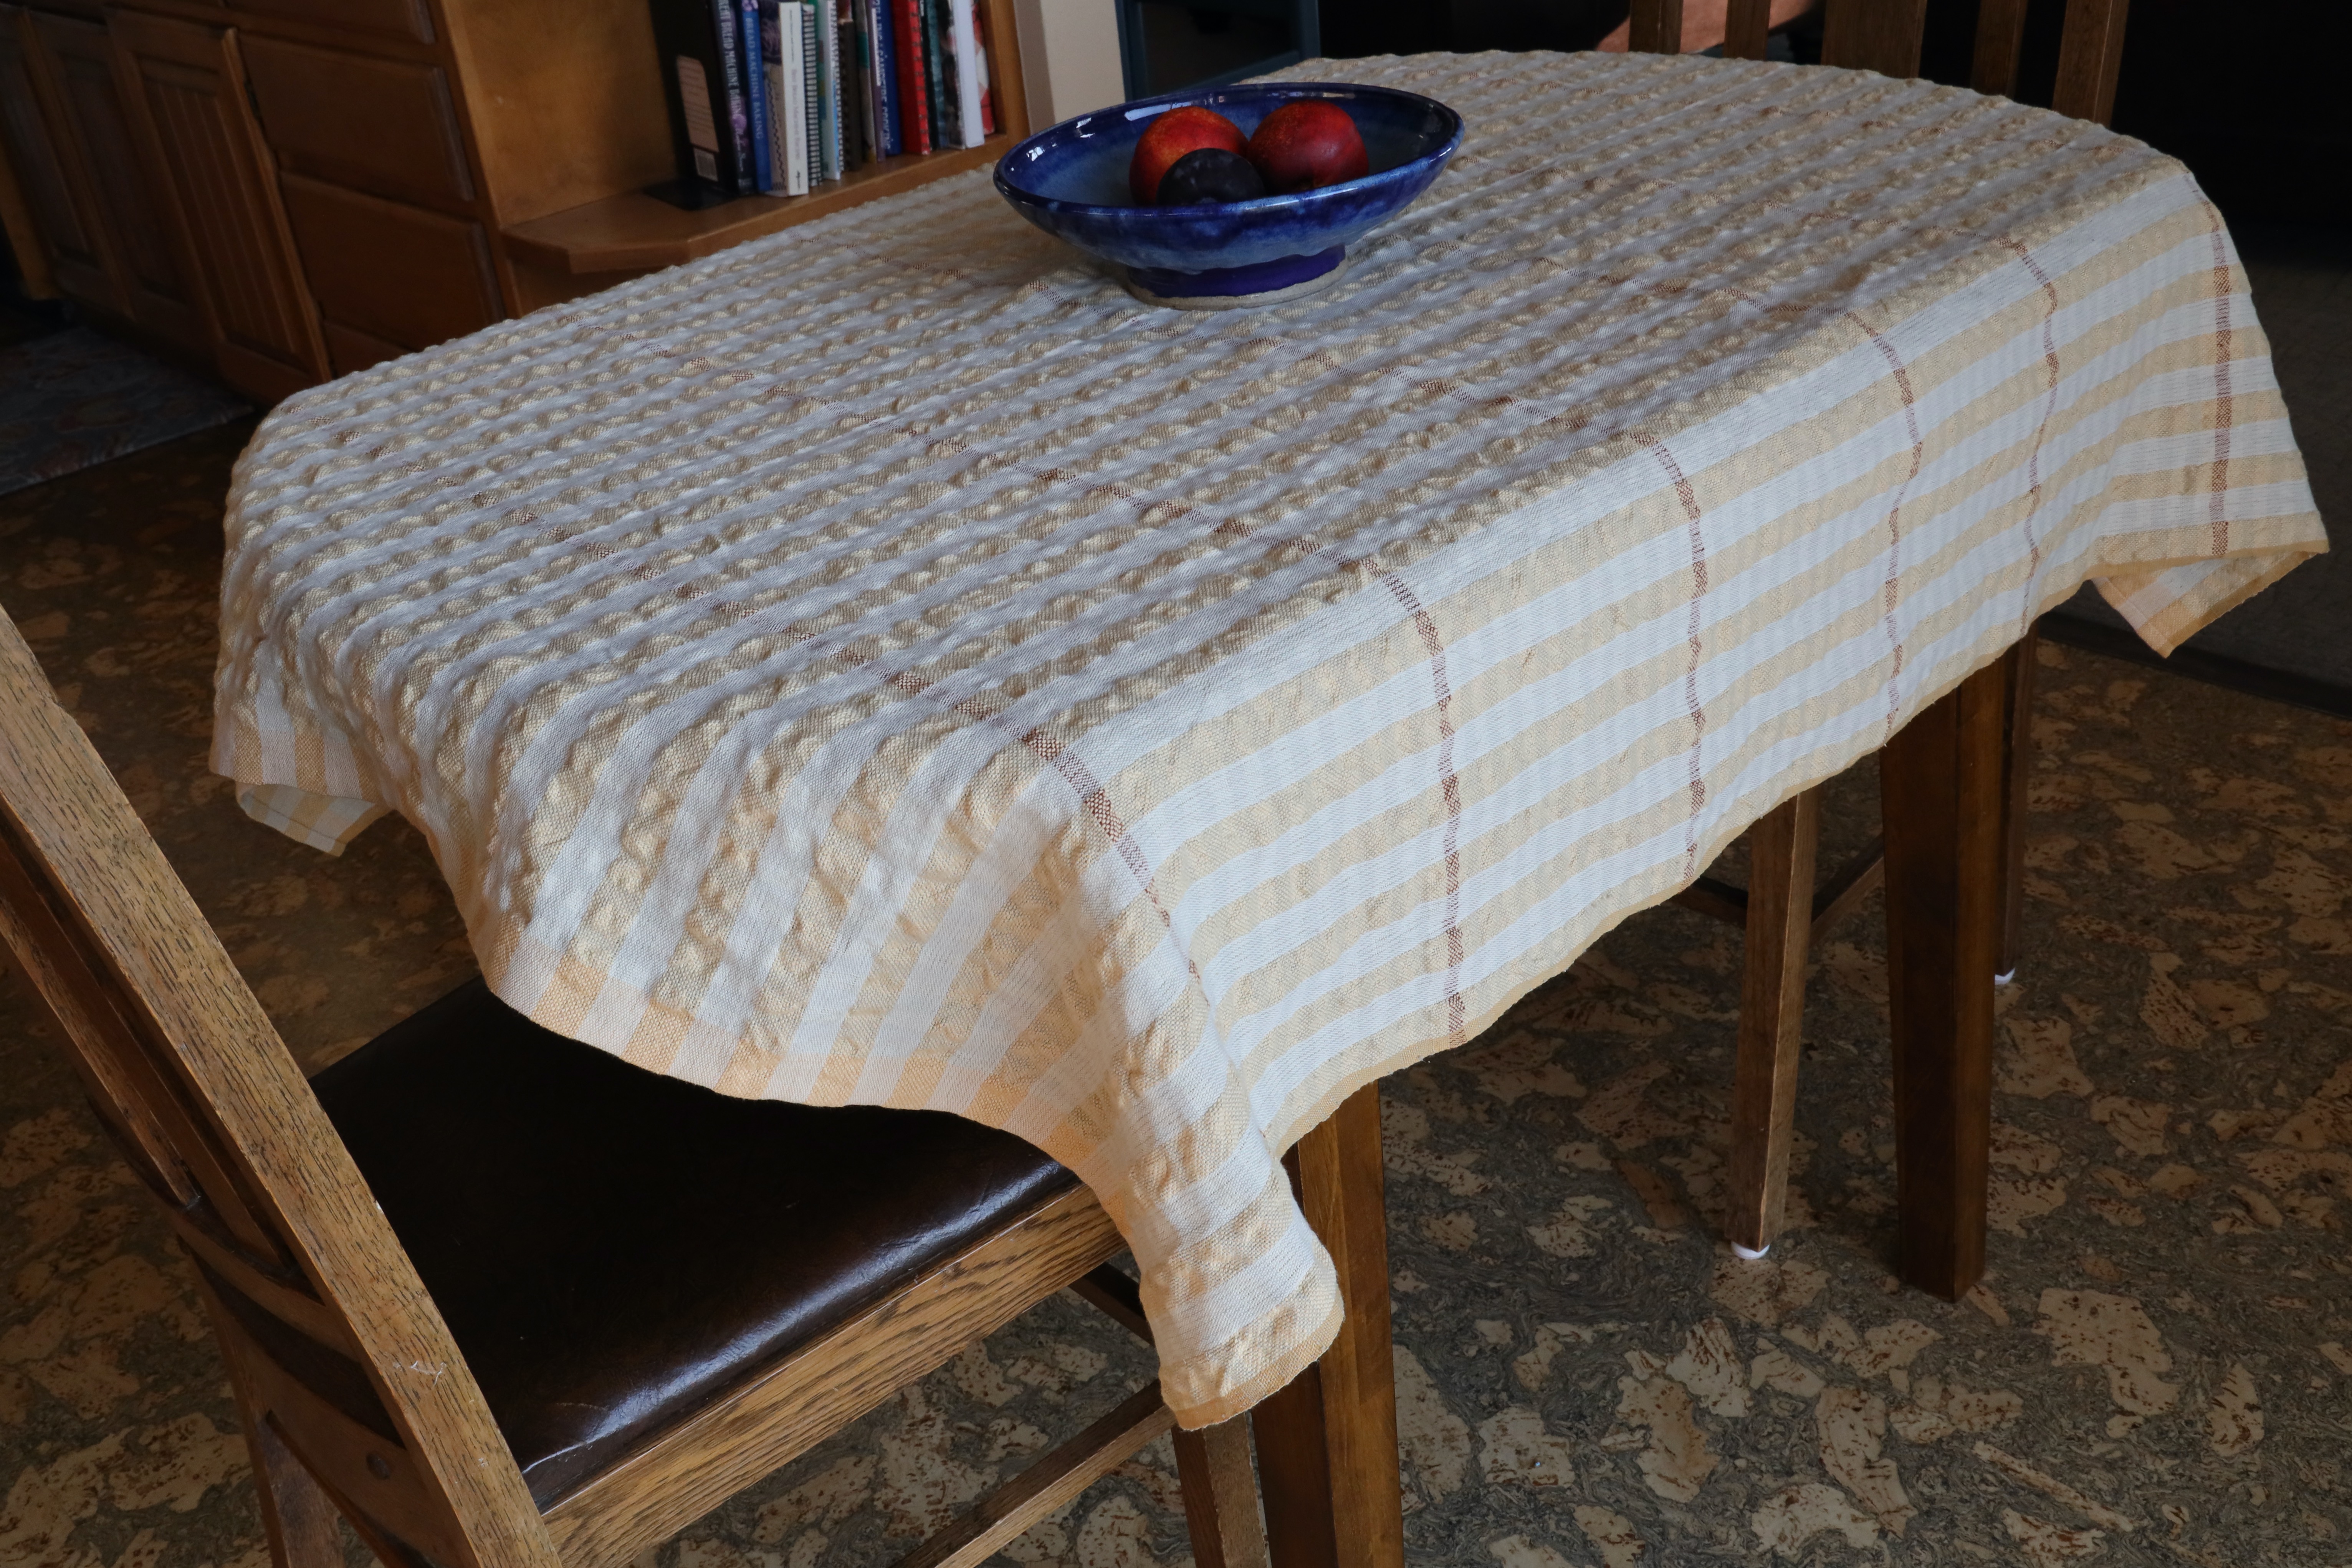
As a little girl, I was fascinated with the puckered texture of seersucker. Remember pastel summer seersucker outfits? Thanks to Winnie Poulsen and her Linen-Cotton Crinkly Tablecloth (Väv Magasinet, Nr. 3, 2021), I now have a puckered fabric that reminds me of those seersucker days of summer.

This is a challenging project. Double width, two warps, fine sett, nylon fishing line for selvedge ends at the fold, and “sticky warp” the whole way. After repeated frustrations, I resign myself to the thought of repairing hundreds of skipped threads after this comes off the loom. I have doubts that I will even be able to unfold the cloth all the way.

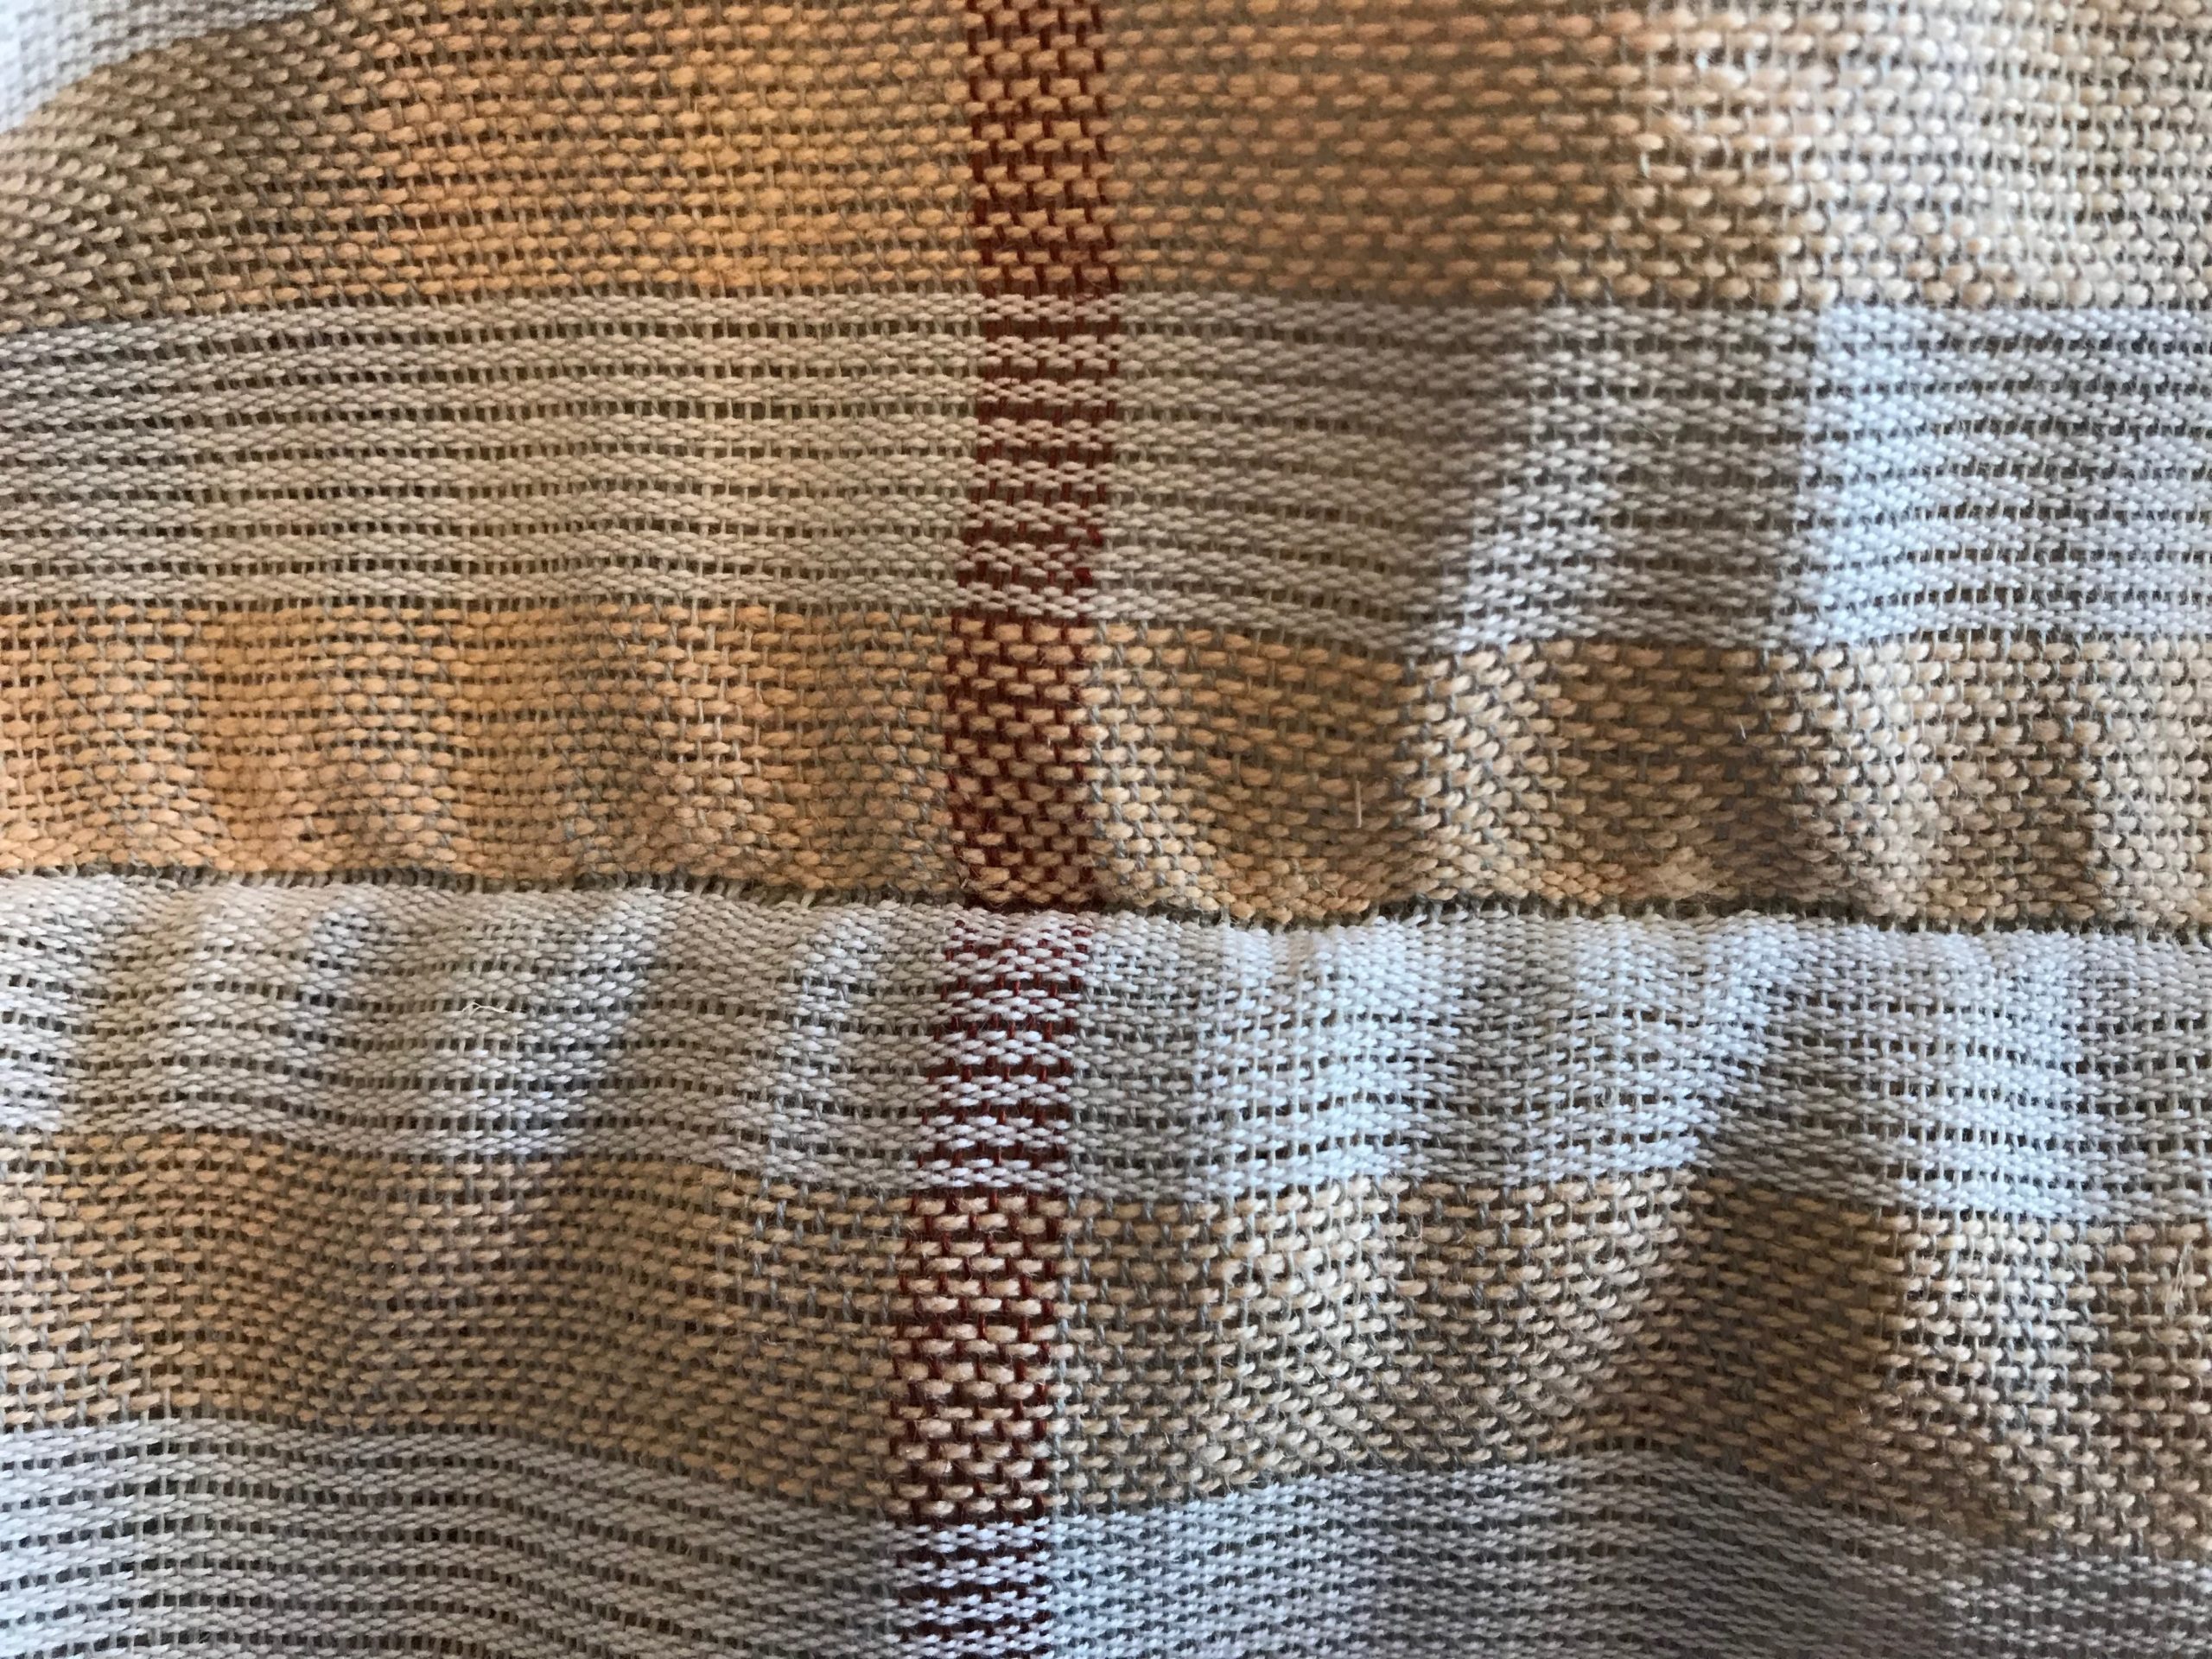
Fold line before washing and drying.

Whew! Was I wrong! I had far fewer skipped-thread repairs than I expected (only about 15). And the finished tablecloth is a gleeful ending to a what-did-I-get-myself-into adventure.

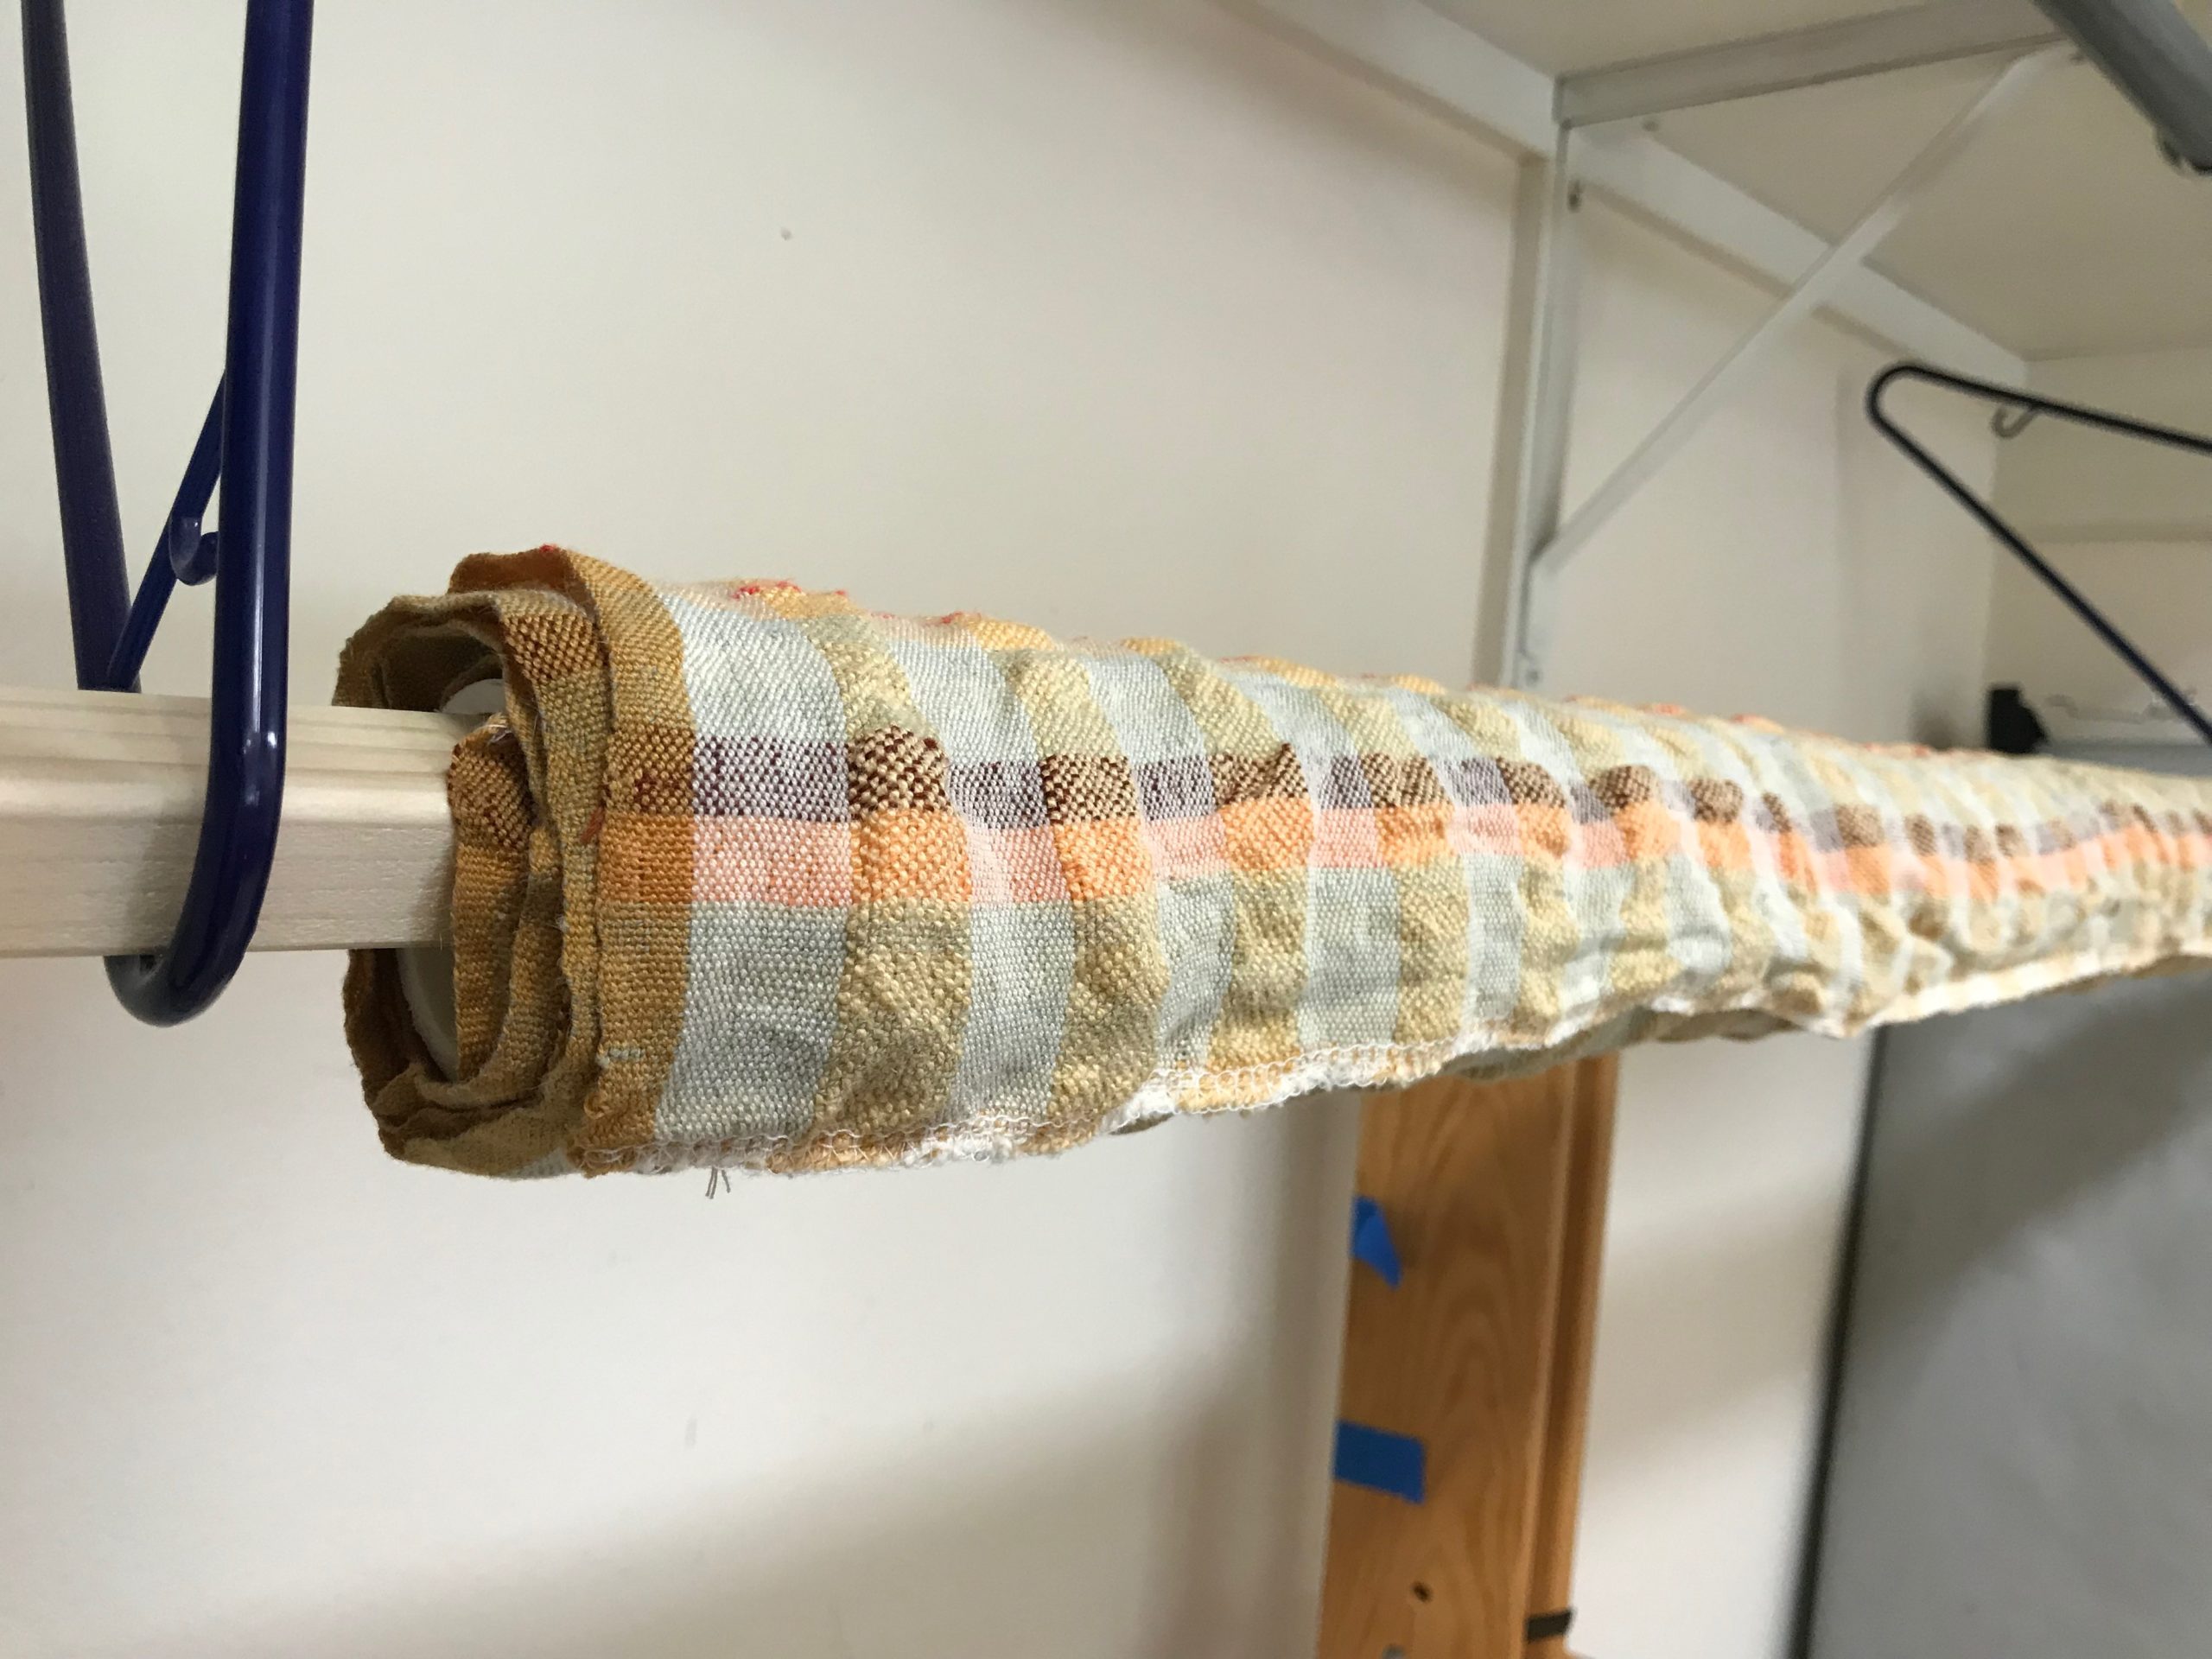
After being washed, the cloth is rolled up on a 1 1/2″ PVC pipe and hung to dry.
Fold line after washing and drying is barely noticeable.
Summer puckered tablecloth lends cheer to the room.

Puckers are whimsical surprises from ordinary threads.

I hope you enjoy this video review of the process:

My friends, thank you for walking with me on this weaving journey! July is the month for Warped for Good’s annual pause. I’ll meet with you right back here the first Tuesday in August.

May you find a gleeful ending where you least expect it.

Happy Weaving,
Karen

Tried and True: Are Retaining Cords Worth the Trouble?

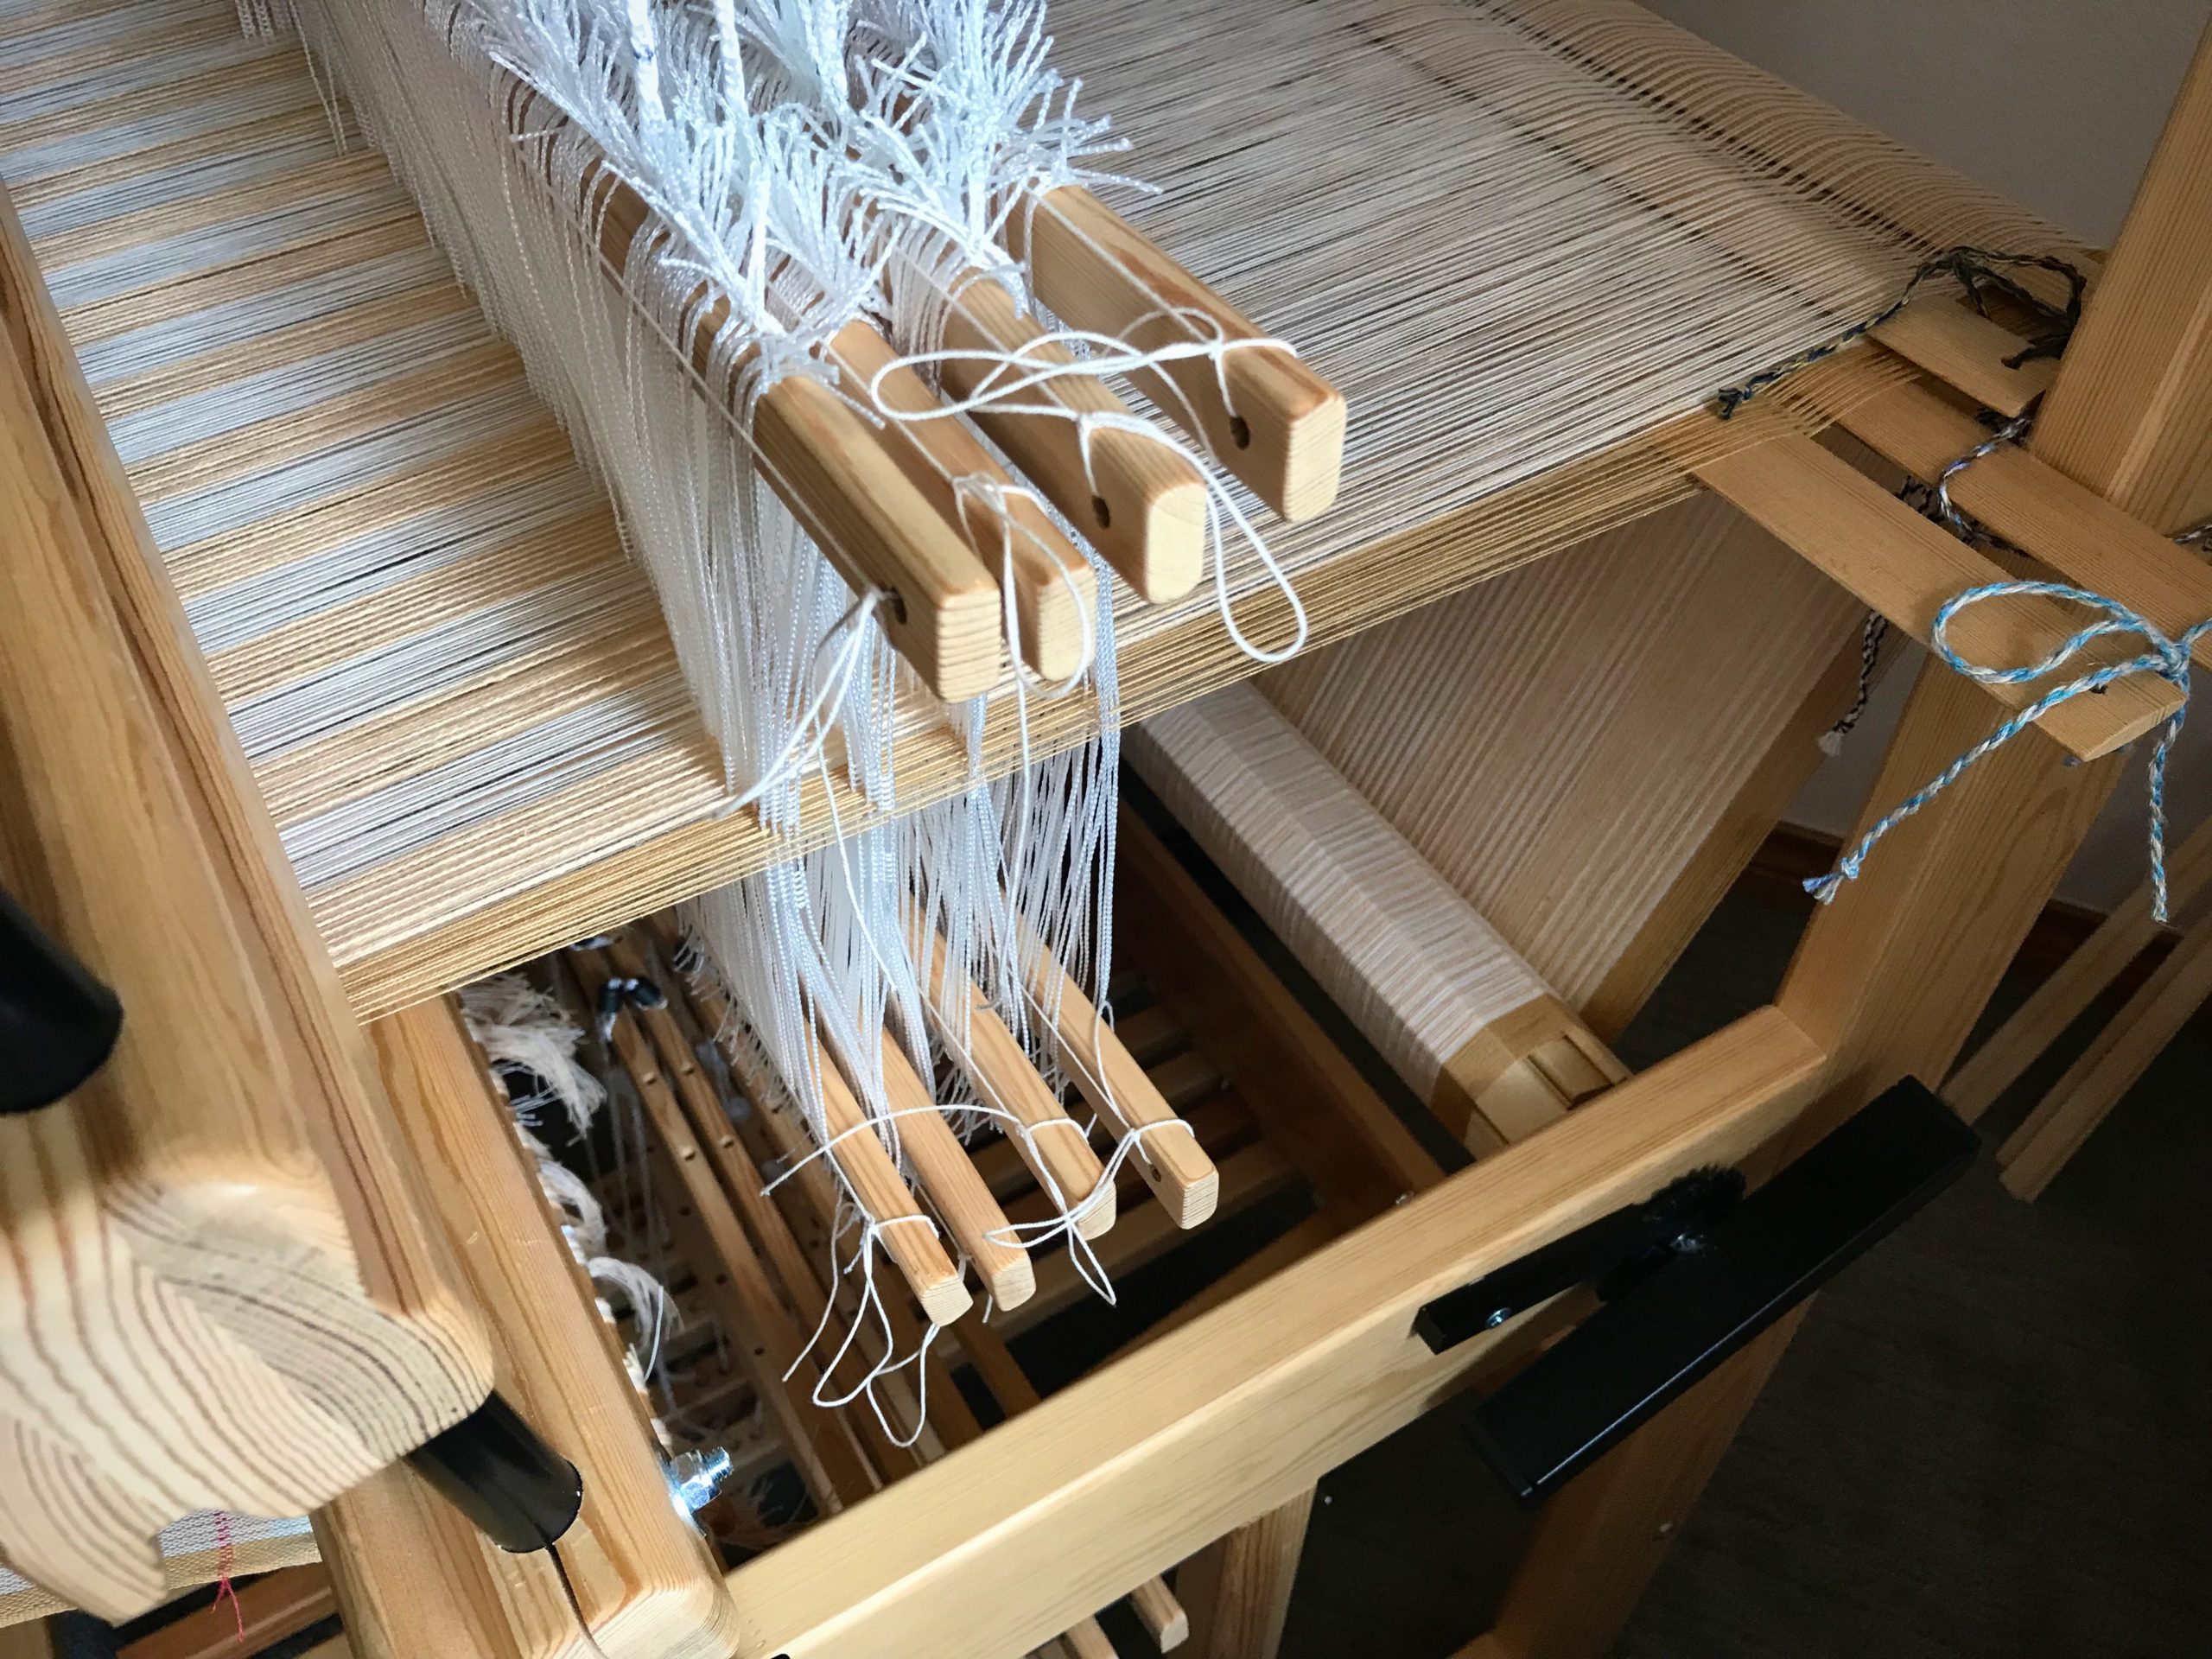
Some things are easier done than said. I said to myself that it’s too much trouble to tie retaining cords on the shafts. I am weaving almost full width on the Glimåkra Julia. I know that heddles can slip off the ends of shafts. Still, I tell myself I can keep an eye on it. It won’t be a problem, right? Wrong.

Juila’s wide warp. So far, so good. I’ll pay attention and everything will be just fine. Famous last words.
Oops. I took this picture after I had fixed most of the mess created by dangling heddles. When heddles slip off shafts they must be put back on thread by thread to maintain correct warp order. These were tangled enough that it took me a few tries to get it right.


Tie Retaining Cords on Shafts

Purpose: Keep Texsolv heddles secure on their shaft bars, especially when weaving a wide warp.

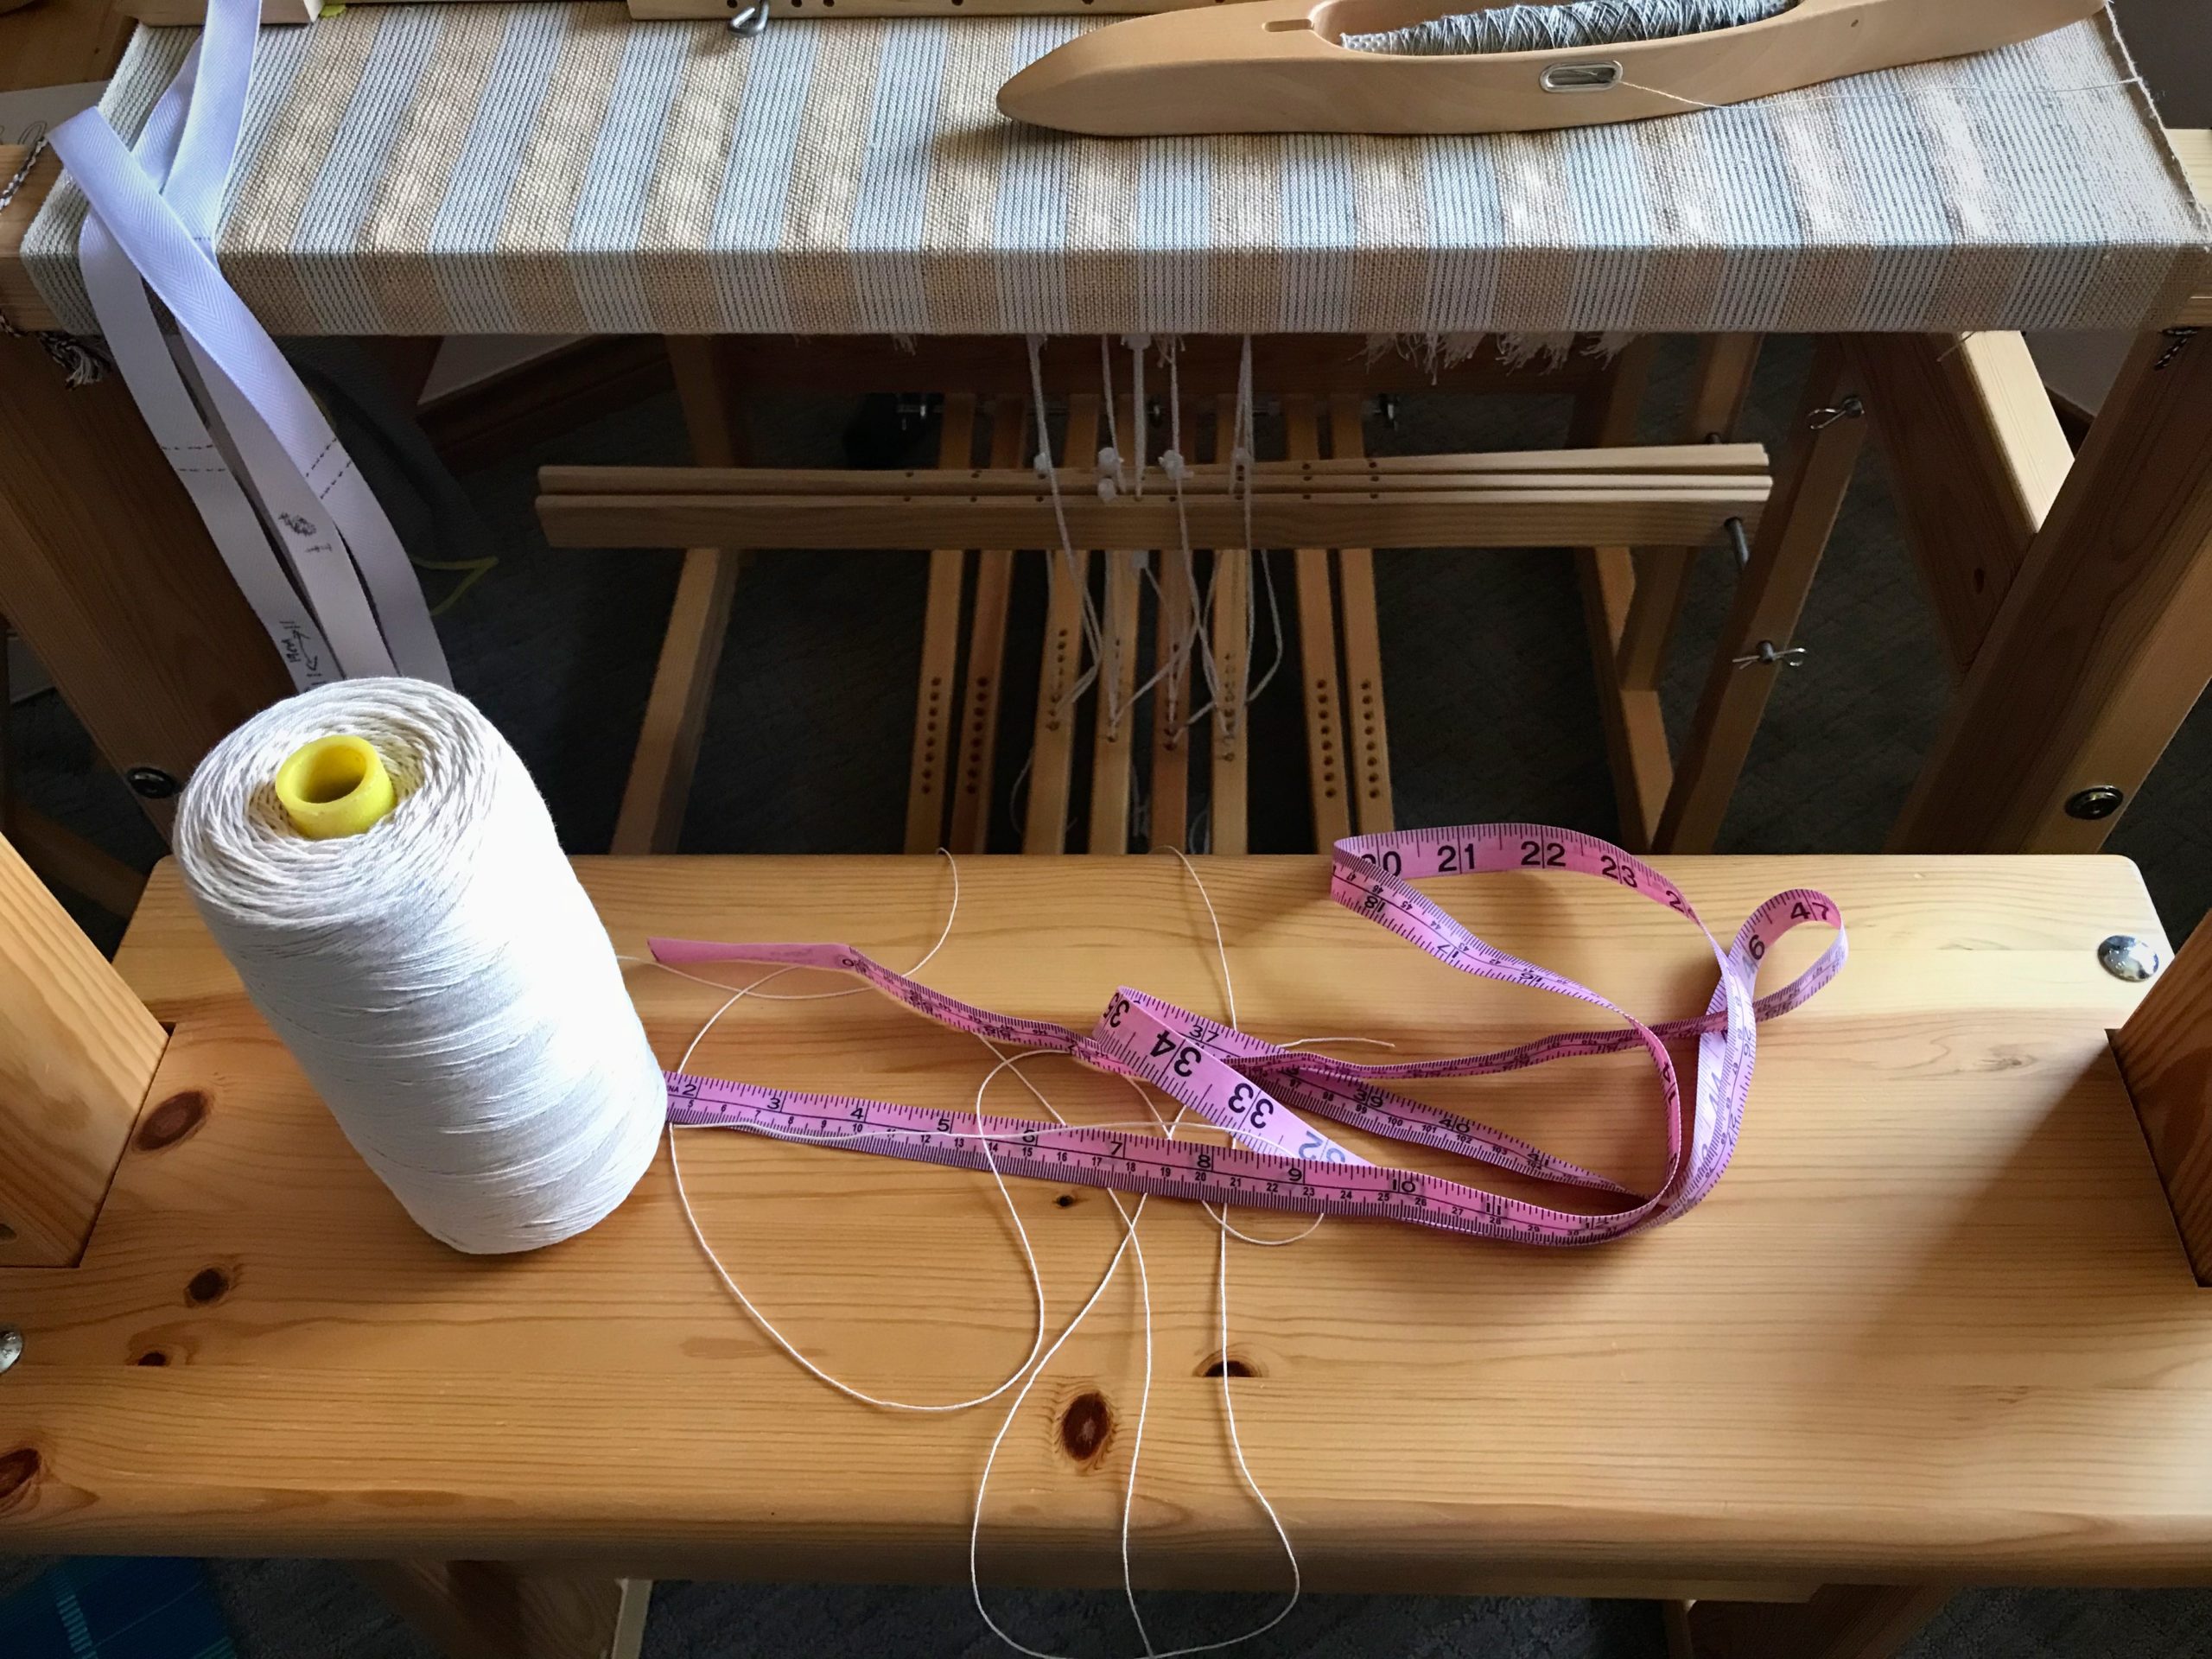
Supplies

  • Tape measure
  • 12/6 cotton seine twine
  • Scissors
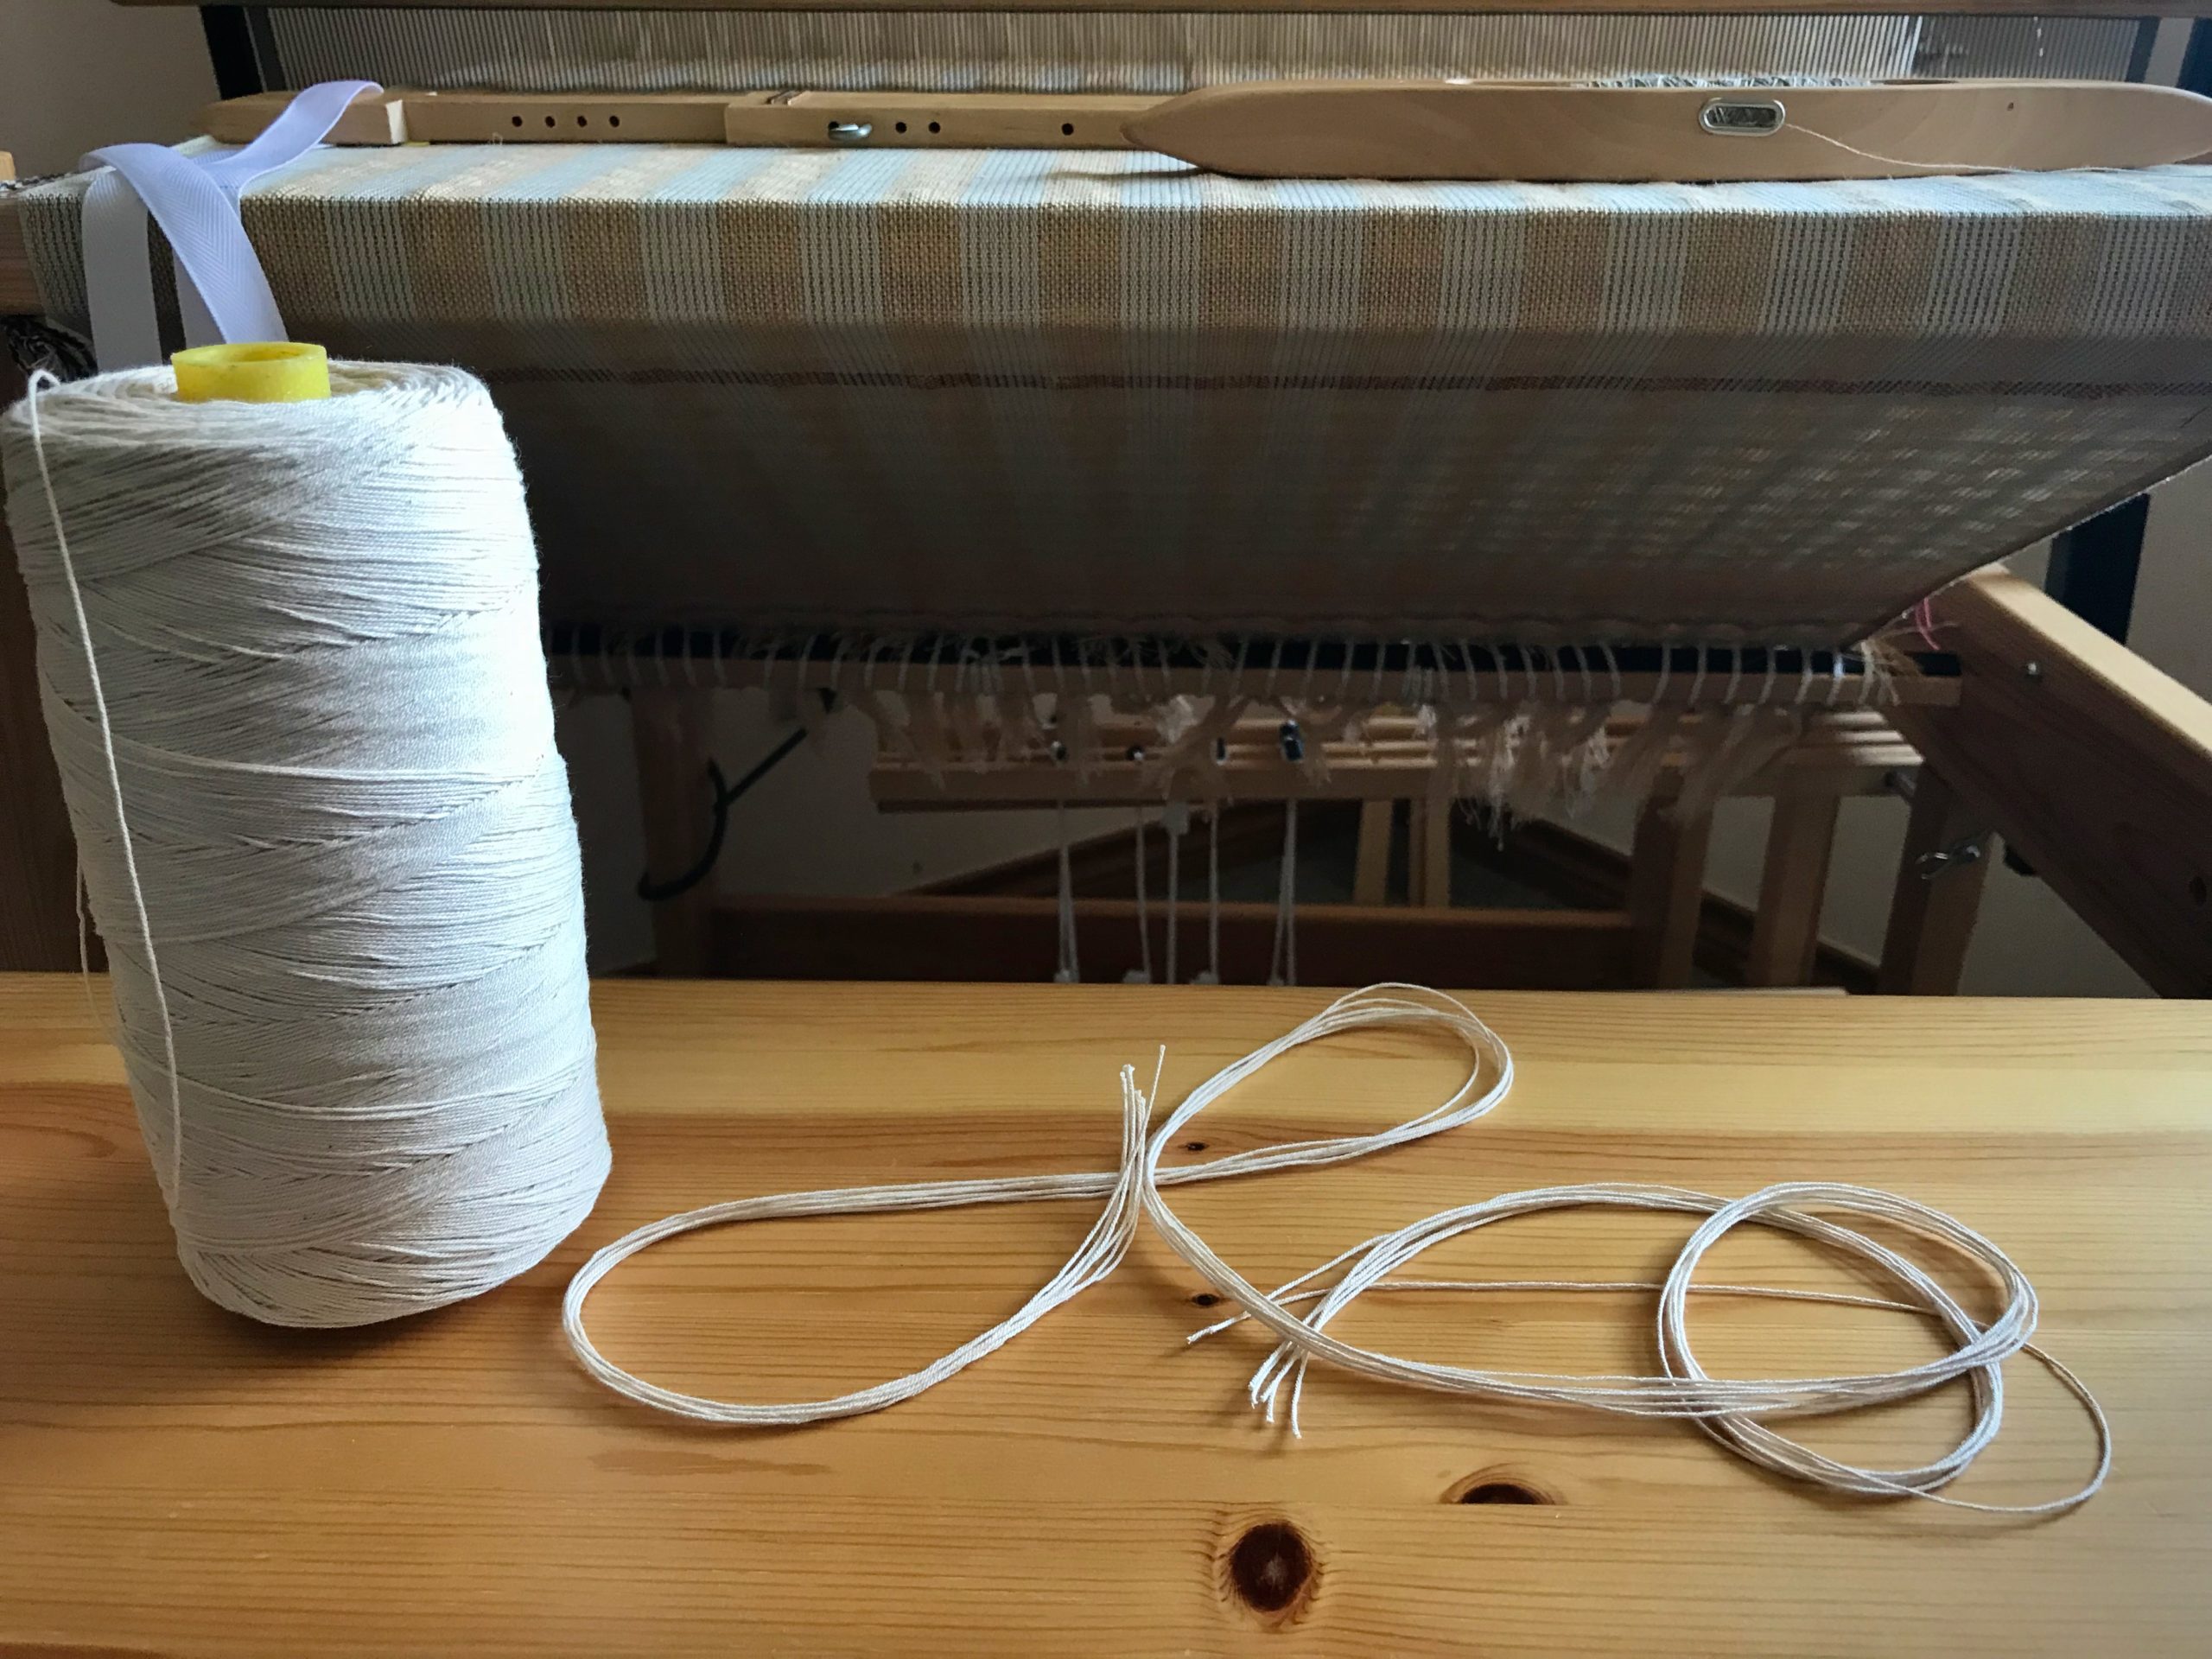
12/6 cotton seine twine (rug warp) to the rescue!

1 Measure shaft bar from hole to hole. (Julia shaft bar is 70 cm)
2 Figure additional length (about 40 cm) for tying two knots. (70 + 40 = 110 cm)
3 Cut seine twine to measured length for each upper and lower shaft bar. (Heddles can slip off lower shaft bars, too.)

Retaining cords are cut.

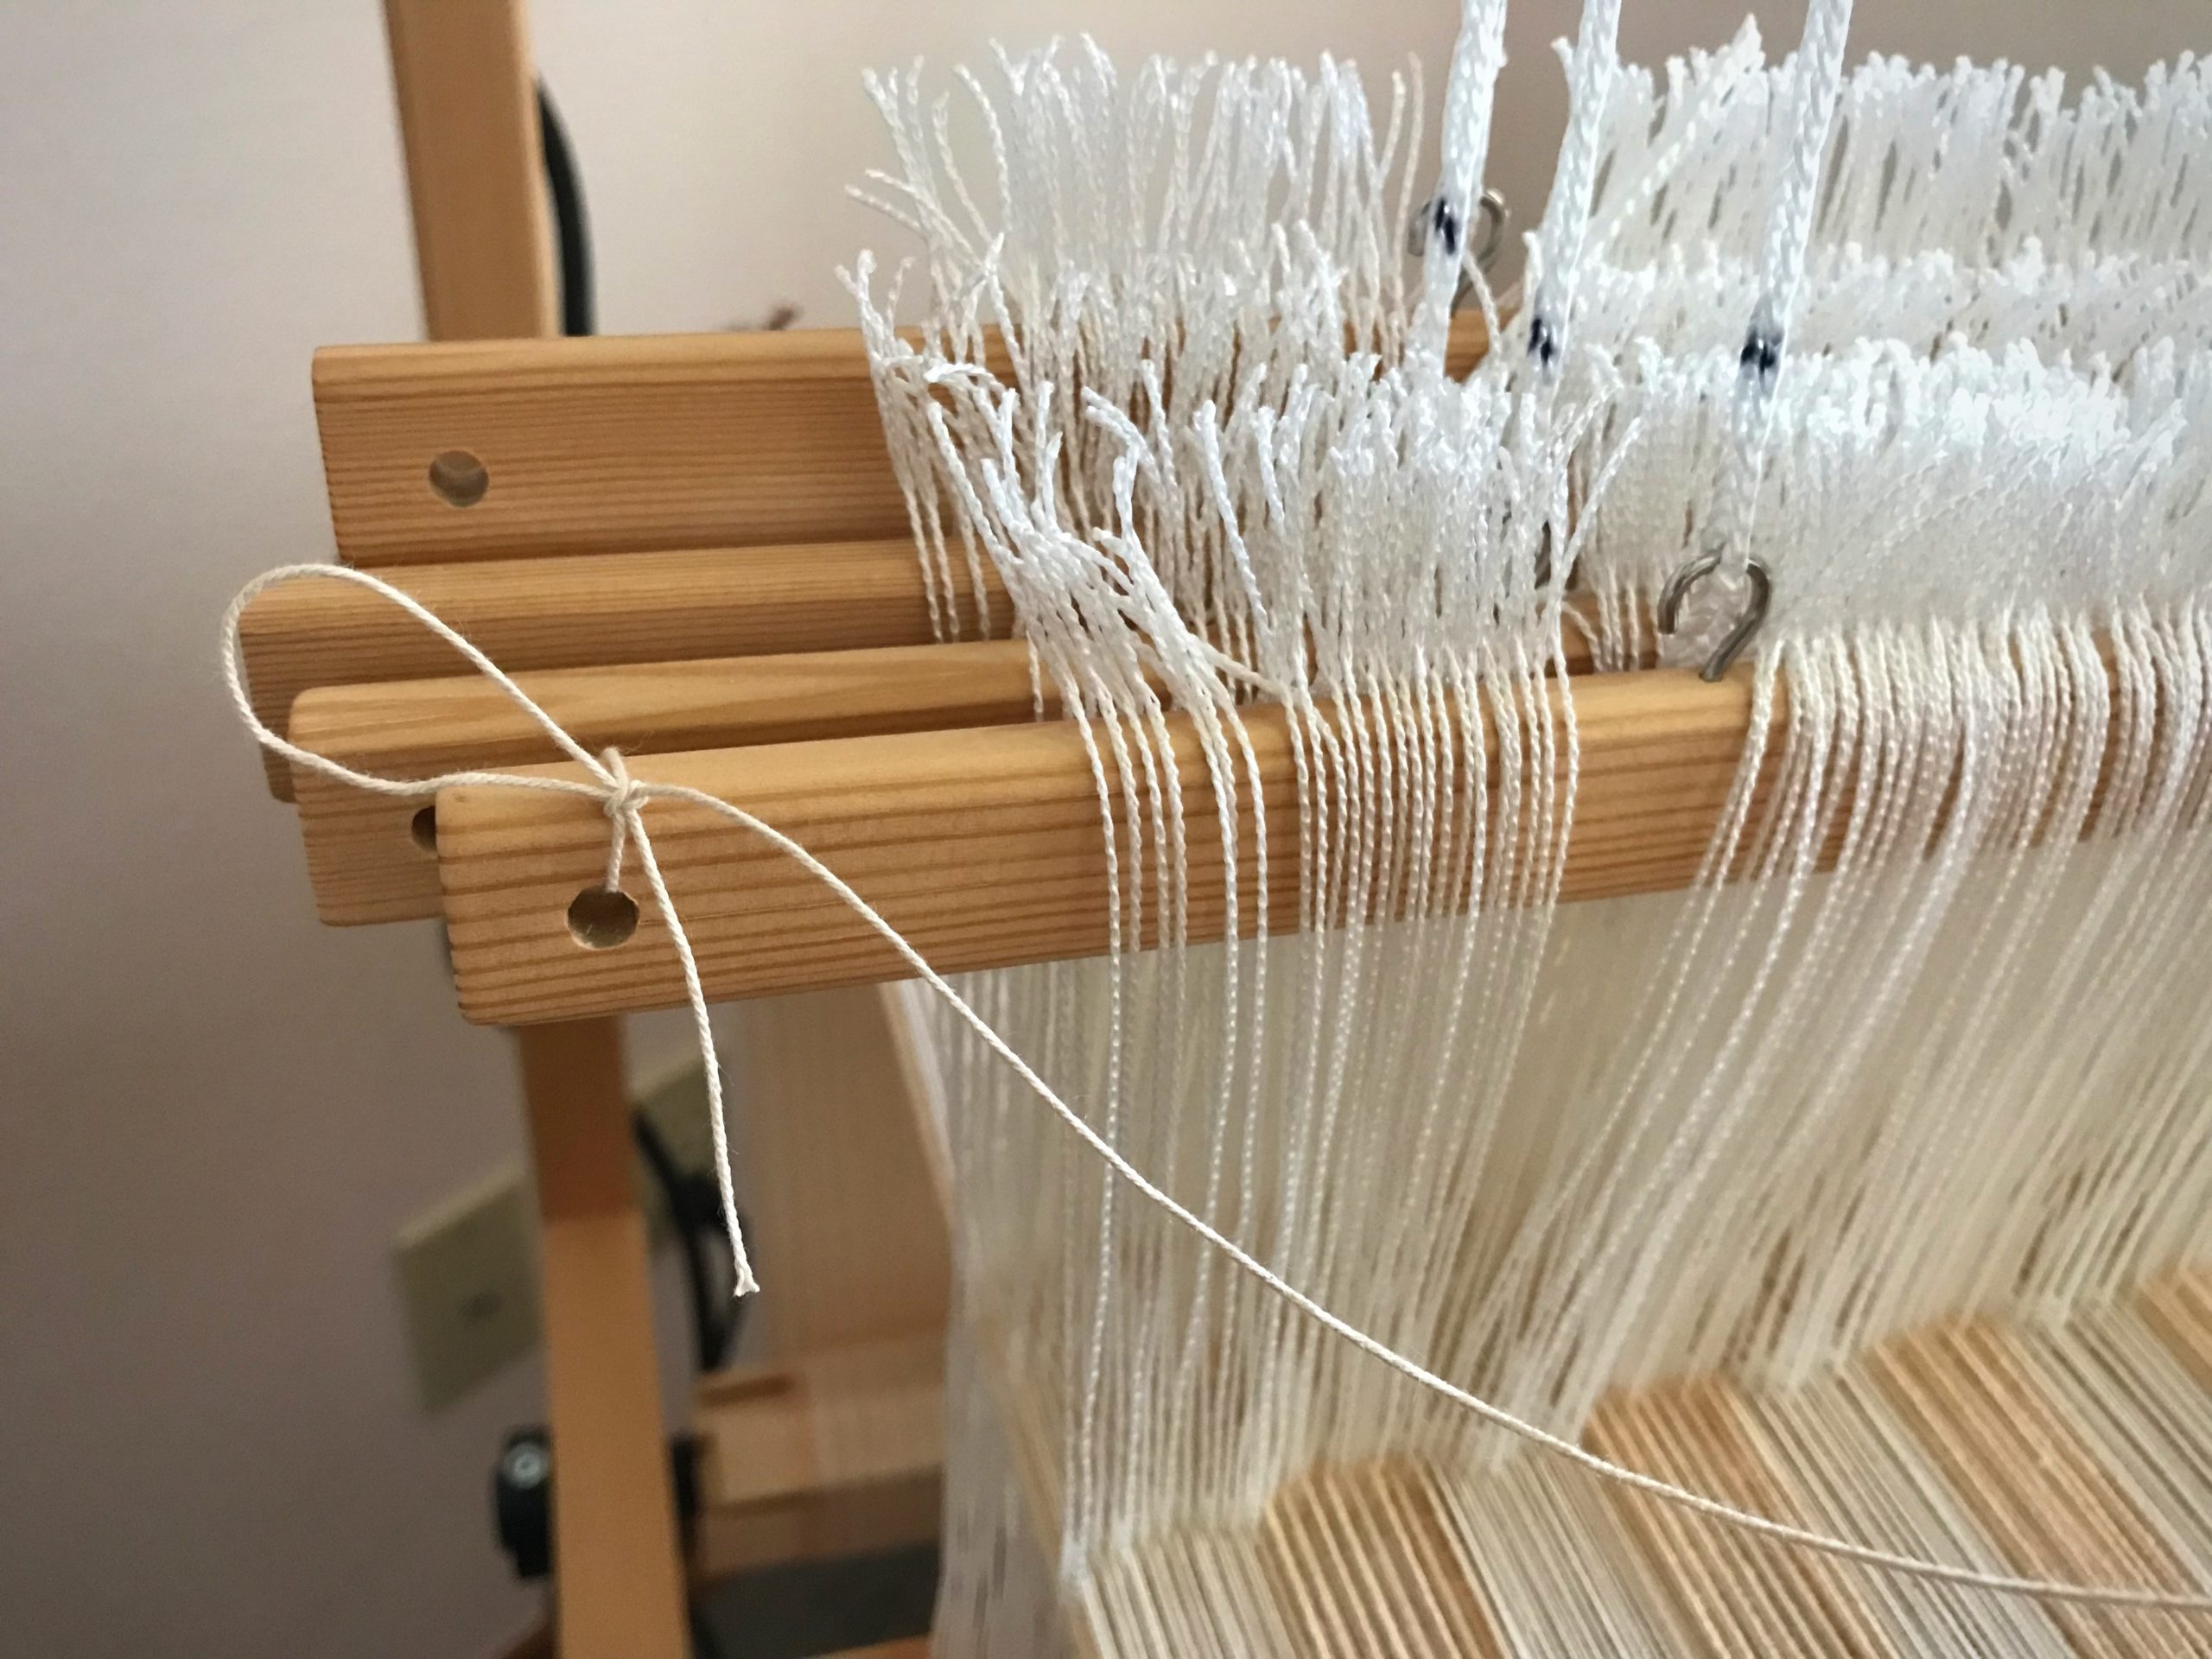
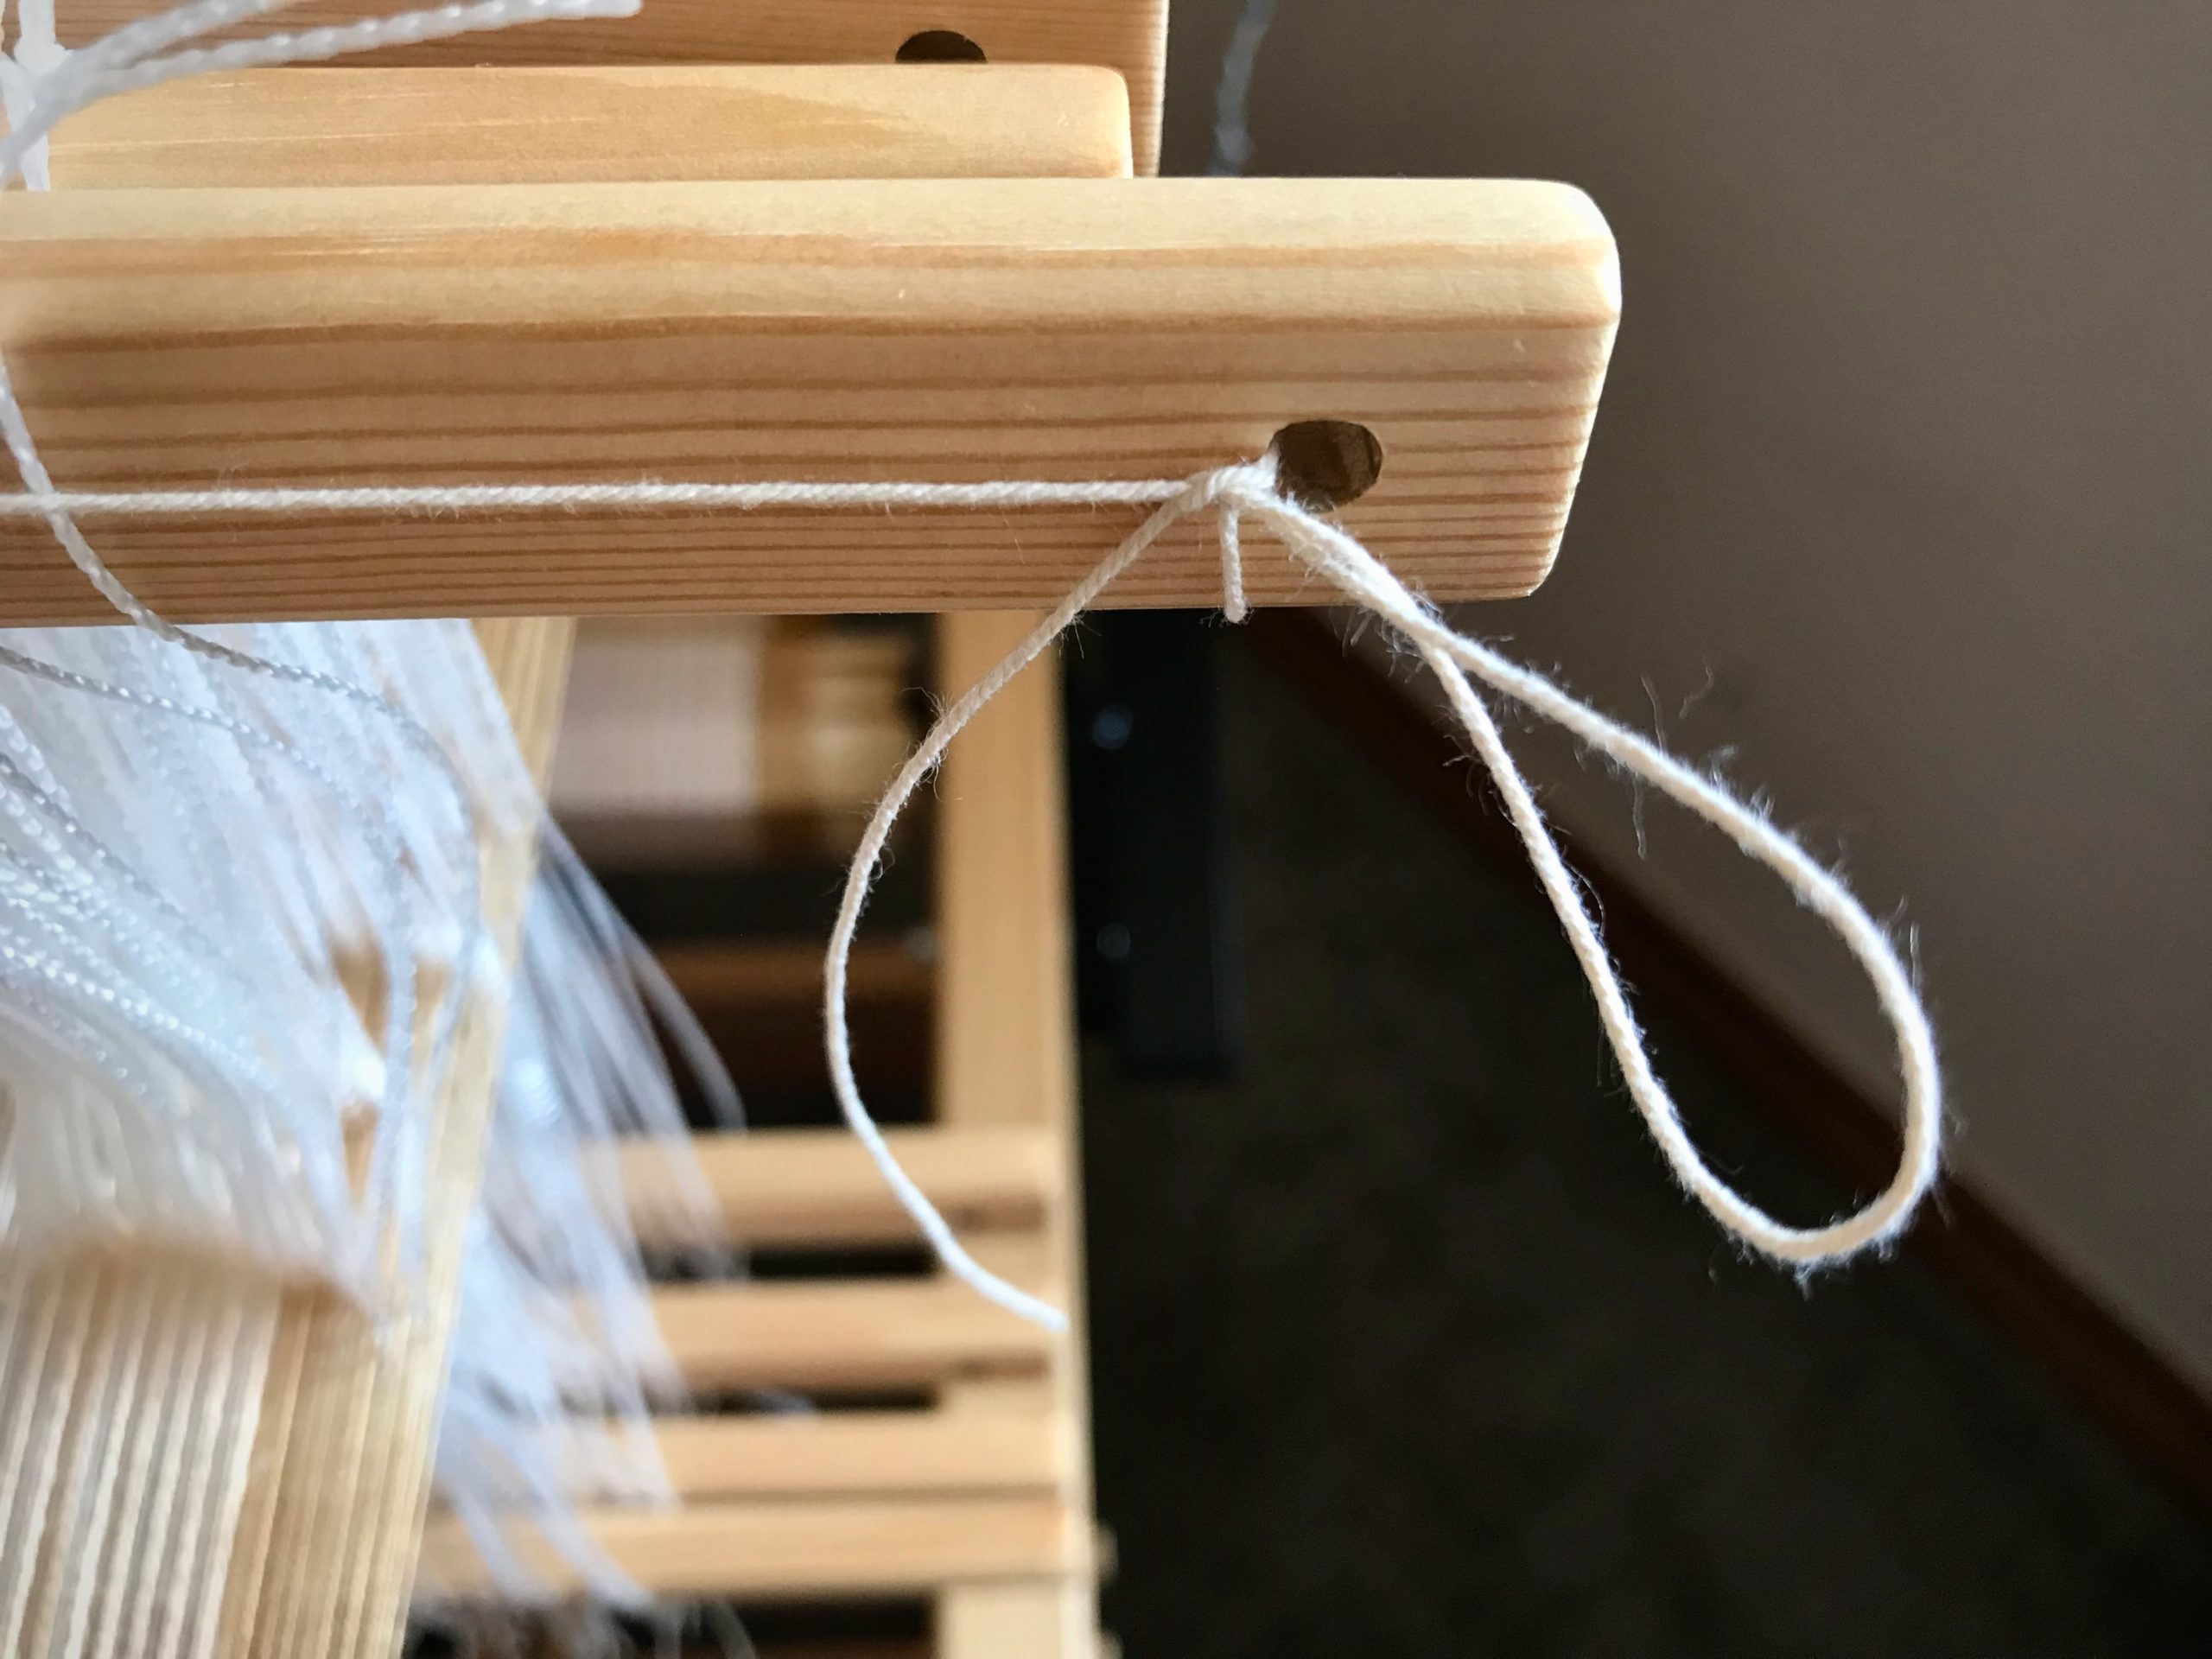
4 Insert one of the seine twine cords through the hole on one end of a shaft bar. Tie. (I use the half-bow slip knot as described in Learning to Warp Your Loom, by Joanne Hall, p.38.)

Tie retaining cord to one end of the shaft bar. Any knot will do, but I like this half-bow slip knot because I can untie it simply by pulling the end of the cord.

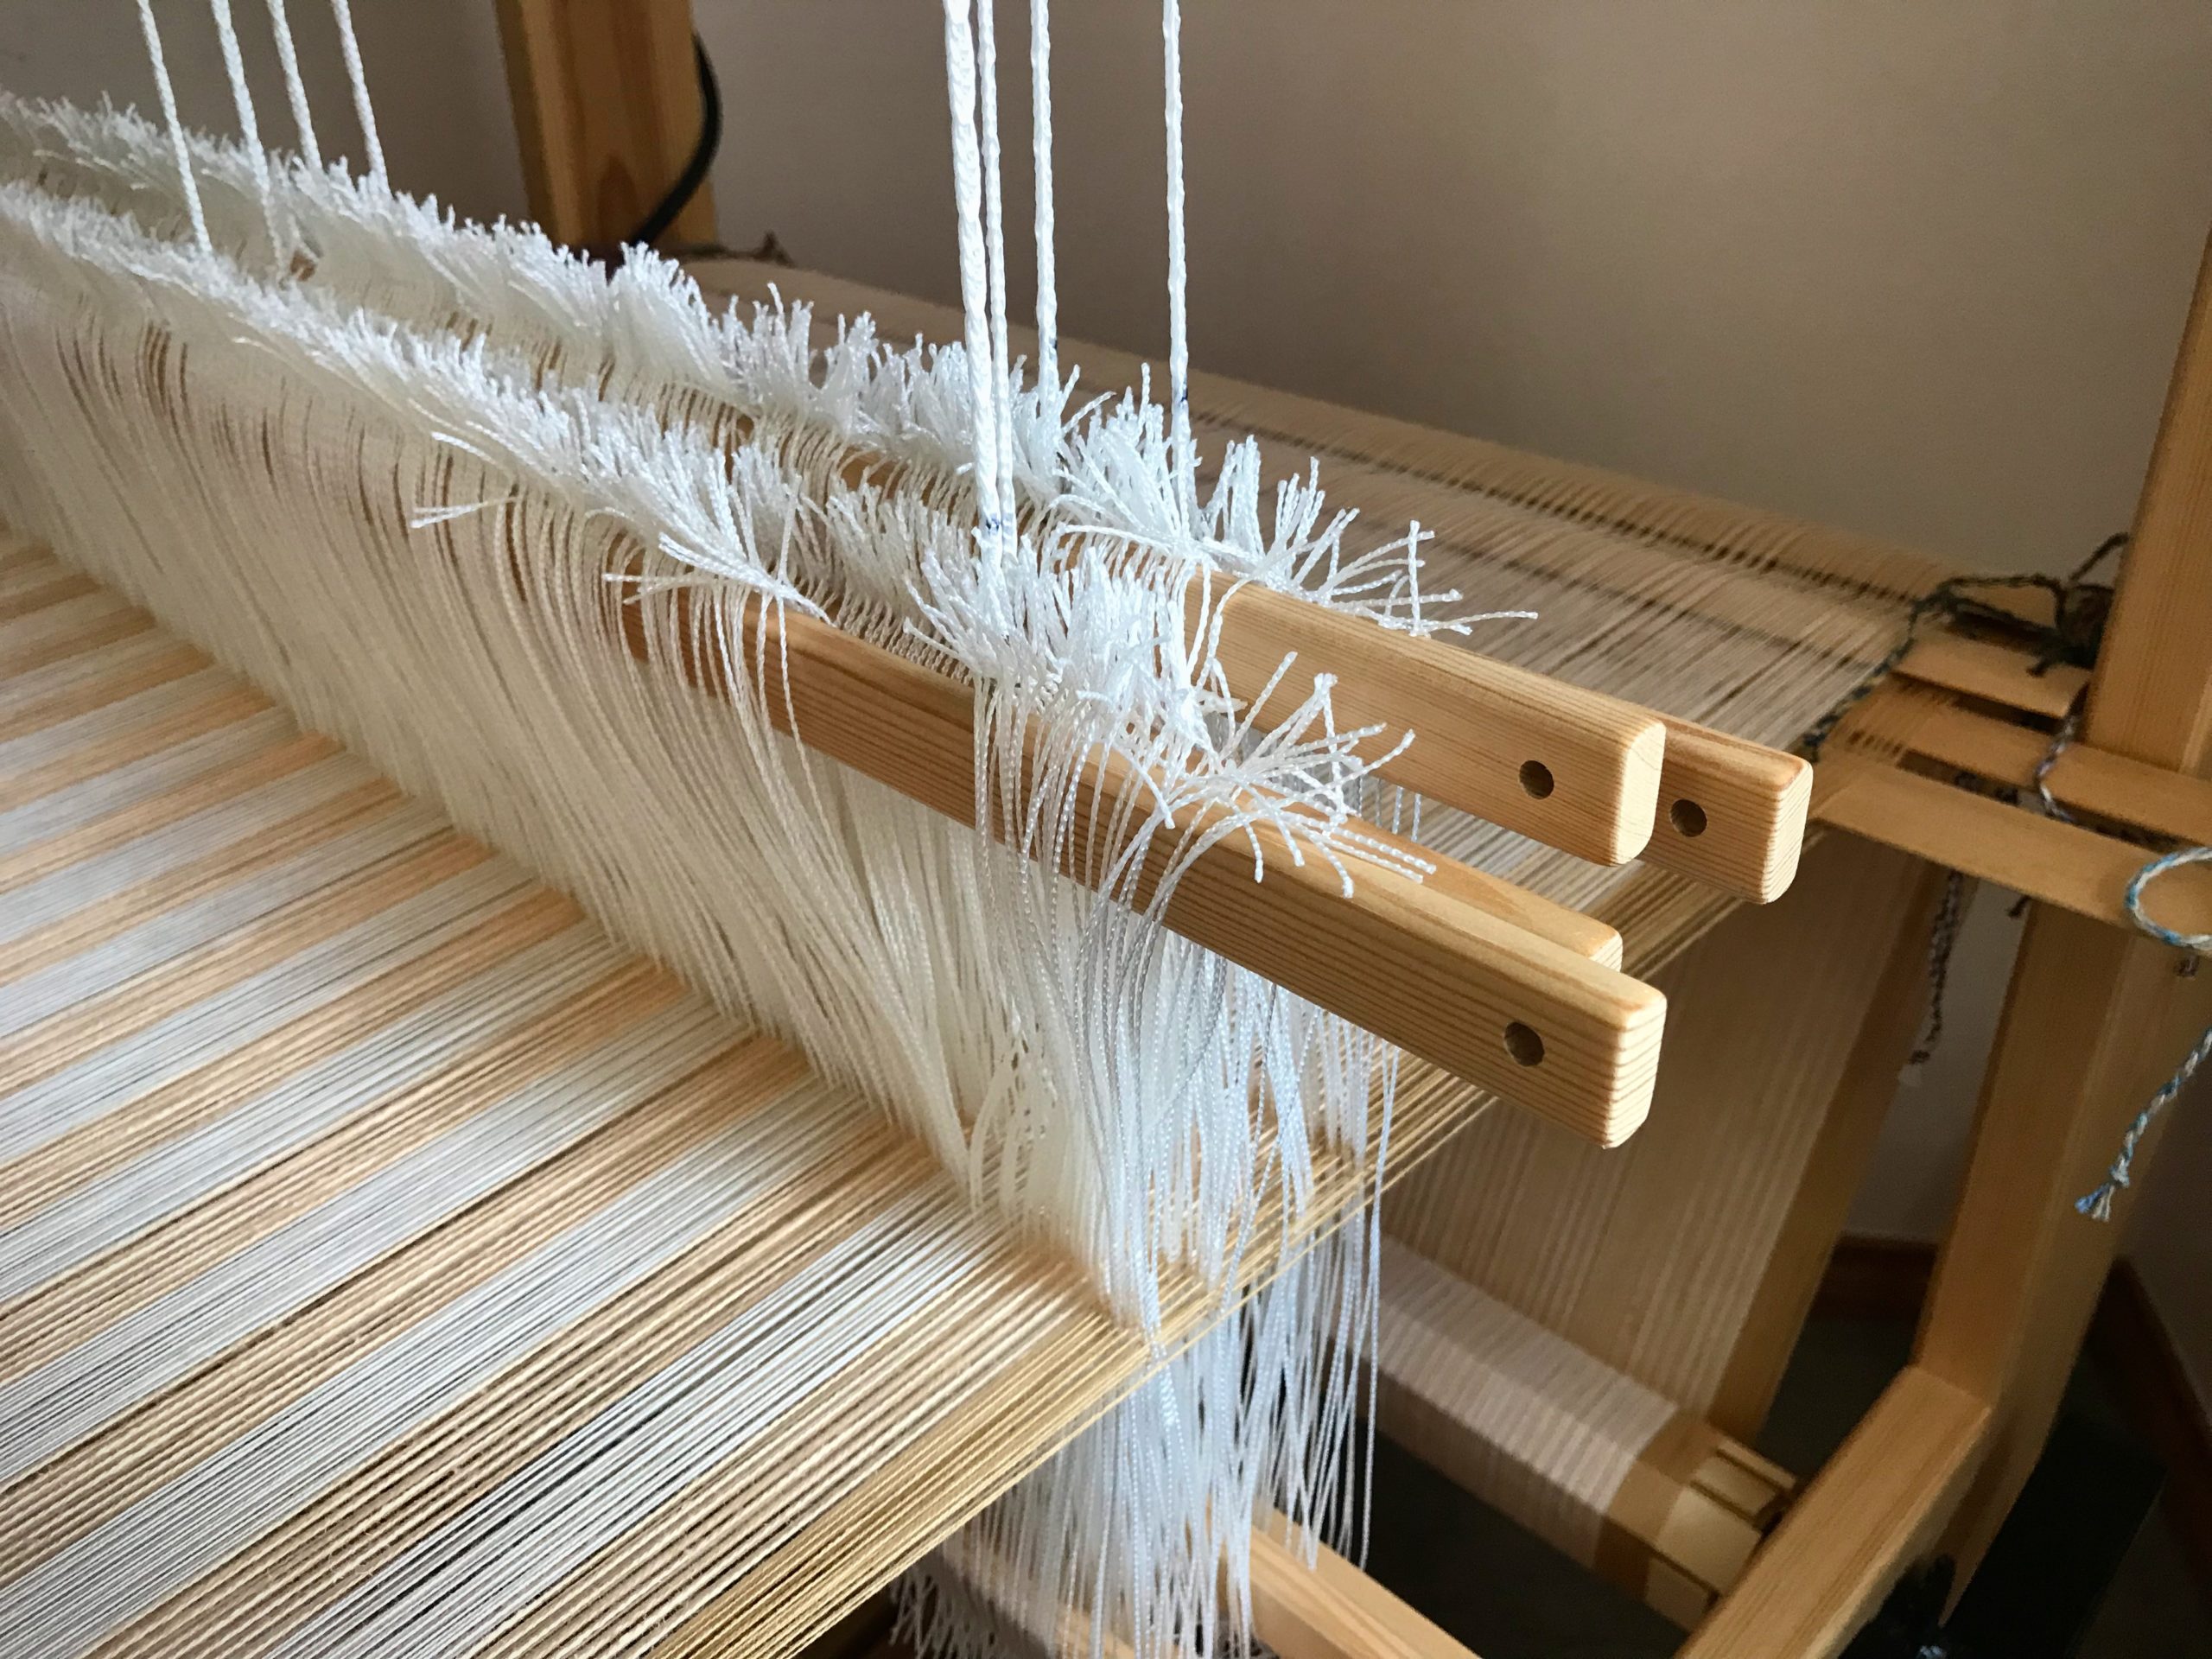
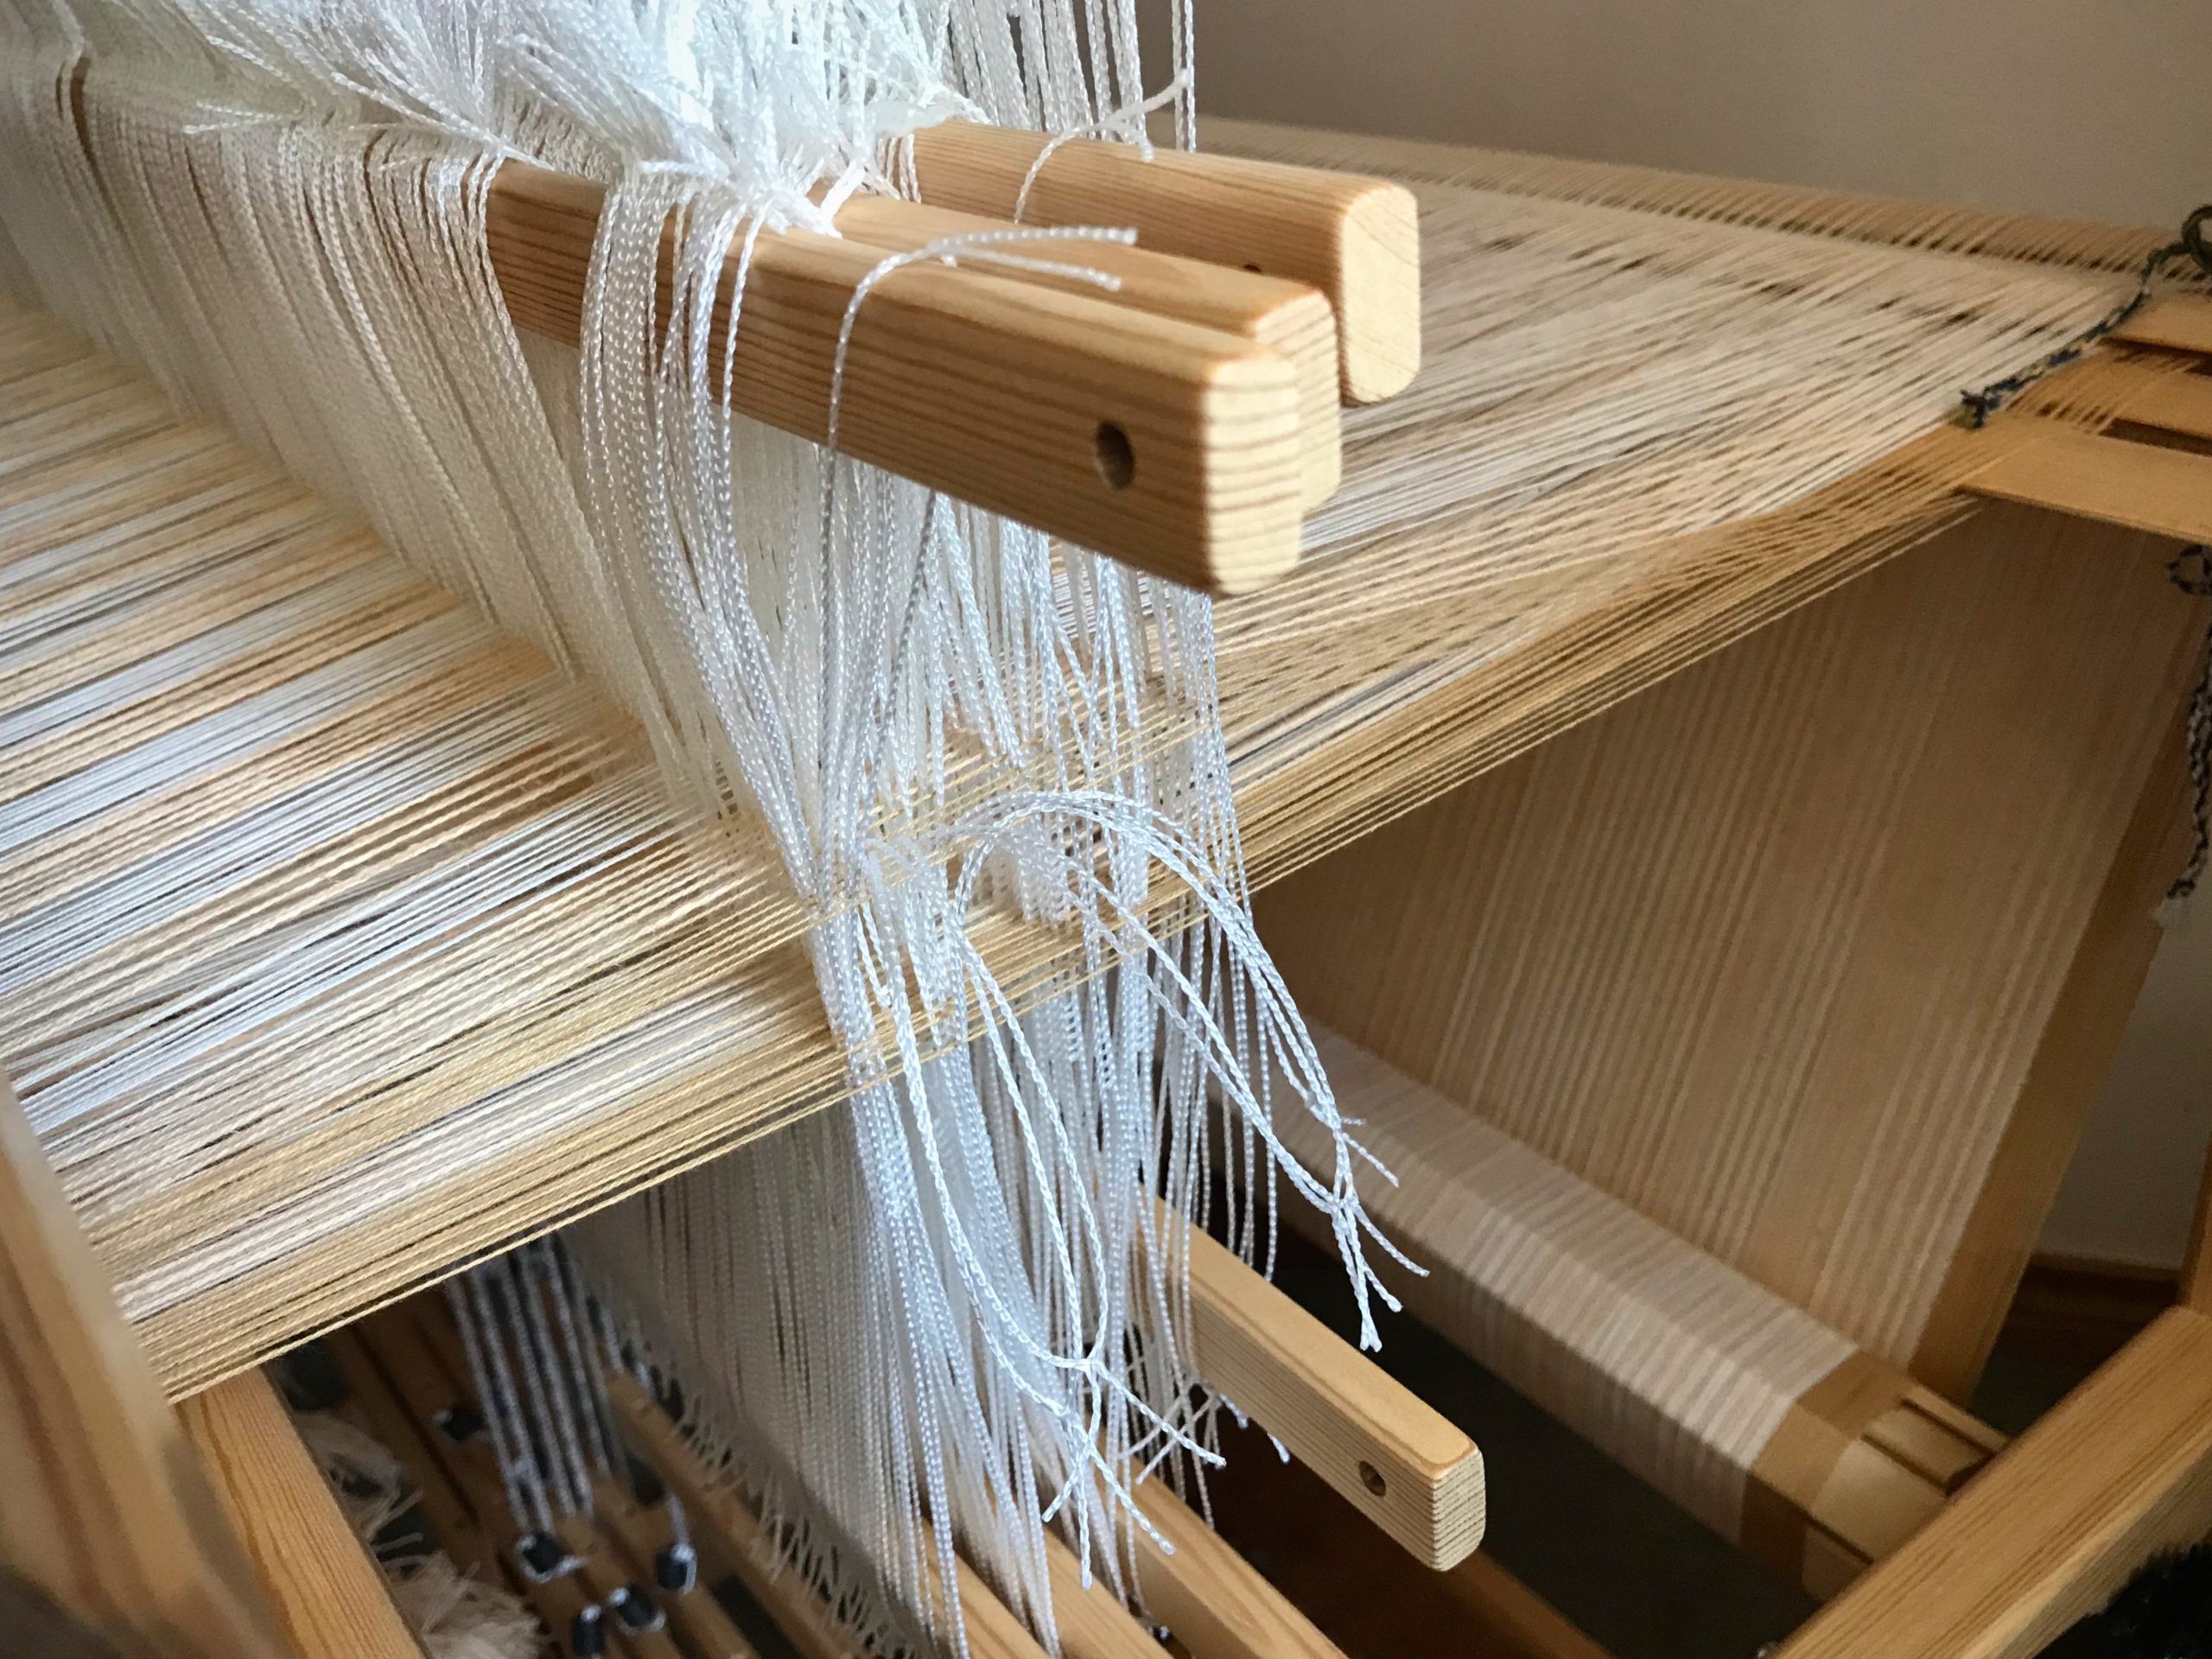
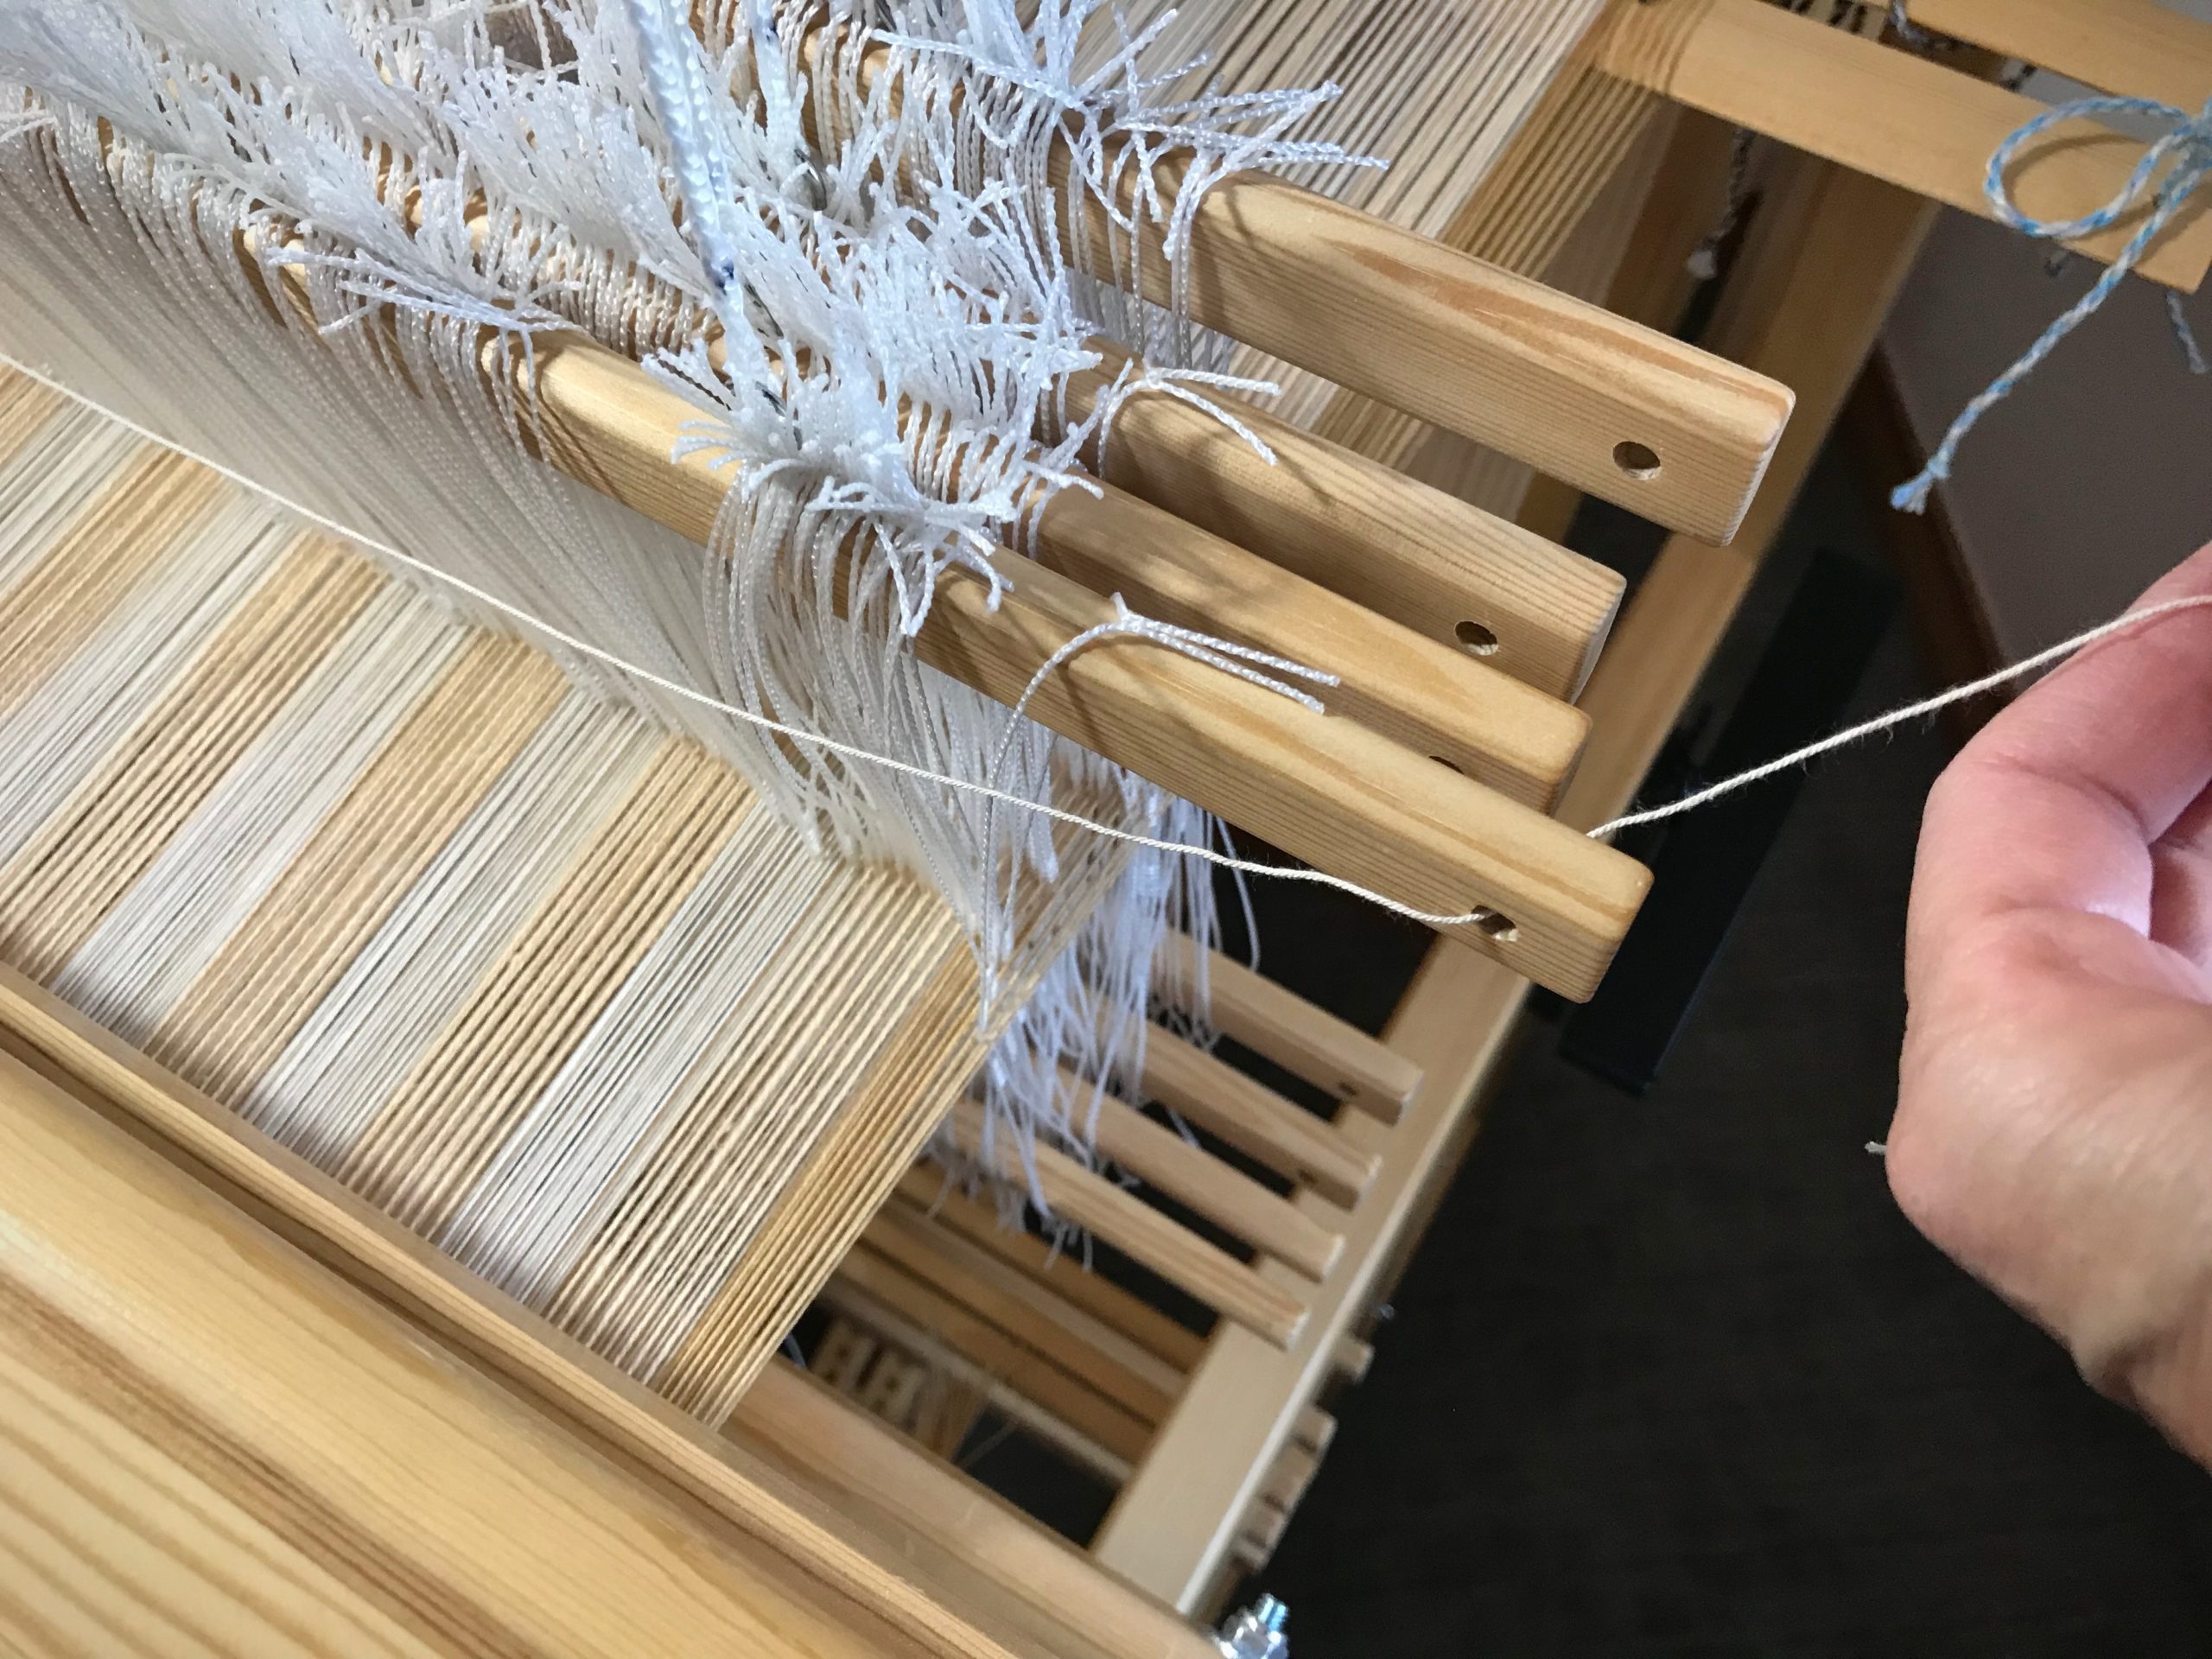
5 Insert the other end of the cord through the hole at other end of the shaft bar. Tie.

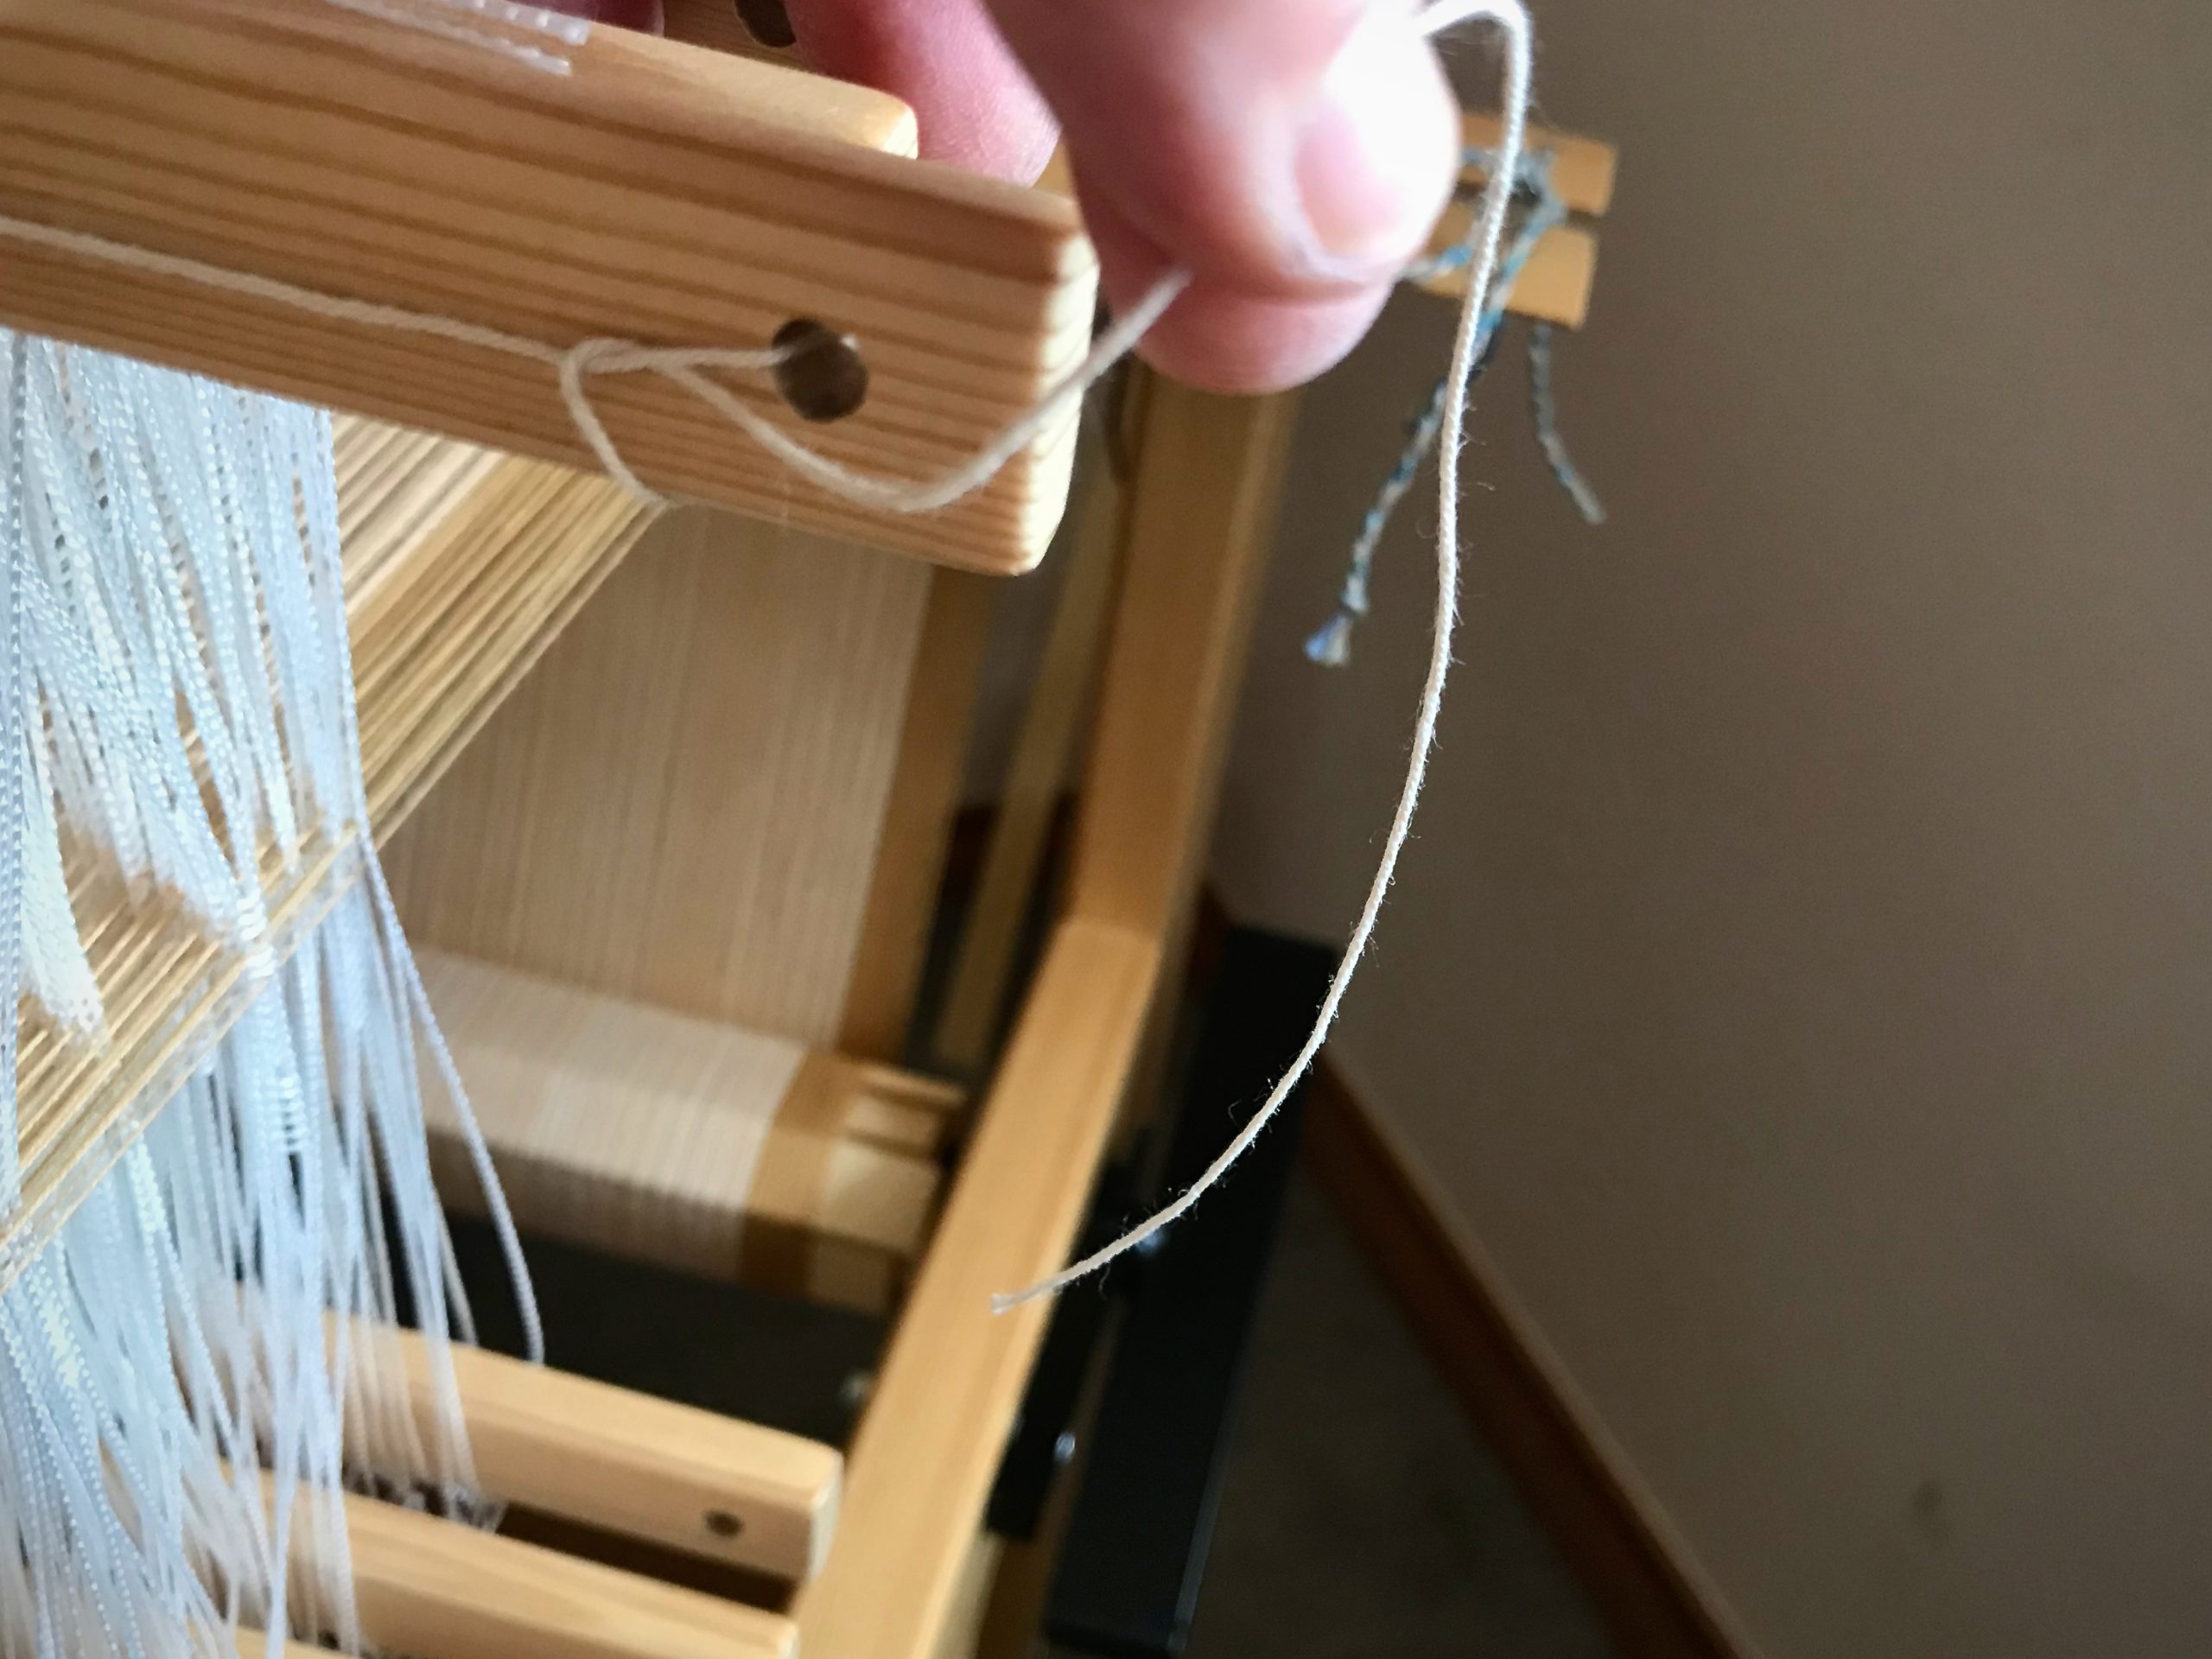
Thread the cord through the hole at the end of the bar.
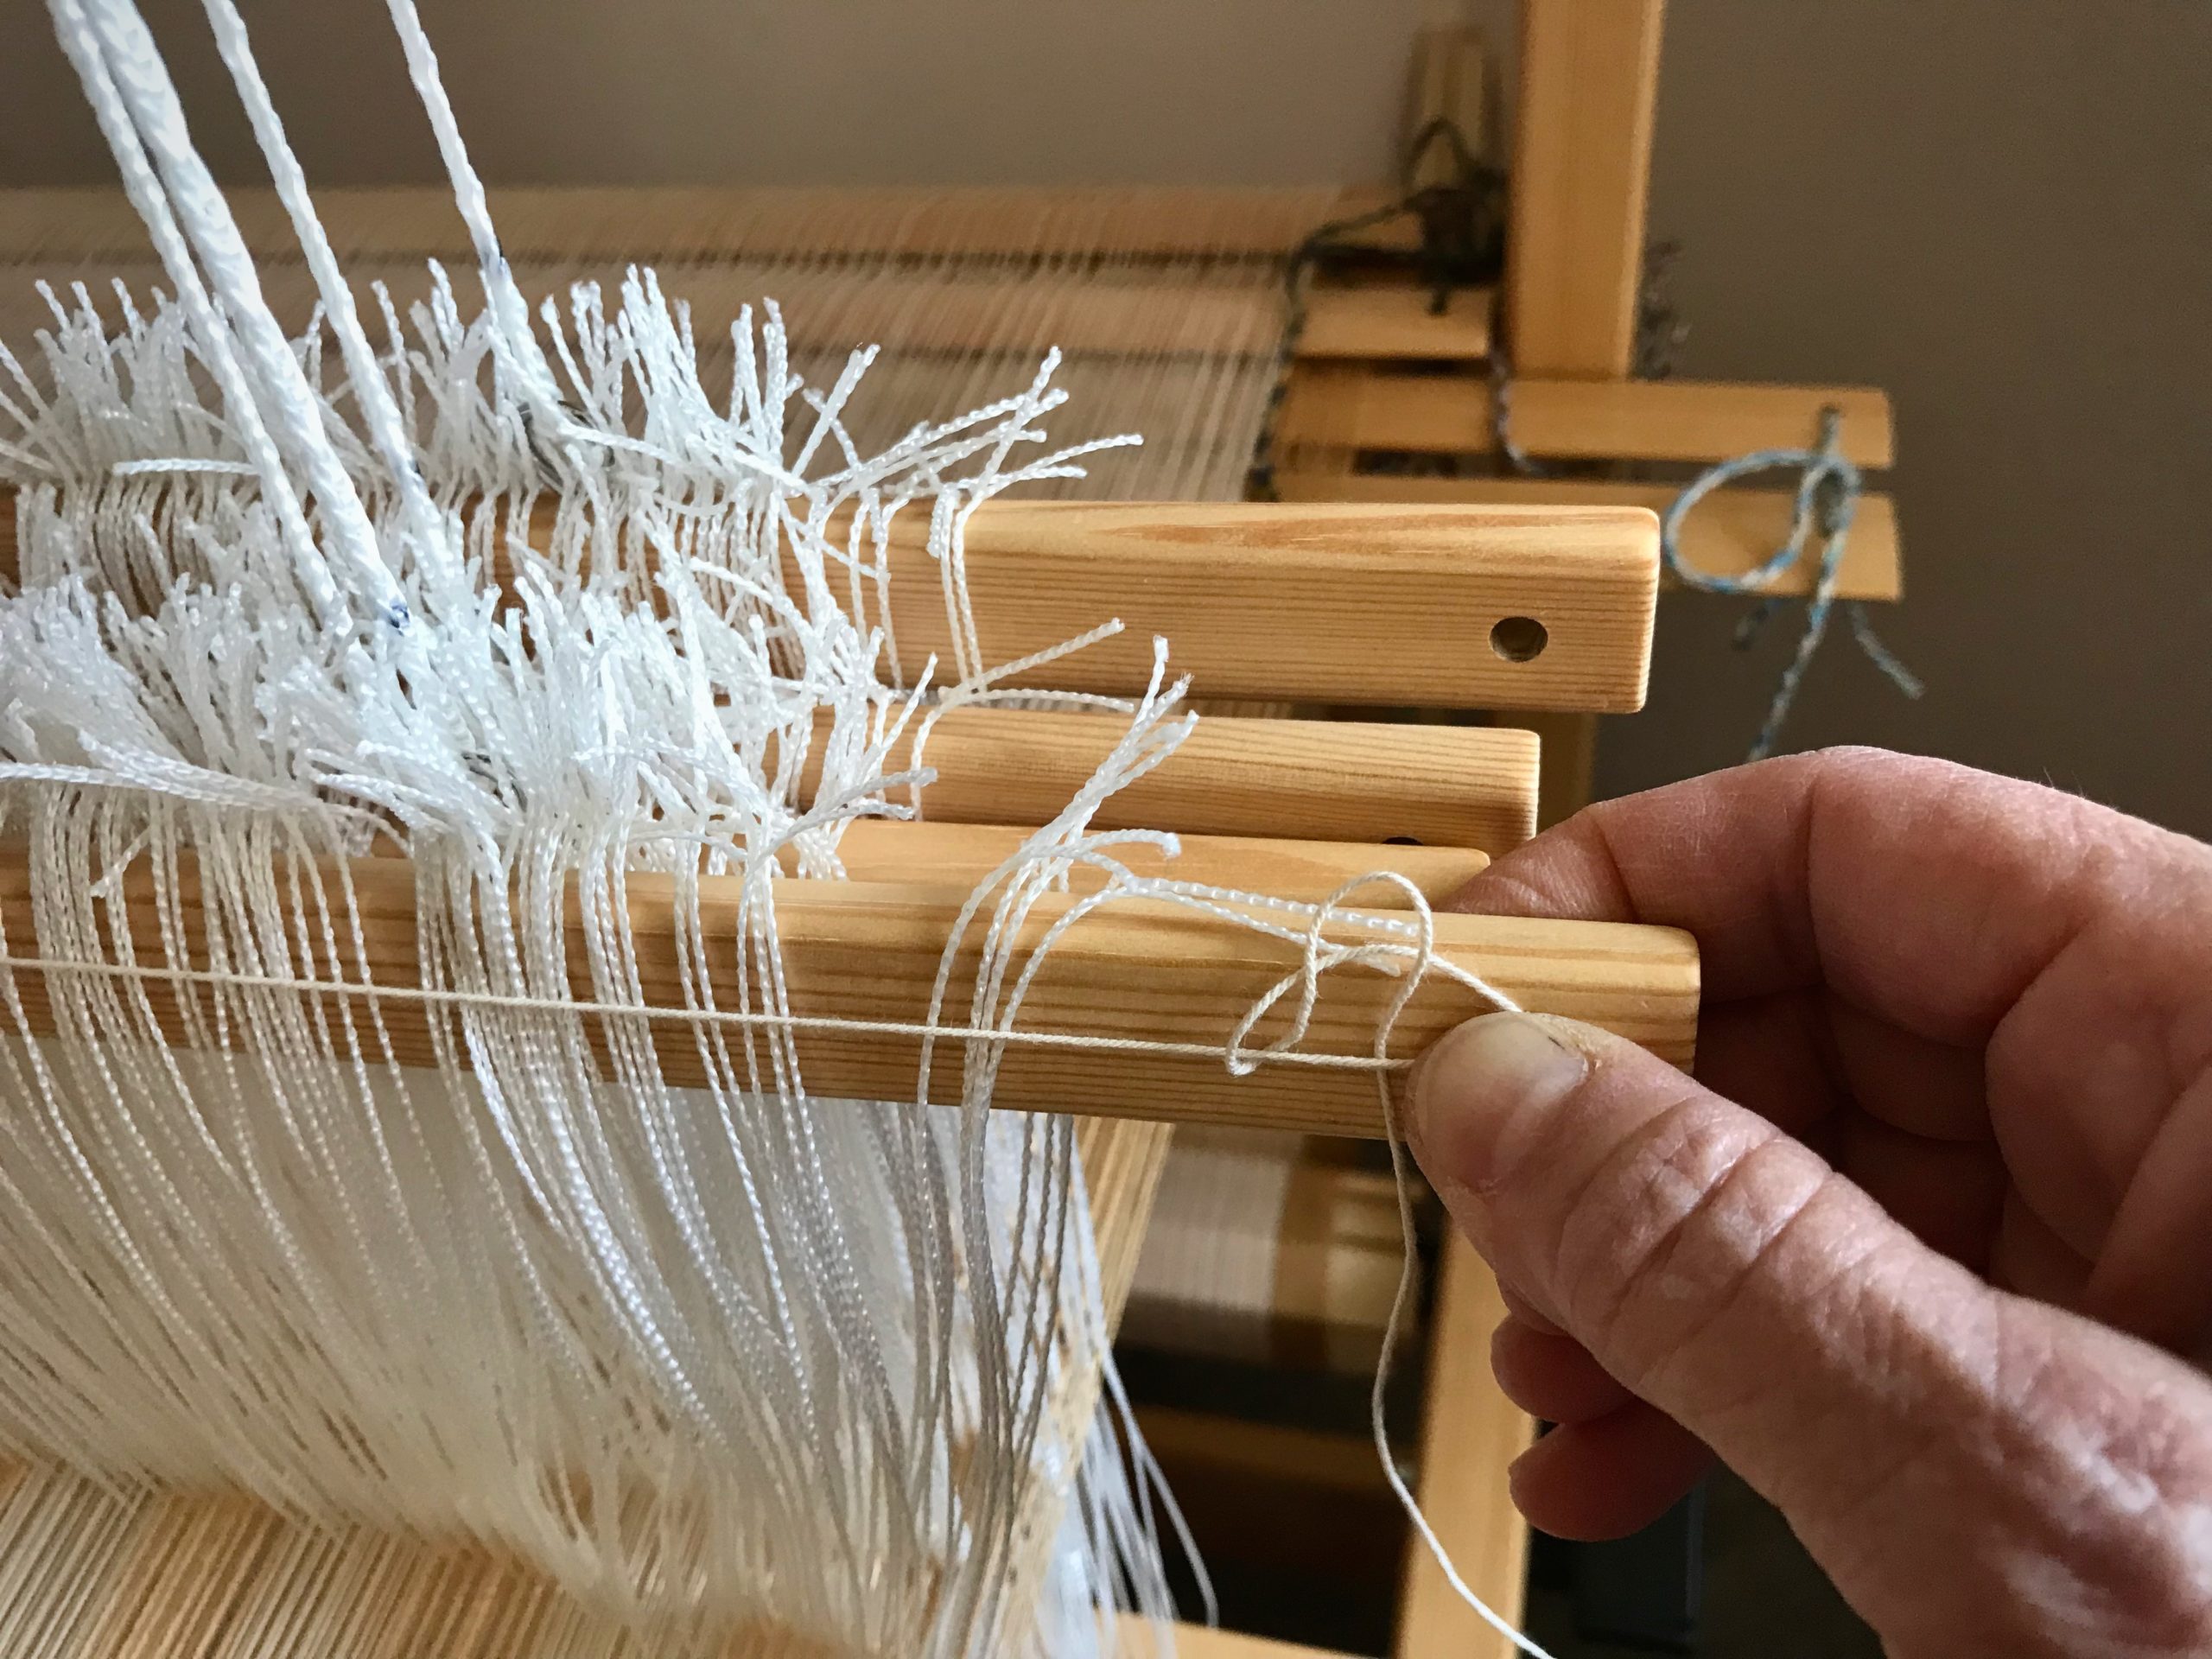
Tie a simple knot and tighten it.
Tie another simple knot, leaving a fold in the end of the cord.
Pull the loop to tighten the knot.

6 Repeat steps 4 and 5 for each remaining upper and lower shaft bar.

All tied up and ready to go! When this project is finished I will wind up these retaining cords on an empty tube and re-use them for the next wide warp on the Julia.

Continue weaving with one less thing to think about.

45 minutes: Time it took to reposition heddles that had slipped off a few shafts and were in a mess because I didn’t notice it immediately.
Less than 10 minutes: Time it took to cut string and tie retaining cords on 4 upper shaft bars and 4 lower shaft bars.

‘Nuff said.

May you take the time to do what needs to be done.

Ever Learning,
Karen

Tried and True: When the Shed is Missing

You followed all the instructions for dressing the loom, and have finished the countermarch tie-up. Now, at the moment of triumph you step on the treadles, one by one. Alas! Some or all of the treadles give you nothing you can call a shed. Now what? Maybe you relate to Laura who wrote me recently, “I can’t seem to get the treadles to make a shed.”

The solution is simple. Follow the advice in this sentence on page 37 of Learning to Warp your Loom, by Joanne Hall, “If your sheds are not good, check your loom tie-up from the top down.”

If sheds are missing, there is a good chance you have a crossed cord.

Warp is threaded, sleyed, and tied on. After arranging and connecting a few Texsolv cords, I will tie up the treadles.

Find Misaligned Cords

1 Follow each Texsolv cord, starting from the countermarch at top of the loom.

All the shafts are good to go, right? Not quite. Better see what’s happening at the top of those Texsolv cords.

2 Make sure that each cord is connected in the right order at the right place.

Is the first countermarch jack connected to the first shaft, the second jack to the second shaft, and so on?

Misaligned cords as seen from the top of the loom.

Are the cords that go to the lower lamms strictly in order?

– With horizontal countermarch, does each cord fall behind the shafts in order?

Cords from the horizontal countermarch go through the center of the warp, to be attached to lower lamms below.
Make sure each cord goes behind its corresponding shaft bars to the lamms below. When attaching the cords to the lamms, make sure the cords are attached in the correct order. If loom is already tied up, follow each cord to check that it is attached to its corresponding lamm.

– With vertical countermarch, is each cord on its pulley, and connected to lamms in the right order?

Vertical countermarch has cords that go over pulleys on the side down to the lower lamms. I have to be extra careful to keep from attaching a cord to the wrong lamm.

3 Correct any misaligned cord.

Now, step on each treadle, one by one. Decent sheds that just need a little refining? Triumph!

Helpful Habit

When attaching a cord while dressing the loom, start your hand at the top of the cord and slide it down to the point of connection. This helps you take hold of the correct cord.

Ready to connect the shaft cords on the Glimåkra Julia, made easy by the small hooks on the shaft bars. Instead of expecting the cords to hang straight down in order, I reach my hand up to the top of the cord.
Touching where the cord meets the wood, I know I have the correct cord for the shaft closest to the front of the loom. I do the same for the next cord.
My hand slides down the cord and I connect the cord to the correct shaft. Now, all that’s left is tying up the treadles. Then, we weave!

May none of your cords be crossed.

Happy Weaving,
Karen