Perfect Warp Tension?

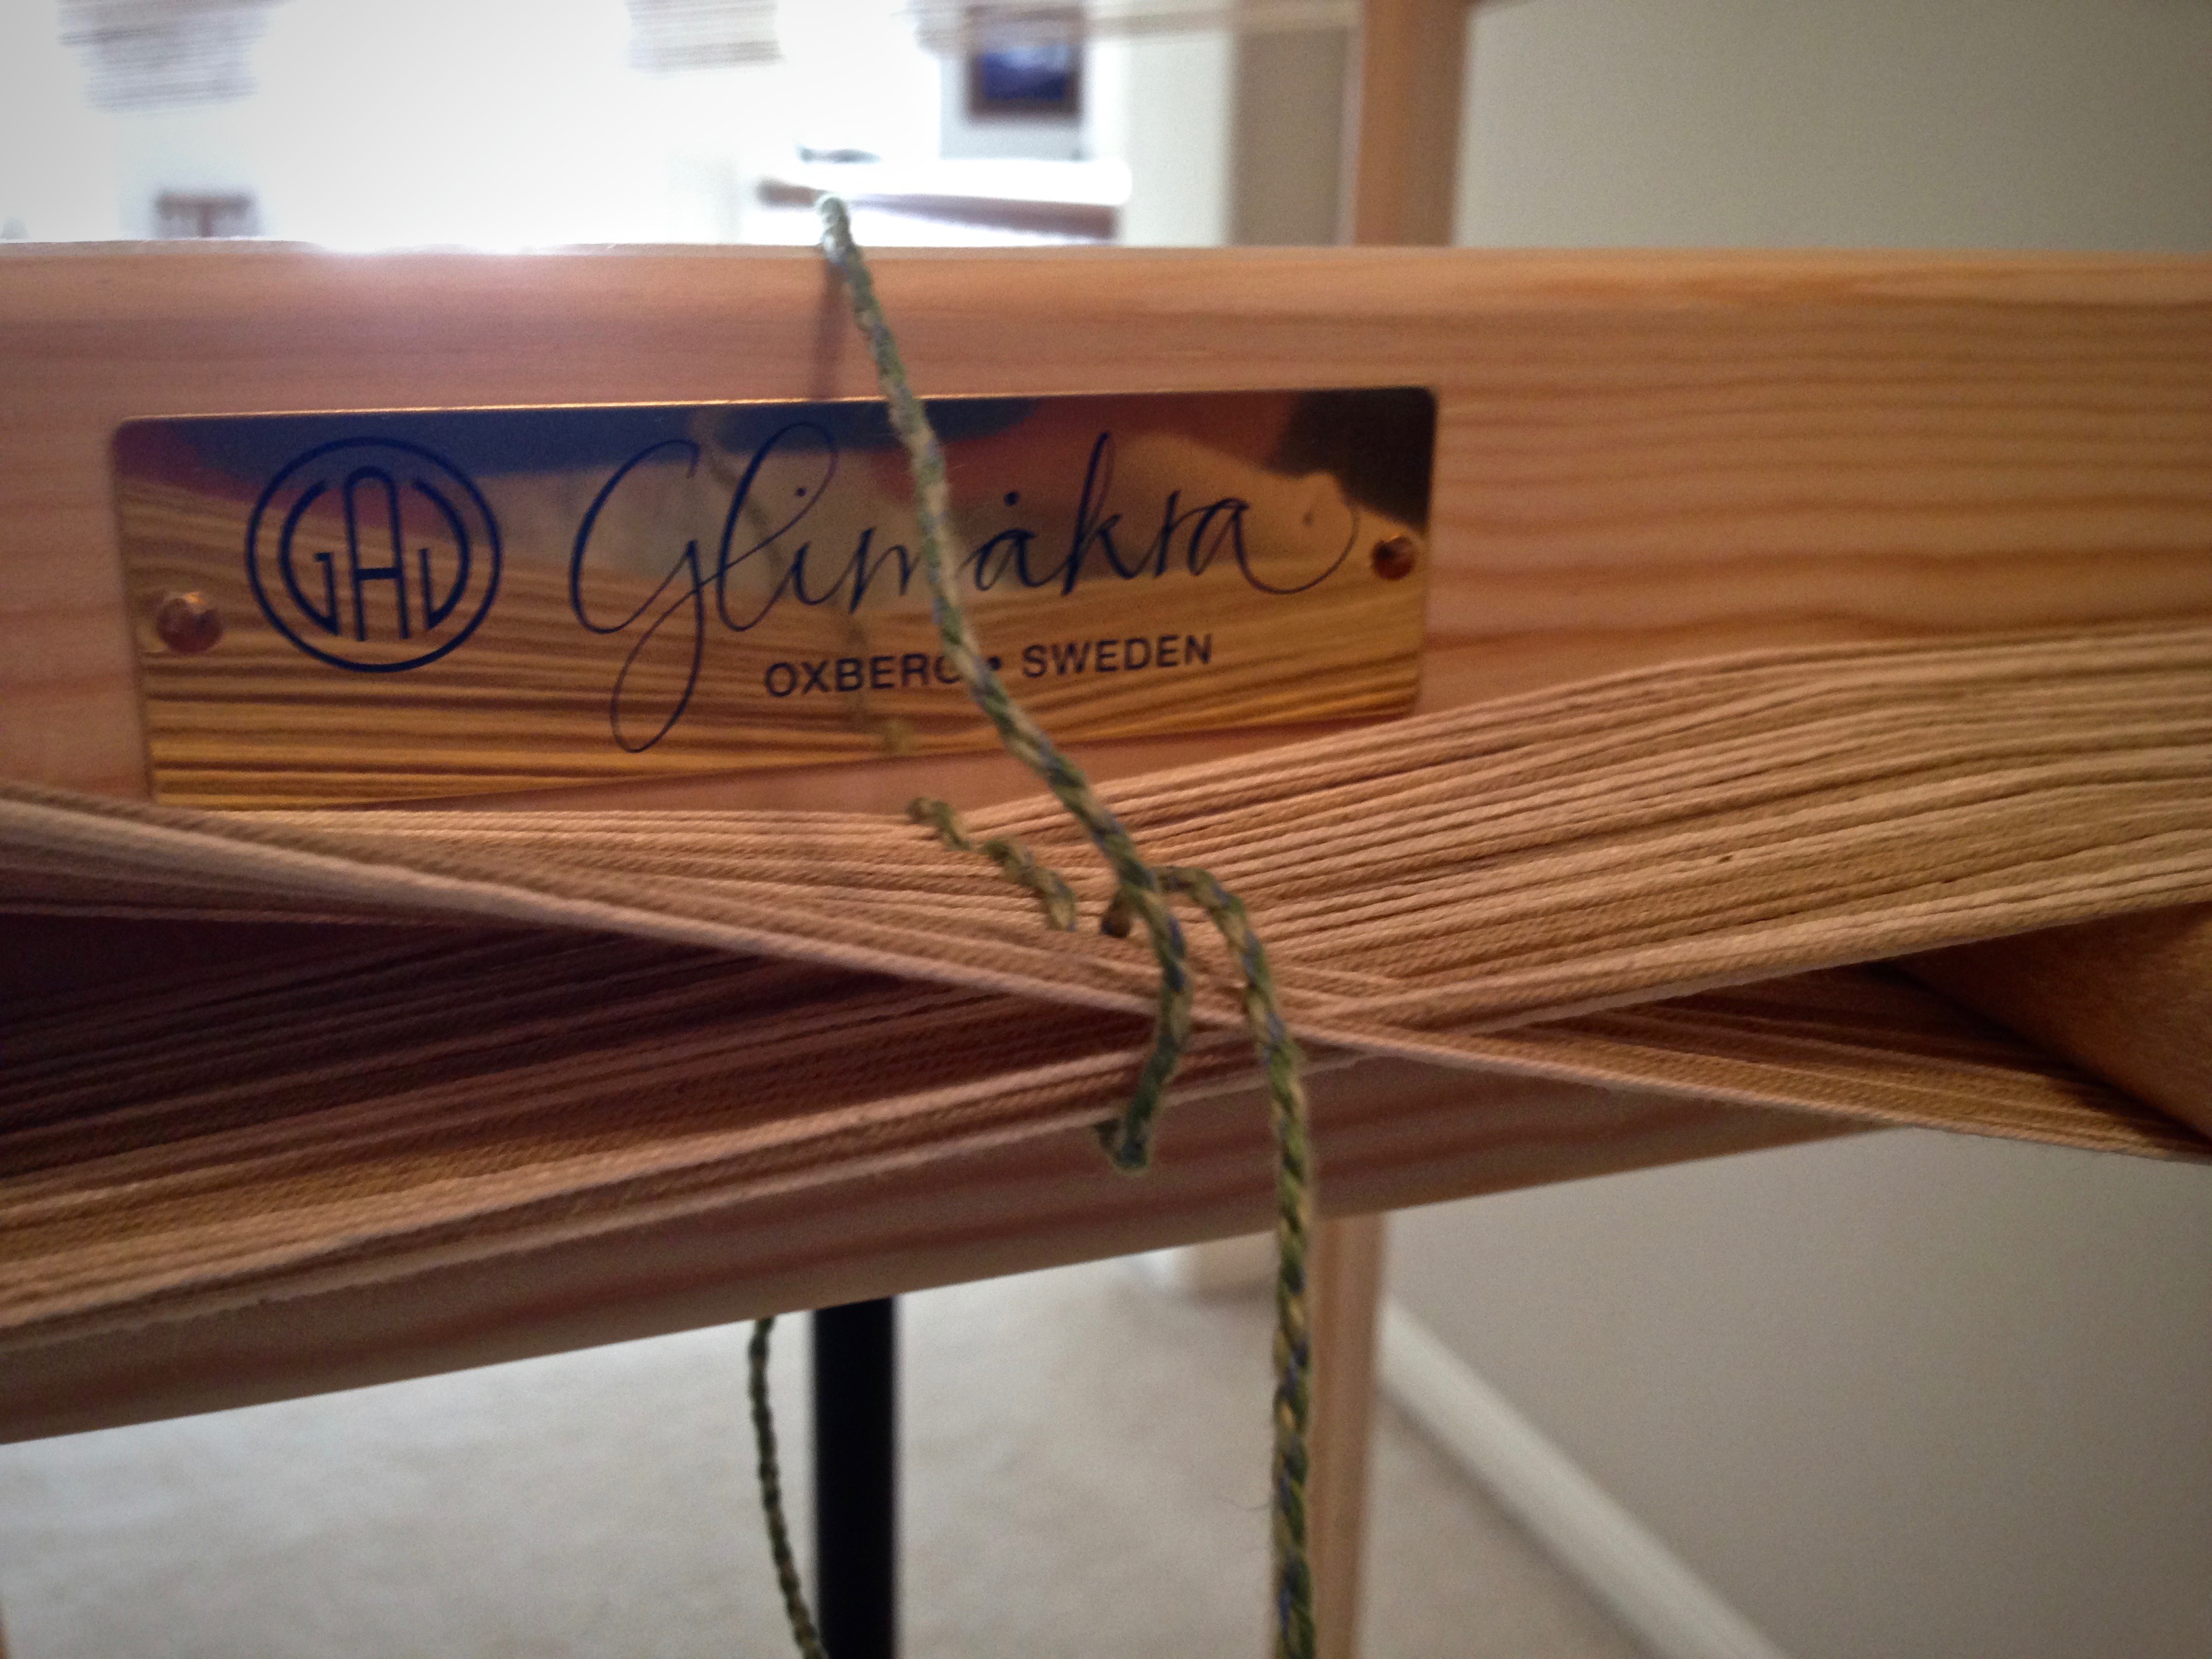
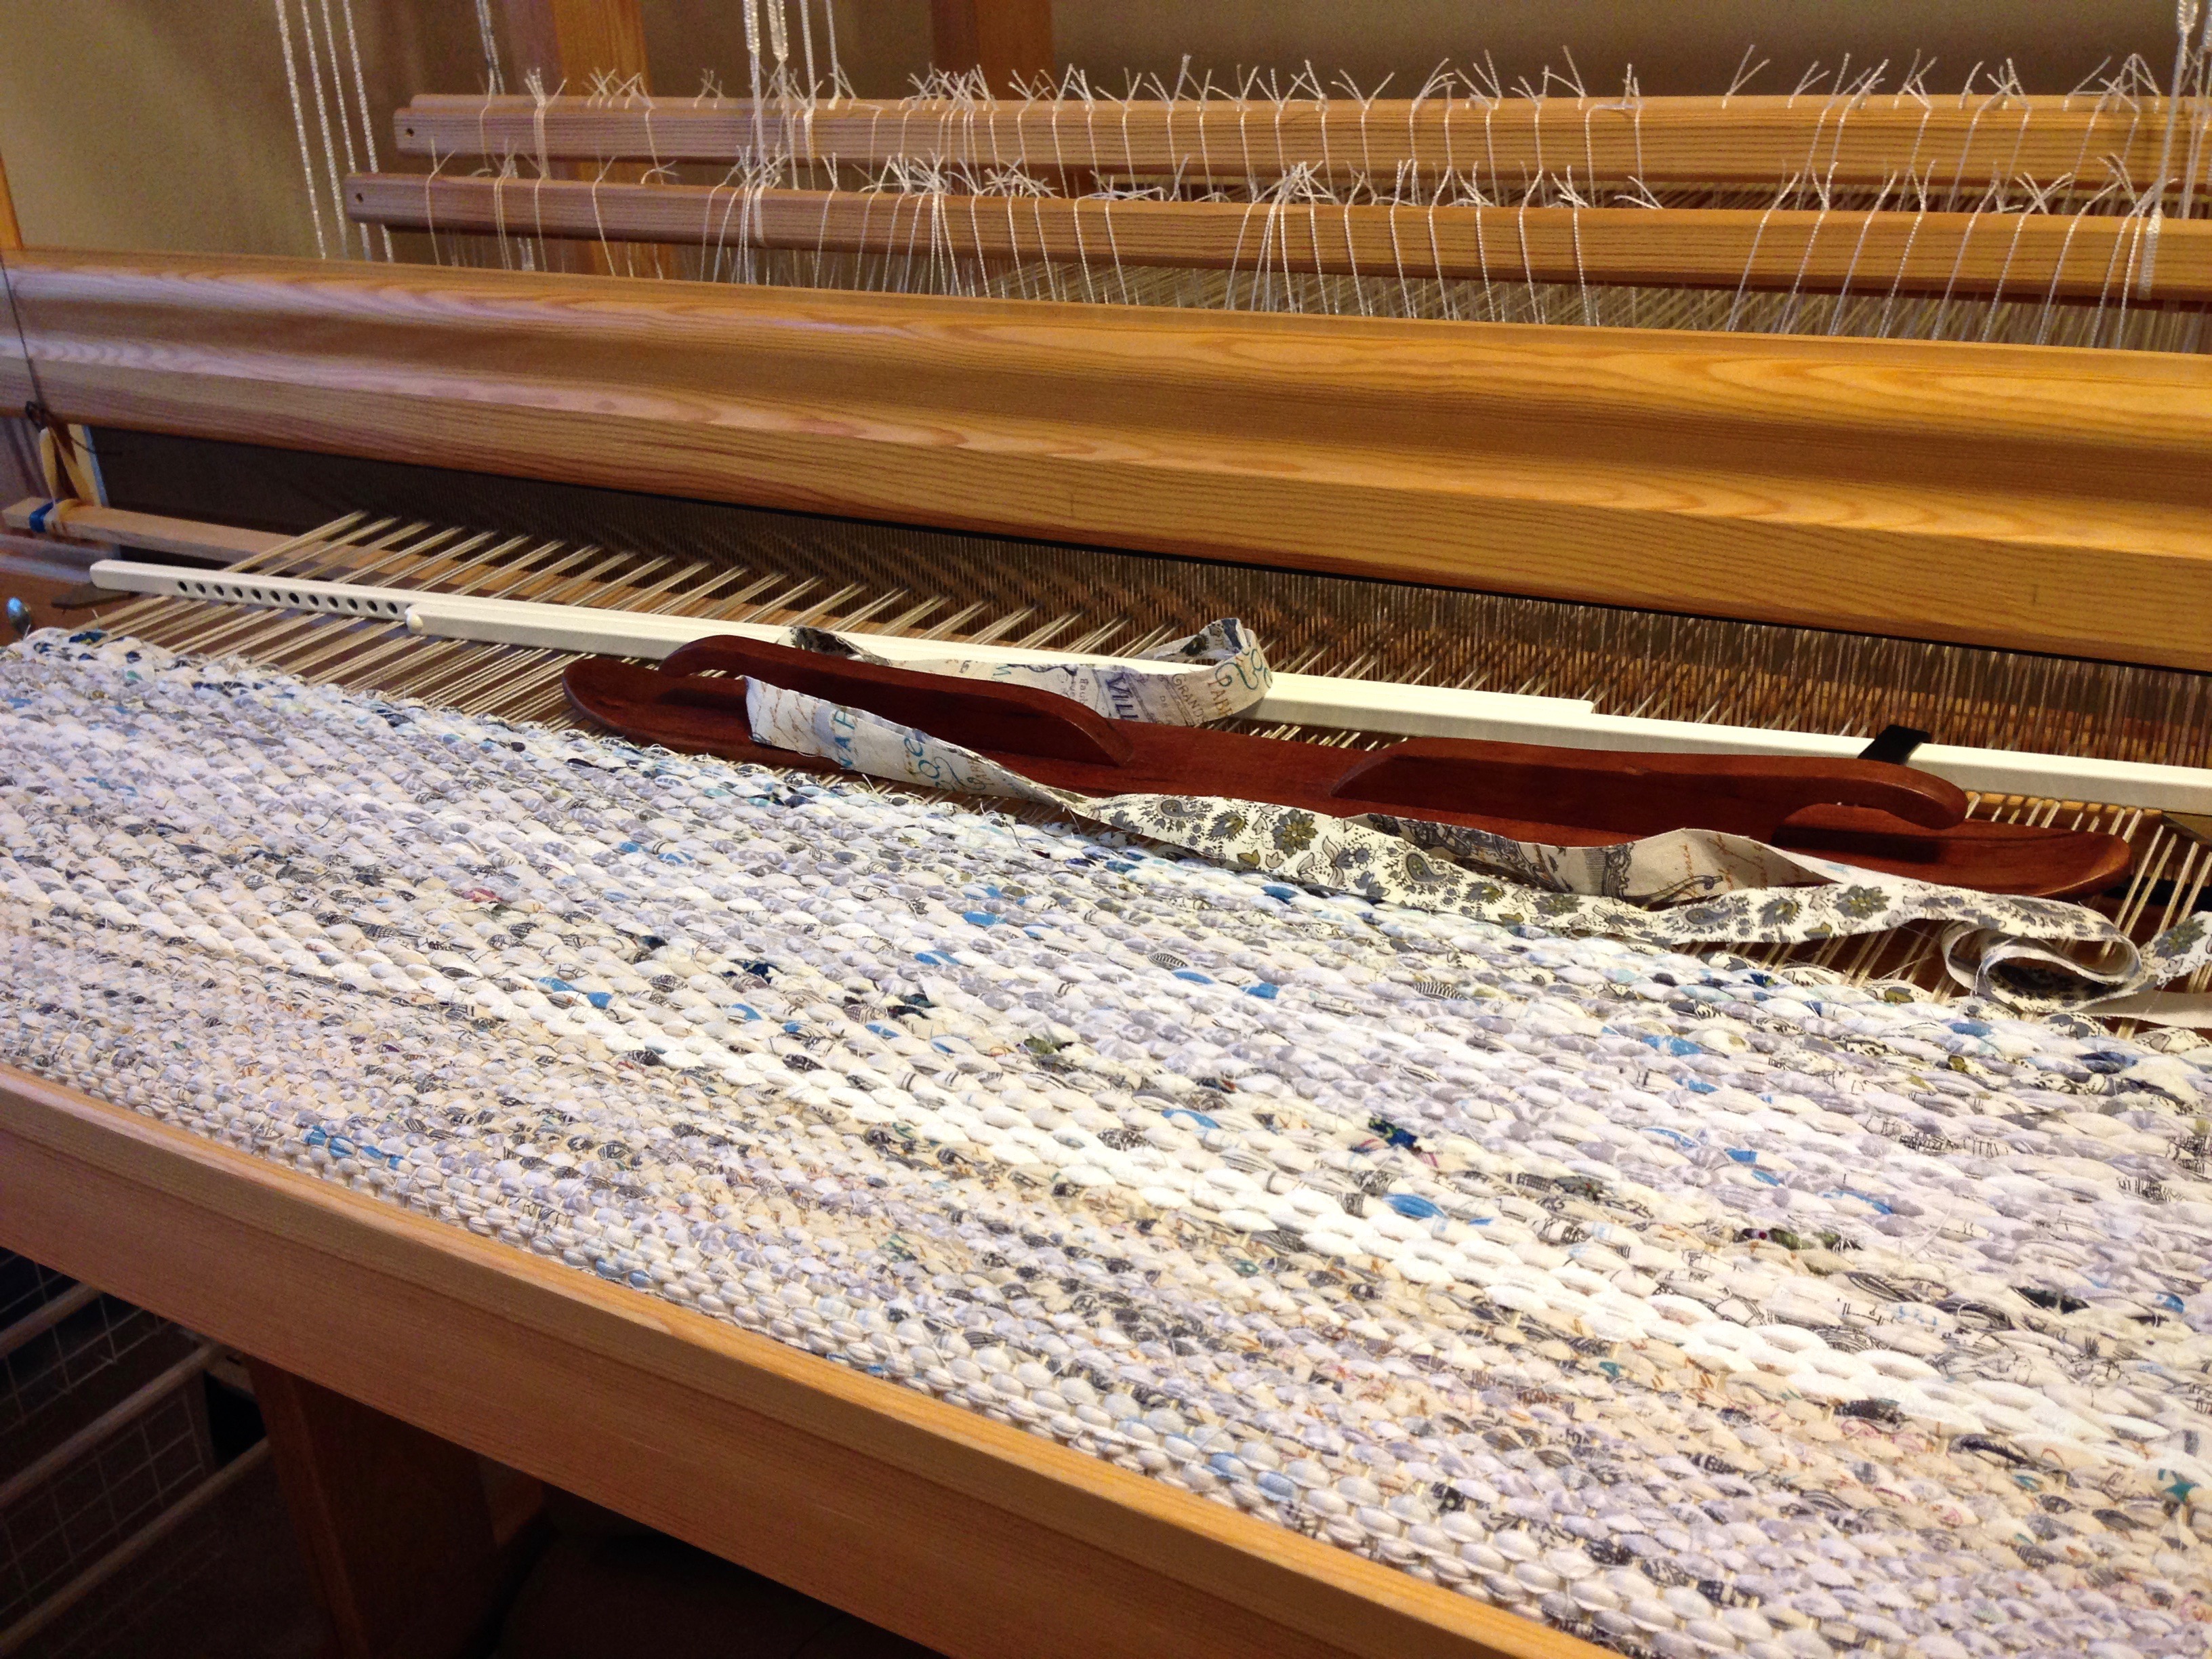
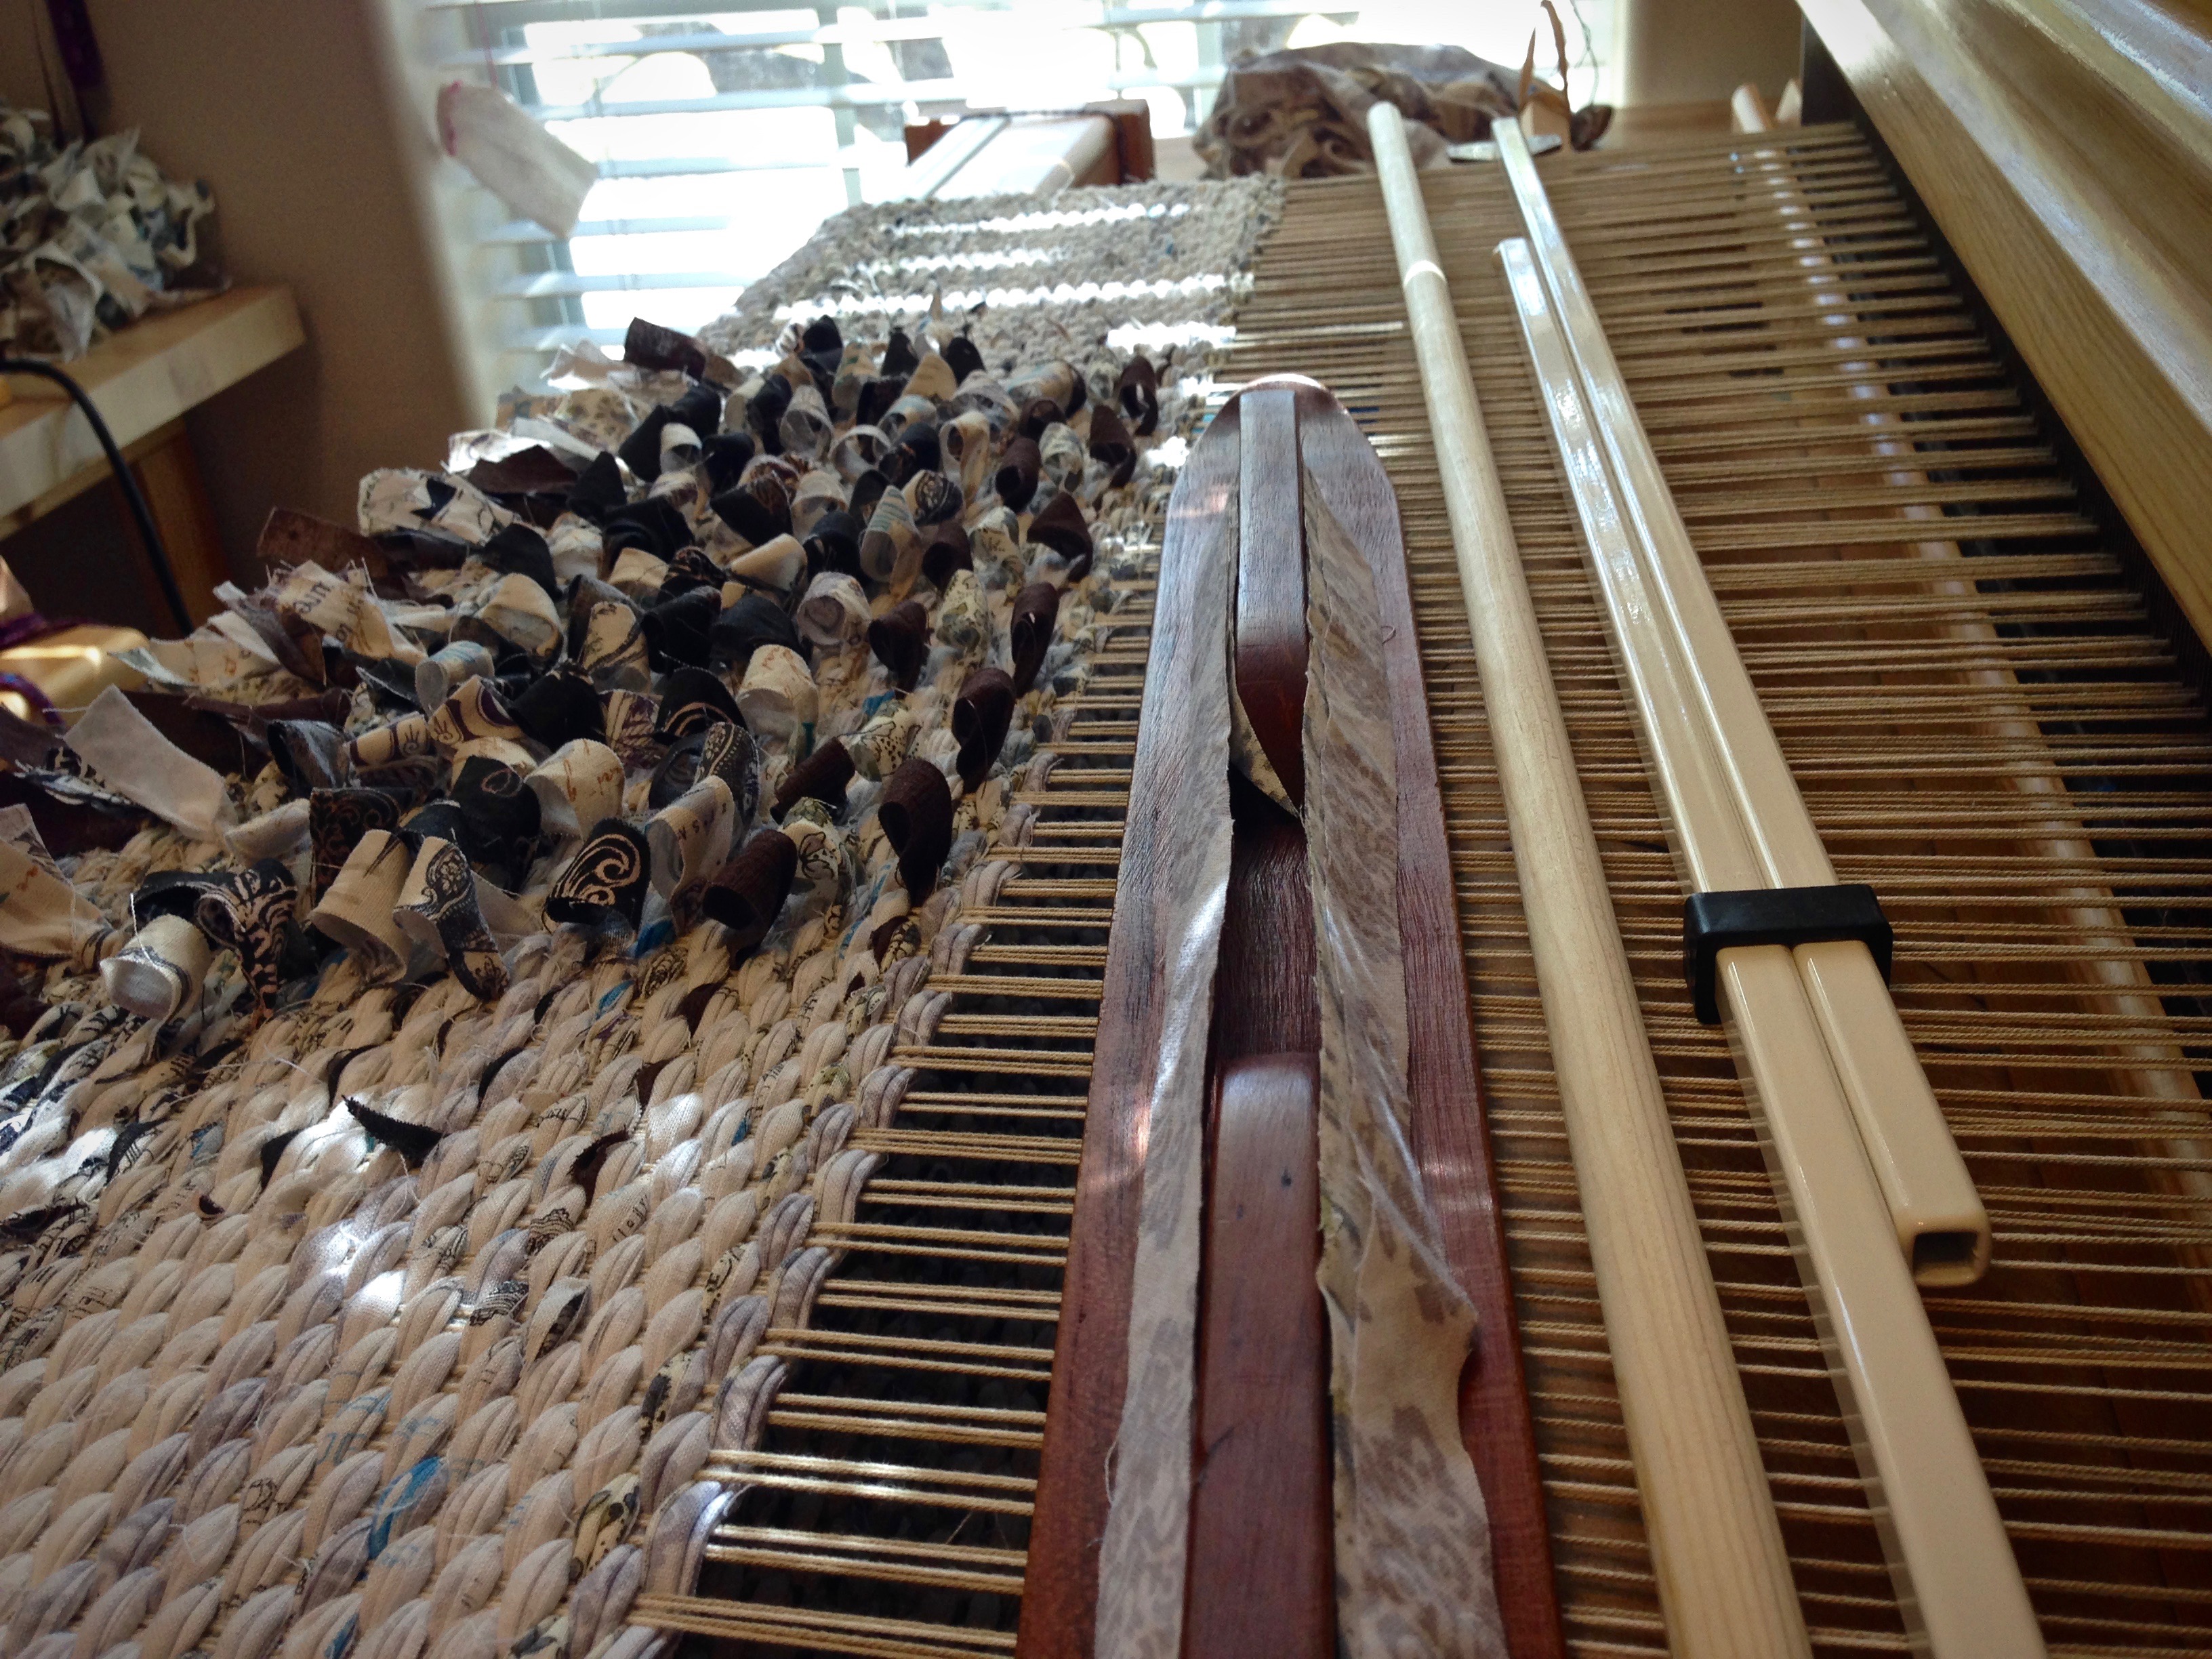
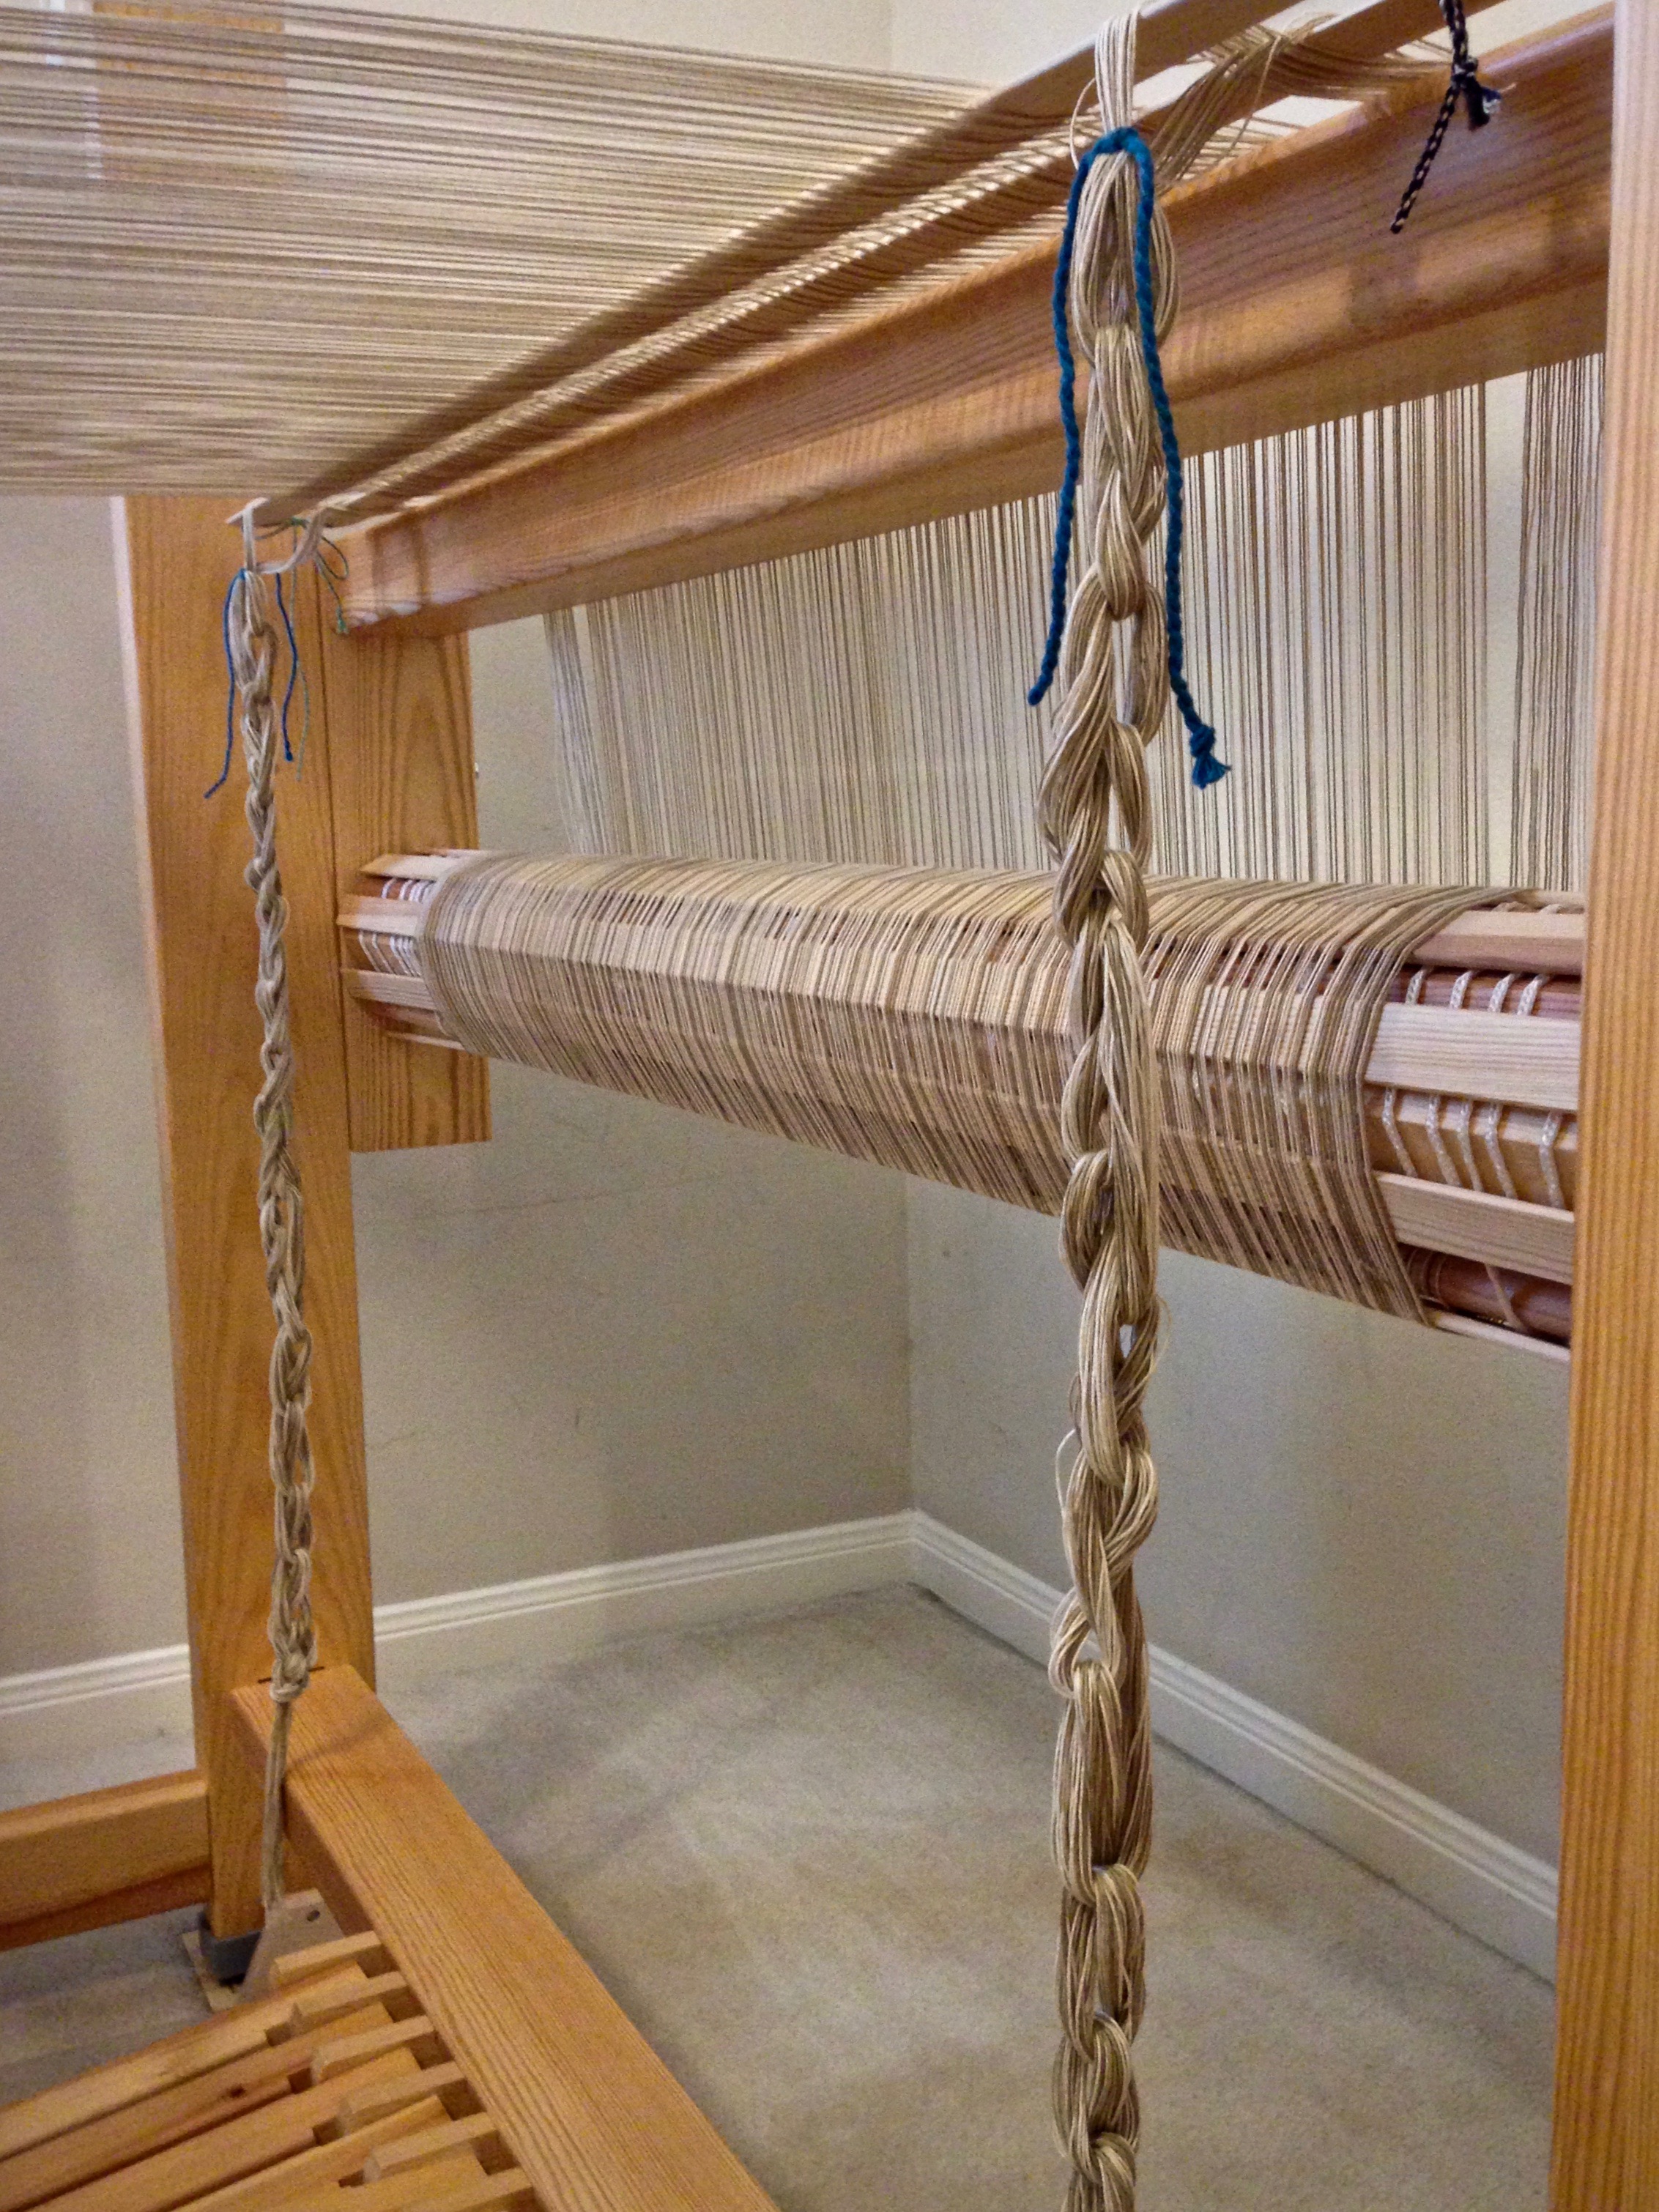
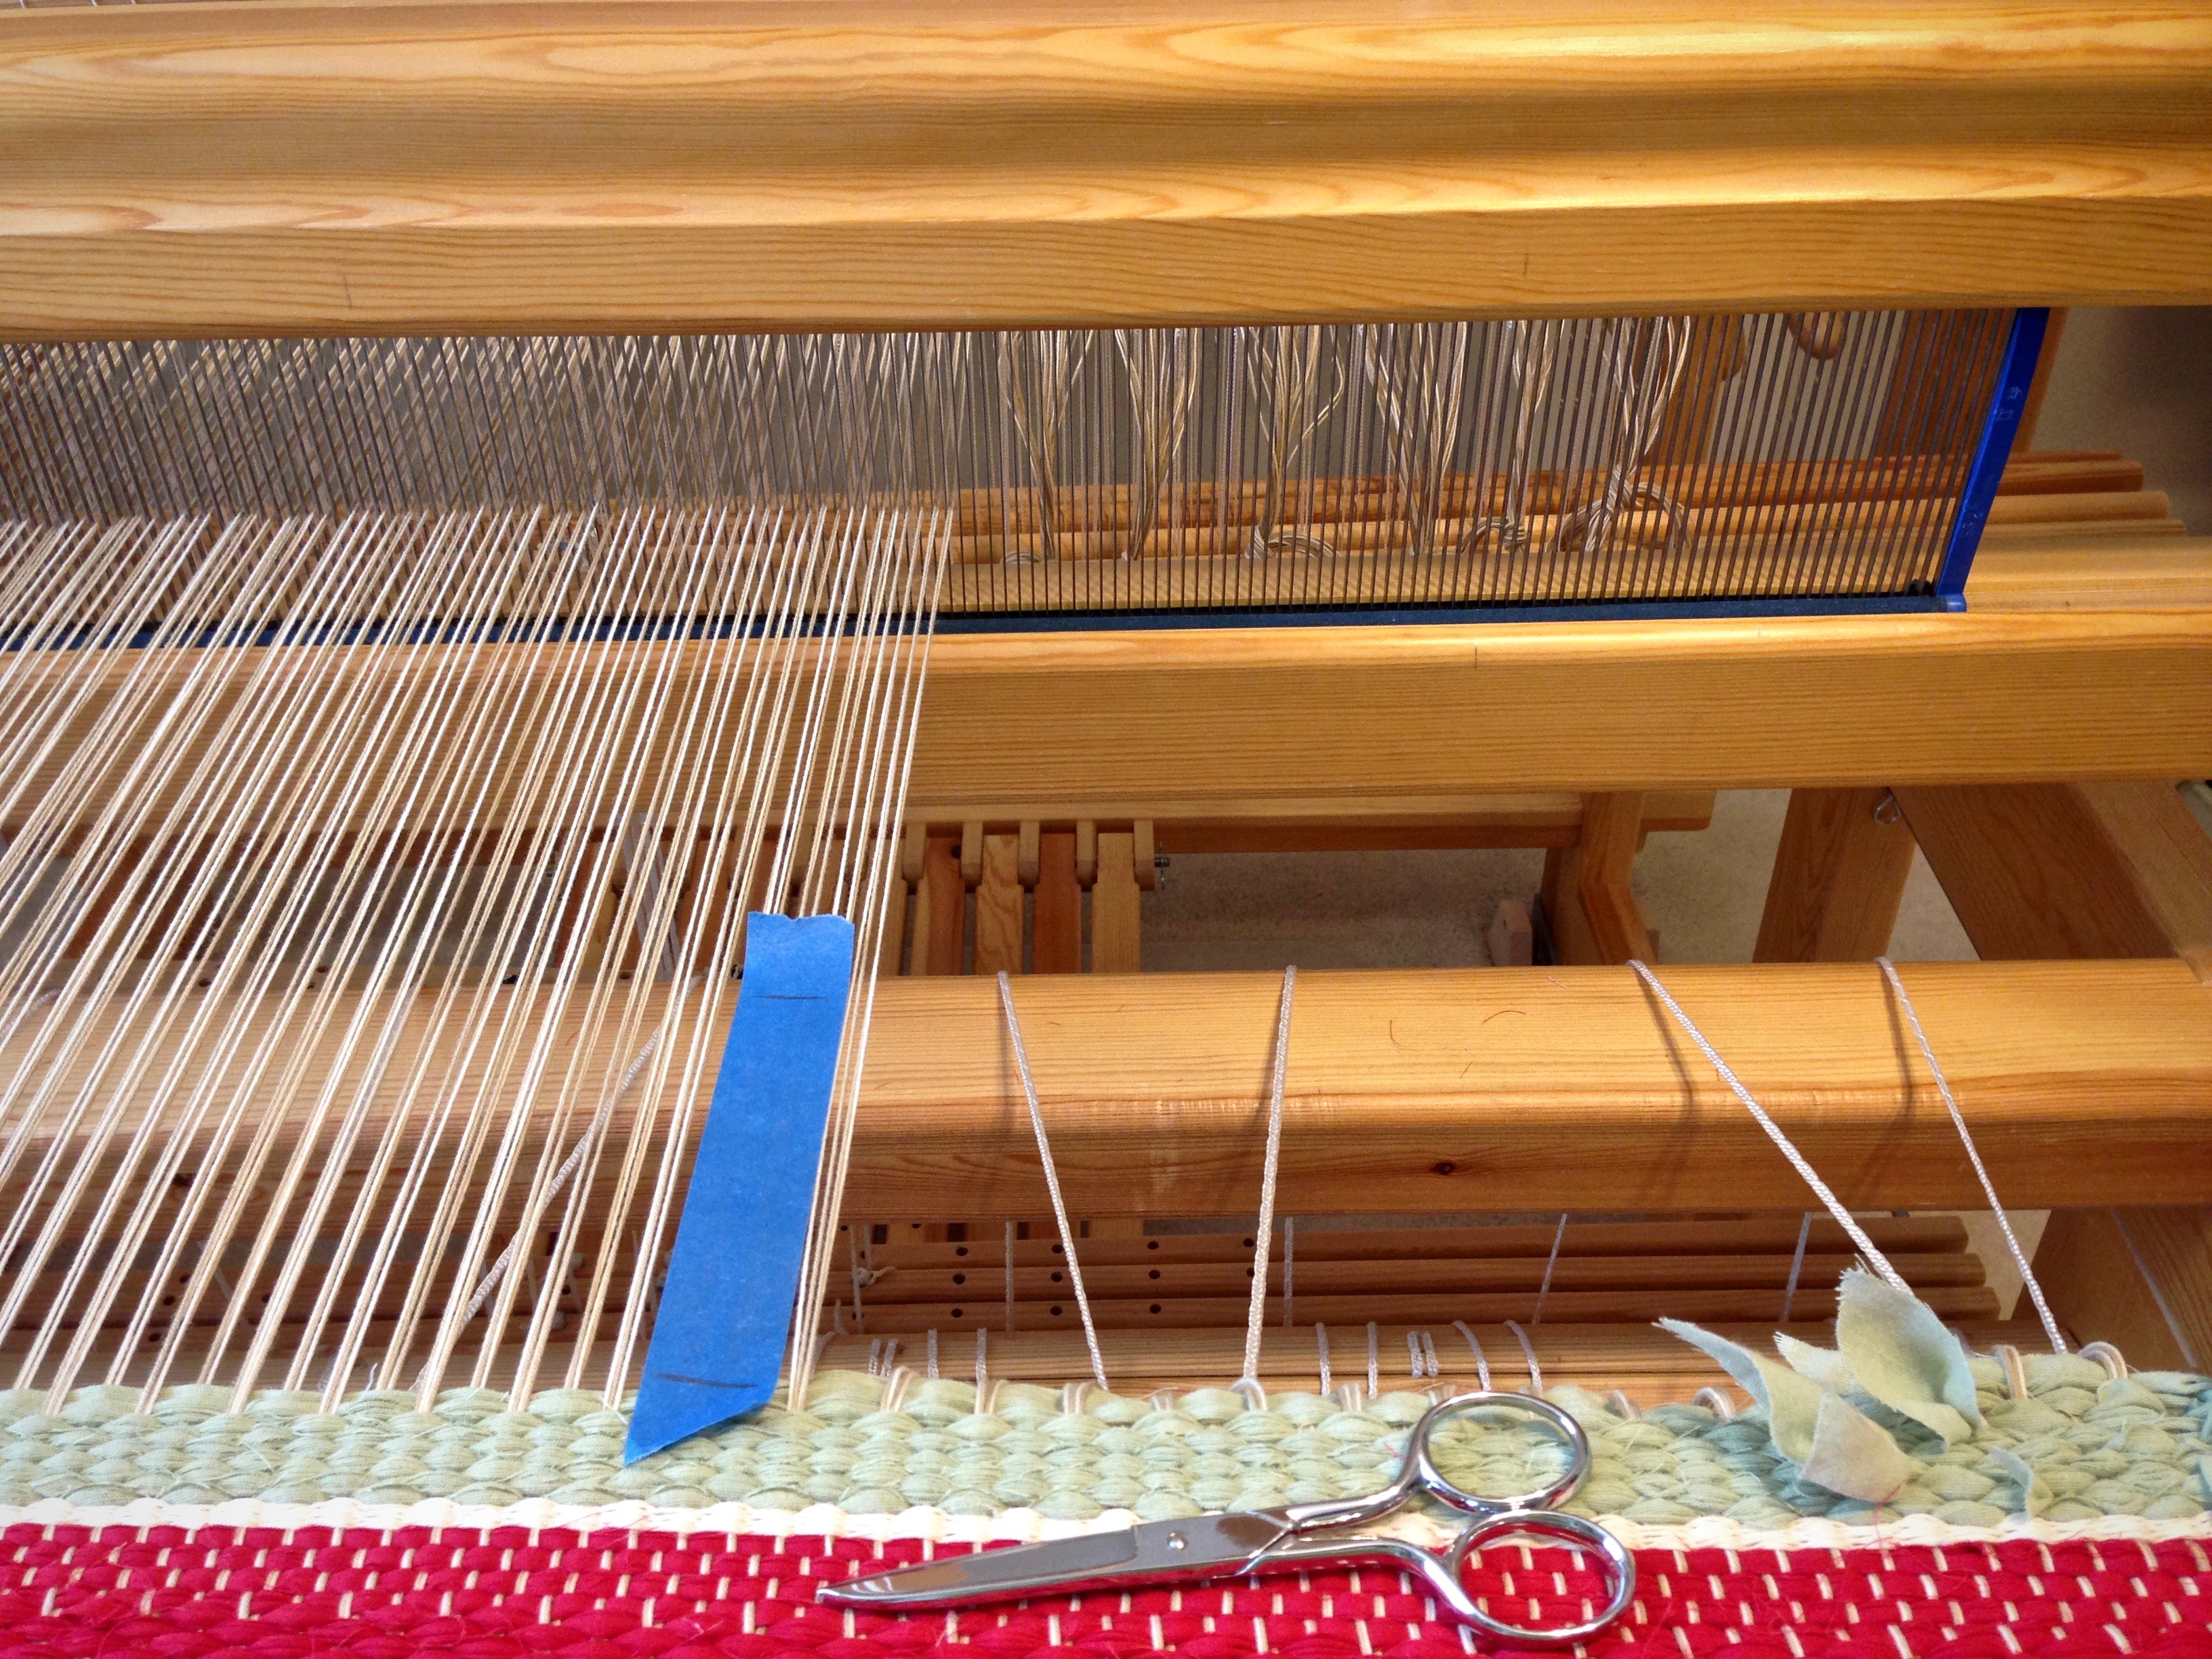
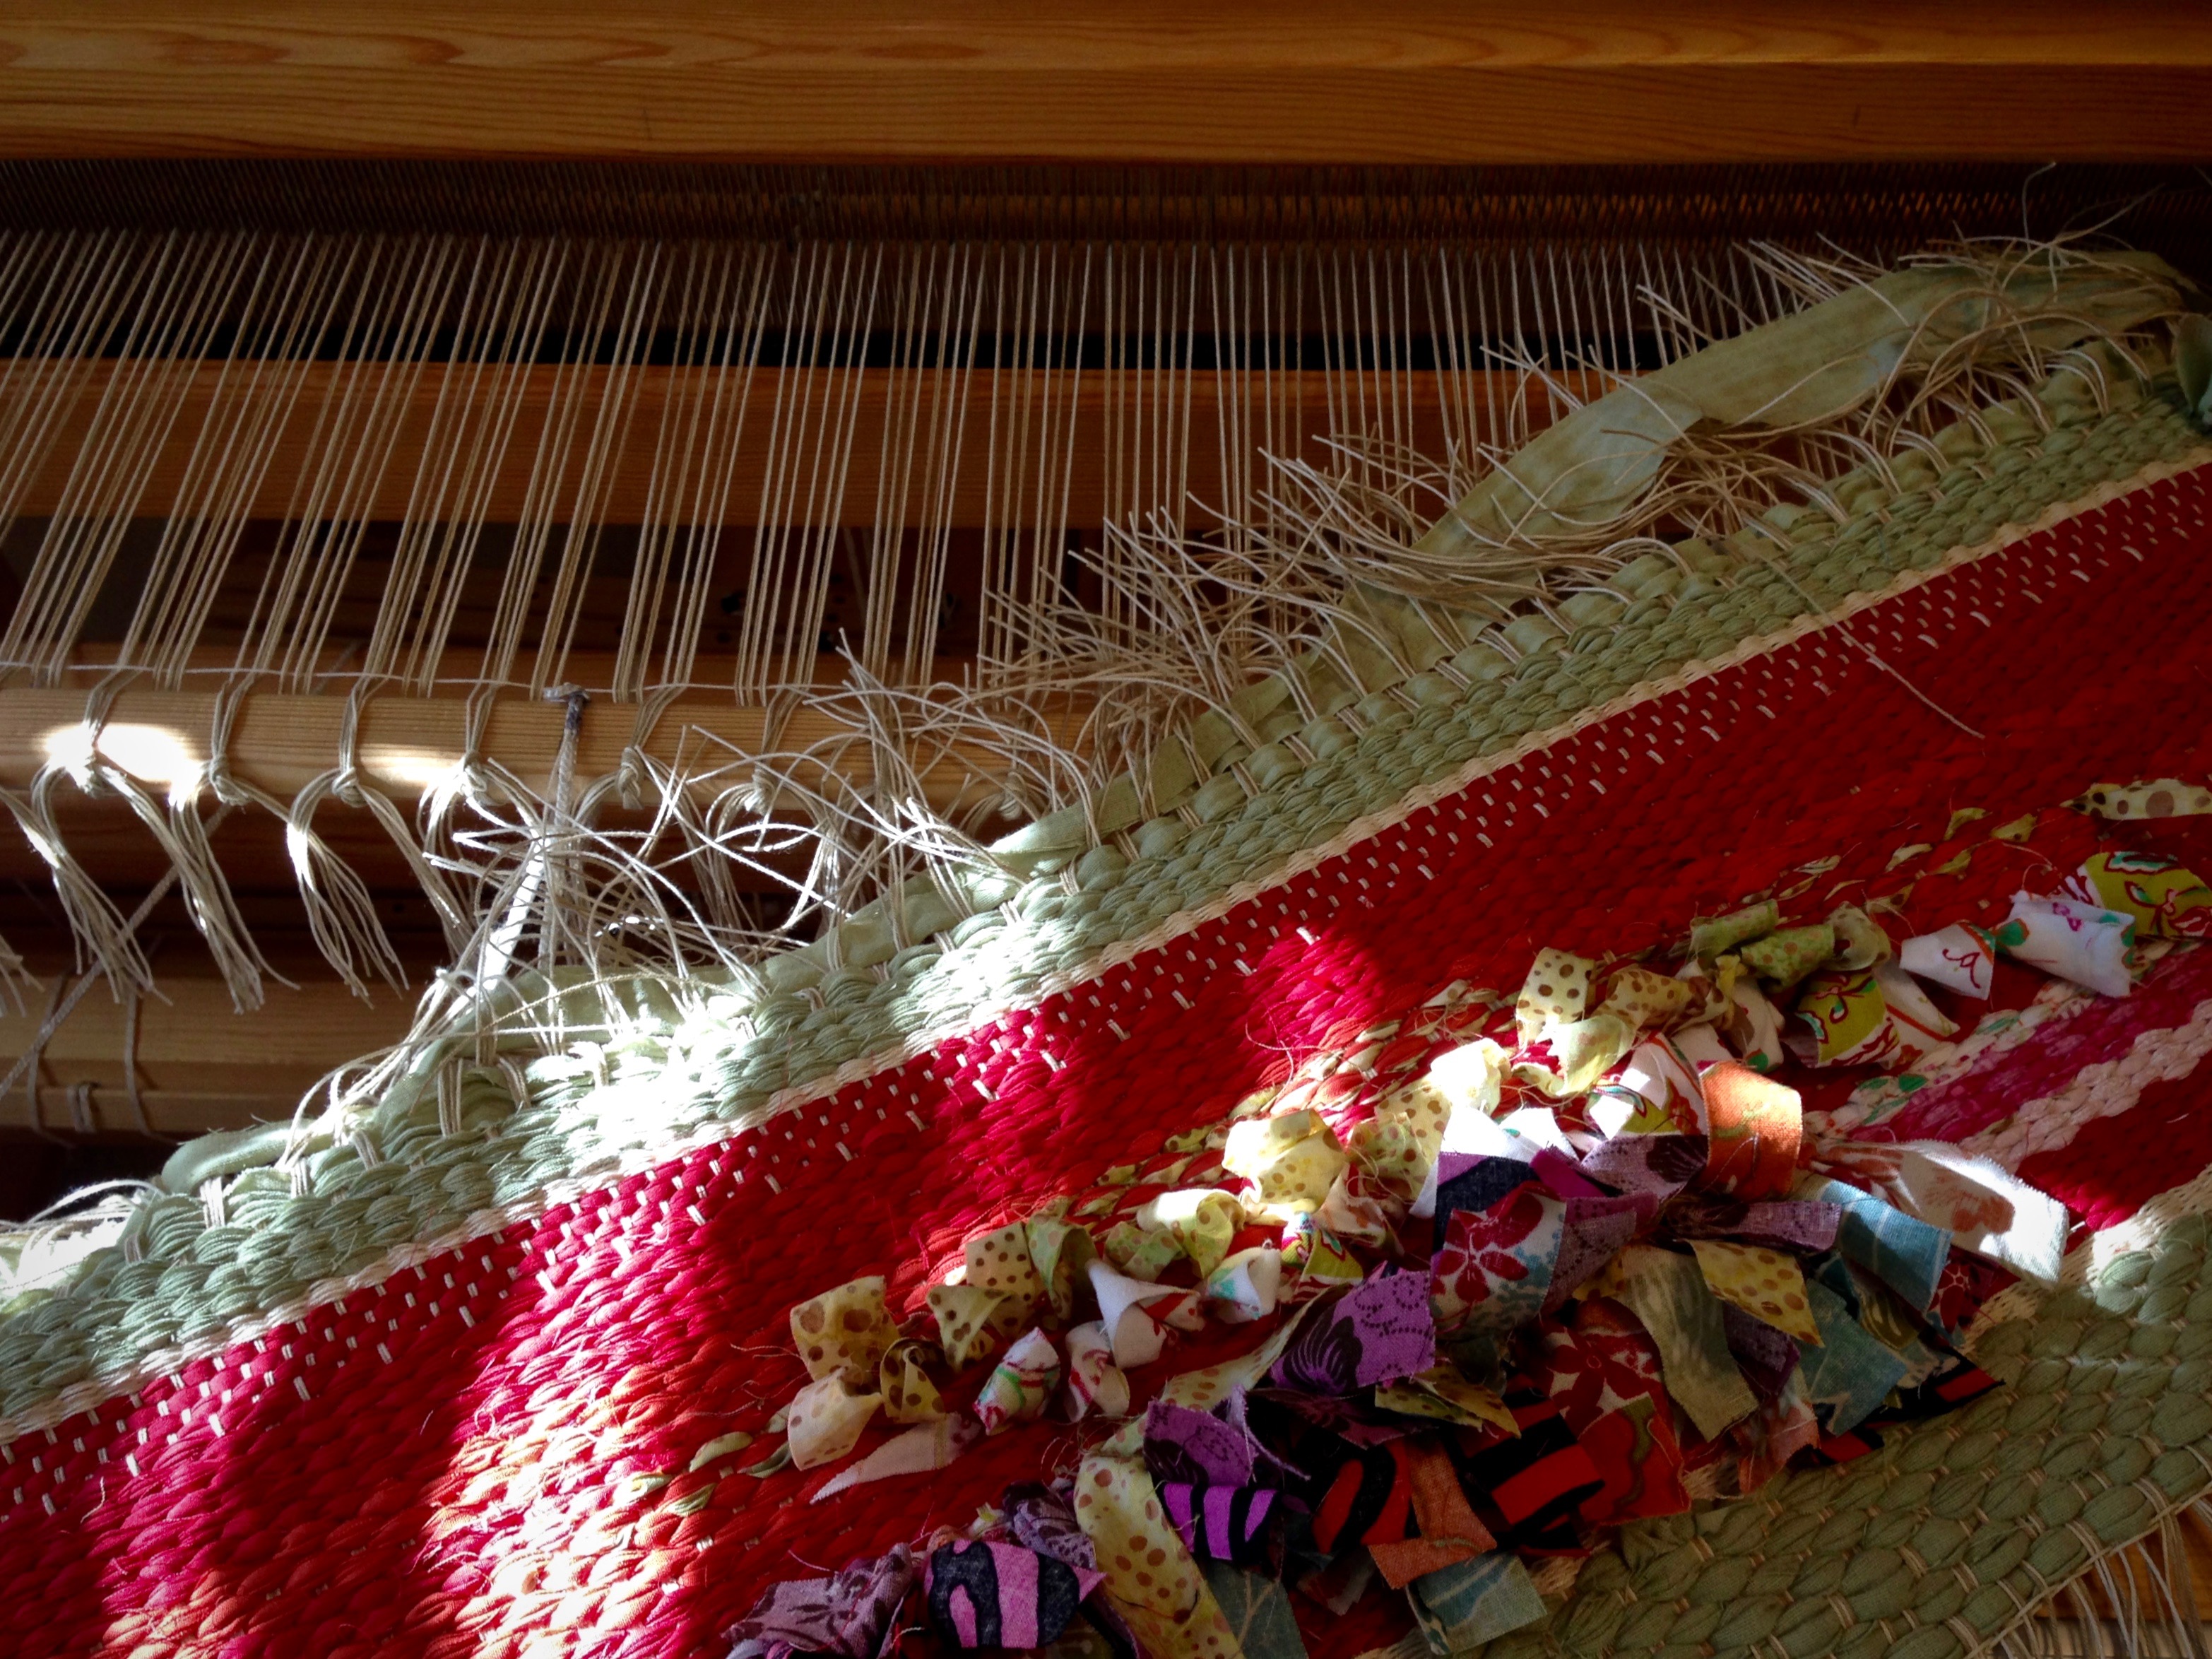
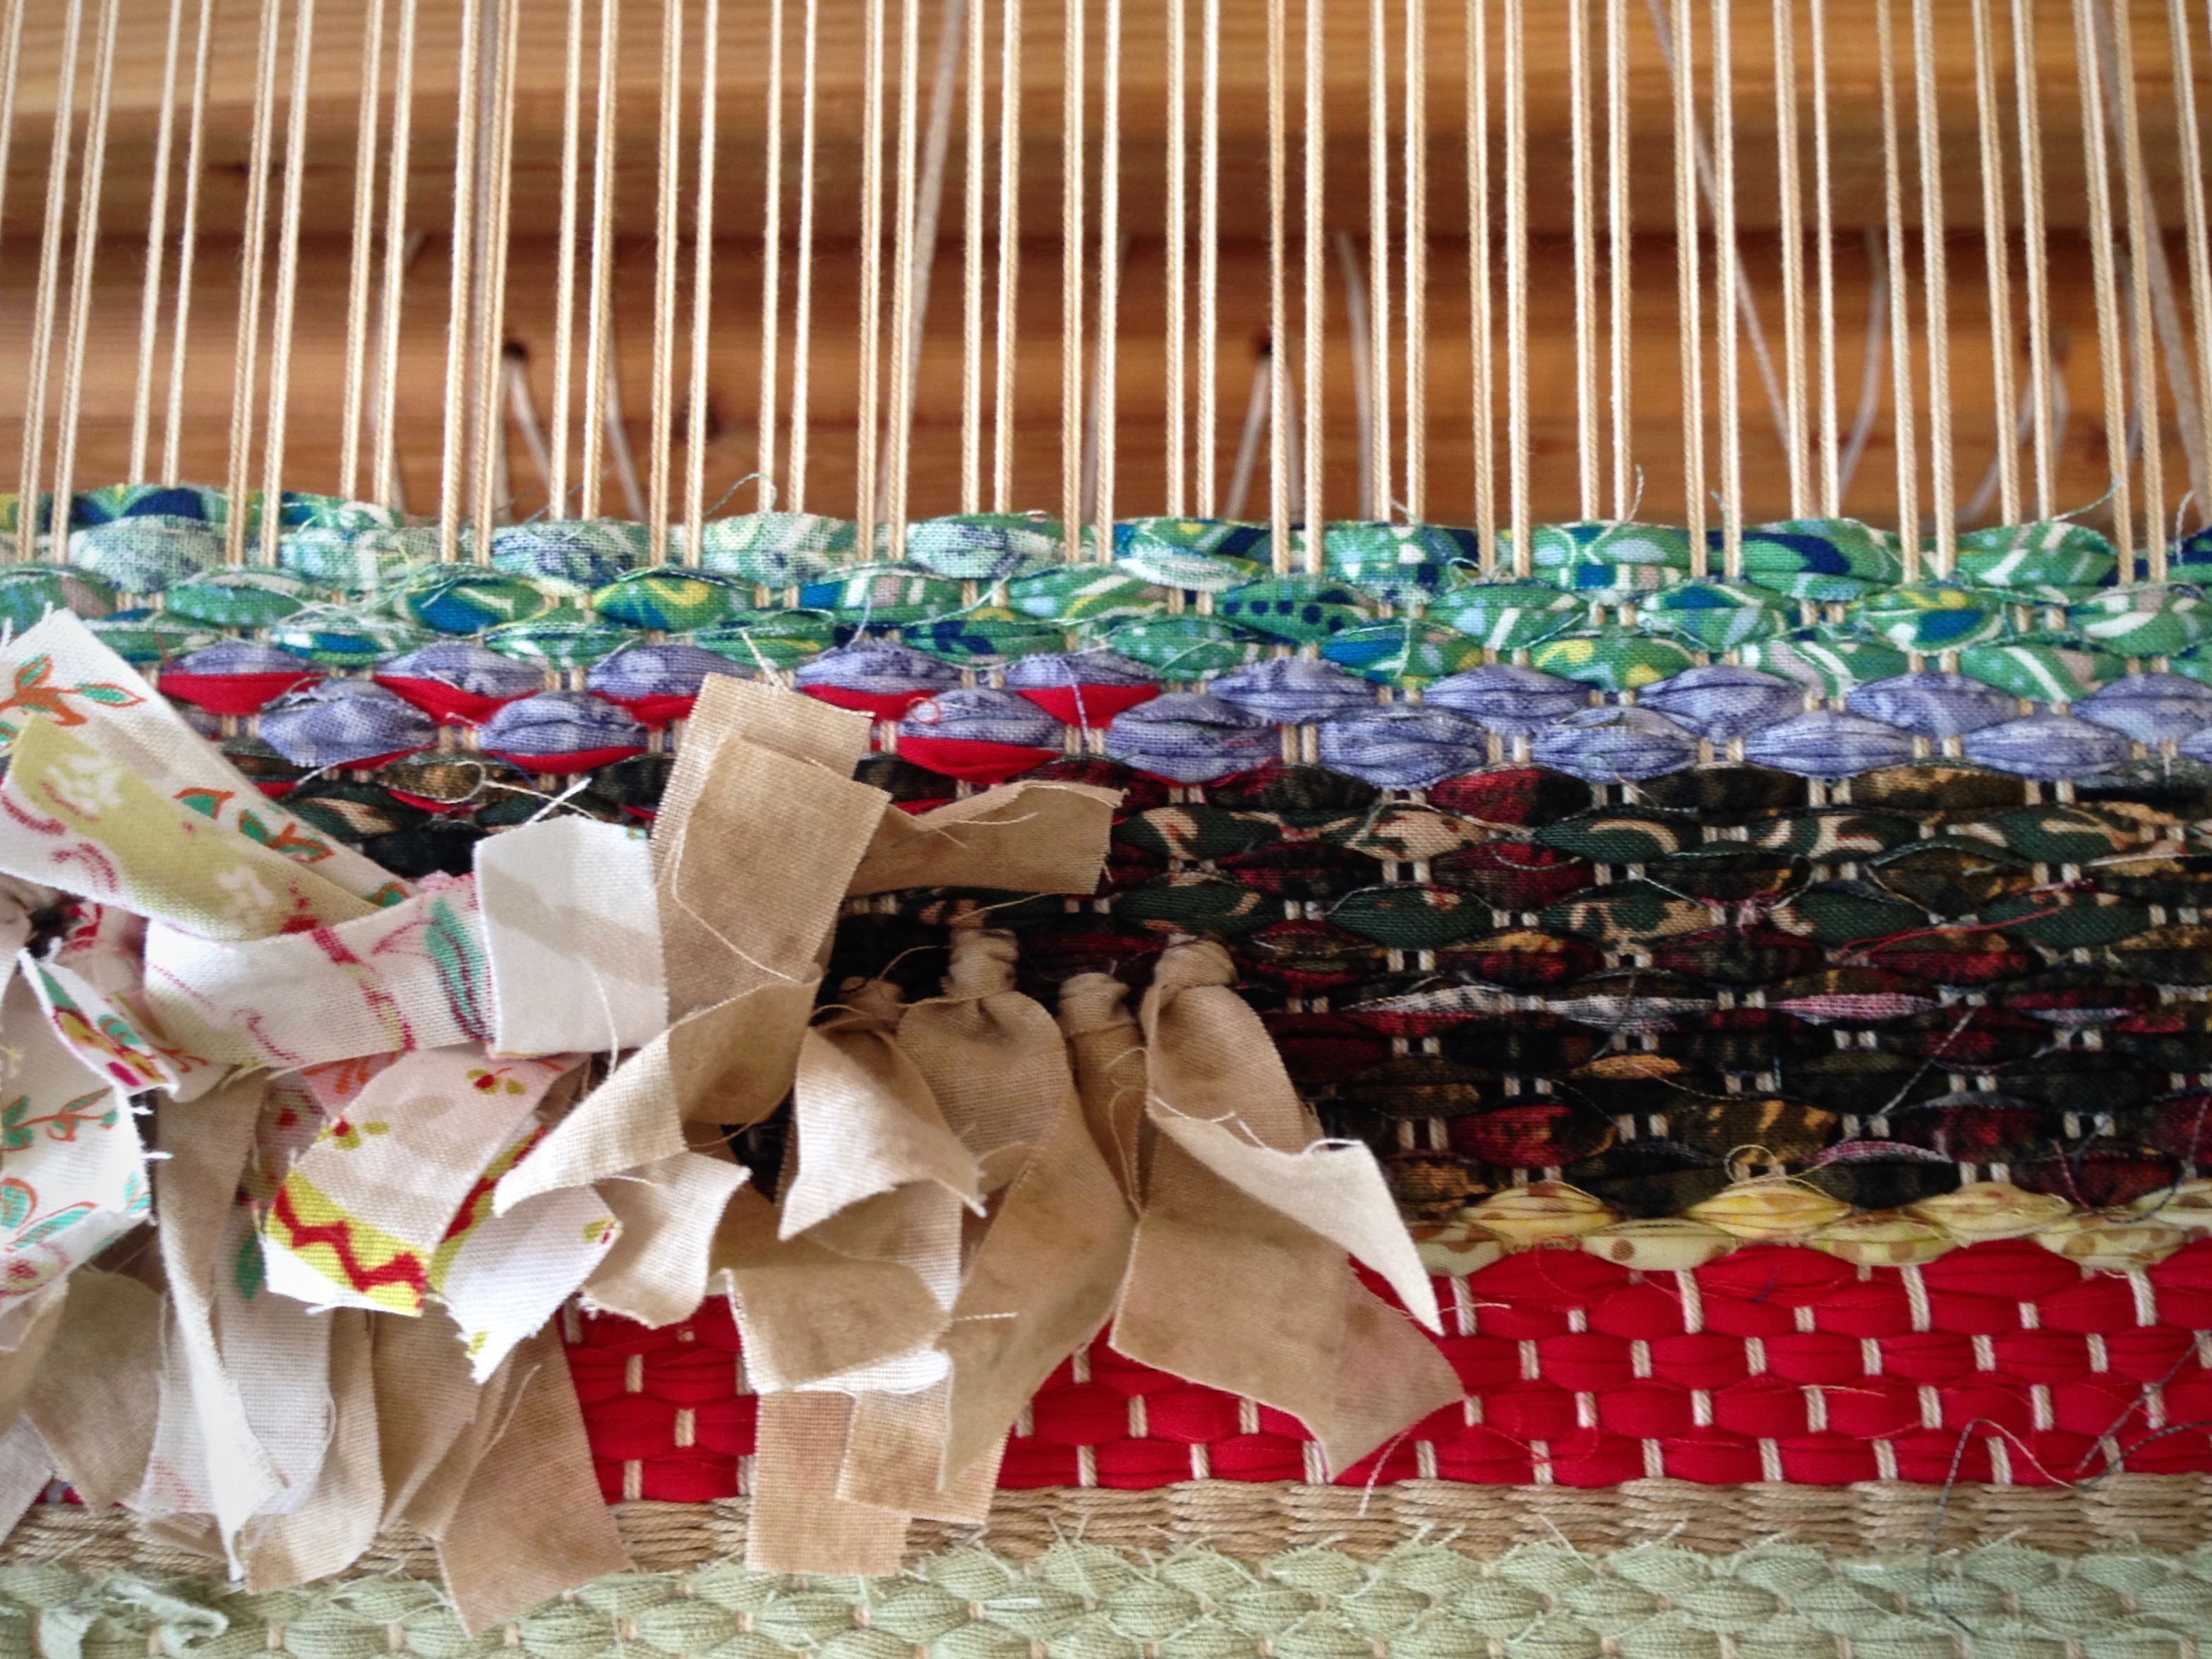
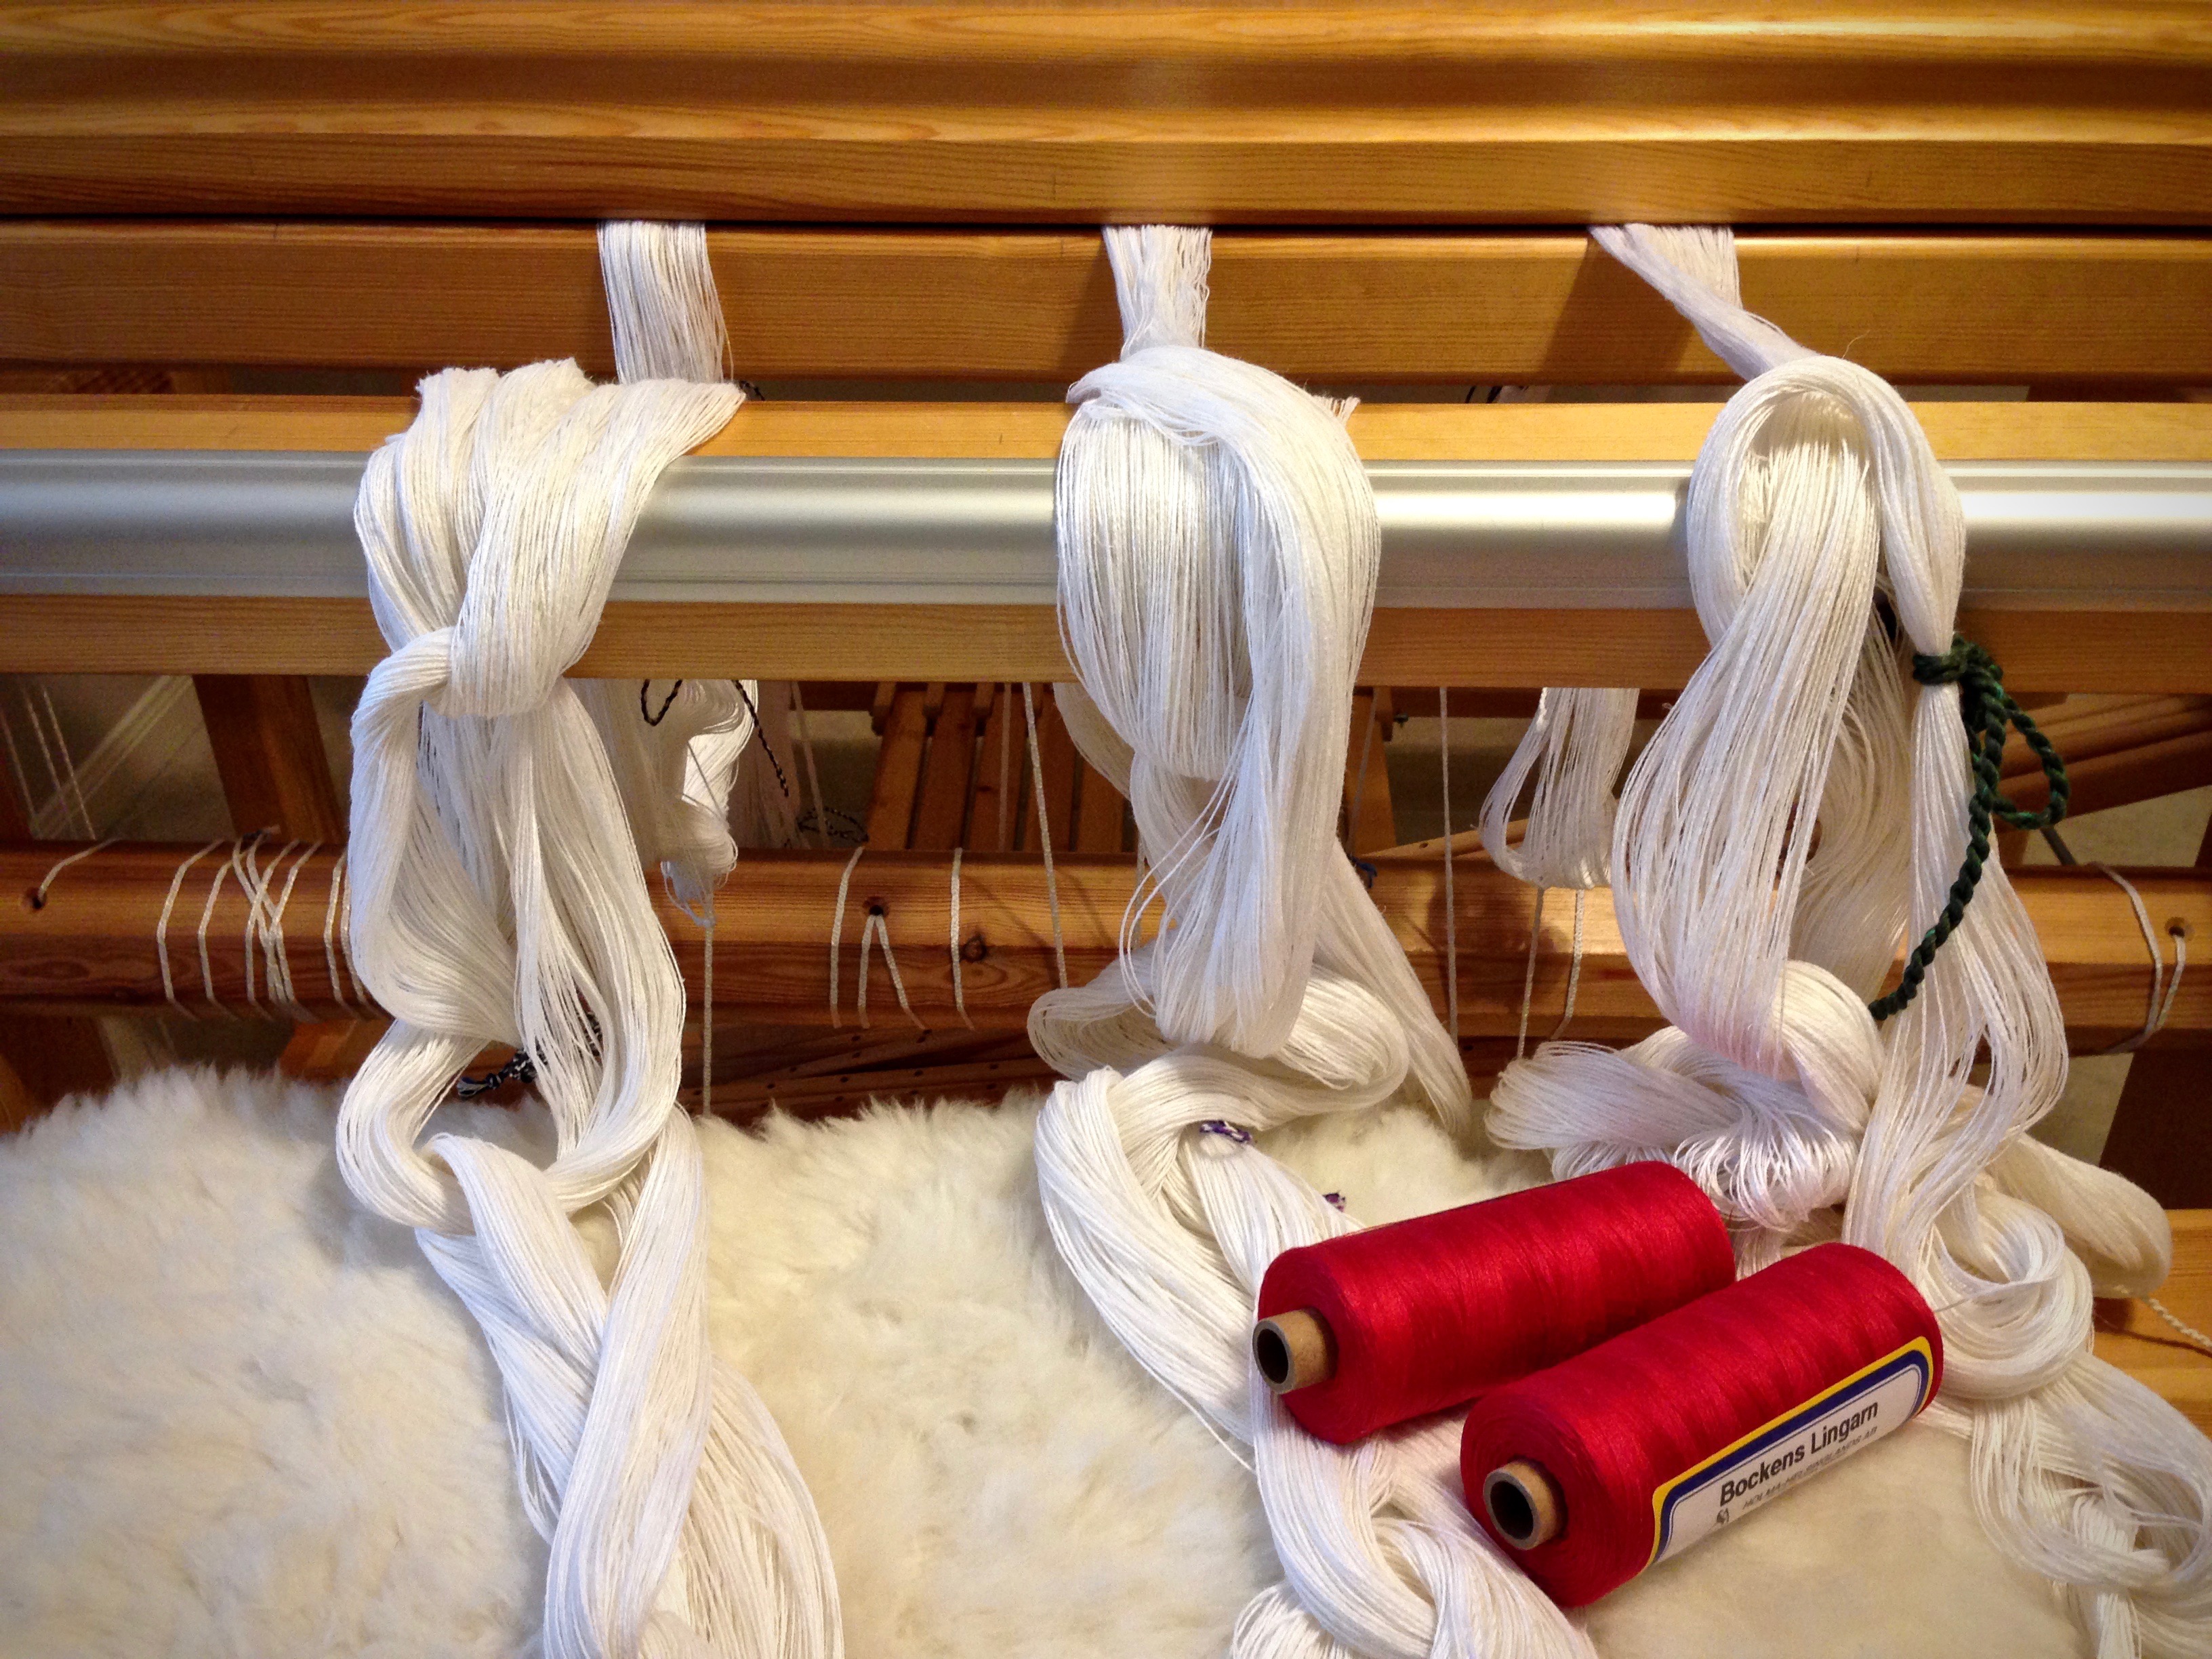
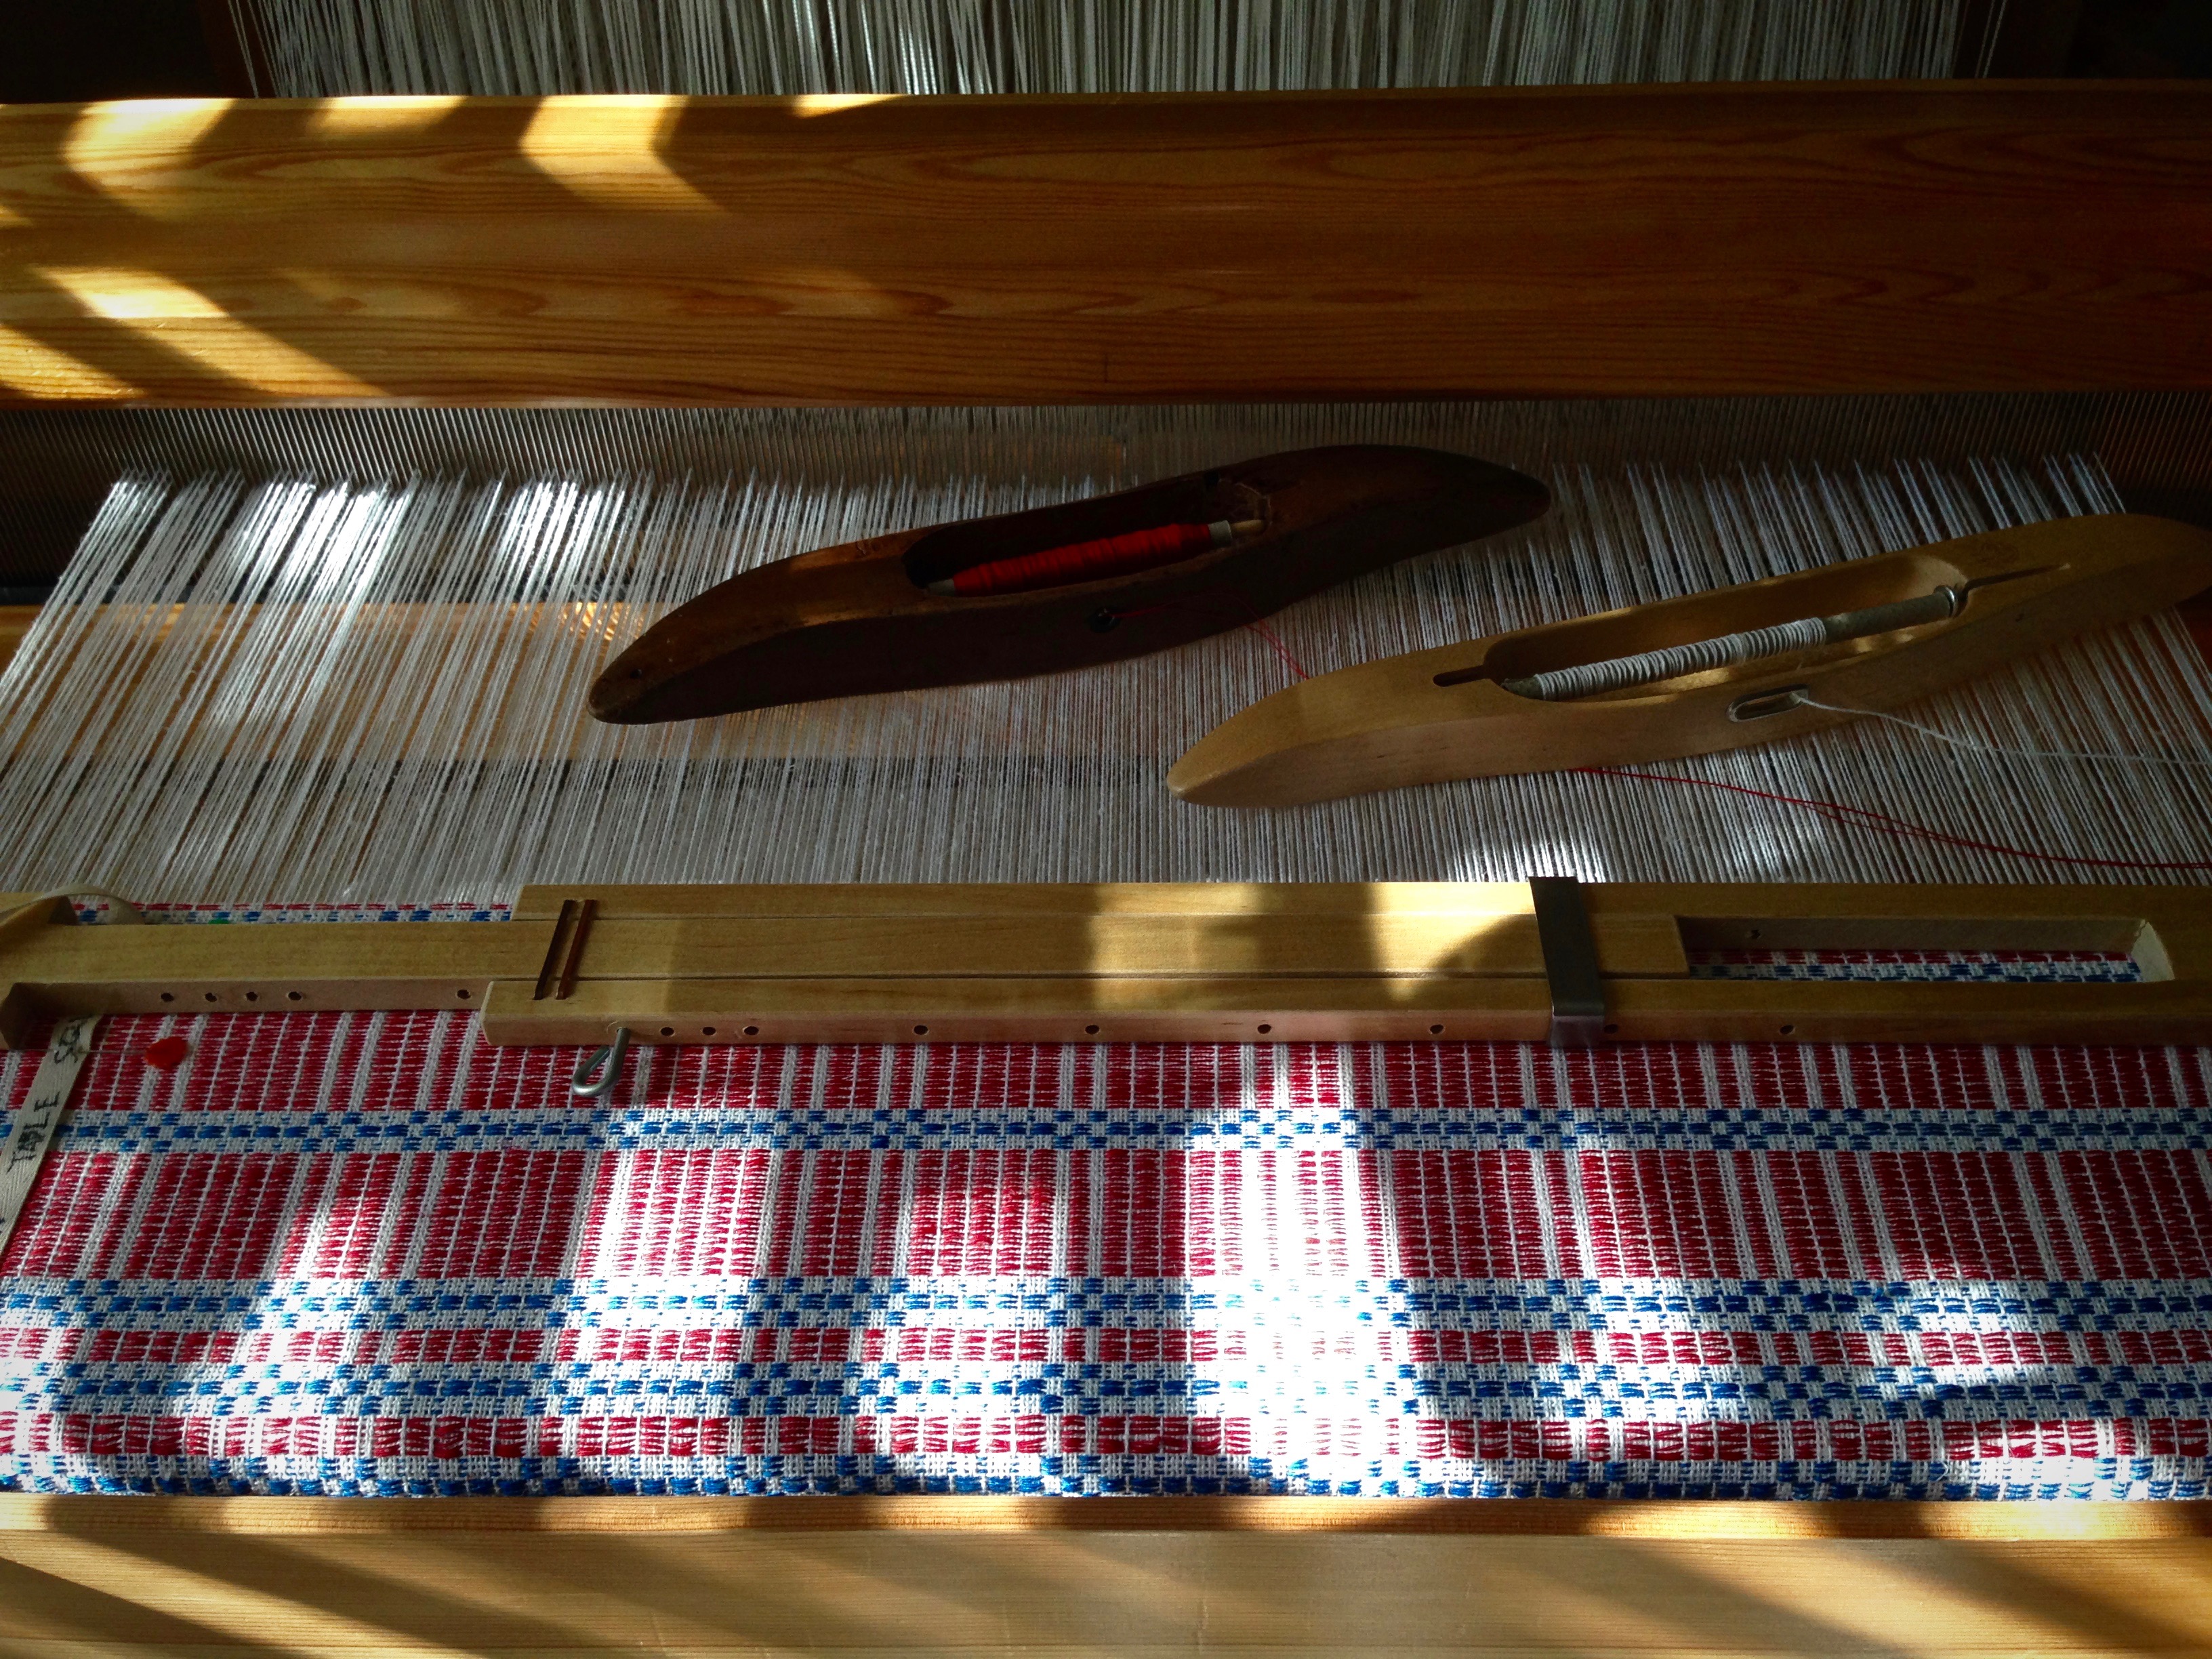
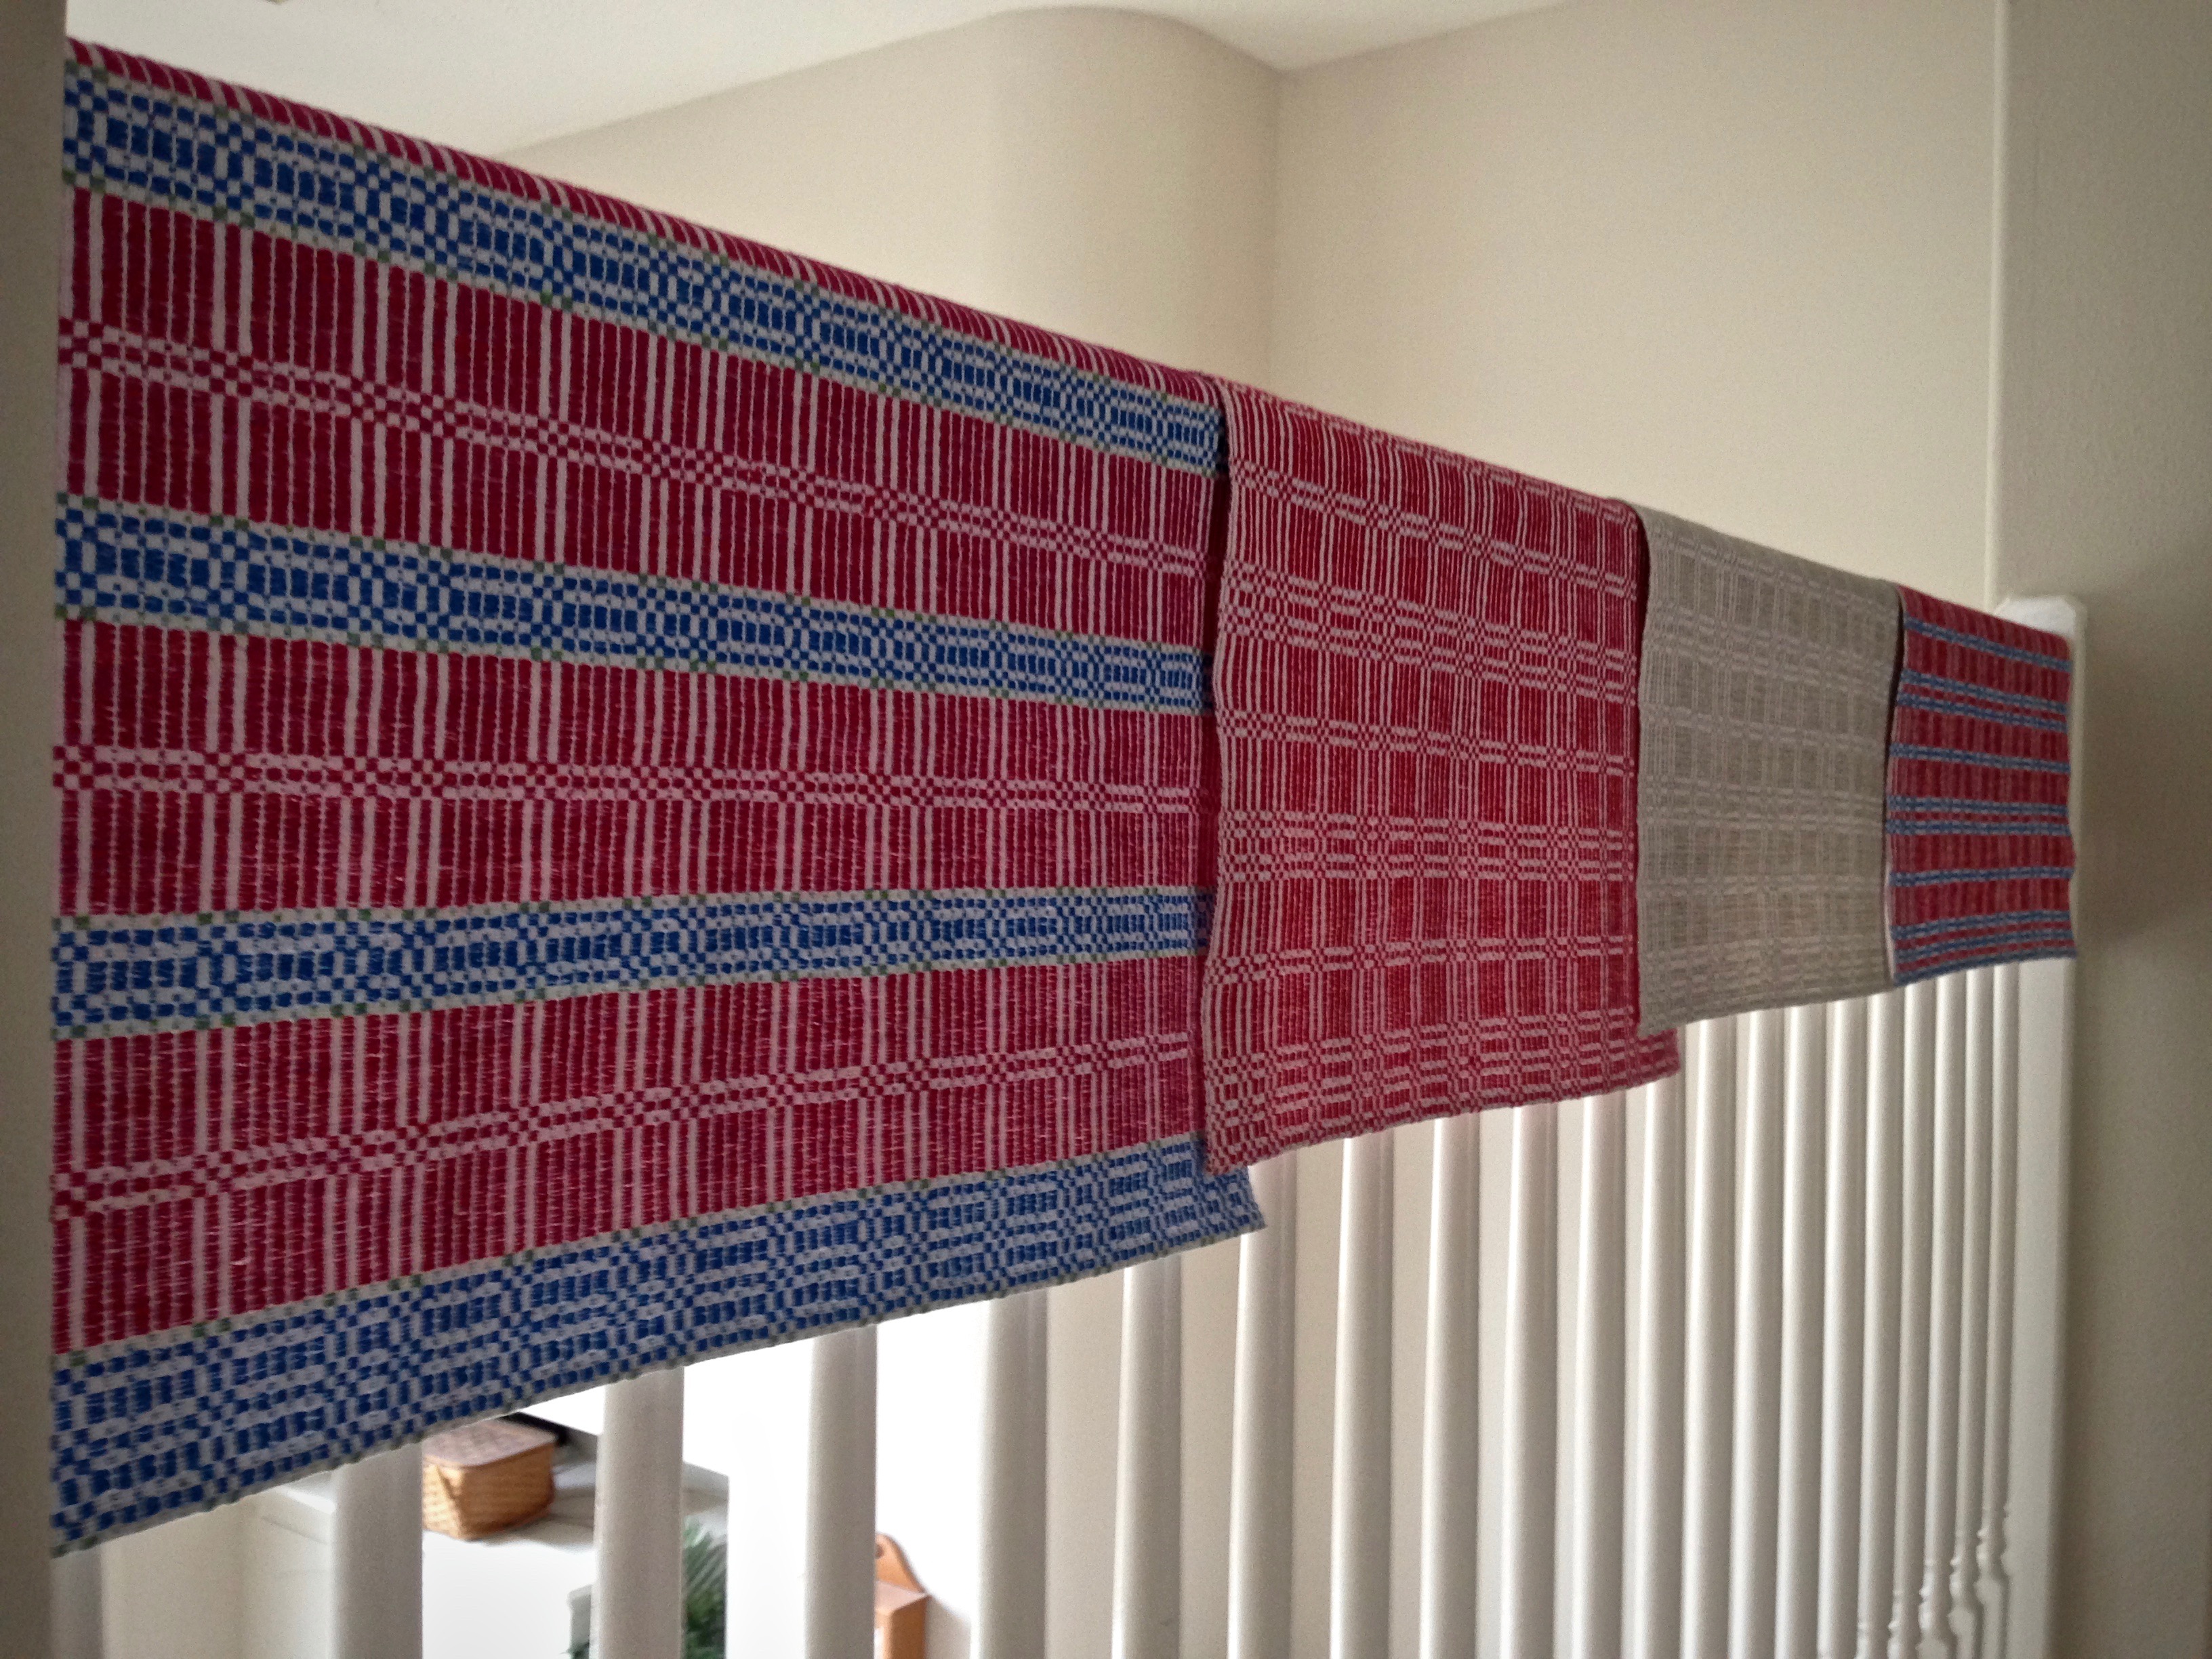
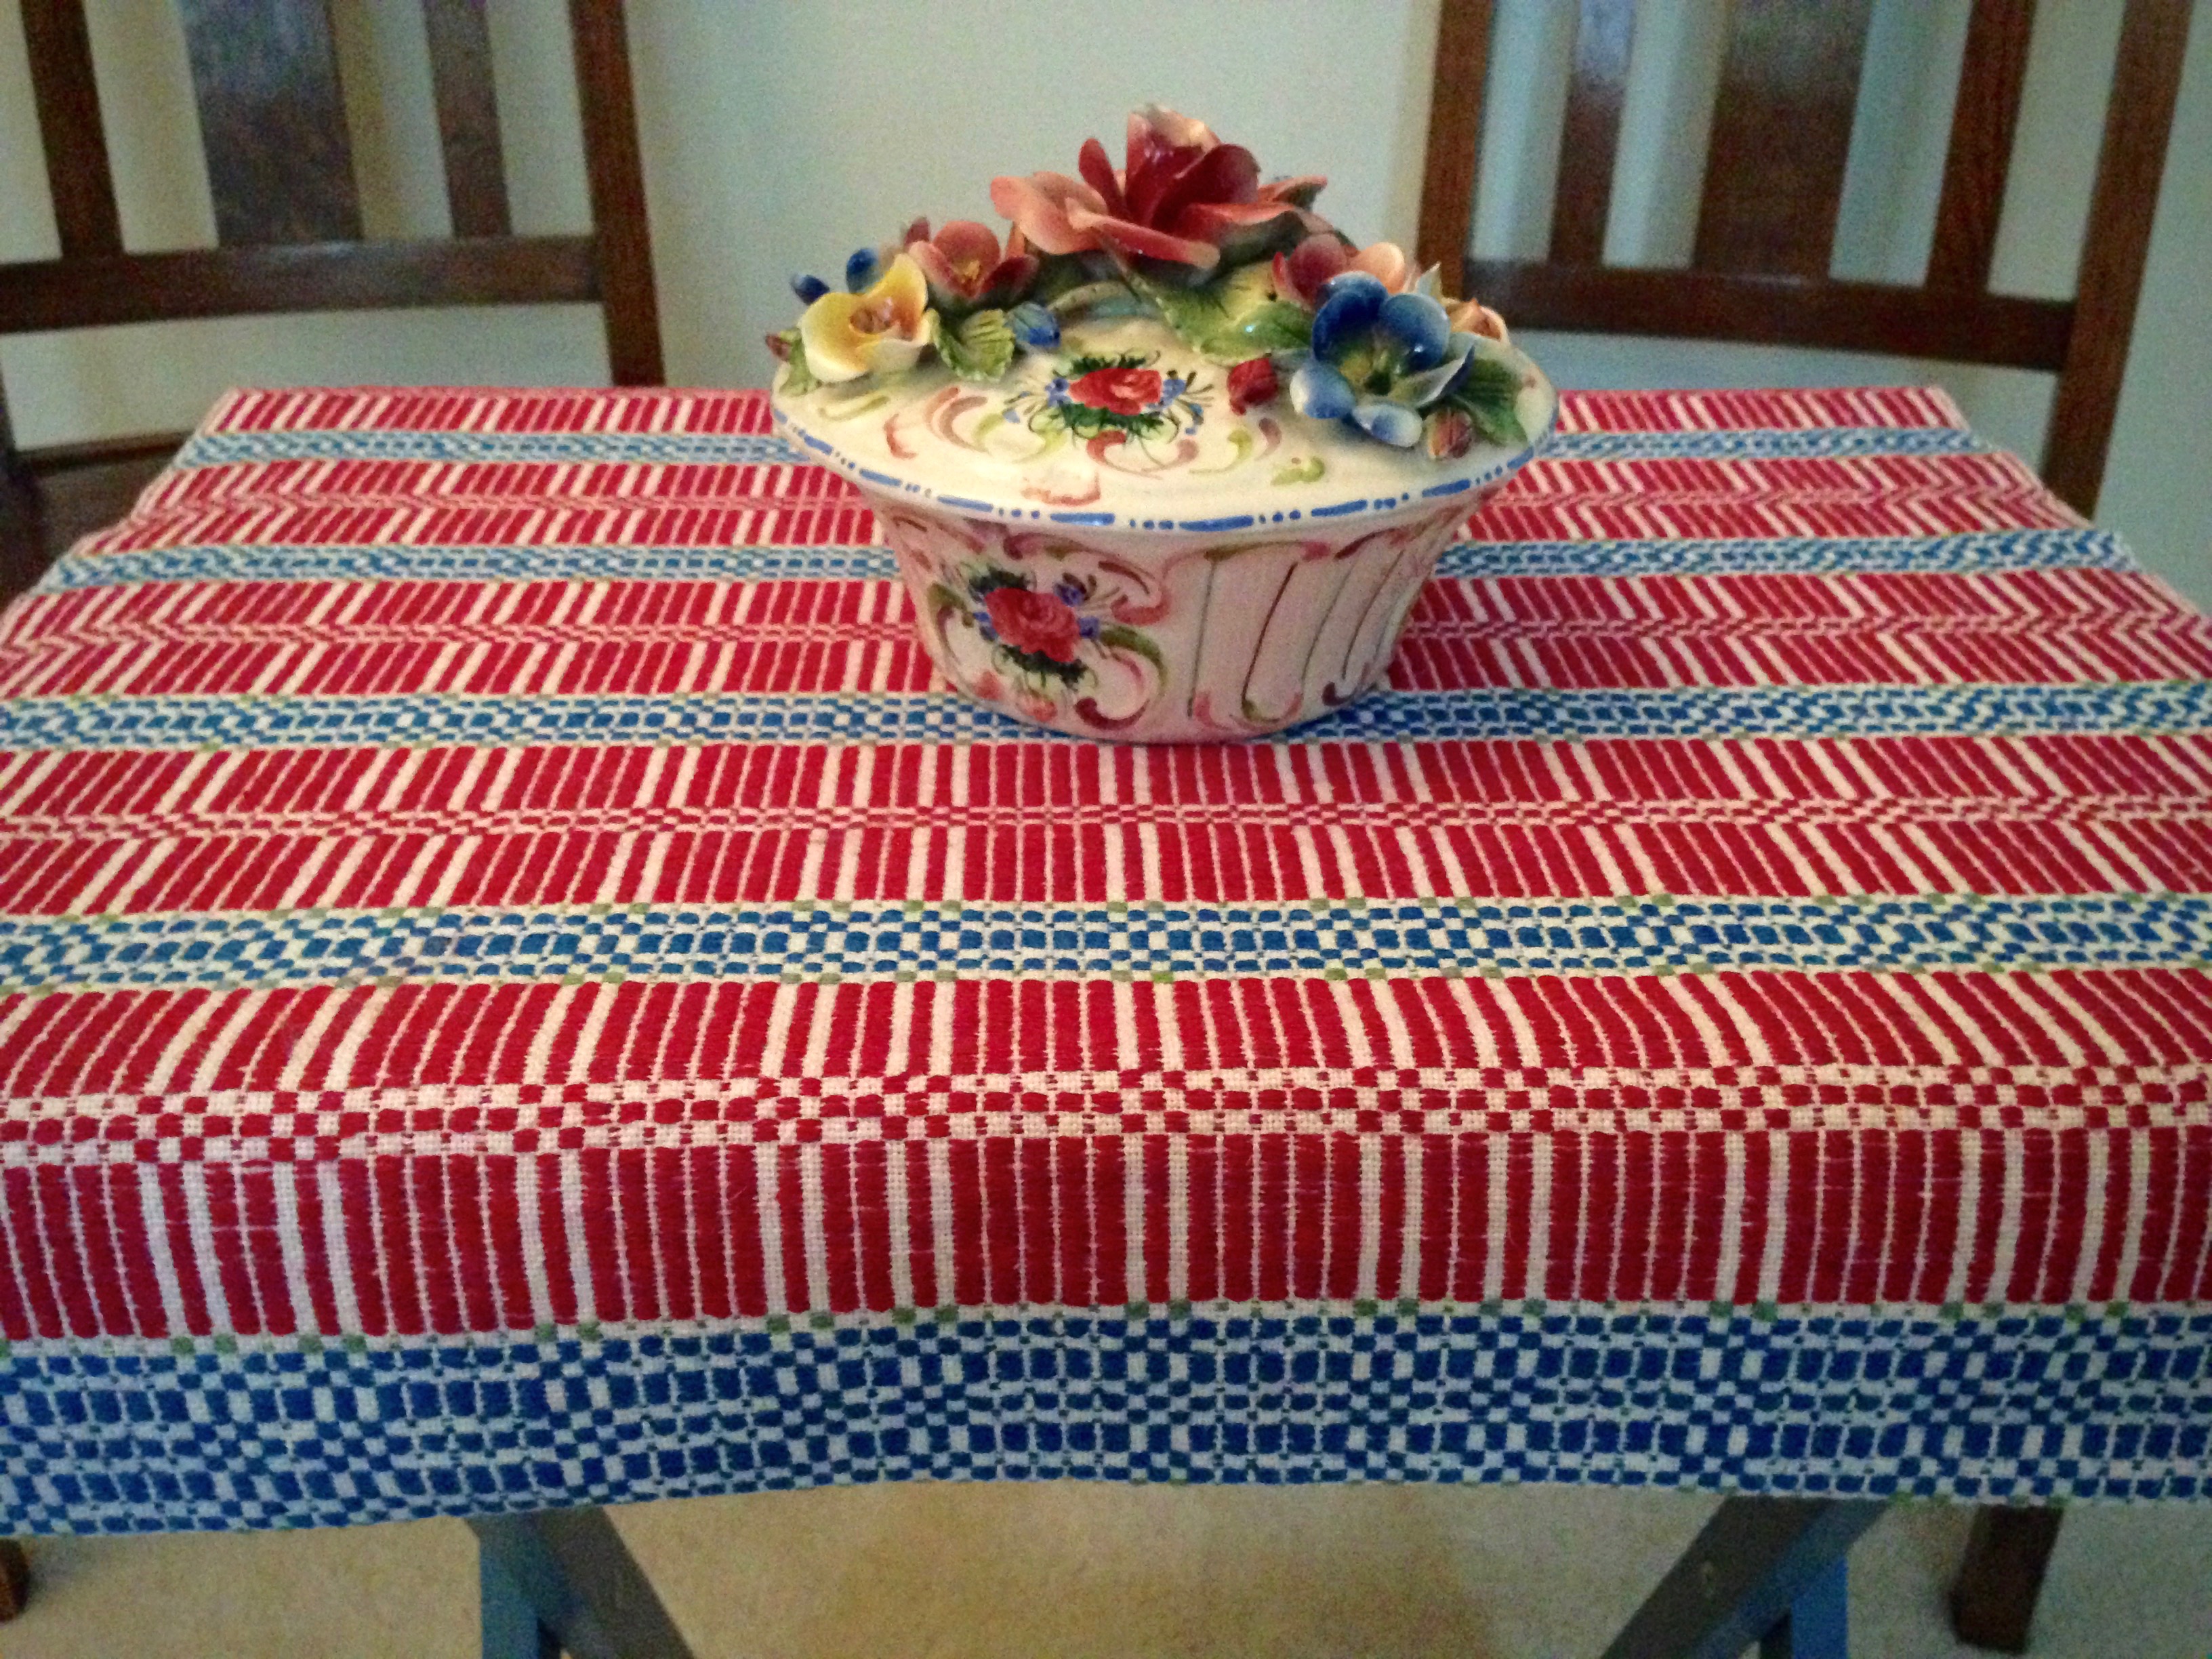
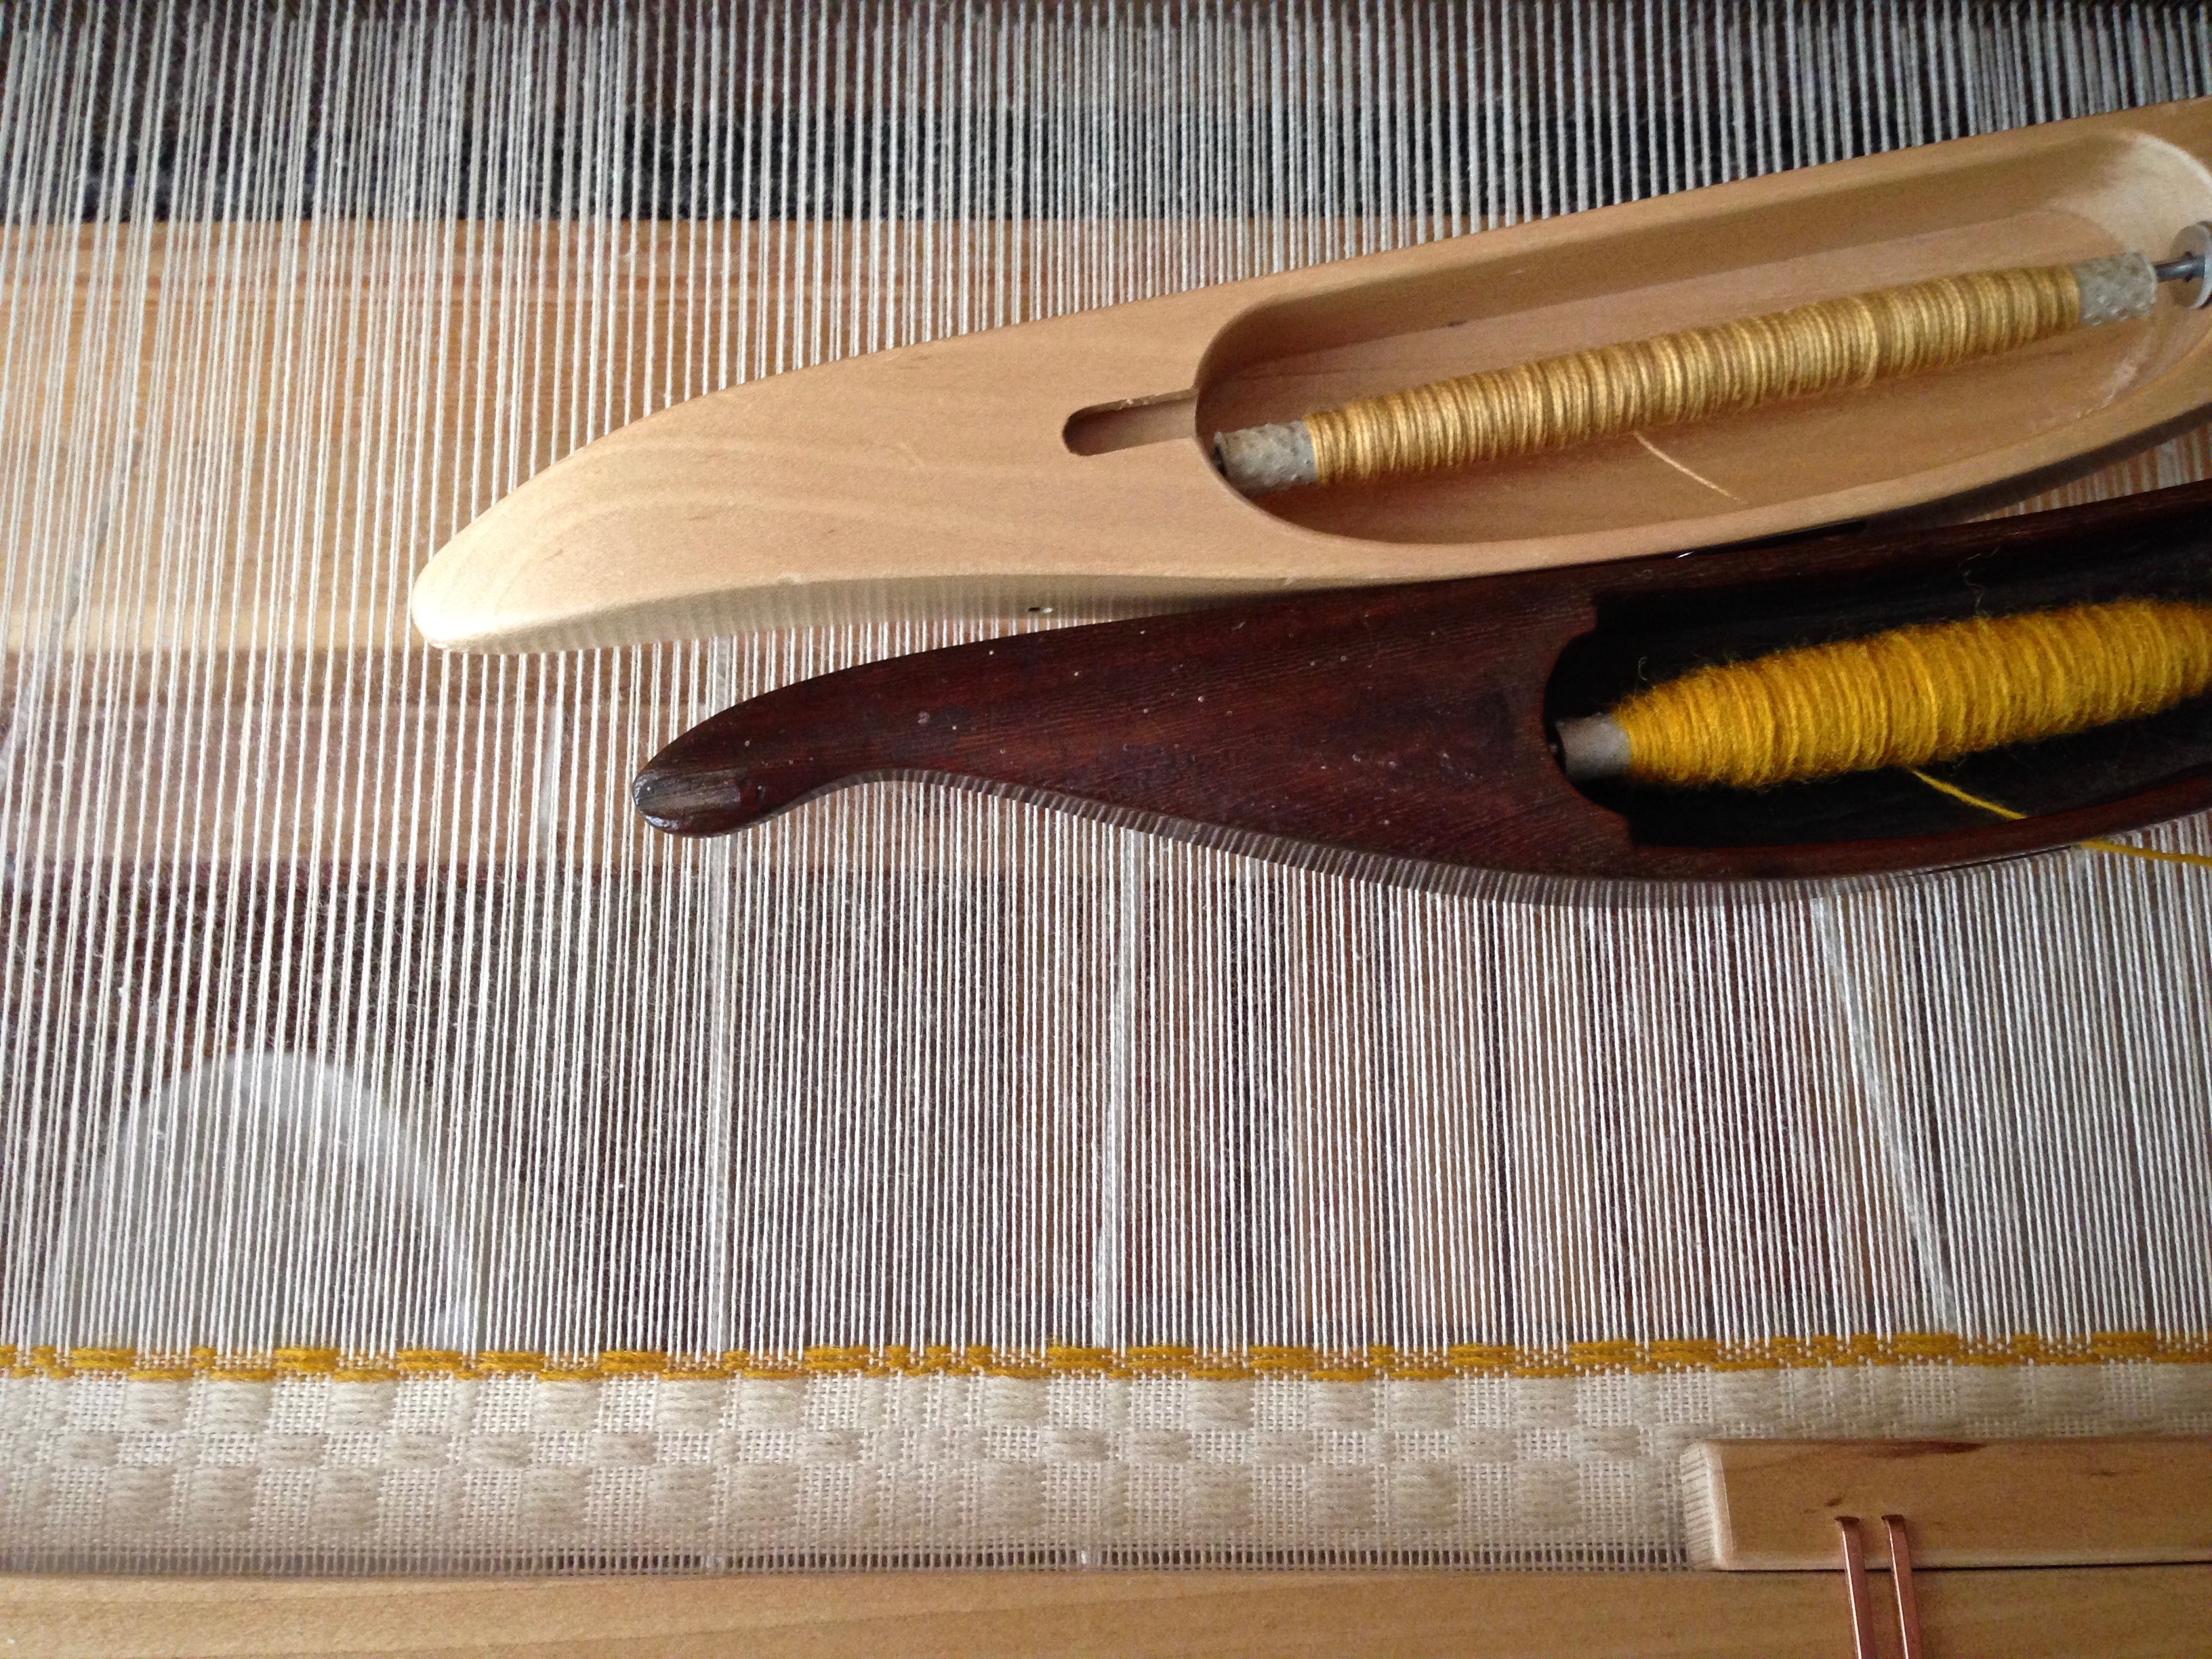
Two fingers gently test the resistance of the threads, from the center of the warp, moving outwards to the right, and to the left. This is how I evaluate the warp tension. I don’t rush; and I give the effort all my attention. Weft rep, where the ground weft almost completely covers the warp, is especially susceptible to hills and valleys from uneven warp tension. After I have made several tension adjustments, I tie on the leveling string. Next is tying up lamms and treadles, and winding quills. Then, the joy of weaving this monksbelt begins!

Cotton warp with leveling string, getting ready to weave monksbelt!
Leveling string is in place across the beginning of the warp. Lamms, which can be seen below the warp, are tied up next. And then, the treadles are tied up. After that, weaving begins!

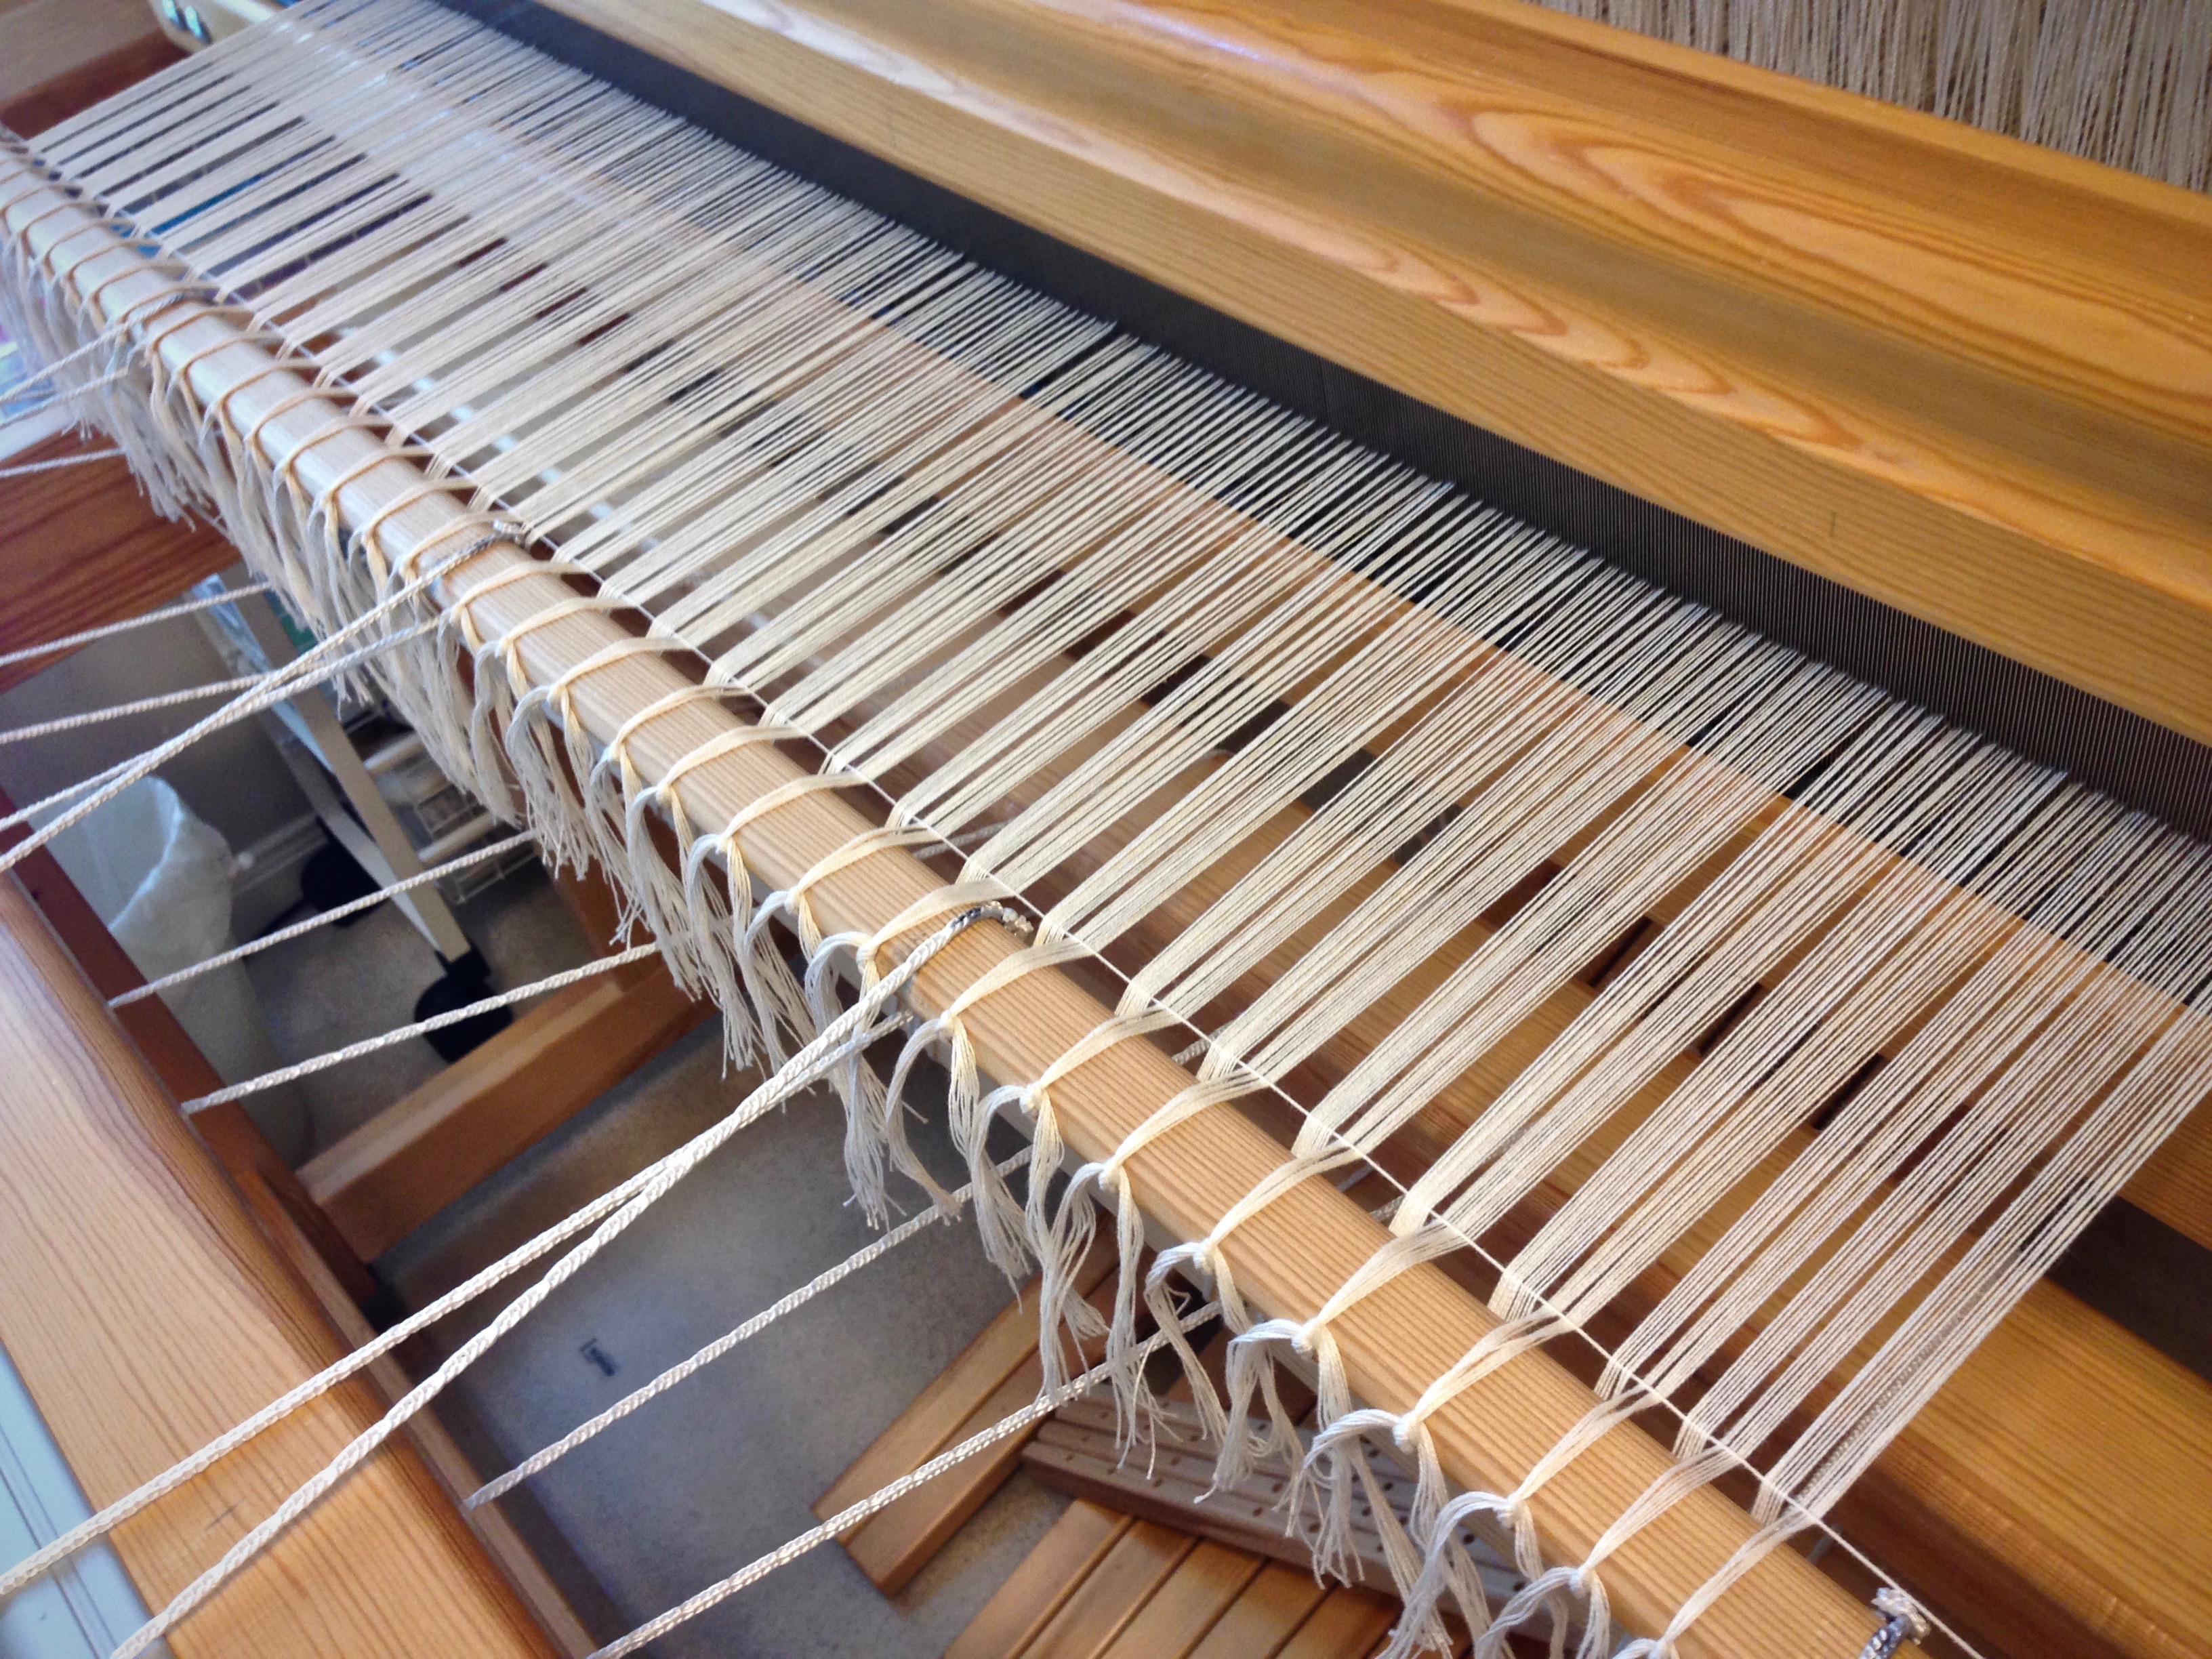
The ability to feel unevenness in warp tension is a learned practice. Being attentive is half the battle; and patience is the other half. Taking time on the front end reduces correction time after weaving has begun.

Sampling at the beginning of monksbelt project. 16/2 cotton and 6/1 Fårö wool.
Classic Swedish weave, monksbelt, is woven here with 6/1 Fårö wool for the pattern weft, over 16/2 cotton for the weft rep ground weave. Sampling has begun!

Skilled listening is a learned practice, too. Listening is more than hearing, isn’t it? Pay attention to how you listen. It matters. It takes a gentle touch to listen with a heart of understanding. When we listen with an unbending heart, we only hear what we want to hear. Patience on the front end results in fewer corrections later.

May you hear and be heard.

Gently,
Karen

Quiet Friday: Rya Rag Rug

I wasn’t happy with a simple “X” for the design area, but I struggled to come up with something better for this rug. And then, Steve and I went to the symphony. There, on the floor, in the long hallway, was the inspiration I needed for the pattern design on this rug!

Design inspiration for a rug.
Design inspiration is found on the floor on the way to the symphony.

Despite all that went wrong from the start, and how many things I had to undo and do over, I must tell you that I really did enjoy weaving this rug. The rya knots and loops made it fun and interesting. And this unique fluffy rug will always remind me of that sweet symphony date with my honey, when he patiently waited as I pulled out my iPhone to snap a few shots of the floor. Now that’s love.

Counting warp ends on the warping reel.
Dressing the loom starts with pre-sleying the reed.
Ski shuttle and temple for making large rag rug.
Ski shuttle holds doubled weft–fabric cut into 3/4″-wide strips.
Cutting fabric strips for rya knots.
Three different lengths of fabric strips are used for making the rya knots.
Placing rya knots in large rag rug.
Adding more rya knots.
Large rag rug with rya knots and loops.
Loops are made with the help of a wooden dowel.
Rag rug with inlay, using a brown paper cartoon under the warp.
Brown paper cartoon under the warp has the outline for the pattern. Lines on the cartoon, showing where to change the inlay technique, are inked onto the warp as a guide.
Making loops on a rag rug. Fun!
Making loops.
Extra warp width after re-sleying the reed.
After weaving a sample at the very beginning, I re-sleyed the reed, spreading the warp ends further apart. Excess warp ends, because of the increased width, are chained on both sides. Future band loom warps?
Another do-over.
Don’t ask. Almost finished weaving, and another do-over happened.
Cutting off!! Time to celebrate!!
Cutting off! Time to celebrate!!
Handwoven rag rug with rya knots and loops.
Sculpted inlay appearance is achieved by graduated lengths of the rya strips and heights of the loops.

Rag rug with rya and loops. Karen Isenhower

May your design inspiration come from unanticipated places.

Love,
Karen

One Mini Rag Rug

I am calling this miniature rag rug experiment a success! Oh what fun to play with colorful fabric to make rosepath designs in rag rugs. This sample size is great for trying out various designs and color combinations. Pure delight for a rag rug weaver like me!

Mini rag rug on the loom with rosepath design.

I am cutting this first “rug” off. After finishing the ends and hemming the little rug, I will see if adjustments are needed before weaving the rest of the warp. It’s the details I’m interested in–sett, weft density, finished dimensions, selvedges, design, balance of color, size of hem. All of these assessments affect my plans for the remaining warp. I am excited about weaving more of these mini rugs! I smile to think of it.

Small rosepath rag rug sample.
Warp is tied on and ready for weaving the next small rag rug.
Mini rosepath rag rug with favorite coffee mug. Karen Isenhower
Favorite artisan coffee mug is right at home on the cute little rug. Finished rag rug measures 6 x 10 1/2″ / 15 x 26.5cm.

The Lord is intricately involved in the lives of those who belong to Him. He delights in details that require His guidance. It is as if the Lord is holding my hand, especially when I need guidance to navigate life’s challenges. The Lord delights in helping us. After all, what He is making is much more exciting than anything found on our looms.

May you find delightful details in the work of your hands.

Happy weaving,
Karen

Sley, Sley Again

I have never re-sleyed a warp after weaving the sample. Until now. It’s a drastic measure; but it’s better than fighting with the warp the whole way. I’m doing inlay on a rag rug, with rya knots and other techniques. It didn’t take long to see that the ends needed to be spaced further apart. But this is why we sample, right?

Beginning sample of rag rug weaving with rya knots.
Rya knots quickly add bulk to the rag rug sample. Three rows of rag knots are already creating a little hill in the weft.
Cutting off a sample piece. Painter's tape as cutting template.
Four inches are marked on a piece of painter’s tape to use as a template for cutting the warp. I want enough length on the sample piece being cut off to be able to tie the ends in square knots.

It was not an easy decision to re-sley. I had anticipated an enjoyable day of rag rug weaving. Instead, I spent the day cutting off, pulling the ends out of the reed, switching reeds, re-sleying, dealing with extra warp width, tying back on, and beginning a new sample. Is this called learning the hard way? Nope. This is simply called learning.

Rag rug sample with inlay techniques.
Warp has been re-sleyed and is ready for weaving a new sample. First sample piece includes rya knots, loop technique, and HV technique on weft rep, using fabric strips for weft and weft inlay.
Rag rug sample, trying out rya knots.
After re-sleying, I start a second sample. I am happy to see that the rya knots fit into place without adding excessive bulk to the weaving.

Weaving, relationships, and purposeful living. Learning takes time–a lifetime. I want the Lord to teach me how to live. Even when it means messy beginnings and do-overs that use up my day. We have a lot to learn. Lord, teach me, and lead me on your path. More than a prayer in crisis, this is a lifetime prayer for a lifetime of learning.

May you know when to start a do-over.

Still learning,
Karen

Quiet Friday: Halvdräll

Halvdräll is one of those Swedish weaves that takes your breath away. How can I describe the exquisite simplicity and stunning splendor of this fascinating cloth? With halvdräll, every moment at the loom is pure joy. I keep thinking, I get to weave this! And every weaver knows no comparison to the delight of pulling beautiful just-woven fabric off the cloth beam.

Enjoy the journey with me now as I reflect on the halvdräll fabric from beginning to end.

Choke tie serves as a counting thread as the cottolin warp is wound.
Red linen to be used as pattern weft on white cottolin warp.
Red linen is anticipating a starring role as pattern weft.
Sampling various linen color options for halvdräll table squares.
Sampling various color options for the pattern weft. Red may be one star among several.
Halvdräll table squares on the loom. Karen Isenhower
Second table square has blue and green for block I and red for block II. The back of the first table square, with all red pattern weft, is seen between the breast beam and the knee beam.
Halvdräll table squares on the loom. Elegant neutral tones.
Neutral tones with subtle elegance.
Weaving in the afternoon sunlight.
Light play dances on the colorful woven fabric.
Halvdräll table squares, with linen pattern weft, just off the loom!
Celebration time! When the cloth is cut from the loom the weaver is able to see a complete view of the woven fabric for the first time. Woo hoo!
Folding edge under for hemming. Handwoven table squares.
Wet finished and pressed. Ready for hemming.
How to do a blind hem. Very simple for handwovens.
Blind hem, with sewing needle and thread. Needle goes under one warp end, and is inserted through folded edge of hem for 1/4 inch. Continued stitching across the hem is virtually invisible when complete.
Label added.
Label added.
Hemmed, pressed, and ready to make a statement!
Hemmed, pressed, and ready to dress up a table.

Handwoven halvdräll table square. Karen Isenhower

May you find delight in your journey.

Happy Weaving,
Karen